
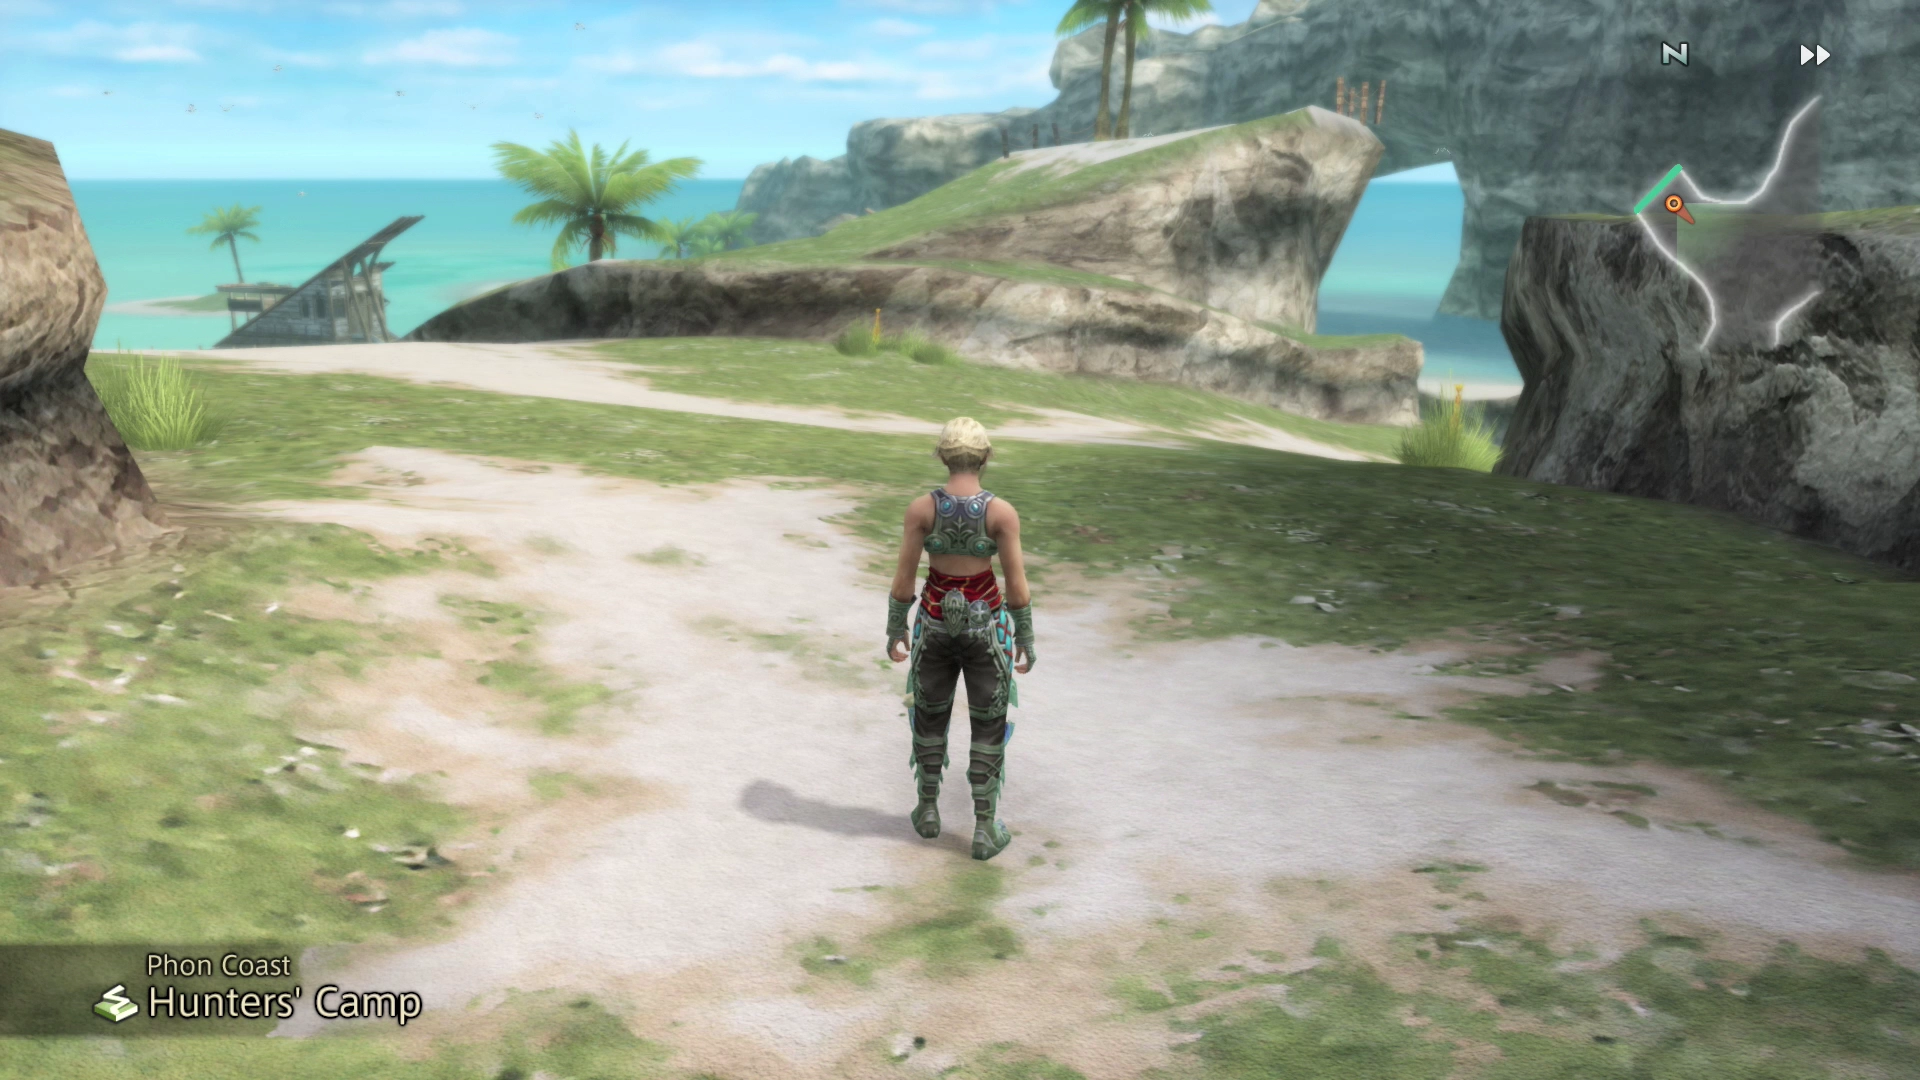
Phon Coast
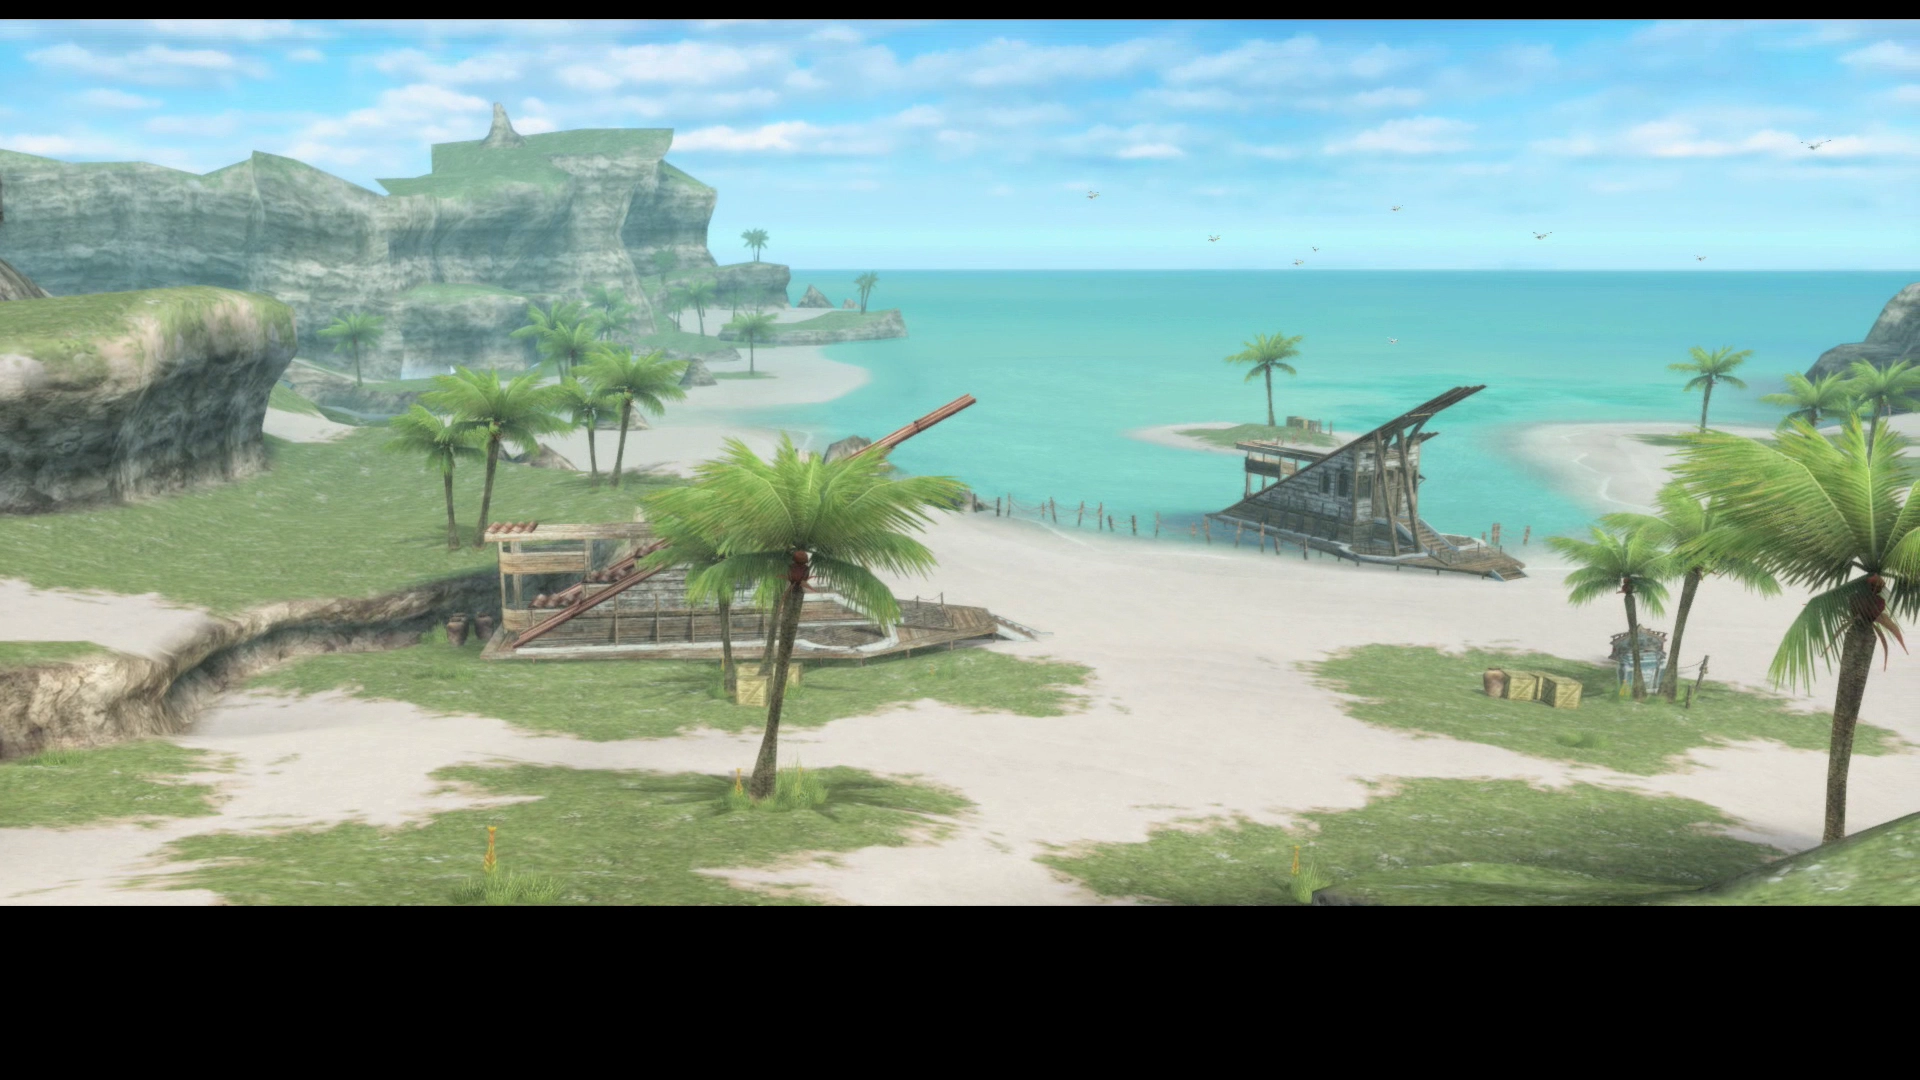
“Coastal region lying along the Phon Straits which divide Archadia from Nabradia. Praised for its beautiful beaches of white sand, and lush greenery.
A hunter’s camp along the coast attracts adventurers and headhunters, forming a community where they might exchange information and rest between expeditions.”
Kaukula Pass
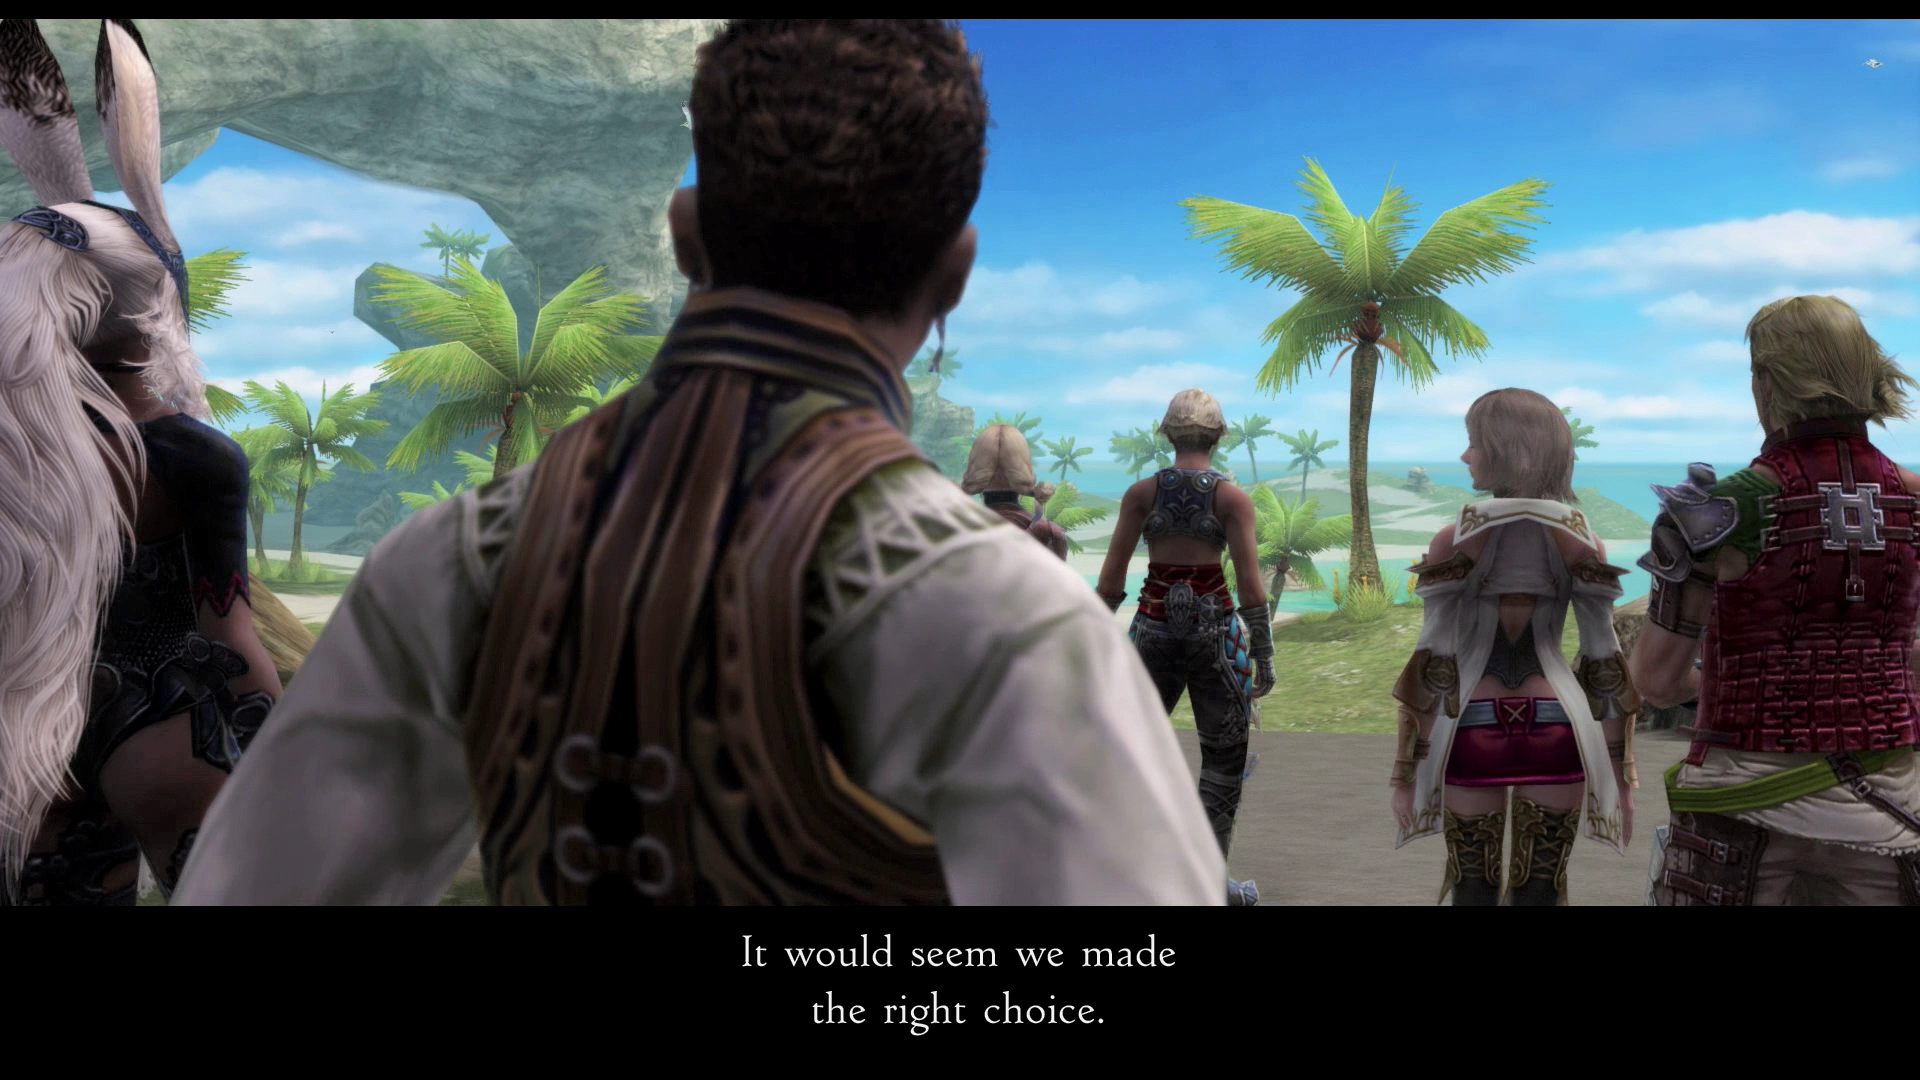
There is a short cutscene that takes place as soon as you enter the Phon Coast. A few Imperial airships will fly past and Balthier will reconfirm that they made the right choice by traveling to Archades on foot as they would have been caught had they traveled by airship.
Warning
There is an extremely rare spear that you can obtain under very specific conditions called the ![]() Zodiac Spear. One of those conditions is that there are four treasure chests around the game that you cannot open under any circumstance.
Zodiac Spear. One of those conditions is that there are four treasure chests around the game that you cannot open under any circumstance.
The last of these treasure chests is located in the Vaddu Strand area of the Phon Coast. Do not open it if you wish to obtain the Zodiac Spear as early as possible. The items that the chests contain are inconsequential.
While you should definitely heed the warning mentioned above, it should be noted that you can already obtain the ![]() Zodiac Spear now that you have reached (or passed) the Salikawood zone. Check out the Zodiac Spear side quest page for more information (linked below):
Zodiac Spear now that you have reached (or passed) the Salikawood zone. Check out the Zodiac Spear side quest page for more information (linked below):
Side Quests
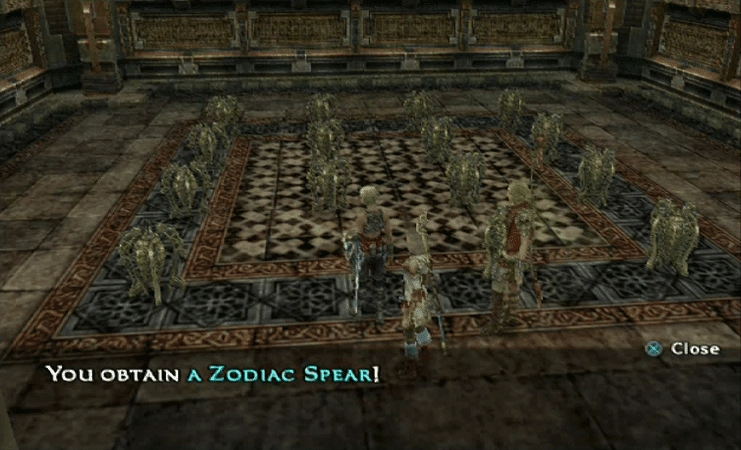
Avoiding several of the treasure chests in the game to make the Zodiac Spear (the most powerful weapon in the game) appear in the Necrohol of Nabudis.


Save your game at the Save Crystal and proceed south into the next area.
The Reseta Strand
There isn’t too much to do in the Phon Coast other than to travel to the next destination. The final destination is to the east and it is called the Hunter’s Camp. Use the map below to help you navigate to it.
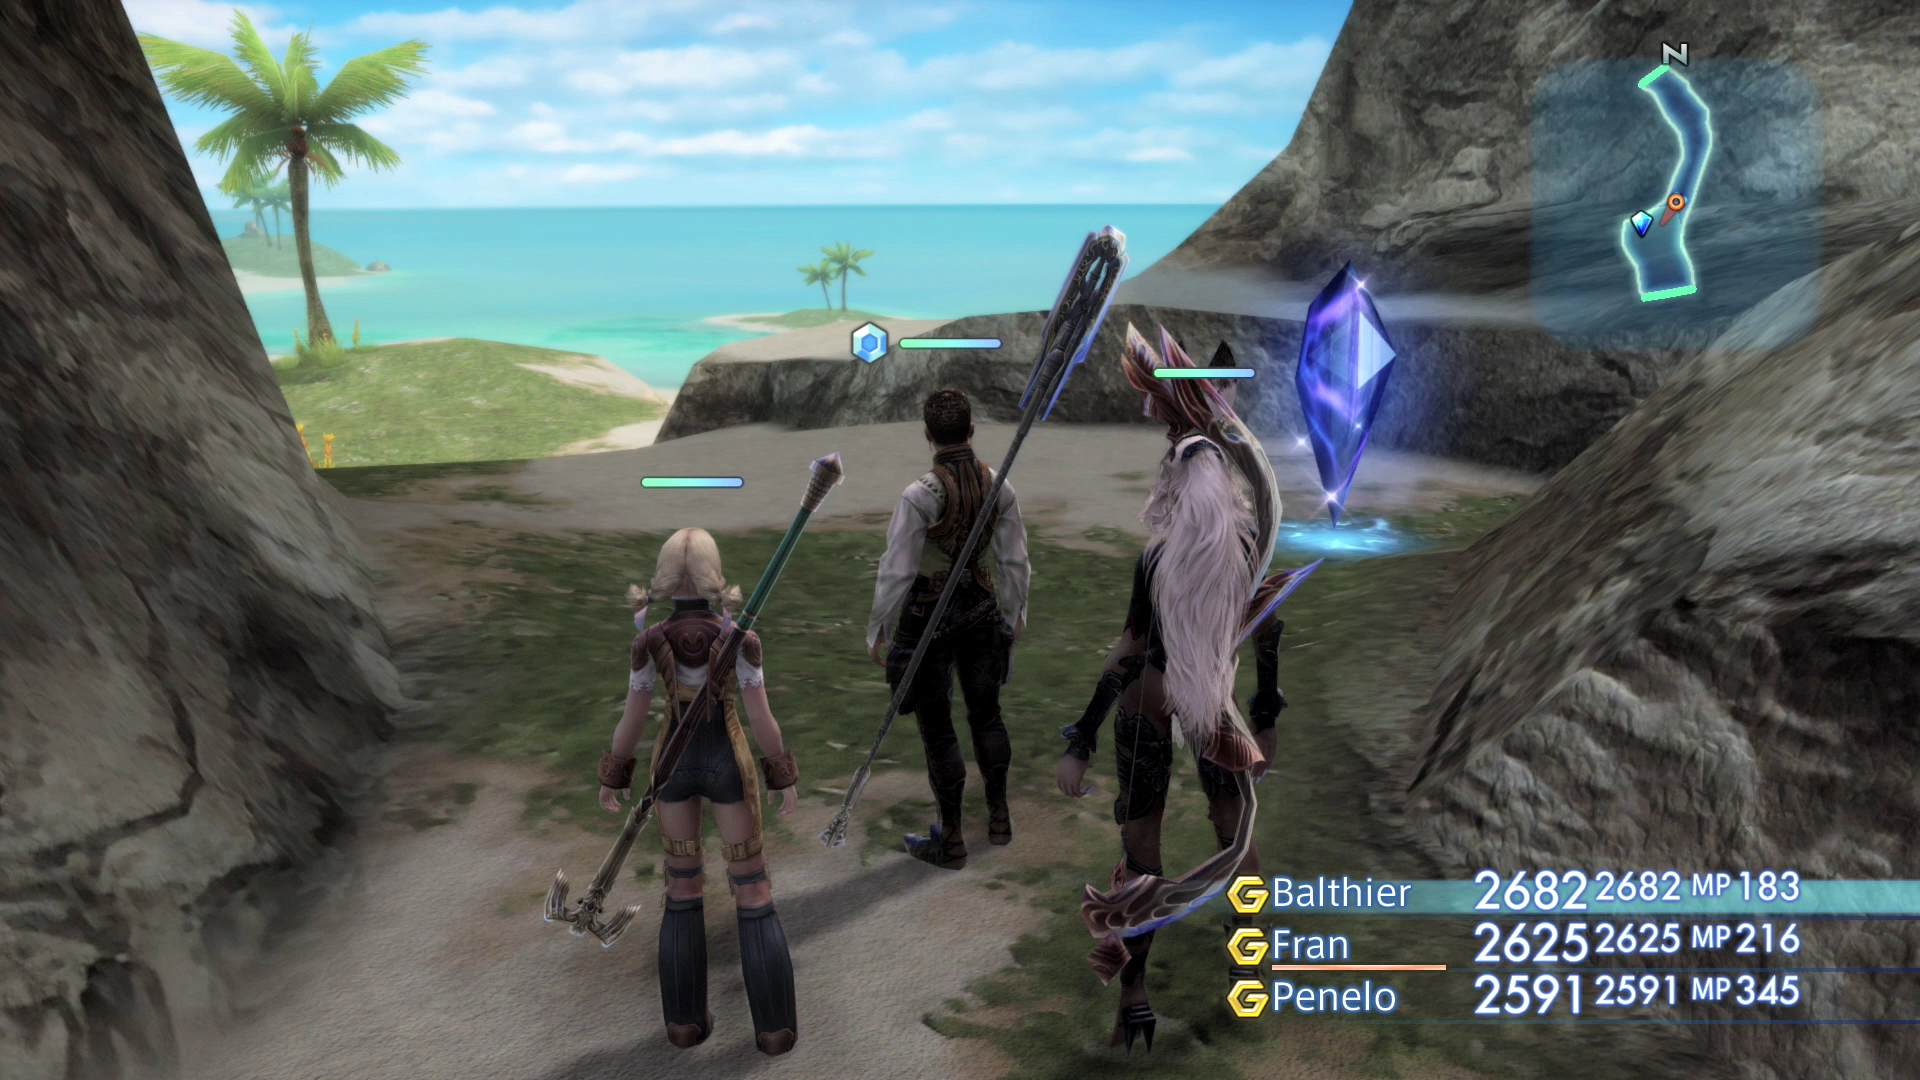
You will need to travel southeast, though there is no harm in leveling up your characters and exploring the entirety of the Phon Coast.
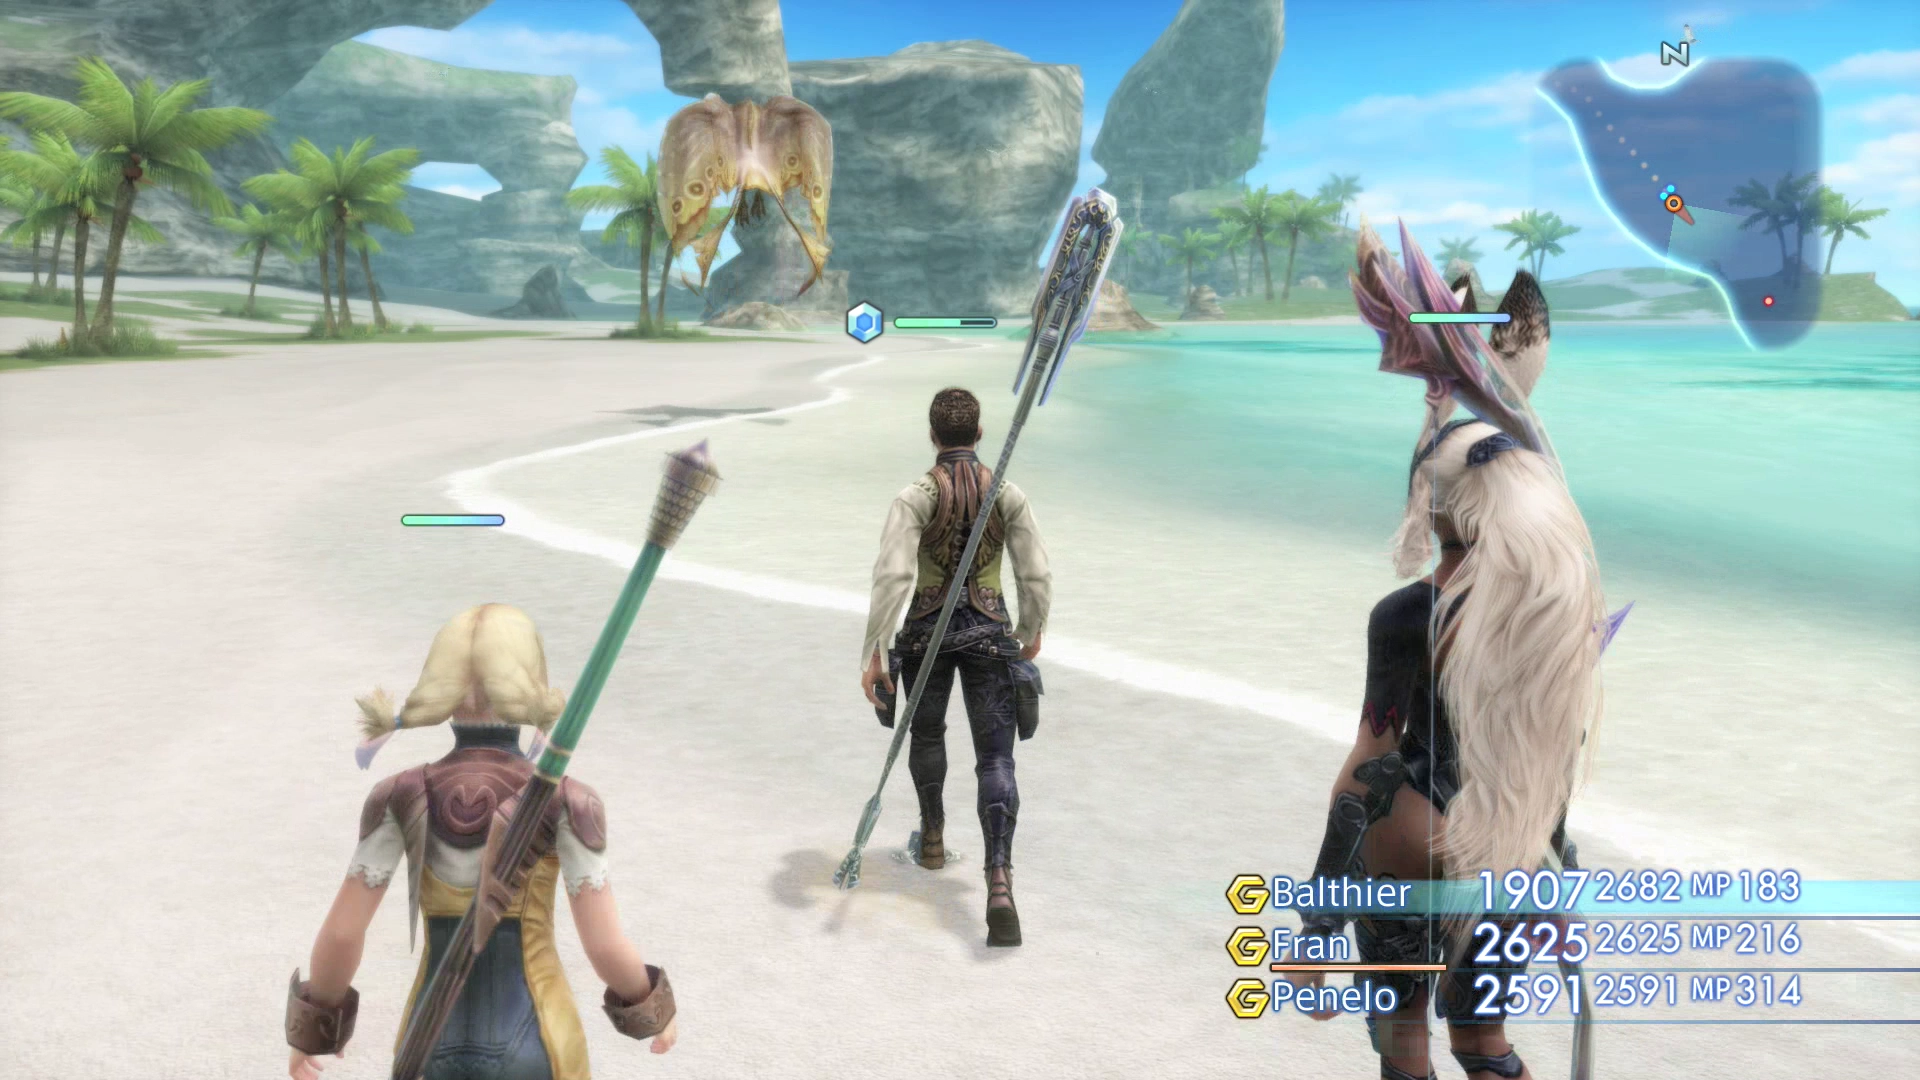
There are two exits at the southernmost section of the Reseta Strand. One which leads to the Mauleia Strand and one which leads to the Pora-Pora Sands. Travel to the Pora-Pora Sands in order to continue onward to the Hunter’s Camp.
Pora-Pora Sands
There is a blocked off area on the north side of the zone which cannot be accessed yet. Continue eastwards from here.
Cape Uahuk
Again, continue traveling east towards the Hunter’s Camp.
Hunter’s Camp
“Of the many hunters roaming Ivalice, the best of the best, seeking out the rarest of marks, are known to gather in a camp along the Phon Coast.
Unlike clans, the hunters that collect here have no leader, all information exchanges, activities to support the camp, and payments for such, are handled on an individual basis.”
Another cutscene will play once you walk a little farther into the Hunter’s Camp. This one primarily involves a discussion between Balthier and Ashe. Balthier will explain that he used to be a Judge, part of a past that he is hoping to forget.
He talks about a man that he used to know named Cidolfus Demen Bunansa, otherwise known as Doctor Cid, continuing the long standing tradition in Final Fantasy games of including a character named Cid. Doctor Cid is revealed to be Balthier’s father.
There is also a short cutscene that involves Ashe speaking to Lord Rasler.
Save your game at the orange Save Crystal. You should also speak with the “Vendor of Goods” standing near the hut in the center of the camp as she sells a number of new and useful items. New items are denoted with an asterisk below:
You should upgrade your armor and weapons and restock any items that you need. Before continuing further into Archadia, you may want to take some time to complete any of the hunts that you have not completed so far. This will also be much easier if you managed to obtain the ![]() Zodiac Spear.
Zodiac Spear.

Note that the following Hunts should be complete, and if you have not completed them already, it is recommended that you do so now.
If you are reviewing the Hunts in the Clan Primer, the Hunt numbers may not match the numbers listed below as the Clan Primer changes the numbers as you add more Hunts in to the list. New hunts are listed further down:
- Hunt 02: Wolf in the Waste (Thextera – Rank I)
- Hunt 03: Dalmasca’s Desert Bloom (Flowering Cactoid – Rank I)
- Hunt 04: Waterway Haunting (Wraith – Rank I)
- Hunt 05: Marauder in the Mines (Nidhogg – Rank I)
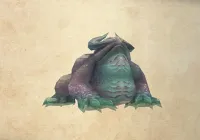
- Hunt 06: Lost in the Pudding (White Mousse – Rank V)
- Hunt 07: For Whom the Wyrm Tolls (Ring Wyrm – Rank III)
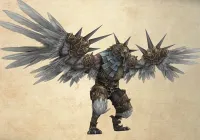
- Hunt 08: A Scream from the Sky (Wyvern Lord – Rank II)
- Hunt 09: A Tingling Toast (Marilith – Rank V)
- Hunt 10: The Defense of Ozmone Plain (Enkelados – Rank II)
- Hunt 11: A Ring in the Rain (Croakadile – Rank II)
- Hunt 12: The Dead Ought Sleep Forever (Ixtab – Rank II)
- Hunt 13: Befoulment of the Beast (Feral Retriever – Rank III)
- Hunt 14: A Chase Through the Woods (Vorpal Bunny – Rank III)
- Hunt 15: The Mine Flayer (Mindflayer – Rank IV)
- Hunt 17: Trouble in the Hills (Atomos – Rank III)
- Hunt 19: Rodeo to the Death (Braegh – Rank IV)
- Hunt 33: Little Love on the Big Plains (Cluckatrice – Rank I)
- Hunt 34: The Cry of Its Power (Rocktoise – Rank I)
- Hunt 35: Crime and Punishment (Orthros – Rank V)
- Hunt 36: Paradise Risen (Gil Snapper – Rank III)
There are three additional Hunts that you should consider completing at this point:
Clan Primer
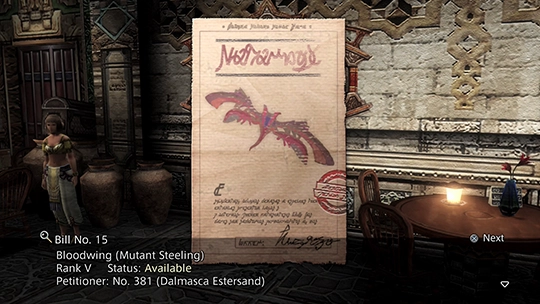
Travel back to the Barheim Passage and enter a newly opened area of the dungeon to hunt down Bloodwing (Rank V).
Clan Primer
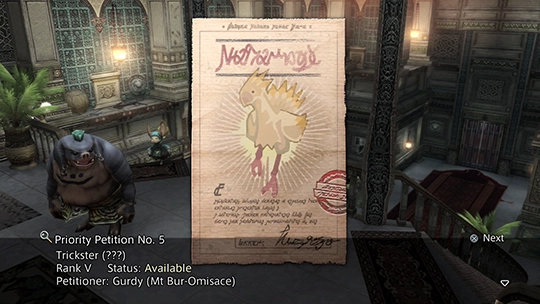
Return to the Paramina Rift to track down a giant, invisible, white Chocobo named Trickster (Rank V).
Clan Primer
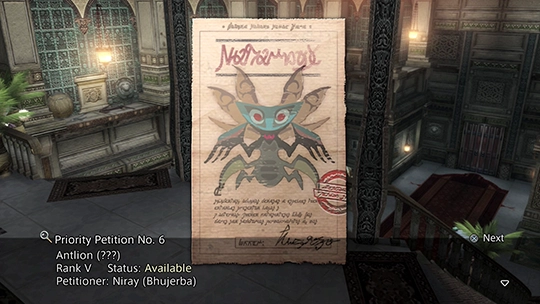
Return to a new area of the Lhusu Mines to track down and kill the Antlion and the Killer Mantises that surround it (Rank V).
Achievement/Trophy
The  Sharpshooter Achievement/Trophy is automatically obtained when you defeat Trickster during Hunt 37: Paramina Run (Trickster – Rank V).
The only Hunts that you should have left at this point are Hunt 18: Adding Insult to Injury (Roblon – Rank VI) and Hunt 39: Carrot Stalk (Carrot – Rank VII). These two Hunts are quite difficult to complete at this stage in the game, even with the ![]() Zodiac Spear in hand.
Zodiac Spear in hand.
Check out each of those two Hunt pages if you are up for the challenge, otherwise, these two Hunts can be completed later on in the game (recommended).
You may also want to take this time to track down some of these optional Espers that are available as well:
Esper
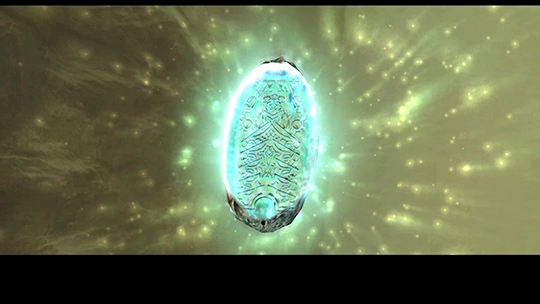
Venturing deeper into the Zertinan Caverns to battle the first optional Esper.
Esper
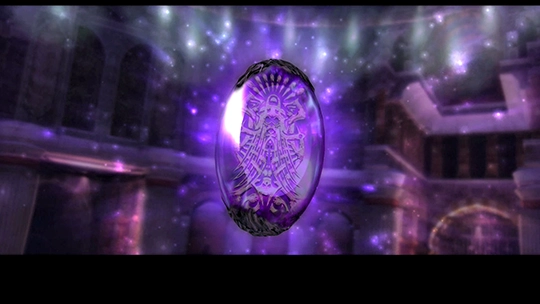
Returning to the Barheim Passage to enter the newly opened West Annex and track down Zalera, another optional Esper
If you completed the fight and obtained Zalera as an Esper, travel westward out of Terminus No. 7 in the Barheim Passage which leads directly into the Garamsythe Waterway, to complete the next optional Esper battle:
Esper
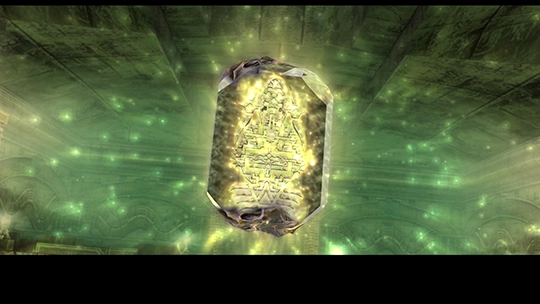
Adjusting some of the Waterway Controls to reveal the third optional Esper battle, Cúchulainn.
As soon as you entered the Phon Coast, one more optional Esper battle became available which you can complete as well. This one is much more difficult to complete and you may wish to save it until later.
Esper
The fourth optional Esper battle which takes place back in the Mosphoran Highwaste.
Now that you have completed nearly all the available Hunts and obtained the optional Espers, use one of the orange Save Crystals to warp back to the Hunter’s Camp at the Phon Coast.
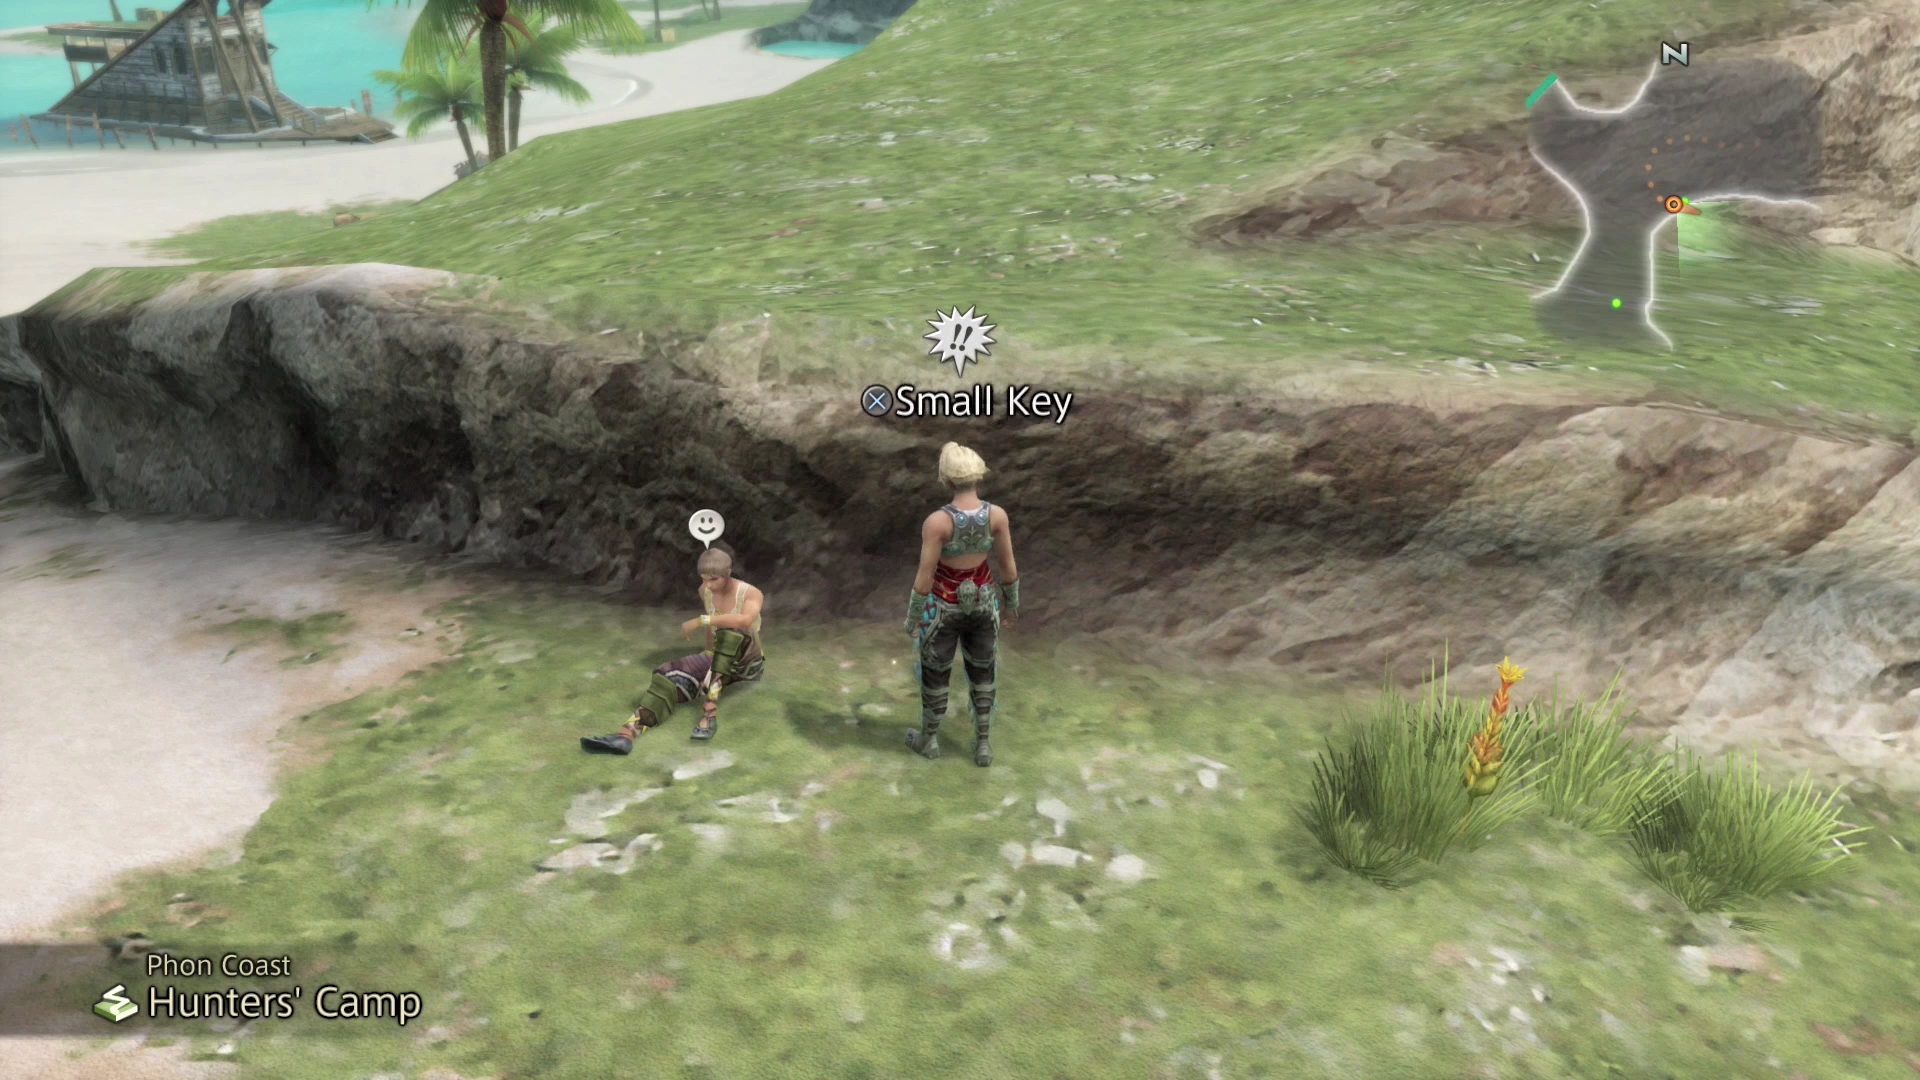
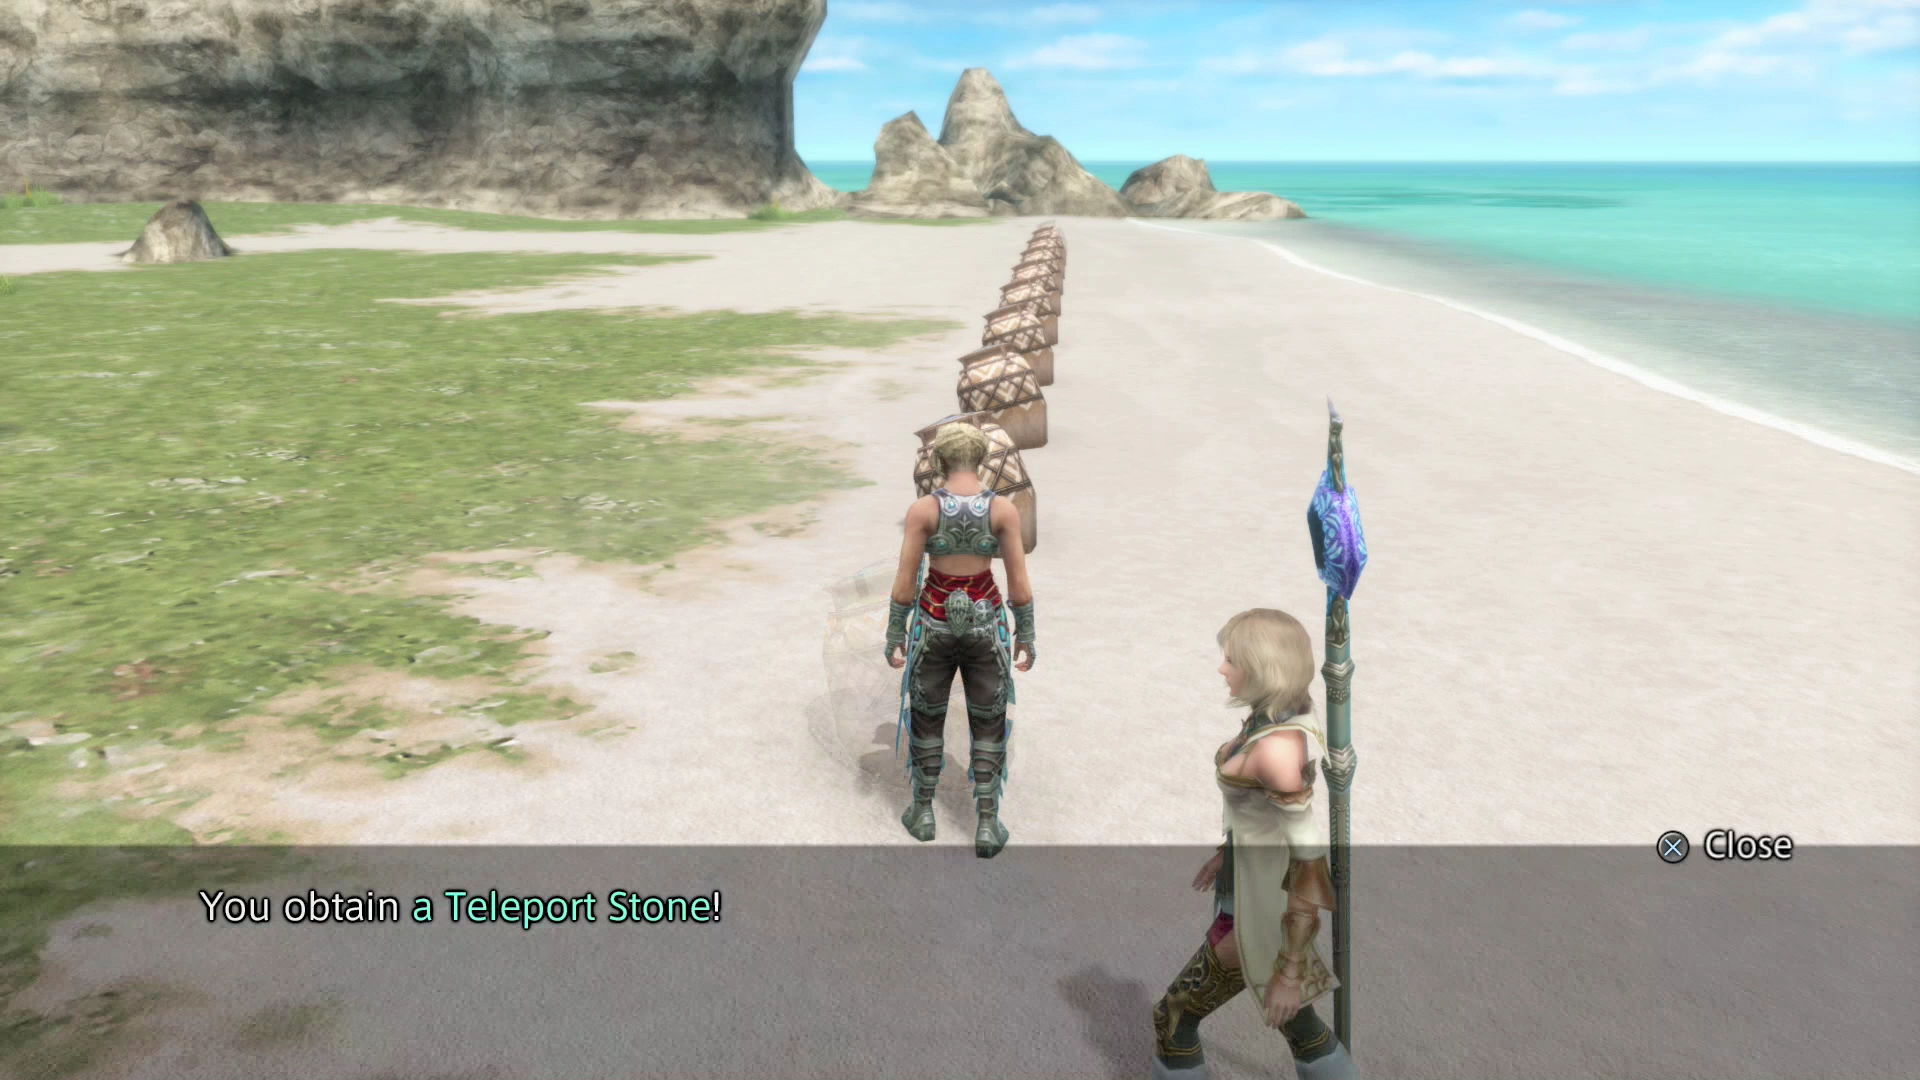
Locate the Fallen Bhujerban in the northwestern section of the Hunter’s Camp and search the area beside him for the Small Key and pick it up.
Note that you will only be able to find the Small Key (Site 11 Key) if you completed Hunt 38: Antlion Infestation (Antlion – Rank V) previously. This is the key that the two kids mentioned dropping after the fight that was expected to wash up on the shore somewhere.
Phon Coast Map (Site 11 Key)

There are a few other areas that you can explore in the Phon Coast, including the Vaddu Strand, the Caima Hills and the Limatra Hills on the way to Rava’s Pass. Remember that you should not open up any of the treasure chests in the Vaddu Strand if you have not obtained the ![]() Zodiac Spear in the original PlayStation 2 version of the game.
Zodiac Spear in the original PlayStation 2 version of the game.
Check the “Zodiac Spear” section of the Necrohol of Nabudis Side Quest page for more information (and at this point, it is possible to have already obtained the Zodiac Spear).
Travel through to Rava’s Pass, use the Save Crystal to save your game and then proceed into the next area of the game – the Tchita Uplands.
Phon Coast Map
