

Achievements and Trophies
Achievements are earned in the Xbox and Steam versions of the game, while Trophies are earned in the PlayStation versions of the game. The Nintendo versions do not have Achievements or Trophies.
Select any of the Achievements/Trophies in the list below for more information on how to unlock it.
You will obtain this achievement/trophy automatically once you obtain all of the other achievements/trophies listed on this page. This includes the additional content added for the HD Remaster (Last Mission). Read the descriptions below for more information on how to obtain them all.
All you have to do to earn this achievement/trophy is have each party member change their Dressphere once during a single battle. Press the 

 button when it’s their turn, and move them to another Dressphere. It doesn’t matter which Dressphere you move them to or whether they take any actions in that new Dressphere, and you can change them right back if you prefer.
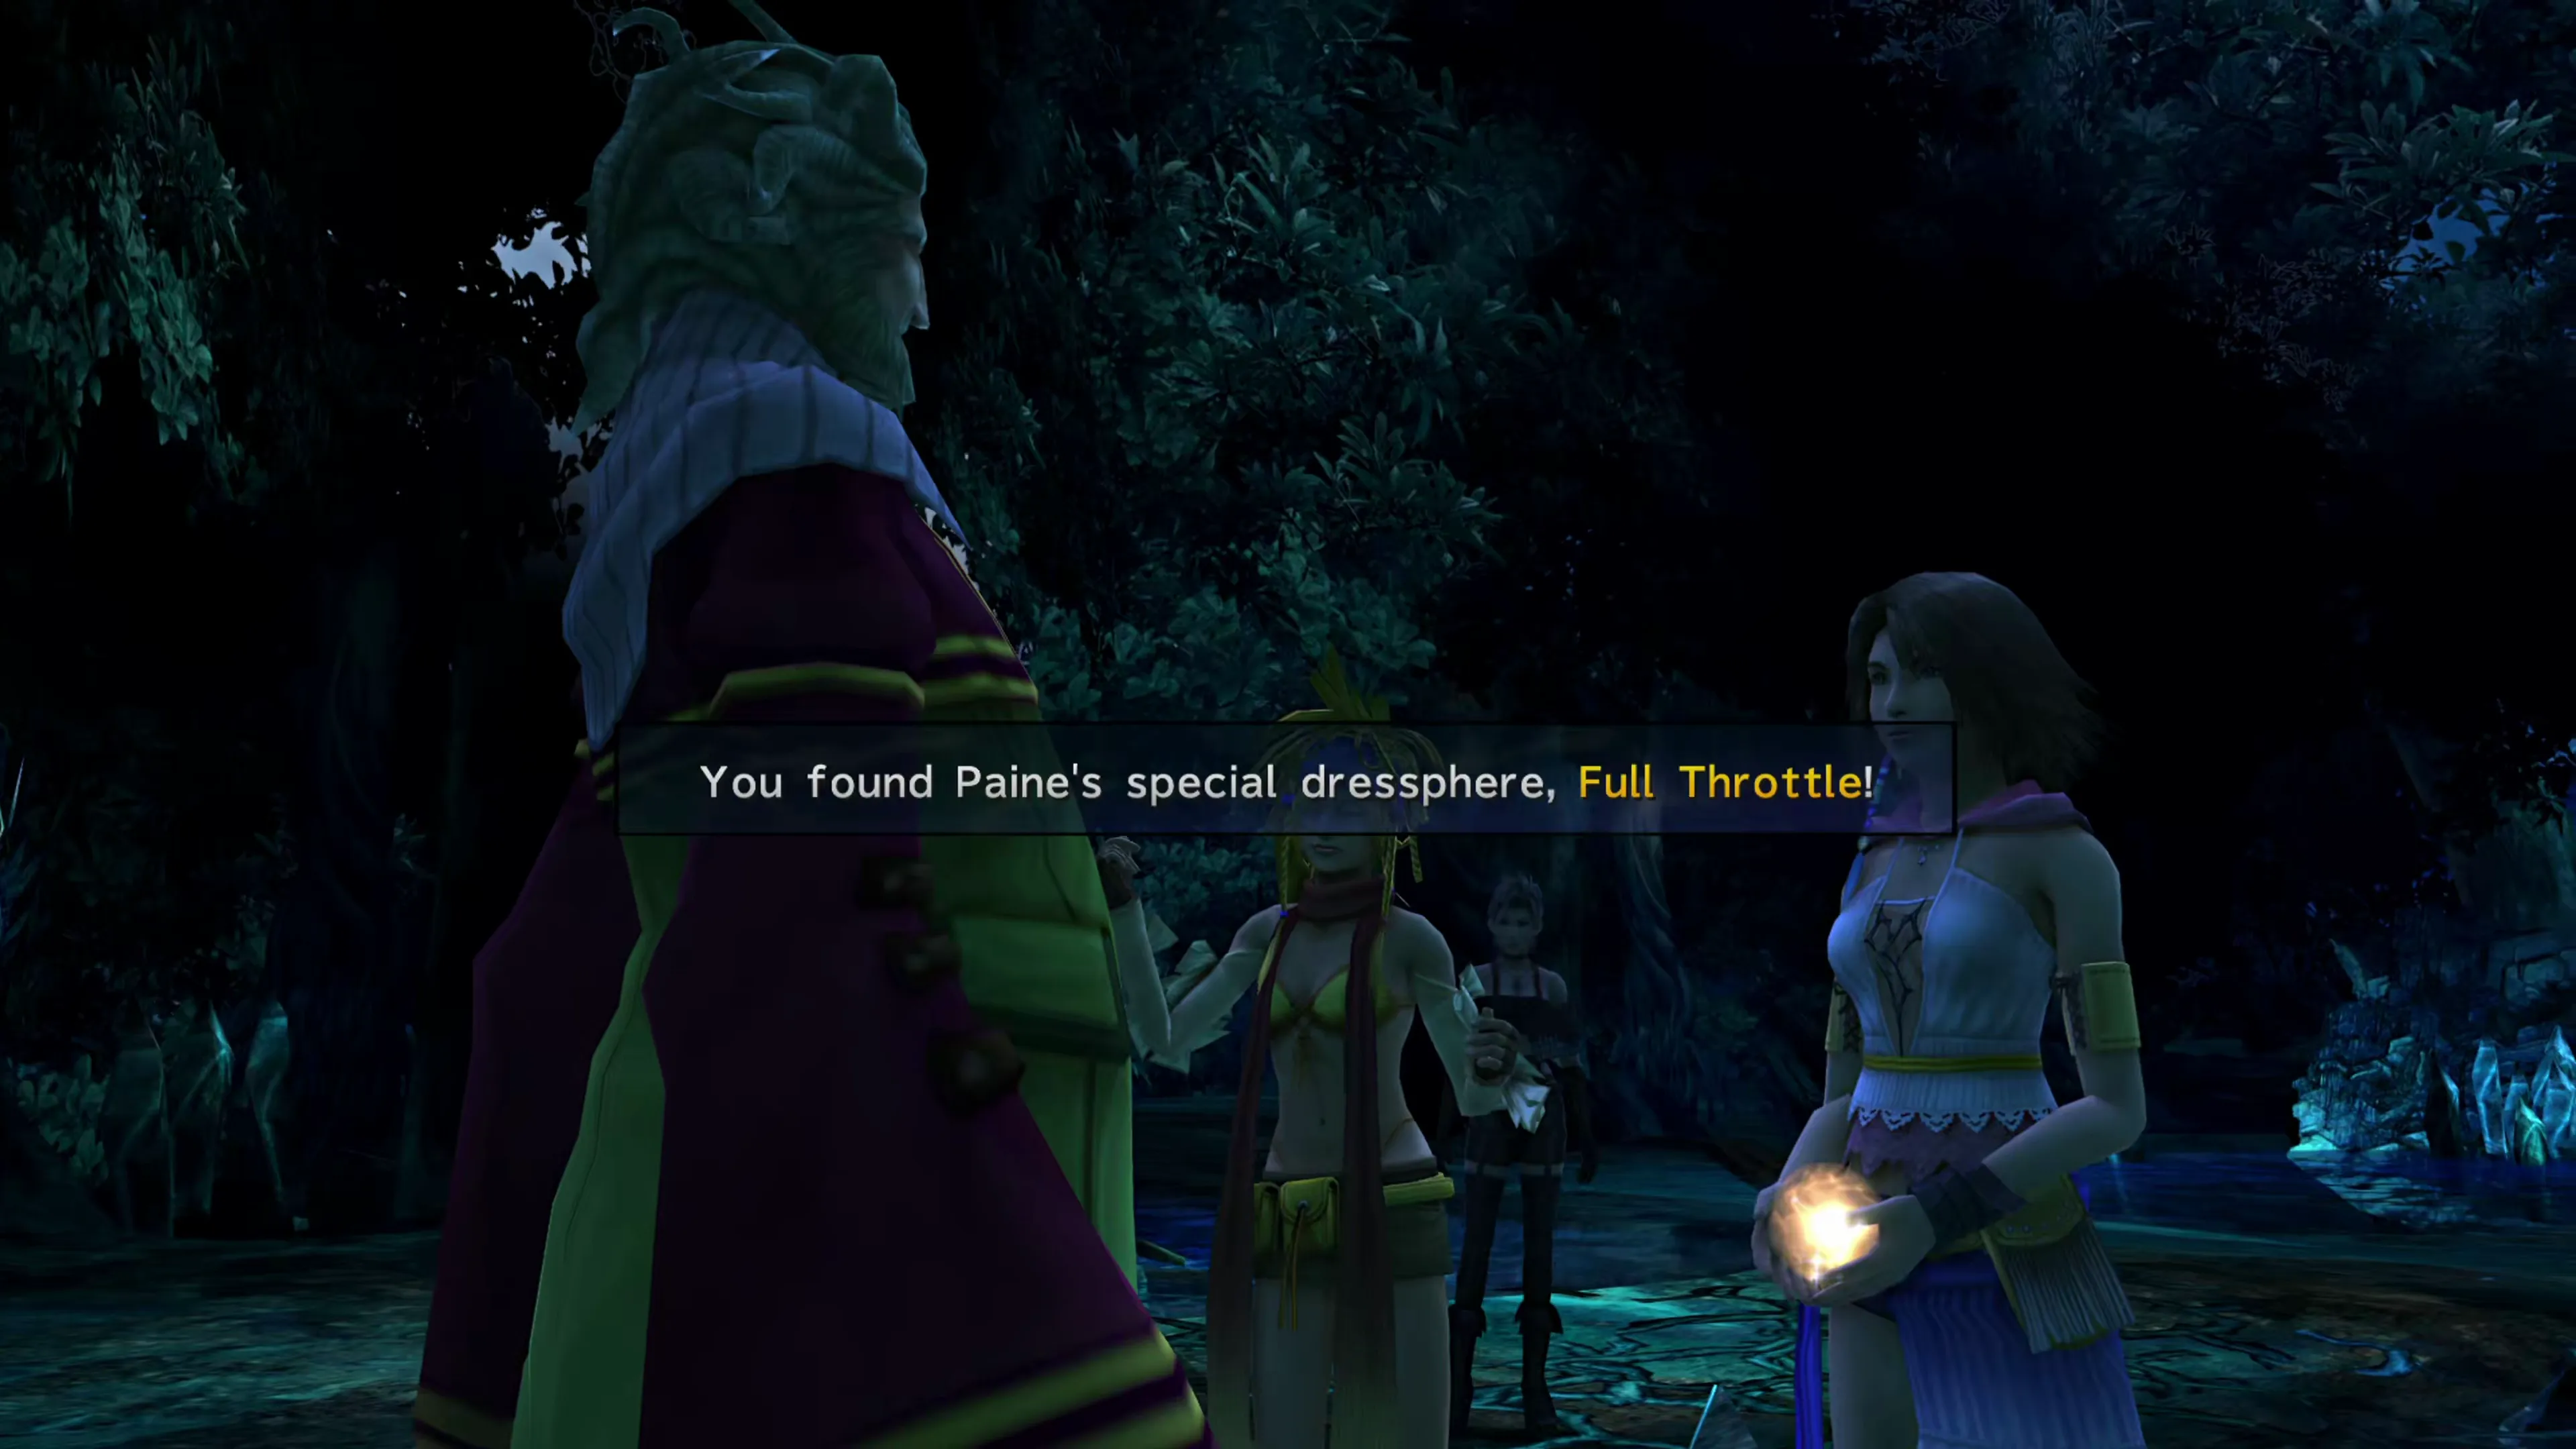
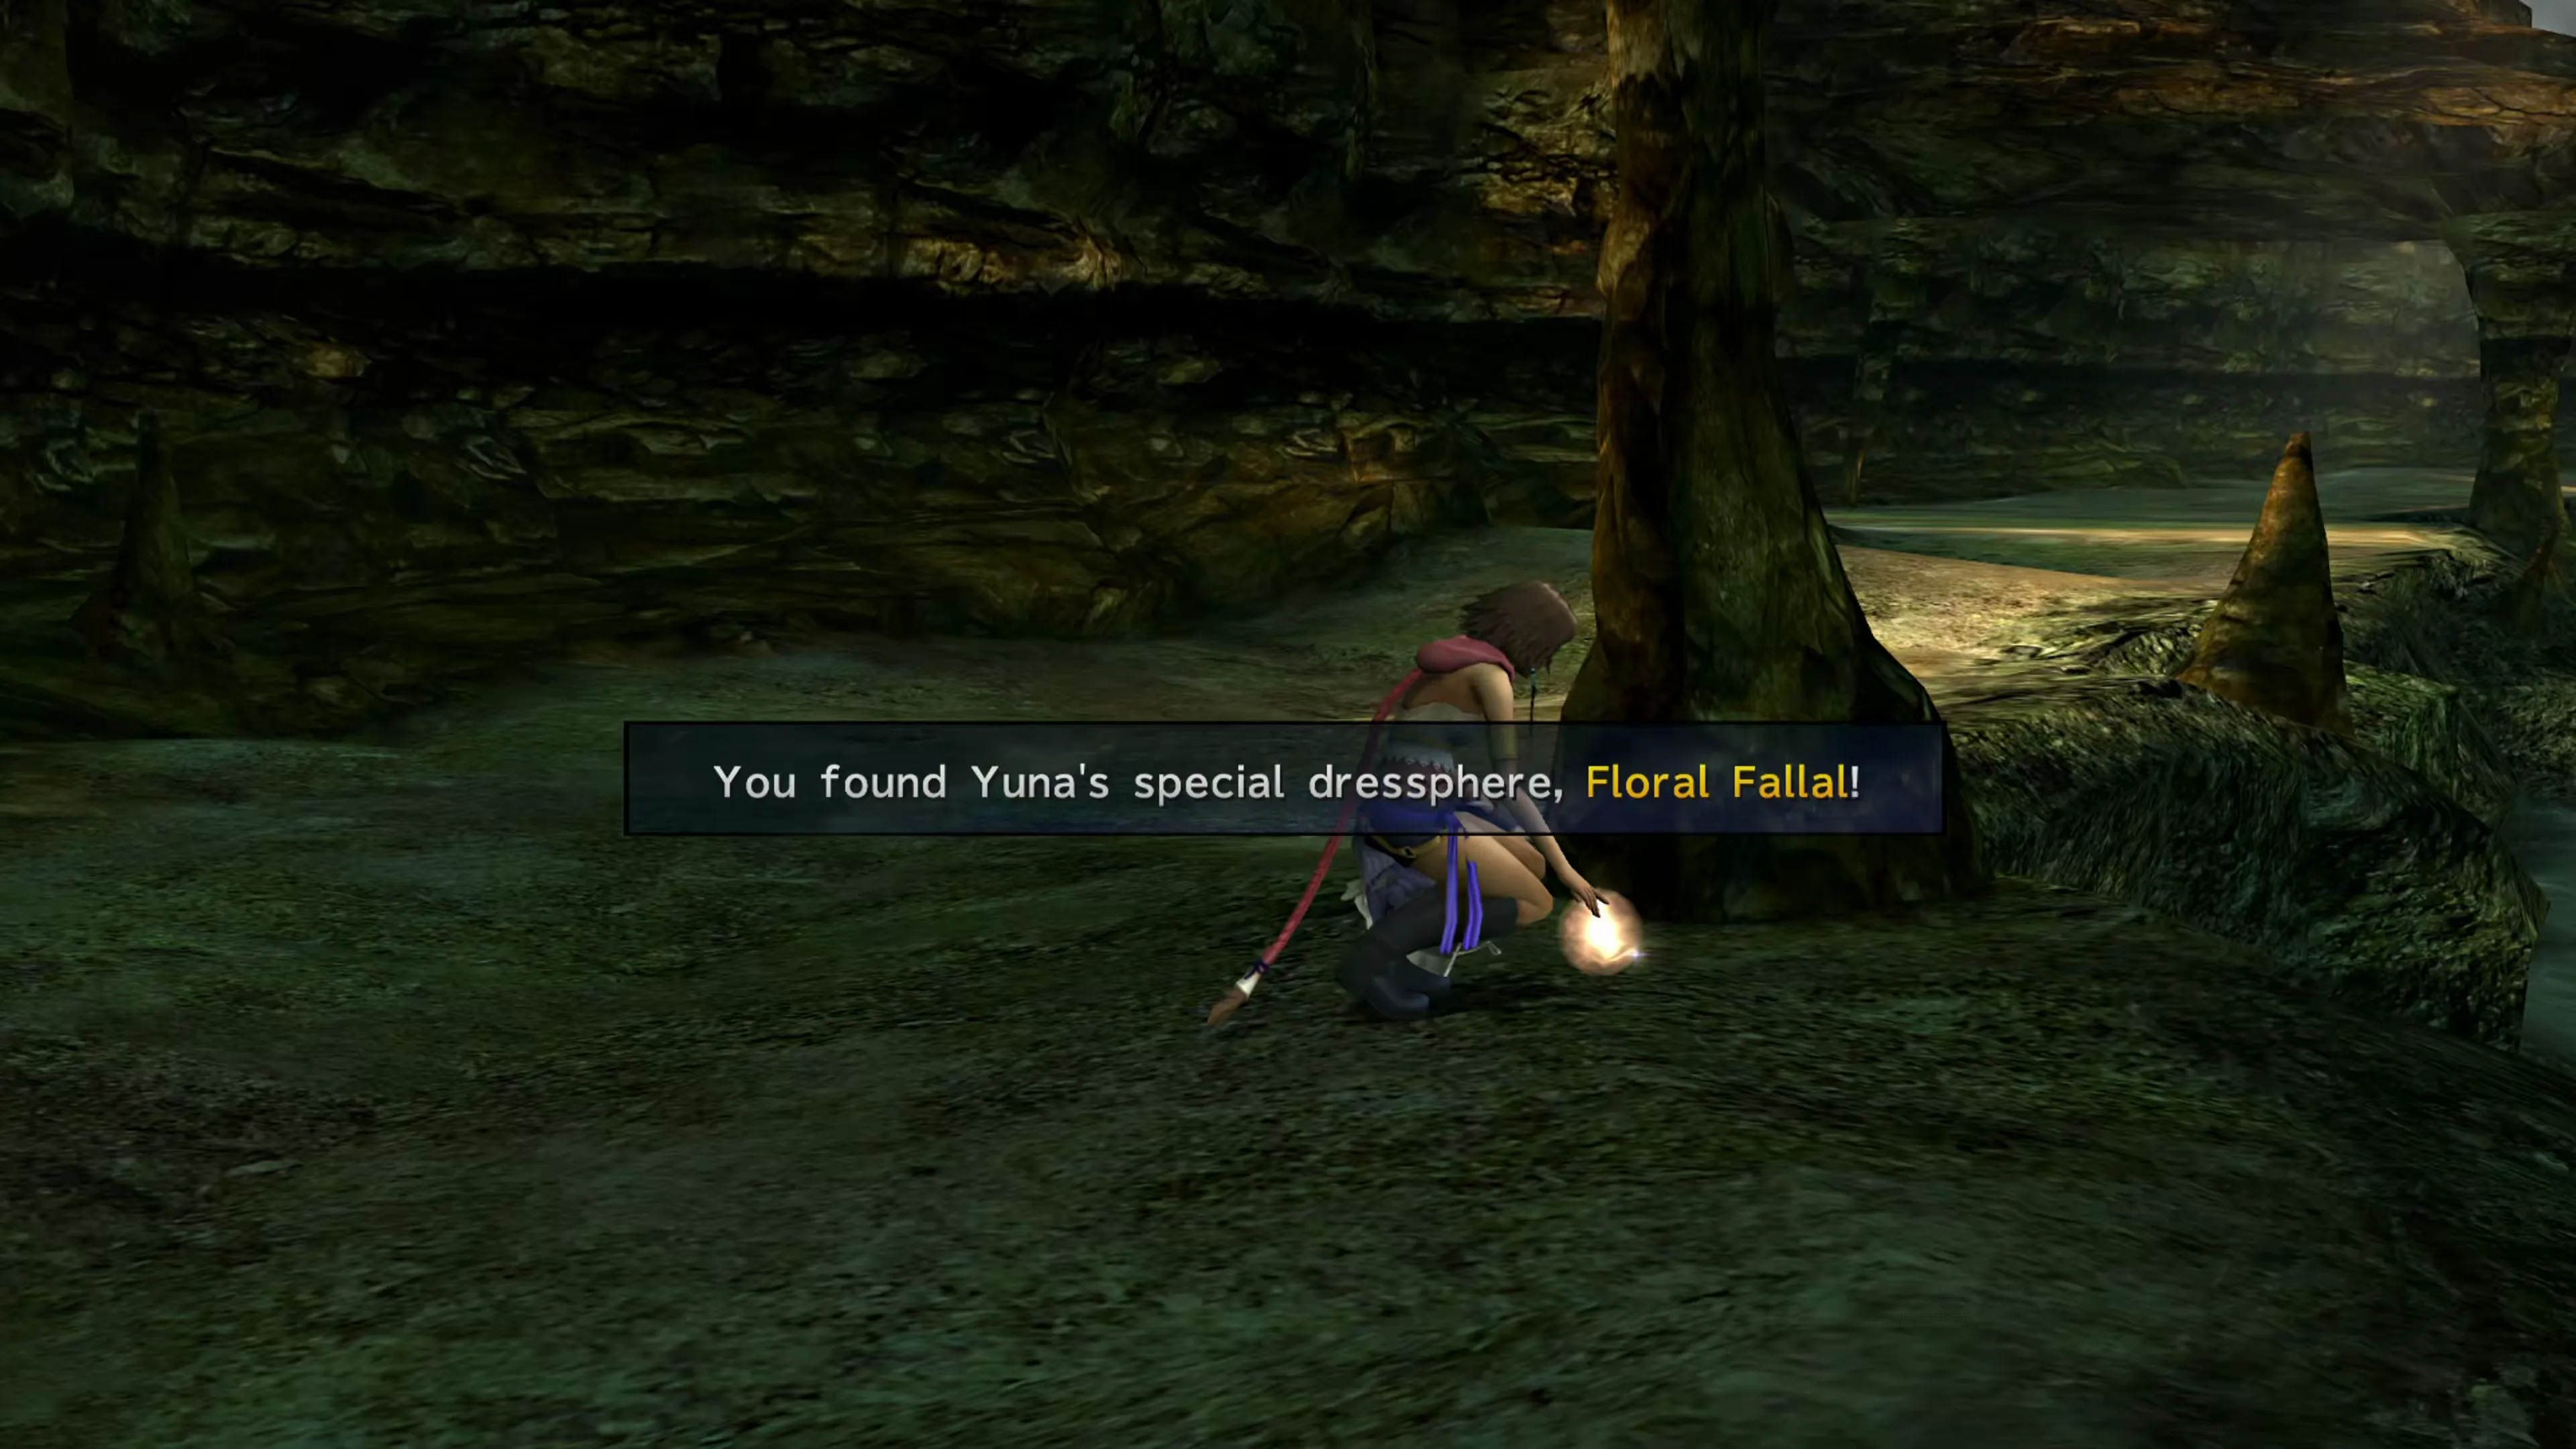
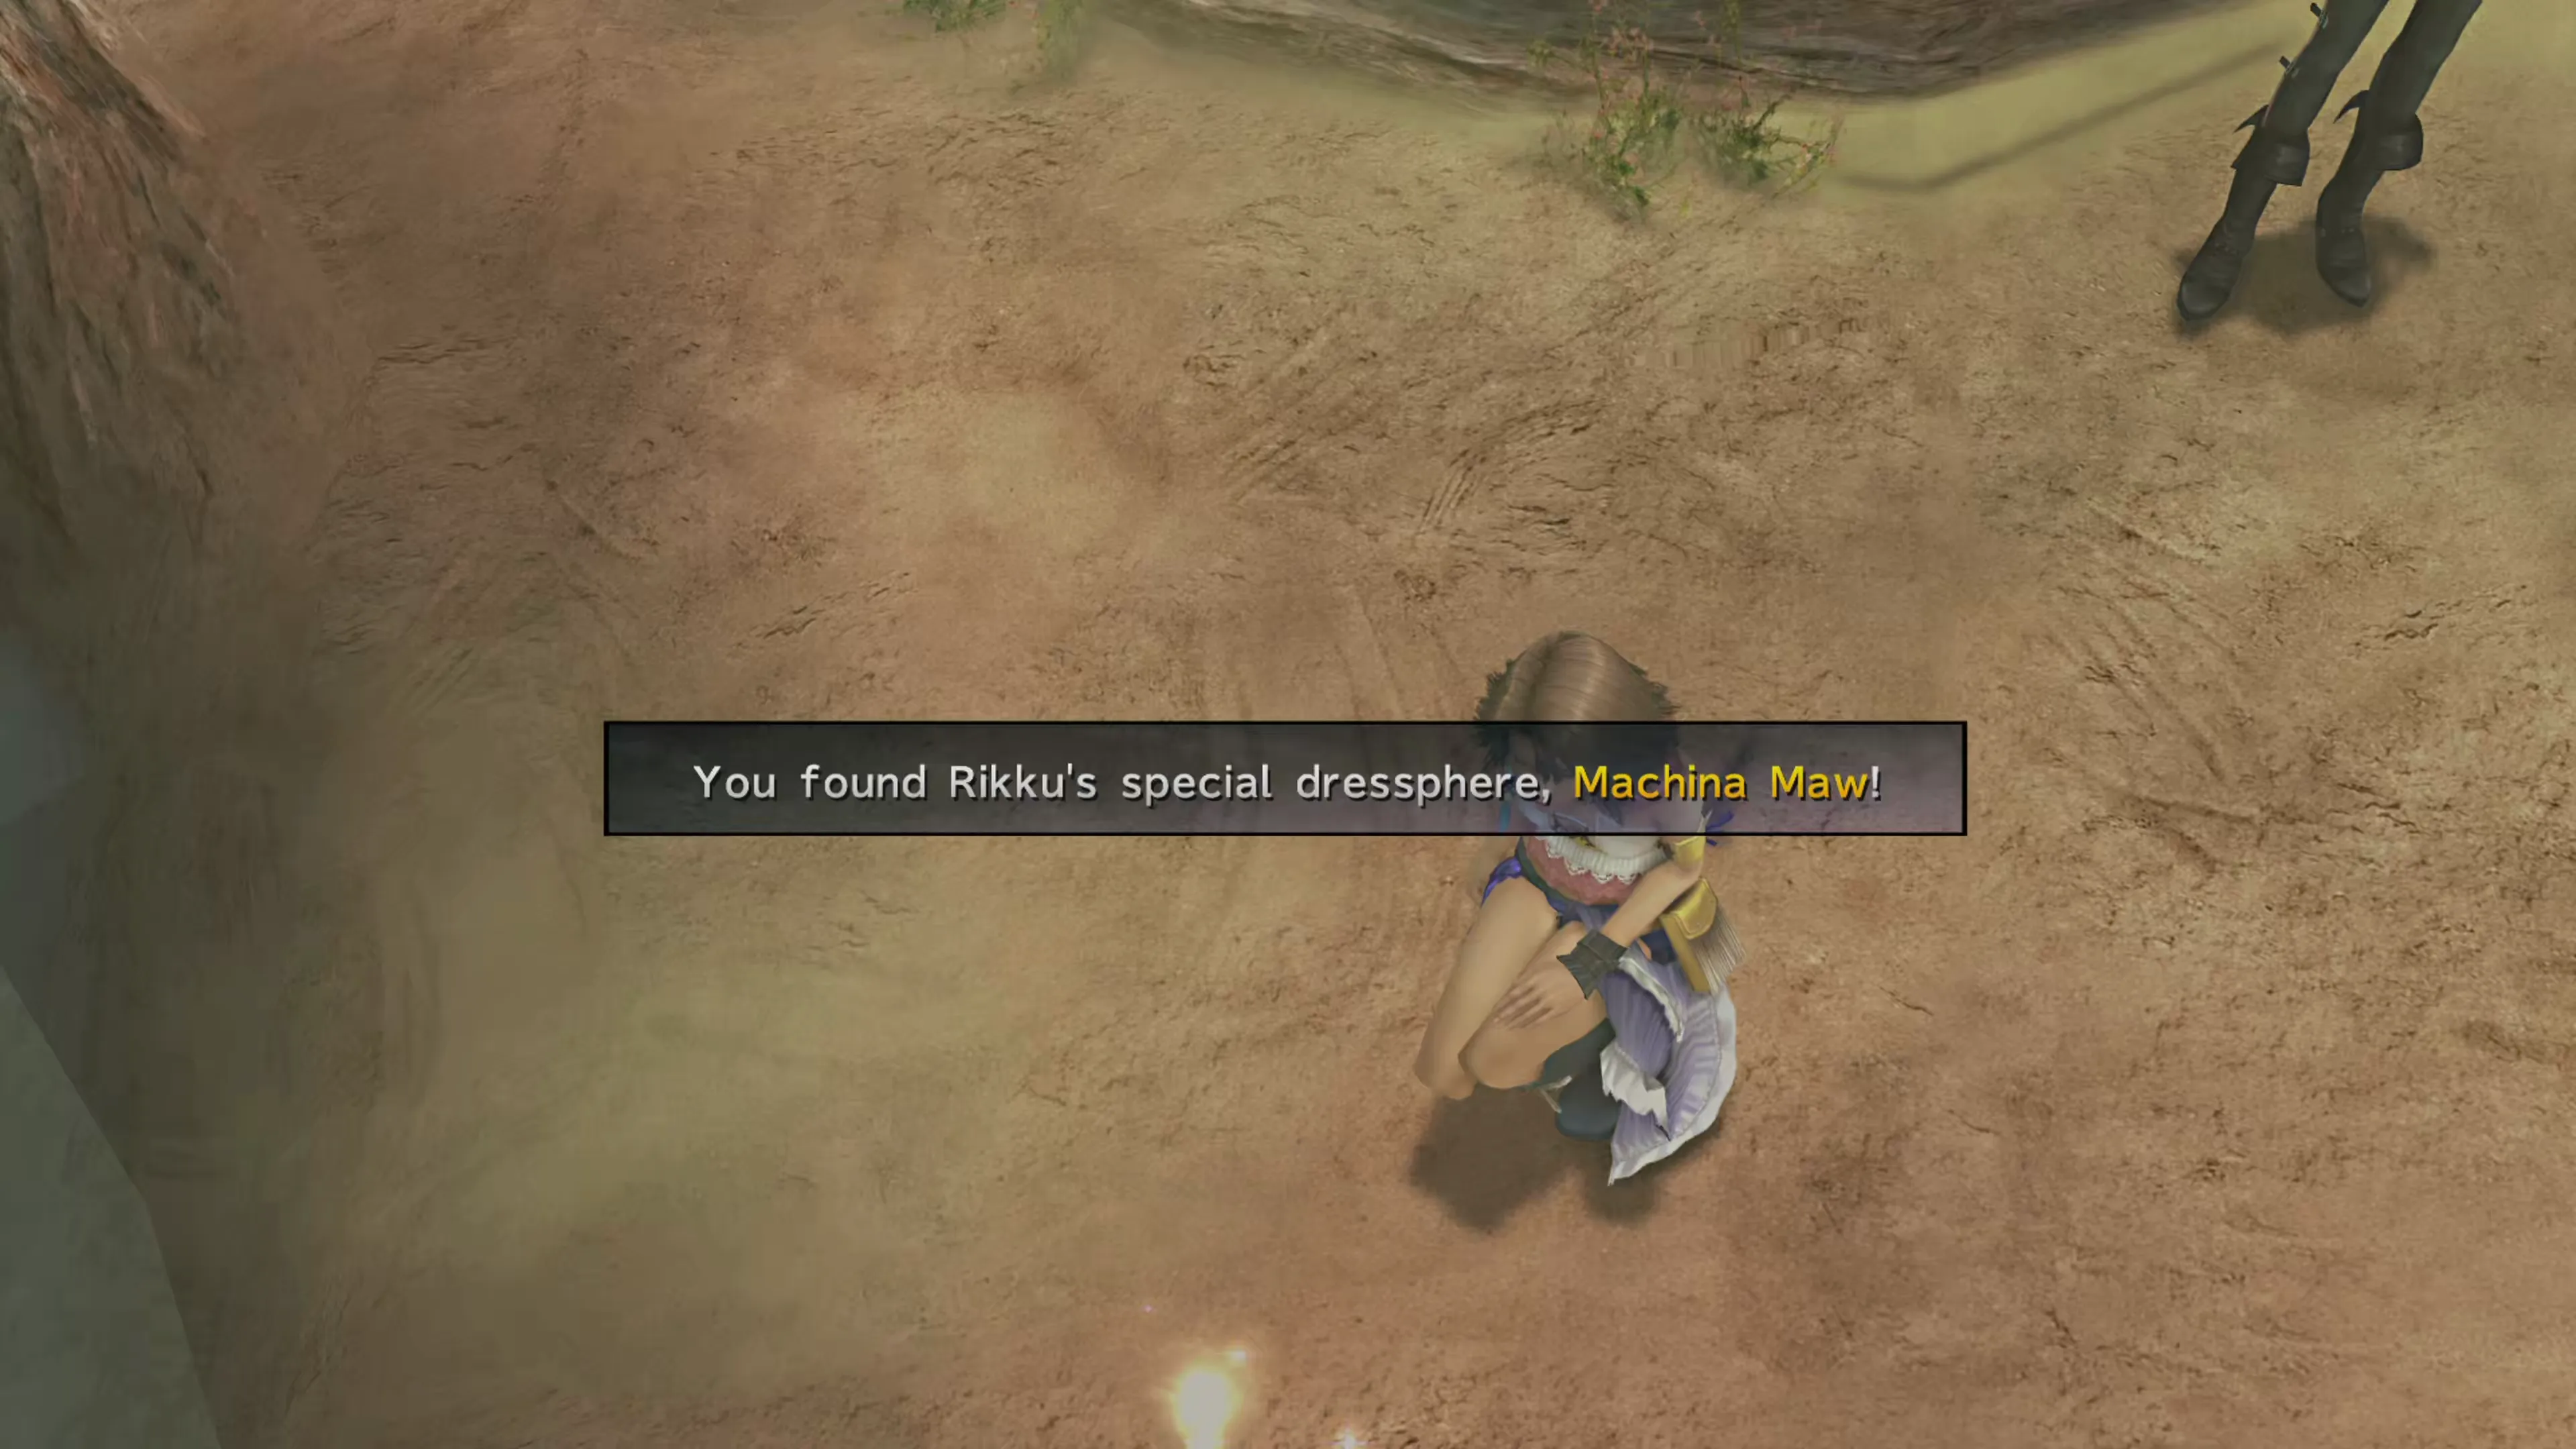
You’ll earn this achievement/trophy once you obtain any of the three Special Dresspheres, which include:  Floral Fallal,
  Machina Maw, or
  Full Throttle. You should receive Full Throttle first, as long as you talk to Tromell four times during the encounter at the Spring in Macalania Woods.
 |  |  |
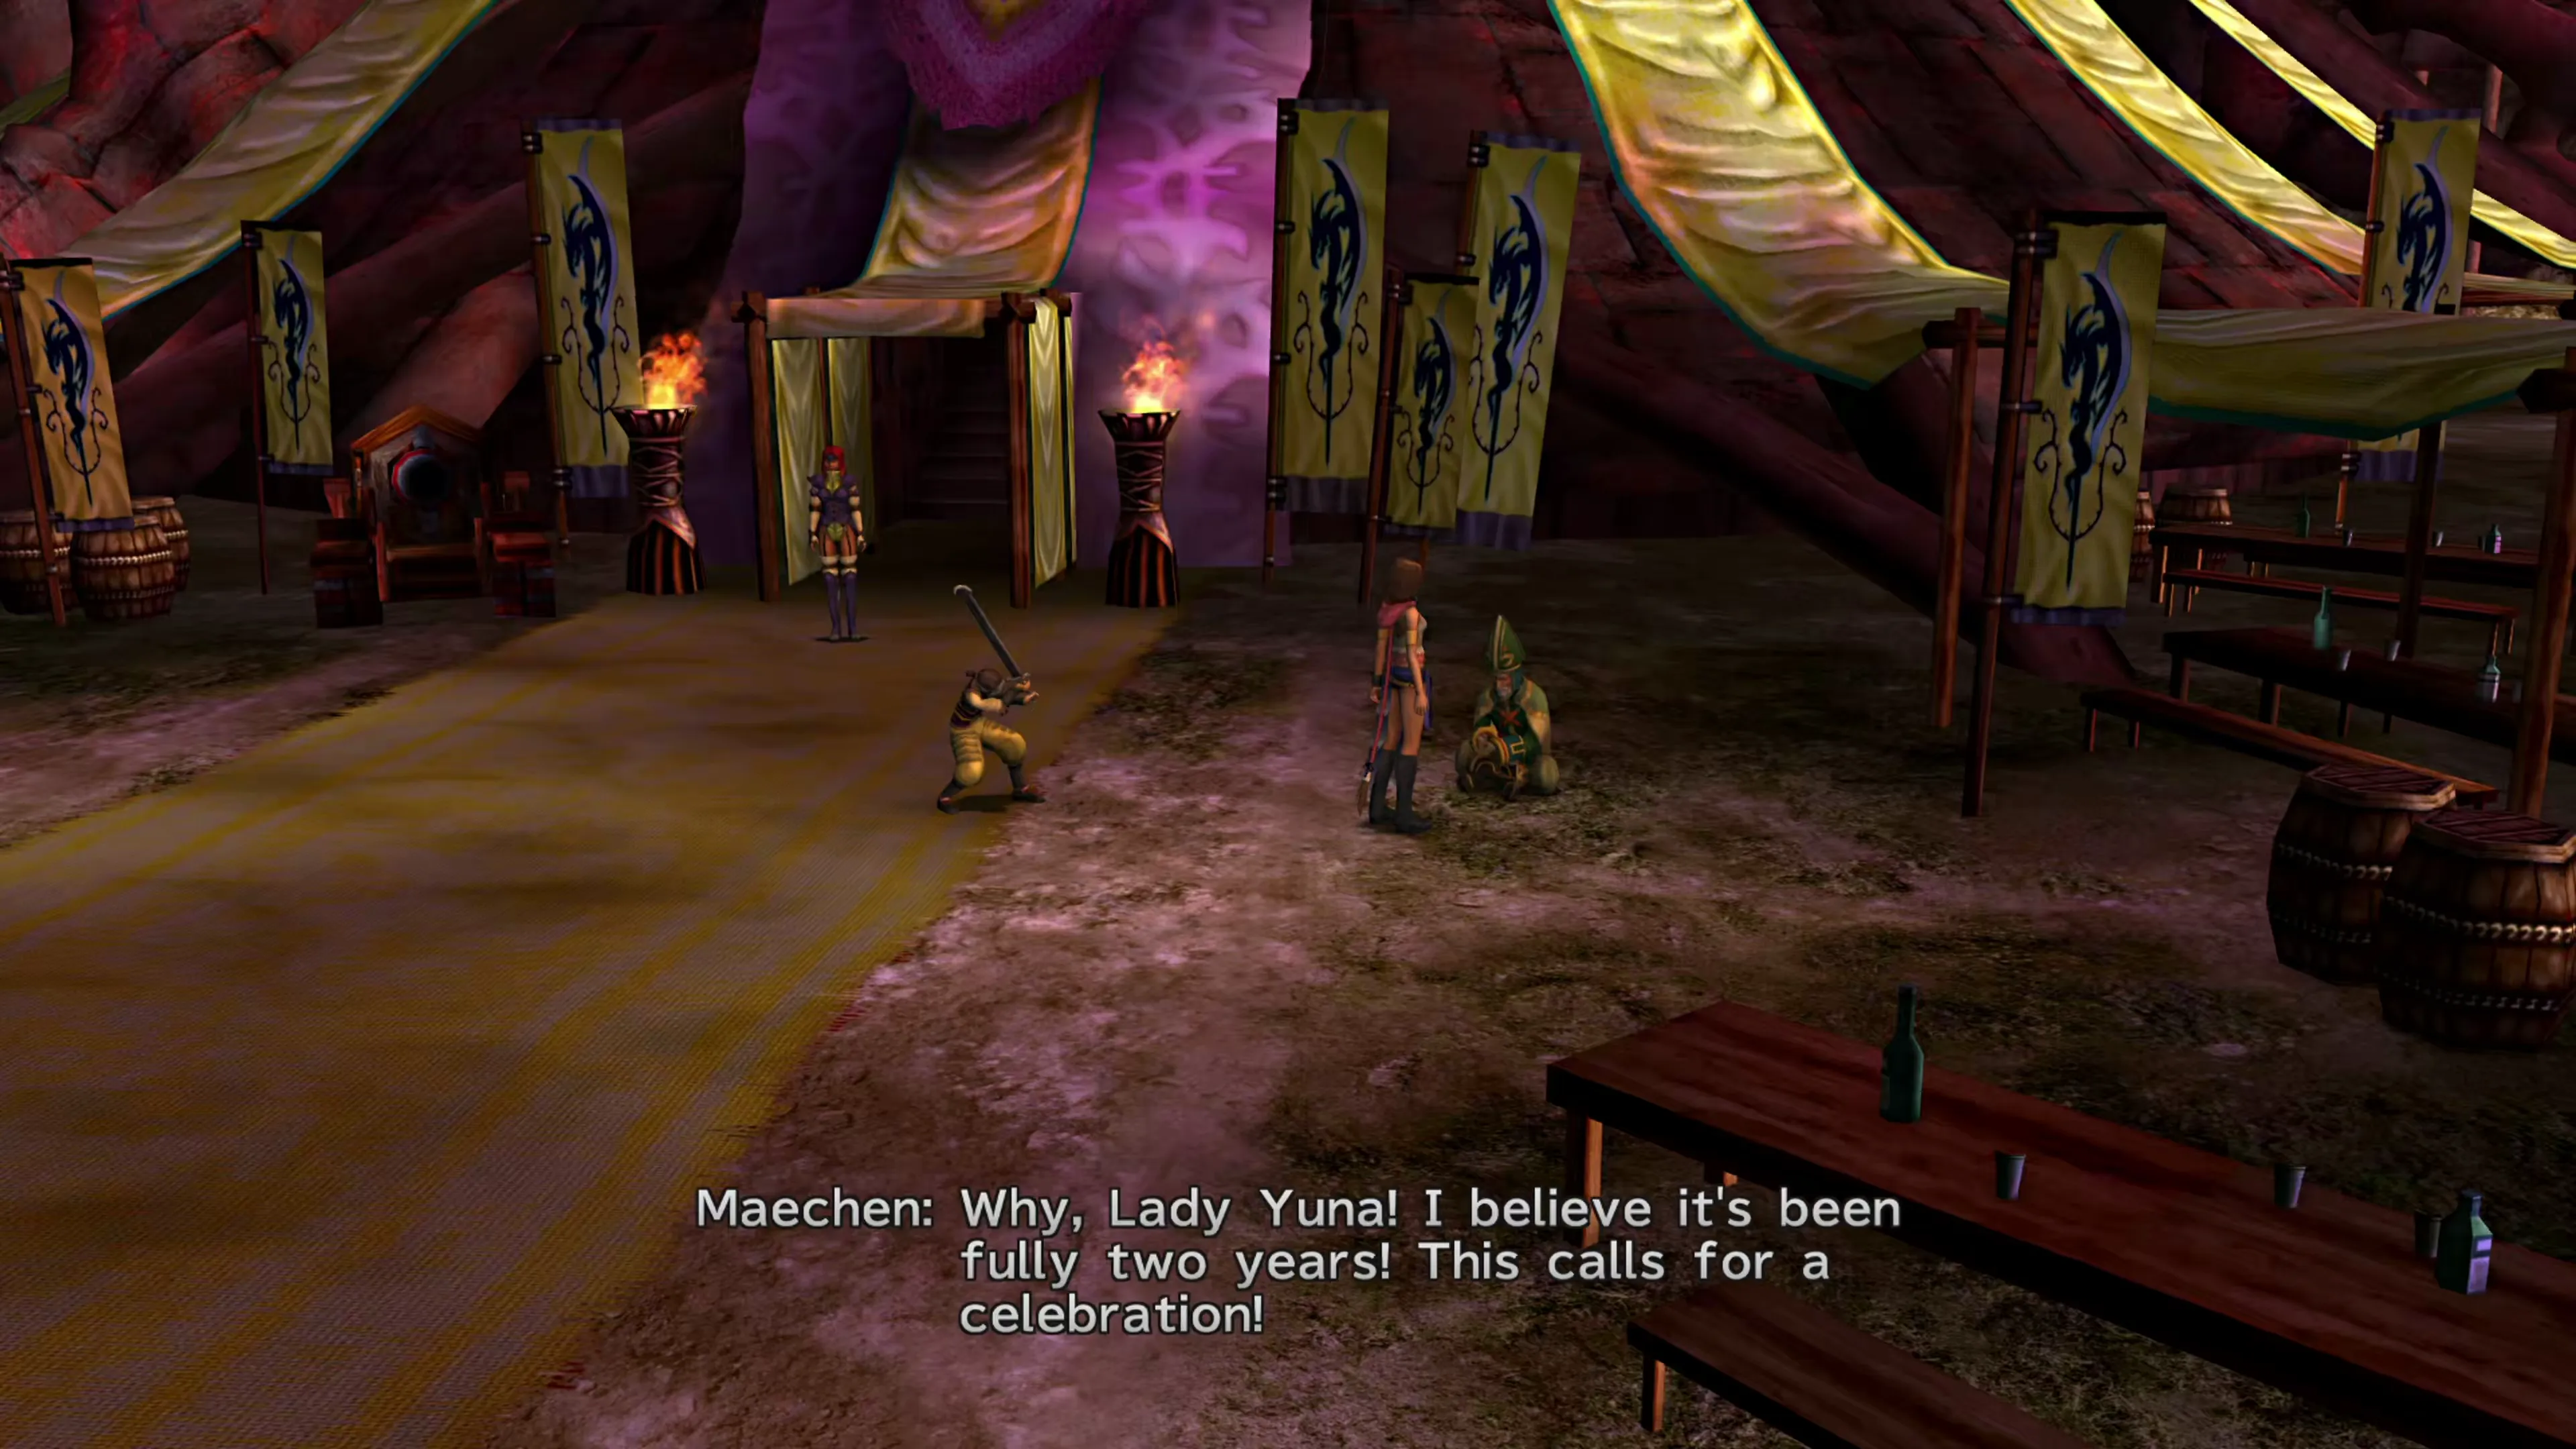
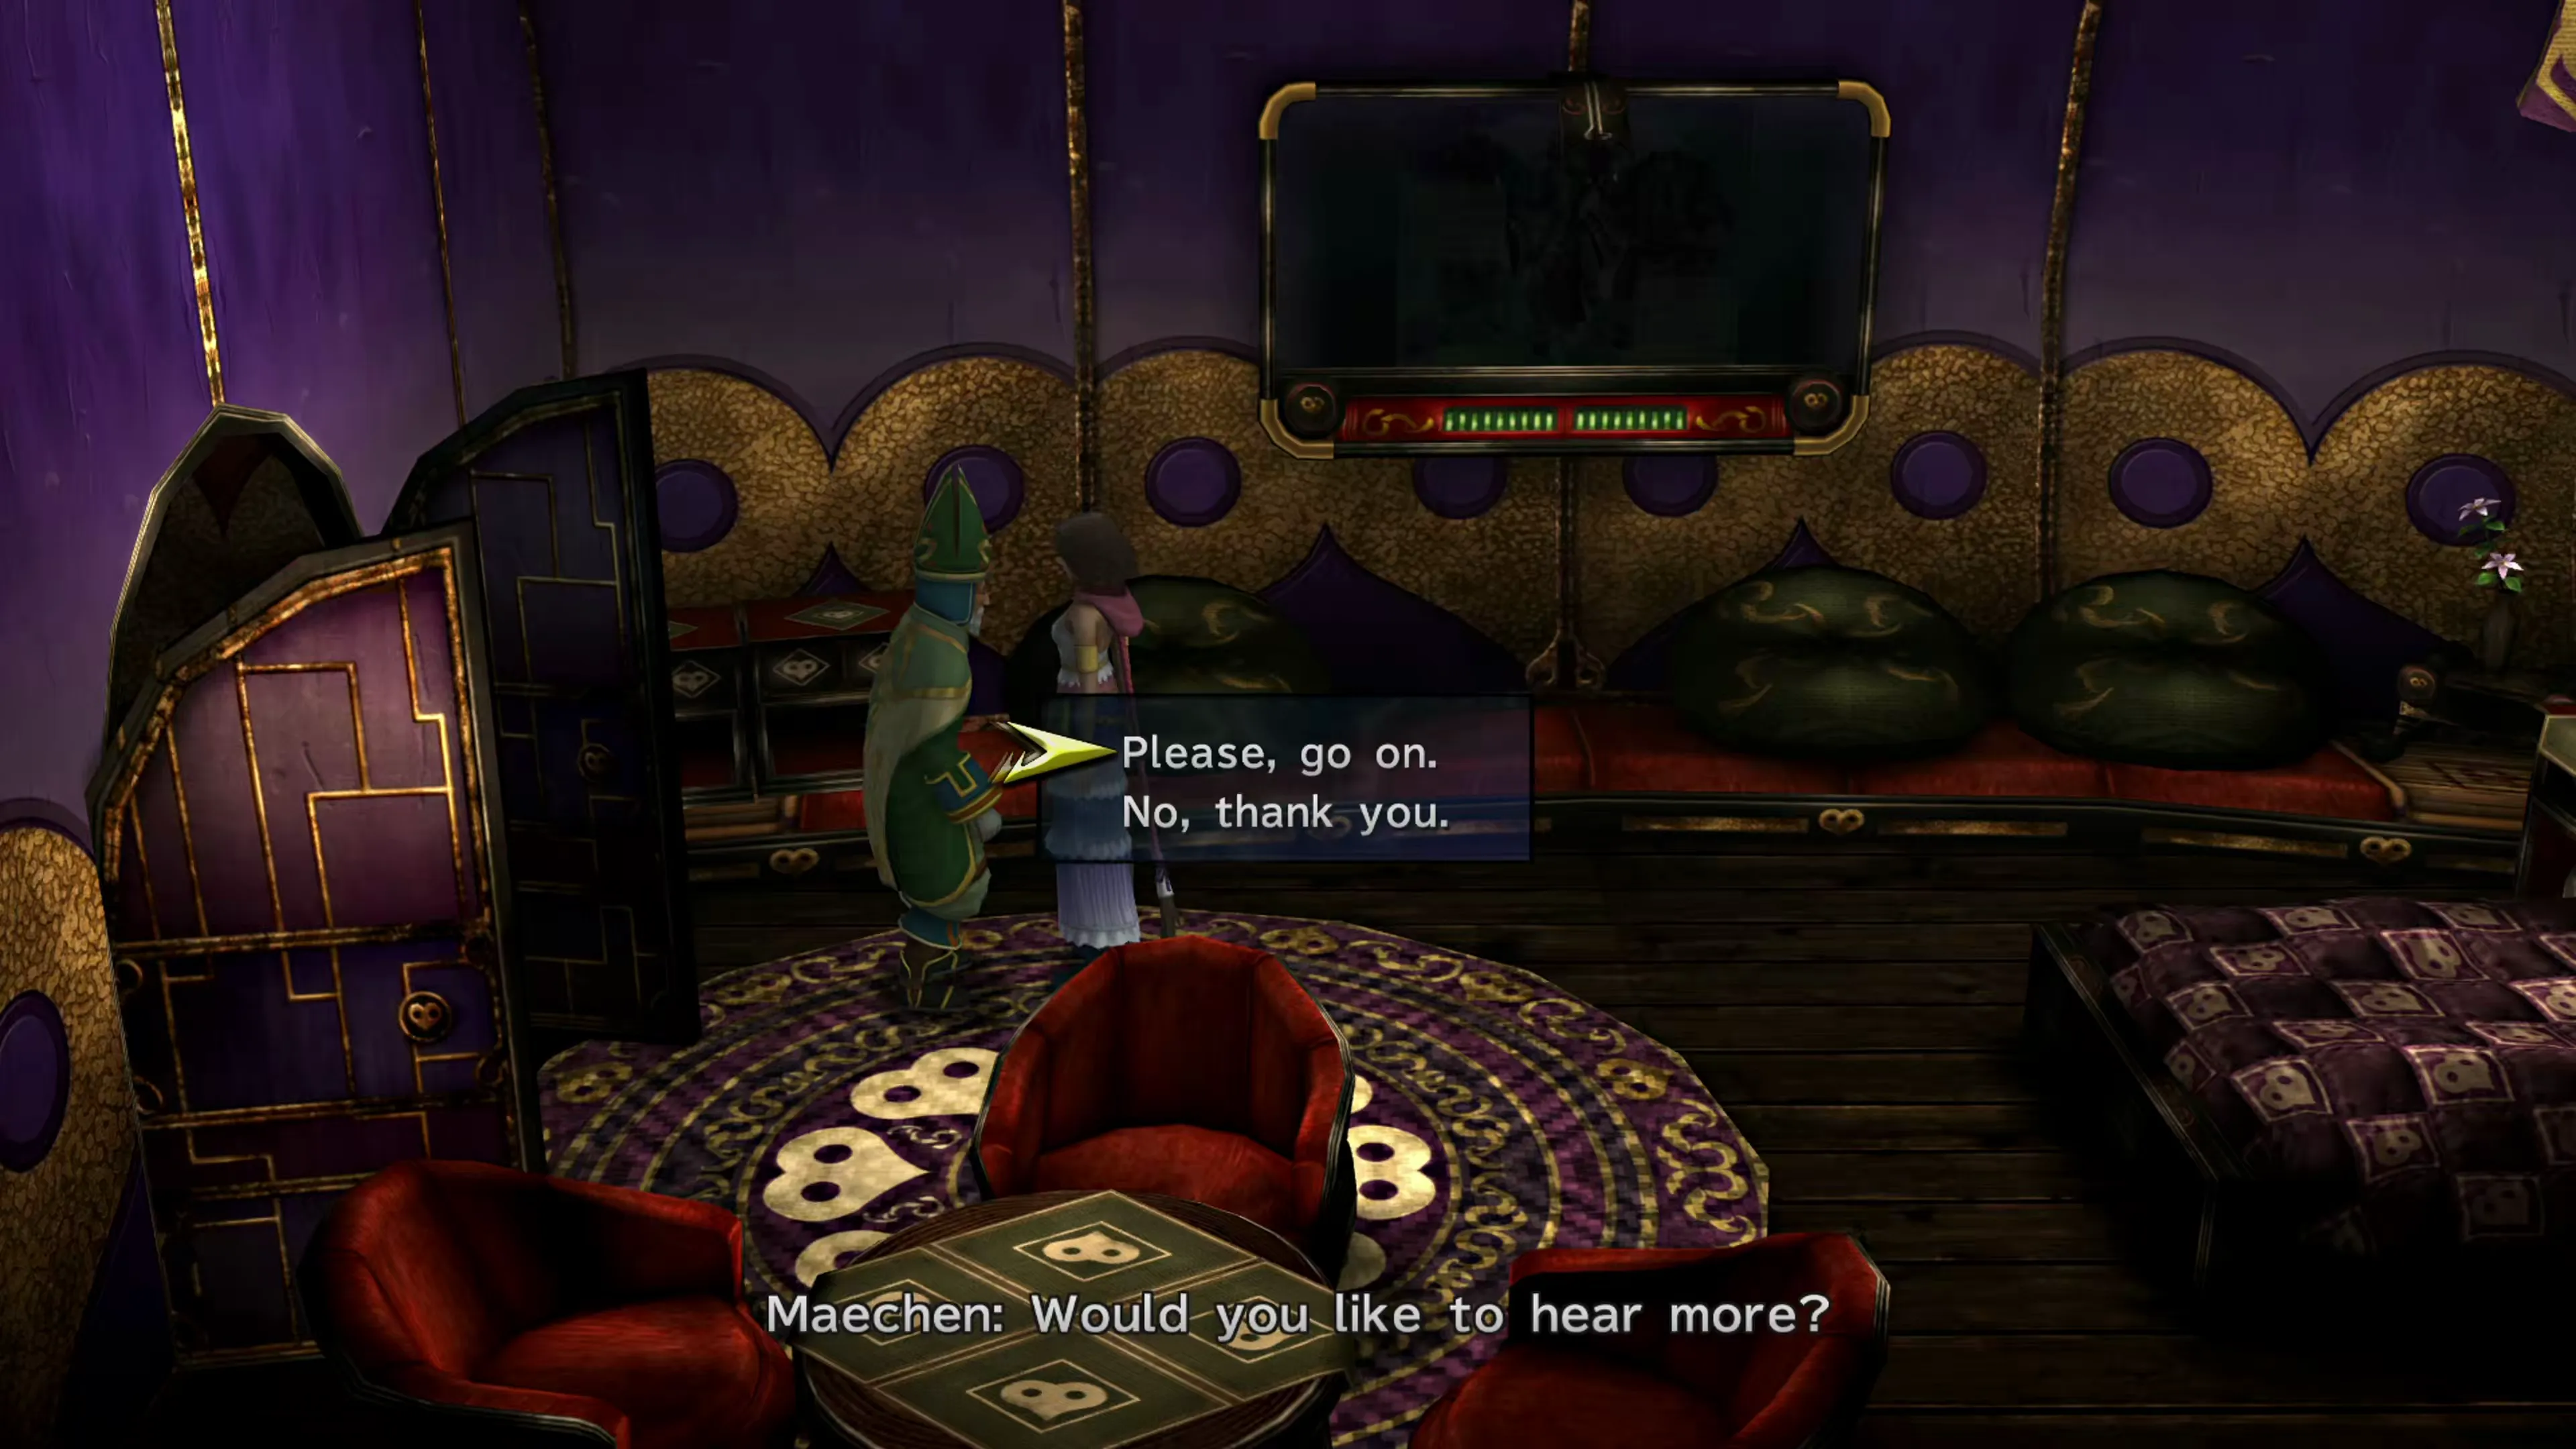
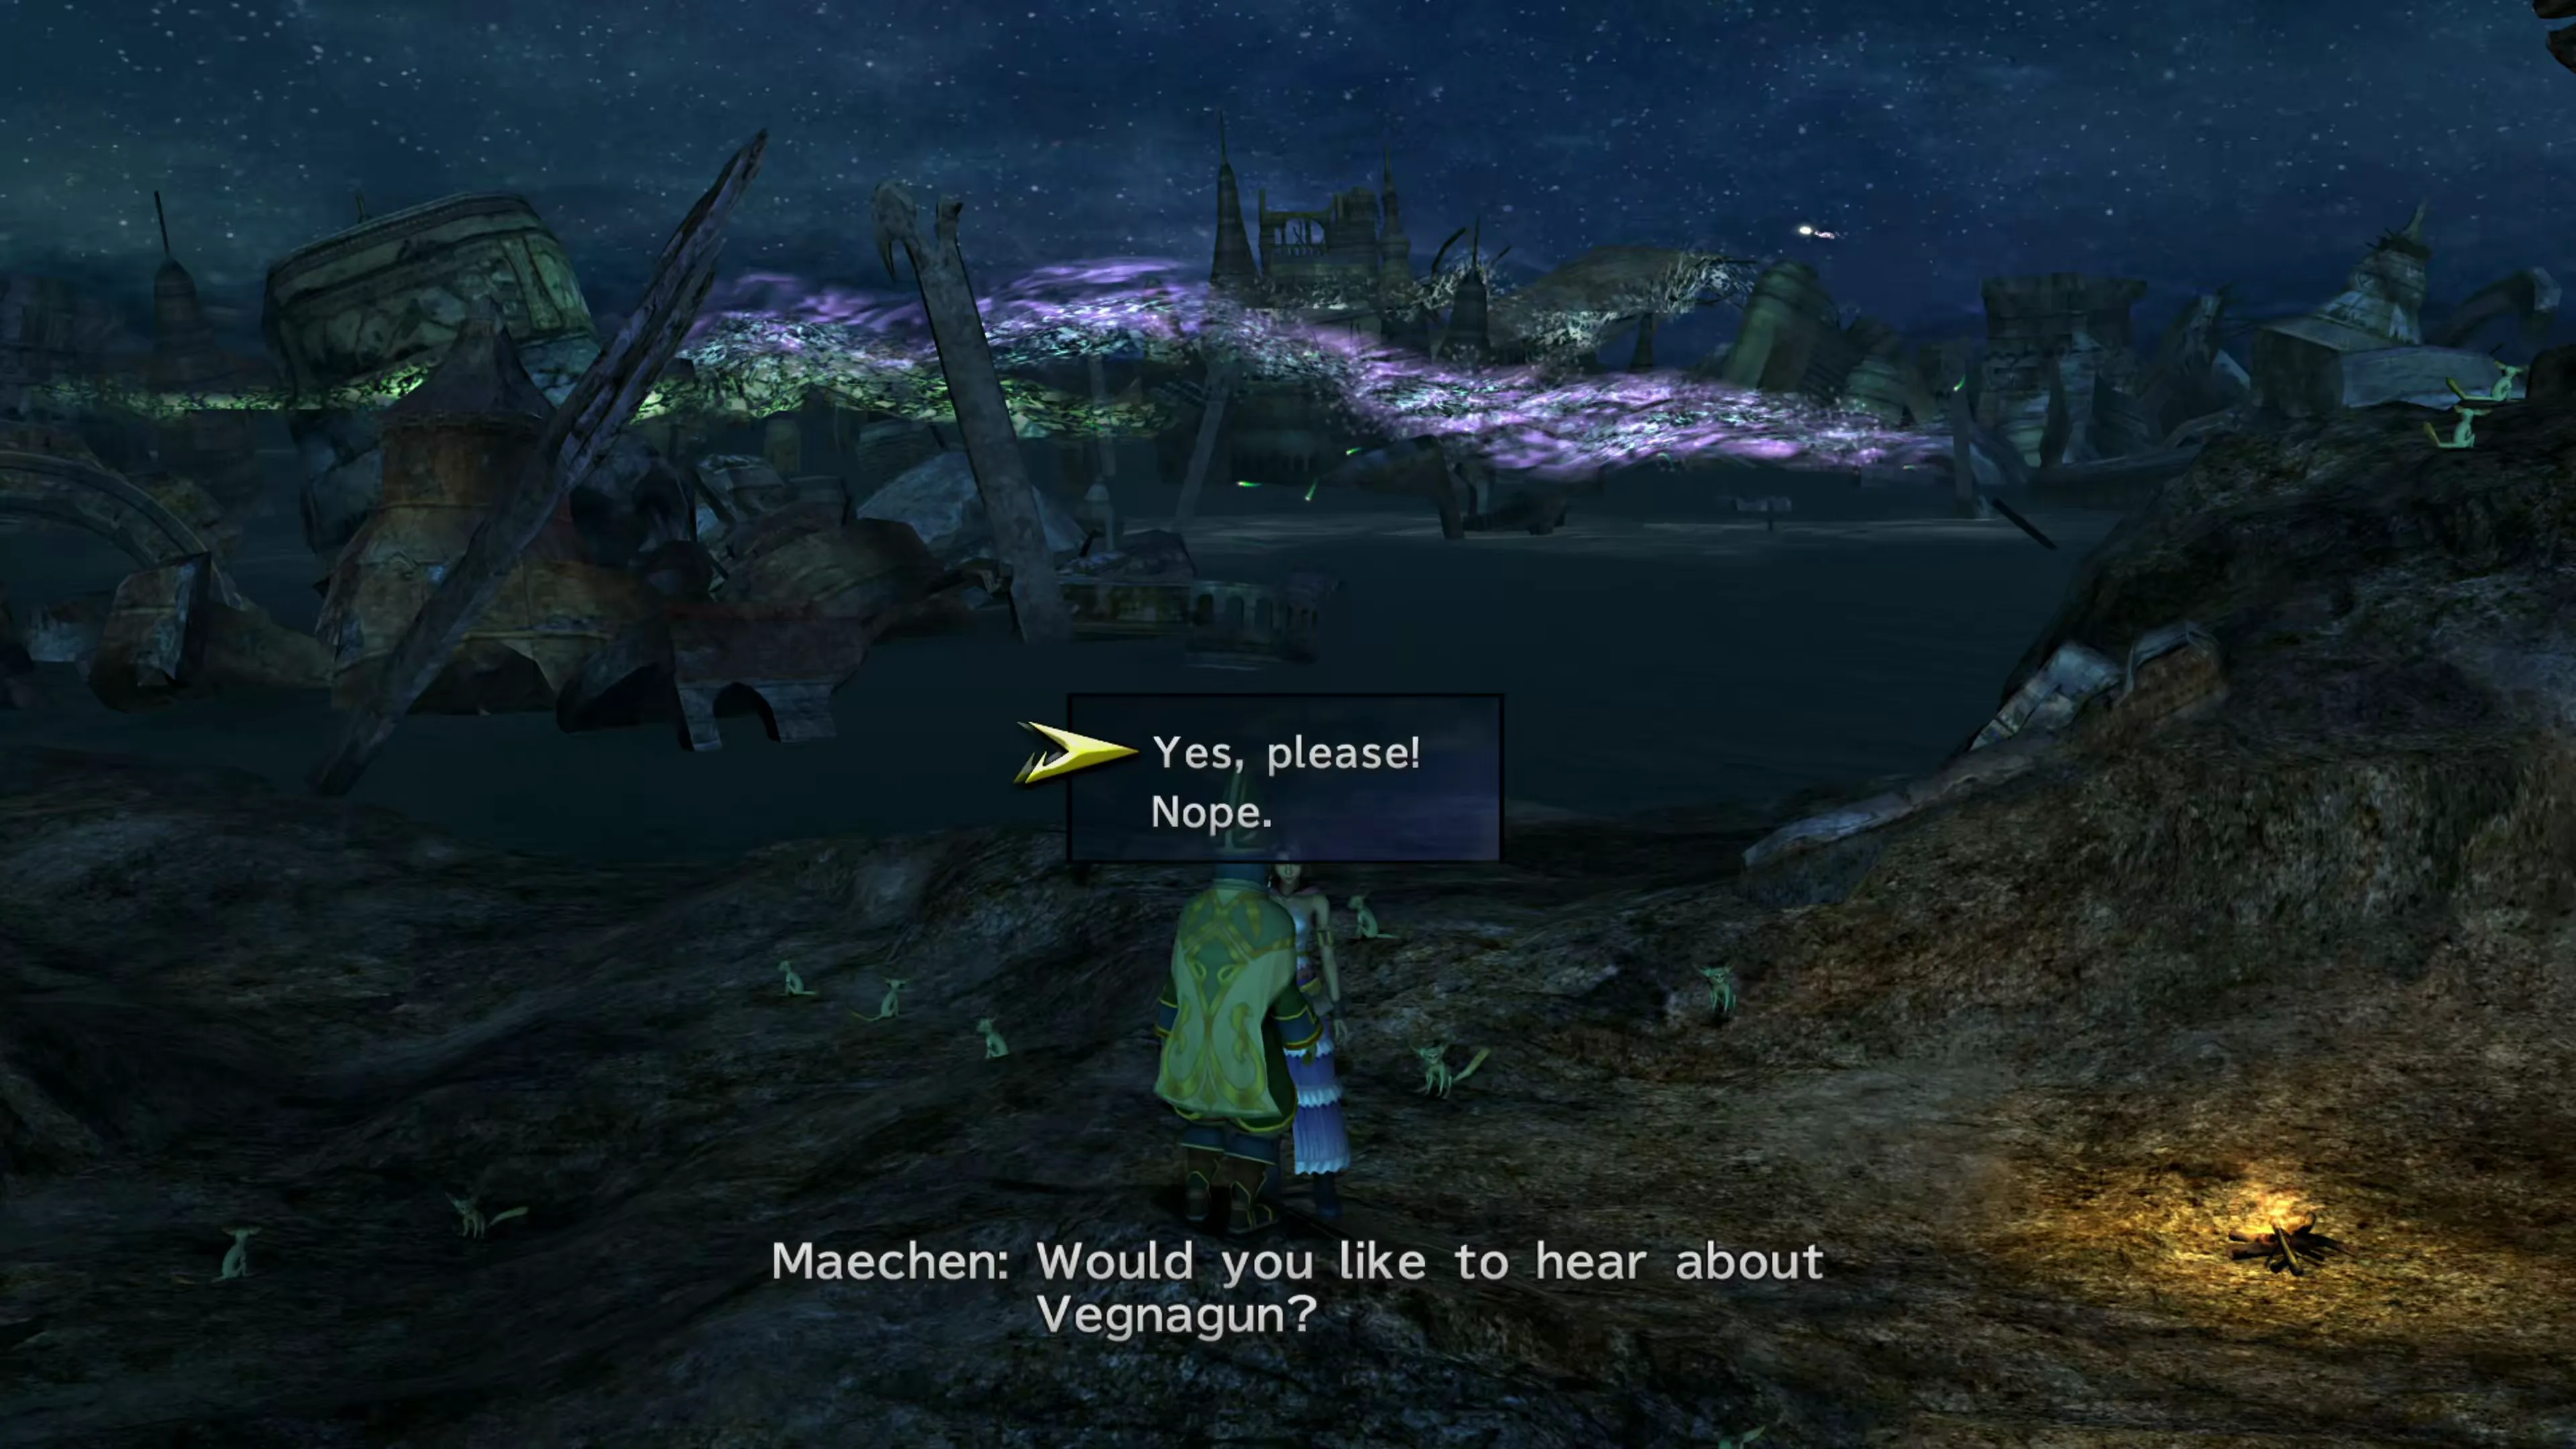
There are three opportunities to talk with Maechen as you progress through the five chapters of the game. You’ll find him in the following locations:
- Youth League Headquarters in Chapter 1
- Chateau Leblanc during your second visit in Chapter 3
- Zanarkand Ruins after the “Episode Complete” or “Episode Concluded” screen in Chapter 5
Talk to him in each of these three locations, and let him tell you his entire story by not interrupting him while he’s talking. Additionally, you need to allow him to shake Yuna’s hand in Chapter 1. Completing each of these interactions will trigger the achievement/trophy.
 |  |  |
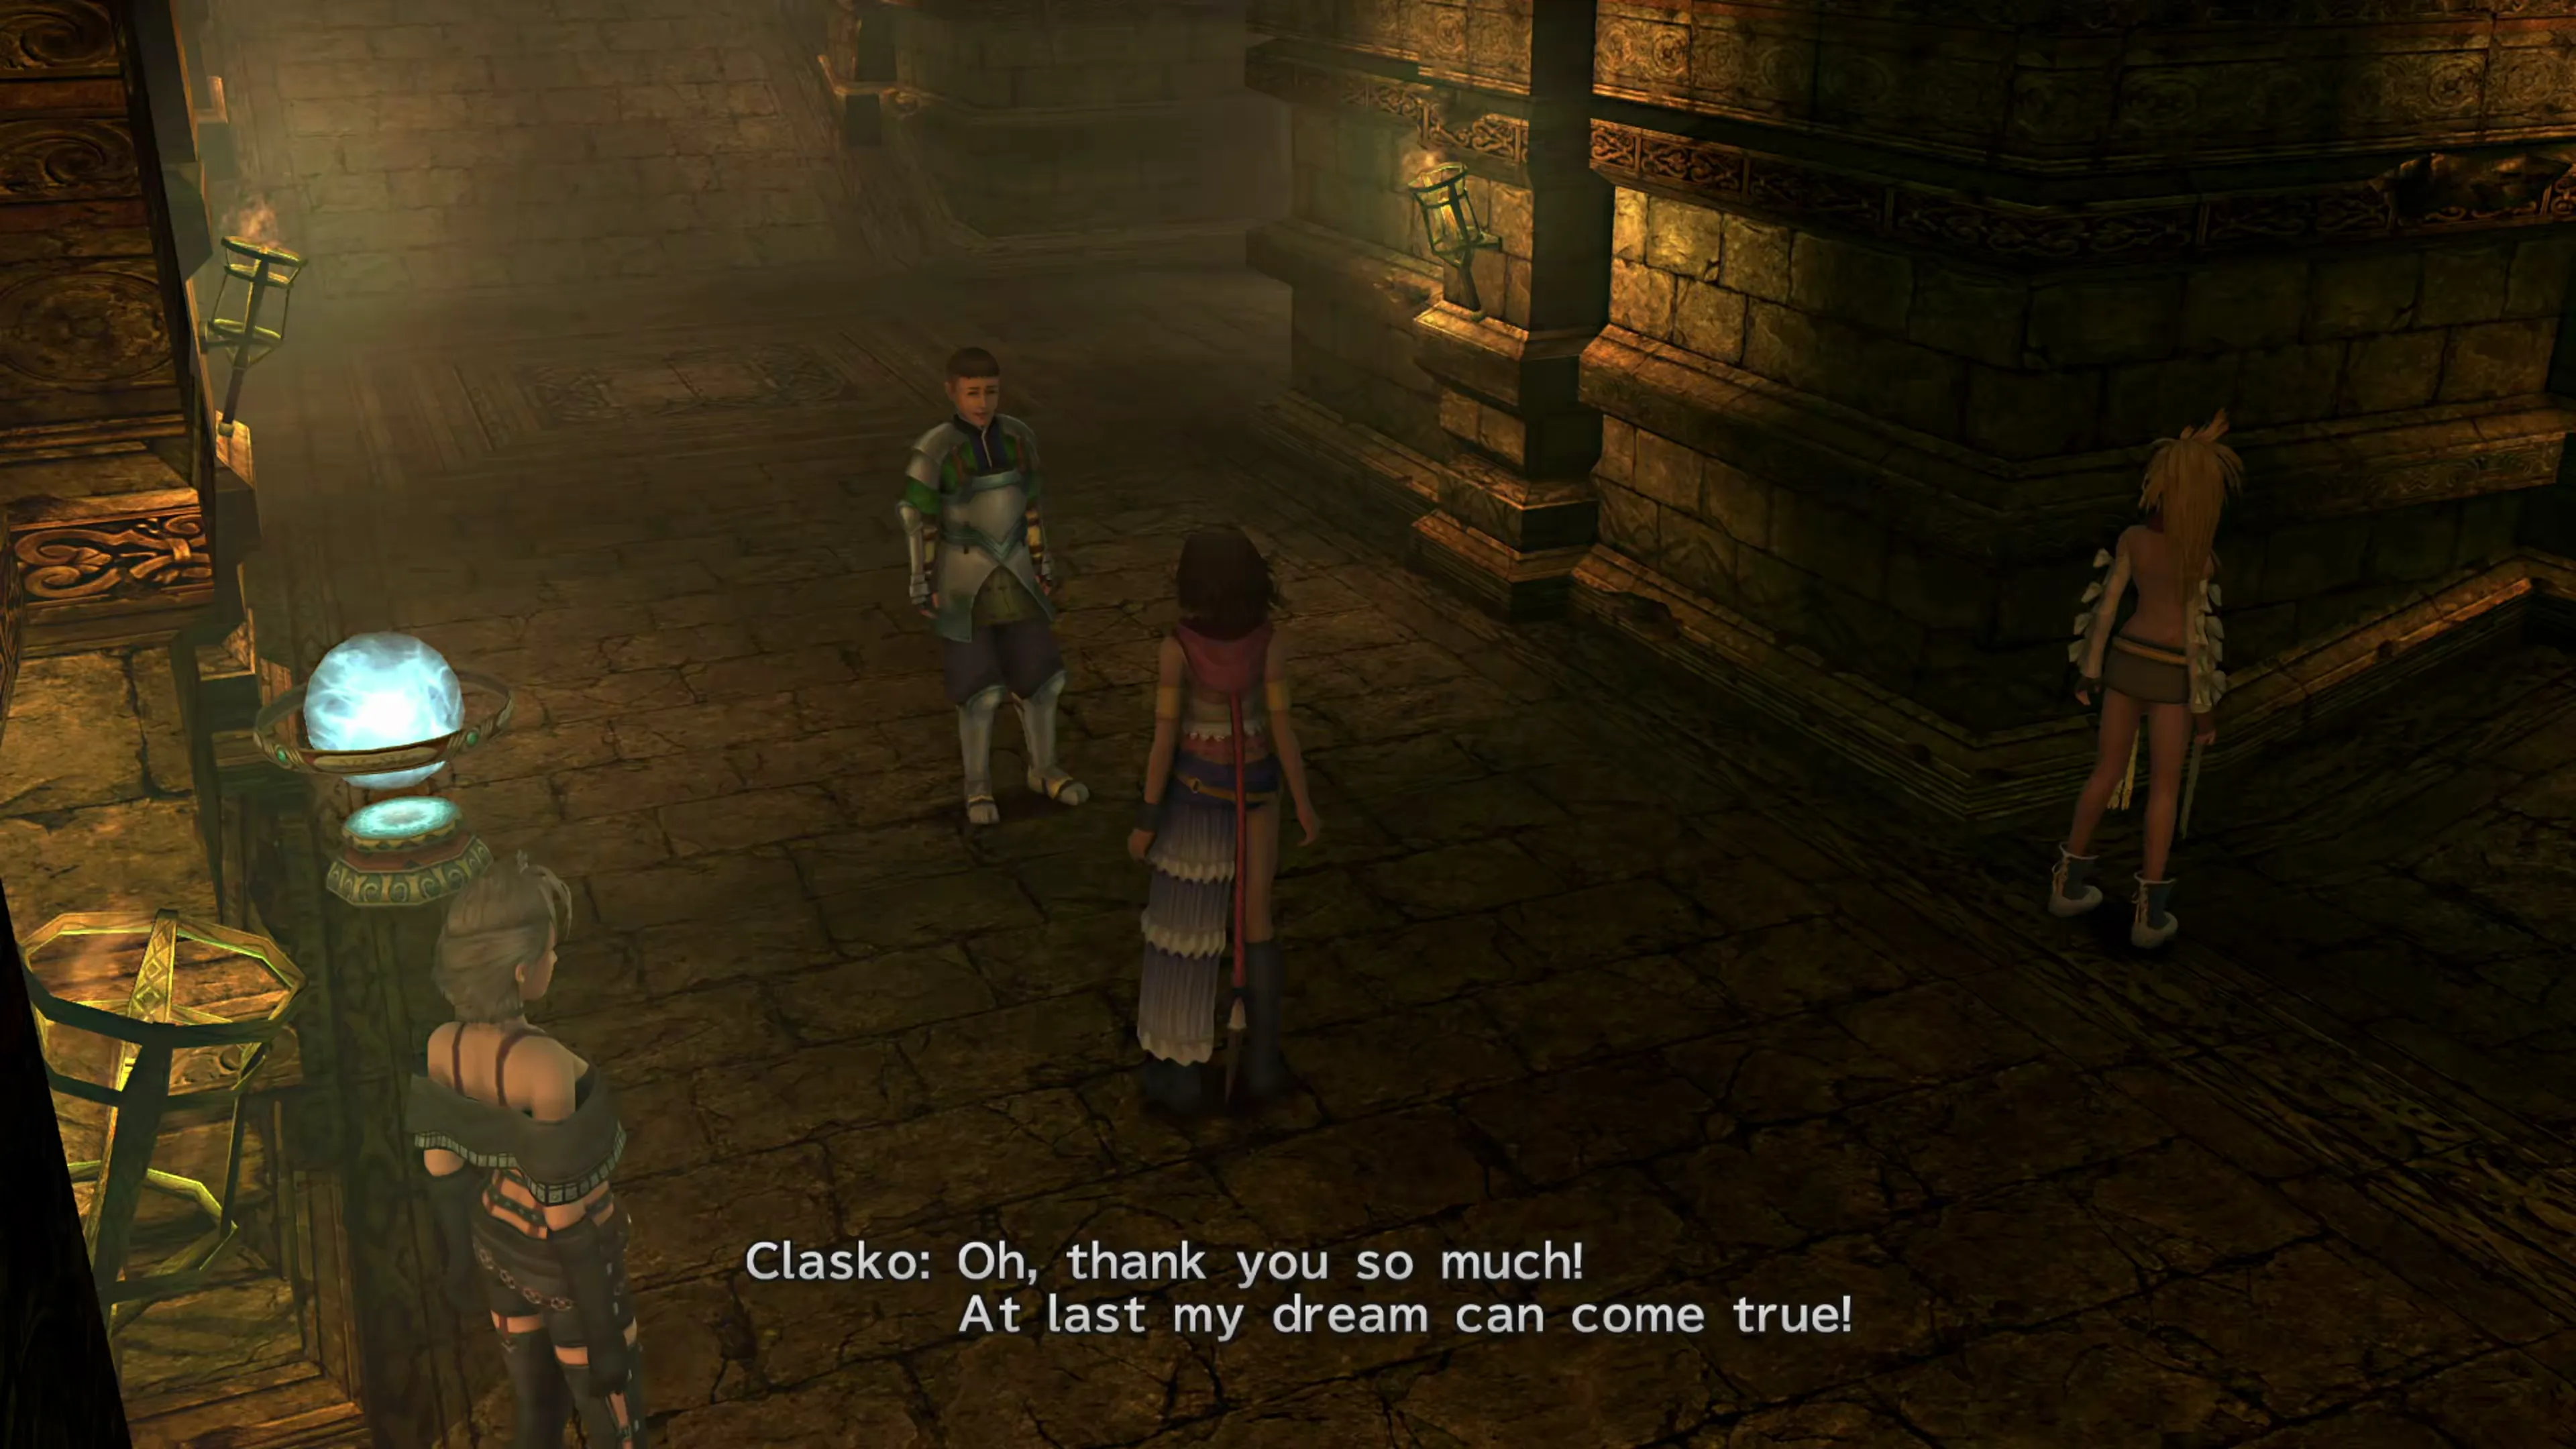
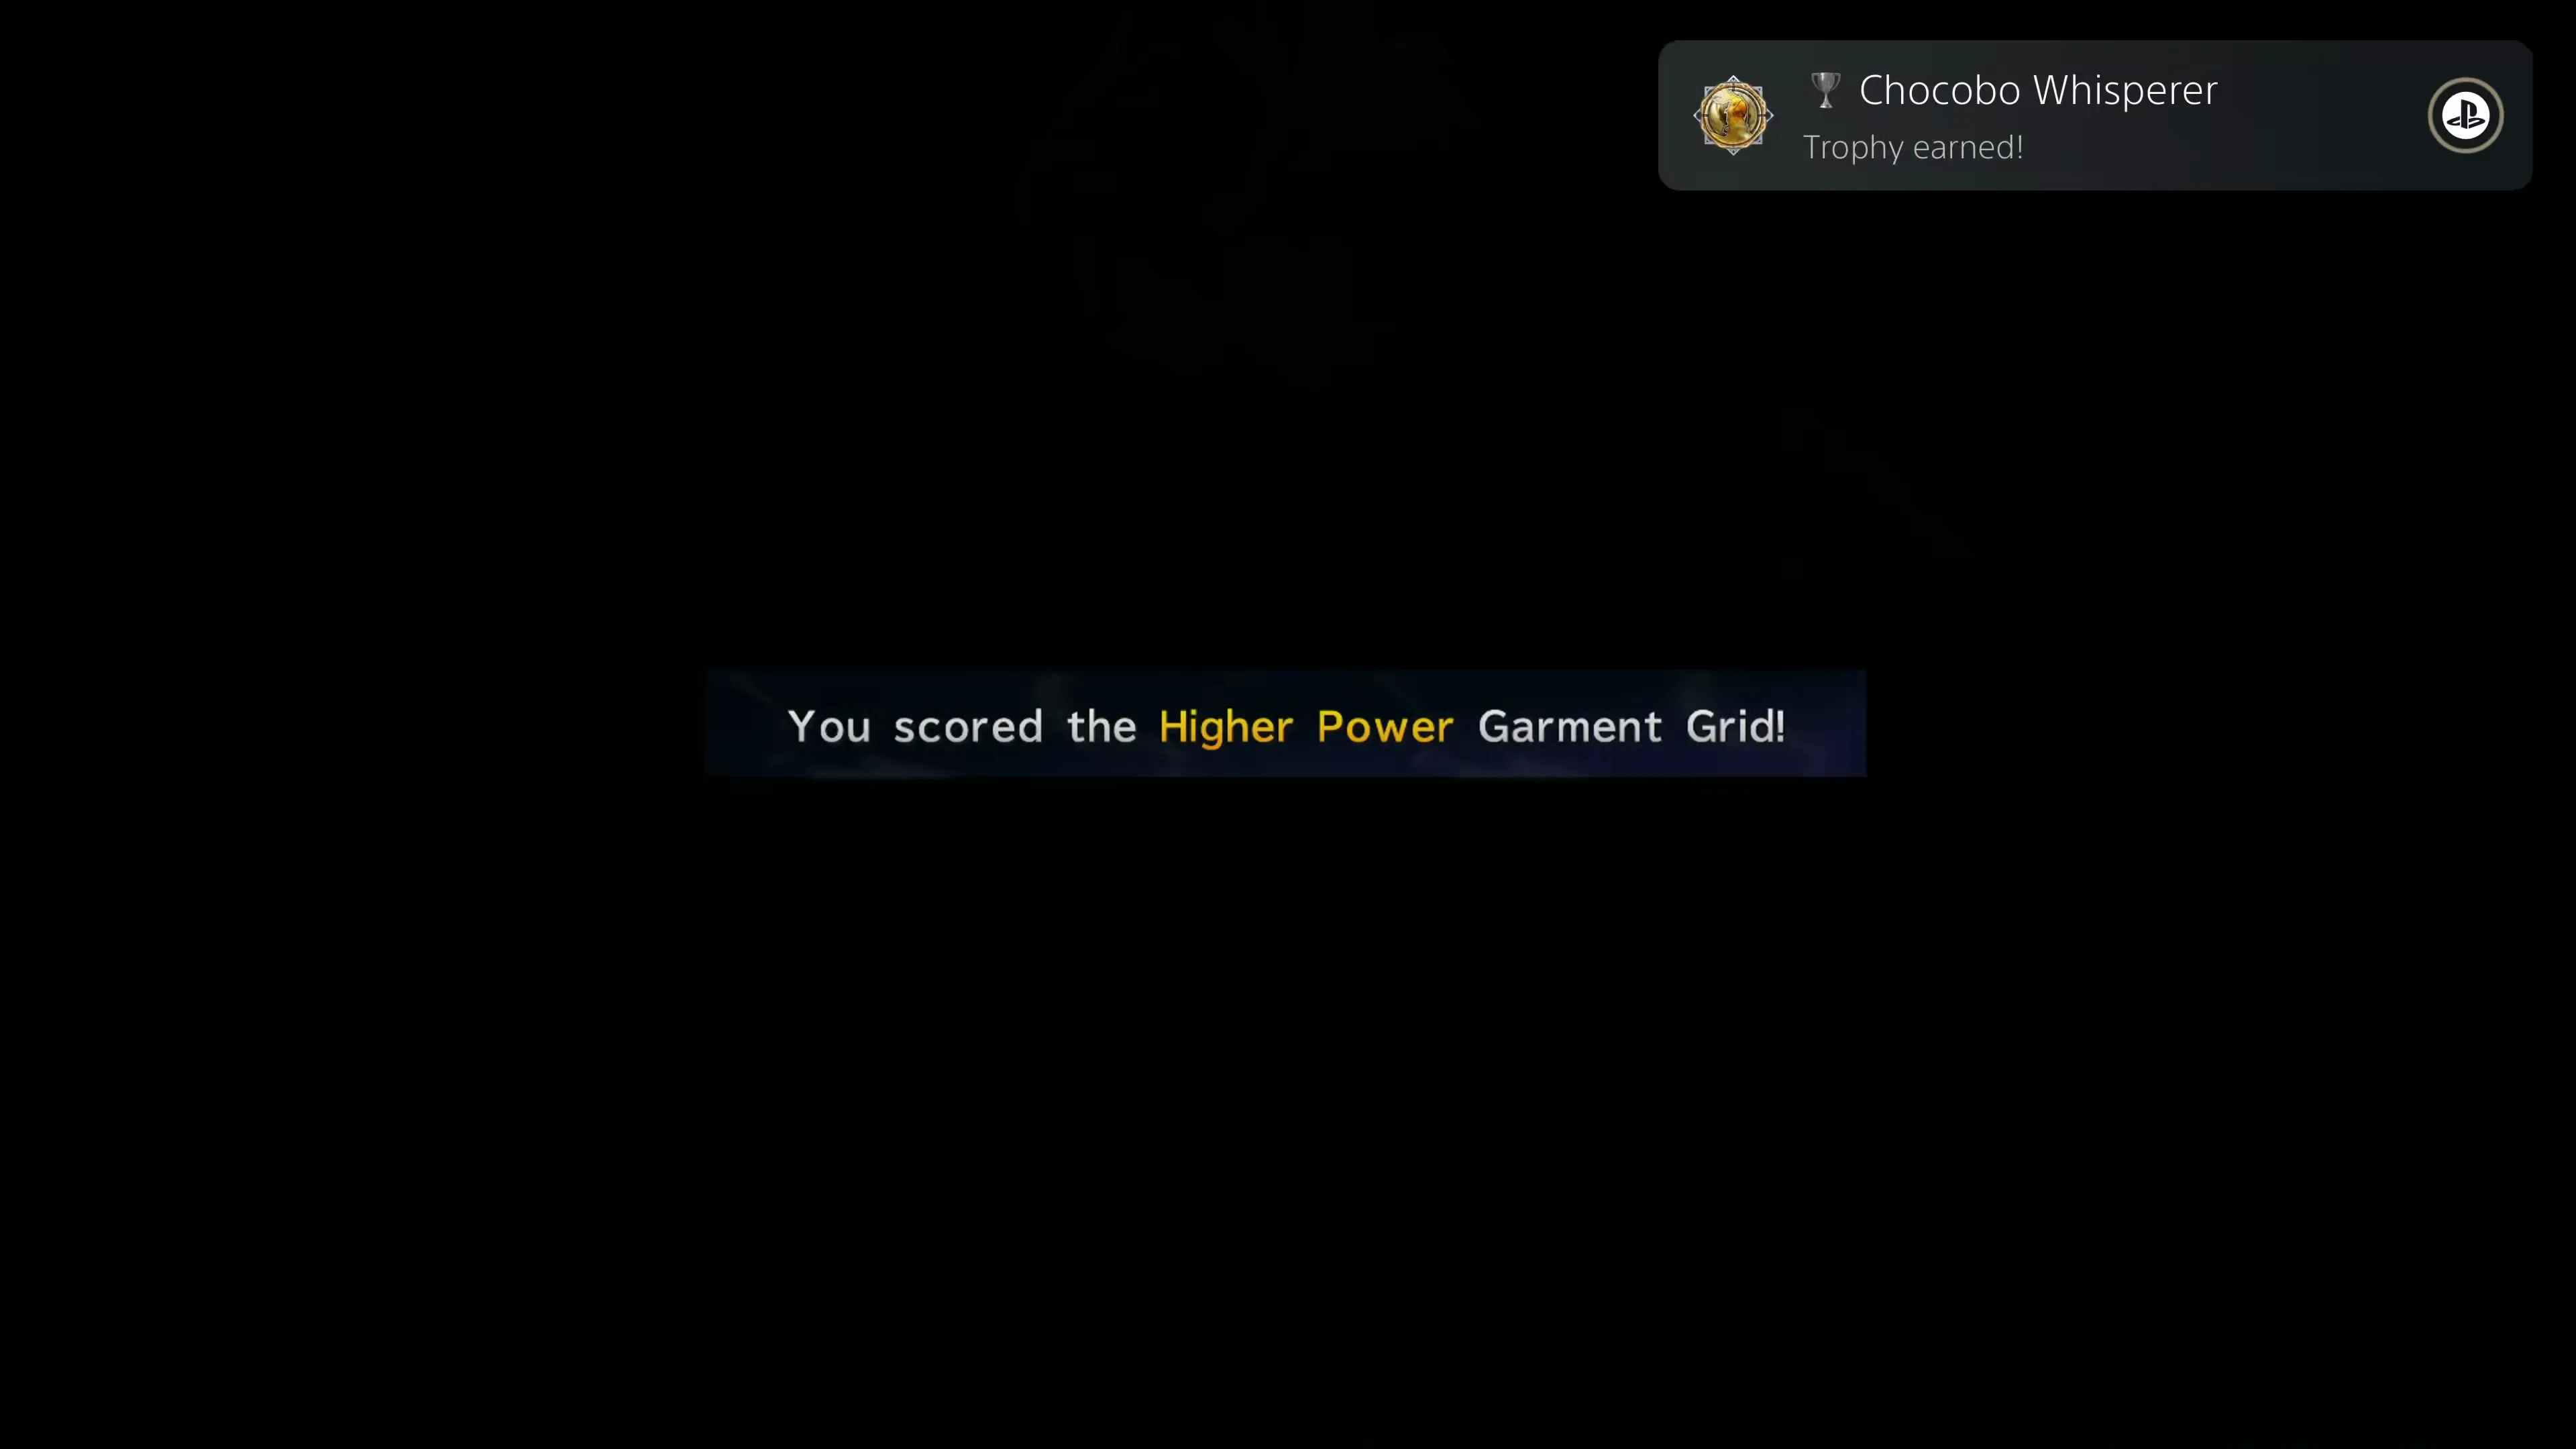
Catch your first Chocobo before the end of Chapter 3 to obtain the achievement/trophy. The steps required for this include:
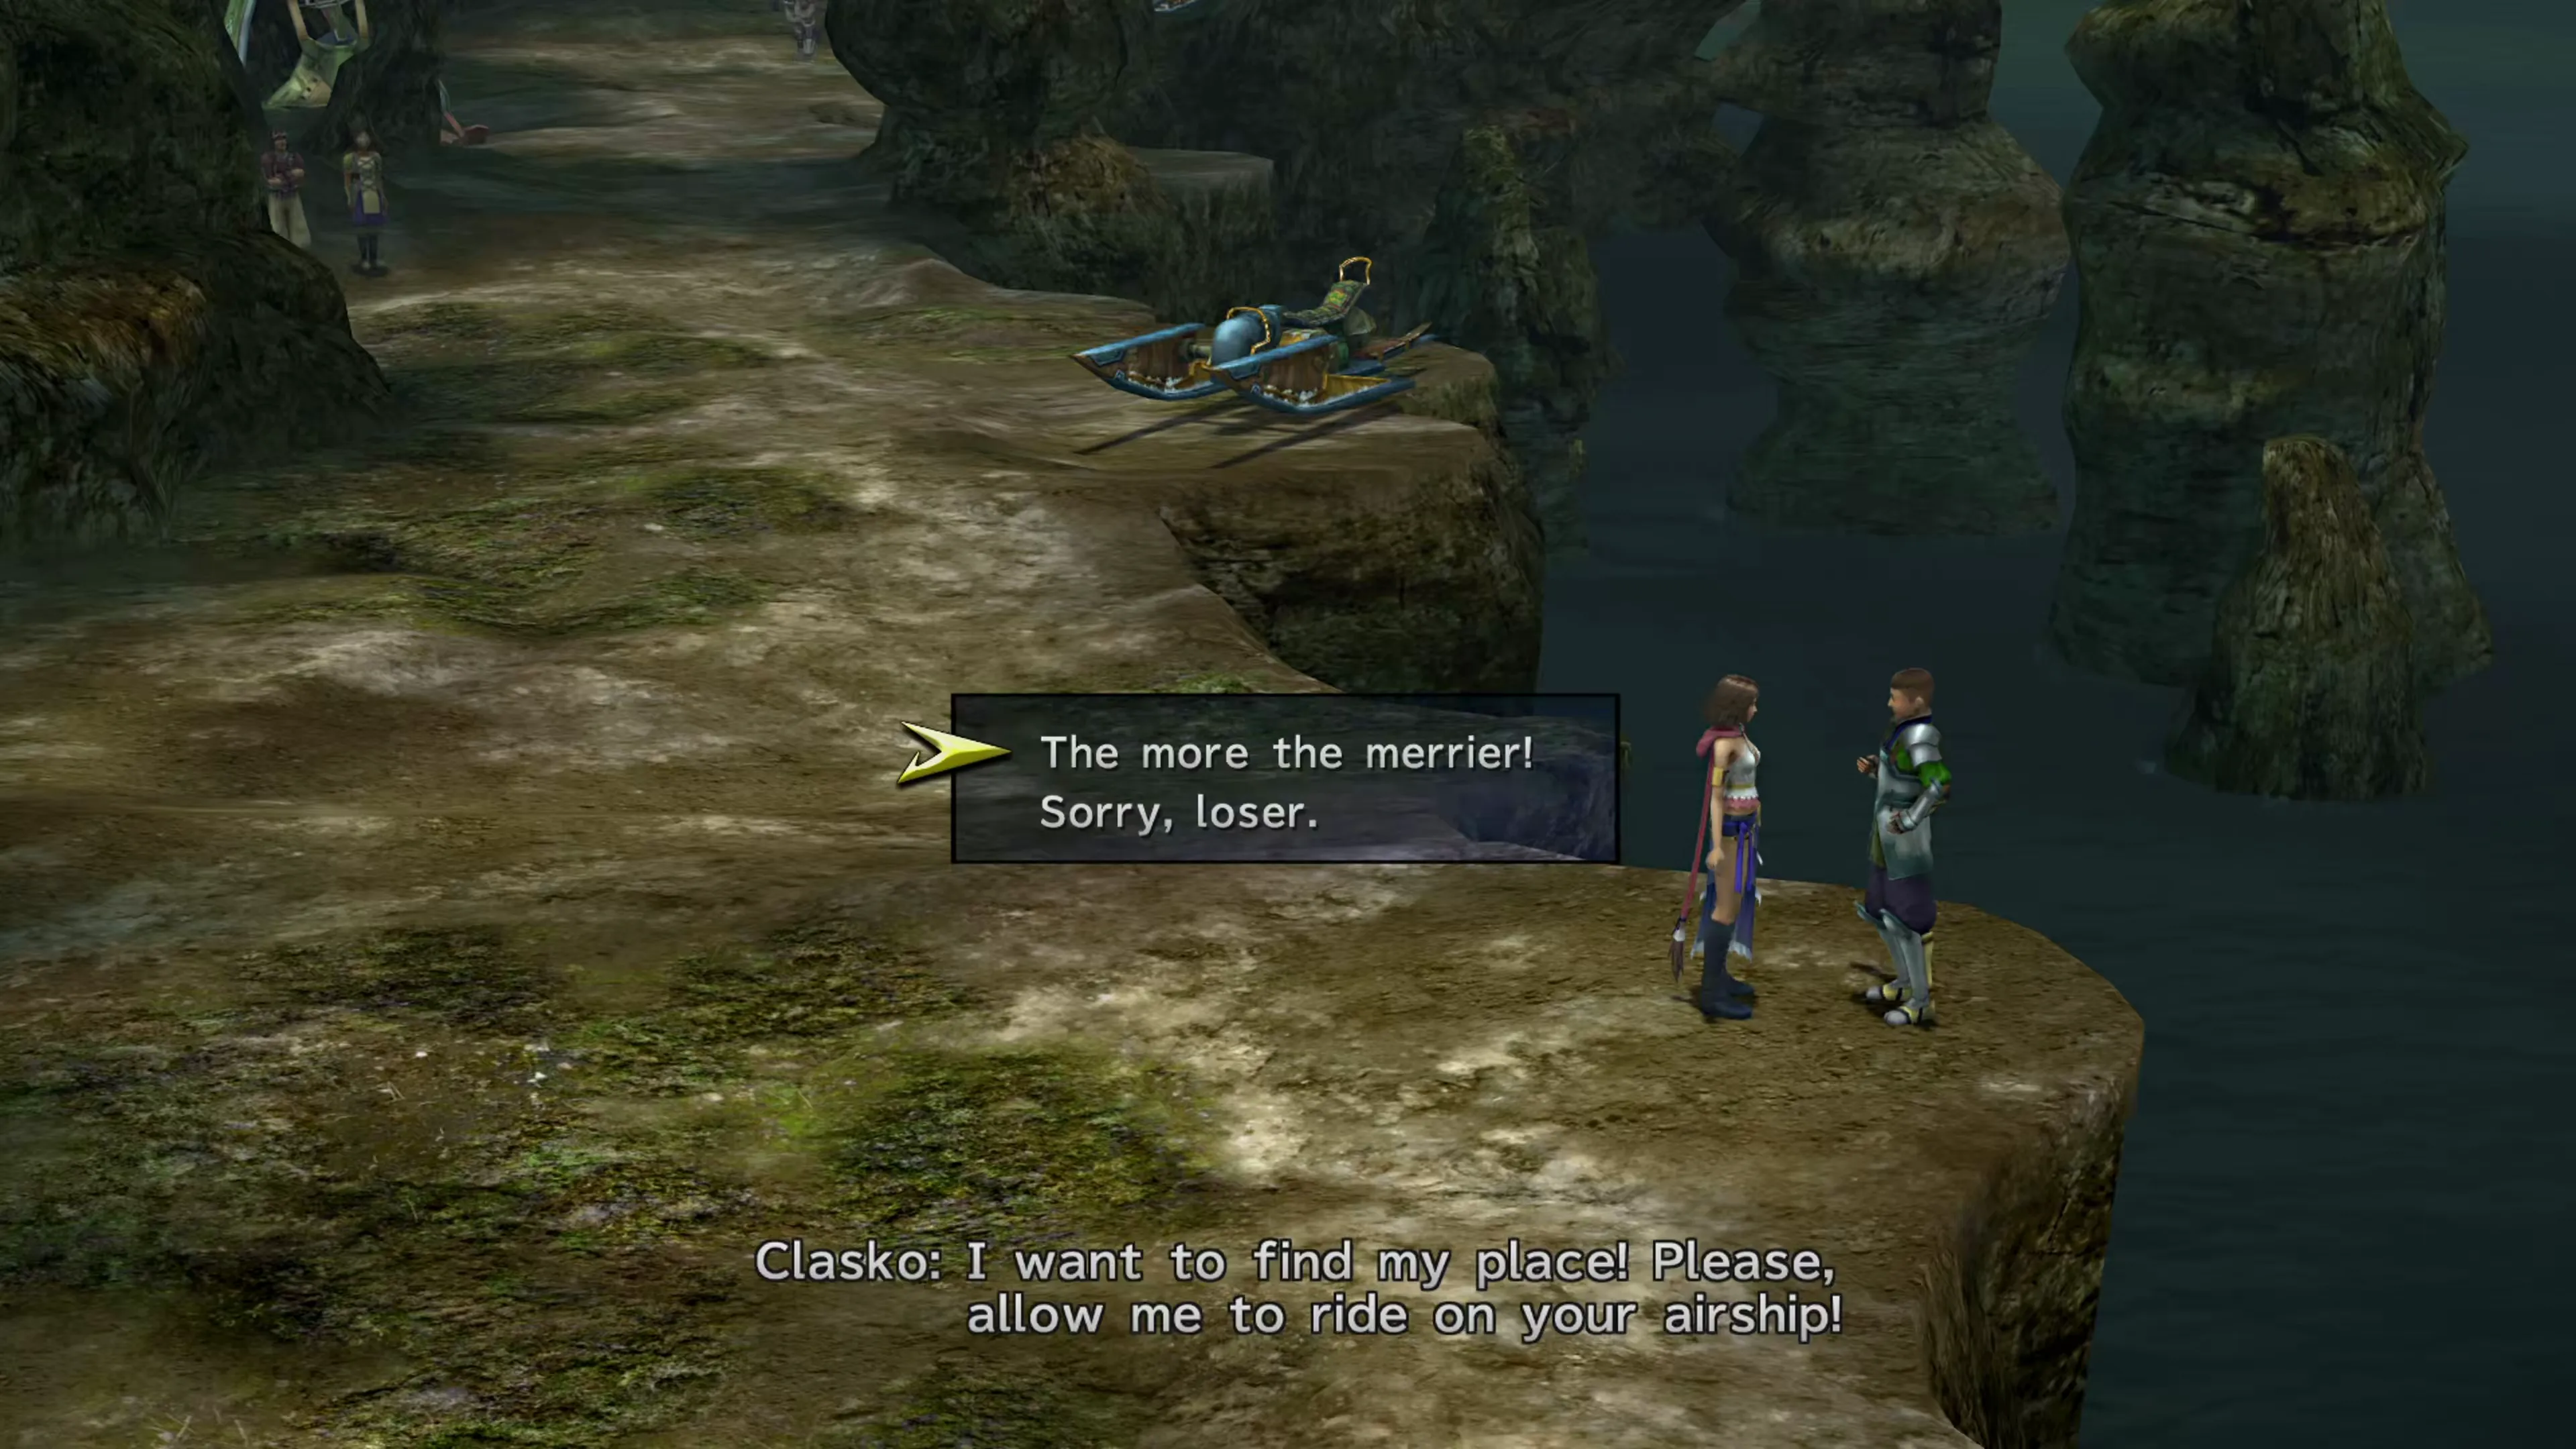
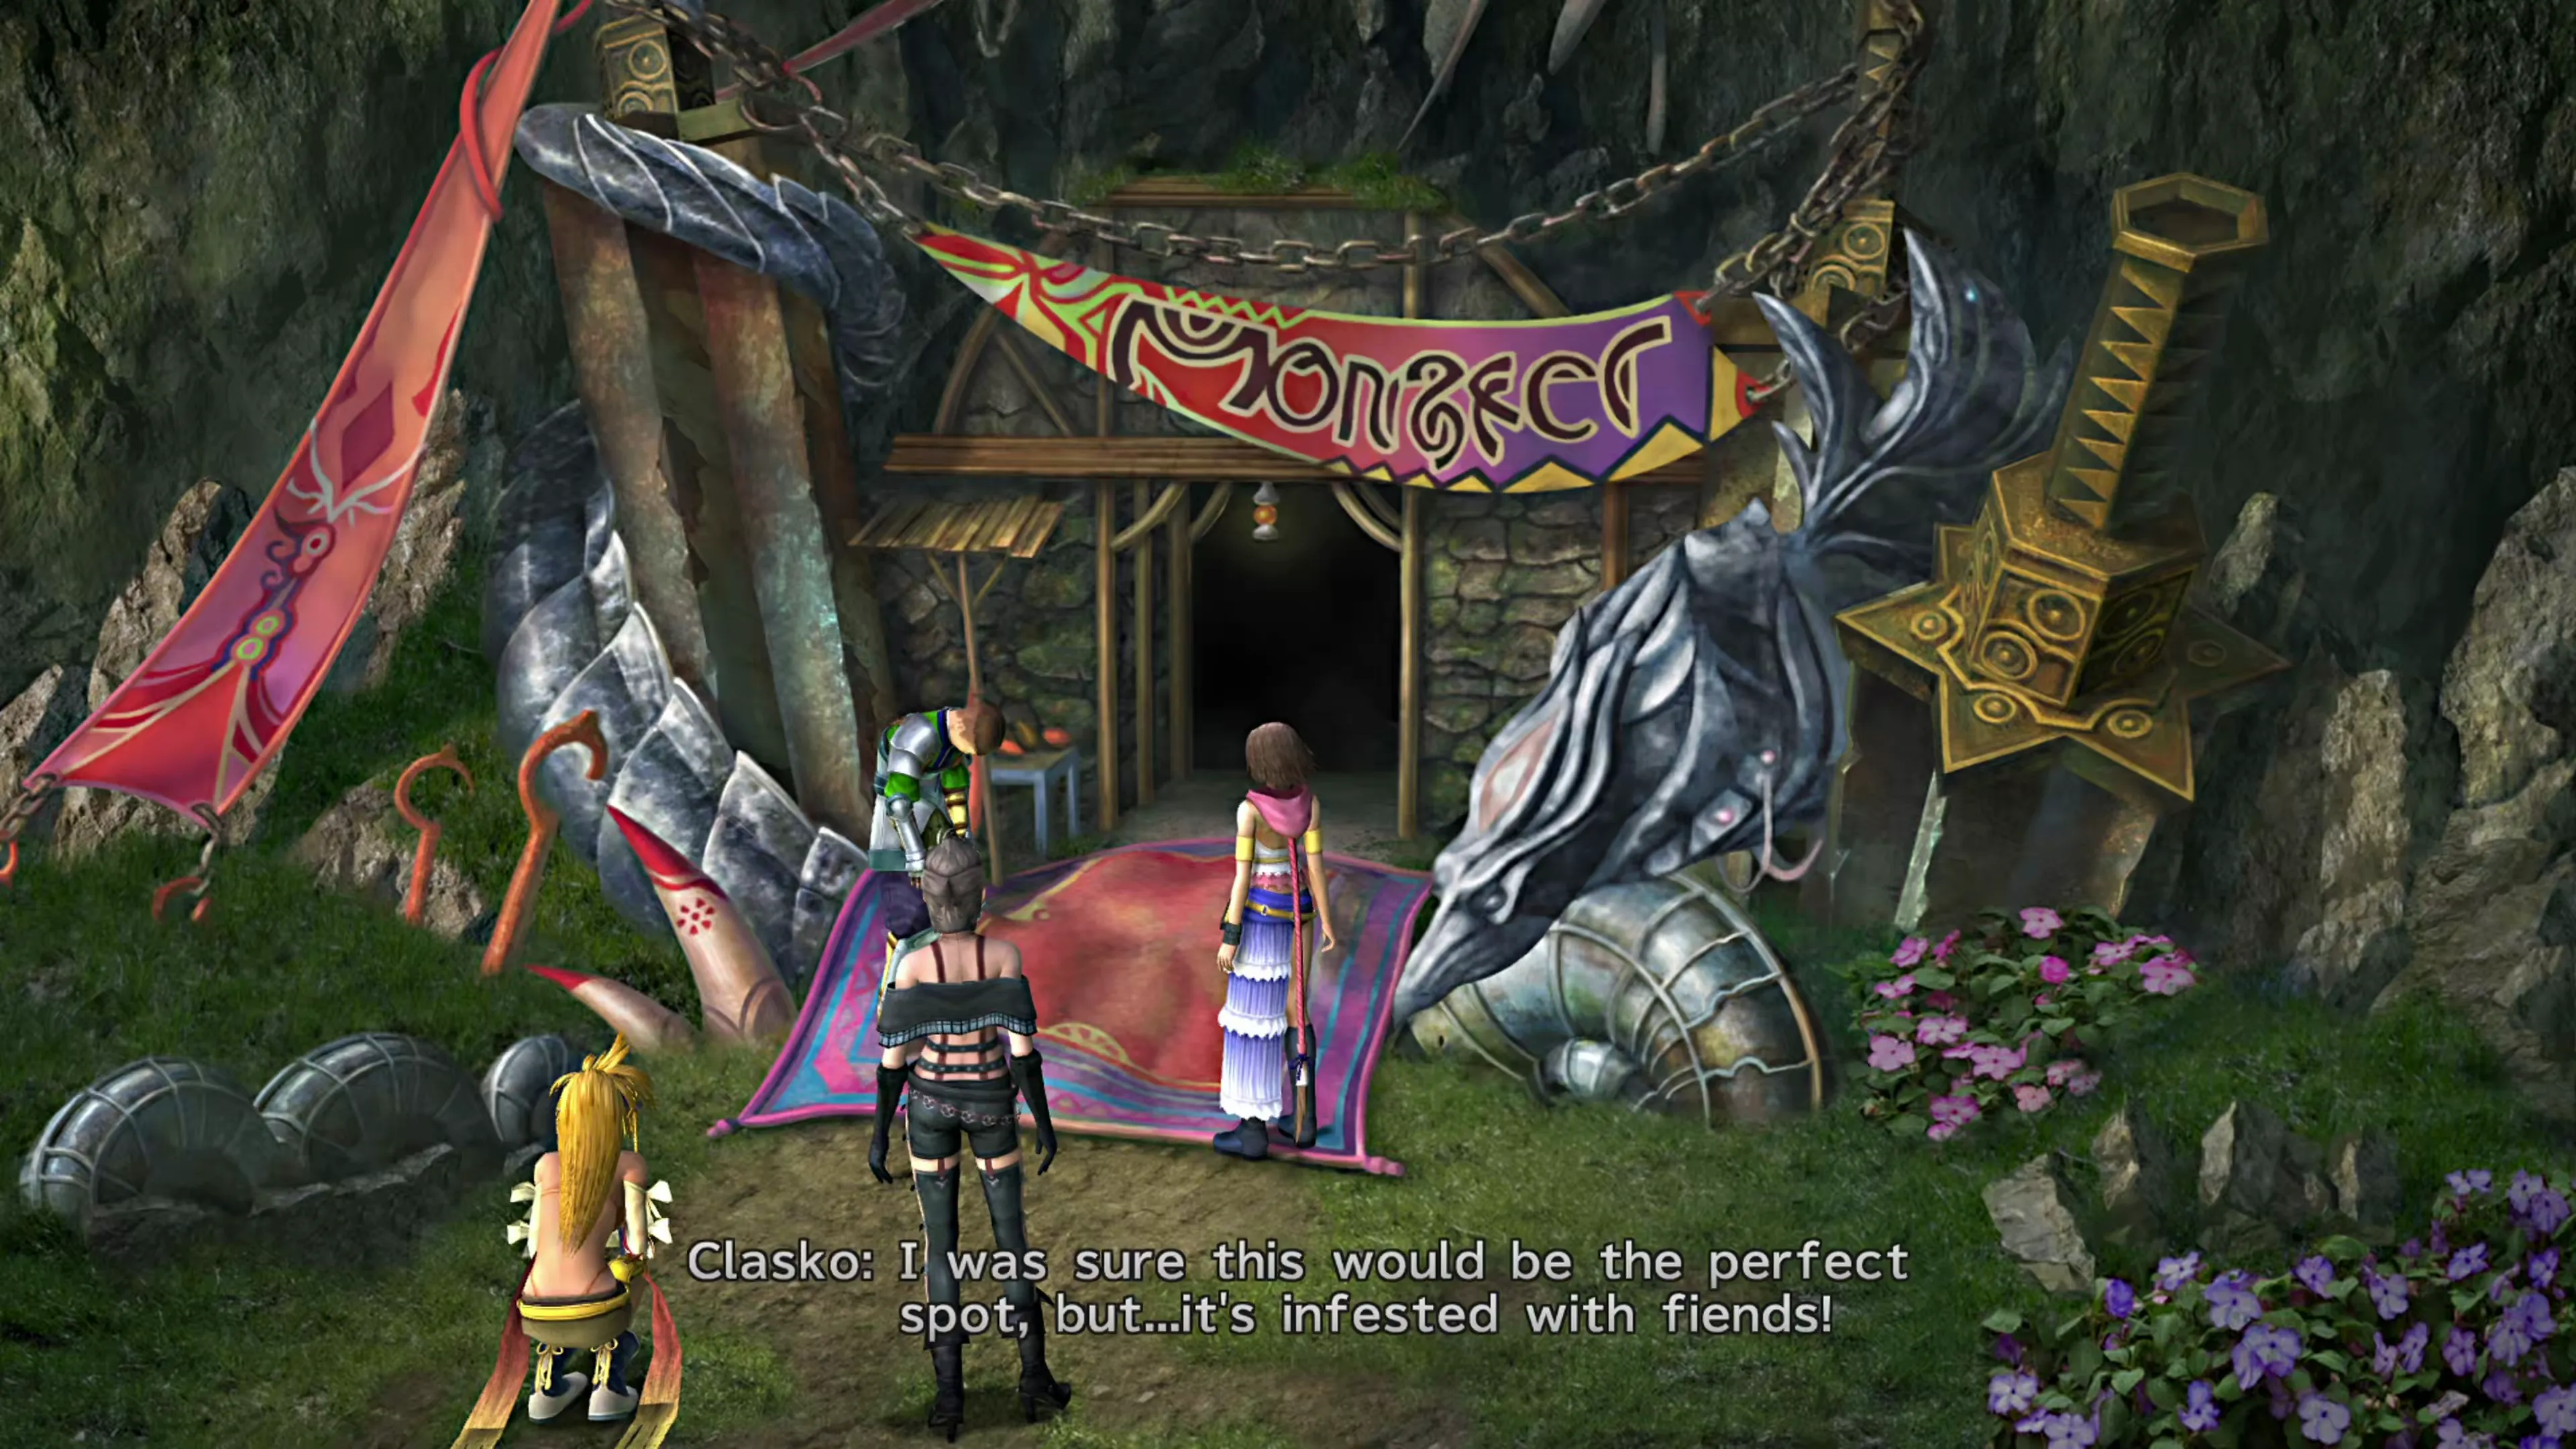
- Interacting with Clasko at Mushroom Rock Road in Chapter 1 and inviting him aboard the Celsius
- Traveling to the Calm Lands in Chapter 2
- Clearing out the Chocobo Ranch in Chapter 2 or 3
- Capturing a Chocobo before the end of Chapter 3
The full steps for capturing a Chocobo are included on the Chocobo Ranch side quest page.
 |  |  |
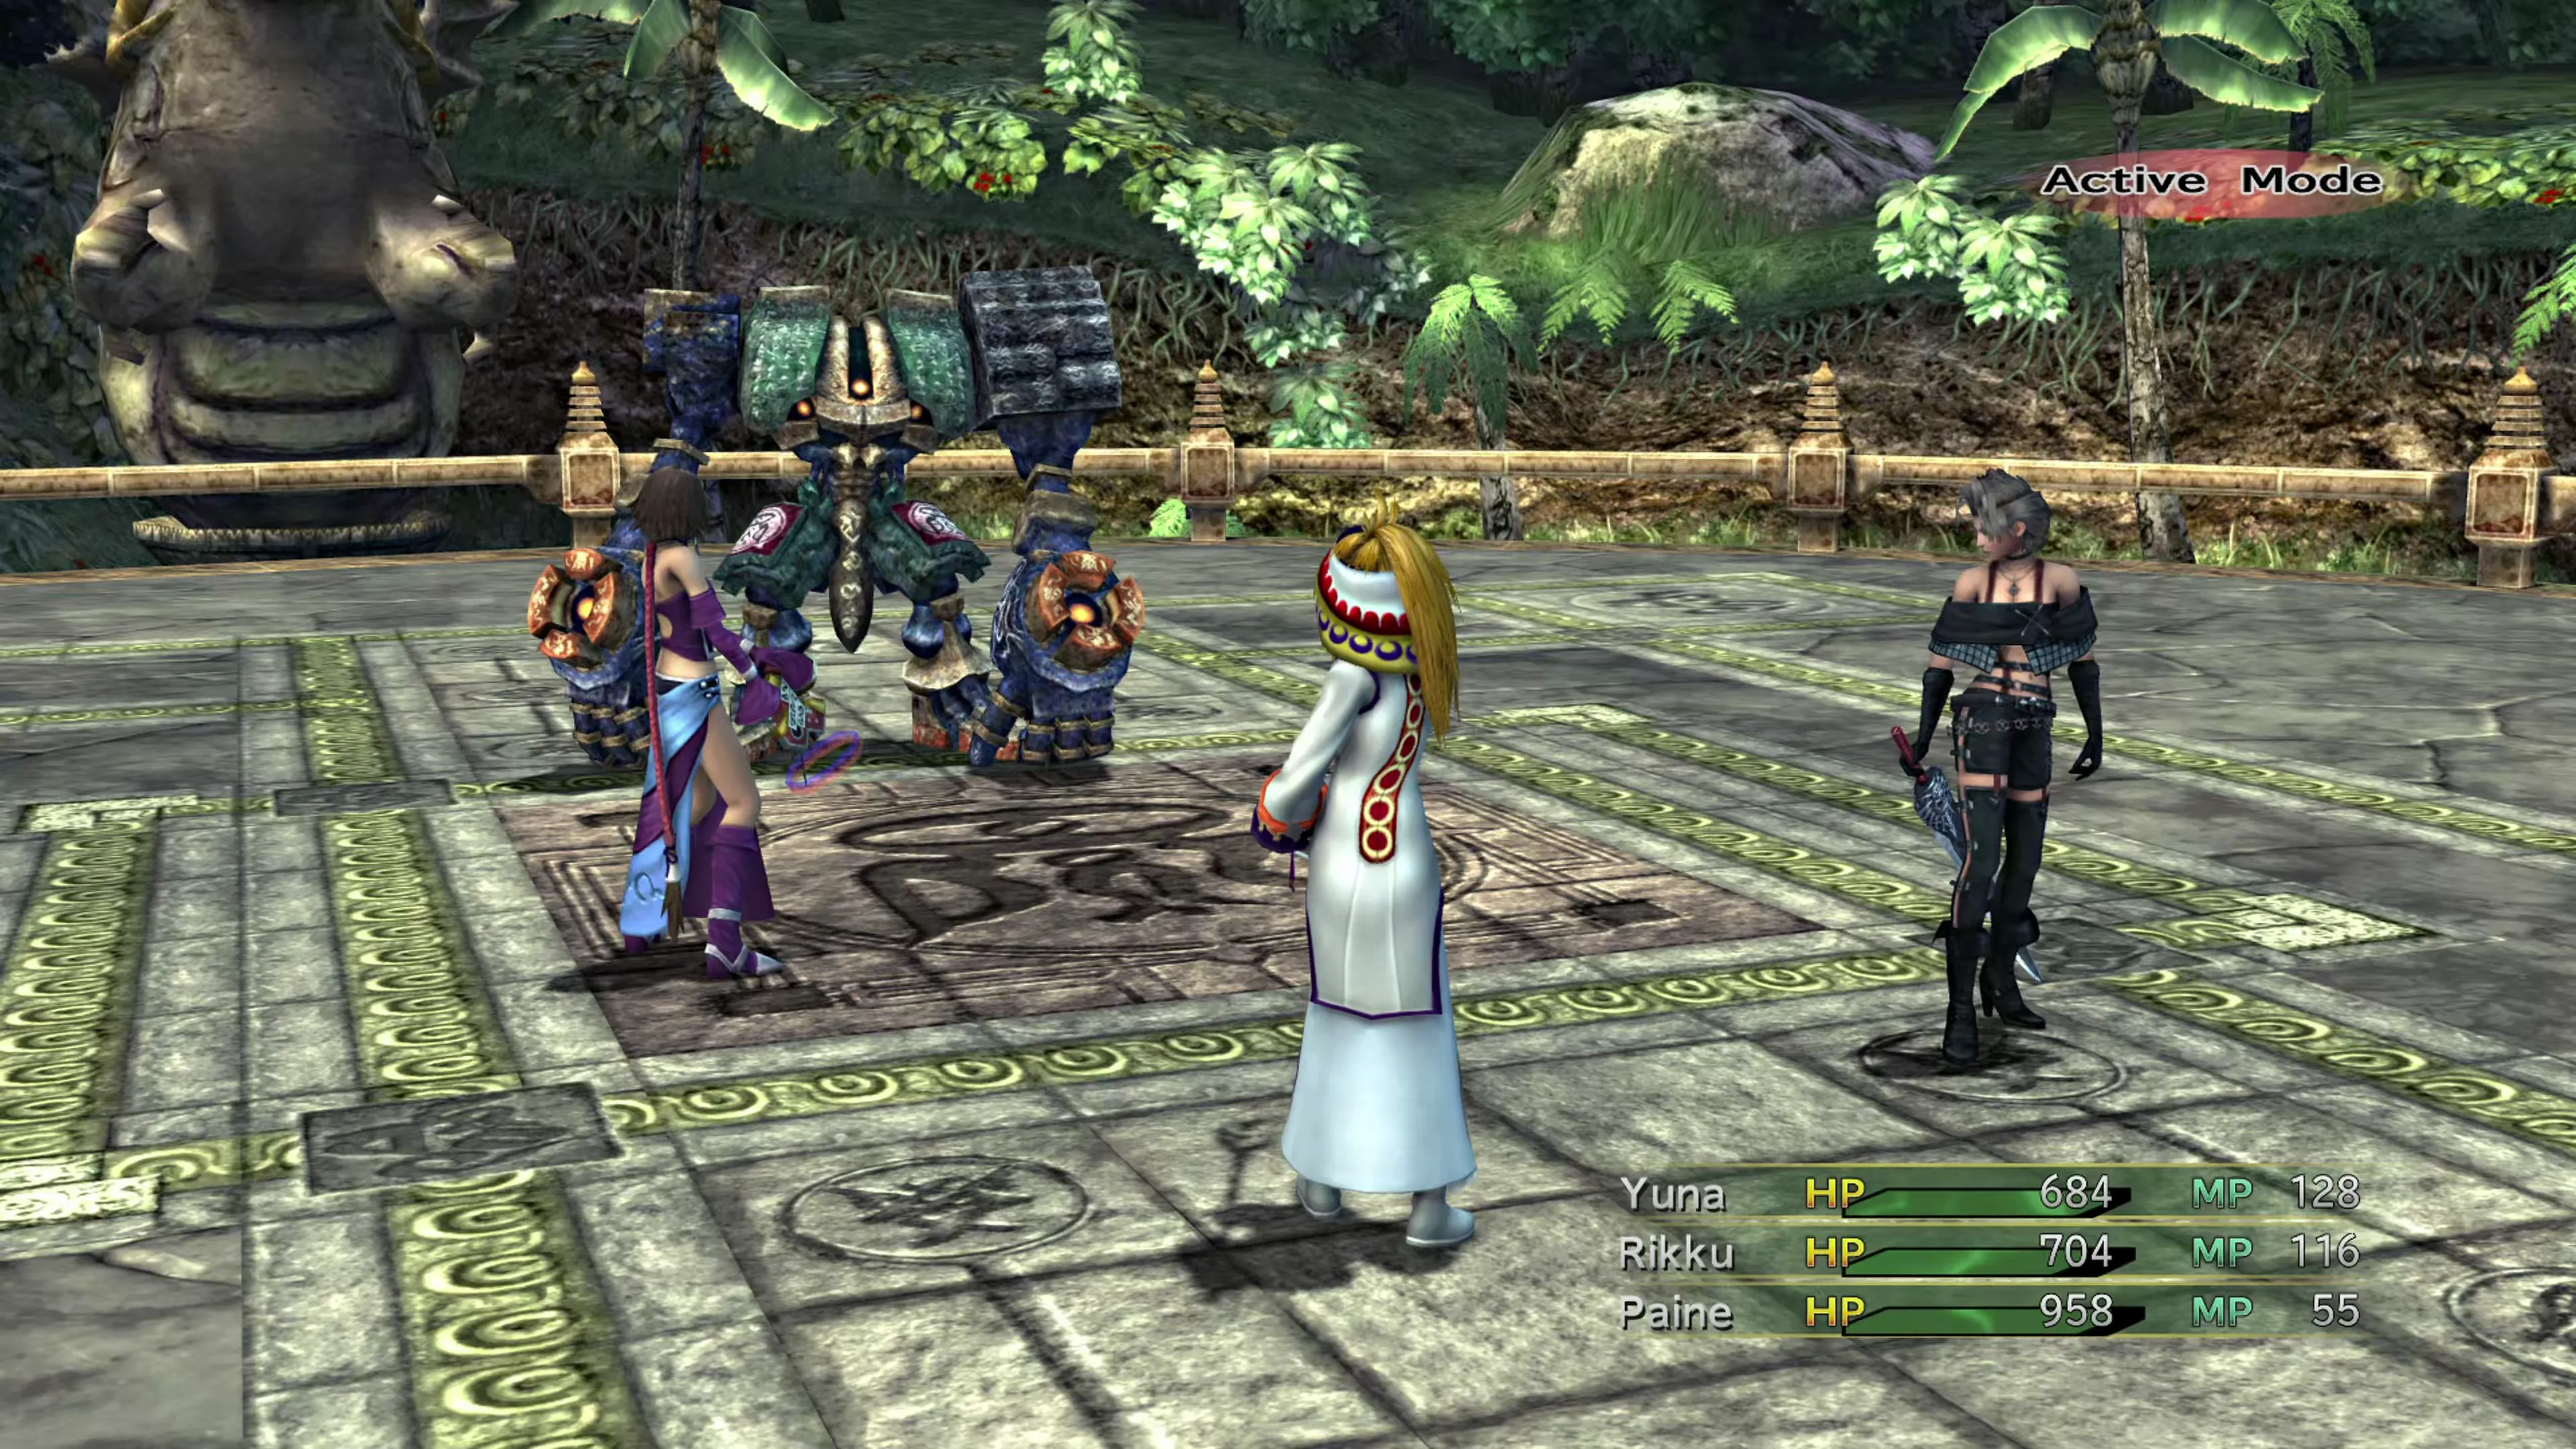
This achievement/trophy will be awarded automatically after you’ve defeated YSLS-Zero in Kilika Island at the end of Chapter 1.
 |  |
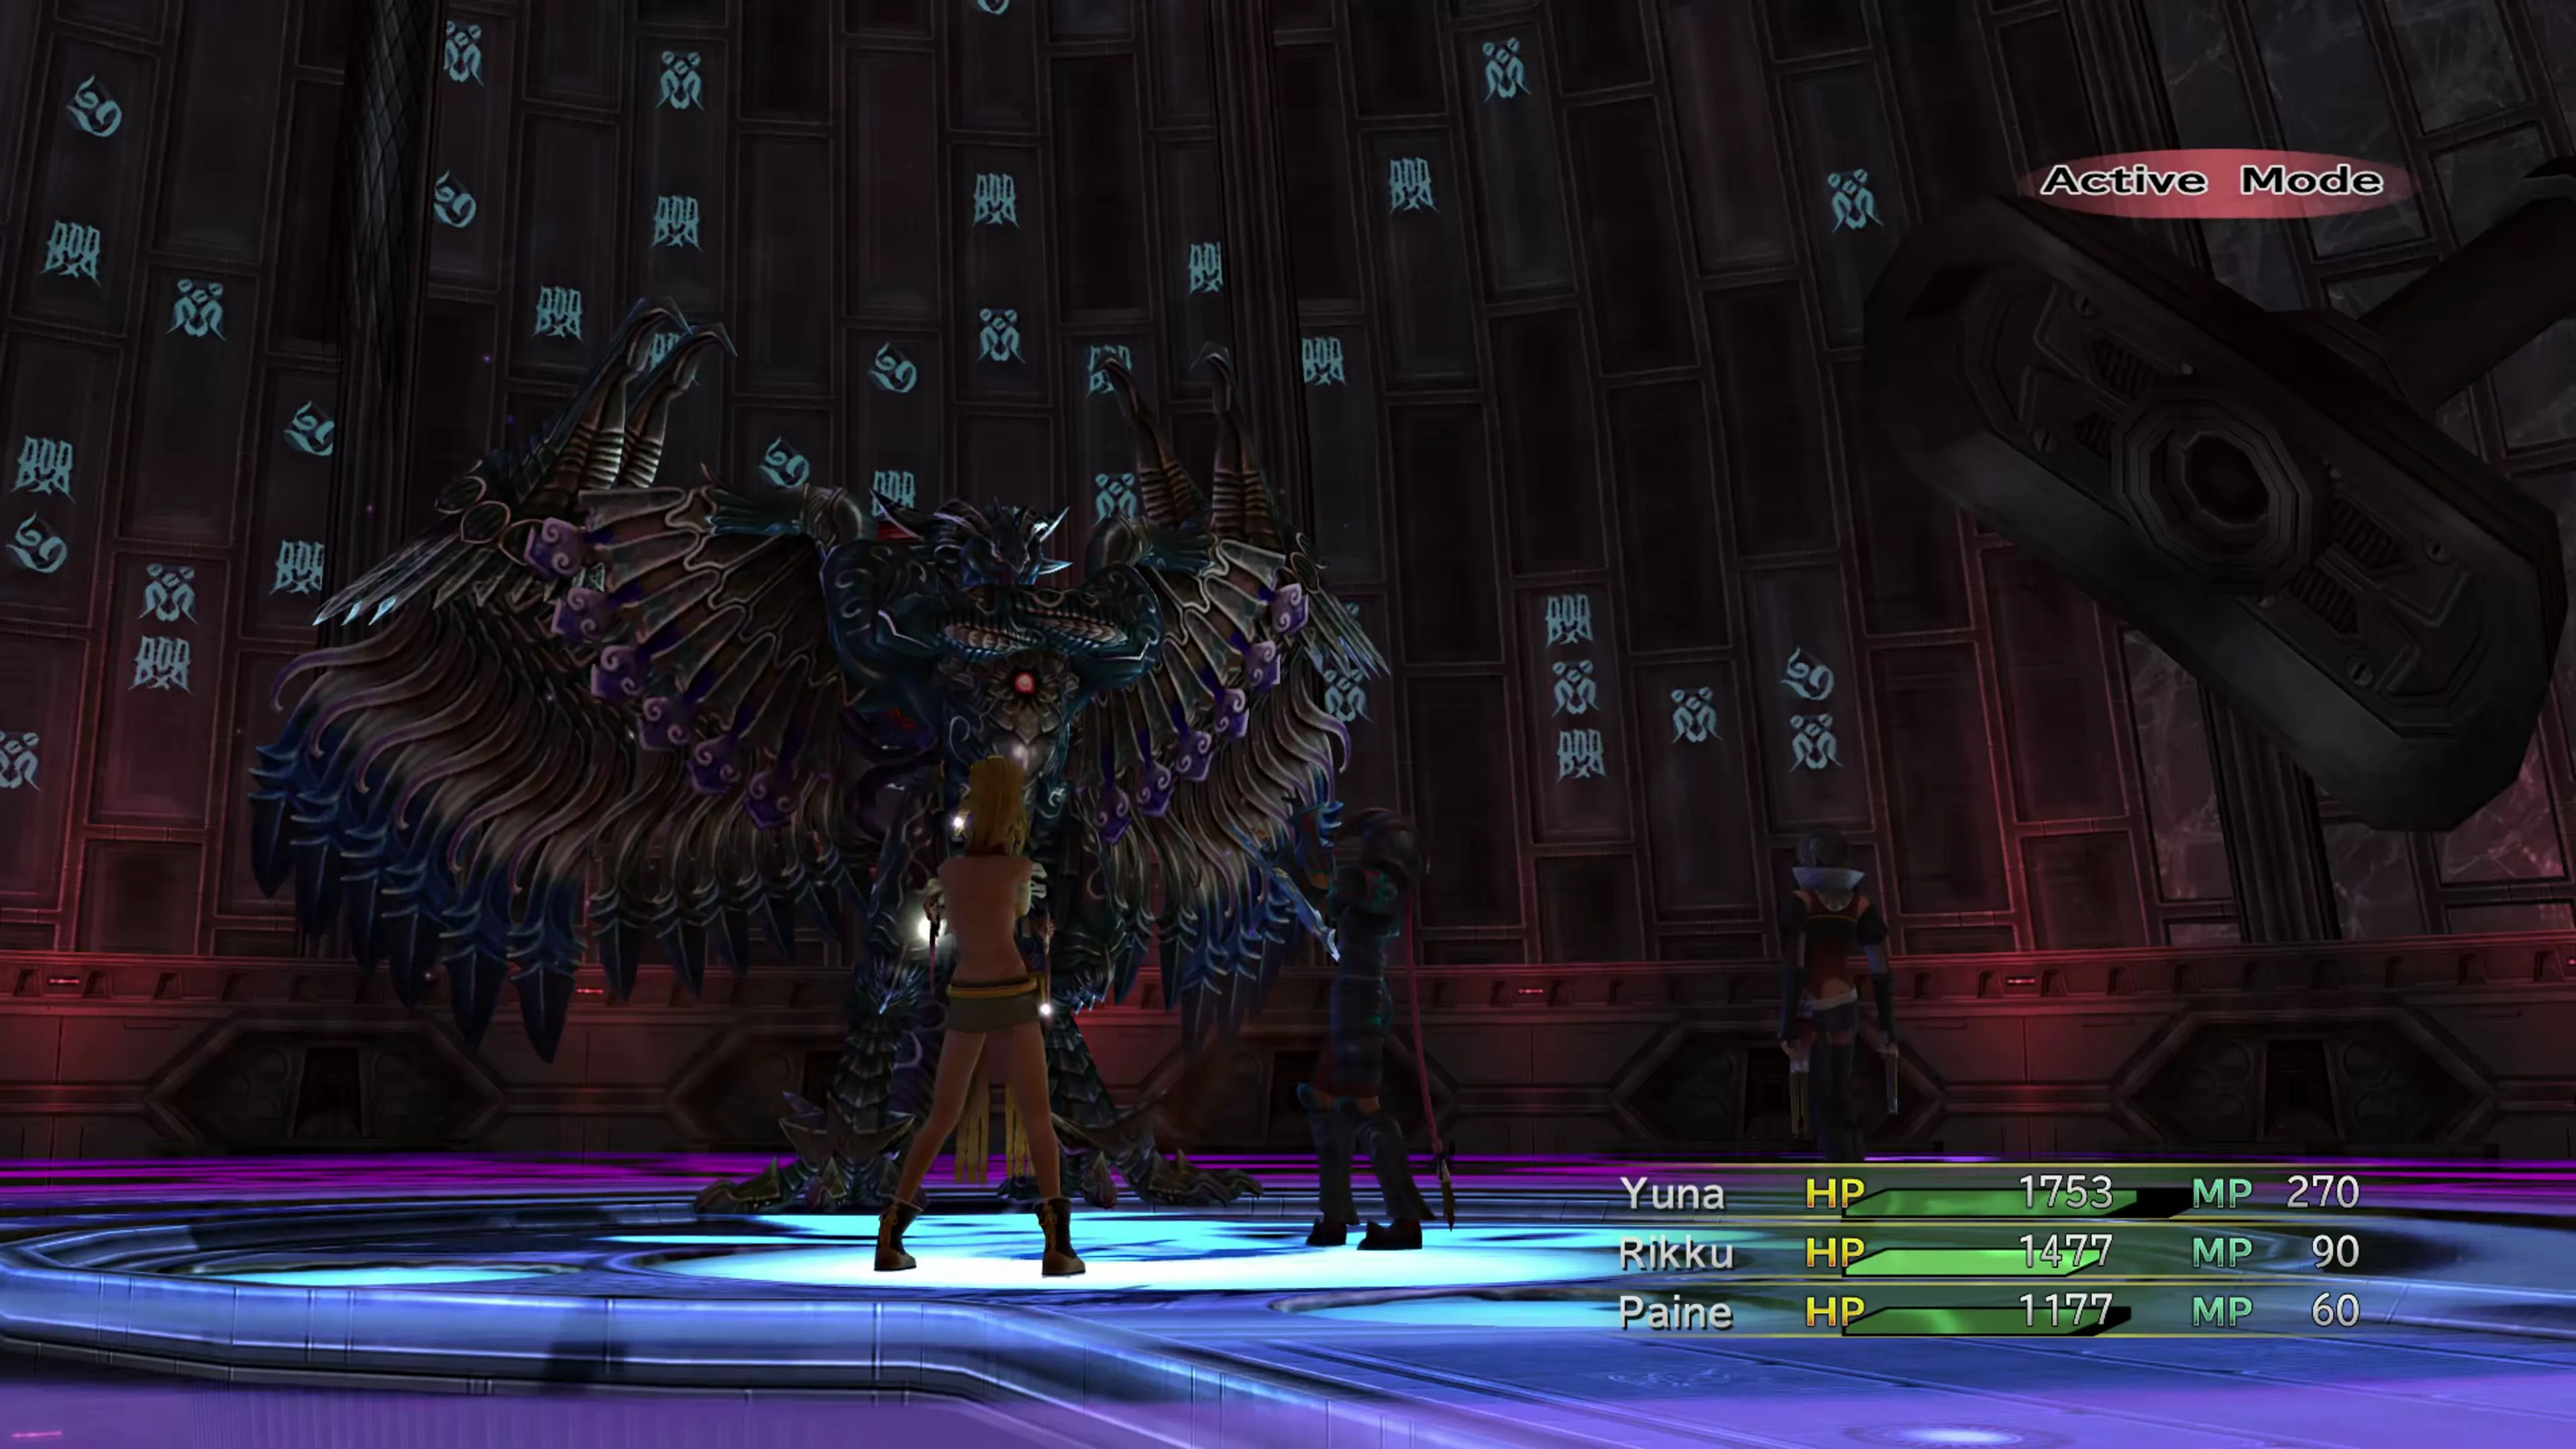
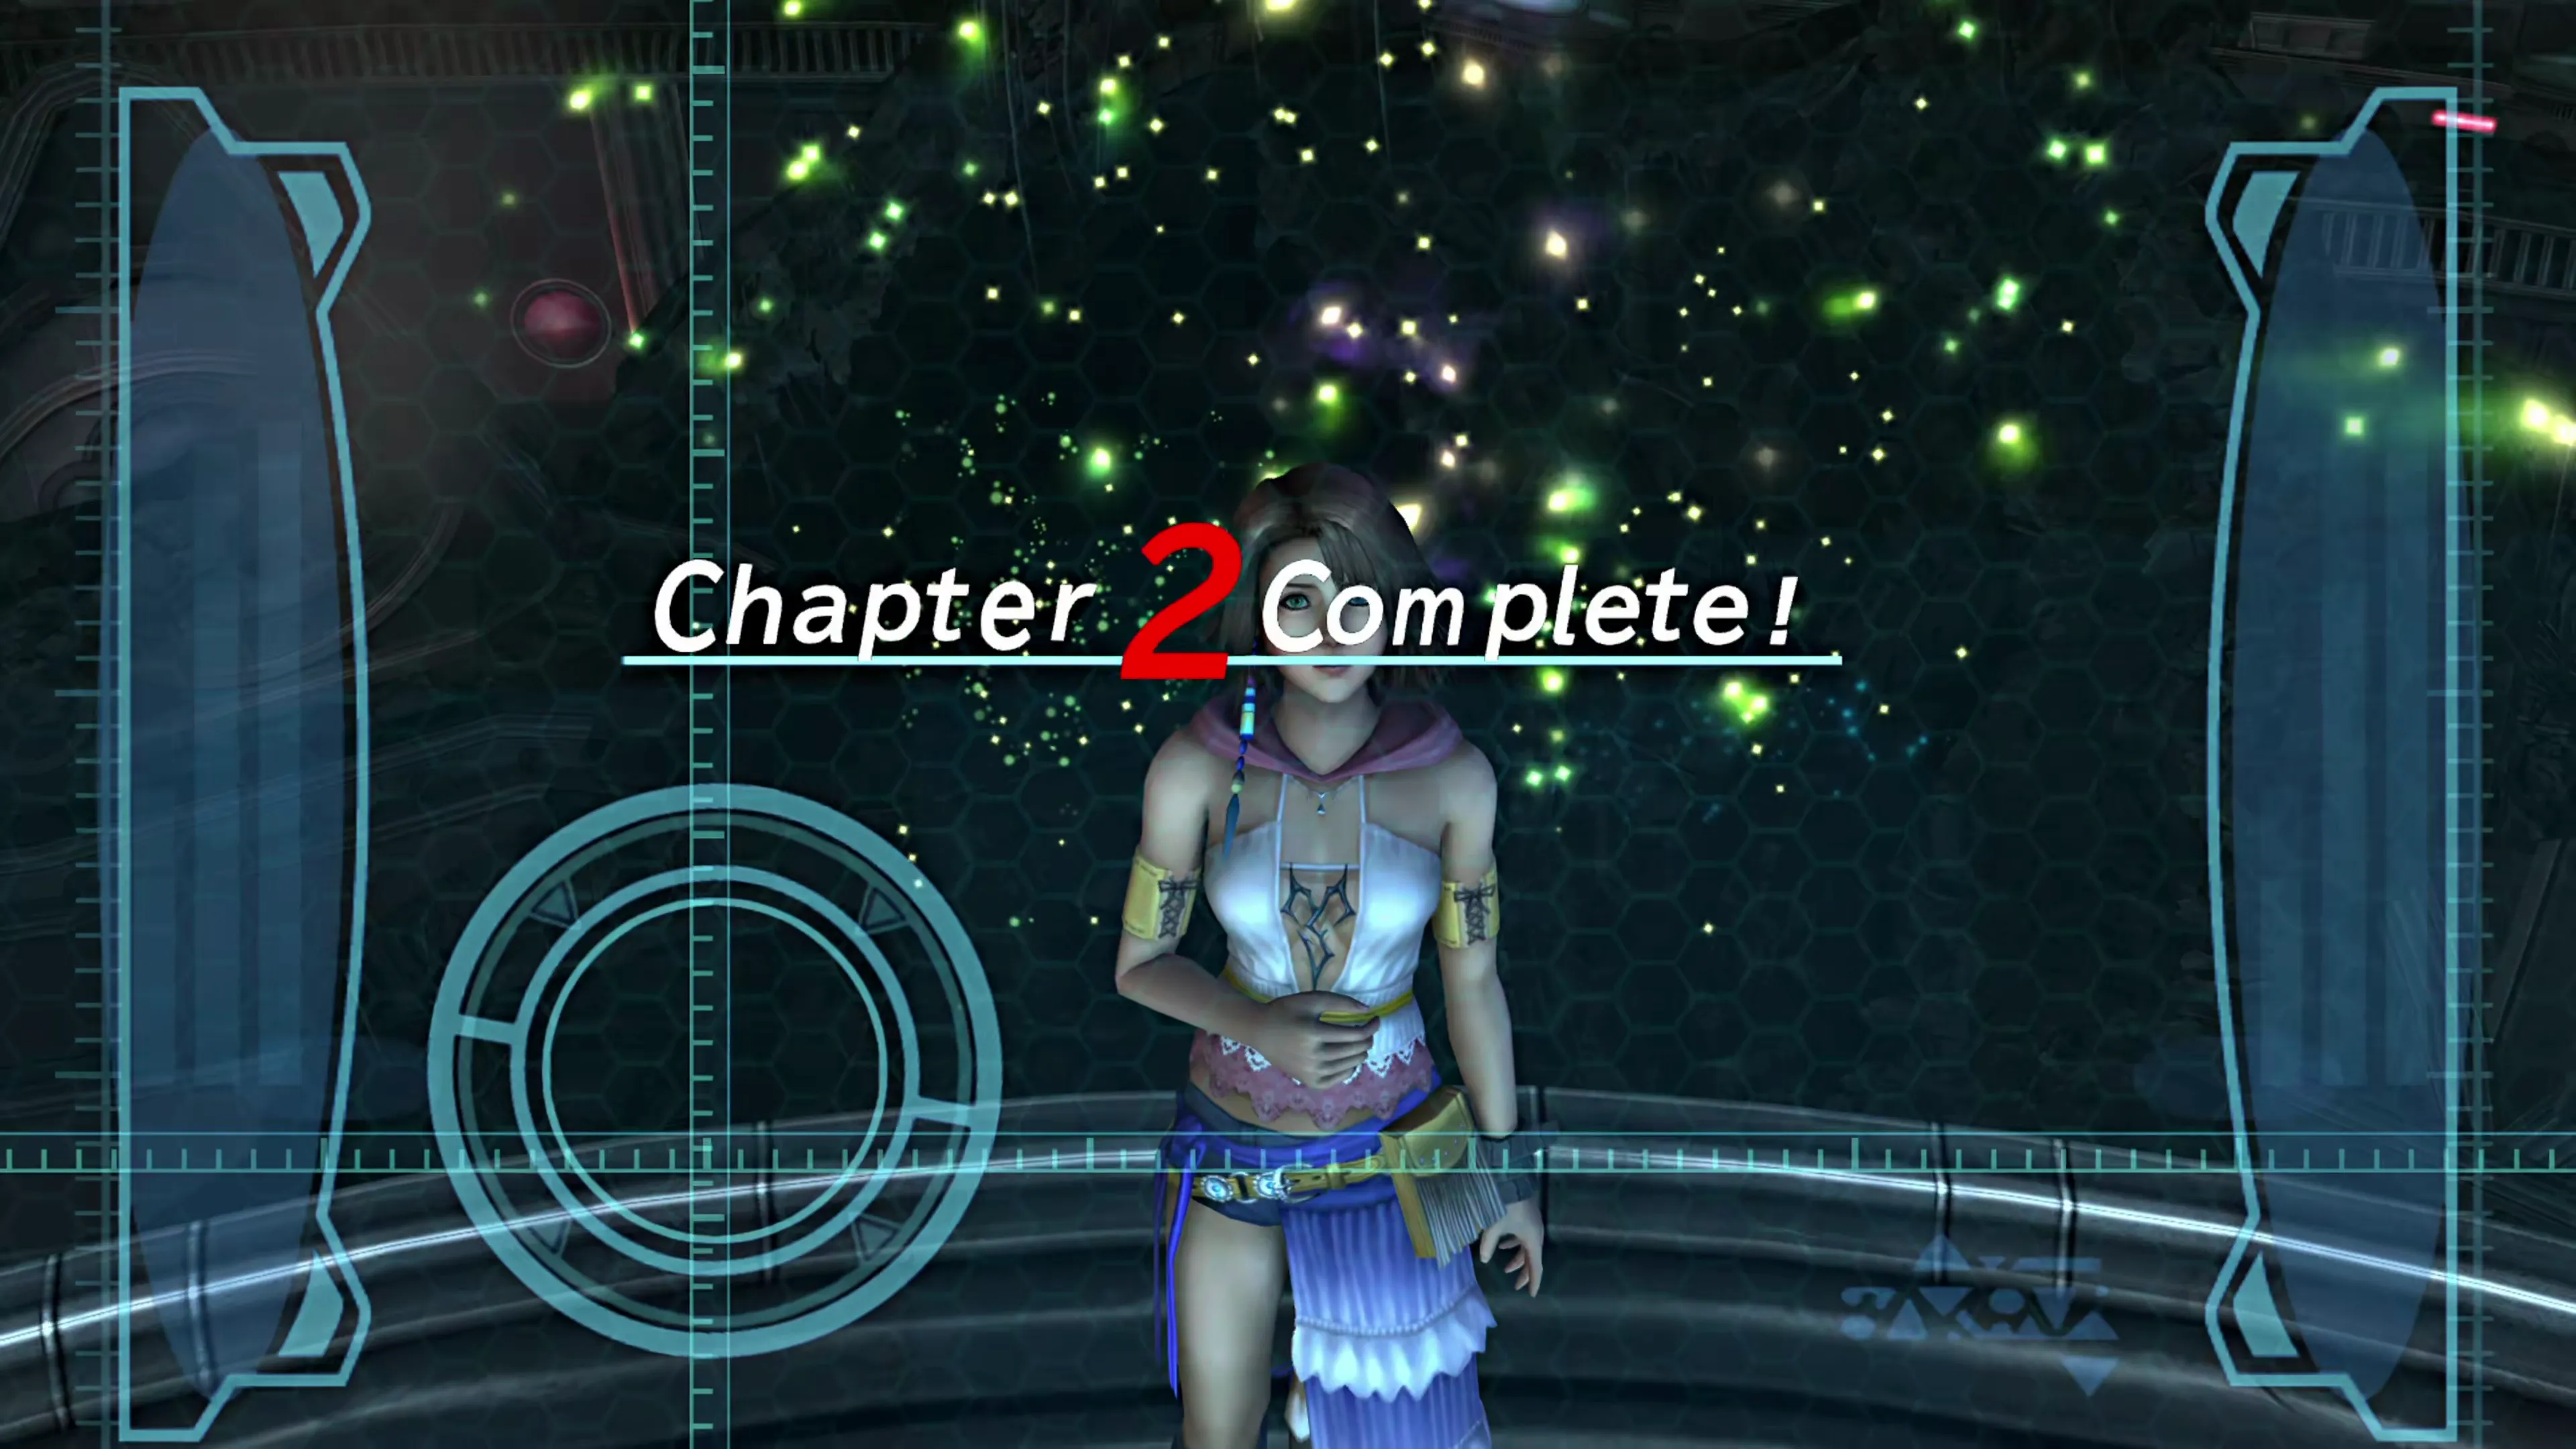
This achievement/trophy will be awarded automatically after you’ve defeated Bahamut in Bevelle at the end of Chapter 2.
 |  |
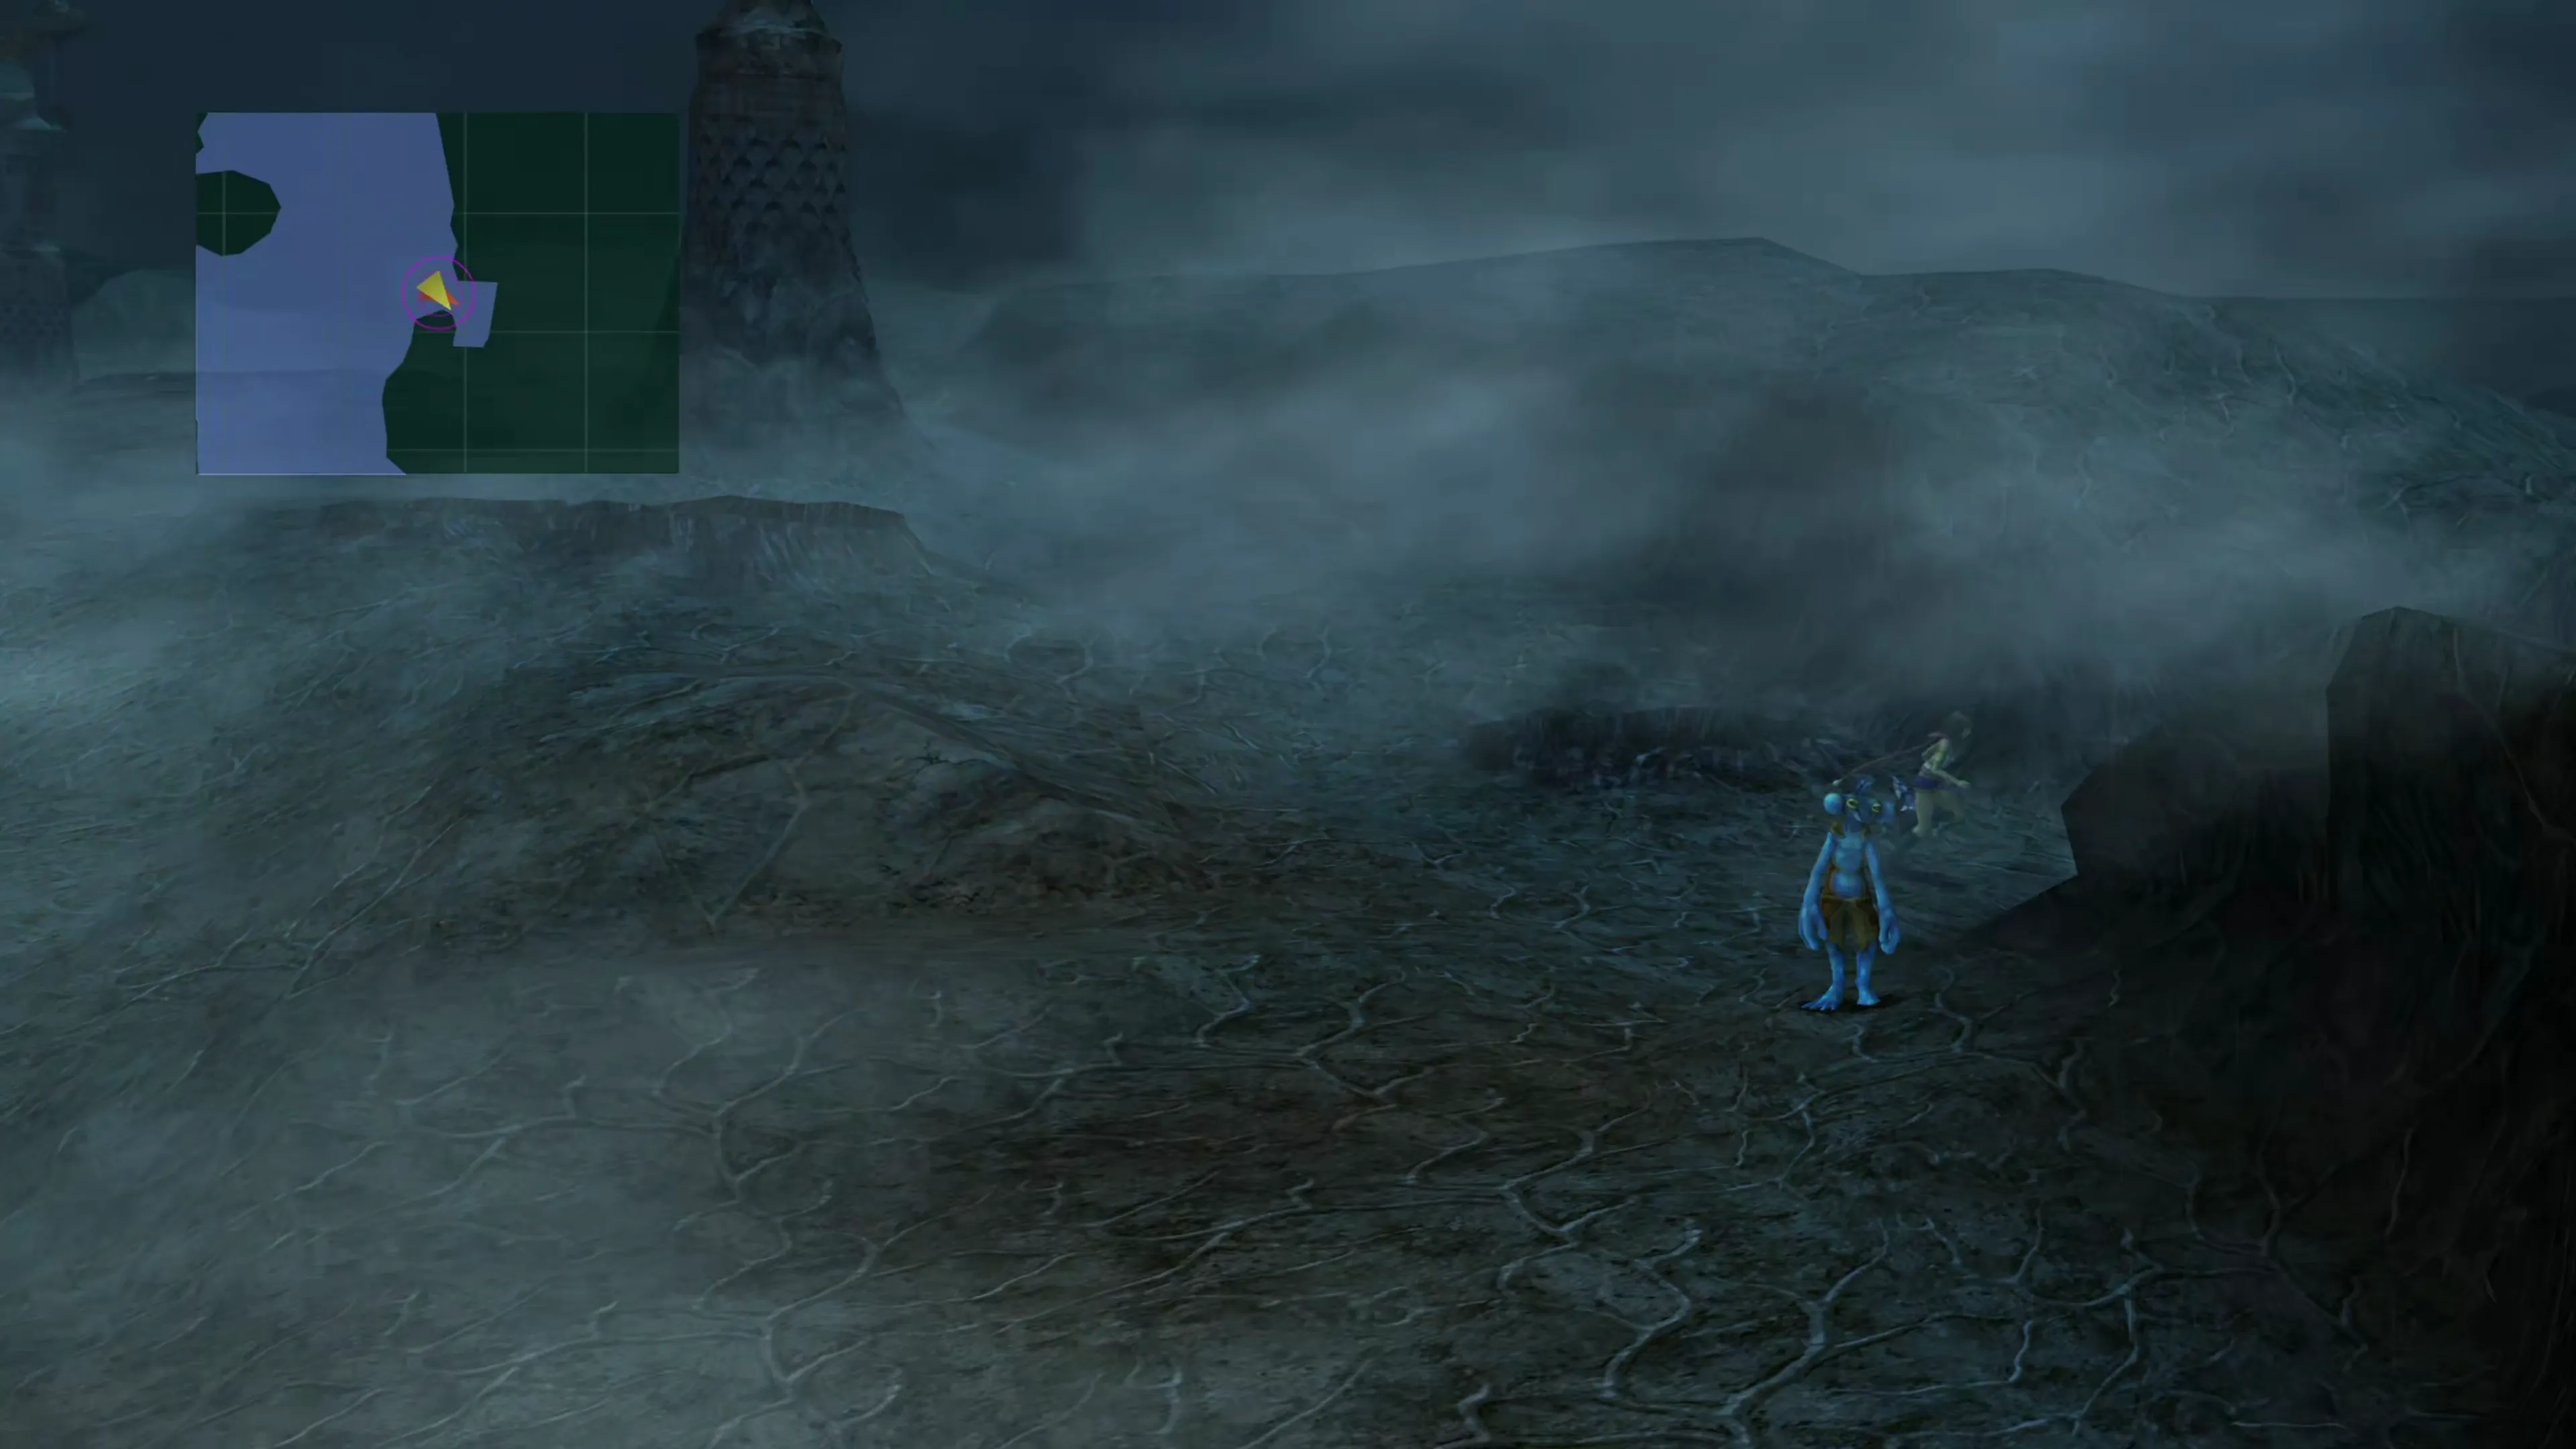
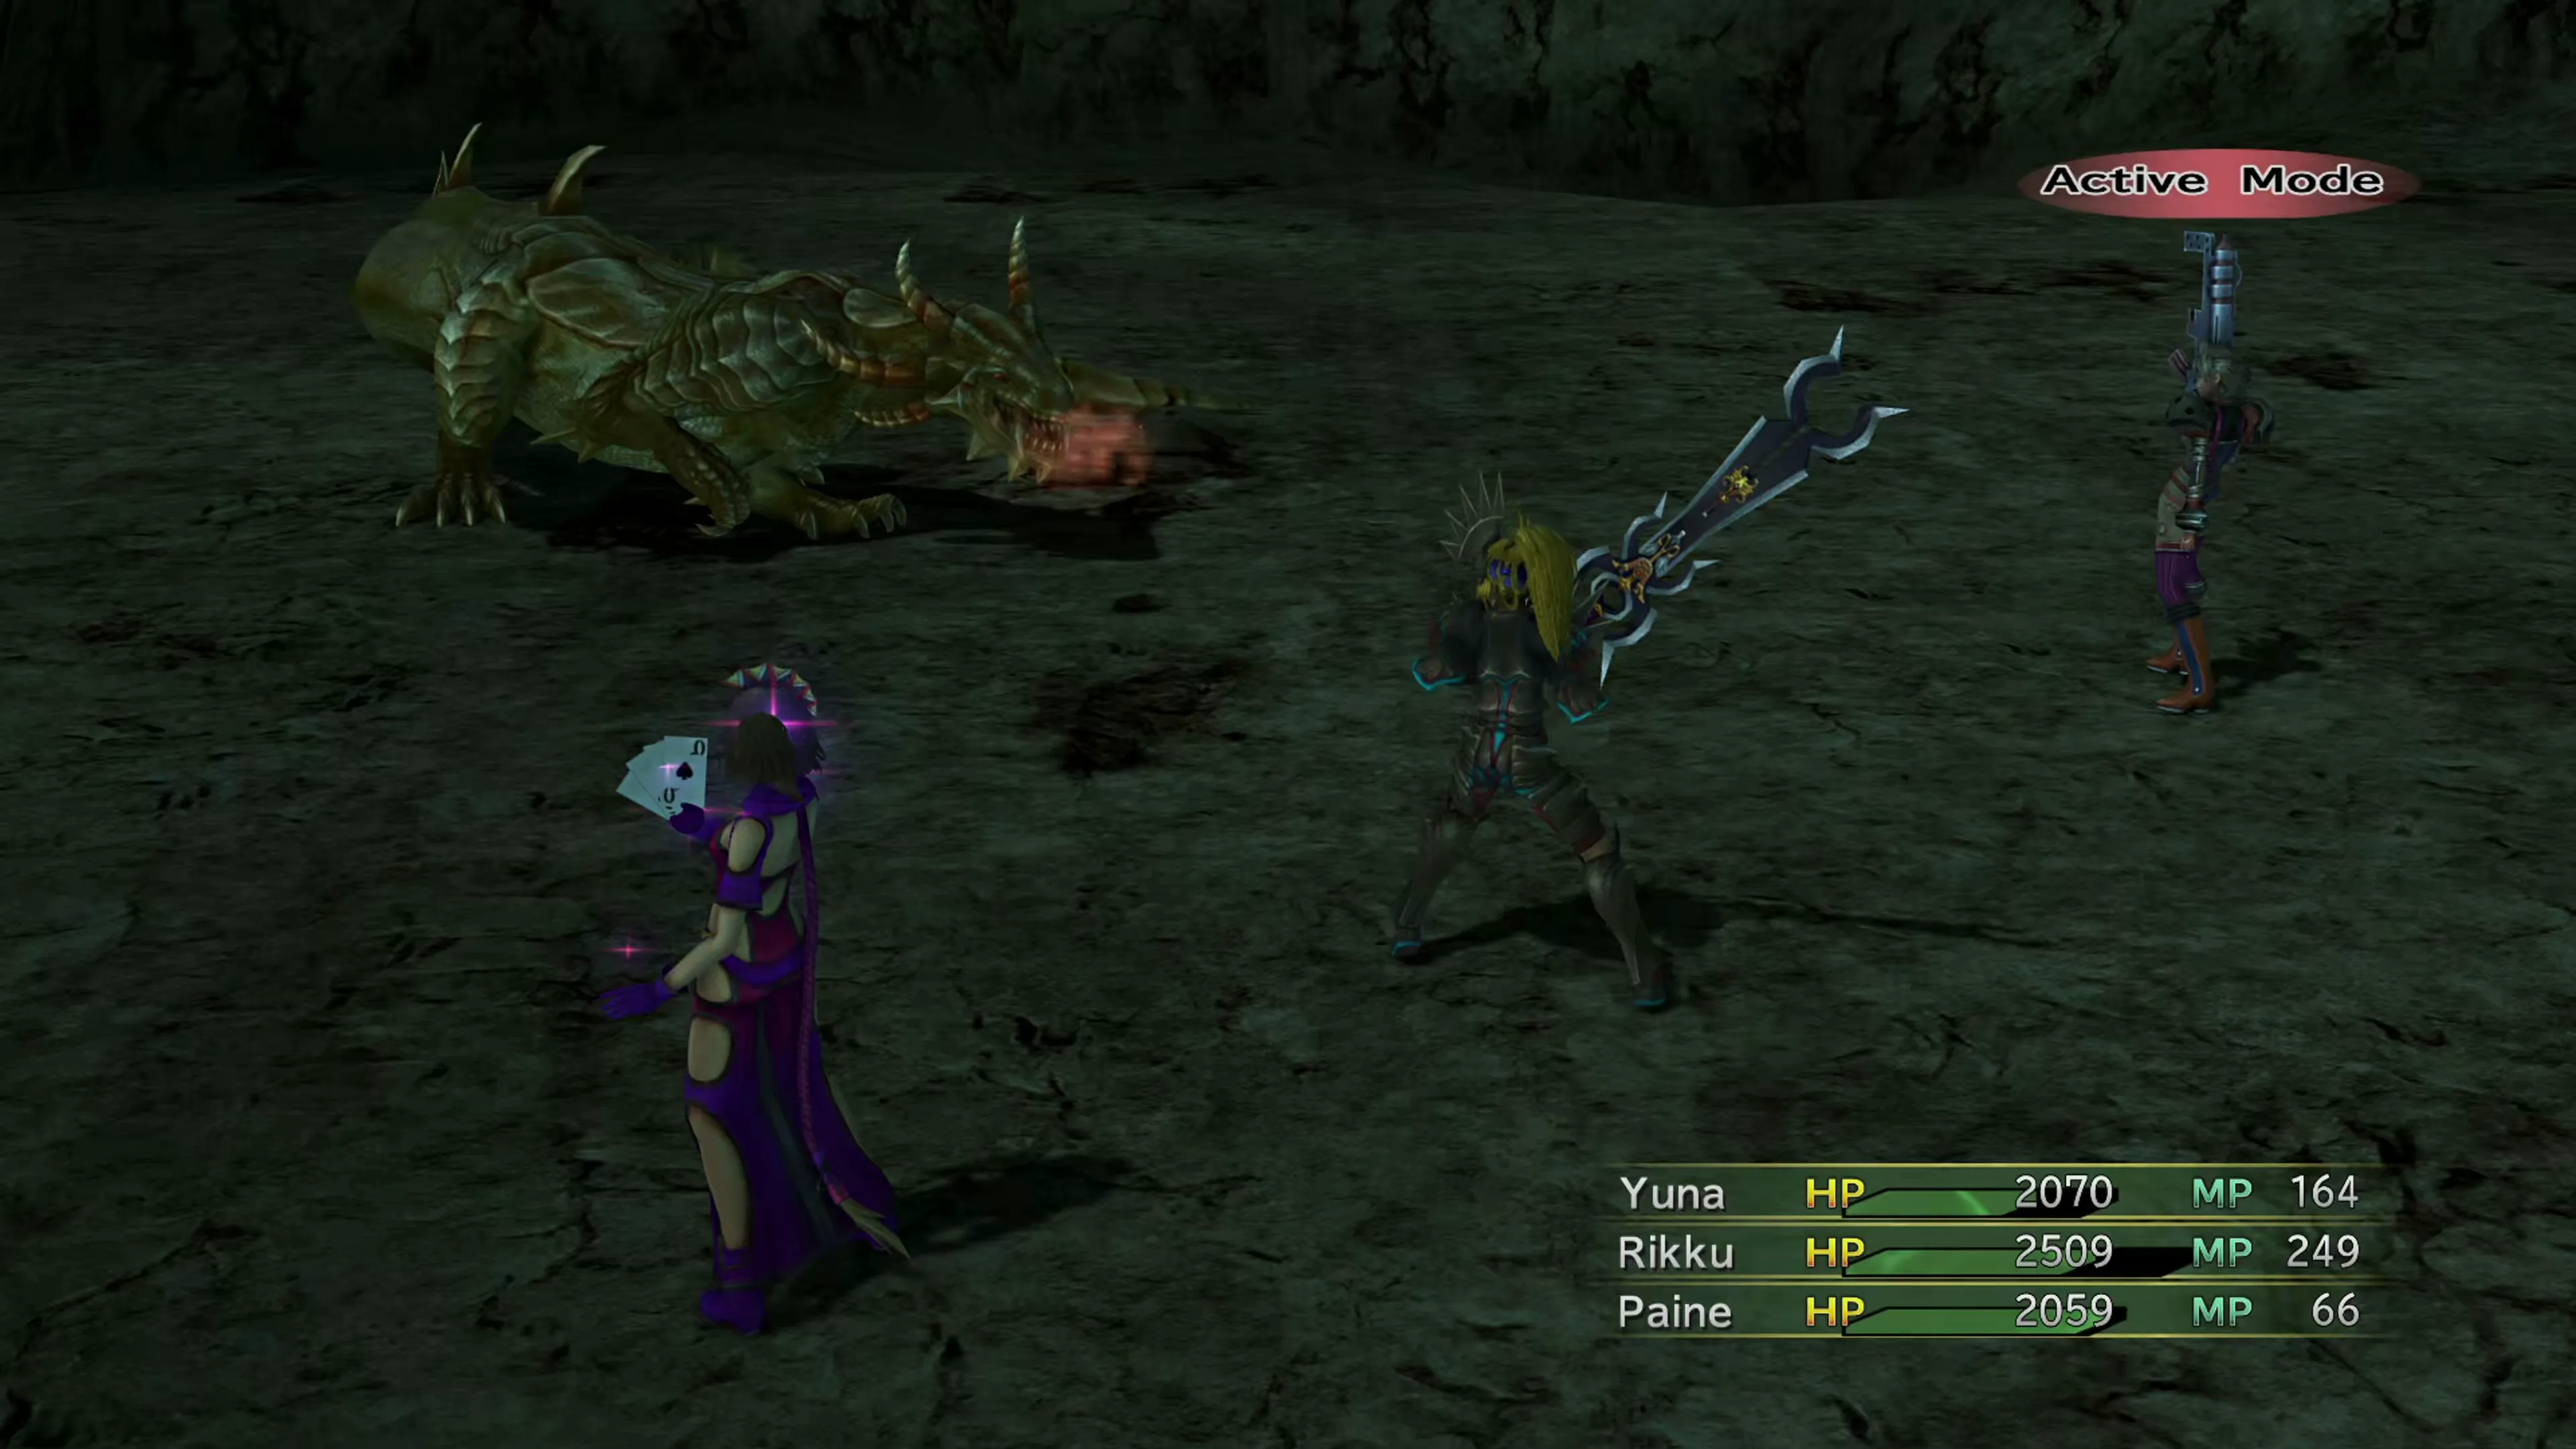
This achievement/trophy will be awarded automatically after you’ve defeated Zalamander in the Thunder Plains in the Fiend Haunt during the last portion of Chapter 4.
 |  |
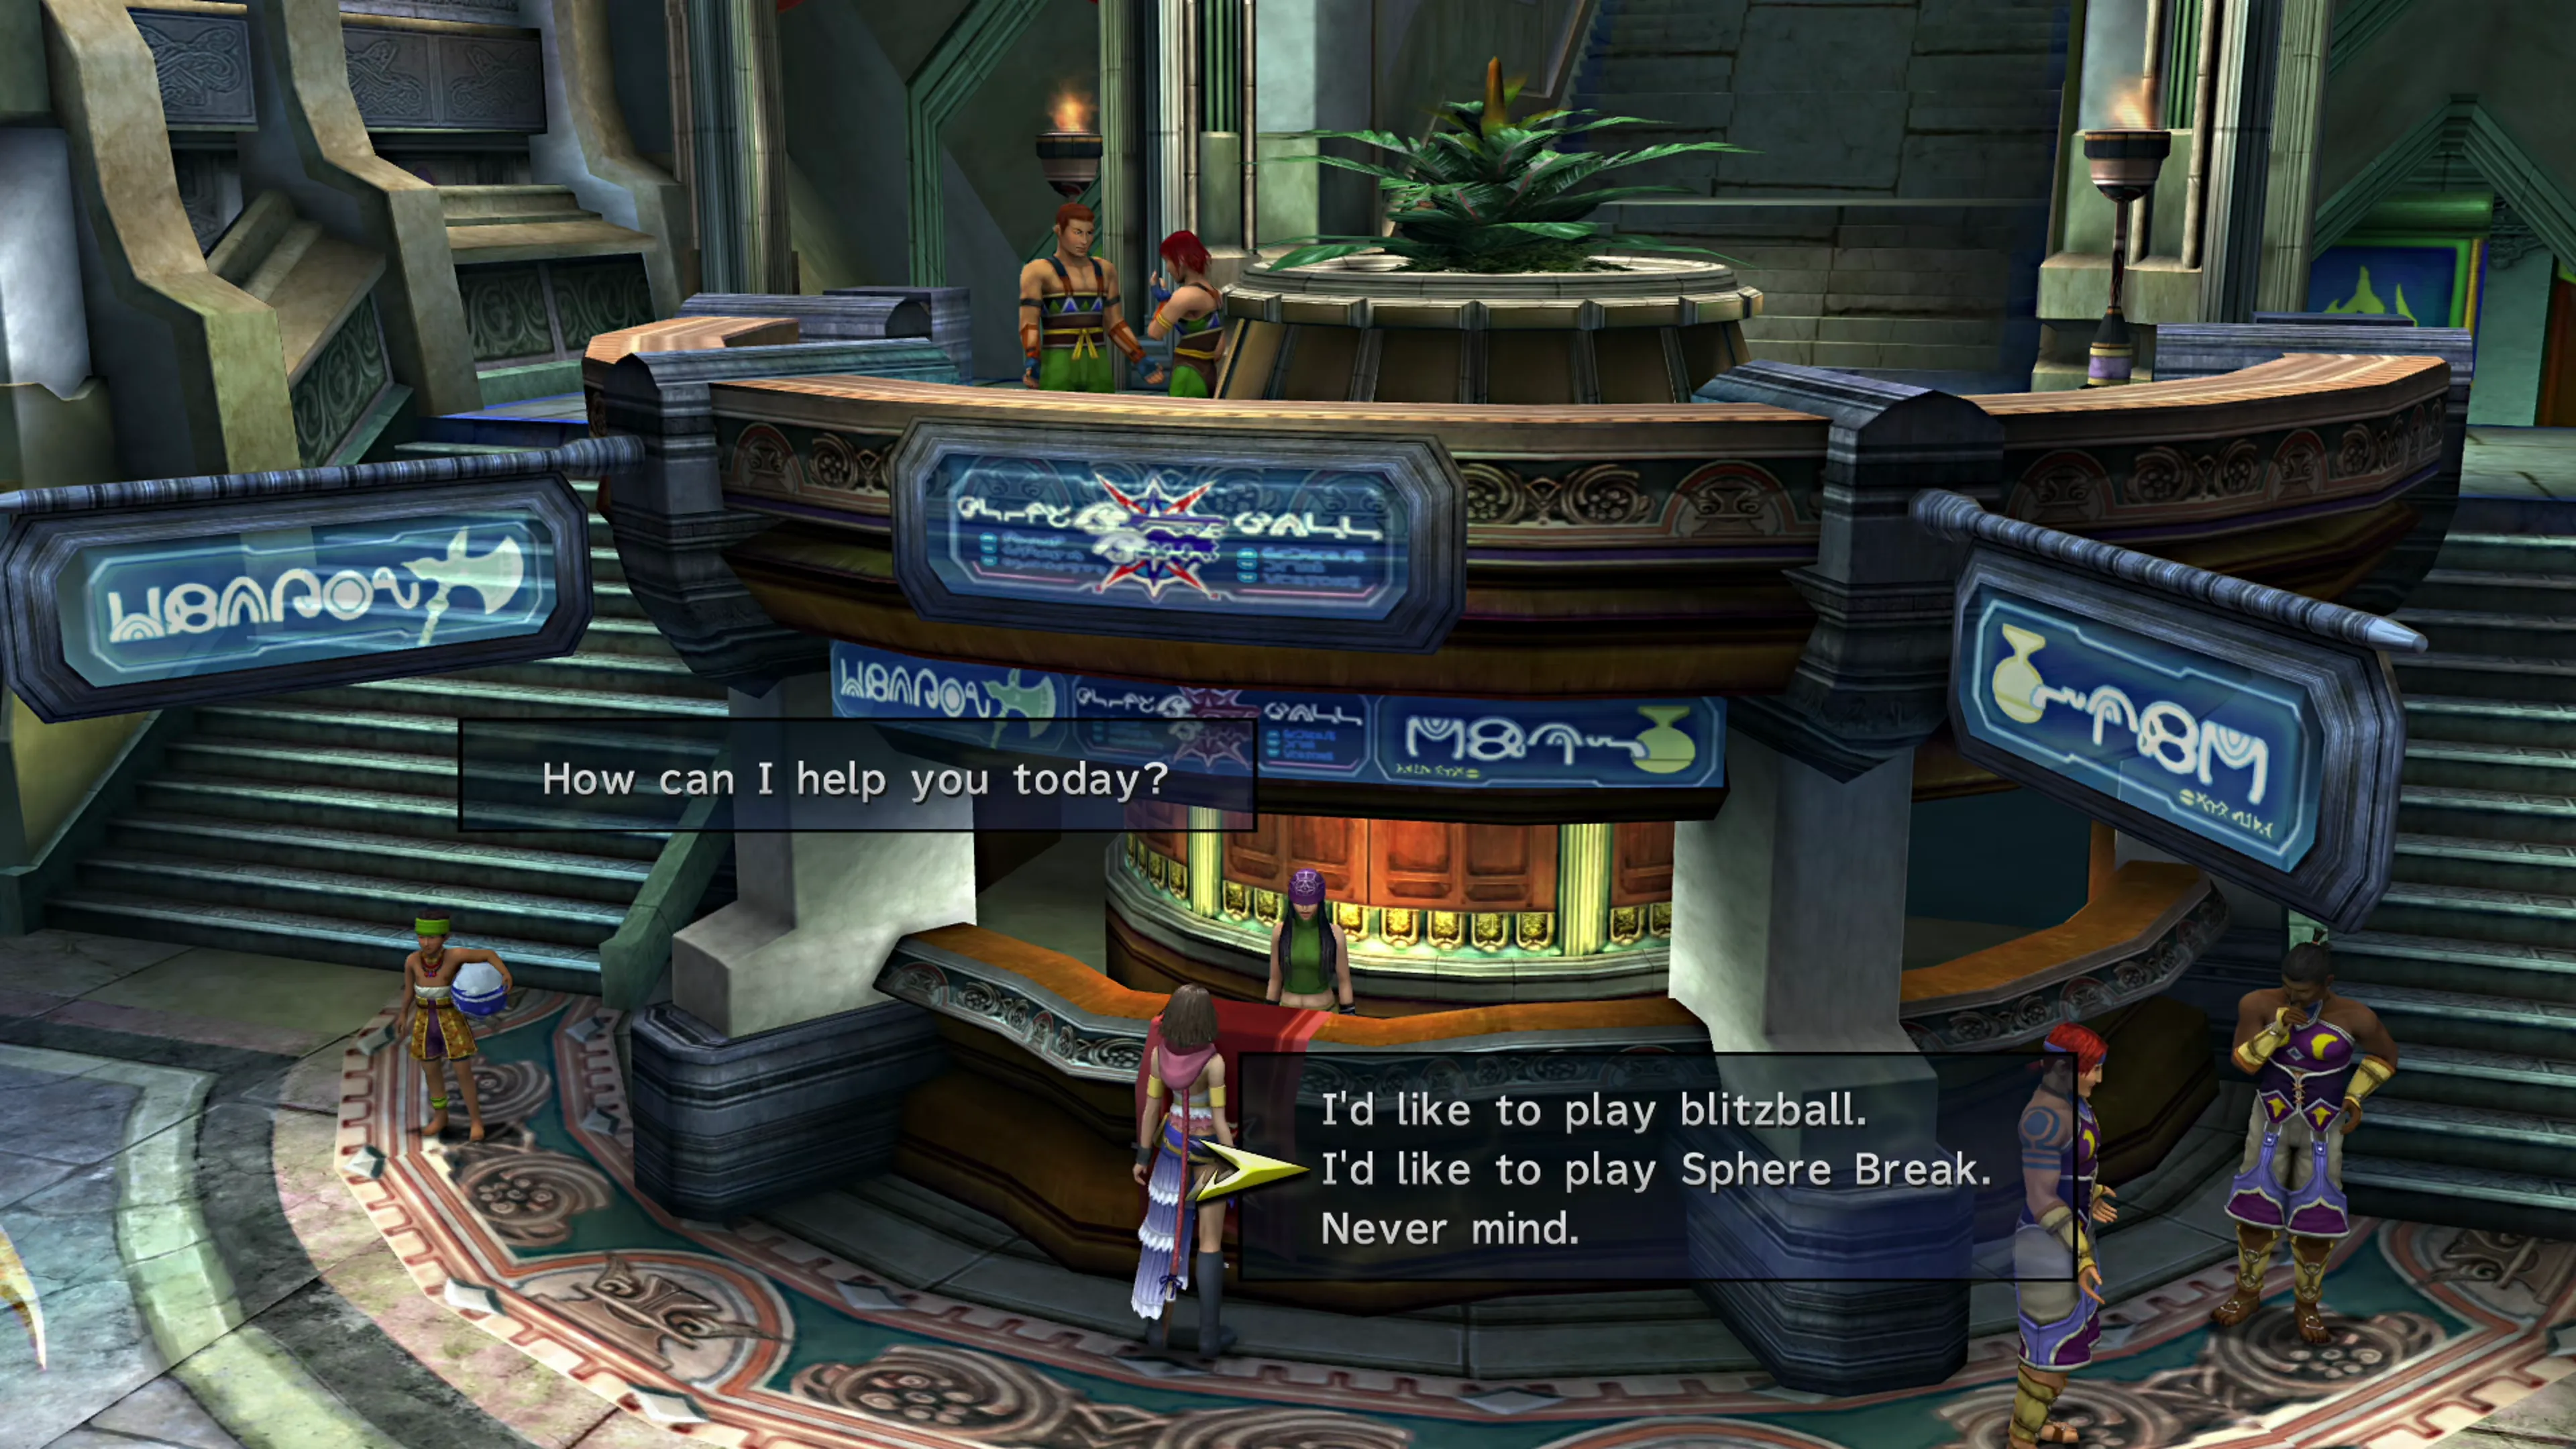
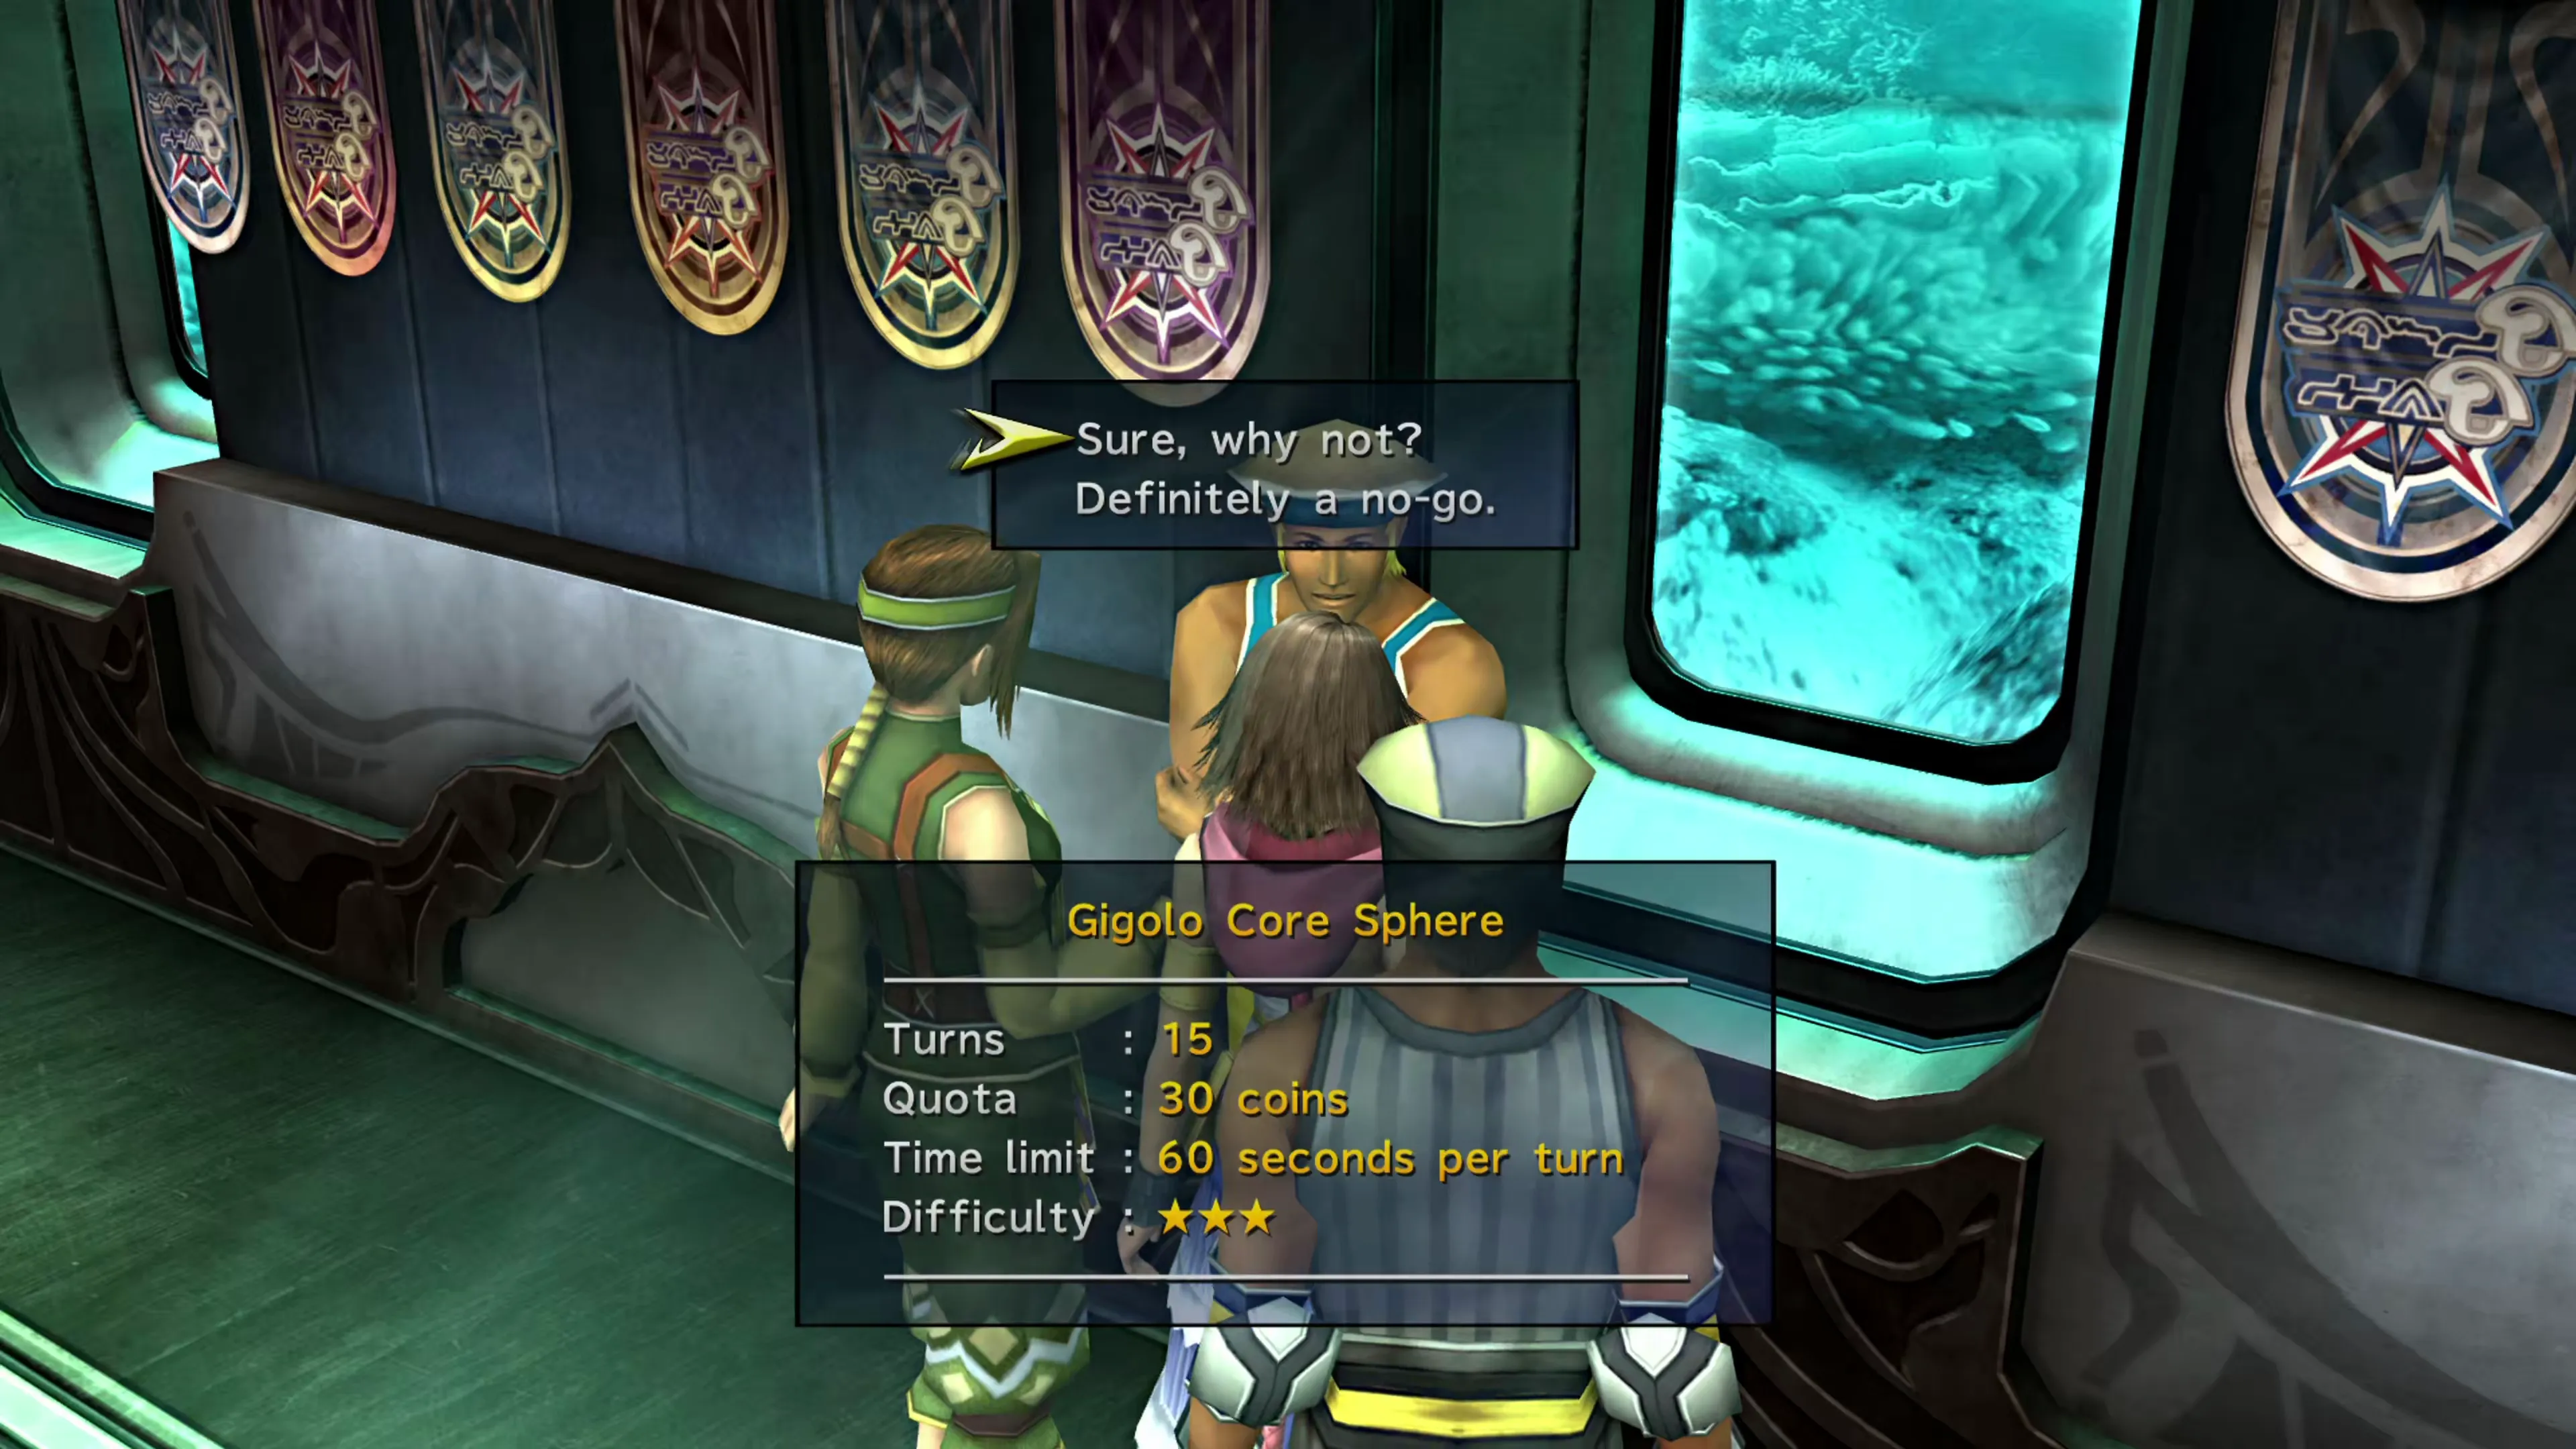
You’ll earn this achievement/trophy after winning ten Sphere Break games. You won’t play enough games during the tournament in Chapter 3, but you can come back to Luca at any time, speak to the woman behind the counter in front of Luca Stadium, and elect to play more games of Sphere Break.
It’s possible for you to initiate games of Sphere Break against many different opponents in and around Luca, but the easiest opponent to beat is typically considered to be the man leaning up against the wall in the Luca Stadium locker room. You can see him in the screenshot below.
If you’re interested in reading up on some tips and tricks for winning matches, check out the Sphere Break page in the side quest section.
 |  |
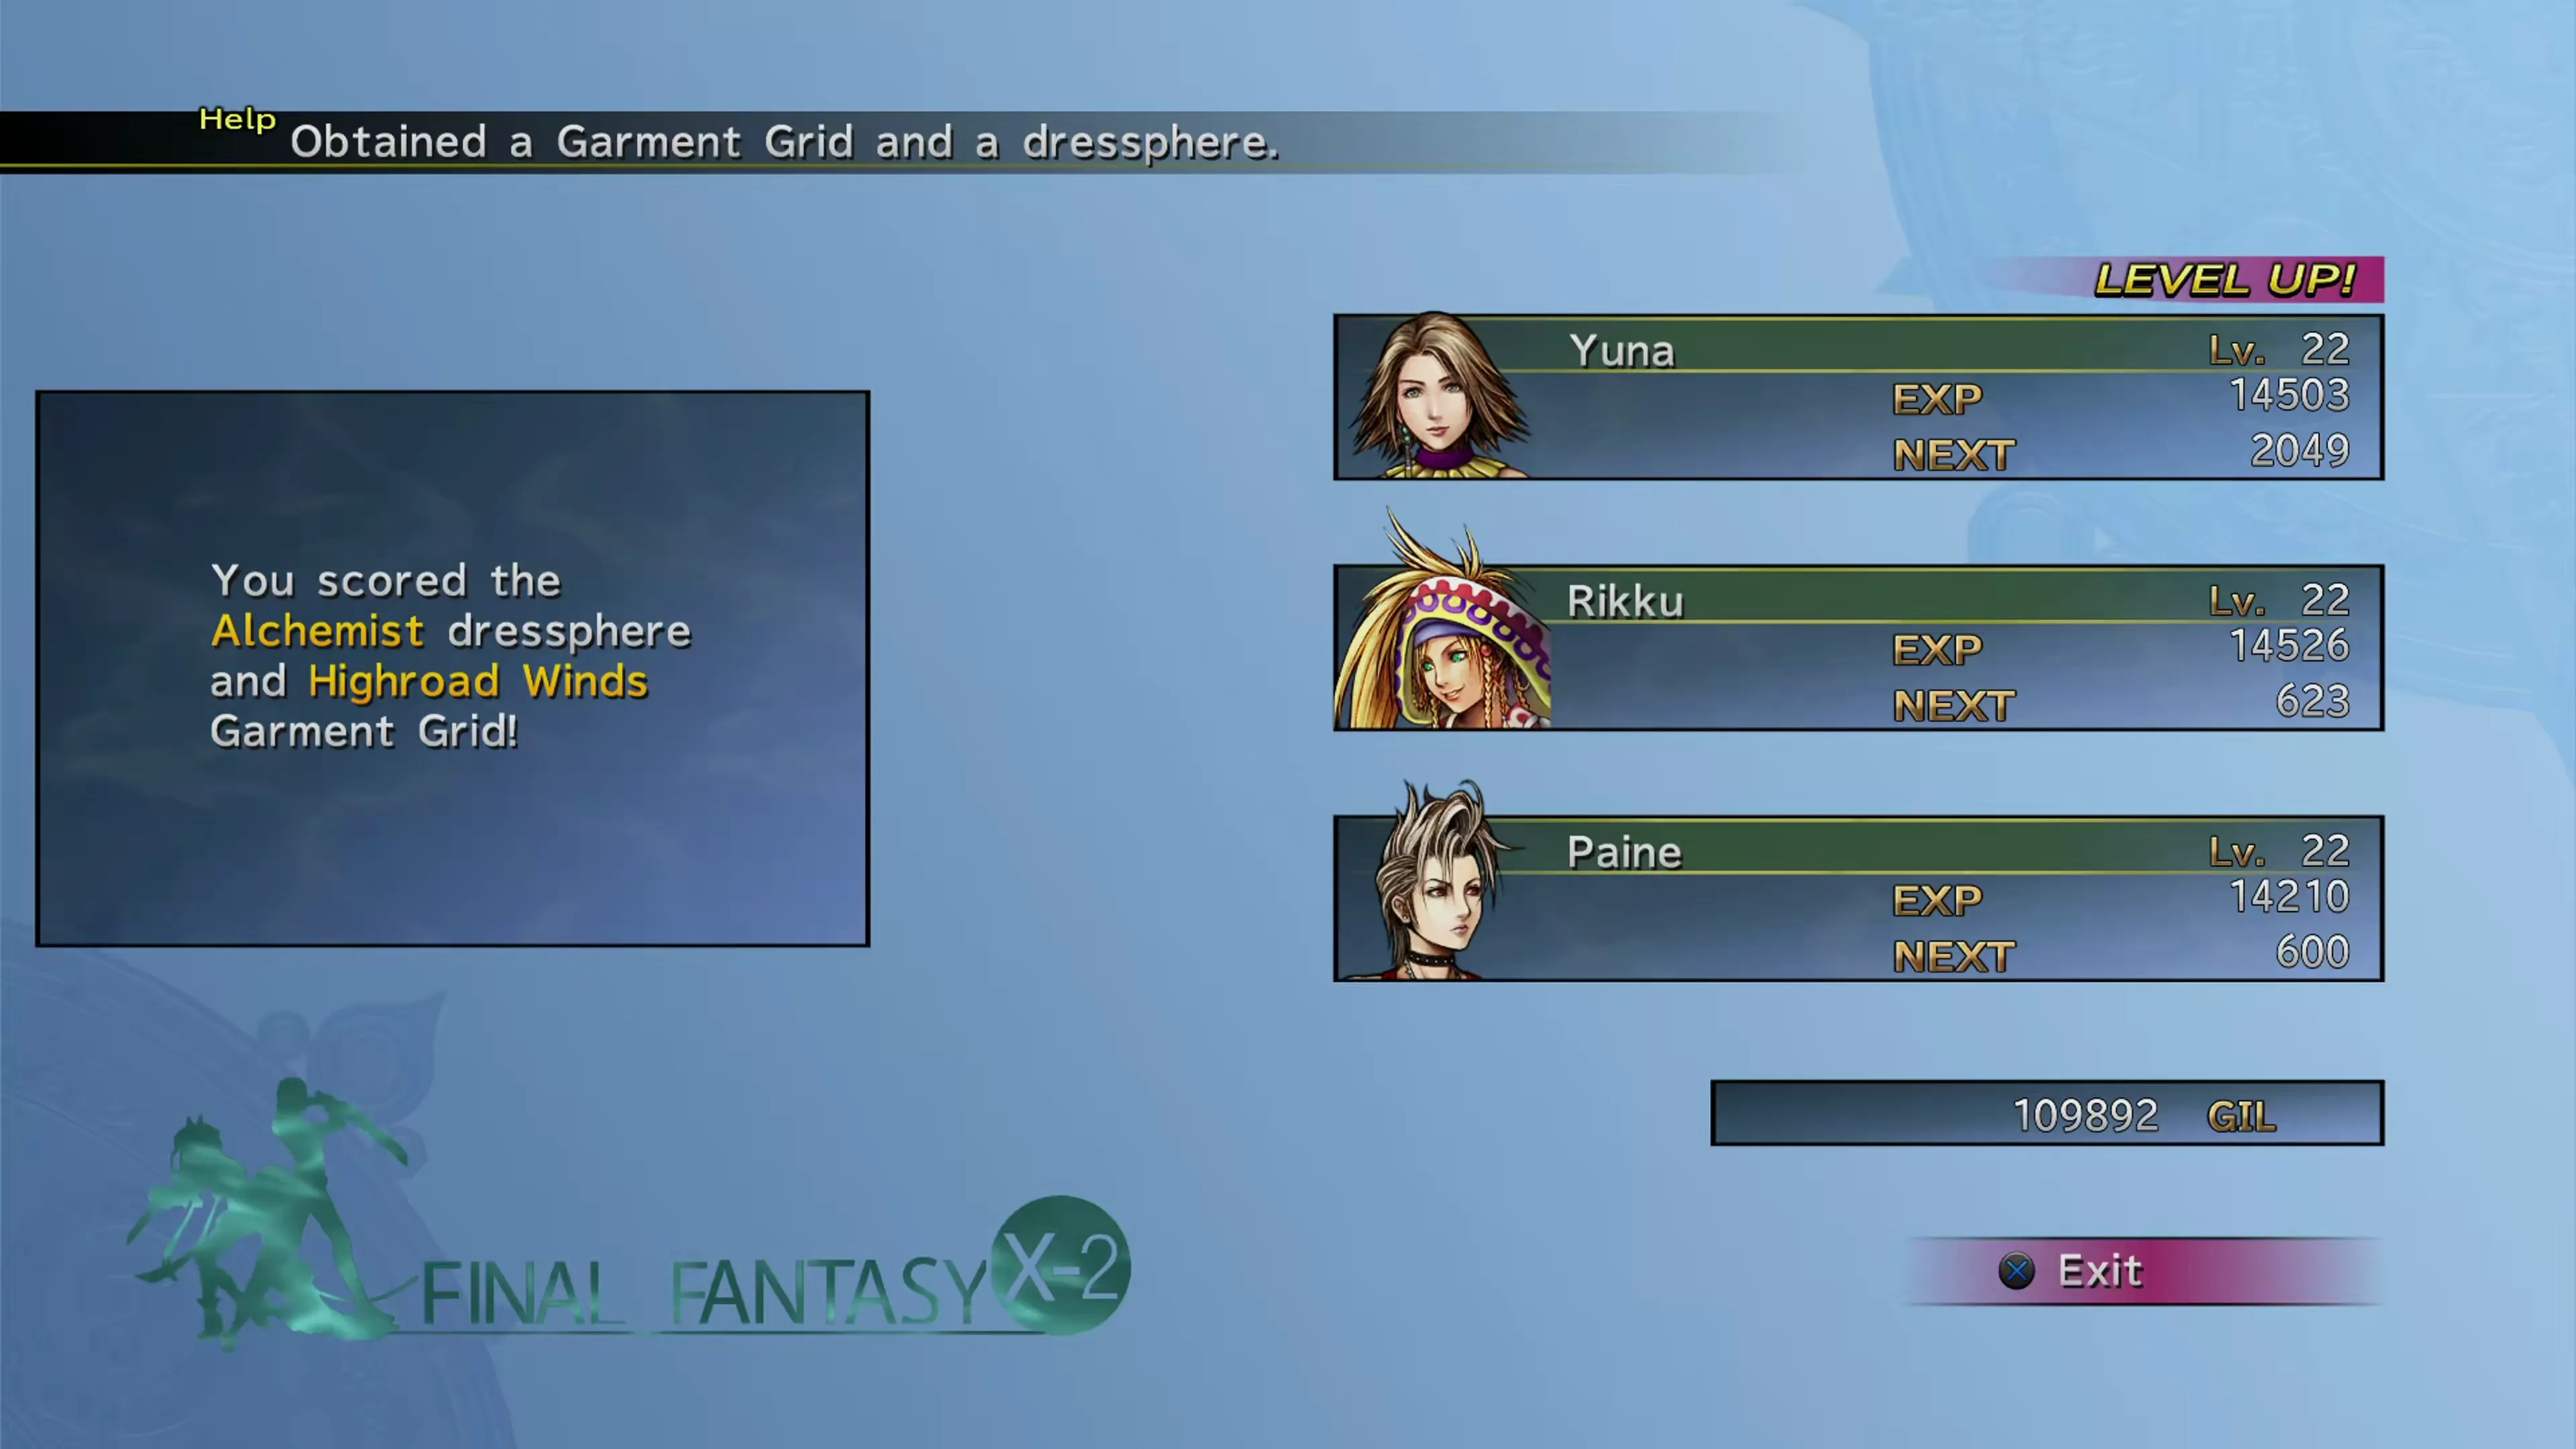
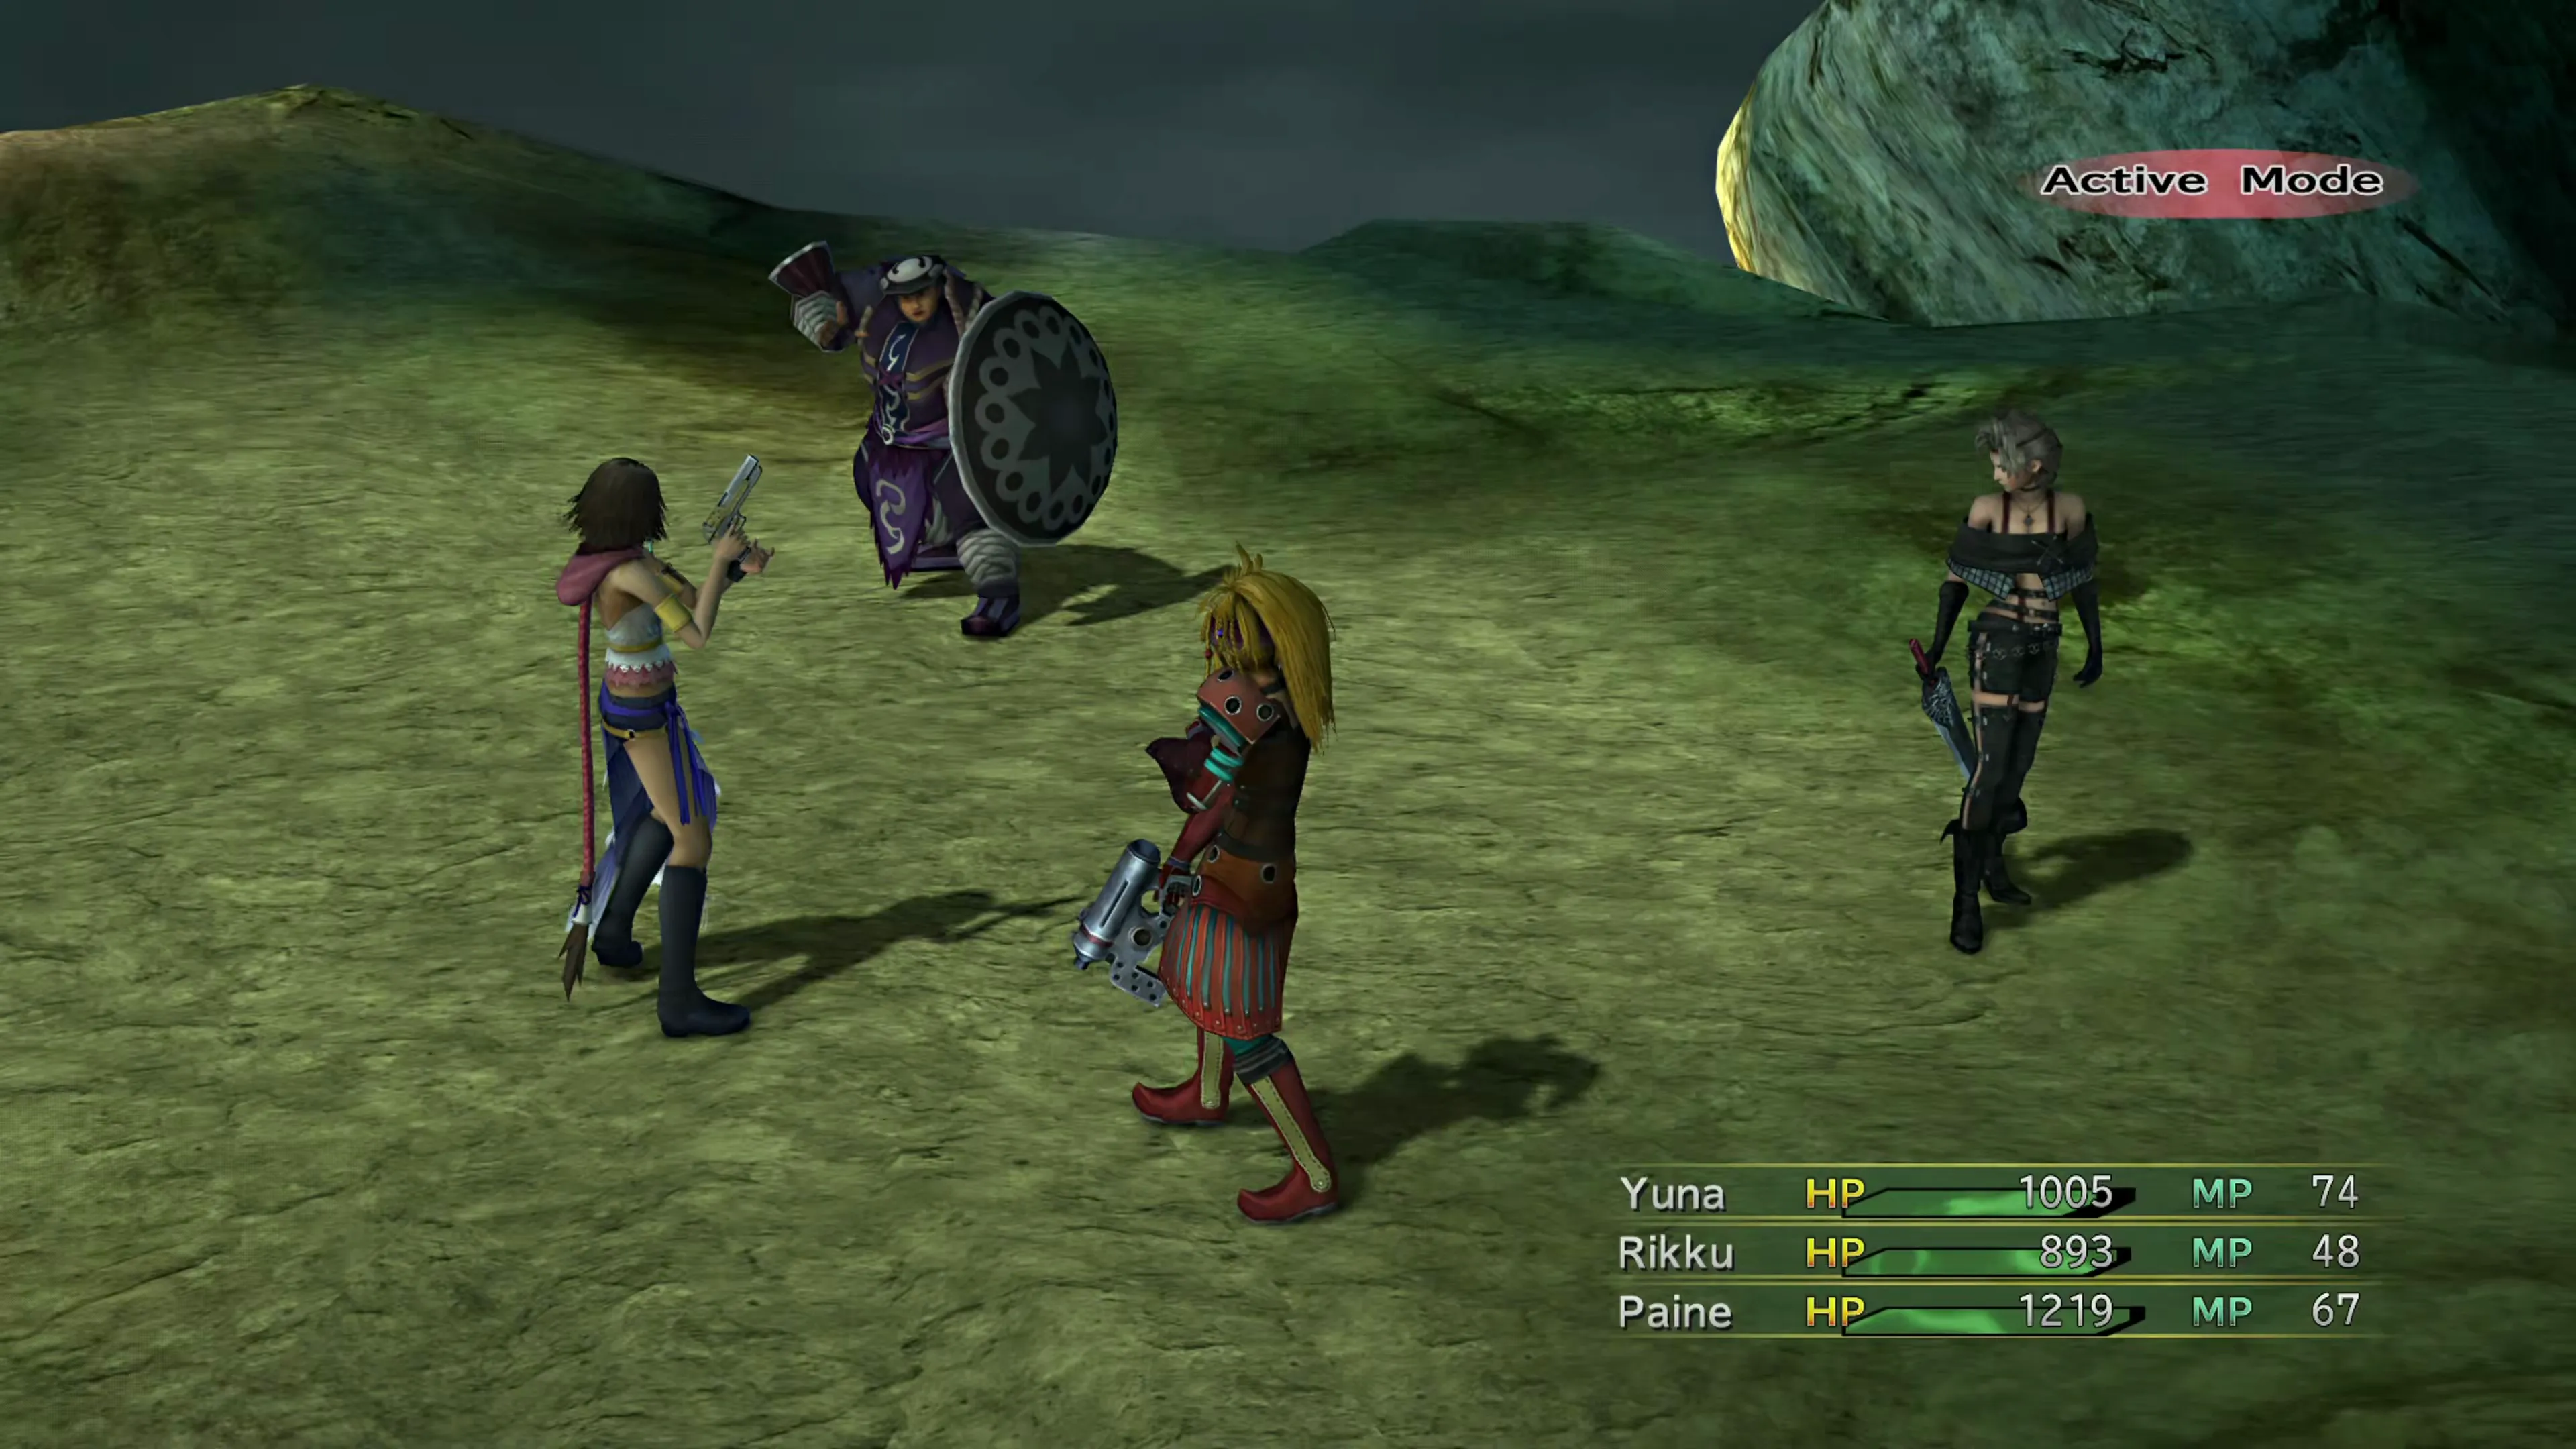
You can earn this achievement/trophy after you’ve obtained the  Alchemist Dressphere. Attach it to one of your Garment Grids, have one of your party members spherechange into it, and then have them use the “Mix” command 30 times. The easiest way to do this is to combine
  Potions and Hi-Potions, which will have the Alchemist create and use a Mega-Potion, which is a great way to heal your party members.
 |  |
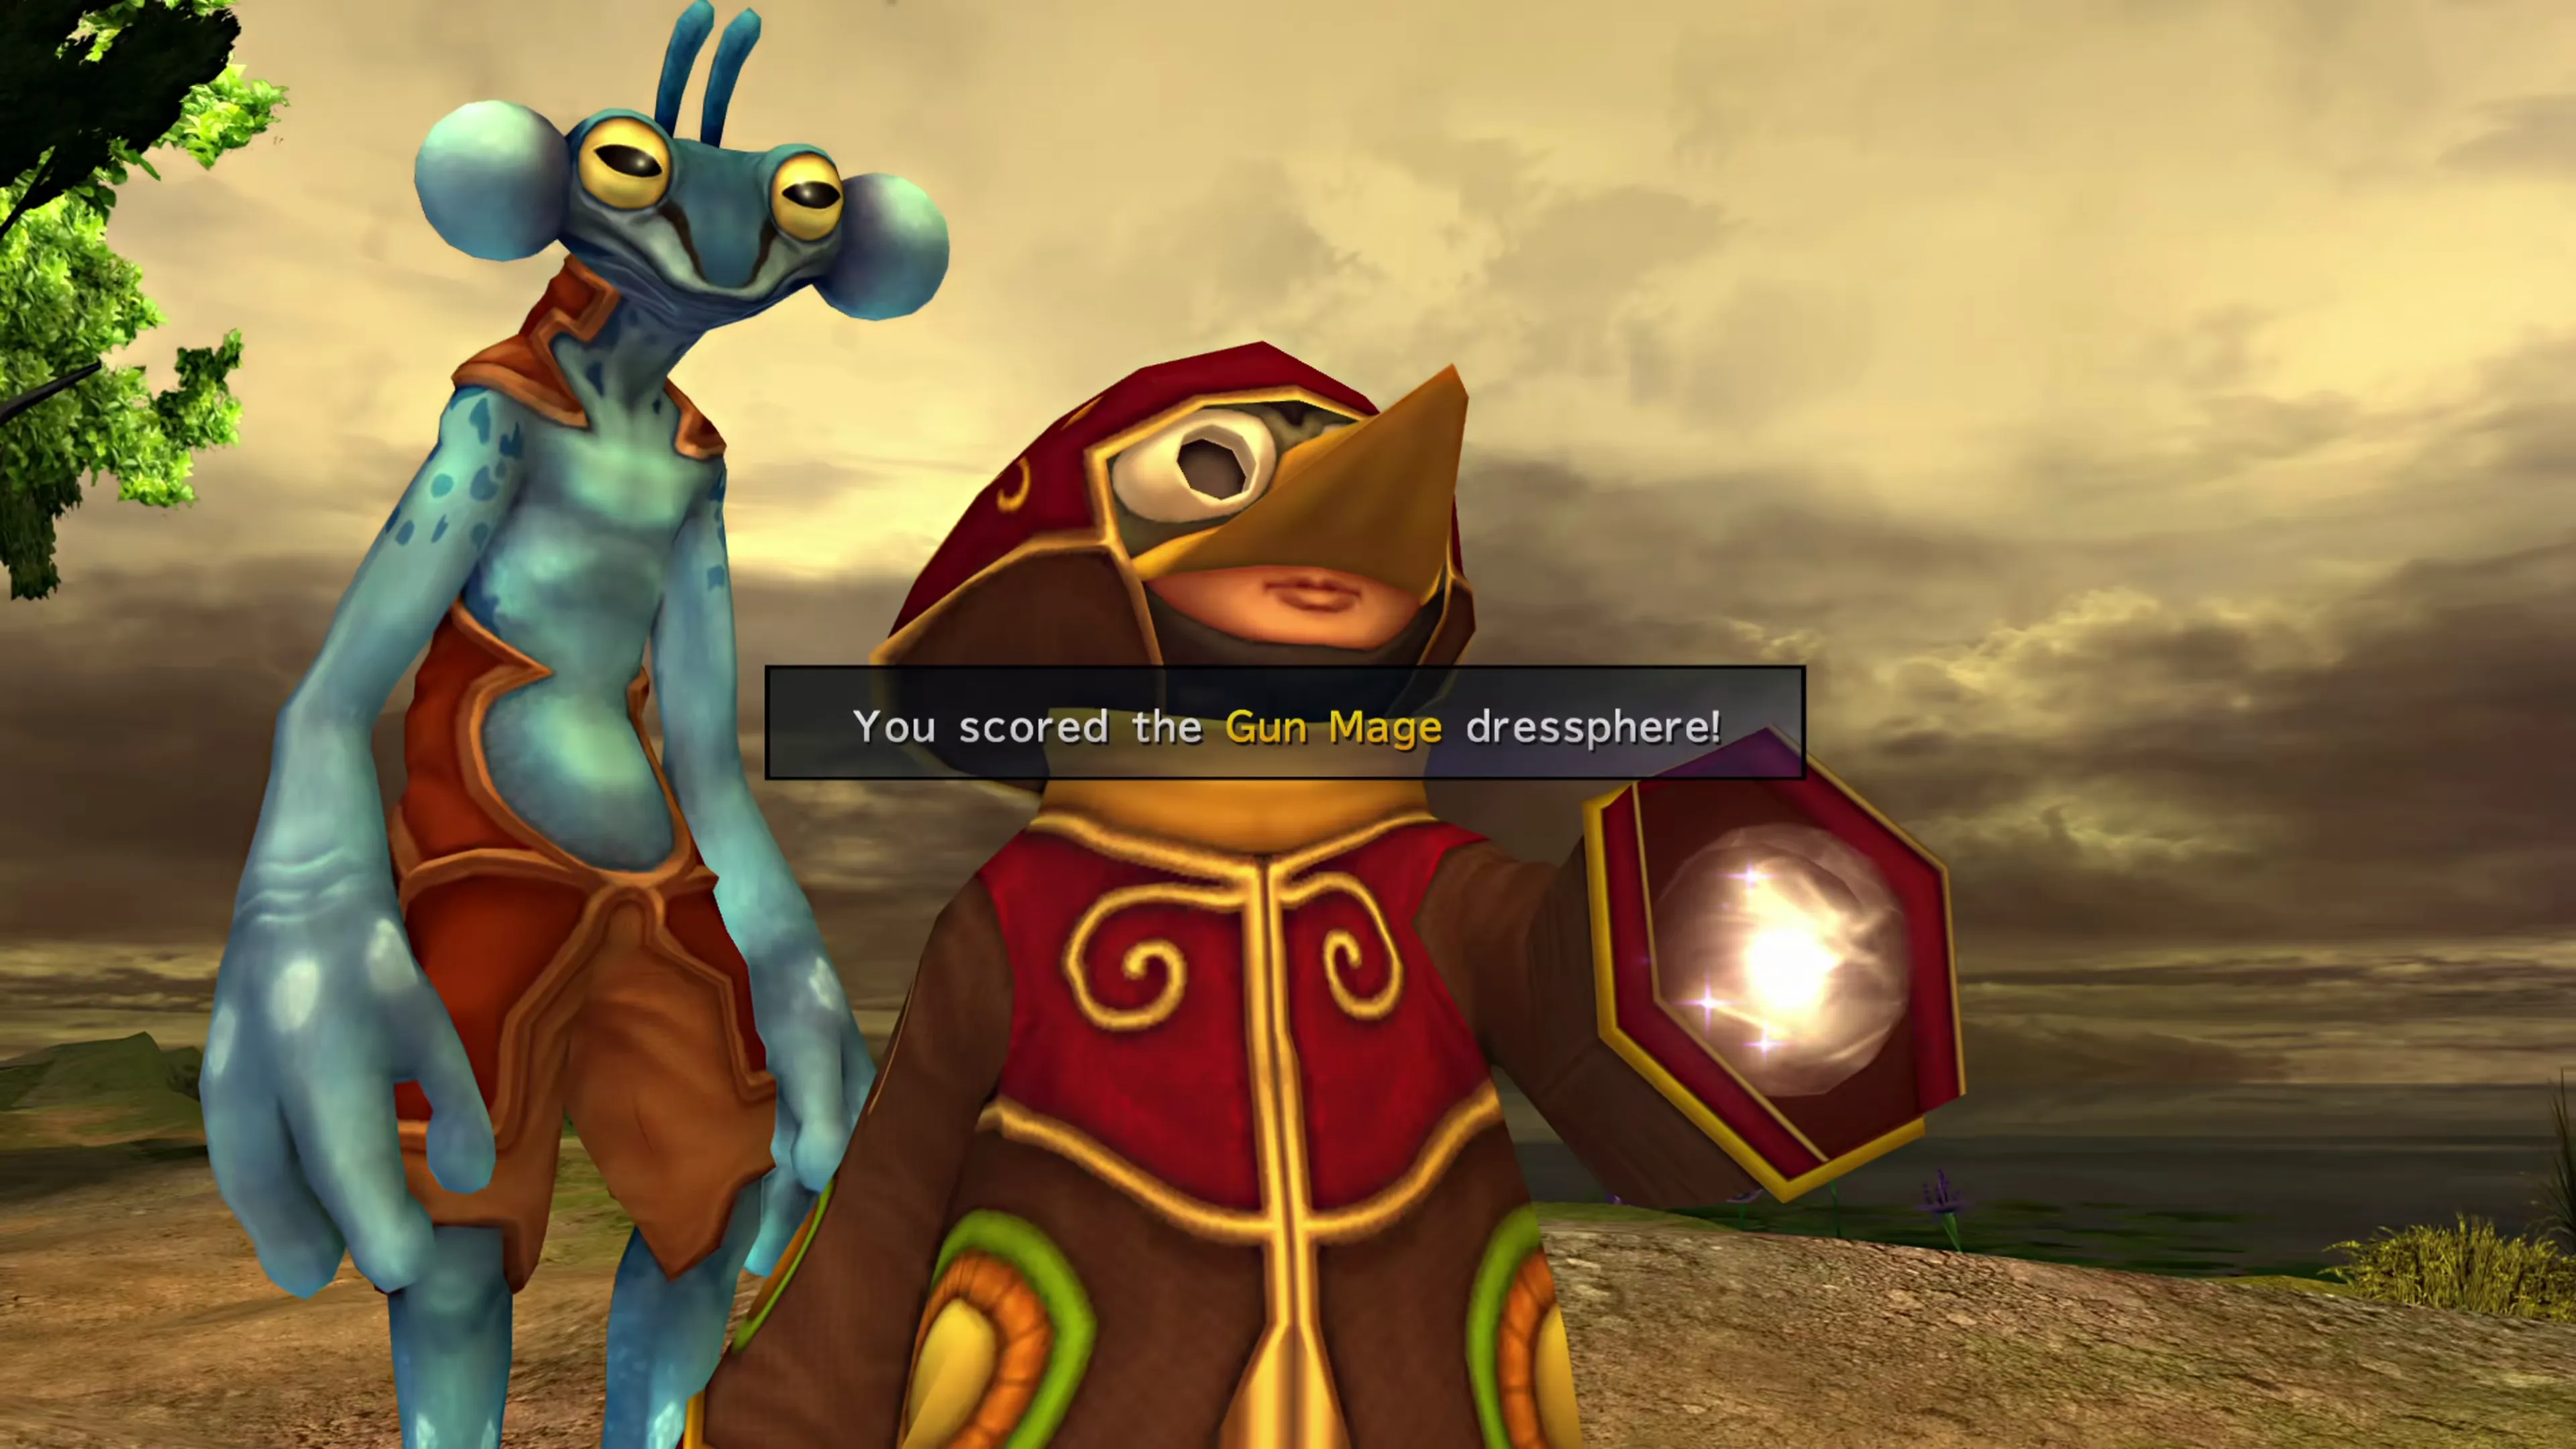
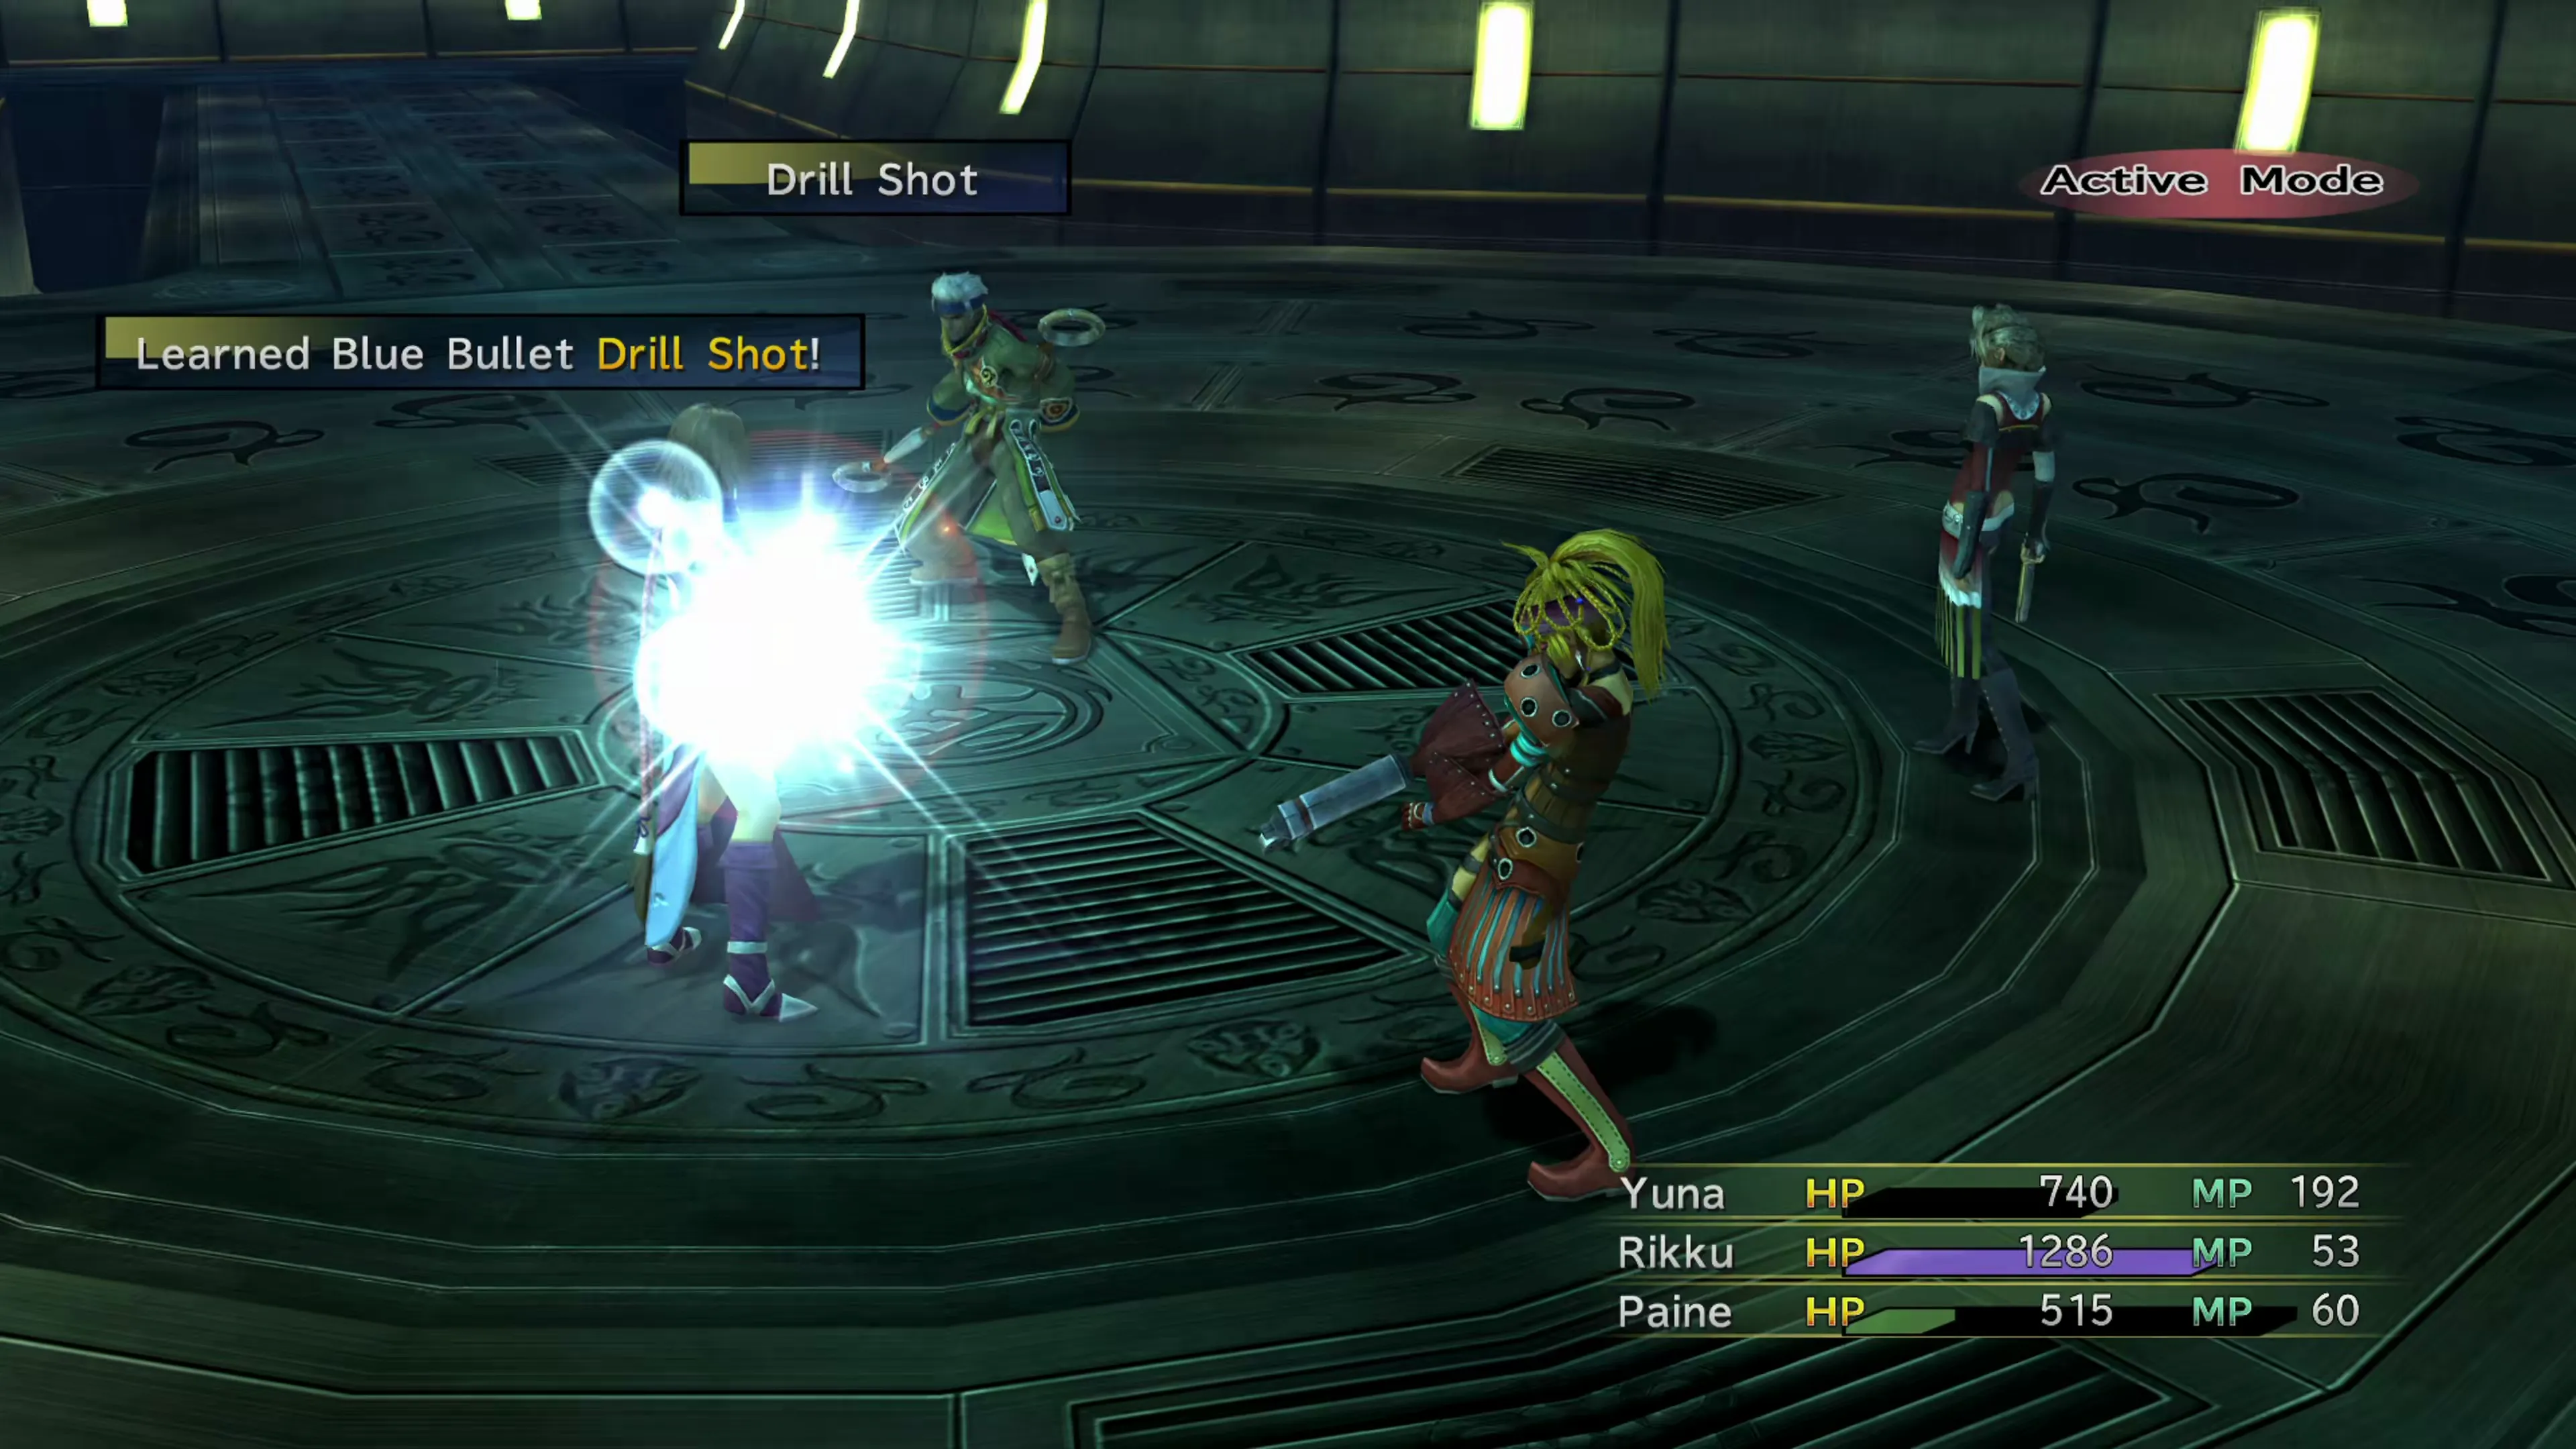
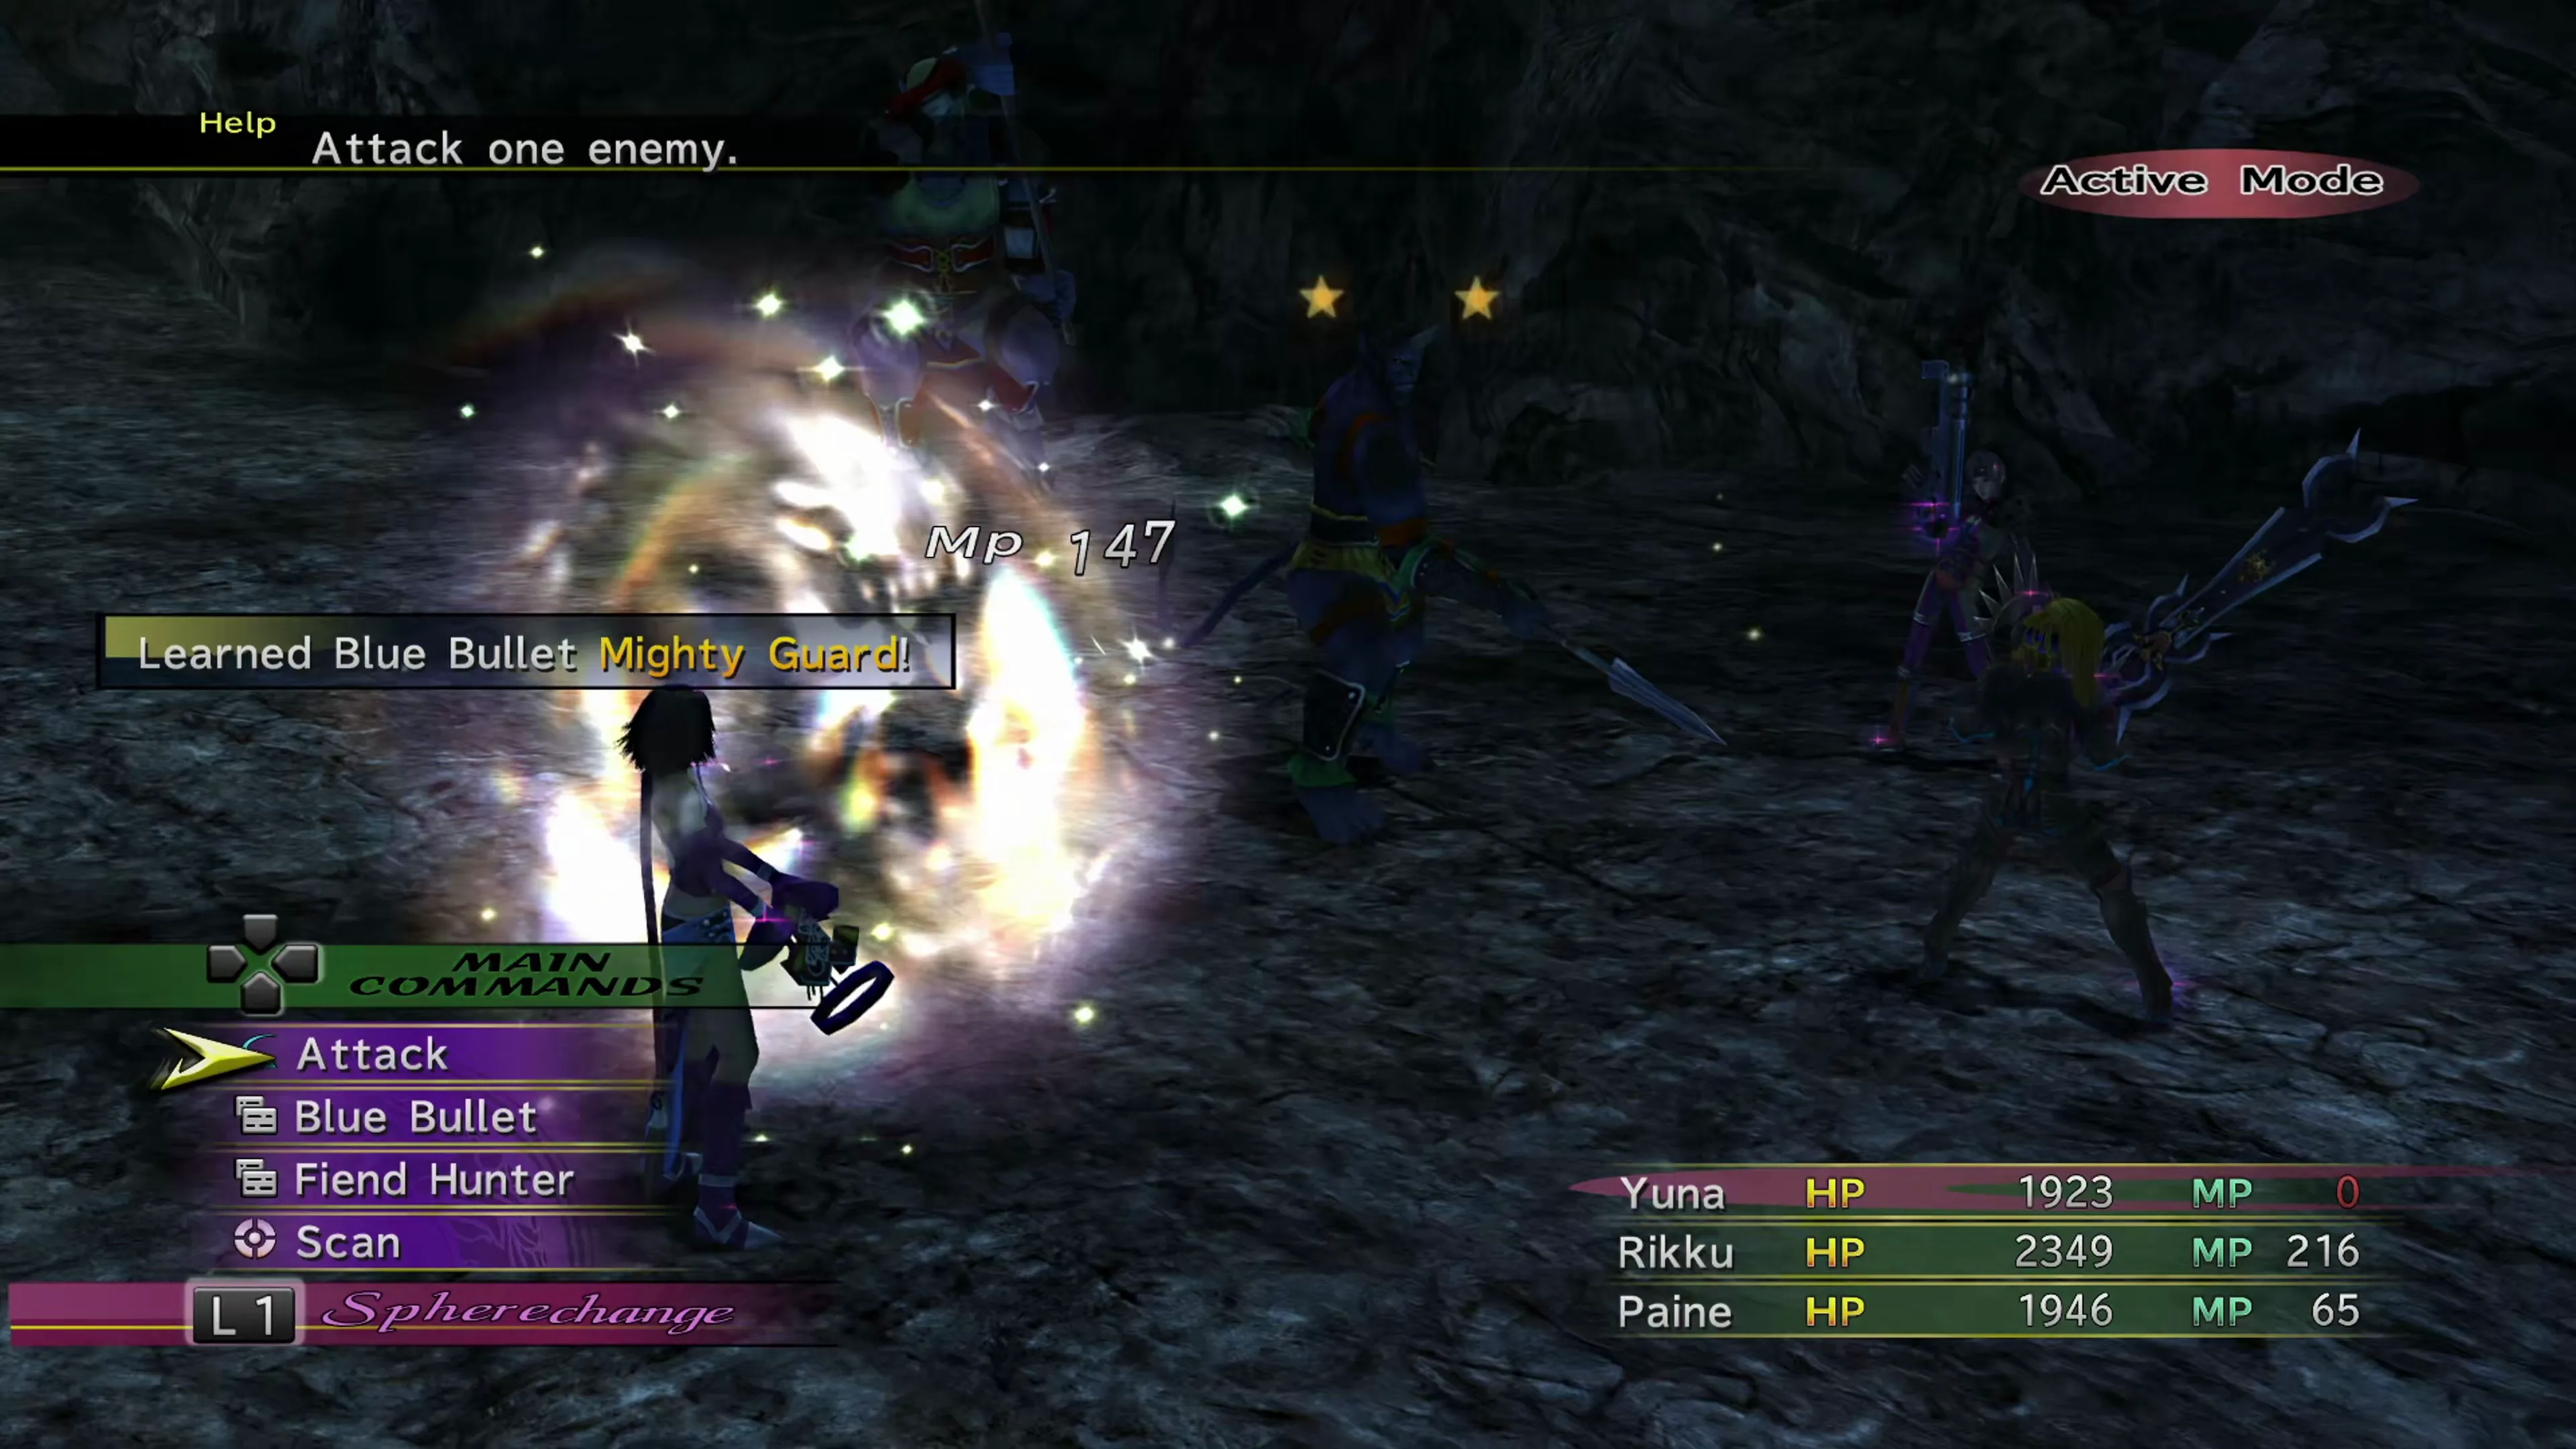
You can earn this achievement/trophy after you’ve obtained the  Gun Mage Dressphere. The Gun Mage can learn
  Blue Bullet abilities by being active in the party and getting hit by an enemy’s attack. You can see the full list of abilities that a Gun Mage can learn on the Blue Bullets ability page, including which enemies will use each of the attacks.
In fact, five of these abilities are directly mentioned in the walkthrough as abilities you should learn when you reach certain bosses. These include:
- Drill Shot from Baralai in Bevelle in Chapter 2
- Bad Breath from the Malboro in Bevelle in Chapter 3
- Mighty Guard from Garik on Mt. Gagazet in Chapter 3
- Annihilator from the Experiment in the Djose Temple in Chapter 5
- Mortar from Gippal in the Den of Woe in Chapter 5
But there are many more abilities that you can learn before these five fights, so it’s very likely that if you’re using the Gun Mage, you’ll trigger this achievement/trophy earlier.
 |  |  |
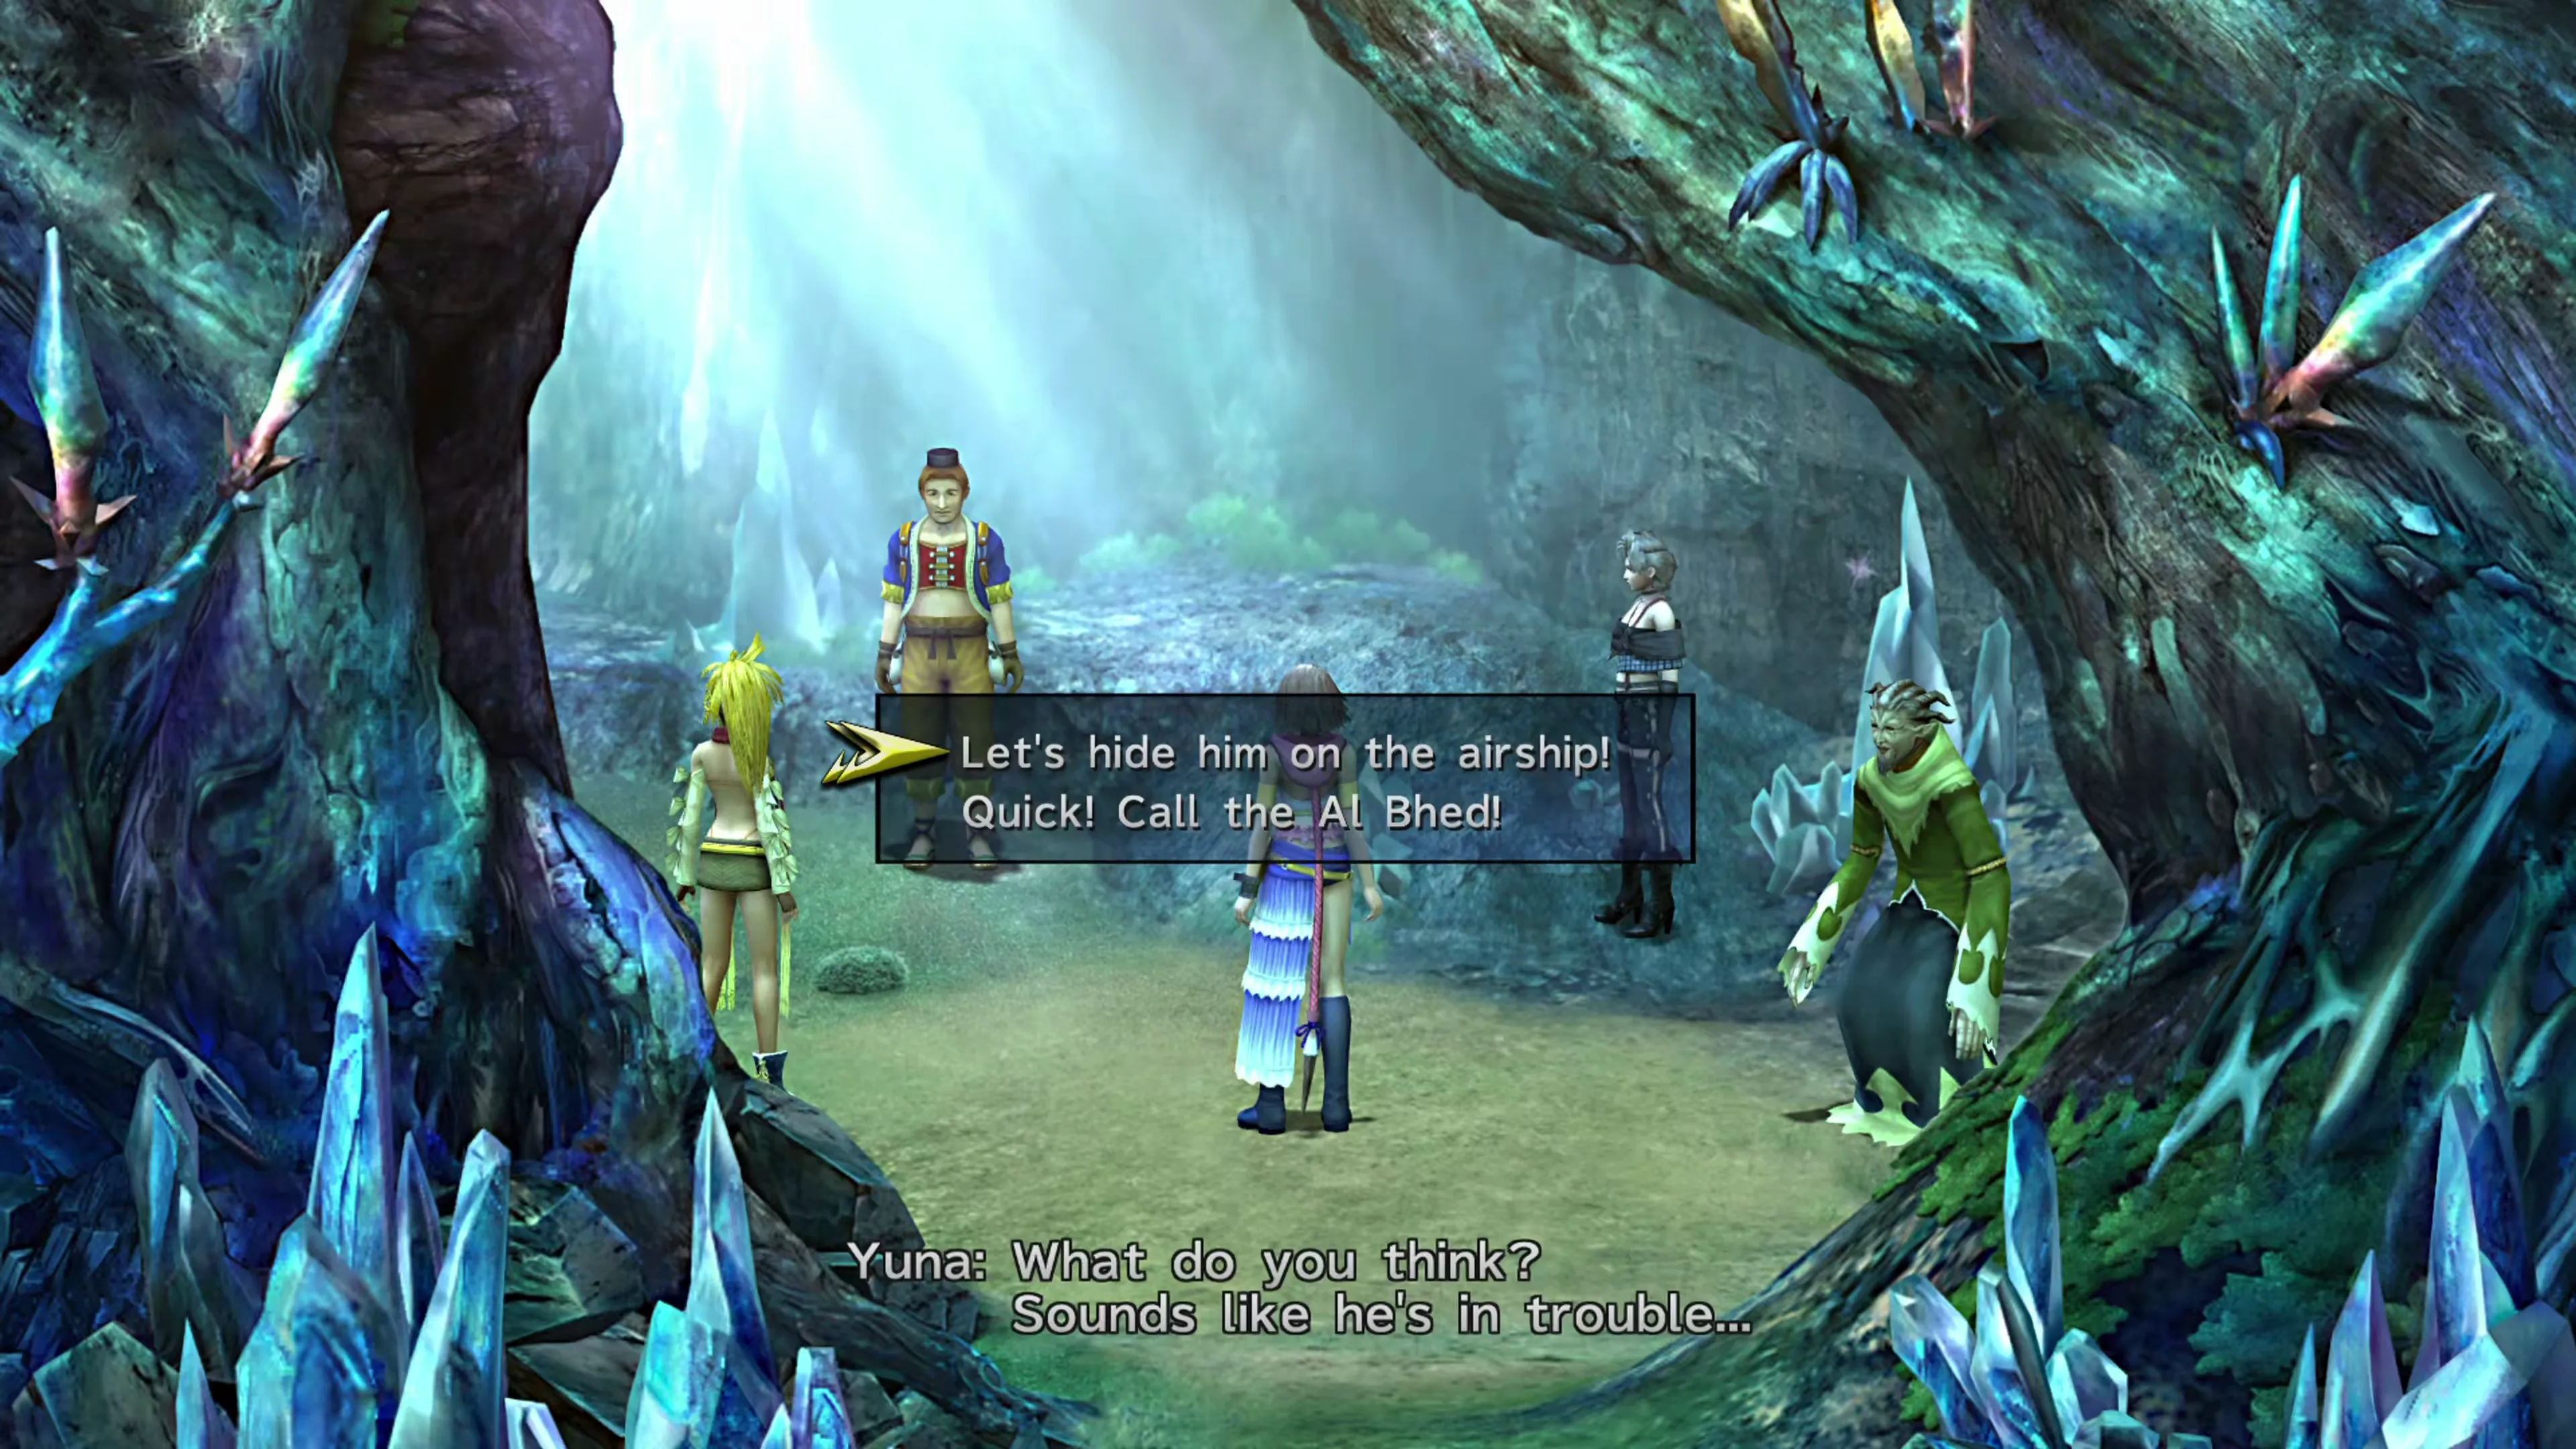
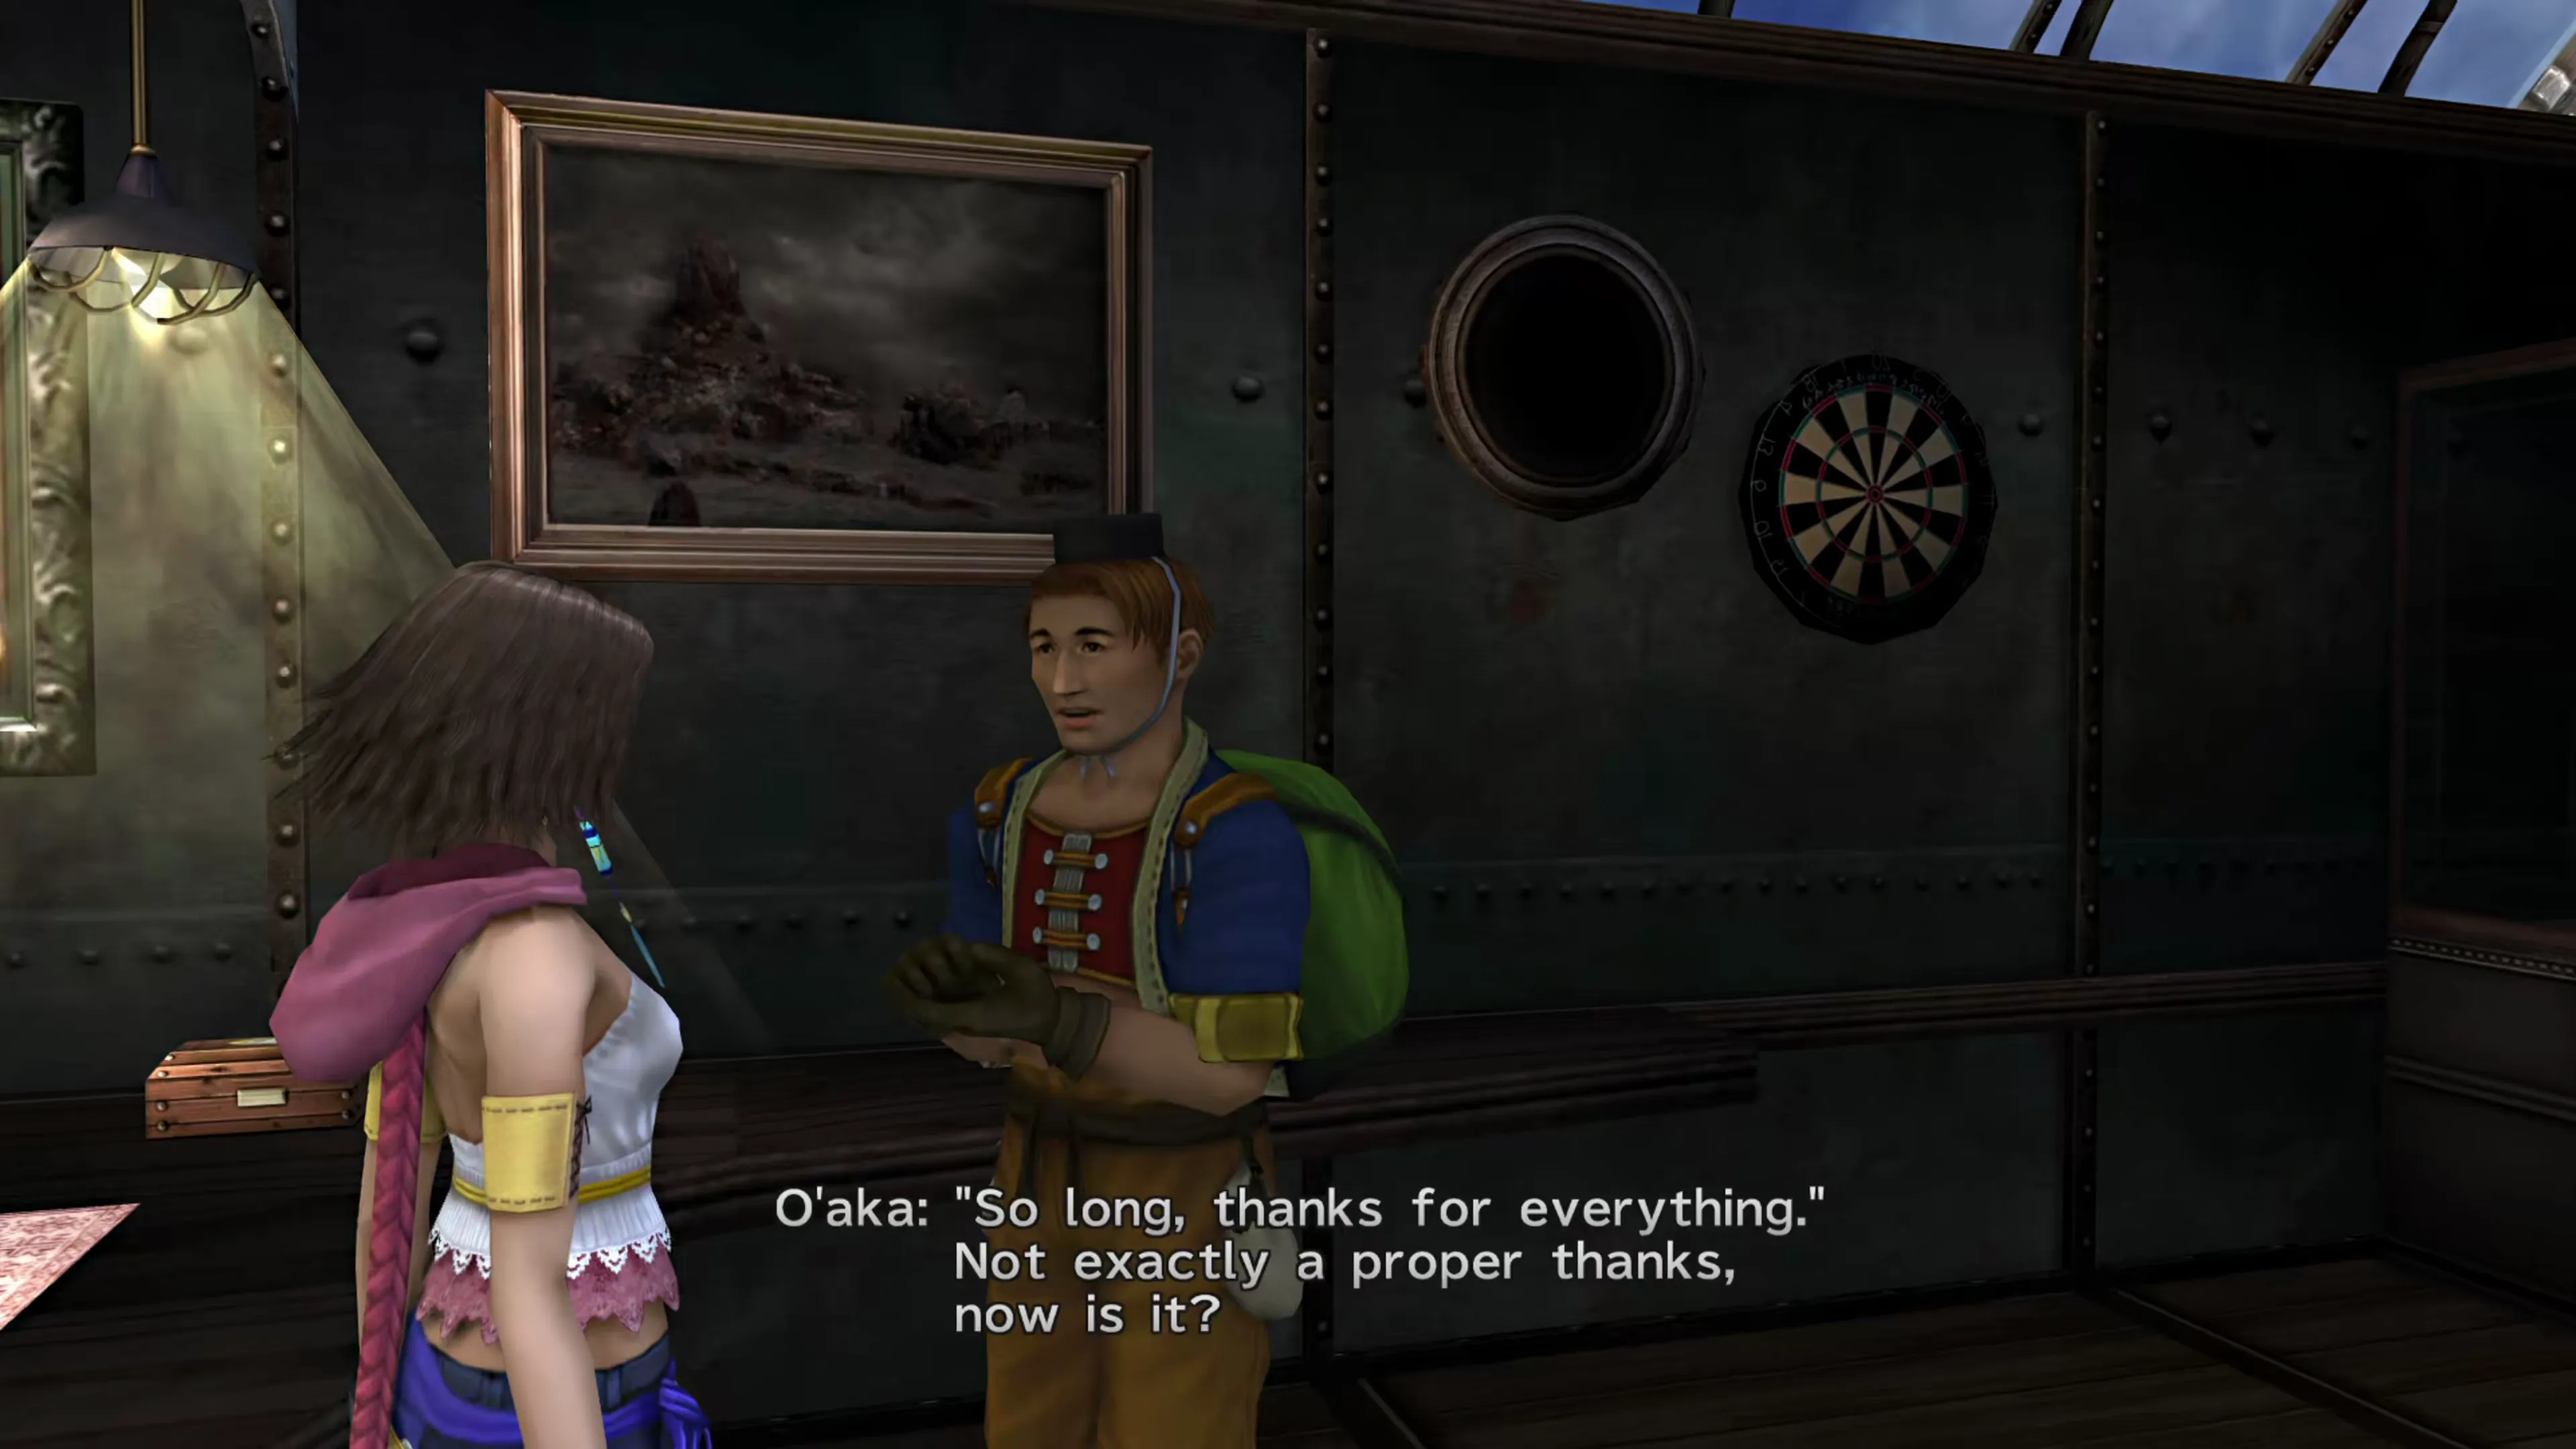
All you have to do to earn this achievement/trophy is pay off O’aka XXIII’s debt before he departs from the Celsius at the end of Chapter 2. To get him on the Celsius in the first place, though, you’ll have to complete the “Follow That O’aka!” Mission in Macalania Woods and then let him hide in the airship.
There are three methods you can use to earn enough Gil to pay down his massive 100,000 Gil debt, starting with the least efficient to the most efficient:
- The least efficient method is to fight and win Gil from the enemies you defeat. You can speed this process up a bit by having a
 Thief learn the
  Pilfer Gil ability and then overusing it in battle, but there are better methods.
 - Complete the “YRP, the Scalpers Three!” Mission at the Moonflow in Chapter 2. Selling all of the tickets for their maximum price will earn you 12,500 Gil. Not enough to fully pay off O’aka’s debt, but certainly the quickest method of earning Gil up to that point.
- Complete the “data” task at Guadosalam, which involves resetting your game until you get the most favorable data recipient. This process is easy, if not somewhat time-consuming, but it will guarantee 90,000 Gil.
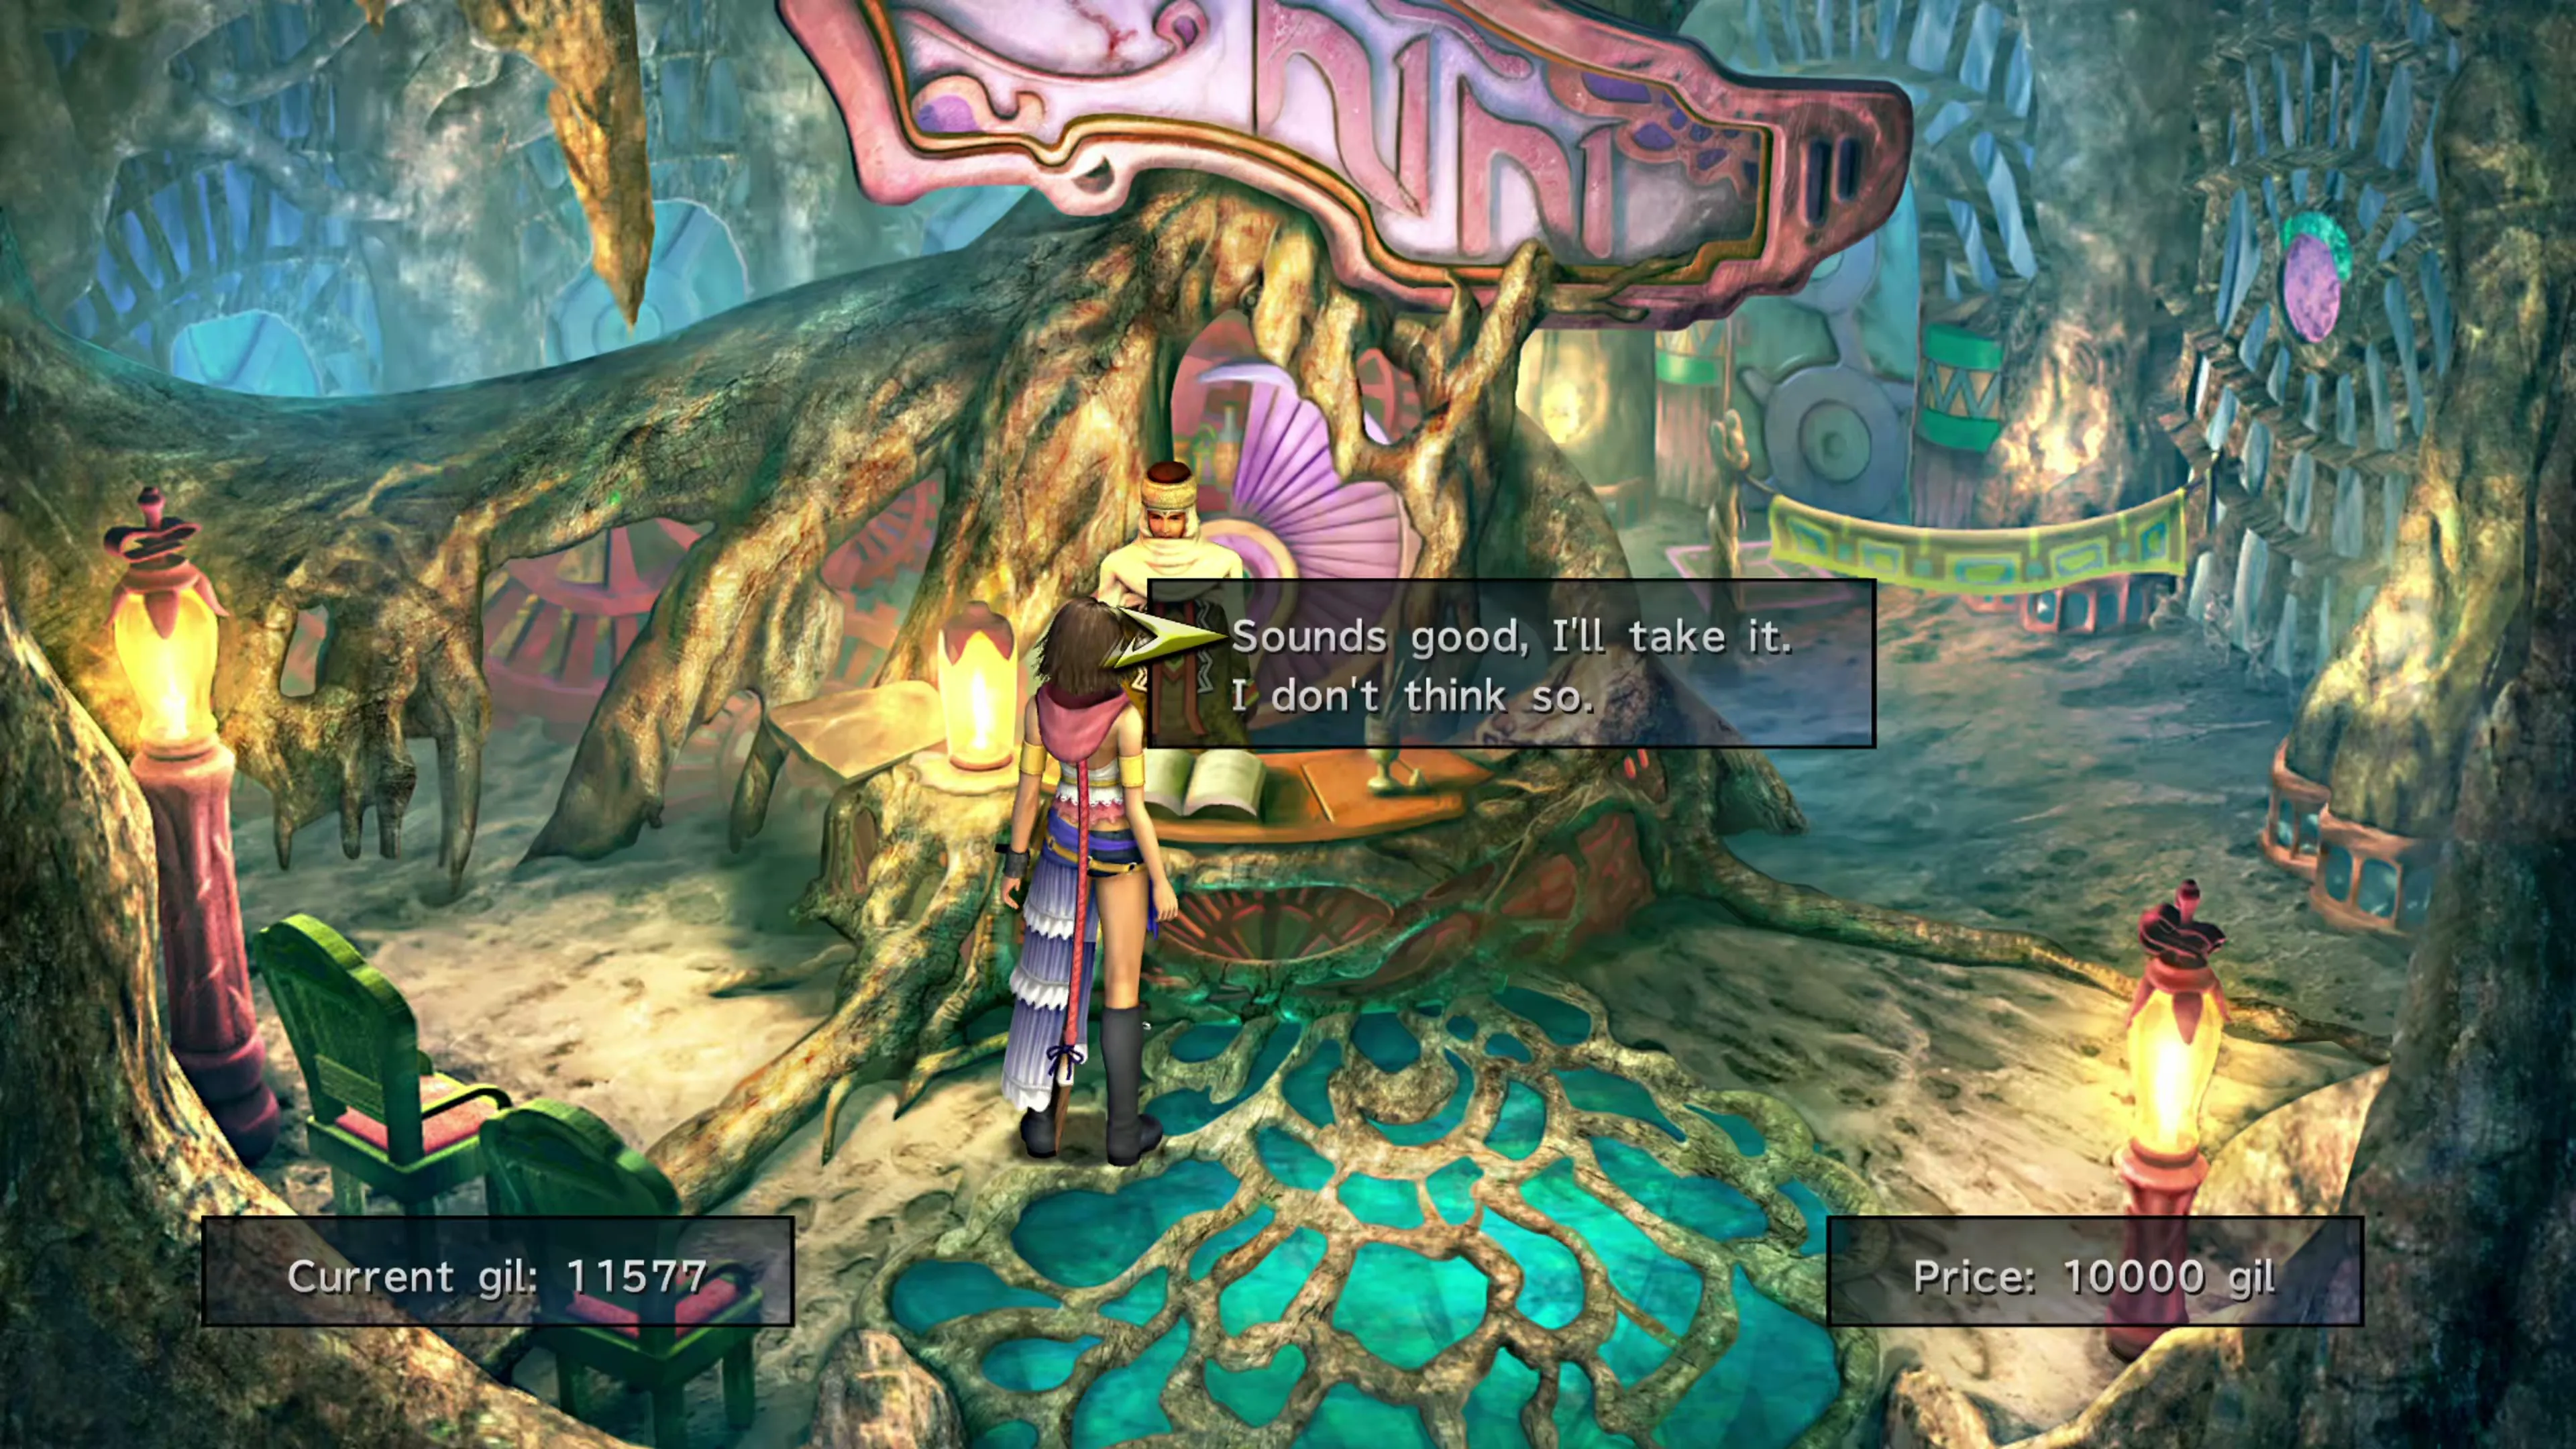
After you have the Gil on hand, find O’aka XXIII in the cabin and purchase items from him until his debt is repaid. You’ll probably have to sell the items you purchase to make room for more, which you can do by accessing the “Gullwing Store.” Just speak to Barkeep behind the counter to sell the items. It doesn’t matter which items you buy or sell.
Clearing his debt will automatically trigger the achievement/trophy.
 |  |  |
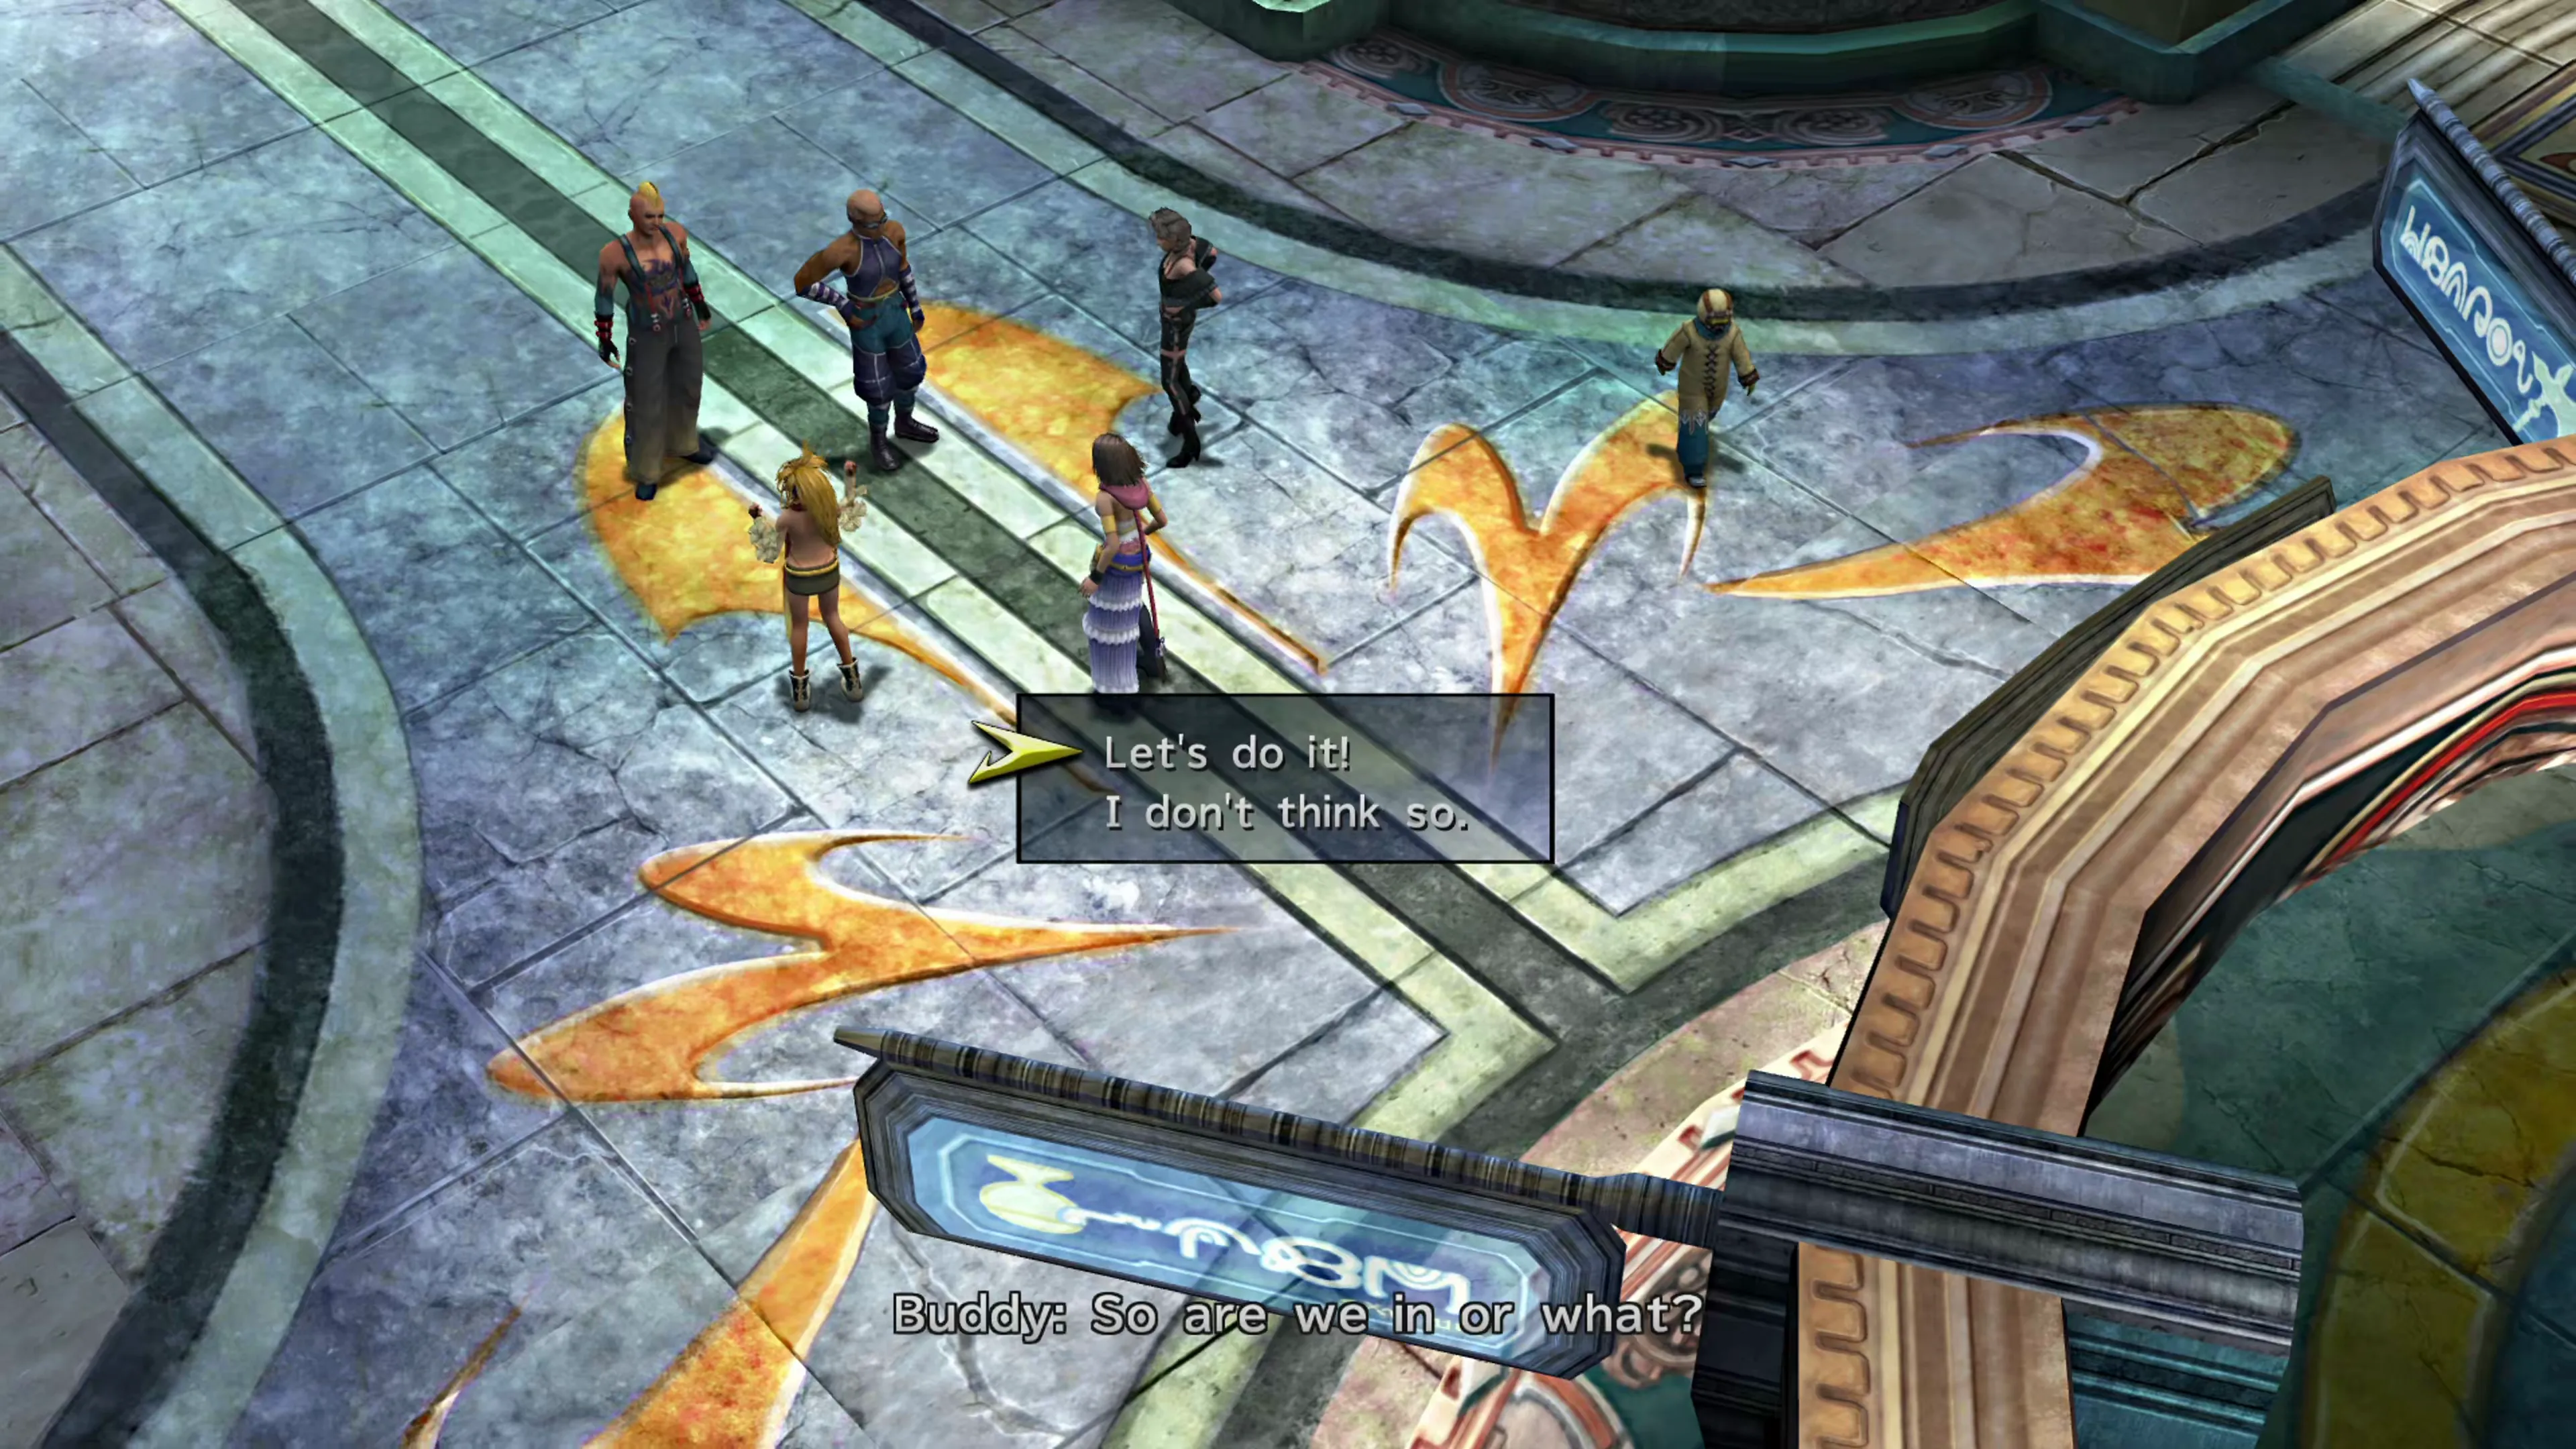
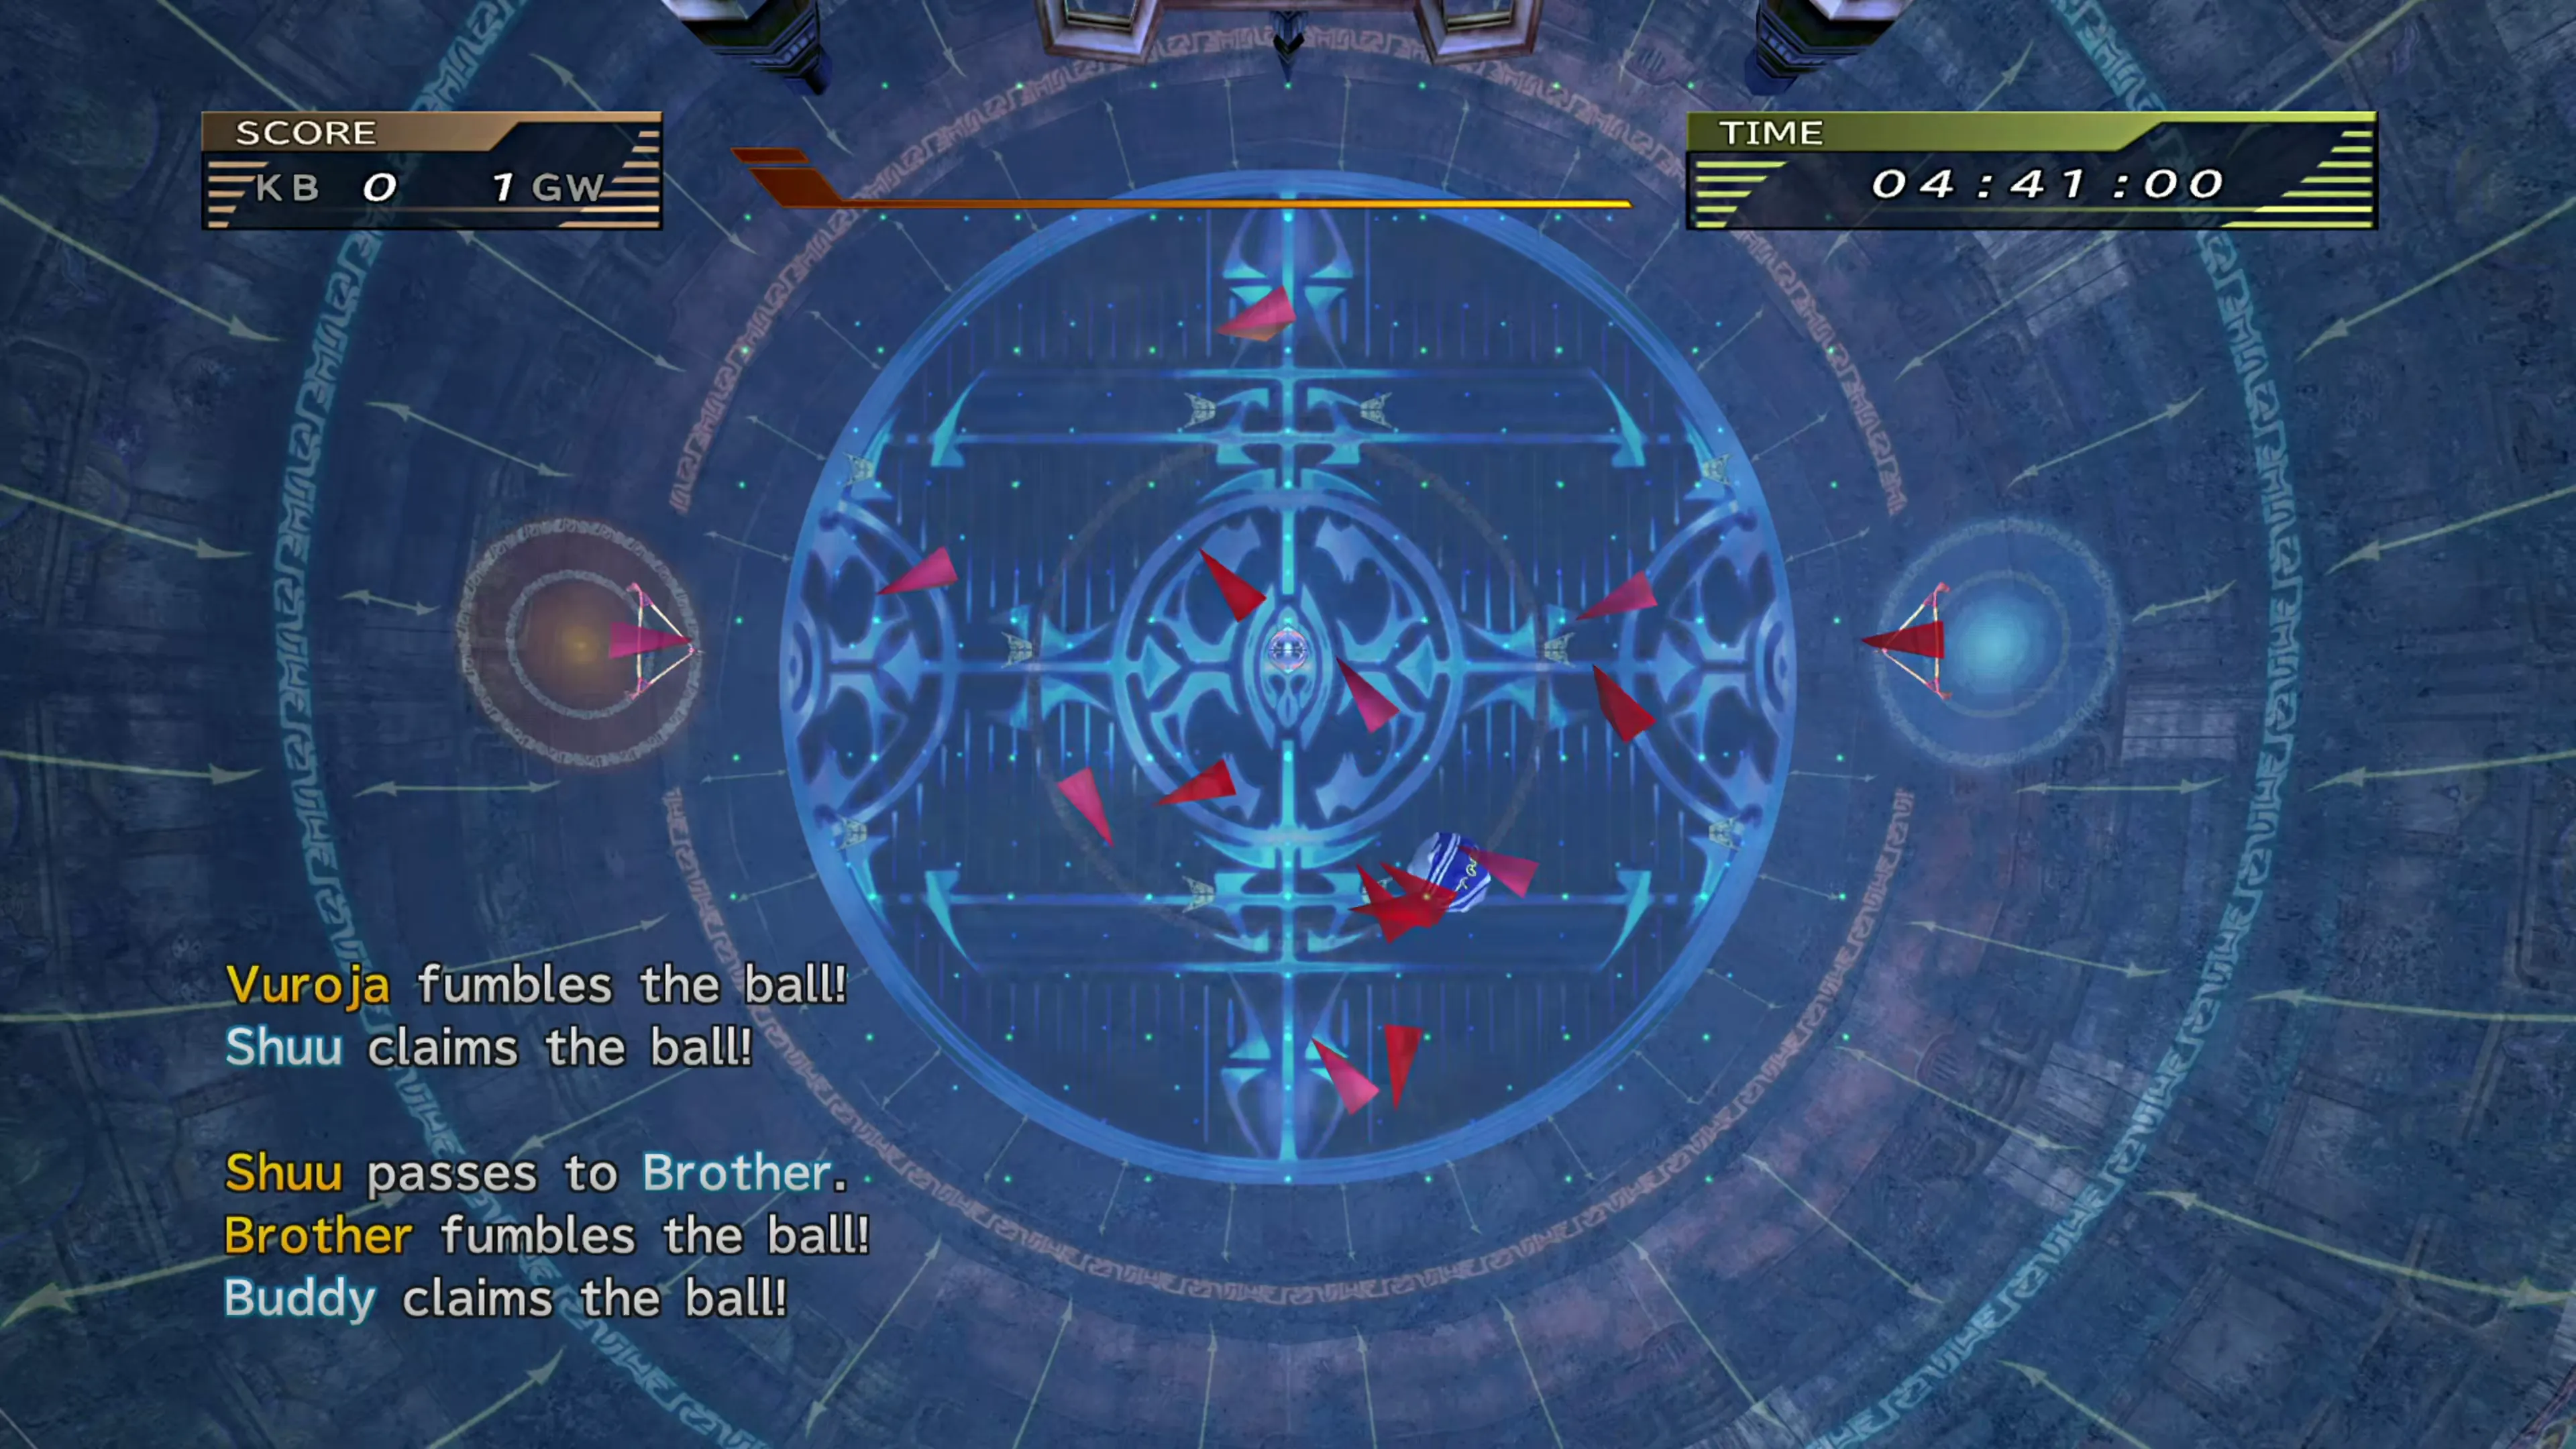
All you have to do to earn this achievement/trophy is win one single Blitzball match, which is very easy to do in Final Fantasy X-2. You barely have to do any work compared to Final Fantasy X. Check out the Blitzball side quest page for more information.
 |  |  |
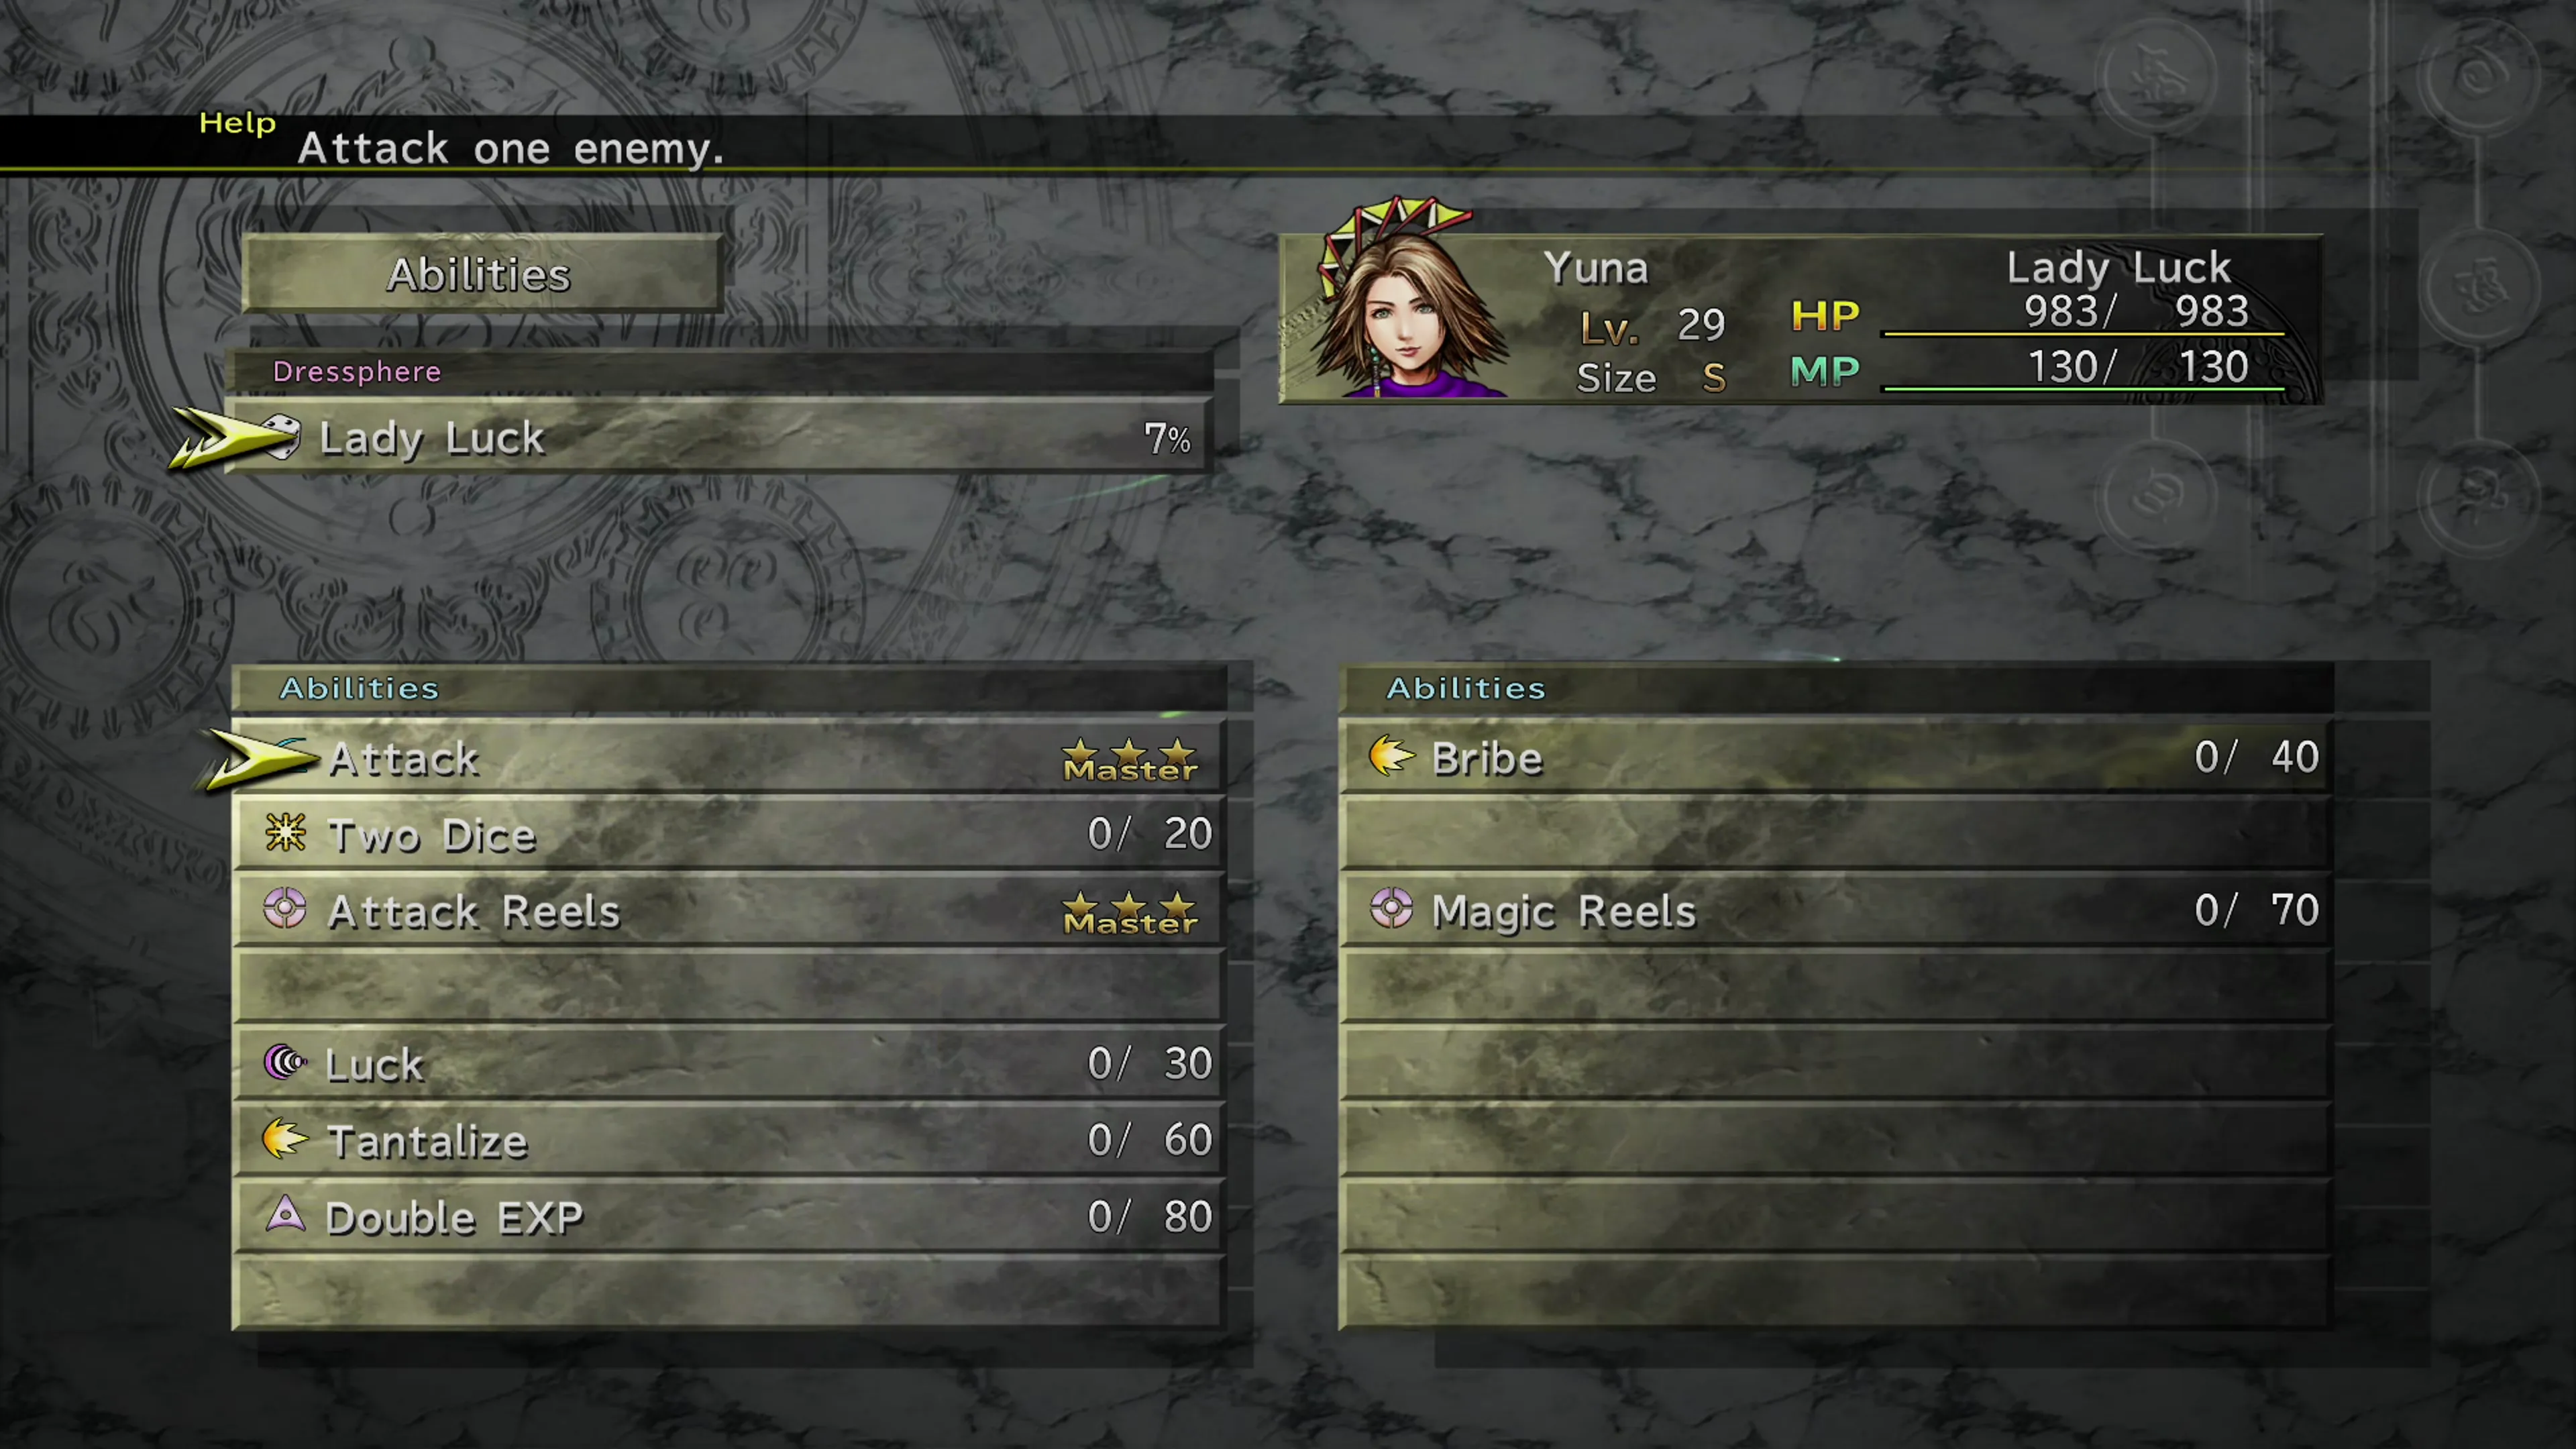
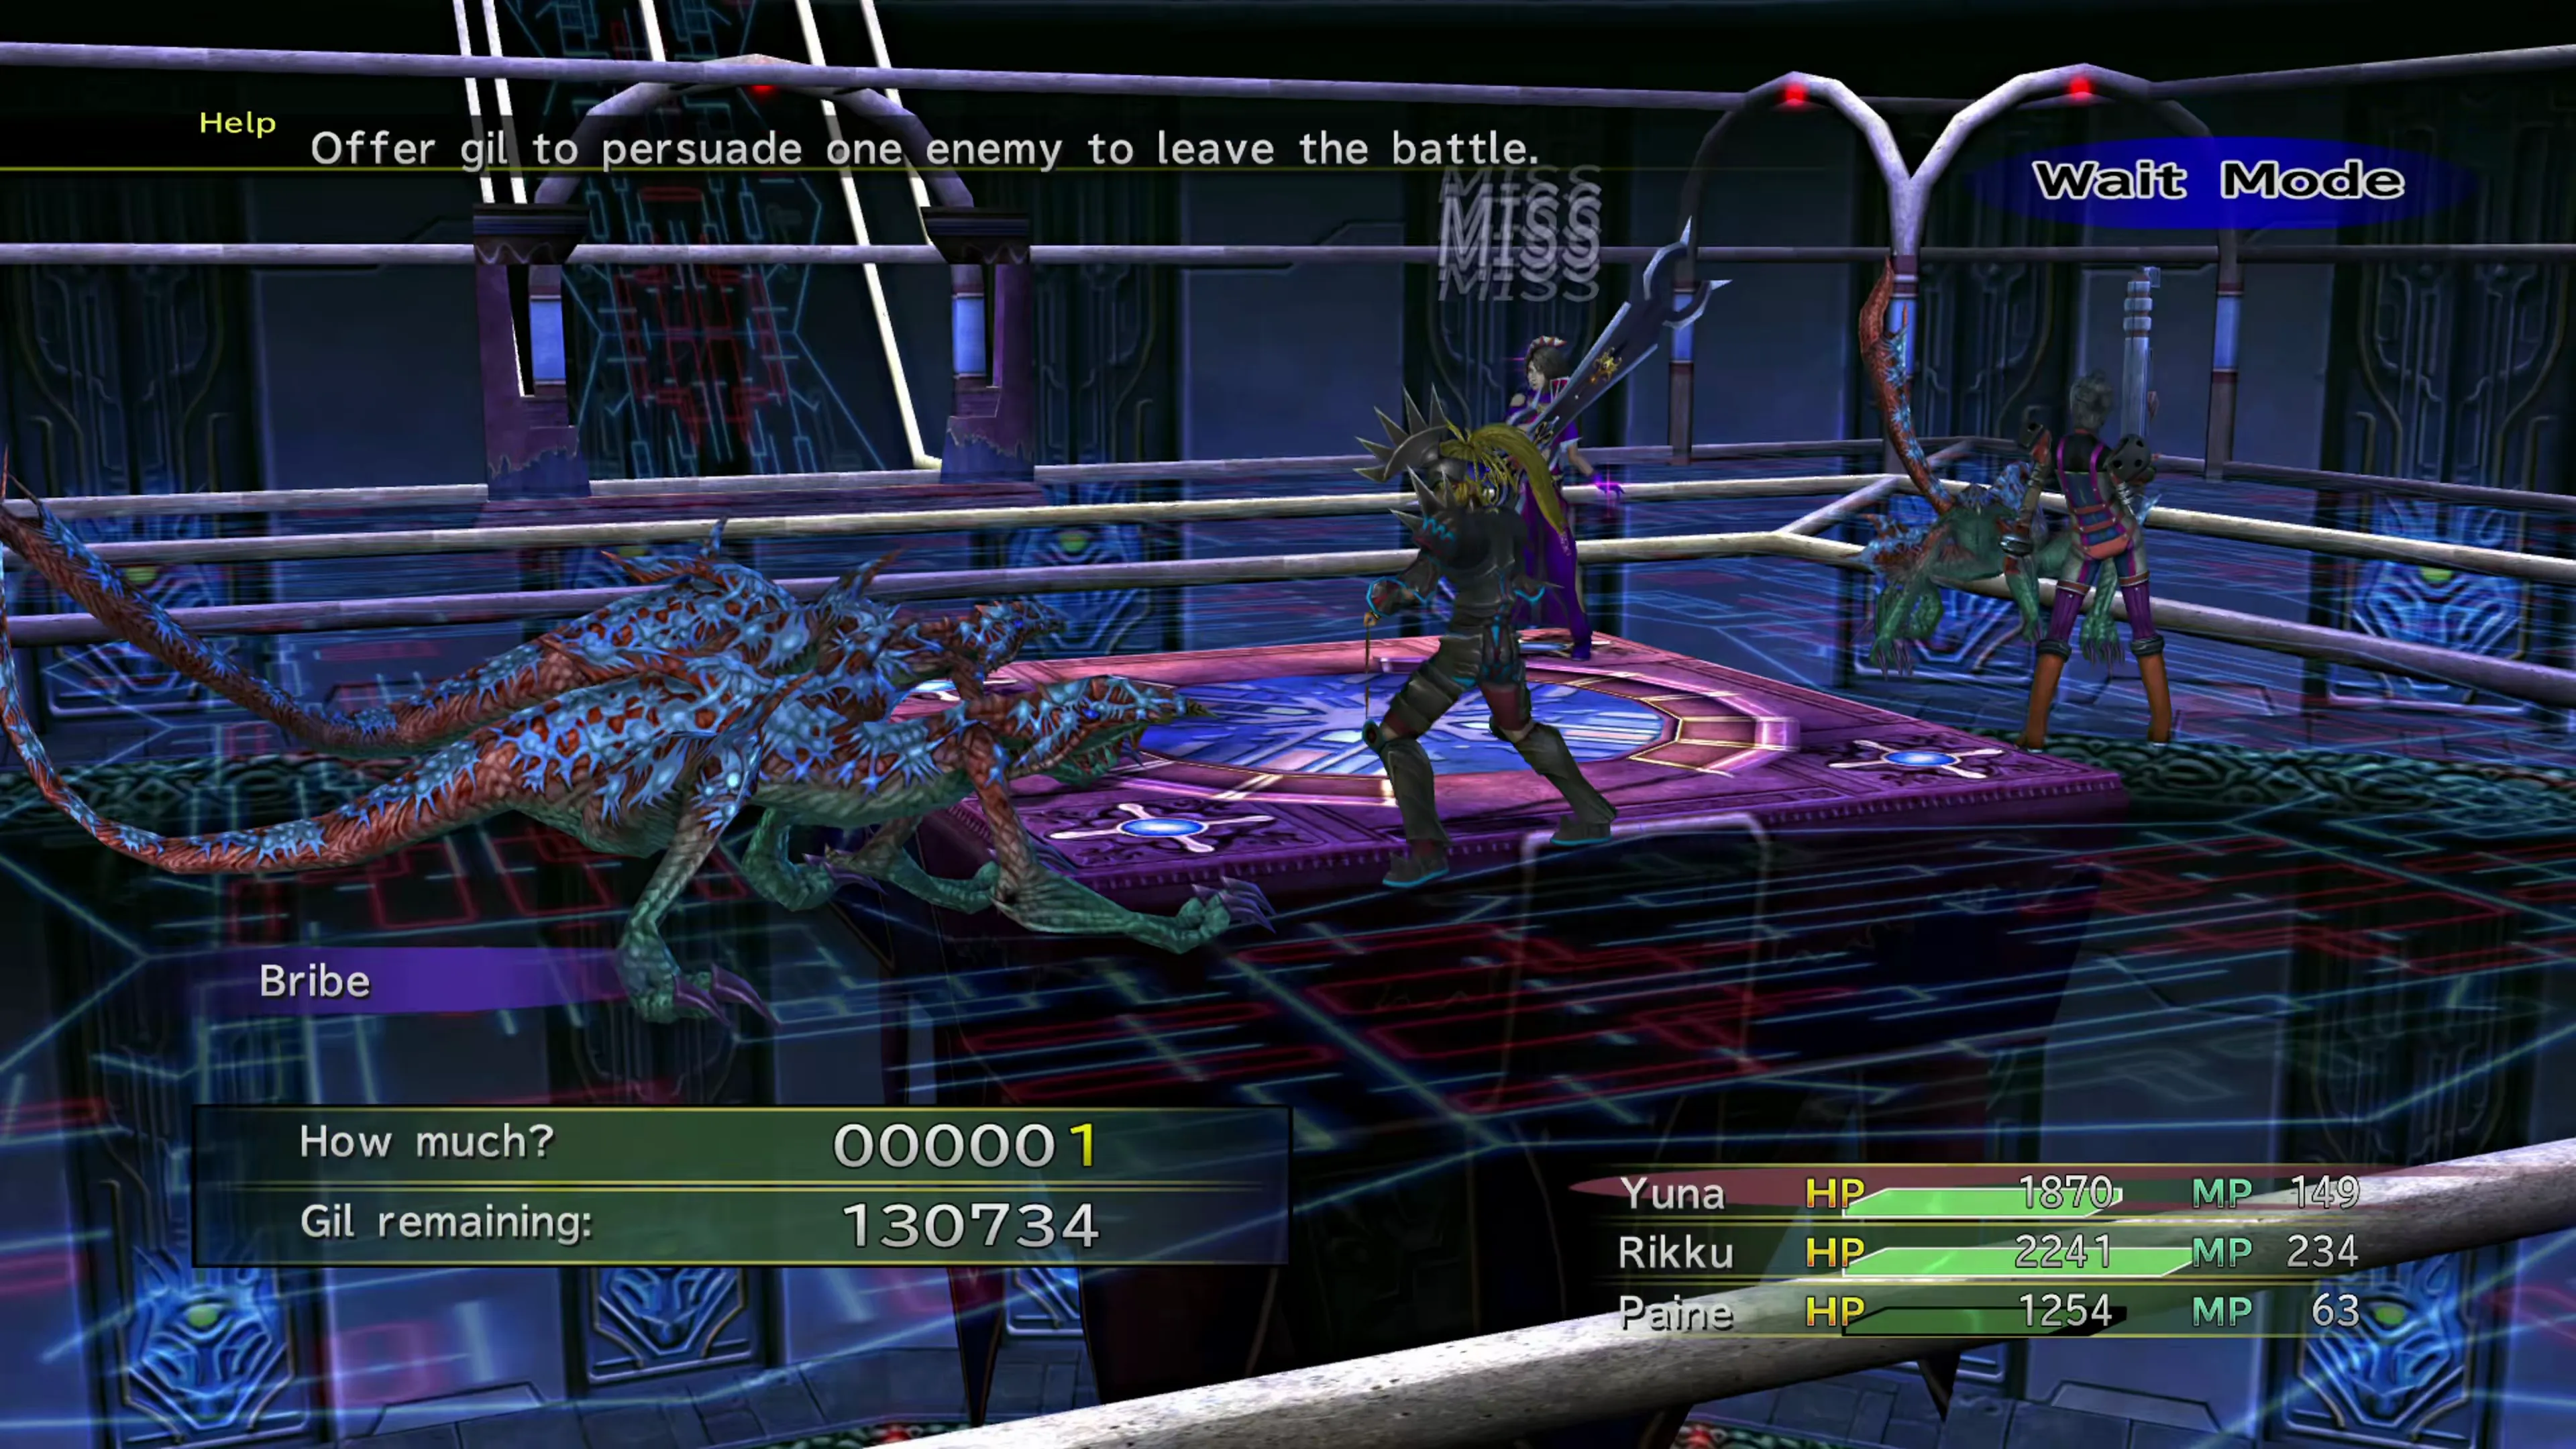
This achievement/trophy involves using the  Bribe ability from the
  Lady Luck Dressphere. First, you’ll have to win the Lady Luck Dressphere during the Sphere Break tournament that happens in Luca in Chapter 3. Bribe will require 40 Ability Points (AP) to unlock.
You can use Bribe in battle to end fights early and earn some interesting rewards. In fact, the full list of the fiends that can be bribed and what you can get from them is on the Bribing Fiends page in the Tips and Tricks section of the guide.
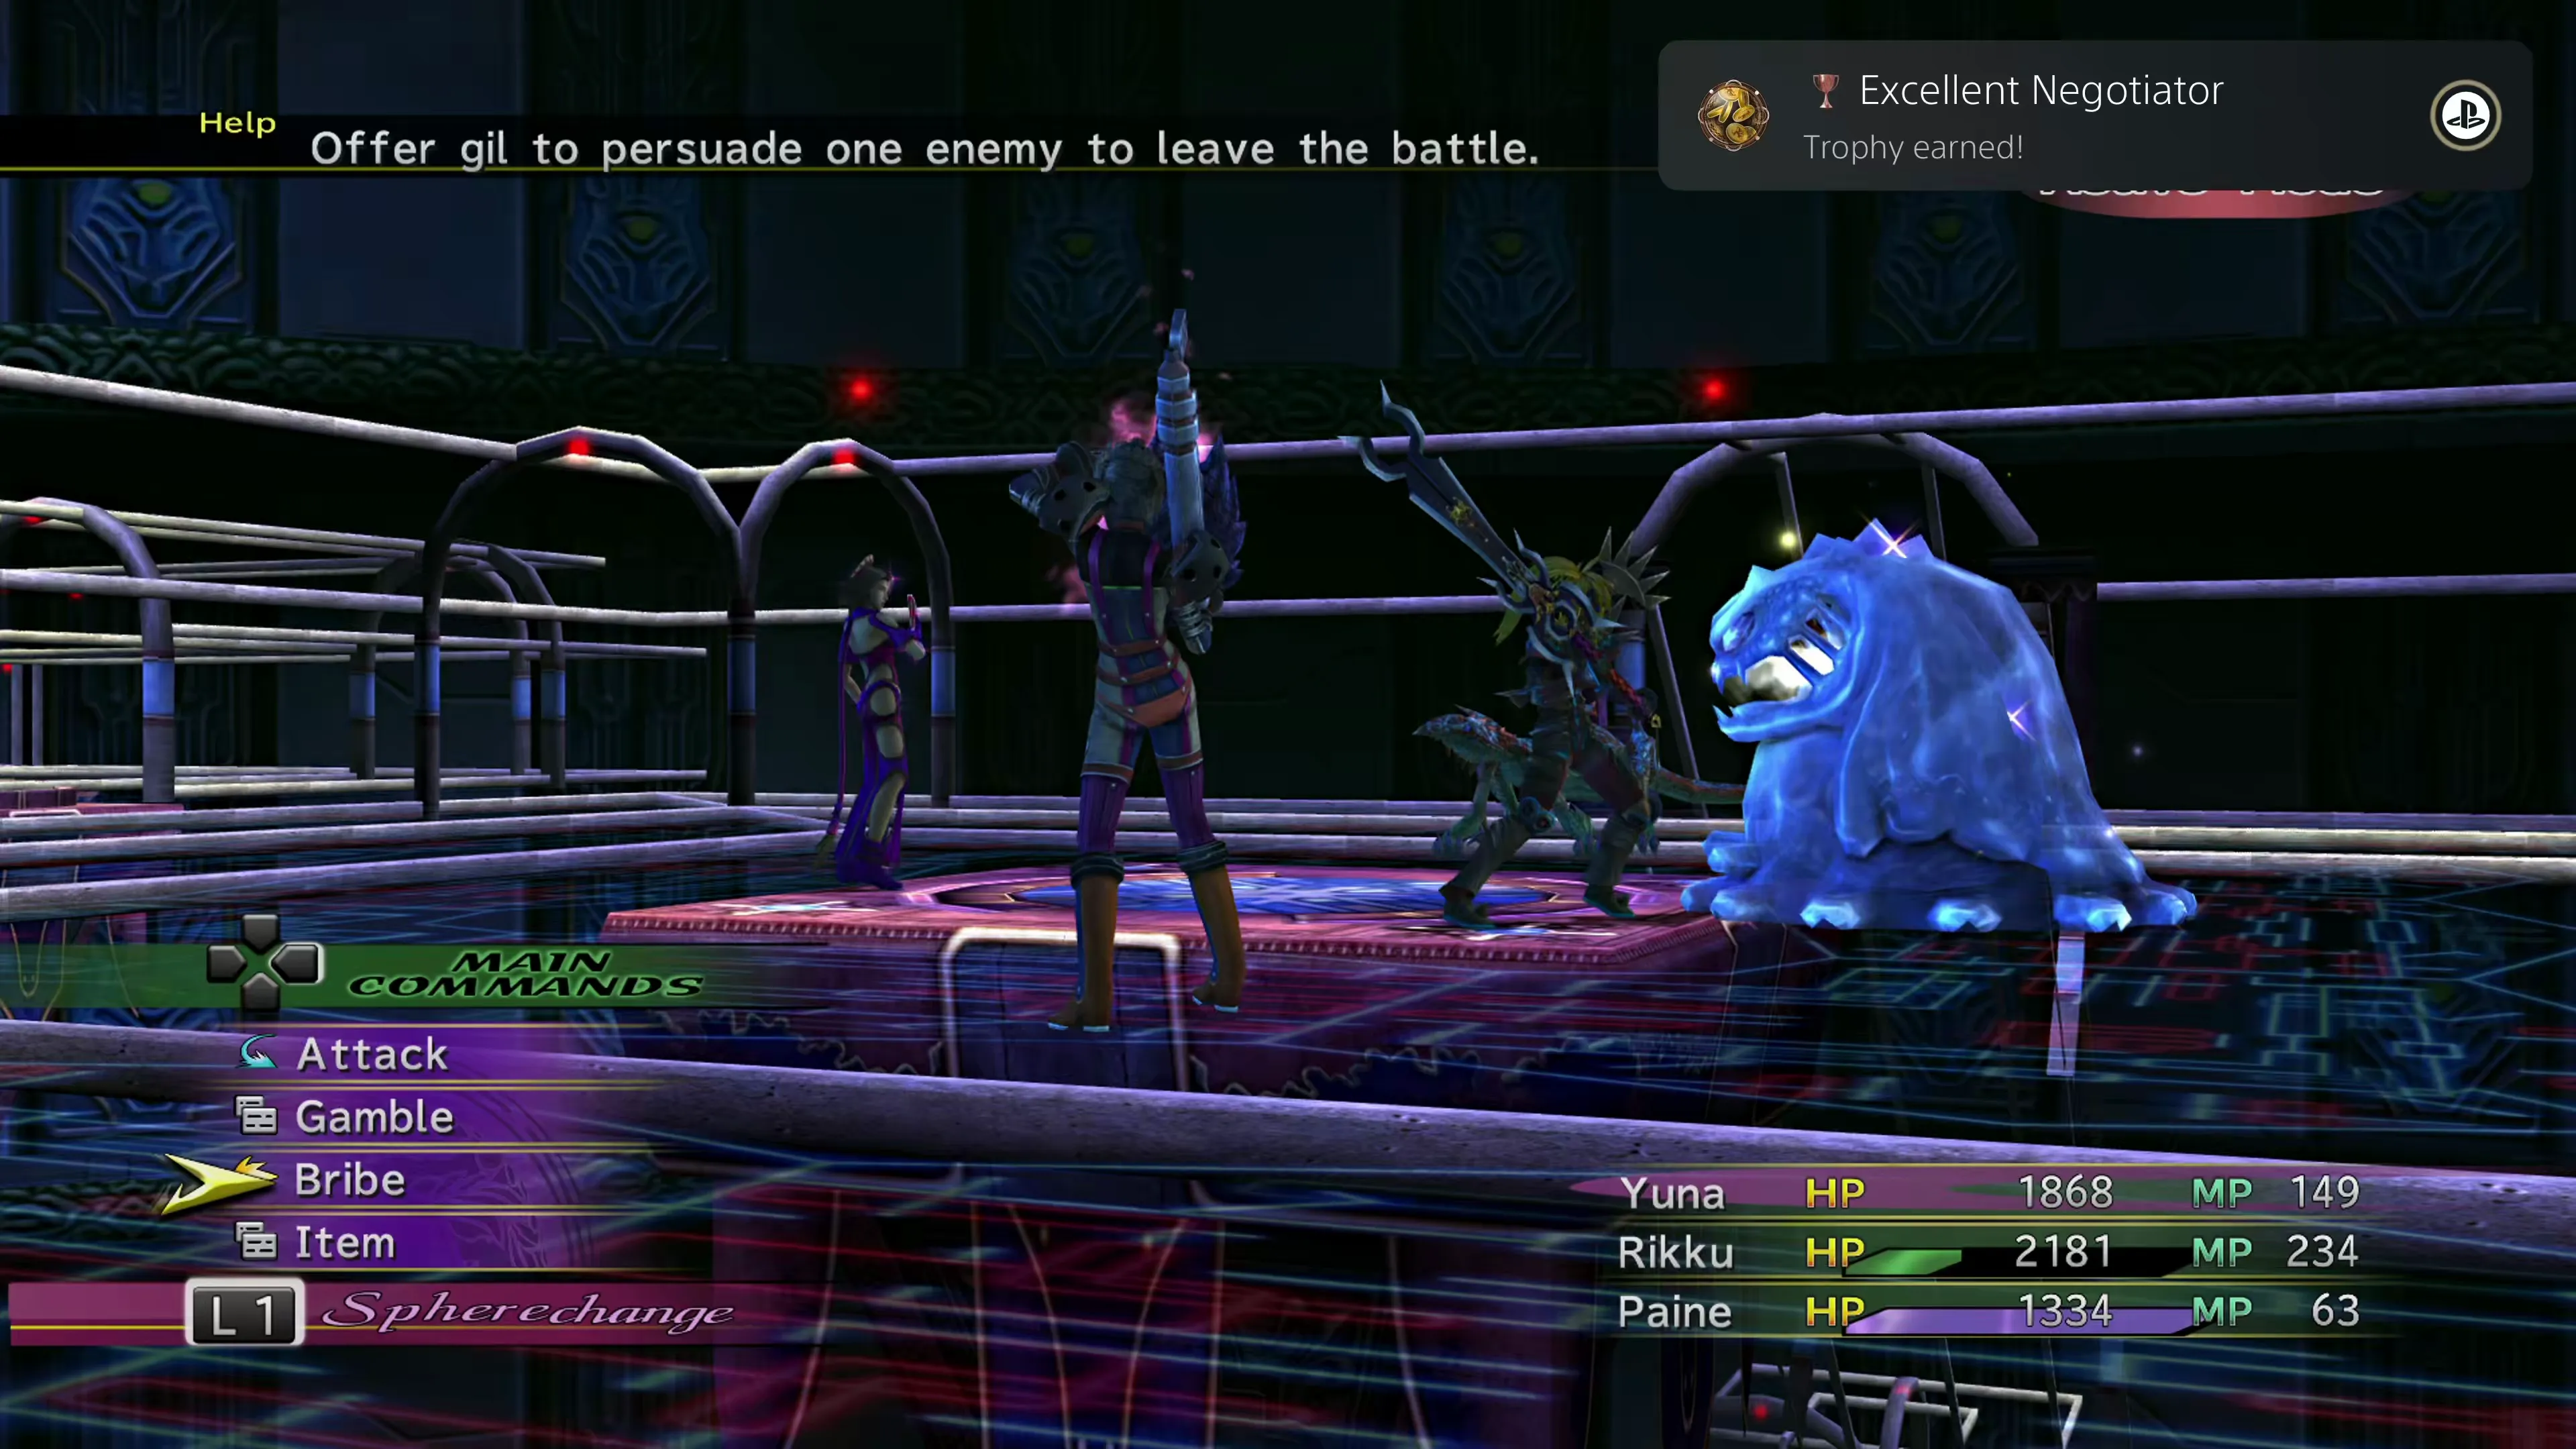
Getting this achievement/trophy is extremely easy, though, because you don’t have to “successfully” bribe a fiend in order to get credit. All you have to do is attempt to bribe the target, which means you can just repeatedly bribe a fiend for 1 Gil at a time until the achievement/trophy triggers. Easy!
 |  |  |
There’s nothing complicated about obtaining this achievement/trophy. All you have to do is keep one of your party members in a single Dressphere and keep earning Ability Points (AP) until it triggers. Check out the Power Leveling Your Characters page for Tips and Tricks for gaining AP quickly.
 Two Dice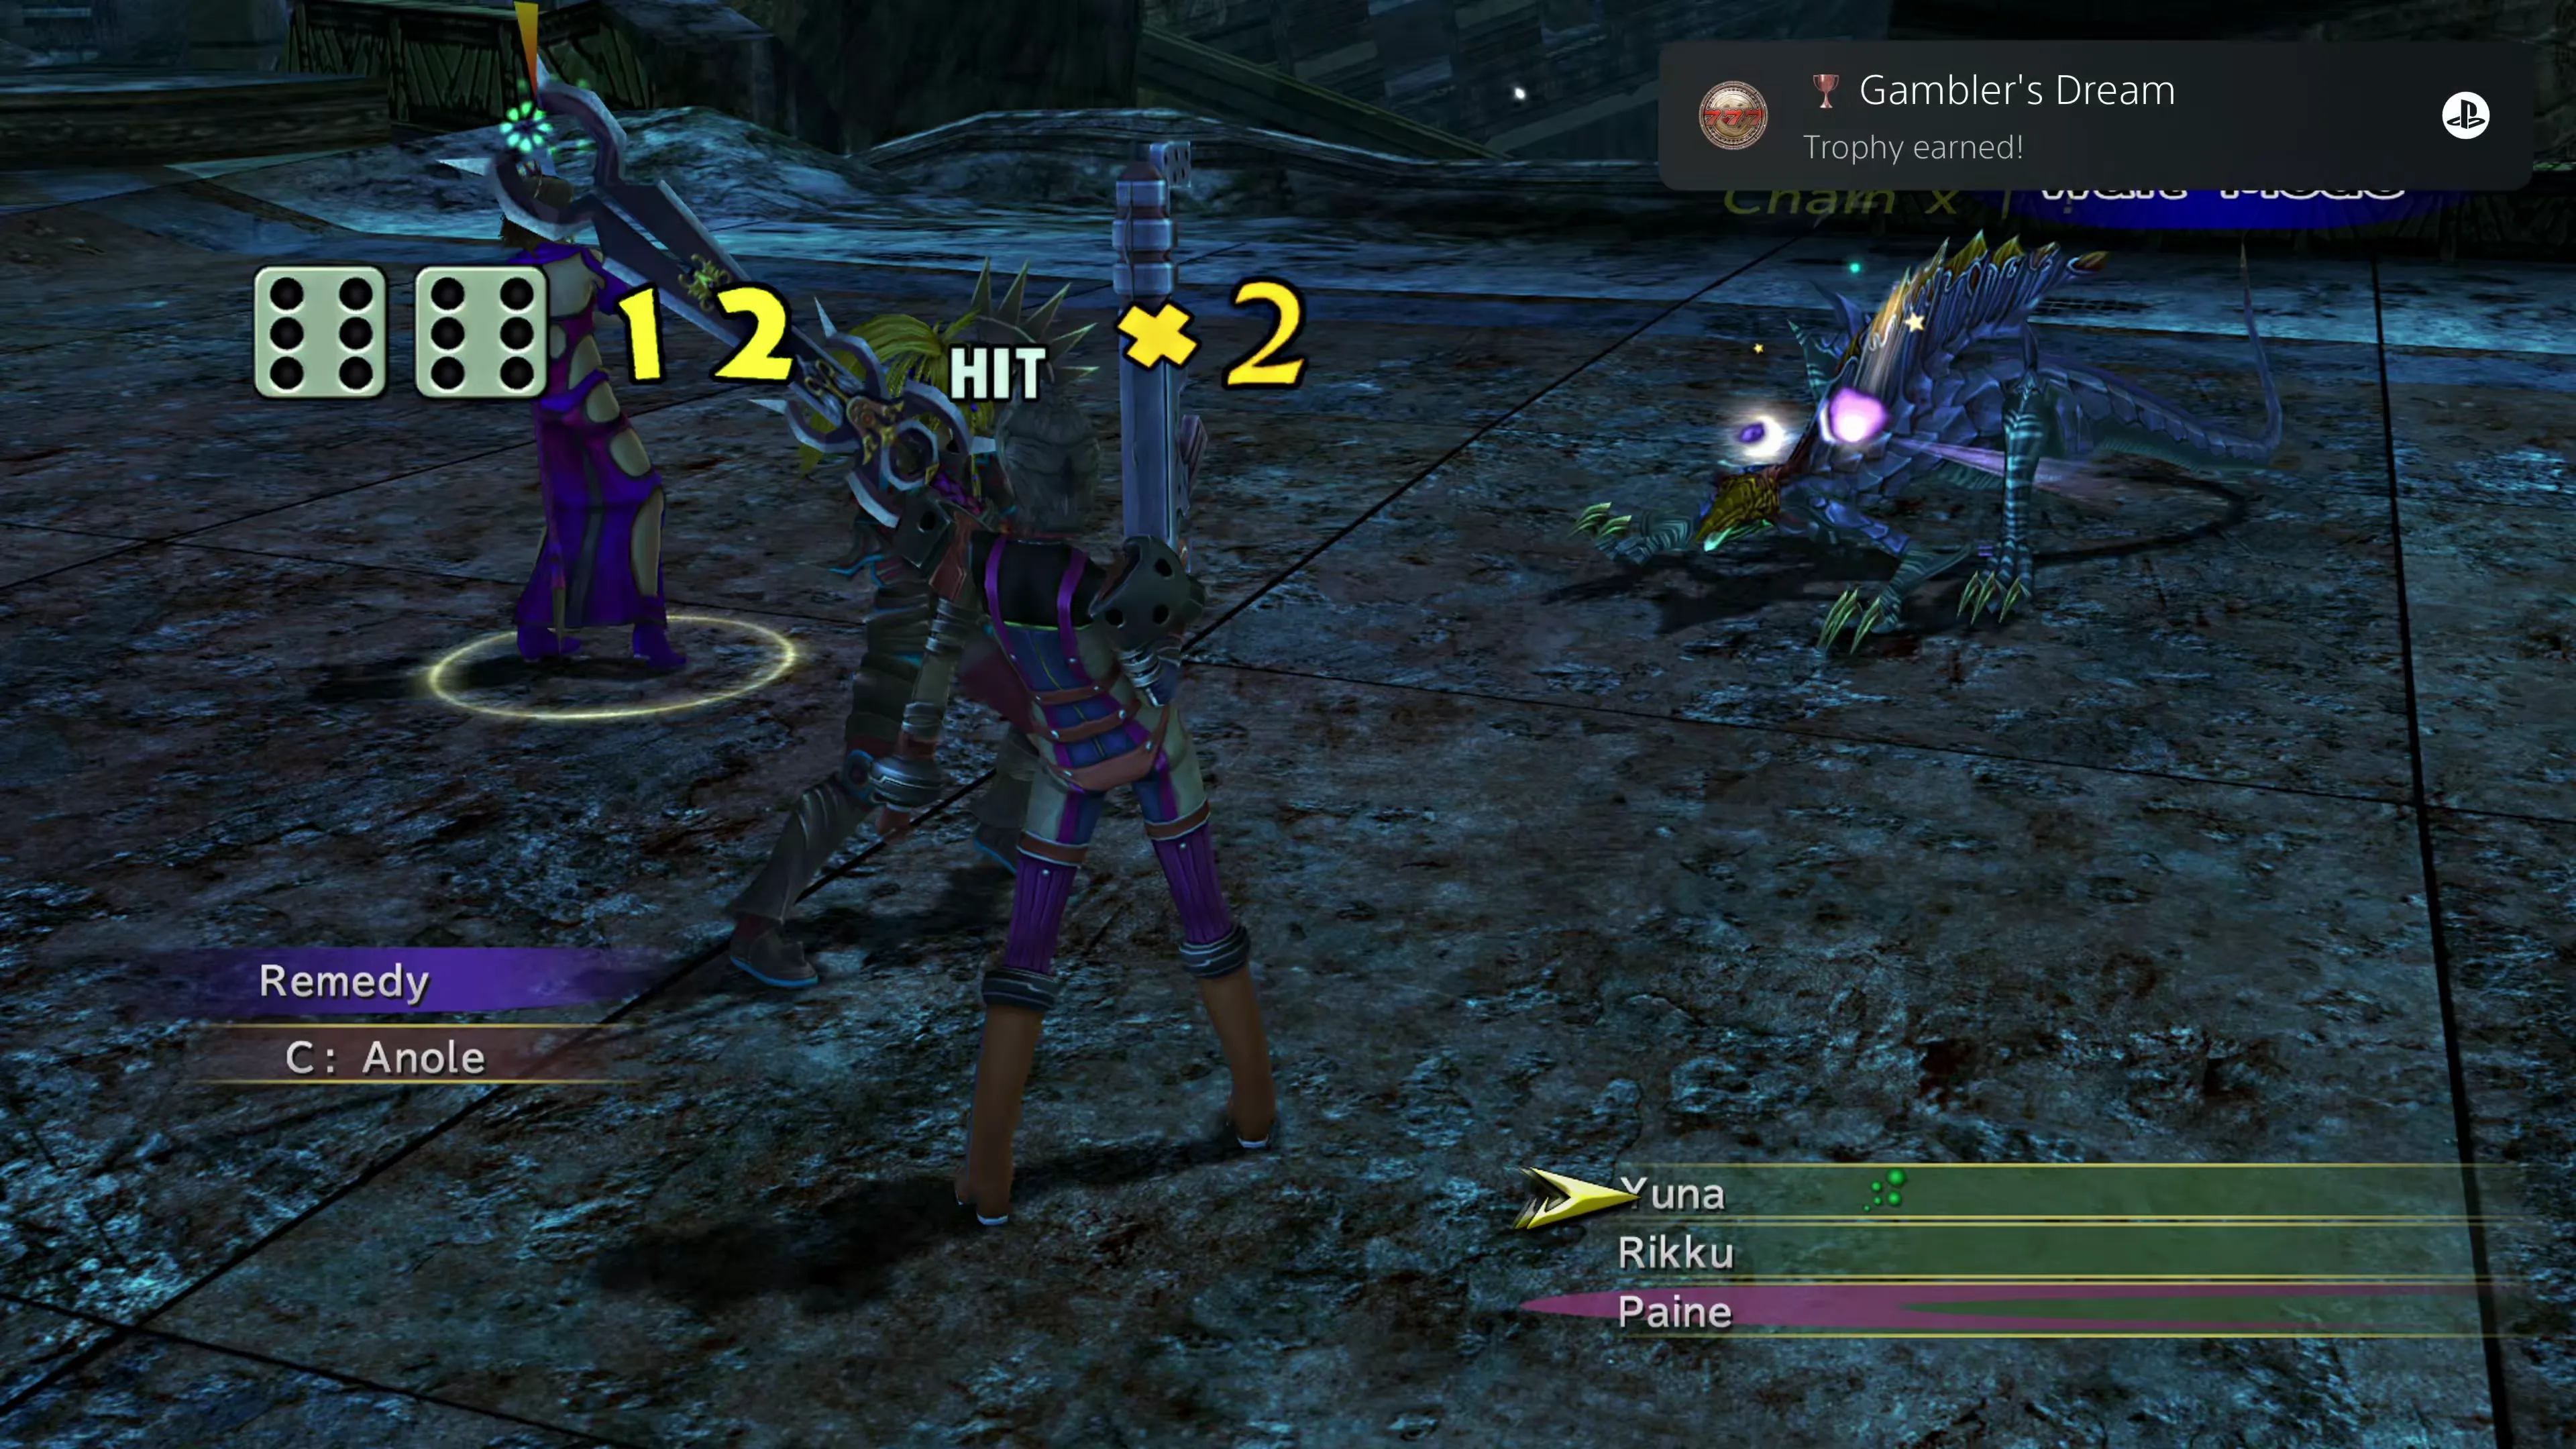
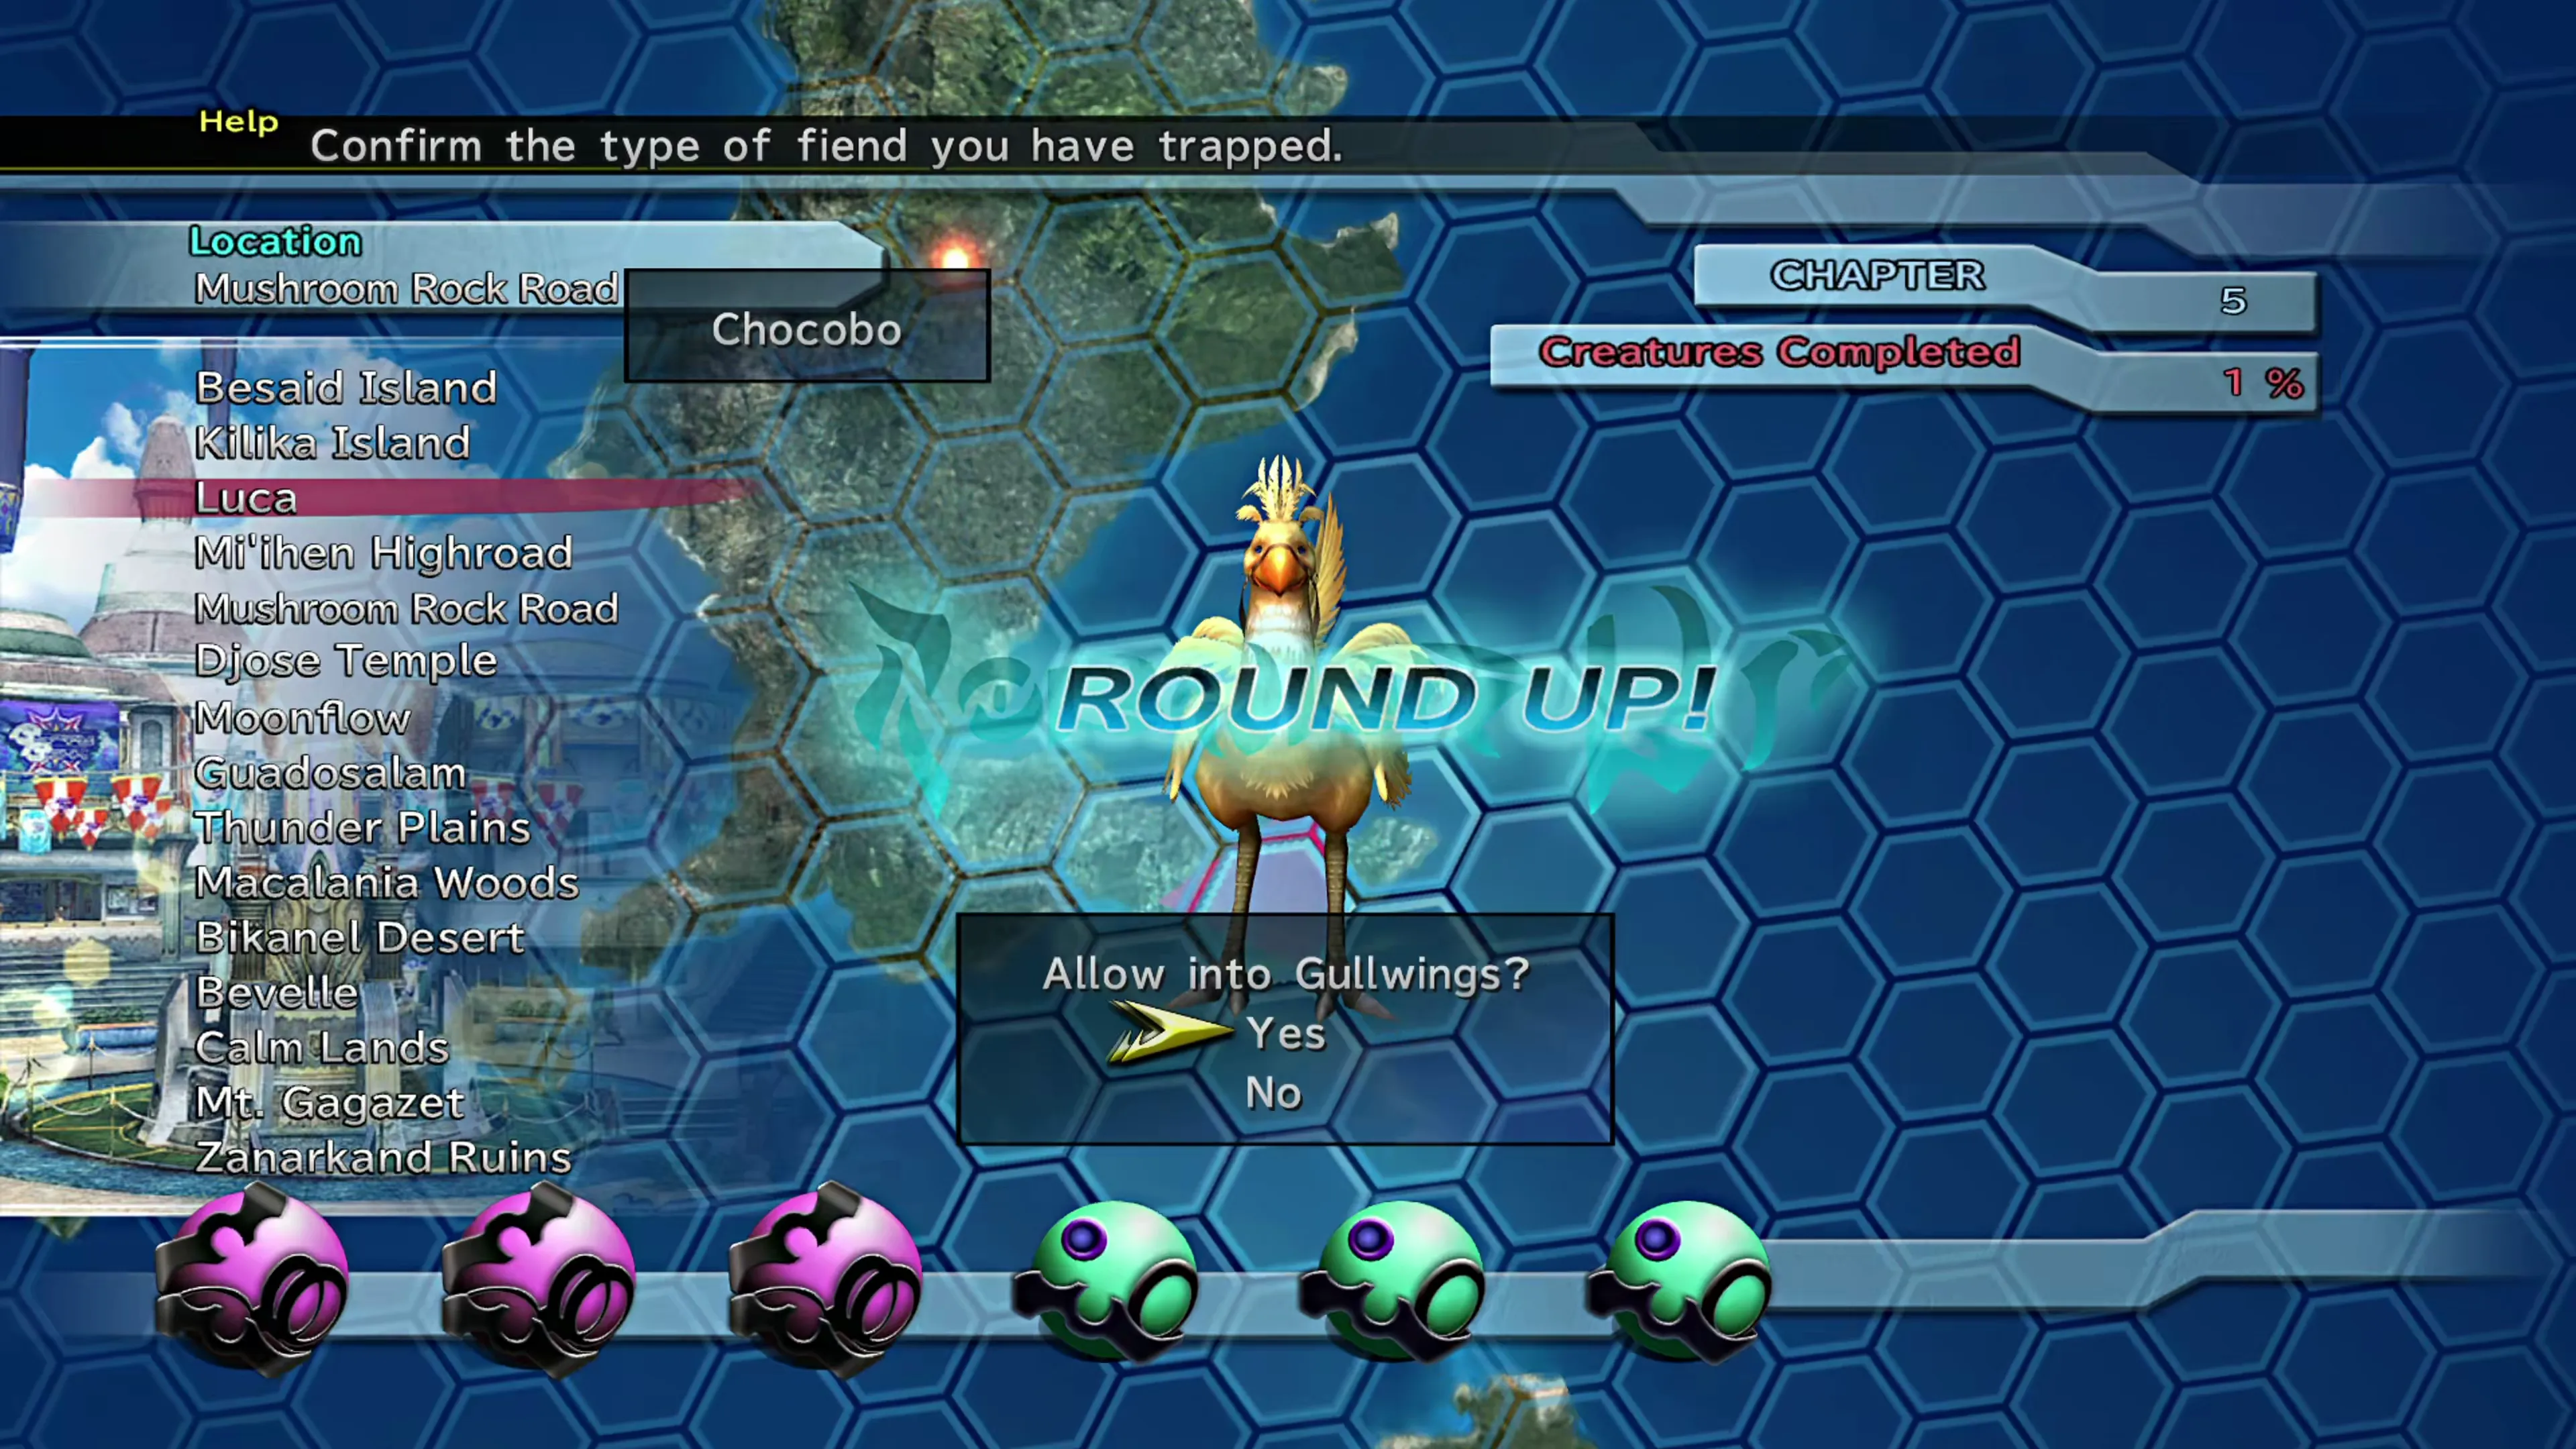
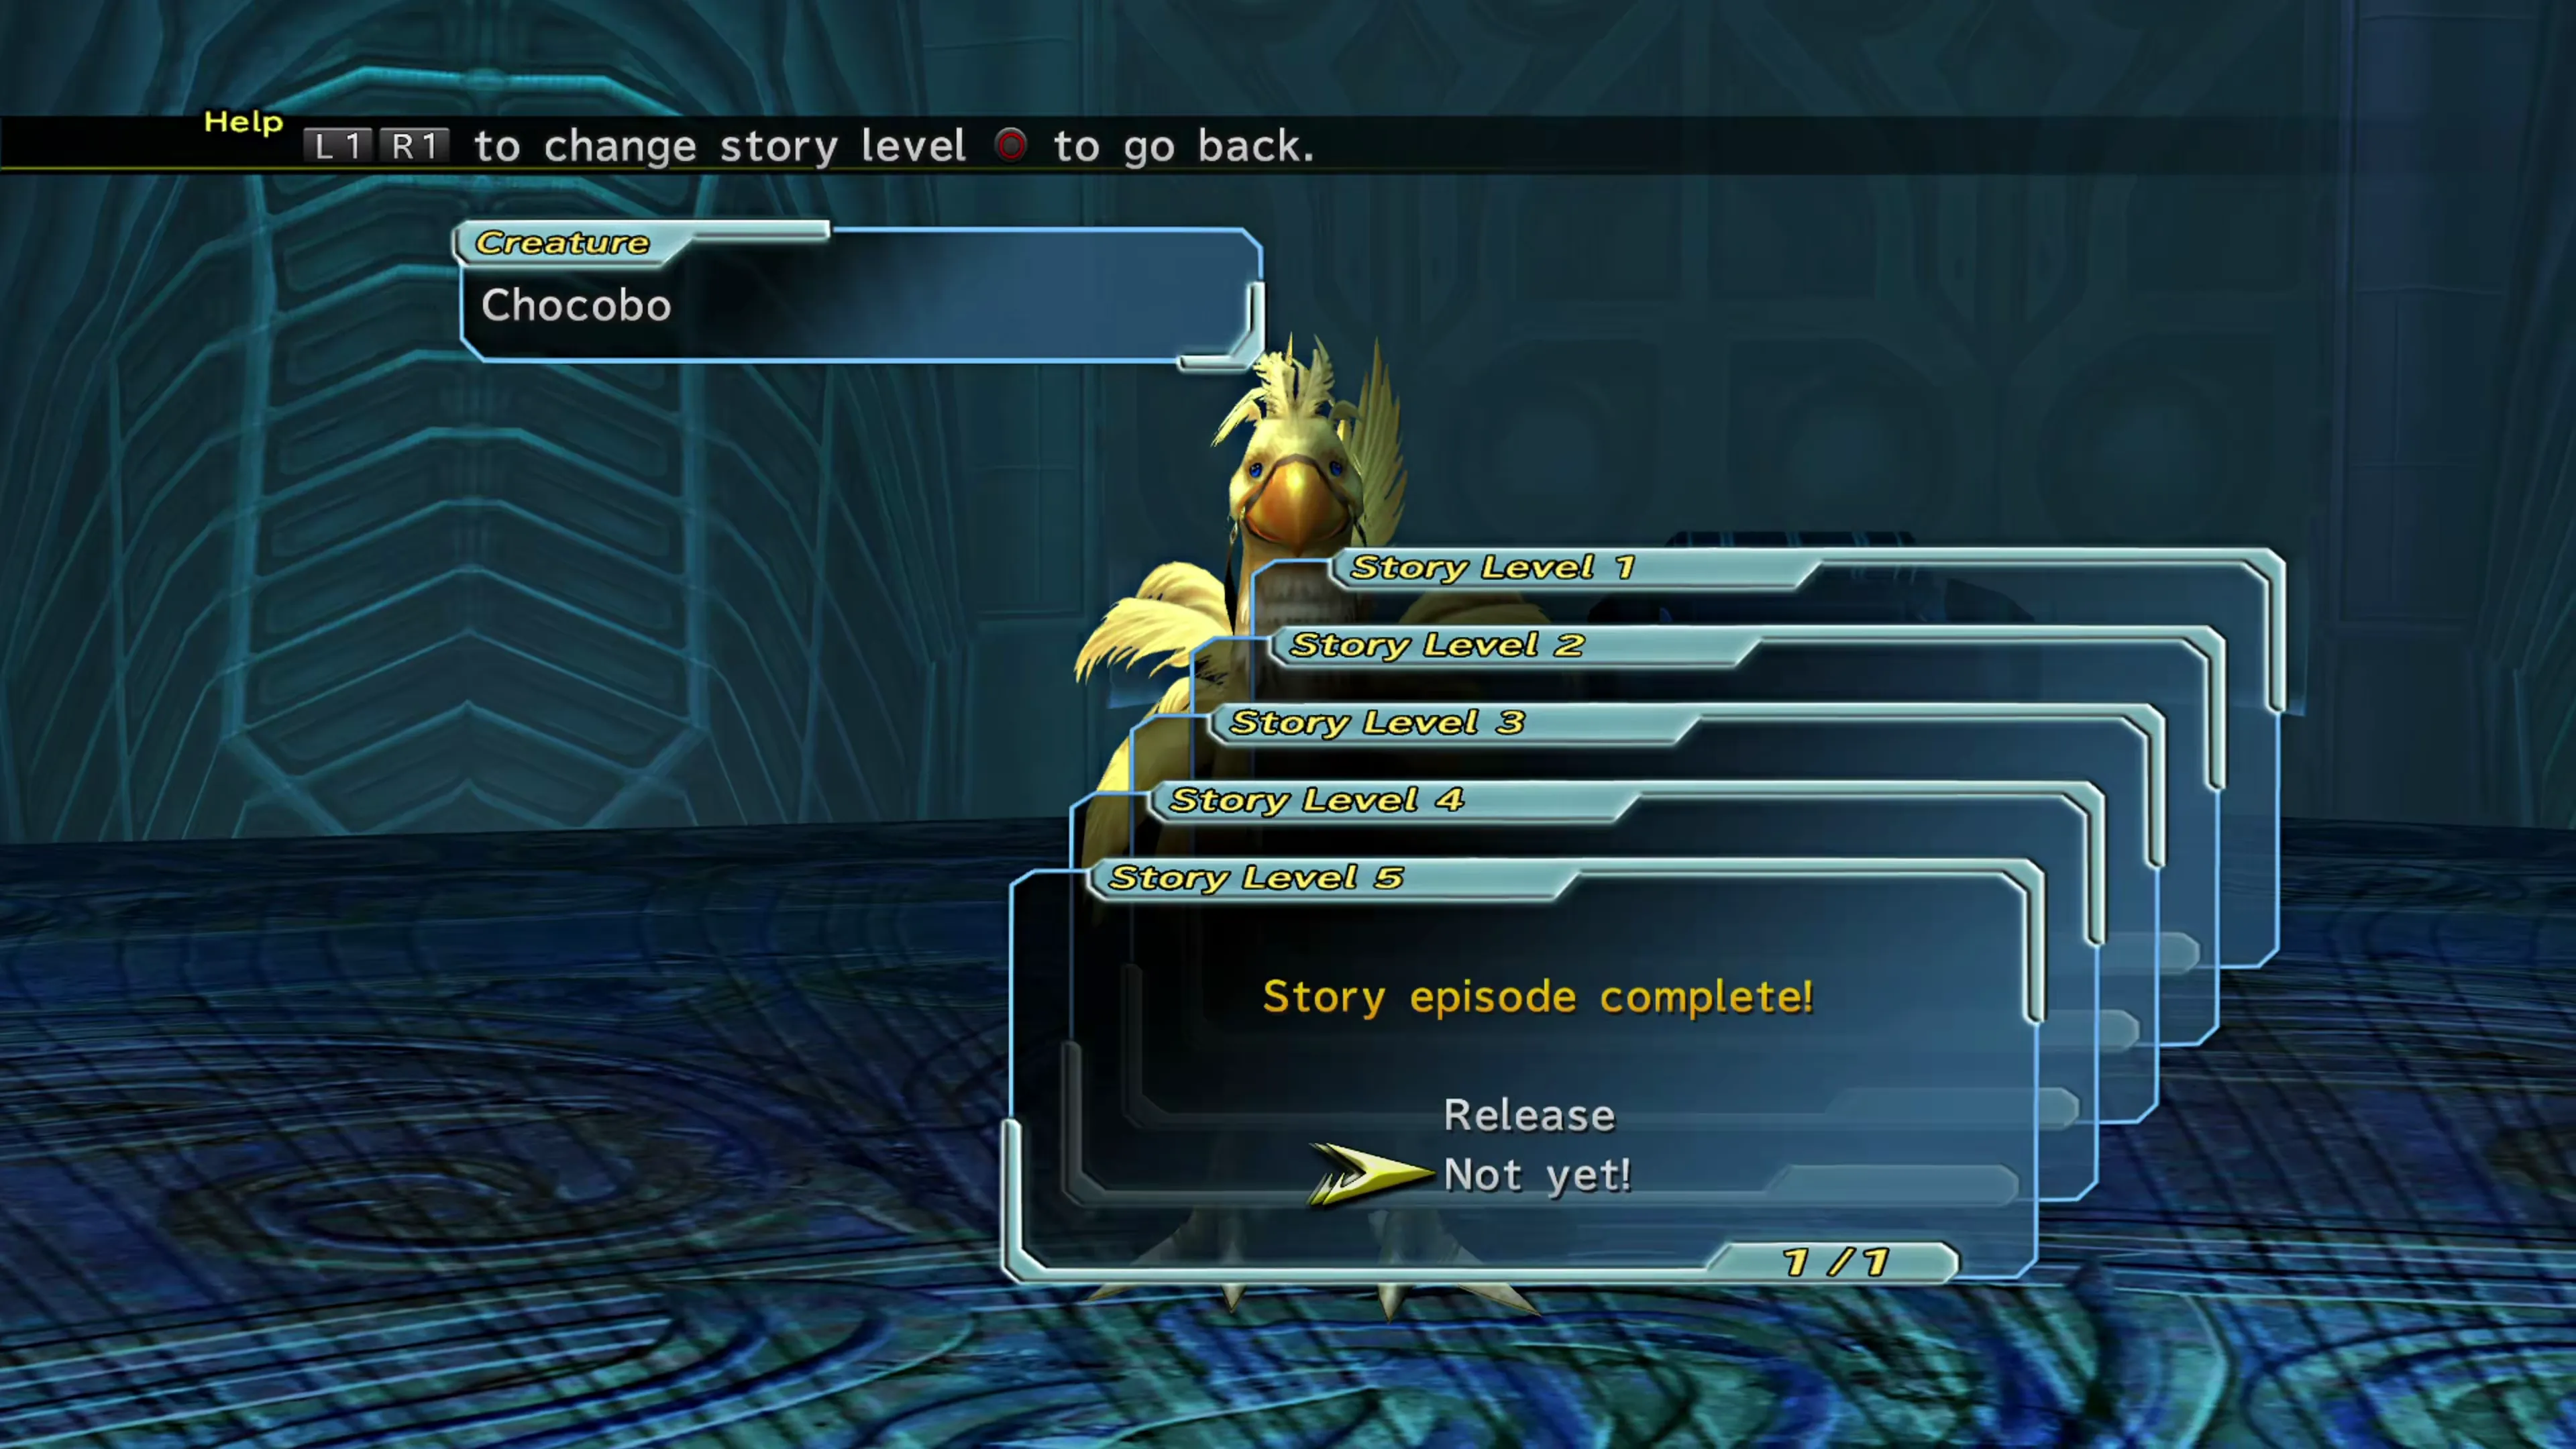
The Creature Creator was added in the HD Remaster version of the game, and through the Creature Creator, you can capture creatures and level them up alongside your characters. Each level that they gain will add a “Story Level” to them, which you can view by selecting the “Creature History” option within the Creature Creator.
Alternatively, you can have the creatures you capture gain levels using Fiend Tale Bonuses, which are gained at the end of each chapter. The best way to do this is to capture a few creatures early on in the game, and they will automatically progress through a few levels as you move through the chapters of the game. Check out the Fiend Tale Bonus Usage page (linked above) for more details, but it’s recommended that you capture…
- Flame Dragon in Chapter 1
- Flan Blanco in Chapter 2
- Mycotoxin in Chapter 3
But these three fiends won’t have Fiend Tales that you can view. Instead, if you inspect them, a message will pop up indicating that these creatures have a “Fayth fragment.” The purpose of capturing these three creatures is to unlock Aeons in the Fiend Arena. To unlock this achievement/trophy, you’ll need to capture a different creature and level it up.
Two great options include:
- A Chocobo, a small-type creature that can be caught with a Trap Pod S. There is always one in Luca, and there is one in the Calm Lands until the Ruin Depths open.
- A Cactuar, which is another small-type creature that can be caught in Bikanel Desert after completing the Cactuar Nation side quest.
You’ll need to have a Chocobo or Cactuar in your party in order to participate in the “Chocobo Cup” or the “Cactuar Cup,” respectively. But it doesn’t have to be either of these options; any creature that has a full fiend tale will work. Just be careful, though, because not all of them do.
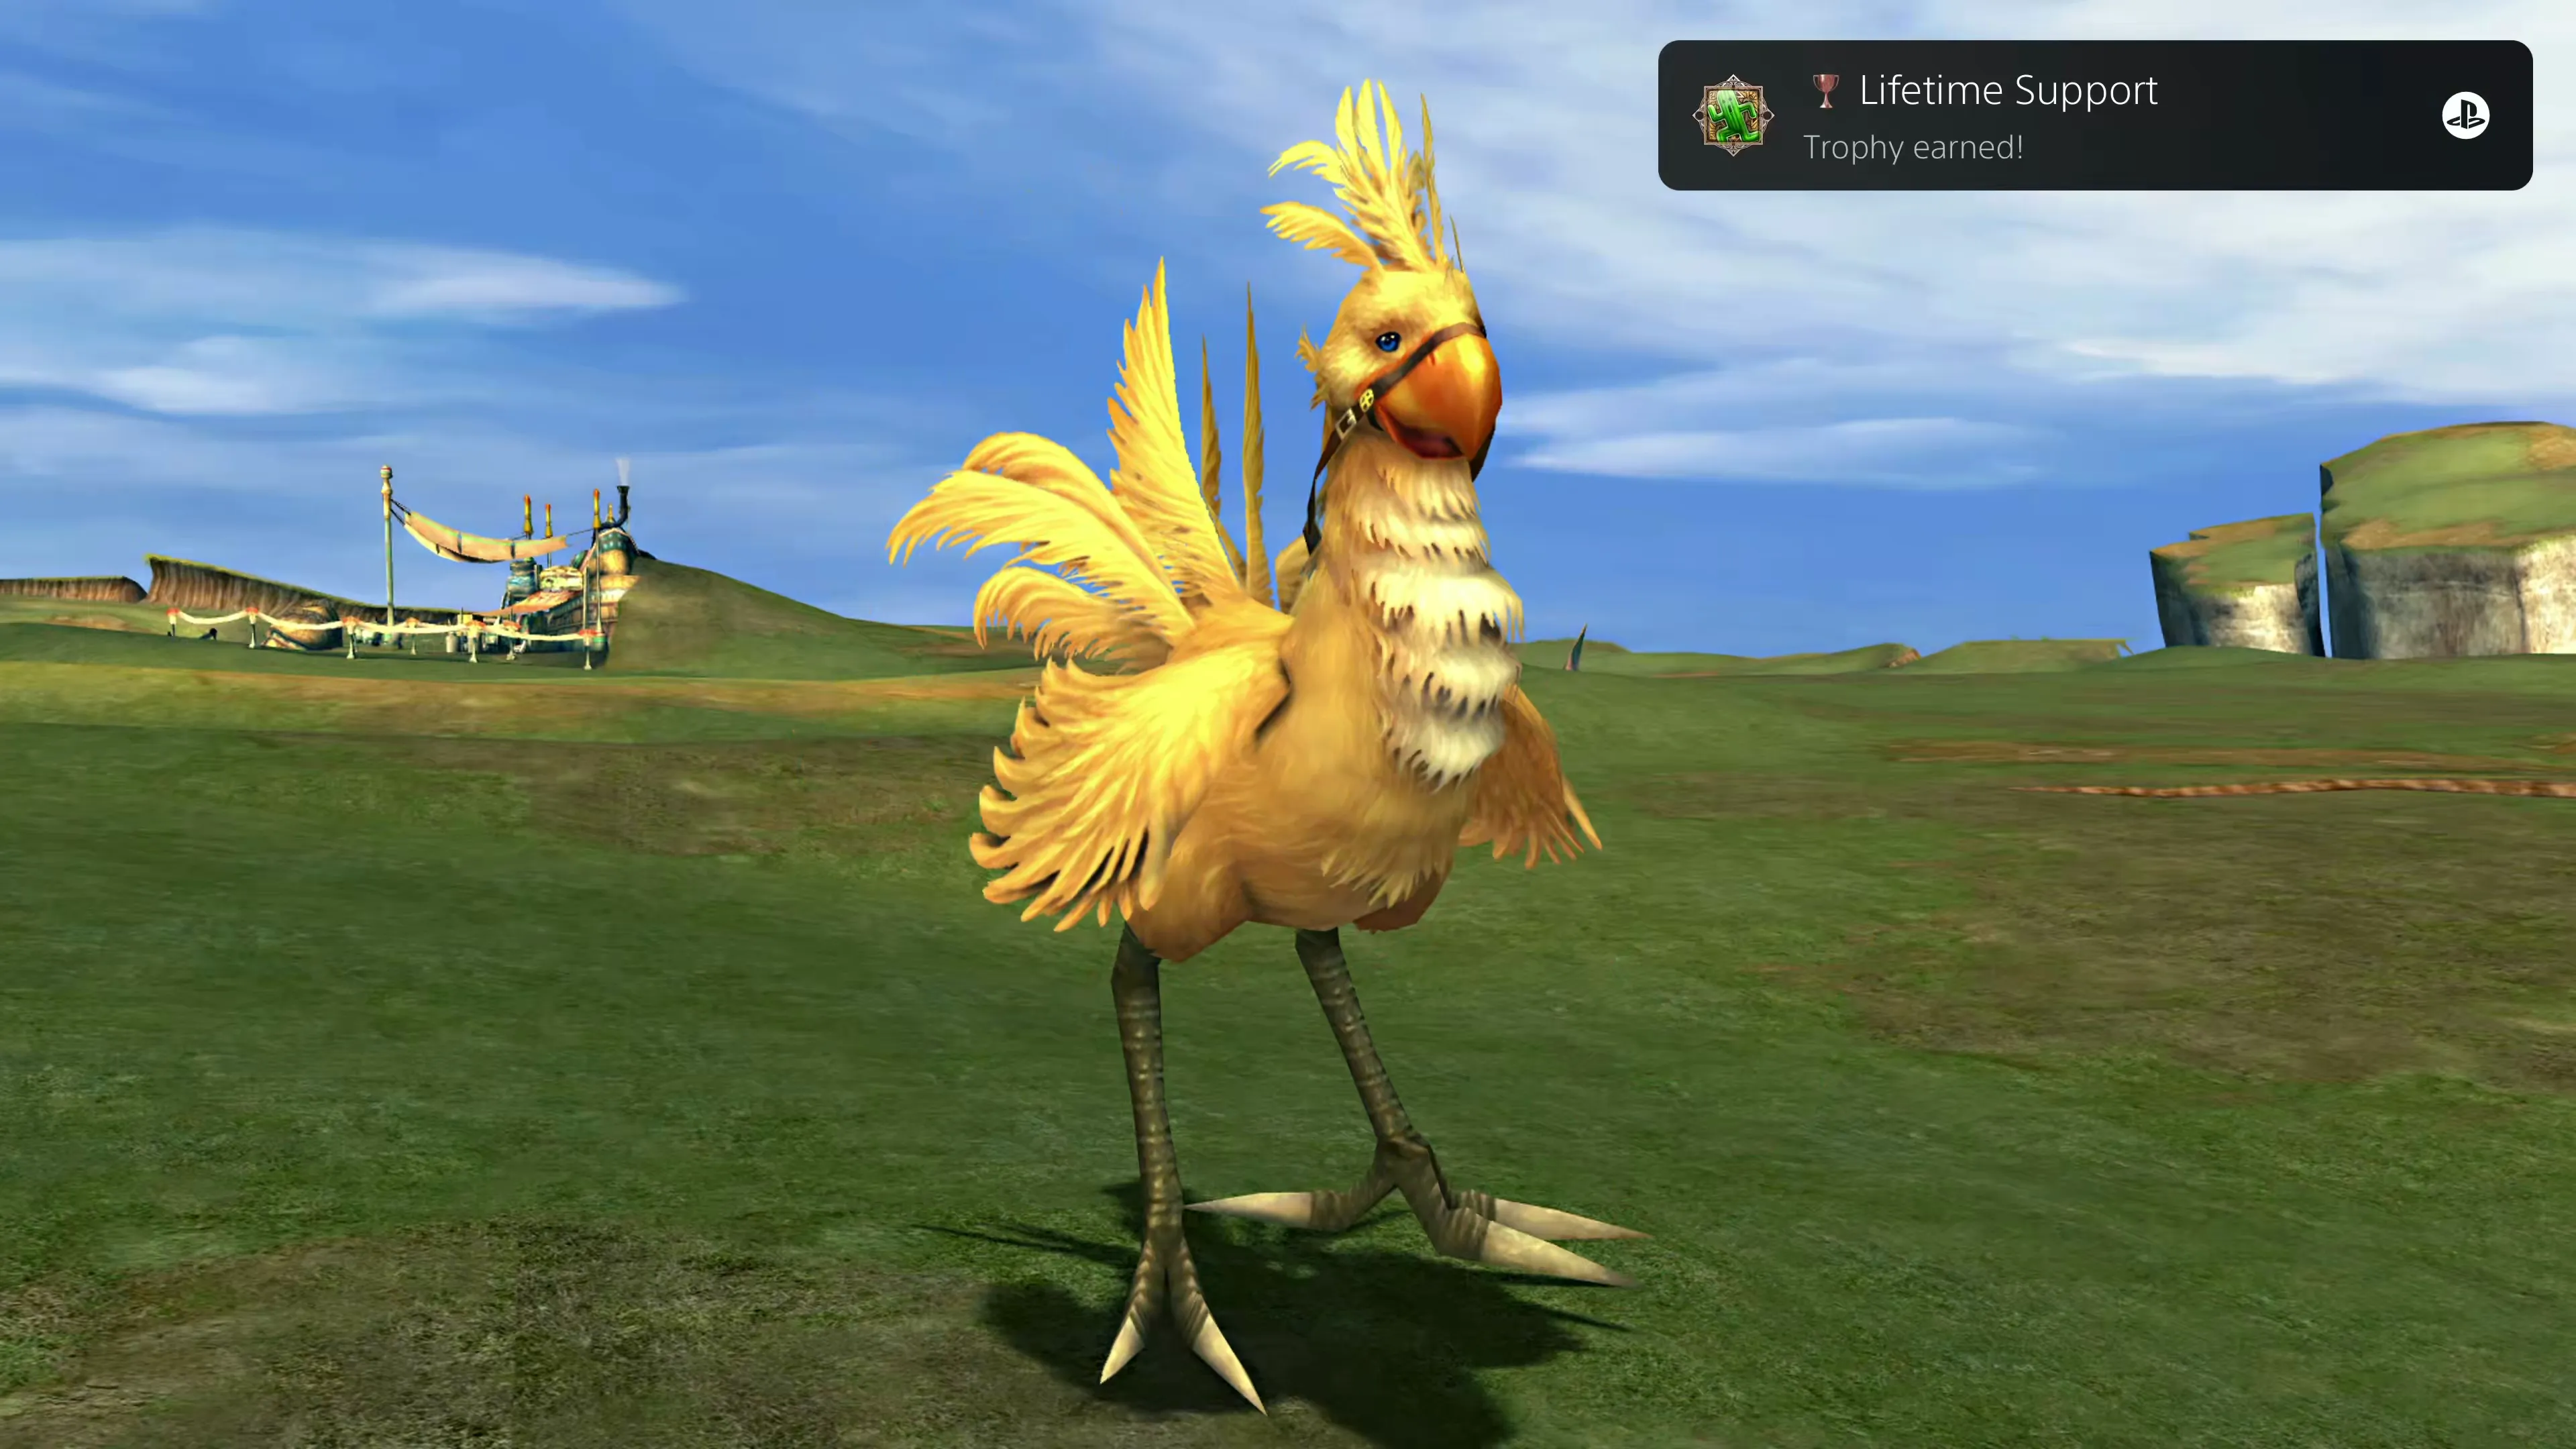
Once you’ve got one, you can either level it up manually by including it in your party and helping it gain experience, or you can use Fiend Tale Bonuses. After you have raised its level 5 times, examine it and choose the “Release” option. You’ll lose the creature by doing this, so make sure you save your game if you’d rather keep the creature and are only releasing it for the purposes of viewing its completed fiend tale.
 |  |  |
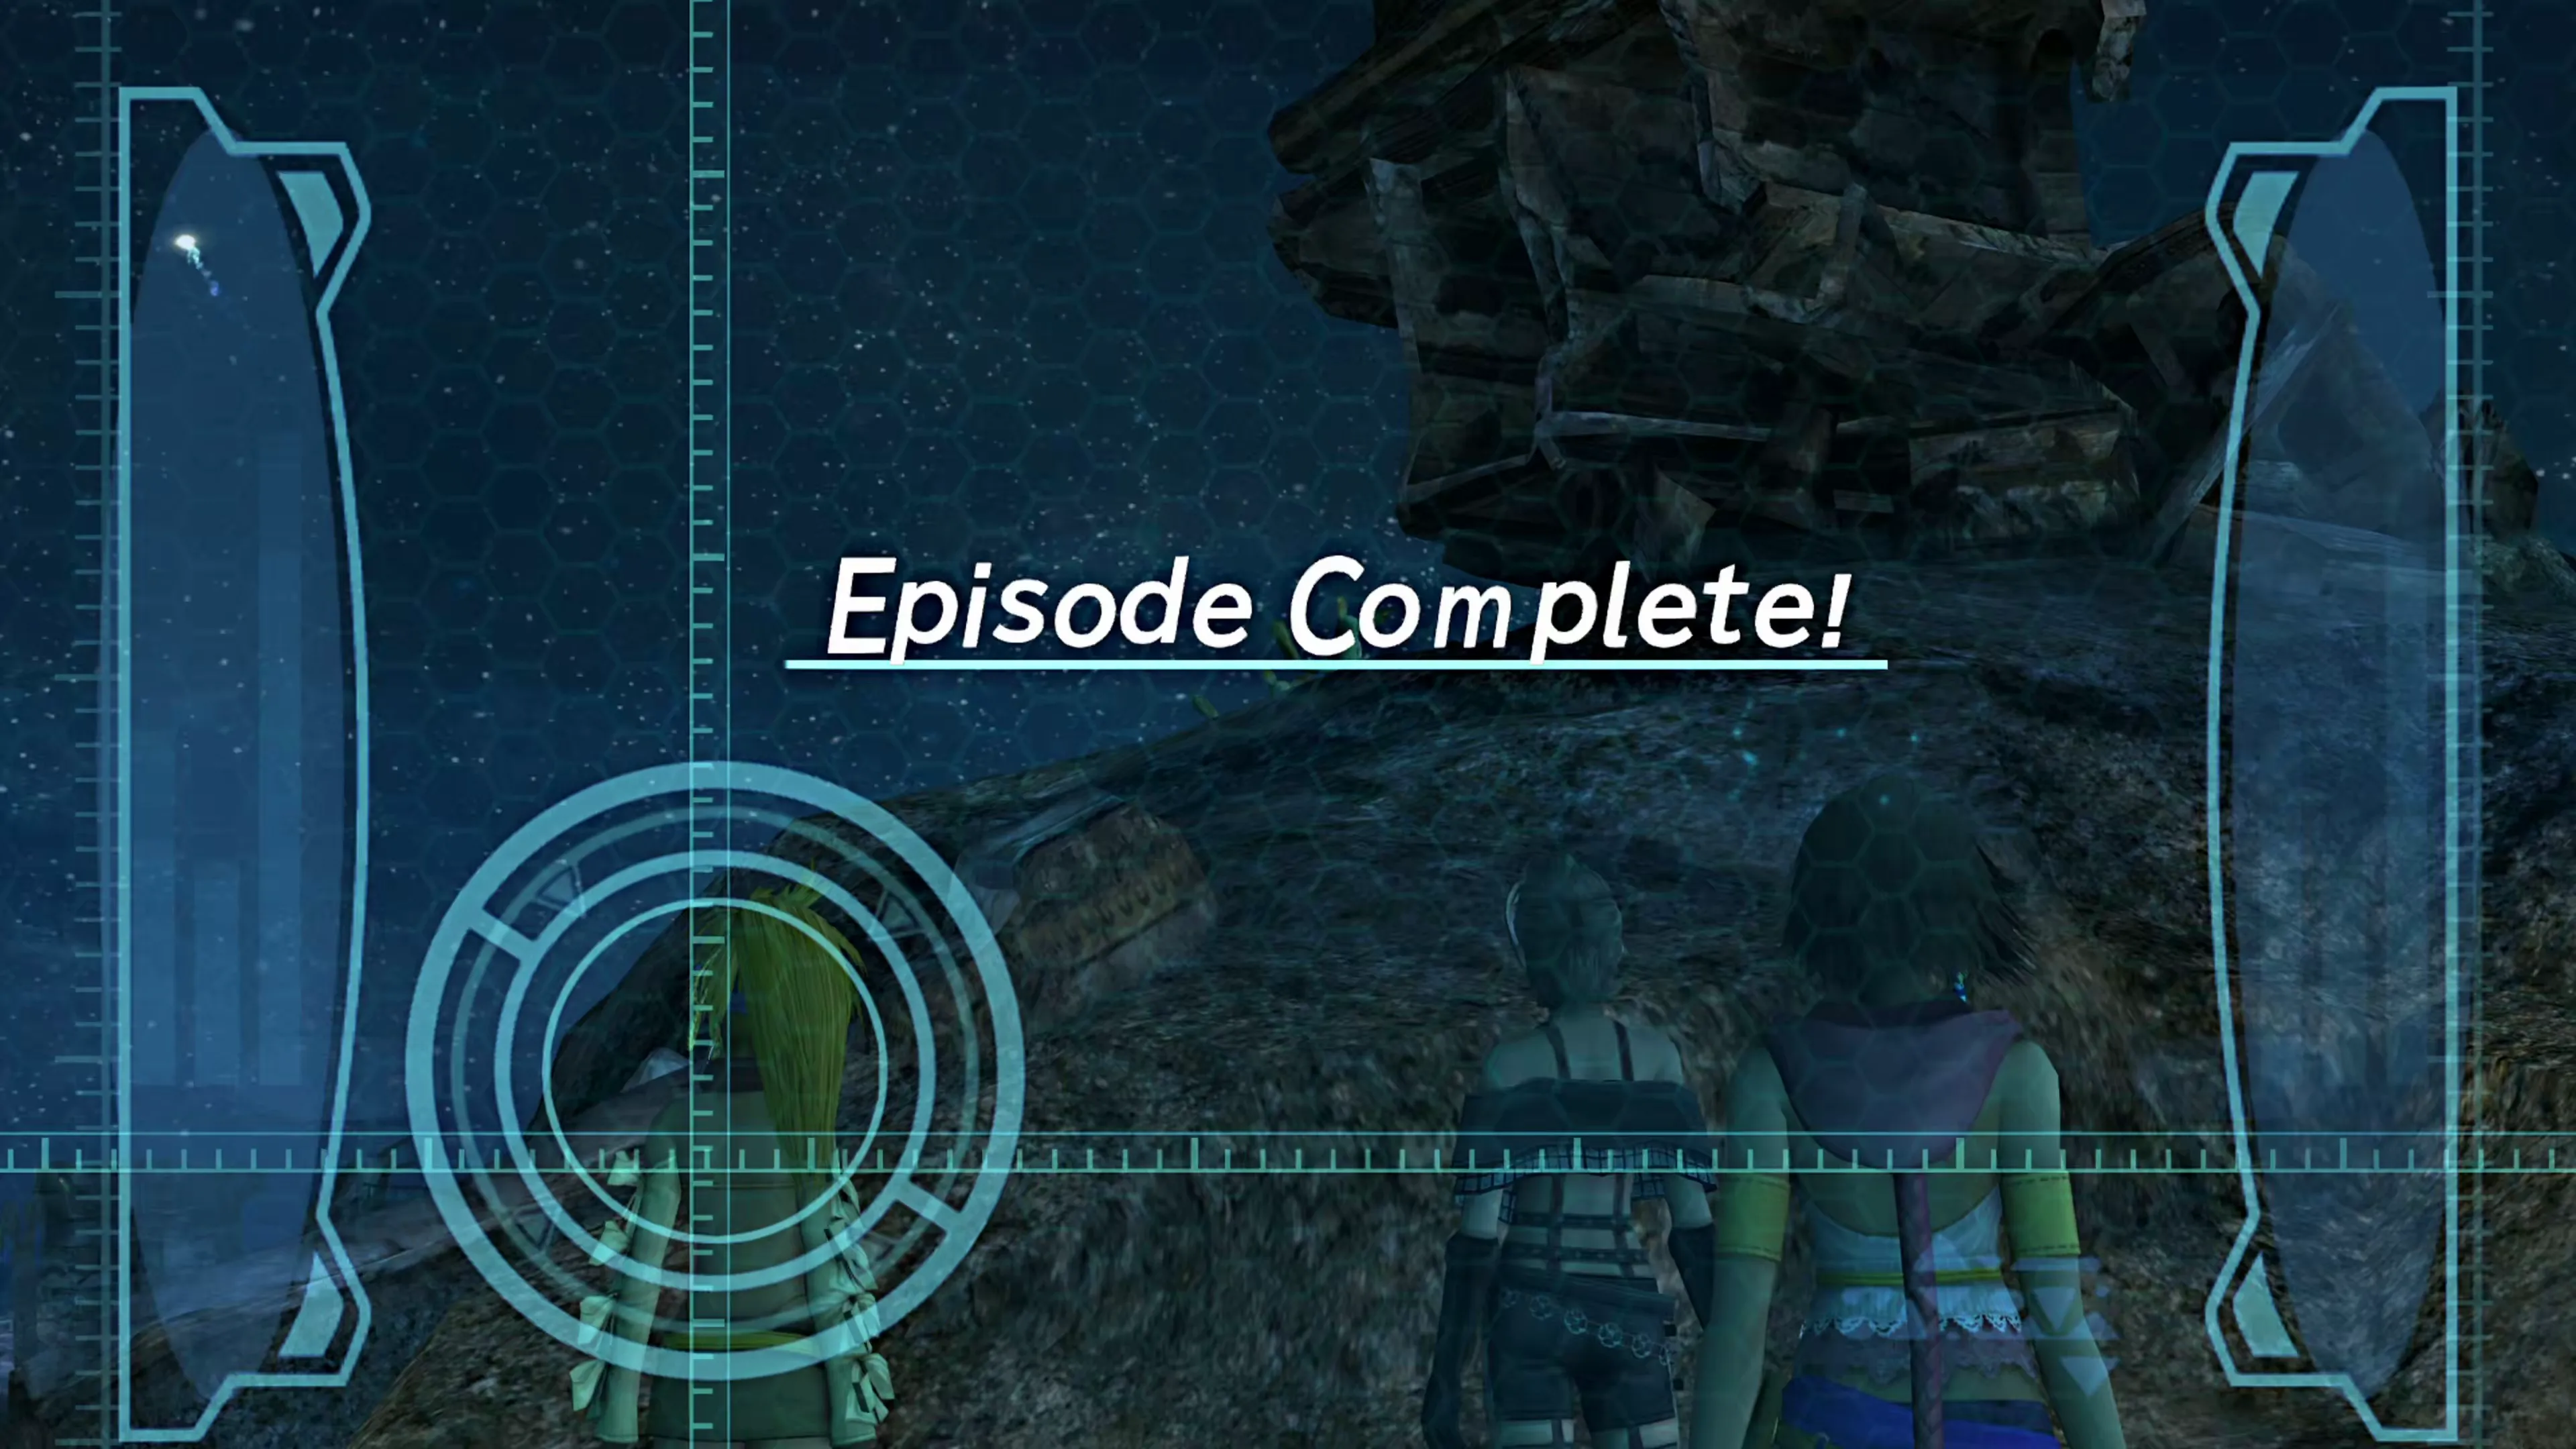
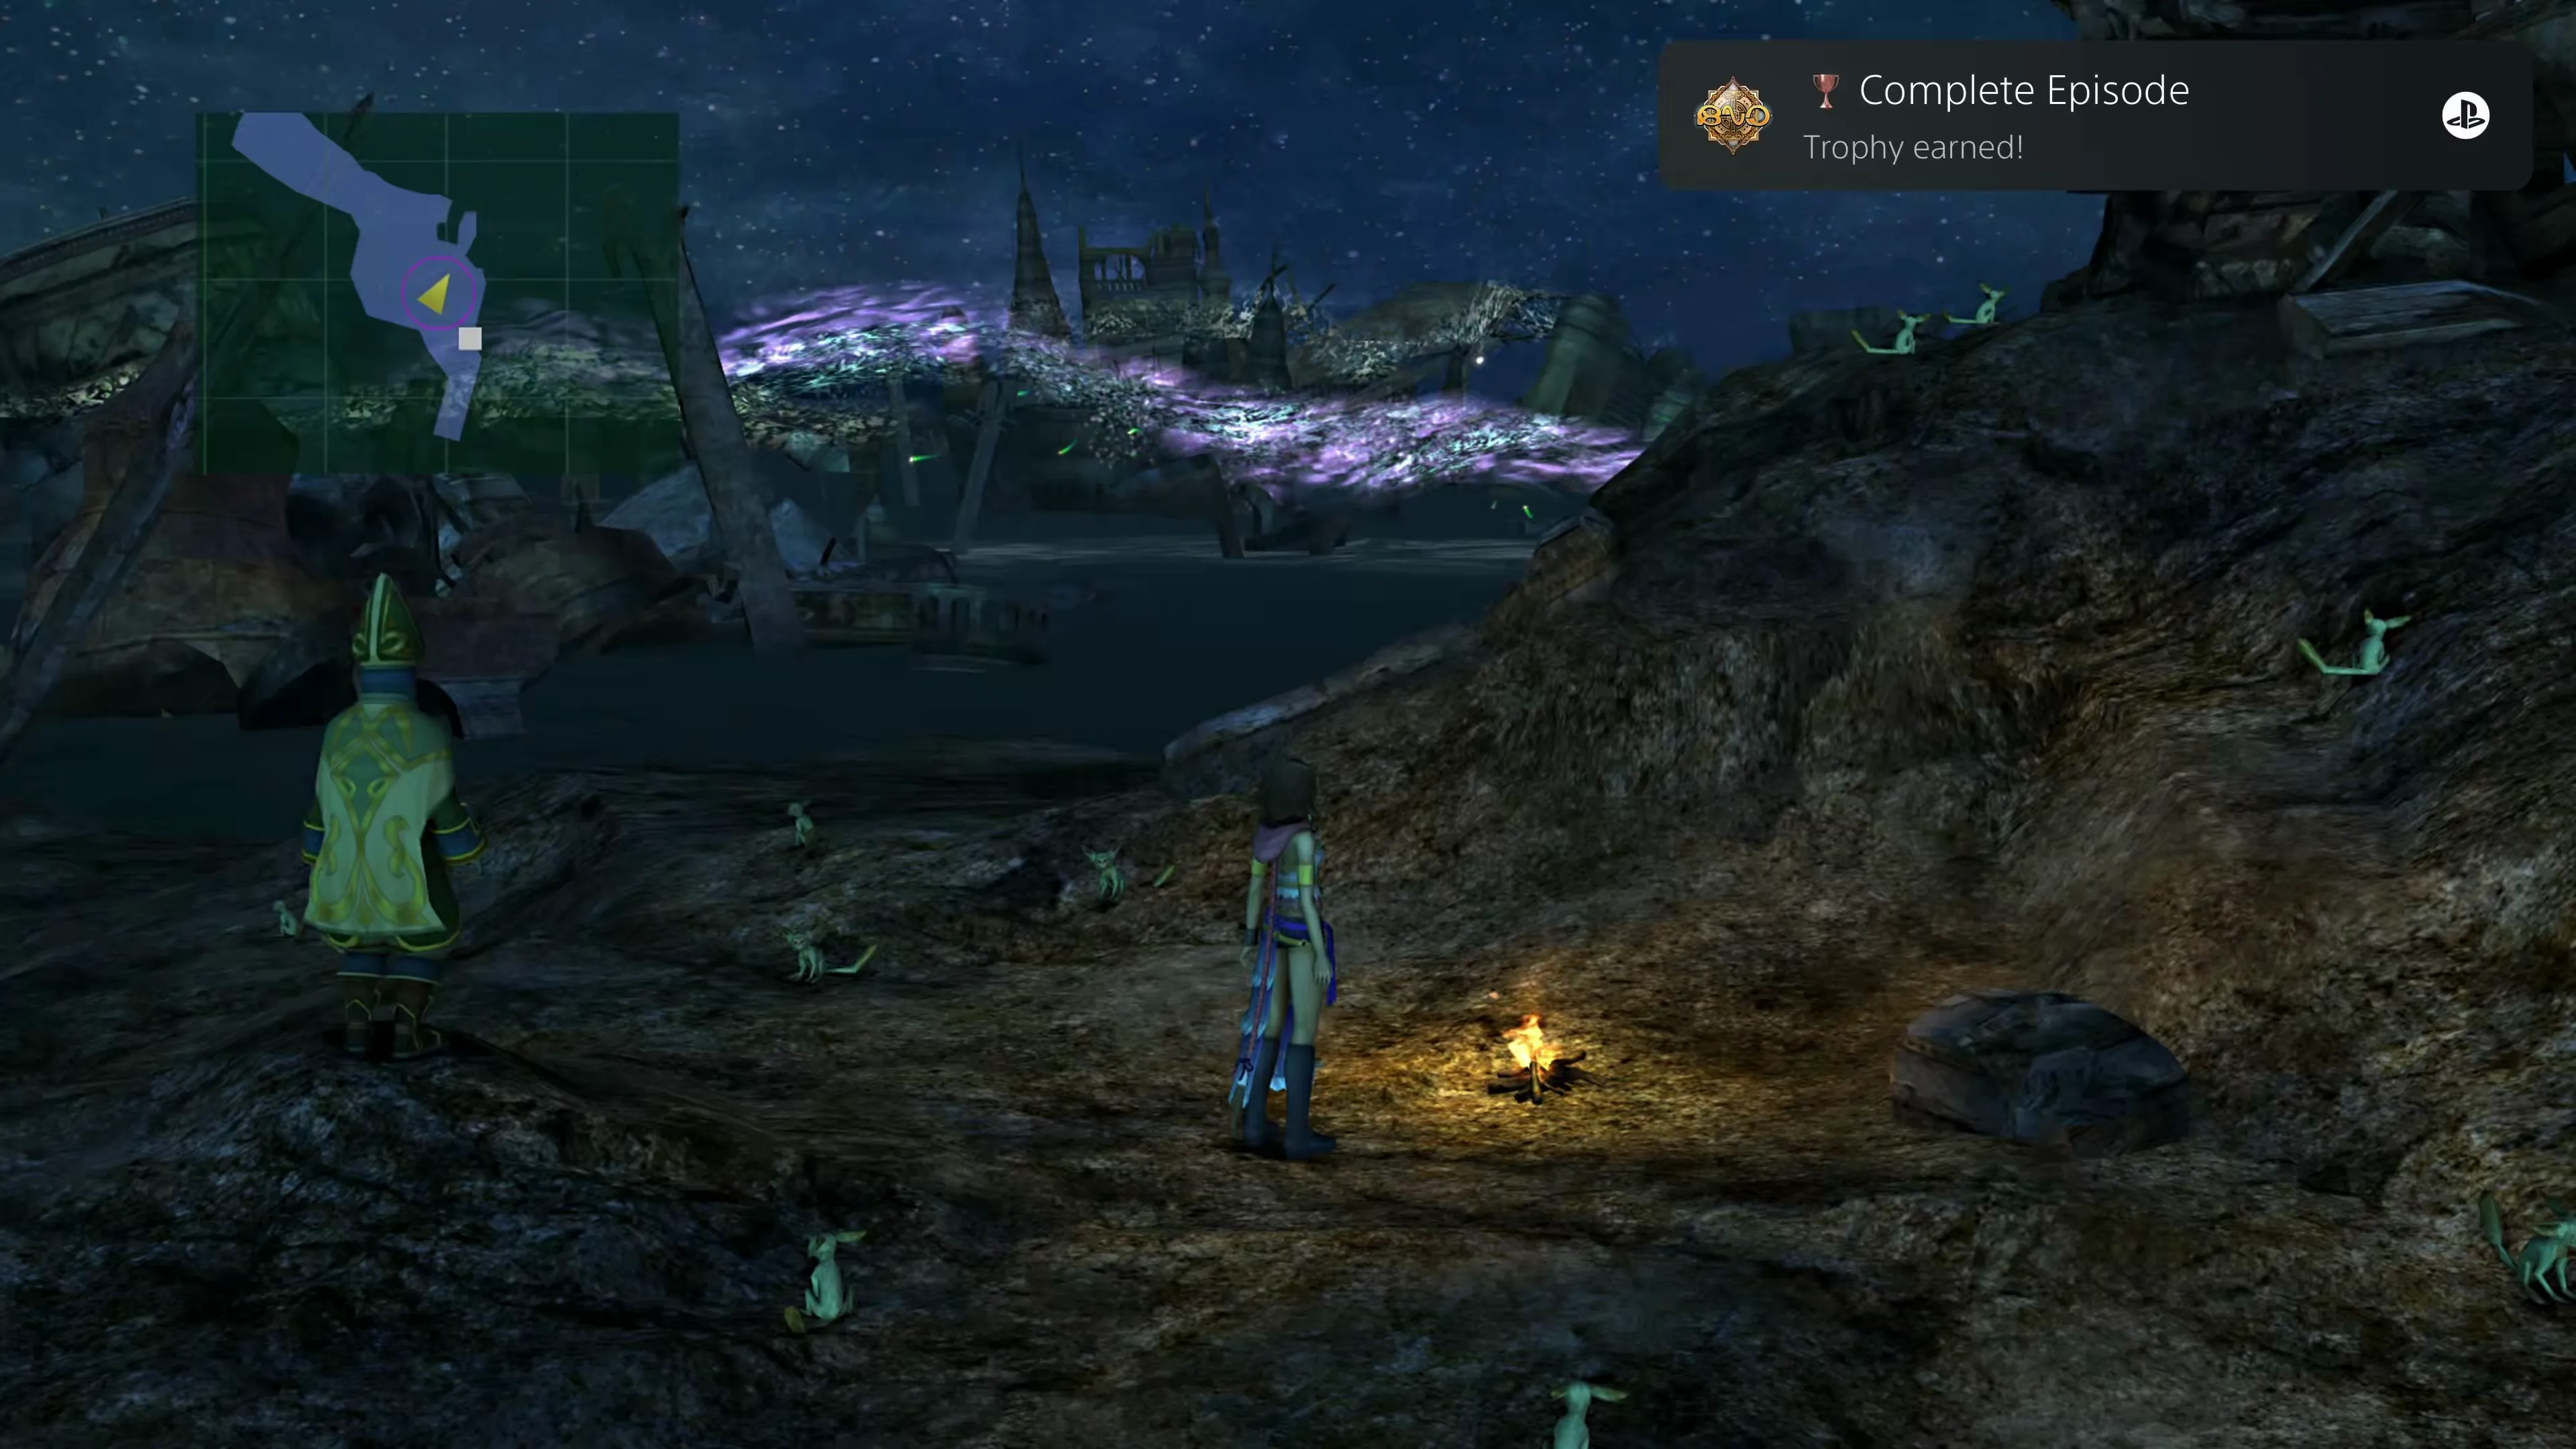
This should be a relatively easy achievement/trophy to obtain, especially if you’re following a guide, but either way, you’ll obtain it if you complete all of the events within one location and see the “Episode Complete” screen instead of the “Episode Concluded” message. If you see “Episode Concluded,” it means you missed something important and will have to replay the location (if you’re going for 100% Story Completion).
If you follow the order presented in this guide, you’ll receive it when you teleport down to the Zanarkand Ruins in Chapter 5.
 |  |
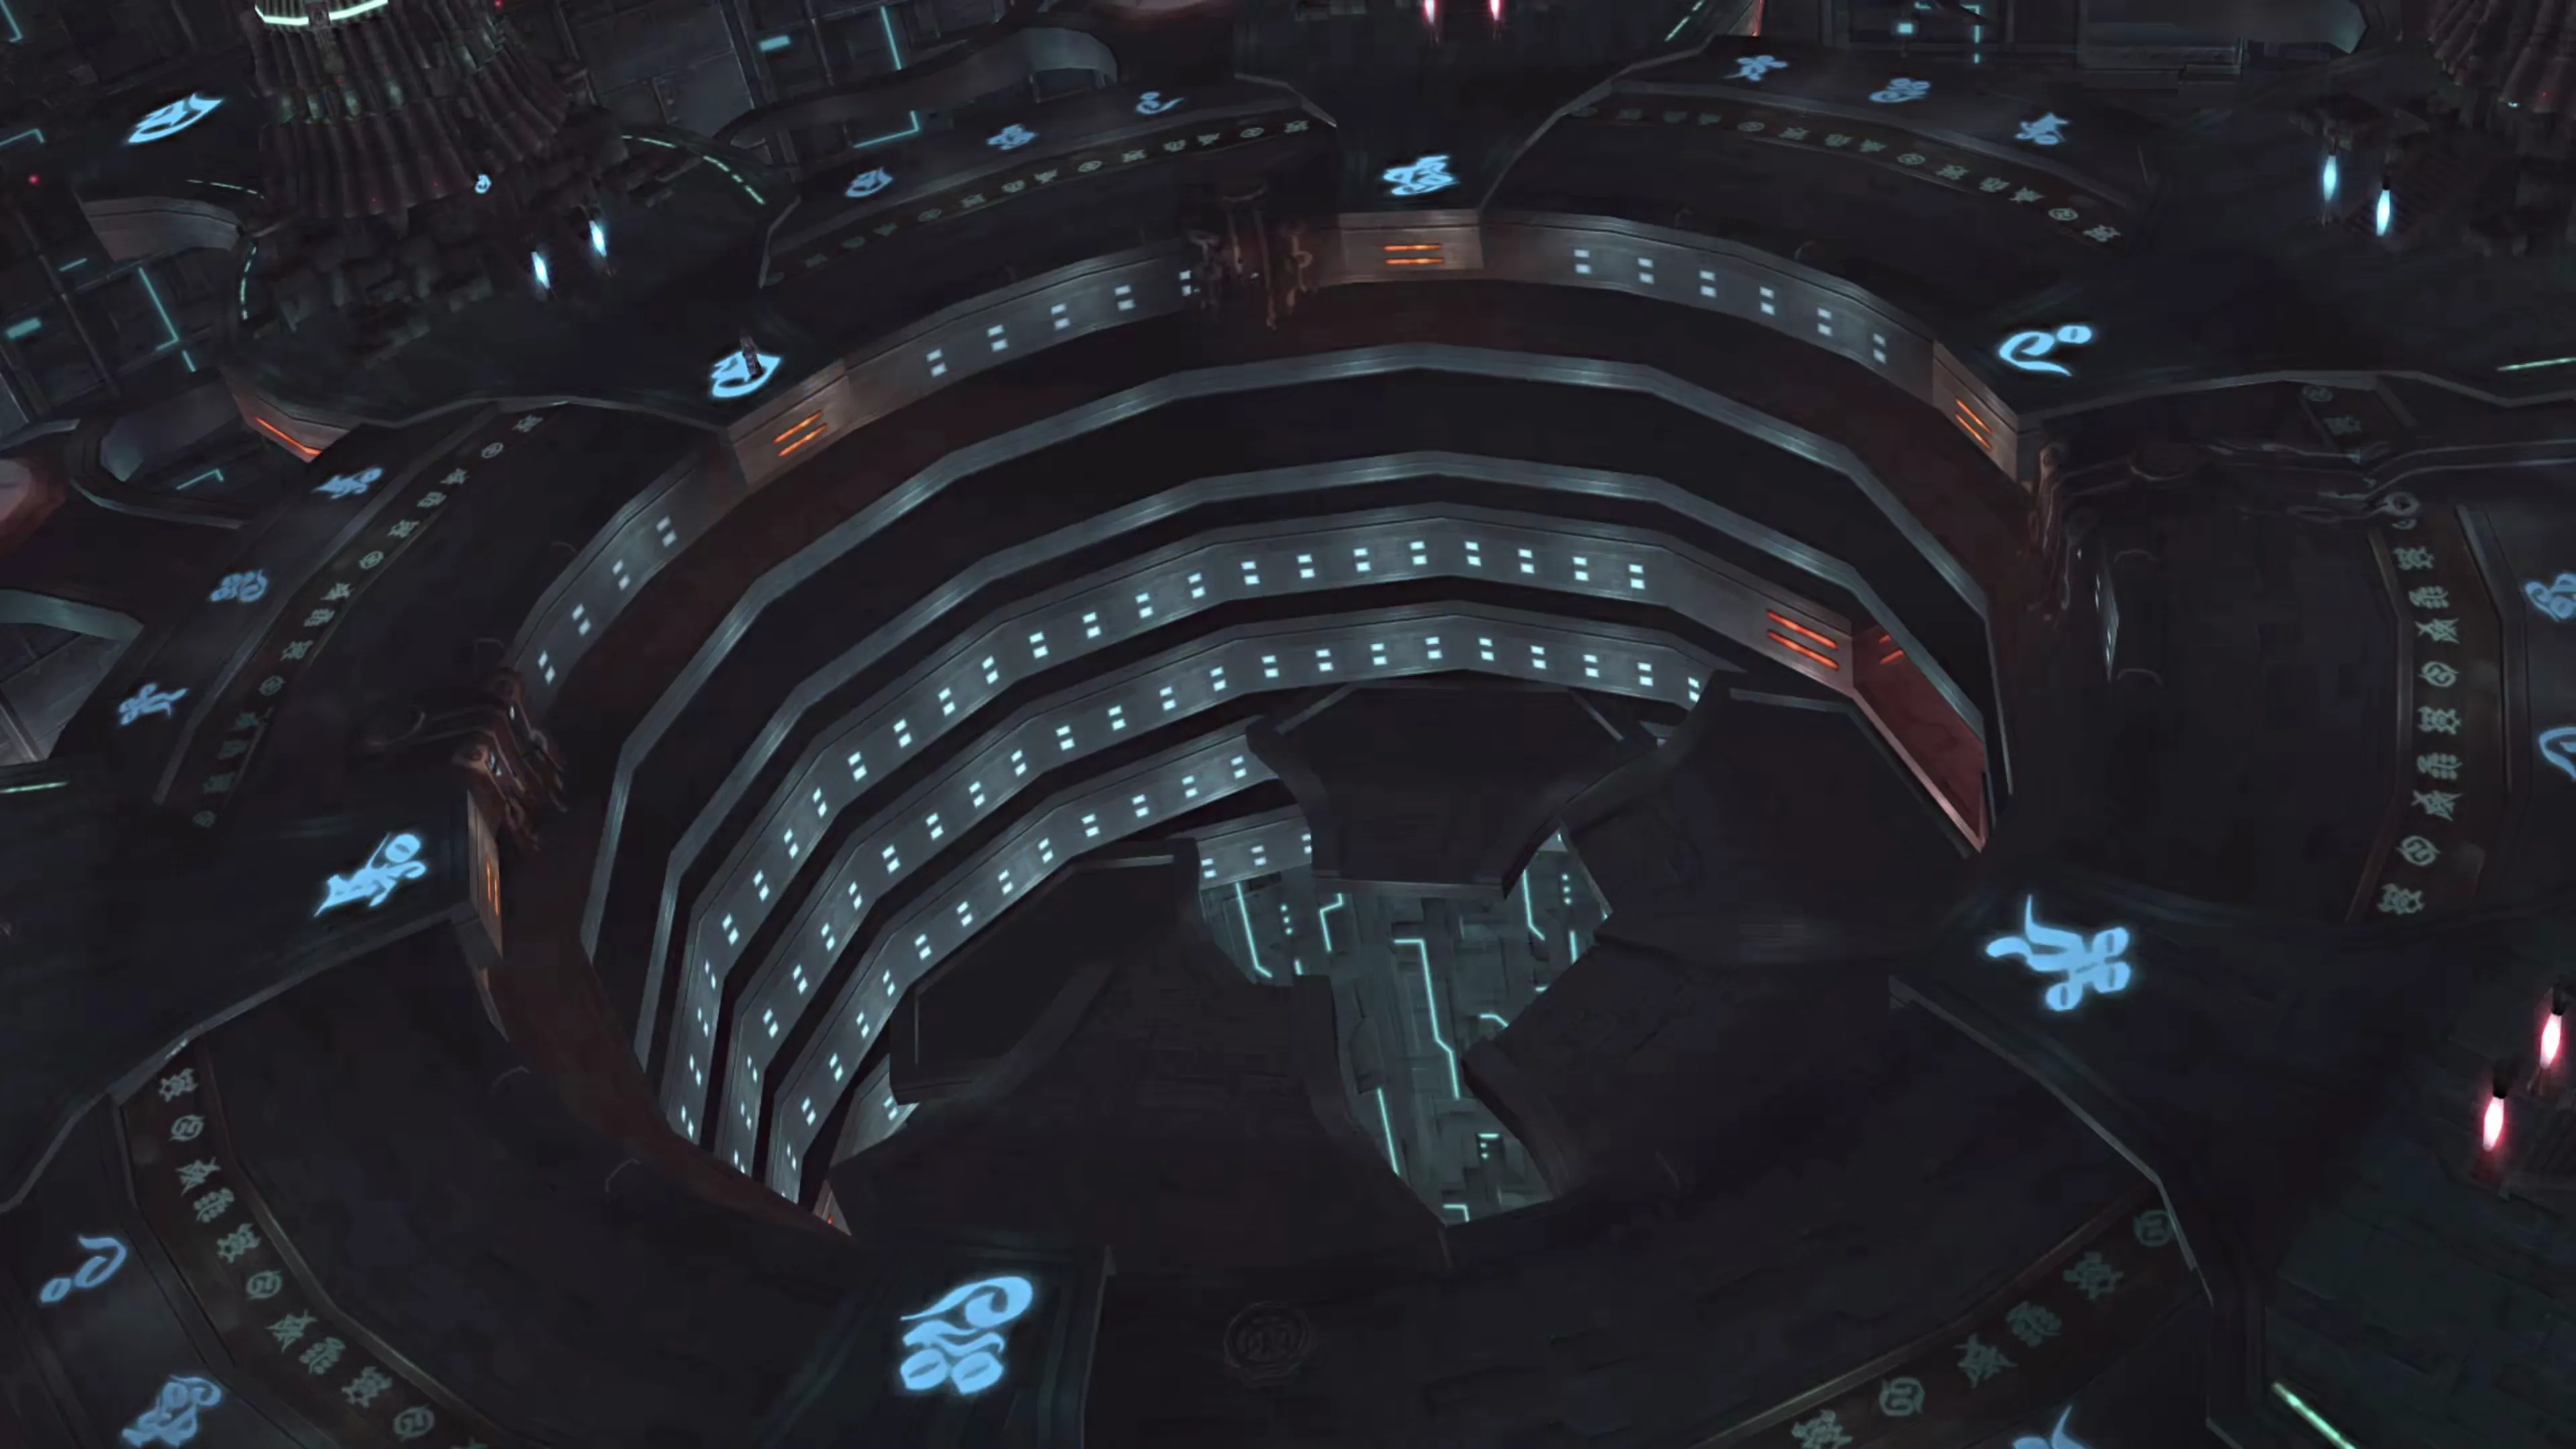
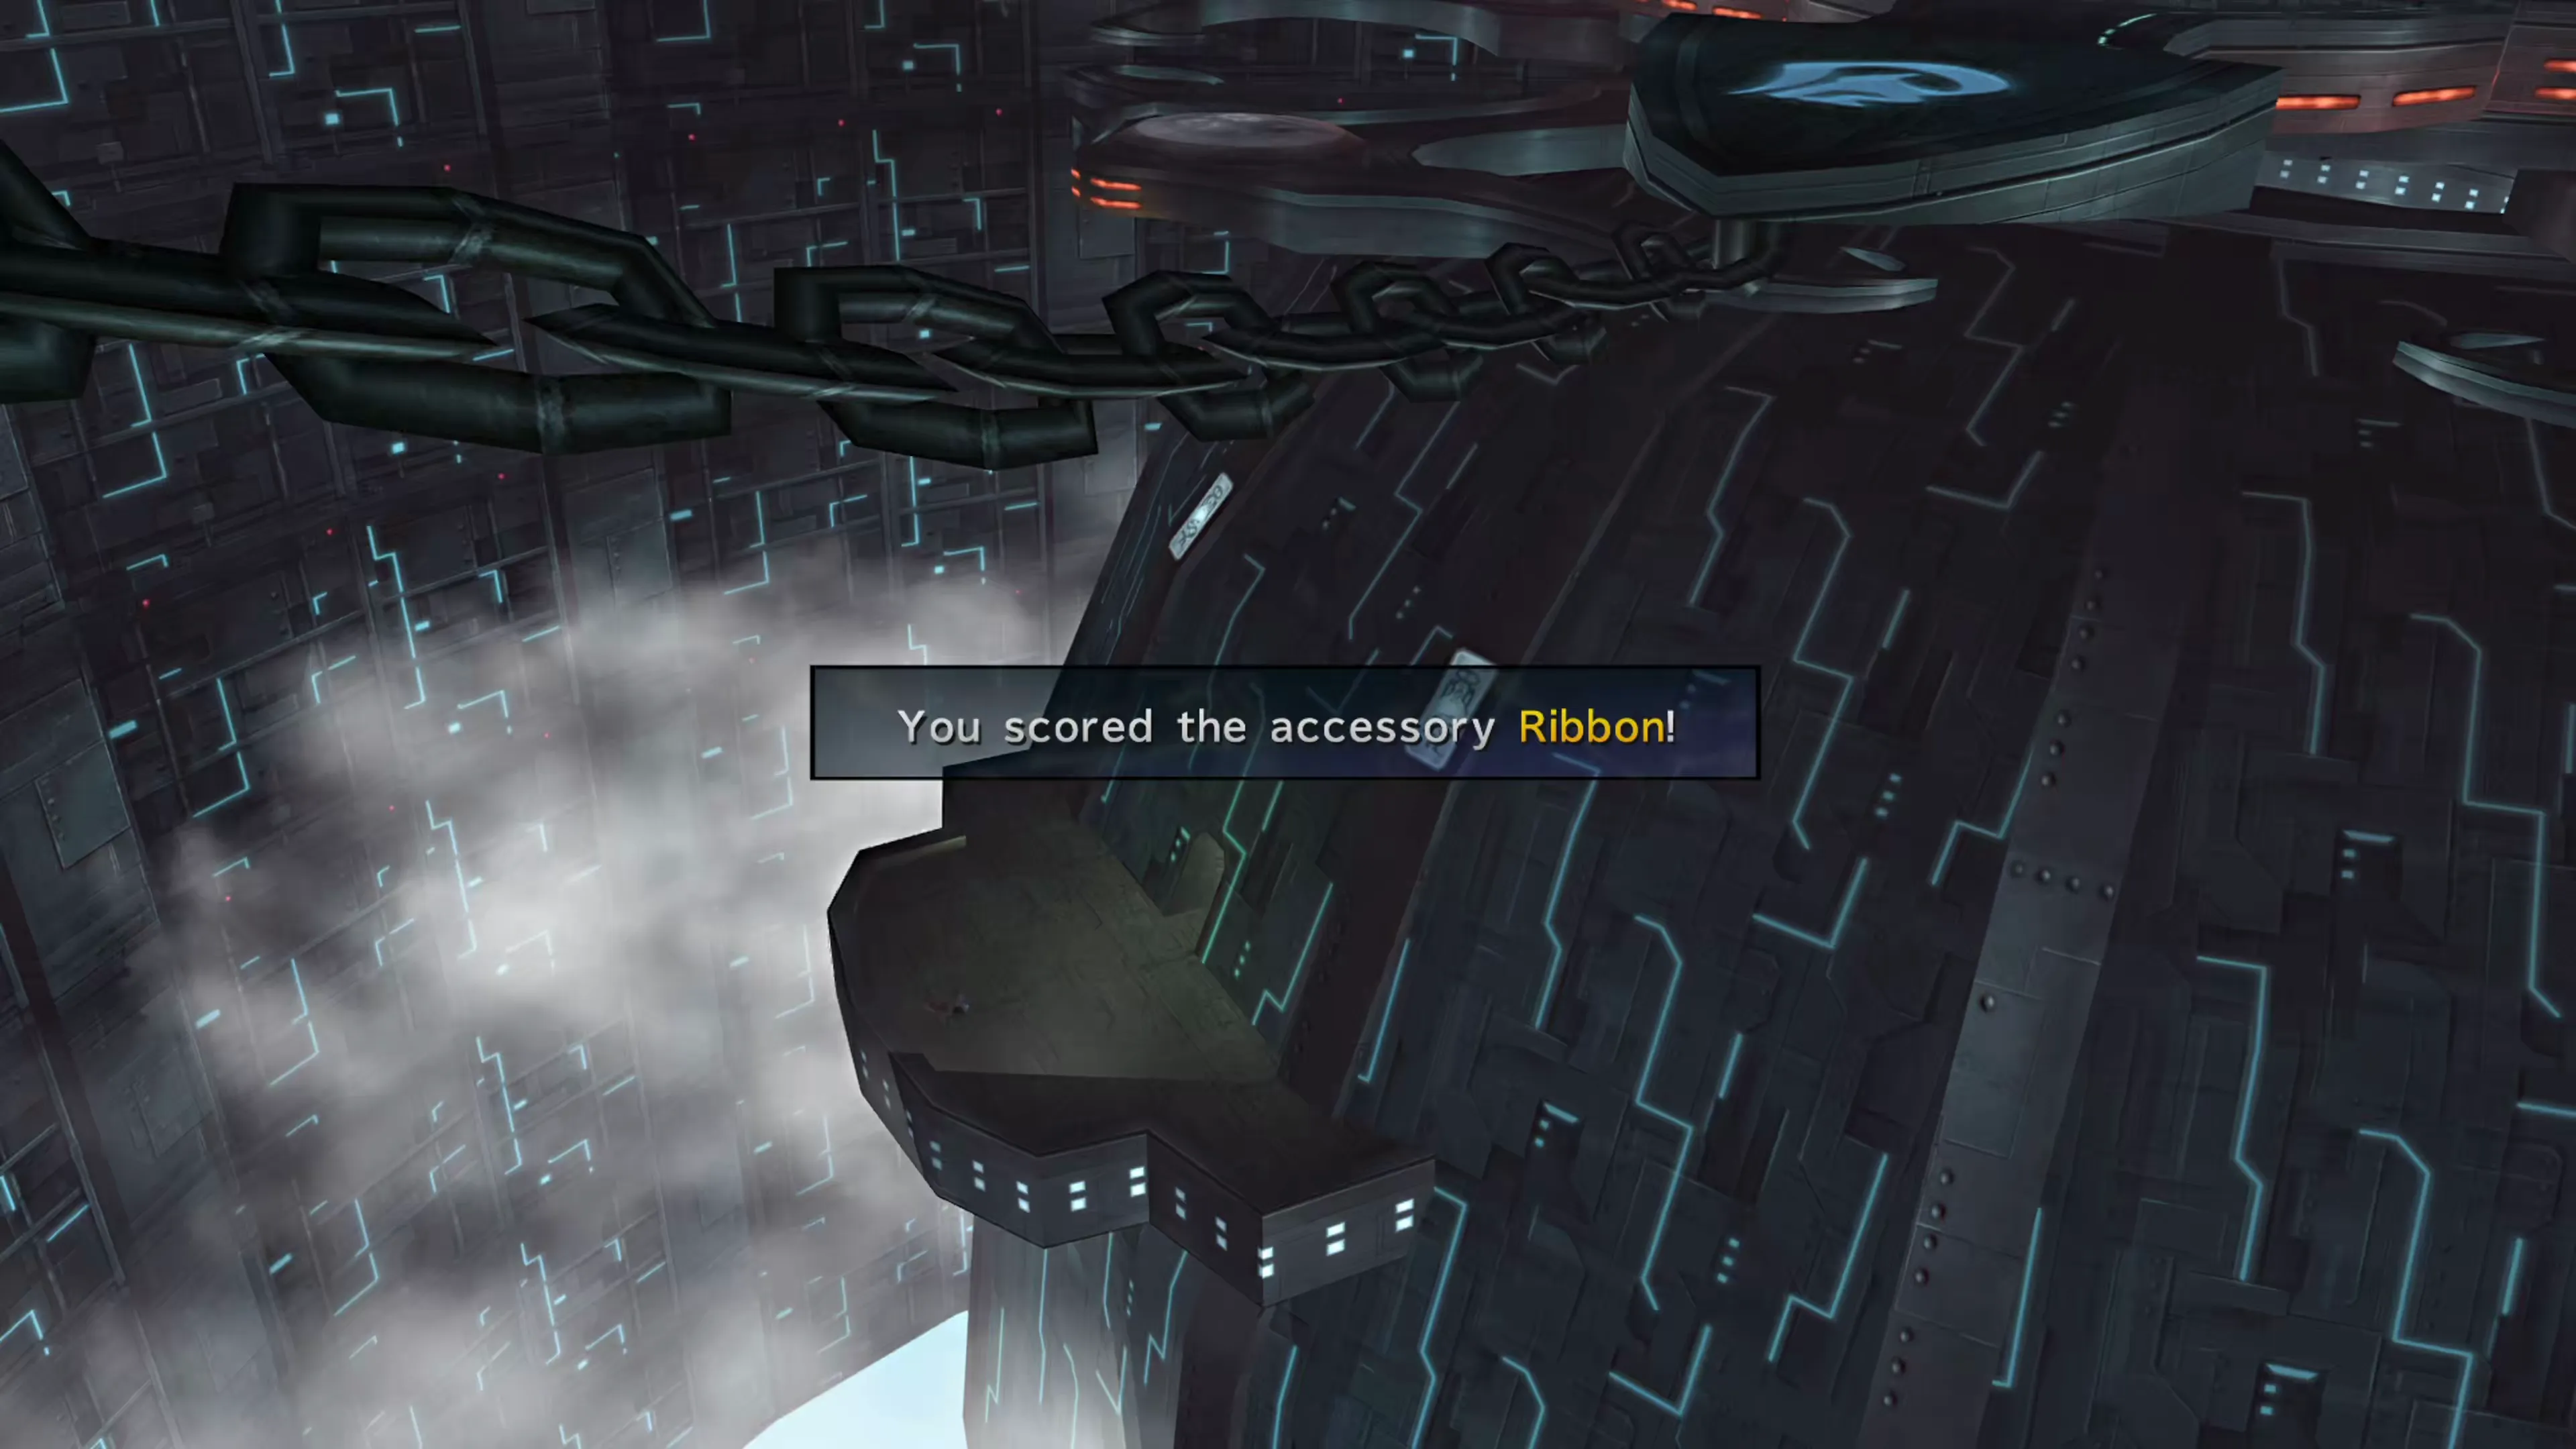
Obtaining this achievement/trophy requires following a specific set of steps to position 3 of the platforms in the Bevelle Underground puzzle. You can complete this puzzle in Chapter 2 during your first trip to Bevelle, but you can also complete it on subsequent visits. The steps for completing the puzzle are somewhat complex. Check out the Bevelle walkthrough page for Chapter 2.
Obviously, the other reward for completing this task is a  Ribbon accessory, one of the strongest accessories in the game.
 |  |
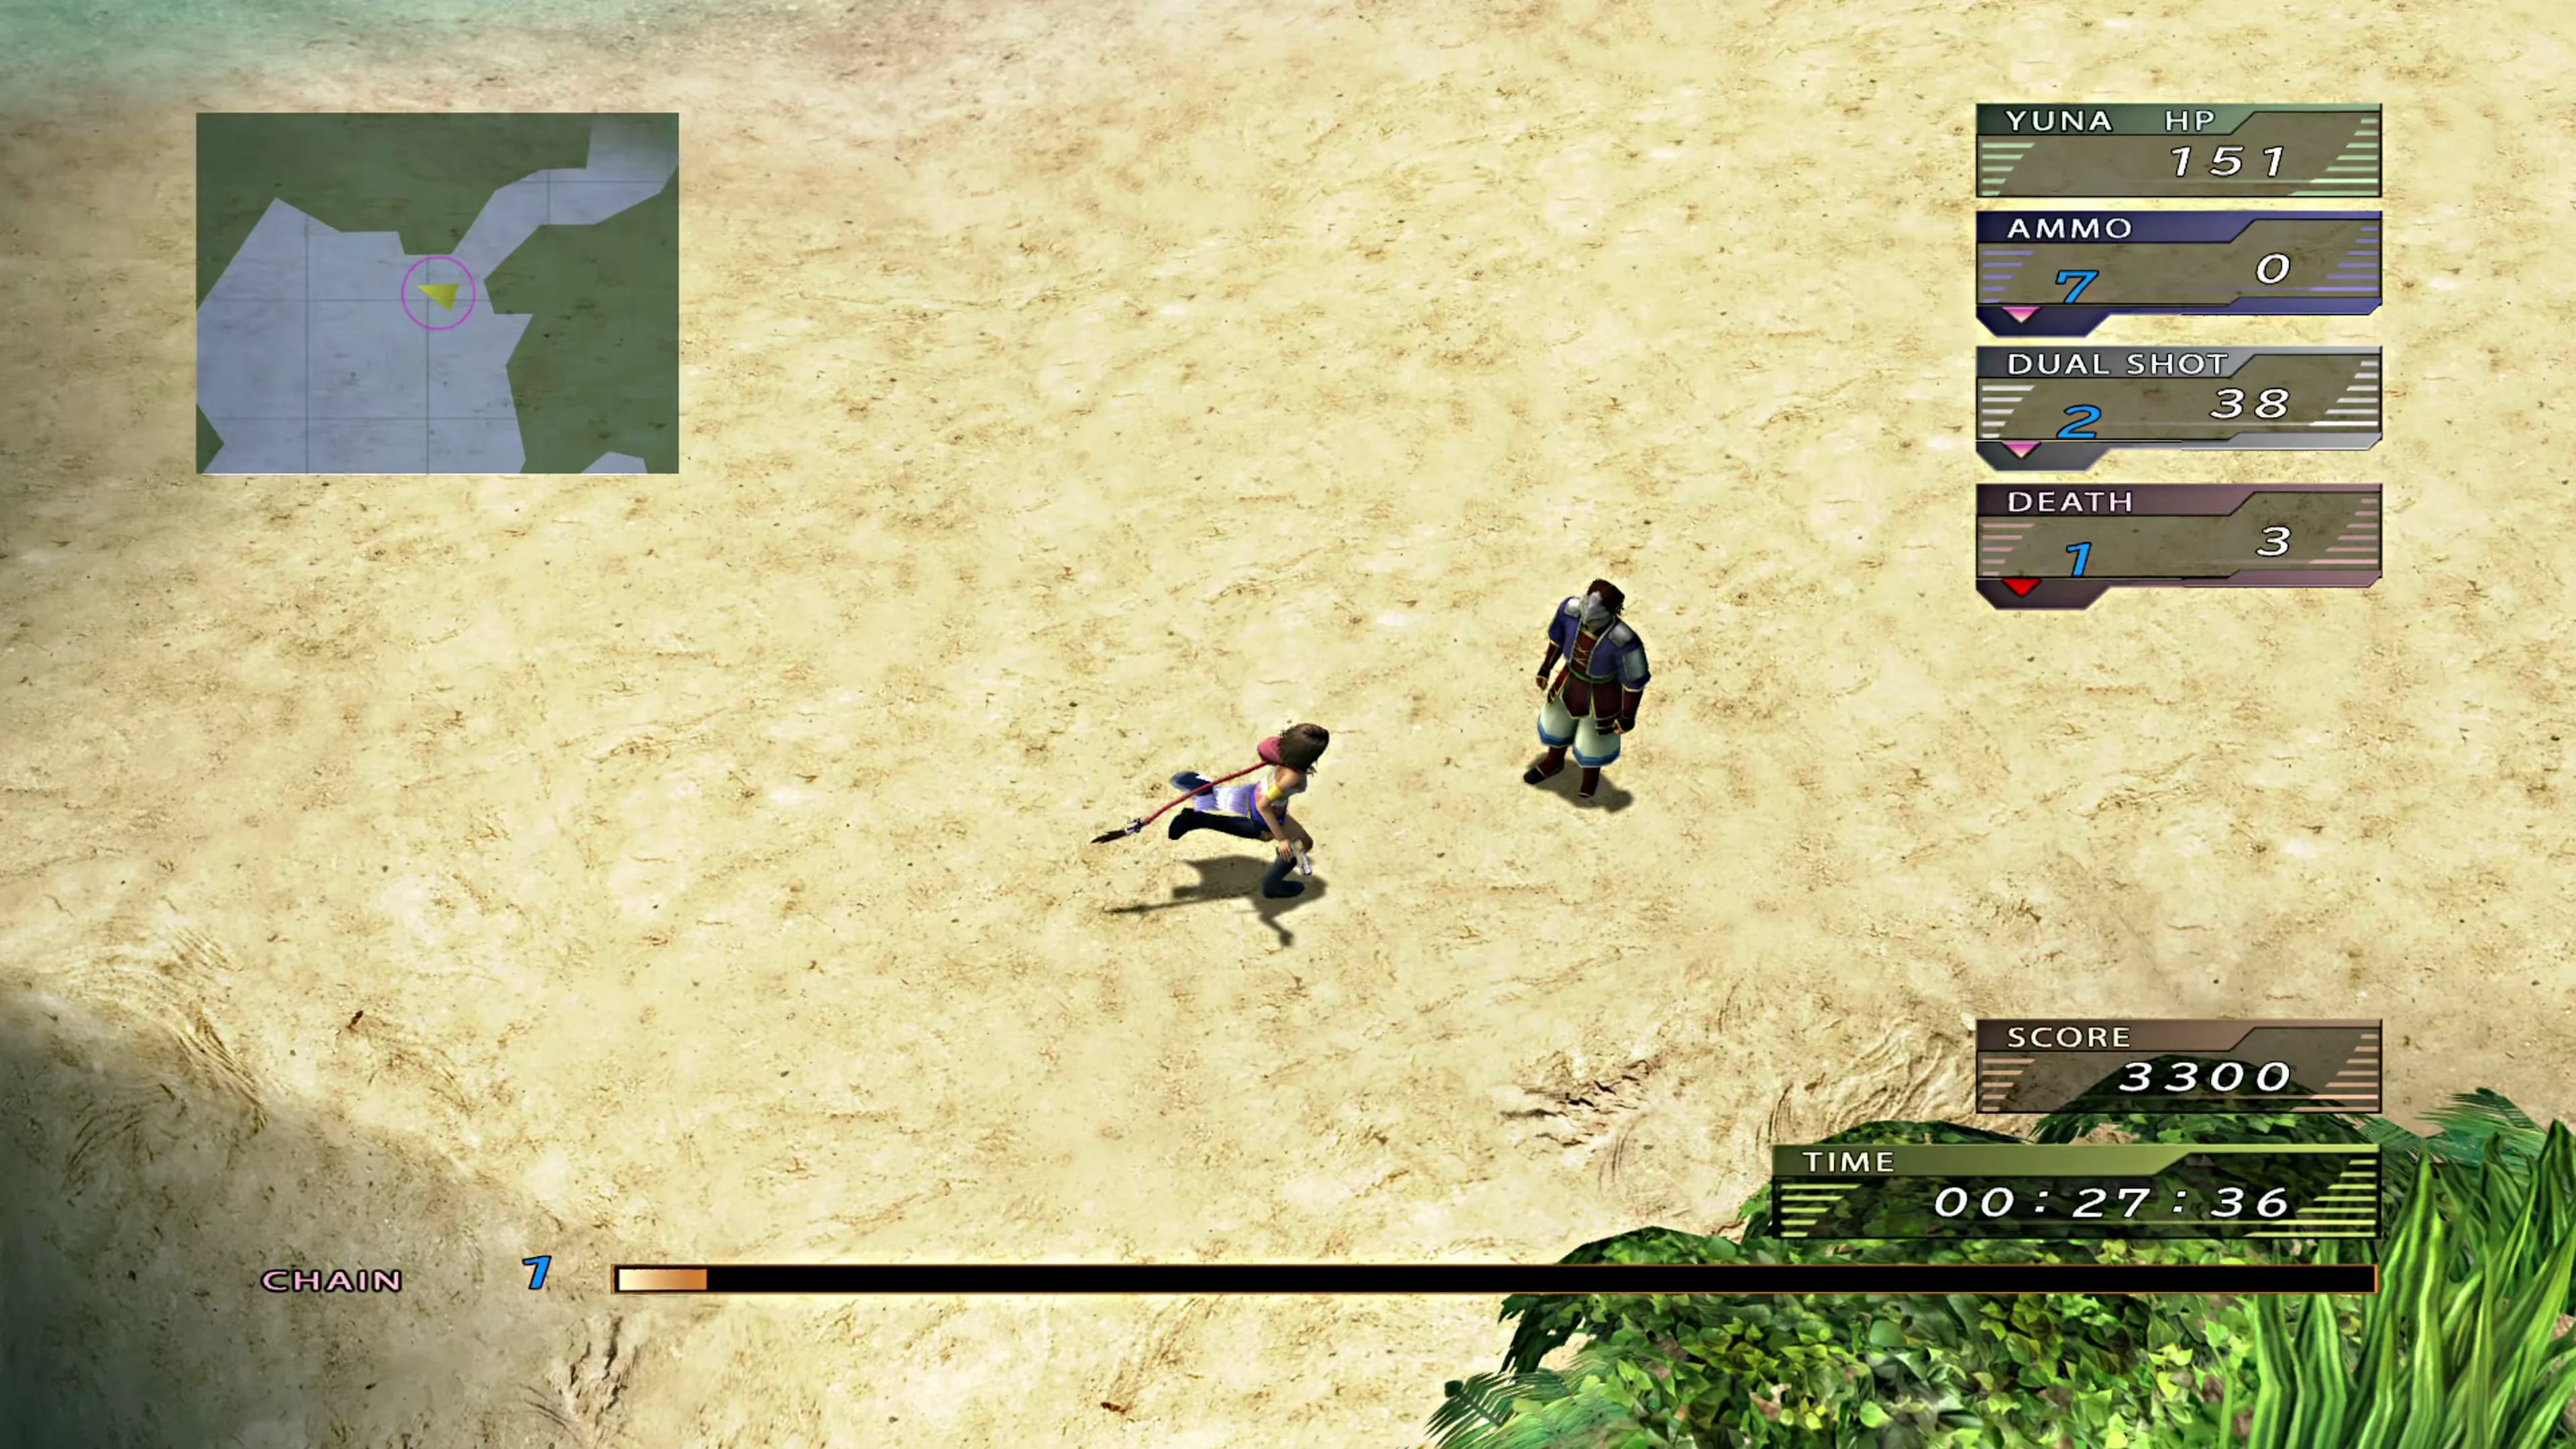
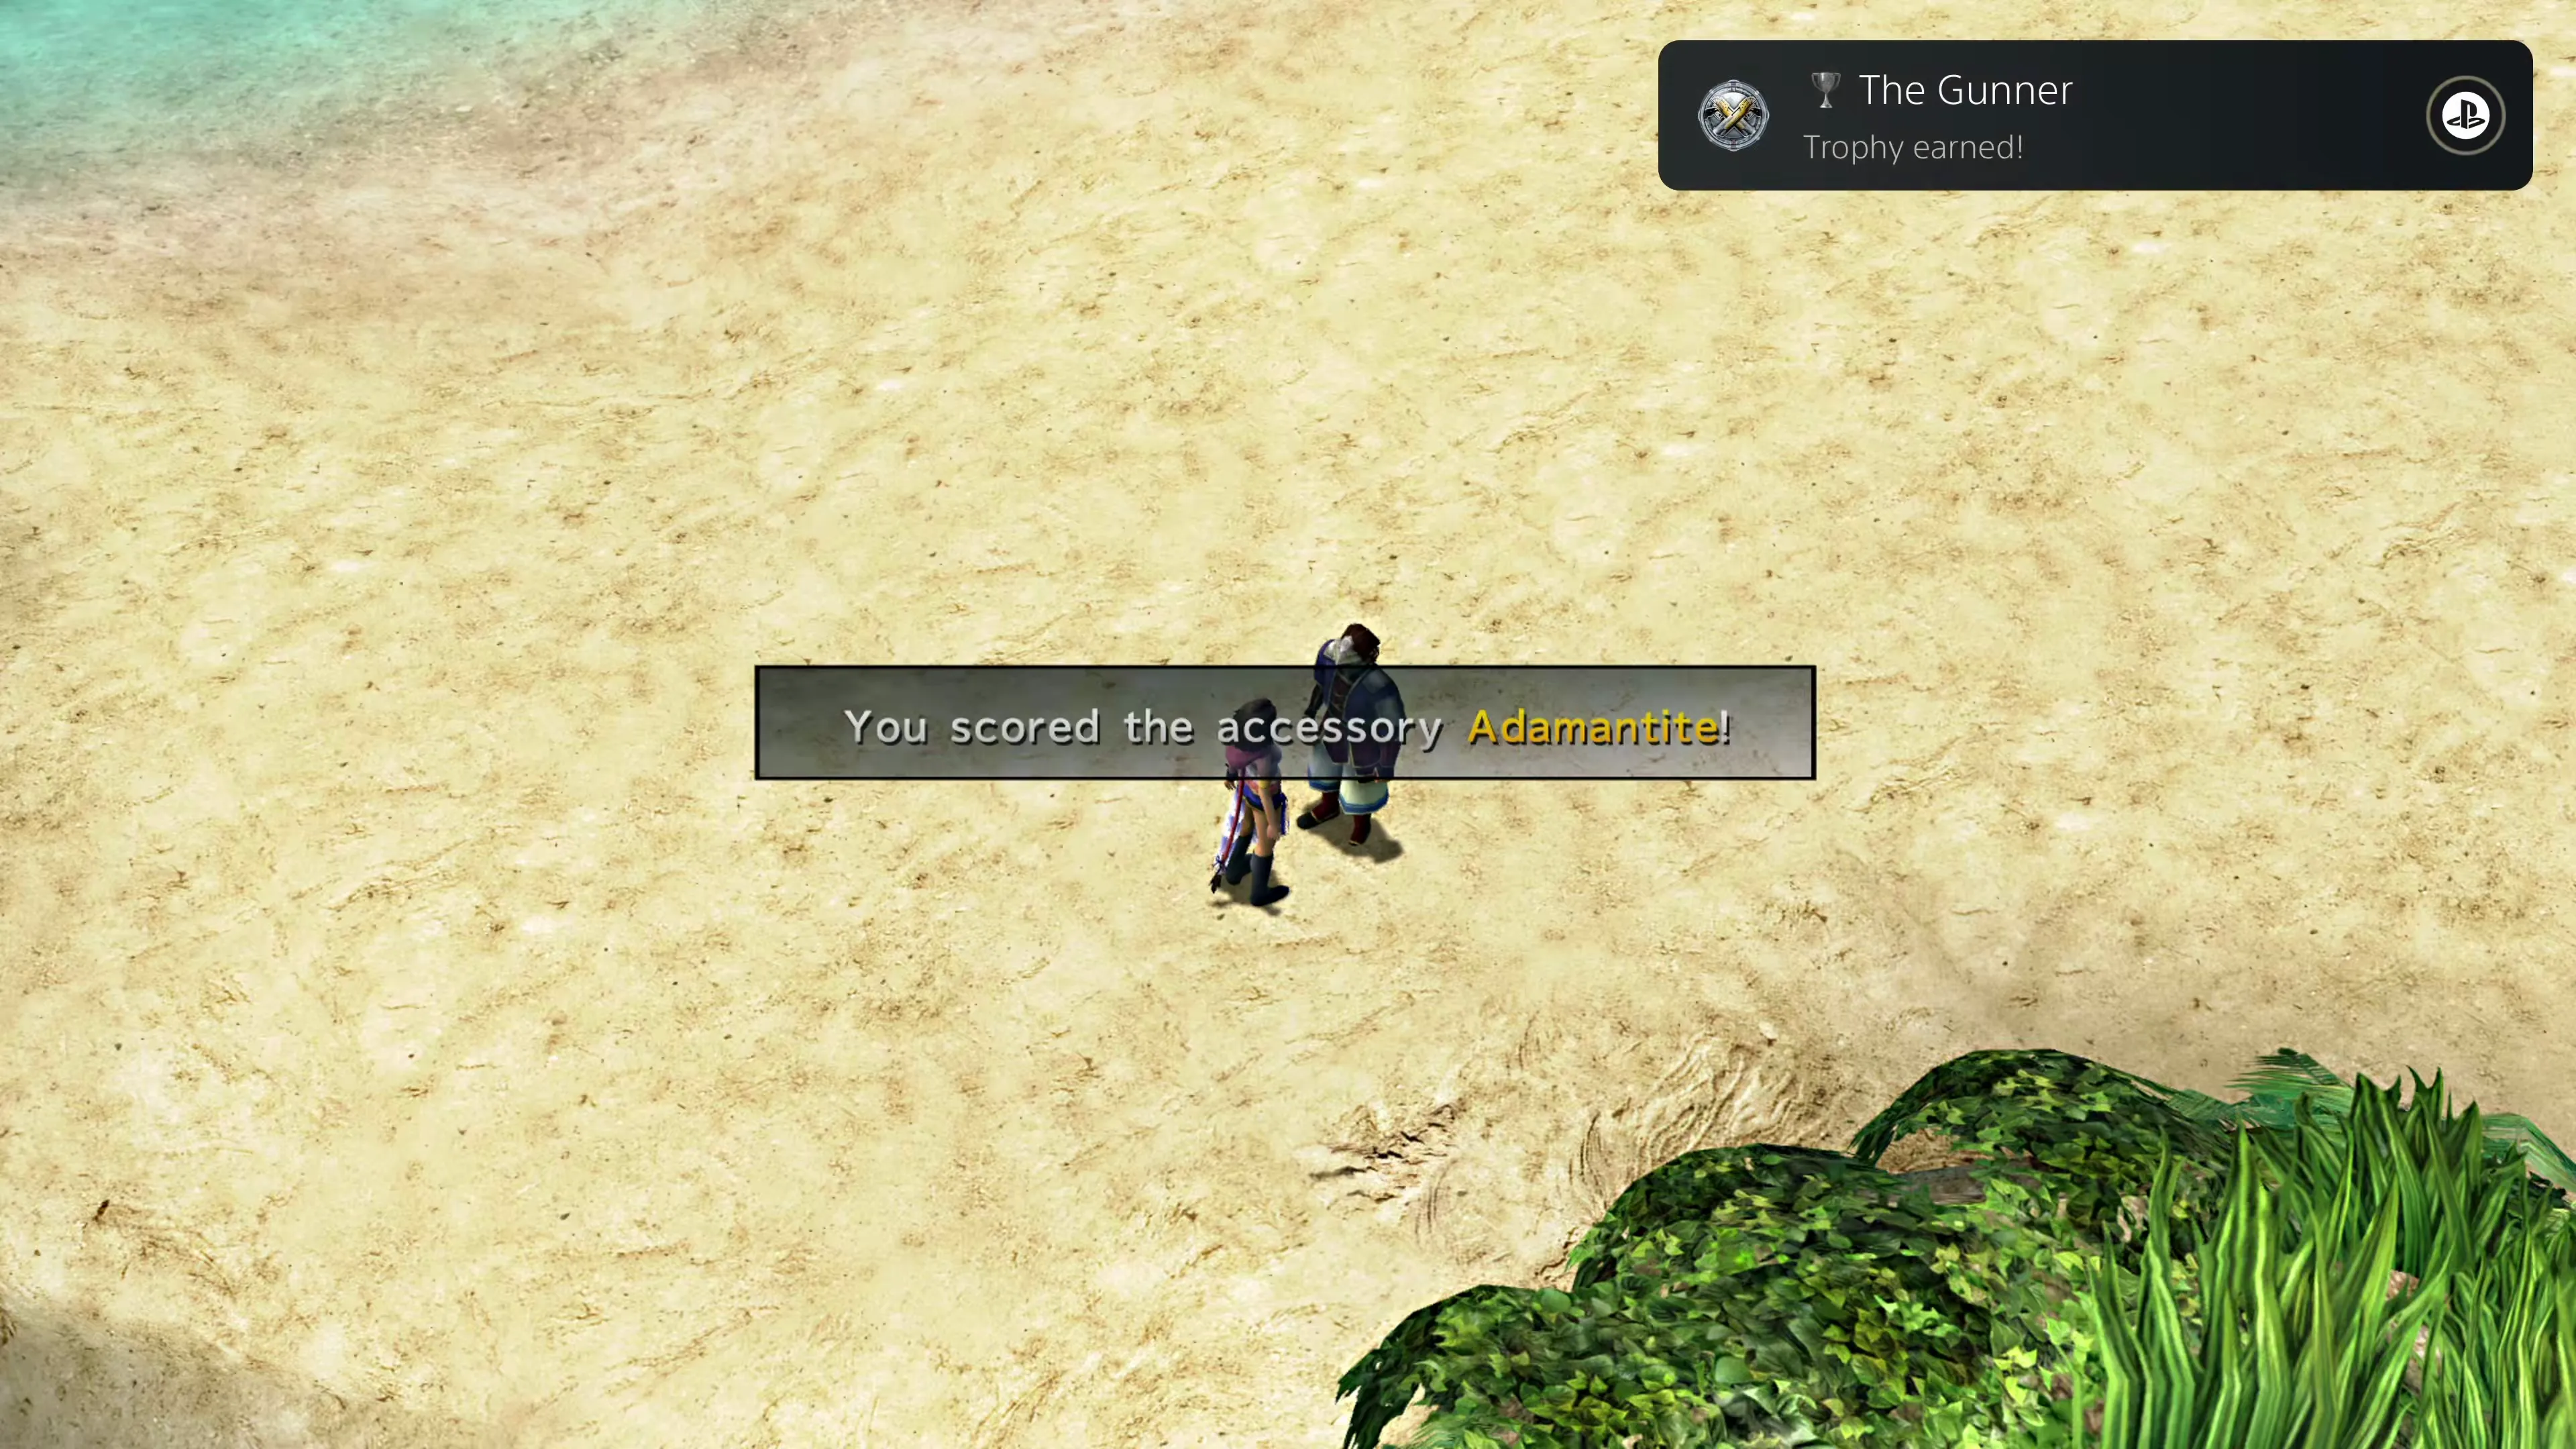
Completing the Gunner’s Gauntlet side quest while on Besaid Island in Chapter 2 isn’t terribly difficult. All you need to do is beat Beclem’s score, which is 500 or more points in a single game. You’ll be able to do this with a bit of practice and a bit of knowledge about how the mini-game works.
But earning the achievement/trophy is much harder. It requires you to obtain a score of 2800 or higher, which will earn you an Adamantite and a Gunner Lv. of LVMAX. For this much more difficult task, you’ll need to study up on the advanced strategies for maintaining a Chain and using some of the invulnerable spots along Waterfall Way.
Check out the Gunner’s Gauntlet side quest page for more information.
 |  |  |
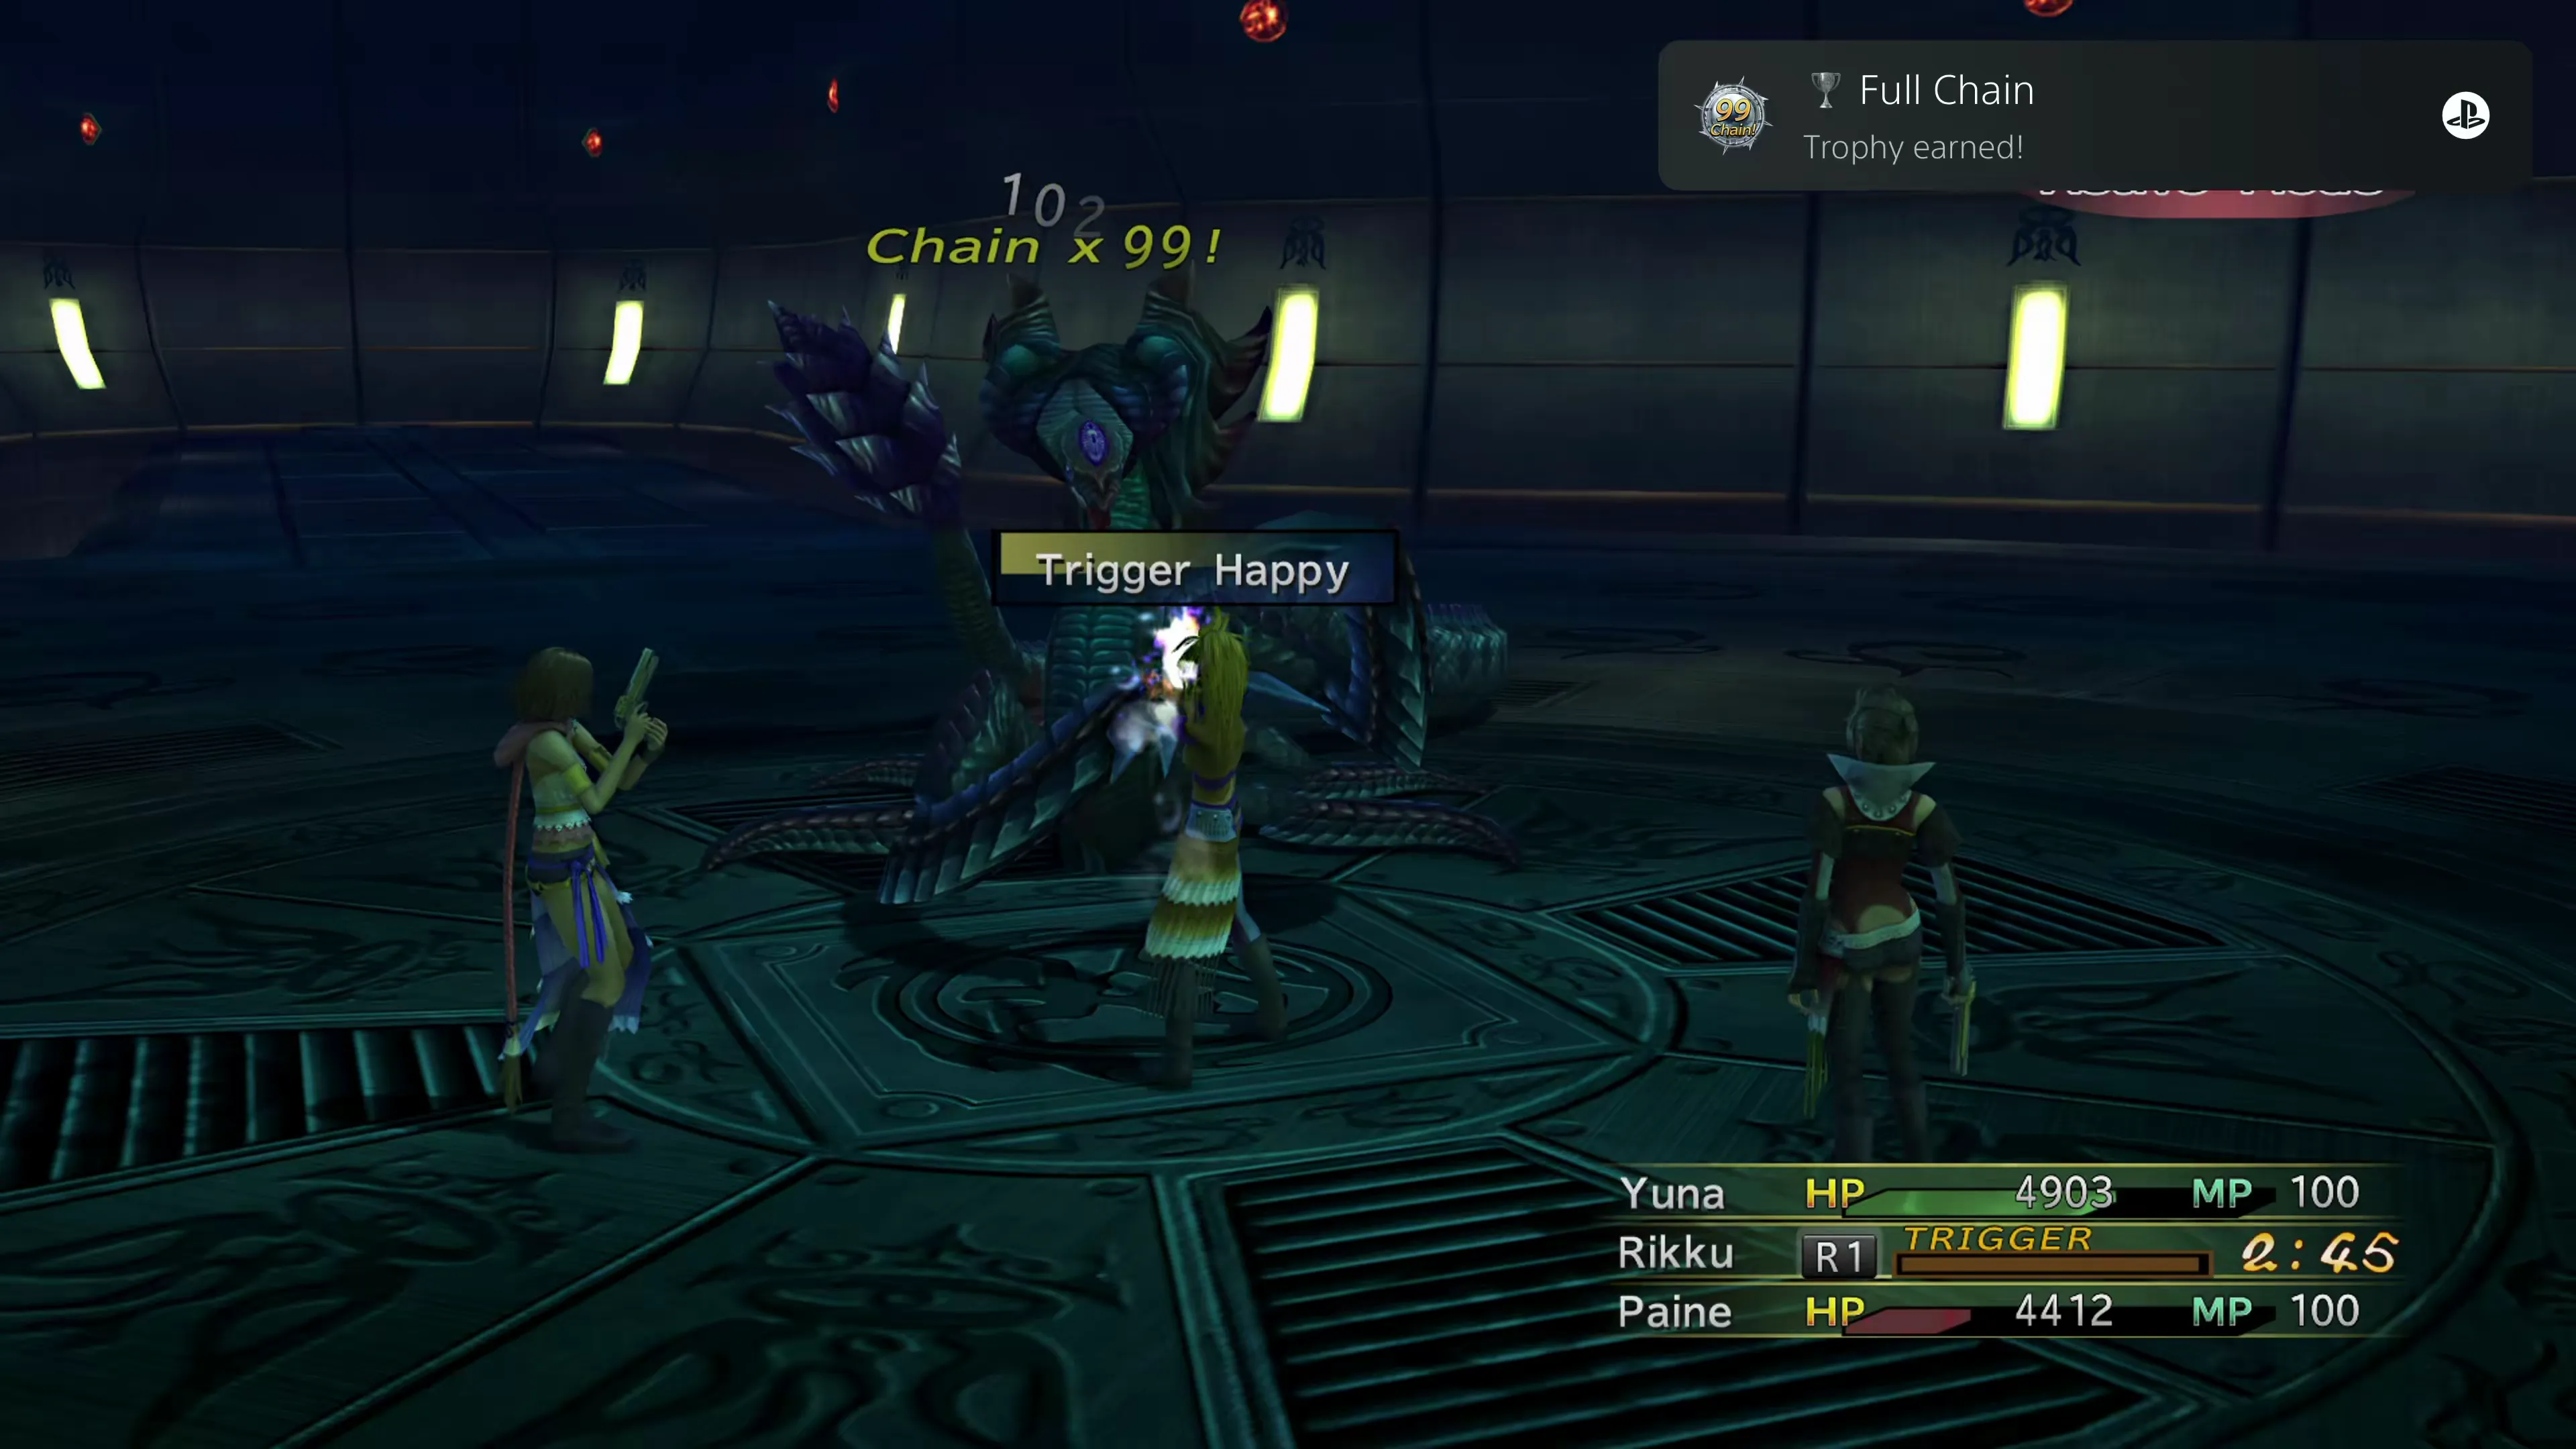
Unlocking this achievement/trophy requires you to master the Final Fantasy X-2 ATB and Chain Attacks system. In short, you’ll need to chain your attacks together not just a few times, but a full 99 times in a row. You can do this by landing attacks quickly and preventing the enemy from taking a turn.
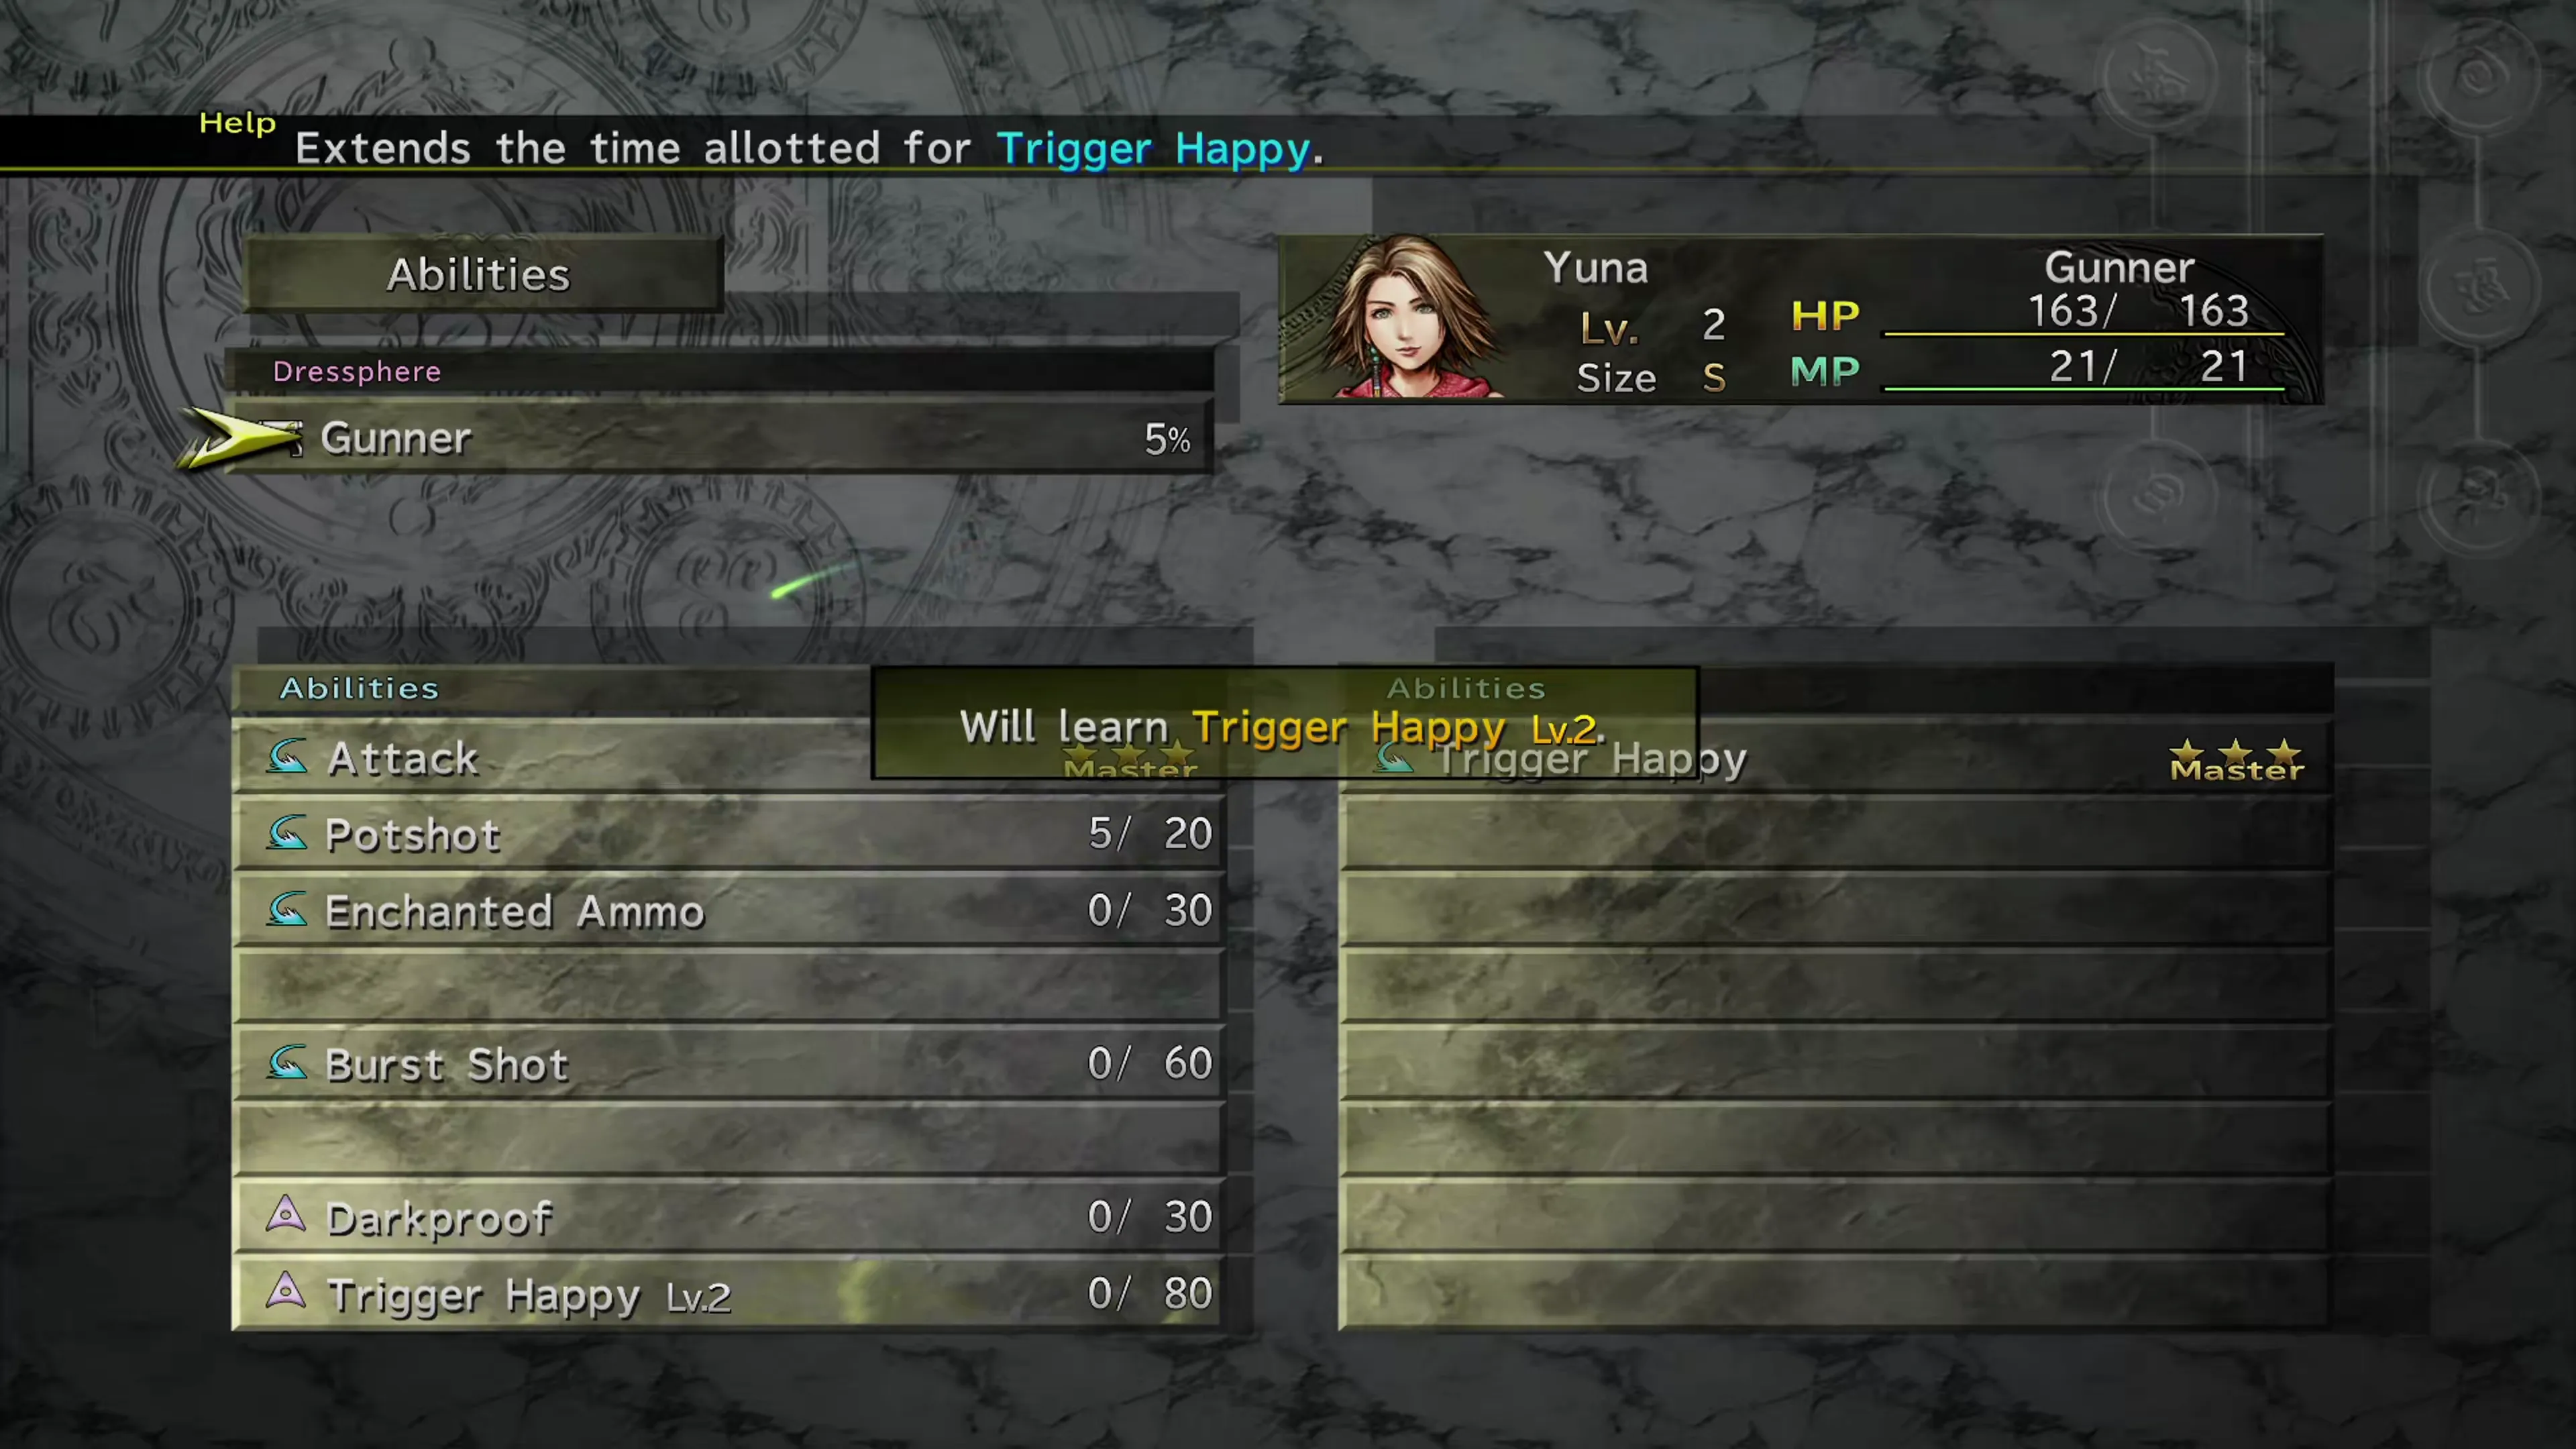
The most surefire way to do this is by utilizing the  Trigger Happy ability from the
  Gunner Dressphere. Start by making sure that all three of your characters have learned the
  Trigger Happy Lv. 2 and Trigger Happy Lv. 3 auto-abilities, which extend the window of attacks that they can get in when their turn comes up.
Next, start a battle against a boss that is vulnerable to Delay attacks. Each hit pushes back the boss’s turn, and in some cases stops it from acting at all. This tactic is commonly utilized during the boss battle against Chac in the Via Infinito. Two videos can help you understand this tactic better: The Gunner Dressphere Doesn’t Suck and Defeating Chac in Cloister 80.
Alternatively, some players have reported success utilizing a similar tactic against Bahamut in the Fiend Arena or using Thieves to attack since they hit with their weapon twice. But the timing becomes a bit more challenging. This method requires making sure that each Thief attack is lined up perfectly.
You can make things a bit easier by equipping accessories with the First Strike or Auto-Haste auto-abilities as well.
 |  |
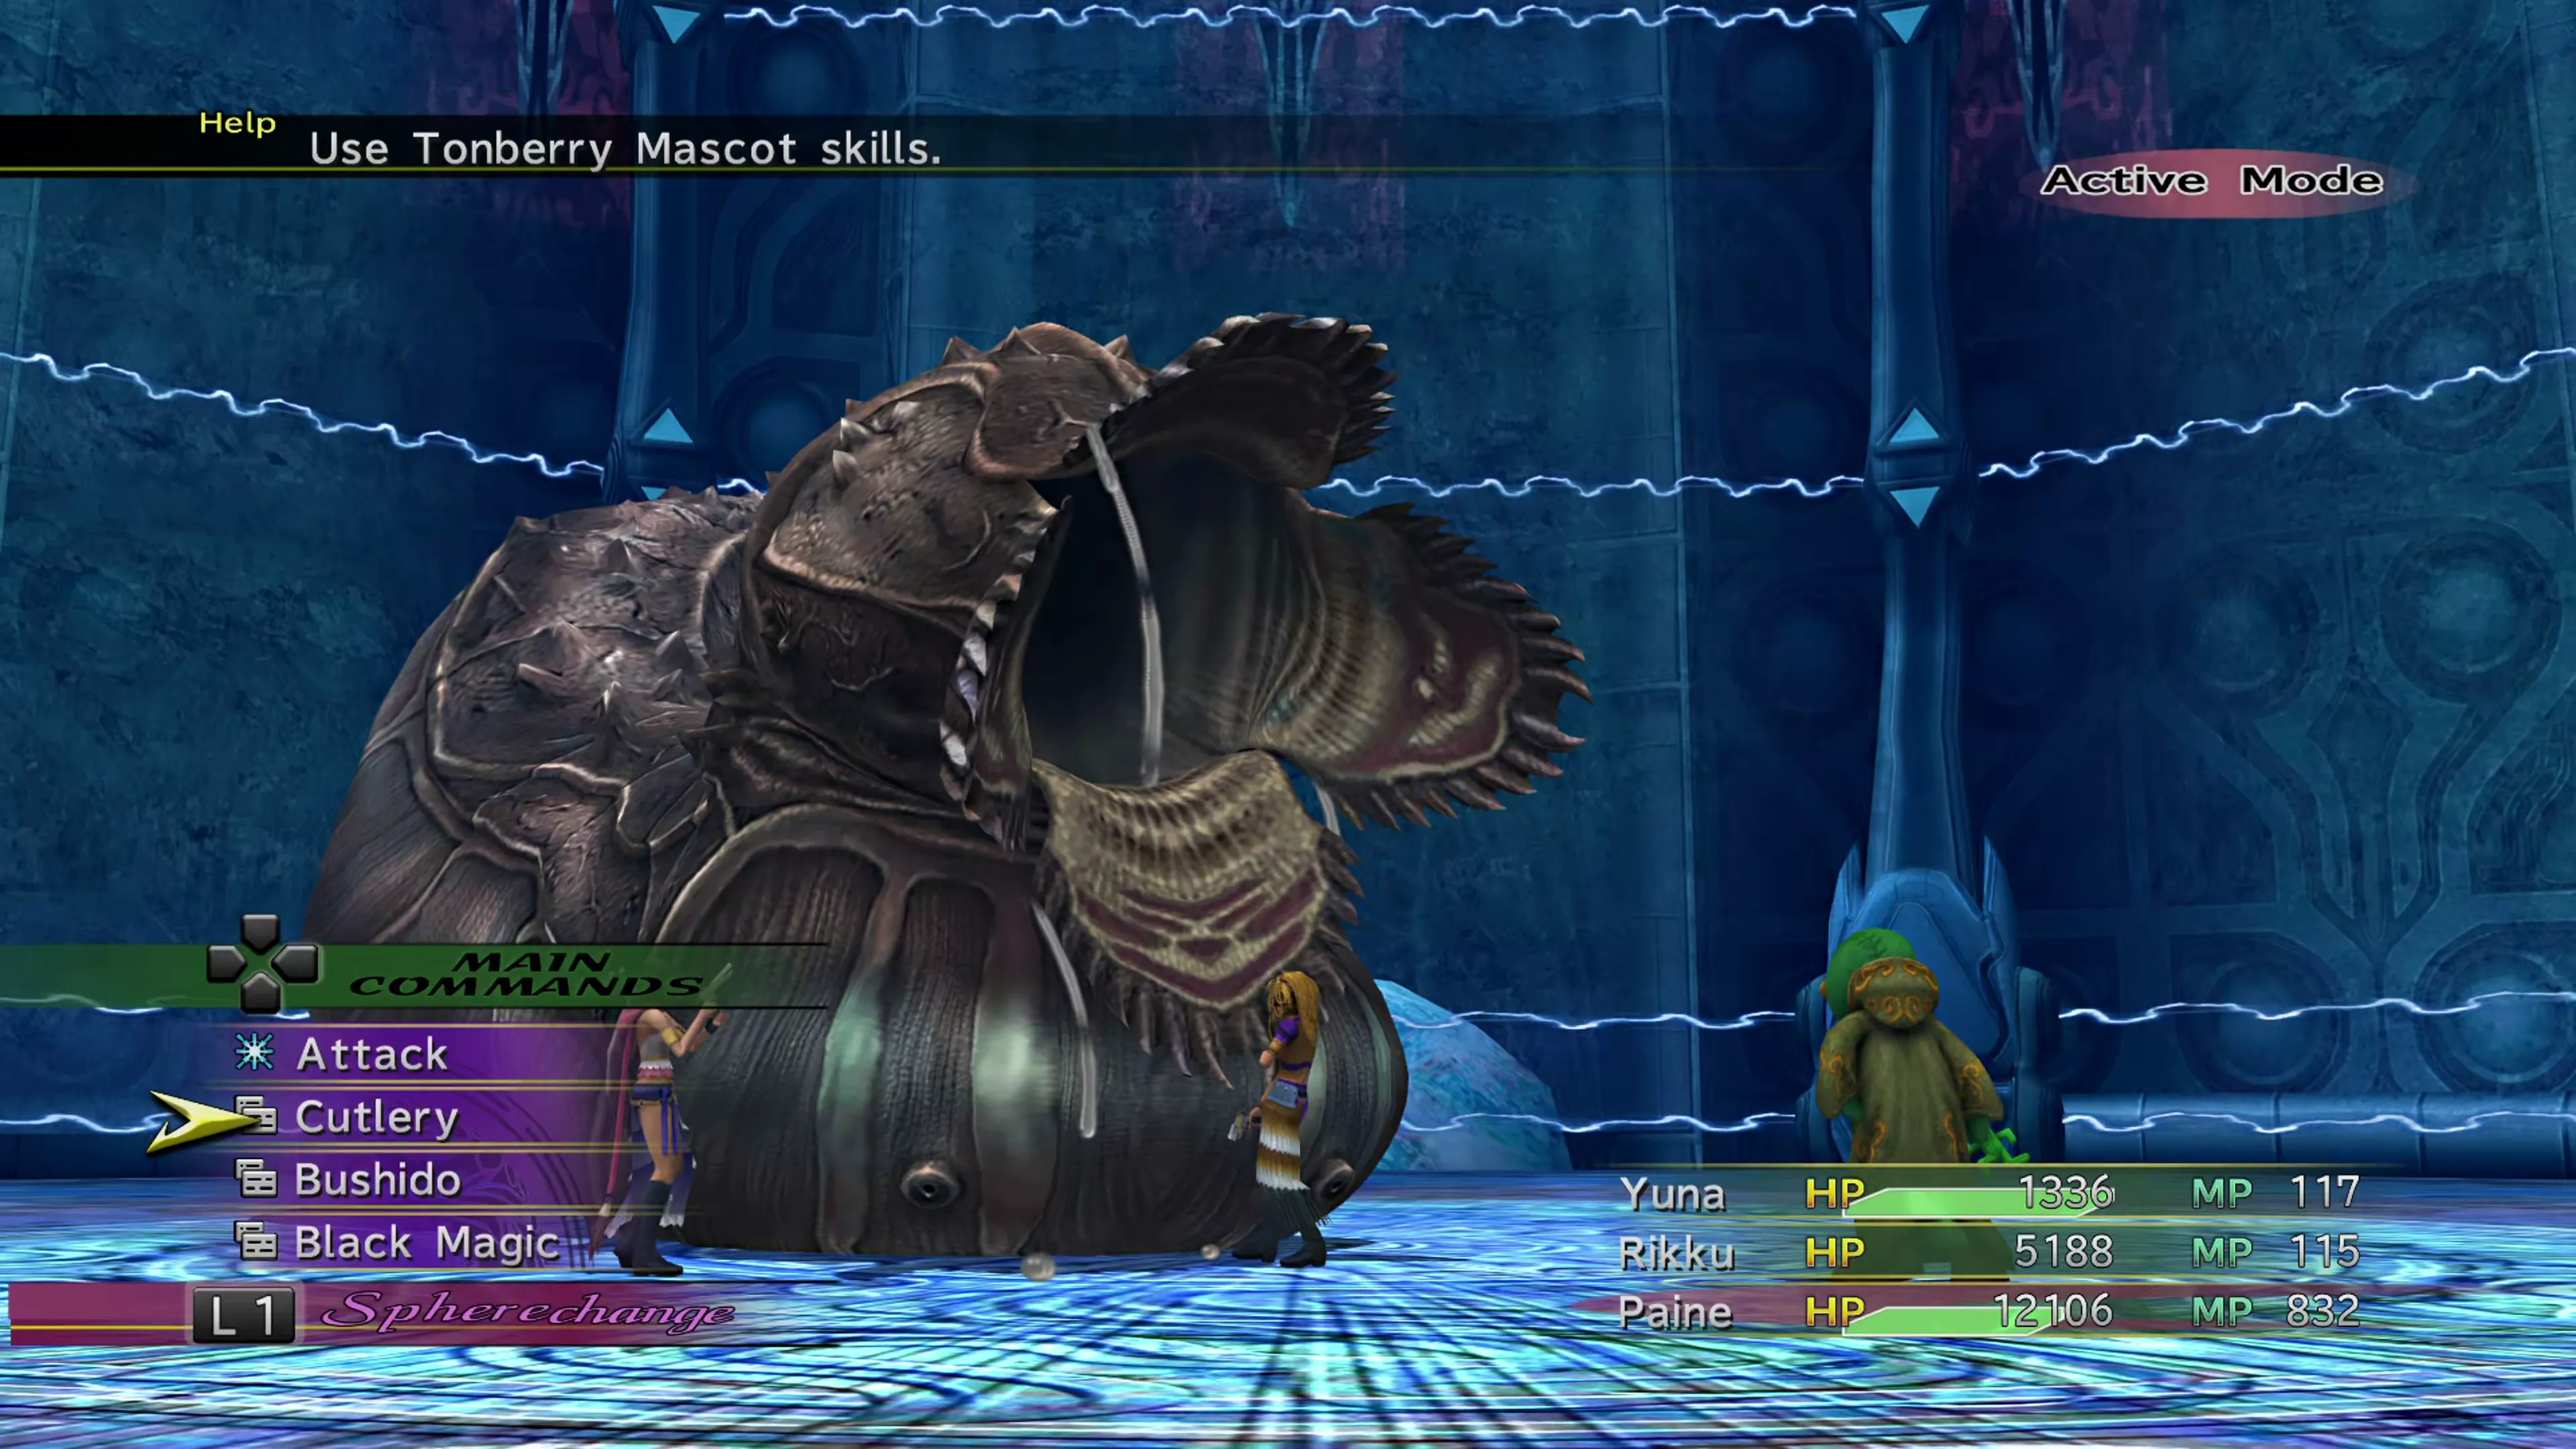
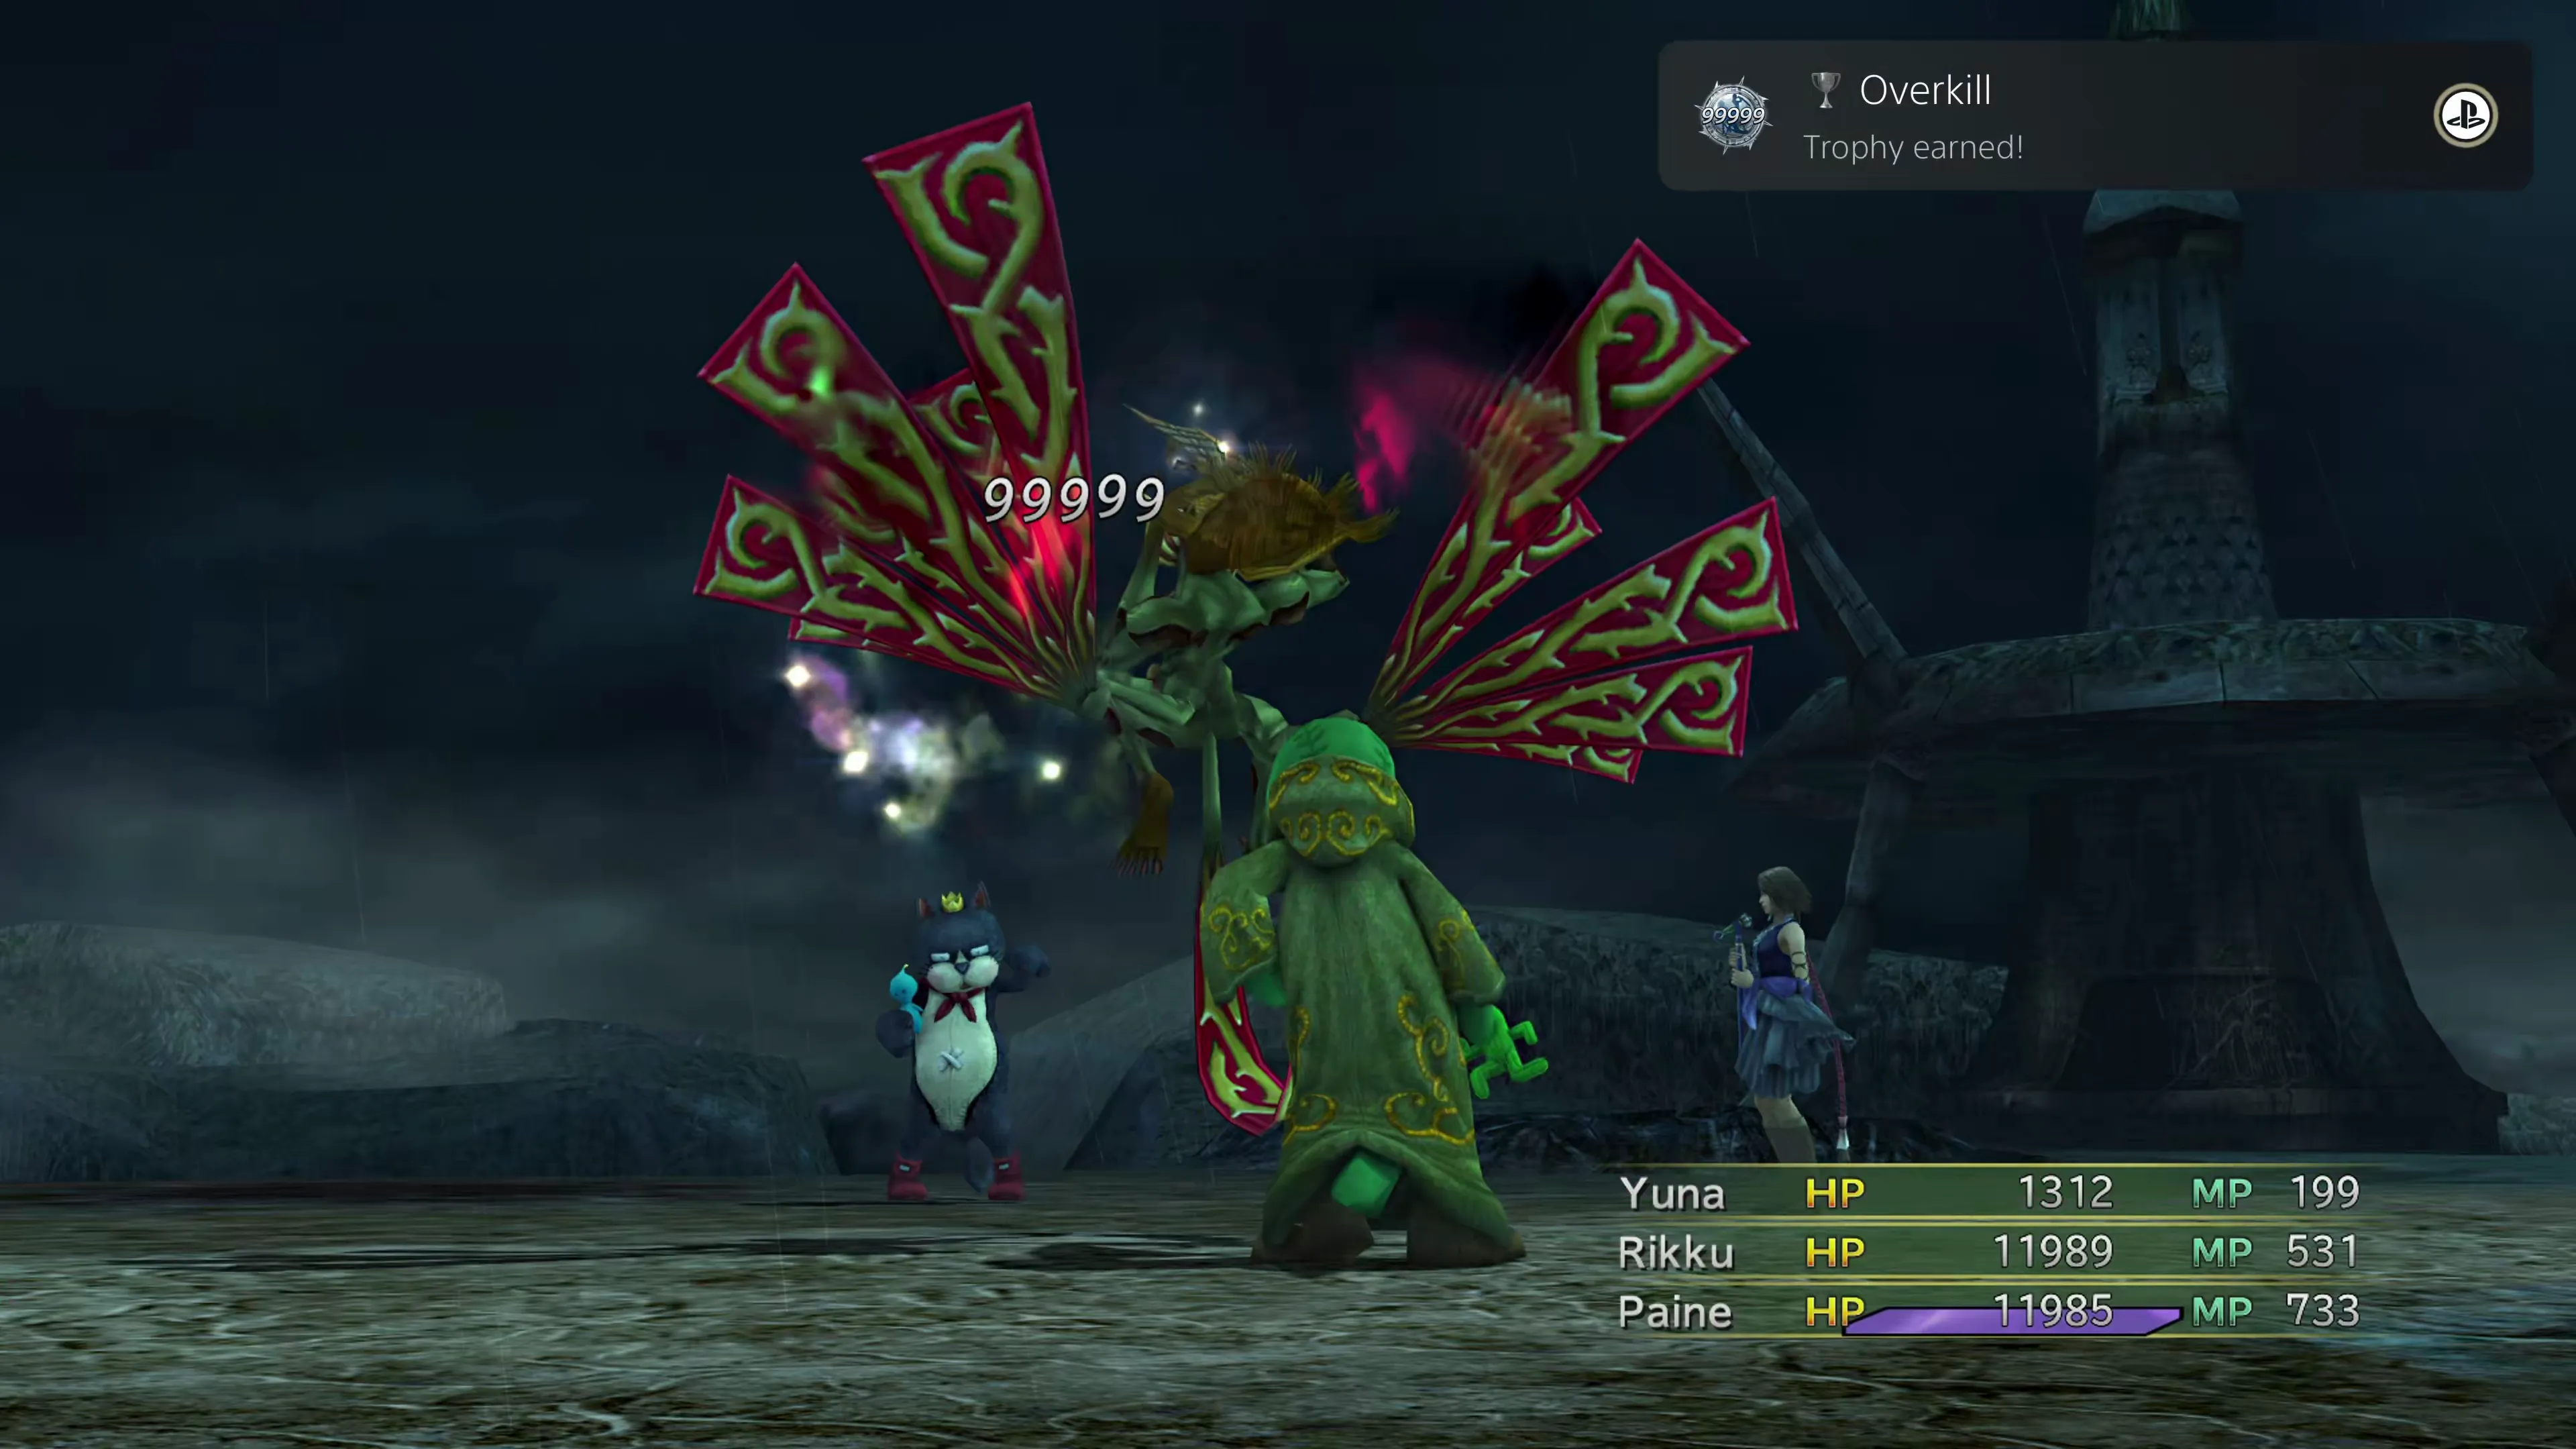
Getting an attack to hit for 99,999 damage is actually pretty challenging in this game, and this achievement/trophy is one that many players have to work at; it doesn’t just pop up automatically. There are some steps that you can take to help you get there:
- Obtain the
 Mascot Dressphere and unlock Moogle Beam and/or
  Cactling Gun; either ability can be used to complete this task.
 - Make sure the character has something equipped that will let them break the damage limit:
- Invincible accessory
 Higher Power Garment Grid
- The End Garment Grid
- Peerless Garment Grid
- Last Resort Garment Grid
- Equip another powerful accessory like Iron Duke
- Level up your characters. This process is much easier if your characters are level 90+. Check out the Power Leveling Your Characters guide.
- Find an enemy with low defenses, such as an Earth Worm, Sand Worm, Killer Machina, Recoil, Flak Python, or Viper Sniper. Some alternatives include Aka Manah and Tindalos.
- Have a
 Songstress buff up your party members with either
  Battle Cry or Esoteric Melody, depending on which attack you plan to use (Cactling Gun is physical while Moogle Beam is magical).
 - Blast away!
An alternative route is to use an attack called Finale, which you can gain access to on The End Garment Grid. This attack will cause 99,999 damage if your party members haven’t escaped or fled from any battles. If they have already, and there’s a good chance that they have, you can get around this by starting a New Game Plus, jumping into the Fiend Arena, going through all of the Dressphere Gates, and using the attack on an enemy.
 |  |
This achievement/trophy is automatically earned after you’ve completed the Ruin Depths optional dungeon. Check out the side quest page for more information.
 |  |  |
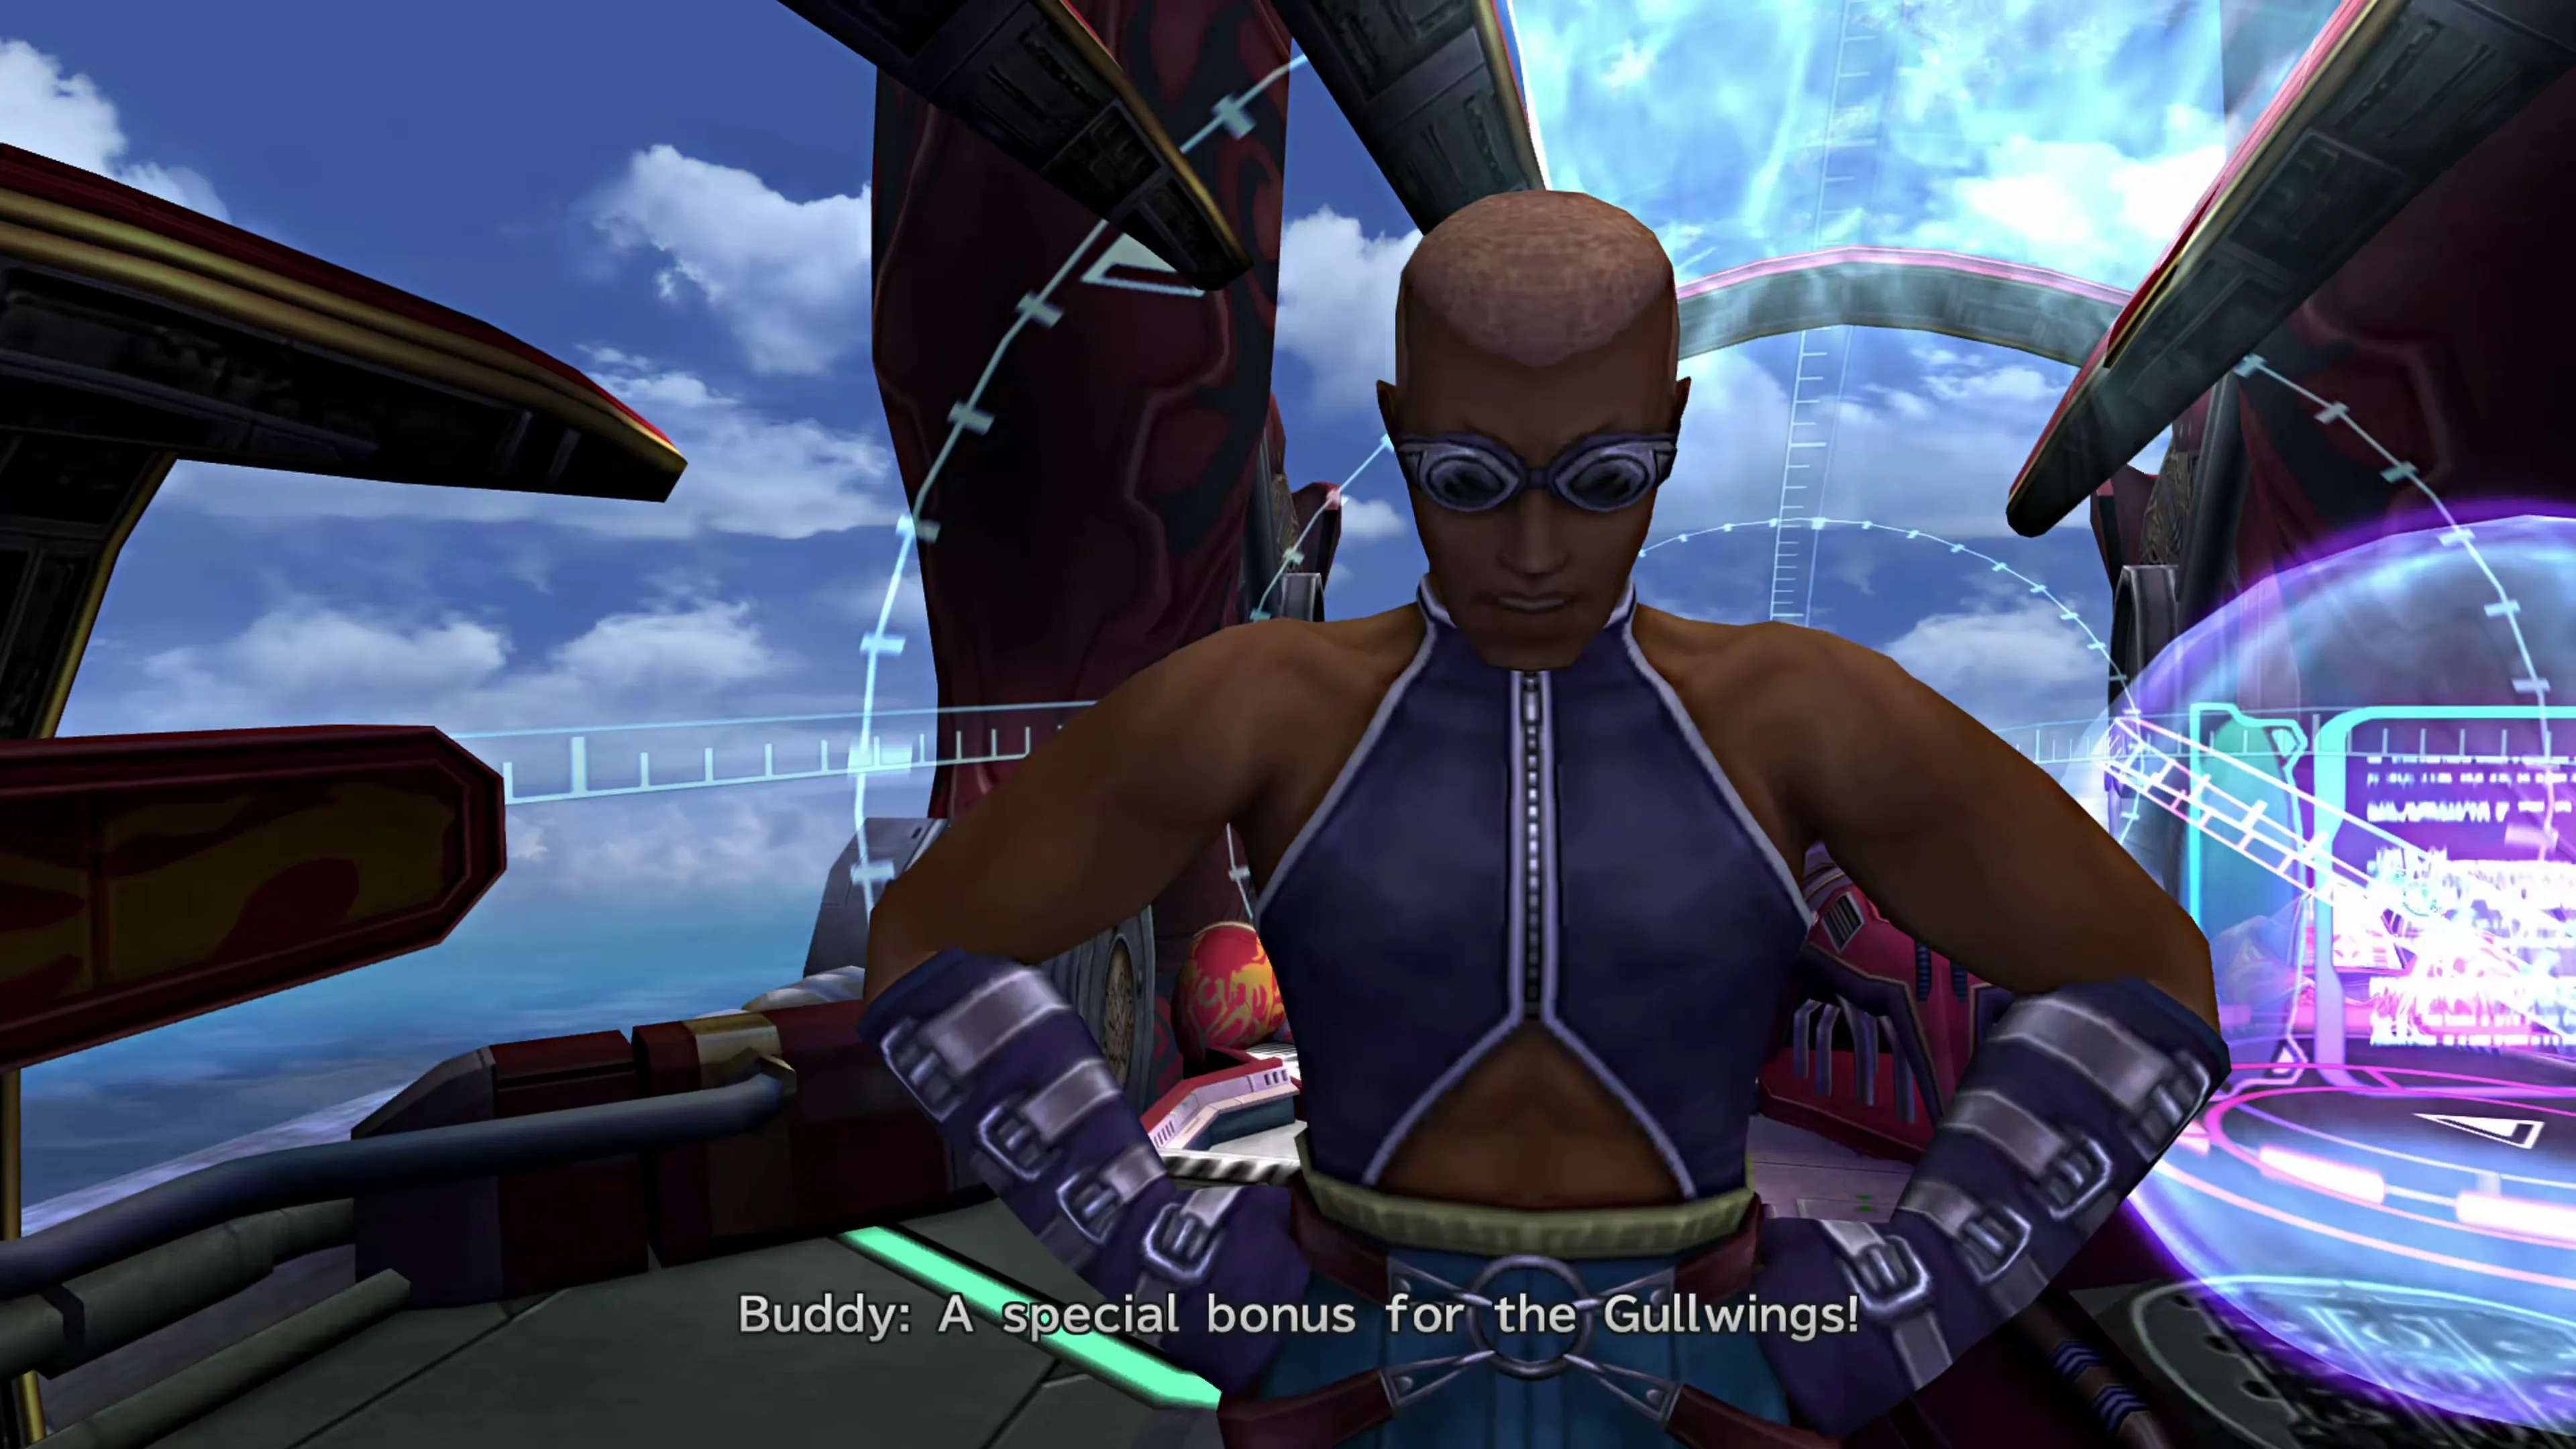
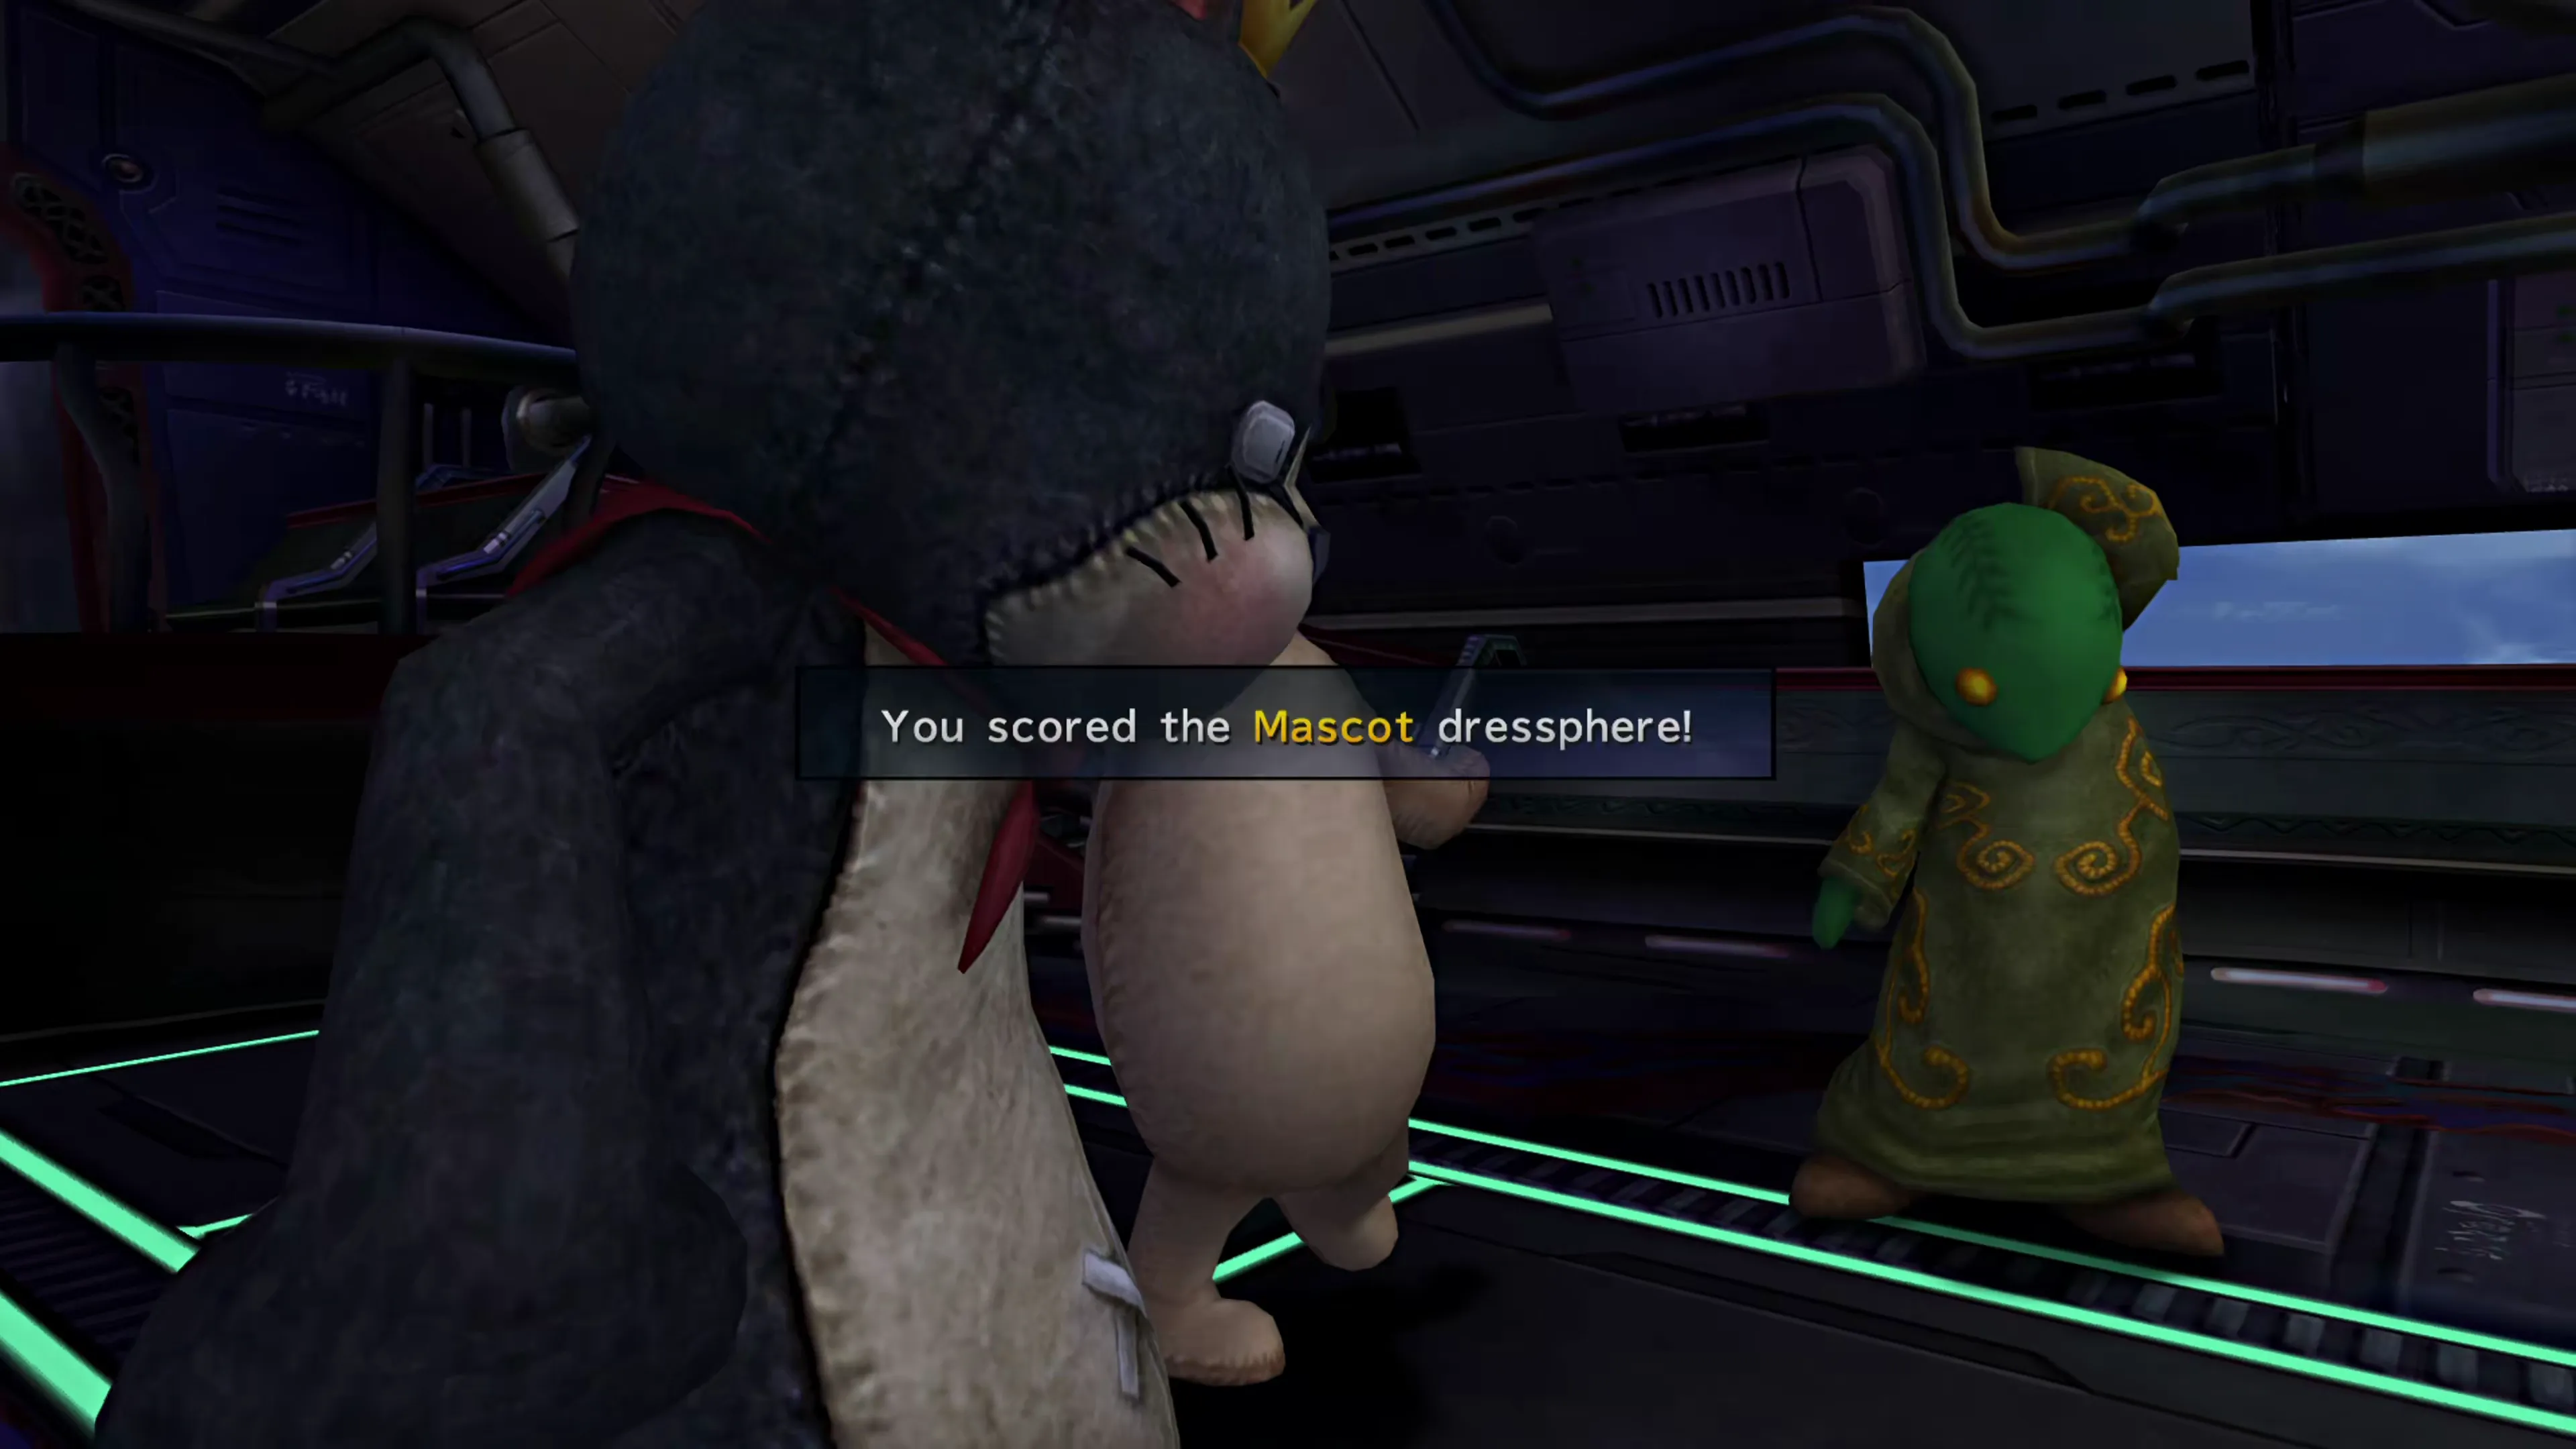
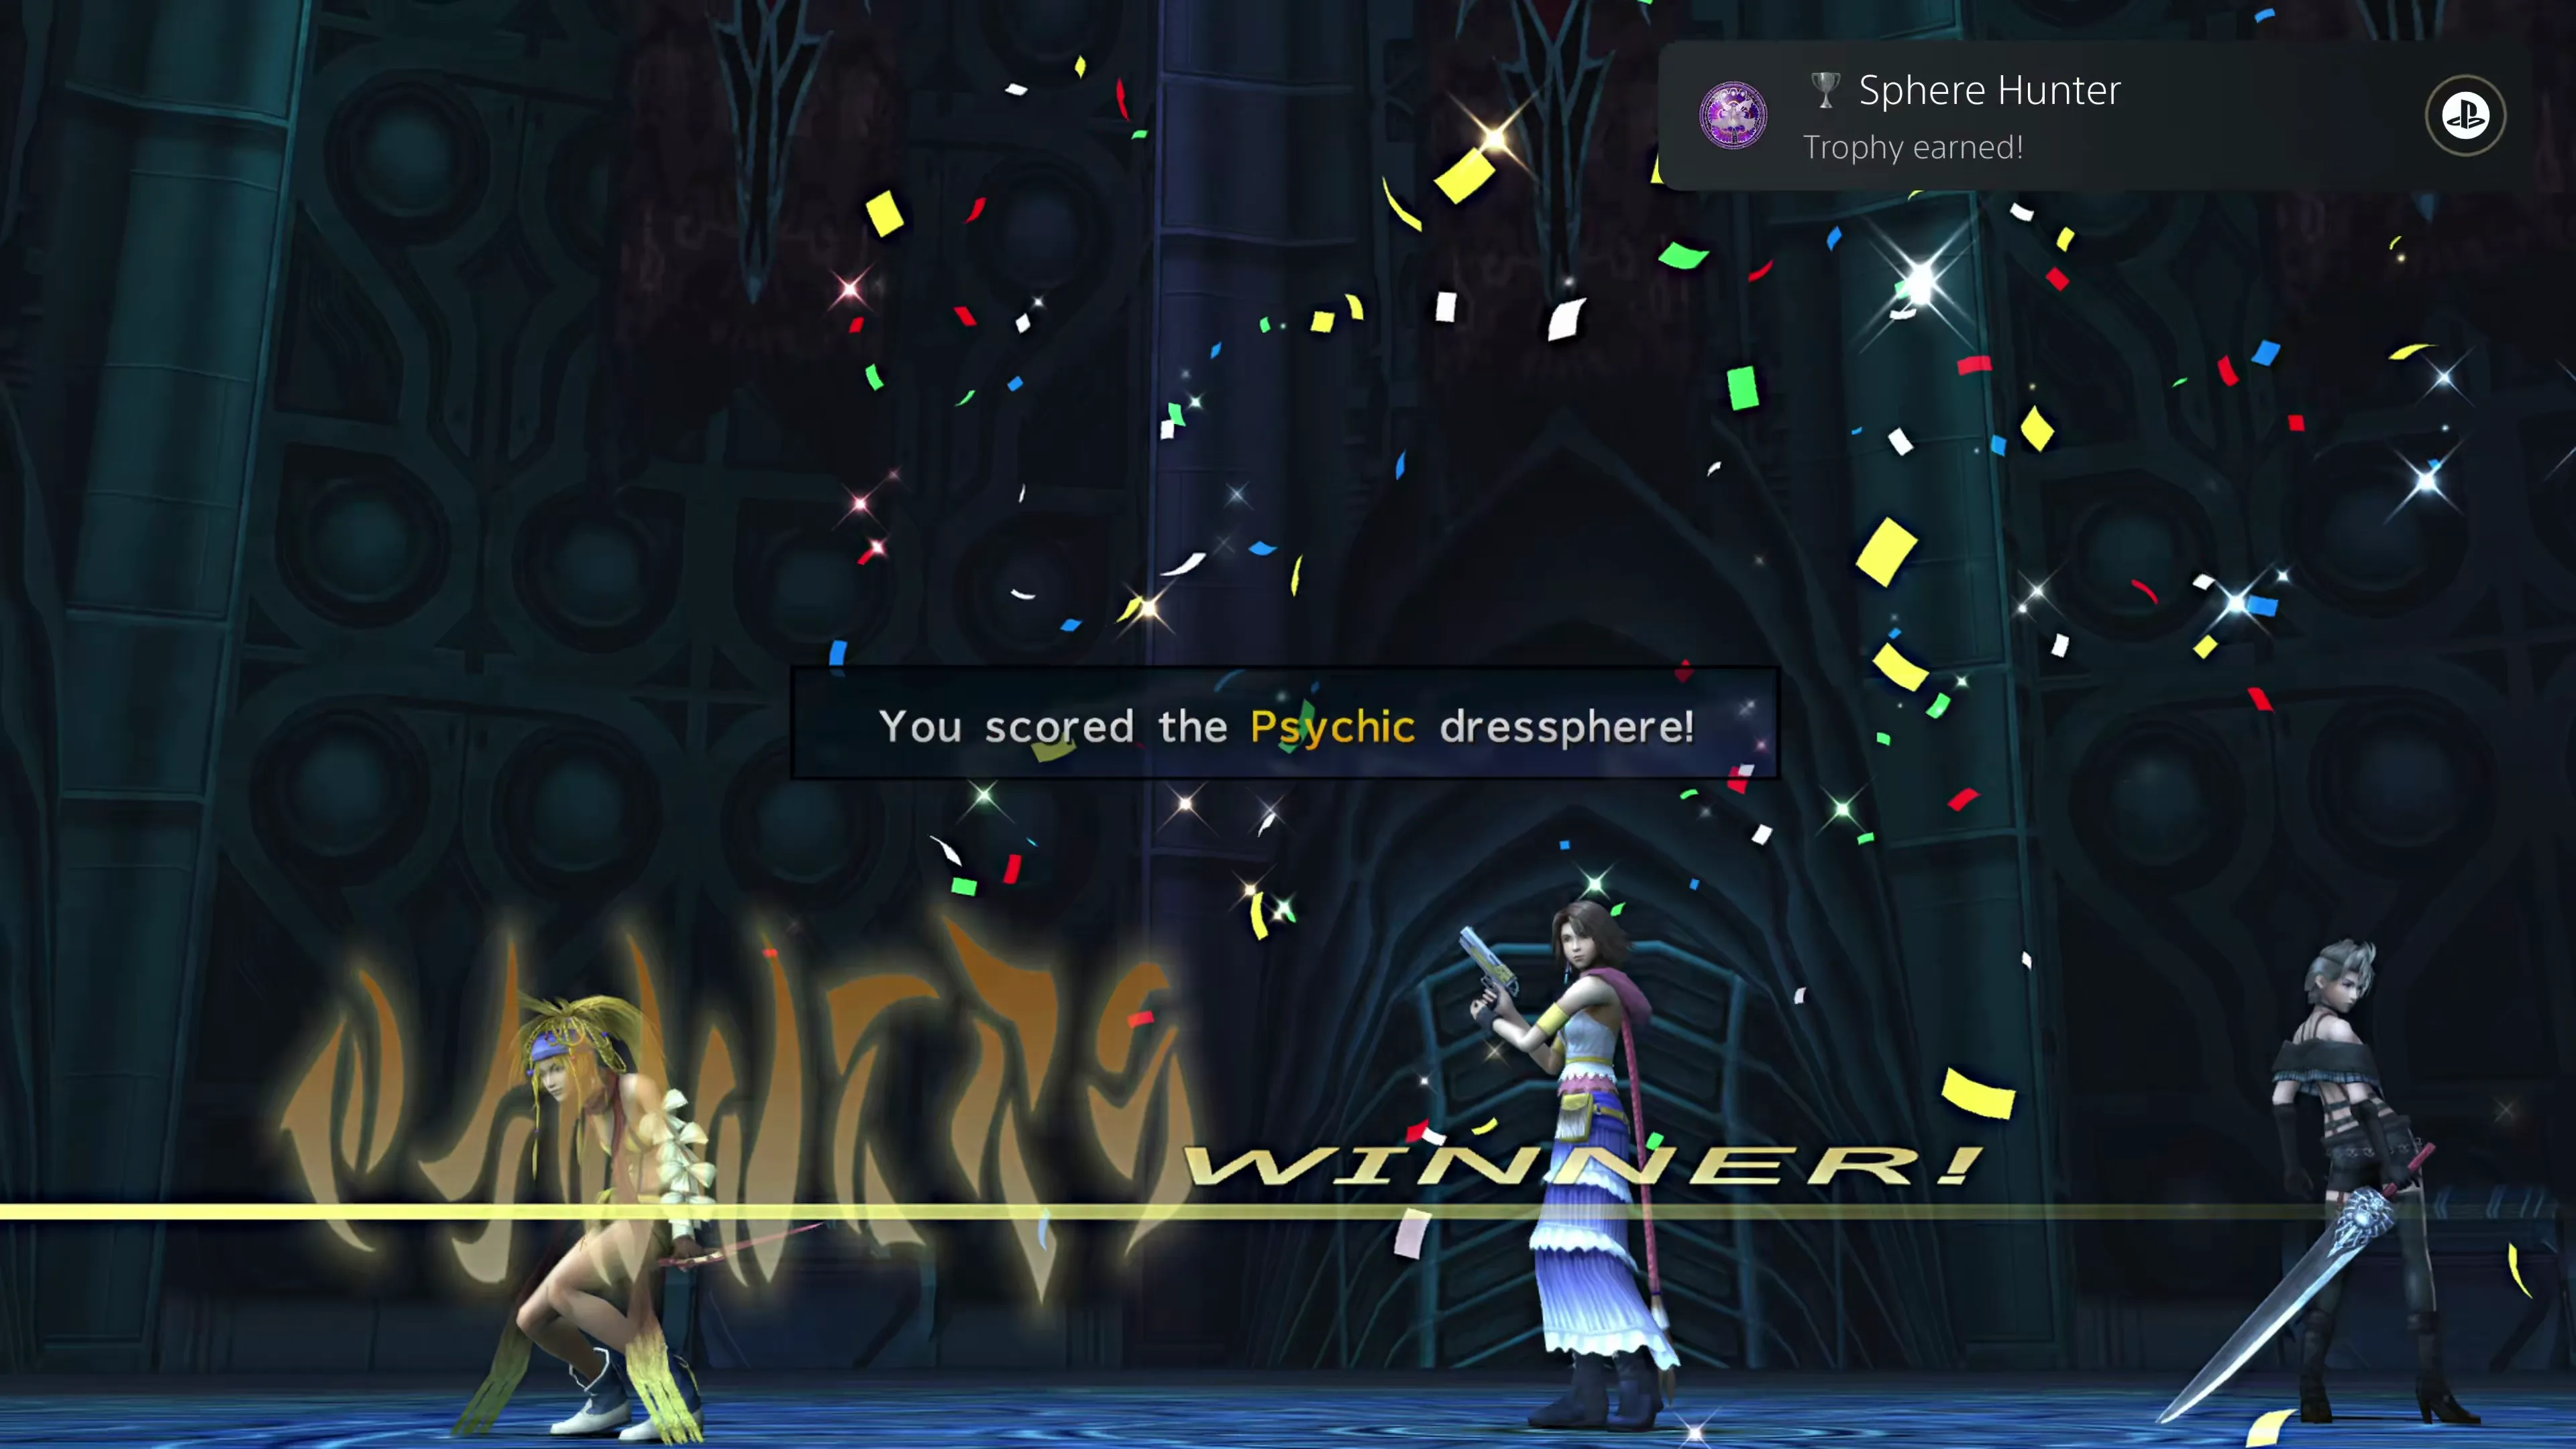
Obtaining this achievement/trophy involves seeking out and picking up all of the Dresspheres in the game. You should automatically obtain it if you play through the game following the steps in this guide, but here are the requirements for each Dressphere:
| Dressphere | How to Obtain It |
|---|---|
 Warrior Warrior | Paine’s default Dressphere that she starts the game in. |
| Thief | Rikku’s default Dressphere that she starts the game in. |
| Gunner | Yuna’s default Dressphere that she starts the game in. |
| Songstress | Comes automatically attached to the Garment Grid that the team picks up during the opening fights in Luca. |
 Festivalist Festivalist | Speak to Brother after the opening sequence aboard the Celsius. |
 Black Mage Black Mage | Defeat Boris at the top of the Floating Ruins in Chapter 1. |
 White Mage White Mage | Explore the cave with Wakka on Besaid Island in Chapter 1. |
| Gun Mage | Complete the “Shave the Hypello?” Mission at the Moonflow in Chapter 1. |
 Psychic Psychic | Play through and win a “Standard Cup” in the Fiend Arena in the Creature Creator from Chapter 1 onward. |
| Alchemist | Clear out the Chocobo Ranch in the Calm Lands in Chapter 2. |
 Dark Knight Dark Knight | Unlock the hidden pathway in the “Underground” area below Bevelle in Chapter 2. |
 Samurai Samurai | Defeat the two Daevas inside Kilika Temple and pick it up off the ground in Chapter 3. Alternatively, return to Kilika Temple in Chapter 5 to retrieve it from a treasure chest. |
| Lady Luck | Emerge as a champion from the Luca Sphere Break Tournament in Chapter 3. |
 Berserker Berserker | Complete the Mission to protect the agency in Lake Macalania in Chapter 3. |
 Trainer Trainer | Kimahri will hand over this Dressphere at Mt. Gagazet in Chapter 3 if you answered his questions correctly in earlier chapters. |
| Mascot | Earn an “Episode Complete” (not an “Episode Concluded”) in every location in Chapter 5. This is the most challenging Dressphere to earn, as it requires playing through the game without missing any important story elements. |
| Floral Fallal | Pick it up off the ground along the Djose Highroad in Chapter 2. |
| Machina Maw | Pick it up in the Bikanel Desert in Chapter 2. |
| Full Throttle | Obtain it from Tromell by speaking to him 4 times in Macalania Woods in Chapter 1. |
If you missed any of the Dresspheres, you can try again during a New Game Plus if you decide to play again.
 |  |  |
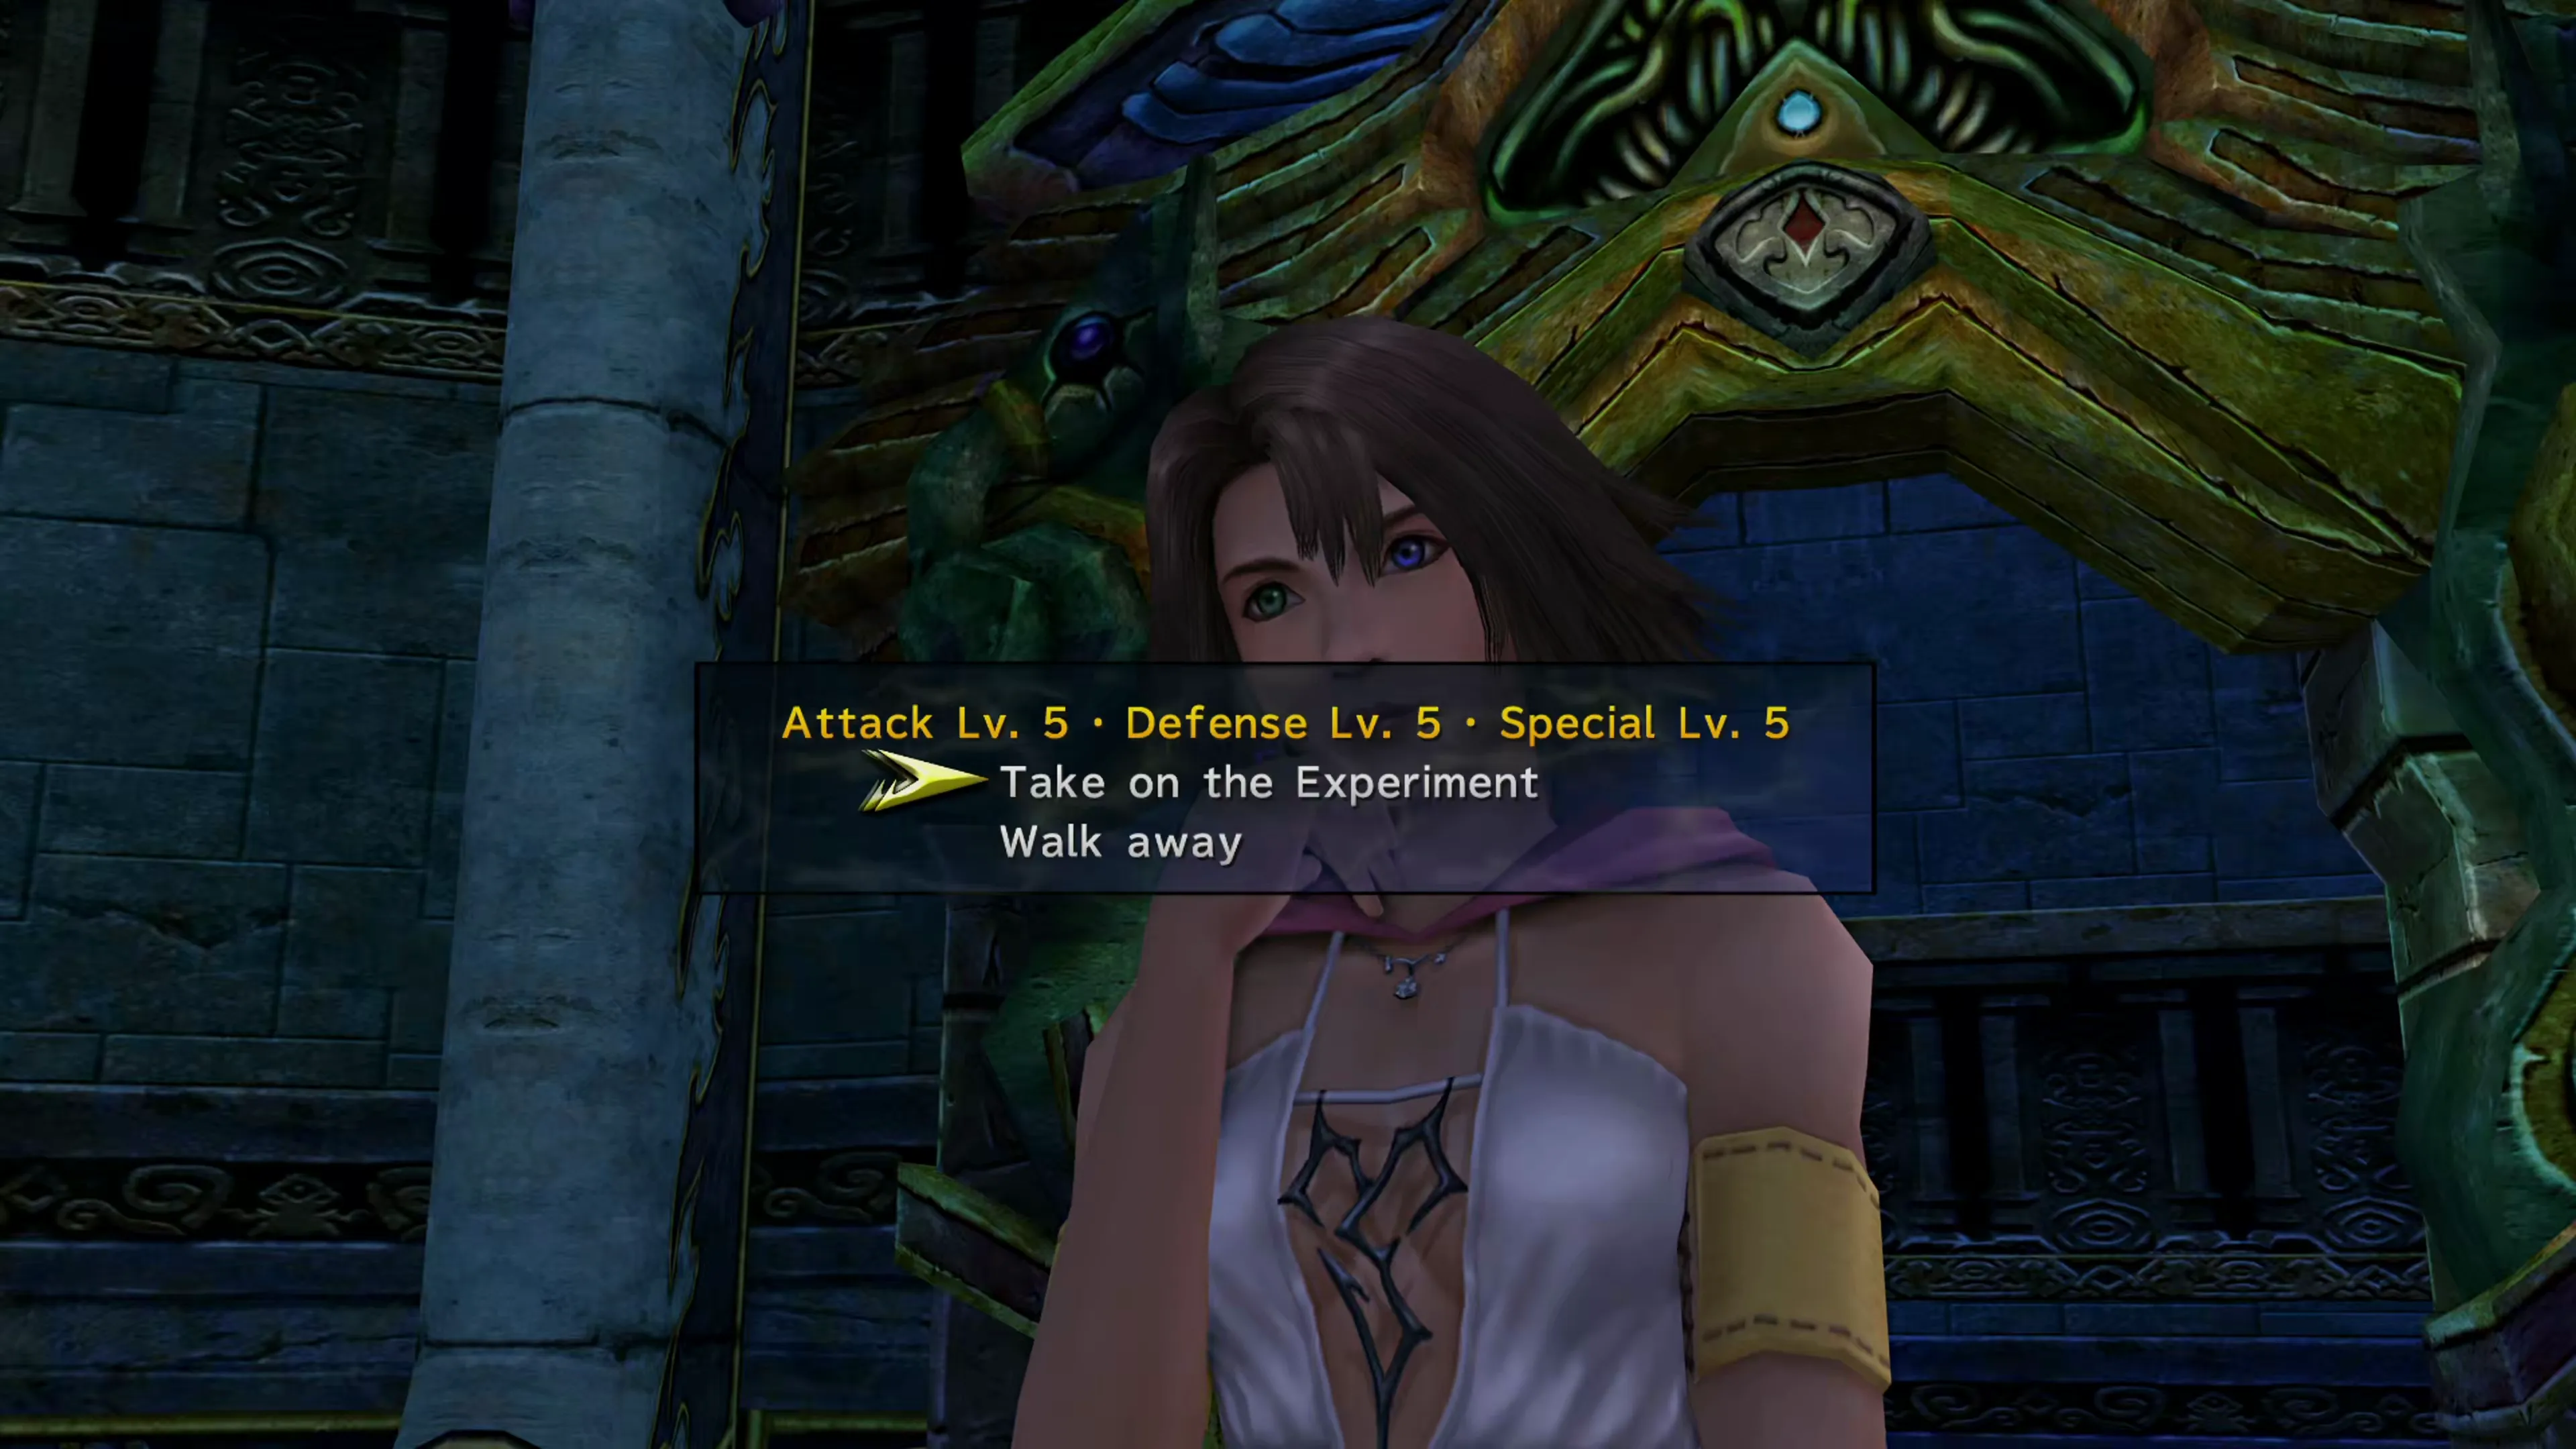
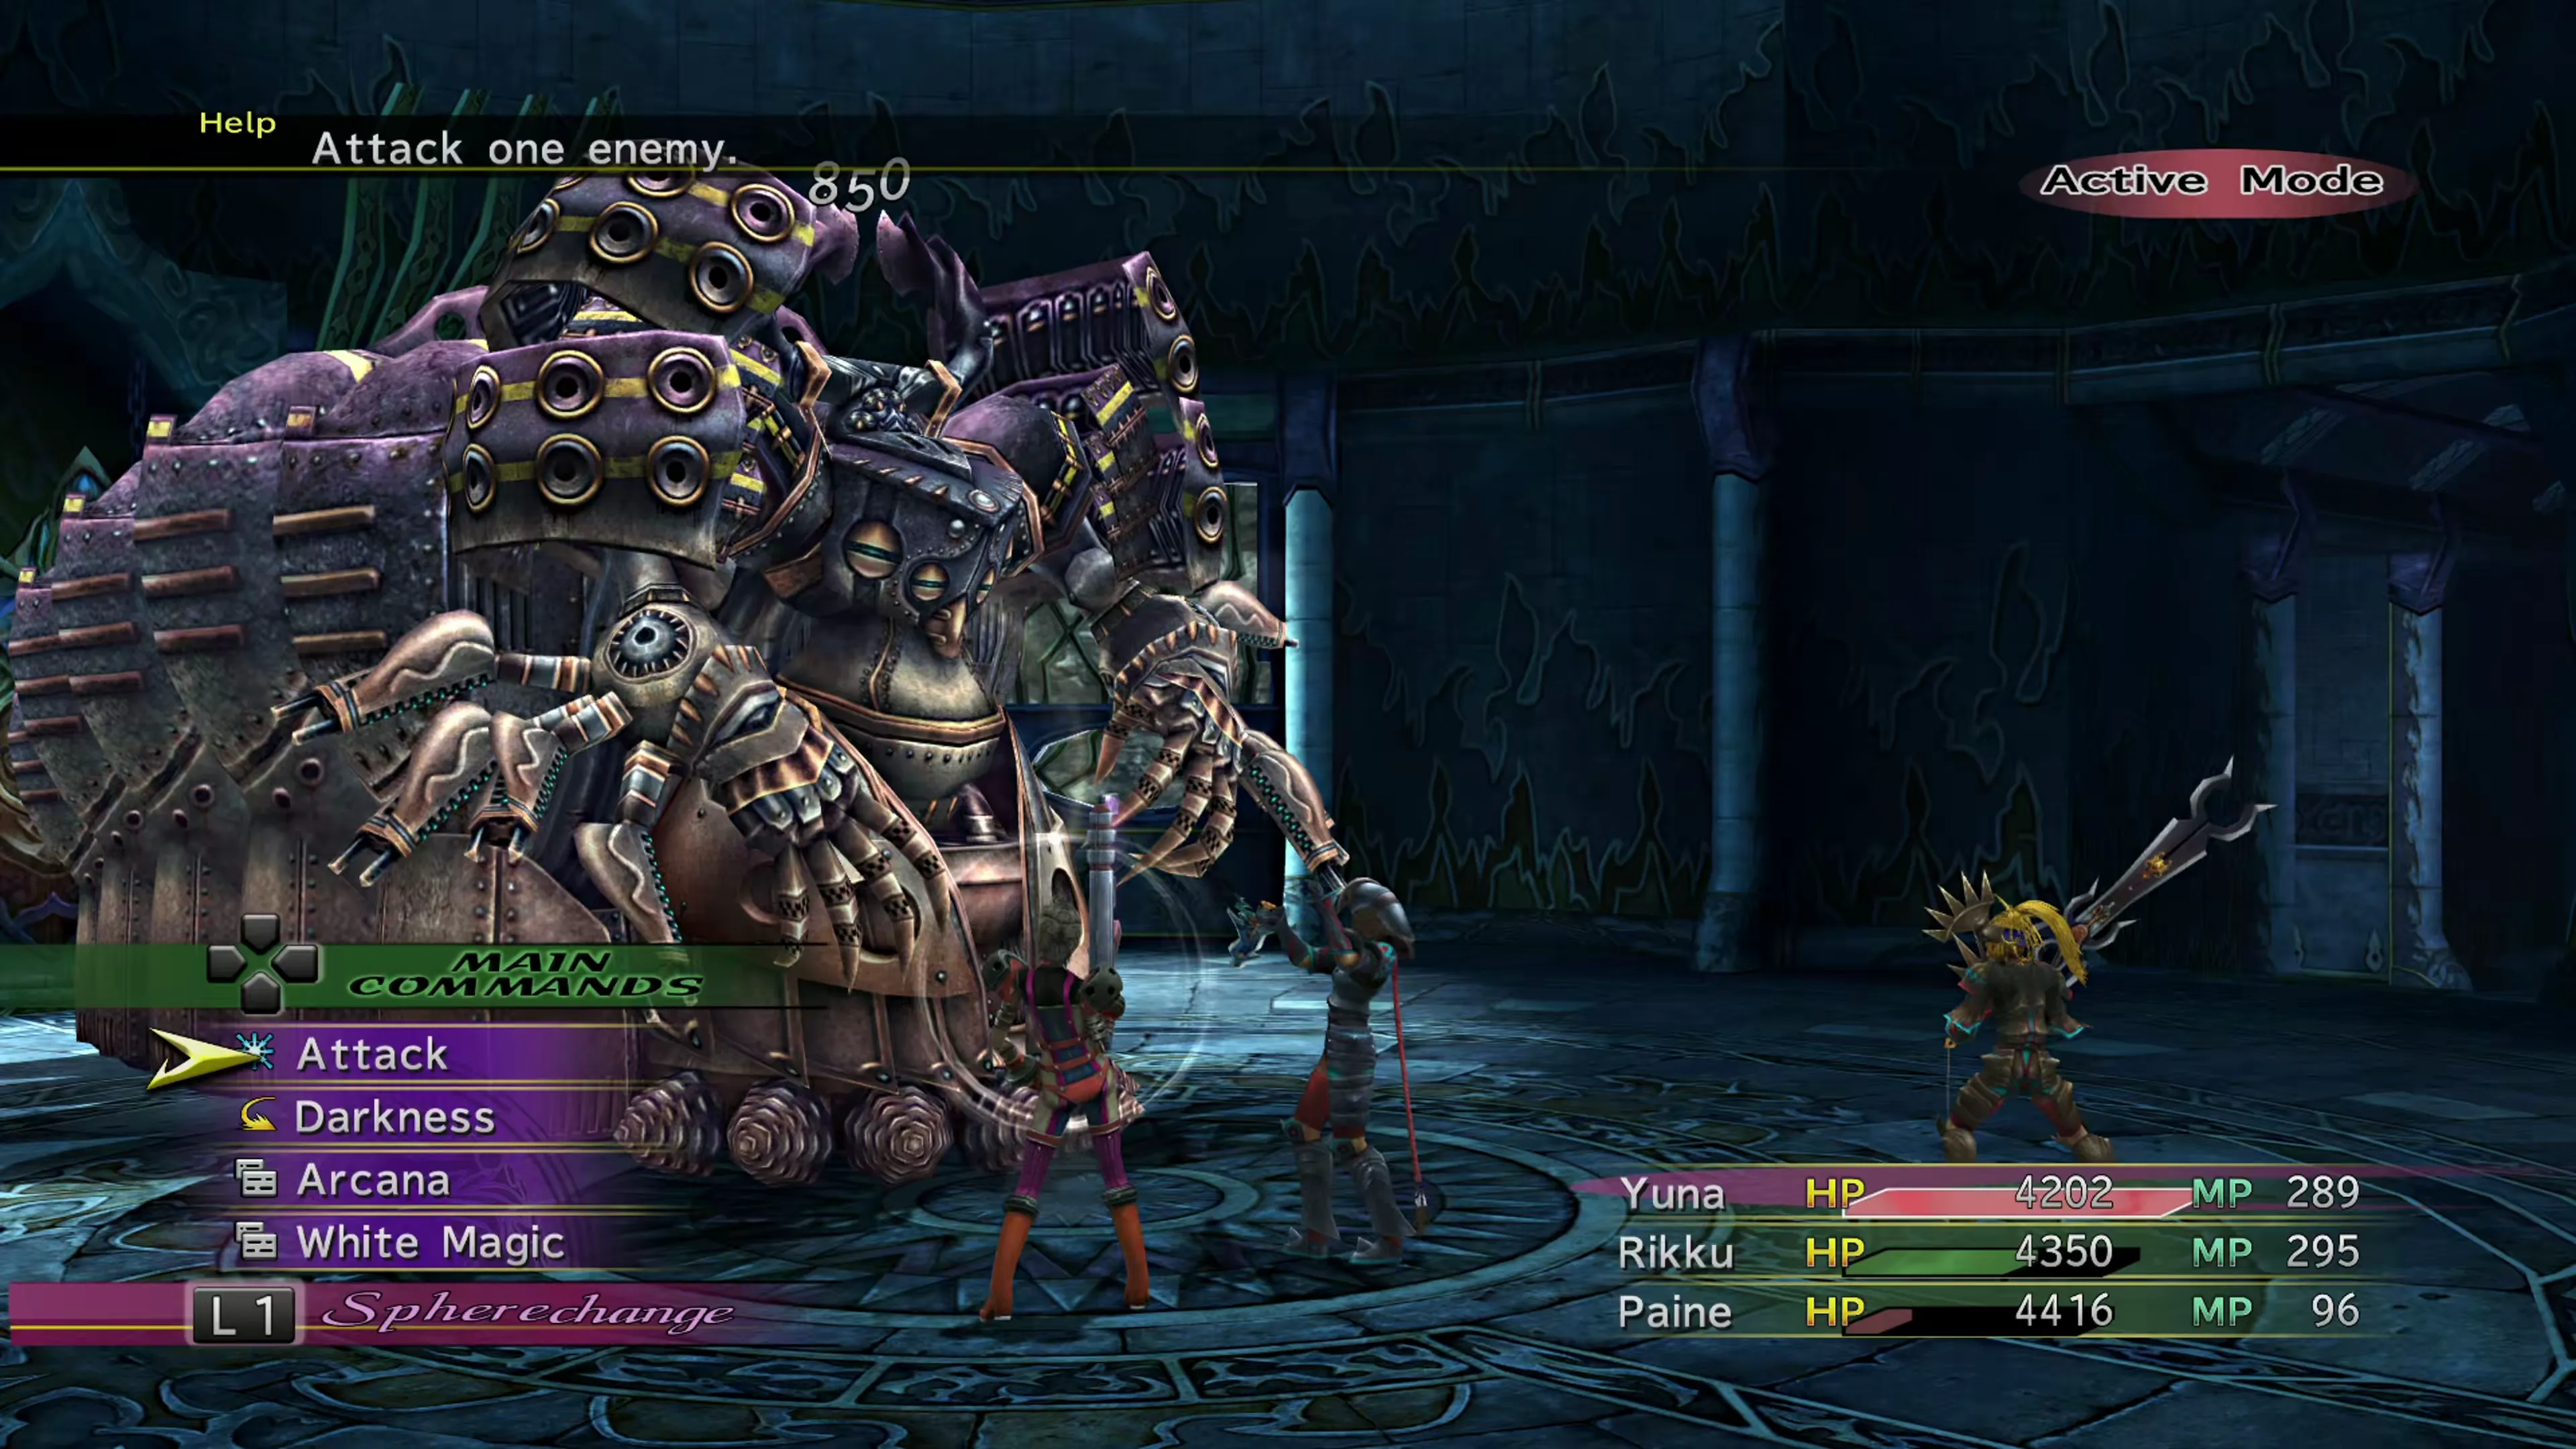
You’ll earn this achievement/trophy by defeating Experiment at its maximum level (“Attack Lv. 5,” “Defense Lv. 5,” and “Special Lv. 5”). The reward for defeating maximum level Experiment is  Magical Dances, Vol. II. Use the link above to check out the walkthrough page for a full explanation of how to level up Experiment and defeat it in battle.
 |  |  |
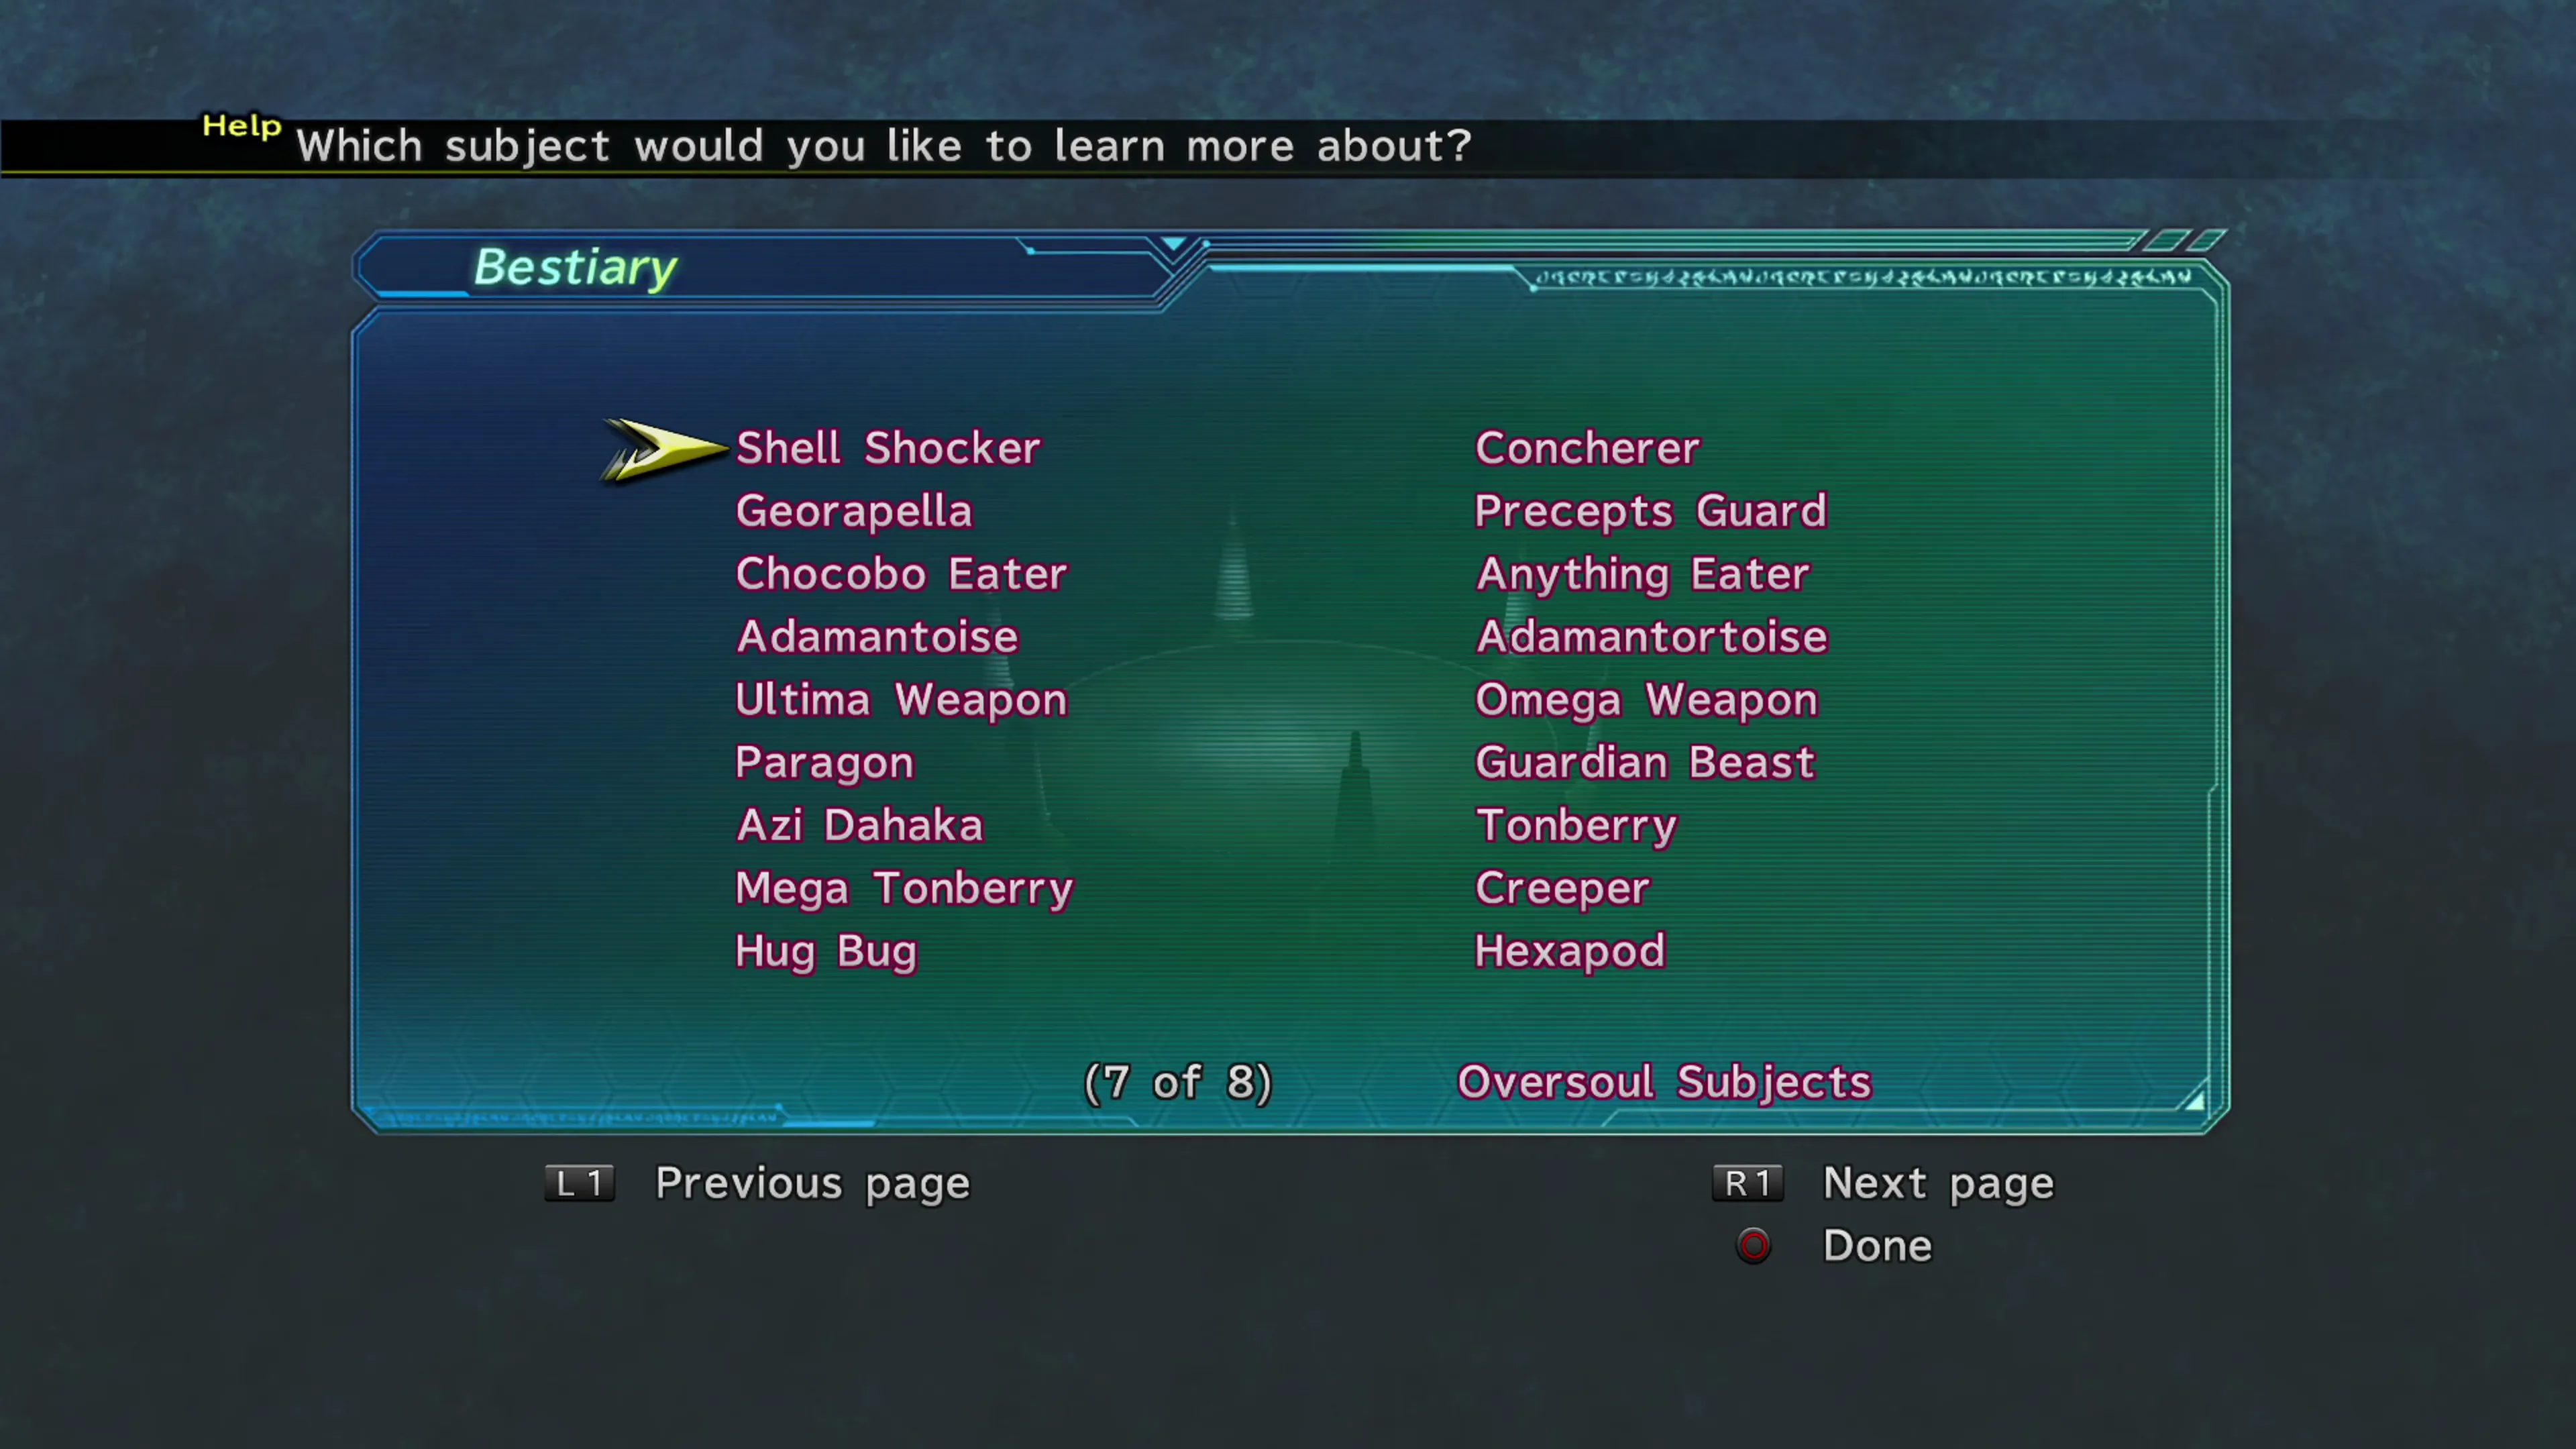
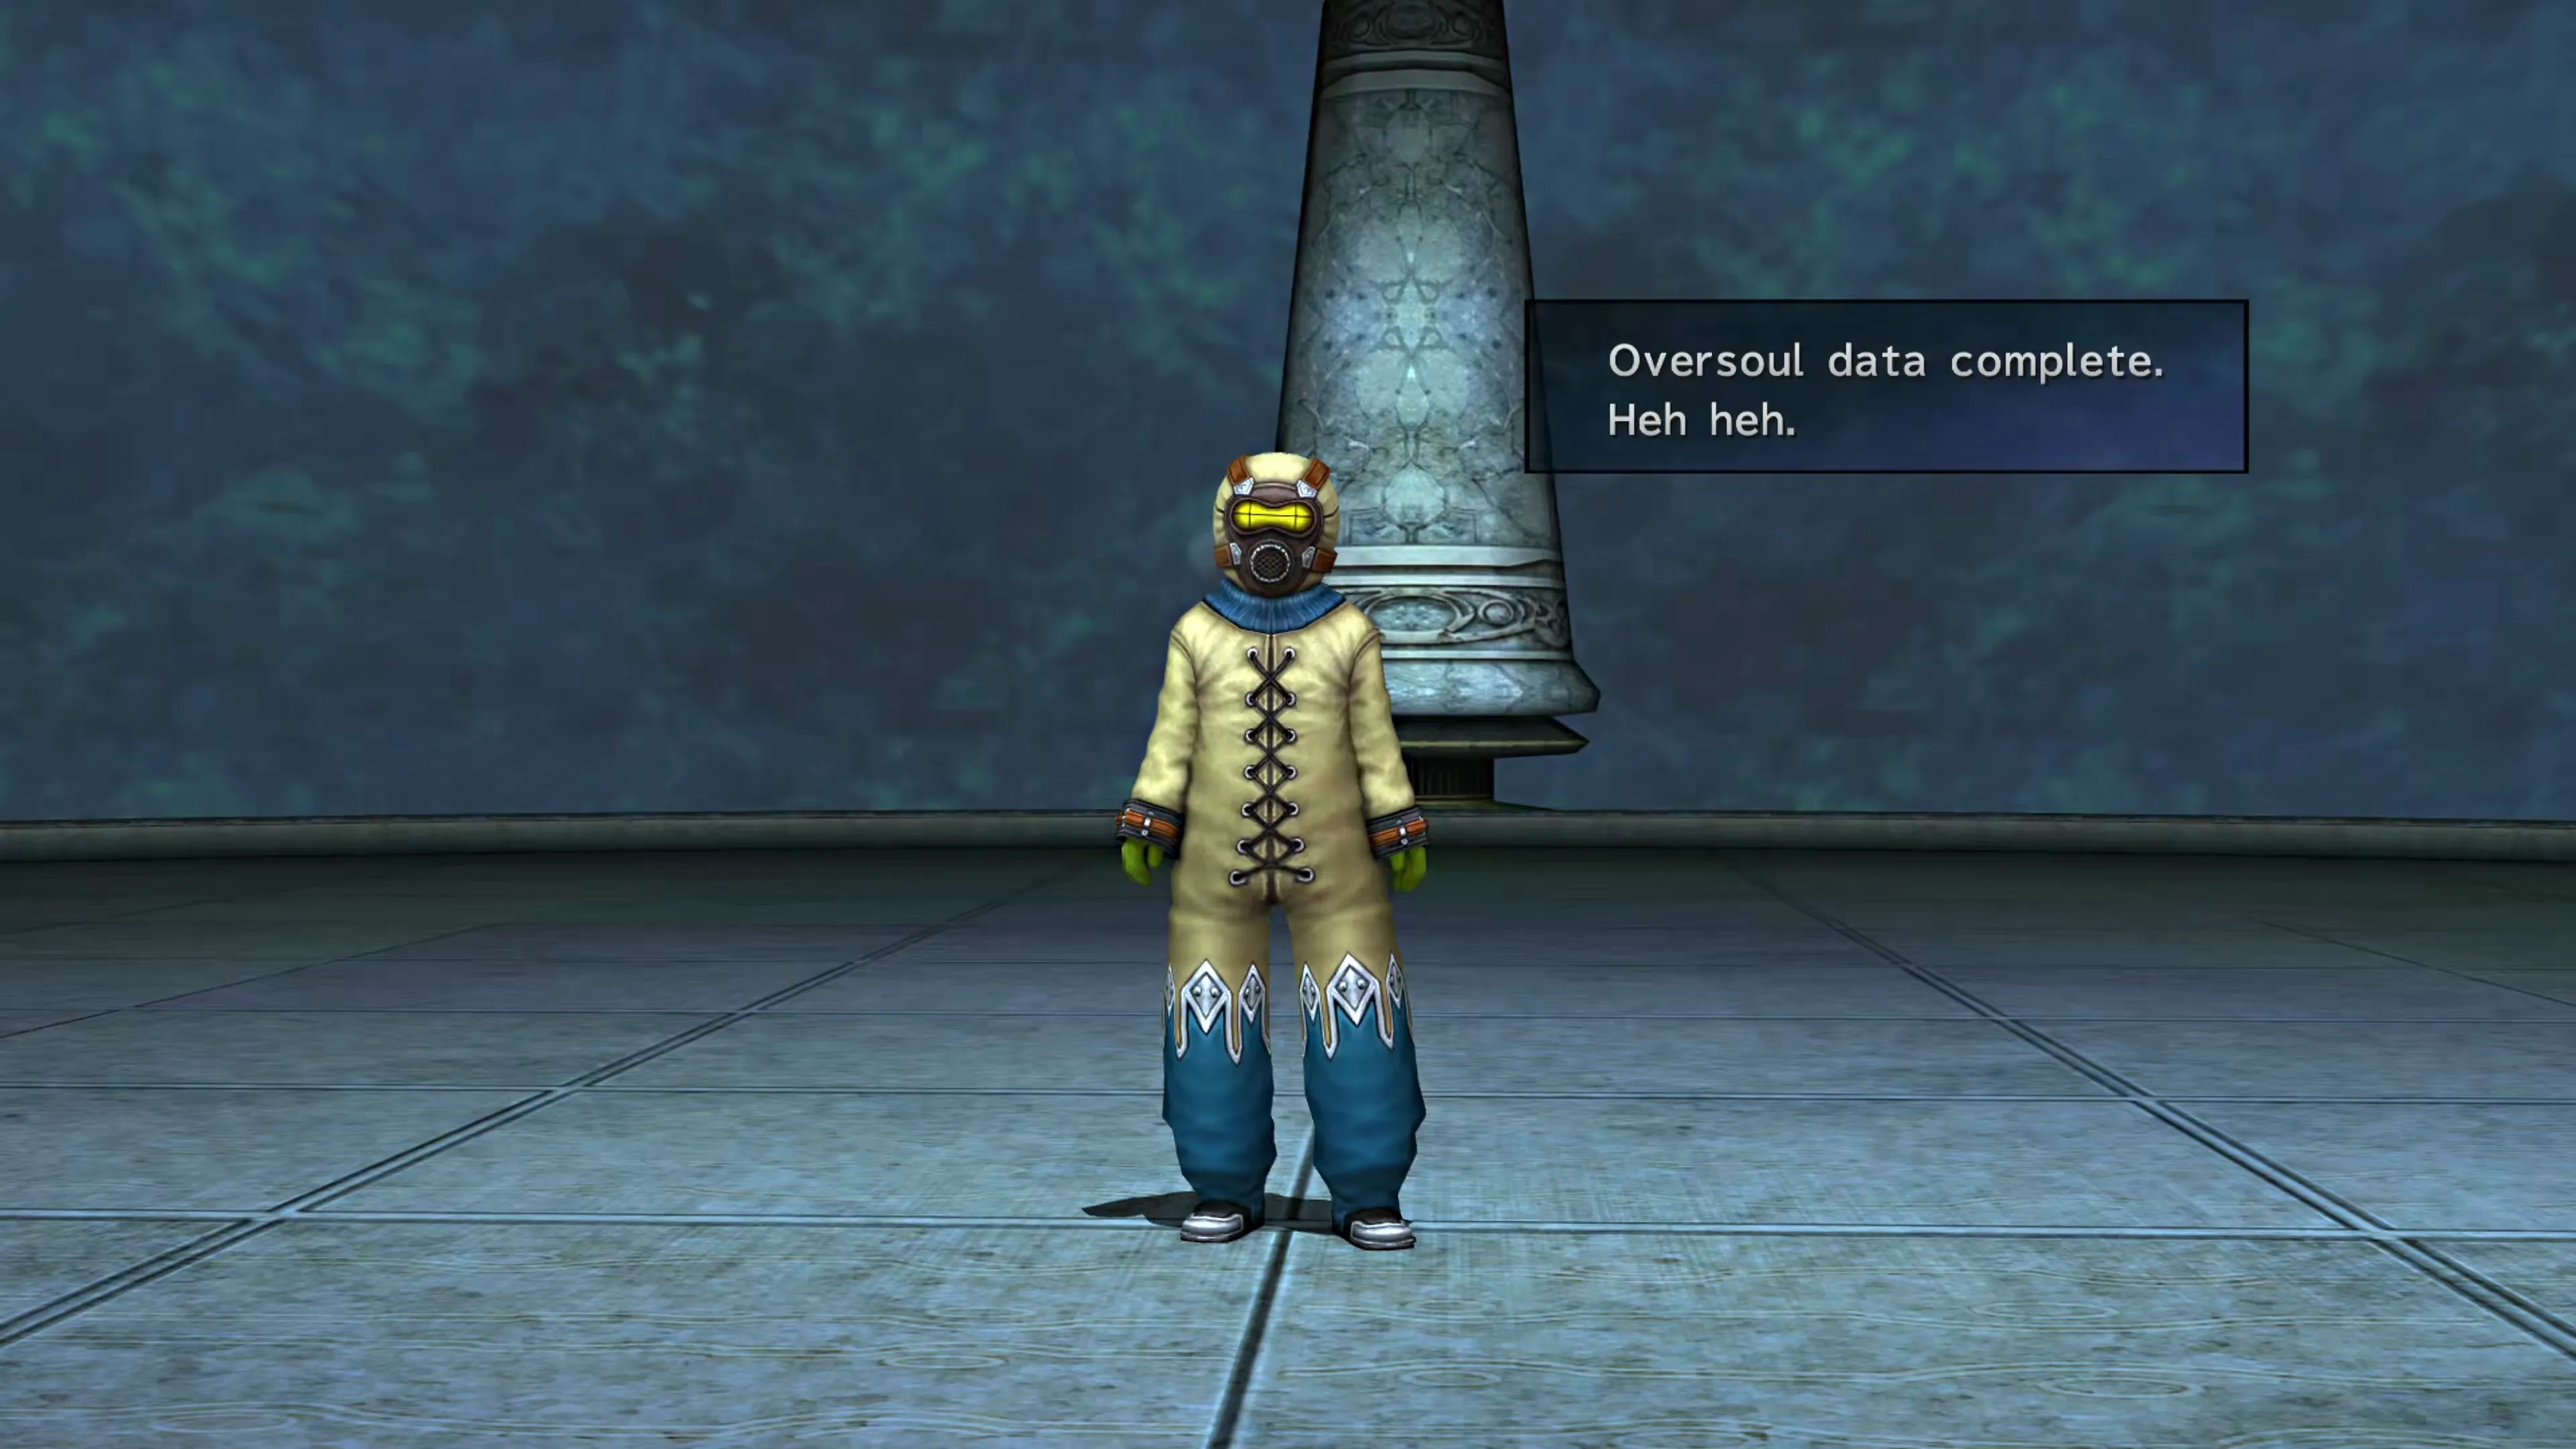
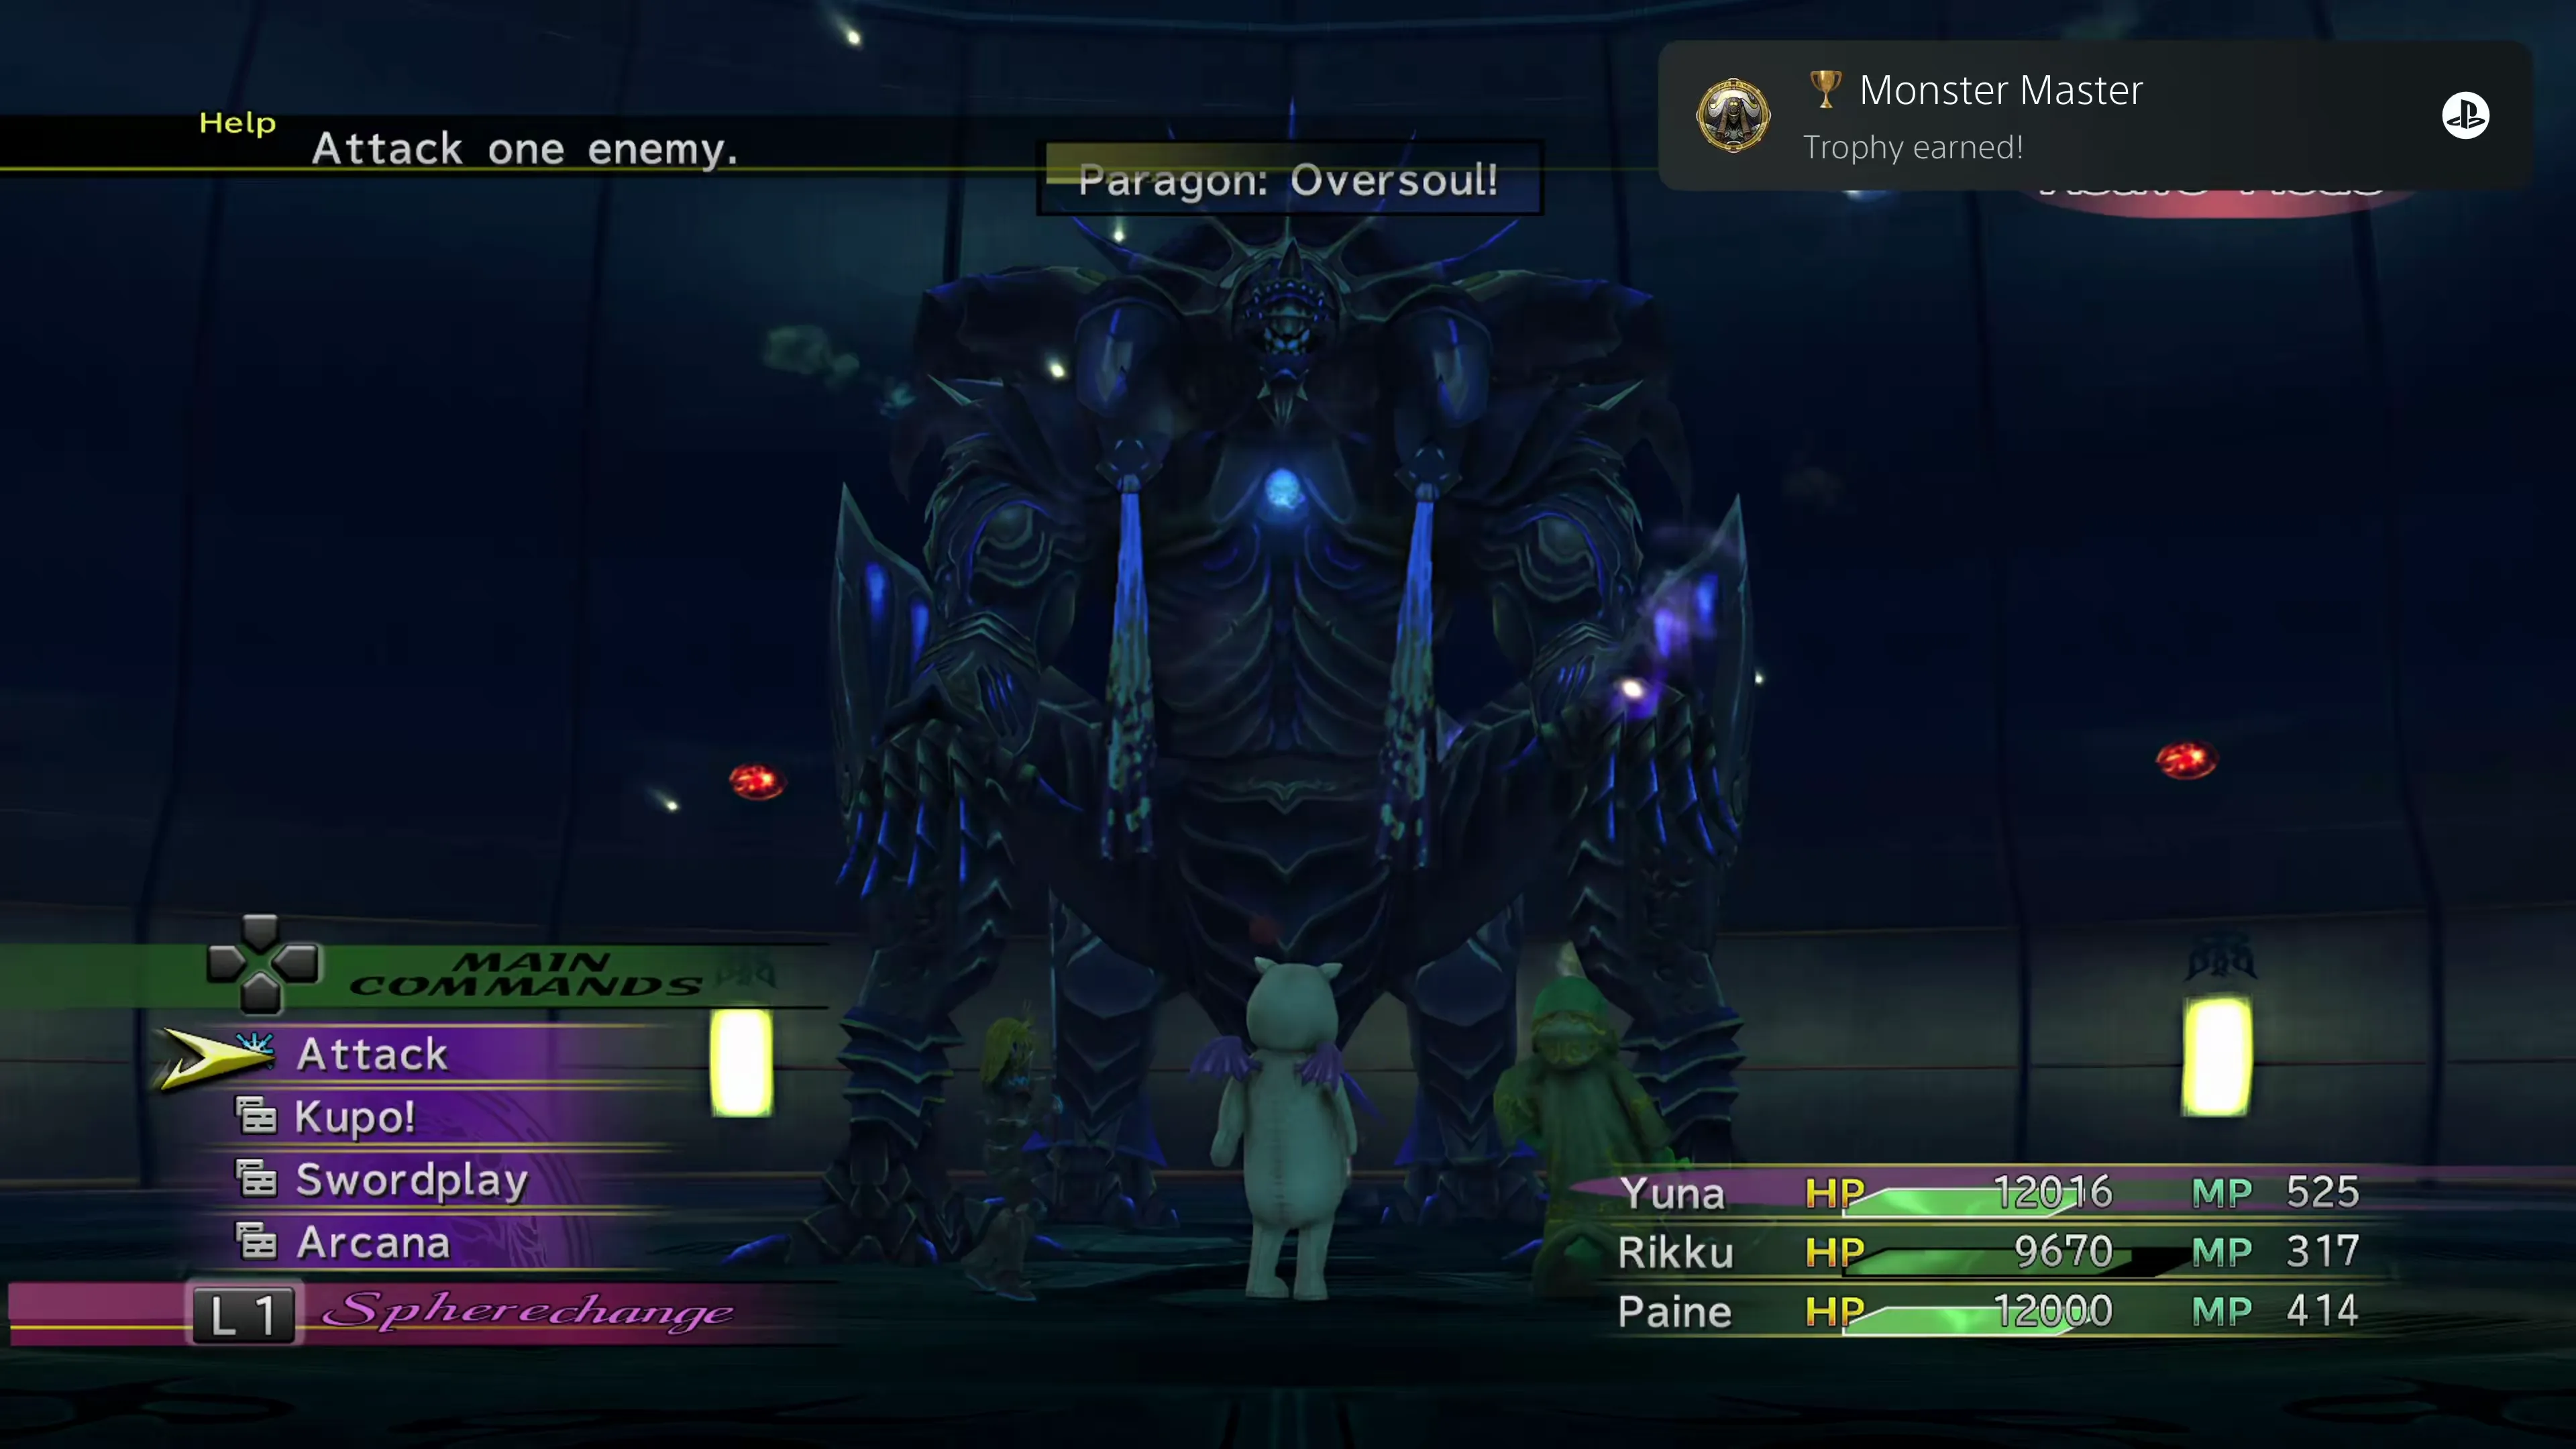
This achievement/trophy is earned once you’ve completed every entry in Shinra’s Bestiary. This walkthrough and strategy guide contains a step-by-step guide for completing Shinra’s Bestiary, including where to find each fiend, how to effectively and efficiently trigger their Oversoul, and the special cases to watch for. Head to the Shinra’s Bestiary side quest page for more information.
 |  |  |
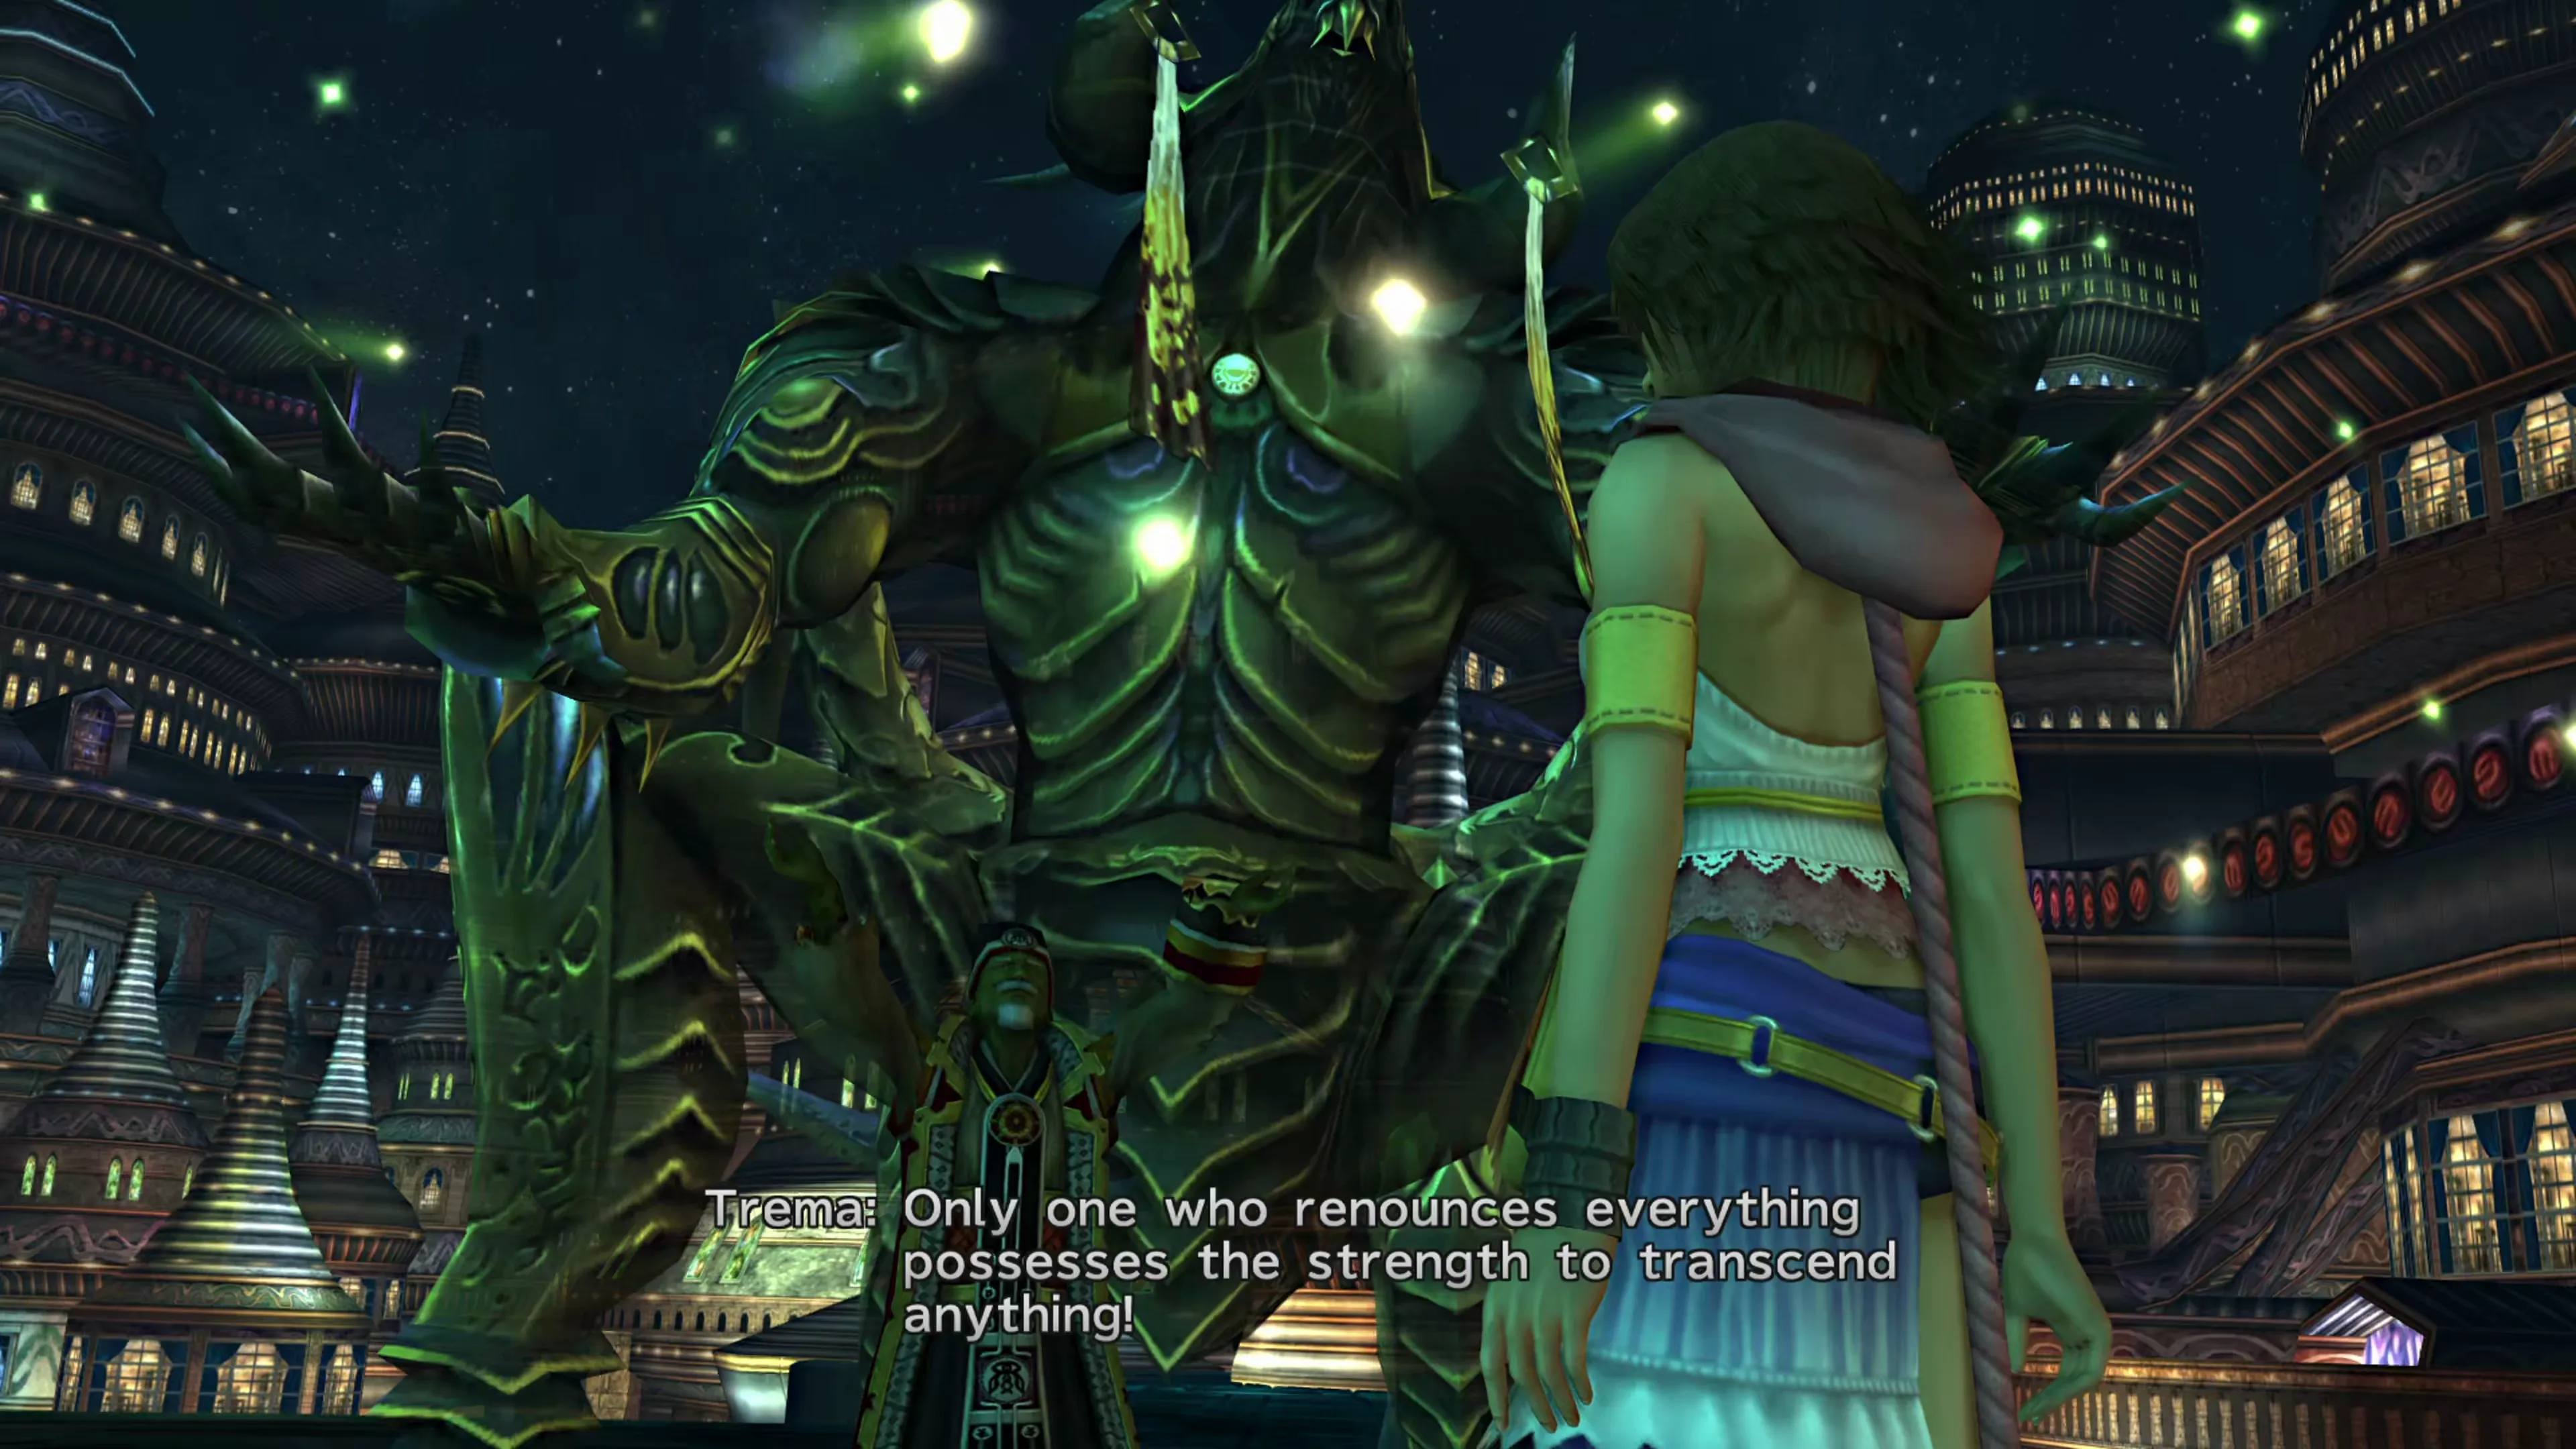
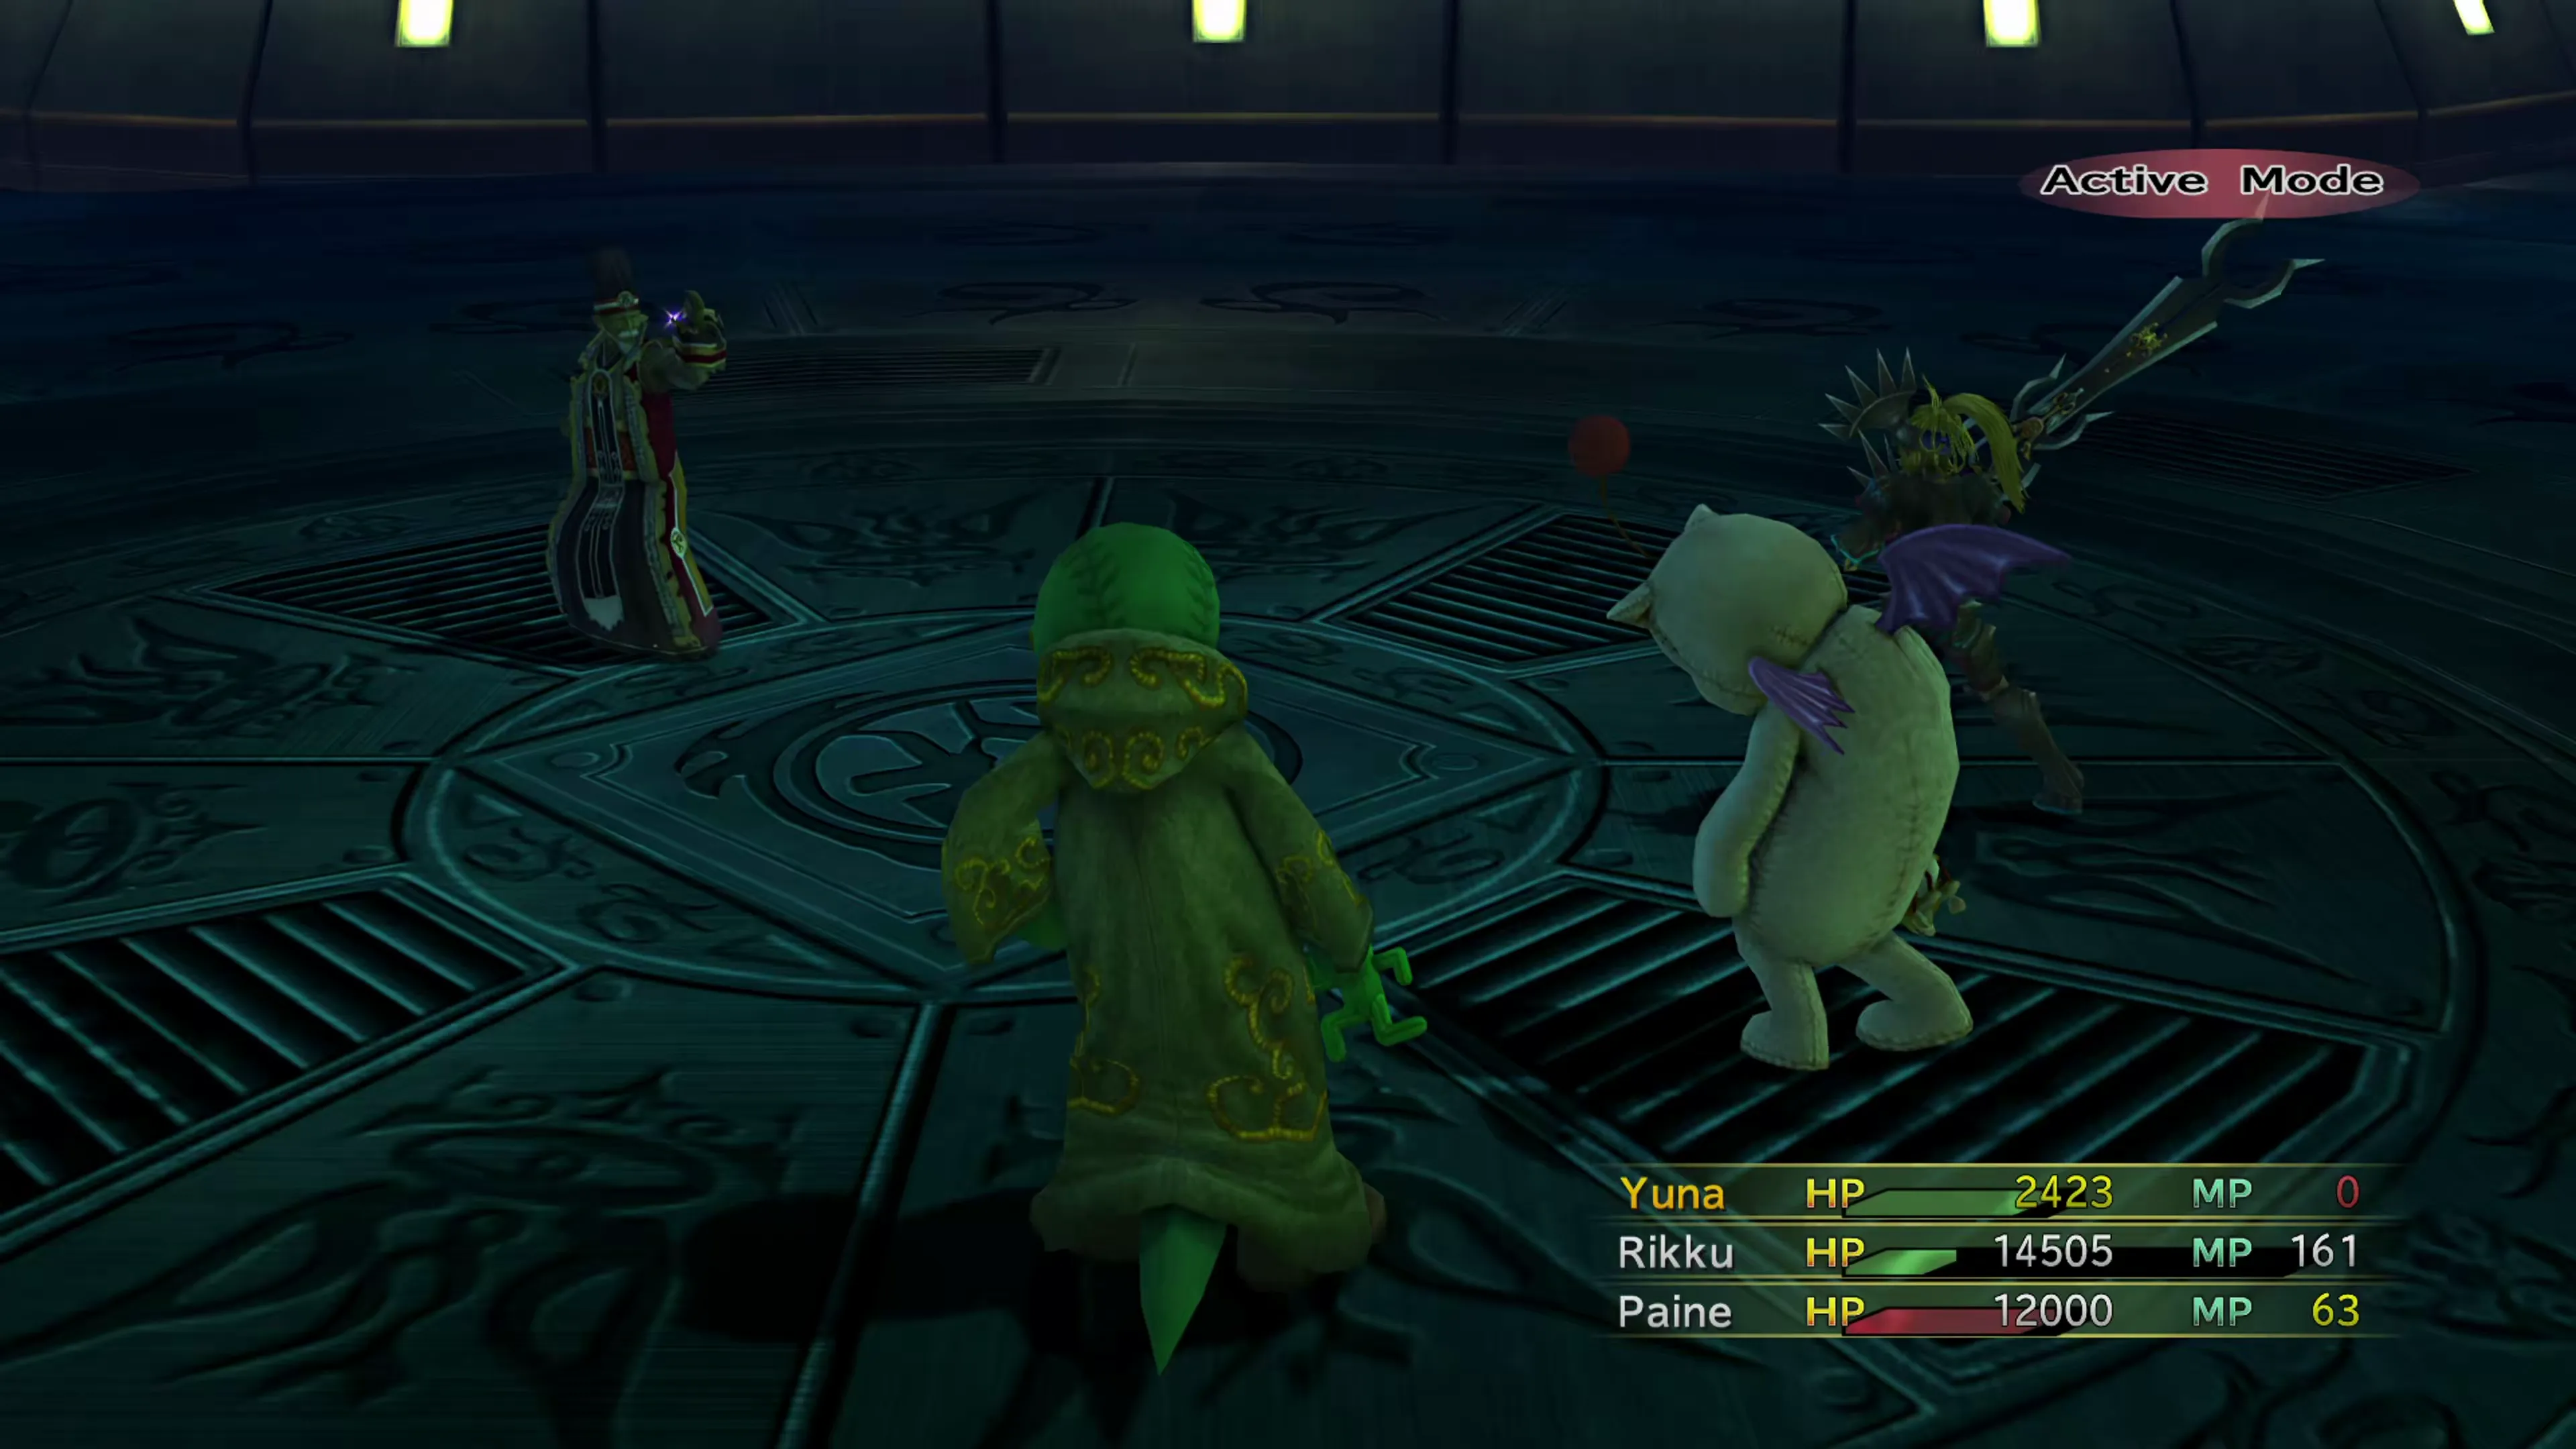
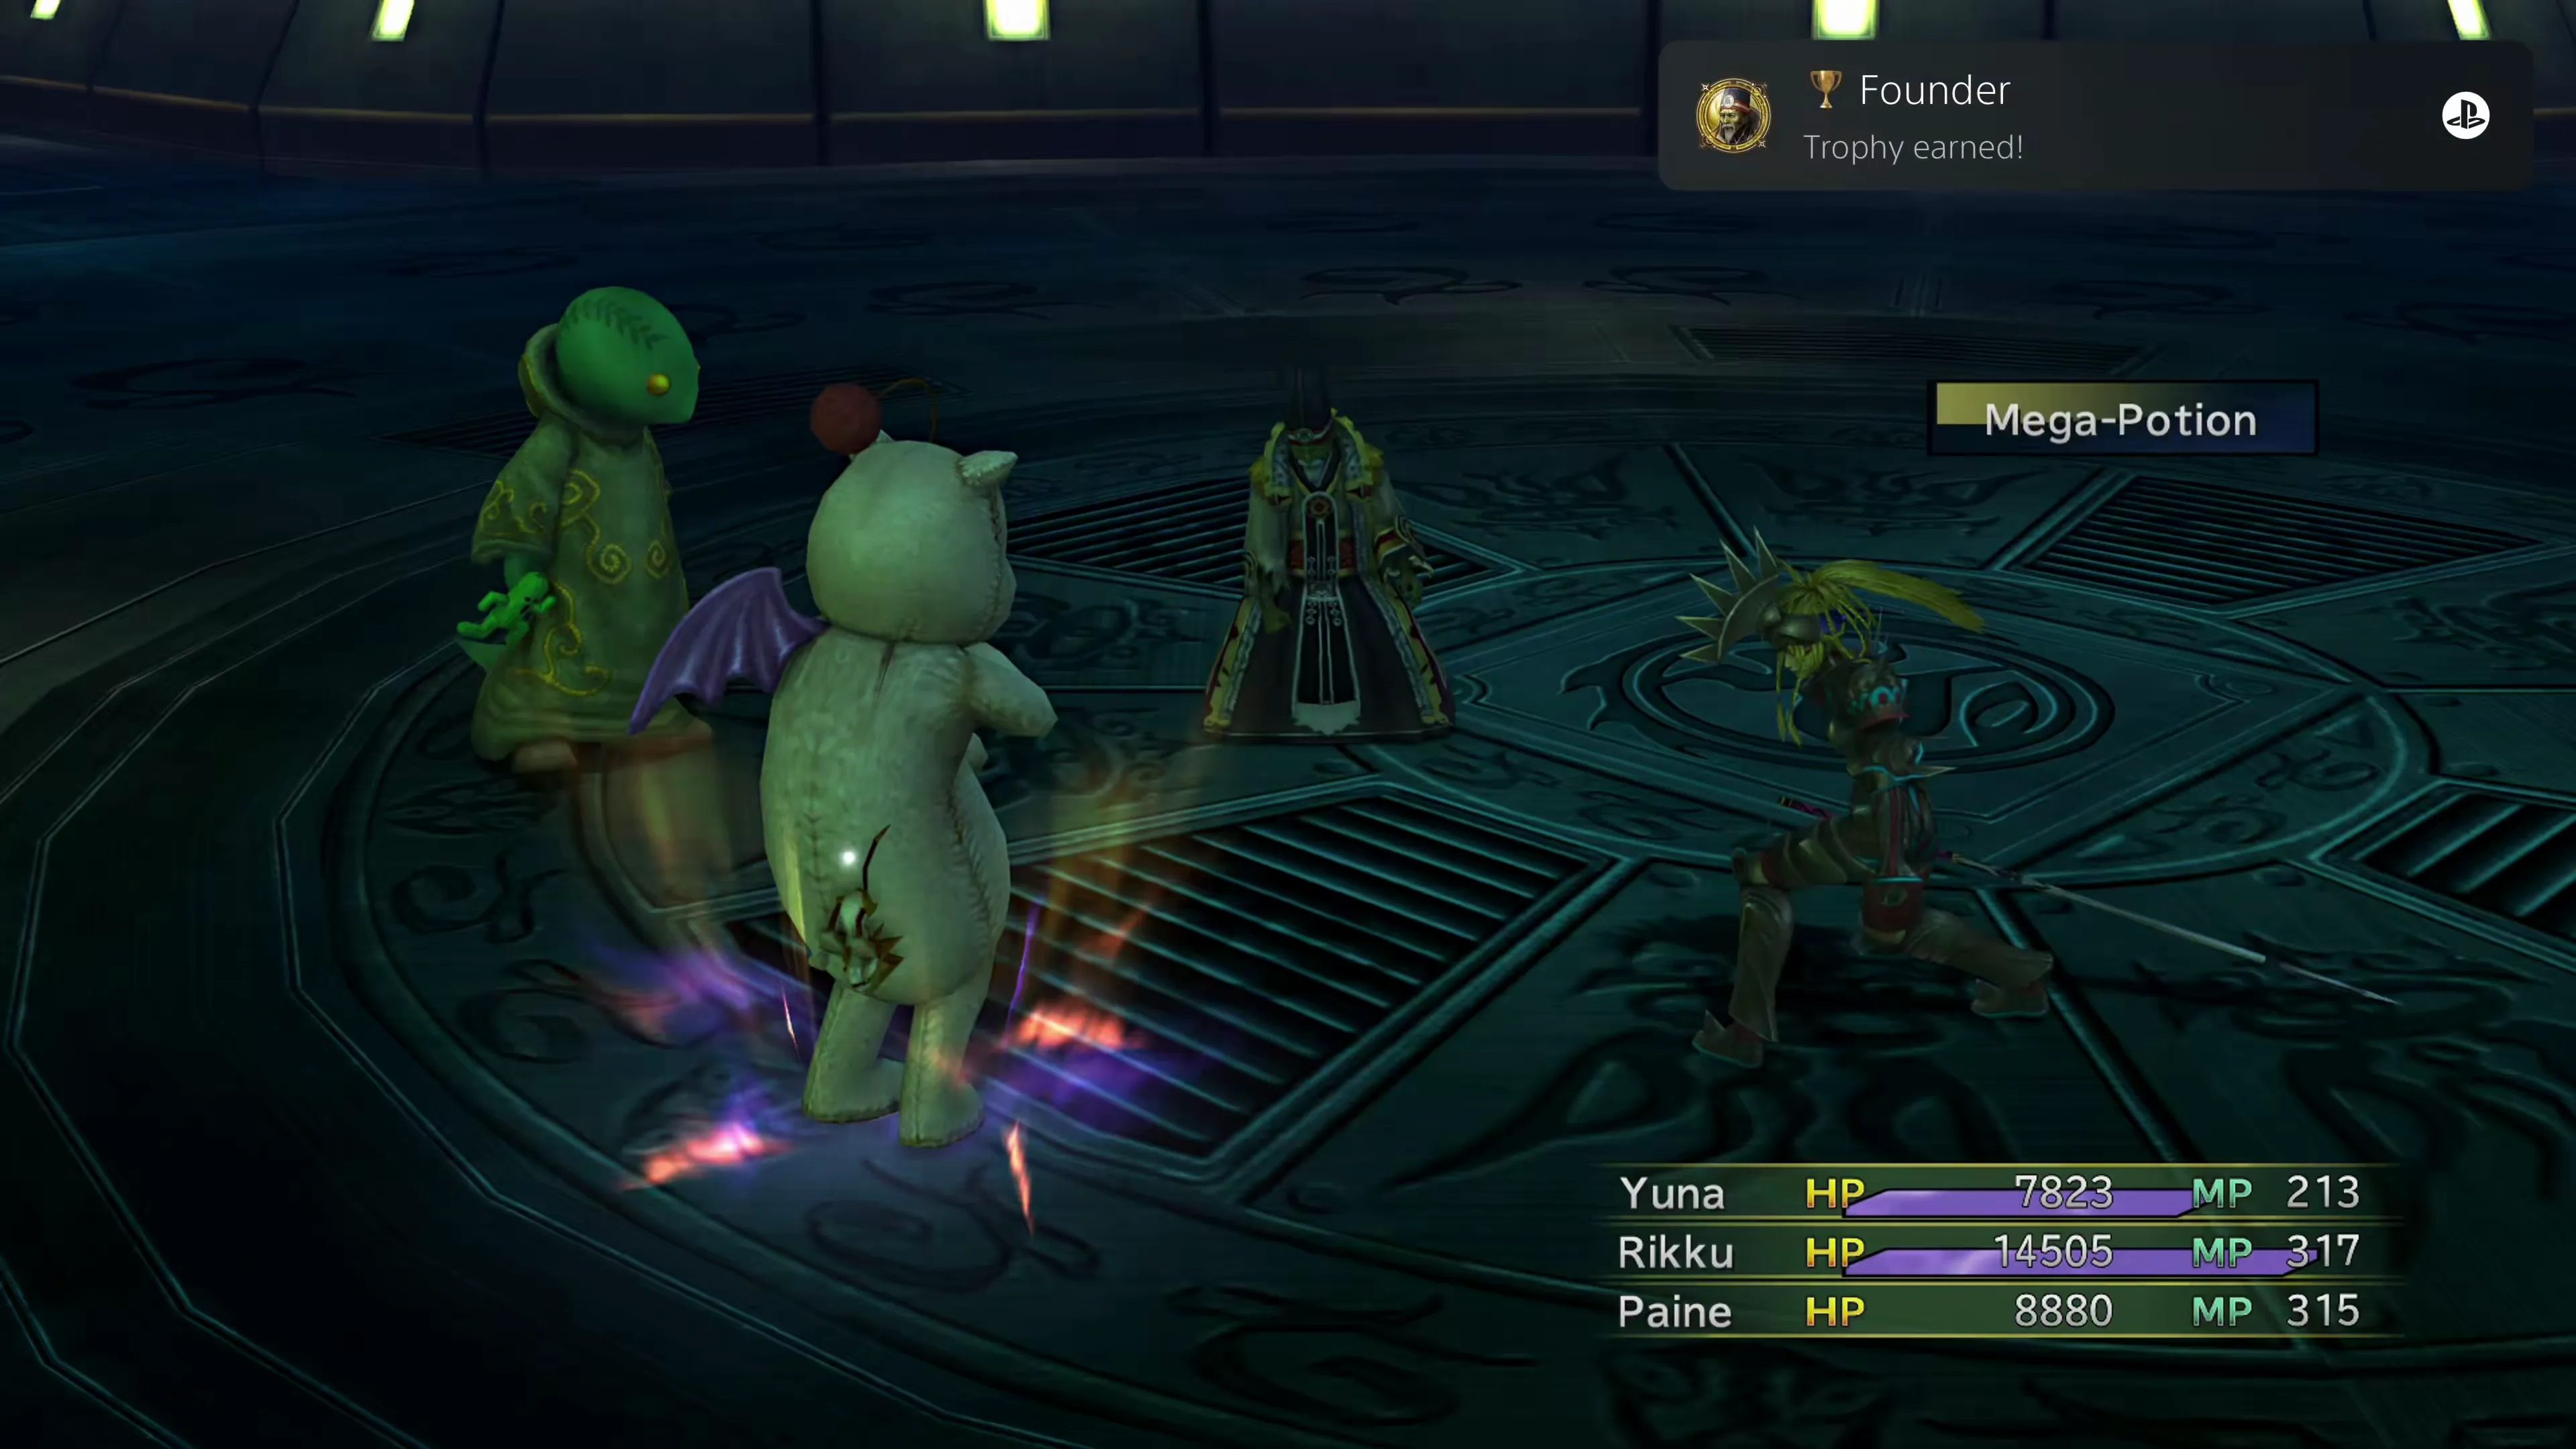
This is one of the tougher achievements/trophies to earn, as it requires you to defeat the most difficult boss in the game. Trema, “The Founder,” is located on the bottom floor of the Via Infinito in Cloister ∞.
You’ll only be able to fight Trema after defeating Paragon first in back-to-back fights, adding to the challenge and complexity of the strategies you’ll need to use. Check out the Via Infinito side quest section for more information on how the Cloisters work, maps for each of the floors, and strategies for each of the boss battles, including Paragon and Trema.
 |  |  |
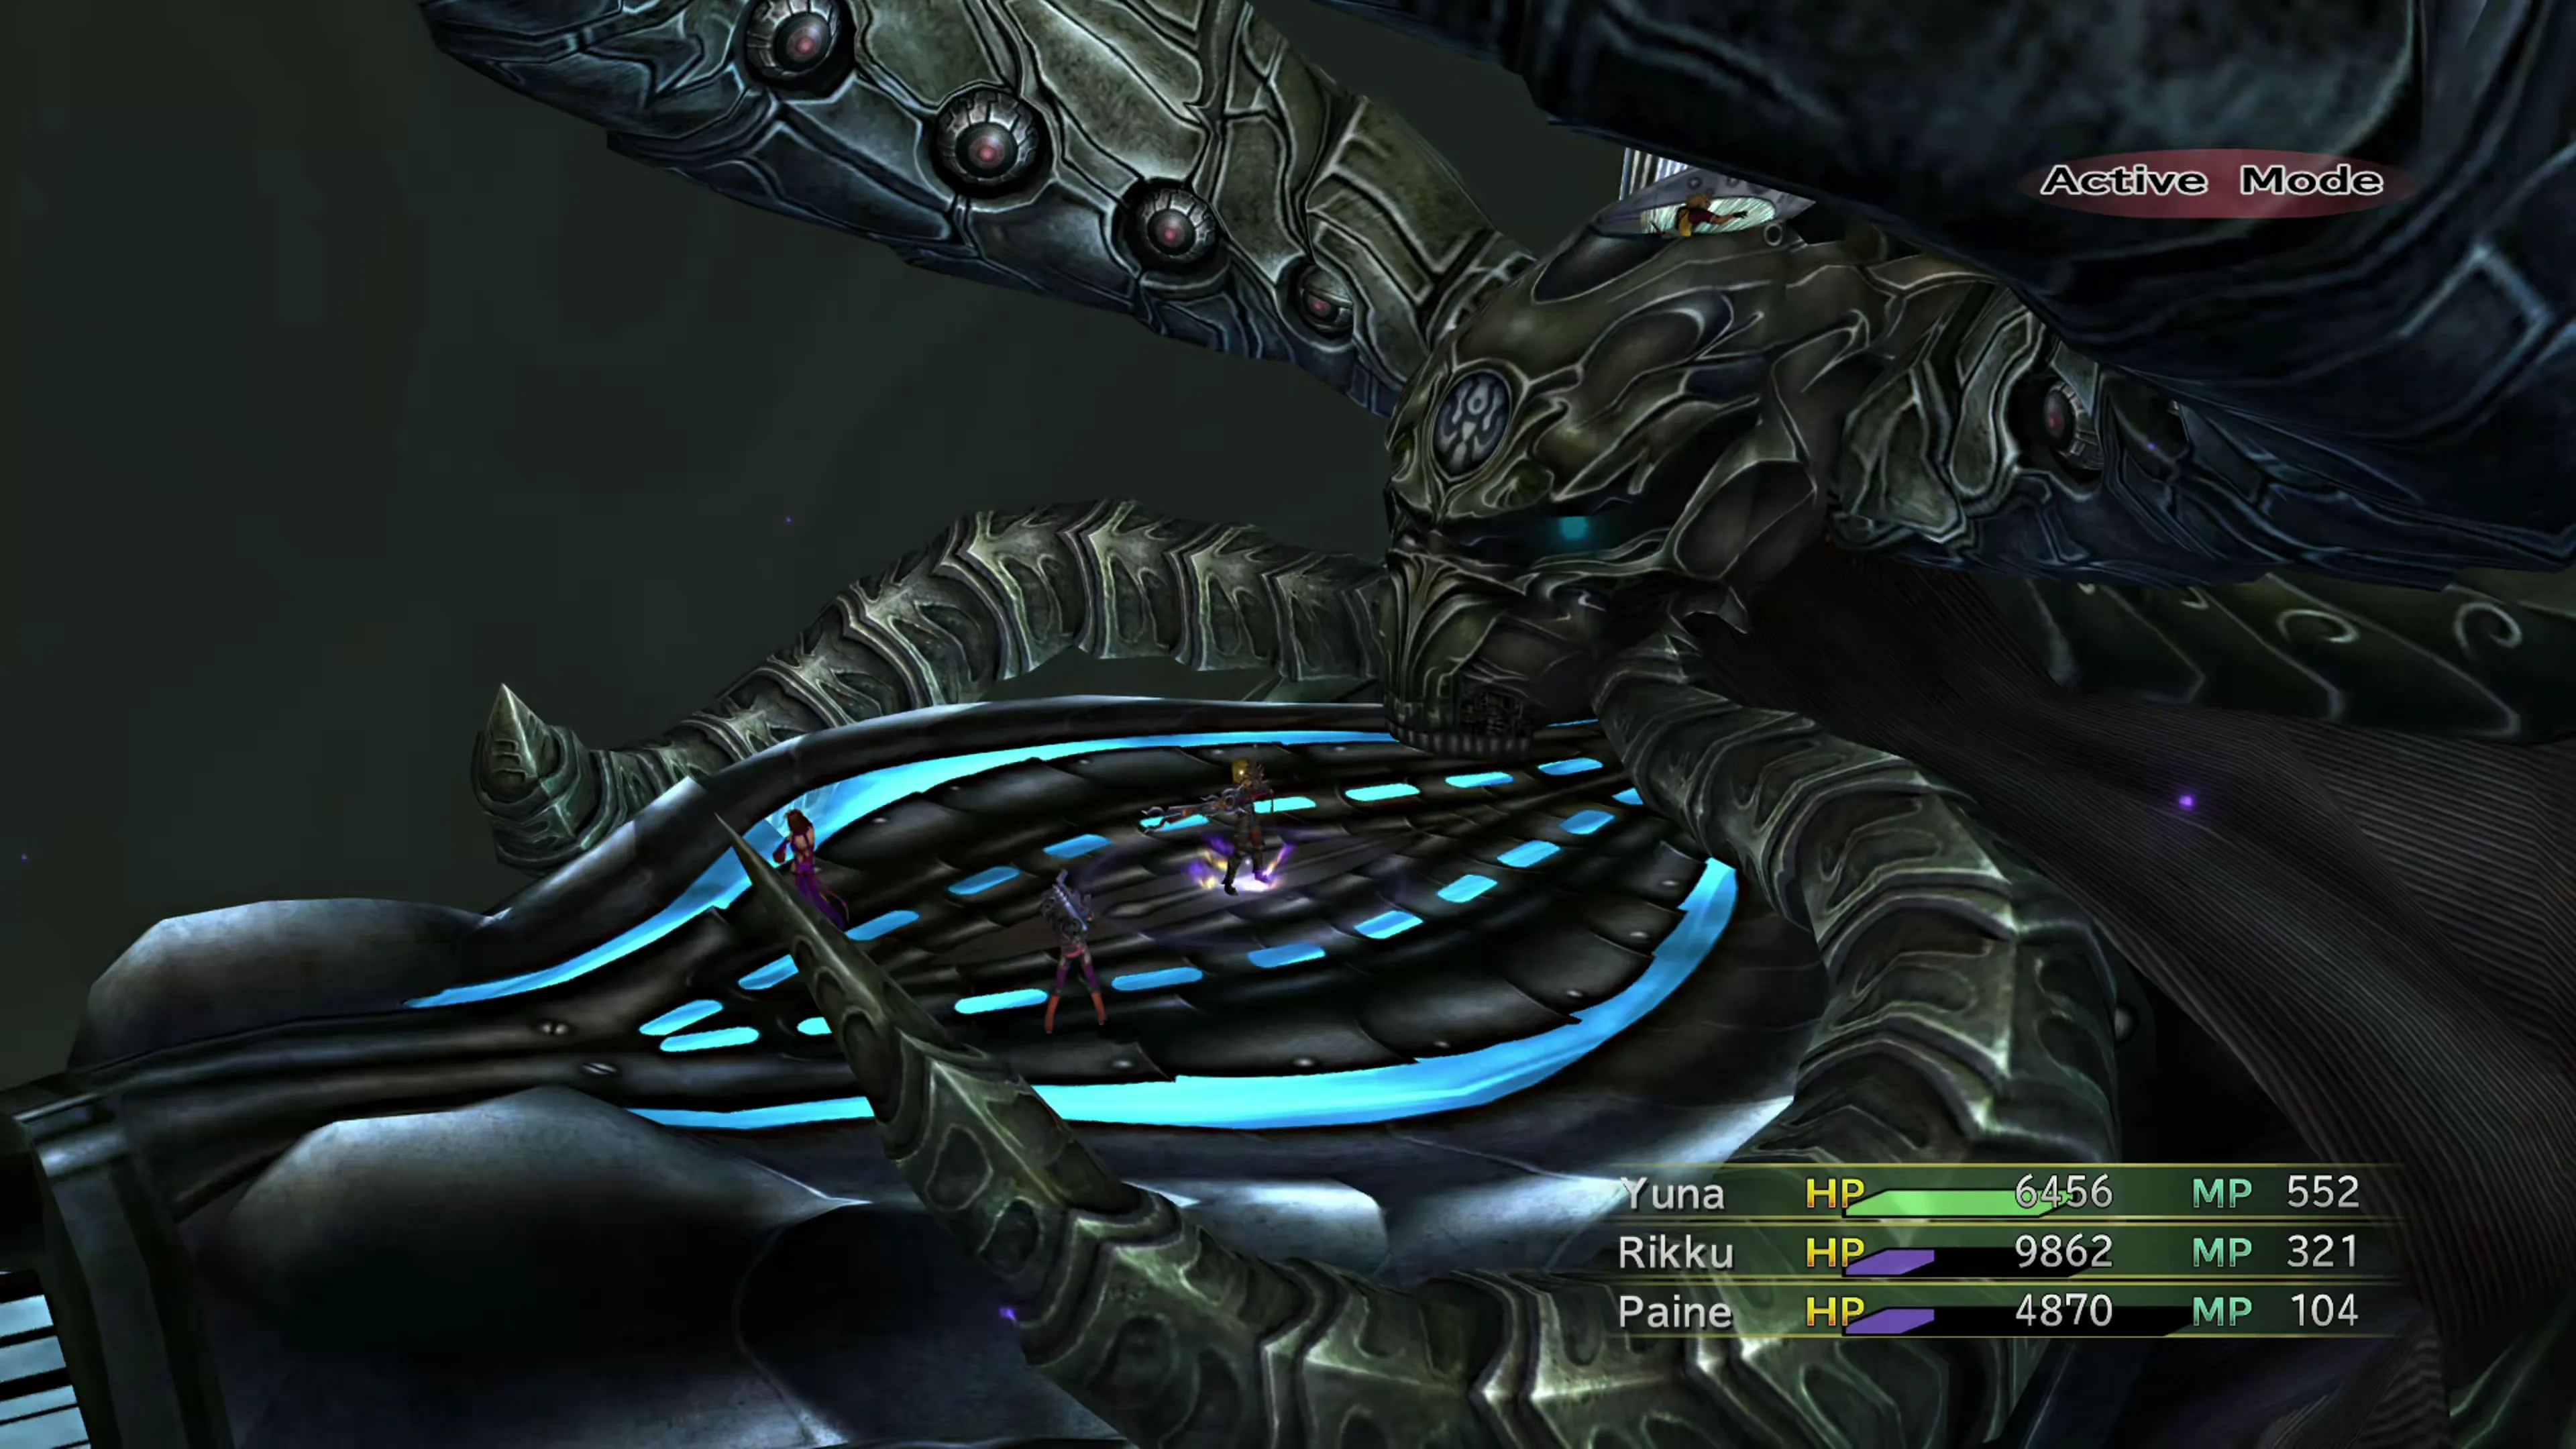
You’ll earn this achievement/trophy once you’ve defeated the final boss in the main story of the game. Vegnagun can be found in the Heart of the Farplane in the last chapter of the game.
 |  |  |
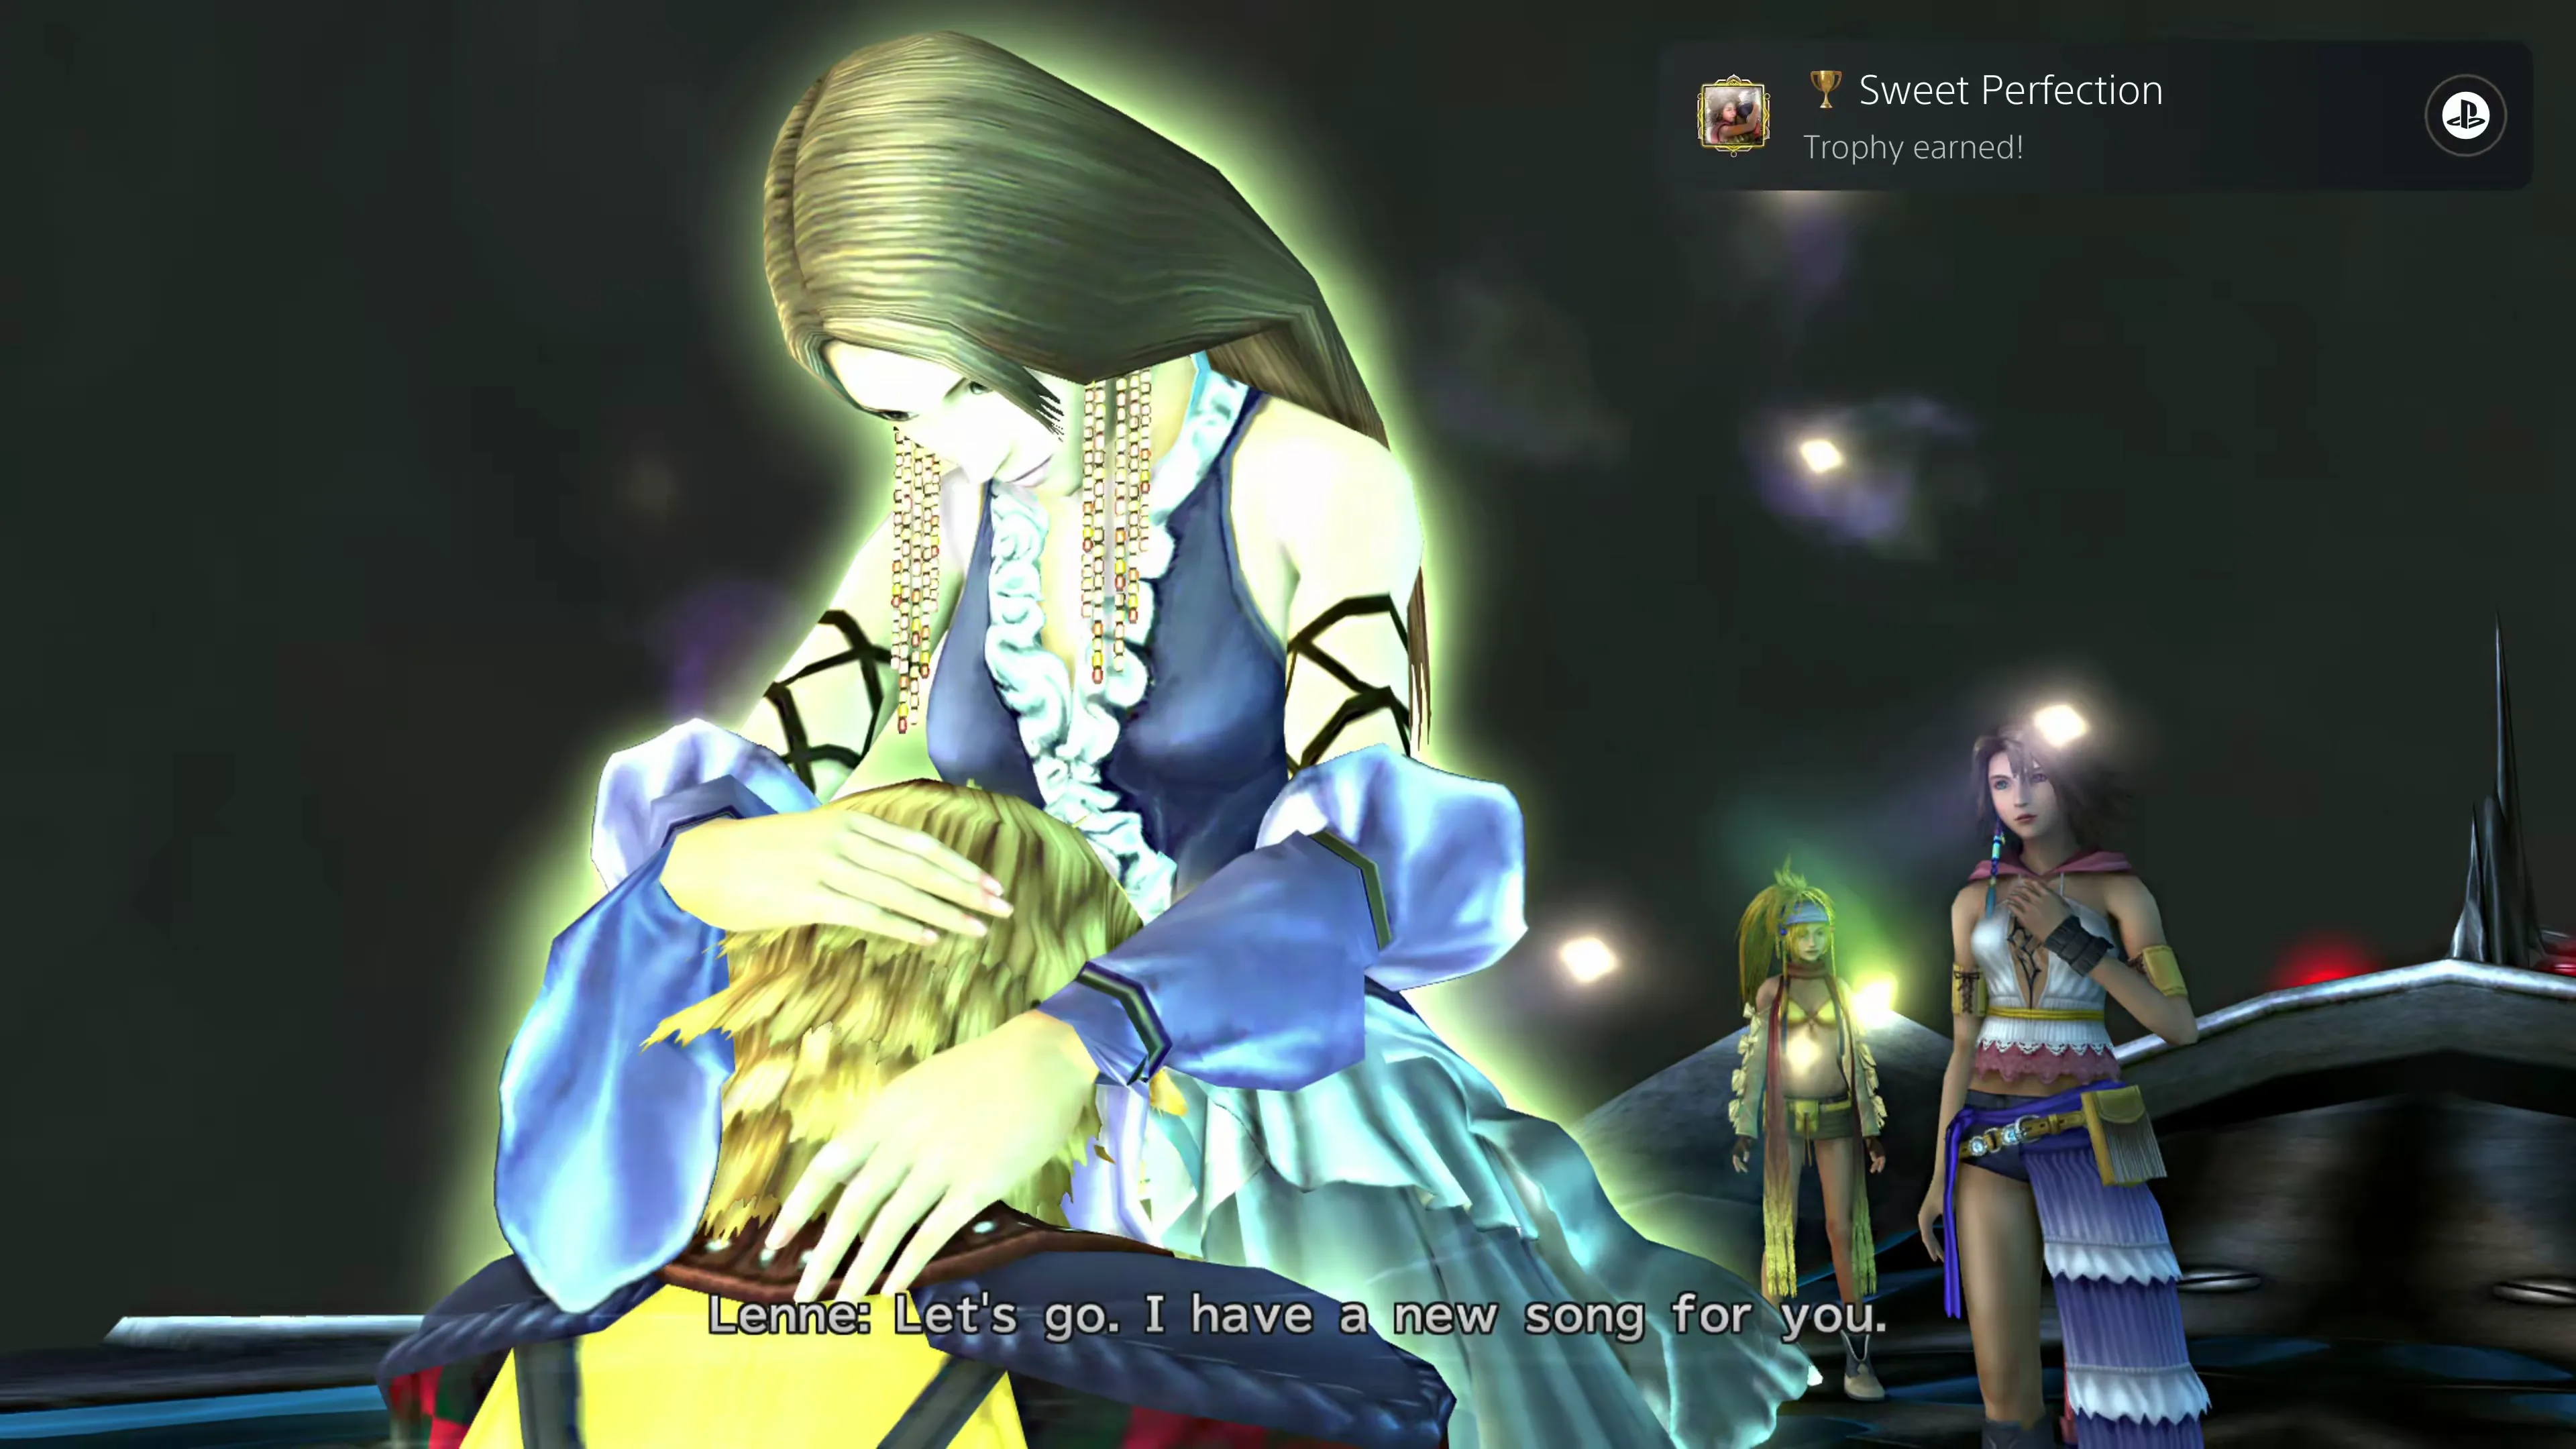
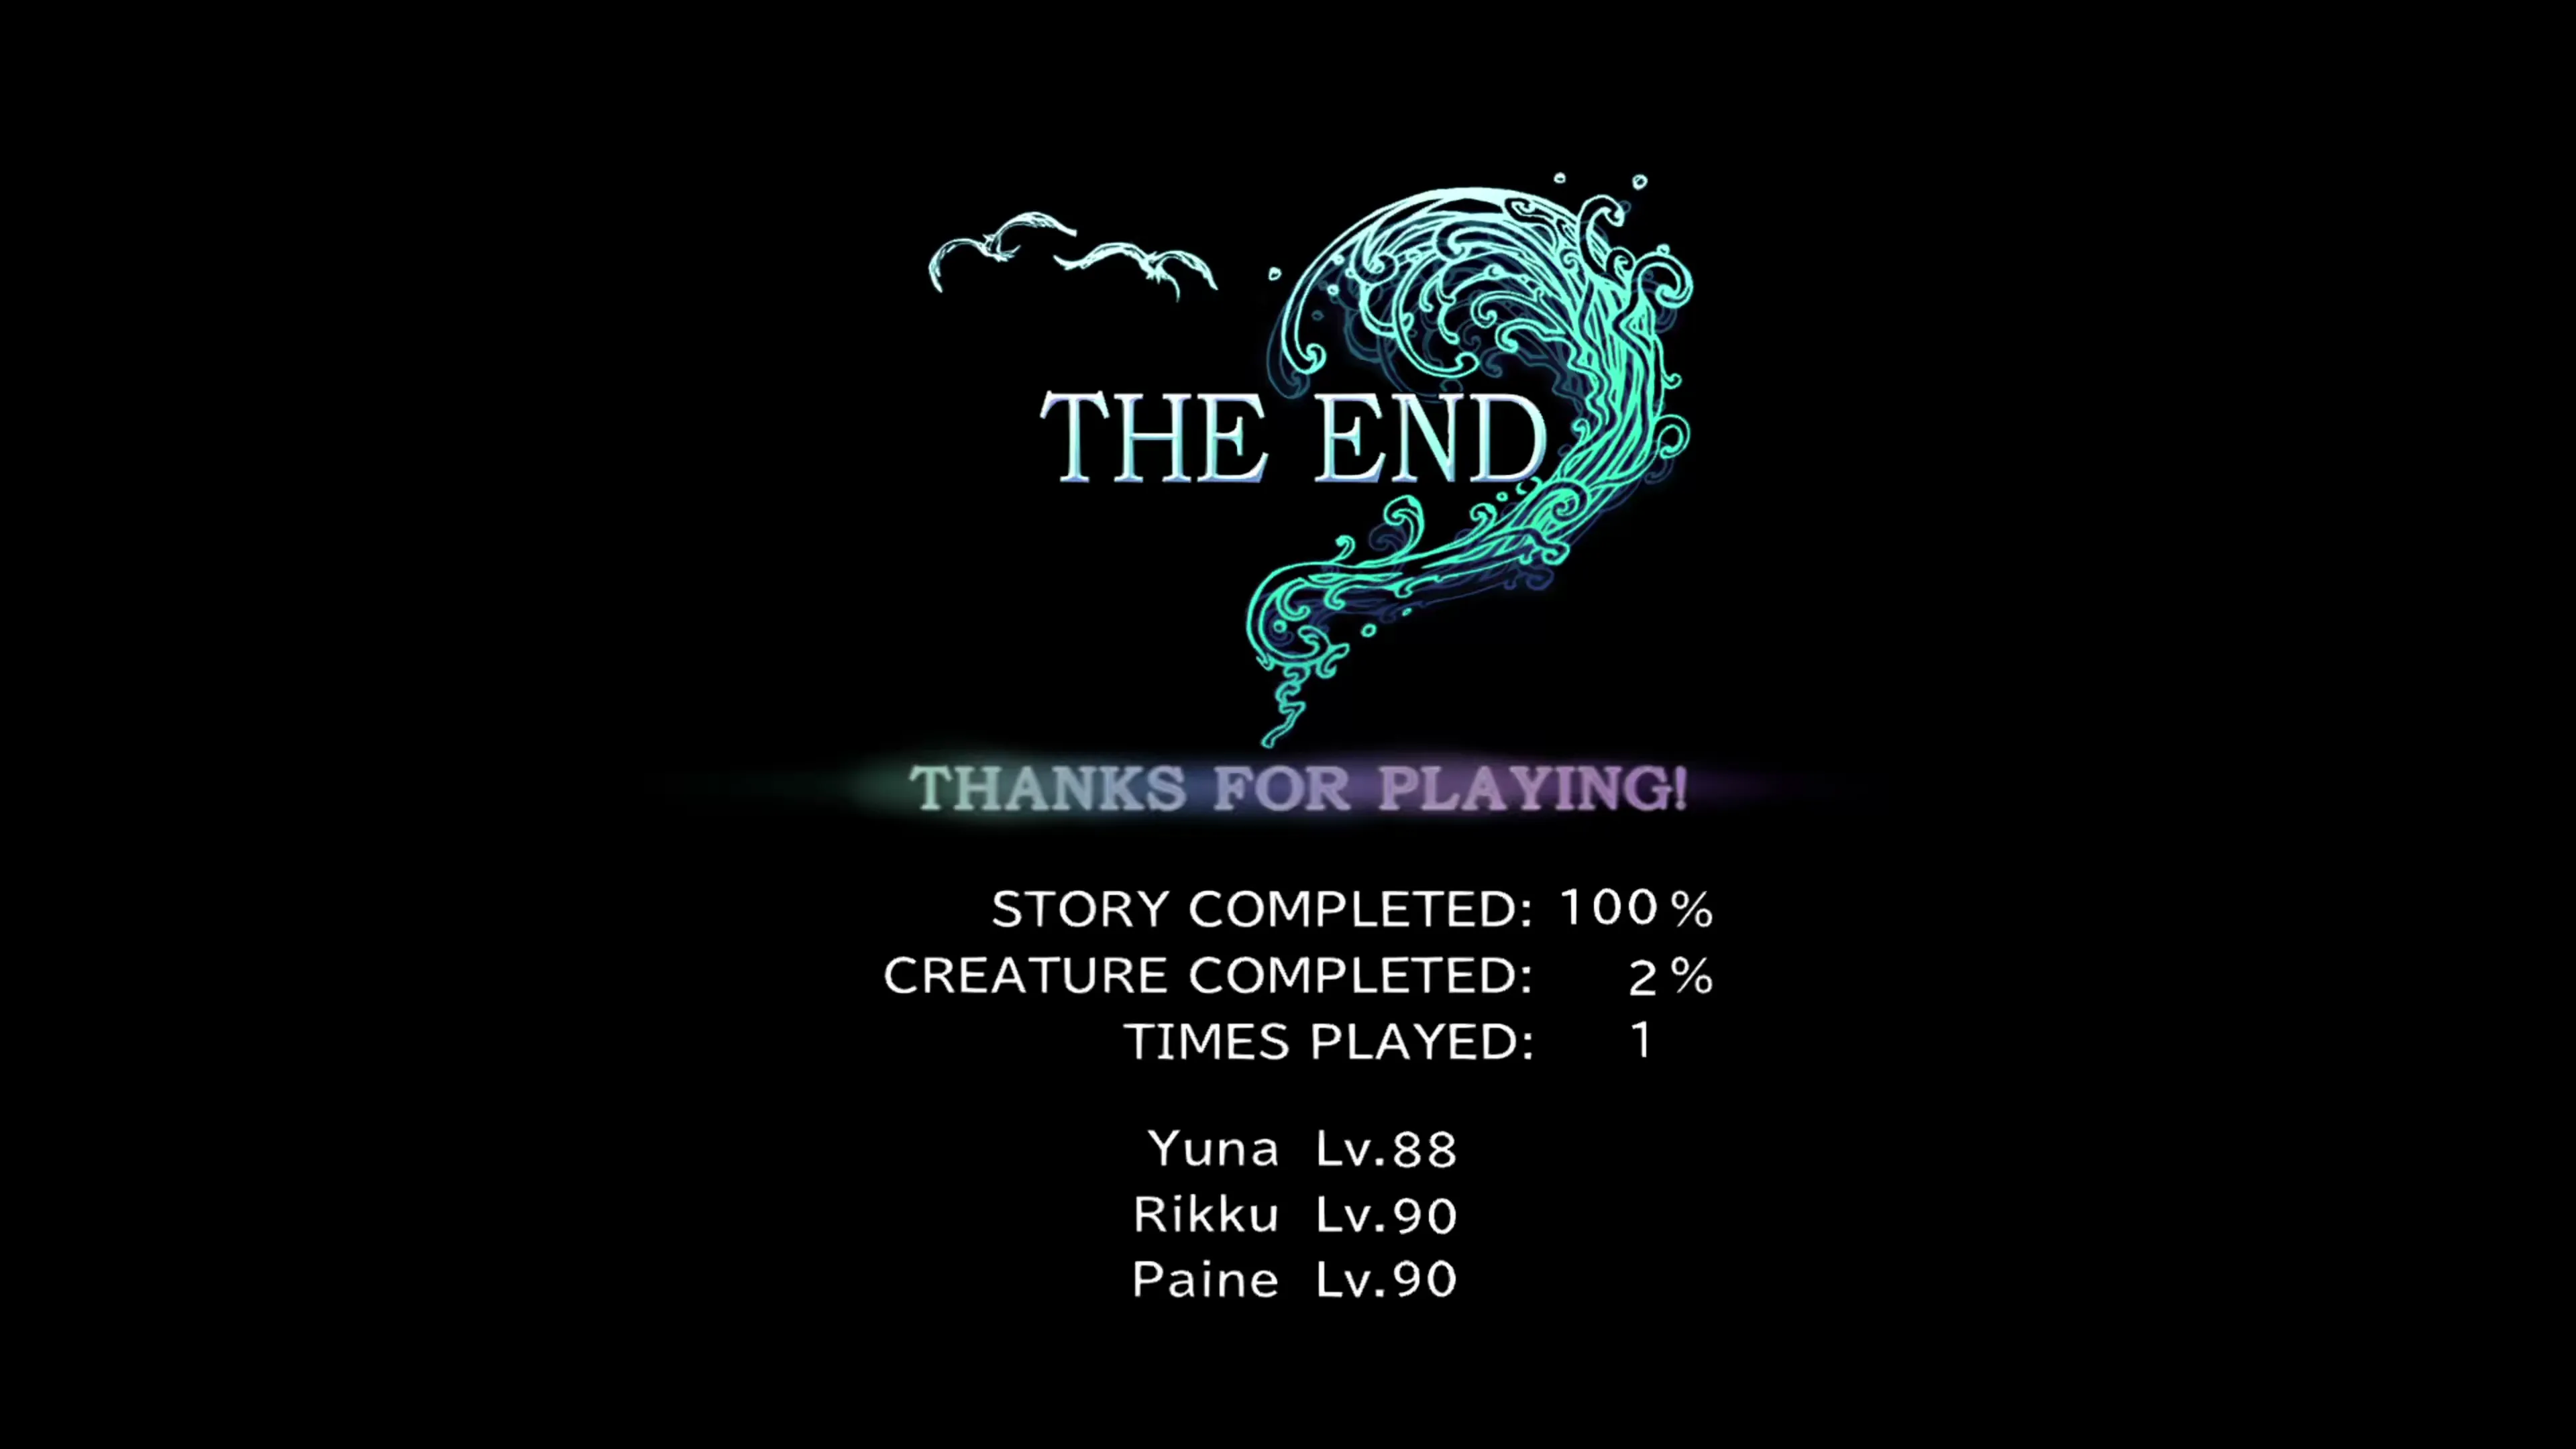
This is the most challenging achievement/trophy to earn in Final Fantasy X-2. In fact, most of this strategy guide and walkthrough site is set up to help players earn it.
To earn 100% Story Completion, you will need to play through the game perfectly without missing any optional scenes or making any incorrect story decisions (such as which faction you side with to give the Awesome Sphere to). Without going into too many details here, it’s recommended that you read through the Story Completion section of the guide if you’re looking to…
- View the Perfect Ending at the end of the game
- Earn this achievement/trophy
The Story Completion Tracker can guide you towards watching every important scene on the way to 100%.
 |  |  |
This achievement/trophy is earned by scaling floors of Iutycyr Tower, which is part of Final Fantasy X-2: Last Mission. For more information on how this add-on to the game works, check out the Last Mission section of the guide.
This achievement/trophy is earned by scaling floors of Iutycyr Tower, which is part of Final Fantasy X-2: Last Mission. For more information on how this add-on to the game works, check out the Last Mission section of the guide.
This achievement/trophy is earned by scaling floors of Iutycyr Tower, which is part of Final Fantasy X-2: Last Mission. For more information on how this add-on to the game works, check out the Last Mission section of the guide.
This achievement/trophy is earned by scaling floors of Iutycyr Tower, which is part of Final Fantasy X-2: Last Mission. For more information on how this add-on to the game works, check out the Last Mission section of the guide.
This achievement/trophy is earned by scaling floors of Iutycyr Tower and reaching the hidden “Tonberry Area,” which is part of Final Fantasy X-2: Last Mission. For more information on how this add-on to the game works, check out the Last Mission section of the guide.
This achievement/trophy is earned by scaling floors of Iutycyr Tower, which is part of Final Fantasy X-2: Last Mission. For more information on how this add-on to the game works, check out the Last Mission section of the guide.
No Achievements or Trophies match that filter.