

Gunner’s Gauntlet
The Gunner’s Gauntlet is a mini-game and side quest that you can complete once you reach Chapter 2 and can interact with Beclem. You can also play it in Chapter 3 and Chapter 5, even though Beclem leaves in the last chapter, but you can talk to his stand-in and still play.
The mini-game has you shooting at opponents in a third-person-style shooter challenge. A lot of the game’s difficulty has to do with learning the controls, which are a bit whacky, though not as difficult to master as some of the Chocobo Trainer related side quests in Final Fantasy X.
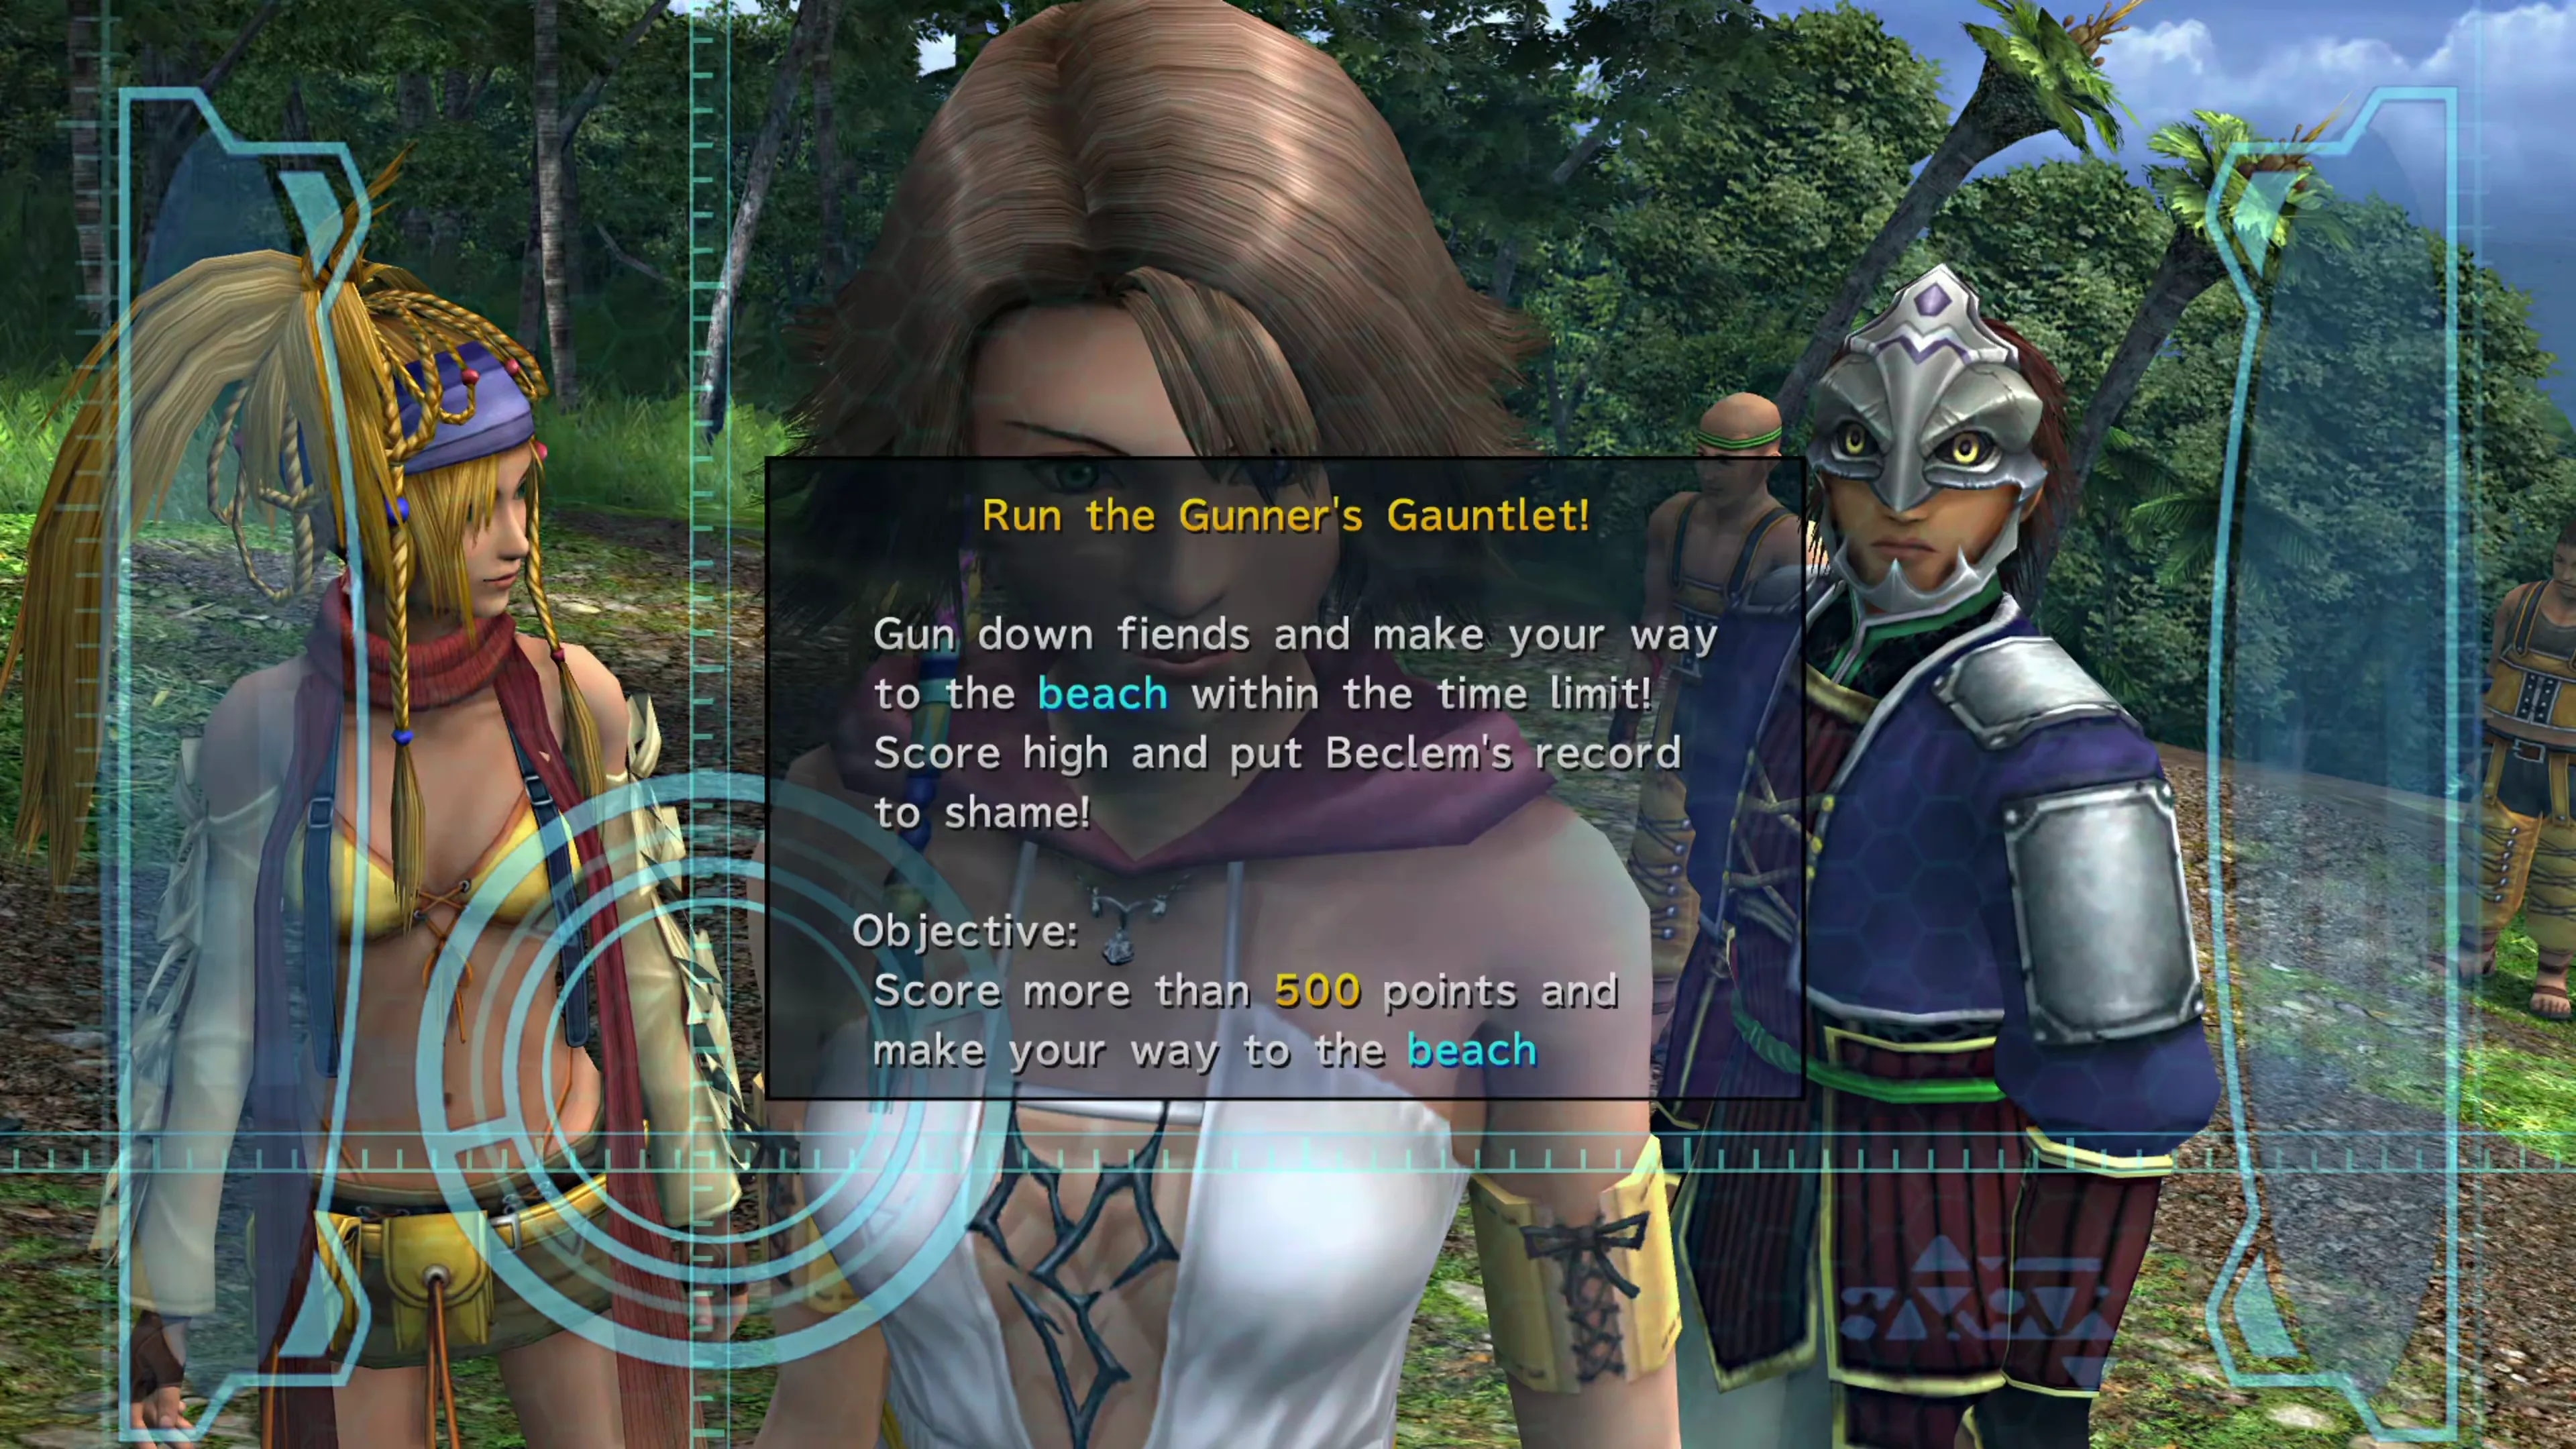
How to Play
- Use the


 to move Yuna around as normal
 - Press the


 button to lock on to the closest target
 - Press the


 button to cycle between targets
 - Press the


 button to fire
 - Press the


 button to upgrade your ammo
 - Press


 and
and 

 to cycle through ammo types
You can read controller instructions all day, but this is a mini-game you really need to play to get a feel for it. The controls need to become second nature so that you don’t have to think about them. You shouldn’t have to think about finding a target or upgrading your ammo, but when you first start playing, this is hard to do. You’ll get tripped up, but don’t get frustrated.
Here are some advanced control tips:
- Press constantly when you don’t have a target so that Yuna will lock on as soon as a target is in range. She can quite often see targets and target them even though they’re off-screen and not visible to you.
- You’ll very quickly notice that if you continuously fire your gun with that Yuna will have to stop and “reload” after she’s taken 6 shots. There are no visual indicators that let you know that she’s reloading, but you’ll know pretty quick when you’re trying to fire your gun and nothing happens. You’ll have to get used to the awkward timing of ‘reloads.’
- Using the , , and buttons while in the middle of the fray is the hardest part. Practice, practice, practice!
Chaining Enemies Together
The key to earning a high score in Gunner’s Gauntlet is to chain enemies together. The higher your chain gauge goes, the faster you earn points, and it scales up significantly (up to 3x). It will reset, though, as soon as you take any damage, and because it takes a while to build the chain gauge back up, getting hit will pretty much end any high score runs you’re going for. Making sure you don’t get hit by any enemies is priority number 1.
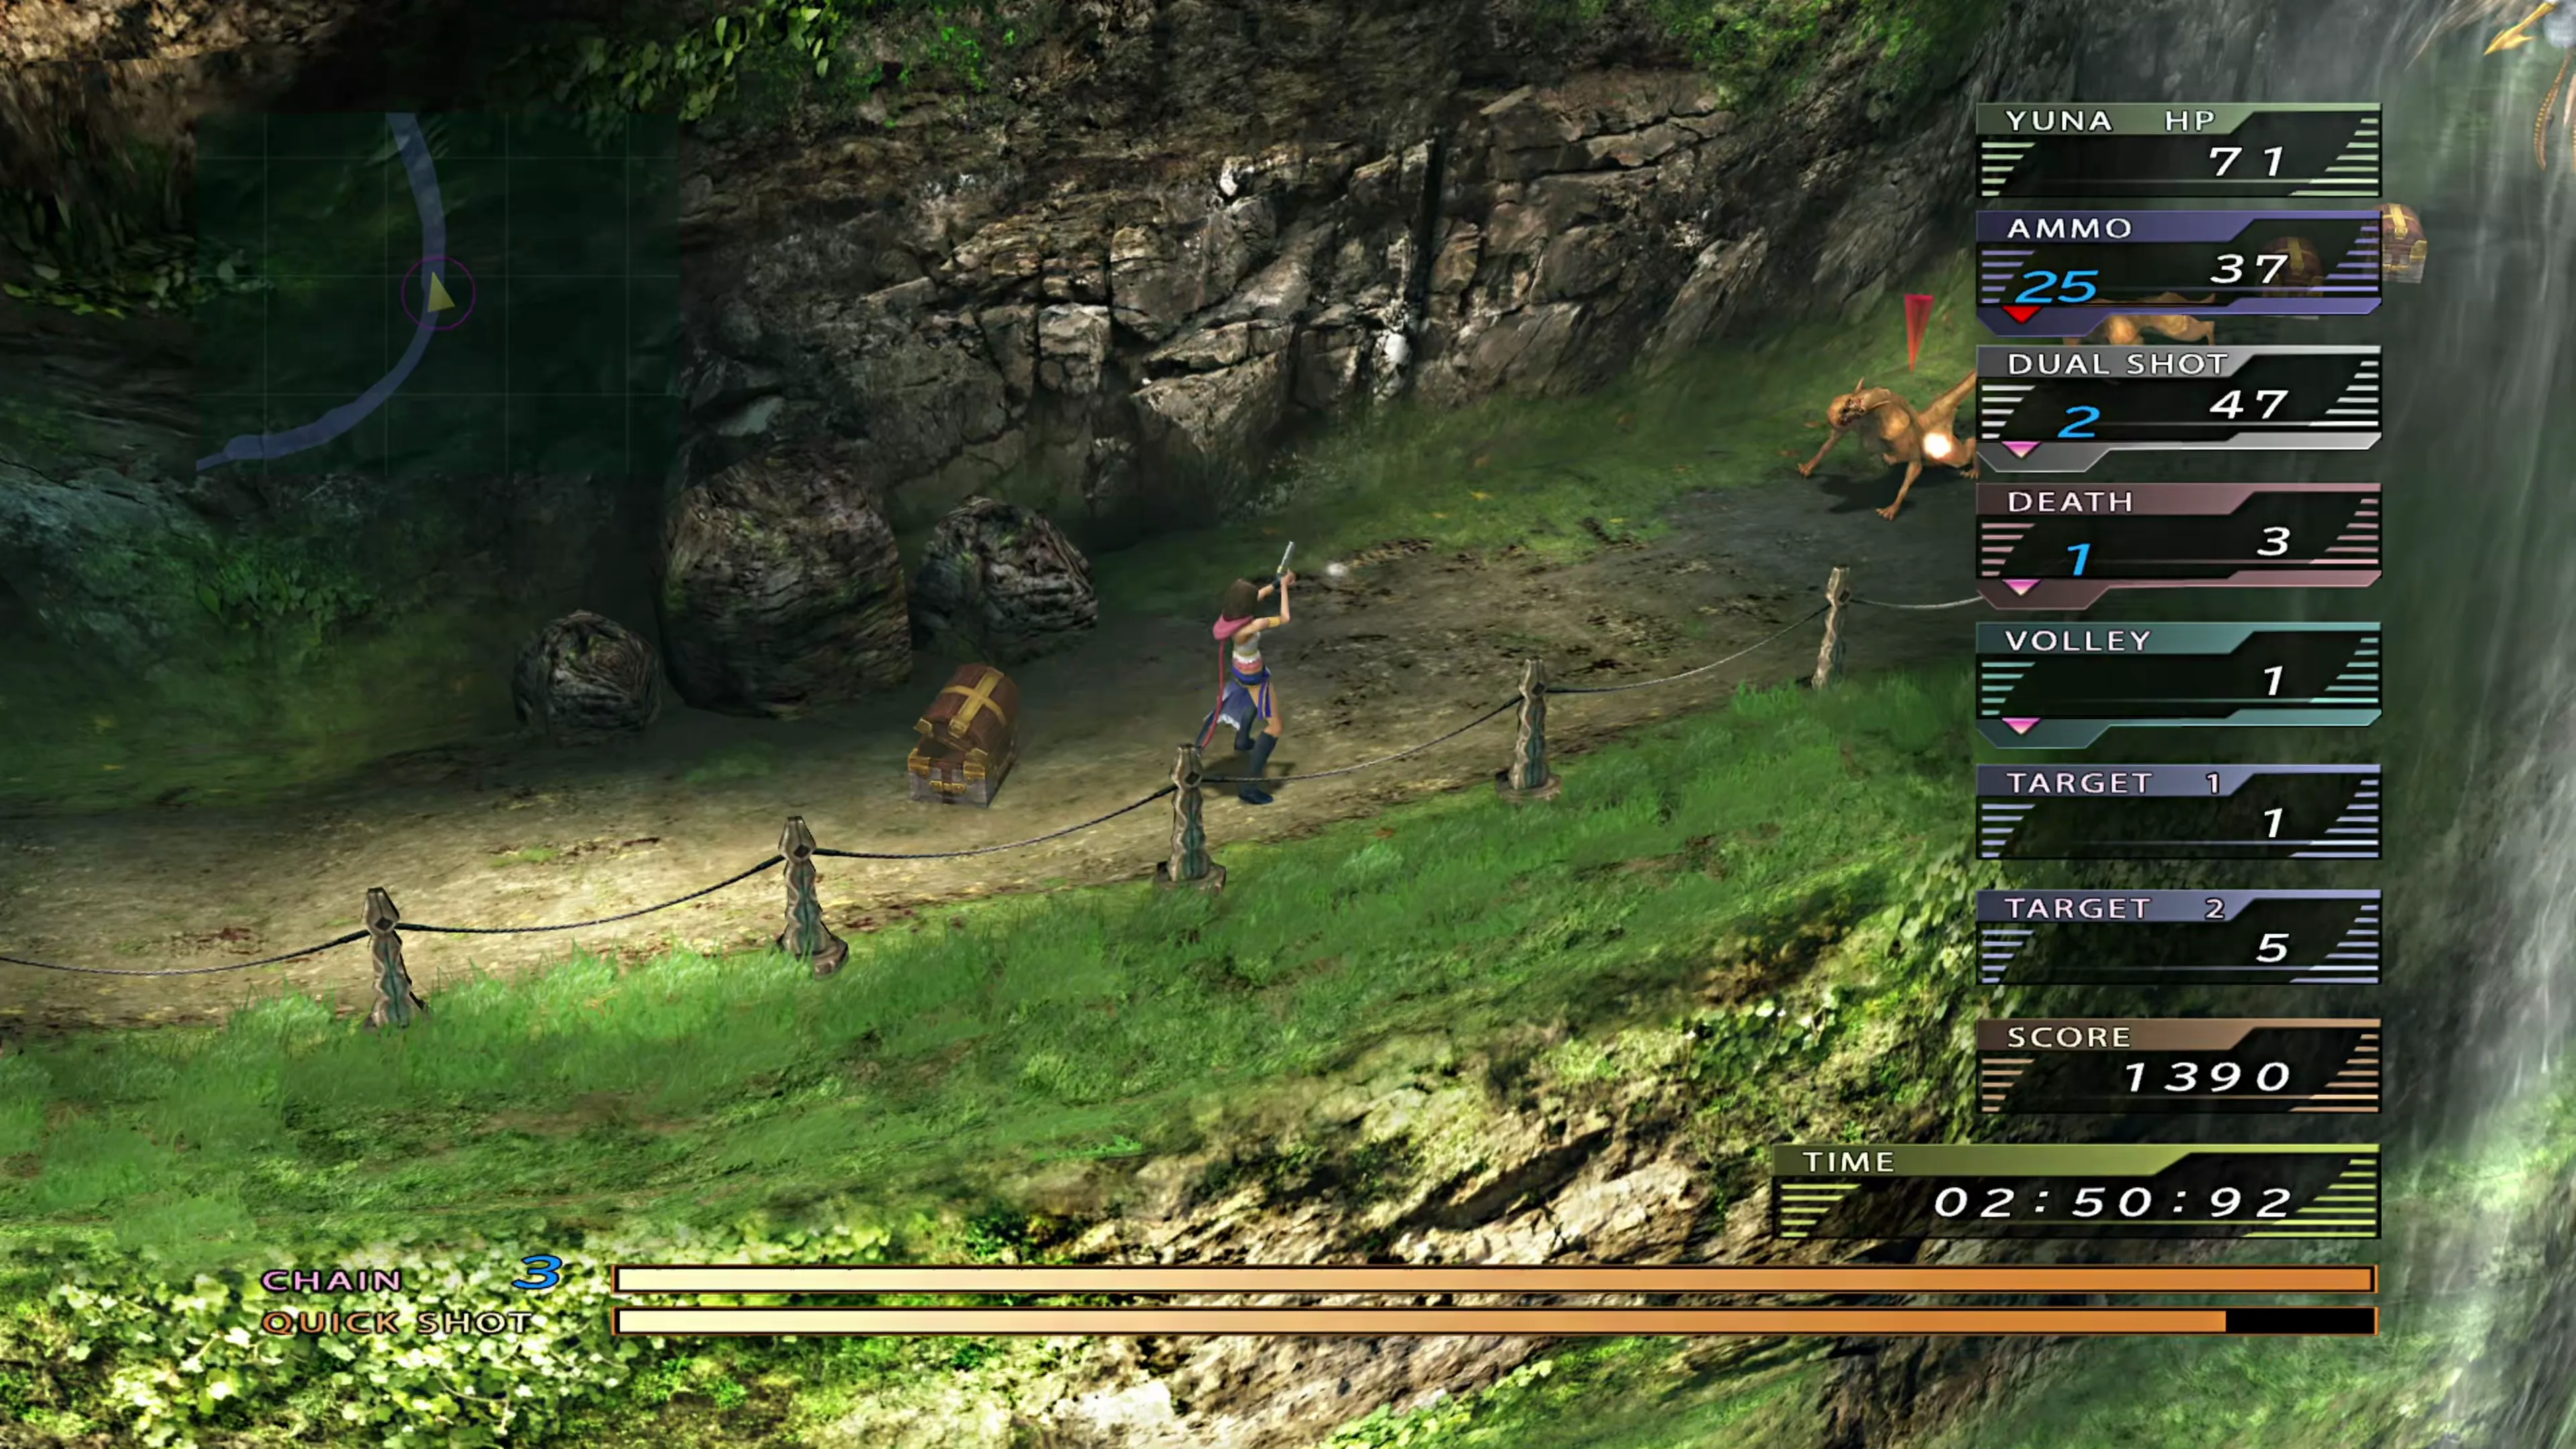
Leveling Up Your Gunner Lv
The higher the score you achieve during a run, the higher the level you will get, which causes tougher enemies to appear. Tougher enemies are worth more points, and they drop more powerful ammo, but of course, they’re more difficult to defeat, so you have to be a lot more strategic with your shots. Save your most powerful ammo for the most powerful enemies.
Invulnerable Spots
There are spots along the course where Yuna won’t get hit by passing fiends. Instead, they’ll run right past her. These are great spots to build a high score, and during some tougher challenges, using them is practically a requirement.
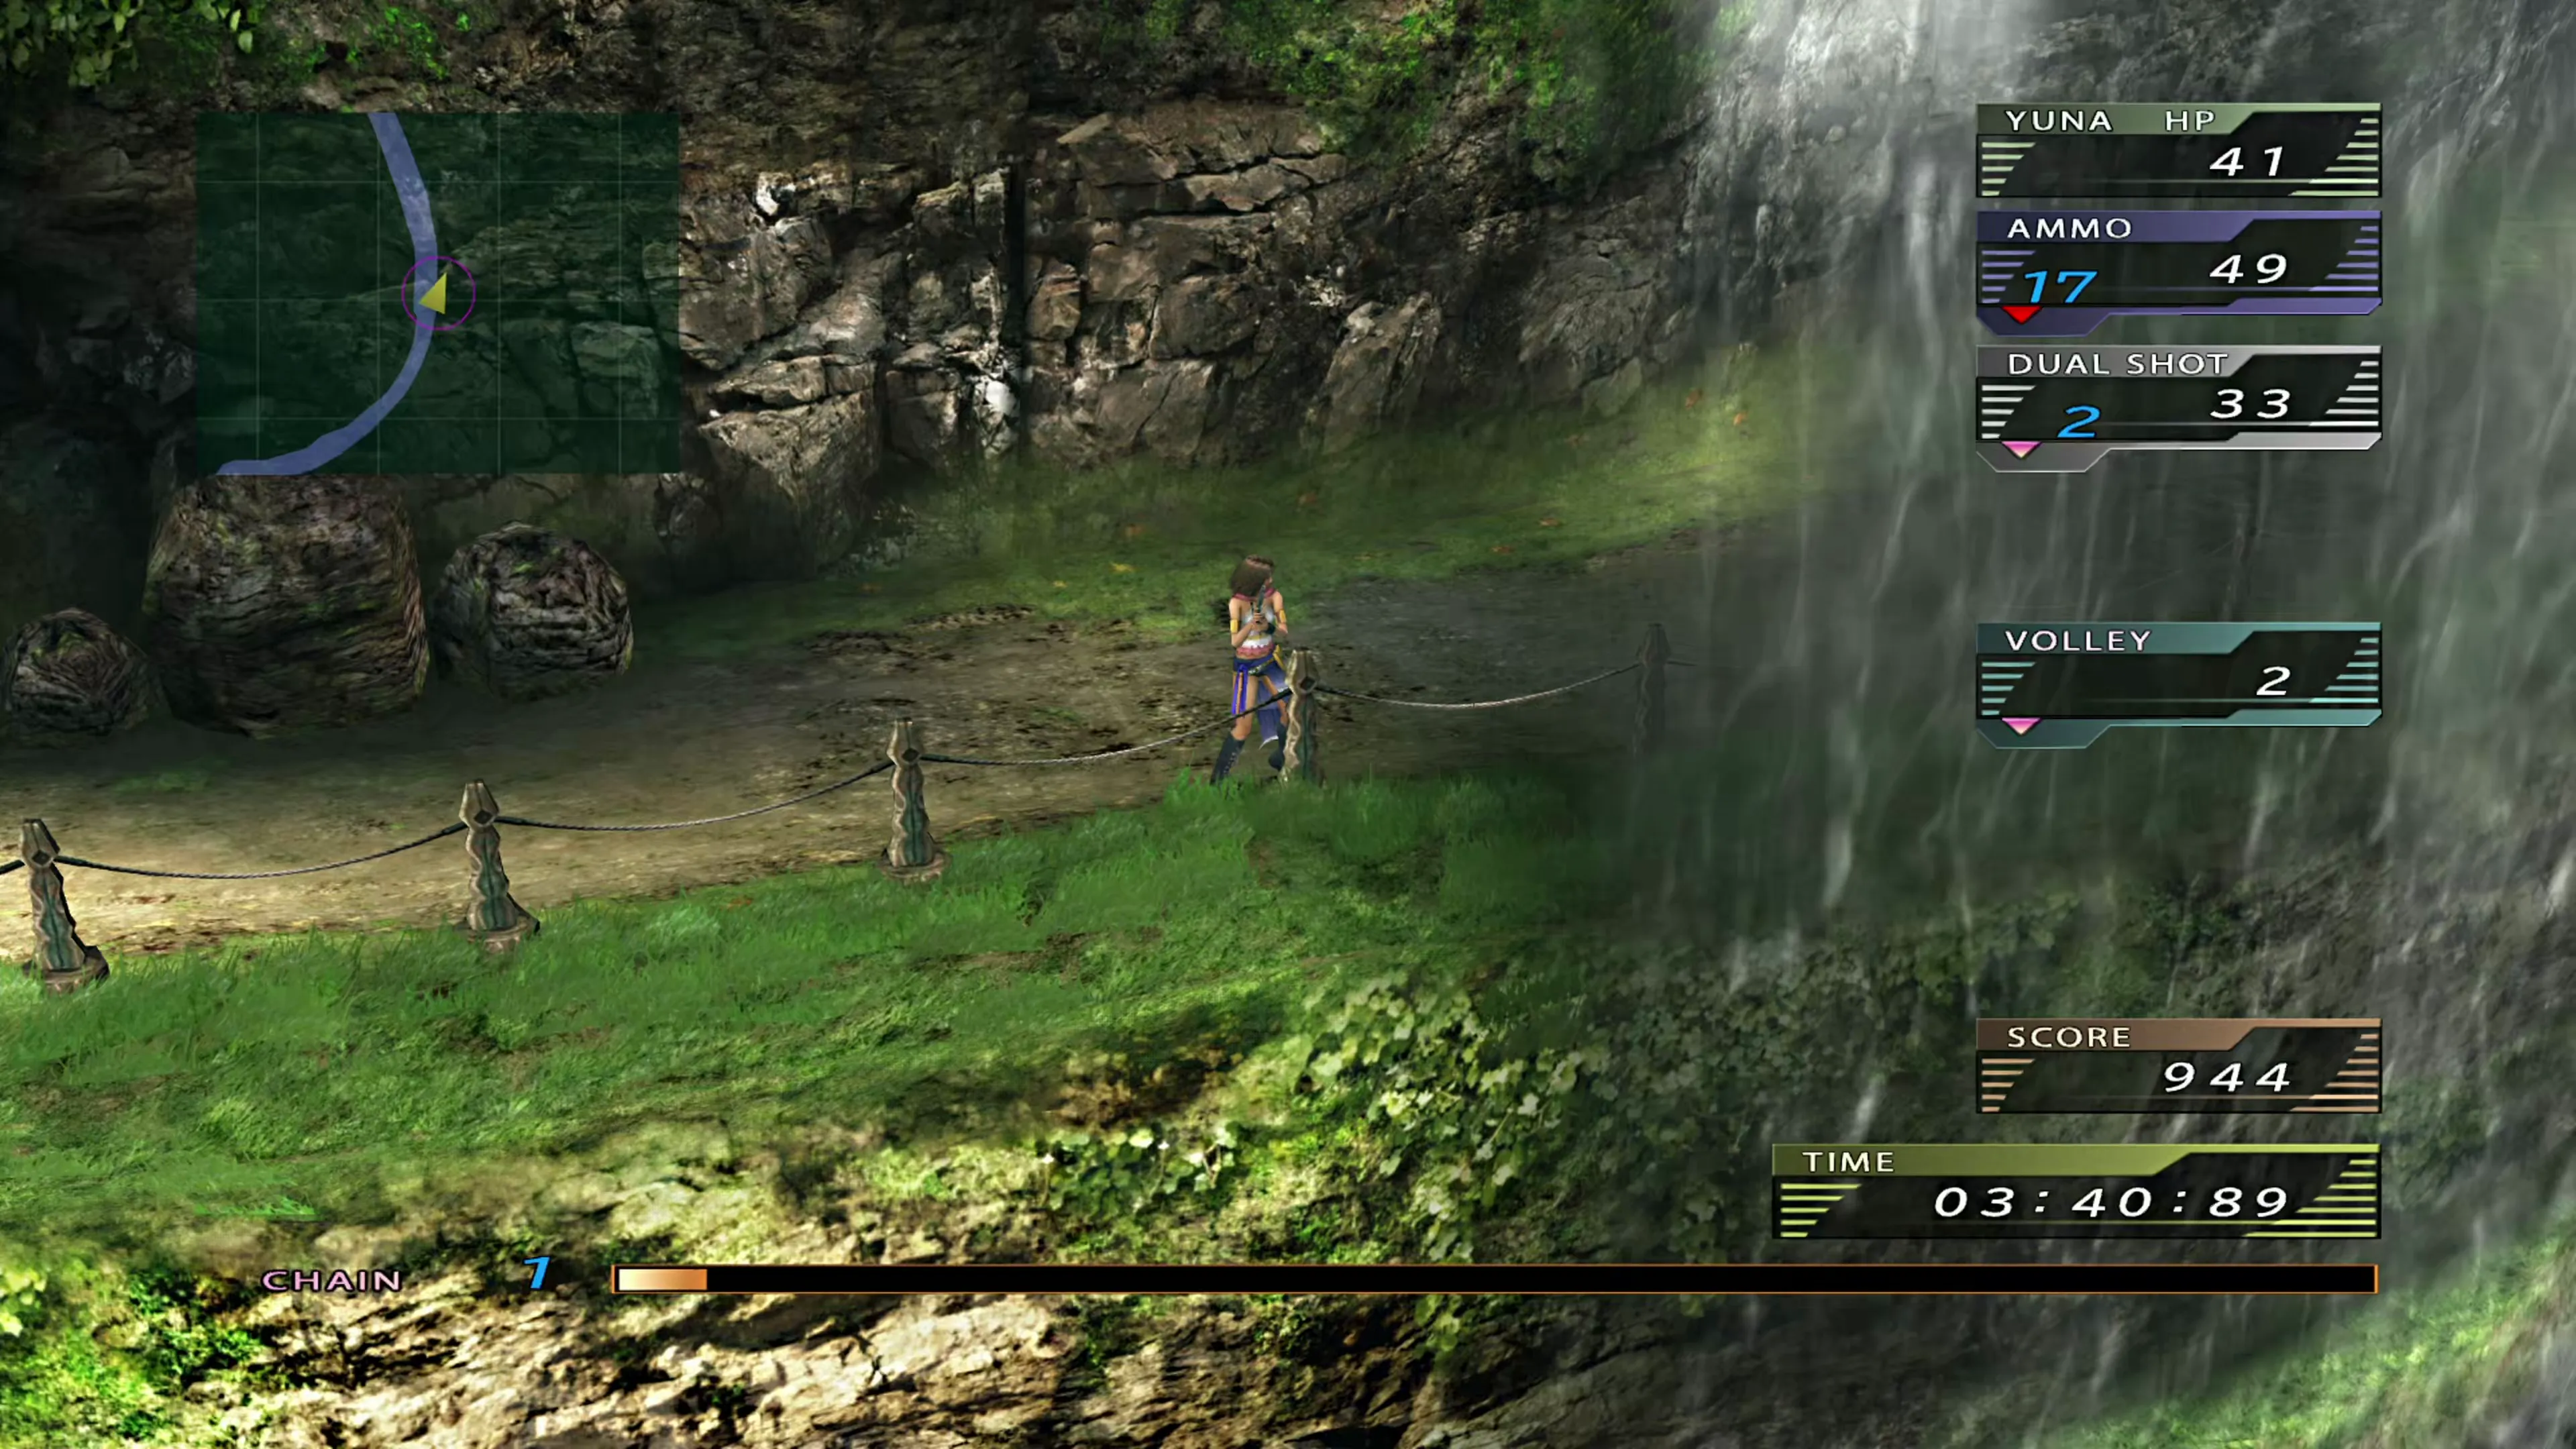
Video Guide
Video demonstration of how to use these spots, in a Gunner’s Gauntlet run to Lv. MAX.
Ammo Types
Fiends leave chests behind when they fall, and those chests hold the ammo you need to get through the rest of the run:
| Item | Description |
|---|---|
| Ammo | Your standard rounds. Each shot takes 1 HP off the fiend you have targeted. |
| Dual Shot | Fires at two fiends at once, for 1 HP each. Lock on with the target button first, then switch to Dual Shot. |
| Death | Kills the fiend you have targeted outright, whatever its HP. |
| Volley | Kills every fiend on screen at once. The most valuable ammo in the mini-game. |
| Upgrade | Not ammo itself, but a counter shown in blue to the left of your ammo count. Select an ammo type and press the upgrade button to turn two rounds into one round of the next grade: 2 Ammo becomes 1 Dual Shot, 2 Dual Shot becomes 1 Death, and 2 Death becomes 1 Volley. Upgrades start dropping at Gunner Lv. 6. |
| HP Recovery | Restores 15 to 19 HP of Yuna’s health. |
| Quick Shot | Lets you fire rapidly until its gauge runs out. A separate bar appears below the chain gauge to show the time remaining. Quick Shot starts dropping at Gunner Lv. 7. |
Enemy Types
Which fiends turn up depends on your Gunner Lv. The tougher ones are worth more points and carry better ammo:
| Fiend | HP | Points | Appears | Drops |
|---|---|---|---|---|
| Coyote | 5 | 3 | Lv. 1+ | 10–14 Ammo |
| Wild Wolf | 7 | 5 | Lv. 1+ | 1–2 Death |
| Shantak | 10 | 10 | Lv. 1+ | 10–14 Dual Shot |
| YSLS-99 | 17 | 15 | Lv. 1+ | 1–2 Death |
| Creeper | 1 | 1 | Lv. 3+ | Nothing |
| Small Tomb | 10 | 5 | Lv. 3–5 | 1 Volley |
| Nashorn | 8 | 12 | Lv. 4+ | 15–19 HP Recovery |
| Bicocette | 11 | 8 | Lv. 6+ | 1 Volley |
| Medium Tomb | 16 | 8 | Lv. 6–7 | 2 Volley |
| Hrimthurs | 6 | 25 | Lv. 7+ | Quick Shot |
| Divebeak | 12 | 4 | Lv. 7+ | Upgrade (type is random) |
| Large Tomb | 20 | 15 | Lv. 8–9 | 3 Volley |
| X-Large Tomb | 30 | 20 | Lv. MAX | 4 Volley |
Levels and Prizes
You can earn different rewards at each Gunner Lv., and if you get a high enough score to skip levels, you’ll still receive the prize for each level you pass.
Here are the prizes:
| Gunner Lv. | Score | Prize |
|---|---|---|
| Lv. 2 | 500 |  Enigma Plate (Garment Grid) Enigma Plate (Garment Grid) |
| Lv. 3 | 750 |  Power Wrist Power Wrist |
| Lv. 4 | 900 | Silver Bracer |
| Lv. 5 | 1,000 | Titanium Bangle |
| Lv. 6 | 1,150 | Mortal Coil (Garment Grid) |
| Lv. 7 | 1,300 |  Beaded Brooch Beaded Brooch |
| Lv. 8 | 1,400 | Diamond Gloves |
| Lv. 9 | 2,000 | Faerie Earrings |
| Lv. 10 | 2,800 |  Adamantite Adamantite |
| Lv. MAX | – | No prize |
Each prize can only be earned once. Your highest score carries over into New Game Plus, so you’ll need to beat it to reach a new prize level.
Achievement/Trophy
You can earn the  The Gunner achievement/trophy if you achieve a score over 2800 and earn Gunner level LVMAX.
Cloister of Trials
There’s an additional version of this mini-game that can be played in the Besaid Cloister of Trials after you’ve defeated the Aeon inside the Temple during the Protect Besaid Temple mission. Talk to the monk at the entrance to the Cloister to start it, in either Chapter 3 or Chapter 5.
It plays differently to the version on the village slope. The camera switches to a first-person view, so the movement stick turns Yuna on the spot rather than running her along a course, and you have 12 minutes to reach the end. Ammo from defeated fiends is added to your counters automatically instead of being left behind in chests. Everything else, including the chain gauge and the ammo grades, works exactly as it does outside.
The fiends here are different too:
| Fiend | HP | Points | Drops |
|---|---|---|---|
| Coyote | 5 | 3 | 17–21 Ammo |
| Haunt | 13 | 10 | 10–14 Dual Shot |
| Death Dauber | 3–5 | 4 | Upgrade (type is random) |
| Creeper | 1 | 2 | 1–4 Ammo |
| Ahriman | 7 | 15 | Quick Shot |
| Tomb | 80 | 20 | 1–2 Death |
| Flan Azul | 4 | 2 | 2–3 HP Recovery |
| Tonberry | 15 | 20 | 30–99 Ammo |
| Mega Tonberry | 20 | 30 | Upgrade (type is random) |
The Tomb blocking the four-way crossroads has 80 HP and never attacks, so save your Death ammo for it rather than whittling it down. Most of the damage players take here comes from the Coyotes closing in from behind while they deal with it.