

Besaid Island
When you arrive at the  Save Sphere on the island, you’ll see Buddy and Shinra heading towards the village. During this sequence, Shinra installs the first of many CommSpheres across Spira.
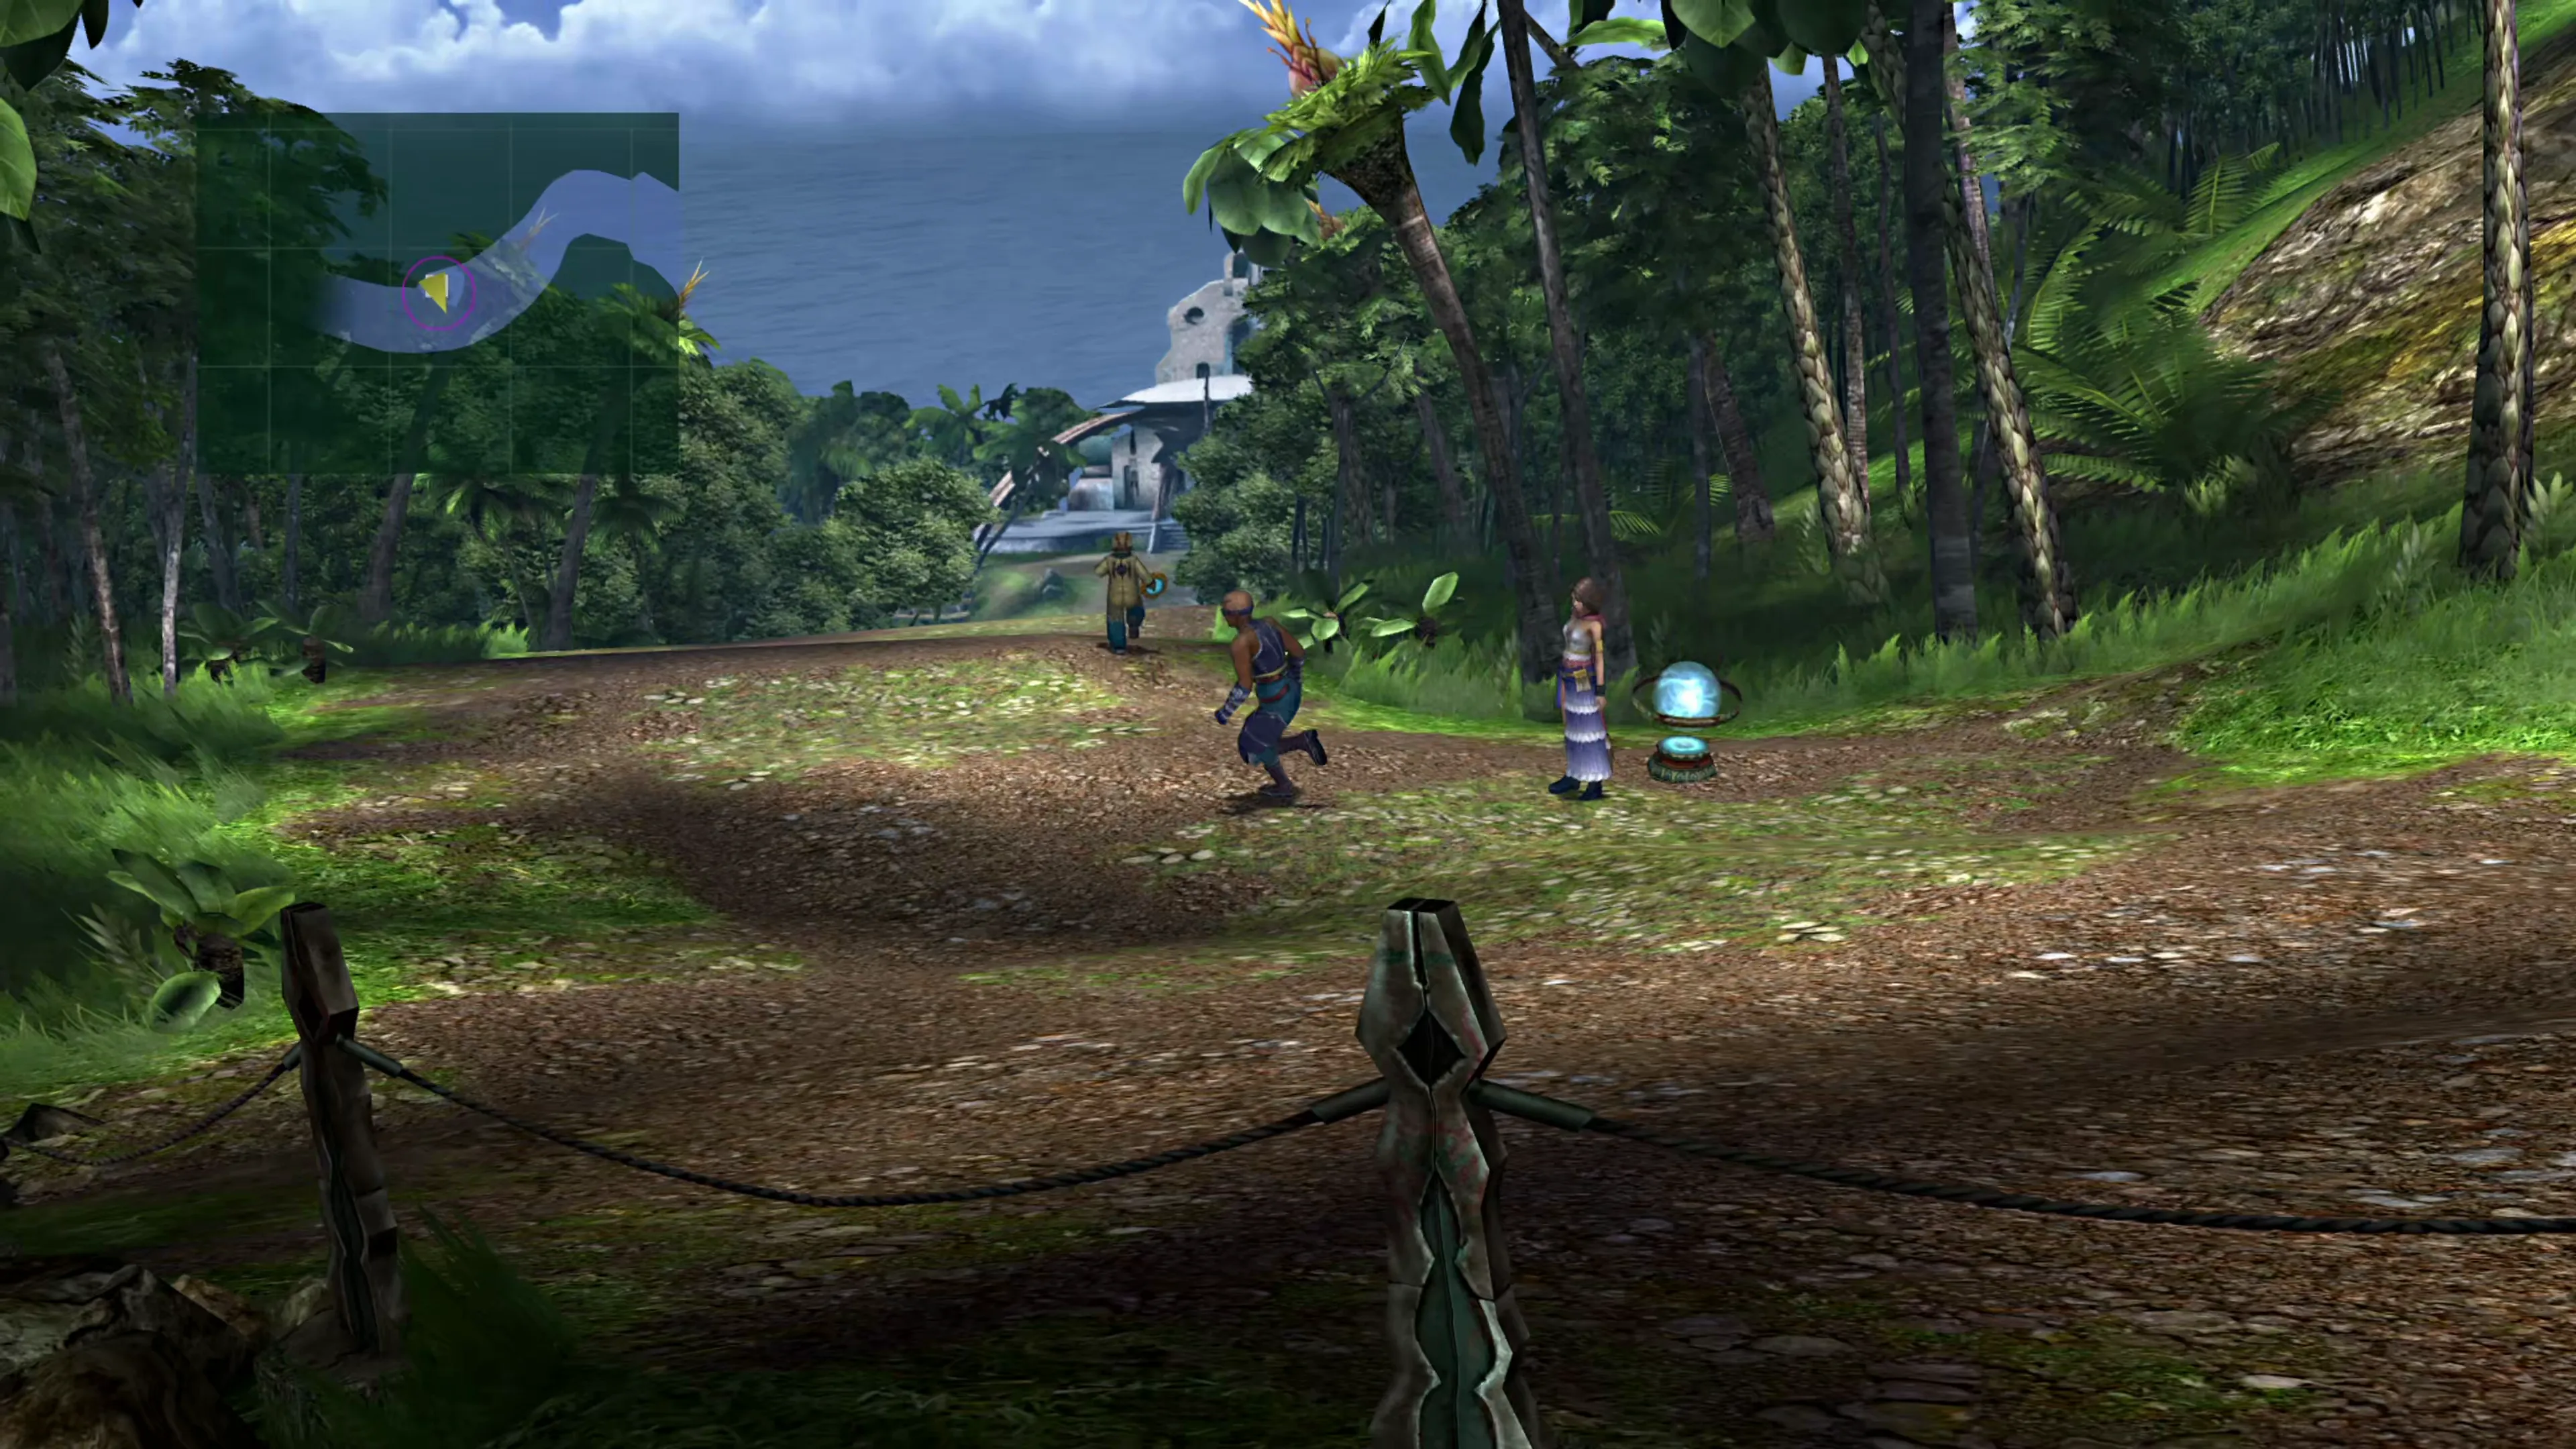
Head into the village and into Wakka and Lulu’s tent. Speak to Lulu and then exit the tent.
Helpful Hint
There’s a scene here where Shinra installs one of the CommSpheres he’s placing across Spira. You’ll see him do this at a couple of locations, but most of the time it happens off-screen, so don’t worry if you never catch him doing it.
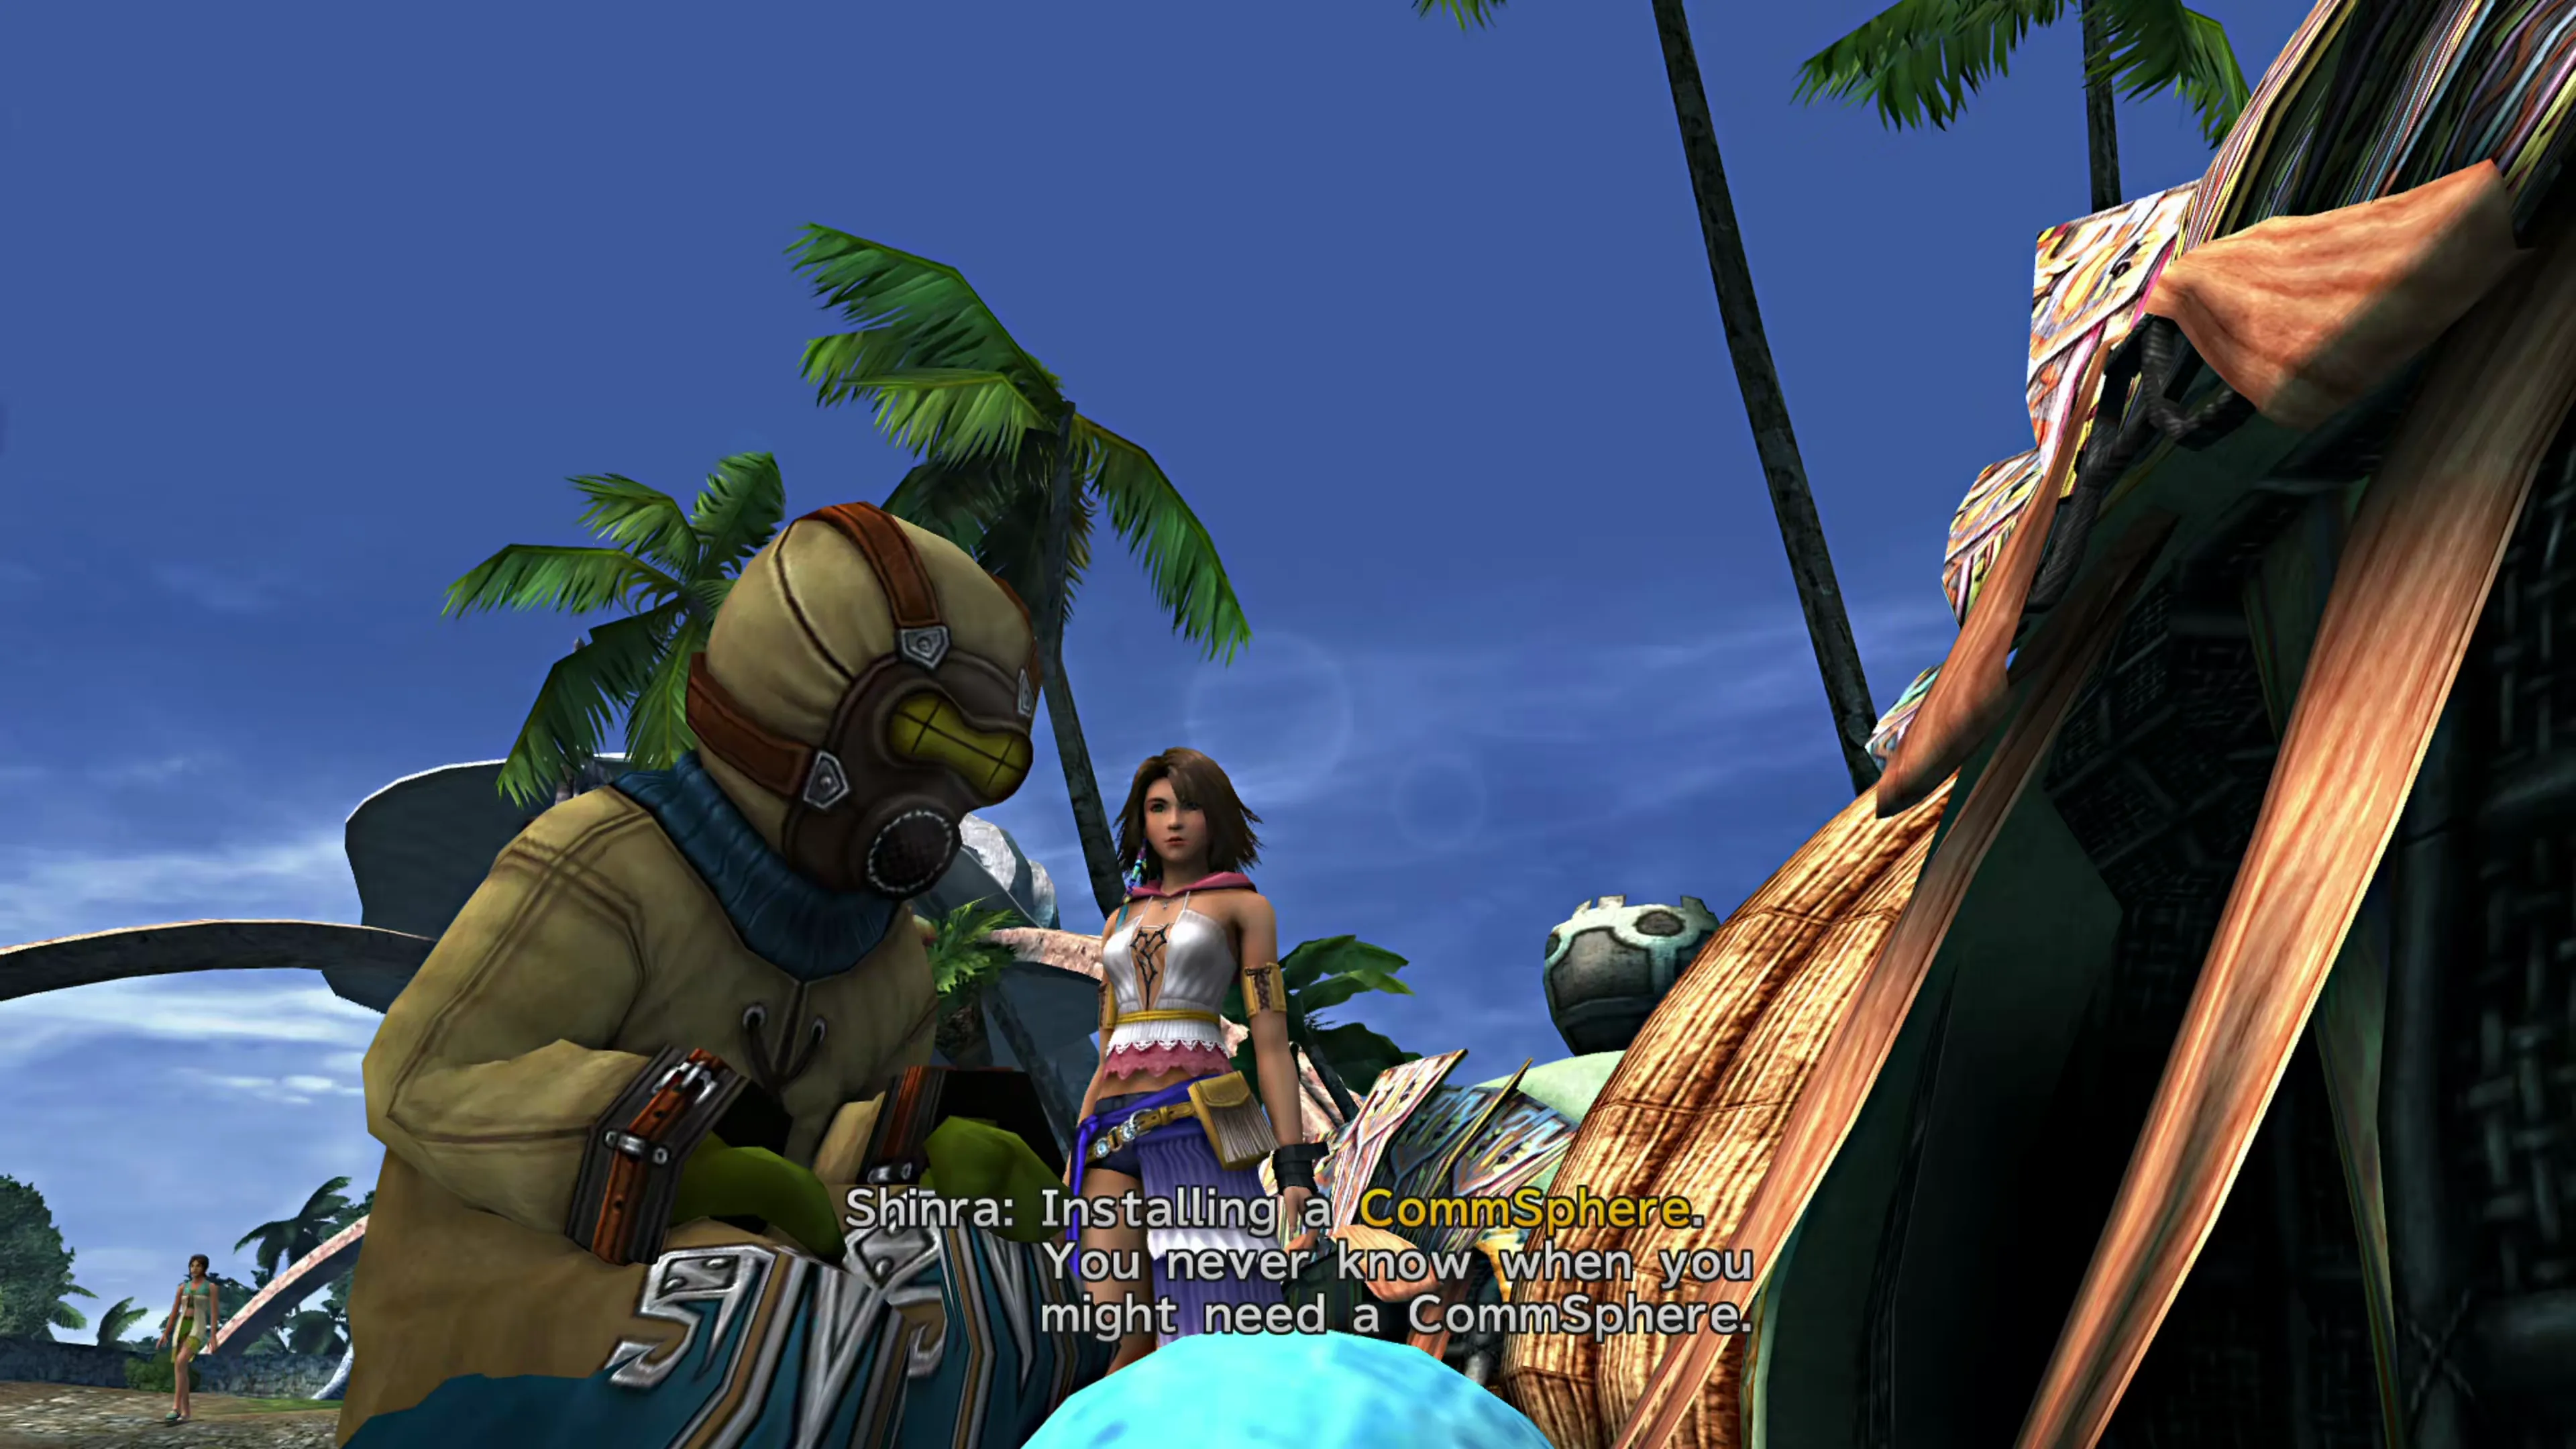
What matters is visiting every area during Chapter 3, because the visit itself places that area’s CommSphere. Skip a location, and its Chapter 4 CommSphere scenes never exist. But don’t panic if you don’t see him right away! You don’t need to see him deliver a CommSphere in most areas, but it’s worth making sure you watch him deliver them at two locations, which are flagged below.
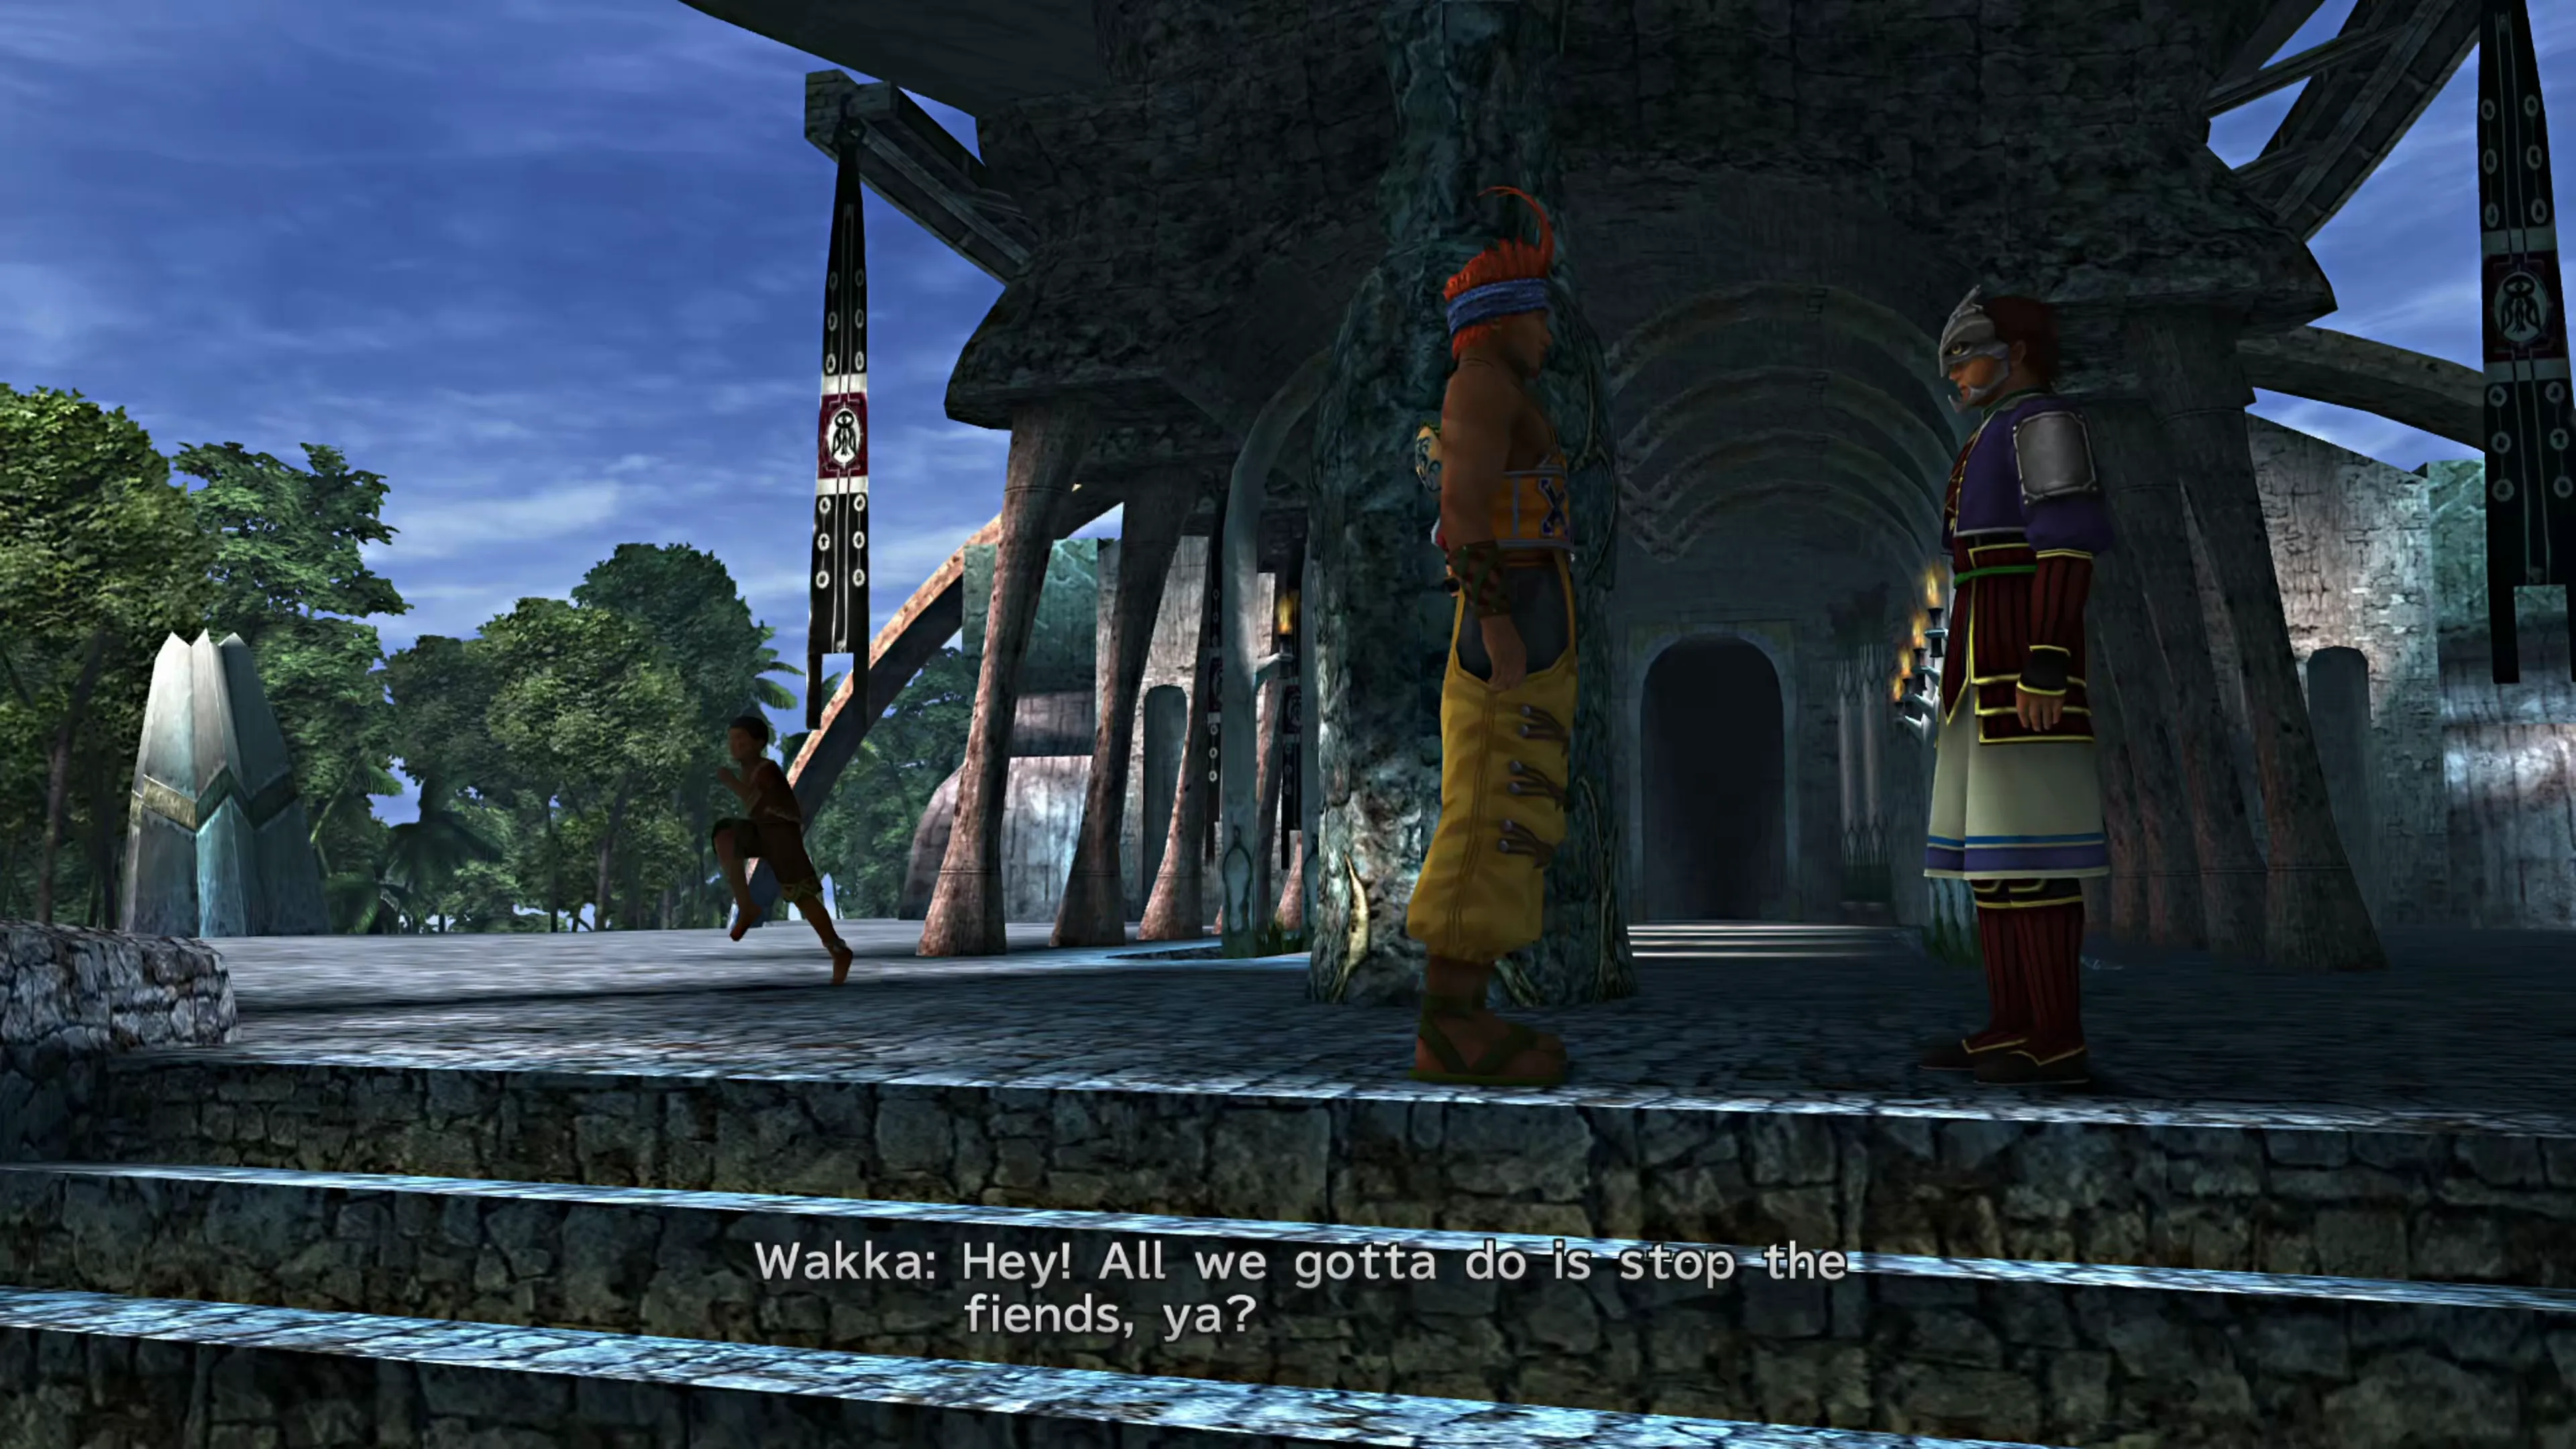
A scene also plays out in front of Besaid Temple between Wakka and Beclem. Head into the temple after the scene for a short discussion with Beclem and to kick off the next Mission.
Warning
From this point of the game forward, you may run into Machina called “Watchers.” These Watchers will join other groups of fiends in battle. They don’t attack themselves, but they watch the actions your characters take and report back to a boss that you’ll be fighting later.
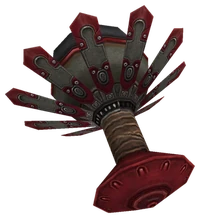

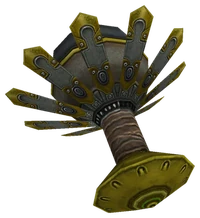
Watcher-A records your attack abilities, Watcher-R records your recovery abilities, and Watcher-S records special attacks. When you fight this boss later on in the game, the Watchers will lock out any abilities they see you use, so it’s really important that you…
Kill Watchers first whenever you see them!
Mission: Protect Besaid Temple!
This is one of the quickest Missions you will complete in the game, as it only involves one boss fight against an Aeon. Continue through the Temple until you reach Wakka outside the Chamber of the Fayth, and then proceed into the Chamber for the boss fight.
Besaid Cloister of Trials

 1 1 |  Mana Spring ×2 Mana Spring ×2 |
| 2 |  Favorite Outfit Favorite Outfit |
| 3 | NulFrost Ring |
Boss Battle
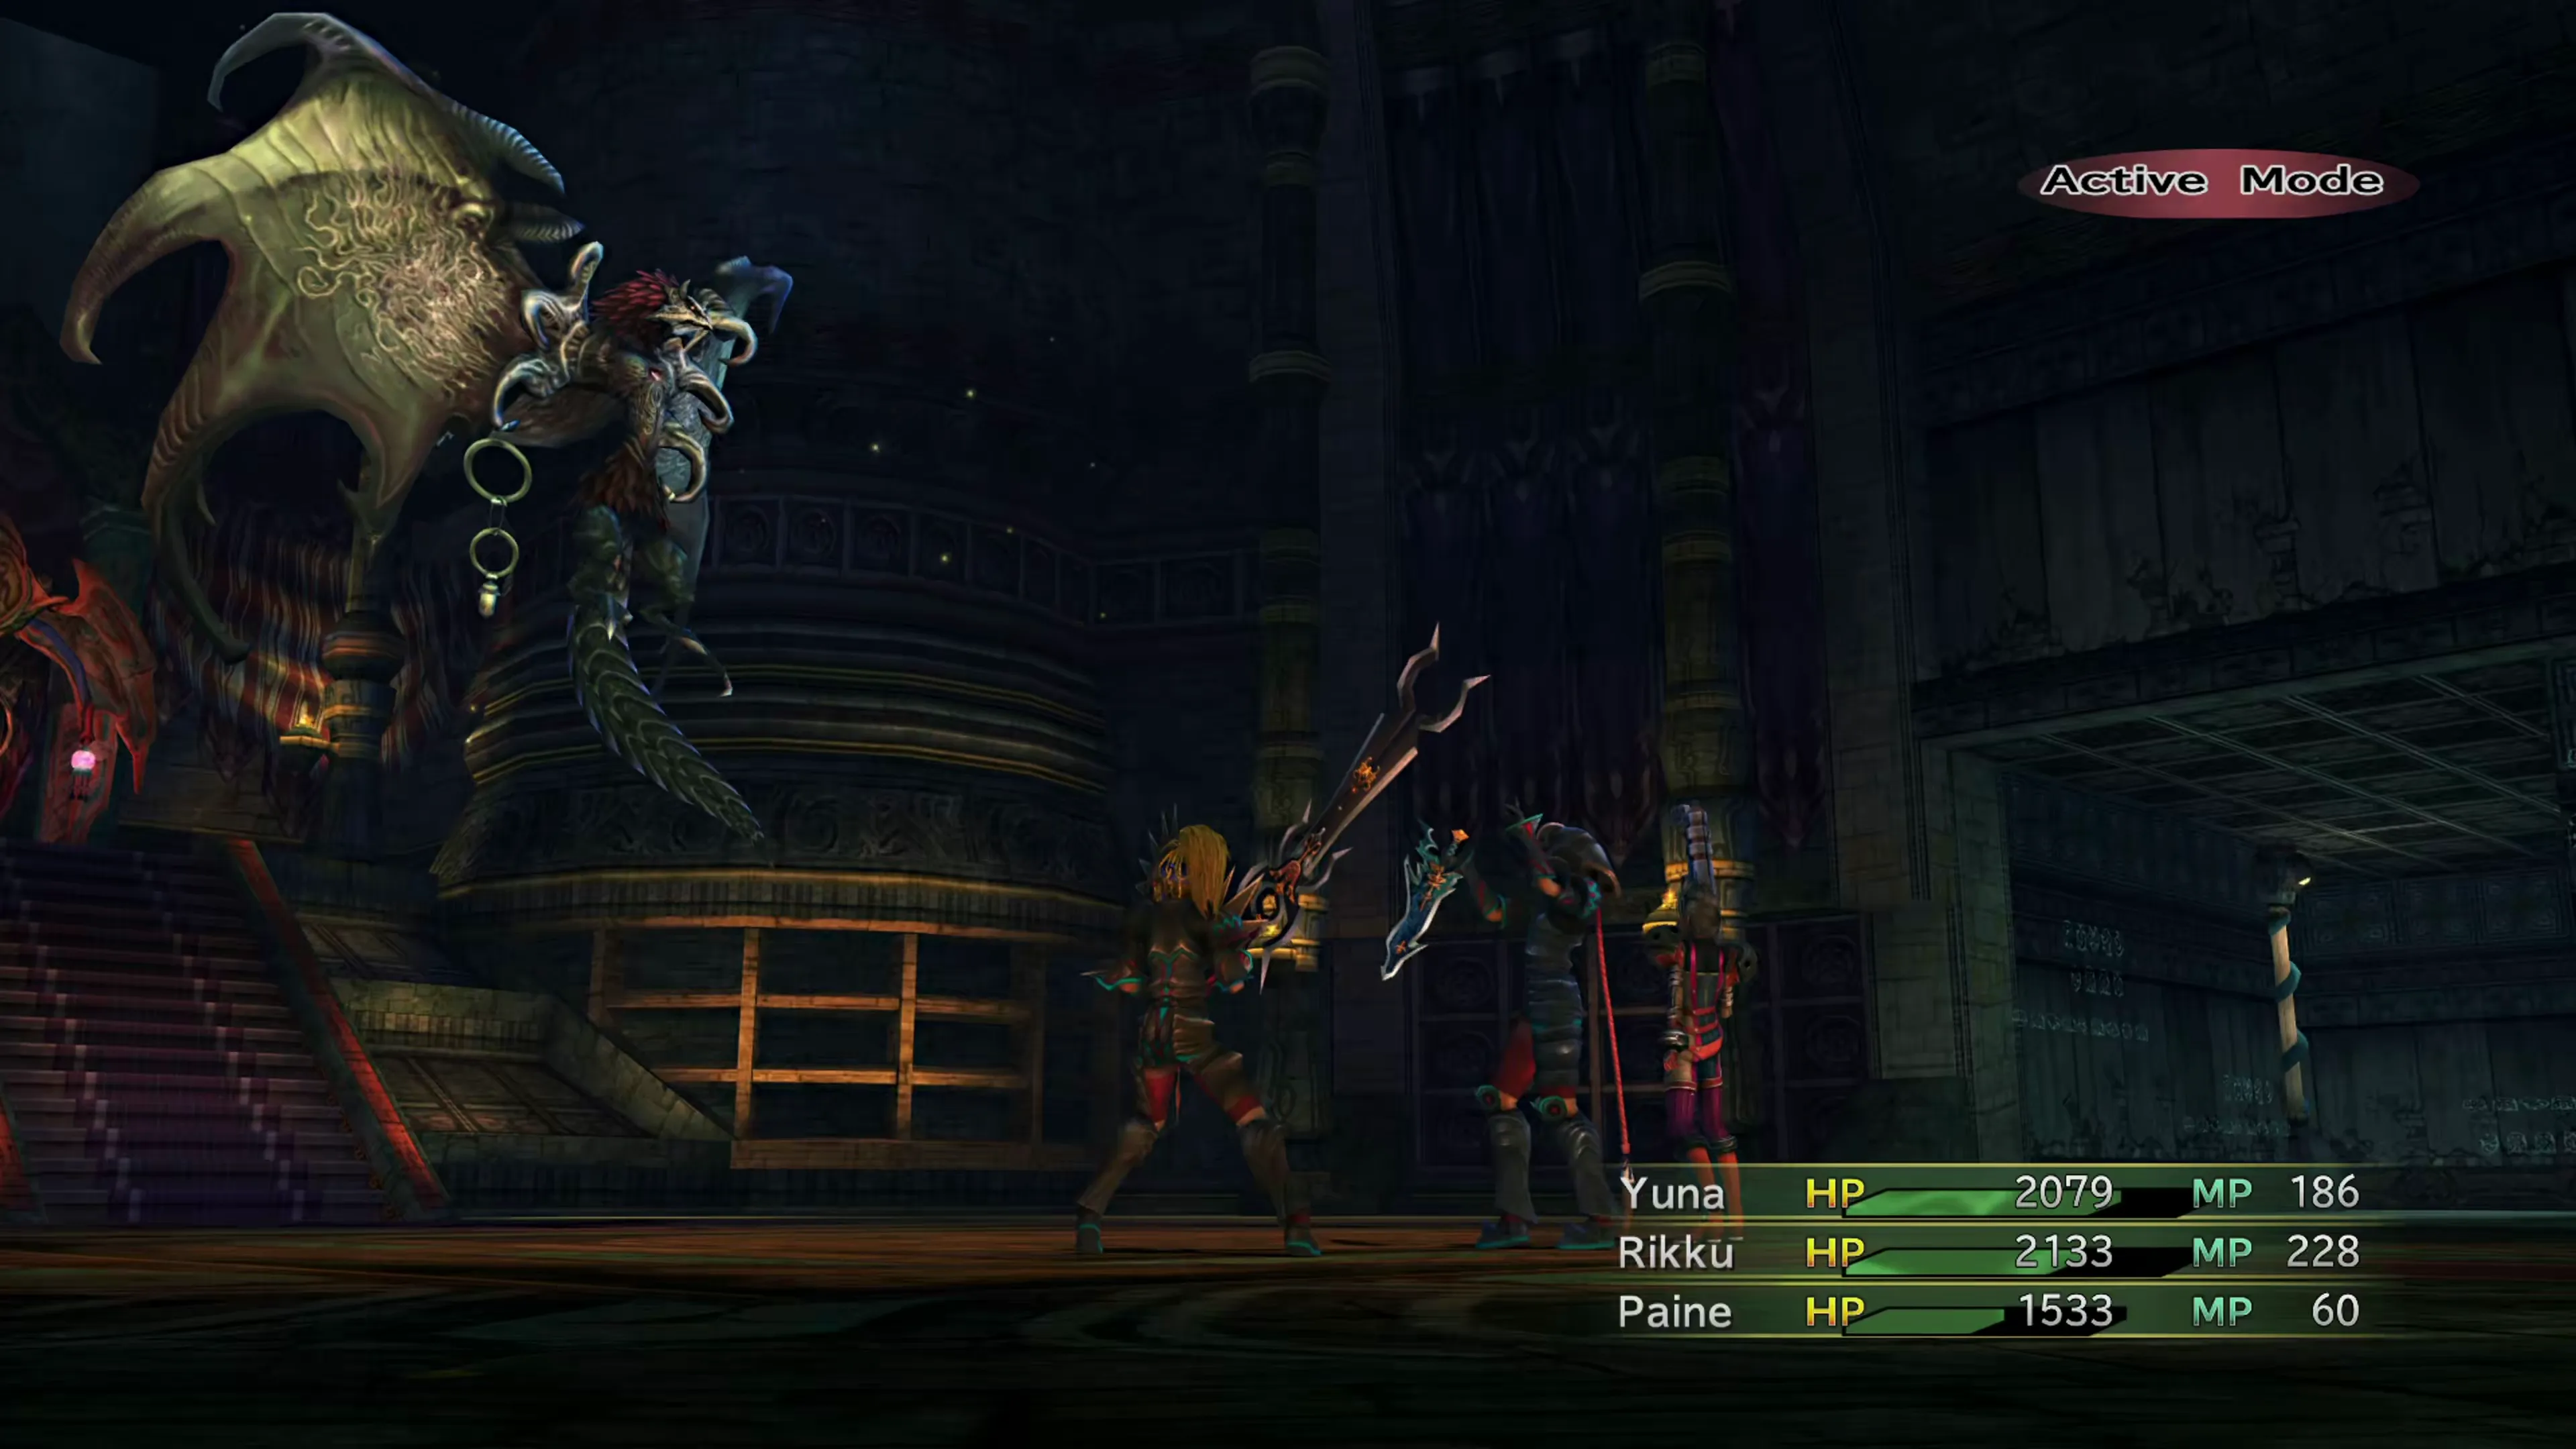
You just finished the fight against Bahamut at the end of Chapter 2, but don’t get overconfident. One major difference is that Valefor doesn’t follow a specific attack pattern, and it can use each of the following attacks:
- “Smash,” which hits for around 300 physical damage
- “Energy Ray,” which deals magic damage to all characters
- “Energy Blast,” which deals magic damage to all characters (more than Energy Ray)
- “Sonic Wings,” which drains one target of some of their MP
You can have a  White Mage cast
  Shell to greatly reduce the magic damage dealt by Valefor (and nearly all of its attacks are magic-based), and you can use a Warrior’s Break abilities to make the fight easier (
 Power Break, Armor Break, Magic Break, and Mental Break).
| Enemy | HP | Steal | Drop |
|---|---|---|---|
| Valefor | 8430 |  Healing Spring x4 (common)Healing Spring x6 (rare) Healing Spring x4 (common)Healing Spring x6 (rare) |  Moon Bracer Moon Bracer |
There are a few cutscenes that take place after the battle, but this fight concludes the Mission here at Besaid, and you’ll be automatically transported back up to the Celsius. If you wanted to, though, you could return to the Island and speak to Beclem to make more attempts at the “Gunner’s Gauntlet” mini-game if you didn’t finish it before:
Side Quests
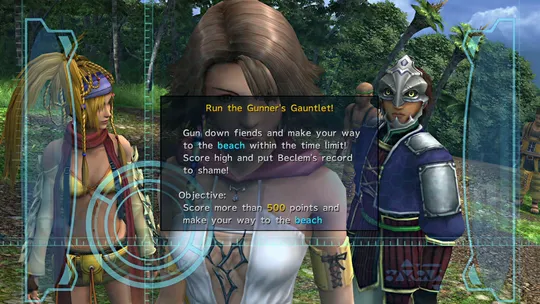
Challenging Beclem’s high score and working your way through the gunner levels towards the achievement/trophy.
Also, while you’re down there, don’t forget to speak to the locals for Publicity and Marriage Campaign points, and to grab the treasure chests outside of the village:
Side Quests
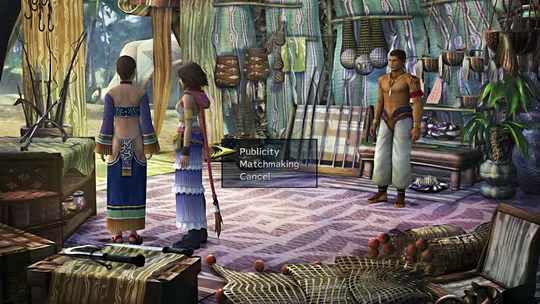
A list of the NPCs that you can speak with to earn Open Air / Argent Publicity points and Marriage matchmaking points in Besaid during Chapter 3.
Besaid Ancient Road
 Waterfall
Way Promontory
Besaid Waterfall Way



| 1 |  Raging Giant Raging Giant |
| 2 | Moon Bracer |


 X-Potion
The next destination is Kilika Island.

Checking the “Besaid Island Complete” box adds the Story Completion Percent for the automatic scenes in Besaid Island.