

Kilika Island
Kilika Island is the next Hotspot as fiends are pouring out of Kilika Temple just like there were at Besaid Temple. Astute Final Fantasy X players probably have an idea of who they’ll be facing towards the end of this visit.
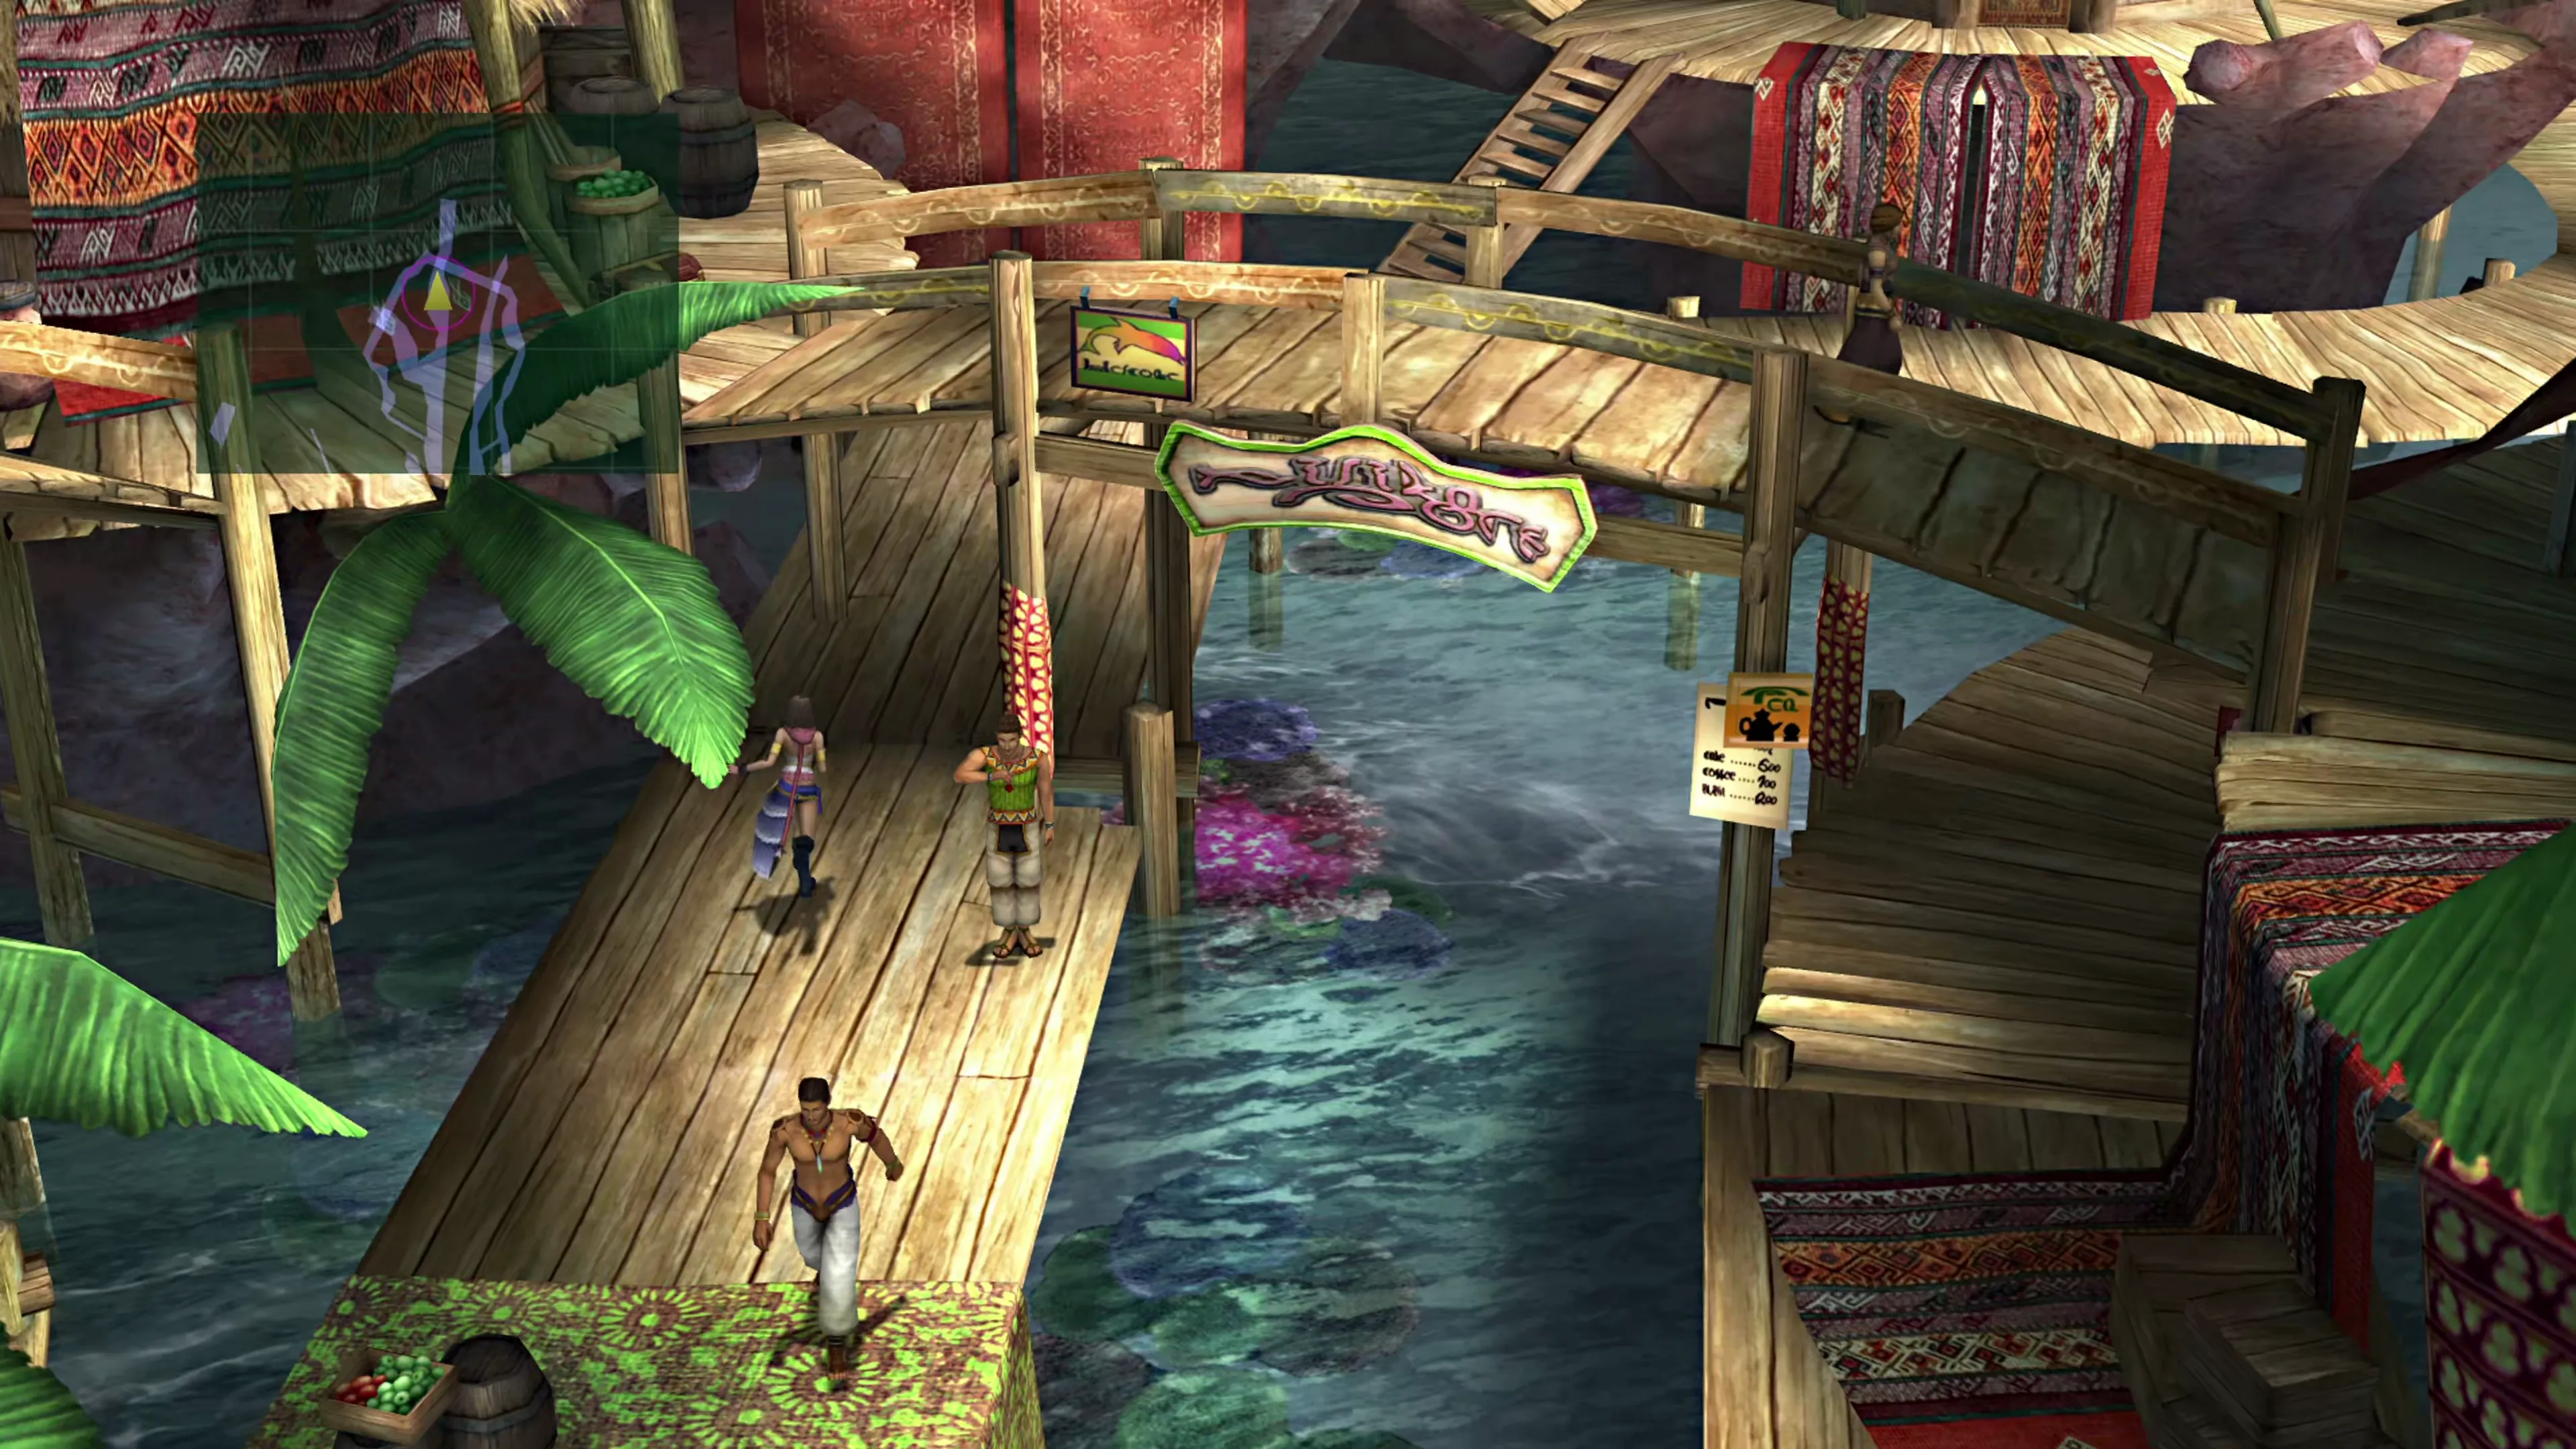
As soon as you enter Dona’s hut, a cutscene will play, but before you can get started with the next sequence of events here in Kilika, take some time to wander around and grab the treasure chests in these two areas:
Kilika Port South


 1 1 |  Ether Ether |
| 2 |  Mana Tablet ×2 Mana Tablet ×2 |
| 3 | Antidote ×3 |
| 4 | Eye Drops ×3 |
| 5 | Phoenix Down ×2 |
Kilika Port North

| 1 | Light Curtain ×2 |
| 2 | Holy Water ×3 |
| 3 | Star Curtain |
| 4 | Lunar Curtain ×2 |
| 5 | 2,000 Gil (Roof of Dona’s Hut) |
| 6 | Camera Operator |
Also, don’t forget to talk to the camera operator on the boat and select “Yes” when he offers to let you have a look at the new Youth League headquarters they’re putting up. Along with the same conversations in Chapters 1 and 5, this is a prerequisite for obtaining the  Invincible accessory in the last chapter of the game.
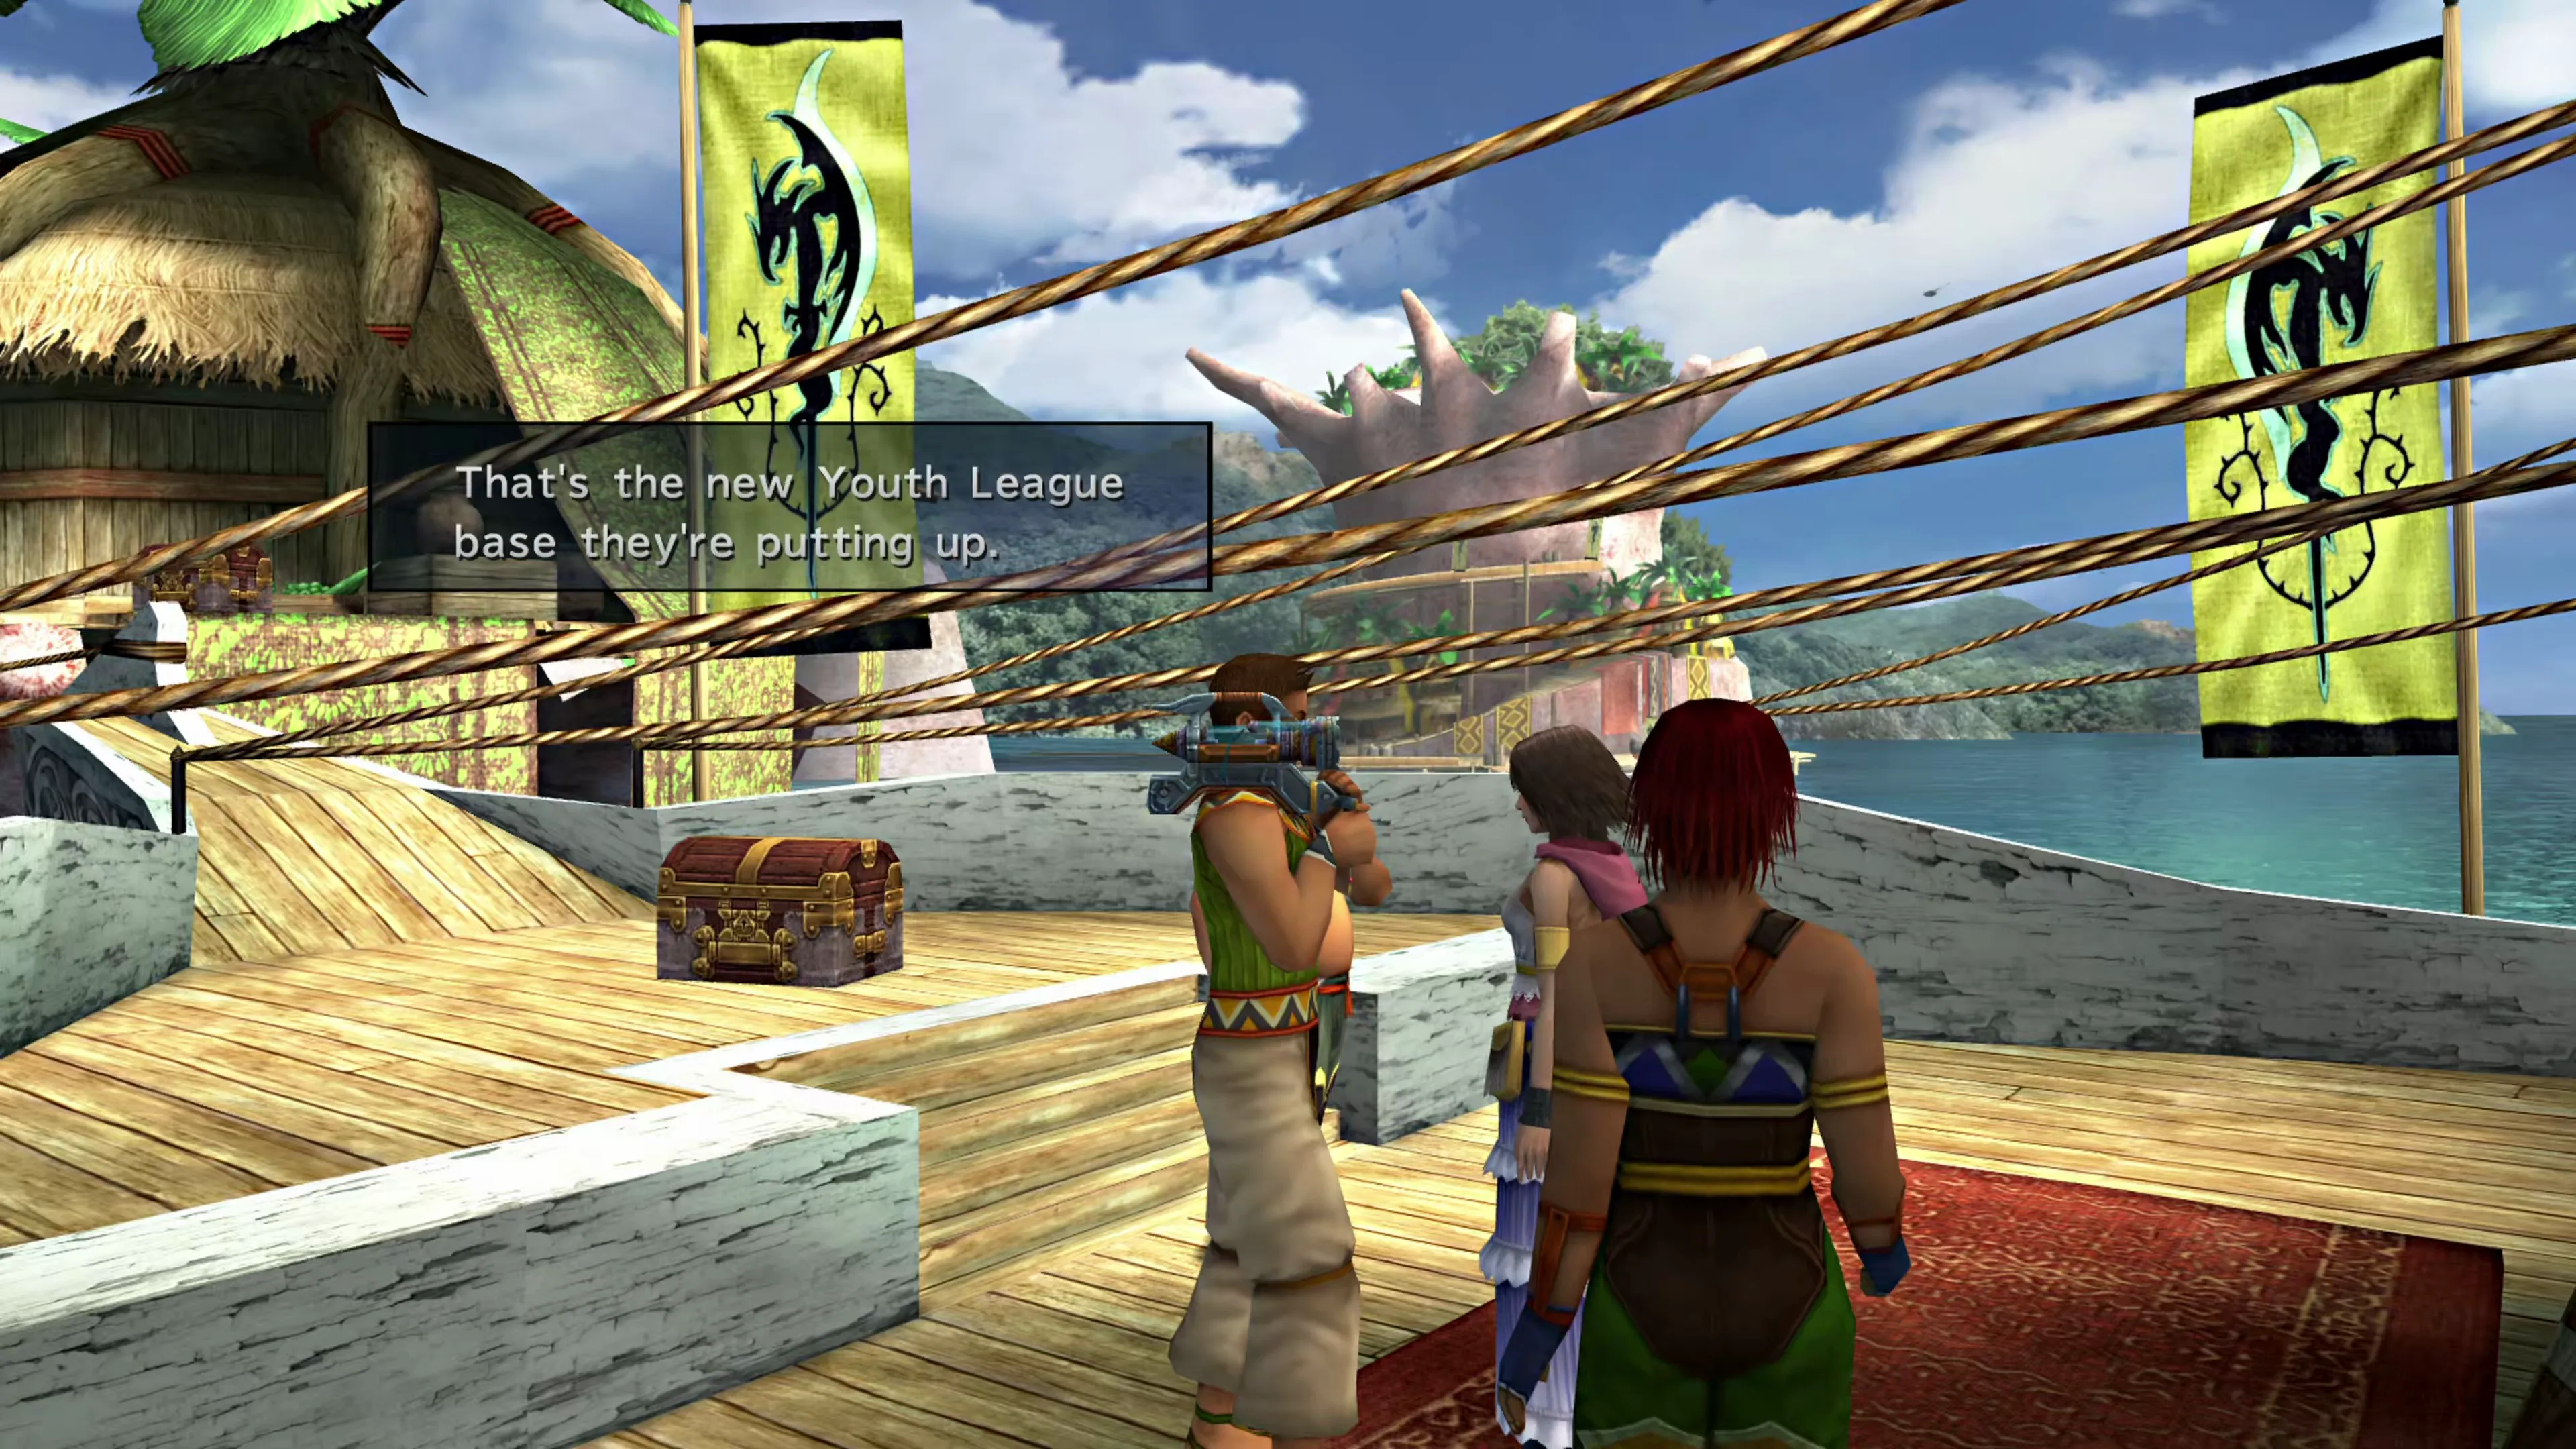
Don’t forget to take the stairs to the top of Dona’s hut to grab a treasure chest that contains 2,000 Gil.
Rush the Gate!
Approach the gate at the northern end of Kilika to begin the “Rush the Gate!” mini-game. The controls will pop up on the screen, but the game is pretty simple. Press 

 to toggle the camera view and press

 when the coast is clear.
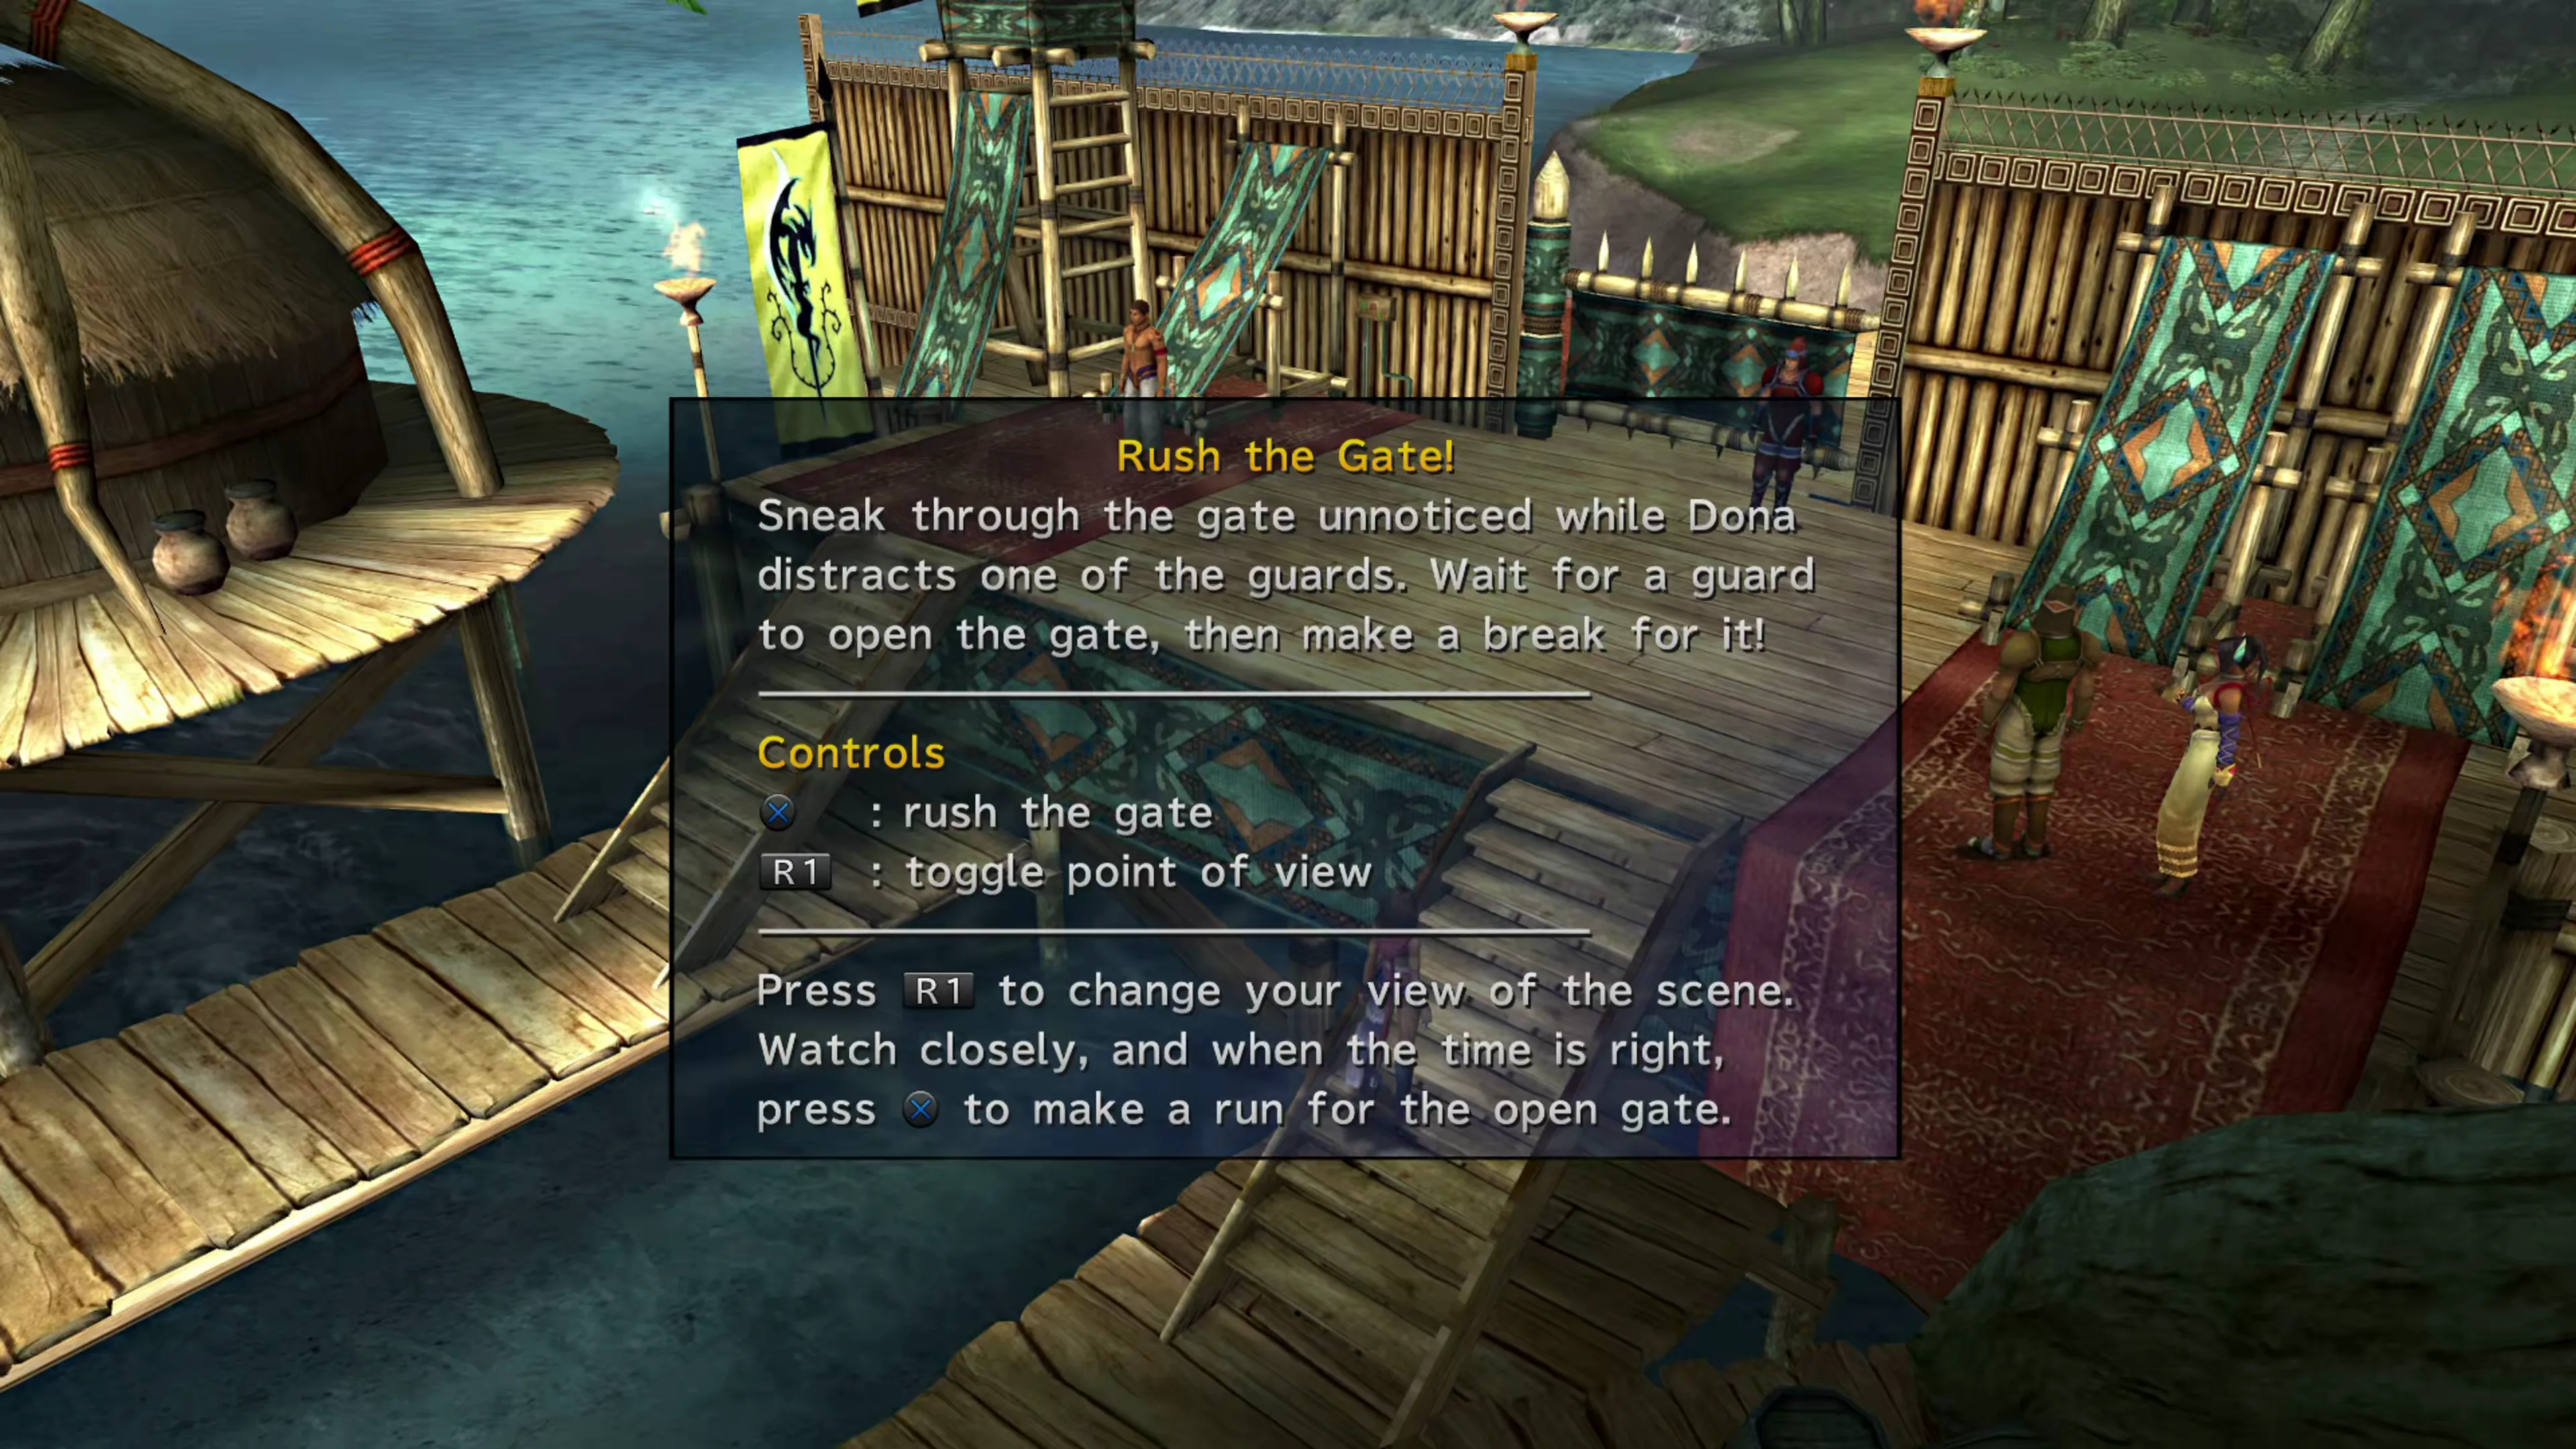
Here are the steps to follow:
| Screenshot | Step |
|---|---|
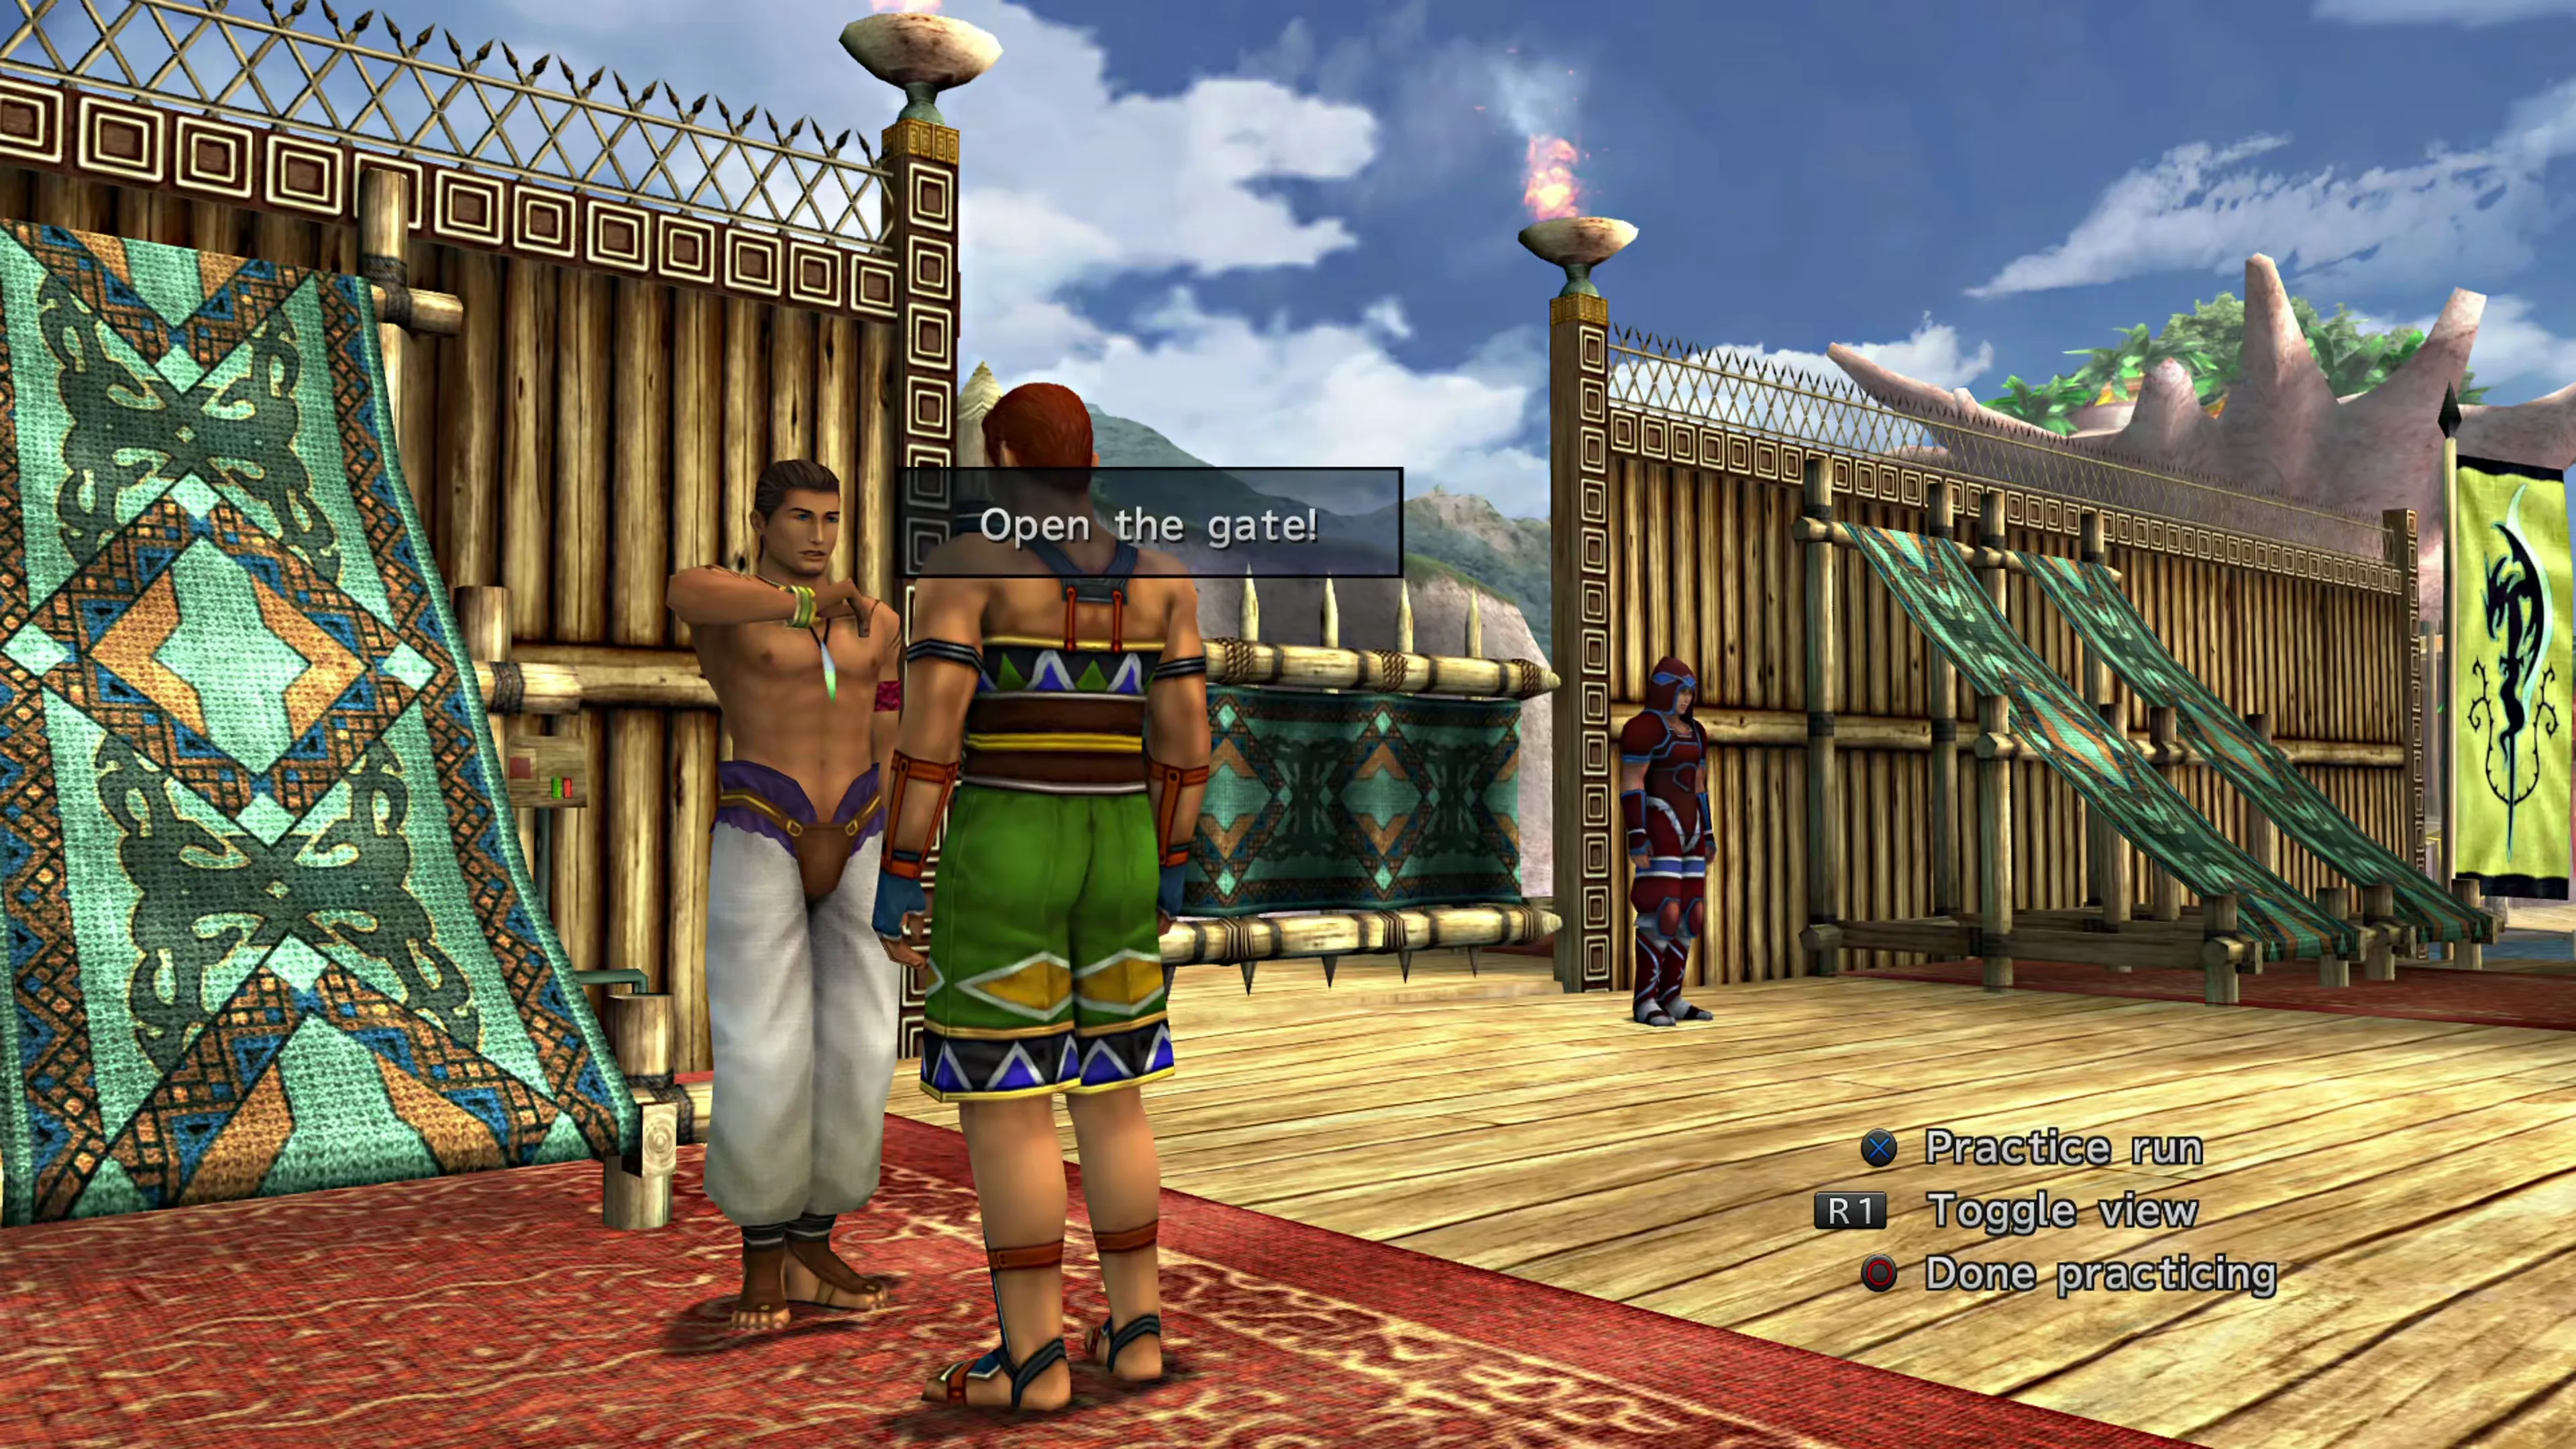 | Press the button until you have a view where you can watch the soldier on the left side of the screen. Different citizens will approach him, trying to get through the gate. He’ll deny most of them entry, so you need to wait until a soldier-like NPC approaches and the man yells, “Open the gate!” |
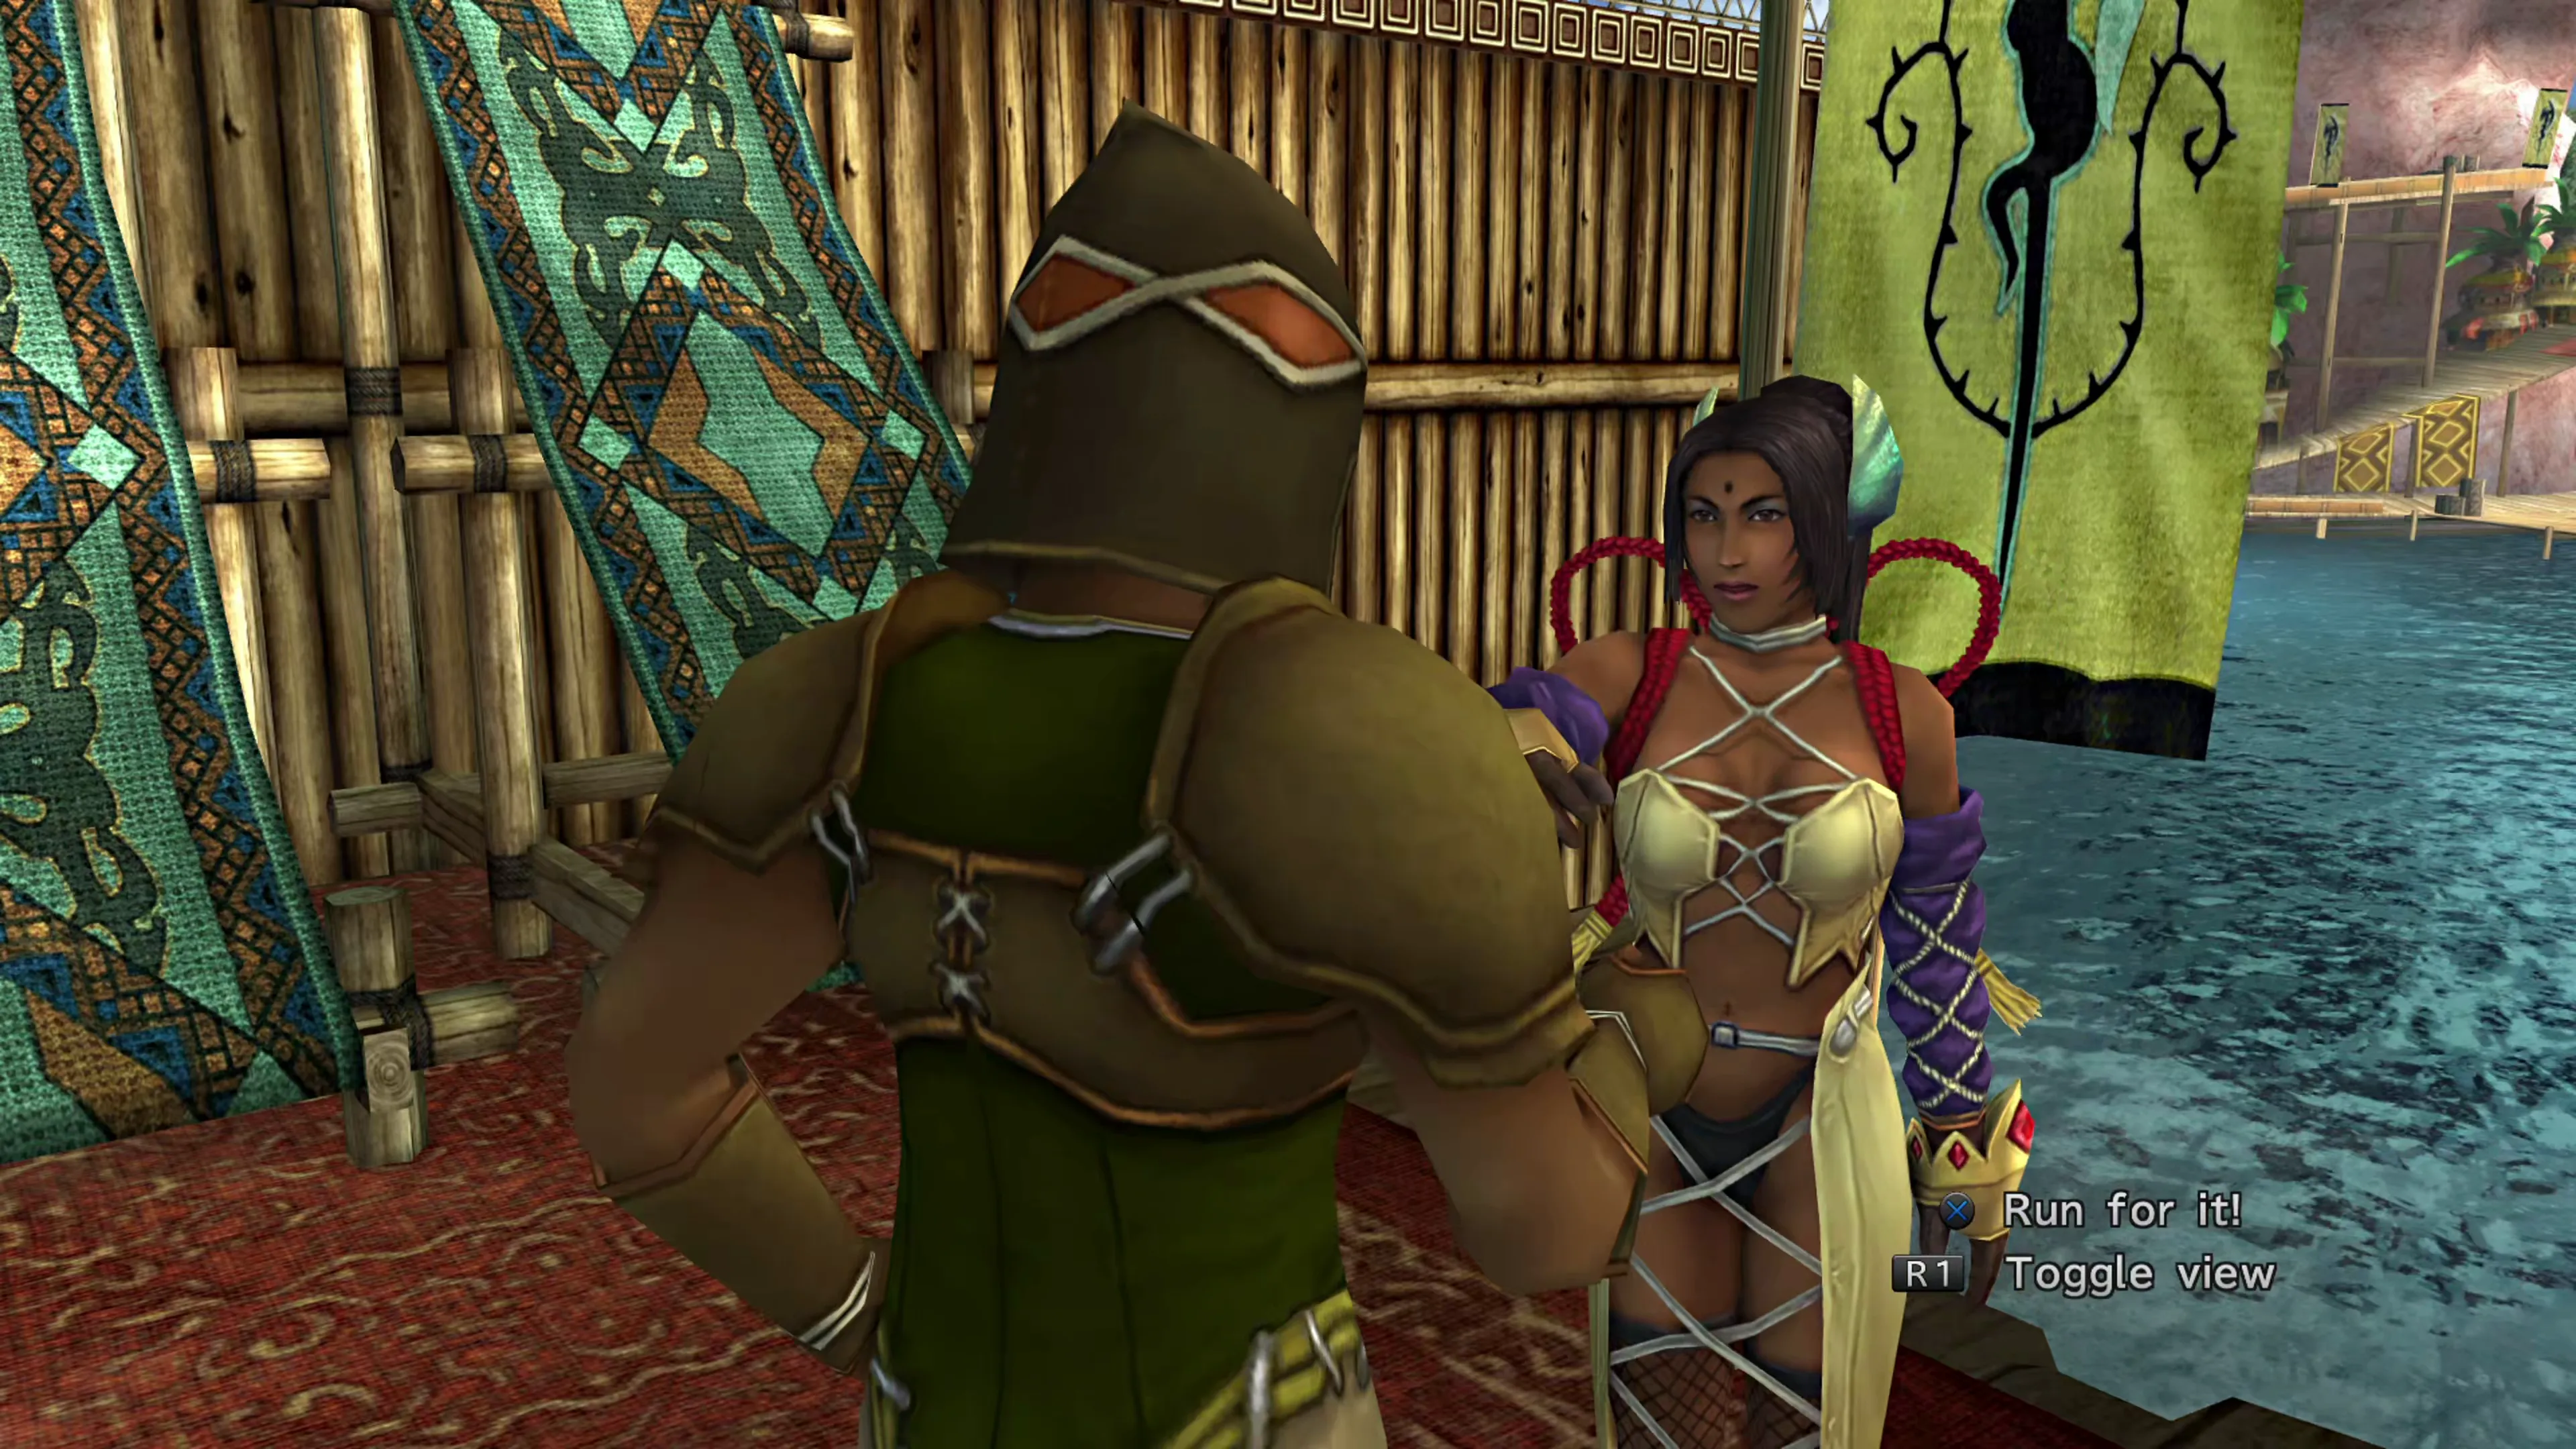 | After he yells “Open the gate!” press the button again so you can see Dona. Make sure the guard is facing her and talking to her. If both of these conditions are true… |
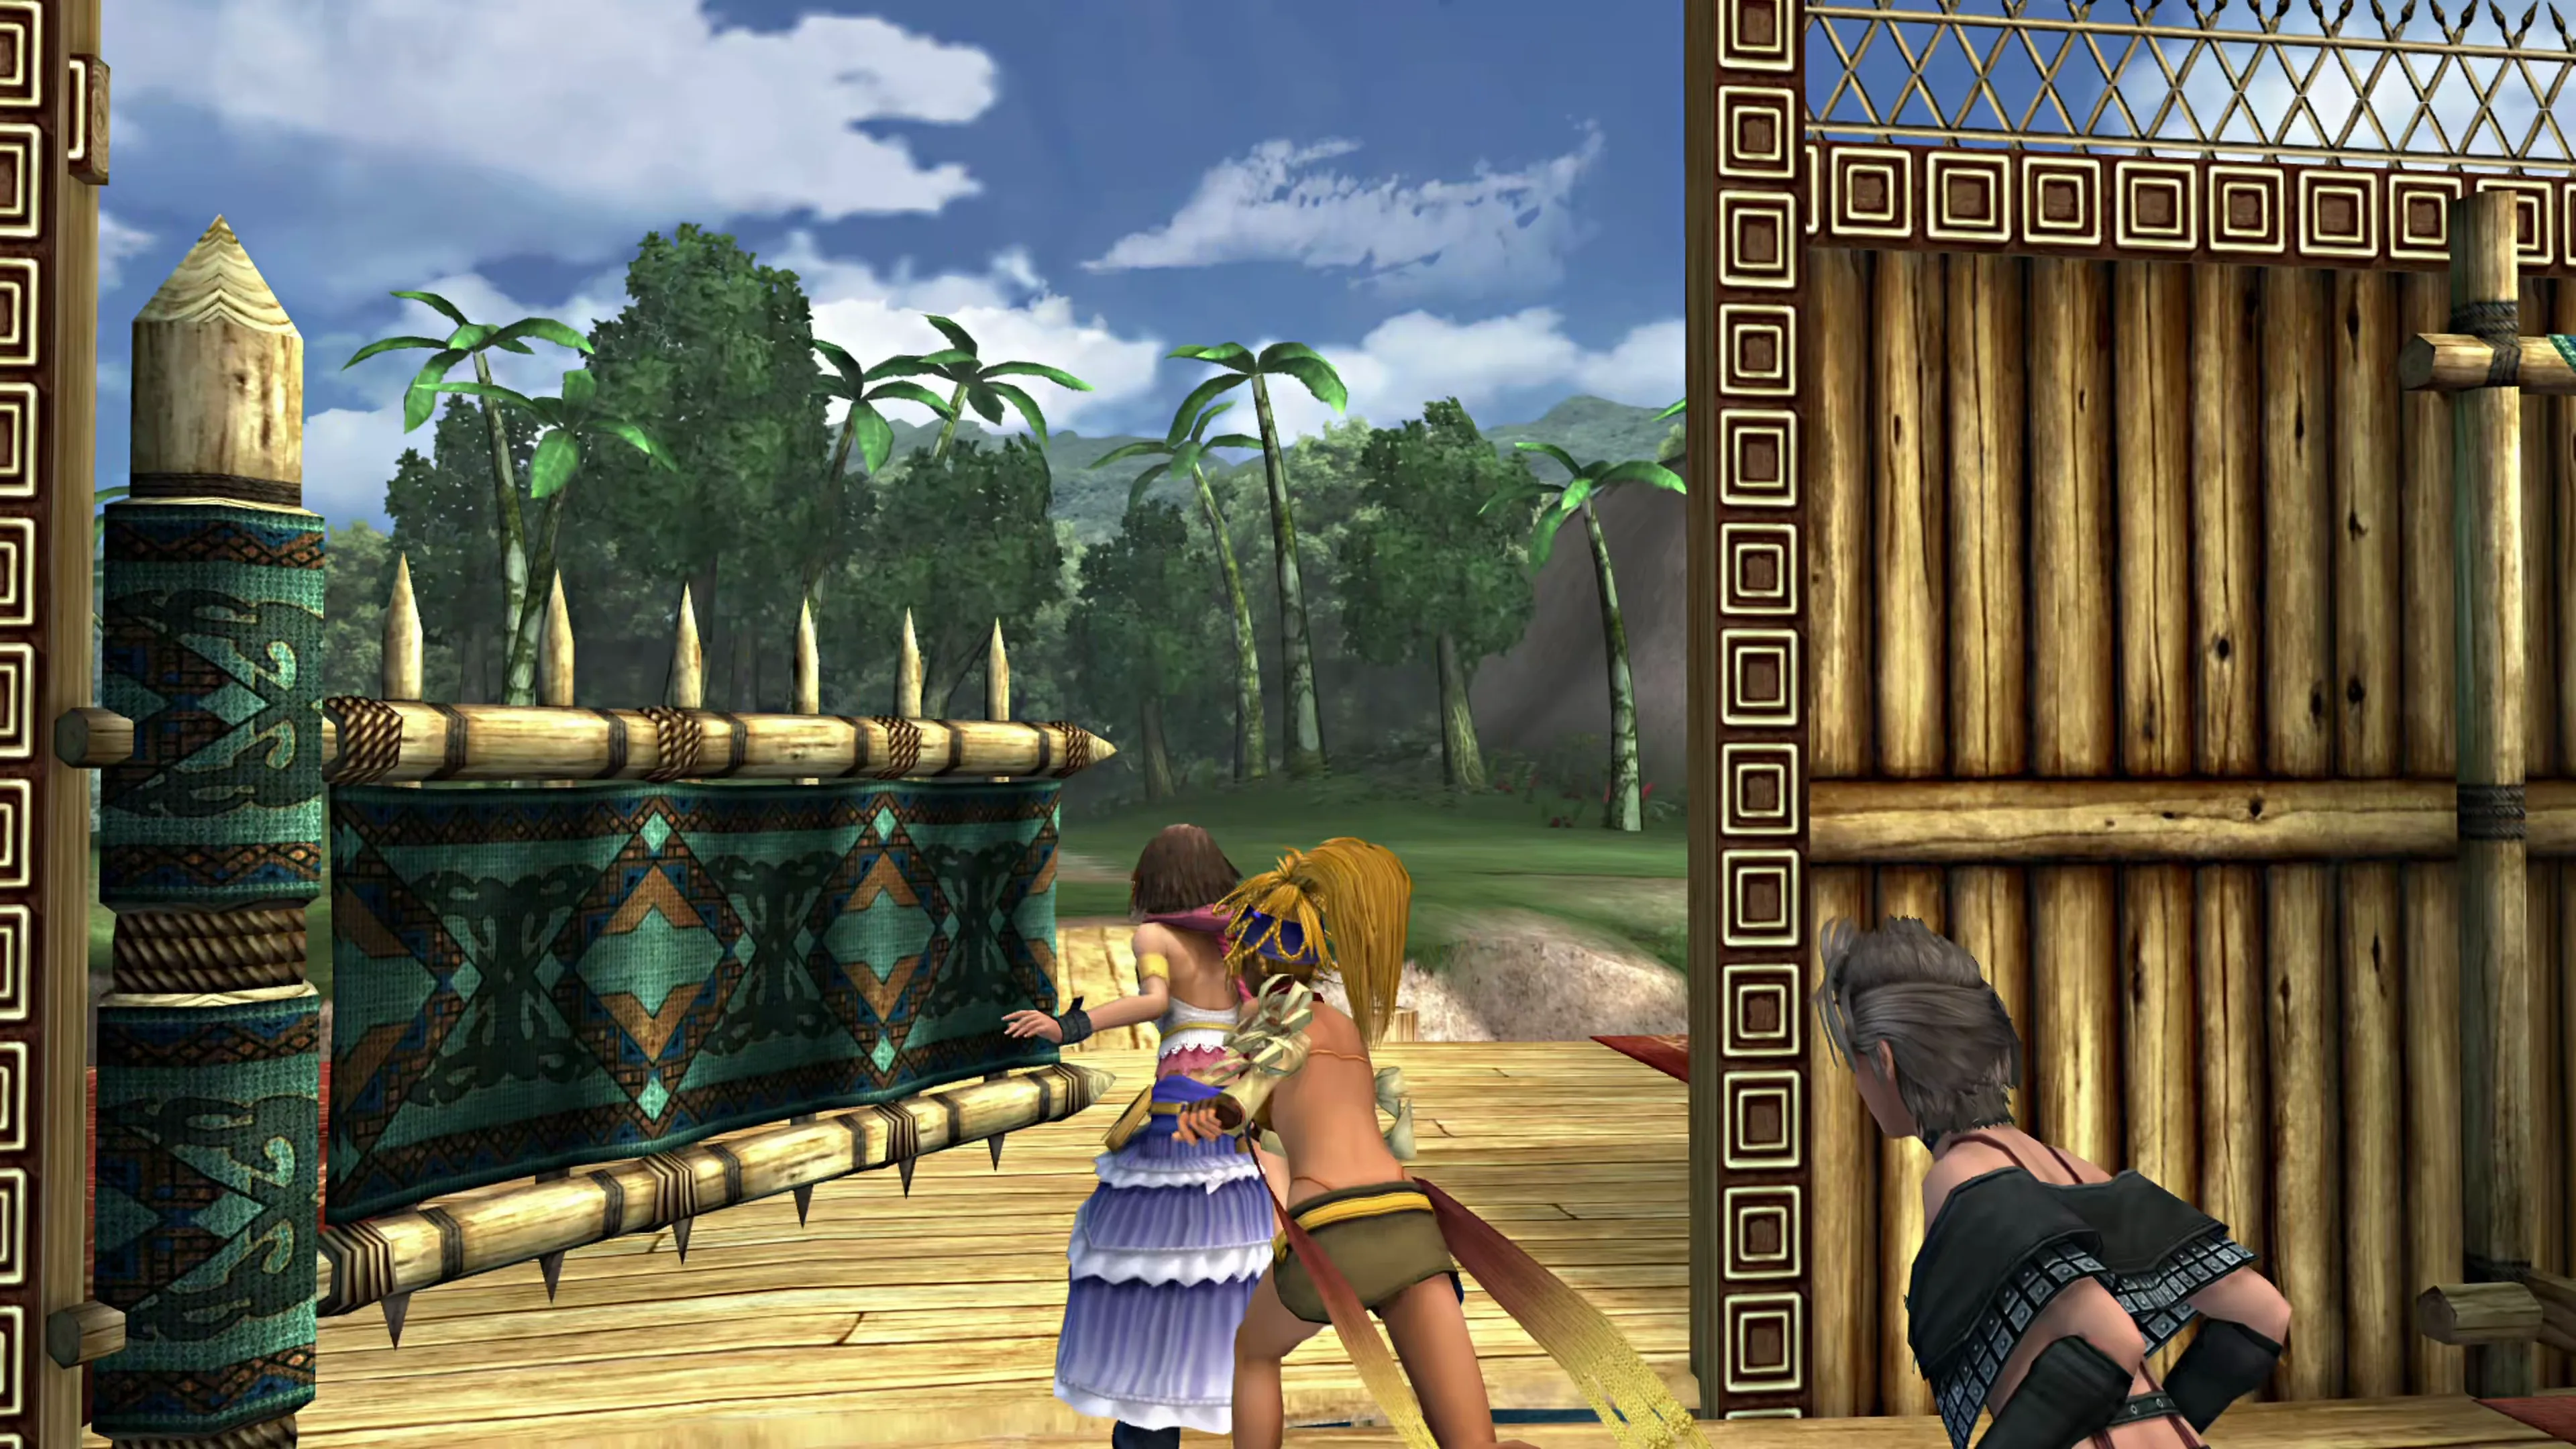 | Press the button. |
Open the treasure chest on the other side of the bridge if you got across successfully, and you’ll obtain a  Bushido Lore accessory.
Kilika Woods
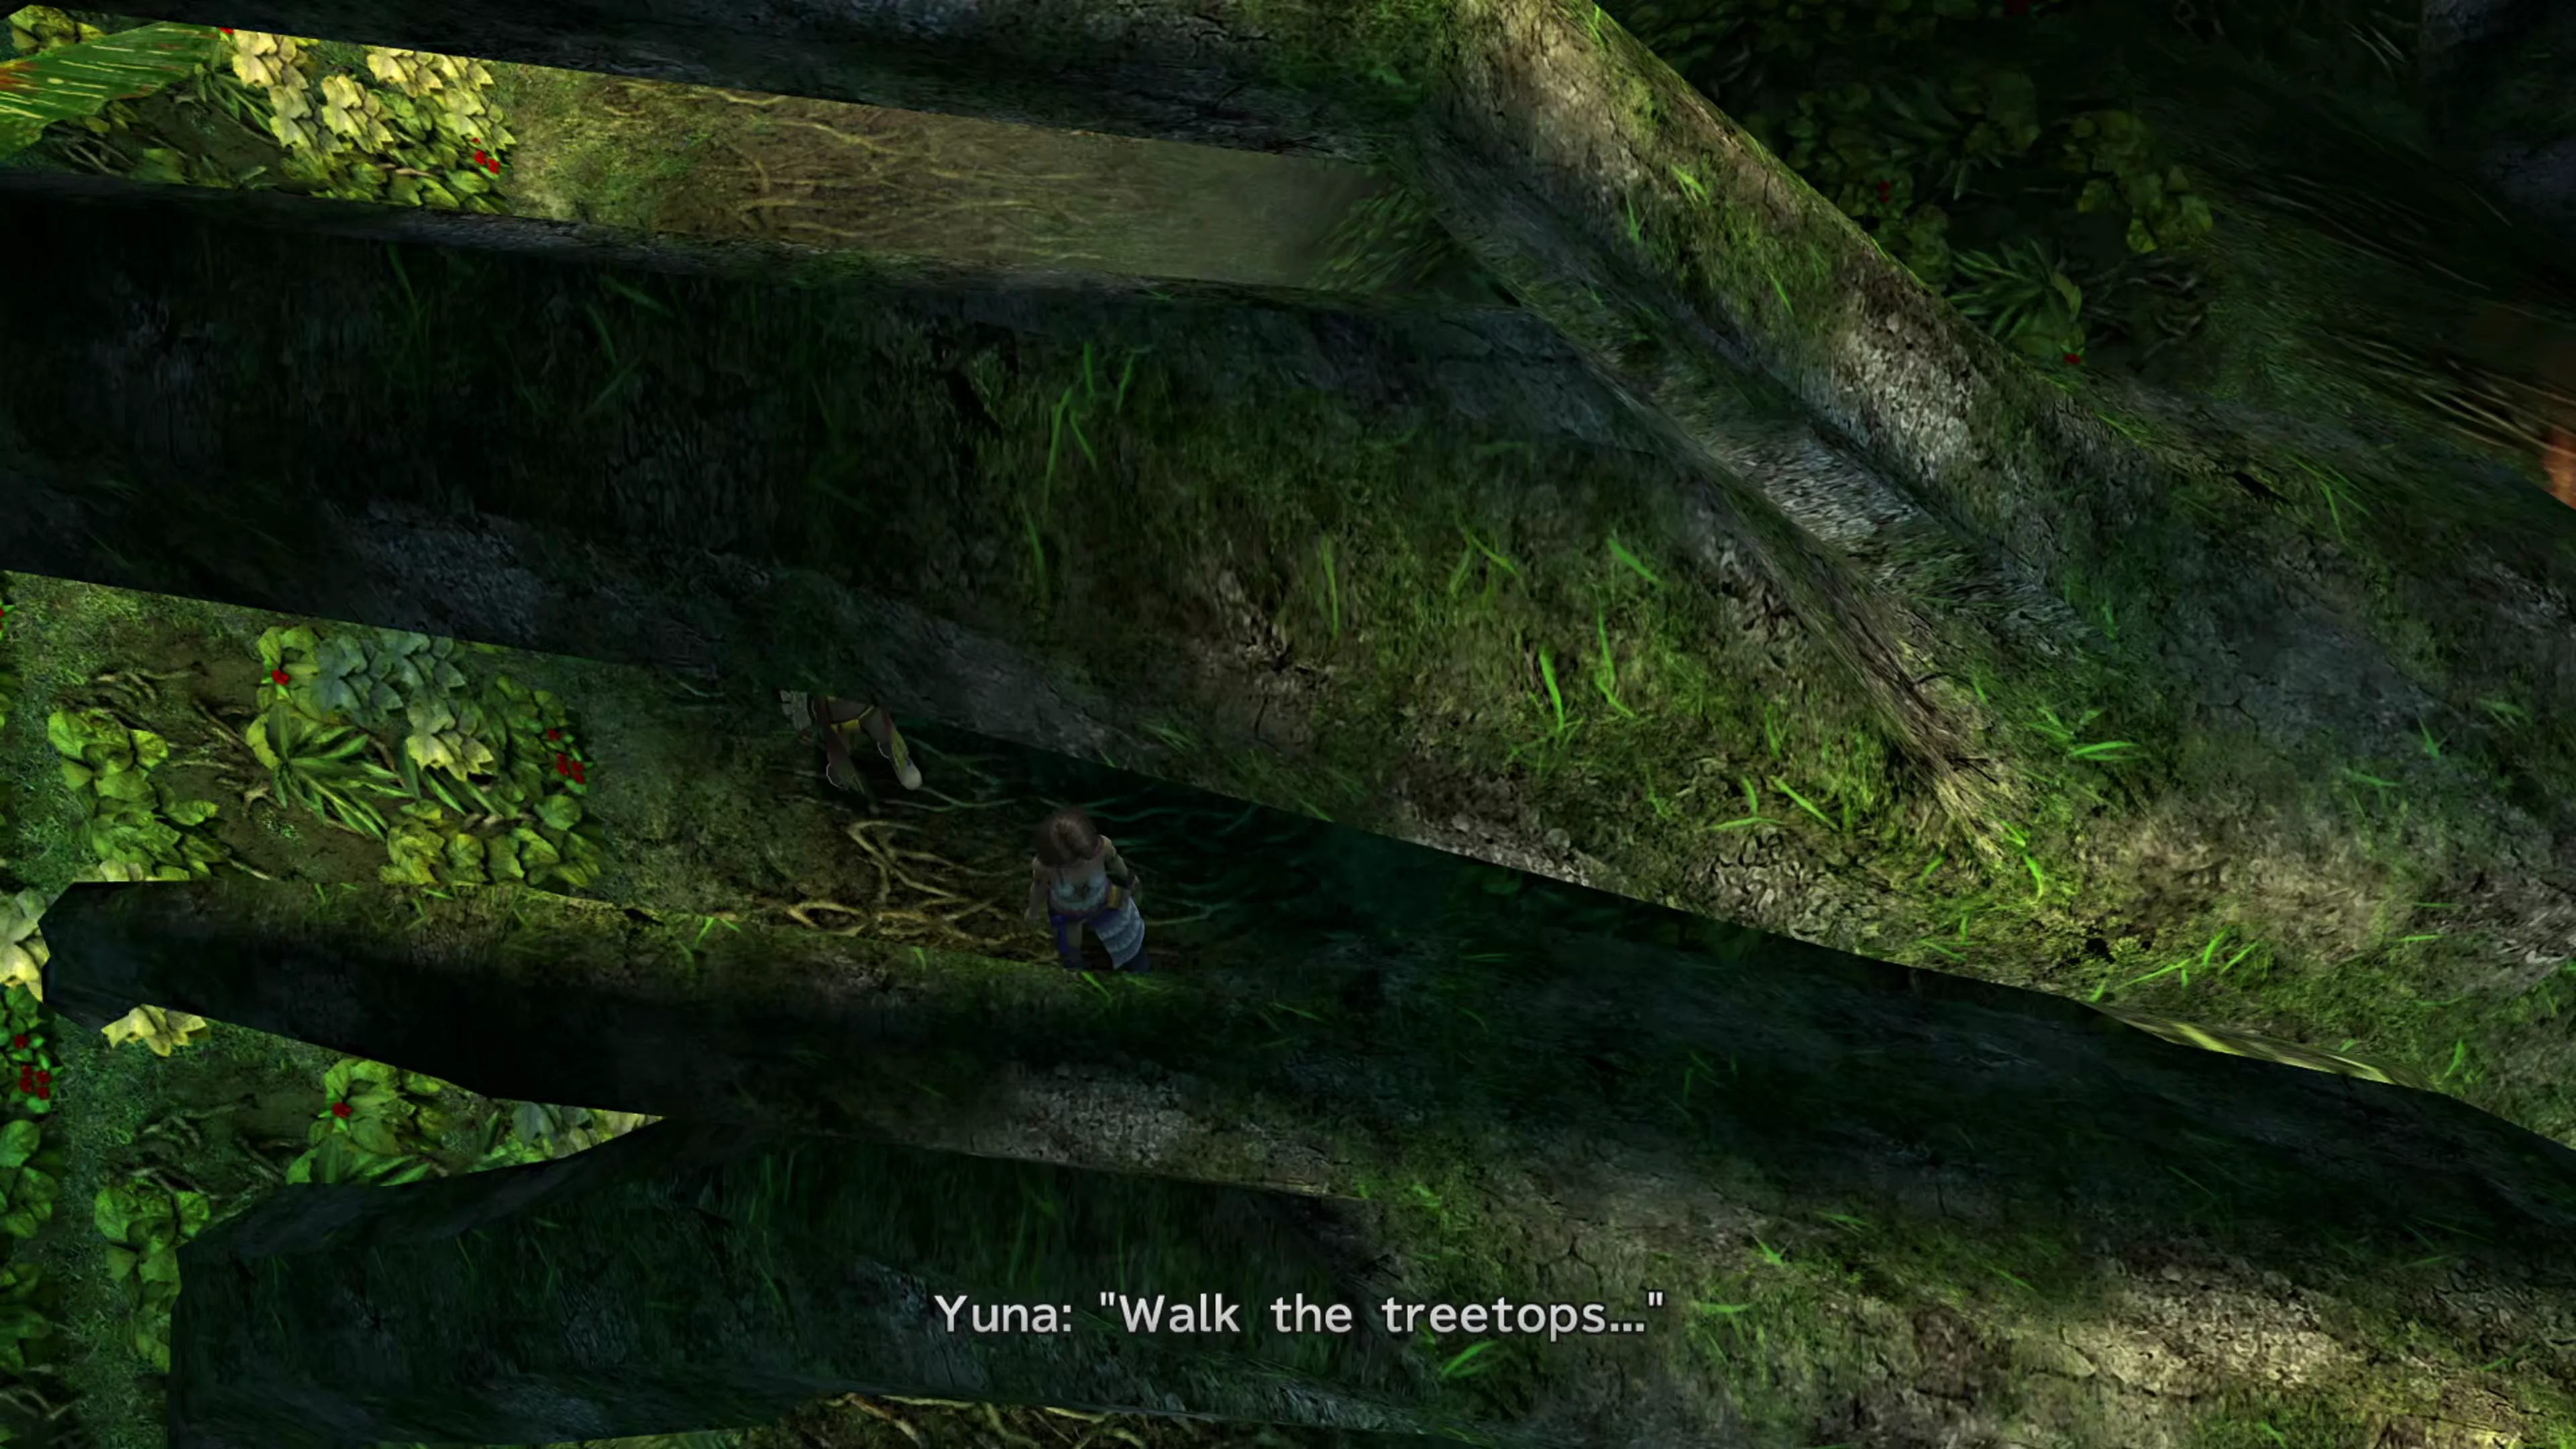
Approach each of the pathways in Kilika Woods; they’re all blocked off, but you need to trigger a short cutscene at each of them before you can trigger the next scene. Head to the middle of the bottom-left pathway to trigger the next cutscene where Yuna, Rikku, and Paine take the ‘secret’ path that, at this point, you have taken numerous times between both games.
Kilika Temple
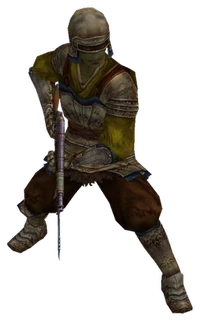
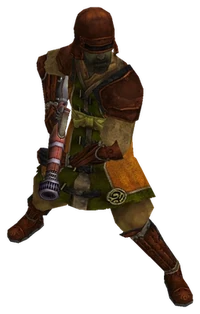
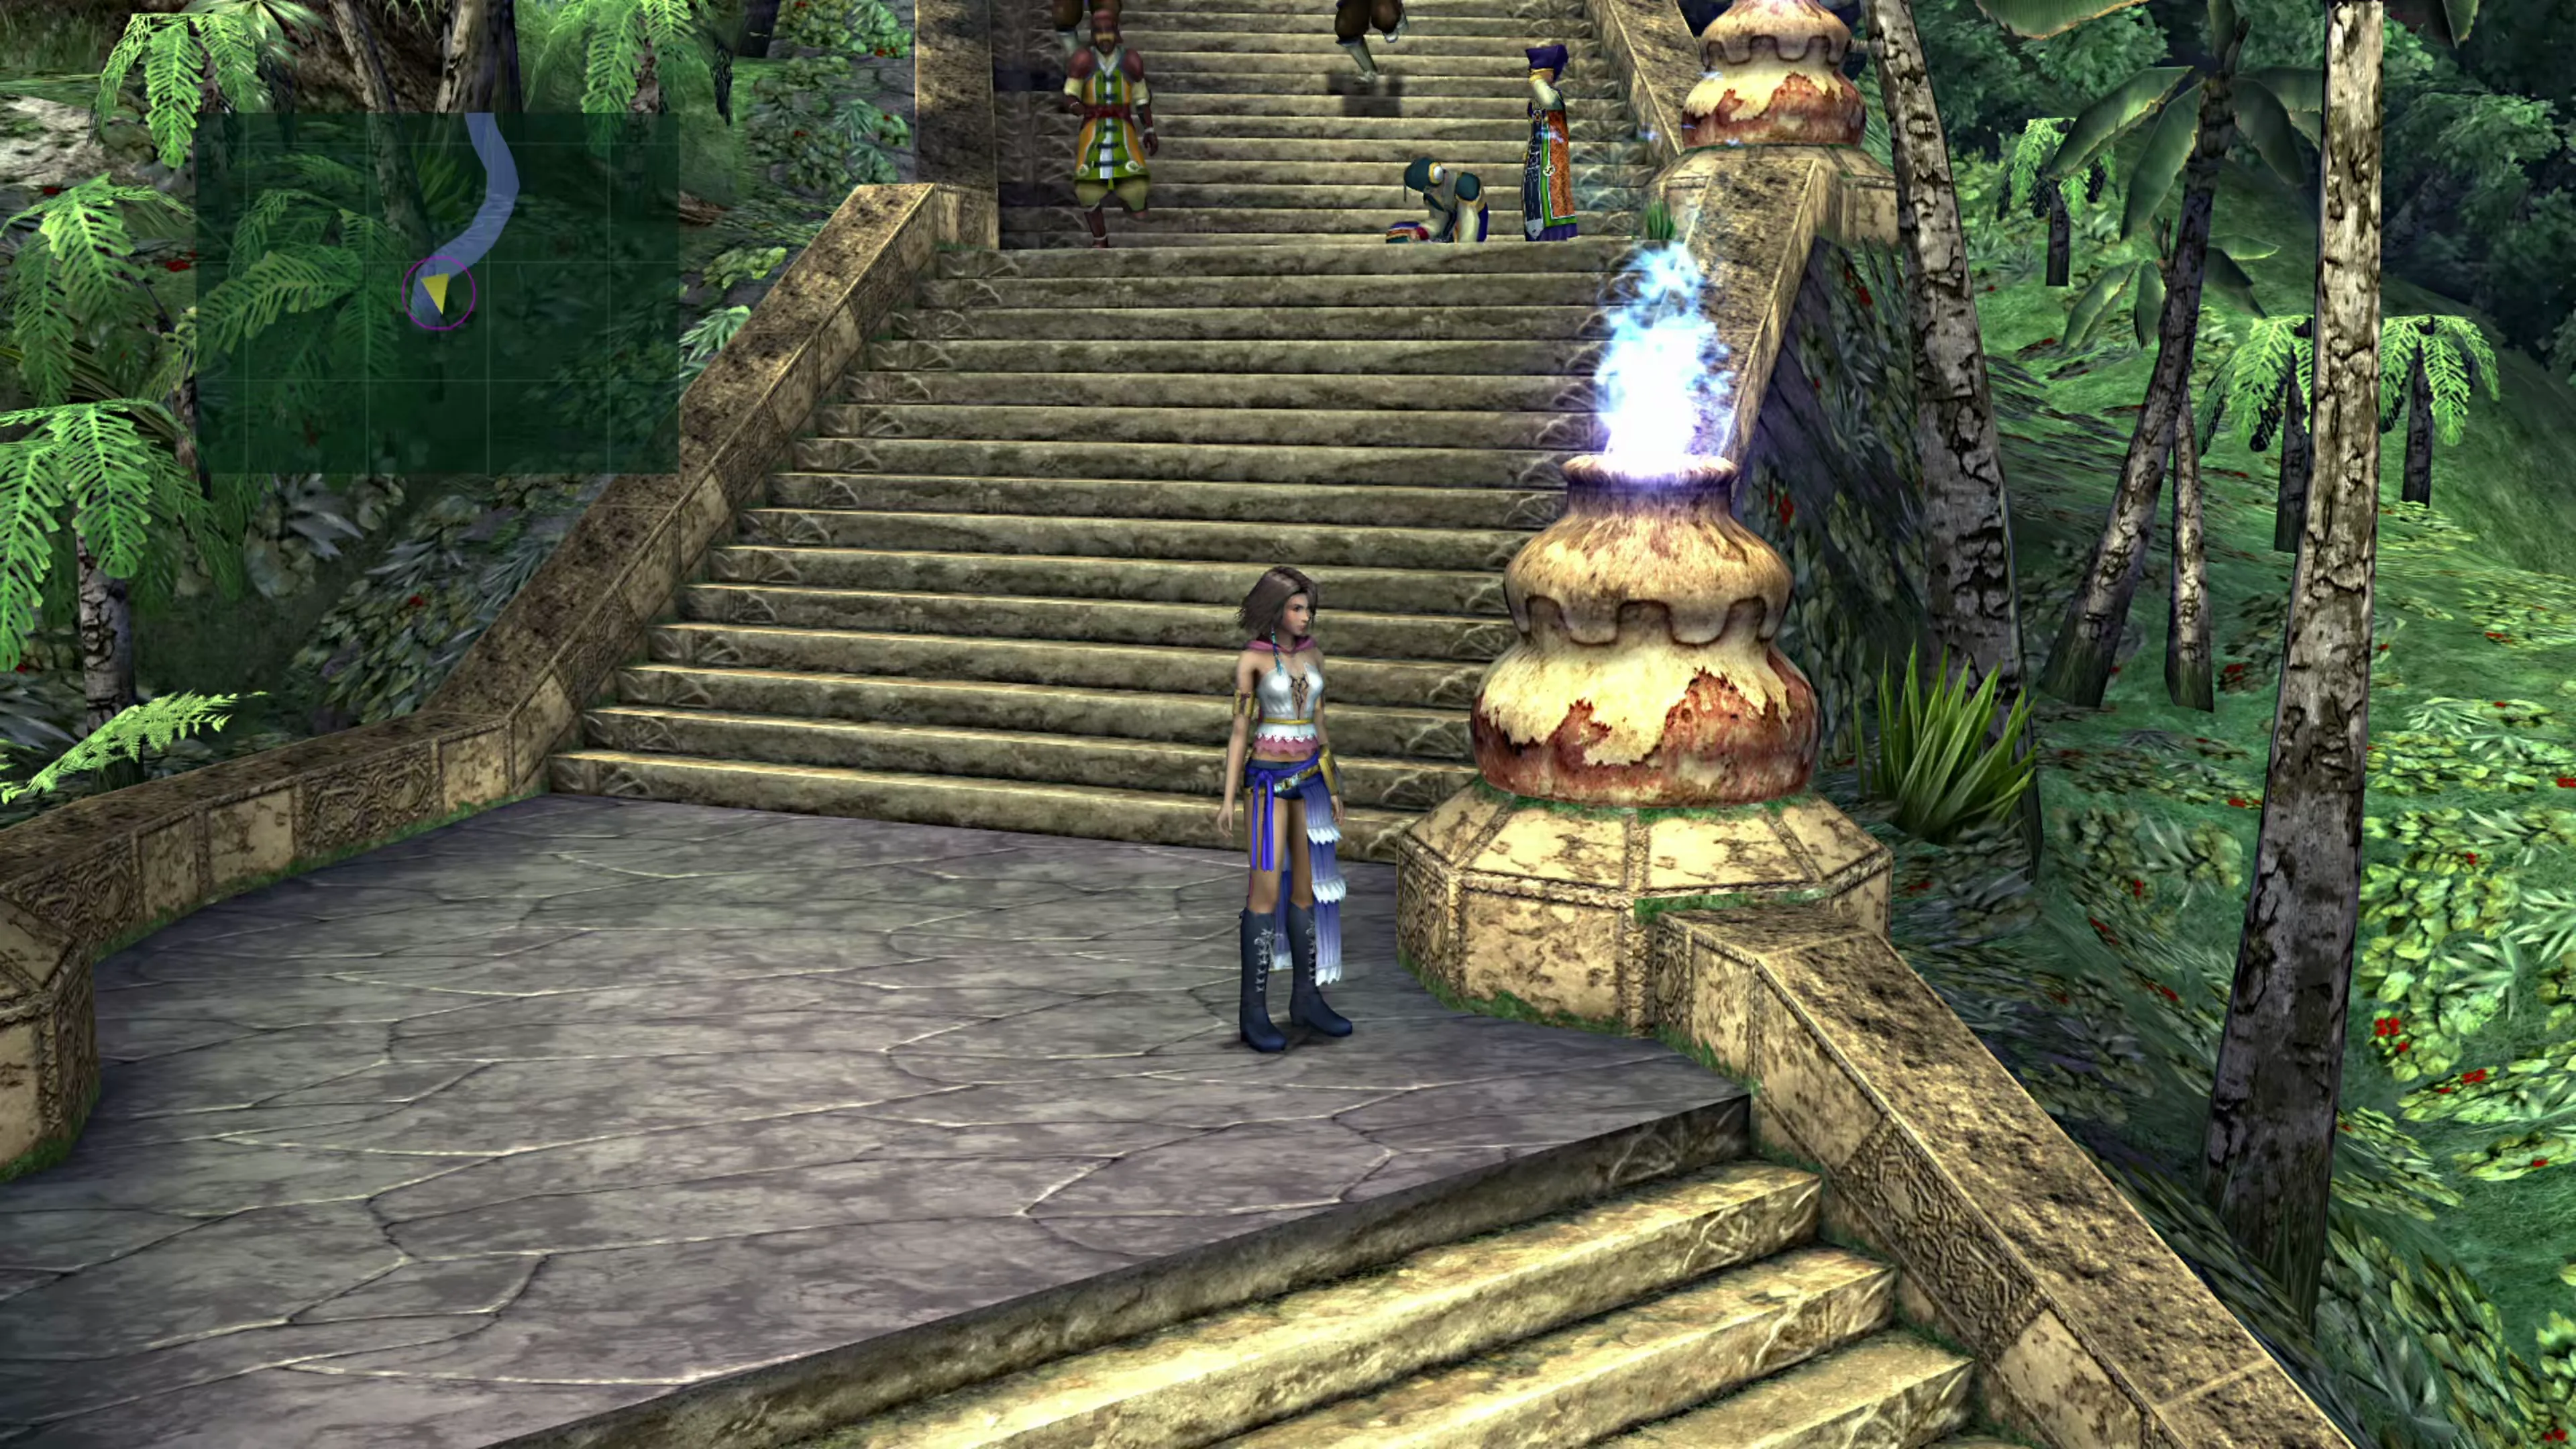
You’ll land on the steps outside the temple. Work your way up towards the temple entrance, and you’ll likely have to deal with a few groups of Yevon Soldiers along the way.
Mission: Pest Control
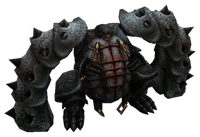
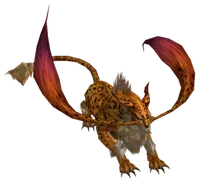
Clearing out Kilika Temple is much more difficult than what you had to do in Besaid Temple, because there are waaay more fiends to deal with. Head into the temple and use the  Save Sphere to save your game.
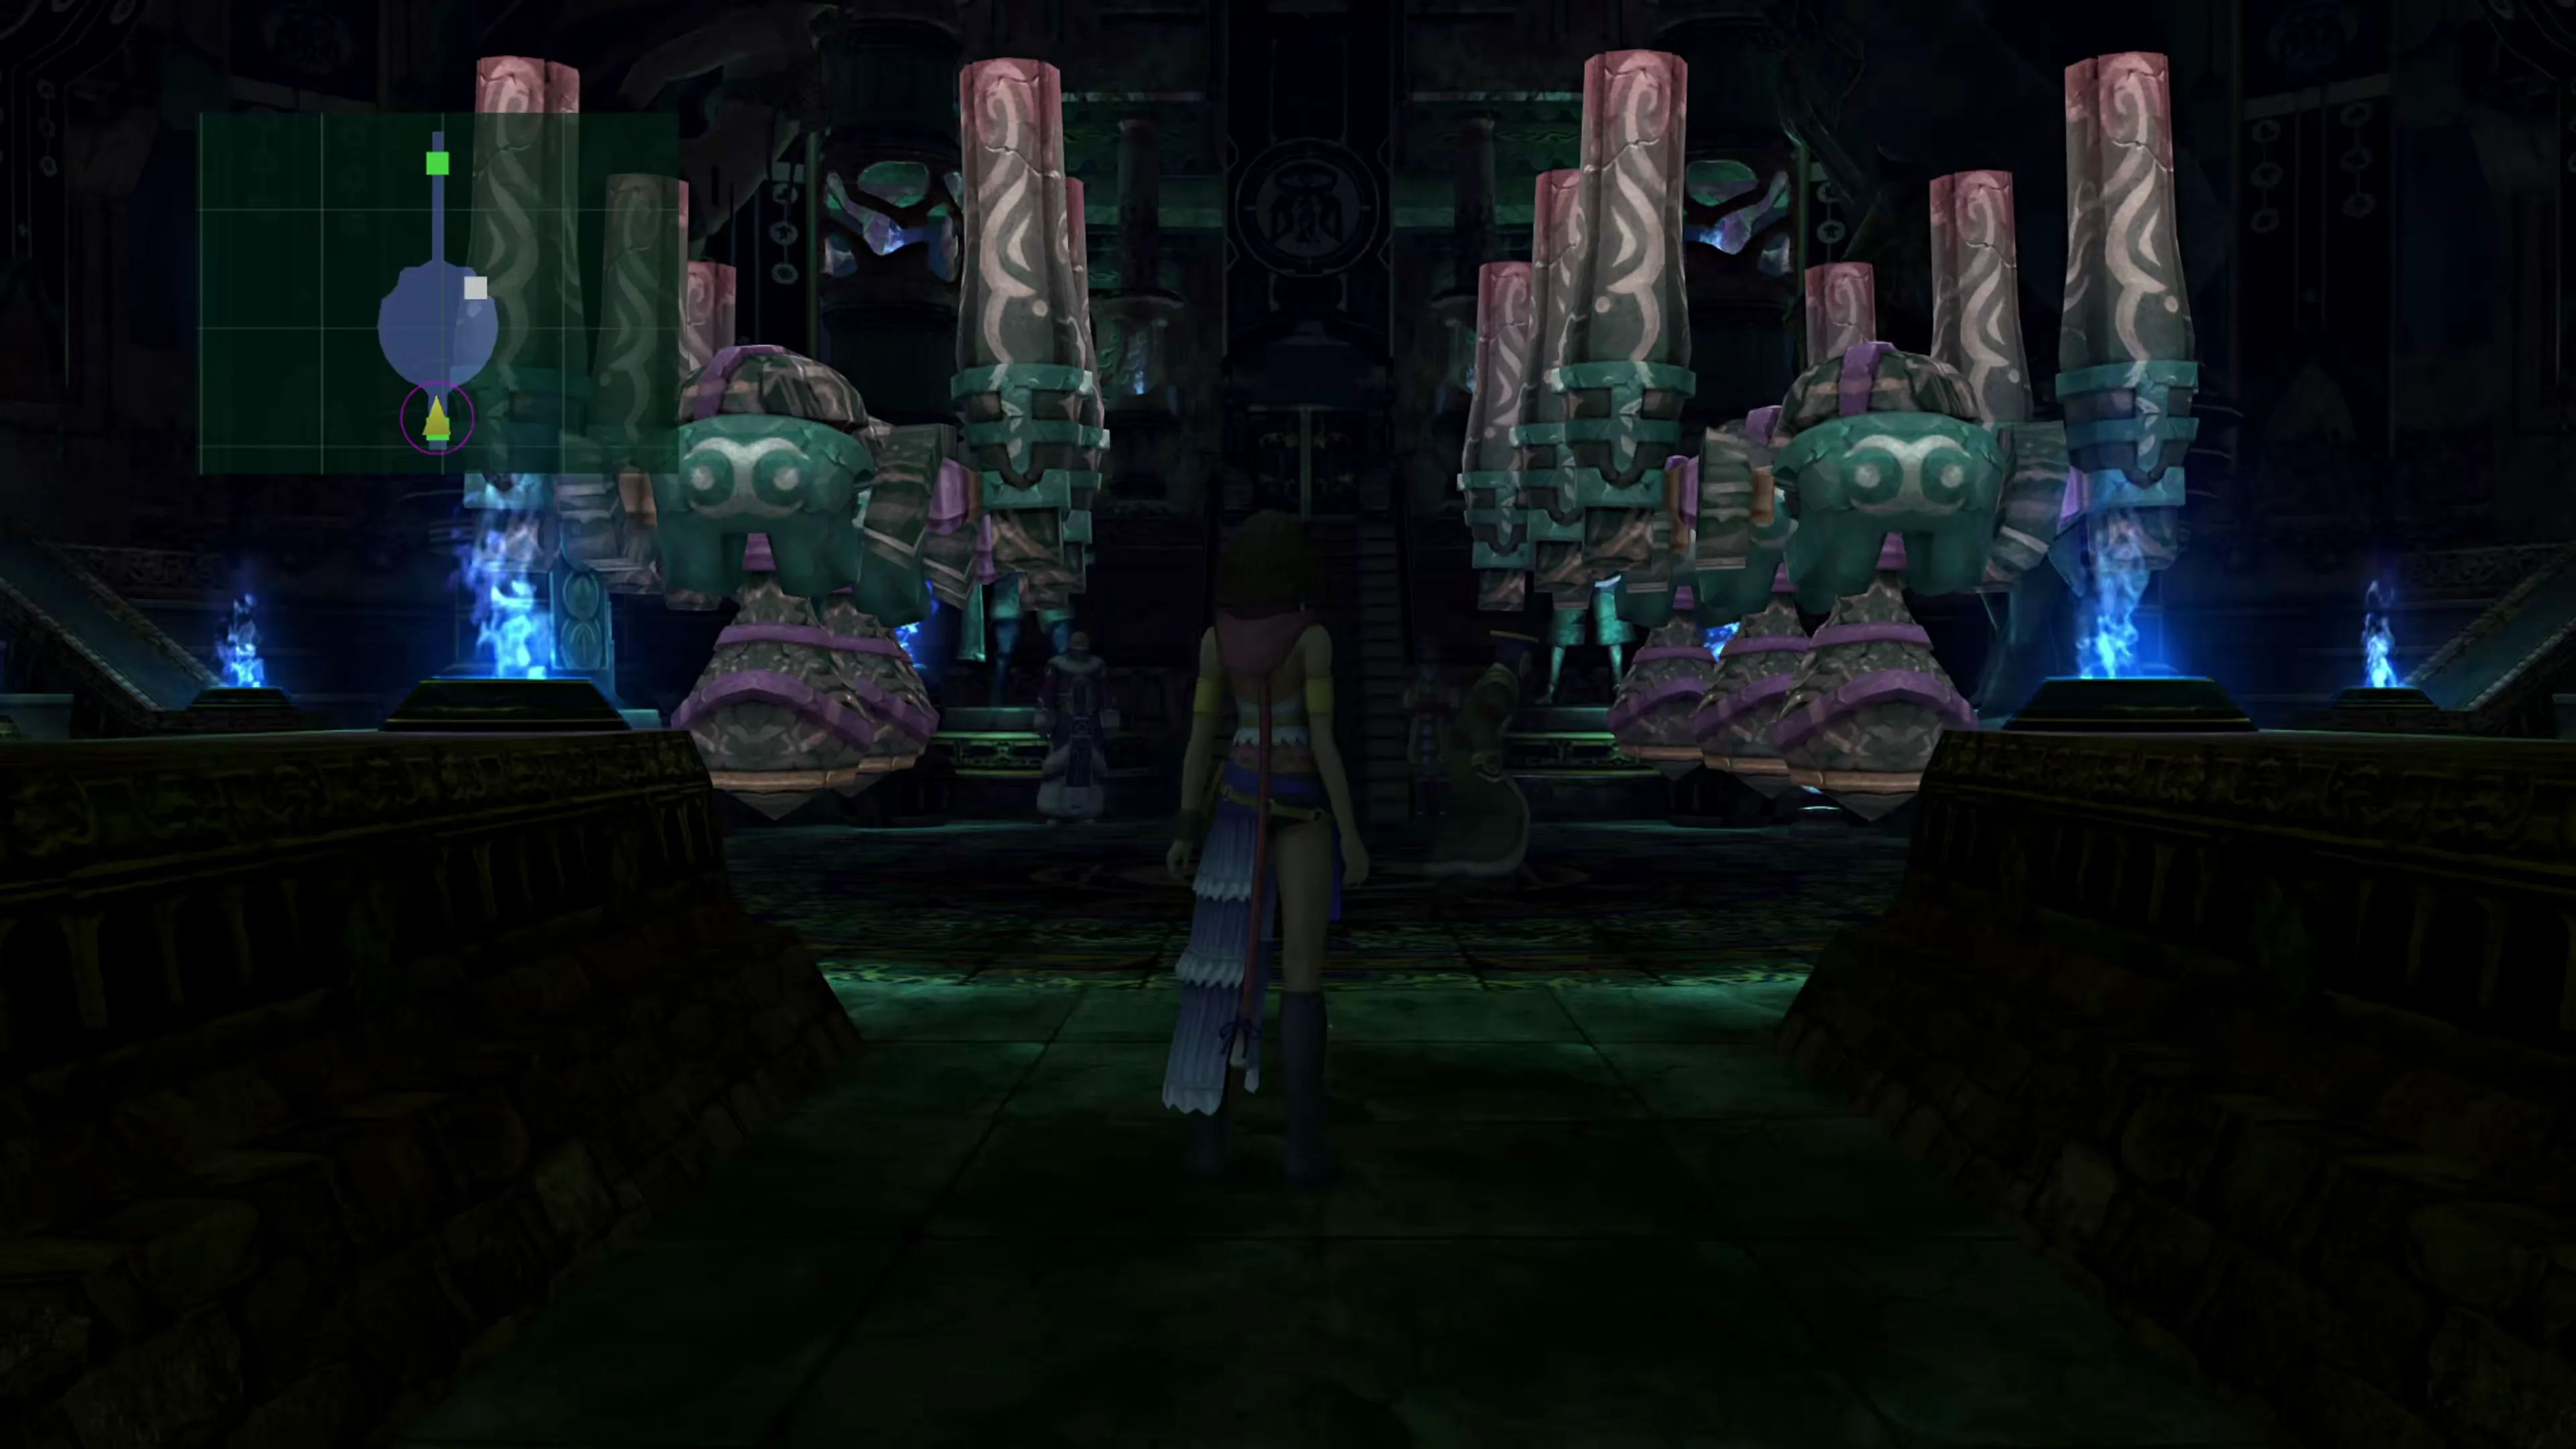
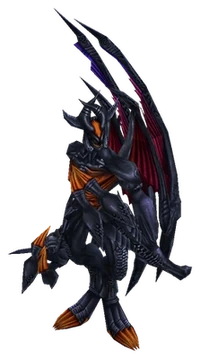

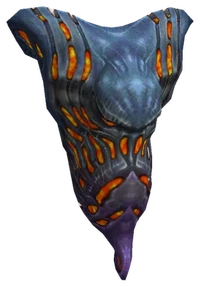
Go through the doors in the Cloister area and challenge the first Daeva you see. These enemies are a bit tougher than standard fiends, but they shouldn’t give you too much of a problem. It will cast  Haste on itself to start the battle, which gives you a nice little window to deal some heavy damage to it before your party members take any damage.
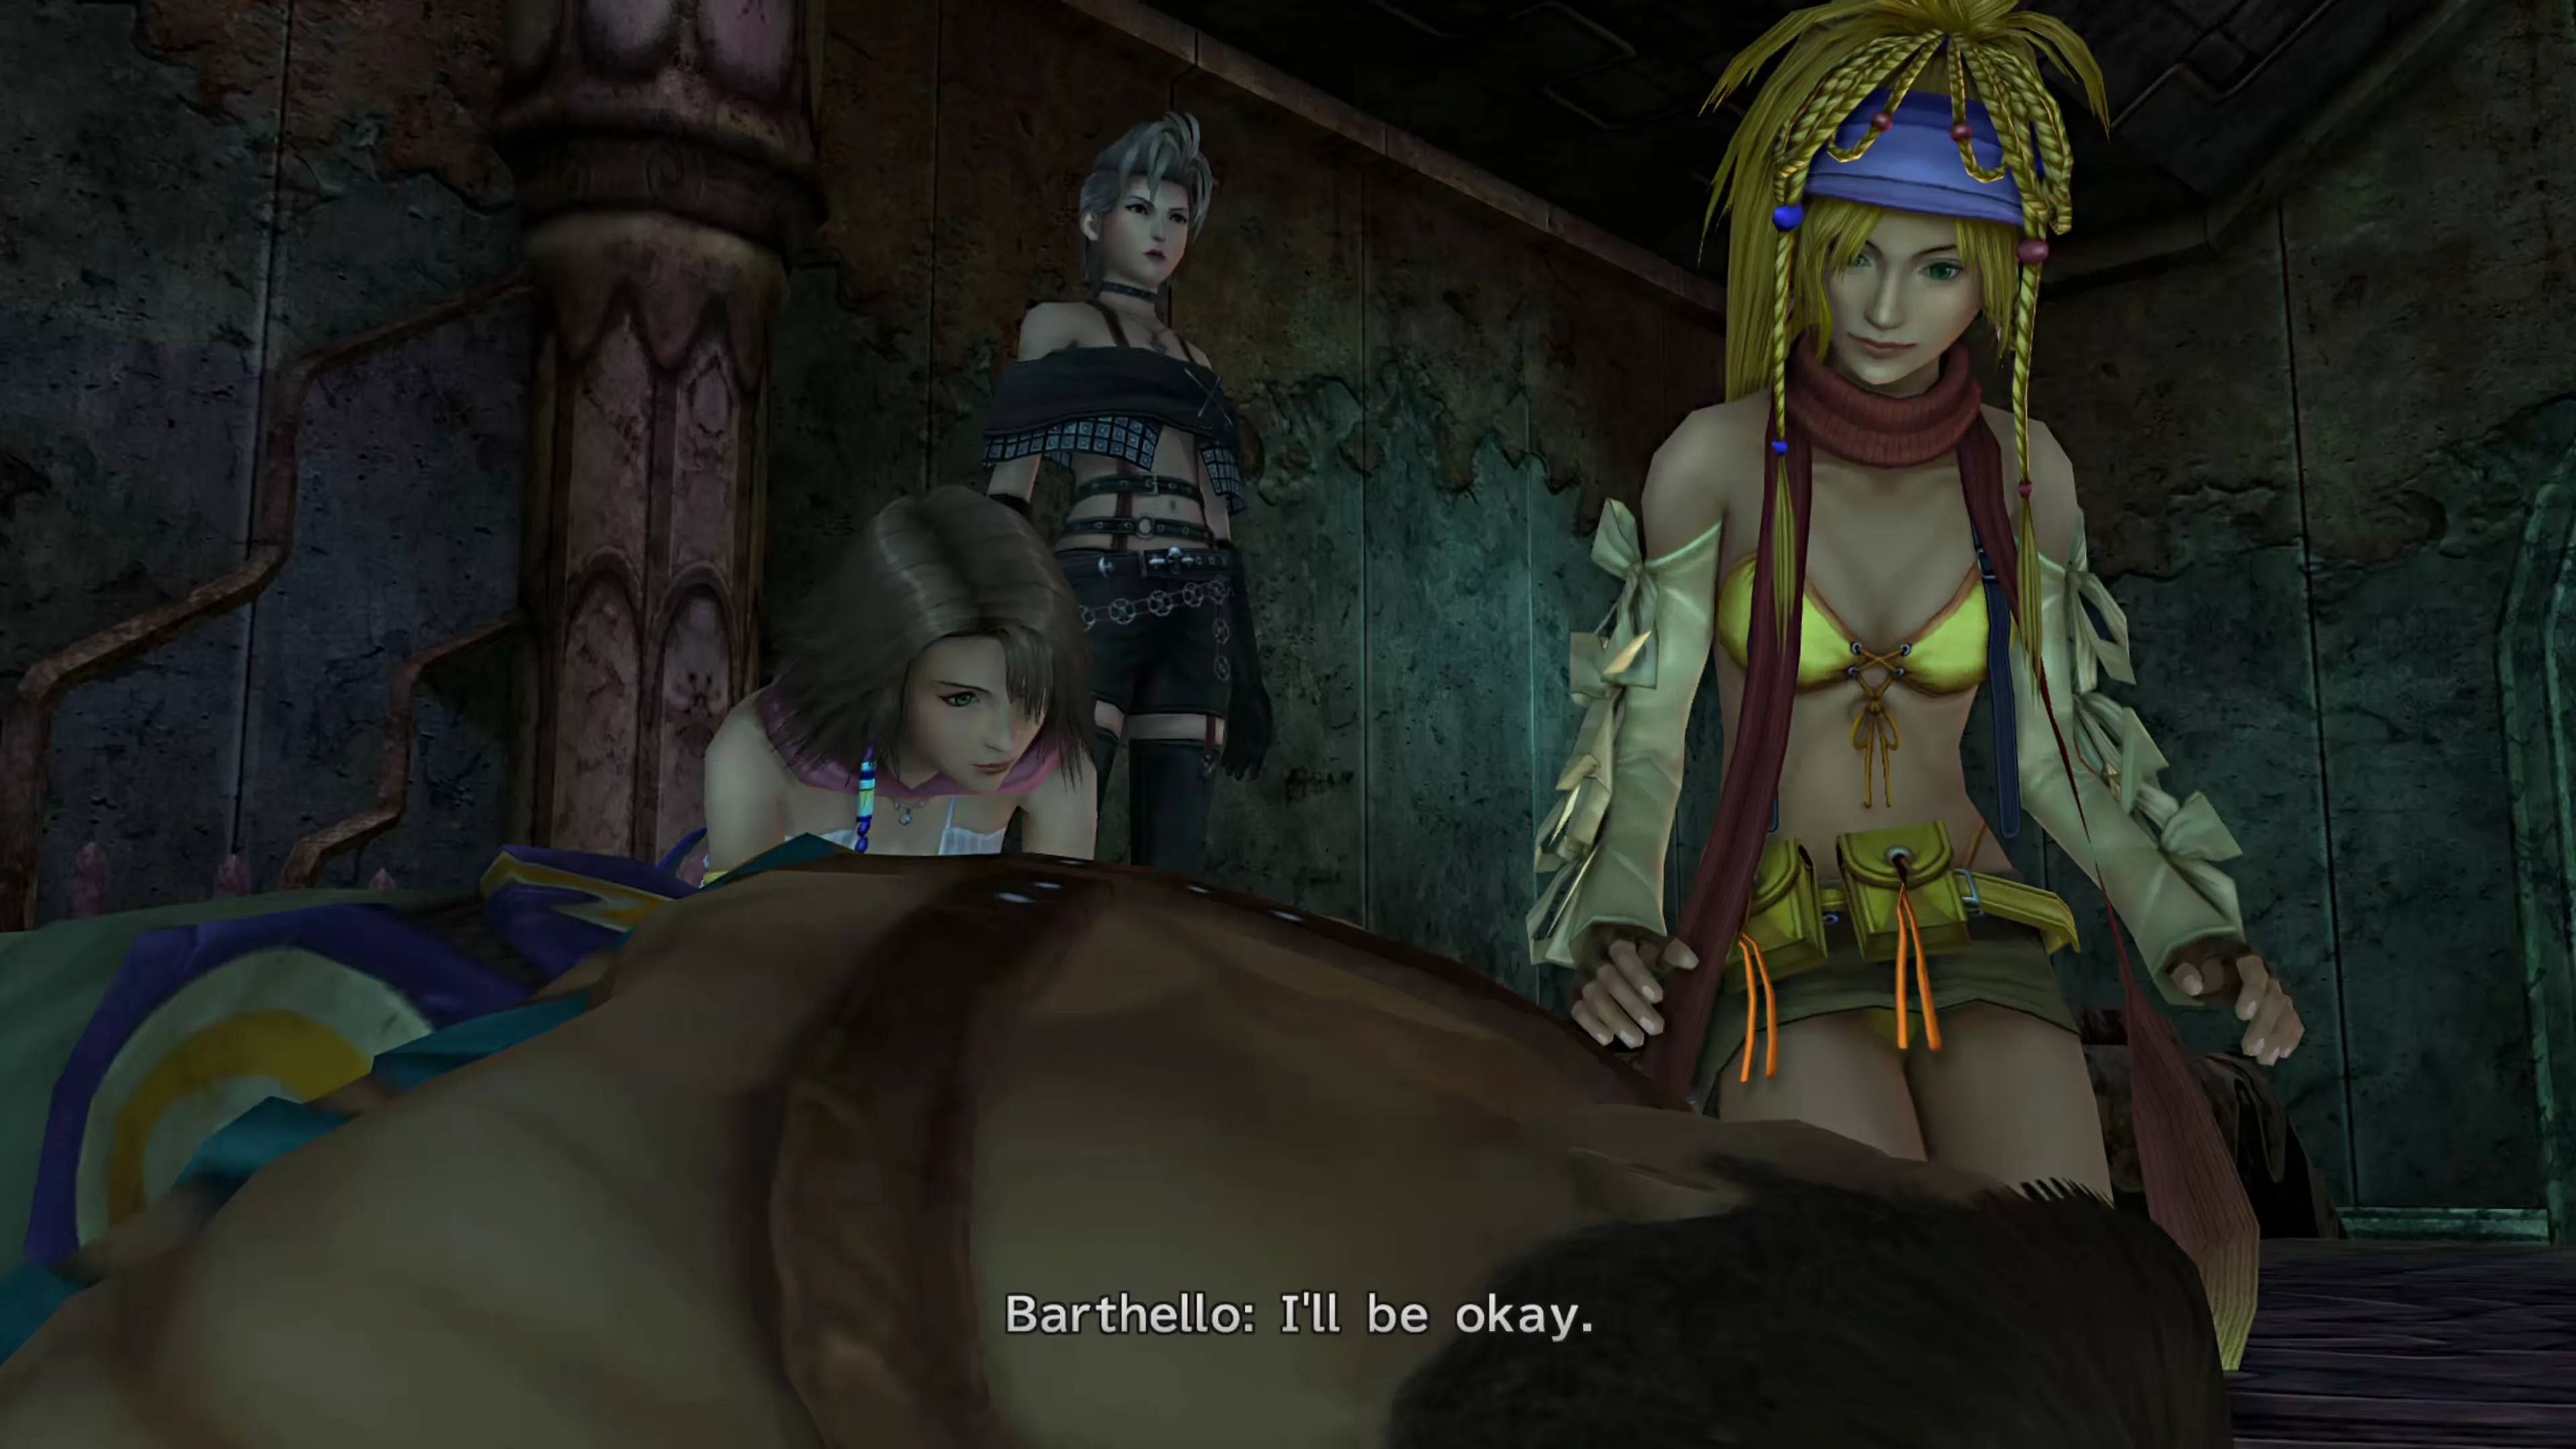
After this first battle, a quick cutscene involving Barthello plays. The cutscene will conclude, and you’ll find yourself facing a doorway that’s blocked by blue flames. Approach the doorway and another Daeva will drop down for you to deal with.
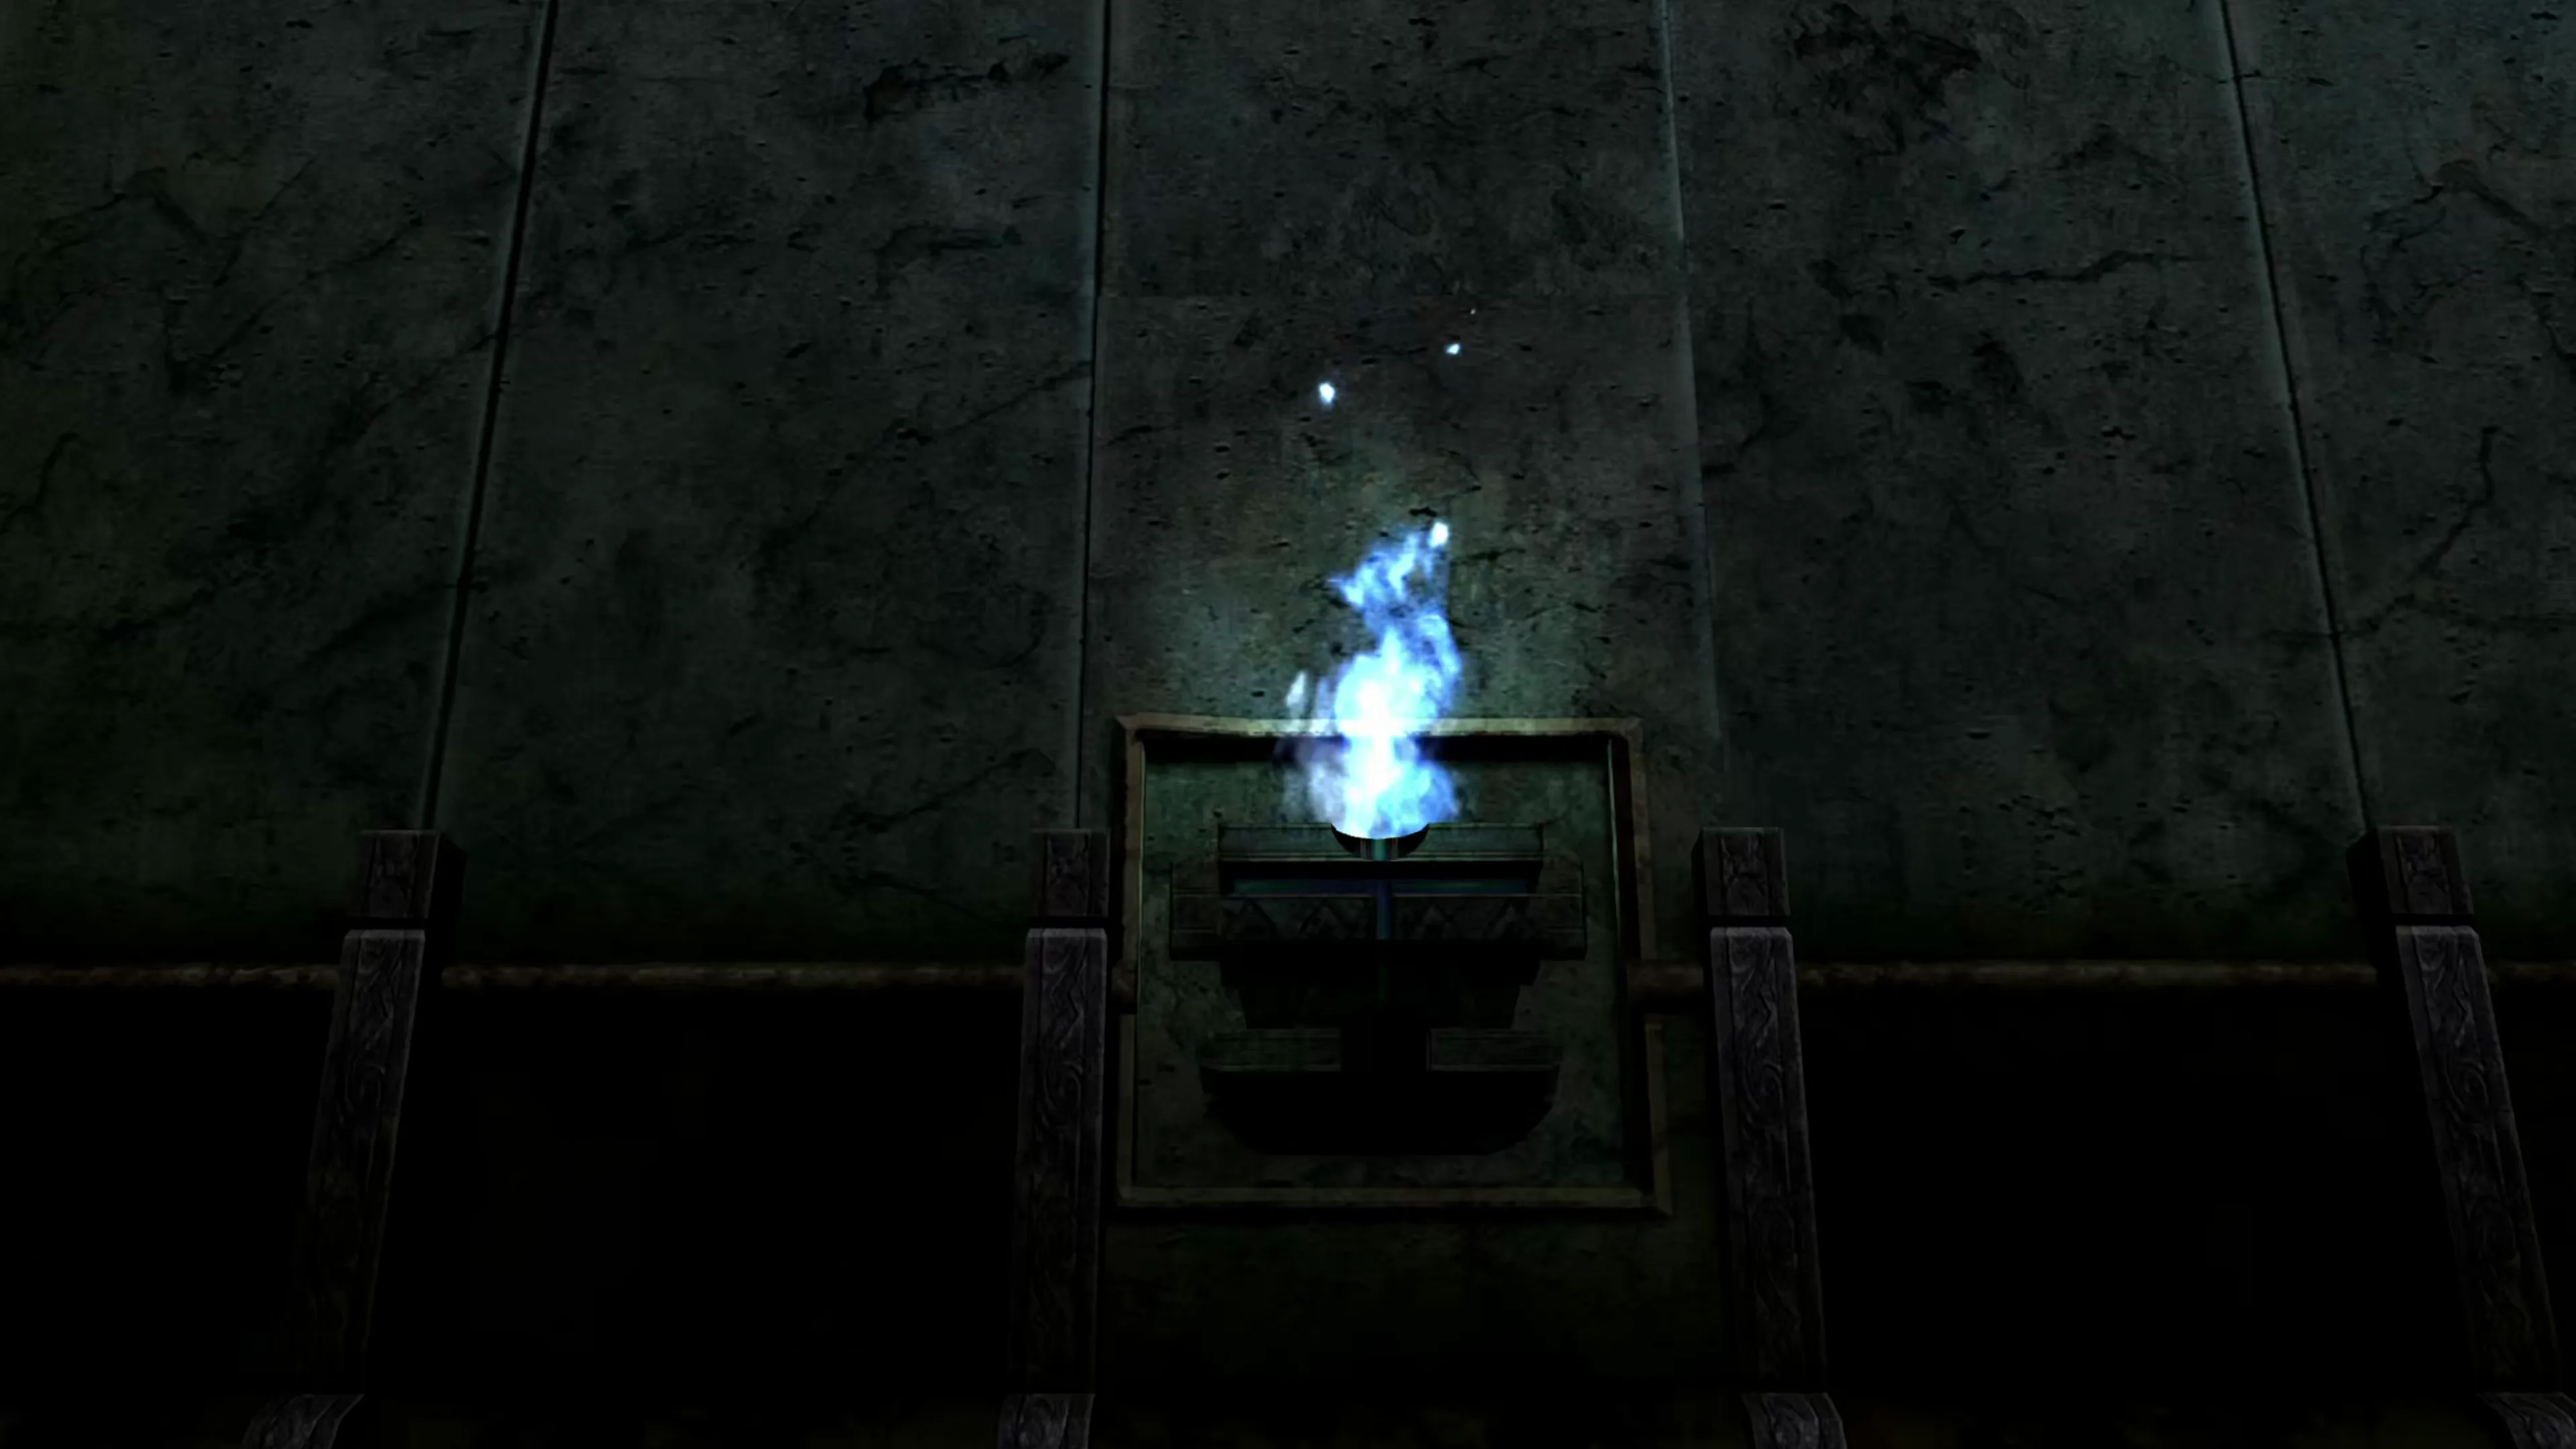
Go into the next room, and you’ll have to touch the blue flame on the left and the right side of the room. Each time you do, you’ll face off against yet another Daeva. Touching both, though, will open a path into the next room.
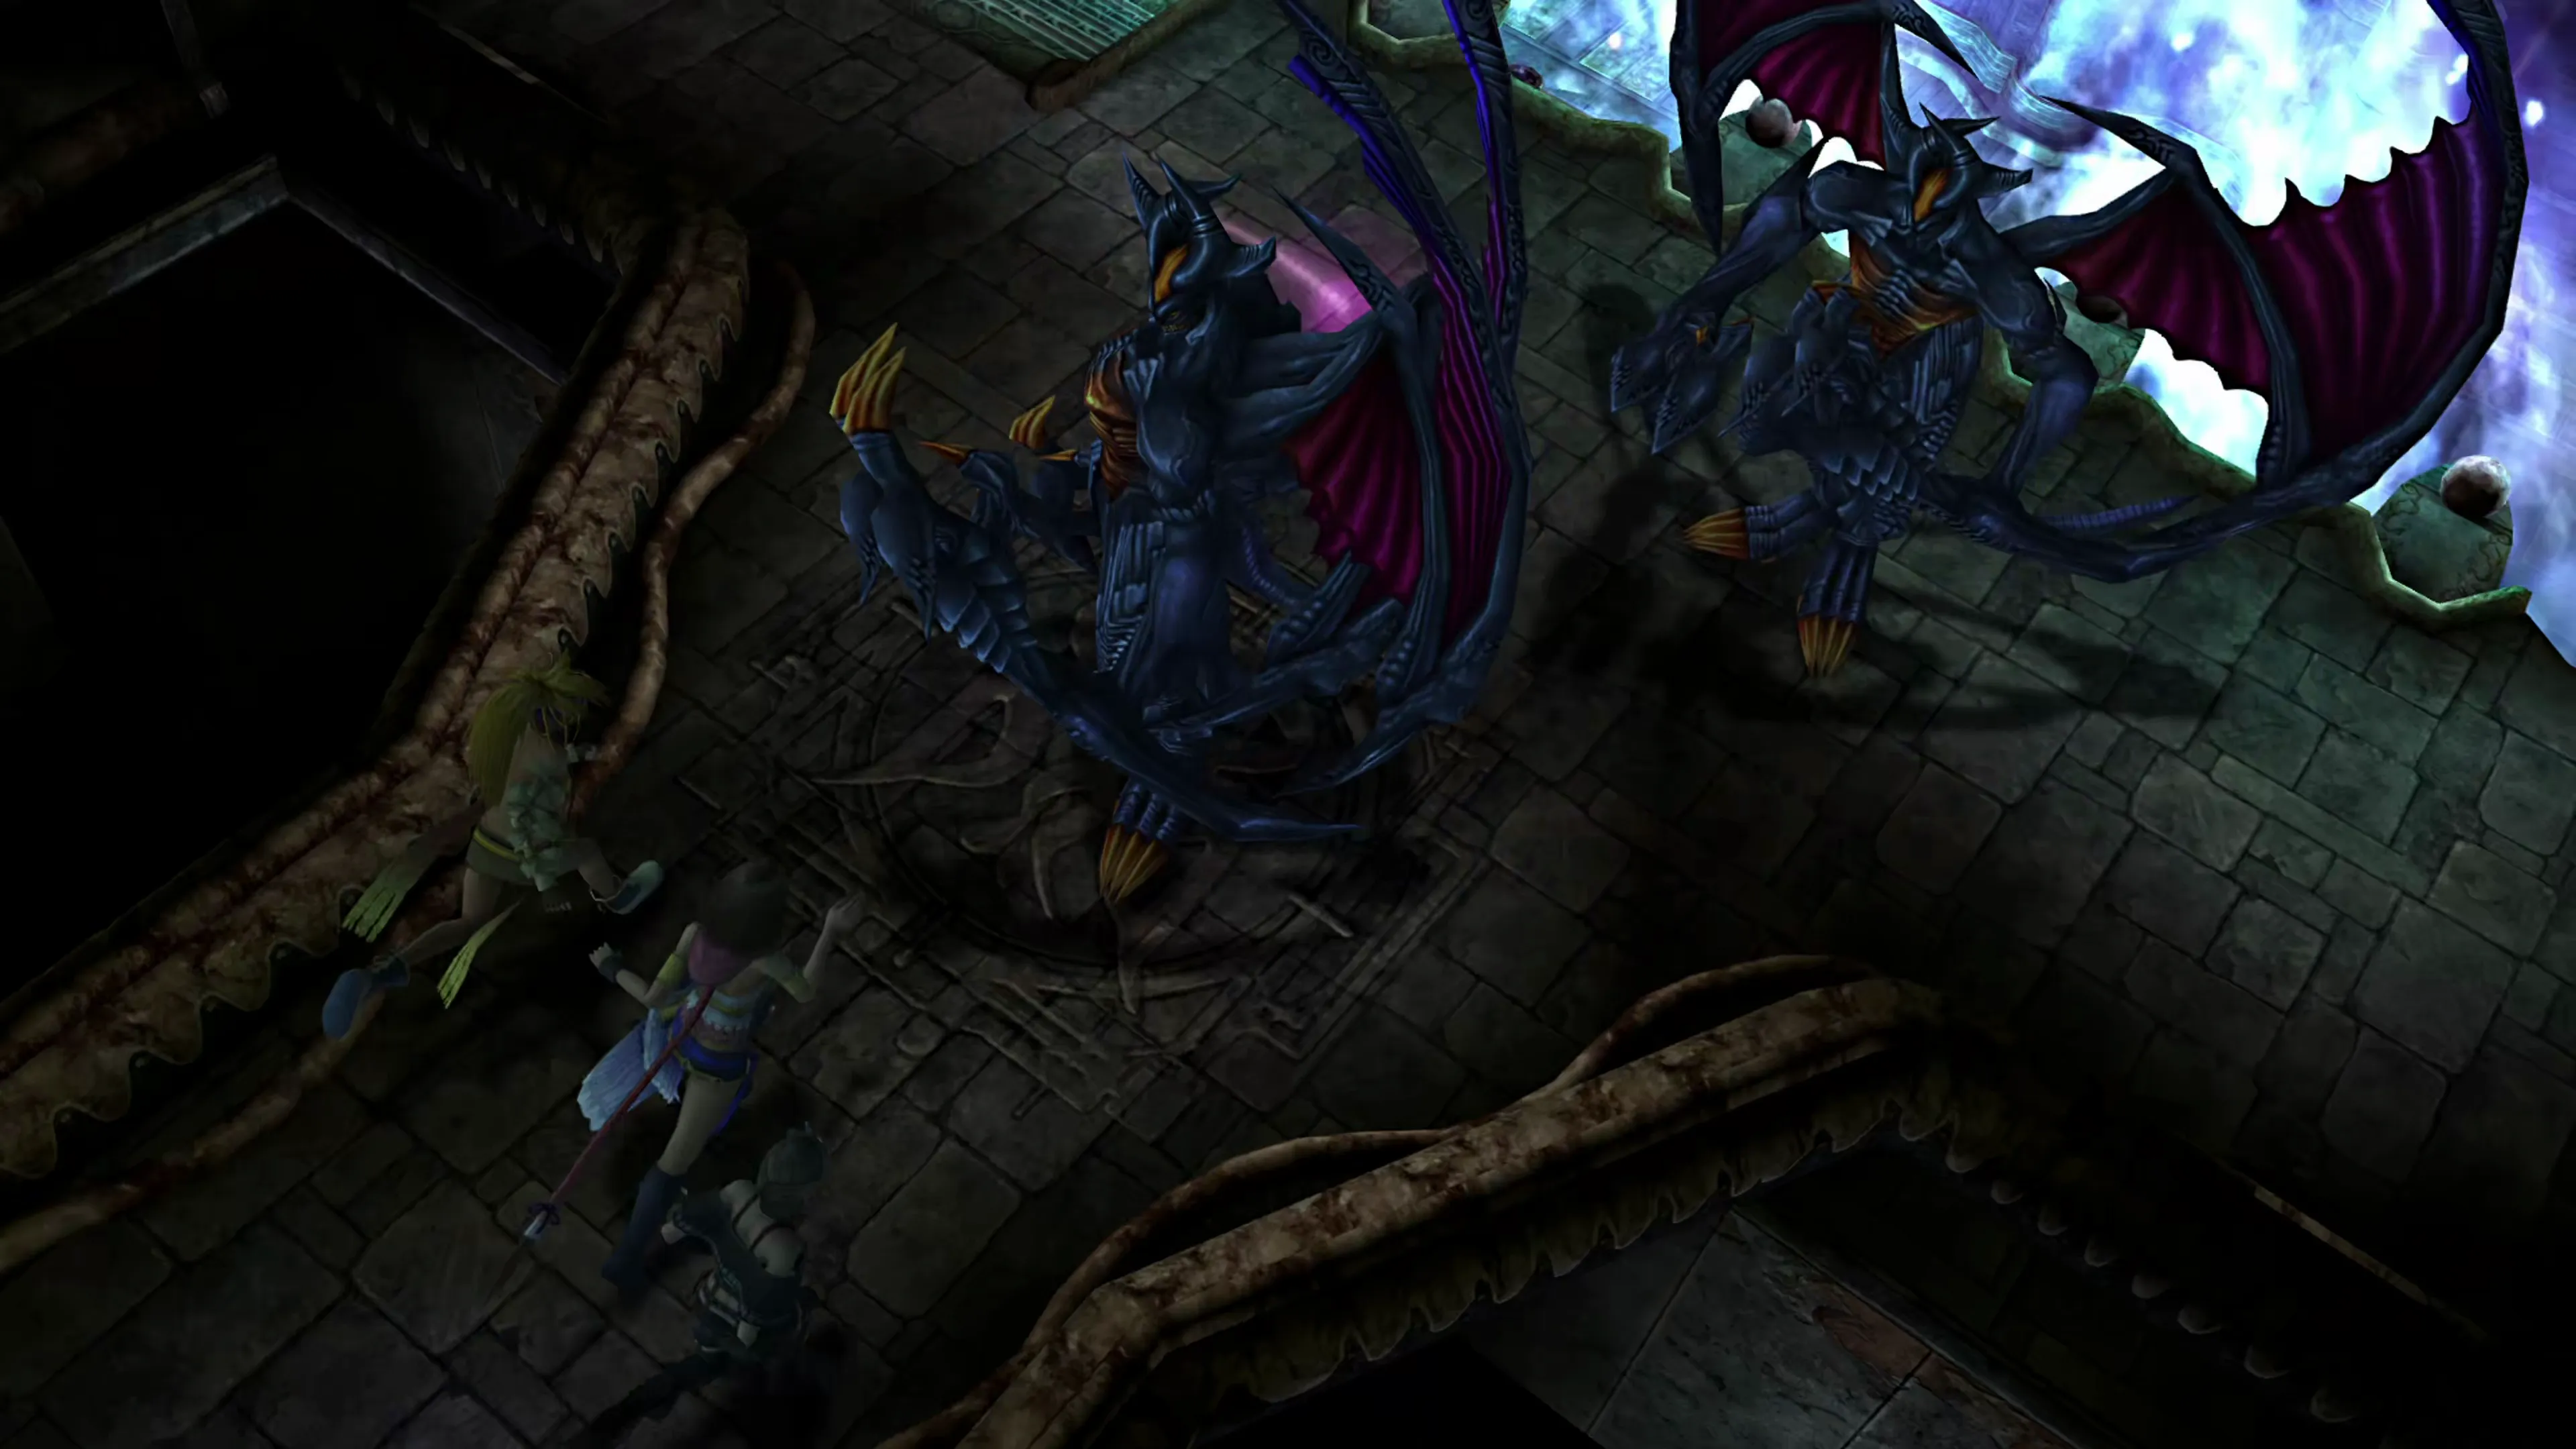
In this room is, you guessed it, another Daeva. But this time, as you approach it, a second Daeva will drop down and join the first in battle. Two Daevas is actually not much harder than facing off against just one, but make sure your party members are healed up.
As you walk along the gap in the floor, from left to right, keep an eye out for a glowing orange sphere. This is your next Dressphere, the  Samurai. As far as Dresspheres go, the Samurai role is an alright one, but certainly not as strong as the last one you got for the
  Dark Knight.
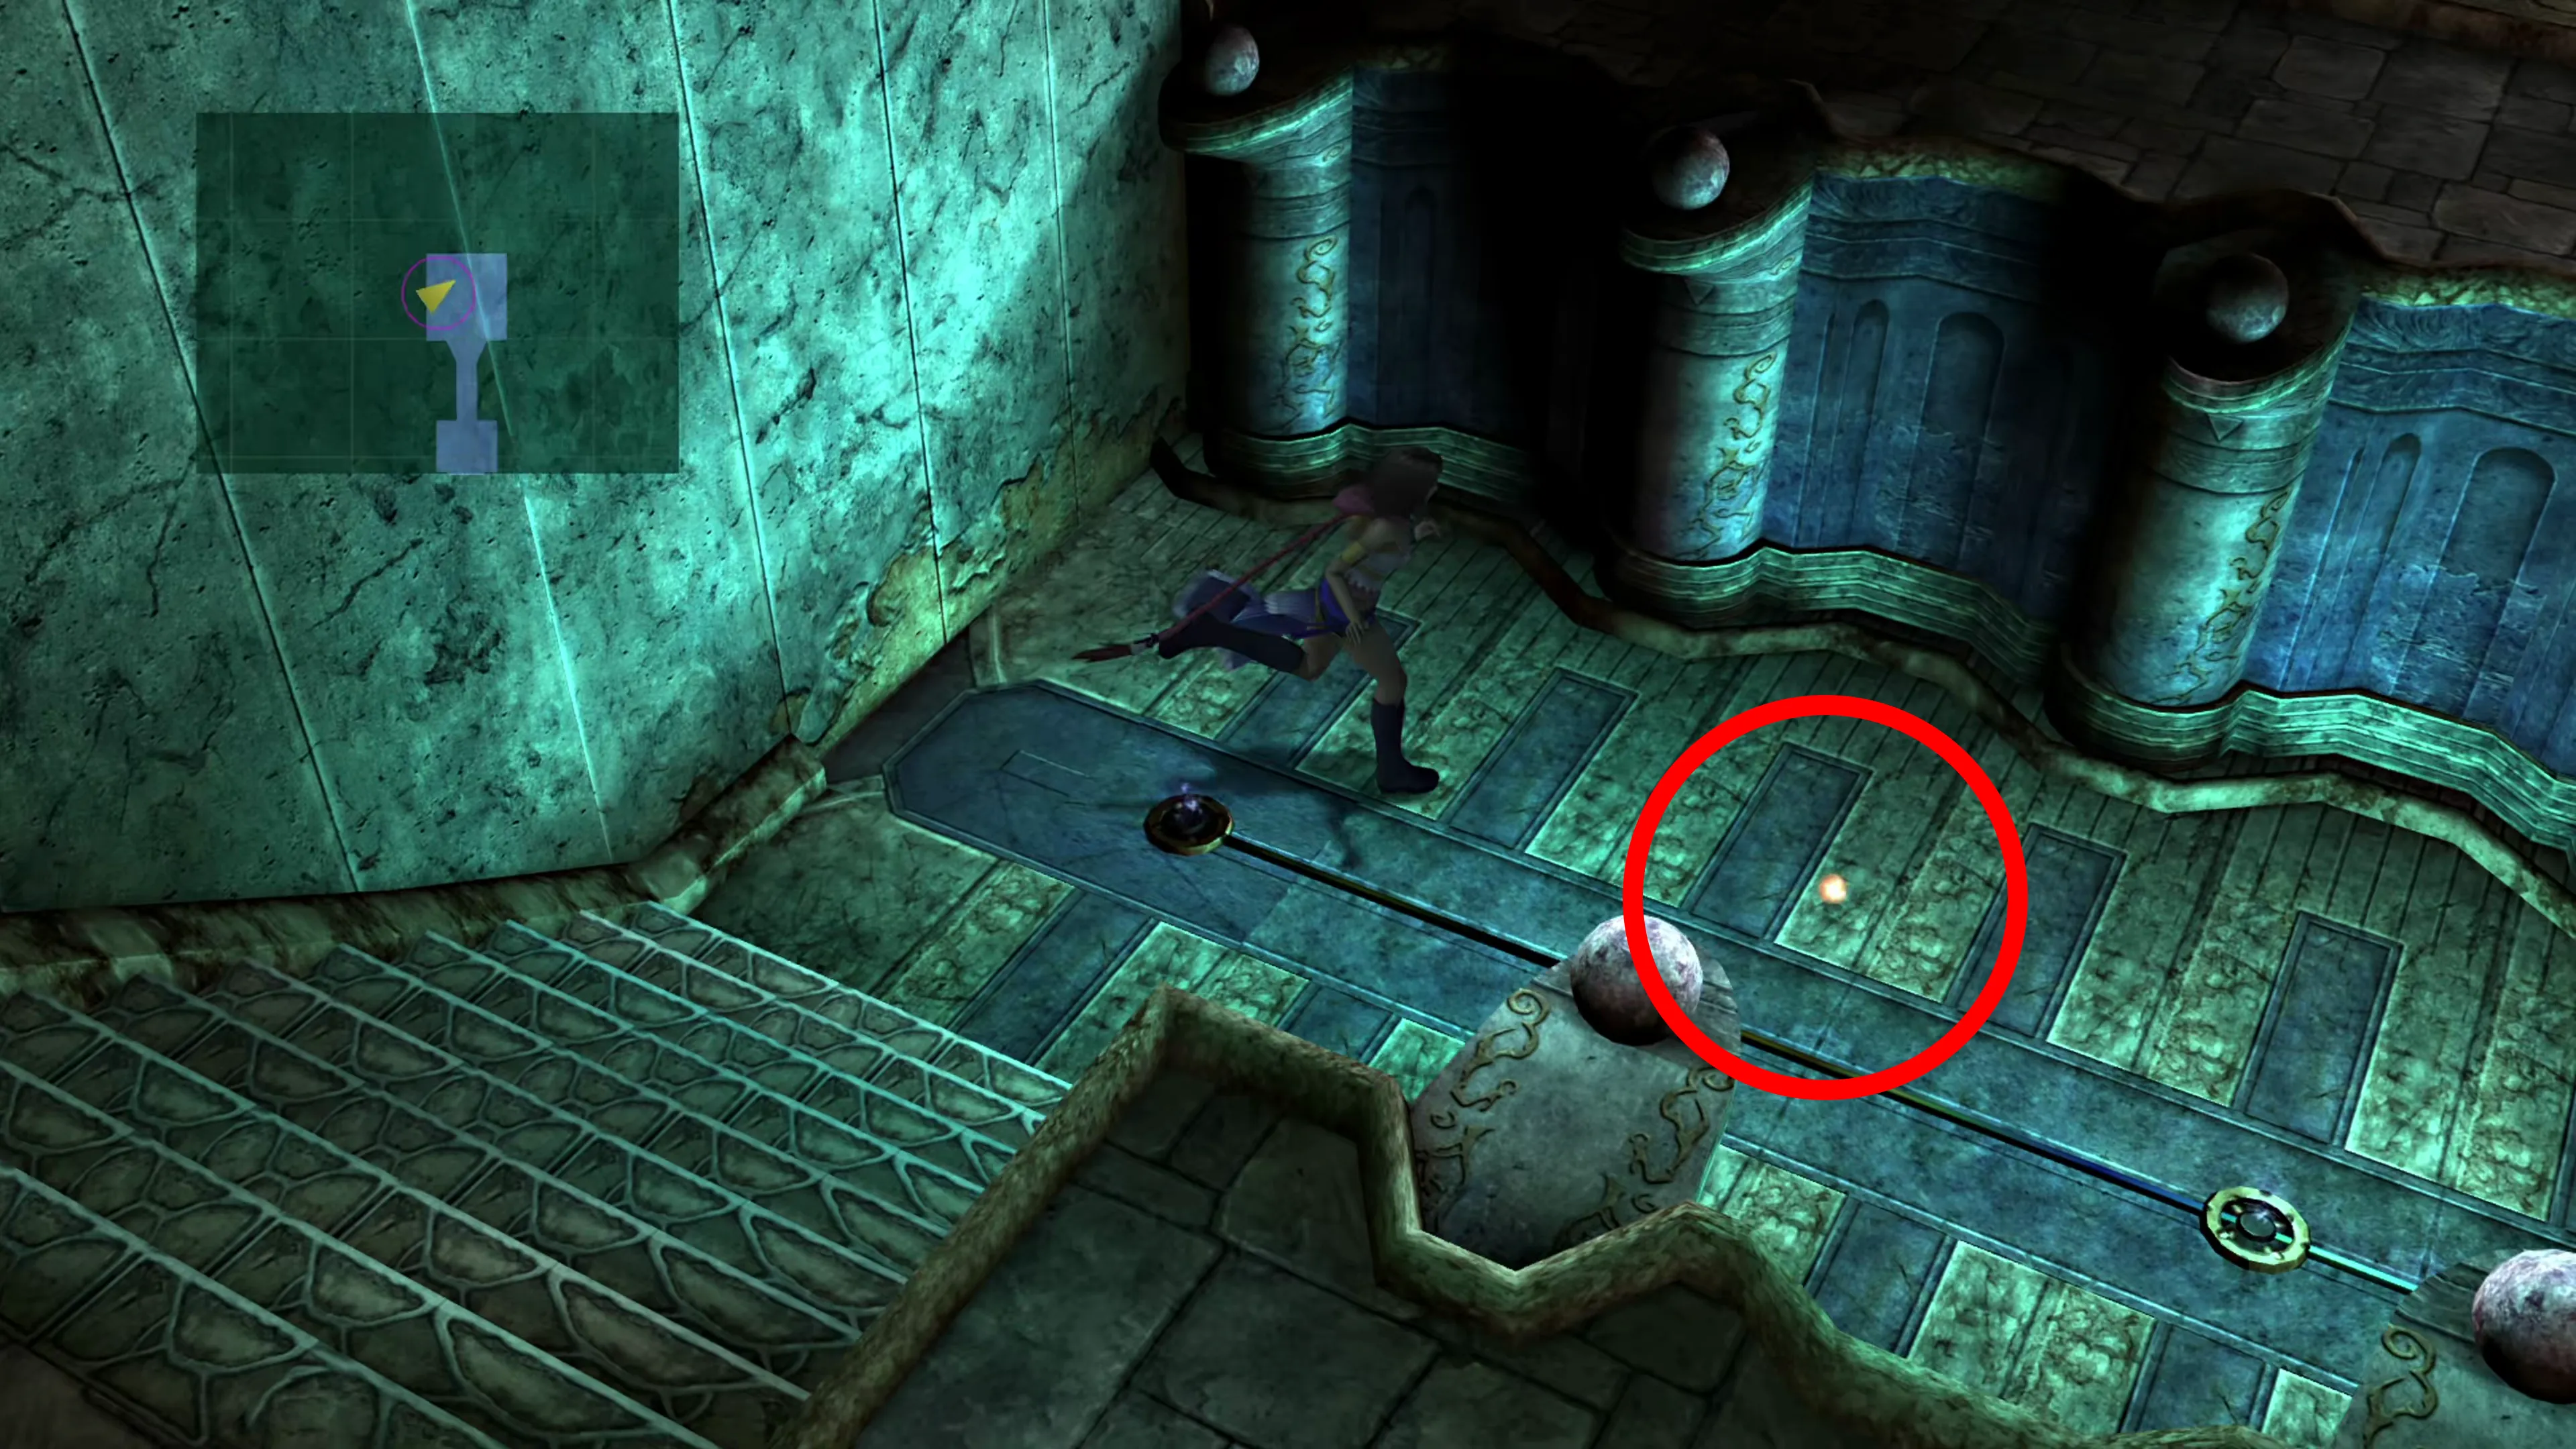
You can read up more about it using the link below:
Dresspheres
The Samurai has a powerful, regular physical attack, just like the Dark Knight, but its lack of armor makes it a bit more of a glass cannon. It’s strong, but requires specific strategies to get the most out of it.
Helpful Hint
This Dressphere is easy to miss, and you may have navigated to this page wondering how/when you overlooked the Samurai Dressphere. So what do you do if you accidentally left it behind? Do you have to restart if you’re going for 100% Story Completion?
You can obtain this Dressphere later on in the game during your next visit to Kilika Temple. And if you left it behind, remember that it’s not considered one of the ‘top tier’ Dresspheres, so you’ll be absolutely fine picking it up later on your next visit if you missed it. The Samurai Dressphere is not missable.
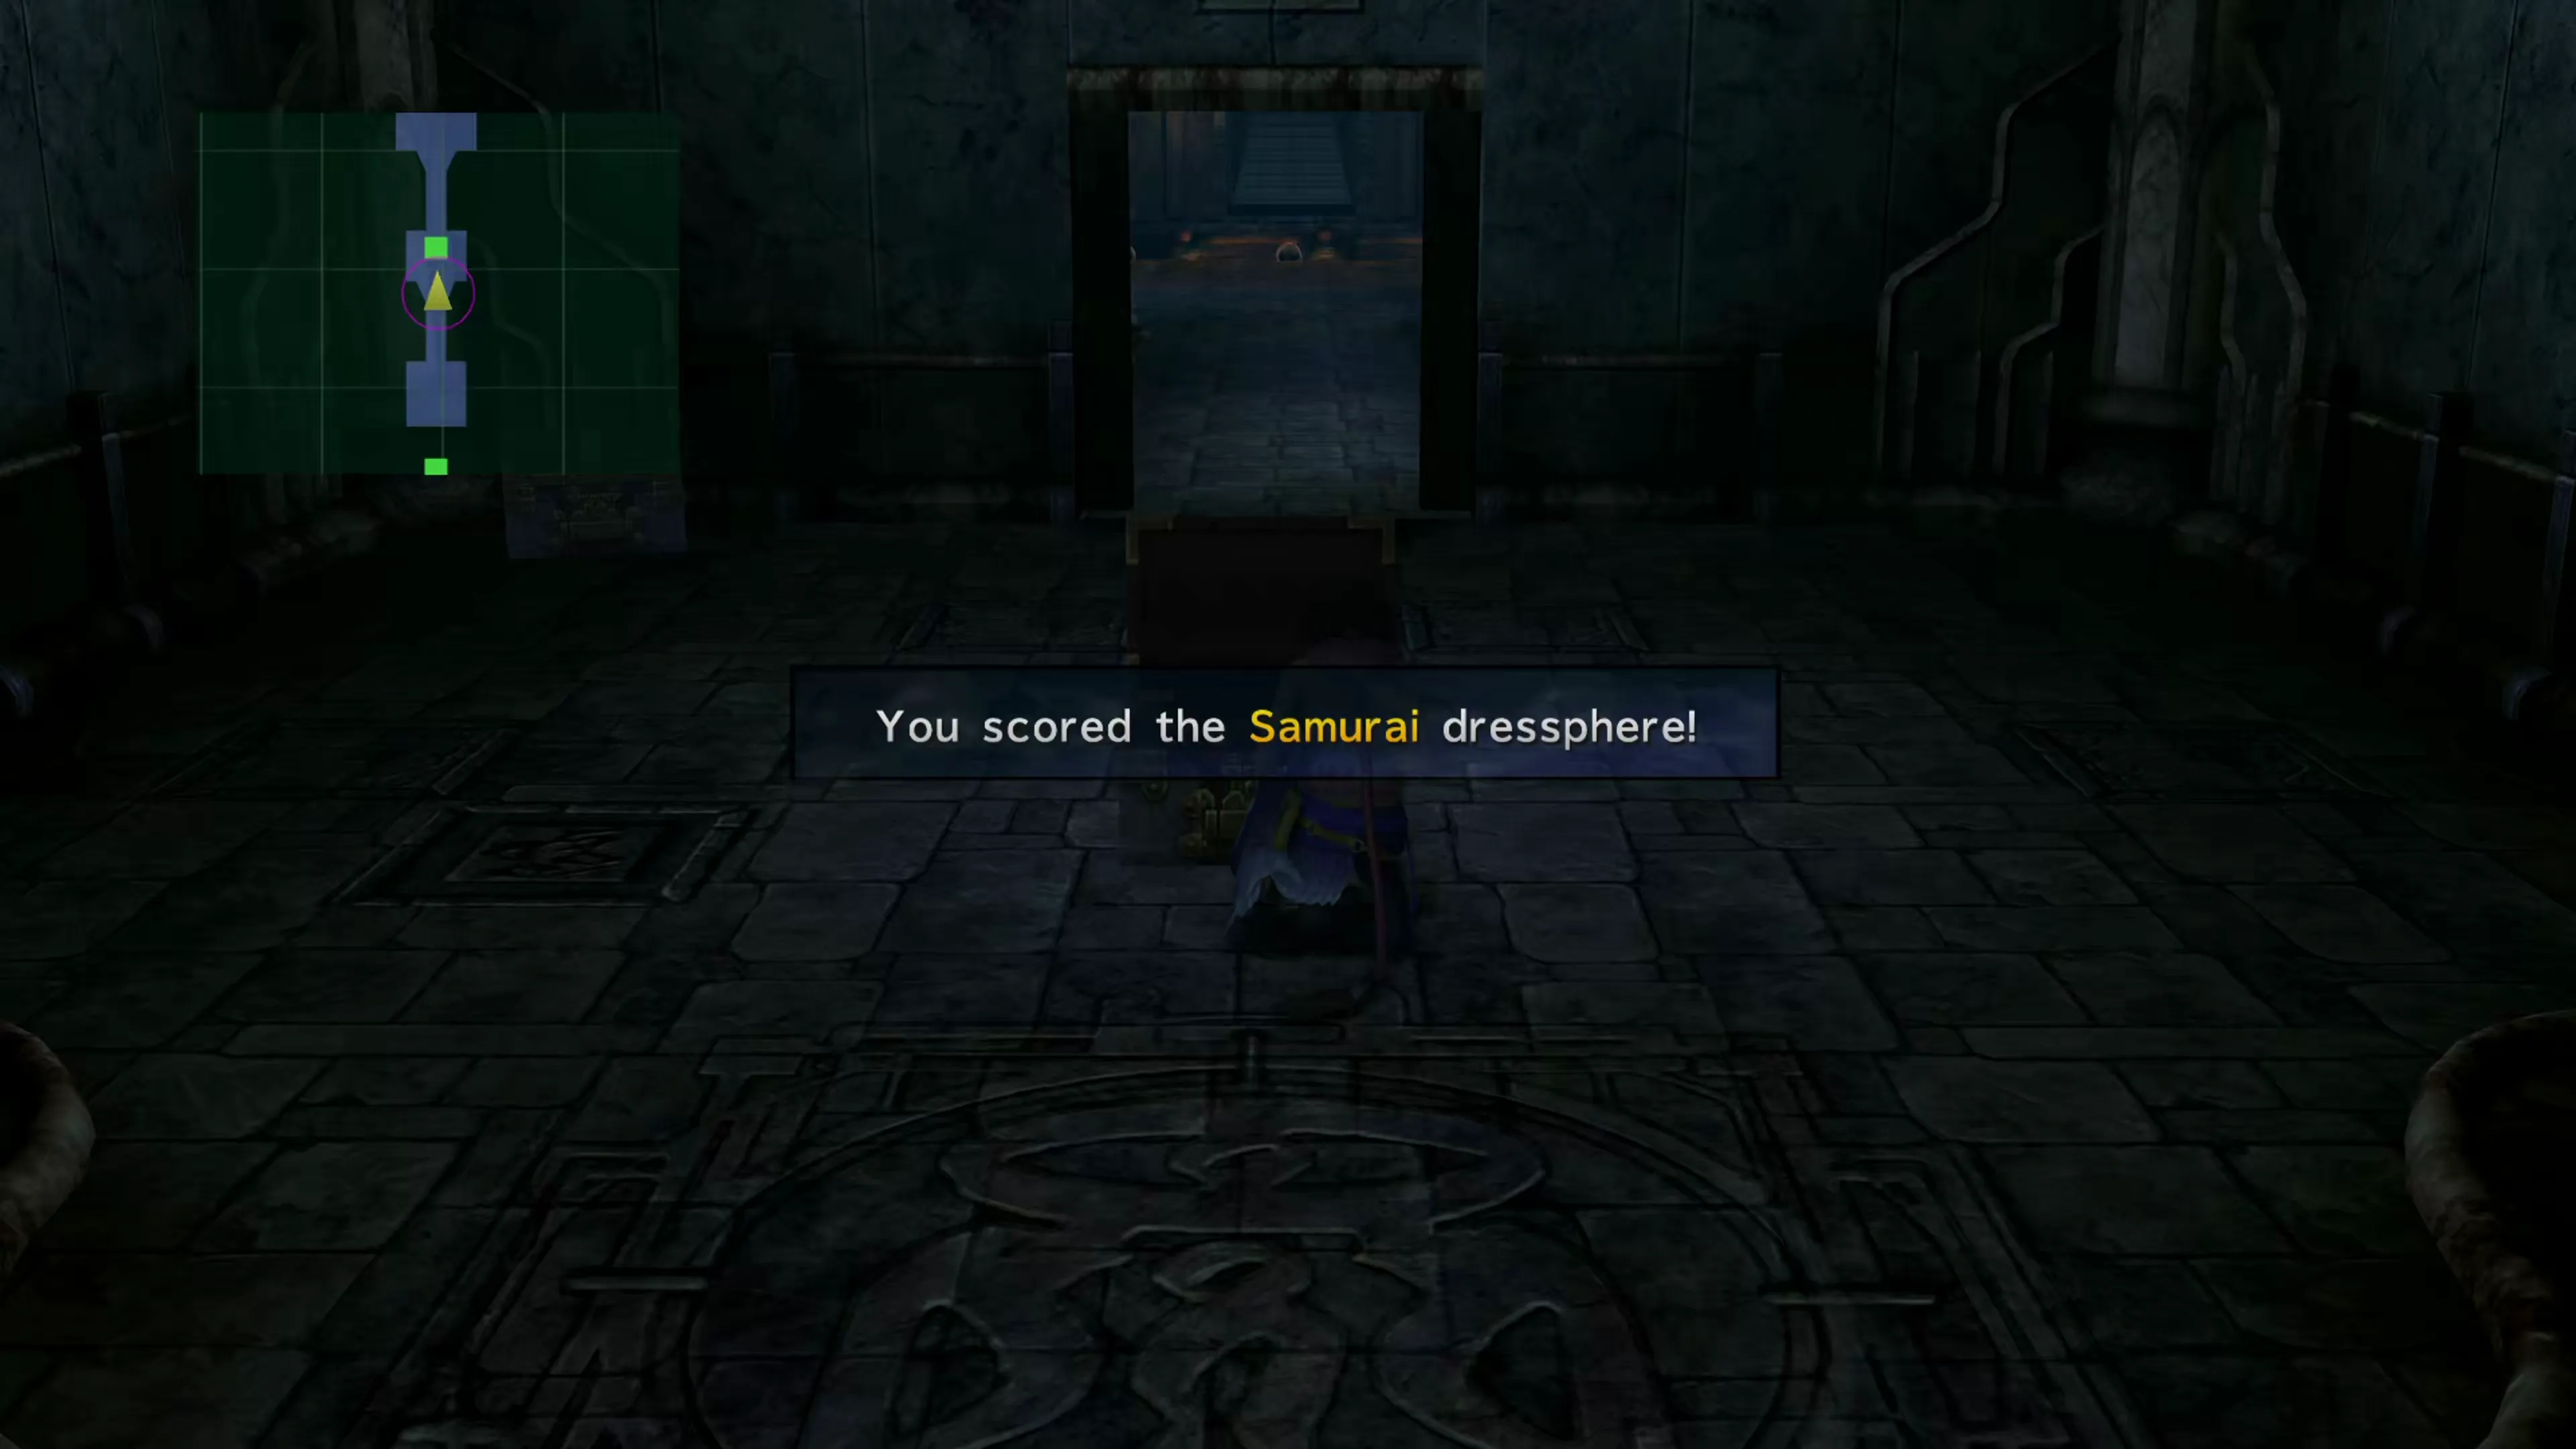
The battle isn’t too difficult, but you can make it much, much easier if you make use of the  Heart of Flame Garment Grid, which absorbs fire damage through the
  Fire Eater ability.
You can continue up into the next room, and it’s time to face off against the next Aeon.
Boss Battle
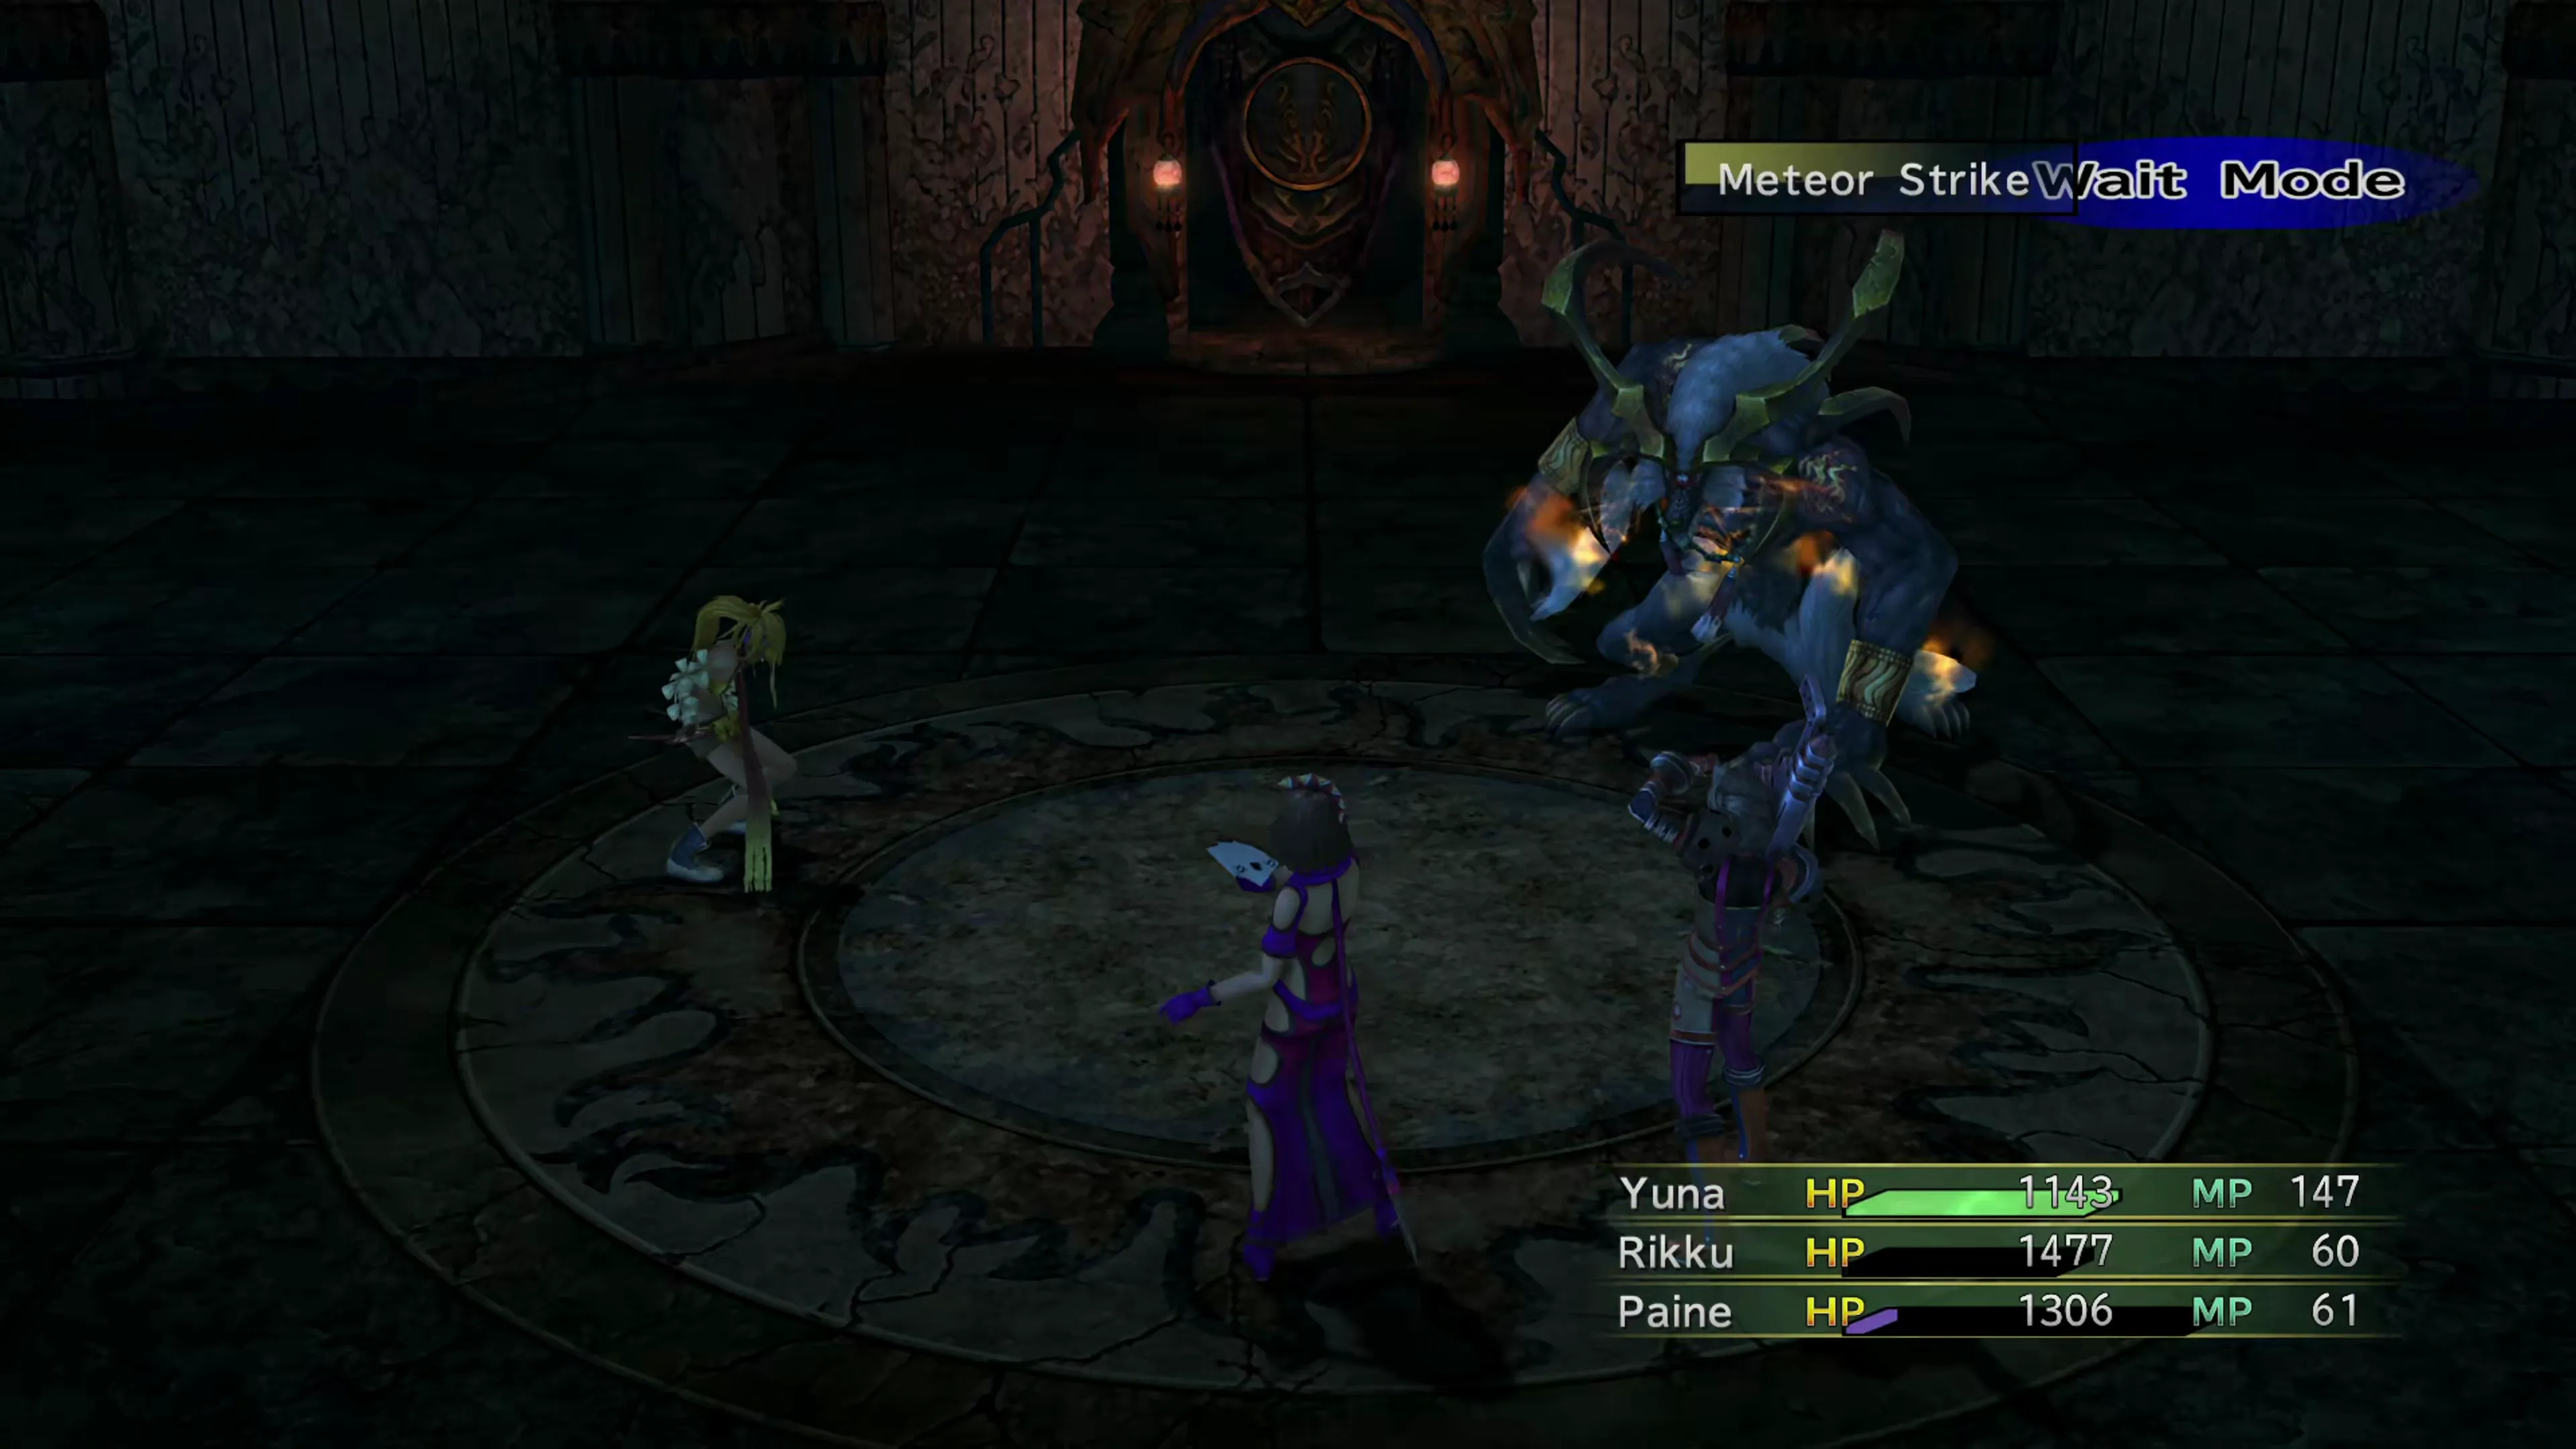
Ifrit uses a lot of fire-based elemental damage.  Firaga hits everyone for around 300, and “Hellfire” for around 500, so the Heart of Flame Garment Grid or
  Red Rings reduce most of the damage he deals.
The exception is “Meteor Strike,” which deals around 500 to the whole party and isn’t fire-elemental. You can use Shell to reduce it if you need to. He’s also weak to ice, so a Black Mage’s Blizzara spell or a Warrior’s  Ice Brand ability deals heavy damage.
During this battle, though, you should take the opportunity to  Steal a Fiery Gleam from Ifrit.
| Enemy | HP | Steal | Drop |
|---|---|---|---|
| Ifrit | 8820 | Fiery Gleam | Angel Earrings |
This concludes the events on Kilika Island. You’ll automatically be transported back up to the Celsius for a few cutscenes.
Celsius
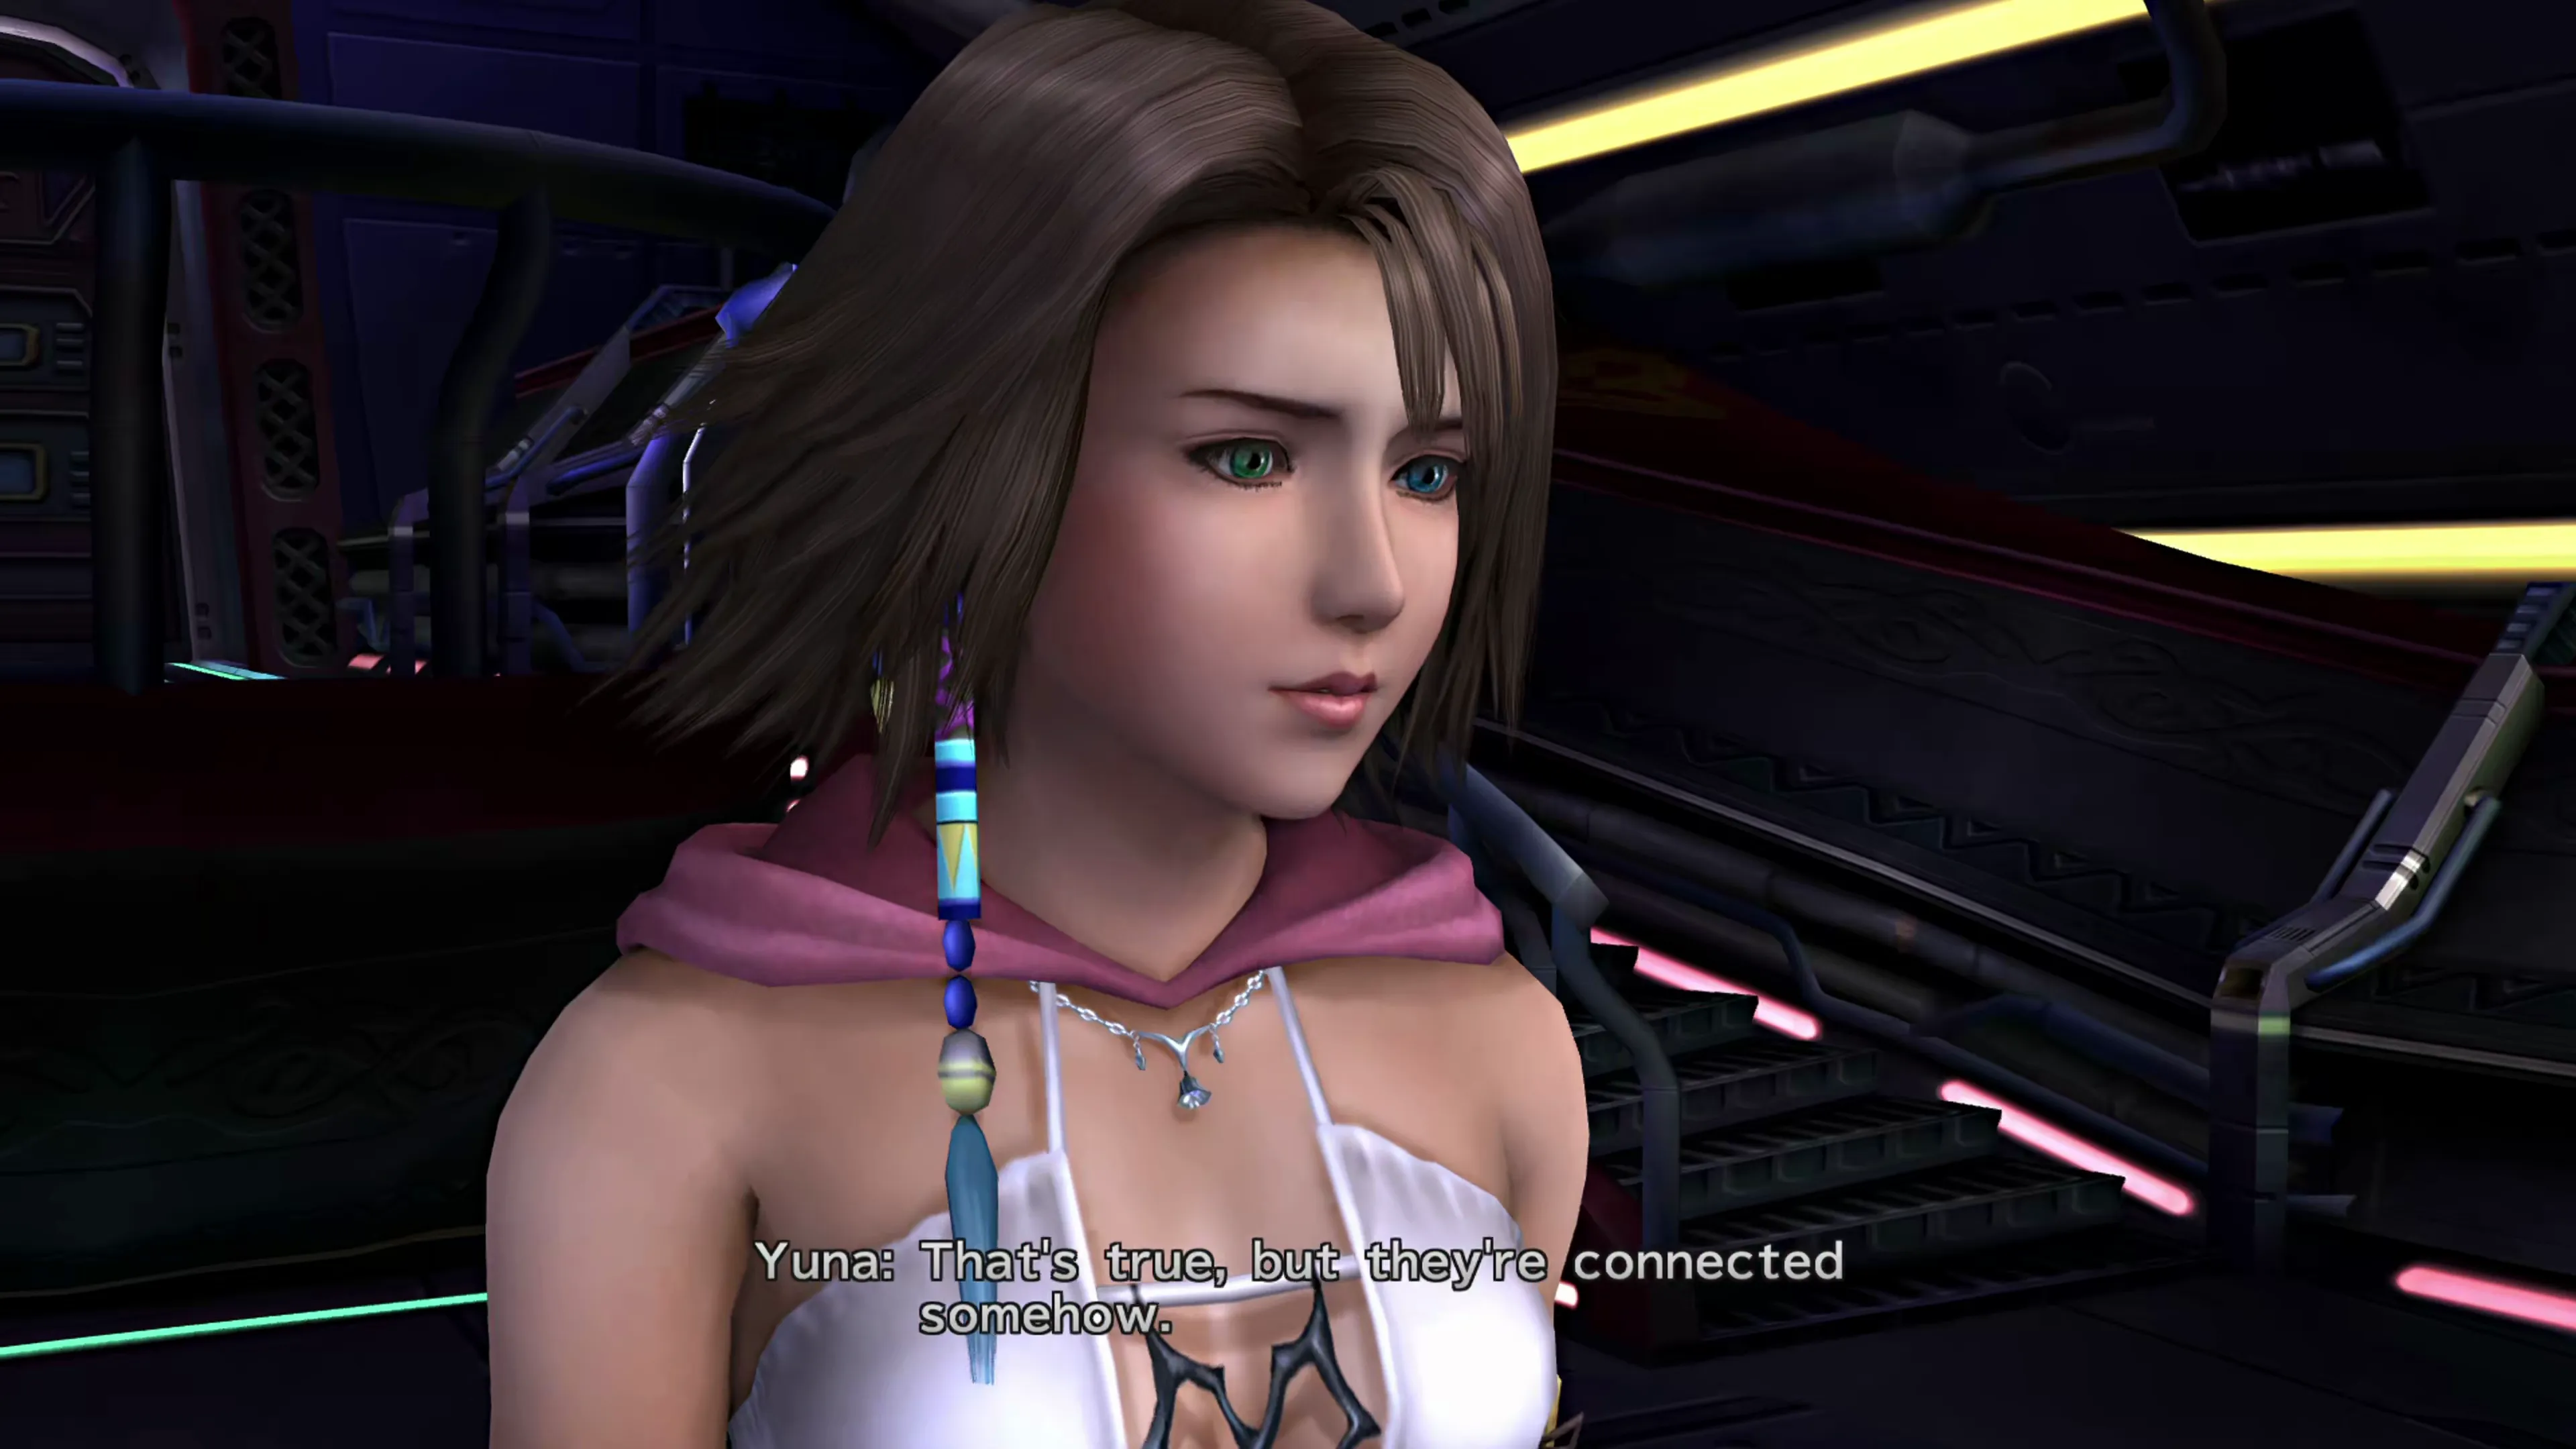
Back on the bridge, the team compares notes on the fiends pouring out of the temples. Shinra weighs in on the holes beneath the Chambers of the Fayth, and Yuna can’t shake the feeling that they are connected to the pit Vegnagun left behind in Bevelle. Once the scene ends, Djose Temple becomes a Hotspot.
The next destination is Luca, but before that, head back to Kilika Island to complete the Publicity and Marriage Campaigns:
Side Quests
A list of the NPCs that you can speak with to earn Open Air / Argent Publicity points and Marriage matchmaking points in Kilika during Chapter 3.
Now, it’s off to Luca.
Checking the “Kilika Island Complete” box adds the Story Completion Percent for the automatic scenes in Kilika Island.