

Bevelle
This visit becomes available once you’ve visited Besaid Island and Kilika Island and completed the Mission, and it disappears for good when you trigger the Mission at Djose Temple to end this chapter.
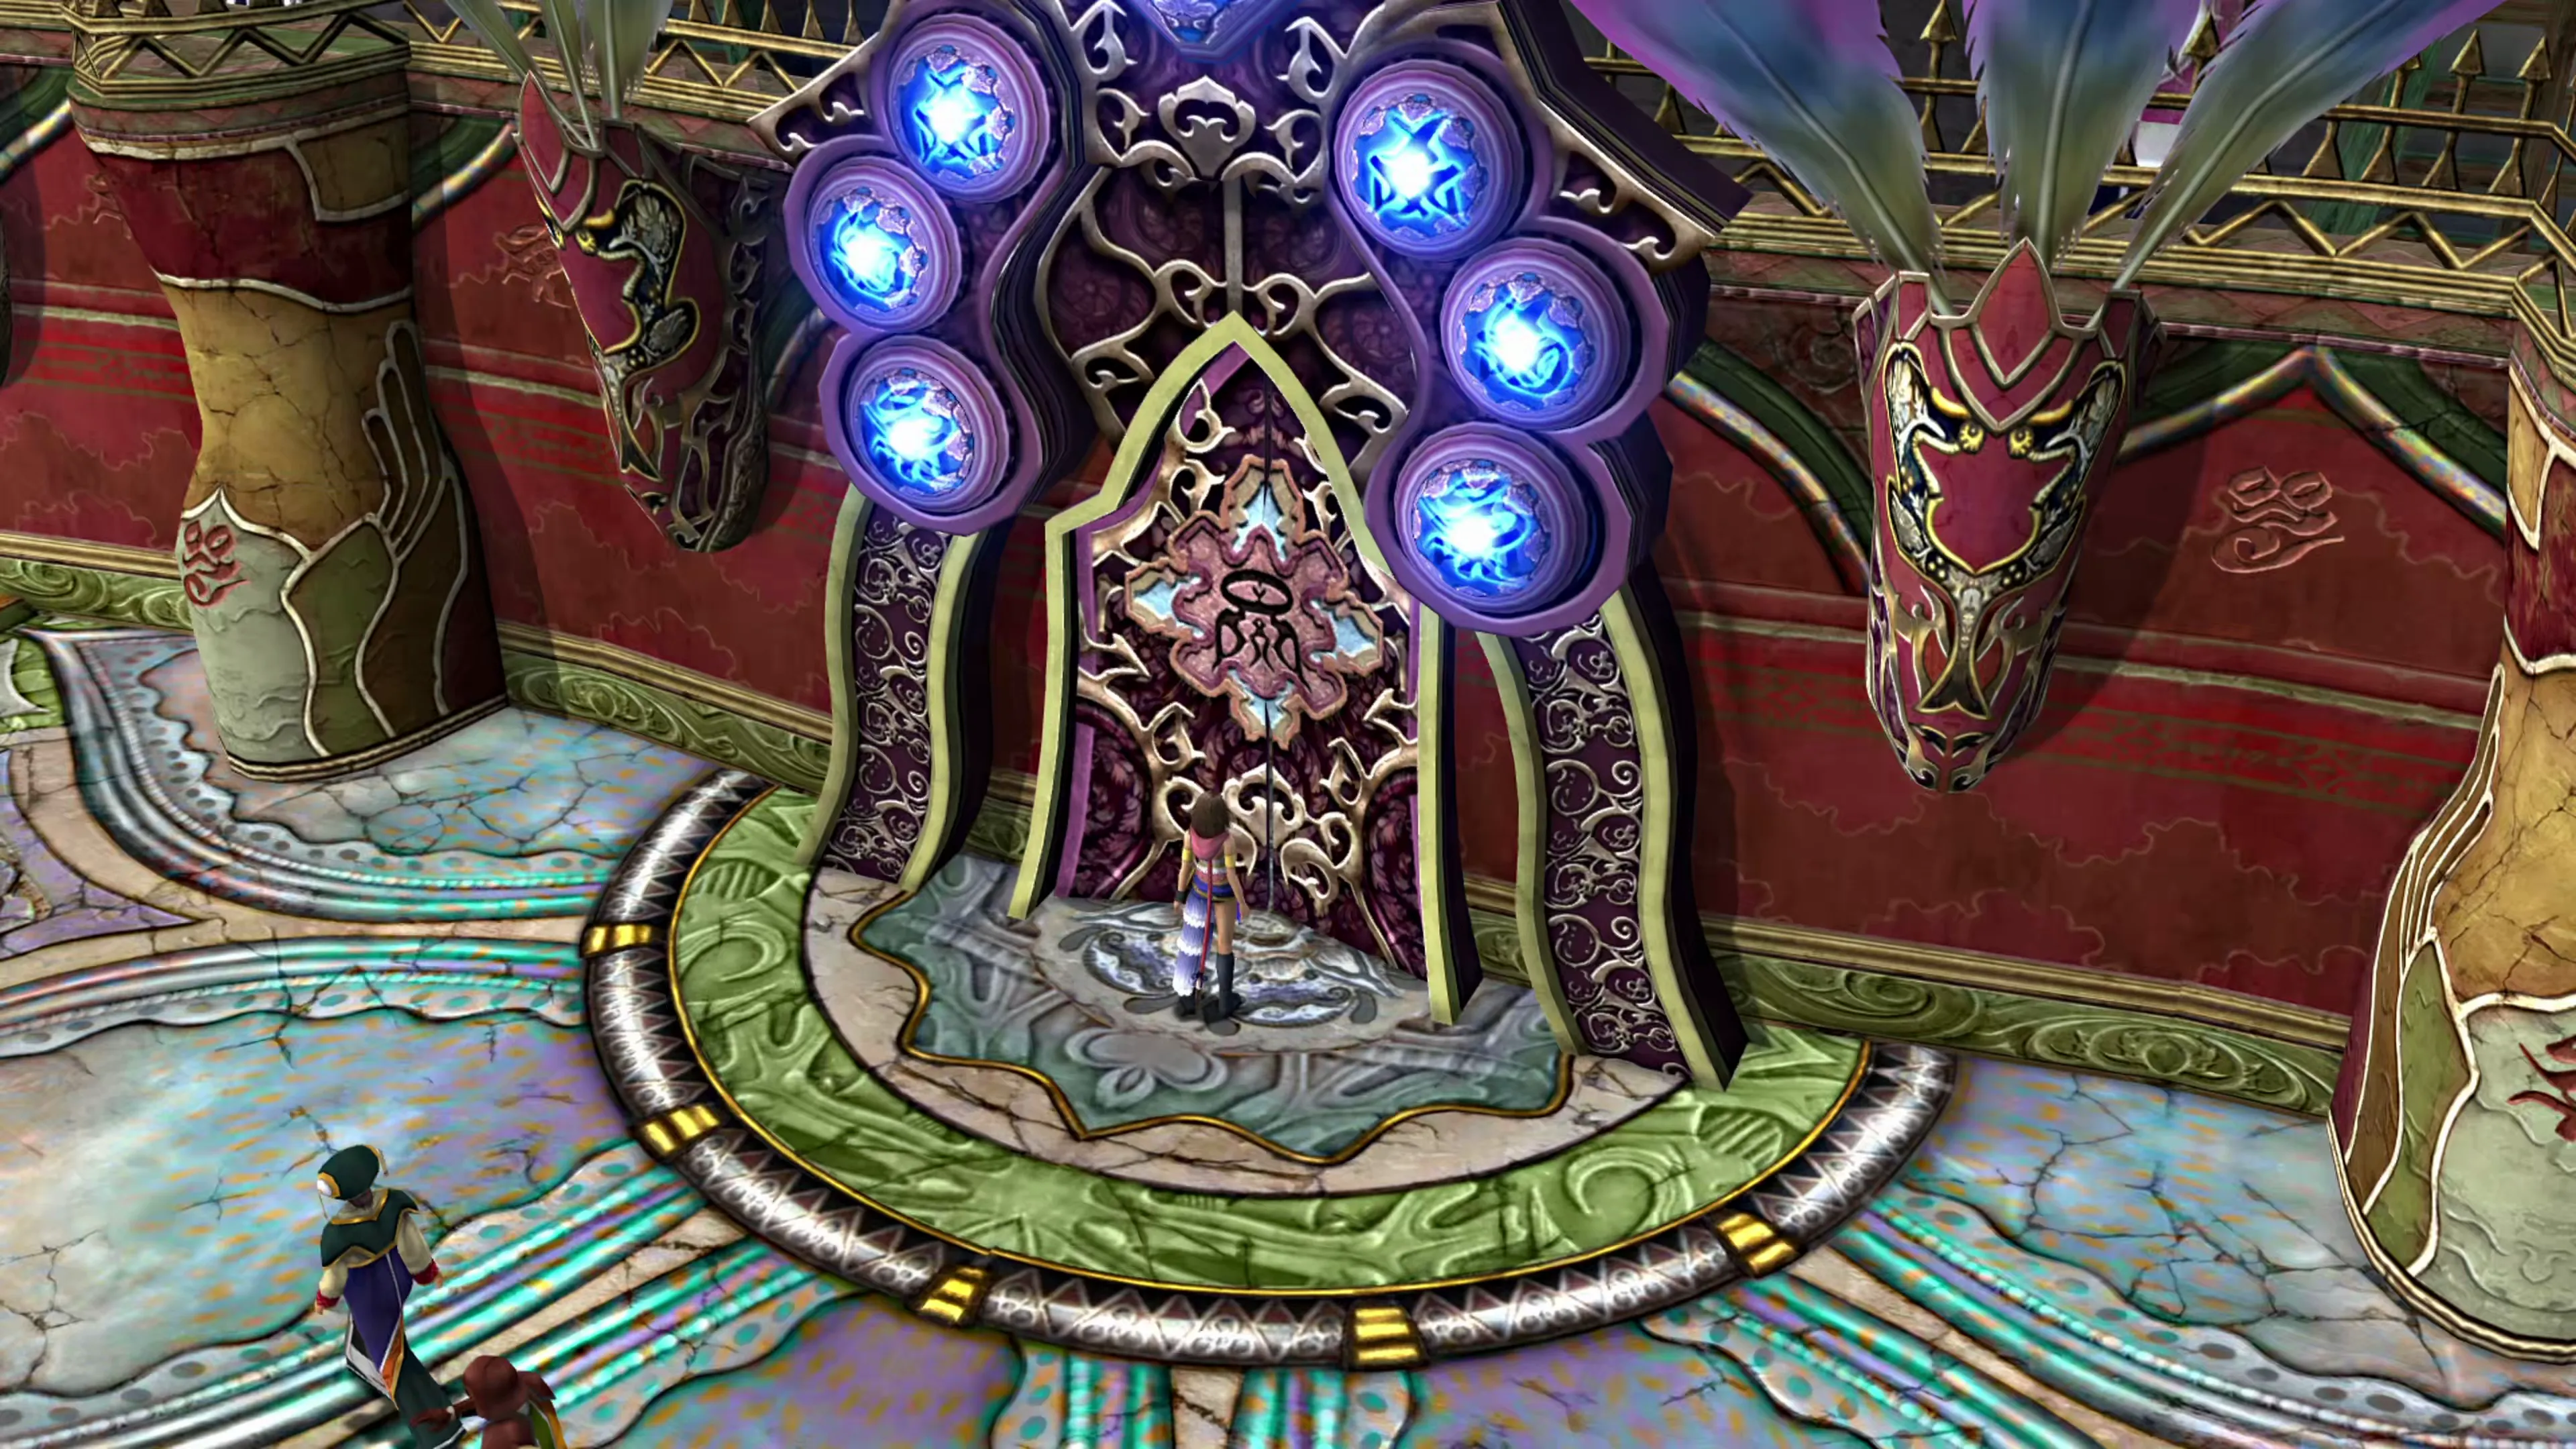
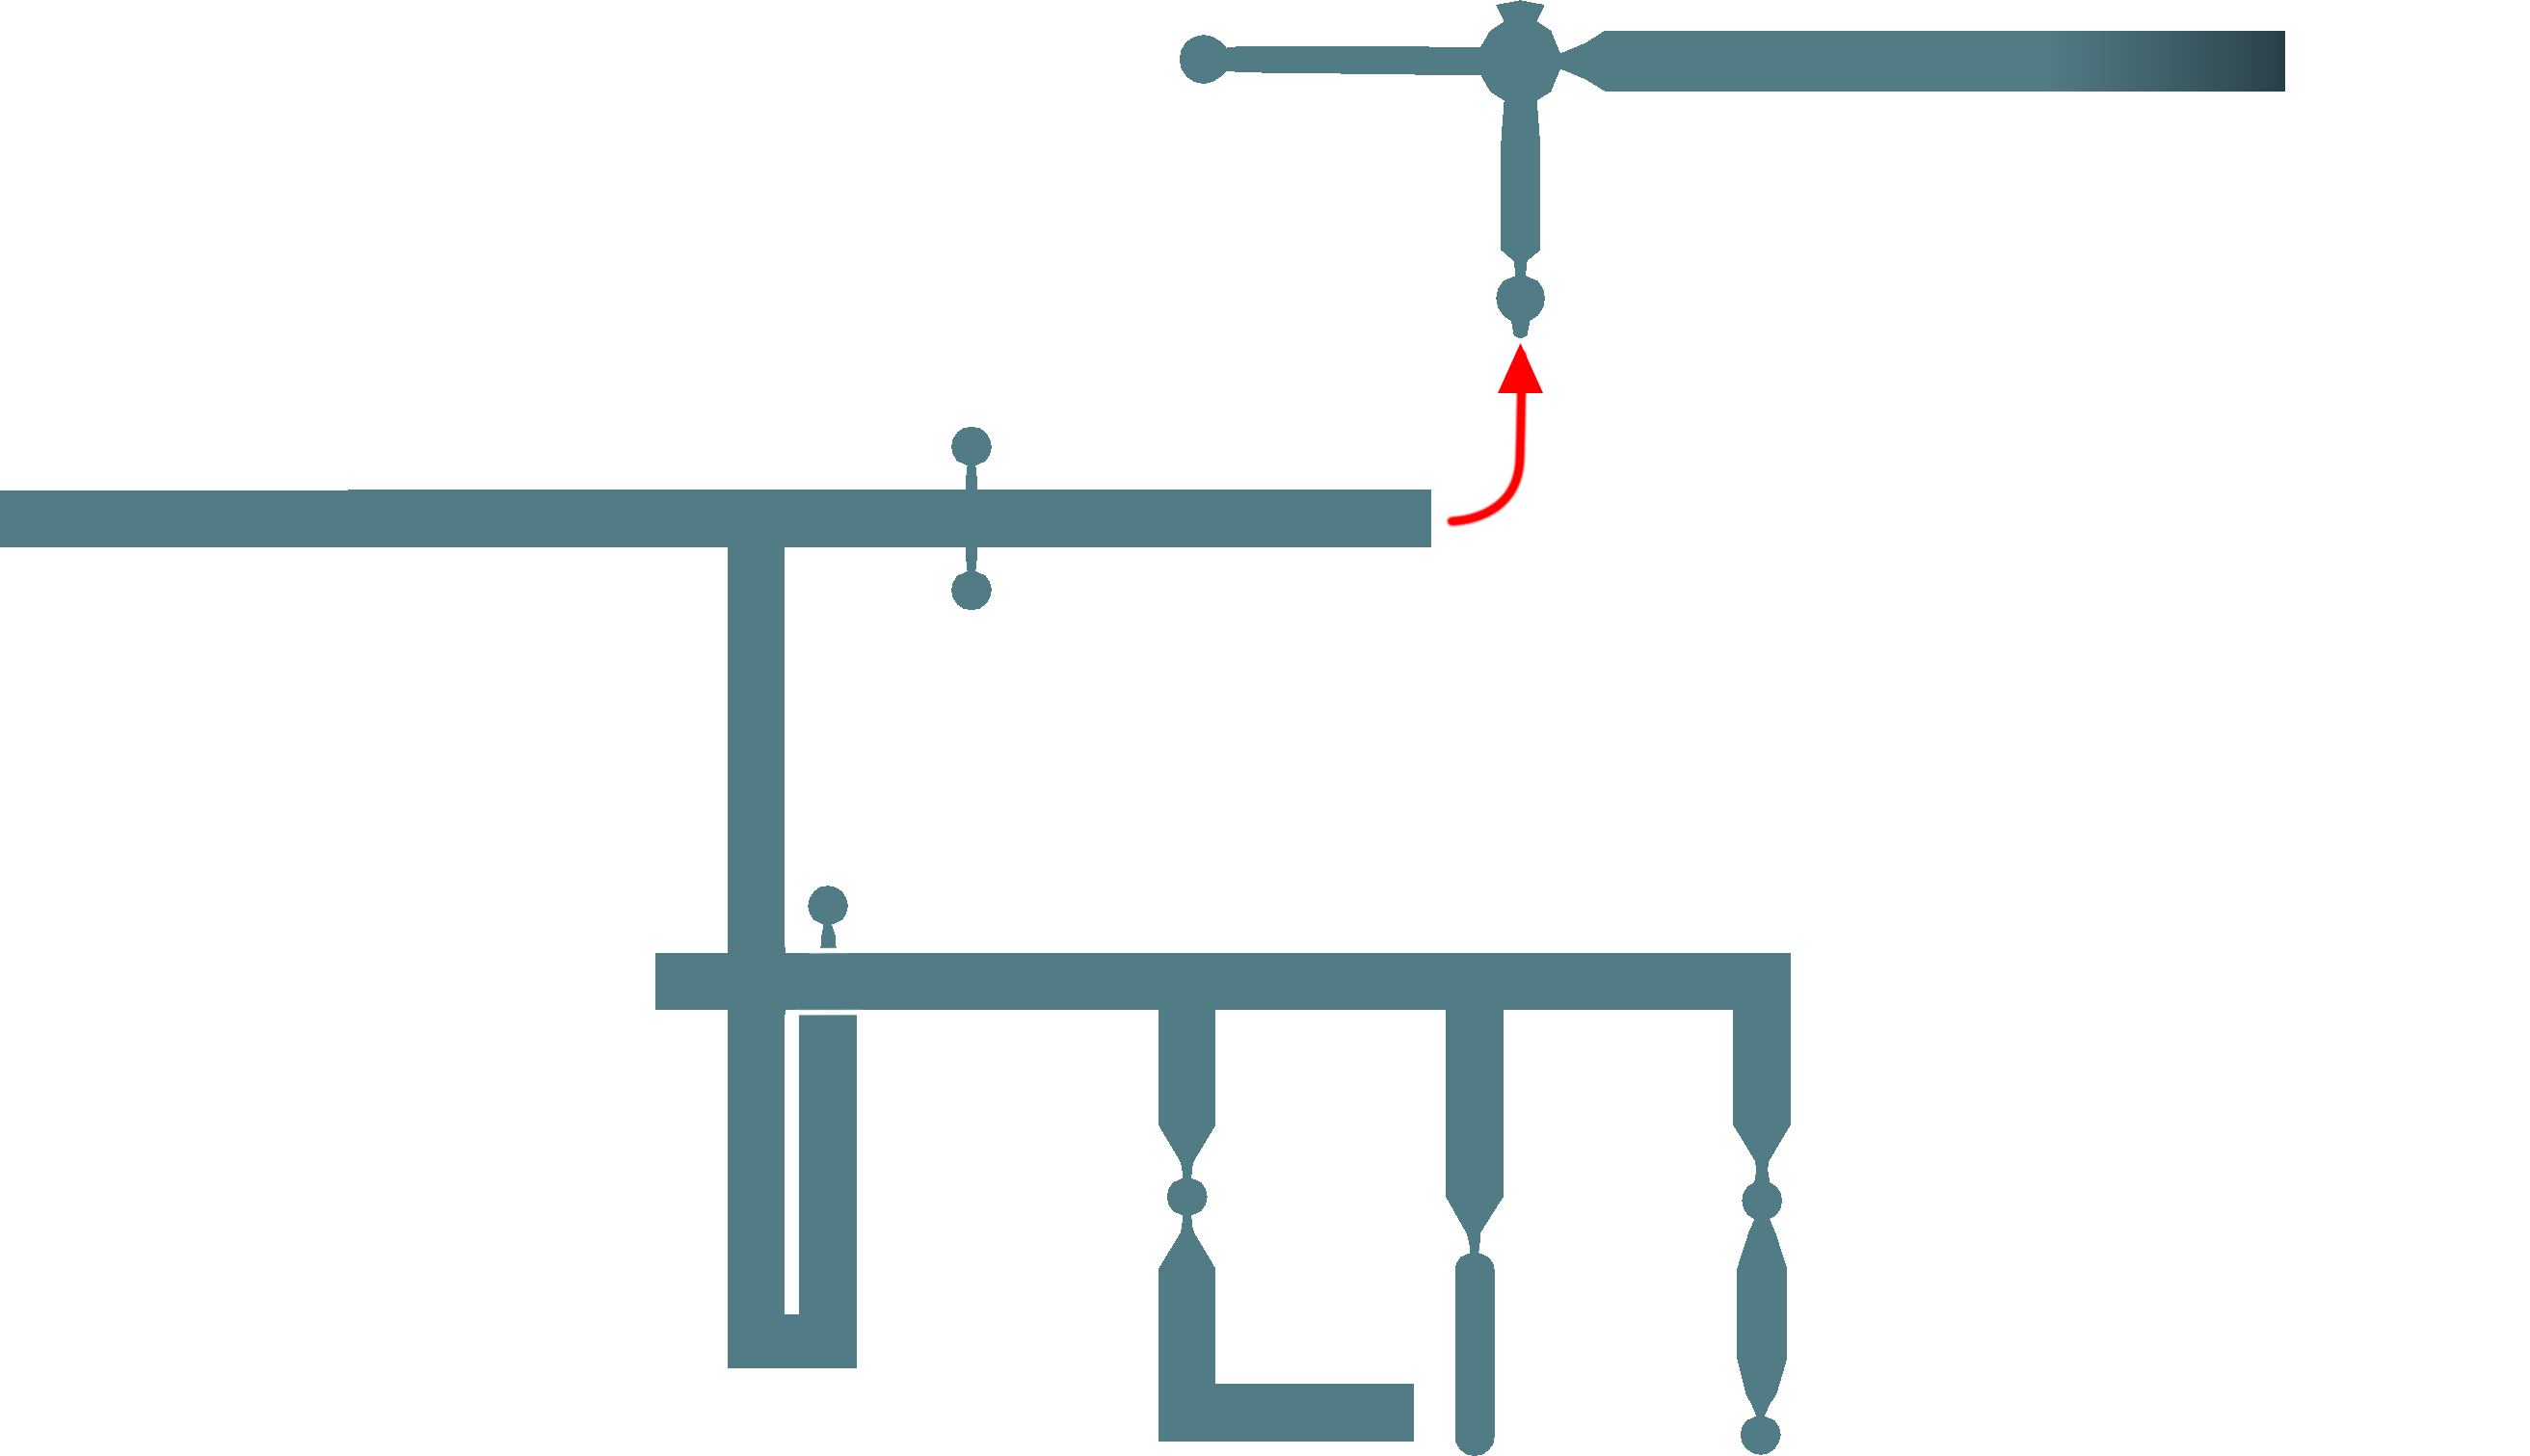
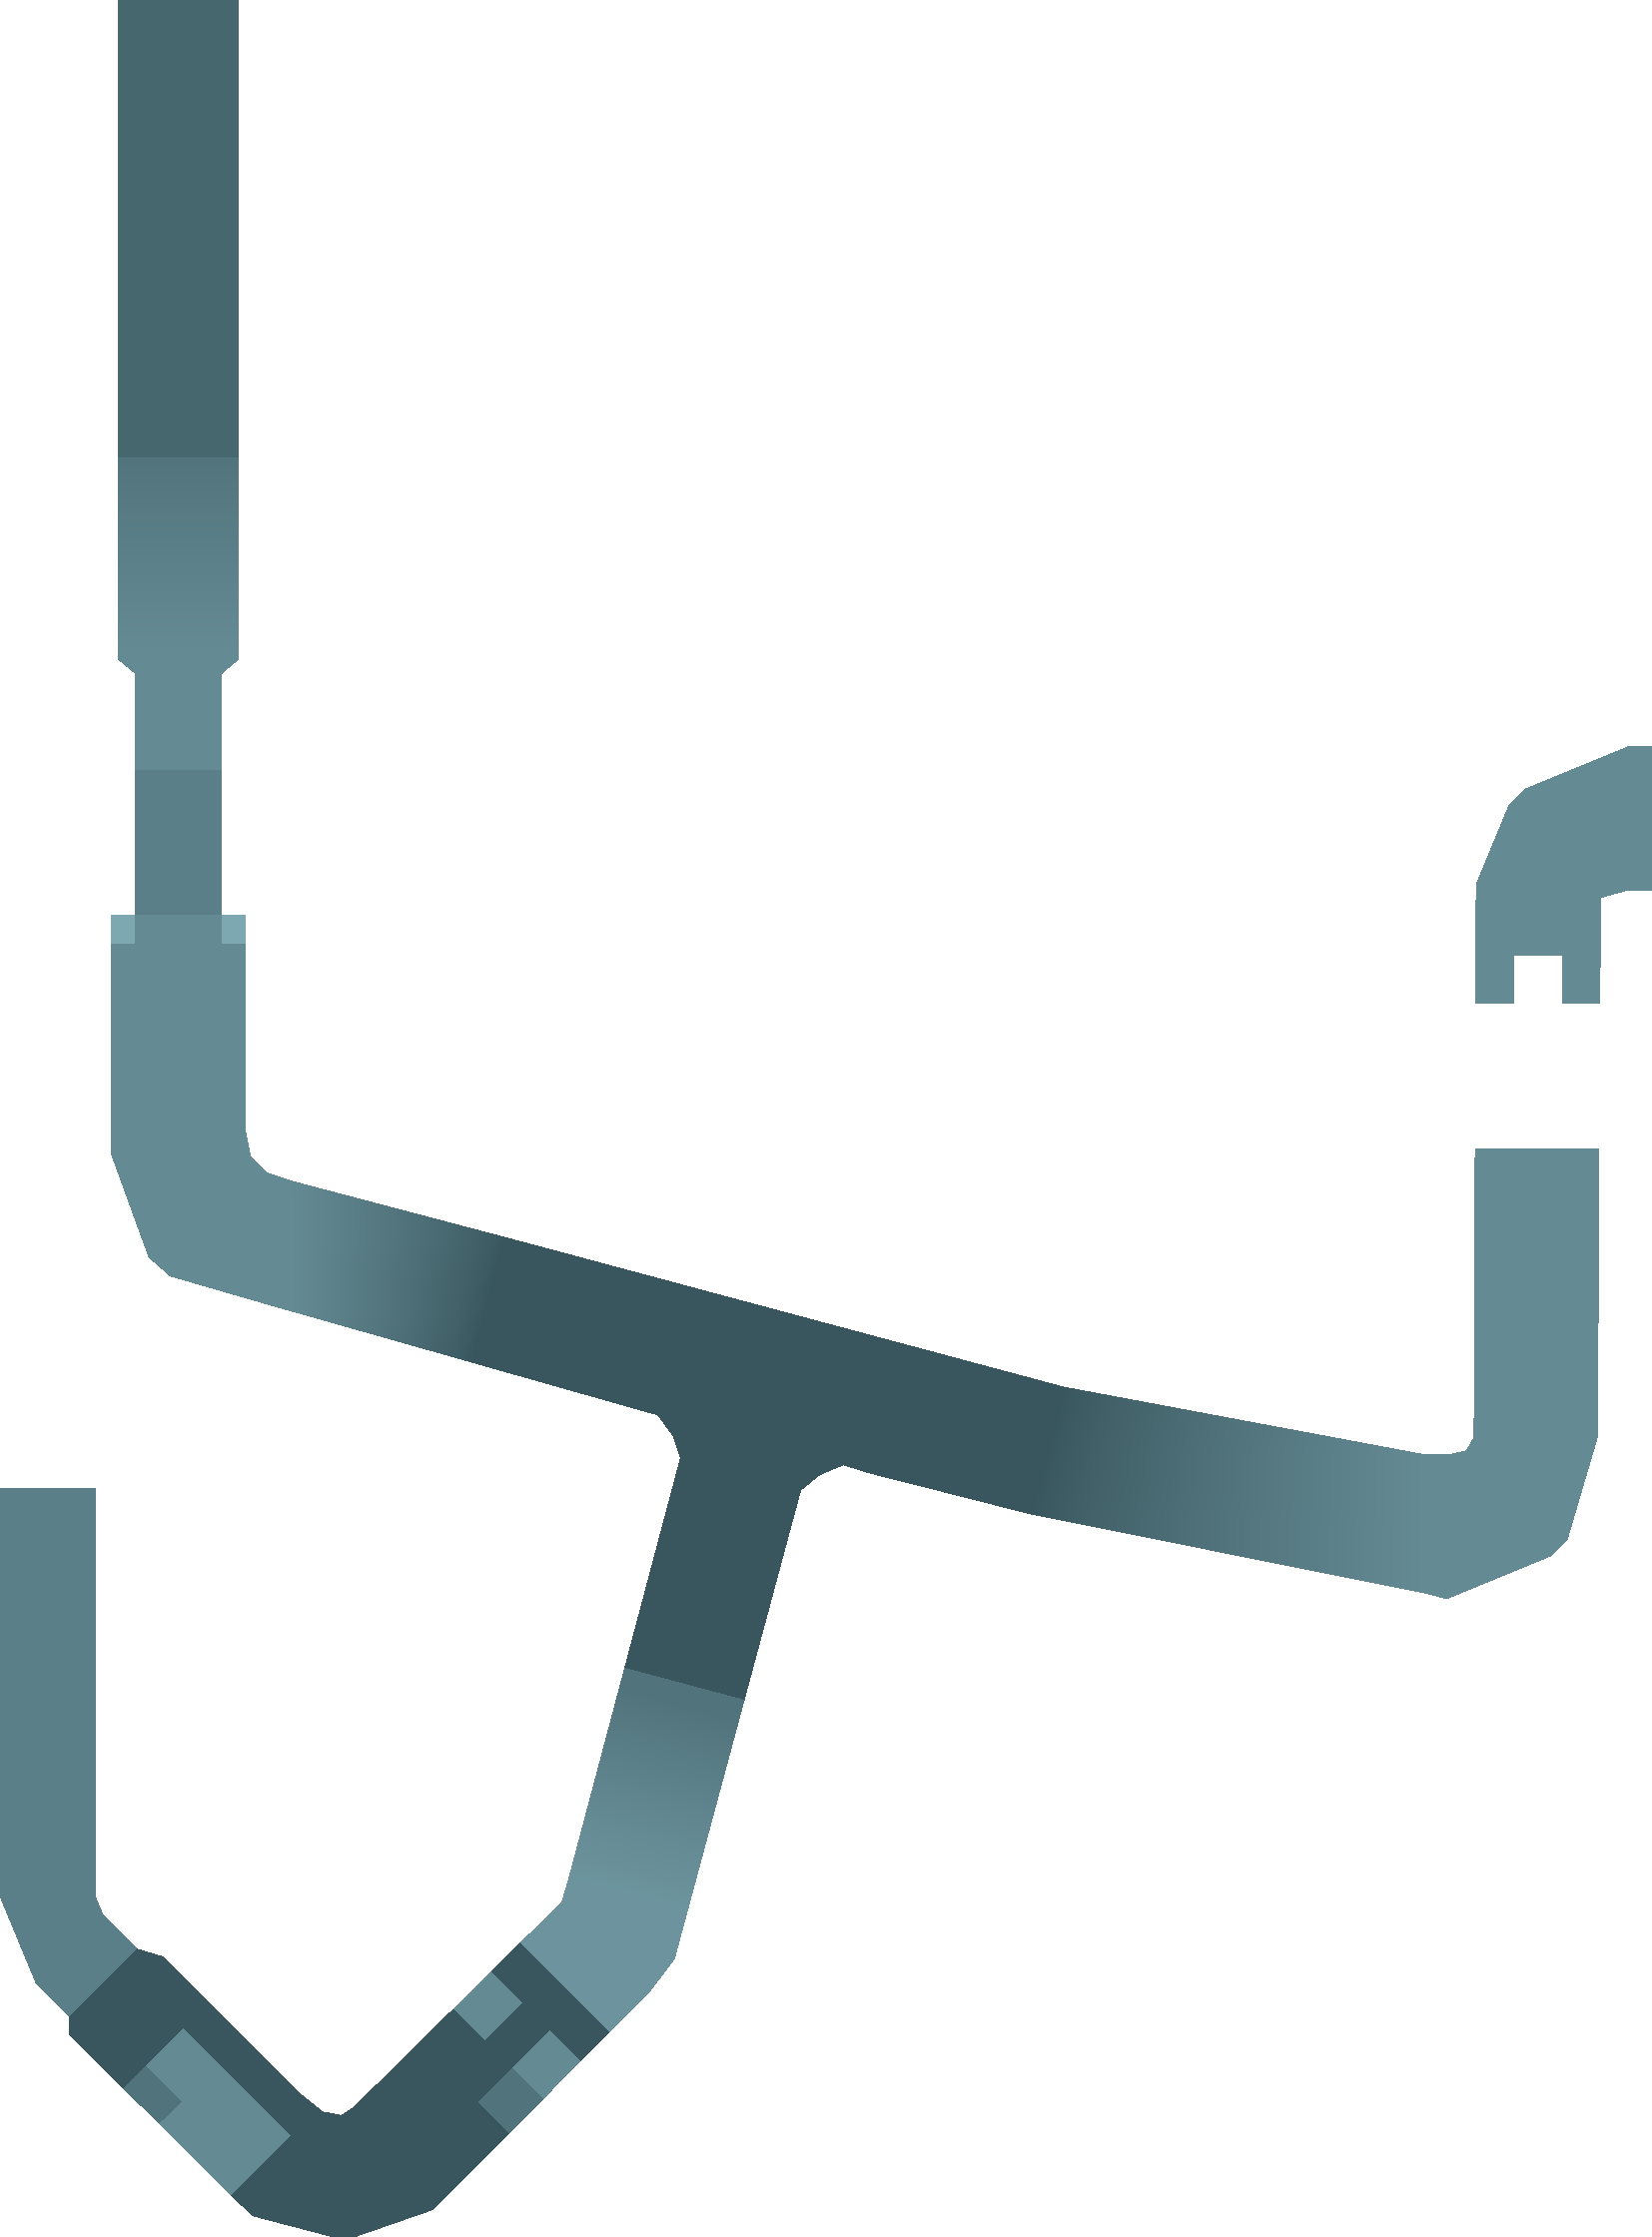
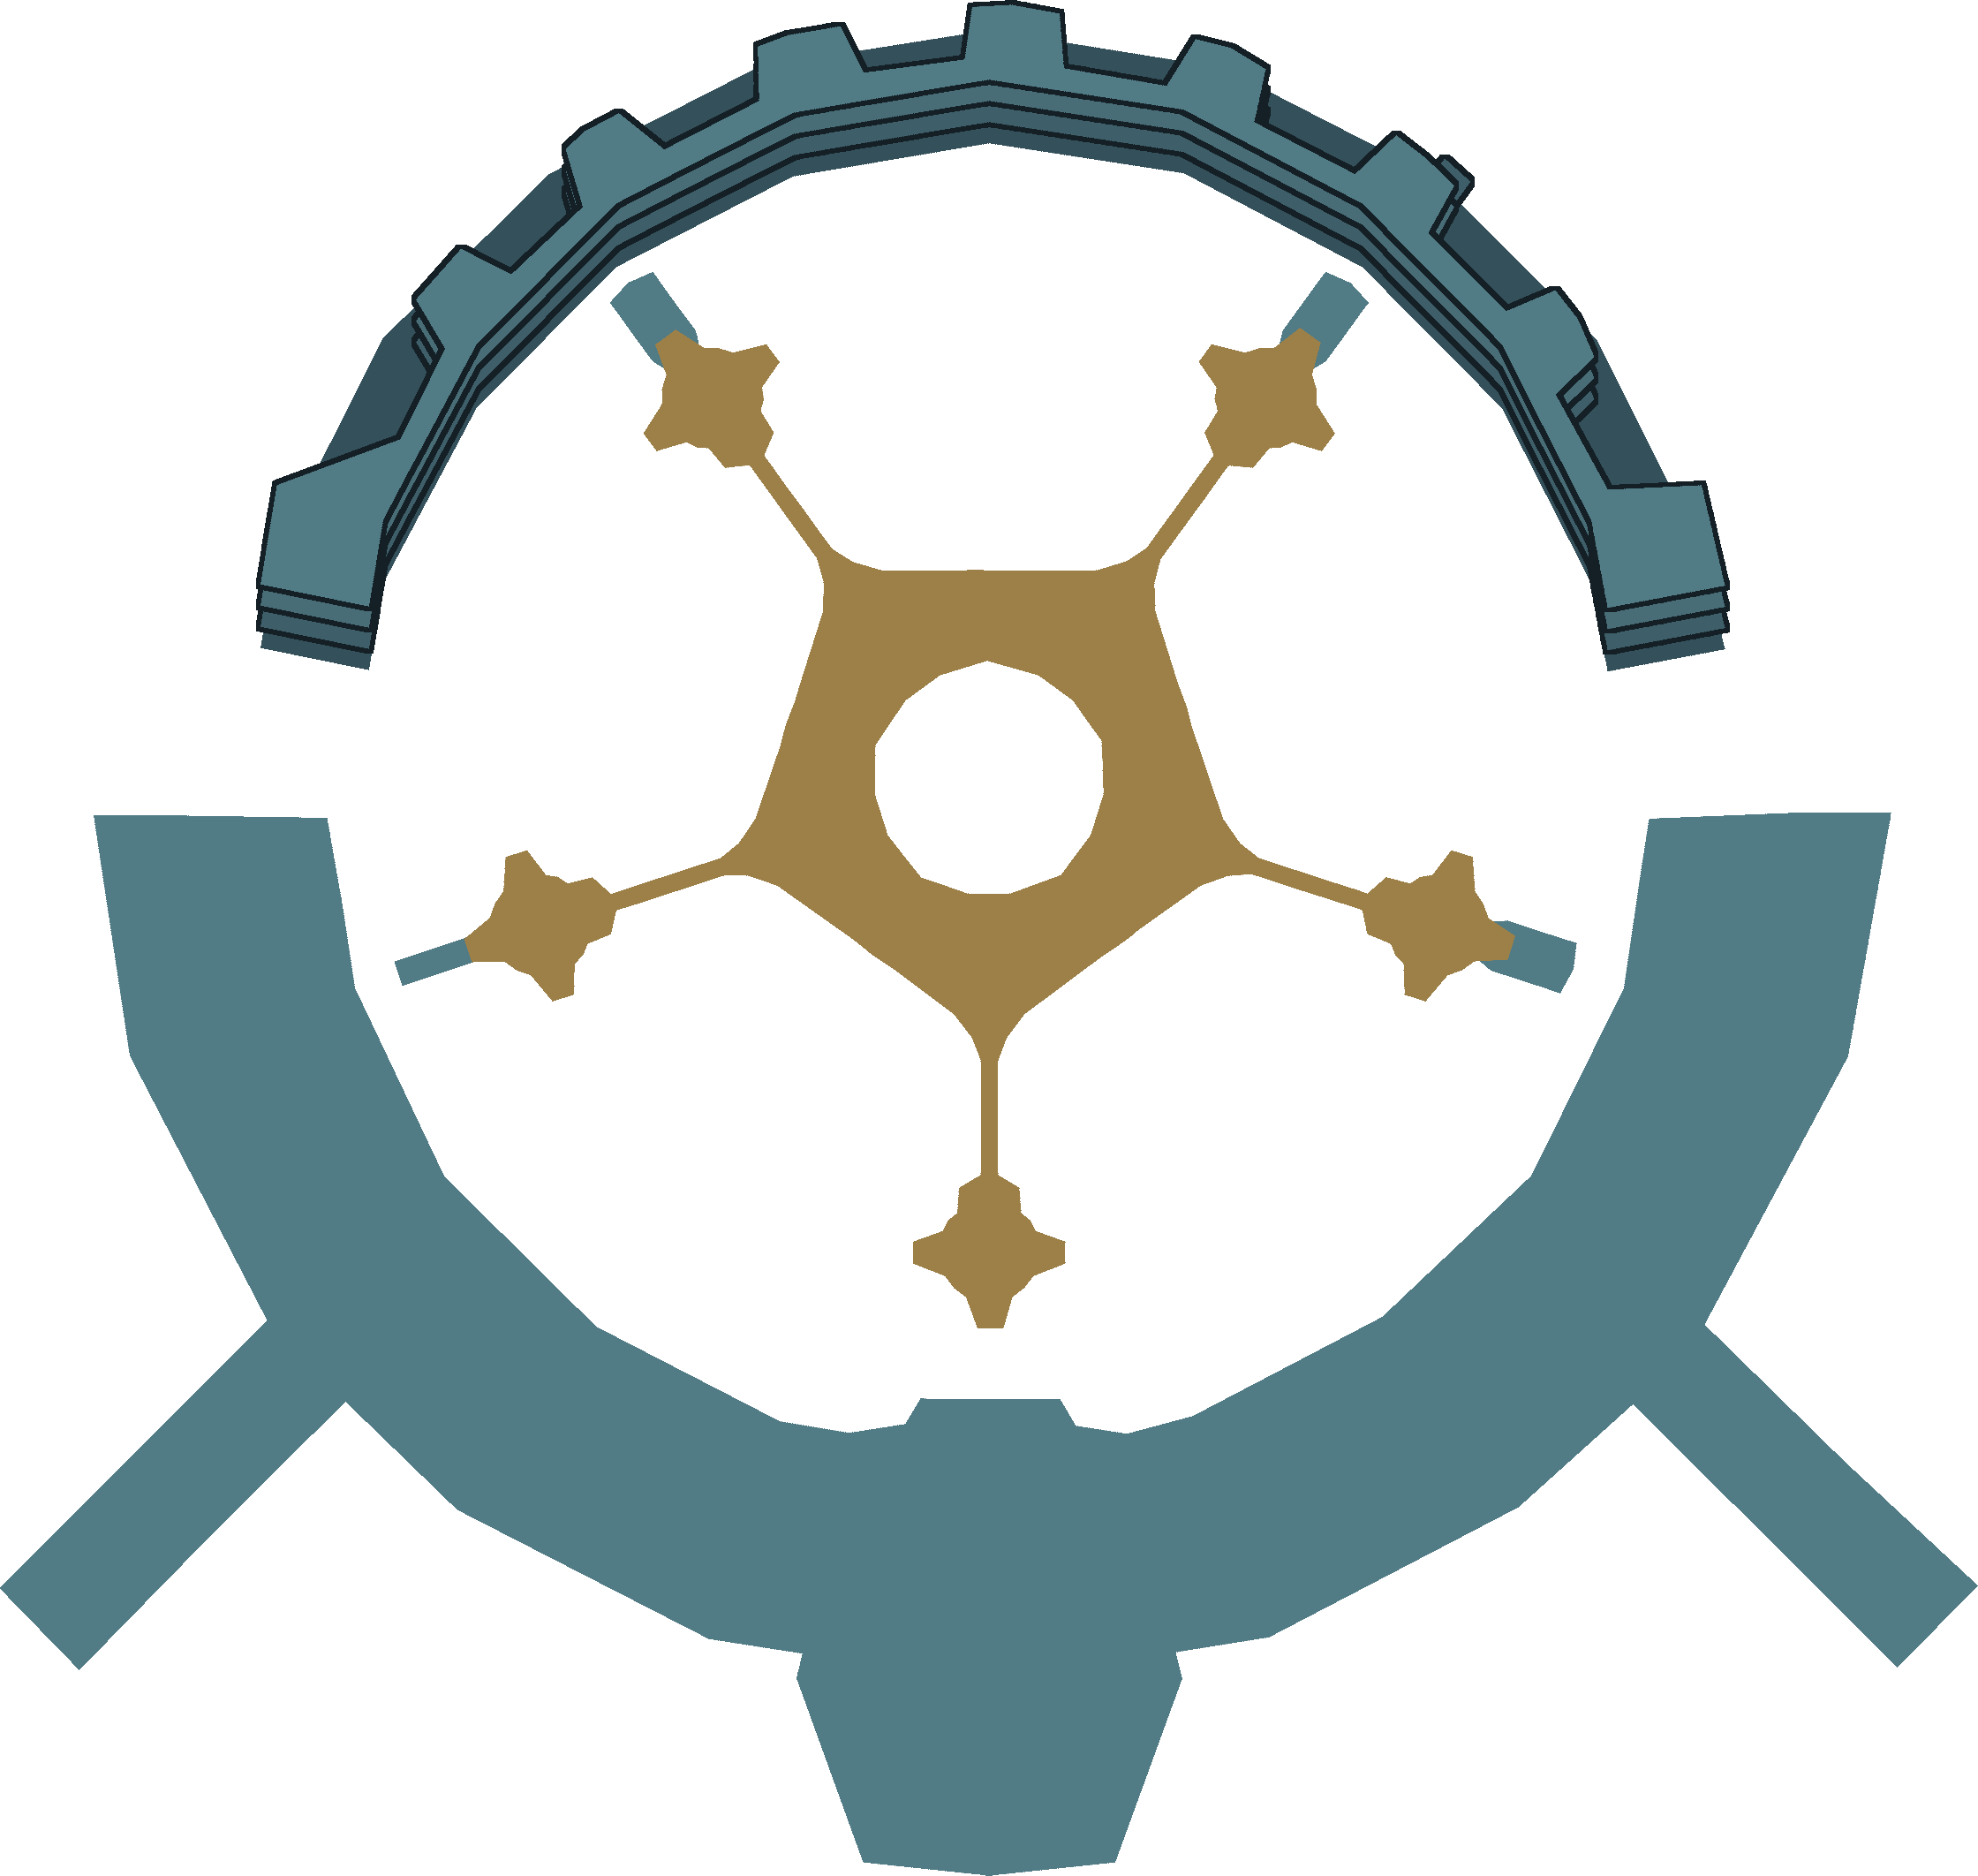
Hopefully you remember the path through here, as it’s the same path you went through last time, only easier. You don’t have to worry about solving the Bevelle plate puzzle, because it’s already solved from last time, and you don’t have to worry about riding the Gaol this time. All of the maps are included below if you would like to reference them.
Cloister
 Oath Veil
Antechamber

 1 1 |  Chocobo Feather ×2 Chocobo Feather ×2 |
Restricted Area (Platform Puzzle)







 A
F
E
D
C
B
A
F
E
D
C
B
Gaol
| 1 |  Phoenix Down ×6 Phoenix Down ×6 |
 | Gaol Switch |
You’ll encounter Gippal as you wander through the Antechamber.
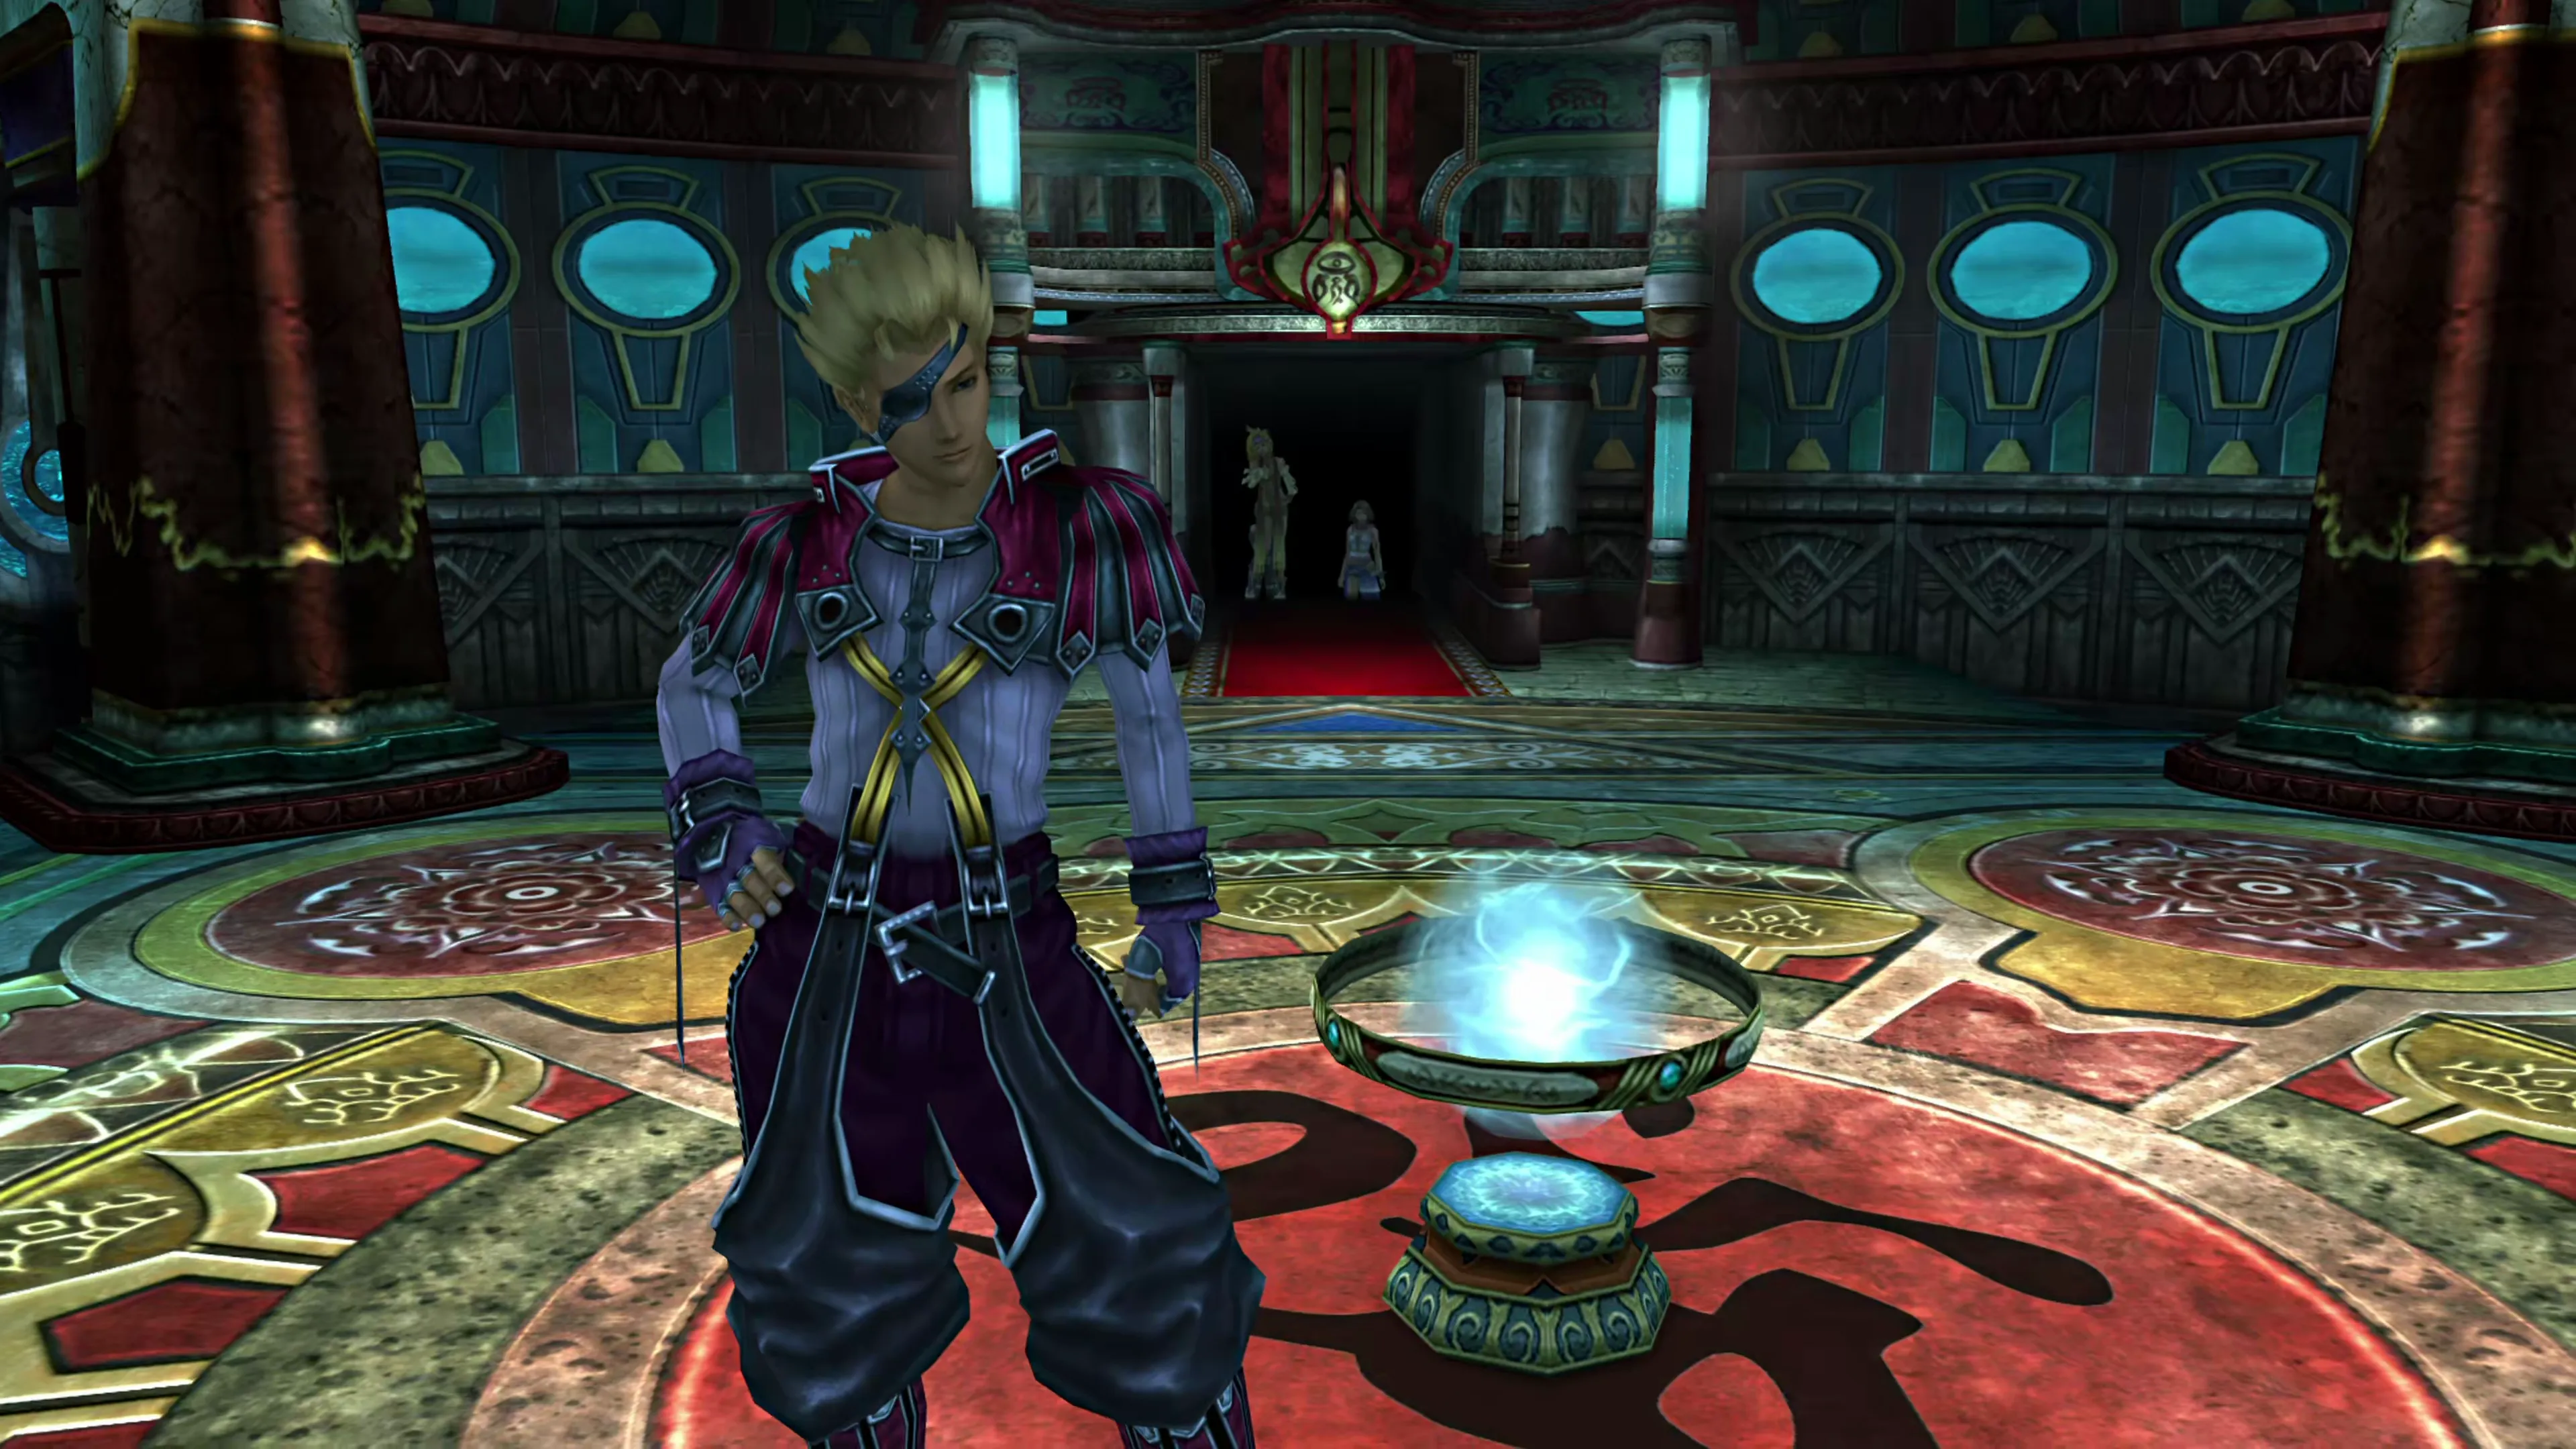
The puzzle involving the three lifts is also easy; you’ll have to unlock the main, dark-blue lift again, but all you have to do is raise one of the two side lifts and stand on the two pedestals up top to activate the lift at the back of the room.
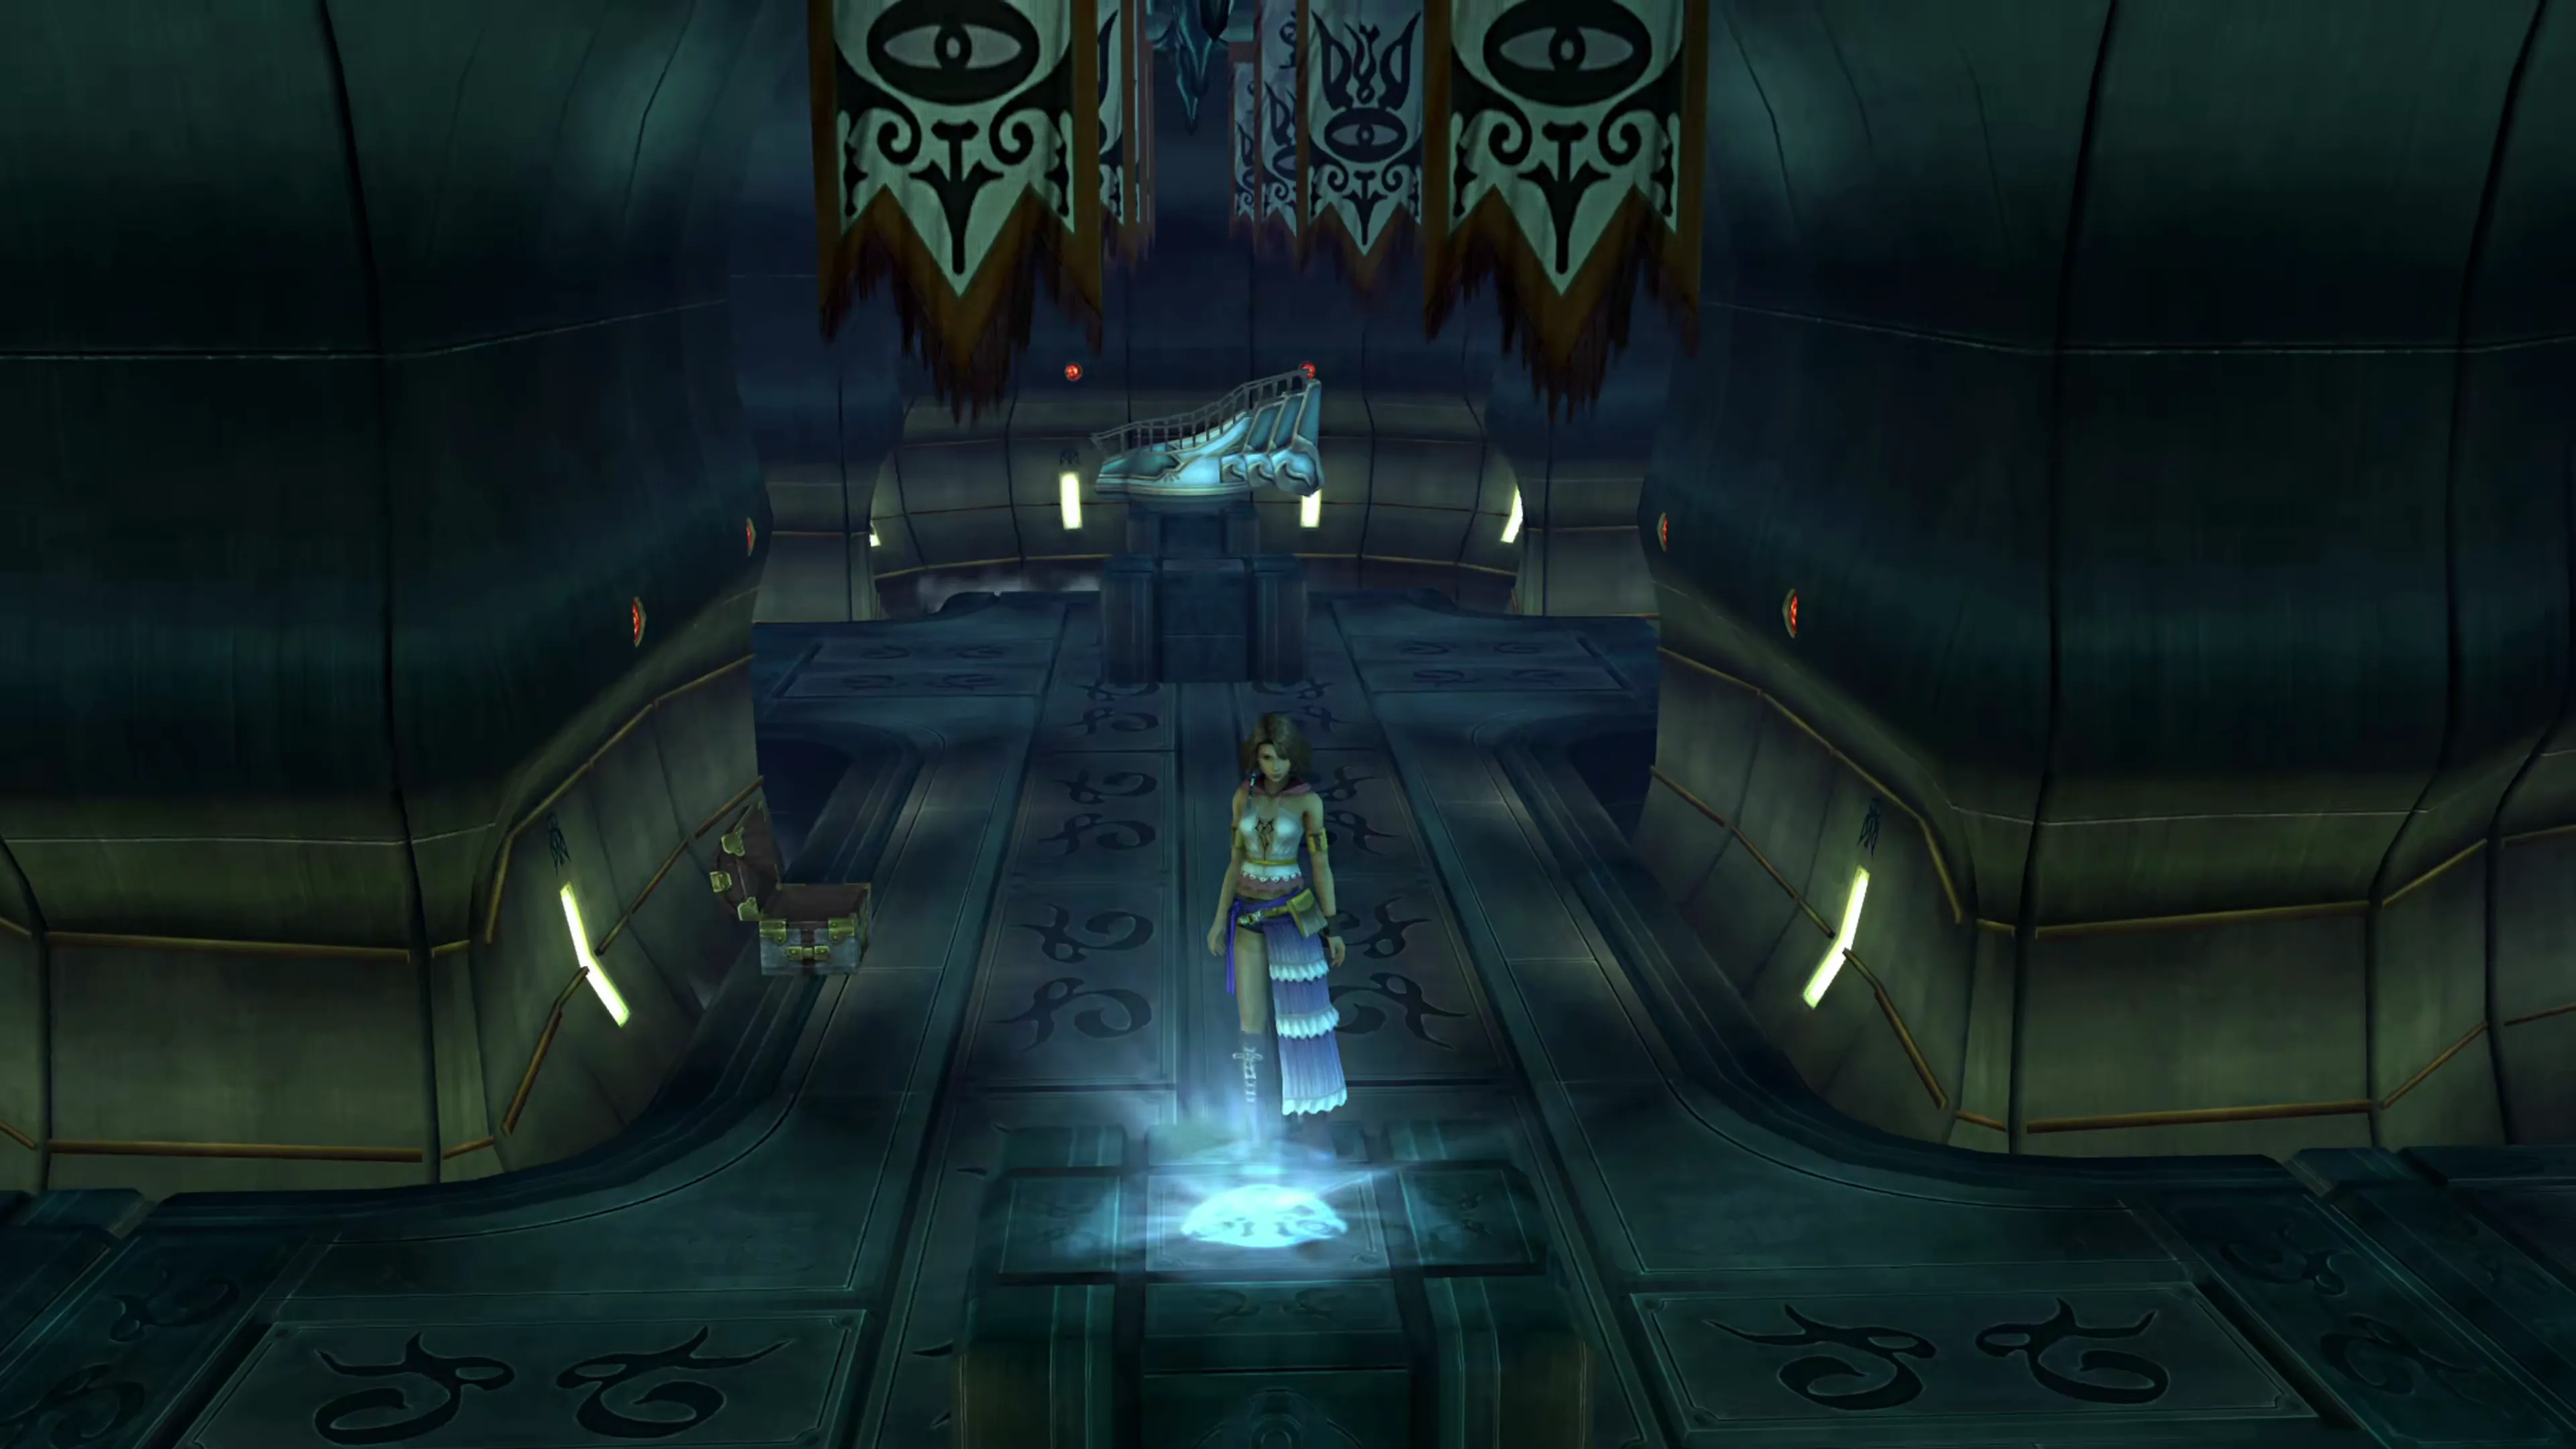


In short order, you’ll only have to fight a Malboro that will drop down from the ceiling. You may want to consider having a  Gun Mage Dressphere on your character’s Garment Grids so that they can learn the
  Bad Breath Blue Bullet here.
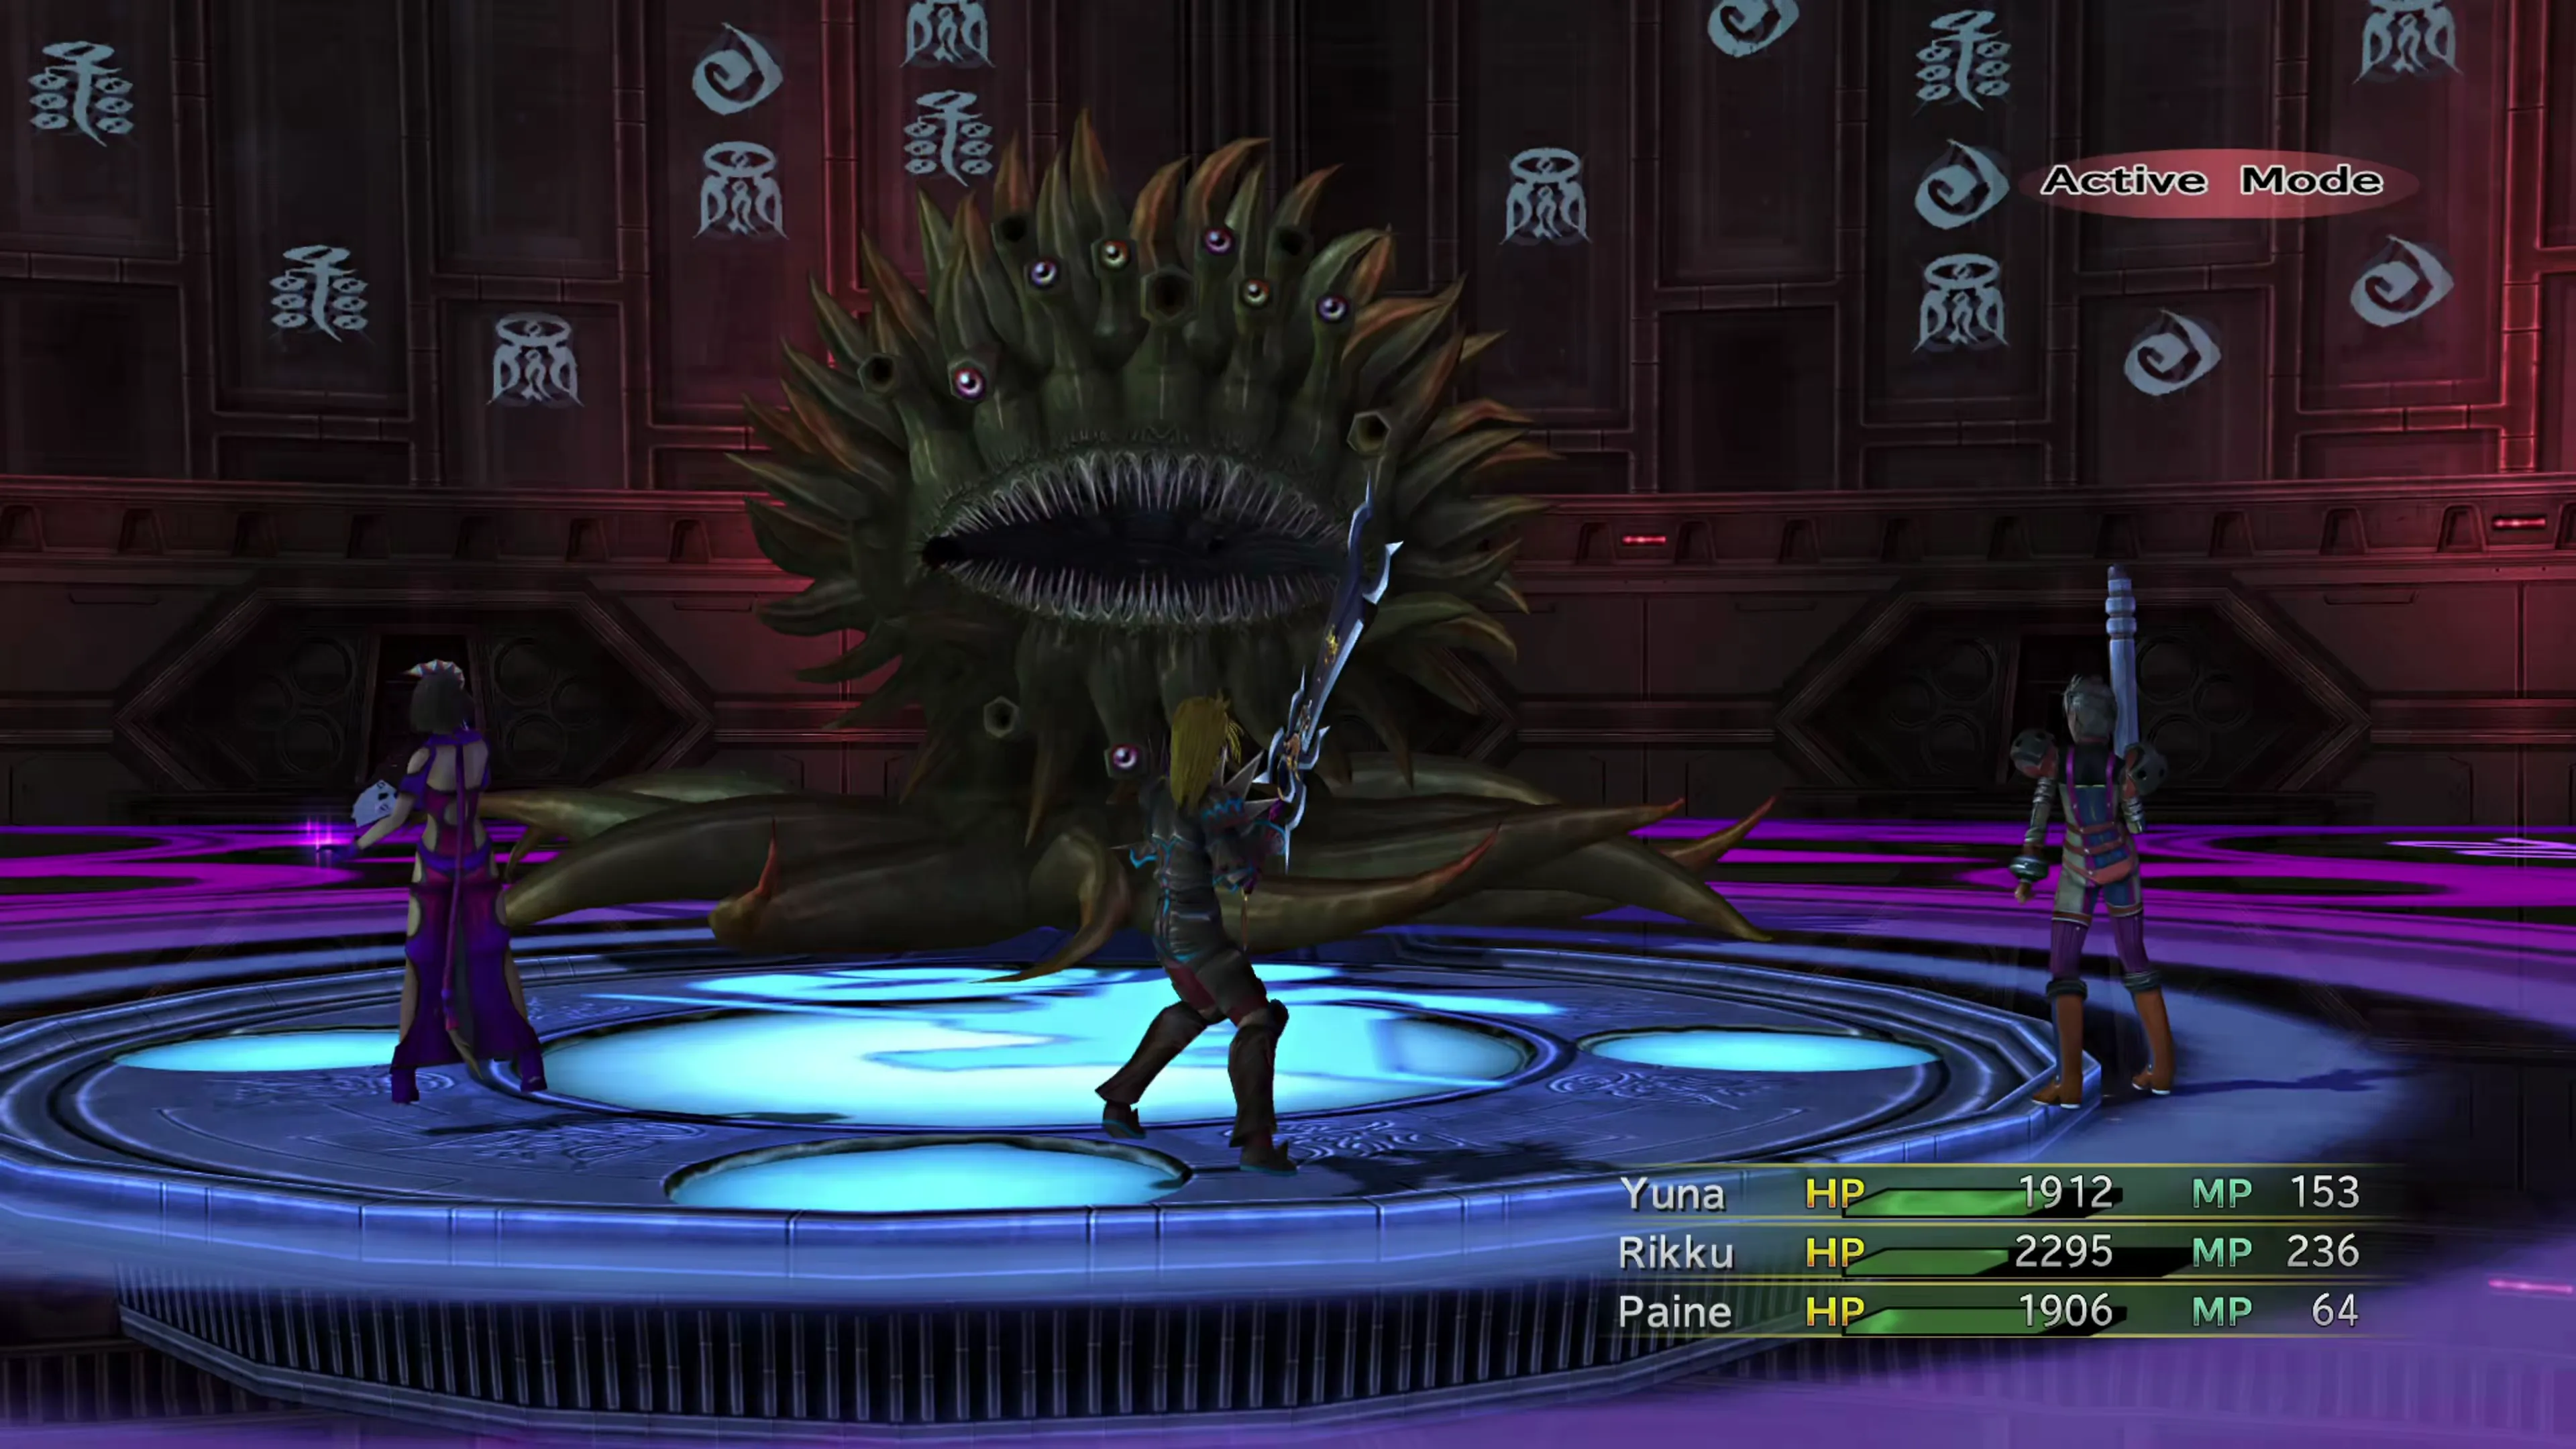
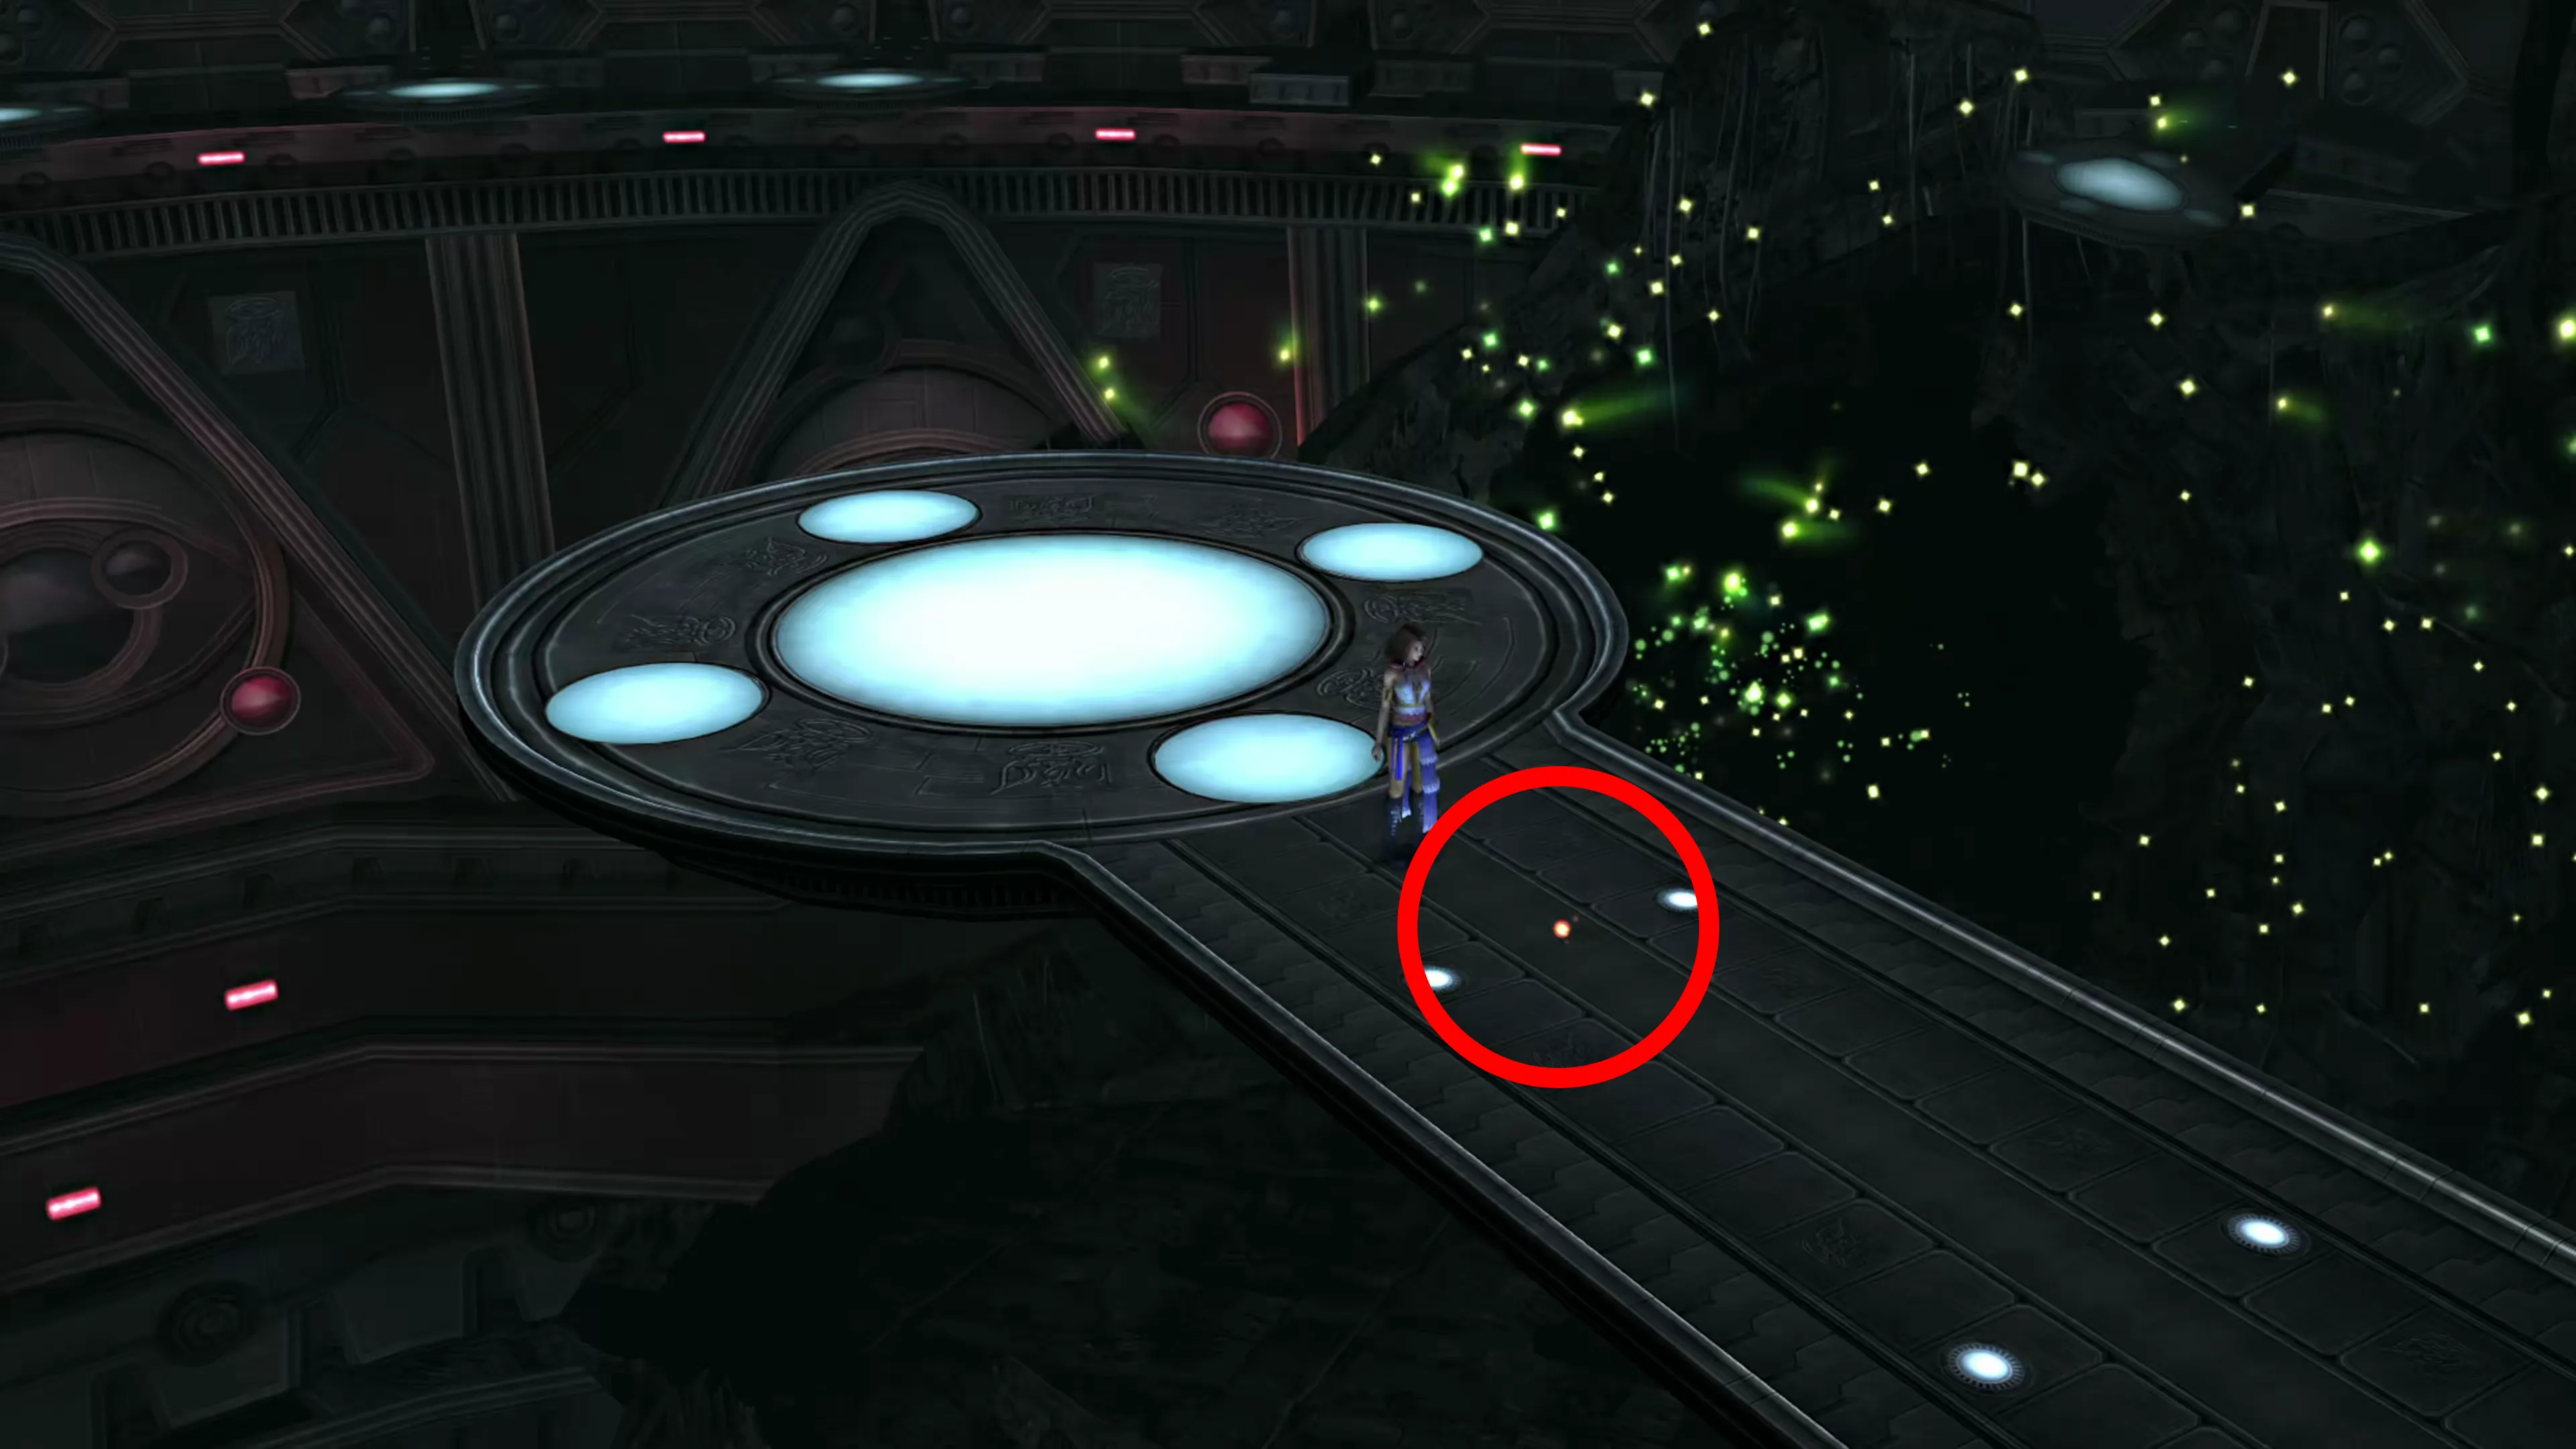
There is a lengthy bit of dialogue that takes place when you reach the final room in Bevelle where you fought Bahamut last chapter. The Malboro drops after the sequence ends. Defeat it, and before you leave, don’t forget to grab  Crimson Sphere 1 that’s sitting on the ground.
Warning
Crimson Sphere 1, which is sitting there on the ground after the battle against Malboro and the cutscenes that follow it, is a very commonly missed item. Don’t forget to pick it up as you leave! Once you’ve defeated the boss at the end of Chapter 3, there’s no way to come back and get it, and you’ll be permanently locked out of the Den of Woe.
This concludes the events at Bevelle. Backtrack to the  Save Sphere and warp back to the Celsius. While you’re there, talk to Shinra and watch the “Crimson Record 1.”
Crimson Sphere 1, which is sitting there on the ground after the battle against Malboro and the cutscenes that follow it, is a very commonly missed item. Don’t forget to pick it up as you leave! You can’t collect it later, and without it you’ll be permanently locked out of the Den of Woe.
Now it’s time to go to the Calm Lands.
Checking the “Bevelle Complete” box adds the Story Completion Percent for the automatic scenes in Bevelle.