

Mushroom Rock Road
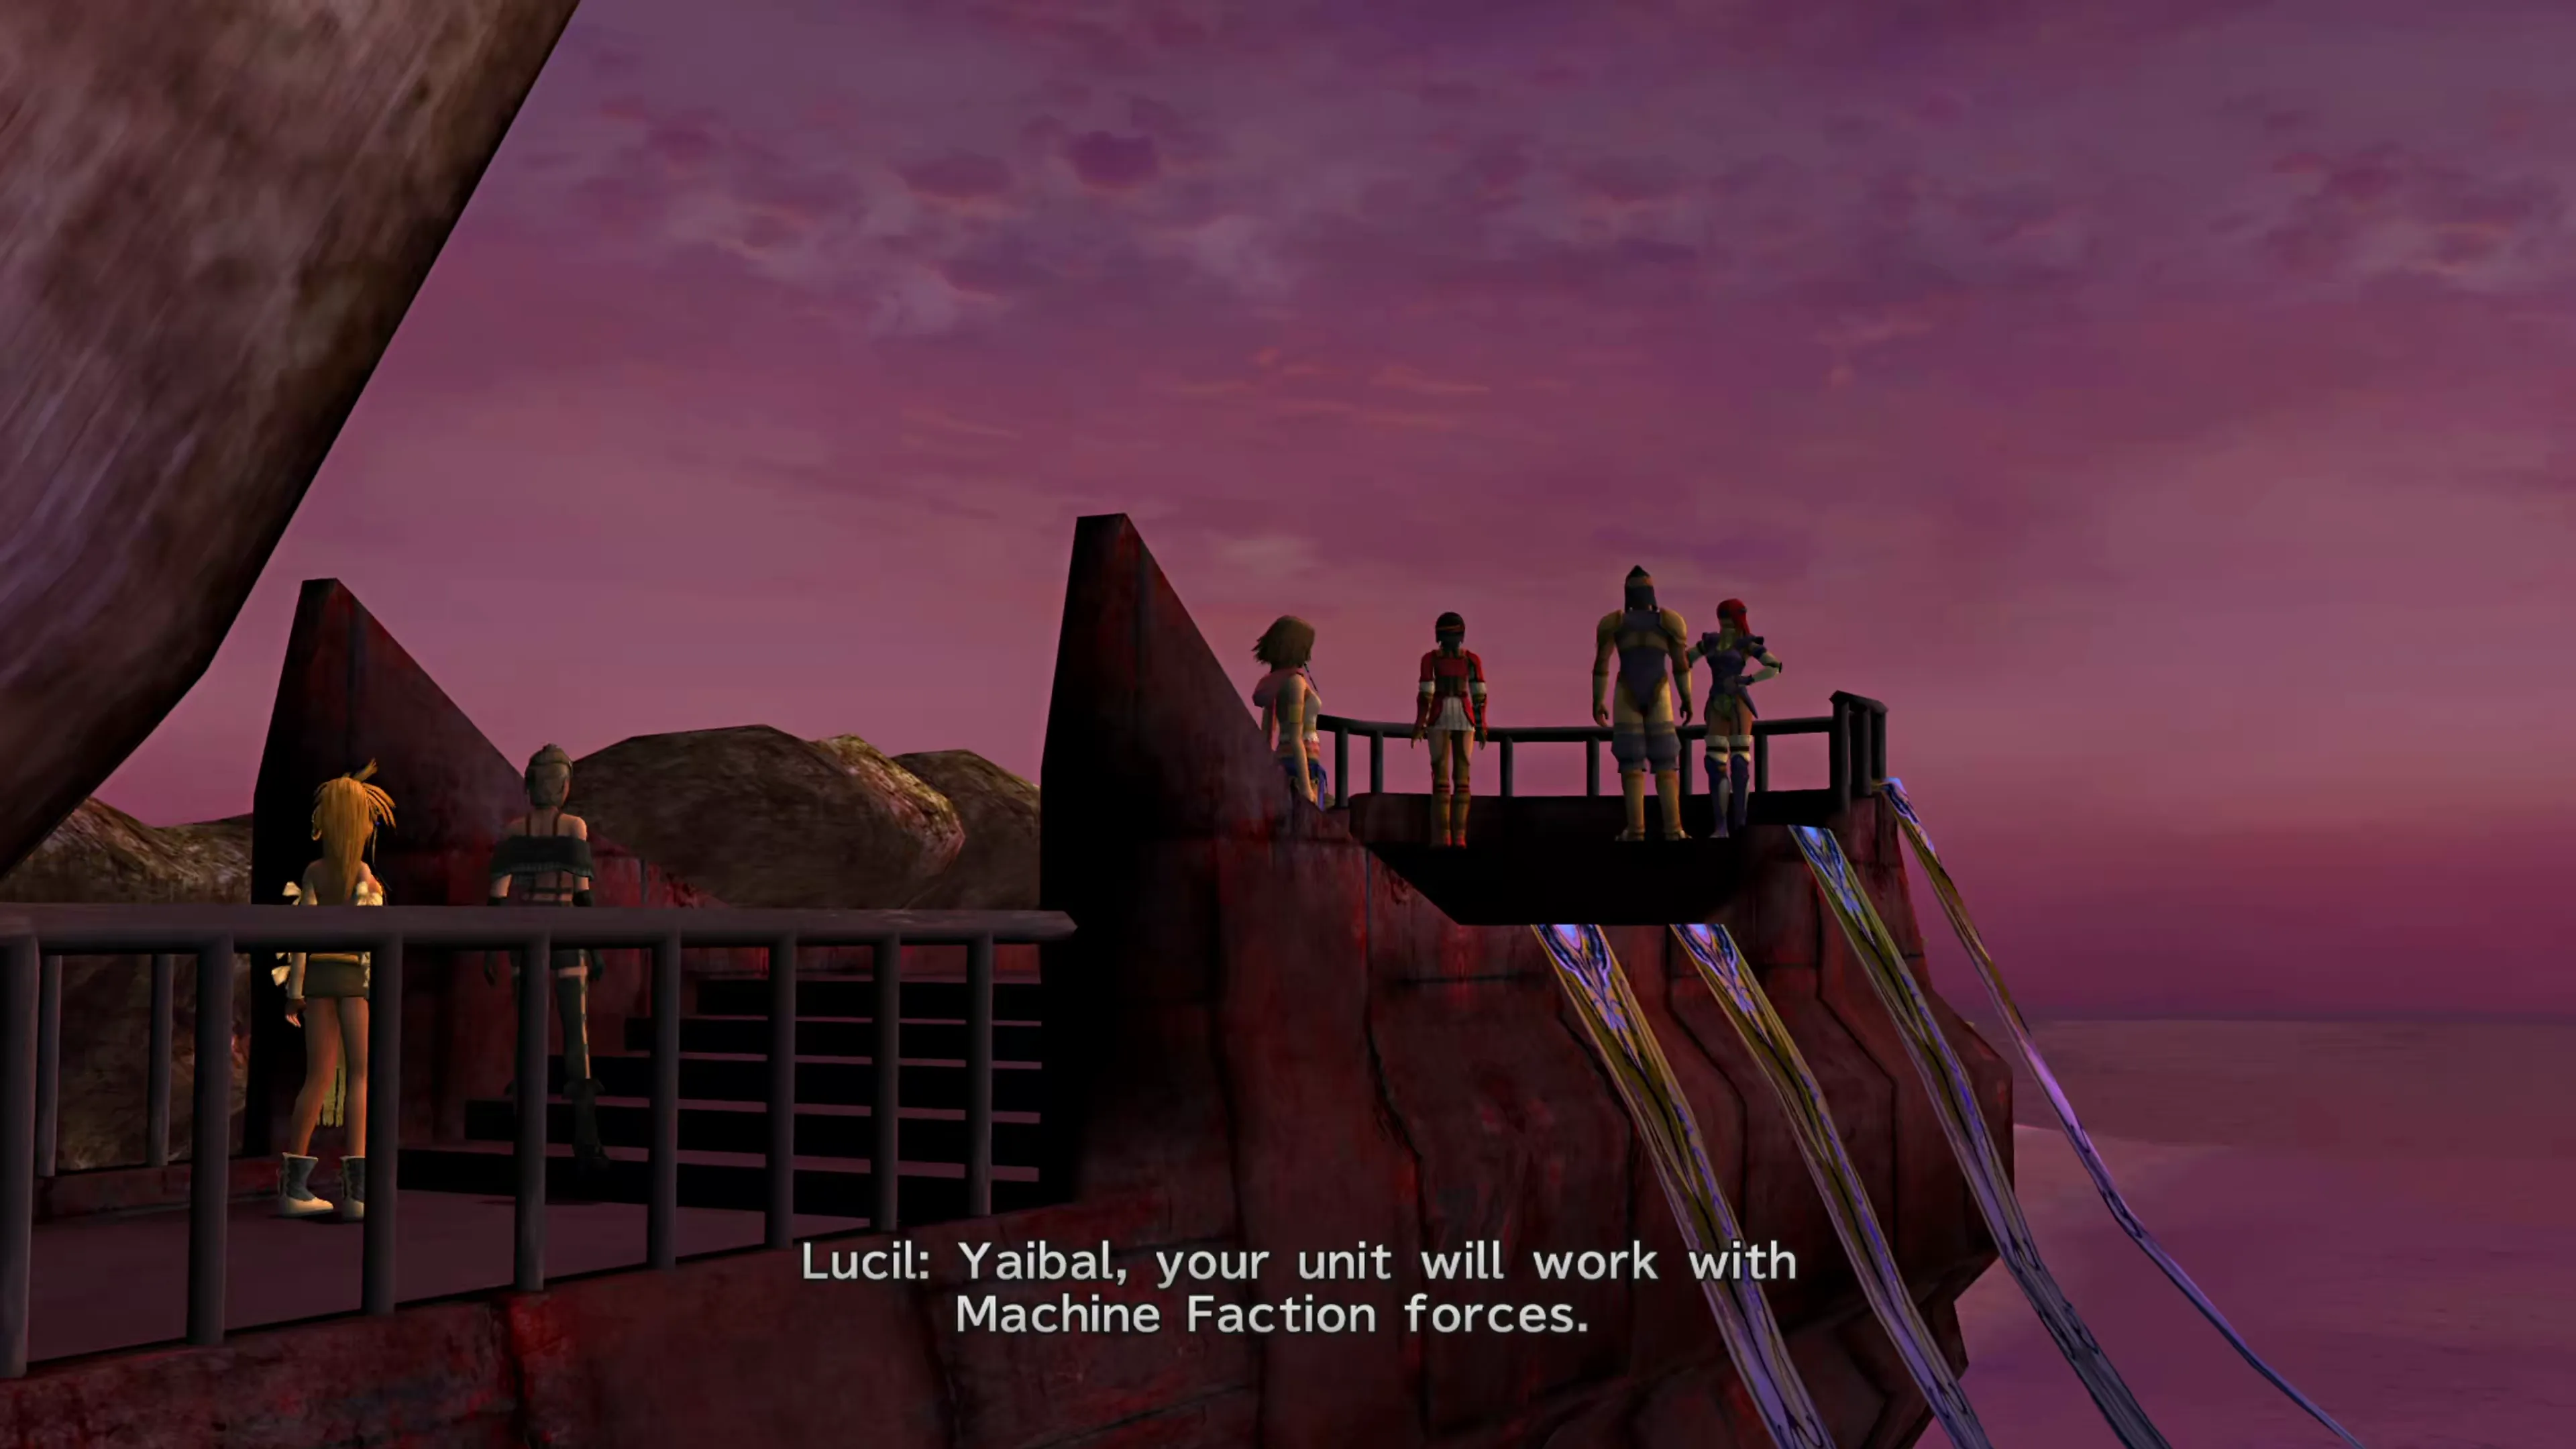
After a brief discussion with Lucil and Elma, they’ll ask you to challenge their teams in combat to prevent boredom. Speak to Yaibal before you venture into Mushroom Rock Road proper to initiate the final Mission for this area.
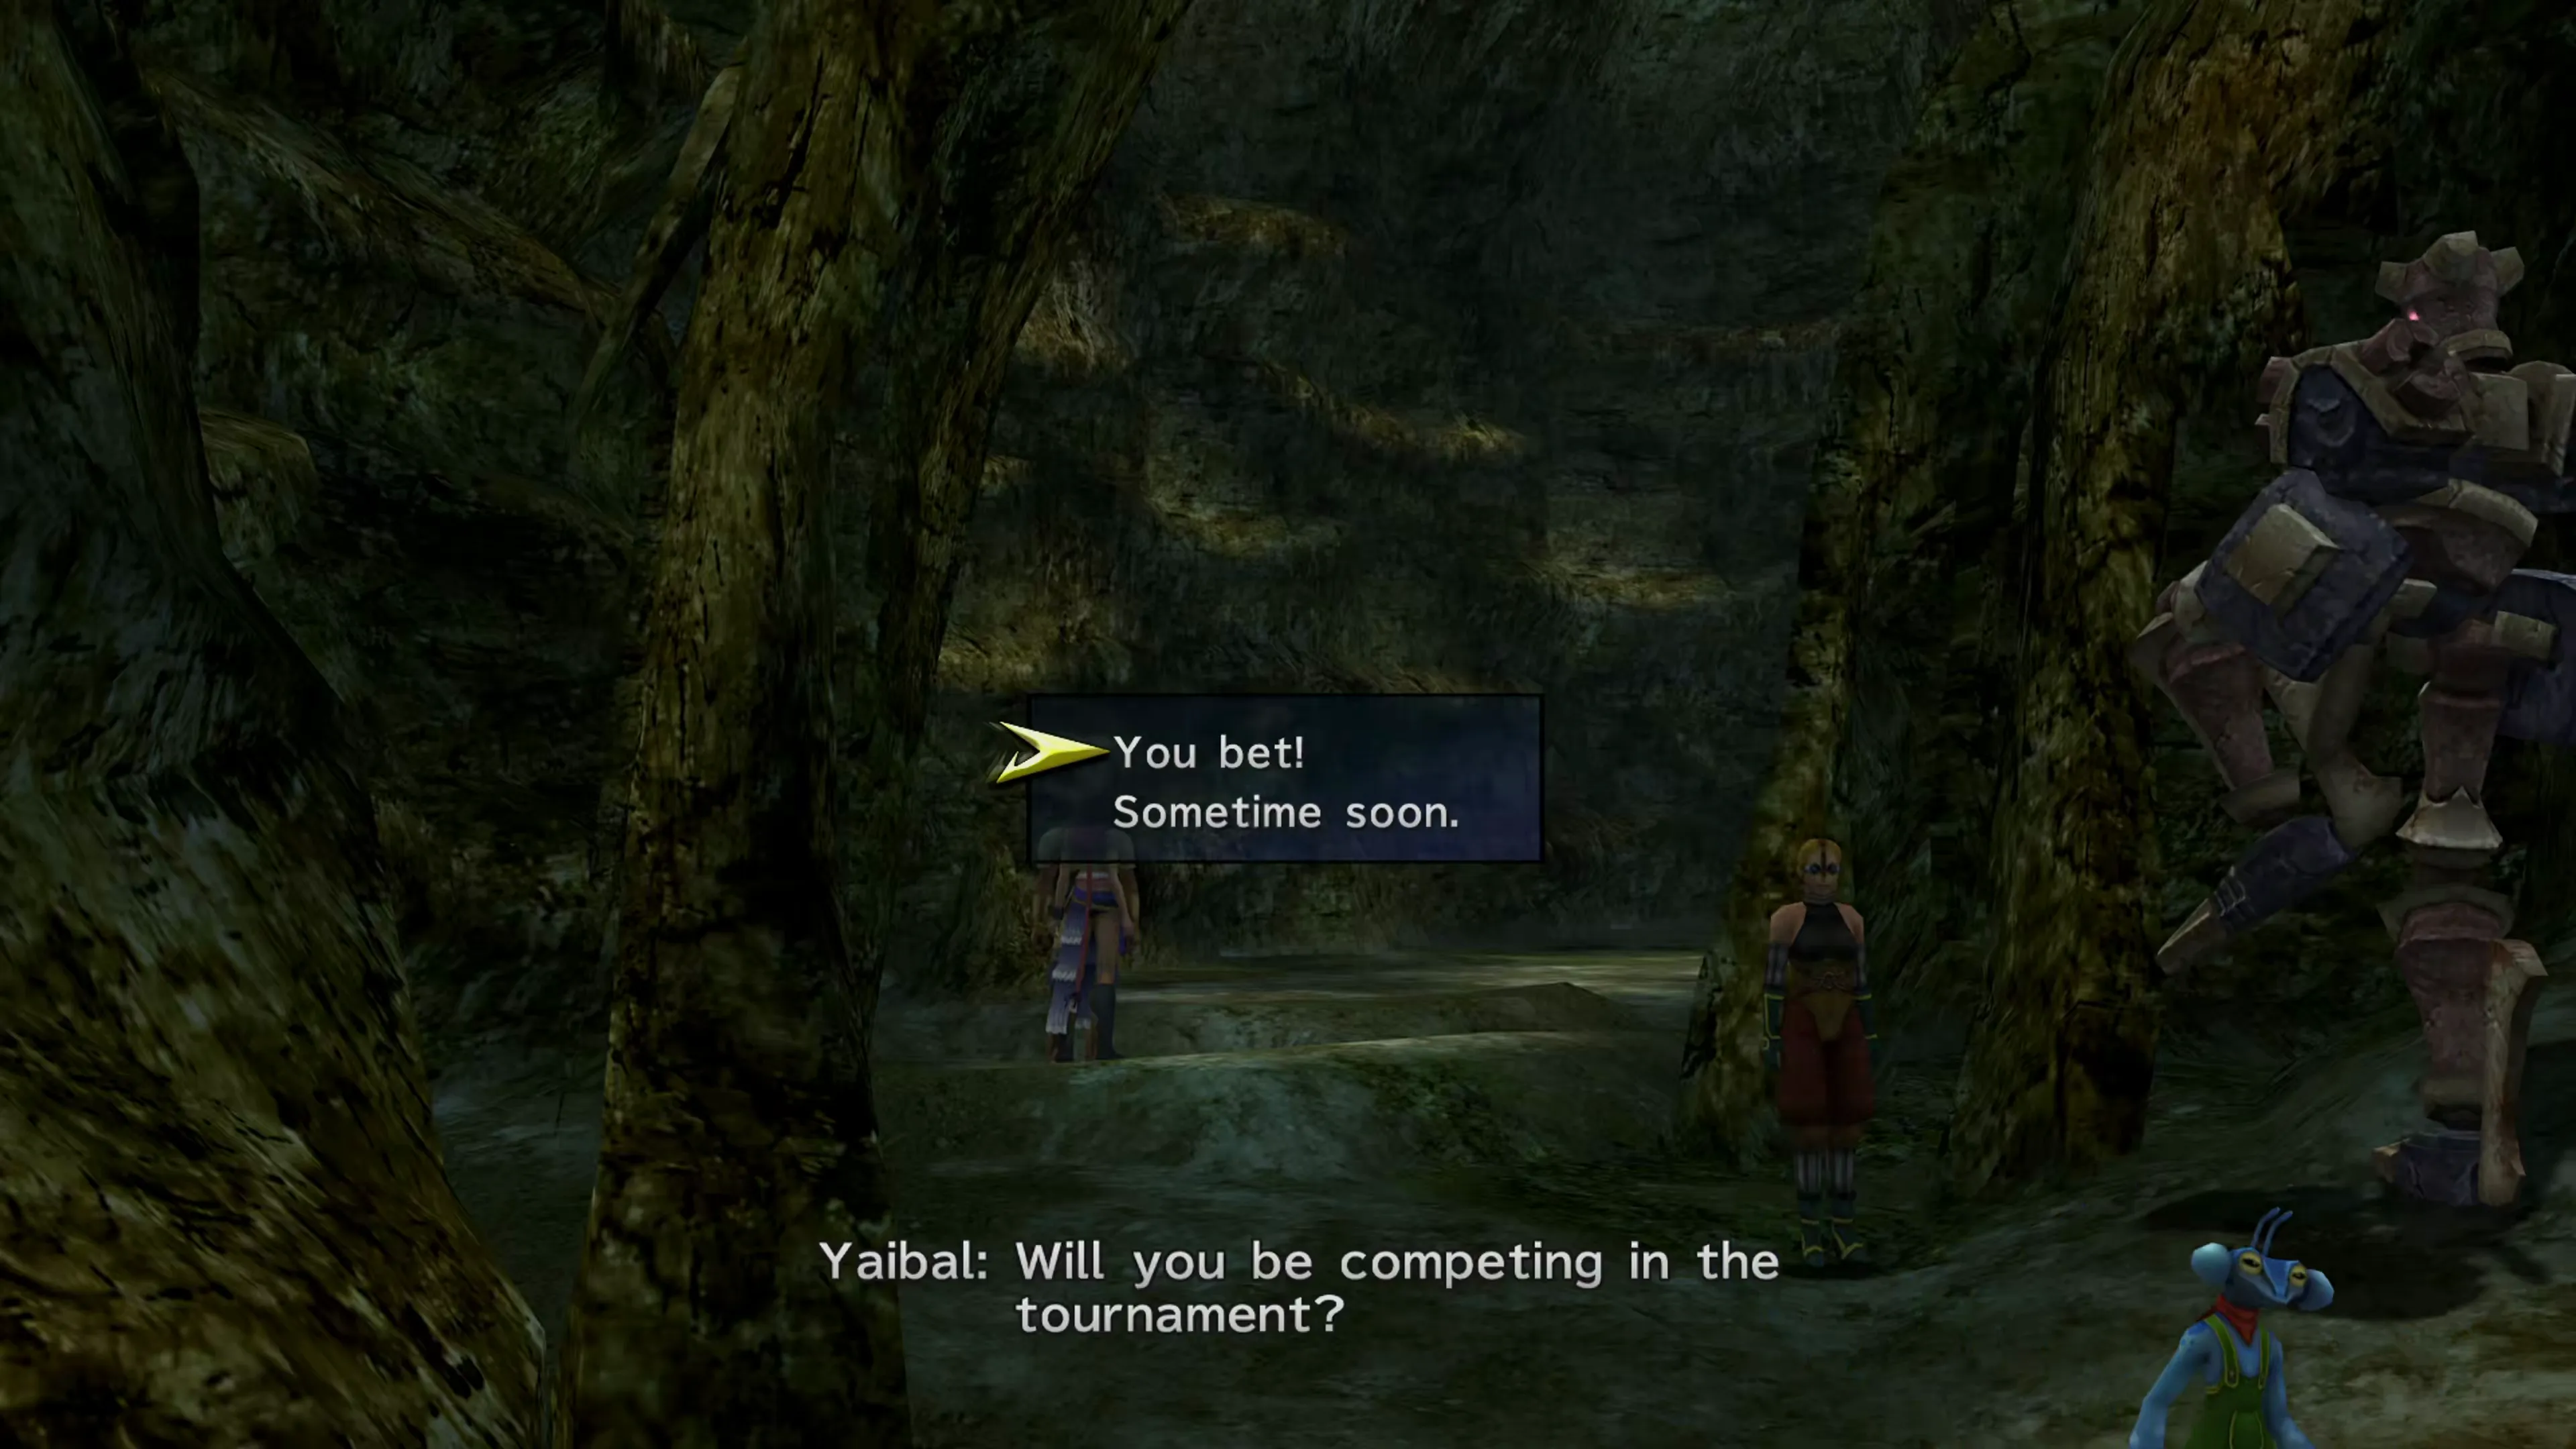
Mission: Youth League Tournament!
This is another very easy Mission to complete. All you have to do is dispatch each of the challengers along the Mushroom Rock Road, beginning with Yaibal, and then Elma and Lucil towards the end. These are all easy fights that don’t require any over-the-top strategies.
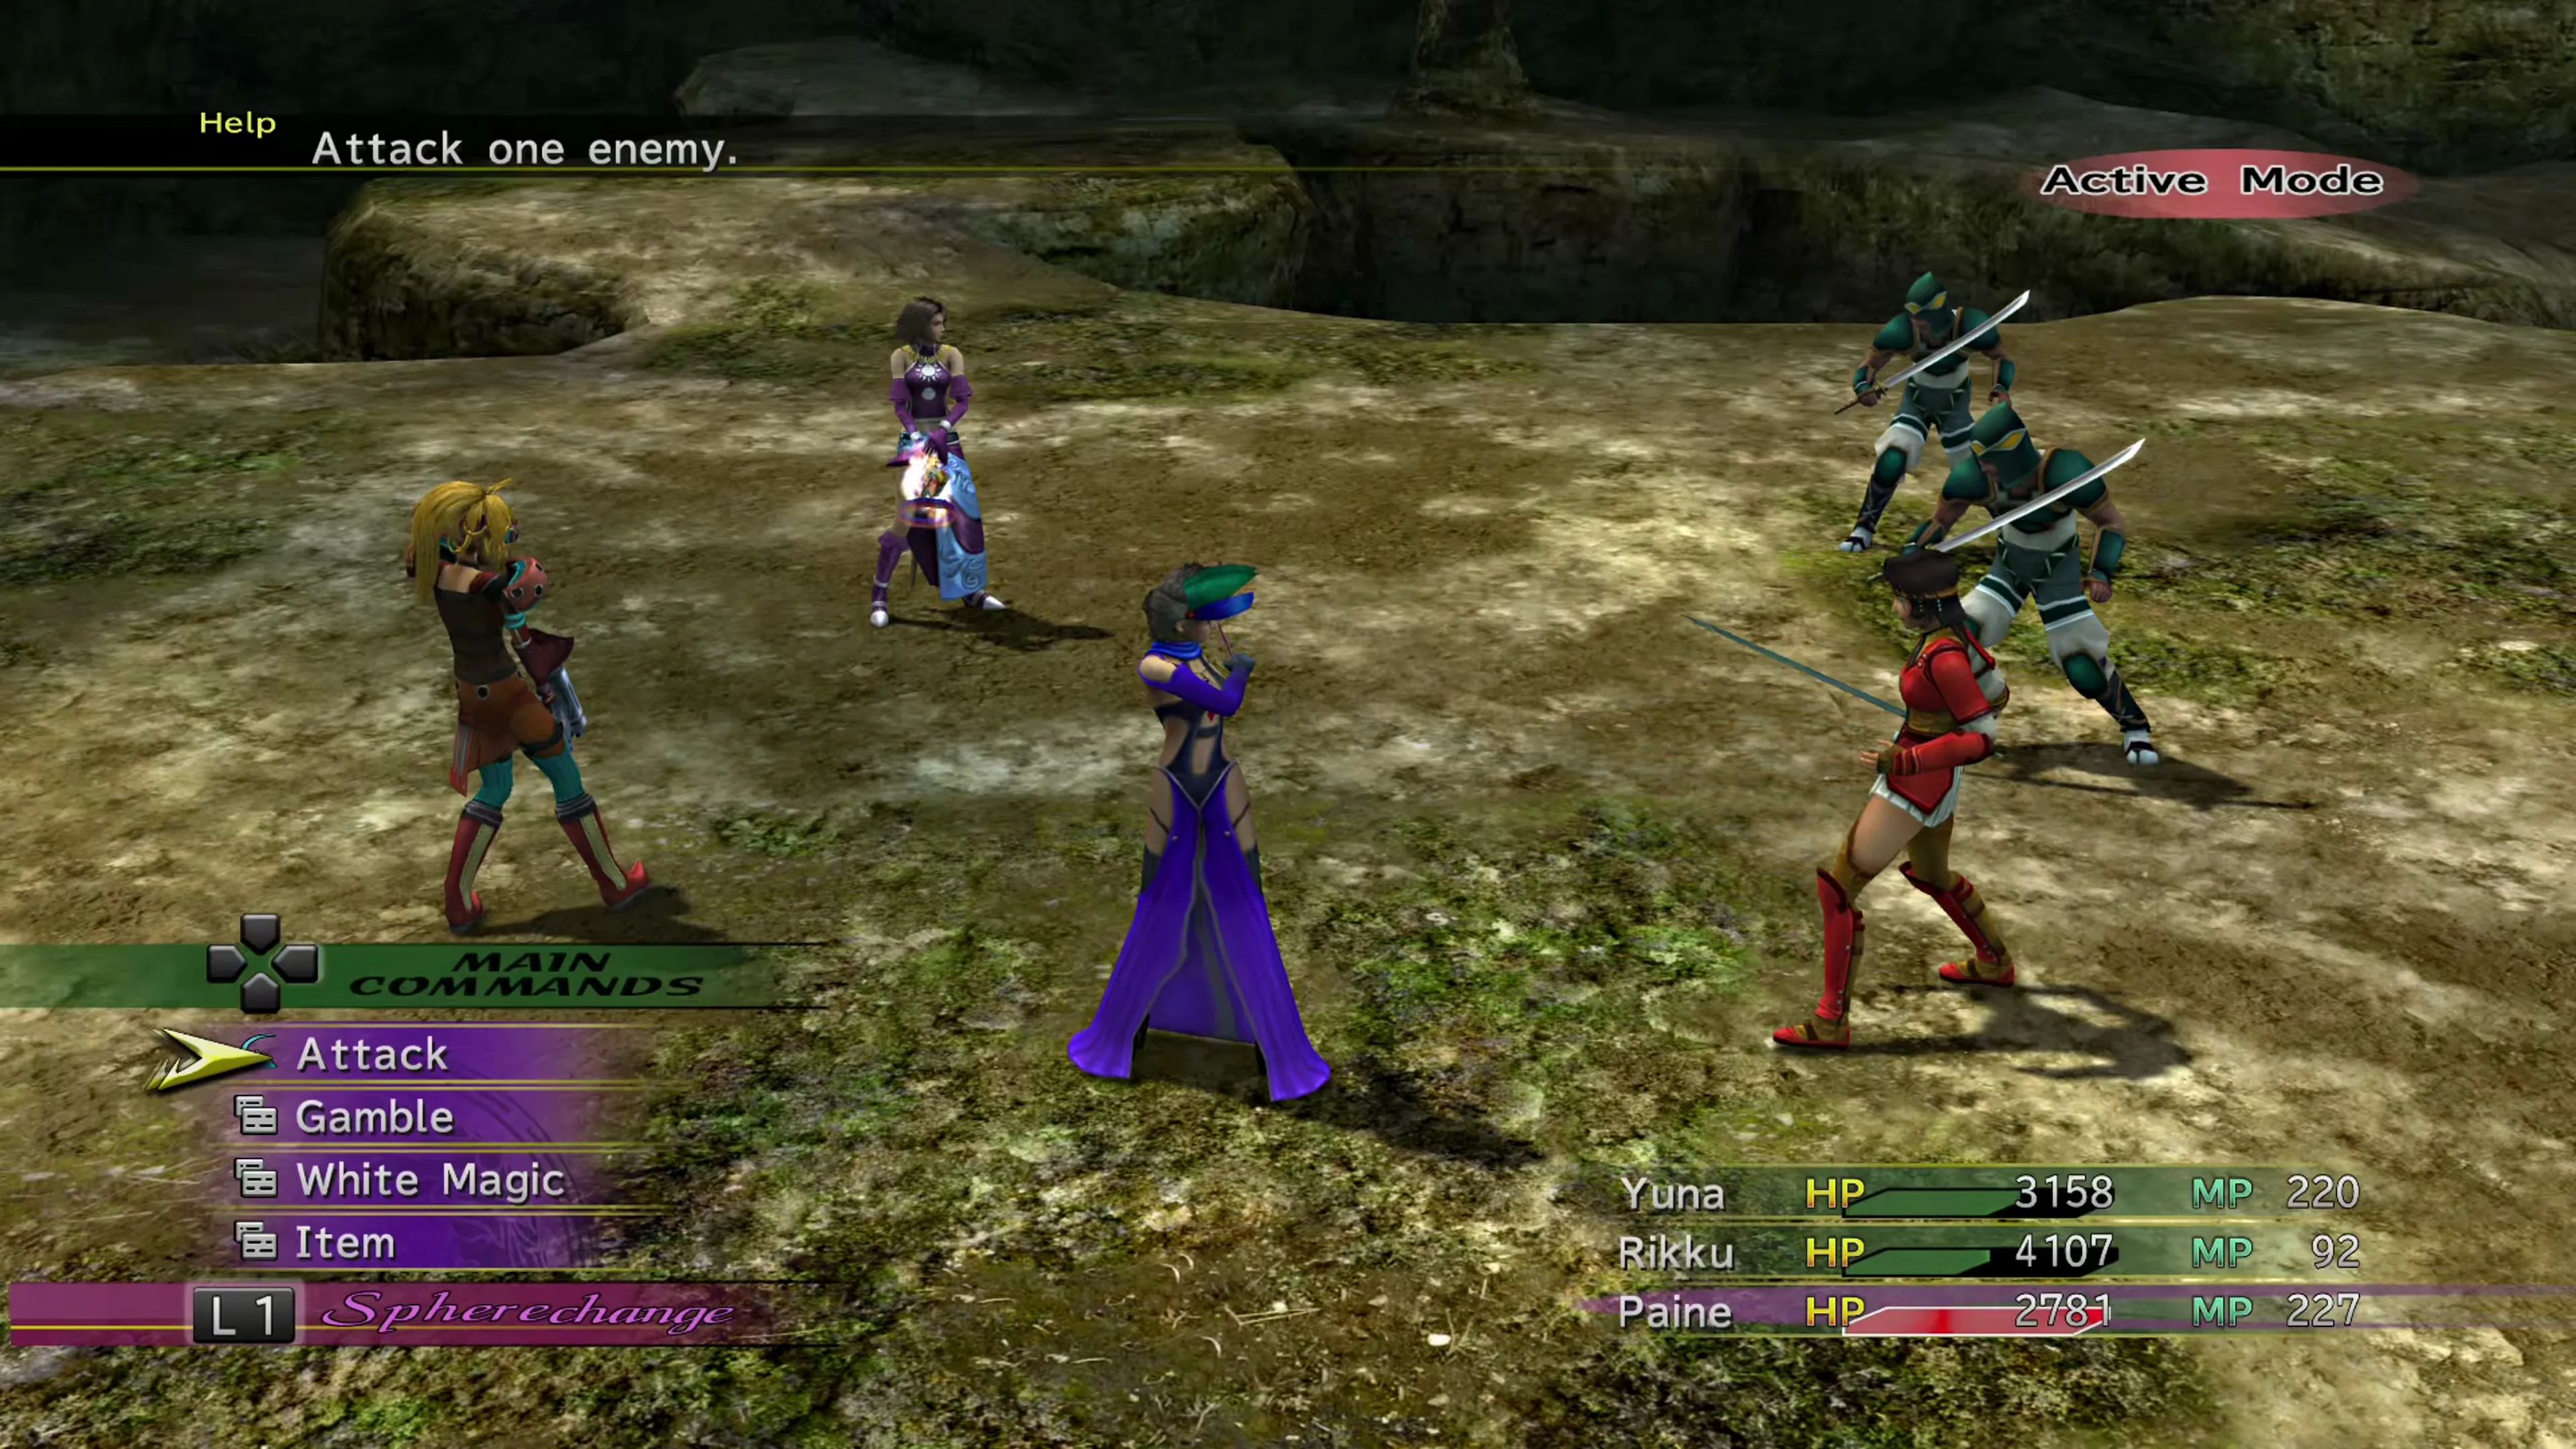
You’ll get a Mission Complete once you’ve finished, followed by a lengthy speech, and then an “Episode Complete.” The game will automatically transport you up to the Celsius. As long as you’ve been following this walkthrough, you should have achieved an “Episode Complete” in every location, which triggers a new cutscene as soon as you return to the Celsius.
Celsius - A Special Bonus for the Gullwings!
Upon your return, Buddy will announce a “special bonus for the Gullwings” and award you with the  Mascot Dressphere.
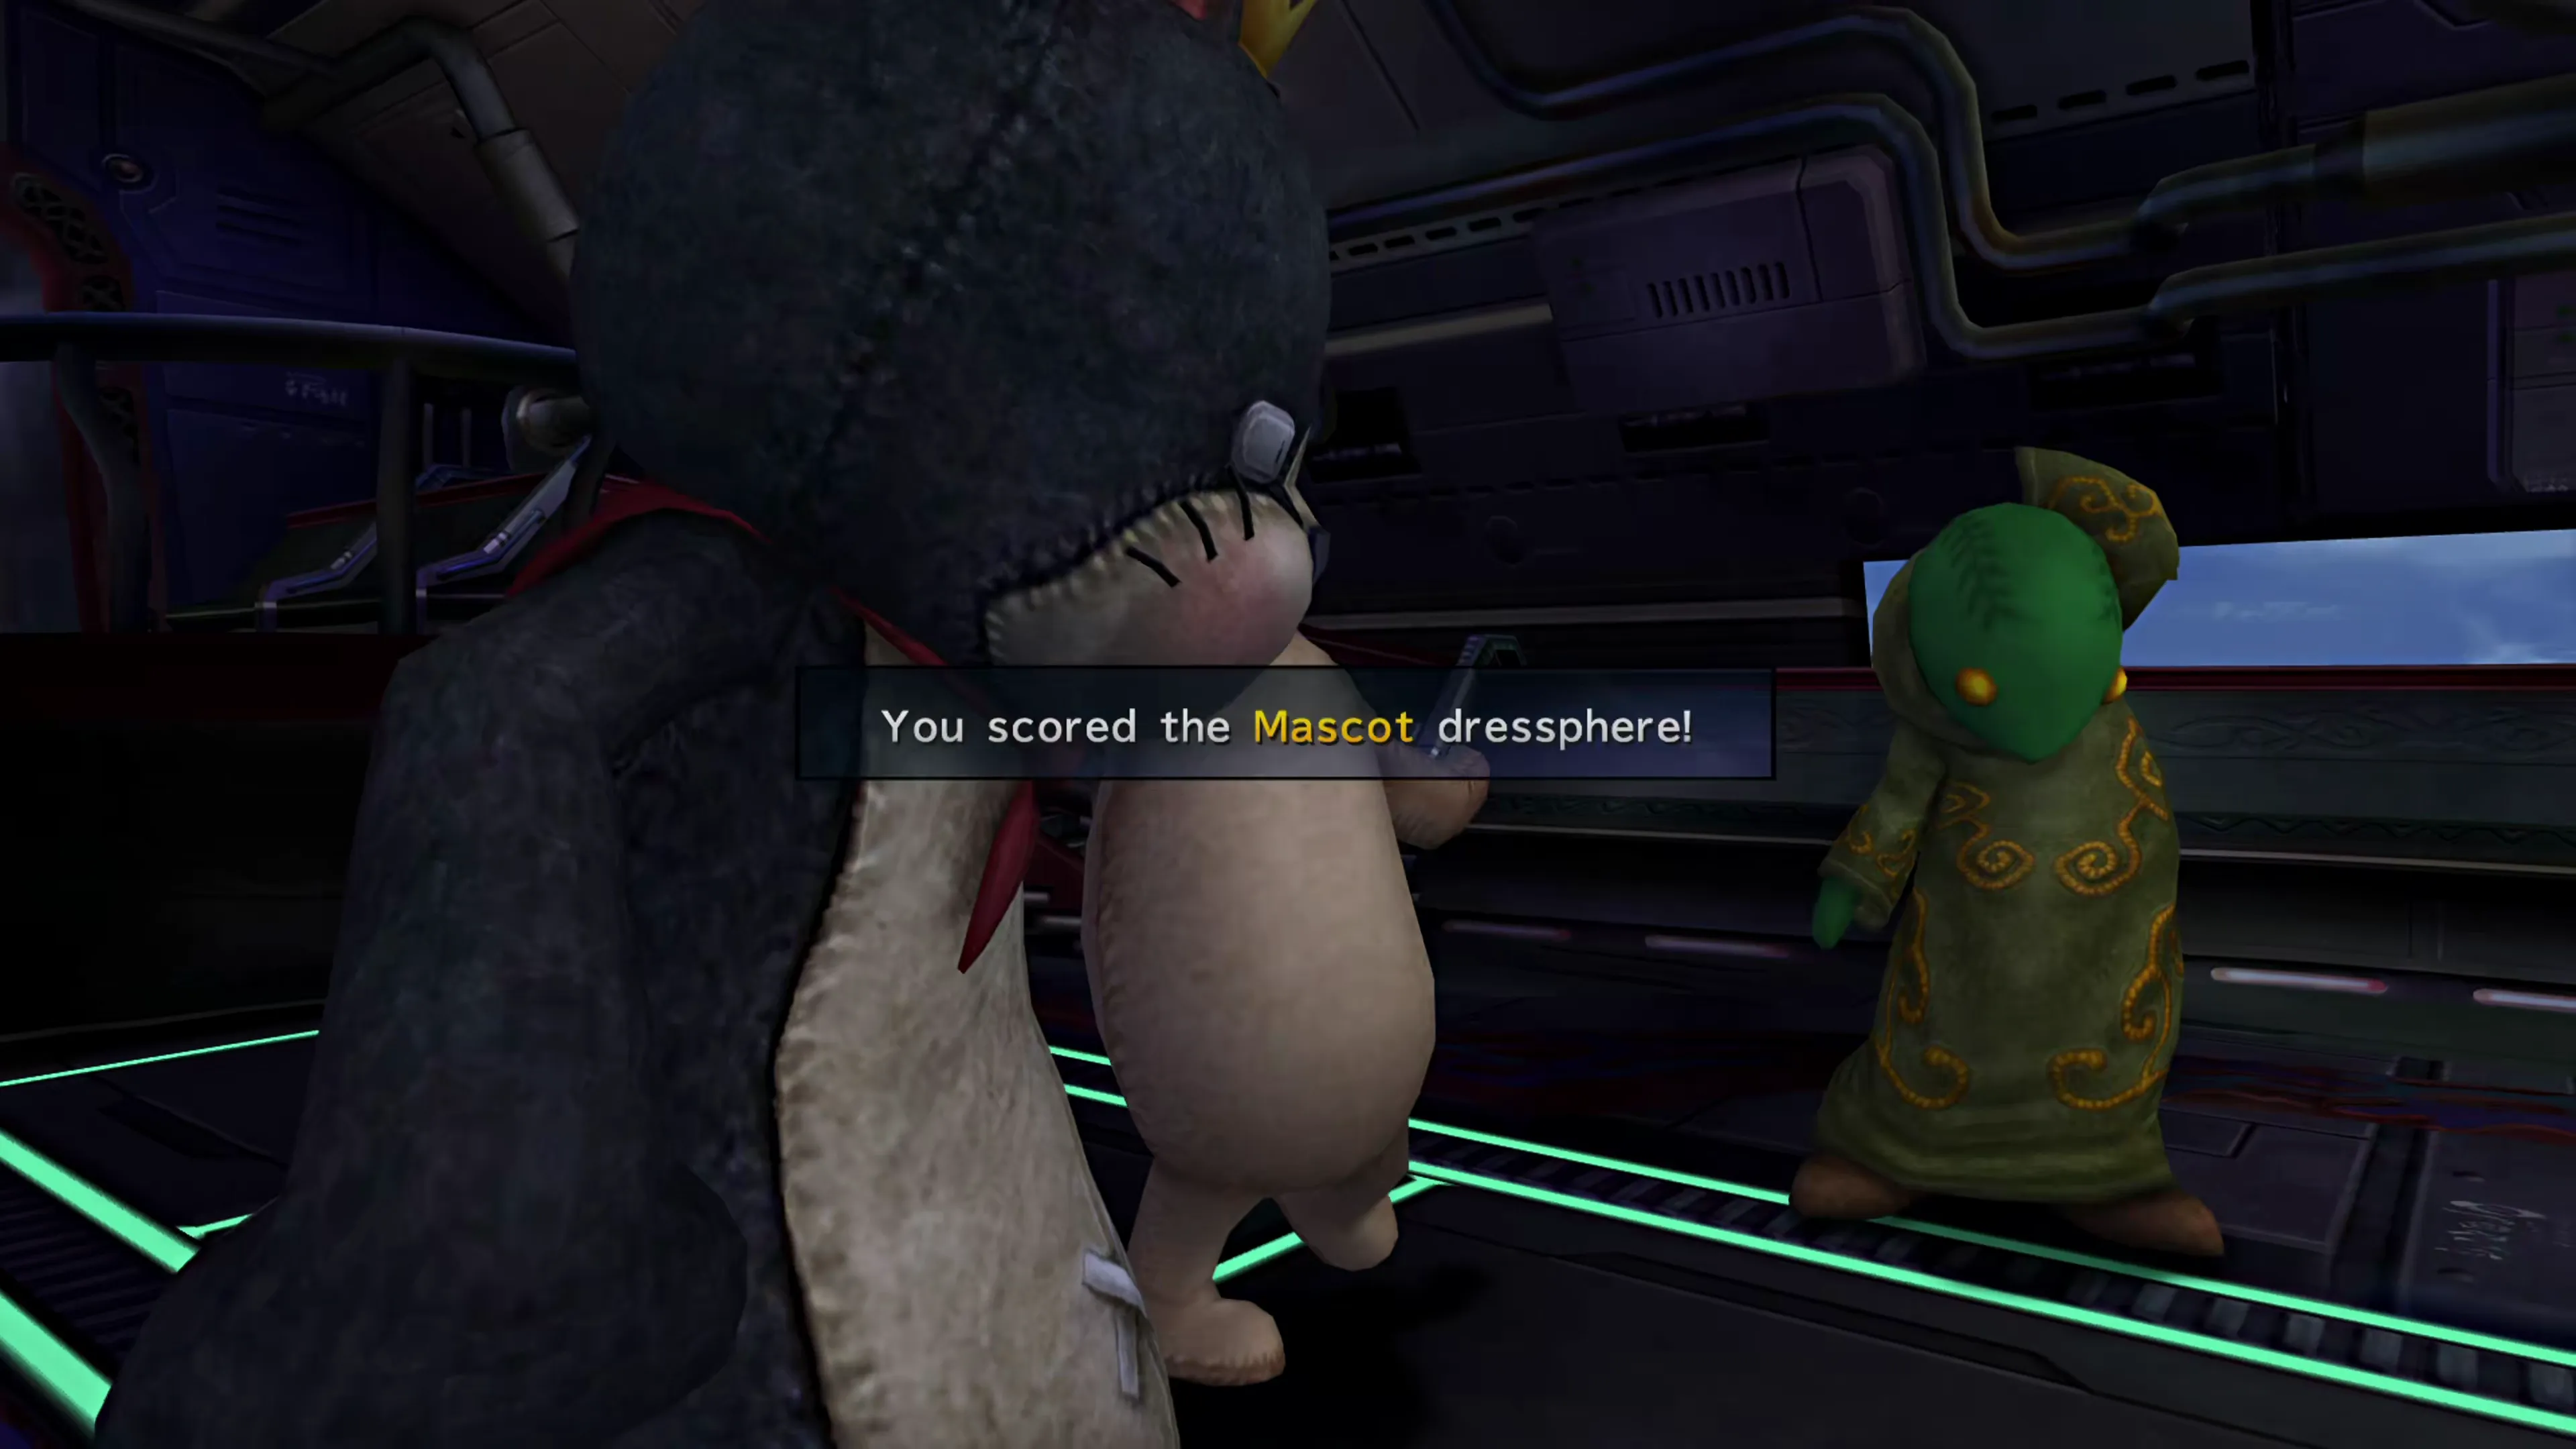
While they may not be the coolest-looking Dresspheres (although it probably depends on who you ask), they are certainly the most powerful Dresspheres in your arsenal. You can learn more about them in the Dressphere section:
Dresspheres
Powerful Dresspheres that allow Yuna, Rikku, and Paine to learn unique abilities and use abilities from some of their other Dresspheres. These powerful abilities can help you manage some of the tougher battles in the game.
Helpful Hint
Two important things to note about the Mascot Dresspheres. The first is the abilities you should have them learn, and the second has to do with other abilities they can learn.
Ultimate Abilities
All three Mascots have different abilities that they can learn, but they all have really powerful abilities you’ll want to have them learn as quickly as possible. These abilities are all locked behind a prerequisite. Each character will have to learn the  SOS Protect Ability in their
  Warrior Dressphere, and unlocking SOS Protect requires learning
  Sentinel first. Once they have learned Sentinel and SOS Protect, they can learn:
| Yuna | Rikku | Paine |
|---|---|---|
 Moogle Beam Moogle Beam |  PuPu Platter PuPu Platter |  Cactling Gun Cactling Gun |
| Ribbon | Ribbon | Ribbon |
Yuna’s Moogle Beam and Paine’s Cactling Gun are two of the strongest attacks in the game. Rikku’s PuPu Platter ability has a chance of instantly defeating every enemy in the fight, but because it doesn’t work against most bosses, it’s not as strong as the others. All three, however, can learn the Ribbon ability, which prevents all negative status effects without actually having to equip a  Ribbon accessory. Nice!
Sub-Abilities
If you access the “Abilities” screen for the Mascot Dressphere, you’ll notice that Yuna has access to Swordplay and Arcana Abilities. All three characters can use abilities from some of their other Dresspheres:
- Yuna: Warrior’s
 Swordplay and
  Dark Knight’s Arcana Abilities
 - Rikku:
 Berserker’s Instinct and
  White Mage’s White Magic Abilities
 - Paine:
 Samurai’s Bushido and
  Black Mage’s Black Magic Abilities
To use these abilities, though, they’ll have to have learned them for their respective Dressphere. So, for example, if Rikku learns the White Mage’s  Curaga ability, she’ll be able to use it in battle while wearing her Mascot Dressphere.
As you can see, there is a whole subset of abilities you’ll want to start having your characters learn, but you have plenty of time as you work your way through the rest of the content.
Warning
If Buddy never announced the special bonus and you never received the Mascot Dressphere, it means you finished a location with an “Episode Concluded” rather than an “Episode Complete” somewhere in Chapter 5. The bonus requires an Episode Complete in every location, so a single Concluded is enough to stop the scene from playing.
Please note that the tracker indicates that “Rin” was named as the culprit for the Mi’ihen Mystery. If that is the case, you received an “Episode Concluded” there, so this scene will not play out and you will not get the Mascot Dressphere.
It’s time to head back down to Mushroom Rock Road because there are a few more loose ends to wrap up there. Start by grabbing the treasure chest in the alcove again near the  Save Sphere.
Mushroom Rock

 1 1 | 2,500 Gil |
After that, make your way back up to…
Youth League Headquarters
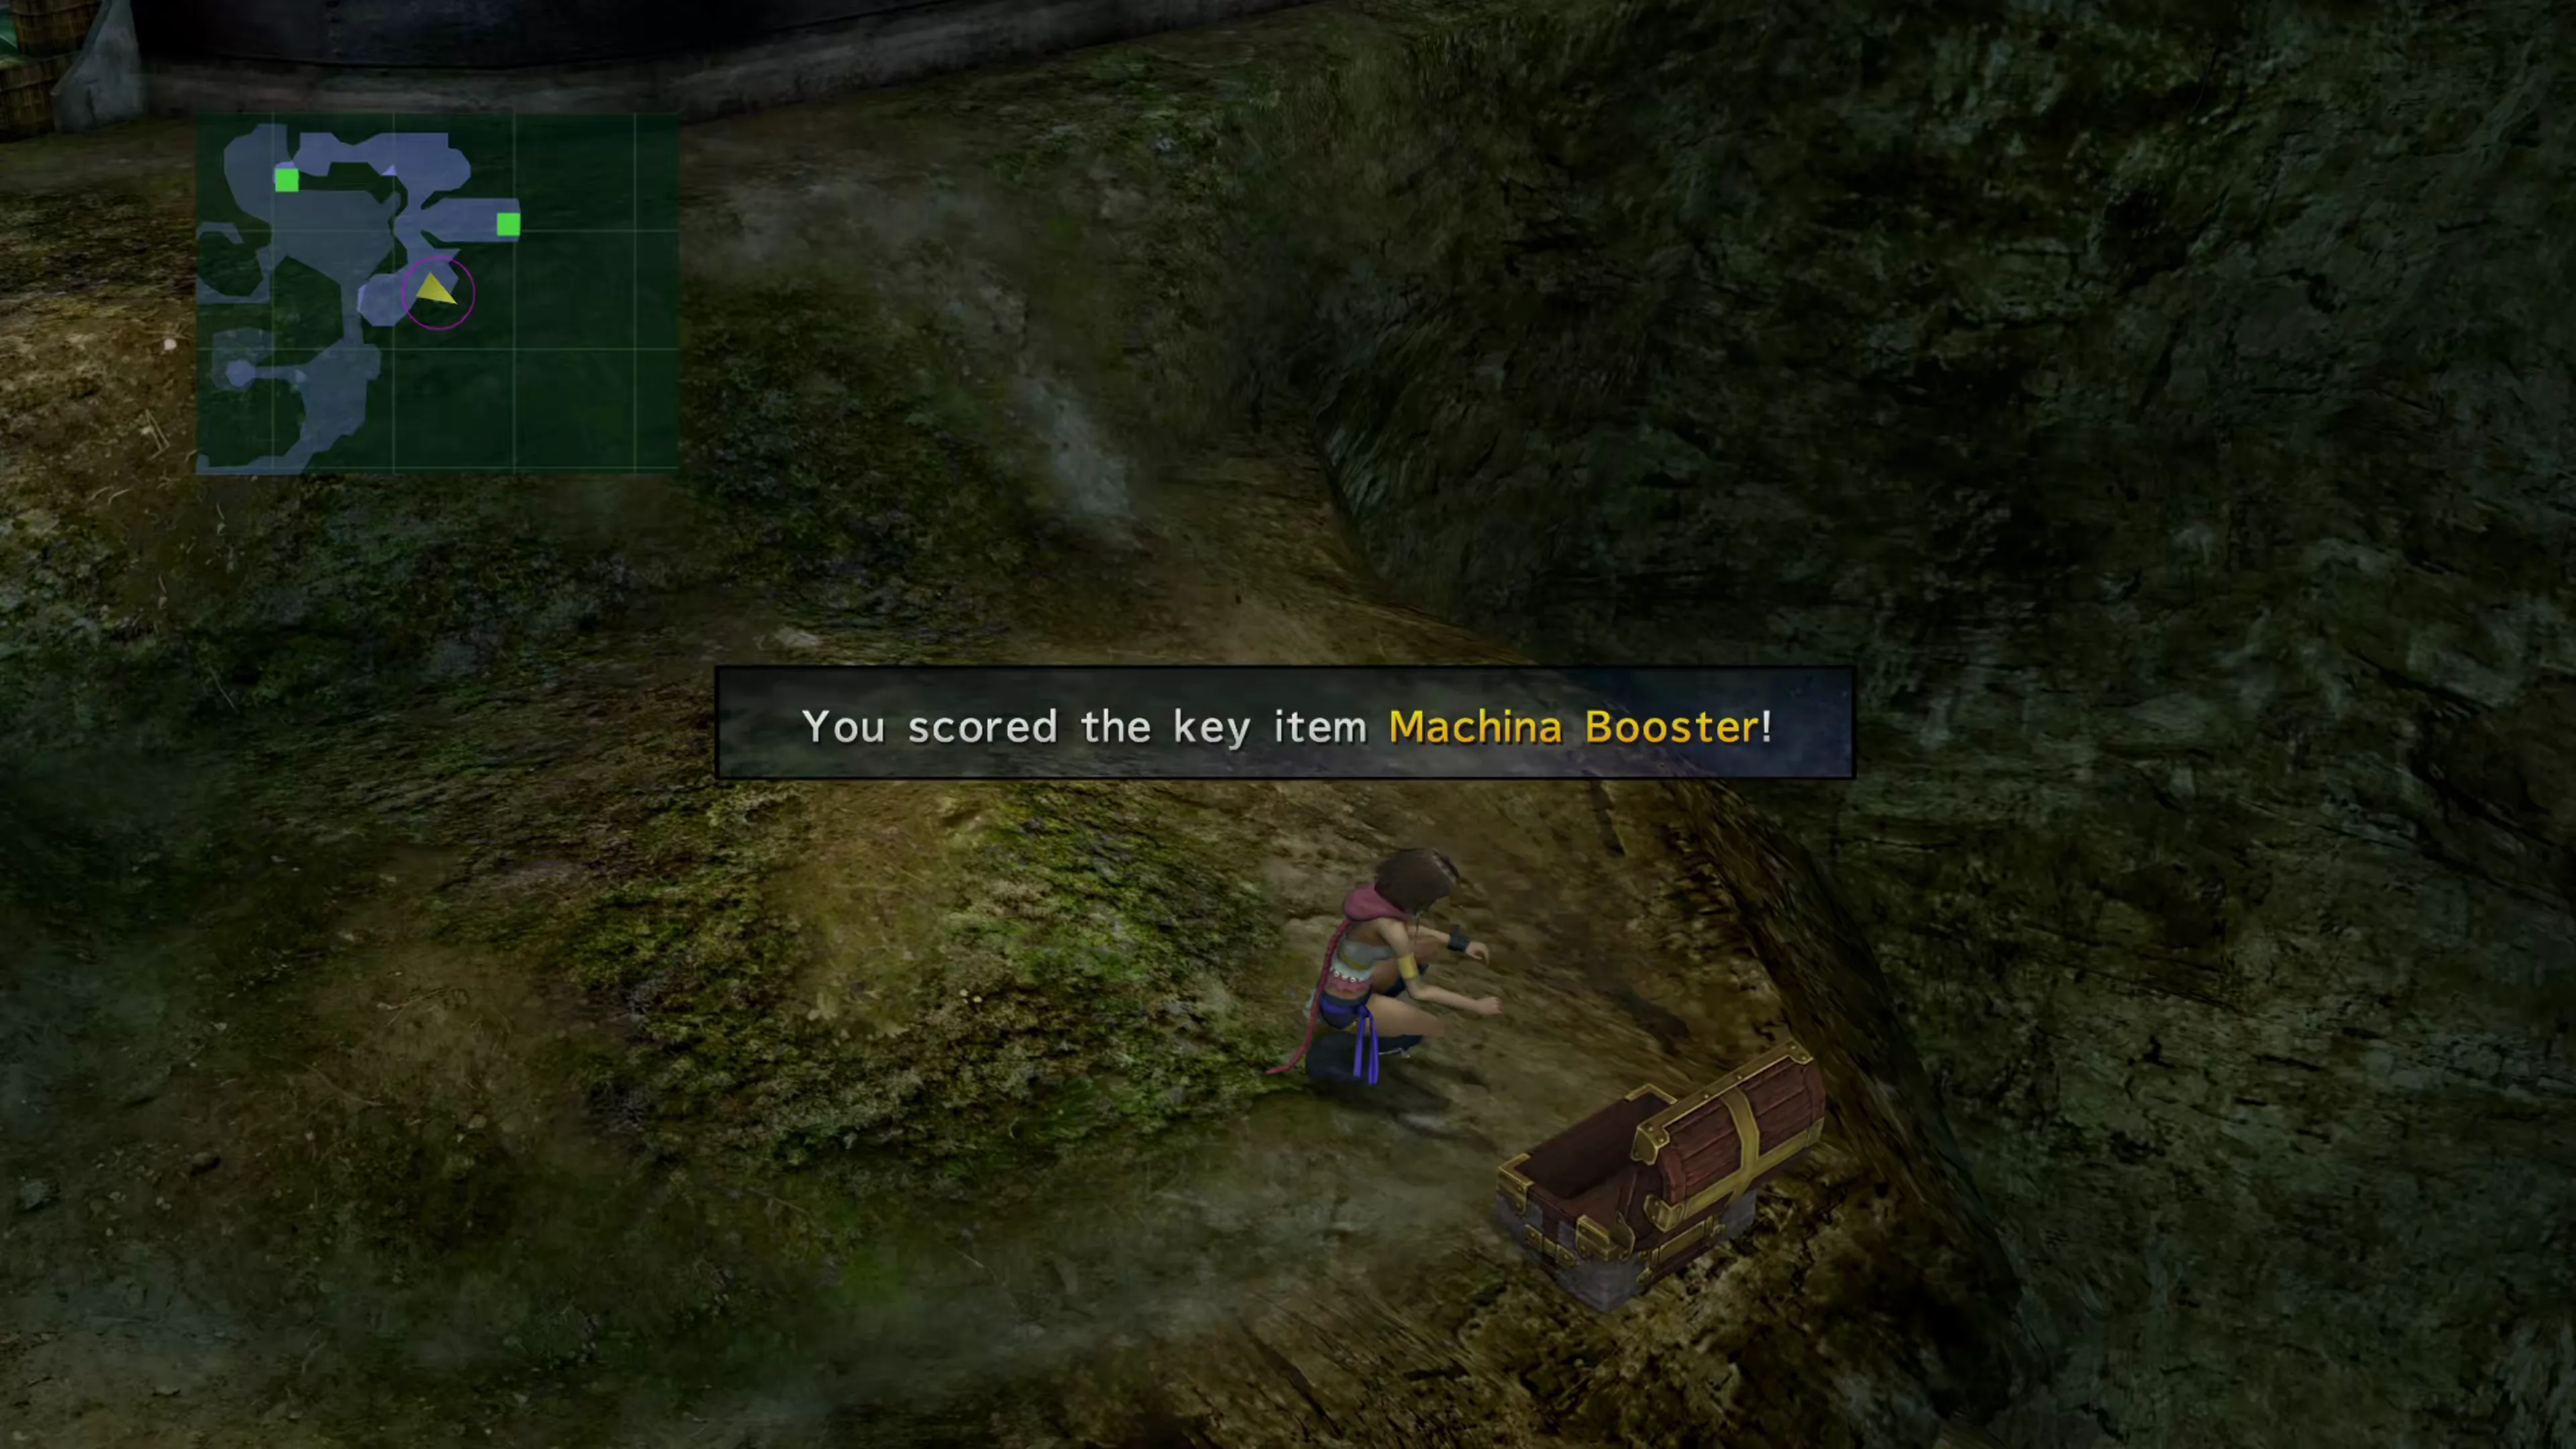
On your way up to the headquarters, look for a treasure chest off to the right side of the elevator that contains a  Machina Booster key item, and then head up. There’s a pathway on the right cliff that leads to another treasure chest that contains a
  Crystal Bangle. Use the screenshot below to help you locate it:
The entrance to the Youth League headquarters is finally unblocked so that you can go inside. Go in the entrance, and you’ll find a circular pathway with two doorways leading away from it (shown on the mini-map). Start by taking the one on the right (east).
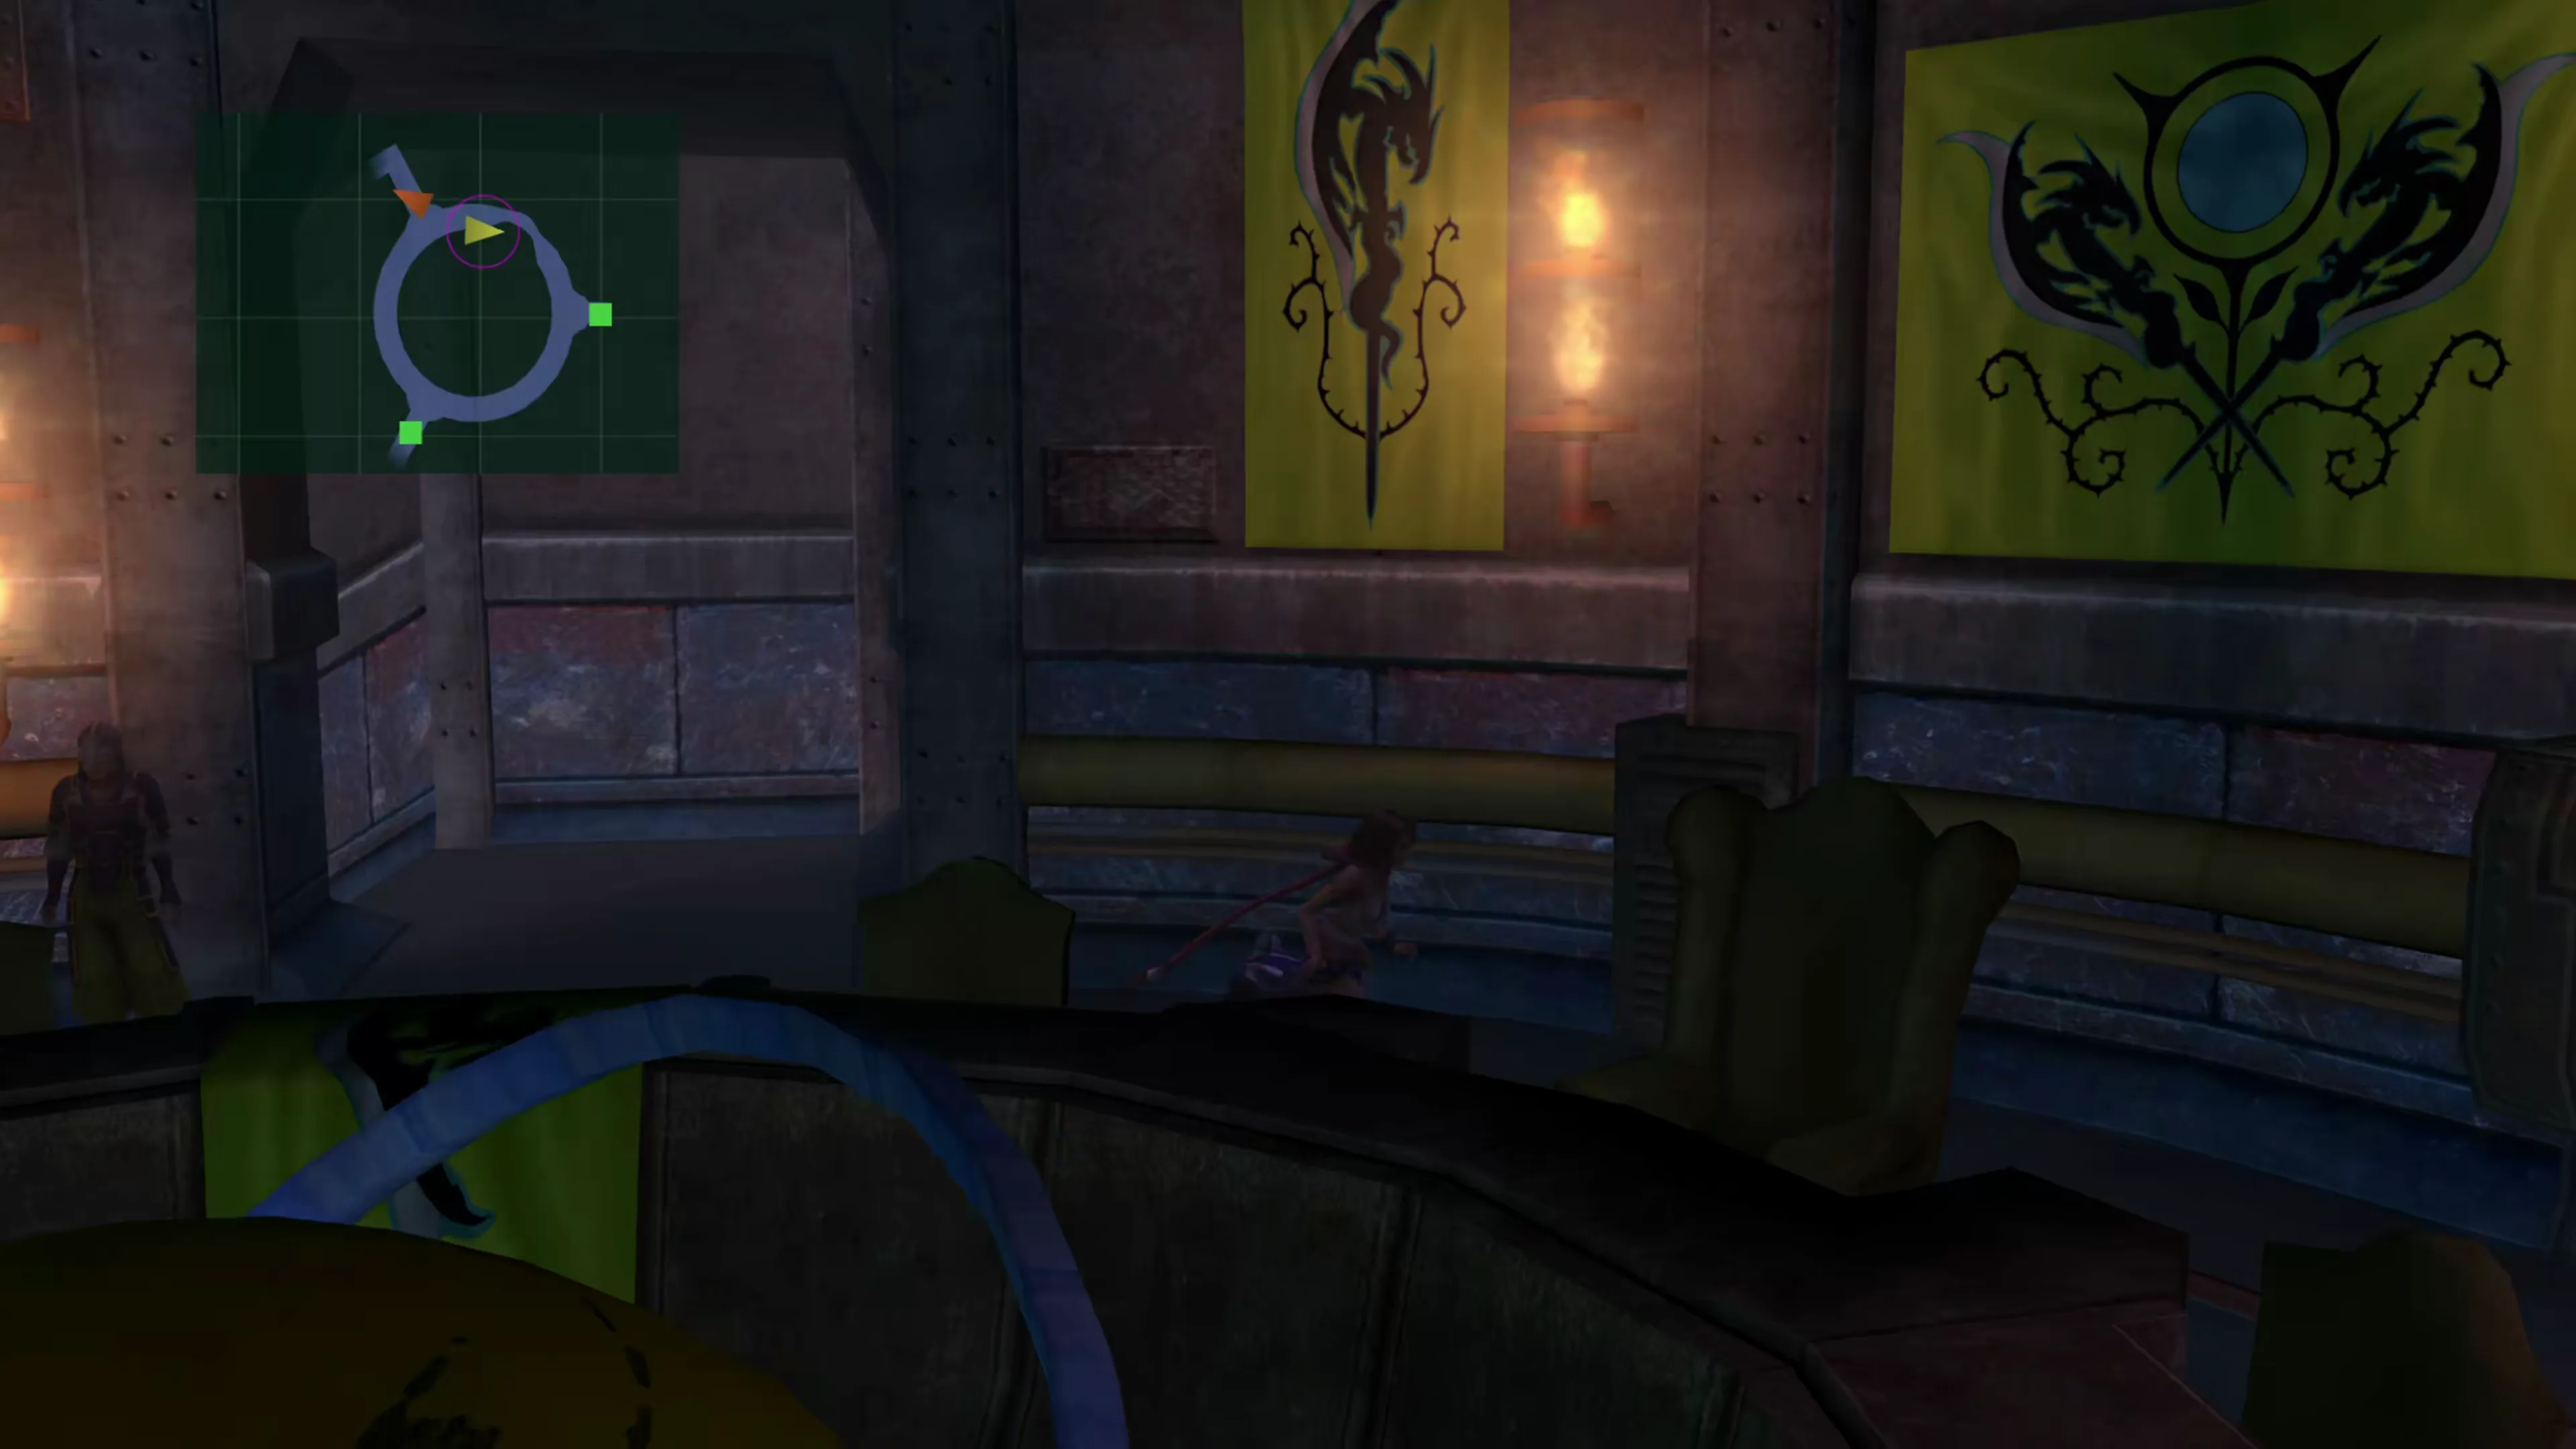
This path leads to a balcony. Walk to the right to find Lucil and Yaibal talking. Engaging with them here will net you  Nooj’s Sphere. The other doorway out of the circular area of the headquarters leads to another balcony with nothing of note.
Next, it’s time to head back down to the Ravine and into the Den of Woe.
Den of Woe
As a reminder, the Den of Woe is located down in the Ravine, which you can reach by traveling about halfway through Mushroom Rock Road. Use the maps below to help you find it again:
Ravine Path



| 1 | Ravine Entrance |

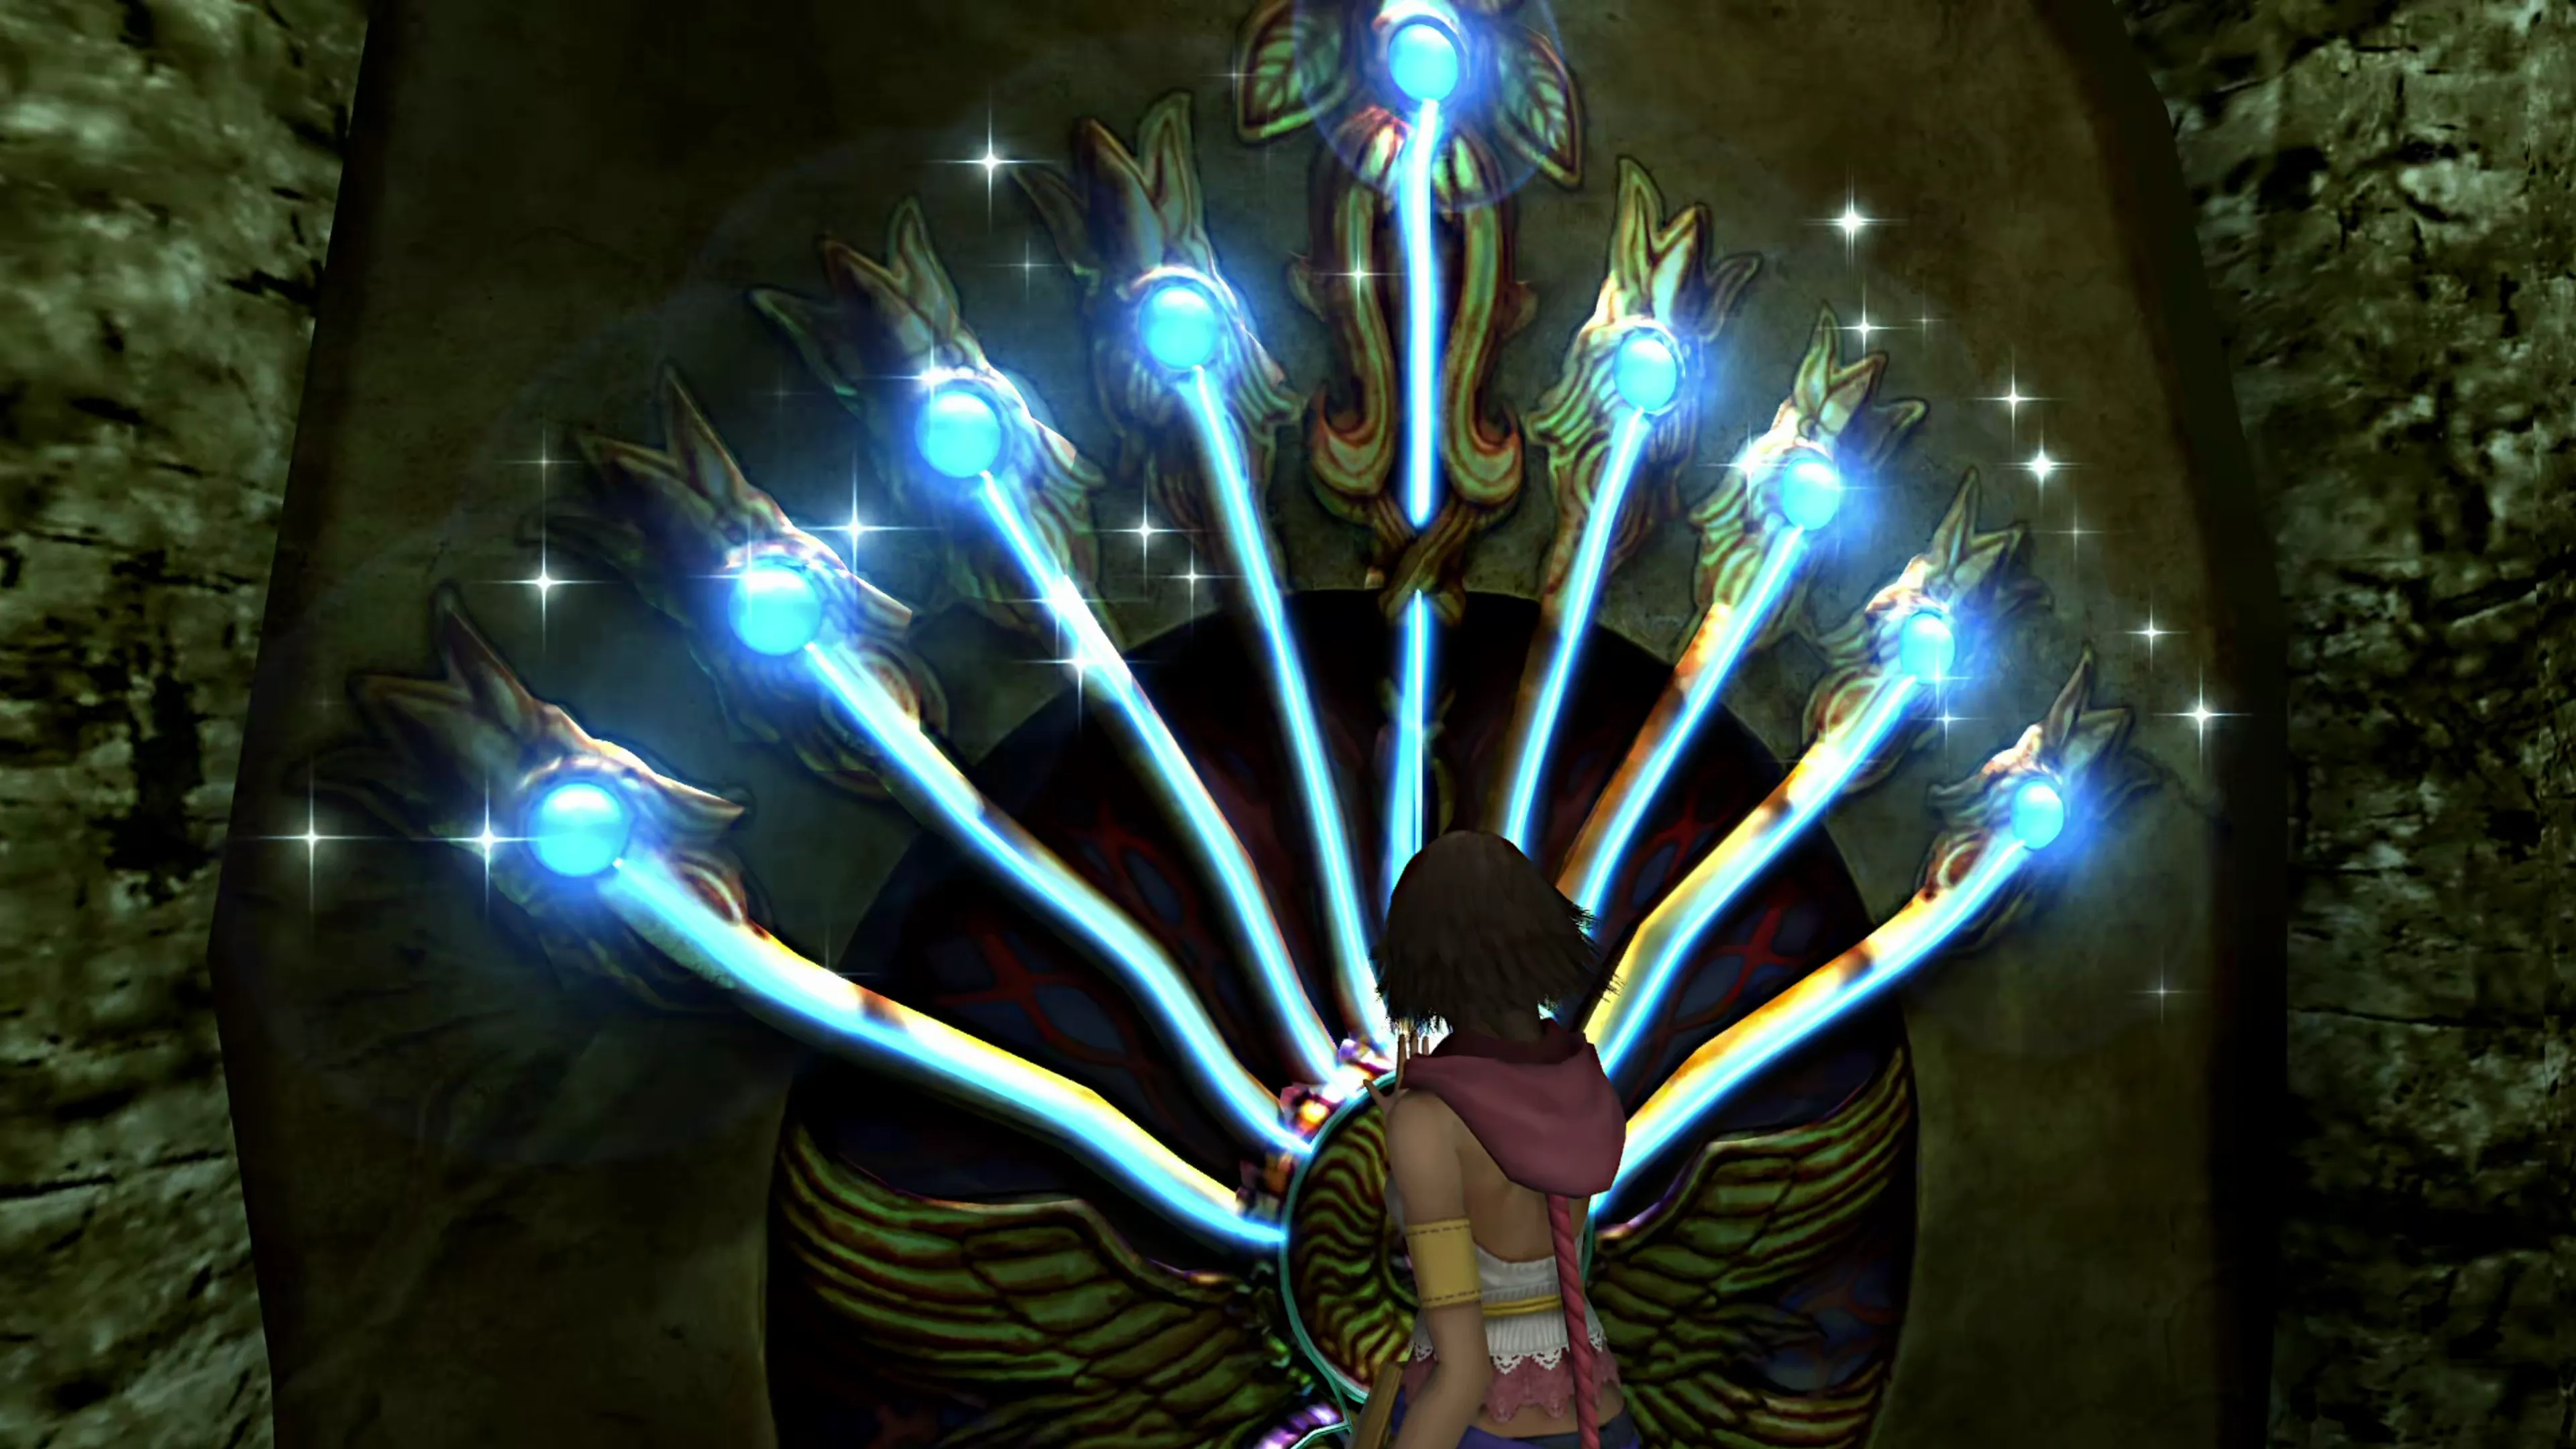
A cinematic should play as you approach the entrance as long as you have all 10 of the Crimson Spheres:
Crimson Sphere 1 Crimson Sphere 2
Crimson Sphere 3 Crimson Sphere 4
Crimson Sphere 5 Crimson Sphere 6
Crimson Sphere 7 Crimson Sphere 8
Crimson Sphere 9 Crimson Sphere 10
If the cutscene doesn’t trigger when you approach the door, open the menu with the 

 button, select “Items,” press

 once to cancel out, and then select “Key Items” and check which of the Crimson Spheres you’re missing. All 10 of the Crimson Spheres should appear at the top of the list. If one is missing, click the link above to see where you missed it.
Helpful Hint
The bosses in this area can teach your  Gun Mages the Mortar and Drill Shot Blue Bullet abilities. This is the only place that Mortar can be learned during the game’s story, and it’s your last opportunity to learn Drill Shot if it was not learned earlier without going through the Creature Creator.
Navigating through the Den of Woe is extremely easy because there are no treasure chests in the area, despite there being multiple pathways that you can follow. Run towards the red arrow on the mini-map, jumping across one of the chasms along the way, to trigger another cutscene and enter a series of boss fights.
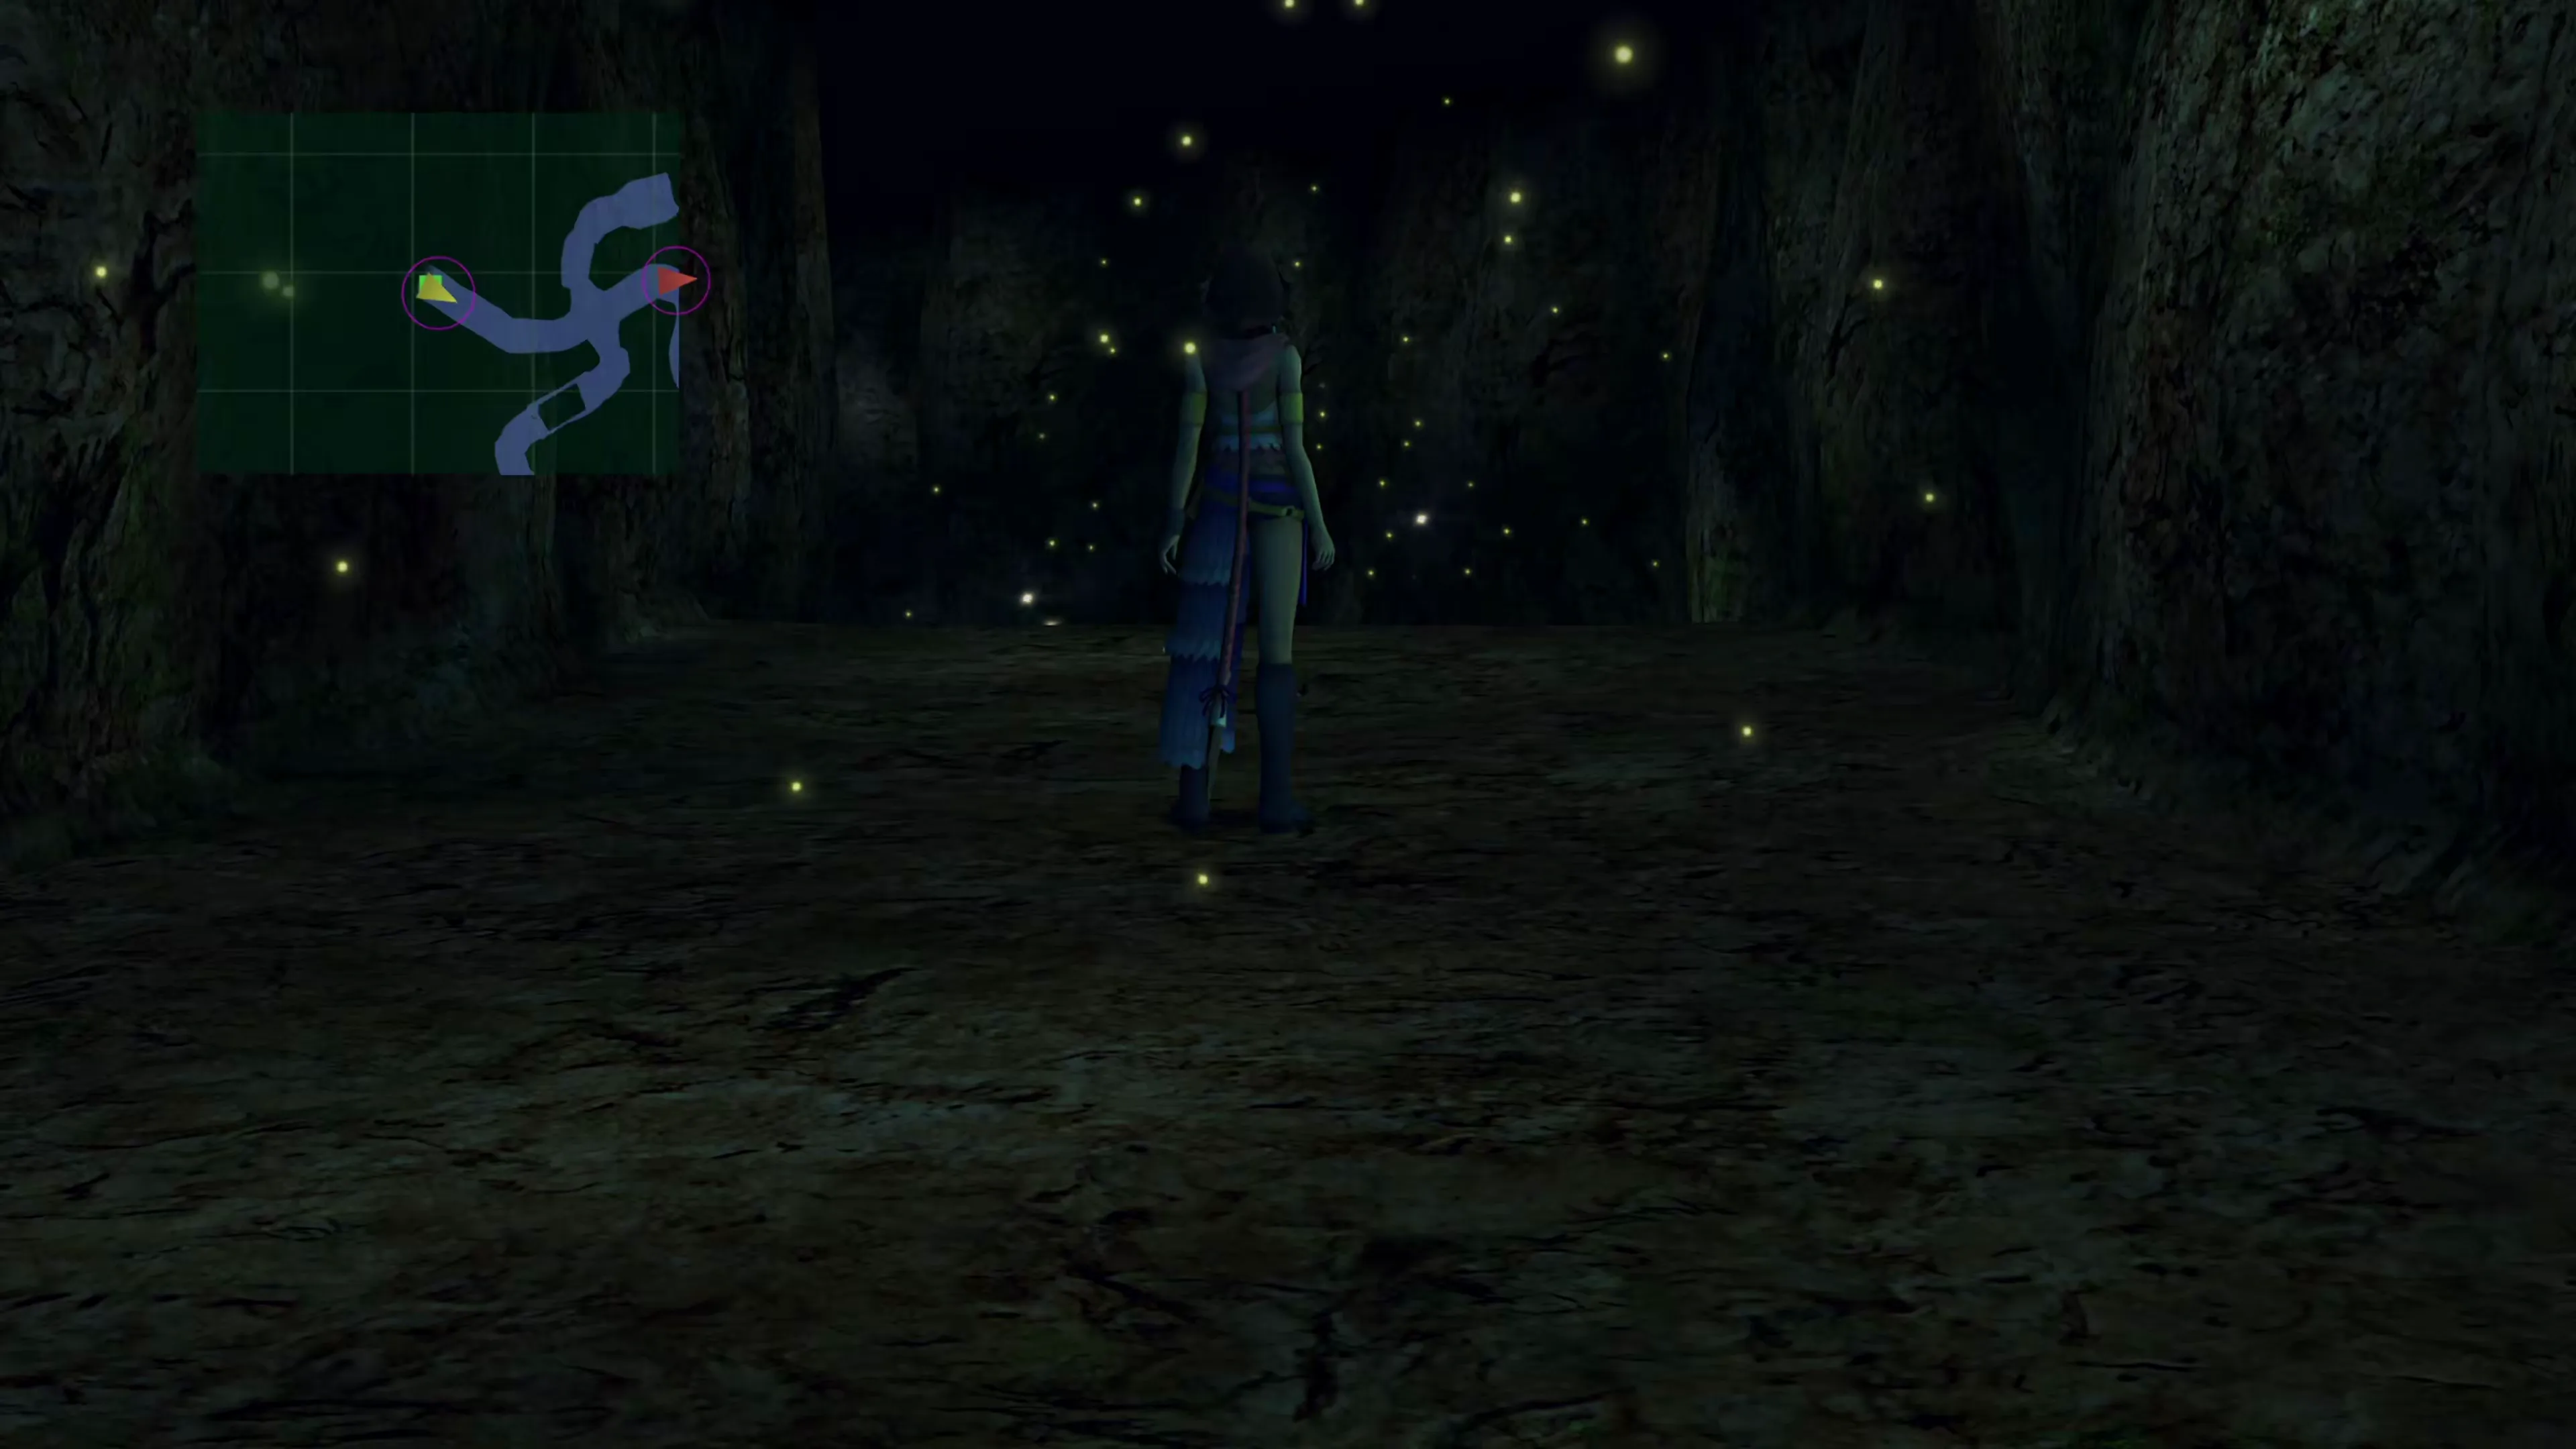
Preparation:
The best way to prepare for this fight is to make sure that all party members are fully healed up, especially Yuna, who will be fighting the first two battles alone. If you’ve been having her focus on support roles like White Mage,  Songstress, or
  Festivalist, make sure she can access offensive roles in her Garment Grid as well so that she can deal some damage on her own. A Gun Mage Dressphere is a good option, since she’ll be able to learn some additional attacks if she gets hit with them as well.
There are also a lot of great items you can Steal or  Mug from all of these upcoming bosses, so make sure that Yuna has access to her
  Thief Dressphere or is using the
  Treasure Hunt Garment Grid. It’s also worth setting up at least one of your characters on the Salvation Promised Garment Grid if you have it.
Boss Battle
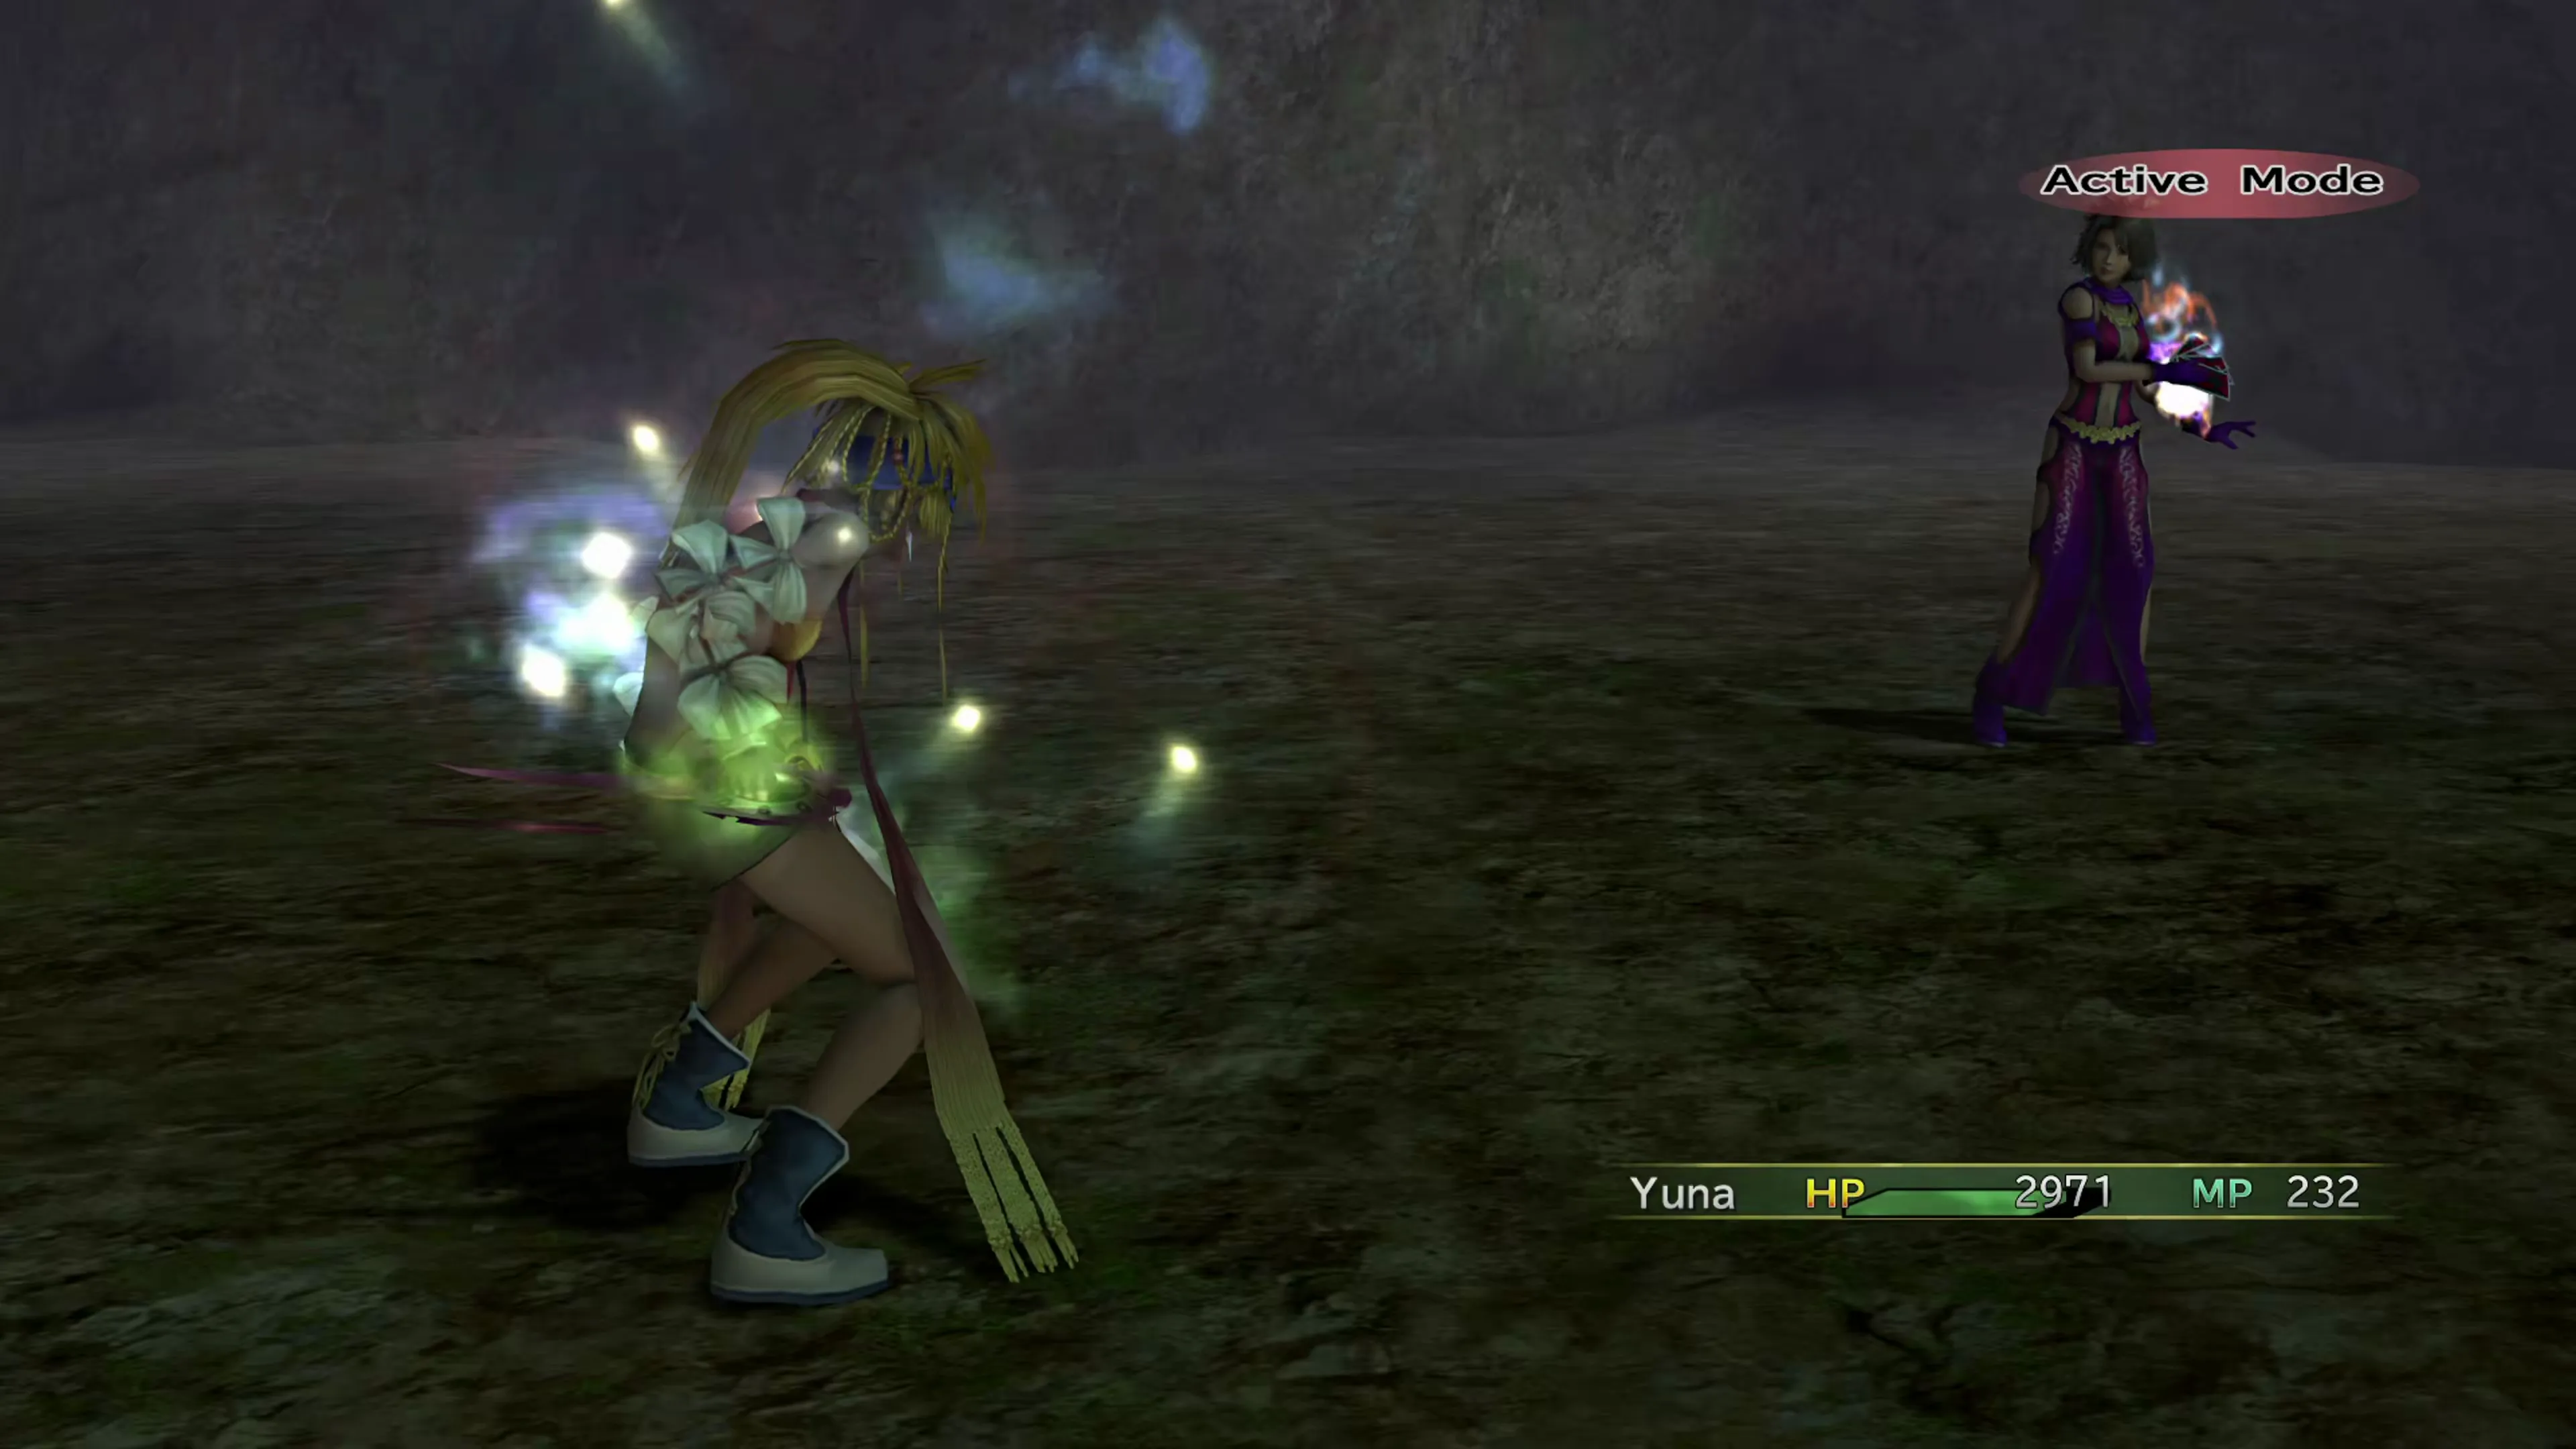
That’s right, your first boss battle is against Rikku! But that’s okay, she’s not too difficult in her Thief Dressphere. Make sure you Steal or Mug a Bushido Lore accessory before you finish the fight.
Her attacks include:
- Her normal attack, which is two physical attacks back-to-back
- “Grenade,” which deals around 200 damage
- Level 2 Elemental Gems (
 Bomb Core, Arctic Wind, Lightning Marble, or Dragon Scale), which deal around 300 magic damage
This fight isn’t challenging, but be prepared to have Yuna heal herself if her health gets low. That could involve swapping to a healing role, but it’s easier to use a  Hi-Potion or X-Potion.
| Enemy | HP | Steal | Drop |
|---|---|---|---|
| Rikku | 7800 | Bushido Lore | Black Lore |
Boss Battle
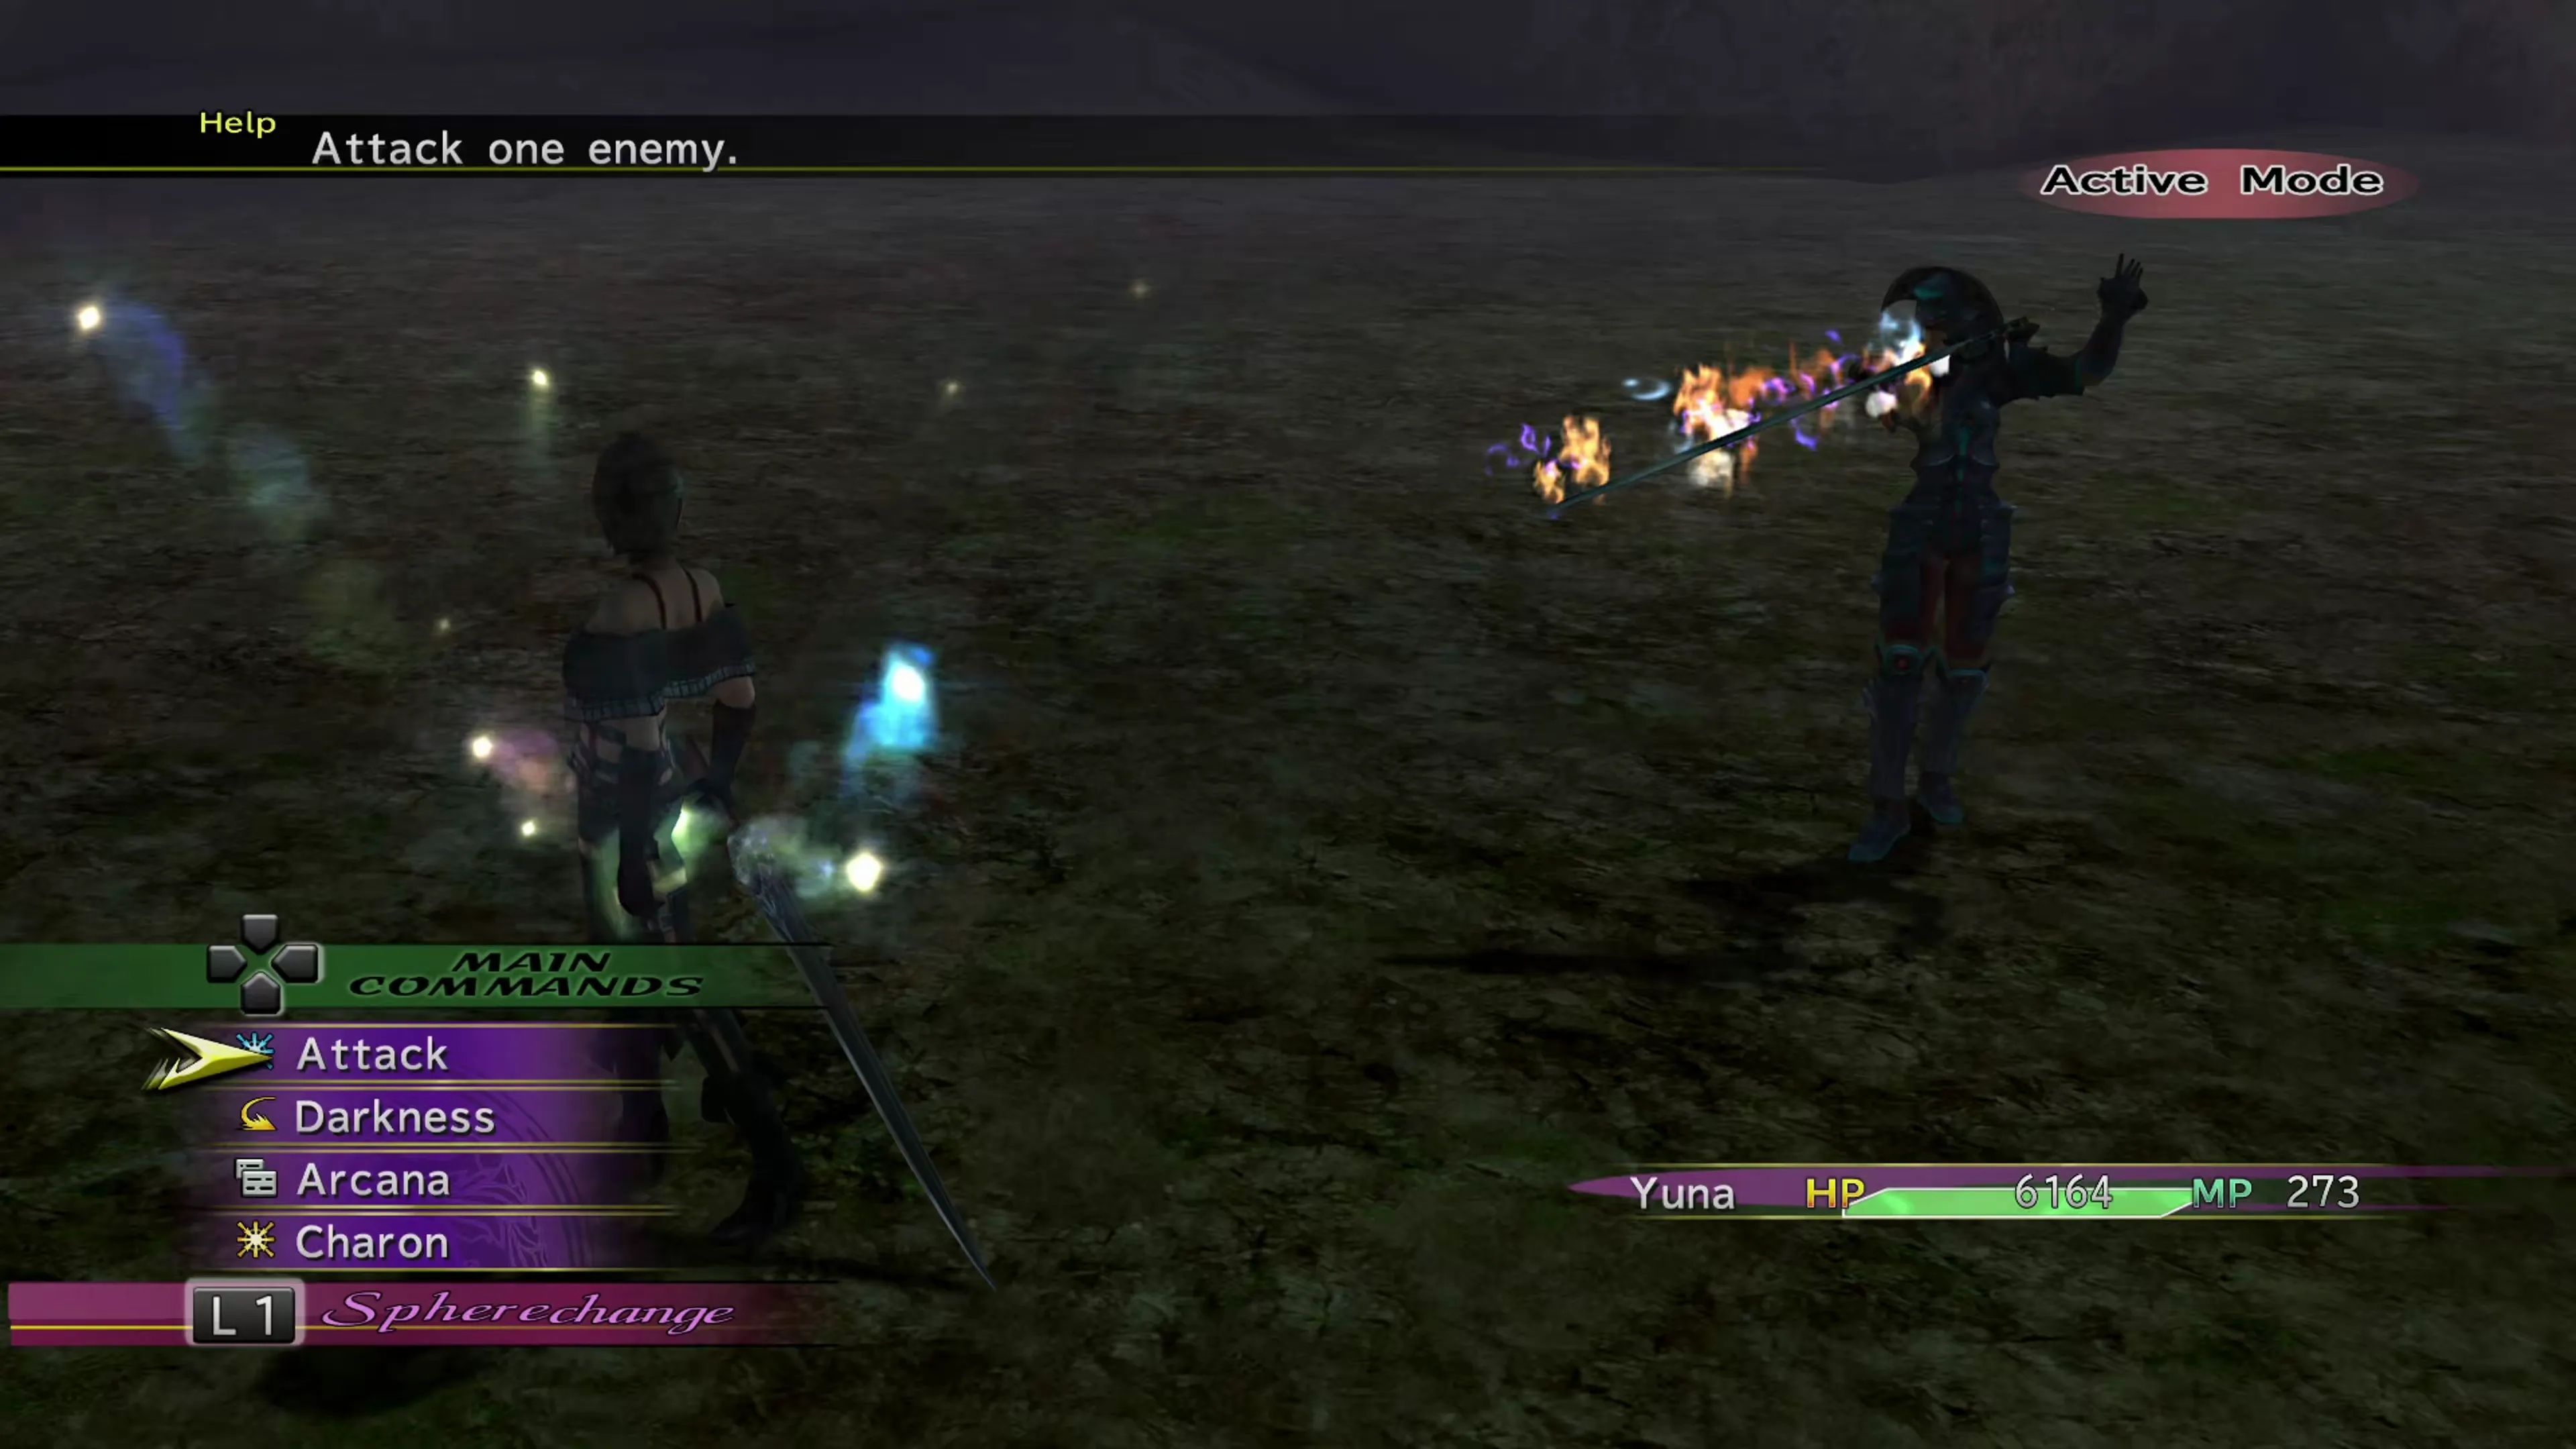
It’s another one-on-one fight, but this time, it’s against Paine. Her attacks are much more basic, though, as she will use her normal attack for around 600 damage over and over again.
Make sure you steal or mug a Sword Lore accessory from her.
| Enemy | HP | Steal | Drop |
|---|---|---|---|
| Paine | 9200 | Sword Lore | Champion Belt |
Boss Battle
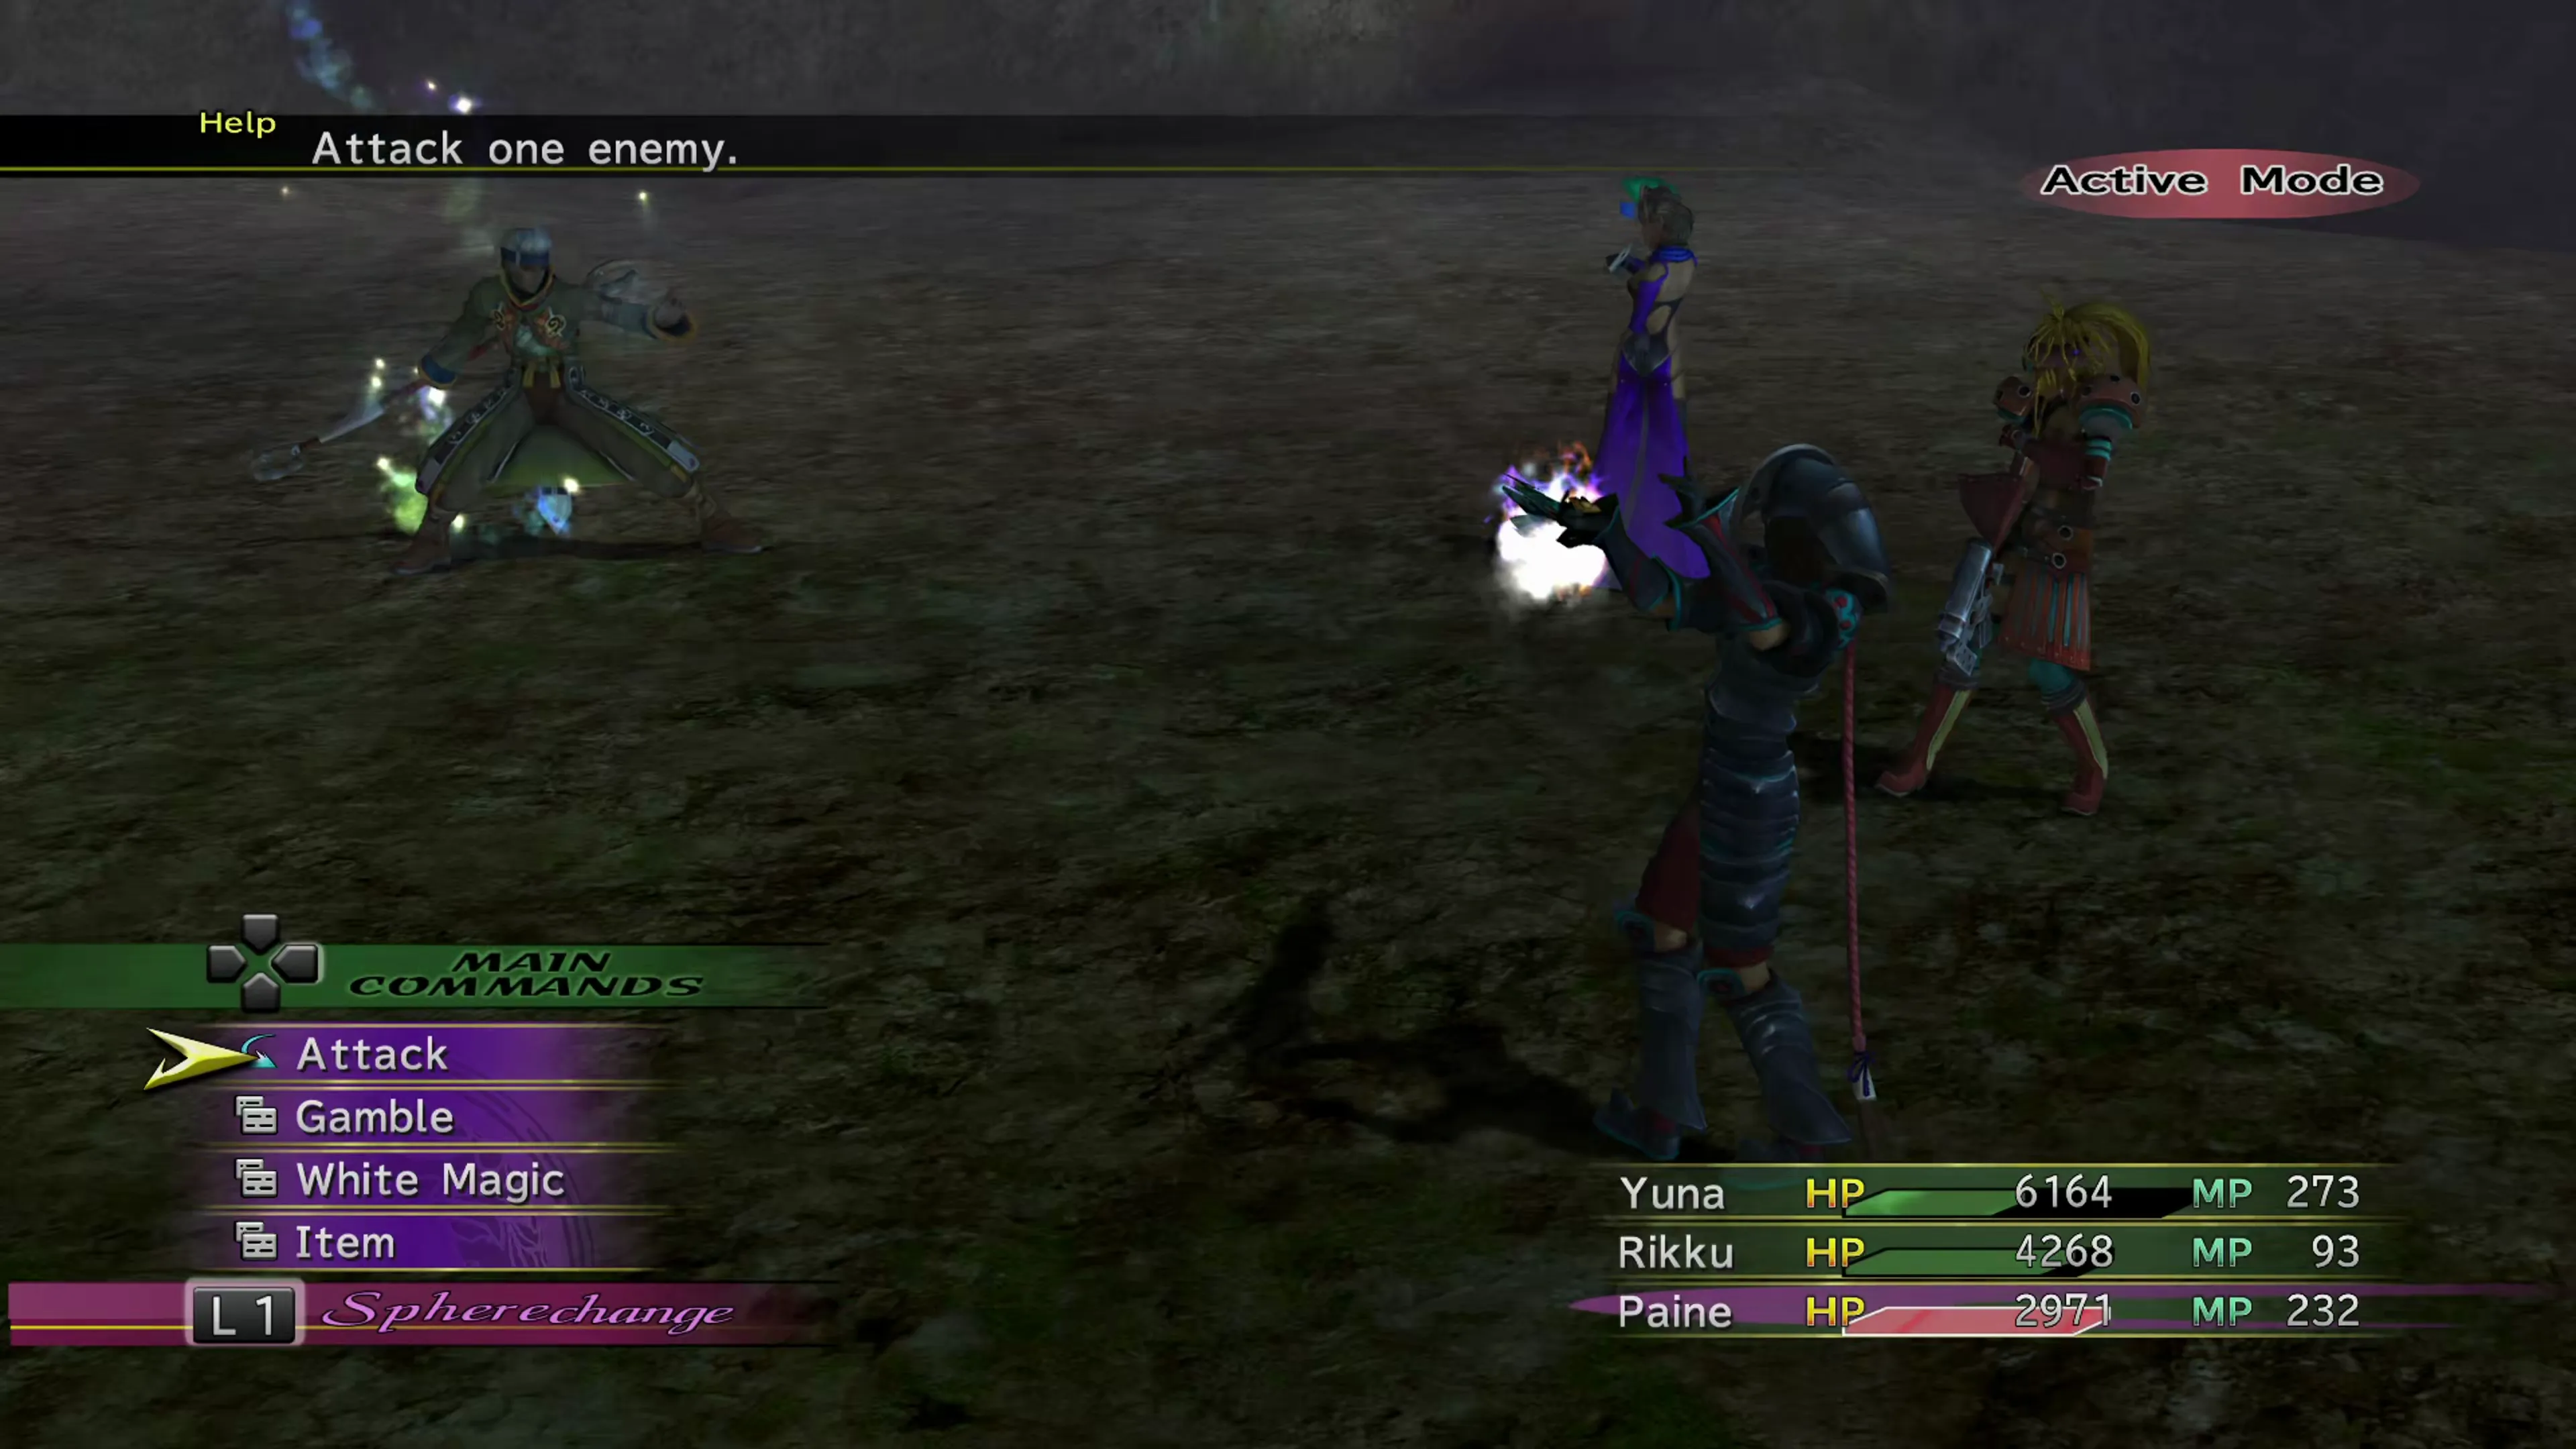
Baralai is more difficult than Rikku or Paine, but you’ll have Rikku and Paine back in your party to help even the odds. Remember that this is the fight where you’ll want to have your Gun Mage learn the Blue Bullet ability Drill Shot if you’re a completionist. His full attack list includes:
- Normal physical attack which can hit up to three times and deals around 300 damage per hit
- “Glint,” which can hit more than one target if they’re standing close together (you have no control over this)
- “Looming Glacier,” which inflicts the Stop status effect and drains the targets’ MP to zero
- “Drill Shot,” automatically used after Baralai’s HP has changed 10 times on whichever party member gets the last attack on him
 Silence cast on the whole party and
  Regen cast on himself
- “Not-So-Mighty Guard,” which imbues him with
 Shell,
  Protect, and Regen
 - “Absorb,” which drains both HP and MP from a target
As you can see from the list above, he has a lot of high-damage attacks that can hit multiple party members, and he will be constantly draining your MP throughout the fight. The easiest way to get him to use Drill Shot on the right party member is to have the appropriate Gun Mage attack him over and over again until he uses it, hopefully not dealing too much damage to end the fight early.
Finally, just like in the previous fights, don’t forget to have a party member Steal or Mug him. He holds a Nature’s Lore accessory.
| Enemy | HP | Steal | Drop |
|---|---|---|---|
| Baralai | 12220 | Nature’s Lore | Crystal Ball |
Boss Battle
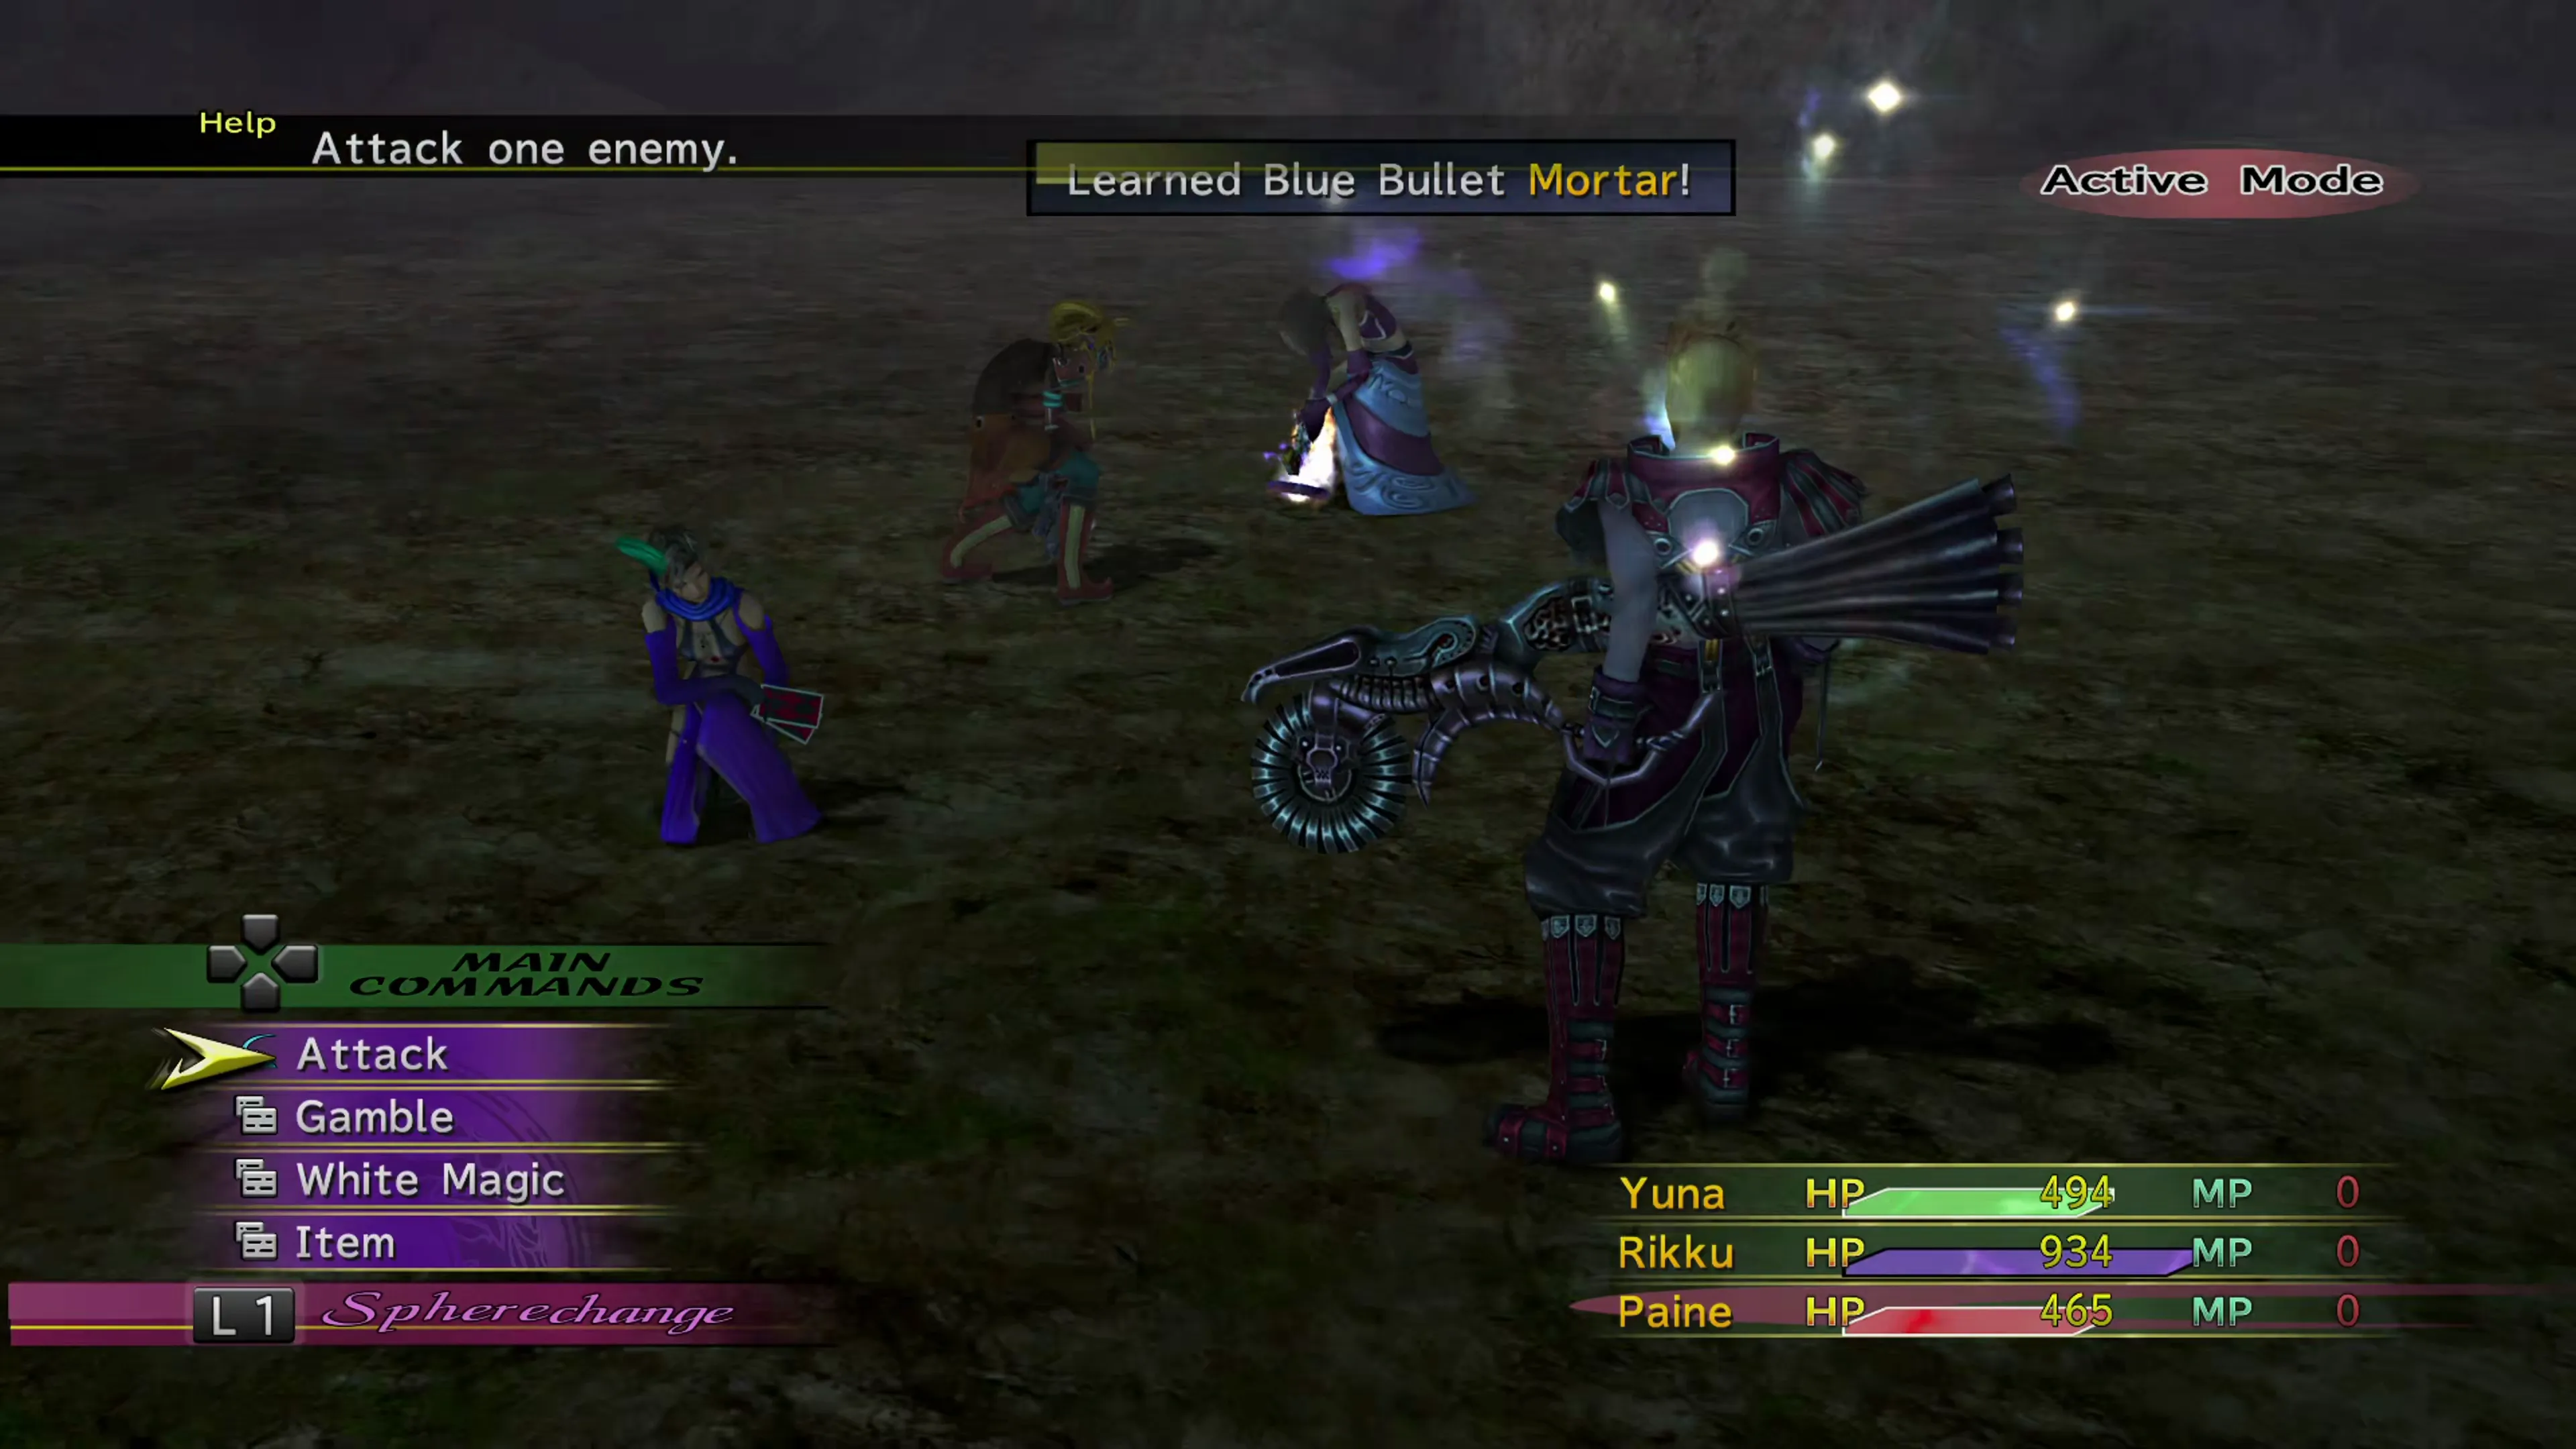
The most important aspect of this fight is to have your Gun Mages learn Mortar from Gippal if you’re planning to have them learn some or all of their Blue Bullet abilities. This is their only opportunity to learn it, and he won’t start using it in battle until he has fallen below 33% HP. In addition to Mortar, which deals damage in a cone in front of Gippal, he’ll also use…
- His normal attack for around 300 damage
- “Grinder,” which deals around 500 damage
- “Bullseye,” which deals 56.25% of each target’s current HP and can hit multiple party members
- “Flash Bomb,” which deals low damage but can inflict
 Darkness
 - “Hush Grenade,” which deals low damage but can inflict Silence
- “Potion Plus” will heal him for 600 HP
Always be prepared to heal after Gippal uses “Bullseye,” as it’s very easy for him to KO a party member after using it if they get too low. There’s not much you can do to avoid the damage as well because both “Grinder” and “Mortar” ignore the target’s defense stats. Many of his attacks hit in an arc in front of him, and while you can’t specifically position your characters on the battlefield, you can spread them out if you put a couple of them into ranged Dresspheres (like Gun Mage or  Gunner).
Make sure you heal up before you land the final blow and make sure you steal the White Lore accessory from him.
| Enemy | HP | Steal | Drop |
|---|---|---|---|
| Gippal | 14800 | White Lore | Kaiser Knuckles |
Boss Battle
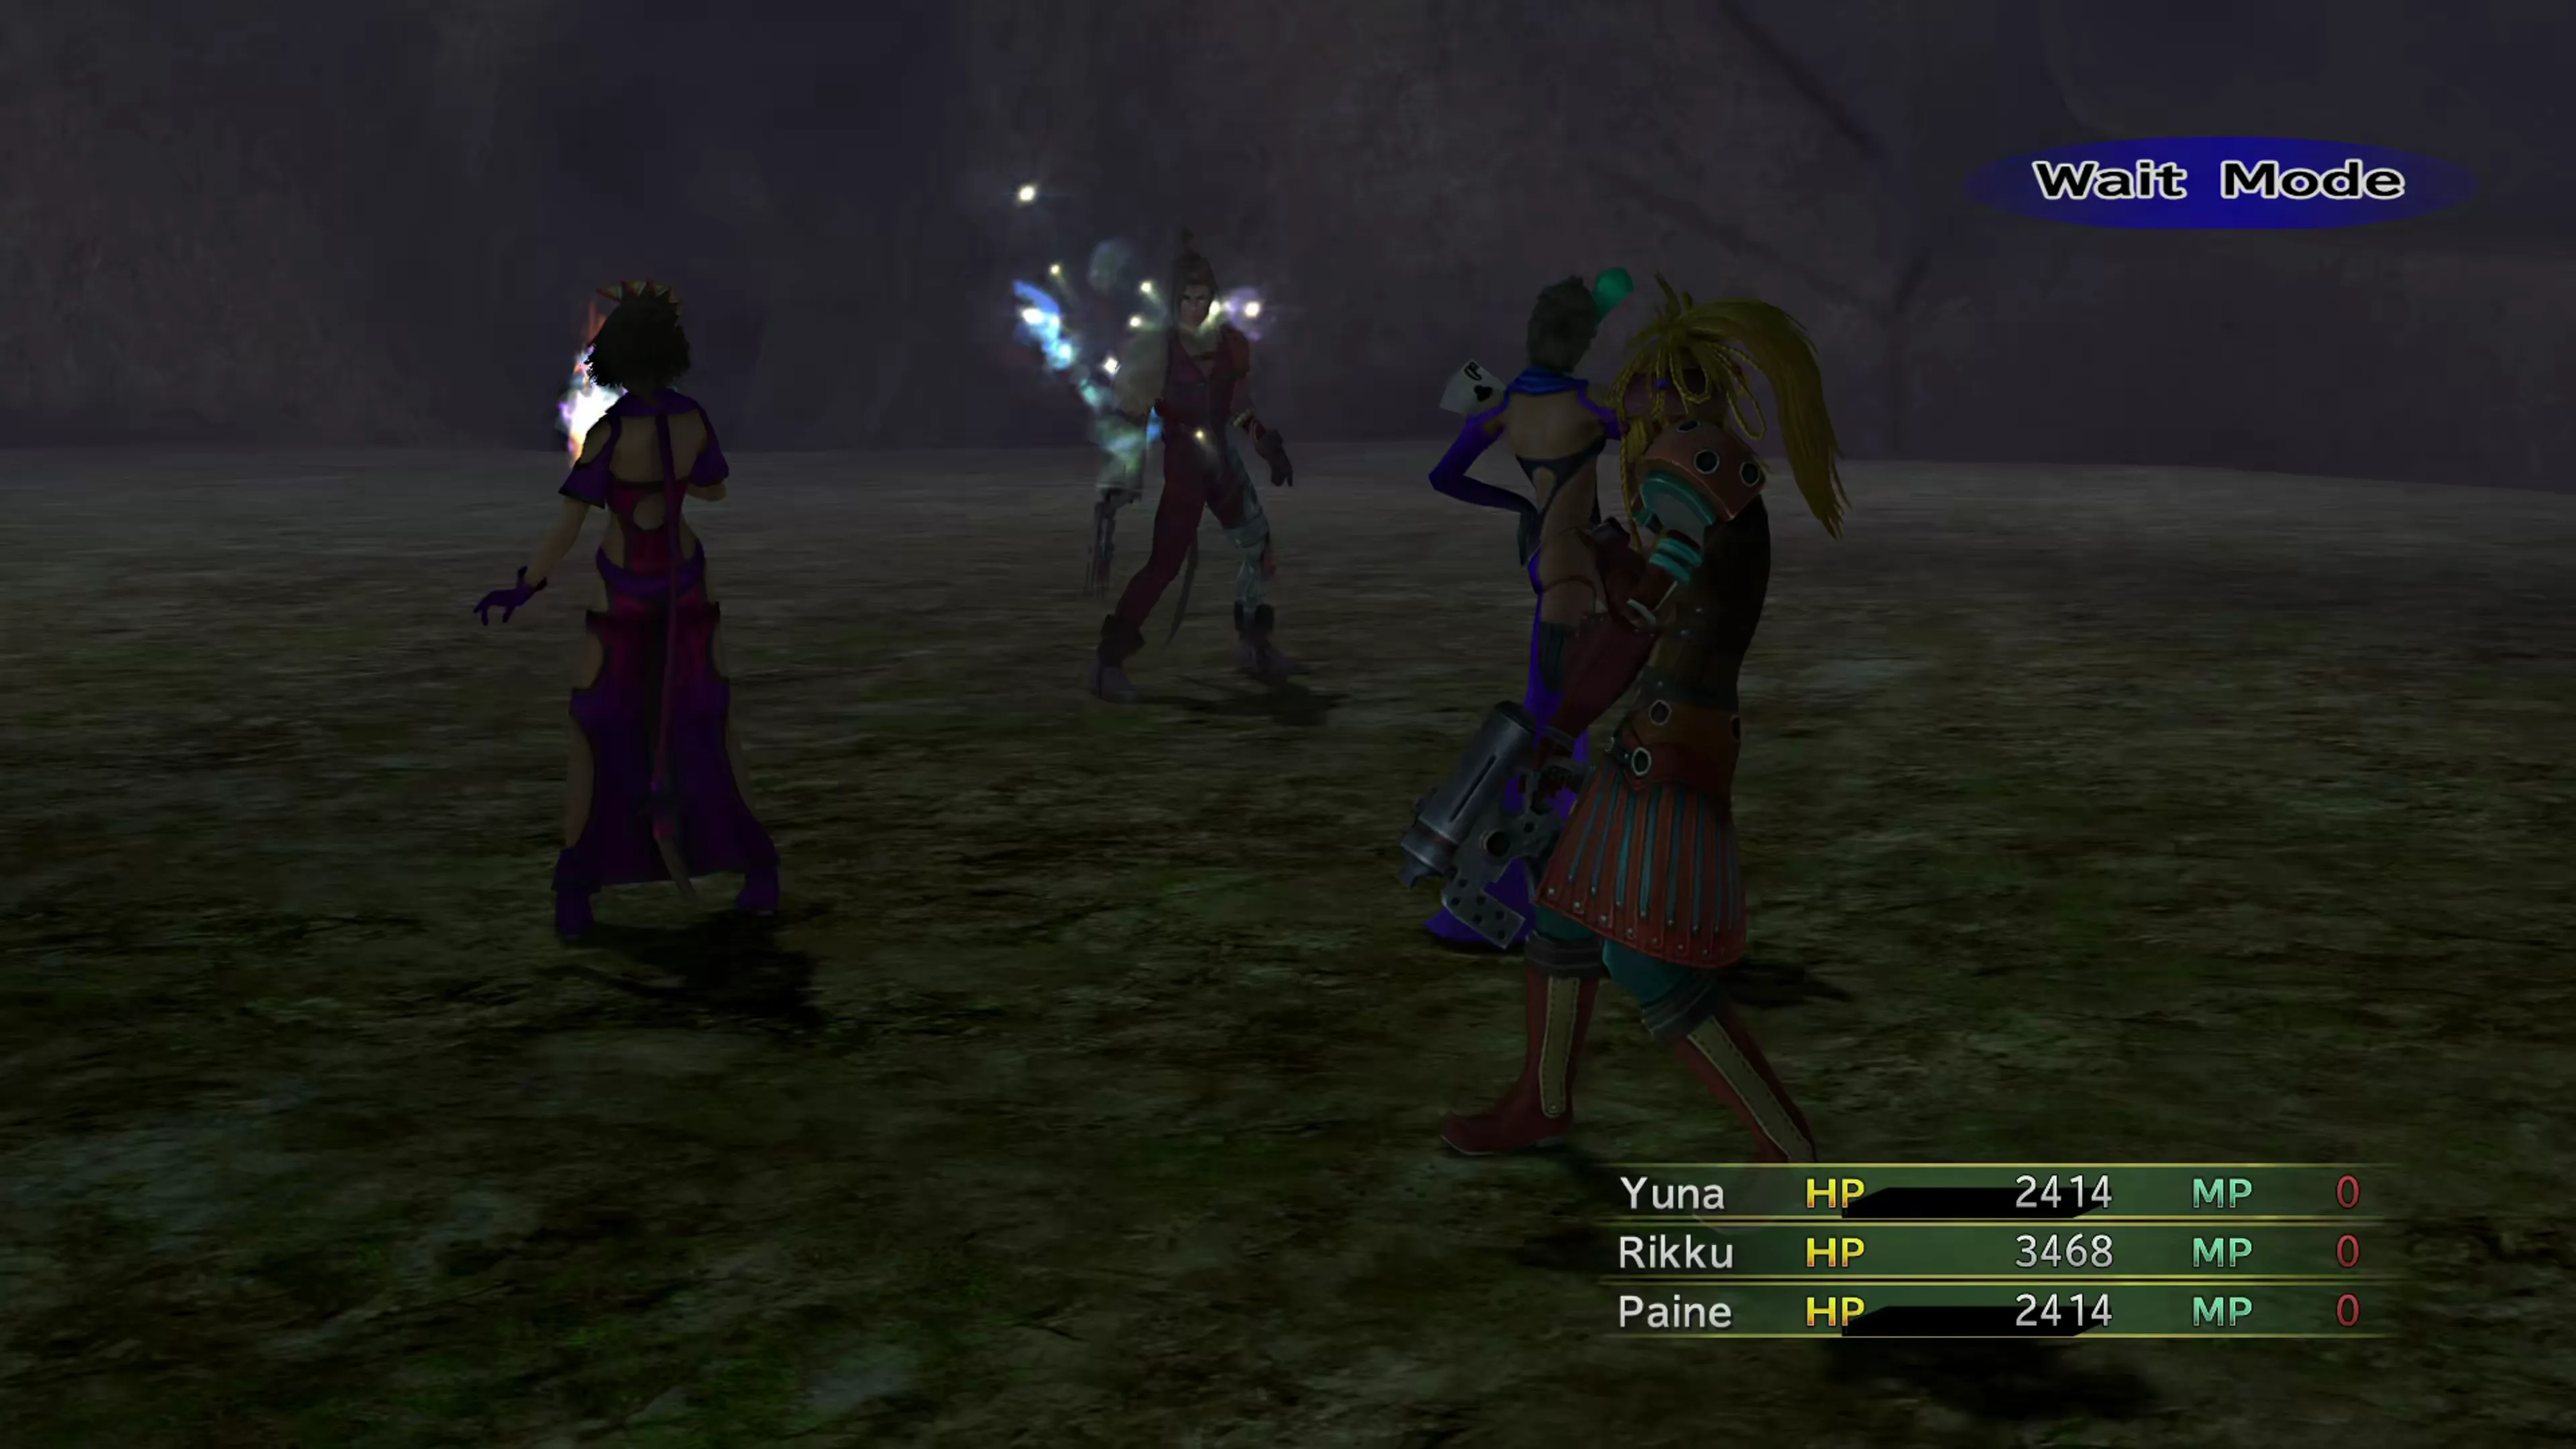
This is the trickiest battle of all, even though you don’t need to waste any time trying to get any Gun Mages to learn Blue Bullet abilities here. He’ll use the following attacks during the fight:
- His normal attack, which is a shot that hits one target for around 500
- “Rippling Chroma,” which deals around 1,500 magic damage to one target and ignores magic damage defense
- “Greedy Aura,” which hits all targets for 18.75% of both their maximum HP and maximum MP
- “Lightfall,” which hits all targets for 5,000 damage, which he only uses once after his HP falls below 3,000
Nooj deals a lot of damage, which you’ll need to prepare yourself for, and his final attack (“Lightfall”) is difficult to survive unless you’re fully prepared. So how do you prepare? The best method is to have a party member in their Dark Knight Dressphere to increase their defensive stats and cast Protect and Shell on them to protect them from all other forms of damage. It won’t reduce “Lightfall” damage, but it will help keep their HP high enough for them to survive it.
Alternatively, you can have one of your characters progress through the Salvation Promised Garment Grid to trigger the  Auto-Life to immediately revive them after “Lightfall” is used. You can also use the Mix command and combine a Dark Matter with any potion to grant limited party-wide immunity. If you get lucky, you may manage to deal enough damage to him to skip all the way from 3,000 HP to zero.
Don’t forget to Steal or Mug an Arcane Lore from him before the battle ends.
| Enemy | HP | Steal | Drop |
|---|---|---|---|
| Nooj | 23800 | Arcane Lore | Magical Dances, Vol. I |
You’ll receive the Supreme Light Garment Grid and the Magical Dances, Vol. I key item as rewards for completing the Den of Woe, in addition to the drops from each boss battle (Black Lore, Champion Belt, Crystal Ball, Kaiser Knuckles).
A cutscene will take place outside the cave after the last fight, with another “Episode Complete” screen, and then you’ll be brought back up to the Celsius. You’ve now completed all of the Episode-related content, so now it’s time to work your way through the first sections of the Farplane on your way to the final encounter… but just the first part!
Checking the “Mushroom Rock Road Complete” box adds the Story Completion Percent for the automatic scenes in Mushroom Rock Road.