

Road to the Farplane and Farplane Abyss
Celsius
All of the episodes are complete, so it’s time to make your way through the first portion of the Farplane. Before you do, though, make sure you speak to Shinra, access the “Treasure Spheres,” and watch the “Deathseeker” video.
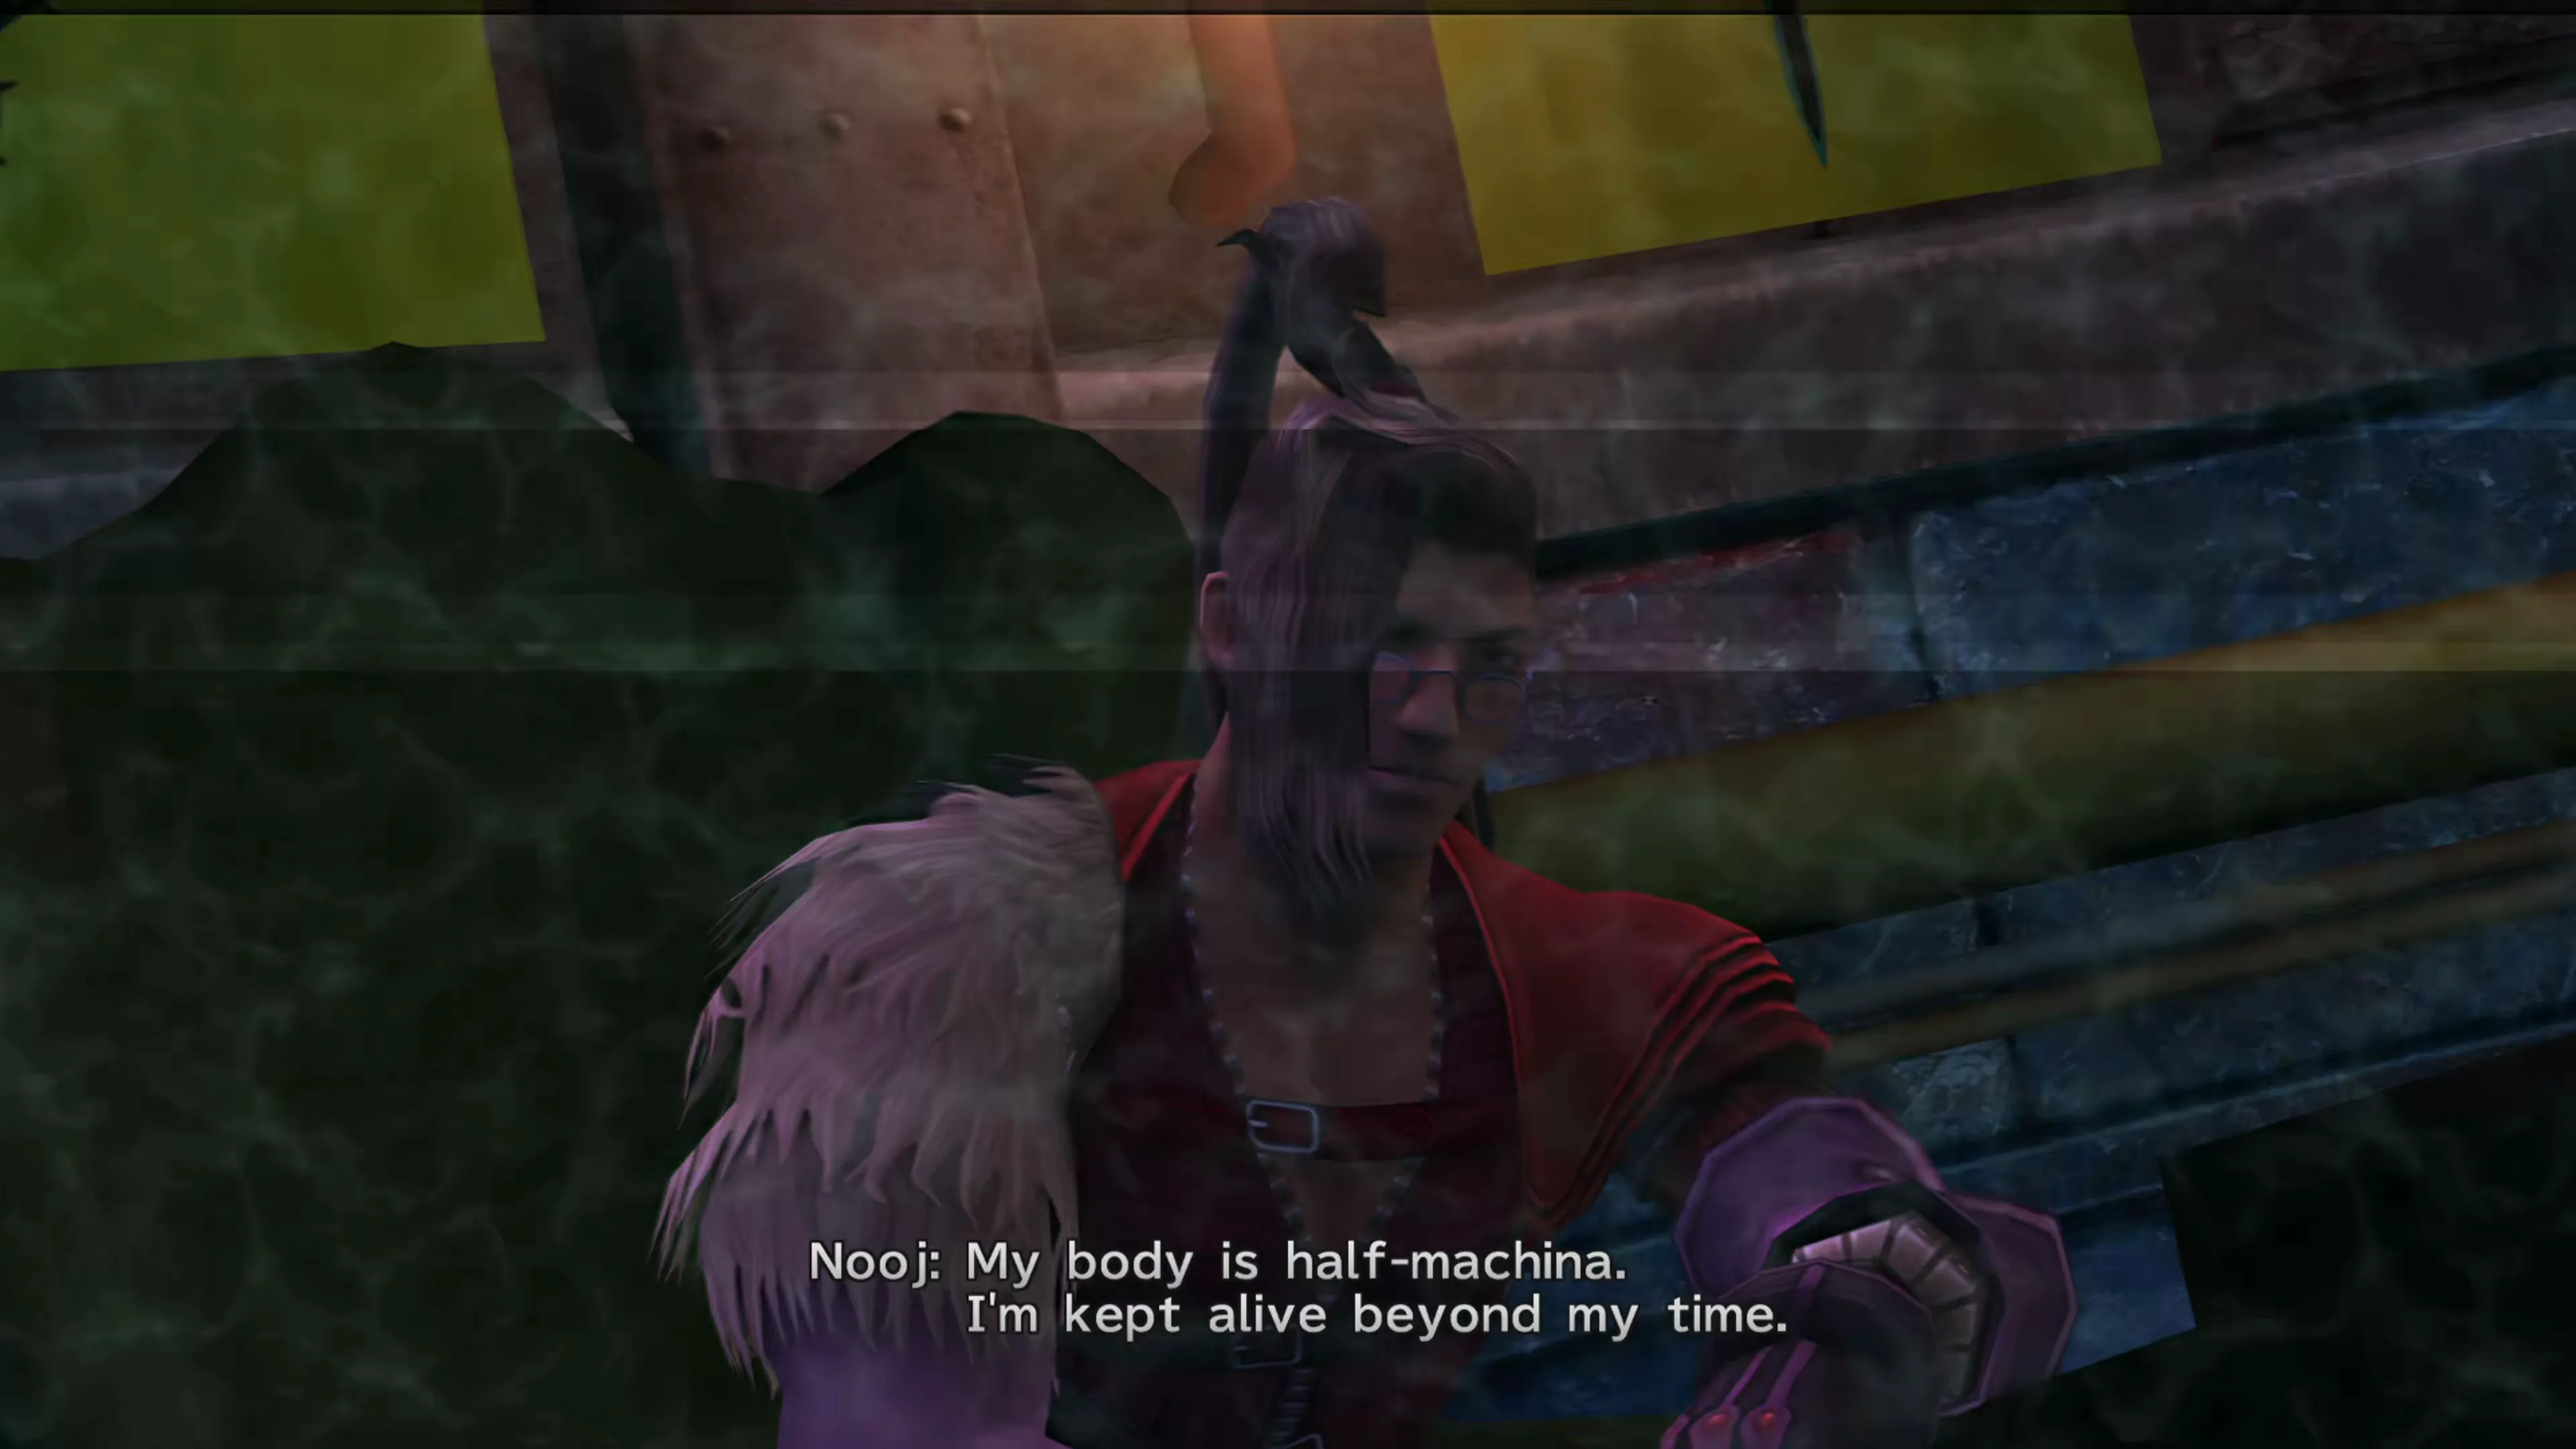
When you speak to Shinra, make sure you watch Nooj’s Sphere, which shows up as “Deathseeker” in the Treasure Spheres section.
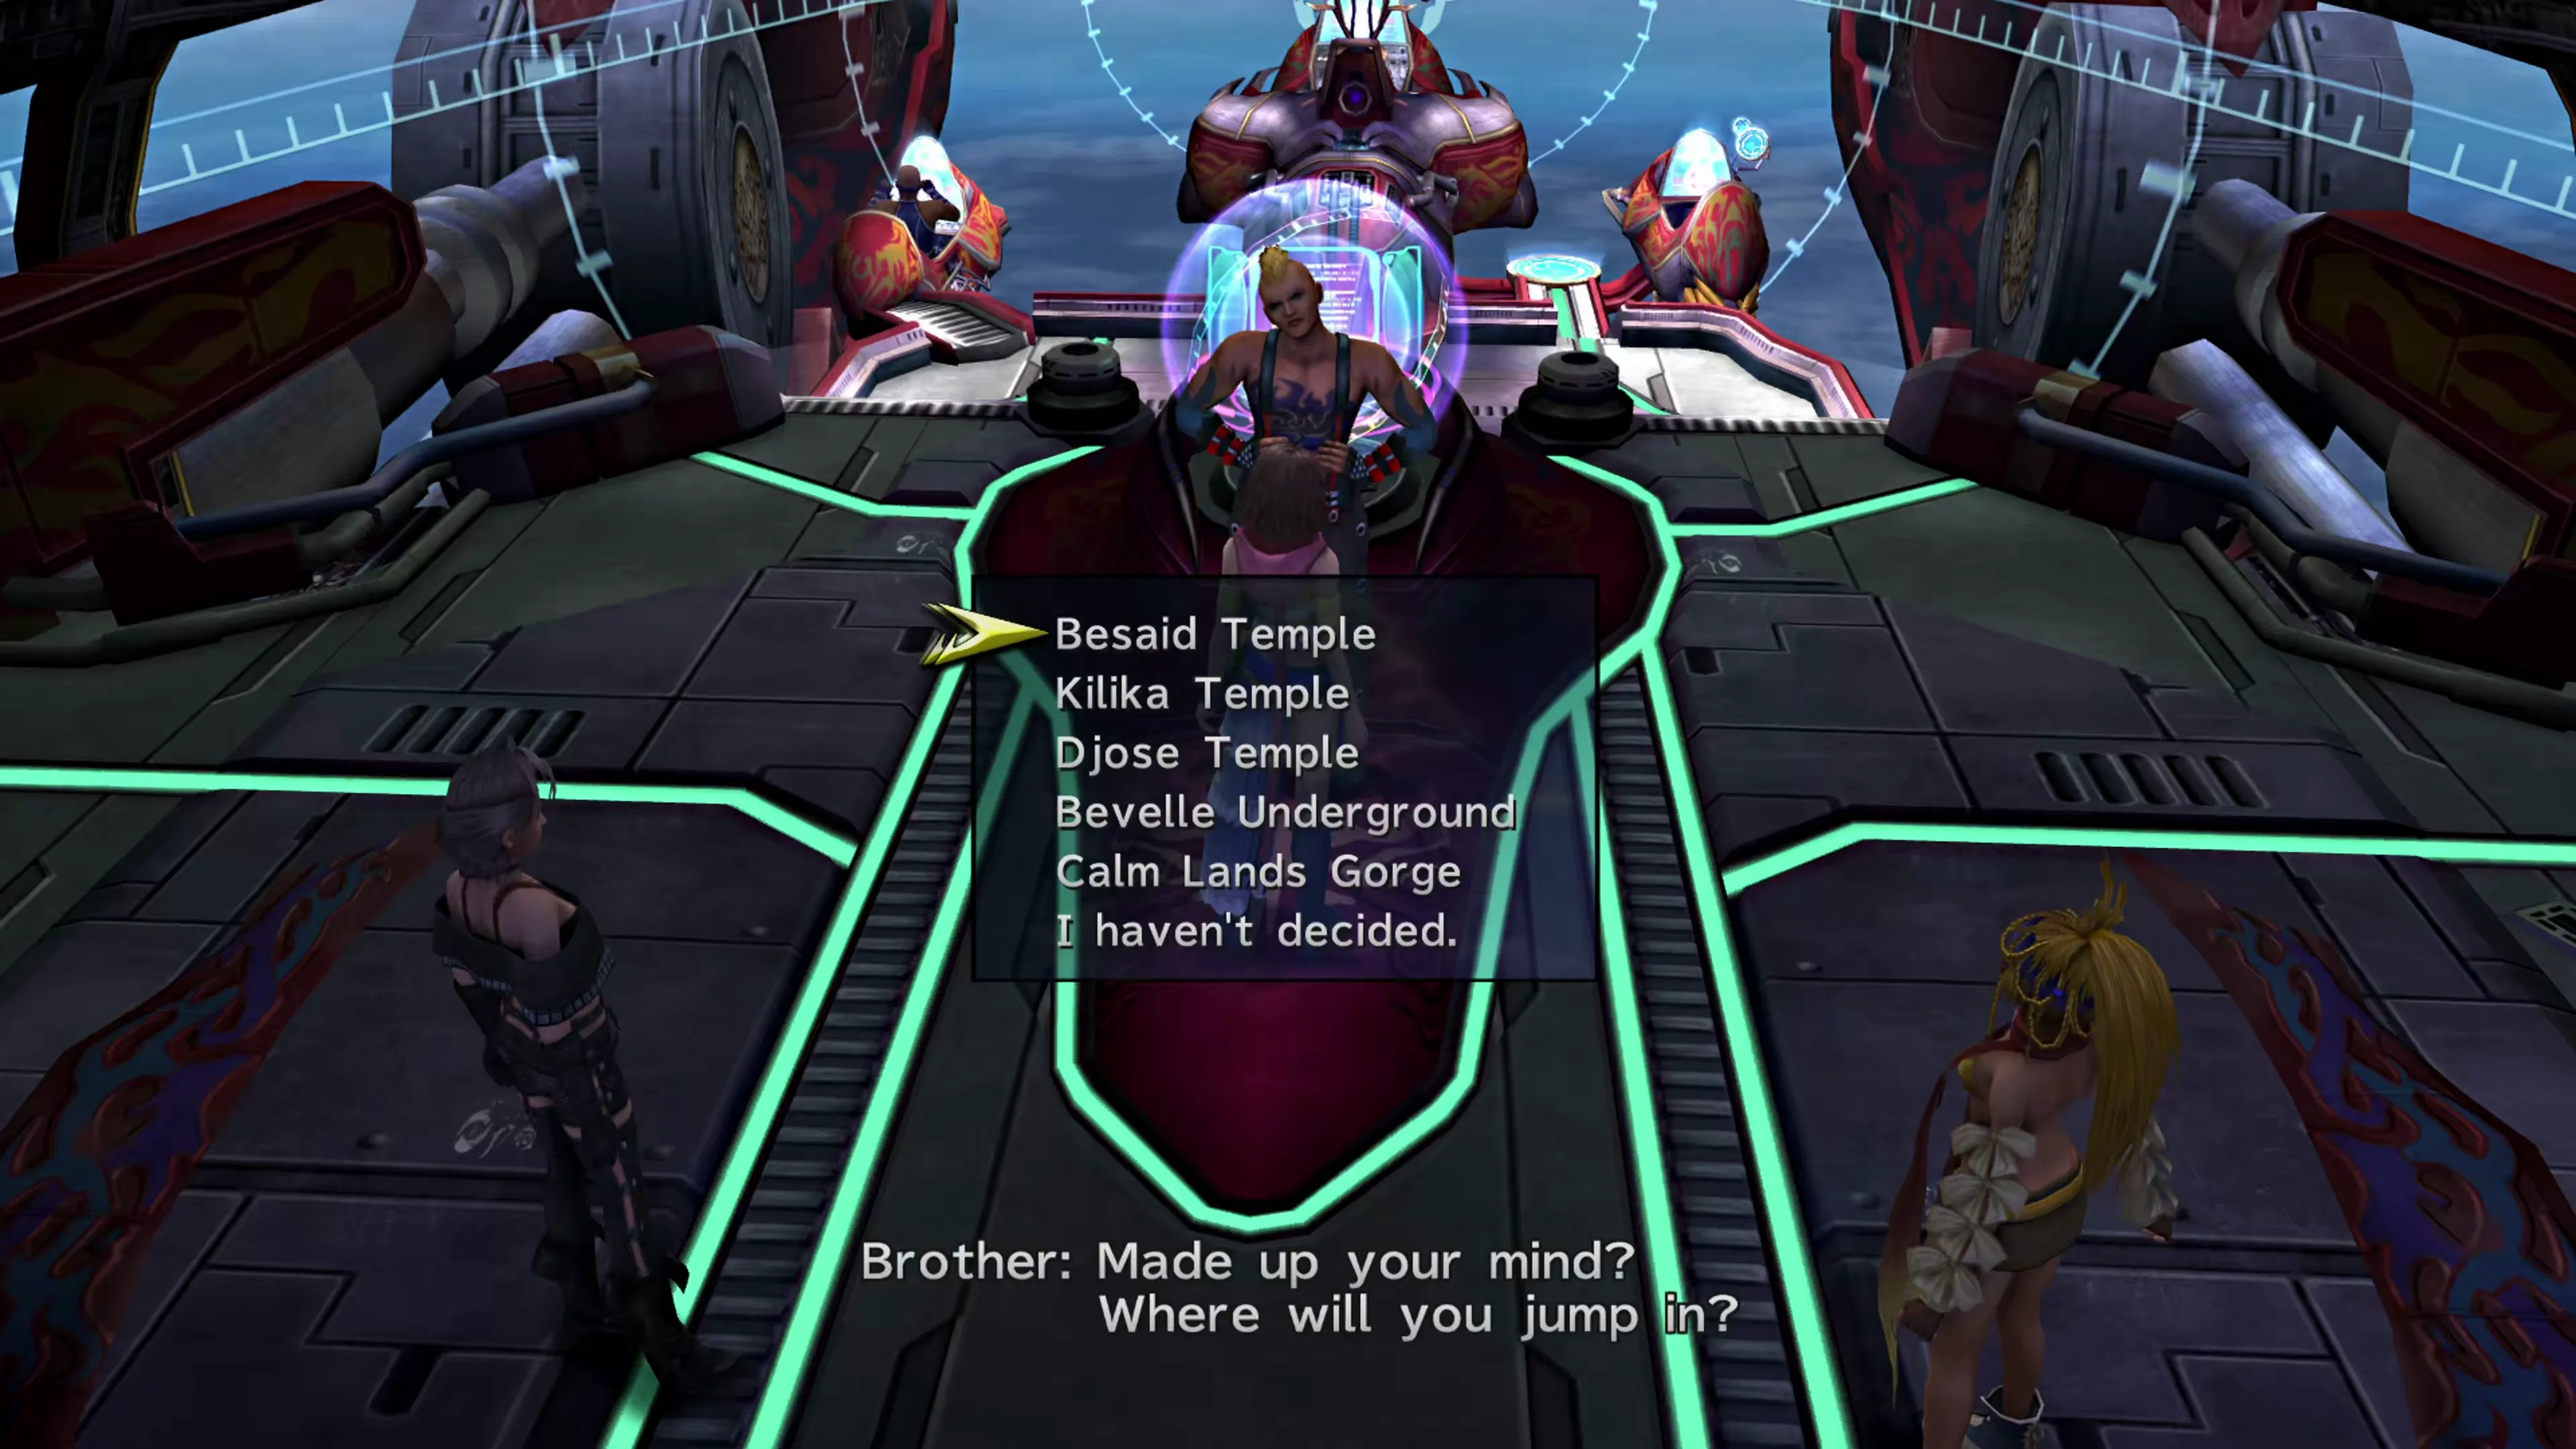
To enter the Road to the Farplane, speak to Brother, and he will provide you with a list of locations where you can “jump in,” which include:
- Besaid Temple
- Kilika Temple
- Djose Temple
- Bevelle Underground
- Calm Lands Gorge
These are five different pathways that you can take down into the Farplane Abyss. It doesn’t really matter which route you select; you’ll face the same battles but have different treasures you can pick up, and once you reach the bottom, you’ll be able to warp back up to the Celsius and take the other routes. If you take all five routes down into the Farplane Abyss, you’ll obtain a  Megiddo Garment Grid.
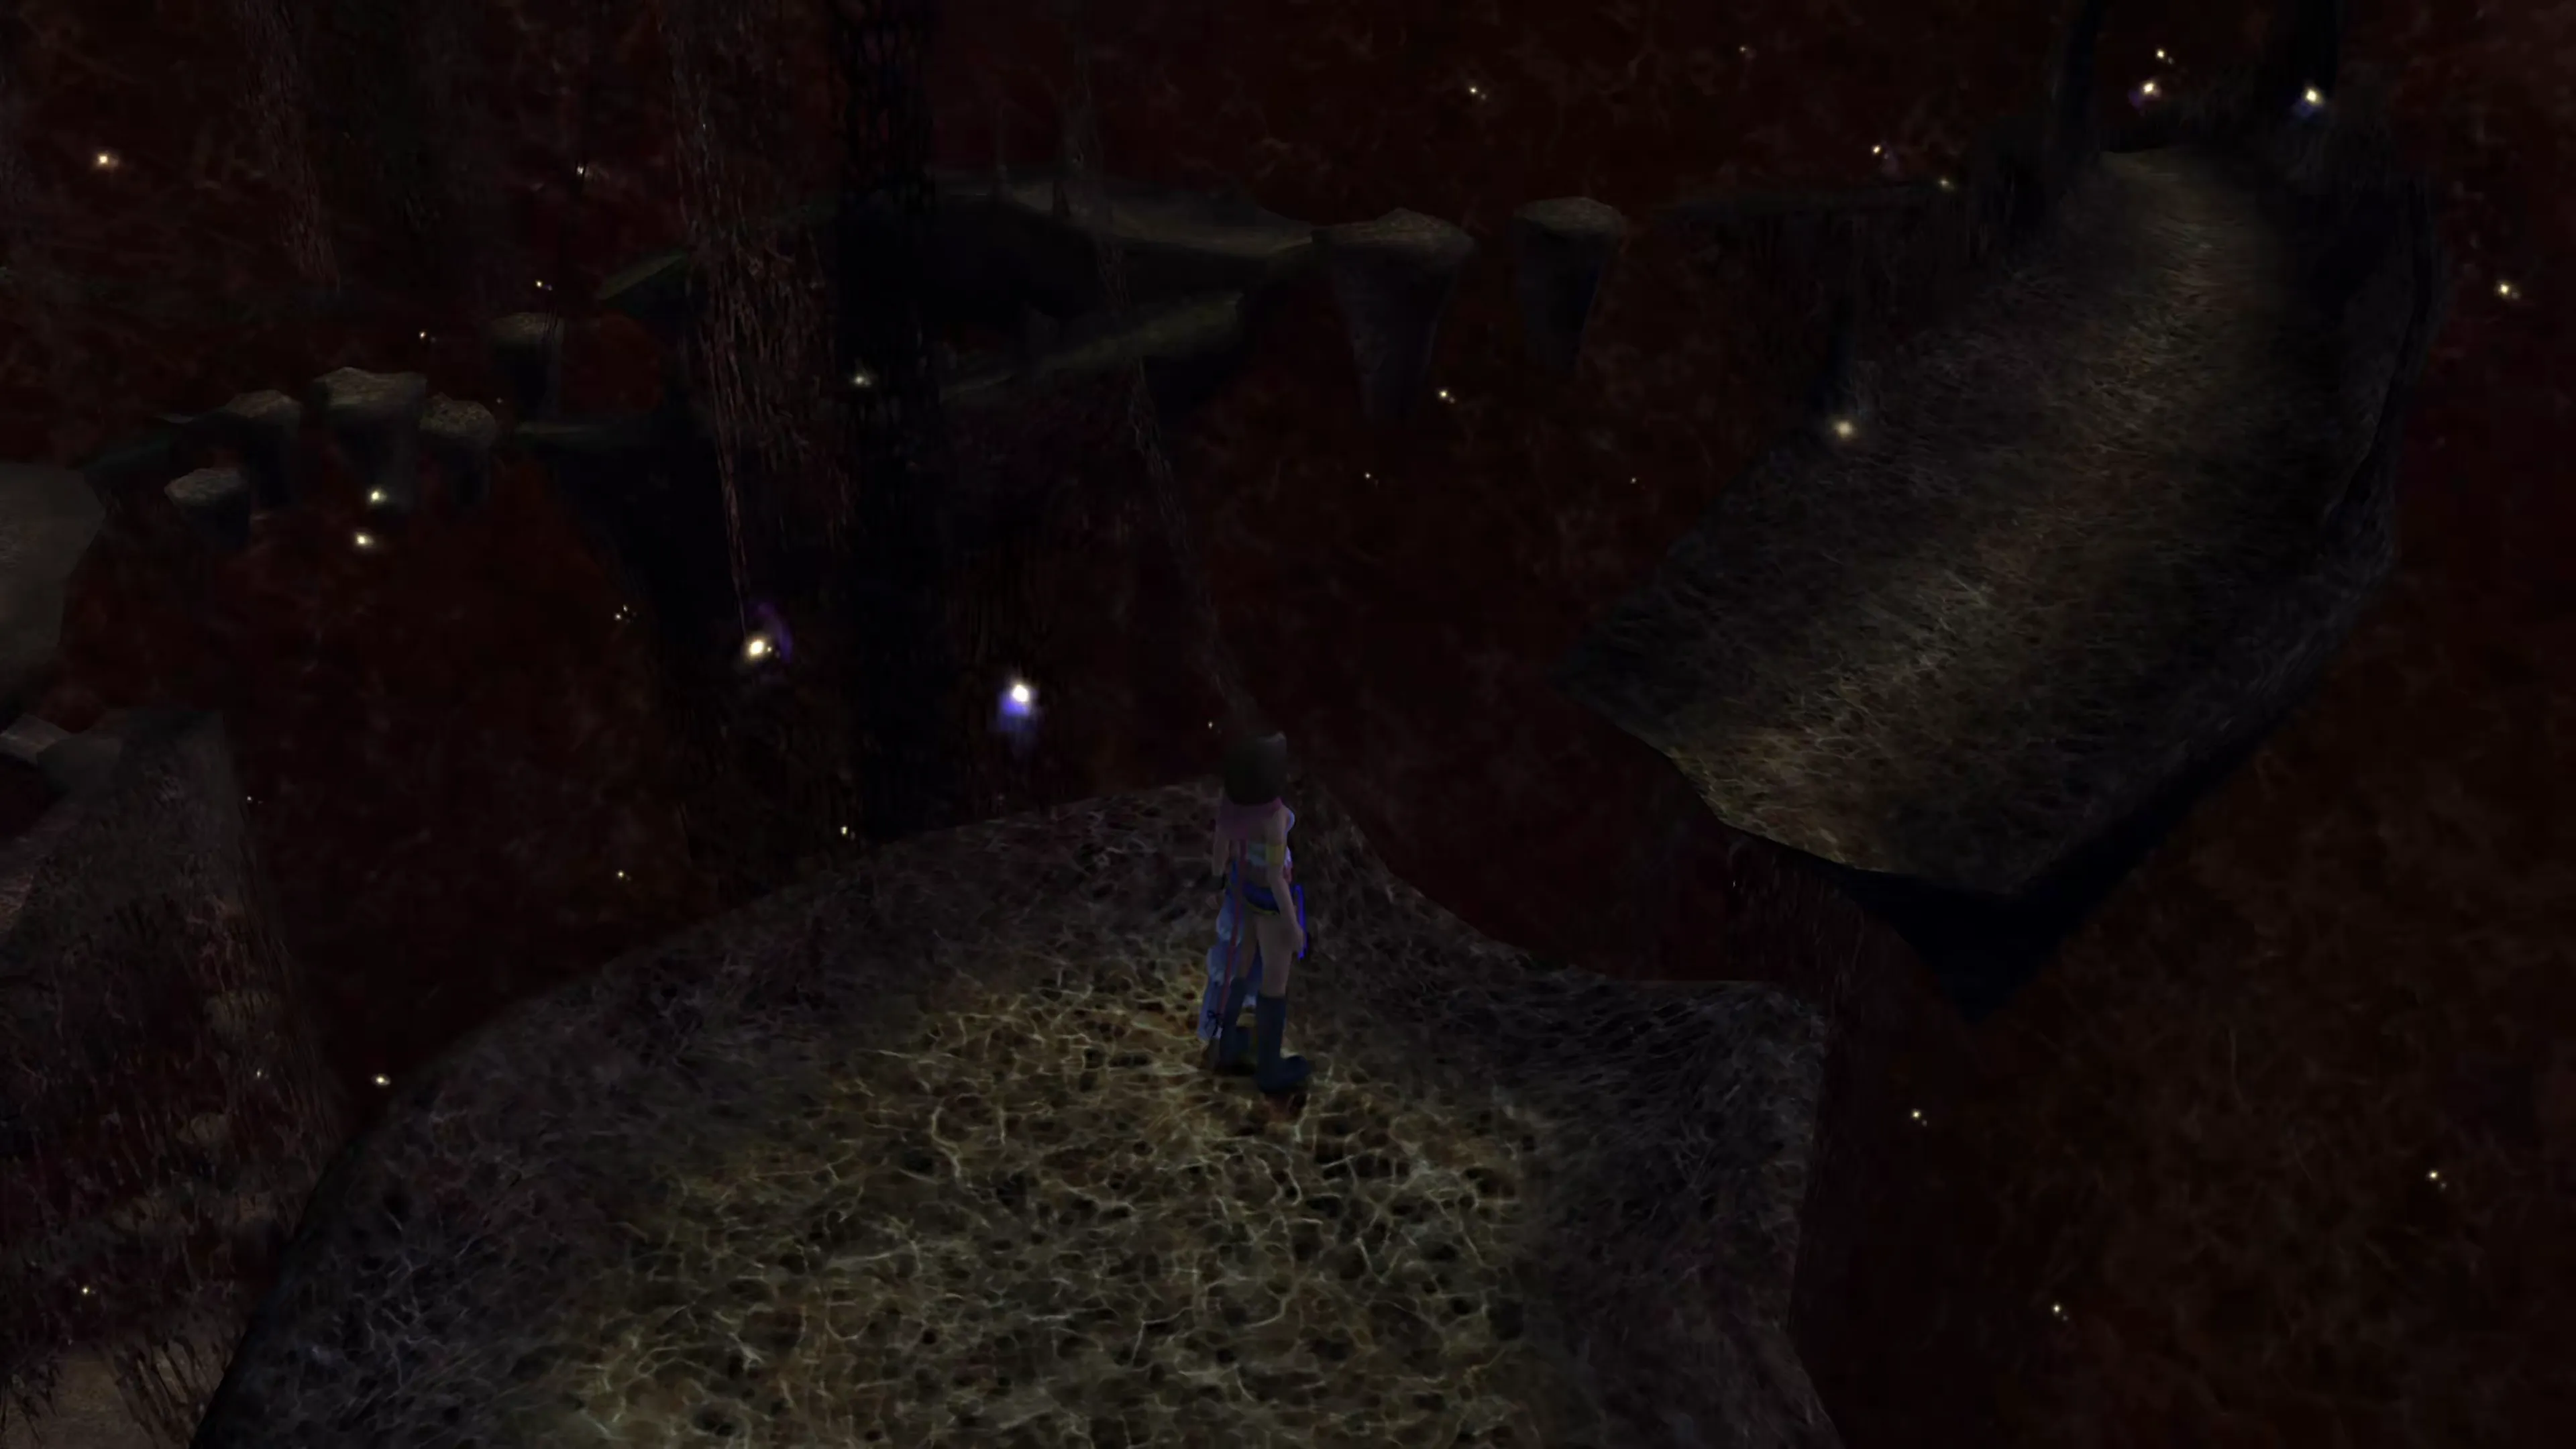
Maps are not required for the Road to the Farplane; the paths are very straightforward, and no matter which route you take, you’ll face off against the three Aeons listed in the Boss Battles section below, where all of the paths converge. Bevelle Underground is probably the easiest route if you want to get to the bottom quickly. You can find brief descriptions of each route here:
| Route | Description |
|---|---|
| Besaid Island | While traveling down the Besaid Island route, you’ll come across some little floating islands that will activate when you jump onto them. They will move to a previous point on the path and set you back, but after riding any of these islands four times, you’ll find a treasure chest that contains two  Mega-Potions. Mega-Potions. |
| Kilika Temple | This route contains flame flare-up spots that will teleport you backward if you get hit by them. Wait for them to die down before you run across. |
| Djose Temple | This is the most challenging route. You’ll reach a ‘stone-pushing’ puzzle on this route: three stones that sit in front of numbered slots. Push the left stone onto 3, the right stone onto 1, and the middle stone onto 2. Doing so will clear the barrier. |
| Bevelle Underground | A straightforward descent, easy to get to the bottom. |
| Calm Lands Gorge | A straightforward descent, easy to get to the bottom. |
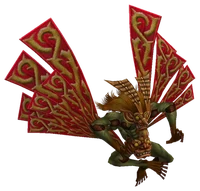

Aeon Boss Battles
You’ll fight three Aeons on the same three platforms no matter which route you take, but you’ll only have to fight them once. You may want to protect your party members from Stop (i.e., use a  Ribbon accessory).
Boss Battle
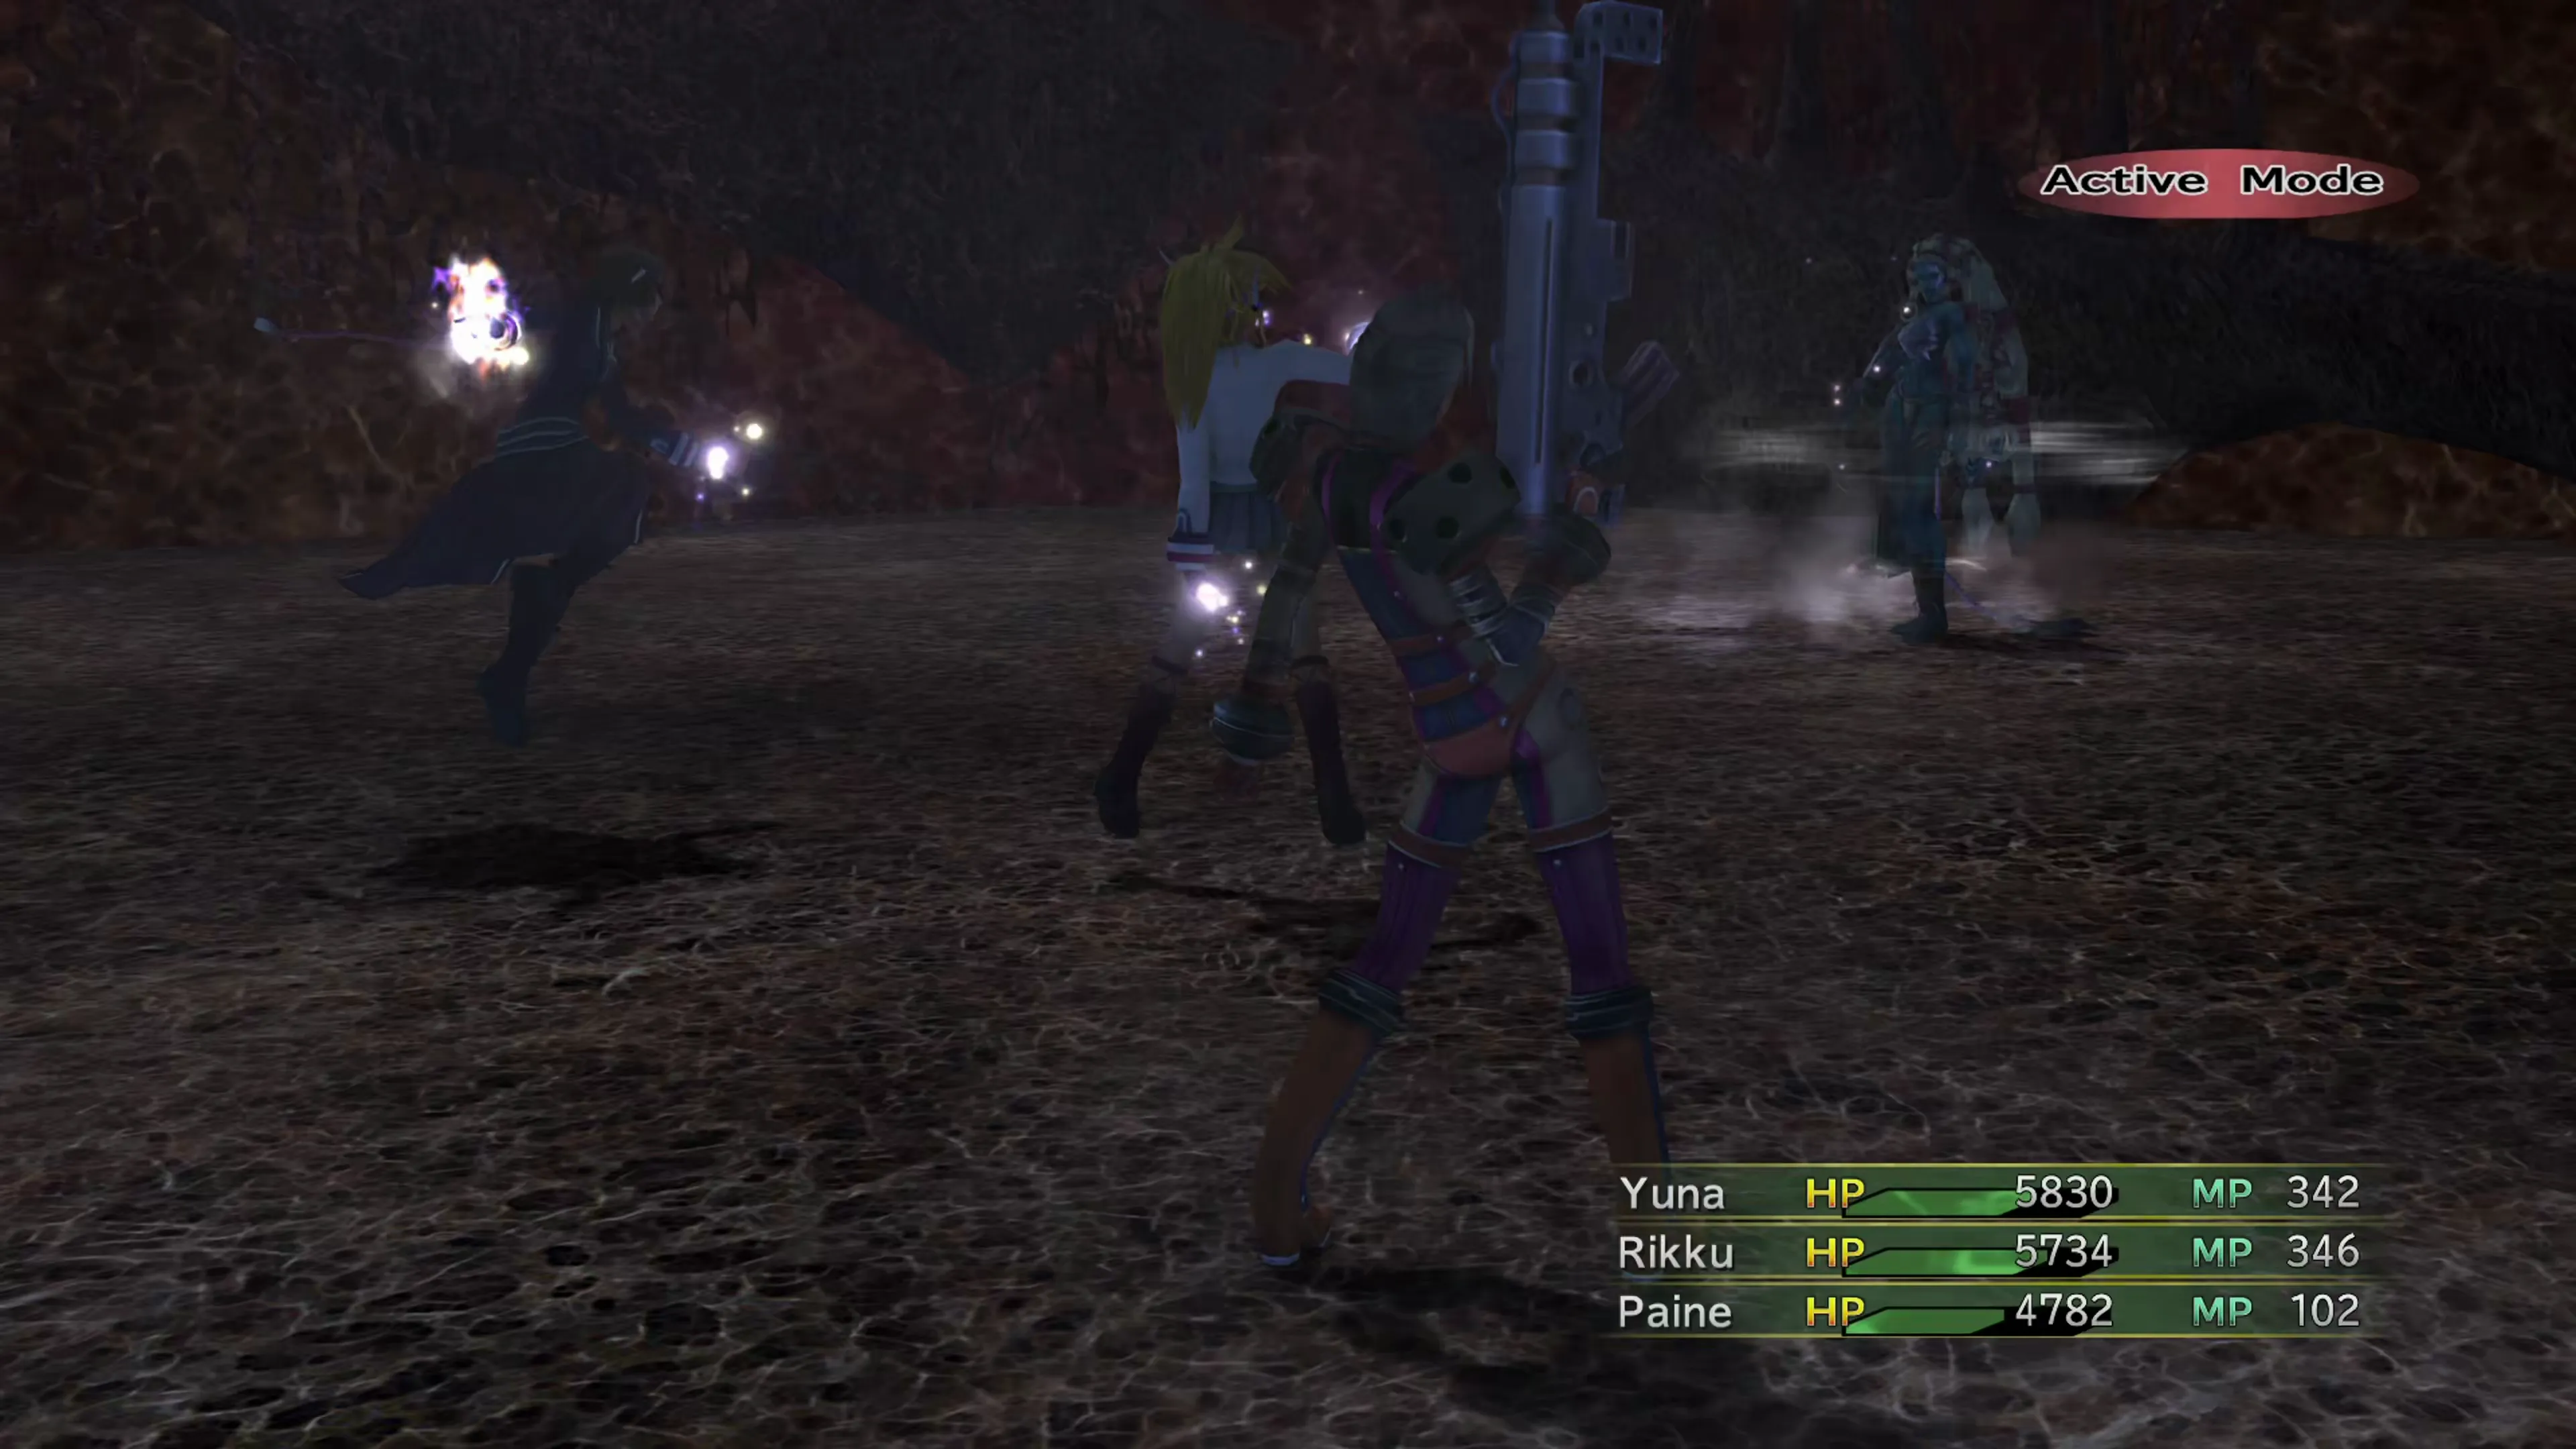
Of the three Aeons you will face in the Road to the Farplane, Shiva is the easiest. She will use the following attacks:
- Normal attack for around 400 HP
- Triple attack that hits three random targets for around 400 HP
- “Heavenly Strike,” which halves one target’s current HP and MP and can inflict the Stop status effect
 Blizzaga
- “Diamond Dust,” which hits all targets for around 1,000 HP
The faster her HP drops, the more often she will use “Diamond Dust,” but as long as your characters aren’t all inflicted with the Stop status effect at the same time, you should have no problem surviving the damage she puts out. As you might expect, she will absorb any ice-based attacks but is weak to fire.
| Enemy | HP | Steal | Drop |
|---|---|---|---|
| Shiva | 14800 |  Snow Ring Snow Ring |  Crystal Gloves (common)Regal Crown (rare) Crystal Gloves (common)Regal Crown (rare) |
Boss Battle
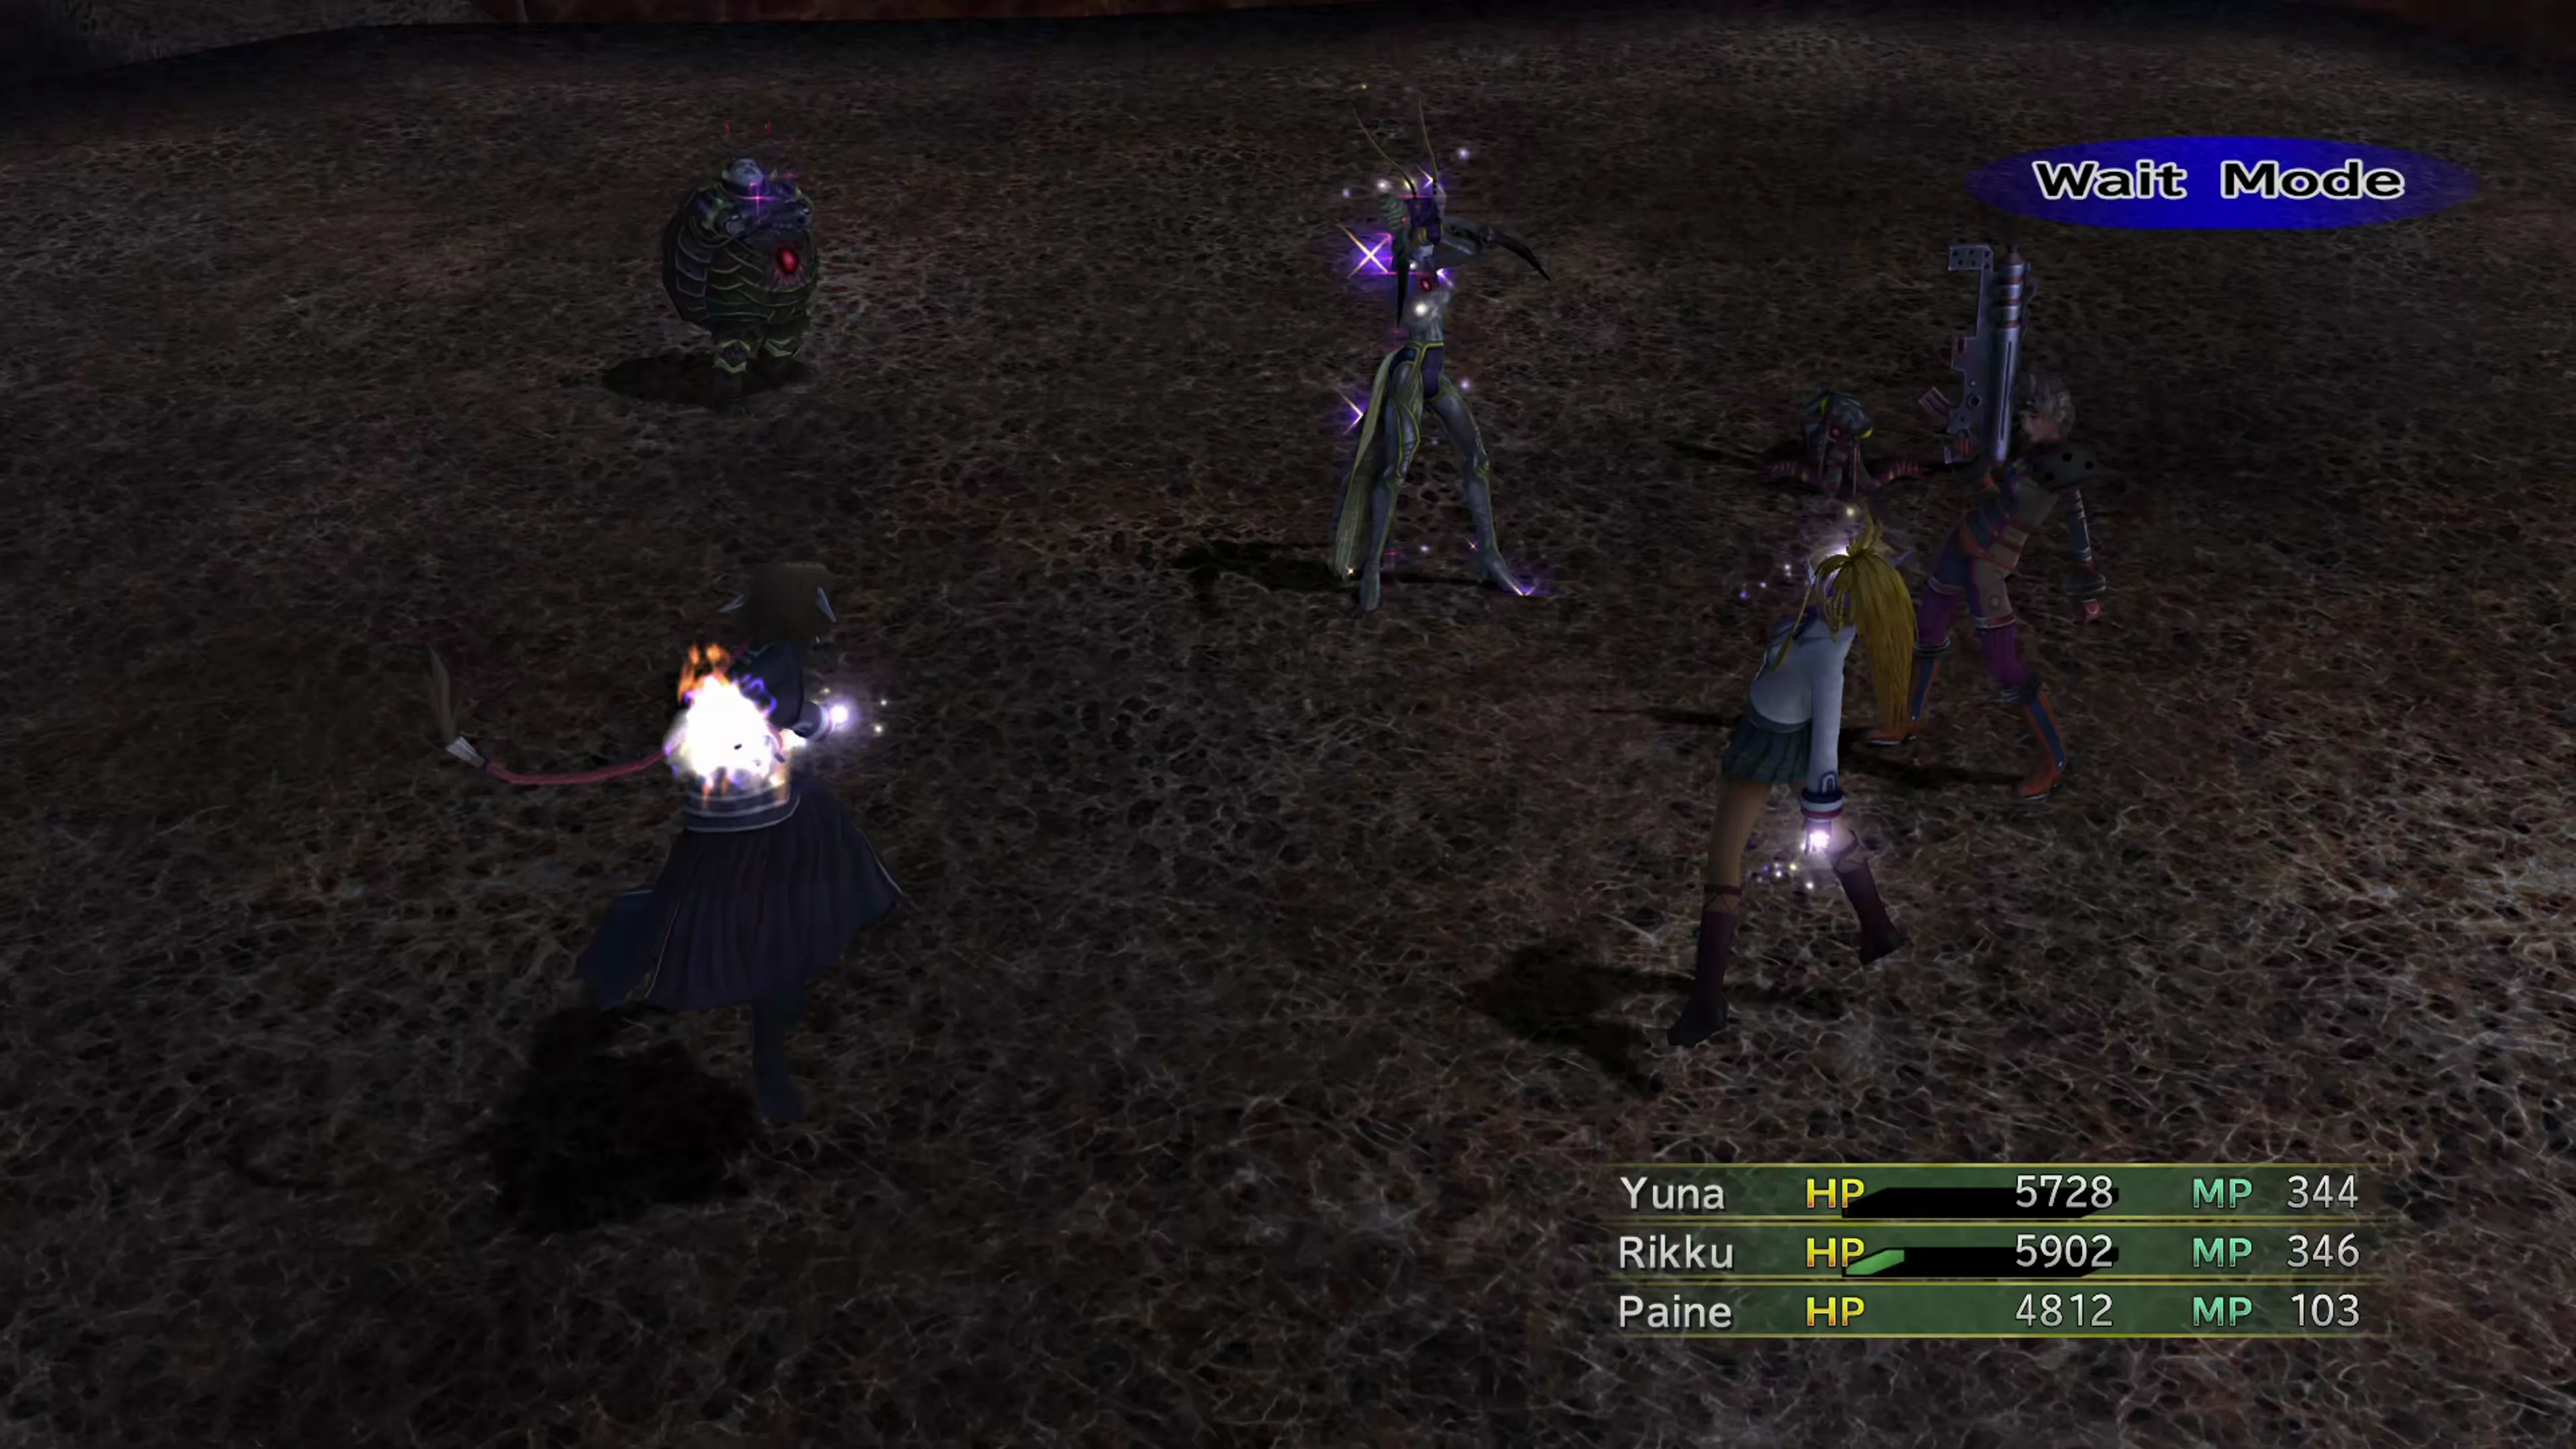
The three sisters can be a bit tougher to deal with than Shiva because they’ll dodge many of your physical attacks, but their attacks aren’t overly complicated:
Sandy:
- Normal attack for between 150 and 300
- “Razzia,” which is a magic-based attack for between 150 and 300
Mindy:
- “Passado” hits 15 times, dealing damage equal to 6.25% of current HP (can’t kill the target)
- Firaga, Blizzaga, Thundaga, Waterga
Cindy:
- “Camisade” is a normal attack
- “Demi” deals damage equal to 25% of each character’s current HP
- “Absorb” drains HP and MP from a target
 Regen
Regen- “Not-So-Mighty Guard” casts
 Shell, Protect, and
  Regen on all three sisters
 - “White Highwind,” which fully heals the sisters, only triggers while all three are alive and all three have dropped below a quarter of their HP
- “Delta Attack,” which she can only use when all three sisters are alive, and it drops all of your characters down to 1 HP
Their most powerful attack, “Delta Attack,” requires all three of them to be alive, so if you take one out quickly, you can prevent them from using it. Mindy is the weakest, but instead you should focus on killing Cindy first. She has the most annoying abilities to deal with. One of them, “White Highwind,” will also only trigger if all three sisters are alive, so the worst thing you can do during this fight is spread your damage evenly across all three. Focus on killing one of each of them one at a time.
Both Sandy and Mindy have very high evasion stats, making them tough to hit with regular physical attacks. Using specials like  Four Dice from a
  Lady Luck or
  Darkness from a
  Dark Knight can get around their evasion. If you’re really having trouble, you can have a
  Samurai use Spare Change and nearly instantly kill one by having them throw 75,000 Gil at one, which will deal 9,999 damage.
They have solid items worth stealing, so make sure you grab the Potpourri, Chaos Shock, and White Cape before concluding the battle.
| Enemy | HP | Steal | Drop |
|---|---|---|---|
| Sandy | 10330 | Potpourri | Pixie Dust (common)Crystal Gloves (rare) |
| Mindy | 9788 | Chaos Shock | Faerie Earrings |
| Cindy | 12240 | White Cape | Faerie Earrings (common)Pixie Dust (rare) |
Boss Battle
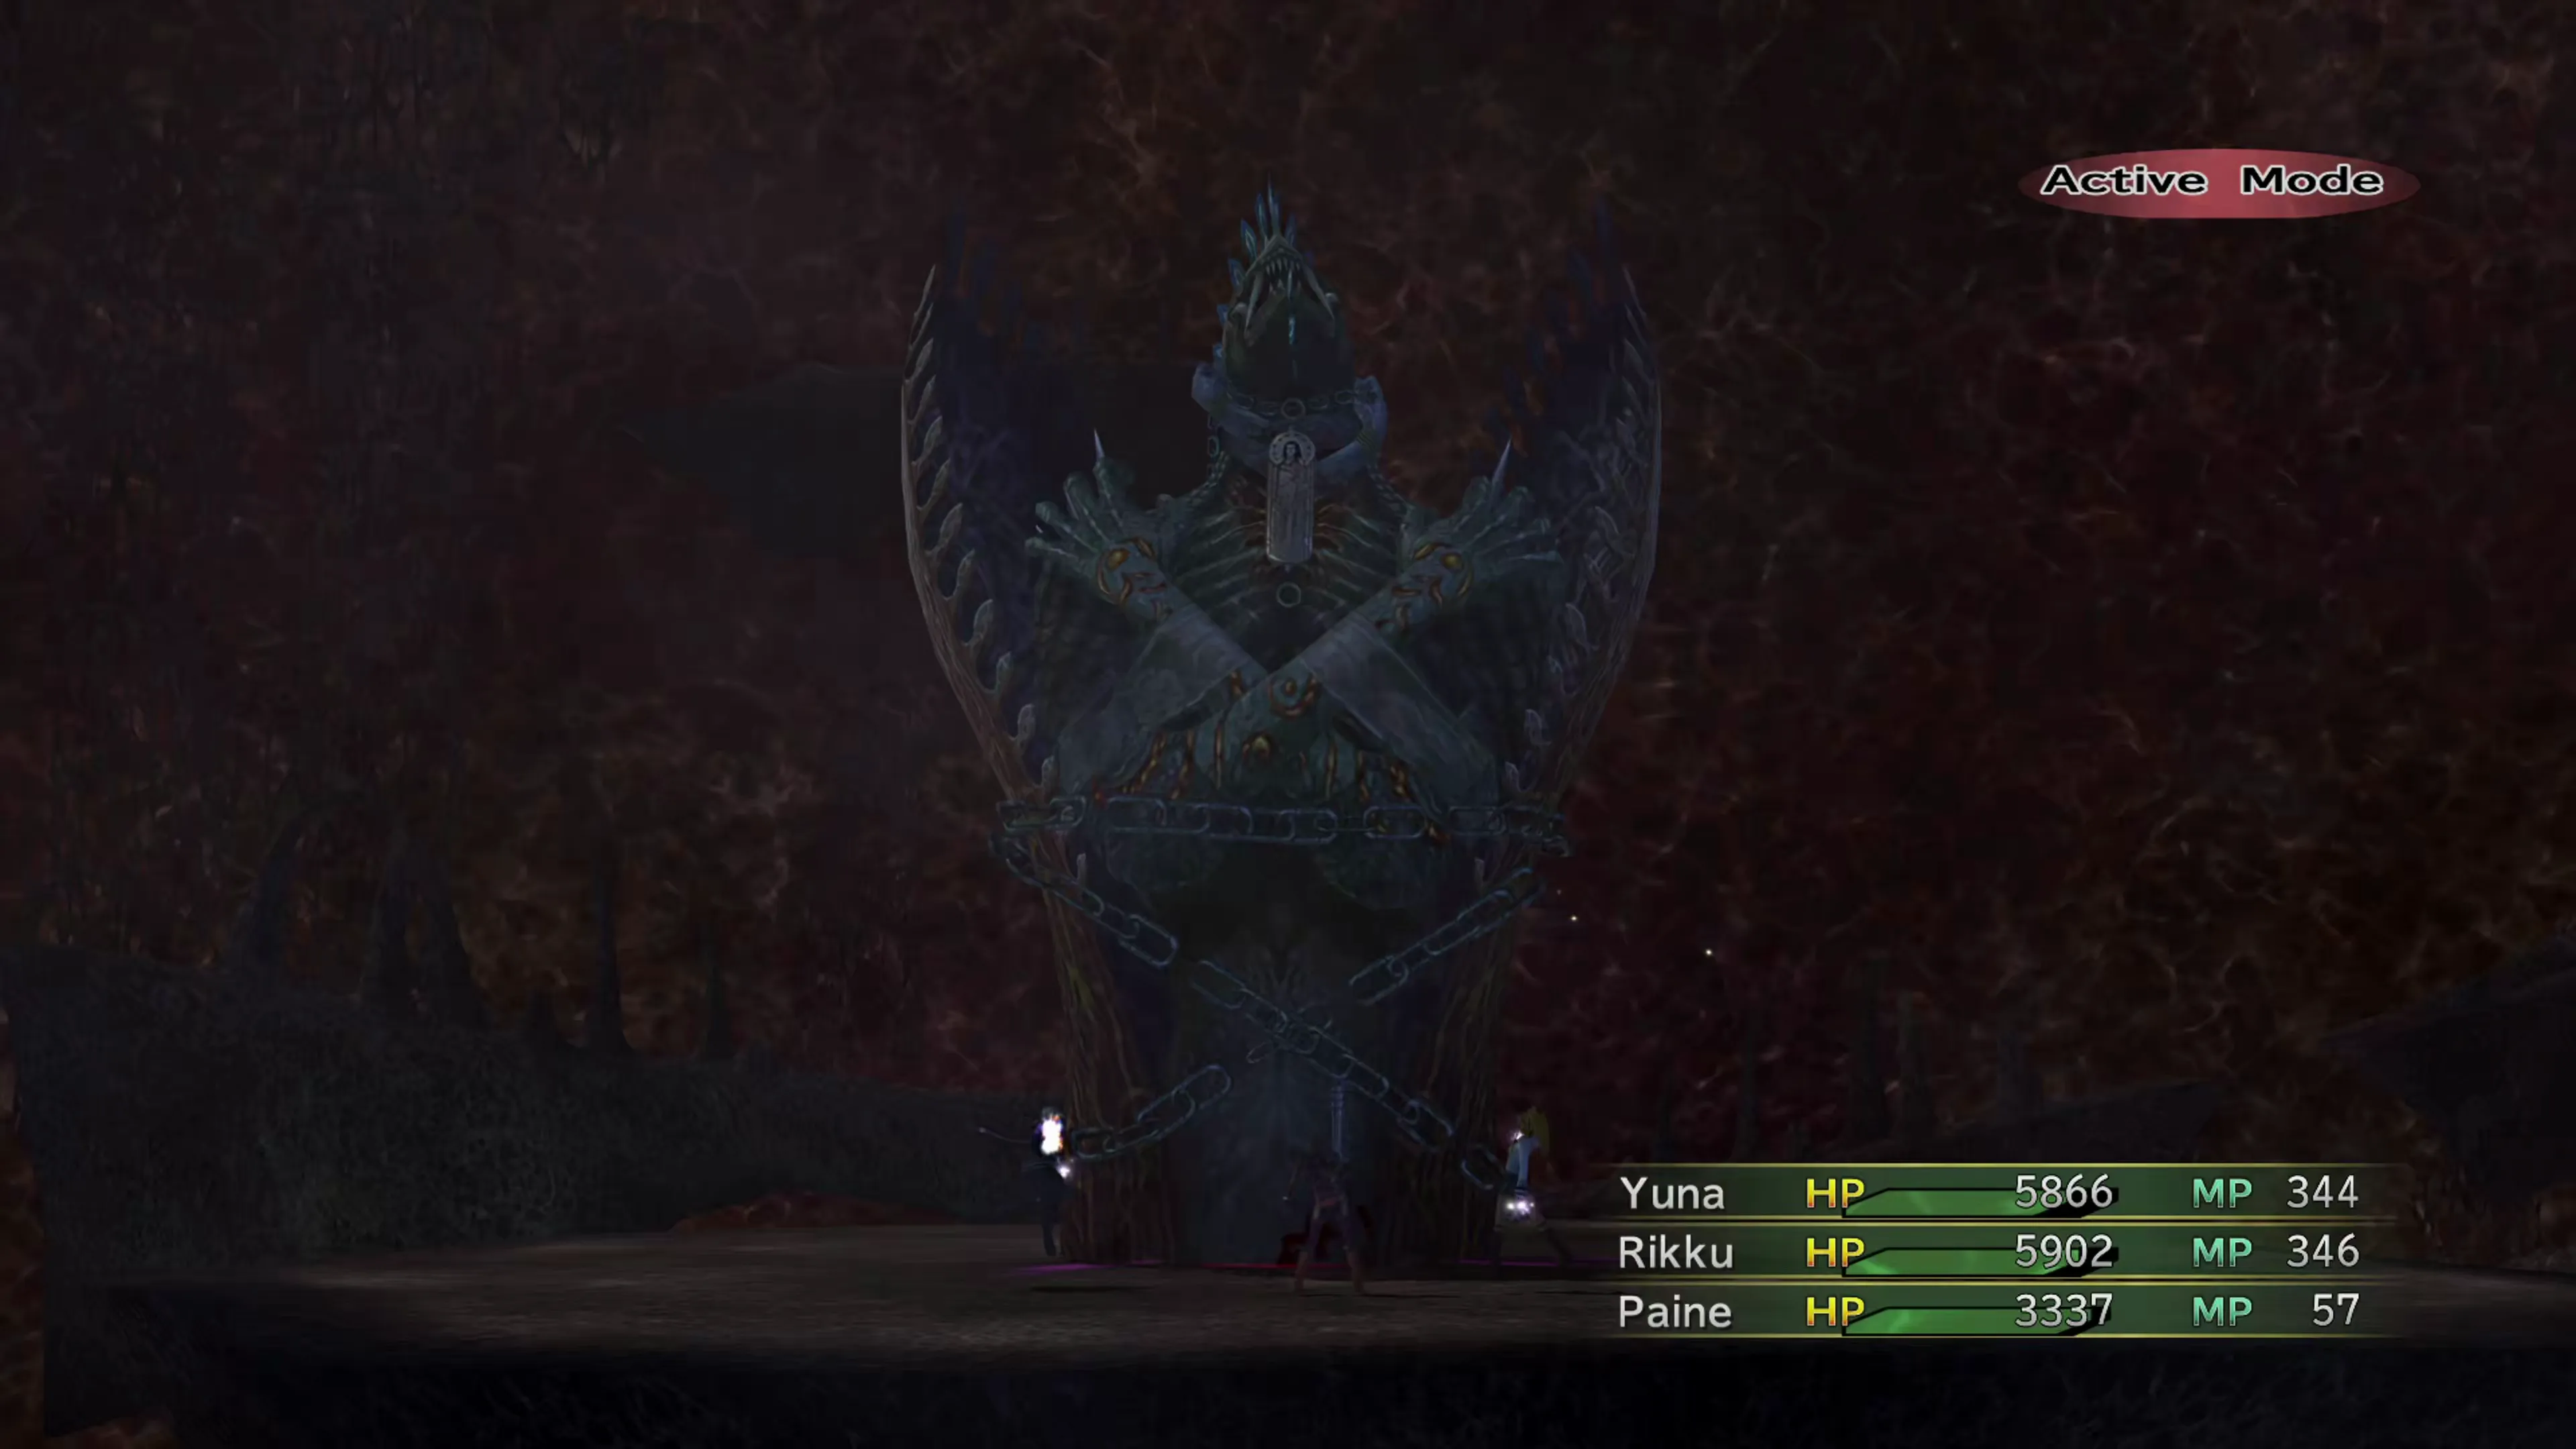
This battle doesn’t involve the onslaught of attacks you had to deal with while battling the Magus Sisters, and you won’t have trouble getting your attacks to hit this incredibly large Aeon. Anima is very powerful, though, and she’ll use the following attacks on your party:
- Normal attack for around 300 damage, which also inflicts Poison
- “Pain,” which also deals around 300 damage to one target and inflicts Silence, Itchy, Poison, and lowers the character’s stats
- “Oblivion,” which deals around 600 damage over approximately 16 hits
Every cast of “Pain” will continue to lower the target’s stats, so be ready to use a Remedy on your party members if they get hit with it multiple times. Keep your party members healed up through the fight, and you shouldn’t have a problem.
| Enemy | HP | Steal | Drop |
|---|---|---|---|
| Anima | 36000 | Fury Shock | Tetra Band |
A cutscene will trigger after the final fight against Anima, and you’ll be transported to…
Farplane Abyss
Approach Leblanc for another cutscene, and once it’s concluded, you’ll have two routes you can take. You can use the portal that appears to transport yourself down into the Heart of the Farplane and complete the game, or you can use the  Save Sphere to transport yourself back up to the Celsius.
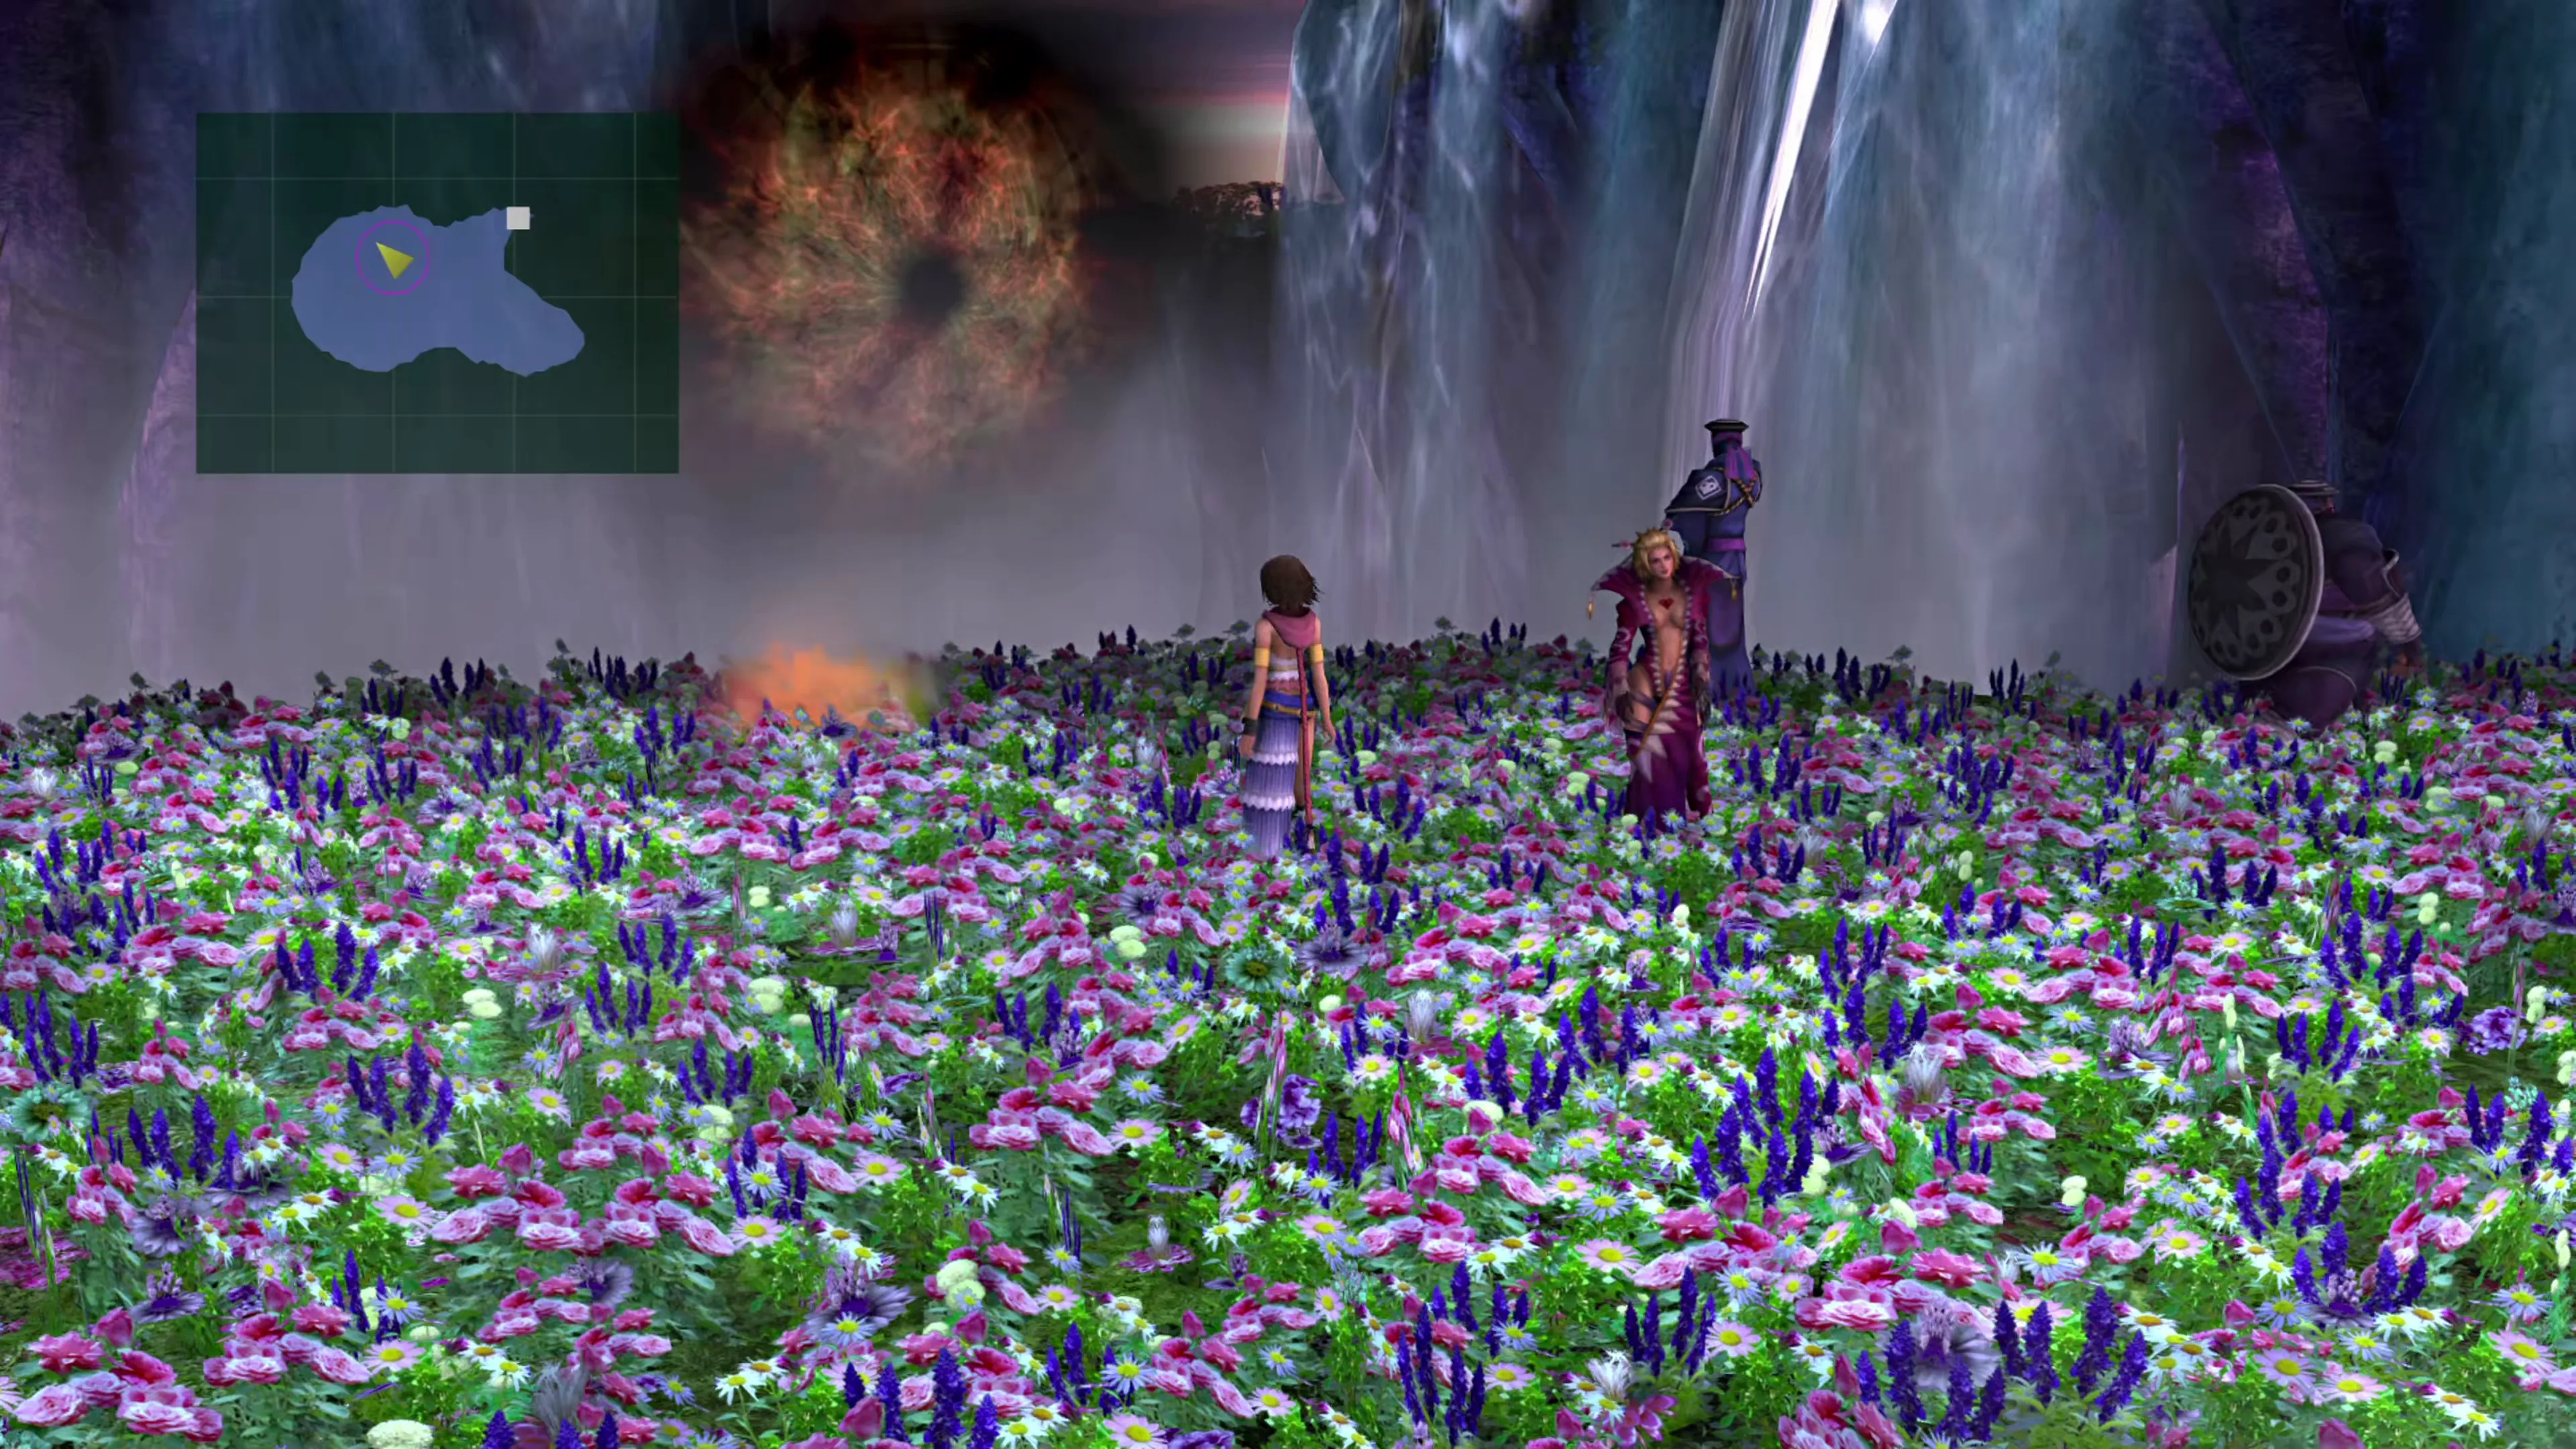
You can’t have 100% Story Completion Percent at this point in the game, though, so if you progress to the final boss, you’ll see the regular ending for the game instead of the secret ending. Some players may want to see both; if so, save your game, proceed to the portal, and navigate to the Heart of the Farplane page of this guide.
For those who want to see the full ending of the game, though, there’s no reason to head down just yet. Interact with the Save Sphere and head back up to the Celsius.
Return to the Celsius
Returning to the Celsius and starting each of these conversations is optional. These conversations aren’t needed to finish the game, but they are required for 100% Story Completion, so there are checkboxes for each below.
Start by talking to Shinra.
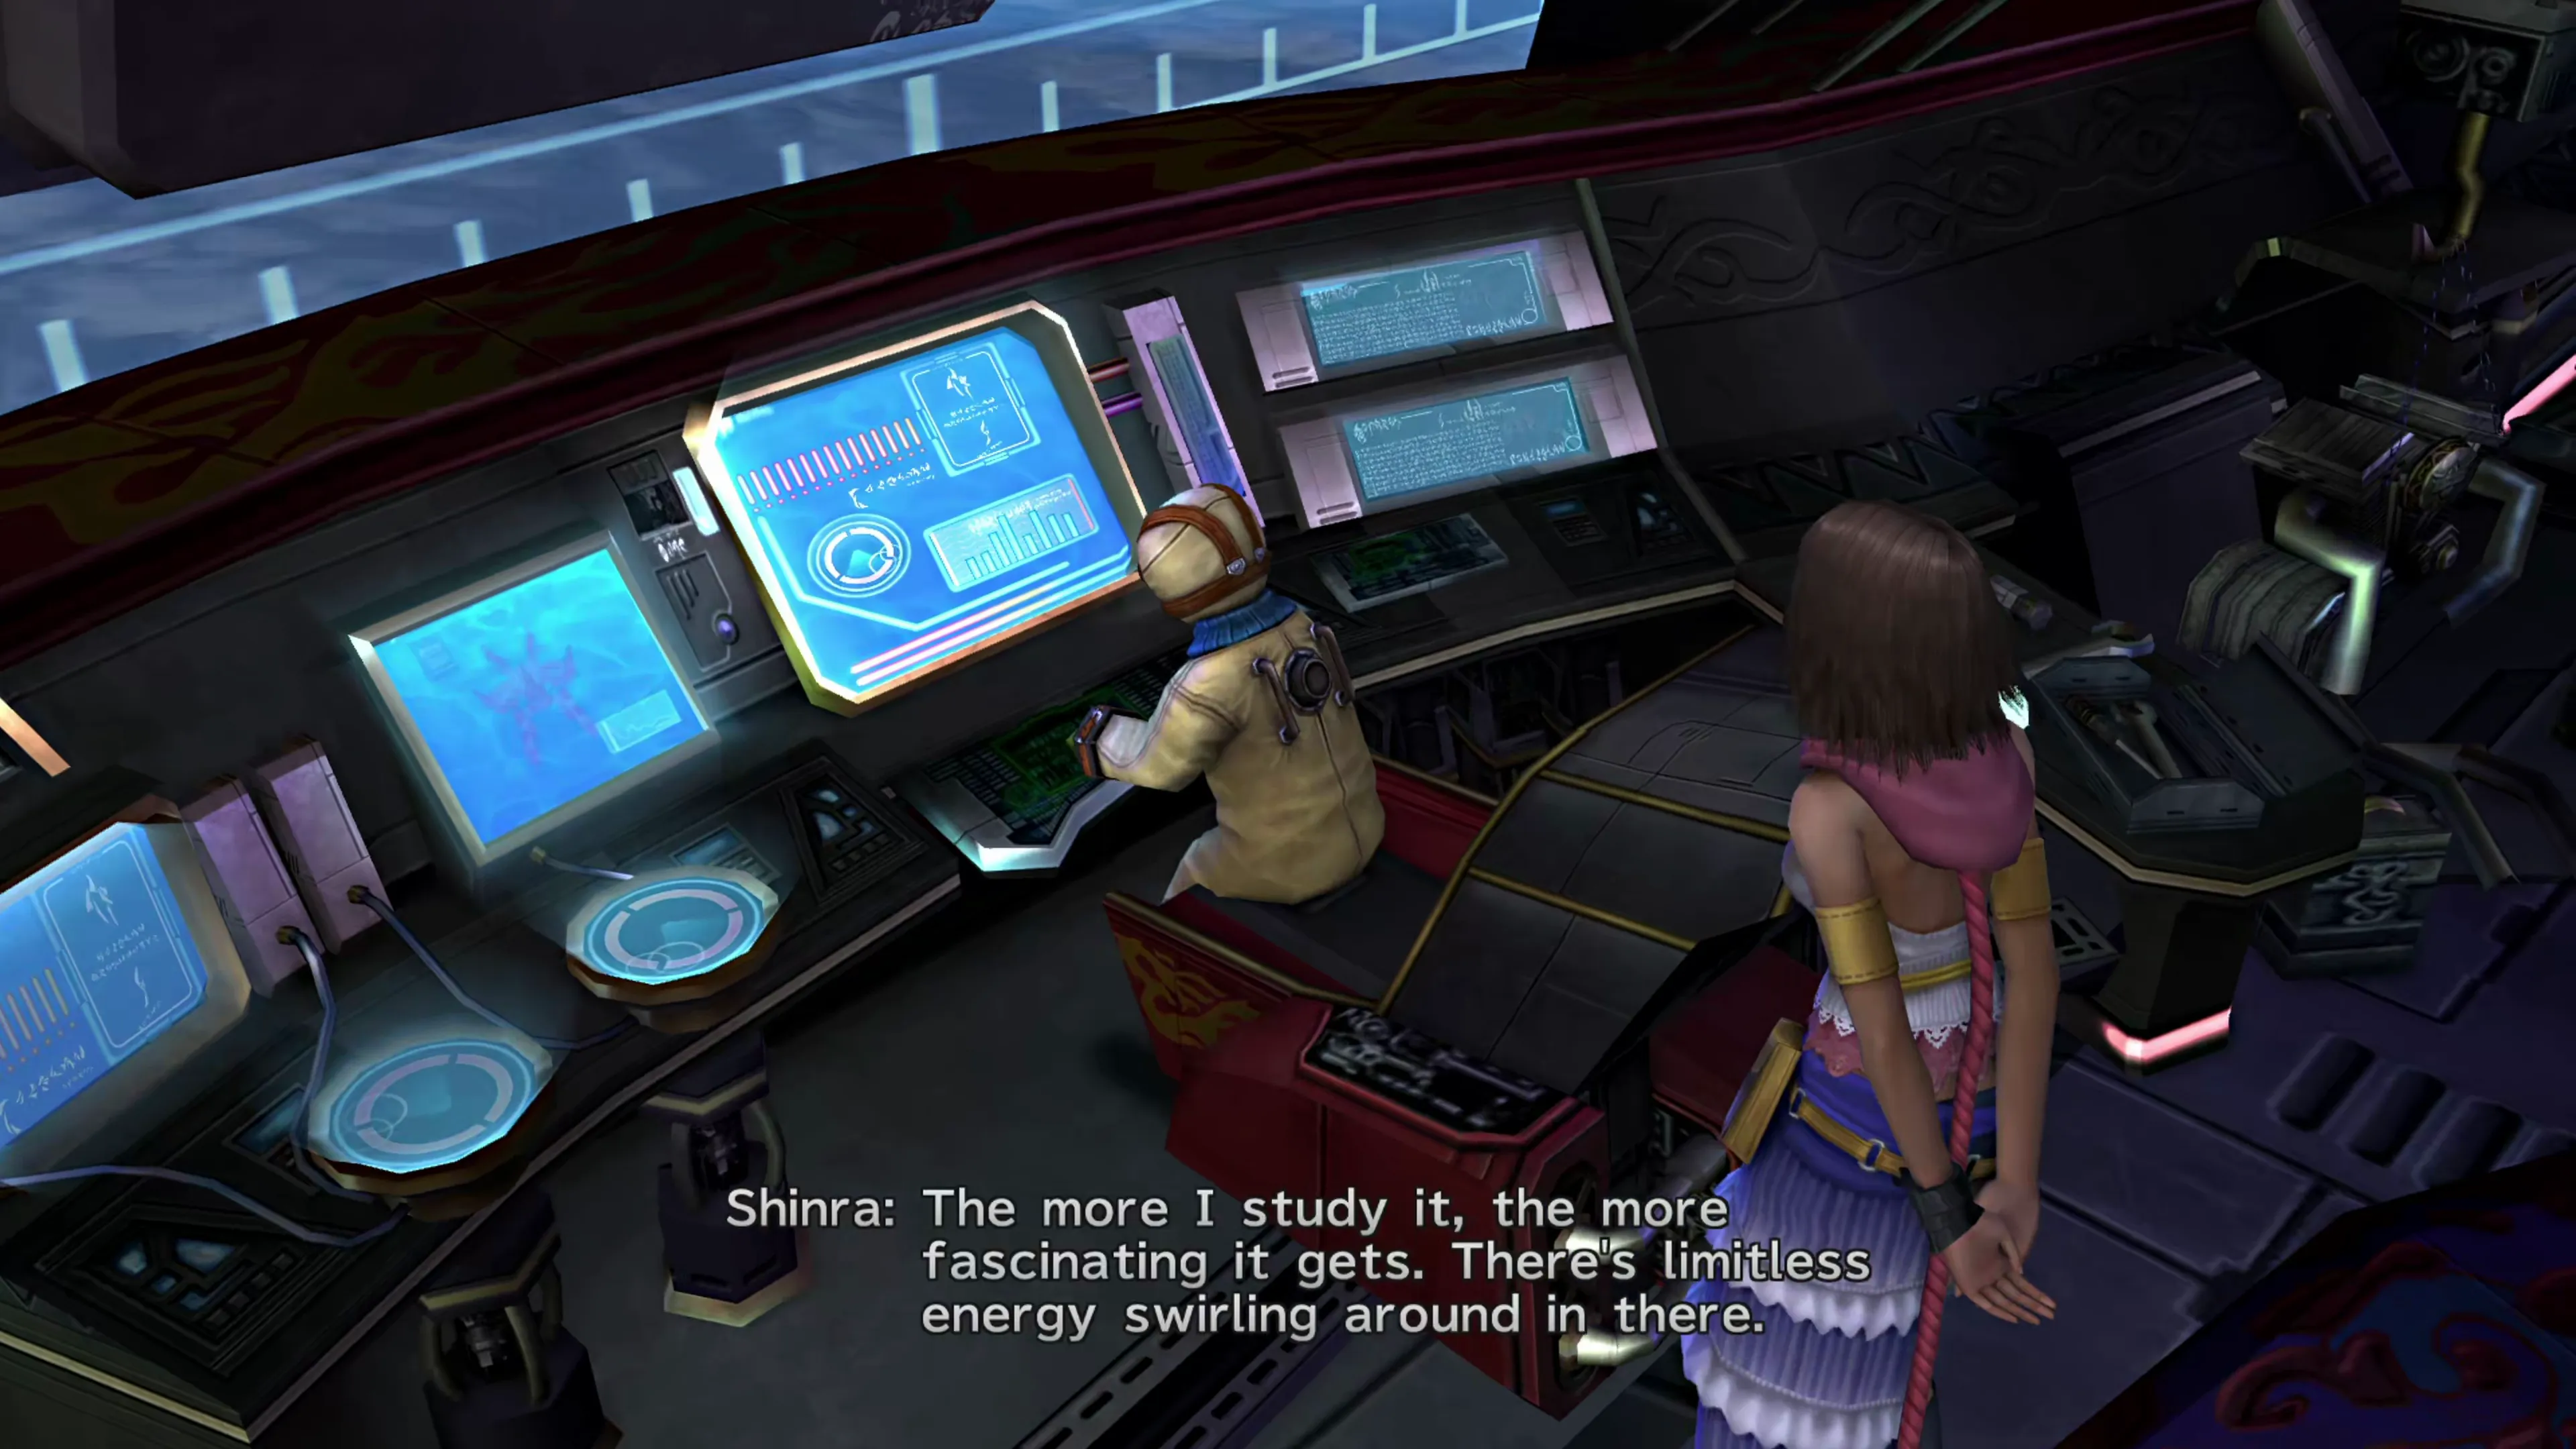
Take the elevator up to the deck of the ship. The first time you go there, nothing will happen. Take the elevator back there again, and you’ll trigger a scene between Buddy and Brother speaking Al Bhed. Cid will eventually join them.
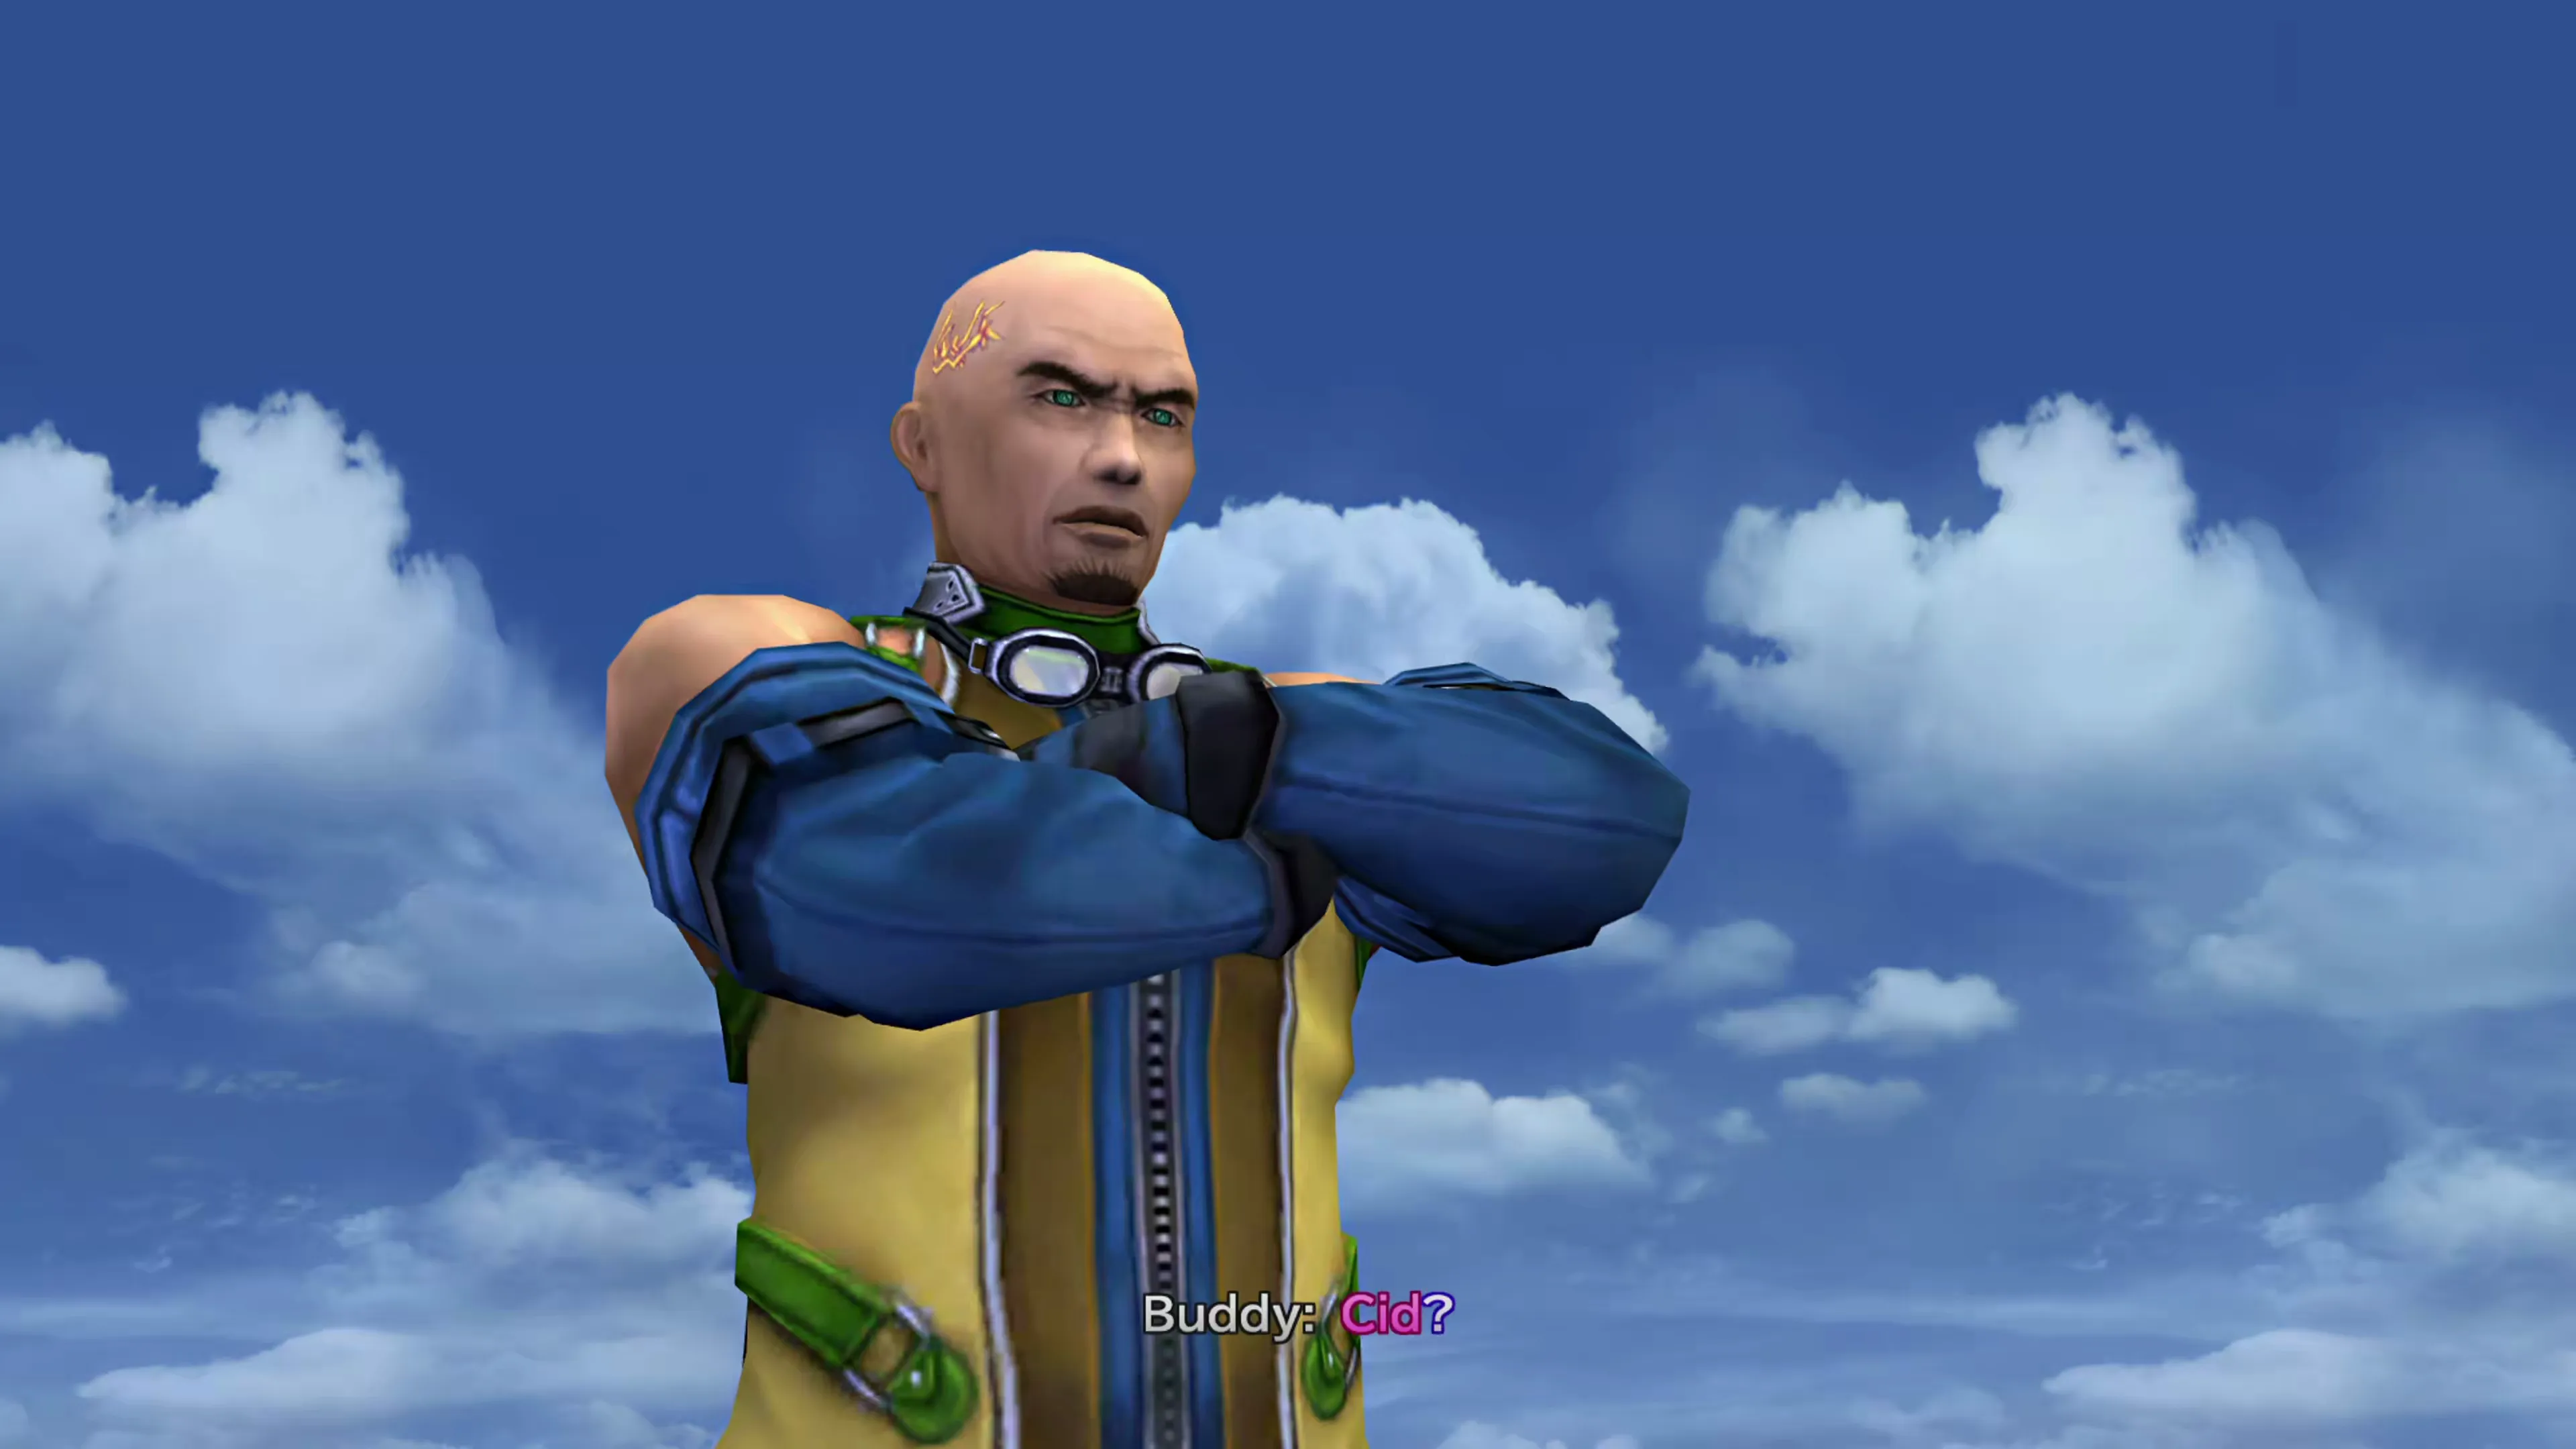
Cid eventually joins the conversation between Brother and Buddy while Yuna spies from the side.
You’ll receive  Al Bhed Primer at the end of this sequence, and then you should head to the cabin. Another scene between Cid and the team will play out up on the second level.
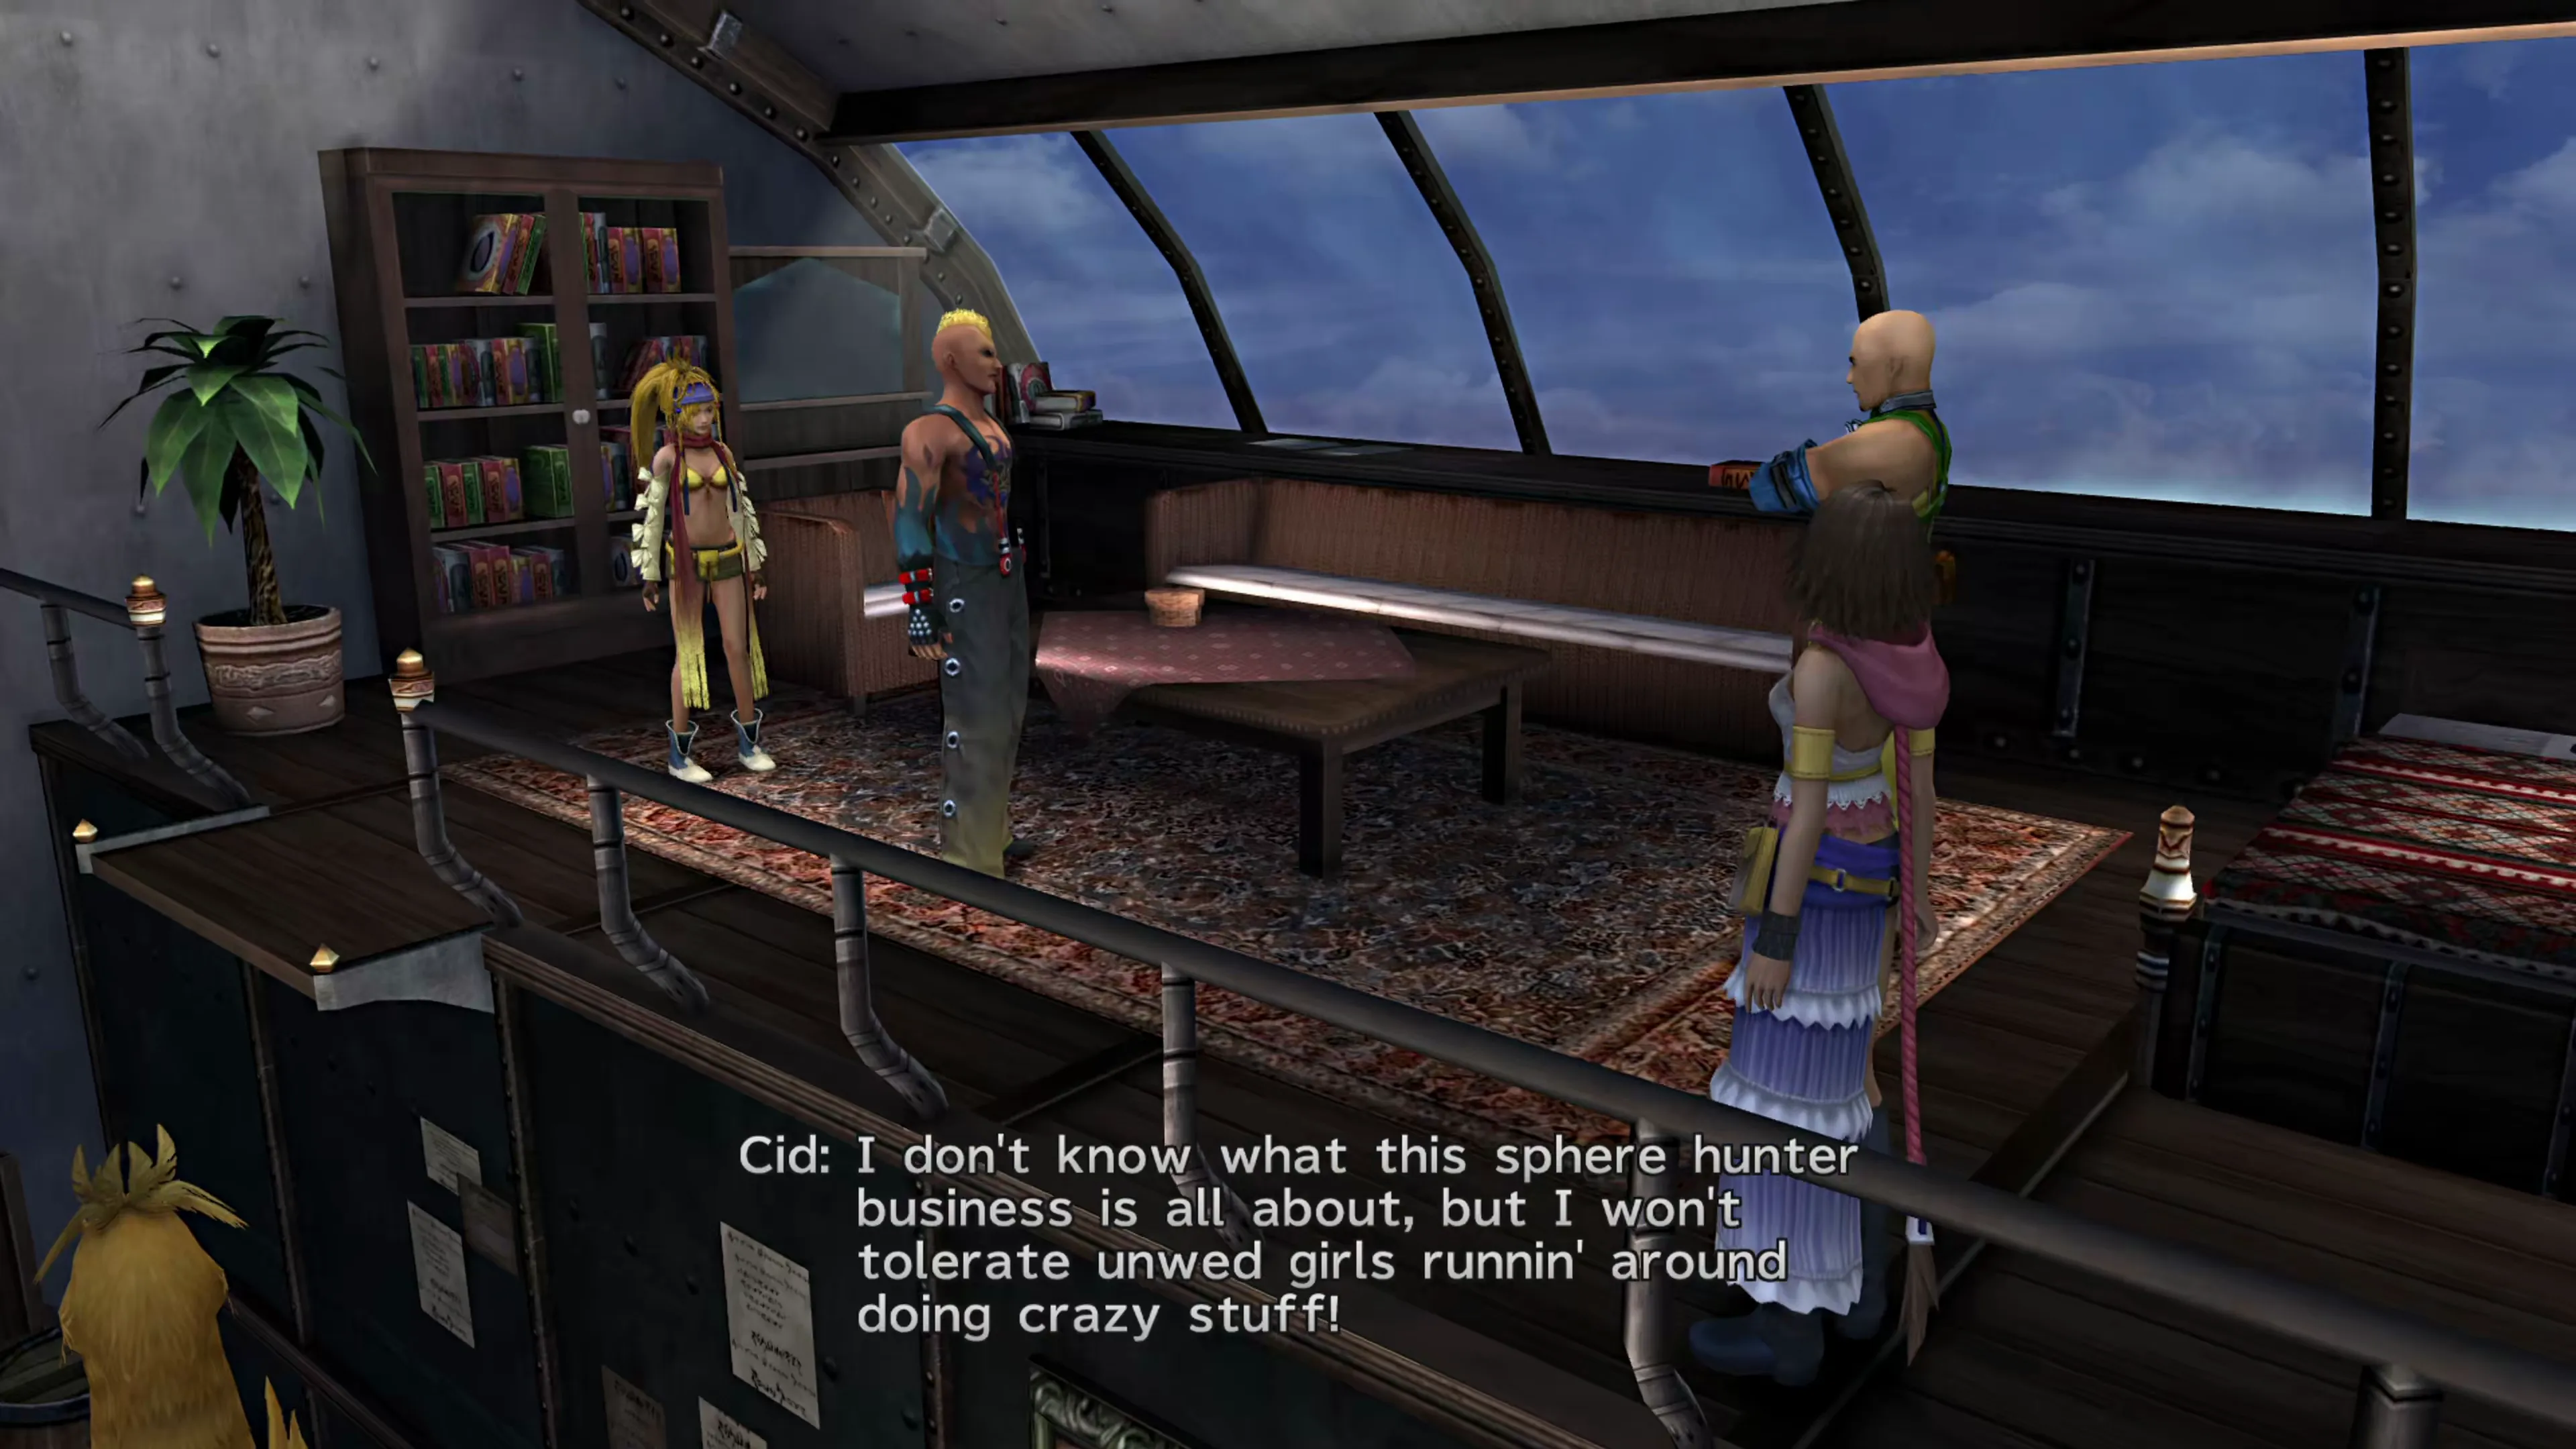
Cid will express his concern with the Gullwing’s Sphere hunting ways. It does not matter how you respond to him when he asks Yuna to be more ‘ladylike.’
Go down to the bridge and speak to Buddy to view the map. Exit the map with the 

 button and go back to the bridge, and you should notice that Rikku is missing. Repeat this (view the map, exit, re-enter the bridge) until Rikku is missing from her spot, then make your way up to the deck to find her.
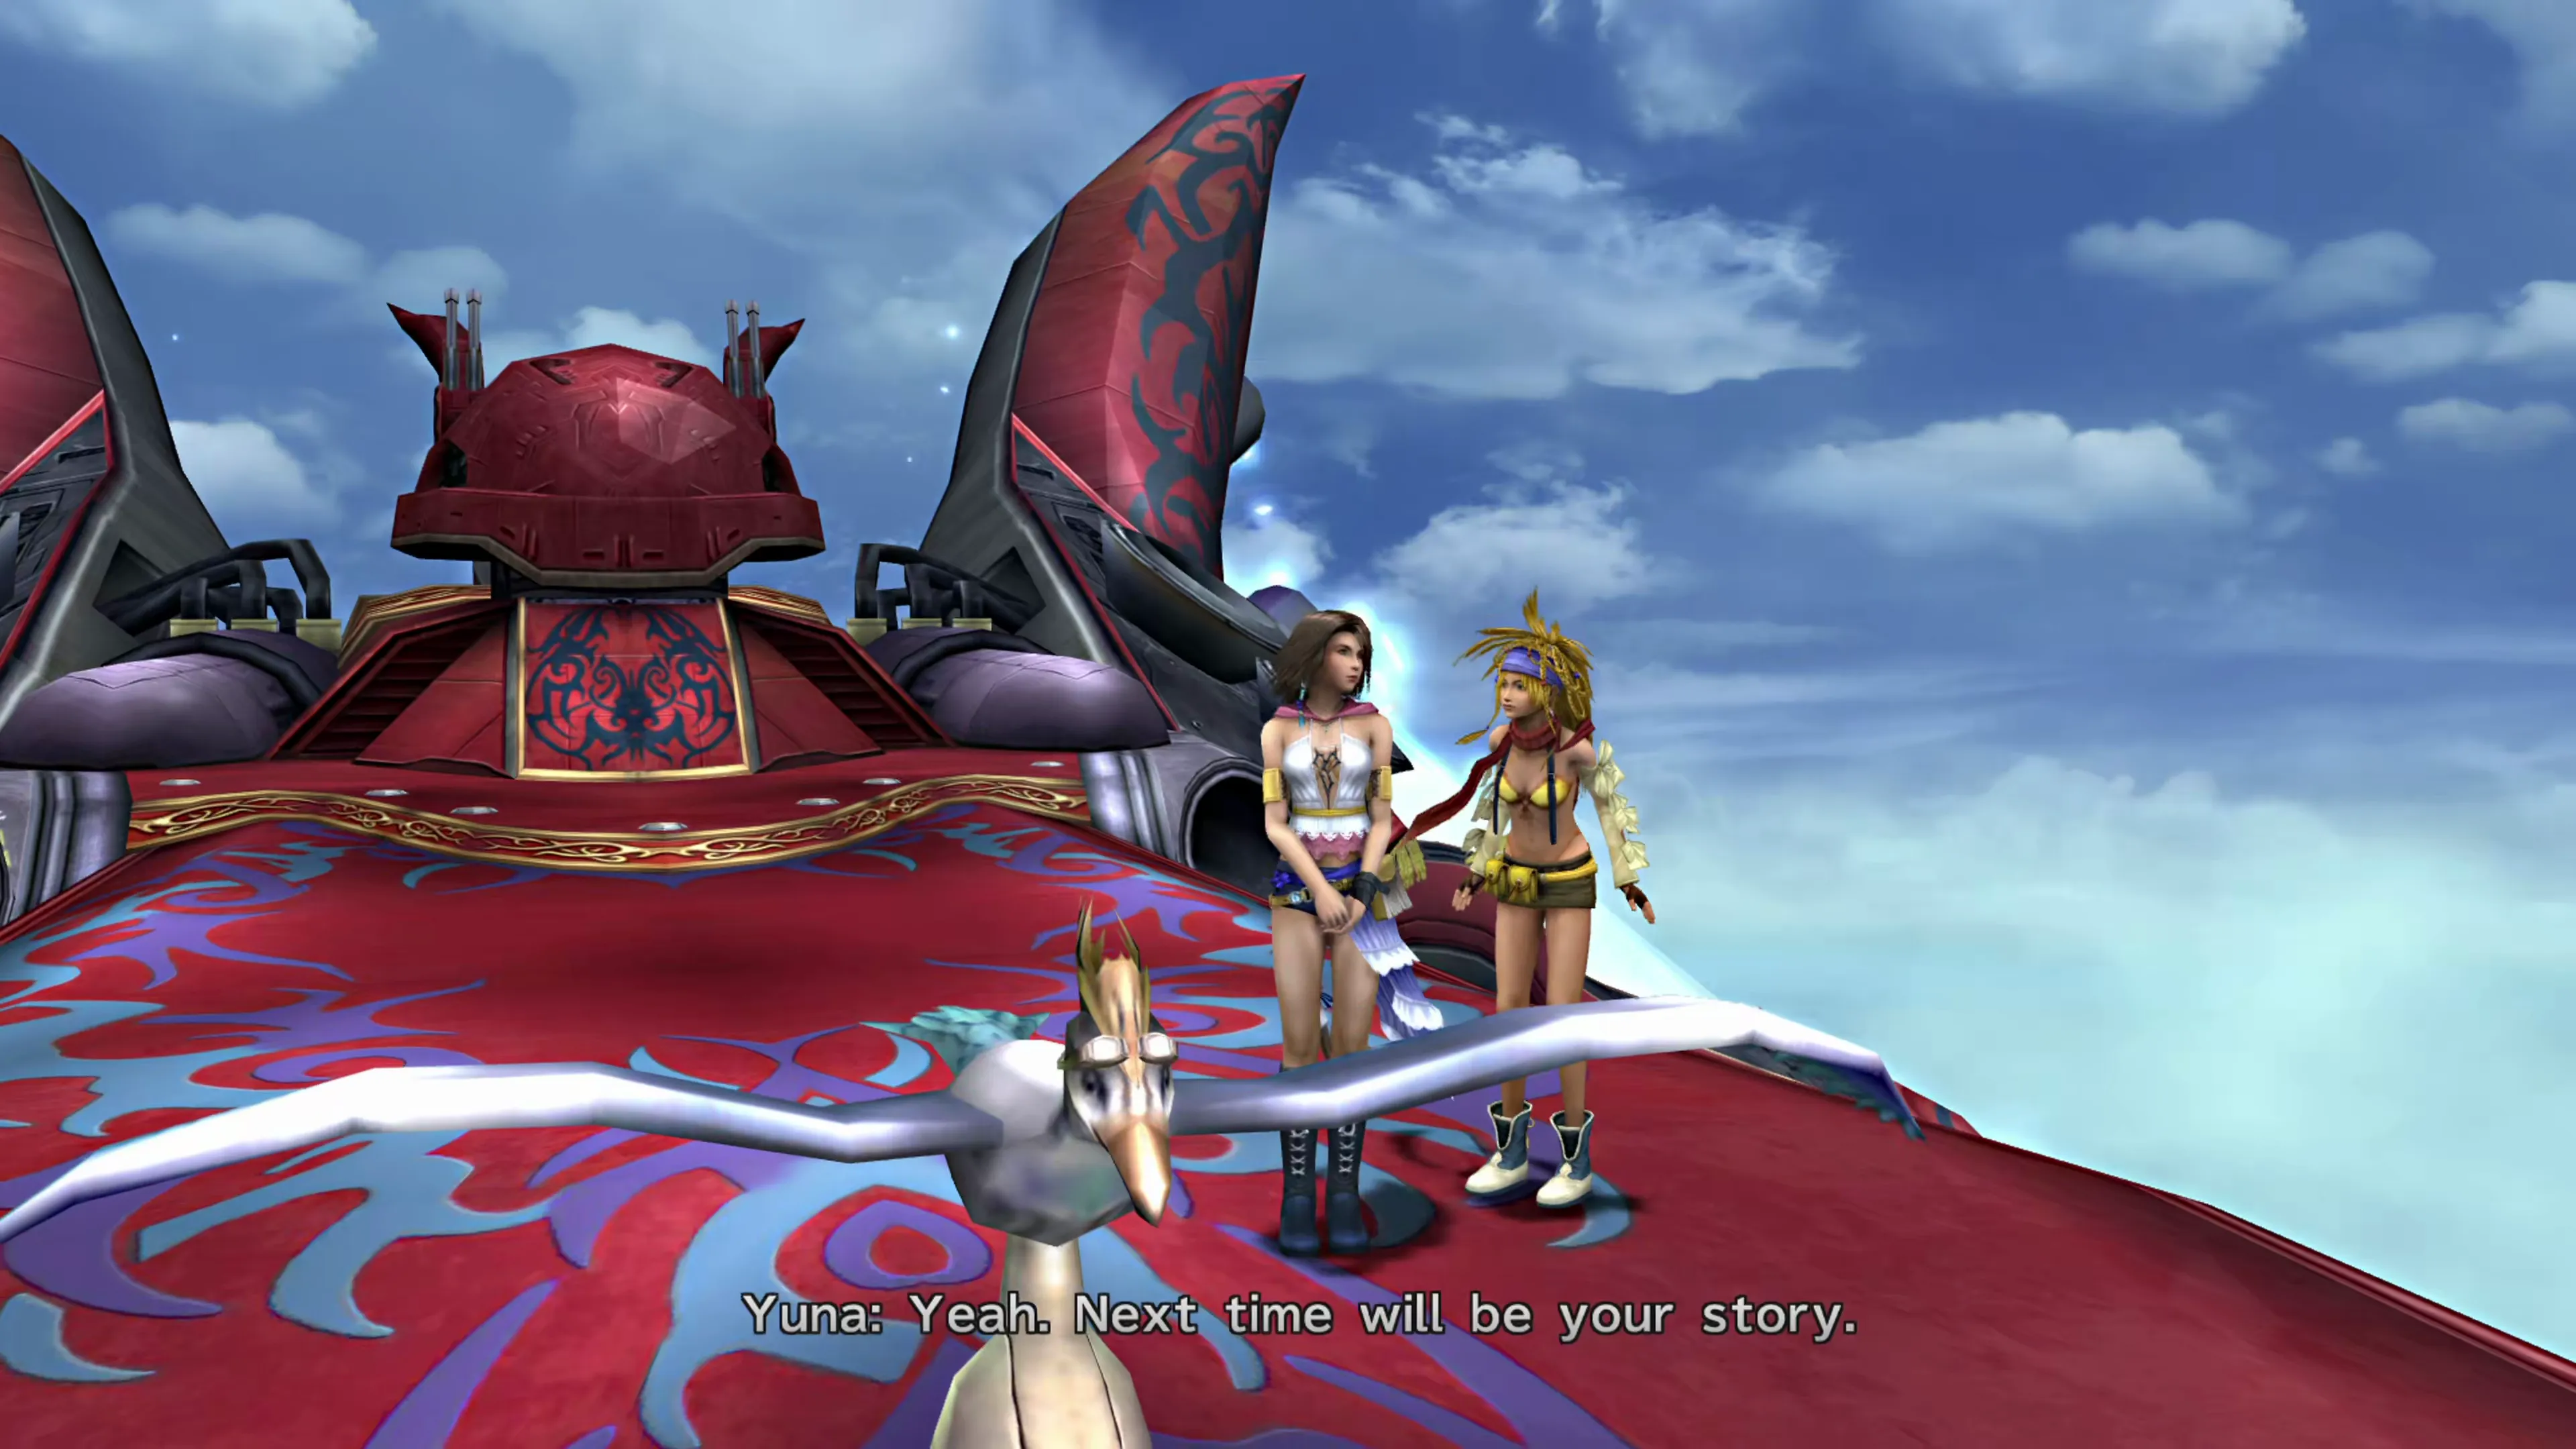
Rikku will talk to Yuna about how she’s changed since their adventures began. This scene only becomes available once your Story Completion has reached 95%.
And that’s the last optional scene that you need to unlock while aboard the Celsius. Make sure you’ve viewed all of the Treasure Spheres, and then you should be caught up in terms of Story Completion Percent.
Warning
If you have been following all of the steps in this guide and have been working your way towards 100% Story Completion, you should have 95.4%, which displays as 95% on your save game files and when you access the world map, since the game truncates the decimal. If it’s not showing 95%, continuing through the rest of the Farplane will not get you to 100%. Check out the Story Completion Tracker to see what percentage you might be missing.
It’s now time to get started with the end-game content.
Checking the “Road to the Farplane and Farplane Abyss Complete” box adds the Story Completion Percent for the automatic scenes in Road to the Farplane and Farplane Abyss.