

Calm Lands
Selecting “Calm Lands” on the map will give you two Mission options: Mission 1 is called “Fiends in the Gorge Cave,” and this is the one you want to activate right now. Mission 2 isn’t really a Mission at all; it just allows you to go back to the Chocobo Ranch to check in on Clasko.
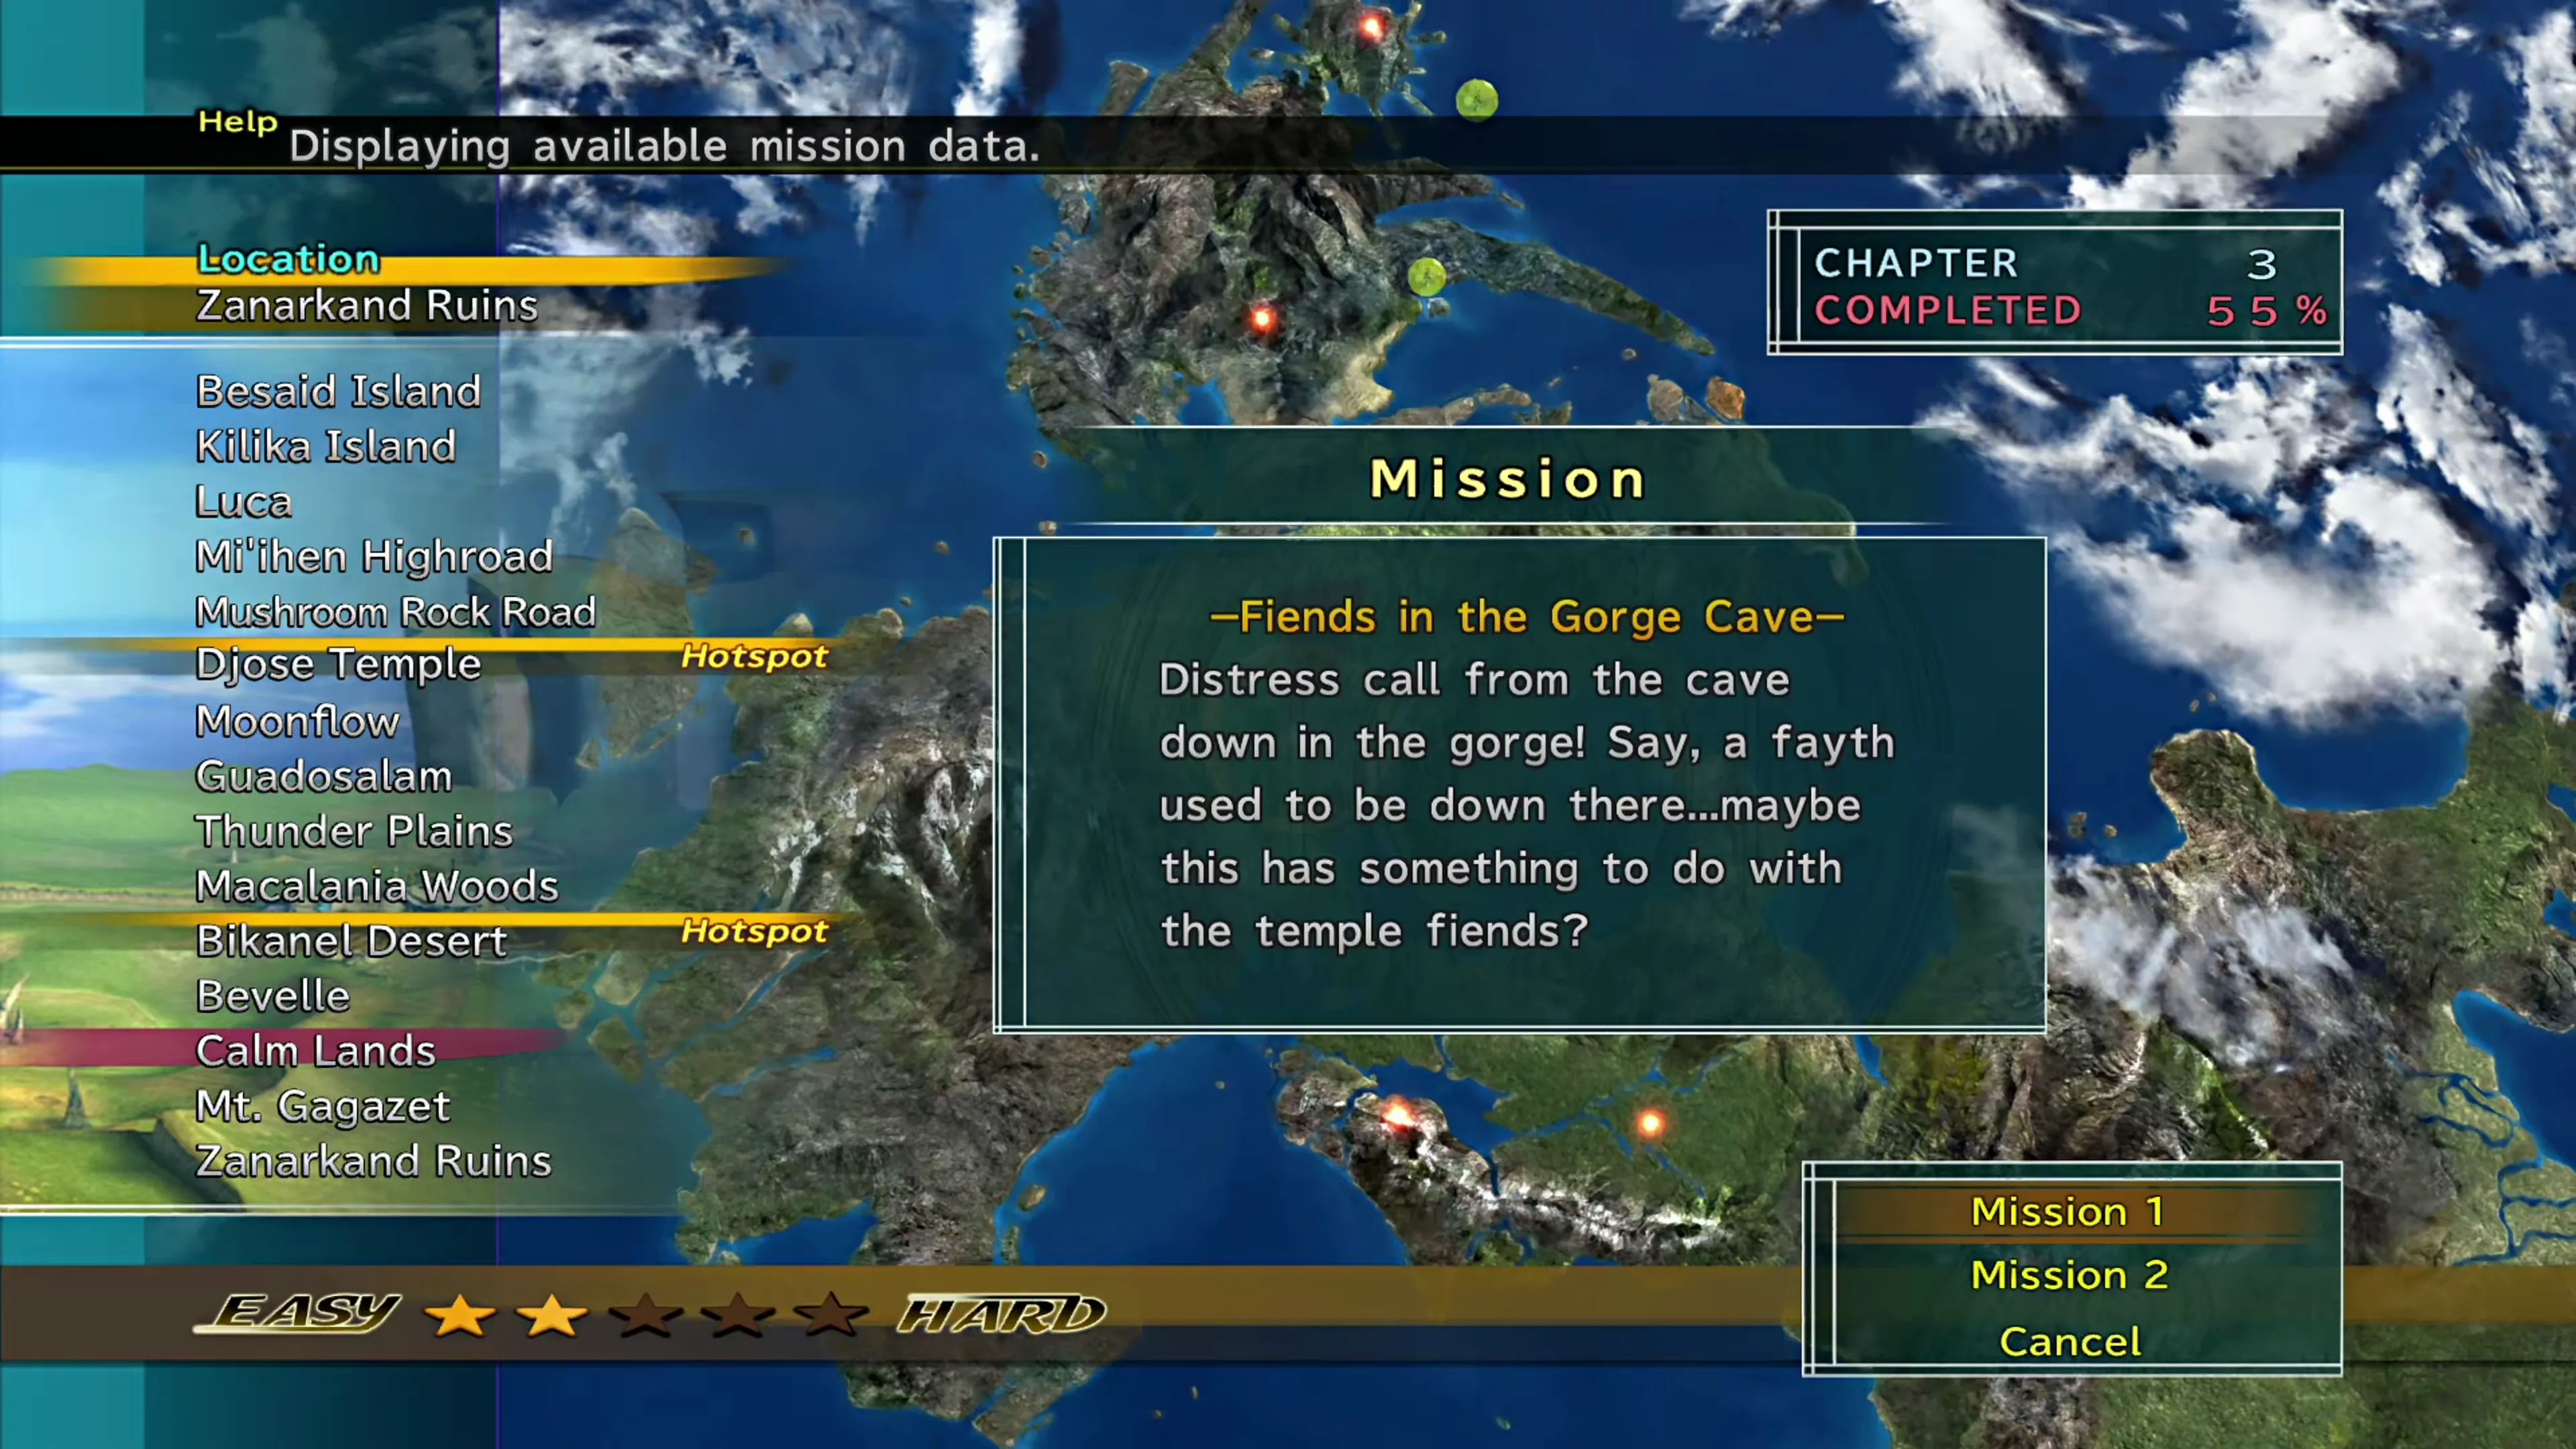
Select Mission 1 and head to the Gorge Cave. Before you head towards the group of people, grab the treasure chest that’s at the far end of the gorge. It contains two  Mega Phoenix.
Gorge Bottom

 1 1 | Mega Phoenix ×2 |
| Gorge Cave |
Move towards the group of people when you arrive to trigger a short cutscene and the next Mission after you agree to help.
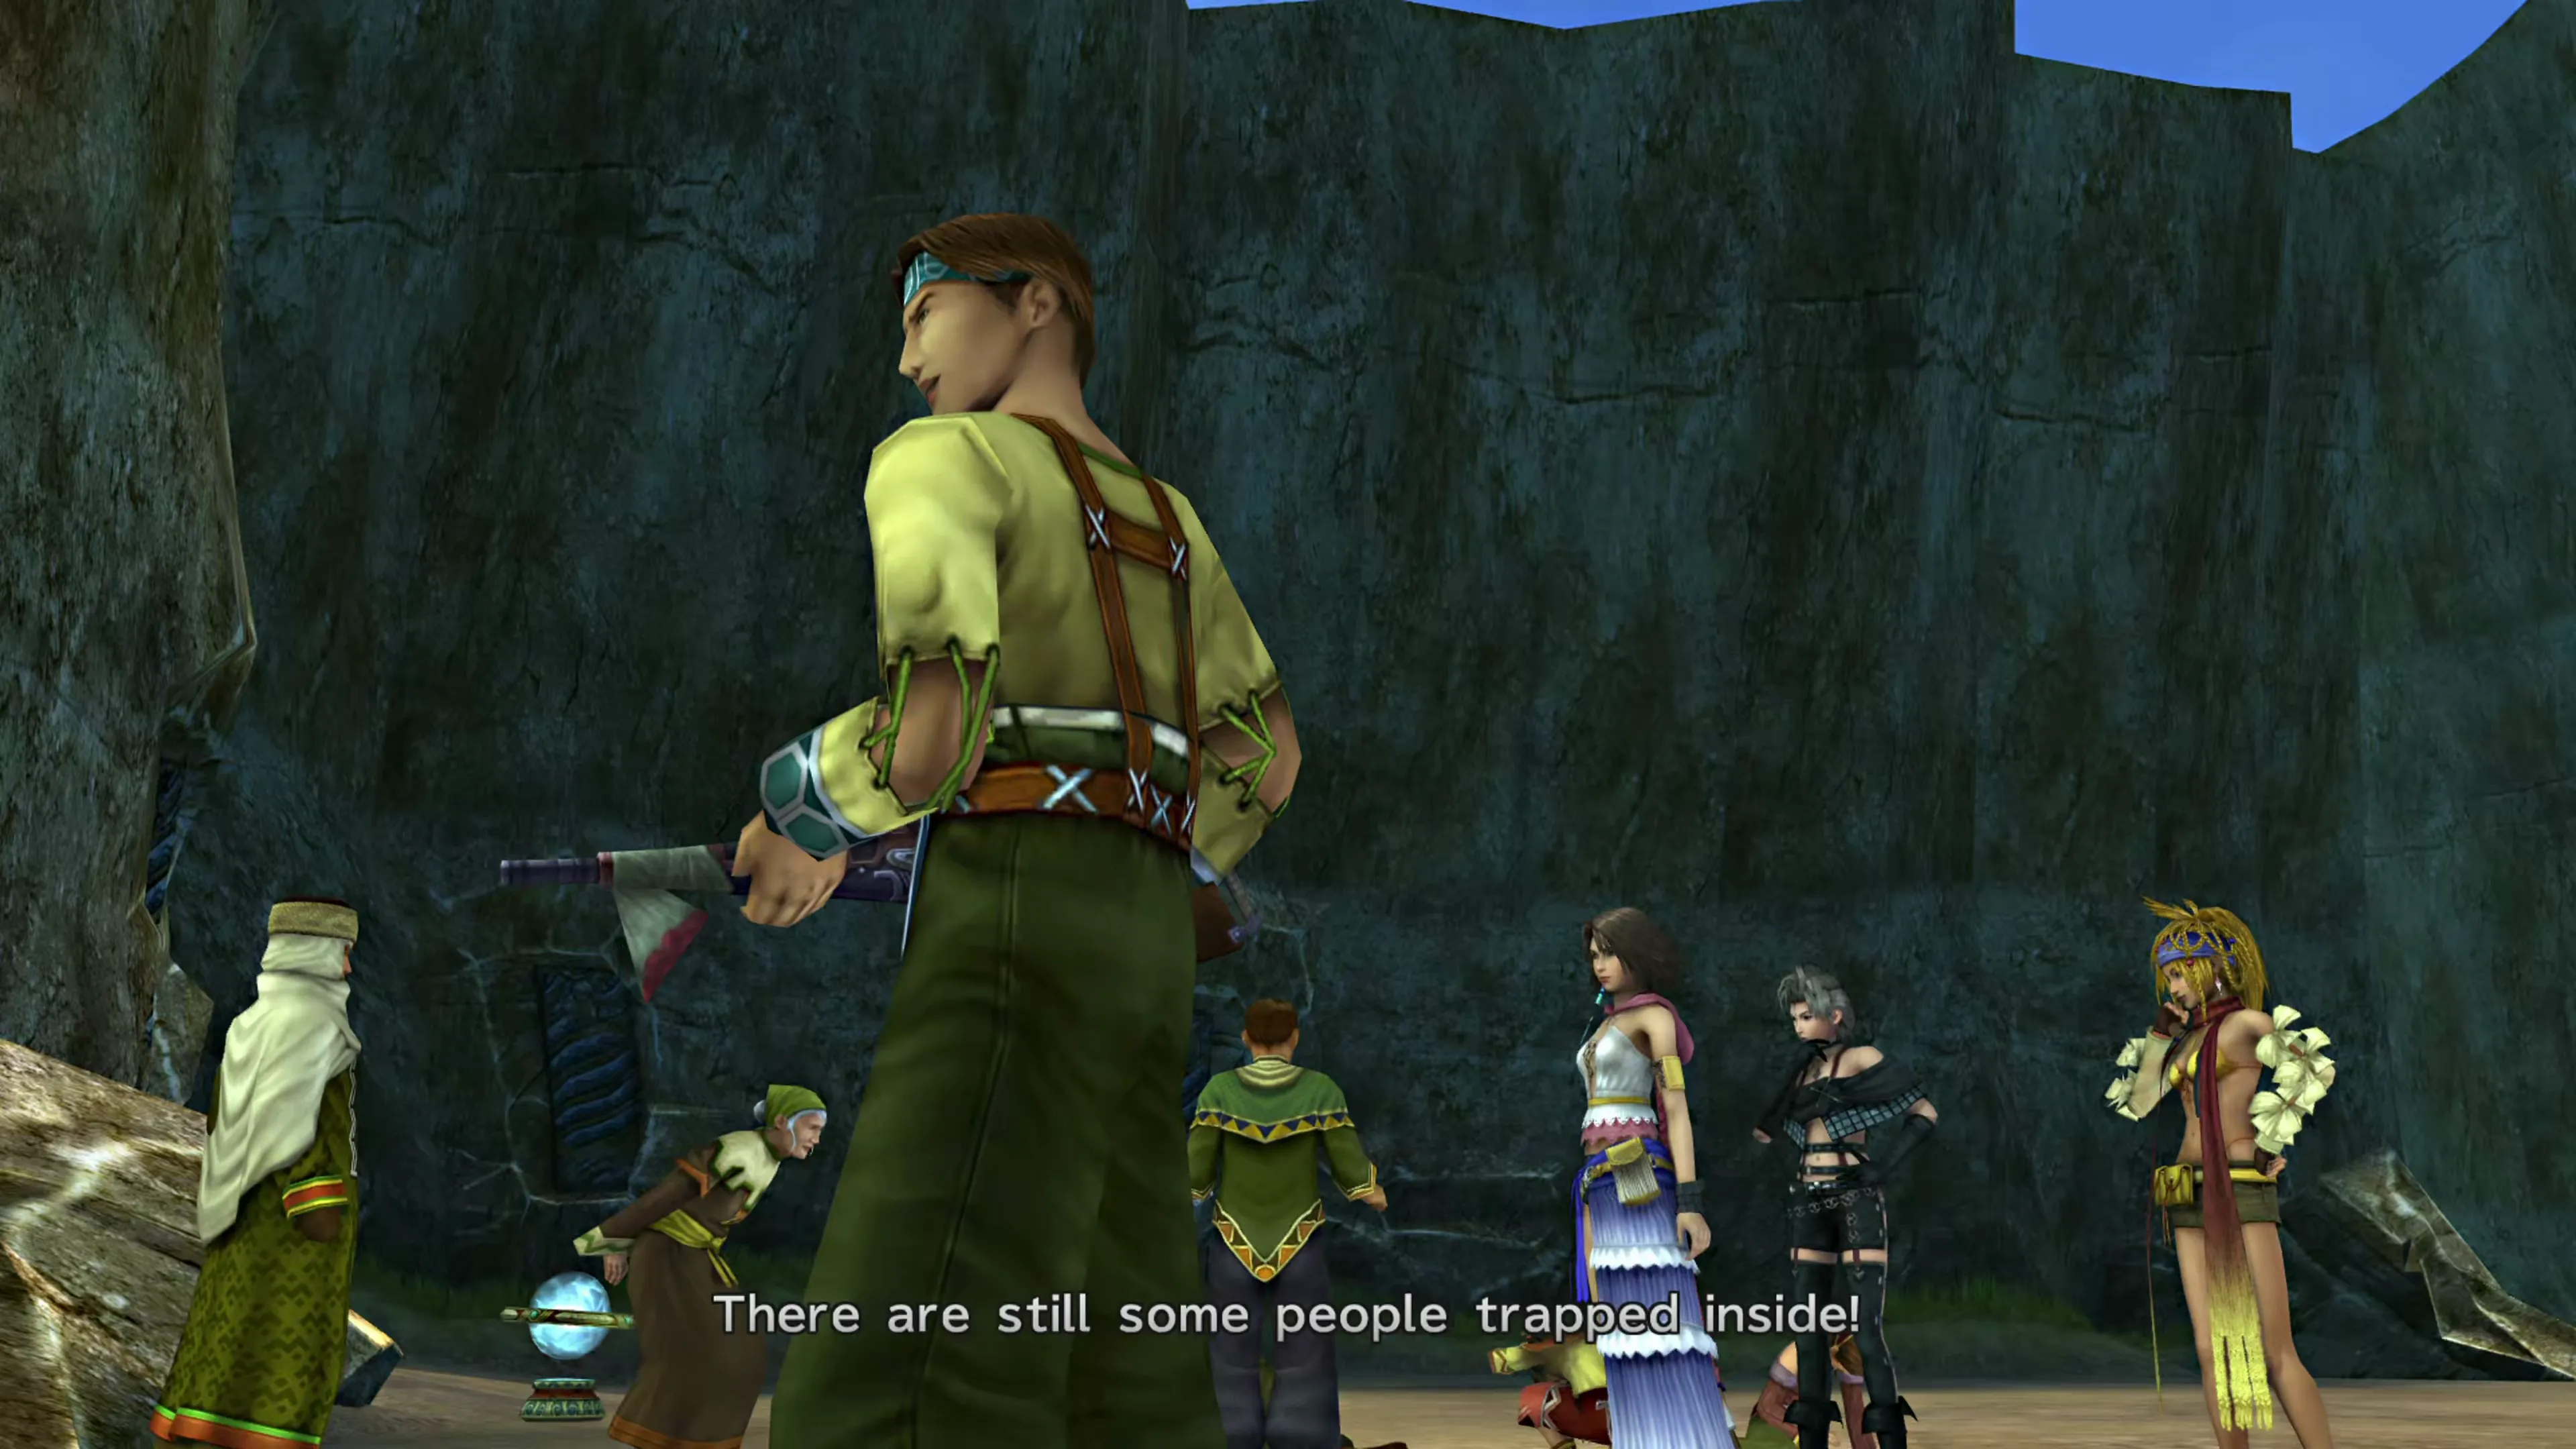
Mission: Tourist Trap
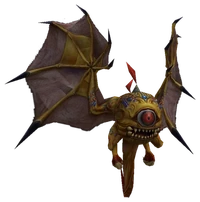
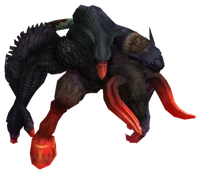
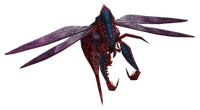
The premise of this Mission is pretty straightforward. You have to navigate your way through the Gorge Cave and rescue the tourists that you find in each of the rooms. Unfortunately, the tourists have annoying “eccentricities” that they will tell you about before you can ask them to follow you.
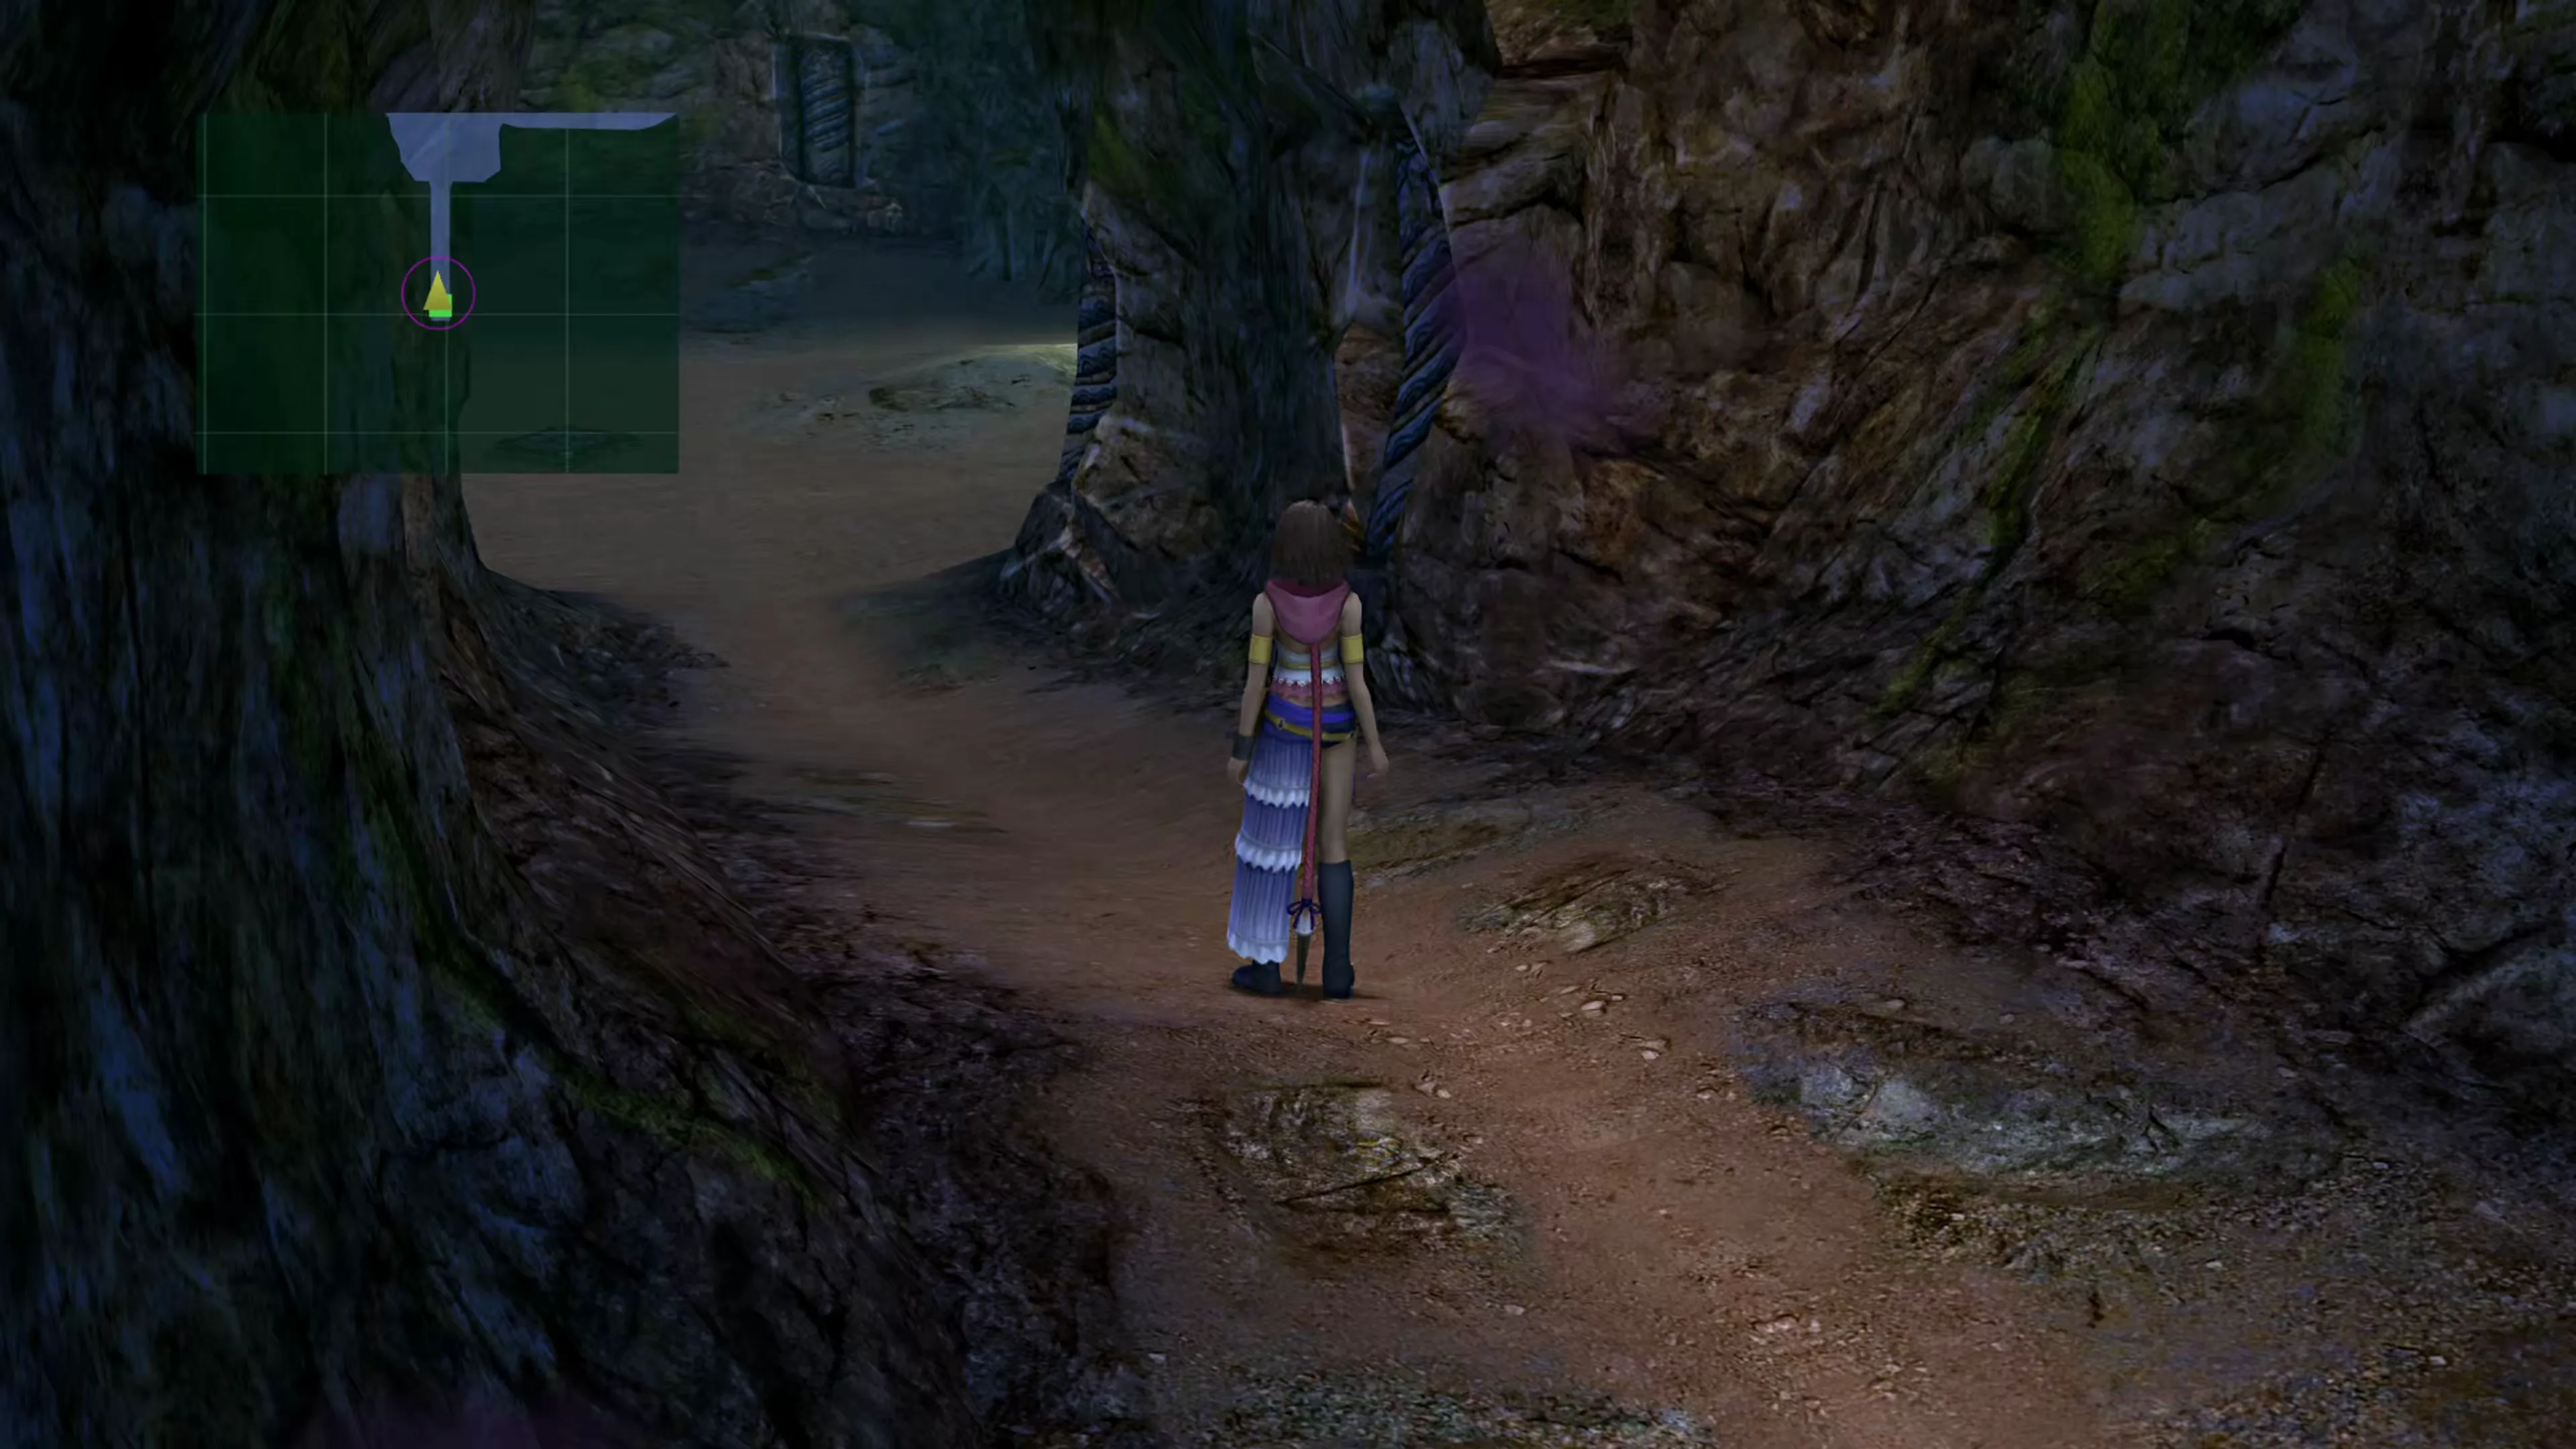
The tourist eccentricities center around three themes: how many people they’re comfortable in a group with, whether they need to travel with other people, and whether they ignore those conditions depending on when they join the group (i.e., what position they’re in when they join).
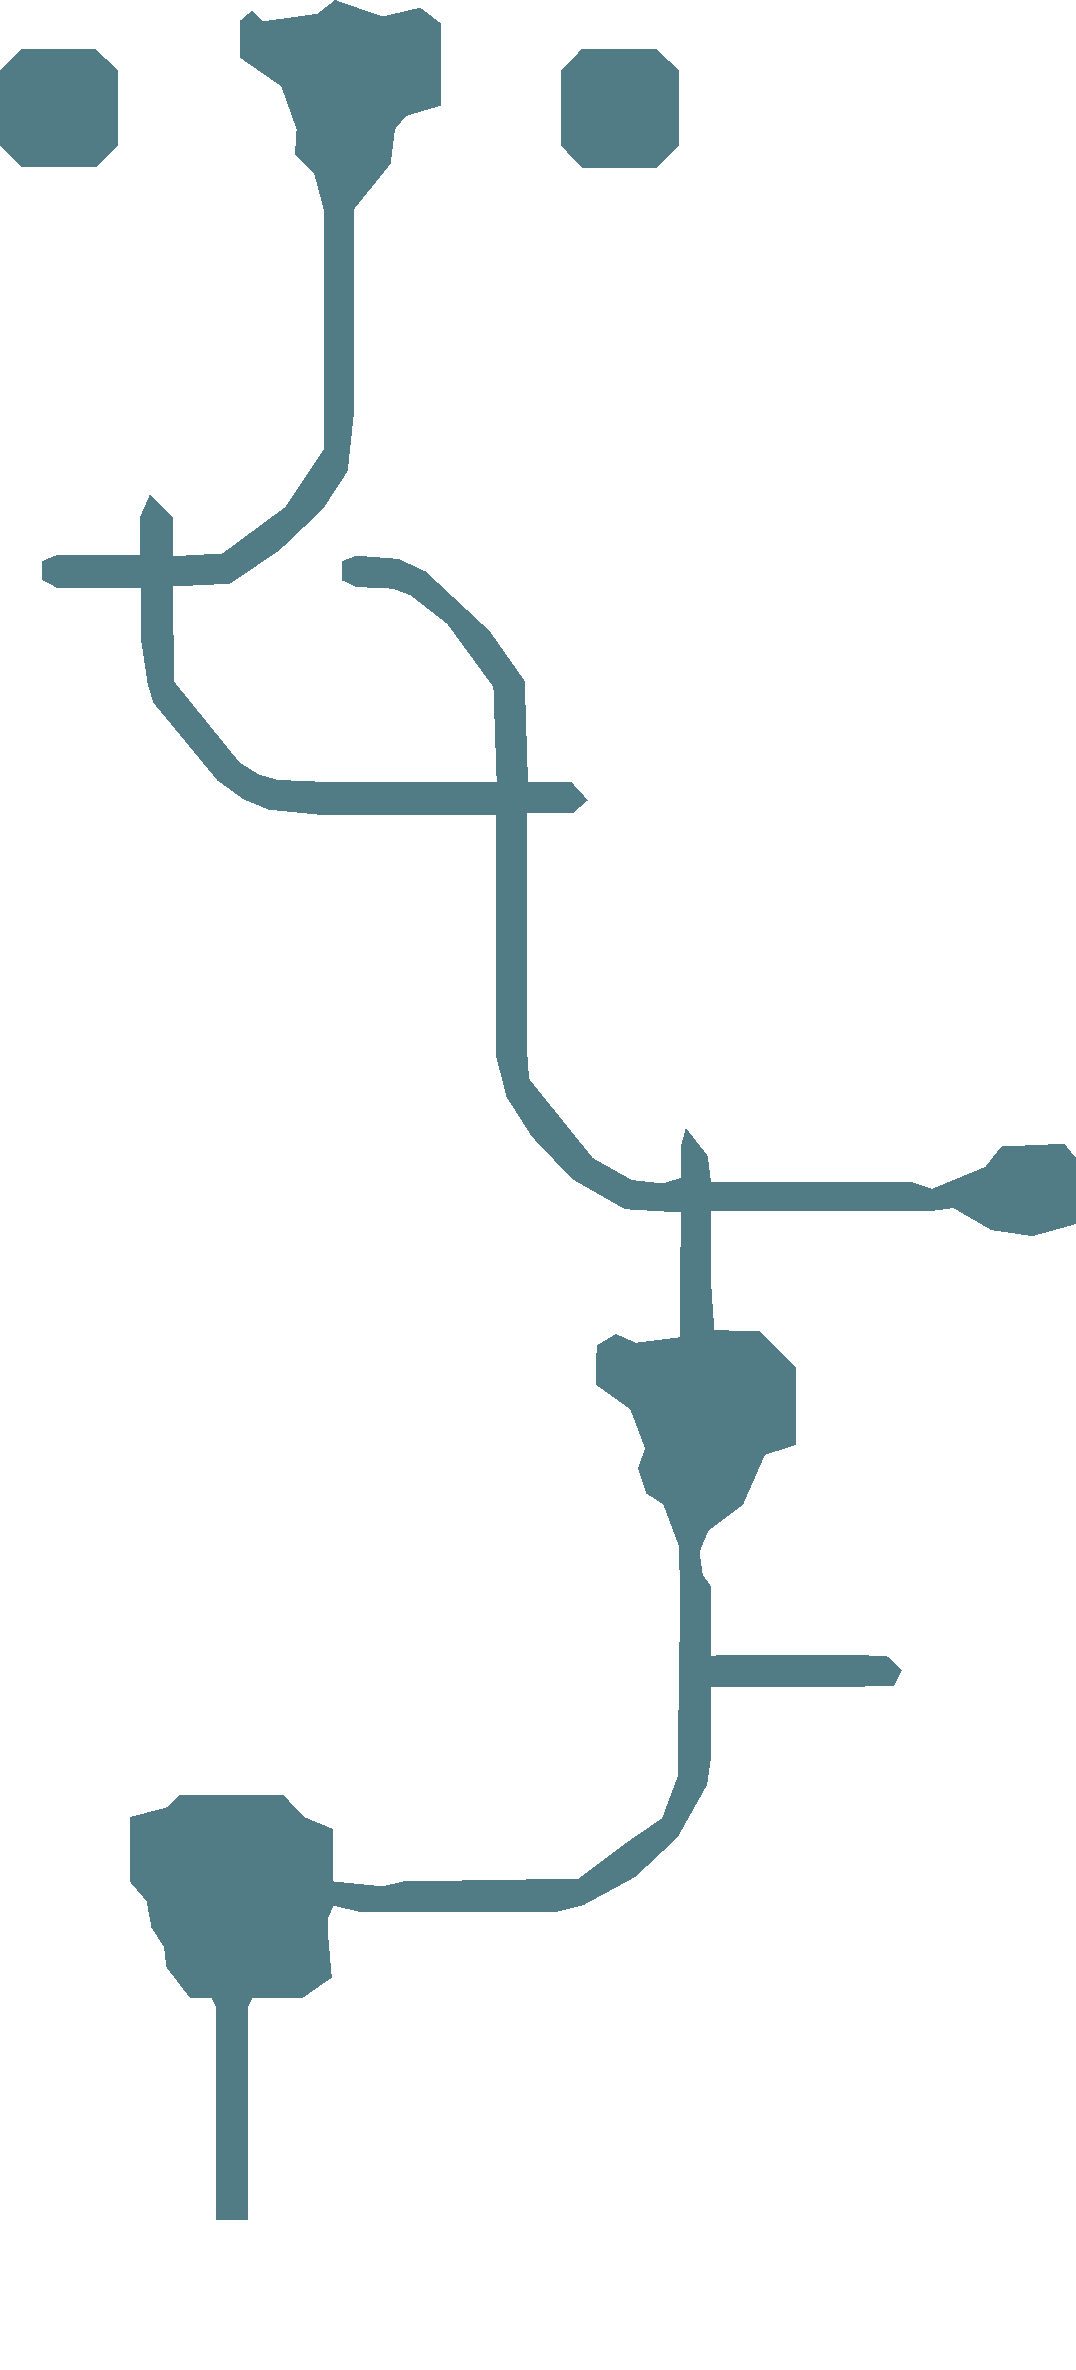
The premise of this Mission is for you to wander around to each tourist you find, and either take them in smaller groups as you find them, or learn all of their eccentricities so you can gather up more (or all) of them at the same time. Fortunately, their eccentricities are the same every time, so you can follow the map below and gather them up in this precise order, and it allows you to gather them all in one large, massive group.
Here is a map of their locations:
Calm Lands Gorge Cave

| 1 |  White Ring White Ring |
| 2 | Blue Ring |
| 3 | Lightning Gleam |
| 4 | Wall Ring |
Here are the individual steps and locations:
| Description | Screenshot | |
|---|---|---|
| 1) | Man in the brown robes lying on the ground behind the rock in the first large room. | 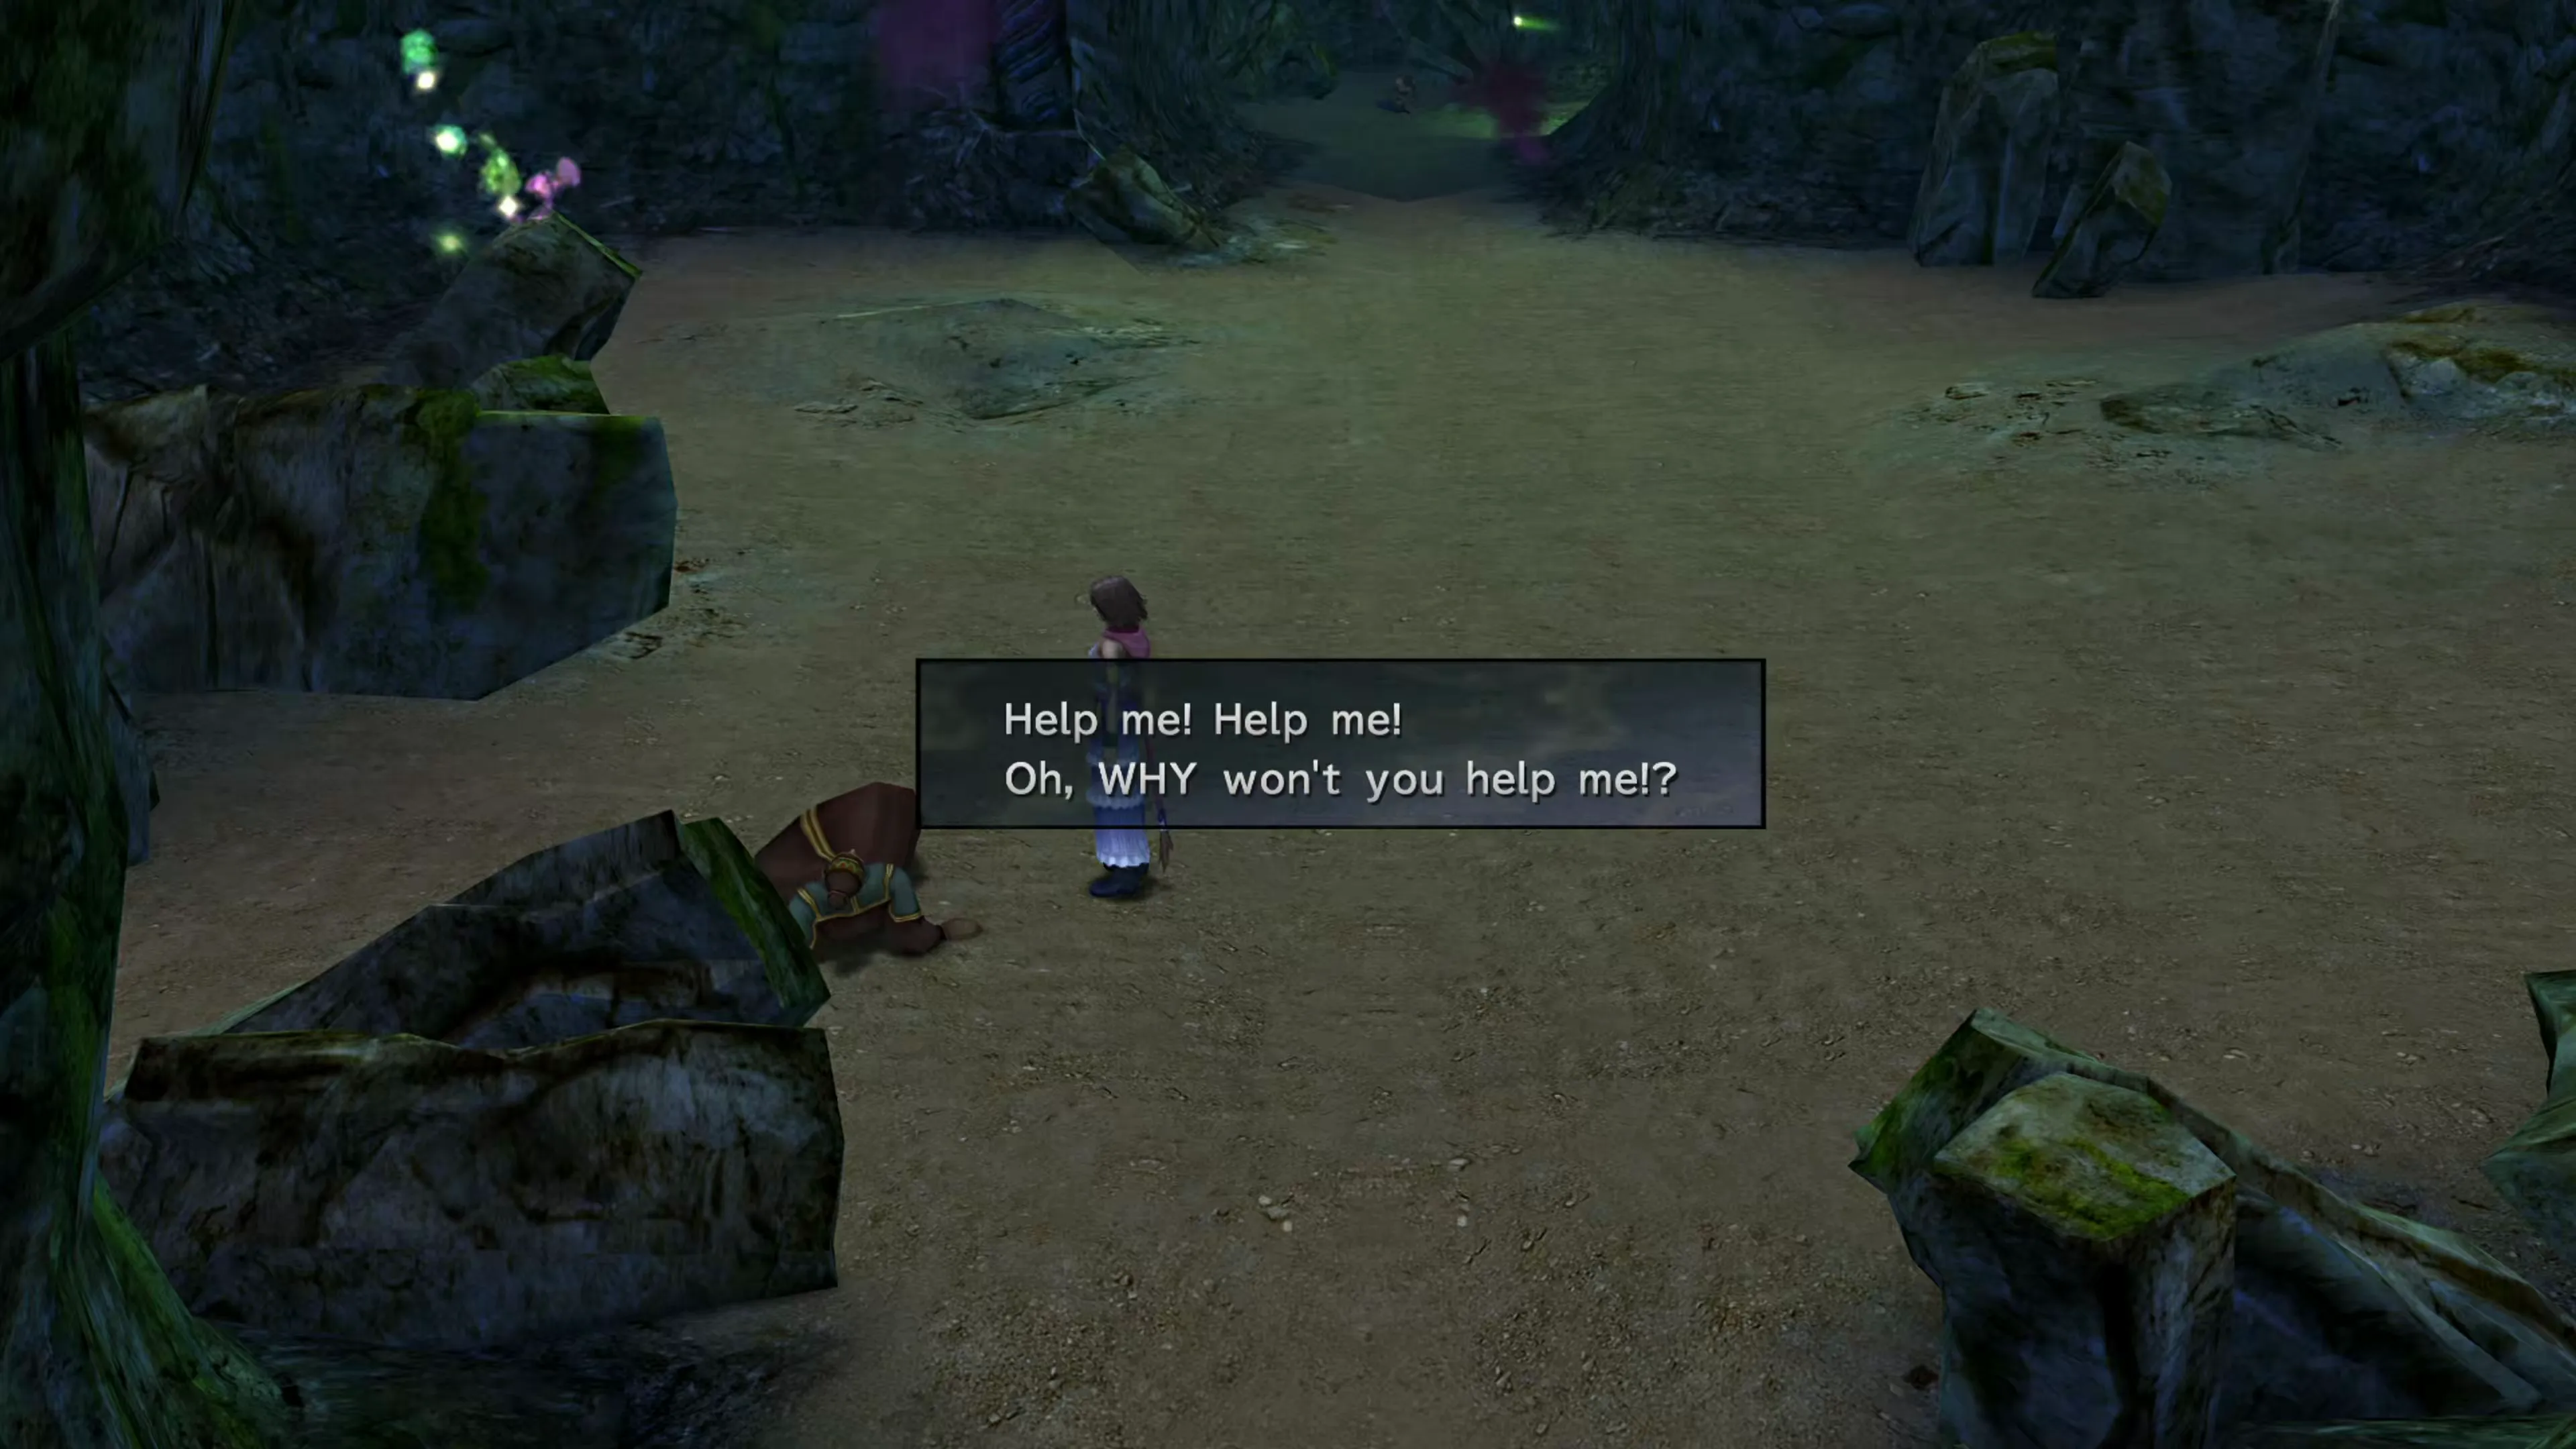 |
| 2) | Lady in the purple robes in the alcove near the “T” intersection. | 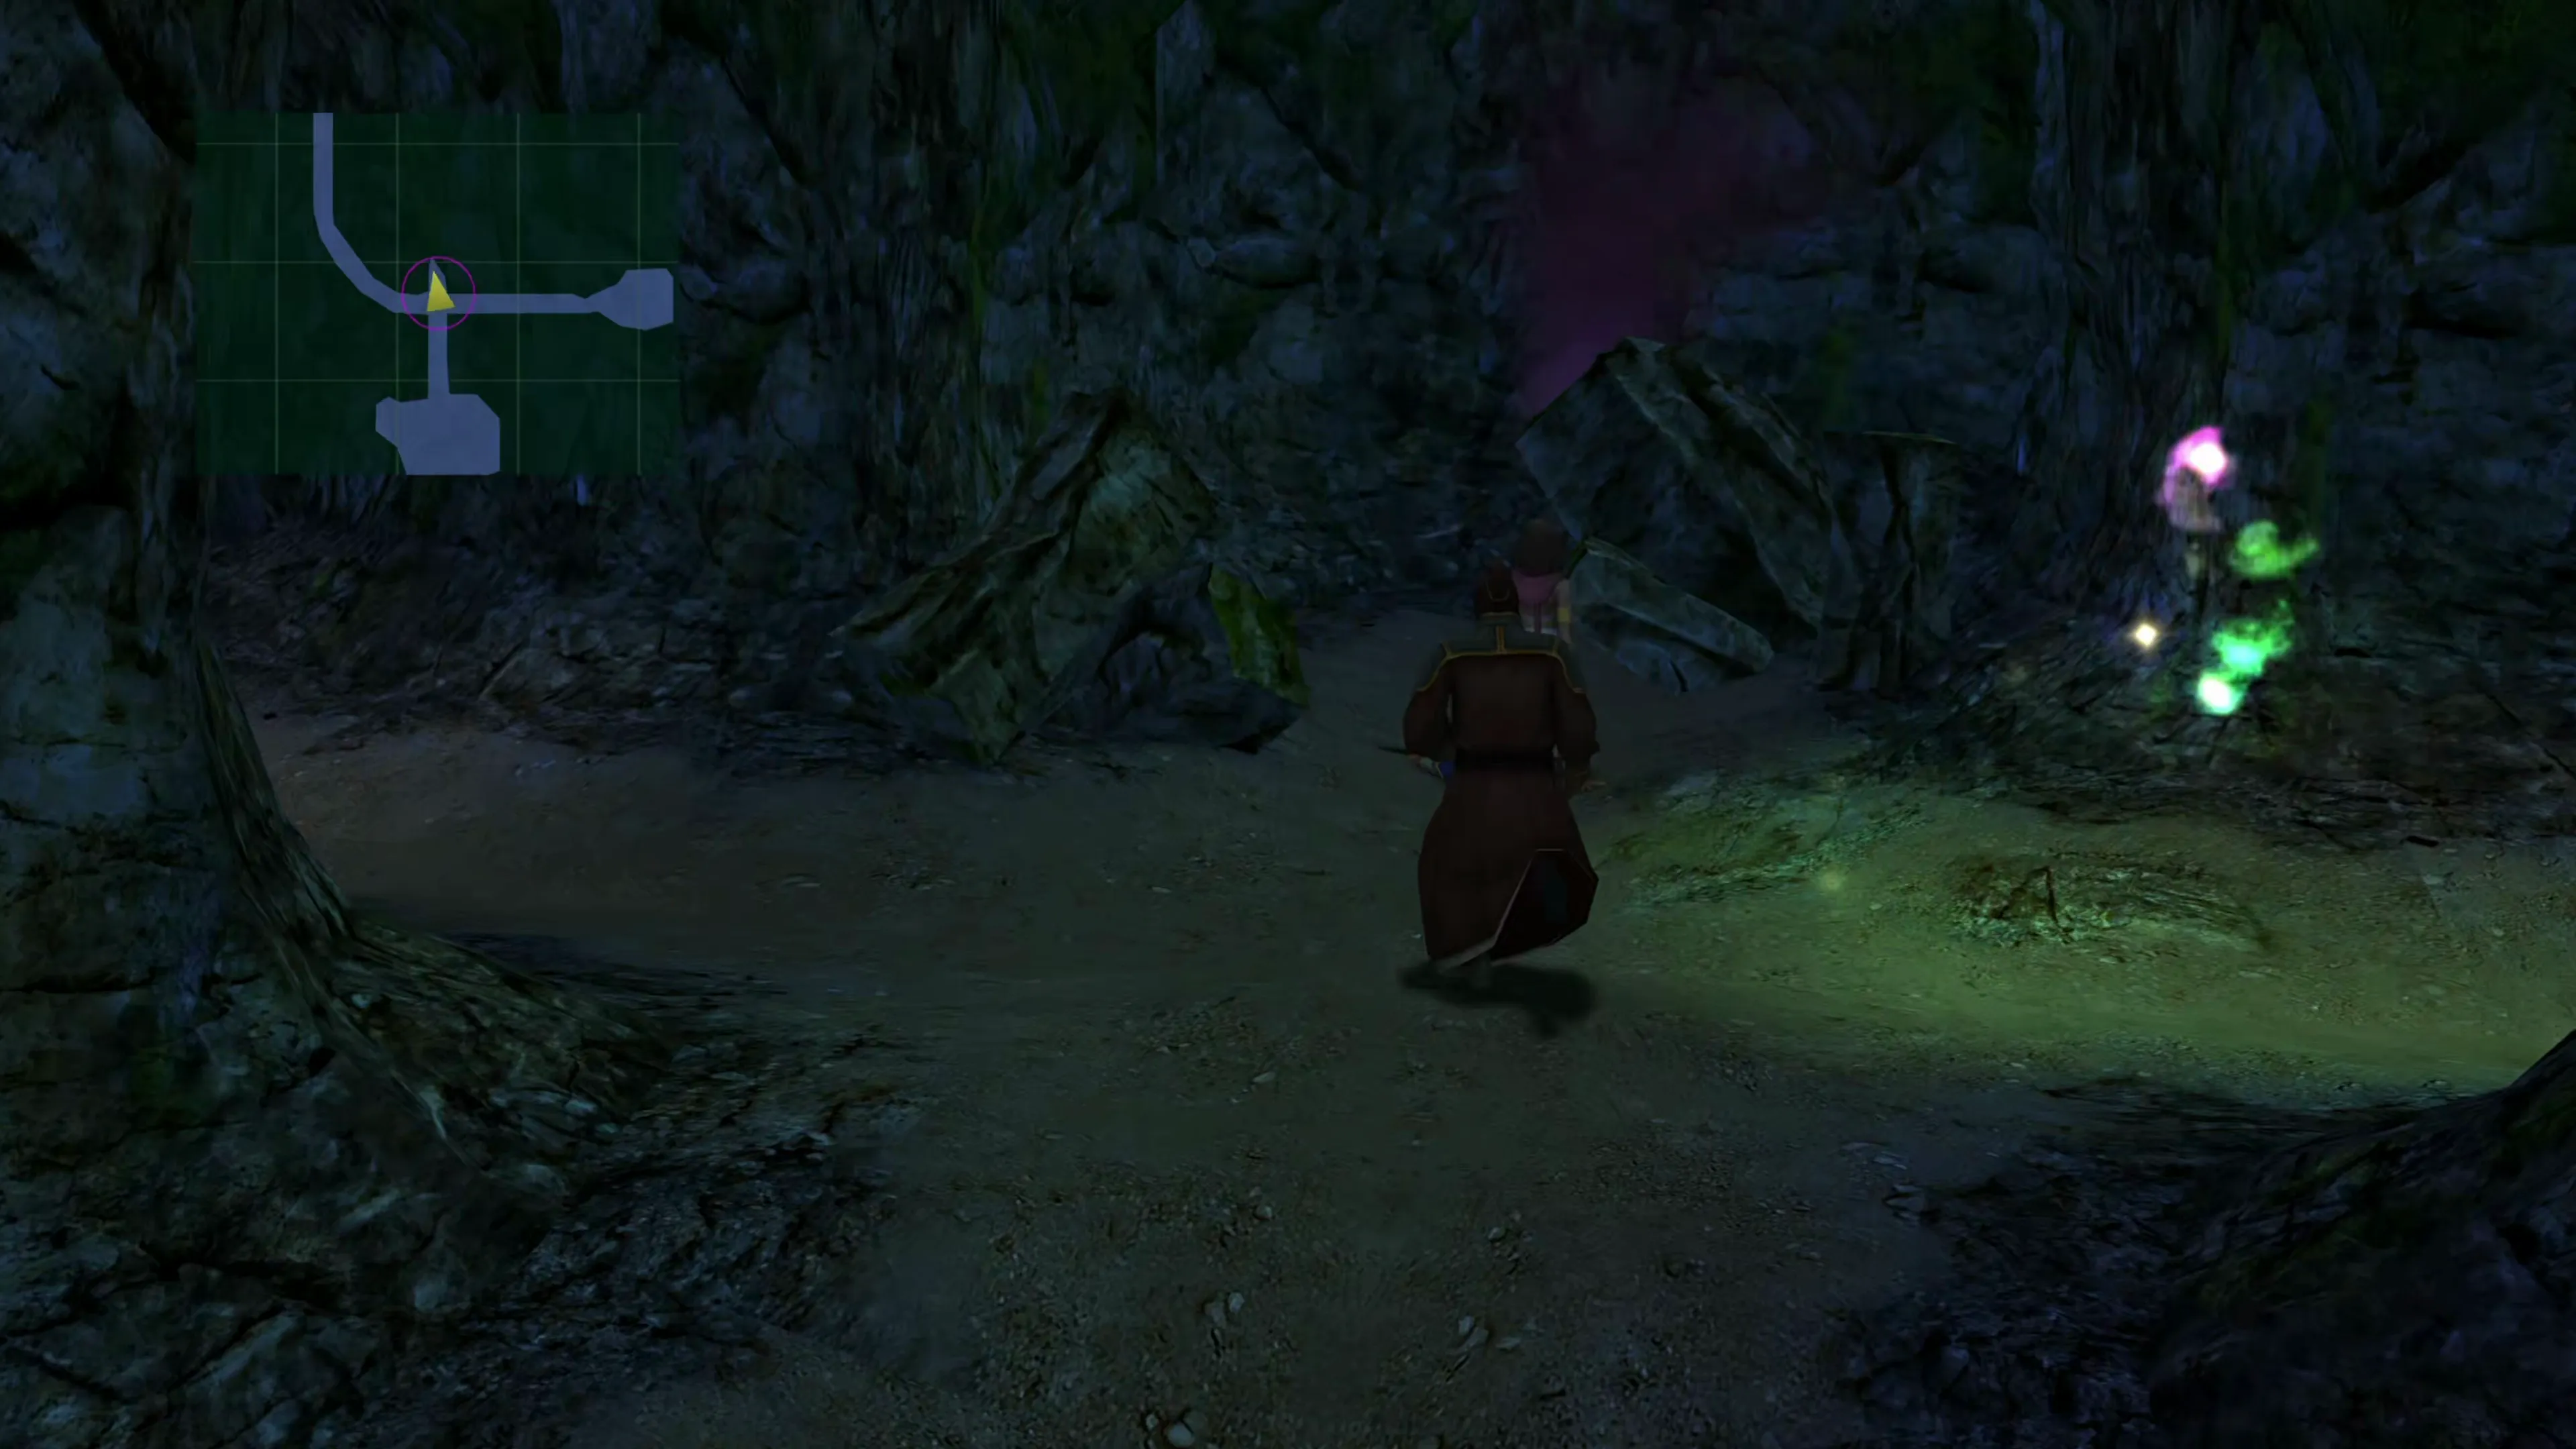 |
| 3) | Man hidden offscreen in a cave off to the left side of the screen (shown in the screenshot). | 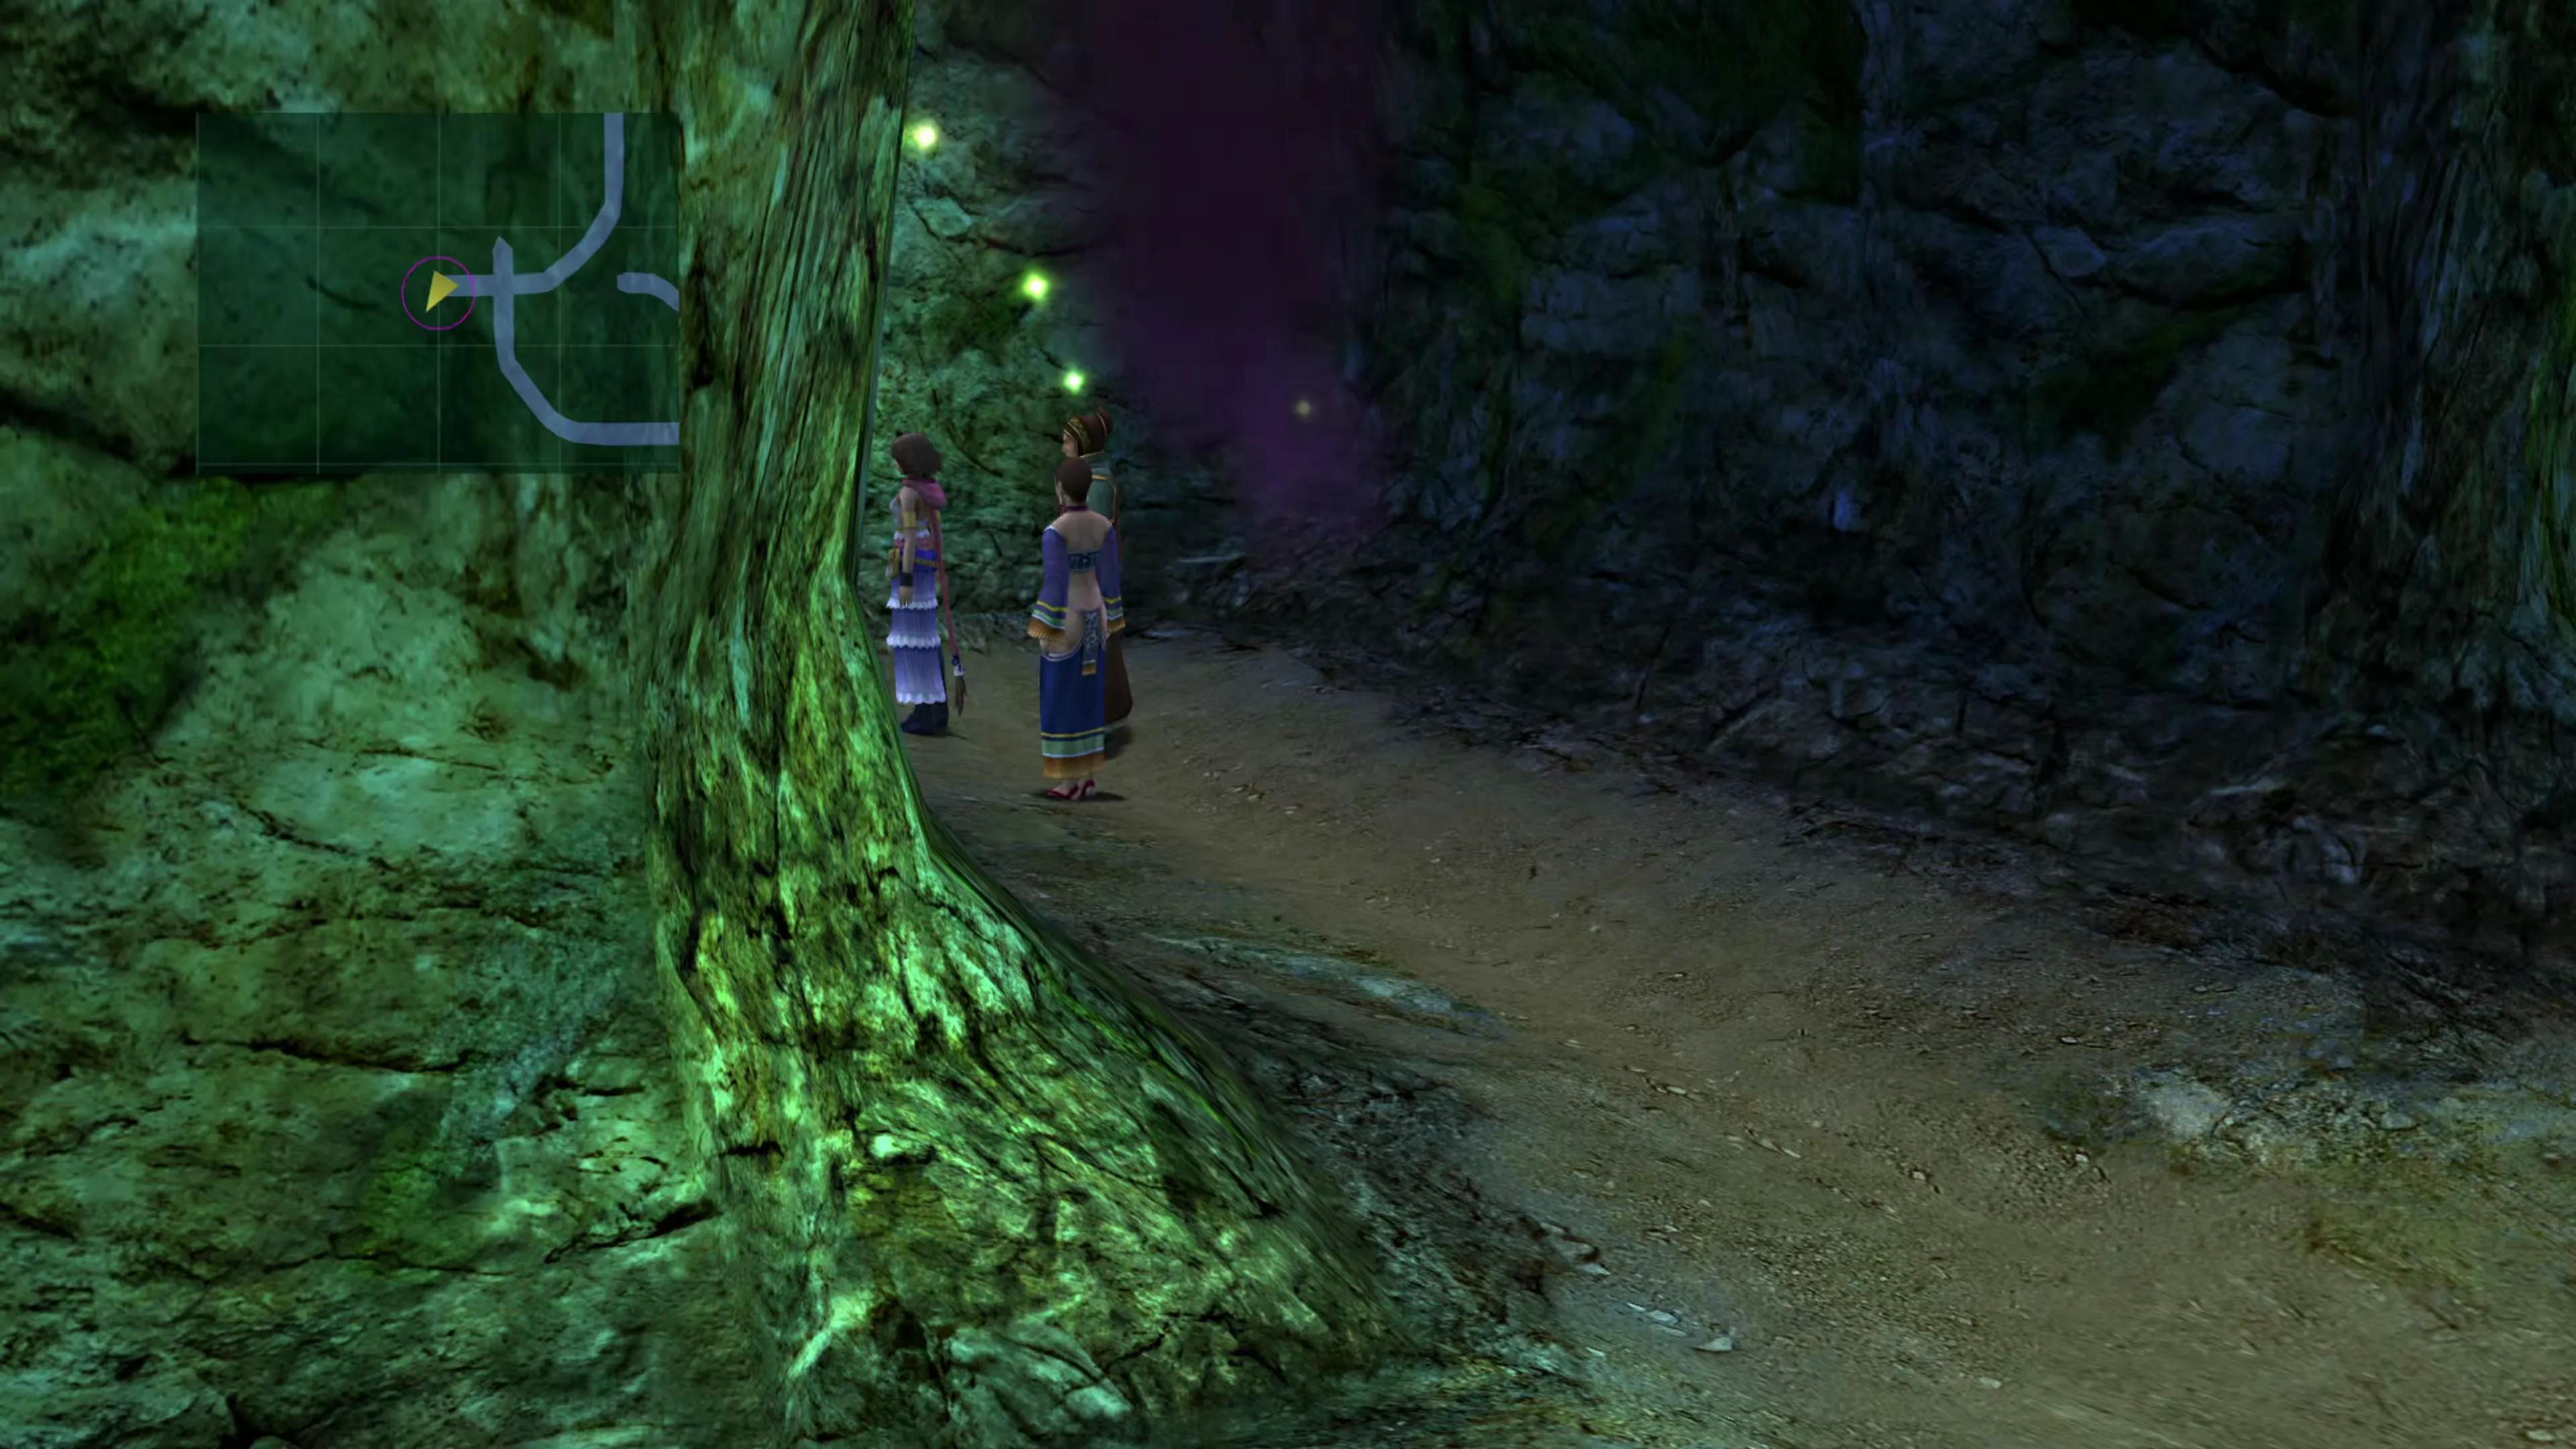 |
| 4) | Lady that is back near the four-way intersection in an alcove that heads east. She’s wearing a brown and golden robe. | 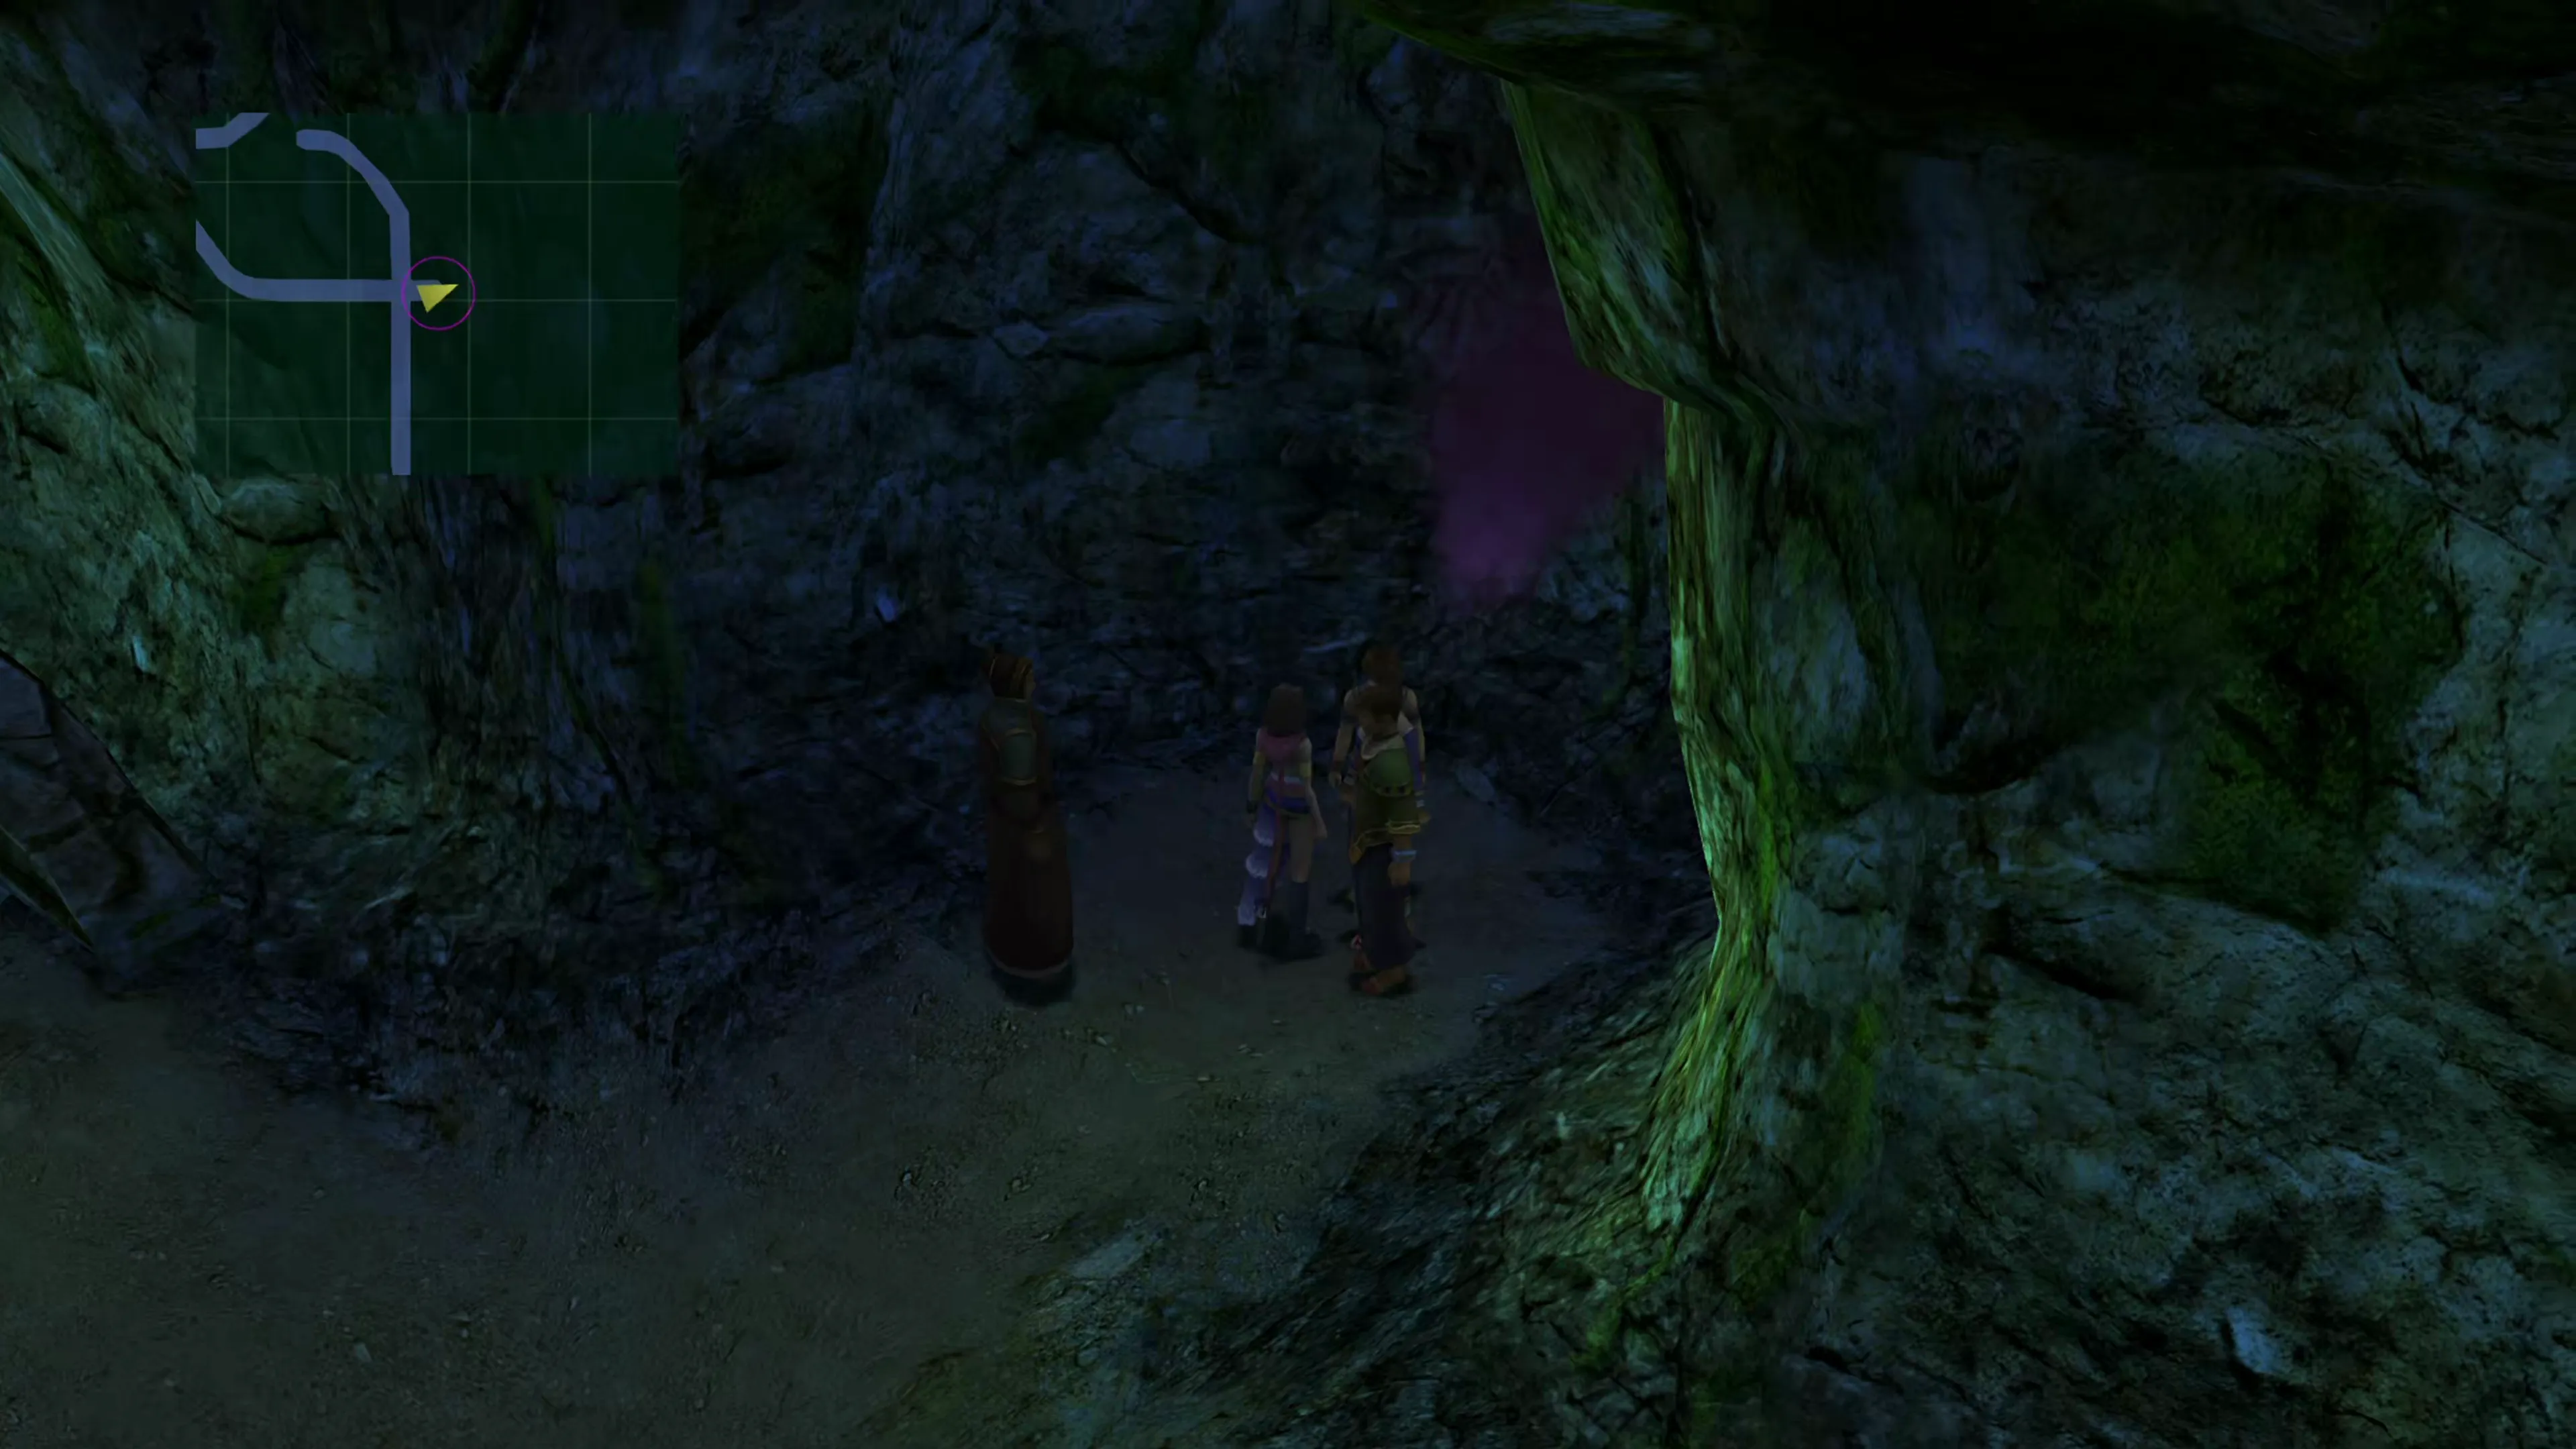 |
| 5) | Man running around in a circle close to the entrance of the cave (in an alcove off to the east) | 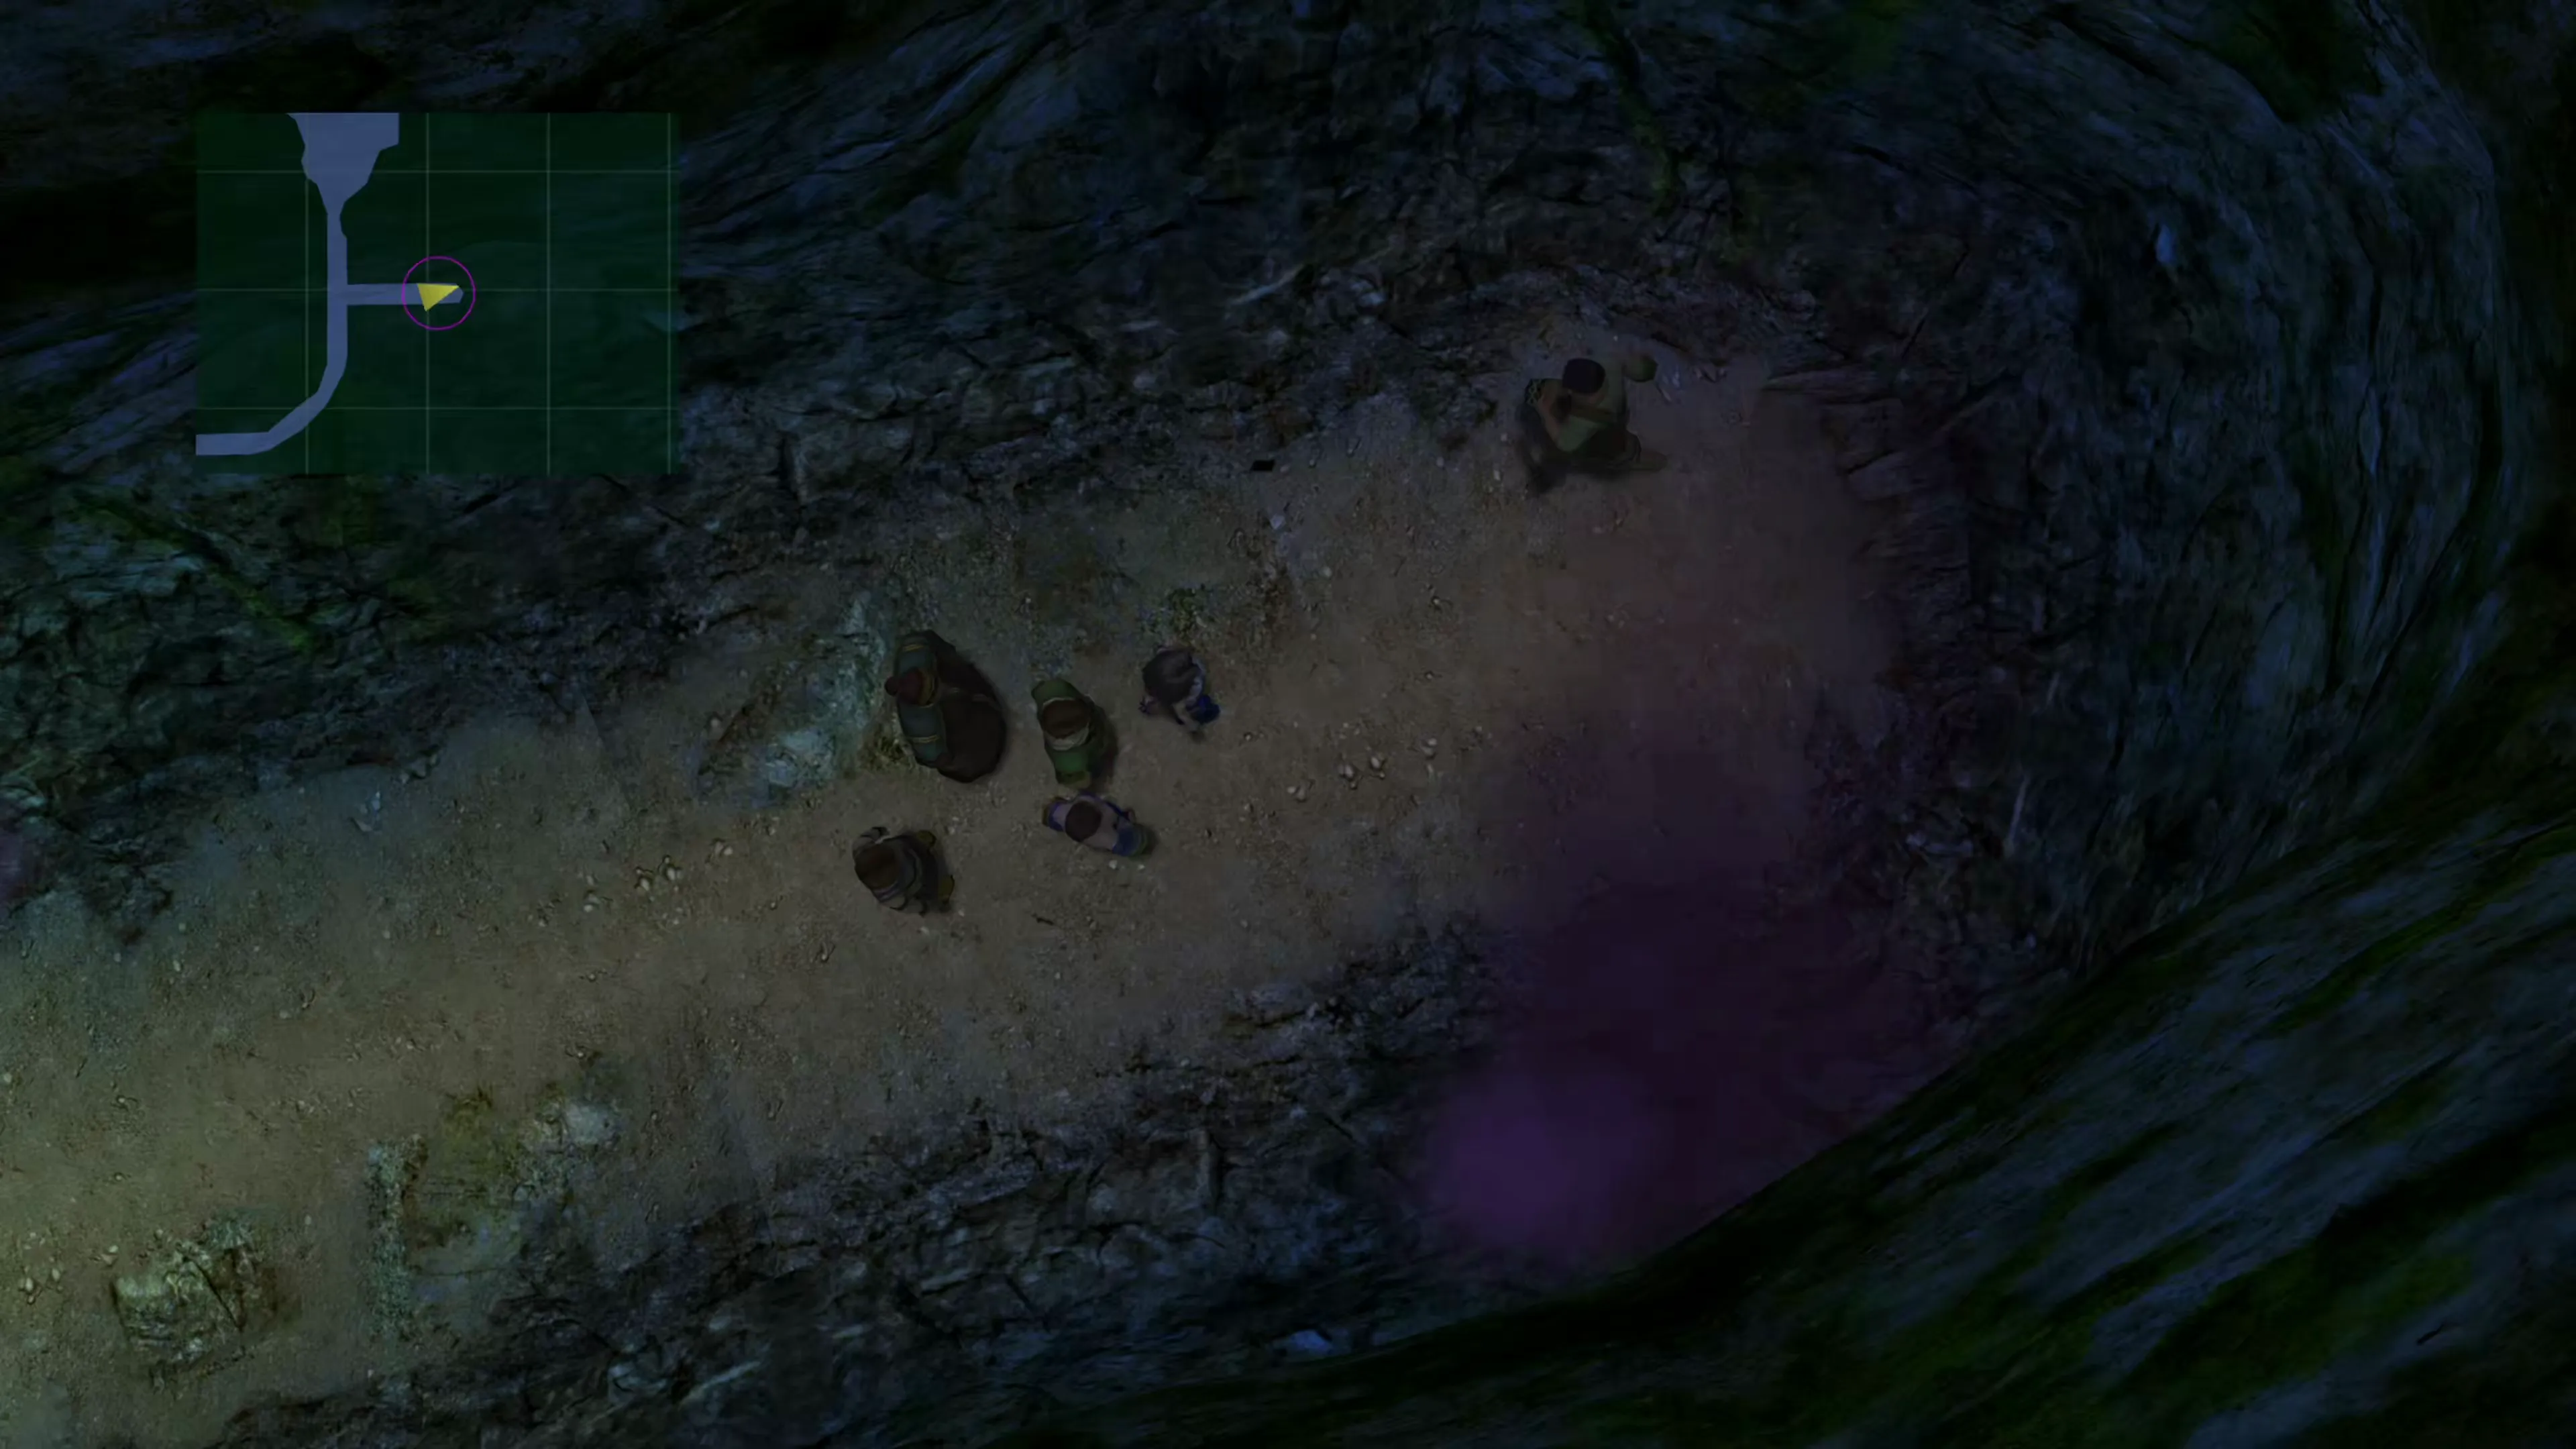 |
| 6) | The man with no shirt and white pants who ran past you in the previous cave. He’s standing in the large open cave near the entrance. | 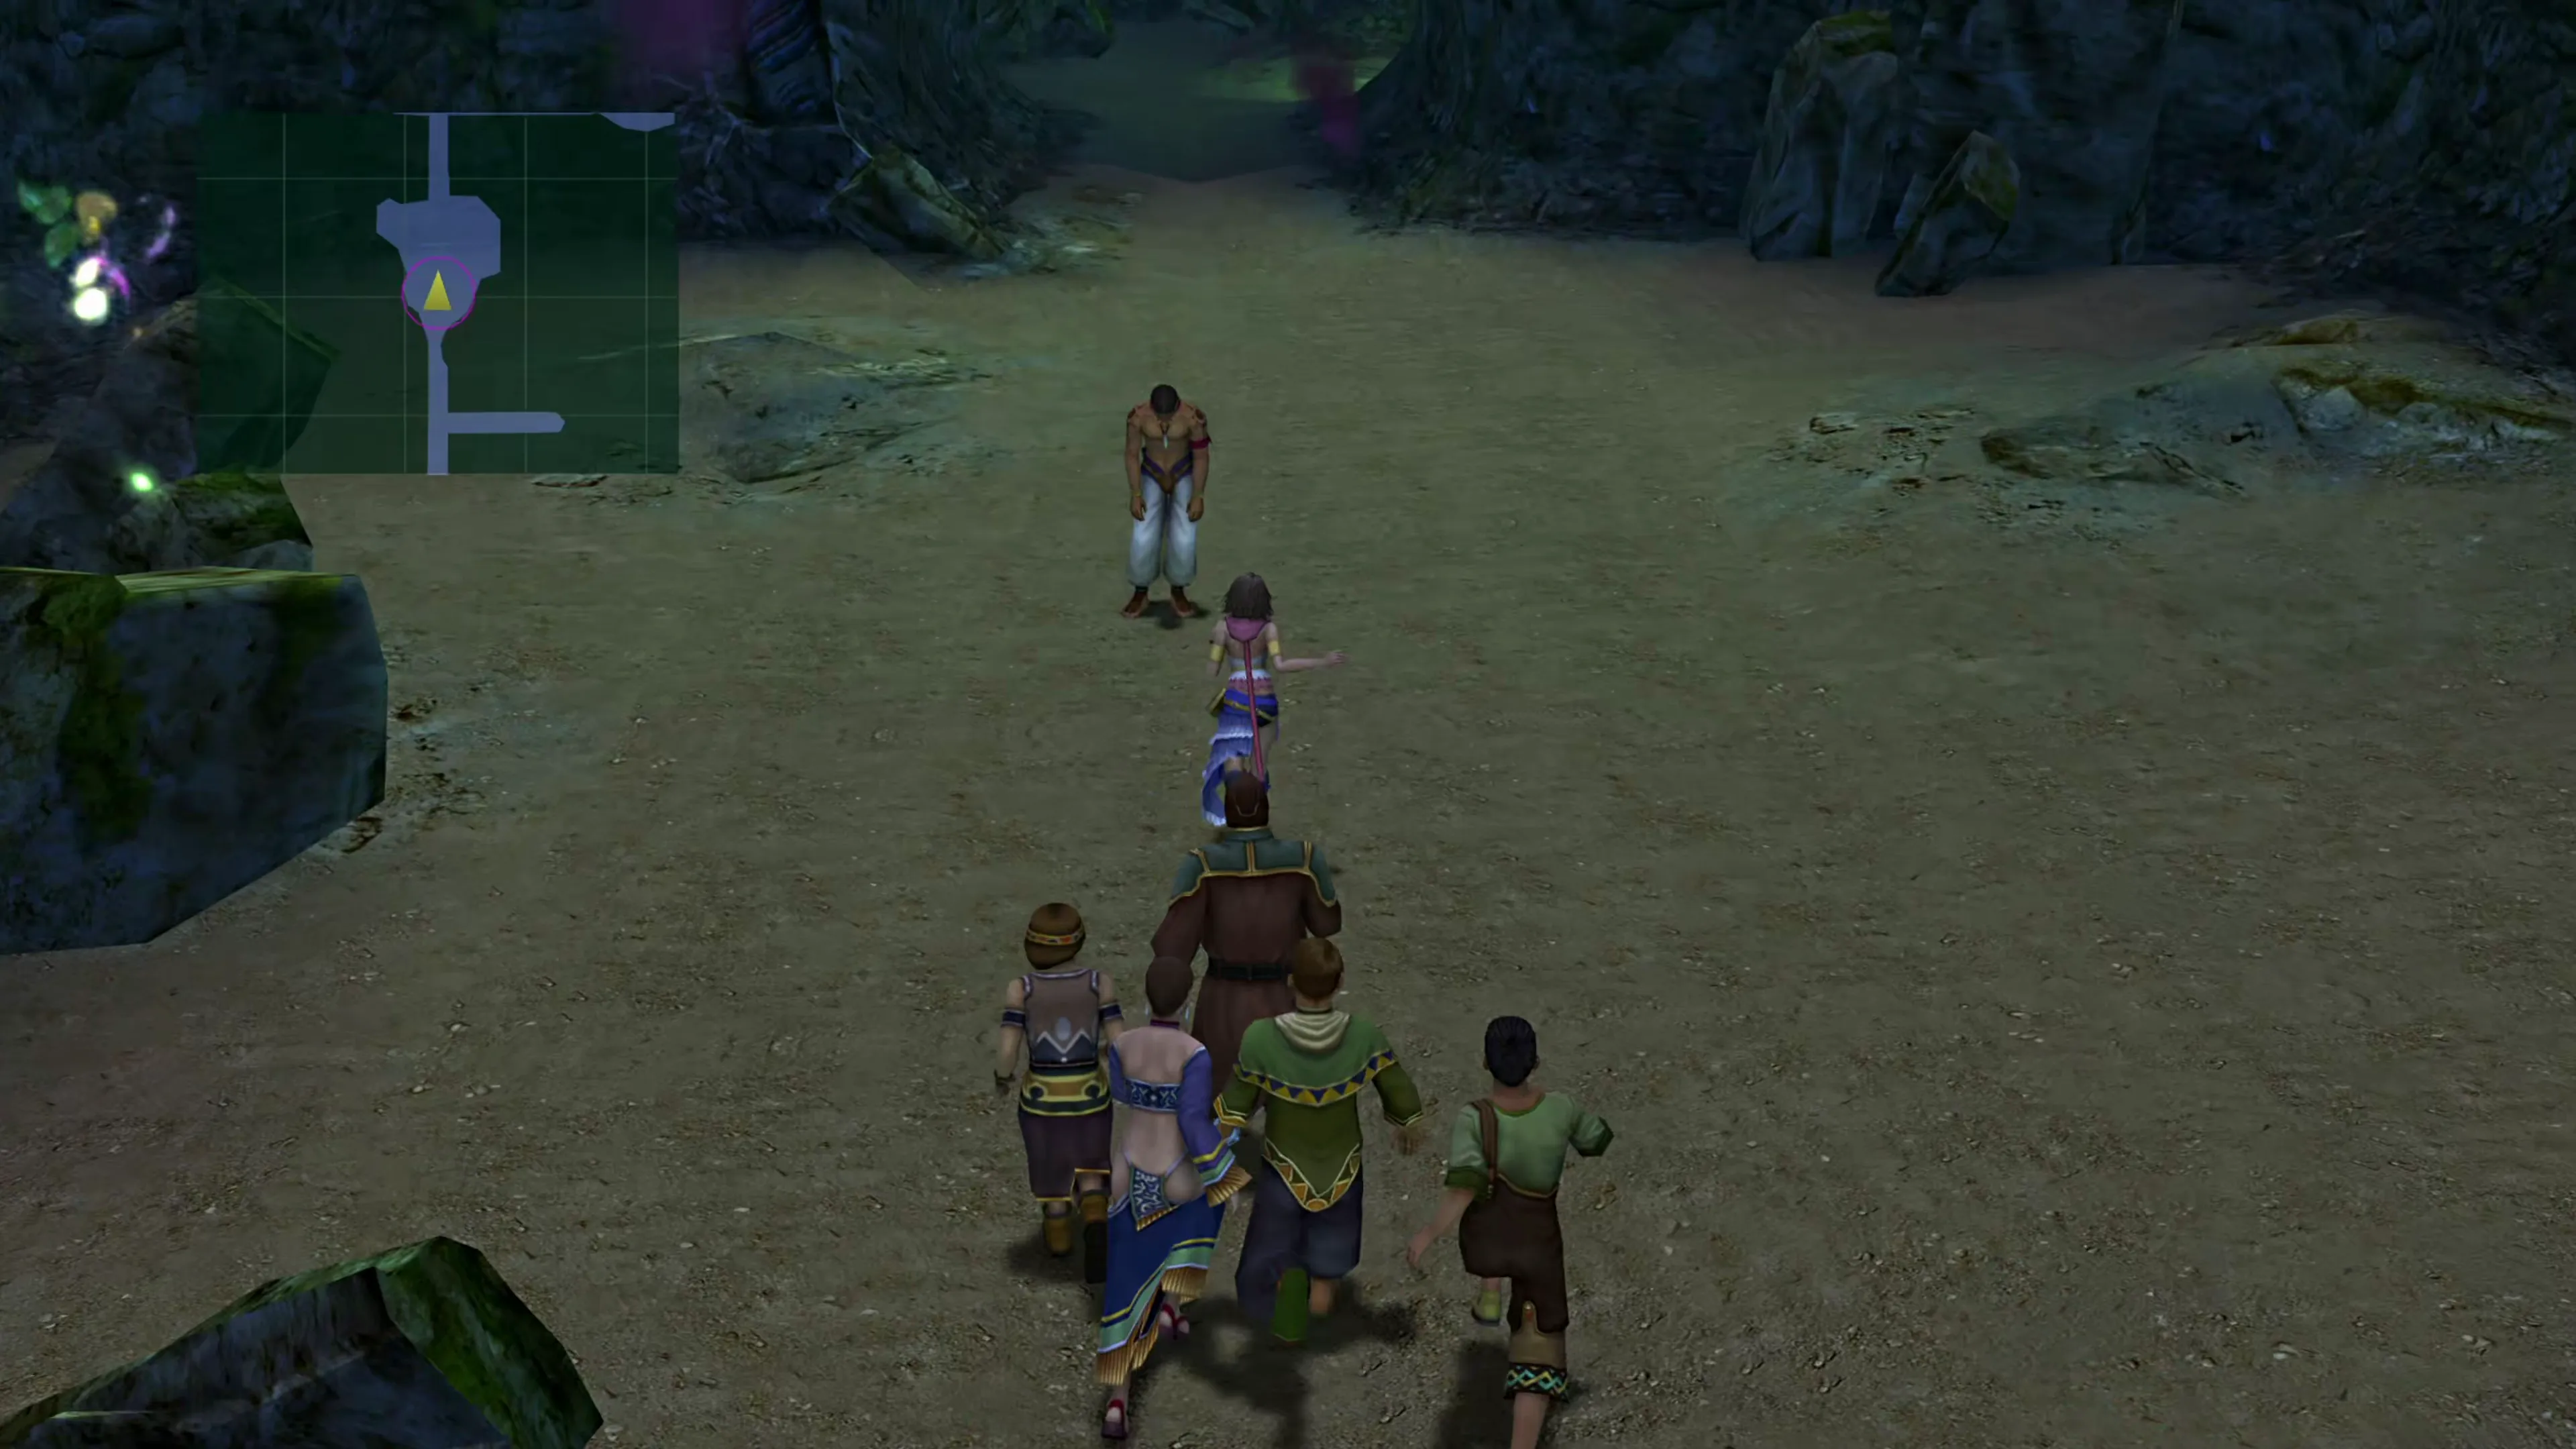 |
| 7) | Two people lying on the ground near a treasure chest in the alcove that veers north/northwest. | 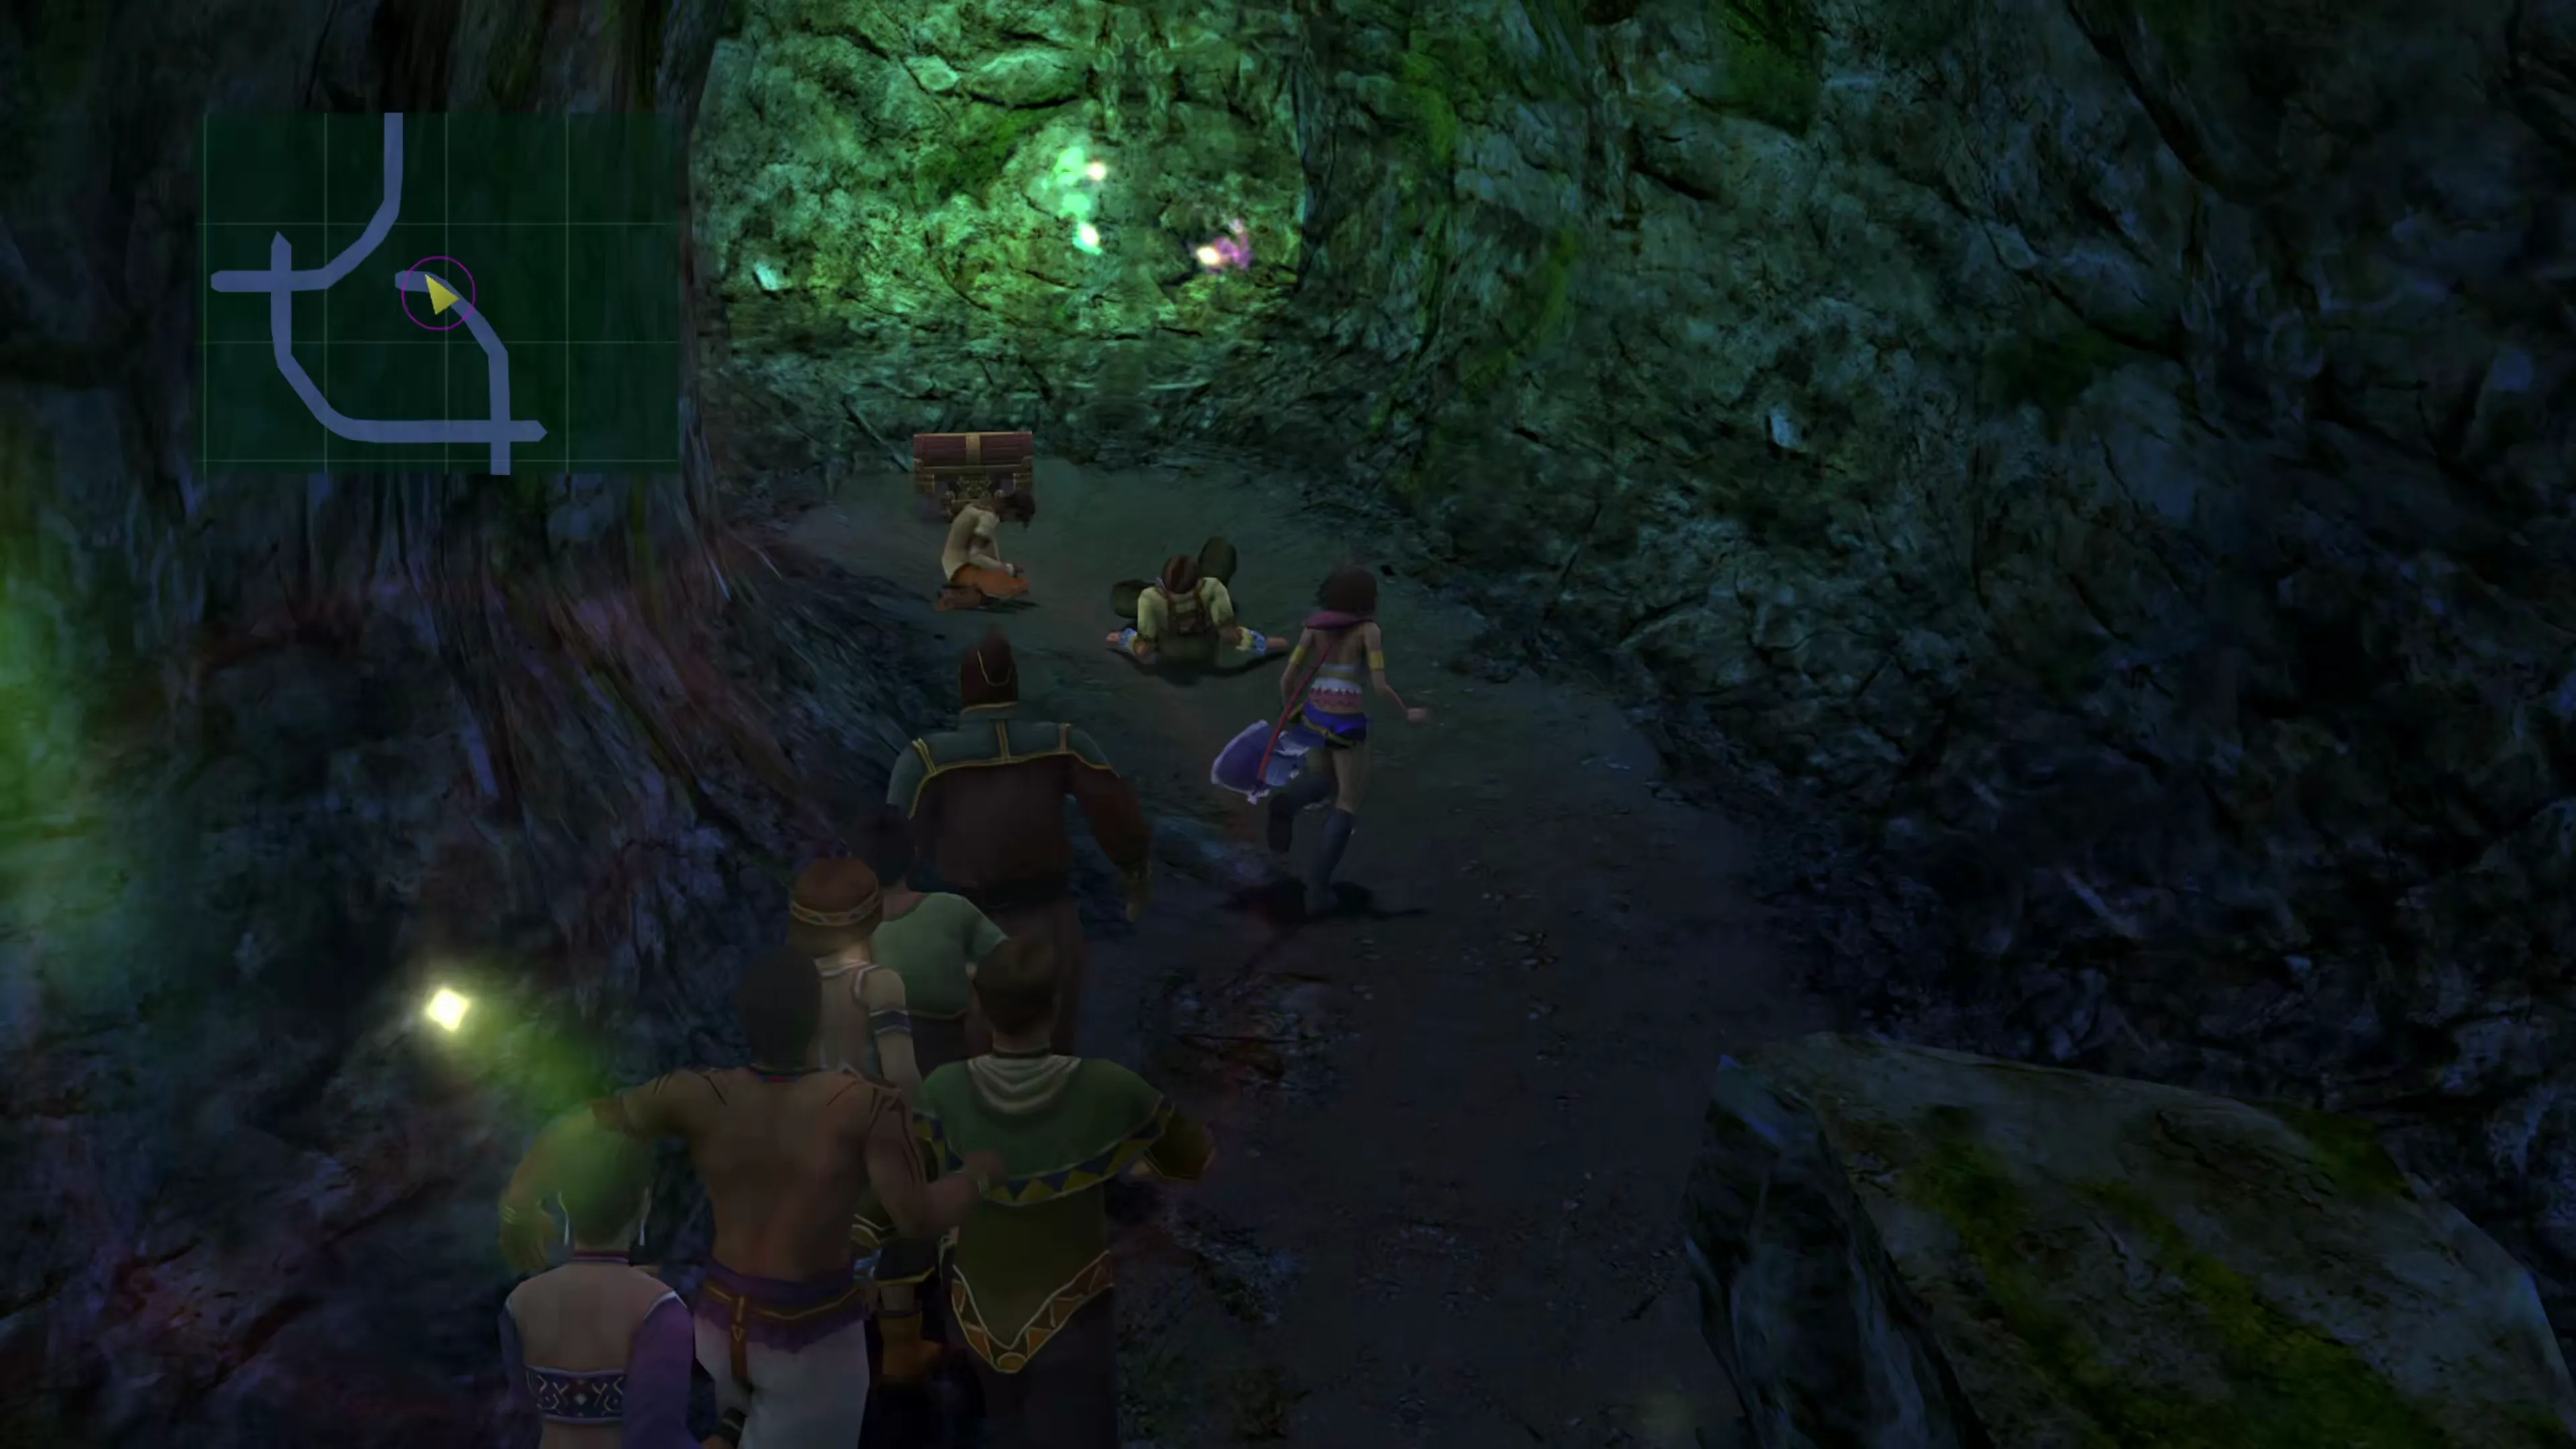 |
| 8) | Two children in the very last cave near the teleporter. | 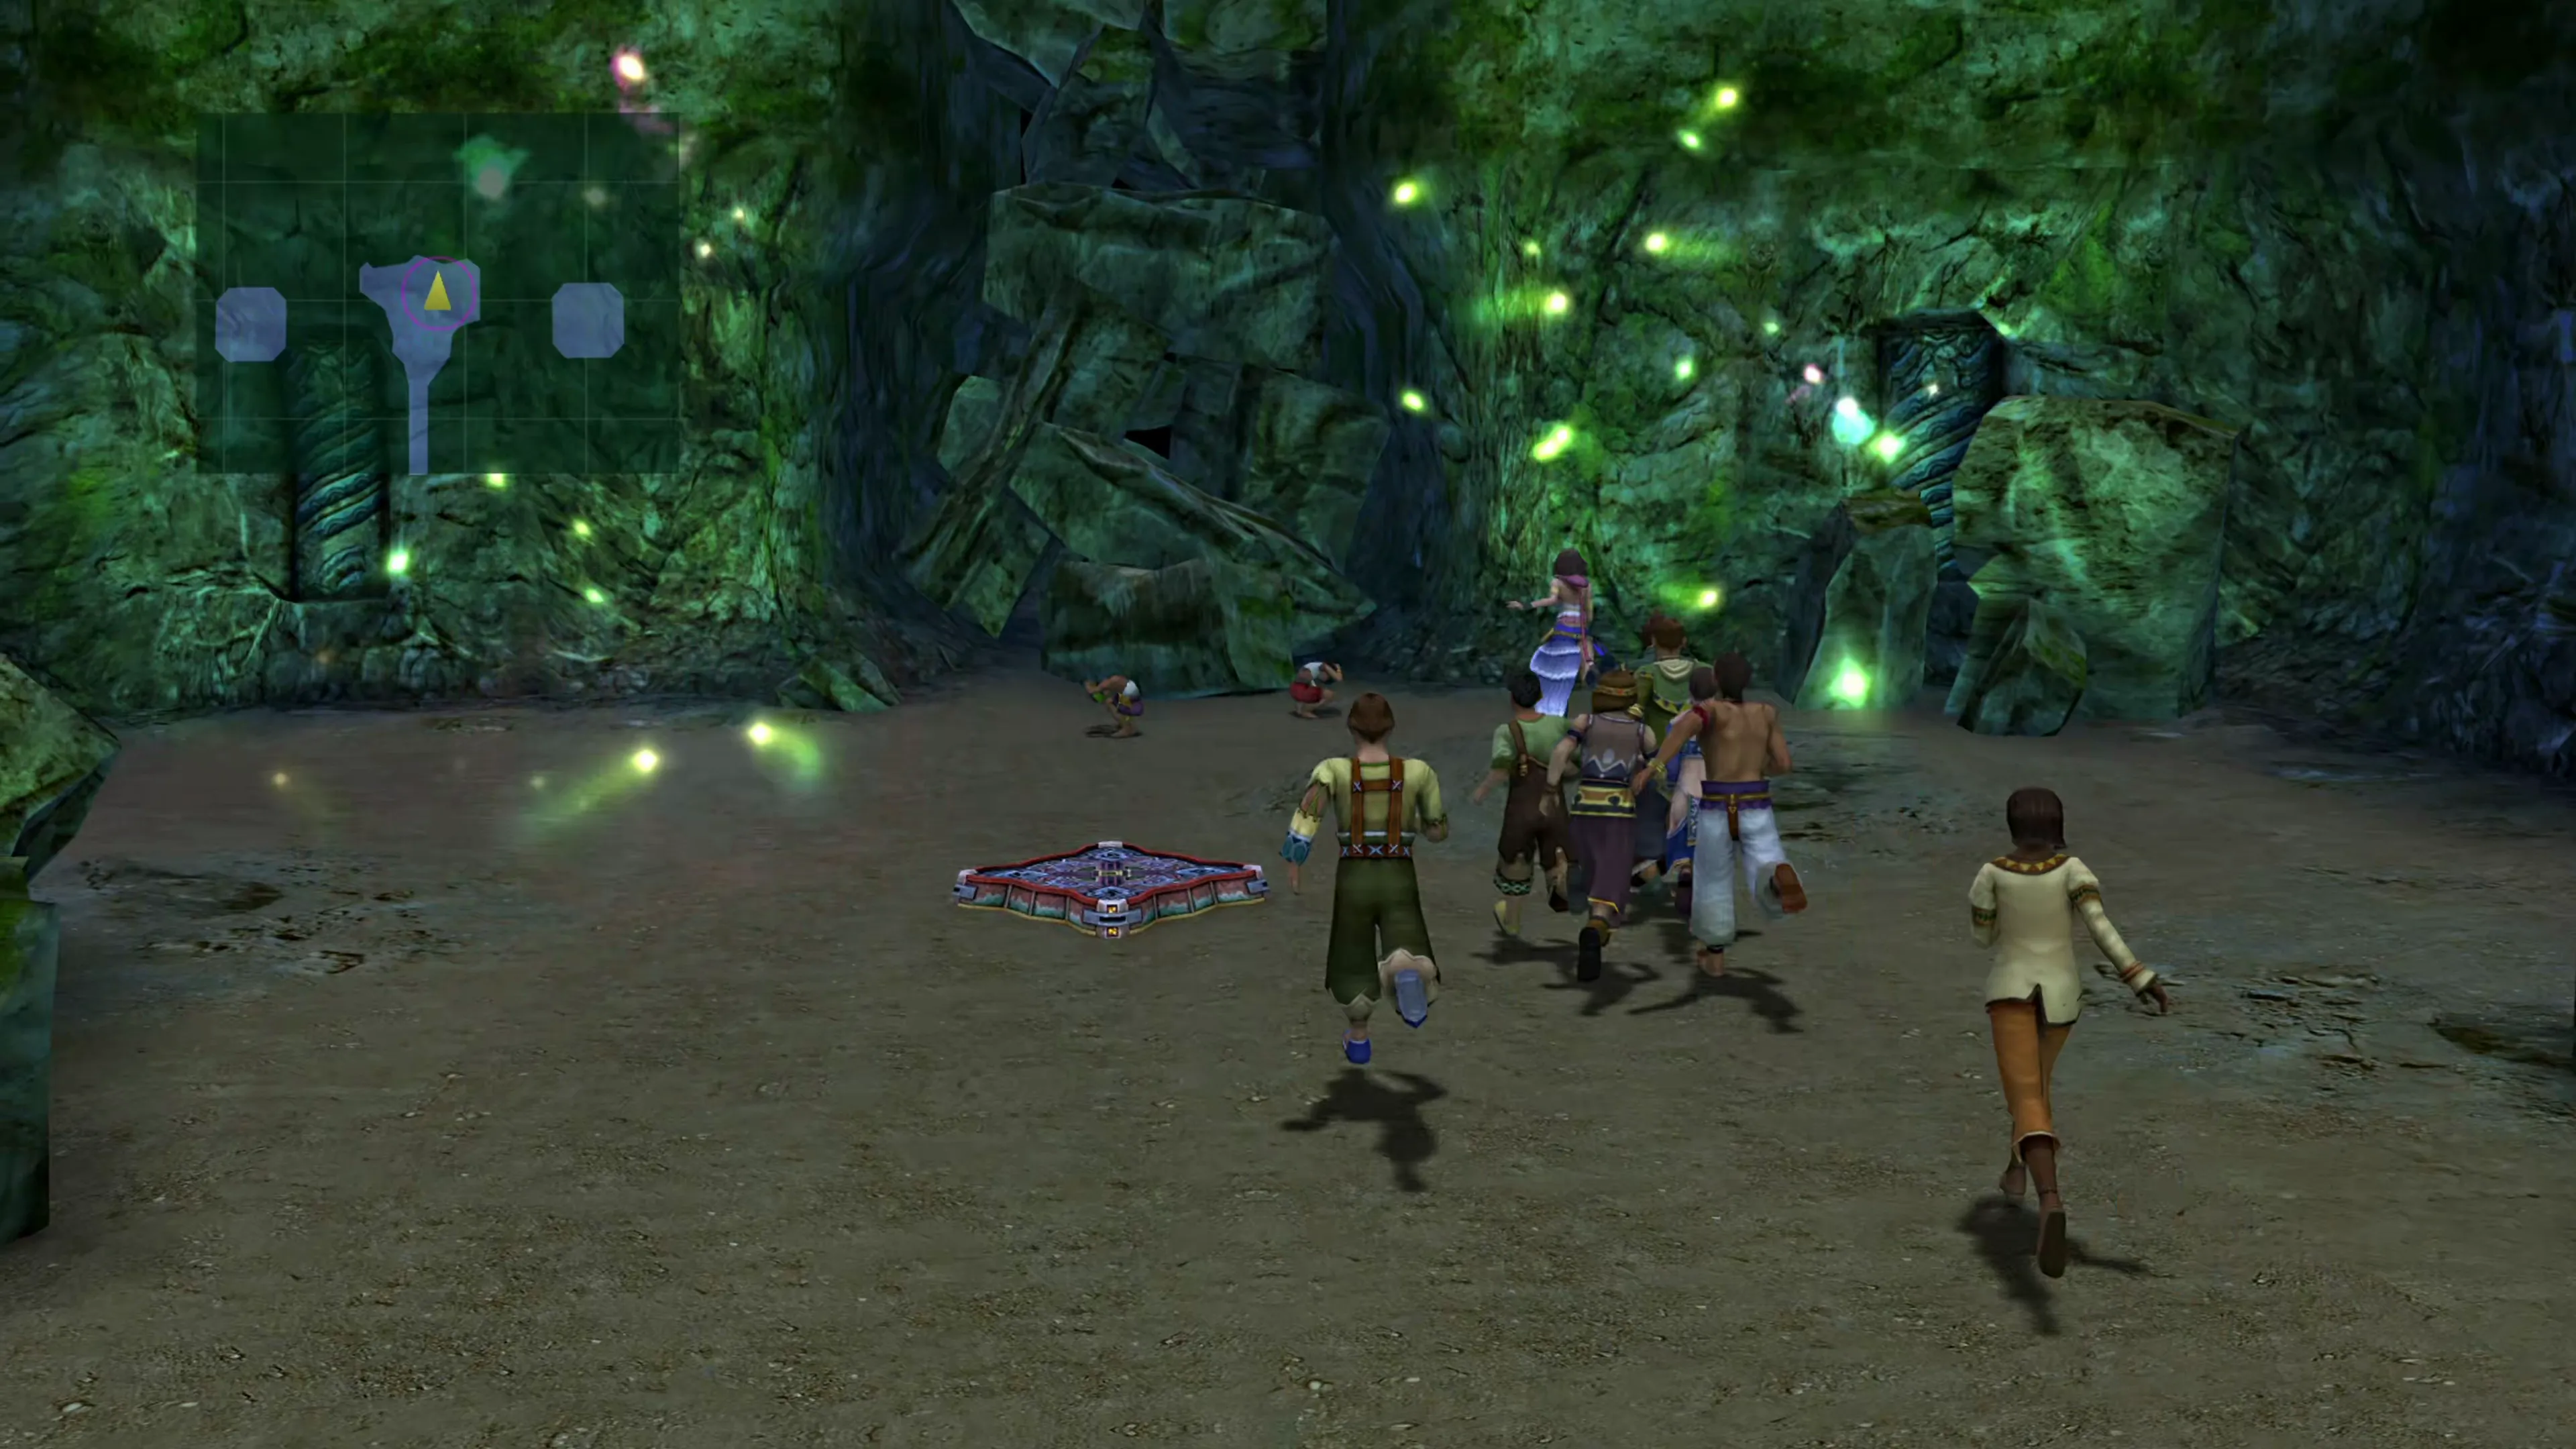 |
| 9) | A lady with two children near a treasure chest in a cave that points east. It’s a bit tough to see them in the screenshot because, by this point, you have a whole bus load of people following Yuna around. | 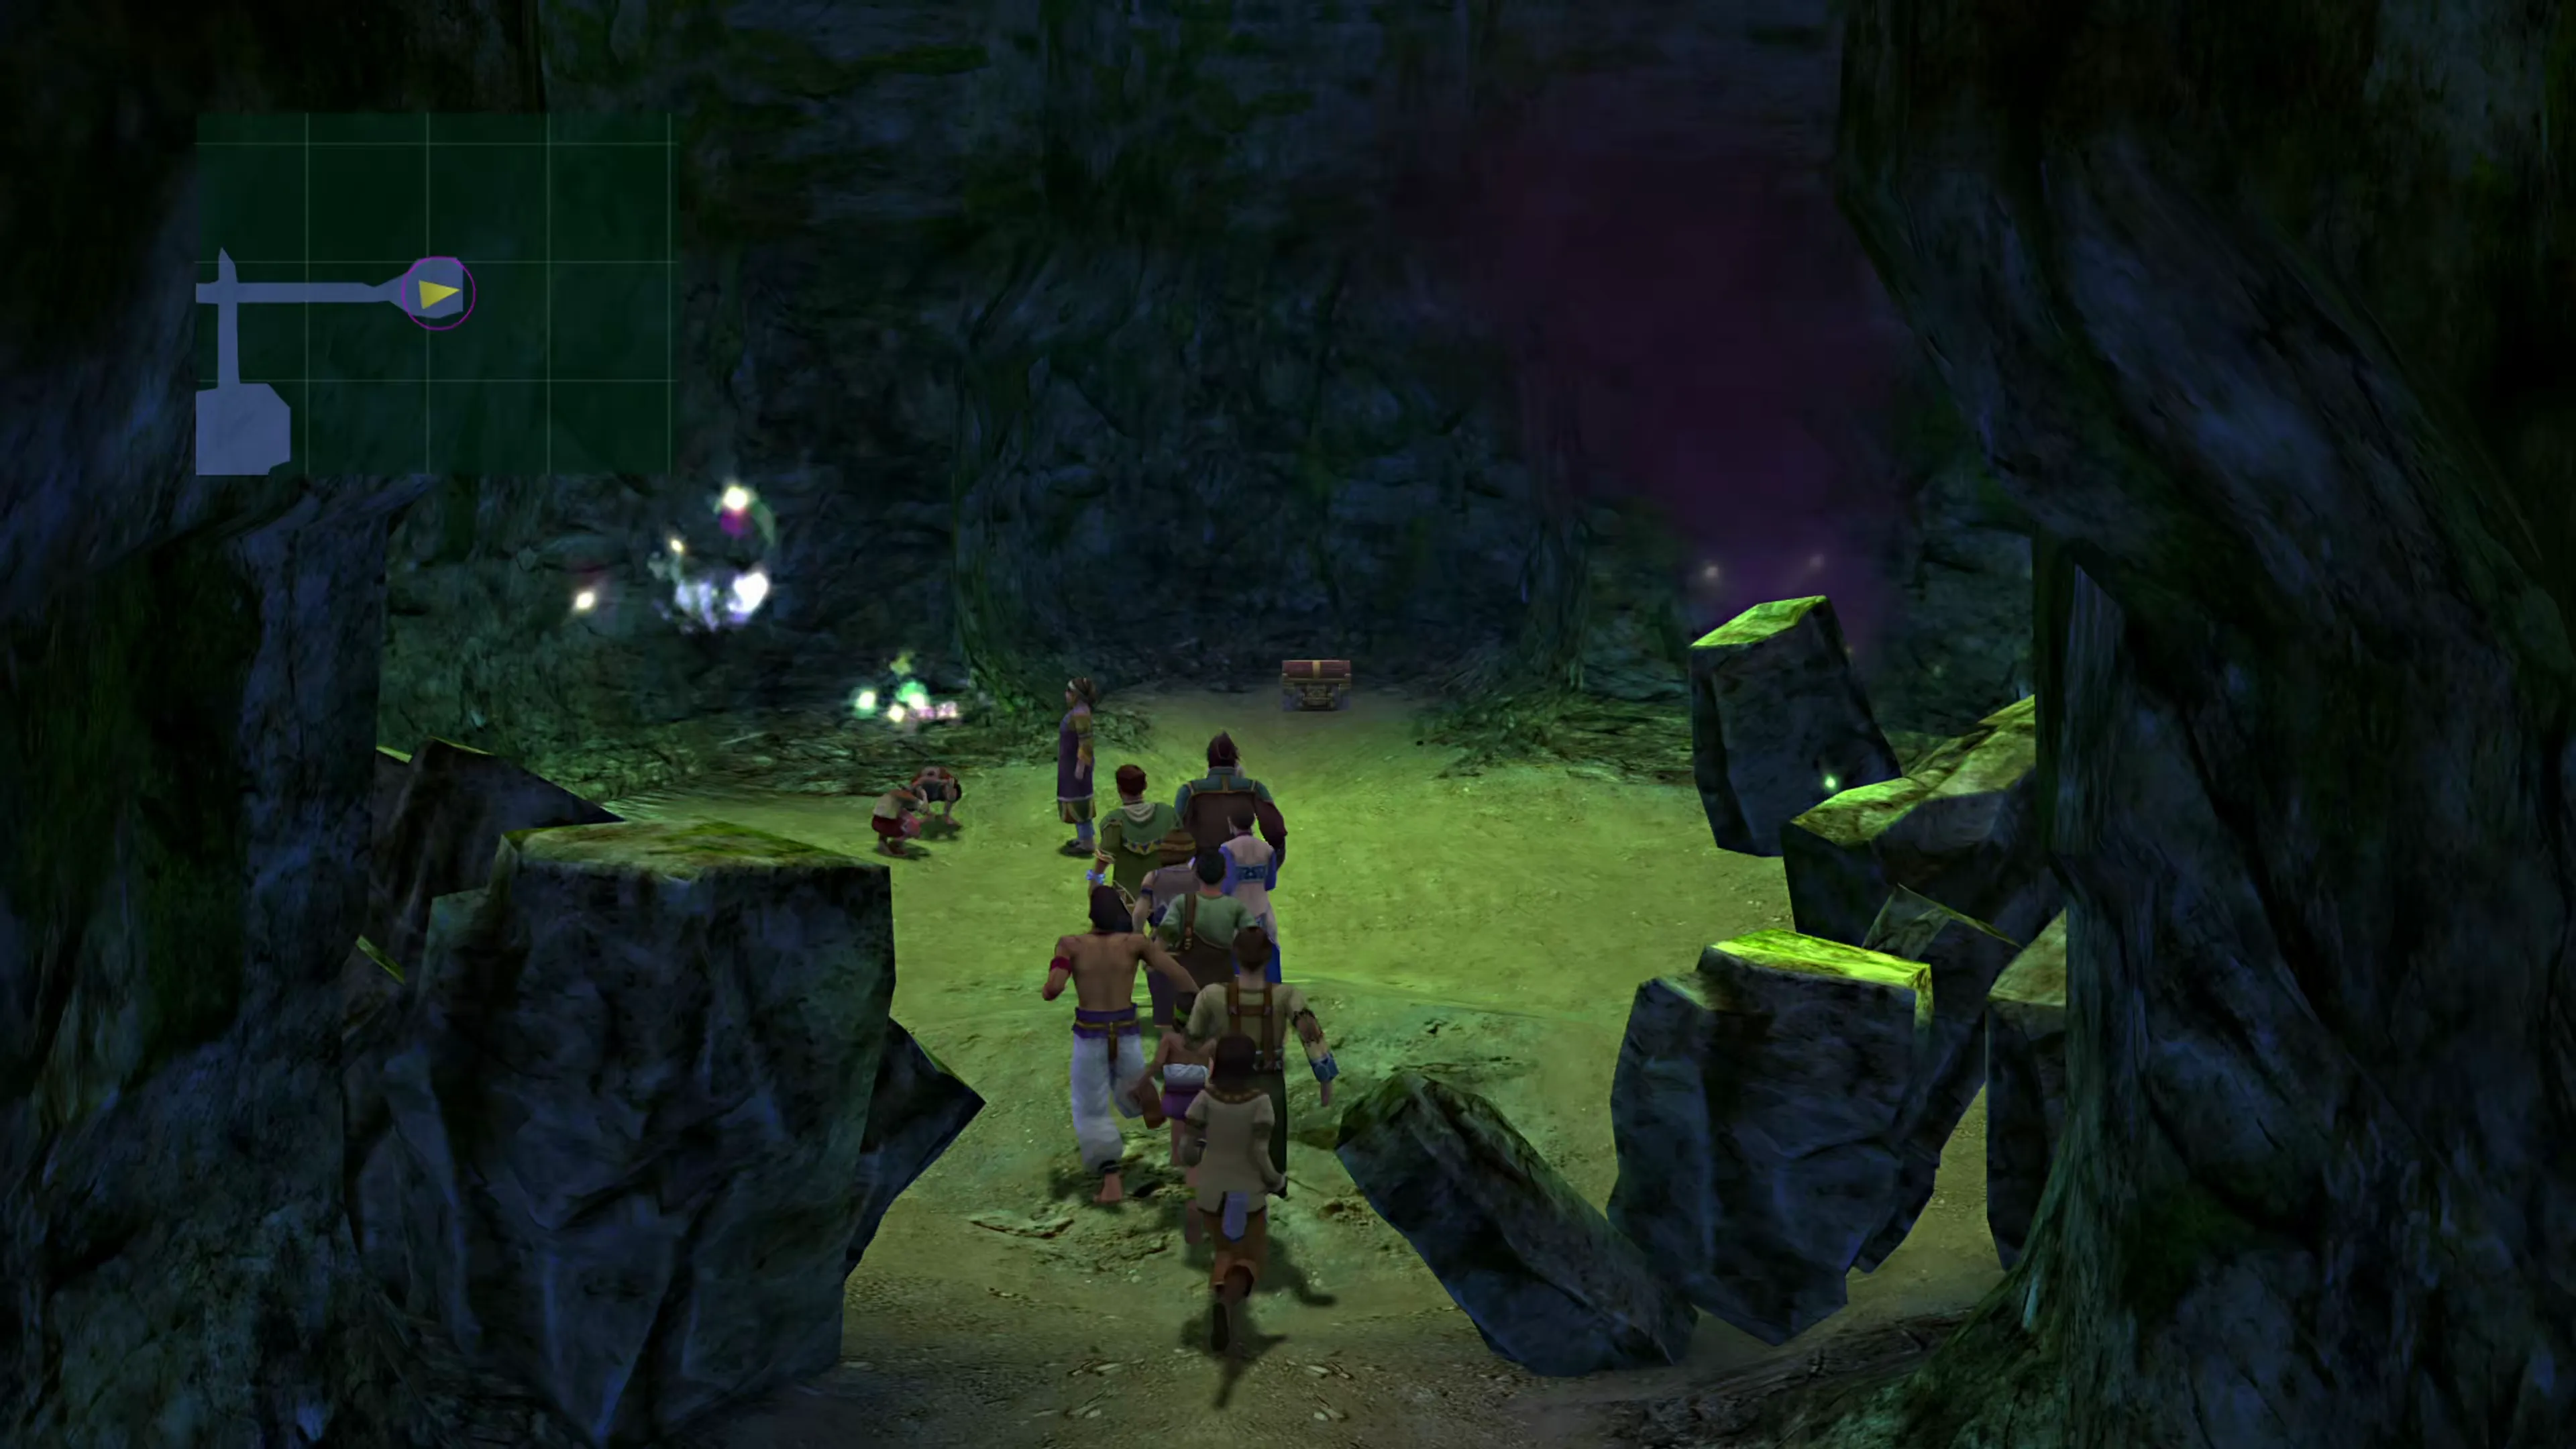 |
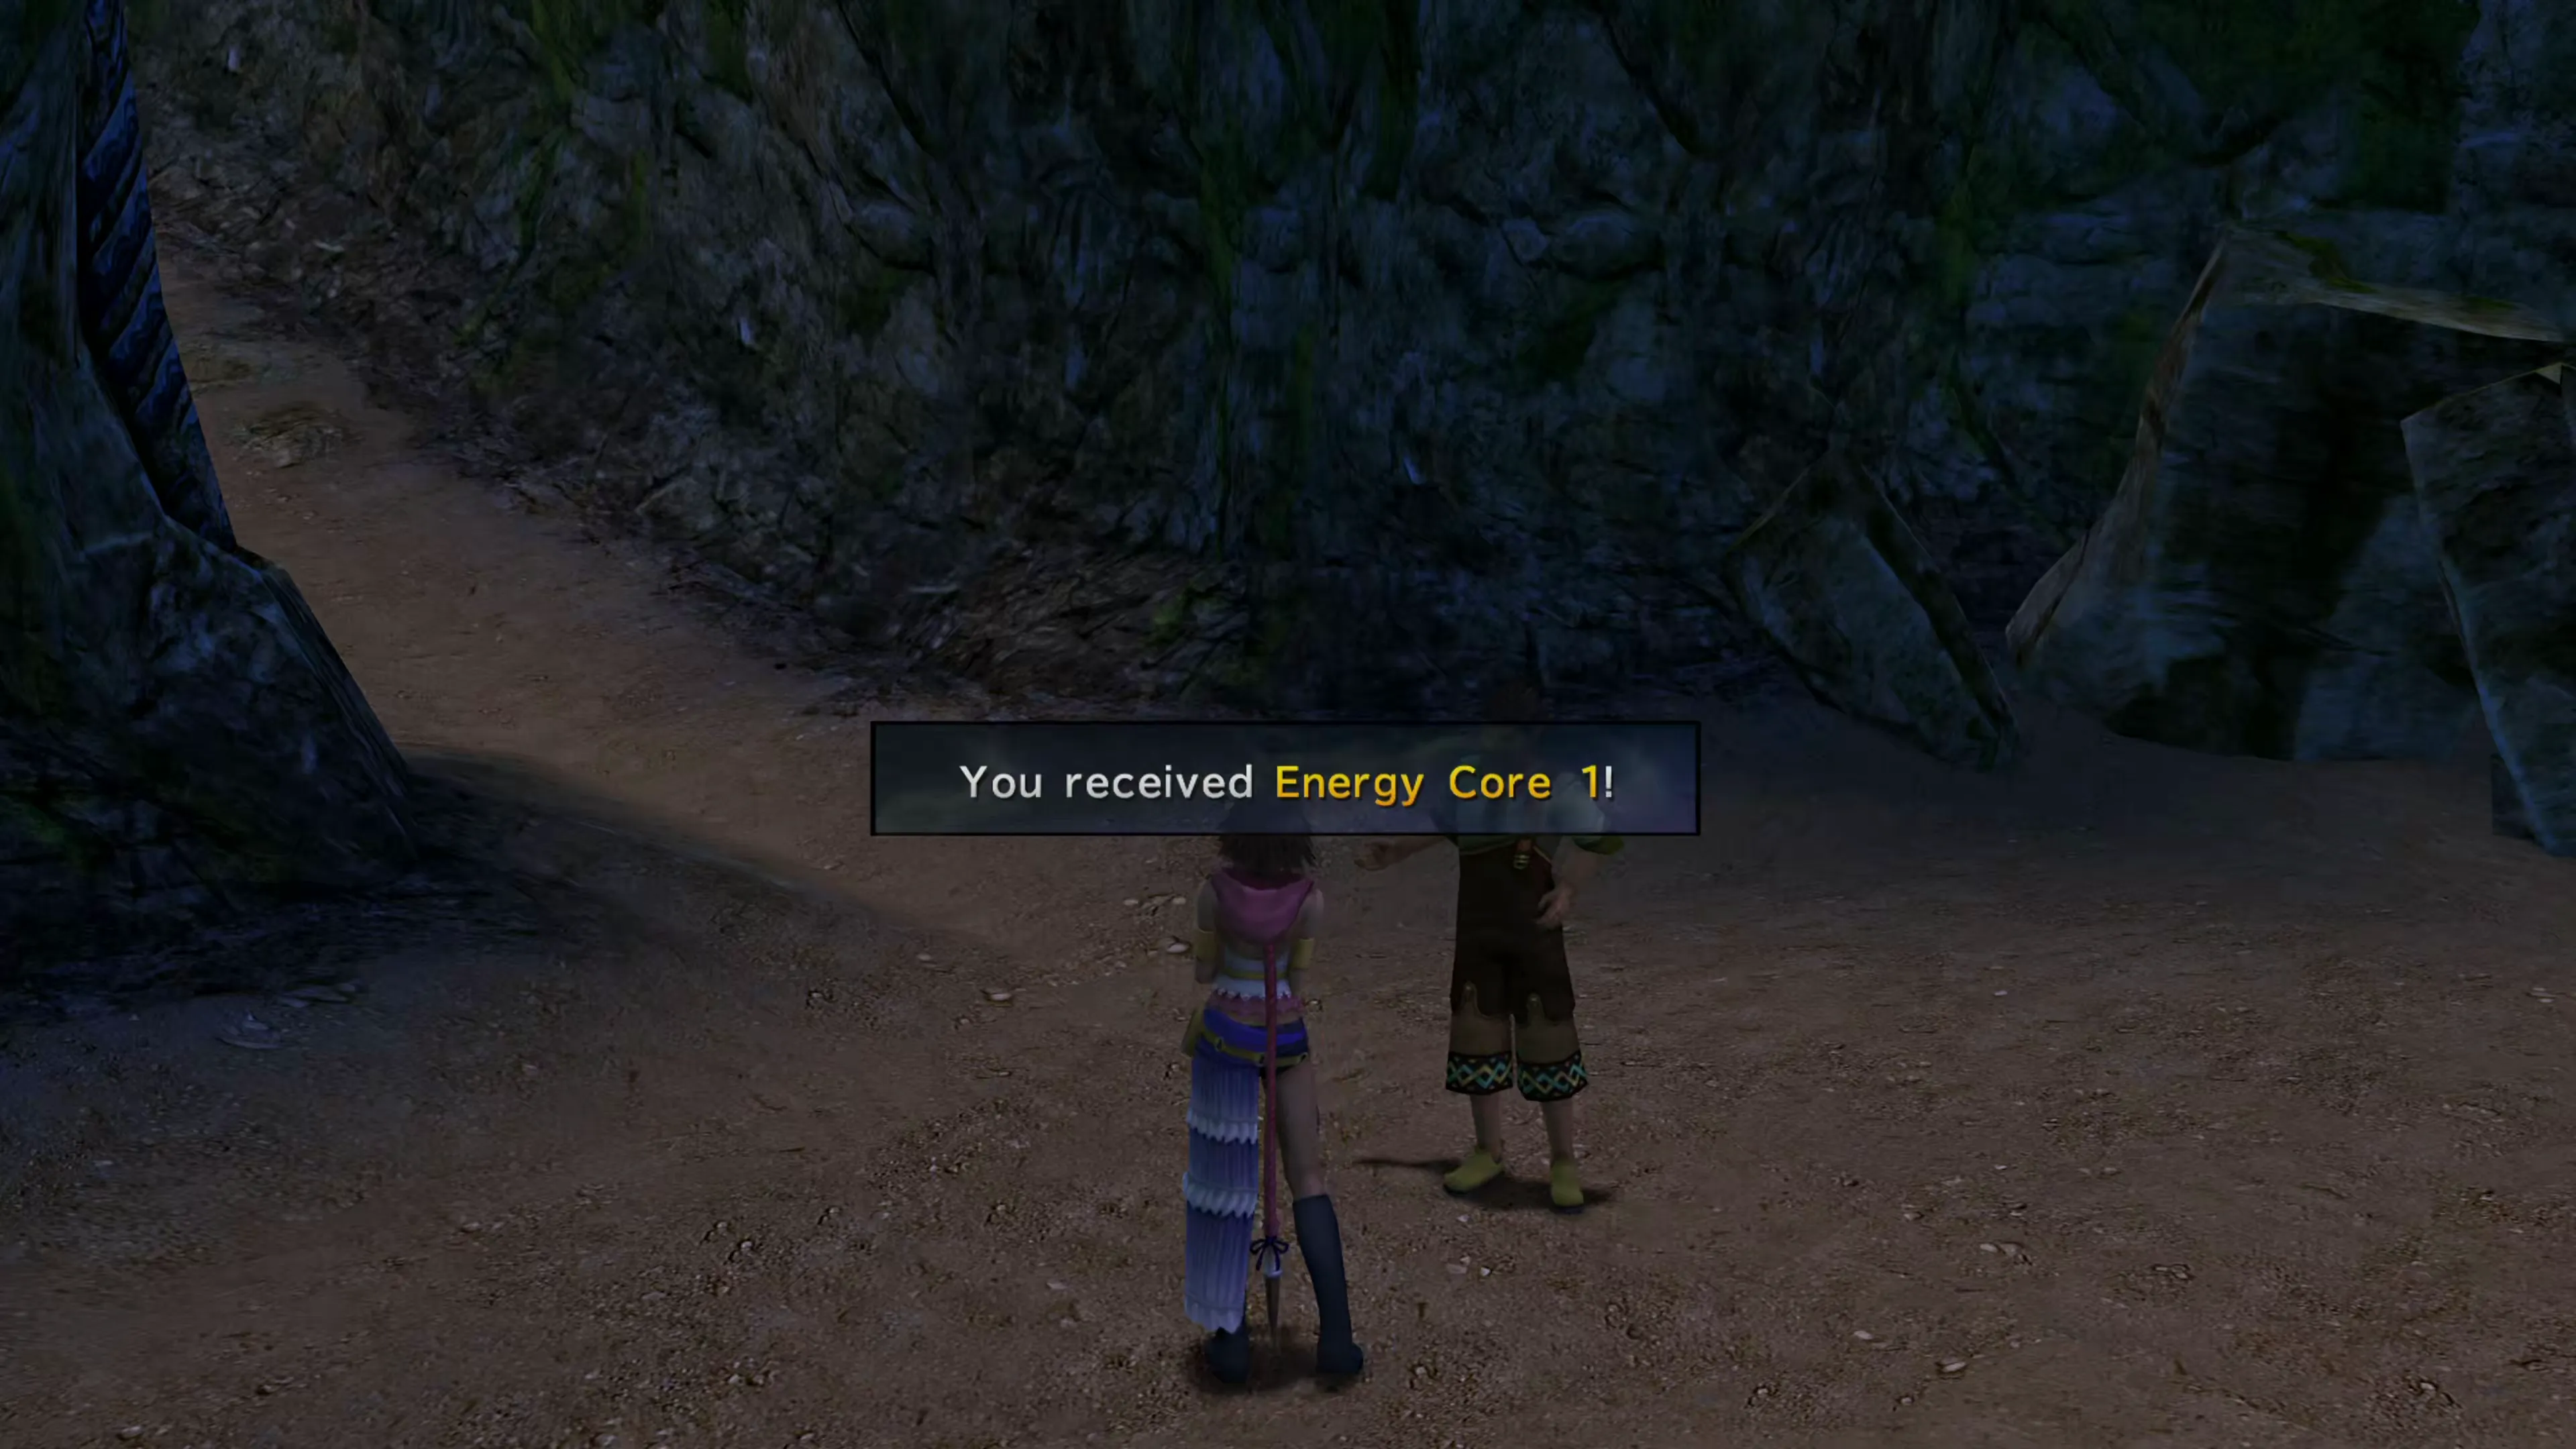
Return to the entrance, and as each tourist departs, they’ll give you rewards, including “Energy Cores” 1 through 6 and a  Besaid Key. Head outside the cave and speak to the man standing there to receive one more Energy Core, bringing you to 7.
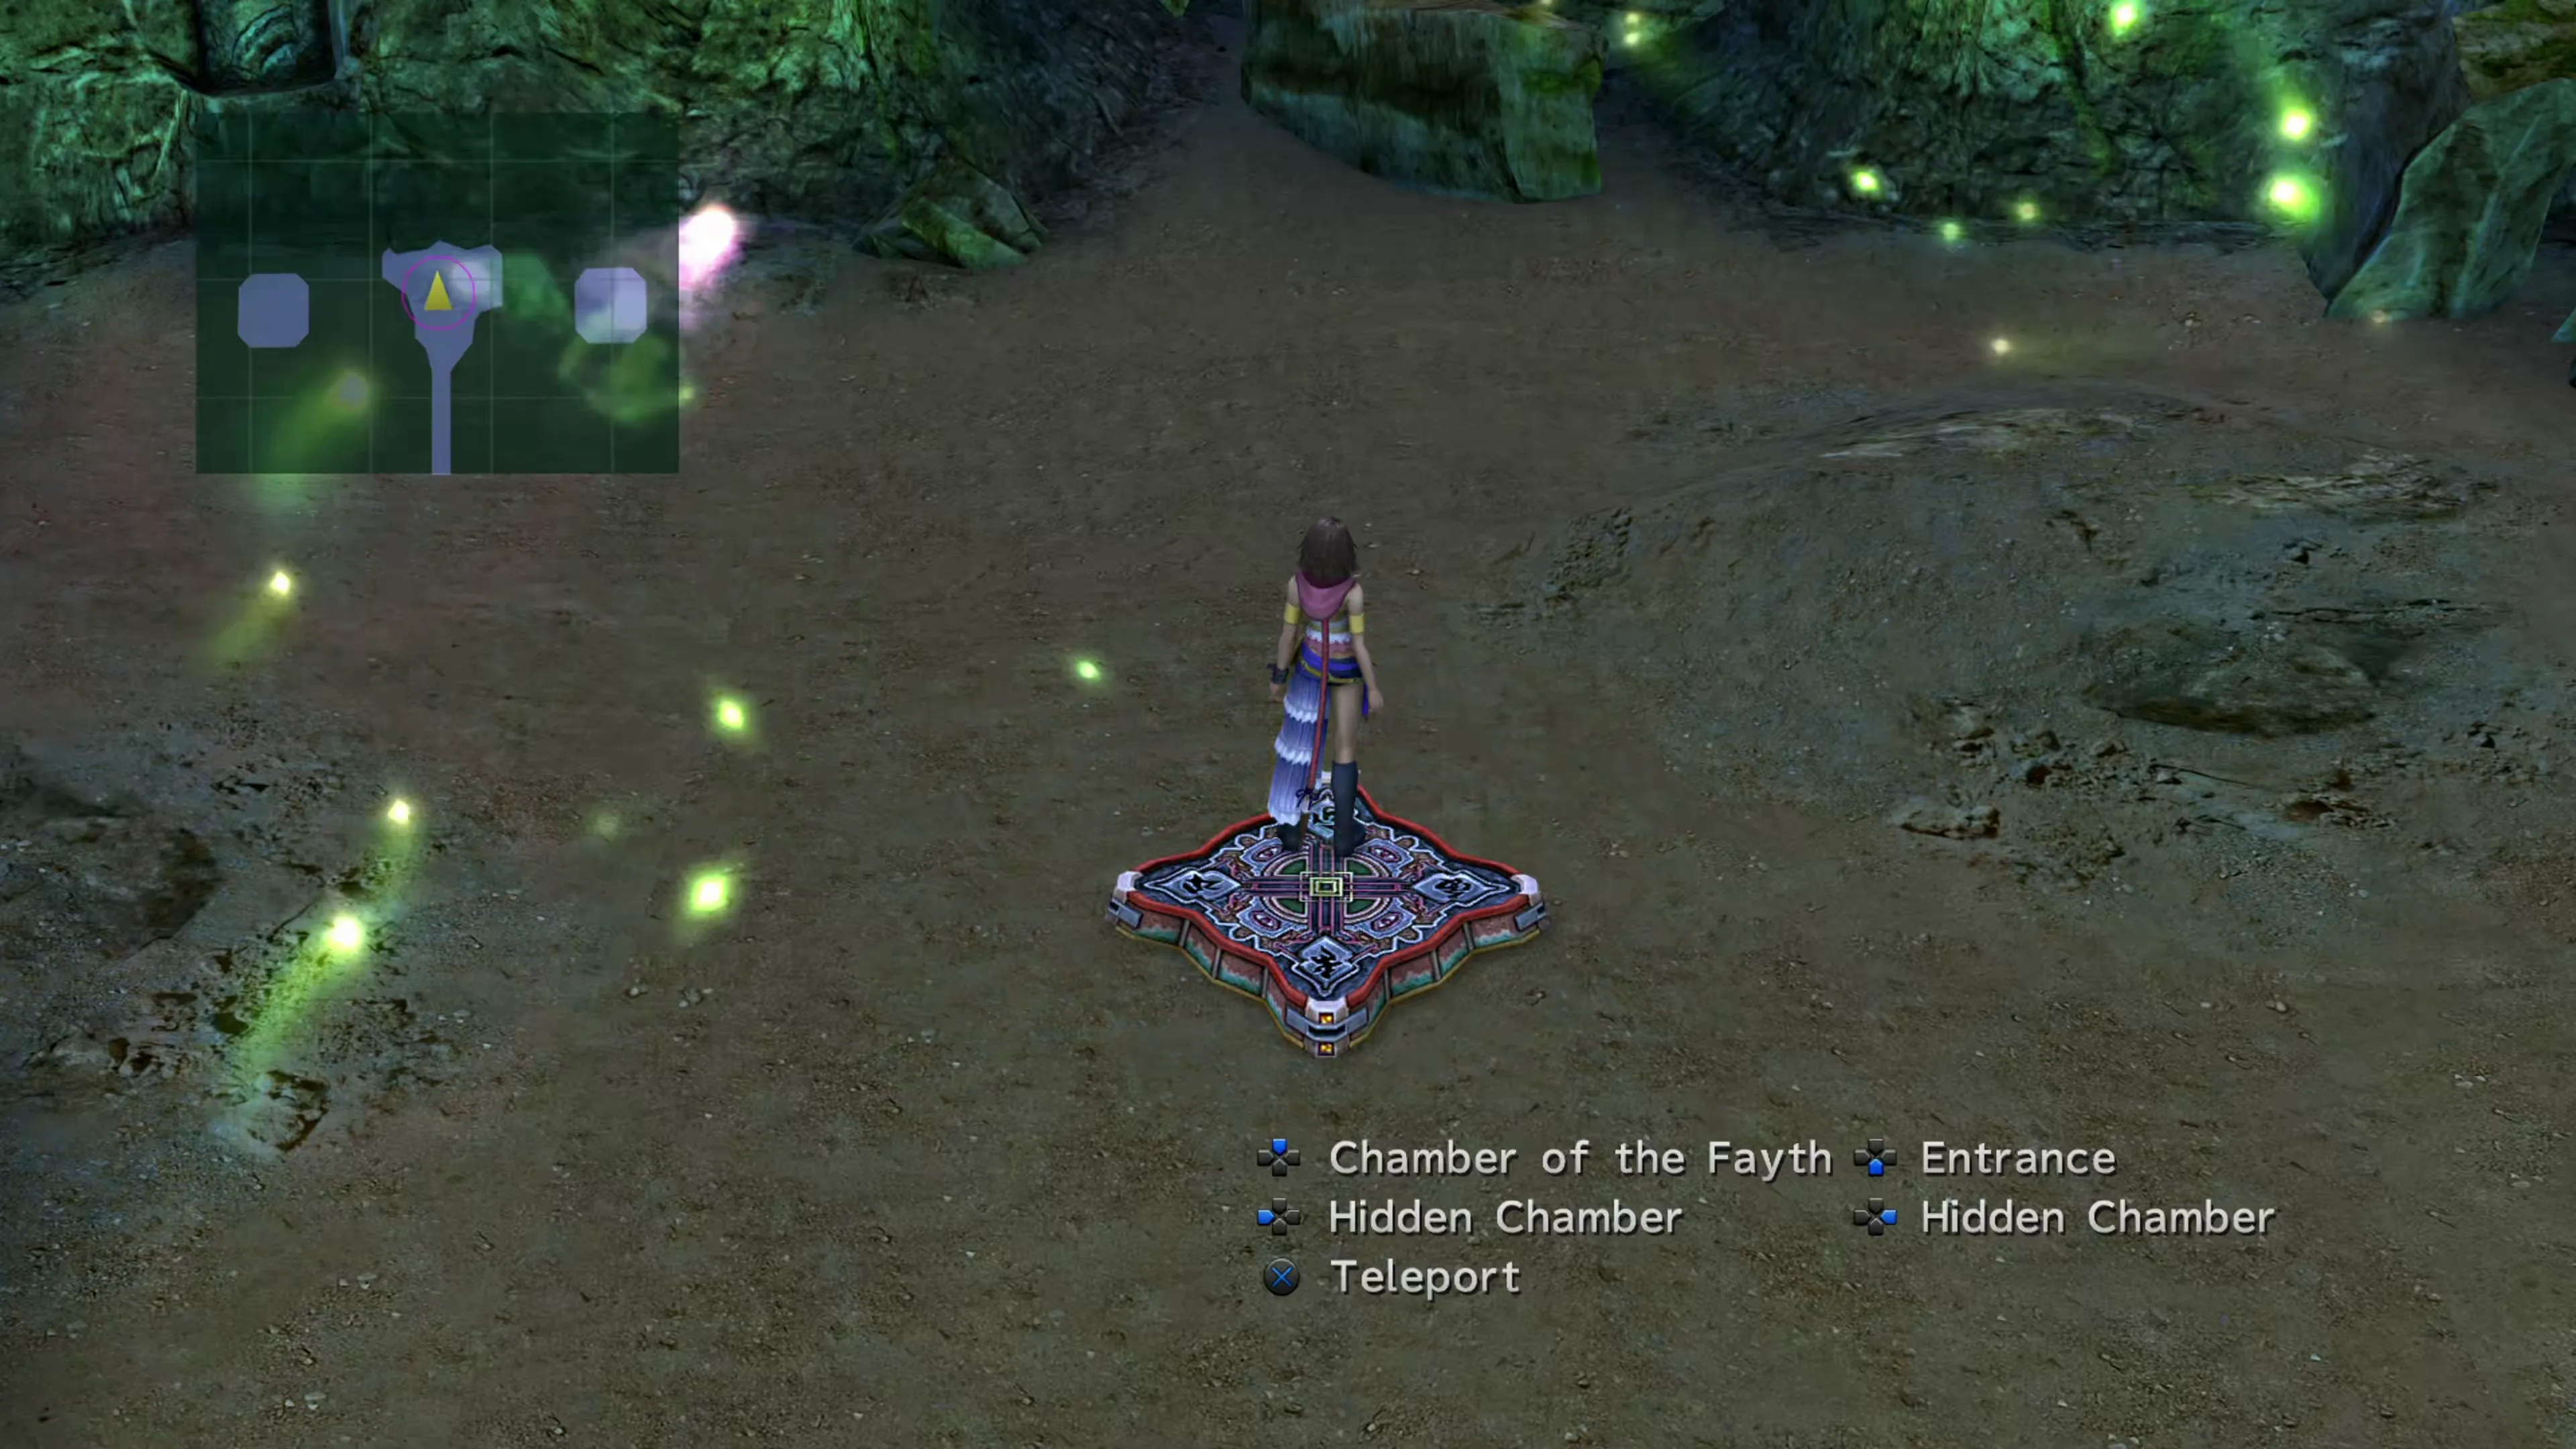
Go back into the Gorge Cave and jump on the teleporter near the front of the cave. This will teleport you to the back section of the cave, but now that you’ve gotten all of the “Energy Cores”, you can aim right to reach a hidden chamber. The treasure chest in this room contains a Lightning Gleam accessory, but the cave itself also houses another tourist that you can take with you back to the entrance. Use the teleporter to get back to the entrance more quickly, and he will give you “Energy Core 8.”
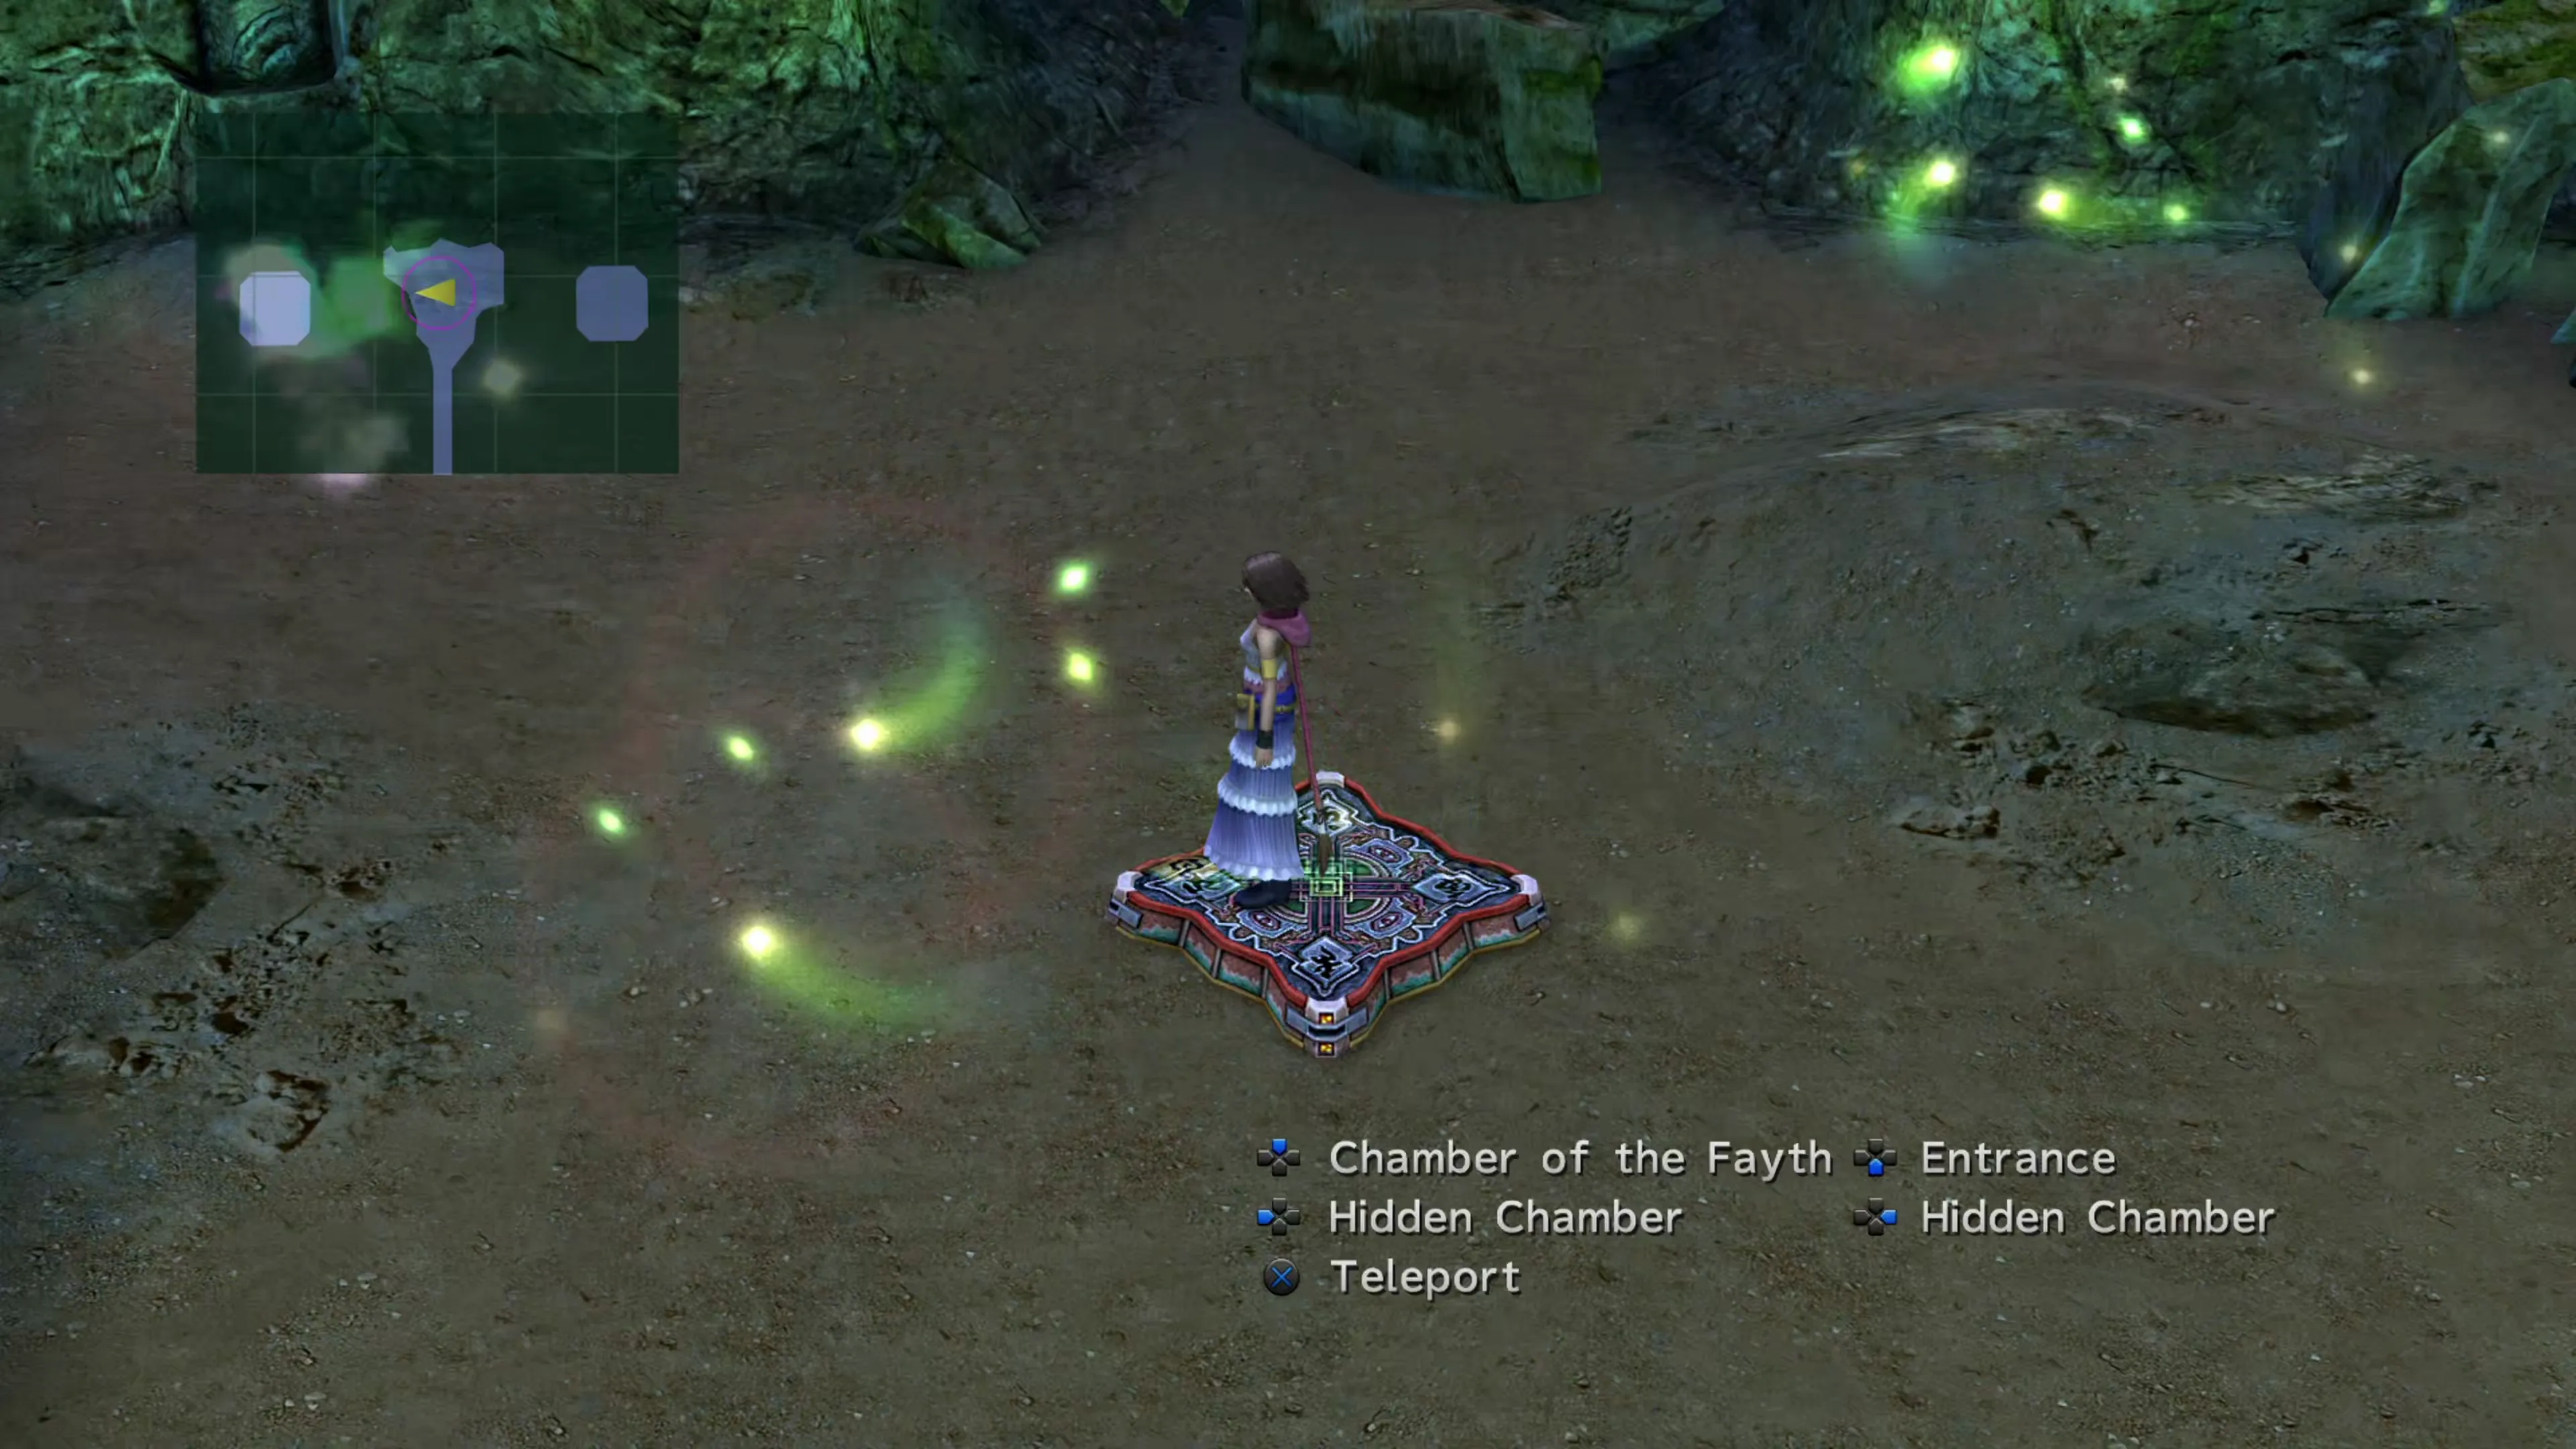
Transport yourself back to the teleporter at the back of the cave, and this time, go to the hidden chamber that’s to the left. You’ll find another tourist here you can help, along with a treasure chest containing a Wall Ring accessory. This tourist won’t give you anything, but you’ve now rescued all of the tourists, which will give you a better reward when you leave and complete the Mission.
However, you have one more boss to face in the Chamber of the Fayth. Before you rush in, though, consider equipping your party members with any Star Pendants you have in your inventory, since one of the boss’s attacks can inflict Poison.
Boss Battle
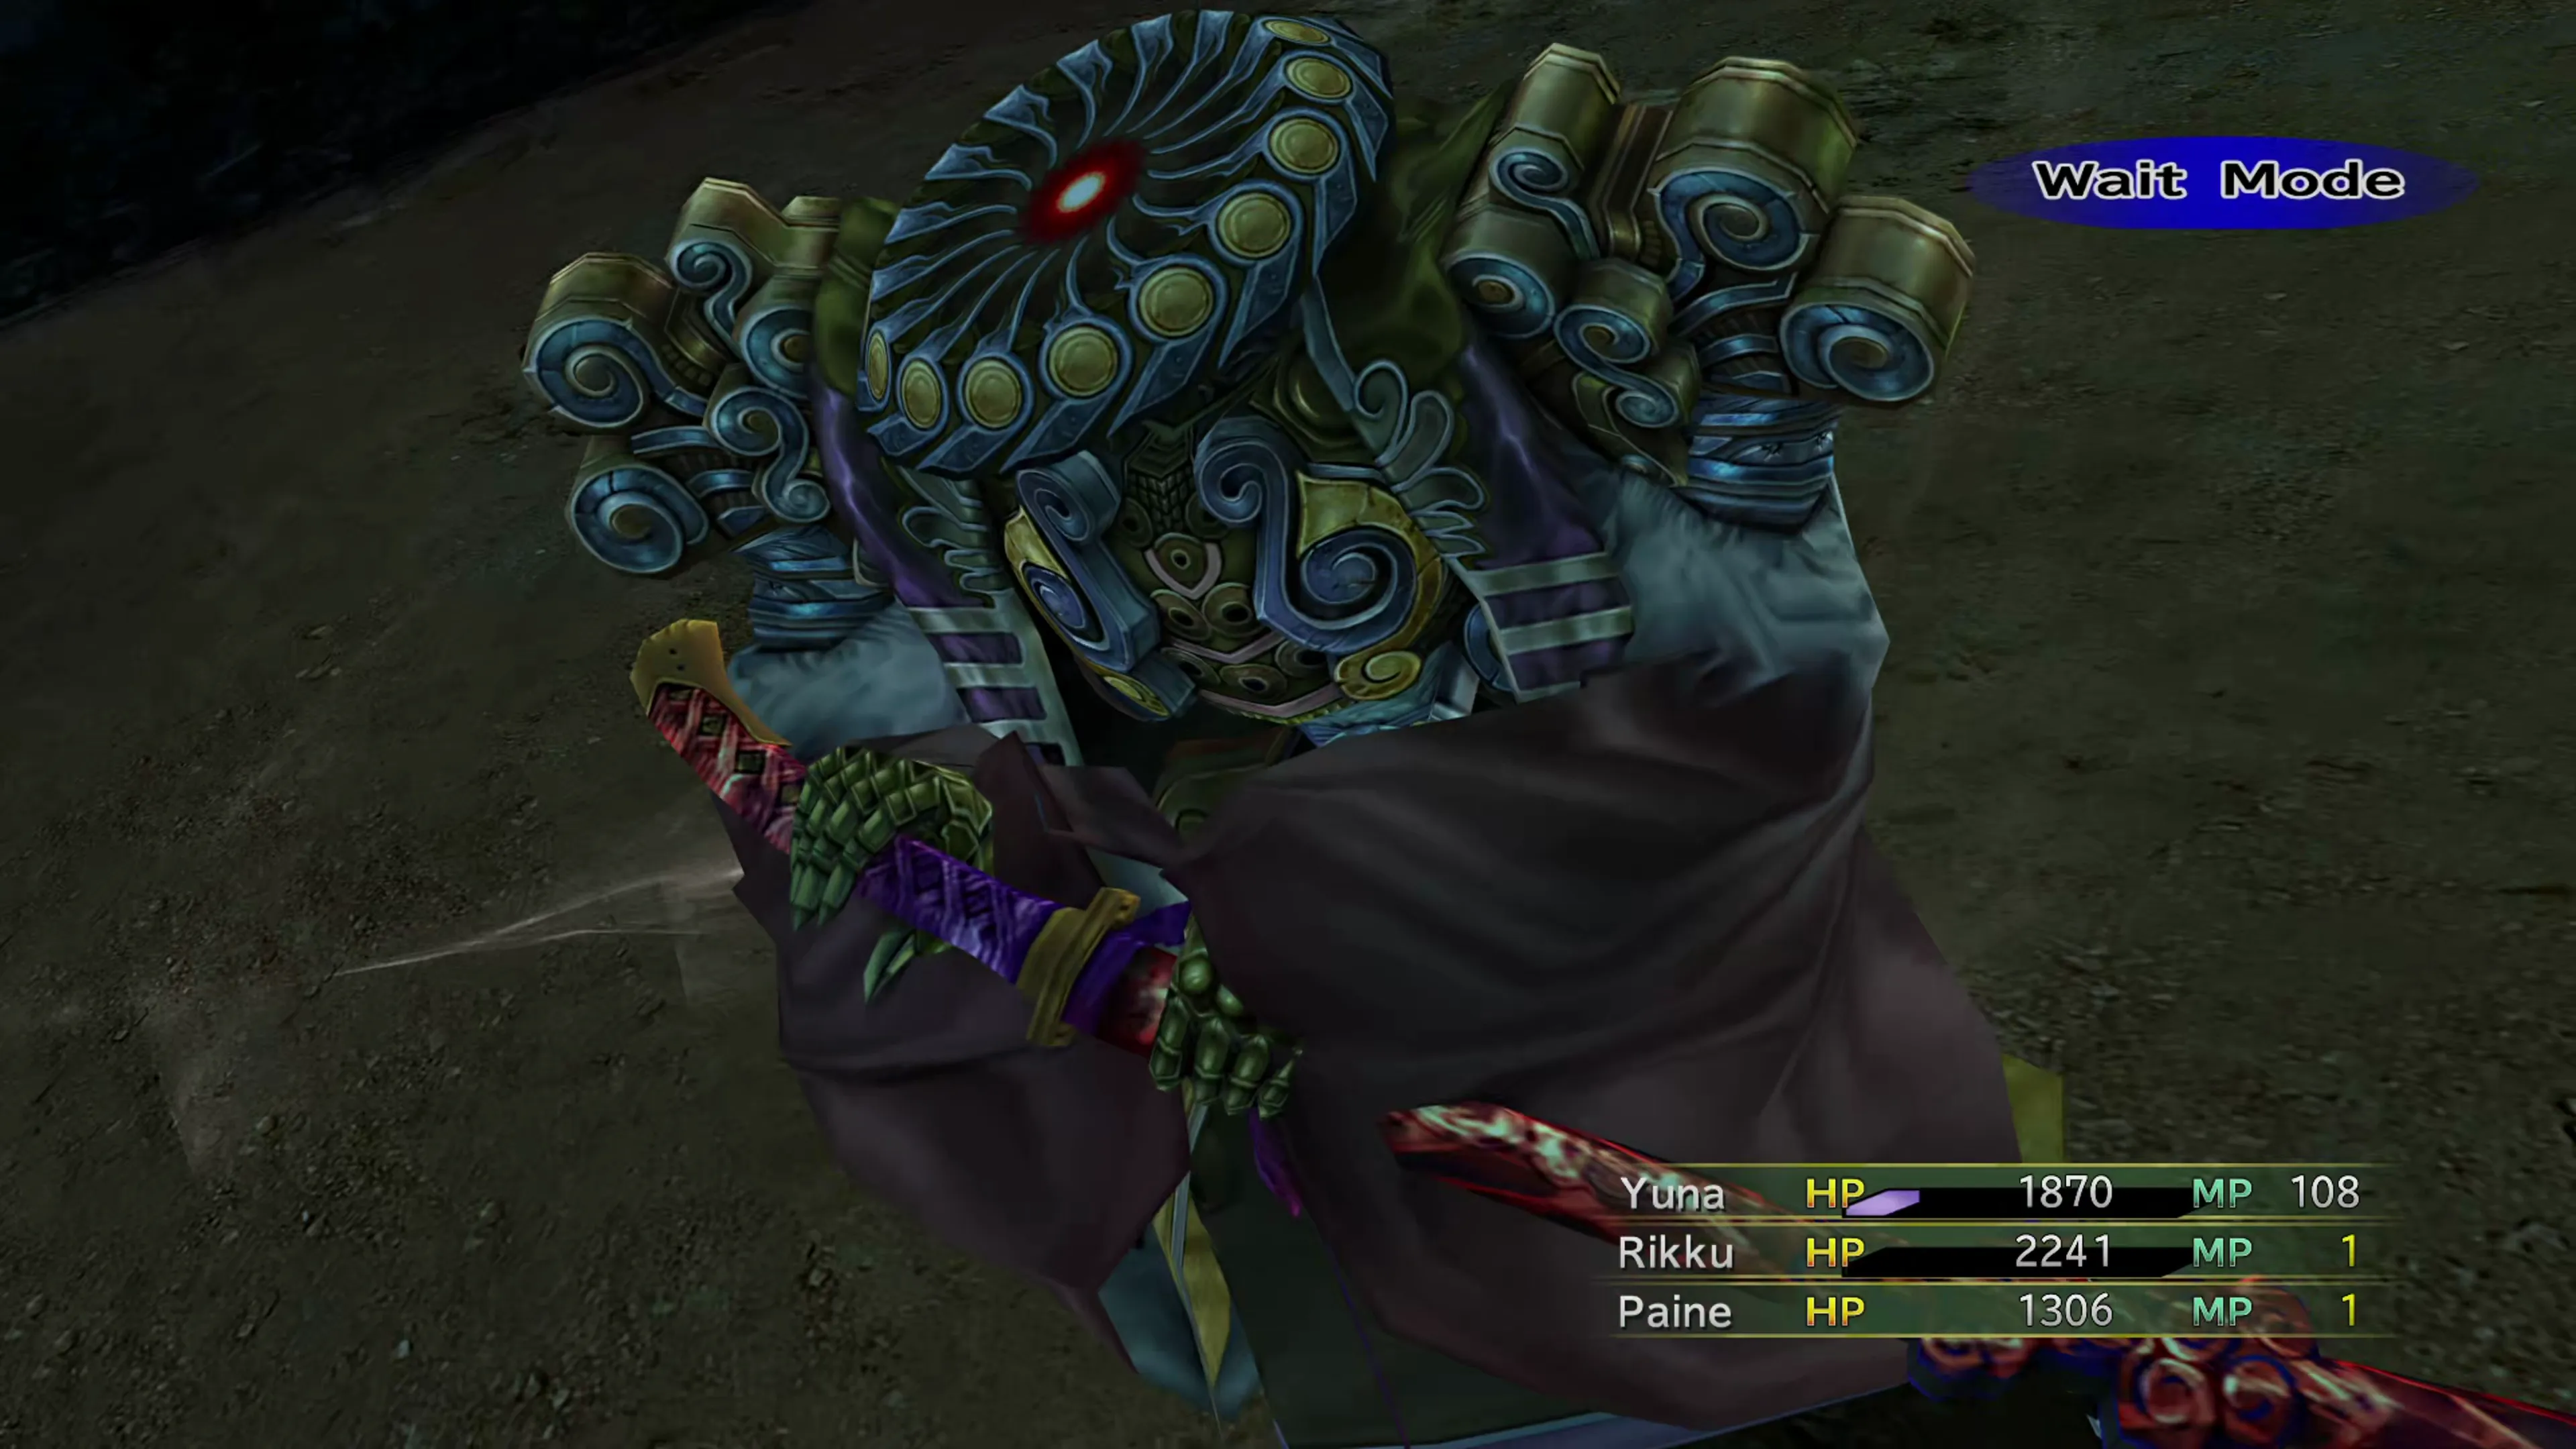
This boss can be deceptively difficult, but a few tricks can make the fight easier. Namely, Yojimbo has powerful attacks, but he can only really KO one party member at a time, so if you take your time and heal up properly after his powerful attacks, you should be fine.
Yojimbo has the following attacks:
- “Daigoro,” which attacks one party member for around 200 damage
- “Wakizashi,” which can hit multiple party members, depending on how many are in range, for around 300 damage
- “Kozuka,” which will drain MP and inflict the
 Poison status effect
 - “Zanmato,” the dangerous one, which reduces all party members’ HP and MP to 1
Your first big problem is dealing with “Zanmato.” It can’t KO your party members outright, which is a good thing, but any party members inflicted with Poison or that get hit immediately after without being healed may be KO’d. Therefore, you always need to have a party member ready to cast a heal right after this attack goes off.
The best approach is to have an  Alchemist ready with Mega-Potion. Save it for right after “Zanmato” rather than using it on cooldown. Alternatively, a
  White Mage can use
  Pray for quick, MP-free healing.
Using  Dark Knights in your party can be really helpful in this fight if they have learned their
  Poisonproof ability. Just be careful using their
  Darkness ability during this fight, as they could very easily end up KO’ing themselves.
Yojimbo is immune to pretty much all status effects and all “break” abilities, so this fight is about hammering his HP down quickly enough before he eventually overwhelms your party.
| Enemy | HP | Steal | Drop |
|---|---|---|---|
| Yojimbo | 22000 | Power Wrist |  Recovery Bracer Recovery Bracer |
Yuna, Rikku, and Paine will automatically exit the cave once the final battle against Yojimbo has concluded. This will also conclude the Mission, and you’ll receive a Recovery Bracer and a  Tetra Master Garment Grid as your reward. You’ll automatically be transported back up to the Celsius after that, but head back down to the Calm Lands again. You still need to visit Clasko, and don’t forget about that treasure chest you may have seen in the Fayth Chamber before Yojimbo ambushed you! The game teleported you back up to the Celsius before giving you a chance to grab it.
Fayth Chamber
Travel back into the Gorge Cave and take the teleporters back into the Fayth Chamber. Open up the treasure chest to pick up a Star Bracer.
Fayth Chamber

| 1 | Star Bracer |
You can also walk to the Chocobo Ranch instead of using the  Save Sphere to teleport there and pick up a few chests along the way:
Take the exit north, away from the Gorge Cave, which leads back up to the “Bridge” area.
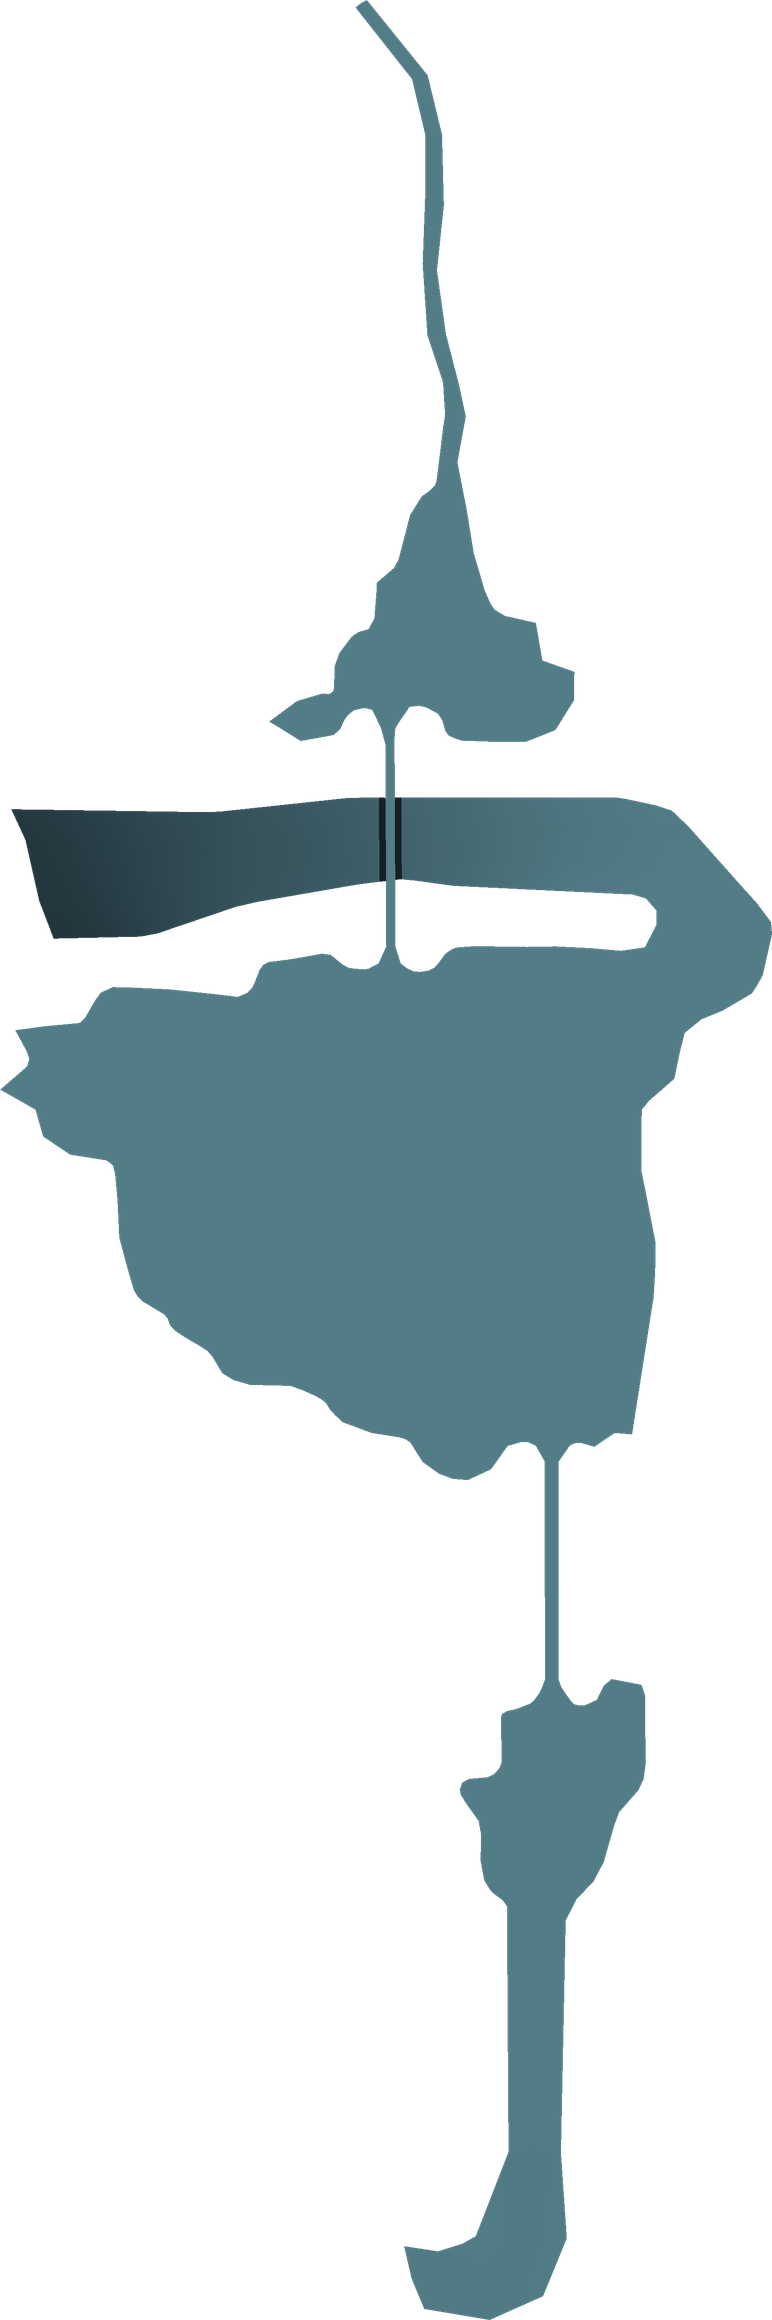
You can also venture out into the Calm Lands to grab more treasure chests if you’re feeling adventurous:
Central
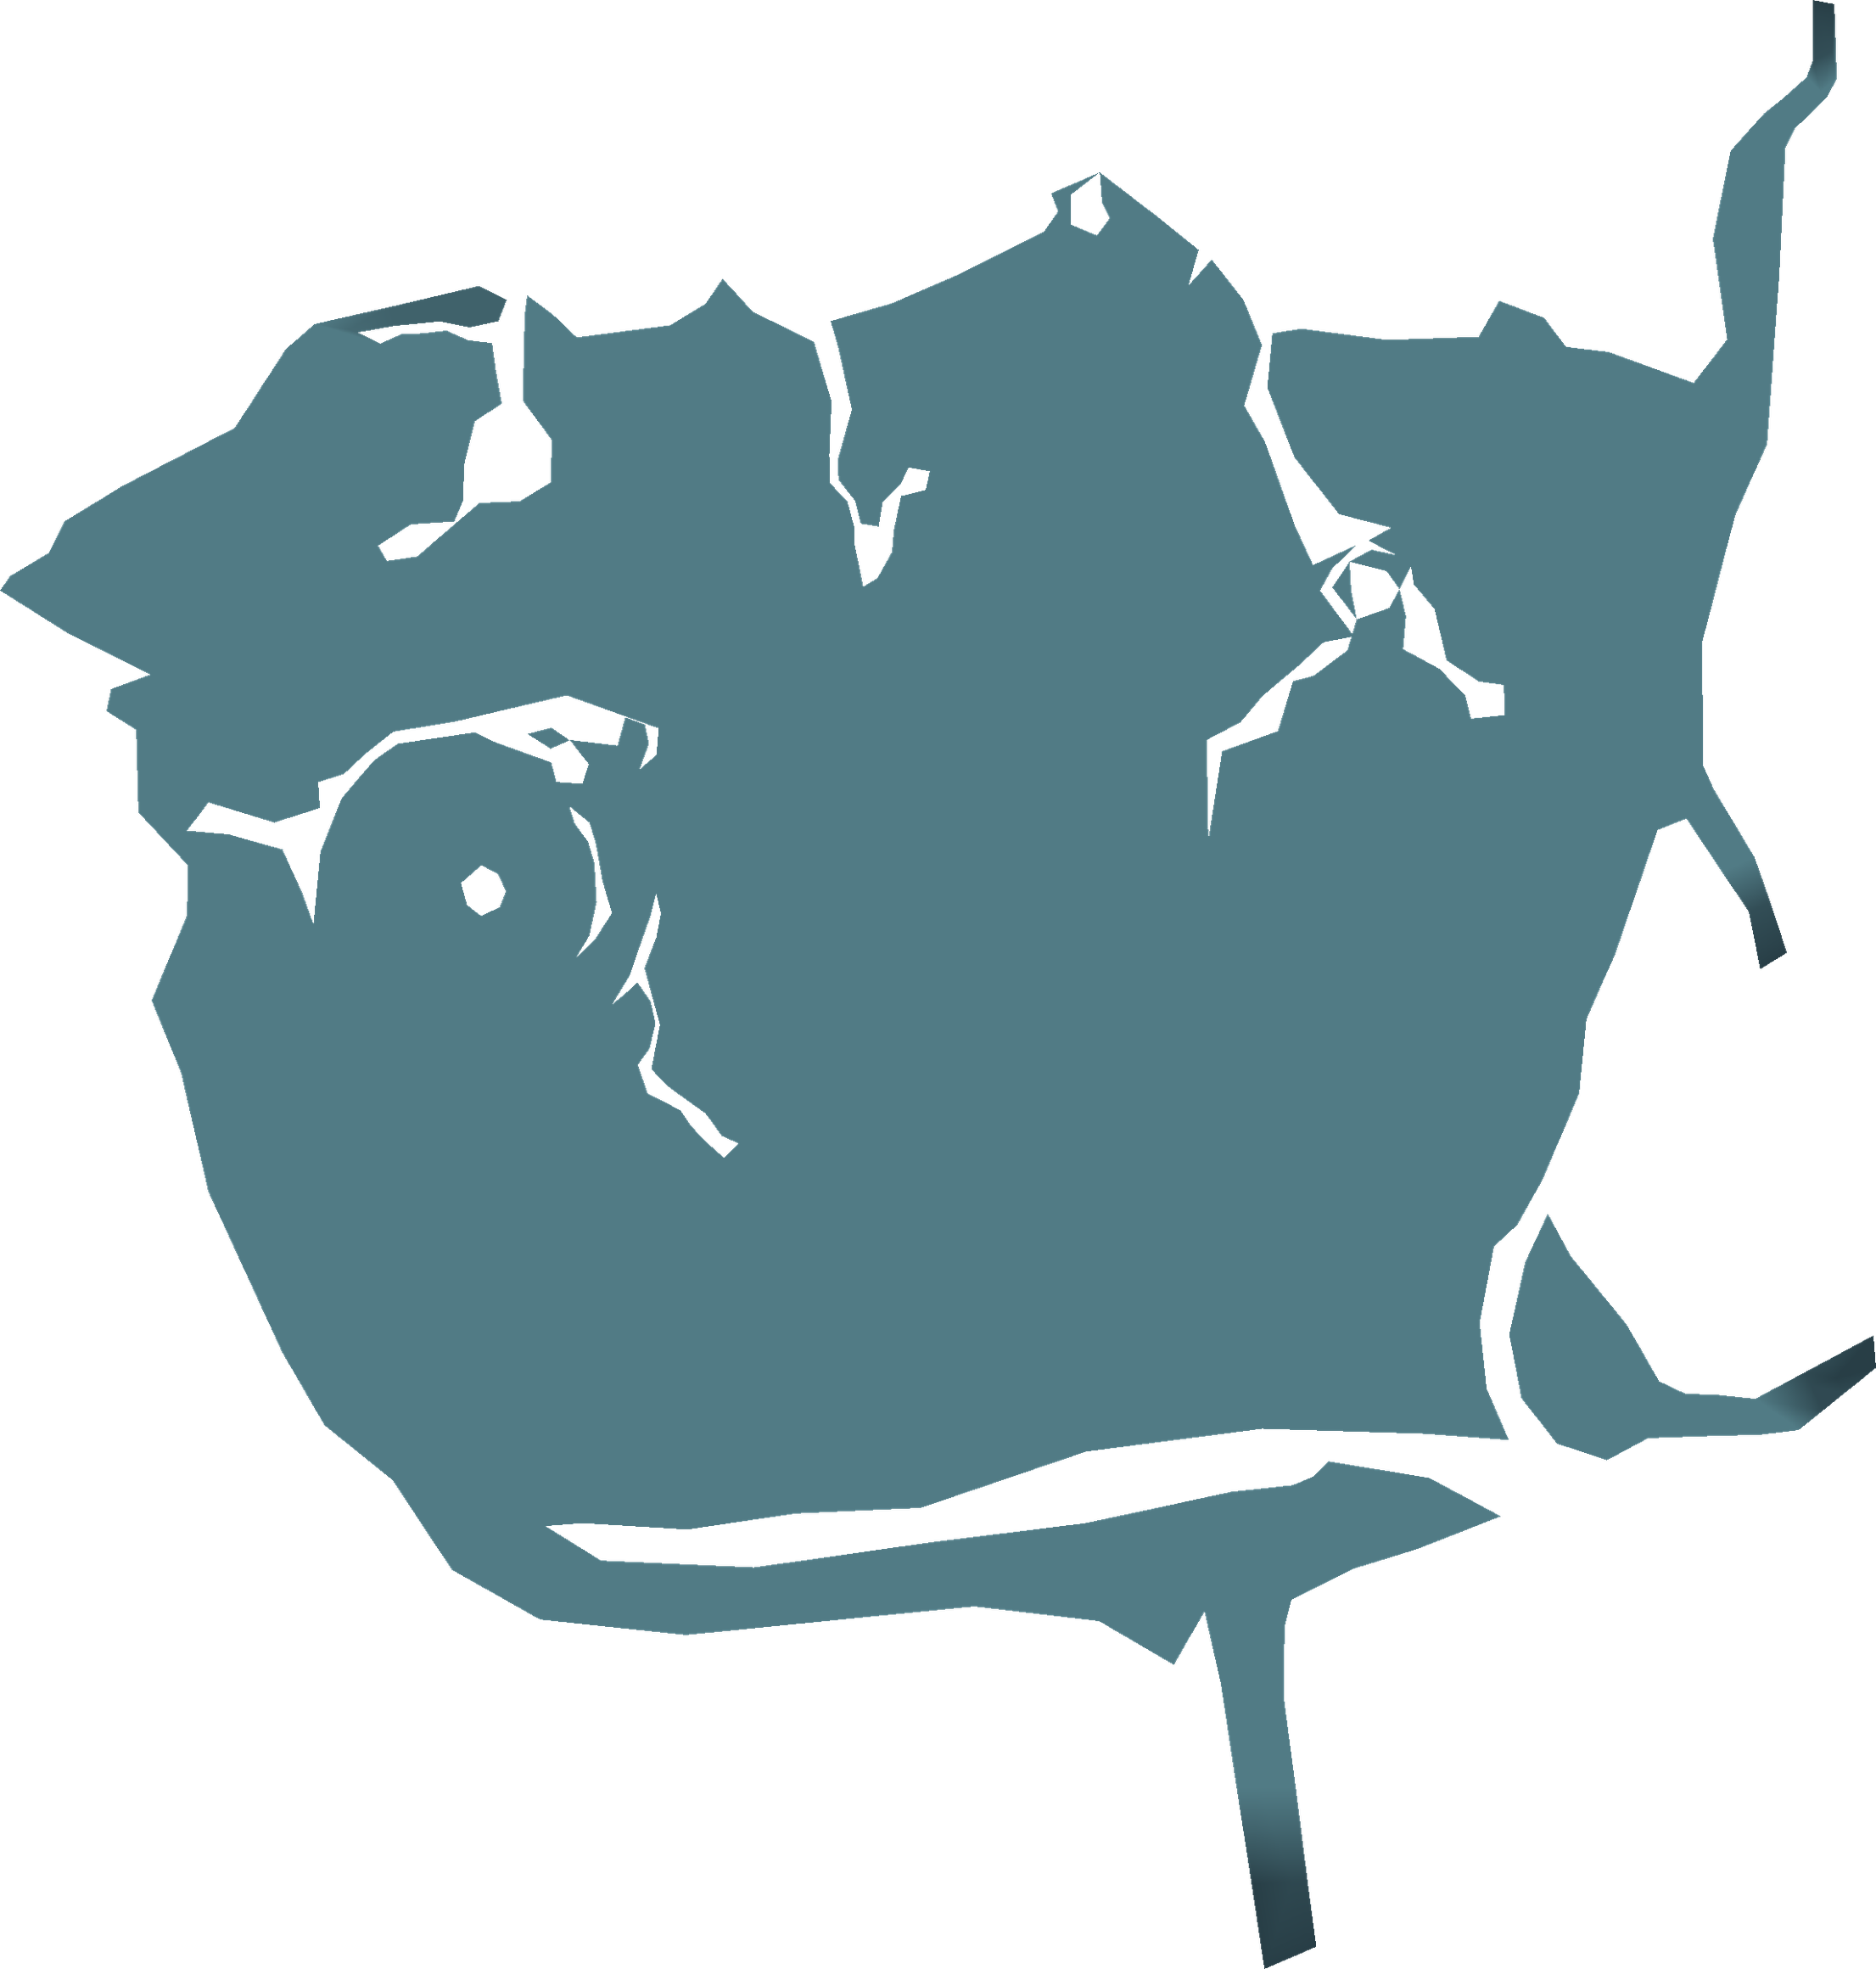
| 1 | Ether ×3 |
| 2 | Mega Phoenix |
| 3 | Sprint Shoes |
Chocobo Ranch
Select “Mission 2” this time when you activate the map screen, and you’ll automatically be teleported back to the entrance to the Monster Arena Clasko’s Chocobo Ranch. There isn’t much to do here, but speak to Clasko to pick up some more Greens.
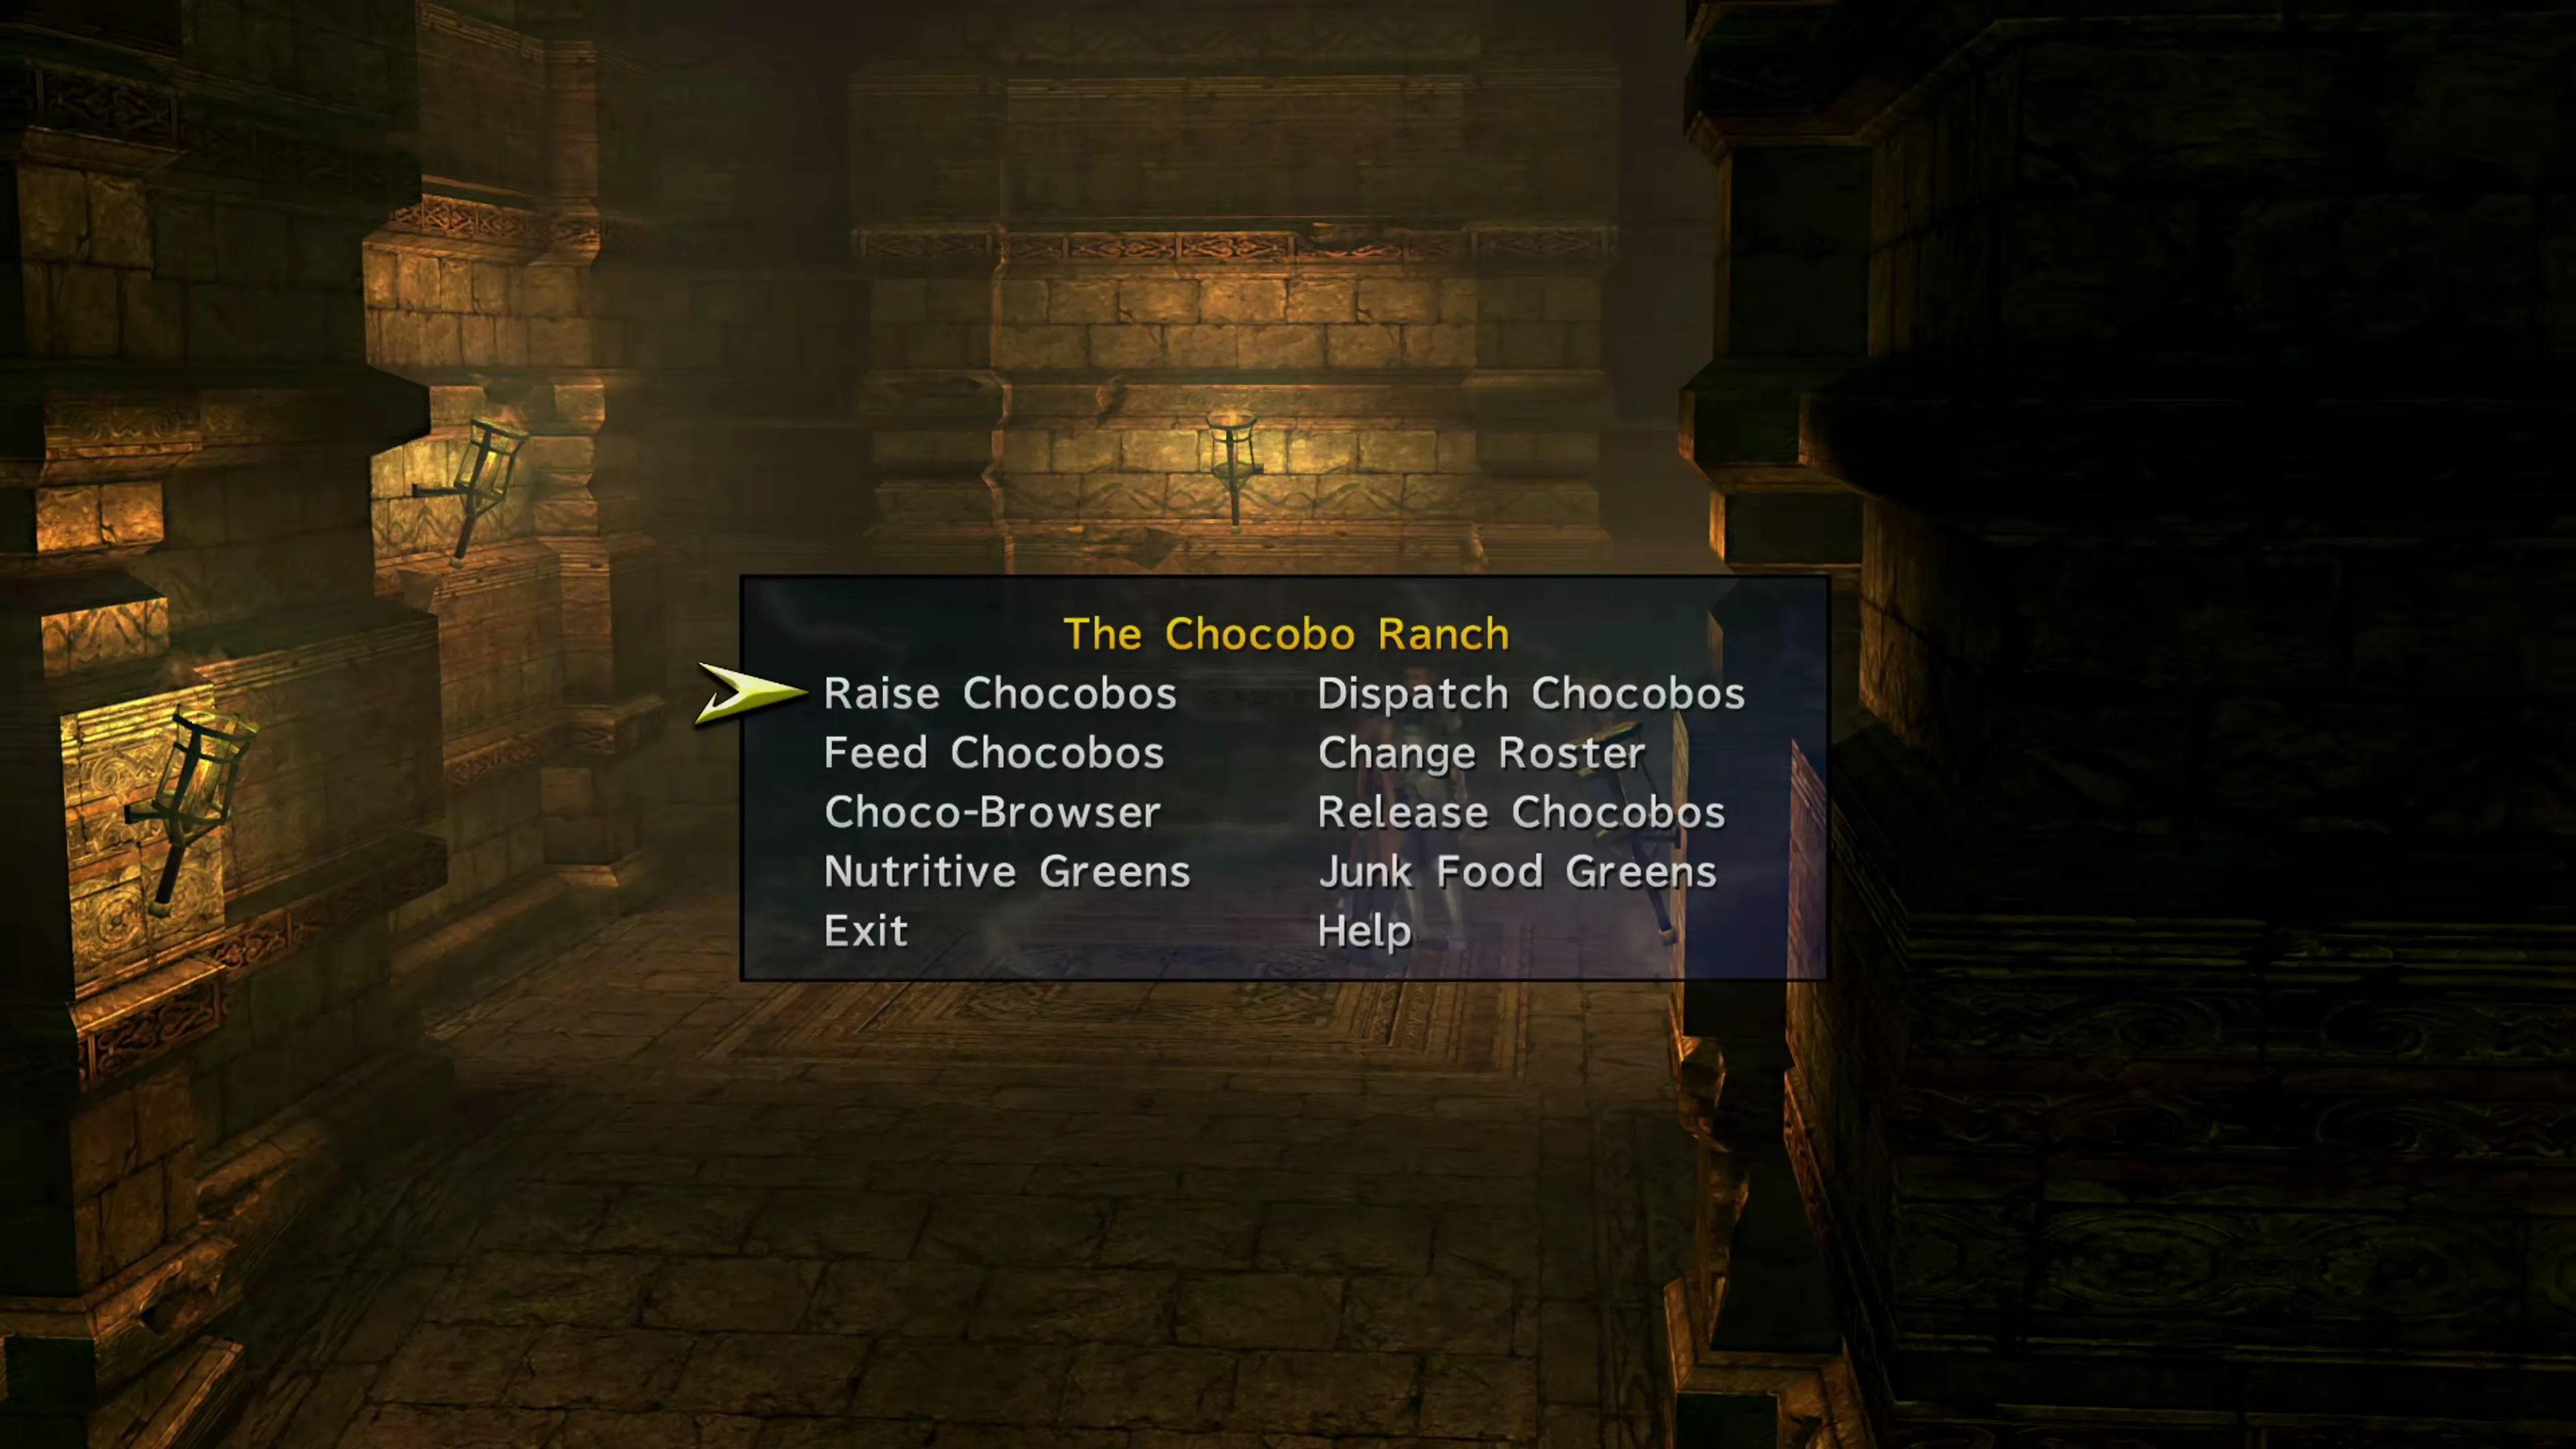
Clasko will naturally accumulate Greens for you while you’re out around Spira. In fact, each time you engage in a battle, it triggers more Greens to spawn, which Clasko will hold on to for you. You don’t need too many Greens during a typical playthrough of the game, but while you’re here, you may as well stock up. Check out the Chocobo Ranch page if you would like to learn more using the link below, but for now, select the “Junk Food Greens” on the menu screen that pops up.
Side Quests
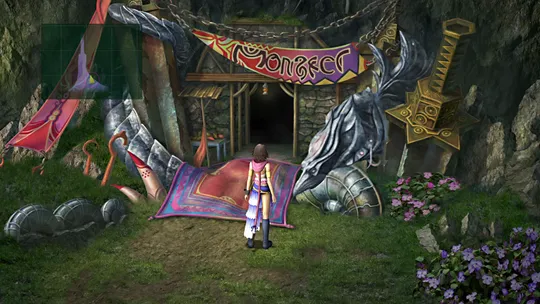
Learn more about how to catch and care for Chocobos out at Clasko’s Chocobo Ranch in the Calm Lands. This side quest can be left until Chapter 5 where it becomes a bit easier to fully complete.
Before you leave, it’s a good idea to follow Shinra up to the second level of the Chocobo Ranch. Head up there and make sure he drops off the CommSphere for this area. You can even talk to him while he does this (“CommSphere installation complete. Heh heh.”).
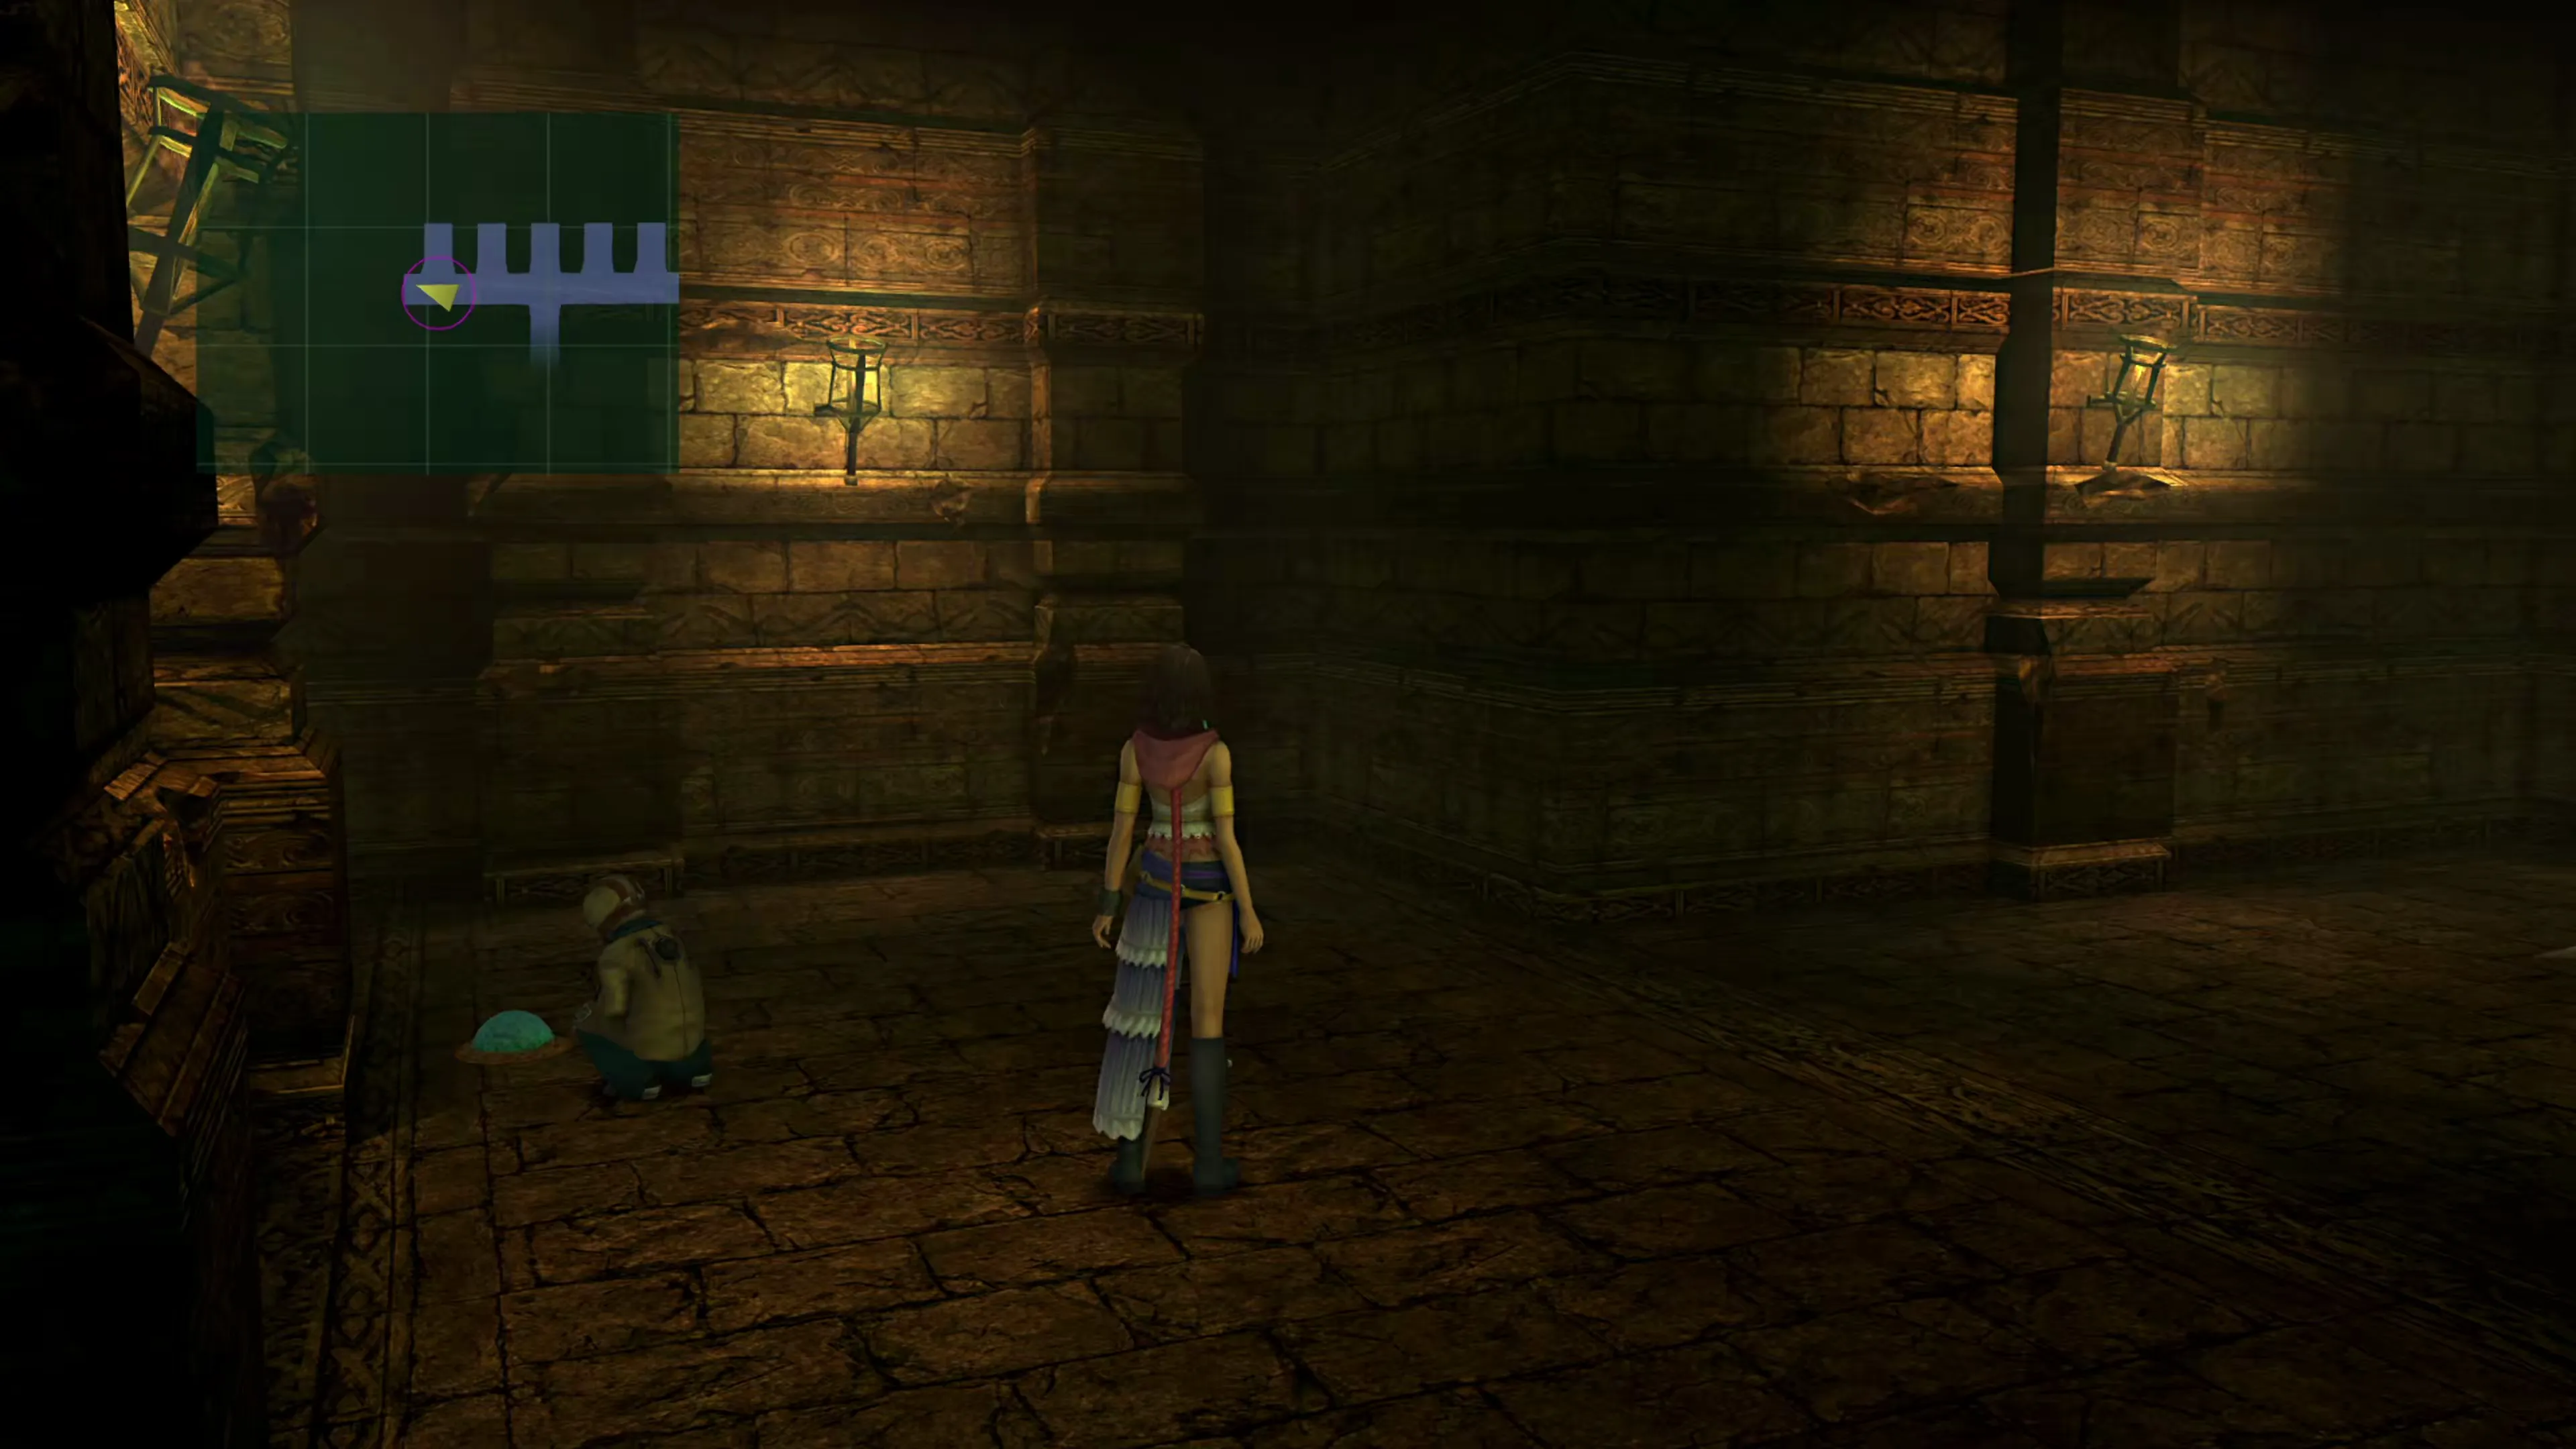
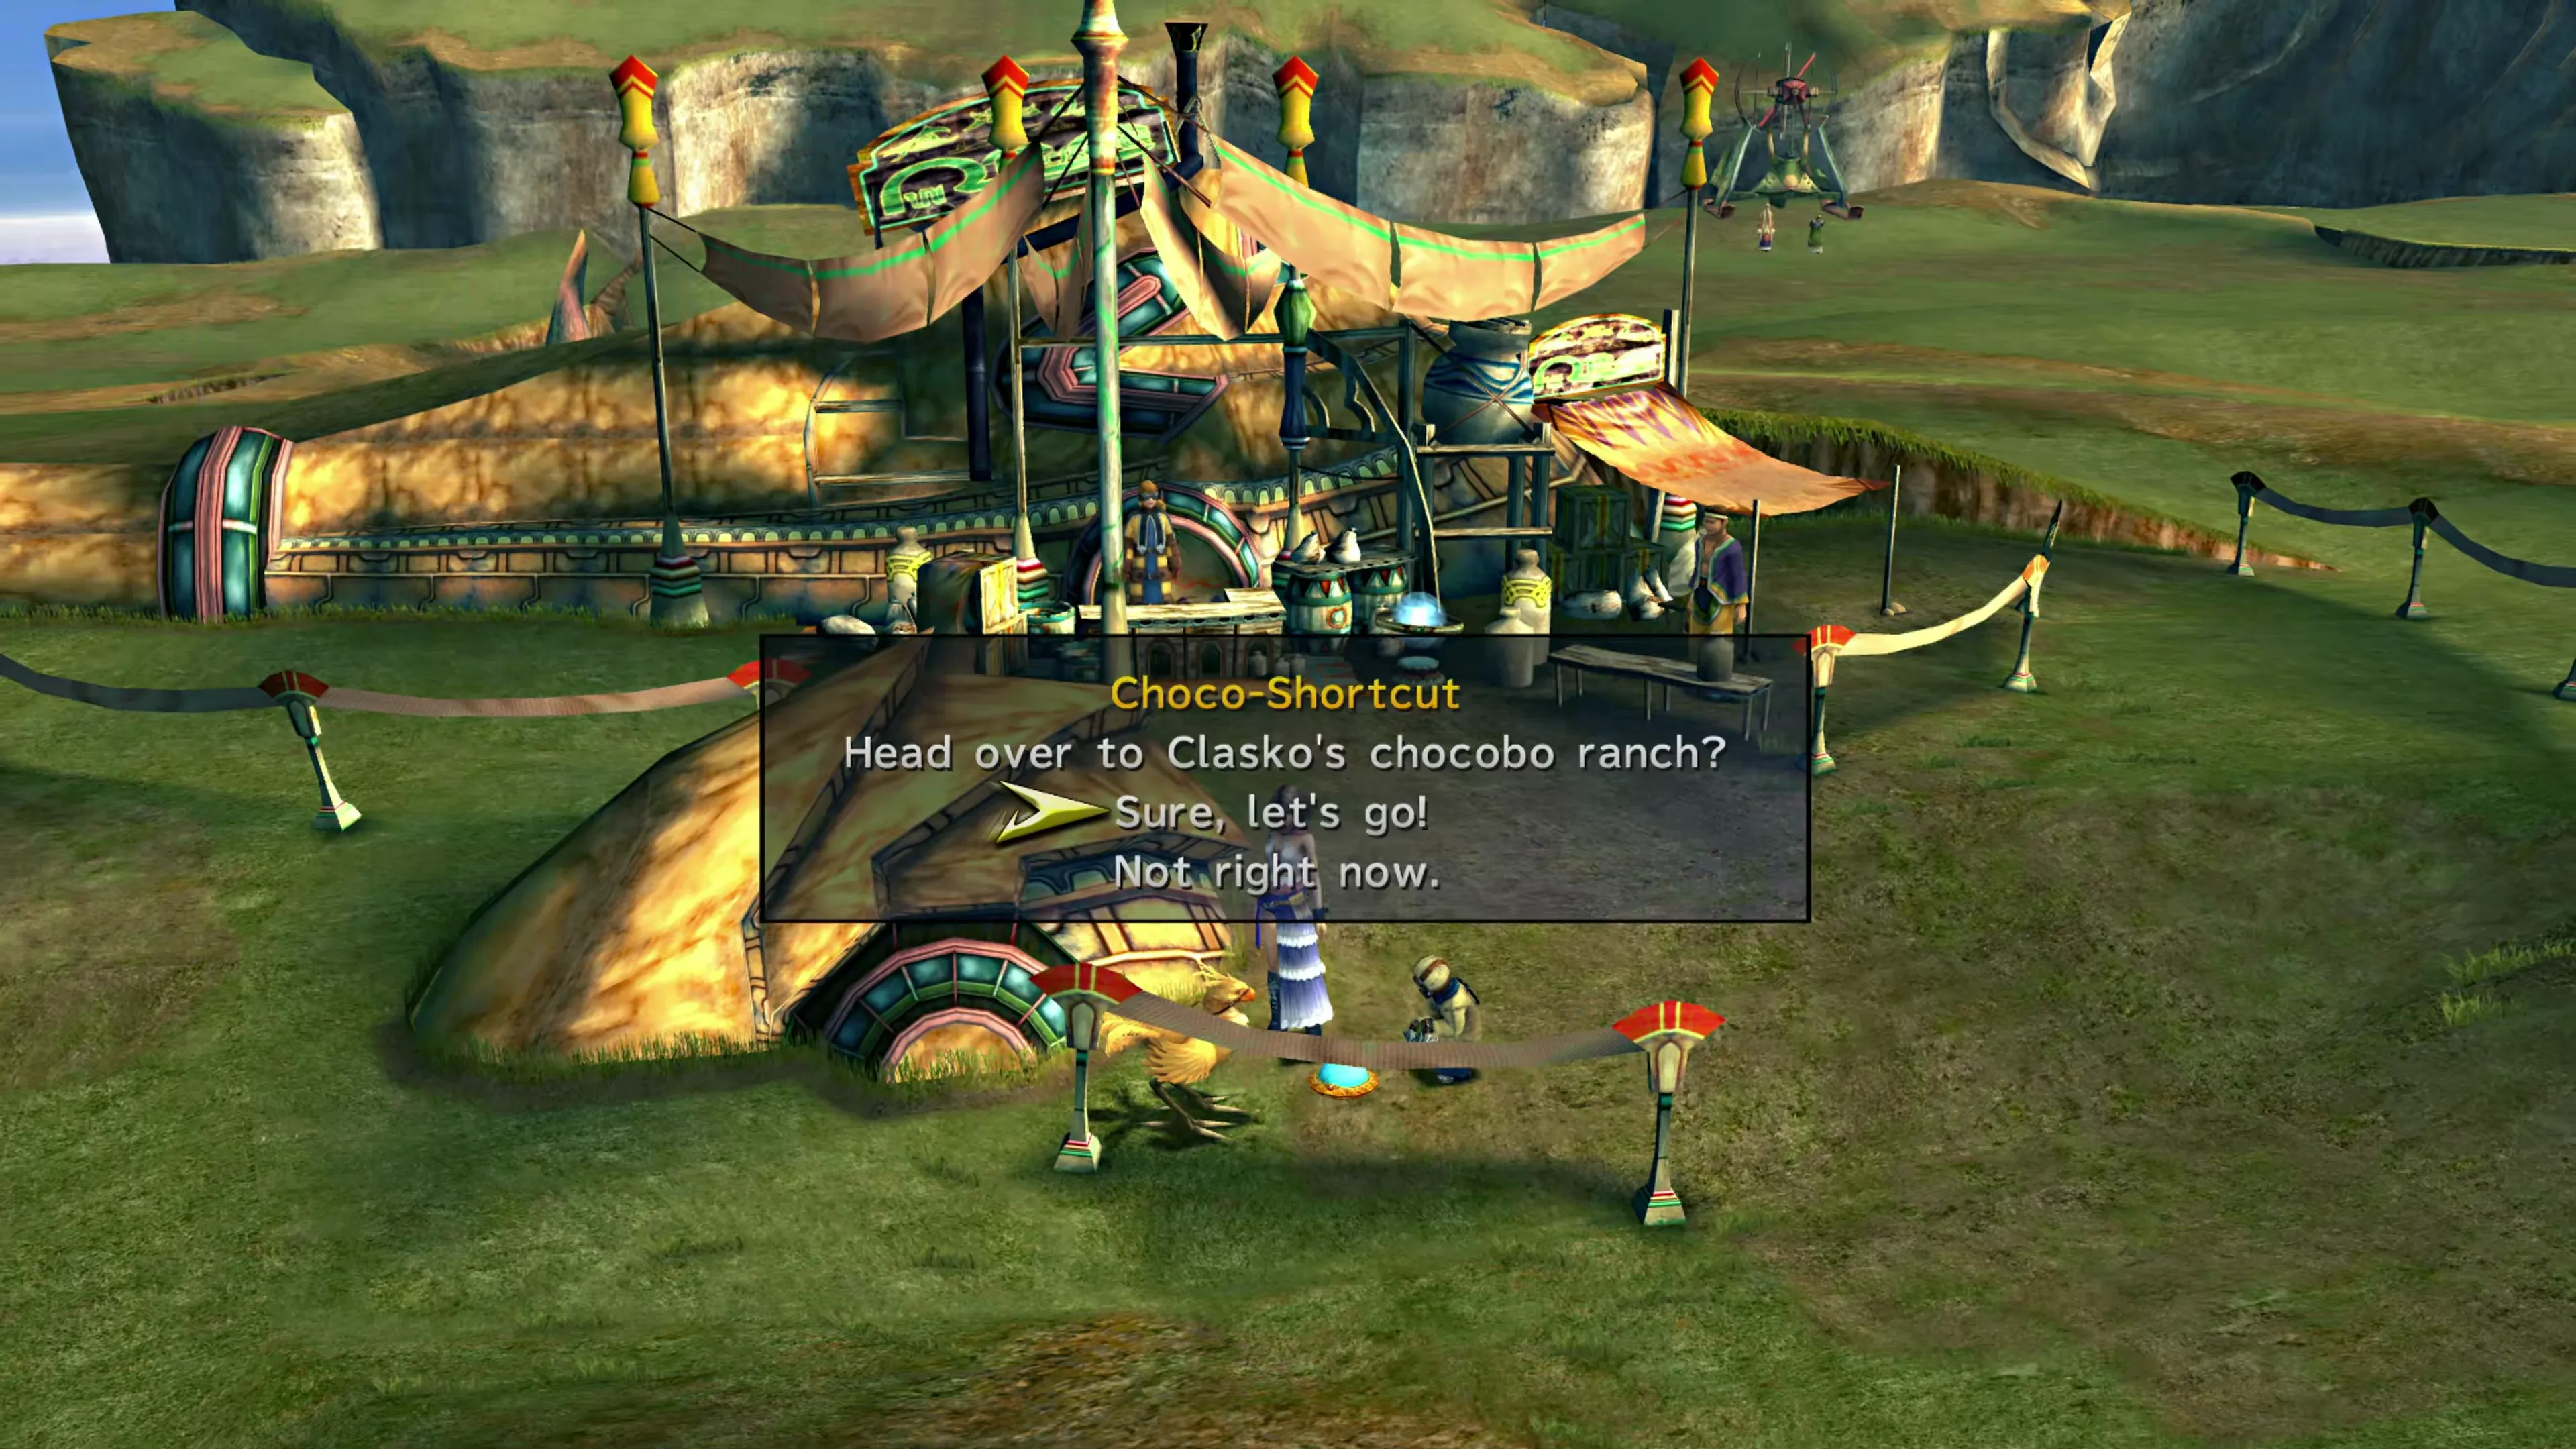
After that, travel back to the Travel Agency in the center of the Calm Lands. Again, you should see Shinra leaving a CommSphere here near the entrance and near a tiny little Chocobo. By the way, you can use this tiny little Chocobo to travel back to the Chocobo Ranch in later chapters quickly.
Warning
Before you end this chapter, make sure you’ve completed all of the Publicity and Marriage Campaigning that you plan to do. You should be over 400 points already, but you can travel through Spira for one last rally if you’re worried about being short.
And with that, you’re done in the Calm Lands, but before moving on, note that you just picked up a Besaid Key, which you can use to complete the Search Sphere side quest in Besaid.
Side Quests
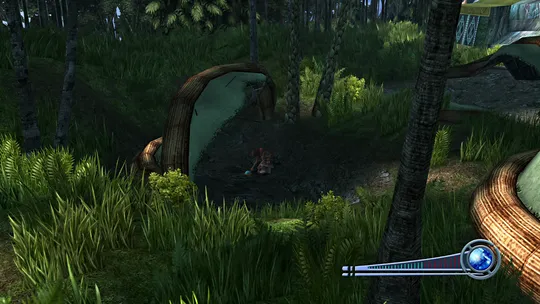
You can use the Besaid Key to open the chest holding the Search Sphere, then track down the four hidden spheres on Besaid to unlock the second door in the cave, but this is optional. It is not required for 100% Story Completion or for any Achievements or Trophies.
Head back up to the Celsius and select Mt. Gagazet as your next destination.
Checking the “Calm Lands Complete” box adds the Story Completion Percent for the automatic scenes in Calm Lands.