

Chocobo Ranch
- Video Guide
- How to Open the Chocobo Ranch
- Clearing Out the Ranch
- Capturing Chocobos
- Leveling Up Your Chocobos
- Opening the Fiend Colony, Central Expanse and Ruin Depths
- Tips and Tricks to Speed Things Up
- Treasure Hunting Expeditions
- Secret Locations and Unlocks
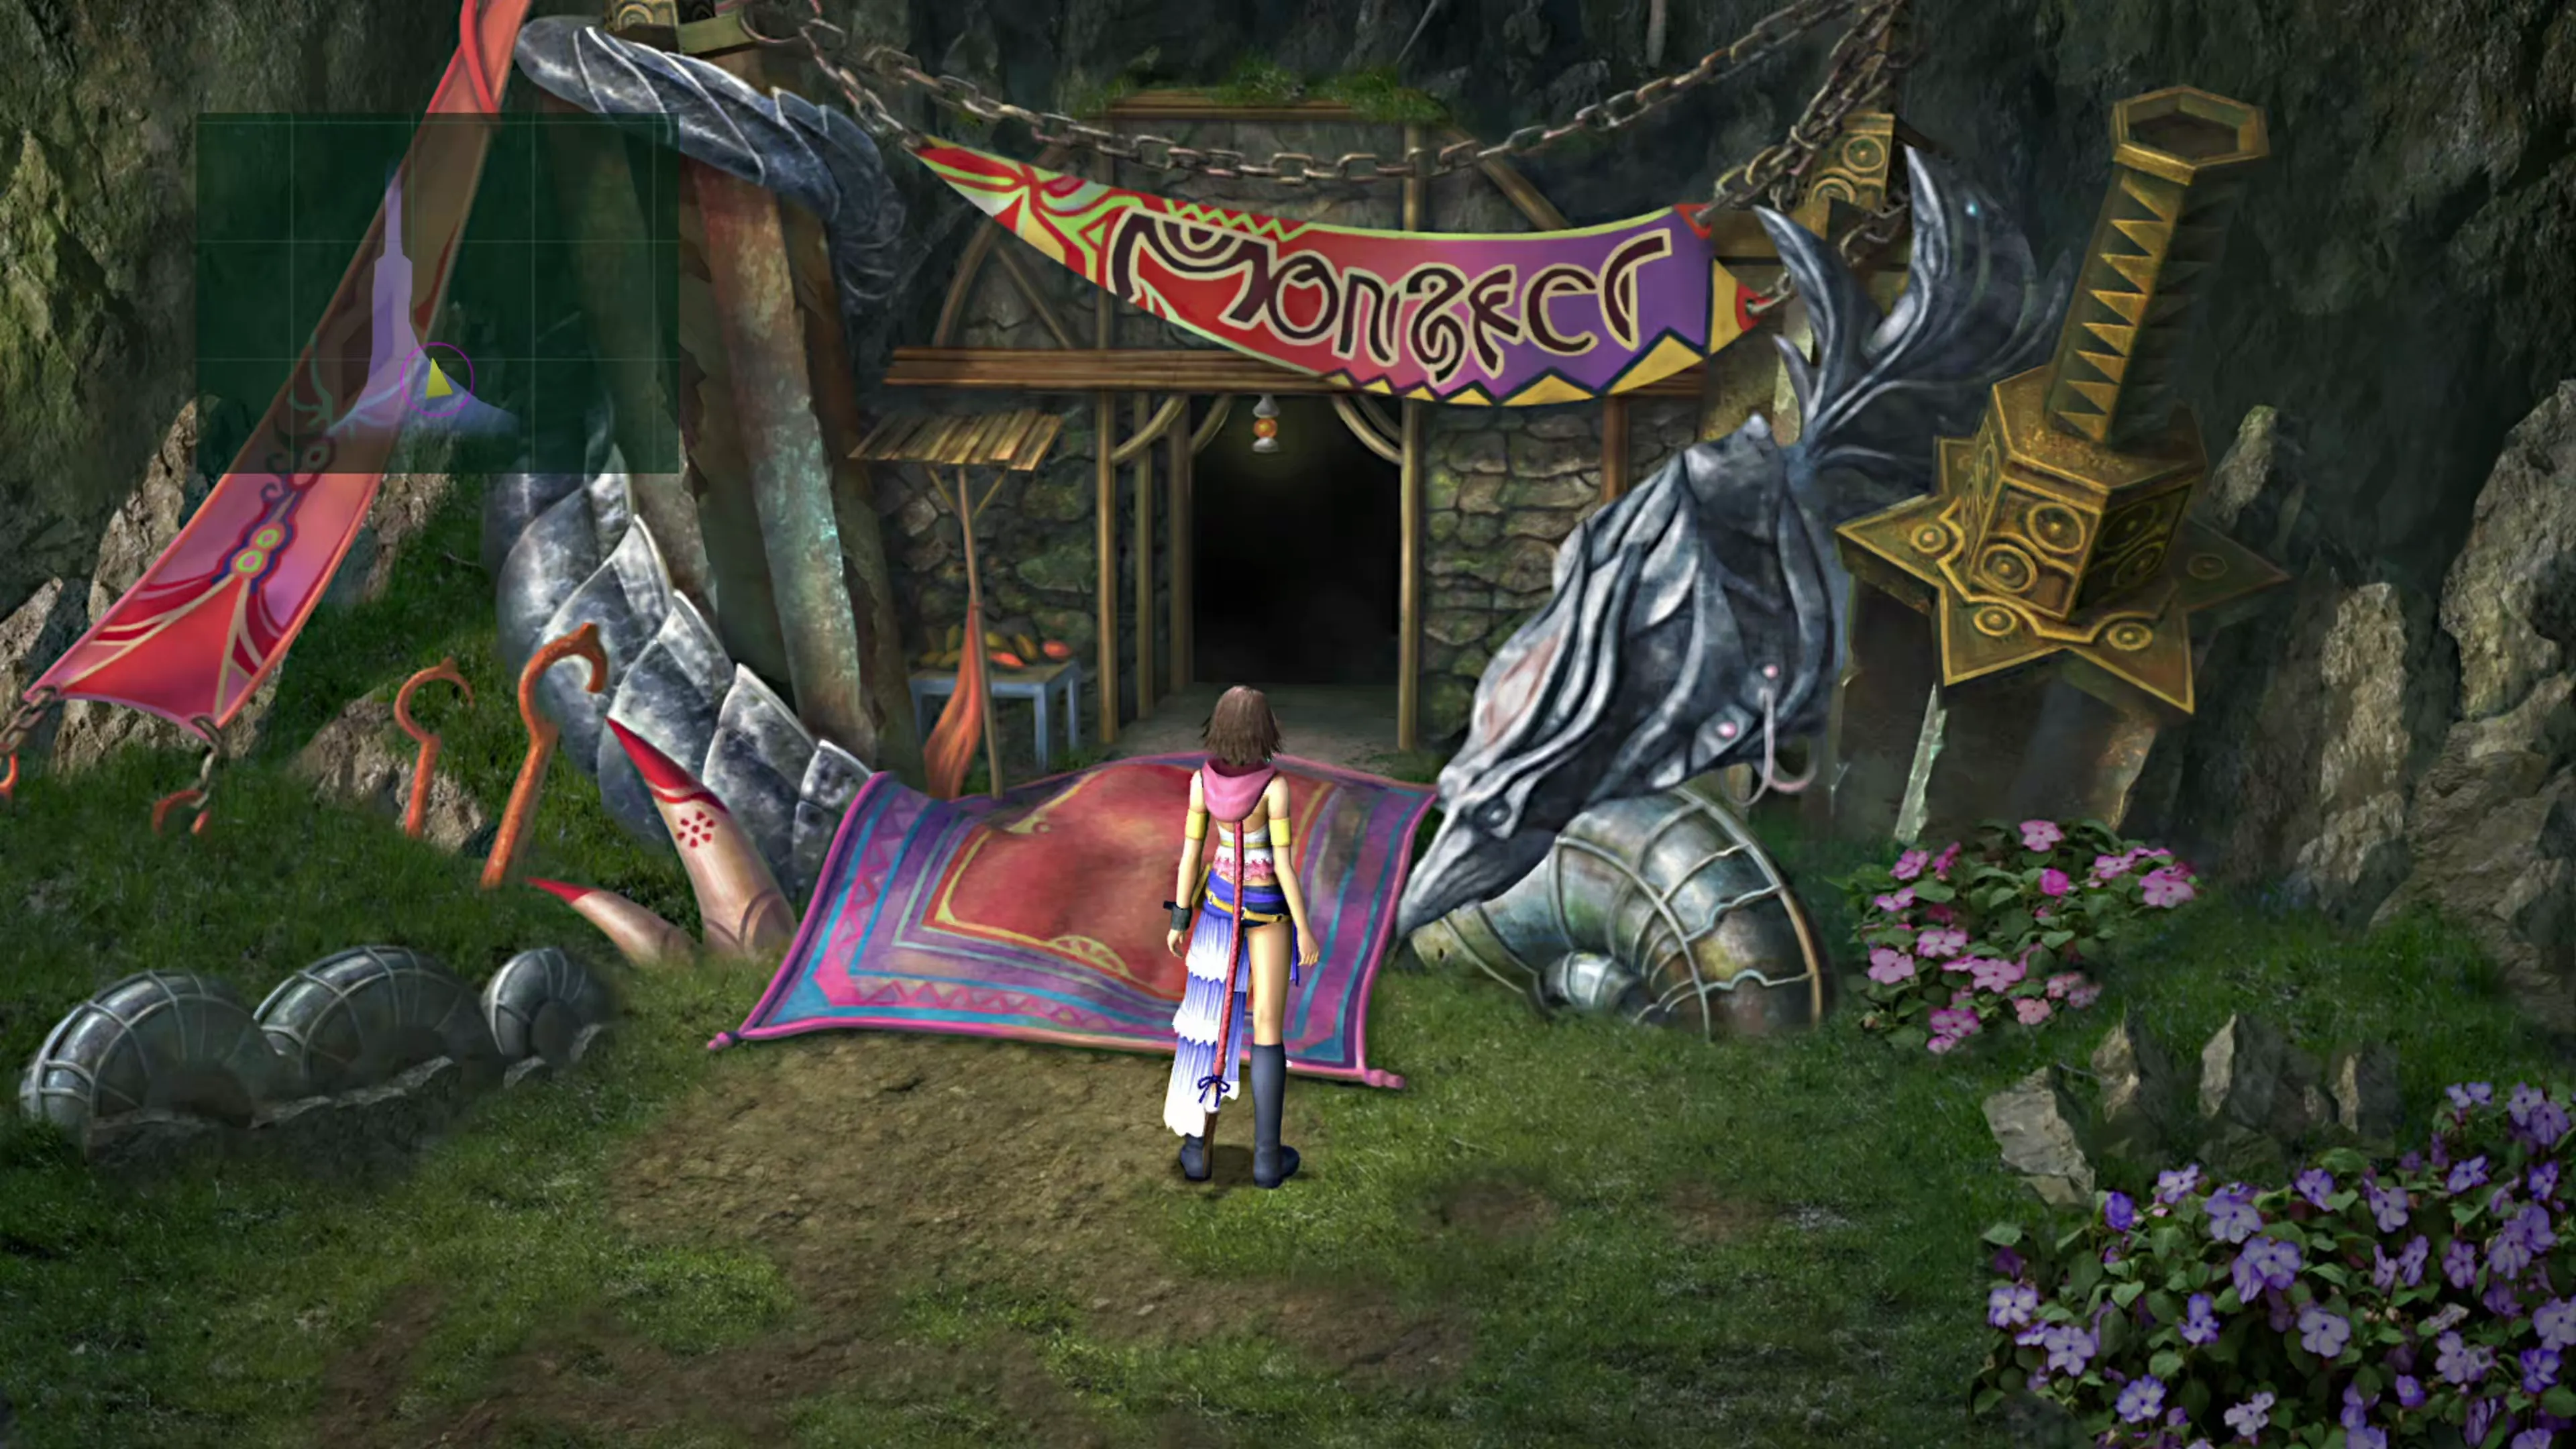
The Chocobo Ranch is a side quest location in Final Fantasy X-2 that resides where the Monster Arena used to be in Final Fantasy X. It’s in the same area of the Calm Lands, and after you help Clasko open up the ranch, he’ll help you house, raise, and utilize Chocobos that you capture.
Video Guide
A video guide for this side quest has also been put together. Use the link below if you’d like an overview of this quest in video form:
Video Guide
Video guide to capturing and leveling up Chocobos at the Chocobo Ranch, including the Amazing Chocobo.
How to Open the Chocobo Ranch
If you’re following this guide, the steps that you need to trigger to get Clasko to open up the Chocobo Ranch are listed as they come up. There are a couple of alternative ways to get the Chocobo Ranch open, but all of these routes require taking actions in the first two Chapters. If you reach Chapter 3 without ever having spoken to Clasko, it’s too late. The ranch itself can be opened as late as Chapter 5, as long as you’ve had that conversation.
| Method | How to Trigger It |
|---|---|
| Method 1 (Chapter 1) | The first method involves interacting with Clasko the first time you see him during or before the “Foggy Fiend Frenzy” Mission that takes place along the Mushroom Rock Road during Chapter 1.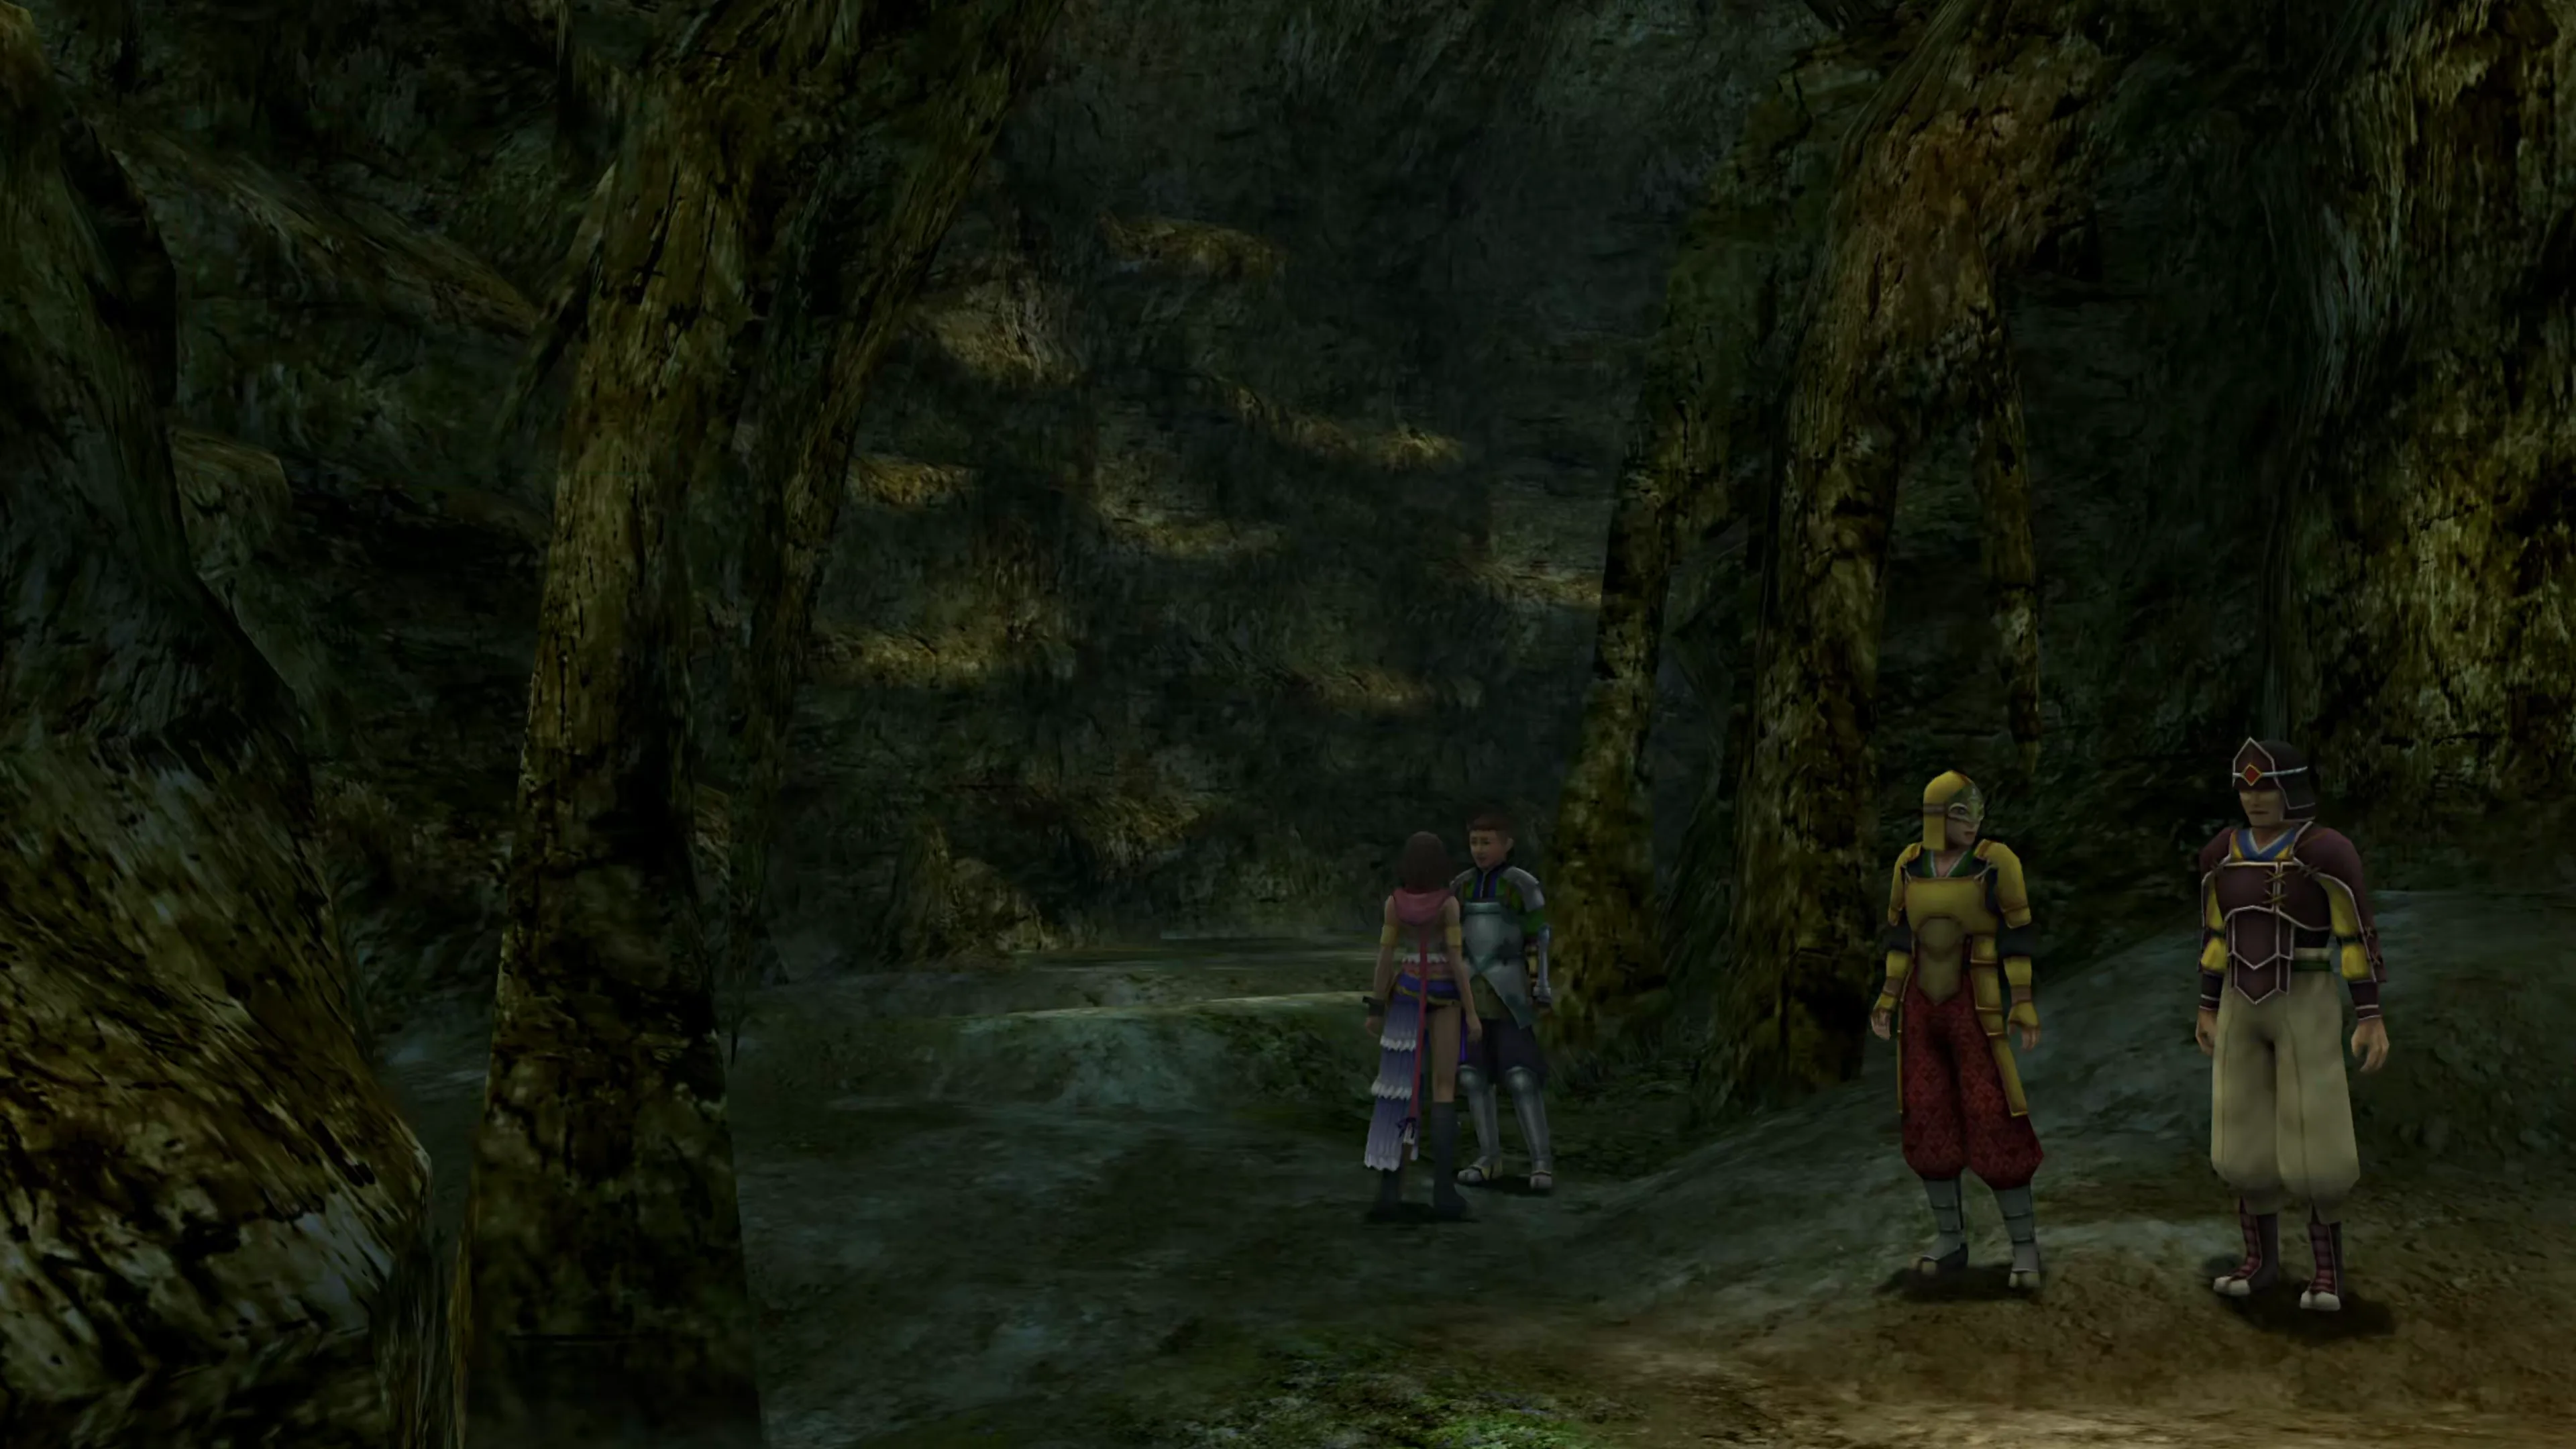 |
| Method 2 (Chapter 2) | This method can be used if you:- Didn’t speak to Clasko before and after the “Foggy Fiend Frenzy” Mission- Didn’t invite him to board the CelsiusClasko appears along the Mushroom Rock Road again in Chapter 2. In method 1, you could be forgiven for missing Clasko, as he’s tough to spot both before the Mission and you’d have to know to go look for him afterward, too. In this method, though, Clasko is sticking out like a sore thumb. He’s standing right in the middle of the pathway along the way to the Ravine, making it fairly obvious that you should speak to him. Talk to him; he’ll run off, and he’ll show up at the Calm Lands in Chapter 3. If you haven’t attempted the Cuckoo for Chocobos Mission yet, he’ll turn up to help with it instead, and you can invite him aboard the Celsius afterward to have him in the Calm Lands during Chapter 2. |
| Method 3 (Chapter 3) | If you didn’t visit the Calm Lands in Chapter 2 but did ask him to board the Celsius in Chapter 1 (using the steps in Method 1), he will jump ship anyway and show up there in Chapter 3. |
To reiterate, you need to have interacted with Clasko in either Chapter 1 or Chapter 2 to have him appear in the Calm Lands. If you skipped both of these steps, you’ll either have to start a fresh game or wait until you try a New Game Plus to open up the Chocobo Ranch.
Clearing Out the Ranch
Either in Chapter 2 or Chapter 3, Clasko will run over to the Monster Arena area (aka what will become the Chocobo Ranch). Follow him there to kick off a Mission called “Clean Sweep.”
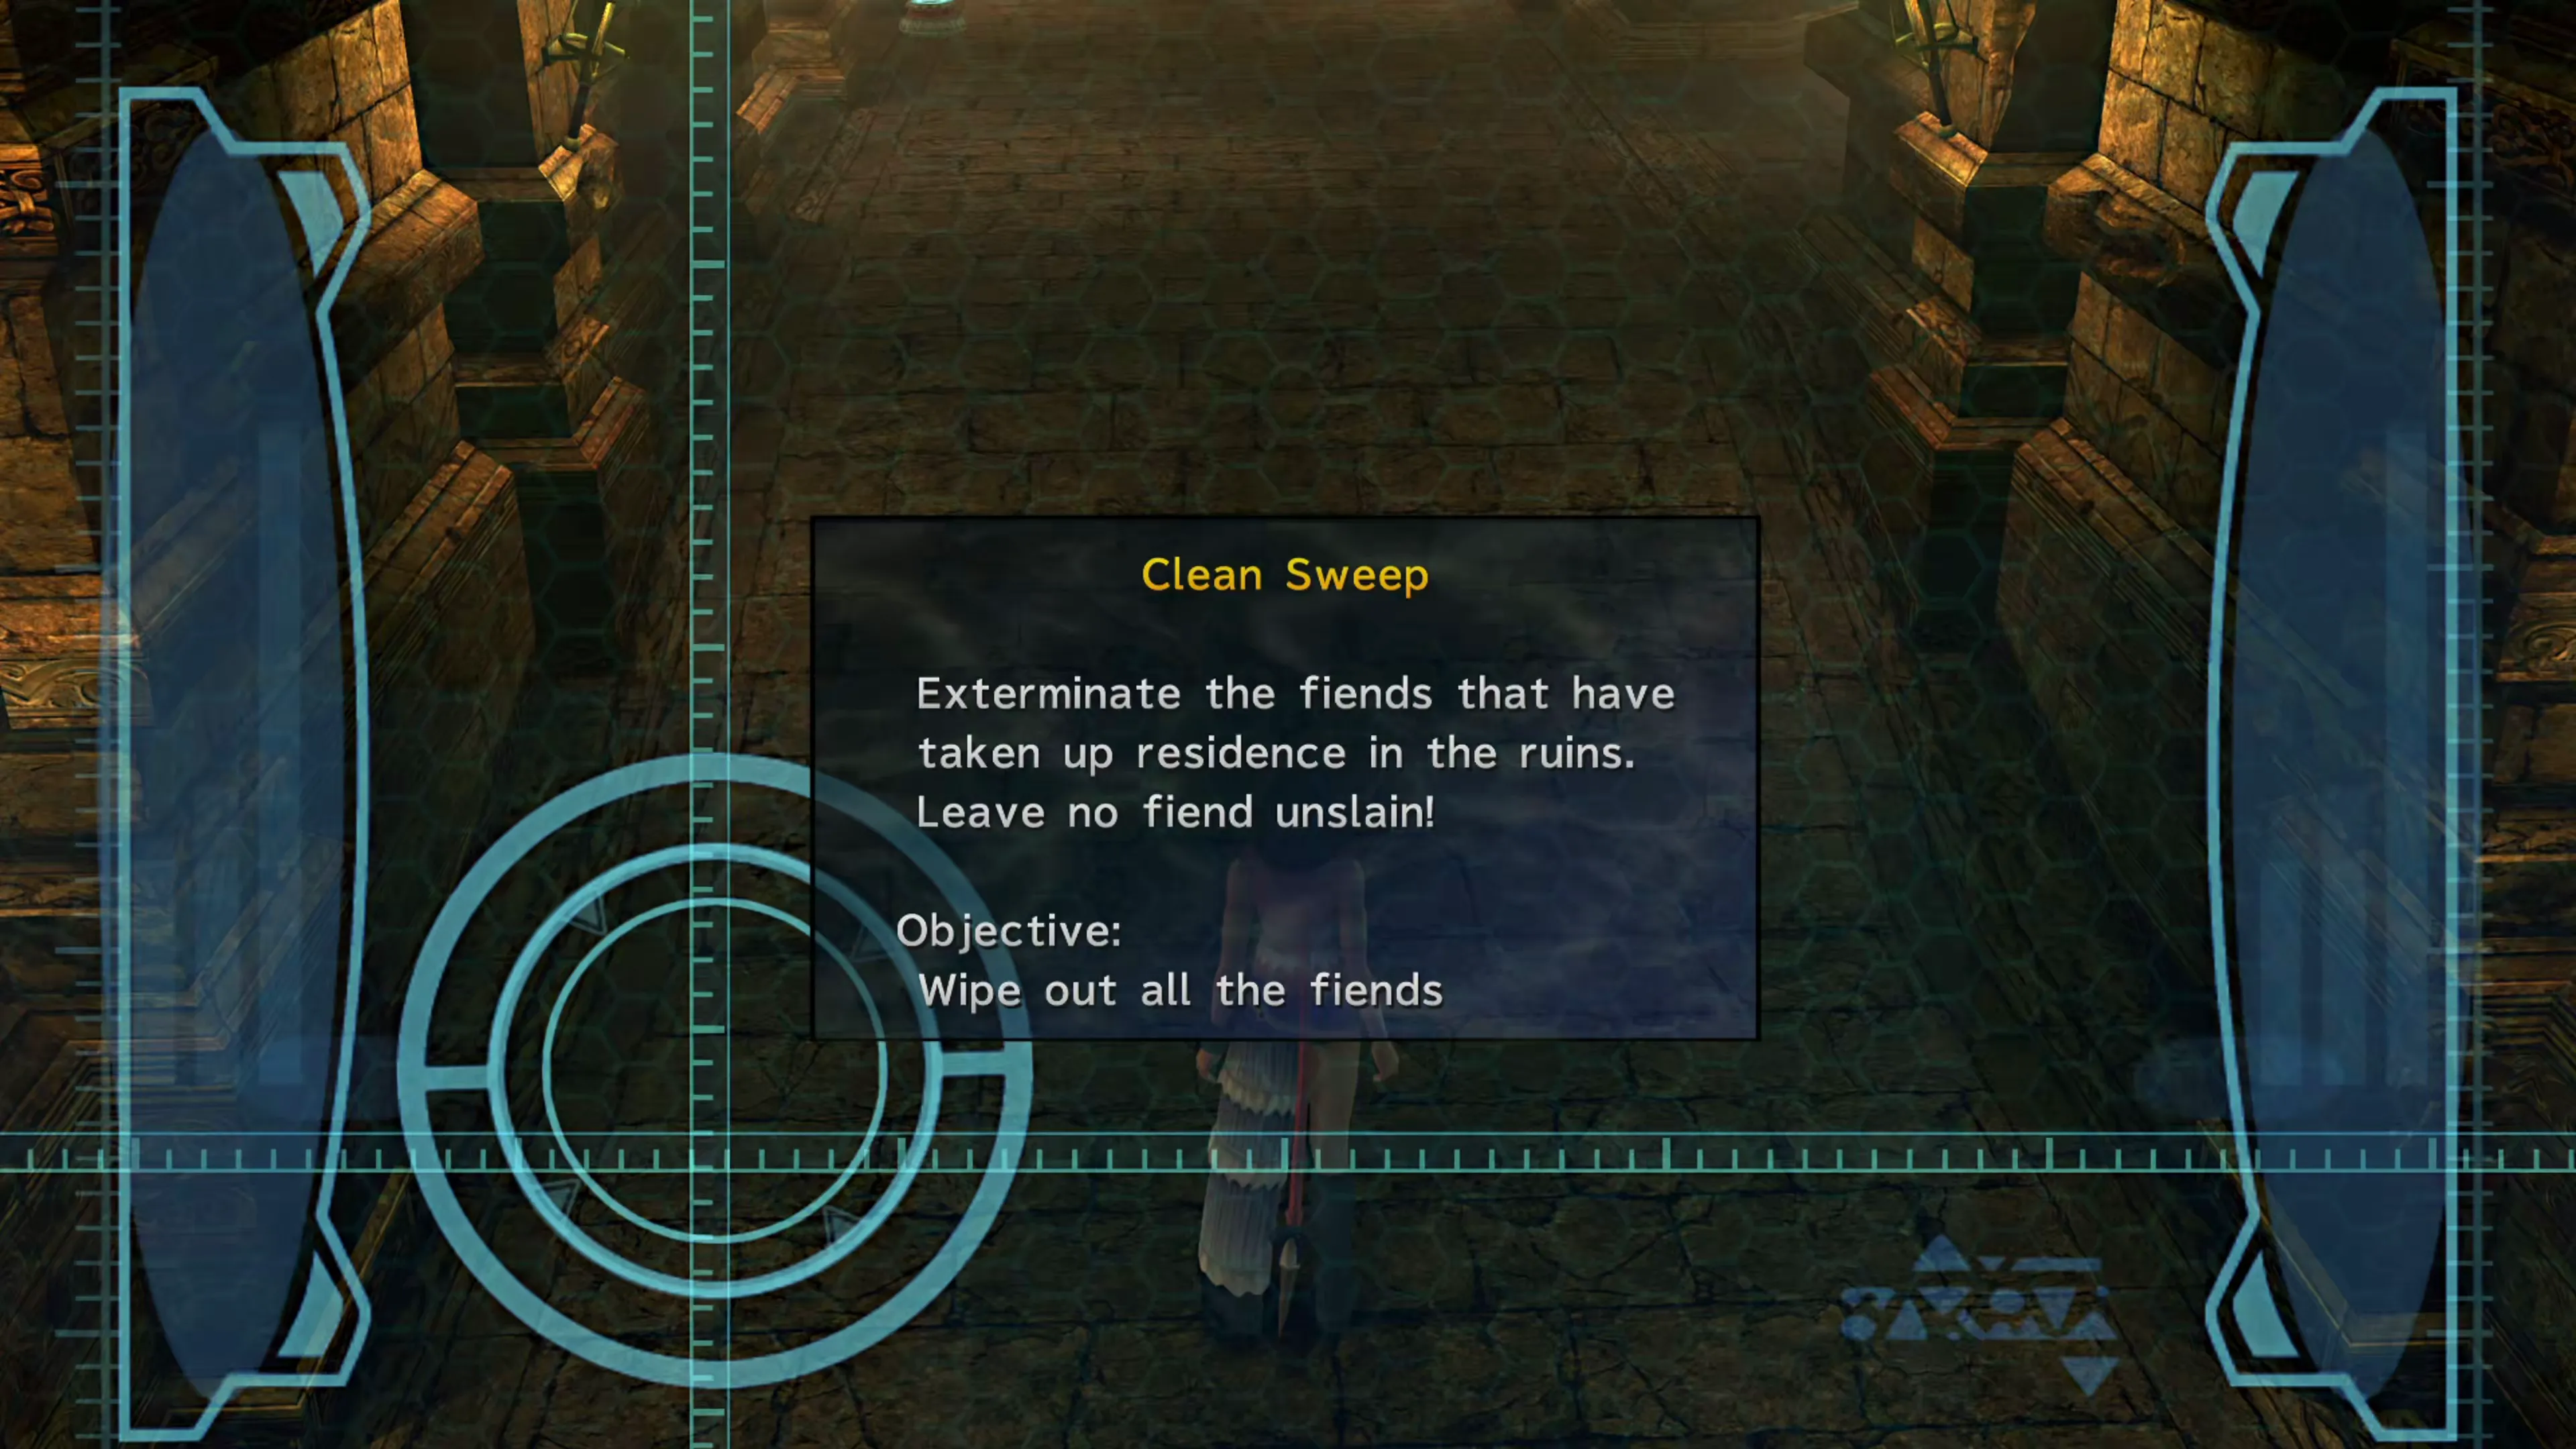
This Mission is a bit of a puzzle, but it’s really easy once you understand what to look for. As you travel through the corridors, you’ll see stationary fiends in each of the crevices, but most of them will disappear if you touch them.
All you have to do to find the right one to touch is to look at which direction all of the fiends are facing. They all face towards the fiend you should touch. The first fiend to activate is always in the northeast corner; a Skink in the second-to-last crevice. After that, you’ll have to see which way the fiends all point.
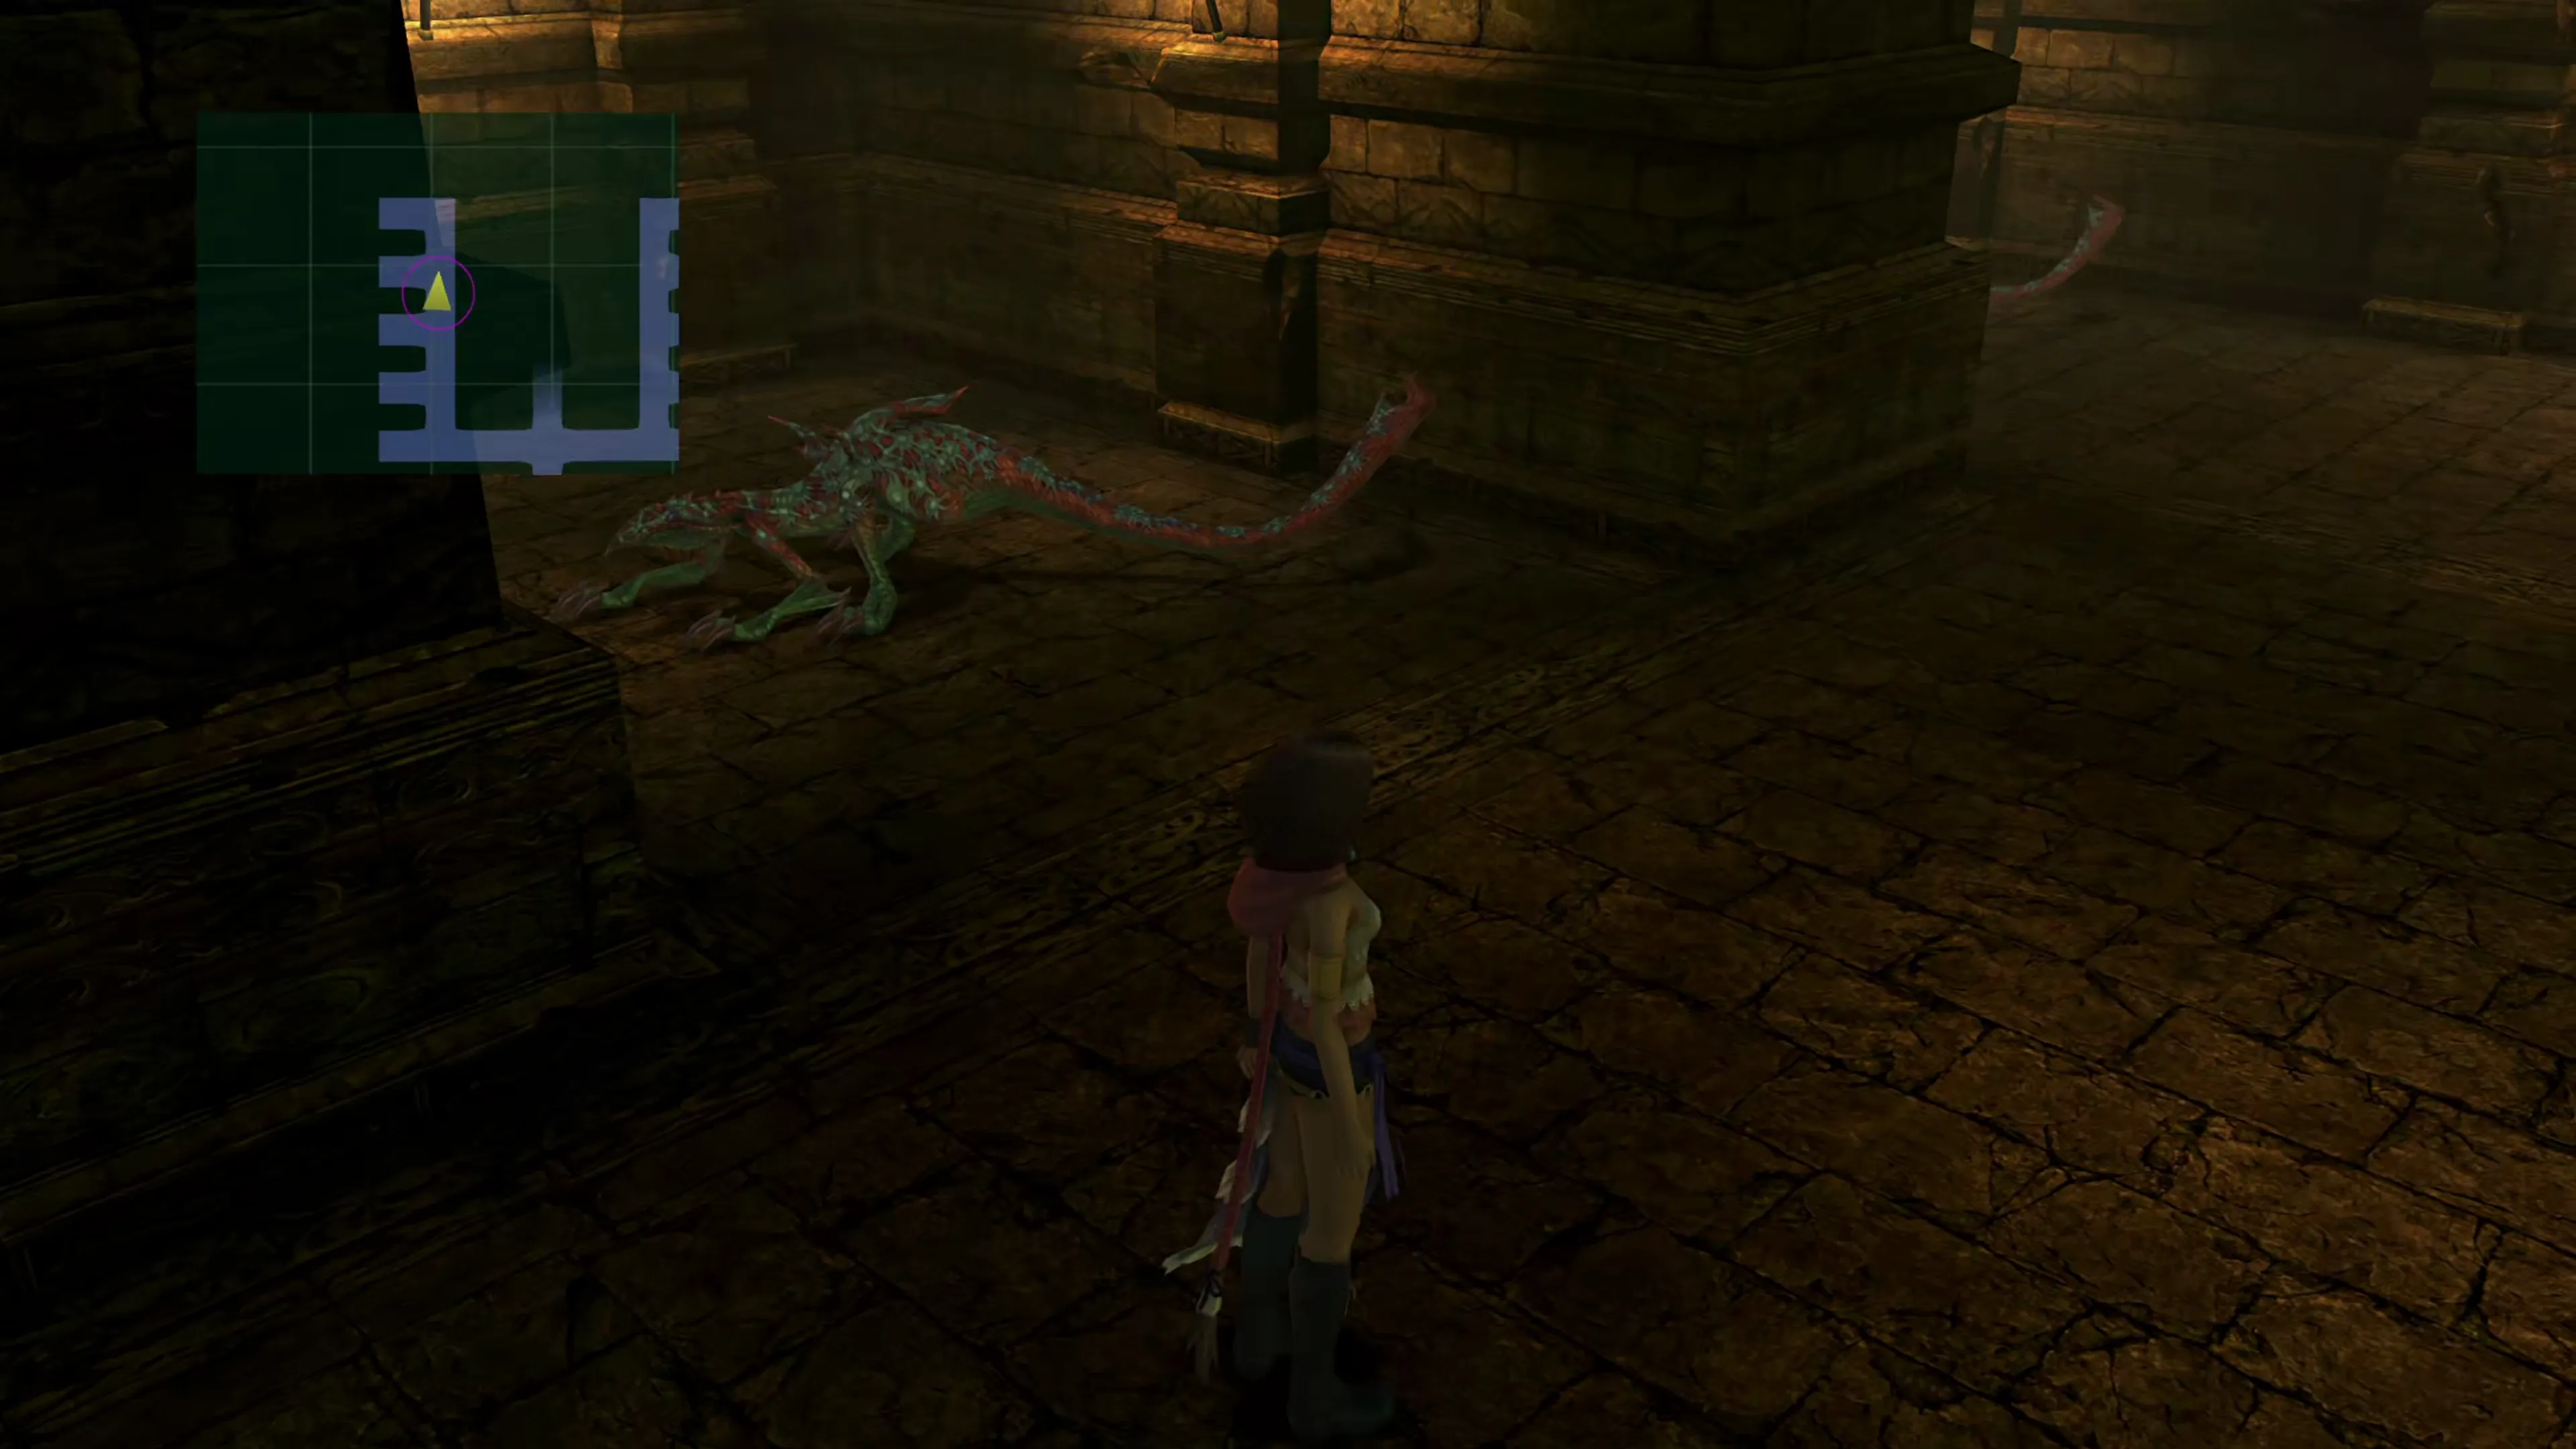
As a quick note, you’ll see a pathway leading north that fades into black; that actually leads up to the second level of the ruins, and there are 5 more crevices with fiends up there. Be sure to check those spots as well, and if you’re having trouble telling which fiend they’re pointing at, checking this upper level can help narrow it down.
After you’ve defeated five fiends, the final battle will be against three Blue Elemental enemies. If you’re having trouble, the game will place a red arrow above the illusory fiends after three wrong guesses, showing which way each of them is facing.
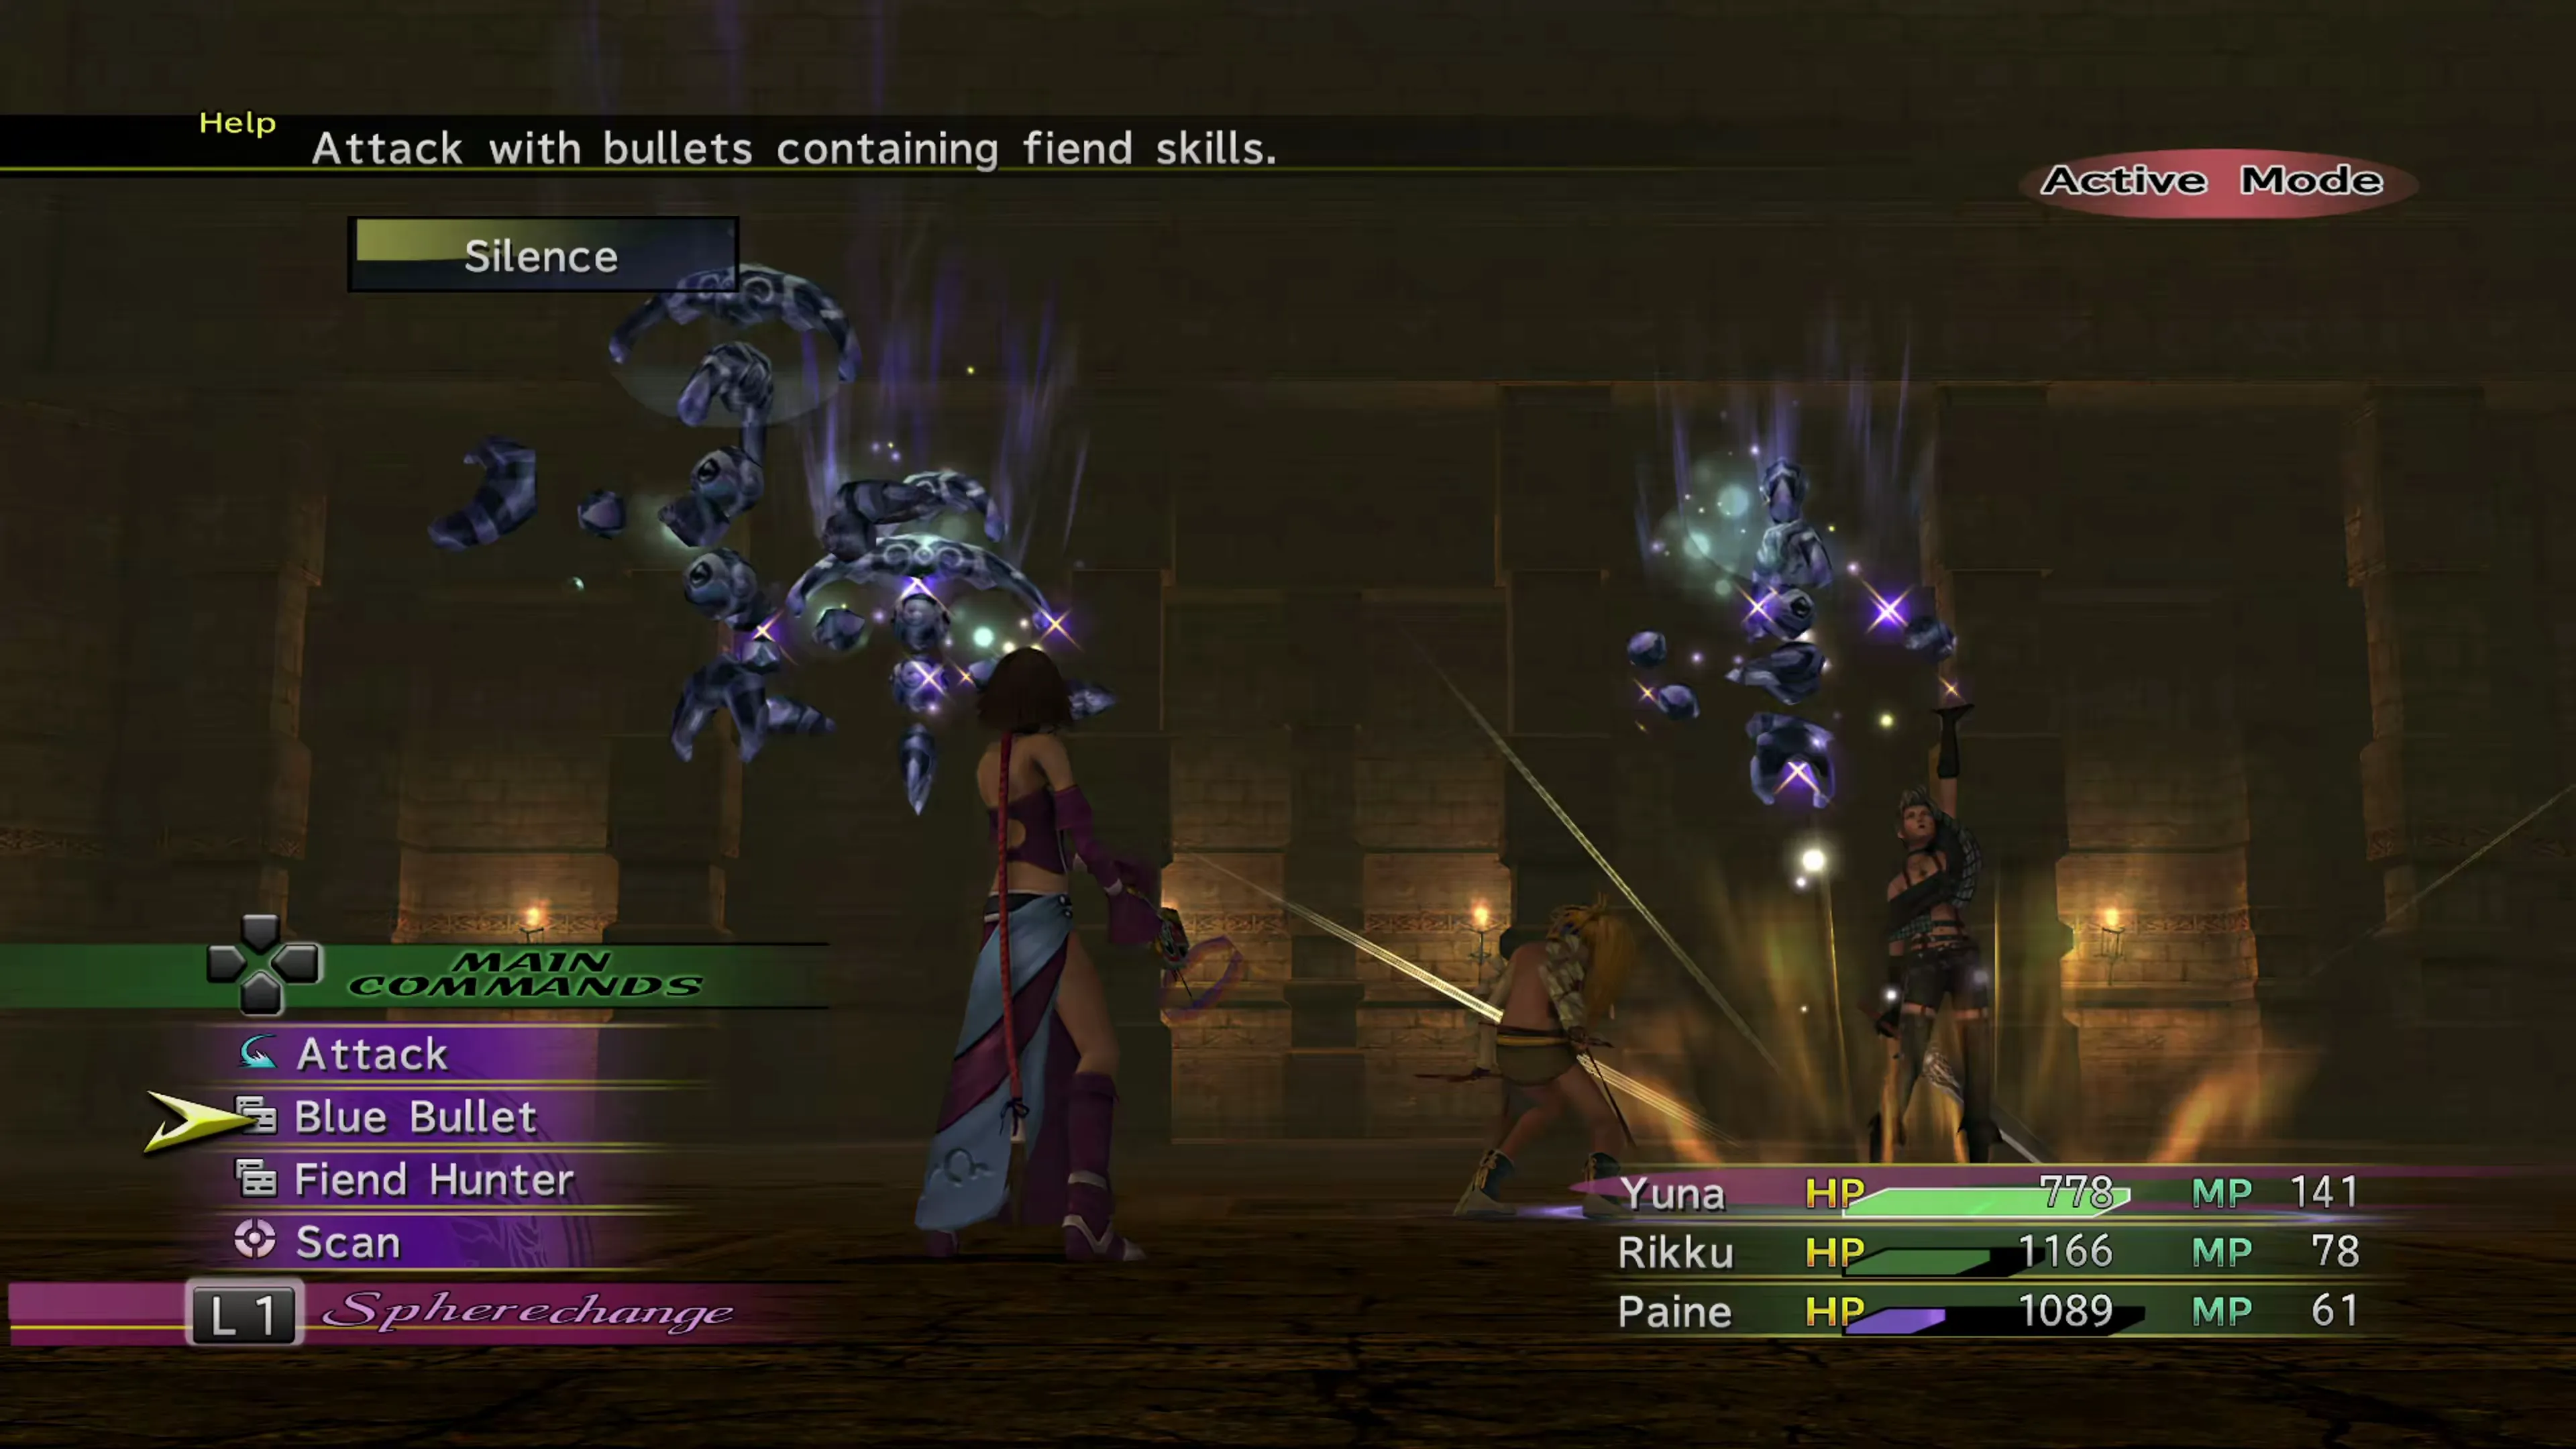
You get some really great rewards for completing this Mission. Most importantly, Clasko will now take care of any Chocobos you catch by housing them here in his “Chocobo Ranch,” but you’ll also get the  Highroad Winds Garment Grid and the
  Alchemist Dressphere.
Head back into the Ranch one more time and talk to Clasko. He will load you up with some  Gysahl Greens and some Pahsana Greens, which you can use to help you capture a Chocobo. Let’s talk about that next…
Capturing Chocobos
There is a good chance that you’ve already encountered a Chocobo in battle, and all you could do is watch as it runs away, usually pretty quickly. But now that you have the proper items in hand, namely Gysahl Greens, you can capture the Chocobos you see. Some of them will still get away because their turn comes up and they escape from battle before you can do anything, so the greens you’ve obtained are not a guarantee that you’ll capture all of the Chocobos you see, but there are some ways to ensure that you’re more successful.
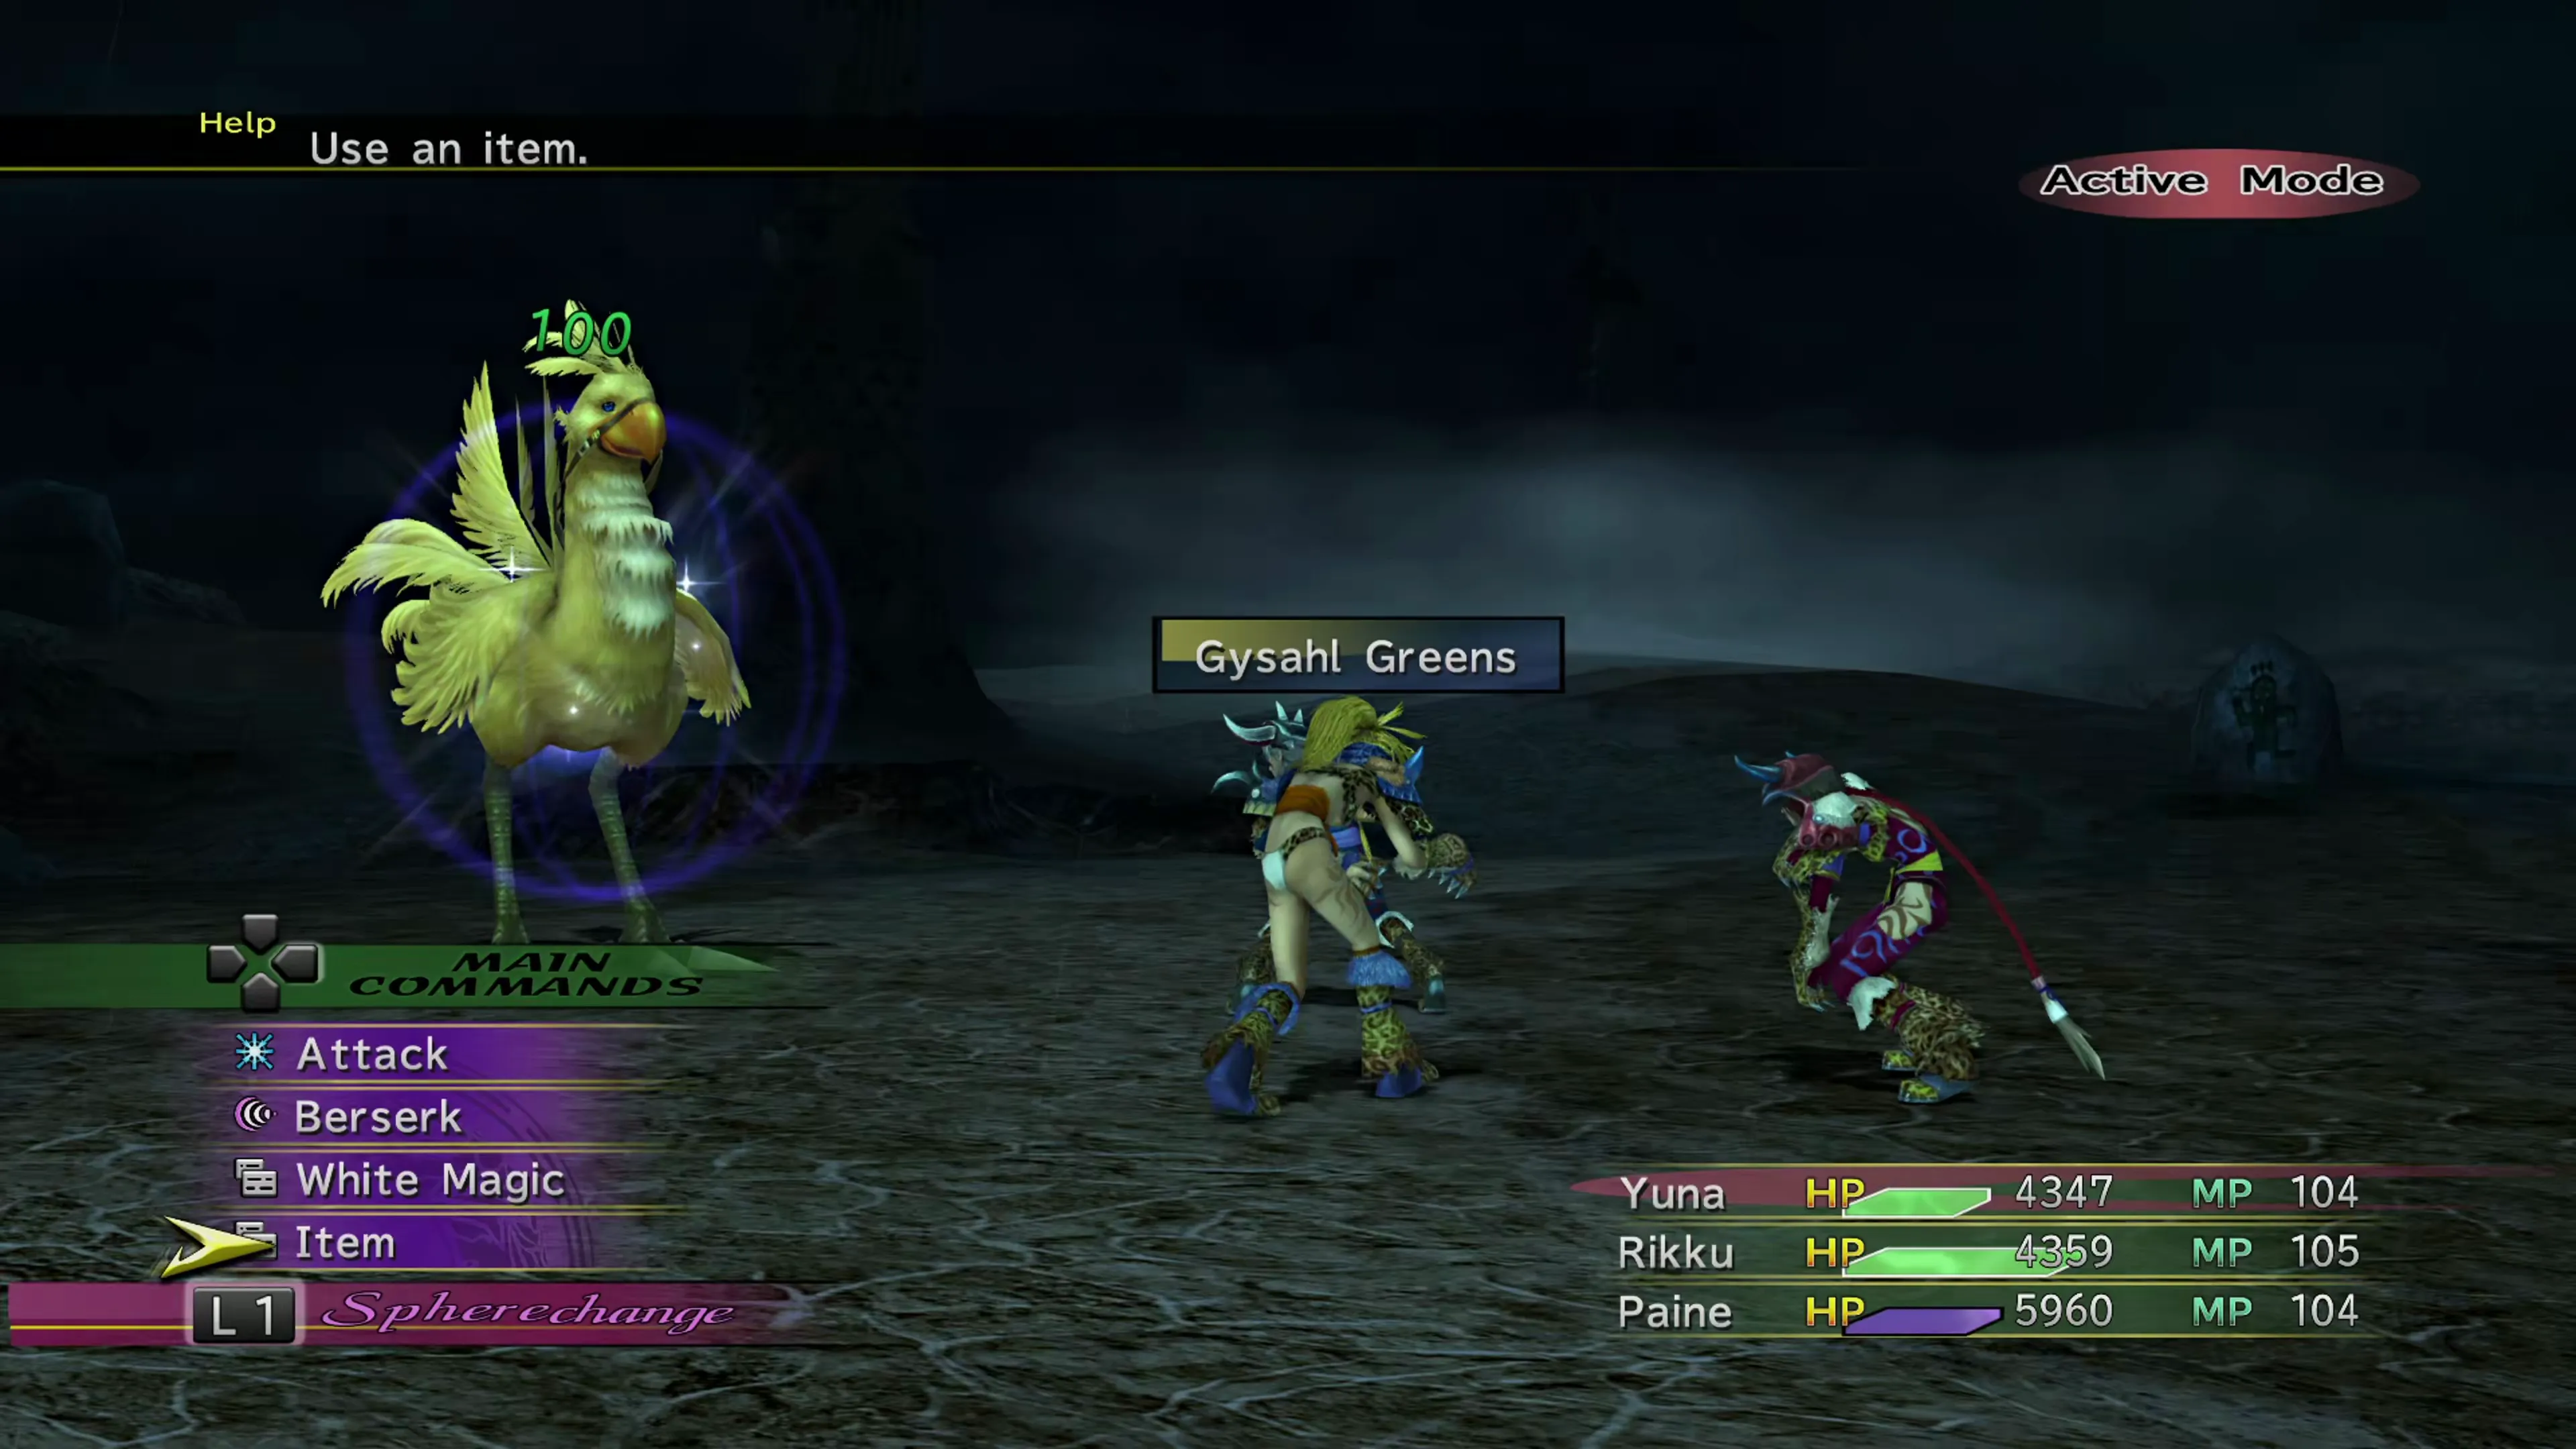
Most importantly, though, is that you need to understand the difference between the two greens that Clasko gave you and understand how they work in battle. Only Gysahl Greens can capture a Chocobo; Pahsana Greens will only keep them busy for a little while. But also, you need to use a Gysahl Green item on a Chocobo after all of the other enemies that are with it have been defeated.
If you give a Chocobo a Gysahl Green and there is still an enemy in battle, it will function similarly to a Pahsana Green in that it will keep the Chocobo busy and entertained for a little while. You’ll need another one to capture it. So ideally, you would use a Pahsana Green if there are enemies still on the battlefield and a Gysahl Green after they’ve all been defeated.
Gysahl Greens are what Clasko calls “Junk Food Greens,” while Pahsana Greens are handed out under his “Nutritive Greens” menu, and you’ll see a menu item for each when you talk to Clasko. He will continue to accumulate more of these greens as you fight in more battles, according to the chart below, so just visit him again if you need to top up your supply:
| Chapter | Junk Food Greens (Gysahl) | Nutritive Greens (Pahsana, Mimett, Sylkis) |
|---|---|---|
| Chapter 2 | 5 for every 12 battles | 10 for every 6 battles |
| Chapter 3 | 5 for every 10 battles | 10 for every 6 battles |
| Chapter 4 | 5 for every 6 battles | 10 for every 5 battles |
| Chapter 5 | 5 for every 6 battles | 10 for every 5 battles |
You can carry a maximum of 99 of each green. Anything Clasko accumulates beyond that stays in his stash until you collect it, so nothing is lost by staying away.
Achievement/Trophy
Catching your first Chocobo before the end of Chapter 3 earns the  Tricky Trapper Achievement/Trophy. The same deadline applies to 100% Story Completion in a single playthrough, so don’t leave the ranch, or your first capture, until Chapter 5.
Leveling Up Your Chocobos
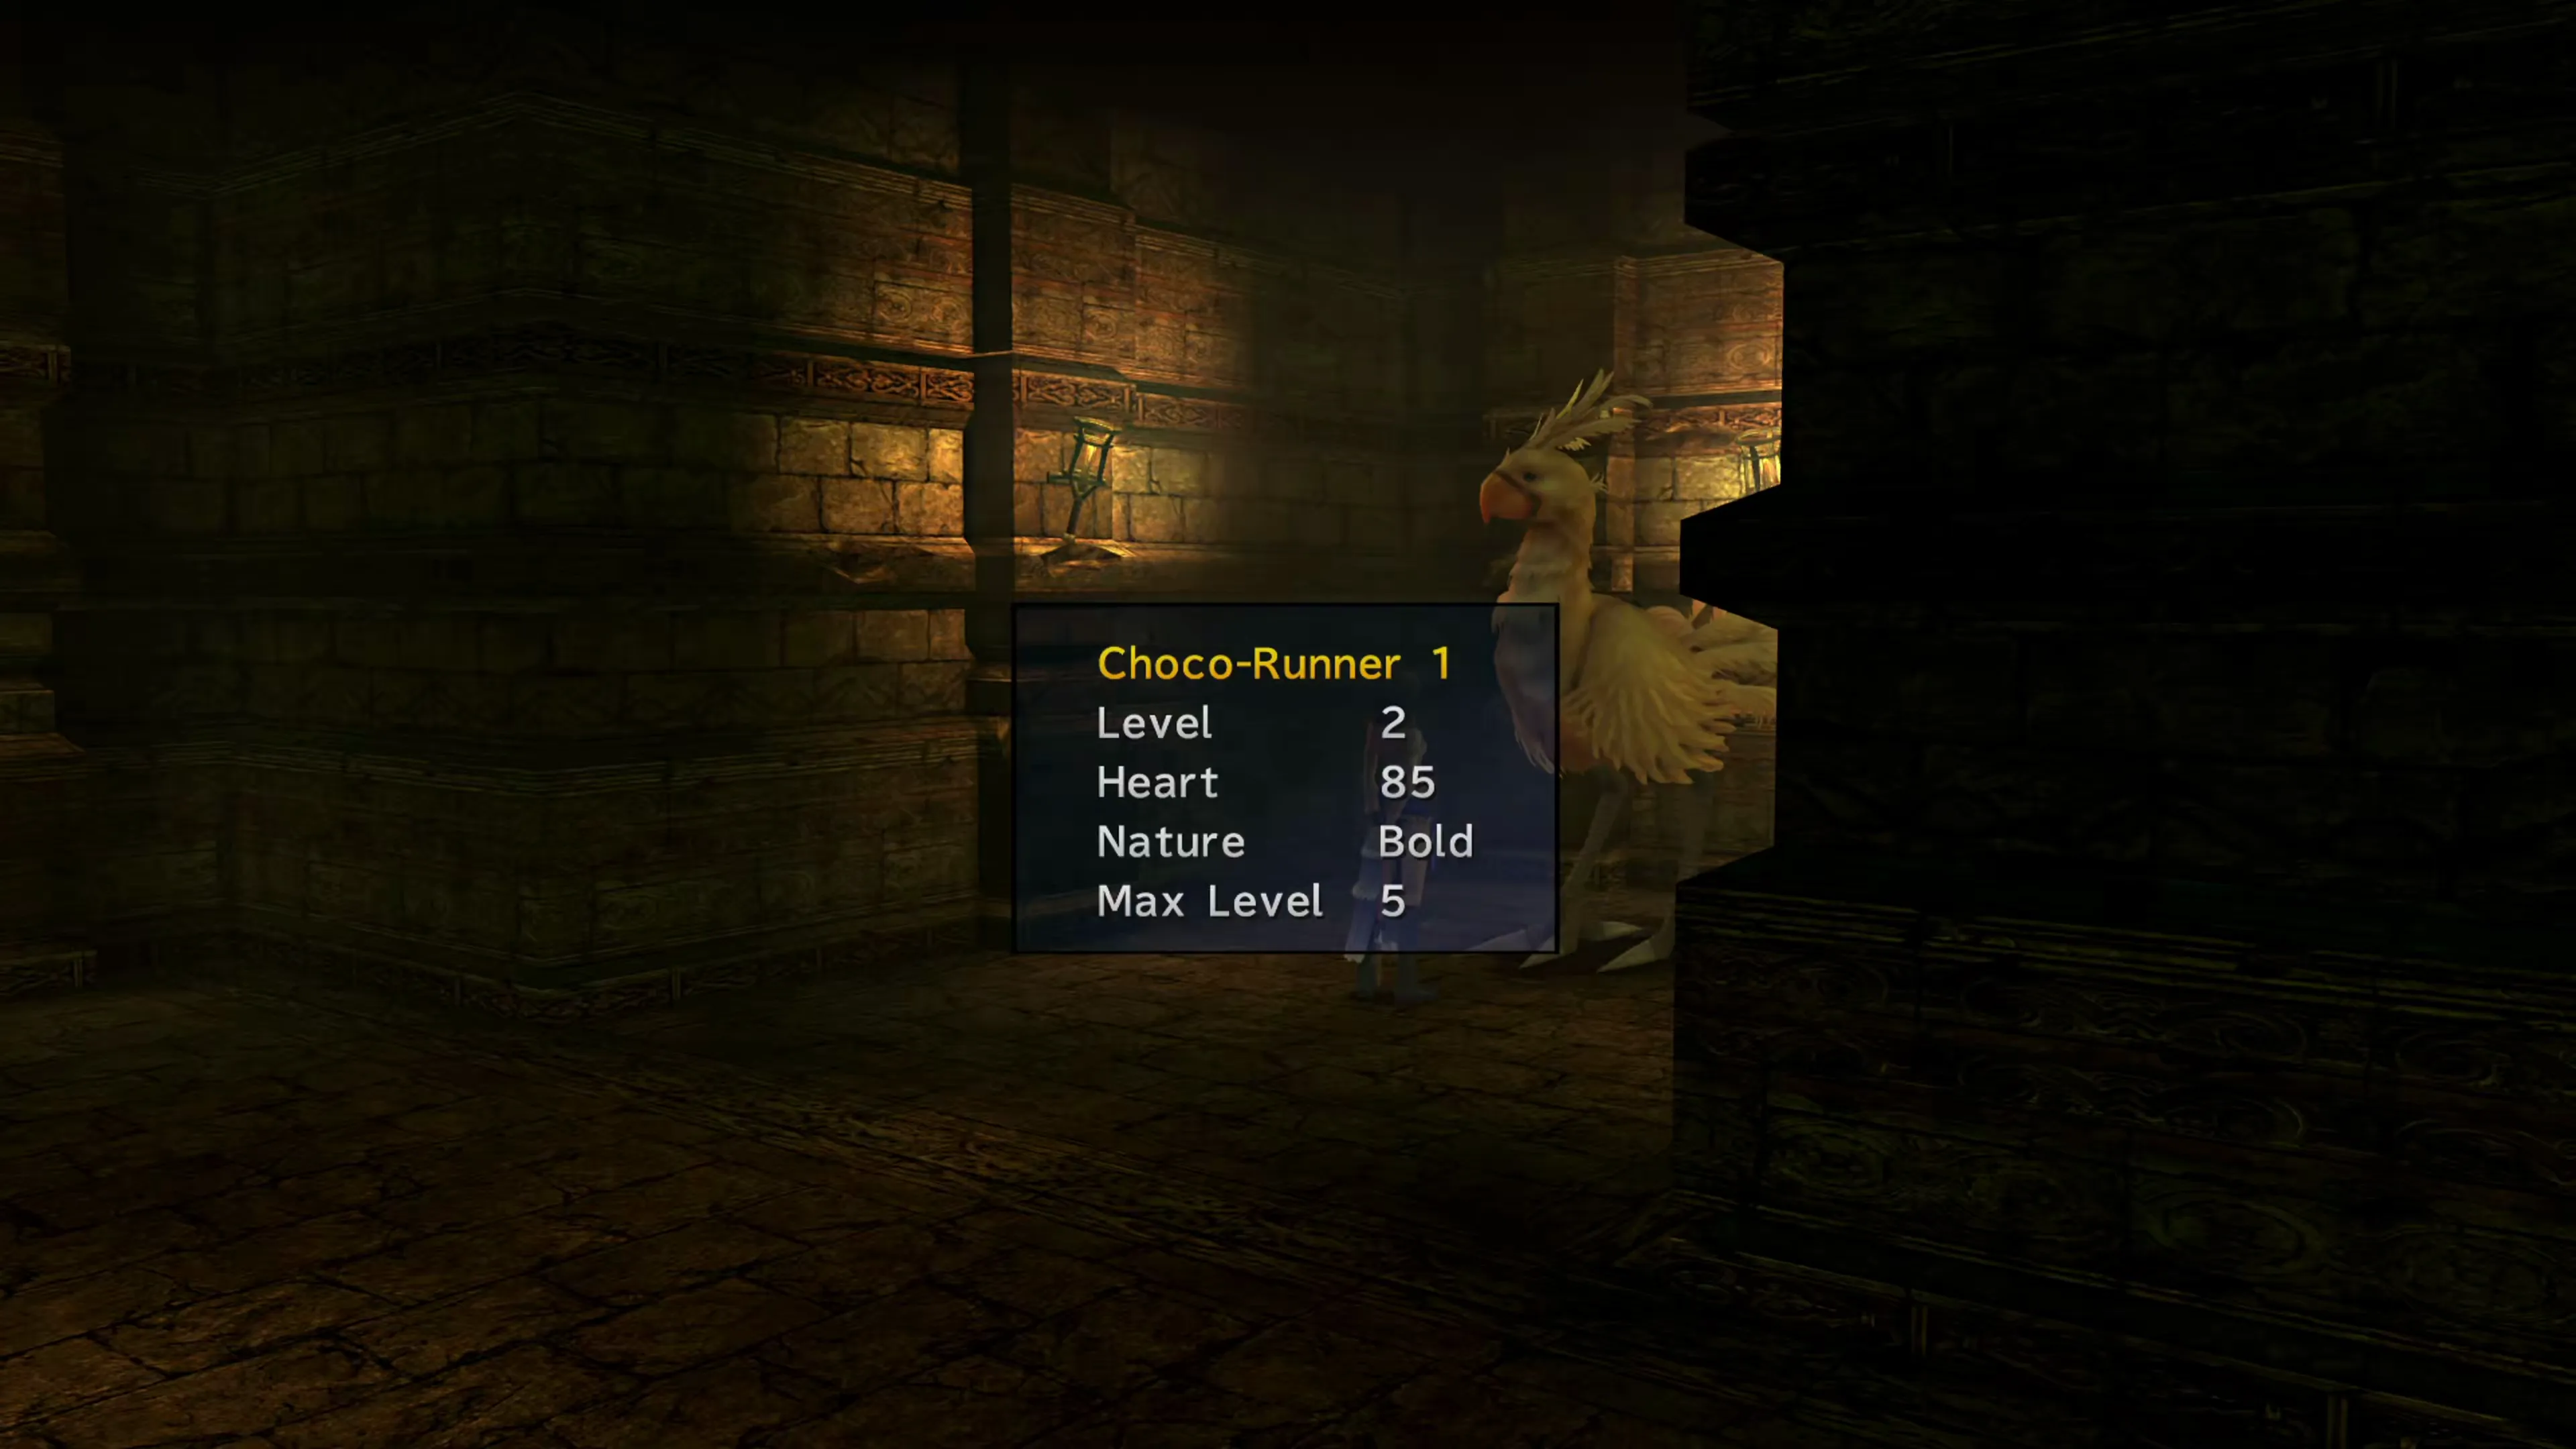
After you capture a Chocobo, you’ll be able to feed it greens to level it, but before you do that, you should figure out what the maximum level for your Chocobo is. Some Chocobos are able to level up all the way to level 5, whereas other Chocobos are capped out to a maximum of level 1, 2, 3, or 4. Unfortunately, it isn’t until you reach Chapter 5 that you will be able to tell what a Chocobo’s maximum level is, so the process of raising Chocobos and conducting Treasure Hunts is best left until the end of the game. Before Chapter 5, the only way to find out is to save, feed a Chocobo greens through the Raise Chocobos command to see how far it goes, then reload and release the ones that stalled (which takes a while and is a waste of time).
Once you have reached Chapter 5, examine the Chocobos you have captured in their stalls inside the Chocobo Ranch. The maximum level will be shown on their stat card:
You will need a high-level Chocobo for the following:
- Accessing the Ruin Depths optional dungeon right here in the Chocobo Ranch, and finding the Amazing Chocobo (Level 5)
- Accessing the Fiend Colony in the Mi’ihen Highroad (Level 4 or 5)
Your Chocobo’s level also improves the loot they can recover during Treasure Hunts. The loot they can bring back is fairly good, but by the time you’ve reached Chapter 5, none of it is required or that consequential. The most important task to complete with your leveled Chocobos is unlocking the areas mentioned in the list above.
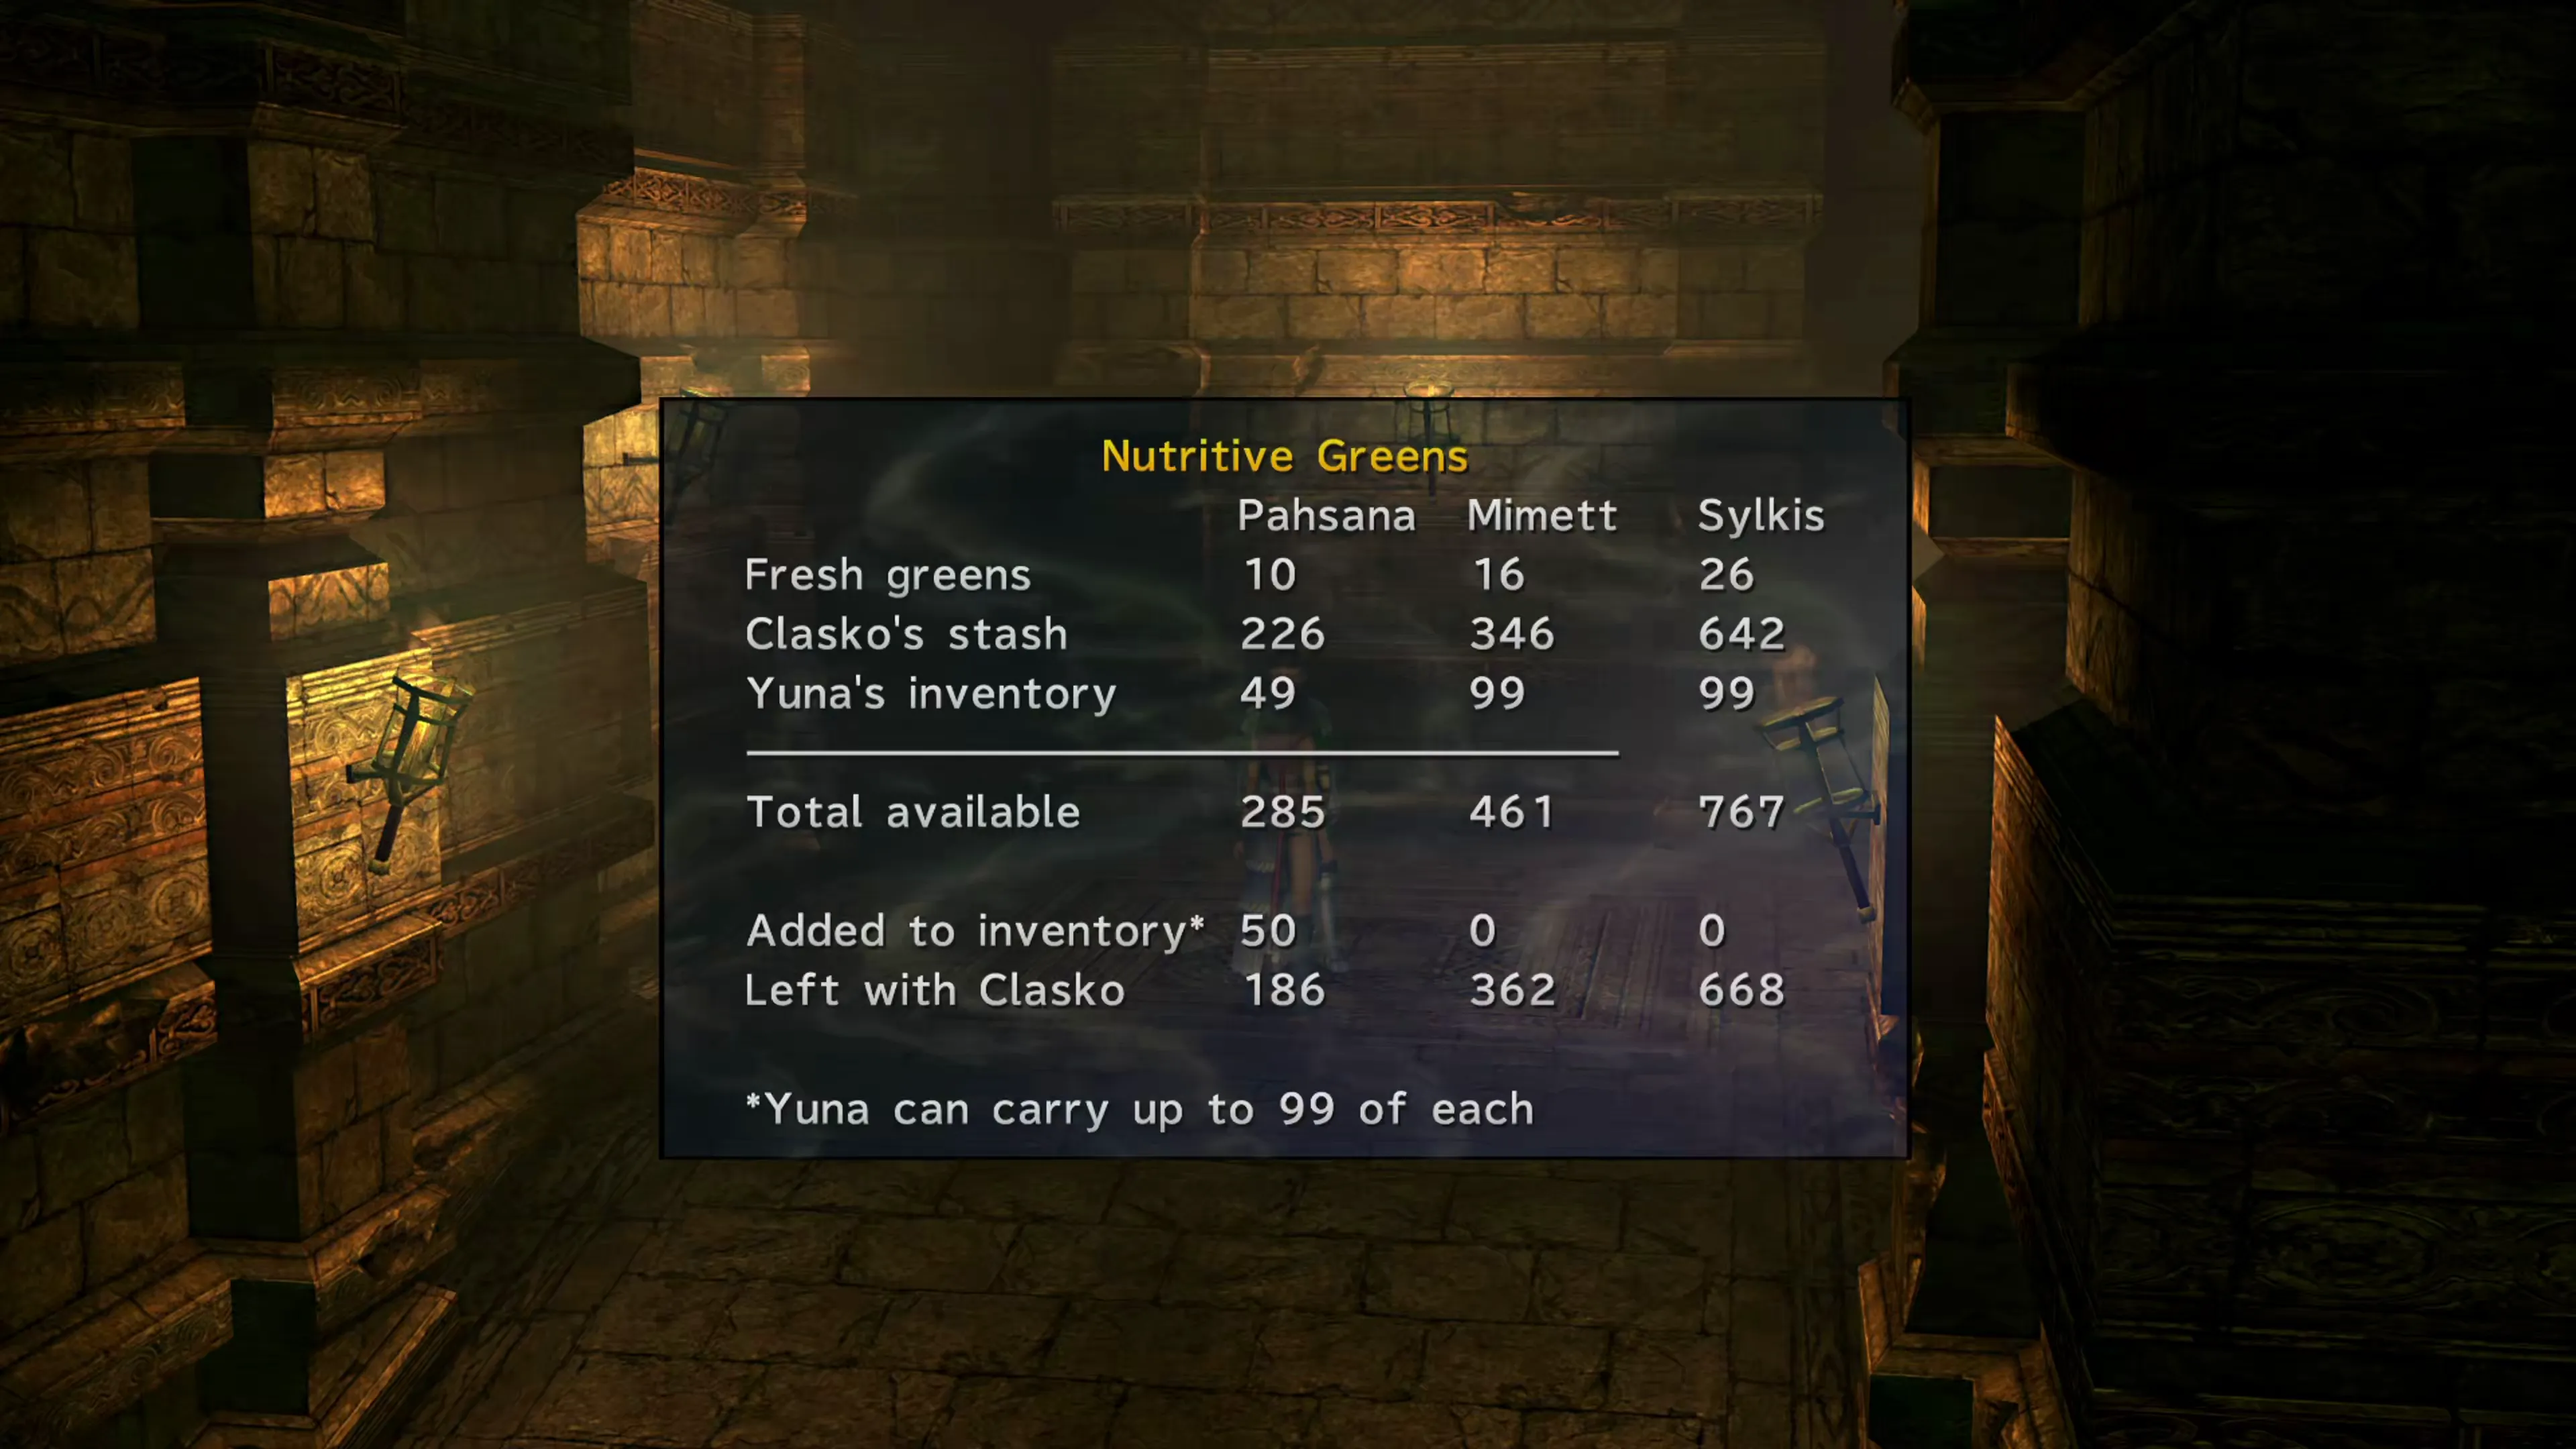
Leveling up a Chocobo involves feeding it the right greens. These greens fall under Clasko’s “Nutritive Green” category when you speak to him, and certain greens are required for Chocobos to reach certain levels according to the following chart:
| Level | Greens Required | Available From |
|---|---|---|
| Level 1 to 2 | 10 × Pahsana Greens | Chapter 2 |
| Level 2 to 3 | 10 × Mimett Greens | Chapter 3 |
| Level 3 to 4 | 30 × Mimett Greens | Chapter 3 |
| Level 4 to 5 | 40 × Sylkis Greens | Chapter 5 |
If you run out of greens, you can fight more battles, and Clasko will slowly resupply himself. Talk to him and select the “Nutritive Greens” option to replenish your stocks; if that doesn’t work, just fight even more battles! You shouldn’t need to adjust the percentages of each type of greens he gives you.
Opening the Fiend Colony, Central Expanse and Ruin Depths
Opening up the Fiend Colony and the Central Expanse are the two easiest of the three. Here is what you need to do:
| Location | How to Unlock It |
|---|---|
| Fiend Colony | Send a Level 4 or 5 Chocobo to the Mi’ihen Highroad. You’ll still get the Chocobo back after it completes this hunt. |
| Bikanel Desert | Send any level Chocobo to Bikanel Desert. This Chocobo will never return, so send one that you don’t need. |
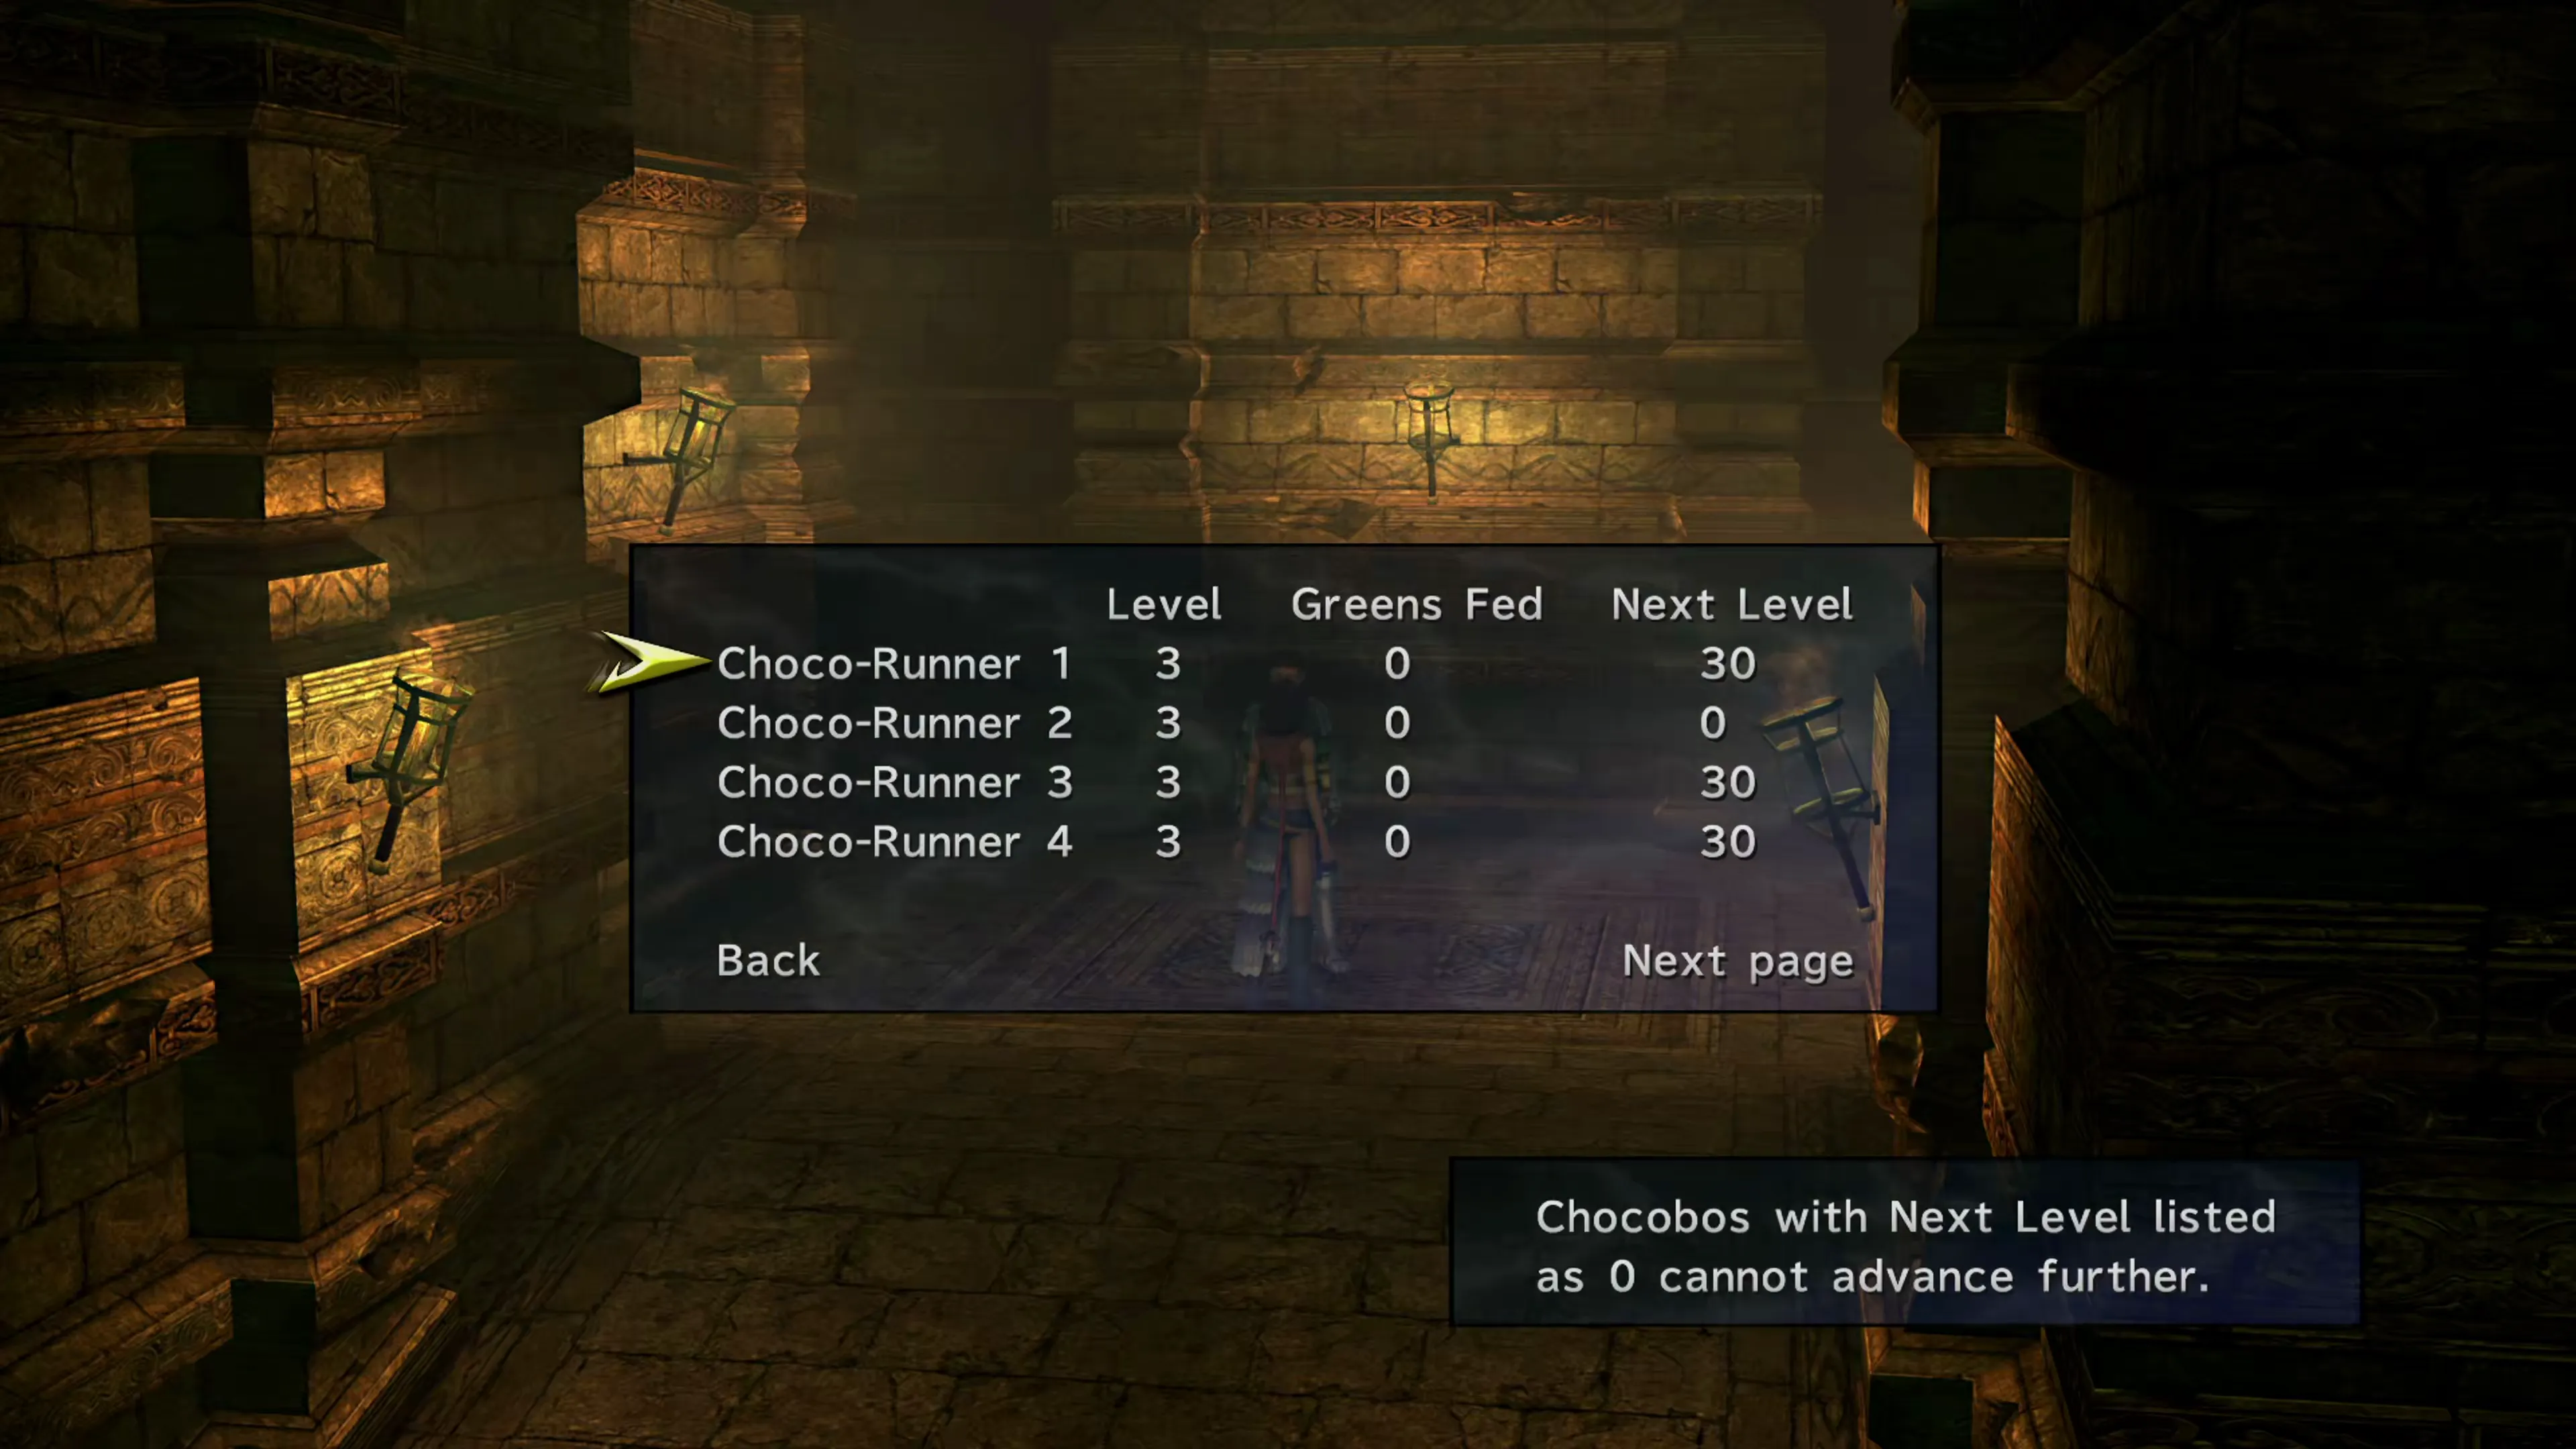
| Ruin Depths | Send out and have three Chocobos return at all levels, and have four Level 5 Chocobos as your Choco-Runners. To restate it and be absolutely clear:- Send out three Level 1 Chocobos and have them return- Send out three Level 2 Chocobos and have them return- Send out three Level 3 Chocobos and have them return- Send out three Level 4 Chocobos and have them return- Send out three Level 5 Chocobos and have them return- Have four Level 5 Chocobos in your four “Choco-Runner” spotsChocobos sometimes run away instead of returning with the treasure they’ve collected, and this won’t count. |
More explanation about how to send your Chocobos out for treasure hunts is included below.
Tips and Tricks to Speed Things Up
If you’re a completionist and you’re looking to earn 100% Story Completion and all of the achievements/trophies associated with the game, you’re going to have to go through a process of capturing Chocobos and hoping that they can reach a maximum level of 5. This process is a bit random, so you’ll have to capture a bunch of Chocobos, check their levels, release the ones you don’t need, and go back out and try to capture more.
Meeting all of the requirements for the Ruin Depths is the most annoying part, though, because of how many iterations you have to go through. You can save yourself a ton of time using the following two methods:
- Send out some crappy Chocobos while you continue to search for ones that can be leveled up to Level 5. It doesn’t need to be the same Chocobos who do all of the runs, so if you’ve only got 2 that can be leveled up to Level 5, for example, and you need to find two more, send out three crappy Level 1 Chocobos on their first mission. They’ll complete it while you trigger more battles somewhere looking for better Chocobos, and you’ll be one step further ahead.
- You can save your game at the
 Save Sphere in the Chocobo Ranch and reload your game if your Chocobos run away and try again.
Treasure Hunting Expeditions
Treasure hunting is the primary goal of raising Chocobos, along with unlocking several locations, and you also do this by sending Chocobos on treasure-hunting expeditions. There are three pieces of information that matter when you send out a Chocobo:
- What level is it? This will impact the type of loot it finds.
- What is its nature? “Bold,” “Timid,” and “Normal” Chocobos suit different locations and are more likely to run away if their nature doesn’t match the location.
- How much “Heart” does it have? Hearts will deplete as you send your Chocobos out, similar to a ‘stamina’ stat, so make sure you replenish them before you send your Chocobos back out. You can feed your Chocobos Pahsana Greens to replenish their hearts, and you should do this every single time they go back out on a treasure hunt (unless you plan to release them). Every Chocobo starts at 100 Heart. A trip to a well-suited area costs 15, an average one 30, and an unsuited one 60, and each Pahsana Green restores 10, with a “fully restore” option in Clasko’s Feed Chocobos menu.
This guide skips over that first bullet point about the types of loot that Chocobos can find. As mentioned above, the loot isn’t really that important. You can find a table of the available loot down below, but it isn’t really the focus of this guide.
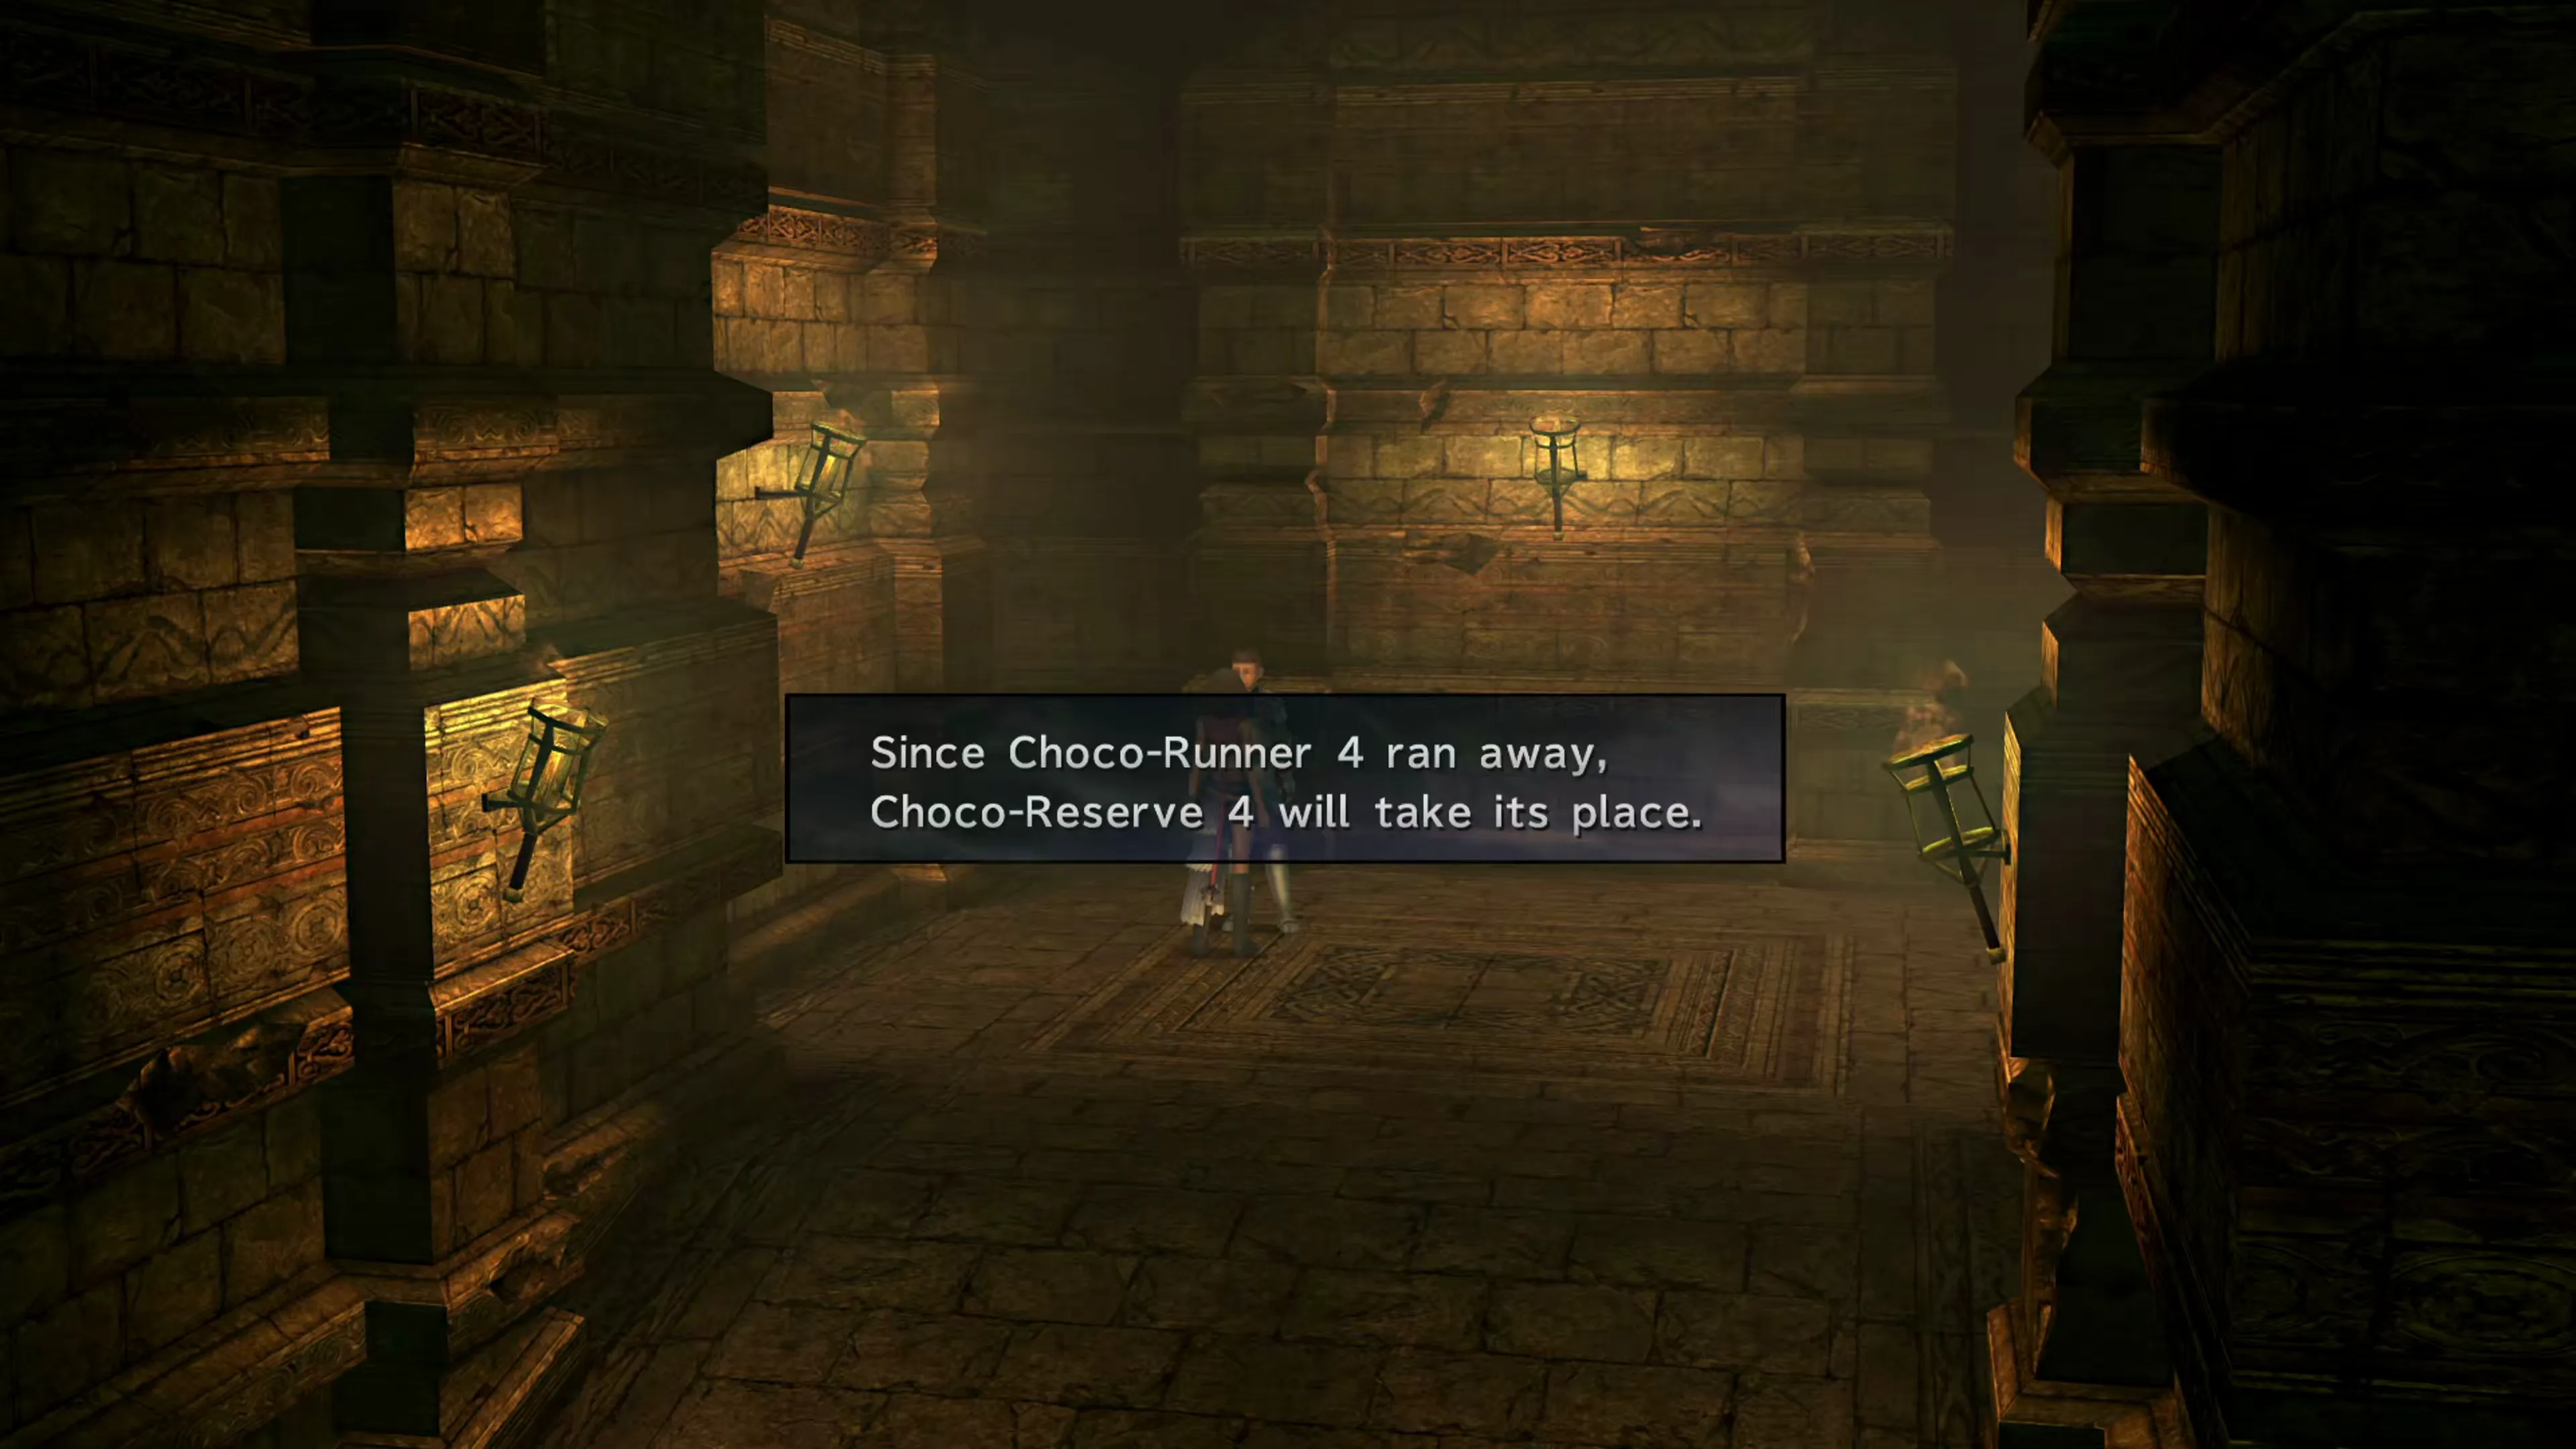
The second bullet is regarding a Chocobo’s nature. Chocobos will lose more heart and have a higher chance of running away if you send them to a place that they are not well suited. The following chart provides an overview of where each Chocobo is best suited:
| Area | Bold | Timid | Normal |
|---|---|---|---|
| Besaid Island | Unsuited | Average | Well-suited |
| Kilika Island | Average | Well-suited | Unsuited |
| Mi’ihen Highroad | Average | Average | Average |
| Mushroom Rock Road | Average | Average | Average |
| Djose Highroad | Well-suited | Unsuited | Average |
| Moonflow | Unsuited | Average | Well-suited |
| Thunder Plains | Average | Well-suited | Unsuited |
| Macalania | Unsuited | Average | Well-suited |
| Bikanel Island | Average | Well-suited | Unsuited |
| Calm Lands | Well-suited | Unsuited | Average |
| Mt. Gagazet | Average | Average | Average |
| Zanarkand Ruins | Average | Average | Average |
You obviously don’t want your Chocobos to run away, but other than that, their nature doesn’t really matter. If you have all “Bold” Chocobos, you can still meet the requirements to unlock all three of the locations mentioned in the “Opening Locations” section up above. Just make sure you send them to the locations that work best for them (Djose and Calm Lands) or at least average ones (Kilika Island, Mi’ihen Highroad, Mushroom Rock Road, Thunder Plains, Bikanel Island, Mt. Gagazet, Zanarkand Ruins).
And make sure you replenish their heart before you send them out!
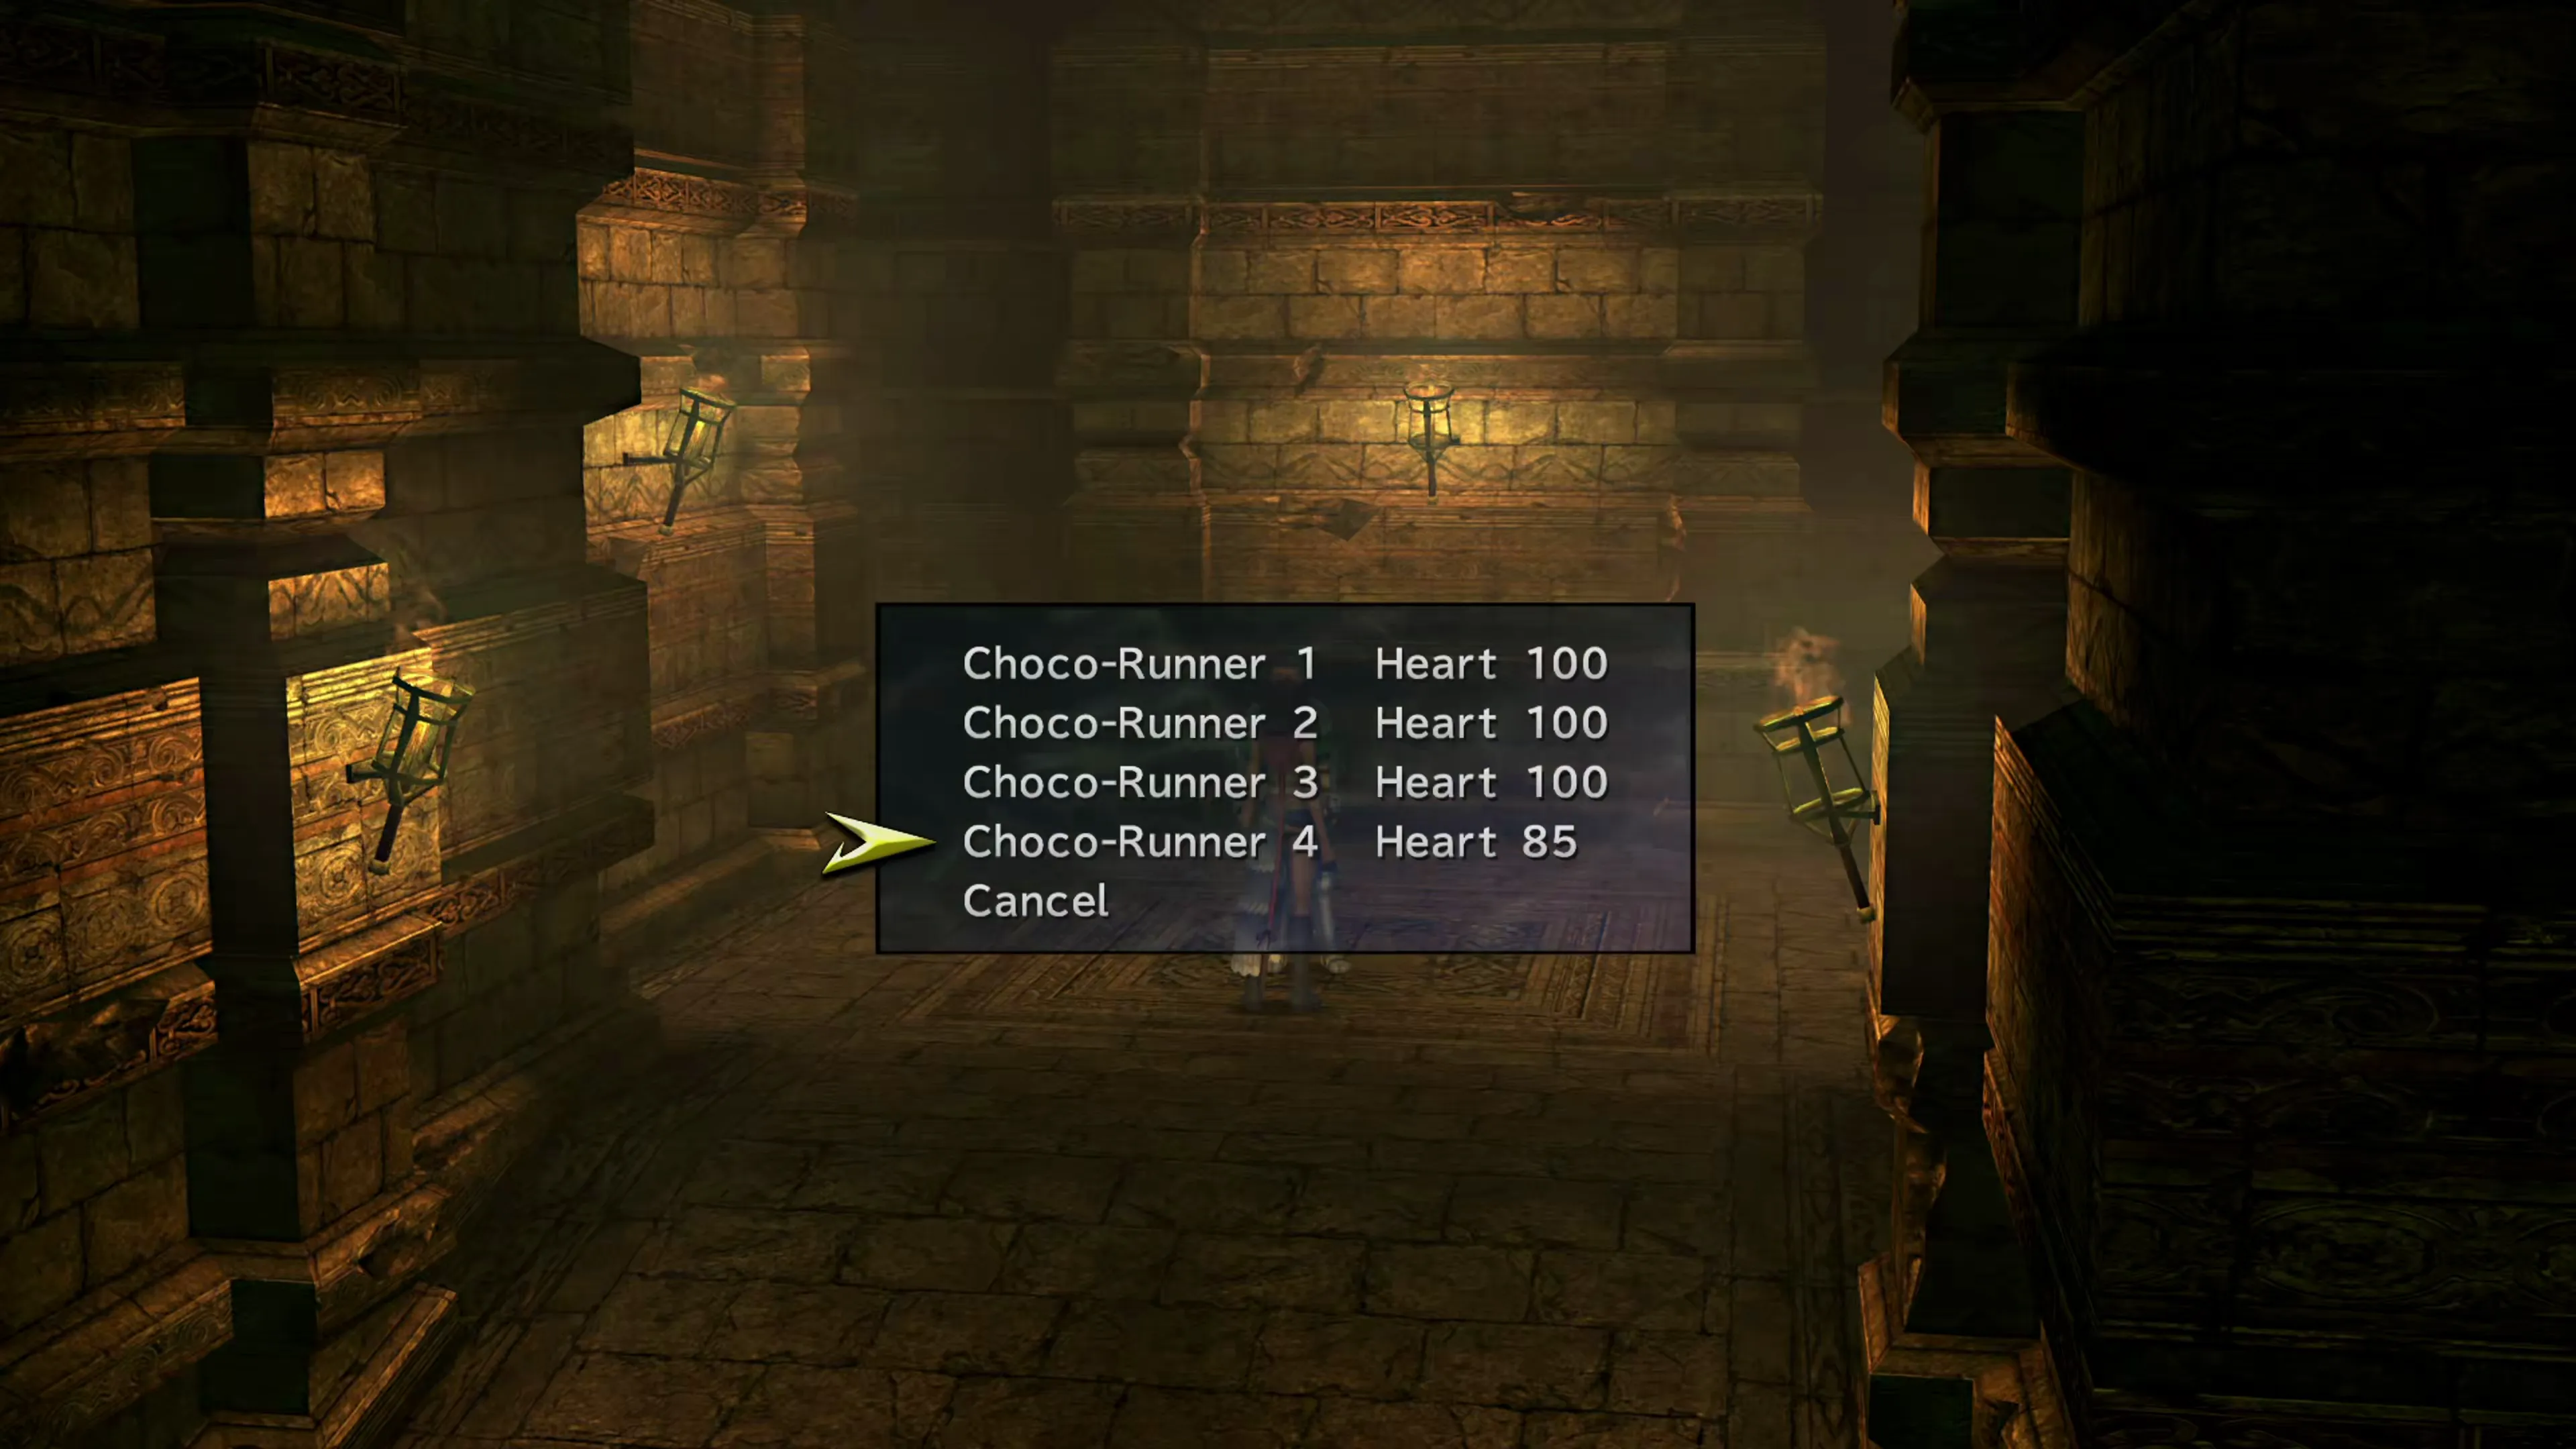
Here is the treasure you can find. The class a Chocobo lands in depends on its Heart when dispatched, how many Choco-Reserves you keep at the ranch, and how well suited its nature is to the area; Class 1 is the best result and Class 4 the worst. A Chocobo can bring back up to four items, and can also come back with nothing.
 Budget Grenade
 Titanium Bangle
 Venom Shock
 Star Curtain
Secret Locations and Unlocks
The locations that you can unlock were mentioned in the “Opening Locations” section above, but here is a bit more information about each.
The “Central Expanse” location in Bikanel Desert is just another place that you can dig, but it’s easier to dig in this location because you can now ride a Chocobo while you’re there. This prevents random encounters, making it easier to get around and find the buried treasure. This is typically done while you’re trying to unlock later levels of the Experiment fight. Check out the Walkthrough page for more information:
Walkthrough
Digging in the Central Expanse, and the rest of the Bikanel Desert in Chapter 5.
The next location is the Ruin Depths. This is the hardest location to unlock, and you can find a whole bunch of loot in this dungeon and the Amazing Chocobo.
Side Quests
Tracking down the Amazing Chocobo and picking up all of the rewards in the Ruin Depths.
The final location is the Fiend Colony, which, as mentioned above, can be unlocked by sending a Level 4 or Level 5 Chocobo to the Mi’ihen Highroad. You’ll still have to walk to the dungeon from the Save Sphere, though, so check out the guide below for more information. Your primary purpose for visiting this location, if you’re going for full completion of the game, is to complete Shinra’s Bestiary, which is a requirement for the  Monster Master achievement/trophy.
Side Quests
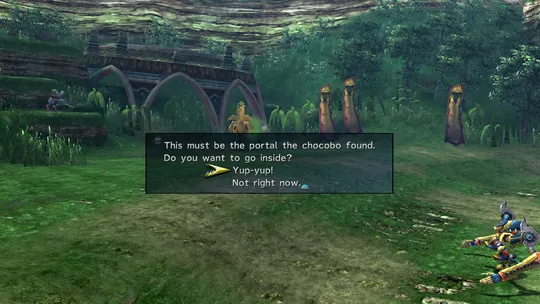
A new dungeon that has opened up in the Mi’ihen Highroad. Consider leaving this dungeon until later when you’re completing Shinra’s Bestiary.