

Mi’ihen Highroad
The next destination is the Mi’ihen Highroad, but before you initiate the Mission, which starts at Rin’s Travel Agency, you should take care of some of the Publicity and Marriage Campaign steps beforehand. After the Mission, the back half of the Mi’ihen Highroad (everything north of Rin’s Travel Agency) will be blocked off.
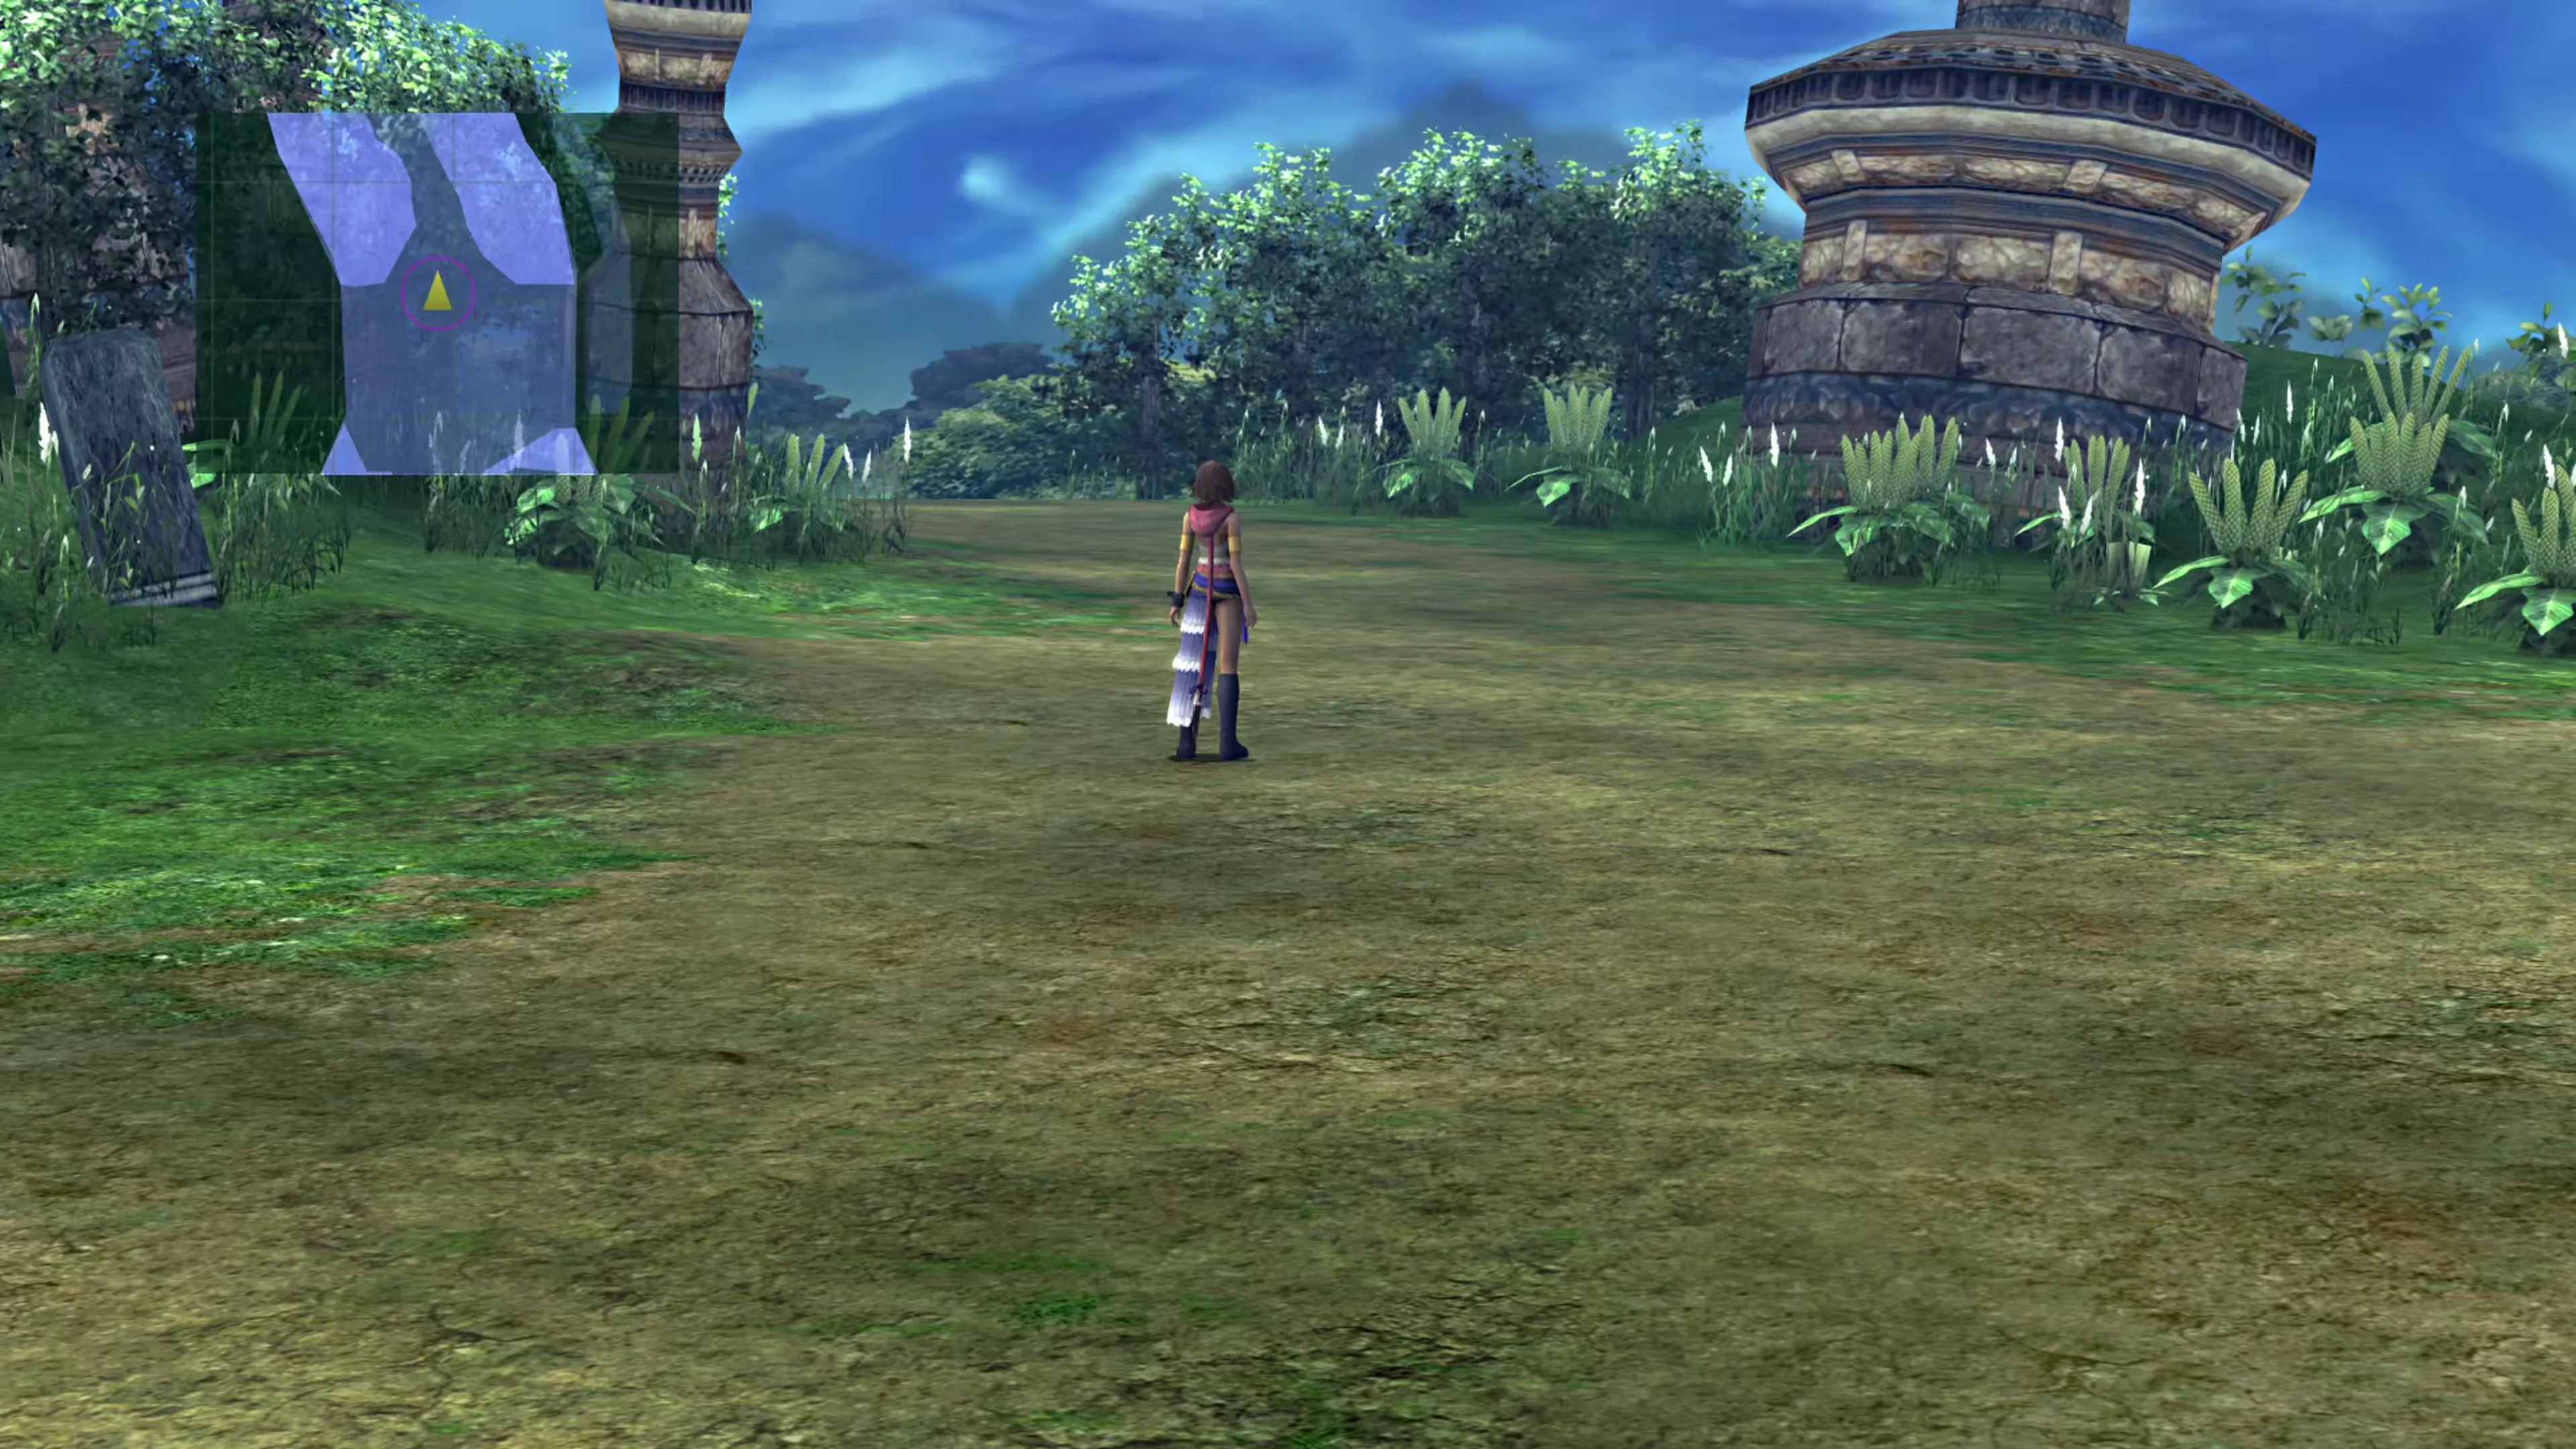
Check out the Publicity and Marriage Campaign for details:
Side Quests
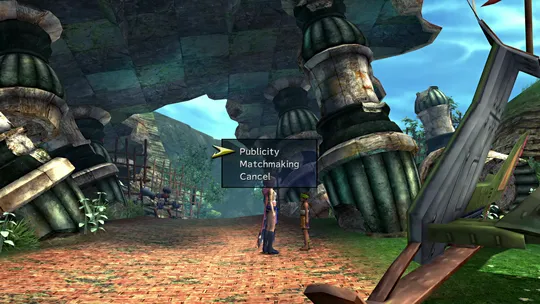
A list of the NPCs that you can speak with to earn Open Air / Argent Publicity points and Marriage Campaign points in Mi’ihen Highroad during Chapter 2 but before the Mission takes place.
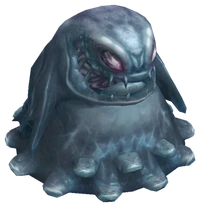
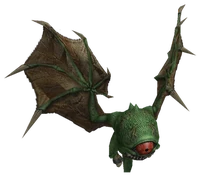
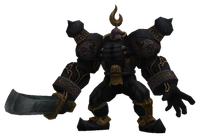
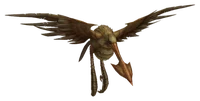
There are also some treasure chests that you can pick up in the area:
Mi’ihen Highroad - Newroad
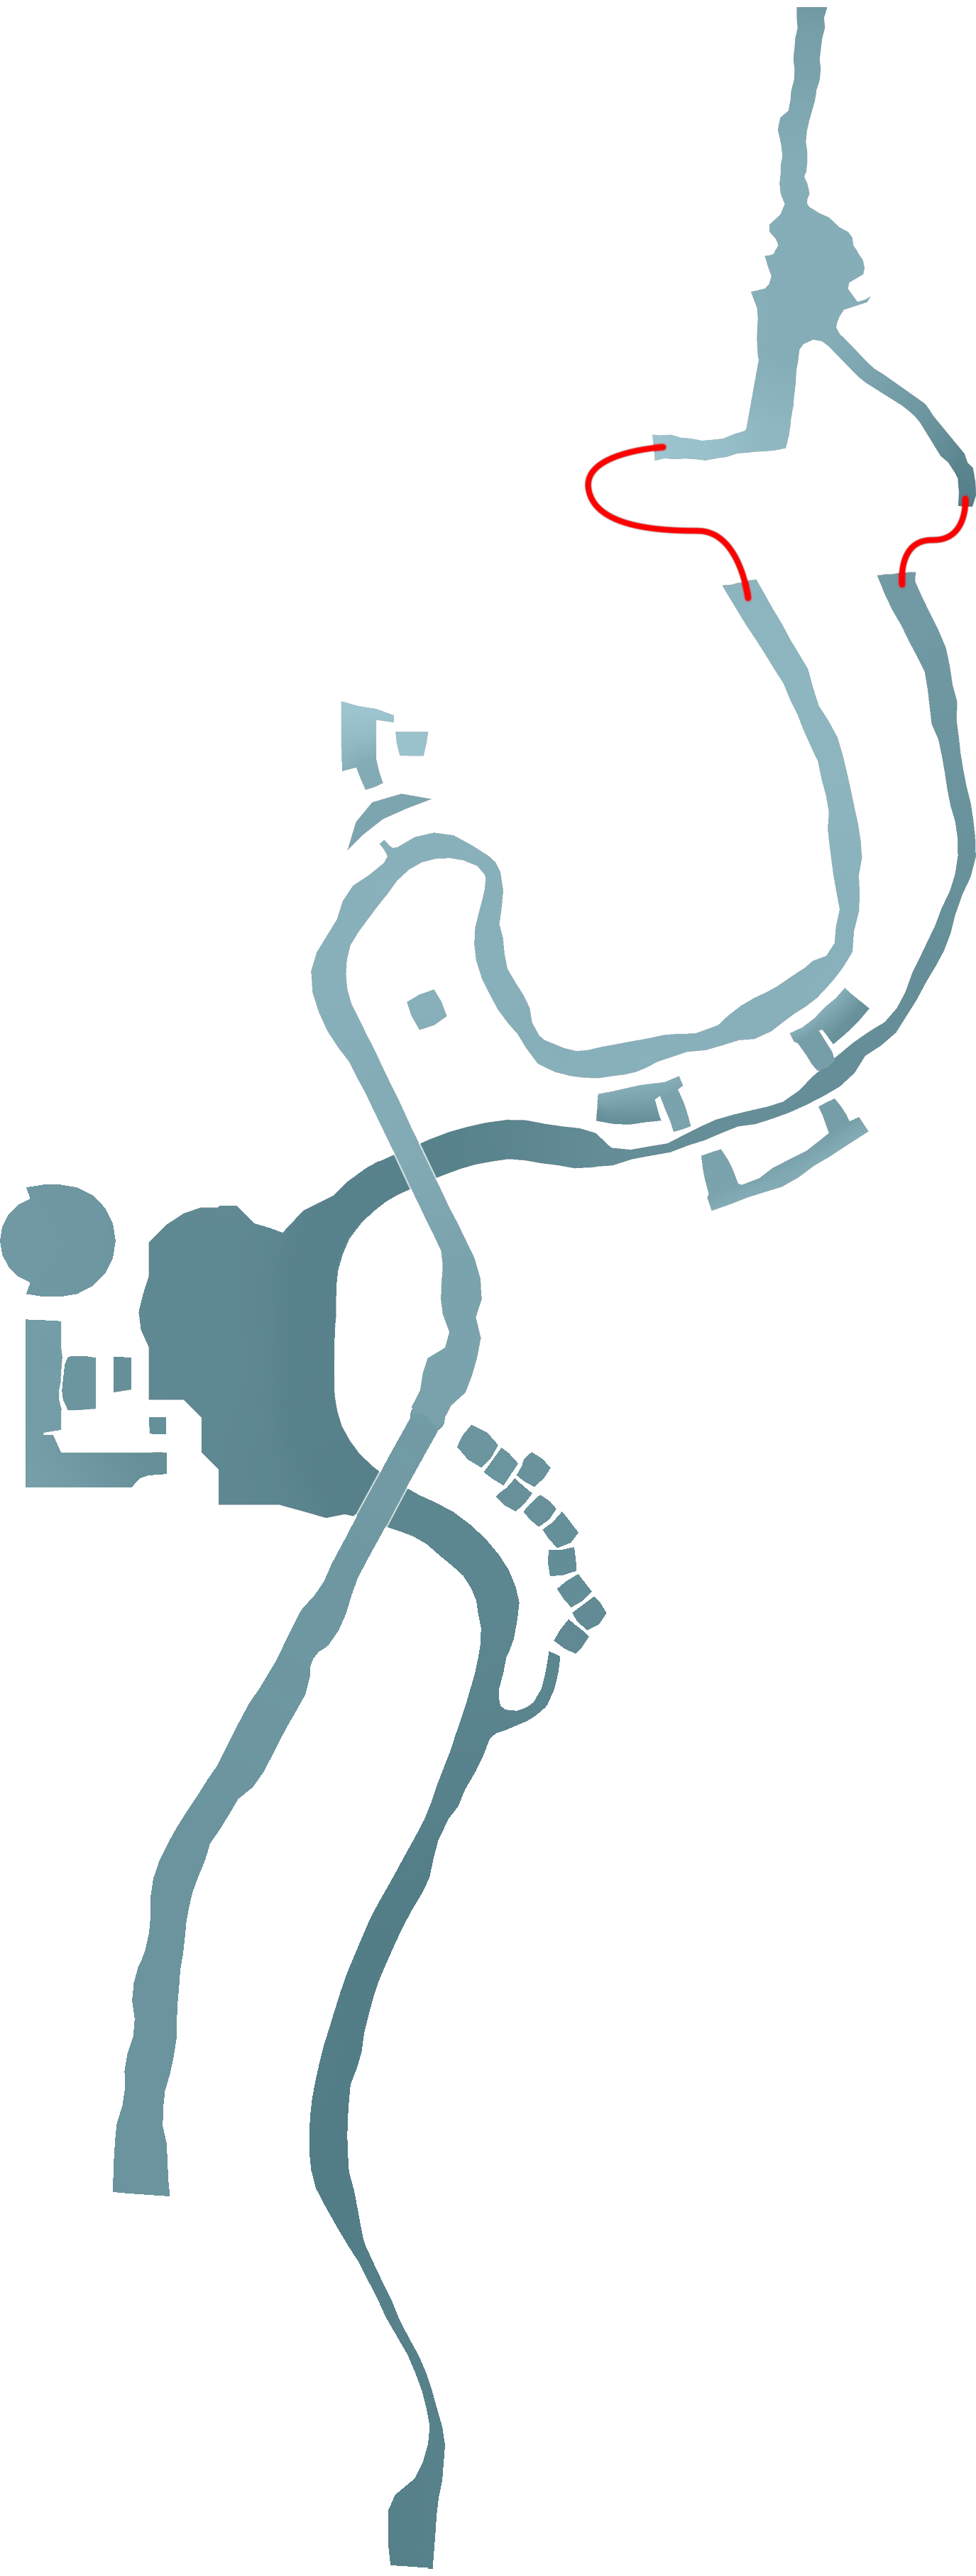
There’s even a treasure chest behind Rin’s Travel Agency that contains three  Eye Drops.
Rin’s Travel Agency
You can head into Rin’s Travel Agency when you’re ready to begin the Mission, but before you do, it’s highly recommended that you save your game at the  Save Sphere outside the agency. This next section isn’t difficult, but it has a few steps you need to follow and can be easy to mess up. If you get unlucky, you could lose out on some of the scenes and some of the Story Completion Percent, so make sure you have a save file that you can use to reload your game and retry.
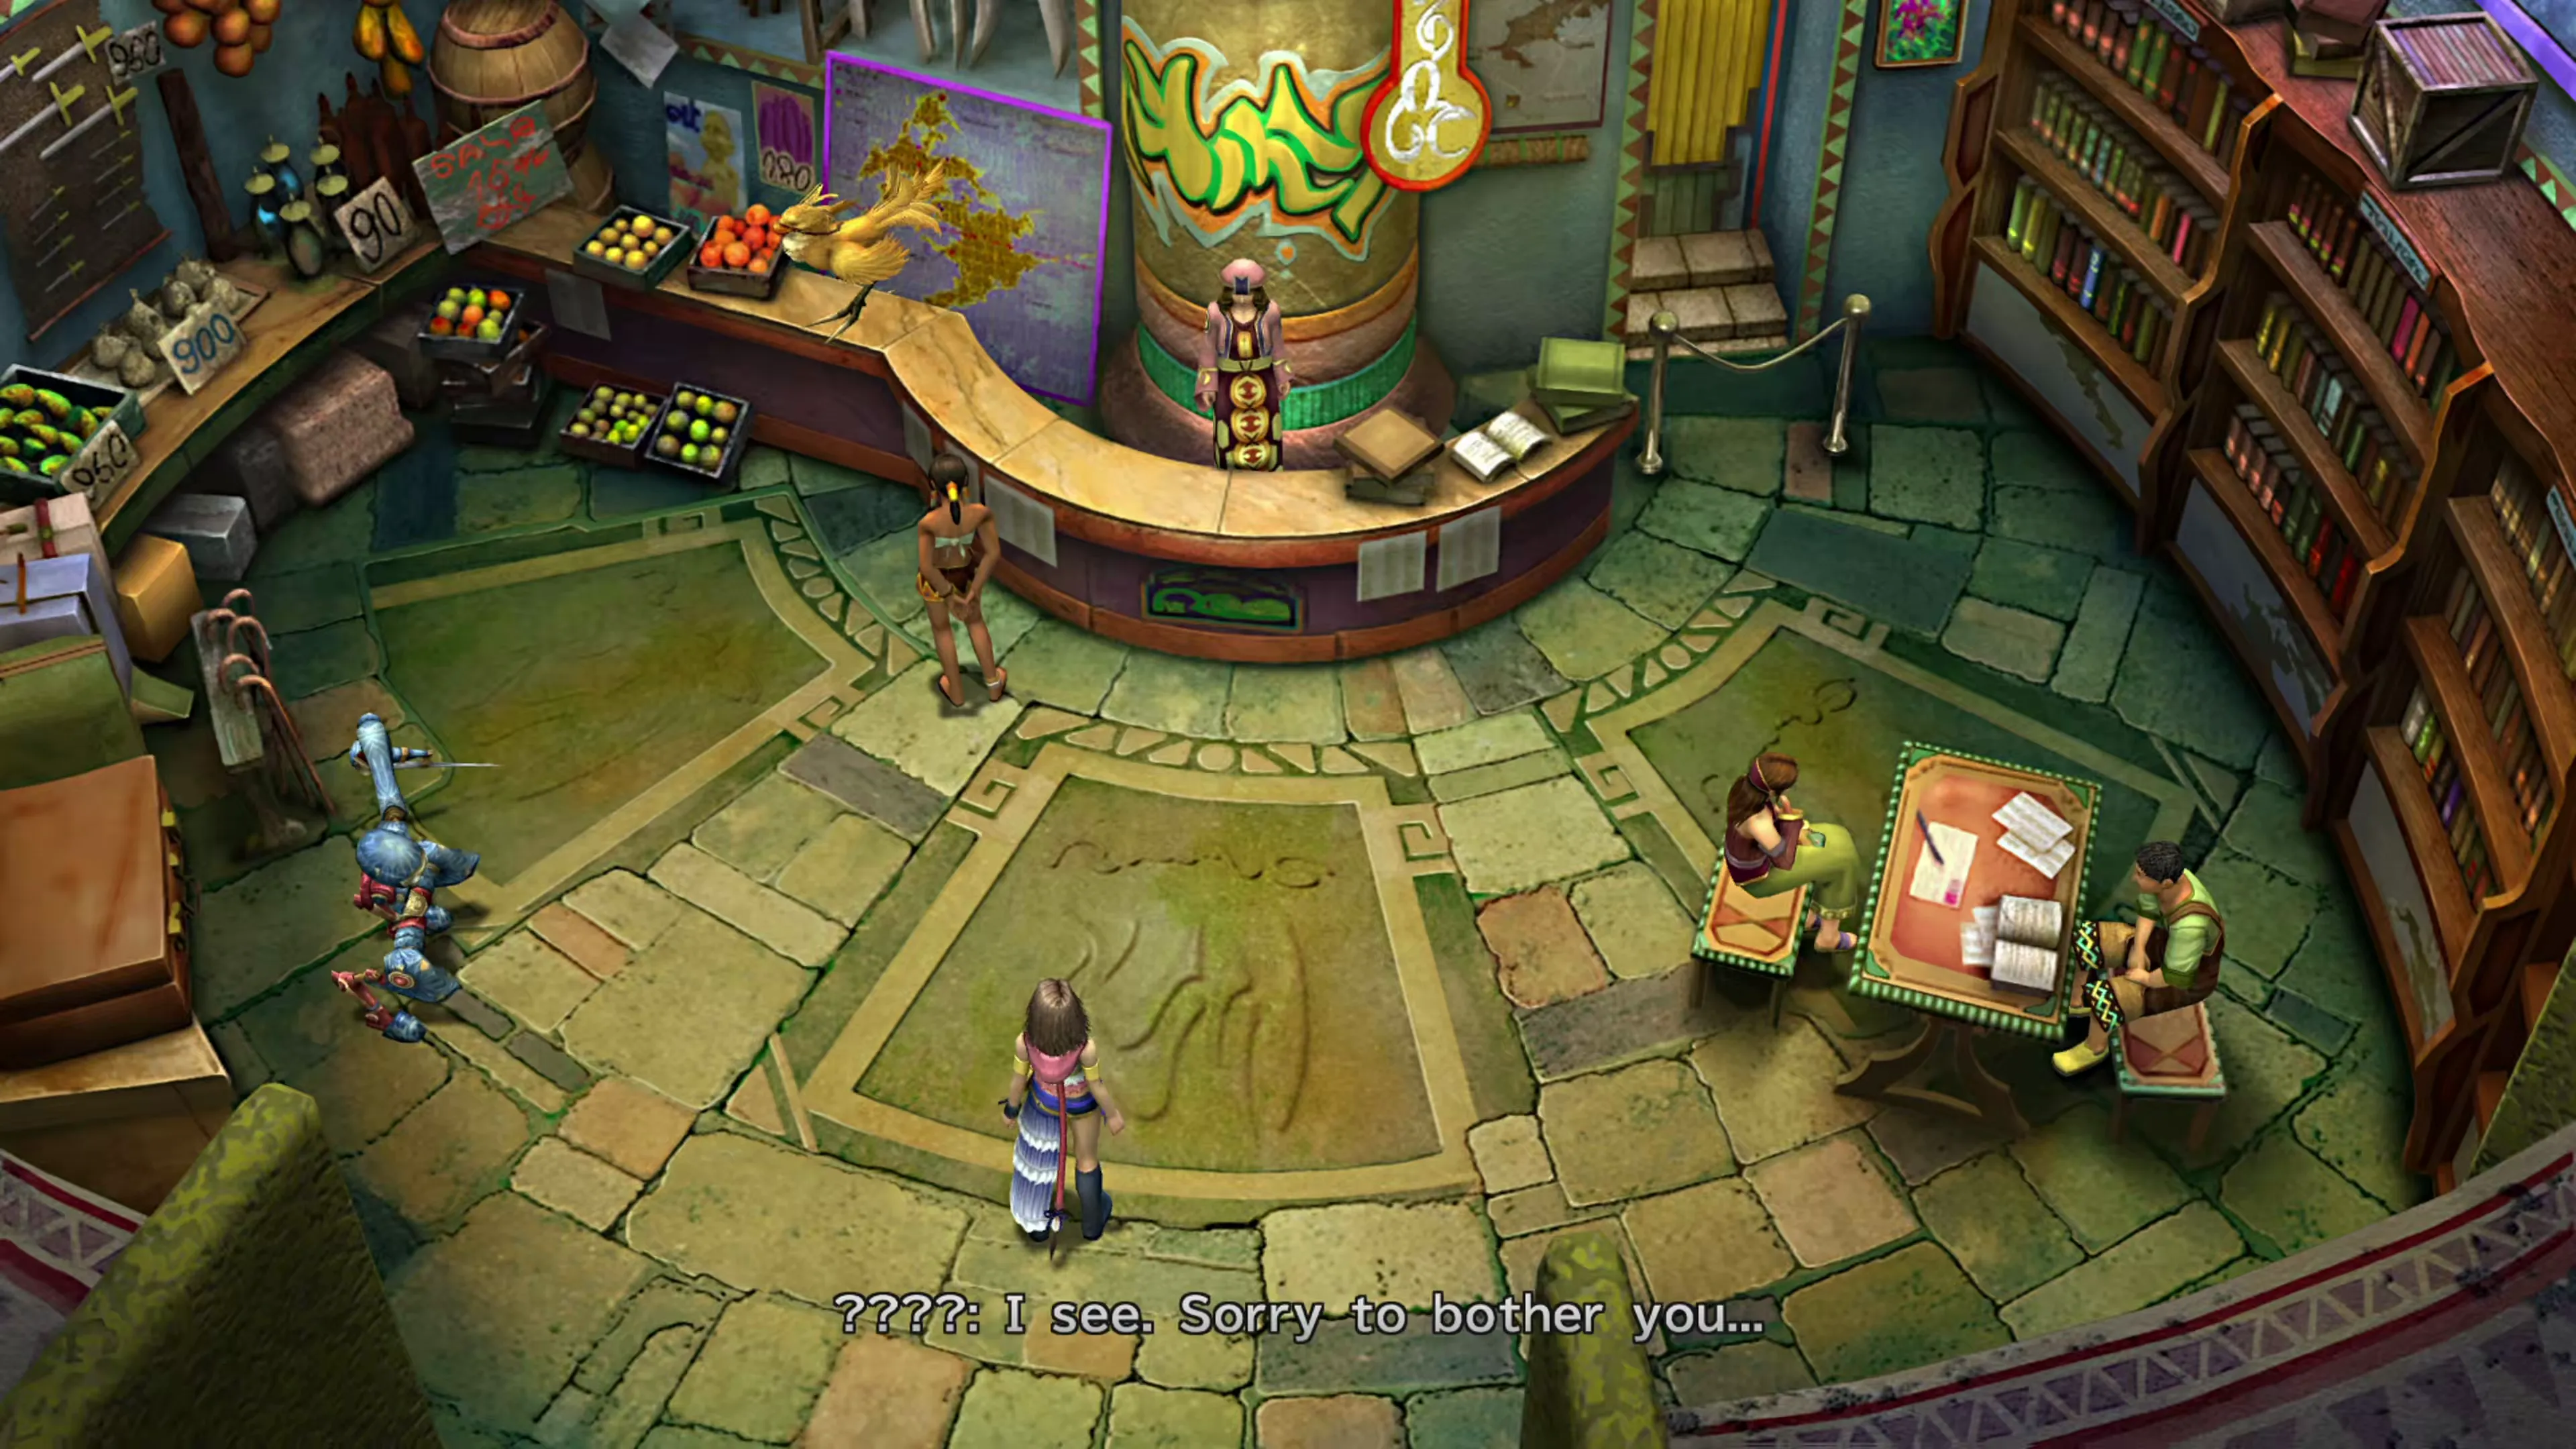
Once you head inside, you’ll witness a short conversation between a new NPC, Calli, and the clerk behind the counter, who tells her that she can’t go Chocobo riding right now. She’ll exit the shop, but you can find her just outside at the top of the nearby hill.
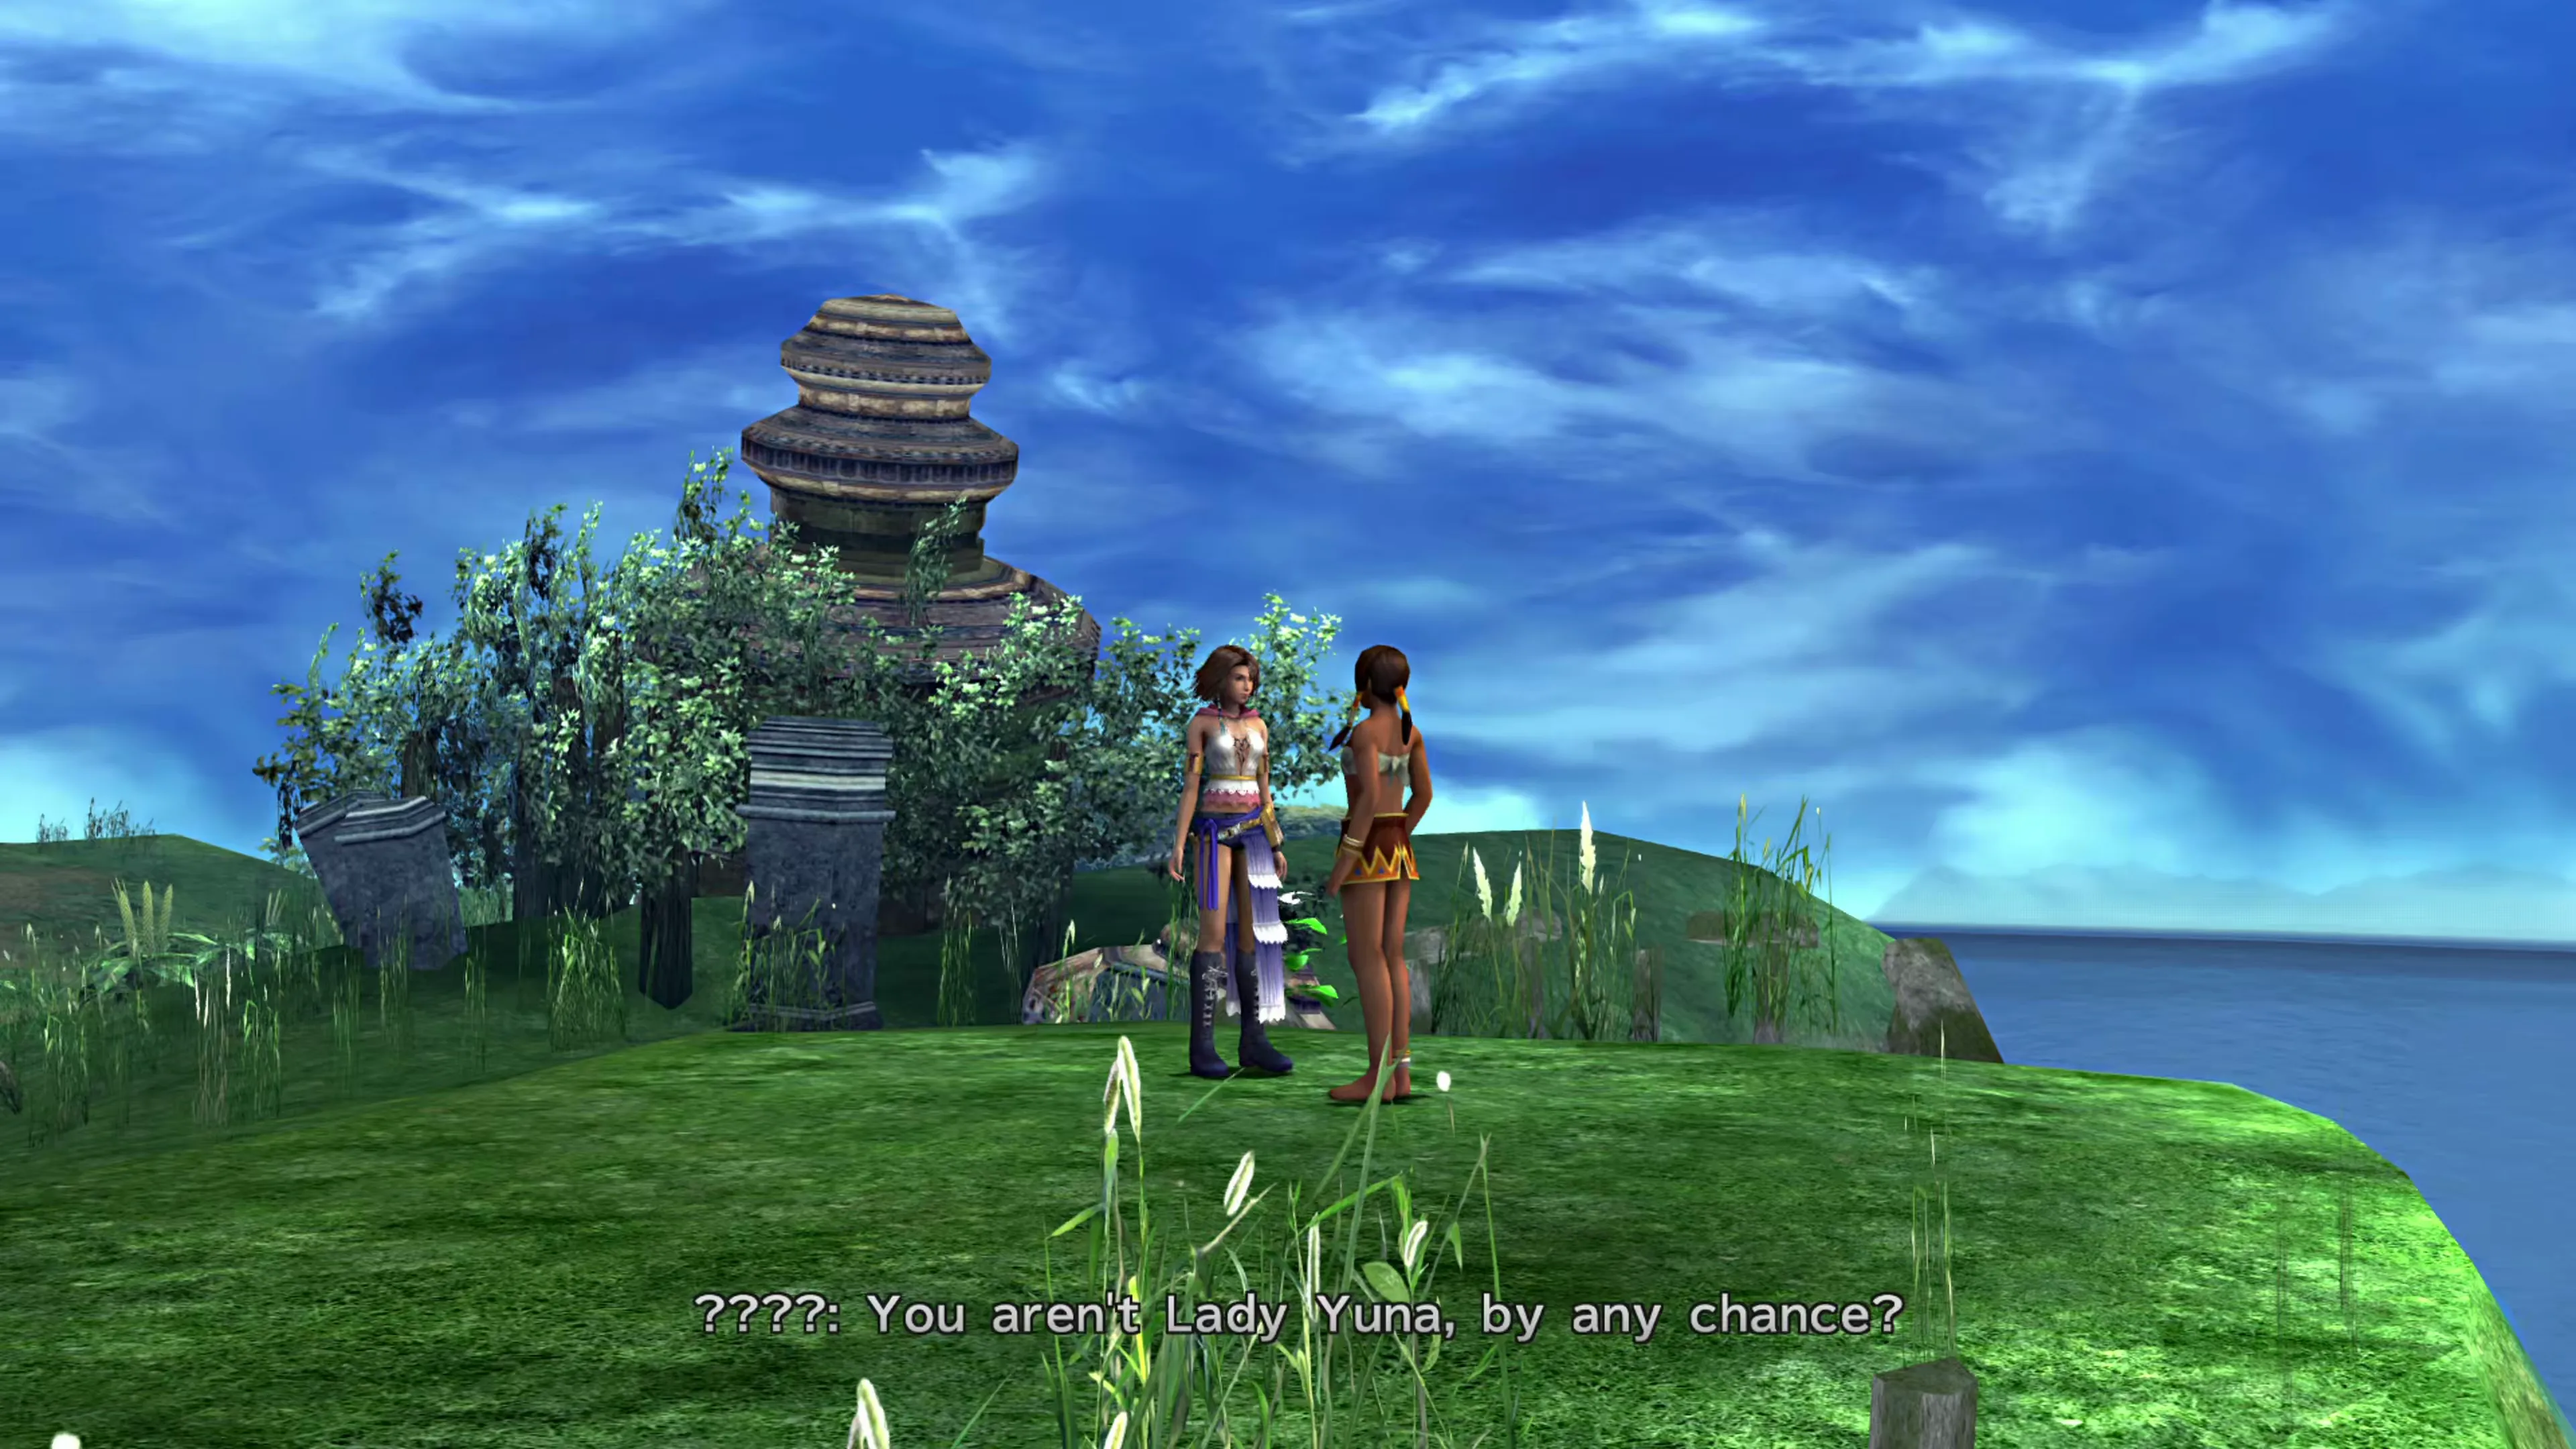
She’ll ask you if you remember who she is, and the answer you select doesn’t matter. She’ll then ask you to help her catch a Chocobo, and if you answer with “Of Course!”, it’ll kick off your next Mission…
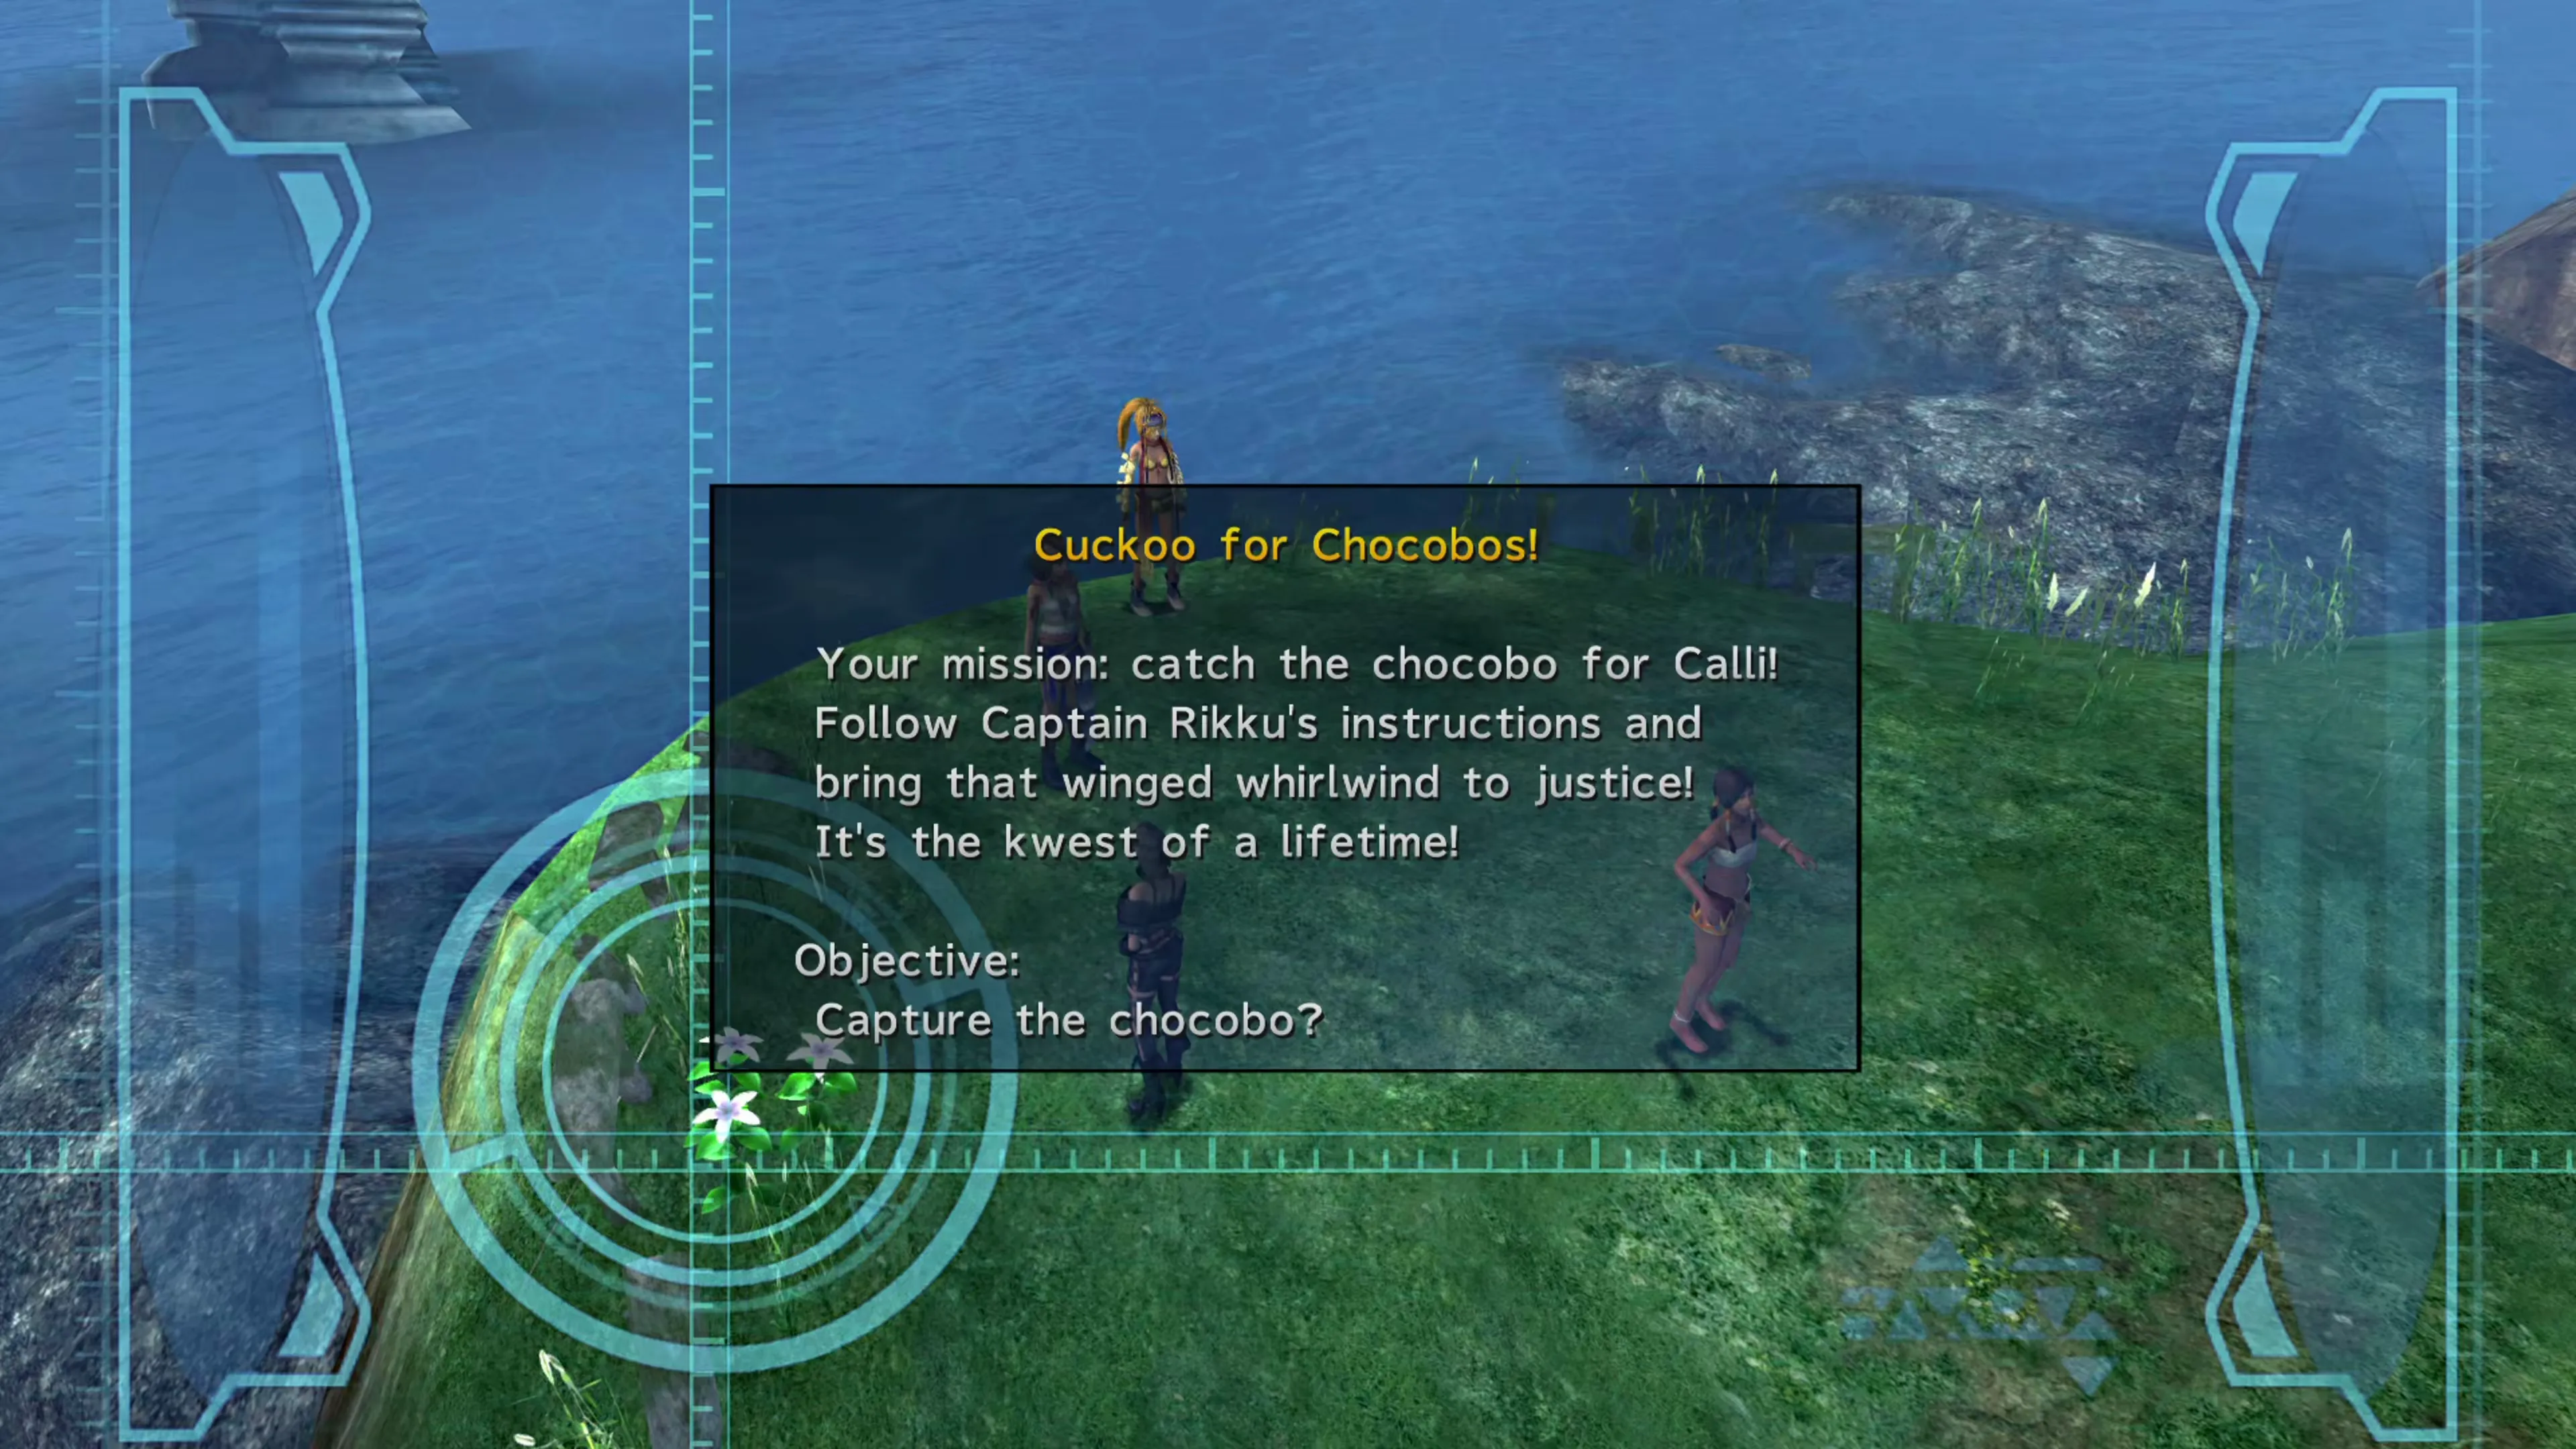
Mission: Cuckoo for Chocobos!
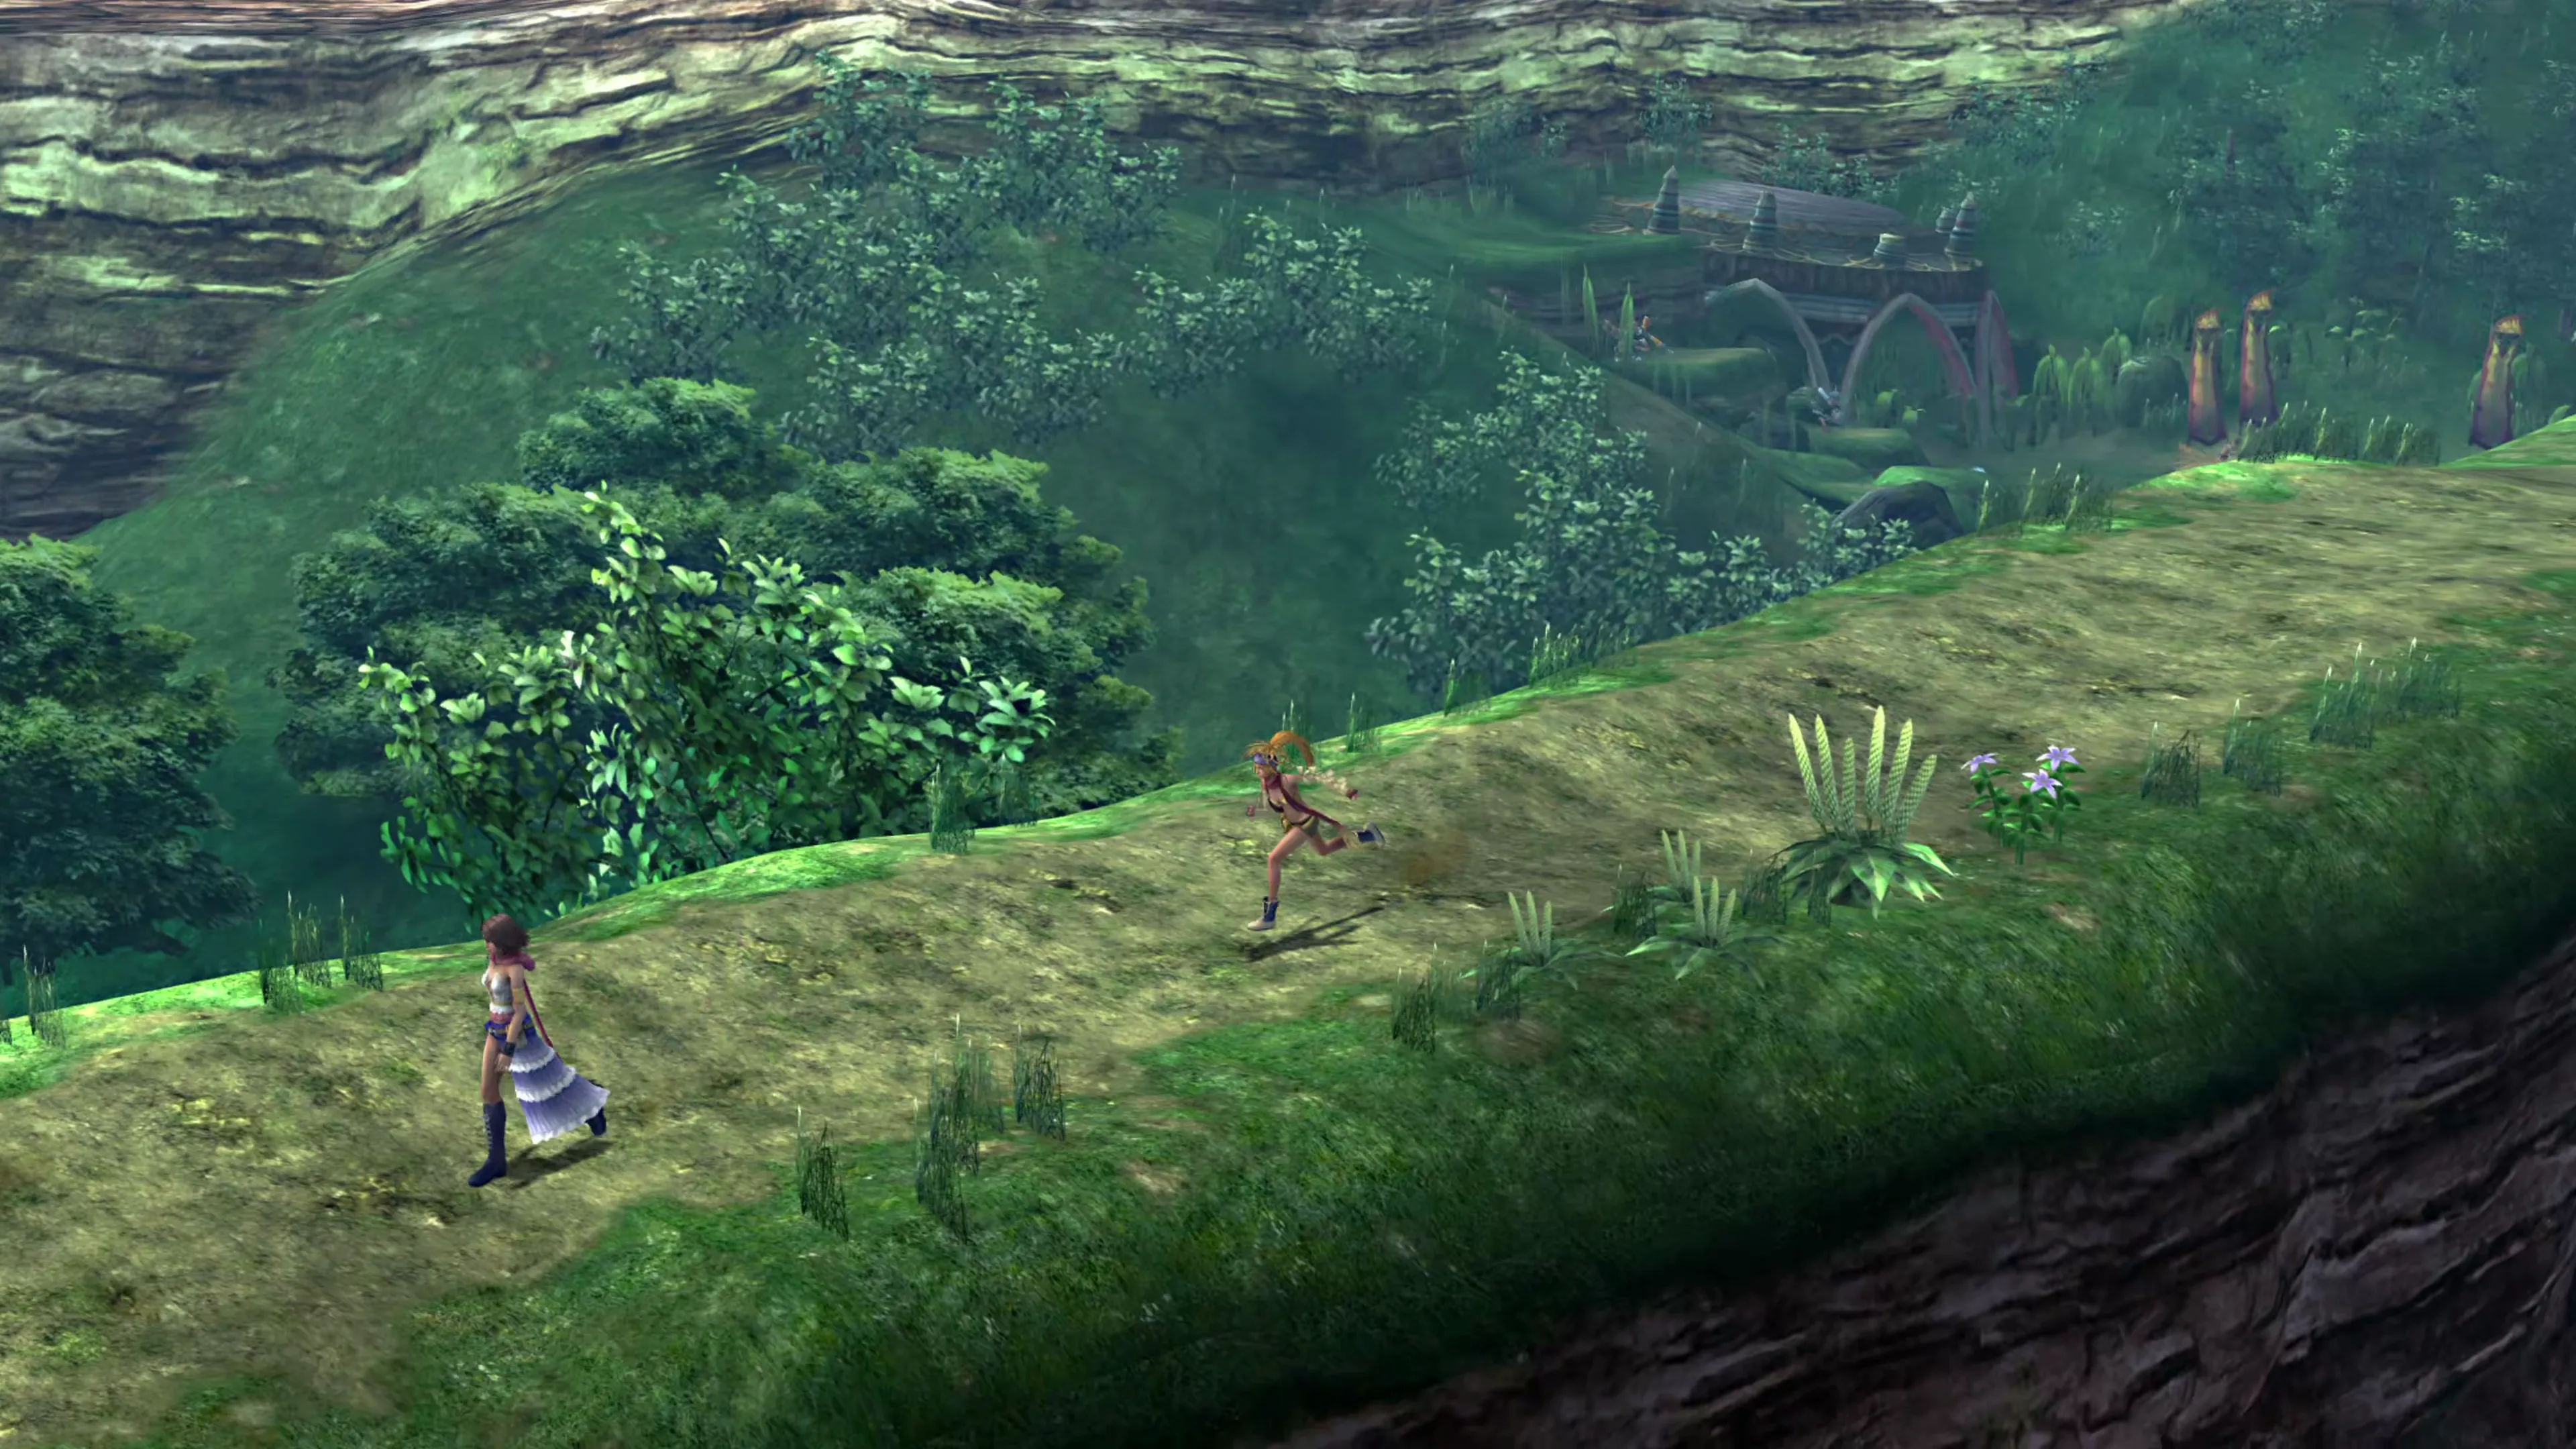
This Mission begins by having you follow Rikku as you traverse the Mi’ihen Highroad. Follow her away from Rin’s Travel Agency, and then a pop-up message will appear indicating that you should “Stick with Rikku” as you make your way down the road, but if you have time, you can also pick up some of the feathers and treasure chests… so, should you?
- Feathers: Grabbing feathers changes the reward you receive in treasure chests. The more feathers you have, the more likely the prize will become
 Chocobo Feathers or Chocobo Wings.
 - Rikku will stop, point, and say “It went thataway!” or “It’s over there!” If you follow her advice, you’ll find a treasure chest that contains the item, but the Chocobo will get away.
- You can actually re-attempt the chase after you open the treasure chest, so the only thing this costs you if you do decide to open one is time. You can do this as many times as you want.
To keep it short and blunt, these prizes are straight-up not worth it. Don’t go out of your way to pick up feathers, and don’t go off the trail to pick up treasure chests. It’s absolutely possible to grab nearly all of the feathers and get the top reward… but don’t.
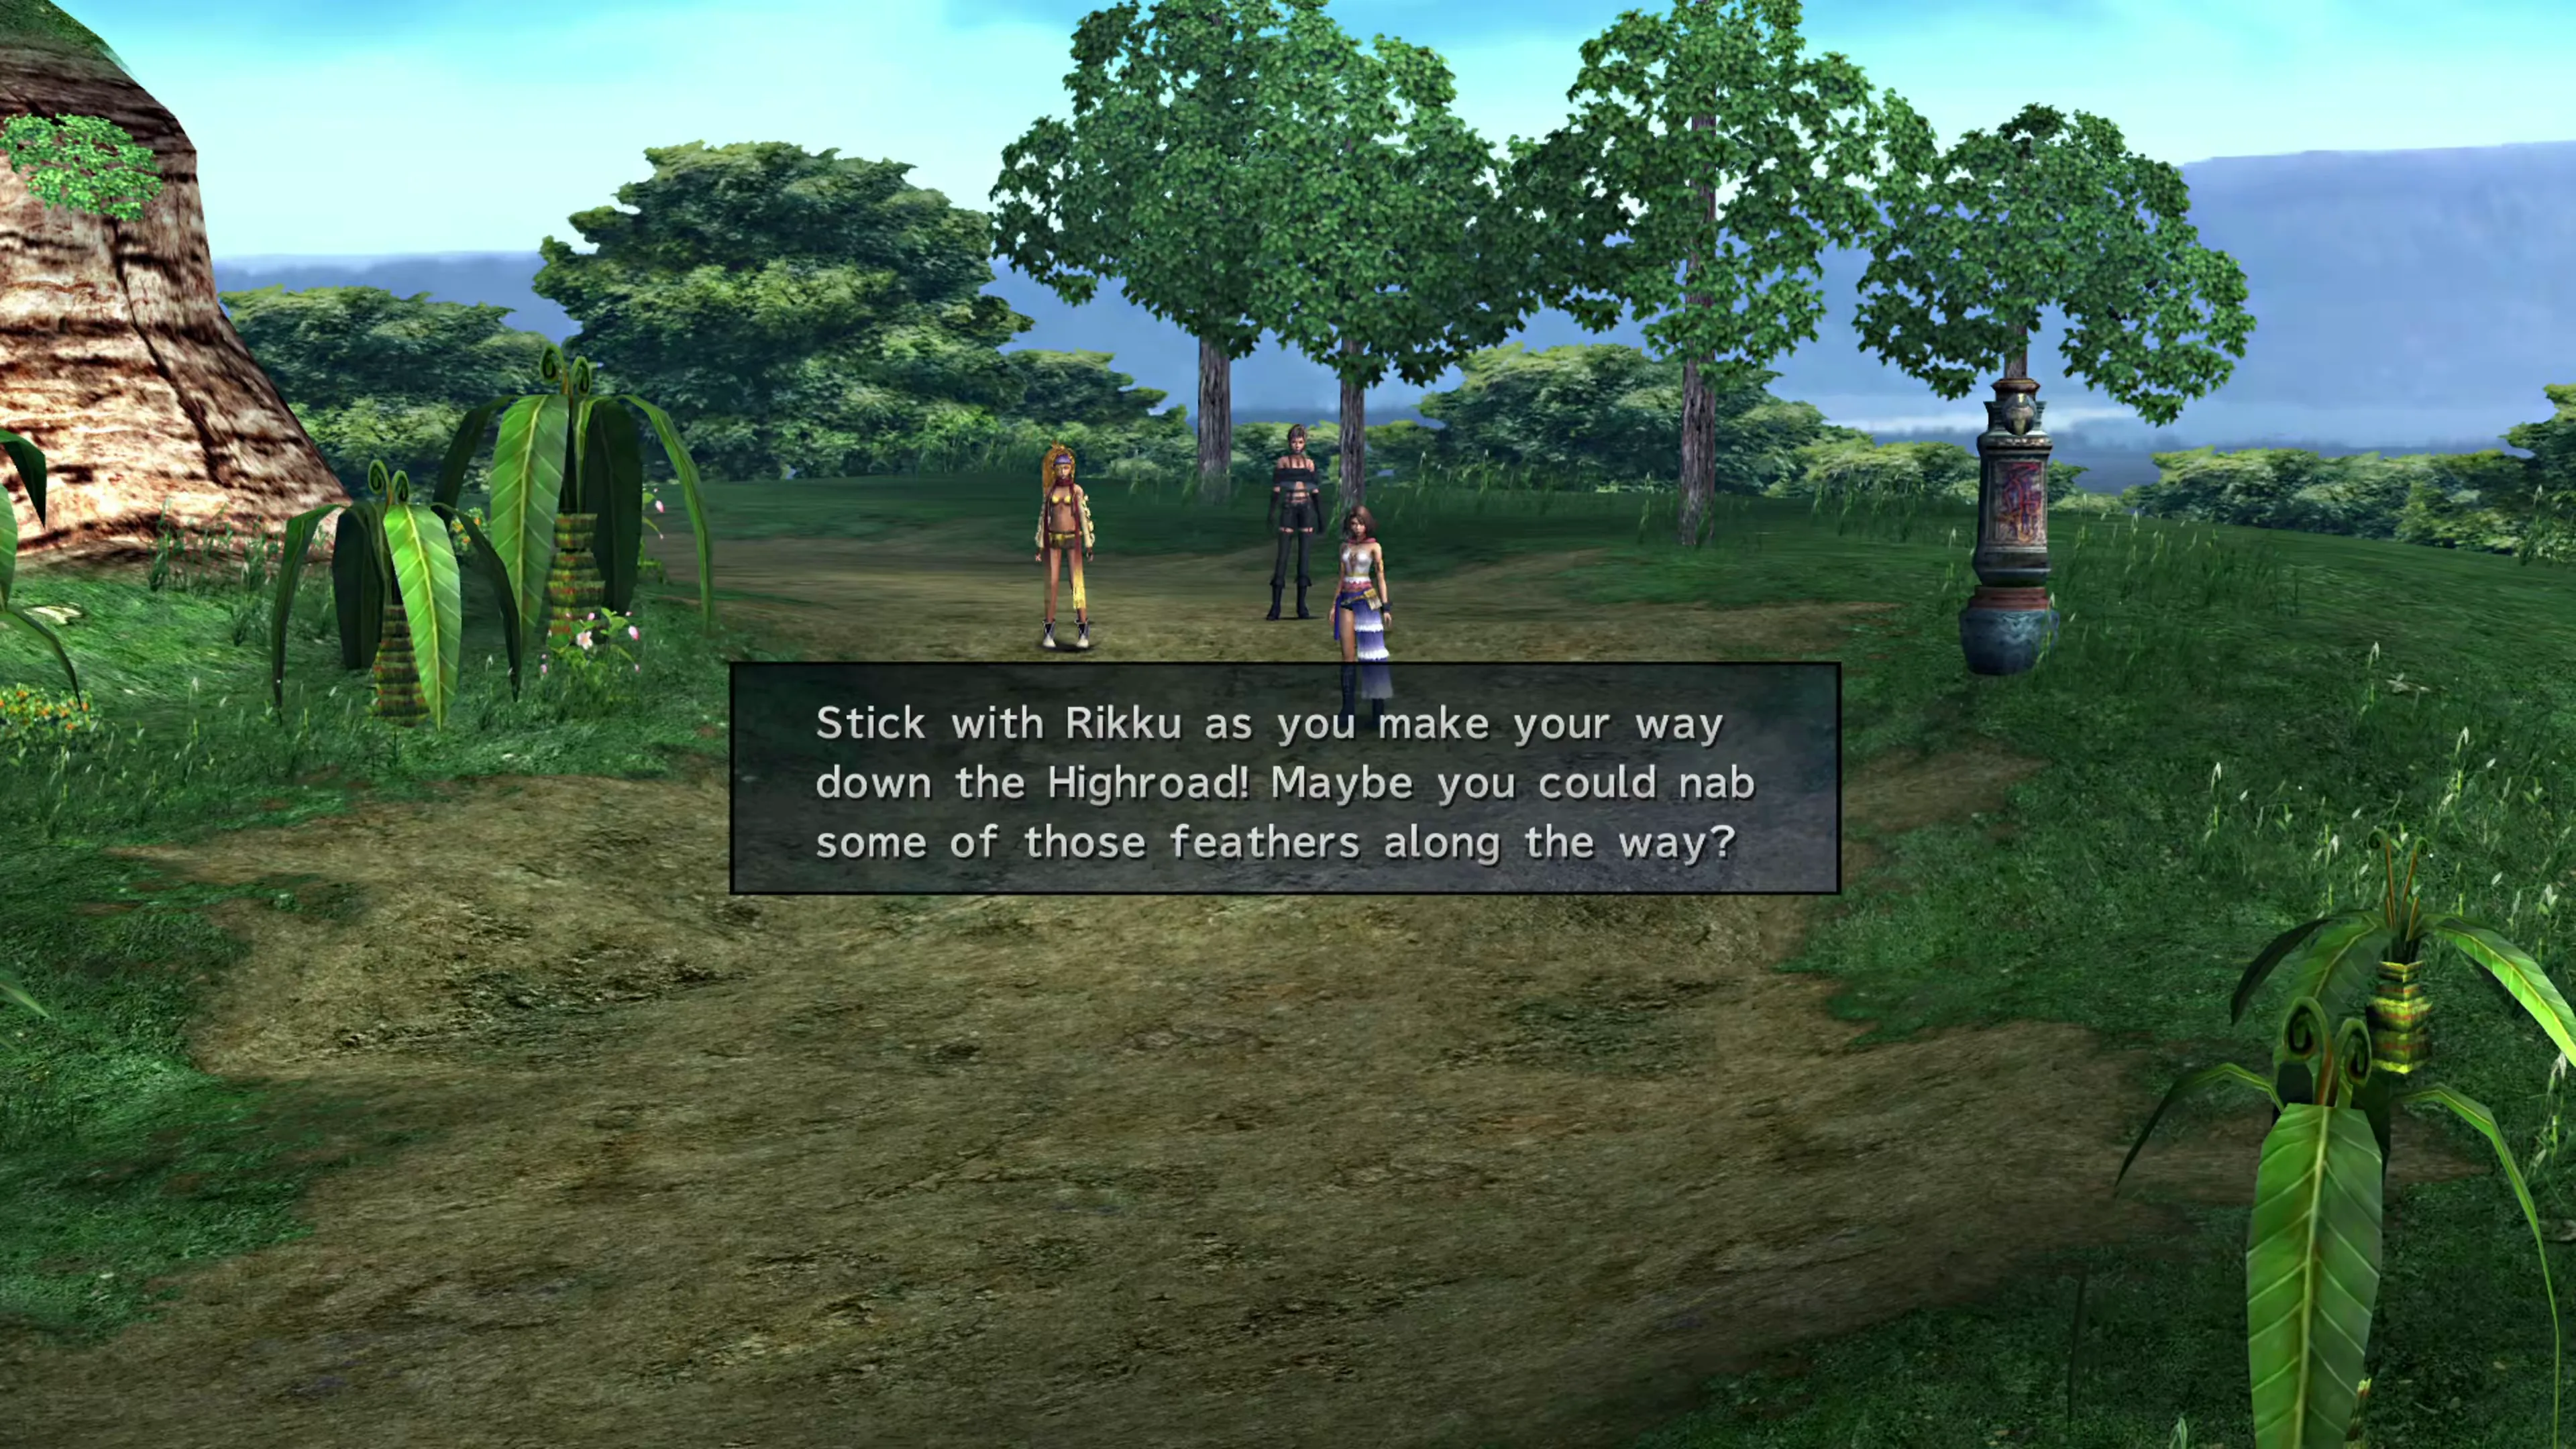
Follow Rikku south to the bottom of the screen. Make sure to stay close enough to her, and you’ll eventually make it through to the next section of the Mi’ihen Highroad.
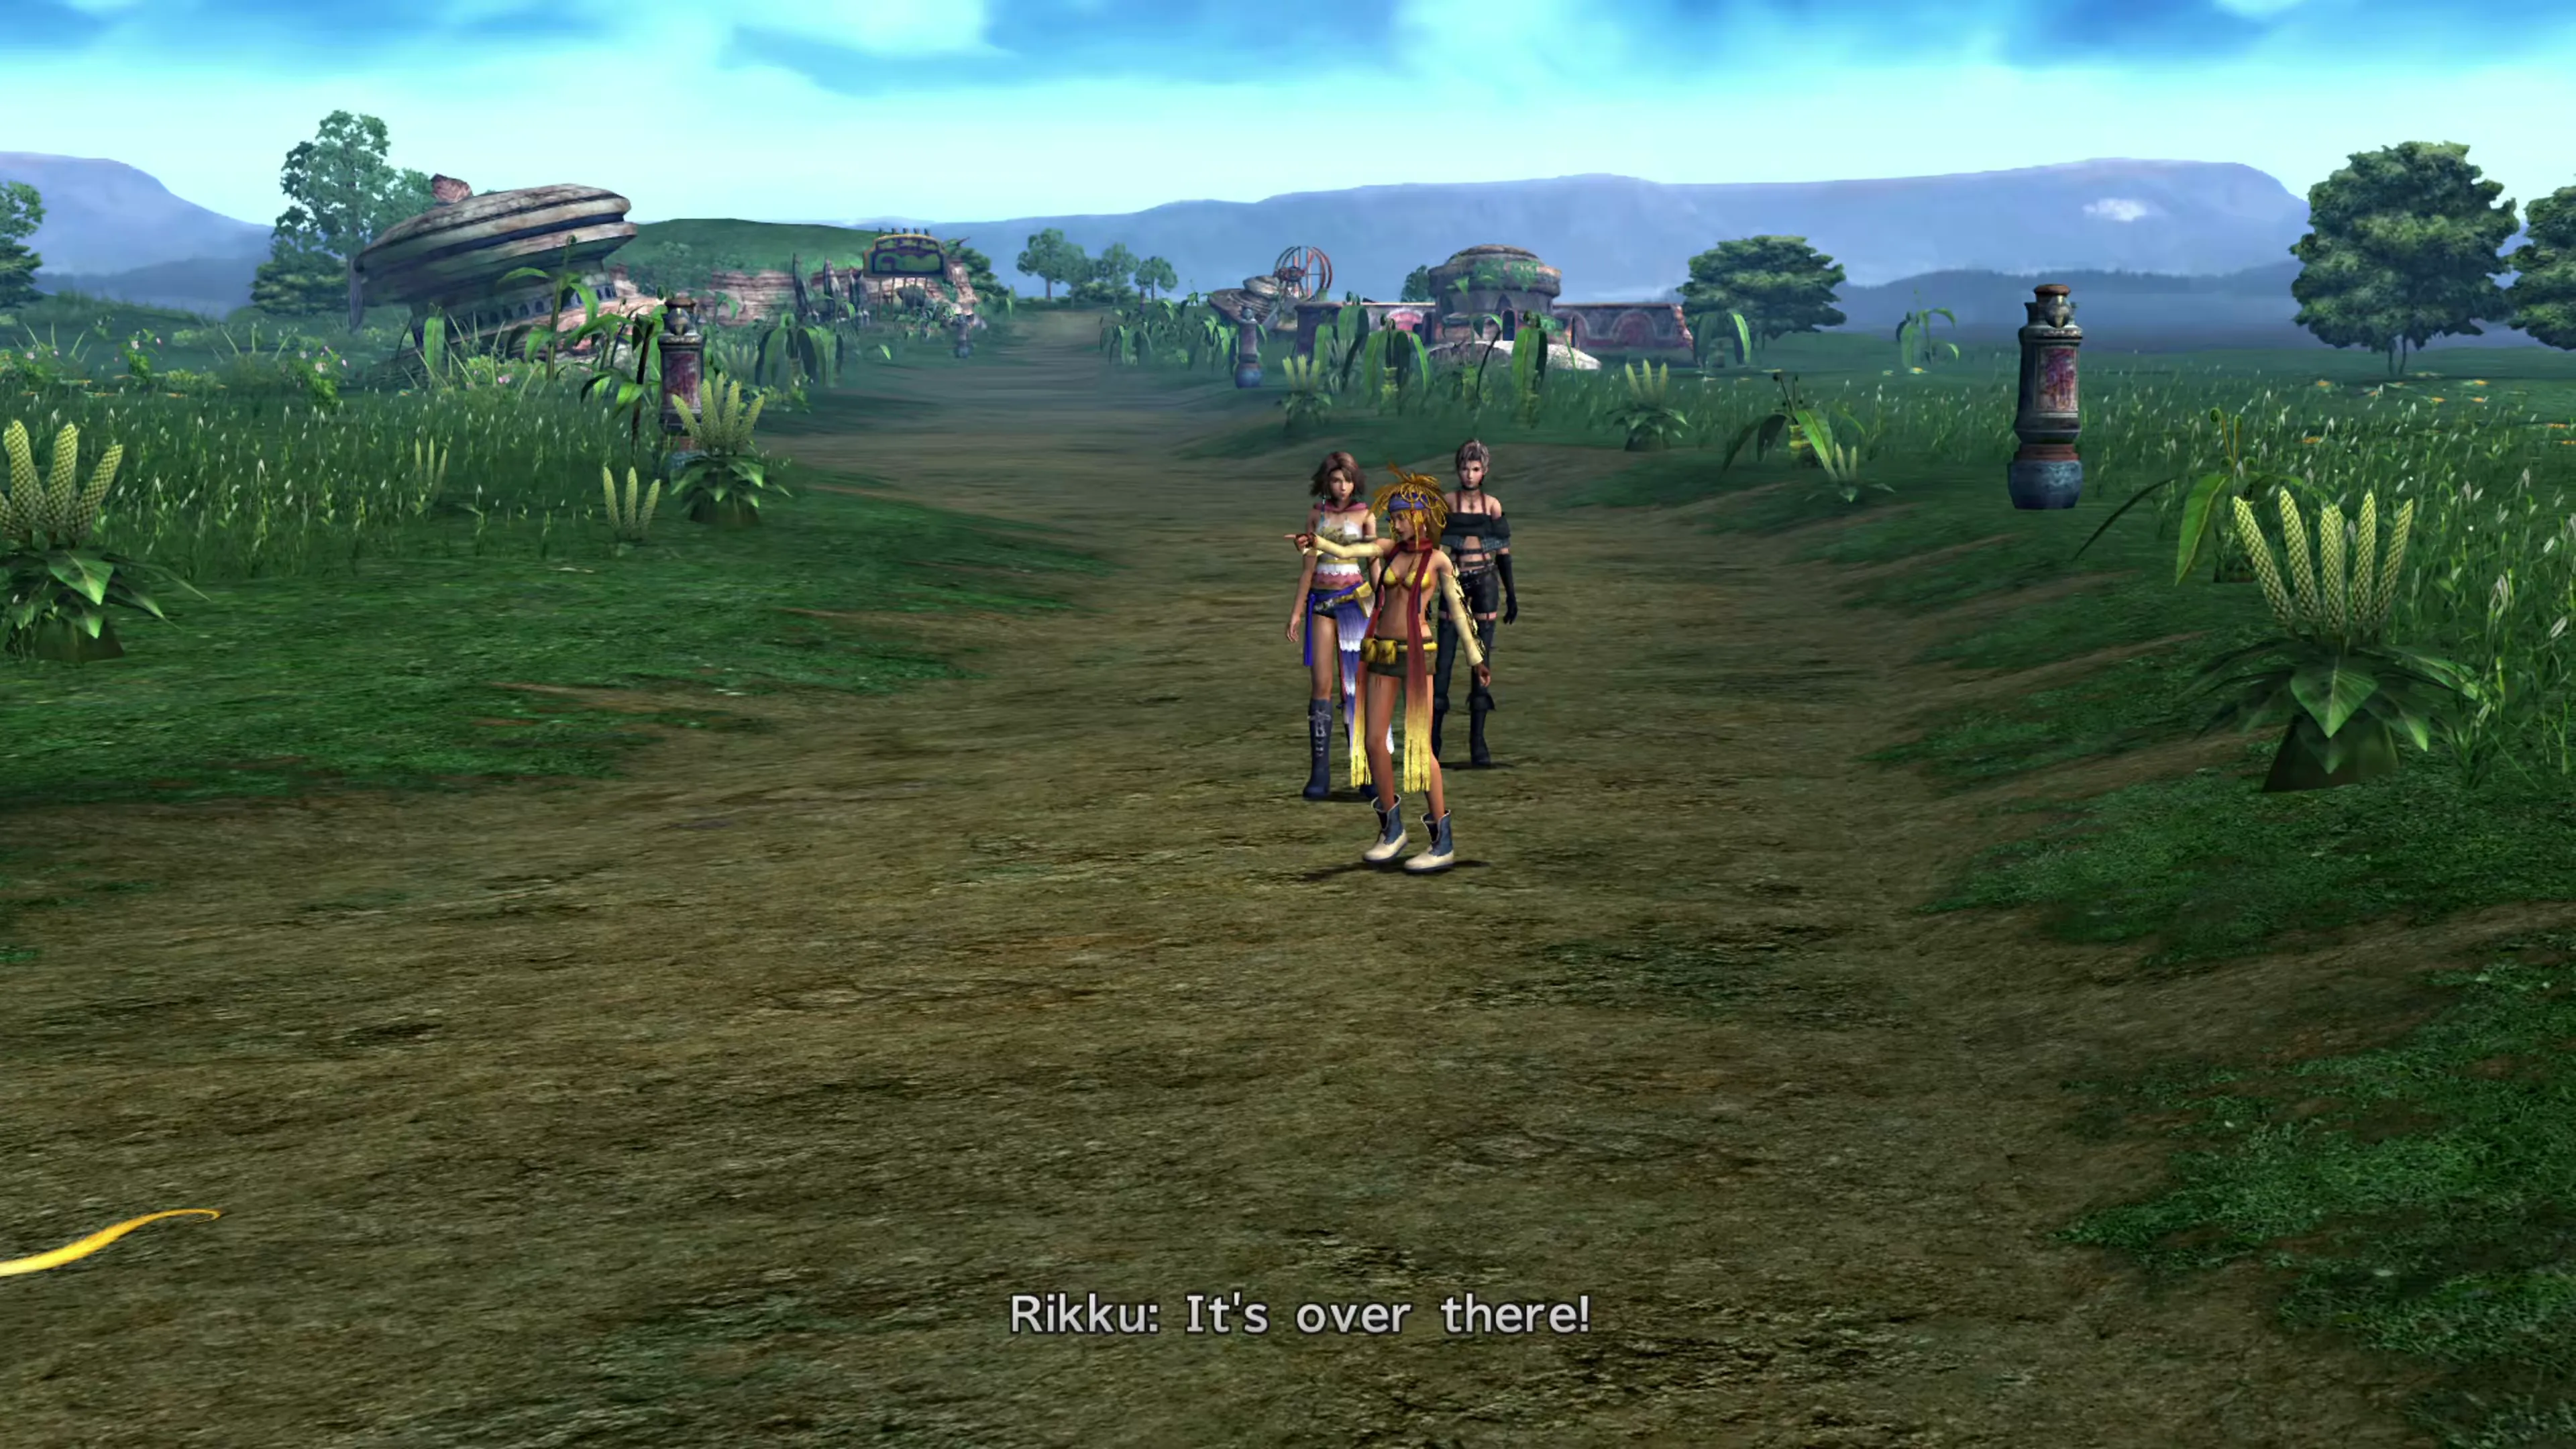
The Chocobo Rodeo!
This is where things get a little complicated, and different guides offer different explanations of how this section works. But here is the full explanation of how the mechanics of this little ‘guessing game’ work, so you get the outcome you want every time! That said, it’s recommended that you read through this full section before you start trying to catch the Chocobo. And, if you’re better with visuals, use the link below for a full video walkthrough of this section of the game:
Video Guide
A video walkthrough of the chocobo capture Mission on the Mi’ihen Highroad.
Yuna will attempt to catch it 8 times. For the first 4 attempts, it’s completely random. You have to guess which direction the Chocobo will go (either 

 ,
, 

 , or straight forward), and there’s no way for you to know. It’s a complete guess. Keep track of how many you get right, though.
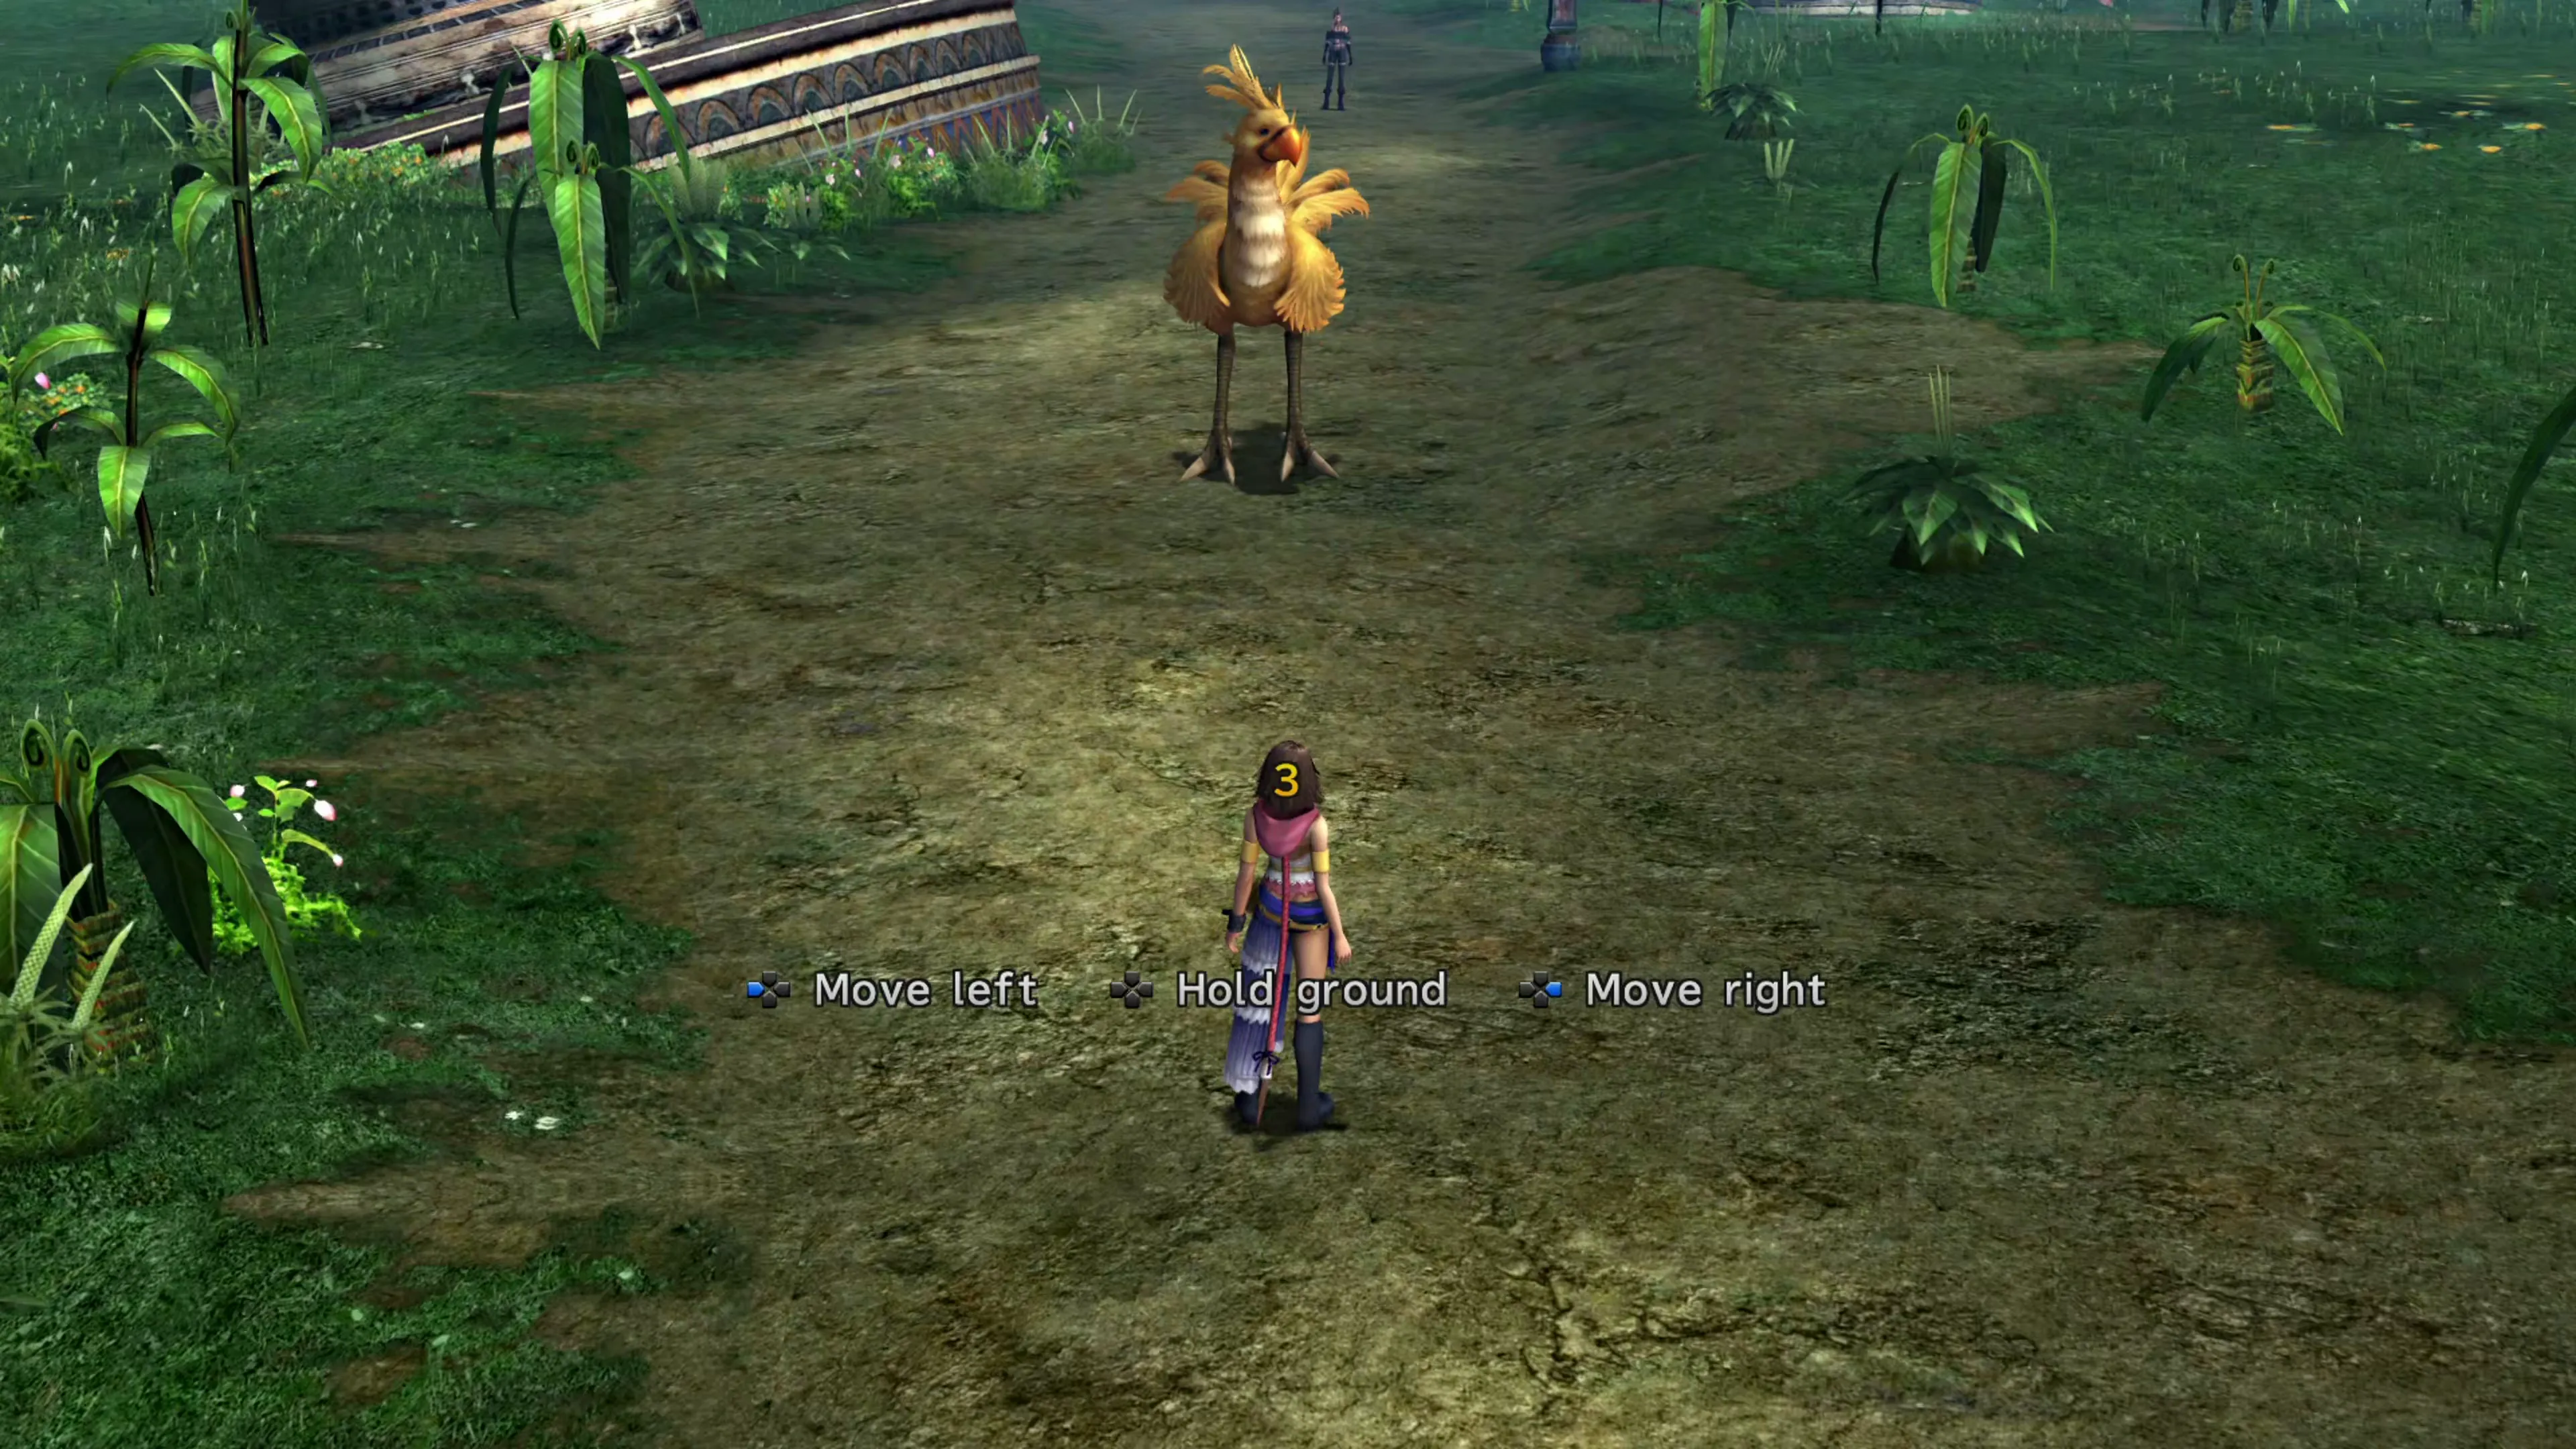
After you’ve tried to catch it 4 times, no matter how many you got right or wrong, a message will pop up saying that the “chocobo’s lost its concentration.”
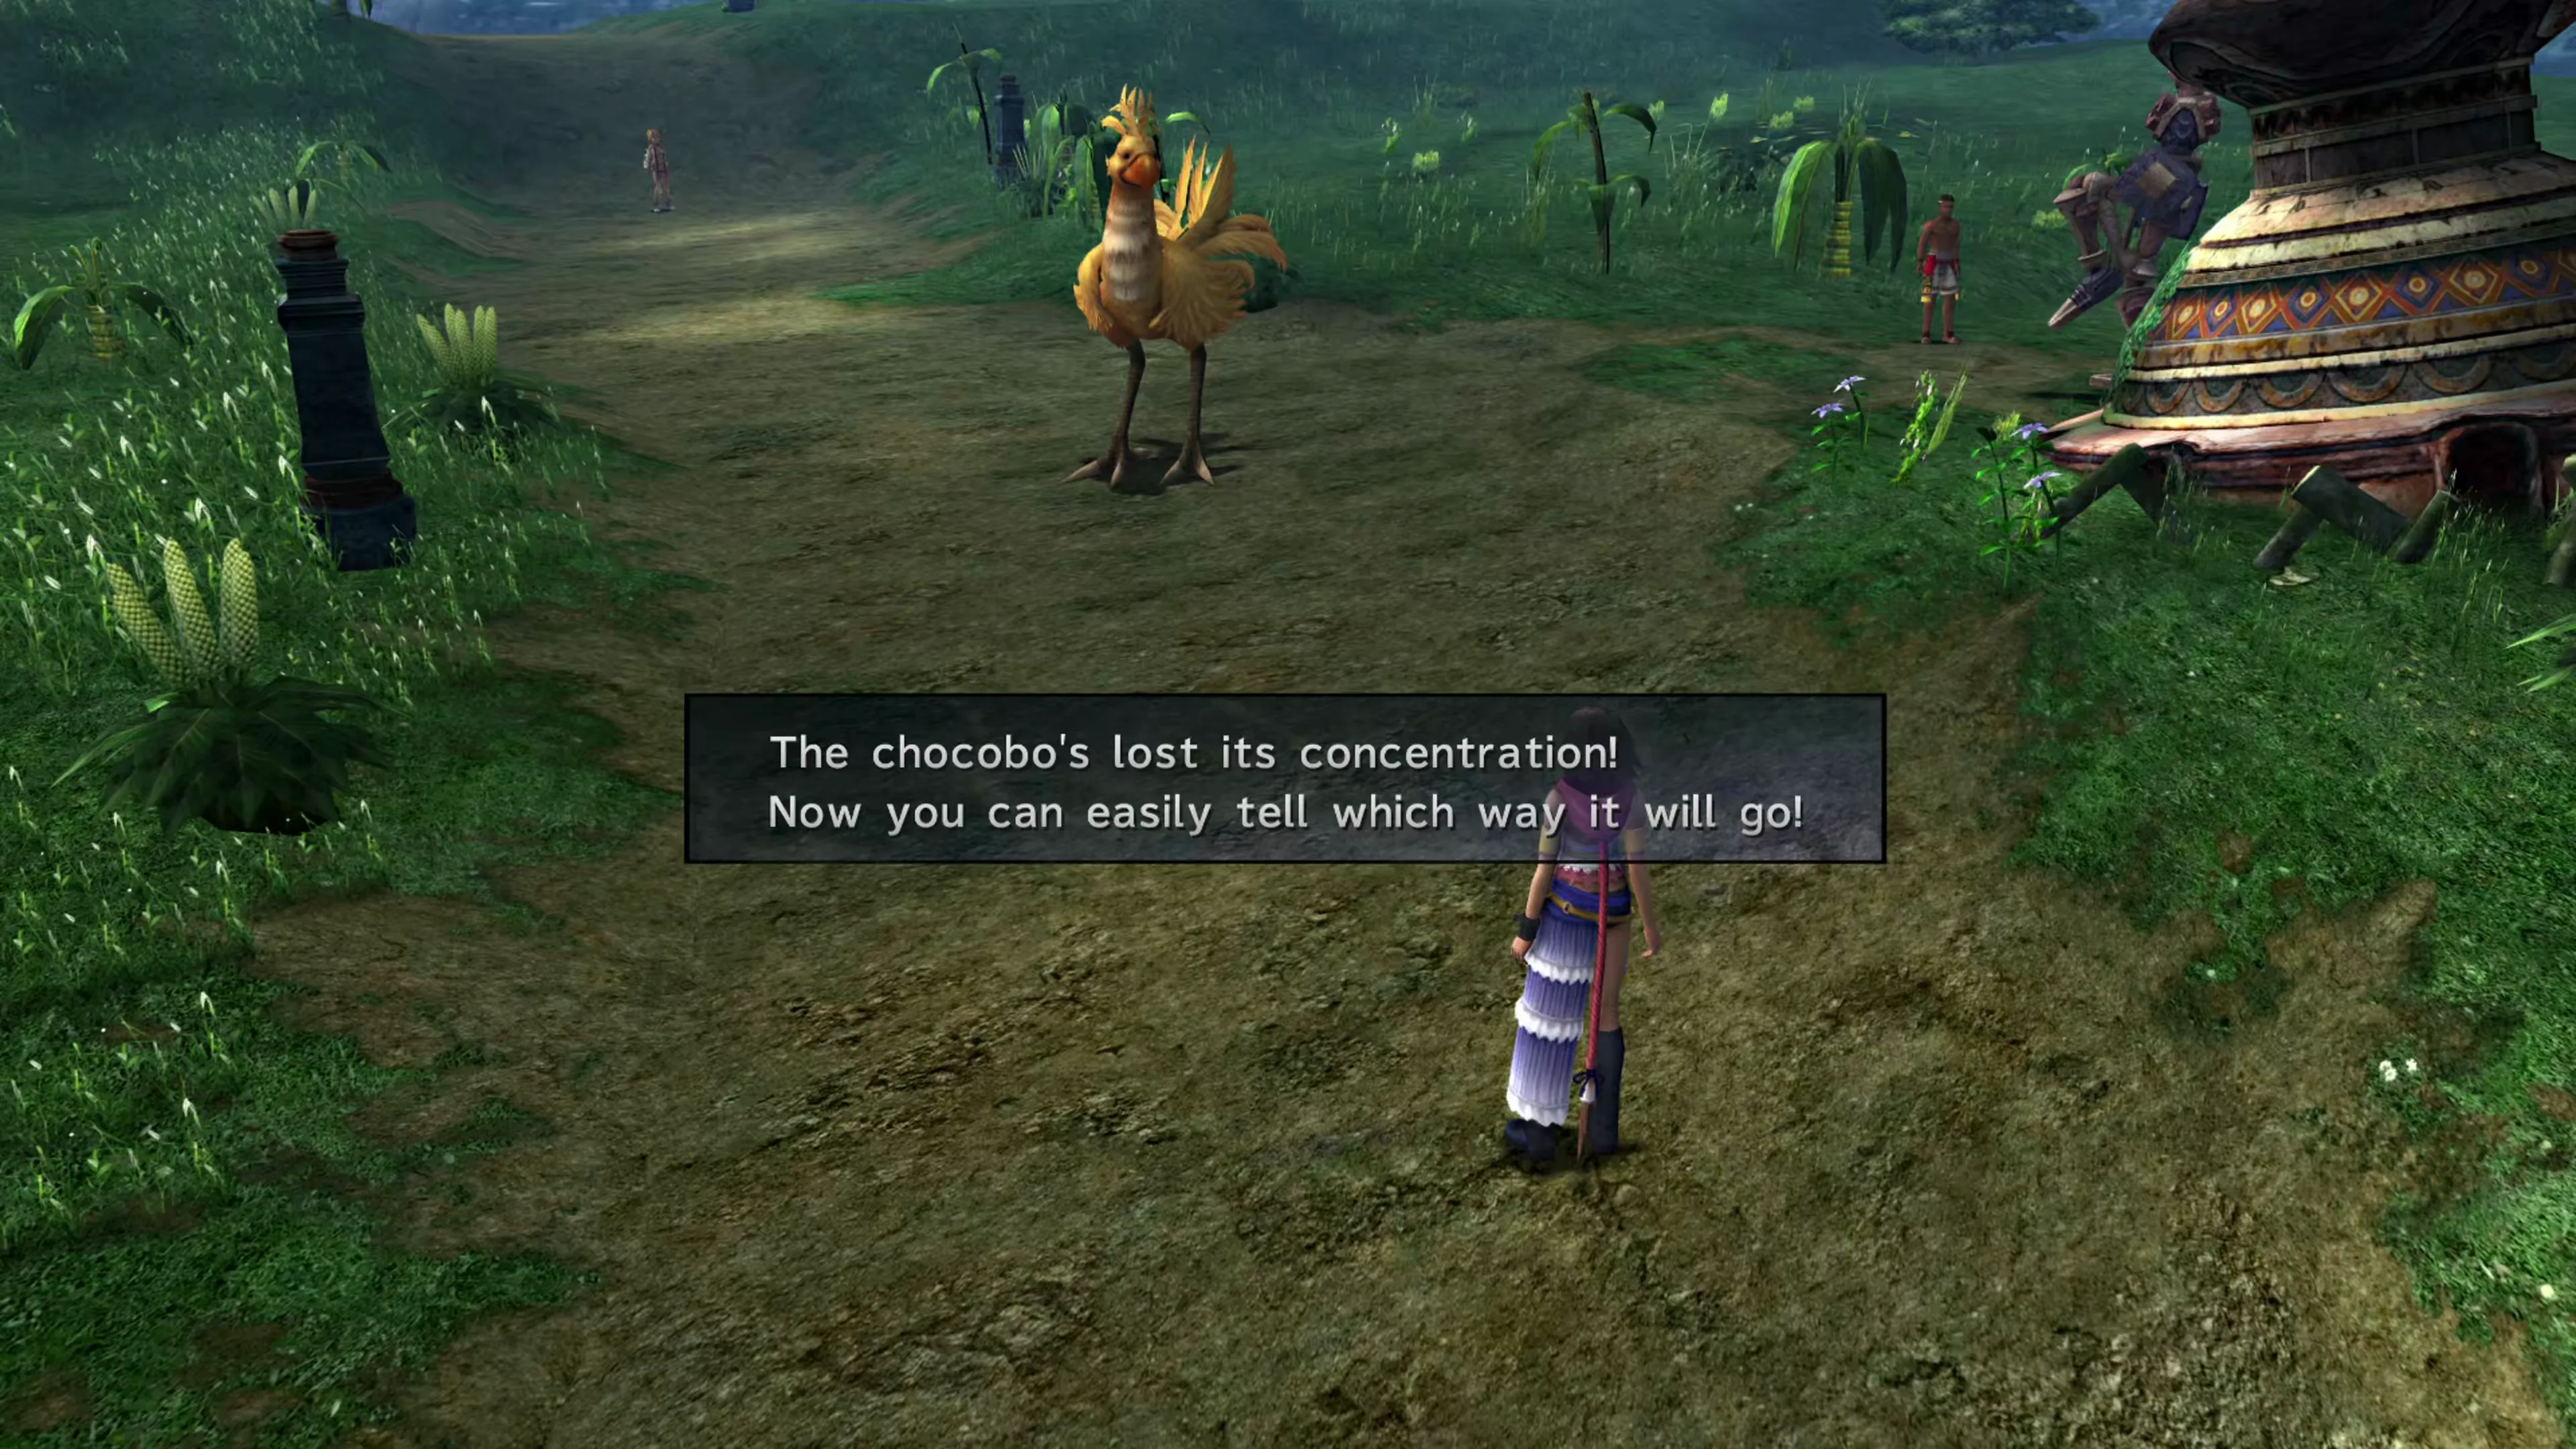
For the last 4 catch attempts, it’s very easy to pick the Chocobo’s path successfully. If it looks like it’s looking to the left, hold down . If it’s aiming right, hold down . If it doesn’t look like it’s looking either direction, then hold your ground.
The Chocobo Rodeo has three possible outcomes. If you guess the path correctly 7 times, Yuna will catch the Chocobo right now, and the Mission ends prematurely. Alternatively, if you fail at picking the correct path a total of 5 times, the Chocobo will flee, and again, the Mission ends prematurely.
If you’re somewhere in the middle, though, the Chocobo will jump over Rikku’s head at the far end of the road, and a few more scenes will play in the next section of Mi’ihen Highroad.
Because there are additional scenes in the next area, you actually don’t want Yuna to catch the Chocobo here, or to let it escape. Keep track of the number of correct guesses and misses (both before and after it’s lost its concentration) and pay attention to the following table:
| Catches | Misses | Outcome | Proceed to the Next Area? |
|---|---|---|---|
| 7 | 0-1 | You catch the Chocobo | No |
| 6 | 2 | Chocobo Escapes | Yes |
| 5 | 3 | Chocobo Escapes | Yes |
| 4 | 4 | Chocobo Escapes | Yes |
| 3 or fewer | 5 | Chocobo Flees | No |
Because the first 4 catch attempts are completely random, most players don’t do well in the first half. You’d have to get pretty lucky to get 3 or 4 of the first catches right. It’s completely random, and the odds make it really difficult anyway (9.9% and 1.2%).
And this is why so many guides recommend catching the Chocobo for the remaining 4 guesses after the Chocobo has “lost its concentration.” The likelihood of getting all the way up to 7 correct guesses is not impossible, but it’s fairly unlikely. They recommend restarting your game if you accidentally catch the Chocobo.
However, to make sure you get to see the scene, don’t successfully catch it 7 times, AND don’t miss it 5 times. No restarting required! Keep track of the number of catches and misses.
You’ll know you’ve done it correctly if you see this scene where the Chocobo runs and jumps over Rikku’s head and flees the area:
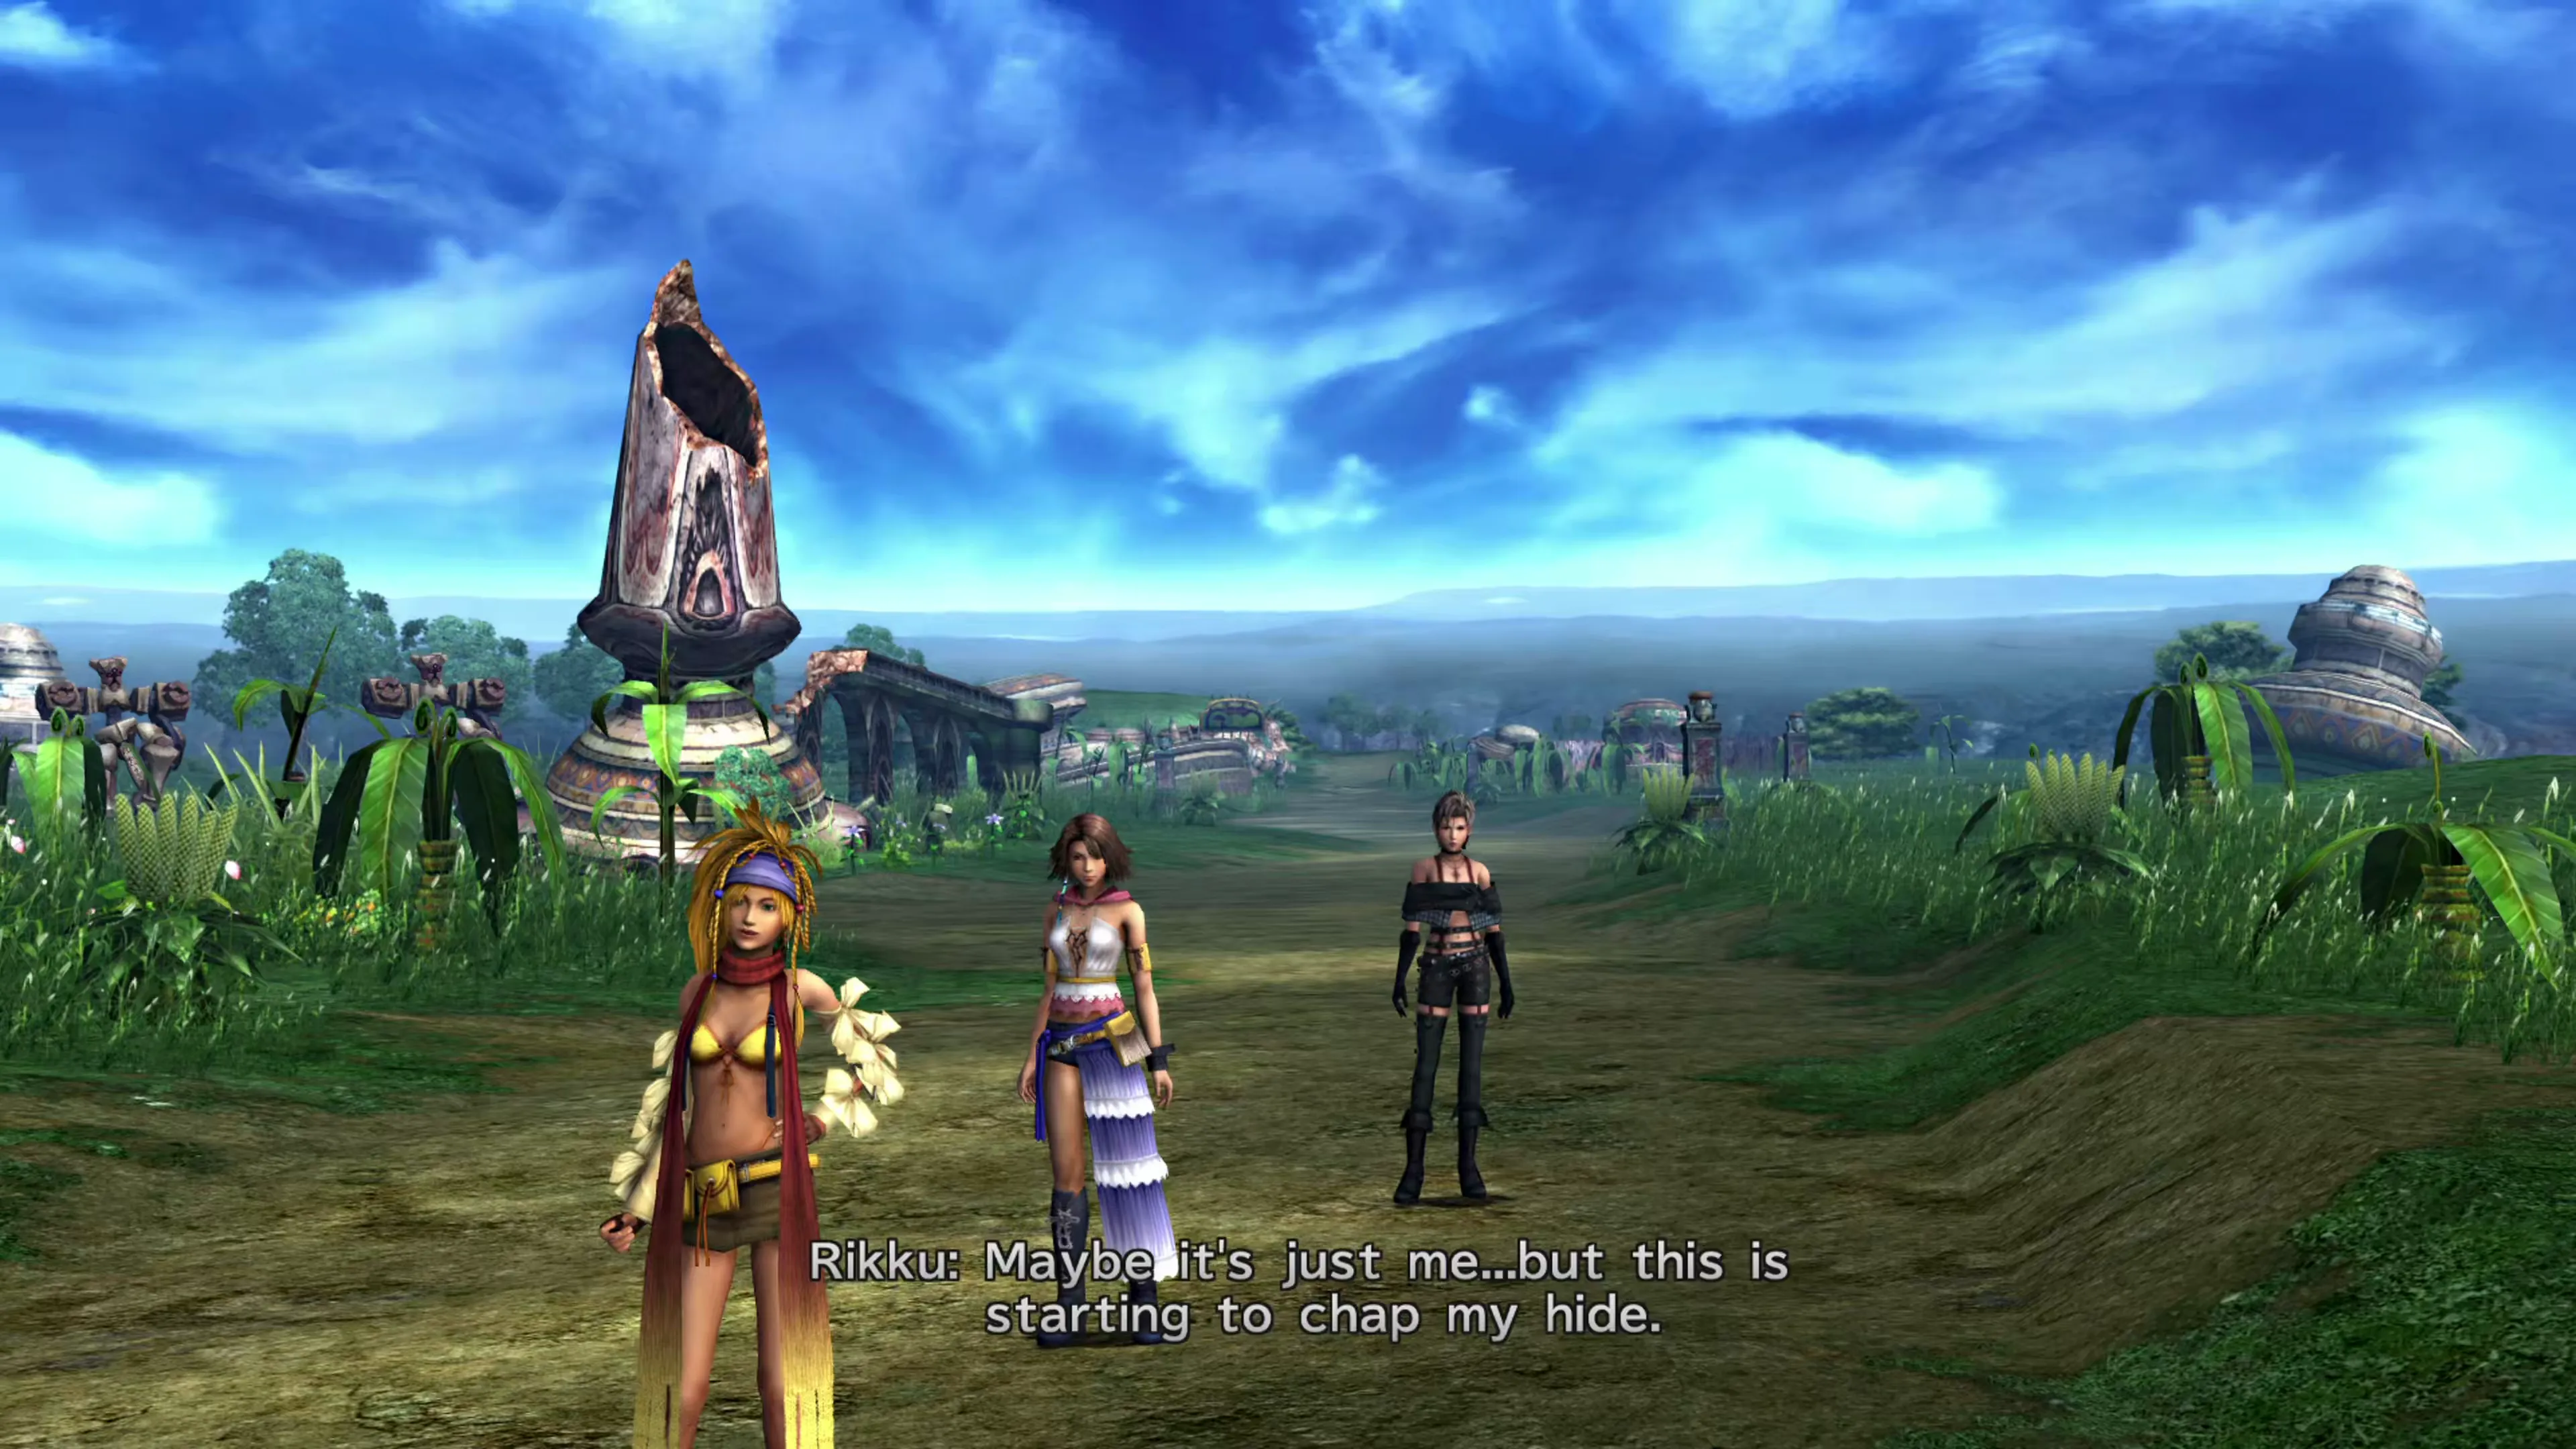
Rikku will then say, “Maybe it’s just me…but this is starting to chap my hide.”
The next section is very straightforward. Walk towards the first group of ruins to trigger a scene. Rikku will climb the ruins and spot the Chocobo a short distance away.
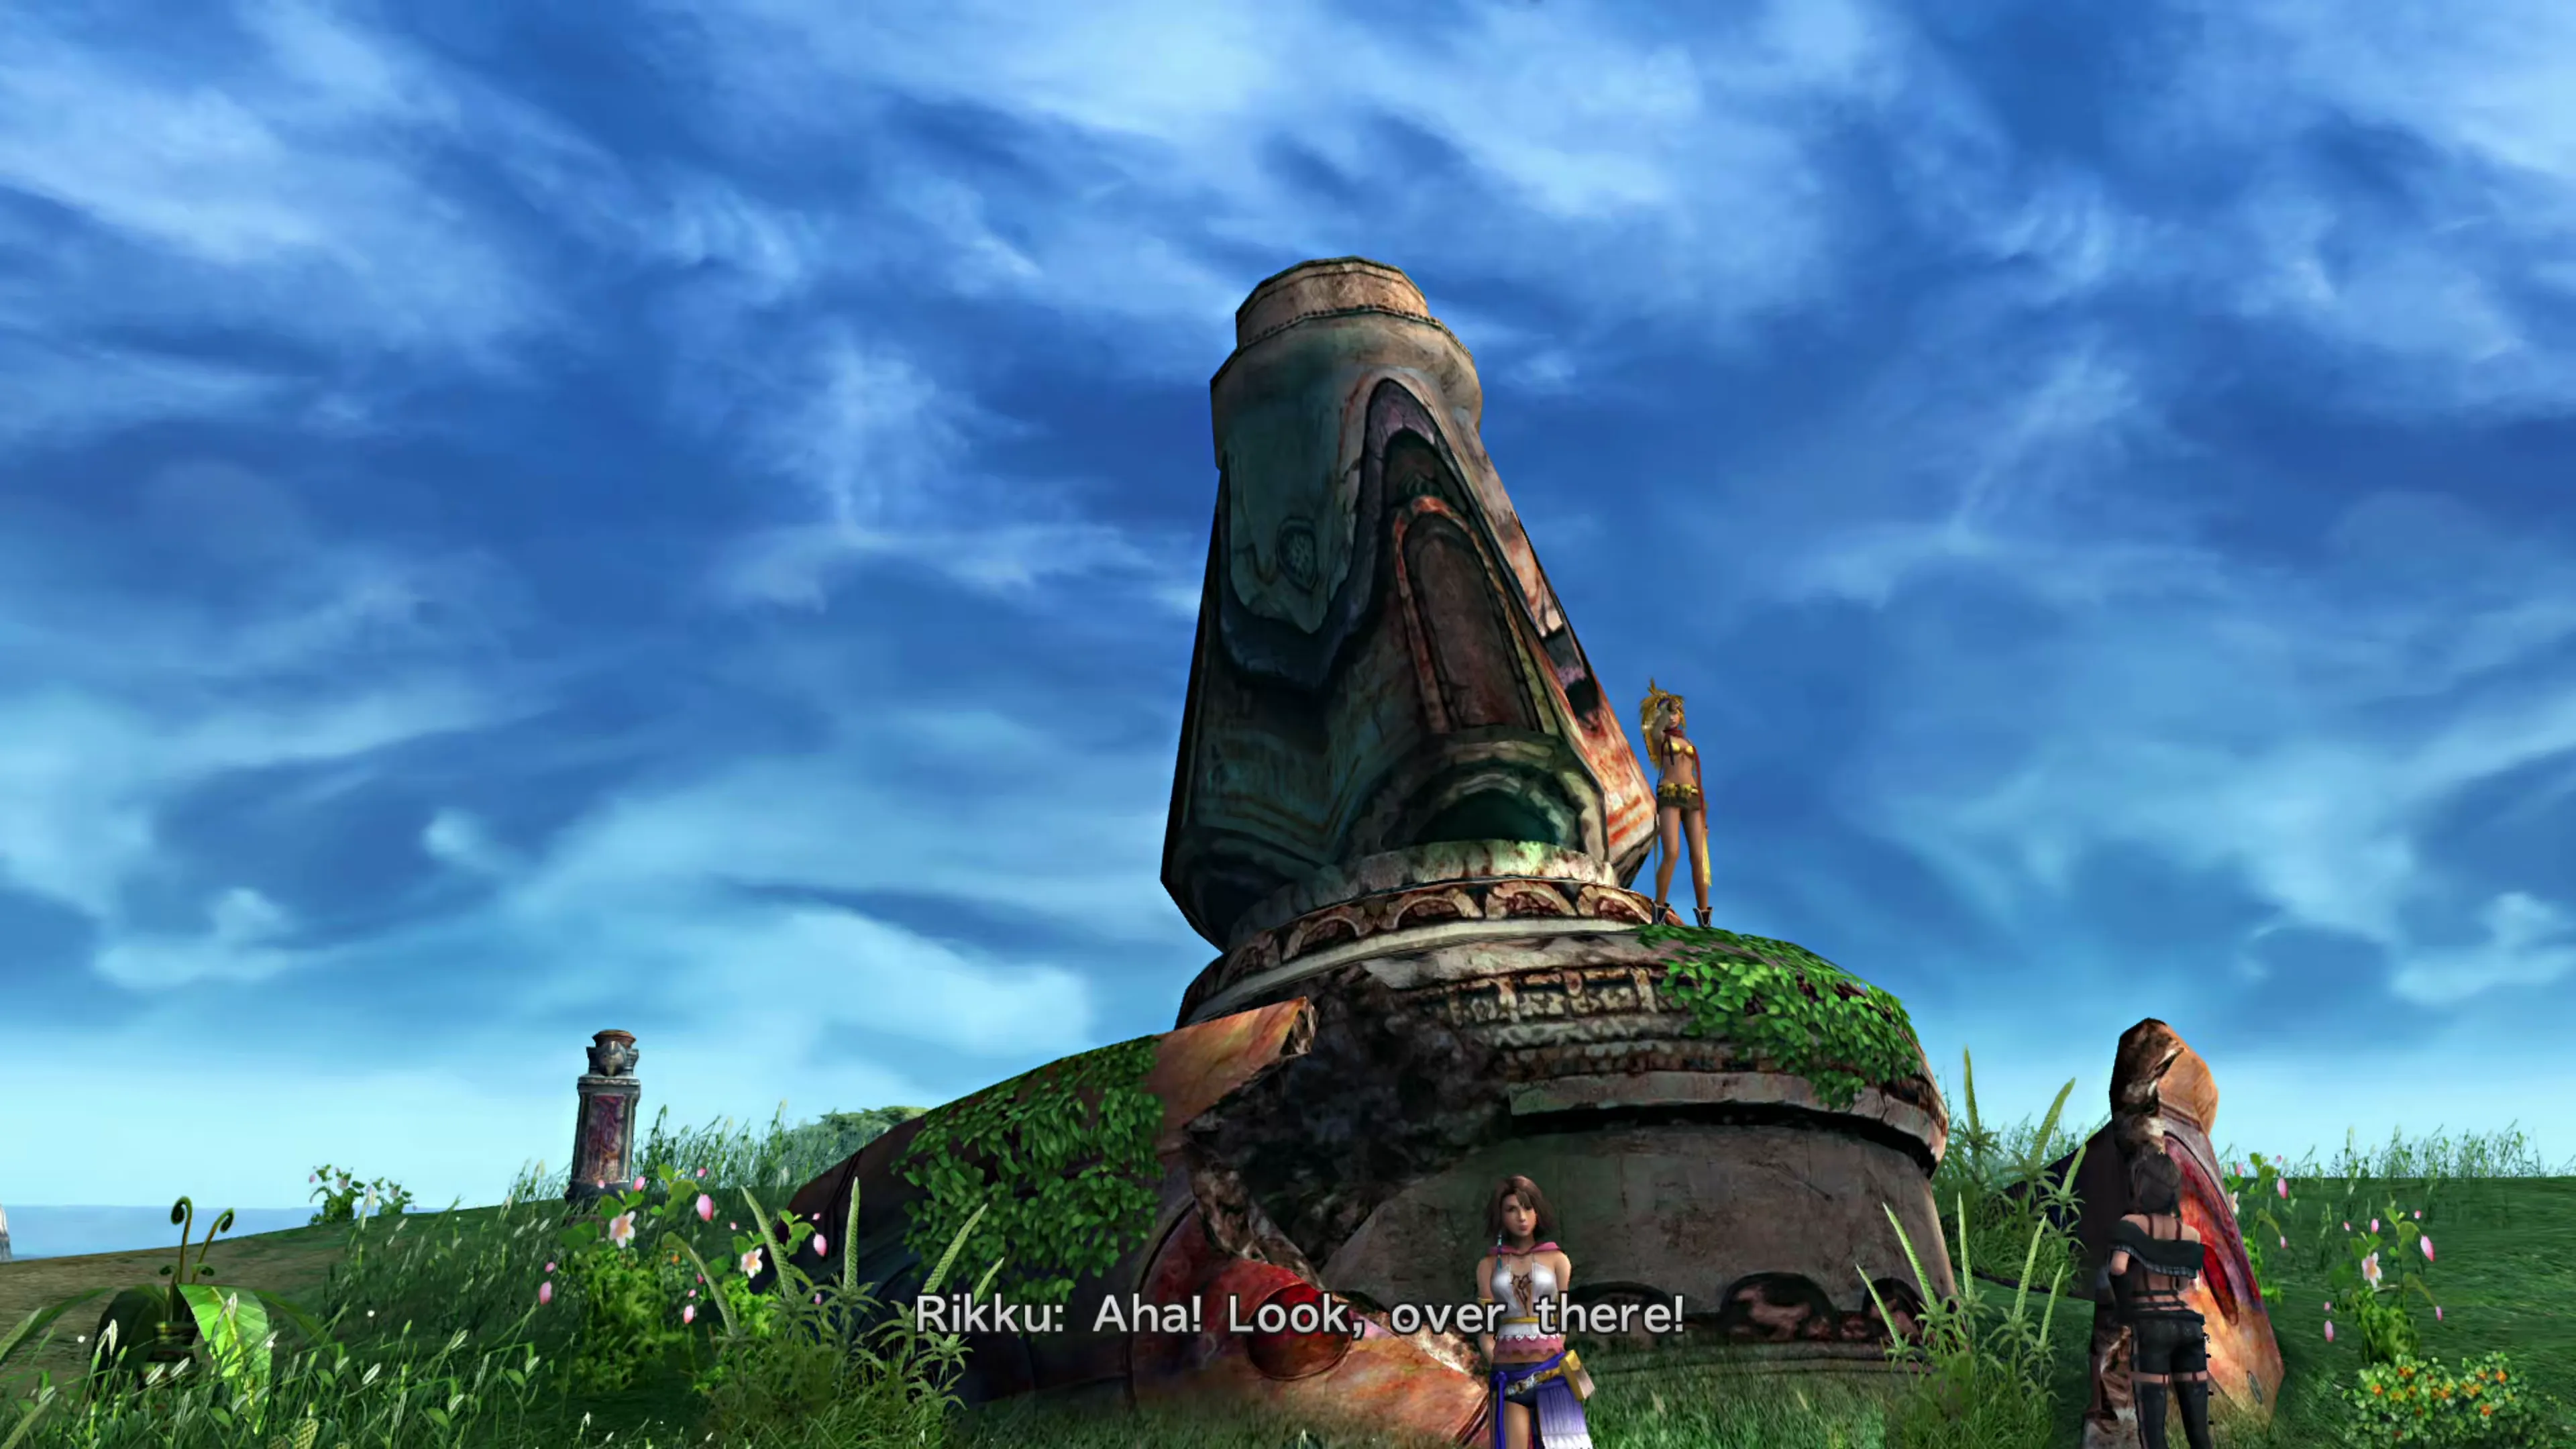
Run to those ruins and another scene will trigger. Rikku will spot the Chocobo “way over there!” Run south towards the entrance, and you’ll see a short cutscene of Rikku dropping down off the ruins and onto her butt…
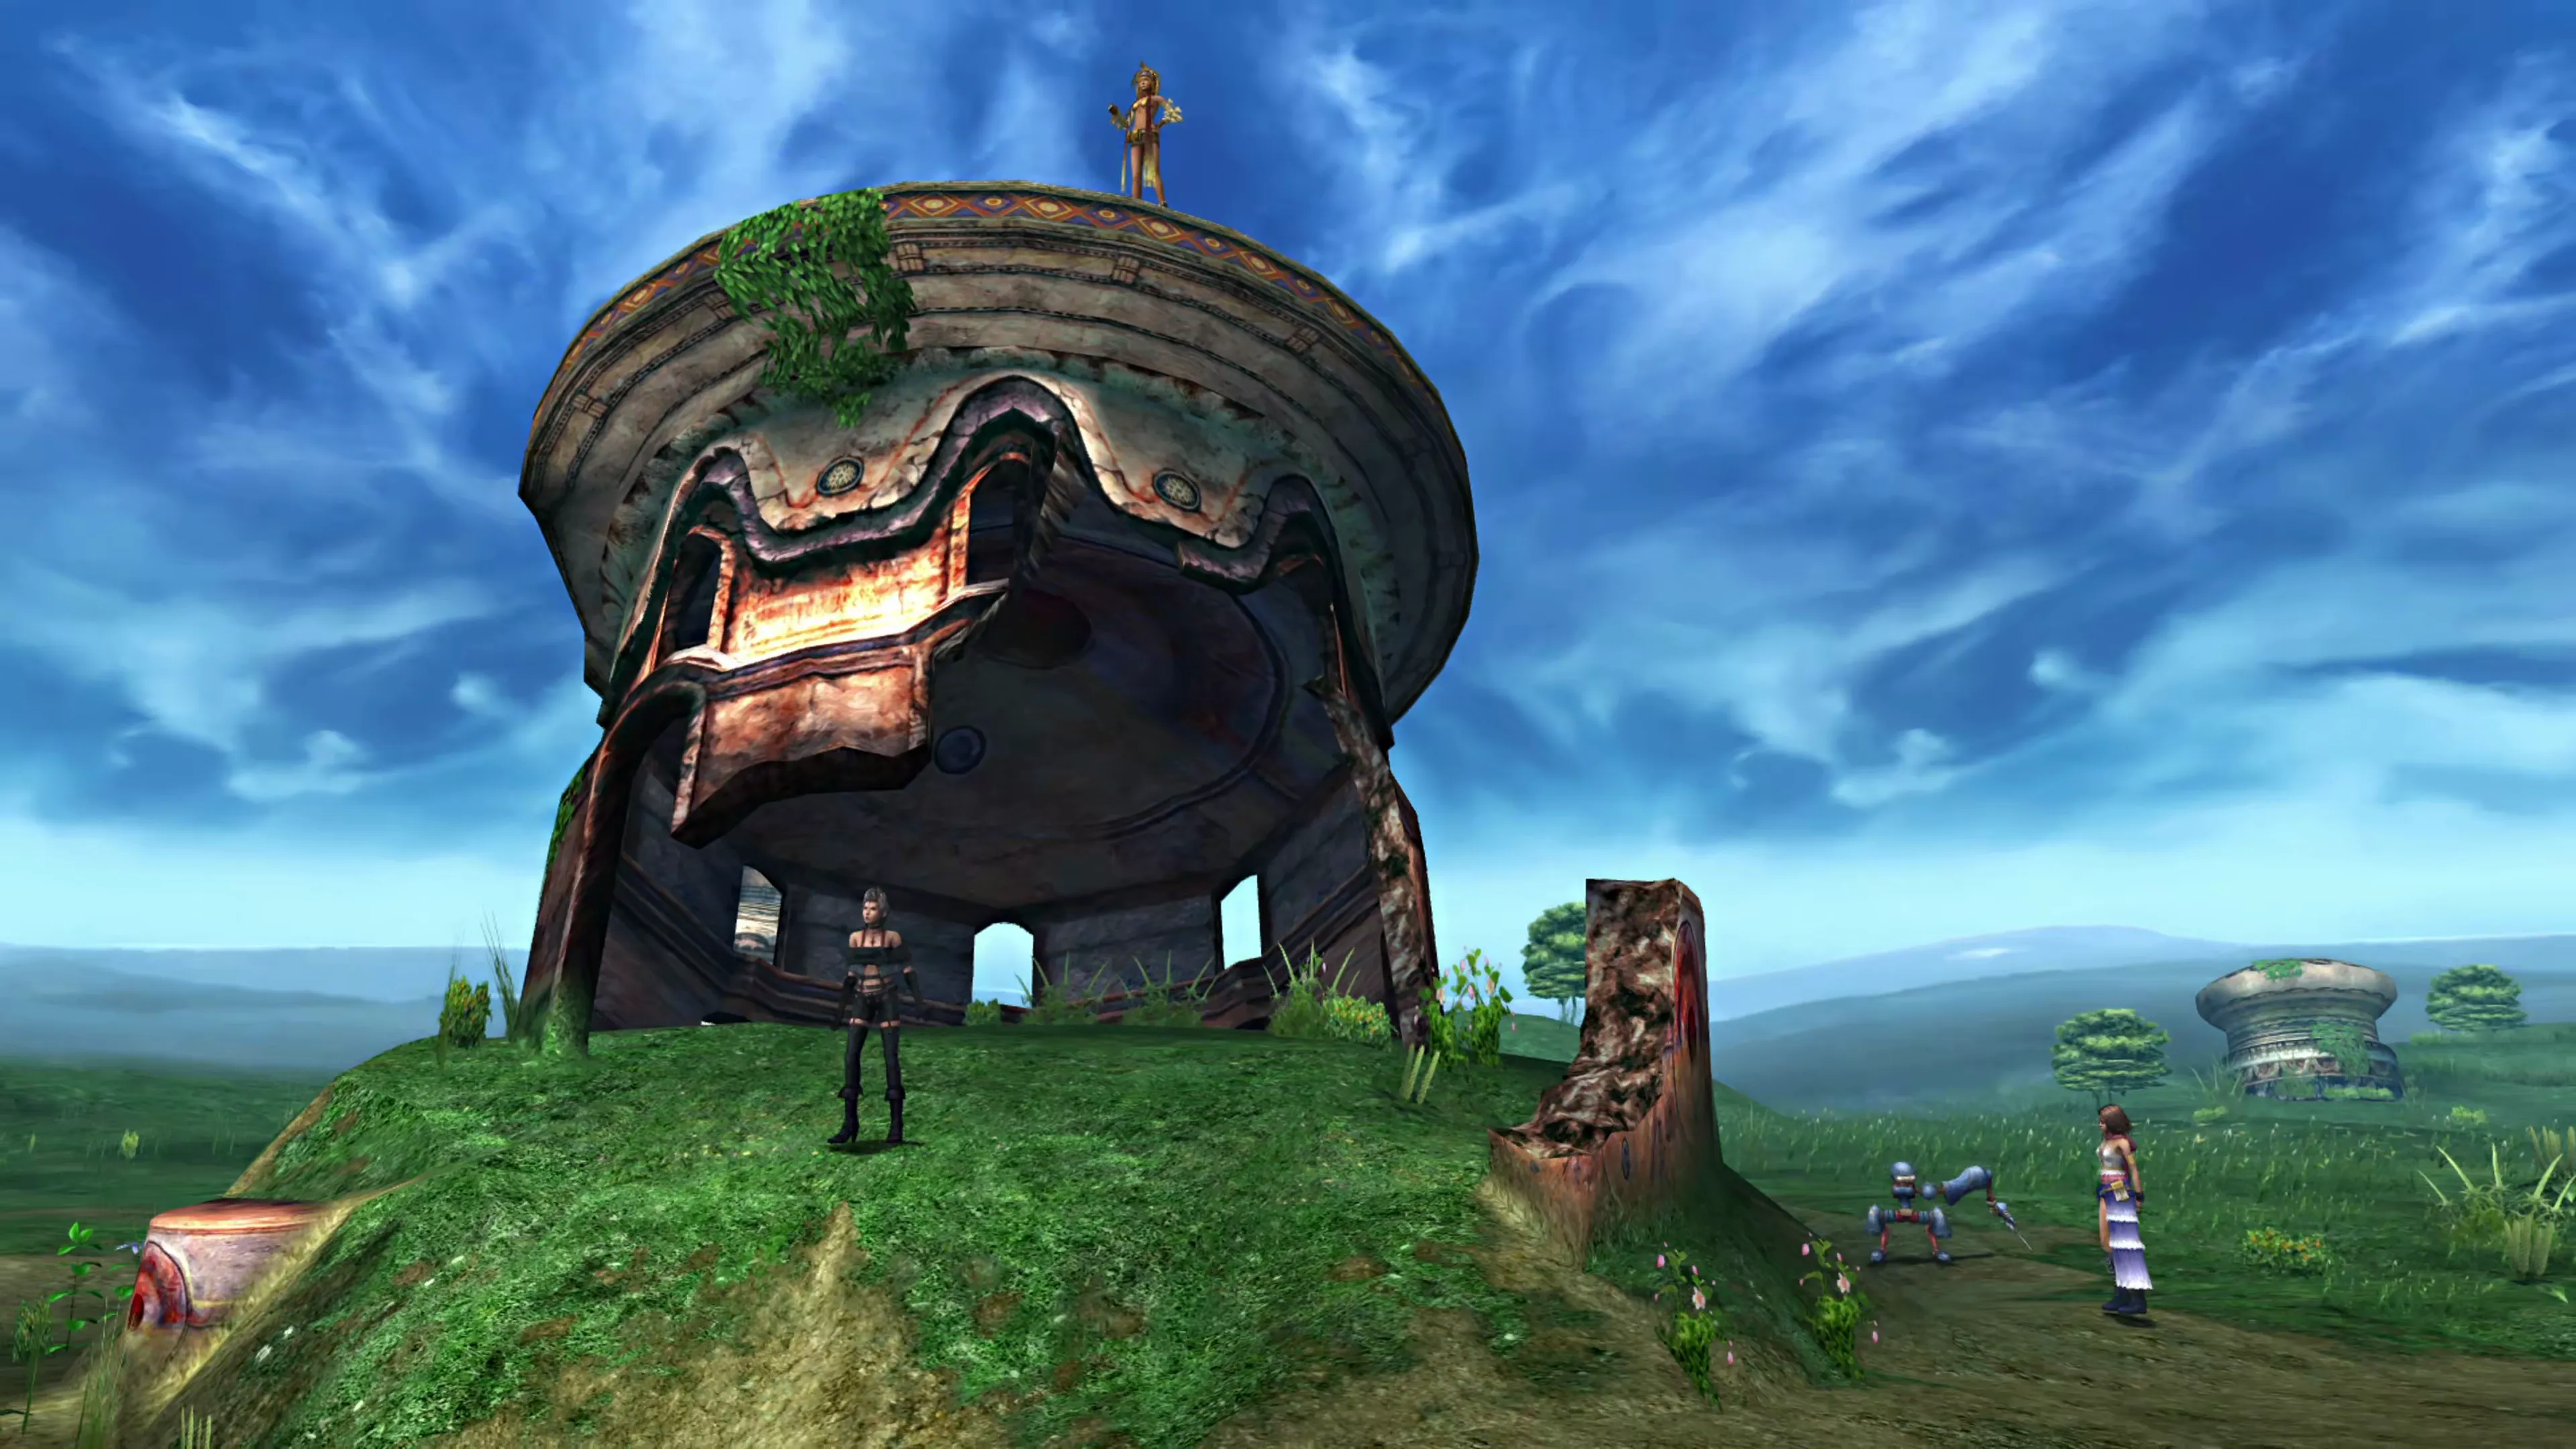
This is the key scene that you need to trigger for later on. Track the Chocobo down one last time, and Rikku will say “There’s got to be a better way than this,” and she’s right!
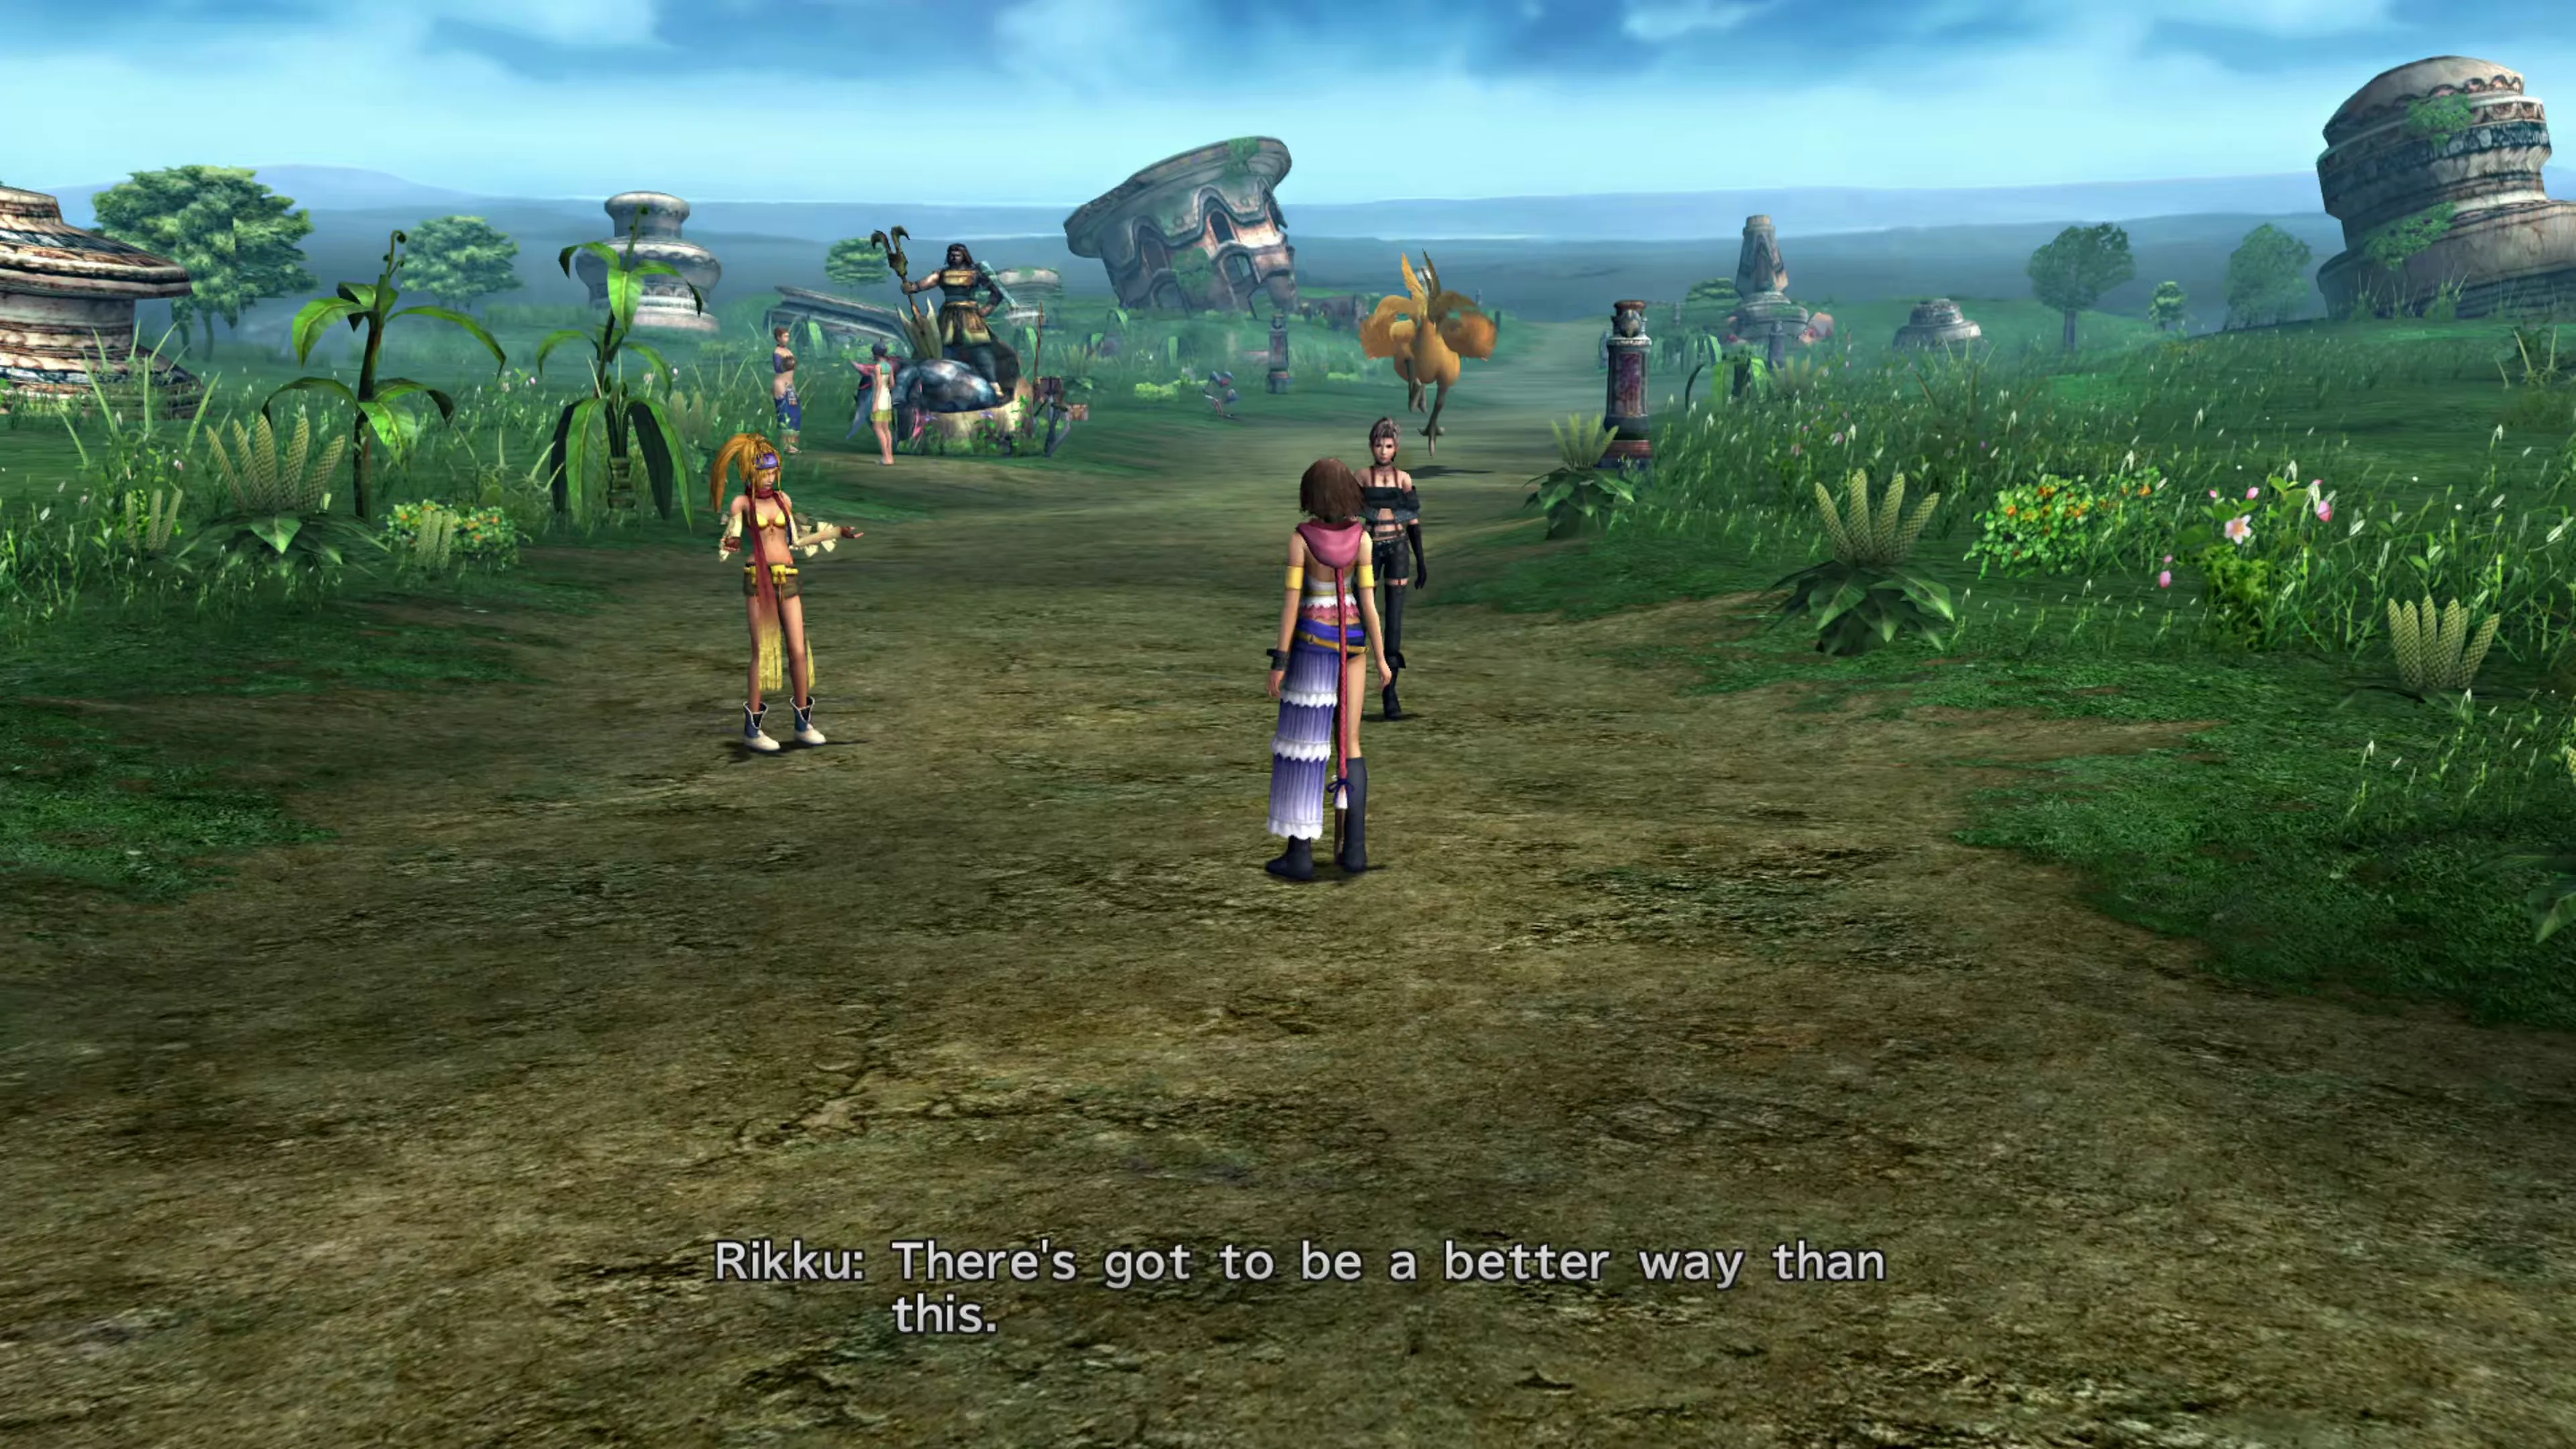
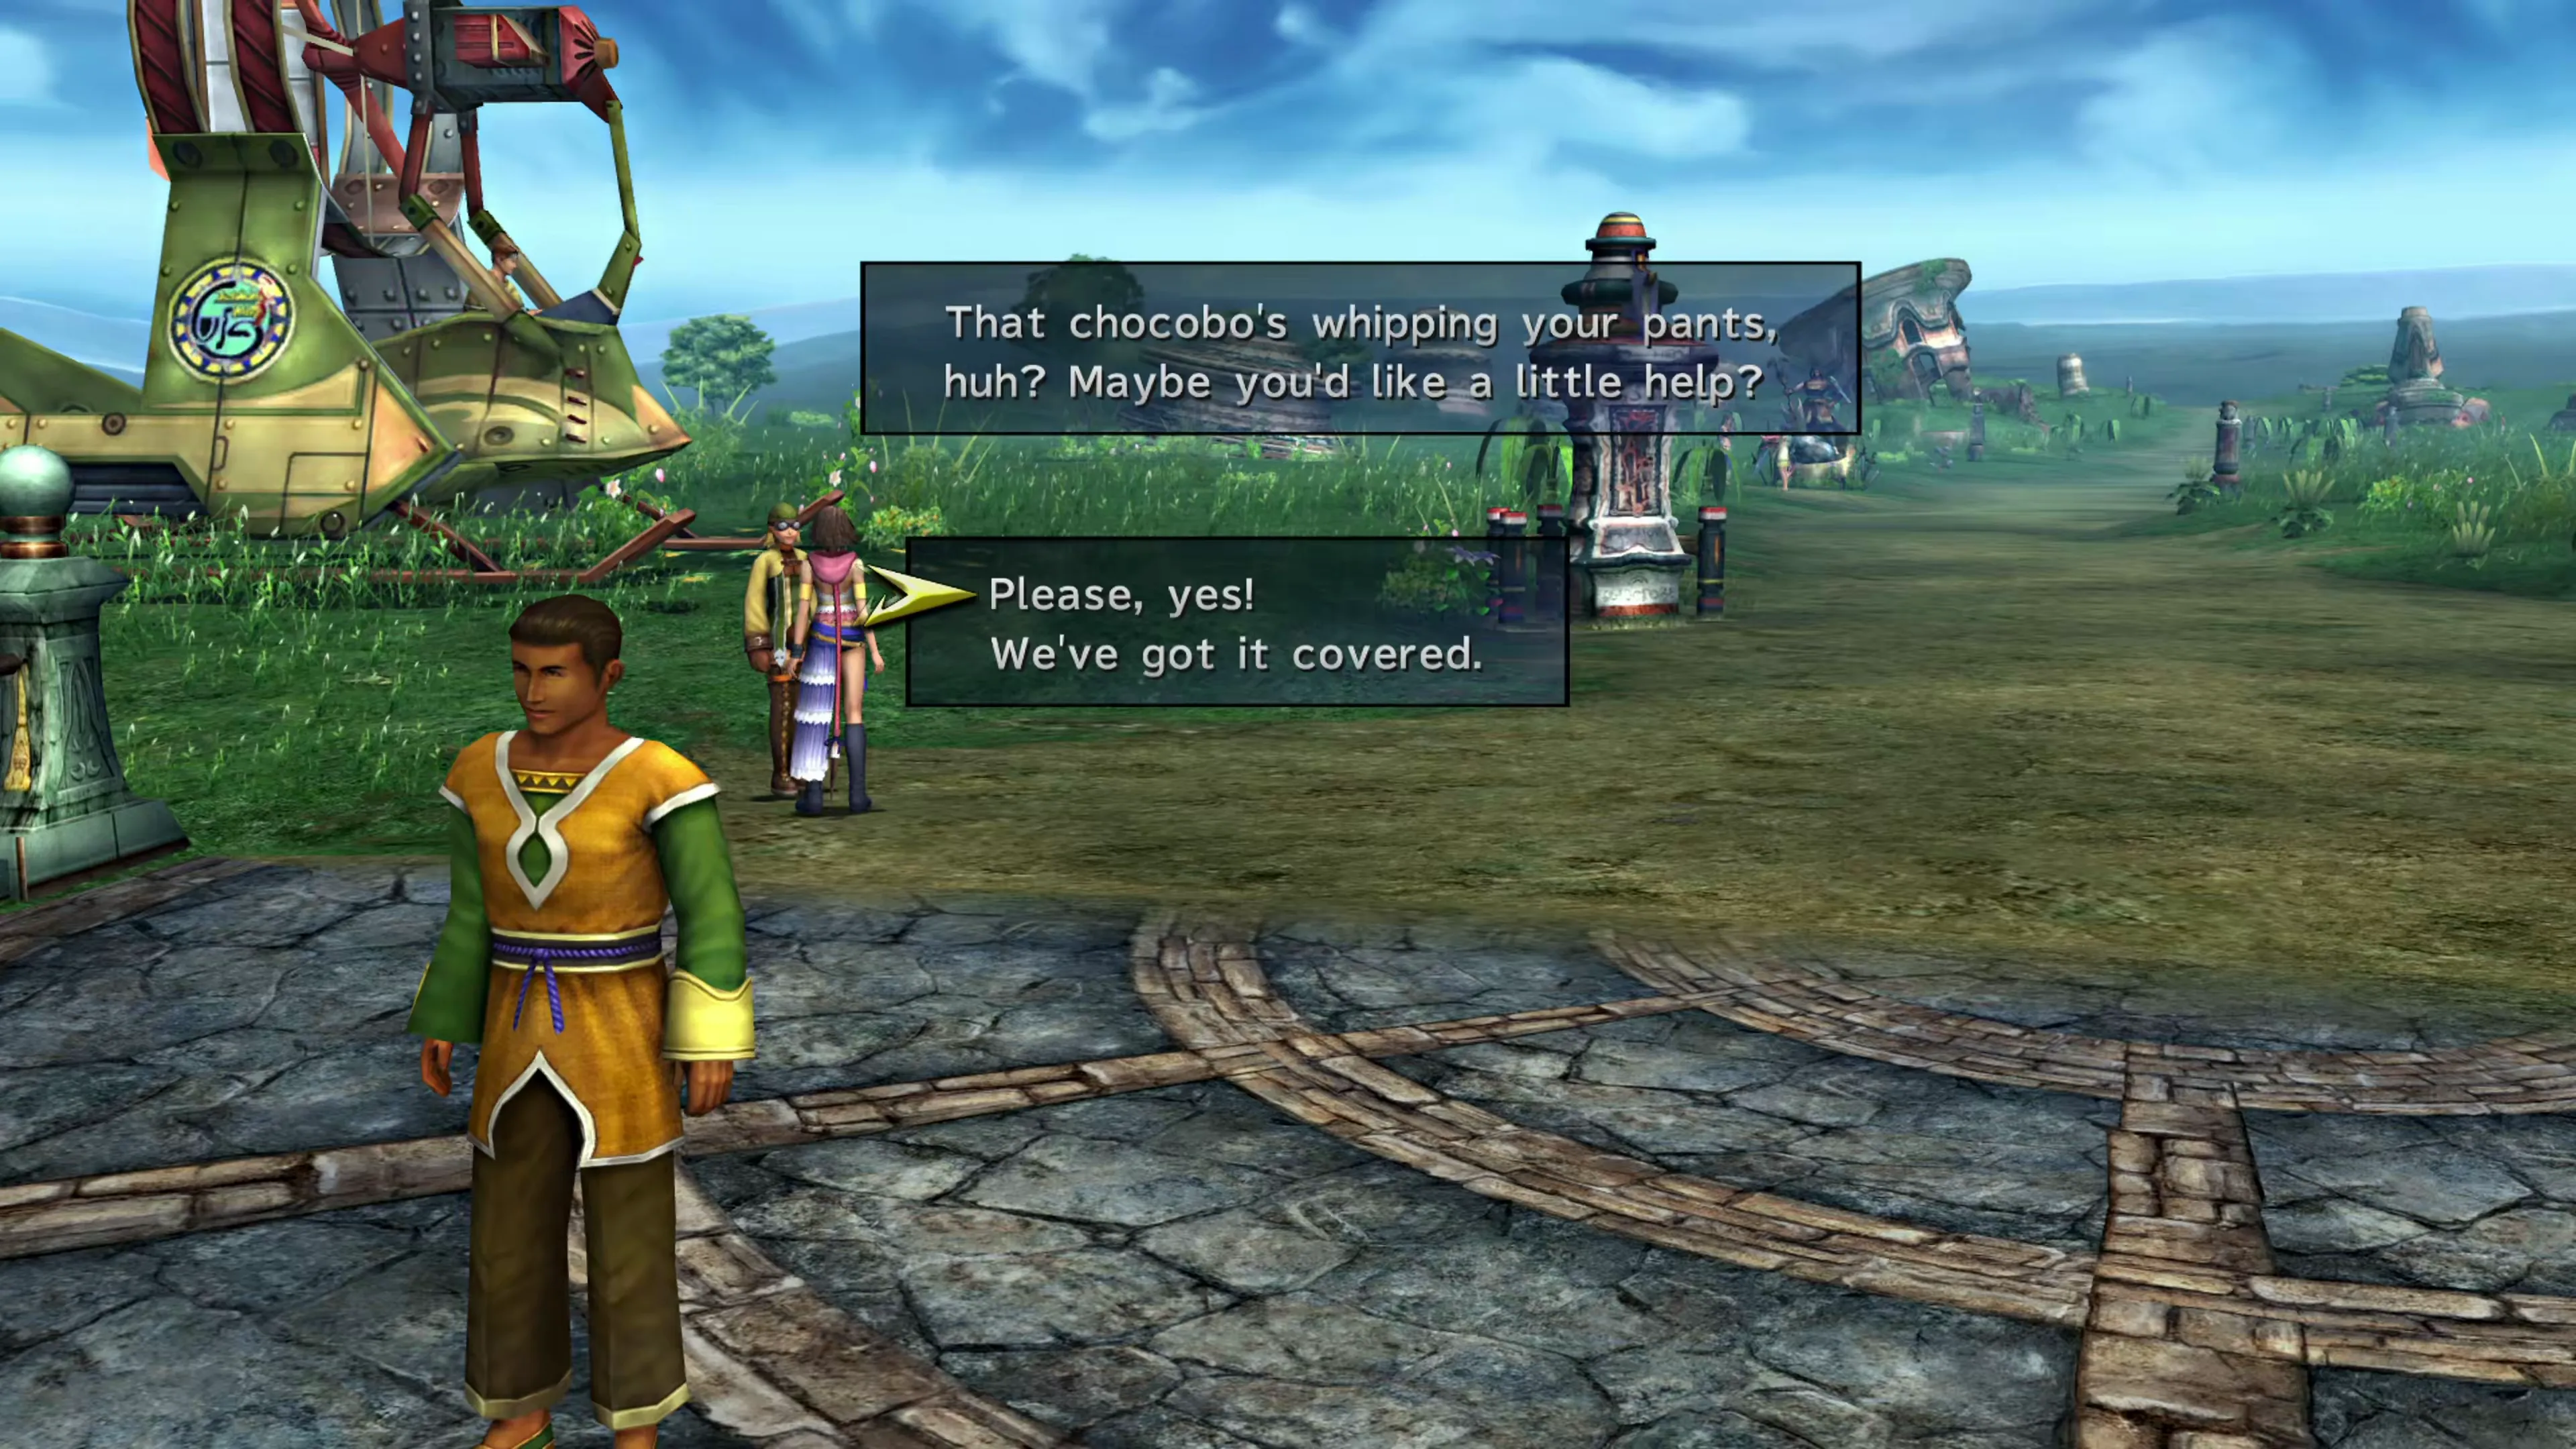
Speak to the Al Bhed woman near the entrance twice. The first time, she’ll say she hasn’t seen a Chocobo on the Highroad in forever, but the second time, she’ll ask if you want help (respond with “Please, yes!”). This will trigger one last cutscene, and you’ll capture the Chocobo. But the Mission isn’t over yet.
Travel north and rush in to save Calli. A 150-second timer starts after the scene, and you’ll have to take the long way around, but by this point you know the way, and it’s more than enough time. If the timer runs out, you lose a line of dialogue required for Story Completion Percent and the Mission reward, so reload the save you made at the agency and try again.
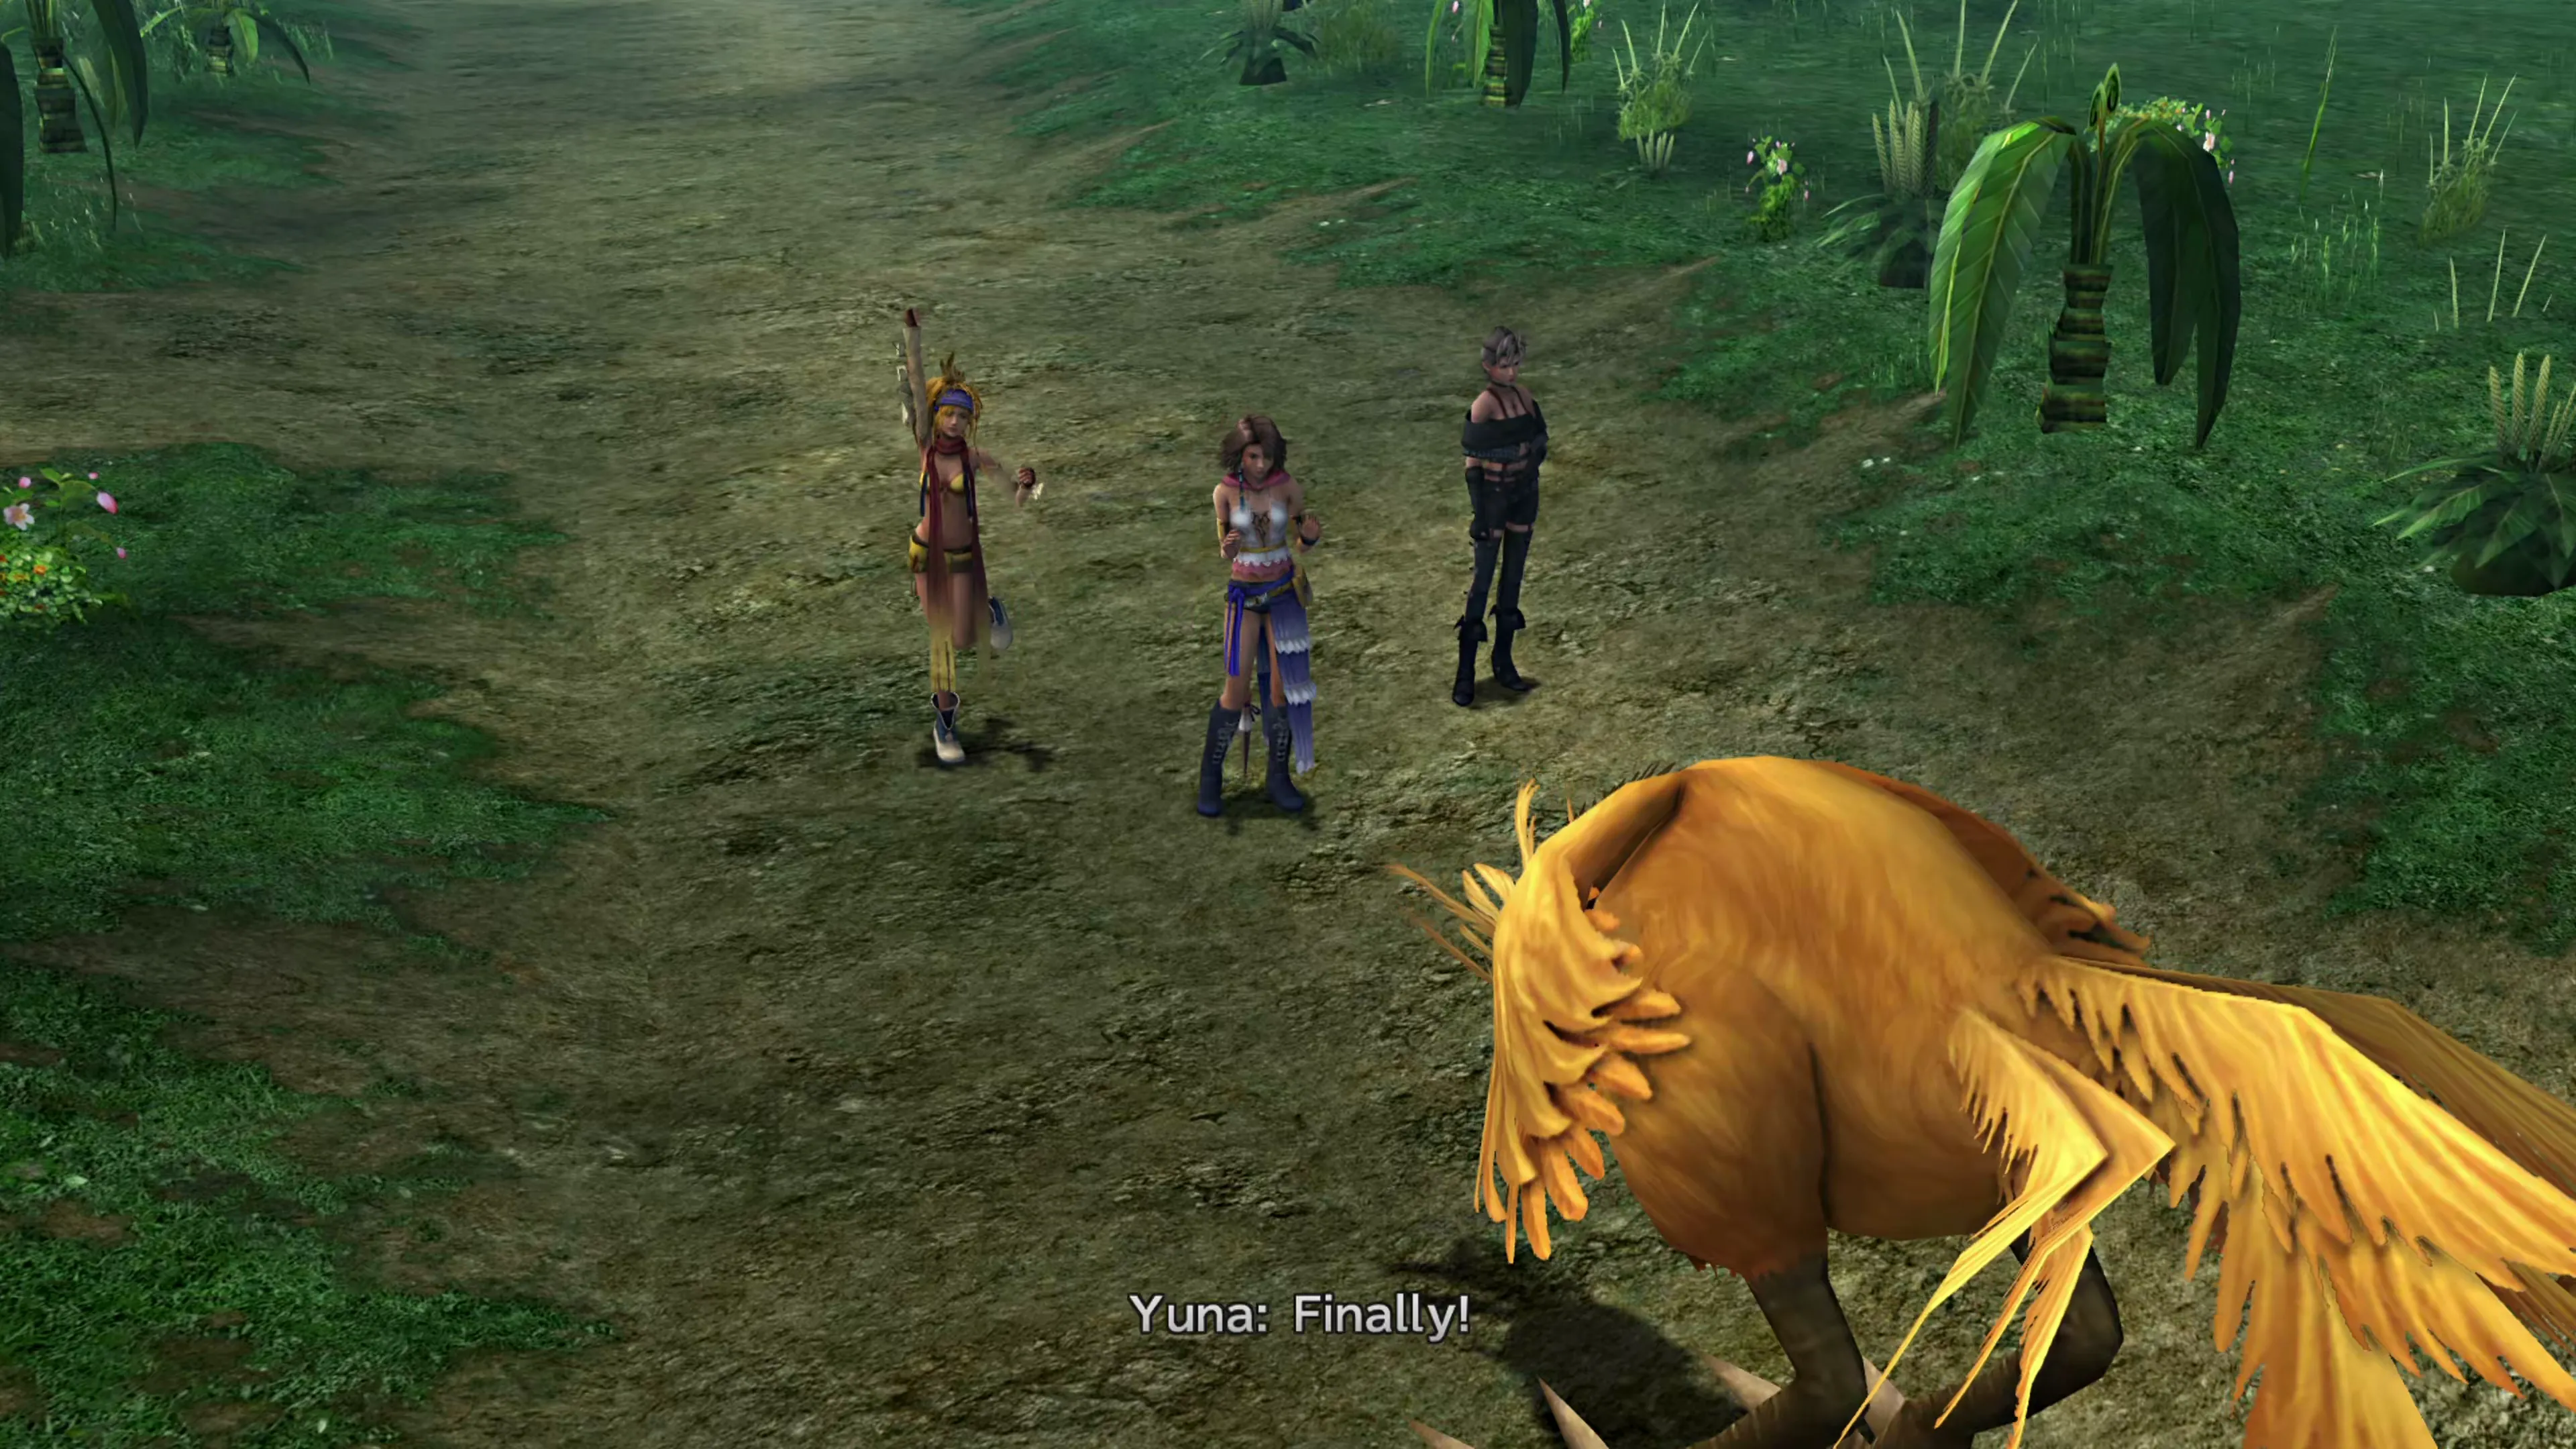
Boss Battle
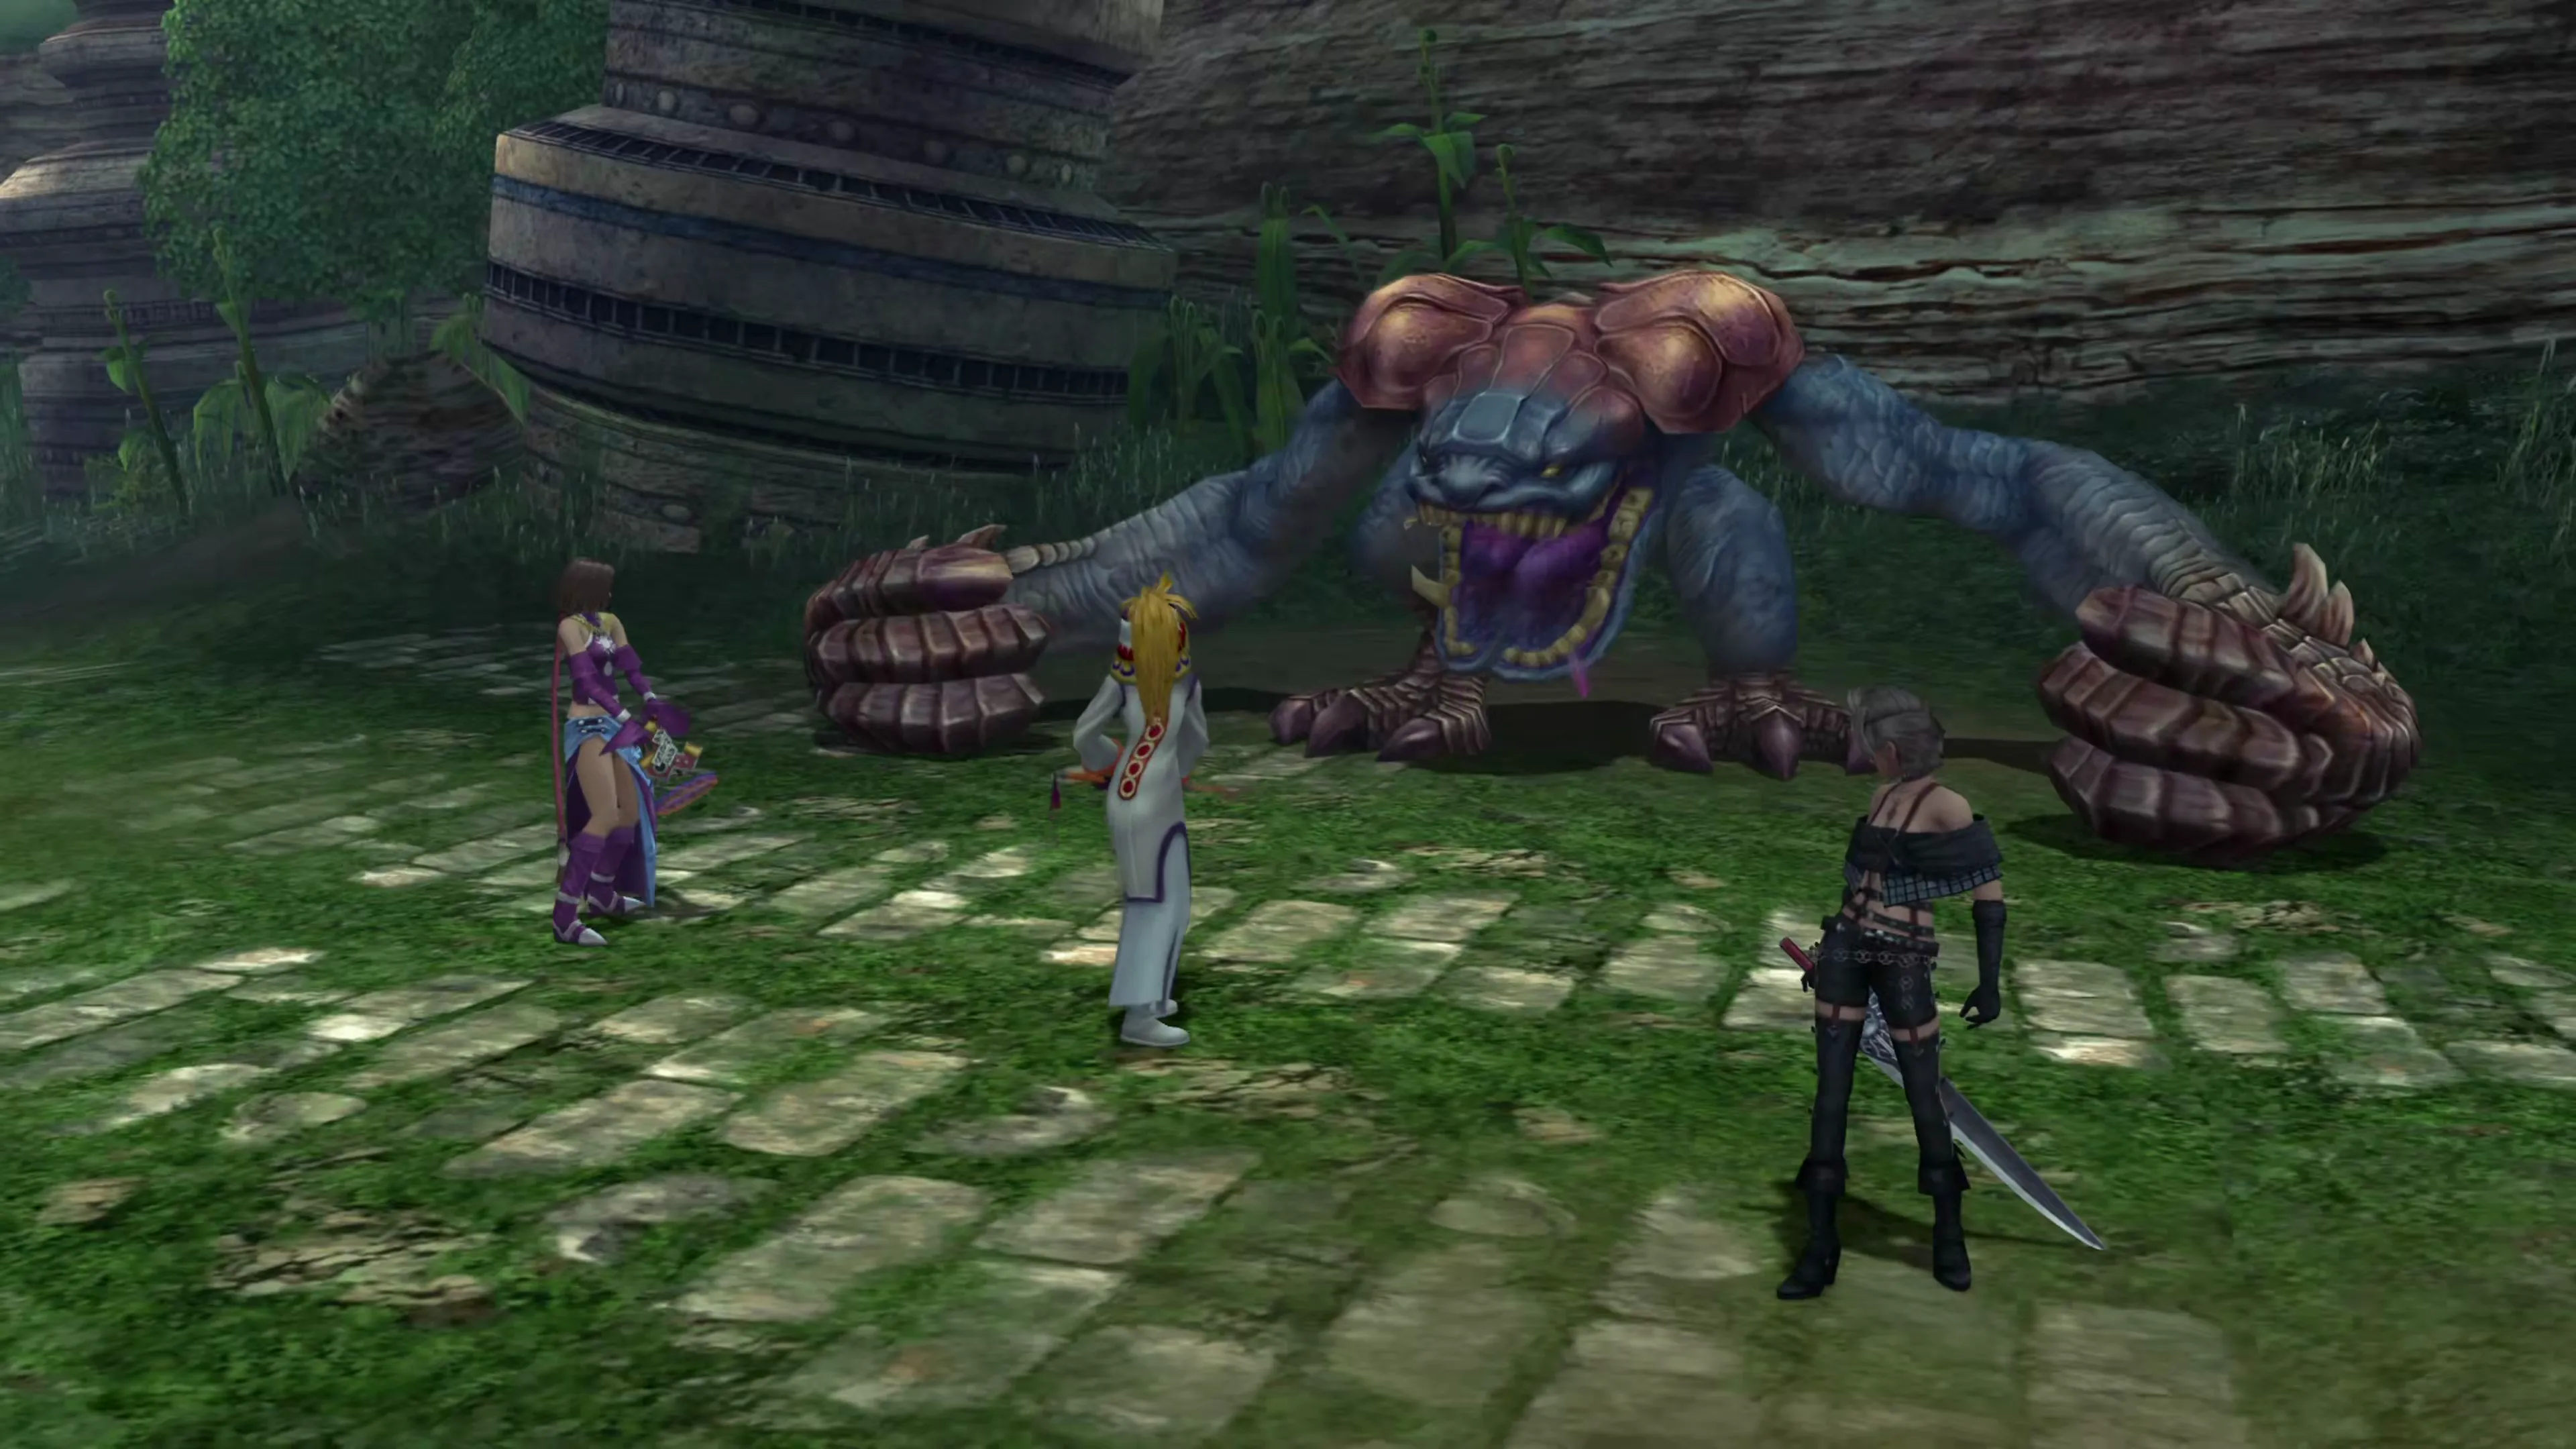
The battle against the Chocobo Eater isn’t too difficult. It has a normal physical attack that always hits the party member with the highest HP, so as long as you keep one party member healed, you should be able to survive without having to deal with too many KOs. To make it even easier, keep your whole party healed up with a  White Mage casting
  Pray.
Pray.
It’s weak to fire-based magic, so  Fire and Fira spells deal heavy damage. It’s also not immune to silence effects, so you can use a
  Songstress to cast
  Samba of Silence, or toss a
  Silence Grenade to prevent it from casting many of its spells.
A short cutscene will play. Don’t press any buttons until it ends; the scene of Rikku running across the bridge feeds into a mystery that plays out in Chapter 4.
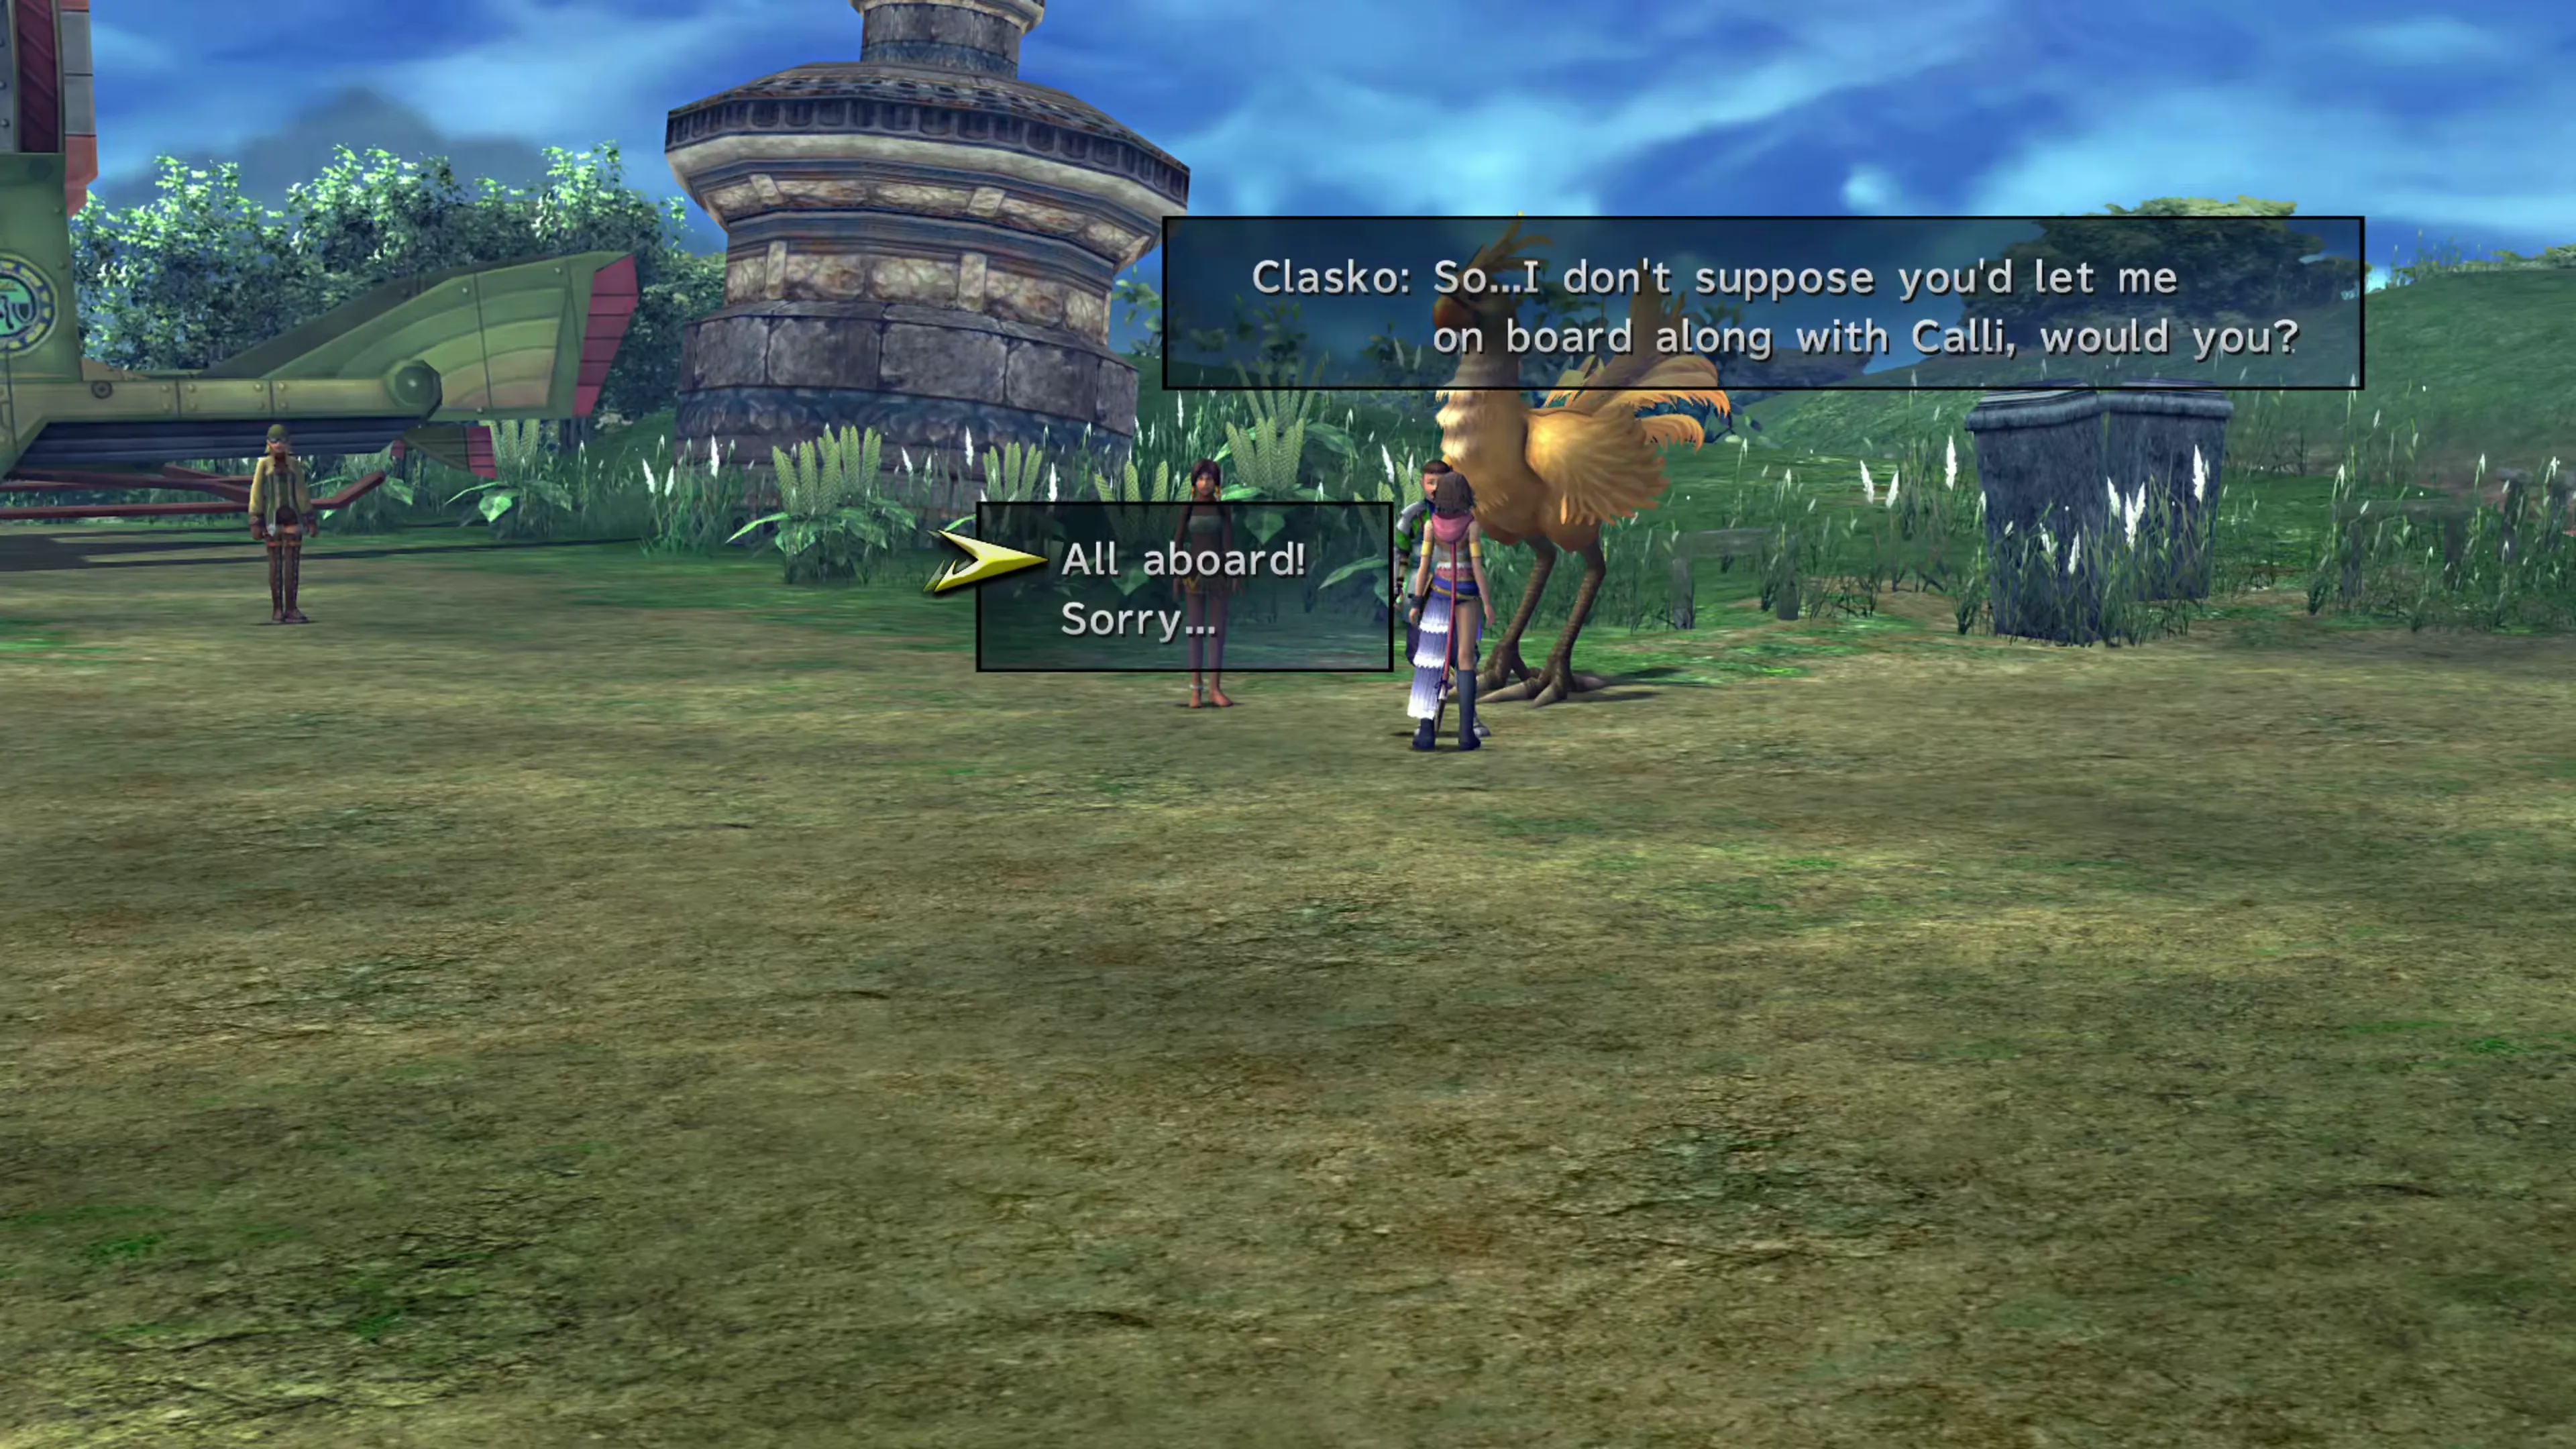
You’ll receive a  Selene Guard Garment Grid for saving her and completing the Mission. You’ll automatically return to the Celsius, but head back down to the Mi’ihen Highroad and make sure you talk to Clasko and Calli. Invite them both to ride the airship with you.
After that, there’s one last thing you can do in the Mi’ihen Highroad, and that’s to complete the remaining Publicity and Marriage interactions, and don’t forget to pick up the treasure chests along the Old Road:
Side Quests
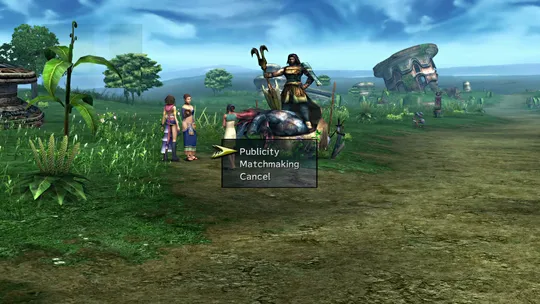
A list of the NPCs that you can speak with to earn Open Air / Argent Publicity points and Marriage Campaign points in Mi’ihen Highroad during Chapter 2 but after the Mission takes place.
Mi’ihen Highroad - Oldroad South End


 1 1 |  Muscle Belt Muscle Belt |
| 2 | 1,000 Gil |
| 3 | Phoenix Down ×3 |
Mi’ihen Highroad - Oldroad Central

| 1 | Potion ×3 |
| 2 | Silver Bracer |
| 3 | Holy Water ×3 |
With that out of the way, it’s time to make your way to Mushroom Rock Road.
Checking the “Mi’ihen Highroad Complete” box adds the Story Completion Percent for the automatic scenes in Mi’ihen Highroad.