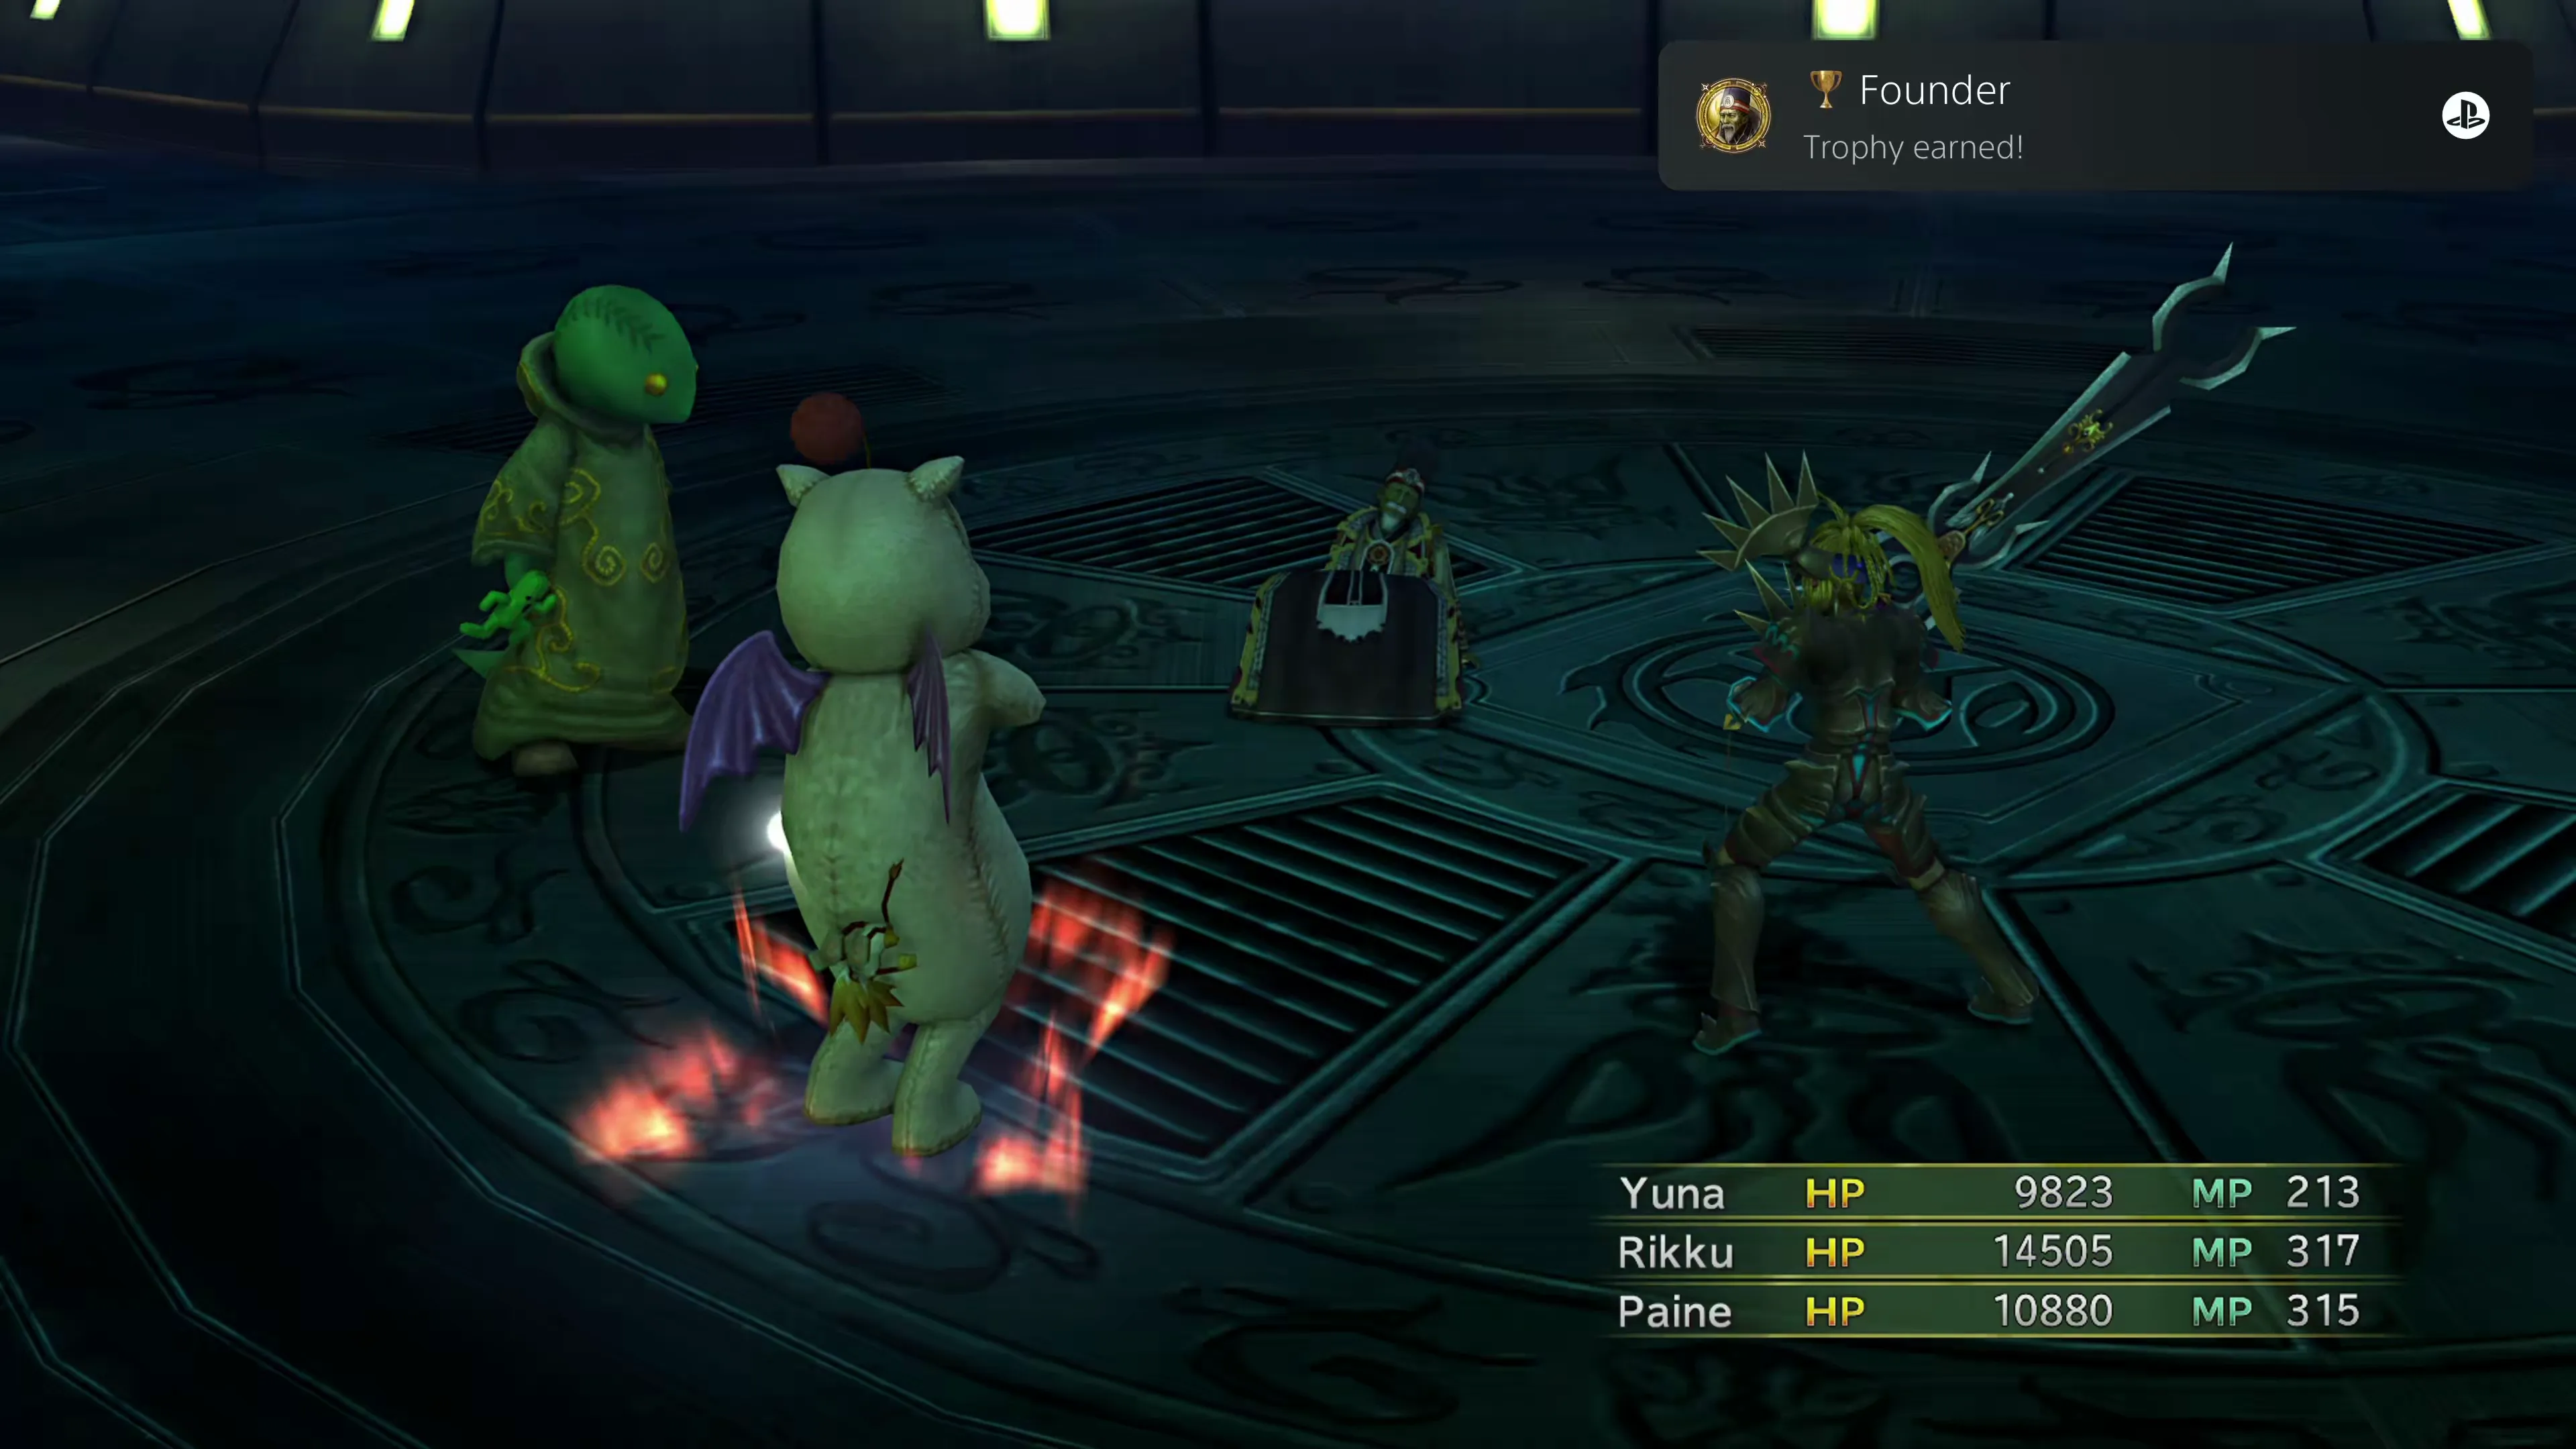
Via Infinito Boss Battles
This section of the guide covers the bosses you will face on Cloisters 20, 40, 60, 80, and ∞. For more information on how the Via Infinito works, check out the overview section first:
Side Quests
How the dungeon is laid out, what to expect on the way down, and what it takes for 100% Story Completion.
Each of these boss battles begins once you approach the center of the map, typically after a short cinematic, but before you do that…
Warning
Use the teleporter to go back up to the entrance and use the nearby  Save Sphere to save your game. Some bosses are easy, but either way, it’s good practice. You can warp right back down to the level you were on.
Charge into the center of the room when you’re ready to begin the battle. Each of them typically begins after a short cutscene. Make sure you don’t interrupt the cutscene if you’re aiming for 100% Story Completion.
Cloister 20
The first boss you face is Aranea, and by the time you reach Chapter 5, this fight should be pretty straightforward.
Boss Battle
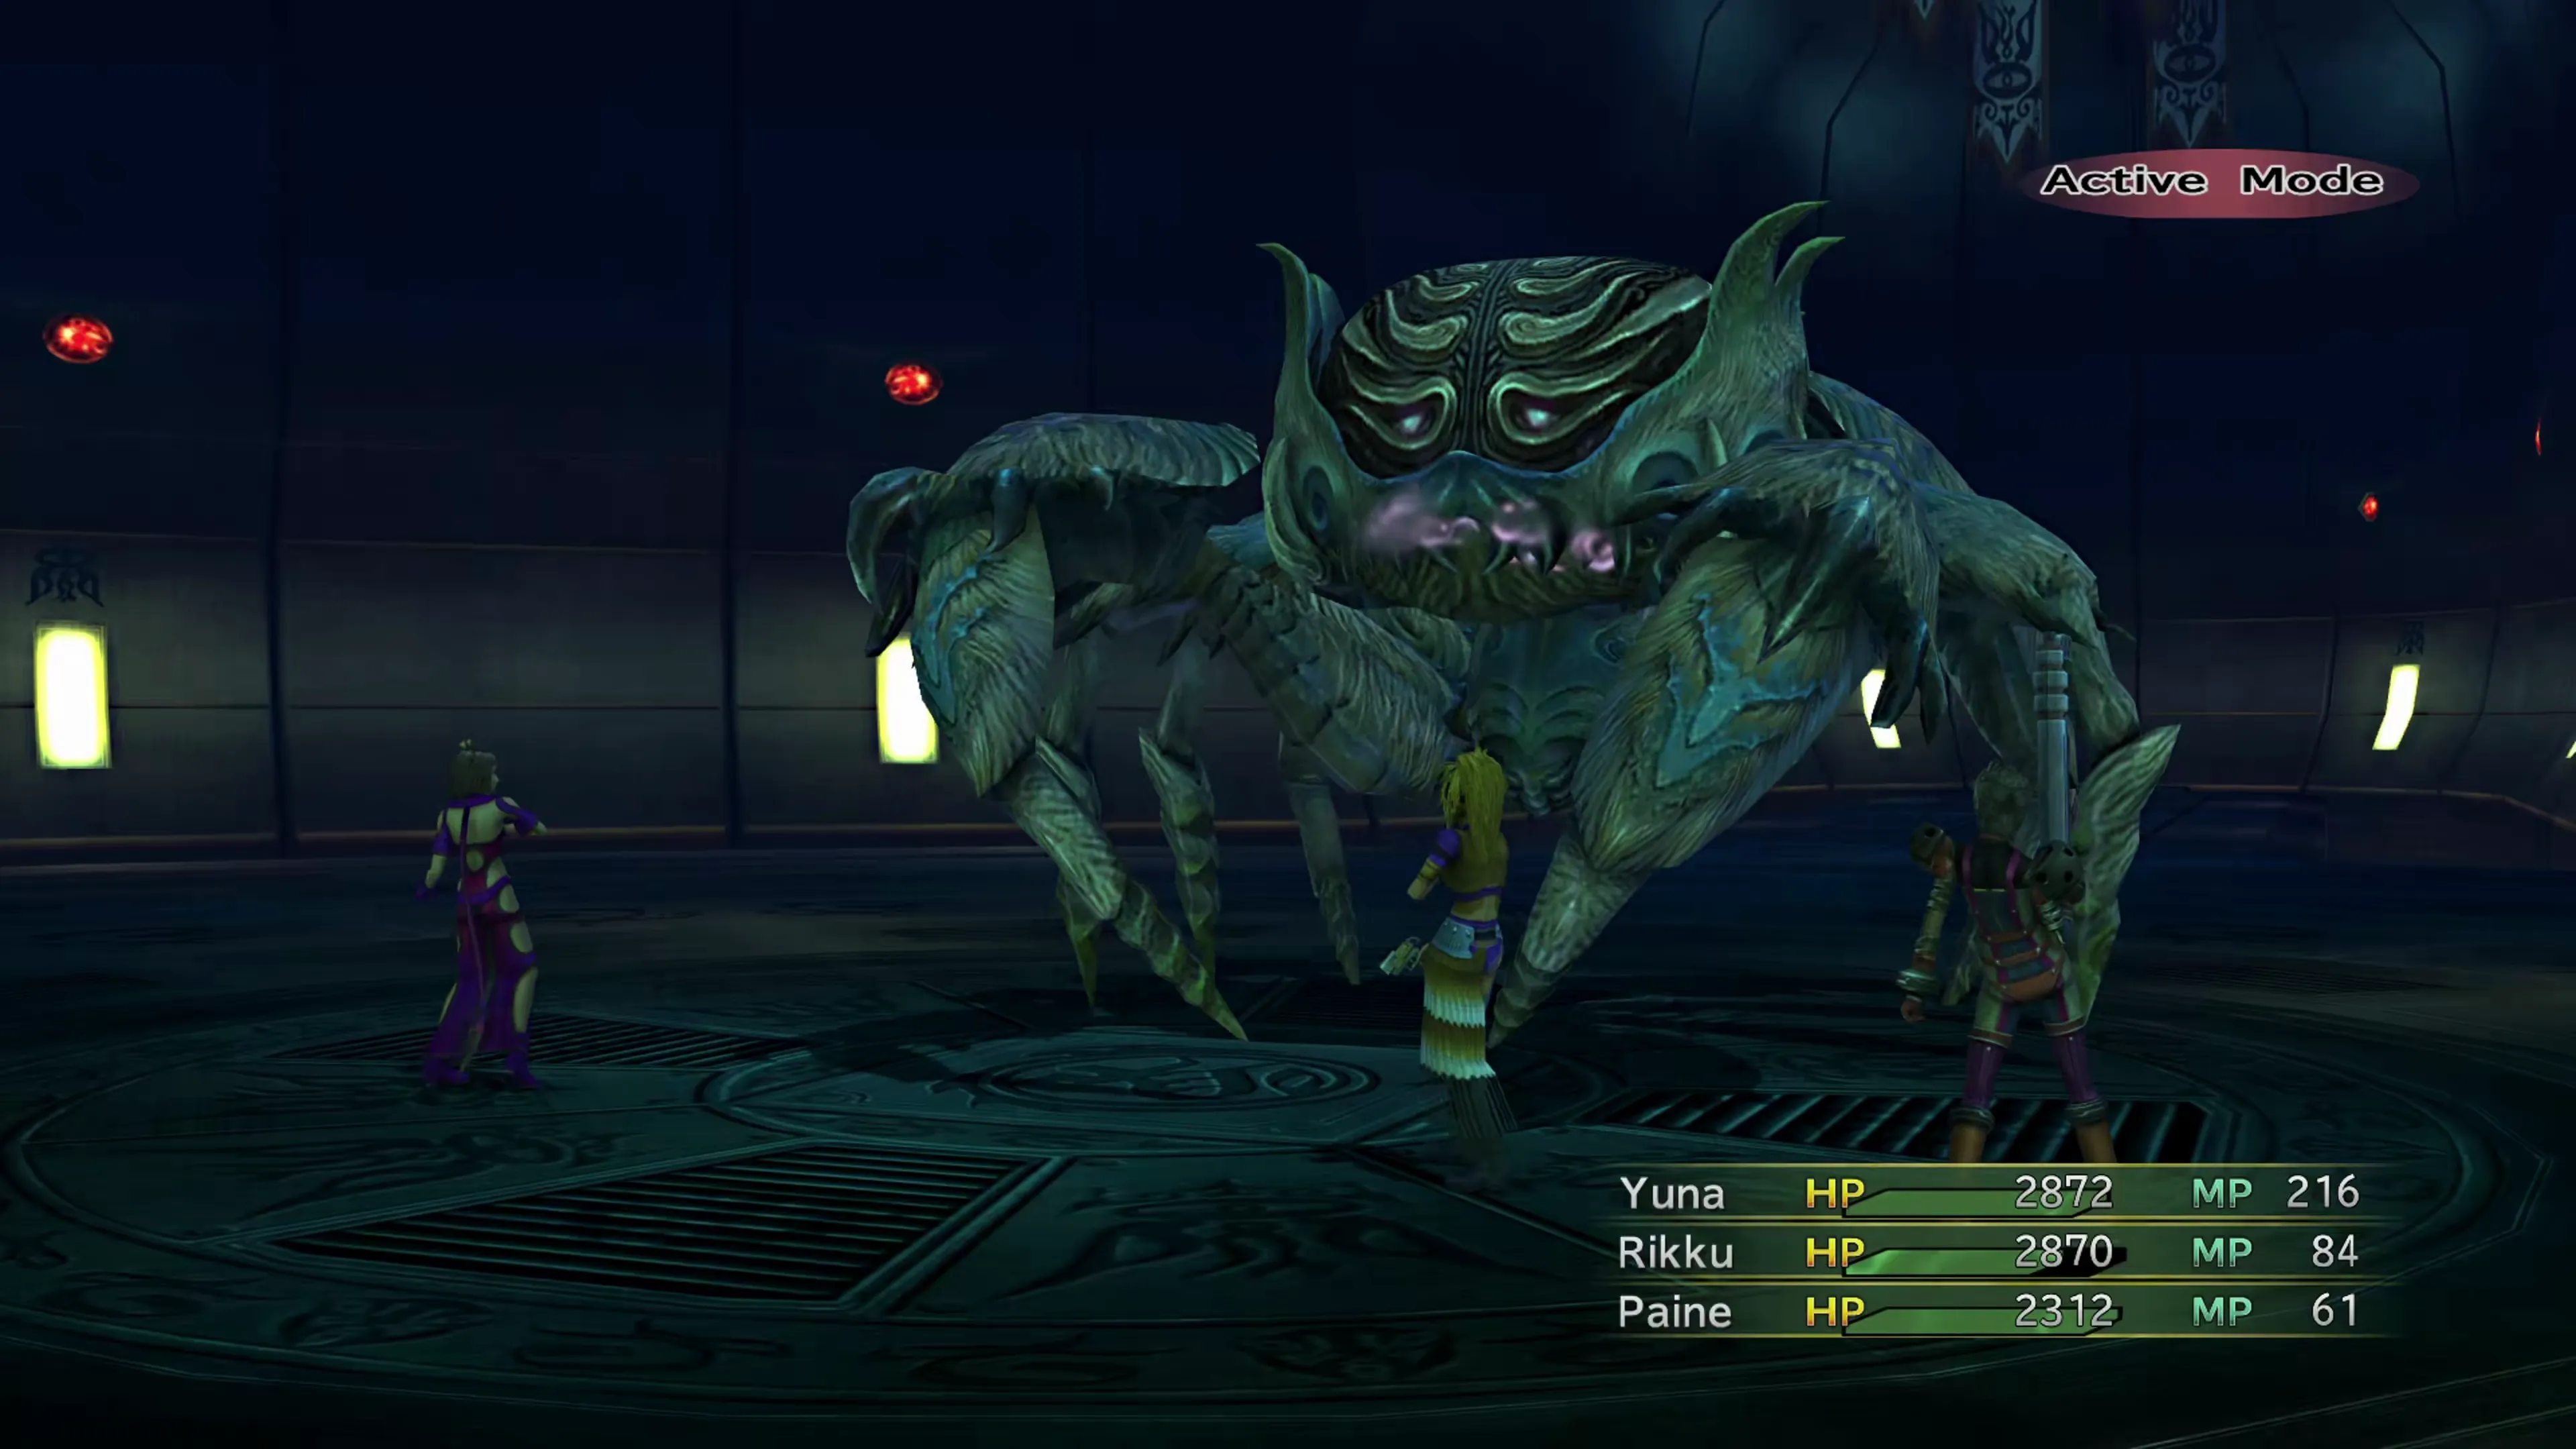
This boss battle is nothing compared to some of the bosses you’ll eventually face here in the Via Infinito. It’s essentially a slightly stronger version of the spider boss you faced at the top of the Floating Ruins (Boris). It will use the following attacks:
- Normal attack, which deals physical damage twice
- A defense ignoring bite attack
- “Gooey End,” which deals damage to any party members in front of Aranea and inflicts
 Poison and
  Stop
Stop
Protect yourself against the two status effects, and you’re good to go.
| Enemy | HP | Steal | Drop |
|---|---|---|---|
| Aranea | 18280 |  Turbo Ether (common) Turbo Ether (common) Kinesis Badge (rare) Kinesis Badge (rare) |  Stamina Tonic (common) Stamina Tonic (common) Mythril Bangle (rare) Mythril Bangle (rare) |
Cloister 40
You’ll see an older Guado male in the center of the room, but before you begin the fight, equip your party members with items that protect against magic damage. This includes Moon Bracers, Star Bracers, Defense Bracers, or even  Adamantite/“Shmooth Shailing.”
Boss Battle
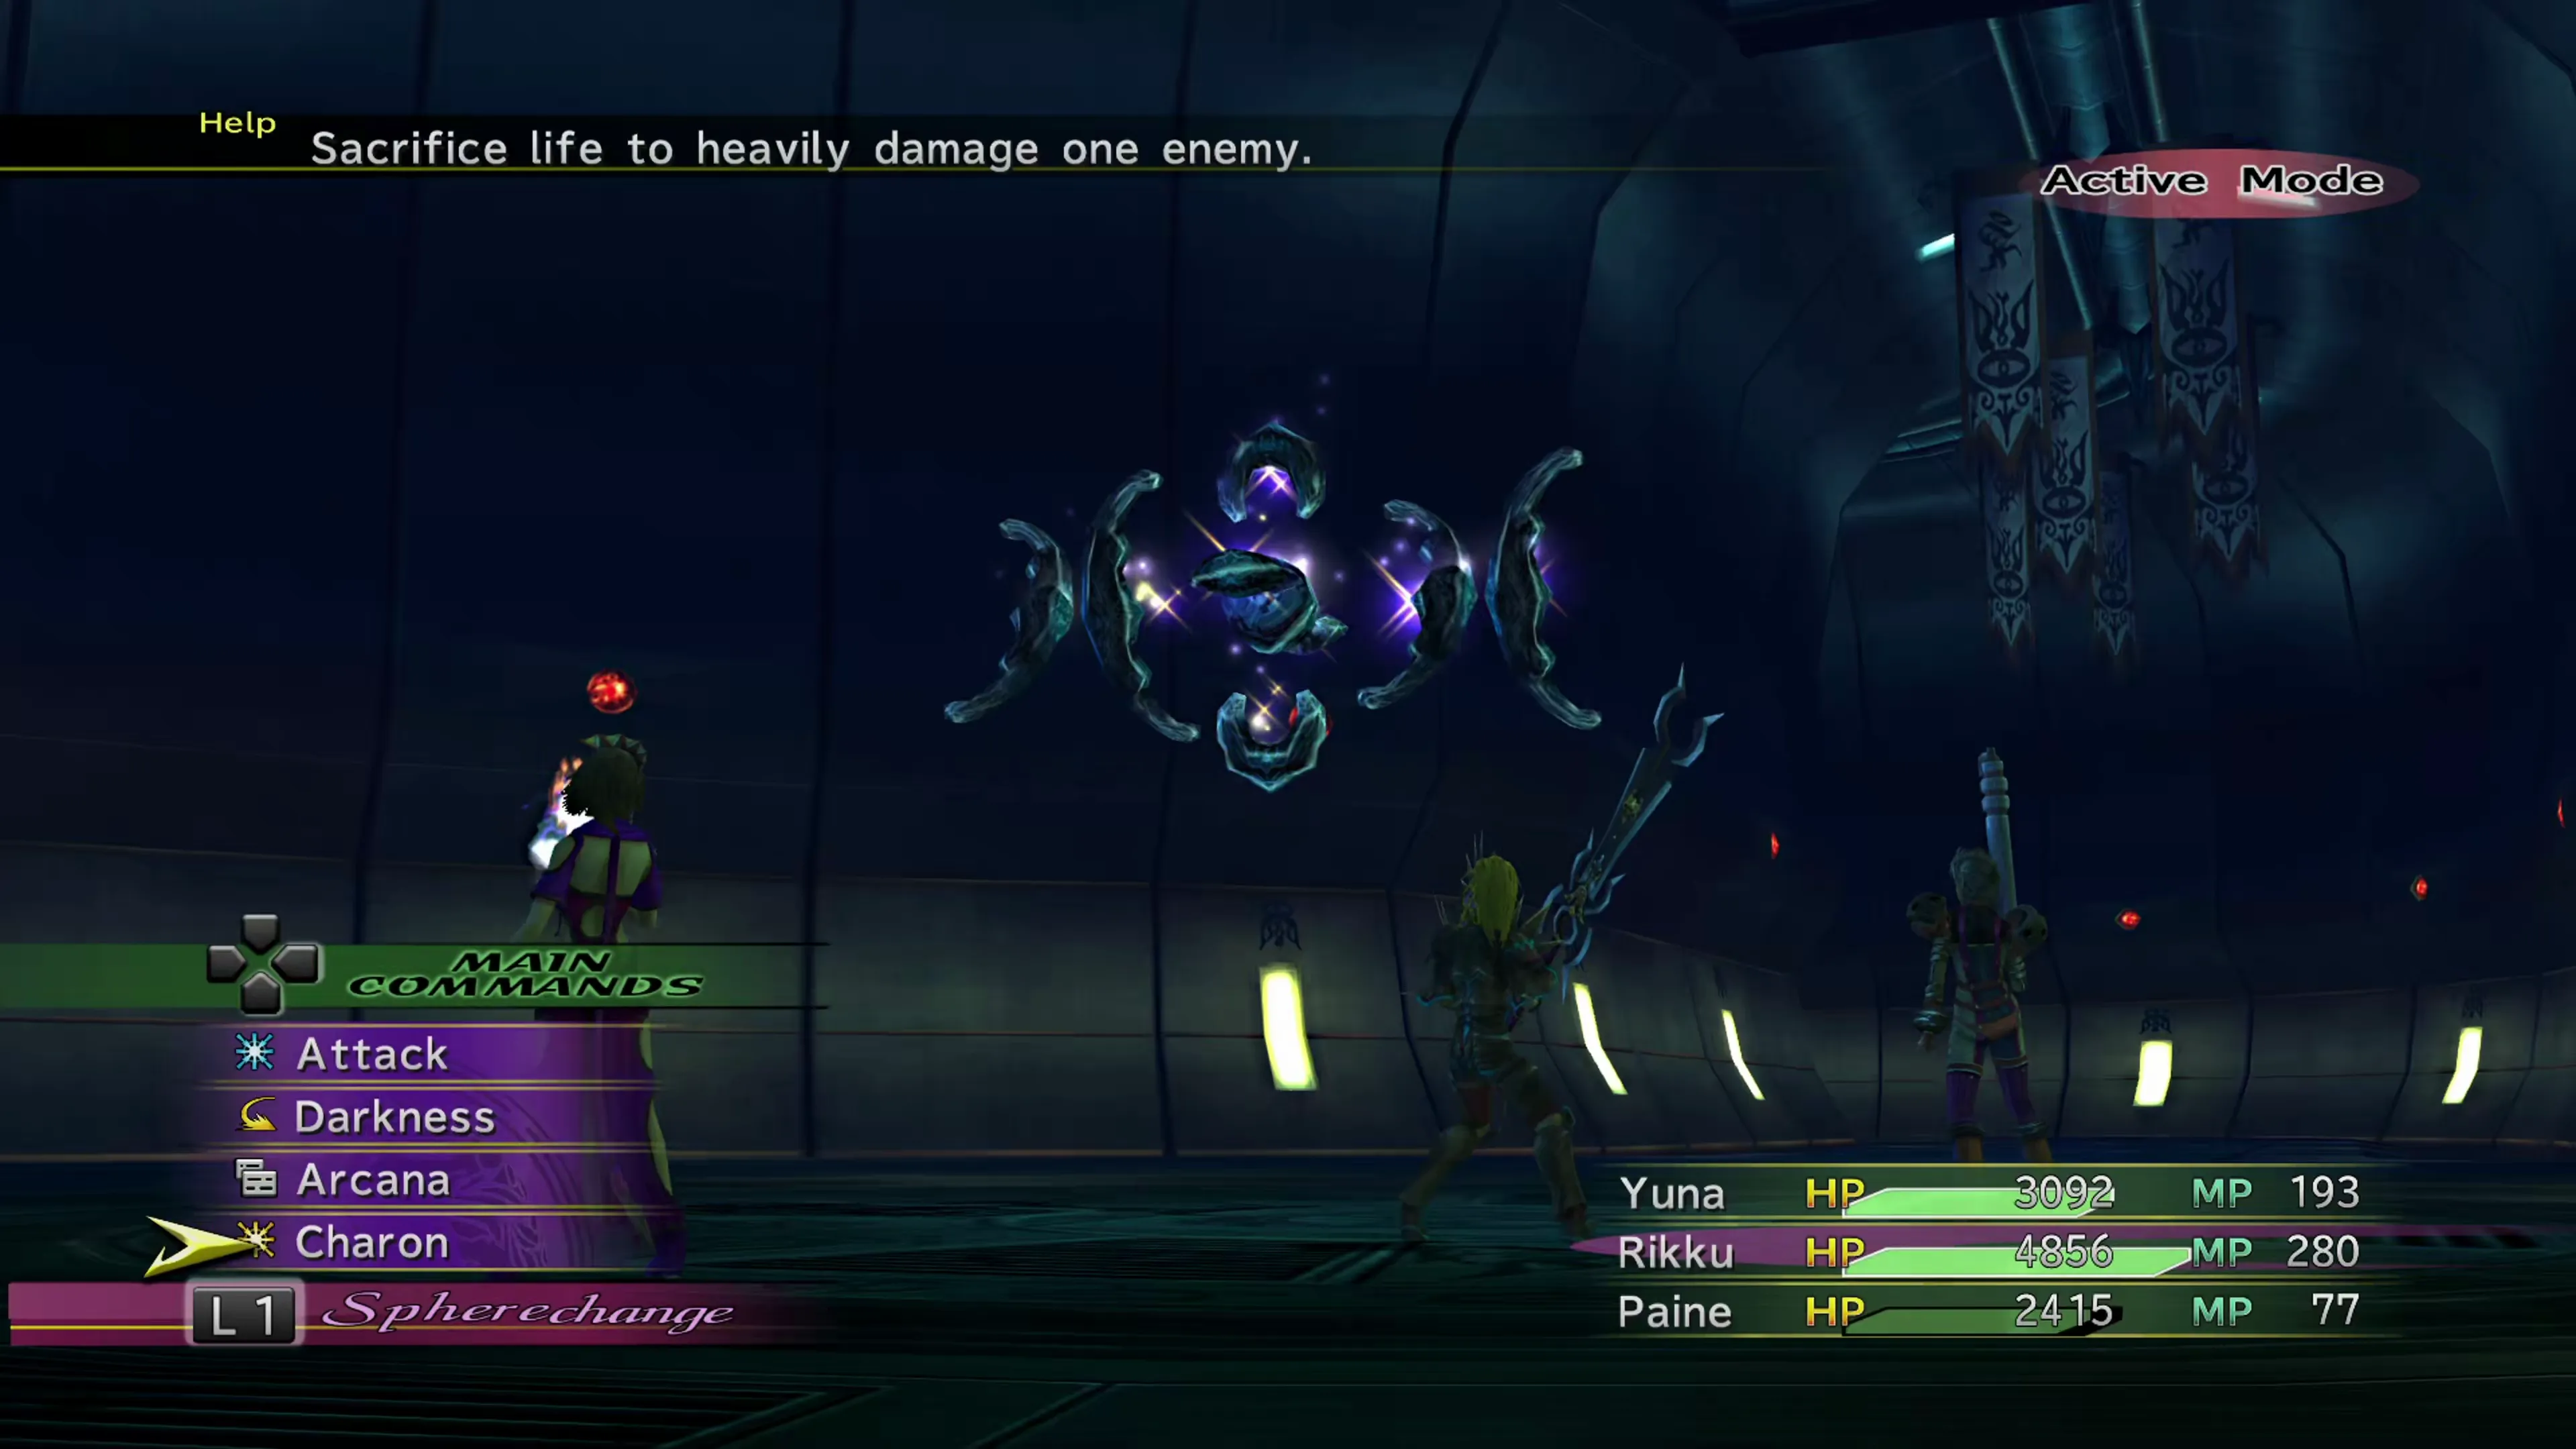
The most challenging aspect of this fight is one that won’t surprise you at all. This is an extremely powerful Elemental-type enemy, which means it’s going to blast you with powerful magic and will take very little damage from standard attacks. It will use the following attacks:
- Flare against one party member
- Ultima against all party members
 Berserk against one party member
- “Magic Up,” which increases magic damage dealt
- “Absorb,” which drains HP and MP from the target with the highest HP
It doesn’t save Ultima until later in the fight and typically uses it pretty early, which means your whole party is going to get blasted by one of the highest damage-dealing magic attacks in the game.
The best strategy for this fight is to find a way to very quickly rip through the Black Elemental’s 9,999 HP using attacks that aren’t impacted by its high defense. One great strategy to use is to have a  Dark Knight use its
  Charon attack against it, which can deal a full 9,999 damage in a single attack, making the entire fight trivial.
You can also use a  Gunner’s Tableturner, drain its MP by using
  Soul Springs, or end the fight using moves like
  Spare Change or
  Bribe. This is one of those fights where a cheeky strategy is recommended.
Open up the treasure chest that spawns in the middle of the room to pick up five accessories. Yes, that’s right! This treasure chest contains five items! Open it to receive a Moon Bracer, Shining Bracer, Speed Bracer, Recovery Bracer, and Cat Nip accessory.
| Enemy | HP | Steal | Drop |
|---|---|---|---|
| Black Elemental | 9999 | Ether (common)Rune Bracer (rare) | Mana Tonic (common)Tetra Gloves (rare) |
Cloister 60
Preparation ahead of the boss battle on this floor is key. This boss has some of the strongest defense in the game, so finding creative ways to rip through it before it rips through you is critical. The Cat Nip strategy isn’t as effective as it was before the HD Remaster came out, but if you set up one party member as a  Thief with the Cat Nip accessory, you may be able to rip through its massive HP.
Equip your party members with protection from Poison, including a Dark Knight’s Poisonproof, Star Pendant, and Ribbon accessories, or the  Restless Sleep Garment Grid.
Boss Battle
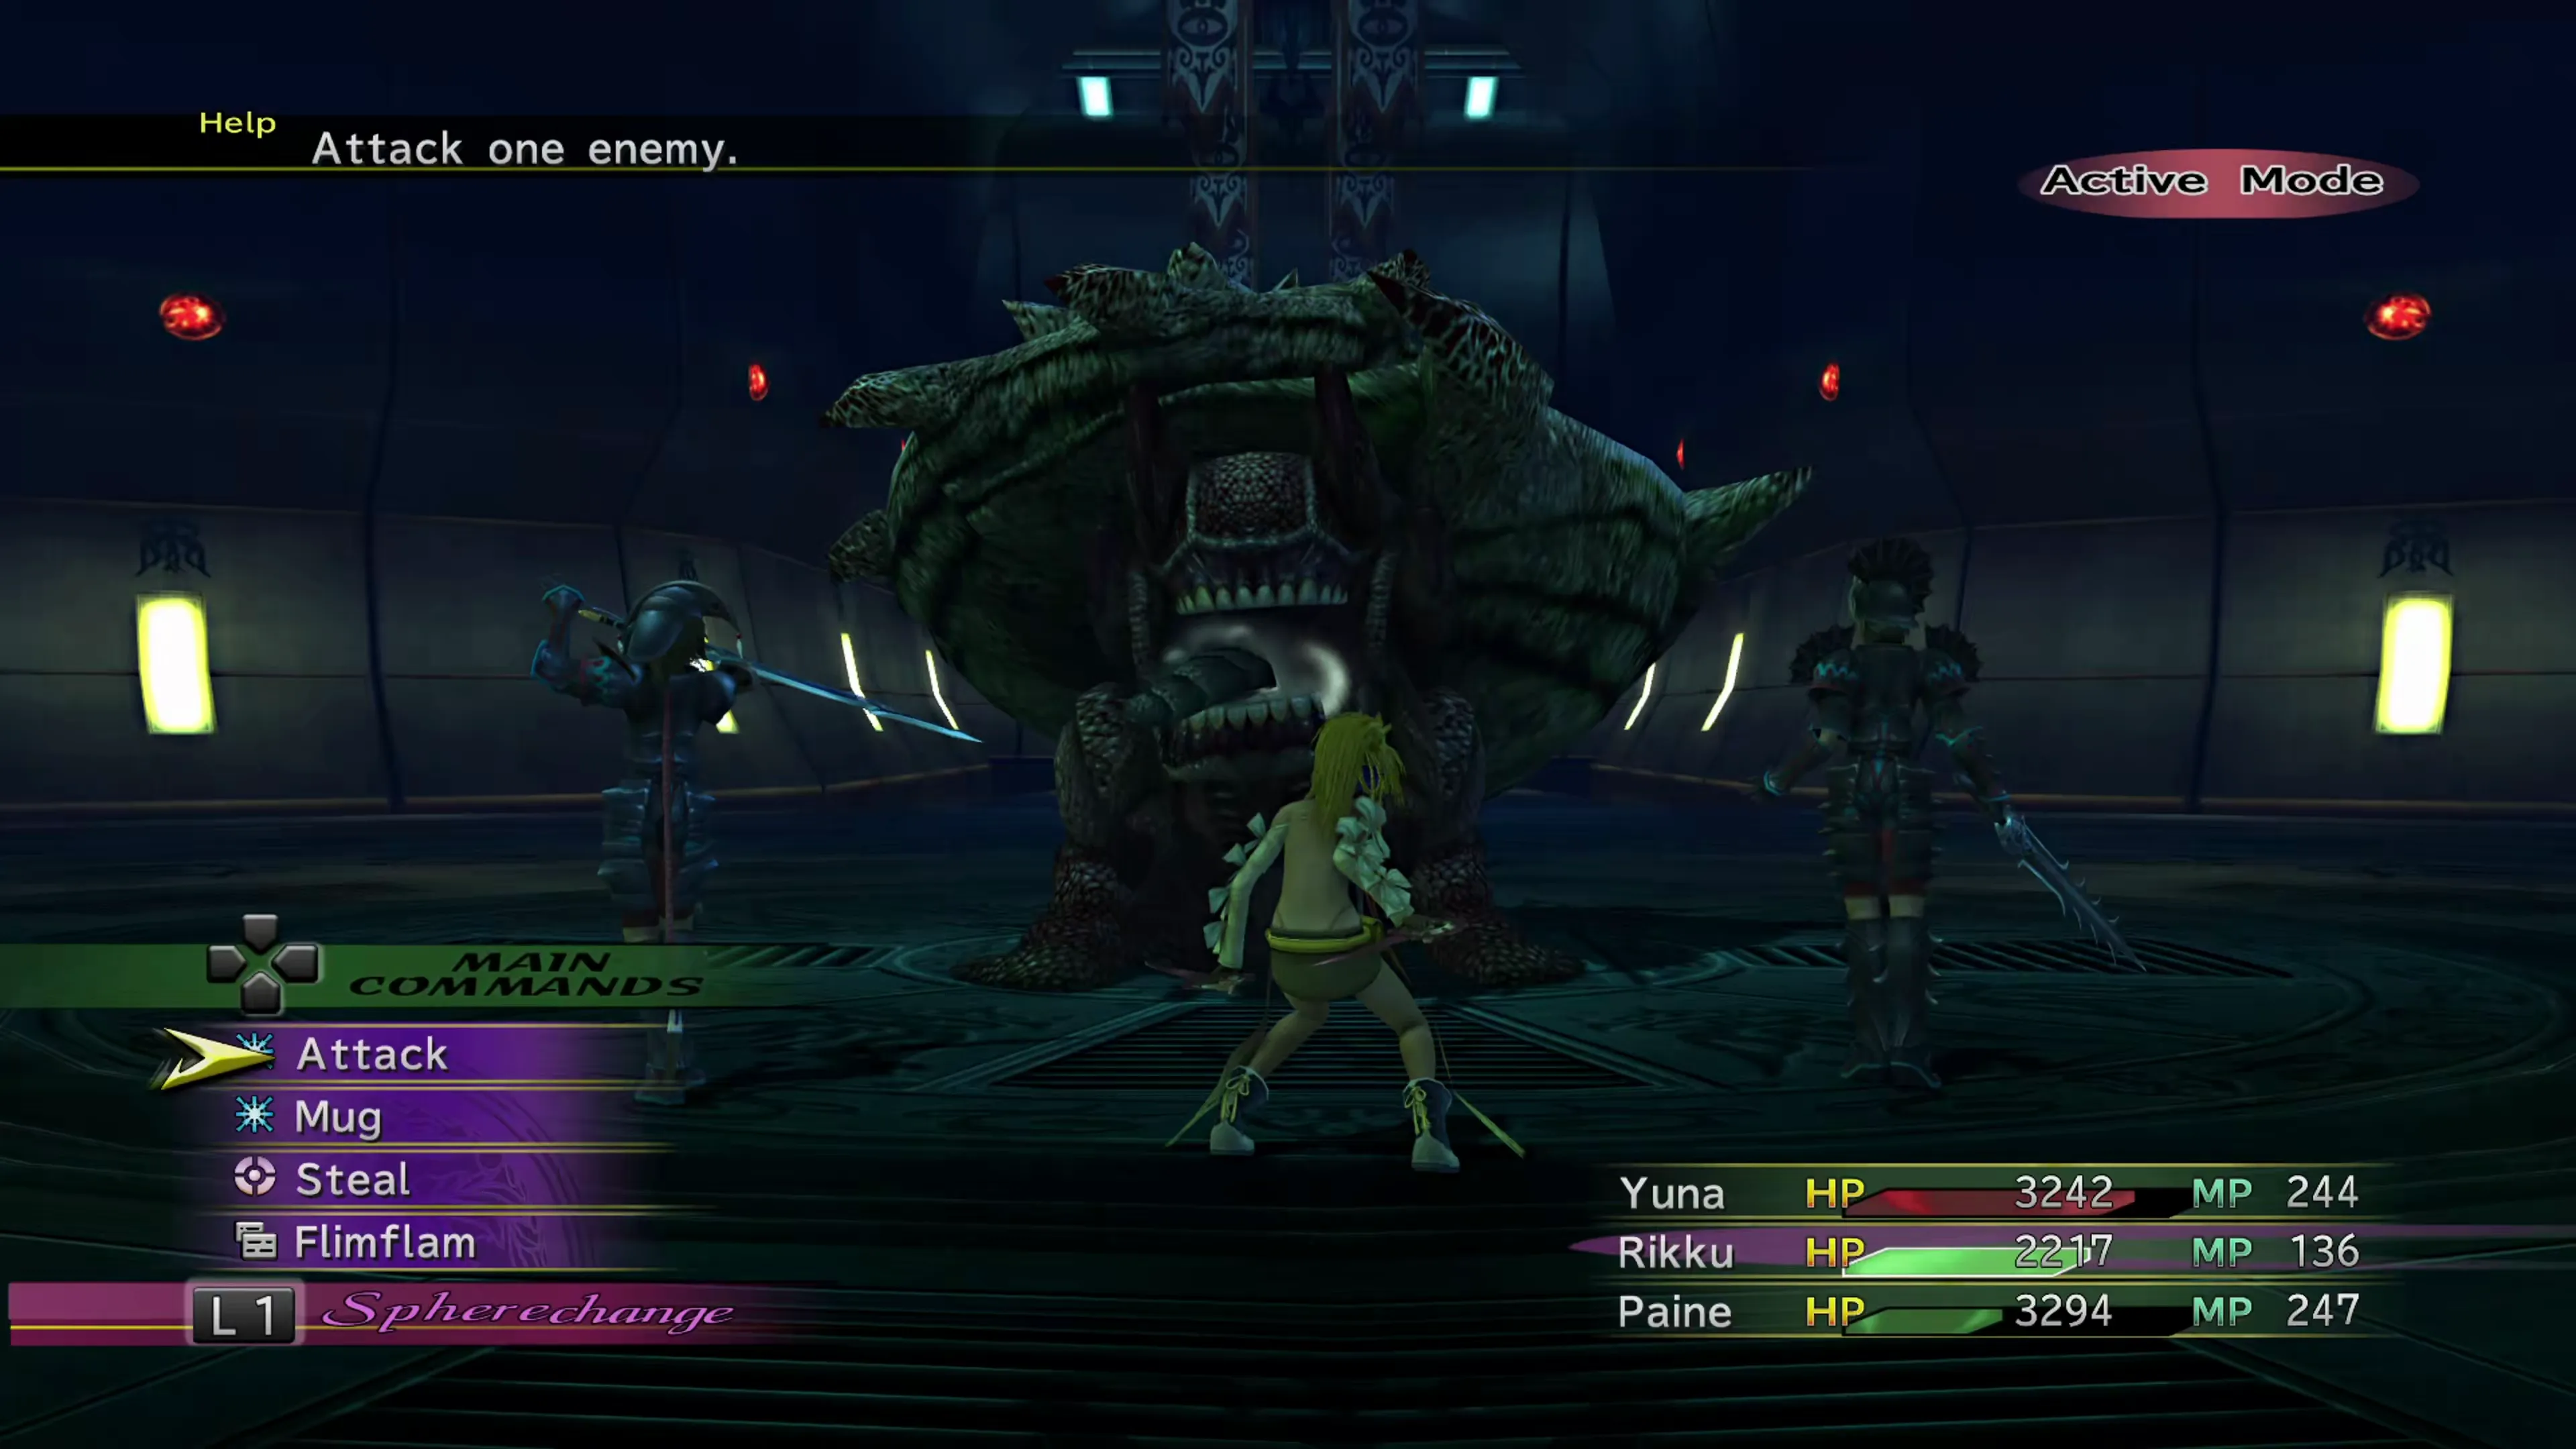
This is the toughest boss you’ve faced so far, and they only get tougher from here. Concherer has high defense, high HP, and attacks that will instantly kill your party members. These attacks include:
- Its normal physical attack, which will hit for around 3,000 damage
- “Gunk,” which damages MP and inflicts Poison
- “Megaton Press,” which deals up to 99,999 damage and is a guaranteed KO for one party member
For each of its turns, it has a 50% chance of using a normal attack, a 25% chance of using “Gunk,” and a 25% chance of using “Megaton Press.” “Megaton Press” is obviously the most problematic attack, but this attack, just like the other two attacks, can only hit one target at a time, so expect that you’ll be using Phoenix Downs, Mega Phoenixes, Life, Full Life, etc. to keep your party members alive.
If you  Scan it, there’s a hint that suggests you can hit it with a powerful blow to shatter its shell, which is actually true. If you hit it with a single attack that deals 10,000 damage or more, Concherer’s shell will break, causing its Defense and Magic Defense to drop to 0, and for the rest of the fight it only uses its normal attack, so “Gunk” and “Megaton Press” are gone for good. The Cat Nip accessory can’t do this, since its attacks hit for exactly 9,999. Instead, you’ll have to have a party member with the
  Break Damage Limit Auto-Ability which can be obtained from the Higher Power Garment Grid or by teaching it to the Floral Fallal, Machina Maw, or Full Throttle Special Dresspheres with Twilight Rain, Machina Booster, or Victor Primoris. These strategies are more difficult than the Cat Nip strategy, though.
The goal is to deal as much damage as you can as quickly as you can before your party is overwhelmed by the damage, and this is another fight where there isn’t really a way to do it “clean,” so expect party members to constantly need reviving.
One strategy that works well is to equip a Thief with the Cat Nip accessory. In the old PS2 version of the game, you would equip Cat Nip to a Gunner which would cause all of its Trigger Happy attacks to hit for 9,999, but in the HD Remaster, you’ll have to deal with just two attacks from the Thief, which will both hit for 9,999, and the Cat Nip will automatically apply the Berserk negative status effect, so you won’t be able to control them.
Put your other two characters into the Dark Knight Dresspheres. This won’t prevent them from being 1-shot by “Megaton Press,” but it can help them survive other attacks and give them more HP to deal with Poison.
No interesting rewards at the end of this fight, but the cutscene that triggers after the battle is over counts towards 100% Story Completion.
| Enemy | HP | Steal | Drop |
|---|---|---|---|
| Concherer | 343280 | Elixir (common)Elixir ×2 (rare) | Blessed Gem (common)Crystal Gloves (rare) |
Cloister 80
The next boss battle is yet another one that relies on cheeky battle strategies because of the boss’s incredibly difficult-to-deal-with attacks.
Boss Battle
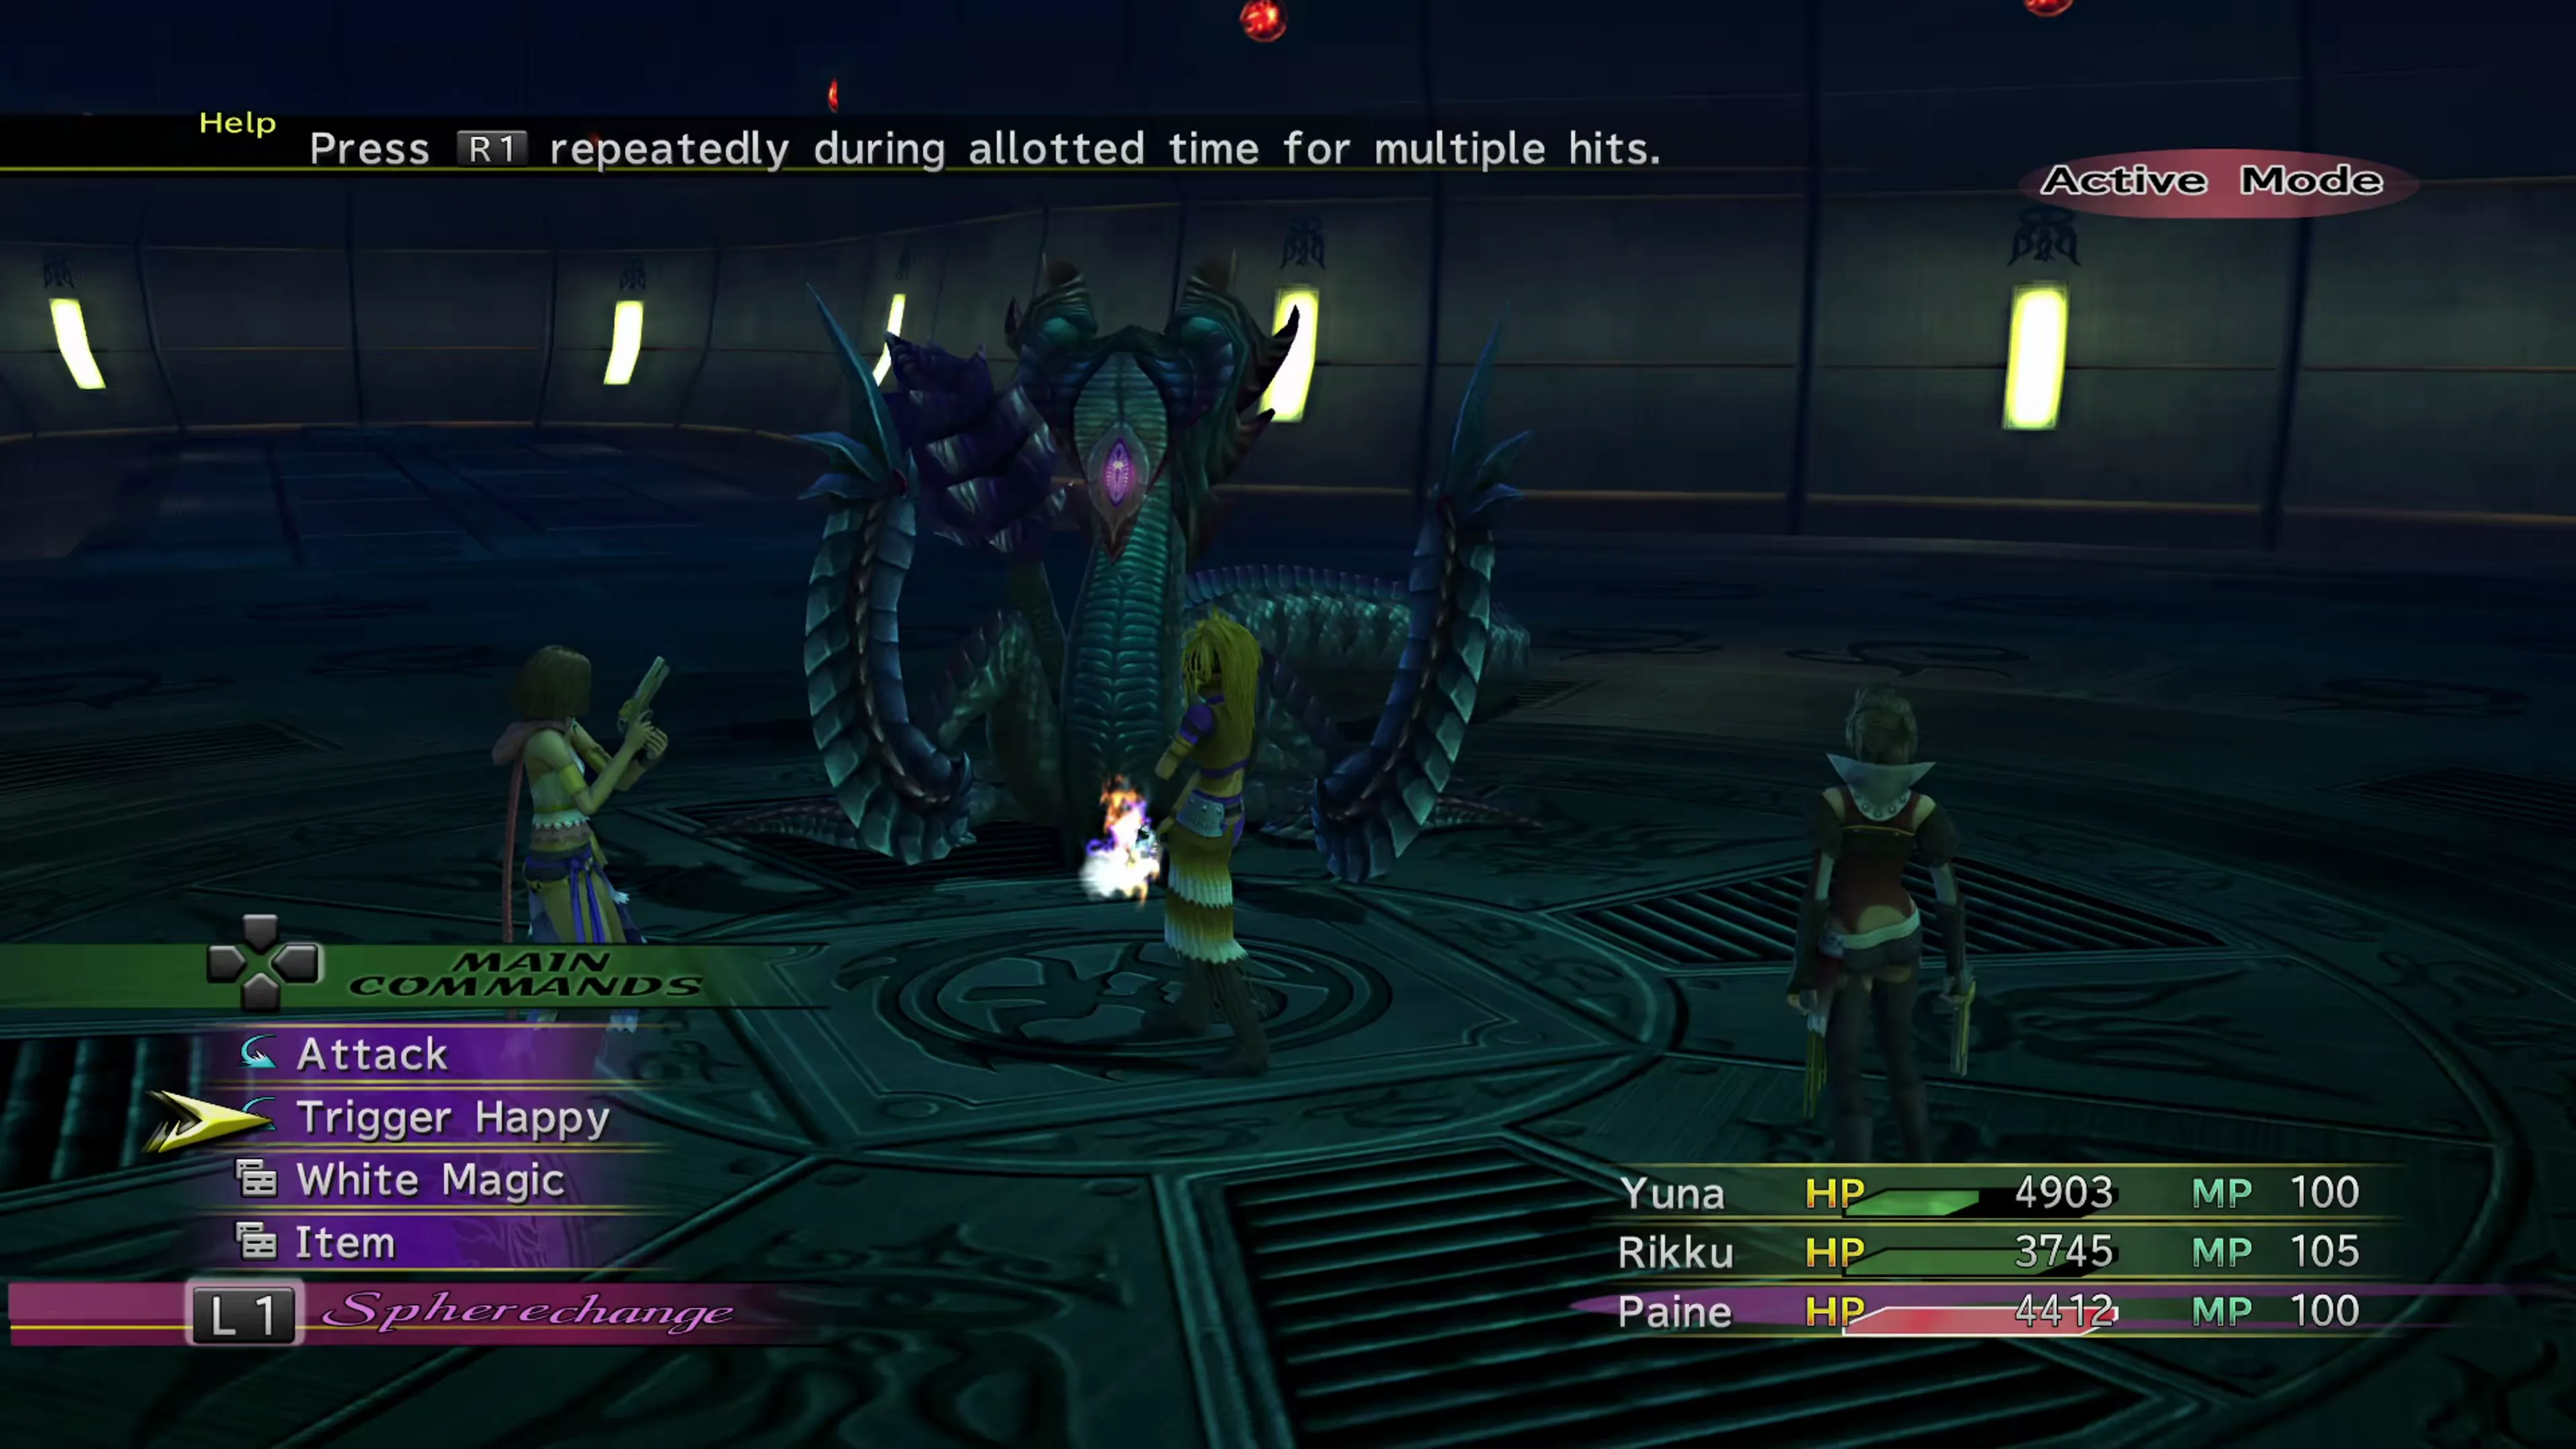
The most difficult aspect of this battle against Chac is that it can Petrify targets, just like any other Basilisk can. Even worse, her attacks ignore any immunities to Petrify. Stoneproof, Ribbons, Gold Anklets, Safety Bits… none of these will do anything. You will have to deal with the following attacks:
- It’s a normal physical attack that deals heavy damage
- “Stony Glare,” which causes Petrification and can only be removed with a Soft or Remedy
- “Heaven’s Cataract,” which deals heavy magic damage in a frontal cone
If Chac attacks a Petrified character, that character will shatter and be permanently removed from the battle, and she tends to target Petrified targets first. Losing a party member is pretty much “Game Over.”
The most effective way to win this fight without having to constantly salvage party members who are Petrified is to take advantage of Chac’s biggest and most glaring weakness. Chac is immune to ALMOST all negative status effects, but she is not immune to the delay effect caused by attacks. You can push her turn back and prevent her from taking action, slowing her down, or, in some cases, outright preventing her from taking any action.
There are three primary methods for doing this:
- Setting up three Gunners and having them take turns using Trigger Happy (which will require them to have learned Trigger Happy Lv. 2 and Trigger Happy Lv. 3)
- Setting up three
 Samurai who repeatedly use their Dismissal attack in turn
 - Setting up three
 Warriors who repeatedly use their Delay Buster in turn
As you can see, no matter which route you choose, the strategy is essentially the same: preventing Chac from getting any attacks in is the key to success. This guide recommends using the three Gunner strategy, and you can find more information about these two tactics in either of the two videos below.
| Enemy | HP | Steal | Drop |
|---|---|---|---|
| Chac | 437850 | Ether (common)Ether ×2 (rare) | Shining Gem (common)Pixie Dust (rare) |
Video Guide

Video demonstrating how to get the most out of the Gunner Dressphere.
Video Guide
A video walkthrough of the Gunner Trigger Happy strategy for this fight.
Nothing happens at the end of this fight except a silent short cutscene.
Cloister ∞
And finally, you reach the bottom floor of the Via Infinito. There are two boss battles that you’ll face on this floor, starting with Paragon, and then moving right into the follow-up fight against Trema with no break in between.
Helpful Hint
It is recommended that you trigger the fight against Paragon in its Oversouled form. If you’re working your way through Shinra’s Bestiary, you may already have prepped this step, but if not, triggering Oversoul is not too difficult.
Paragon is part of the “Weapon” family, which includes Ultima Weapon and Omega Weapon. All you have to do is defeat a total of 10 members of the “Weapon” family, either Ultima or Omega, and then run away from it once the next one triggers an Oversoul. You can find Ultima Weapons on floors 47 through 49, and you can find Omega Weapons on floors 75 through 79.
For more information, check out the Oversoul Enemies page in the Tips and Tricks section.
Preparing for these fights involves making sure your characters are fairly well leveled (refer to the Power Leveling Your Characters page for tips), that you have their most powerful Dresspheres available (namely  Mascot), and some of the strongest accessories (Defense Bracer, Shining Bracer, Rabite’s Foot, Crystal Bangle, and Invincible).
It’s also recommended that you equip your party members with the Higher Power Garment Grid. Equipping it gives them the Break HP Limit ability, but pushing them through each of the gates (


 ) gives them the Break Damage Limit Auto-Ability, too.
Boss Battle
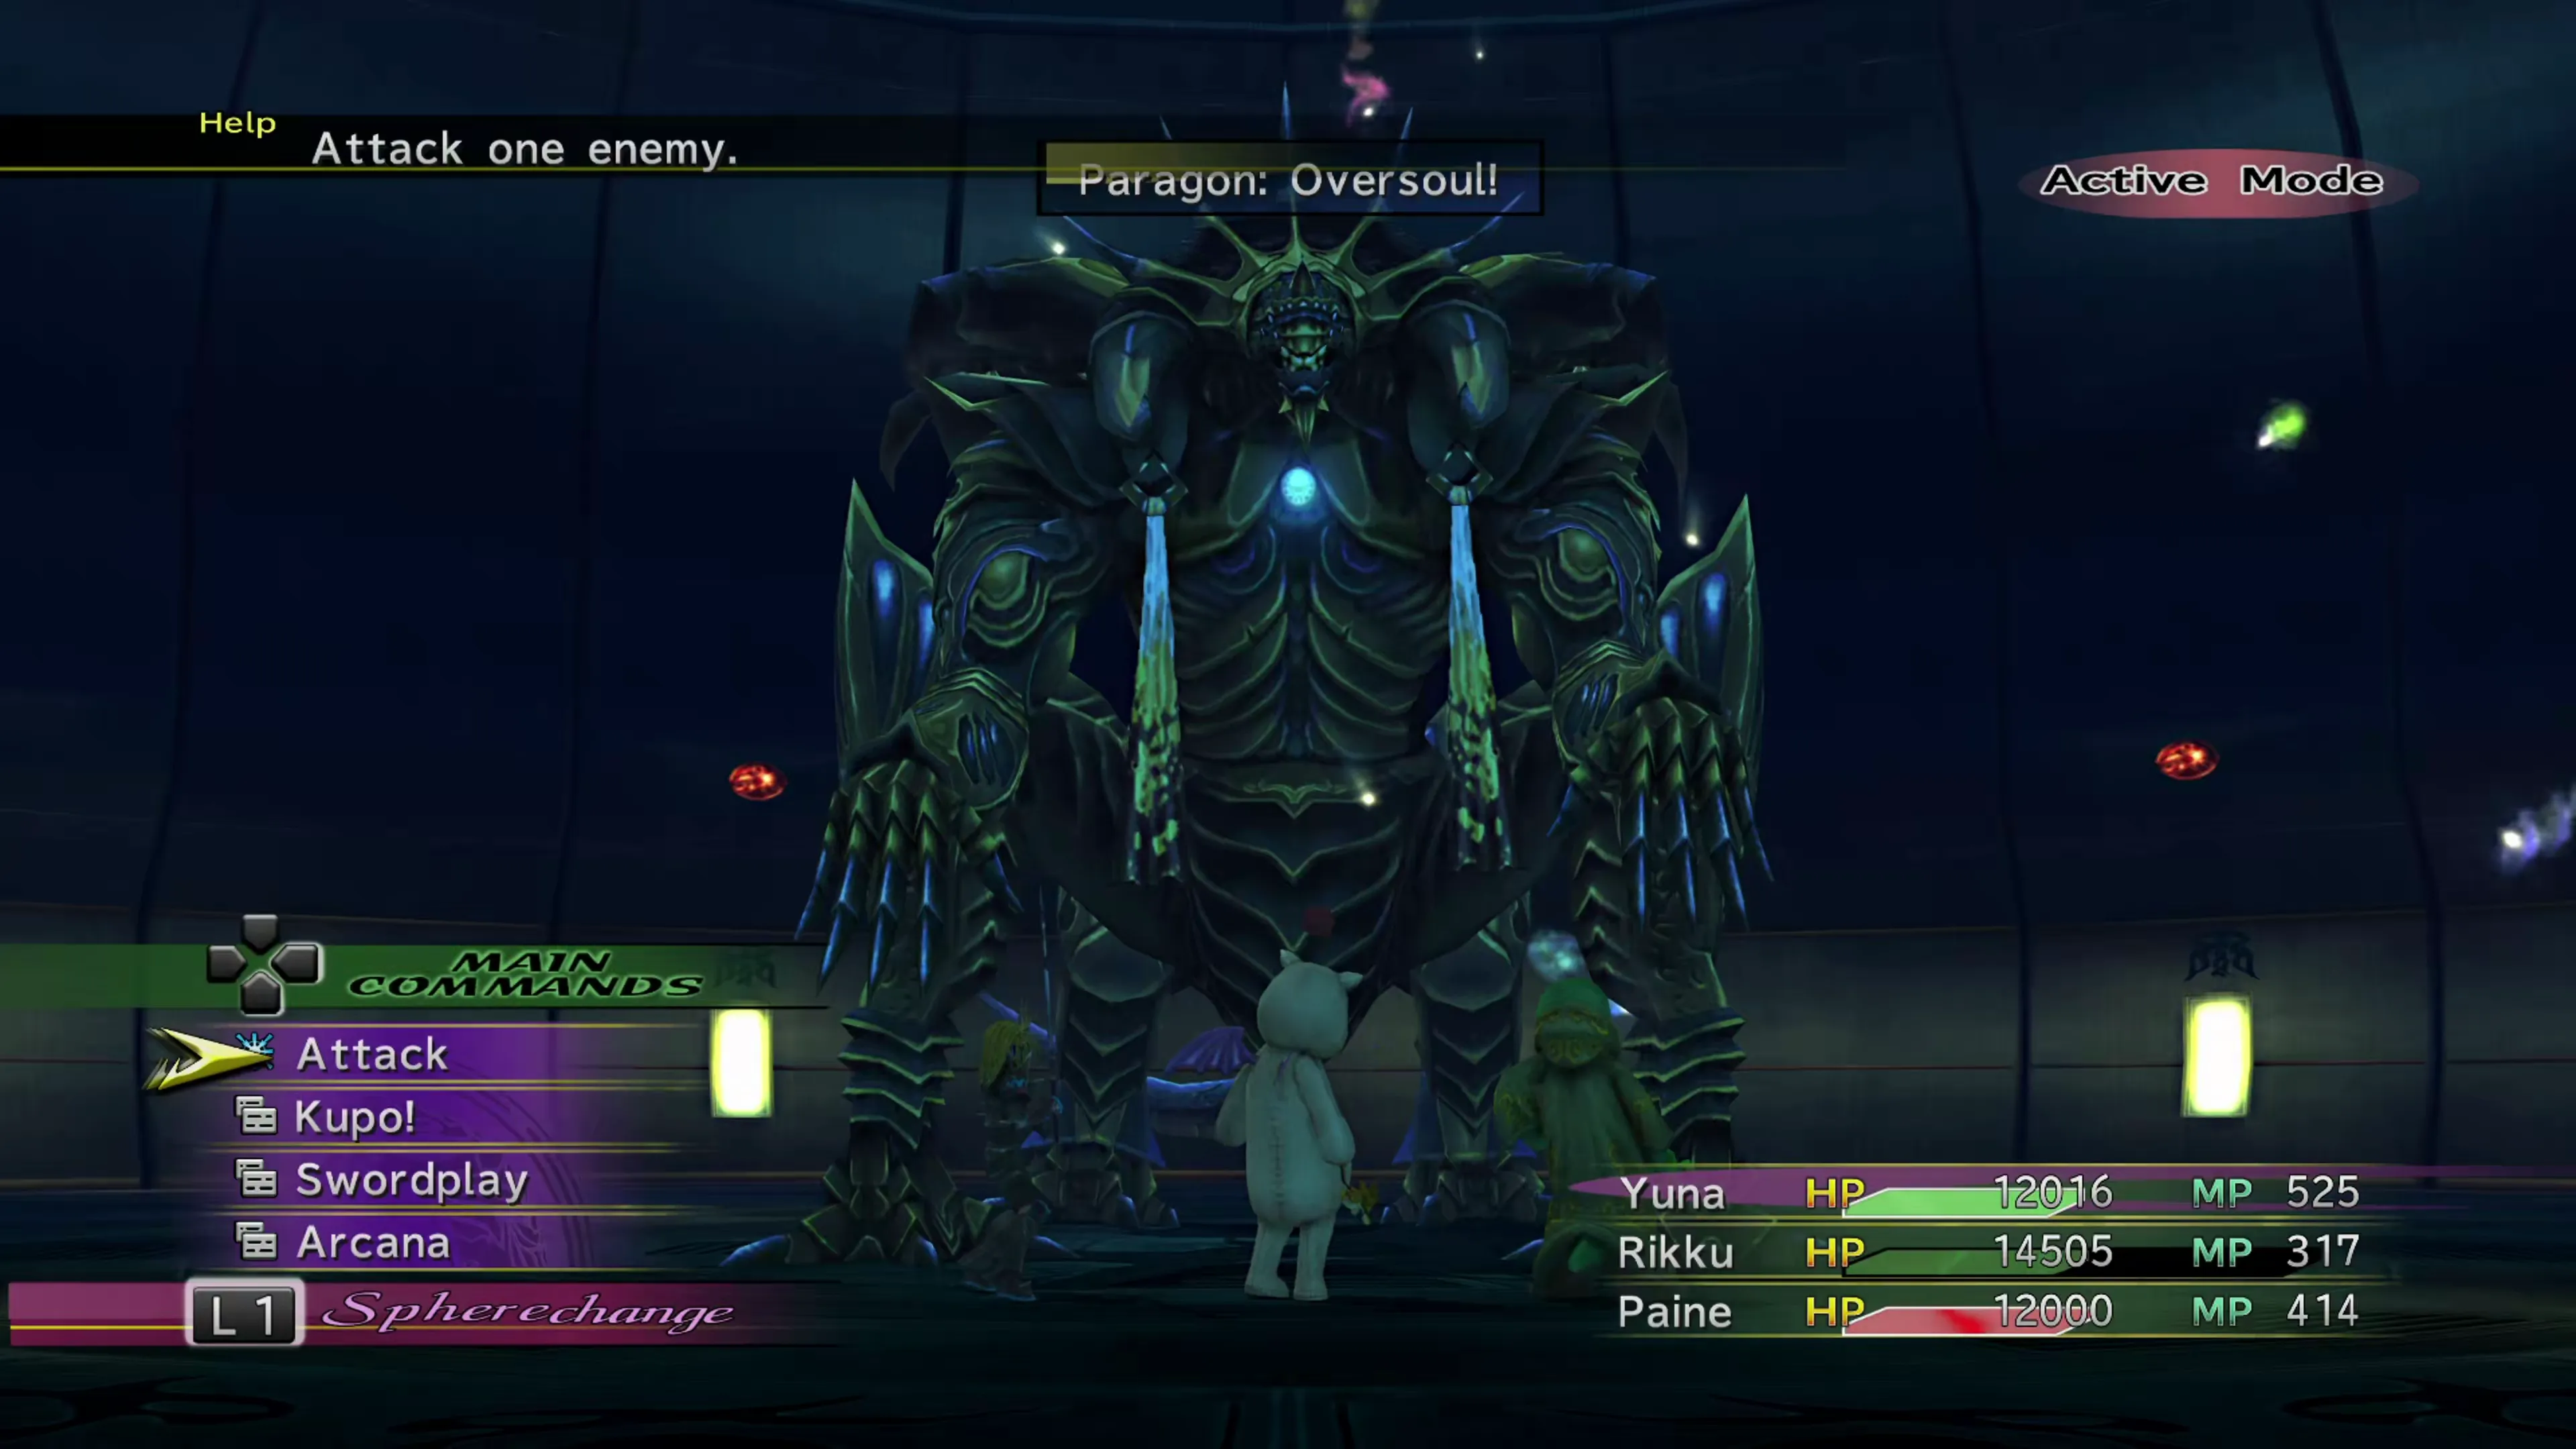
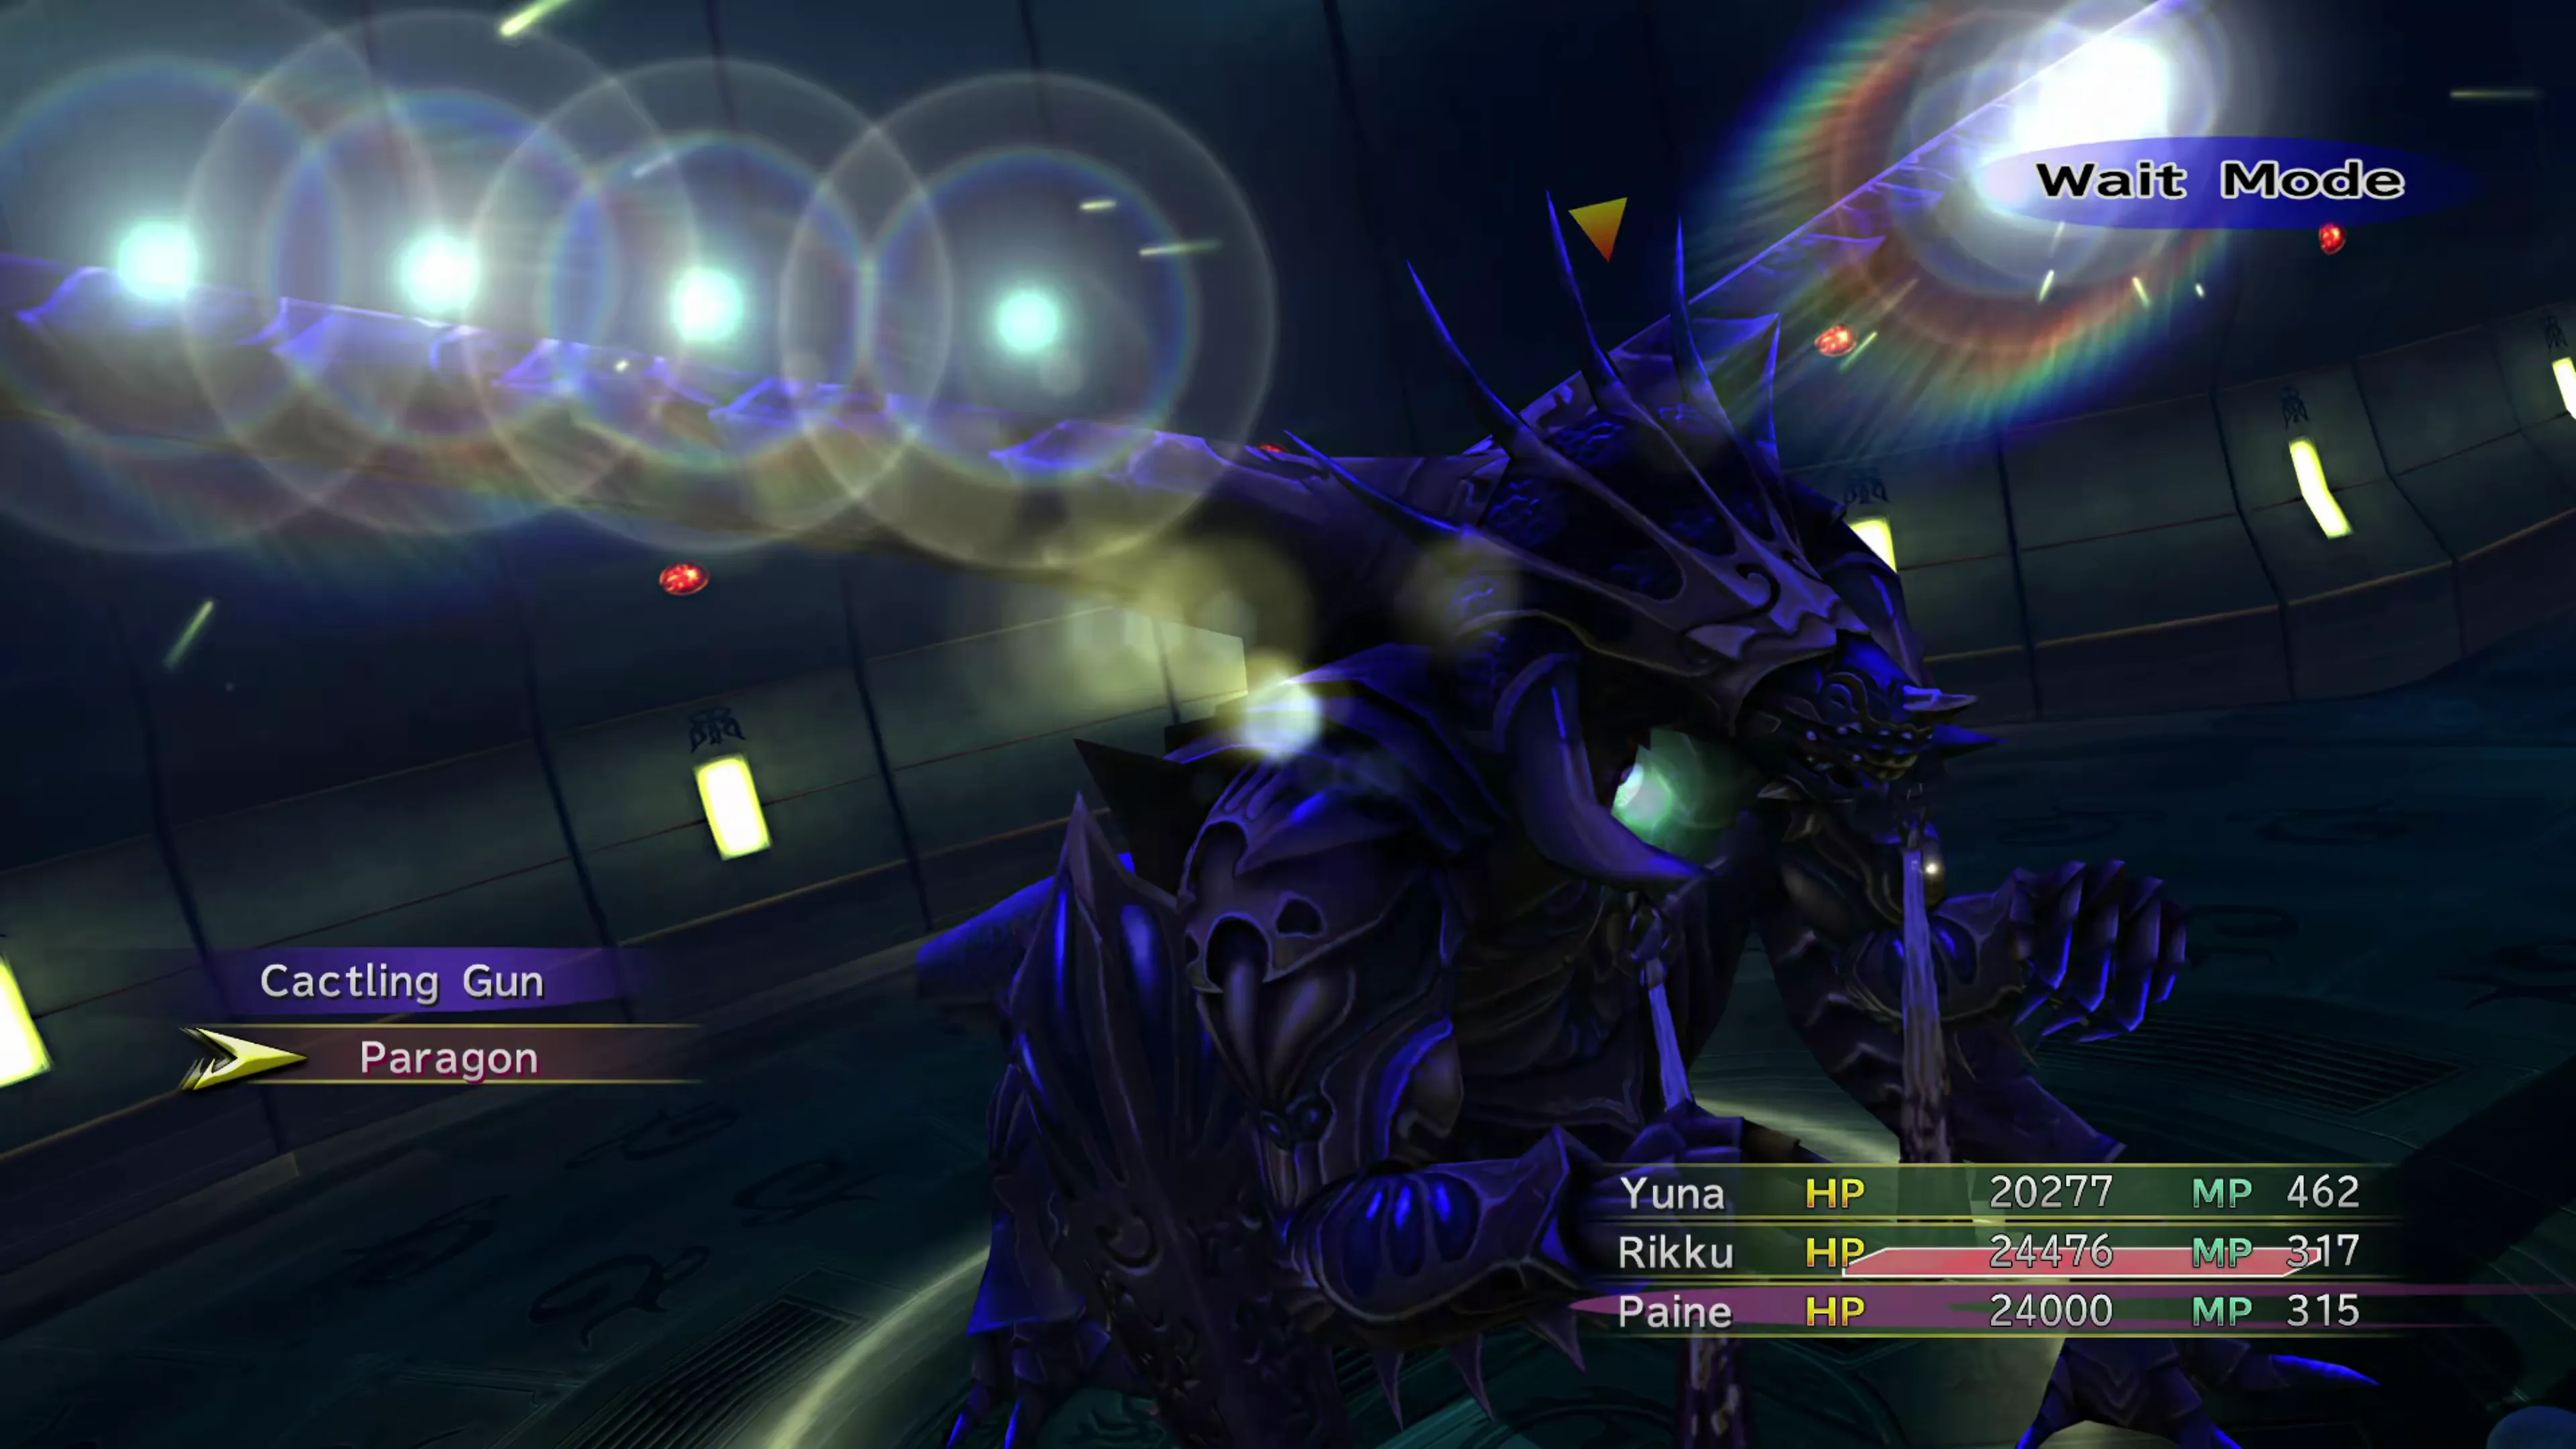
As noted above, it is strongly recommended that you face Paragon’s Oversoul form, which is actually easier than its normal form. Namely, it will not attack your party unless it is provoked/attacked until it reaches less than 40% HP. This gives you time to recover between attacks and heal up damage, and it gives you time to trigger the Break Damage Limit Auto-Ability right at the start of the fight.
If you fight Paragon in its normal form, it will use:
- A normal attack (which will inflict Poison, Itchy, Confusion, Ignore Defense, or Absorb HP)
- “Genesis,” which deals magic damage in a cone and removes beneficial status effects like Auto-Life, Protect, Shell, Reflect, Regen, and Haste
- “Big Bang,” which deals up to 25,000 damage and is only used as a counter if you use special attacks that go through Protect/Shell
In Paragon’s Oversoul form, it will use:
- A normal attack (no status effects)
- Demi if you use healing abilities
- “Judgment,” which deals magic damage to one party member
- “Genesis” and “Big Bang” if you don’t attack for 20 seconds (same effects as above)
The primary focus of the Paragon fight is to make sure you exit this fight prepared for the even tougher battle coming up against Trema. If you’re using the Higher Power Garment Grid, rotate each of your party members through the Dresspheres. Make sure to never use magic, MP Absorb, Supernova, or any  Arcana ability except Black Sky, as Paragon will use them straight back at whoever cast them.
This is a fight that you likely just have to grind through. Having two Dark Knights and an  Alchemist still works here, as does having three Mascots. You can also use the idling time at the beginning of the battle to use Stamina Tonics to raise your party member’s HP for the rest of the fight, apply status buffs, etc.
| Enemy | HP | Steal | Drop |
|---|---|---|---|
| Paragon | 200000 | Supreme Gem (common)Supreme Gem ×2 (rare) | Supreme Gem (common)Dark Matter (rare) |
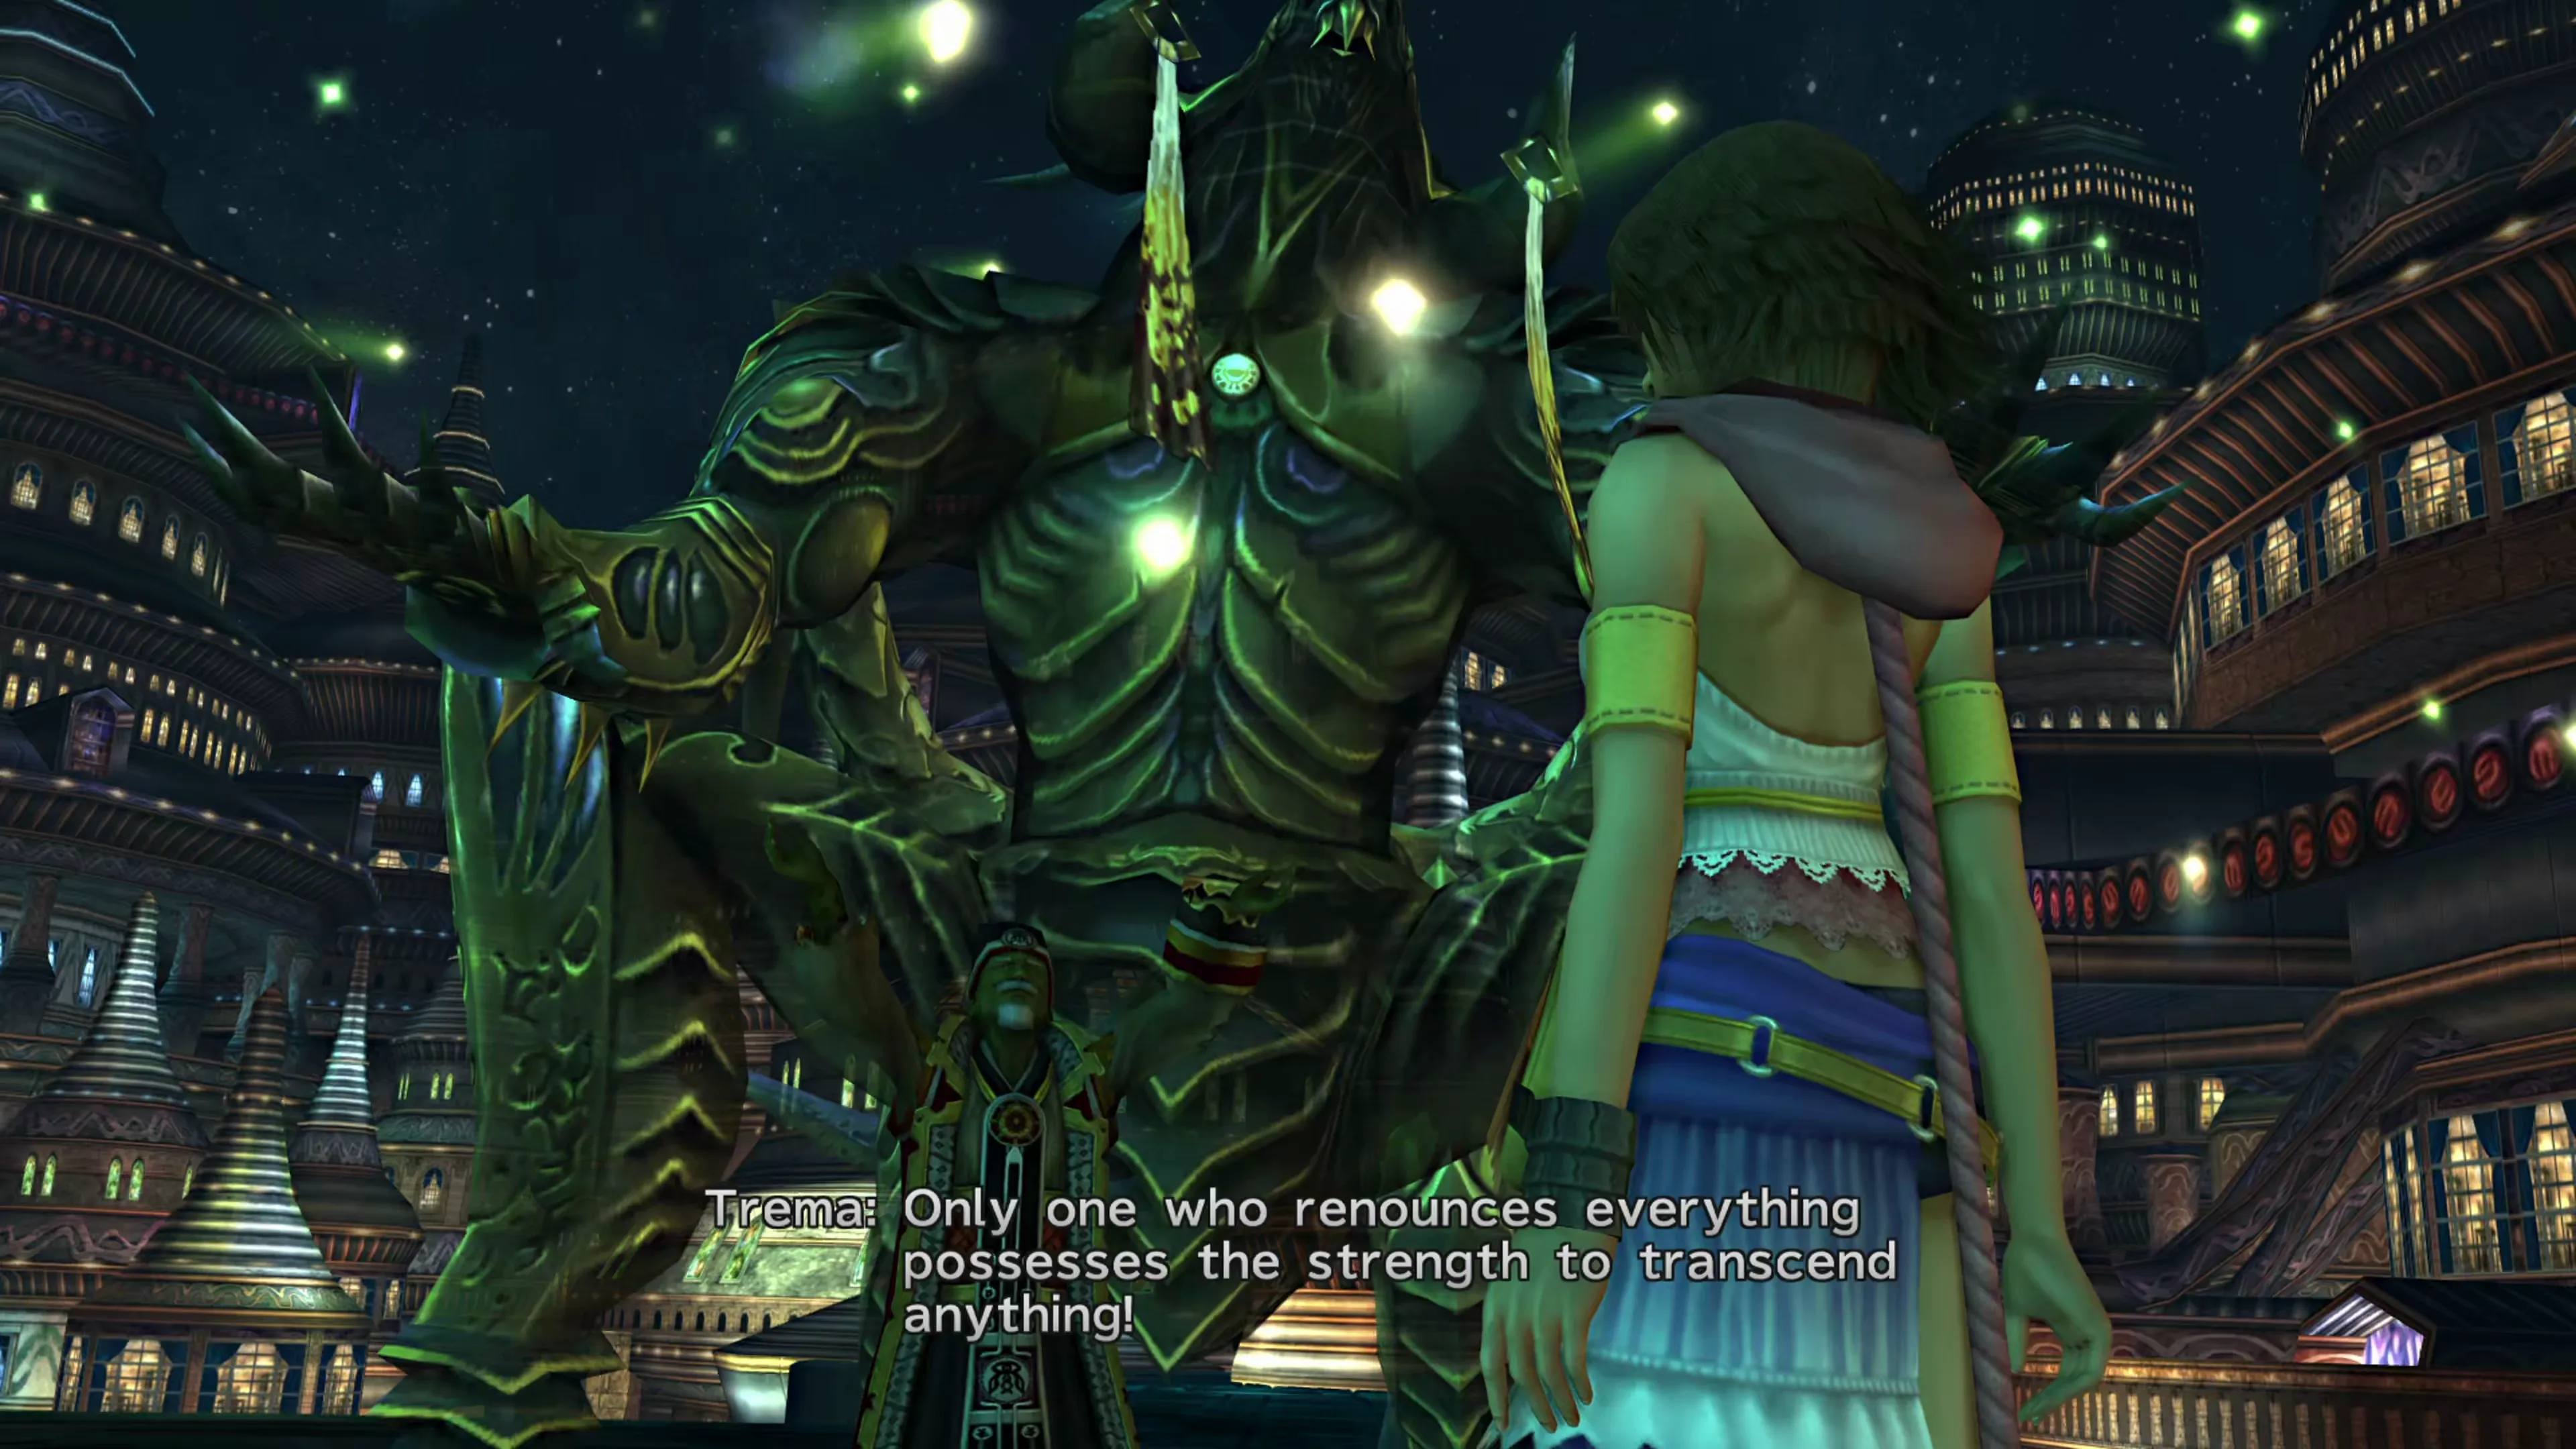
A short cutscene will take place after you’ve defeated Paragon, leading right into the next fight. Your party members will begin the next fight in the same state that they ended the previous fight, so be careful if they had low HP or MP.
Boss Battle
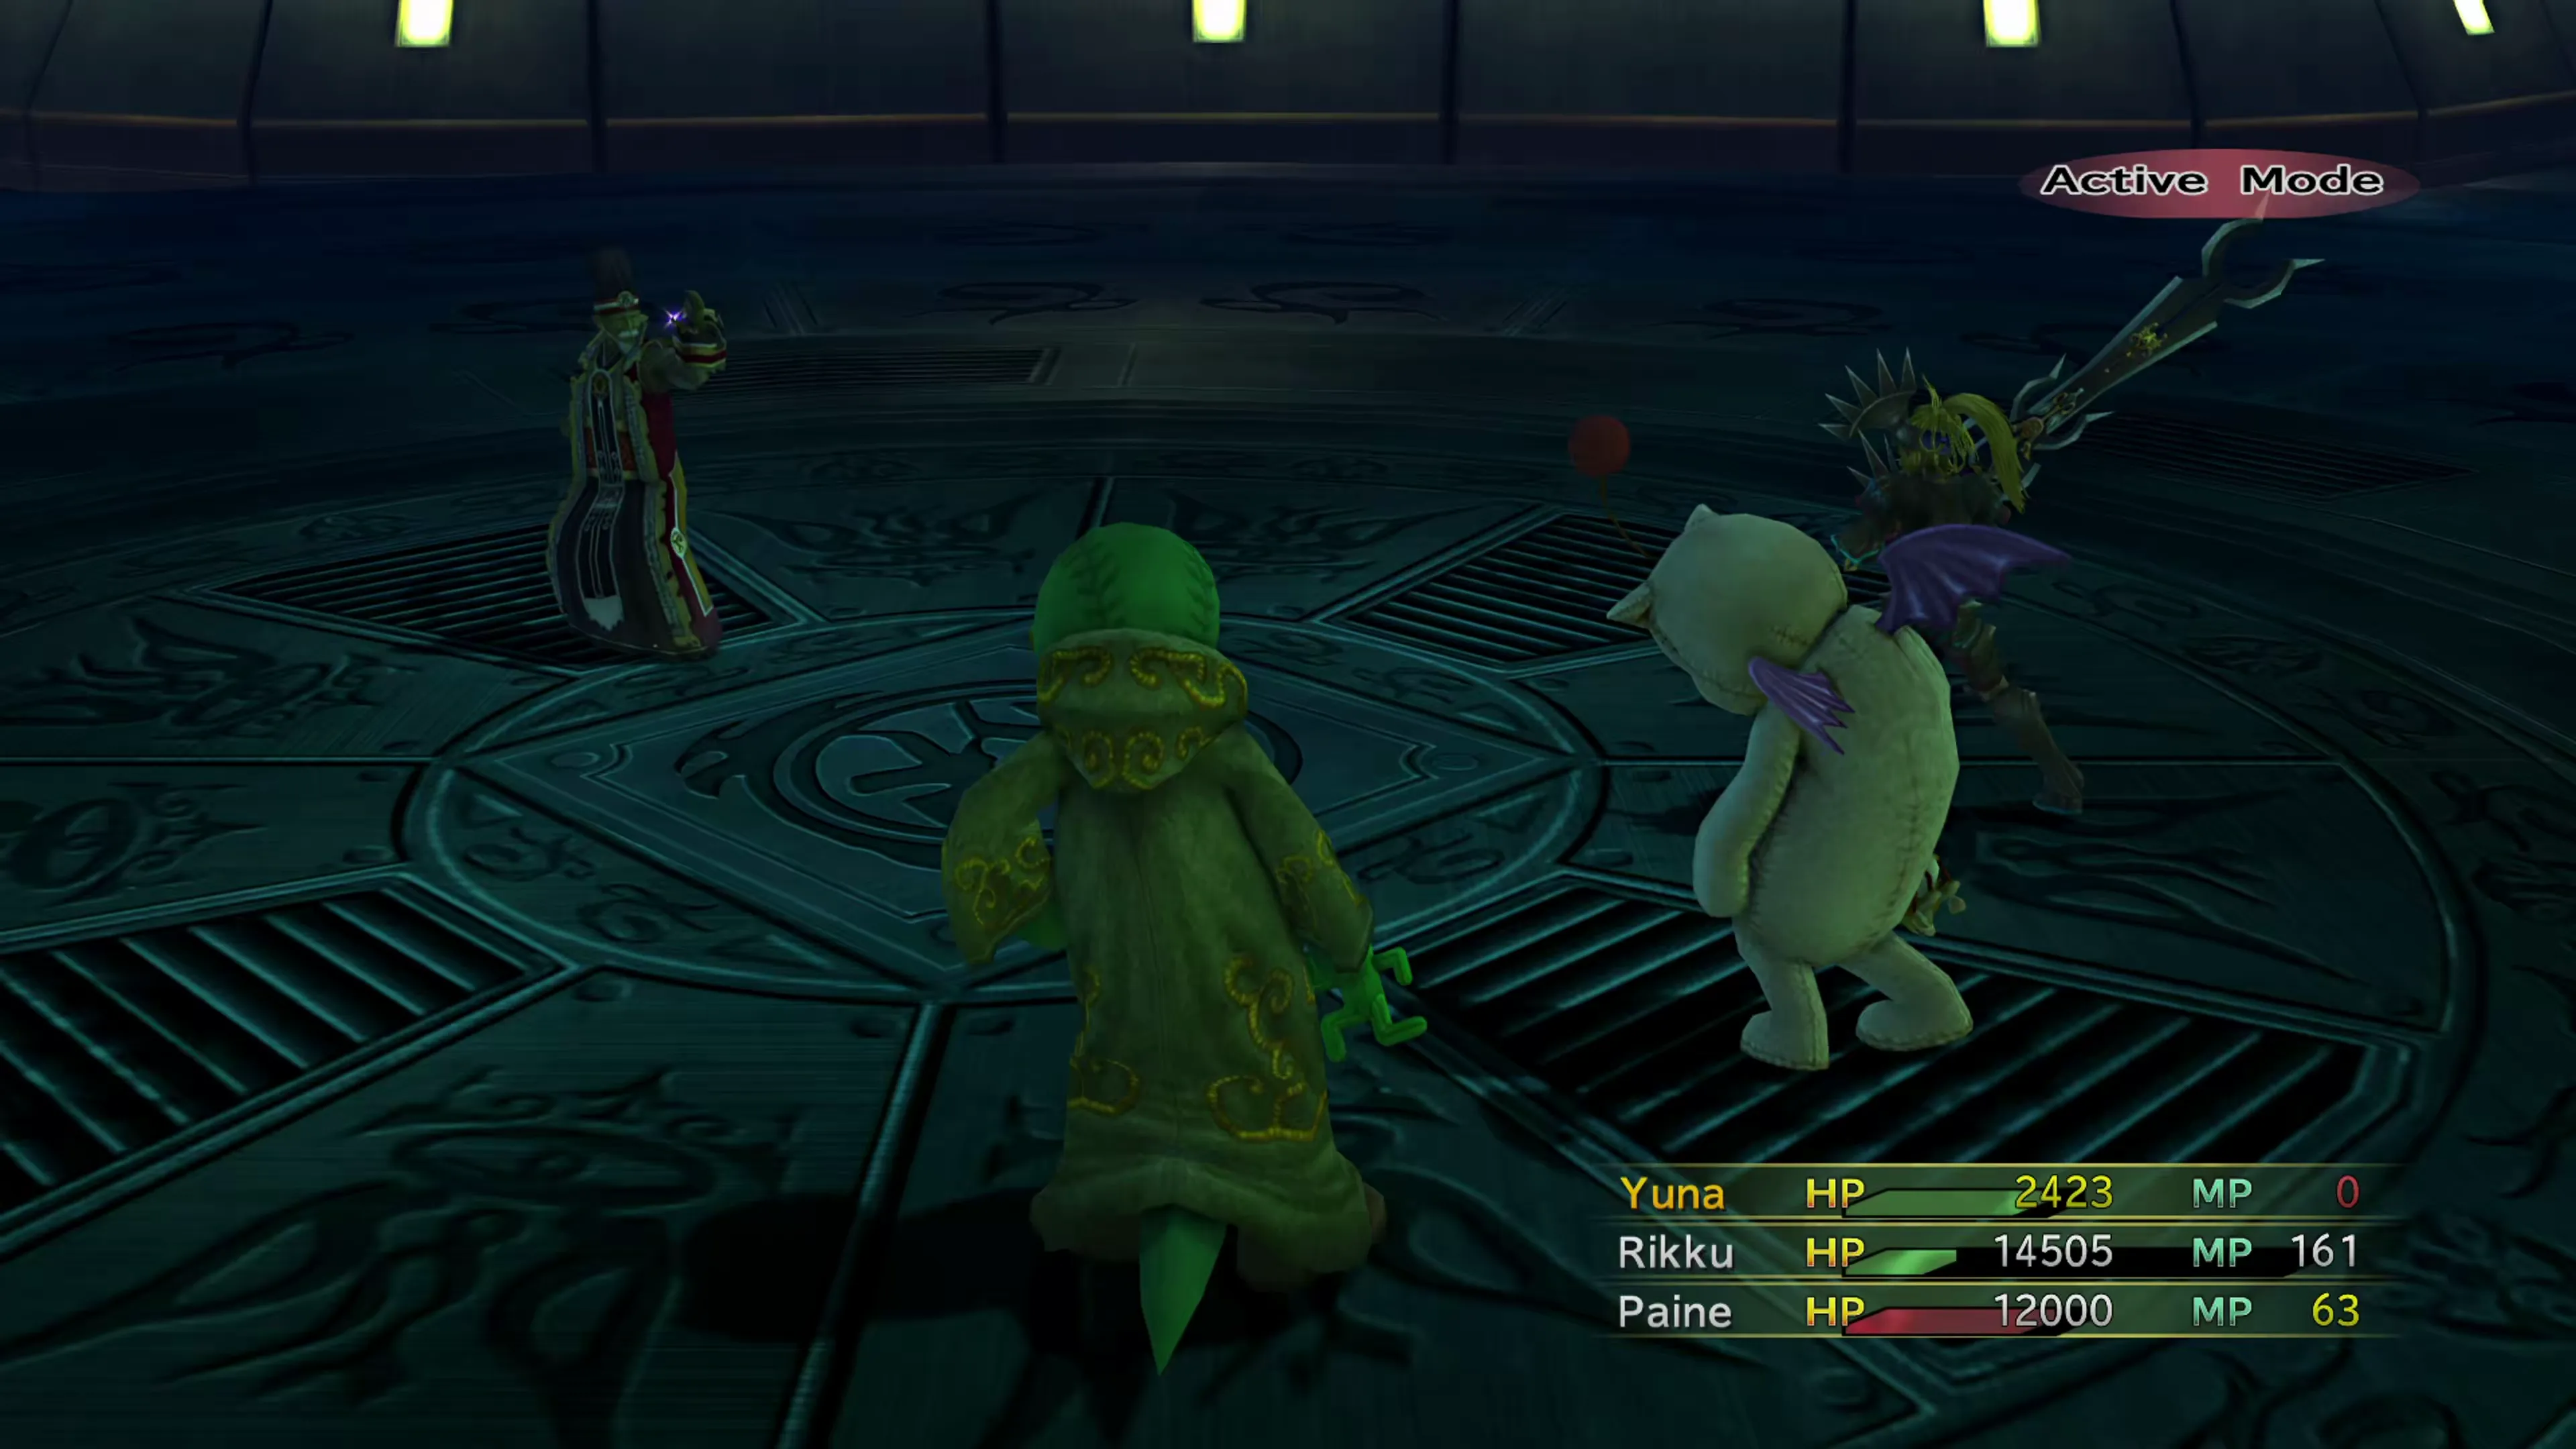
There are two difficult aspects to deal with during the Trema fight. He deals a lot of damage, and he has a ridiculously high amount of HP to burn through (999,999). This will be a long fight no matter how powerful your attacks are.
His attacks include the following:
- “Dying Star,” three physical attacks against one target
- “Falling Leaf,” three weak physical attacks against one target after “Dying Star”
- “Thundering Wave,” three physical attacks on one target after “Falling Leaf”
- “Choking Mist,” three attacks plus Poison
- “Beguiling Mire,” three hits plus Stop
- “Waning Moon,” drains MP
- Demi
- Flare
- Meteor
- Ultima
He will use these attacks at random, with the exception of “Falling Leaf” and “Thundering Wave,” which always follow a “Dying Star.” That said, he will also use Meteor at 50% HP and 25% HP, and Ultima when he falls below 16% HP.
As you can see, though, it’s just an onslaught of damage. There’s nothing overly complicated about his attack pattern, and there are no surprises. Have one of your party members constantly heal the others, use Stamina Tonic to keep their HP extra high throughout the fight, and use status buffs to reduce damage (such as Protect and Shell).
This fight is mostly just a level and gear check. There’s an element of getting lucky, but if you’re having trouble with it, the best thing you can do is continue to level up your characters.
| Enemy | HP | Steal | Drop |
|---|---|---|---|
| Trema | 999999 | Ether (common)Turbo Ether ×2 (rare) | Dark Matter (common)Dark Matter ×2 (rare) |
When the scene after the fight ends, you’ll automatically receive the Iron Duke accessory.
After that fight, you’re done with the Via Infinito! Unless you have to come back for Shinra’s Bestiary, that is. Congratulations!