

Via Infinito Overview
The Via Infinito is a superboss dungeon in Final Fantasy X-2 that you can access in Bevelle once you reach Chapter 5. The first sections of the Via Infinito are covered on the Bevelle walkthrough page because it’s recommended that you proceed to at least Cloister 20 the first time you arrive. Check out the walkthrough page for more information:
Walkthrough
Your first trip into the Via Infinito, down to the Cloister 20 boss and the second Crimson Sphere.
Some of the explanation provided on that page will be reiterated here.
Overview
The Via Infinito consists of 100 Cloisters that you must descend to reach the final superboss. Travel to Bevelle and into the New Yevon Headquarters, go into the room on the right, and you’ll encounter the Kinderguardians standing near a portal that will lead you into the dungeon.
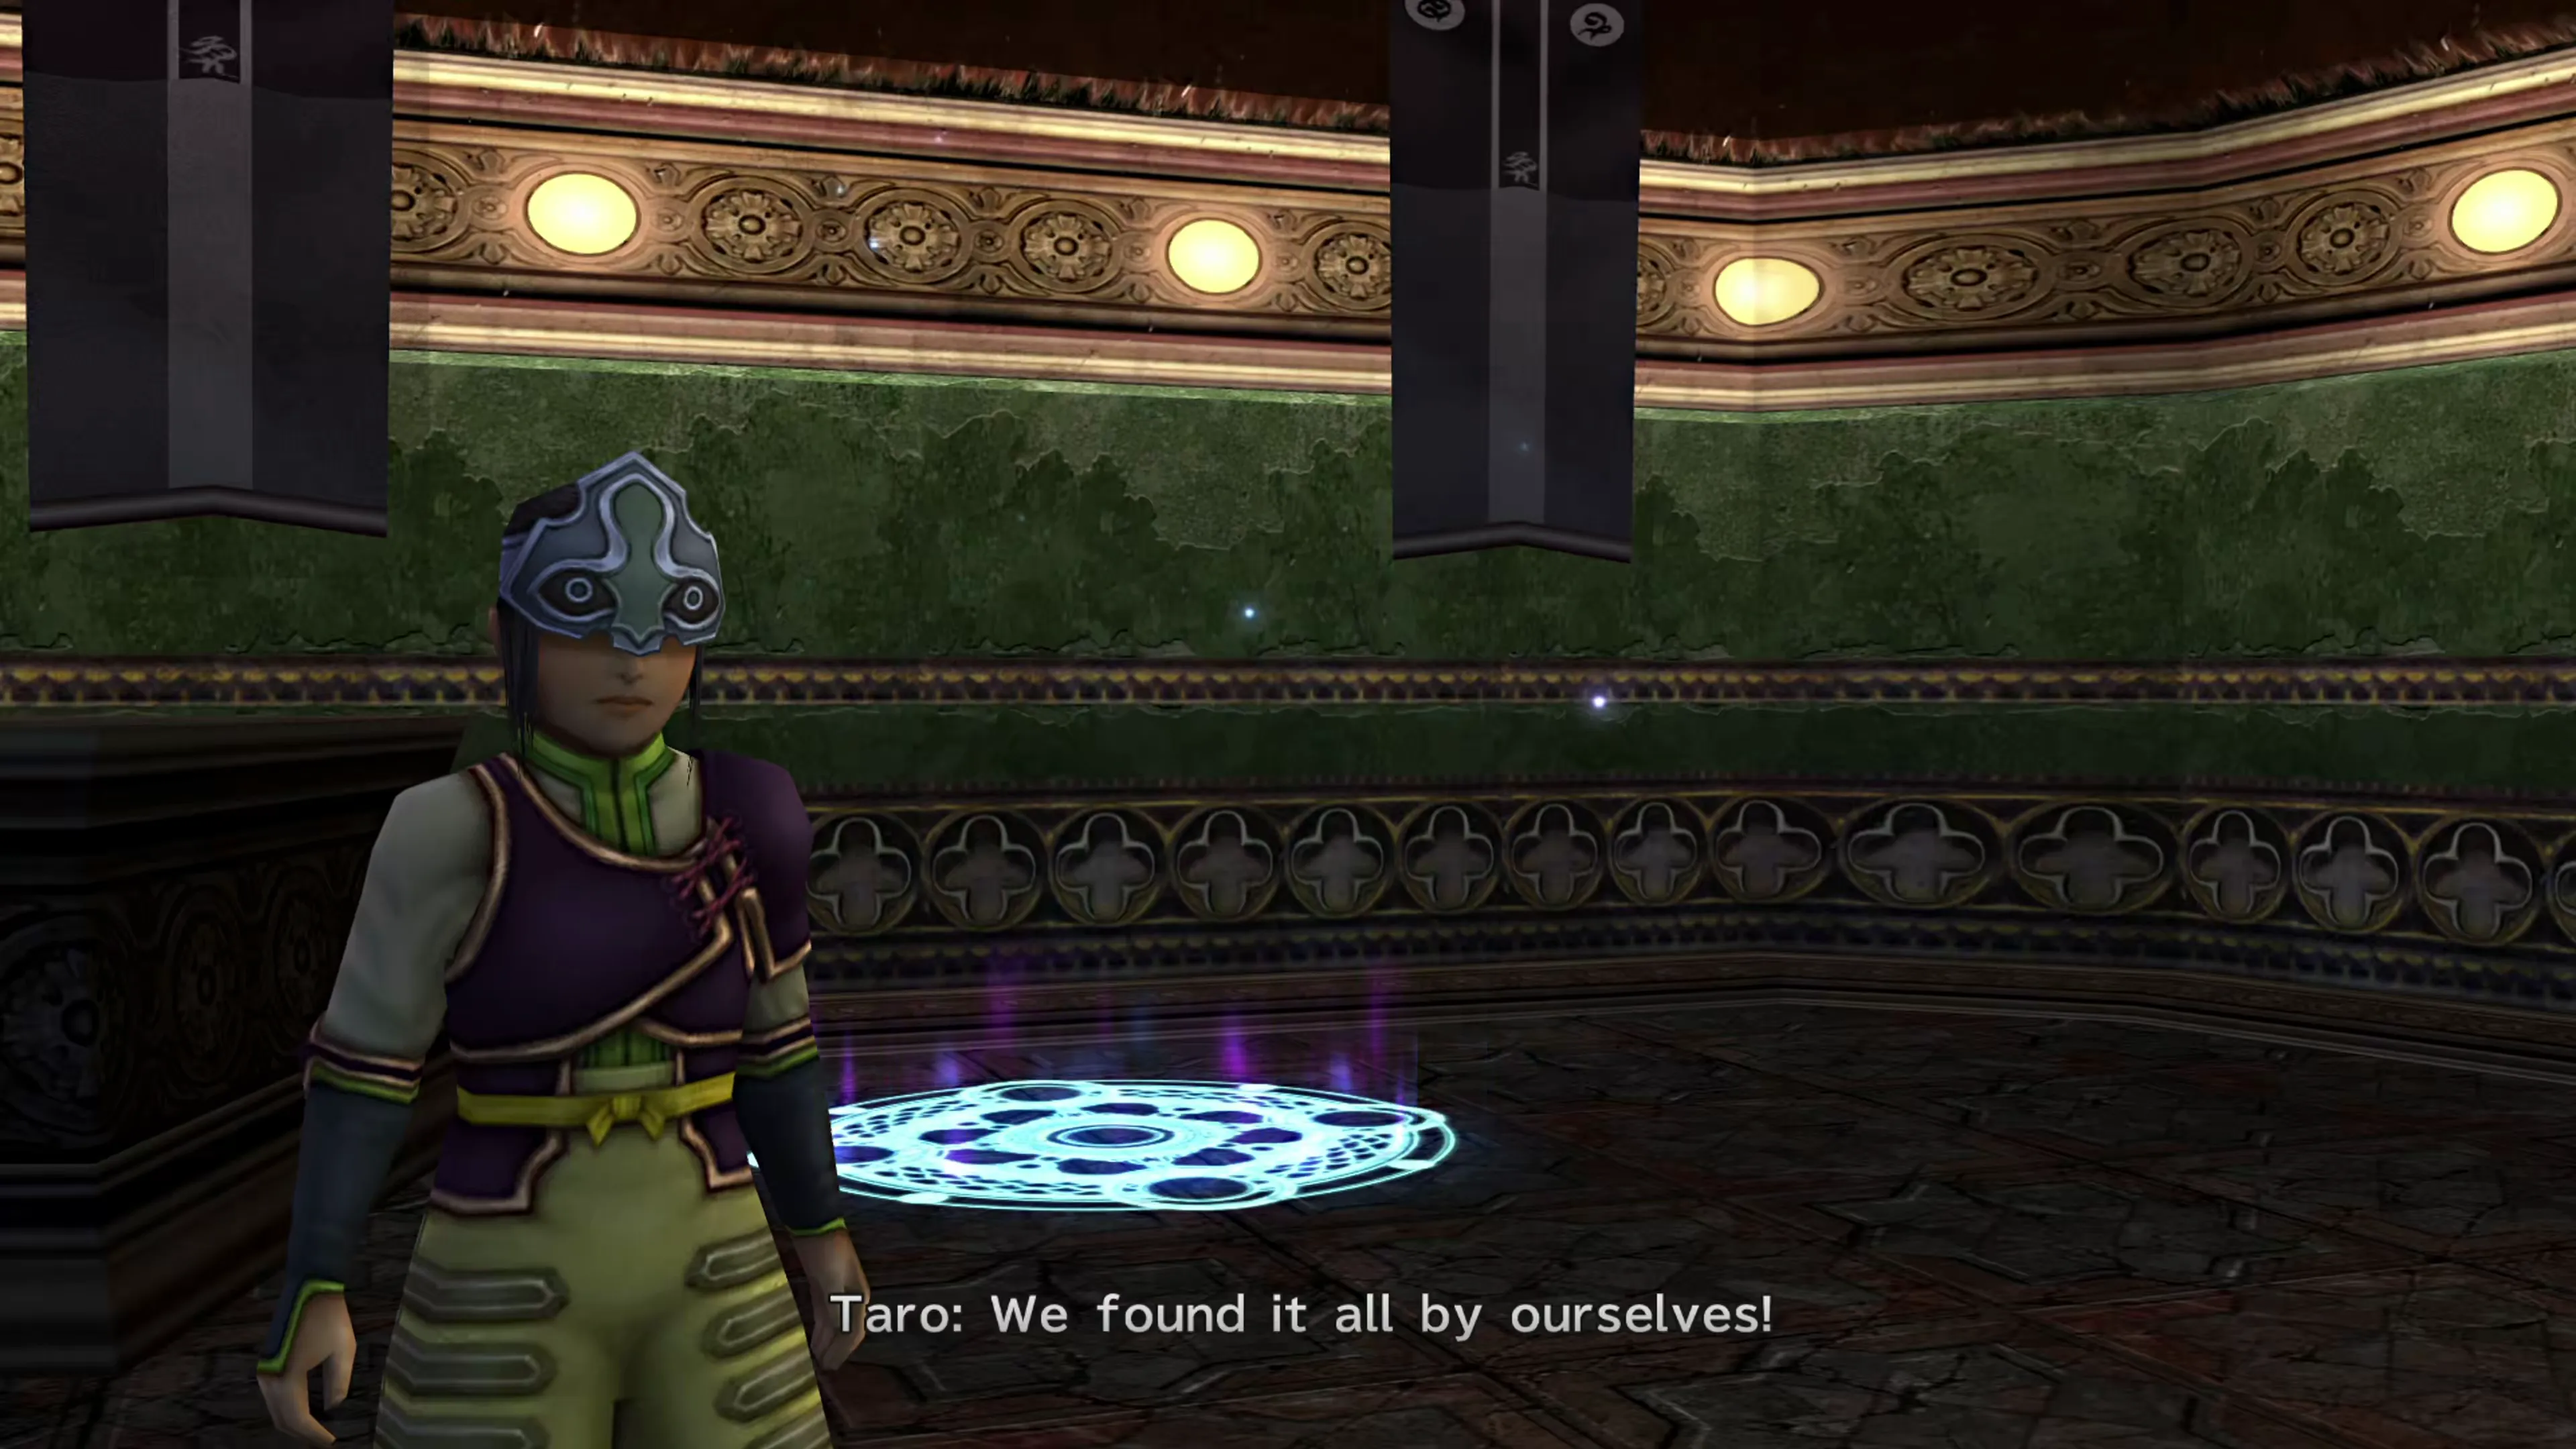
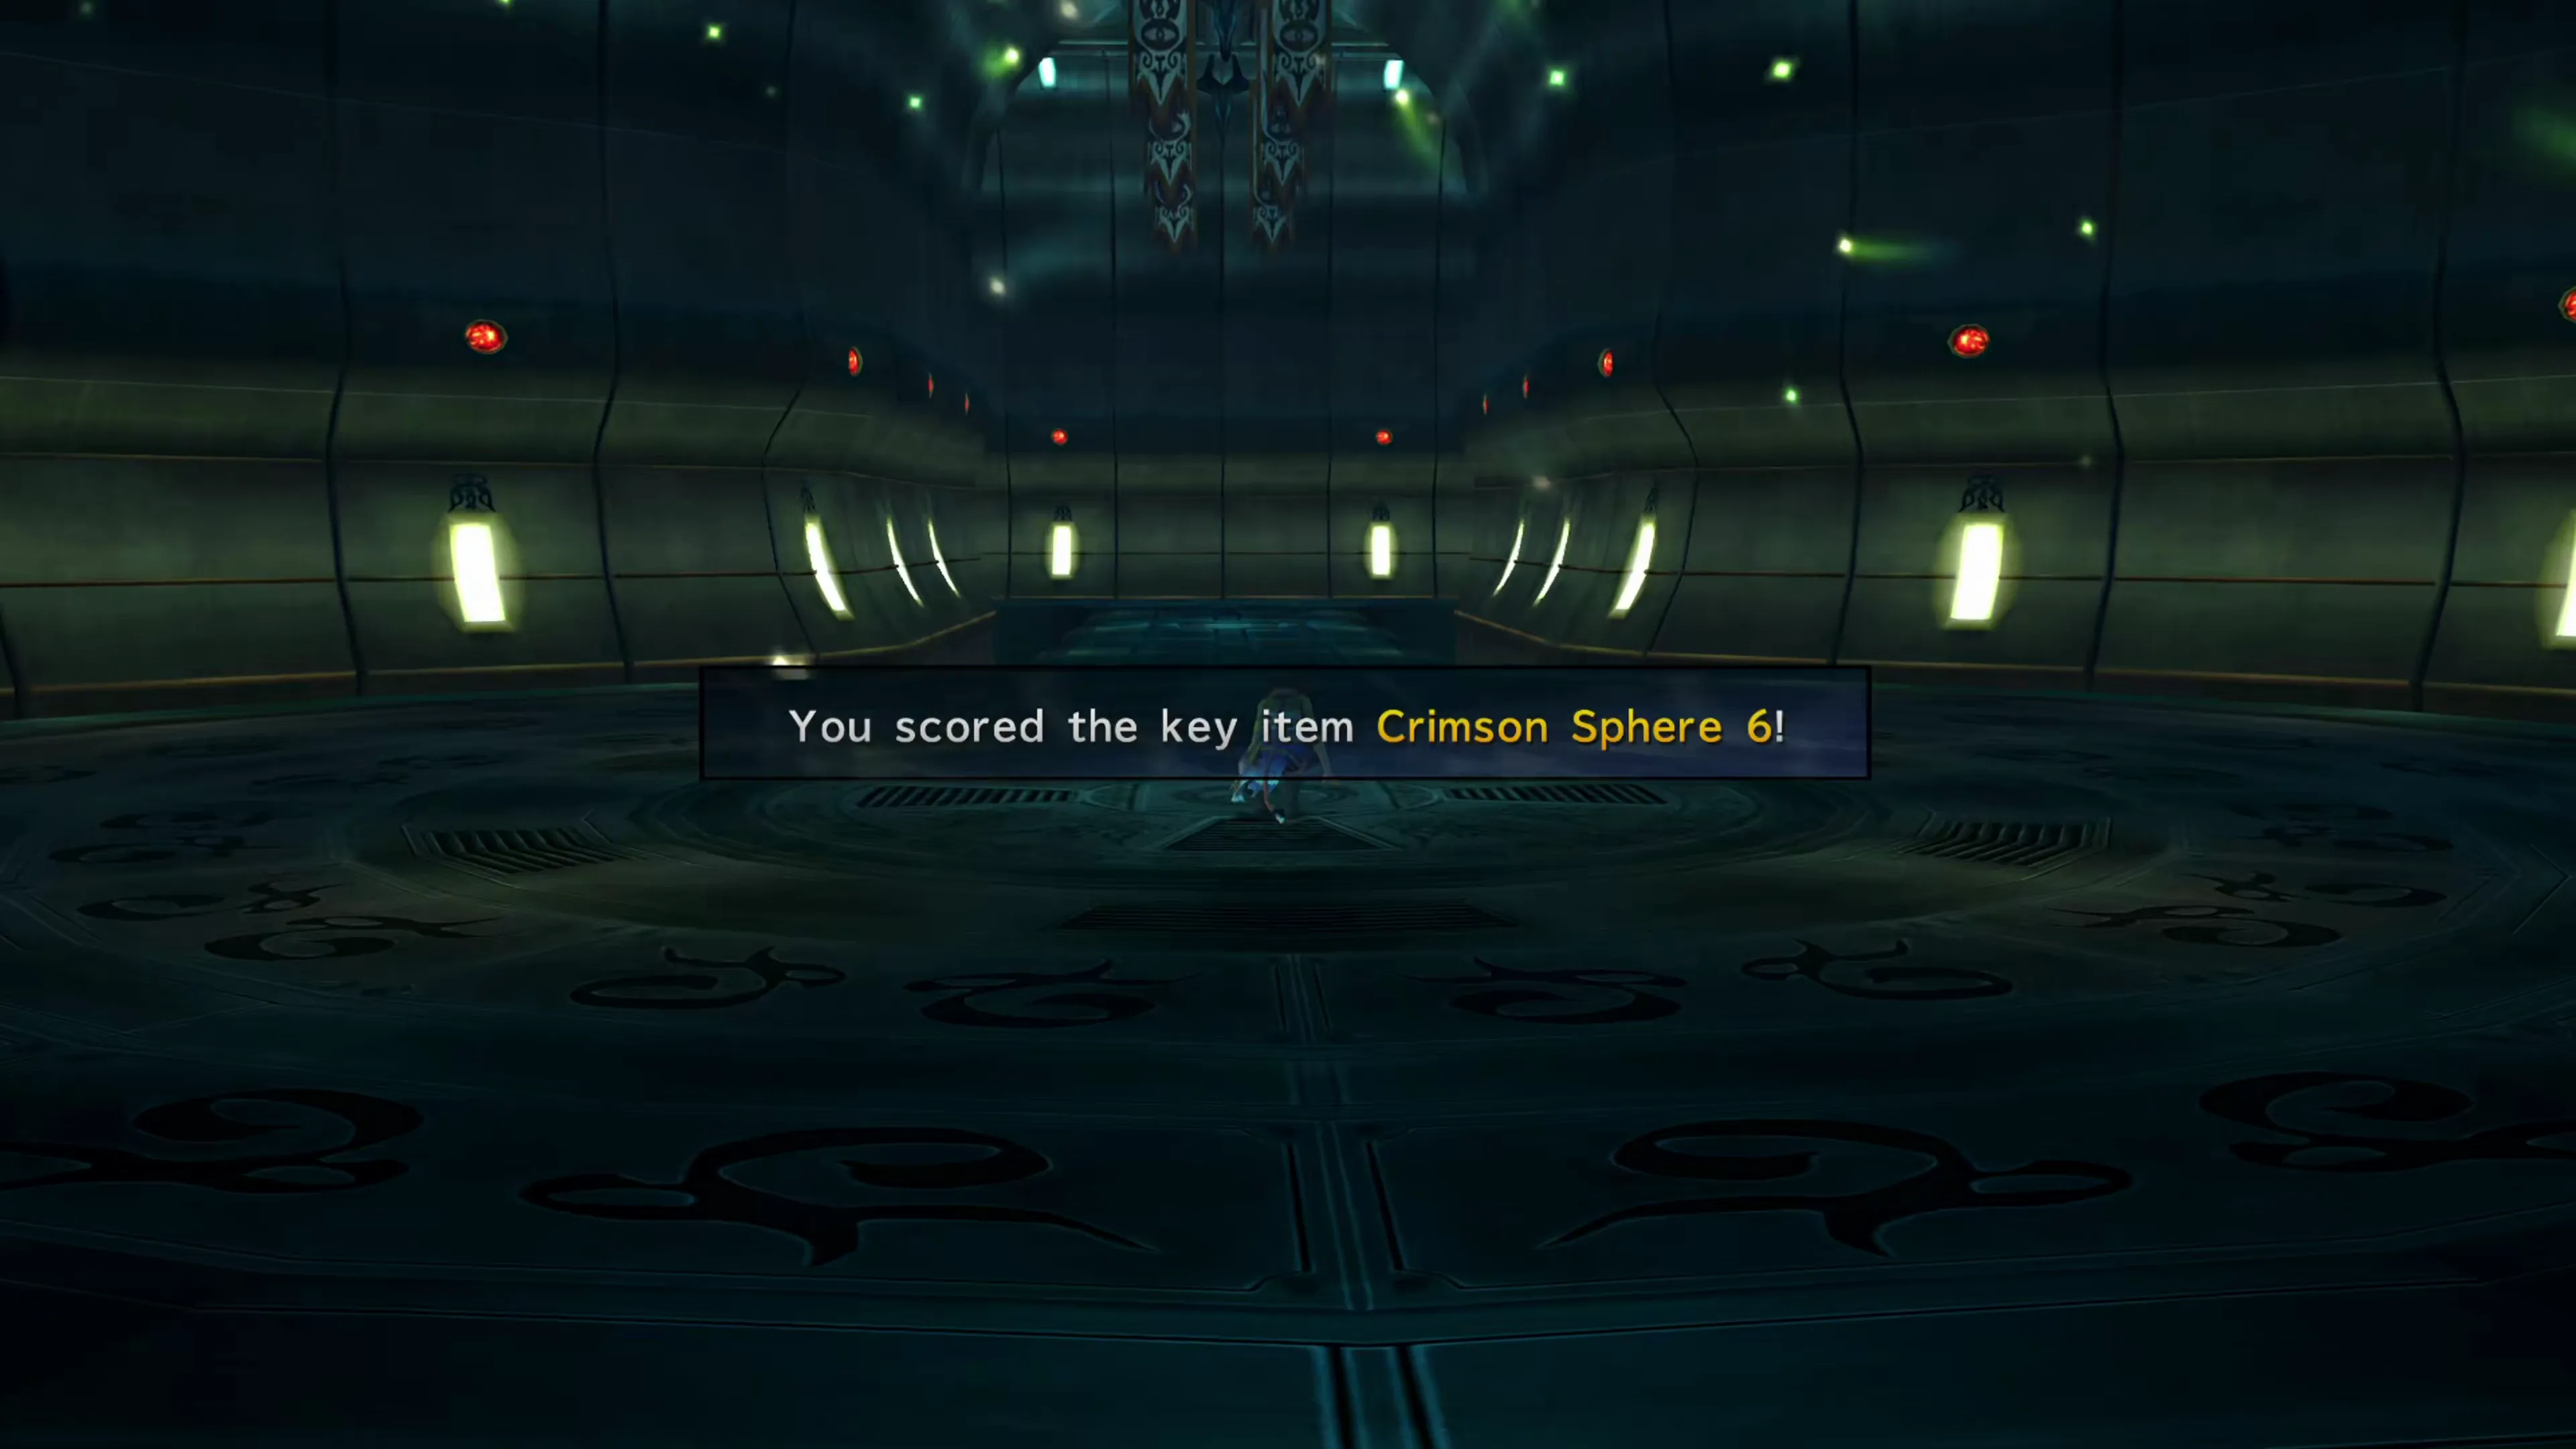
After the opening cutscene with the ghostly figure, pick up the first of the two Spheres, which is lying on the ground ( Crimson Sphere 6). A message will appear allowing you to watch the Sphere now, if you choose, so you may as well.
Then cross the platform and look for a small hole in the ground you can use to move from Cloister 0 to Cloister 1. Each of the Cloisters you visit on your way through the rest of the floors down into the Via Infinito will have a random map layout from a preselected list depending on which floor you’re on. For example, on Cloister 1, you can only get Random Map 1, 2, or 3. The full list of maps, and how to navigate each of them, can be found in the maps section:
Side Quests
The boss floors and all fifteen maze layouts you can land in, with the Cloisters each one can appear on.
Here are the things you’ll need to know about each floor:
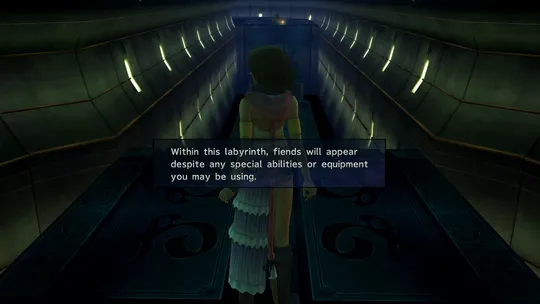
- Enemy Encounters: A message will pop up when you enter the first Cloister that states, “Within this labyrinth, fiends will appear despite any special abilities or equipment you may be using.” In other words,
 Charm Bangles don’t work here. Fiend battles are mandatory.
 - Tonberries: Many of the maps have a visible Tonberry that you can see outside of battle. Touching an ordinary one immediately throws you into battle, and you’ll have to defeat it, which isn’t too hard, but you can avoid them entirely. Be careful in the Tonberry rooms from Cloister 41 onwards, though: touching one of the small Tonberries there starts a fight with a Mega Tonberry instead, which can wipe out your party. On other maps, some of the Tonberries will give you items if you interact with them. These are marked on each map. The item is random, usually a
 Potion, X-Potion, Remedy, or Turbo Ether, with a small chance of a one-time Gold Hairpin accessory.
 - Teleporters: Every map has a teleporter you can use to warp back outside of the Via Infinito. Use them any time you want to exit the Via Infinito, including if you want to save your game at the Save Sphere and take a break. When you re-enter the Via Infinito, you can teleport back to whichever Cloister you were on. More importantly, though, is that these Teleporters also refill your party members’ HP and MP like a Save Sphere, so touch them every time you can.
- Difficulty: The Cloisters get progressively more difficult as you descend. Cloisters 1 through 40 are easy; Cloisters 41 through 60 can be a bit more challenging, and it scales up from there.
- Revisiting Cloisters: You can return to any of the Cloister floors later on if you choose to, but for now, the objective is to get down to Cloister 20 to defeat the boss there and pick up the Crimson Sphere. Later on, you can warp to Cloisters 20, 40, 60, and 80 after you’ve defeated the bosses on those Cloisters.
- Large Fiends: Some of the maps have large fiends that you have to avoid. Mega Tonberries and Elder Drakes can always be avoided, but there are certain steps you have to follow to avoid them. Check out the Maps page if you’re not sure how to proceed.
Warping to Previous Floors
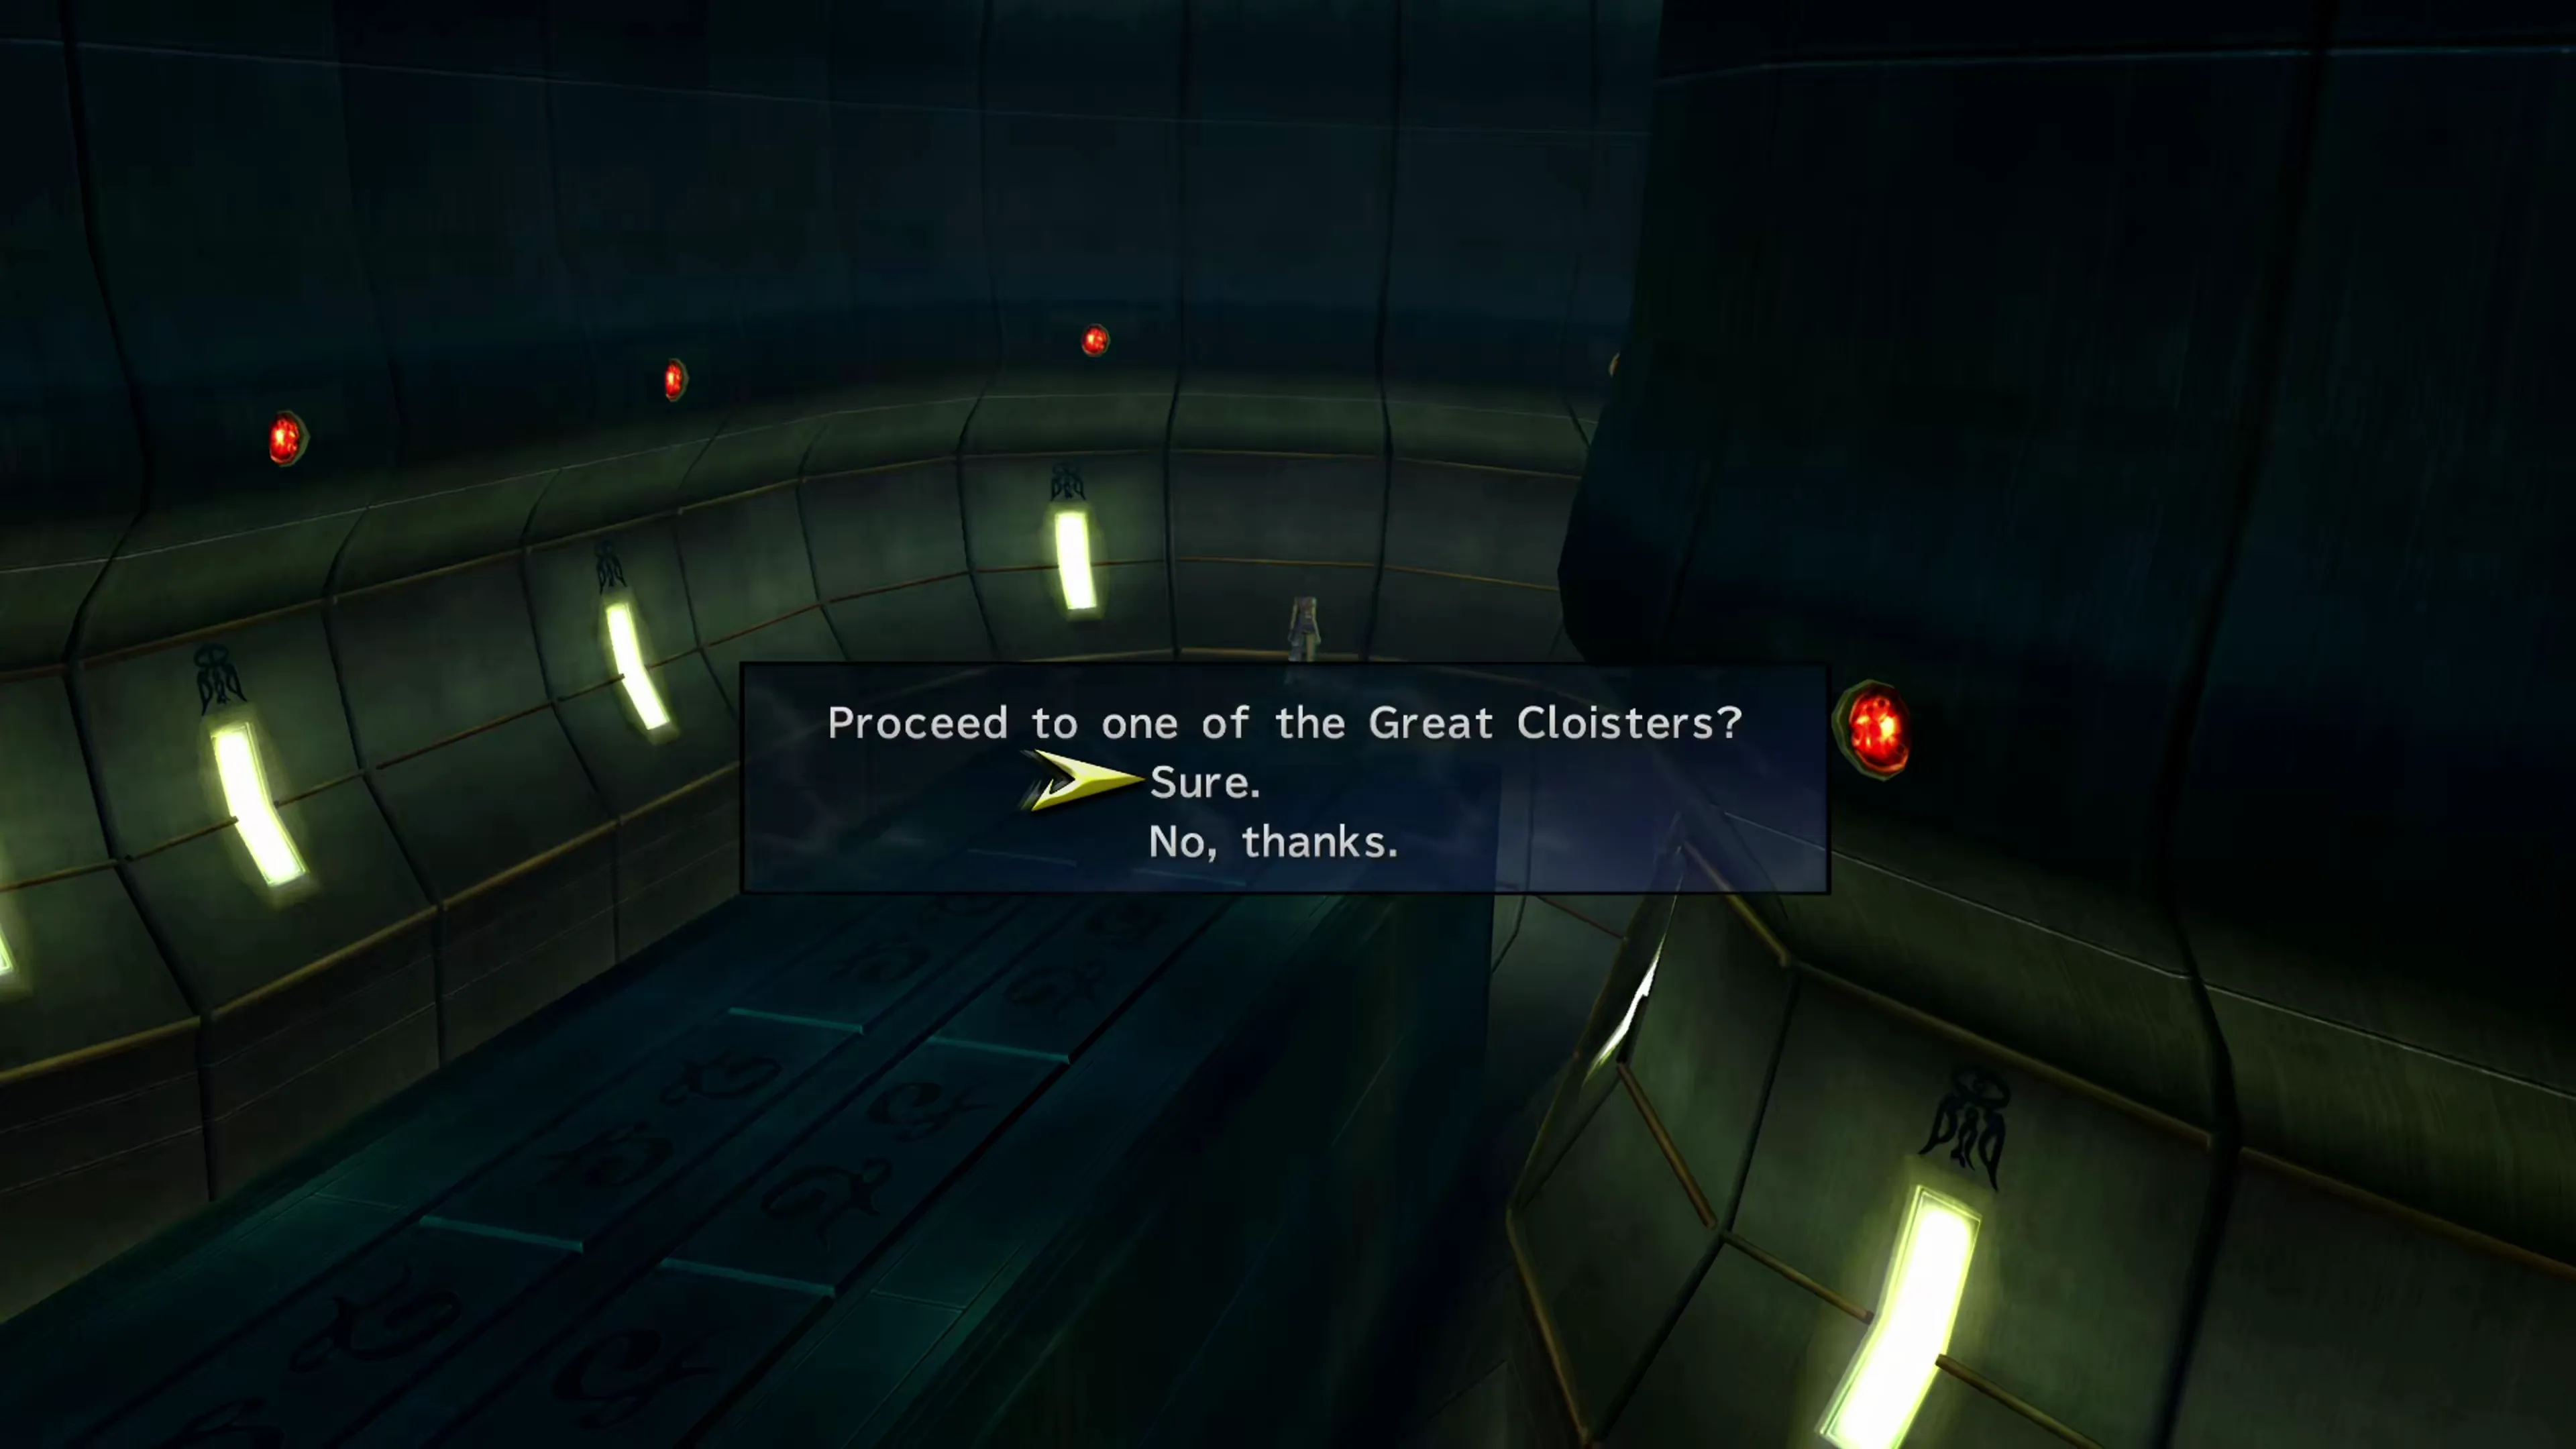
You can enter the first, top Cloister and use a warp pad hidden off to the right side of the screen to warp to Cloisters 20, 40, 60, and 80, once you have defeated the bosses in those Cloisters.
Boss Battles
You will encounter a boss on Cloisters 20, 40, 60, and 80, and then two in a row on Cloister ∞ at the very bottom. These boss battles start out fairly easy, with the first one against Aranea on floor 20, but then get incredibly difficult the further you get down.
Side Quests
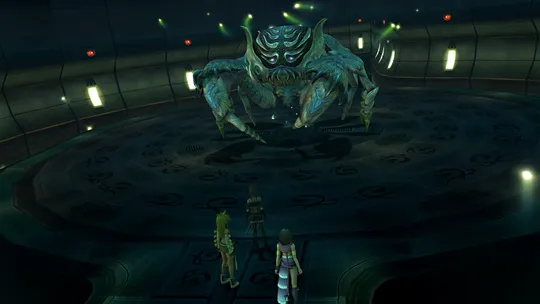
Strategies for Aranea, Black Elemental, Concherer, Chac, Paragon, and Trema.
100% Story Completion
There are four different floors where Story Completion Percent lines are triggered. These include the first floor, with Crimson Sphere 6, the 20th floor after you defeat Aranea, a scene on the 60th floor, and the final encounters against Paragon and Trema.
Efficiency - Combining Via Infinito and Shinra’s Bestiary
Completing the full Via Infinito is an arduous task that takes a long time. But what many players don’t realize is that you’ll quite often need to visit it a second time if you’re planning to complete Shinra’s Bestiary.
To keep it short, you’ll need to complete Shinra’s Bestiary if you’re attempting to earn the  Monster Master Achievement/Trophy, and there’s a way to efficiently complete the bestiary WHILE you are descending your way through the Via Infinito. If you’re planning to complete Shinra’s Bestiary, you should check out that section of the guide first.
Note that you do not need to complete Shinra’s Bestiary to earn 100% Story Completion Percent. You do need to complete the Via Infinito, though, as there are three lines of dialogue that trigger and count toward Story Completion. One is during a scene at Cloister 60, and two are at Cloister ∞, past the dungeon’s two superbosses, Paragon and Trema. The Boss Battles page covers the strategies for both.
Side Quests
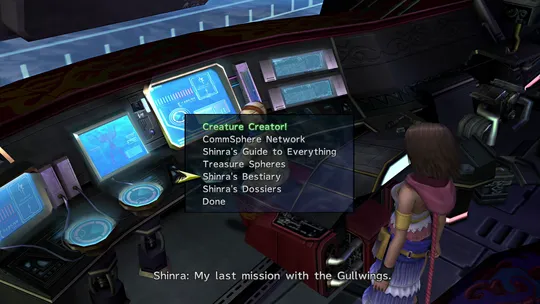
An overview of how to complete the entries in Shinra’s Bestiary, including Oversouled creatures, and a tracker that builds your route through the Via Infinito around the entries you still need.