

Heart of the Farplane
Speak to Brother, and you can teleport back down into the Farplane Abyss. Look for the orange swirling portal/vortex which you can use to enter the Heart of the Farplane, but before you head in, make sure you save your game at the nearby  Save Sphere before you venture too far in. That way you can return to the entrance if you decide to do more of the endgame content, level your characters, round out the bestiary, etc.
Warning
If you have been following all of the steps in this guide and have been working your way towards 100% Story Completion, you should have 96.0% on the nose, and your save game file should be showing the same.
To reach 96%, you need to complete Via Infinito and reach the last Cloister (“Cloister ∞”). It’s one of the key pieces of endgame content that you need to have completed before starting the Heart of the Farplane.
If you don’t have 96%, continuing through the rest of the Farplane will not get you to 100%. Check out the Story Completion Tracker to see what percentage you might be missing.
Warning
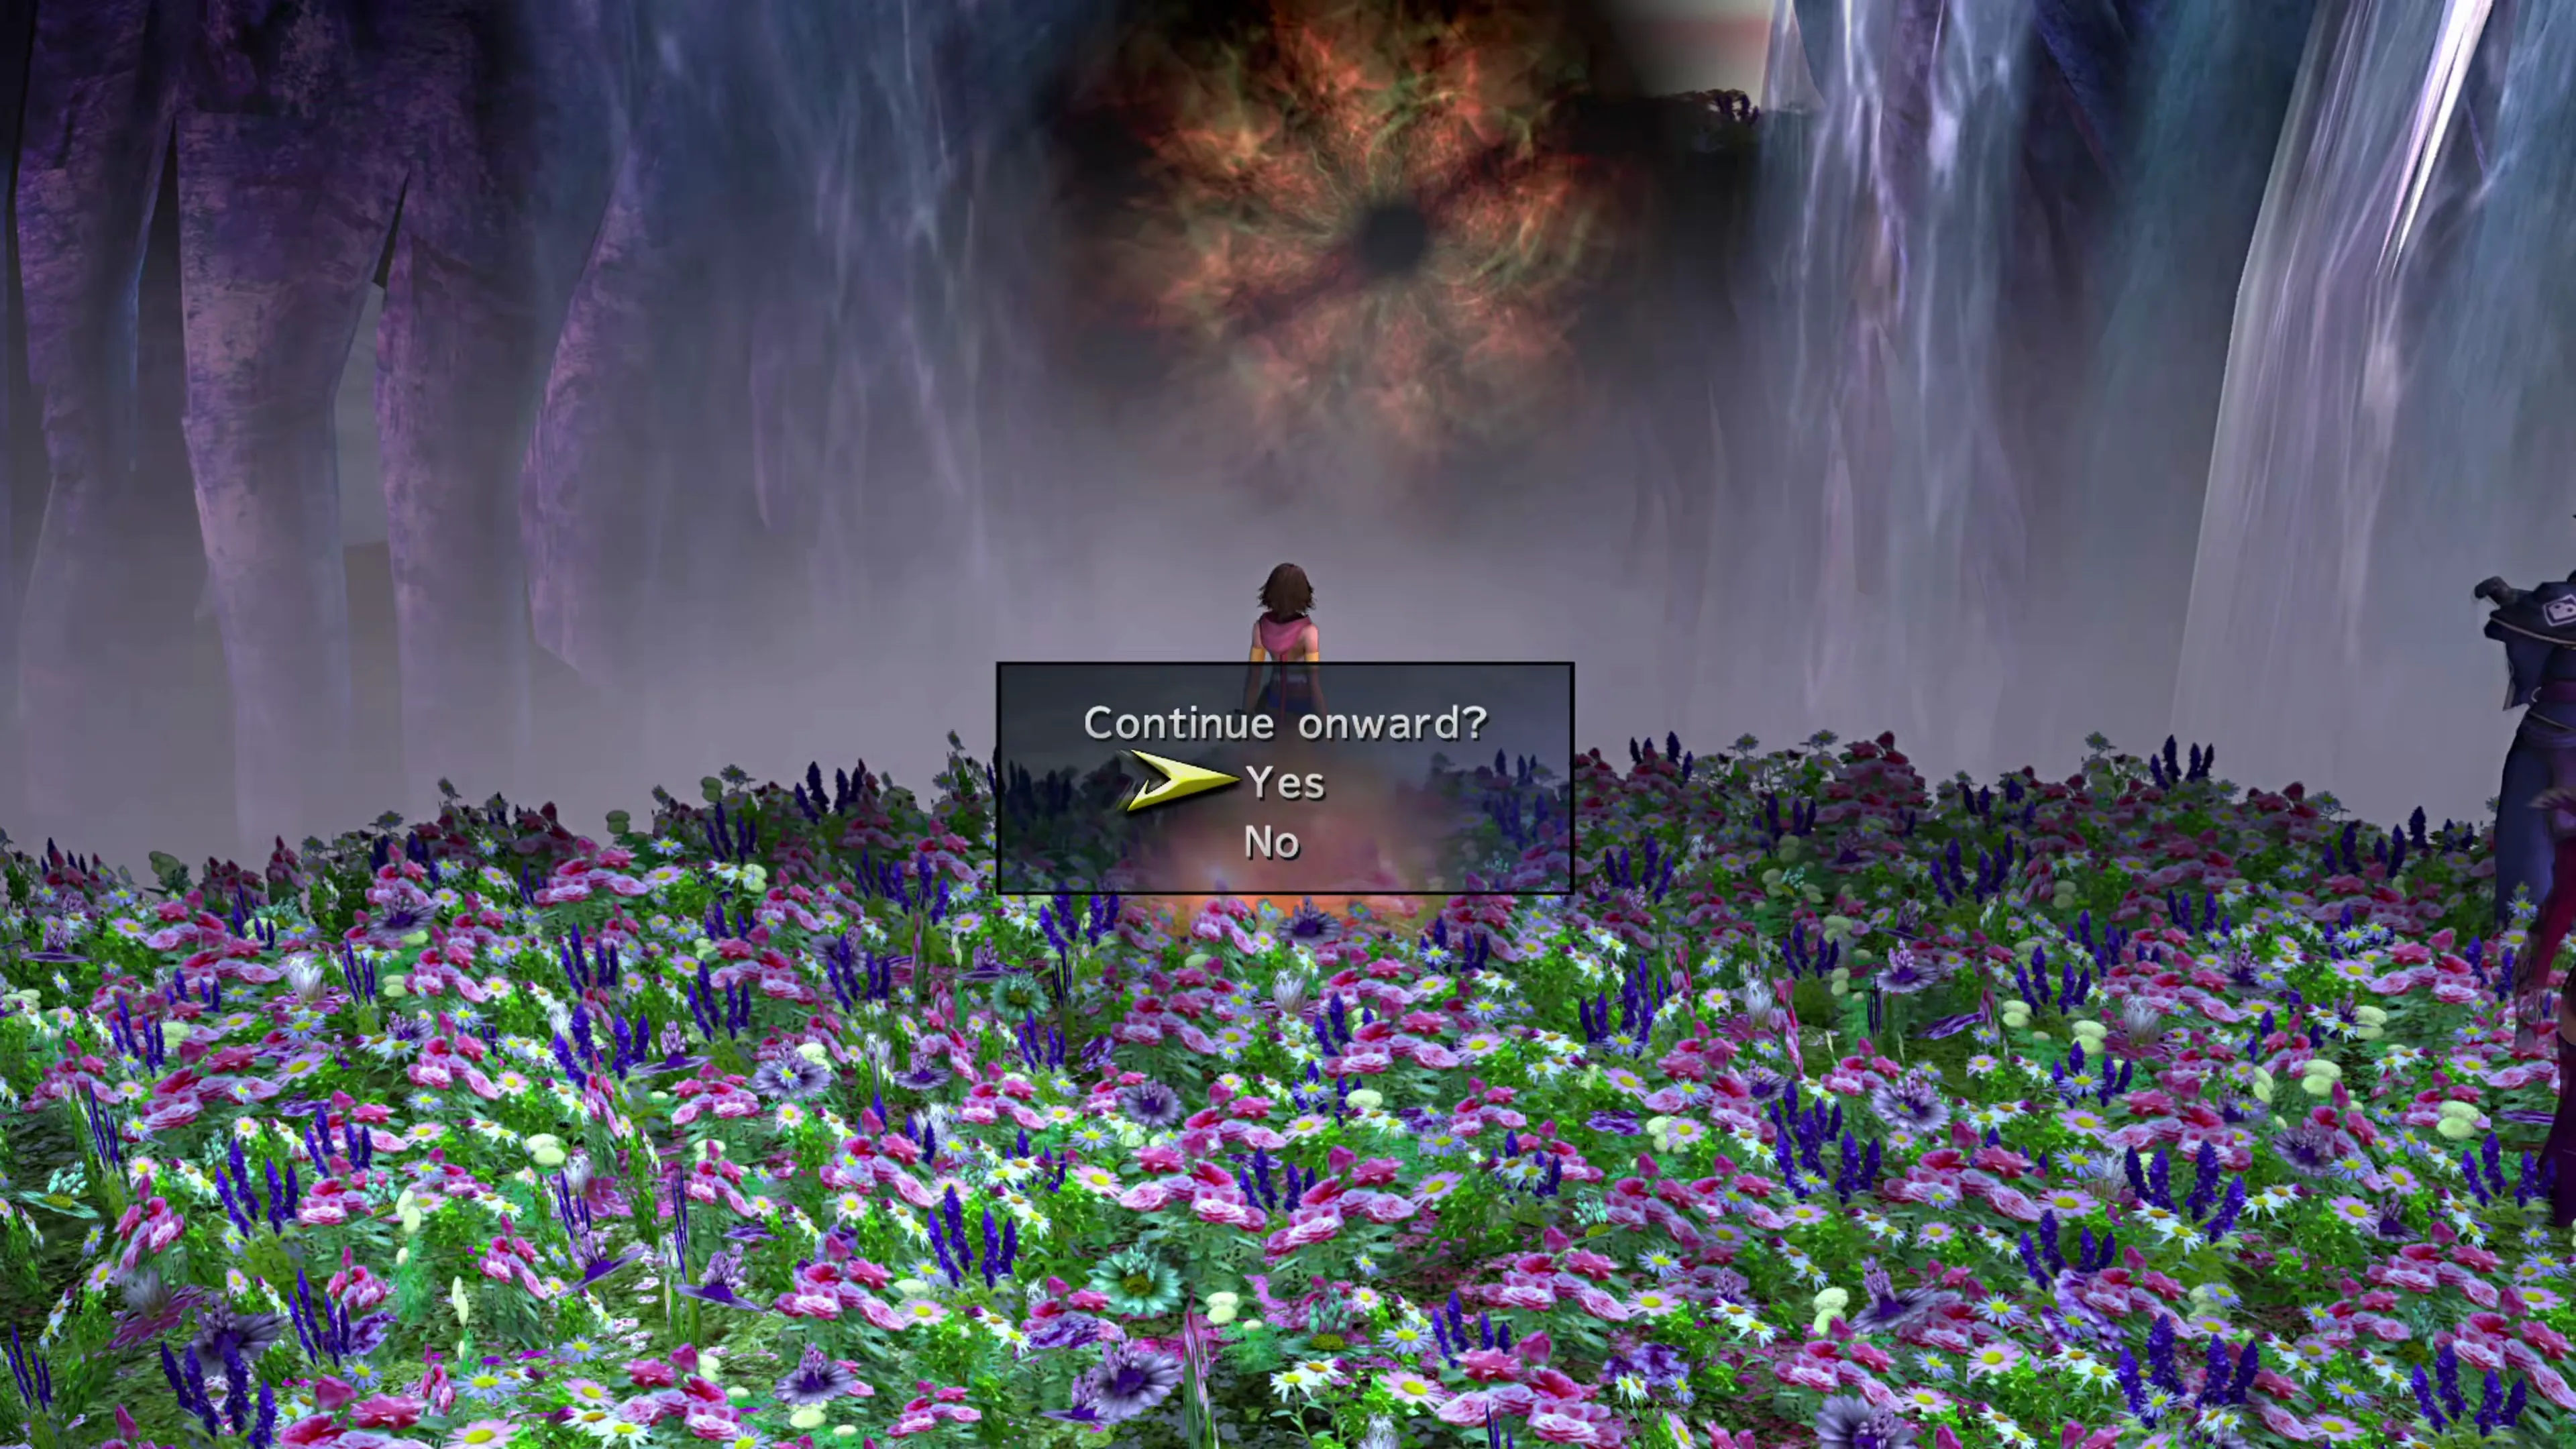
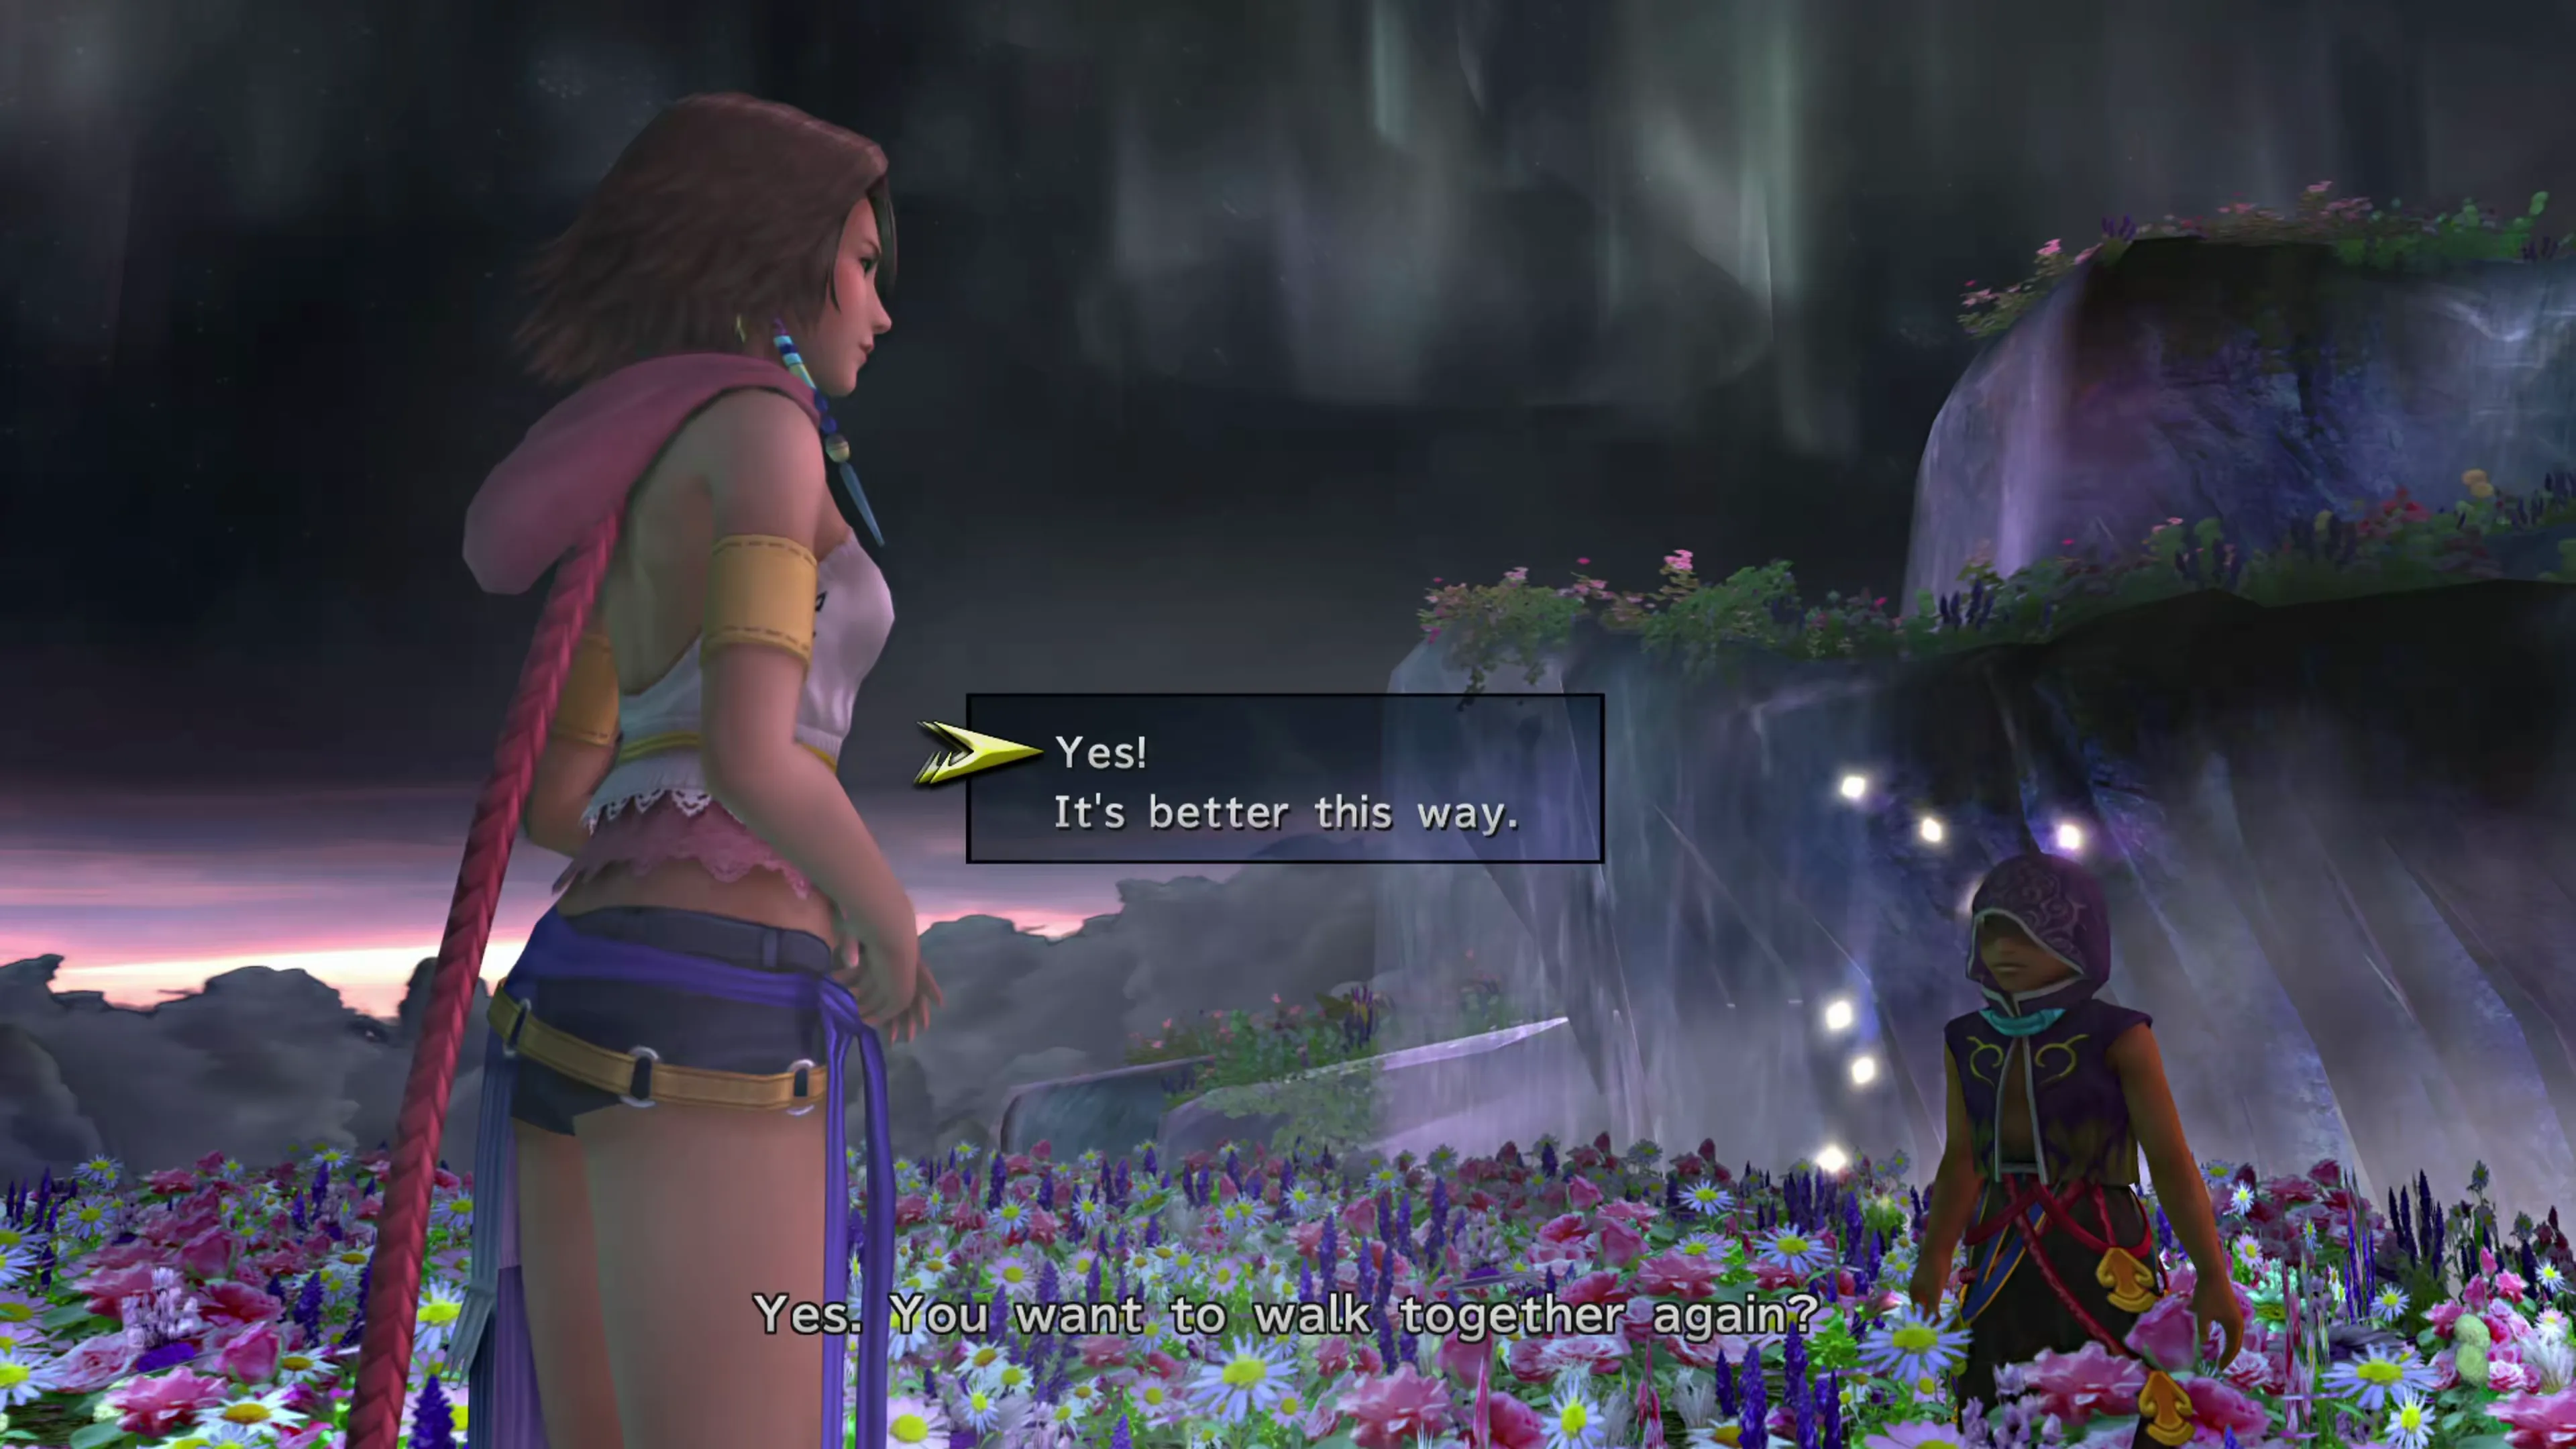
During the Farplane Abyss section, right after the Chapter 5 Complete screen displays, make sure you press the 

 button while Yuna is walking through the field of flowers (shown in the screenshot below).
This step is required to view the “Sad,” “Good,” and “Perfect” endings. If the Fayth then appears and asks whether you want to see him again, choose the first option: “Yes!” The other answer limits you to the “Normal” ending only. If you’d like to learn more about the different endings in Final Fantasy X-2, check out the All Endings page in the Story Completion section of the guide.
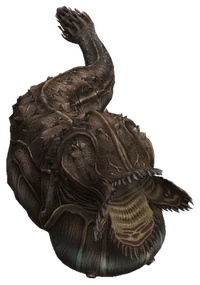
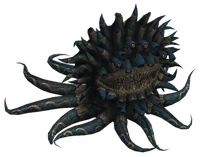
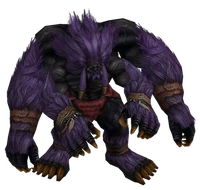
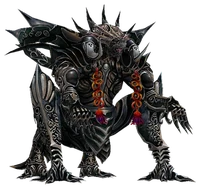
Three magic barriers in this area need to be unlocked before you can proceed. If you try to move past them without unlocking them, you’ll be forced into battle against an Azi Dahaka, and you won’t be able to Flee or Escape from the battle. These giant dragons aren’t too difficult at this point if your characters have leveled up from completing the end game content on the previous page. The puzzles in this area are easy to solve, though, so don’t subject yourself to additional battles if you don’t need to.
Video Guide
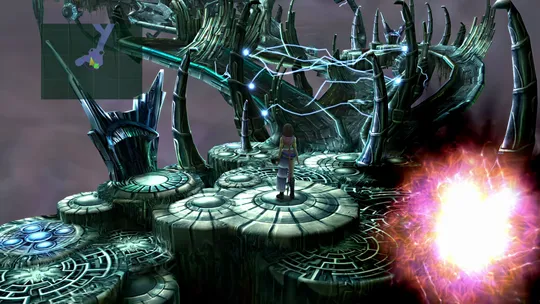
A video walkthrough of the final battles in the Heart of the Farplane.


First Piano
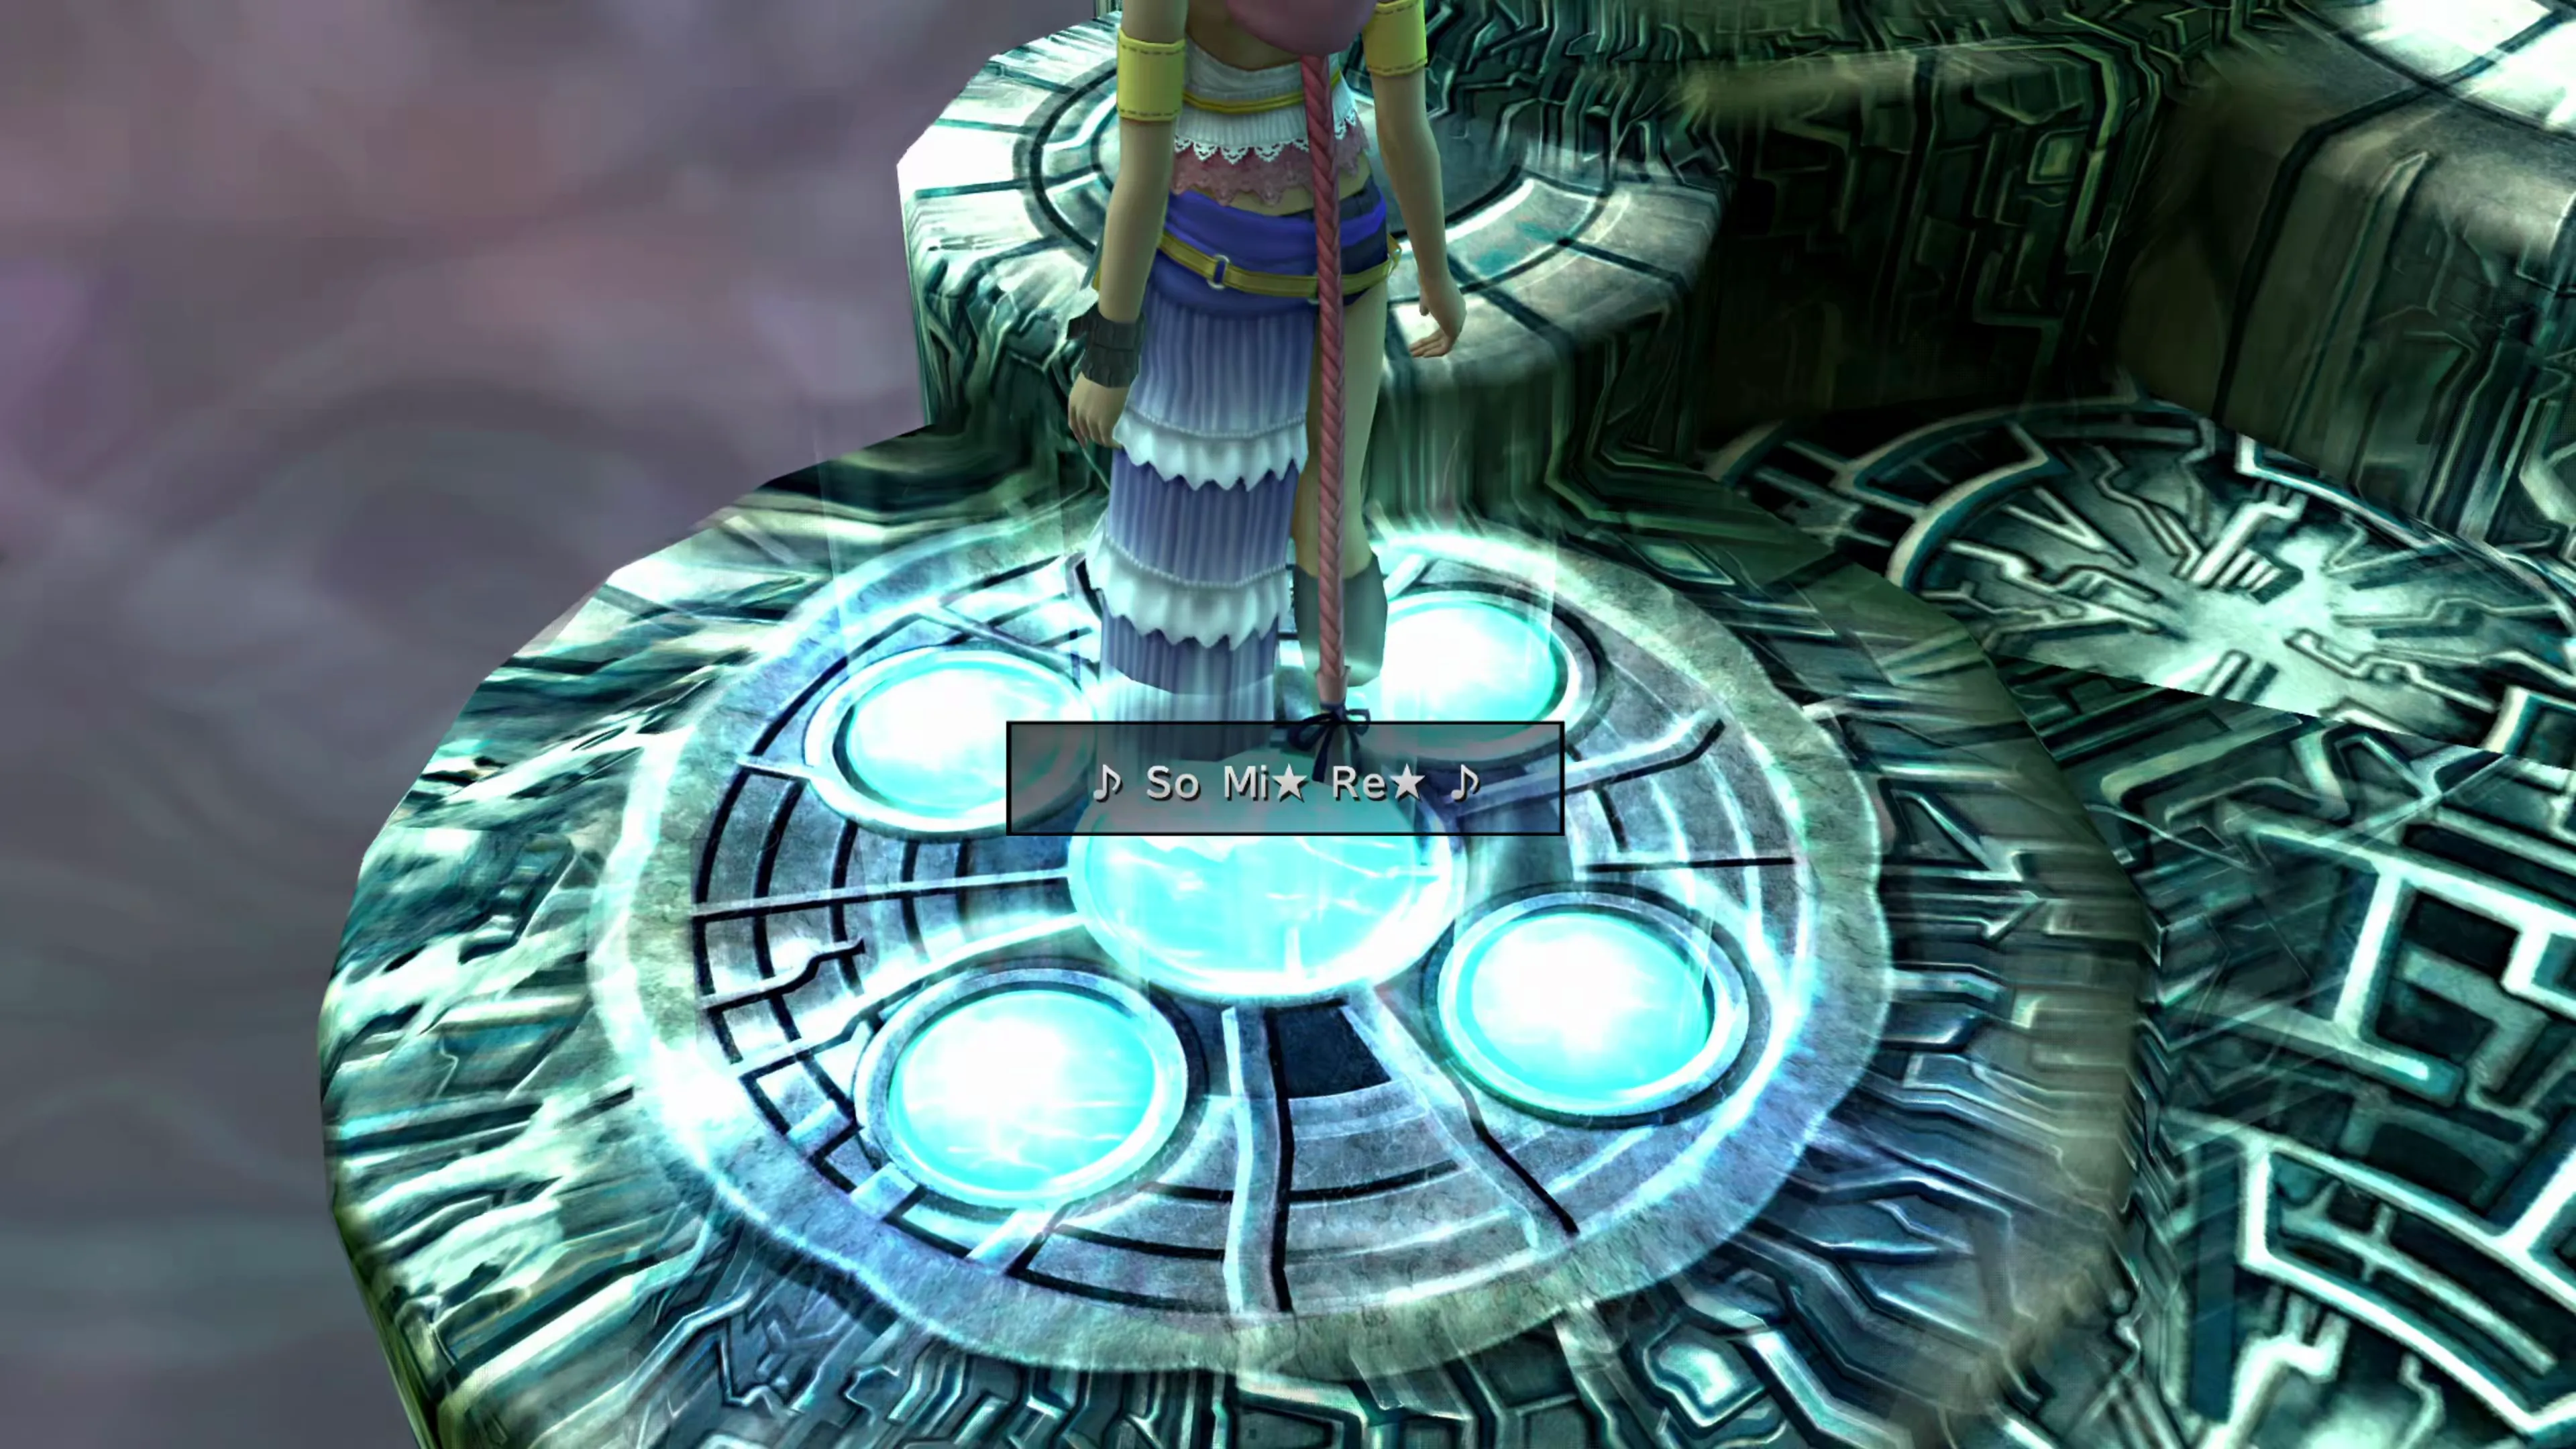
You’ll need to track down the “Music Note Pads” in each area to figure out which music notes to play on the piano. The first of these “Music Note Pads” is very easy to find; in fact, it’s just off to the left of the piano. Stand on it, and the full sequence of notes will be shown:
So Mi Re
Step over to the Piano and play the three notes on the piano. The notes you need to play will be conveniently displayed on the screen below the keyboard, making it easy to enter them in the correct order. This will happen in the next areas as well, as long as you activate each of the “Music Note Pads.”
Second Piano
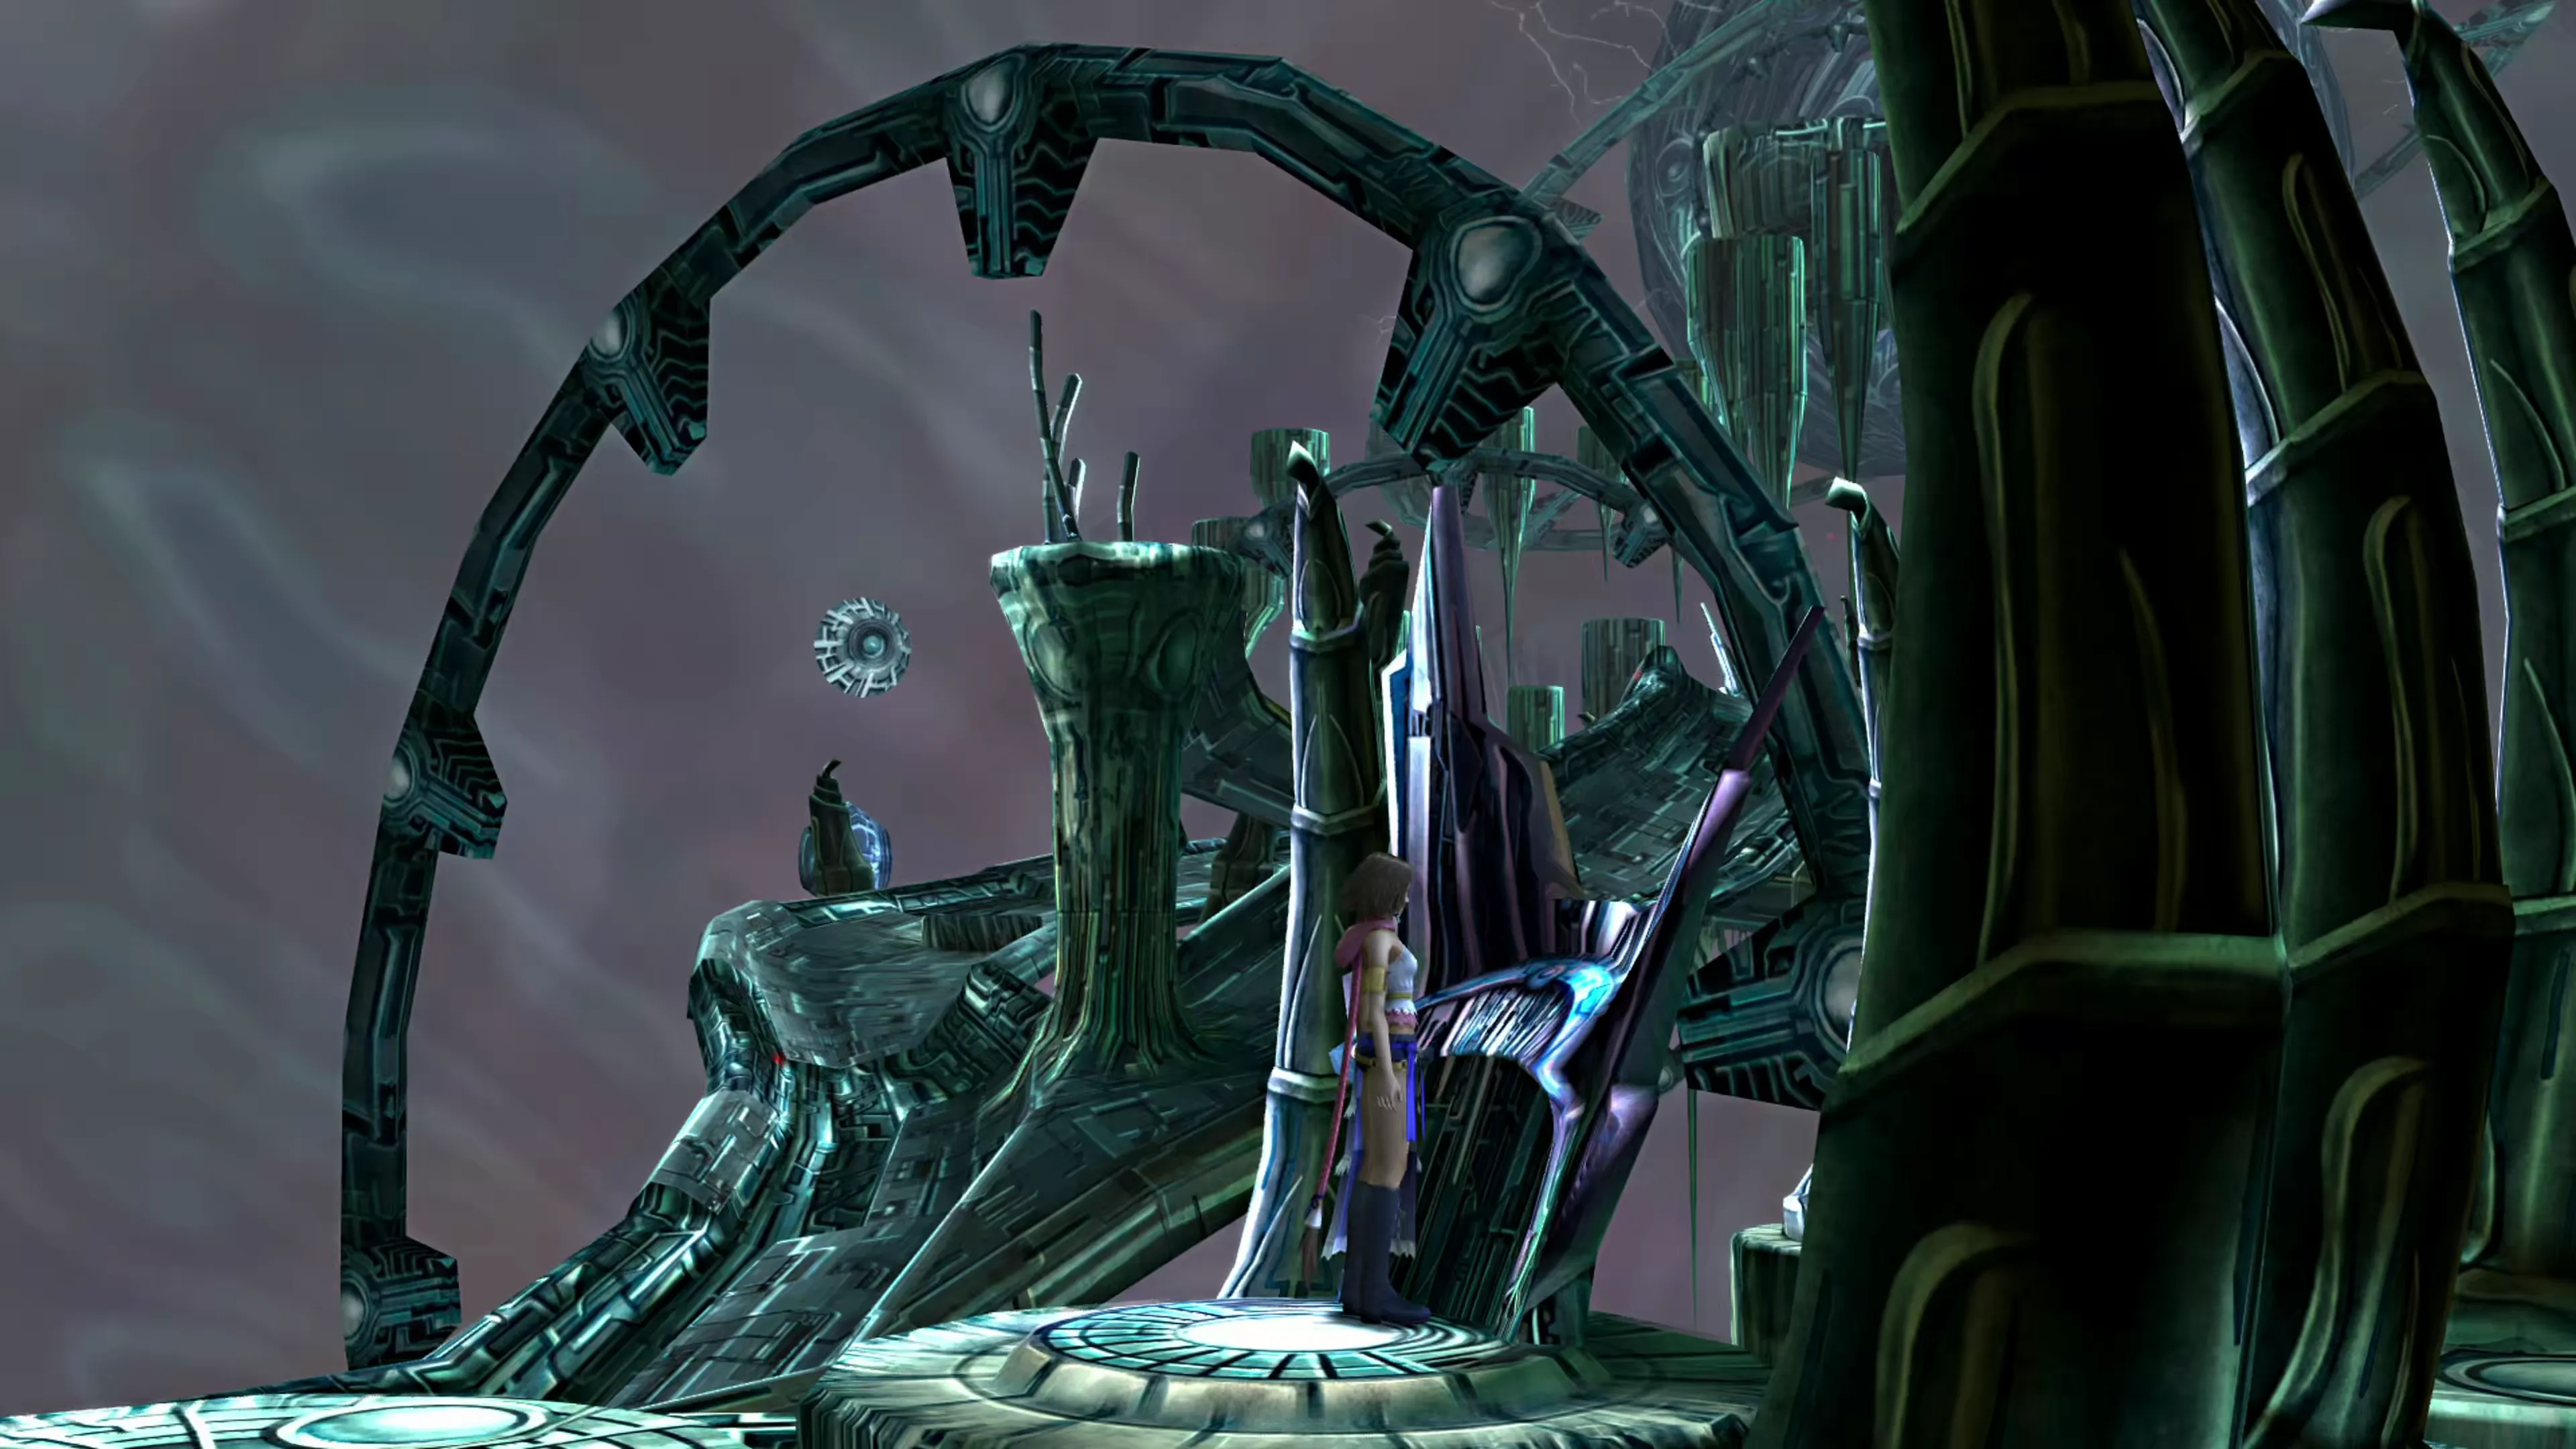
This next area has three “Music Note Pads.” The most challenging aspect of the second and third piano areas, though, is that you’ll have to dodge the electric walls that pop up. Make sure you wait for the electricity to go away before you attempt to cross over, just like a game of Frogger.
Don’t forget to grab the  Megalixir from the treasure chest near the second piano.
The note sequence for the second piano is:
Do Ti
La
So
Third Piano
The third piano sequence is just like the last one, except that you’ll have to drop down onto one of the lower-level platforms to reach two of the “Music Note Pads” (by holding the 

 button).
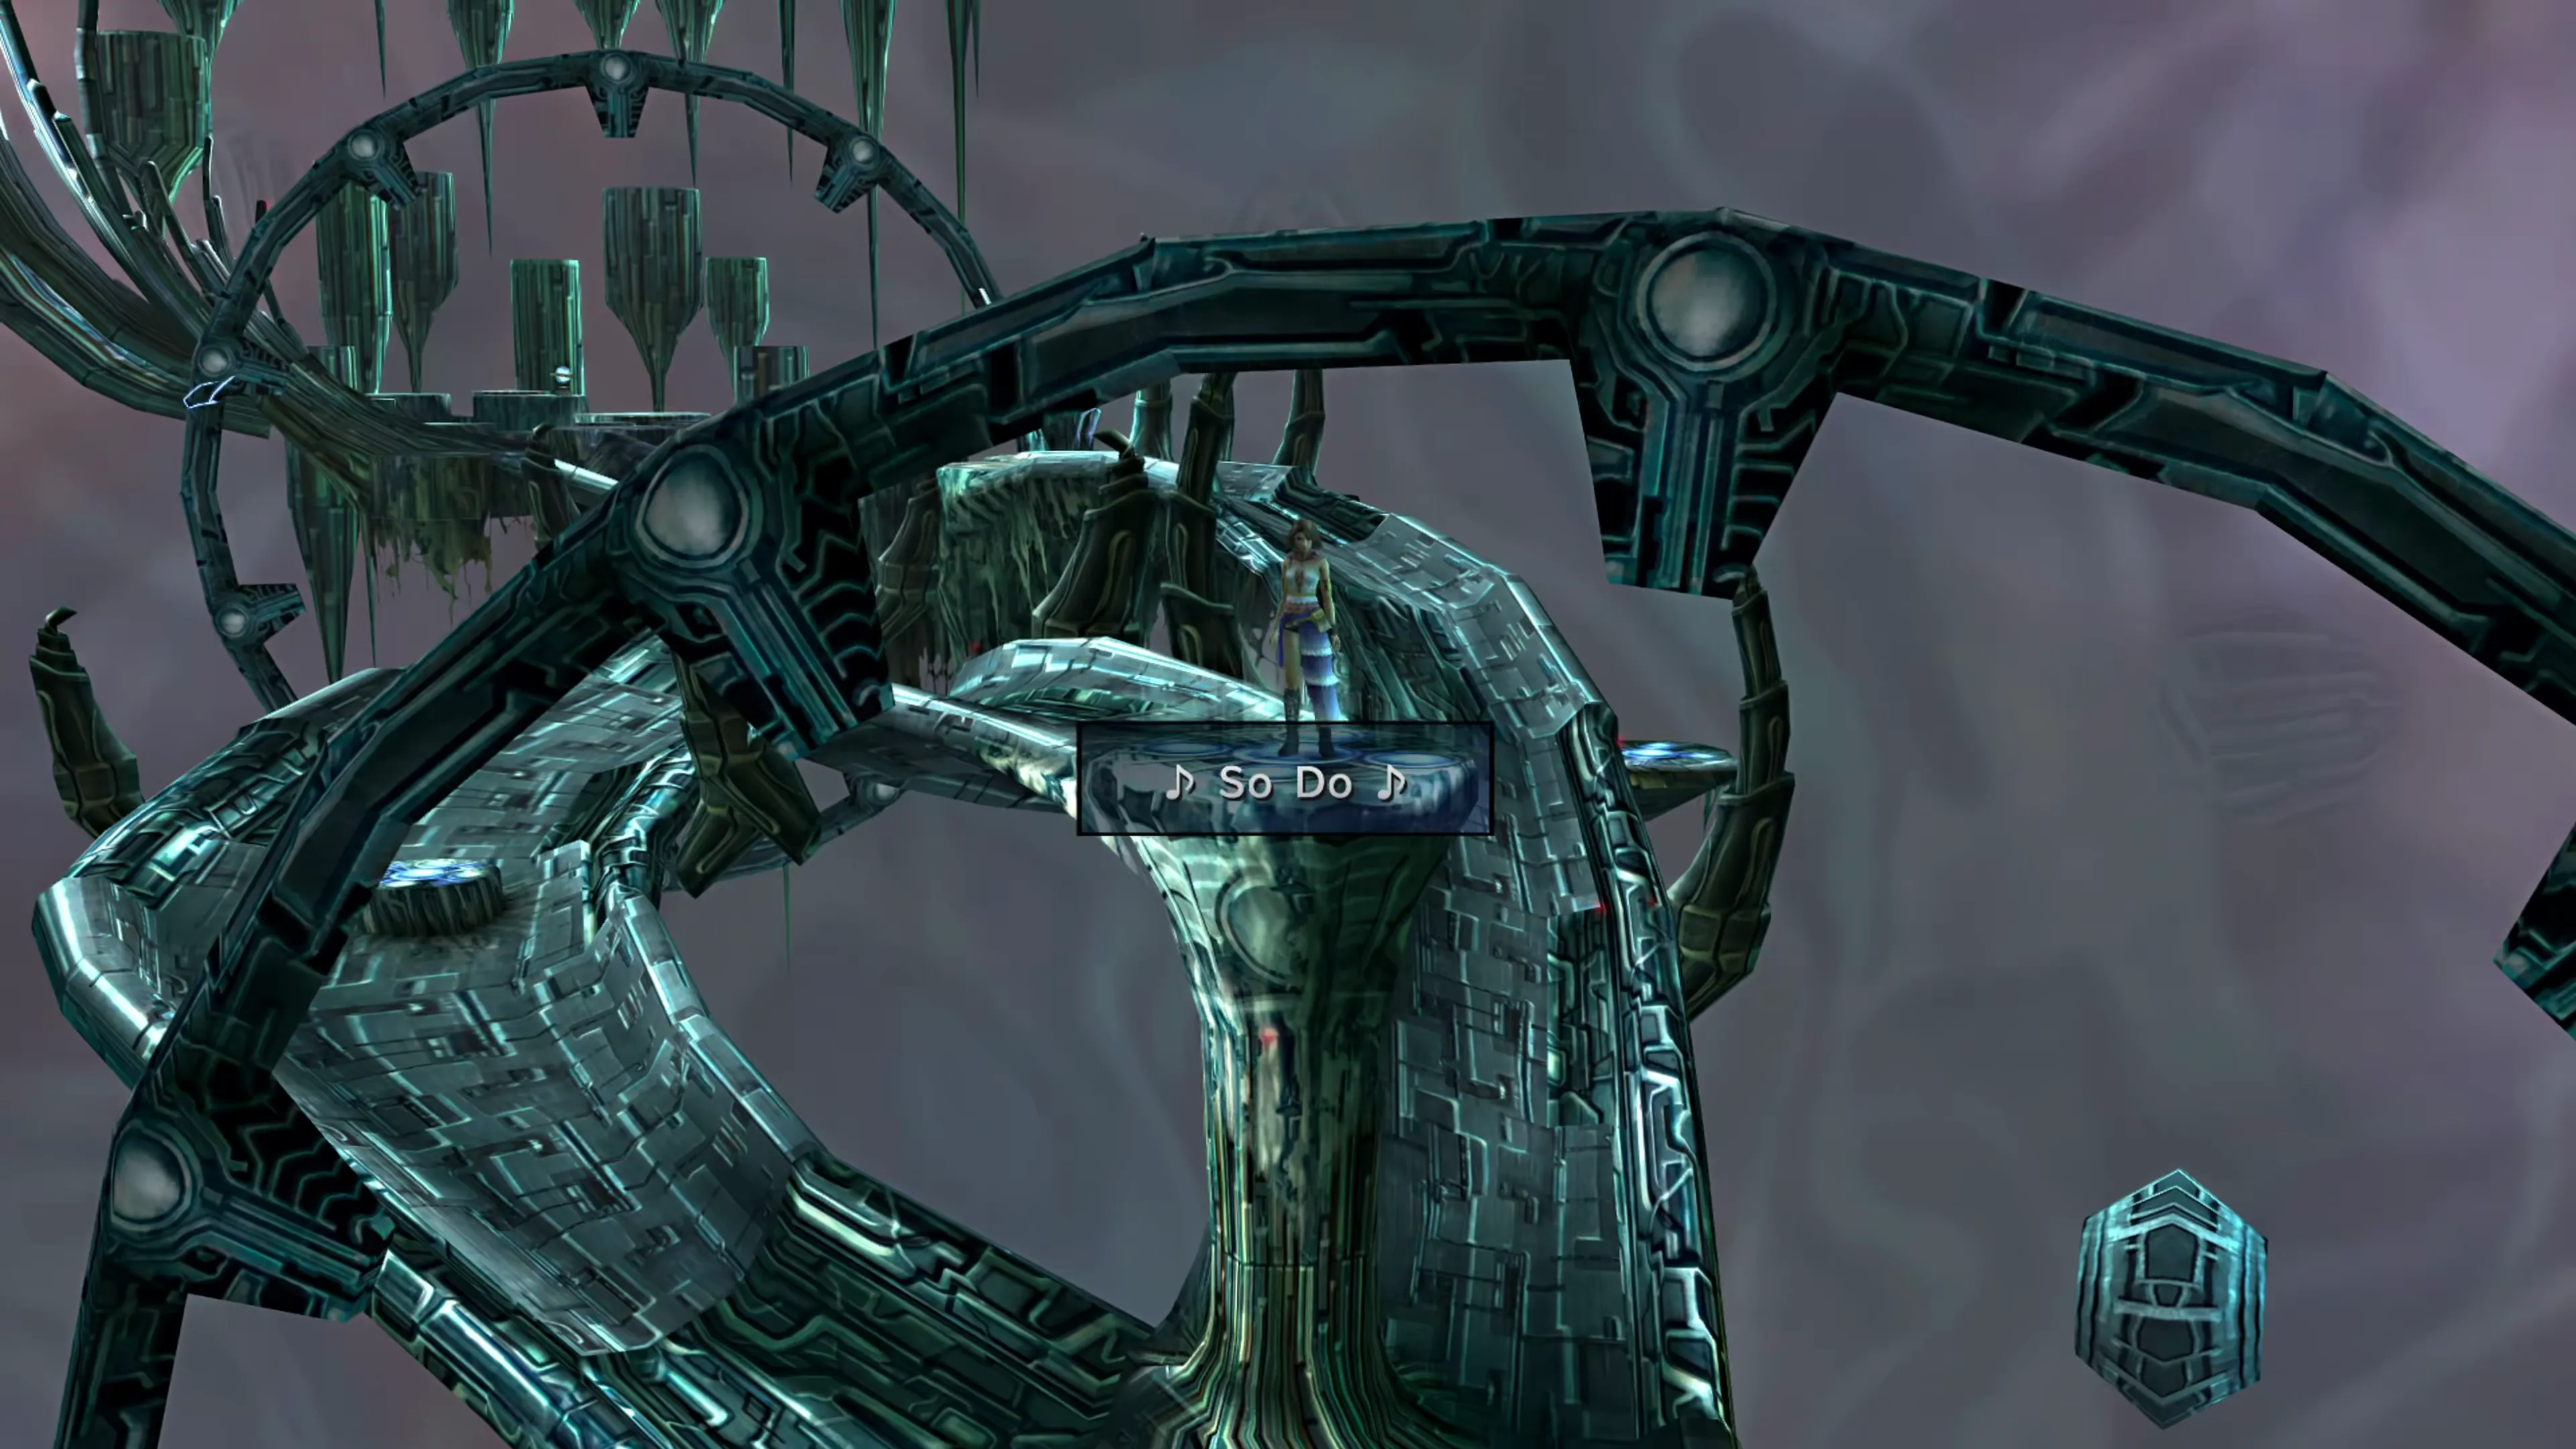
Once again, don’t forget the treasure chest off to the right side of the third piano. It contains three Turbo Ethers.
The note sequence for the third piano is:
Fa Mi
Fa
So Do
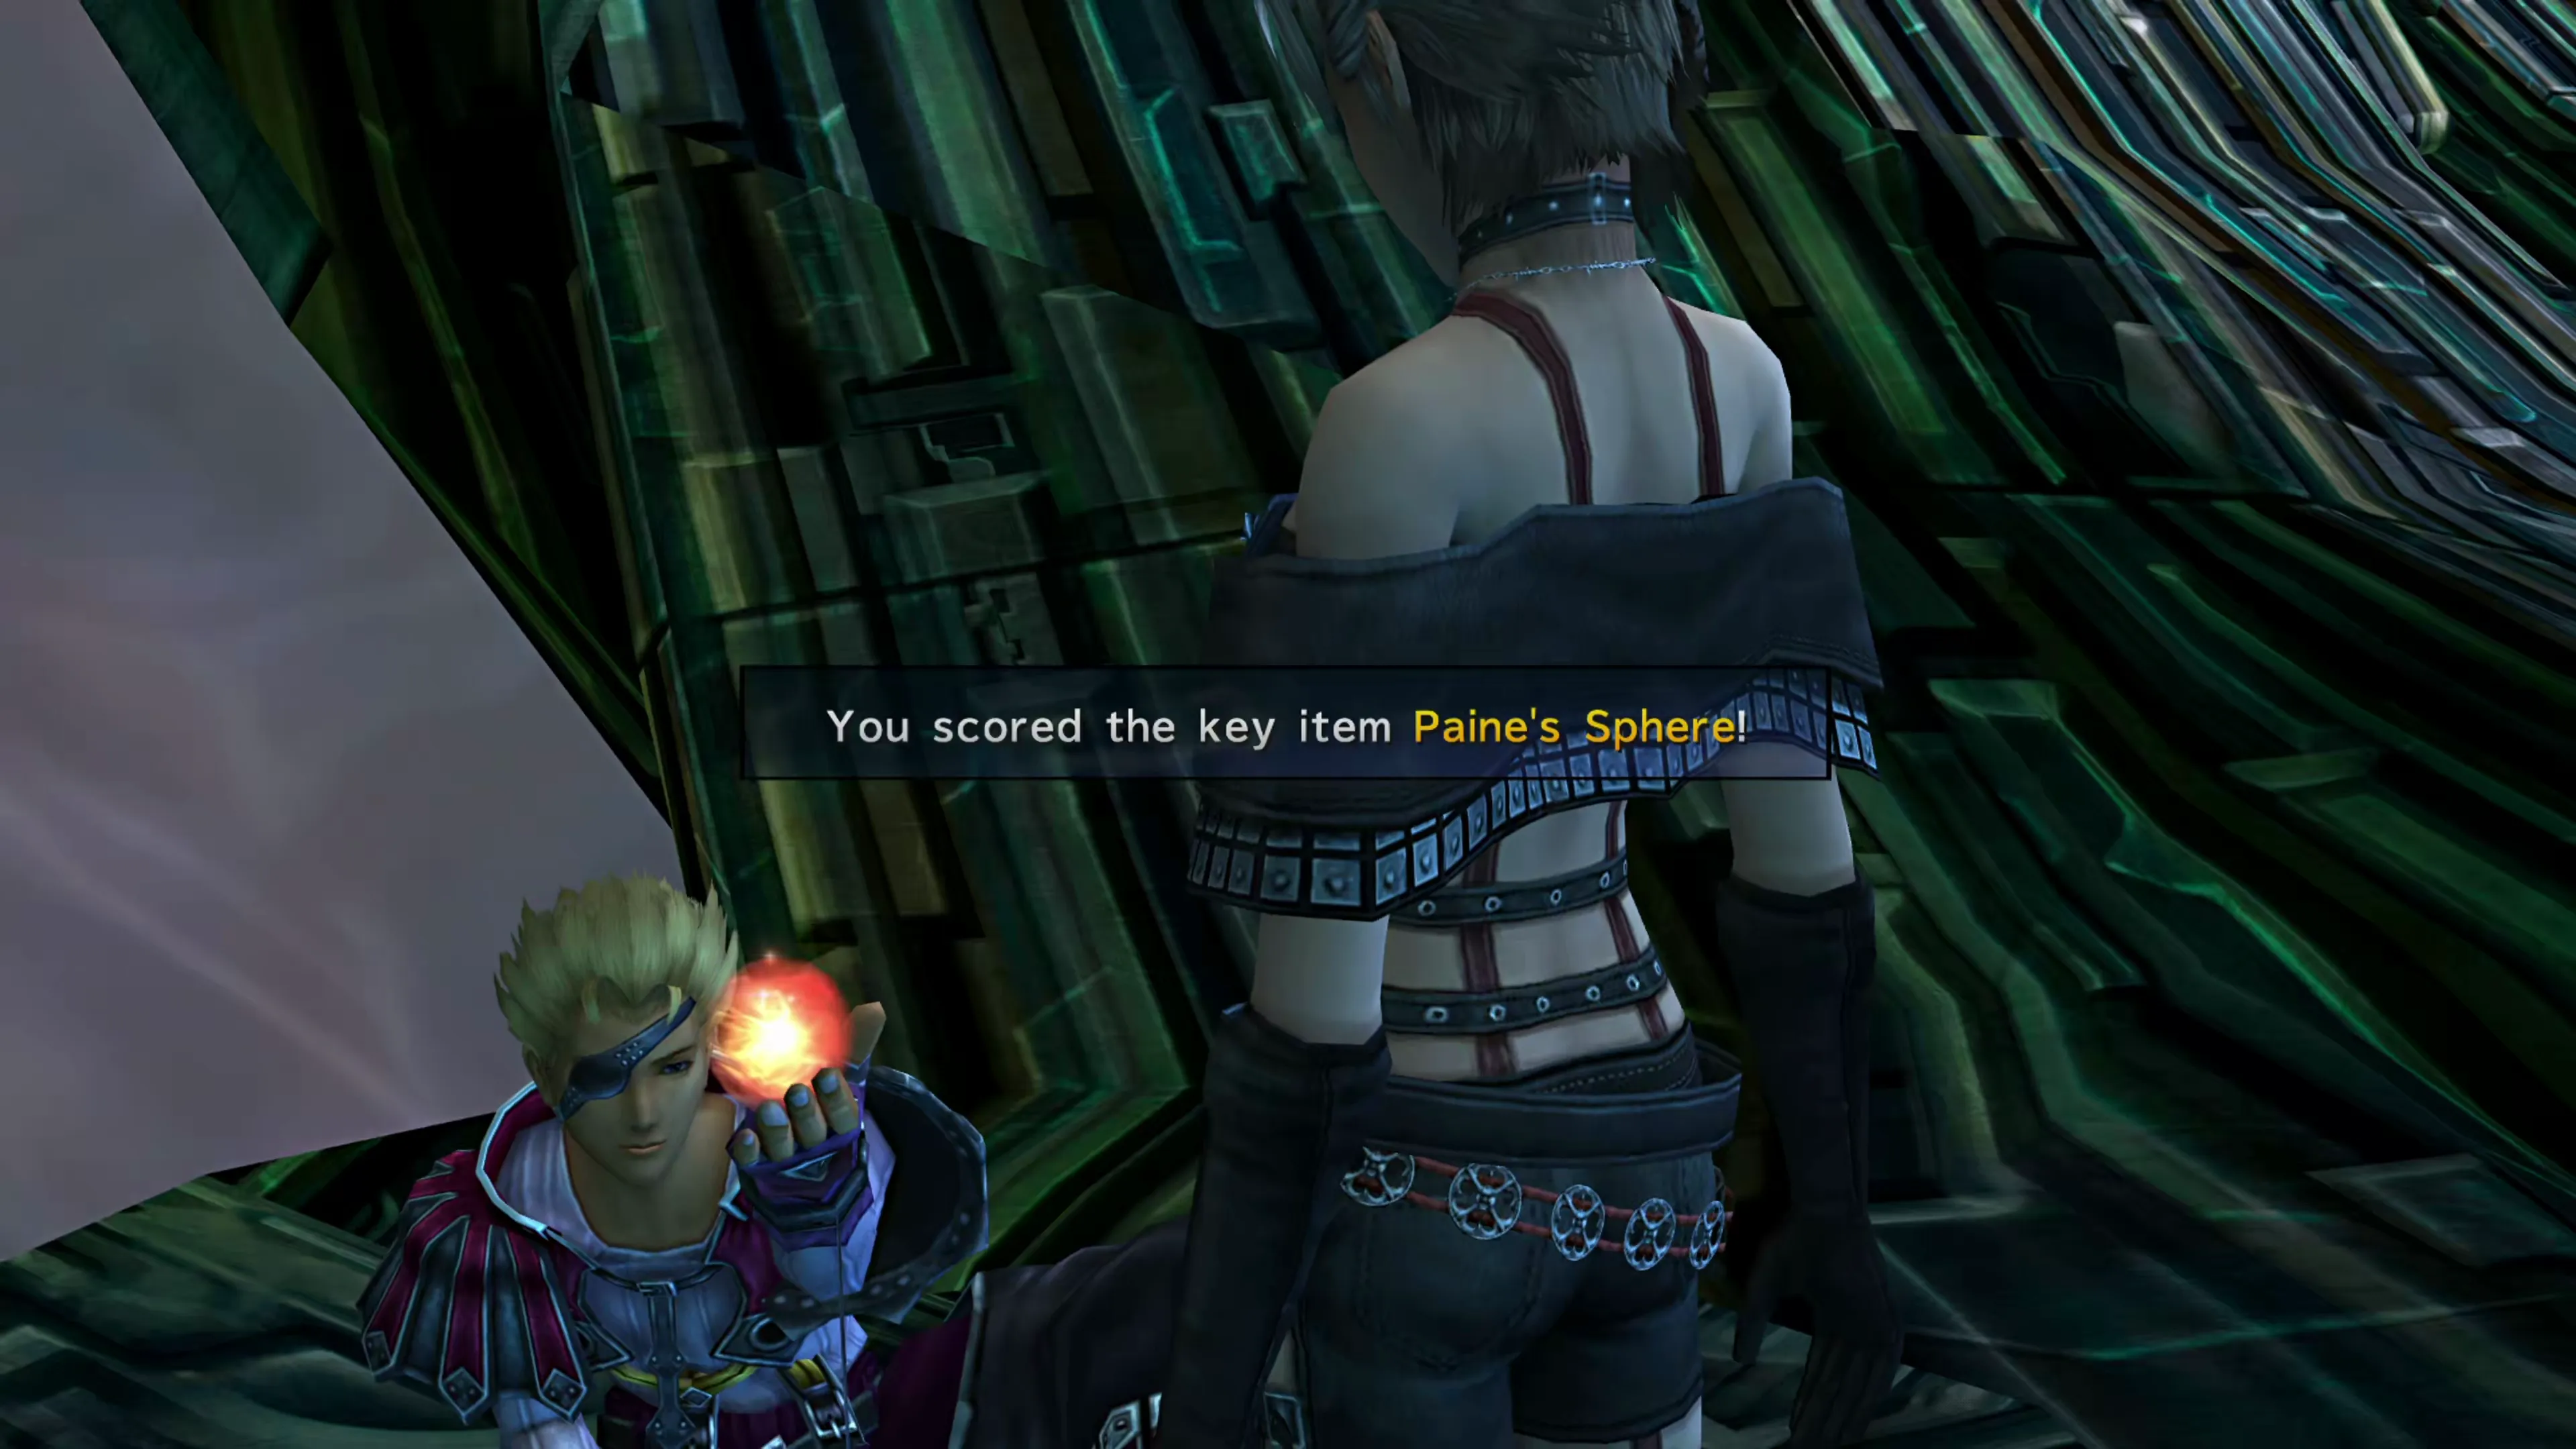
Yuna, Rikku, and Paine will run into Gippal just up ahead. During this discussion, Gippal will give you one of the last Spheres you need,  Paine’s Sphere, and the team will watch it on the spot. Once the cutscene is over, you’ll move on to the second puzzle in this area.
Scaling the Heights
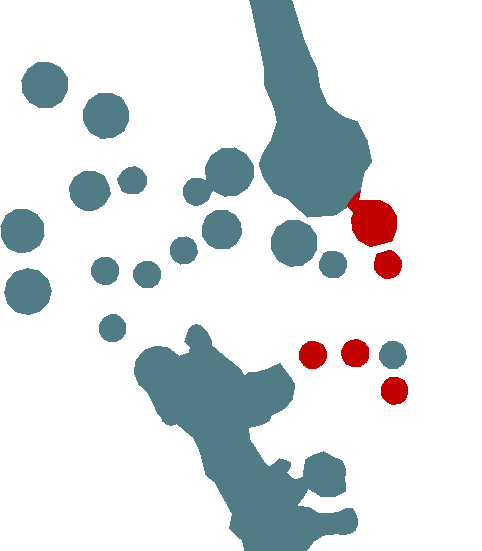
The description of this puzzle doesn’t offer much help about how to complete it (“play the melody by stepping on the floating pedestals in the right order”), and this puzzle can be annoying to complete. This one is definitely easier to solve if you watch a video showing how it’s completed (linked below again), but if you’d like to complete it without a video, a map and guide are included below.
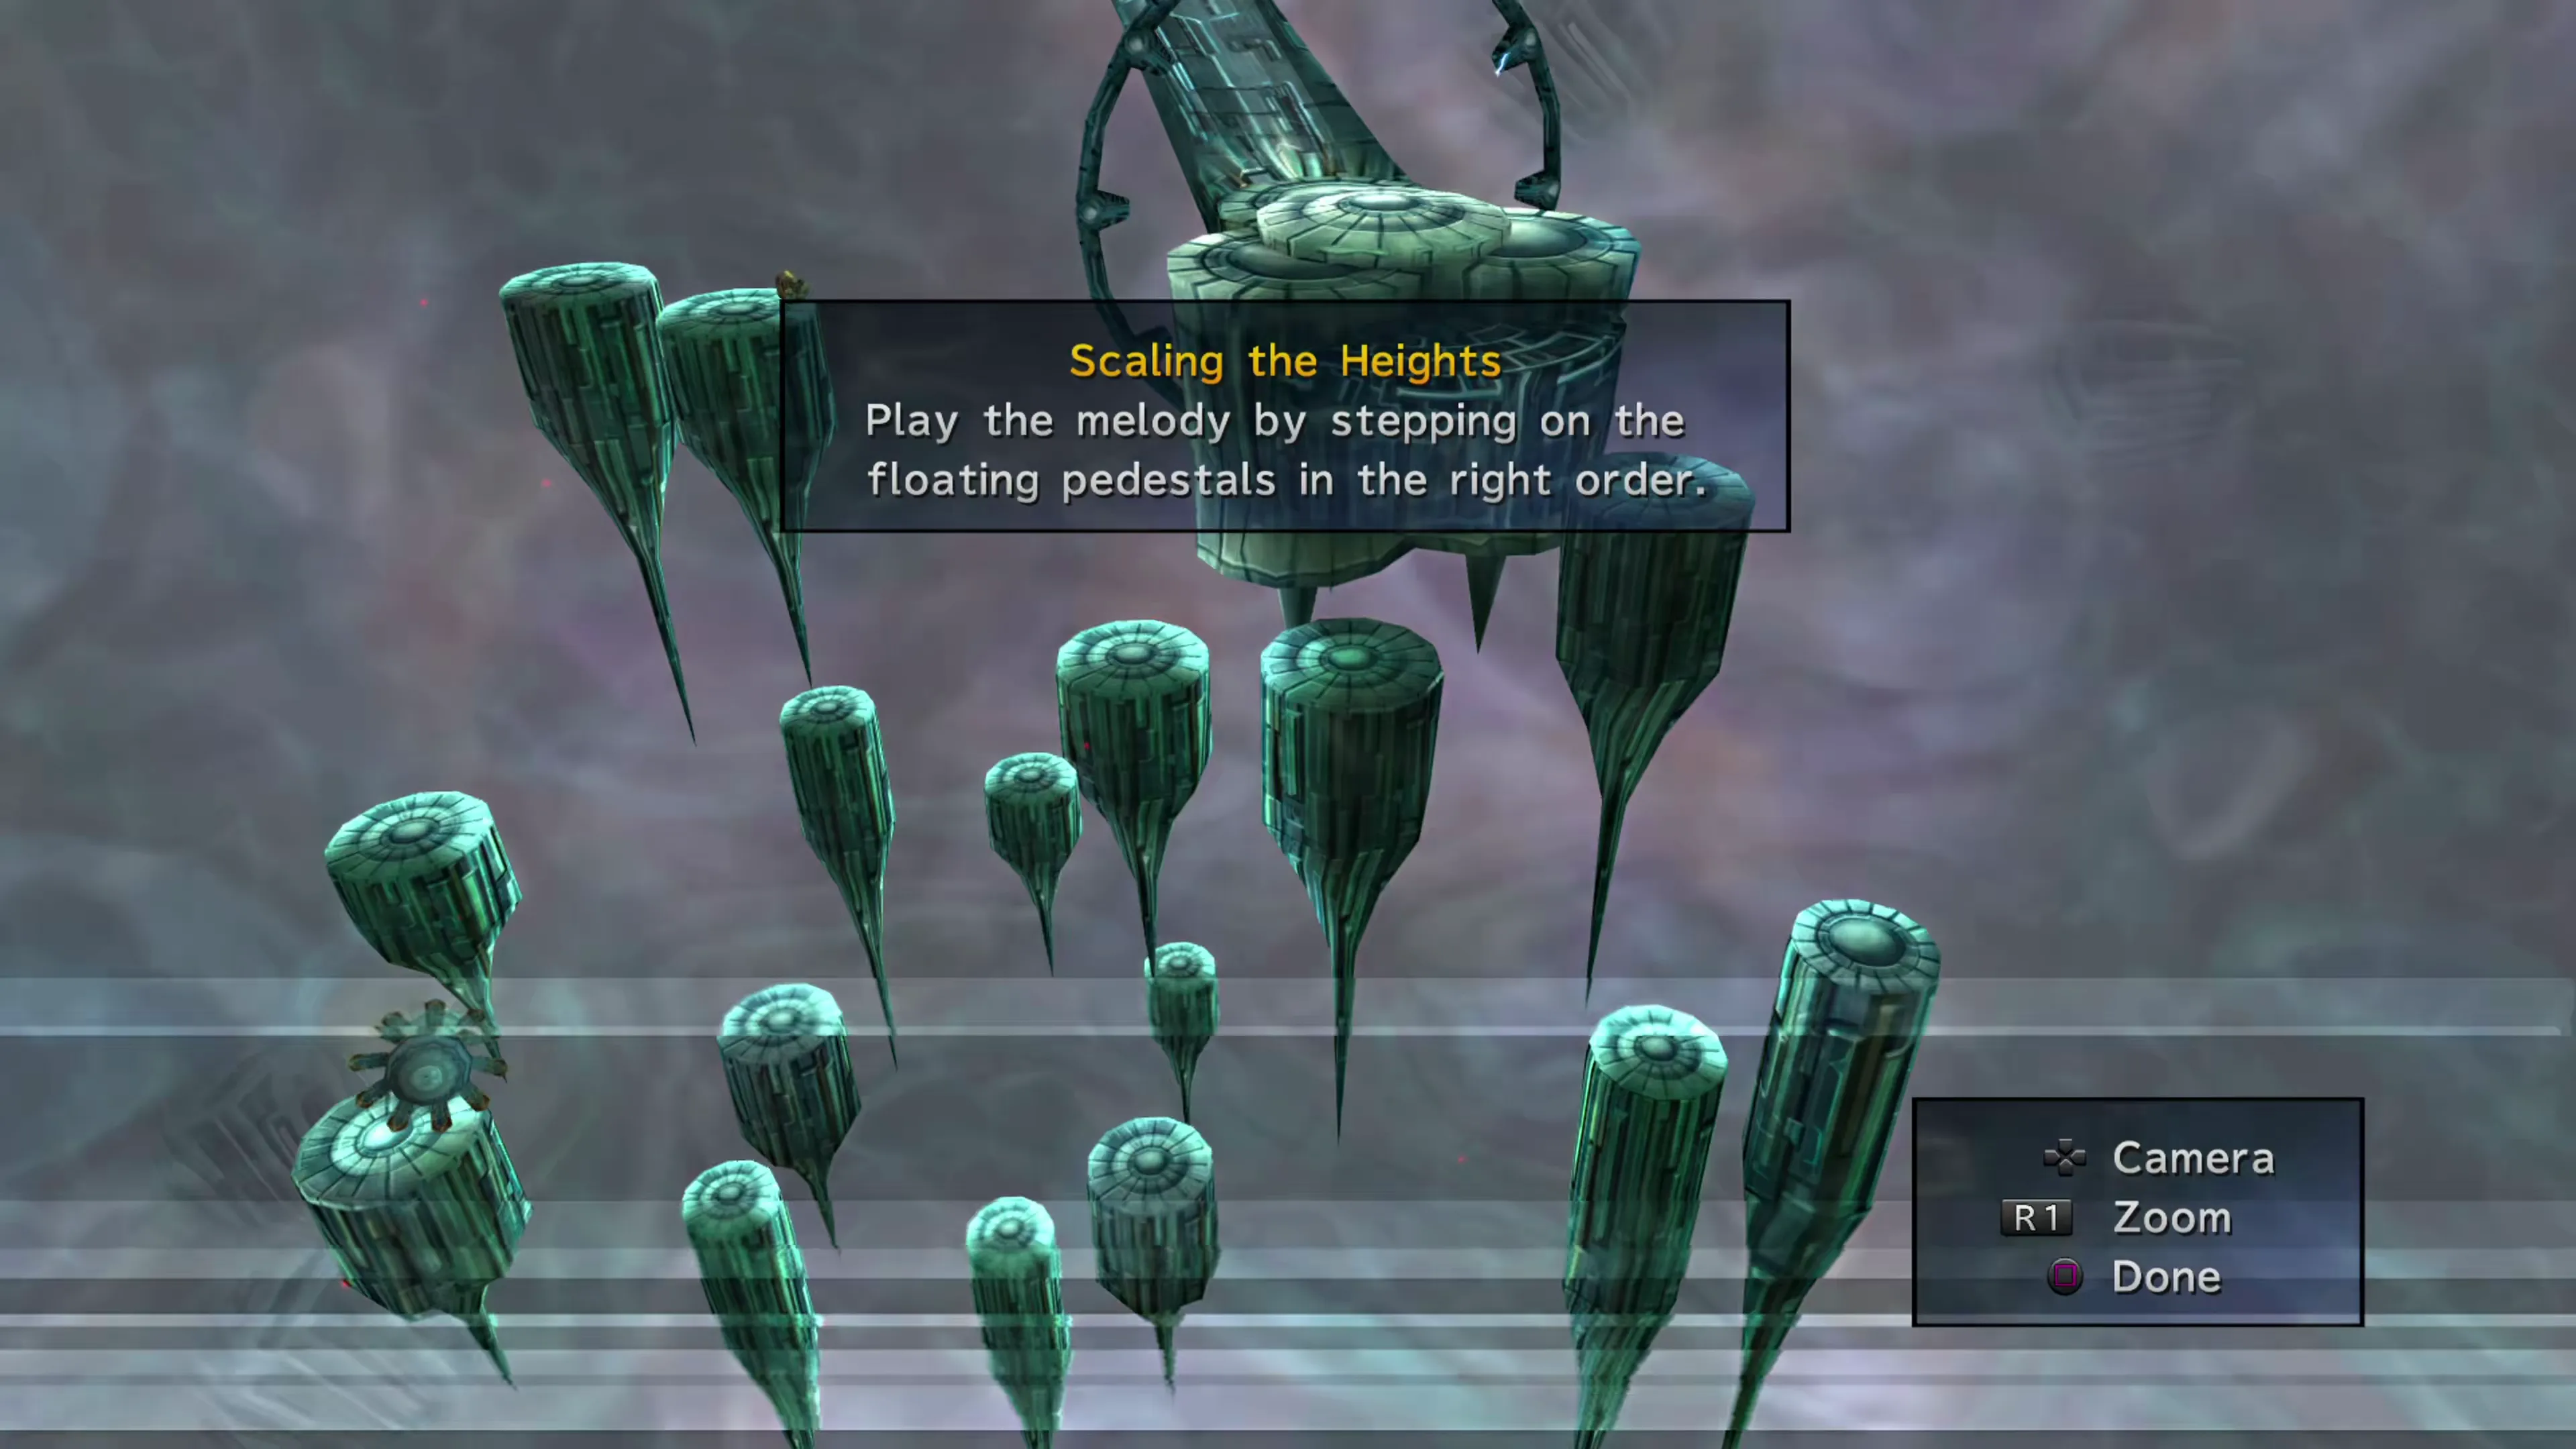
Some of the floating pedestals you jump on will move, like little transports, when you jump on them. This is what makes this puzzle particularly annoying. A step-by-step walkthrough below points out which pedestals to step on, in order, and which ‘transport’ pedestals to use to move between them.
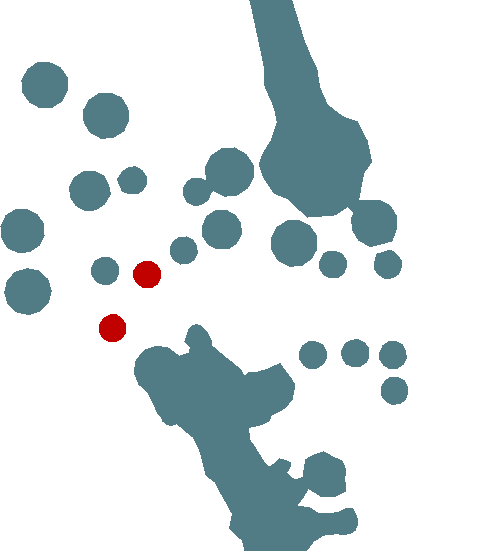
The melody you’re trying to recreate is the same one you used for the piano puzzle in the previous section. Here are the individual steps:
- Jump on the first floating platform to reach pedestal 1 ( So Mi Re ).
Step 1
 1
2
3
4
5
6
7
1
2
3
4
5
6
7
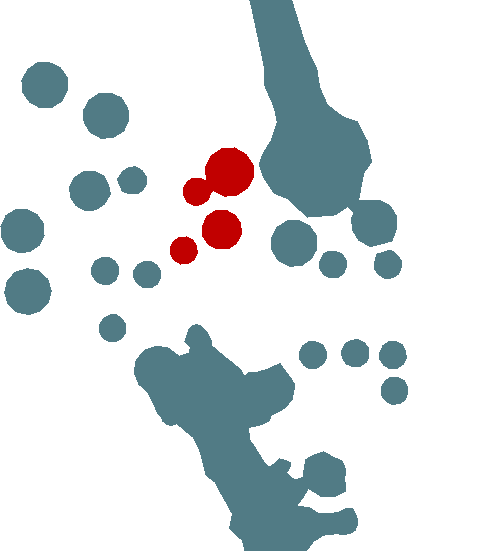
- Jump to the right of pedestal 1, onto the large pedestal, which will float upward, and then climb the two nearby pedestals to reach pedestal 2 ( Do Ti ).
Step 2
 2
3
4
5
6
7
2
3
4
5
6
7
- Go all the way back down to the Save Sphere and jump onto the pedestal to the right of it. This pedestal will float to the right and give you two pedestals on the left side to jump onto. Jump onto the upper pedestal, and it’ll float over to pedestal 3 ( La ).
Step 3
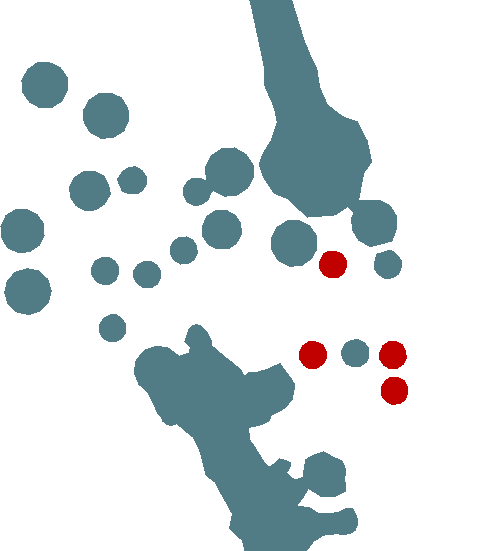 3
4
5
6
7
3
4
5
6
7
- Go back to the first platform you rode up, and jump off it to the left. Jump up onto the platform above it; it will ride up one more time, then jump right onto the smaller nearby platform. This is pedestal 4 ( So ).
Step 4
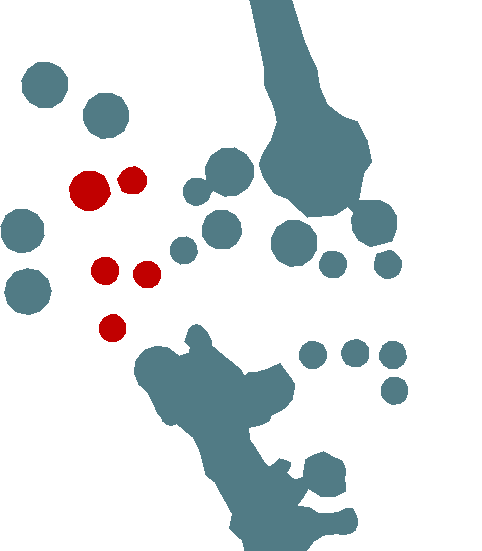 4
5
6
7
4
5
6
7
- Return to the platform you used to float up to platform 4, and it’ll float upwards again. You’ll see a platform with a treasure chest; open it to get two Mega Phoenixes. Then jump onto the platform nearby. This is platform 5 ( Fa Mi ).
Step 5
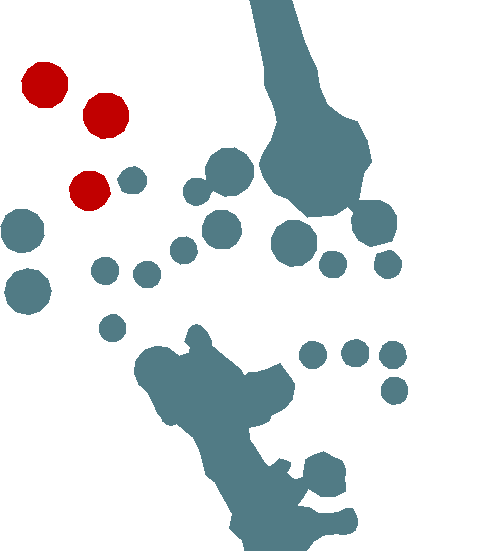 5
6
7
5
6
7
- Go back down to the platform that helped you float up here, and it’ll float all the way back down. Jump off it to the lower platform, but turn around and jump back on it, and it’ll float back up next to pedestal 4. This time, jump off to the left and then jump down. This is pedestal 6 ( Fa ).
Step 6
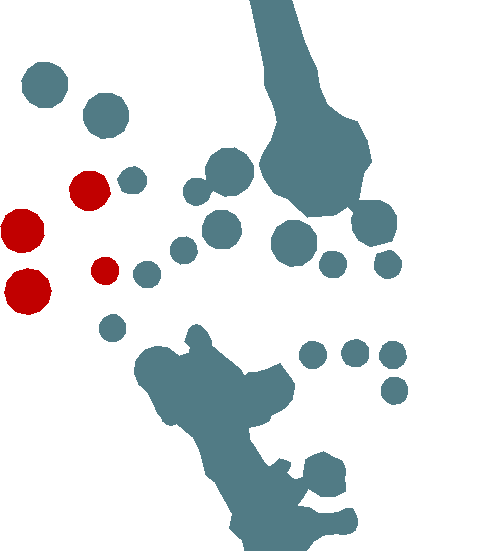 6
7
6
7
- Lastly, go back down to the platform to the right of the Save Sphere. It’ll float back up to the two pedestals on the left. This time, jump on the lower platform, and it’ll float over to the last pedestal, pedestal 7 ( So Do ).
Step 7
 7
7
- Jump up onto the large nearby platform to complete the puzzle.
A few more cutscenes will take place before you move on to the final boss battles of the game.
Vegnagun
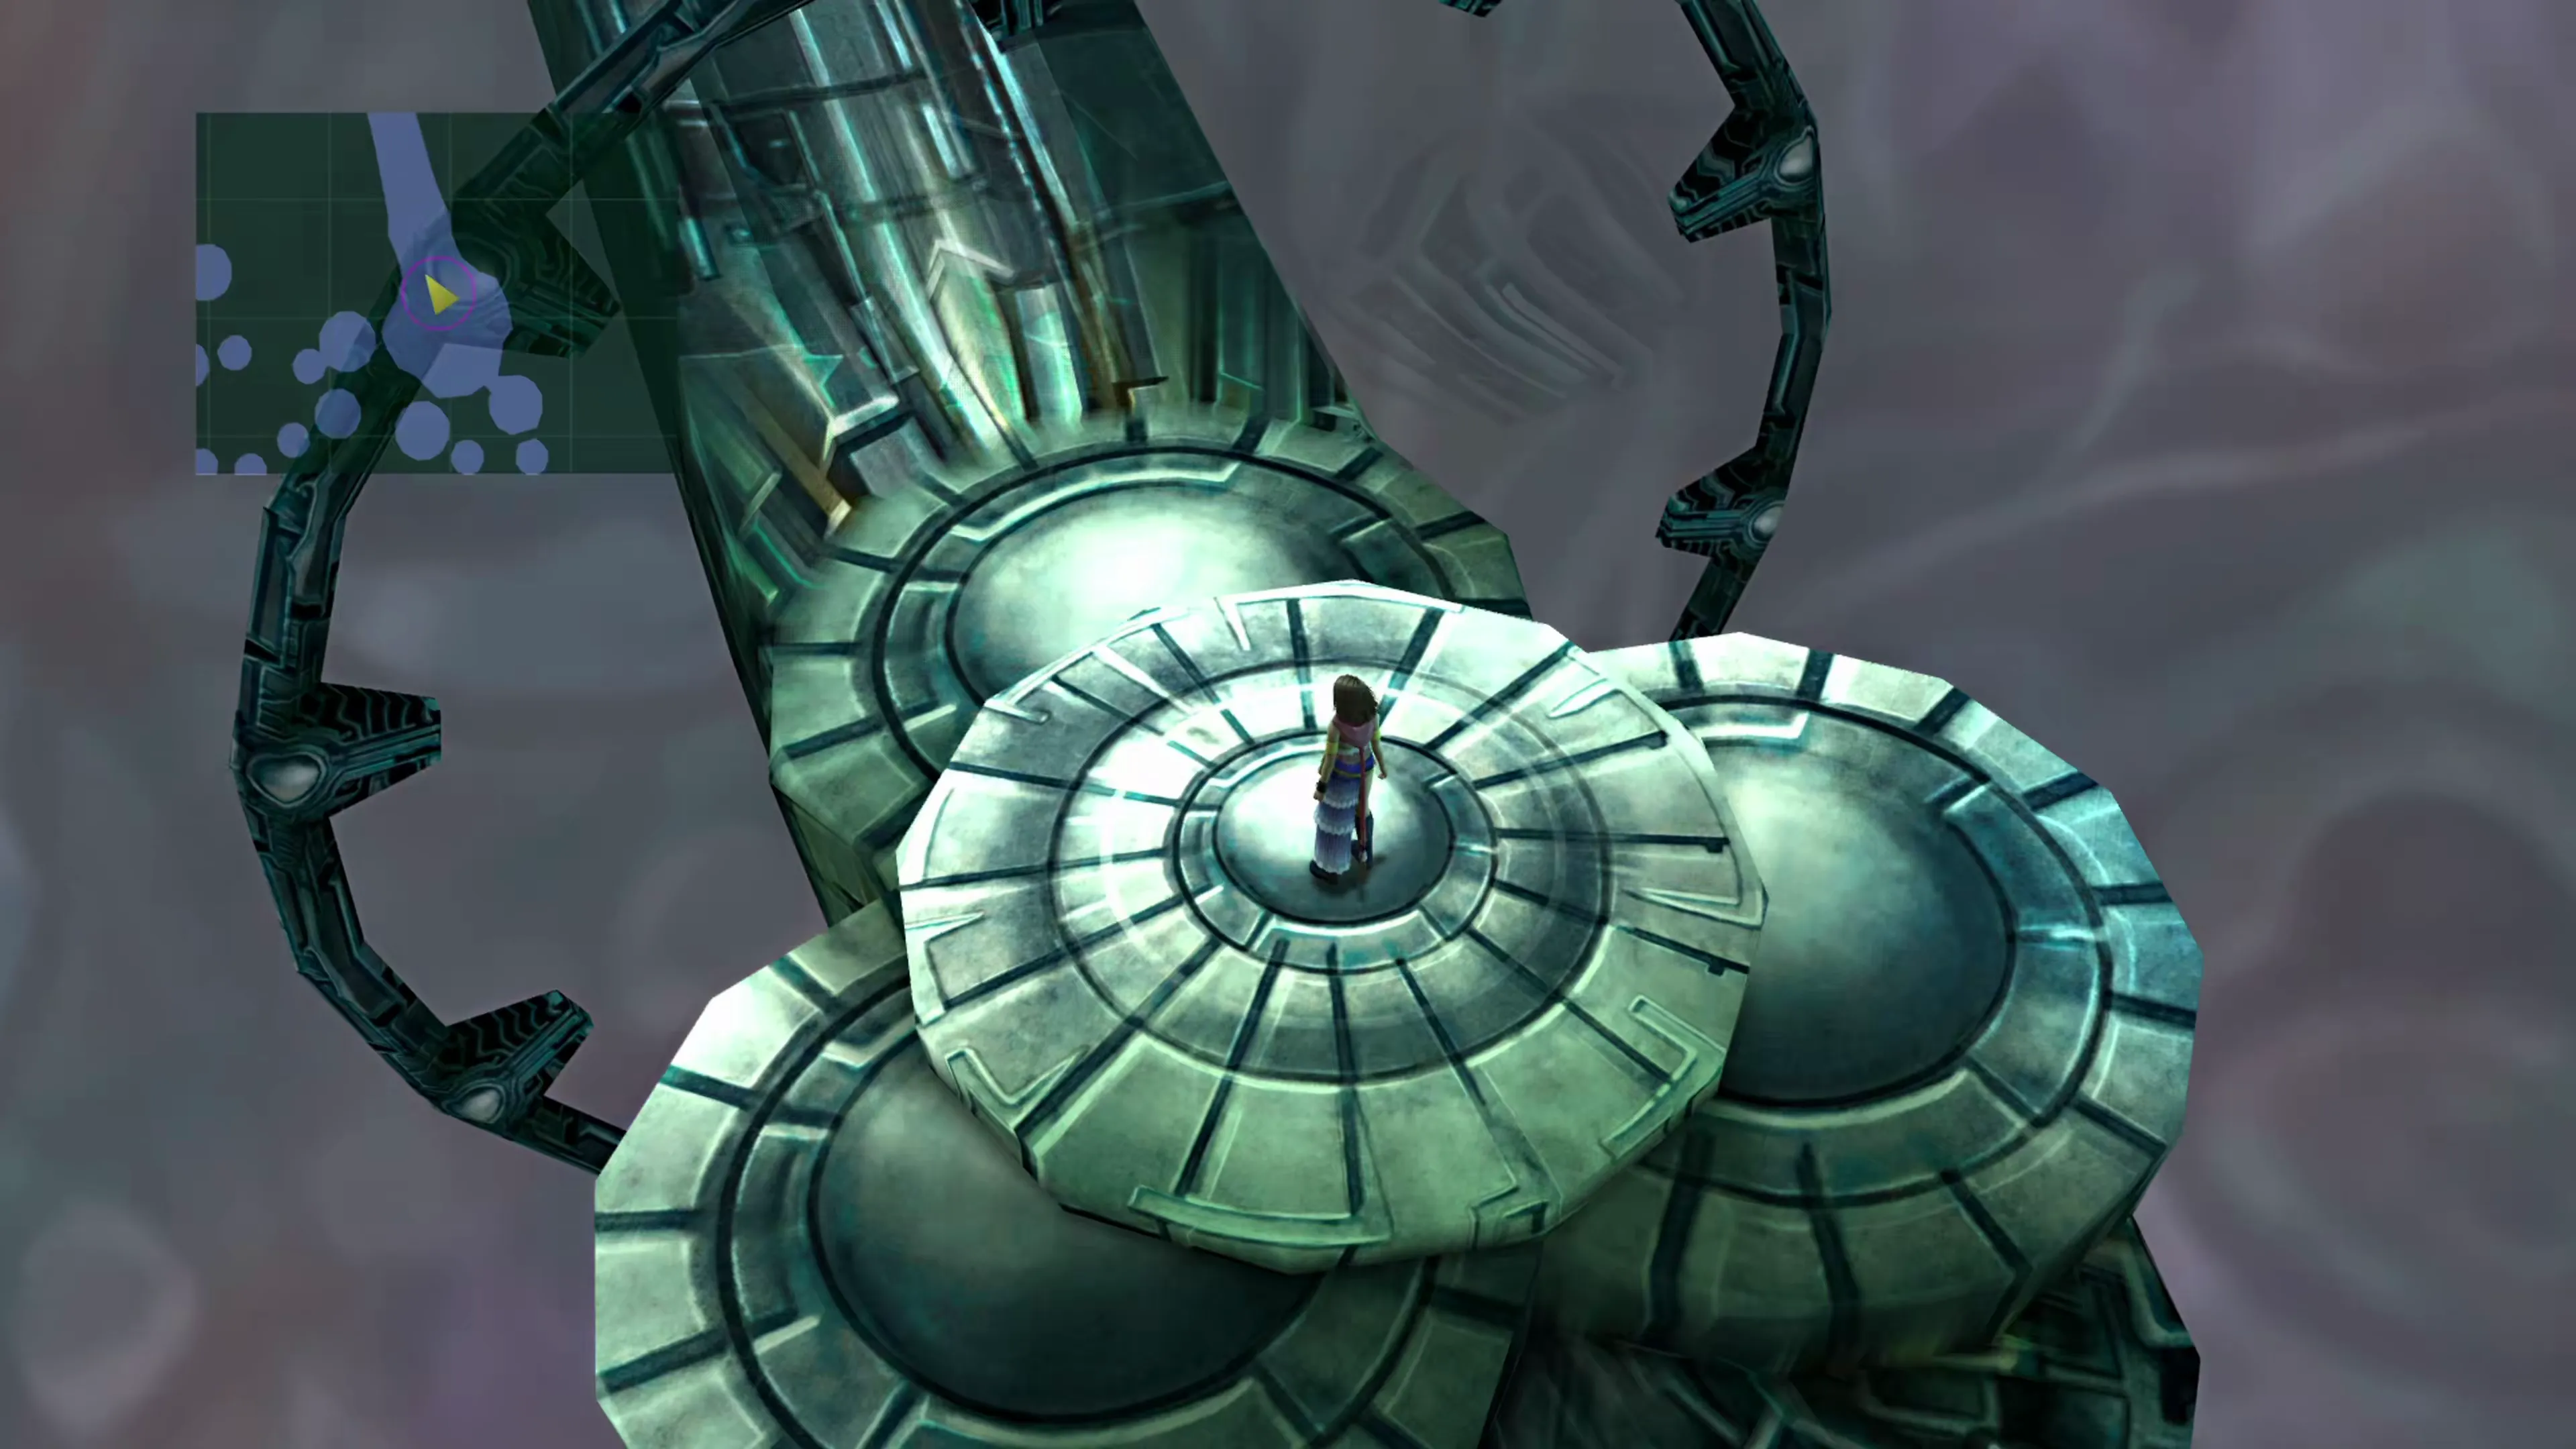
Navigating your way up Vegnagun is very easy, to the point that you don’t really need a map to reach each new sequential battle. The first battle you’ll face is against Vegnagun (Tail), and it shouldn’t require any preparation.
Boss Battle
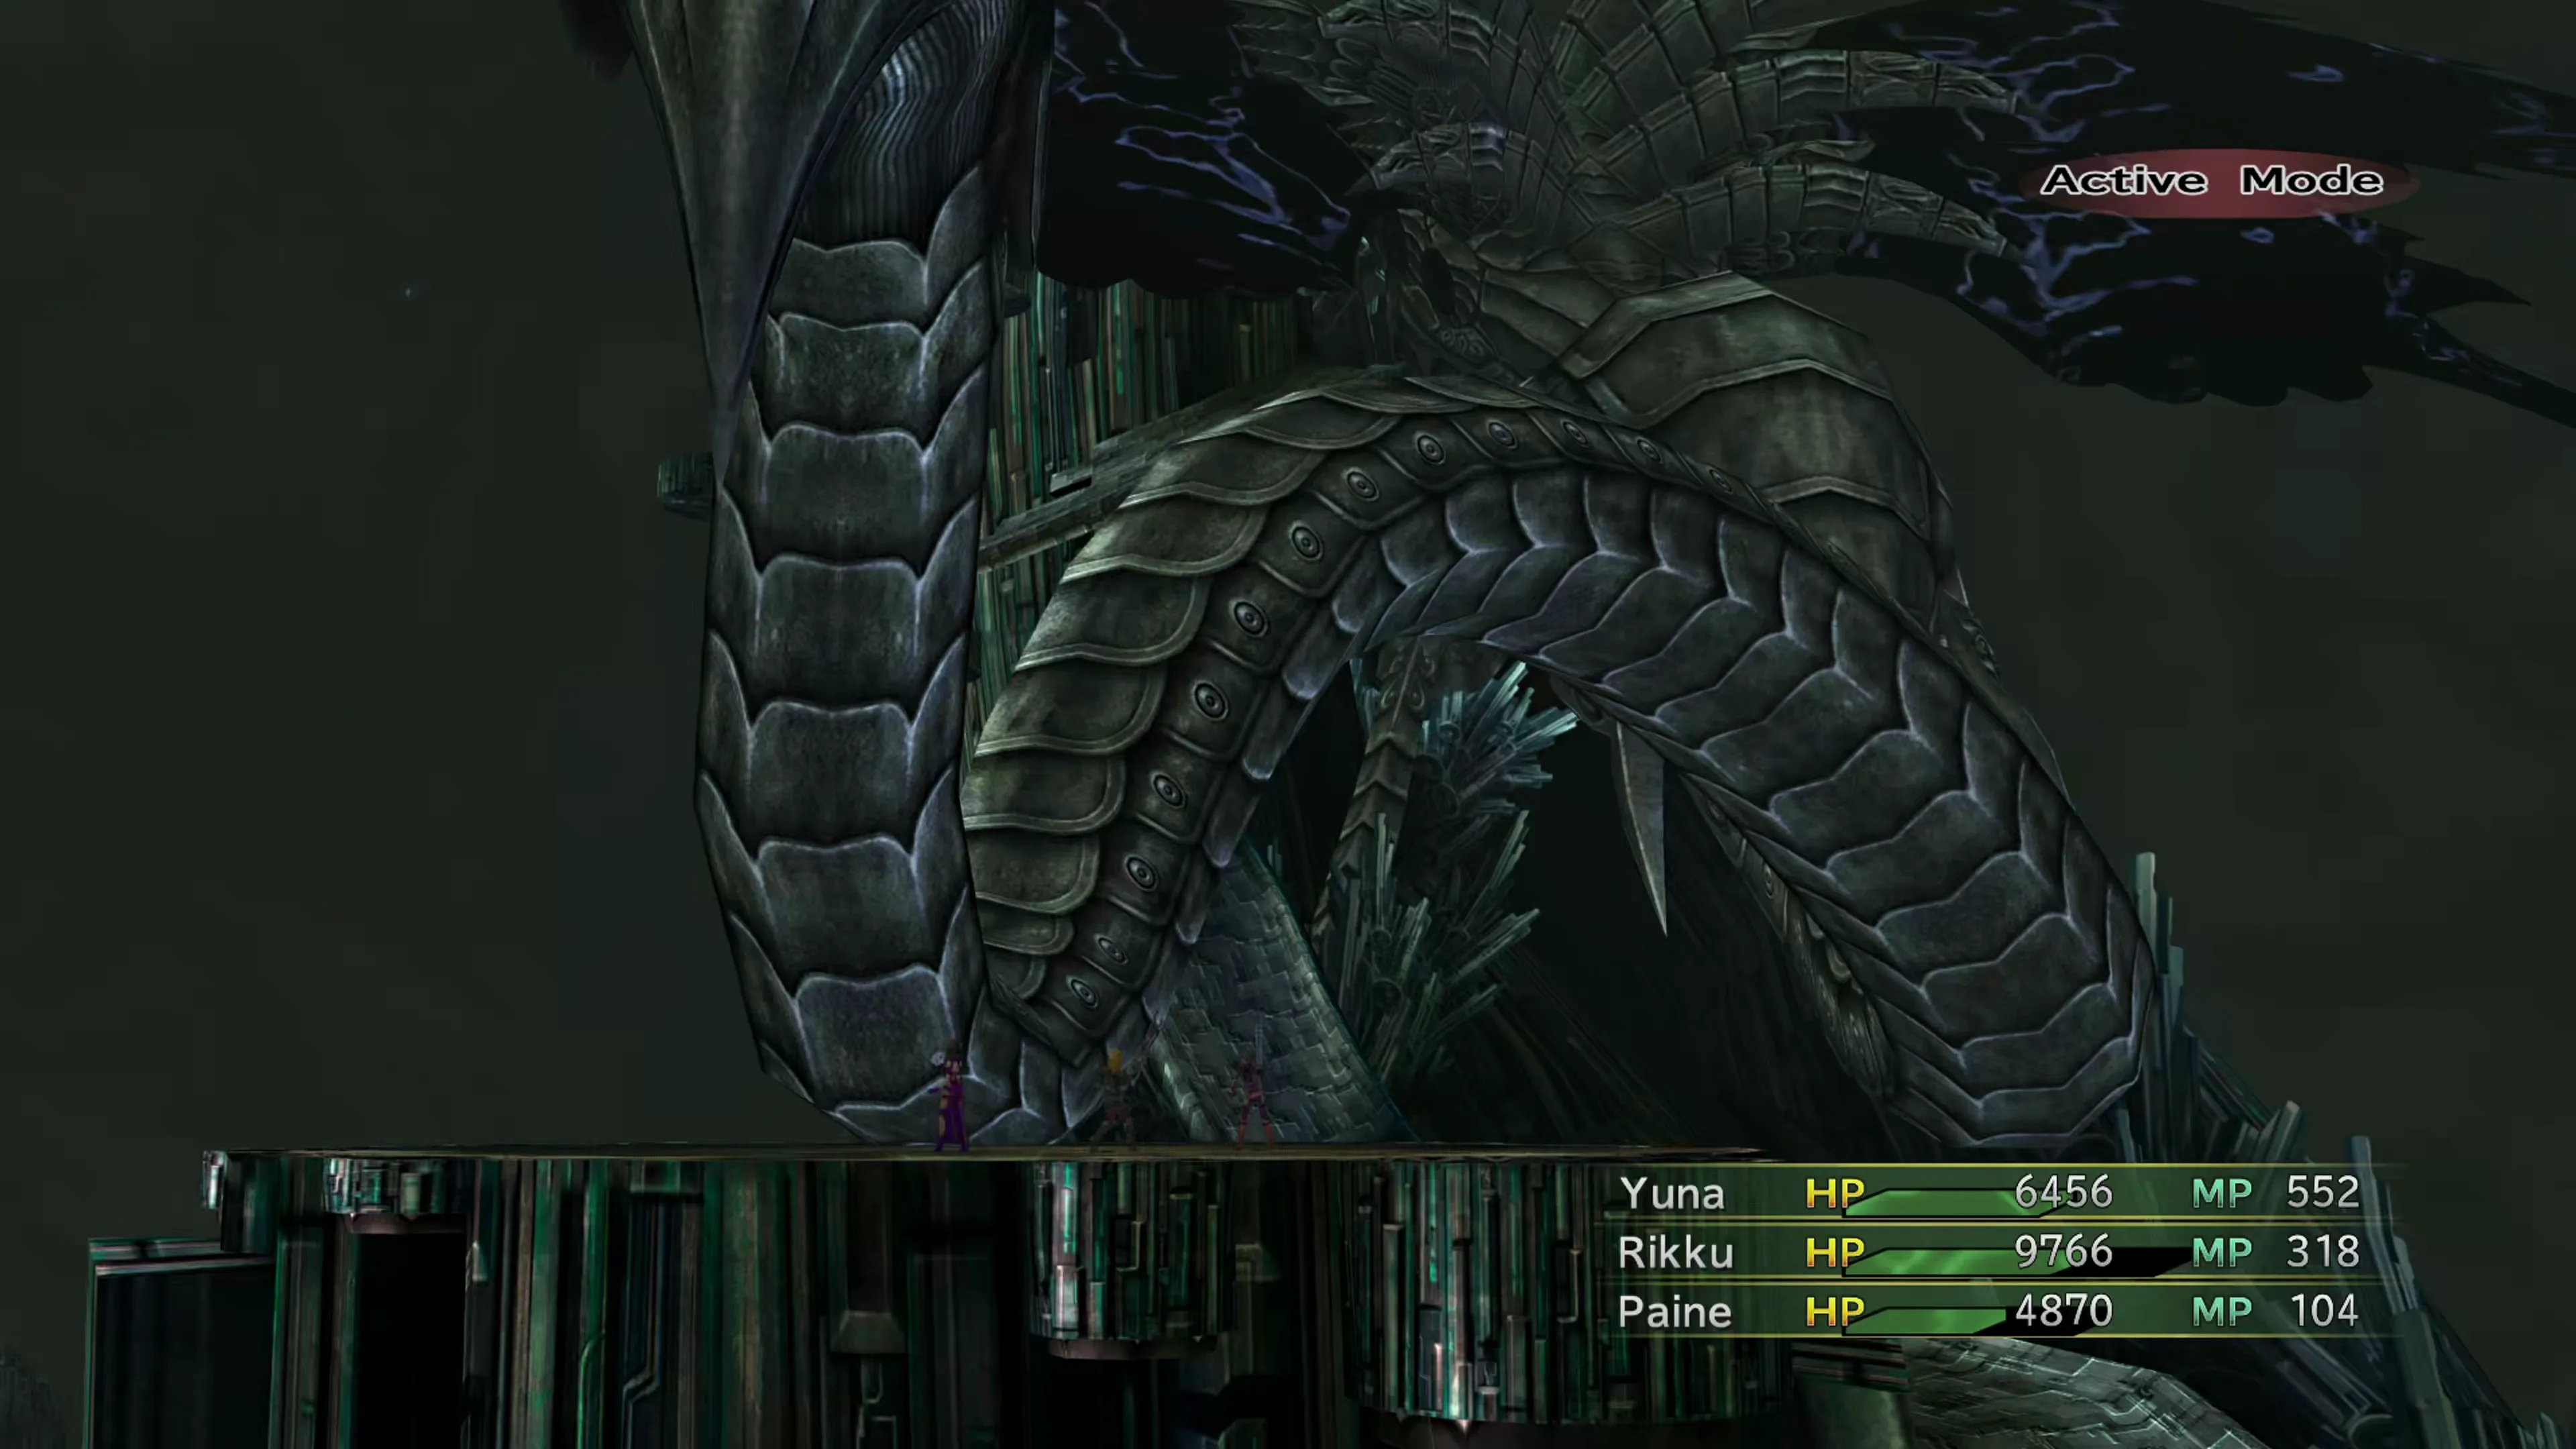
As mentioned above, there isn’t much you can do to prepare for this battle, and there certainly isn’t much required in the way of strategy. However, this fight serves as a bit of a gateway and gear/level check to see if your party is ready for the upcoming battles. If you have trouble surviving any of the Tail’s attacks, you should probably reload an earlier saved game and level up your characters a bit.
The Tail only has two attacks:
- Its normal “Tail Beam” attack, which deals 31.25% of the target’s maximum HP, and
- “Noli Me Tangere,” which deals 1,250 damage to all targets
The Tail will do nothing during its first turn and will use “Noli Me Tangere” as the first attack and one more time when it falls below 25% HP. If you can survive this damage, you can get through the fight easily.
You can use two tactics to help you through this fight. You can use your  Dark Knight Dresspheres to help reduce the damage. Many of the Tail’s attacks are HP percentage-based, but more HP gives your healer (either a
  White Mage or an
  Alchemist) more time to react. Dark Knights also deal quite a lot of damage with both their regular attacks and
  Darkness.
You can also have your White Mage cast  Protect on your party members, which won’t reduce the amount of damage dealt by its “Tail Beam” attack, but it will reduce the amount of damage dealt by “Noli Me Tangere” from 1,250 to 625.
Continue up the path leading towards Vegnagun. Before you get to the top, though, make sure your party members have some protection against the  Berserk status effect. Use accessories such as
  Ribbons. You can also reduce the amount of incoming damage by equipping elemental affinity accessories including
  Tetra Guard, Tetra Bracelet, or Tetra Band.
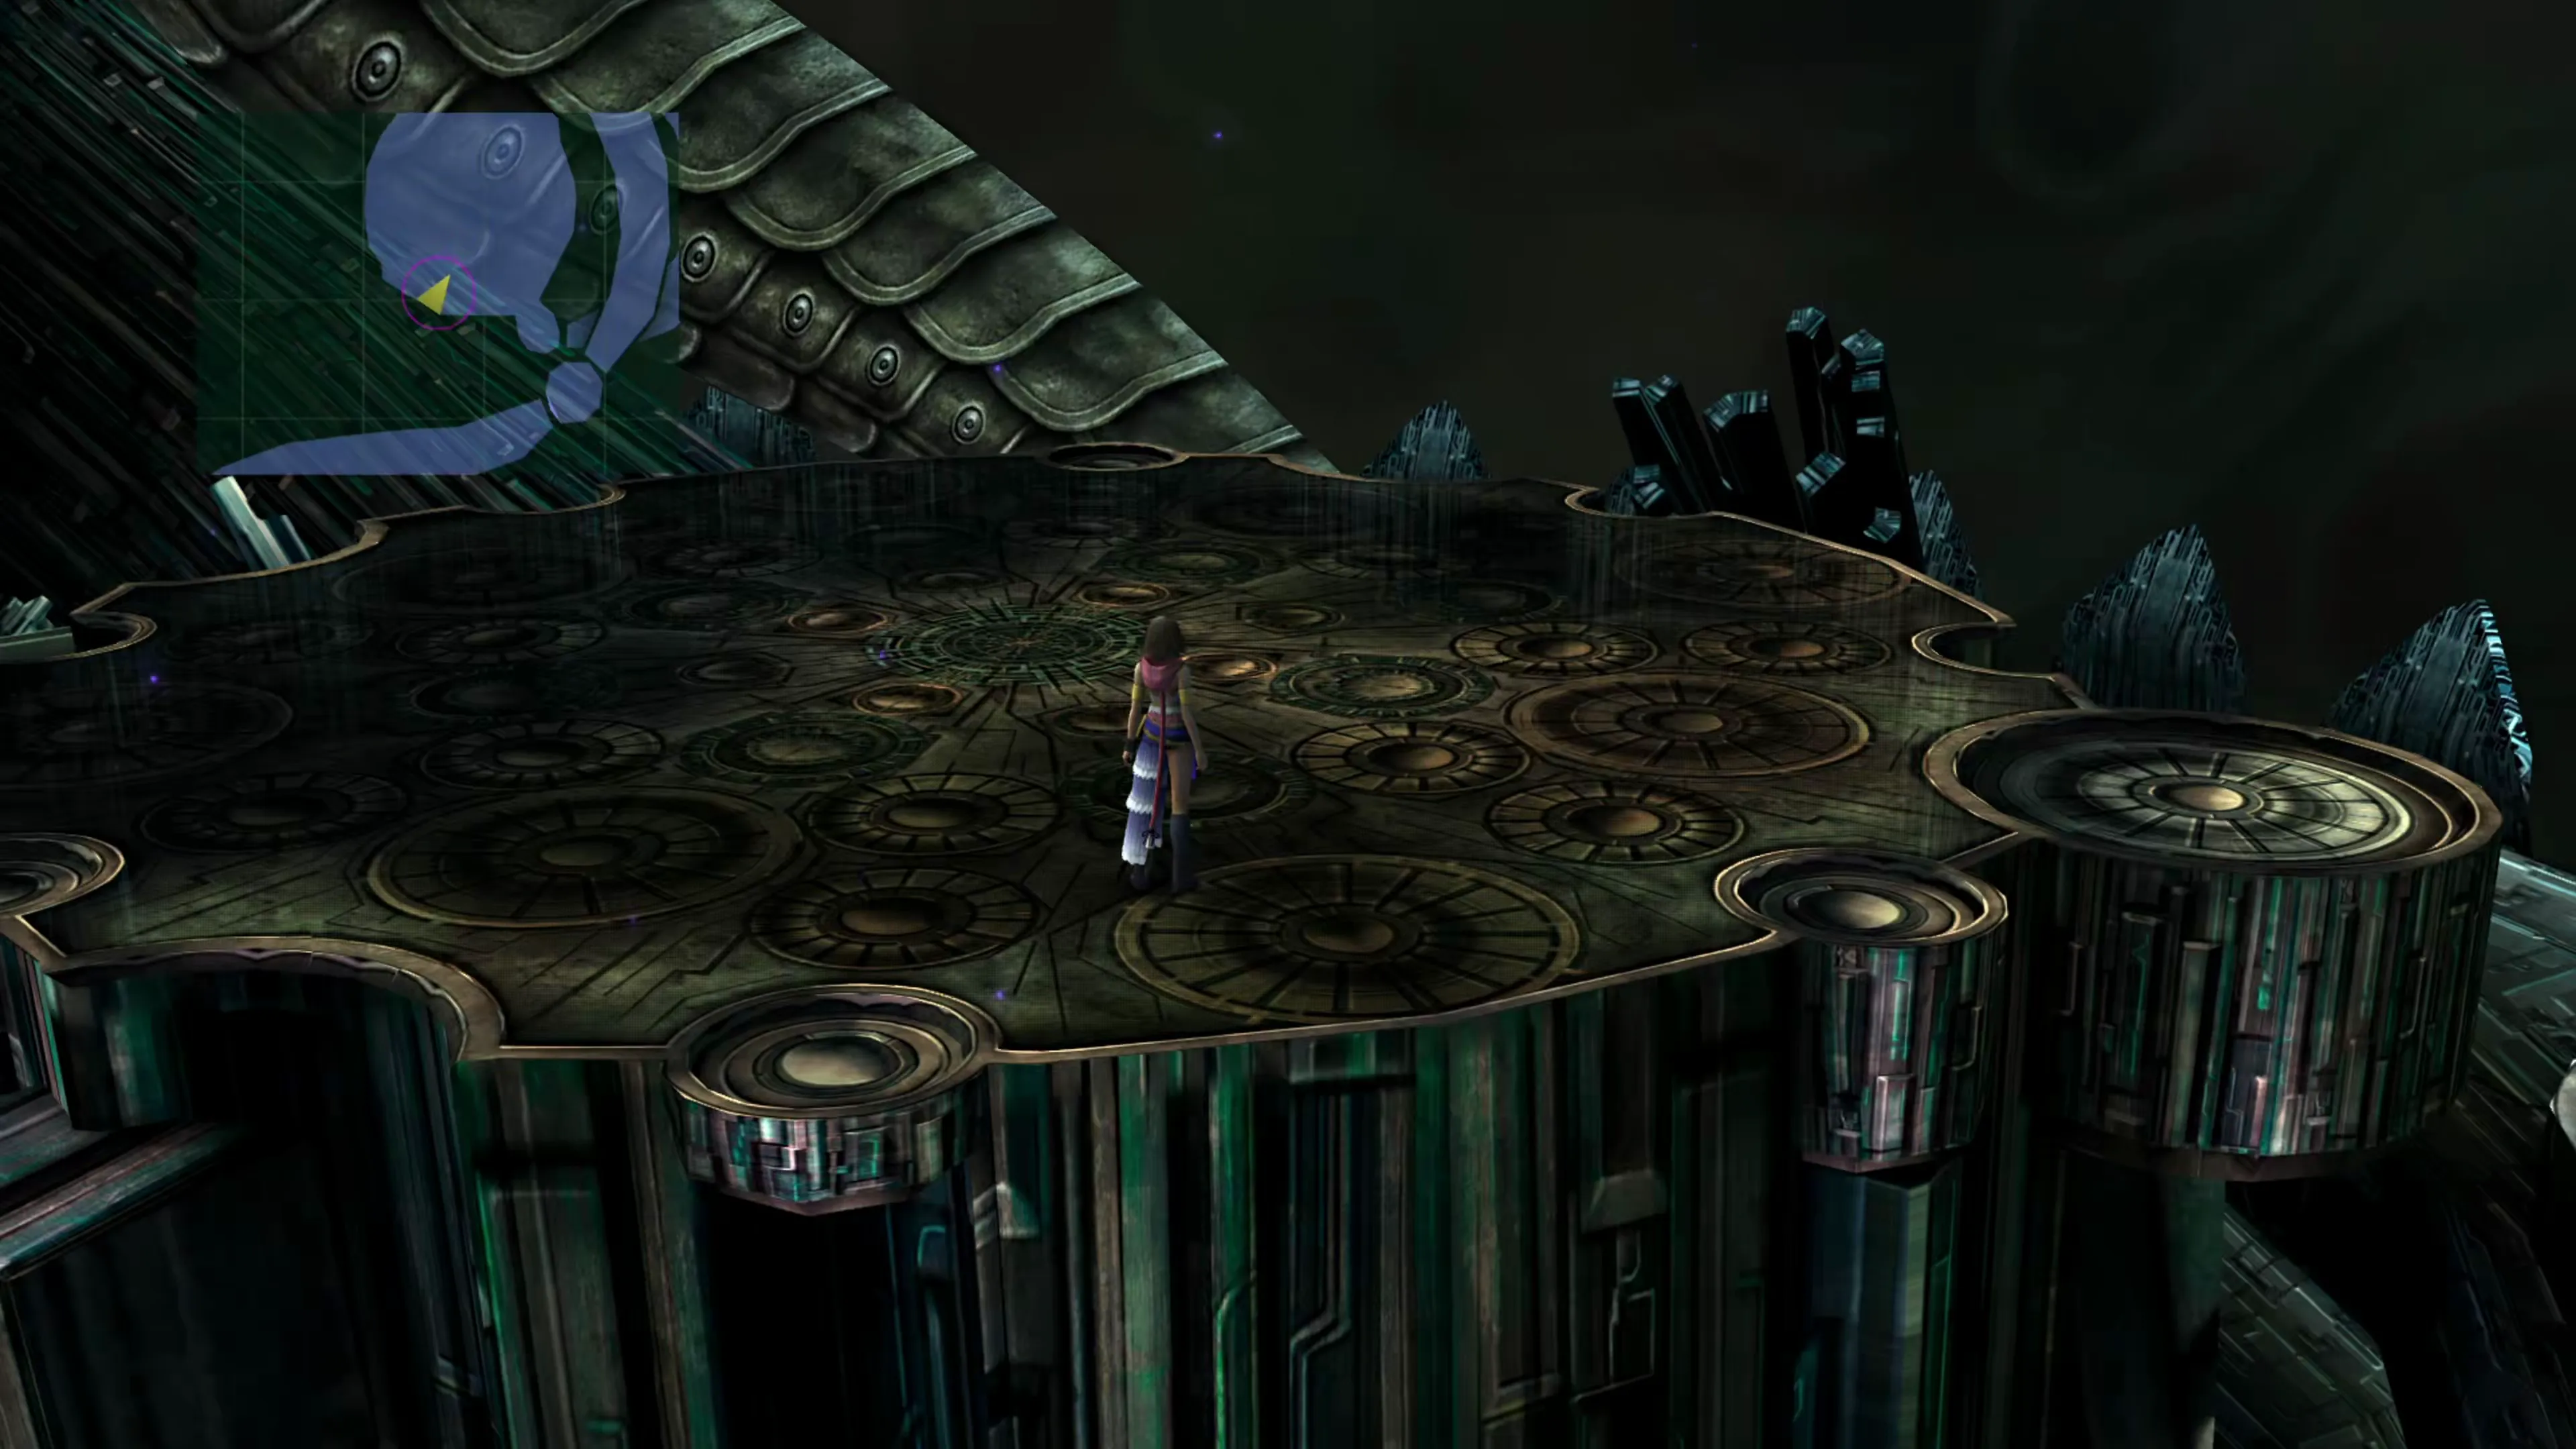
You’ll reach the Leblanc Syndicate up ahead to help them with their fight against Vegnagun’s Leg and the accompanying “nodes.”
Boss Battle
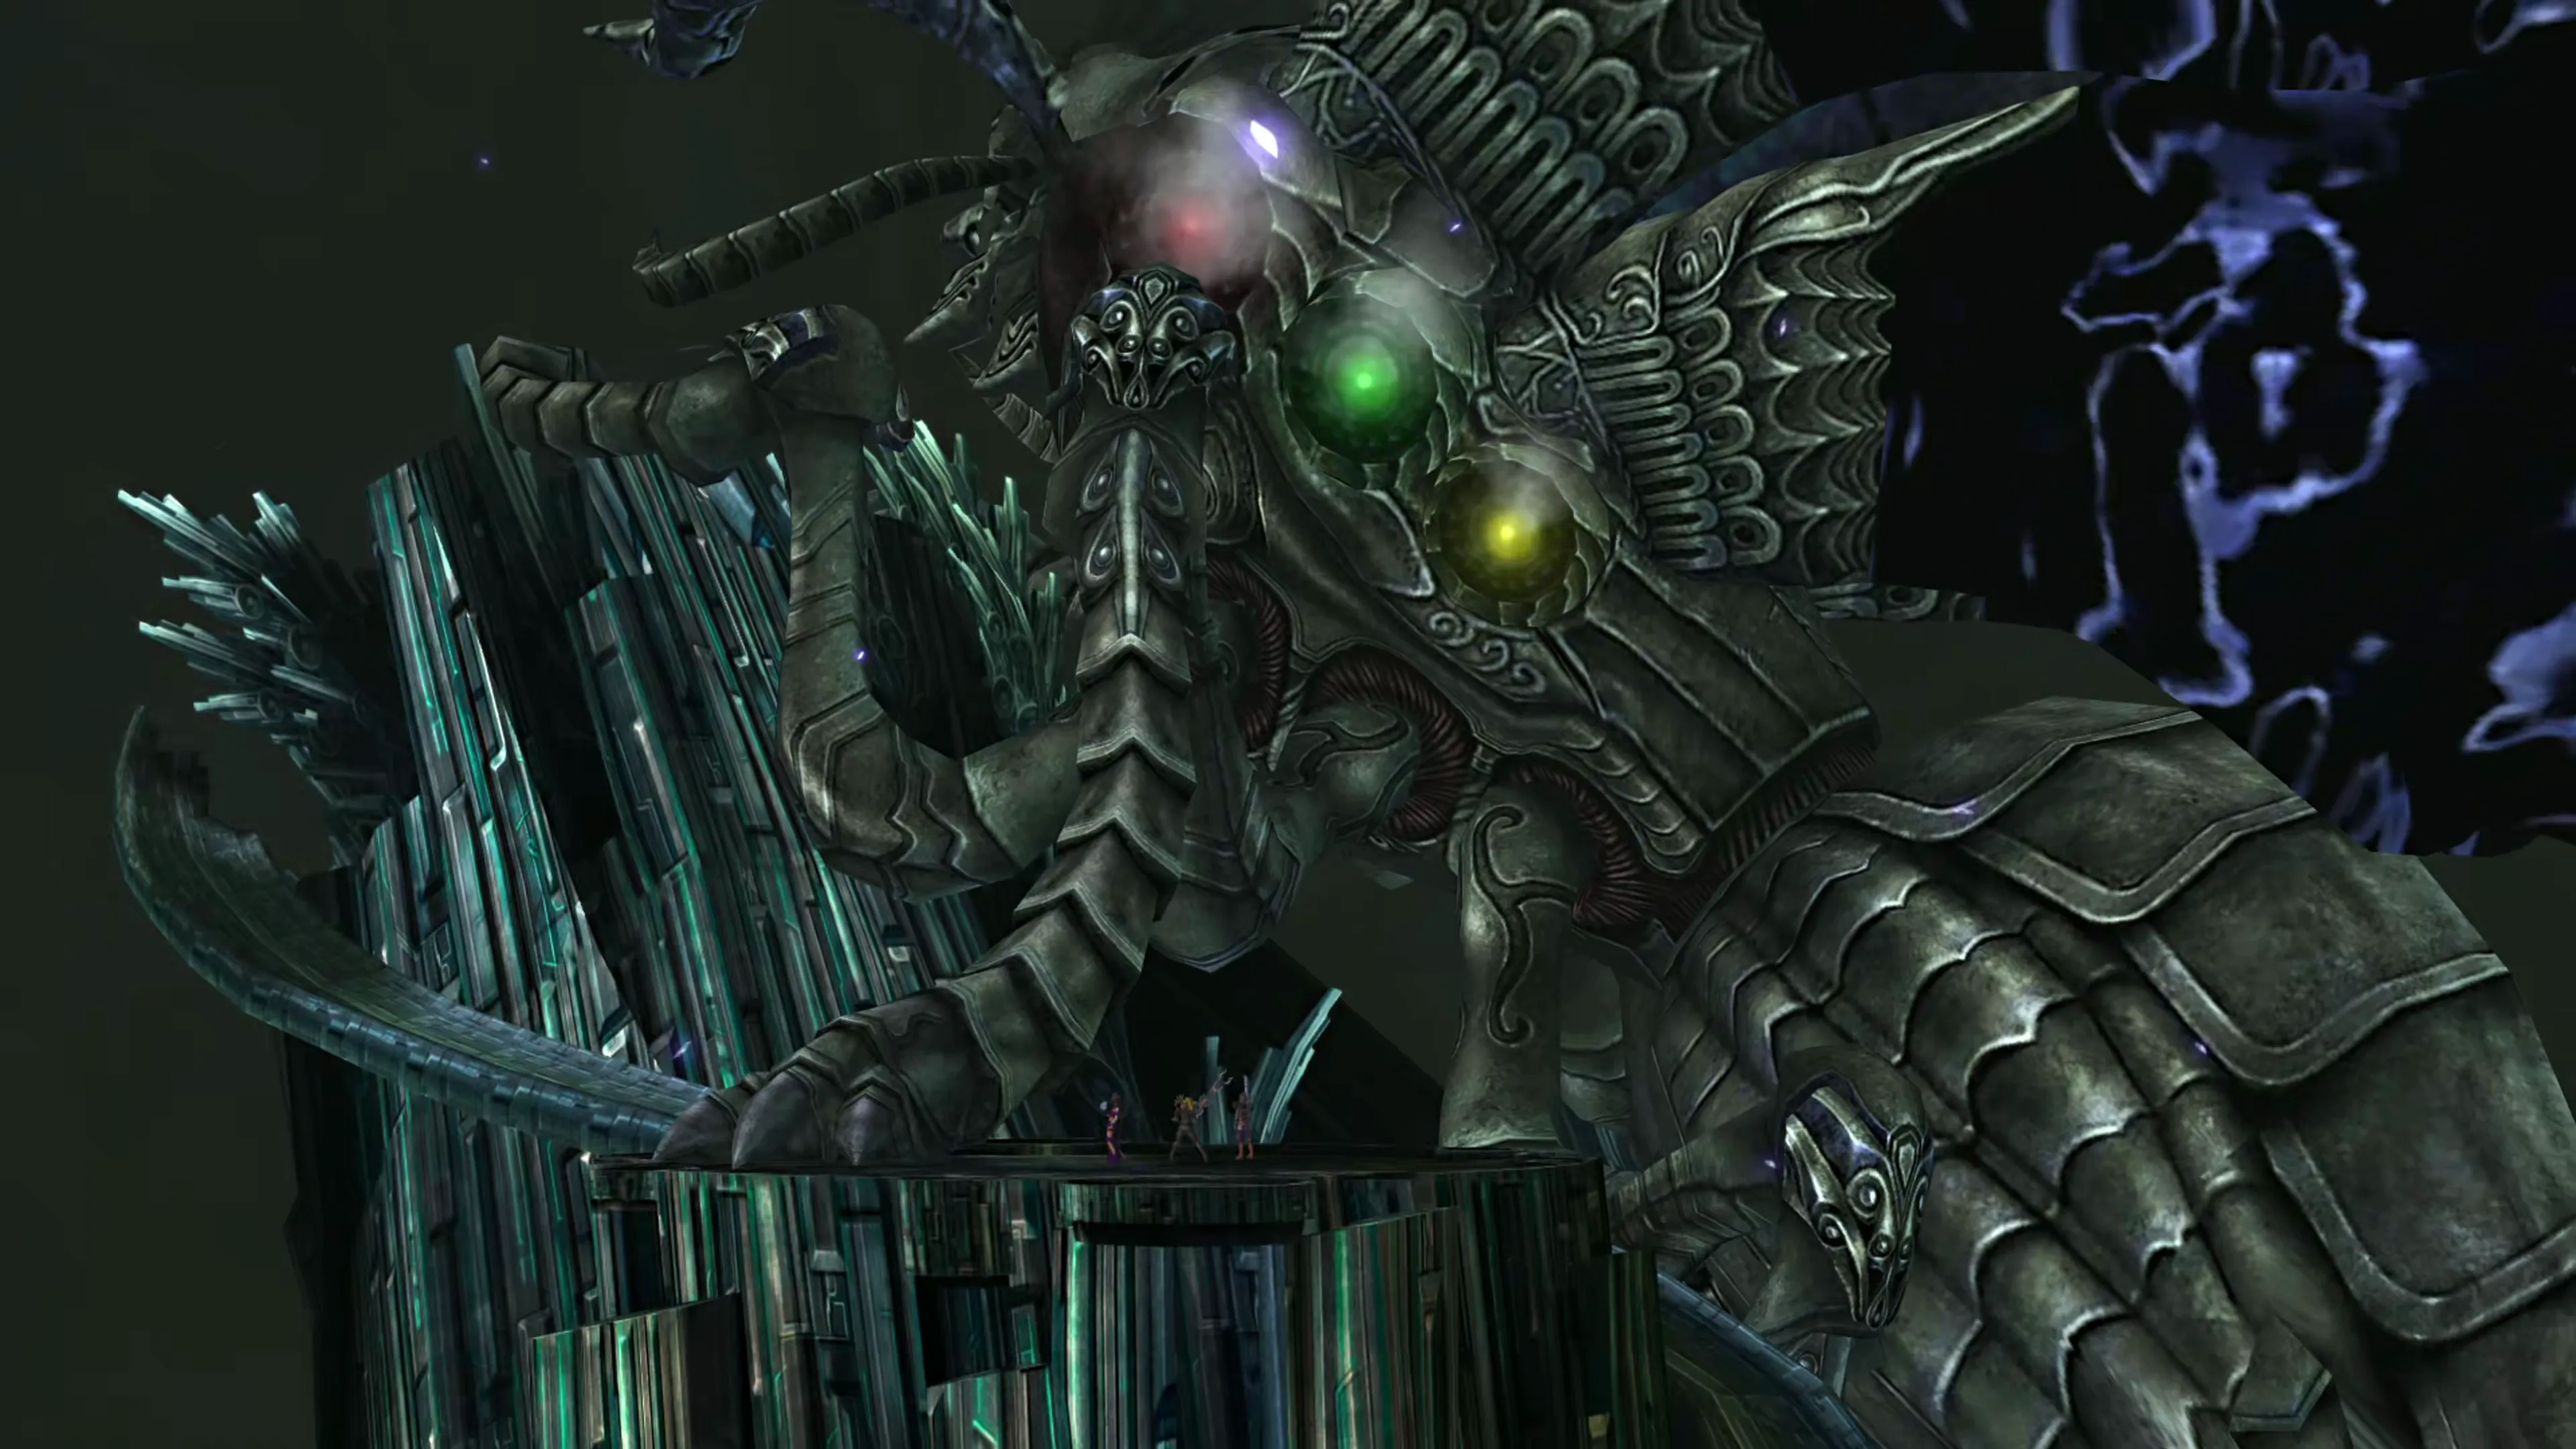
There are four targets in this fight: Vegnagun’s Leg, which is your primary target, and three Nodes located way up on its body. The Leg will use the following attacks:
- “Vita Brevis,” which deals damage to all party members and heavily delays their next turn
- “Break,” which causes
 Petrification
 - “Berserk,” which inflicts the Berserk status effect
- “Slow,” which inflicts the
 Slow status effect, and
 - “Absorb,” which absorbs both HP and MP from a target
But let’s talk about the other targets: Node A, Node B, and Node C. These Nodes will take actions based on their color, as shown in the table below. They will cycle through each of these three colors, in order, when they take enough actions or get hit enough:
Red Color:
- “Missile” attack, which hits one target twice
- “Dies Irae” attack, which randomly hits all three targets up to 9 times
Green Color:
Yellow Color:
You can’t turn the Nodes off if you hit them enough times; you can only cycle them through the colors… but it isn’t like there’s a “good color” to have them on. They’re either going to be dealing damage to your party or healing the Leg, so focus your efforts on ripping through the Leg as quickly as possible.
Use Protect or Shell on your party members to help reduce the damage, and use a  Dispel Tonic on the Leg to get rid of any annoying buffs that a Green Node casts on it. The Nodes have too much HP to be defeated, so focus all of your efforts on the Leg. This is another battle of attrition and a test of whether your party members can overpower the Leg quickly enough before you get overwhelmed by the incoming damage from all four enemies.
| Enemy | HP | Steal | Drop |
|---|---|---|---|
| Vegnagun (Leg) | 18220 | Elixir (common)Elixir x2 (rare) |  Mythril Bangle Mythril Bangle |
| Node A/B/C | 300000 | Megalixir (common)Megalixir x2 (rare) | Megalixir (common) Hero Drink (rare) Hero Drink (rare) |
Continue climbing up towards Ormi and Logos again. Make sure that your party members have protection against Petrification and Poison for the next fight. Go past Ormi and Logos to join Nooj, Gippal, and Leblanc engaged in battle with Vegnagun’s Core.
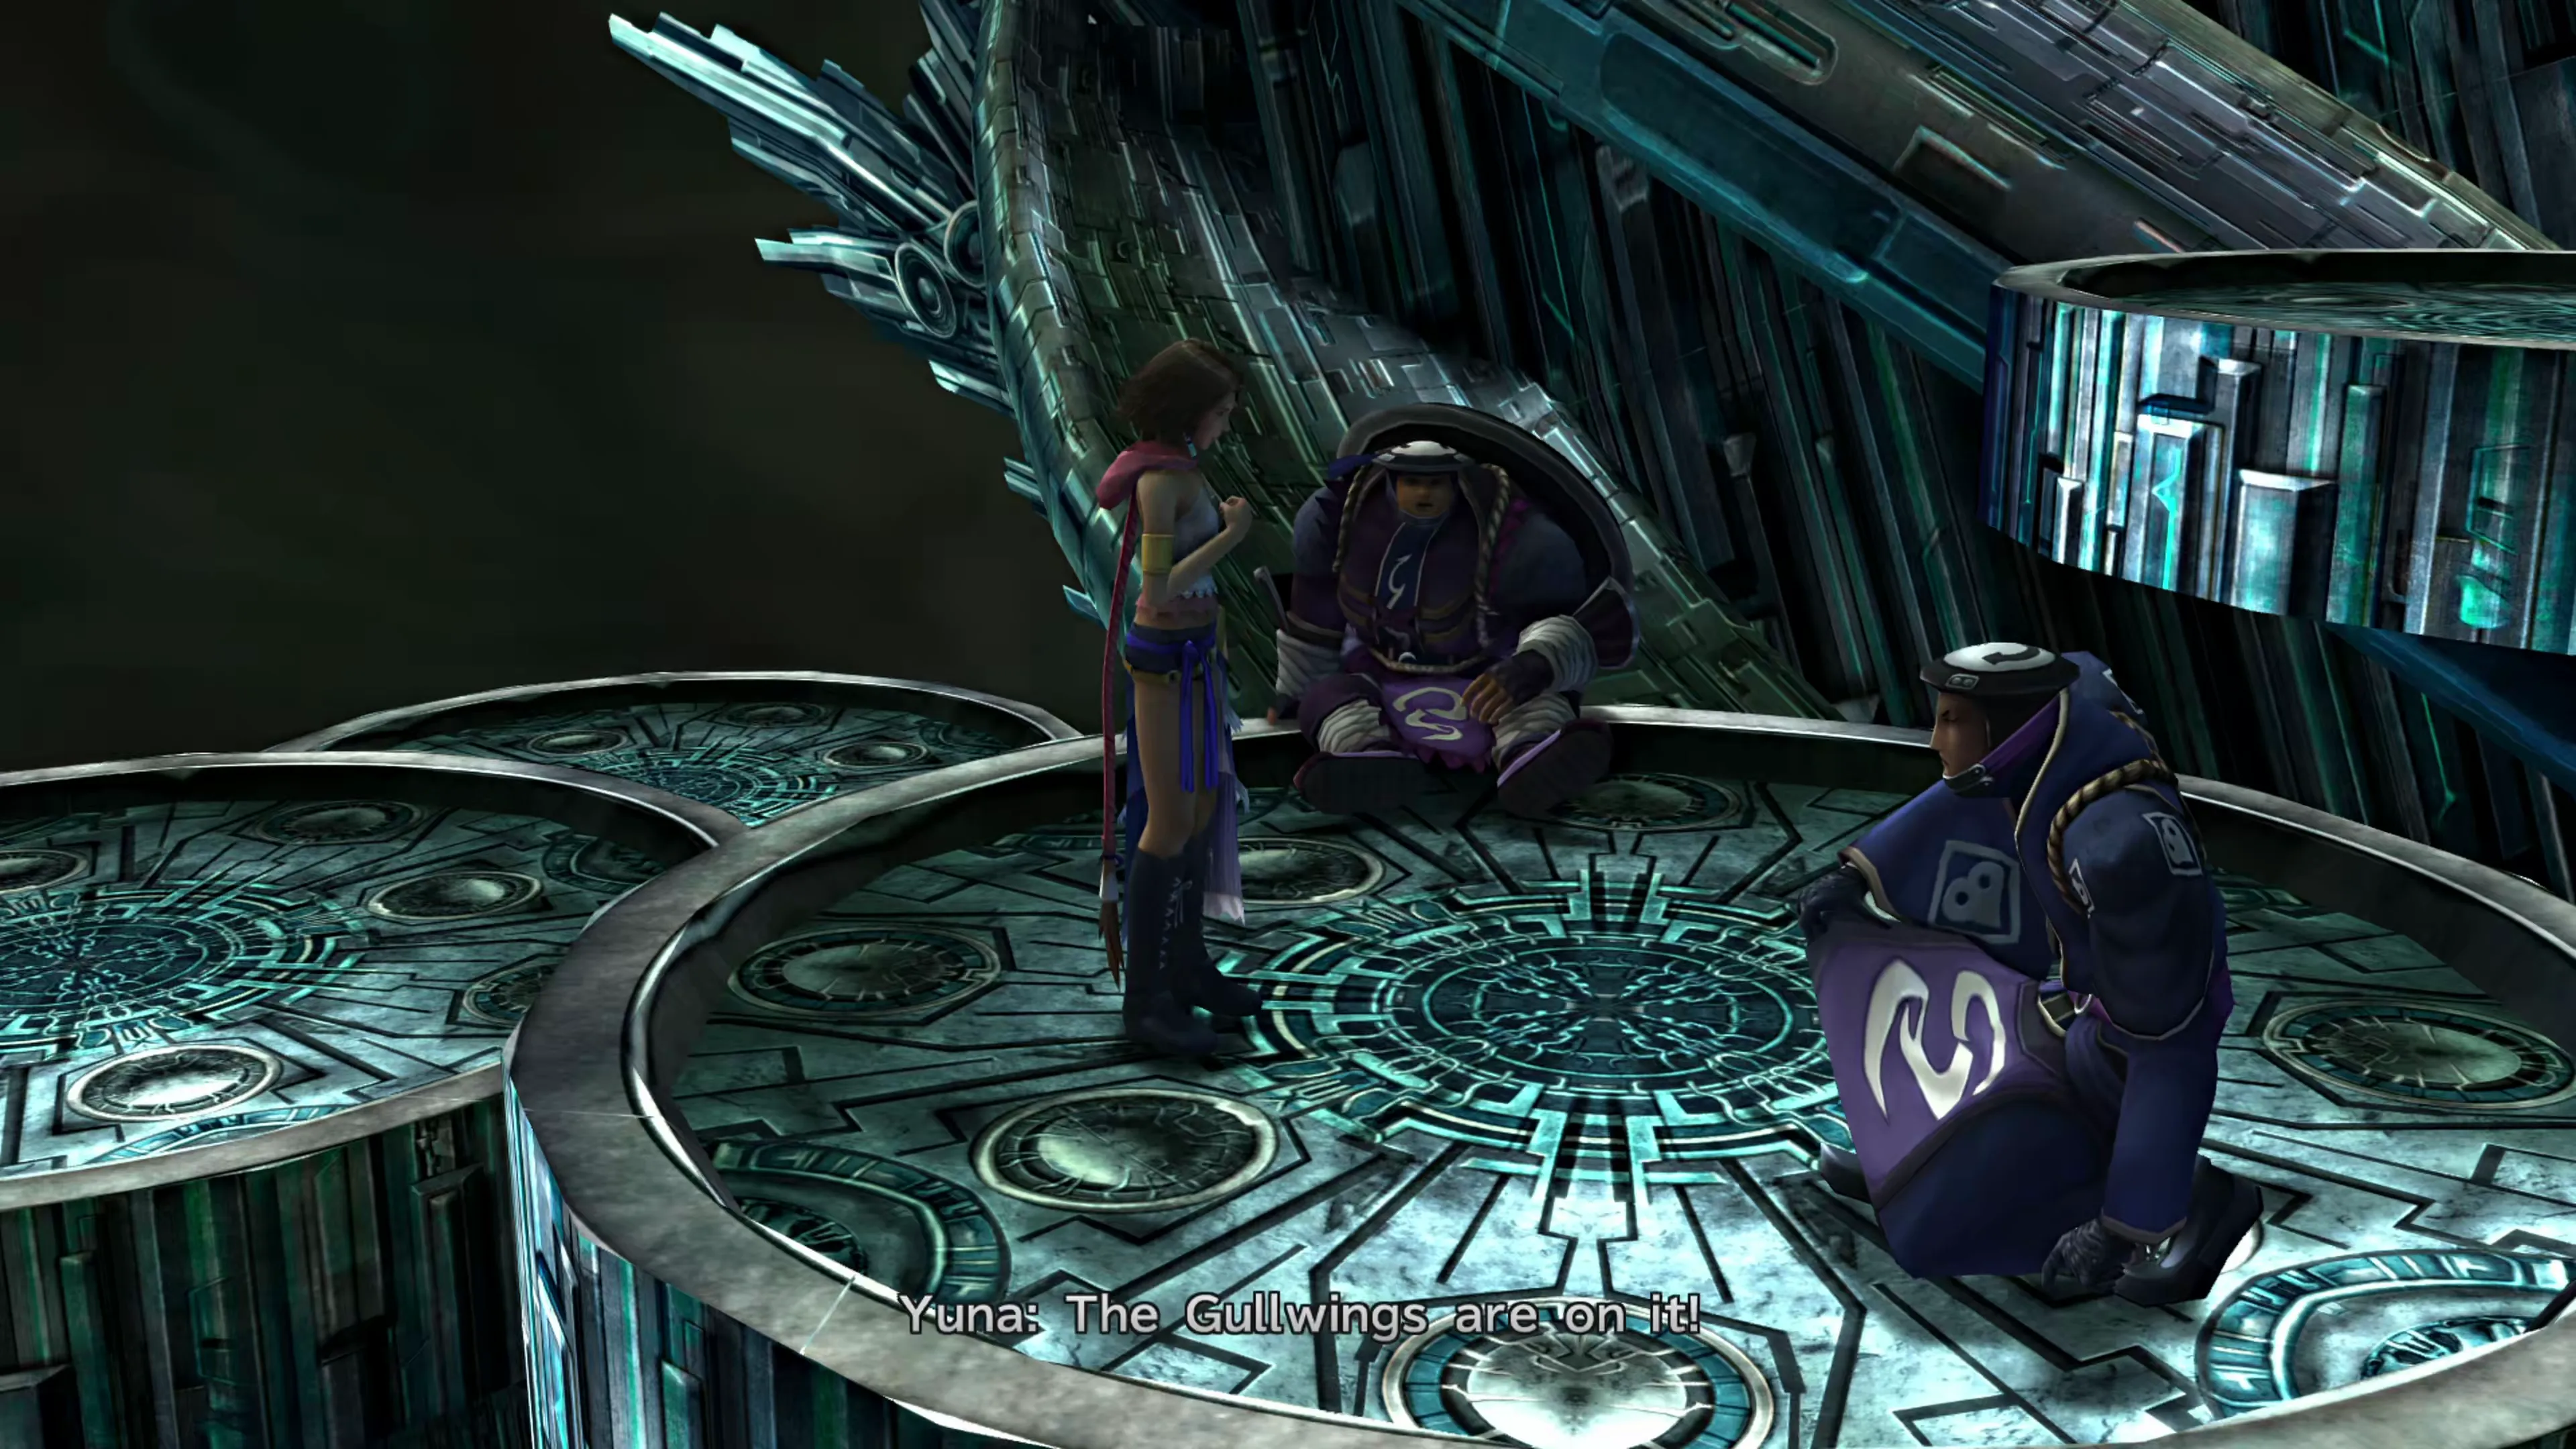
Boss Battle
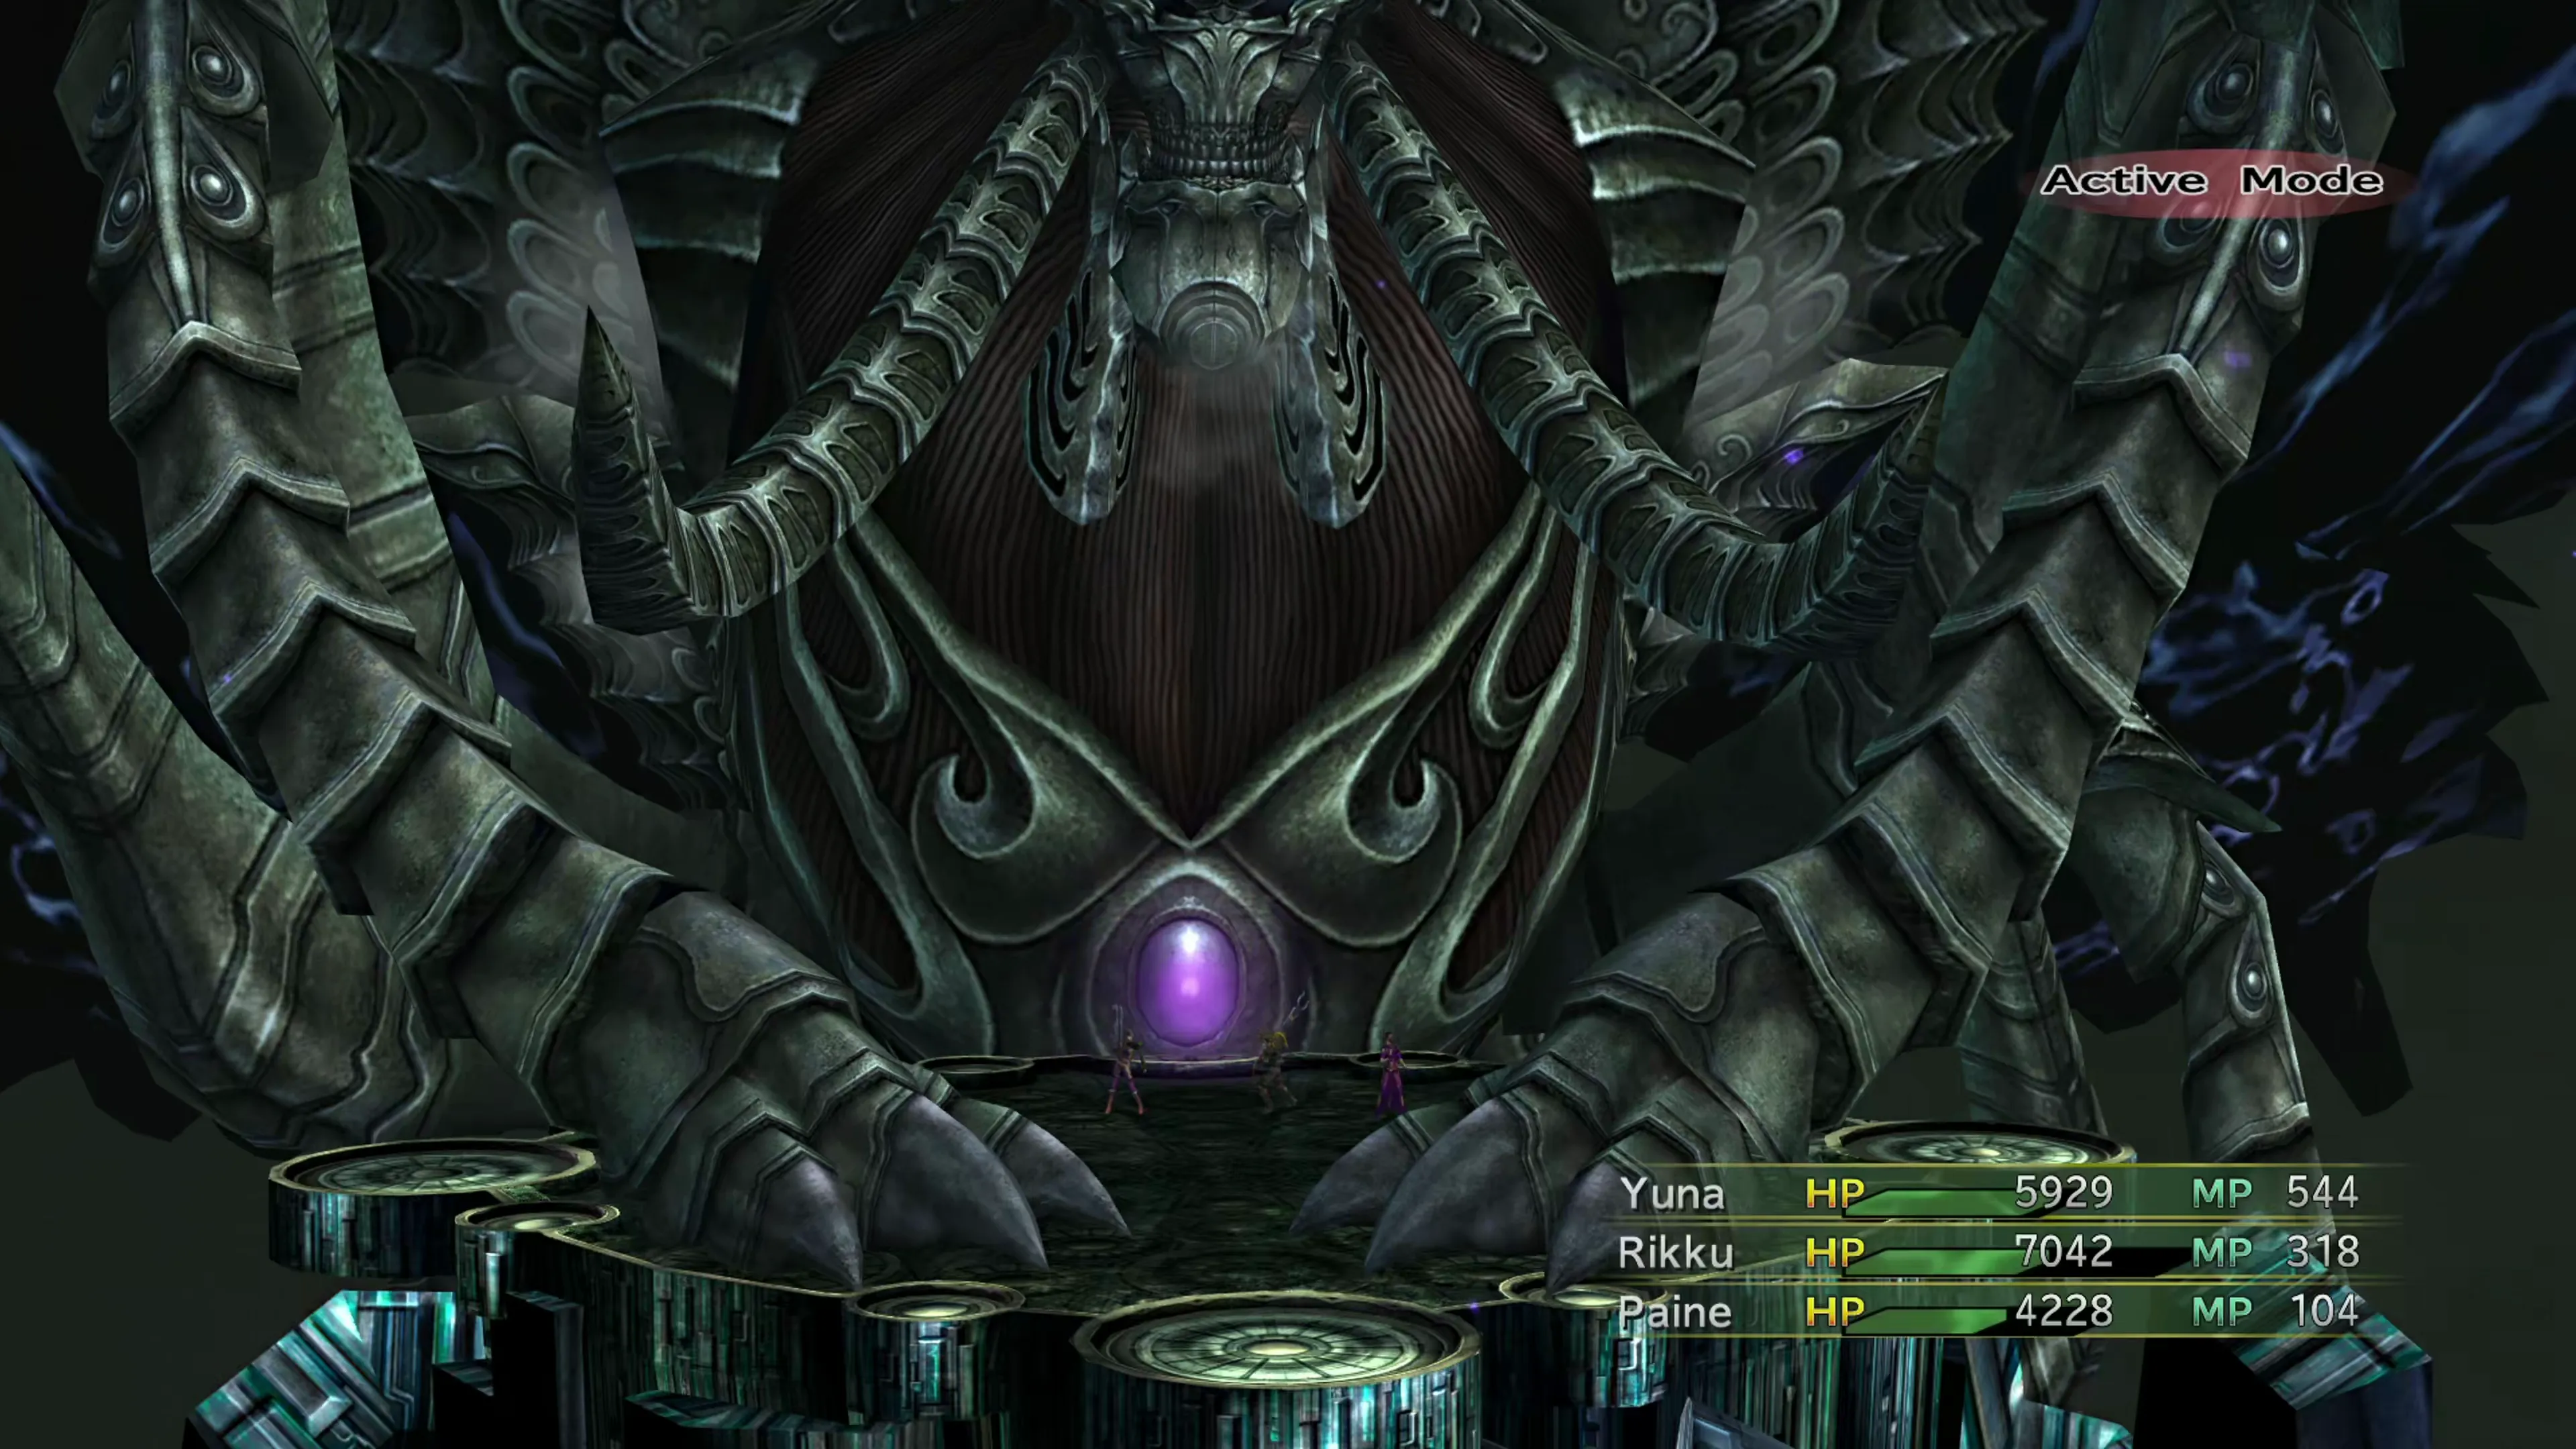
Jecht’s voice will explain the mechanic of this fight to you pretty shortly after you begin. After you attack the Core, and depending on which character attacks the Core, the two Bulwarks will respond differently. The full list of attacks you’ll face in this fight includes:
| Your Attack Type | Bulwark Response |
|---|---|
| Physical | Deals damage equal to 31.25% of a character’s maximum HP |
| Magical | Drains MP equal to 18.75% of a character’s maximum MP |
| Special | Deals damage equal to 18.75% of a character’s maximum HP, and Drains MP equal to 18.75% of a character’s maximum MP |
Core:
- “Charge Core,” which charges three times before the Core can cast “Memento Mori”
- “Memento Mori” deals heavy magic damage to the entire party
 Full Life, whenever one of the Bulwarks has been KO’d
Bulwark Retaliation Attacks:
These are just how the Bulwarks respond, but they also have their own set of moves for when it’s their turn in battle:
Left Bulwarkwill cast offensive spells on your party:
 Doom
DoomRight Bulwarkcasts support abilities on itself, the Left Bulwark, and the Core:
 Regen
Regen Shell
Shell Protect
The easiest method to defeat Vegnagun’s Core is to focus on the two Bulwarks first and keep them KO’d for the majority of the fight. They only have 3,000 HP each, so this isn’t too difficult to do, but you can make it even easier if you use attacks that hit multiple targets, like a Dark Knight’s Darkness attack.
There’s no point in casting Protect or Shell on your party members, because the Left Bulwark will cast  Dispel and remove these buffs, but you can have a
  Warrior use their
  Armor Break ability on the Core to help increase the amount of damage that it takes over the course of the fight.
“Memento Mori” is the most difficult attack to deal with. Ideally, you’ll prevent it from being able to use this attack at all during the fight, but if not, swap over to a White Mage and have them quickly cast Shell on your party members to help increase your odds of surviving the heavy magic damage (hopefully it doesn’t get dispelled).
| Enemy | HP | Steal | Drop |
|---|---|---|---|
| Vegnagun (Core) | 33040 | Turbo Ether | Megalixir |
| Left Bulwark | 3000 | Phoenix Down (common)L-Bomb (rare) | Mega-Potion (common)X-Potion (rare) |
| Right Bulwark | 3000 | Phoenix Down (common)L-Bomb (rare) | Mega-Potion (common)X-Potion (rare) |
After a short cutscene, you’ll automatically be thrown into battle against the next boss.
Boss Battle
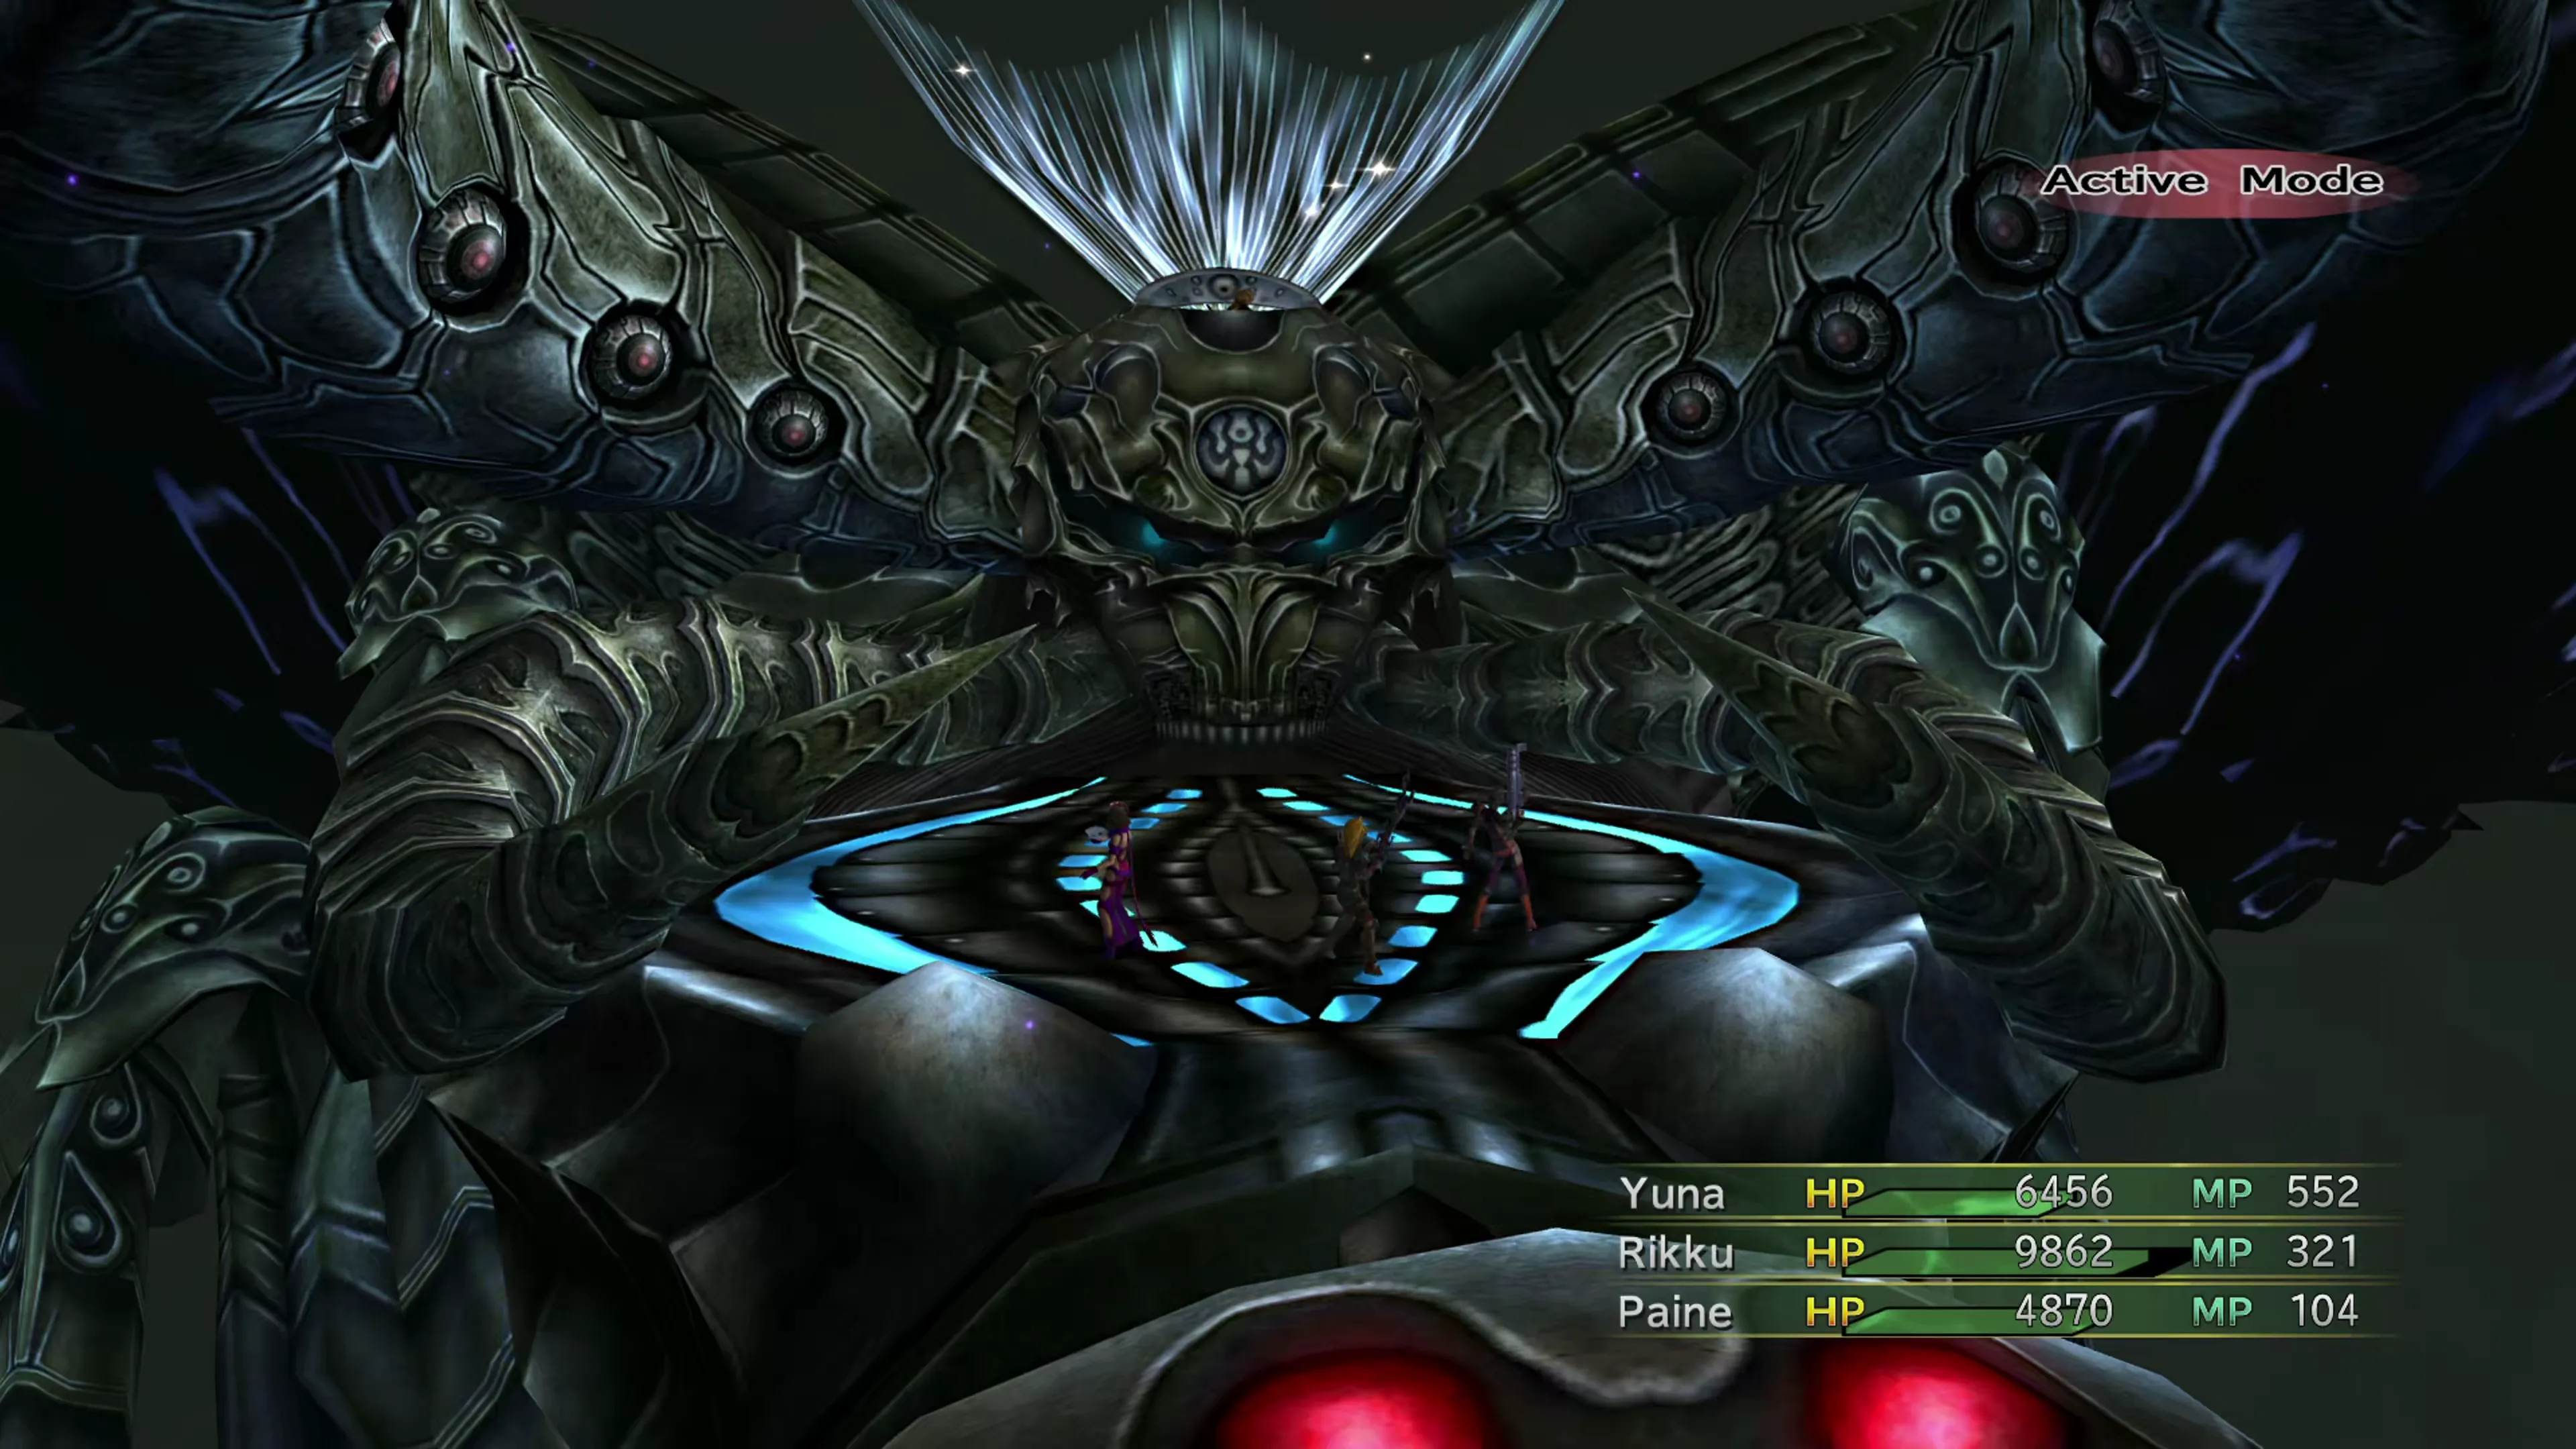
This fight is on an invisible timer. Shuyin speaks during the fight, and after he speaks seven times, the Vegnagun cannon fires and the battle ends with a “Game Over” screen. However, there is plenty of time to get through the fight even if your characters aren’t high-level, so it’s unlikely that this hidden timer will come into play.
Here are the attacks you’ll face from each of the three targets:
Head:
- “Pallida Mors” deals around 1,200 magic damage to one target and is only used when the Head cannot be targeted
- “Nemo Ante Mortem Beatus” deals anywhere from 700 to 1,500 magic damage
- “Mors Certa” deals 250 magic damage and inflicts Silence, Darkness, and Poison
- “Odi Et Amo” deals 16 hits across all party members for around 1,000 damage across all targets, and it can remove positive status buffs like Shell, Protect, Reflect, Regen, Haste, and stat boosts
- “Acta Est Fabula” fully revives the Left and Right Redoubts
Right Redoubt:
- “Lacrimosa” deals around 100 physical damage to one target
- “Blind” inflicts the
 Darkness status effect
 - “Break” inflicts the Petrification status effect
- “Flare” deals magic damage to one target
Left Redoubt:
- “Lacrimosa” drains the MP of one target
- “Slow” inflicts the Slow status effect
- “Dispel” removes buffs from the target
- “Demi” deals damage equal to 25% of each target’s current HP
This fight has two phases. During the first phase, you won’t be able to attack Vegnagun’s Head until you’ve brought down both of the Redoubts (and don’t give either of them enough time to revive the other). Phase 2 begins after you KO them both, for the first time, at which point the Head will use “Acta Est Fabula” to revive them both. The Head becomes targetable for the rest of the fight.
Ideally, for the second phase of the fight, you’ll want to keep using attacks that hit all targets, like a Dark Knight’s Darkness ability, because it goes through both physical and magical defenses. If you manage to KO either the Left or Right Redoubt, you can keep the Head focused on reviving instead of attacking.
The Head/Shuyin will use “Nemo Ante Mortem Beatus,” its most powerful attack, a total of four times throughout the fight. This happens when its HP reaches 80%, 60%, 40%, and 20%. This is its strongest attack, so make sure you’re ready to recover from the damage by keeping your party members healed up above 1,500 HP. Having a permanent White Mage or Alchemist is advisable for this fight.
| Enemy | HP | Steal | Drop |
|---|---|---|---|
| Vegnagun (Head) | 38420 | Megalixir | None |
| Right Redoubt | 2500 | Phoenix Down (common)Mega Phoenix (rare) | None |
| Left Redoubt | 2500 | Phoenix Down (common)Mega Phoenix (rare) | None |
Achievement/Trophy
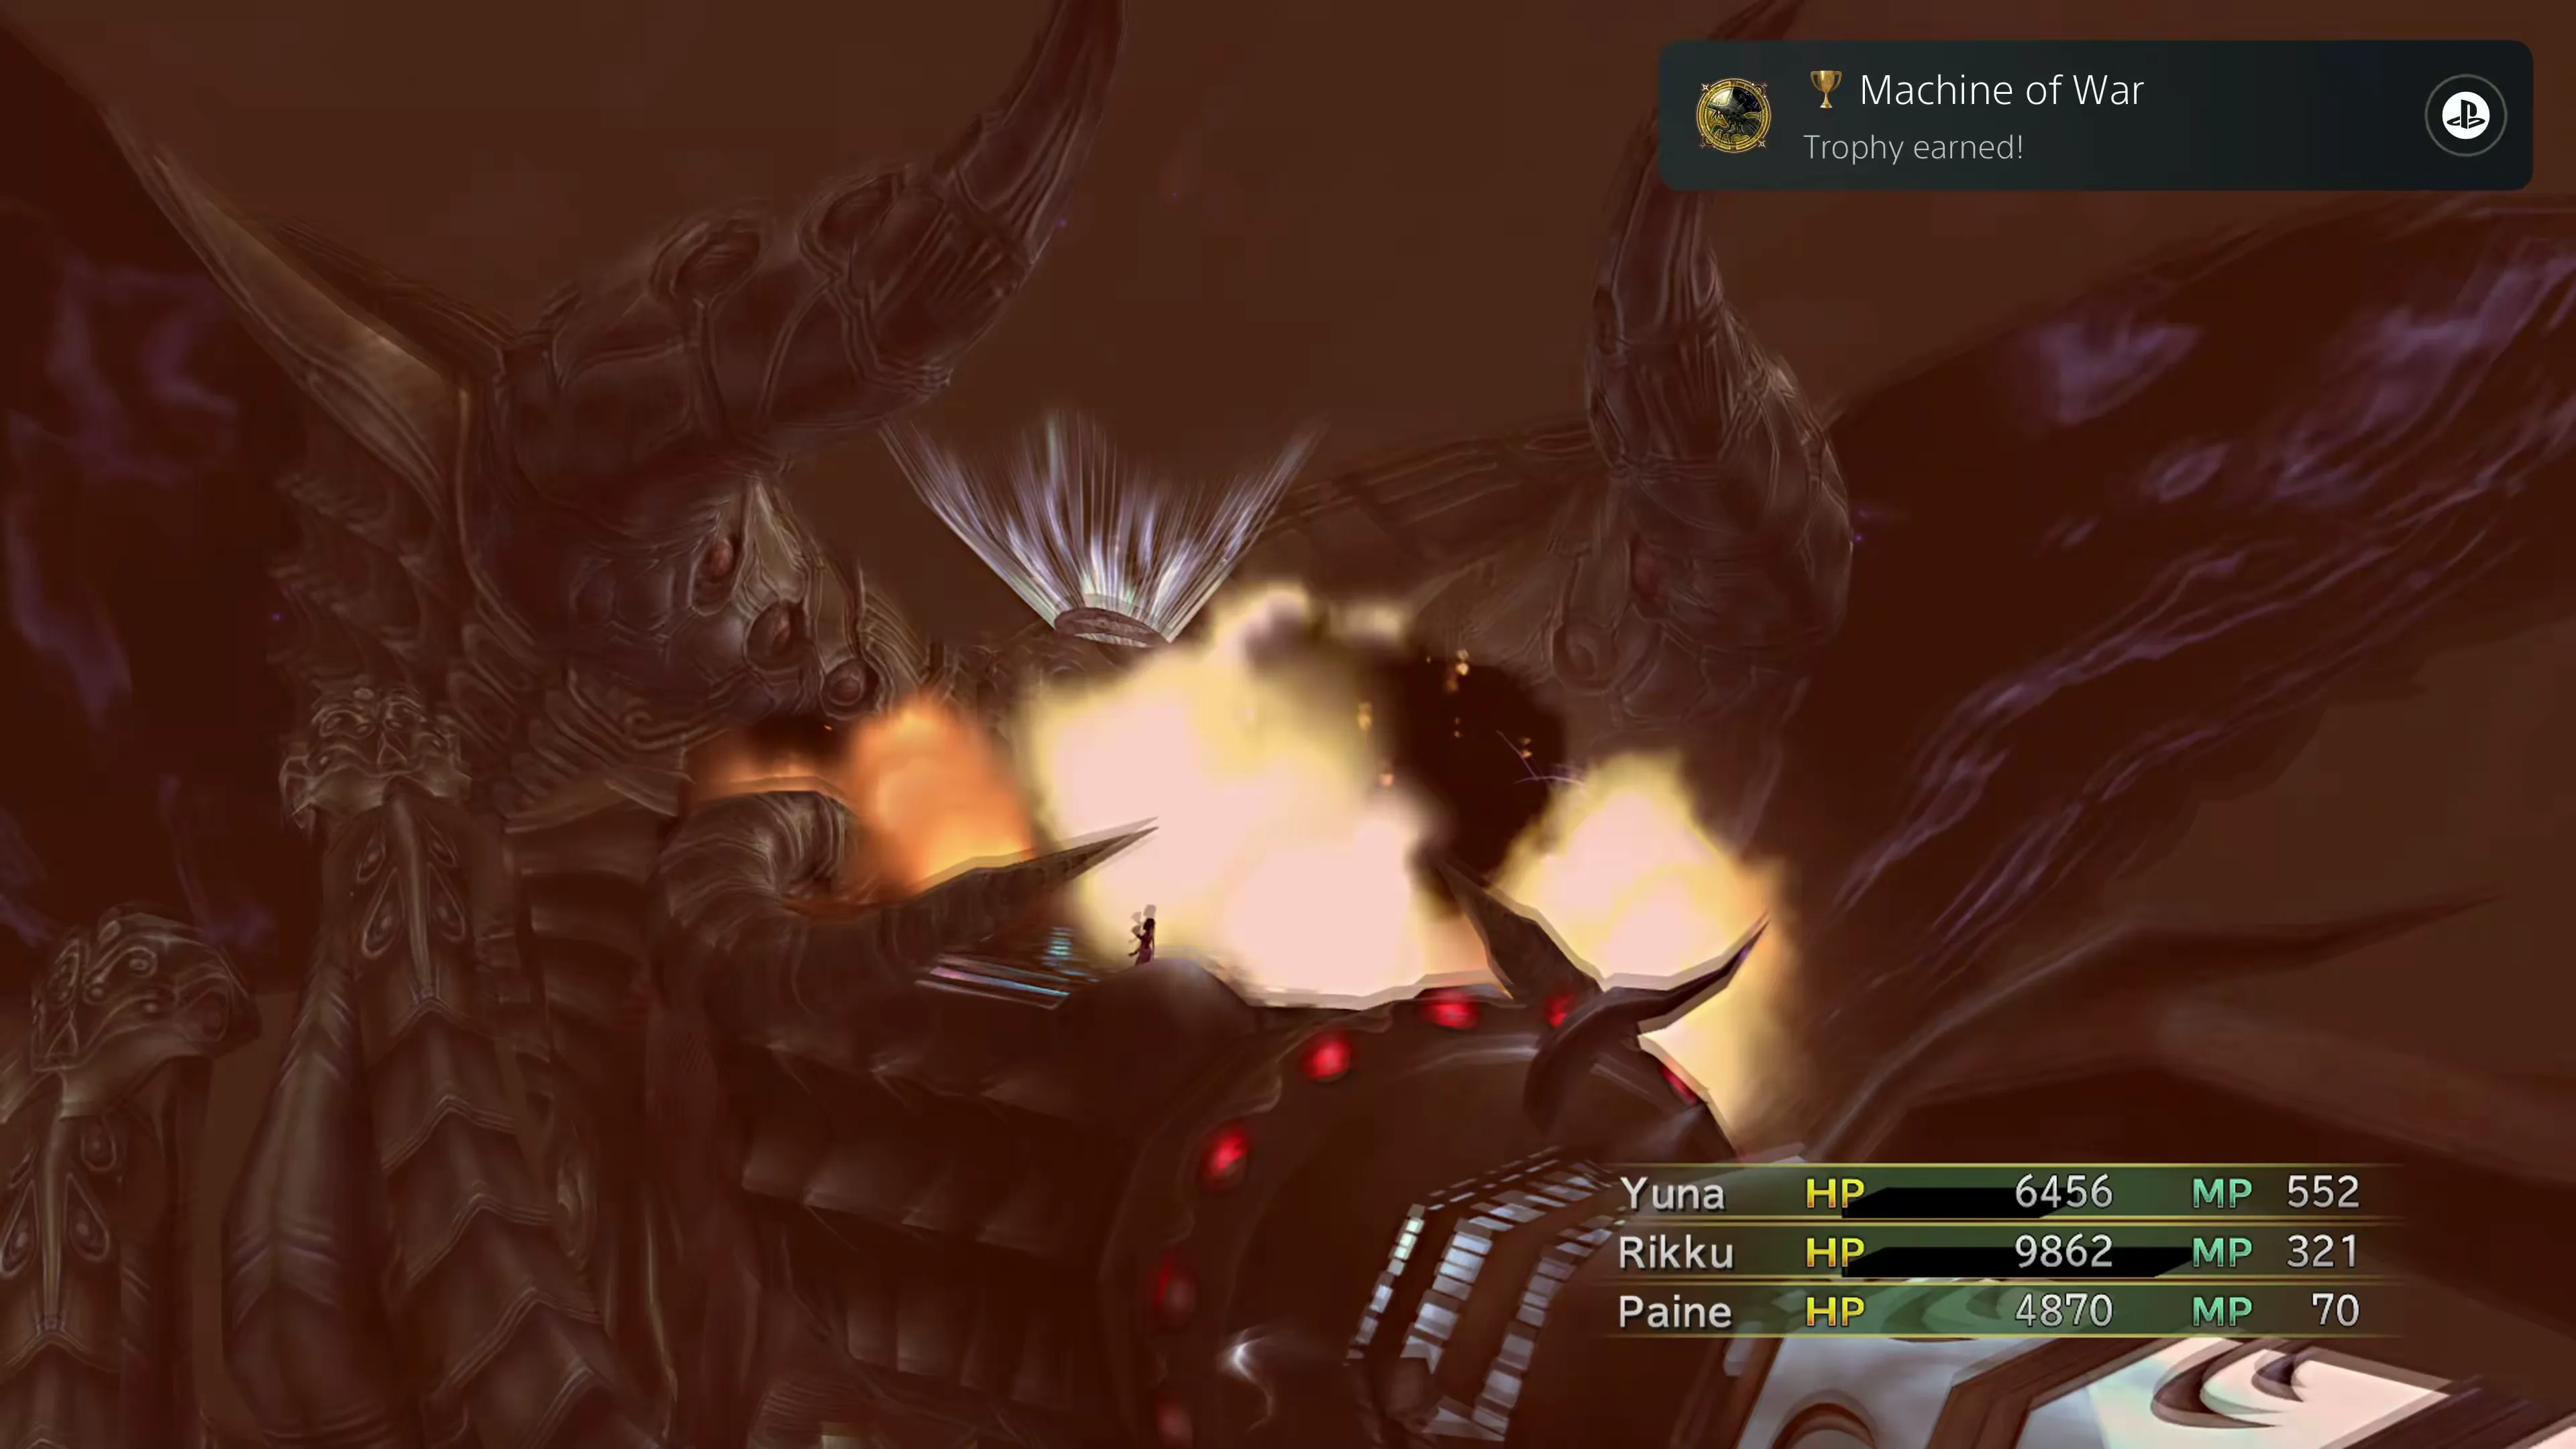
You’ll automatically receive the  Machine of War Achievement/Trophy after defeating Vegnagun at the conclusion of Chapter 5.
One more short cutscene and then it’s time for the final fight.
Helpful Hint
Depending on which ending you’re hoping to watch, especially if it’s the “Good” or “Perfect” ending, make sure you’re ready when the next battle concludes to press the Button during the Farplane sequence. You have lots of time, but if you miss it, you’ll only get the “Normal” ending.
Final Boss Battle
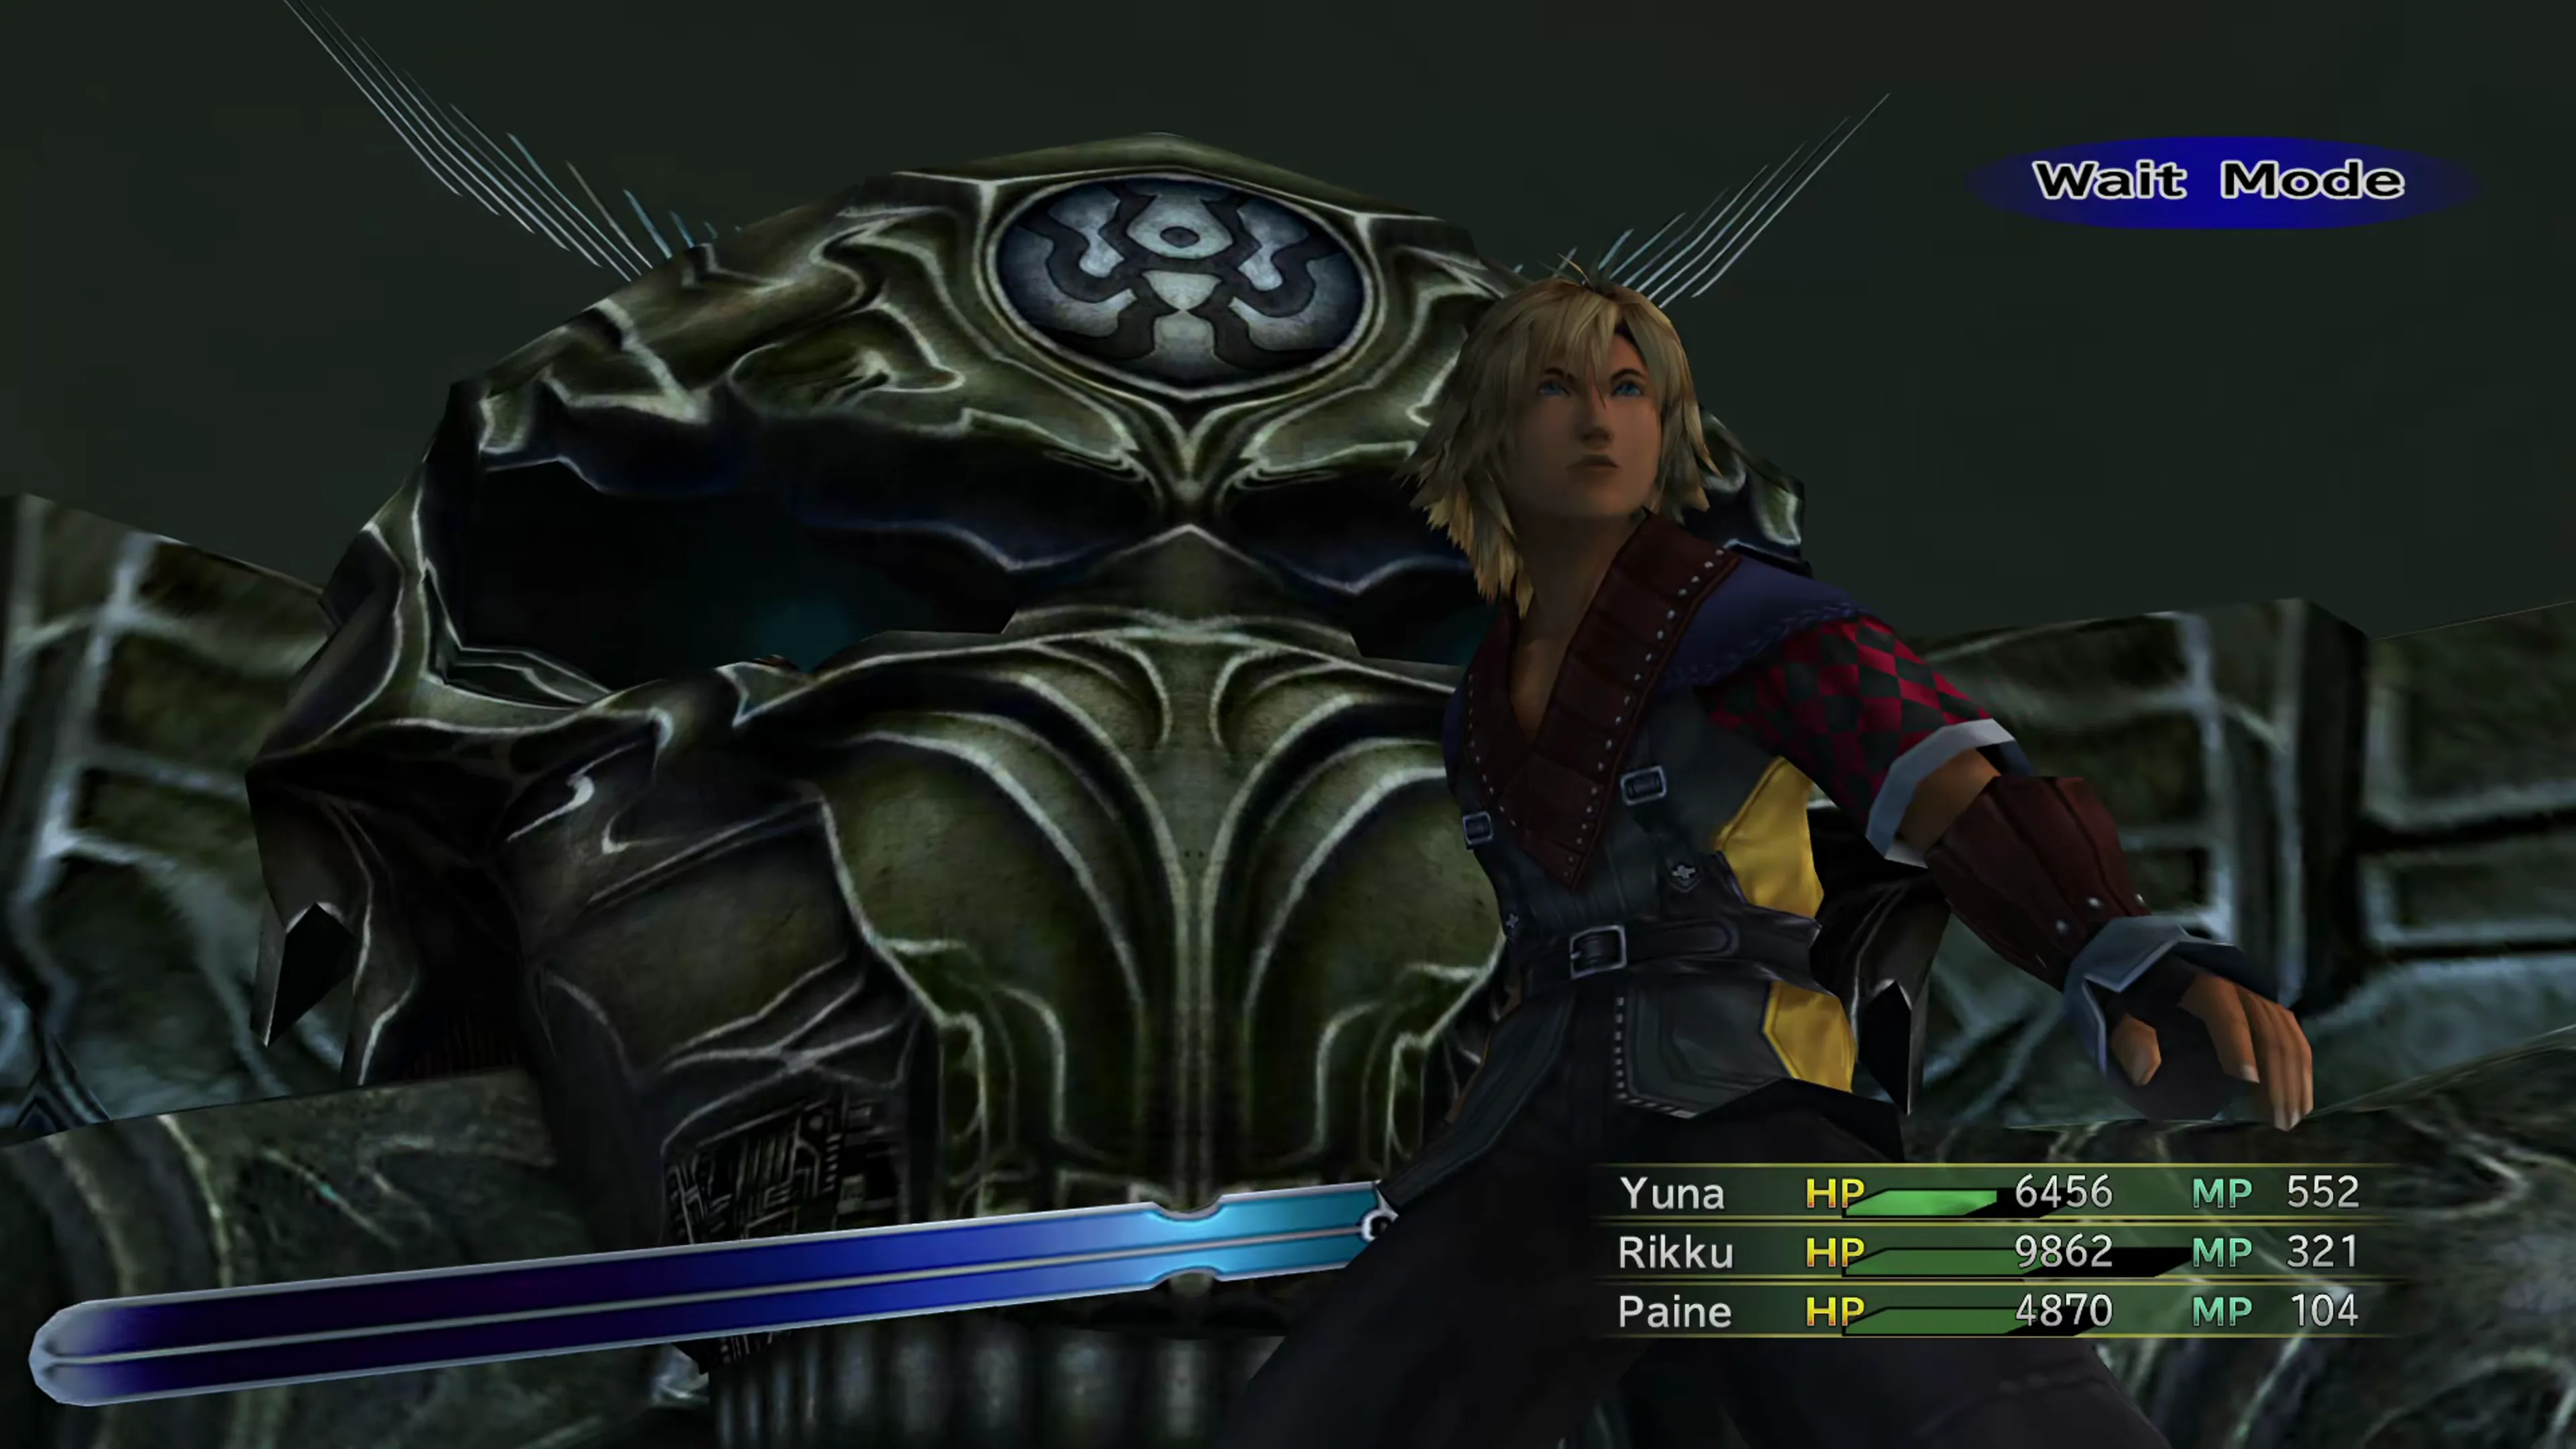
This is the last fight of the game, but this one is more about theatrics than about difficult strategies being required to beat him. Shuyin’s arsenal of attacks is very cool from a visual standpoint and can deal some heavy damage, but that’s all this fight is. It’s about dealing with his heavy-damage attacks and slowly working your way through his HP.
He uses the following attacks, many of which are replicated from attacks that Tidus used in Final Fantasy X:
- Normal attack
- “Spinning Cut”
- “Run & Slash”
- “Terror of Zanarkand”
- “Force Rain”
It’s worth seeing him use each of these neat-looking attacks before you conclude the fight.
| Enemy | HP | Steal | Drop |
|---|---|---|---|
| Shuyin | 23850 | Hero Drink | None |
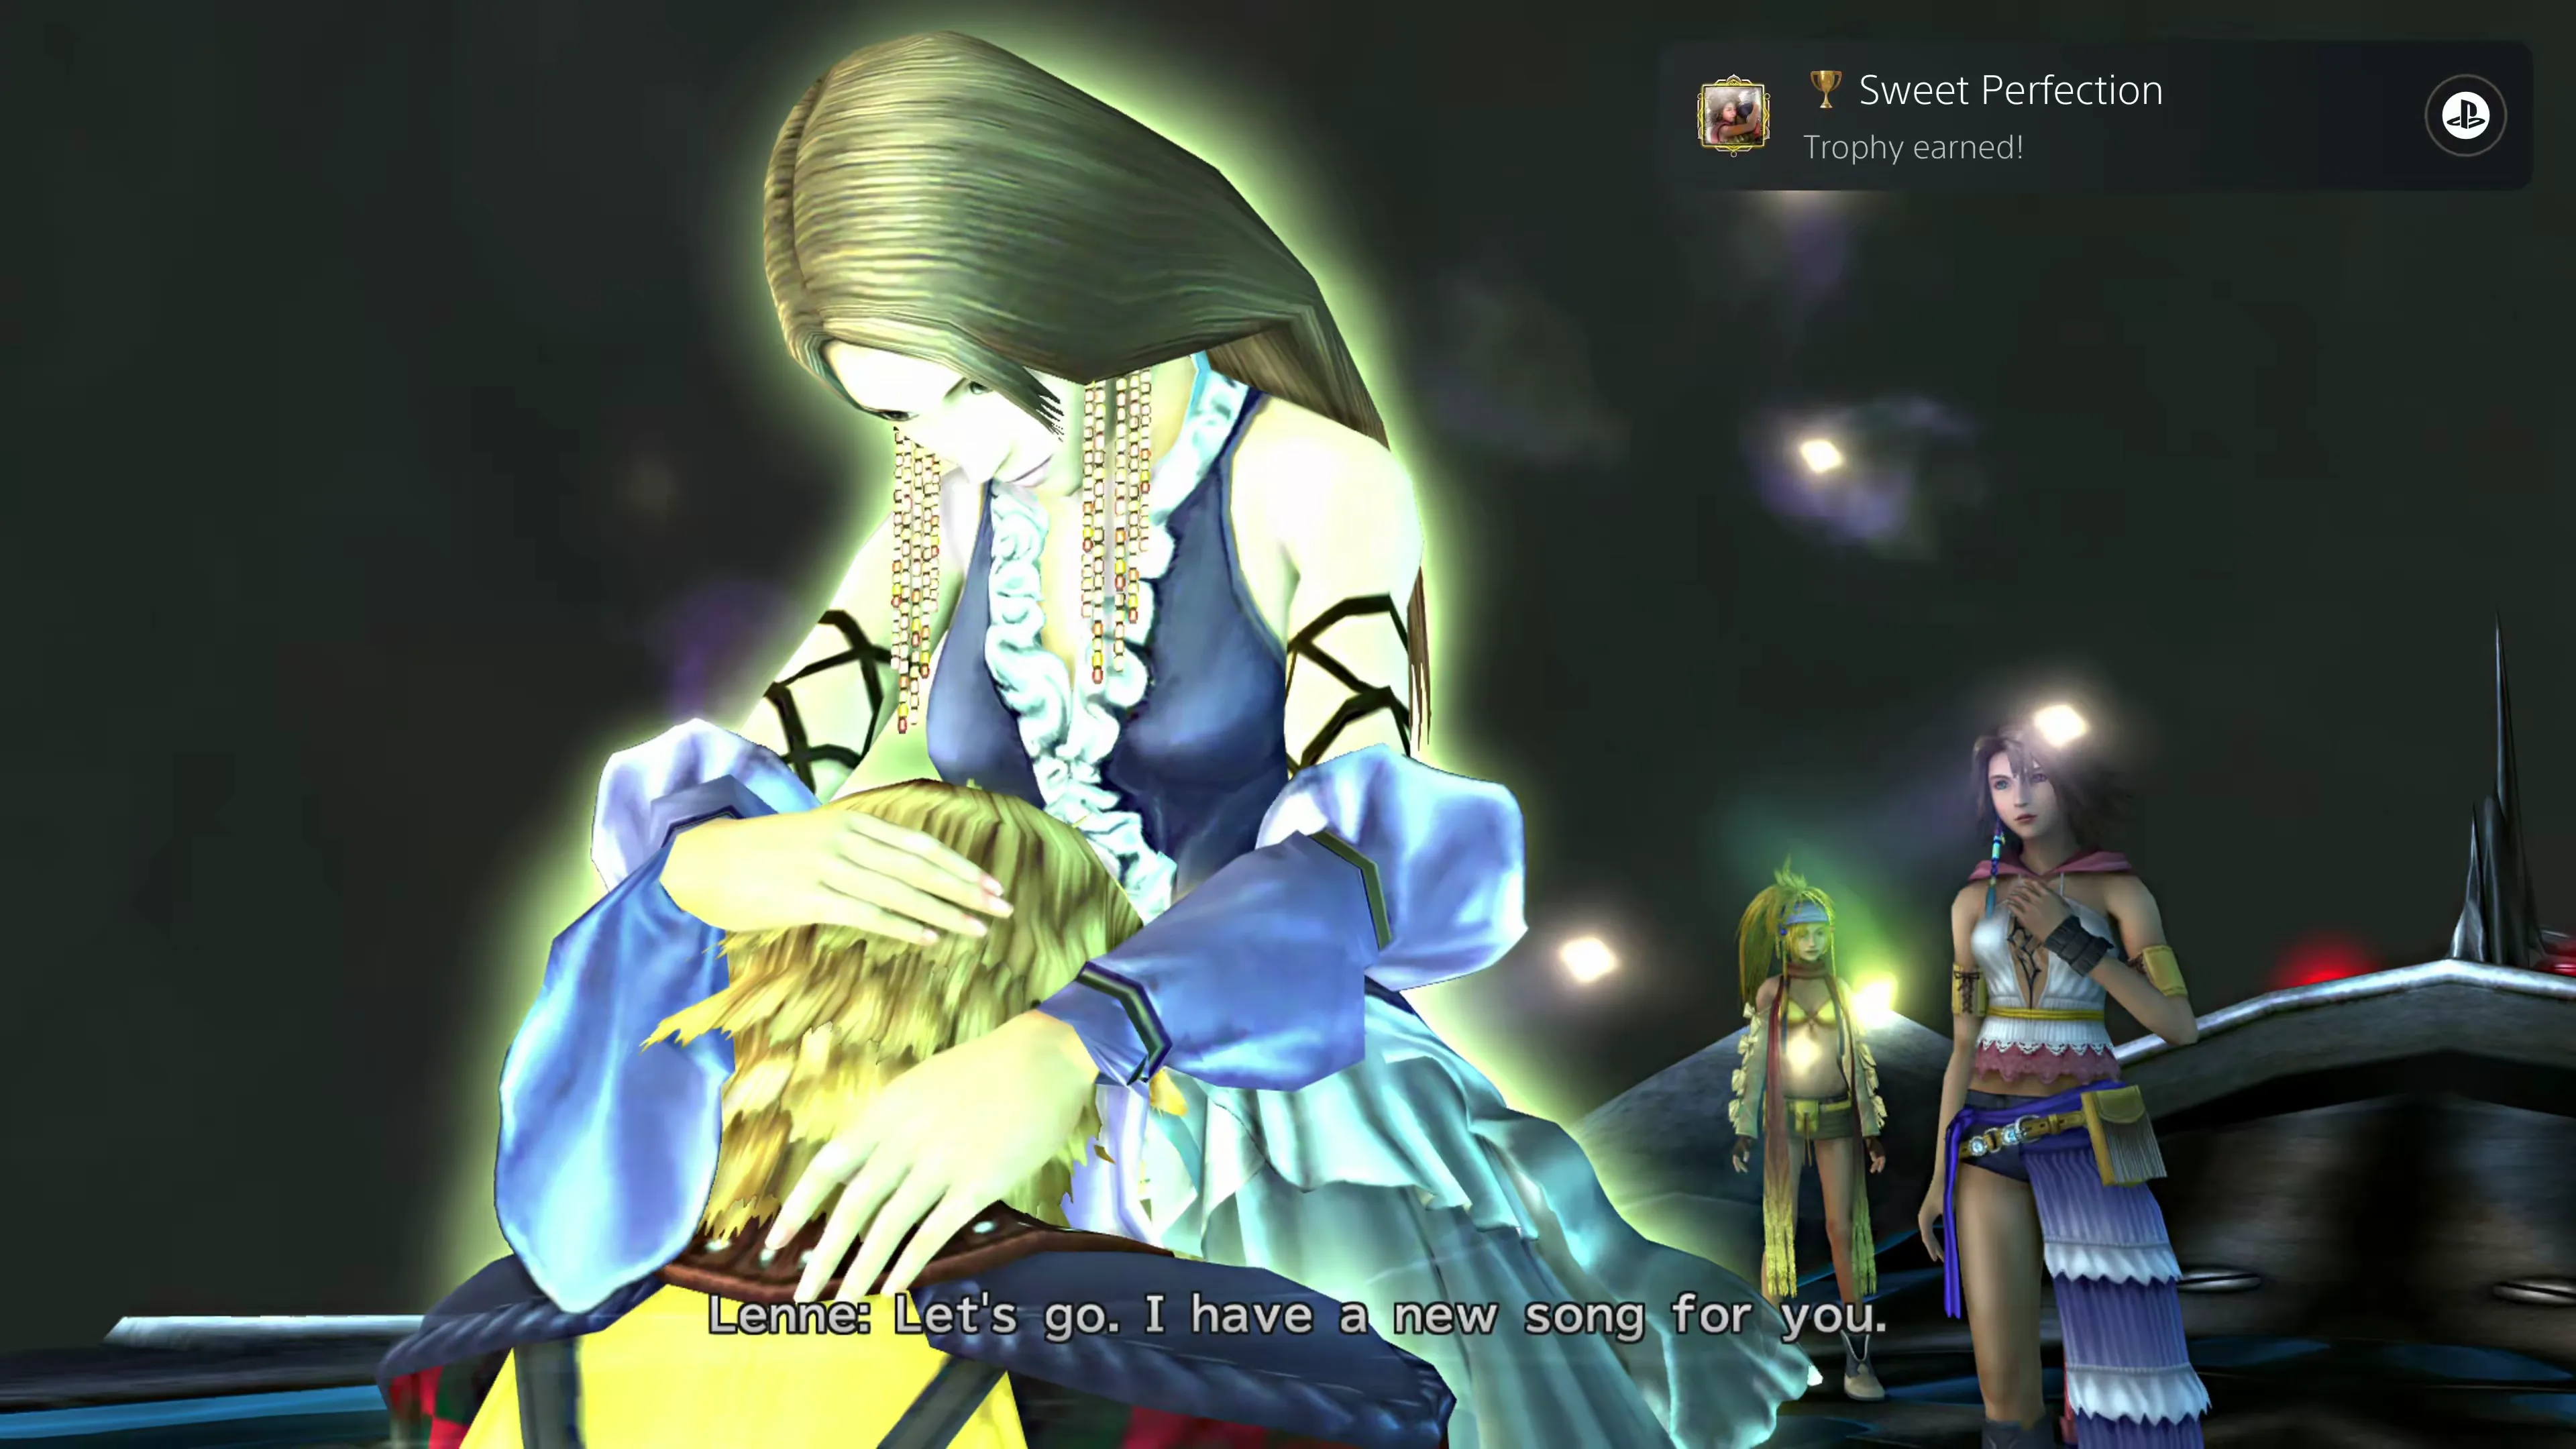
This concludes the final chapter of the game! If you completed the 100% Story Completion challenge, the Achievement/Trophy will pop up when Lenne says the line, “Let’s go. I have a new song for you.”
Achievement/Trophy
Earn 100% Story Completion during a playthrough of Final Fantasy X-2, which triggers during this last sequence after the battle against Shuyin, to earn the Sweet Perfection Achievement/Trophy.
Farplane Abyss
Warning
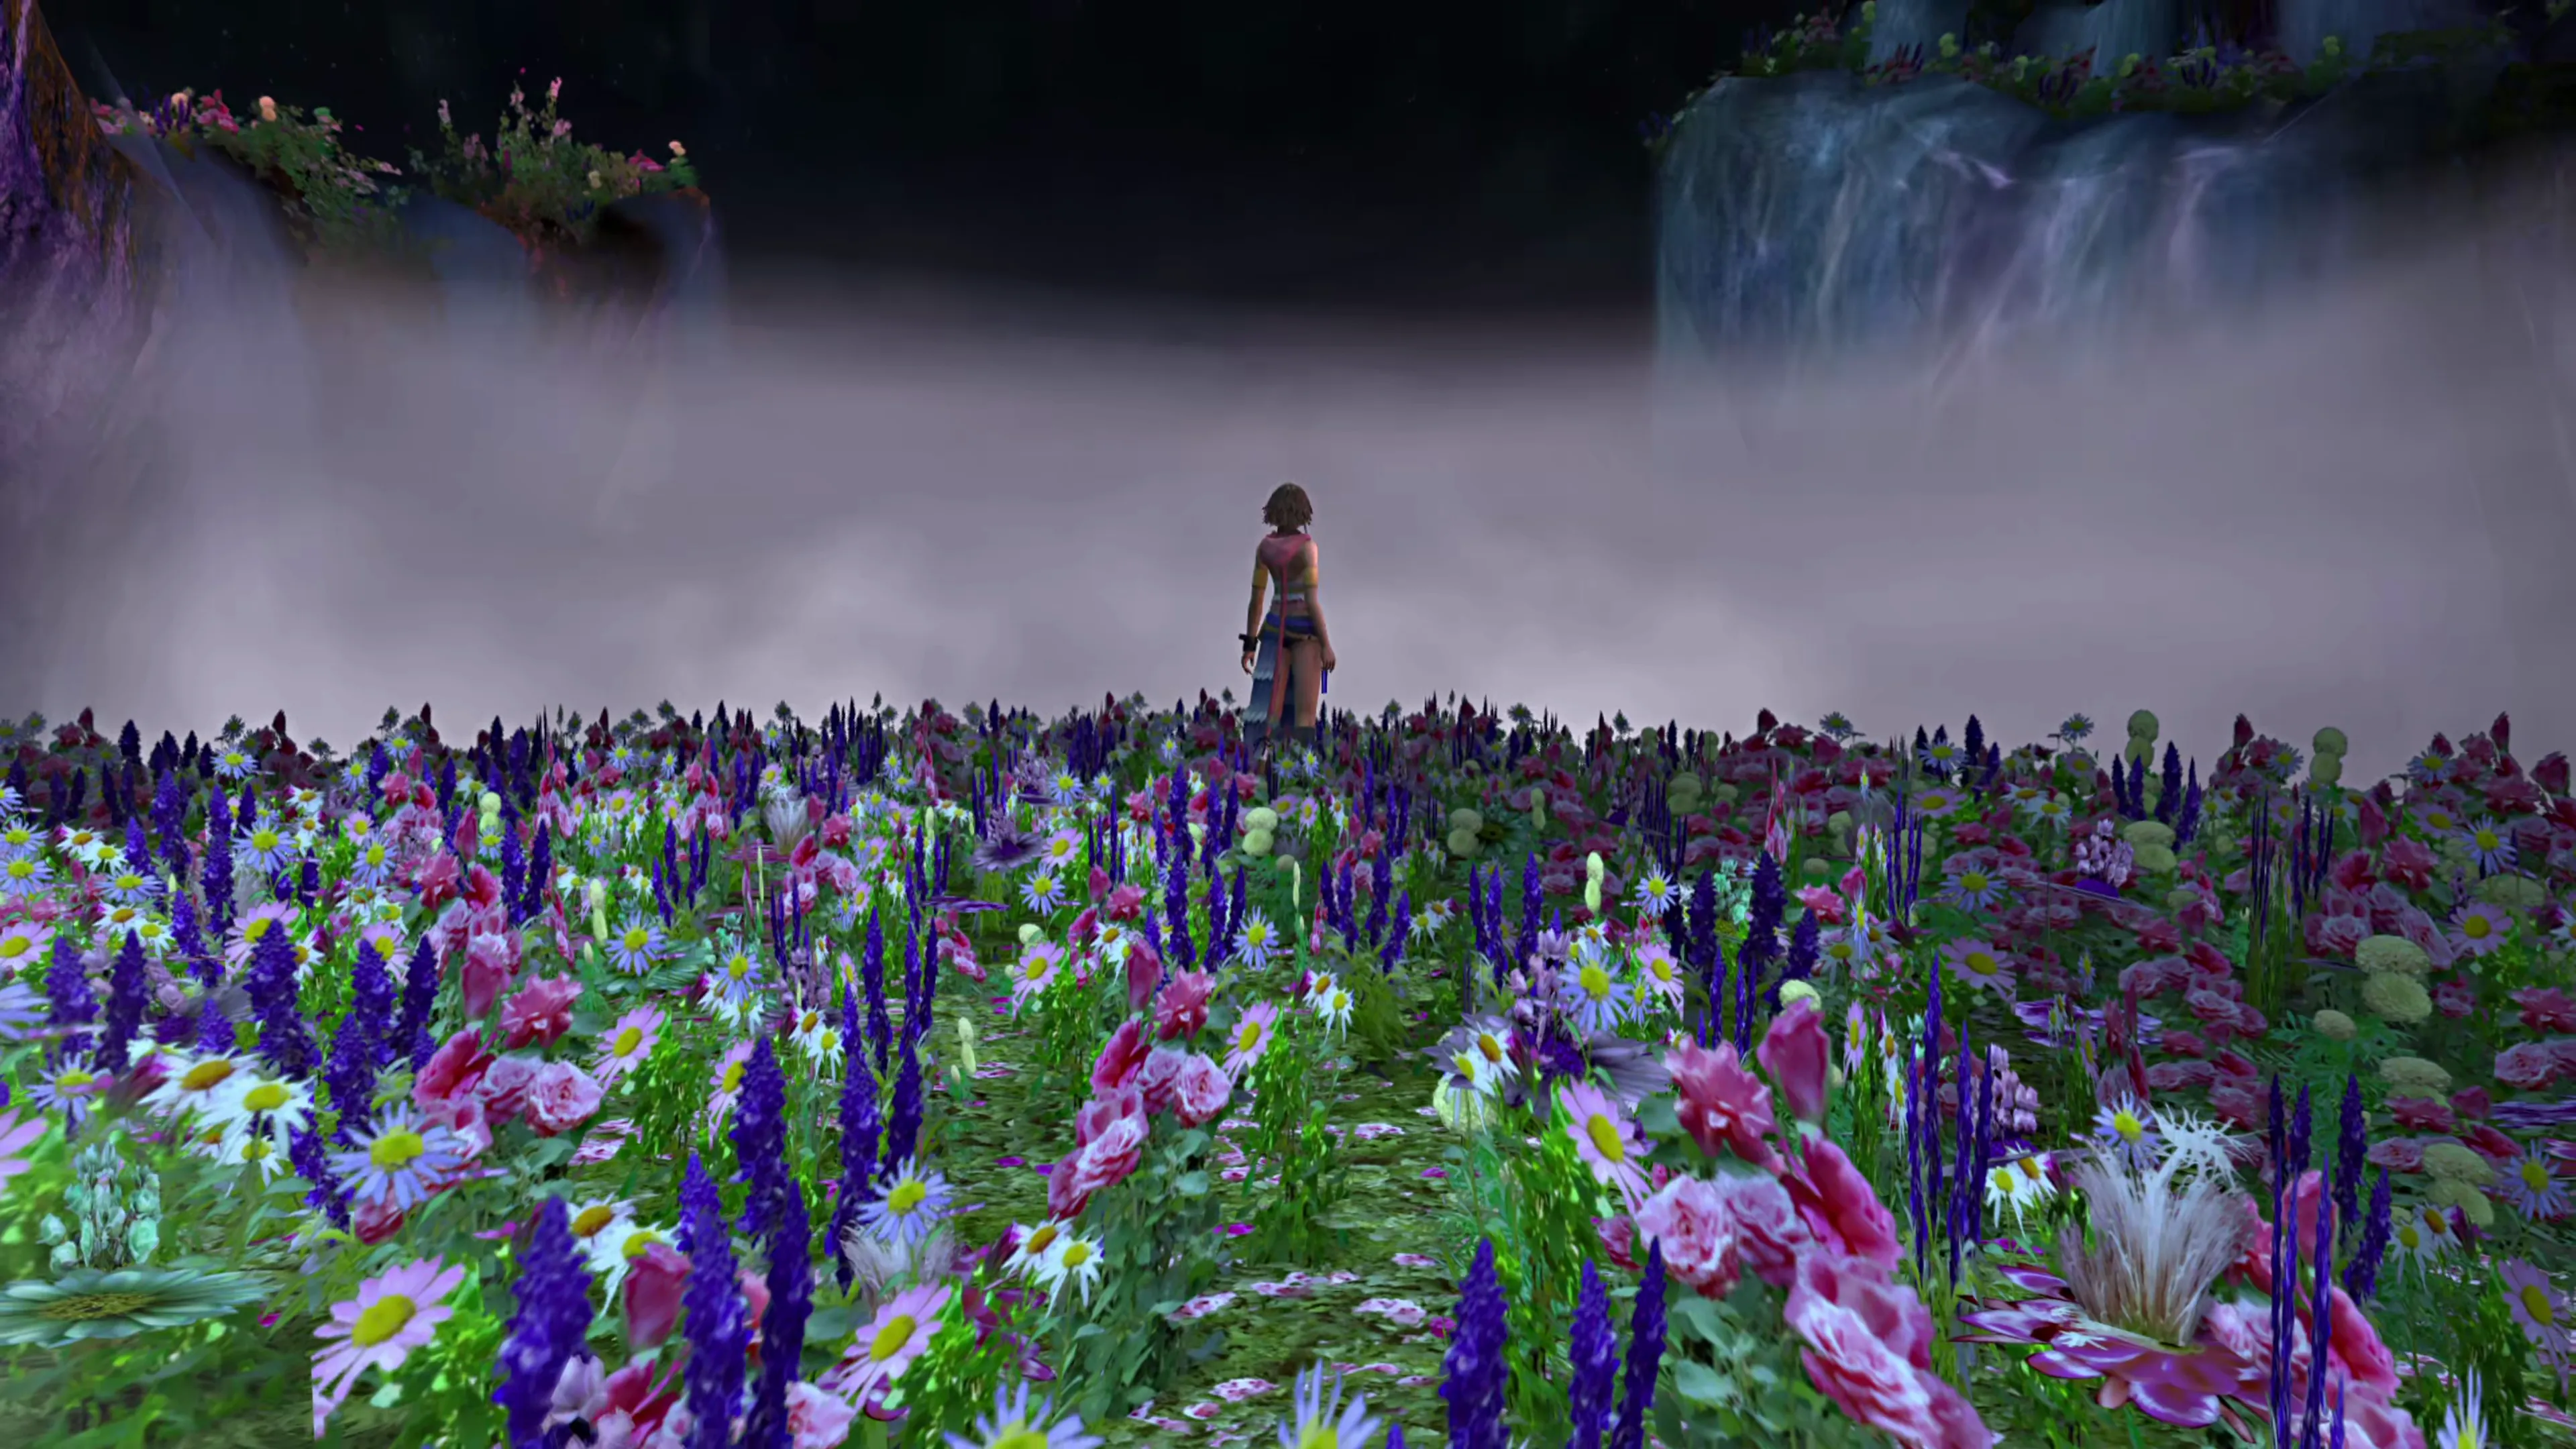
During the Farplane Abyss section, right after the Chapter 5 Complete screen displays, make sure you press the button while Yuna is walking through the field of flowers (shown in the screenshot below).
This step is required to view the “Sad,” “Good,” and “Perfect” endings. If you’d like to learn more about the different endings in Final Fantasy X-2, check out the All Endings page in the Story Completion section of the guide. You can also find a full explanation and watch all of the different versions of the endings by watching the video below:
Video Guide

A full explanation of the different endings in Final Fantasy X-2, with every version of each ending shown.
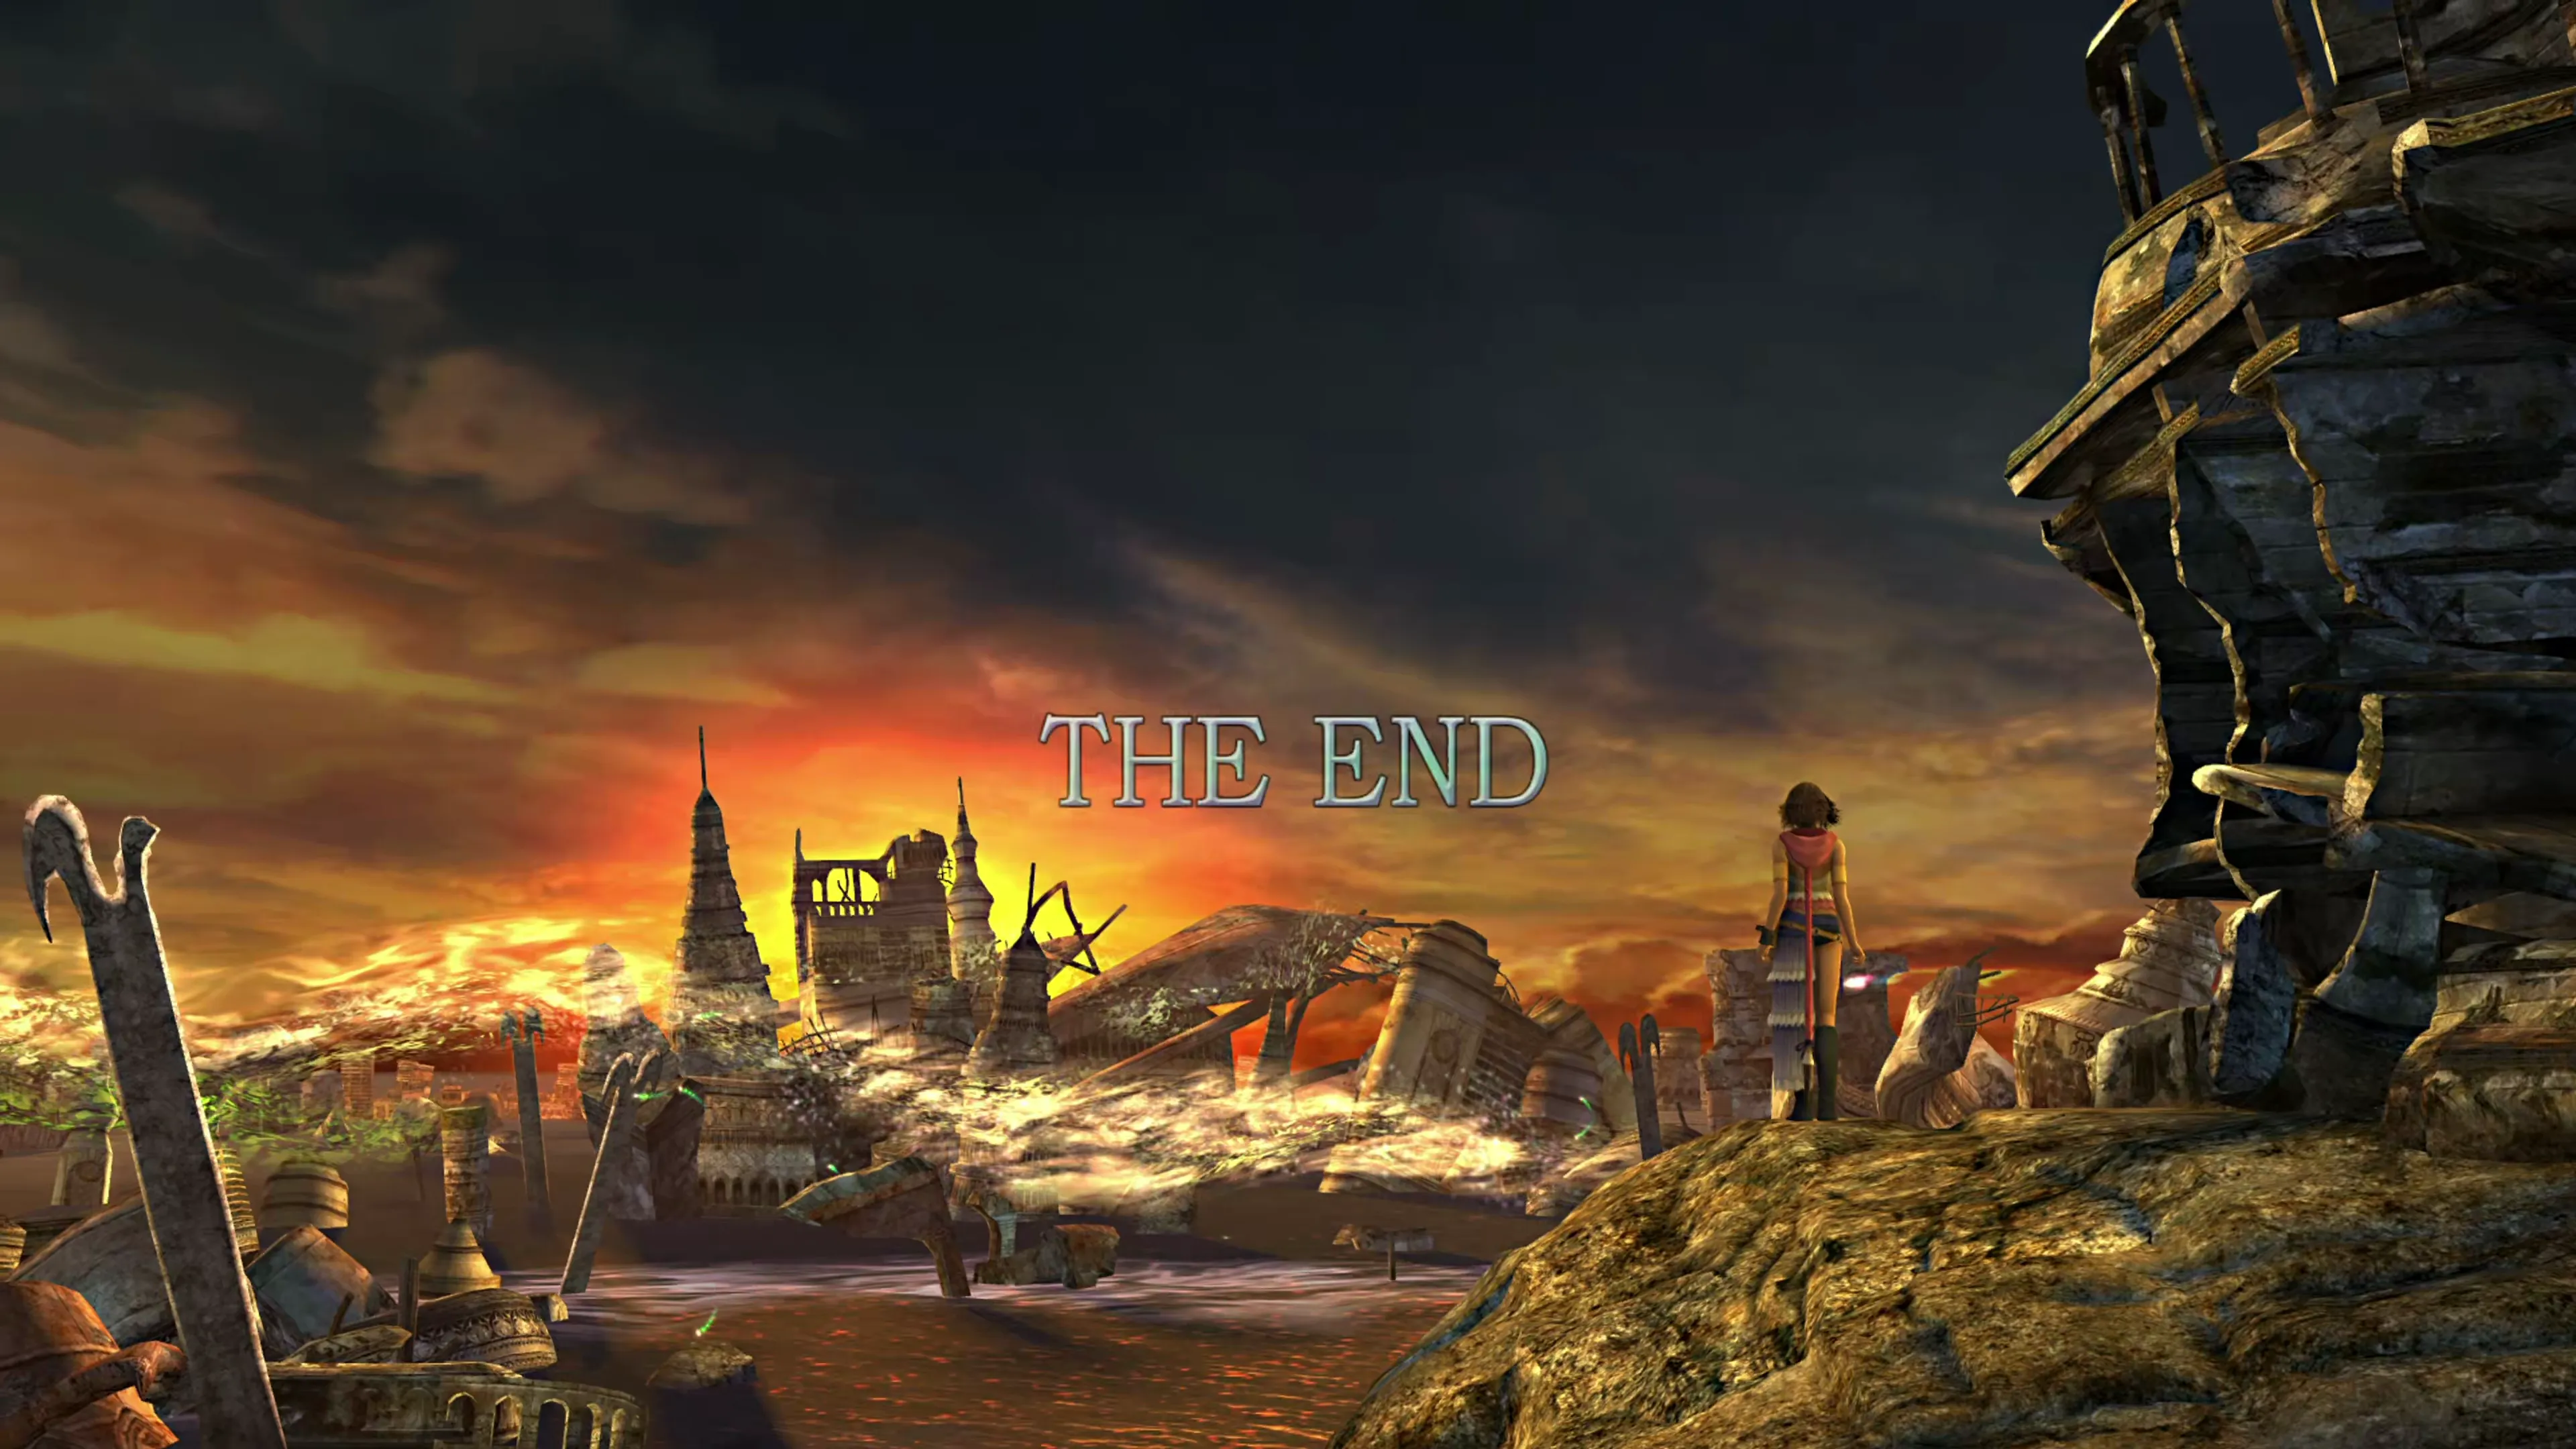
Depending on how you completed the game, you’ll get to watch the concluding FMV (Full Motion Video) and up to two additional concluding scenes that take place after the ending credits.
From there, you’ll be able to play a New Game Plus, which carries your Story Completion and Dresspheres, etc. forward so you can continue working your way through the Achievements and Trophies.
Congratulations, you have completed Final Fantasy X-2!
Thank you for reading this walkthrough and strategy guide. If you have any comments or suggestions, please use the Contact page to email me anytime.
Be sure to return to Jegged.com if you move on to any of the other Final Fantasy titles! Check out the Final Fantasy portal to see which games are available. Thanks for reading!
Checking the “Heart of the Farplane Complete” box adds the Story Completion Percent for the automatic scenes in the Heart of the Farplane, which bring a full run to 100.0%.