

Cactuar Nation
The Cactuar Nation side quest begins in the Bikanel Desert when you reach Chapter 3. A cutscene will trigger as soon as you land. Nhadala will ask for your help with a ‘cacti situation.’ She asks Yuna, Rikku, and Paine to represent the Al Bhed to the Cactuar Nation by taking Benzo and acting as a liaison to speak with Marnela.
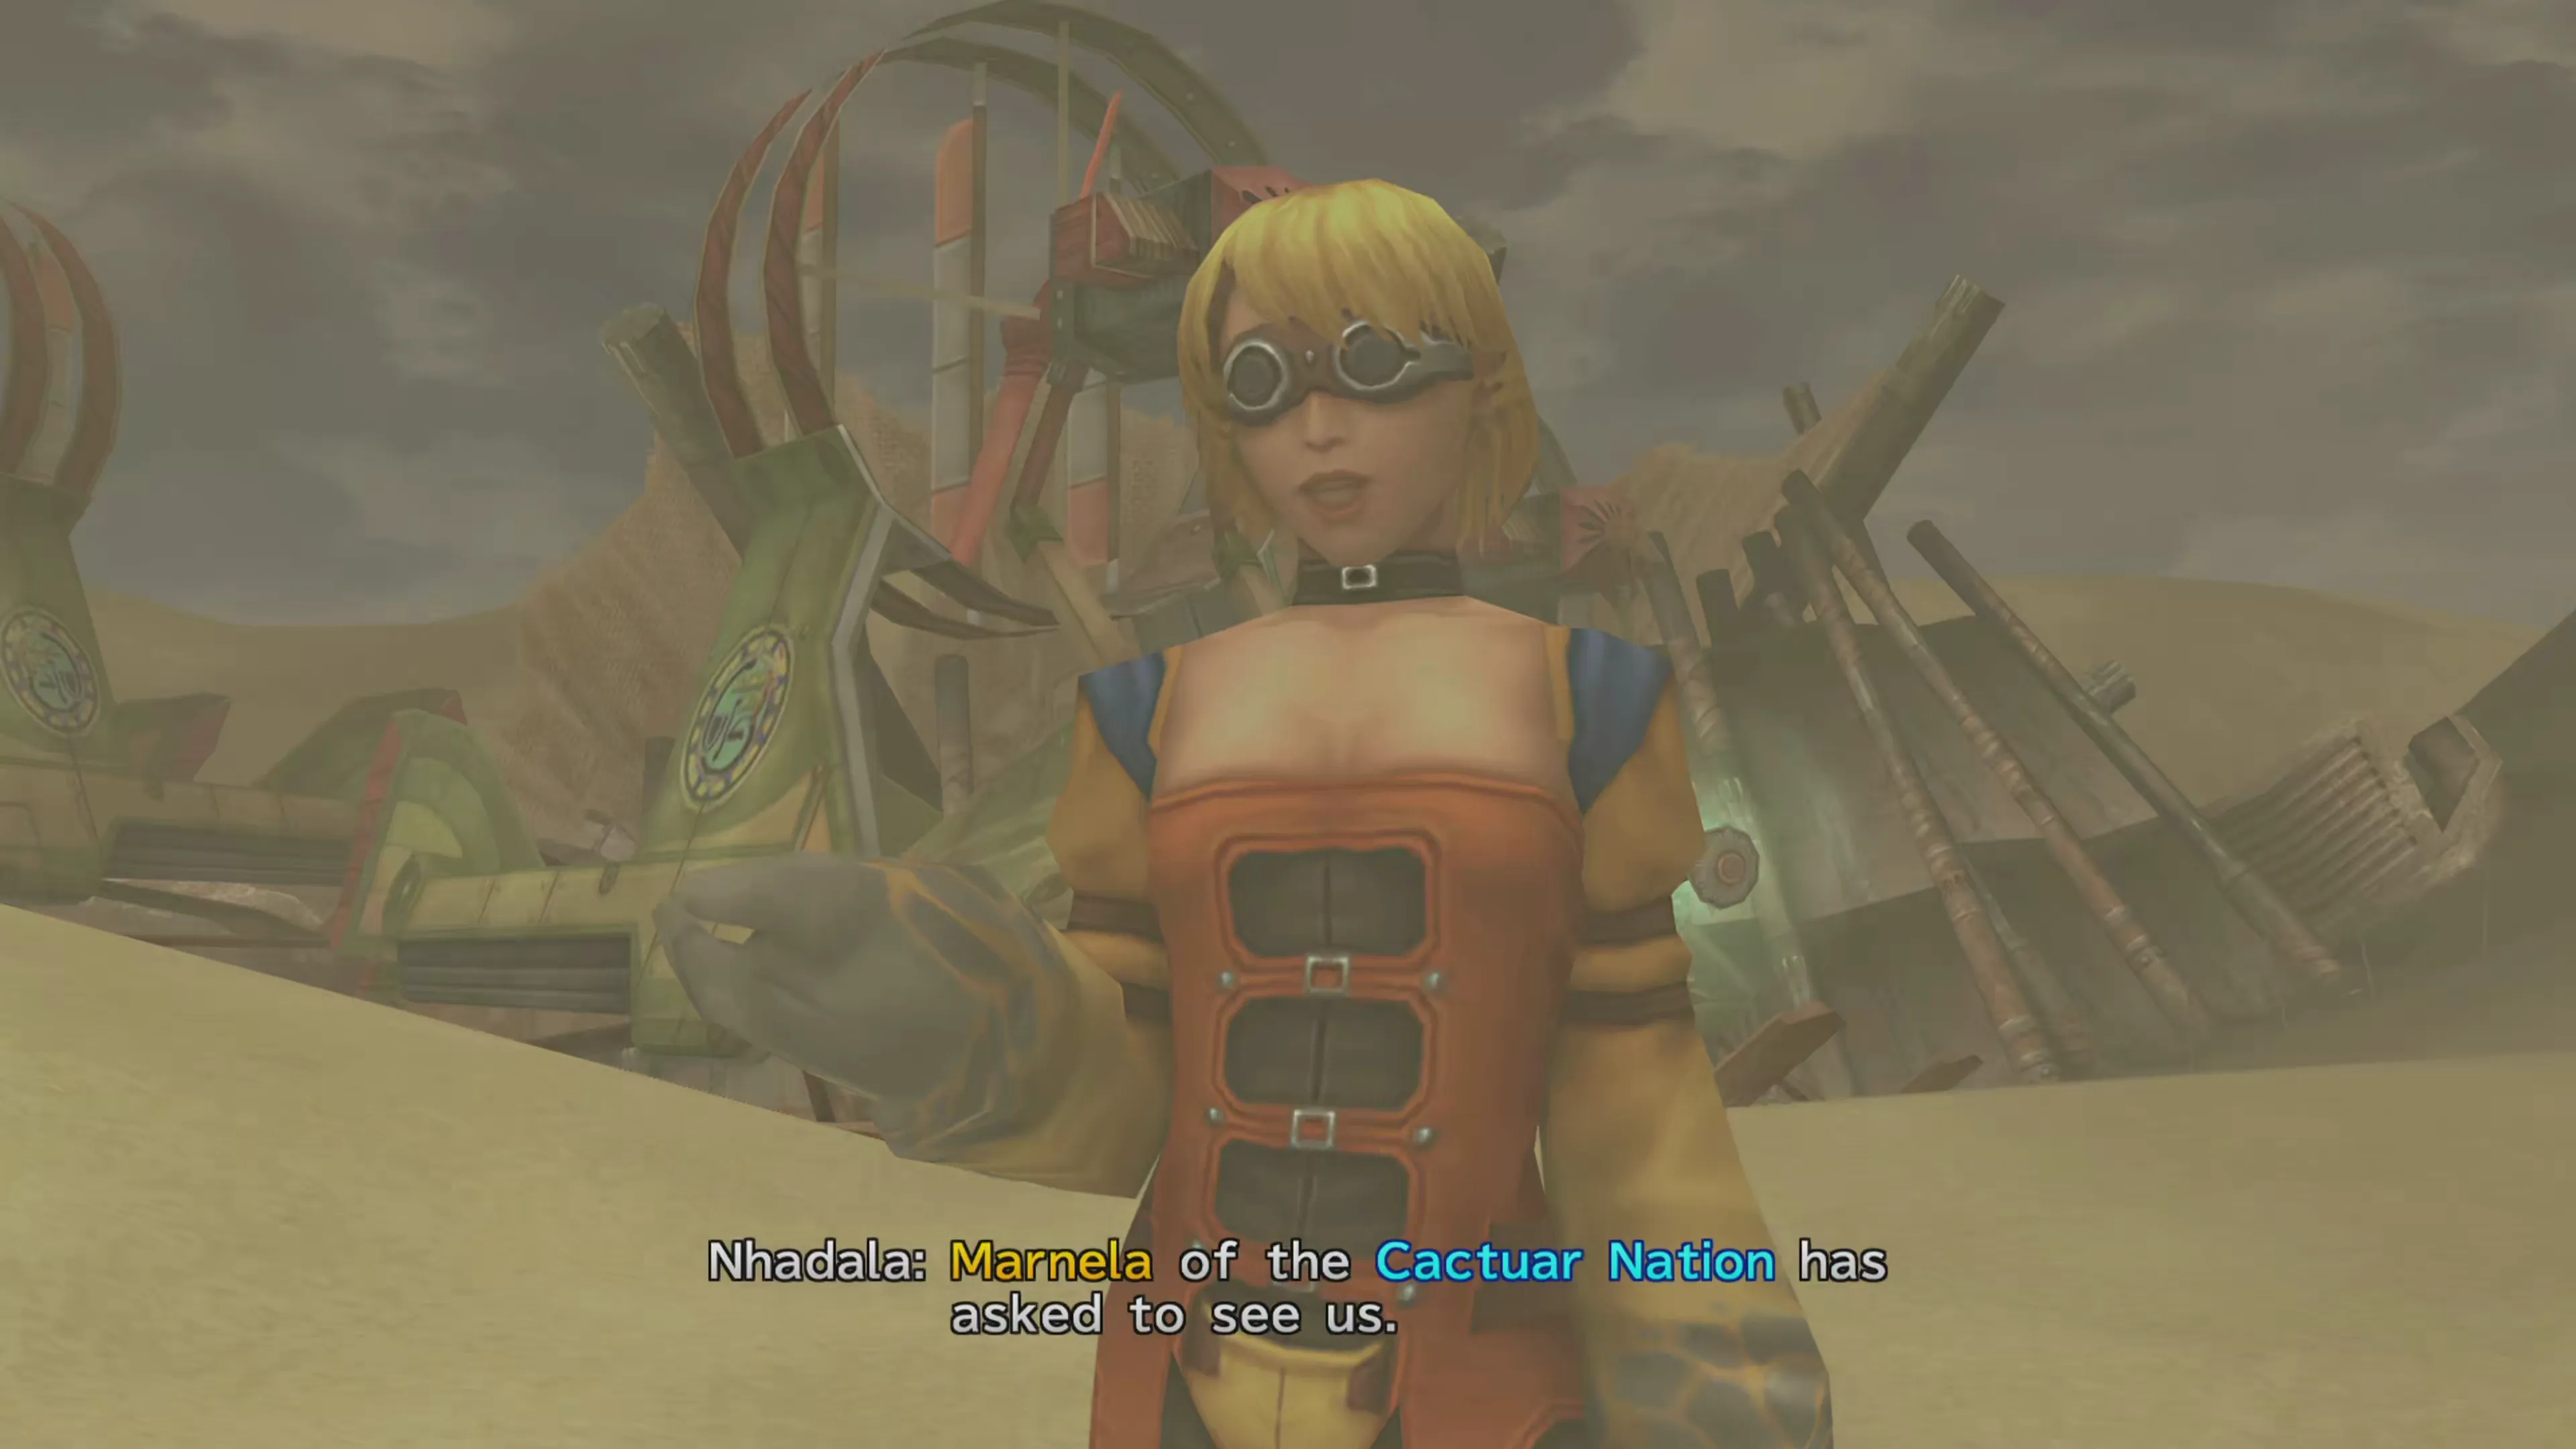
Speak to the hover operator and select “Cactuar Nation” from the menu (you’ll have no other options). Benzo will translate for Marnela, and Marnela the cactus will task you with tracking down a bunch of Cactuars known as the “Ten Gatekeepers.”
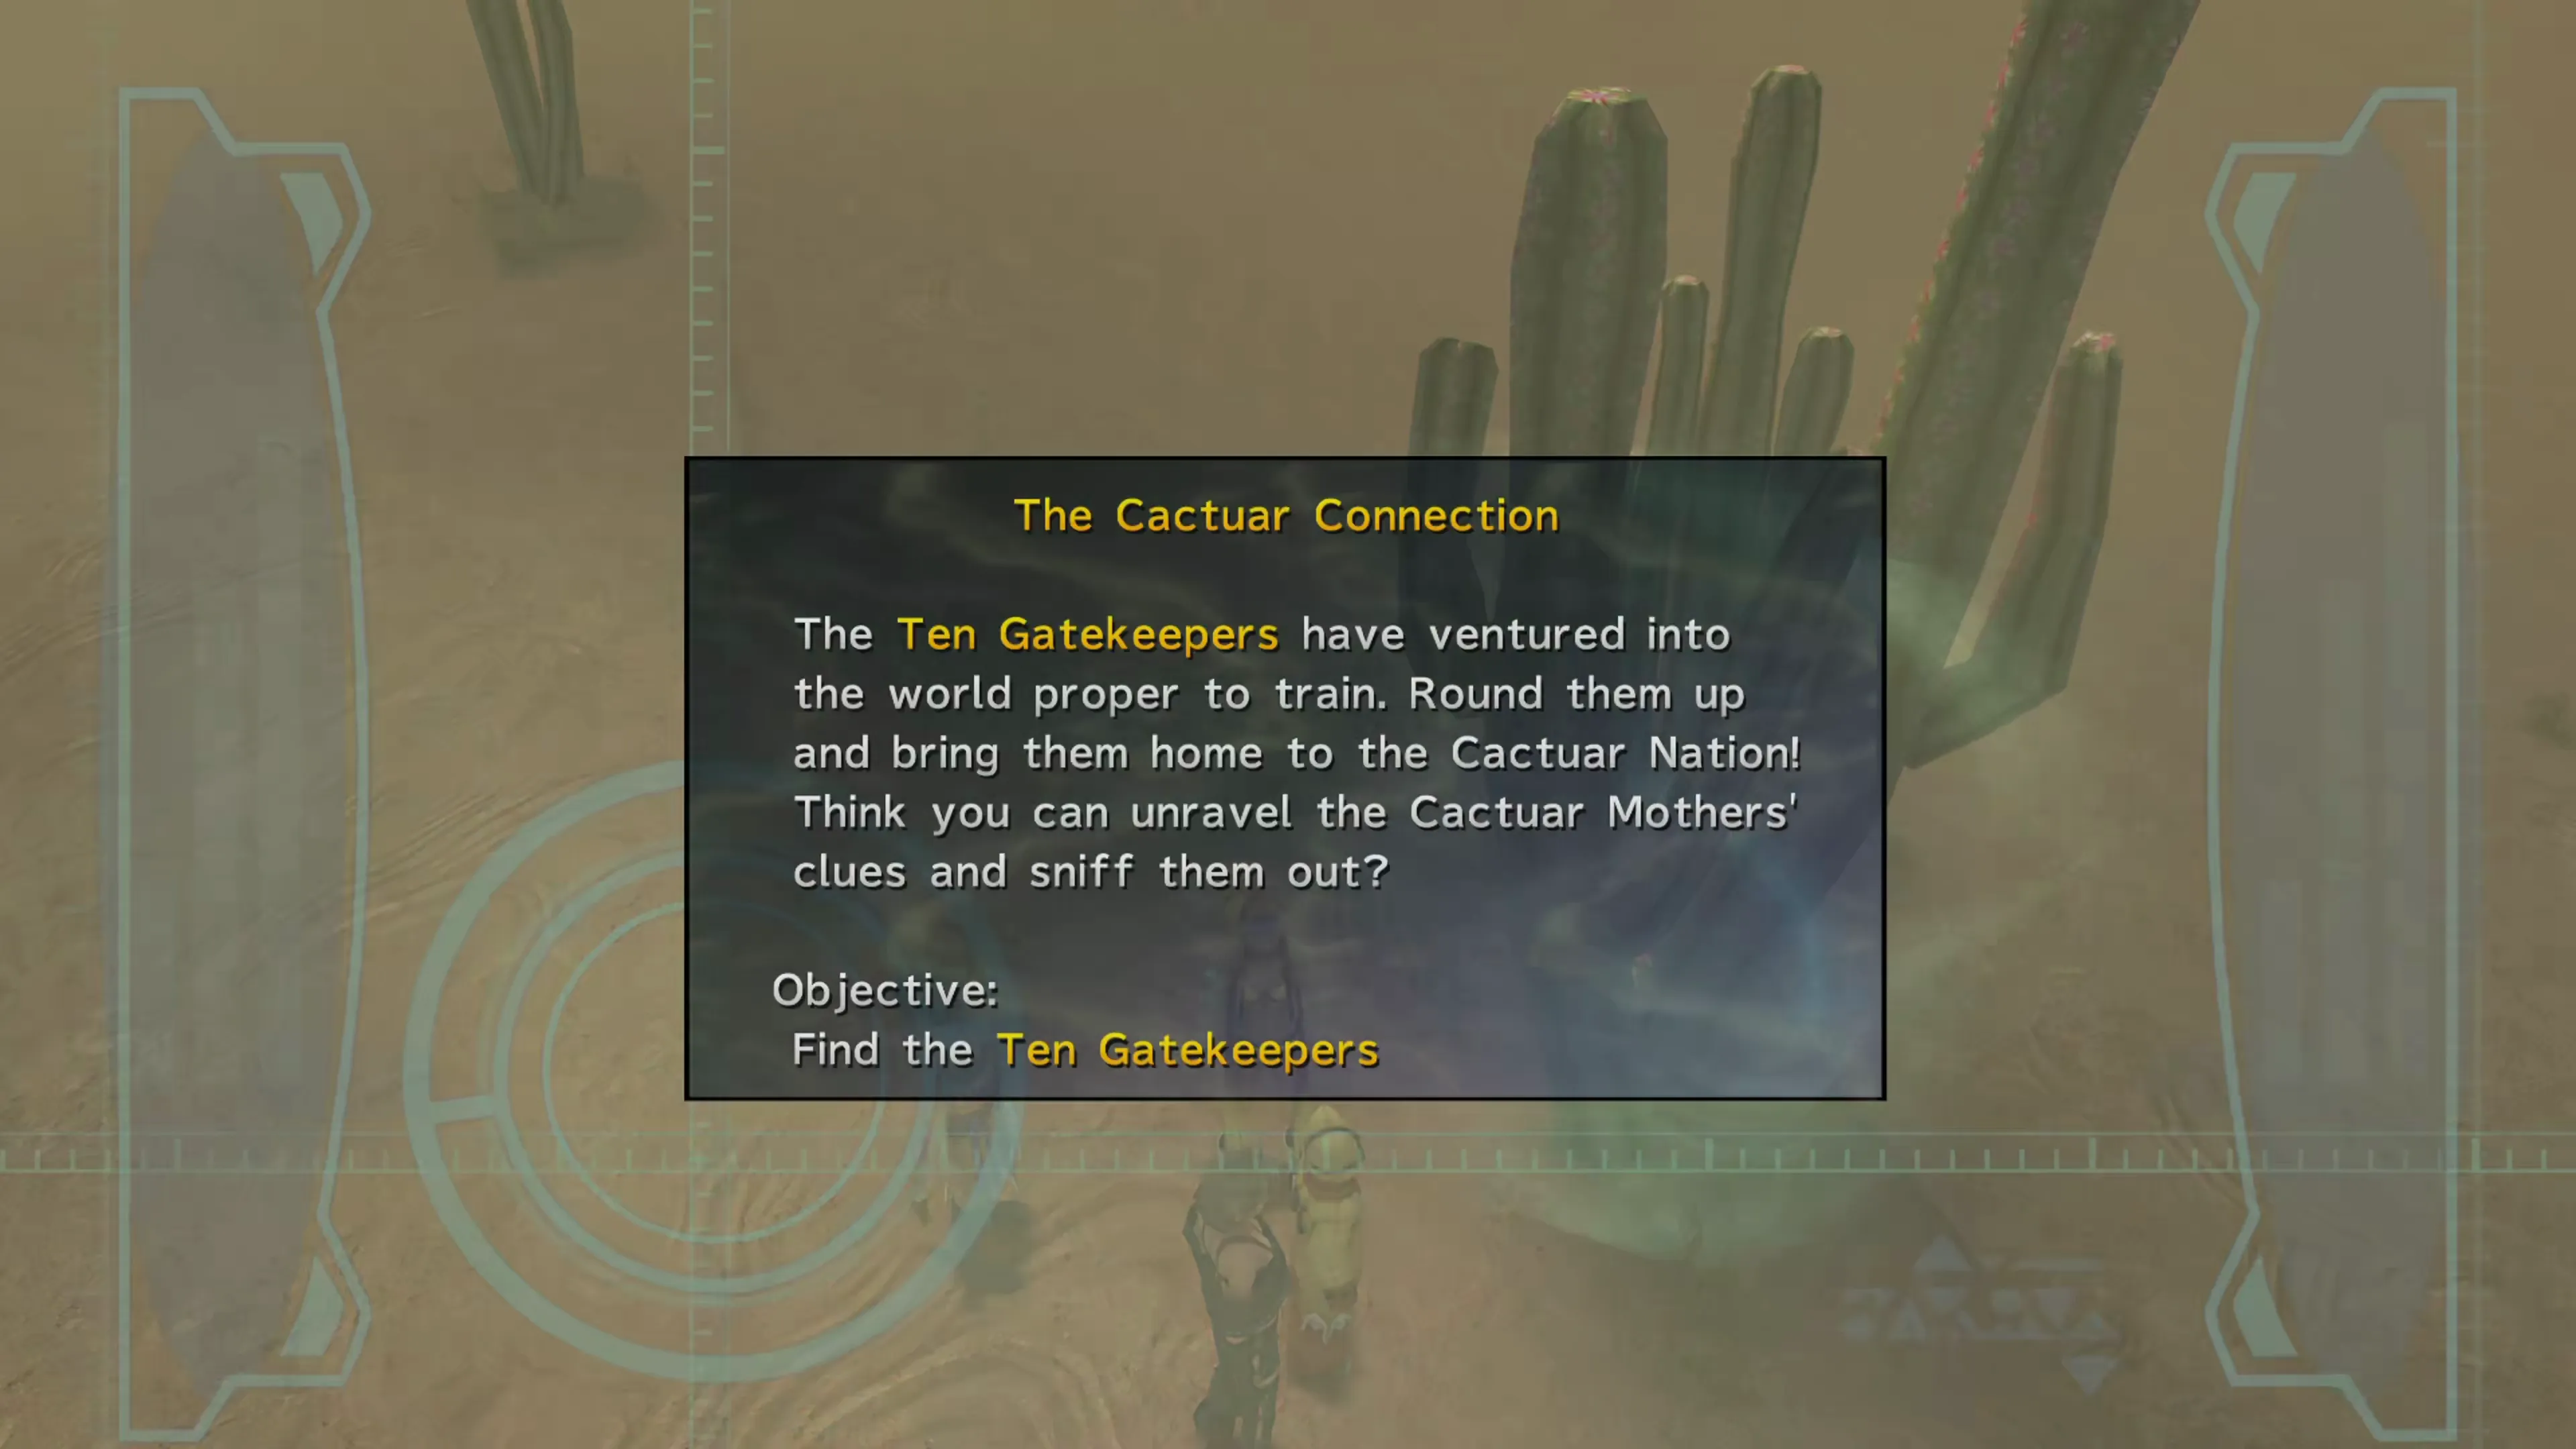
To summarize, one of the cacti here at the Cactuar Nation will activate and ask you to track down a specific Cactuar hidden somewhere in Spira. They’re not too hard to find, especially with a guide. But you don’t just get to gather them up when you find them. You’ll have to play a mini-game called…
Everything’s Coming Up Cactuars
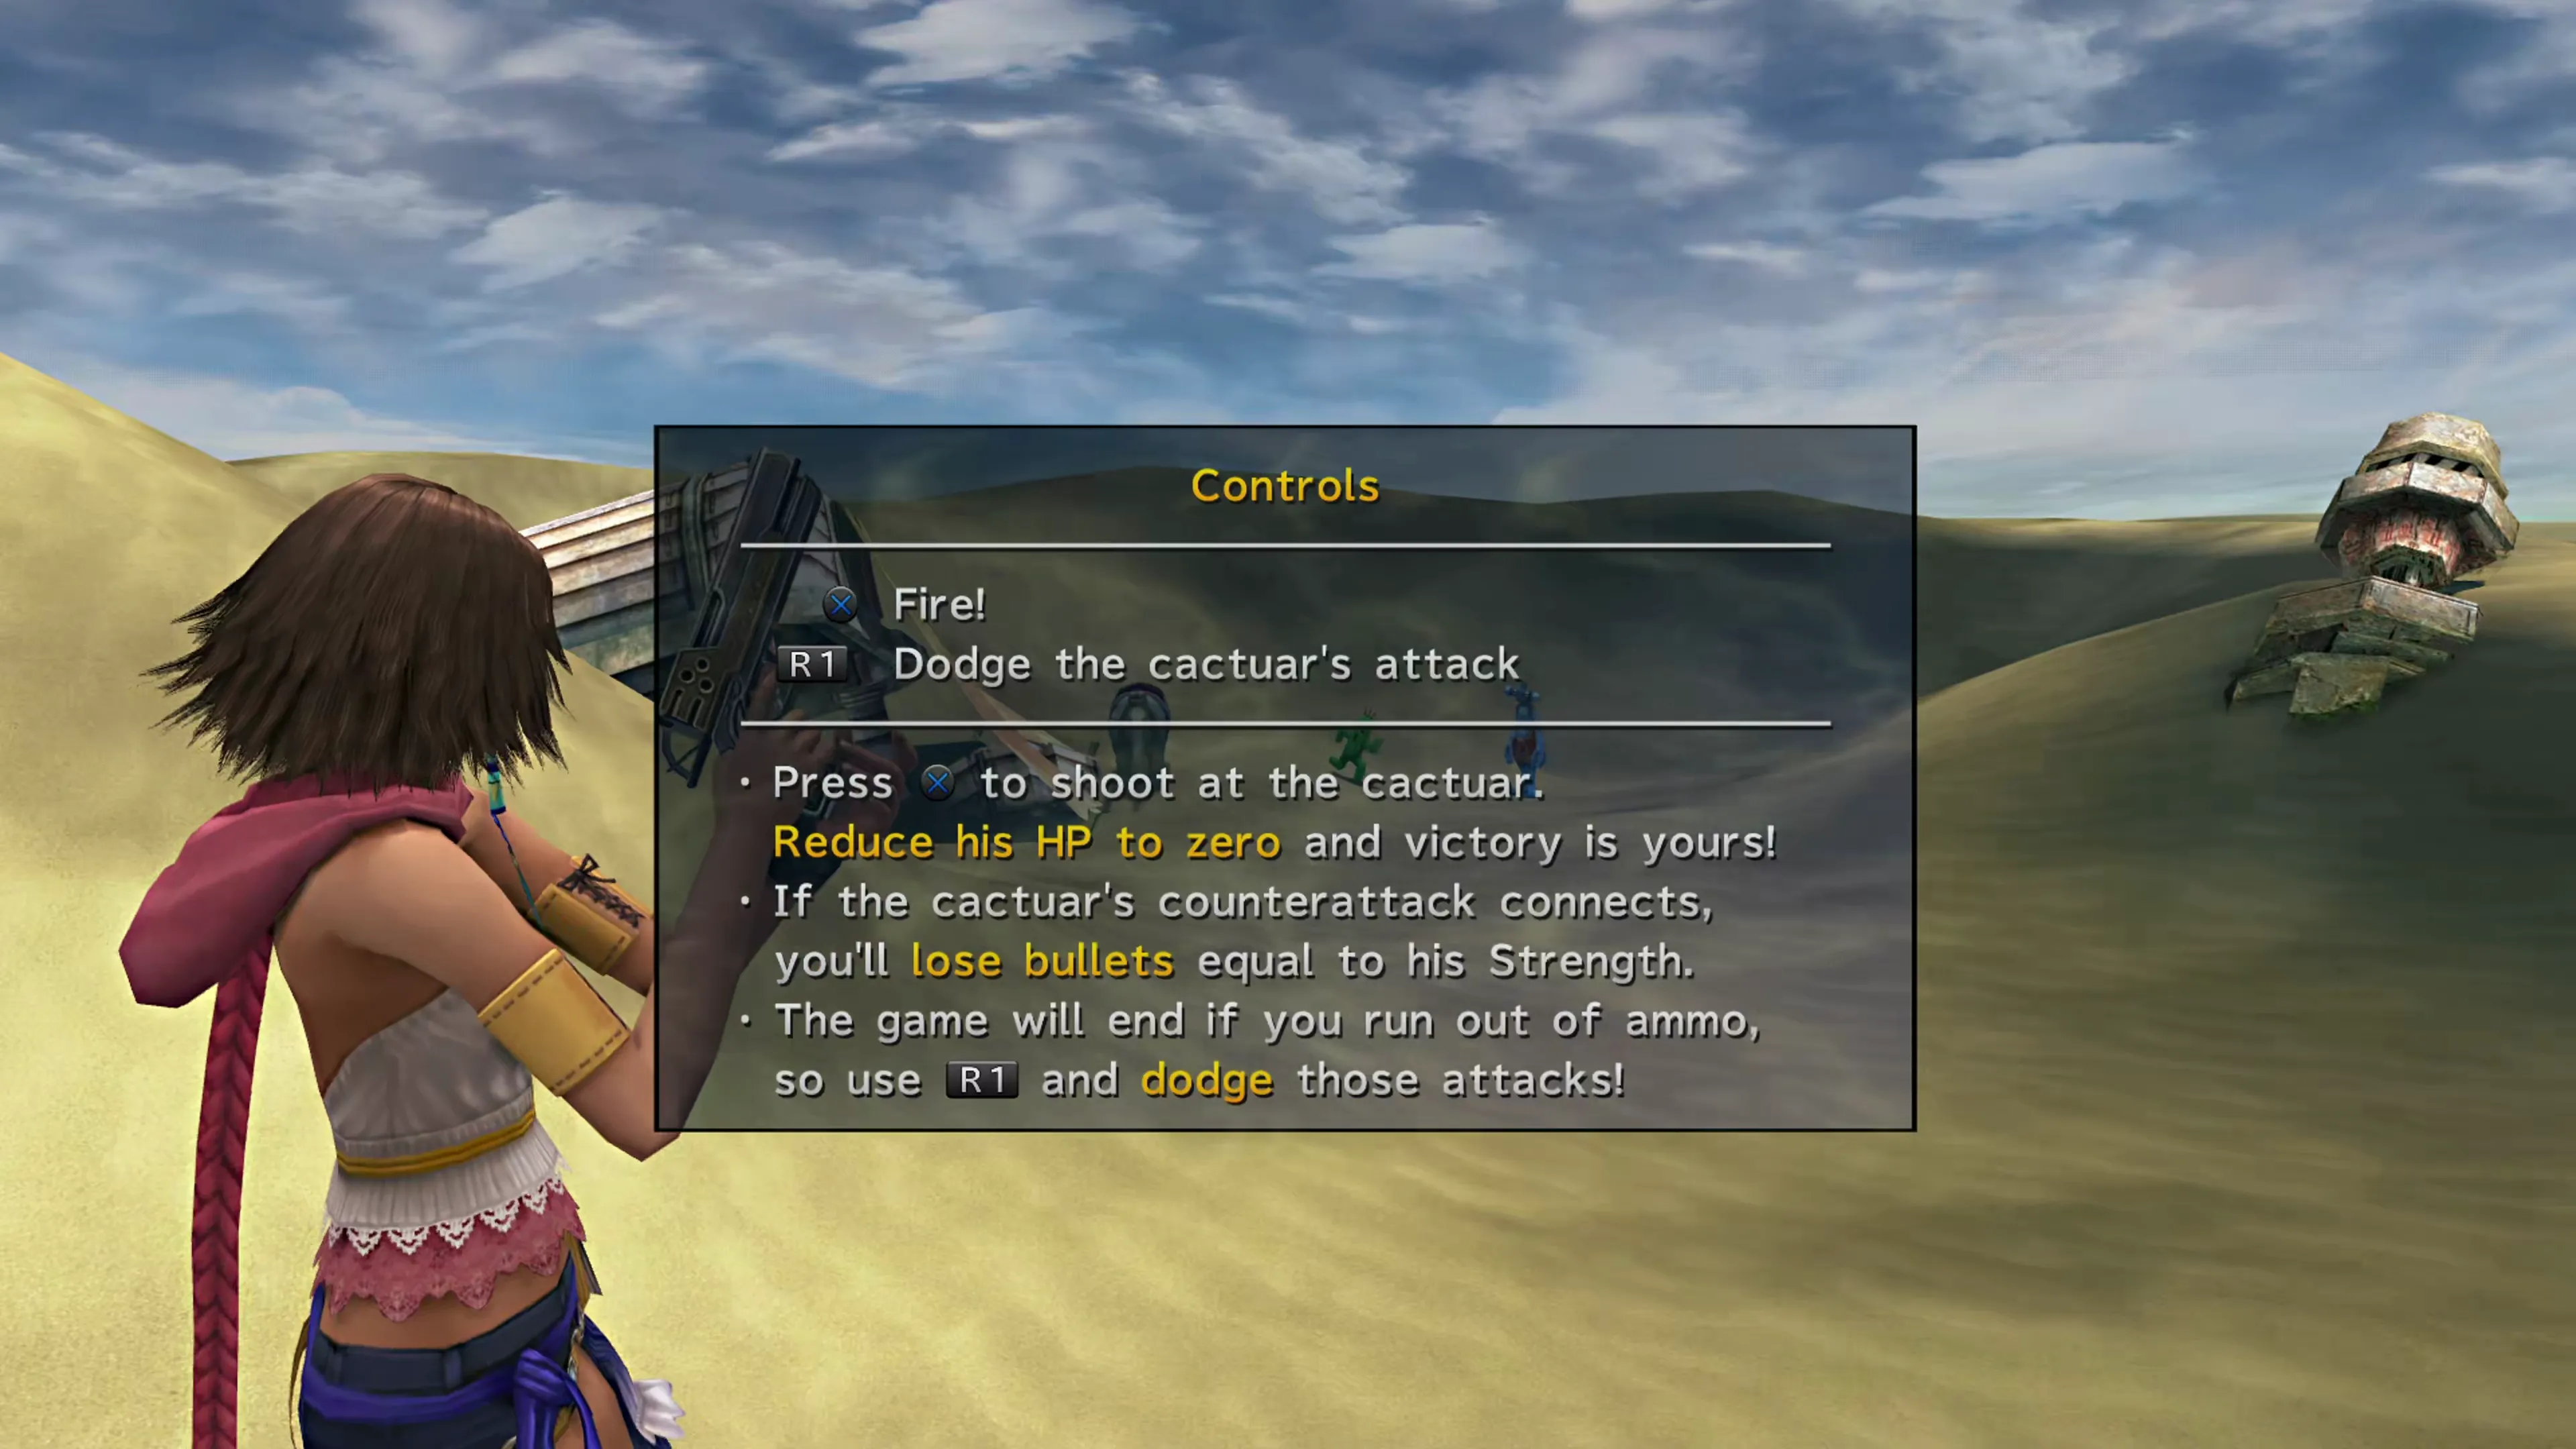
The controls for this mini-game are as straightforward as they’re described in the tutorial message:
- Press the


 button to fire
 - Press the


 button to dodge the cactuar’s attacks
If the Cactuar hits you with its counterattack, you’ll lose bullets equal to its HP, and you may potentially run out of bullets before you deplete the Cactuar’s HP and win the game. Annoyingly, there are no do-overs, but thankfully, you don’t have to win this mini-game to complete the side quest.
Two important tips:
- Take your time and plan your shot for when the Cactuar appears on screen. If you’re not bang on and go a little too early or a little too late, the Cactuar’s odds of counterattacking go up
- As soon as you press the button to shoot, hold the button every single time. There isn’t enough time to find out whether the Cactuar is going to counterattack, so just assume that it’s going to do it every single time.
Chapter 3
In Chapter 3, you can capture the first 6 Cactuars. You have to leave the remaining 4 until Chapter 5. Their locations are listed below:
| # | Cactuar | Location | Screenshot |
|---|---|---|---|
| 1 | Lobivia | Bikanel Desert, out at the Oasis. | 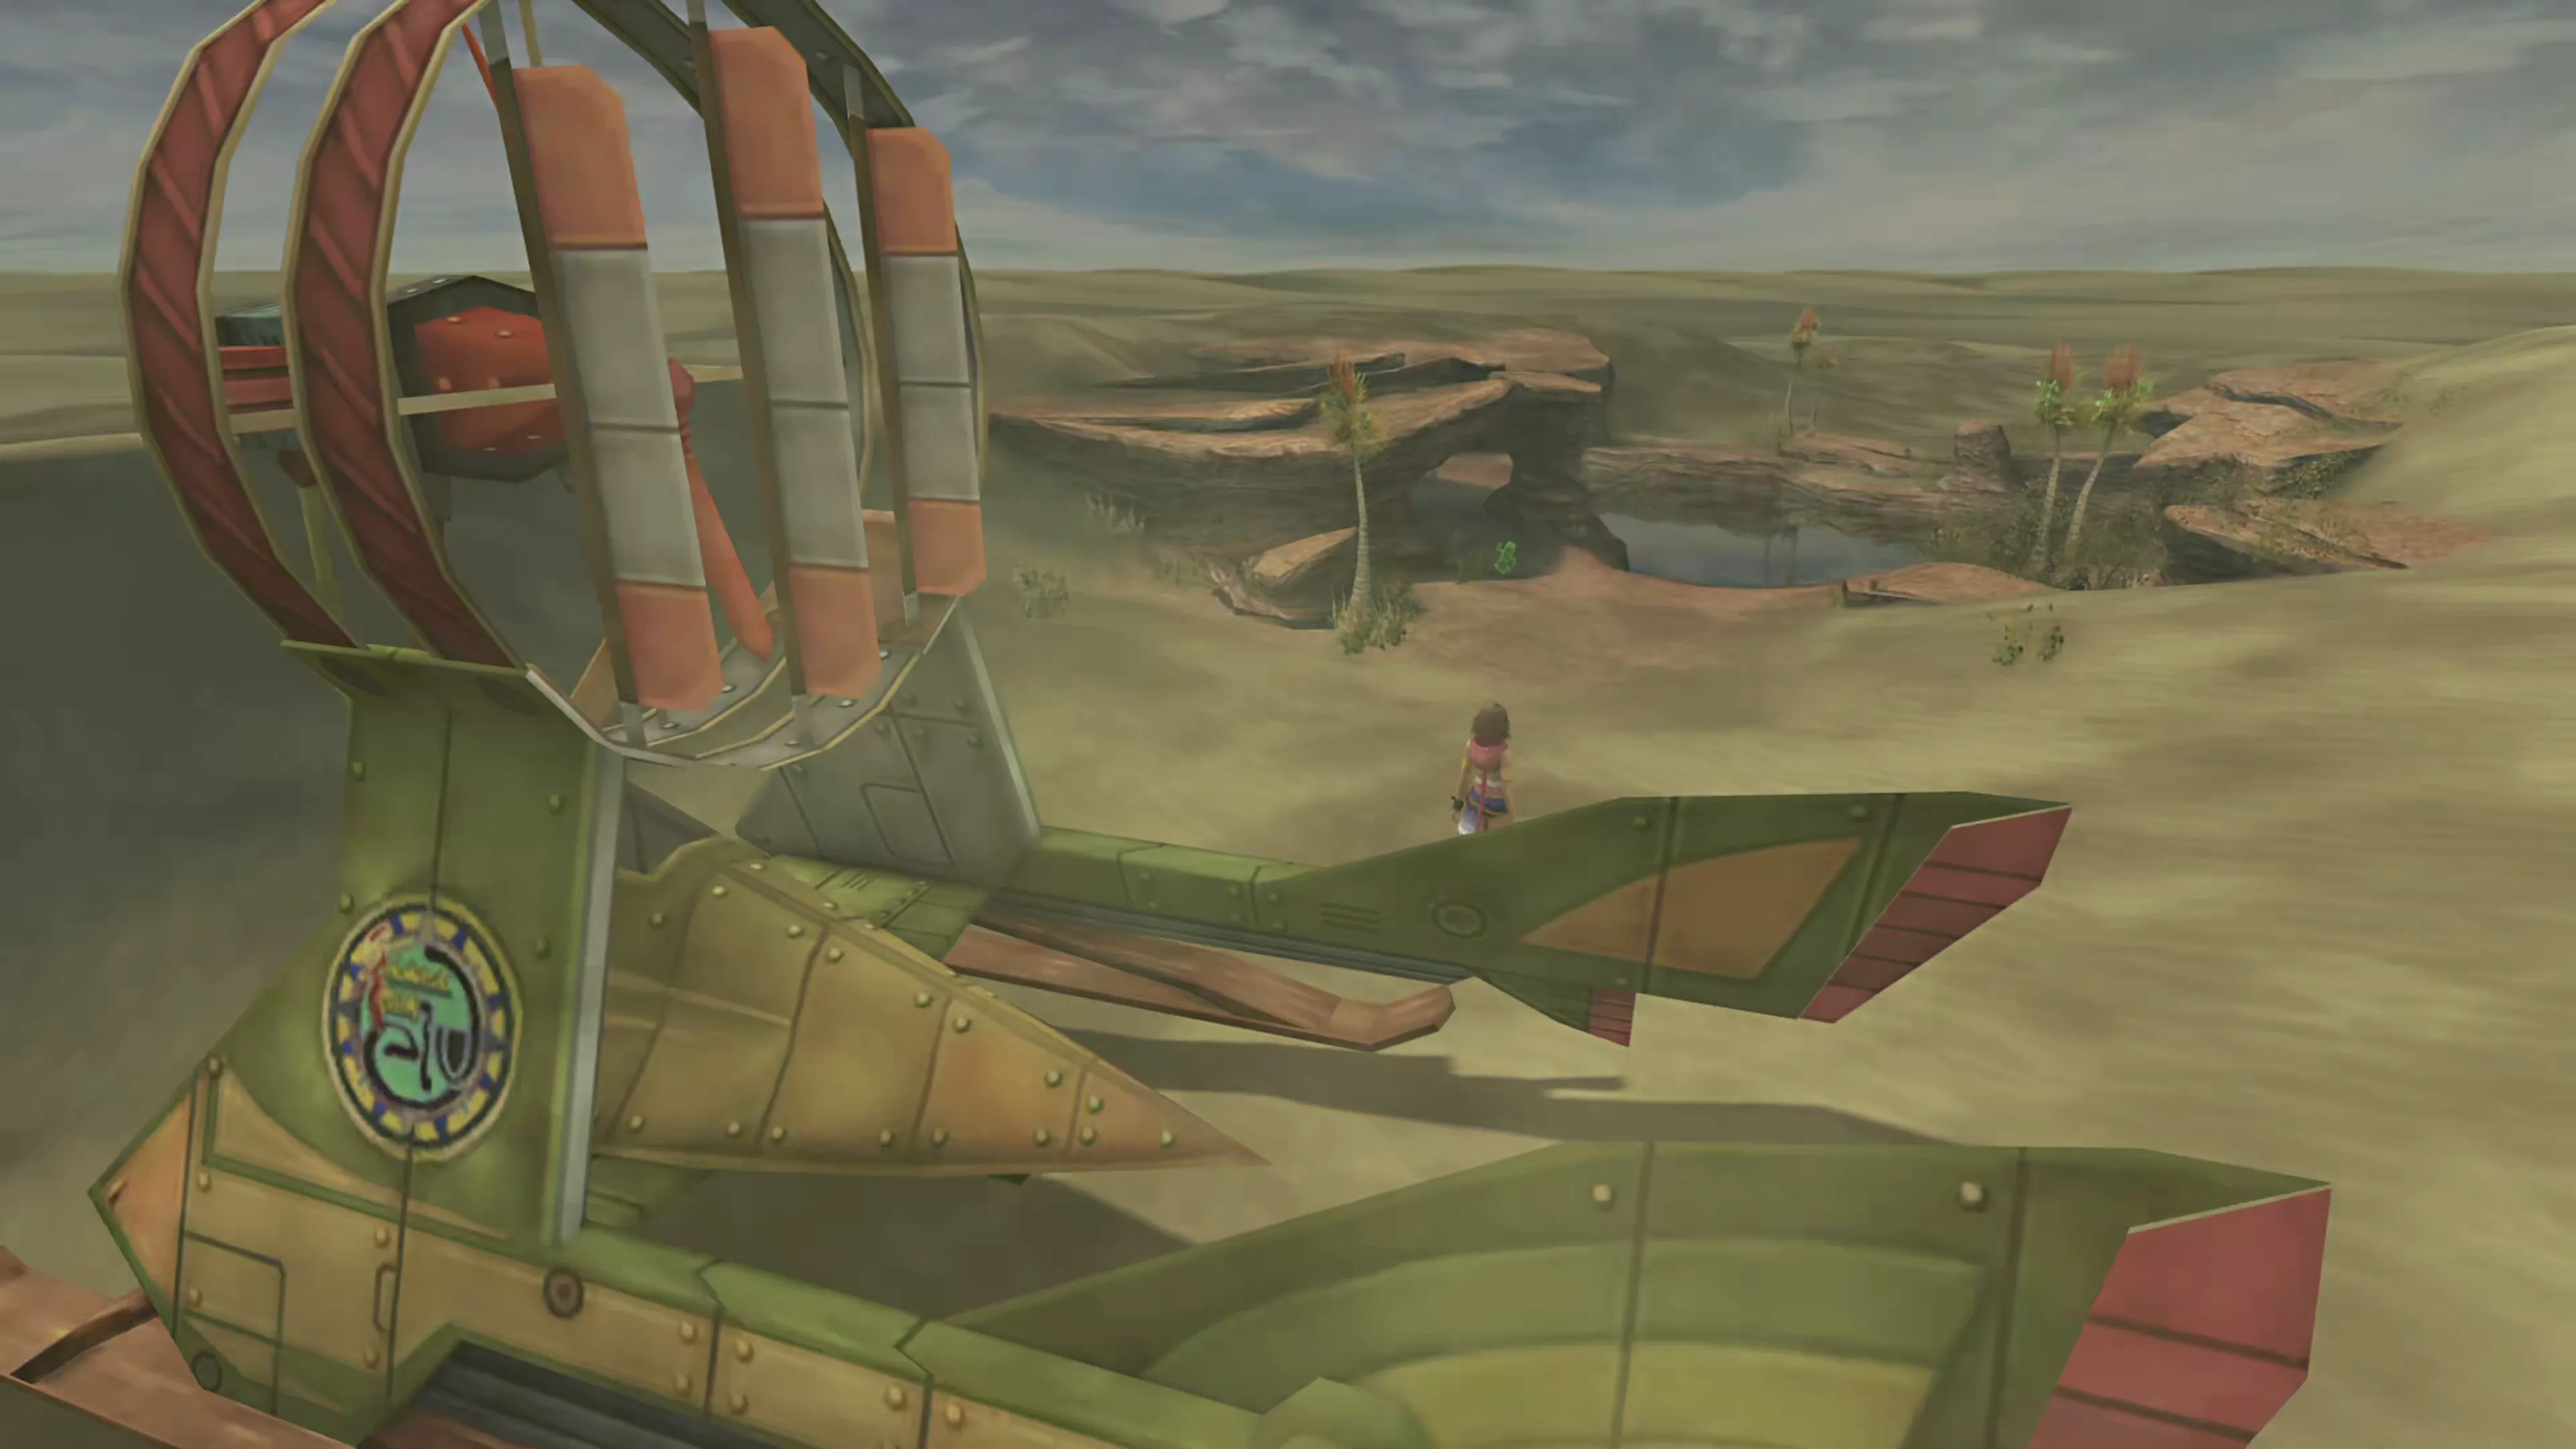 |
| 2 | Toumeya | Besaid Island, sunbathing on the beach. | 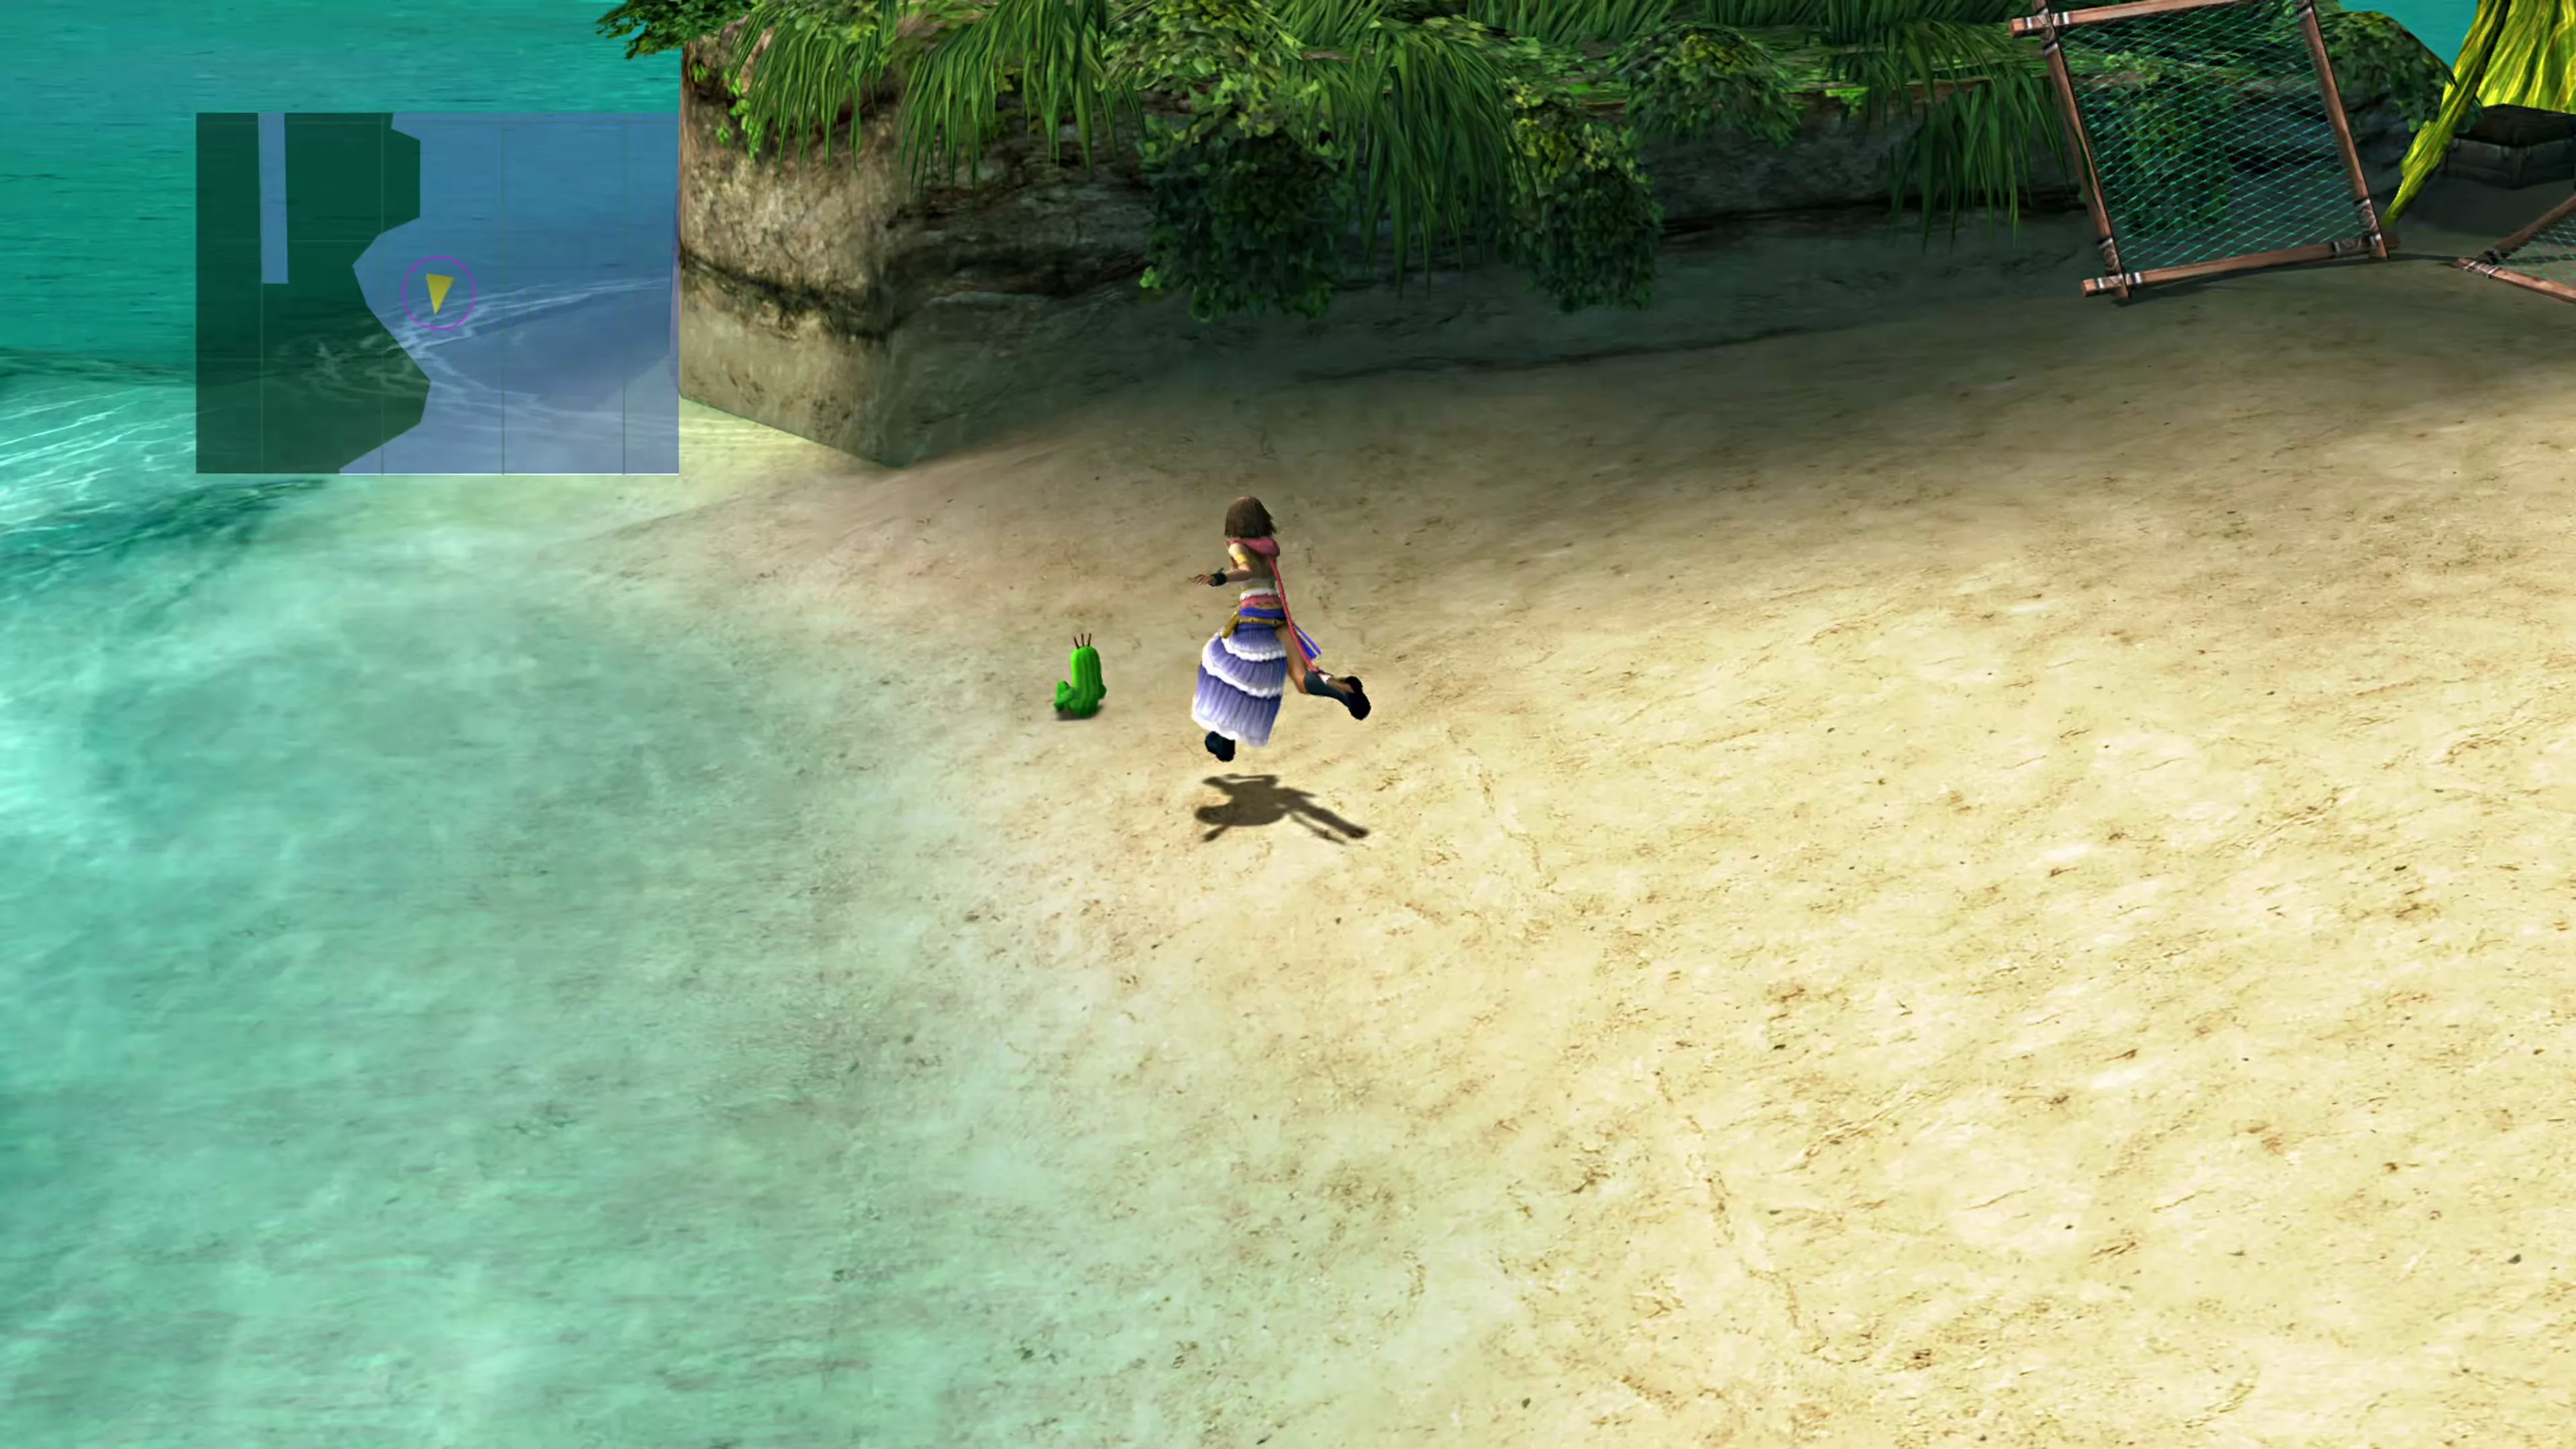 |
| 3 | Lobeira | Guadosalam, inside a treasure chest in one of the rooms off the Chateau’s hidden passageway. | 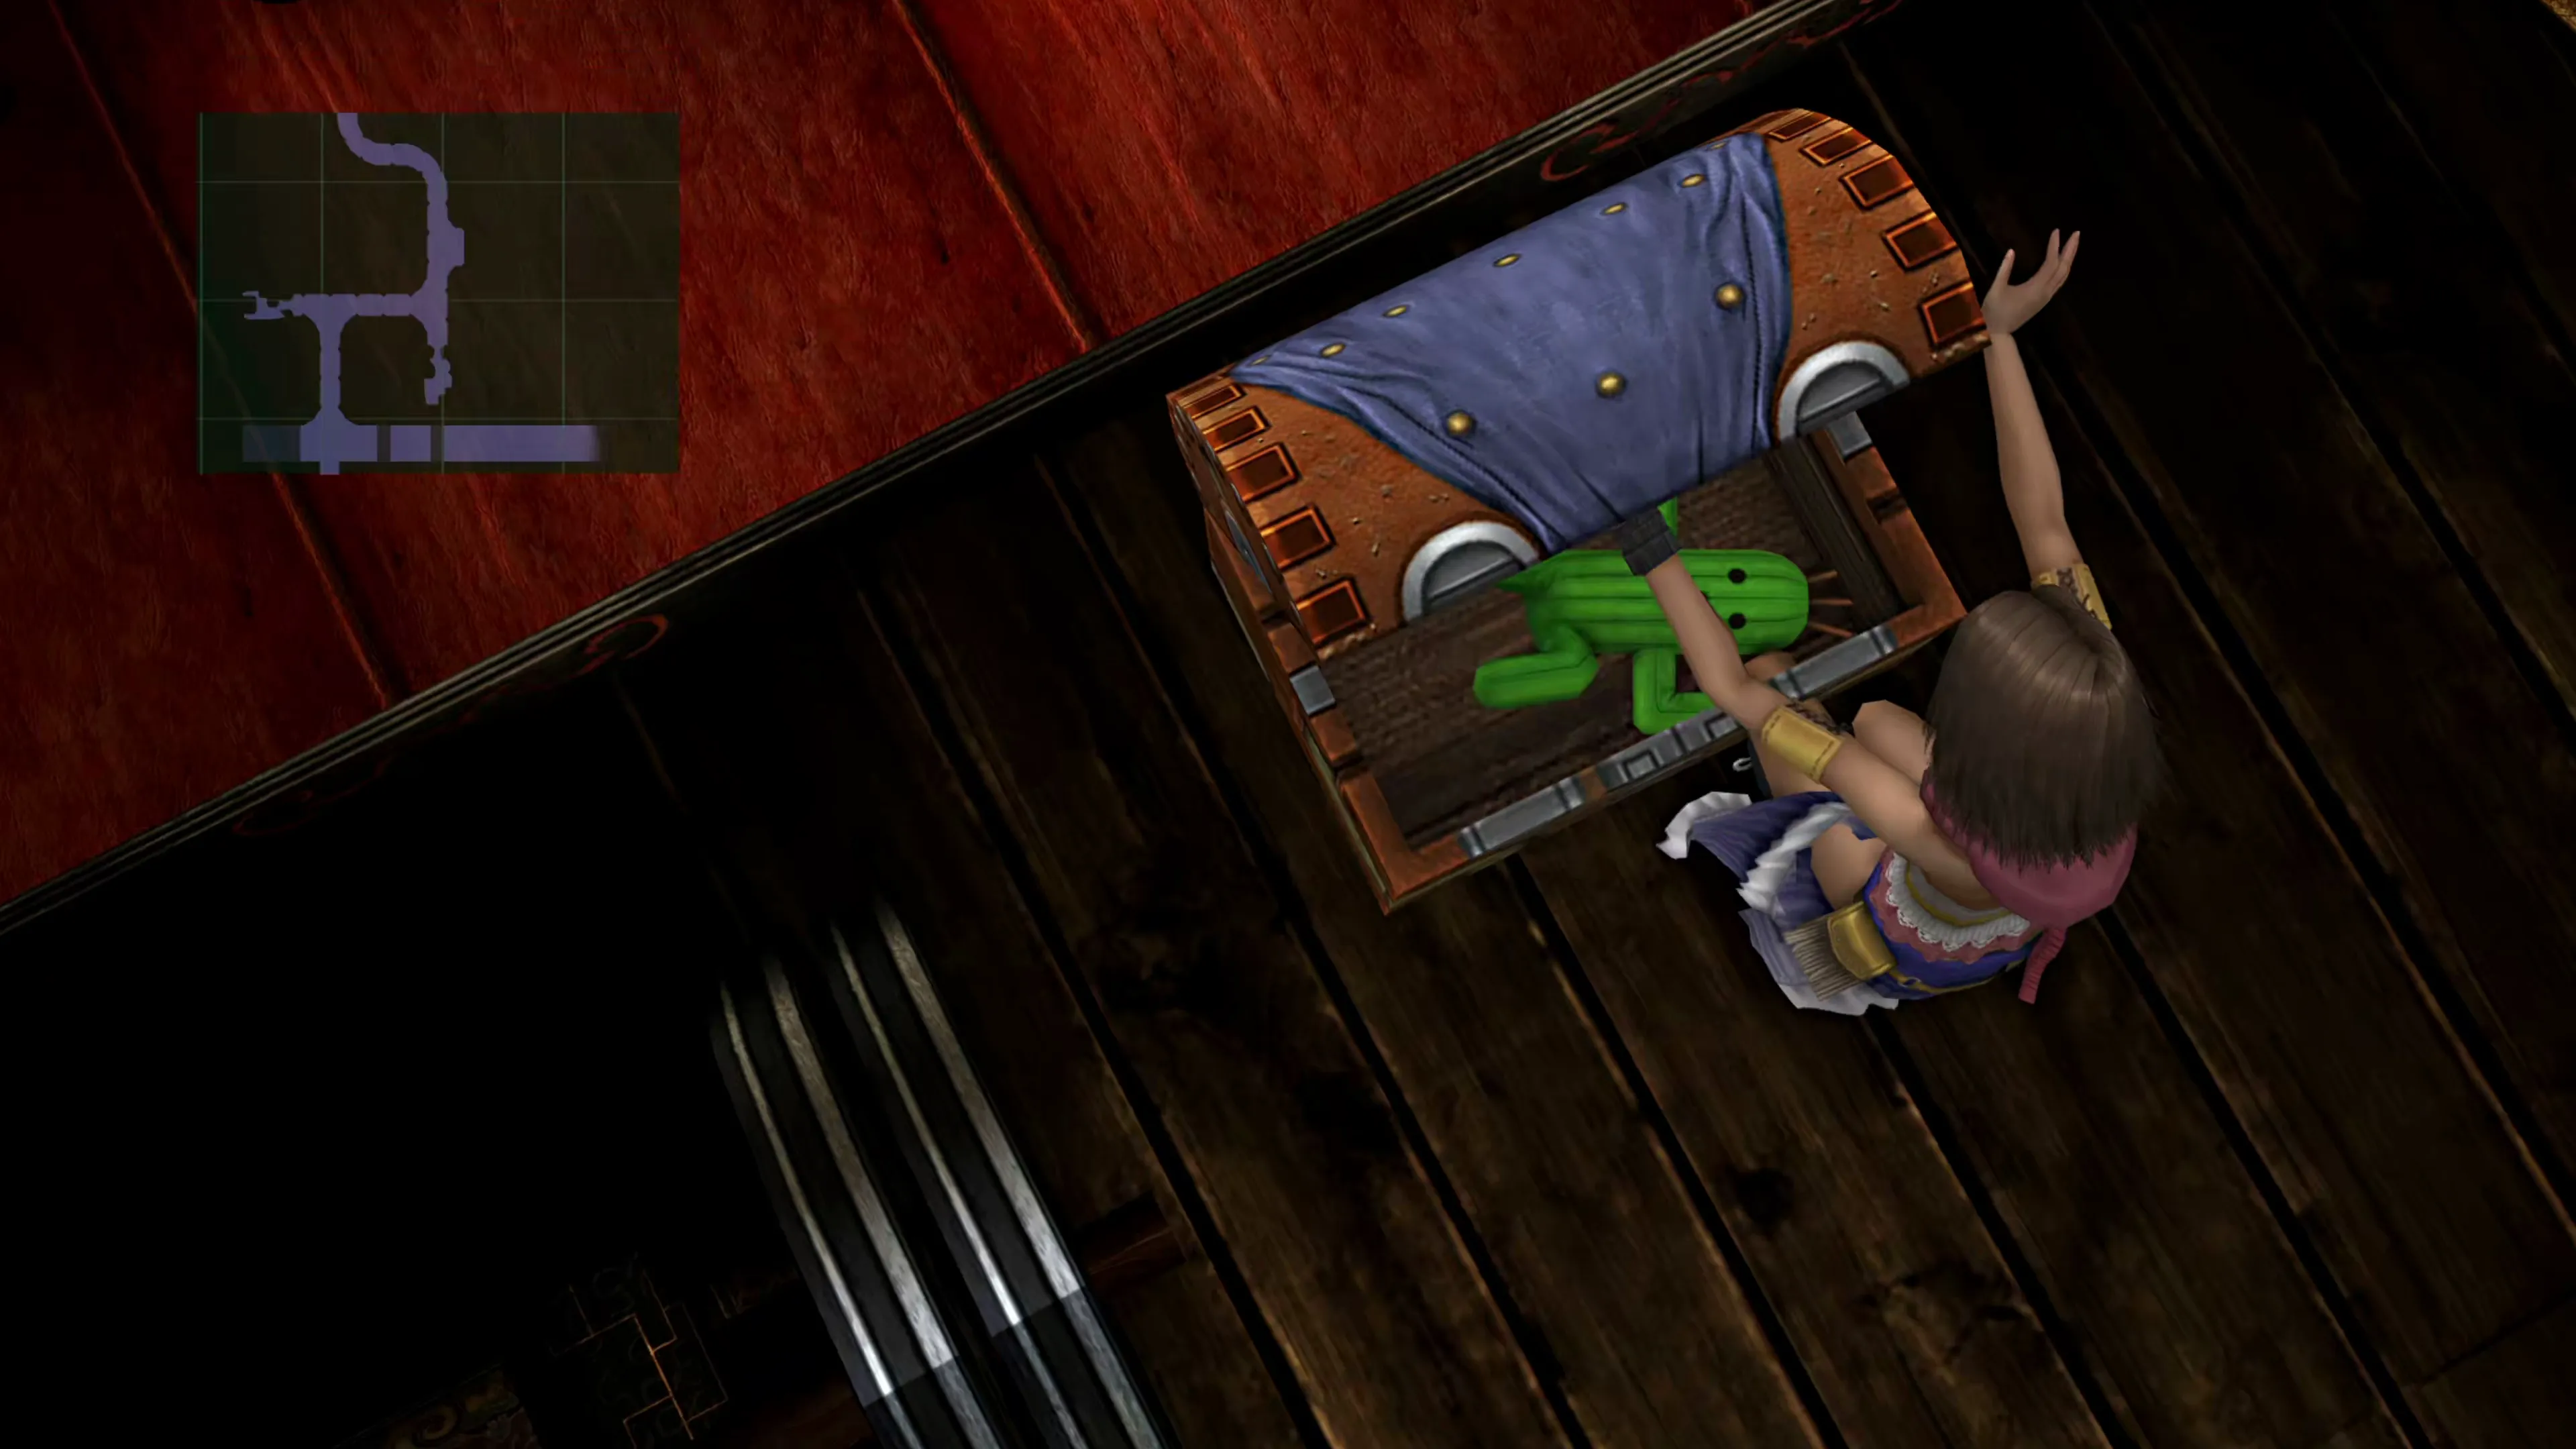 |
| 4 & 5 | Areq & Arroja | The snowy stretch between the Calm Lands and Mt. Gagazet, riding a chocobo. The brothers are found together and count as two of the ten. | 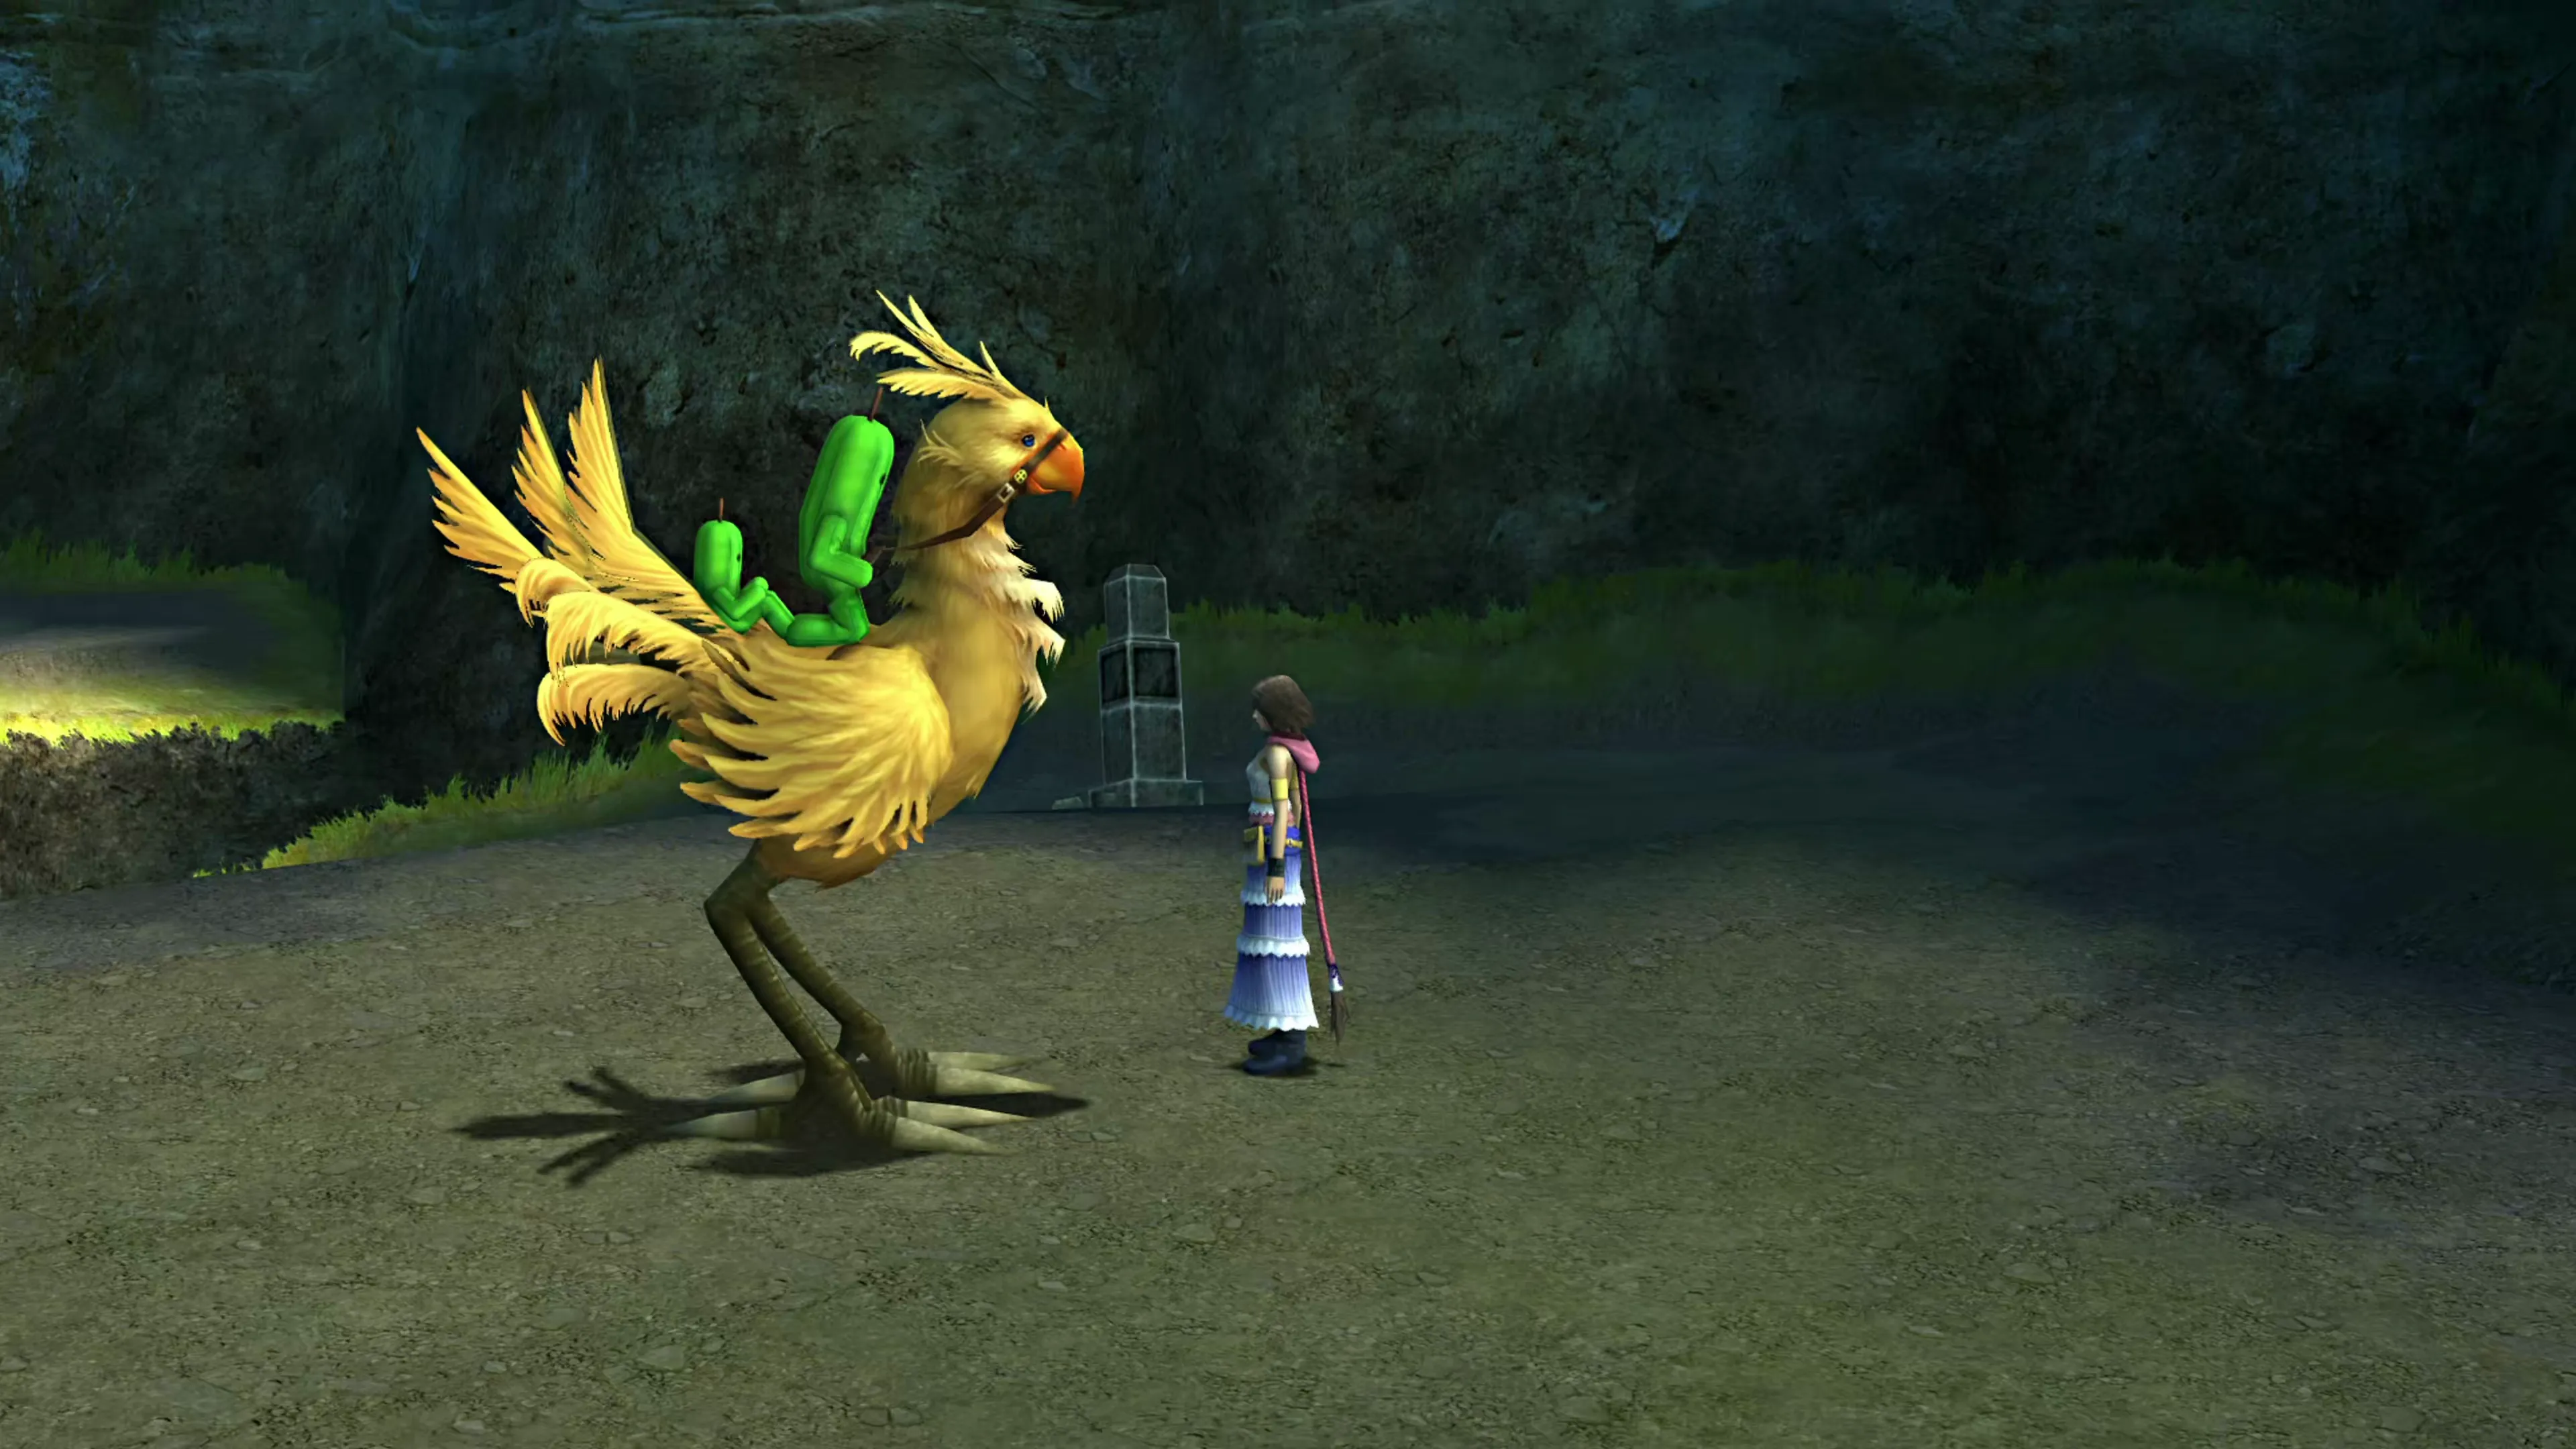 |
| 6 | Islaya | Thunder Plains, beside a cactuar stone a little east of the waiting shed. Enter from Macalania Woods and exit south to land right next to him. | 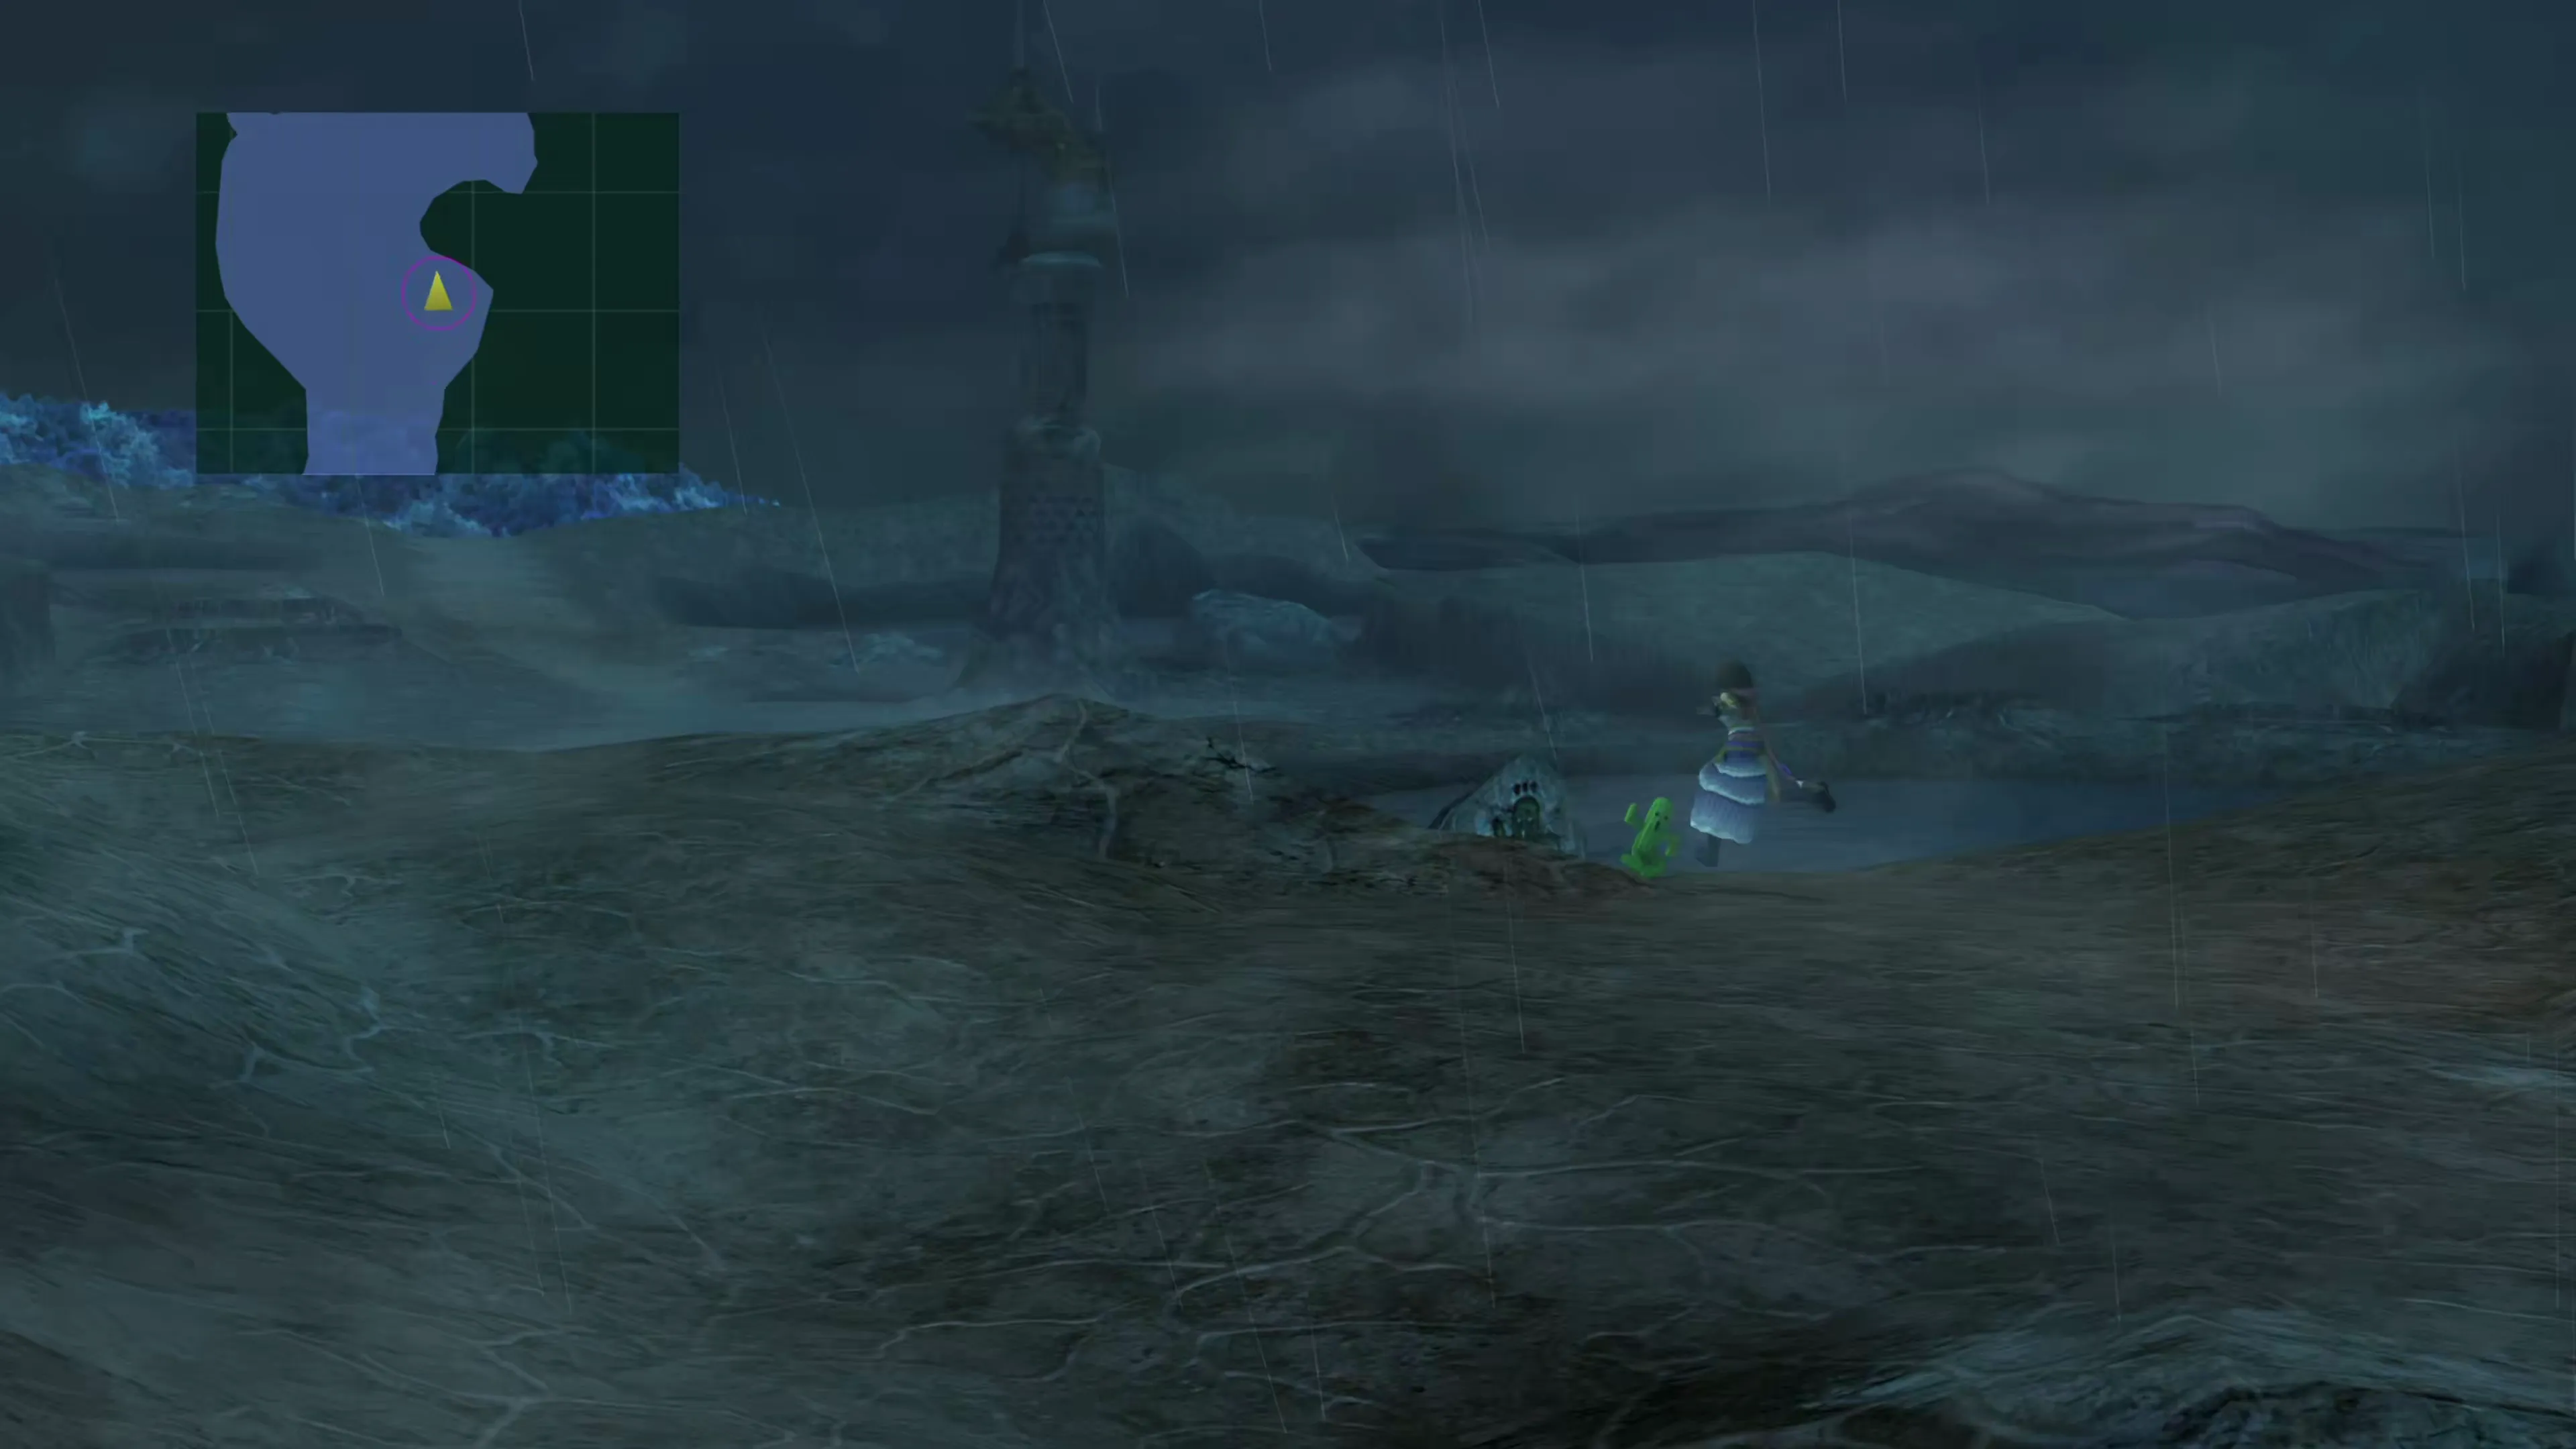 |
The seventh clue, for Chiapa, is not a location at all. Benzo’s translation makes it sound like a riddle, but the mother cactus is telling you to leave him alone for now. Chiapa is not anywhere in Spira during Chapter 3, and because the clues are handed out in order, that clue is where the hunt stops until Chapter 5.
Chapter 5
The last 4 Cactuars are listed below:
| # | Cactuar | Location | Screenshot |
|---|---|---|---|
| 7 | Chiapa | Kilika Woods. Cross the bridge, turn right, and follow the path until you find a fallen tree lying over the water. Climb it to reach him. | 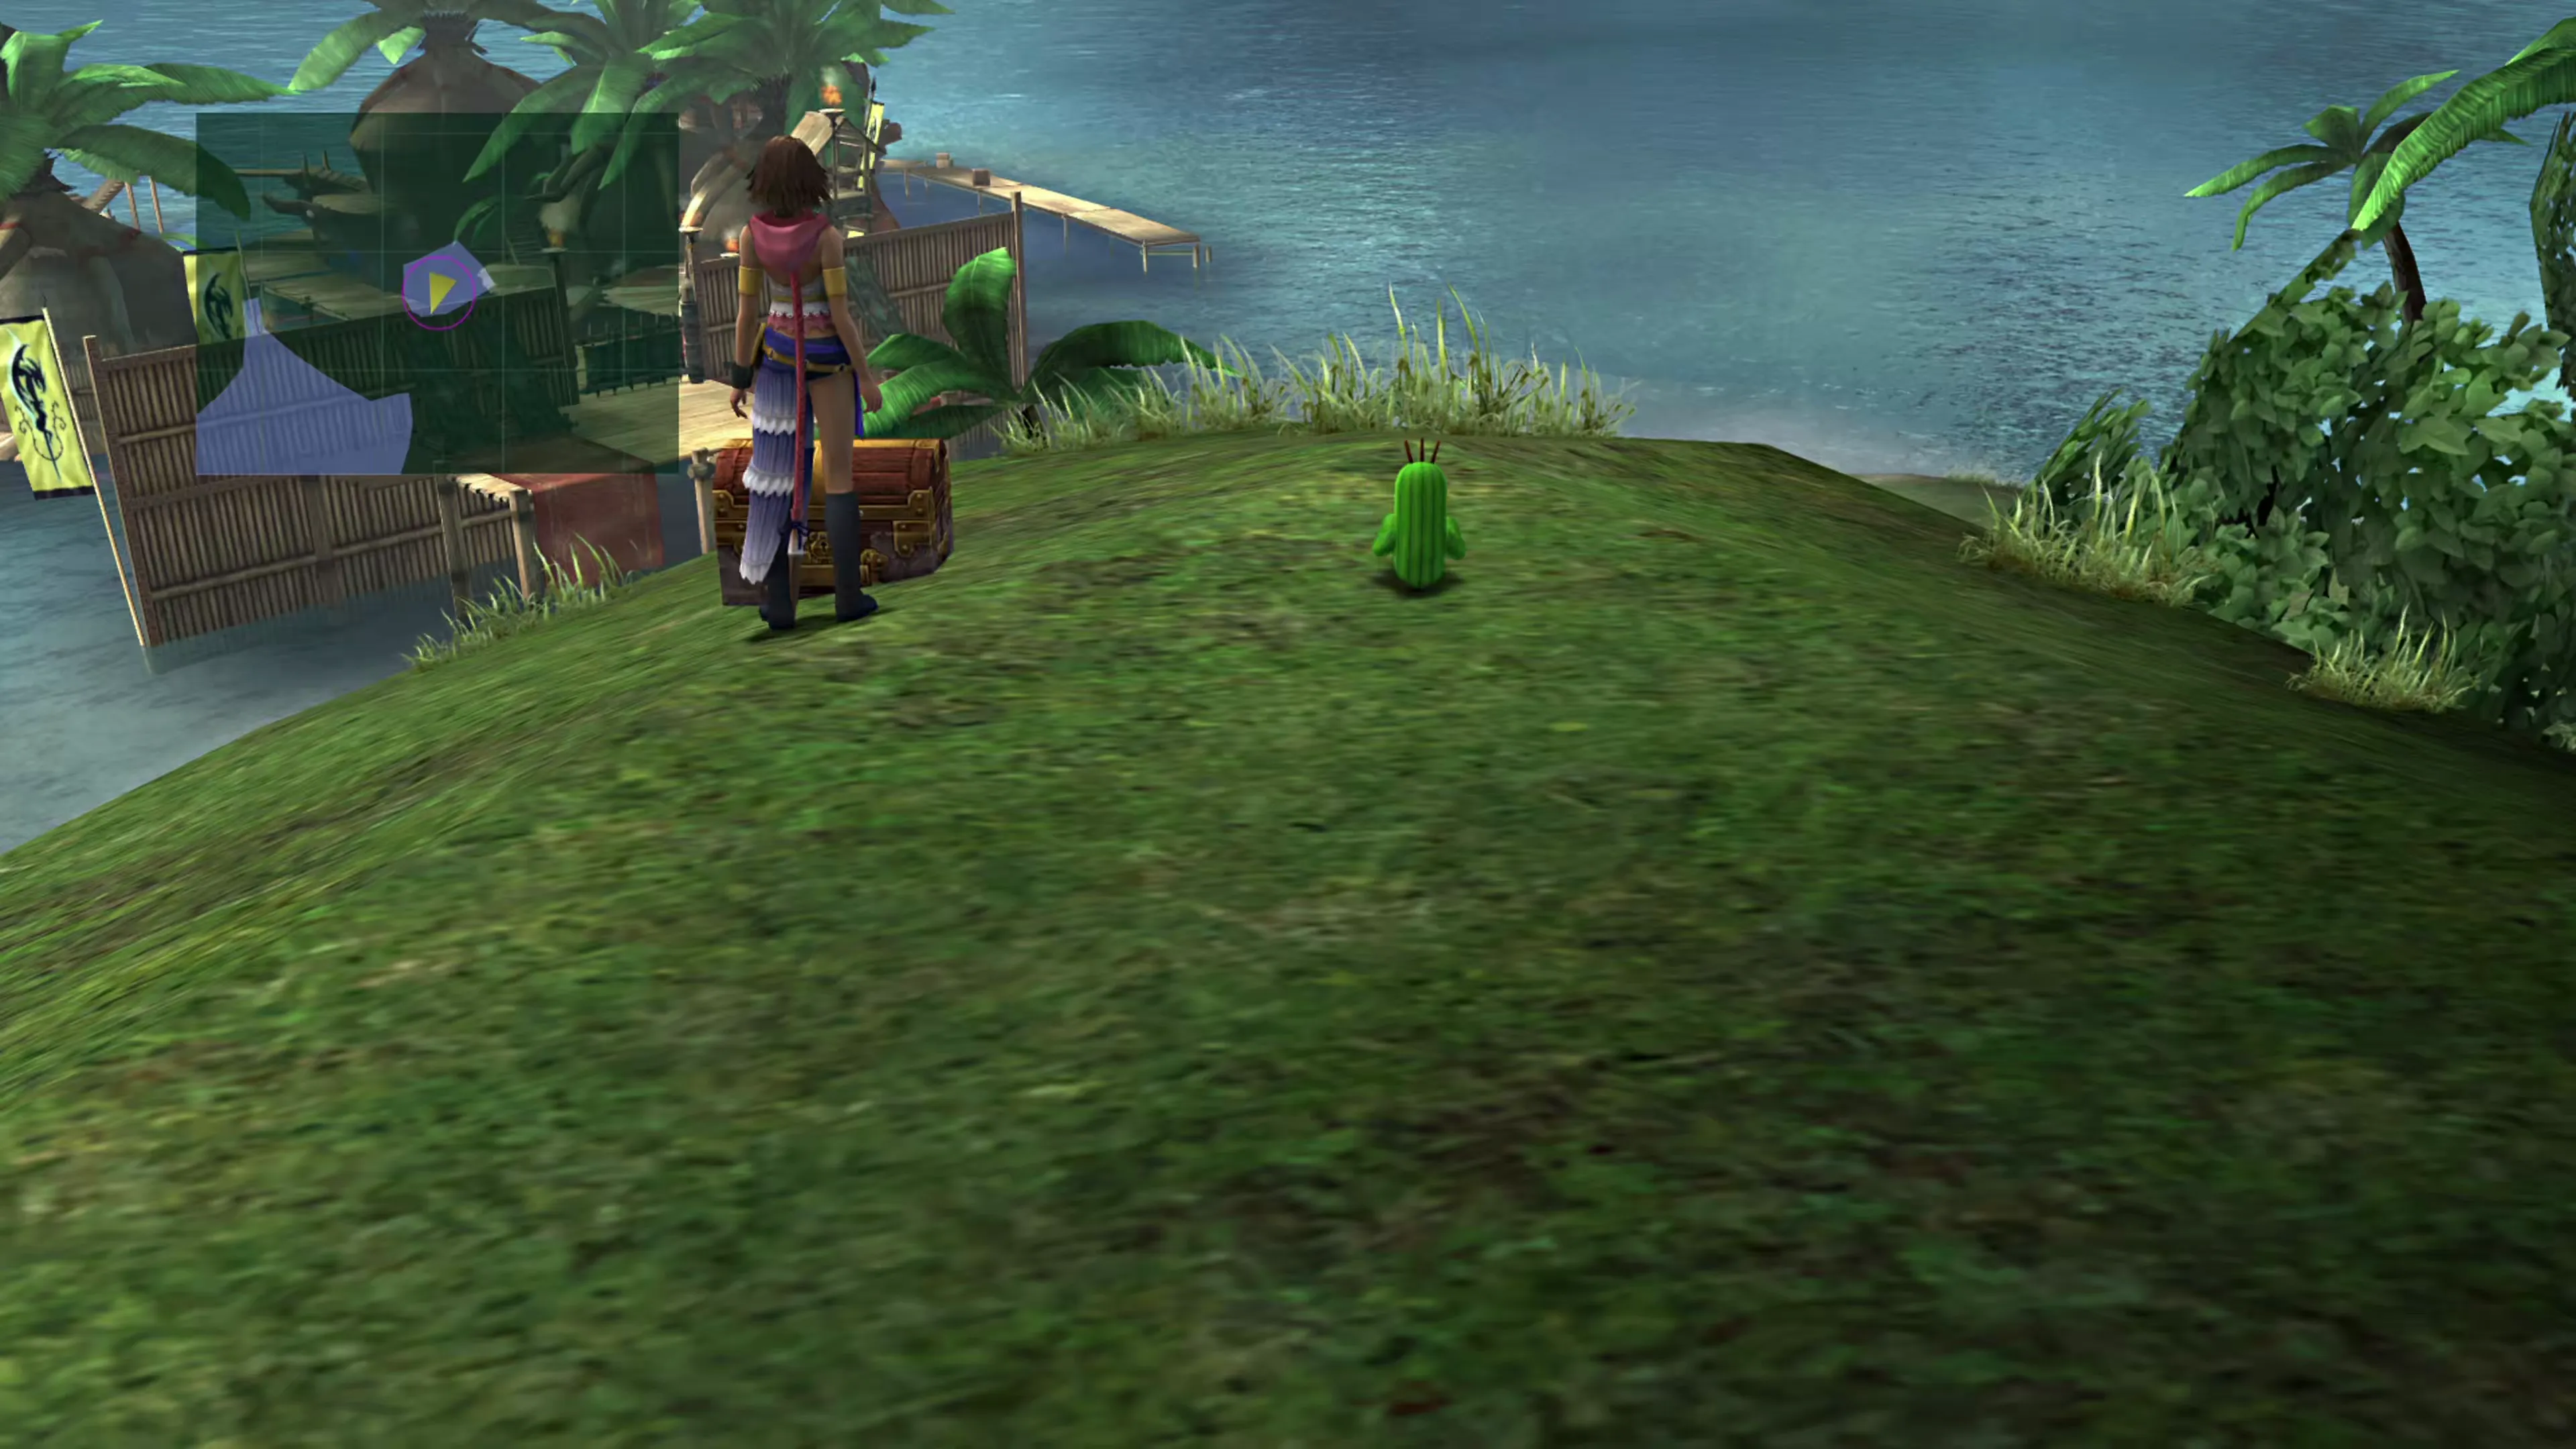 |
| 8 | Erio | Mt. Gagazet. Head down from the summit to the Prominence. | 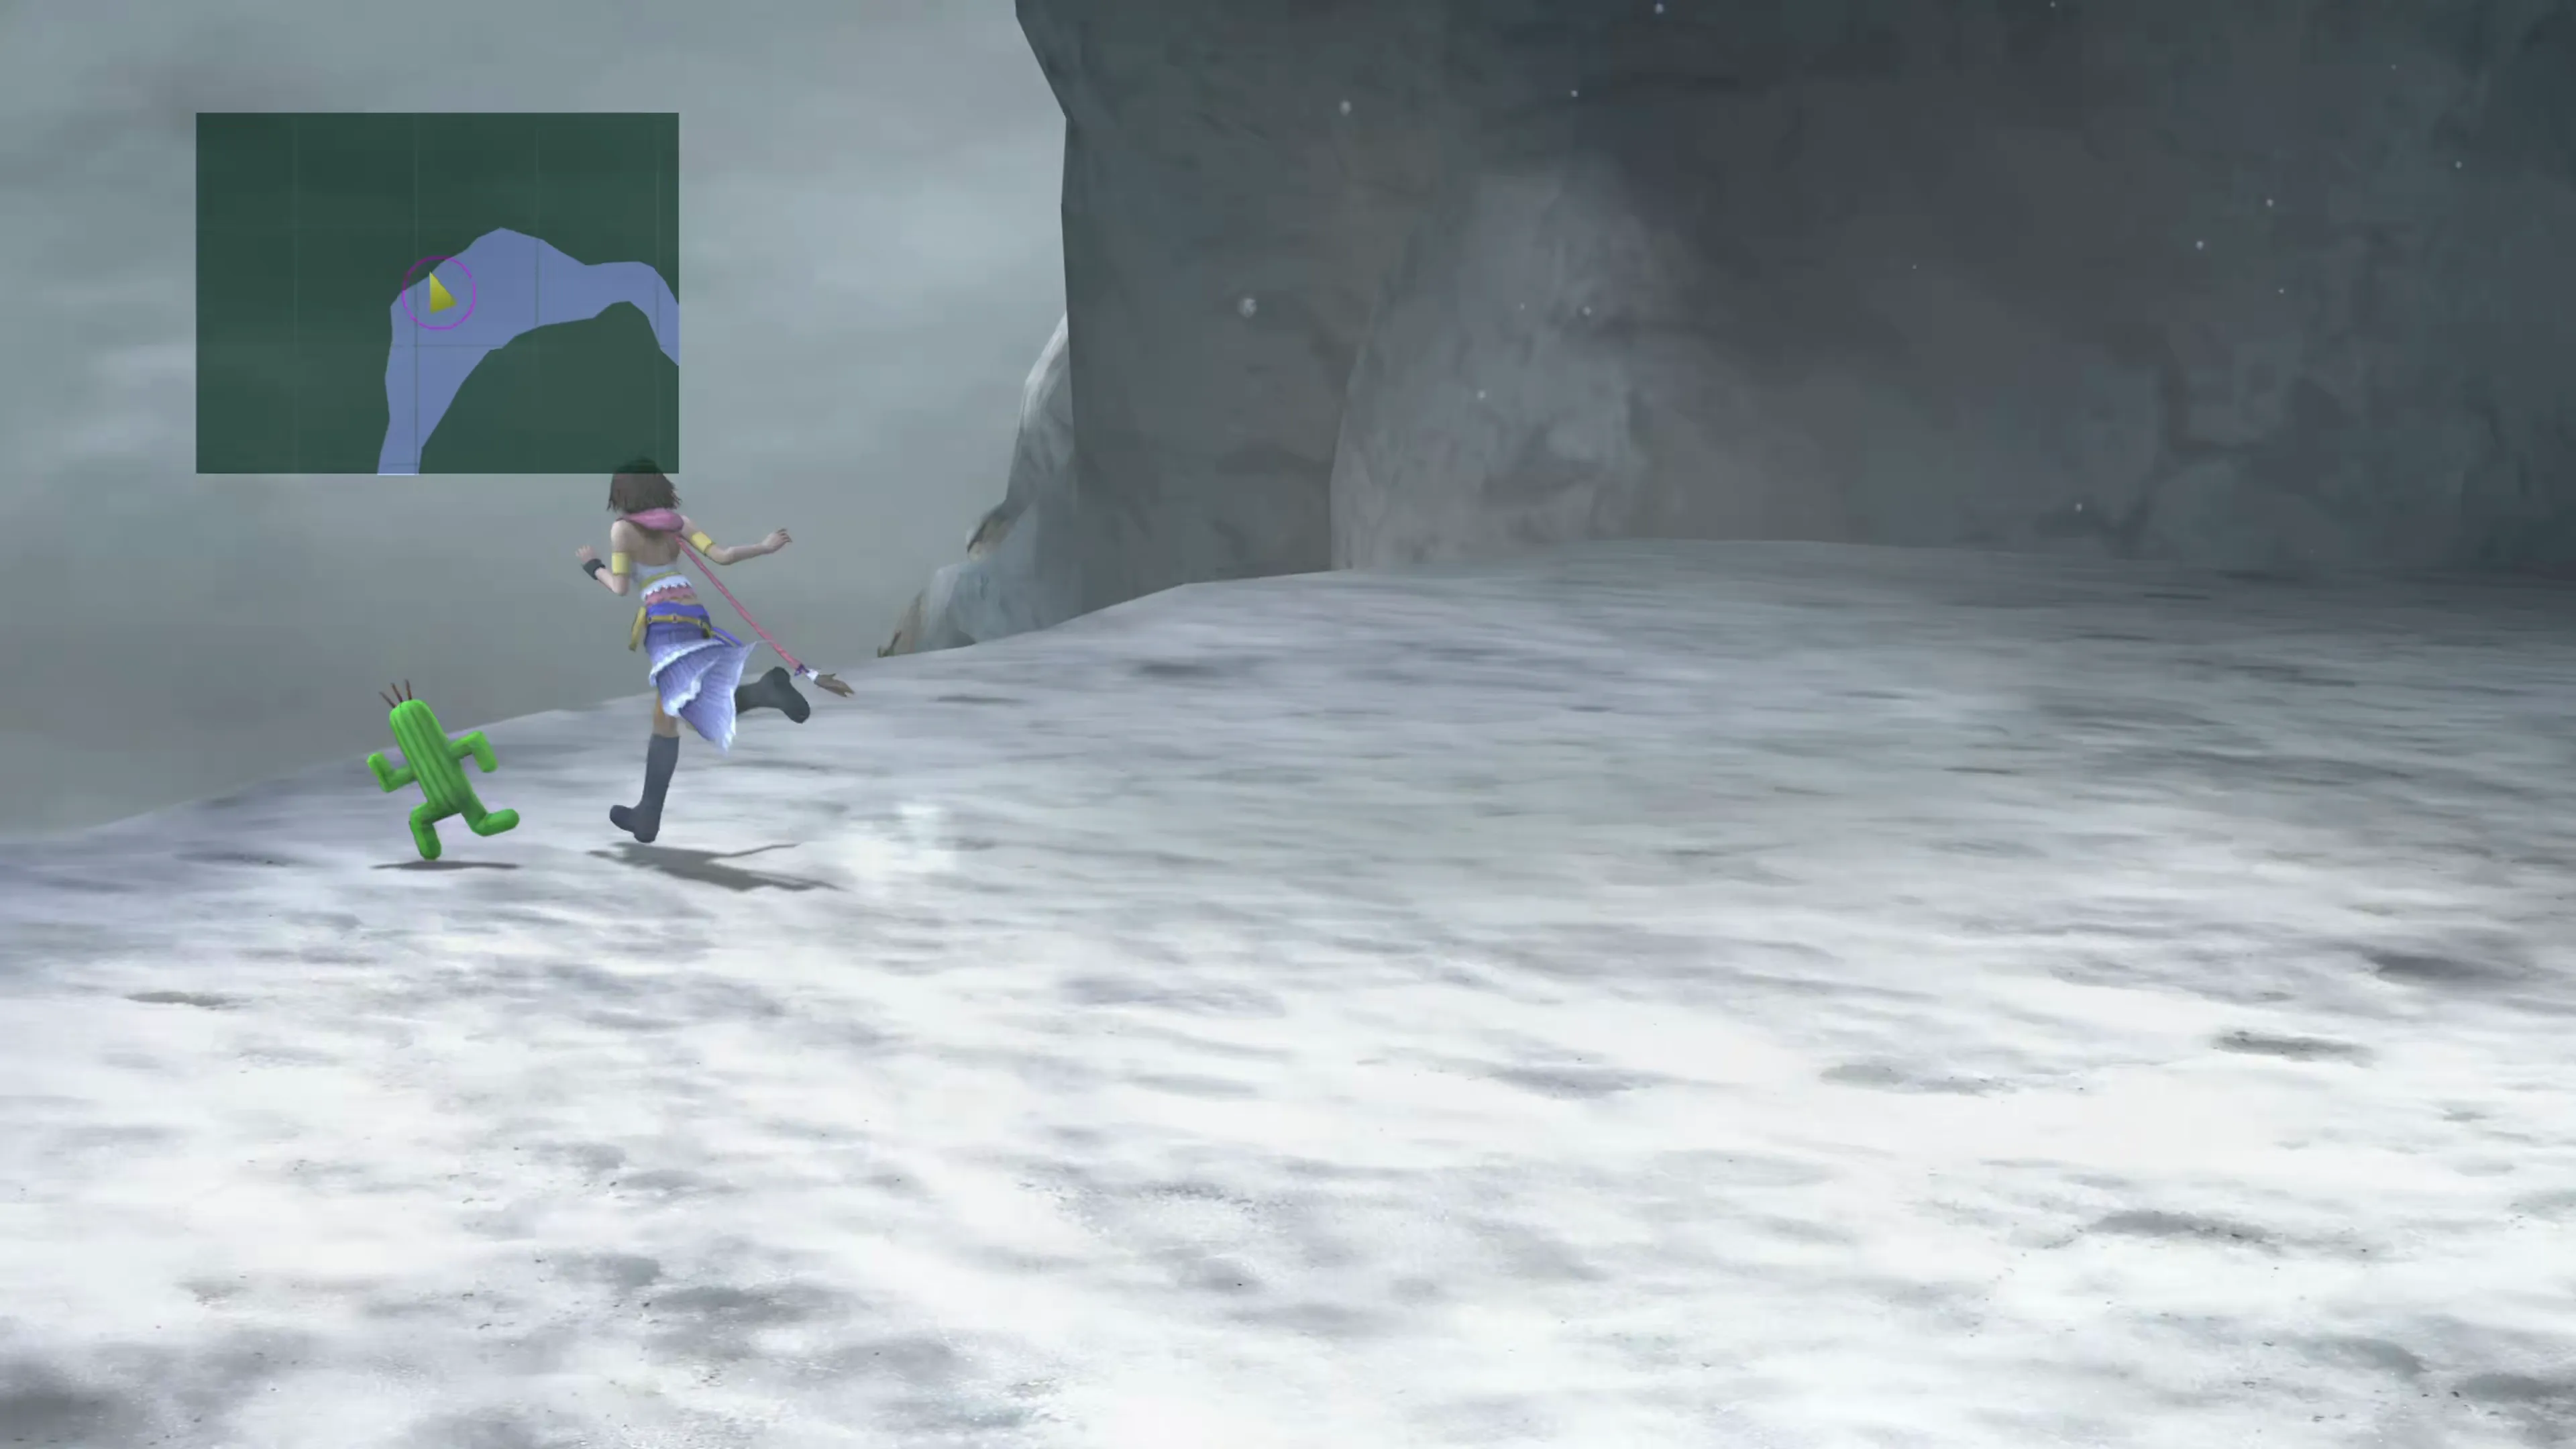 |
| 9 | Bartschella | Kilika, inside Dona’s house at the base of the stairs. | 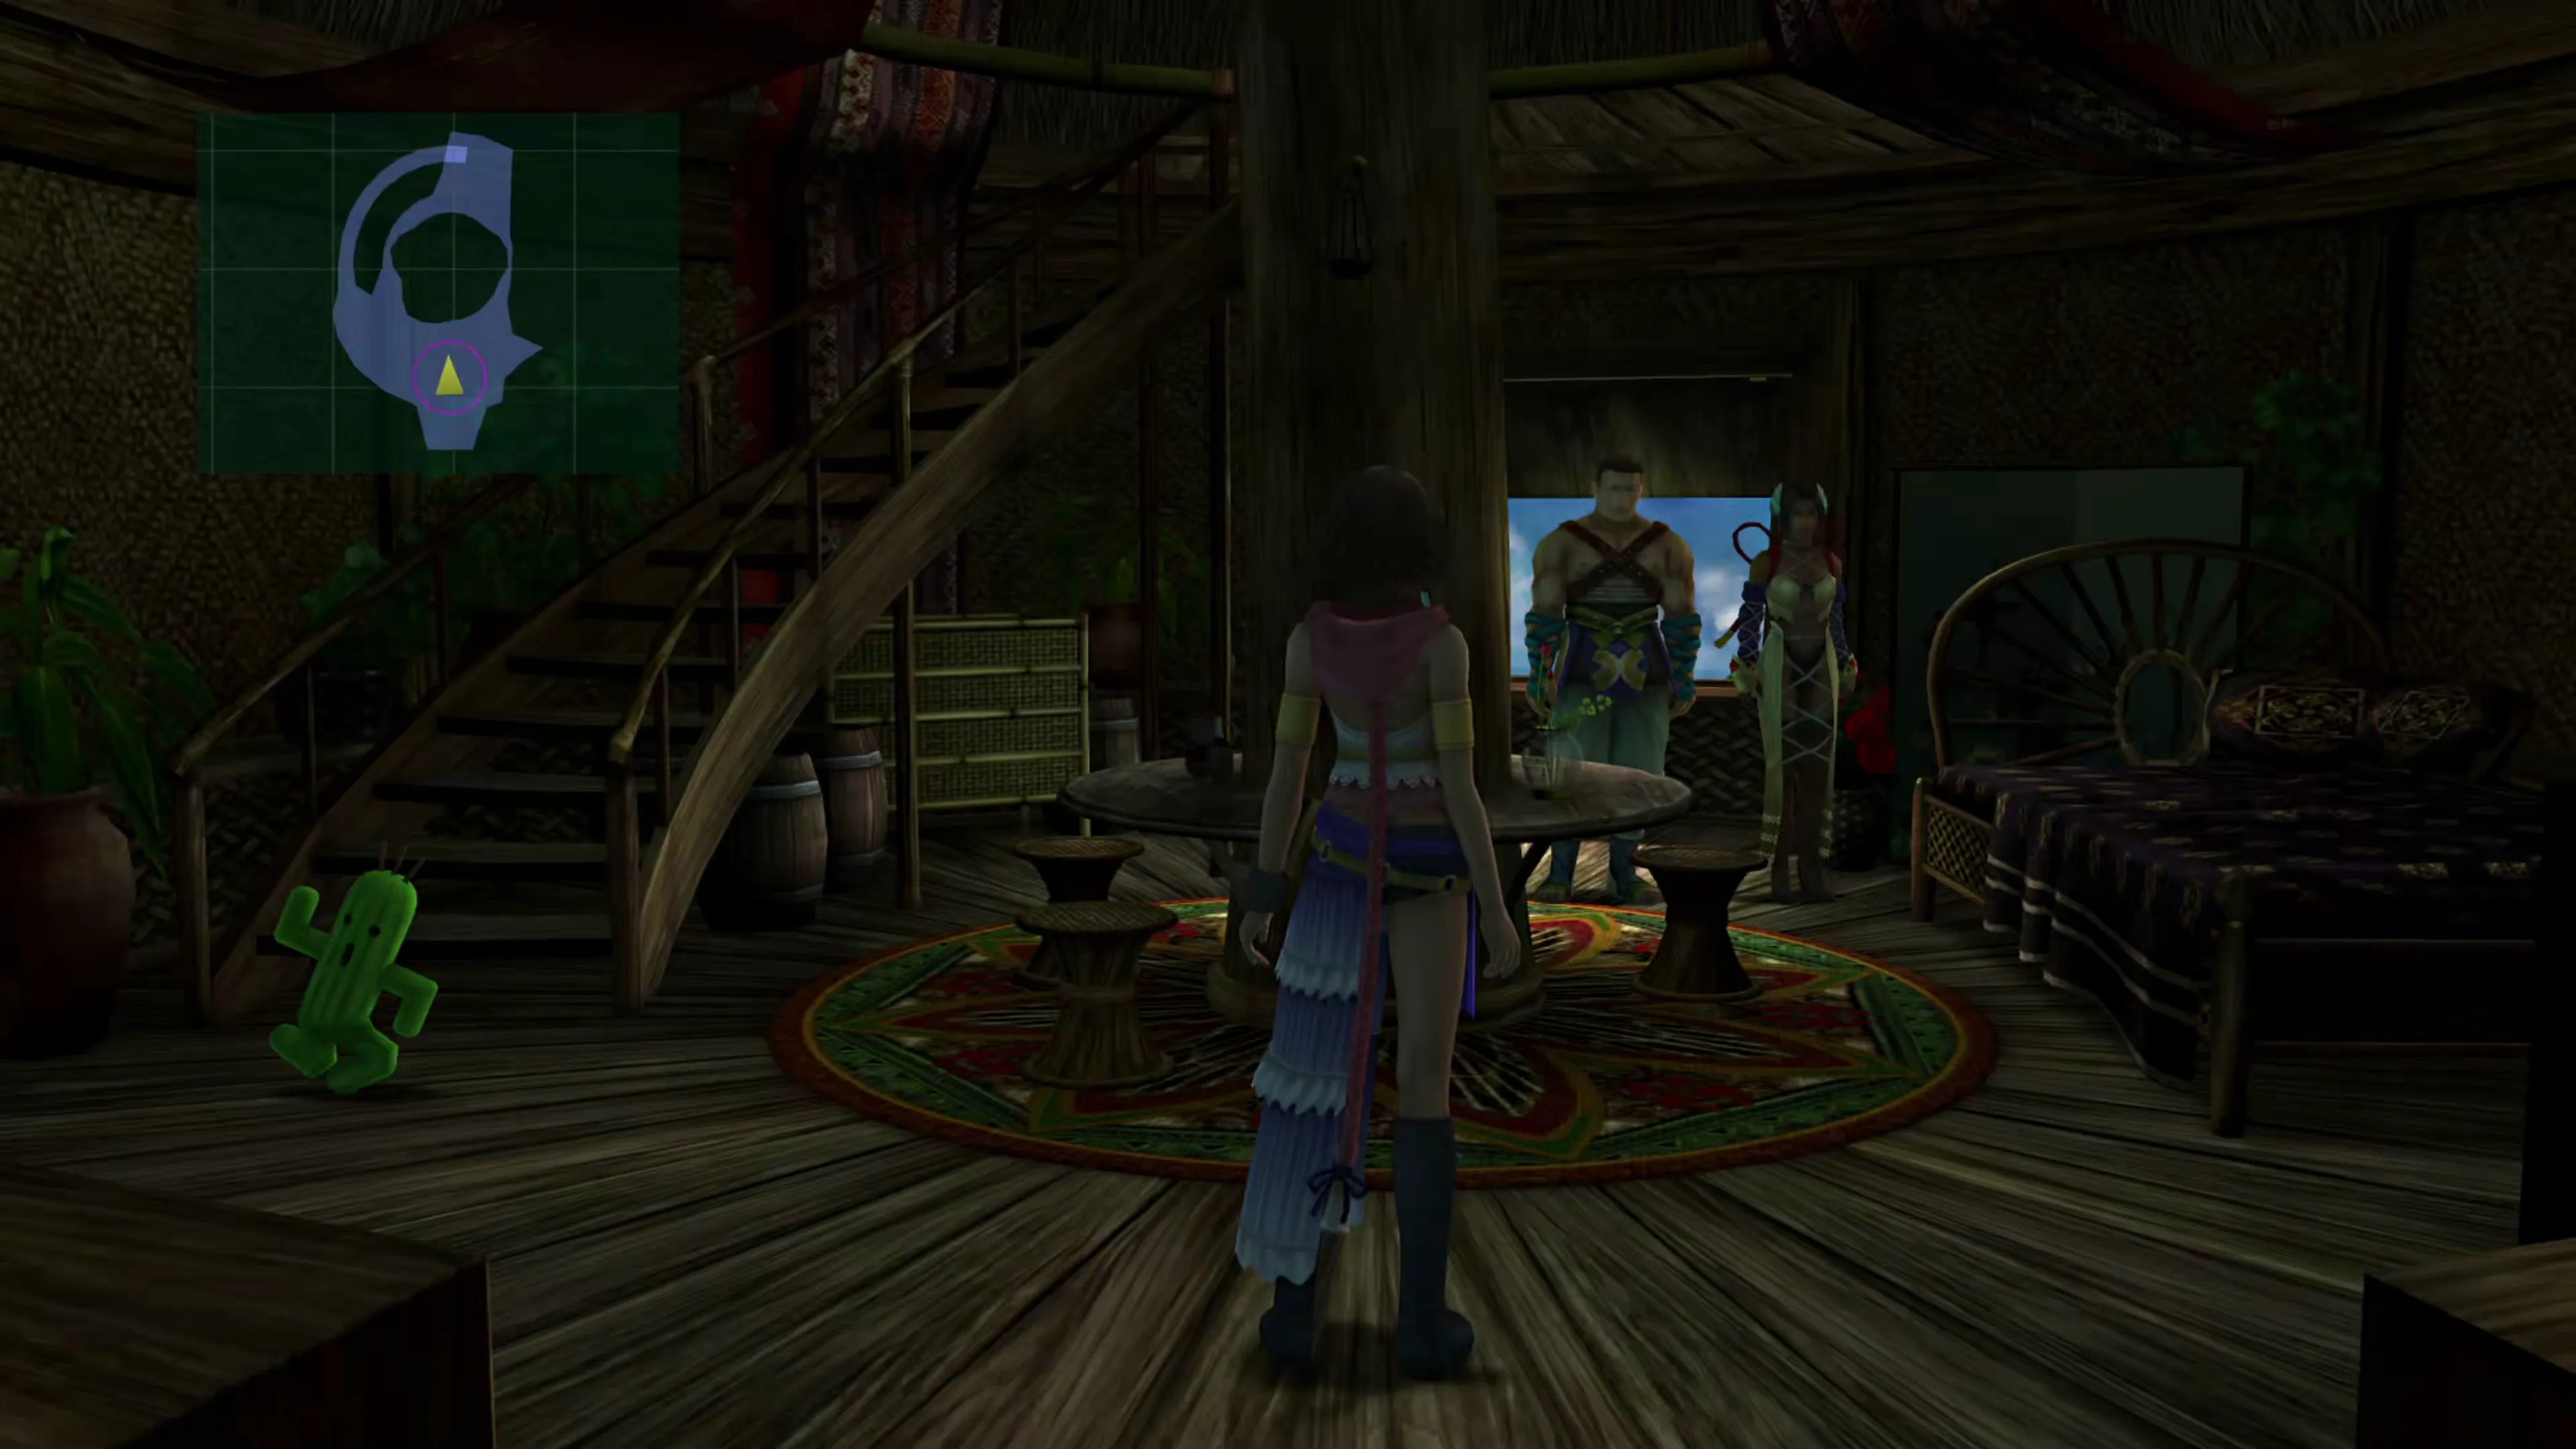 |
| 10 | Frailea | See below. | 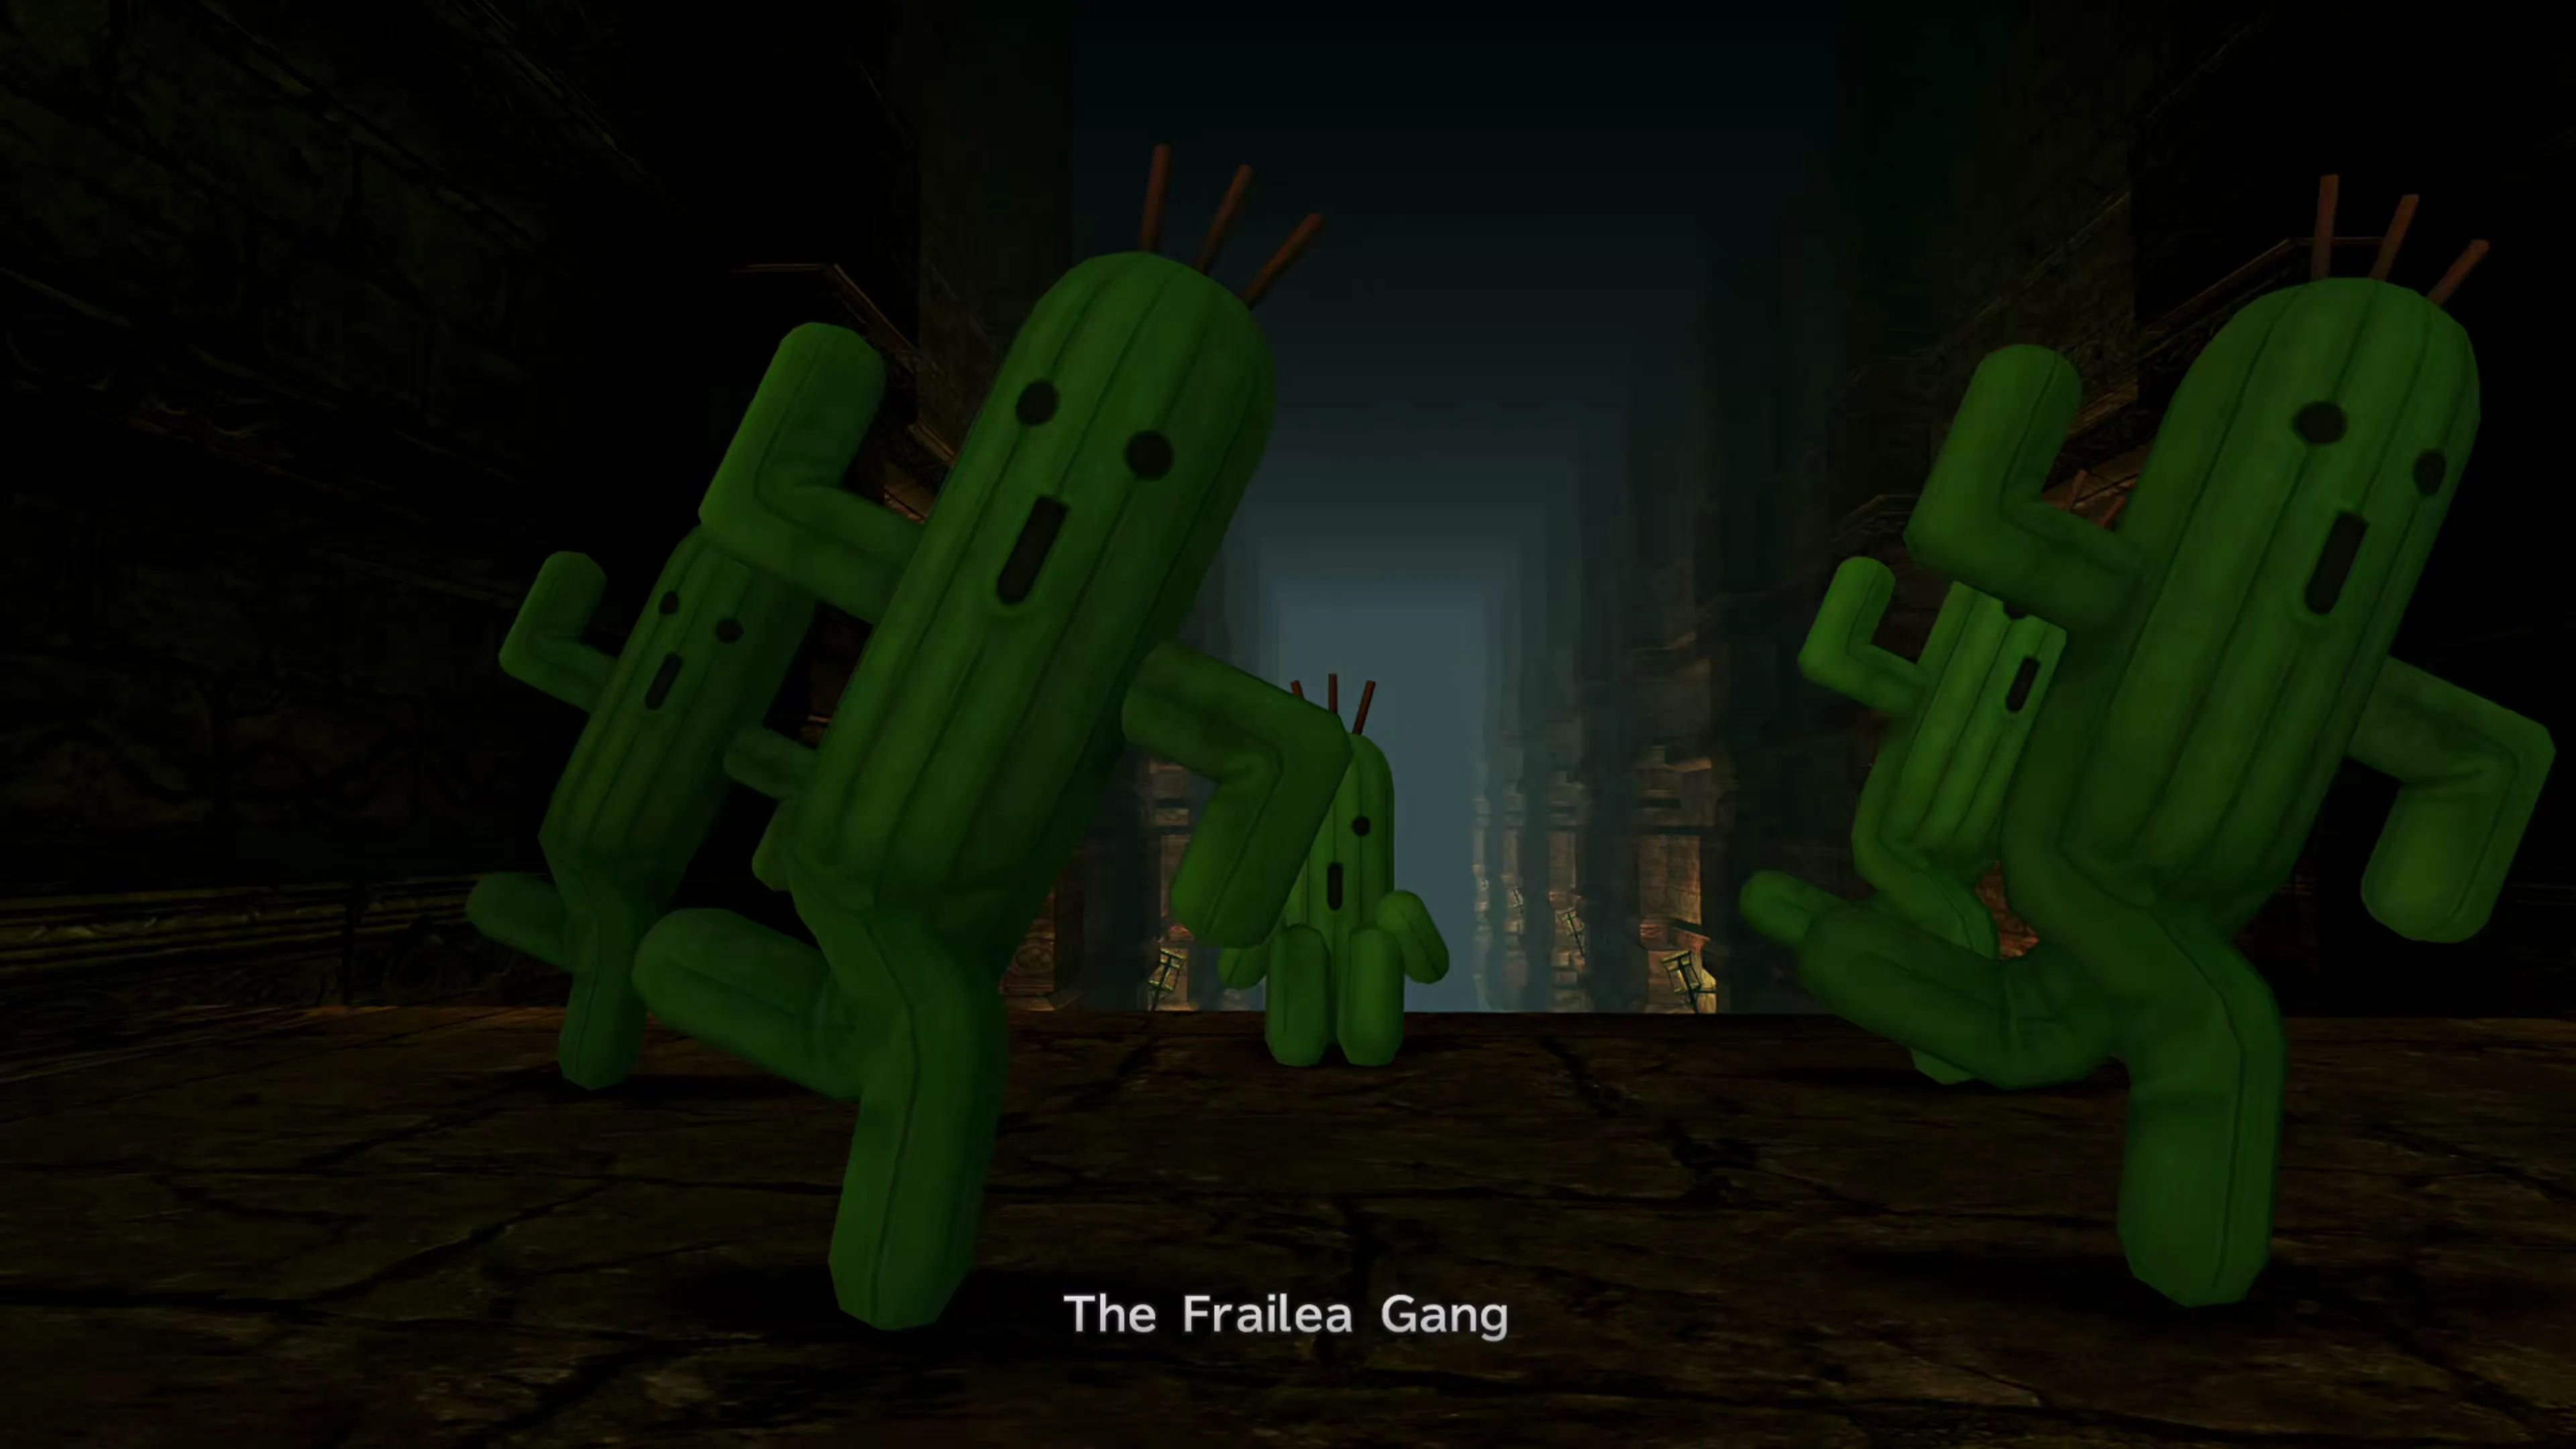 |
Cactuar Hollow
The 10th and final Cactuar can be found inside the Cactuar Hollow. This area is blocked off by a green, glowing, Cactuar-shaped magical barrier at the north end of Cactuar Nation.
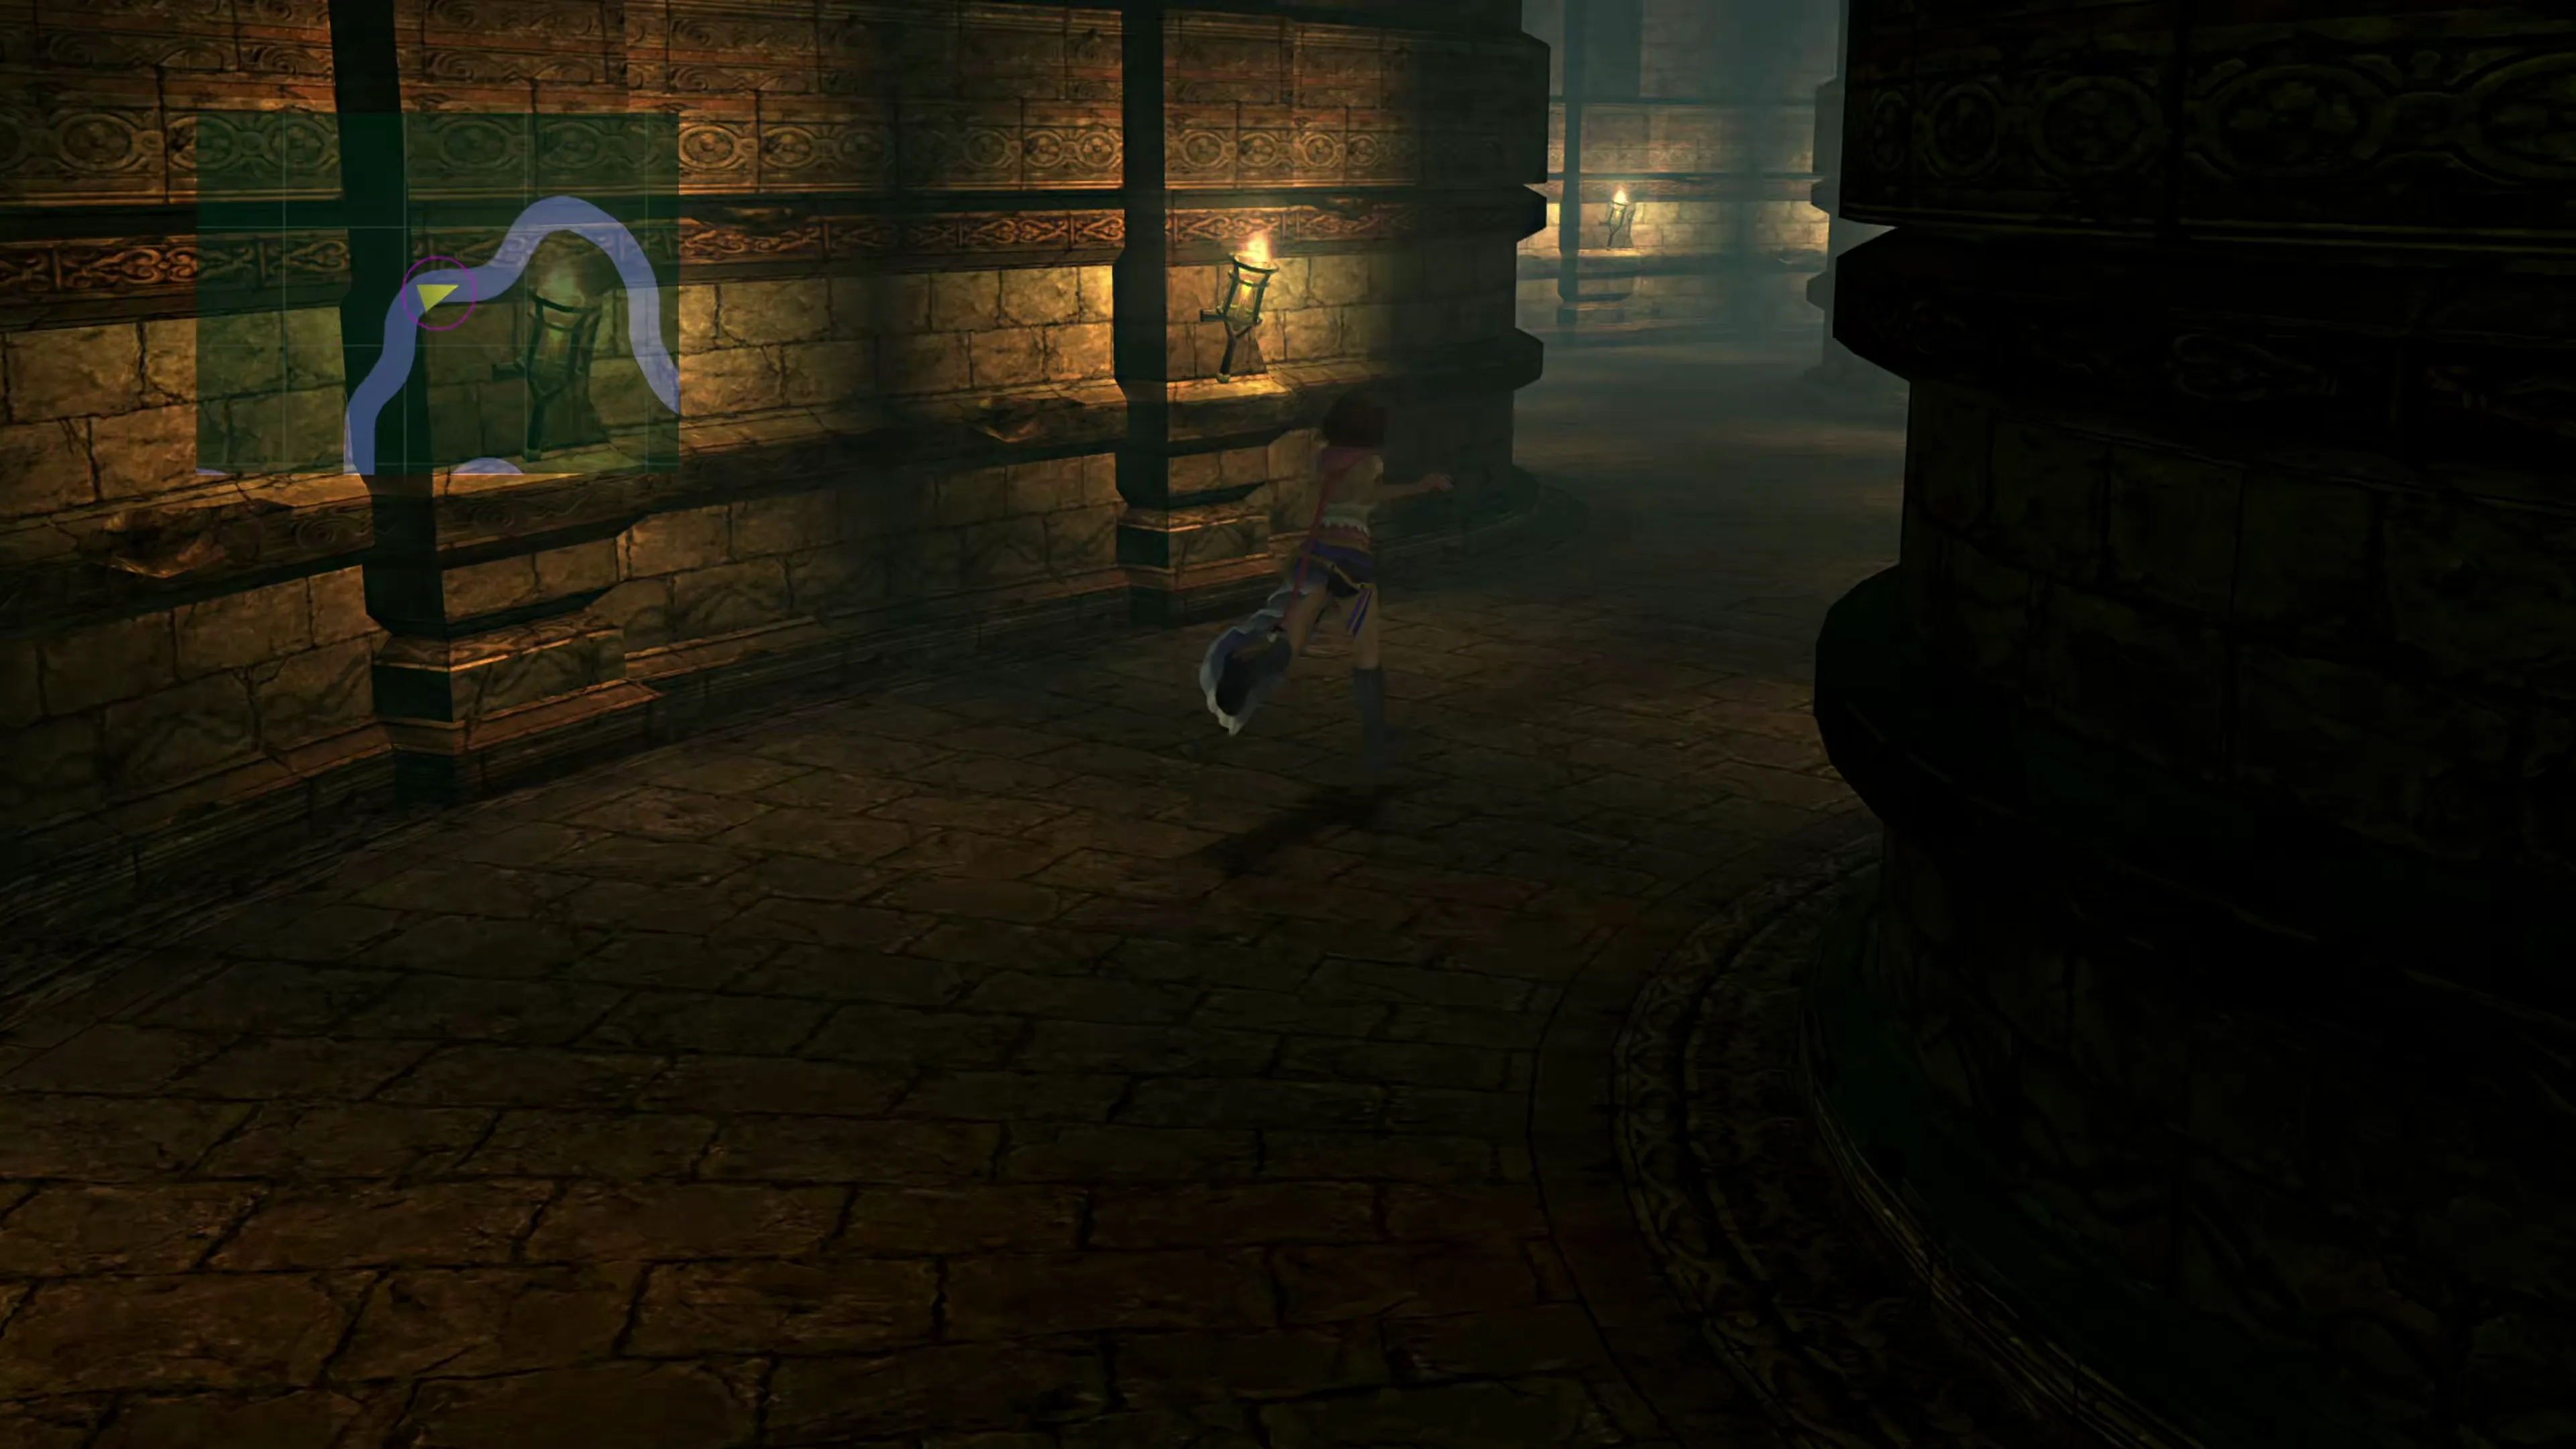
Passage of Sand
Those sneaky cactuars have set a trap! Hurry through the tunnel before it fills with sand!
You must run through a narrow passage that slowly fills with sand. There is a time limit of 60 seconds, and when the time runs out, the sand engulfs Yuna and sends her back to the beginning of the passage. You can climb onto various ledges to obtain items, and if you miss any, you can simply let time run out to redo the passage.
Cactuar Hollow



 1 1 |  Ether Ether |
| 2 |  Faerie Earrings Faerie Earrings |
| 3 | Mega Phoenix |
| 4 | Hi-Potion |
| 5 | Megalixir |
| 6 |  Twist Headband Twist Headband |
| 7 | Ether |
| 8 | Mute Shock |
| 9 | Beaded Brooch |
| 10 | Phoenix Down |
Once you reach the end, you’ll have to face…
Boss Battle
This is a pretty easy fight, because Jumbo Cactuar won’t attack you at all. Instead, it’ll just cast  Hastega on the two accompanying Cactuars. The Cactuars will do ordinary kicks and “1000 Needles,” so this fight doesn’t require much in the way of complicated strategy.
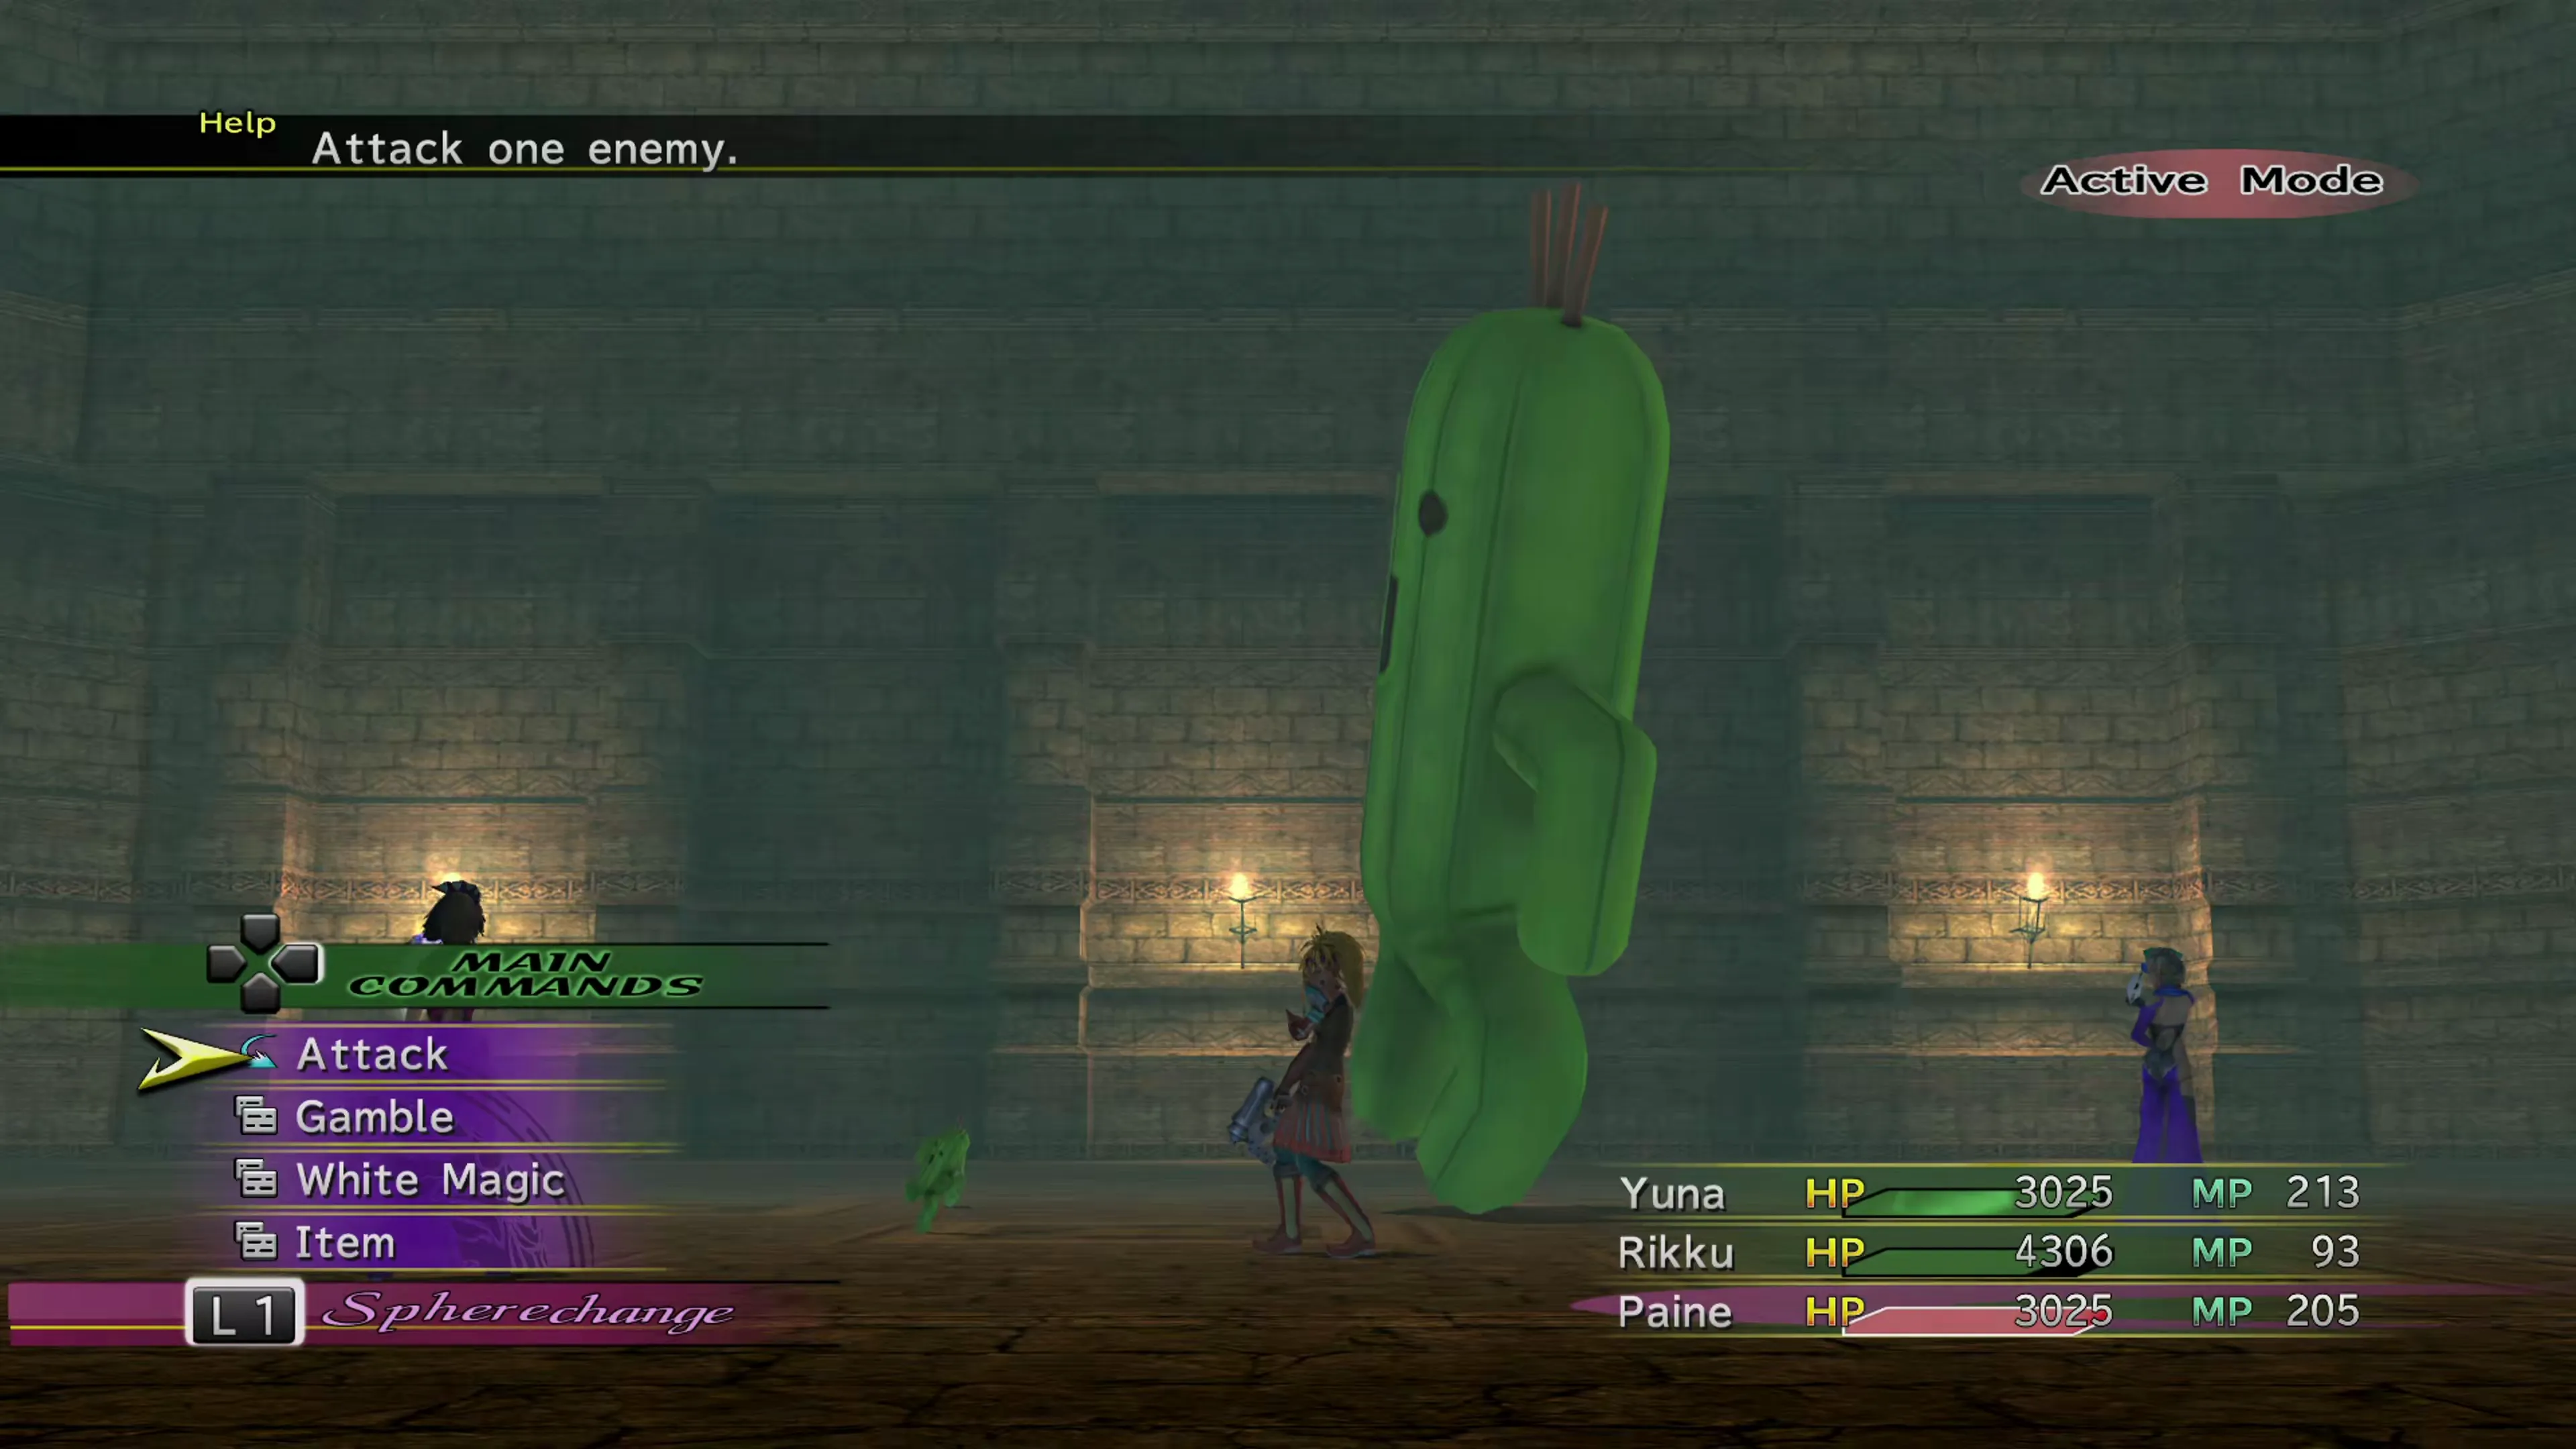
| Enemy | HP | Steal | Drop |
|---|---|---|---|
| Jumbo Cactuar | 22,222 |  Stamina Tonic Stamina Tonic | Stamina TonicRare:  Rabite’s Foot Rabite’s Foot |
| Cactuar | 2,002 | – | – |
This will complete the Cactuar Nation quest, but you’re not quite done yet. Head back to the walkthrough page:
Walkthrough
Leave Cactuar Hollow for the cutscene back in the Cactuar Nation, then carry on with the Mission in the Bikanel Desert.