
Final Preparations
Step-by-Step Guide for the Endgame Content
This page can be helpful if you’ve reached the final chapters of the game and want to complete all the side quests and endgame content before moving forward with the story. Once Tidus and the team defeat Yunalesca at the Zanarkand Ruins and complete the small side story at the Highbridge of Bevelle, you will have officially reached the last chapter of the game.
At this point, you can choose to work your way to the end of the story, or you can complete the endgame and side quest content for Final Fantasy X. All the side quest content that you can do now is included in the links below for this section.
Helpful Hint
You do not need to do any of the side quests or endgame content to beat the game and complete the story. All you need to do to keep the story moving is select “Sin” on the NavMap board Fahrenheit and navigate forward to the next page of this strategy guide (Page 31: Sin).
It’s also worth noting that completing all the side quests will power up your characters and make the final boss encounters much, much easier, so much so that you will be able to defeat the final boss in just a few hits.
Consider completing the game’s story while it is still challenging to make it more interesting. Just make sure to save your game so you can return and do the side quests!
Additionally, you can complete the side quests in Final Fantasy X in any order. You don’t have to complete them in the order listed below, but following this guide will ensure you don’t miss anything and complete them in the most efficient manner possible.
The most difficult battles in the game involve those in the Monster Arena and the optional Dark Aeon battles, so those two areas will come last. The Dark Aeons were an addition to the international and later versions of the game. You won’t be able to challenge them on the original PlayStation 2 version of the game. Speaking of which…
Warning
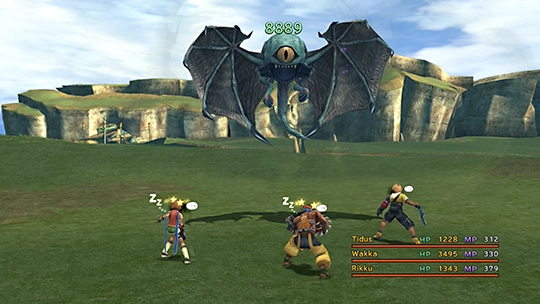
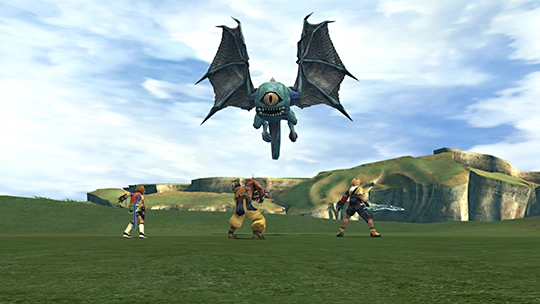
There are several Dark Aeons that have now appeared in various areas of Spira. These are challenging enemies that you can and will be defeating later on in the game, but they are extremely powerful. They will easily defeat your team if you accidentally run into them right now without preparing for them in advance. Here are the areas to avoid for now:
1) Dark Valefor in Besaid Village:
Attempting to enter the Village will automatically initiate the fight. You cannot return to Besaid Village at this stage of the game or travel through it to obtain the ![]() Jecht Sphere near the temple if you missed picking it up. Many players accidentally engage in this battle and will find themselves staring at the “Game Over” screen shortly afterward.
Jecht Sphere near the temple if you missed picking it up. Many players accidentally engage in this battle and will find themselves staring at the “Game Over” screen shortly afterward.
2) Dark Ifrit in the Bikanel Desert:
Traveling to the former location of the Al Bhed home world of “Home” is where you will find Dark Ifrit. Home was destroyed during your previous visit, though, so most players don’t accidentally run into Dark Ifrit.
3) Dark Ixion in the Thunder Plains:
You have to speak to a summoner in the Thunder Plains to initiate this battle, so there is no risk of accidentally being ambushed by Ixion.
4) Dark Shiva at the Macalania Temple:
She guards the entrance to Macalania Temple, but there is no reason to return there unless you did not complete the Destruction Sphere portion of that Cloister.
5) Dark Bahamut in the Zanarkand Ruins:
Dark Bahamut will appear where you fought Yunalesca. Dark Bahamut’s appearance will make it impossible to return to the Dome to pick up the ![]() Sun Crest if you left the area without picking it up.
Sun Crest if you left the area without picking it up.
Additional Dark Aeons will appear after you have obtained the three optional Aeons. You can find information about where their “dark versions” appear in each of their “optional Aeons” pages in the optional Aeons section (using the previous link).
If you’re wondering which party members to bring along for endgame content, check out the Best Party guide:
Tips and Tricks
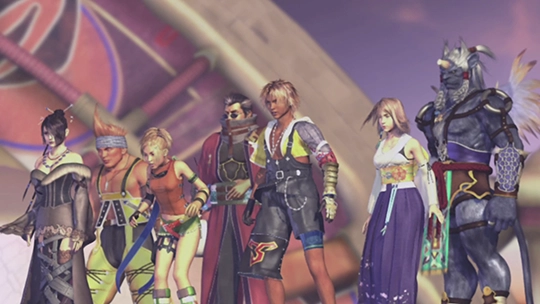
Wondering which characters you should include in your team when you have access to all seven characters? This section includes pros and cons of each party formation option.
So now that we’ve gotten the warnings out of the way, let’s get started on some side quests…
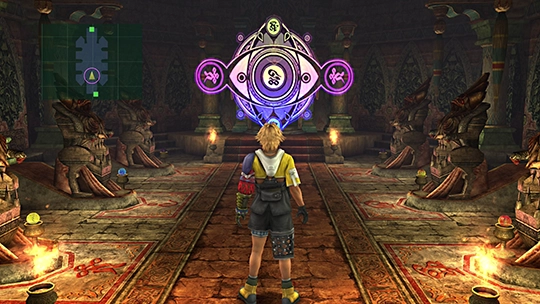
Returning to the Zanarkand Cloister of Trials
The first thing that you can do is return to the Zanarkand Cloister of Trials to complete the Destruction Sphere portion of that dungeon. Use the NavMap on the Airship to travel back down to the Zanarkand Ruins and then use the warp pad to travel back to the Cloister.
Check out the Zanarkand Cloister of Trial walkthrough page for more details, and scroll down to the Destruction Sphere section:
Cloister Walkthrough Guide
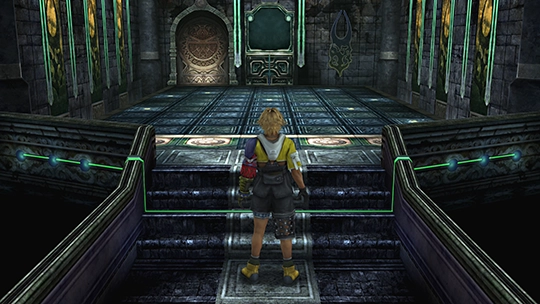
Completing the Cloister of Trials in the Zanarkand Ruins. The reward for completing the Destruction Sphere portion of this Cloister is a Magistral Rod for Yuna.
Monster Arena Initiation
As you travel through Spira completing the remaining side quests, you should also be using these opportunities to capture all the fiends that you need for the Monster Arena in the Calm Lands.
Capturing 10 of each fiend throughout Spira will unlock new monsters that you can challenge and defeat for rewards. You will also receive rewards when you obtain all the fiends in a particular area, as well as when you obtain all the monsters of one type (e.g., all wolves, all bats). Check out the link below to see each of the available rewards:
Monster Arena
A list of the rewards that you can obtain by capturing fiends across Spira.
Travel to the Monster Arena in the Calm Lands and purchase the taming weapons (which have the ![]() Capture Ability) so that you can capture enemies as you encounter them throughout your travels. Check out the Monster Arena section for more information:
Capture Ability) so that you can capture enemies as you encounter them throughout your travels. Check out the Monster Arena section for more information:
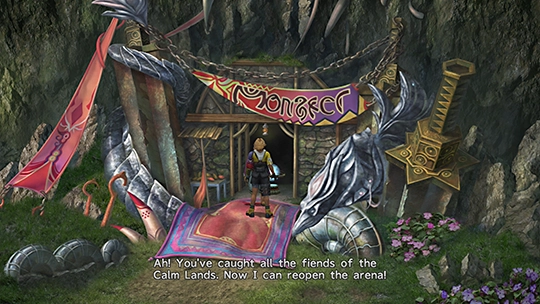
Complete the first quest that the Monster Arena owner offers you, which is to track down all the Calm Lands and return them to him. You will need to return to the Monster Arena quite several times to turn in fiends that you’ve captured and pick up your rewards.
You can use the Monster Arena section for a complete list of the fiends that you can obtain in each area and find tips on where to find each fiend.
The reward that you receive when you turn in all the fiends from the Calm Lands is 60 ![]() Farplane Winds. You can use these to customize a weapon and add the
Farplane Winds. You can use these to customize a weapon and add the ![]() Deathstrike ability, but you should save them to add the
Deathstrike ability, but you should save them to add the ![]() Deathproof Ability to your armor later on.
Deathproof Ability to your armor later on.
No Encounters Items
One of the first things that you should do is obtain a weapon or some armor that has the ![]() No Encounters ability equipped to it. This step is not required, but having the option to turn off random world encounters against enemies can be extremely helpful for traveling around Spira more speedily and efficiently.
No Encounters ability equipped to it. This step is not required, but having the option to turn off random world encounters against enemies can be extremely helpful for traveling around Spira more speedily and efficiently.
Suppose you plan on completing all the side quests—you can skip this step for now. You need to be capturing fiends anyway, not skipping battles, to fully complete and unlock all the sections of the Monster Arena. Additionally, the rewards for completing the Monster Arena will give you the raw materials needed to add “No Encounters” to your armor anyway.
There are two methods you can use to obtain a weapon or piece of armor with the ![]() No Encounters ability if you want to have it early. Check out the “No Encounters” page in the Tips and Tricks section if you would like more information. Remember, though, you can skip this step for now if you plan on completing all of the side quests and endgame content:
No Encounters ability if you want to have it early. Check out the “No Encounters” page in the Tips and Tricks section if you would like more information. Remember, though, you can skip this step for now if you plan on completing all of the side quests and endgame content:
Tips and Tricks
Adding the “No Encounter” auto-ability using the Customization option in the menu screen.
Celestial Mirror (Remiem Temple)
This side quest involves obtaining each character’s Celestial Weapon. You can do this now if you want, but because you need to capture monsters for the Monster Arena, which requires the use of weapons with the ![]() Capture ability, you won’t be able to use the Celestial Weapons right now anyway. It makes sense to wait and obtain each of the weapons as you go through the various zones listed below to capture monsters.
Capture ability, you won’t be able to use the Celestial Weapons right now anyway. It makes sense to wait and obtain each of the weapons as you go through the various zones listed below to capture monsters.
However, you should still complete the first step of the Celestial Weapons side quest and obtain the ![]() Celestial Mirror. Completing this step early will allow you to create each of the Celestial Weapons as soon as you get the correct Crests and Sigils. Refer to the Celestial Mirror section for more details:
Celestial Mirror. Completing this step early will allow you to create each of the Celestial Weapons as soon as you get the correct Crests and Sigils. Refer to the Celestial Mirror section for more details:
Celestial Weapons
Obtaining the Celestial Mirror, which is the first step to obtaining the Celestial Weapons.
Secret Airship Passwords and Coordinates
While accessing the NavMap aboard the Airship, there is an option to select “Input” and use the “Search” option to reach some secret areas around Spira. Check out the Airship Passwords and Hidden Coordinates section to visit each location and collect the items.
Skip the Baaj Temple and Omega Ruins sections of this side quest page for now.
Side Quests

A list of the Al Bhed passwords and search coordinates for exploring Spira from the airship destination list.
Start Collecting
The next step is to begin collecting fiends from around Spira. You may have already initiated this side quest if you chose to obtain weapons/armor with the ![]() No Encounters Ability in the section listed above.
No Encounters Ability in the section listed above.
Travel to the Calm Lands and speak to the owner of the Monster Arena if you have not already done so (as previously mentioned in the guide above). He will sell you taming weapons that have the ![]() Capture Ability, which you can use to capture fiends in each of the areas around Spira. Before that, though, you will need to collect 10 of each fiend in the Calm Lands.
Capture Ability, which you can use to capture fiends in each of the areas around Spira. Before that, though, you will need to collect 10 of each fiend in the Calm Lands.
You can only find some of the fiends in the Calm Lands in specific areas of the zone. Use the Monster Arena section, specifically the fiend listing pages, for more information on where to find each fiend. Once you can begin collecting fiends, move on to the next section.
Monster Arena
Where to track down and capture each of the fiends in the Calm Lands.
Improving Your Capture Weapons
Each of the taming weapons (![]() Taming Sword,
Taming Sword, ![]() Herding Staff,
Herding Staff, ![]() Catcher,
Catcher, ![]() Trapper Mog,
Trapper Mog, ![]() Taming Spear,
Taming Spear, ![]() Beastmaster, and
Beastmaster, and ![]() Iron Grip) comes with one empty slot that you can use to customize the weapon. There is no reason to purchase or customize the weapons for your magic users (Yuna and Lulu), but consider buying each of the other weapons and customizing them.
Iron Grip) comes with one empty slot that you can use to customize the weapon. There is no reason to purchase or customize the weapons for your magic users (Yuna and Lulu), but consider buying each of the other weapons and customizing them.
The best customizations to add to Capture Weapons are either the ![]() Deathstrike or the
Deathstrike or the ![]() Stonestrike abilities. You can use
Stonestrike abilities. You can use ![]() Petrify Grenade to add the Stonestrike ability and use
Petrify Grenade to add the Stonestrike ability and use ![]() Farplane Wind to add the Deathstrike ability, but you should consider holding on to your Farplane Wind items for now. You will need a hefty amount of them to add to your armor later on for some of the superboss battles.
Farplane Wind to add the Deathstrike ability, but you should consider holding on to your Farplane Wind items for now. You will need a hefty amount of them to add to your armor later on for some of the superboss battles.
You may not have these items right now, and you certainly don’t need these abilities for capturing to be successful, but keep an eye out for these items as you travel around capturing enemies.
Crafting Strong Armor
You can’t craft the absolute strongest armor yet, but as you progress through Spira, completing these side quests, you’re going to acquire enough new raw materials that will allow you to begin crafting it.
Familiarize yourself with the raw materials needed and the Auto-Abilities you should be targeting so that you can craft the best armor as soon as it becomes available without wasting any raw materials:
Tips and Tricks

Details on how to craft the strongest armor in the game, including a complete list of the strongest auto-abilities.
Collecting Fiends
It’s now time to start collecting fiends. Start by traveling to Besaid Island, and be careful not to re-enter Besaid Village, as a summoner who can summon Dark Valefor will ambush you. Remember to use the Monster Arena section for a complete list of the fiends that you need to obtain and where to find them (or use the links below).
| Area | Fiends | Notes |
|---|---|---|
| Besaid | 3 | Pick up the |
| Kilika | 4 | You can re-enter the Kilika Cloister of Trials if you did not complete the Destruction Sphere portion. |
| Luca | — | Pick up the |
| Mi’ihen Highroad | 8 | Pick up the |
| Mushroom Rock Road | 7 | |
| Djose Highroad and Moonflow | 7 | You can re-enter the Djose Cloister of Trials if you did not complete the Destruction Sphere portion. You can also pick up Auron’s |
| Thunder Plains | 8 | Obtain the |
| Macalania | 10 | You can complete the Butterfly Catcher side quest to obtain the |
| Bikanel | 6 | Complete the Village of the Cactuars side quest while you are here. |
| Mt. Gagazet and Mt. Gagazet Caves | 12 | Pick up the |
Note that some of the Crests and Sigils referenced on this page are called something different depending on which version of the game you are playing (this is the ![]() PlayStation
PlayStation![]() Xbox
Xbox![]() Nintendo Switch version). In the
Nintendo Switch version). In the ![]() Xbox and
Xbox and ![]() Nintendo Switch versionsIn the
Nintendo Switch versionsIn the ![]() PlayStation version, some of these items have been swapped. You can change the active version using the Game Version toggle in the sidebar menu. Refer to the Celestial Weapons section for a full breakdown of the differences.
PlayStation version, some of these items have been swapped. You can change the active version using the Game Version toggle in the sidebar menu. Refer to the Celestial Weapons section for a full breakdown of the differences.
Monster Arena Hunting Interlude (No Encounters)
There are a few more areas that you need to visit to open all the Monster Arena sections and rewards, but at this point, you should consider heading back and collecting some of the rewards.
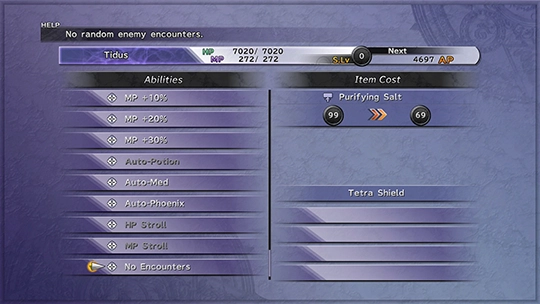
You have now captured at least 4 of each flying-type bug fiend, which means that one of the rewards that you will receive will allow you to customize your armor and add the ![]() No Encounters ability. Specifically, you can use the 99
No Encounters ability. Specifically, you can use the 99 ![]() Purifying Salts you received as a reward. Check out the “No Encounters” page in the Tips and Tricks section for more information:
Purifying Salts you received as a reward. Check out the “No Encounters” page in the Tips and Tricks section for more information:
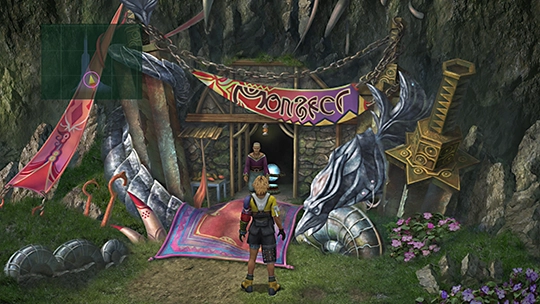
Baaj Temple
The next area to visit is the Baaj Temple. You will need to defeat Geosgaeno, the gigantic aquatic fiend that tried to eat Tidus early in the game, and you may want to reattempt this battle until you obtain a ![]() No Encounters weapon. Refer to the link in the subsection above.
No Encounters weapon. Refer to the link in the subsection above.
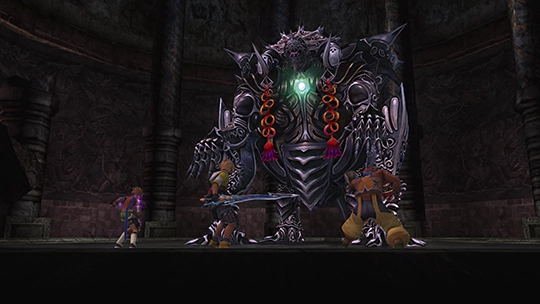
Just outside Baaj Temple, you can pick up ![]() Onion Knight, Lulu’s Celestial Weapon, and obtain the first optional Aeon that you’re already familiar with: Anima. Check out the Baaj Temple and Anima sections below for more information:
Onion Knight, Lulu’s Celestial Weapon, and obtain the first optional Aeon that you’re already familiar with: Anima. Check out the Baaj Temple and Anima sections below for more information:
Side Quests
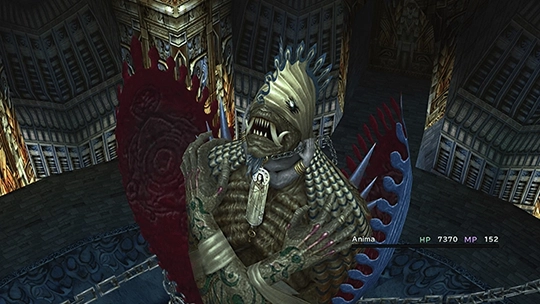
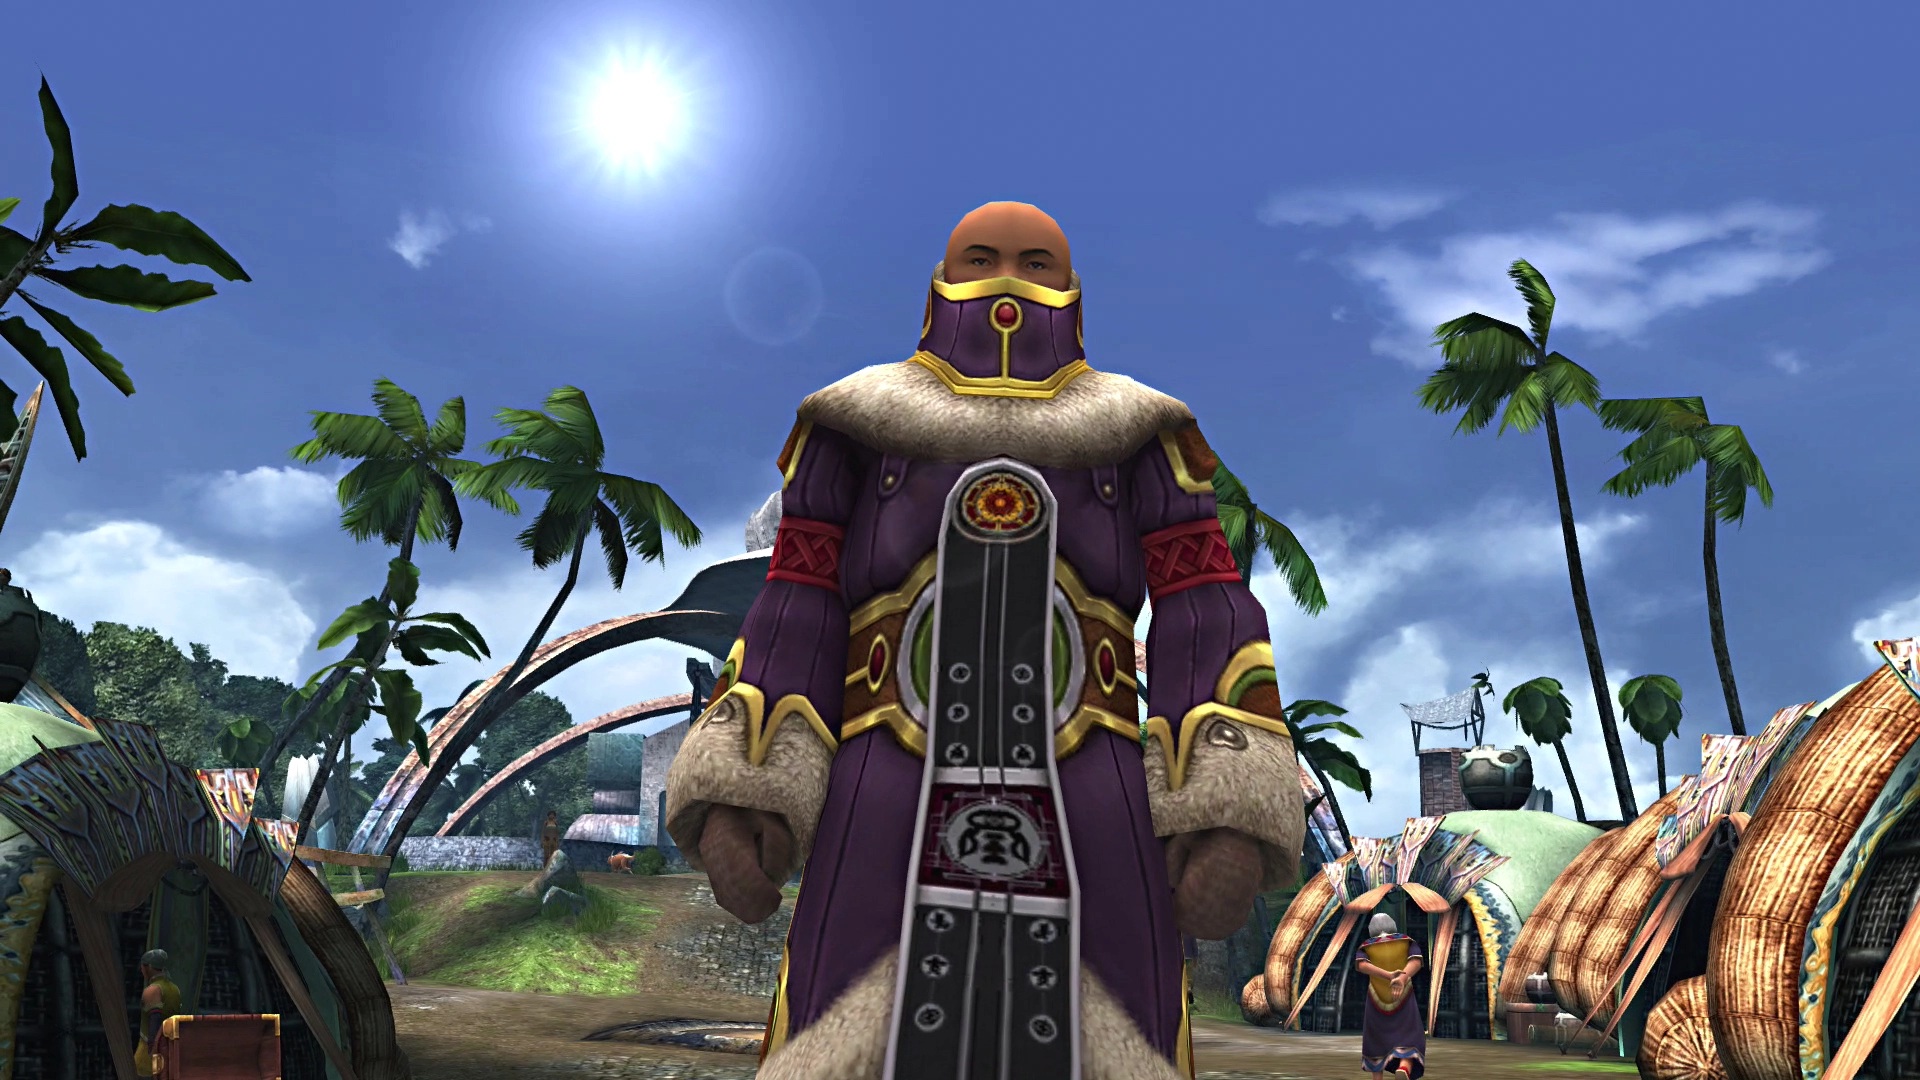
The physical manifestation of the Fayth of Seymour’s mother.
Cavern of the Stolen Fayth
The cavern is an area that you have already passed by earlier in the game during your travels through the Calm Lands. Consider selling some of your extra equipment and items, as you will need a substantial amount of Gil for this nice side quest. It’s difficult to say precisely how much, but it could cost you up to 250,000 Gil.
Obtain the optional Aeon Yojimbo in this area. Use the two pages below for additional information on how to do this:
Side Quests
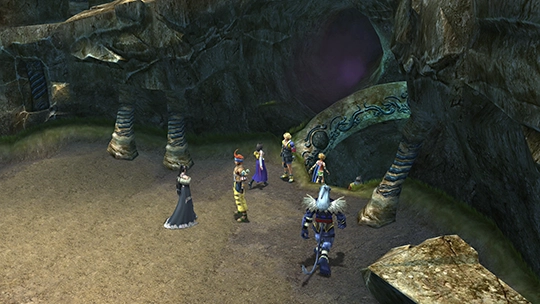
Navigating to the back of the cavern to enlist the services of Yojimbo.
Side Quests
The second optional Aeon will join your team for the right price.
Return to the Monster Arena
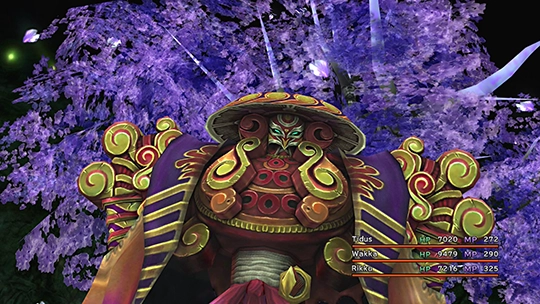
Obtaining all the fiends in the Mt. Gagazet area is a requirement to earn one of the rewards at the Monster Arena. The reward is a ![]() Blossom Crown, which is required for the side quest listed below (to obtain the Magus Sisters Aeon).
Blossom Crown, which is required for the side quest listed below (to obtain the Magus Sisters Aeon).
You may have already obtained this item when creating a “No Encounters” customization for your armor. The ![]() Blossom Crown will appear at the bottom of your Key Items inventory, so check there if you are not sure if you have already obtained it or not.
Blossom Crown will appear at the bottom of your Key Items inventory, so check there if you are not sure if you have already obtained it or not.
Visiting Remiem Temple Again
You have already completed the ![]() Celestial Mirror side quest at Remiem Temple, but there are a few other quests to take care of at this location.
Celestial Mirror side quest at Remiem Temple, but there are a few other quests to take care of at this location.
The first thing to do is challenge Belgemine to a battle inside the temple and defeat her Aeons. Defeating her will allow you to obtain the ![]() Flower Scepter item, which, when combined with the Blossom Crown, will allow you to break the seal on the Chamber of the Fayth at the back of Remiem Temple. Check out the Remiem Temple section for more information:
Flower Scepter item, which, when combined with the Blossom Crown, will allow you to break the seal on the Chamber of the Fayth at the back of Remiem Temple. Check out the Remiem Temple section for more information:
Side Quests
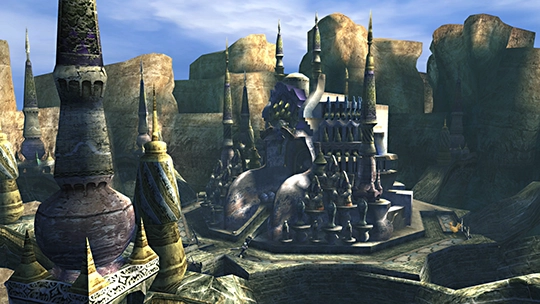
The site of the Chocobo races and the final battles against Belgemine.
Side Quests
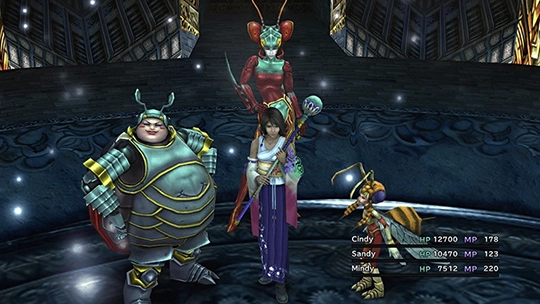
Exploring the Chamber of Fayth at the back of the temple to obtain the third and final optional Aeons.
Completing the Celestial Weapons
You will have obtained a few Celestial Weapons already throughout your journey, but it’s now time to get all the Celestial Weapons for all of your characters. Go back and get the ones that you are missing.
Note that obtaining Wakka’s Celestial Weapon involves winning quite a few Blitzball games and tournaments. Check out the Blitzball section of this strategy guide for tips and tricks on how to win Blitzball tournaments.
Information on how to obtain all the Celestial Weapons for each of your characters.

Playing the optional side-game for Final Fantasy X to obtain Wakka’s Overdrives and his Celestial Weapon.
Overdrives
You can obtain Wakka’s strongest Overdrive through the completion of Blitzball tournaments, but what about the Overdrives for other characters? Check out the Overdrive section for more information on how to obtain additional overdrives for each of your characters. Note that this section is entirely optional:
A complete list of the Overdrives in Final Fantasy X with information on how to obtain each of them.
Visiting the Omega Ruins
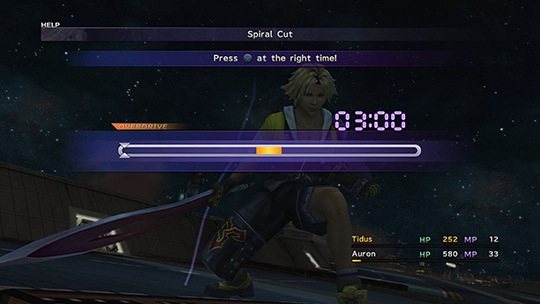
The Omega Ruins are one of the hidden areas that you can reach on the NavMap by inputting hidden coordinates (listed above). Start by ensuring that at least one of your characters has the ![]() First Strike Ability on their weapons before you enter. Check out the Tips and Tricks page below for help on how to do this:
First Strike Ability on their weapons before you enter. Check out the Tips and Tricks page below for help on how to do this:
Tips and Tricks
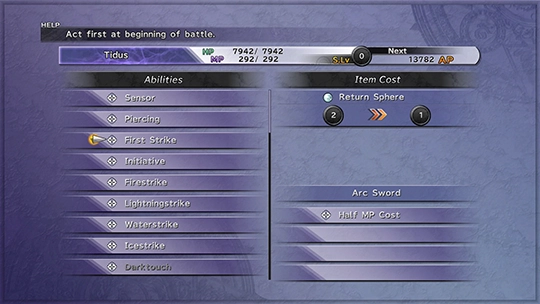
Customizing one of your weapons with the “First Strike” auto ability ensures that your characters get the first attack in battle.
Next, head to the Omega Ruins section to complete the remaining side quests in this area:
Side Quests
Exploring the Omega Ruins to defeat Ultima Weapon and Omega Weapon.
Finish the fiend hunting for the Monster Arena while you’re here:
- Omega Dungeon (10 fiends)
Note that a number of the fiends for “Inside Sin” can be found in this area.
Back to Monster Arena Fiend Hunting
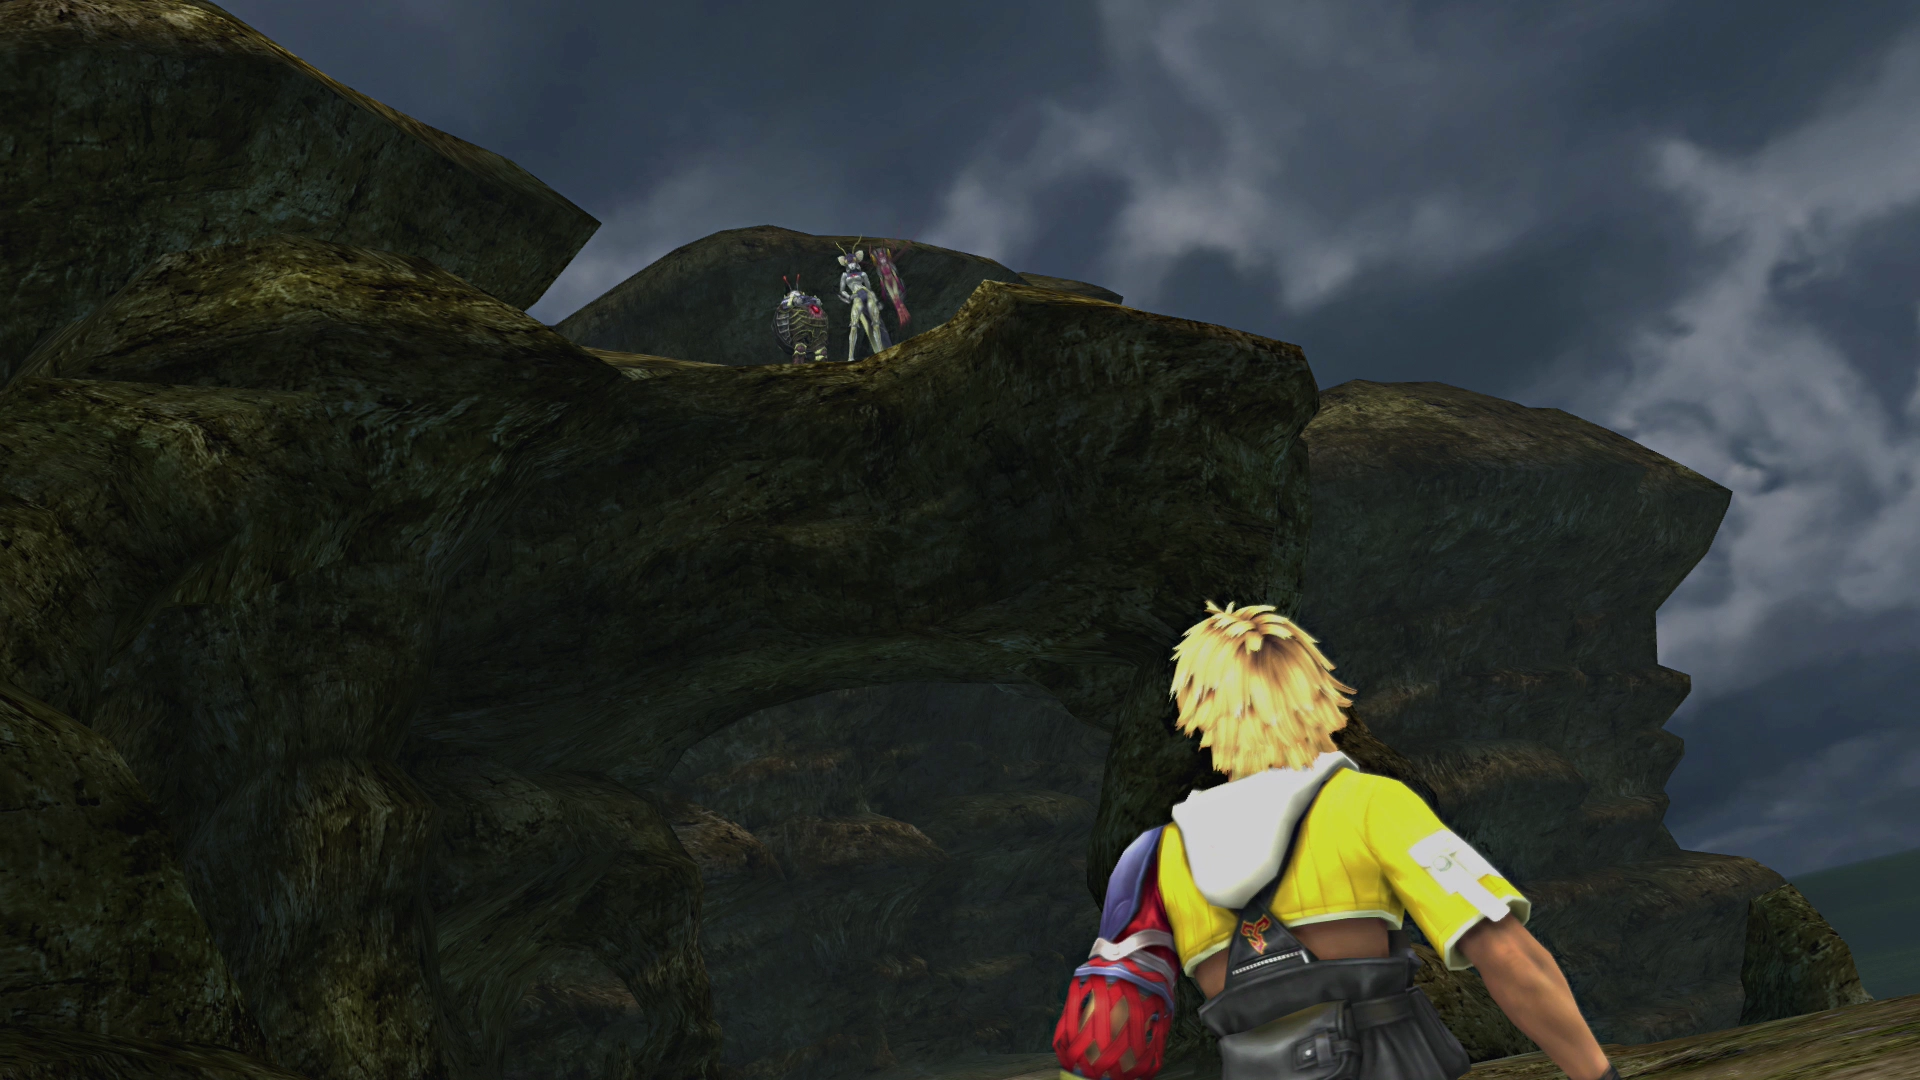
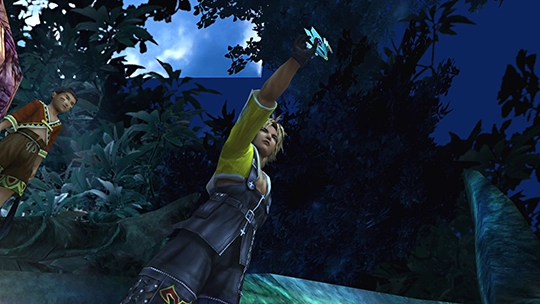
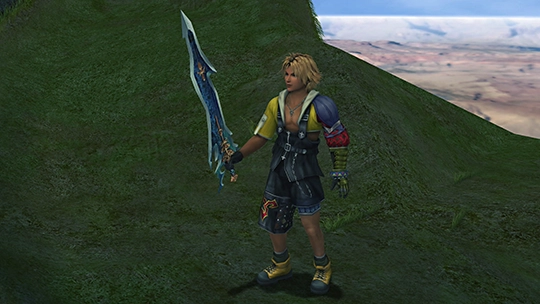
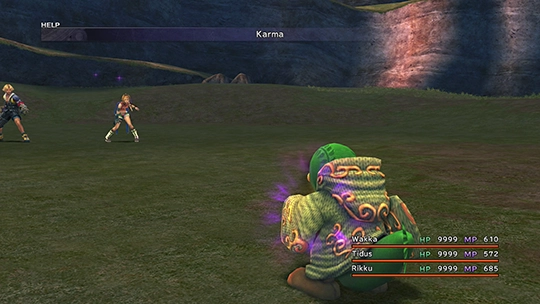
The last places to visit to capture fiends are the final dungeon areas of the game, including “Inside Sin” and the “City of the Damned.” Be sure not to go past the point of no return, which is shown in the screenshot below:

- Inside Sin (9 fiends)
Make sure not to go past the point of no return. - Cavern of the Stolen Fayth (9 fiends)
Achievements/Trophies and Mini Side Quests
There are a few smaller “mini” side quests that you can complete before moving on to the more difficult side quests in the game. Start by purchasing all the movie spheres in Luca. Purchasing them can be pretty expensive. Refer to the “Earning Gil” page in the Tips and Tricks section if you are short on cash.
Side Quests
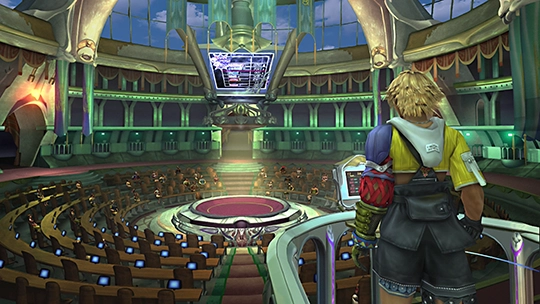
Purchasing all the Music and Video Spheres at the Luca Sphere Theater.
Tips and Tricks
Purchasing all the Music and Video Spheres at the Luca Sphere Theater.
Optional Super Bosses
The only things left to do are the optional superbosses. These fights include defeating all the species creations in the Monster Arena.
Before you begin, you will need to prepare your party. For starters, make sure that you have obtained the strongest armor in the game and that you have maxed your character’s stats.
Note that some of the bosses you battle are going to require slightly different customized armor, but this guide will identify any modifications you need to make in each of the sections below.
Tips and Tricks
A guide to crafting and customizing strong armor for your characters to complete the endgame content.
Tips and Tricks
Battling certain fiends at the Monster Arena to quickly level up your characters.
Tips and Tricks
Obtaining weapons with the Triple AP Auto-Ability for your characters.
Tips and Tricks

Methods and tips for maxing your character’s stats as they progress through the Sphere Grid.
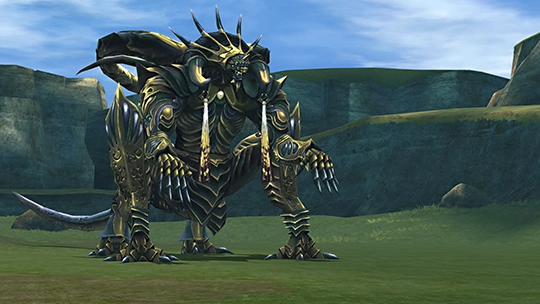
And finally, it’s time to take on the most difficult battles in the game: the super bosses. Refer to each subsection for detailed instructions on defeating them.
Note that you need to defeat all the Species Conquest, Area Conquest, and Original Creations in the Monster Arena to make Nemesis appear as an option in the Monster Arena menu:
Side Quests

Traveling back across Spira and dispatching each of the Dark Aeons you encounter.

Congratulations! You’ve defeated the most difficult challenges in the game!
The last thing to do is to make sure that you have obtained all the achievements and trophies that are available in newer versions of the game:

A complete list of the achievements and trophies that you can obtain in the PlayStation, Xbox, and Nintendo Switch versions of the game.
And that’s everything that you can do in Final Fantasy X (aside from completing the story mode of the game). Hope you enjoyed this strategy guide!