
Omega Ruins
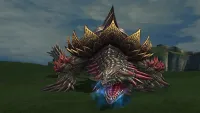
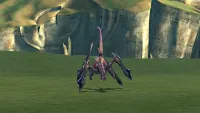
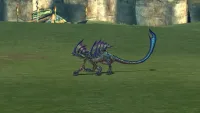
The Omega Ruins are where you will find some of the most difficult fiends to fight in the game, including Great Malboros and Tonberries. Make sure you prepare yourself by equipping at least one of your characters with armor that can prevent or ward Petrification (either the ![]() Stone Ward or
Stone Ward or ![]() Stoneproof auto-ability).
Stoneproof auto-ability).
You should also make sure that you have a weapon with the ![]() First Strike auto-ability. Check out the page below for more information on how to obtain it, and the helpful hint that follows for how to survive a Great Malboro ambush:
First Strike auto-ability. Check out the page below for more information on how to obtain it, and the helpful hint that follows for how to survive a Great Malboro ambush:
Walkthrough Guide
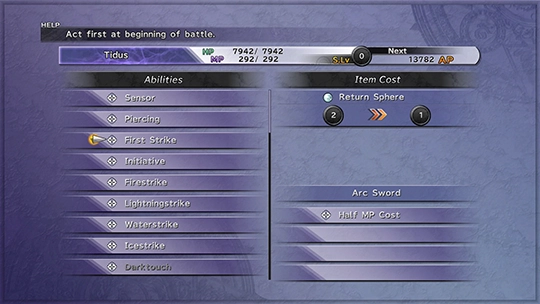
Customizing one of your weapons with the “First Strike” auto ability to ensure that your characters get the first attack in battle.


Helpful Hint
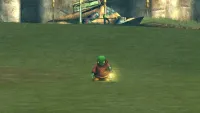
Great Malboros will always ambush you whenever you encounter them. The best way to defeat them is to have one character equipped with the ![]() First Strike auto-ability. You can then use
First Strike auto-ability. You can then use ![]() Provoke on the Great Malboro, which will prevent it from using “Bad Breath” as its first attack.
Provoke on the Great Malboro, which will prevent it from using “Bad Breath” as its first attack.

Helpful Hint
Many of the enemies in the Omega Ruins carry high-level items that can be stolen or dropped. These are powerful ingredients for the Mix Overdrive, so make sure to use ![]() Steal frequently while exploring this area.
Steal frequently while exploring this area.
Getting There
You can find the Omega Ruins by unlocking them from the airship (along with several other locations). Check out the Airship Passwords and Hidden Coordinates guide in the Side Quests section for a list of all the secret locations:
Side Quests

A list of the Al Bhed passwords and search coordinates for exploring Spira from the airship destination list, including the coordinates that unlock the Omega Ruins.
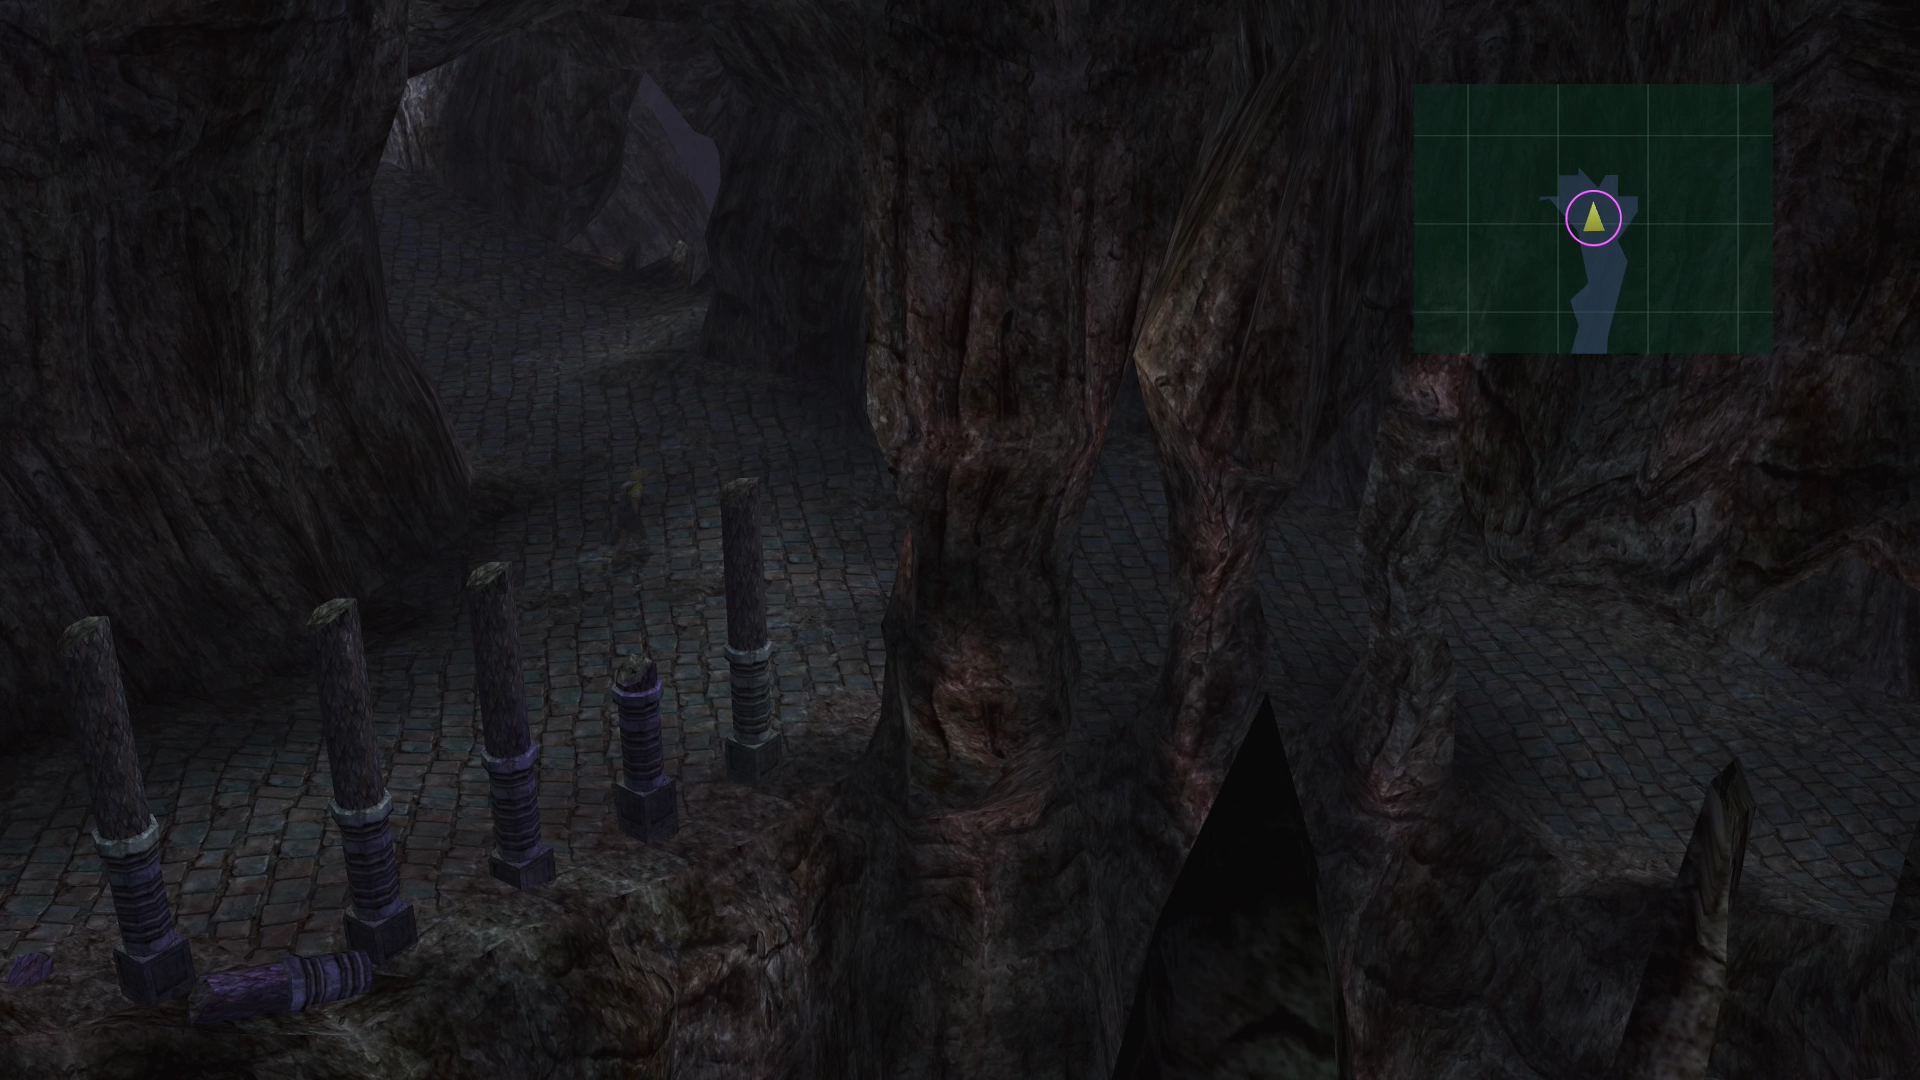
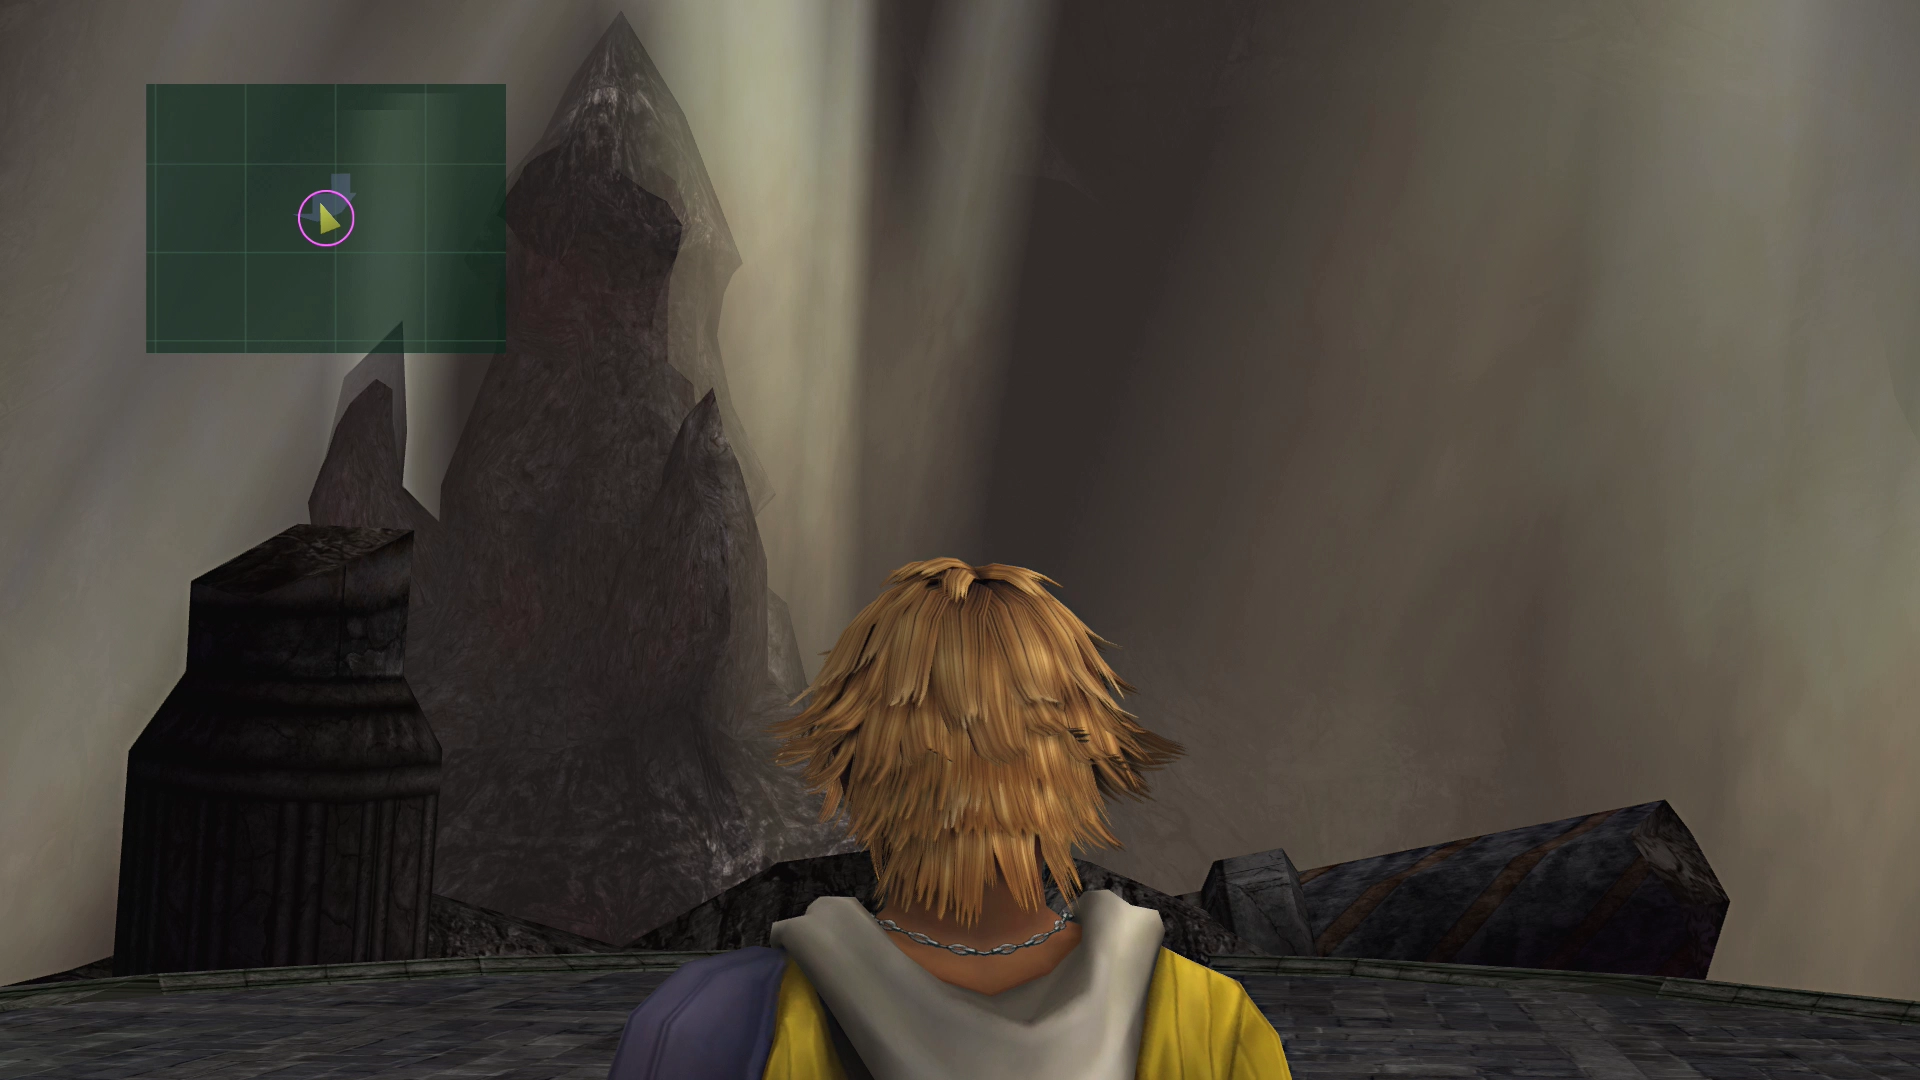
Exploring the Ruins
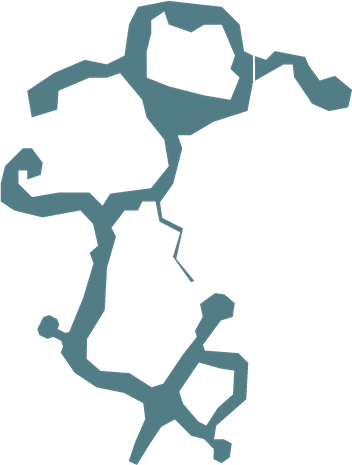
Note that, similar to the Sea of Sorrow, you have to walk through the Omega Ruins to fill in the mini-map (similar to a fog of war). The map of the ruins is below:
Omega Ruins Map
| Treasure chest cluster (items from the list below, or a Mimic) | |
| Treasure chest cluster (items from the list below, or a Mimic) | |
| Treasure chest cluster (items from the list below, or a Mimic) | |
| Treasure chest cluster (items from the list below, or a Mimic) | |
| Glyph |
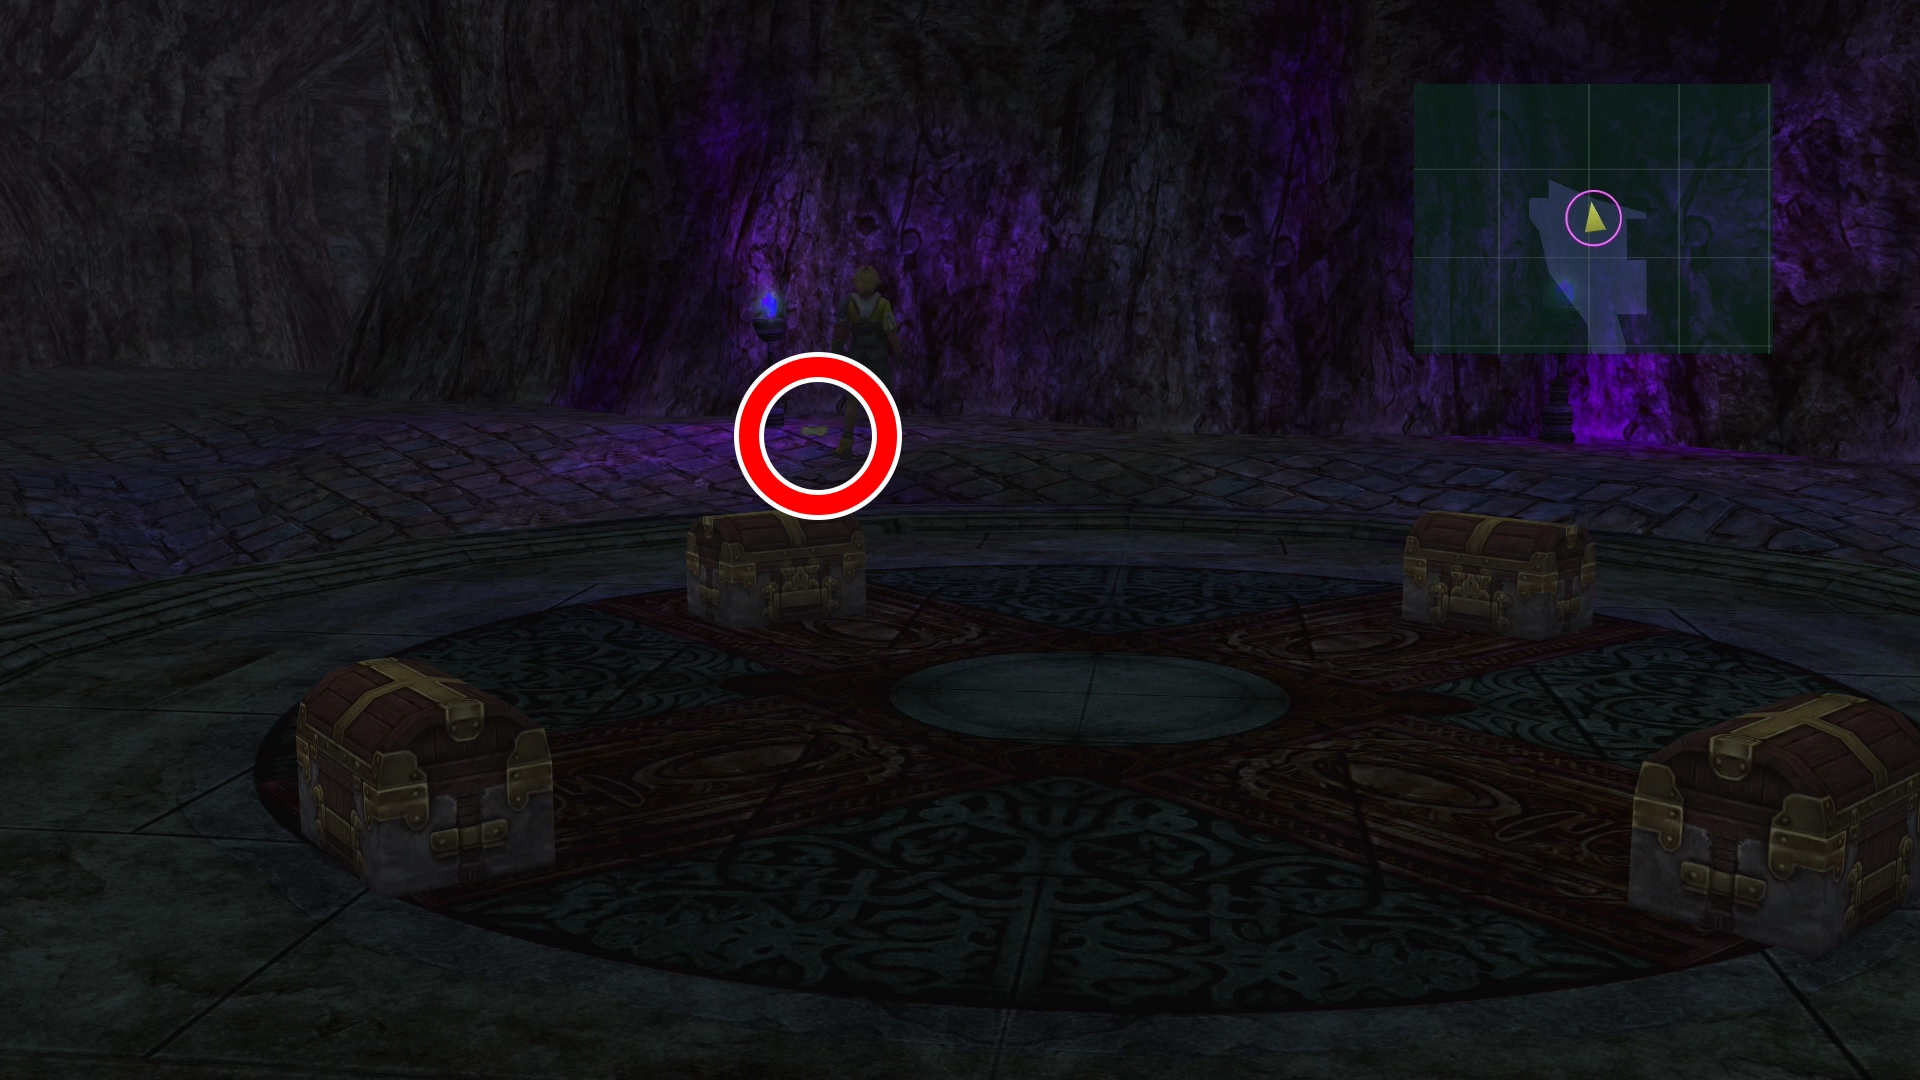
Treasure Chests and Mimics
There are twelve treasure chests hidden throughout the Omega Ruins, grouped into the four clusters shown on the map above (one group of four chests, two groups of three, and one group of two). These chests do not work like normal treasure chests, so it helps to understand the rules before you start opening them:
The rewards come in a fixed order. The list below is not tied to specific chests. Whichever chest you open next simply gives you the next item on the list, regardless of which cluster it belongs to.
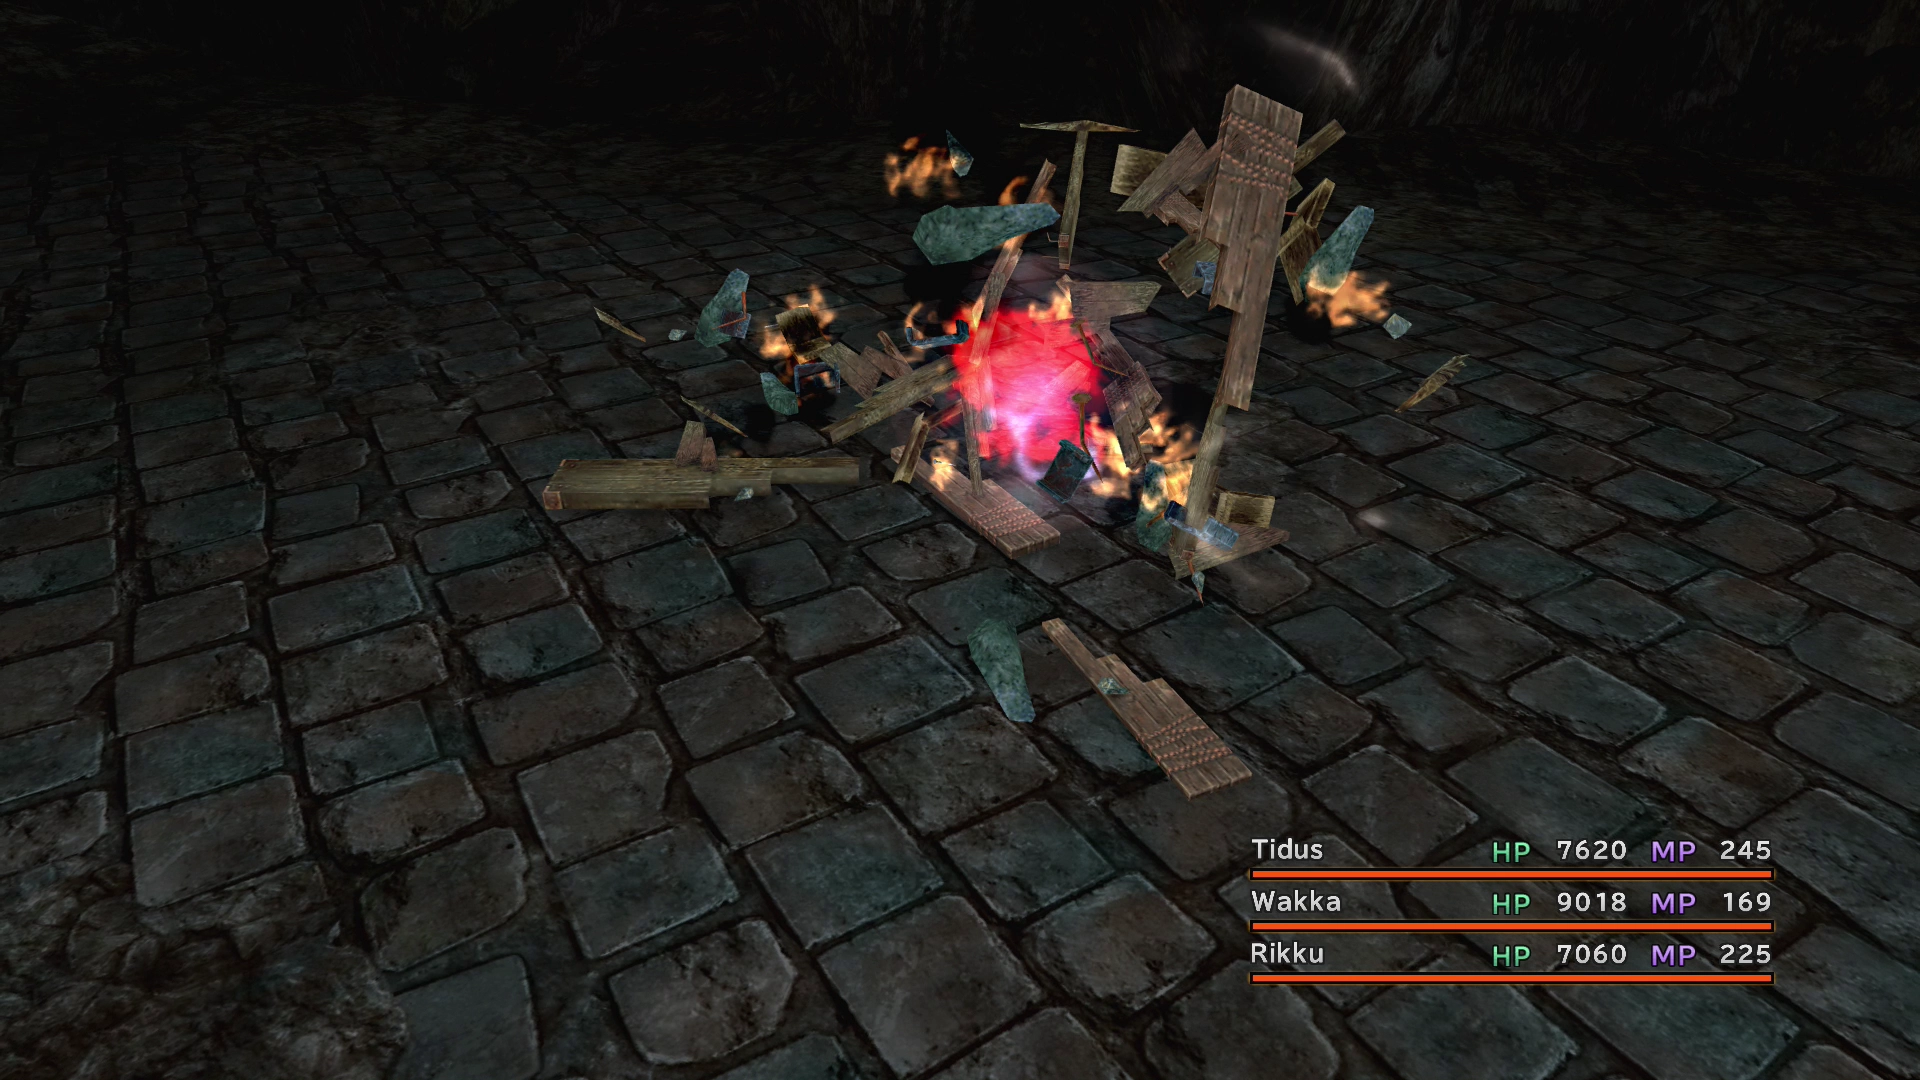
Every chest is a gamble. Each time you open one, it either contains the next treasure in the sequence or reveals a Mimic, which forces you into battle. When a Mimic appears, the remaining unopened chests in that group vanish.
The chests do not come back. Vanished chests are gone for good, and they will not return if you leave and re-enter the ruins, meaning that you only get one shot at this mini-game per save file. Two more quirks to be aware of: always finish a group completely before moving on (walking away from a group with chests still unopened causes the rest of that group to disappear), and do not rely on mid-run saves (reloading a save made after opening any chest resets the reward sequence back to the beginning without restoring a single chest).
1) ![]() Lv. 4 Key Sphere
Lv. 4 Key Sphere
2) ![]() Defending Bracer
Defending Bracer
3) ![]() Turnover
Turnover
4) ![]() Lv. 3 Key Sphere (x2)
Lv. 3 Key Sphere (x2)
5) ![]() Defending Armlet
Defending Armlet
6) ![]() Friend Sphere (x2)
Friend Sphere (x2)
7) ![]() Lv. 4 Key Sphere
Lv. 4 Key Sphere
8) ![]() Phantom Ring
Phantom Ring
9) ![]() Cactuar Wizard
Cactuar Wizard
10) ![]() Warmonger
Warmonger
11) ![]() Teleport Sphere (x2)
Teleport Sphere (x2)
12) ![]() Warp Sphere x99
Warp Sphere x99
Getting the 99 Warp Spheres: The final treasure only appears if you open all twelve chests in a single run without ever revealing a Mimic. Whether a chest holds treasure or a Mimic is pure luck (a clean run has roughly a 1-in-240 chance), so the trick is to touch the Save Sphere near the entrance and save your game before opening anything. Work through the chests one group at a time, and the moment a Mimic appears, reload your save and start over. Since no chests had been opened when you saved, reloading restores all twelve of them. Repeat until you manage a clean run.
It could be argued that the Warp Spheres are not worth the effort required to get them, but with the save-and-reload method it only costs time, so you will have to decide how much of it you would like to invest in acquiring these rare items.
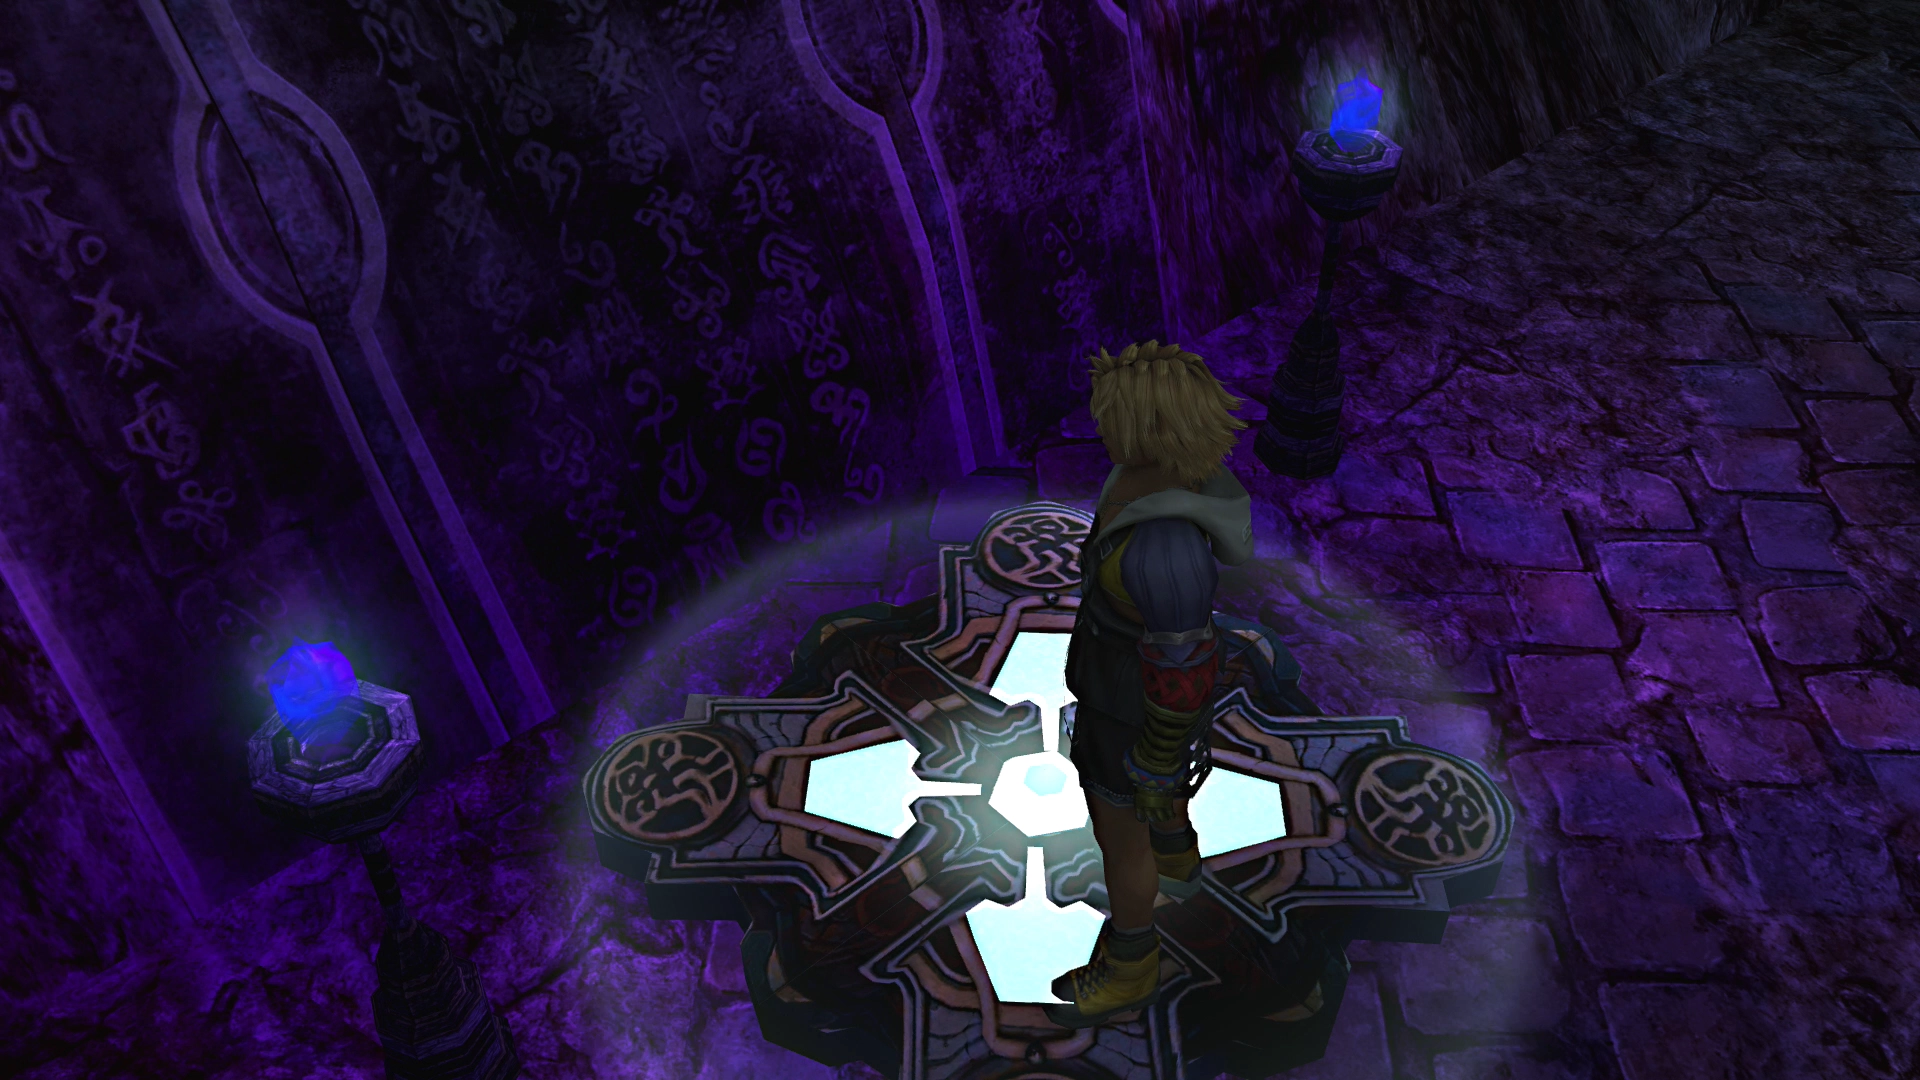
Activating the Glyphs
Travel to the Glyph that is furthest north on the map above, picking up the ![]() Al Bhed Primer (Vol. XXVI) from the ground along the way (it lies near one of the treasure chest clusters). Touch the Glyph when you reach it, and then head back and touch the southernmost Glyph as well. This causes the platform to the south to rise.
Al Bhed Primer (Vol. XXVI) from the ground along the way (it lies near one of the treasure chest clusters). Touch the Glyph when you reach it, and then head back and touch the southernmost Glyph as well. This causes the platform to the south to rise.
More platforms will rise as you work your way through the area. This is also a good time to grab the ![]() Teleport Sphere treasure chest (marked as spot 4 on the map above) if you have not picked it up already.
Teleport Sphere treasure chest (marked as spot 4 on the map above) if you have not picked it up already.
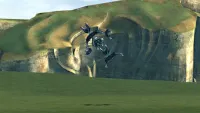
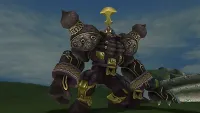
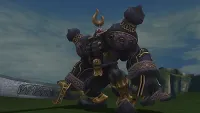
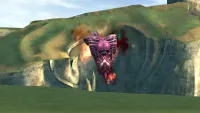
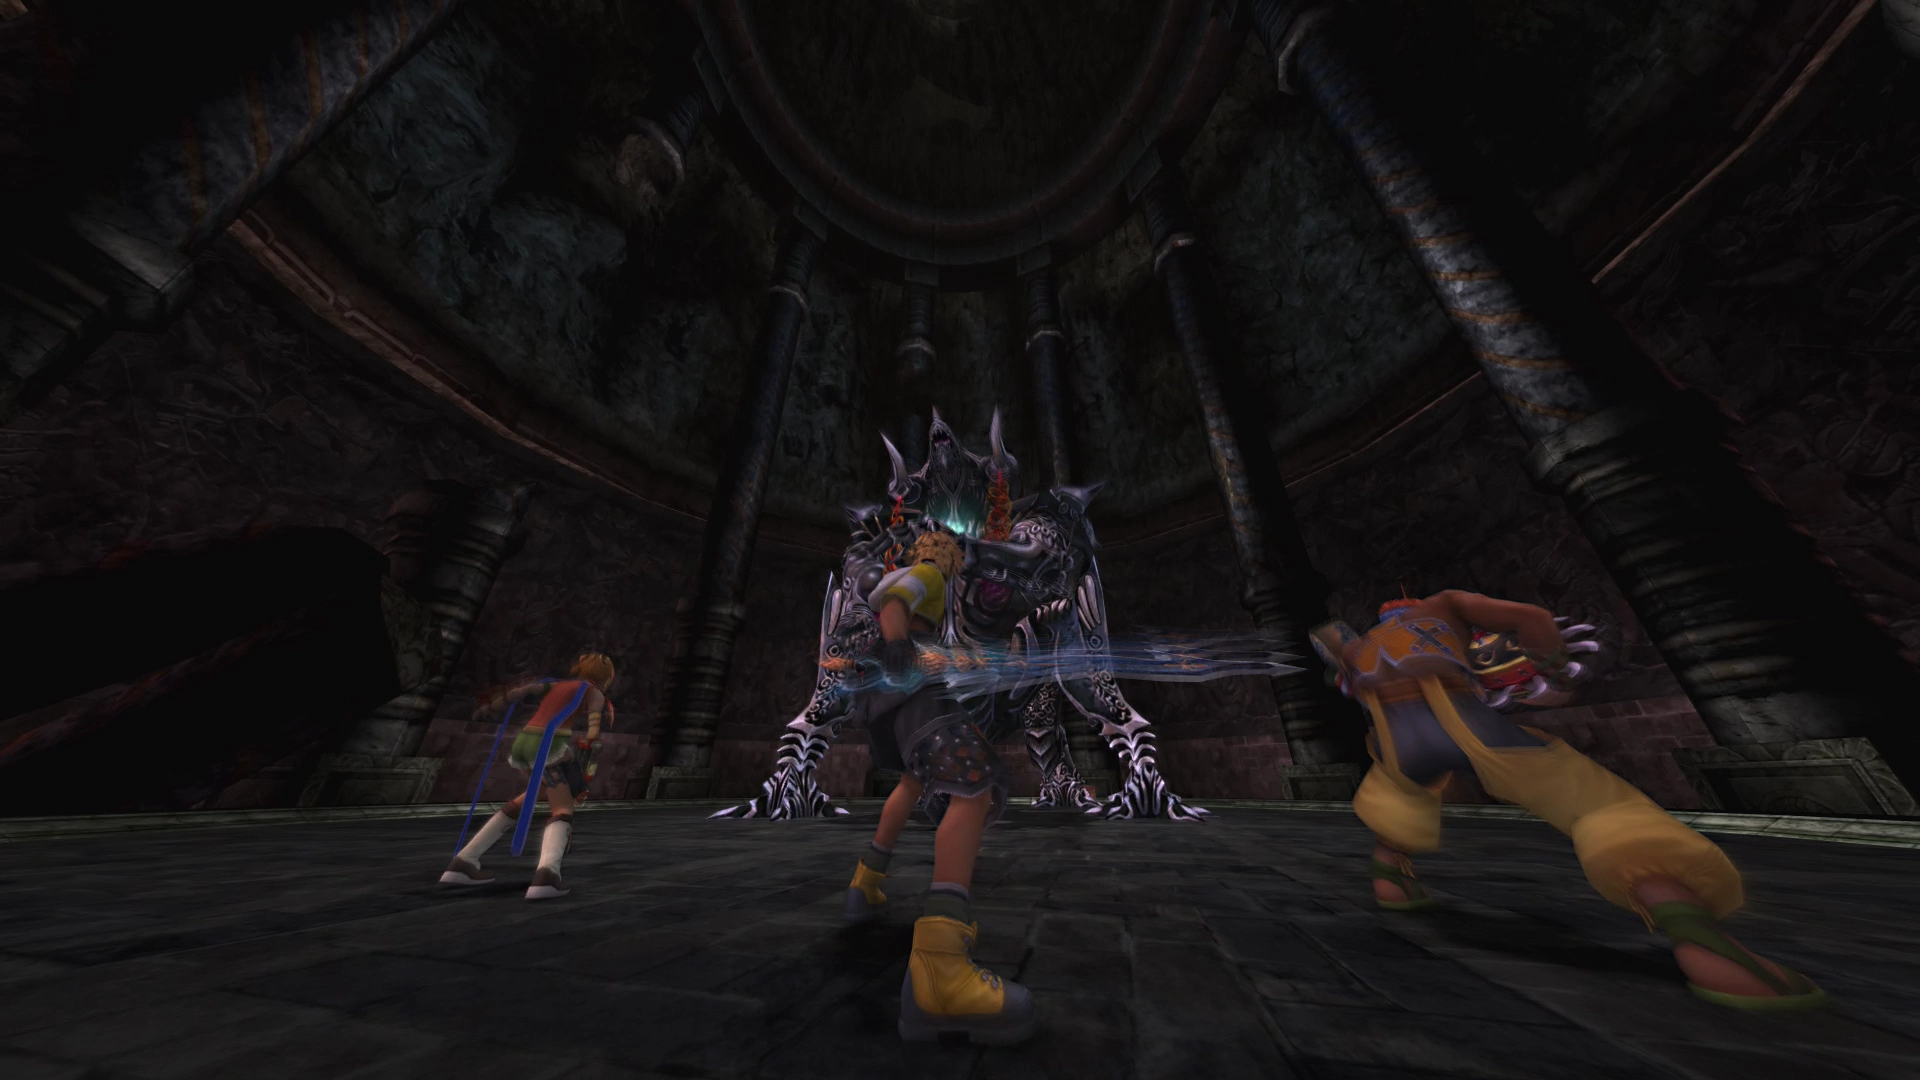
Boss Battle: Ultima Weapon
When you are ready to move on, head for the upper right area of the map (marked by the red arrow ![]() ) to reach the elevator that leads to the next level of the dungeon. Armor with the
) to reach the elevator that leads to the next level of the dungeon. Armor with the ![]() No Encounters ability makes the trek much less painful.
No Encounters ability makes the trek much less painful.
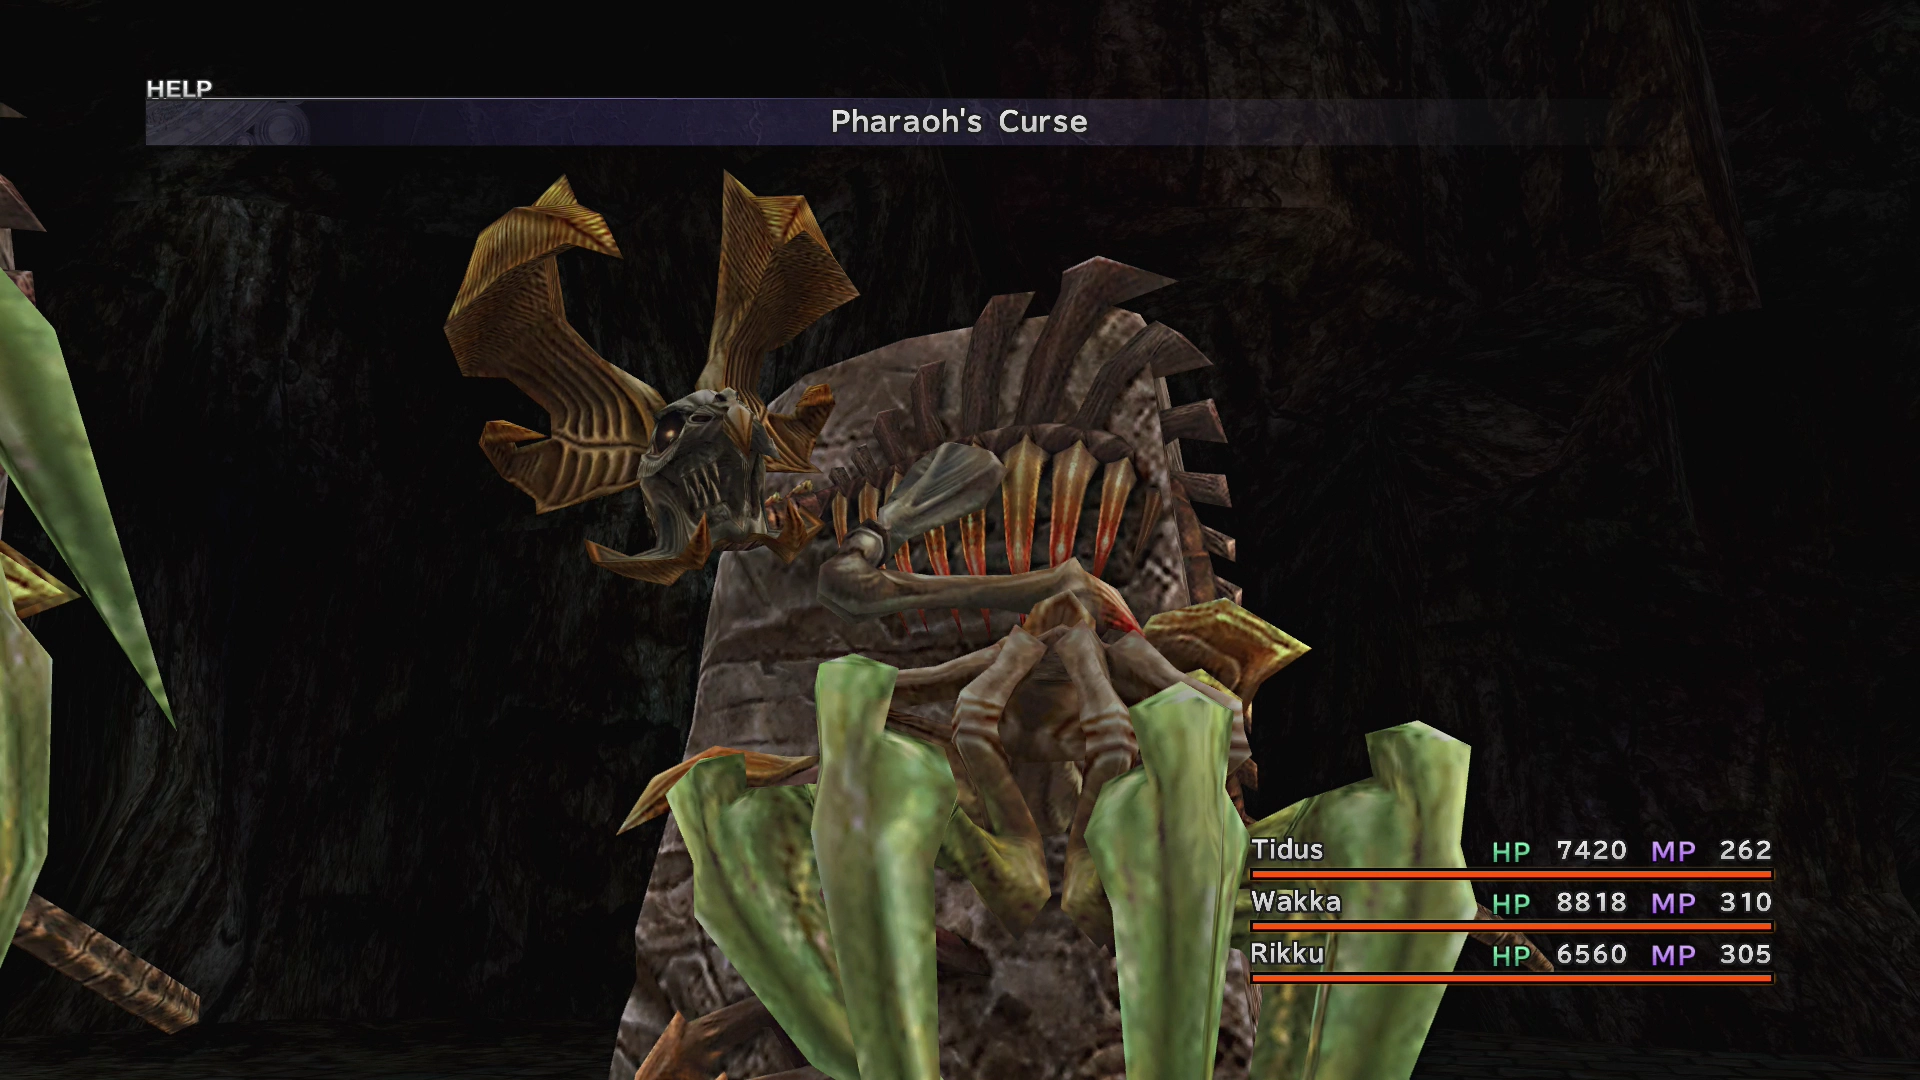
As soon as you enter the small room, you will be thrown into battle against Ultima Weapon.
Boss Battle
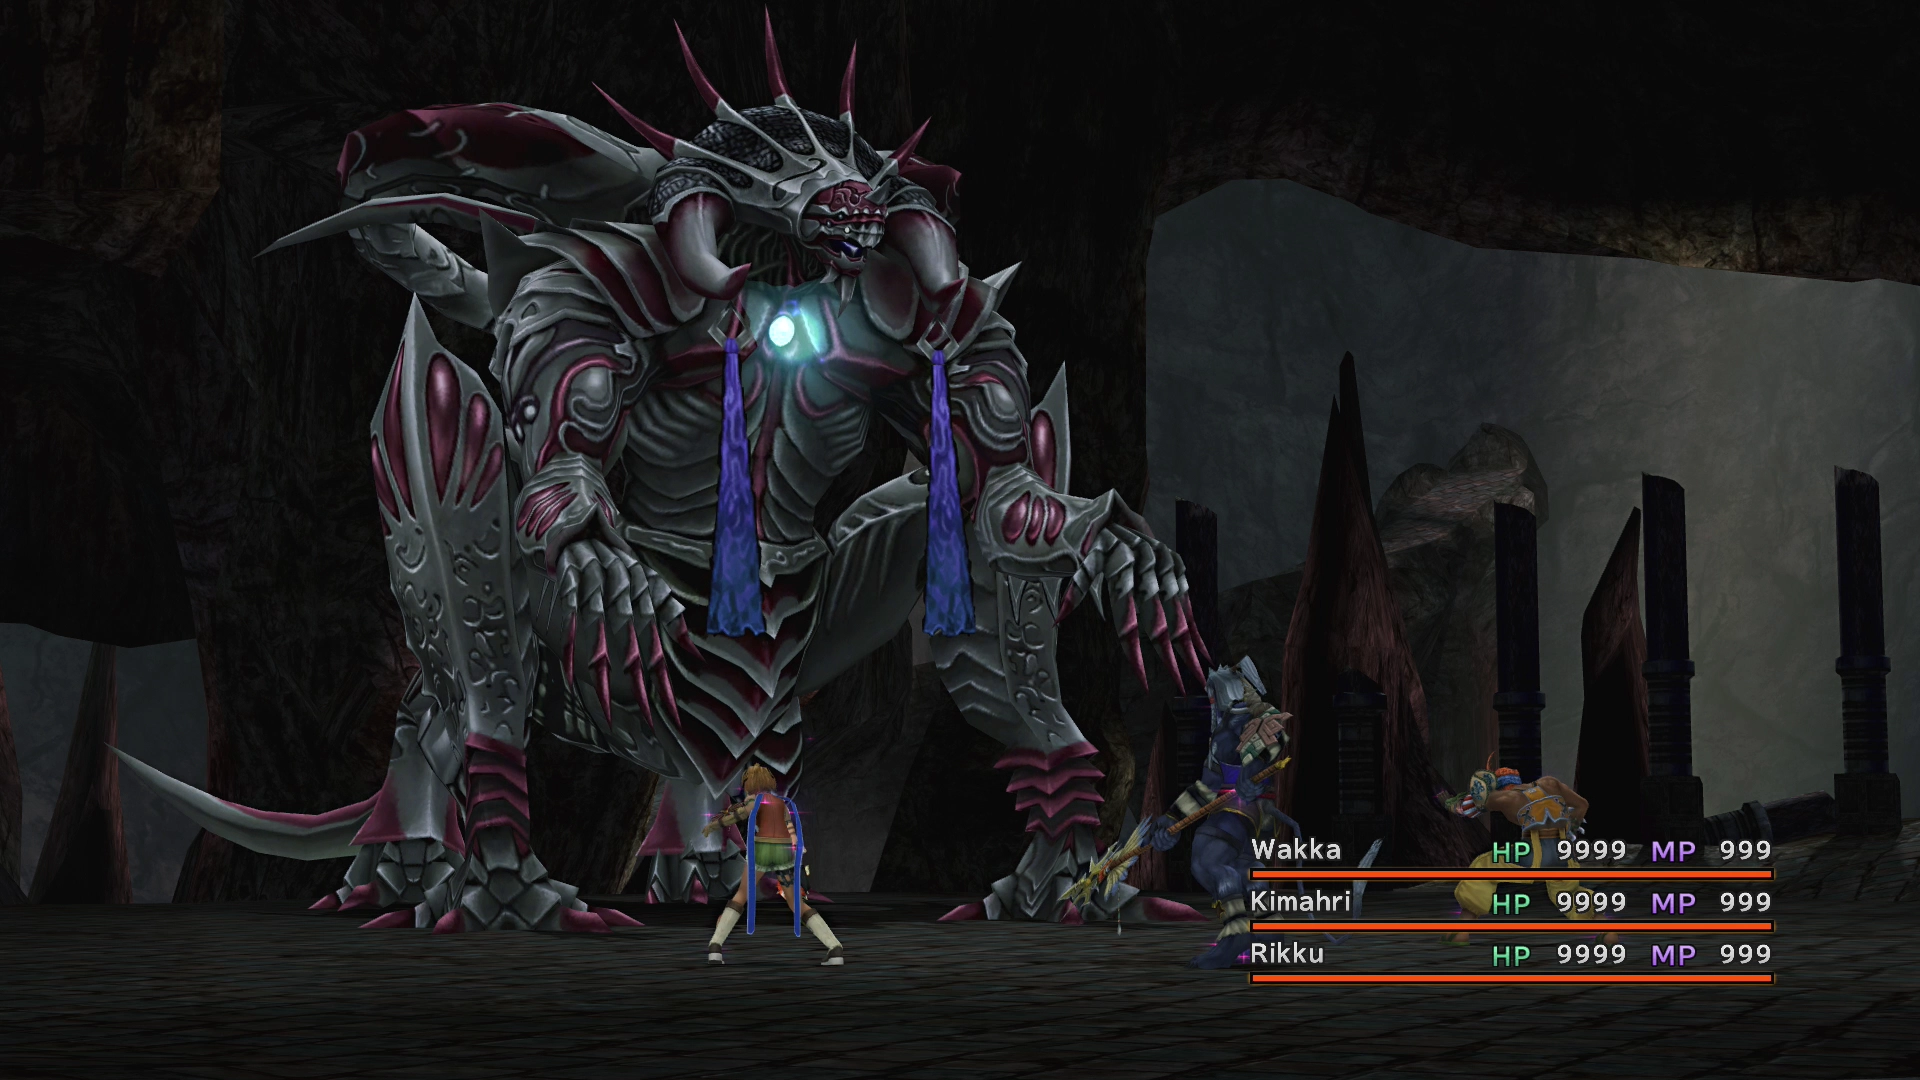
HP: 99,999
Ultima Weapon should be, and likely will be, an incredibly easy boss to defeat. Spend some time leveling your characters up (near the entrance with the Save Sphere so you can refill your HP and MP), and this boss will be a breeze. It only has 99,999 HP.
You can also bribe Ultima Weapon with 1,400,000 to obtain 99 ![]() Pendulums, which you can use to add the
Pendulums, which you can use to add the ![]() Master Thief ability to an armor (which causes you to always steal the rarest item). This ability is worth it if you can afford the Gil. If not, you could level up in Omega Ruins, selling armor that you receive, using the
Master Thief ability to an armor (which causes you to always steal the rarest item). This ability is worth it if you can afford the Gil. If not, you could level up in Omega Ruins, selling armor that you receive, using the ![]() Pilfer Gil ability, and obtaining enough Gil to bribe Ultima Weapon.
Pilfer Gil ability, and obtaining enough Gil to bribe Ultima Weapon.
Note: The amount needed to bribe Ultima Weapon was increased to 2,000,000 Gil in the international and HD Remaster editions. Just continue to ‘Bribe’ one Gil each time after you give him 2,000,000 if it doesn’t work. Once you’ve reached the proper threshold amount of Gil, each Bribe attempt, even if it’s just one more Gil, has the same chance of working.

Steal:
 Door to Tomorrow (x10) (common)
- Door to Tomorrow (x20) (common)
Drops:
 Lv. 3 Key Sphere (x3)
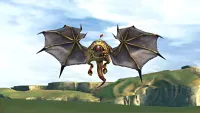
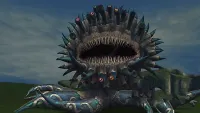
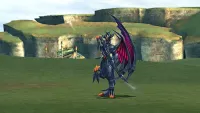
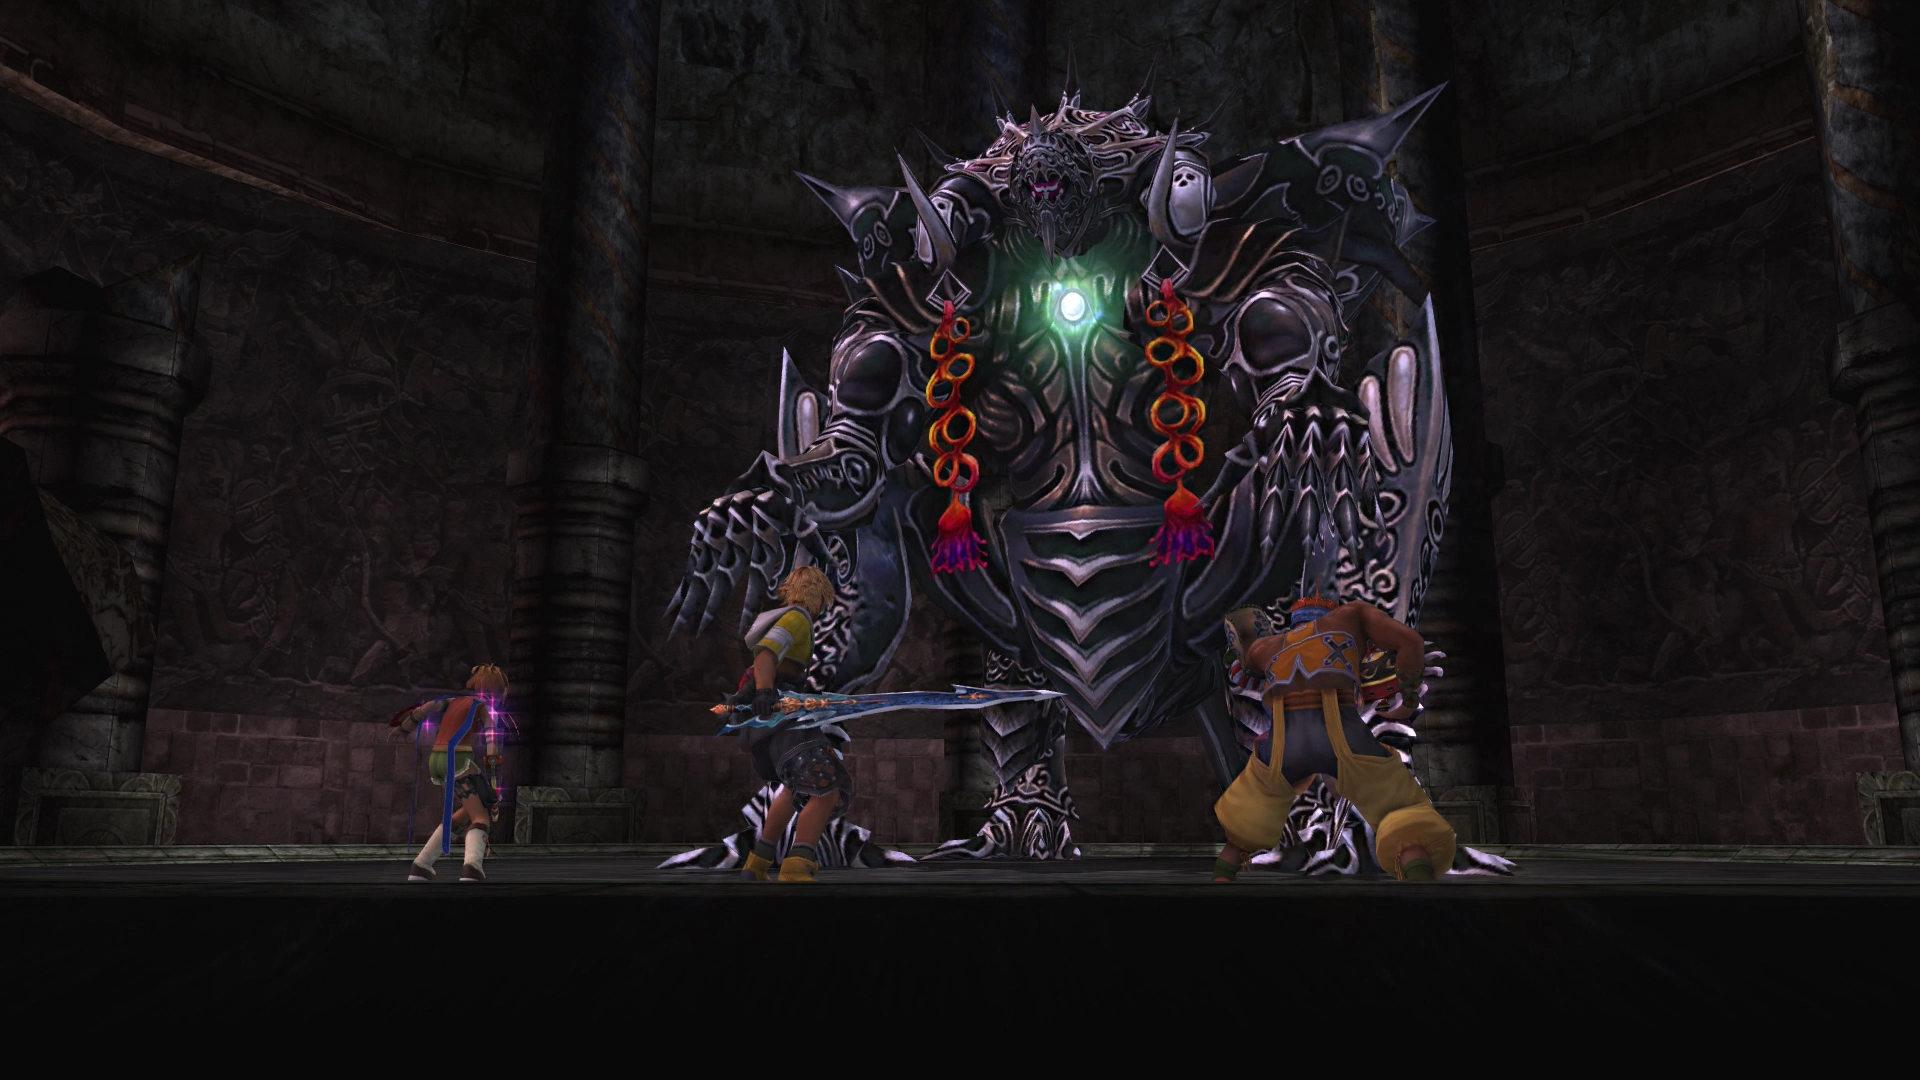
Boss Battle: Omega Weapon
Take the platform/elevator up to the next level to continue.
Omega Ruins Map (Level 2)

There are two pathways that you can take. The path to the left leads to a ![]() Friend Sphere after two encounters, and the pathway to the right leads to Omega Weapon (and a
Friend Sphere after two encounters, and the pathway to the right leads to Omega Weapon (and a ![]() Magic Sphere). You will be thrown into a fight automatically regardless of whether you have the
Magic Sphere). You will be thrown into a fight automatically regardless of whether you have the ![]() No Encounters ability equipped each time you enter a new platform.
No Encounters ability equipped each time you enter a new platform.
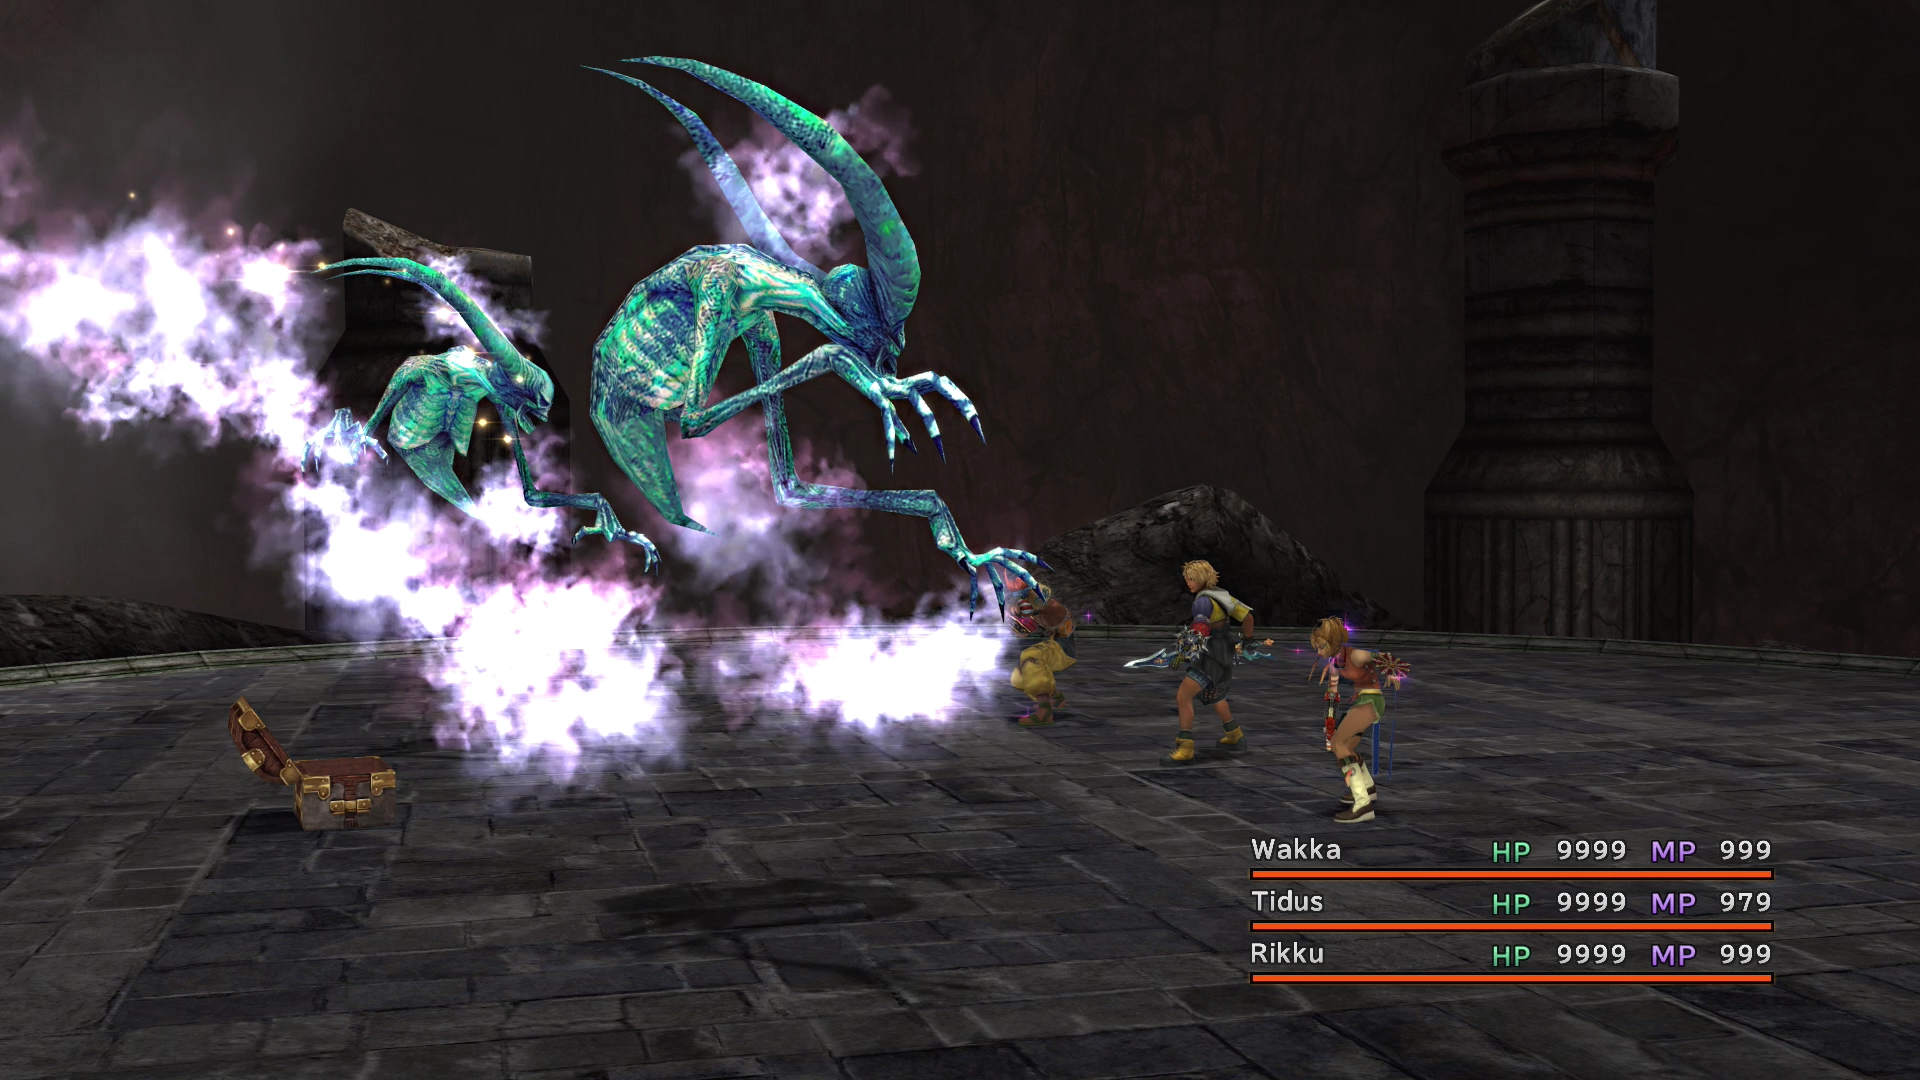
As mentioned above, the most difficult fights on the way up are against Great Malboros, which always ambush you and open with “Bad Breath.” Make sure that you are prepared for this by having a weapon with the ![]() First Strike auto-ability.
First Strike auto-ability.
Save up your Overdrives for the upcoming boss battle. You will be thrust into battle once you enter the glowing area at the end of the pathway.
Boss Battle
HP: 999,999
Omega Weapon is an entirely different fight depending on what version of the game you have. In the original version of the game, it has 99,999 HP; however, in the international and HD Remaster versions, it has 999,999 HP.
This battle can be relatively lengthy, so you should start by casting ![]() Hastega,
Hastega, ![]() Shell, and
Shell, and ![]() Protect on each of your characters. Alternatively, you can use Rikku’s Mix ability to cast either
Protect on each of your characters. Alternatively, you can use Rikku’s Mix ability to cast either ![]() Super Mighty G or
Super Mighty G or ![]() Hyper Mighty G on your party.
Hyper Mighty G on your party.
Use all of your Overdrives and use ![]() Quick Hit to get as many attacks in as you can between Omega Weapon’s hits.
Quick Hit to get as many attacks in as you can between Omega Weapon’s hits.
Make sure you take the opportunity to steal ![]() Gambler’s Spirit items during the fight. If you are having trouble with this fight, you should spend time leveling your characters in the Omega Ruins or complete some of the side quests, such as the Celestial Weapon side quests, as breaking the damage limit can make this fight relatively easy.
Gambler’s Spirit items during the fight. If you are having trouble with this fight, you should spend time leveling your characters in the Omega Ruins or complete some of the side quests, such as the Celestial Weapon side quests, as breaking the damage limit can make this fight relatively easy.
Make sure to have Kimahri use ![]() Lancet on it so that he can learn Nova, his strongest Overdrive.
Lancet on it so that he can learn Nova, his strongest Overdrive.

Steal:
- Gambler’s Spirit (x30)
Drops:
- Lv. 4 Key Sphere (x3)
The game automatically warps you back to the entrance of the Omega Ruins as this dungeon is now complete.