
Kilika Cloister of Trials
This Cloister is the second of the six Cloister of Trials that you will face during your playthrough of the game. It takes place during the team’s visit to the destroyed seaside village of Kilika. Check out the Kilika Walkthrough page for more details on this section of the game.
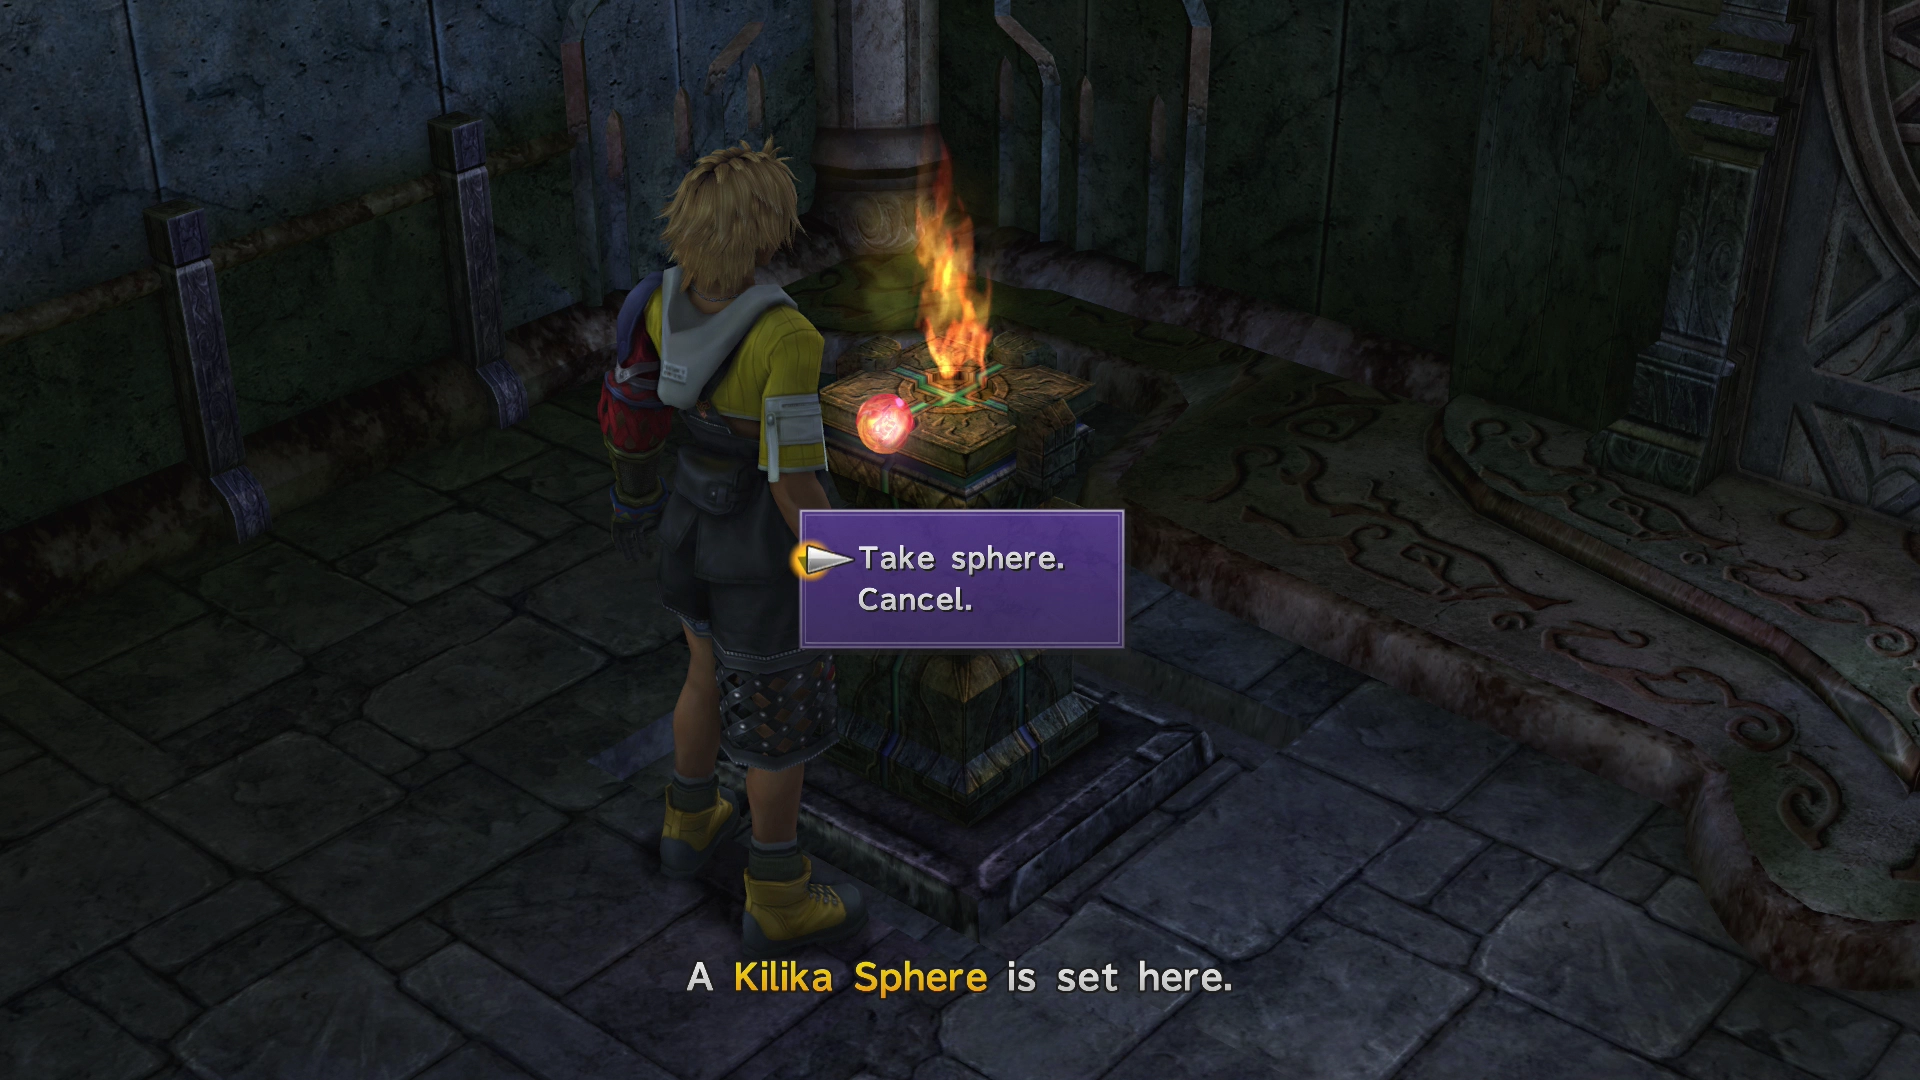
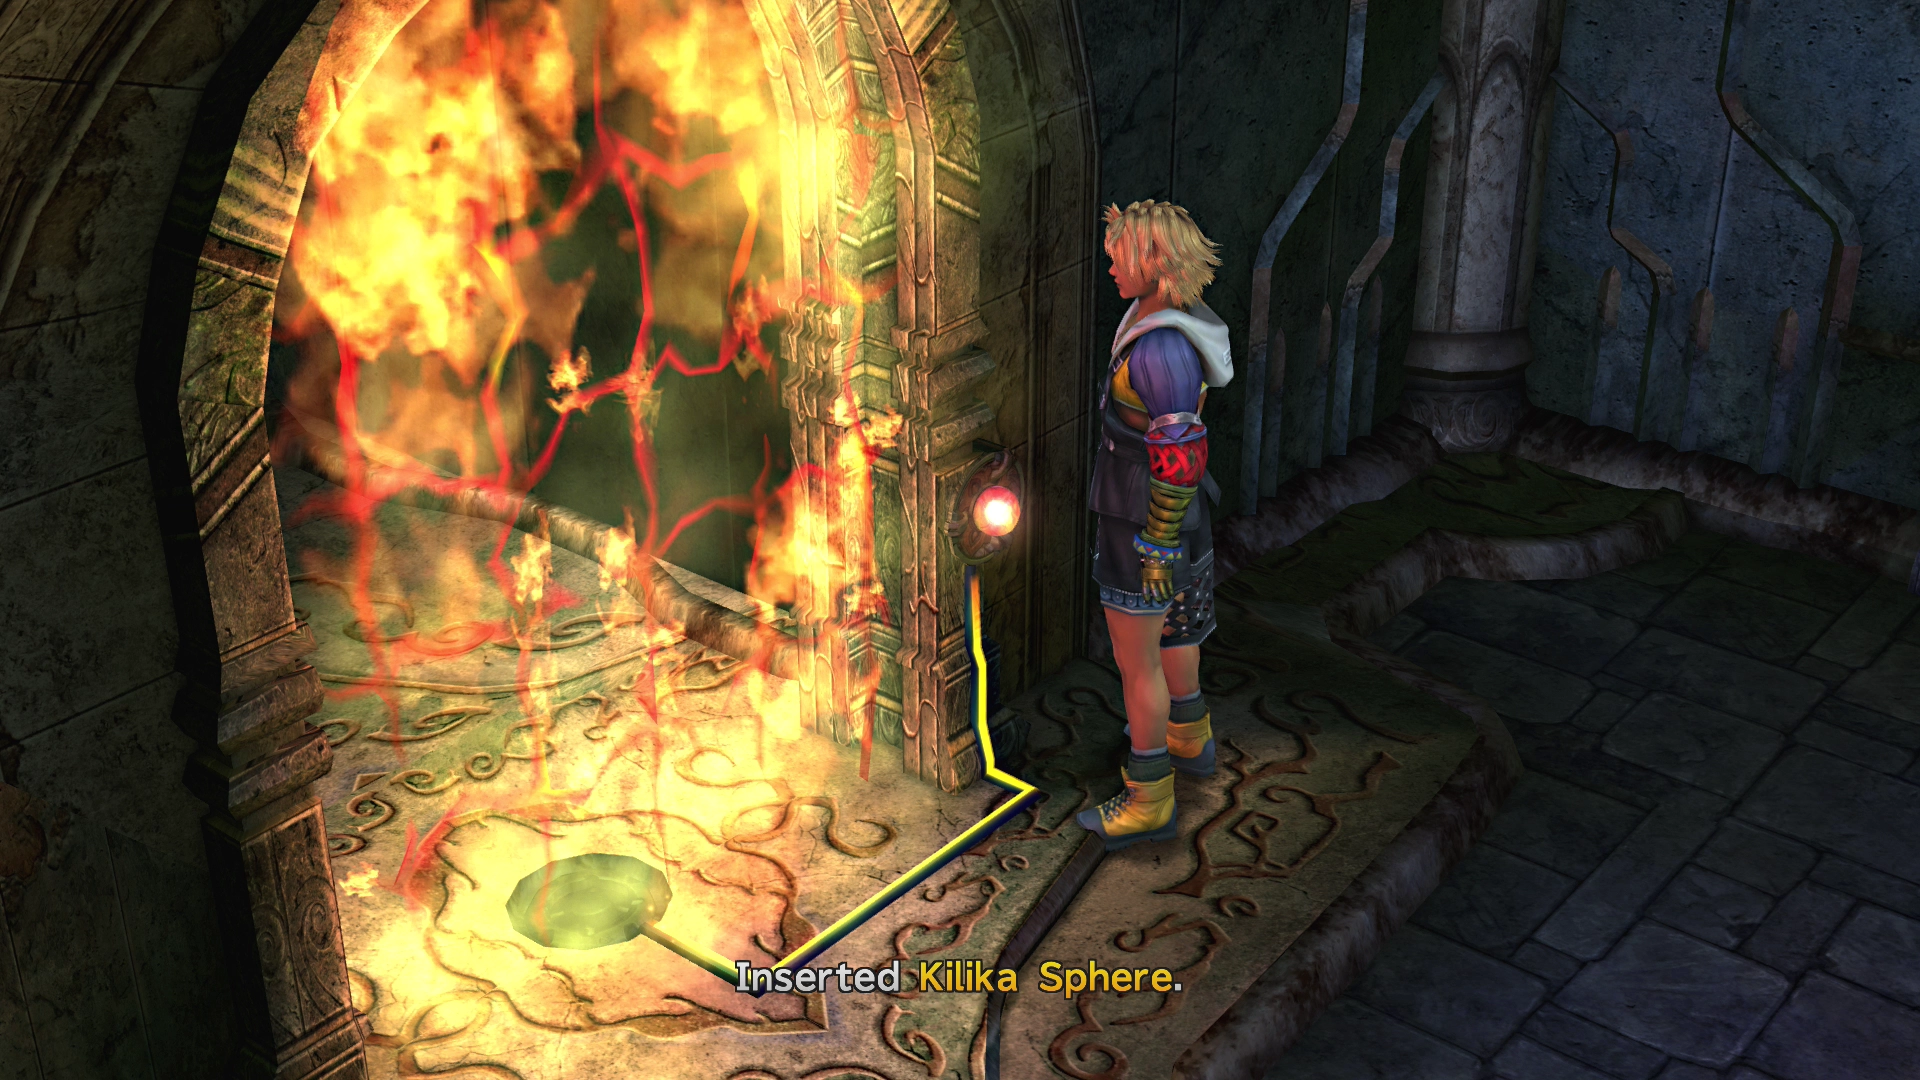
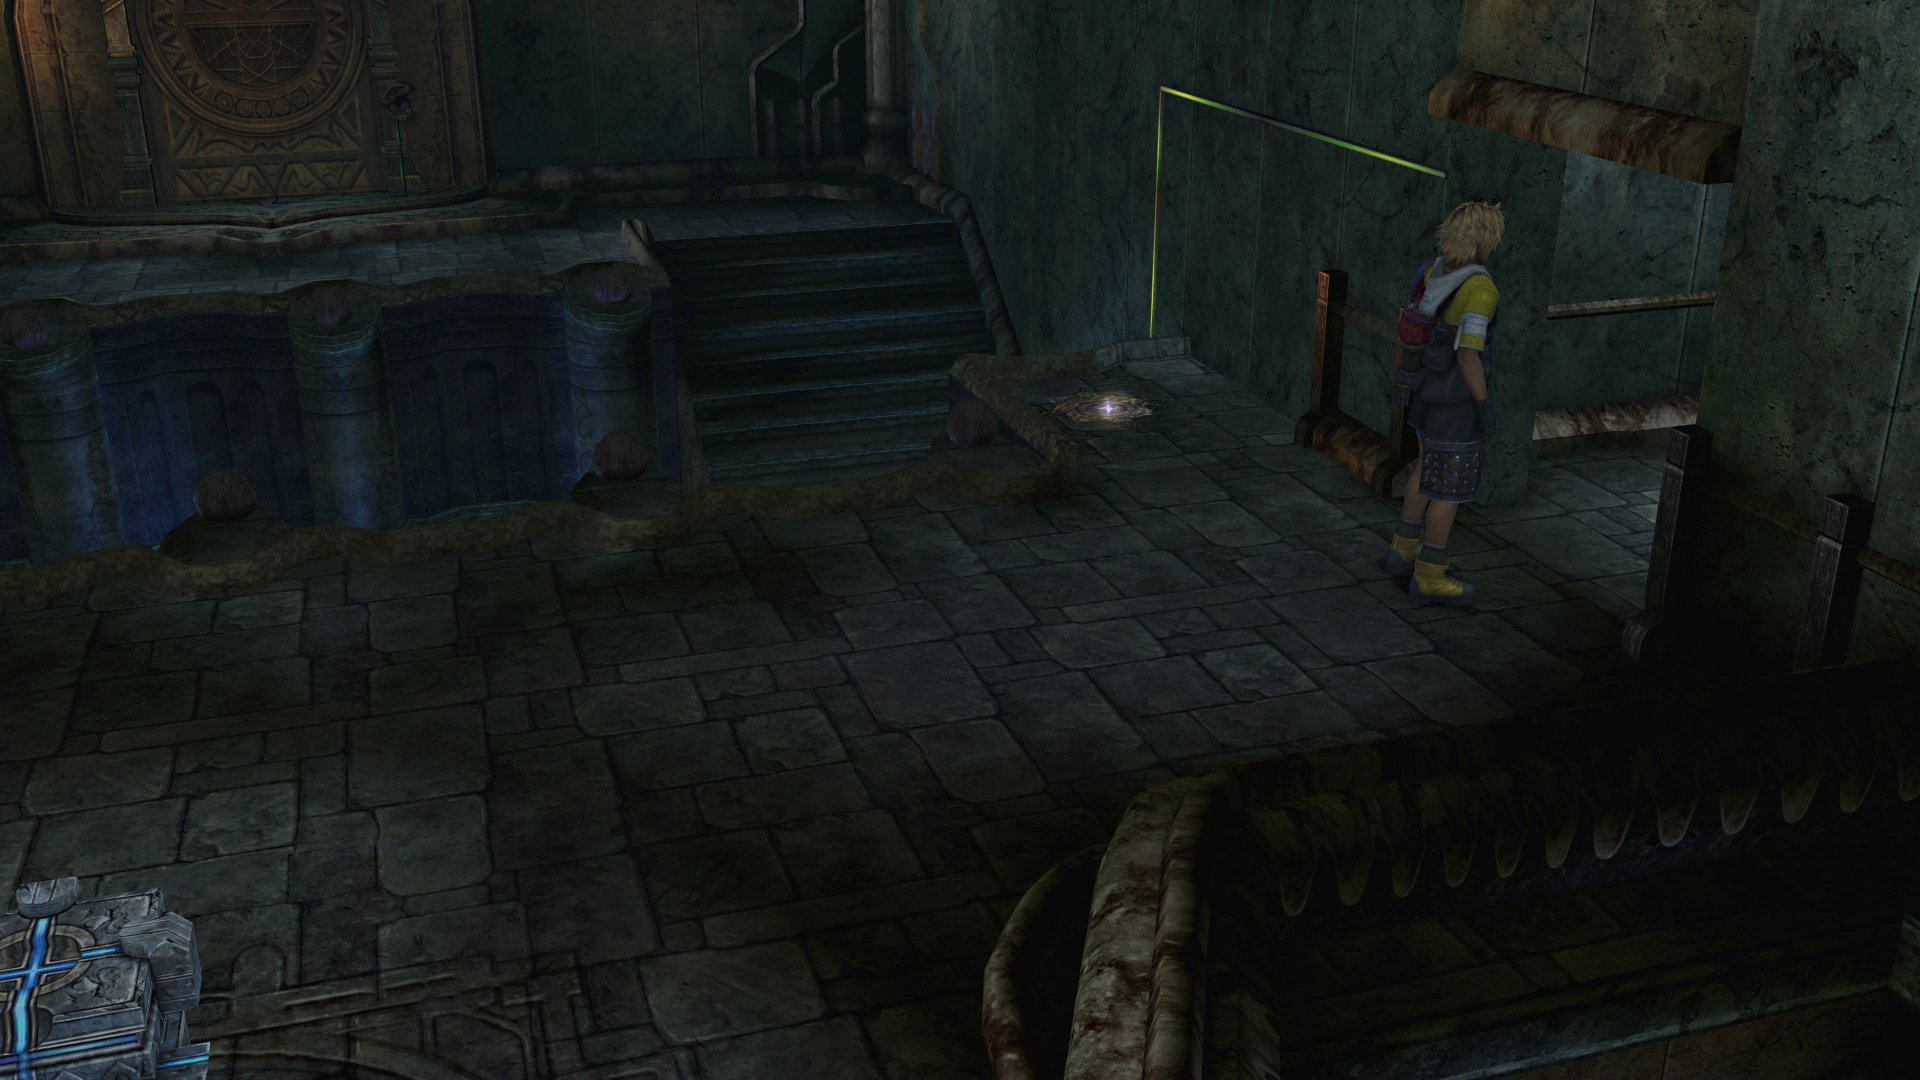
To start things off, walk up to the entrance door to the temple and select “Go inside.” Take the burning ![]() Kilika Sphere out of the pedestal and place it in the door at the back of the room.
Kilika Sphere out of the pedestal and place it in the door at the back of the room.
This first sphere will only cause the door to partly burn away. Take the ![]() Kilika Sphere back out of the recess to completely remove the remaining barricade.
Kilika Sphere back out of the recess to completely remove the remaining barricade.
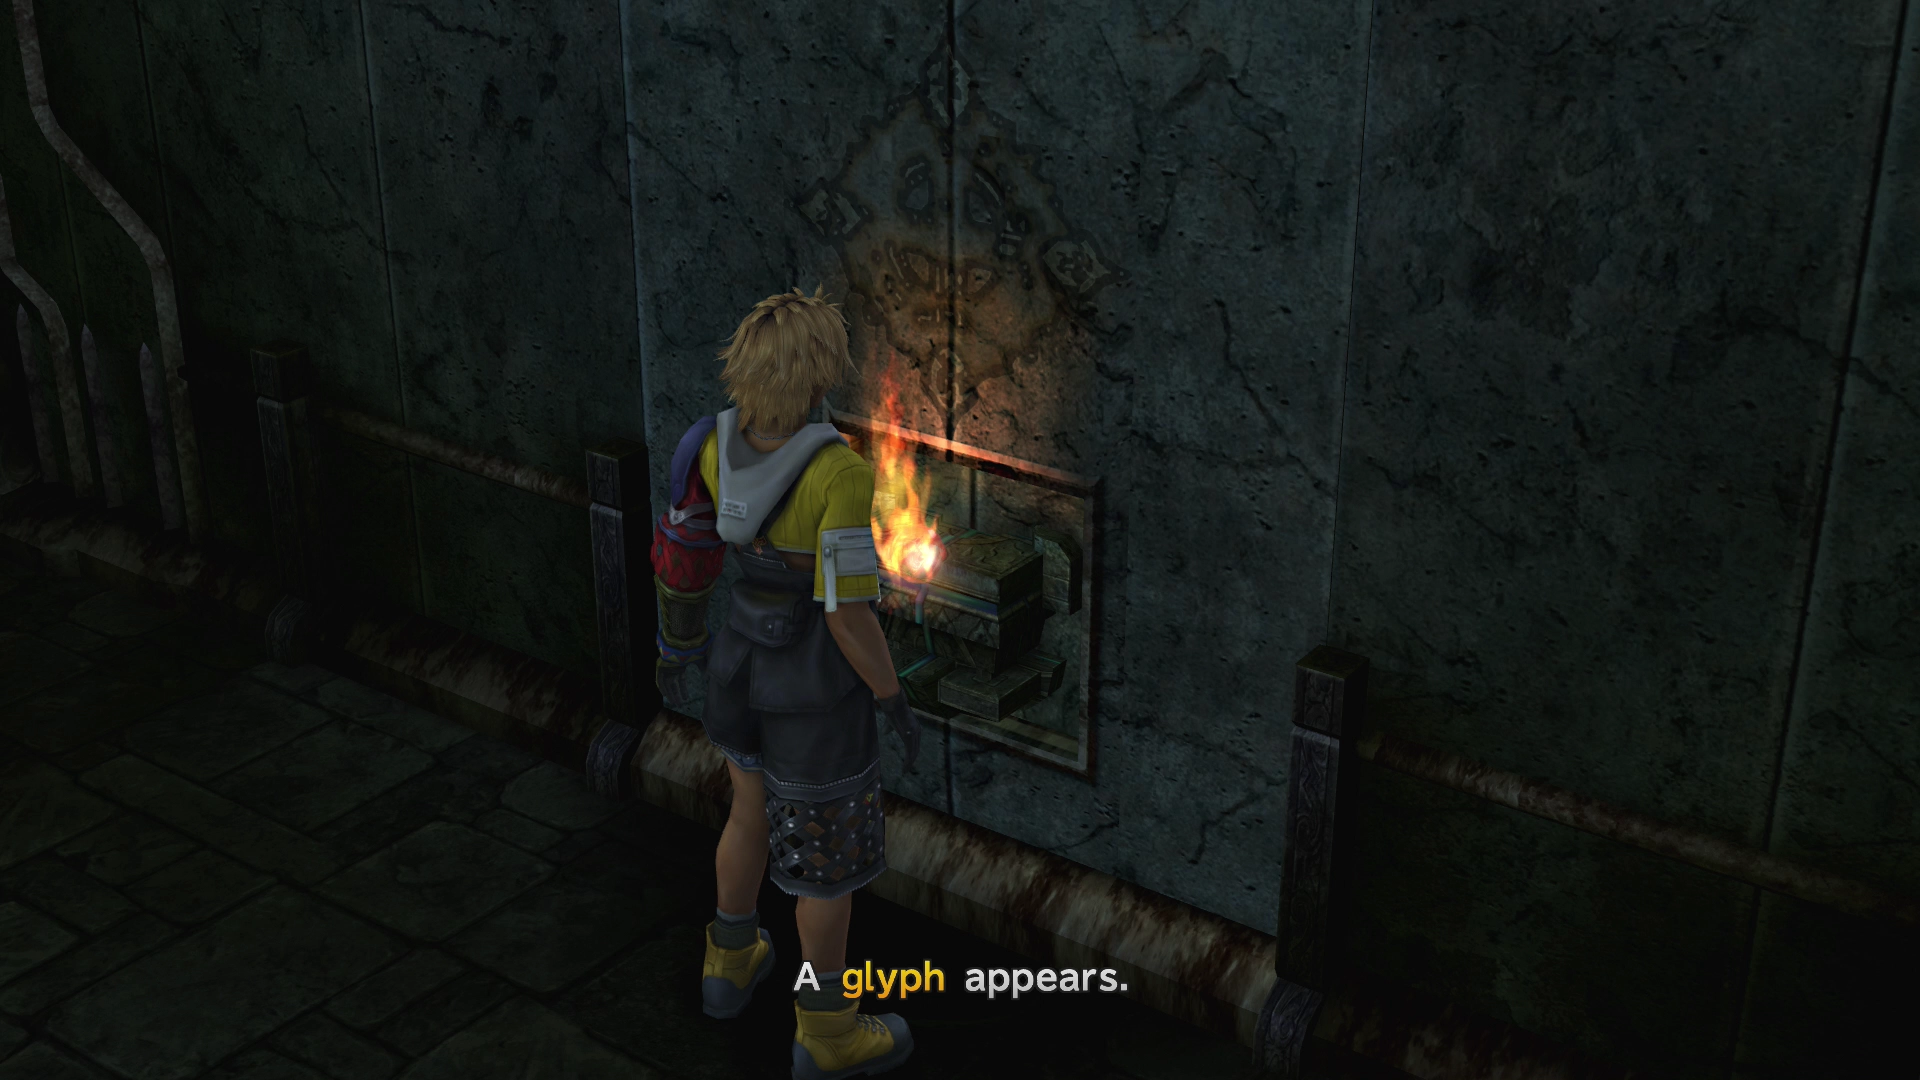
In the next room, you will find a pedestal as well as a sphere-shaped recess on the far wall at the back of the room. Place the ![]() Kilika Sphere in the recess of the back wall, and a glyph will appear.
Kilika Sphere in the recess of the back wall, and a glyph will appear.
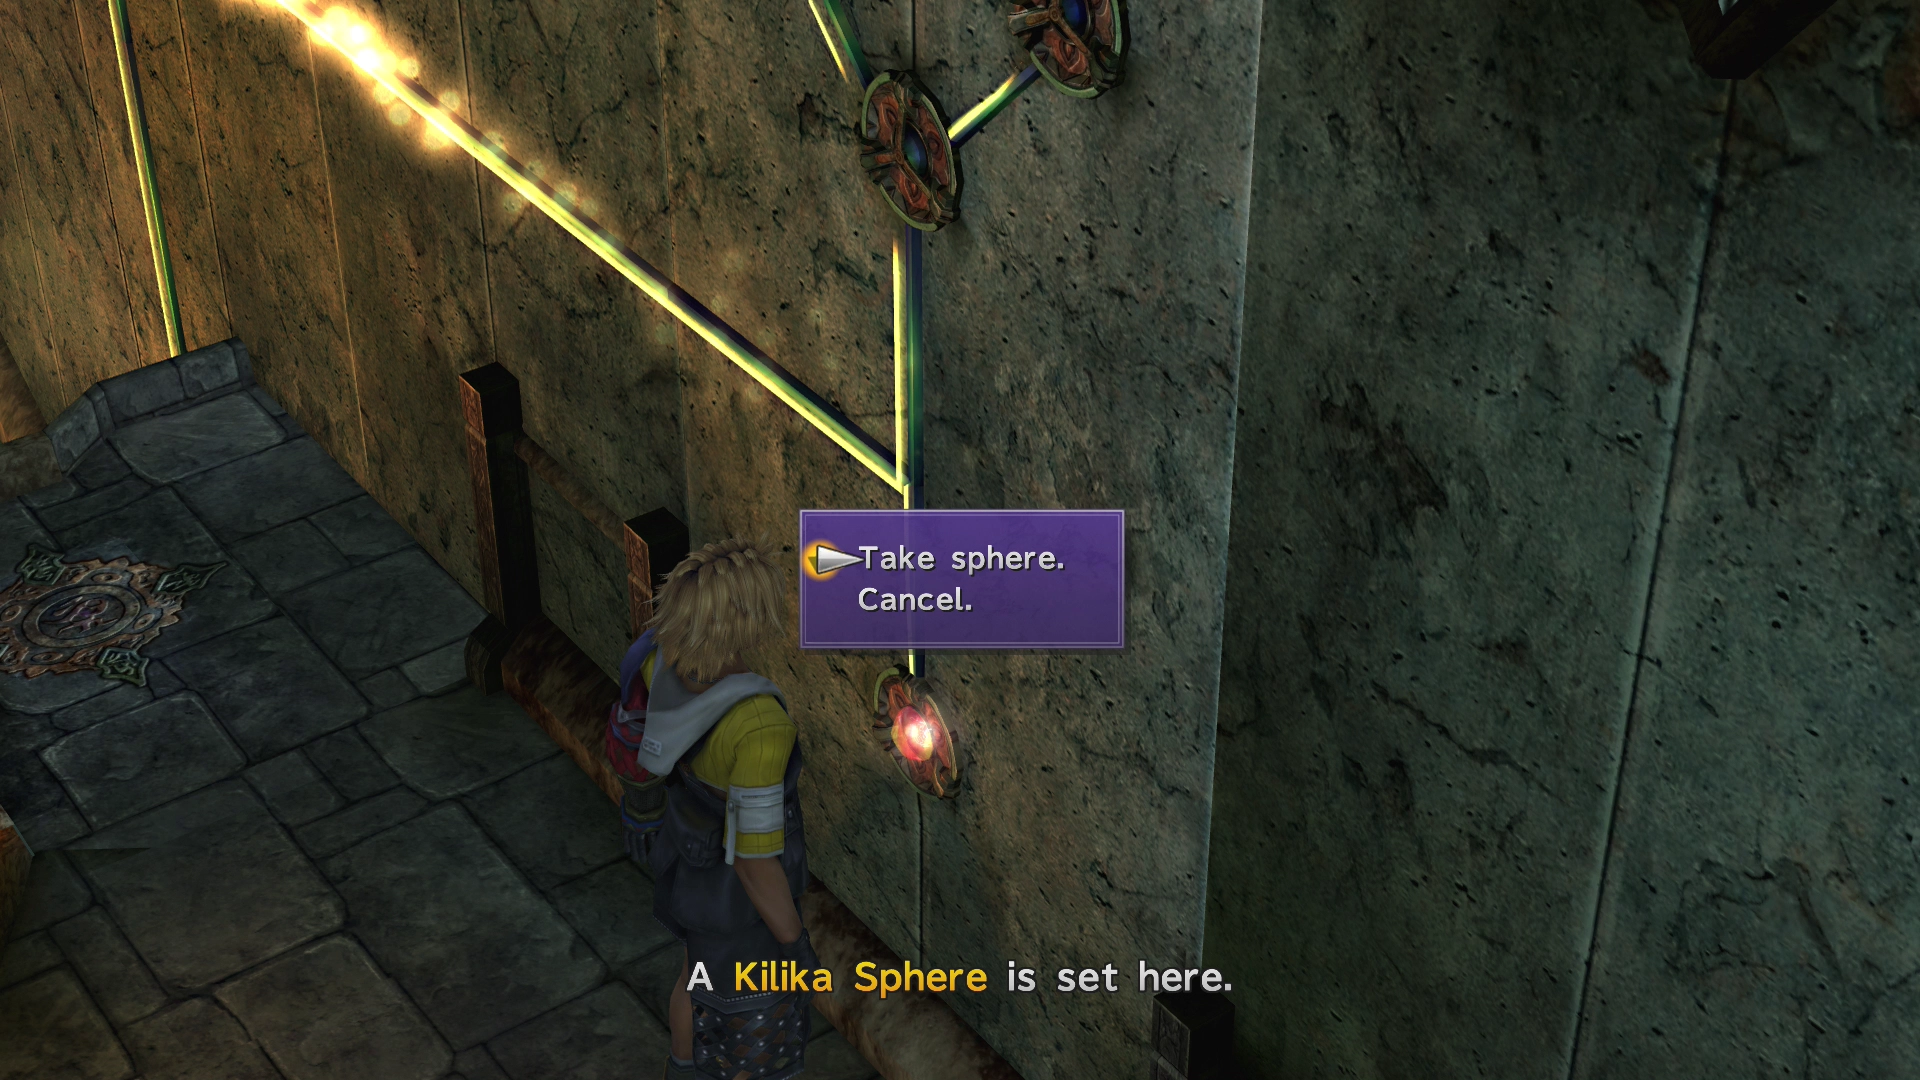
You can’t touch it until you remove the flaming ![]() Kilika Sphere, so take it out and place it into one of the recesses on either of the two side walls. Then touch the glyph that appeared on the north wall (the
Kilika Sphere, so take it out and place it into one of the recesses on either of the two side walls. Then touch the glyph that appeared on the north wall (the ![]() Kilika Sphere cannot be in the recess on the north wall for this process to work).
Kilika Sphere cannot be in the recess on the north wall for this process to work).

Enter the flaming room and remove the ![]() Kilika Sphere from the recess on the east wall. Take it back out into the previous room and insert it into one of the recesses in the side walls (the opposite one that you put the previous
Kilika Sphere from the recess on the east wall. Take it back out into the previous room and insert it into one of the recesses in the side walls (the opposite one that you put the previous ![]() Kilika Sphere into).
Kilika Sphere into).
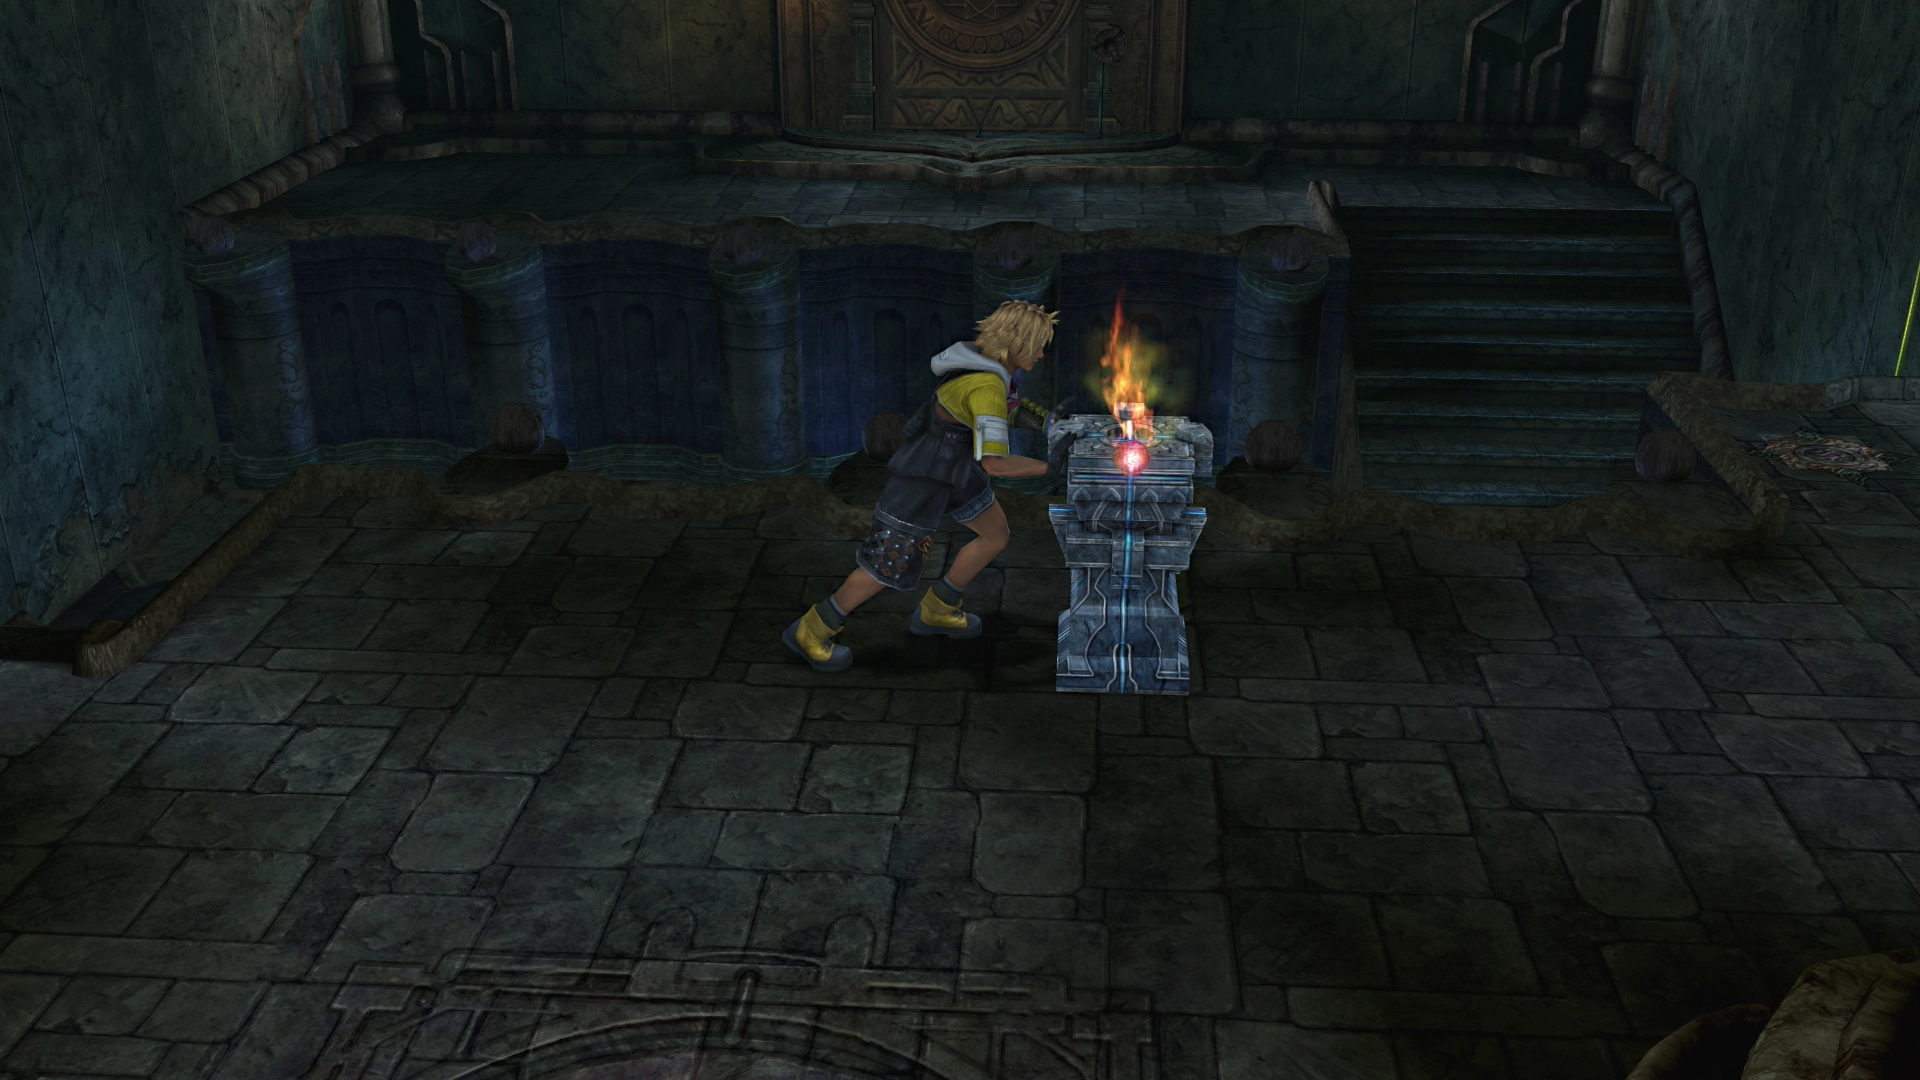
Return to the flaming room and step on the switch on the east side to bring the pedestal into this room. Take the ![]() Glyph Sphere out of the pedestal and place it into the recess where the
Glyph Sphere out of the pedestal and place it into the recess where the ![]() Kilika Sphere used to be.
Kilika Sphere used to be.
This step will cause the fire in this room to go out. The wall will rise, revealing the ![]() Destruction Sphere, but ignore that for now.
Destruction Sphere, but ignore that for now.
Go back into the previous room and grab one of the ![]() Kilika Spheres out of either of the side recesses. Insert the sphere into the pedestal and then push the pedestal into the switch that you used to bring the pedestal into this room. This step will cause a portion of the floor to break away.
Kilika Spheres out of either of the side recesses. Insert the sphere into the pedestal and then push the pedestal into the switch that you used to bring the pedestal into this room. This step will cause a portion of the floor to break away.
Now go down and retrieve the ![]() Kilika Sphere that used to be in the pedestal from the wall. Insert the
Kilika Sphere that used to be in the pedestal from the wall. Insert the ![]() Kilika Sphere into the door at the back of the room, which will cause it to light on fire, but it won’t open all the way.
Kilika Sphere into the door at the back of the room, which will cause it to light on fire, but it won’t open all the way.

Go back and grab the ![]() Destruction Sphere and insert it into the recess where the
Destruction Sphere and insert it into the recess where the ![]() Kilika Sphere used to be (where the floor dropped down).
Kilika Sphere used to be (where the floor dropped down).
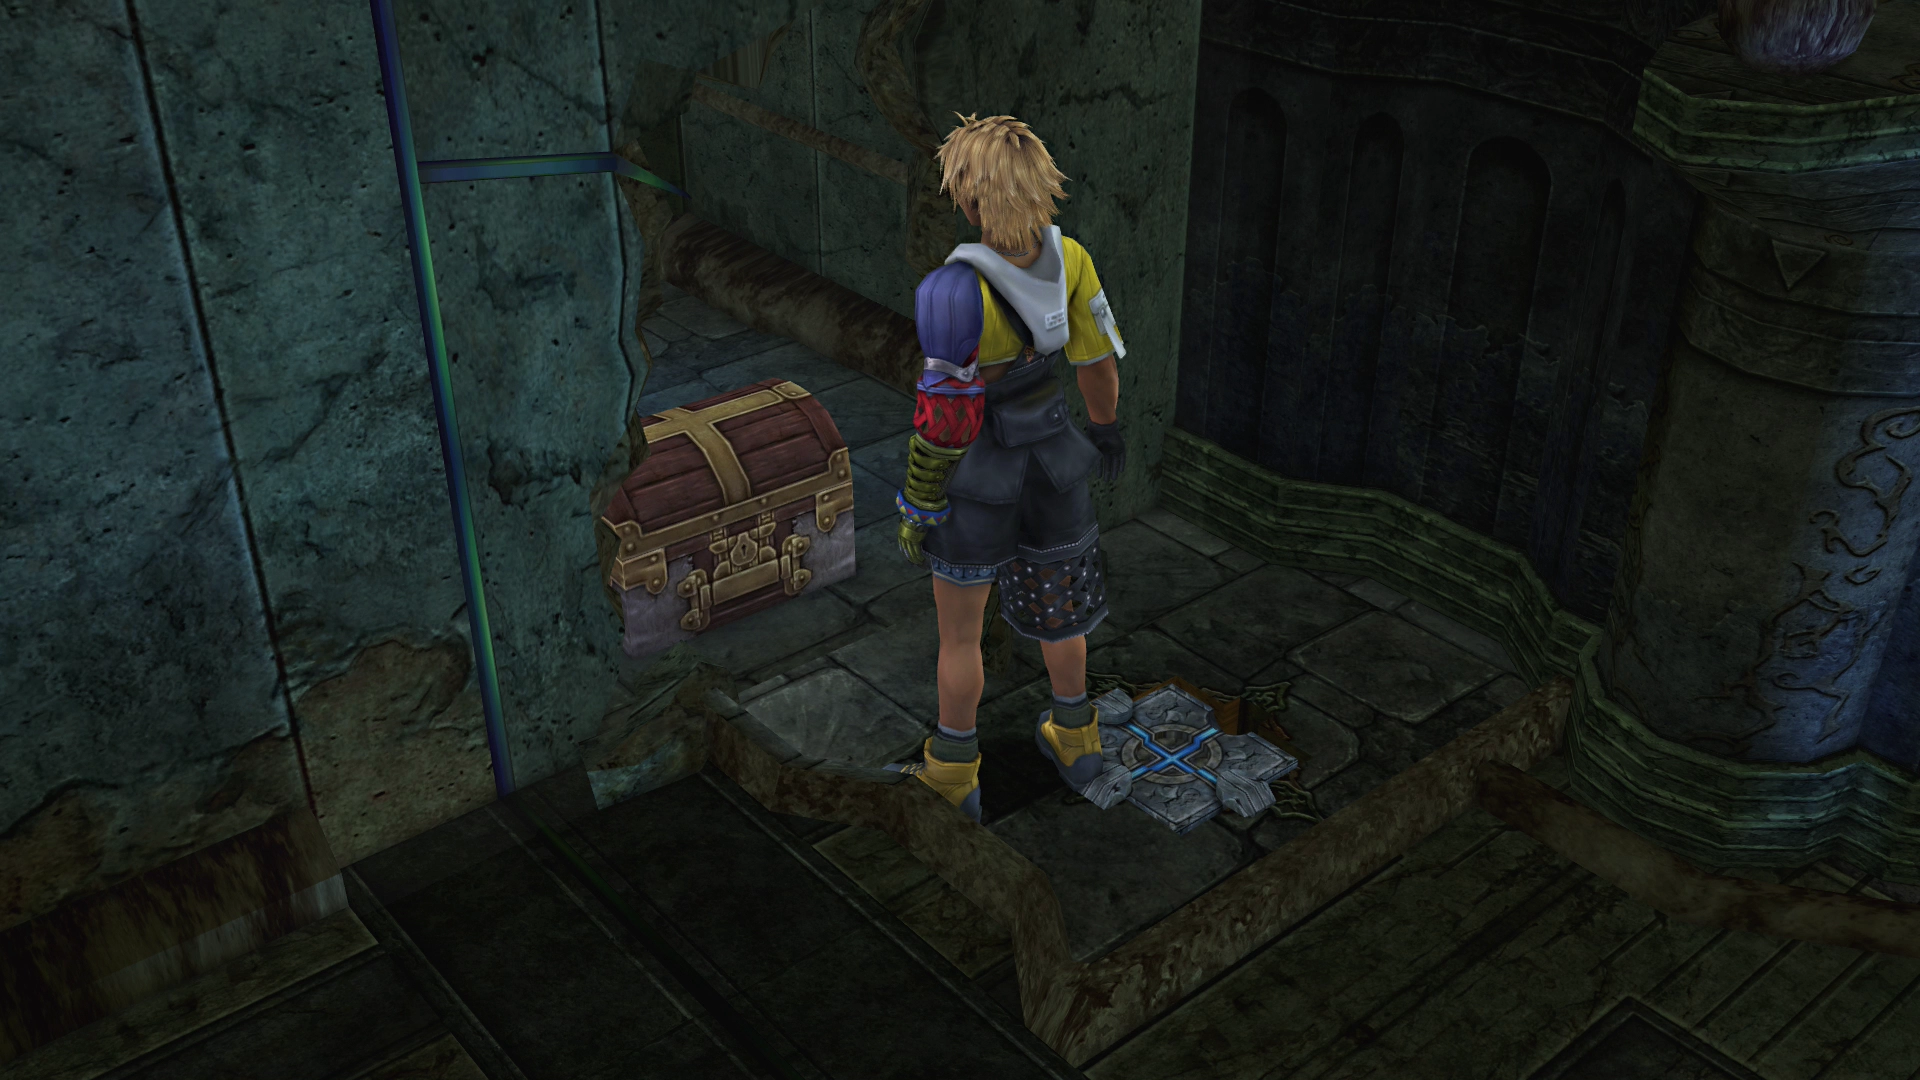
Grab the treasure chest after the wall breaks away to receive a ![]() Red Armlet. Make sure you equip Kimahri with the Red Armlet. This Armlet is a great piece of armor that shields him from various elemental attacks.
Red Armlet. Make sure you equip Kimahri with the Red Armlet. This Armlet is a great piece of armor that shields him from various elemental attacks.
Go back up to the doorway at the back (that should still be flaming) and remove the ![]() Kilika Sphere from the recess. You can now head through and up the stairs, which completes the Kilika Cloister of Trials.
Kilika Sphere from the recess. You can now head through and up the stairs, which completes the Kilika Cloister of Trials.

Use the link below to return to the walkthrough section.
Walkthrough Guide

Return to the Kilika walkthrough page, where the team will prepare for the second voyage by sea on the S.S. Winno.