
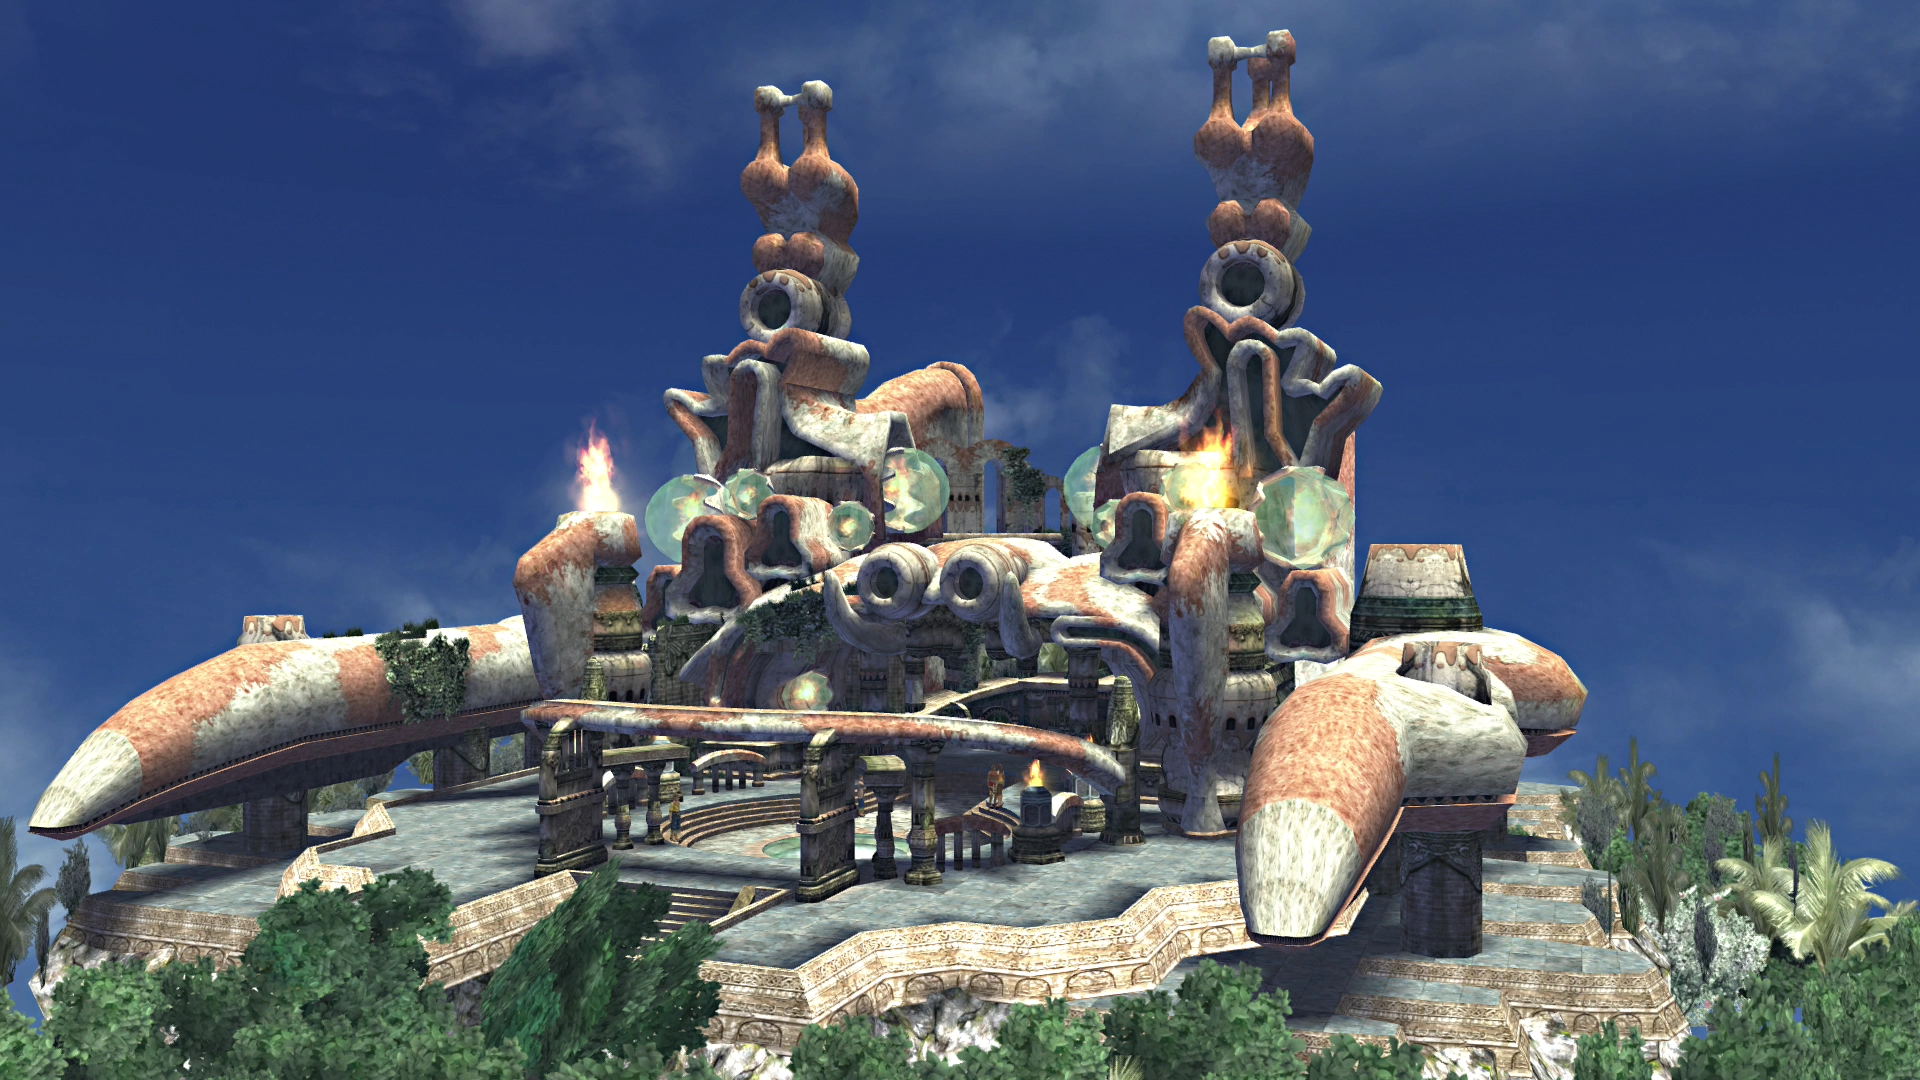
Kilika
Docks
The first thing you should do when you arrive in Kilika is save your game (as always) at the ![]() Save Sphere.
Save Sphere.
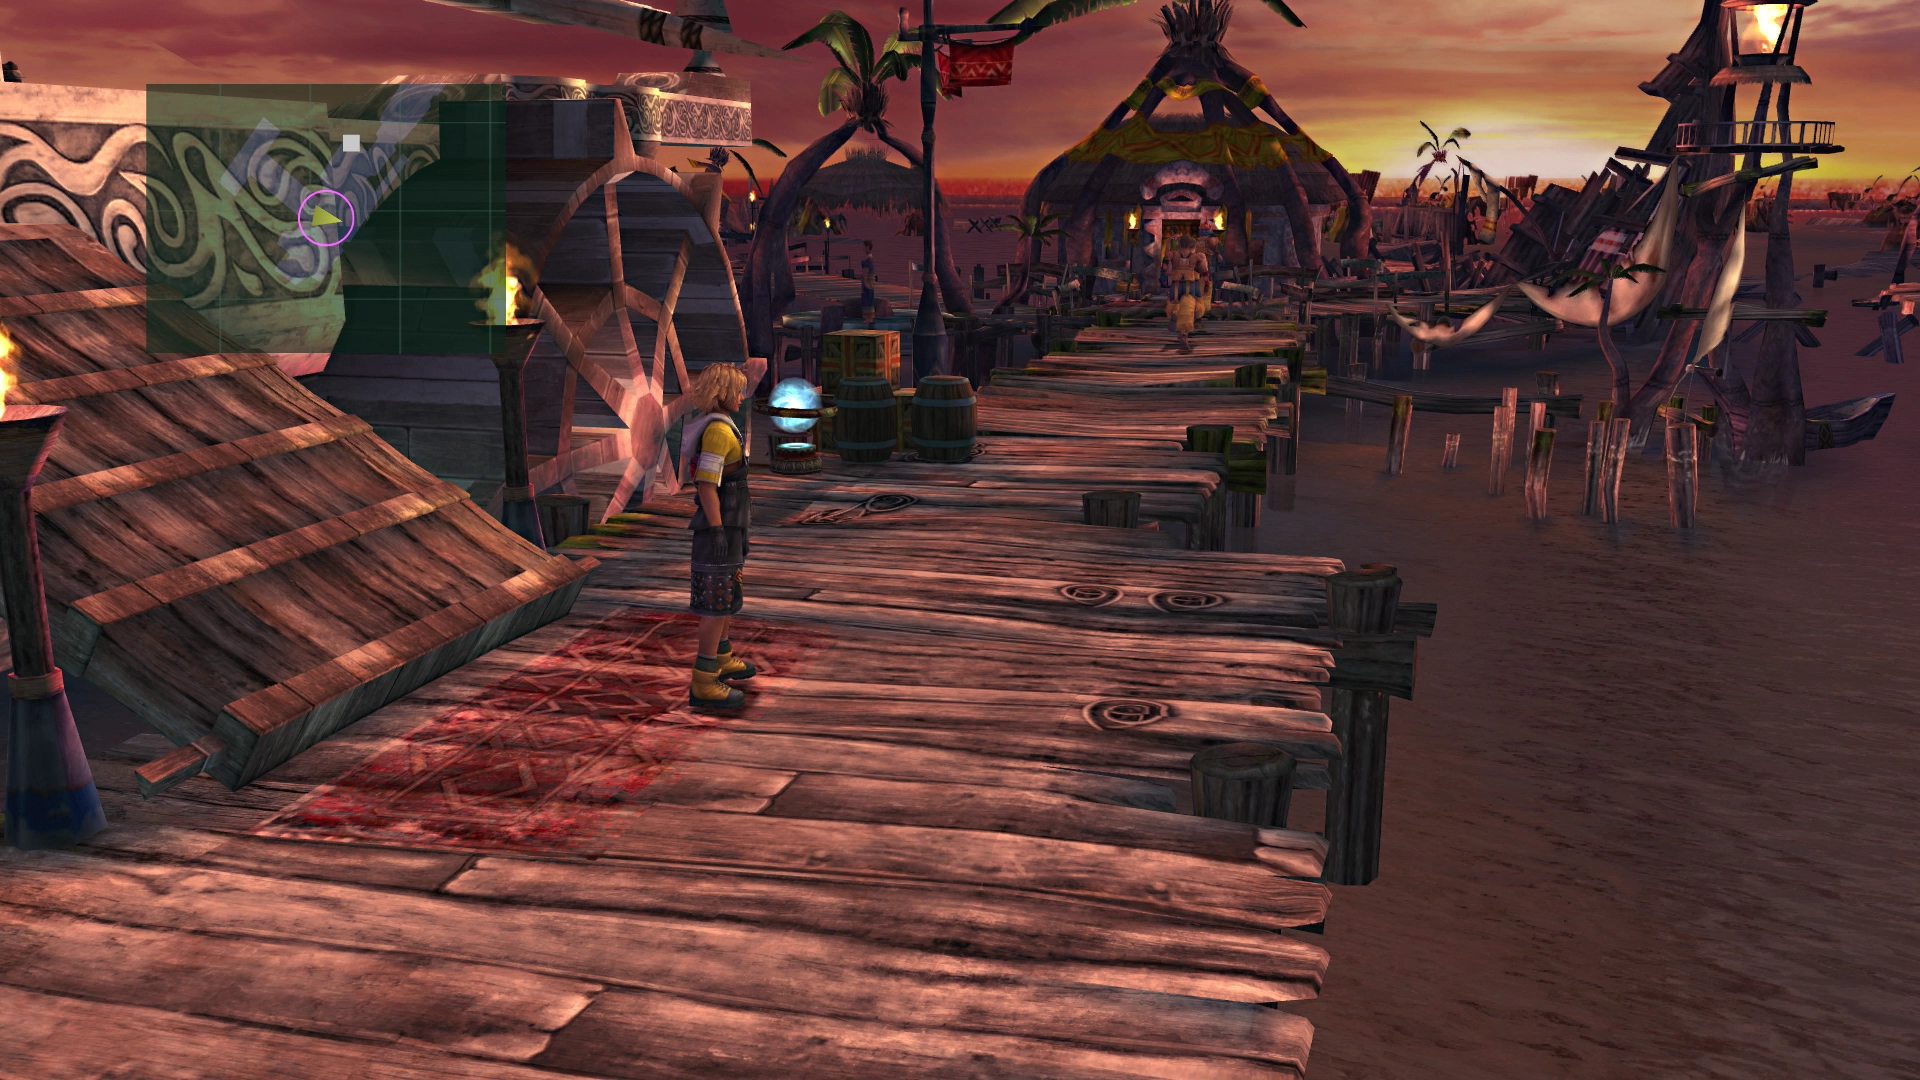
Docks Map


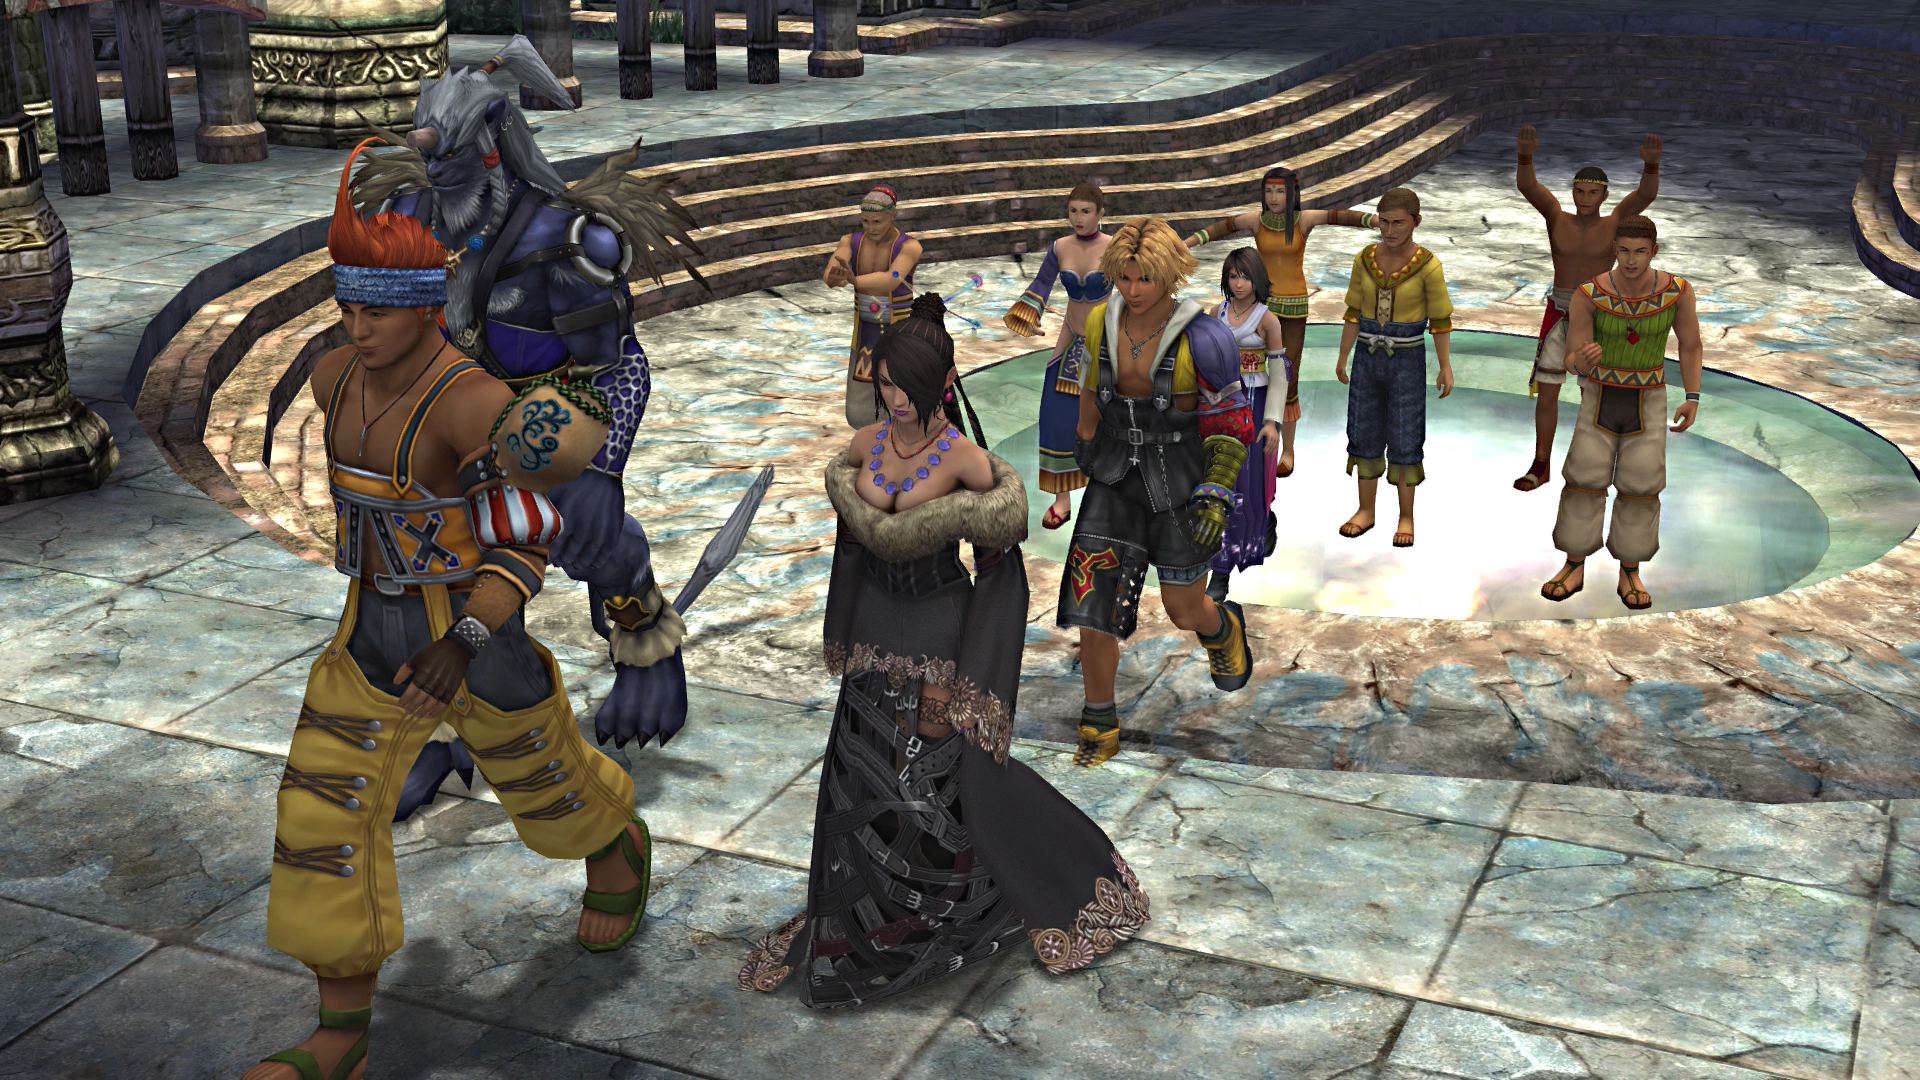
Take a left at the fork in the road and continue down the docks until you find a crowd of people. You will now get to observe Yuna as she performs a “sending.”
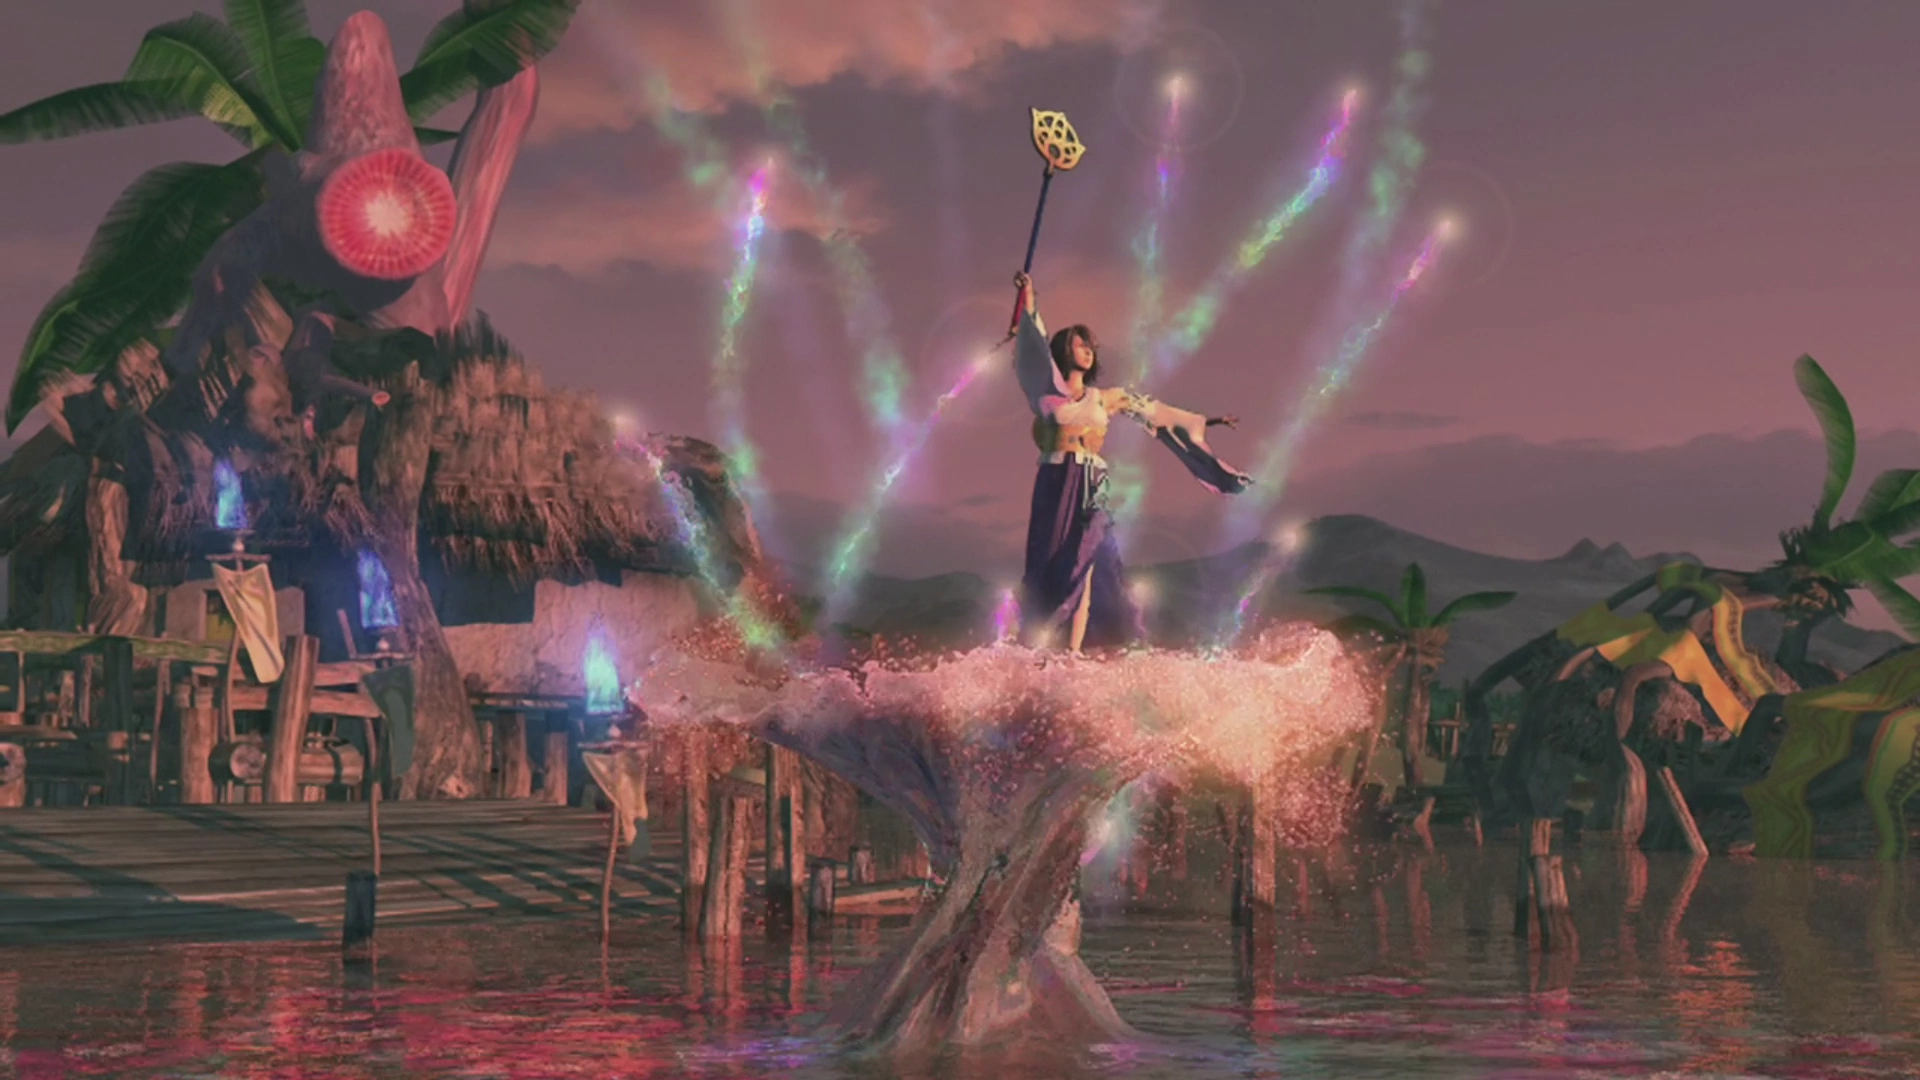
Lulu will explain what a “sending” is to Tidus. The sending that Yuna performs prevents the dead from turning into fiends by sending them to the Farplane.
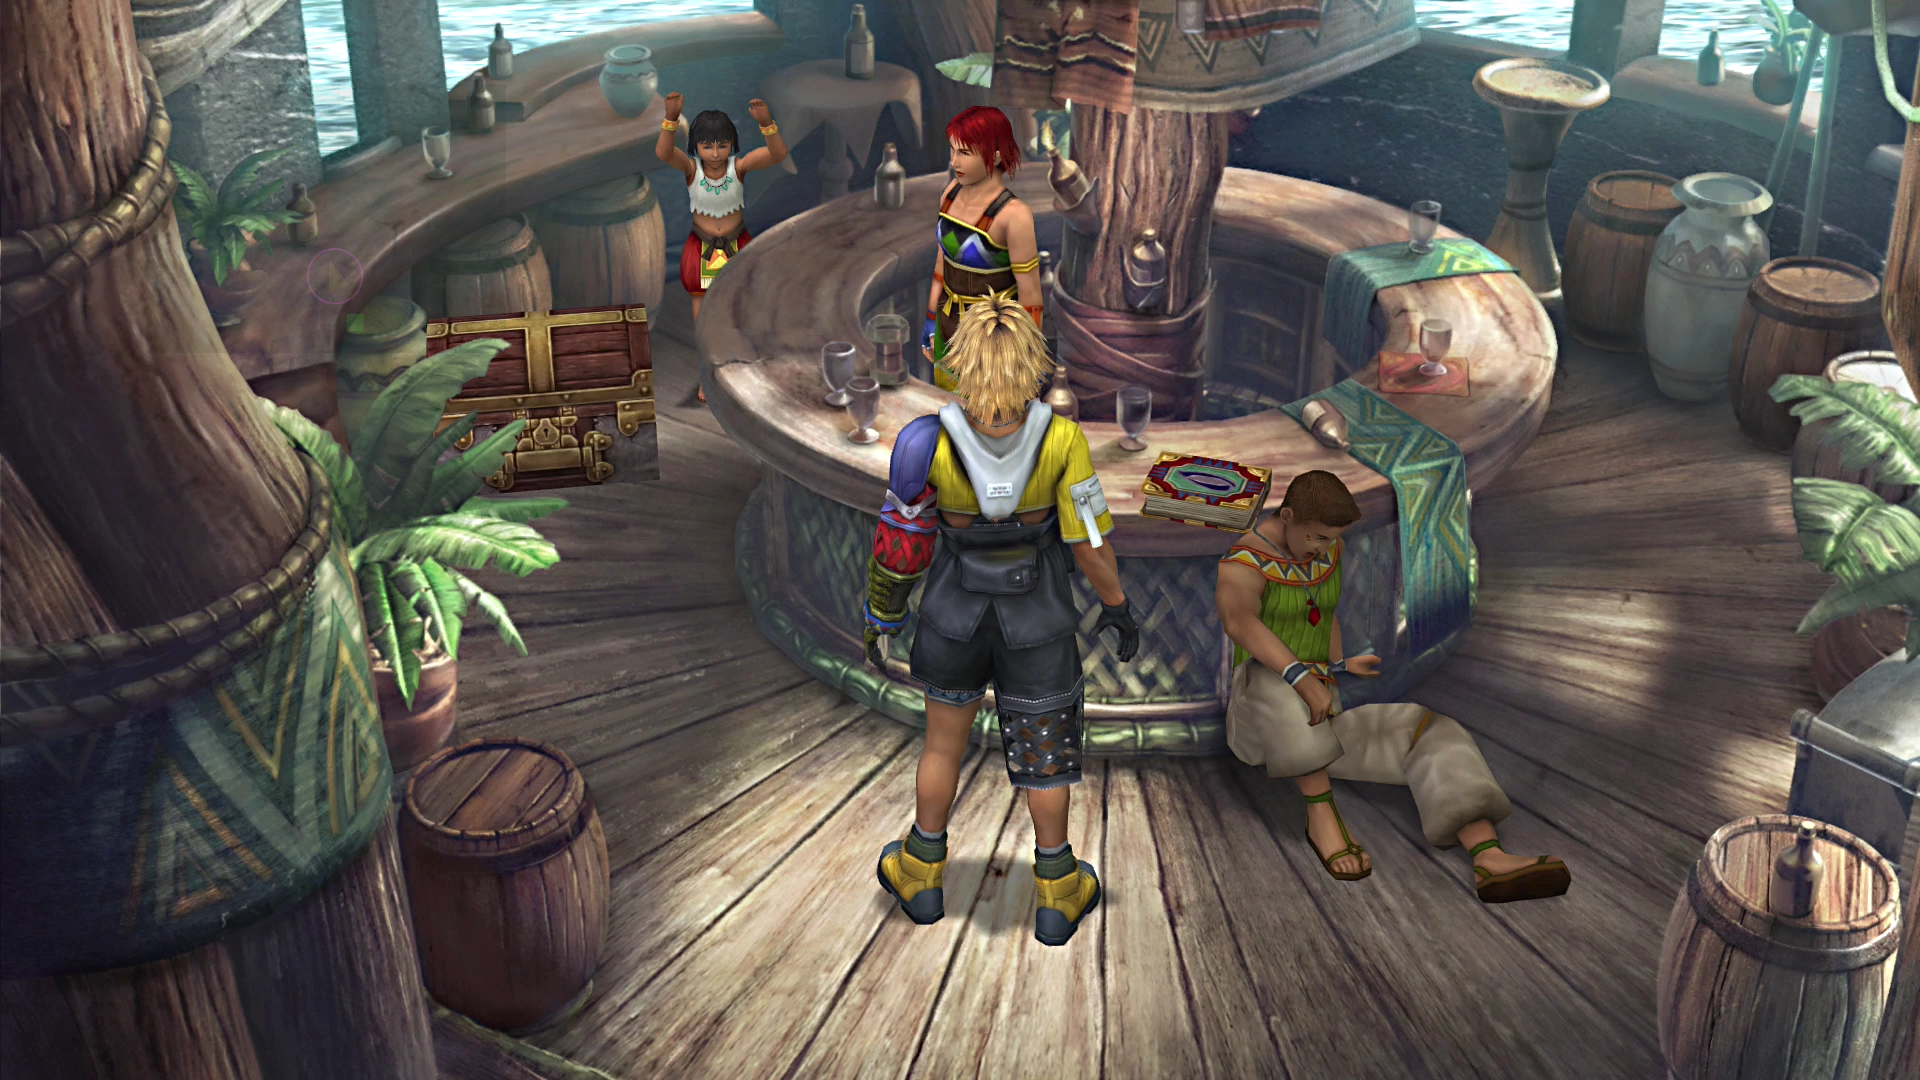
Kilika - Residential Area
The game continues with Tidus waking up in the Kilika Inn. Use the ![]() Save Sphere and then exit the Inn.
Save Sphere and then exit the Inn.
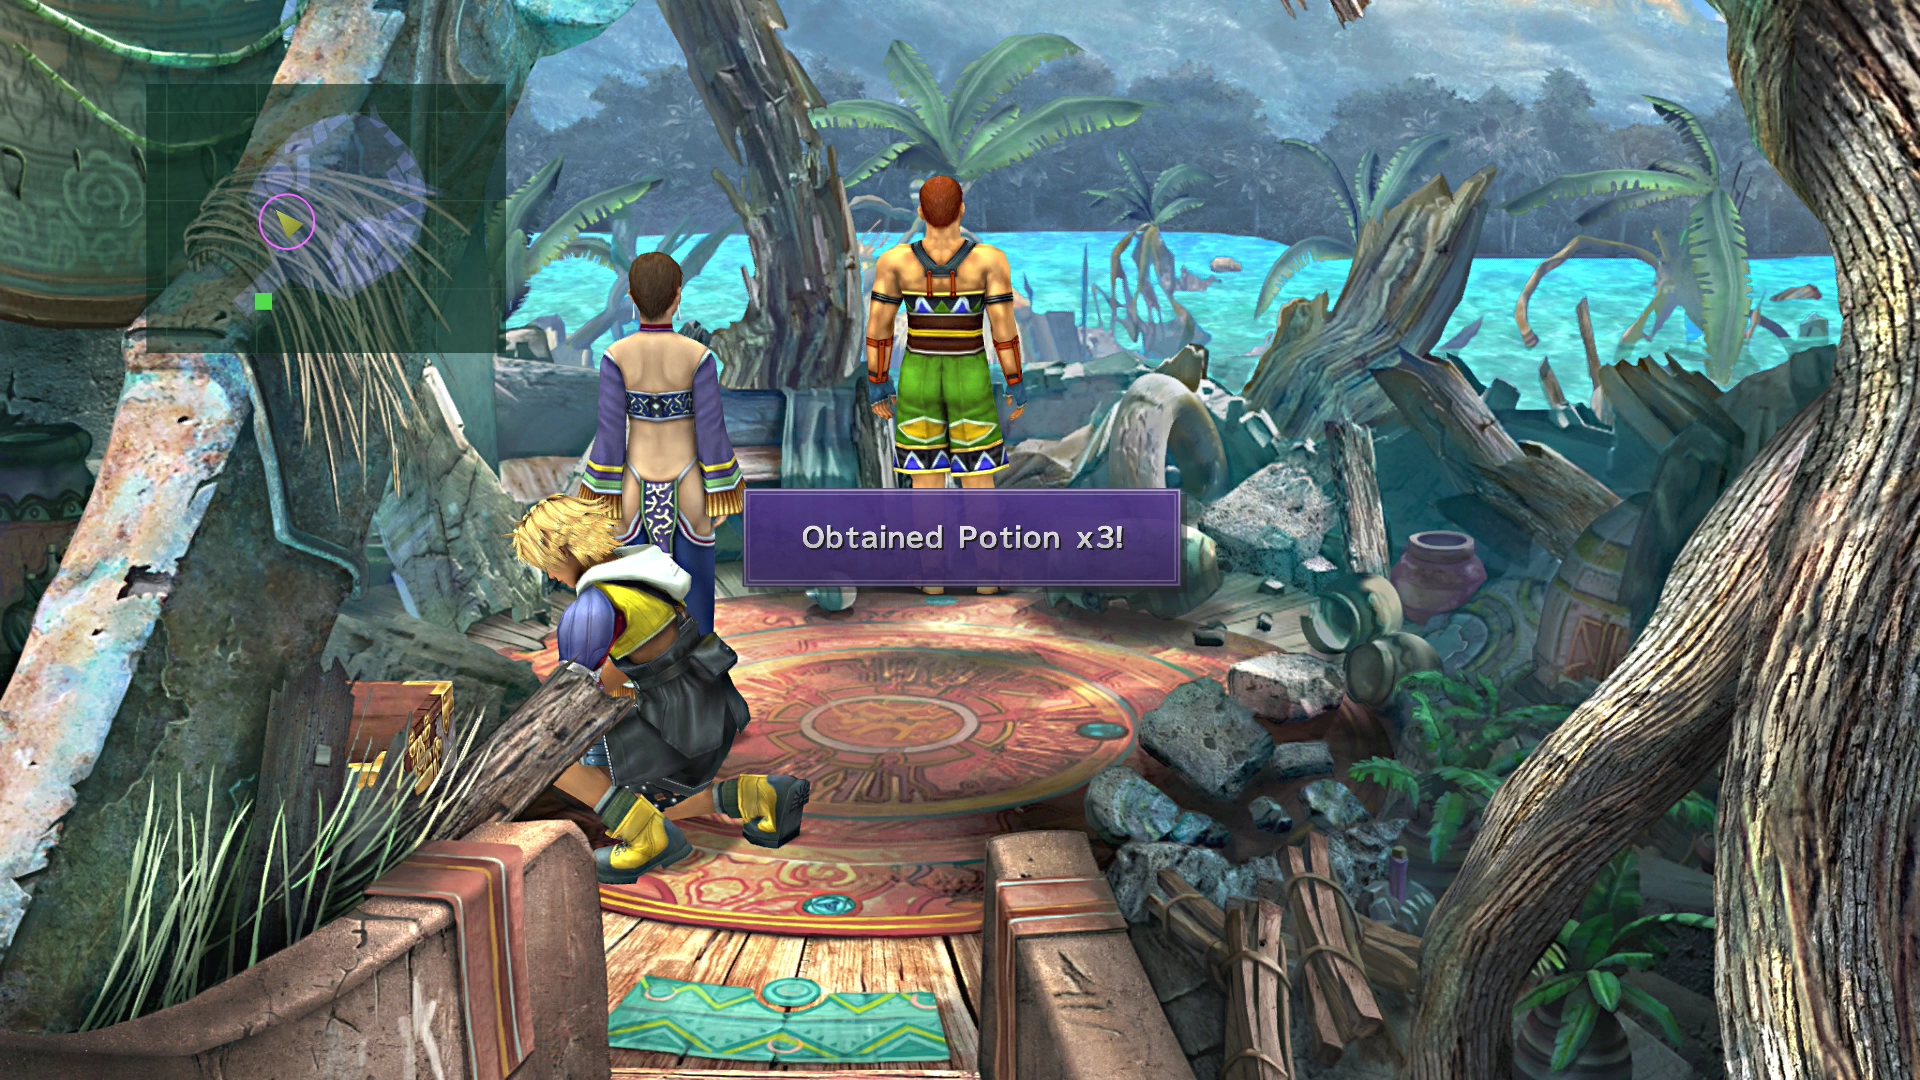
Datto, one of the Besaid Aurochs, will come running up to Tidus and tell him that Wakka is looking for him. Before you head out looking for Wakka, go into the hut in the top-left section of the screen to find a treasure chest. The chest contains three ![]() Potions.
Potions.
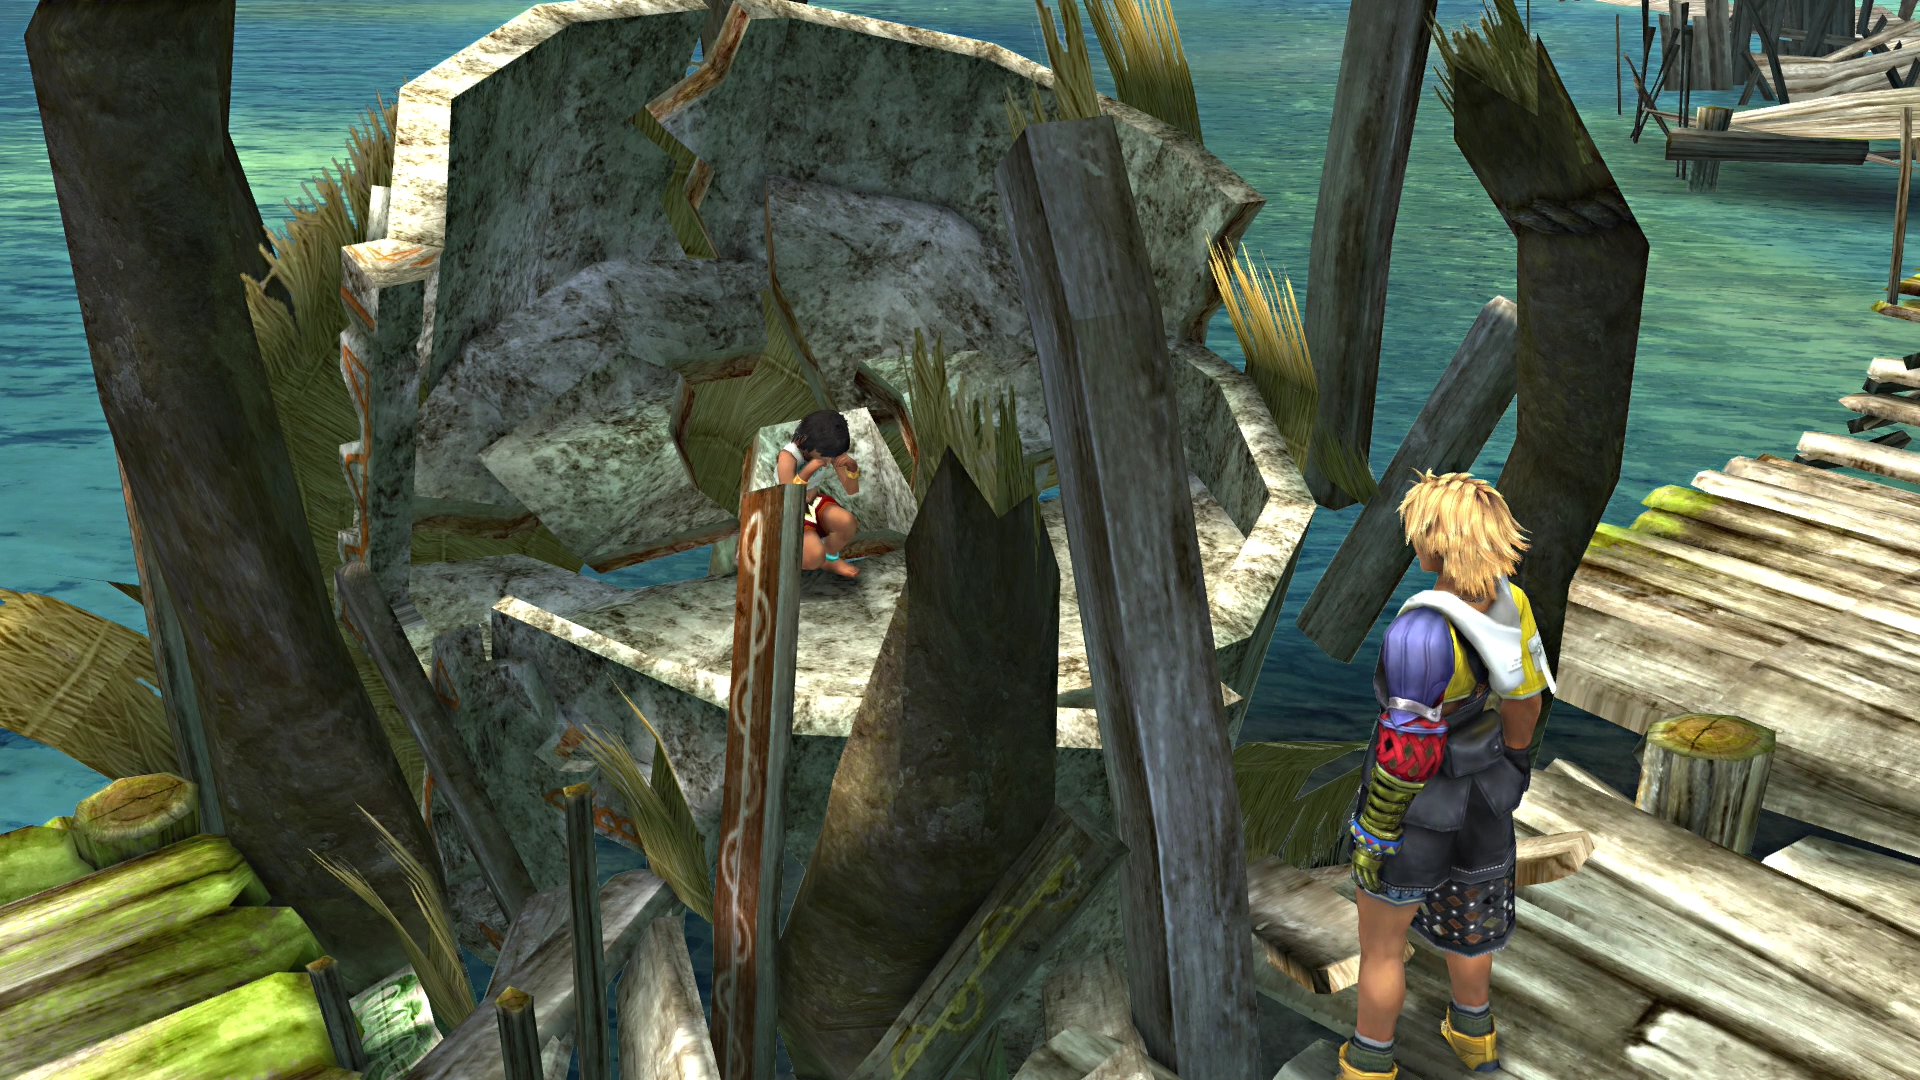
There is also a small child sitting in a hut on the left side of the screen. Go near her to initiate a scene that involves the nearby hut collapsing as Tidus saves the child (you’ll receive a reward for completing this step shortly).
Go back and follow Datto in the direction that he ran (to the right side of the hut Tidus woke up in) and enter the hut at the top of the screen. There is a treasure chest in this hut that contains an ![]() Ether. You will only obtain this reward if you saved the small child from the crumbling hut.
Ether. You will only obtain this reward if you saved the small child from the crumbling hut.
There is an ![]() Al Bhed Primer (Vol. IV) sitting on the ledge of the counter in this hut as well. After you’ve obtained both items, head outside and go to the right. You can find Wakka in front of a group of villagers helping to rebuild.
Al Bhed Primer (Vol. IV) sitting on the ledge of the counter in this hut as well. After you’ve obtained both items, head outside and go to the right. You can find Wakka in front of a group of villagers helping to rebuild.
Tidus will ask whether it still makes sense to carry on with a Blitzball tournament, given the fact that the disaster had happened so recently. Wakka will explain that they need to carry on to give the people hope and something to look forward to. The next destination is the Kilika Temple.
After you have spoken to Wakka, head back west until you reach the Kilika Woods. Save at the ![]() Save Sphere and then talk to your party. Yuna will ask Tidus to become one of her guardians and to accompany her on the remainder of their journey, to which he agrees.
Save Sphere and then talk to your party. Yuna will ask Tidus to become one of her guardians and to accompany her on the remainder of their journey, to which he agrees.
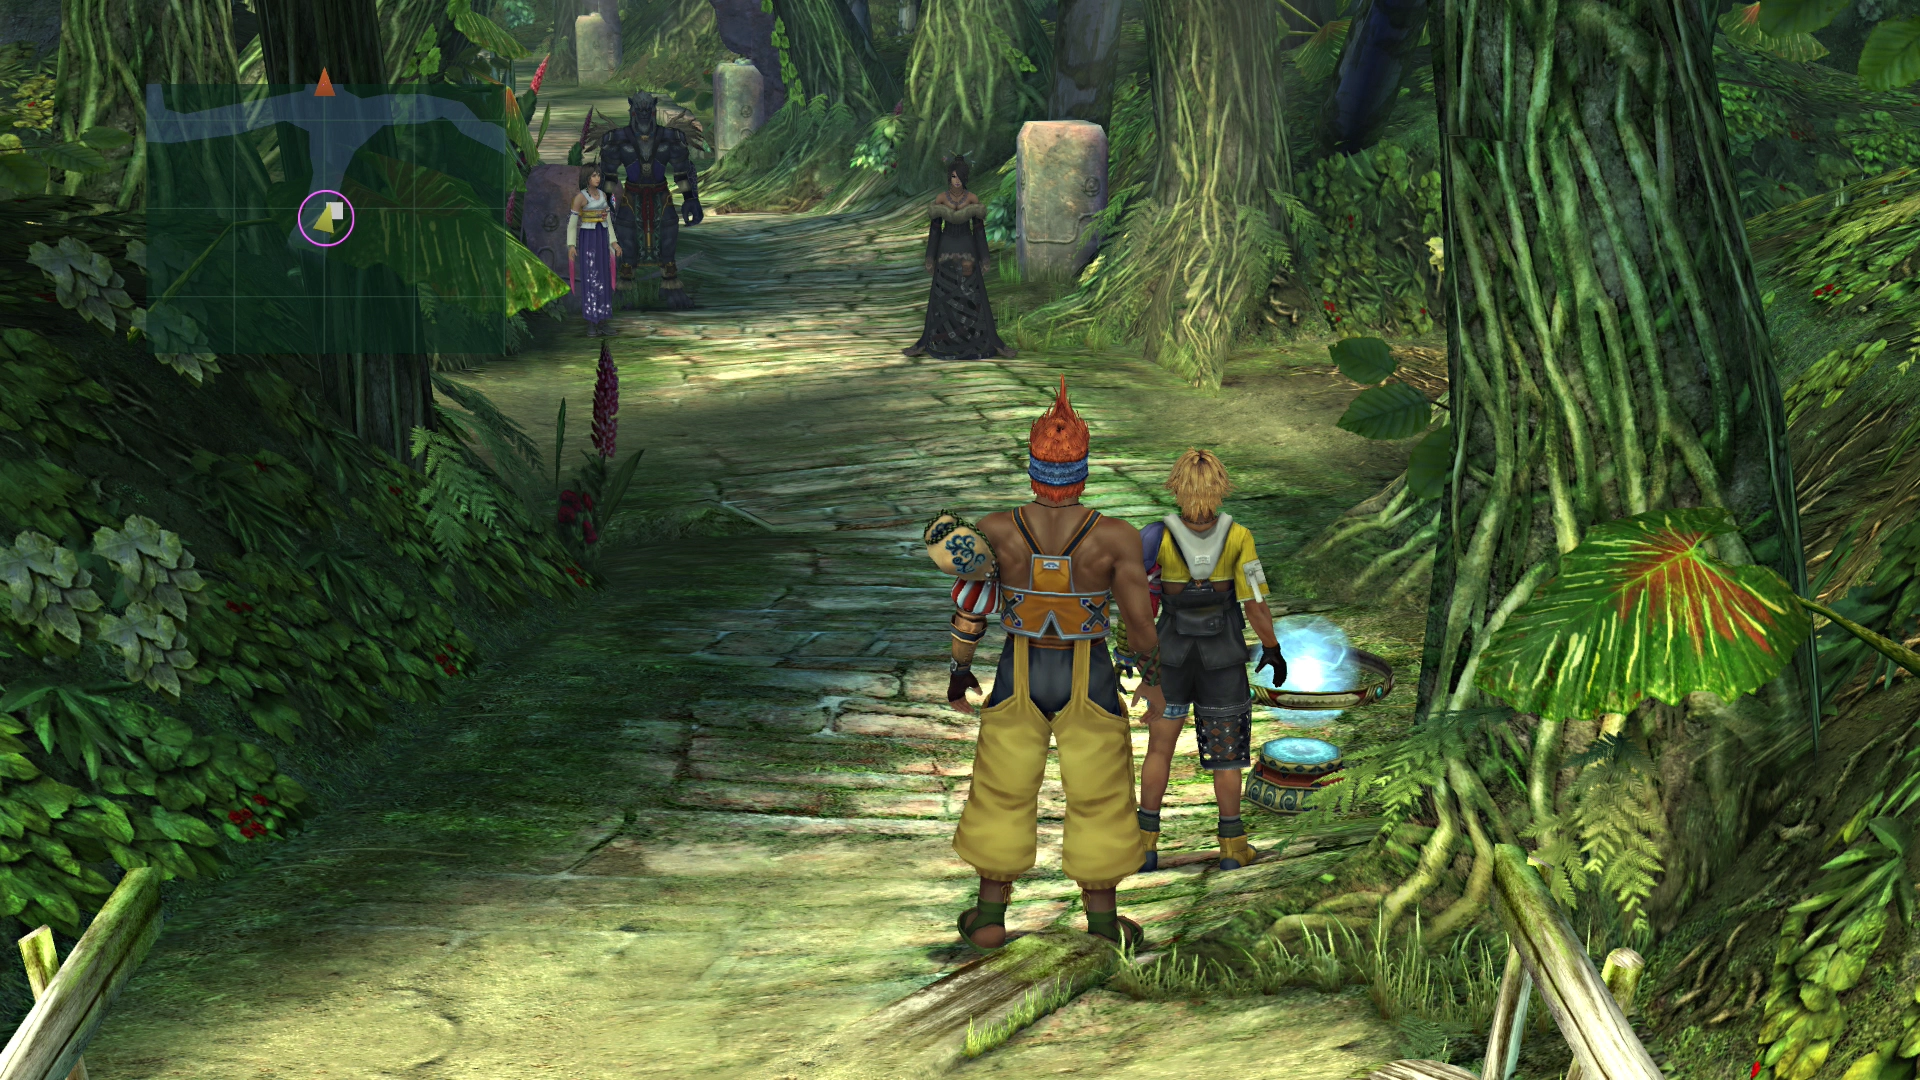
Kilika Woods
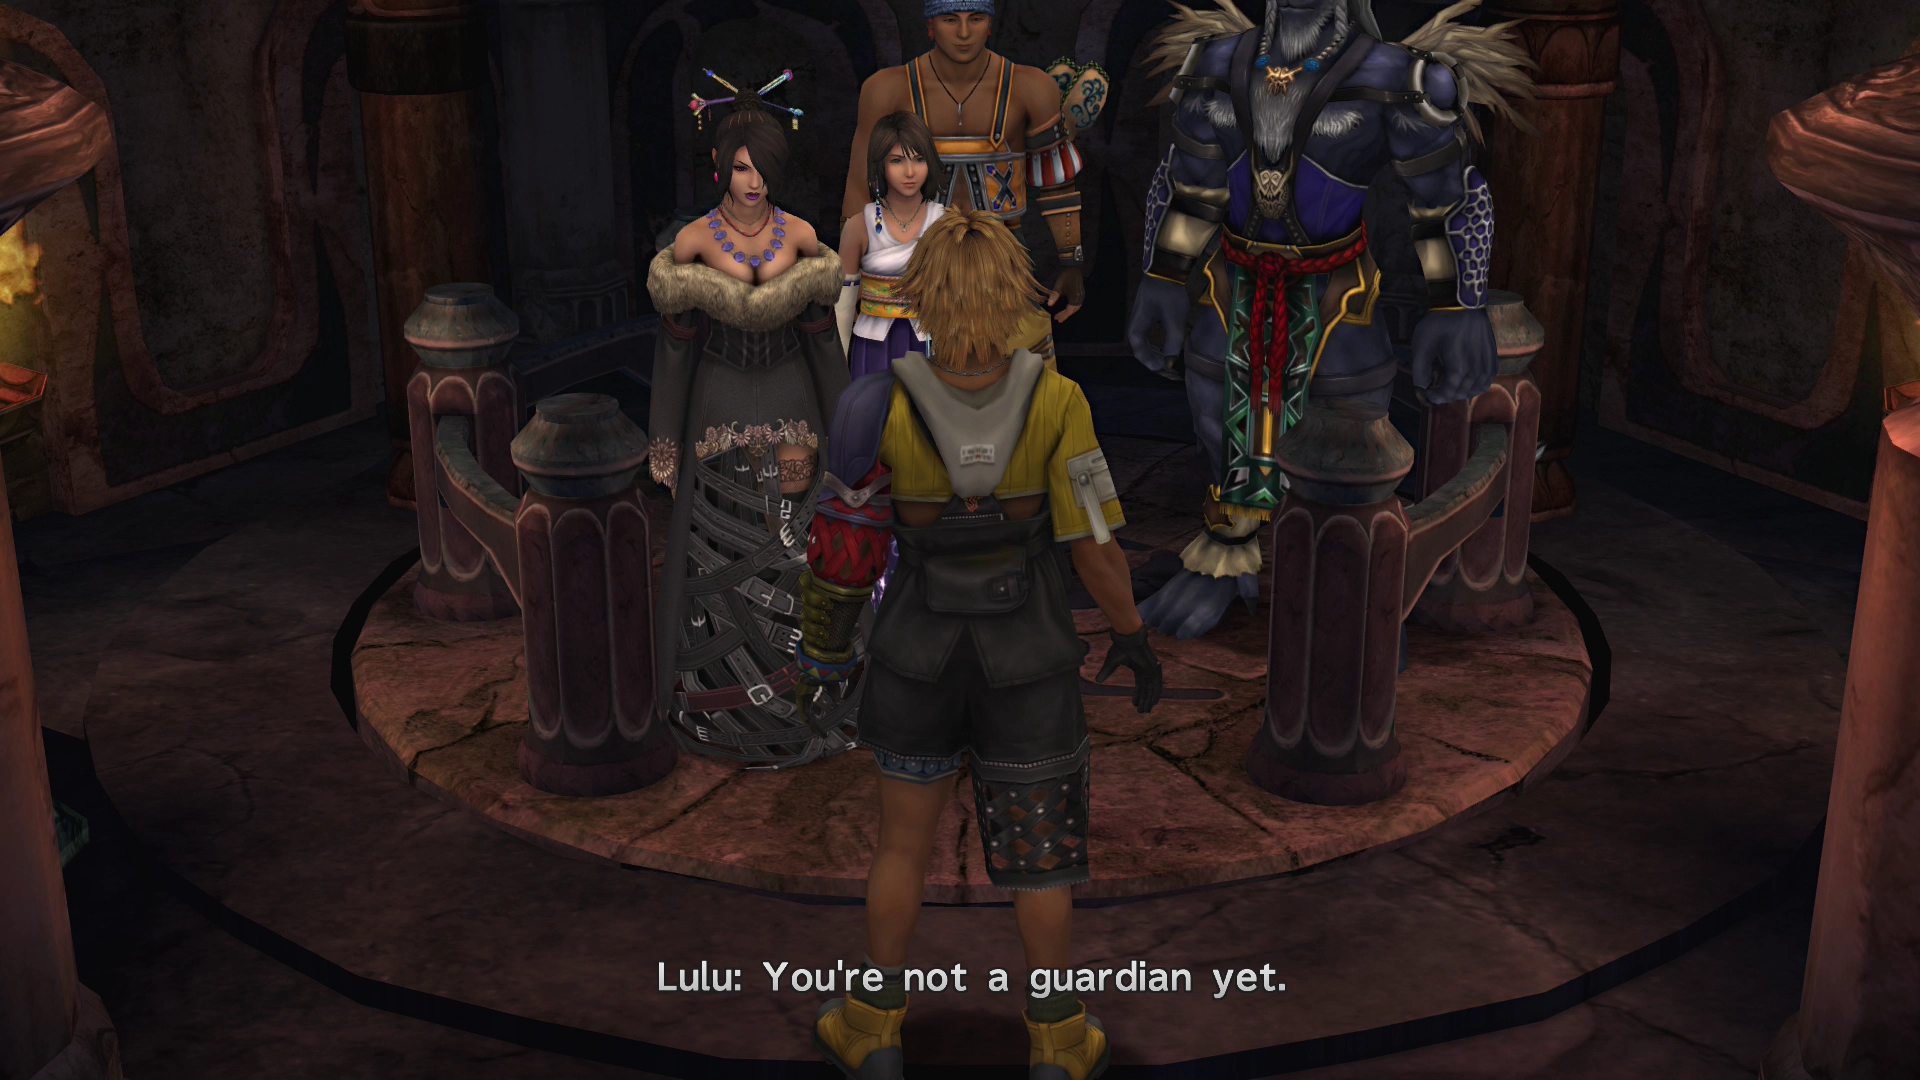
There is a short cutscene that takes place once you move a few steps into the forest. Lulu will break the news that Yuna wants Tidus to become one of her guardians officially. Apparently, she just wants him nearby… After the scene, it’s time to explore the forest.


Kilika Woods Map

| 3 | |
| 4 | |
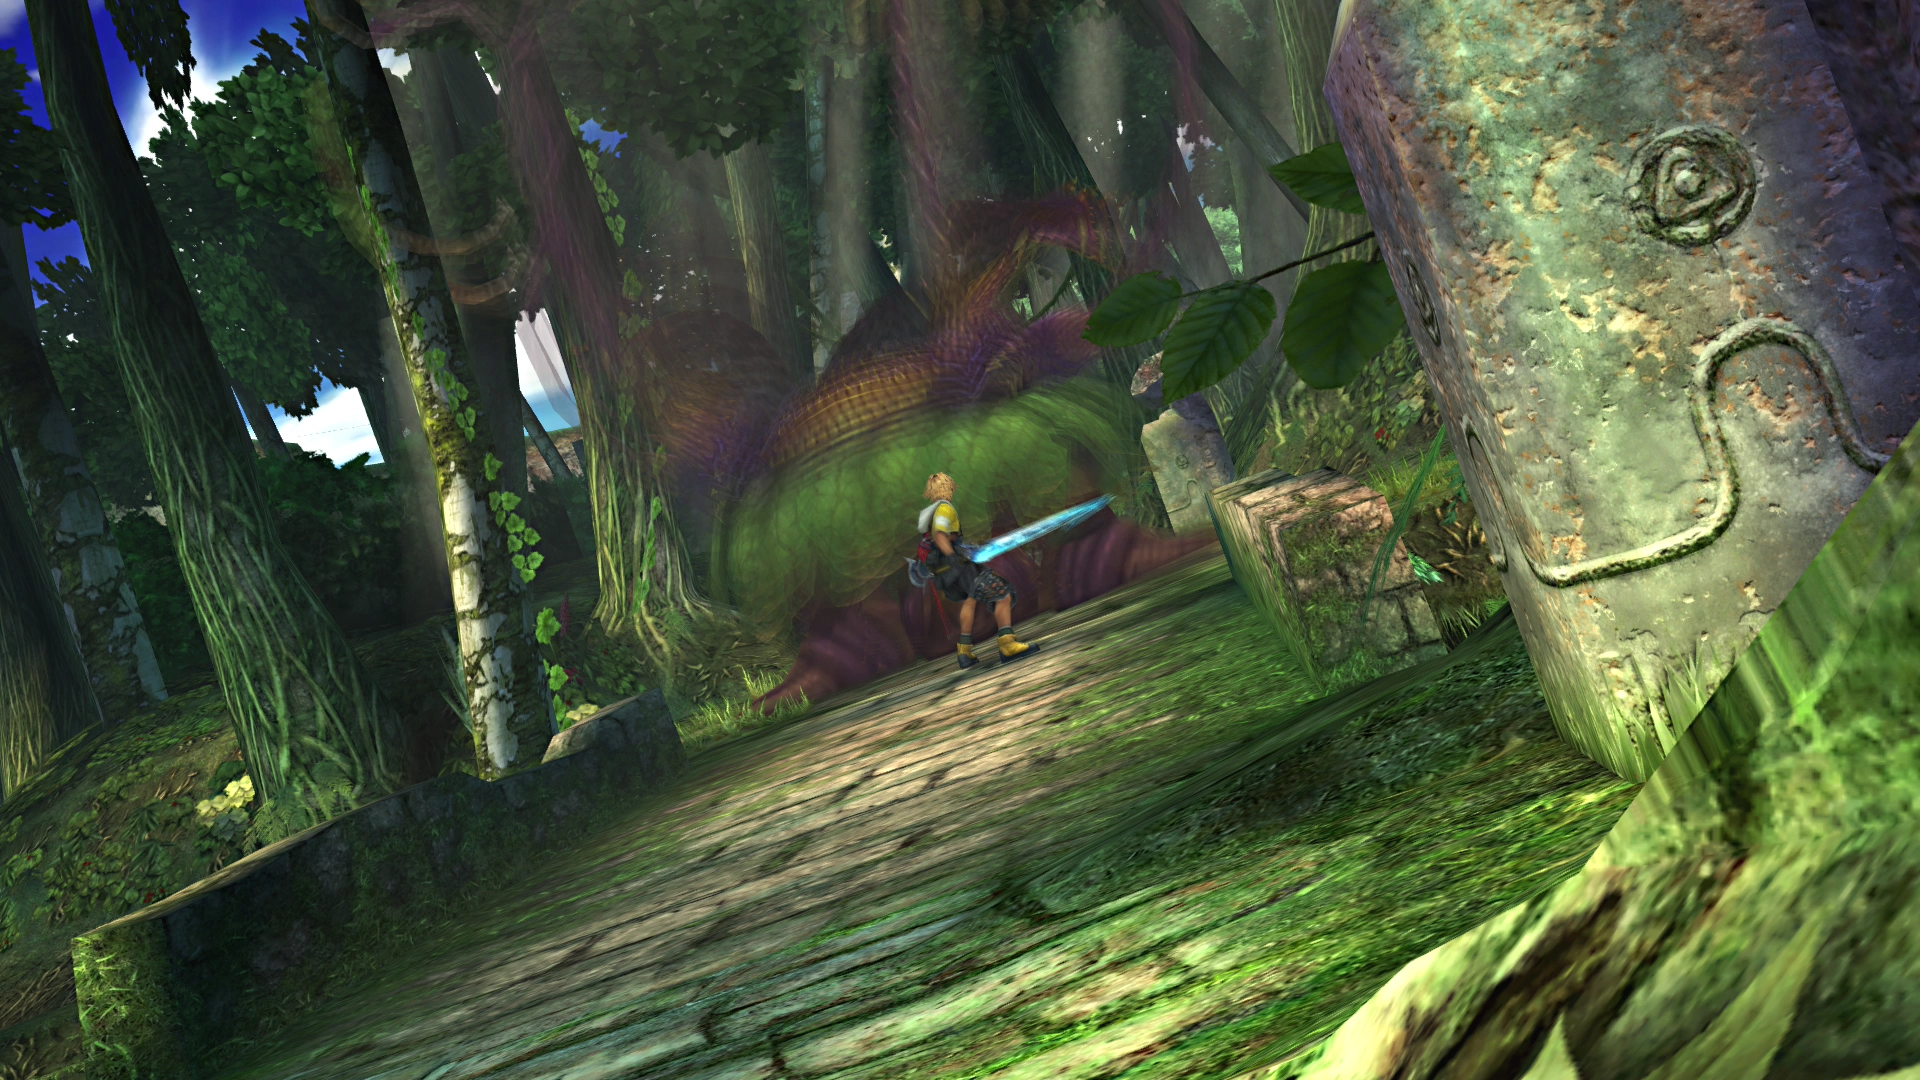
The first thing you will notice as you enter the Kilika Woods is a huge fiend in the middle of the pathway up ahead. This monster is called Lord Ochu.
Lord Ochu is an optional boss that you can choose to fight or you can sneak past. There are a few strategies for defeating Lord Ochu provided below, and the rewards are definitely worth it if you’re up for the challenge. However, before you engage the monster, you should explore a few areas of Kilika Woods to pick up some items and loot and to level up your characters before initiating the battle. Some extra experience and levels will make the fight much easier.
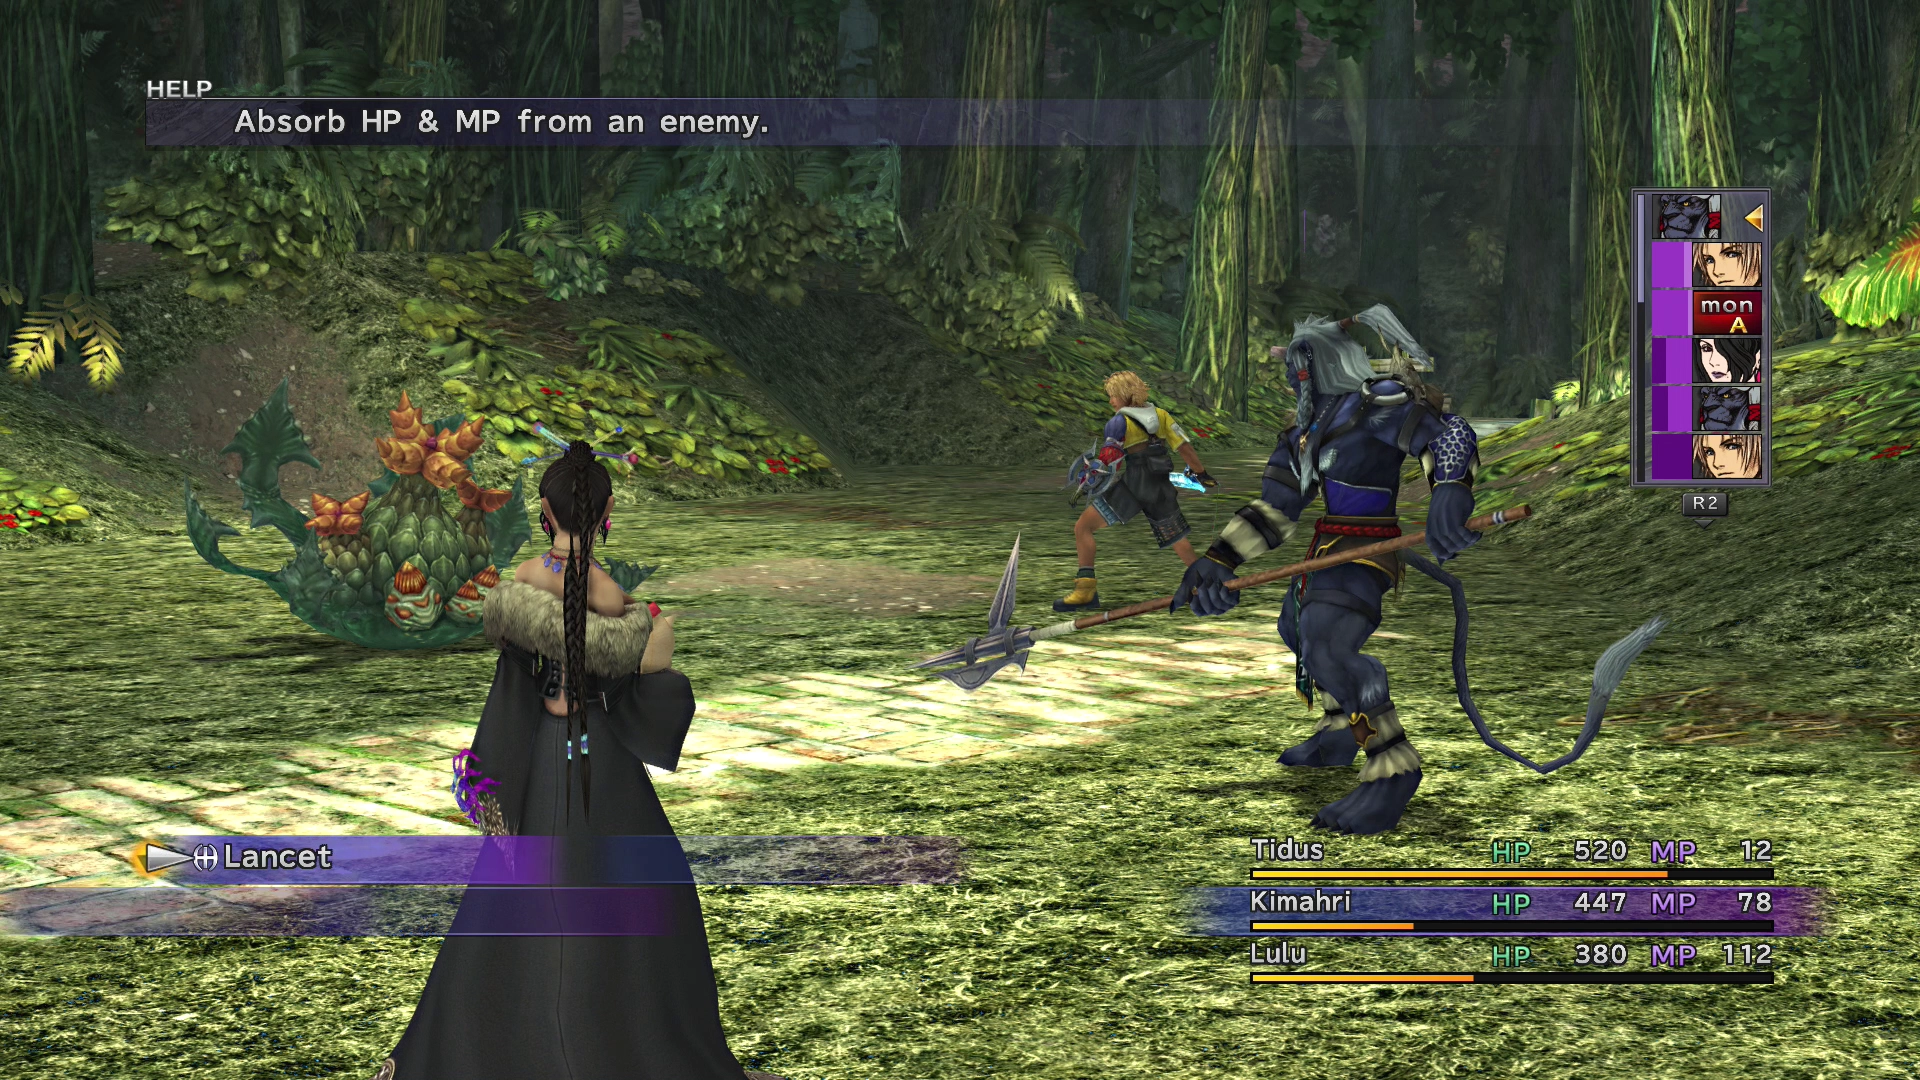
Head towards the east side of the woods and take a right at the crossroads. Your first battle within Kilika Woods will provide a quick tutorial on how to use Kimahri’s ![]() Lancet ability.
Lancet ability.
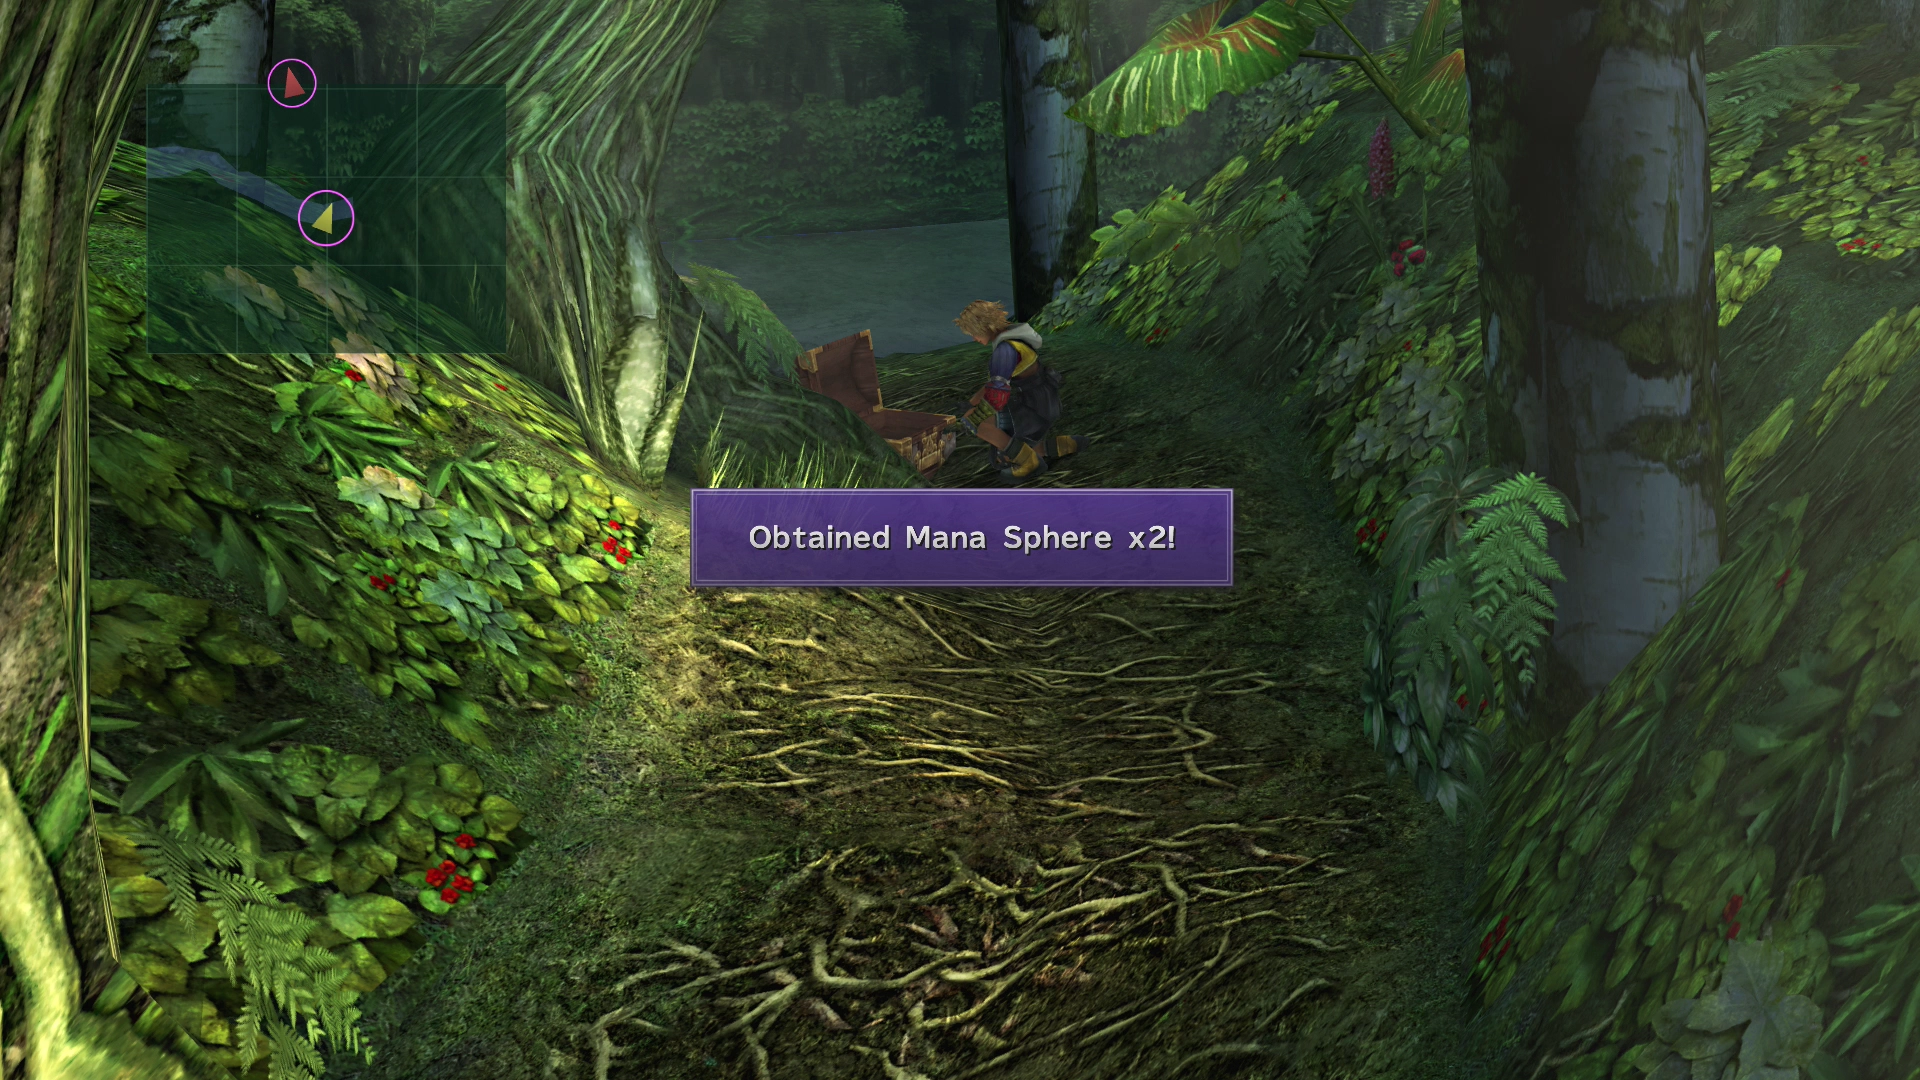
At the end of the pathway is a treasure chest that contains two ![]() Mana Spheres.
Mana Spheres.
Backtrack to the entrance and use the ![]() Save Sphere again if you need to replenish your HP or MP as you walk by.
Save Sphere again if you need to replenish your HP or MP as you walk by.
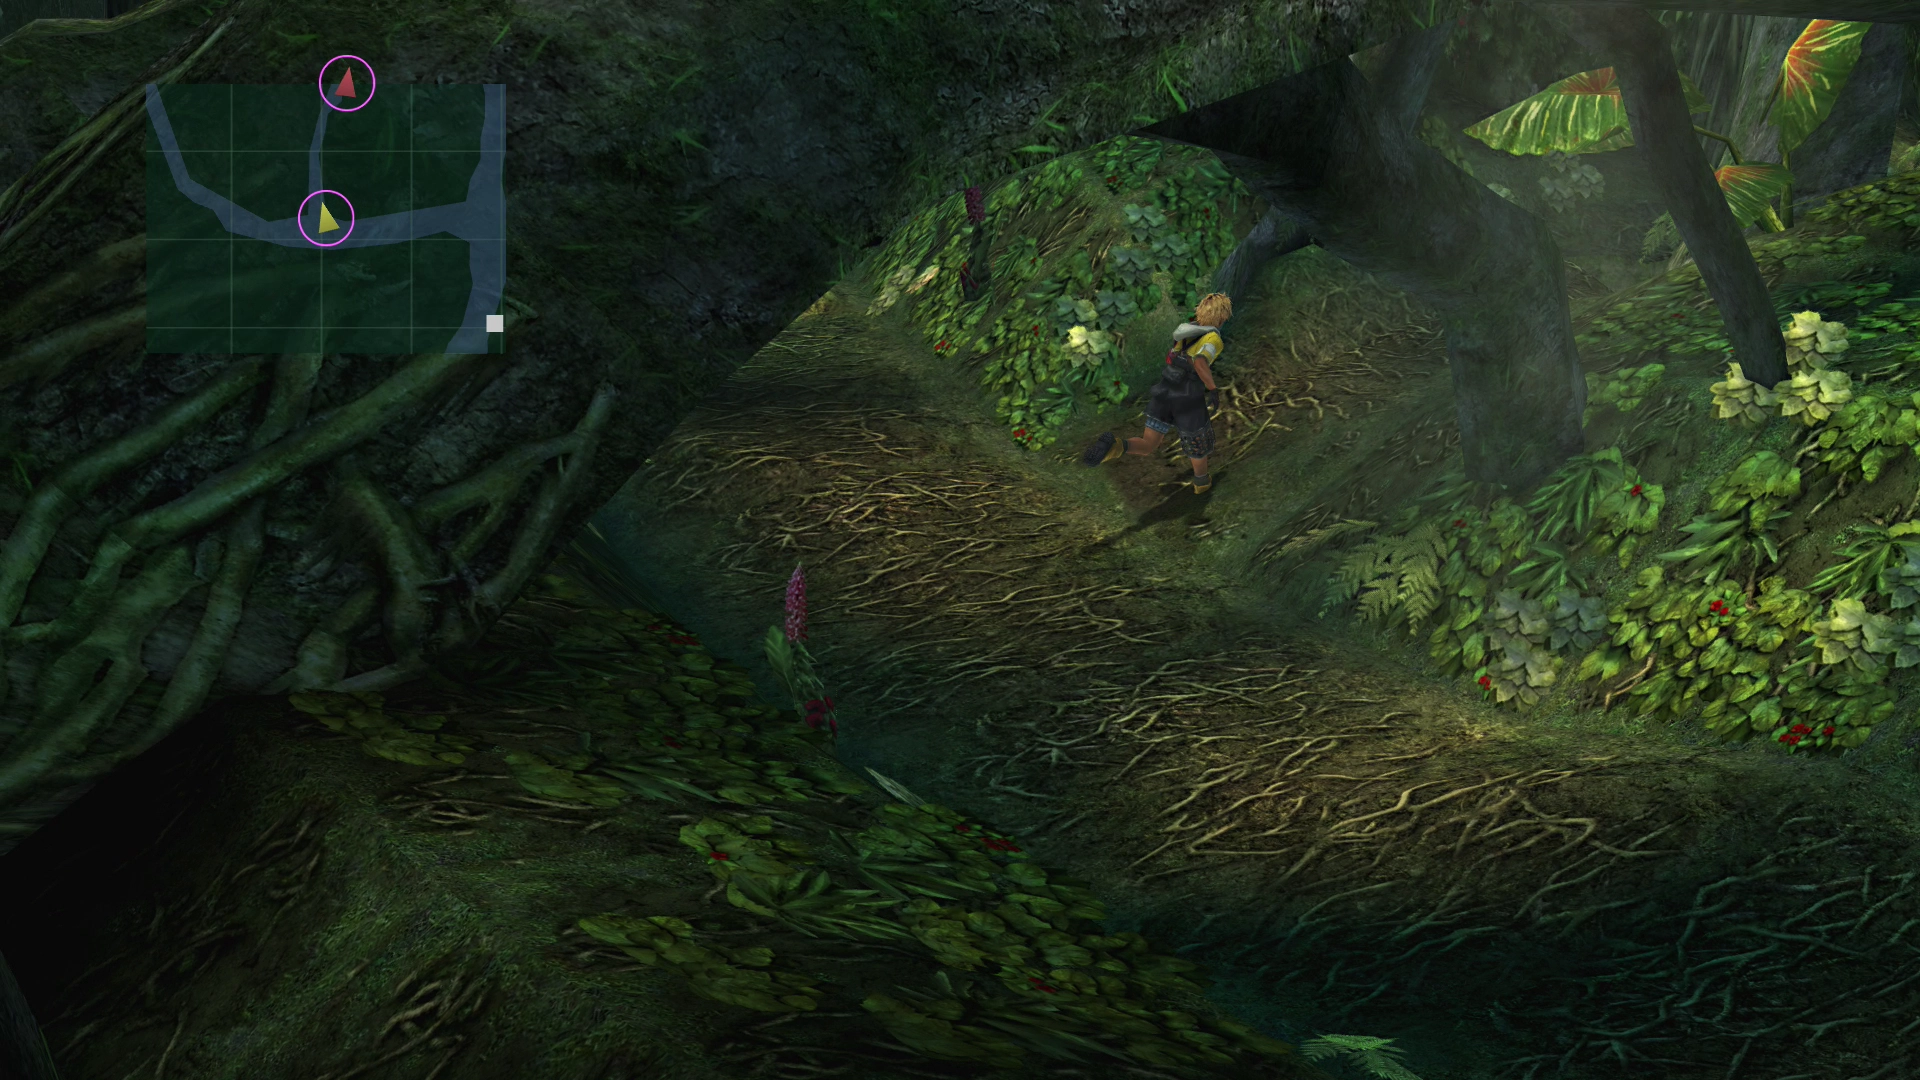
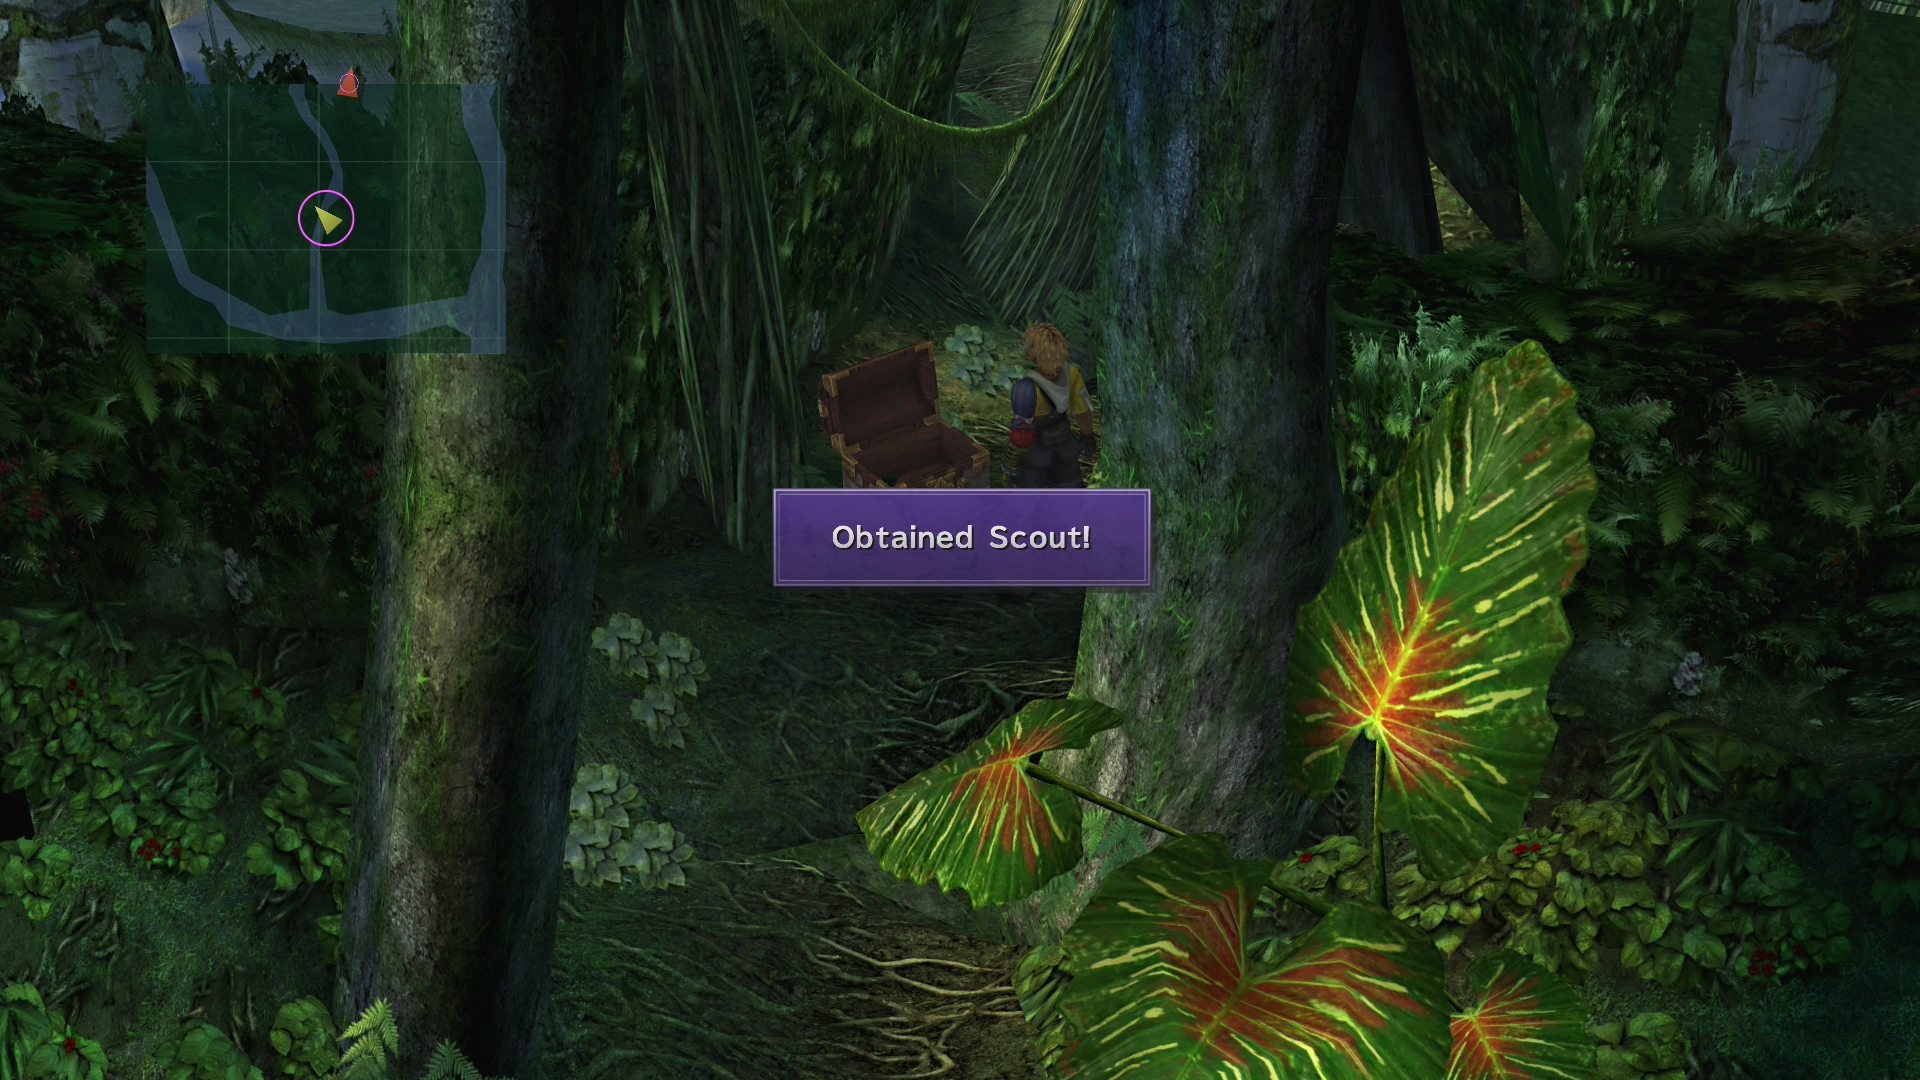
Make your way down the west path and stop once you reach the fork in the road (shown in the screenshot below). There is a hidden pathway that leads to a treasure chest that contains ![]() Scout, a new Blitzball weapon for Wakka.
Scout, a new Blitzball weapon for Wakka.
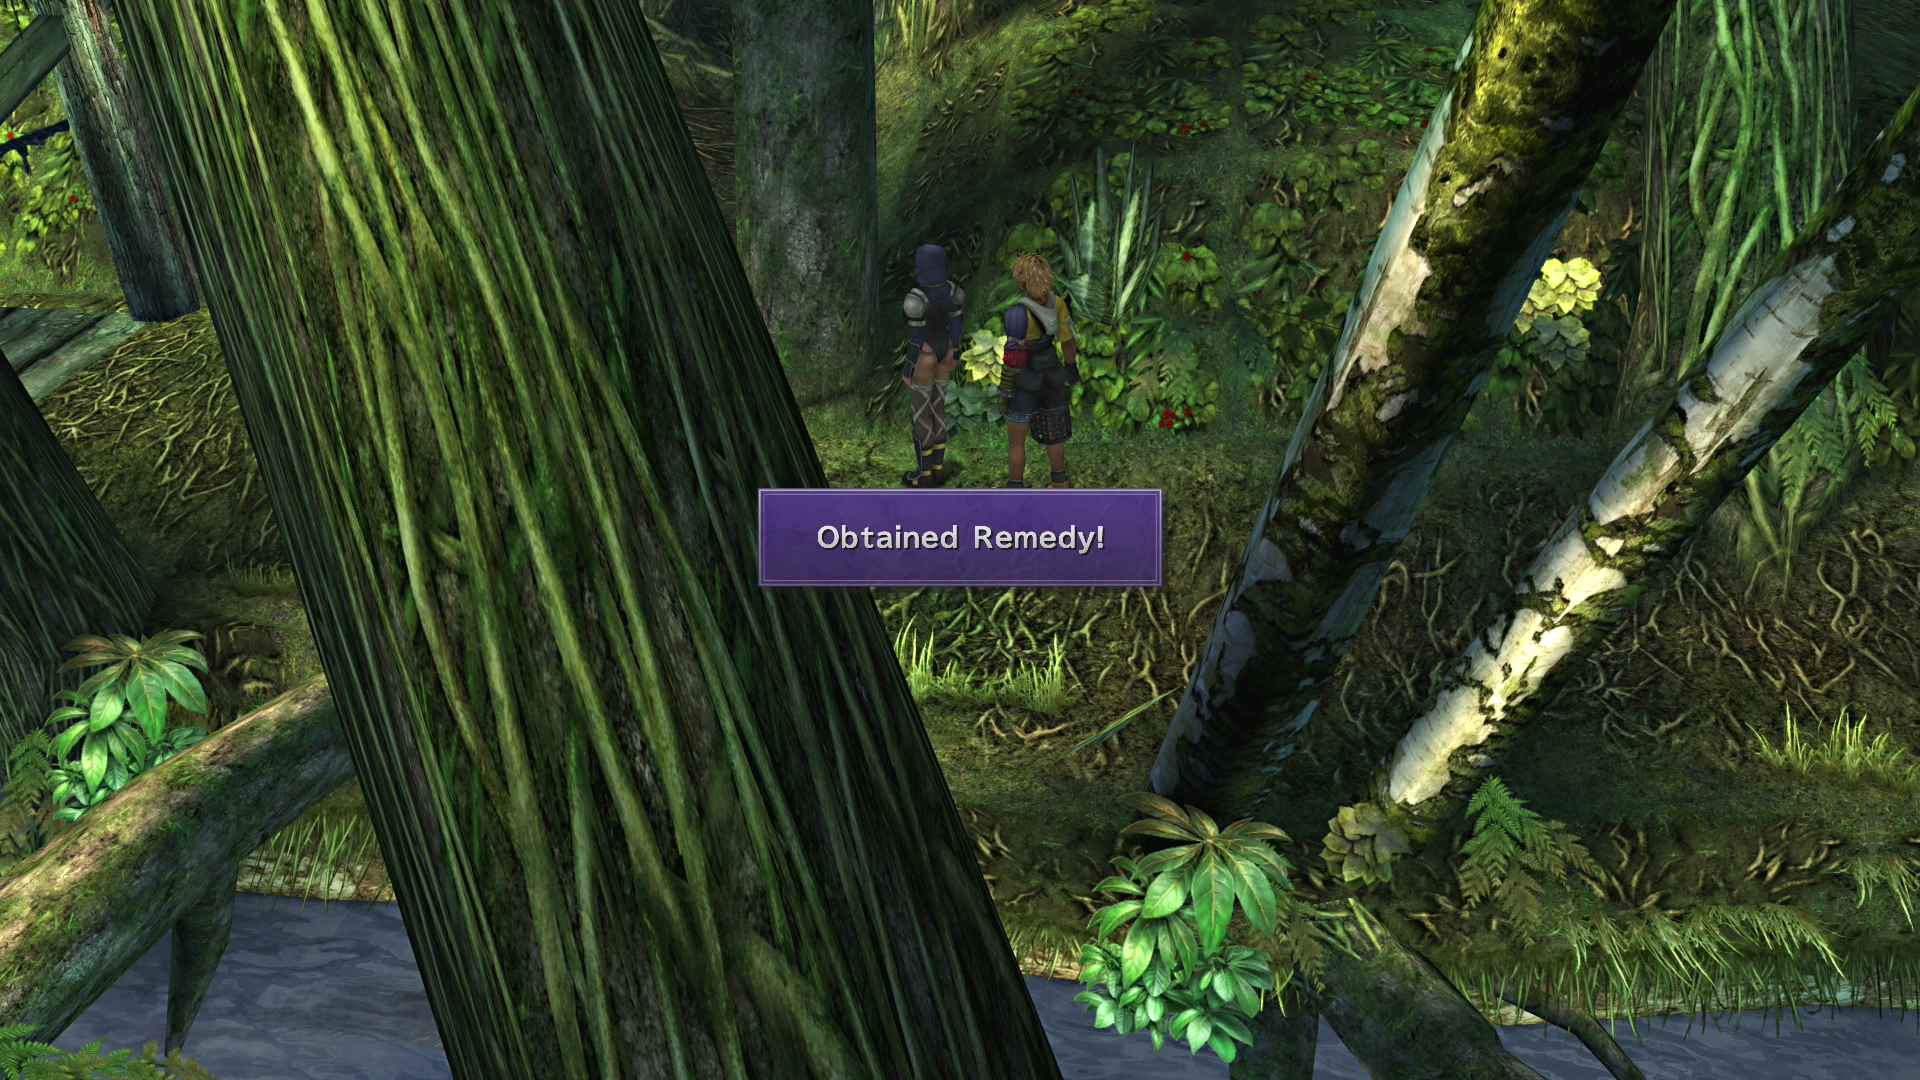
Come back out and head west, and then north along the rest of the pathway on this left side of the woods, and then keep going north once you reach the next path. This pathway will curve to the right, where you will run into a group of guards.
Speak to the leader after the other two guards have left, and you will receive a free ![]() Remedy.
Remedy.
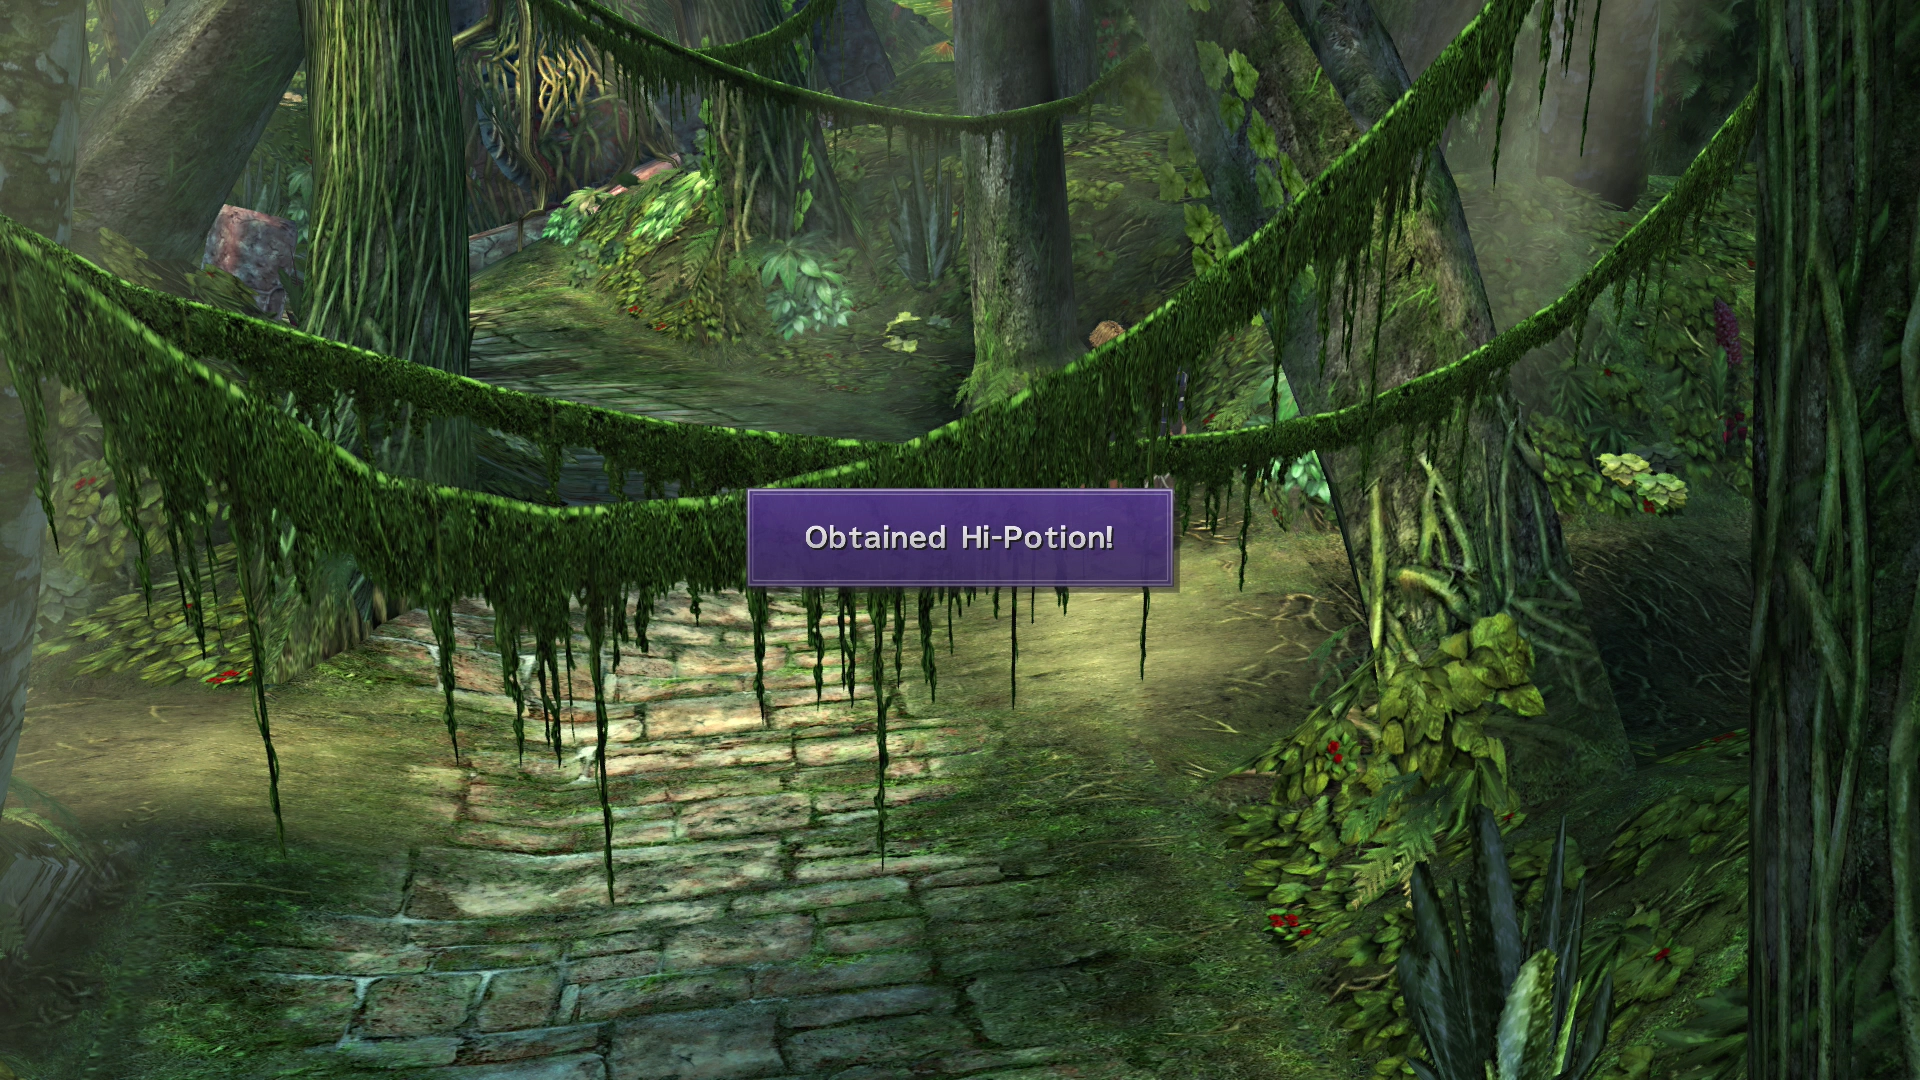
Keep going north, and you will run into another set of guards. Speak to the leader of this group to receive a free ![]() Hi-Potion.
Hi-Potion.
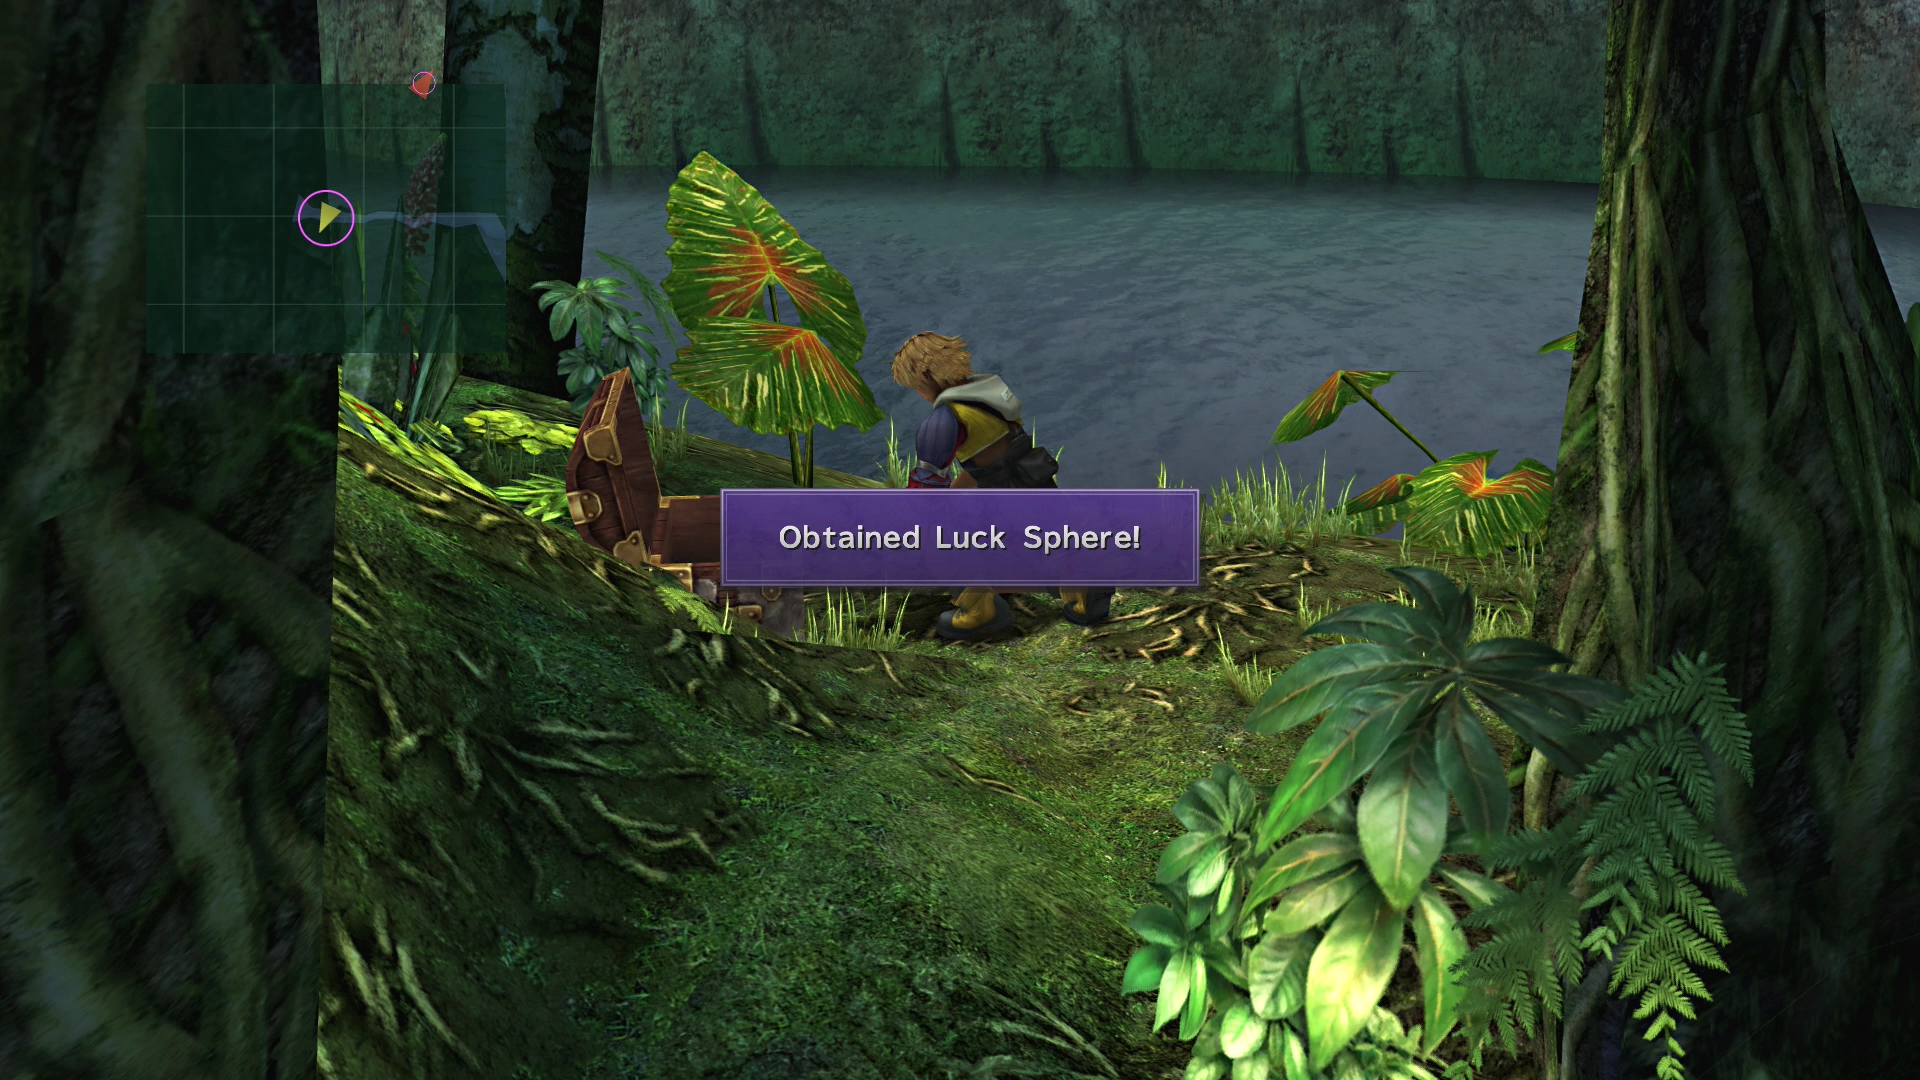
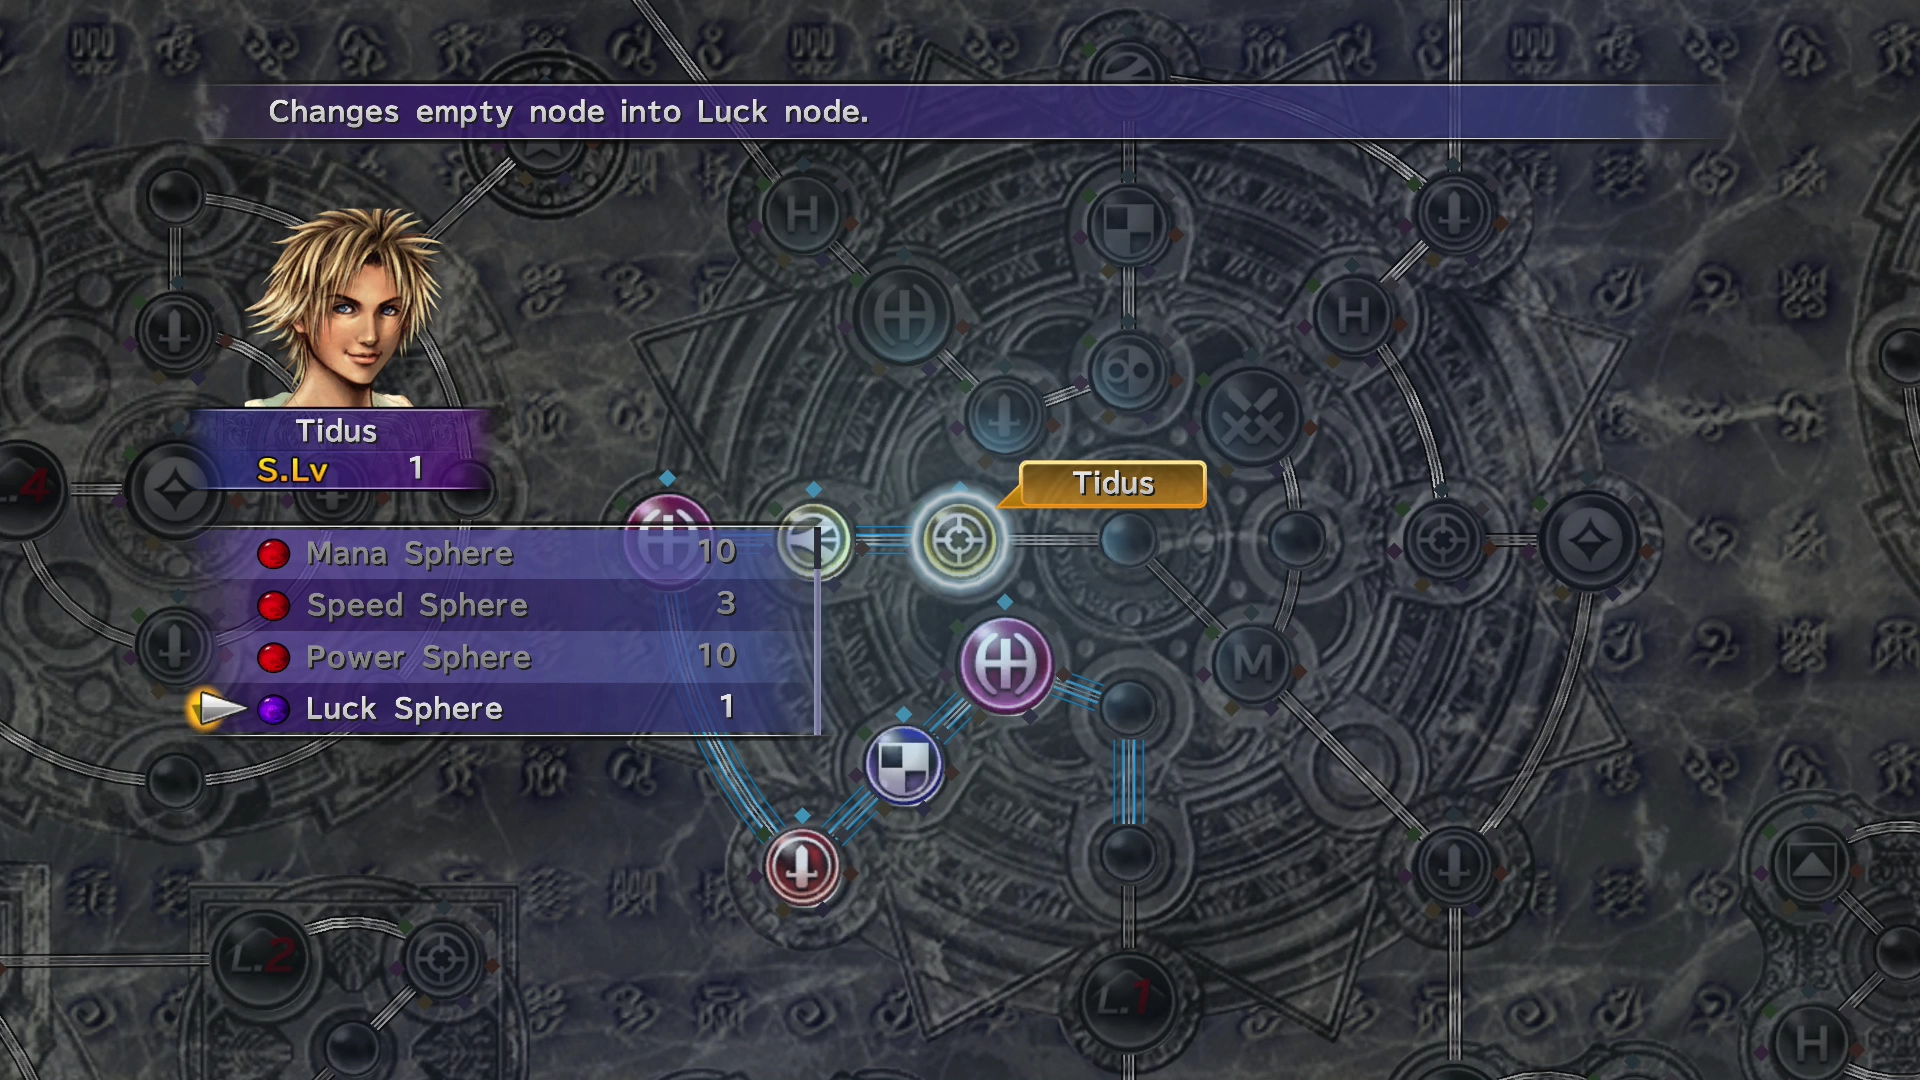
Continue north and then take the path that leads off to the left side of the screen once you come across it to find a treasure chest that contains a ![]() Luck Sphere.
Luck Sphere.
You can use the ![]() Luck Sphere to add a “Luck +4” node to an empty path somewhere in a character’s Sphere Grid. Add it to a character that you are planning to use for the remainder of the game (such as Tidus), but don’t add it right now, as you will need a
Luck Sphere to add a “Luck +4” node to an empty path somewhere in a character’s Sphere Grid. Add it to a character that you are planning to use for the remainder of the game (such as Tidus), but don’t add it right now, as you will need a ![]() Fortune Sphere in order to activate the node, which you don’t have.
Fortune Sphere in order to activate the node, which you don’t have.
If you are looking for advice on which party members are the best to use for endgame content, you can read more in the Best Party guide using the link below.
Tips and Tricks
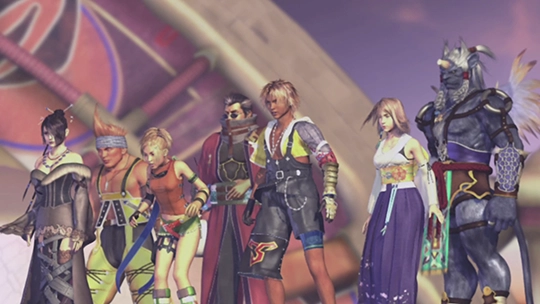
It is early in your journey here in Kilika, but if you want to plan ahead, the Best Party guide breaks down which characters shine in endgame content and how to build around them.
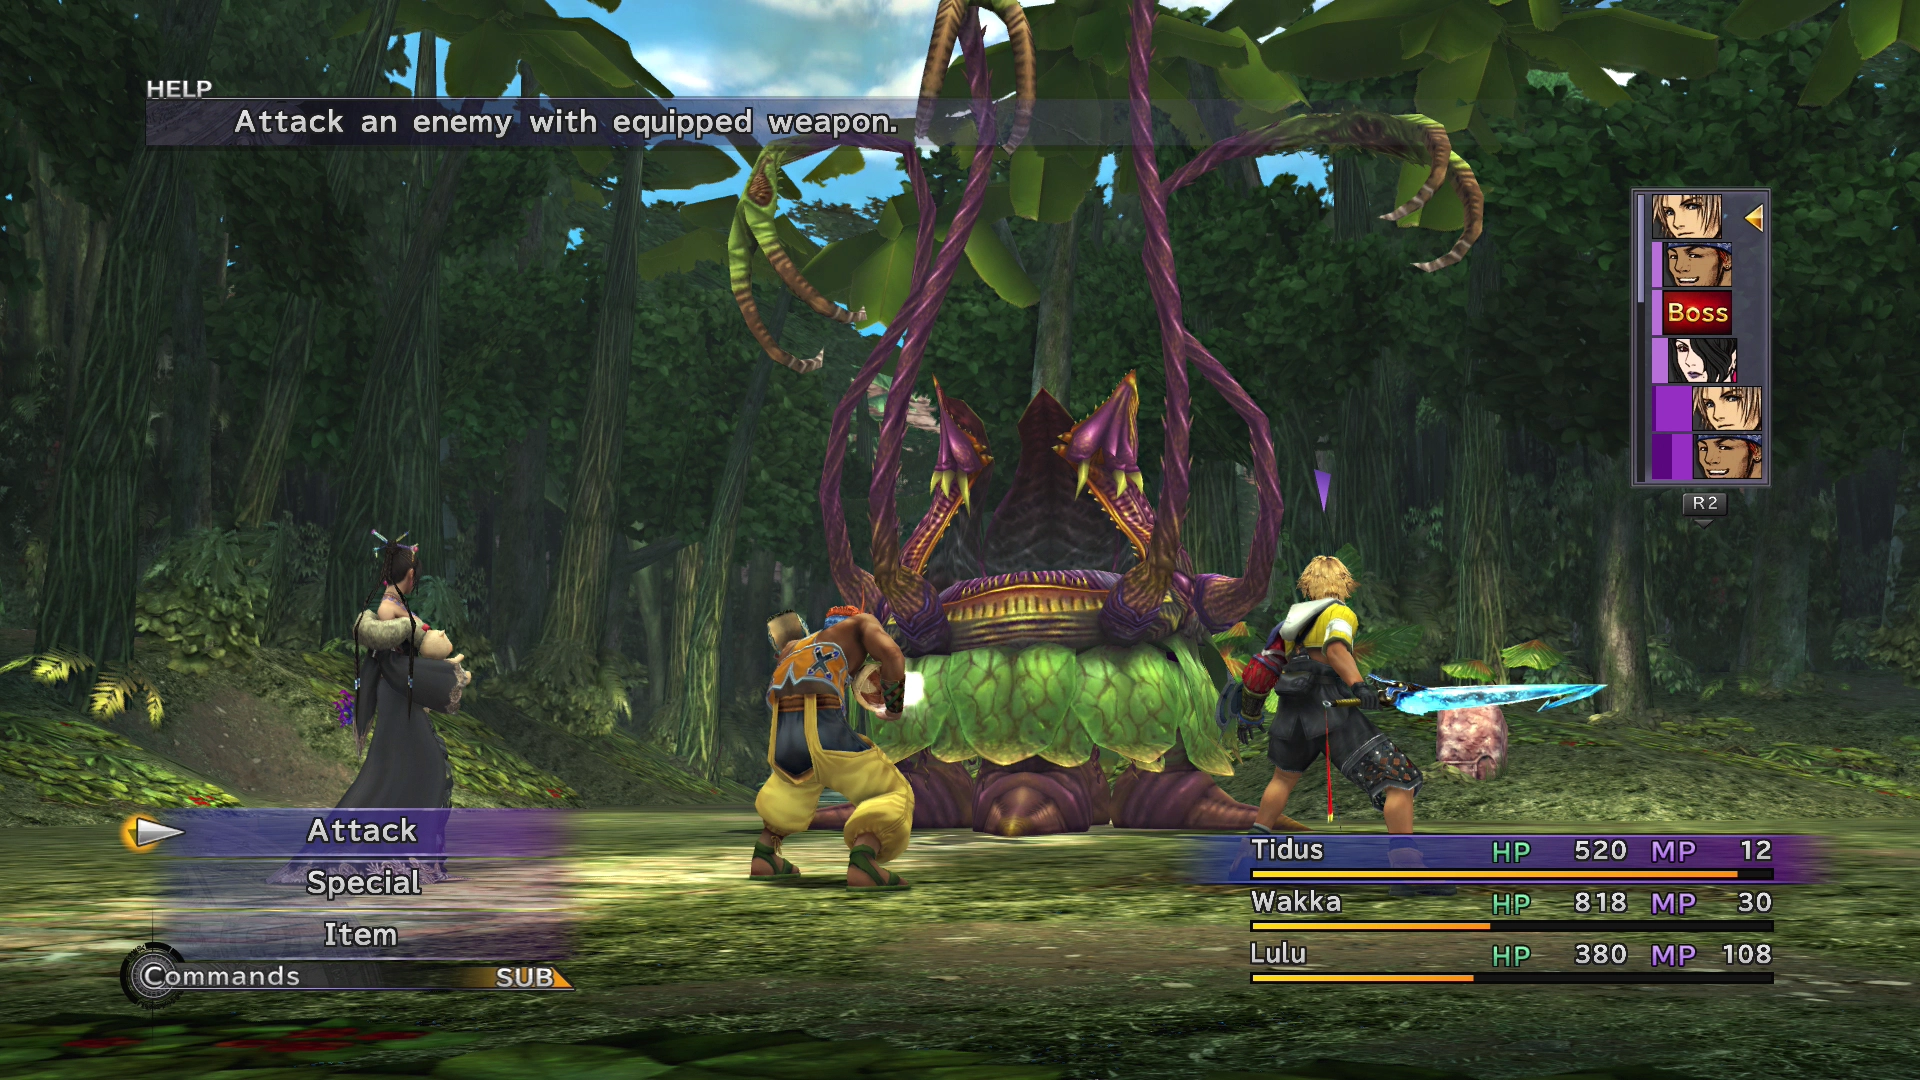
It’s now time to fight Lord Ochu before moving on to the next area. There are some steps that you can take to prepare for the fight that will make the battle much easier.
The best party to use for this optional boss fight is one made up of Tidus, Wakka, and Lulu. Make sure you heal up each of these characters before initiating the fight. You can use Yuna’s ![]() Cure spell outside of battle by selecting the “Abilities” option in the game menu.
Cure spell outside of battle by selecting the “Abilities” option in the game menu.
Finally, you may want to consider saving up your character’s Overdrives so you can inflict as much damage at the start of the battle as possible.
Head back to the ![]() Save Sphere to heal your characters and save your game. Run straight at Lord Ochu when you are ready to begin the fight.
Save Sphere to heal your characters and save your game. Run straight at Lord Ochu when you are ready to begin the fight.
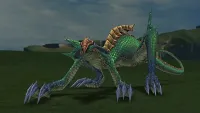
Boss Battle
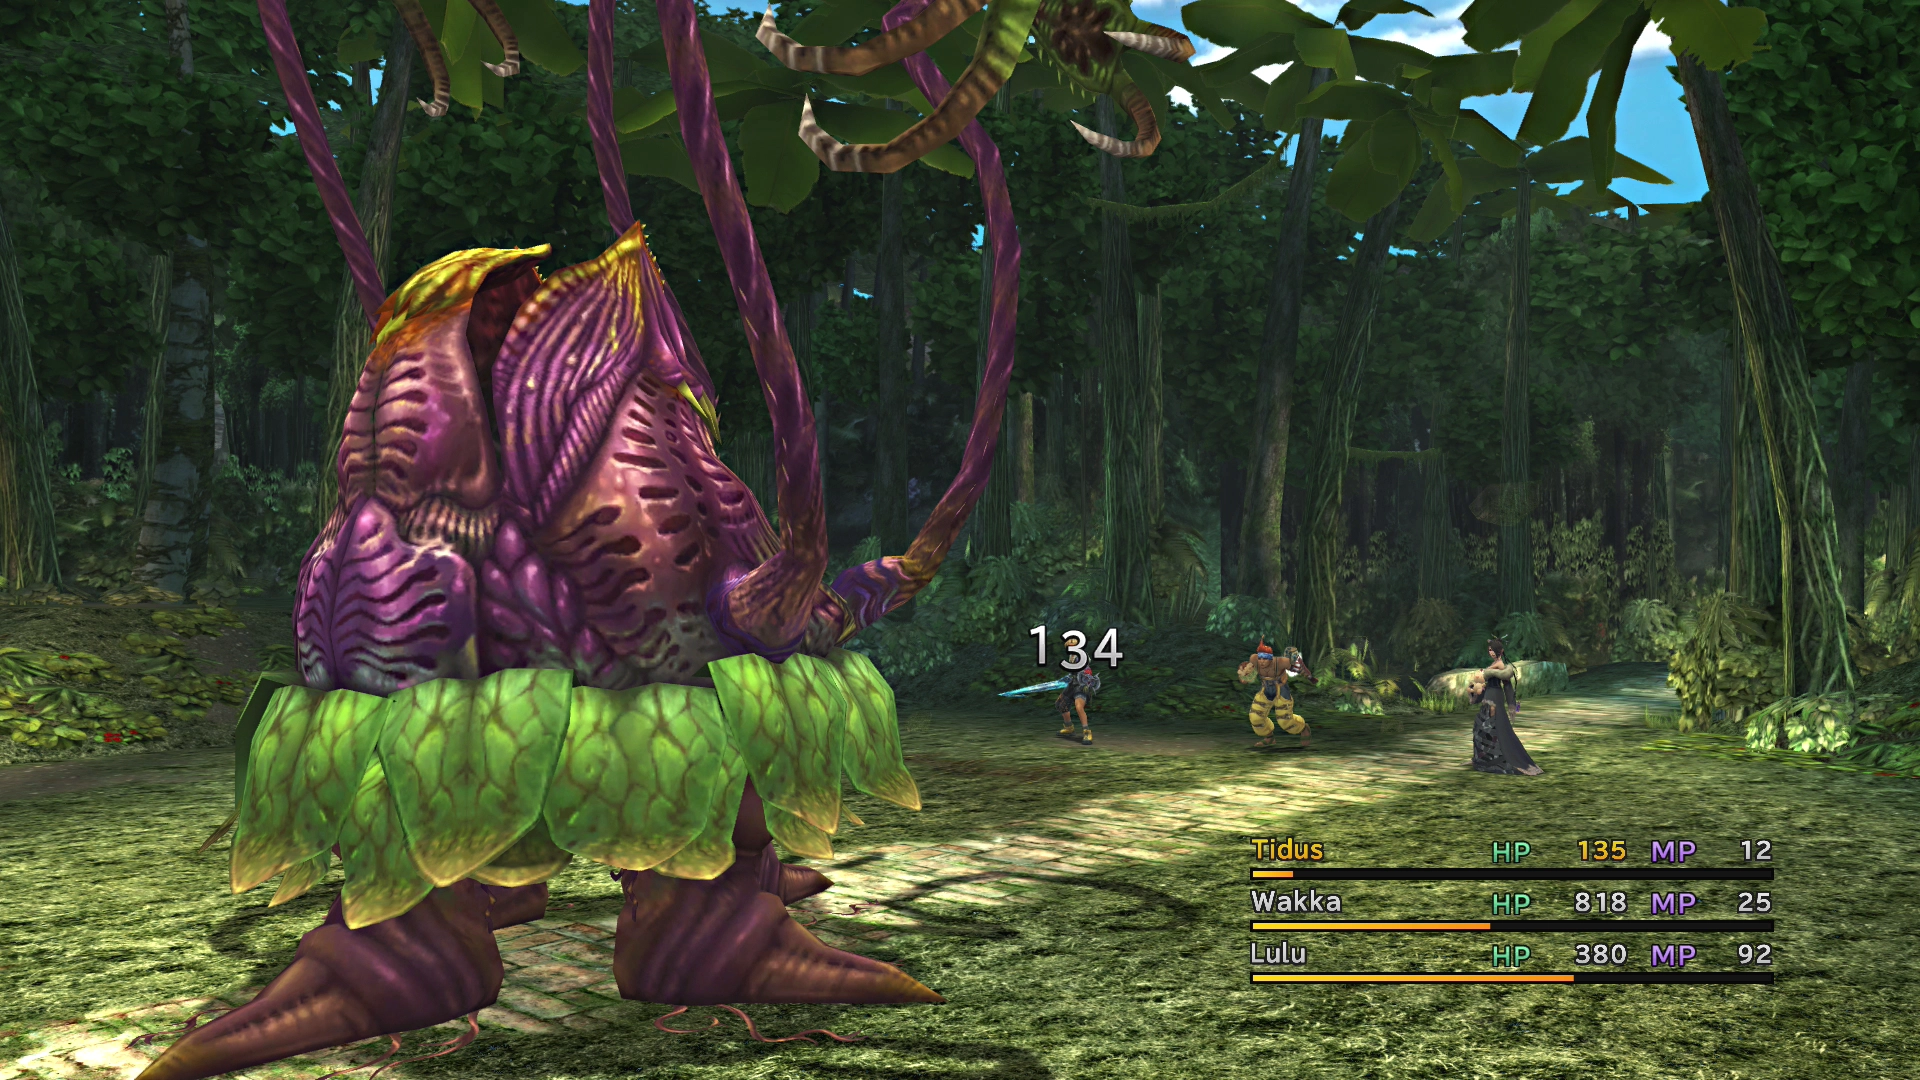
In Game Description: Its claws inflict poison. Restores lost HP by sleeping. Retaliates with Earthquake if awakened, so watch out. Being a plant, it burns easily.
HP: 4,649
Make sure to keep on top of healing either by using ![]() Potions and
Potions and ![]() Antidotes or by switching out one of your party members for Yuna. You will need those Antidotes because Lord Ochu’s claw attacks inflict Poison, which continues to drain a character’s HP every turn until it is cured. Lulu should use
Antidotes or by switching out one of your party members for Yuna. You will need those Antidotes because Lord Ochu’s claw attacks inflict Poison, which continues to drain a character’s HP every turn until it is cured. Lulu should use ![]() Fire magic throughout the fight, and as often as she can, because Lord Ochu is weak to fire-based magic attacks.
Fire magic throughout the fight, and as often as she can, because Lord Ochu is weak to fire-based magic attacks.
If you find yourself having trouble defeating Lord Ochu, you can utilize either of the two strategies:
- Wander around fighting enemies within Kilika Woods until you build up Overdrives for each of your party members
- Switch one of your party members out for Yuna and have her summon Valefor
Lord Ochu will regain HP when it uses Sleep on itself. Bombard it with attacks rather than focusing on any healing to stop it from regaining too much health. Be careful when you do wake it up, though. Lord Ochu retaliates with Earthquake as soon as it is roused, which damages your entire party, so make sure that everyone’s HP is topped up first. You can also have Yuna summon Valefor before waking it so that the Aeon absorbs the hit instead of your party.
As a last resort, you can have Yuna summon Valefor. Valefor has Fire-based attacks that are highly effective against Lord Ochu.
Steal:
Drops:
Your reward for defeating Lord Ochu will either be an ![]() MP Sphere or an
MP Sphere or an ![]() HP Sphere. A nice reward this early in the game!
HP Sphere. A nice reward this early in the game!
Head south and speak to the Crusader (Luzzu) to receive a free ![]() Elixir once the battle is over. Follow the pathway leading east and then follow it as it curves north until you reach a bridge.
Elixir once the battle is over. Follow the pathway leading east and then follow it as it curves north until you reach a bridge.
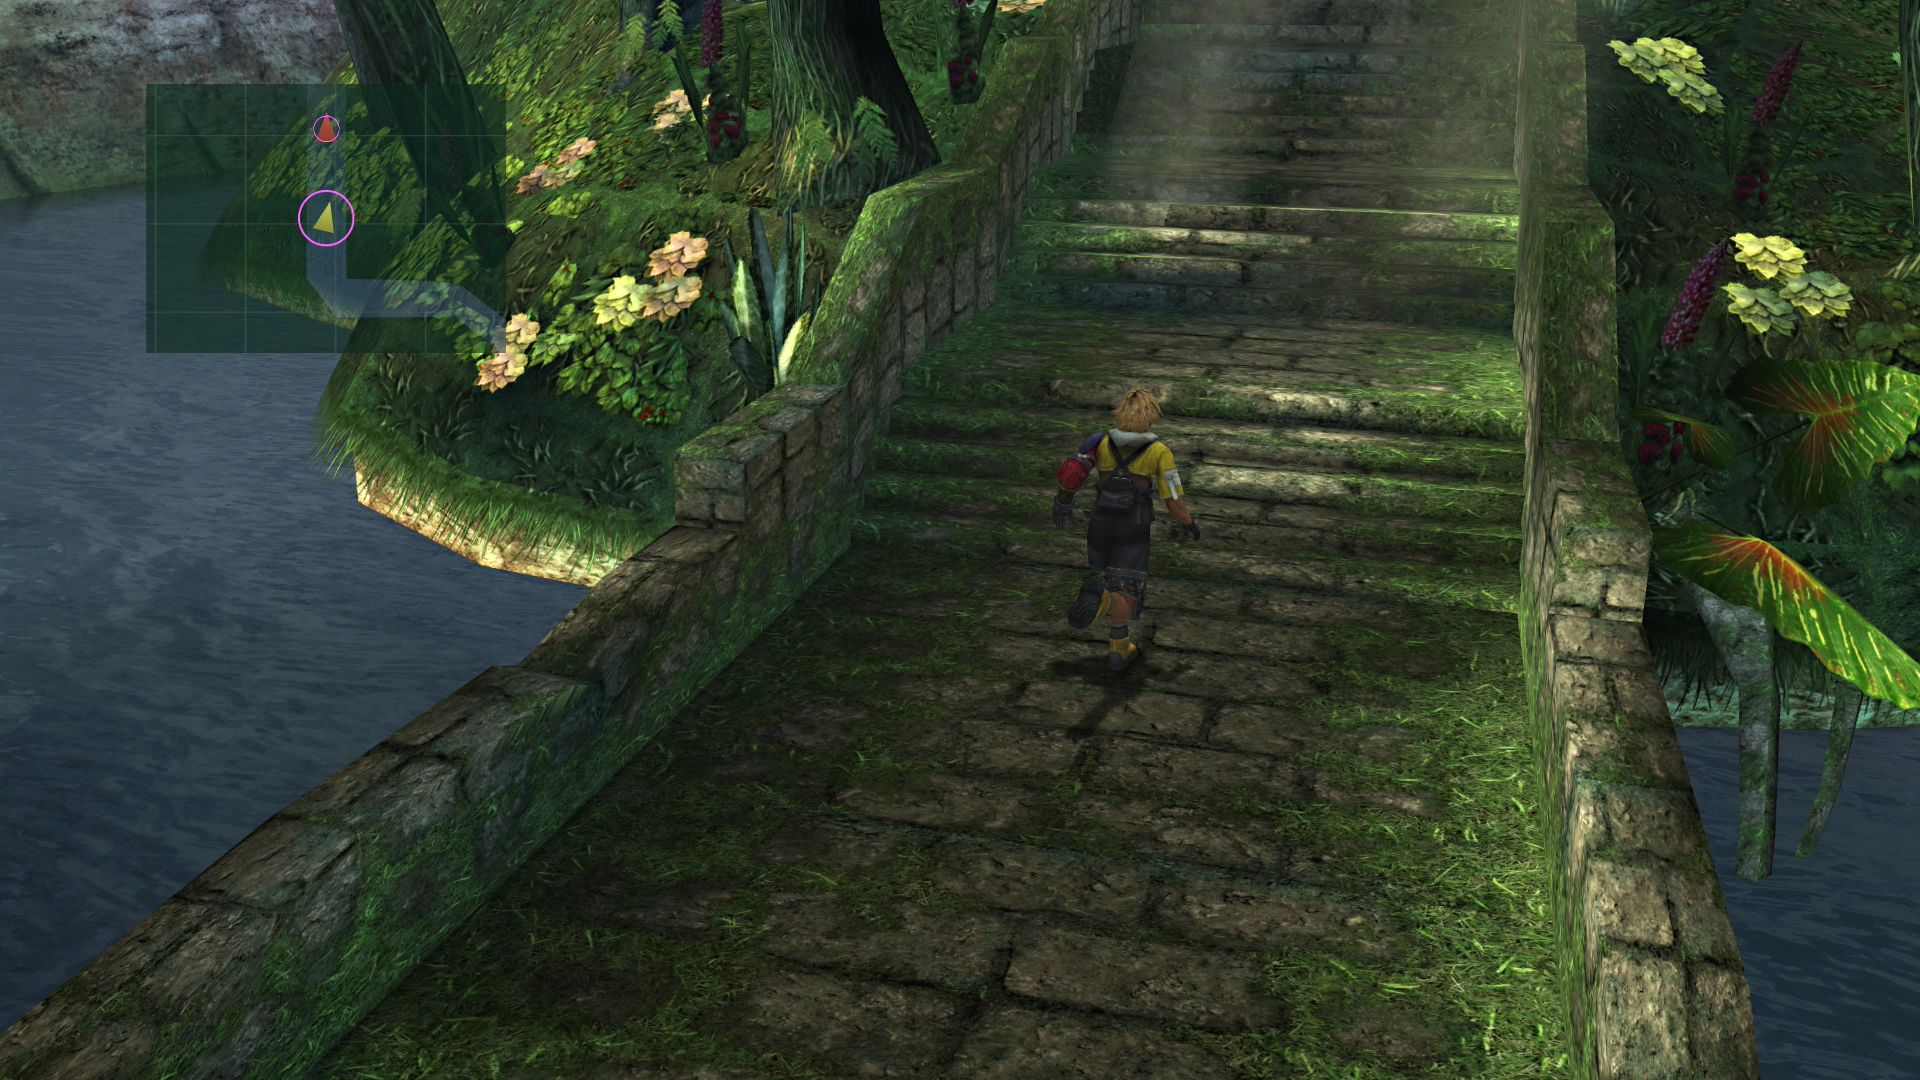
Kilika - Pilgrimage Road
There are a few more cutscenes to watch as you ascend the stone steps. Save your game at the ![]() Save Sphere and then follow Wakka and Yuna up the steps. There is a boss battle coming up, and this one is not optional.
Save Sphere and then follow Wakka and Yuna up the steps. There is a boss battle coming up, and this one is not optional.
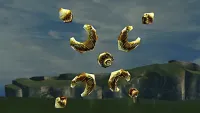
Boss Battle
In Game Description: Its shell deflects physical attacks well. Tentacles absorb magic attacks. Defeat tentacles first, then force it from its shell with fire magic. Absorbs water-based attack.
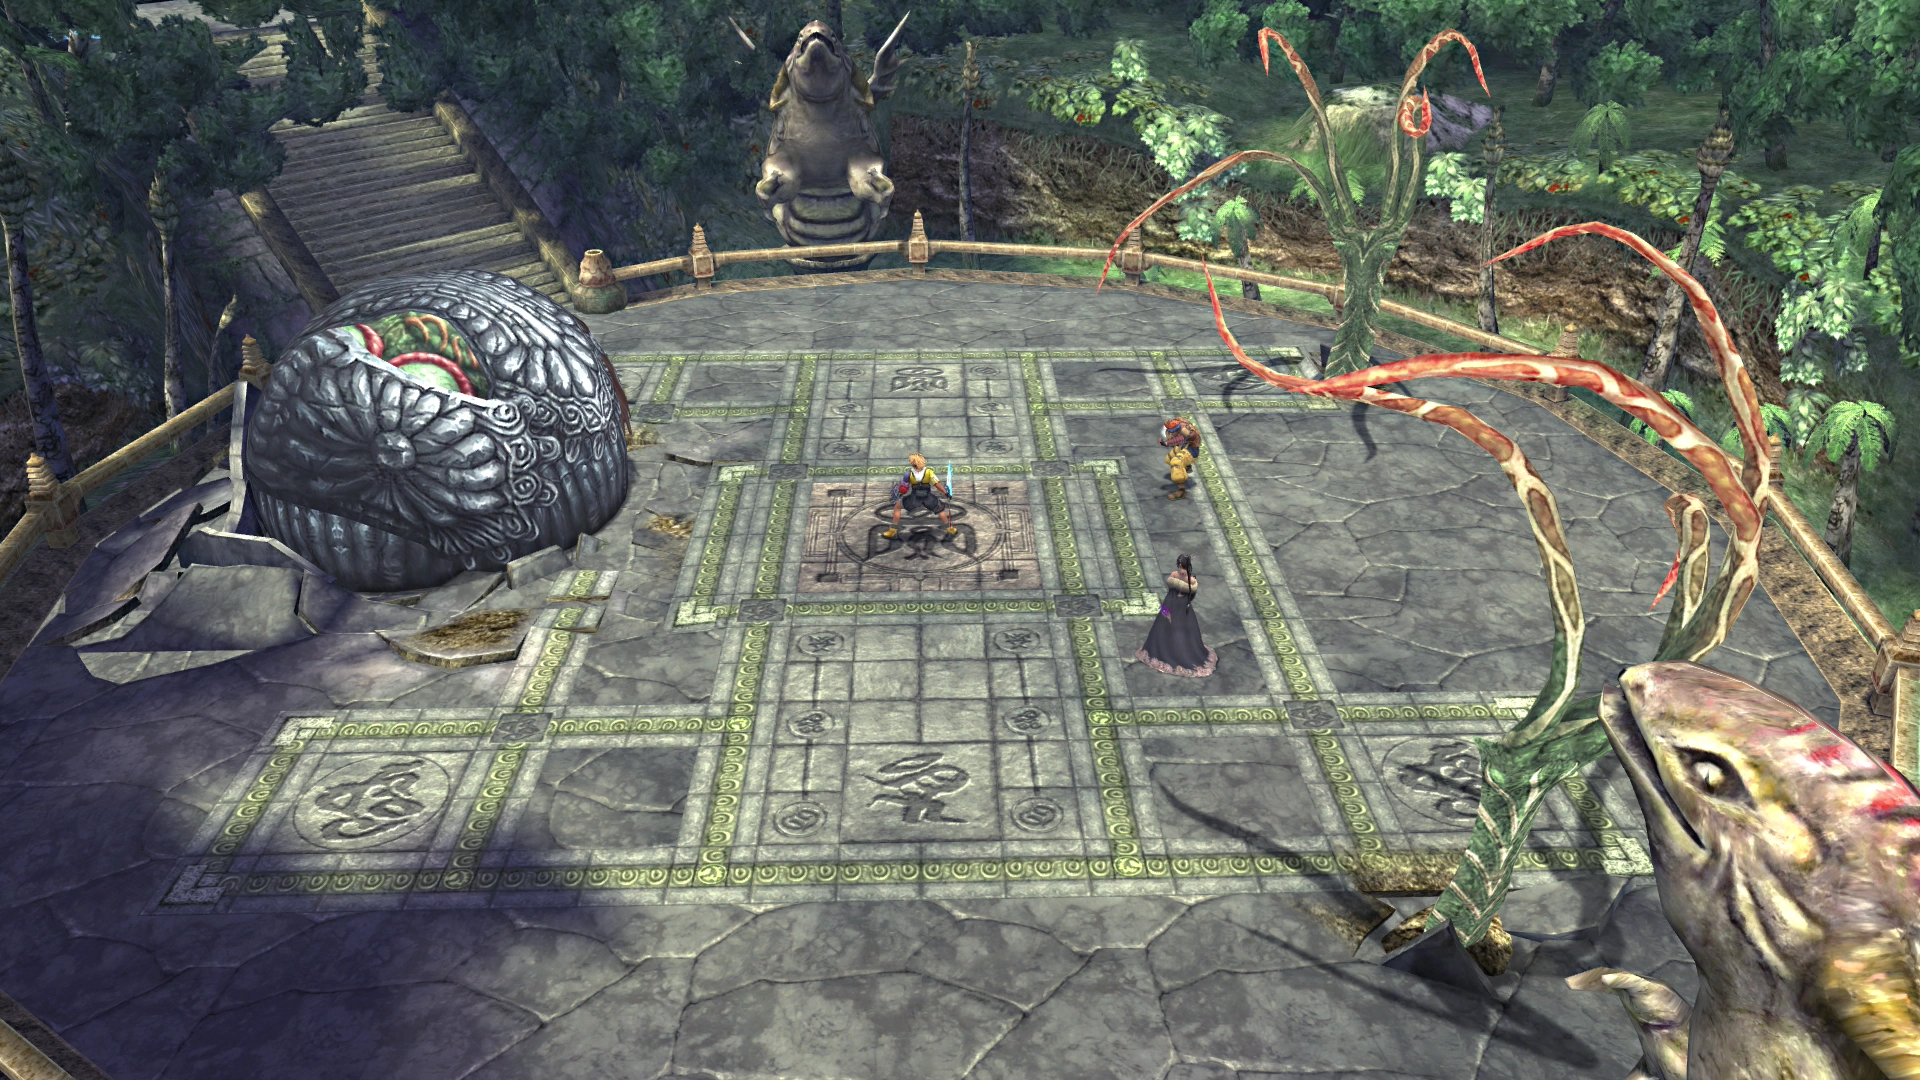
HP: 3,000
The battle starts with Sinspawn Geneaux encased in a shell-like structure. It is immune to attacks in this form and, while it may be vulnerable to magic attacks, Geneaux’s Tentacles (which surround the party) will absorb any magic-based attacks.
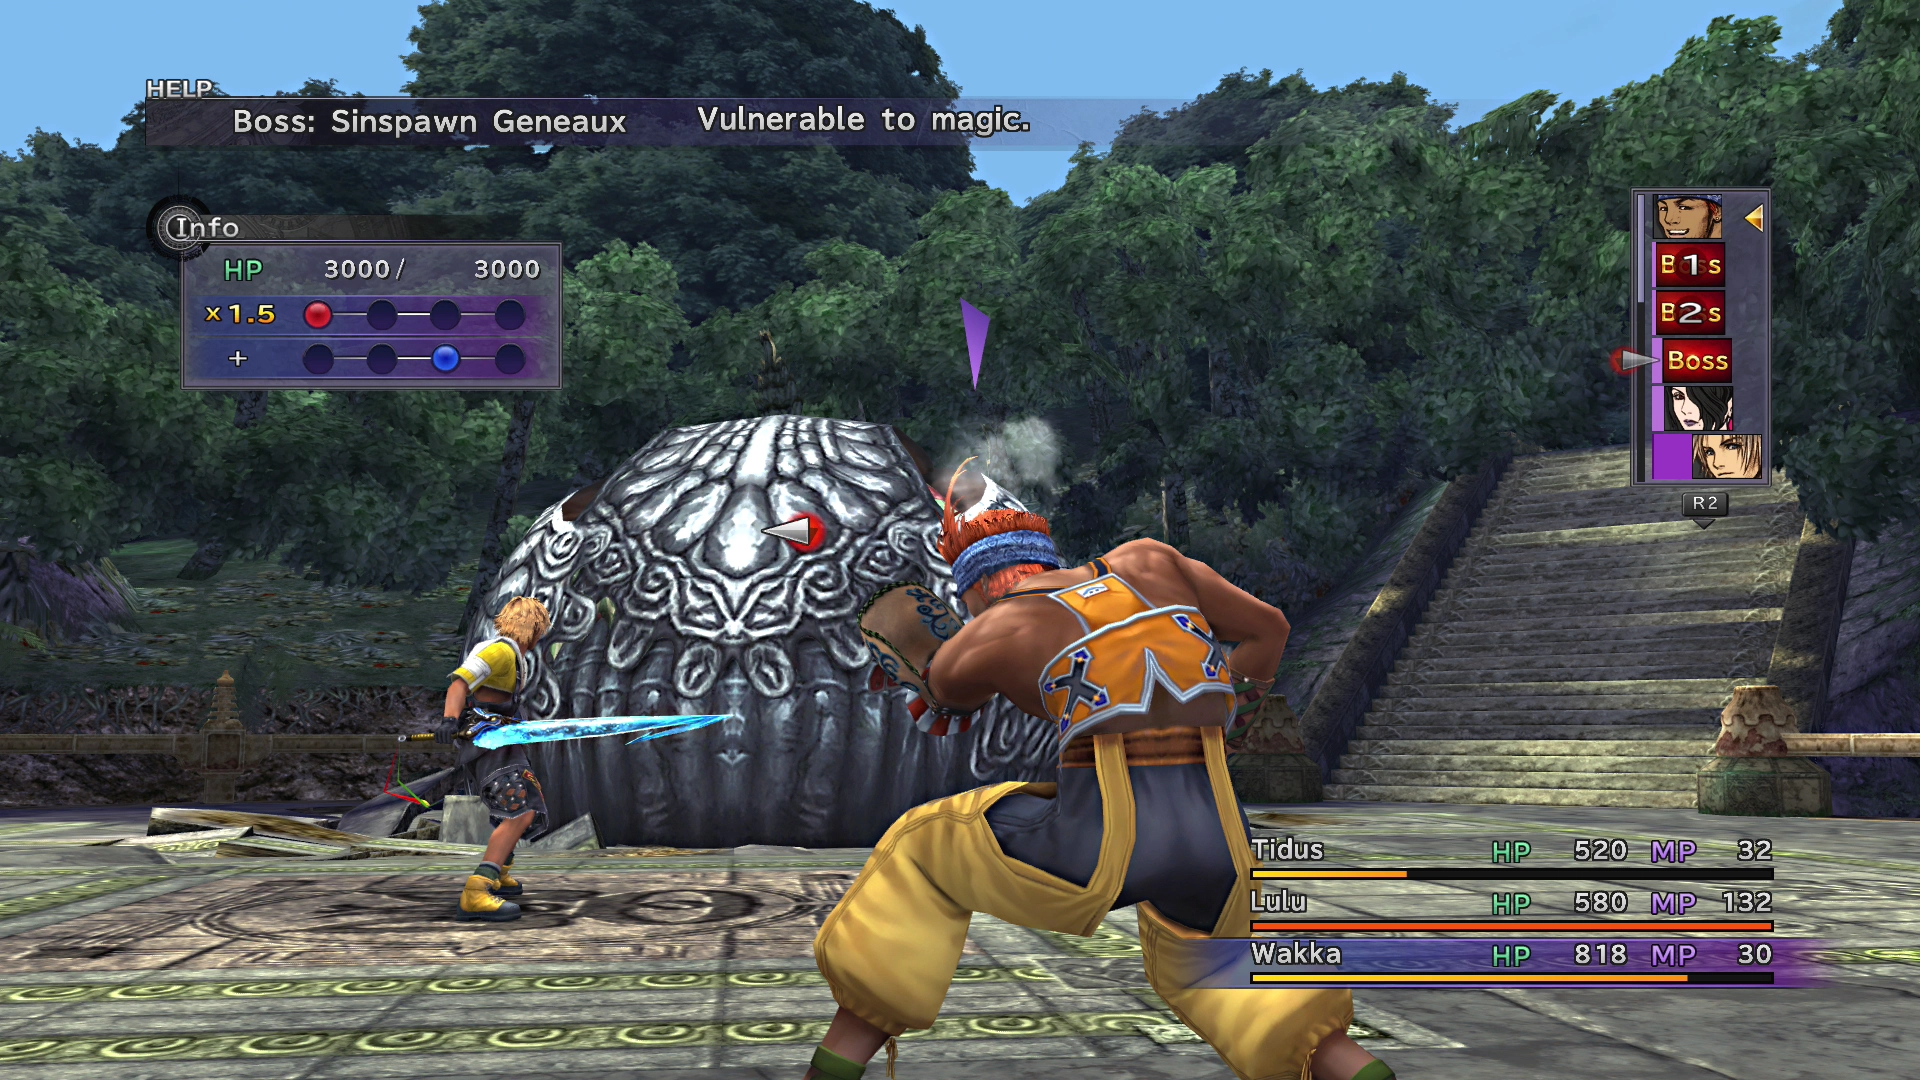
Start by attacking the Tentacles at the back of the battlefield. Focus all of your attacks on one single Tentacle until you have defeated both of them.
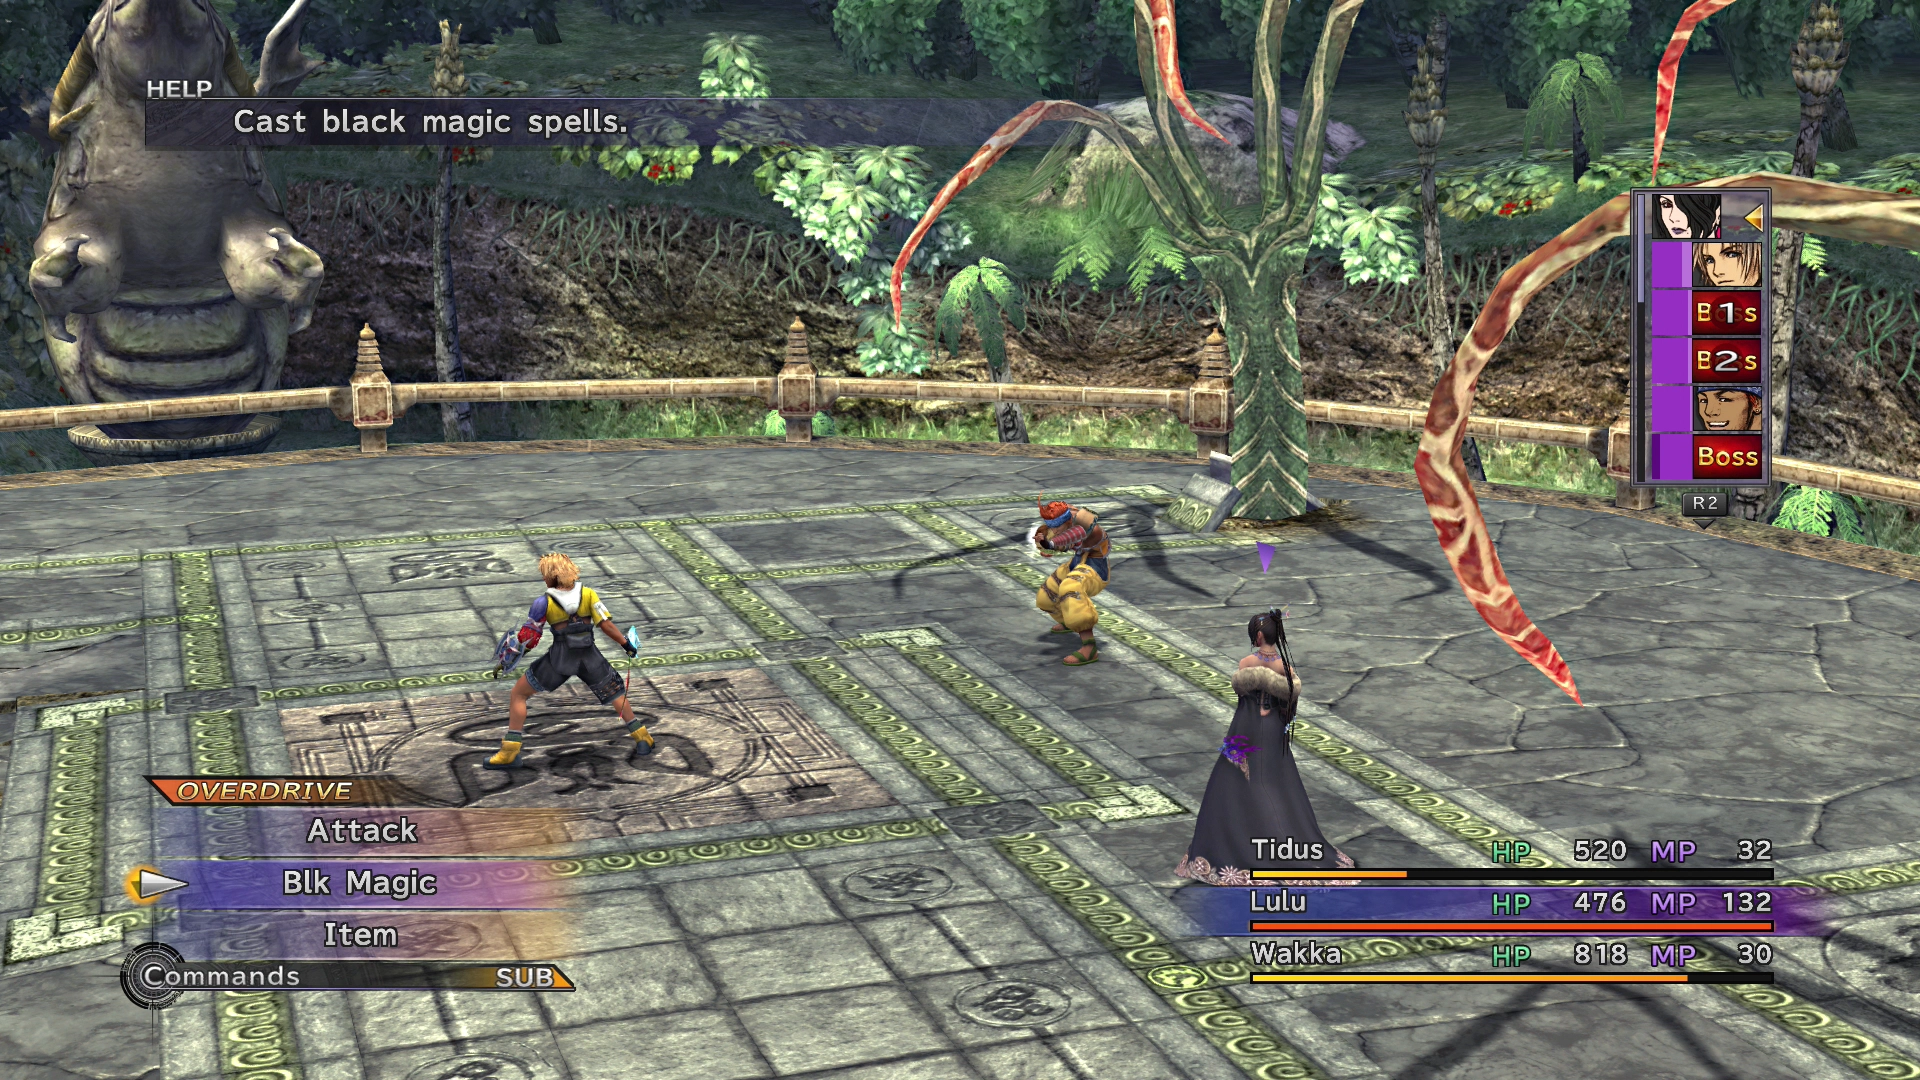
Be careful using ![]() Water magic on the Tentacles, as they will absorb this type of damage and will heal themselves. The only magic you will want to use (if you have Lulu in your party at all) is
Water magic on the Tentacles, as they will absorb this type of damage and will heal themselves. The only magic you will want to use (if you have Lulu in your party at all) is ![]() Fire magic. It’s a good idea to use
Fire magic. It’s a good idea to use ![]() Haste on her as well so that she can blast away the tentacles more quickly.
Haste on her as well so that she can blast away the tentacles more quickly.
The shell will open up once Sinspawn Geneaux drops below 2,400 HP. You should use Wakka’s ![]() Silence Attack on the main body to prevent it from casting Water on your team. You can also start attacking the main body with regular physical attacks at this point.
Silence Attack on the main body to prevent it from casting Water on your team. You can also start attacking the main body with regular physical attacks at this point.
Again, as a last resort, you can have Yuna summon Valefor. Valefor has Fire-based attacks that are highly effective against Sinspawn Geneaux.

Steal:
- (None)
Drops:
Once the battle has concluded, Wakka and Lulu will tell Tidus about the enemy they just fought. Sinspawn are enemies that fall from Sin’s body and are left behind in its wake. There will be quite a few more Sinspawn enemies to battle as you work your way through the game.
Head back down to the ![]() Save Sphere if you want to heal up your party and save your game. Afterwards, continue your way up the steps after you’ve defeated Sinspawn Geneaux. A couple more cutscenes will follow as you work your way to the top.
Save Sphere if you want to heal up your party and save your game. Afterwards, continue your way up the steps after you’ve defeated Sinspawn Geneaux. A couple more cutscenes will follow as you work your way to the top.
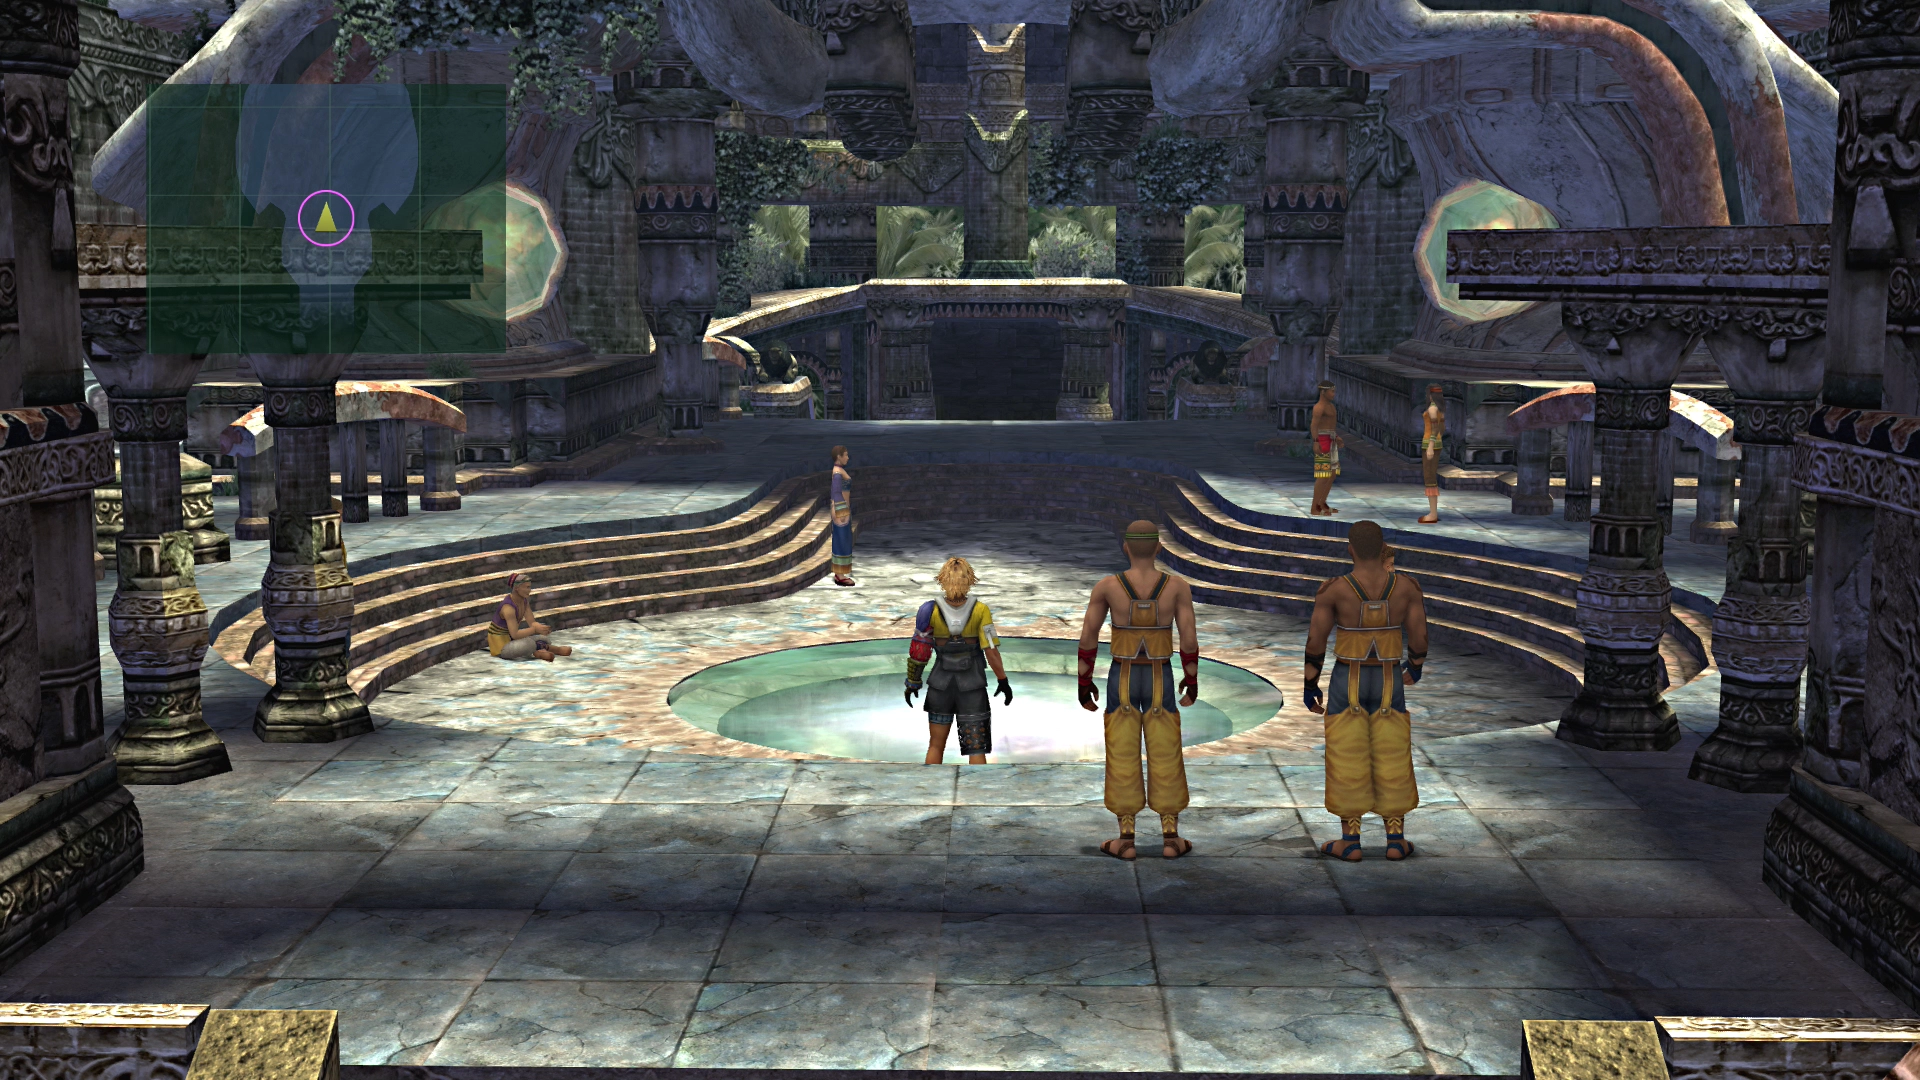
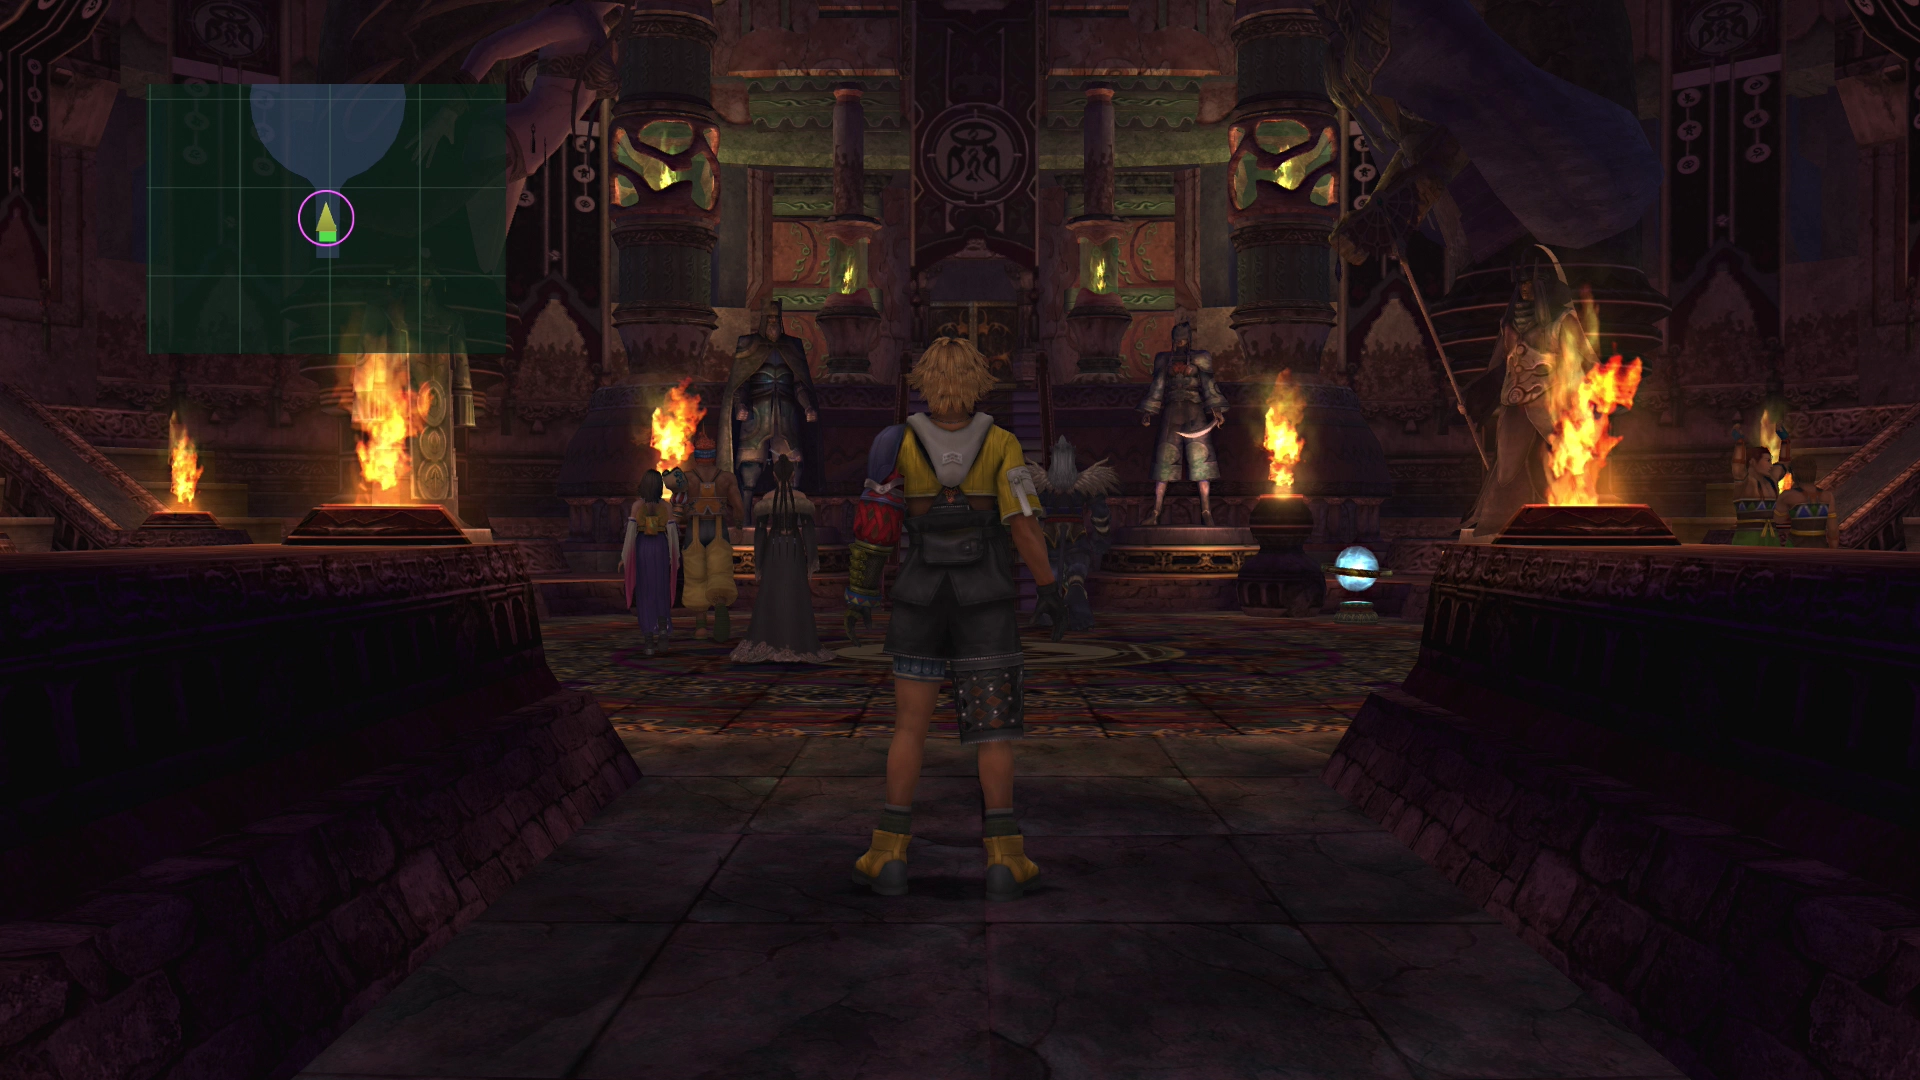
Kilika Temple
Your team will run into the Luca Goers as they are exiting Kilika Temple. Continue north and into the temple. Don’t forget to save your game if you haven’t already!
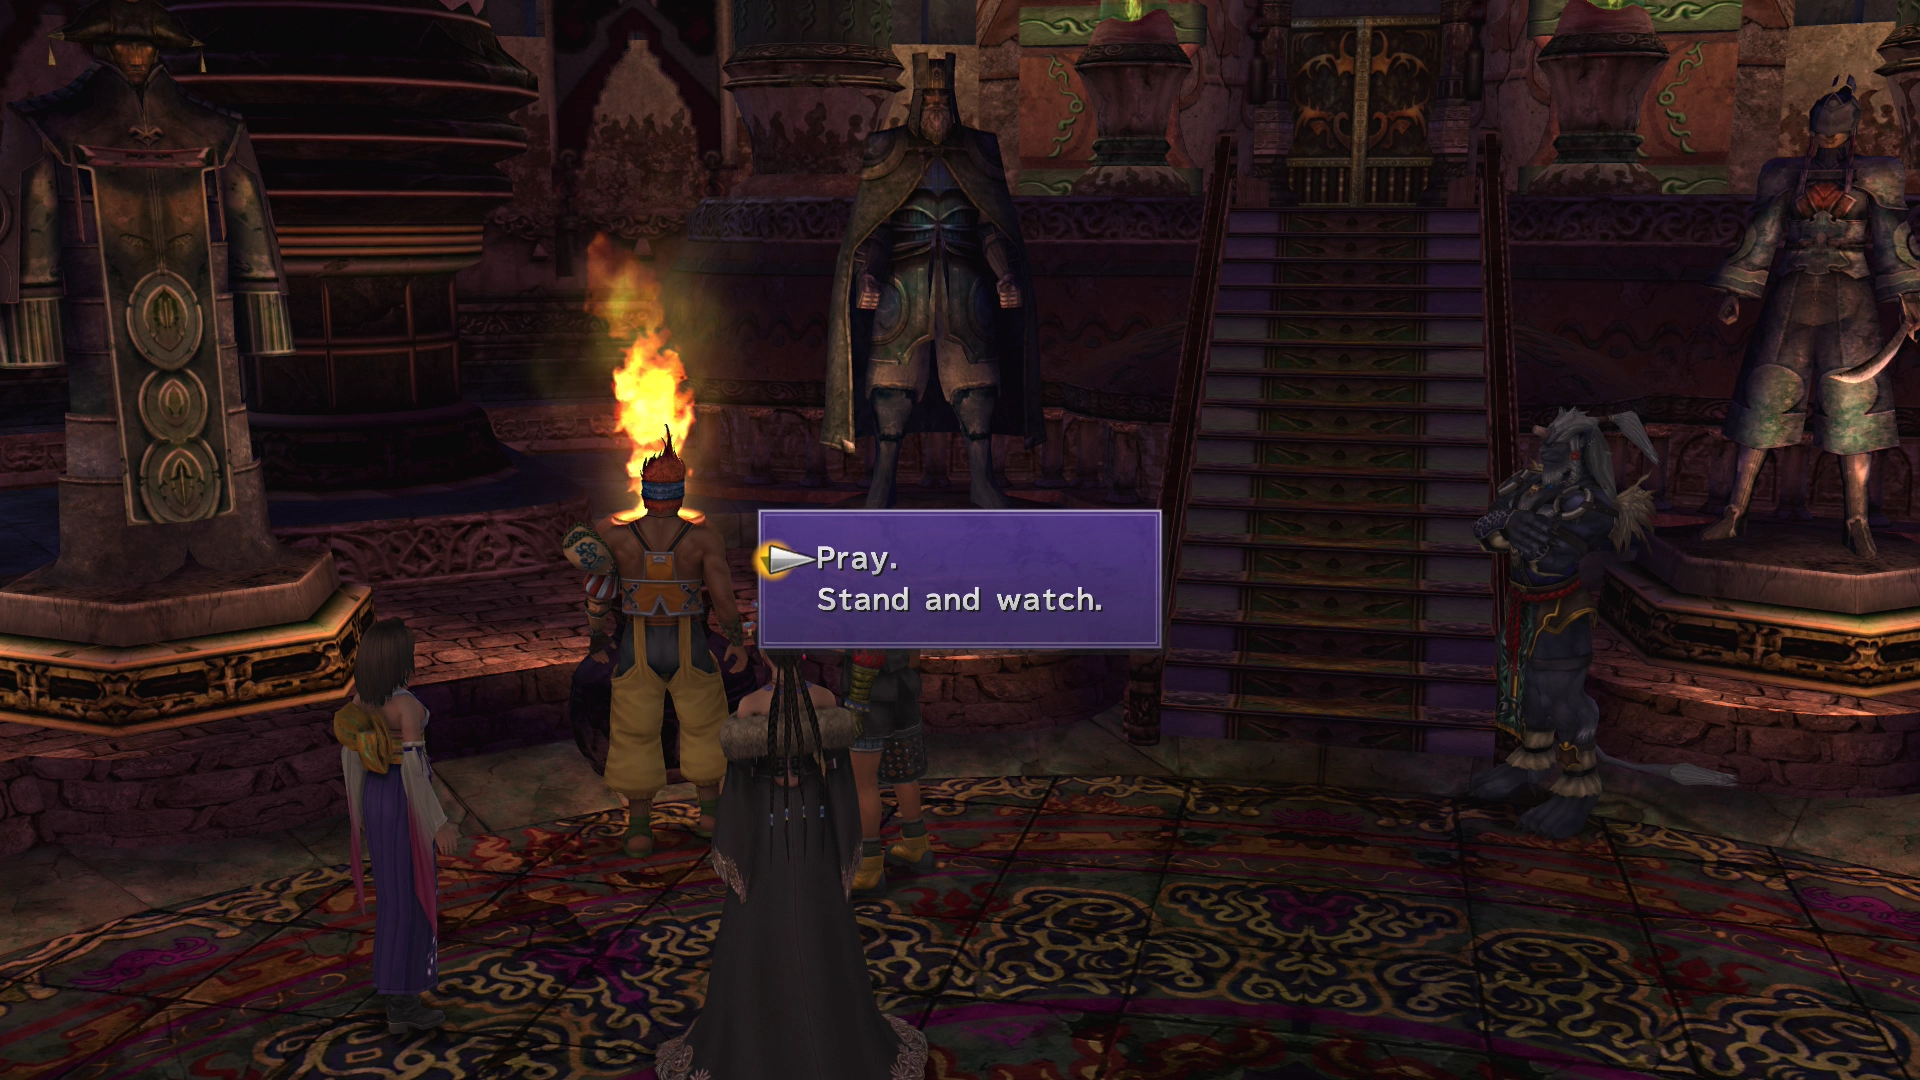
Sit down and pray with Wakka or stand and watch him if you so choose—it does not matter which option you select.
A new character by the name of Lady Dona will exit the temple and take the opportunity to make fun of Yuna and her rag-tag group of companions as she and her guardian make their way out.
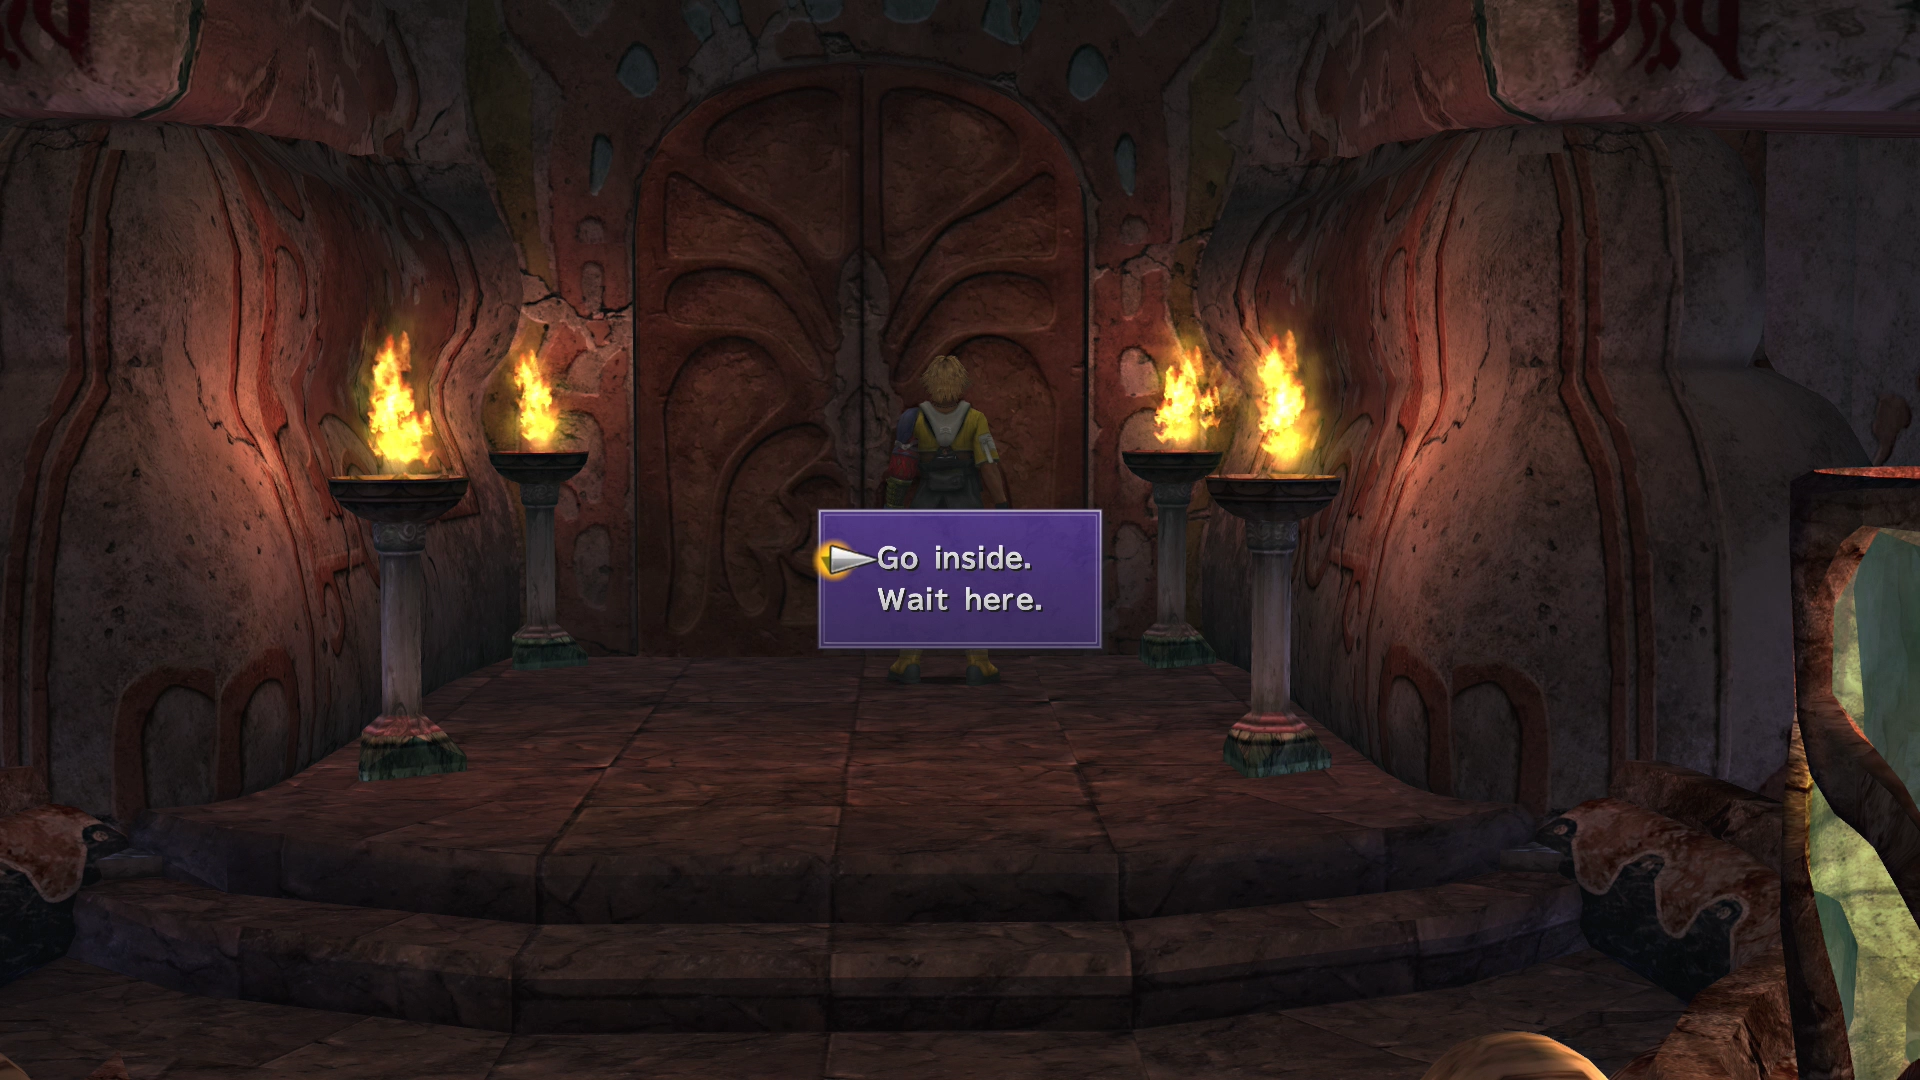
The rest of the team will descend into the Cloister, but will ask Tidus to remain outside. Just wait until the elevator rises back up to the top, and then attempt to take it down. Trying to ride the elevator will trigger a short cutscene where Lady Dona and Barthello force Tidus to take the elevator into the Cloister.
Use the link below for information on how to complete the second Cloister of Trials:
Cloister Walkthrough

Completing the Cloister of Trials in the Kilika Temple. The reward for completing the Destruction Sphere portion of this Cloister is a Red Armlet for Kimahri.
Kilika - Antechamber
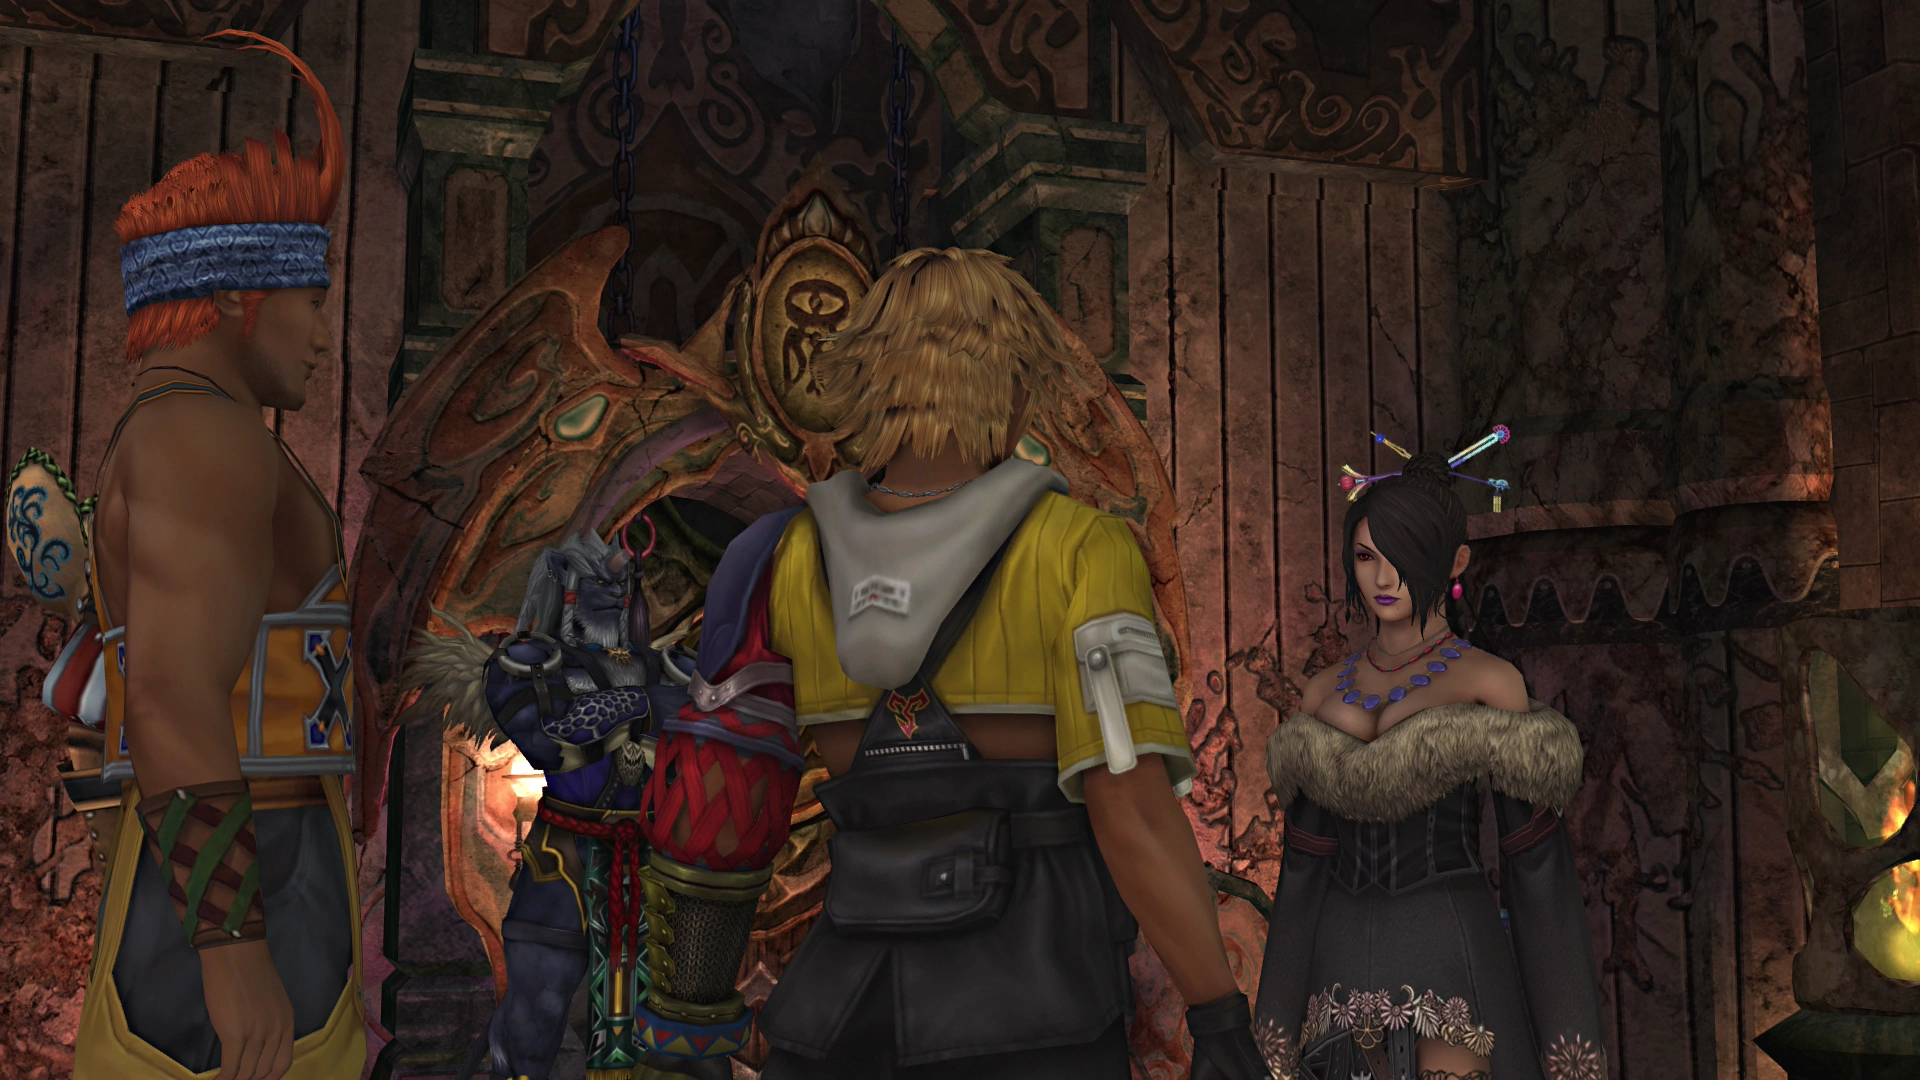
The rest of the party will not be happy to see Tidus in the Antechamber of the temple. You will have to continue talking to both Wakka and Lulu to keep the story moving.
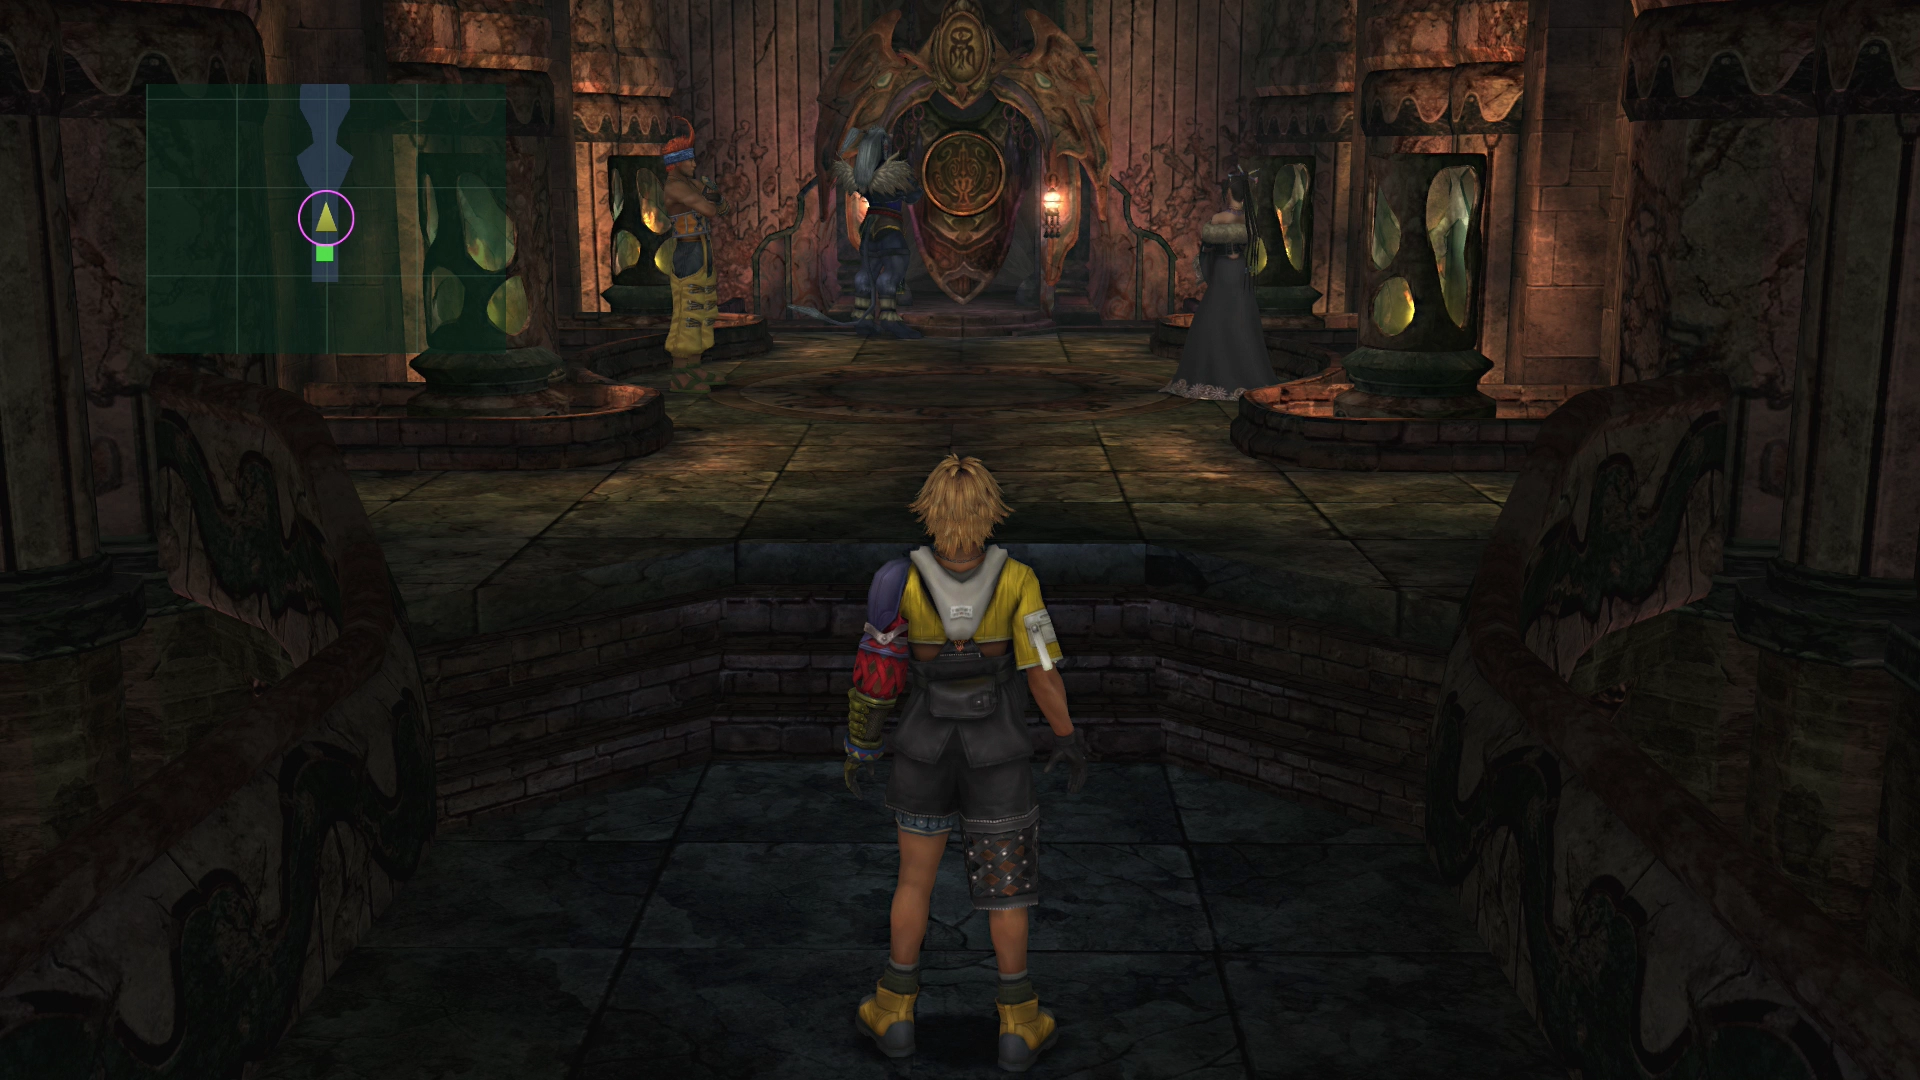
Tidus will ask Wakka what exactly is located inside the blocked-off chamber that Yuna is in. Wakka and Lulu will explain that the “Fayth” are located inside—people who battled Sin and were defeated. The Fayth are trapped in the statues located inside the Temple and can be called upon as a summon (or rather, an Aeons) by a summoner.
Try to leave the Antechamber after speaking to both of them. The story will continue, and Yuna will have access to a new Aeon, Ifrit.
Kilika Temple
More conversations and flashbacks will transpire as the group seeks to leave the temple. Work your way back through Kilika Woods and then back through the town of Kilika until you reach the docks.
There is a shop just off to the side of the docks, as mentioned previously, where you can purchase any pieces of equipment that your team might be missing.

Head over to the S.S. Winno once you are ready and choose to disembark.