
 Echoes of the Fallen
This is the walkthrough section for the “Echoes of the Fallen” DLC Expansion for Final Fantasy XVI. For more information on how to unlock the DLC and information on the timing for when you should complete this content, check out the overview page:
DLC Expansions
How to unlock the expansion content and a guide that helps you decide when you should complete it (immediately, after the endgame content, or after the final boss).
The recommendation from this strategy guide is that you complete the DLC expansion first, as soon as you can, and that you should unlock it as quickly as possible. So, with that in mind, let’s get started. You’ve completed the ![]() Where There’s a Will and
Where There’s a Will and ![]() Priceless Optional Quests; now what?
Priceless Optional Quests; now what?
Initiating the Quest
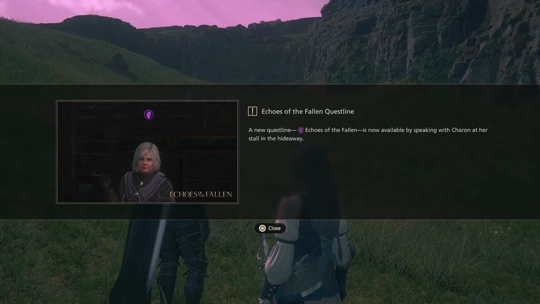
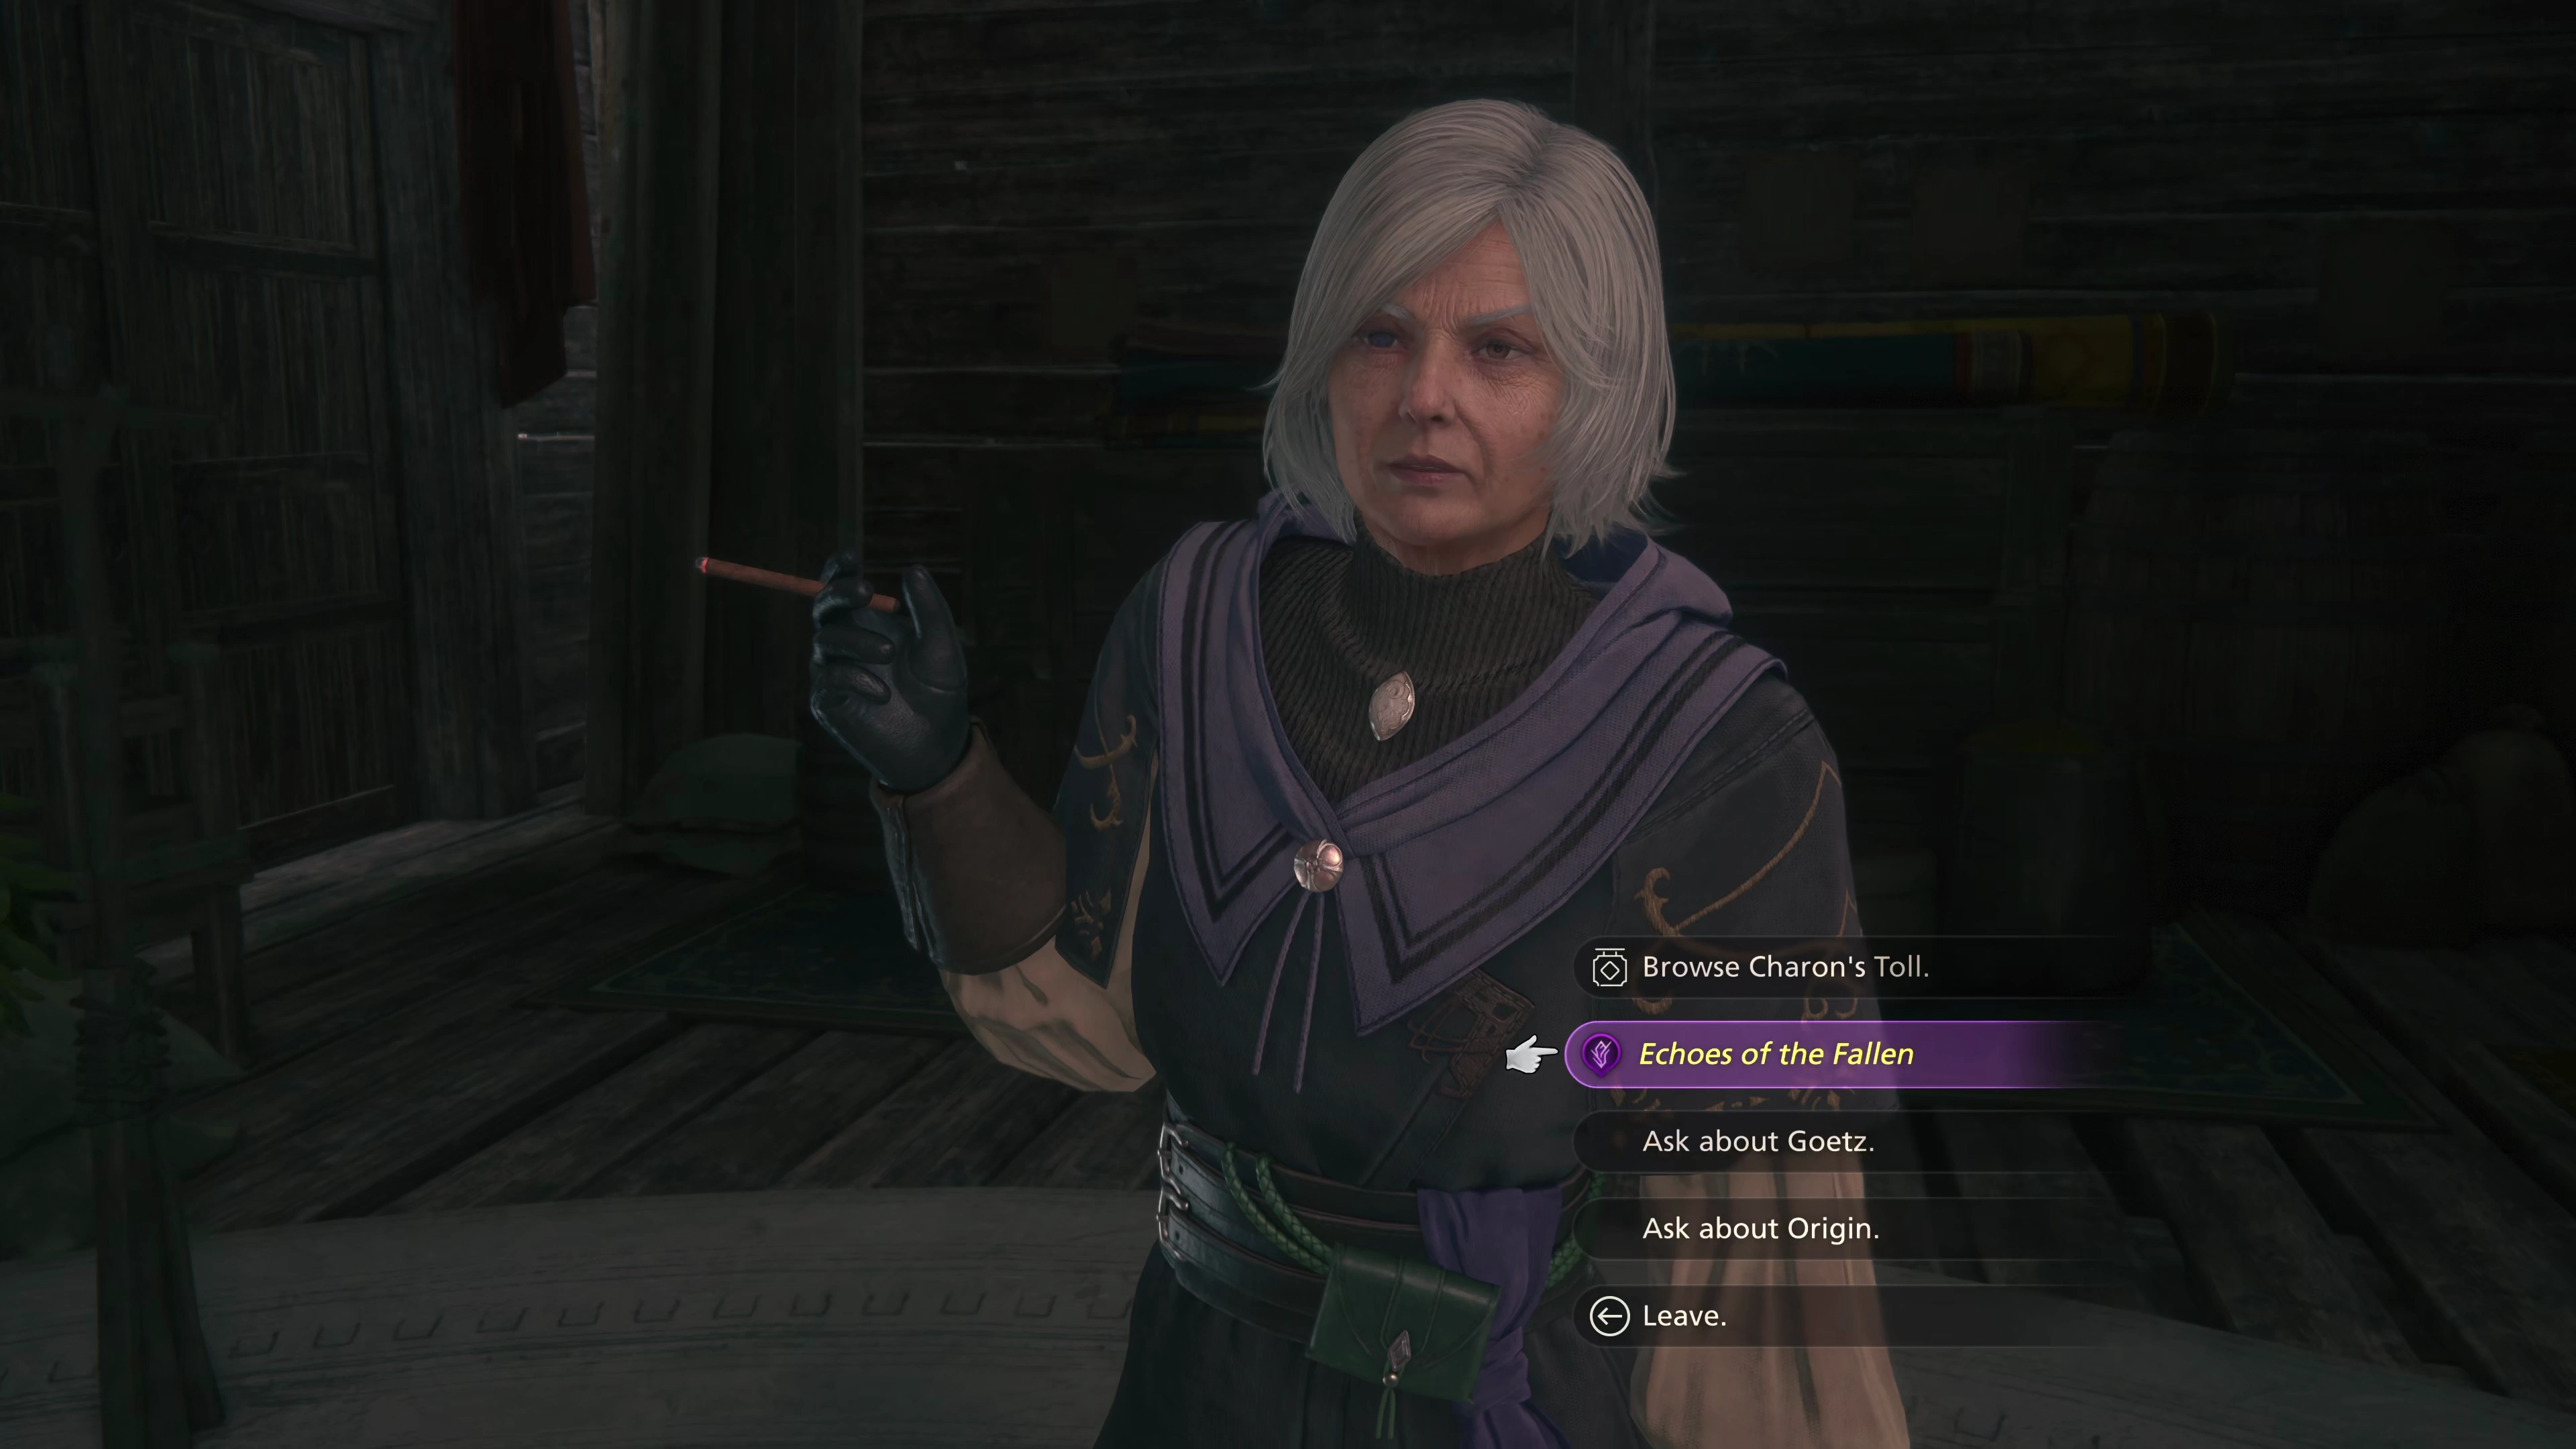
The “Echoes of the Fallen” DLC Expansion is actually just an Optional Quest that pops up once the requirements have been met. The Echoes of the Fallen Quest Marker ![]() appears over Charon’s head, so walk over and talk to her and select the “Echoes of the Fallen” option. When you’re presented with the option to “listen to her concerns,” select “go on,” and she will give Clive the
appears over Charon’s head, so walk over and talk to her and select the “Echoes of the Fallen” option. When you’re presented with the option to “listen to her concerns,” select “go on,” and she will give Clive the ![]() Dusk Shard item.
Dusk Shard item.
Achievement/Trophy
“Brave the dusk.” The  A Crystal Darkly Achievement/Trophy is earned as soon as you accept the “Echoes of the Fallen” DLC Expansion quest.
The first step of the quest is to speak with Joshua again, out on the balcony, to learn more about the crystal. After a discussion with Joshua, Jill, Charon, and Harpocrates, your second step is to travel to “Port Isolde.” Travel to the ![]() Port Isolde Obelisk.
Port Isolde Obelisk.
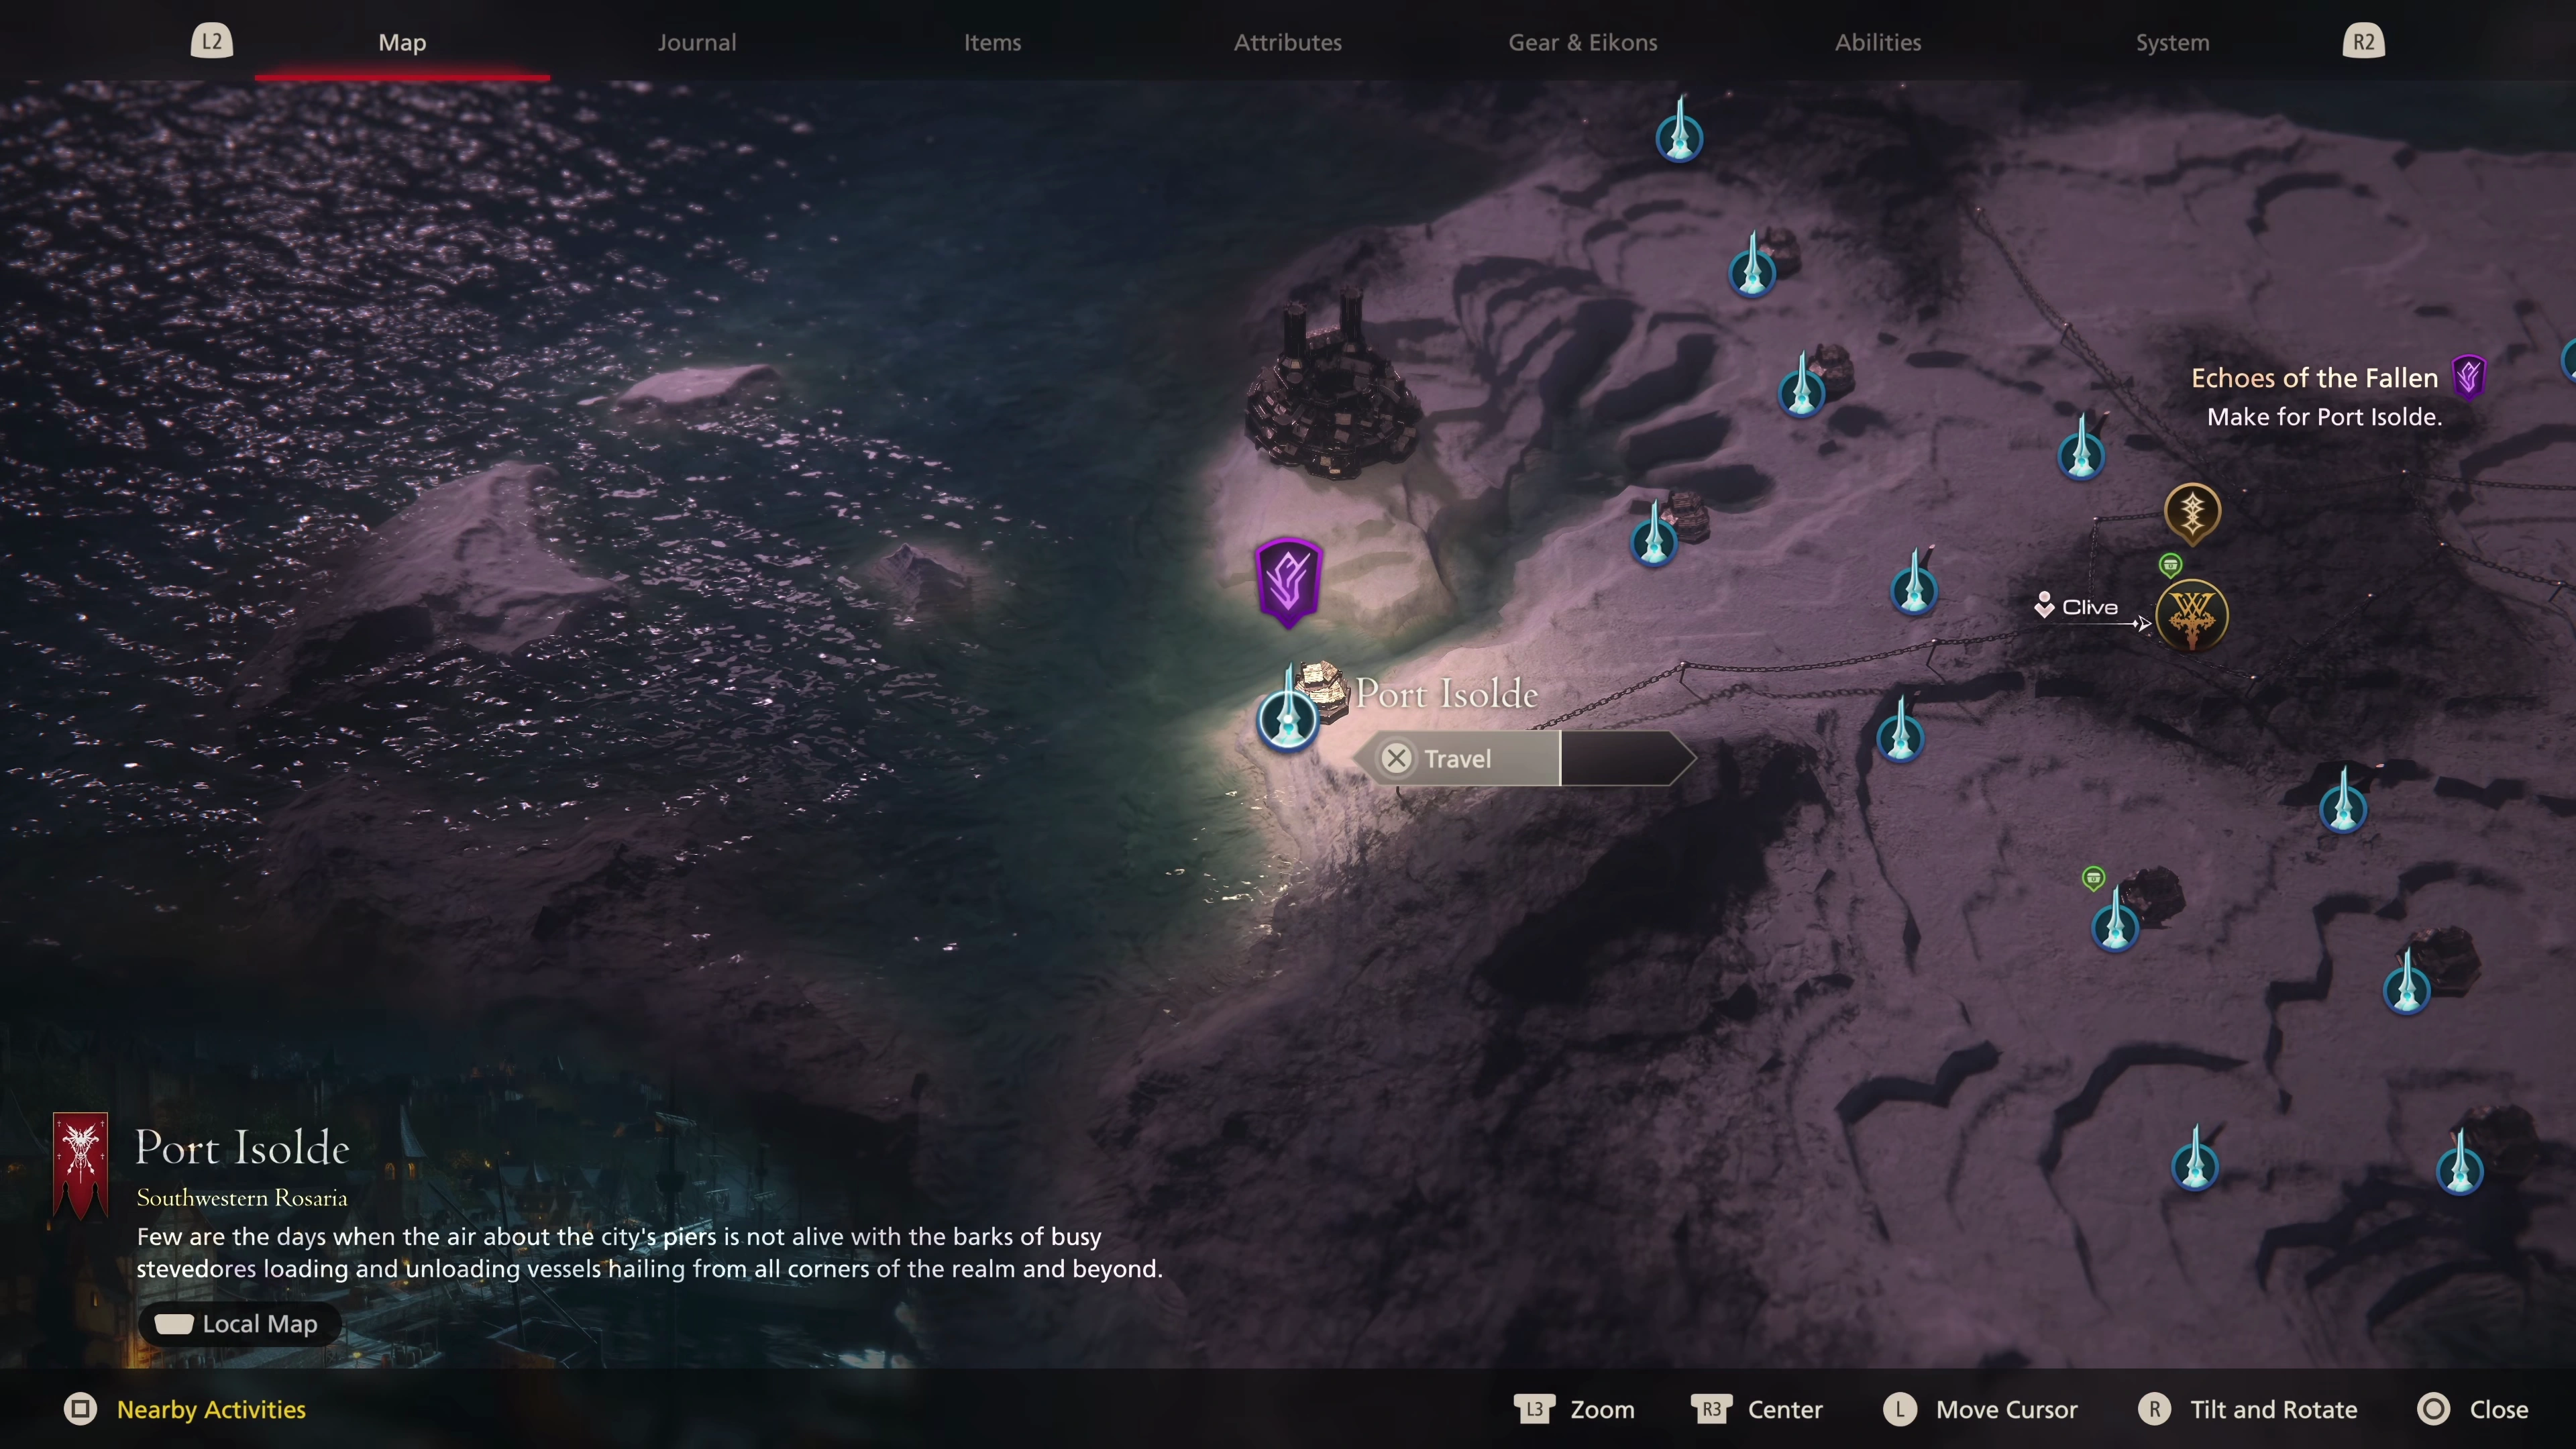
 Port Isolde
A cutscene will begin as soon as you arrive. Talk to the Sellsword with the marker above his head, and you’ll be presented with a warning message that states, “You have reached a pivotal moment in ![]() Echoes of the Fallen. If you continue, you will not be able to return. Proceed?”
Echoes of the Fallen. If you continue, you will not be able to return. Proceed?”

This warning message is not the same as the pivotal moment in the story that happened in Moore during the ![]() Righting Wrongs chapter. You’ll eventually return to the Hideaway and the regular game’s story, but not until you’ve fully completed the Echoes of the Fallen DLC Expansion content. You will not be able to warp back to the
Righting Wrongs chapter. You’ll eventually return to the Hideaway and the regular game’s story, but not until you’ve fully completed the Echoes of the Fallen DLC Expansion content. You will not be able to warp back to the ![]() Hideaway or anywhere else in Valisthea until you’re done. Select “Yes” to continue.
Hideaway or anywhere else in Valisthea until you’re done. Select “Yes” to continue.
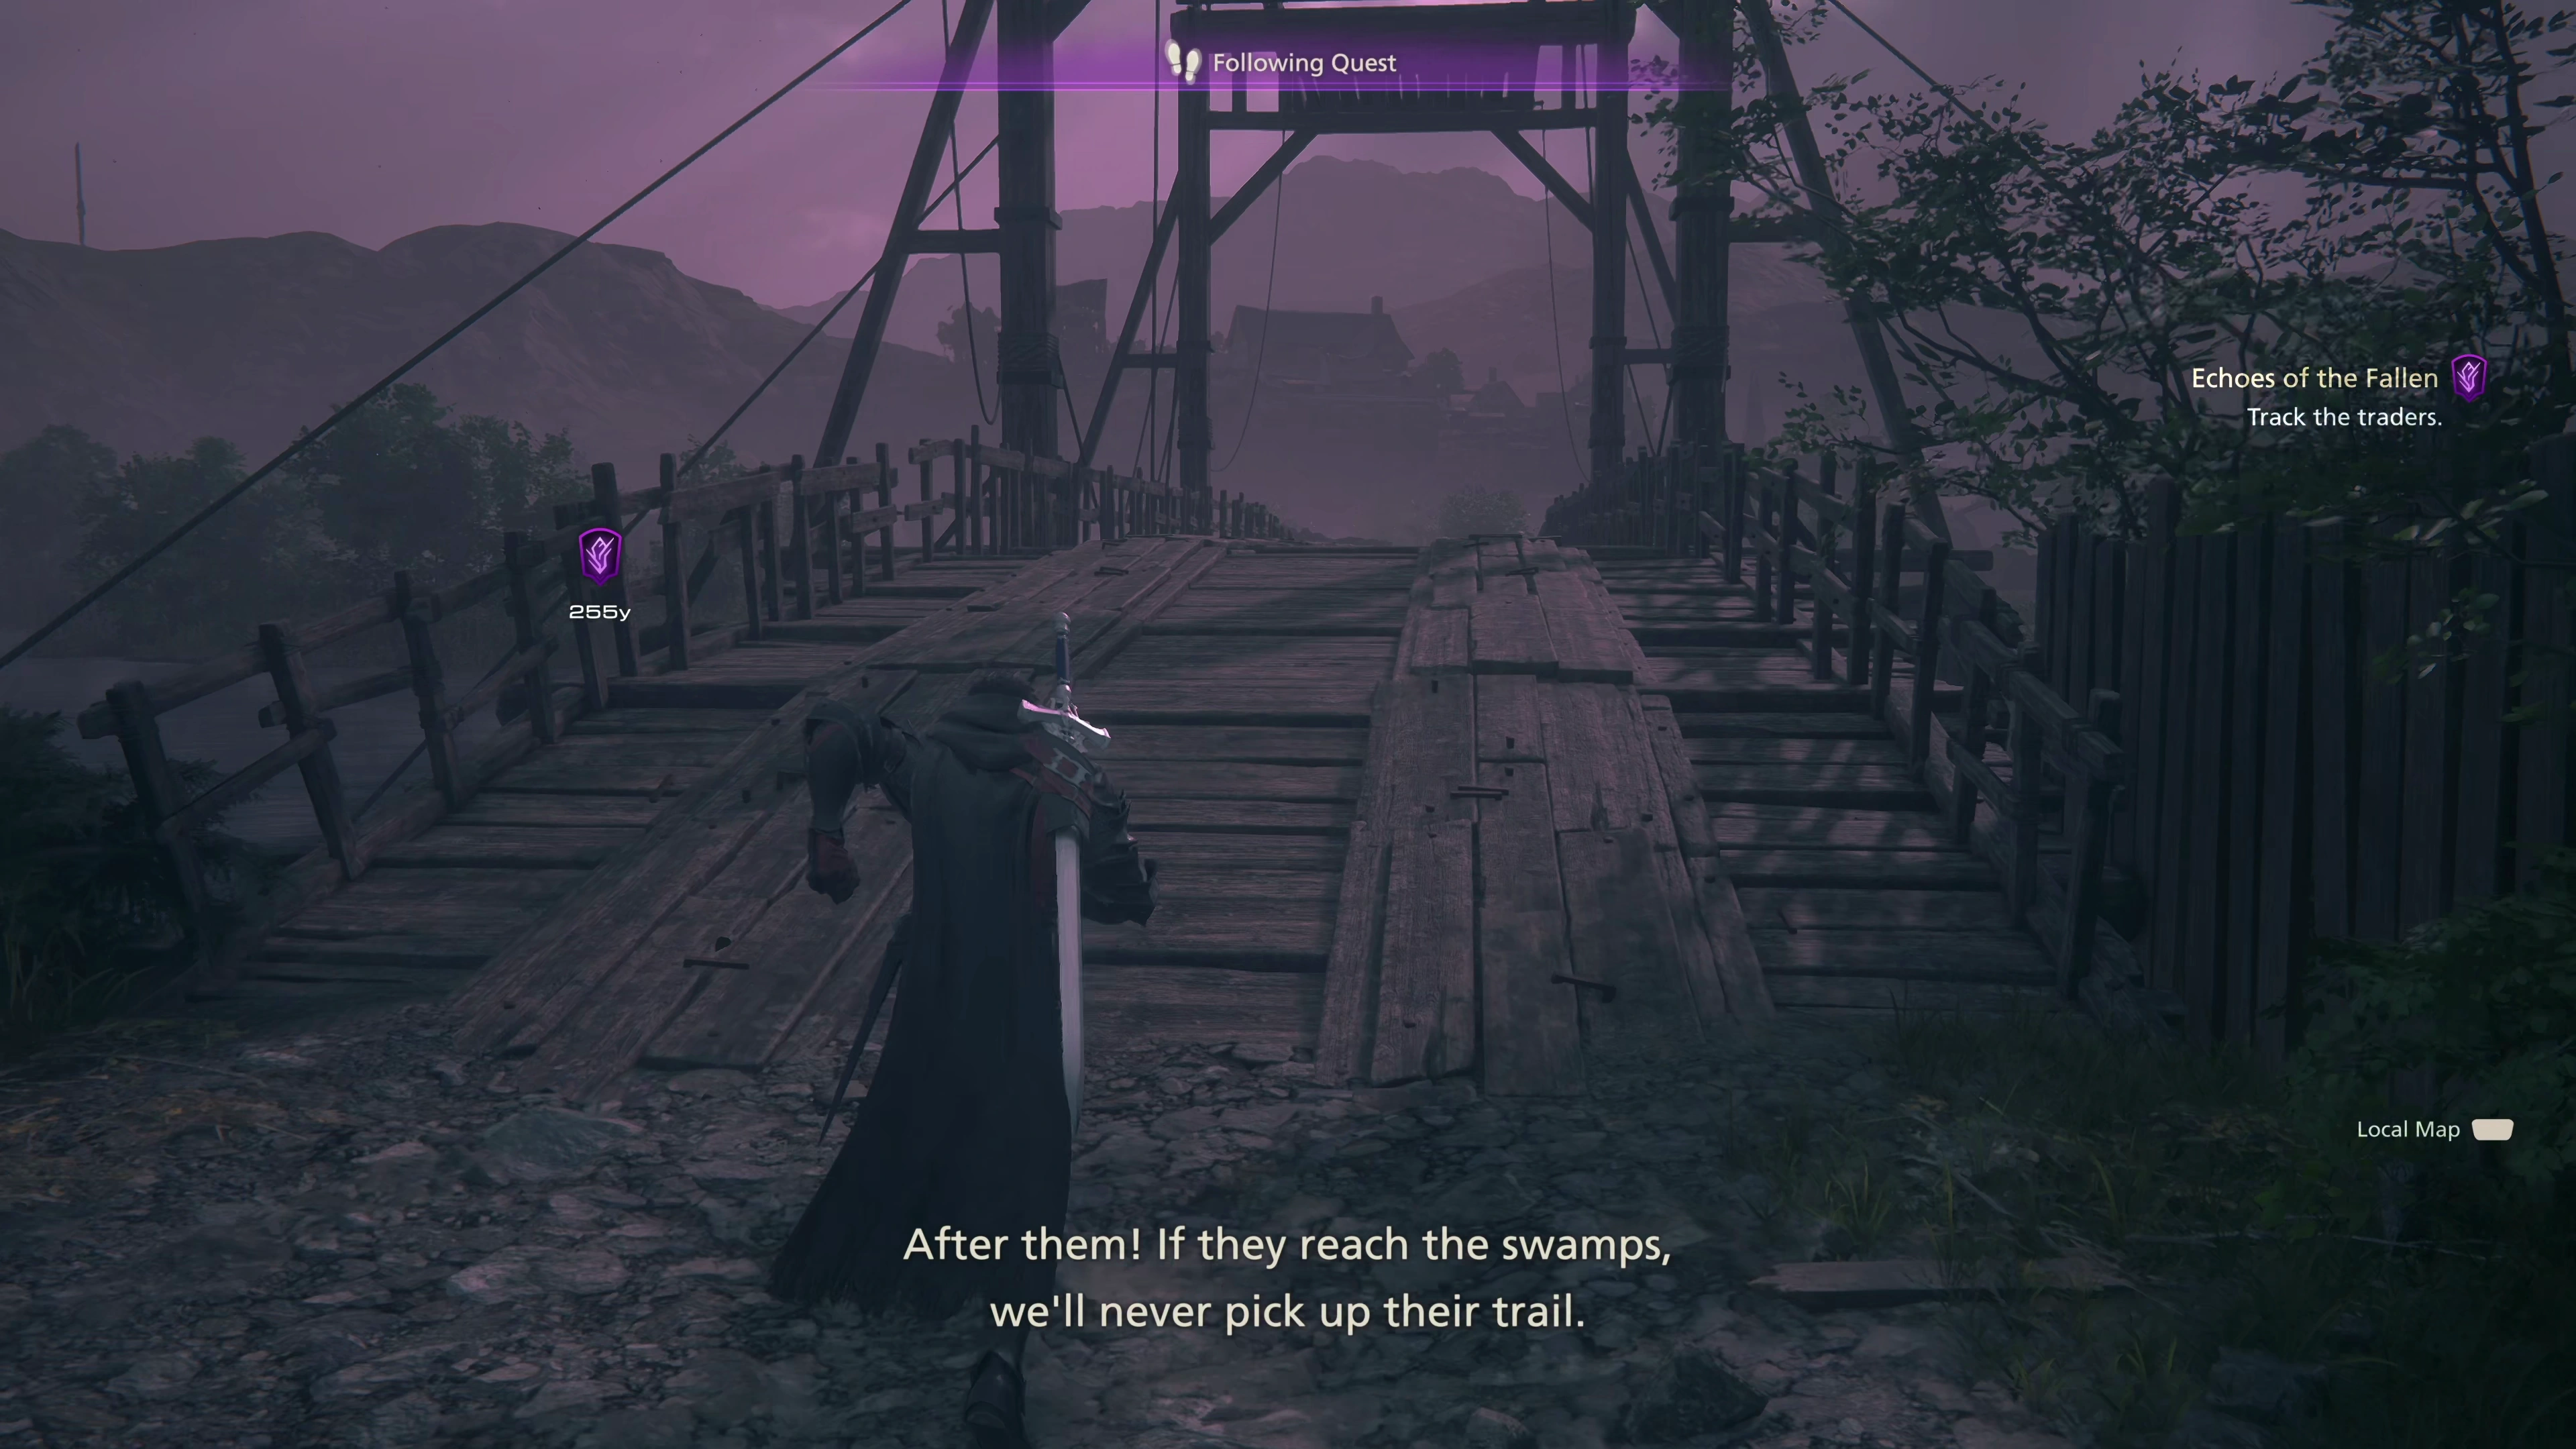
The next destination is Bewit Bridge. Mount your ![]() Chocobo and ride towards the marker for another short cutscene, and then head to the next marker at the Auldhyl Docks.
Chocobo and ride towards the marker for another short cutscene, and then head to the next marker at the Auldhyl Docks.
 The Auldhyl Docks
You’ll see some enemies scatter off into the distance (called Shard Sharps) that are also looking for the ‘traders,’ but ignore them and head to the north section of town towards “Riddock’s Jump.” Another cutscene will take place, followed by a fight against a larger group of Shard Sharp enemies. Continue into Sorrowise following the quest marker.
Sorrowise
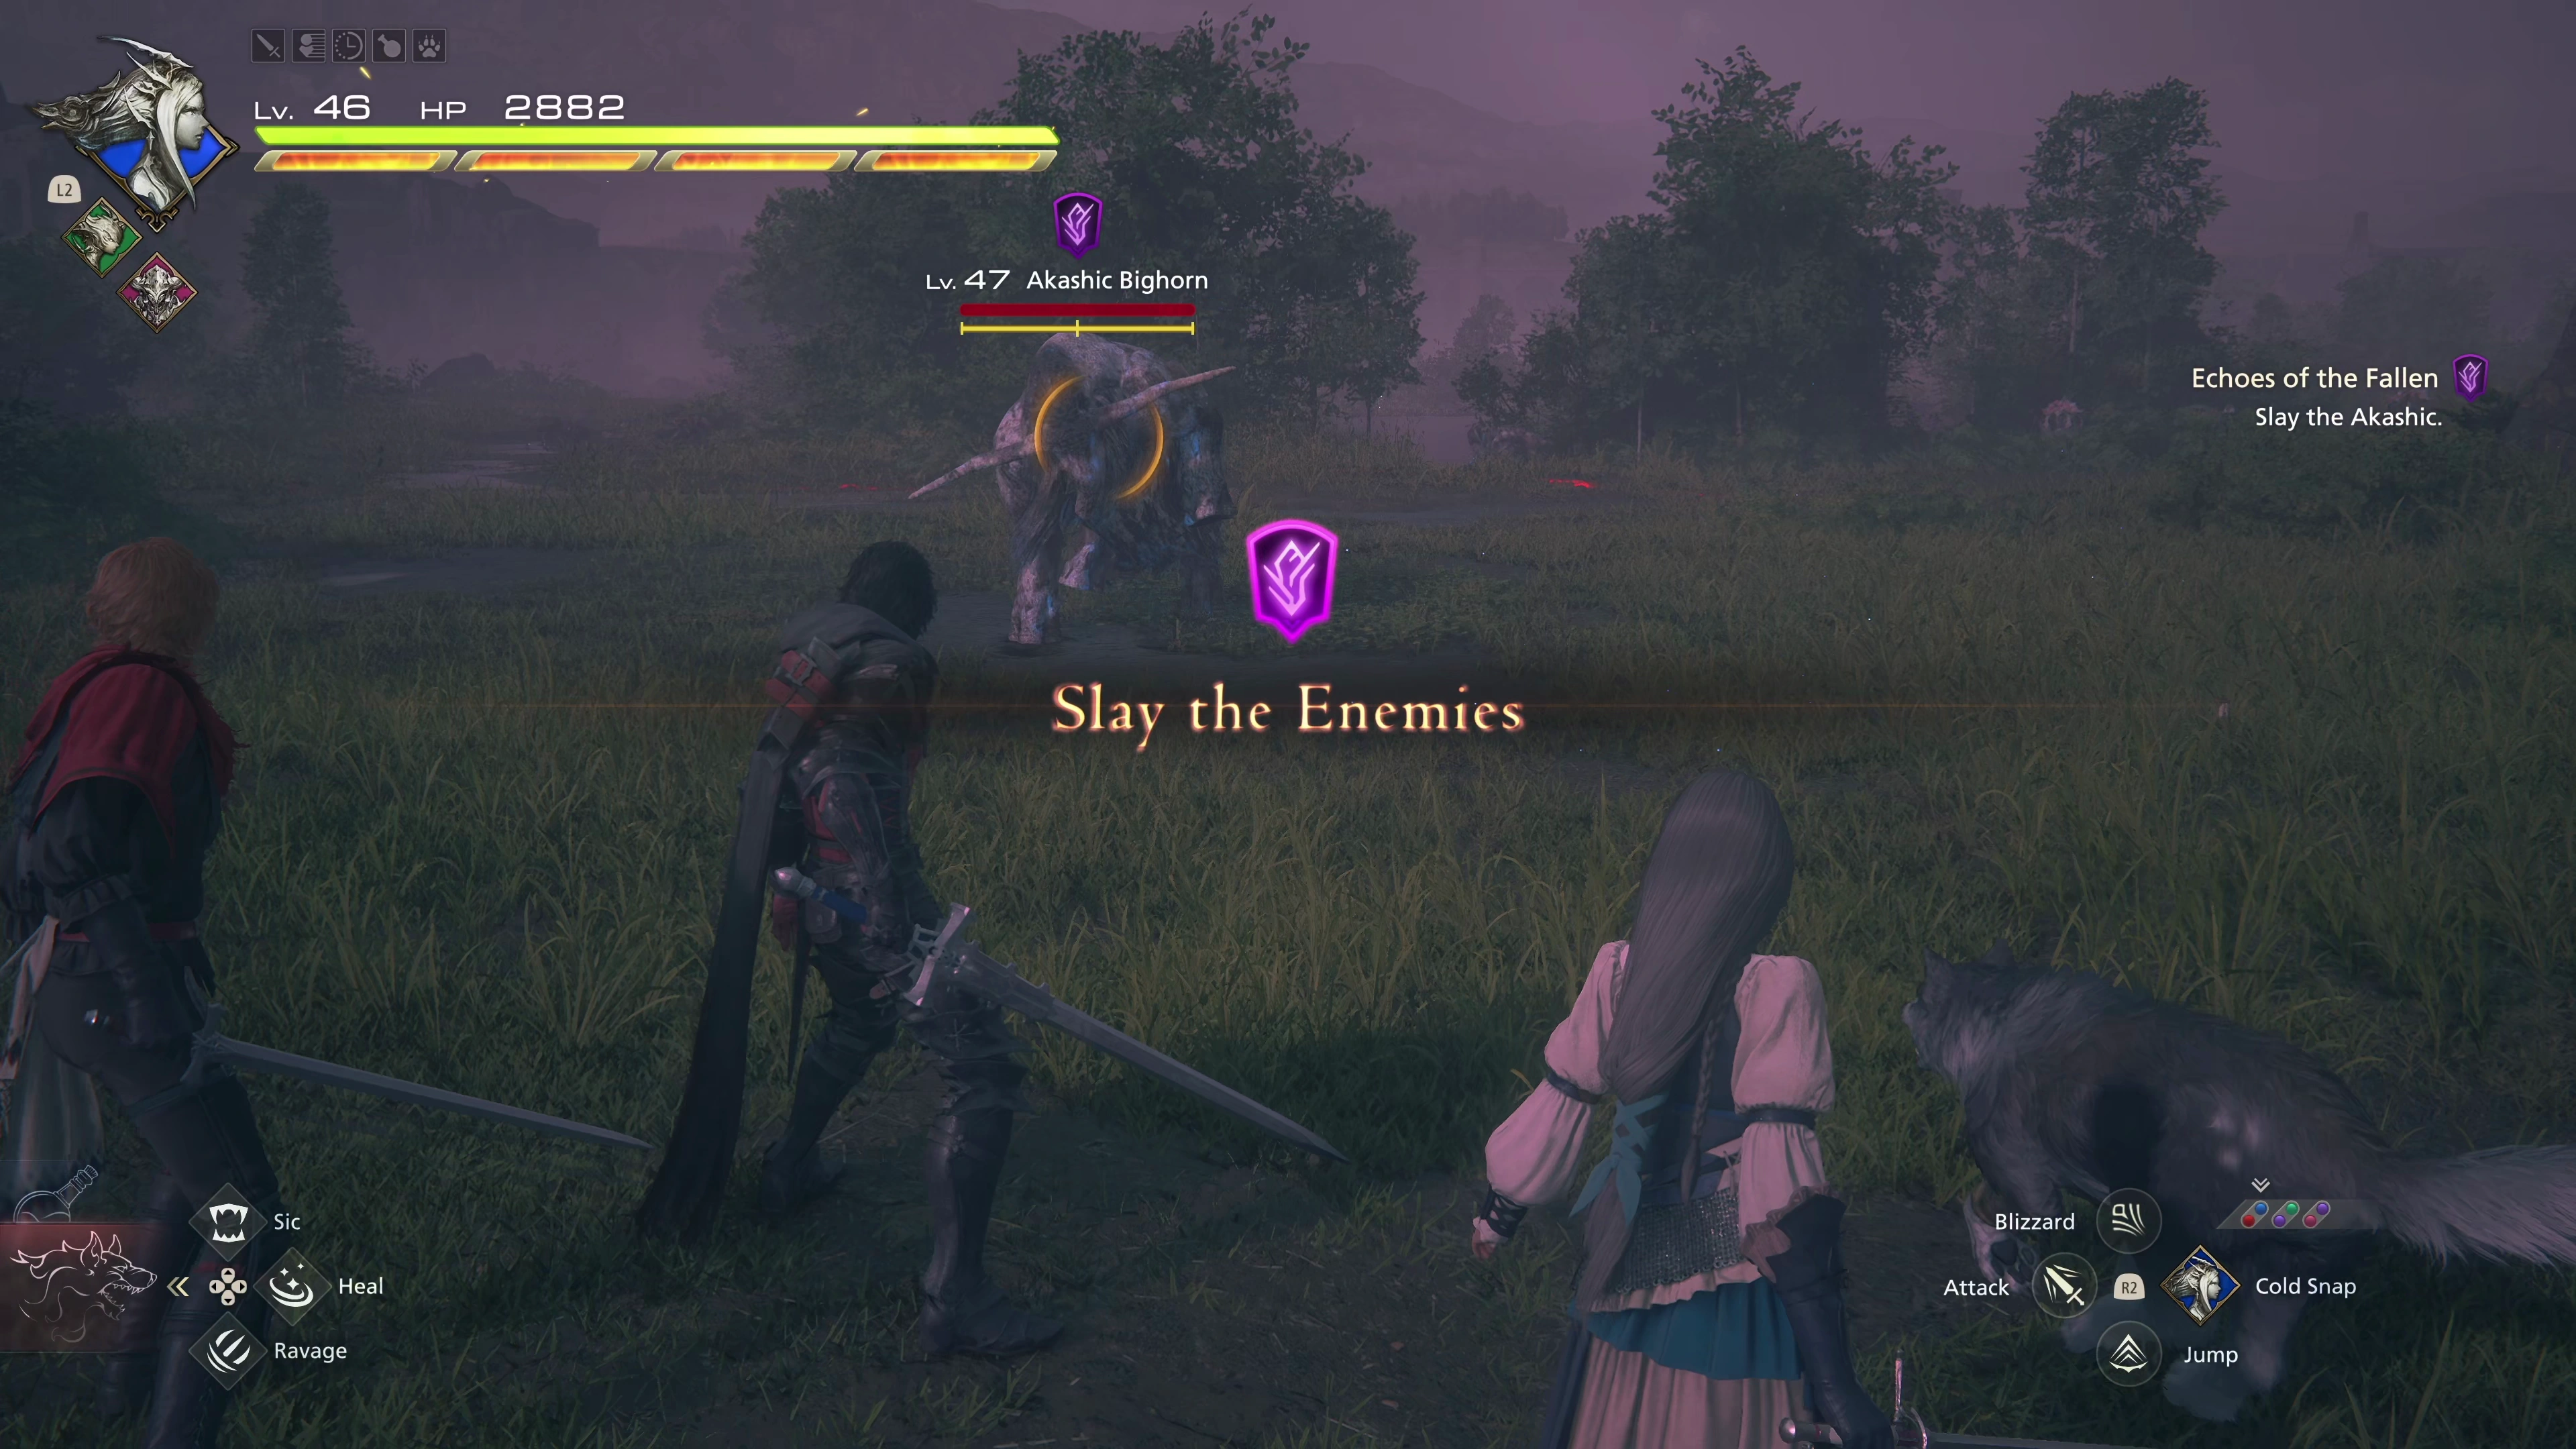
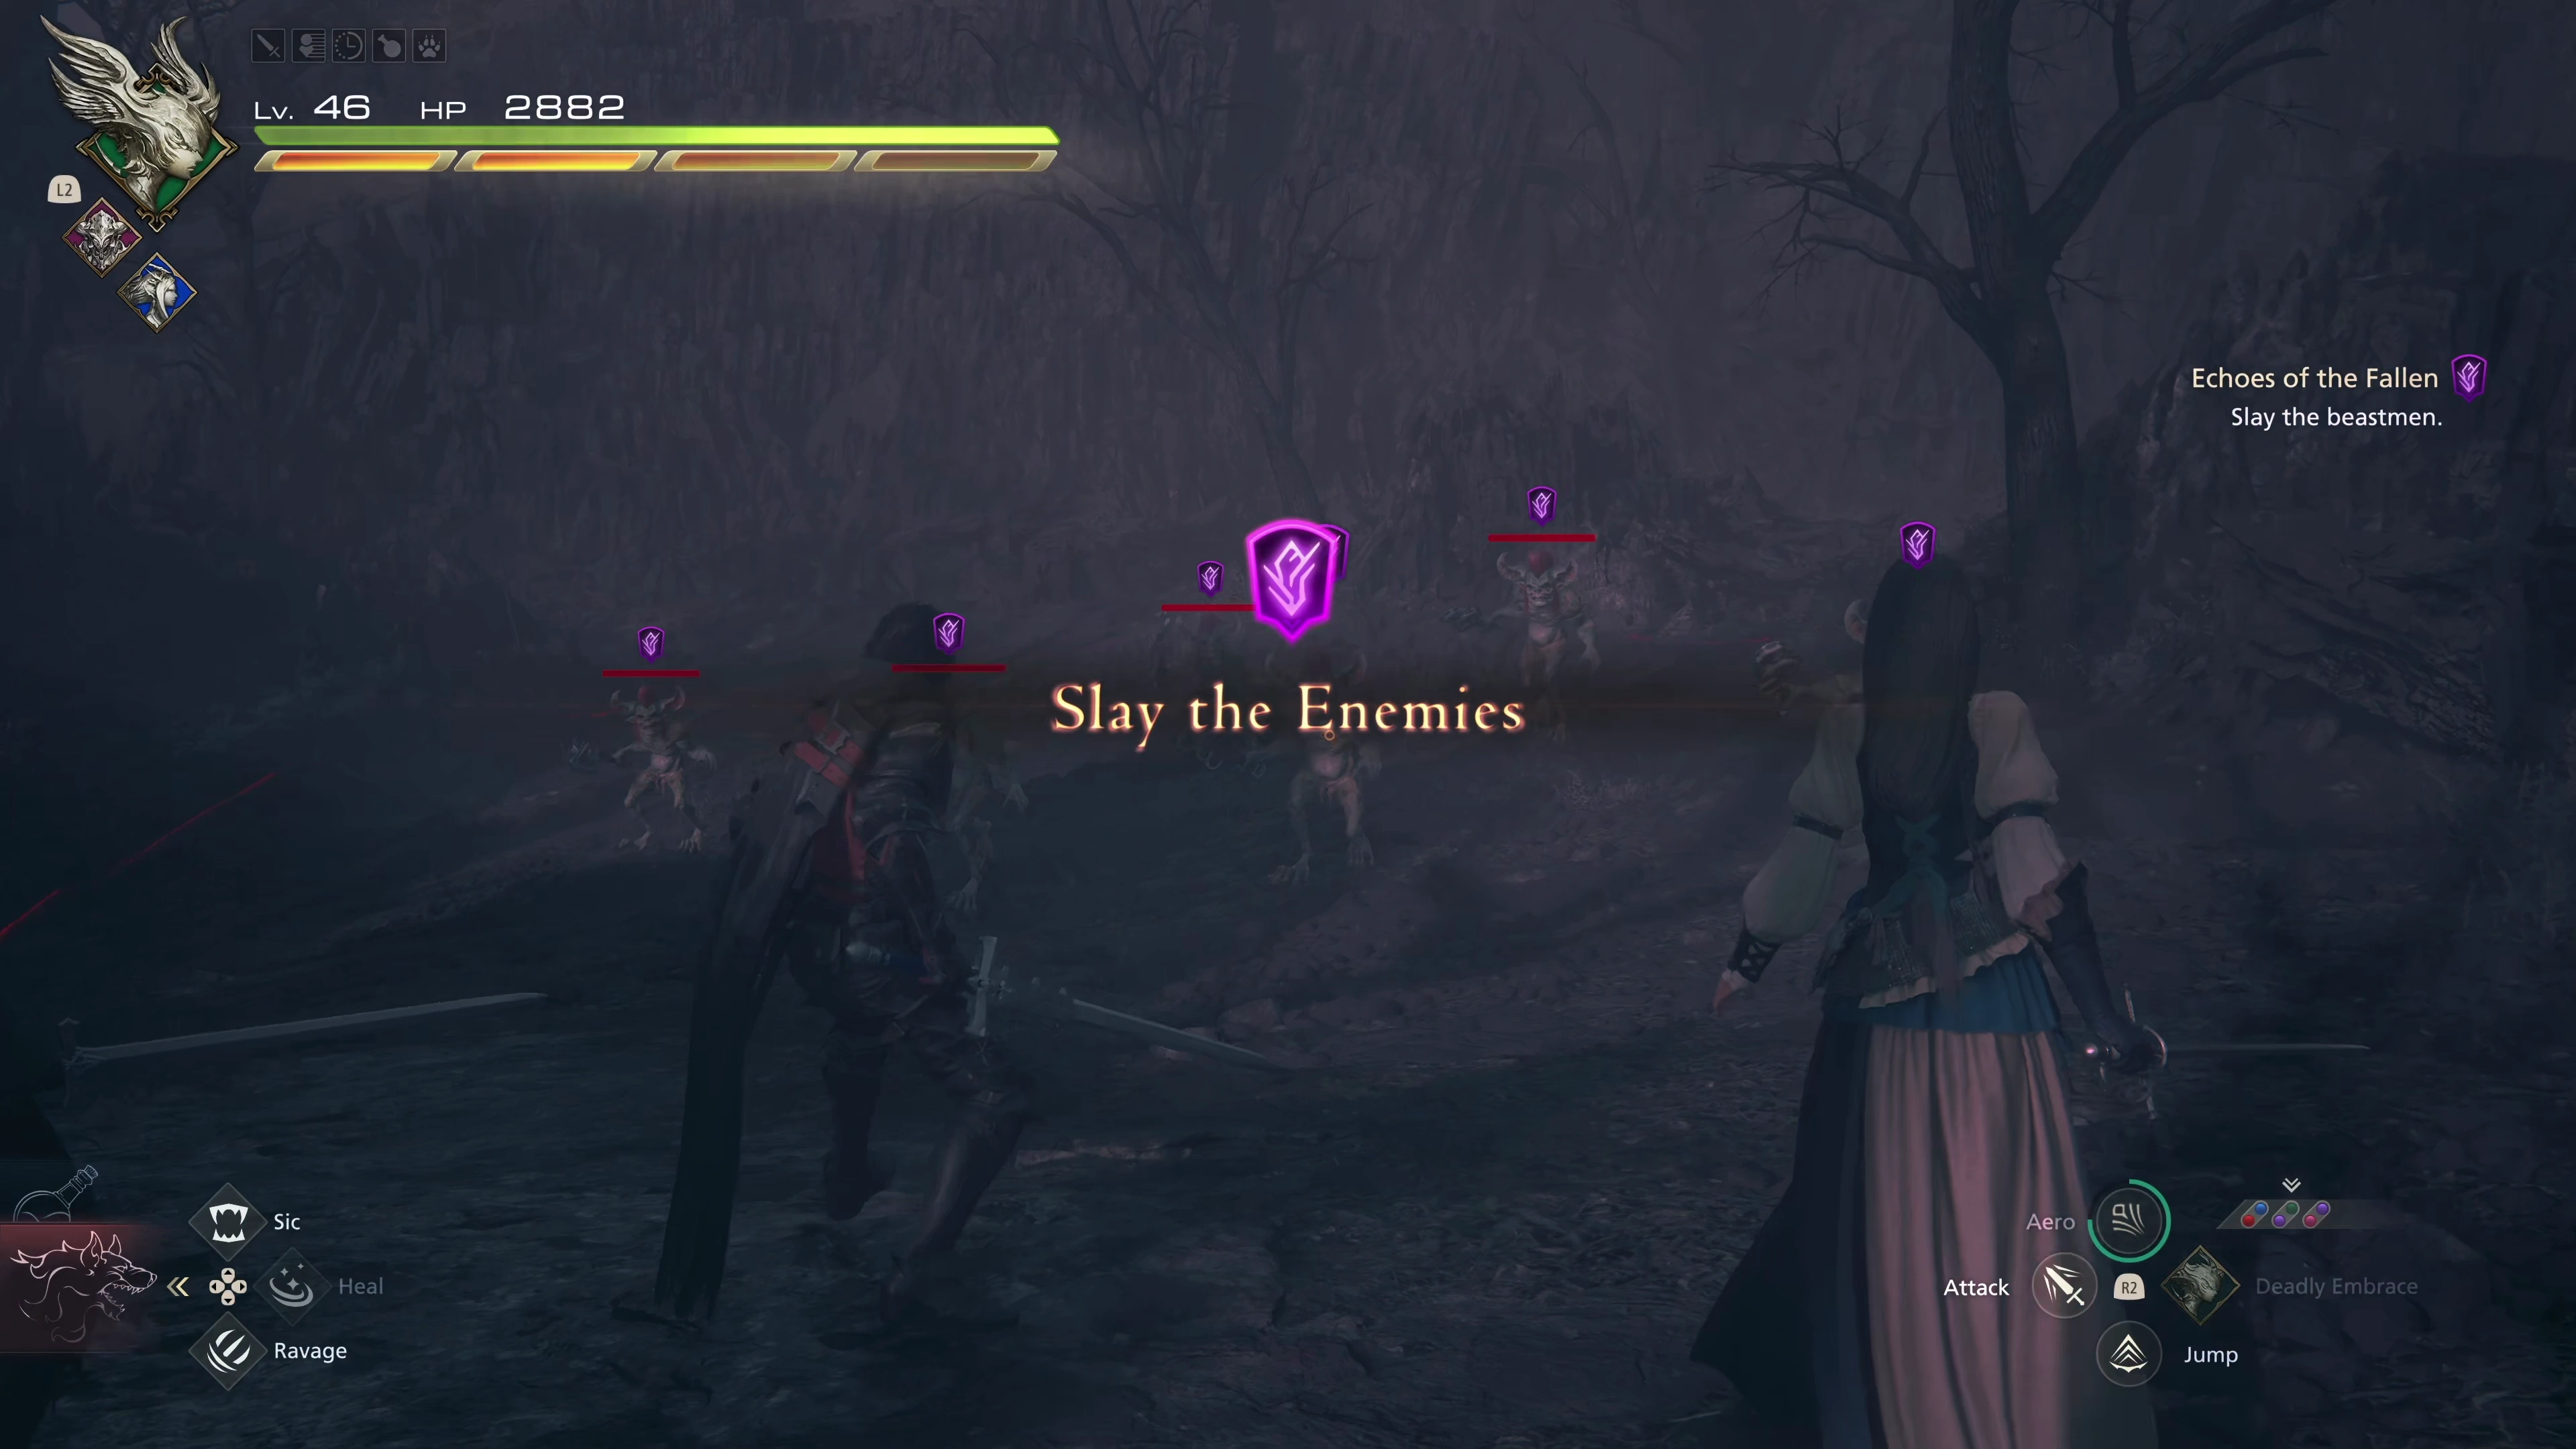
A short cutscene will trigger as the team notices a trail of dusk crystals littering the ground. Follow the quest marker to the next location for another discussion, followed by a battle against an Akashic Bighorn (with some accompanying Akashic Crabs). This is an enemy that you’ve fought a few times already.
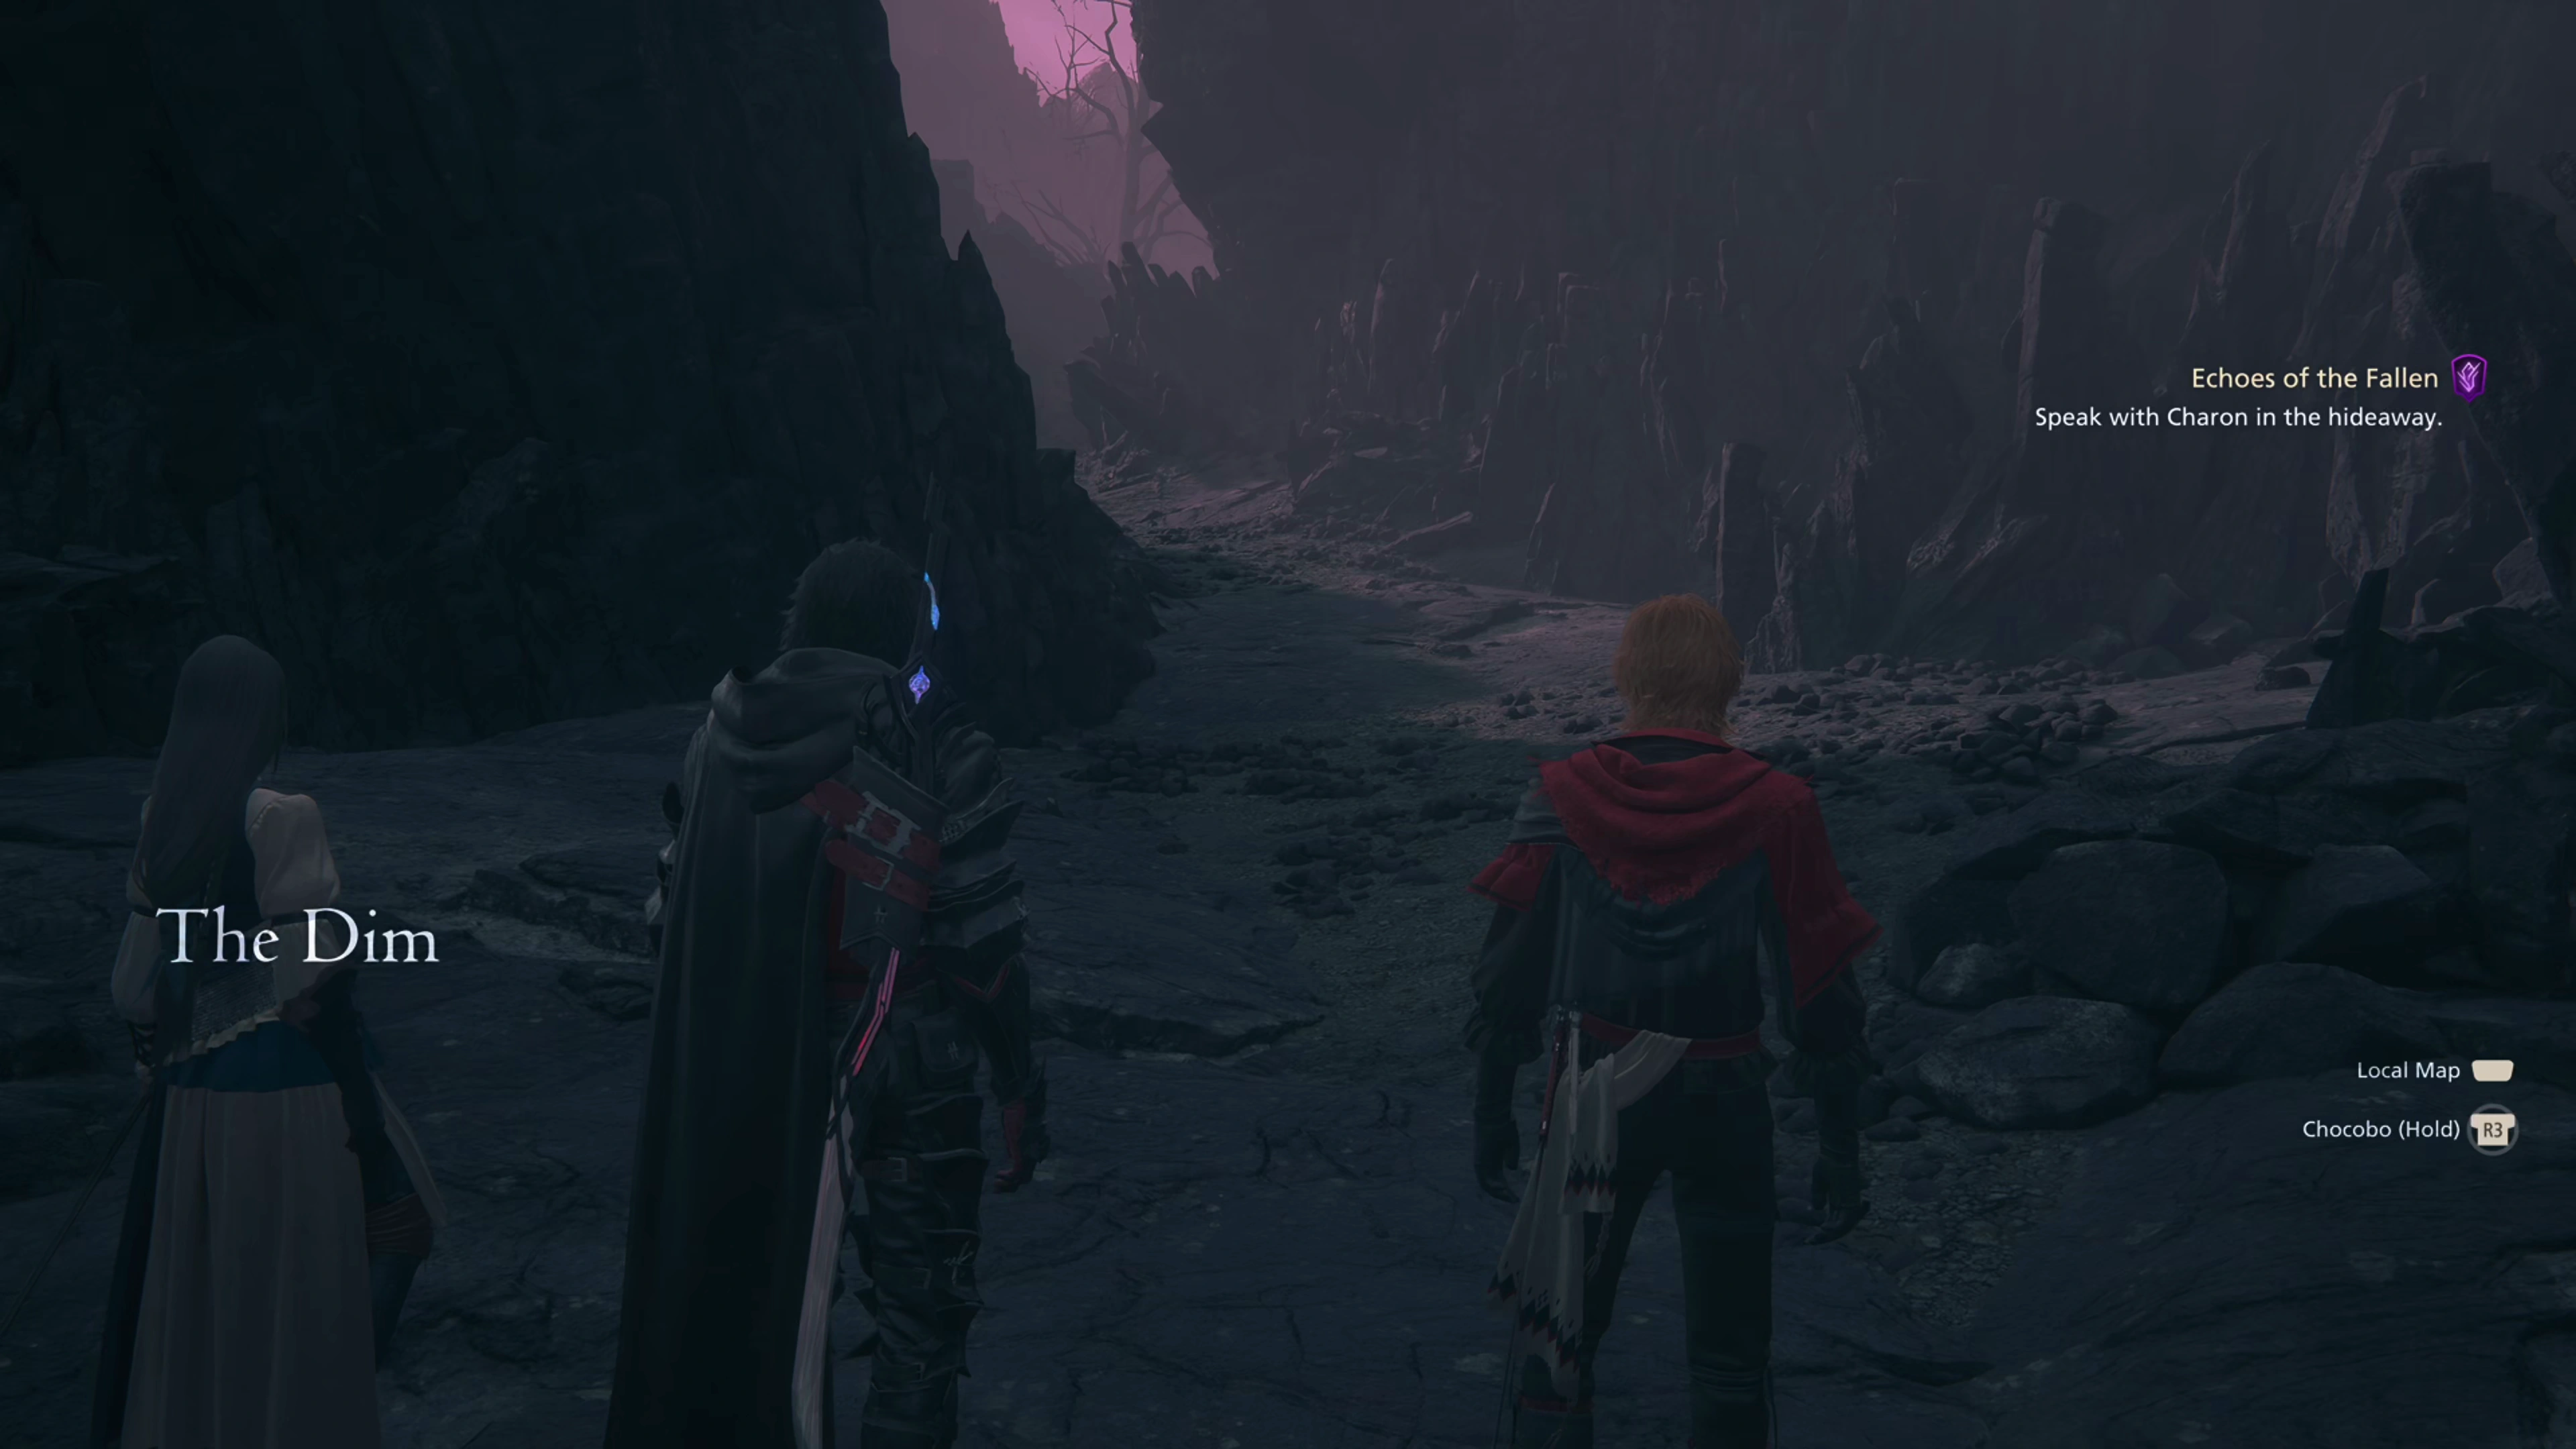
The next task, following yet another cutscene, is to head to the Sagespire, which is a new location that you haven’t visited before, because the last time we passed by it (during the ![]() Holding On Main Scenario Quest), the seal on the door was still closed. Warp to
Holding On Main Scenario Quest), the seal on the door was still closed. Warp to ![]() The Dim Obelisk and head south.
The Dim Obelisk and head south.
The Dim
There are a couple of Glimmer spots to pick up before a short cutscene will take place ahead of a battle against a new type of enemy. These Domovikha enemies are similar to goblins, but they wield axes, making them just a little bit stronger, but still relatively easy to deal with, even without the assistance of magic in this area. You’ll be stuck with just your ![]() Melee Attack and
Melee Attack and ![]() Dodge for this fight.
Dodge for this fight.
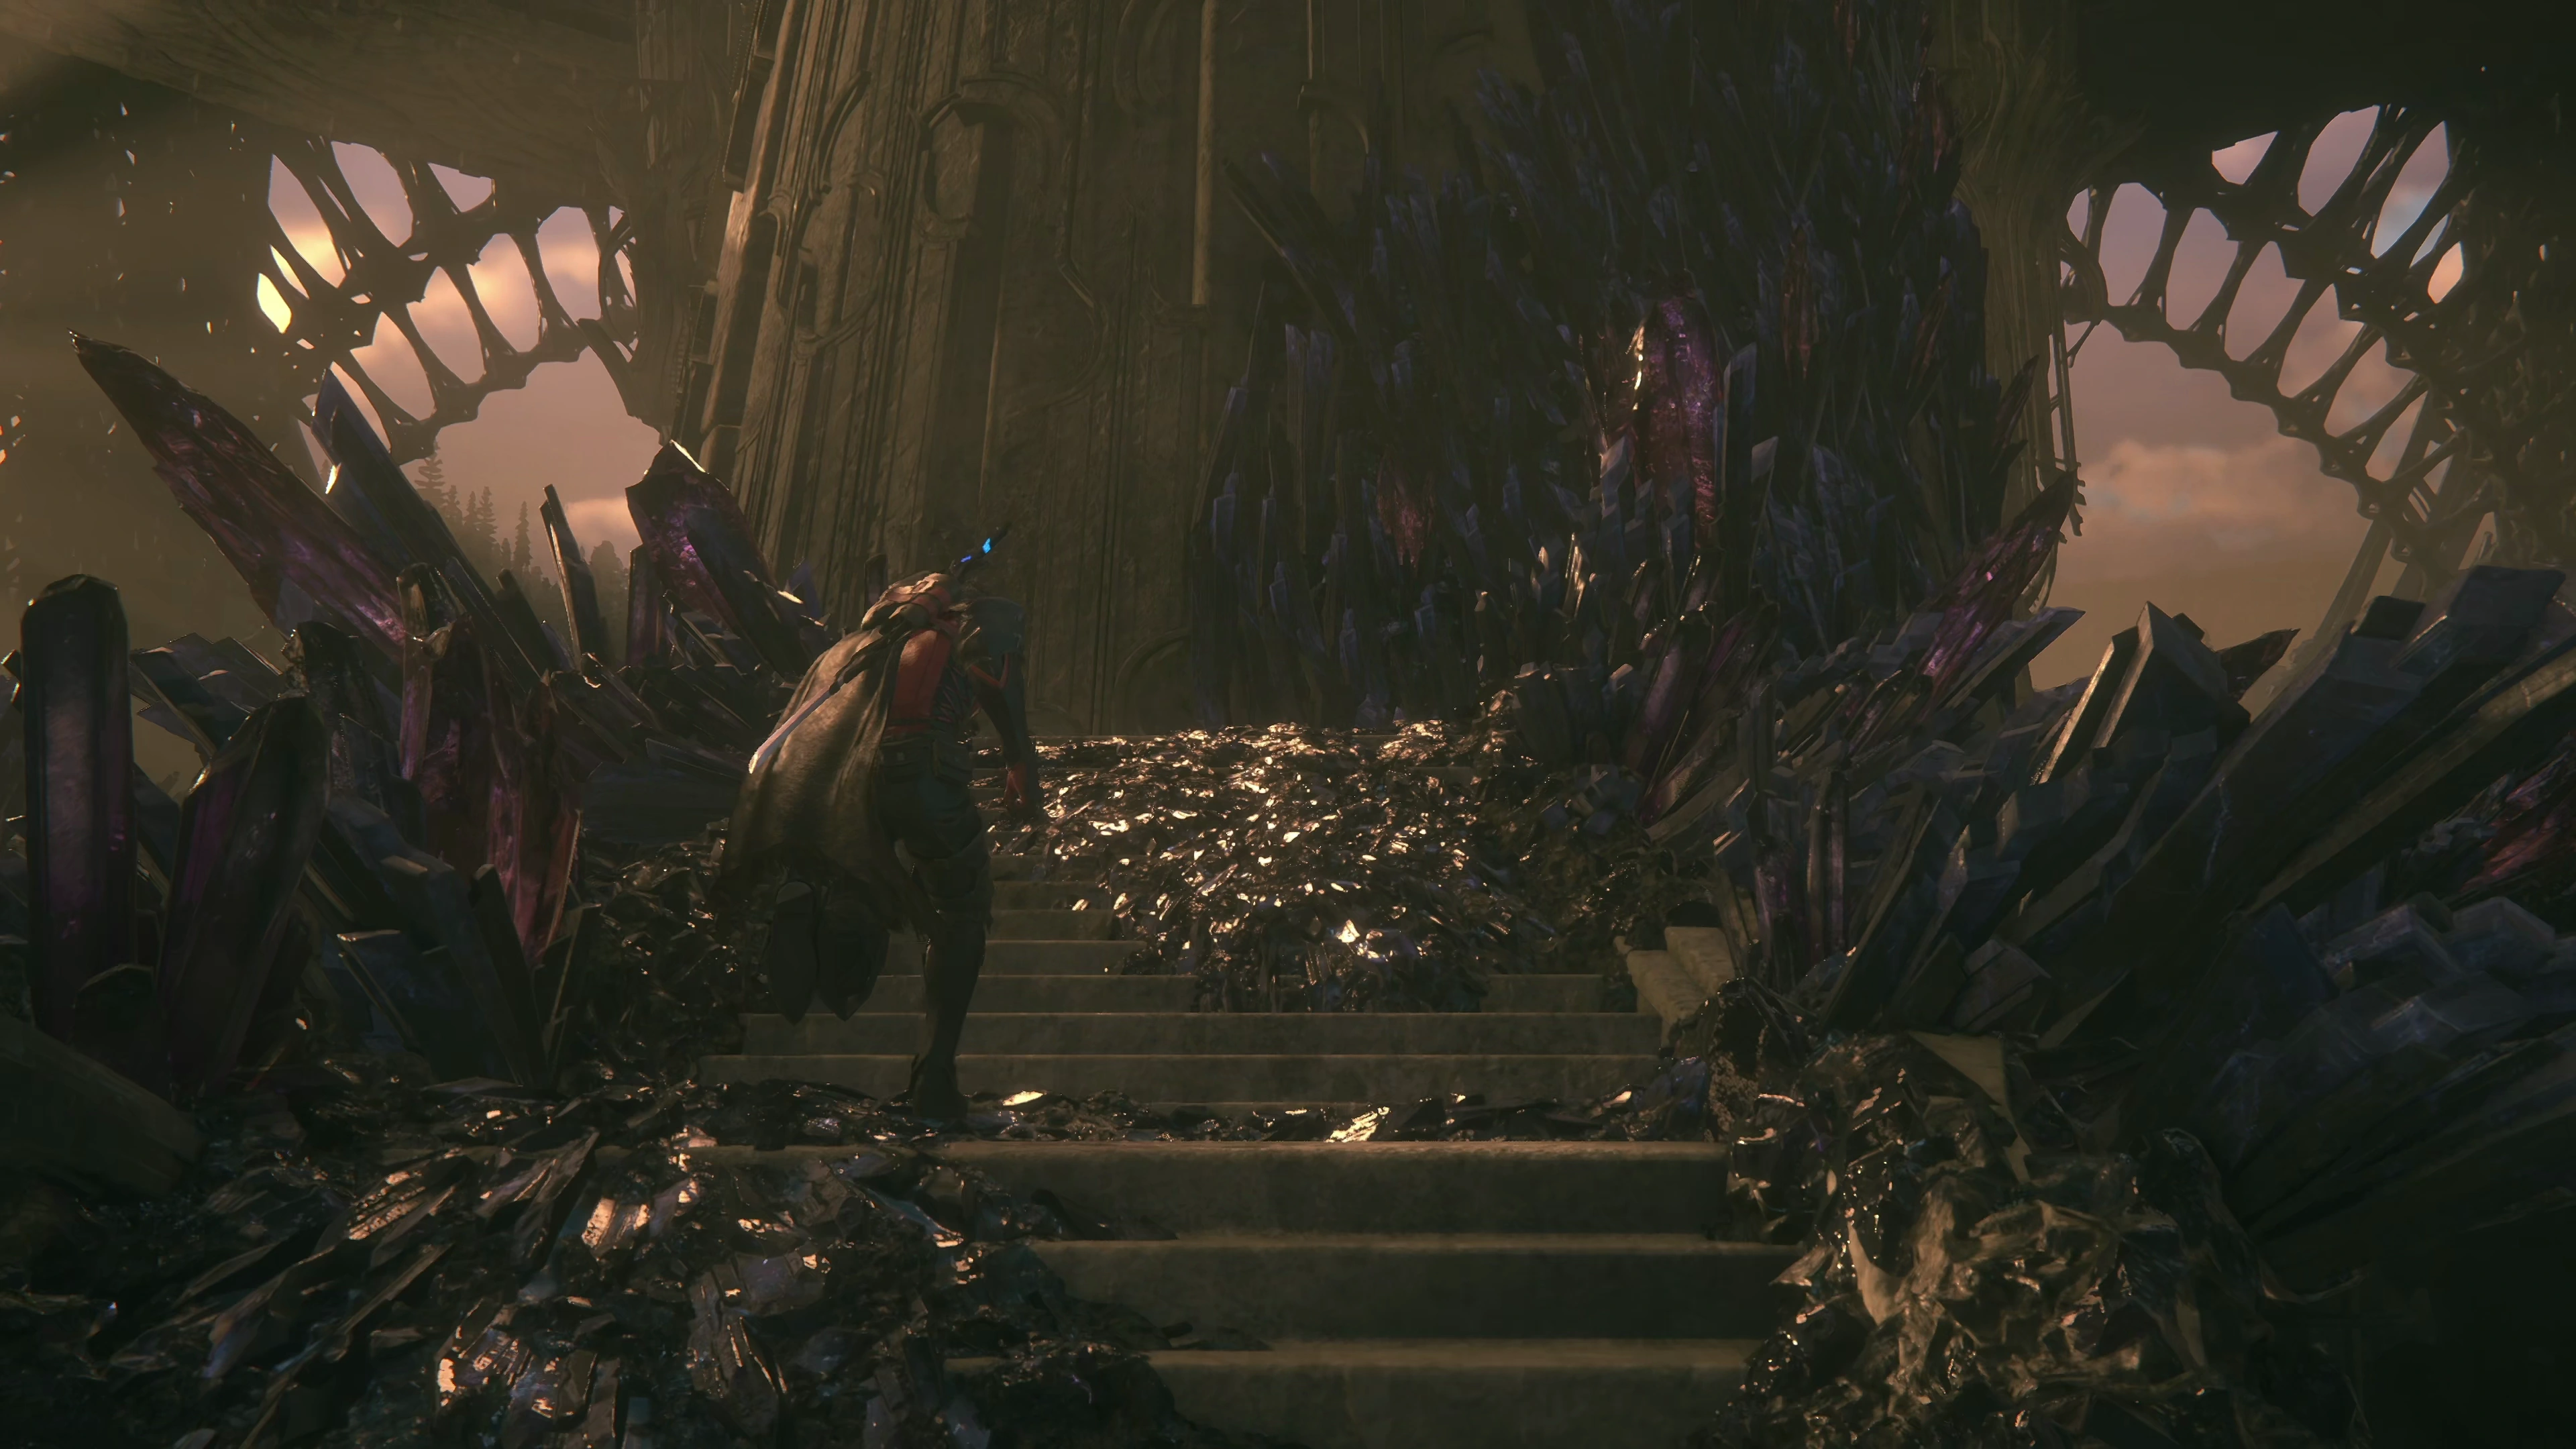
Follow Joshua towards the open entrance to the Sagespire.
Achievement/Trophy
“Enter the spire.” The The Only Way Is Up Achievement/Trophy is earned as soon as you enter the Sagespire.
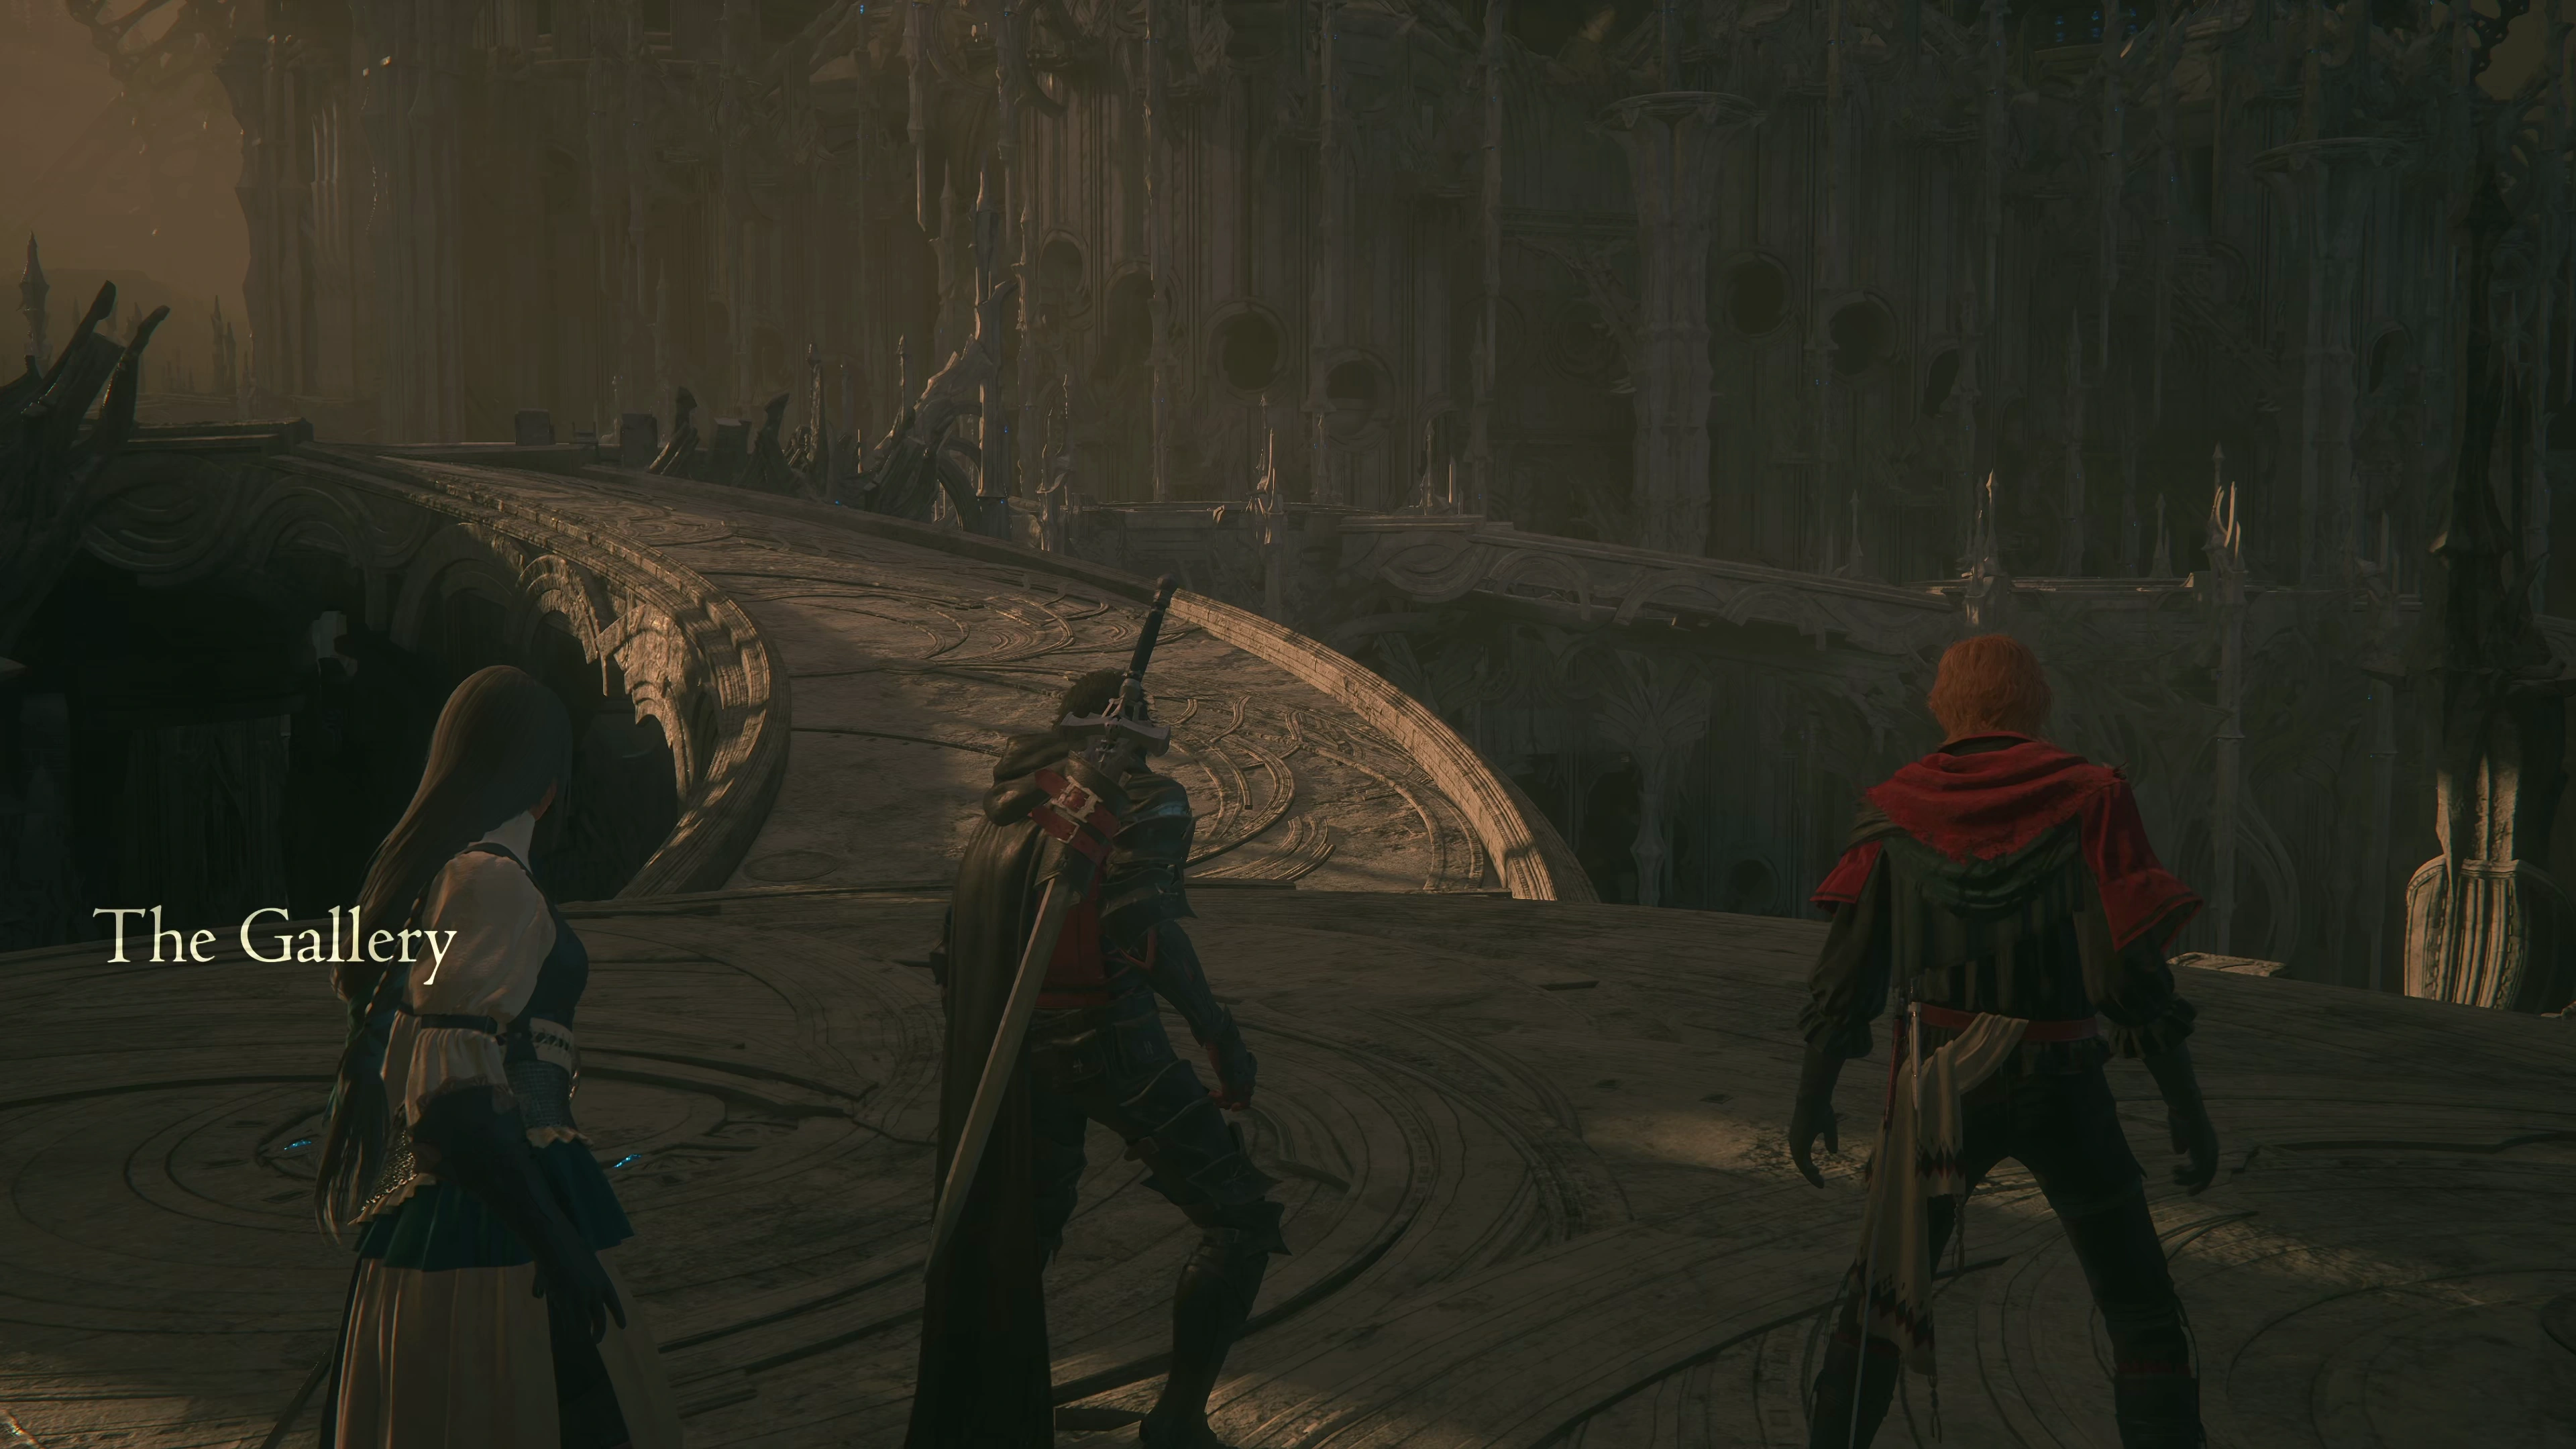
The Gallery
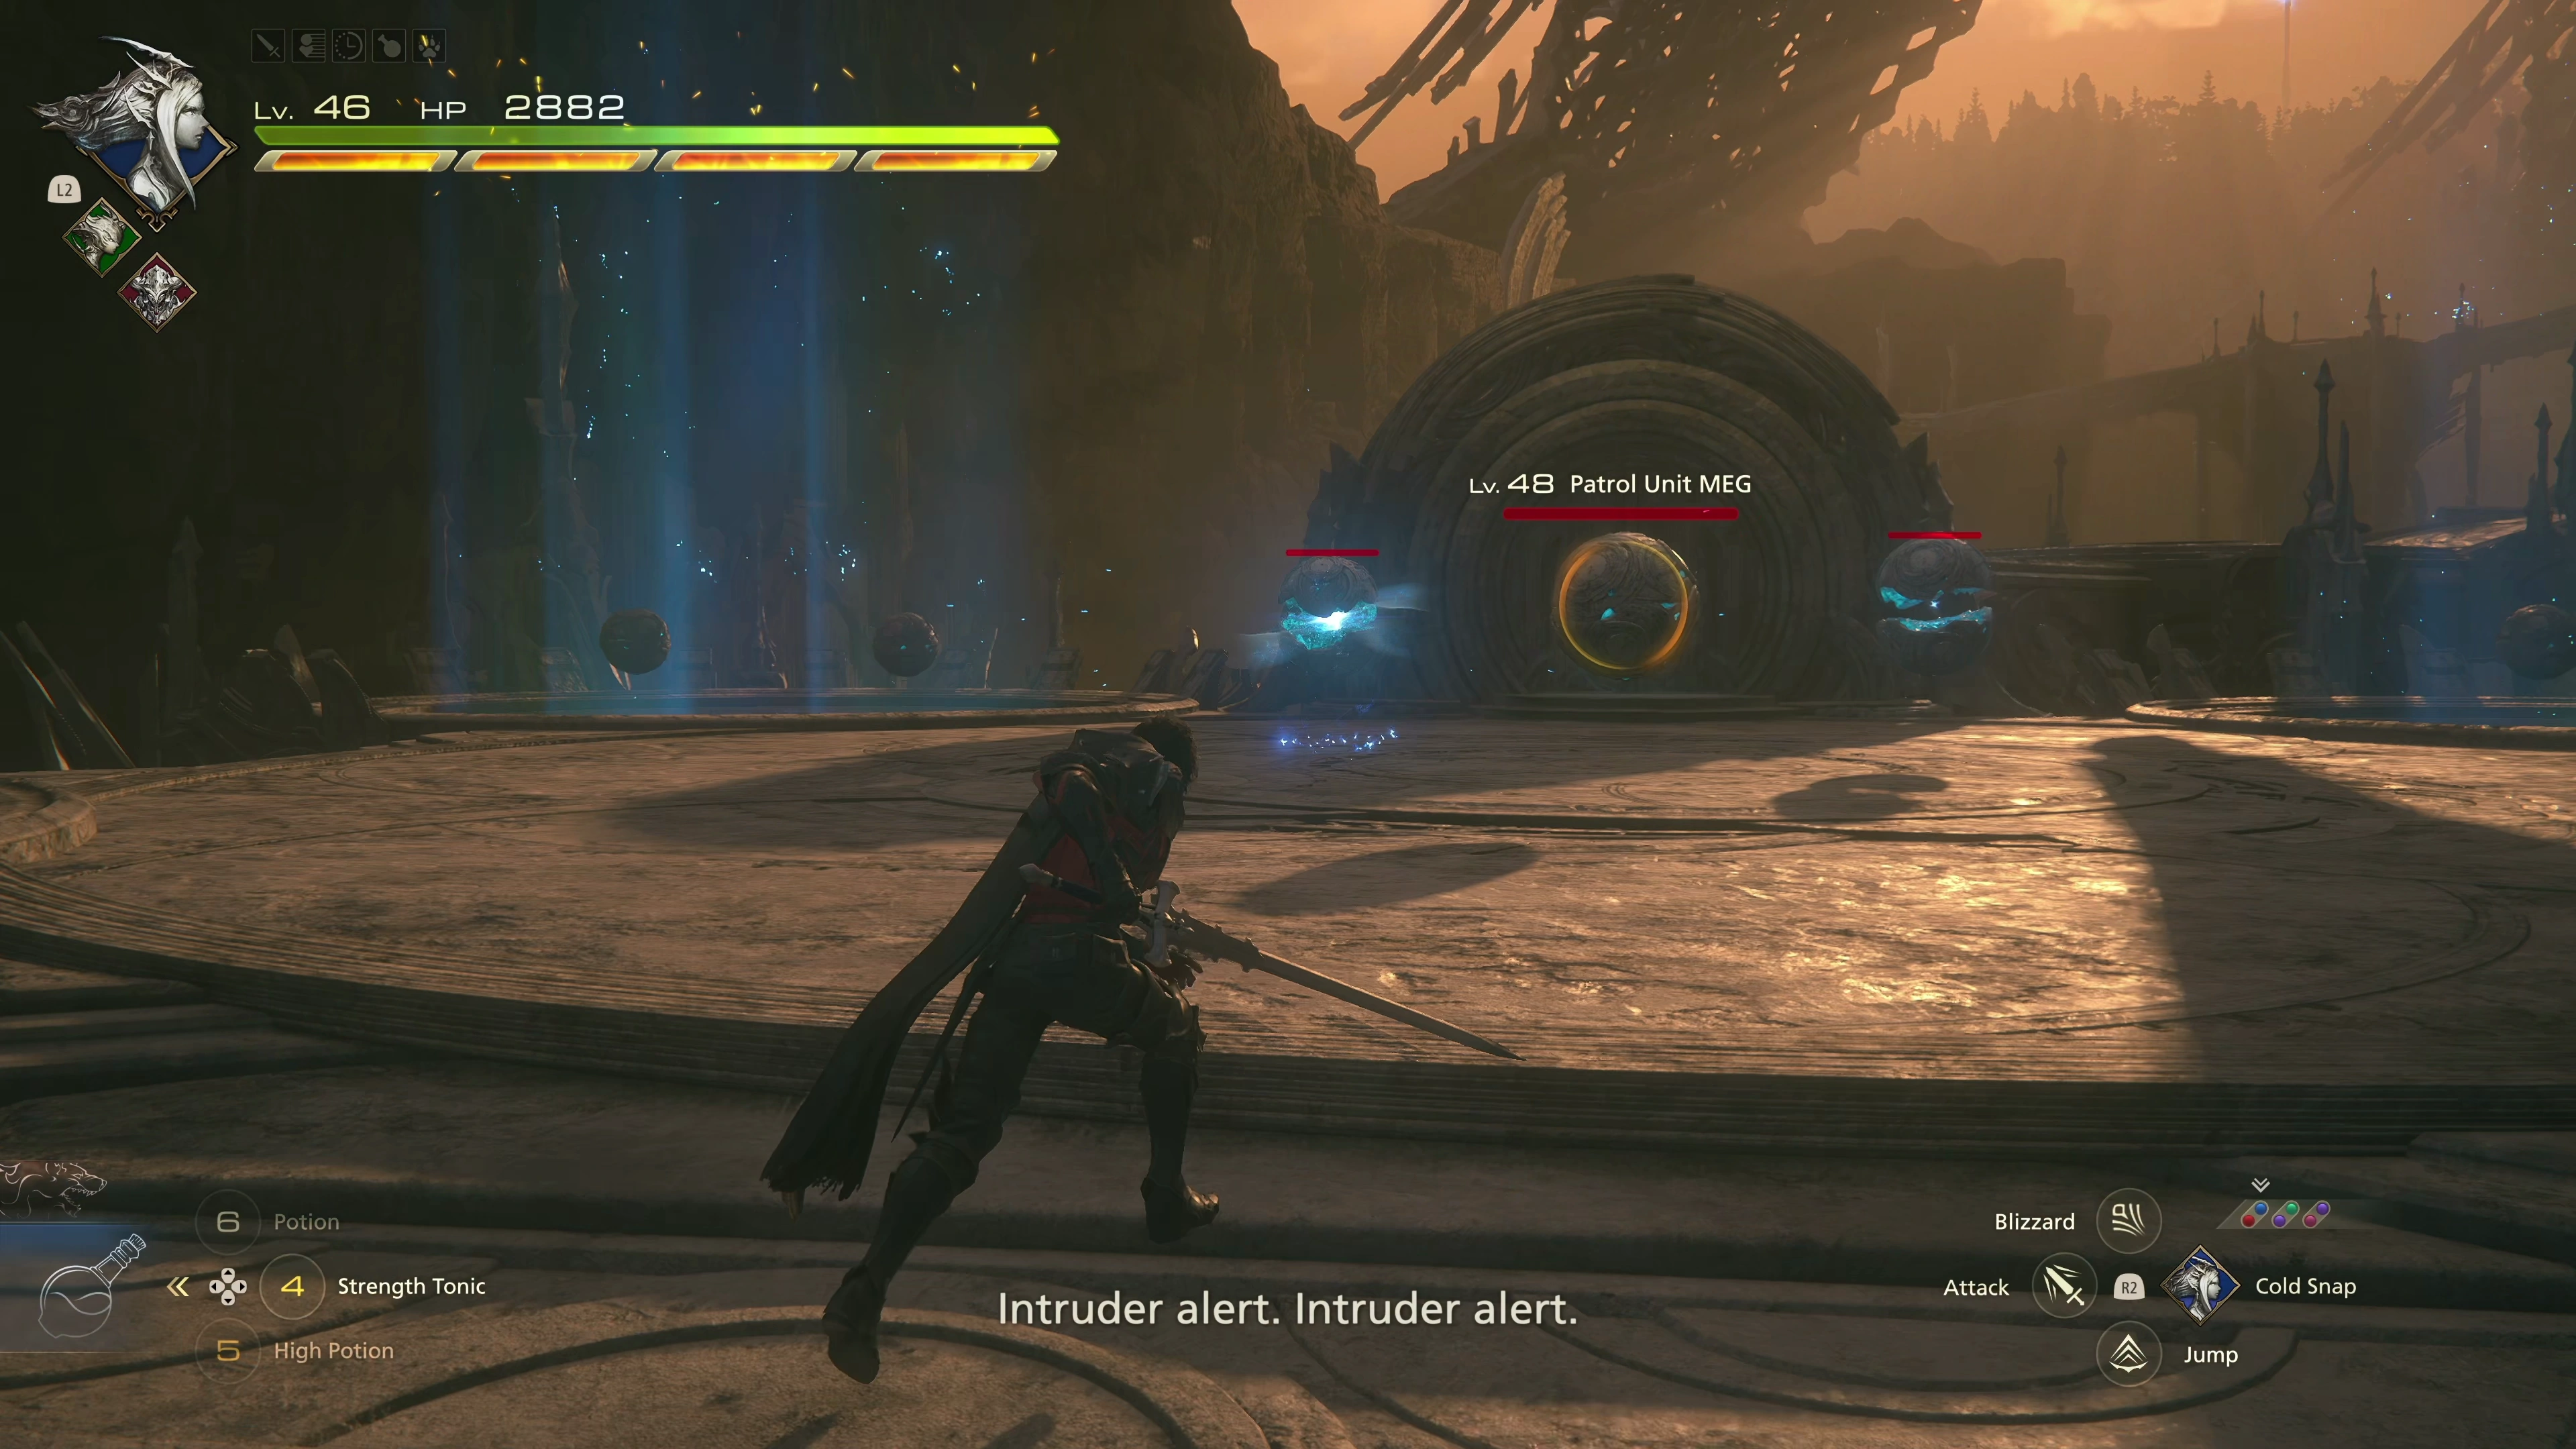
Follow the stone path a short distance up, and you’ll encounter your first group of enemies within the Sagespire. This group of enemies includes nine “Patrol Unit MEGs.” They’re pretty easy to defeat, but keep an eye out for their bursts of energy, which they will launch in your direction.
The doorway onto the next bridge is illuminated with a blue light to help you find it, as are most of the doorways within the Sagespire. Head through the door and continue along the pathway to the next group of enemies, which includes three “Surveillance Unit MMCs” (very similar to Fallen Bugs).
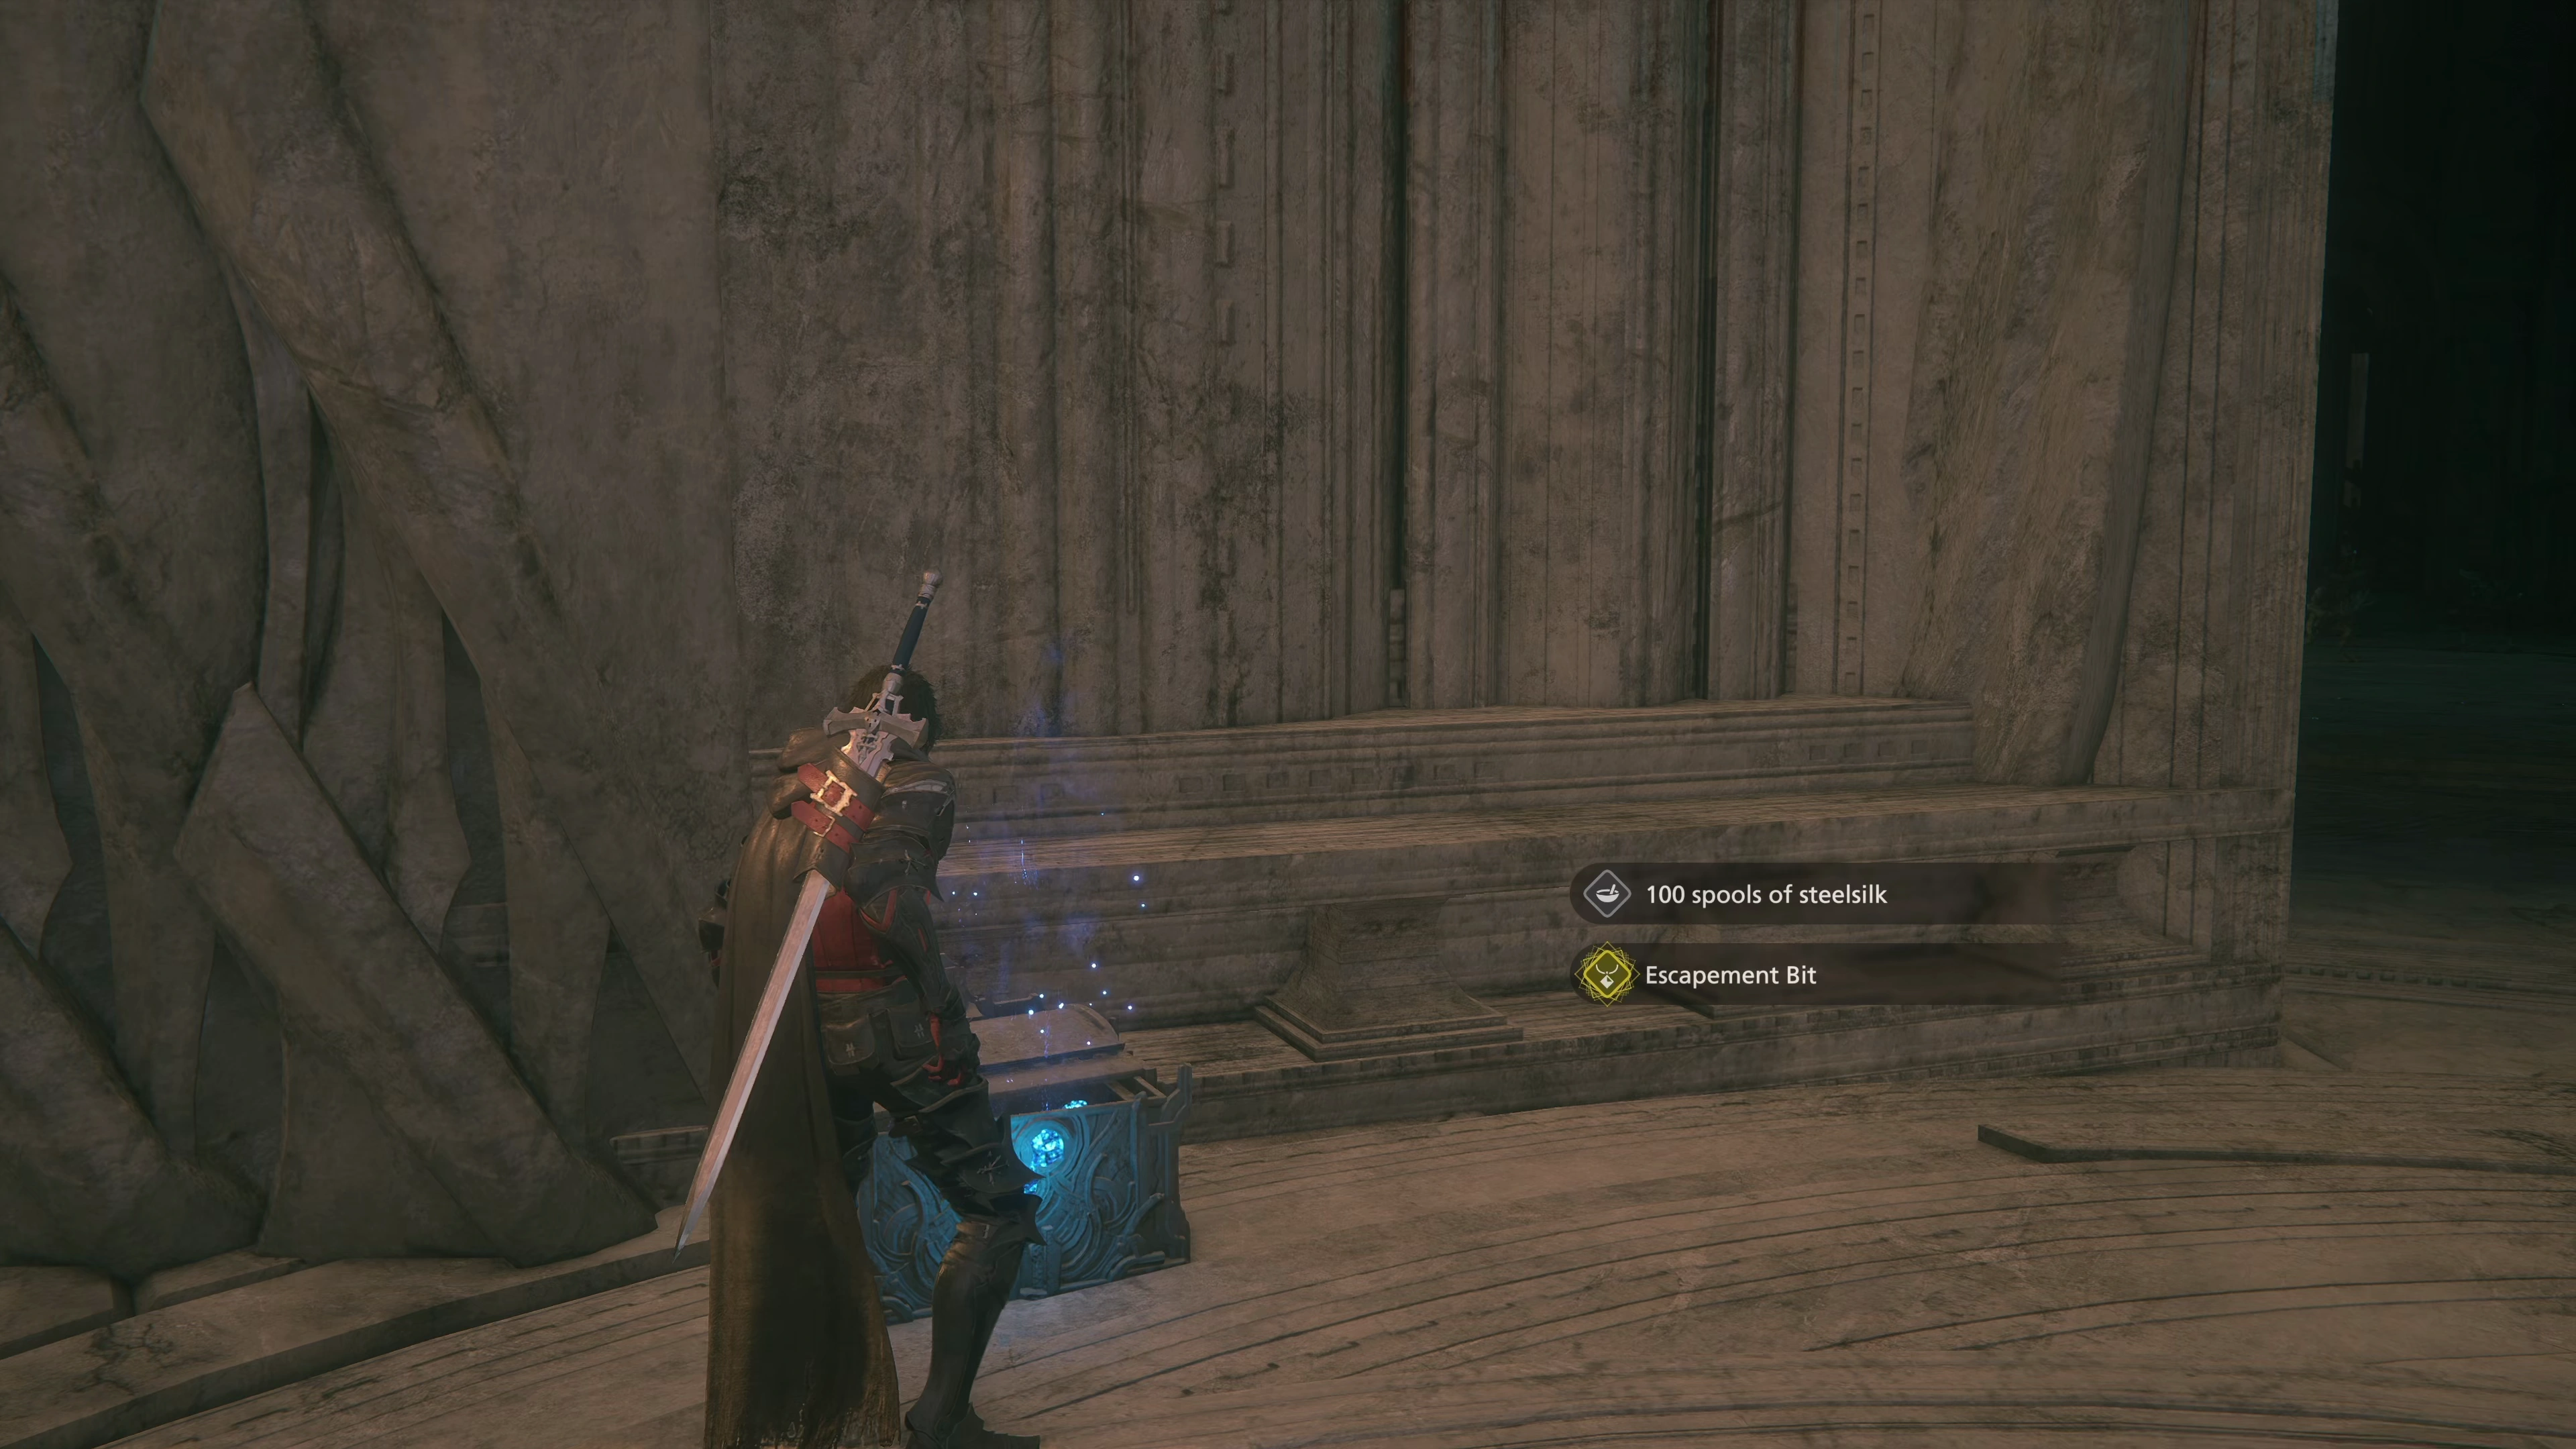
There is a treasure coffer at the top of the path that contains an ![]() Escapement Bit and 100 spools of
Escapement Bit and 100 spools of ![]() Steelsilk. This accessory is one of six powerful ‘bit’ accessories that you can obtain within the Sagespire. The other accessories you pick up will be more powerful than this specific one, but this guide will point out the location of all of them, and once you have all six, you’ll receive the Bit Fit Achievement/Trophy.
Steelsilk. This accessory is one of six powerful ‘bit’ accessories that you can obtain within the Sagespire. The other accessories you pick up will be more powerful than this specific one, but this guide will point out the location of all of them, and once you have all six, you’ll receive the Bit Fit Achievement/Trophy.
Head through the doorway, and a tutorial message will pop up explaining how the “hearthflame” effect works. In short, attack any enemies that have the hearthflame magic shield with ranged or magic attacks, not physical attacks; otherwise, you’ll take damage. The room contains a group of Domovikhas, which are easier to defeat now that you can use magic, and Domovoi, which will cast “hearthflame.”
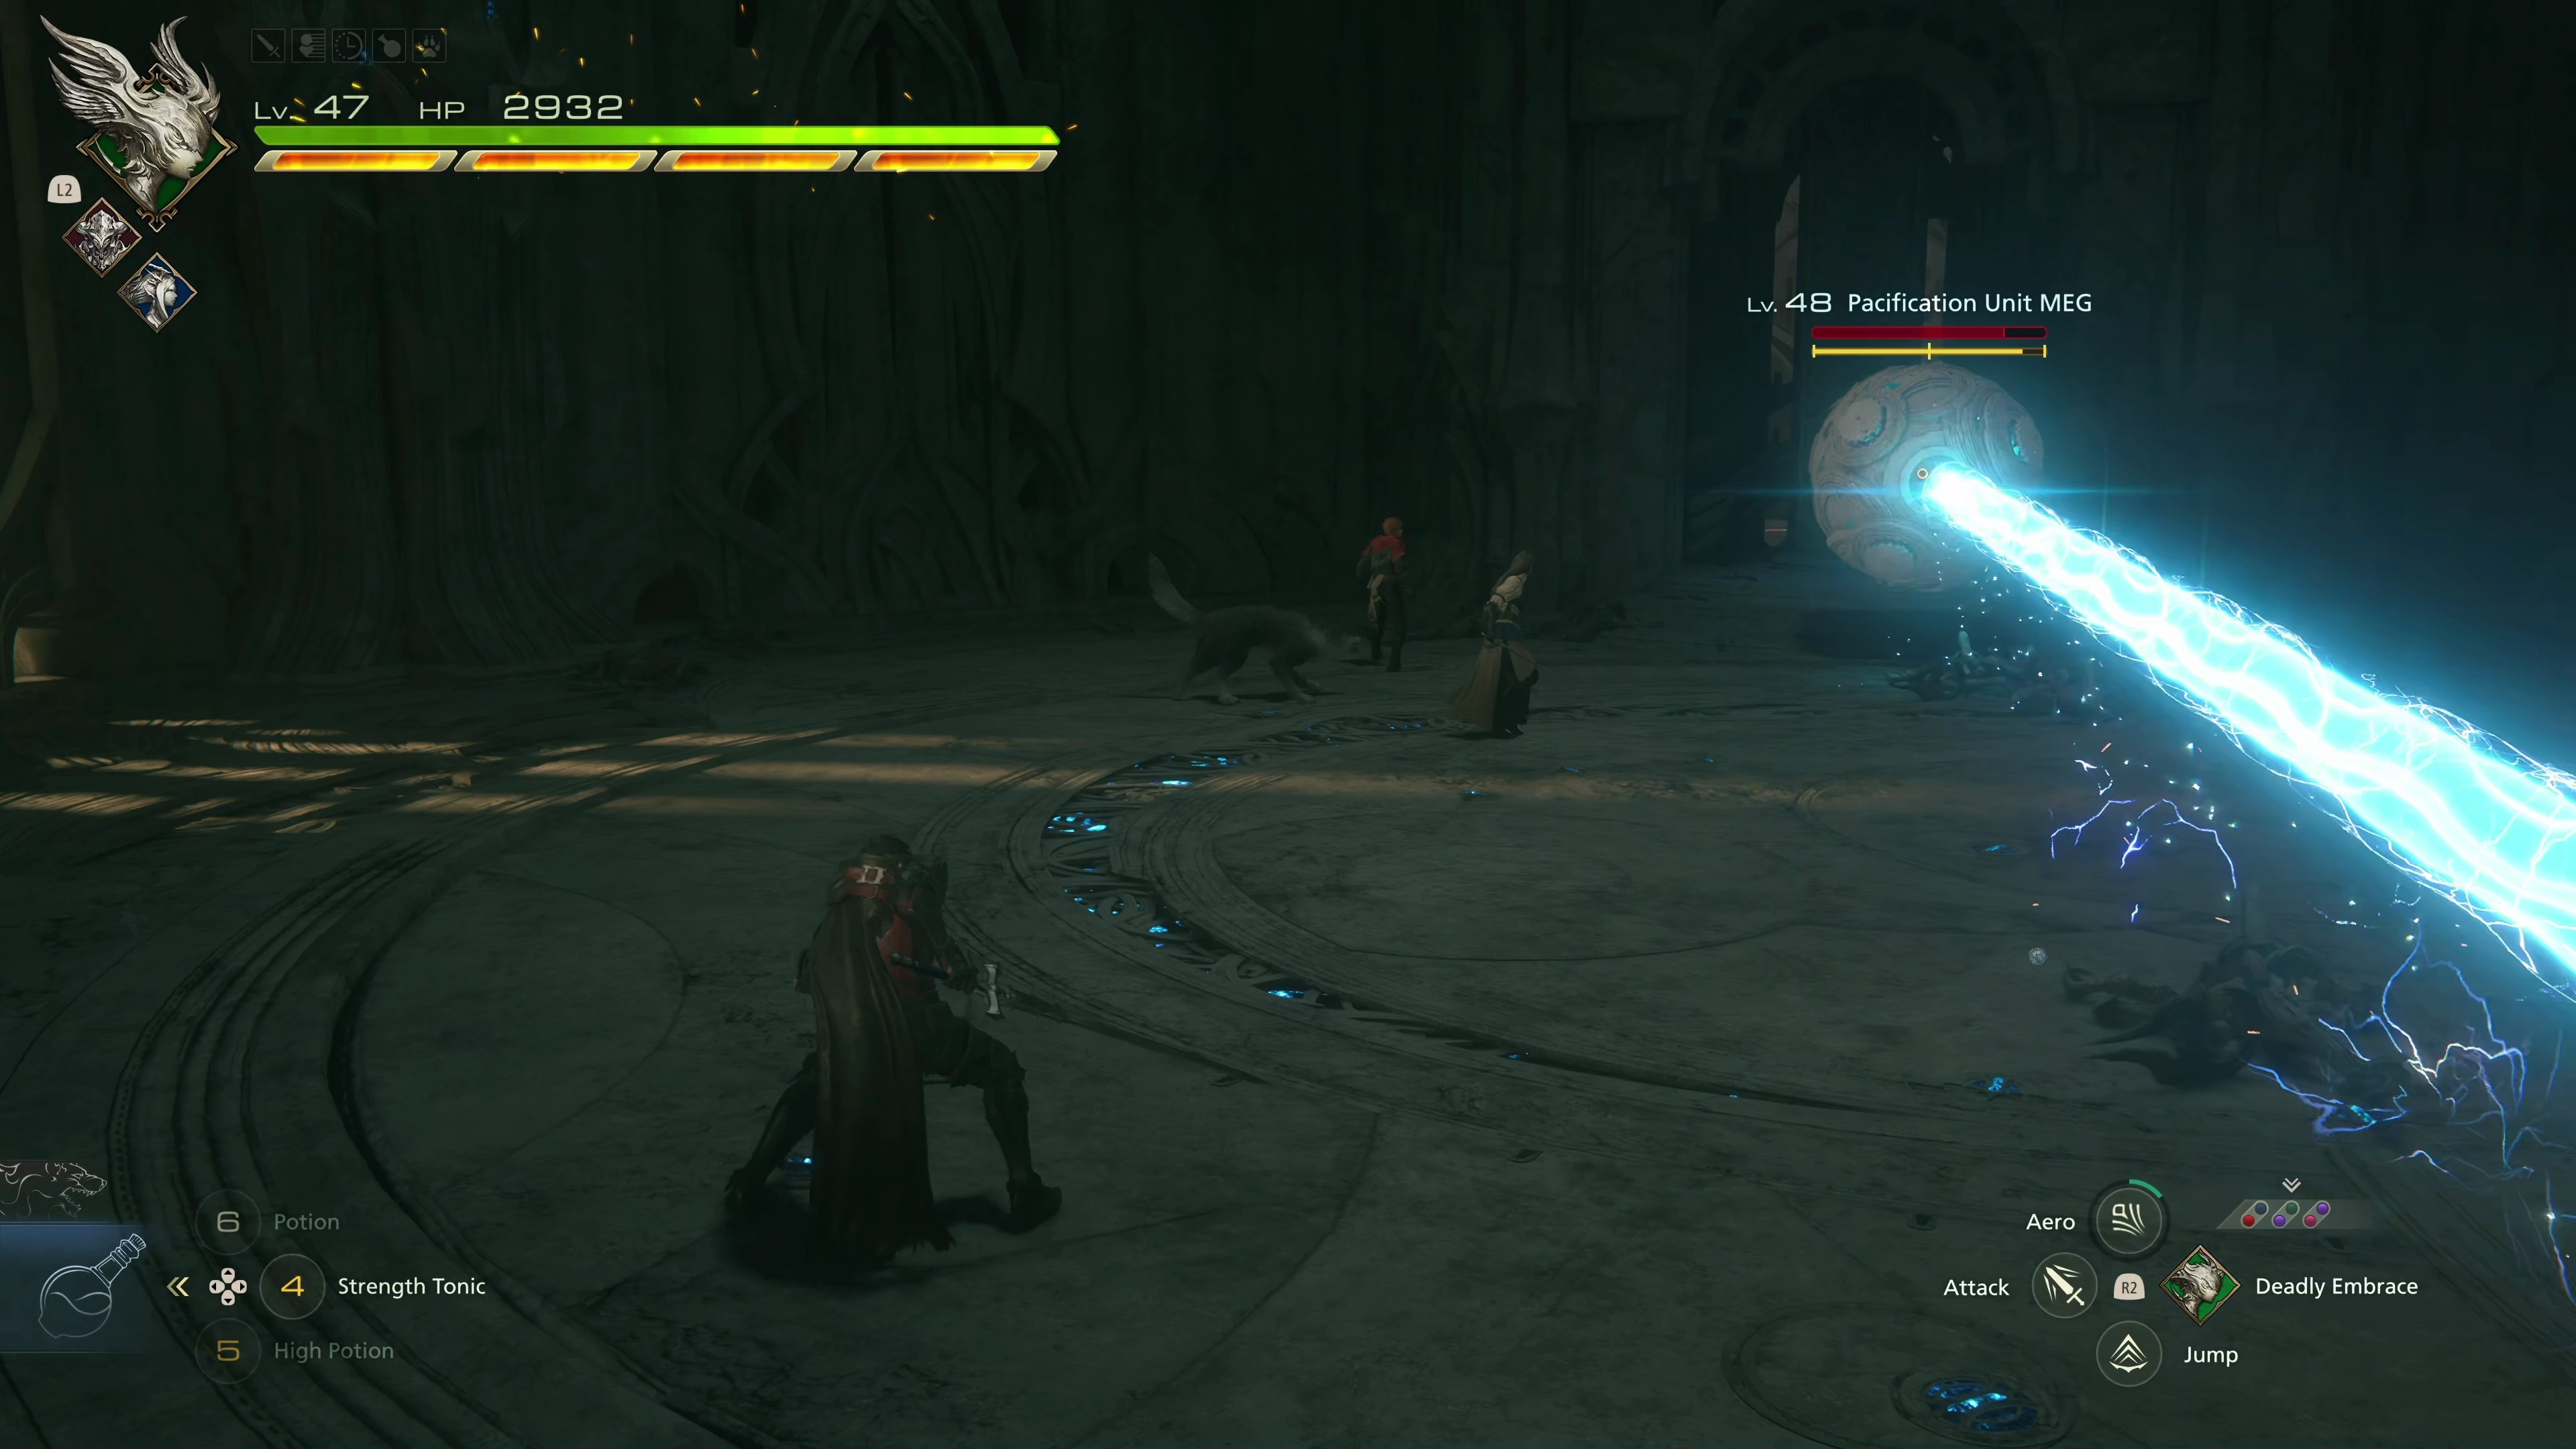
A small group of “Automation Unit MRNs” will engage with your team after that, followed by a “Pacification Unit MEG.” The Pacification Unit MEG is similar to the Control Node boss that you fought in Reverie, but with less HP.
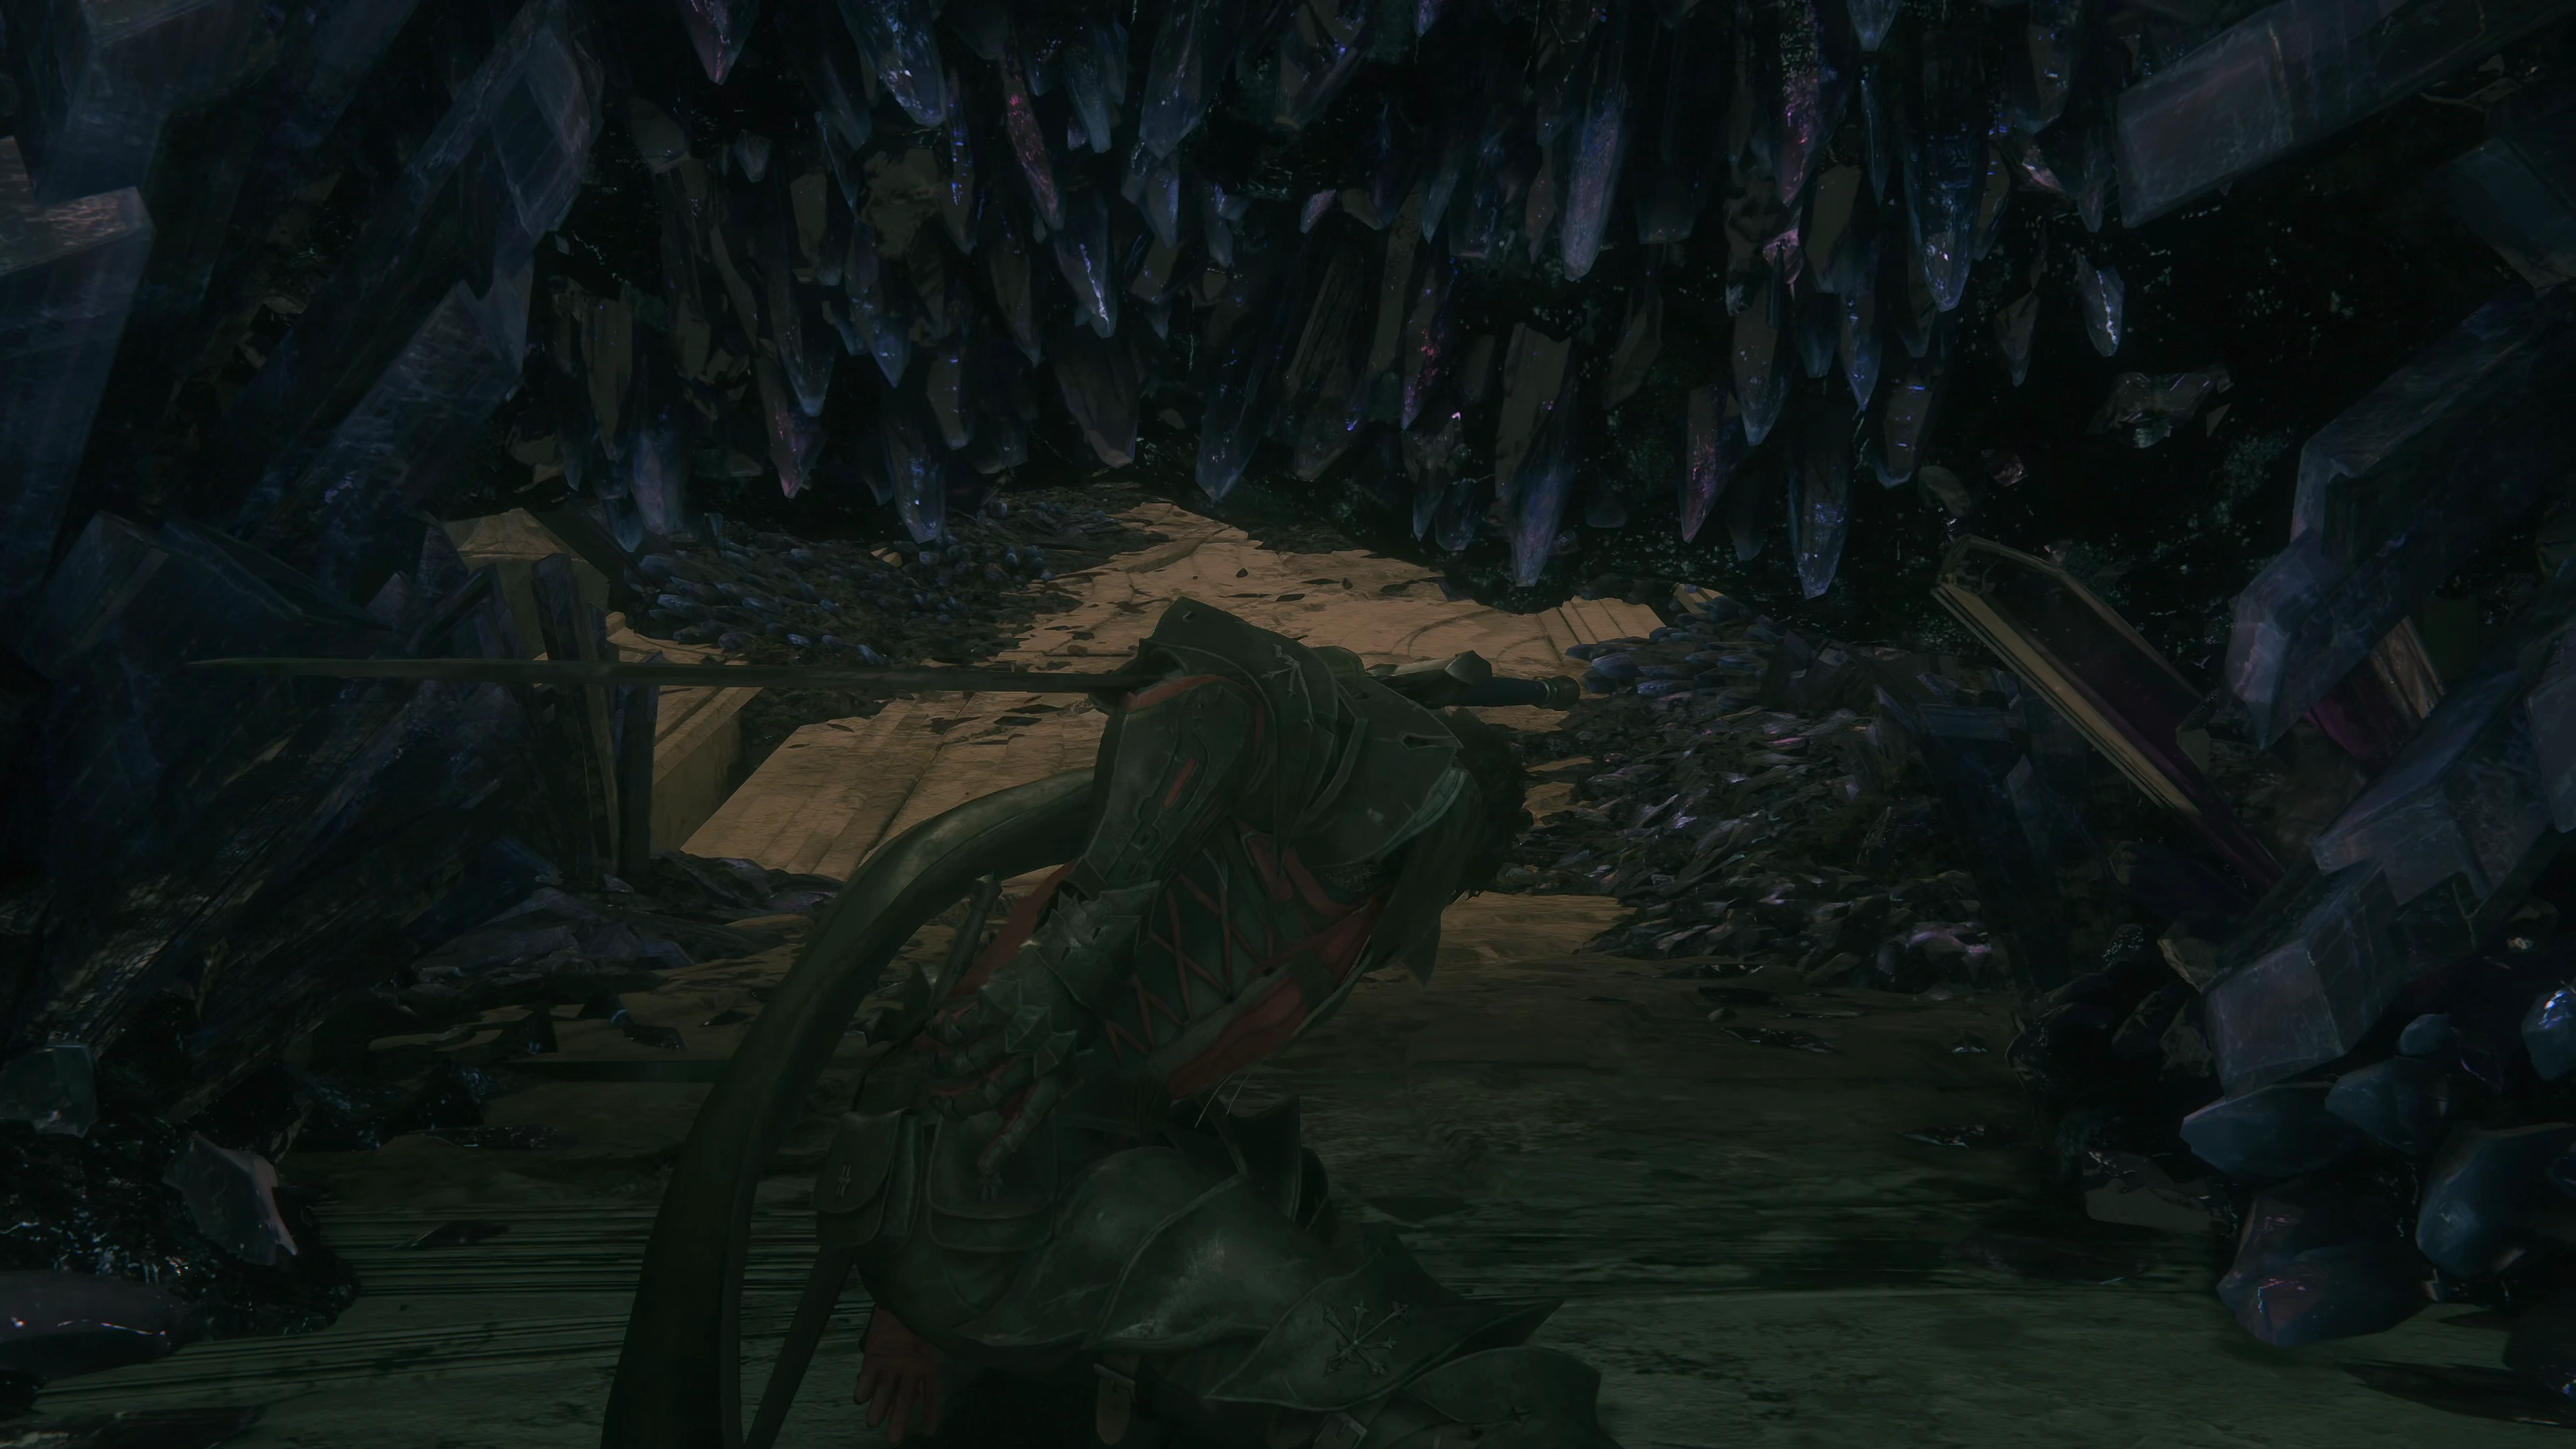
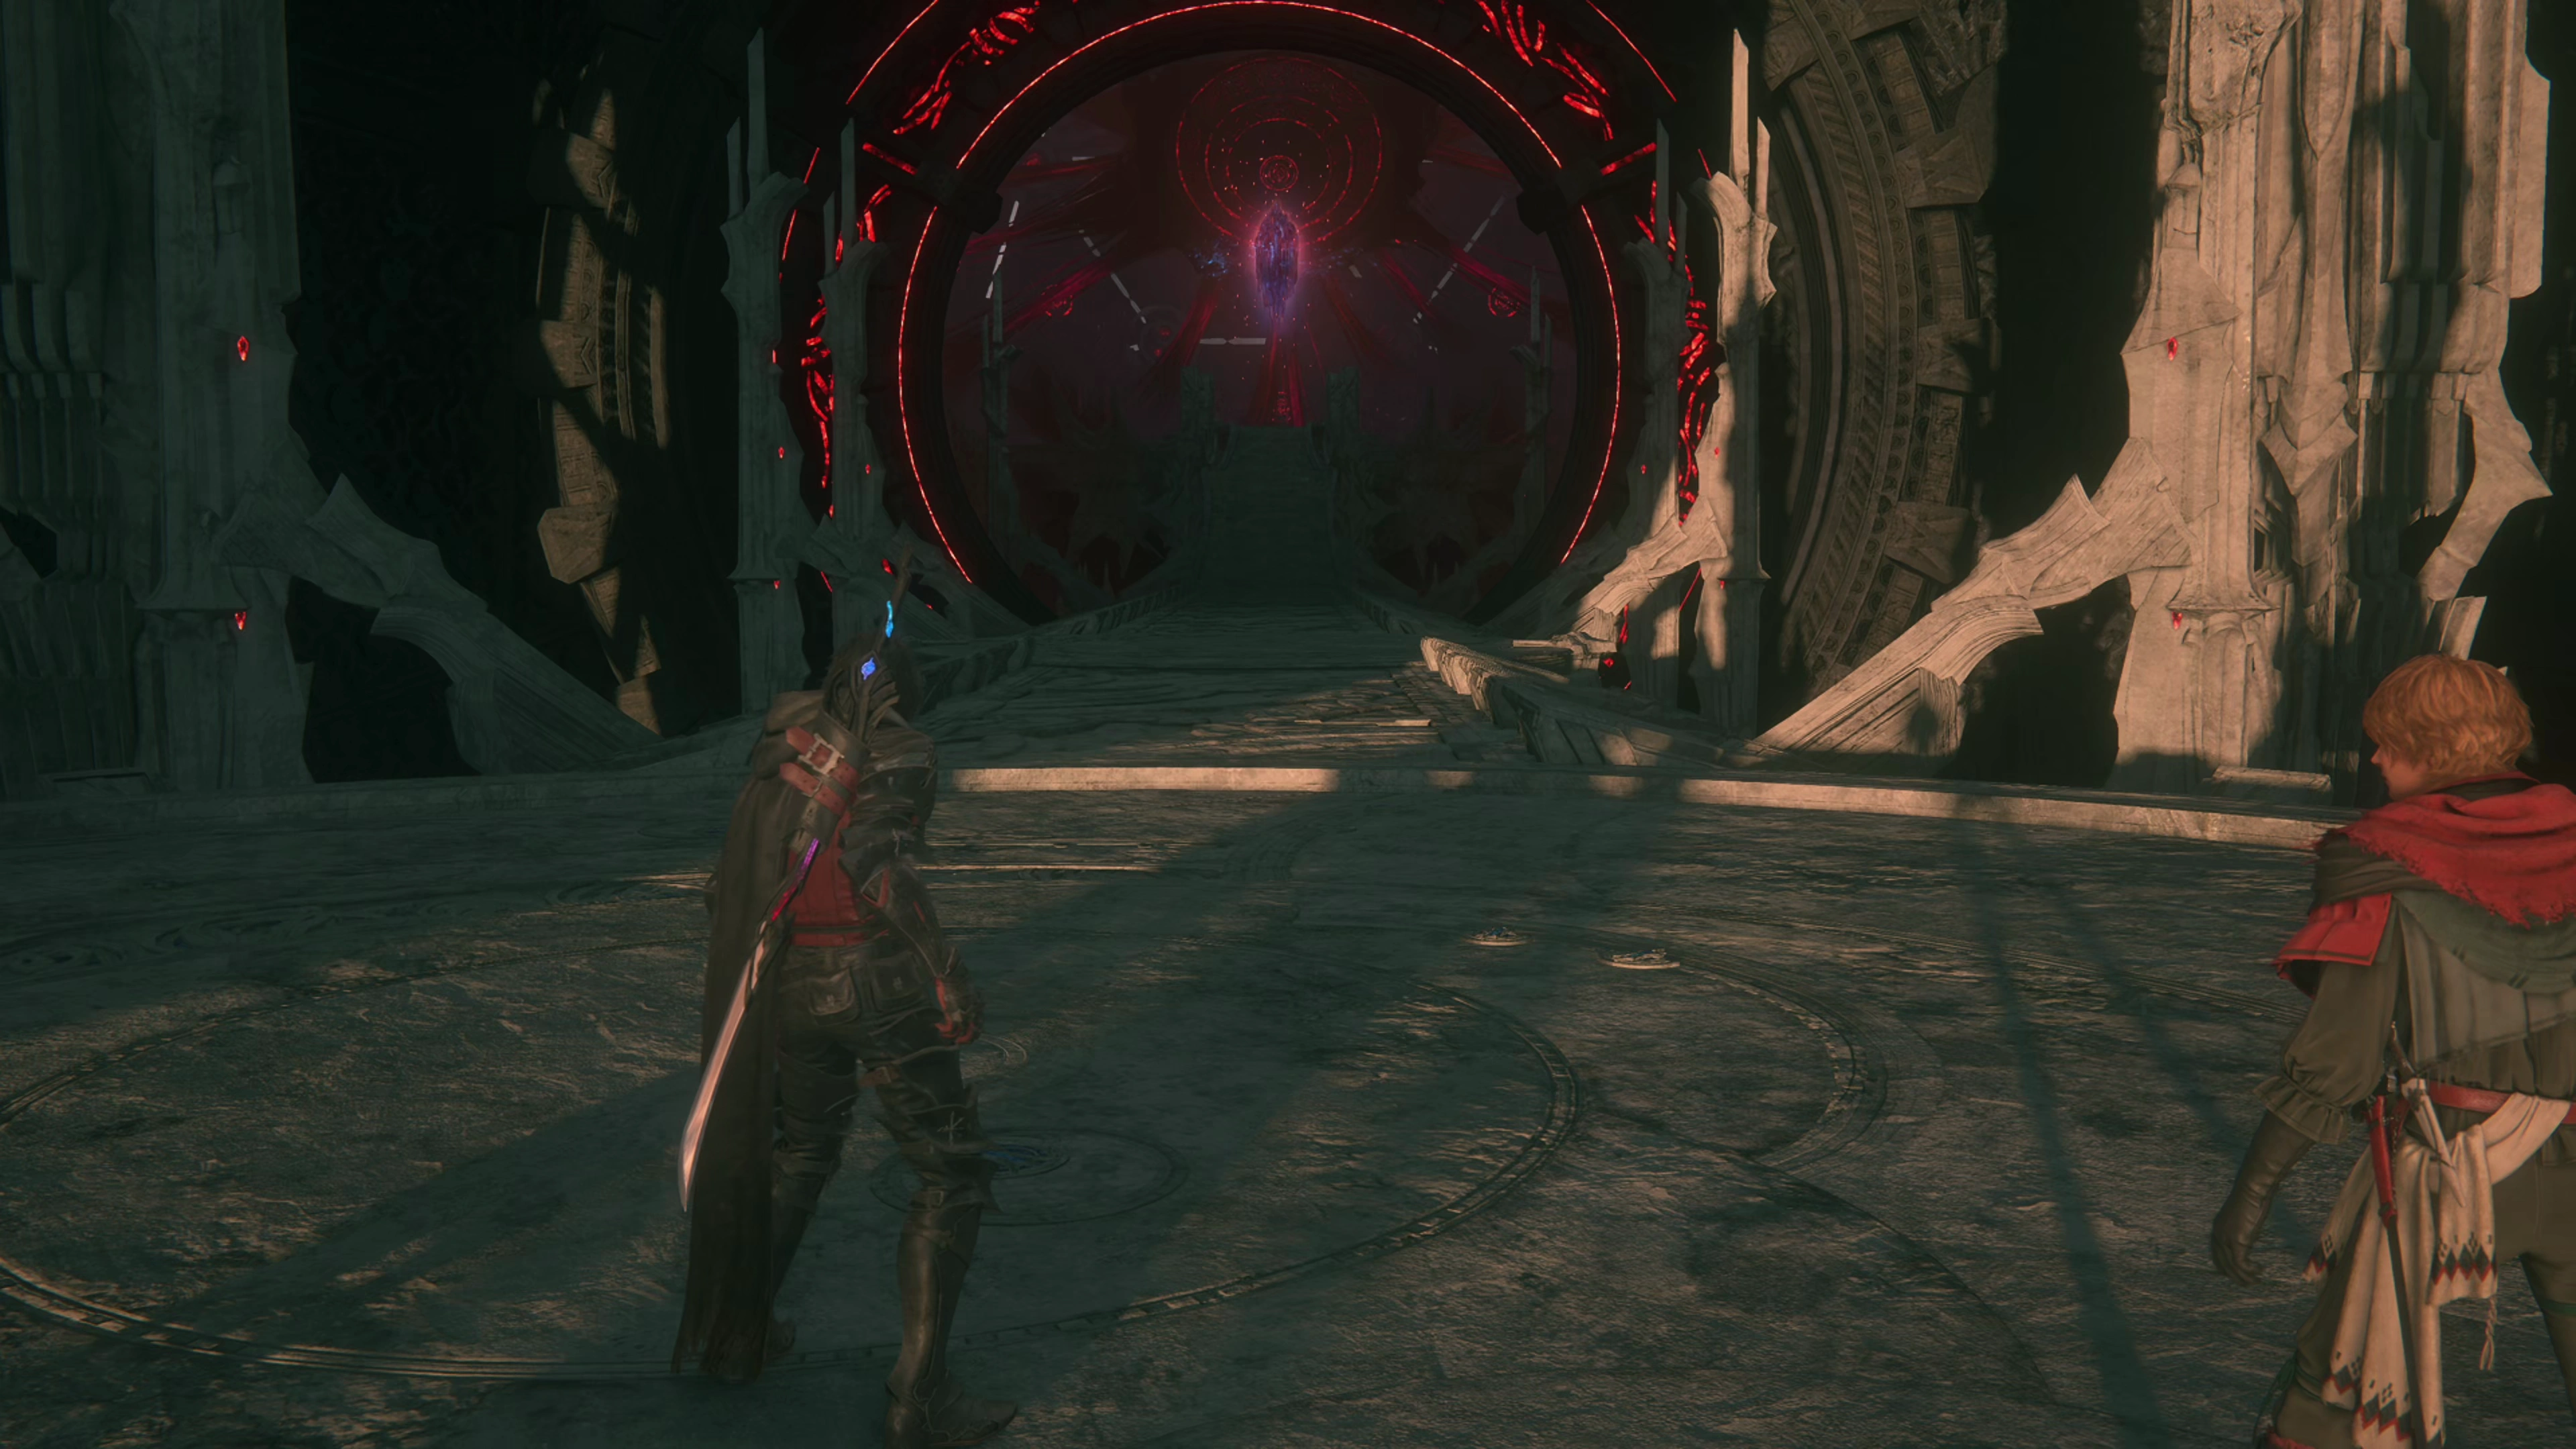
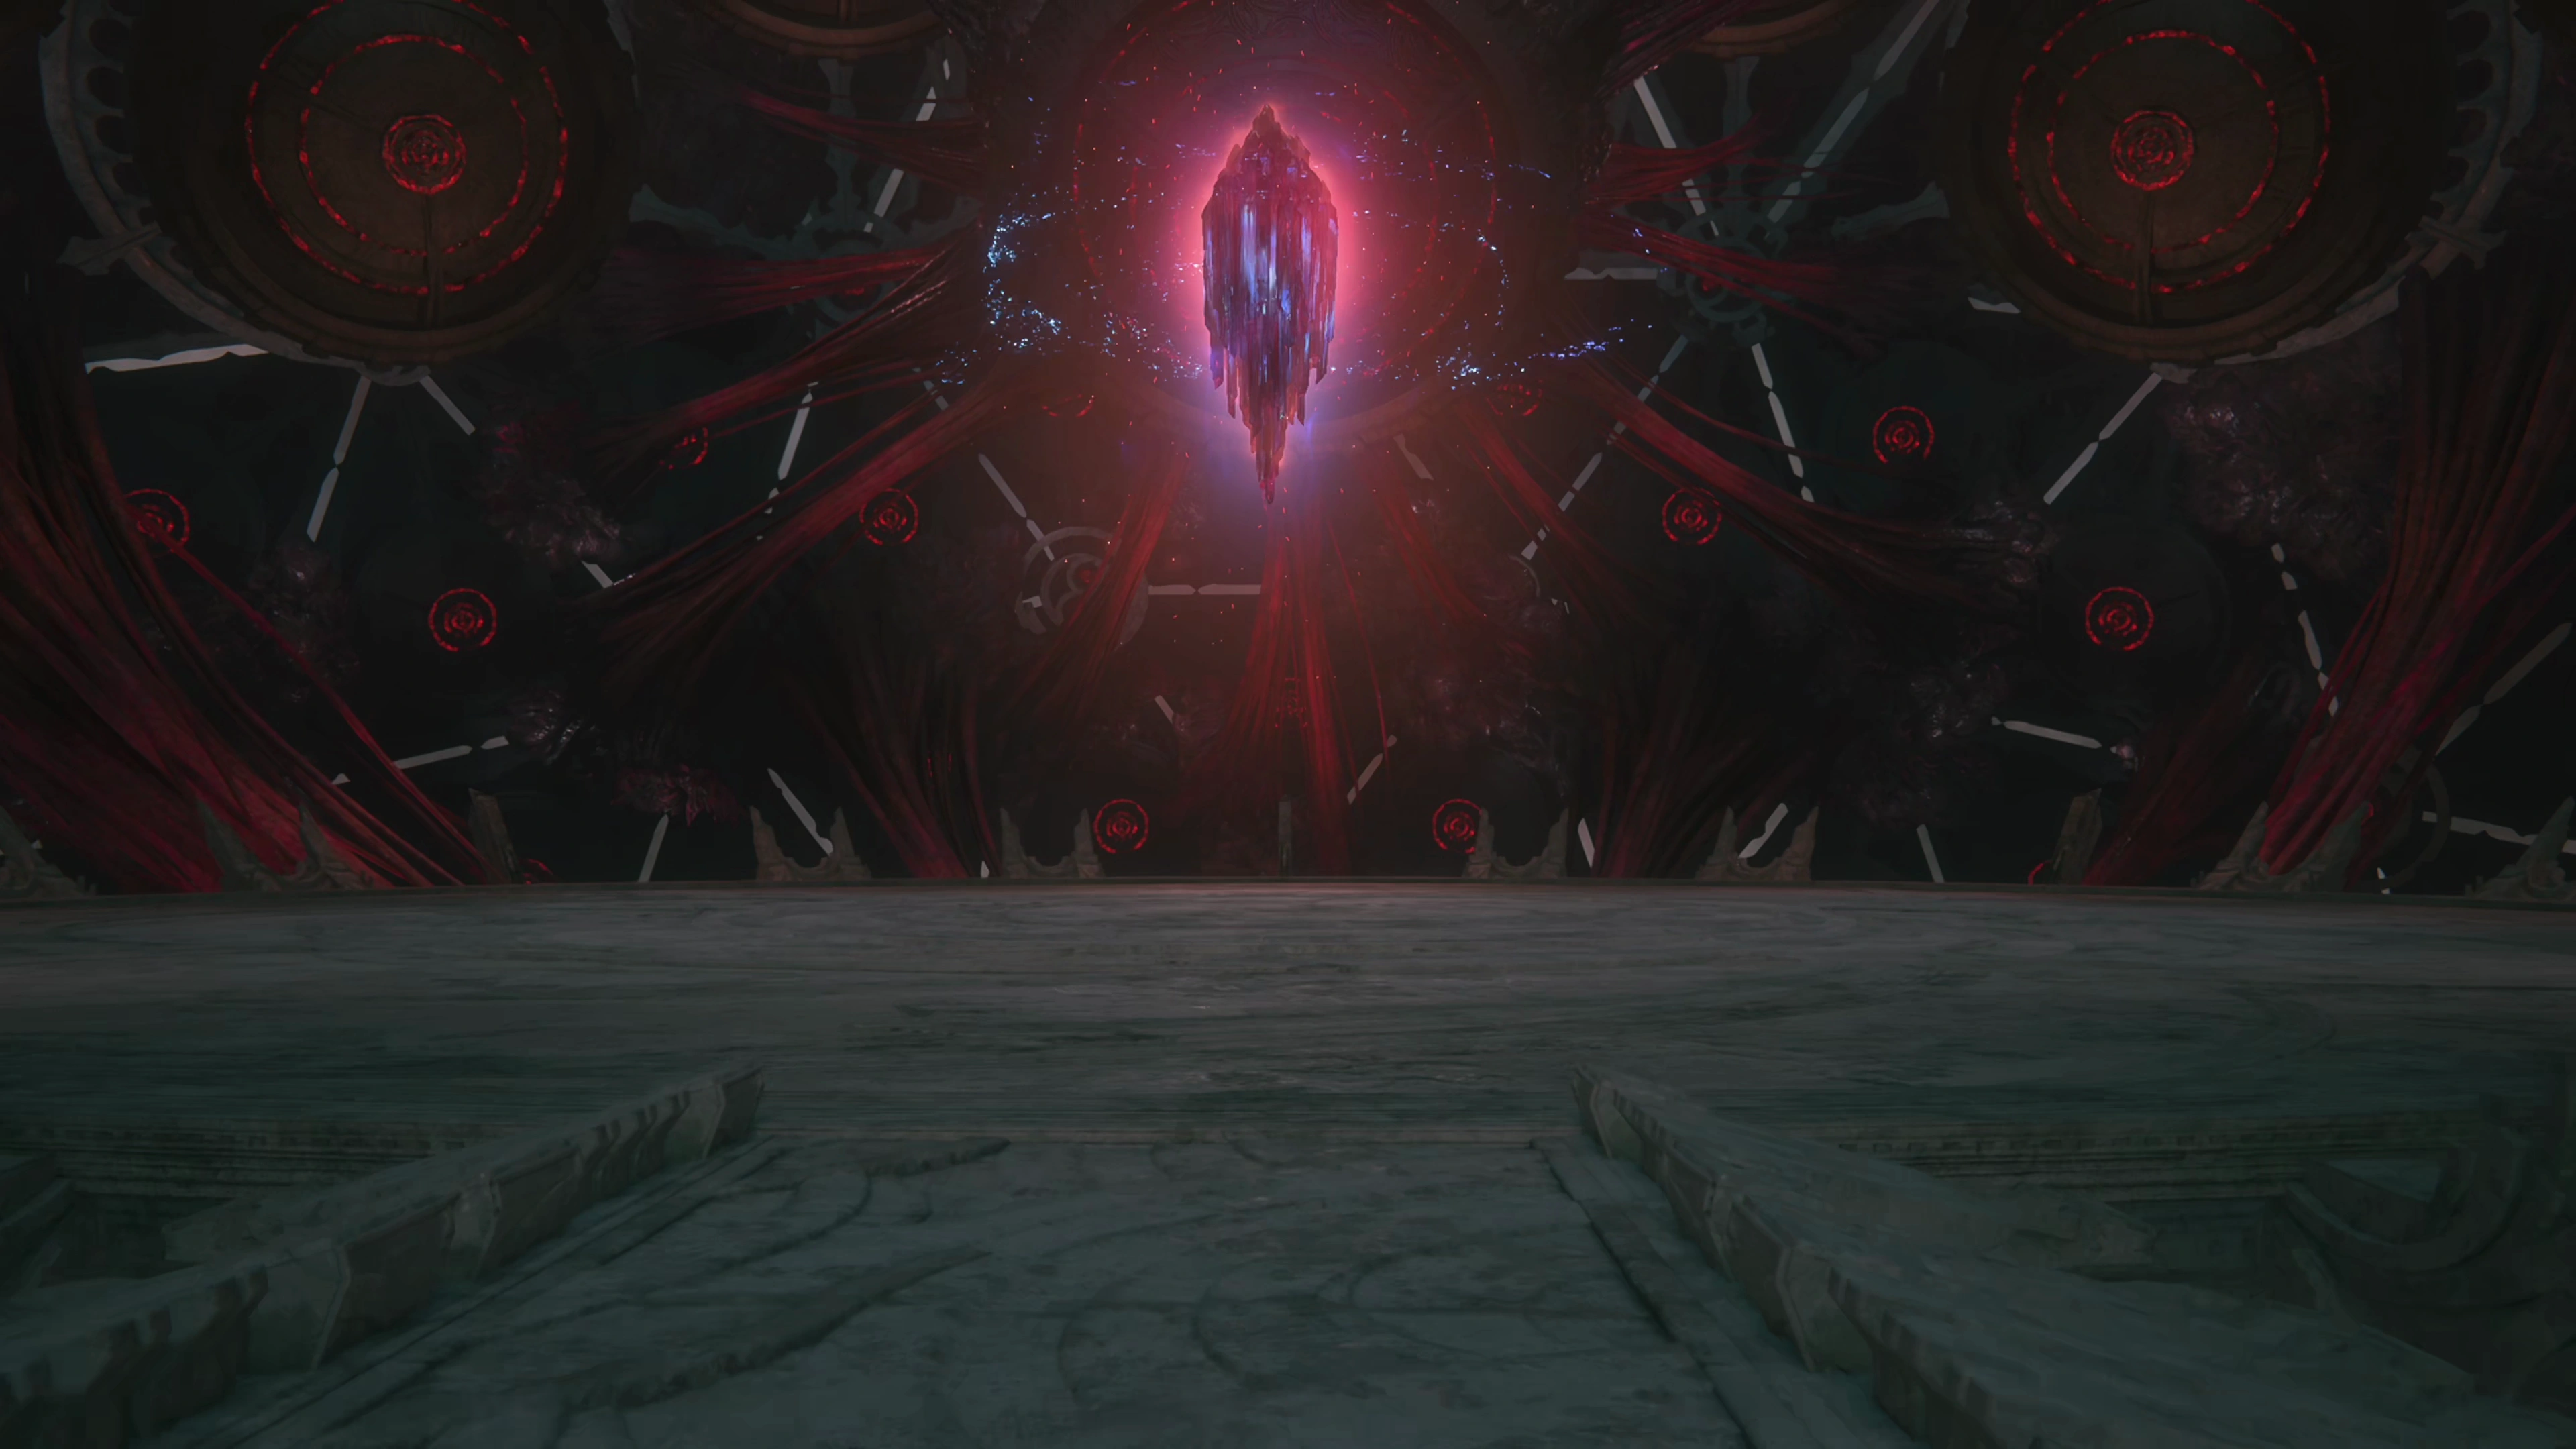
Head through the door into the room filled with dusk crystals. There’s nothing to pick up in these rooms, other than the Glimmers, until you duck under the crystals and towards your next boss fight (after a short cutscene).
Helpful Hint
For players looking to earn the Medals of Valor, the only boss that you can earn a Medal from in the “Echoes of the Fallen” DLC is the final boss. Don’t worry about taking damage during any of the fights leading up to the last boss.
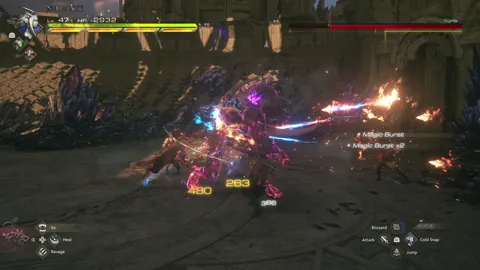
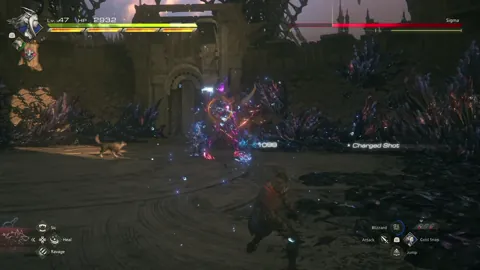
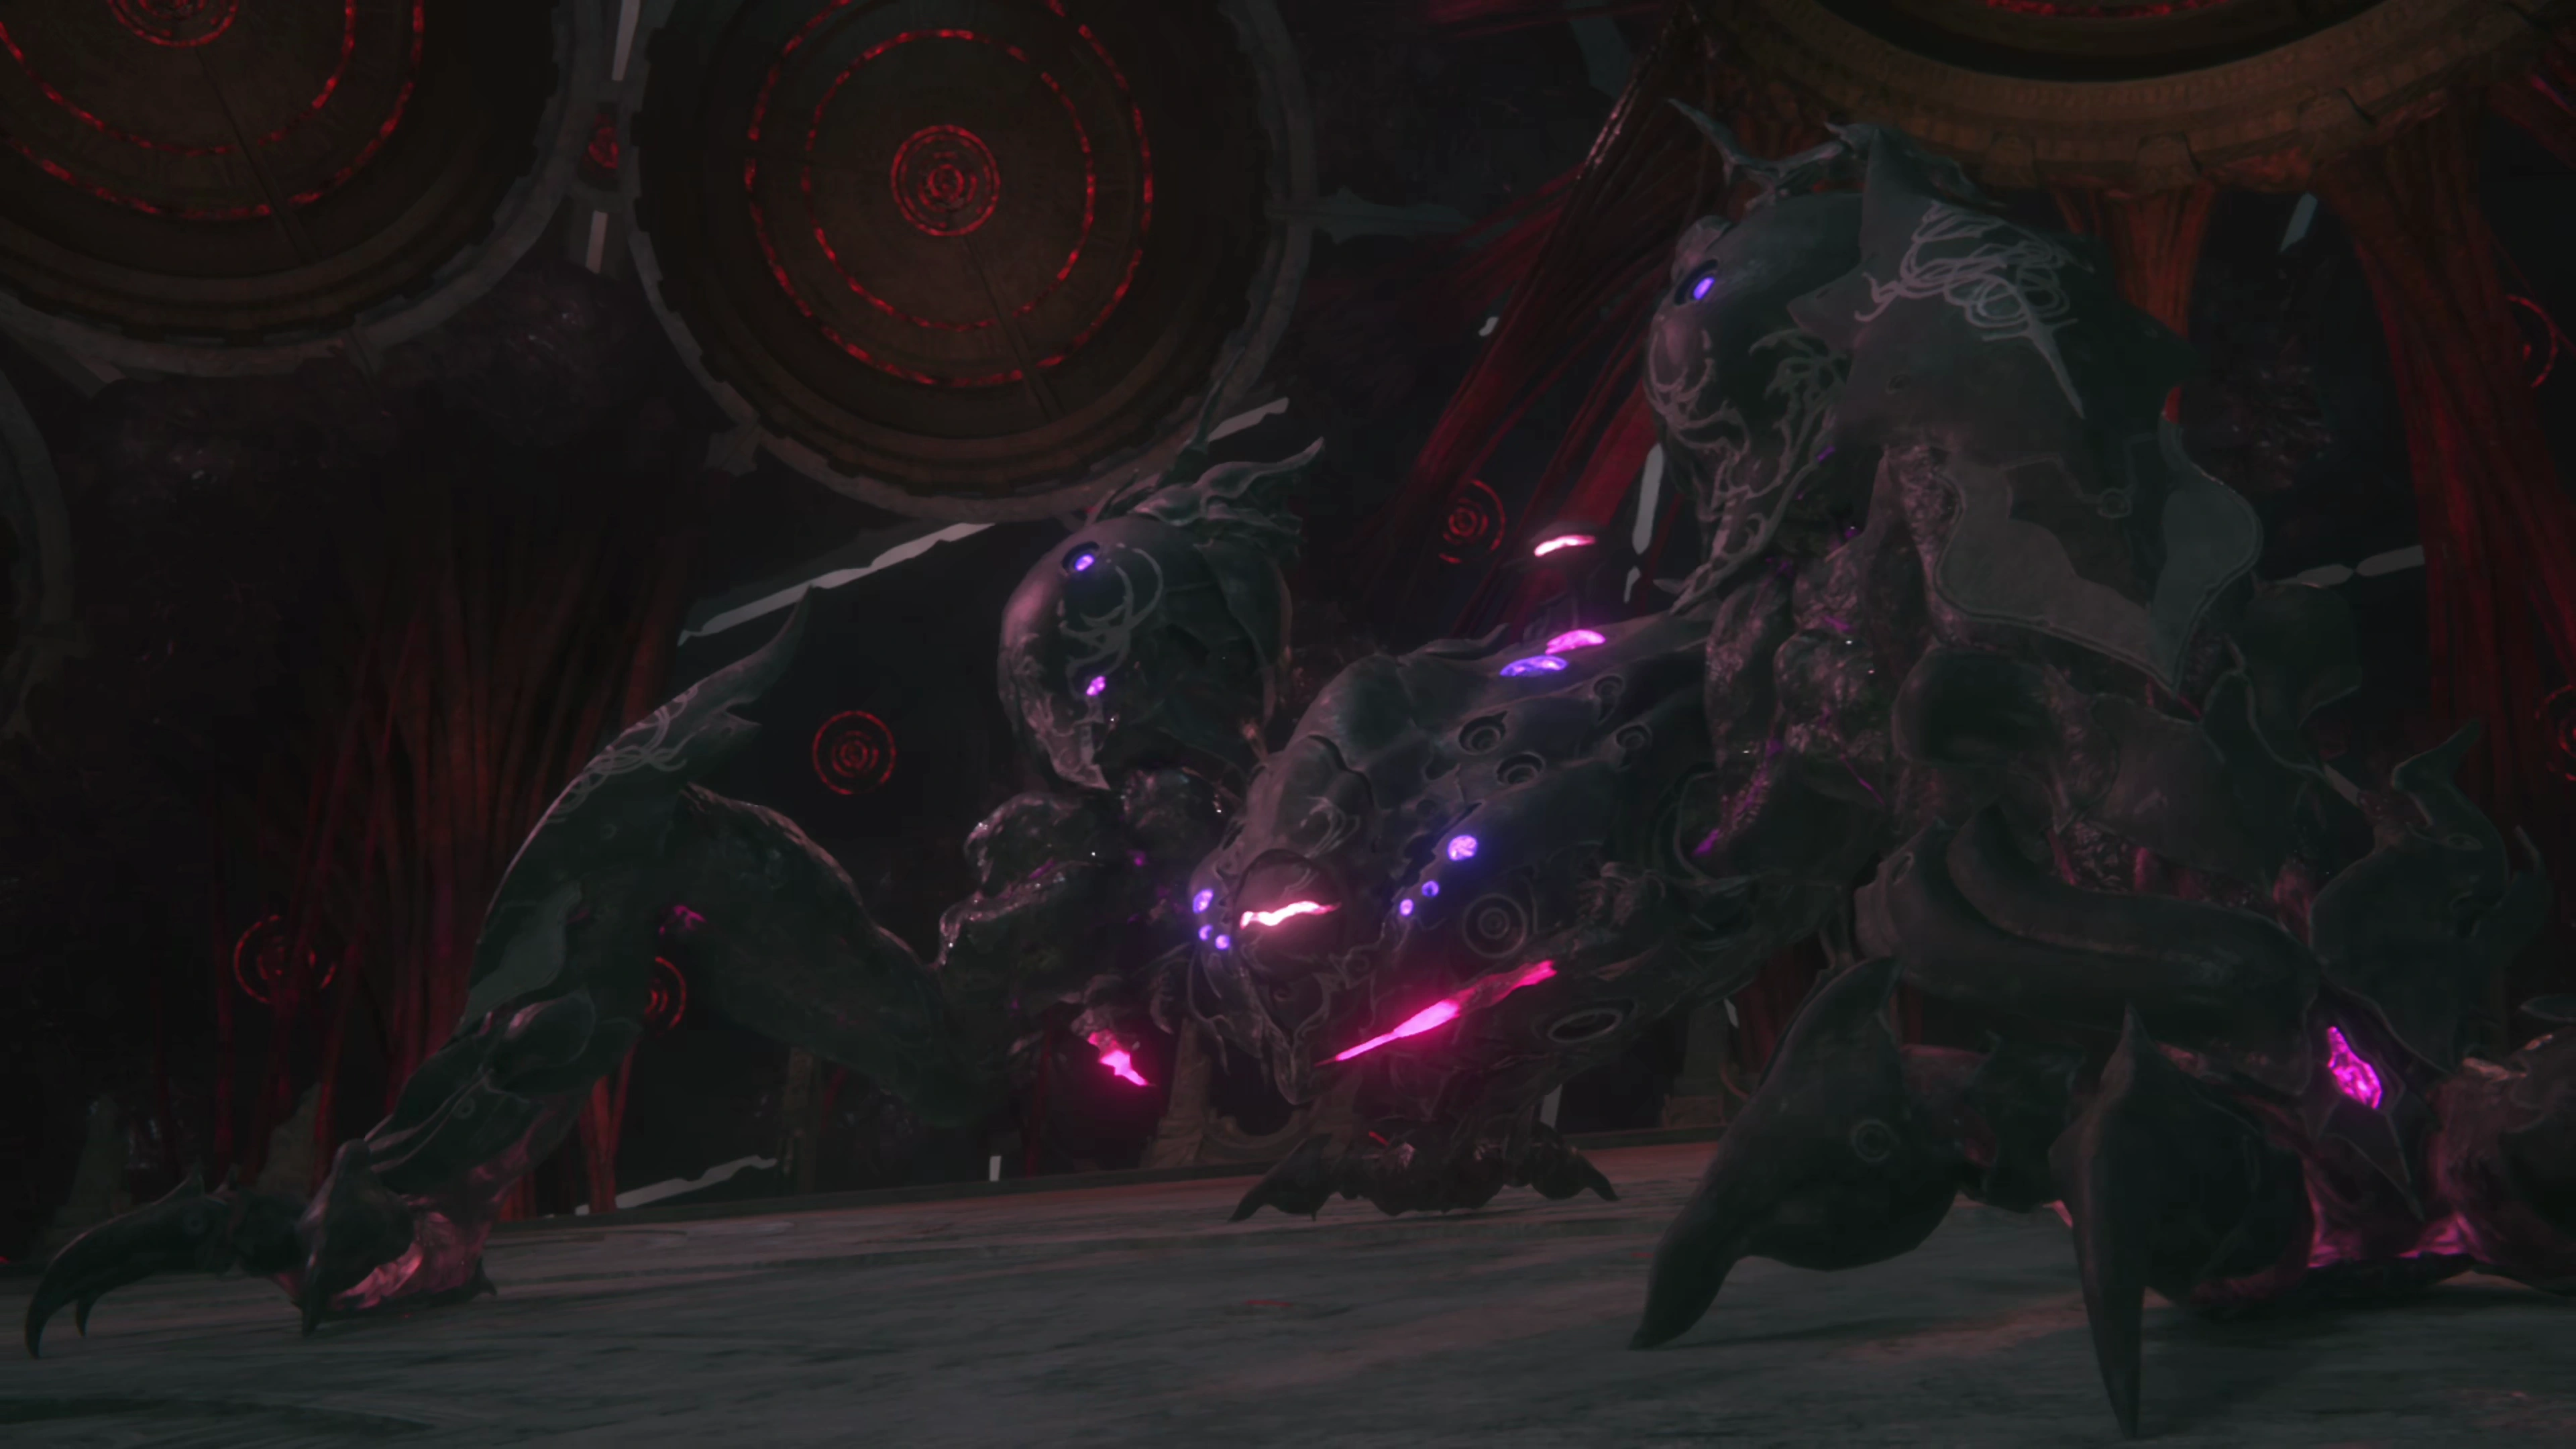
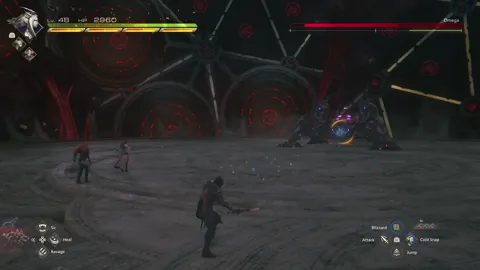
Boss Battle

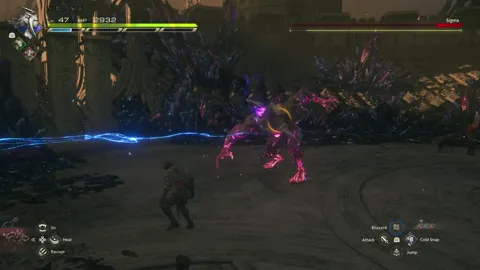
This is the first enemy you have faced up to this point that has an entirely new set of moves for you to contend with. Sigma will start the fight by using an ability called “Assault Mode,” which doesn’t actually do anything, but then it’s straight into a “Ballistic Kick.” Here is the full range of attacks you can expect.
![]() Physical Attacks:
Physical Attacks:
Its physical attacks include a punch and a kick, very similar to the combo that Hugo used back in Rosalith, and a two-punch combo.
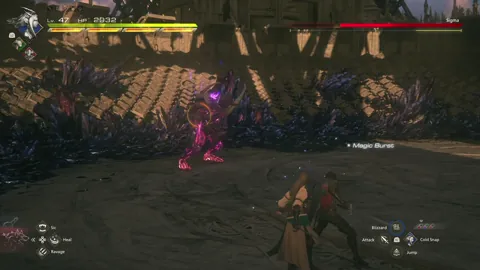
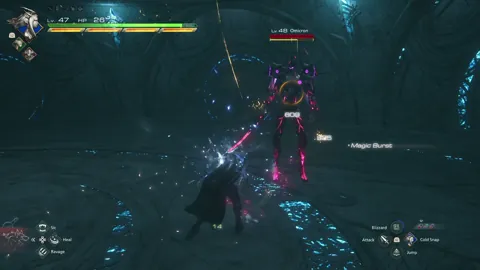
![]() Magic Explosion:
Magic Explosion:
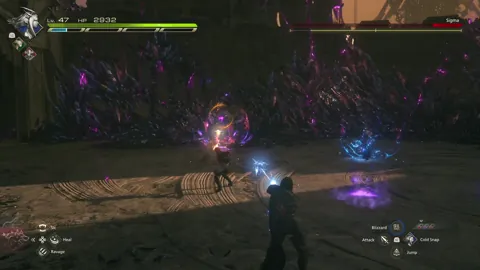
A circle of purple electricity/flames will appear on the ground in a small circle around Sigma. Move out of the illuminated area before it explodes.
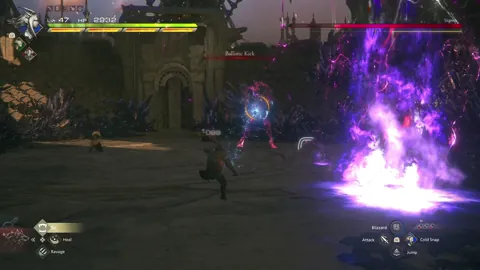
![]() Ballistic Kick:
Ballistic Kick:
Sigma starts the fight with this attack. It will jump up into the air with a flip as the words “Ballistic Kick” appear on the screen, and then it will lunge downward and land exactly where Clive is standing, so be ready to dodge.
![]() Colossal Blow:
Colossal Blow:
The words “Colossal Blow” will appear on the screen, with Sigma slamming his fists into the ground. A bunch of purple magic spots will appear on the ground in the areas around where Clive is standing. You may or may not have to move, depending on where they land, to get out of the way of the magical explosions that follow.
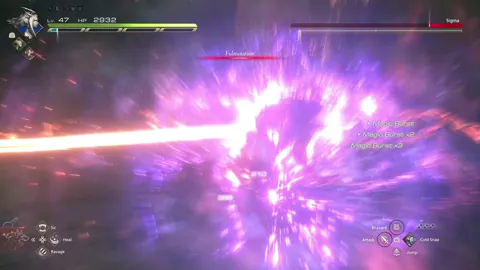
![]() Fulmination:
Fulmination:
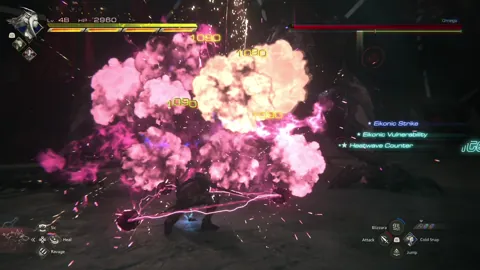
The most challenging attack to deal with. The first stage of the attack is similar to Necrophobe’s “Triple Magic Orbs” attack; however, there are a few more orbs to deal with, and their movement paths are a bit more scattered, so be ready to dodge them quickly. At the same time, rings of purple energy will emanate outward from Sigma, which will also need to be dodged. Thirdly, you’ll also have to deal with magic spots appearing similar to the “Colossal Blow” attack, and finally, Sigma will complete the sequence with one final attack. Sigma will jump up into the air, turn into a large glowing ball of energy, and smash forward toward Clive. This last attack is challenging to dodge because of the timing, but you should aim to dodge as soon as Sigma begins moving towards you.
After using Fulmination, Sigma will gain two new attacks:
![]() Physical Attacks (Update):
Physical Attacks (Update):
A new physical attack involves him lunging forward, spinning like a missile, towards Clive. He will put one fist on the ground before driving forward pretty quickly; this is another difficult attack to dodge.
![]() Plasmonic Pulse:
Plasmonic Pulse:
Sigma will slam the ground and, just like during the “Fulmination” attack, a ring of energy will emanate outward that you will need to dodge.
There is no Medal of Valor to earn for this fight, but if you want to see a visual guide of how to complete this battle, check out the video below.

250
3,000
A video demonstration of how to successfully complete the fight against Sigma.
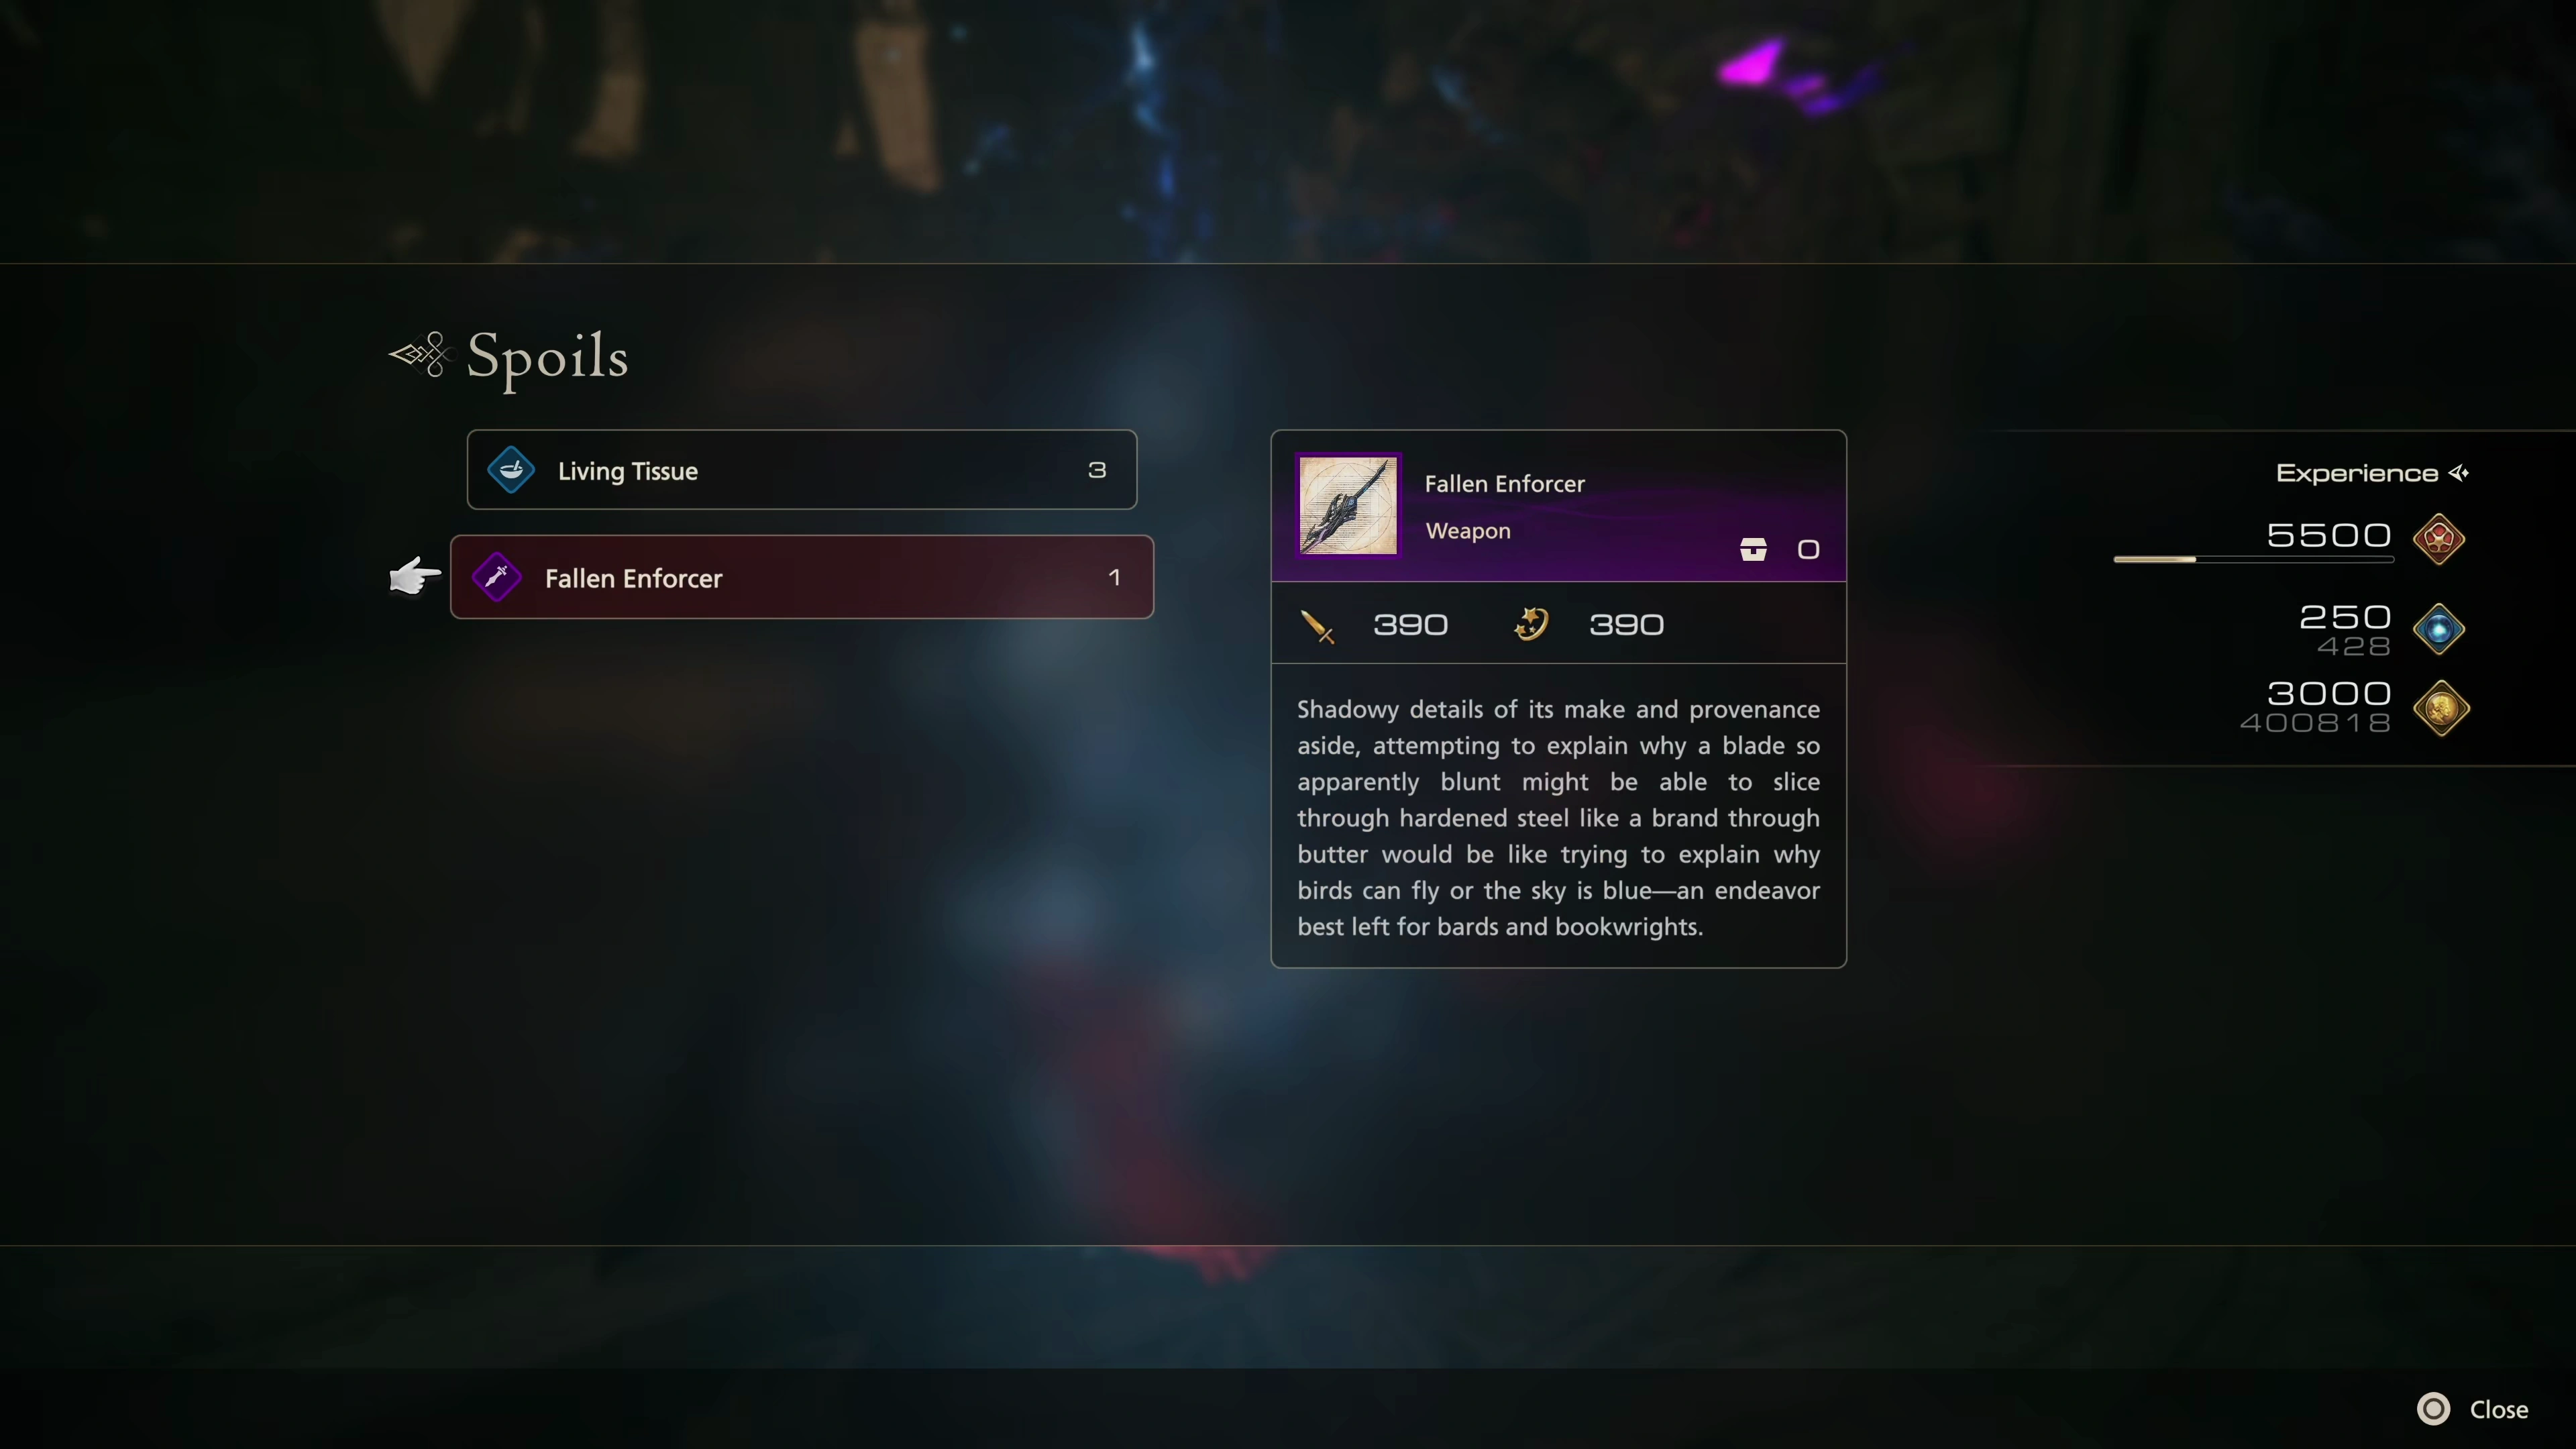
One of the rewards from this fight is a great new weapon, the ![]() Fallen Enforcer, which is one of the strongest weapons in the game. Don’t forget to equip it.
Fallen Enforcer, which is one of the strongest weapons in the game. Don’t forget to equip it.
Head up the stairs and you’ll reach a fork at the top of the stairs with one path going left and one going right, but both leading around the center pillar of the Sagespire. Both pathways lead to the same area, and there are no Glimmers or treasure coffers to pick up, other than where the two paths converge. Walk forward and step on the elevator to head up to the next level.
Helpful Hint
Unlike in most areas of the game, the Glimmers in the Sagespire always have the same items. The DLC Expansion section of the walkthrough will list the Glimmers and the exact items that you’ll obtain by activating each of them. However, once you exit the Sagespire, you’ll be back to getting randomized items and/or extremely low amounts of ![]() Gil.
Gil.
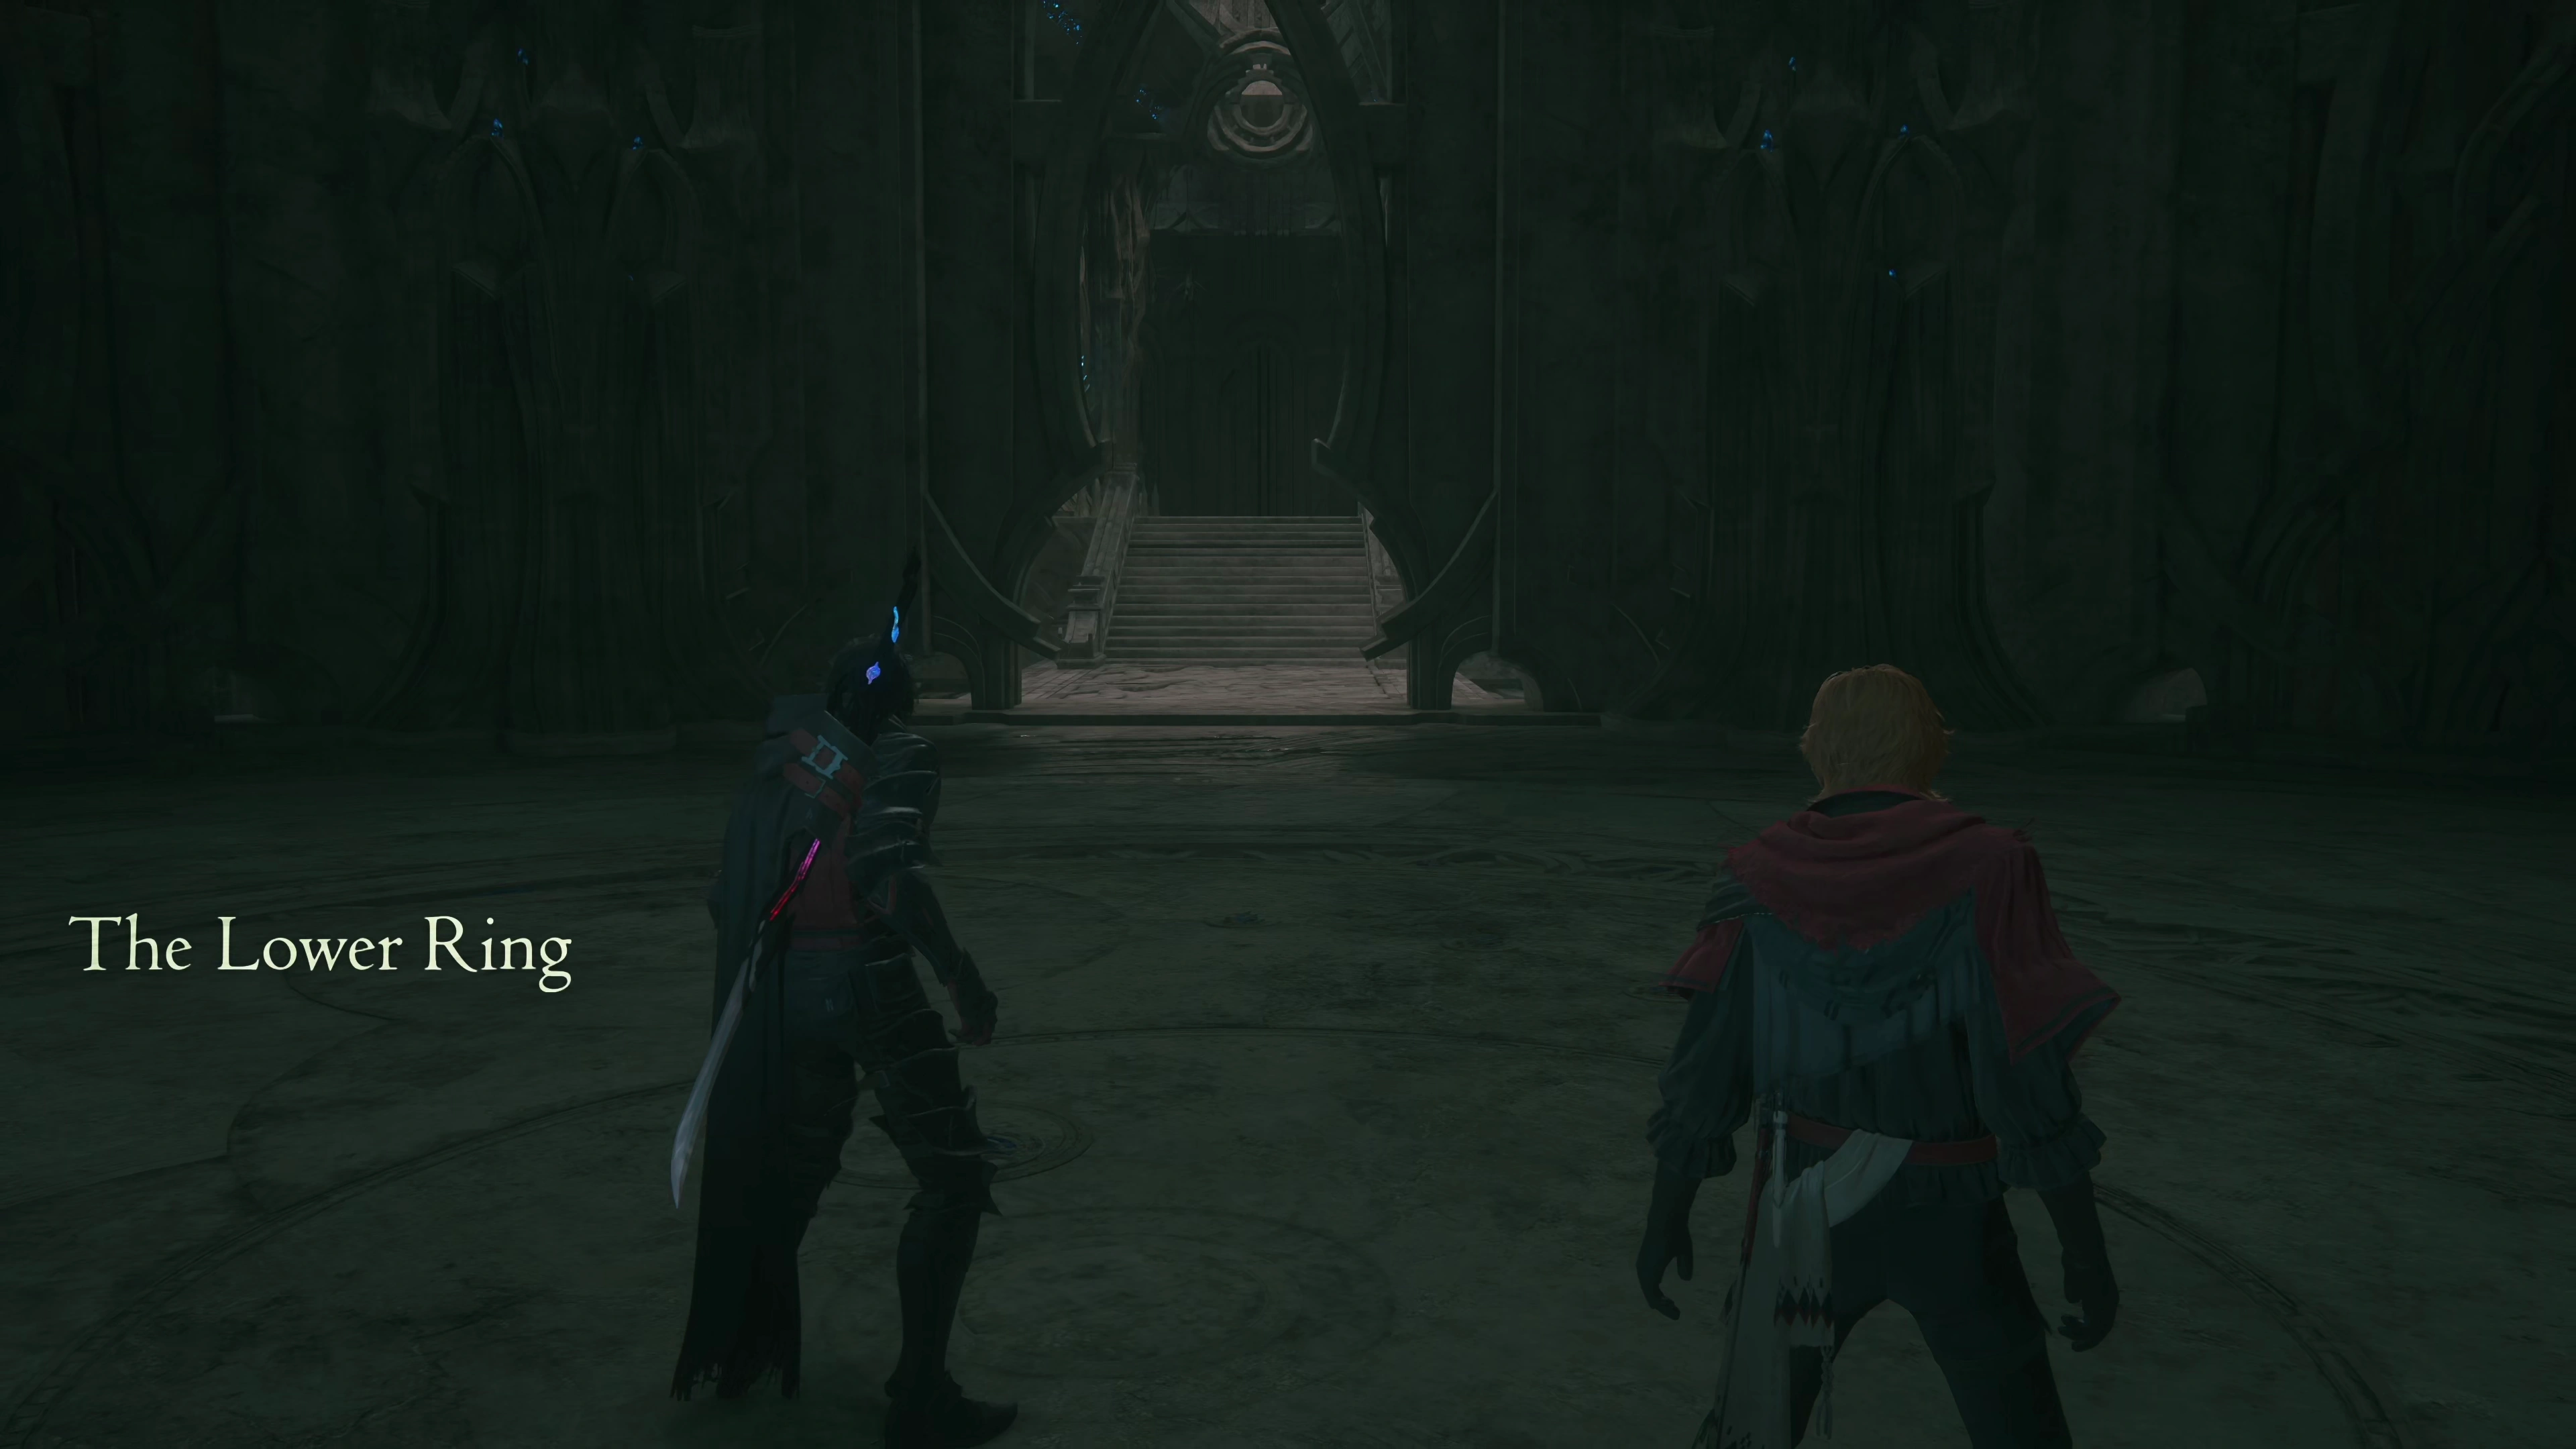
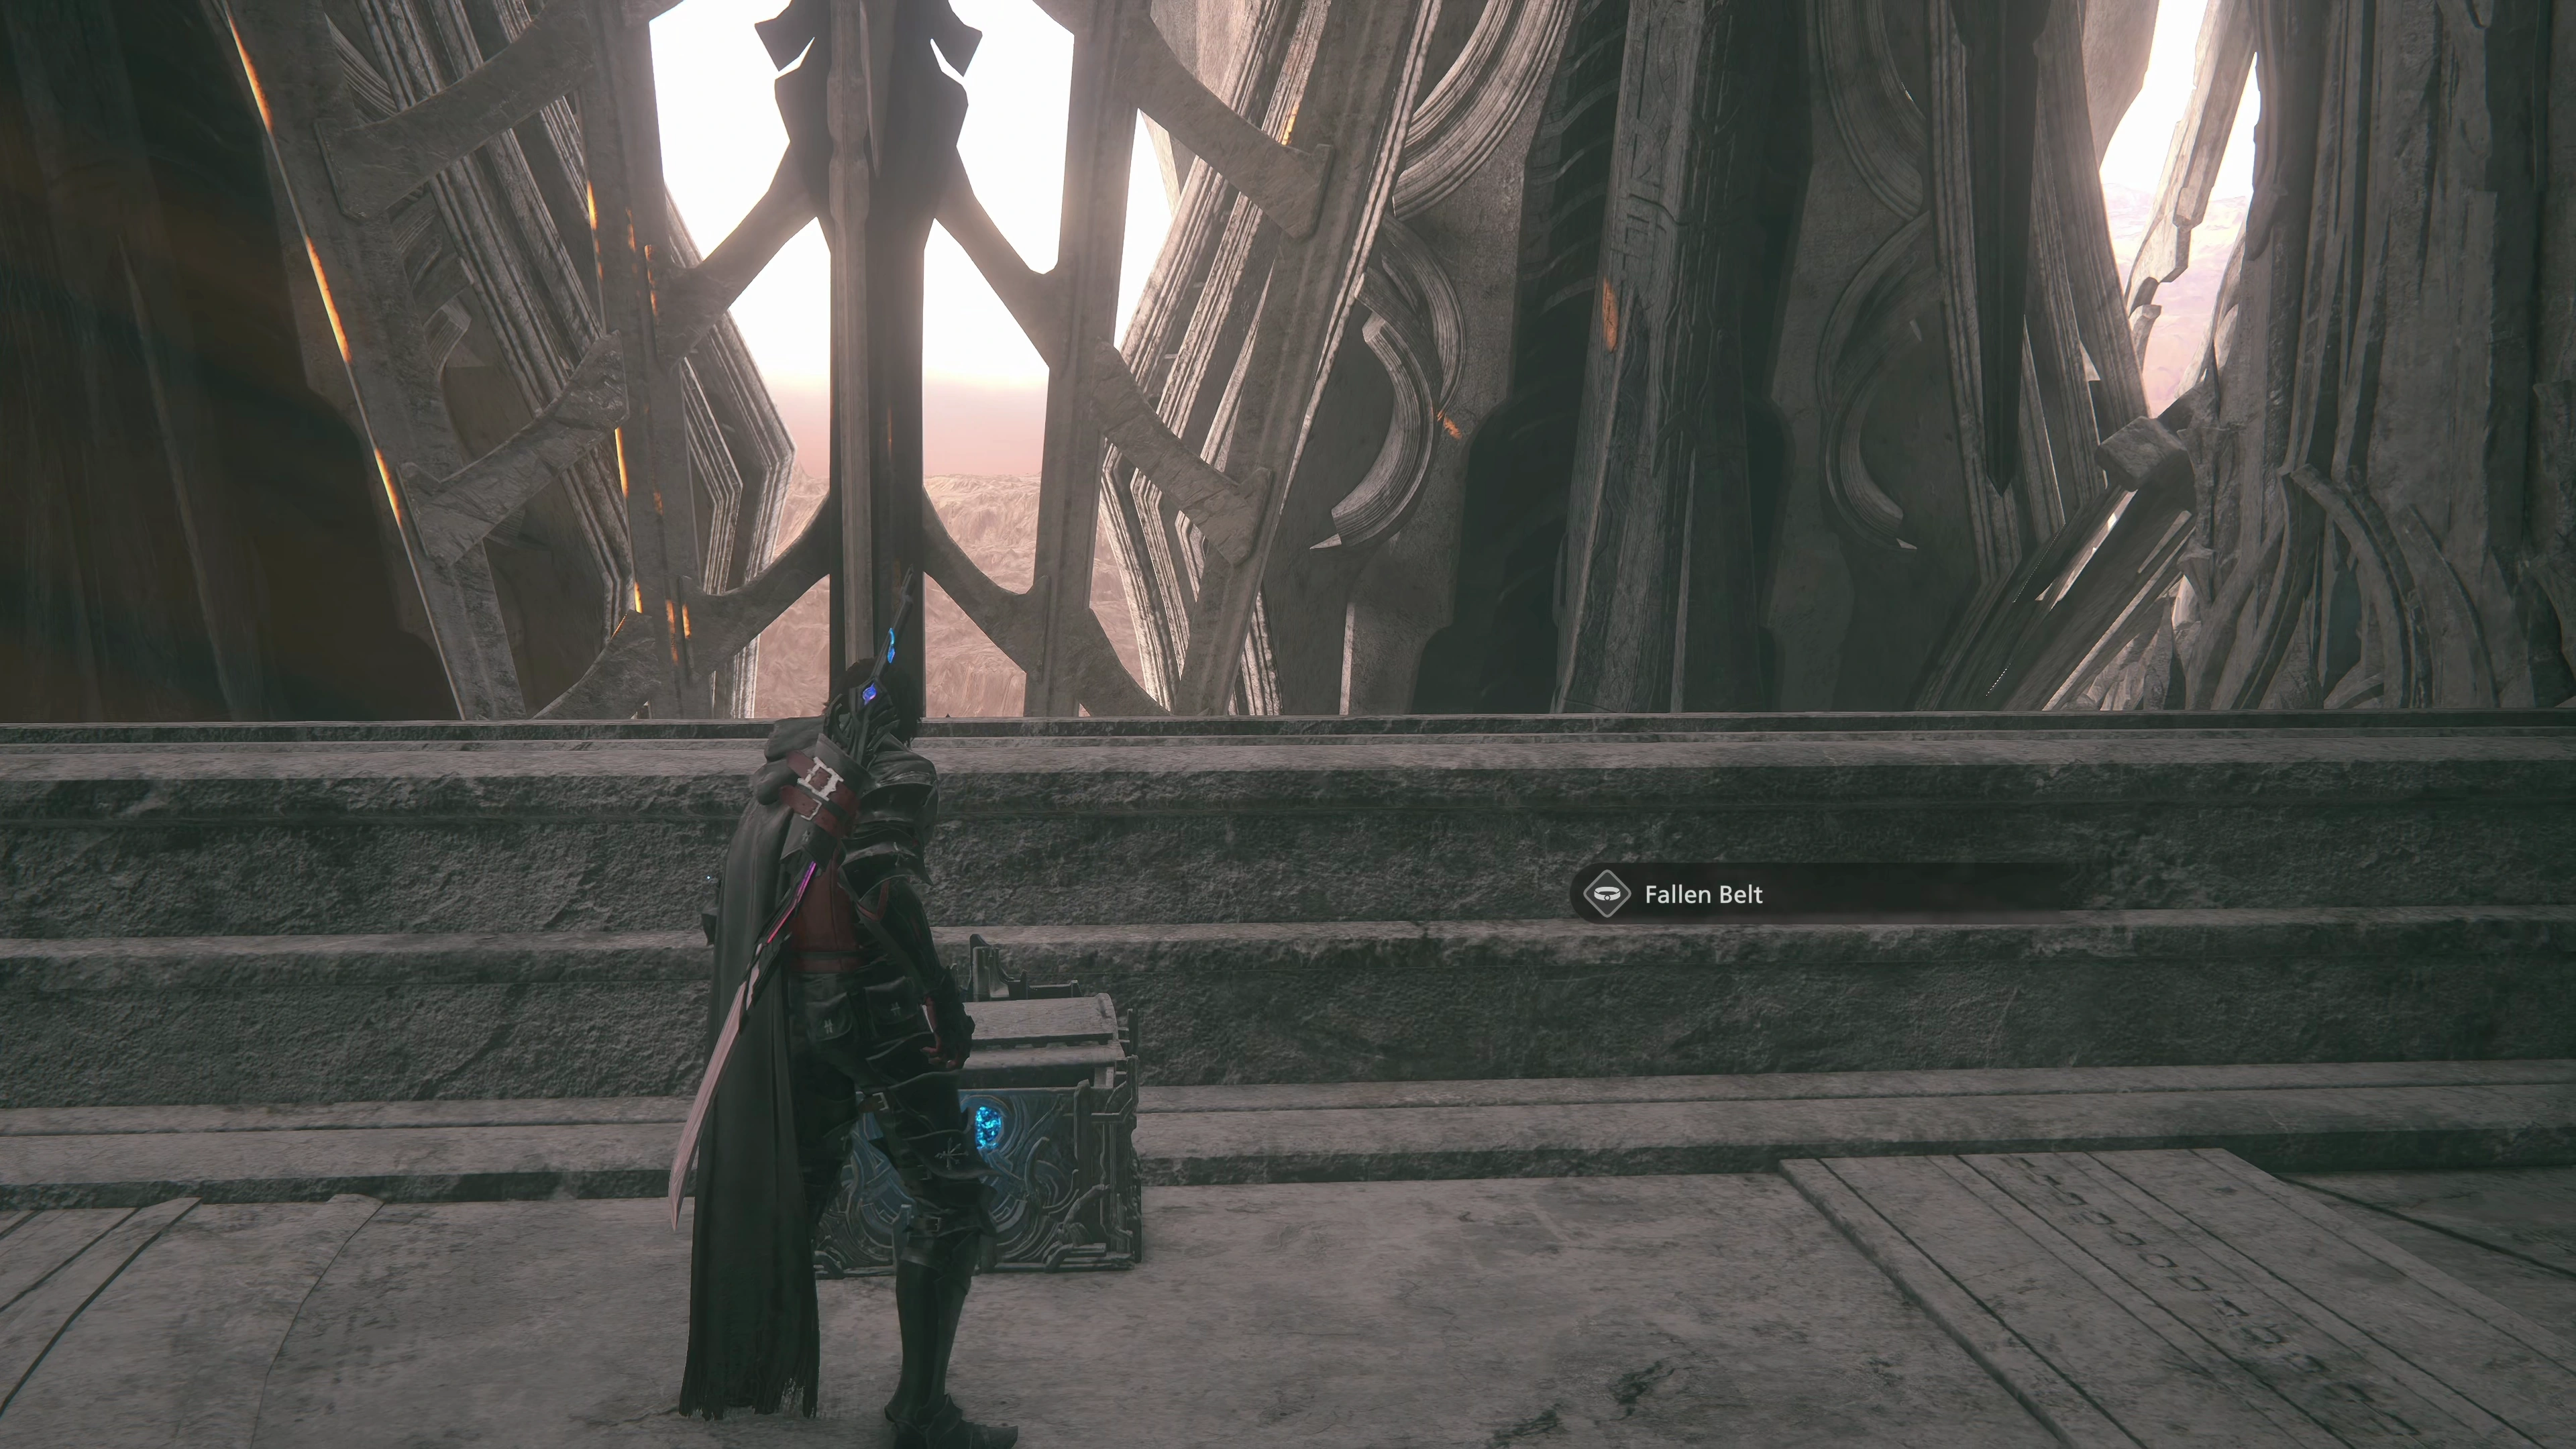
The Lower Ring
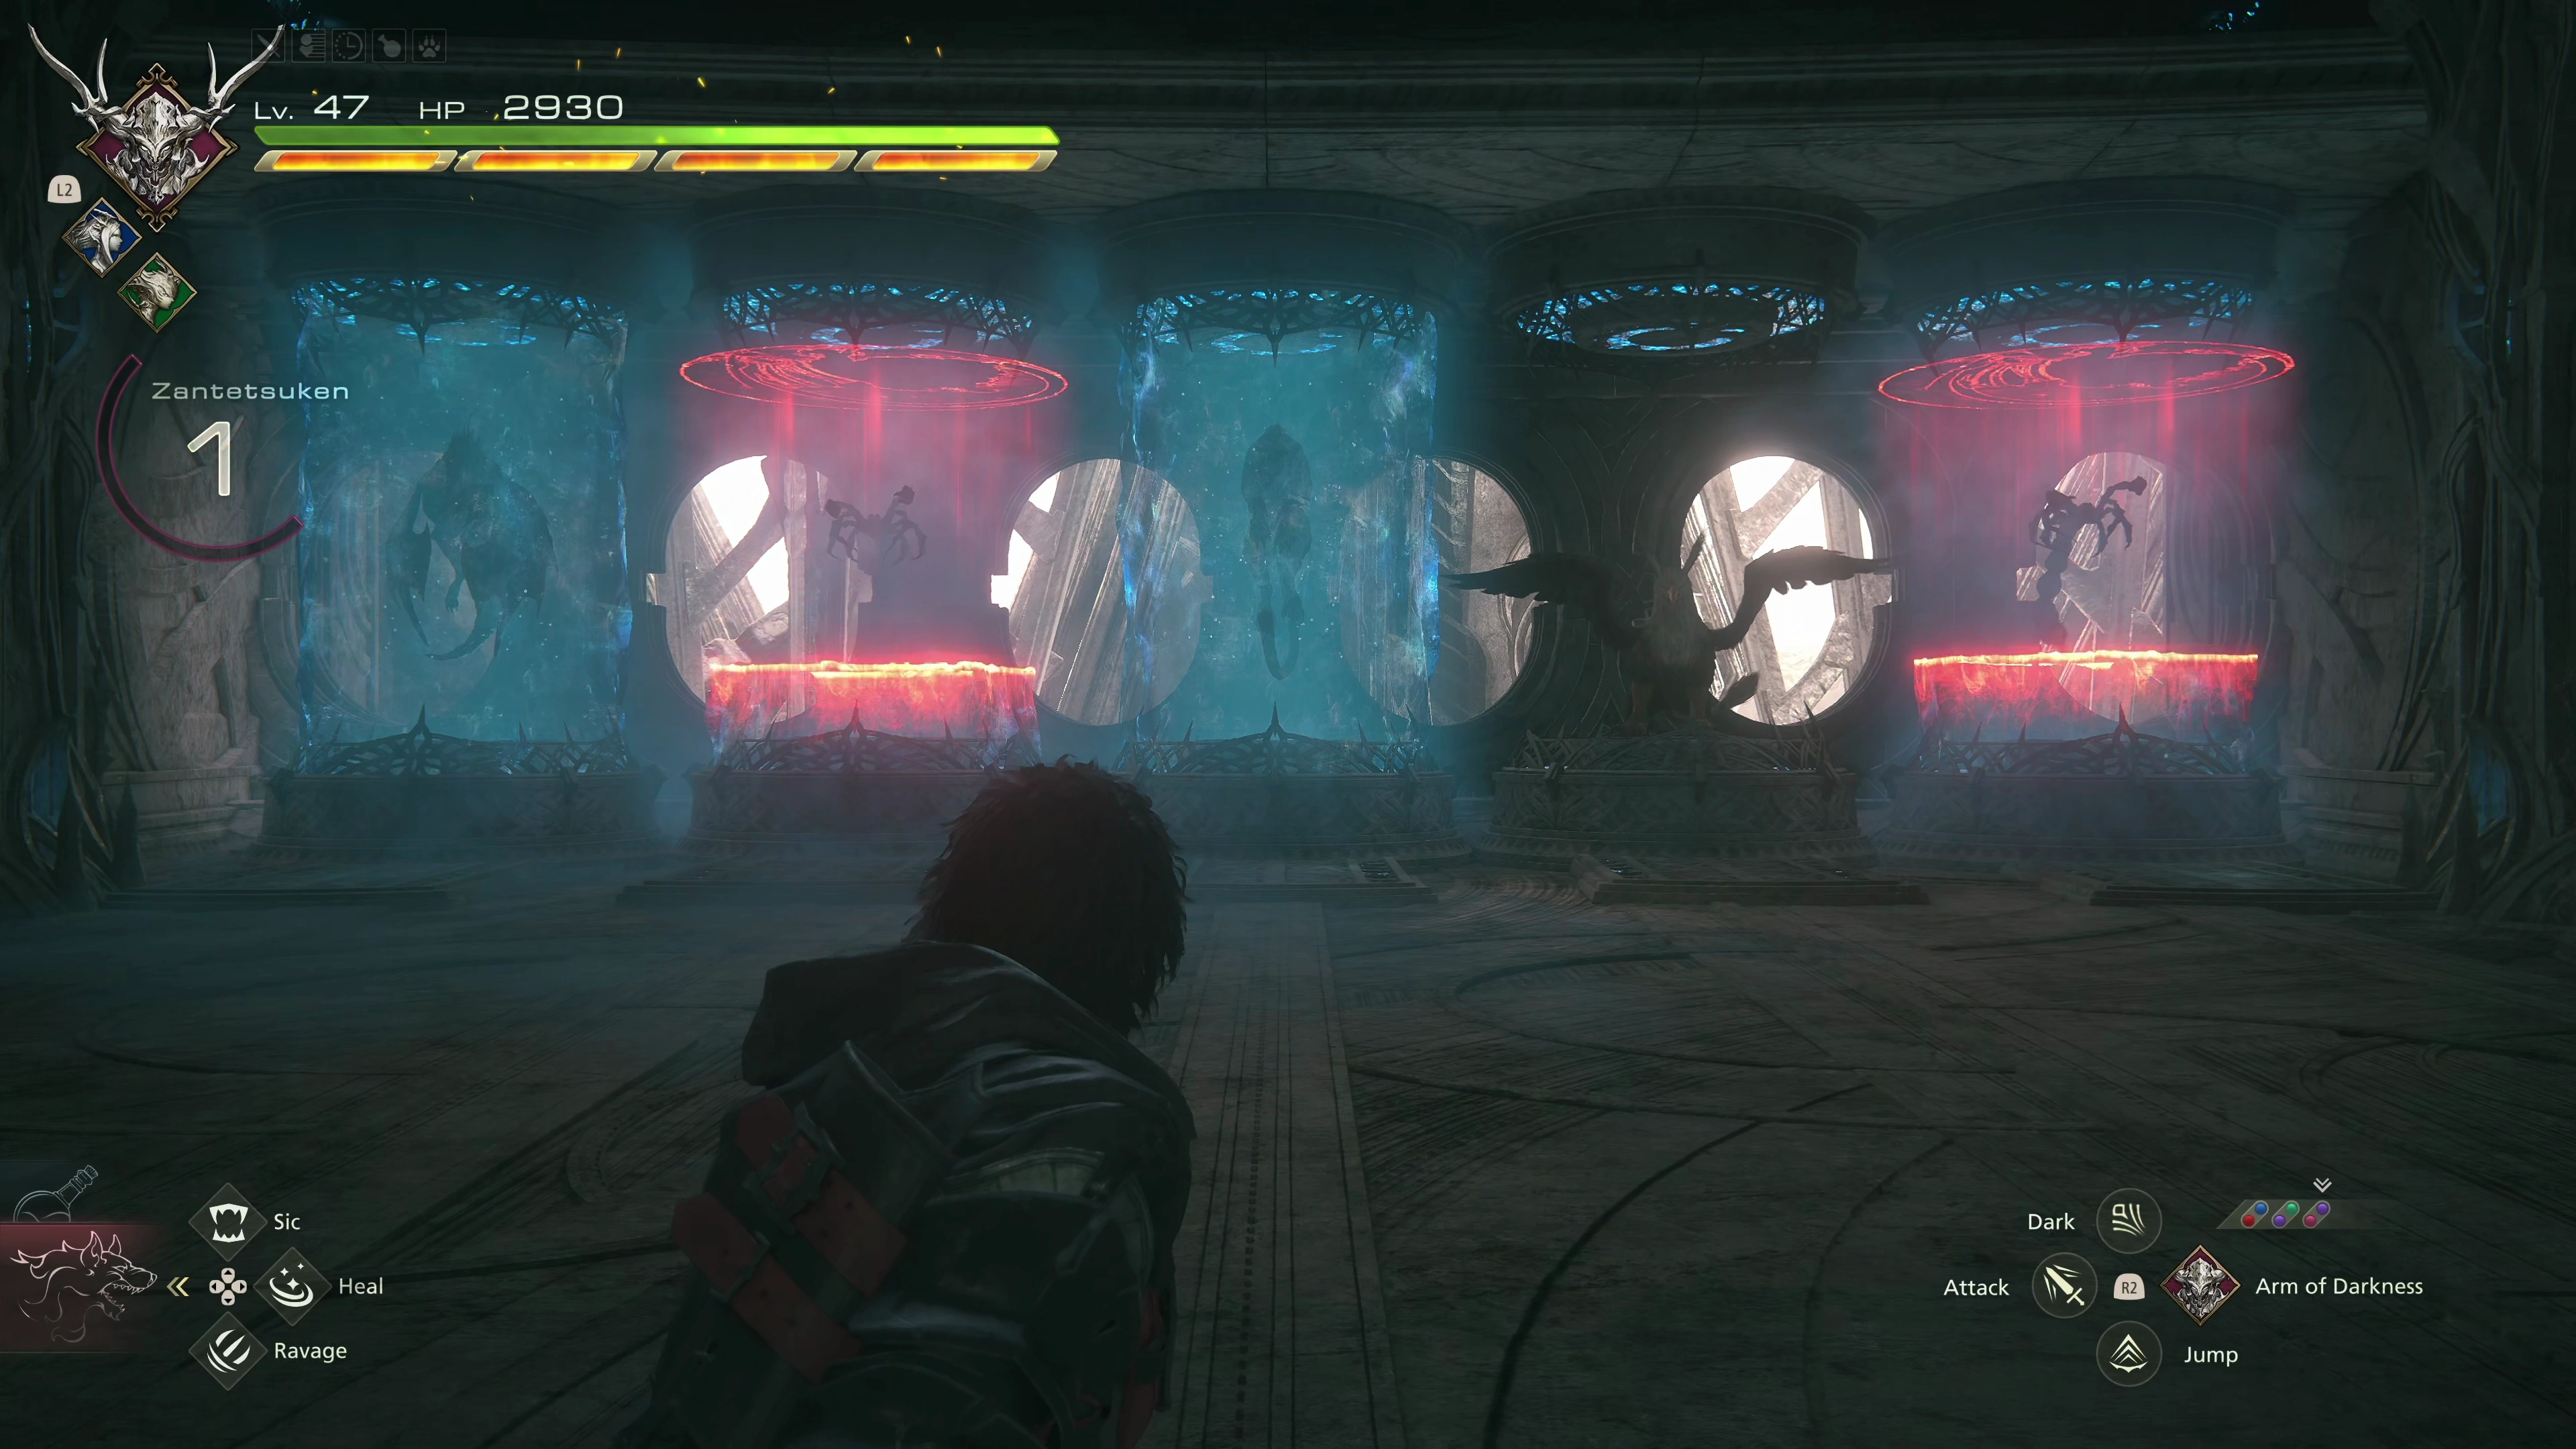
Climb the stairs and take the doorway on the left side, which leads into a room full of suspension tanks. Go through the open door on the left and grab the treasure coffer at the end of the path to obtain a new ![]() Fallen Belt, which is better than your
Fallen Belt, which is better than your ![]() Ouroboros belt, even though it has two fewer HP
Ouroboros belt, even though it has two fewer HP ![]() . Head through the doorway nearby and into the next room.
. Head through the doorway nearby and into the next room.
The suspension tanks or vats or whatever they are in this room will break open, forcing you into a fight against a large group of Spire Wolves. ![]() Diamond Dust works great here if you allow them to group up first. Or you can use a level 5 Zantetsuken from your
Diamond Dust works great here if you allow them to group up first. Or you can use a level 5 Zantetsuken from your ![]() Arm of Darkness.
Arm of Darkness.
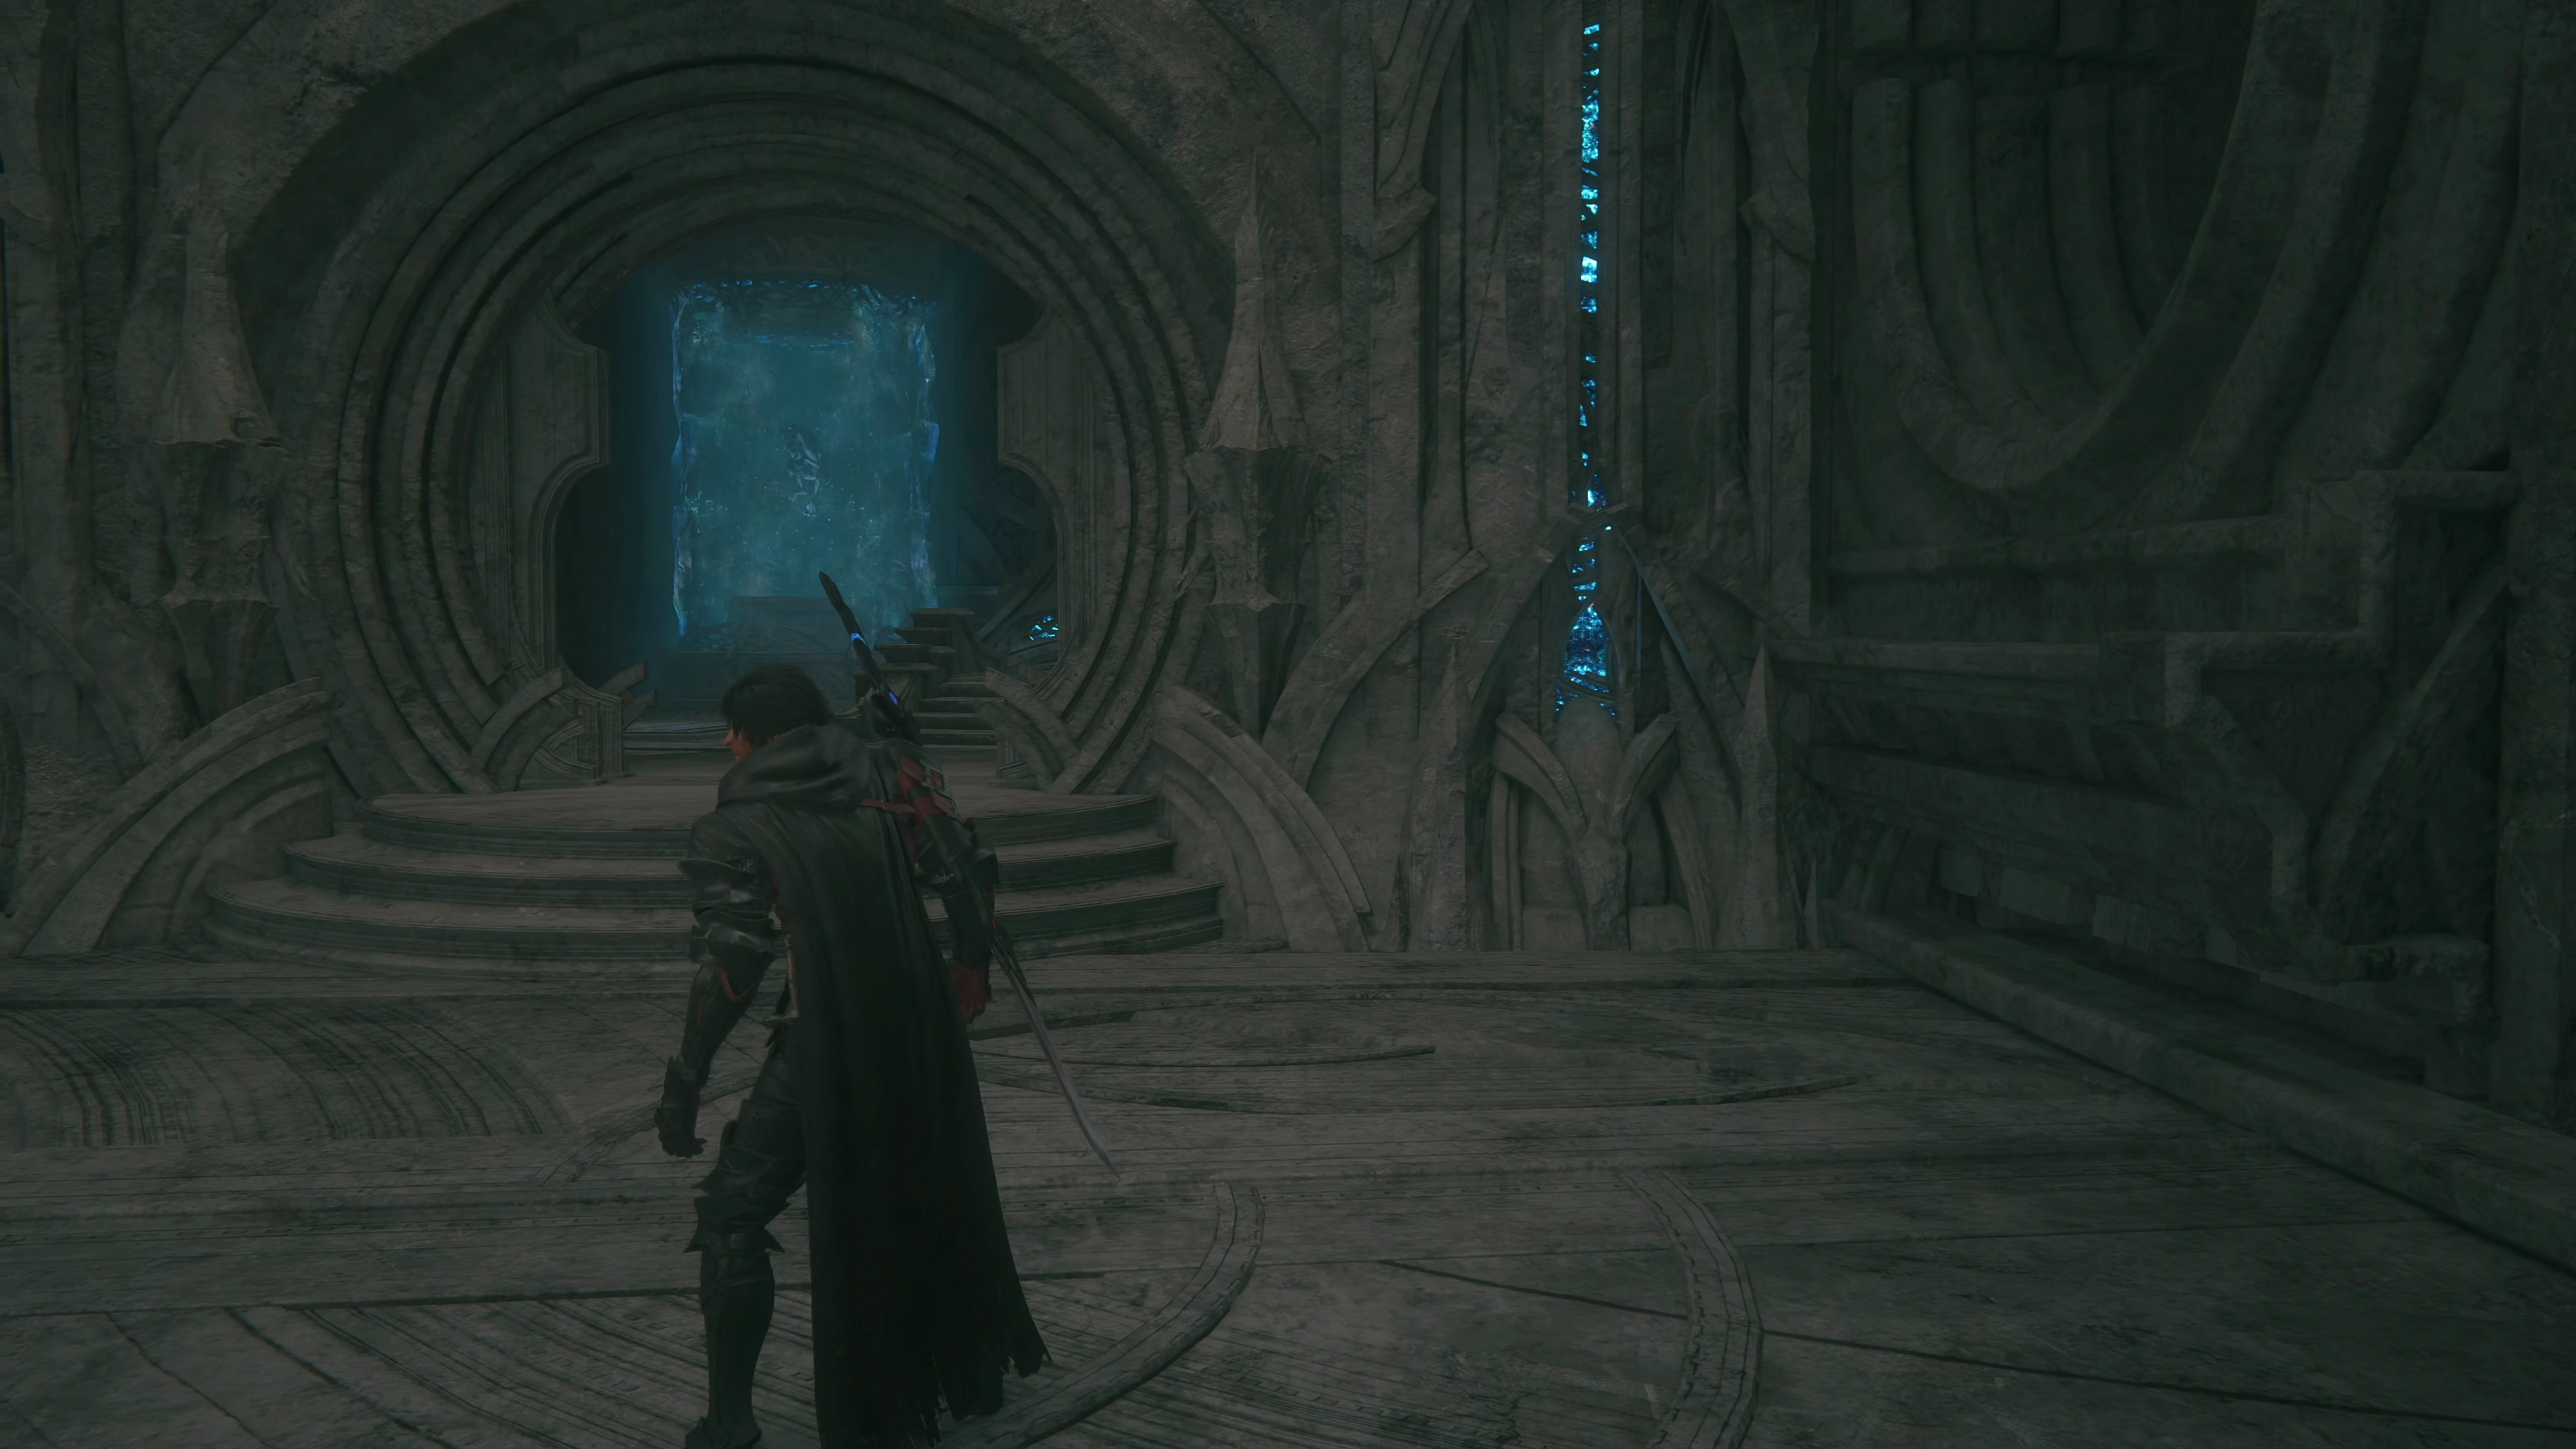
In the next hallway, you’ll run across another Glimmer before reaching a split pathway, with the path on the right leading into a dark room. It doesn’t actually go anywhere, but there is one more Glimmer in this room on the right, so head in there first, and then go into the room on the left. Activate the glowing panel on the pedestal to hear a bit more about the Sagespire. Go through the nearby door.
This room contains another group of Spire enemies to defeat, including a large Spire Griffon, similar to the ![]() Dozmare and the Simurgh you’ve fought before. The scorpions can be a bit of a problem during this fight, too, despite Jill, Joshua, and Torgal doing their best to tie them up, so try to ensure that your multi-target attacks hit them as well.
Dozmare and the Simurgh you’ve fought before. The scorpions can be a bit of a problem during this fight, too, despite Jill, Joshua, and Torgal doing their best to tie them up, so try to ensure that your multi-target attacks hit them as well.
The next room contains another large group of Domovikha and Domovoi. Focus on the Domovoi first; they like to stand in the back while buffing up their party members. Once this group is defeated, more of the tanks will break open, and you’ll have to fight your way through a group of Raptors with a Spire Wyvern (aevis-type enemy). Open up the treasure coffer on the second level to obtain a ![]() Nourishment Bit and 100 chunks of
Nourishment Bit and 100 chunks of ![]() Wyrrite.
Wyrrite.
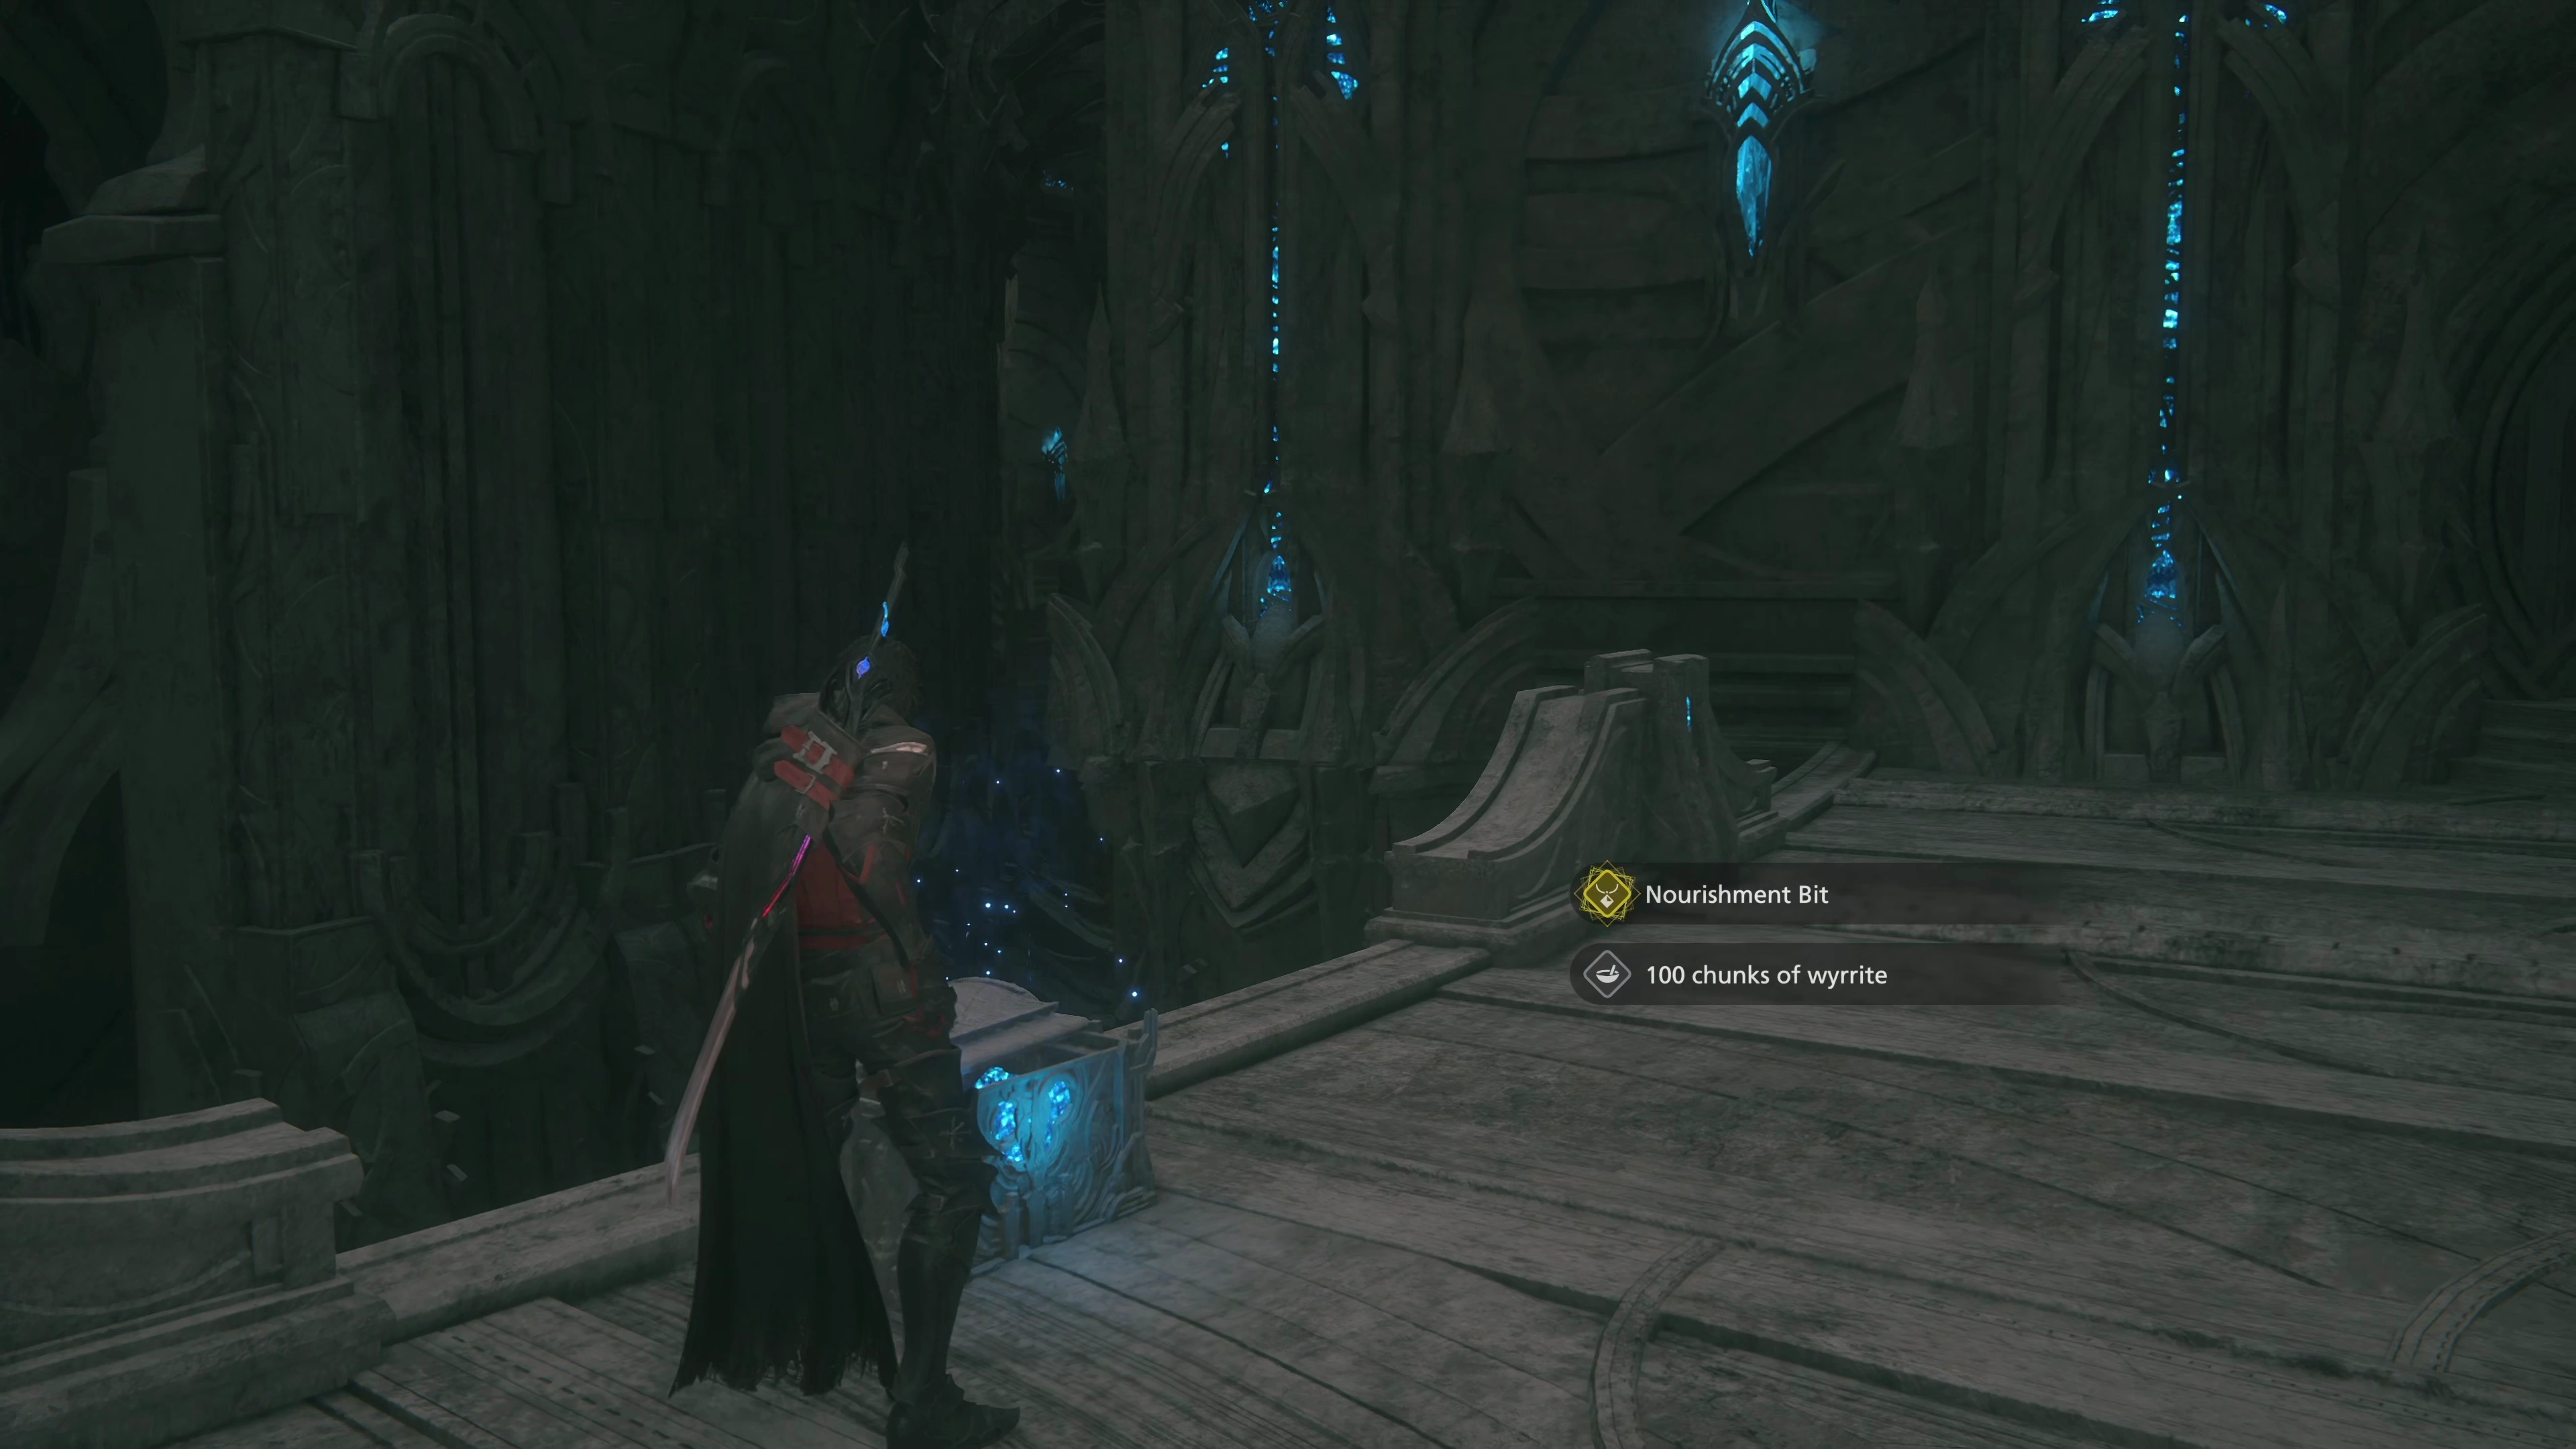
Head through the door for your next mini-boss battle.
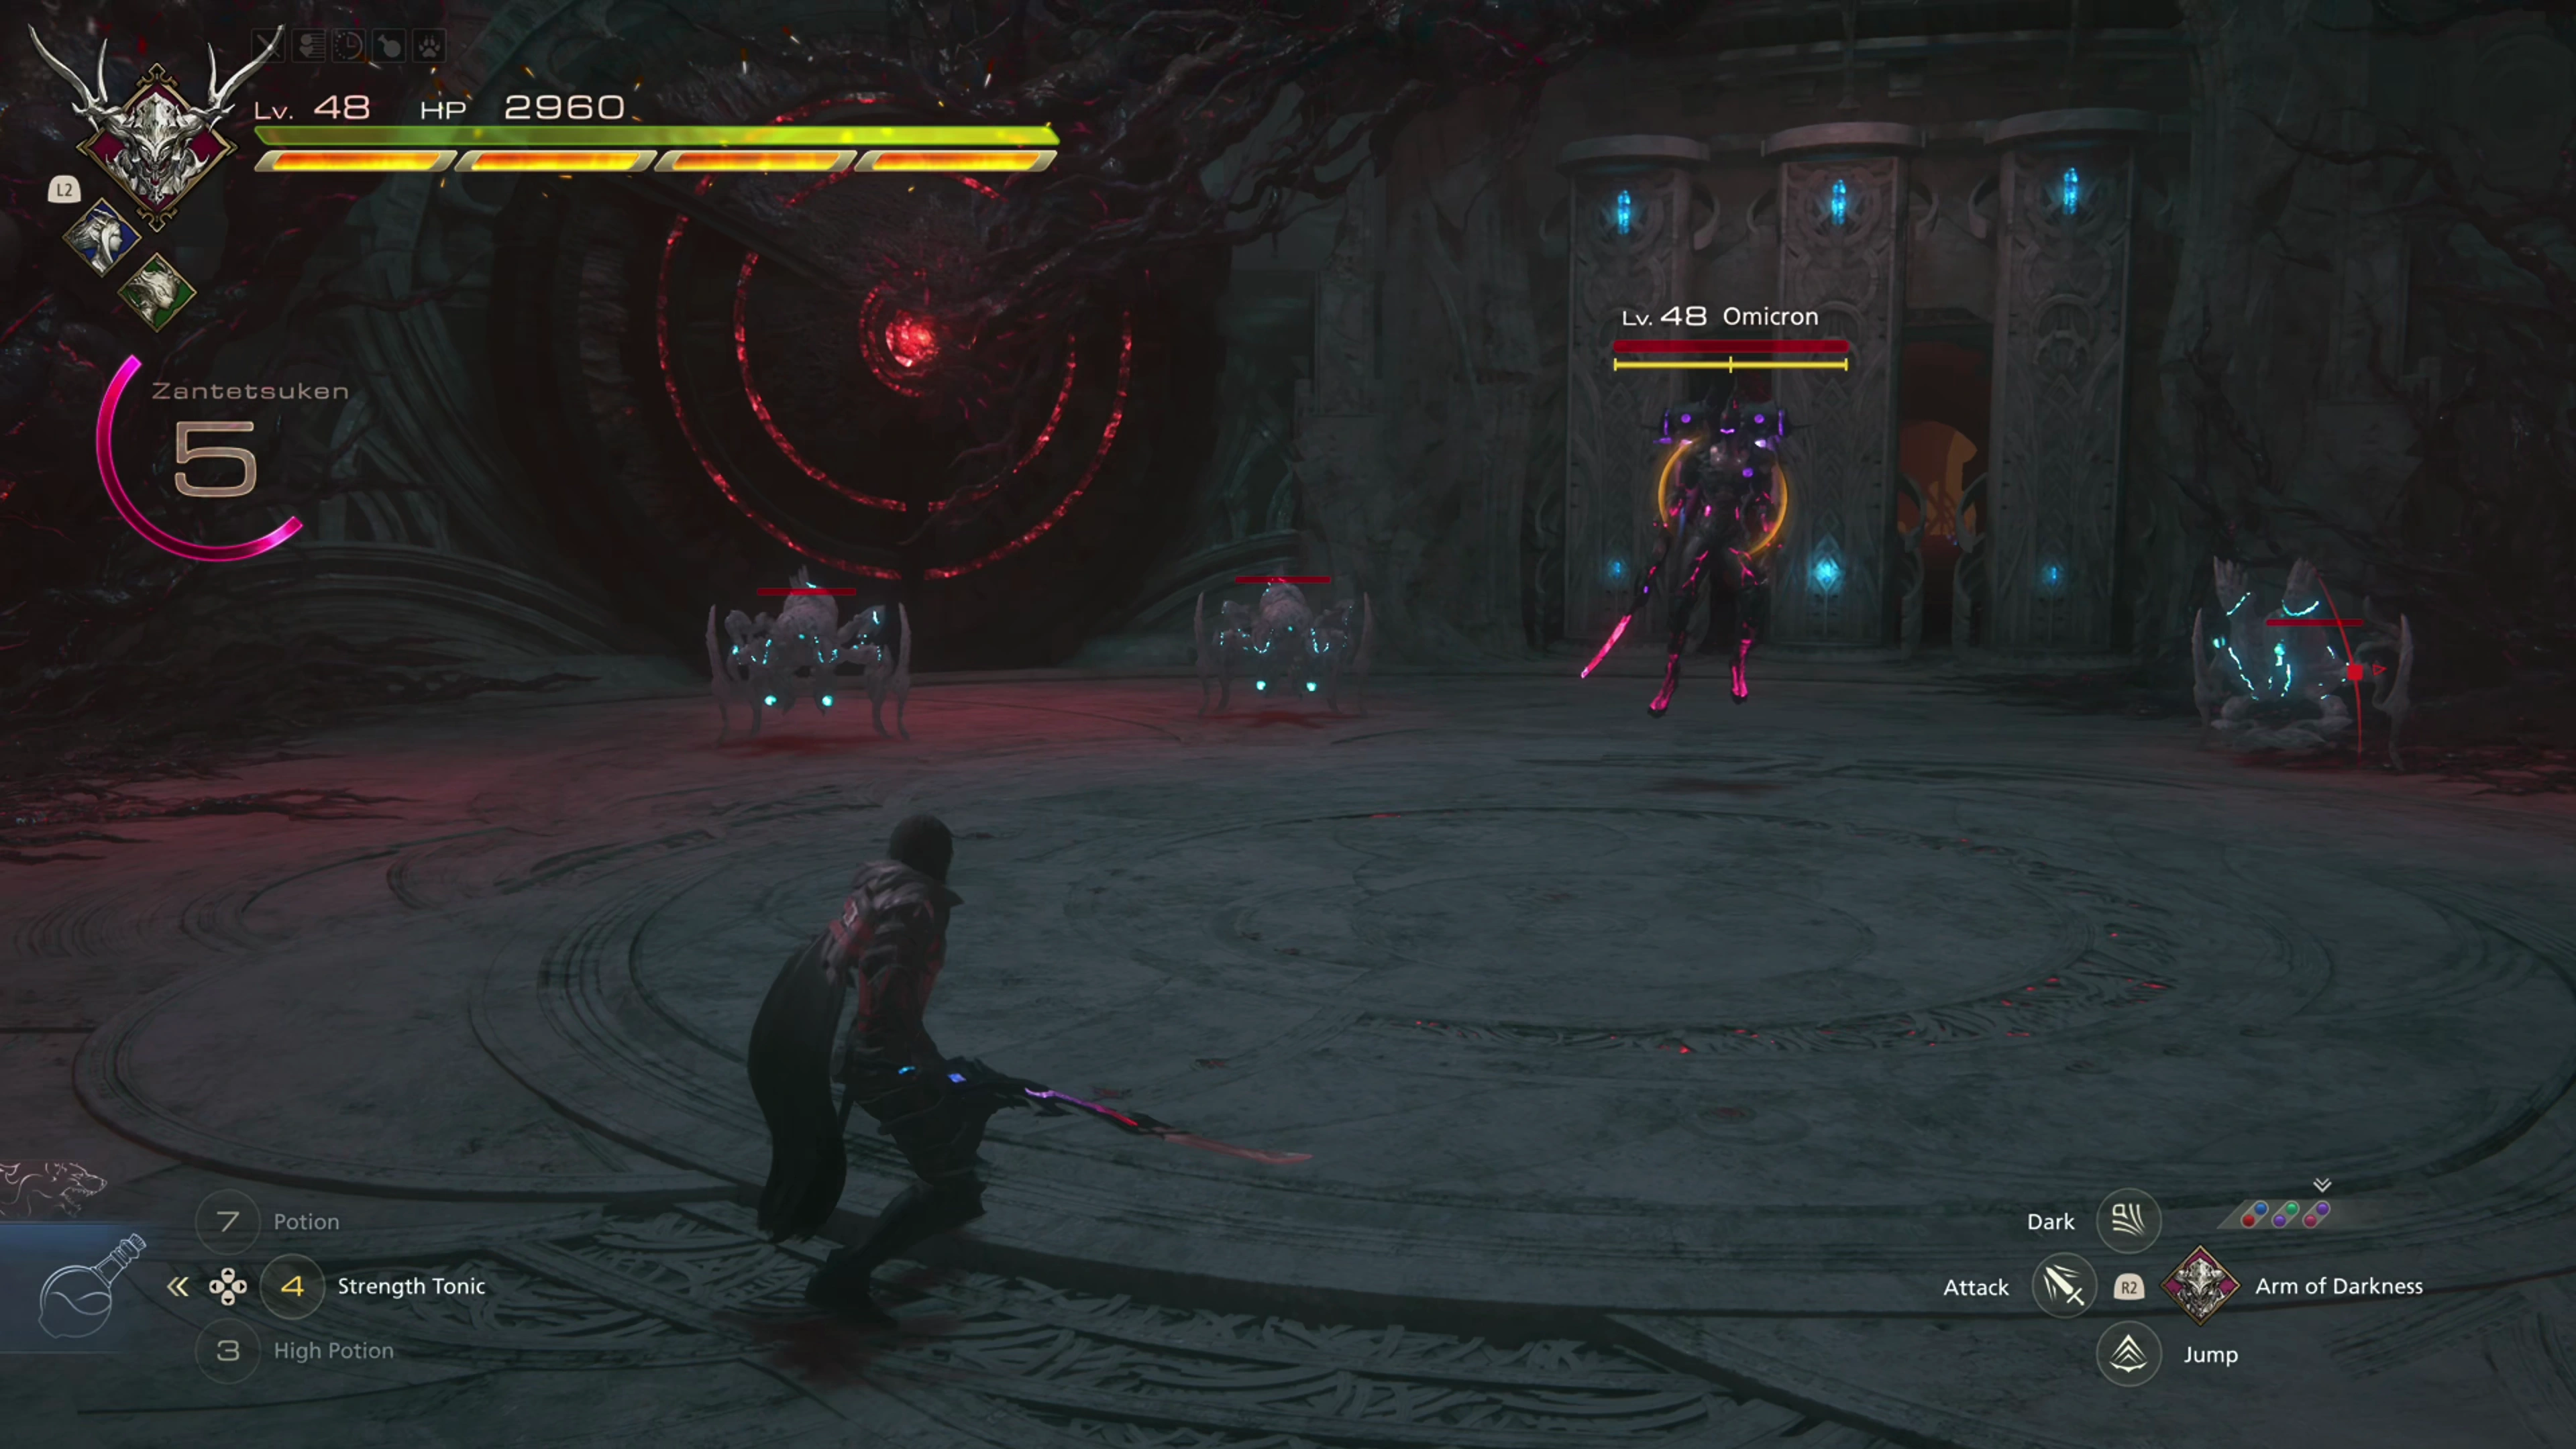
Boss Battle
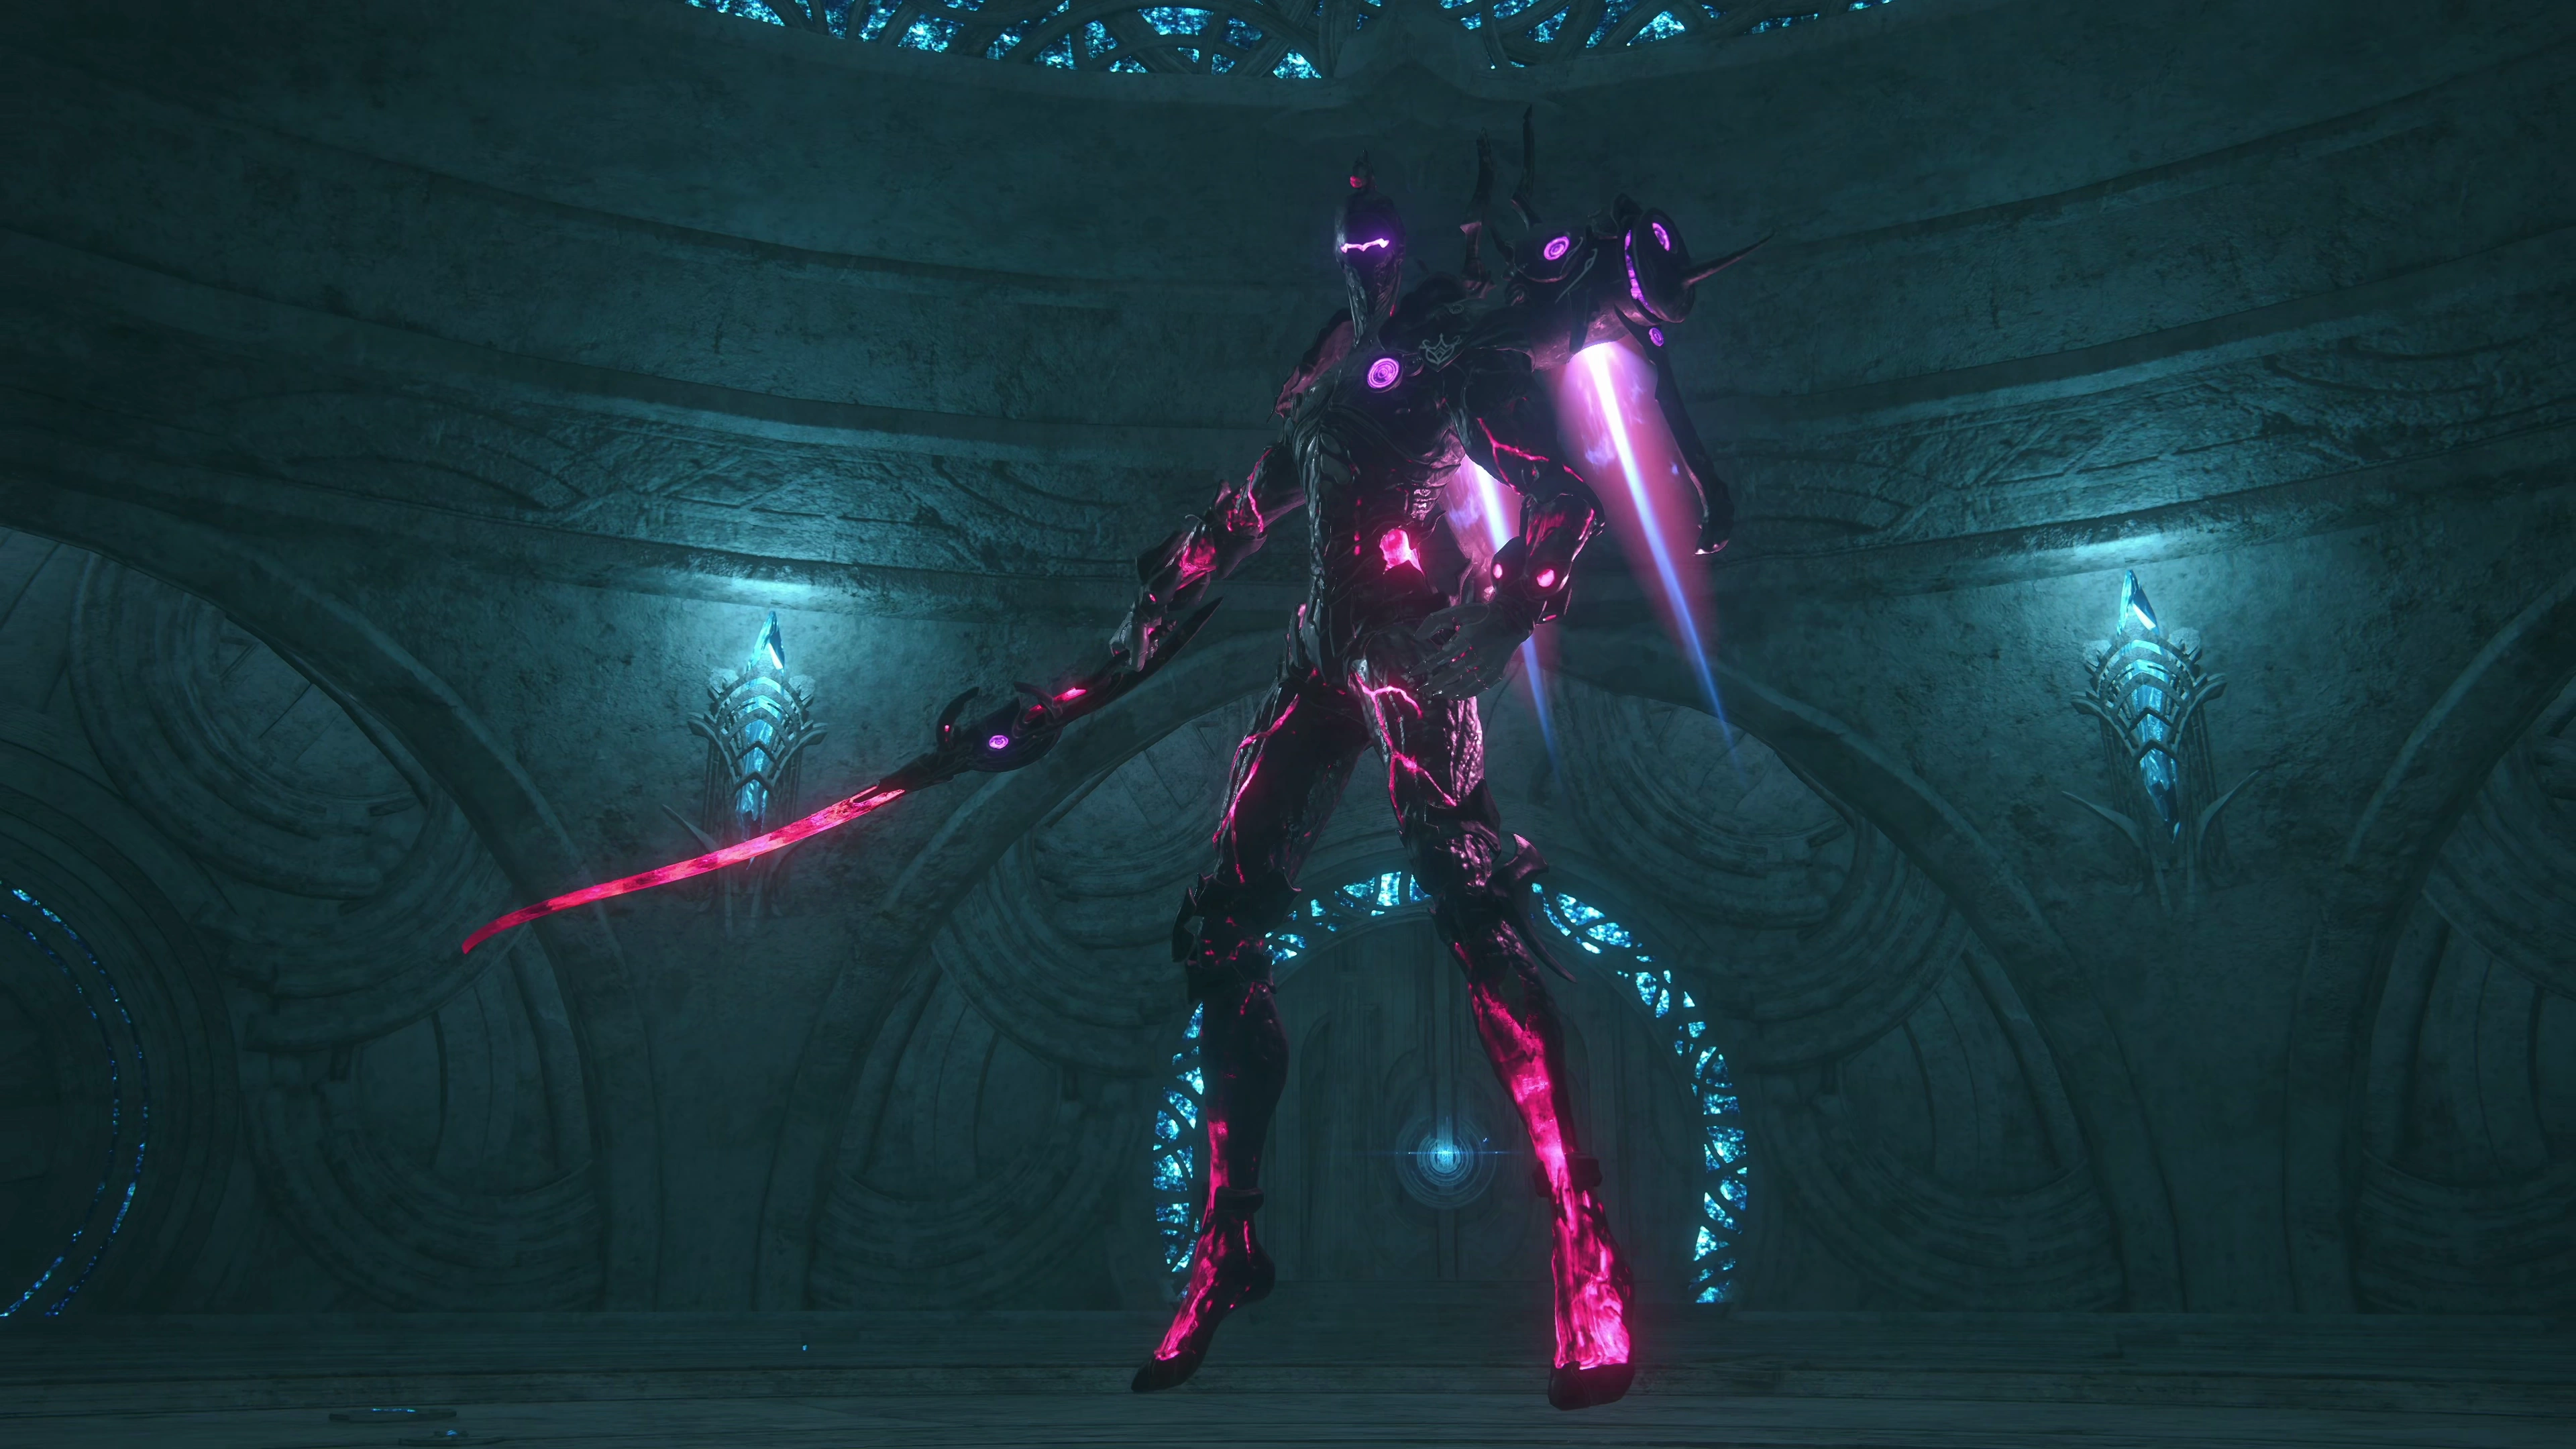
This is a boss battle in the same way that the fight against Undertaker was a boss battle. It has all the cutscenes like a boss battle, but you’ll be facing more of them as you work your way through the Sagespire. It has a few attacks listed below, which you can prepare for, but it doesn’t have a lot of HP, so you should be able to defeat it easily:
![]() Physical Attacks:
Physical Attacks:
Omicron has several lunging physical attacks. Because it can fly, it can cover long distances very quickly, so be prepared to dodge quickly.
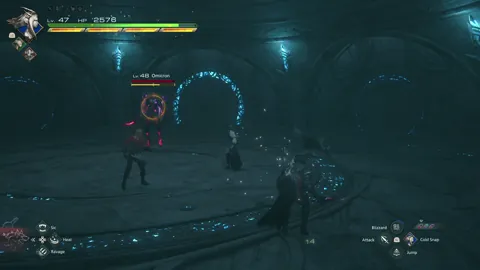
![]() Vertical Magic Blade Slash:
Vertical Magic Blade Slash:
This is just like Barnabas’ attack, where he would hold up two hands as his sword begins to glow, and then smash it downward toward, except that you can’t counterattack it.
![]() Horizontal/Vertical Magic Wave:
Horizontal/Vertical Magic Wave:
Another attack that you’ve seen from other enemies that comes in both a horizontal and vertical form.
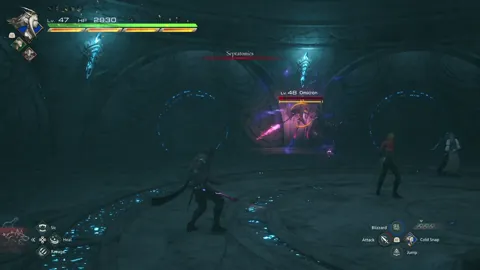
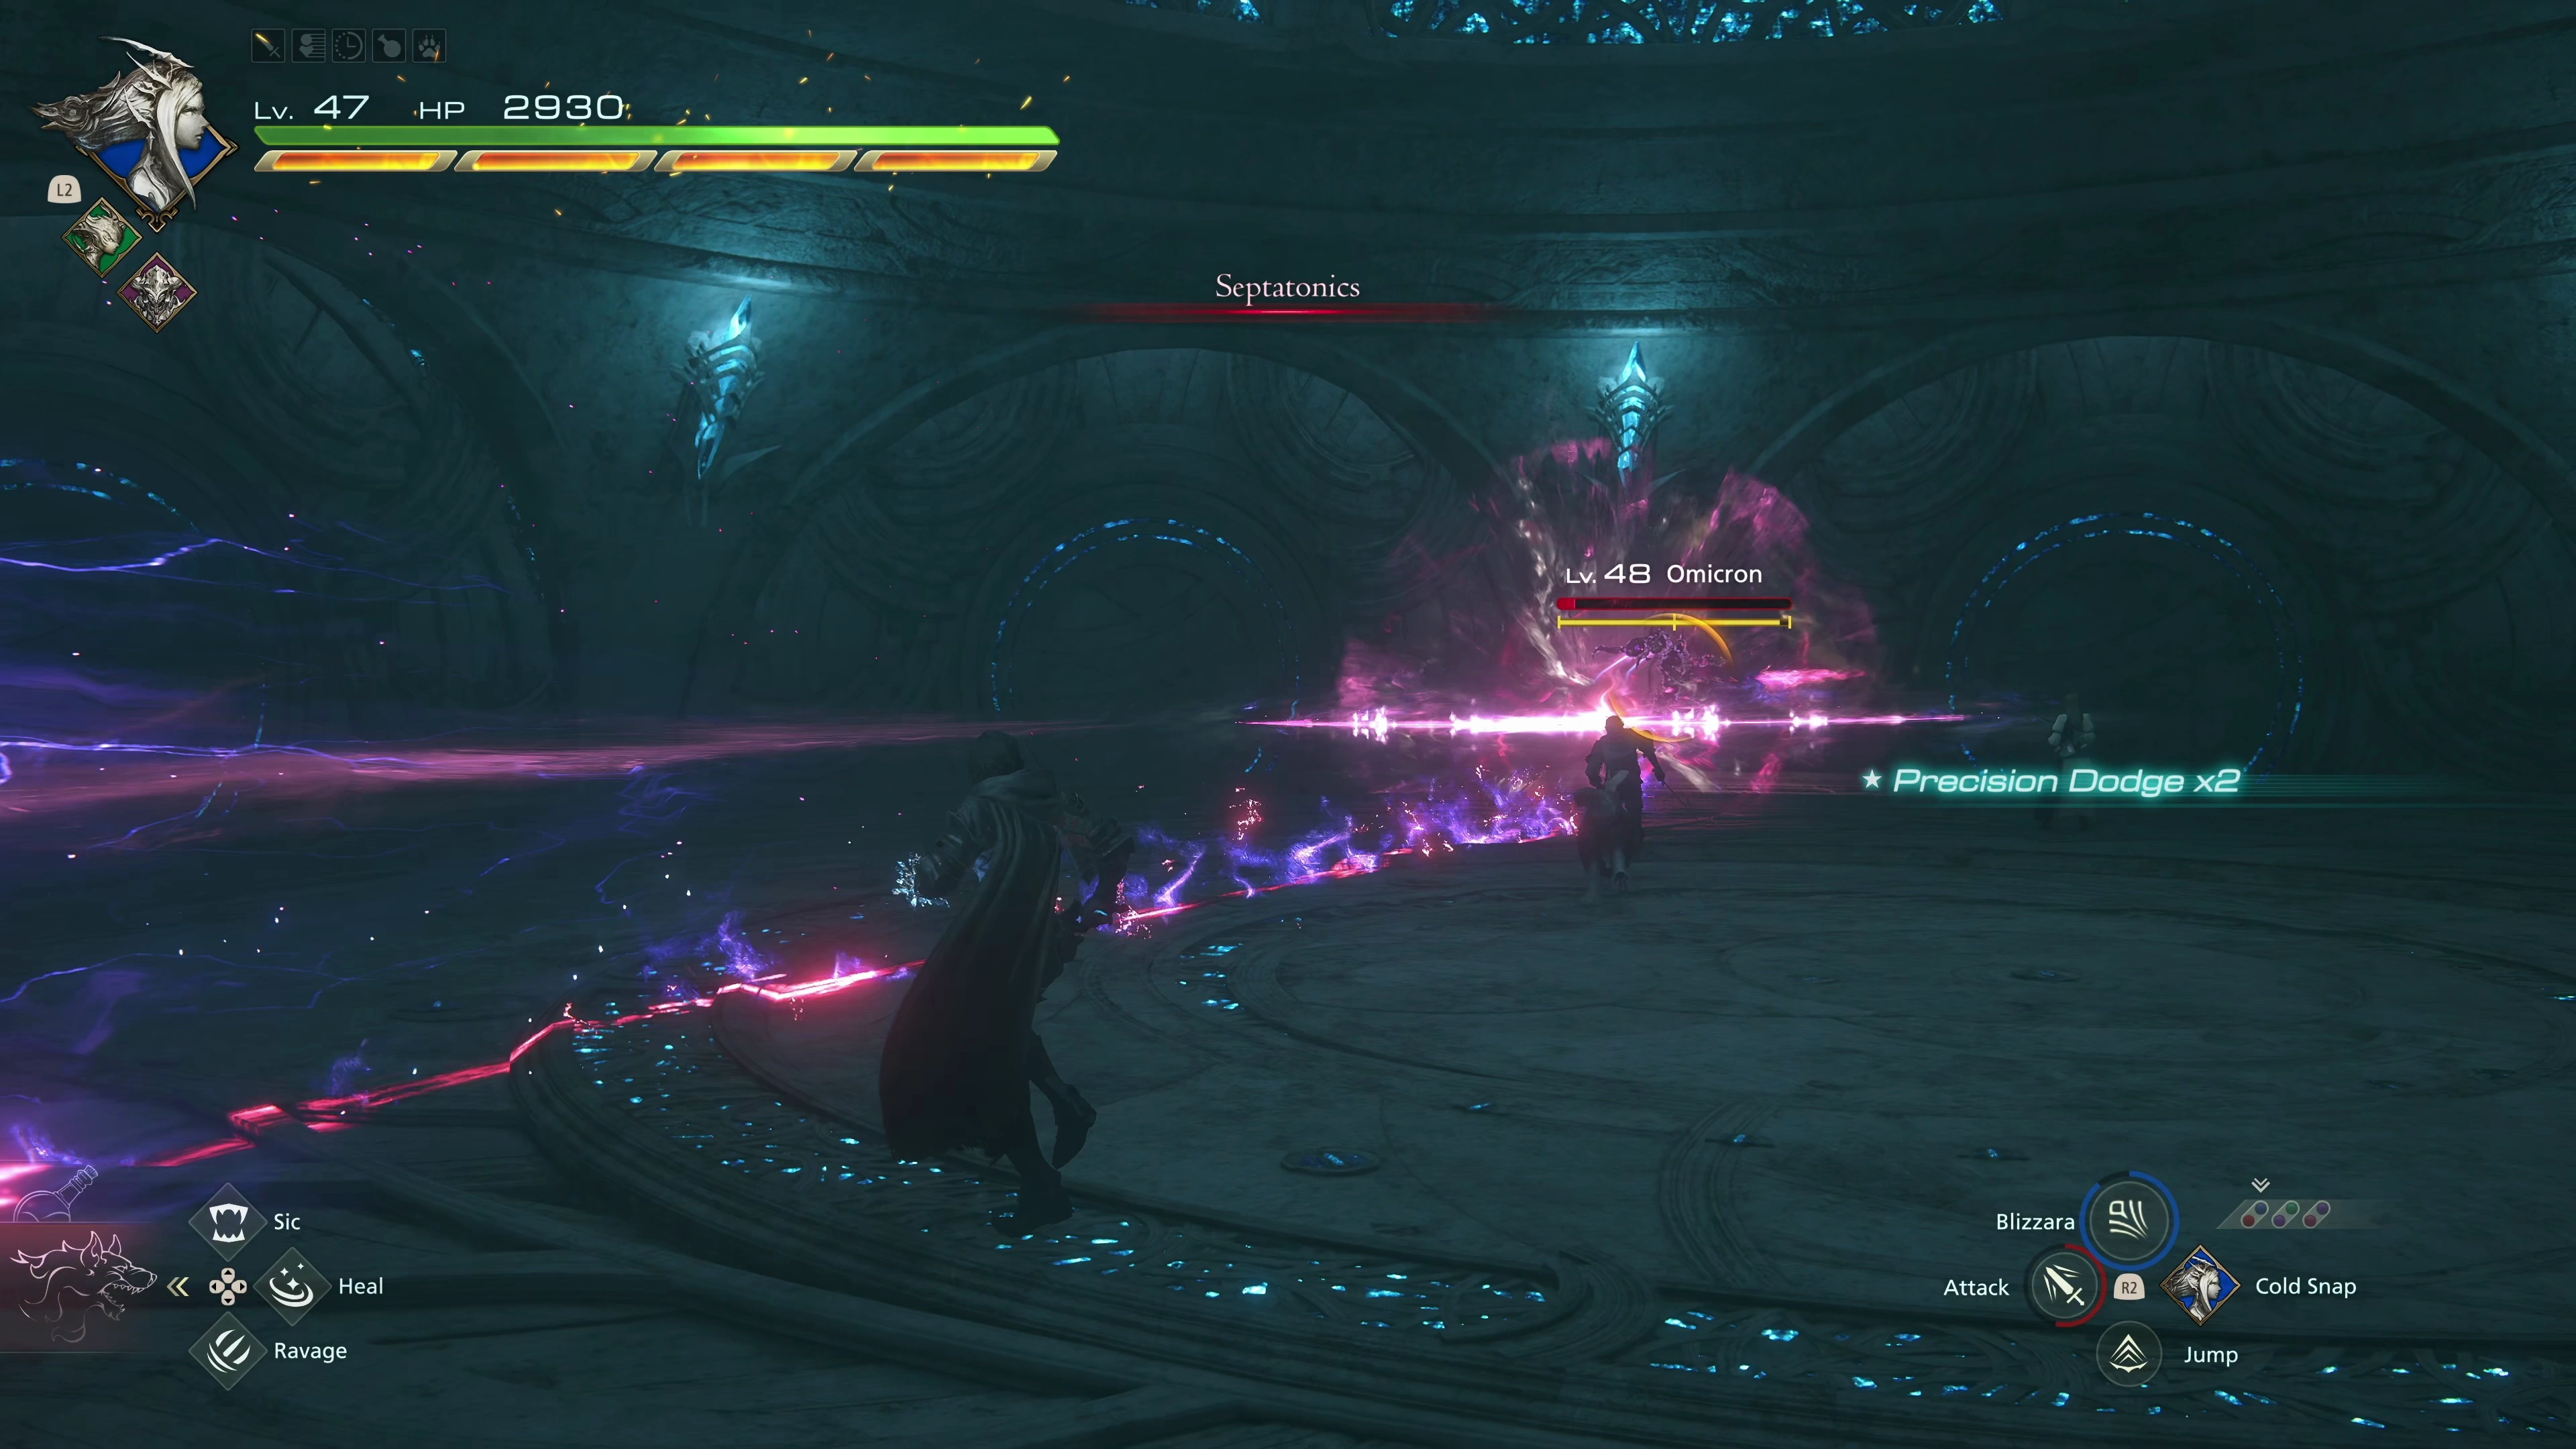
![]() Septatonics:
Septatonics:
Omicron will launch a flurry of magical blade slashes towards you. They can be counterattacked with ![]() Heatwave or dodged. The final attack is a simultaneous vertical and horizontal wave.
Heatwave or dodged. The final attack is a simultaneous vertical and horizontal wave.
There is no Medal of Valor to earn for this fight.
200
2,500
Exit the room through the glowing blue doorway, grab the Glimmer, and ride the elevator up to the next level.
The Landing
Clive and the team will notice a bunch of floating ships that look similar to the Hideaway docked nearby. Run forward, grab the Glimmer, which contains a ![]() High Potion, and follow the pathway to the left around the outside of the structure. You’ll eventually come across a group of flying Spire Dragonets to defeat.
High Potion, and follow the pathway to the left around the outside of the structure. You’ll eventually come across a group of flying Spire Dragonets to defeat.
There is a treasure coffer just up ahead on the right side near the opening to the outside, which contains the ![]() Fallen Bracelets. These vambraces aren’t better than
Fallen Bracelets. These vambraces aren’t better than ![]() The Founder’s Grasp, which you received as a reward for completing
The Founder’s Grasp, which you received as a reward for completing ![]() Where There’s a Will, because while it does have more Defense
Where There’s a Will, because while it does have more Defense ![]() , the loss in HP
, the loss in HP ![]() is very significant. Defense only protects against some attacks, whereas having high HP can provide a buffer against all attacks, so you should stick with
is very significant. Defense only protects against some attacks, whereas having high HP can provide a buffer against all attacks, so you should stick with ![]() The Founder’s Grasp for now.
The Founder’s Grasp for now.

Continue following the pathway around the outer ring and touch the glowing blue light on the pillar wall to lower it. Grab the nearby Glimmer, which contains a ![]() Potion and a
Potion and a ![]() High Potion, and head towards the center pillar again. Along the pathway, you’ll be ambushed by a group of eight “Surveillance Unit MMCs” that can be defeated very easily.
High Potion, and head towards the center pillar again. Along the pathway, you’ll be ambushed by a group of eight “Surveillance Unit MMCs” that can be defeated very easily.

Once you’ve defeated them, you’ll face two “Prototype Unit EVLs,” which are enemies that you’re familiar with, but having to deal with two of them at the same time will be more challenging. Try to align the two enemies close together so that your attacks hit both of them where possible, i.e., making sure ![]() Gigaflare hits both of them, even if only one of them is staggered.
Gigaflare hits both of them, even if only one of them is staggered.
There is a treasure coffer in front of the next door that contains a ![]() Disengagement Bit and 100
Disengagement Bit and 100 ![]() Bloody Hides. This is another mediocre accessory unless you’ve been struggling with parries and dodges. Head through the door to face the next boss.
Bloody Hides. This is another mediocre accessory unless you’ve been struggling with parries and dodges. Head through the door to face the next boss.

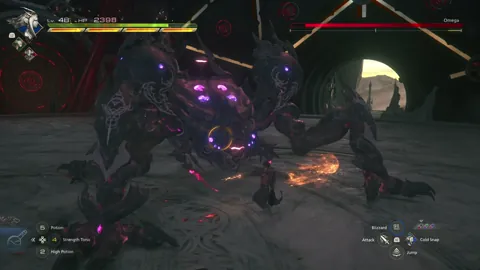
Boss Battle
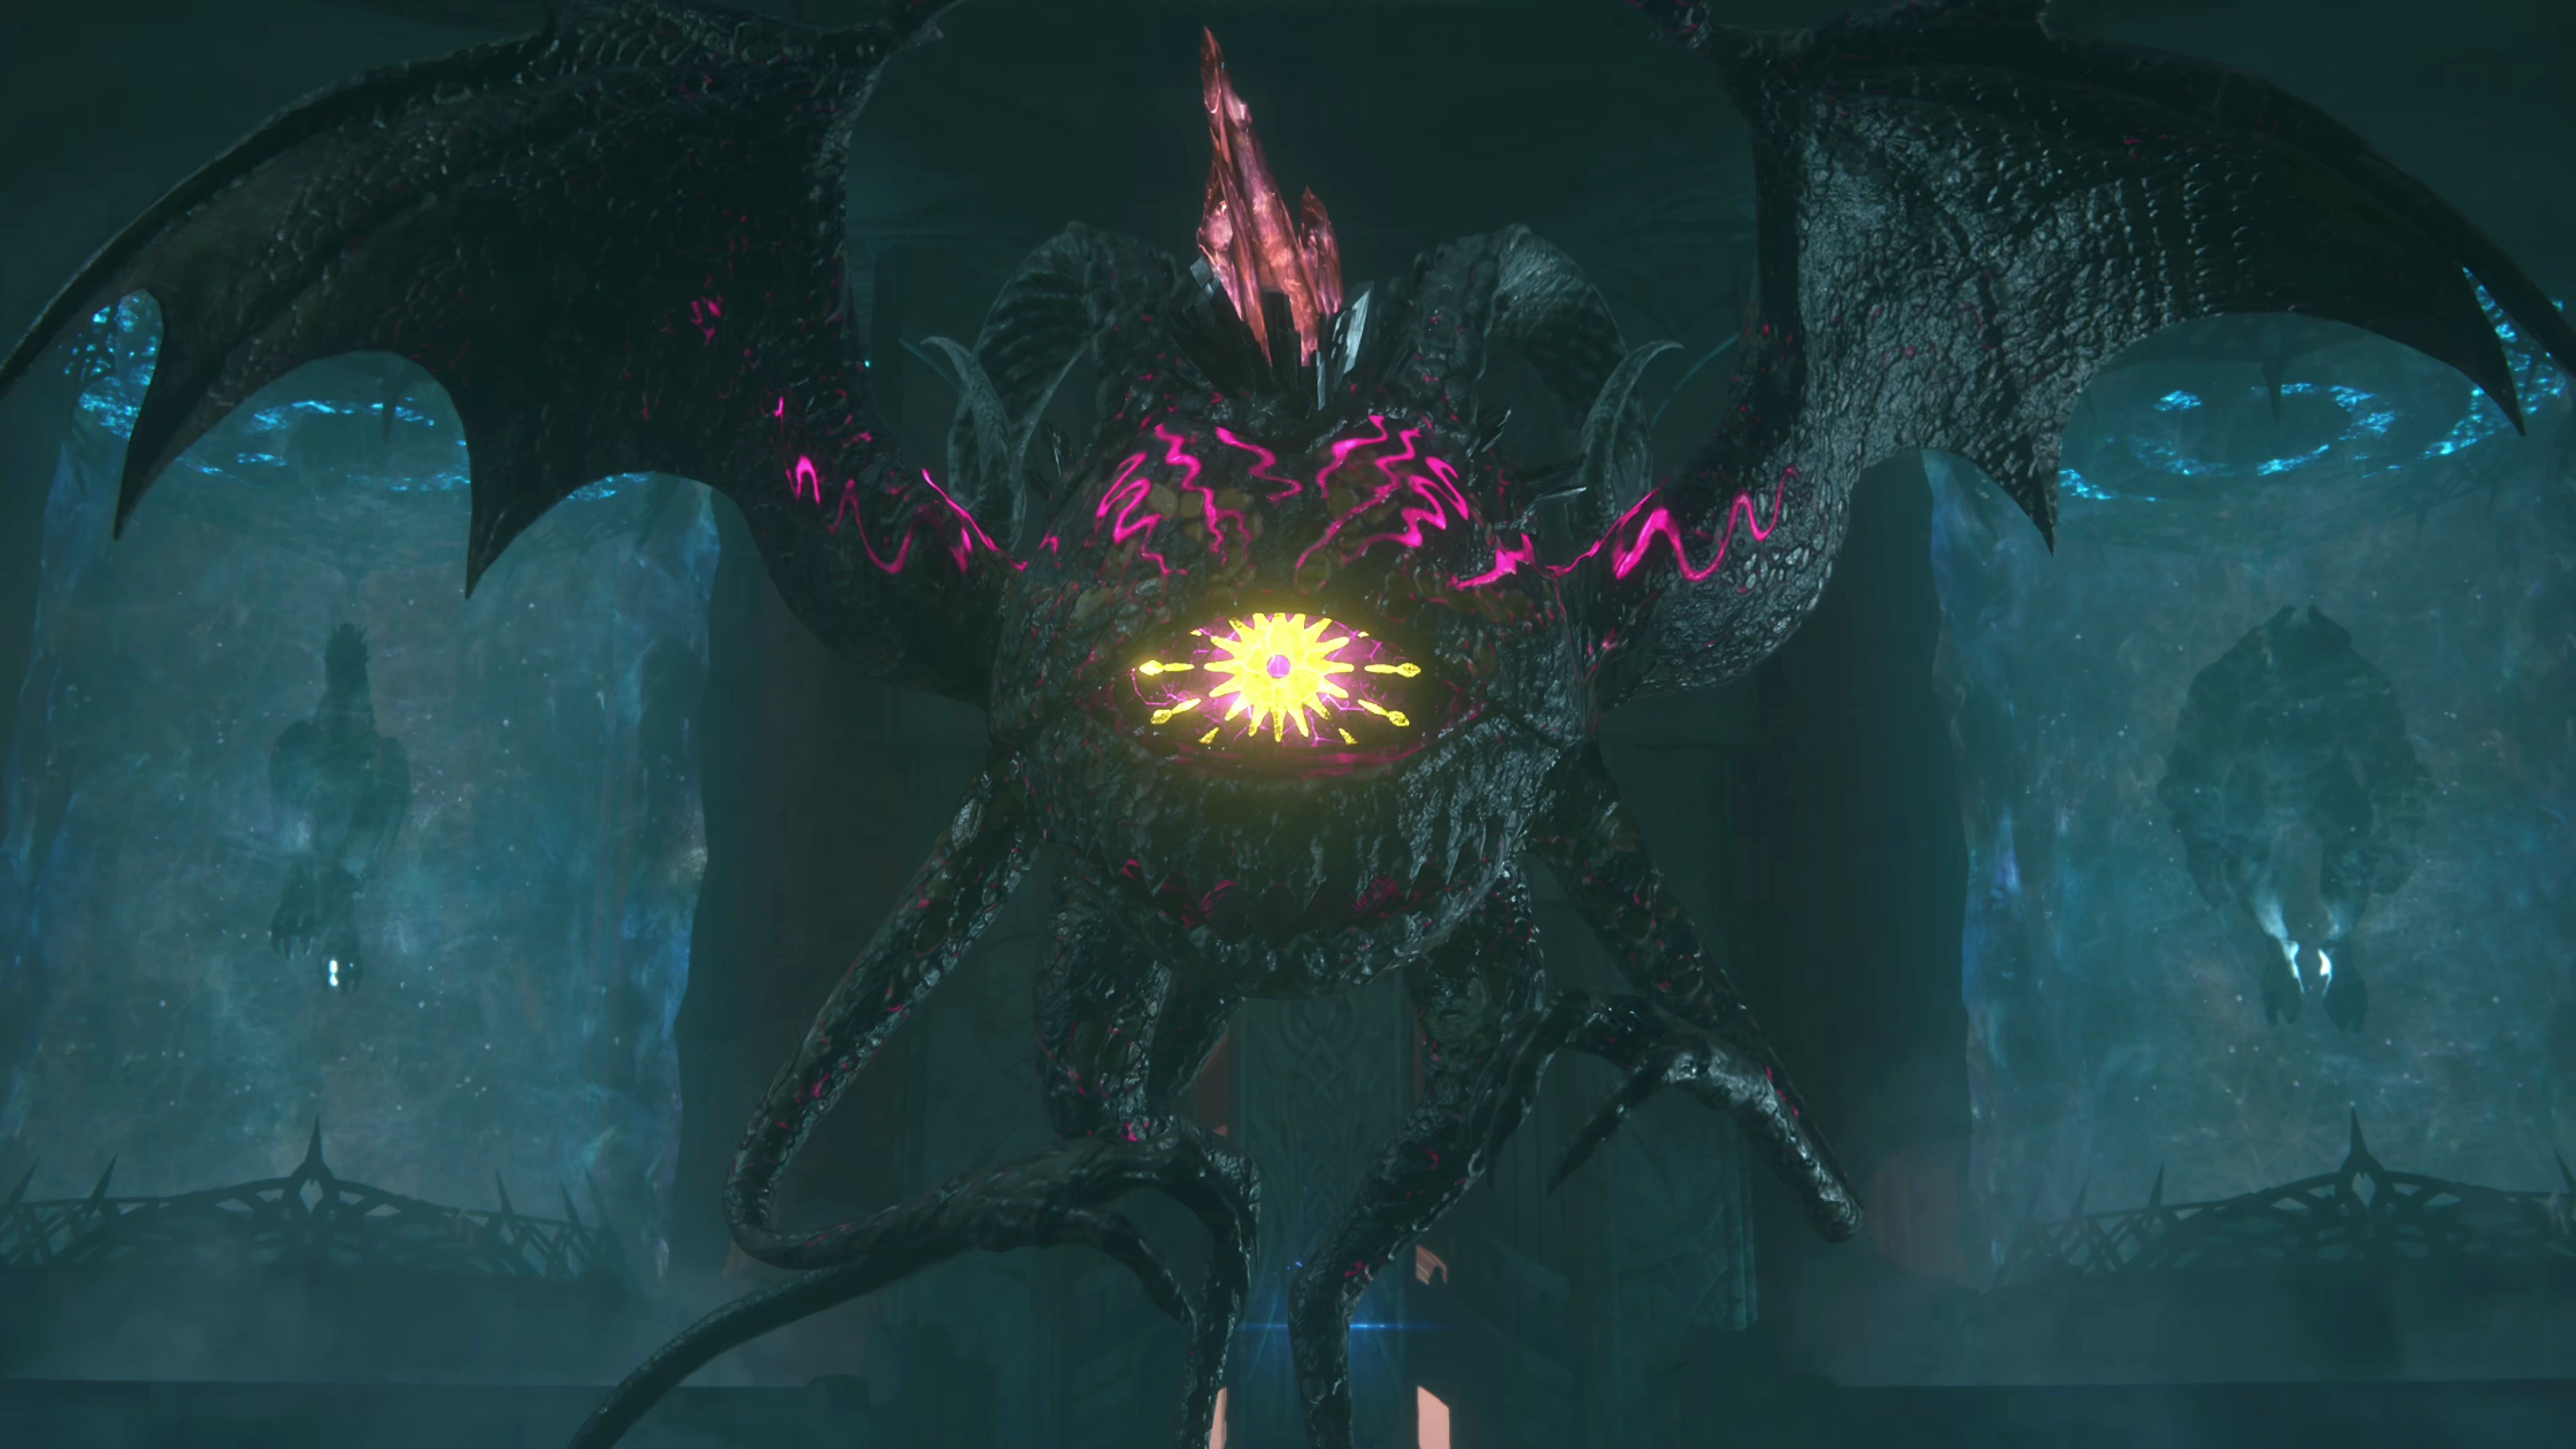
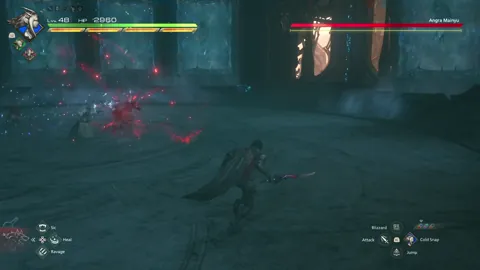
This boss looks like other ahriman-type enemies you’ve faced (such as ![]() Ahriman or the Unwanted Visitor), but it has a whole host of new moves that resemble some you’ve dealt with before, but with an added twist. For the first phase of the fight, they include:
Ahriman or the Unwanted Visitor), but it has a whole host of new moves that resemble some you’ve dealt with before, but with an added twist. For the first phase of the fight, they include:
![]() Flame Ball:
Flame Ball:
This is the first attack Angra Mainyu will use, which launches a flaming ball of fiery energy towards Clive. This can be dodged or counterattacked with ![]() Heatwave.
Heatwave.
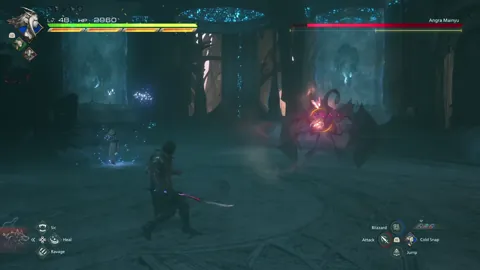
![]() Physical Attack:
Physical Attack:
This boss only has one physical attack that it very rarely uses. It sometimes just dances and taunts, with no attacks at all, but on rare occasions, it will lunge forward and try to bite Clive. This is a straightforward attack to anticipate and avoid.
![]() Dark Orbs:
Dark Orbs:
It can launch the same Dark Orbs of energy that slowly head towards Clive, but this boss will launch more of them than previous ahriman enemies have.

![]() Explosion:
Explosion:
A circle of dark magic will surround Angra Mainyu. Get out of the explosion area before the attack completes.
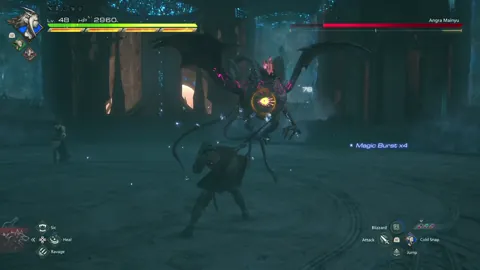
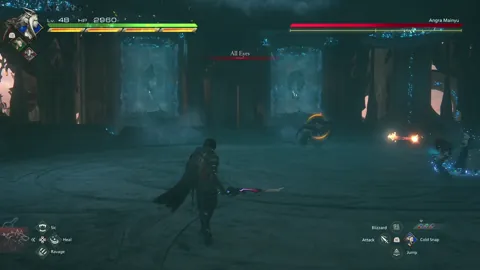
![]() All Eyes:
All Eyes:
The words “All Eyes” will appear on the screen, but there are two different versions of this attack to be prepared for. For both versions, Angra Mainyu will spawn a bunch of clones of itself that will surround Clive. Then, all of the clones will either do an “Explosion” attack or a “Laser Beam” attack.
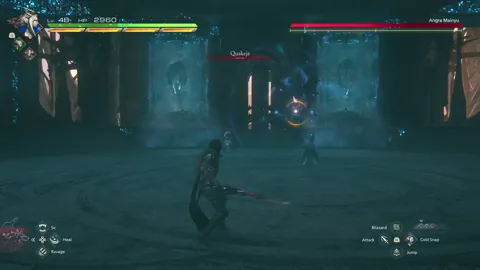
![]() Quakeja:
Quakeja:
Quake magic spots will spawn on the ground. Move out of the magic spot before it explodes and deals damage.
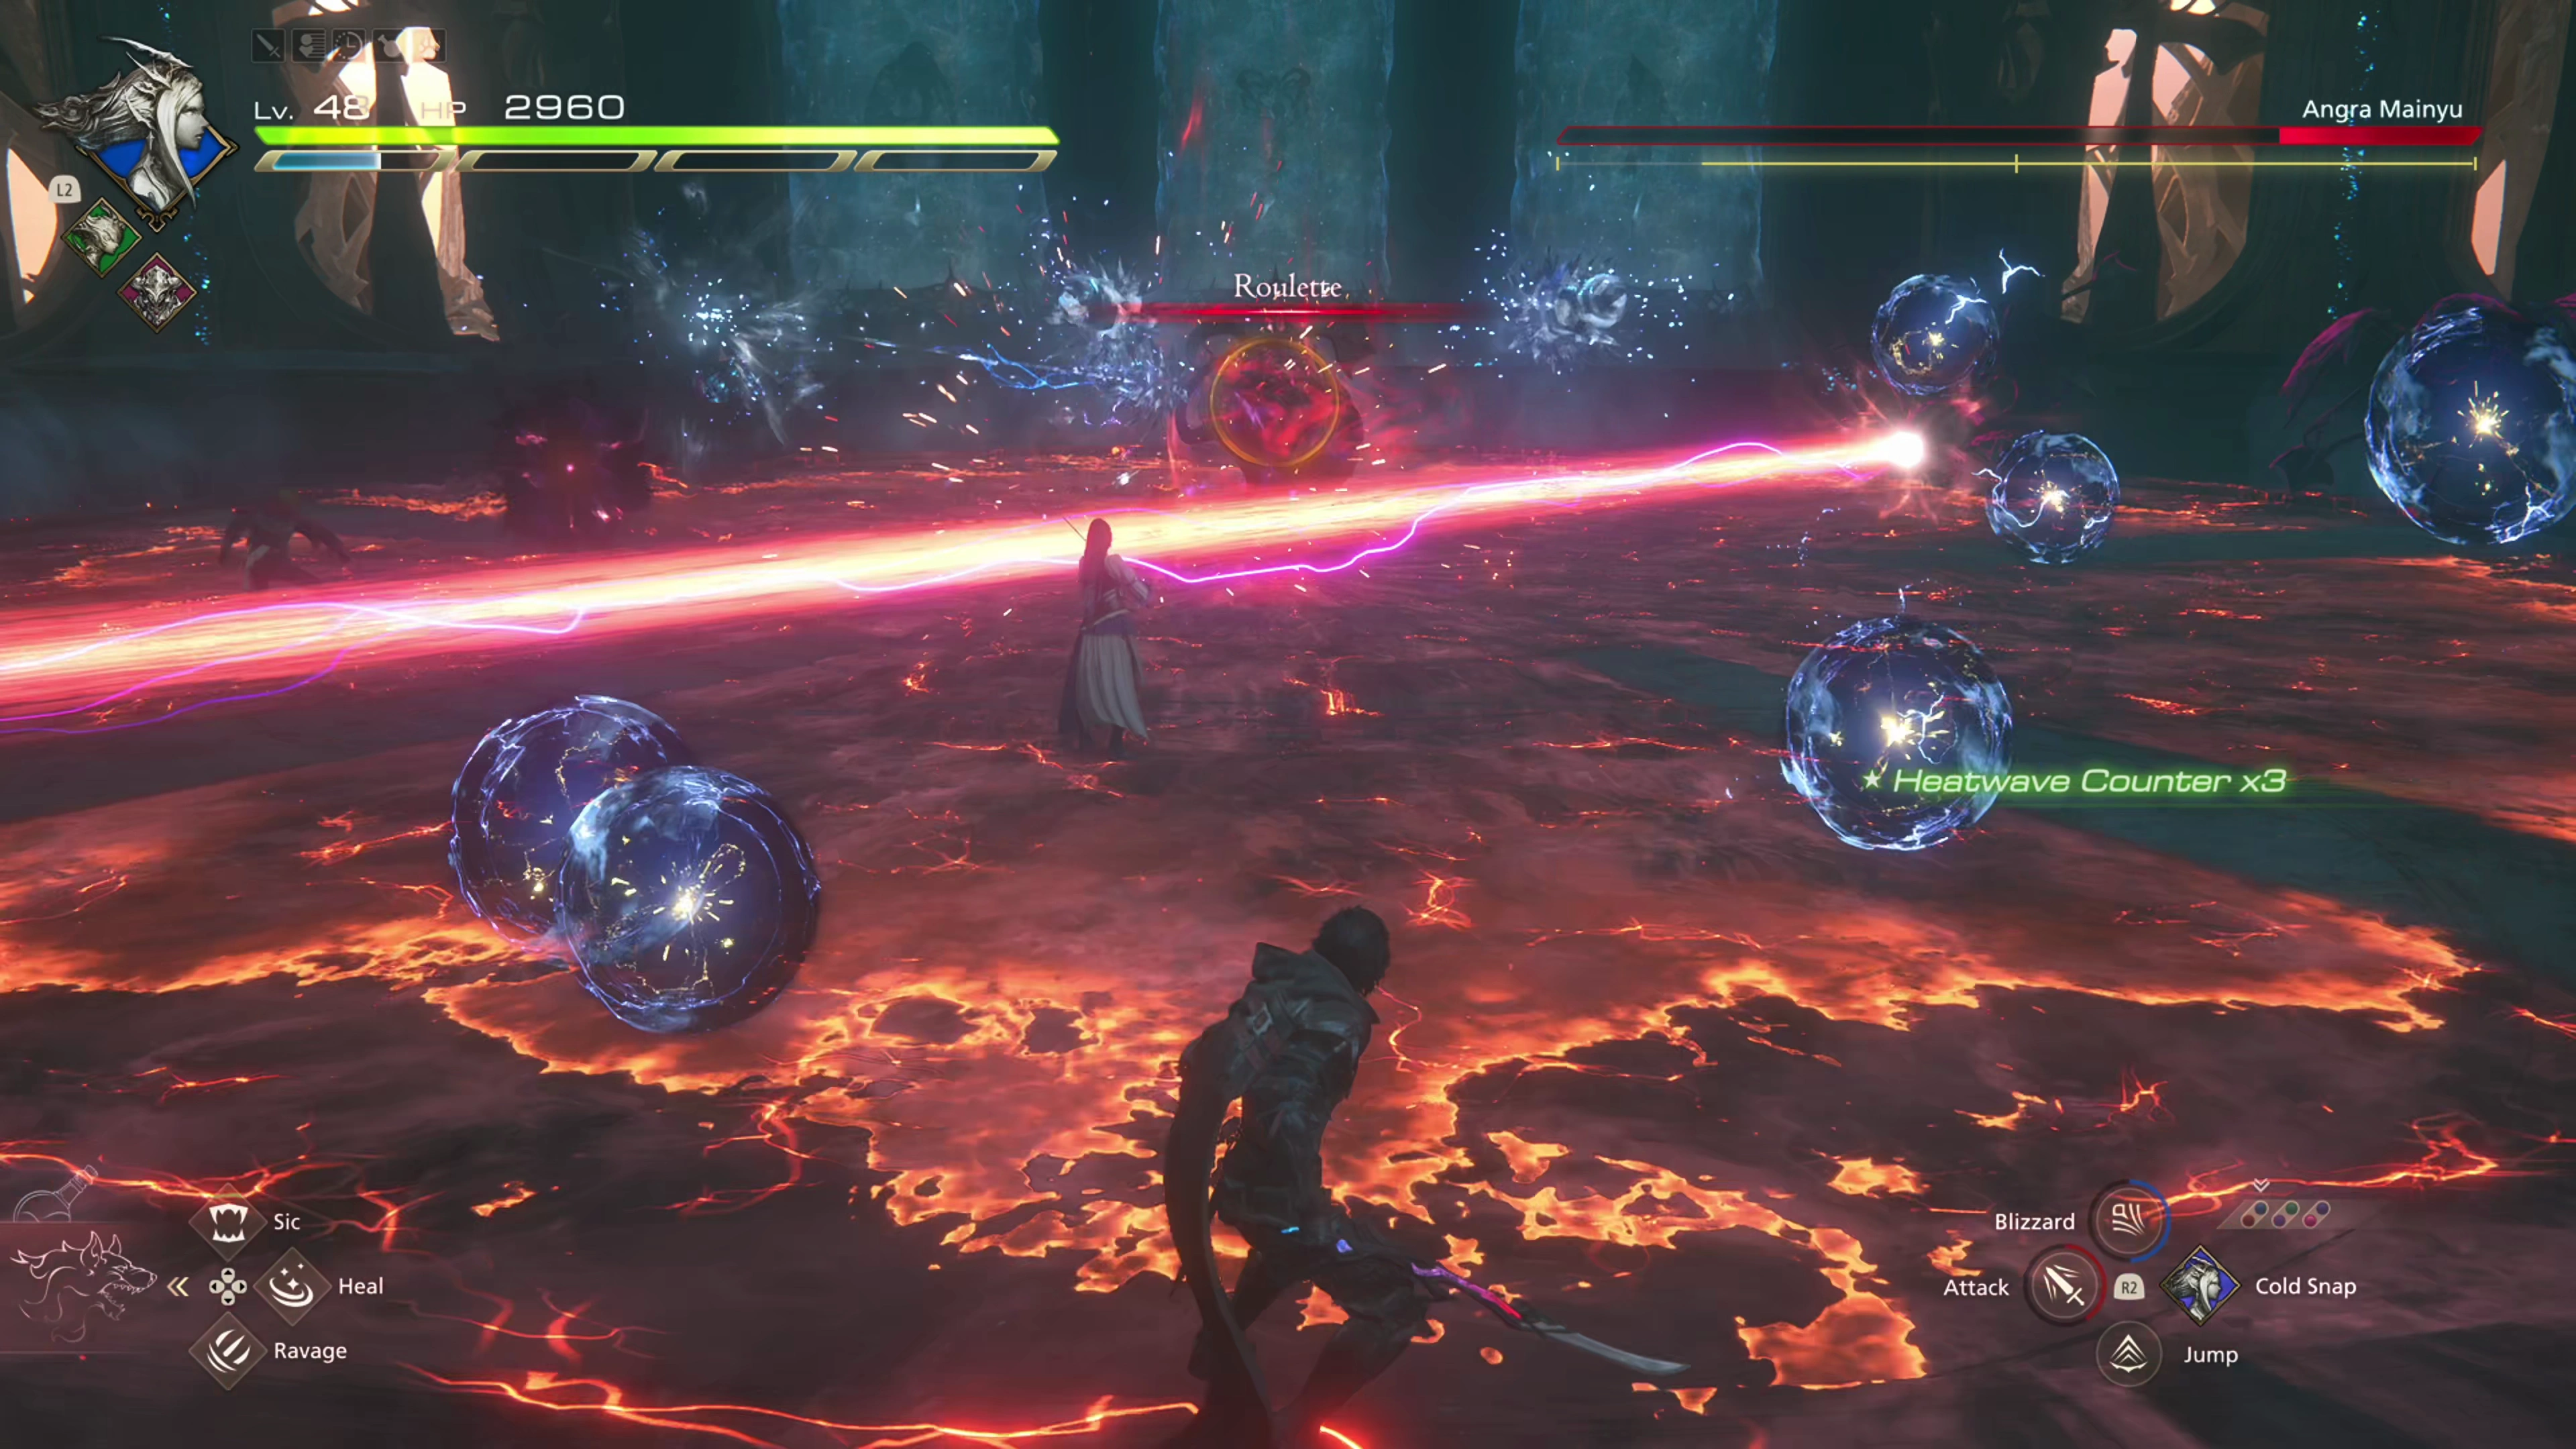
![]() Roulette:
Roulette:
Waves of magic will begin spinning around the battle arena, like a roulette wheel. When it stops, make sure you’re standing in a spot that isn’t covered in the glowing magic, and you won’t get hit. Note that there’s plenty of time to deal damage to Angra Mainyu while this attack is being cast.
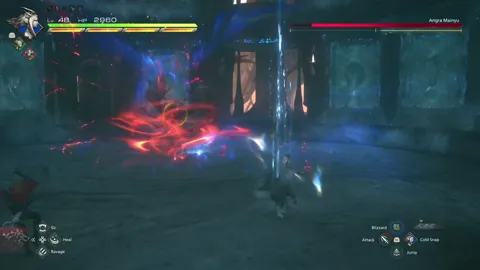
As the battle progresses and Angra Mainyu’s HP begins dropping, its attacks will pick up in intensity, with many of them changing in ways that make them more challenging to deal with:
![]() Aka Manah:
Aka Manah:
This attack makes it look like a lot is happening, as electrical spots will appear all over the place with clones of Angra Mainyu flying around the roof, but all you have to do is not stand in the electrical spots that appear on the ground. The real Angra Mainyu will launch an electrical ball towards Clive, which can be dodged or counterattacked with ![]() Heatwave.
Heatwave.
![]() Laser Beam:
Laser Beam:
For both the regular Laser Beam and the one triggered by “All Eyes,” each of the bats will begin to rotate, meaning you’ll have to dodge moving beams of light.
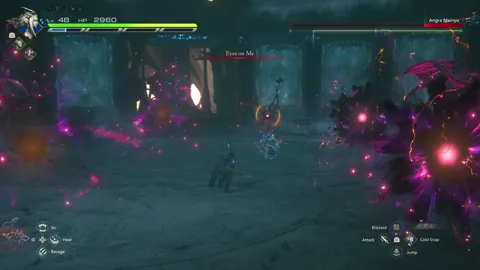
![]() “Flame Ball” becomes “Eyes on Me”:
“Flame Ball” becomes “Eyes on Me”:
Instead of just one flaming ball, Angra Mainyu will summon a large number of clones and will launch a barrage of flame balls. You can still counterattack one of them and deal damage to the boss.

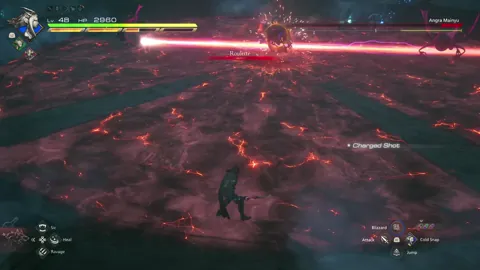
![]() Roulette (Updated):
Roulette (Updated):
The second Roulette attack will include all sorts of obstacles that you’ll have to dodge as the wheel is spinning, including Dark Orbs and rotating Laser Beams. This attack is the toughest to manage, given how much magic and craziness appear on the screen.
There is no Medal of Valor for defeating Angra Mainyu without taking damage, but check out the video below if you’re having trouble.
300
3,500
A video demonstration of how to successfully complete the fight against Angra Mainyu.
Activate the nearby glowing door and go through it after the fight has concluded. Run forward, and you will reach another elevator that will take you to the next level of the Sagespire.

The Upper Ring
Go down the stairs and grab the Glimmer to refill your ![]() Potions and
Potions and ![]() High Potions, and then head through the door. You’ll have to face off against another group of Domovikha and Domovoi in this room, and then climb the nearby stairs. There’s a Glimmer to the left (that contains another
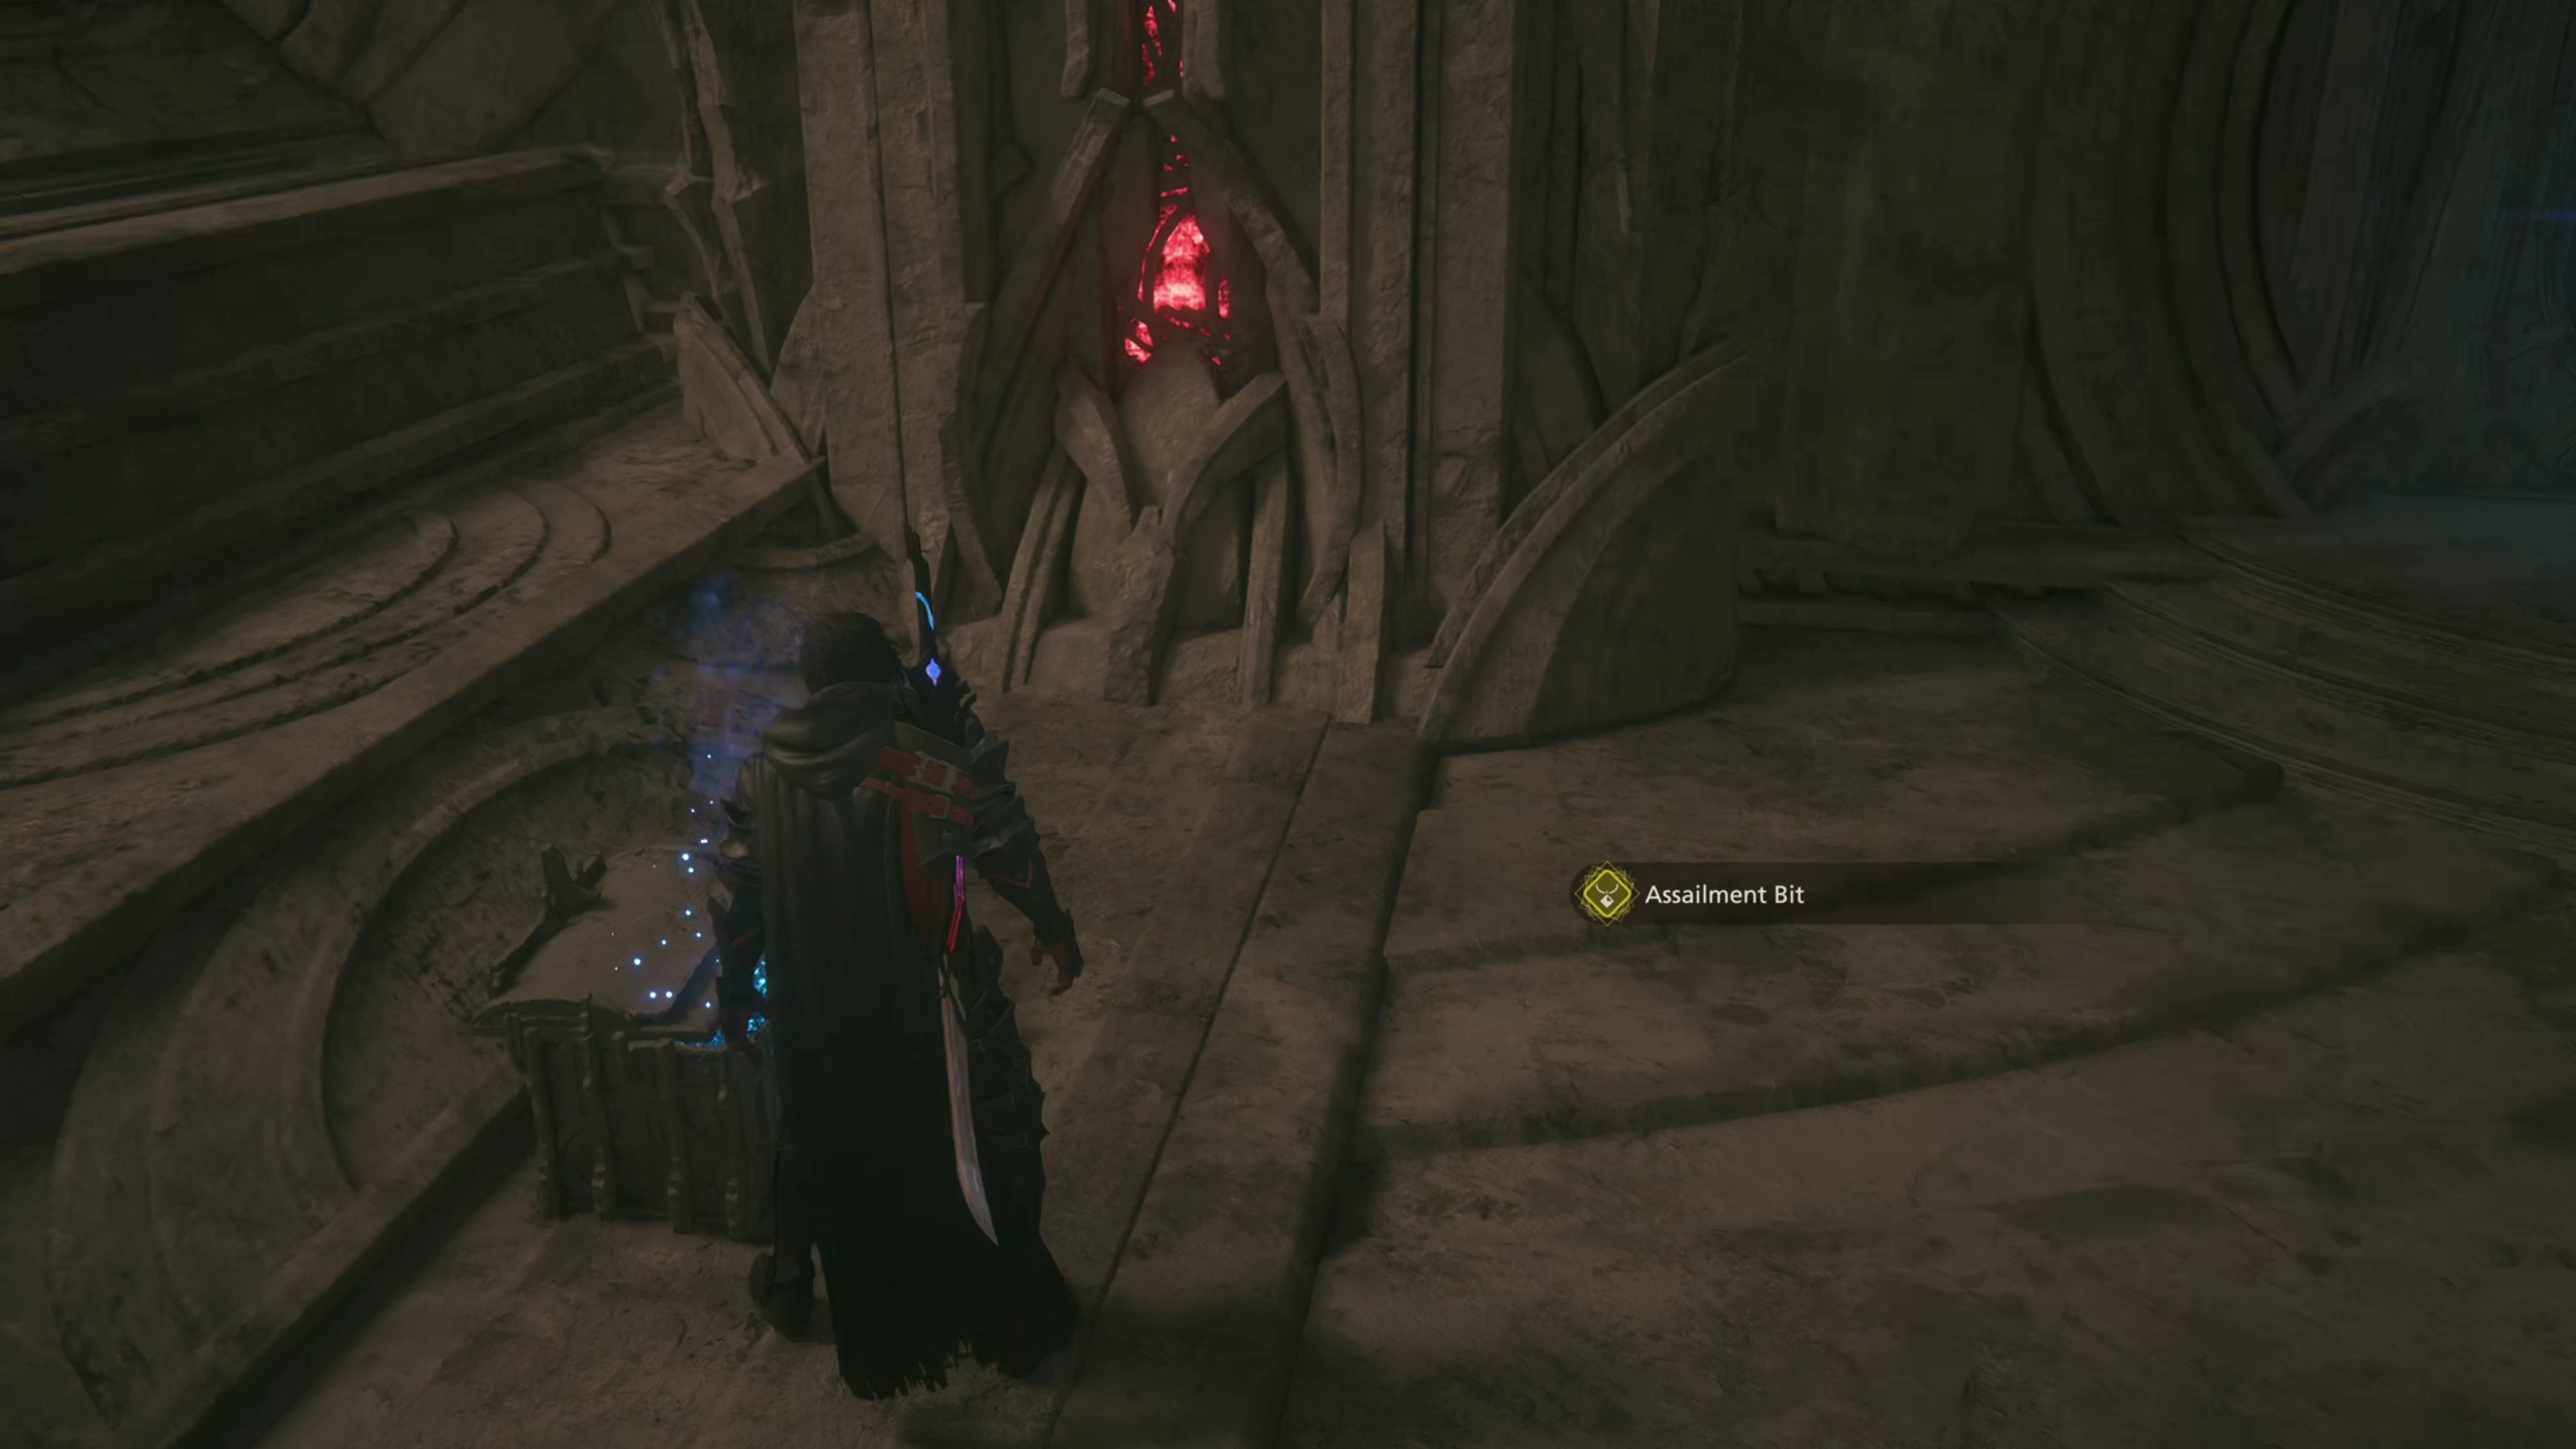
High Potions, and then head through the door. You’ll have to face off against another group of Domovikha and Domovoi in this room, and then climb the nearby stairs. There’s a Glimmer to the left (that contains another ![]() Potion), while the coffer up against the wall contains an
Potion), while the coffer up against the wall contains an ![]() Assailment Bit.
Assailment Bit.
Helpful Hint
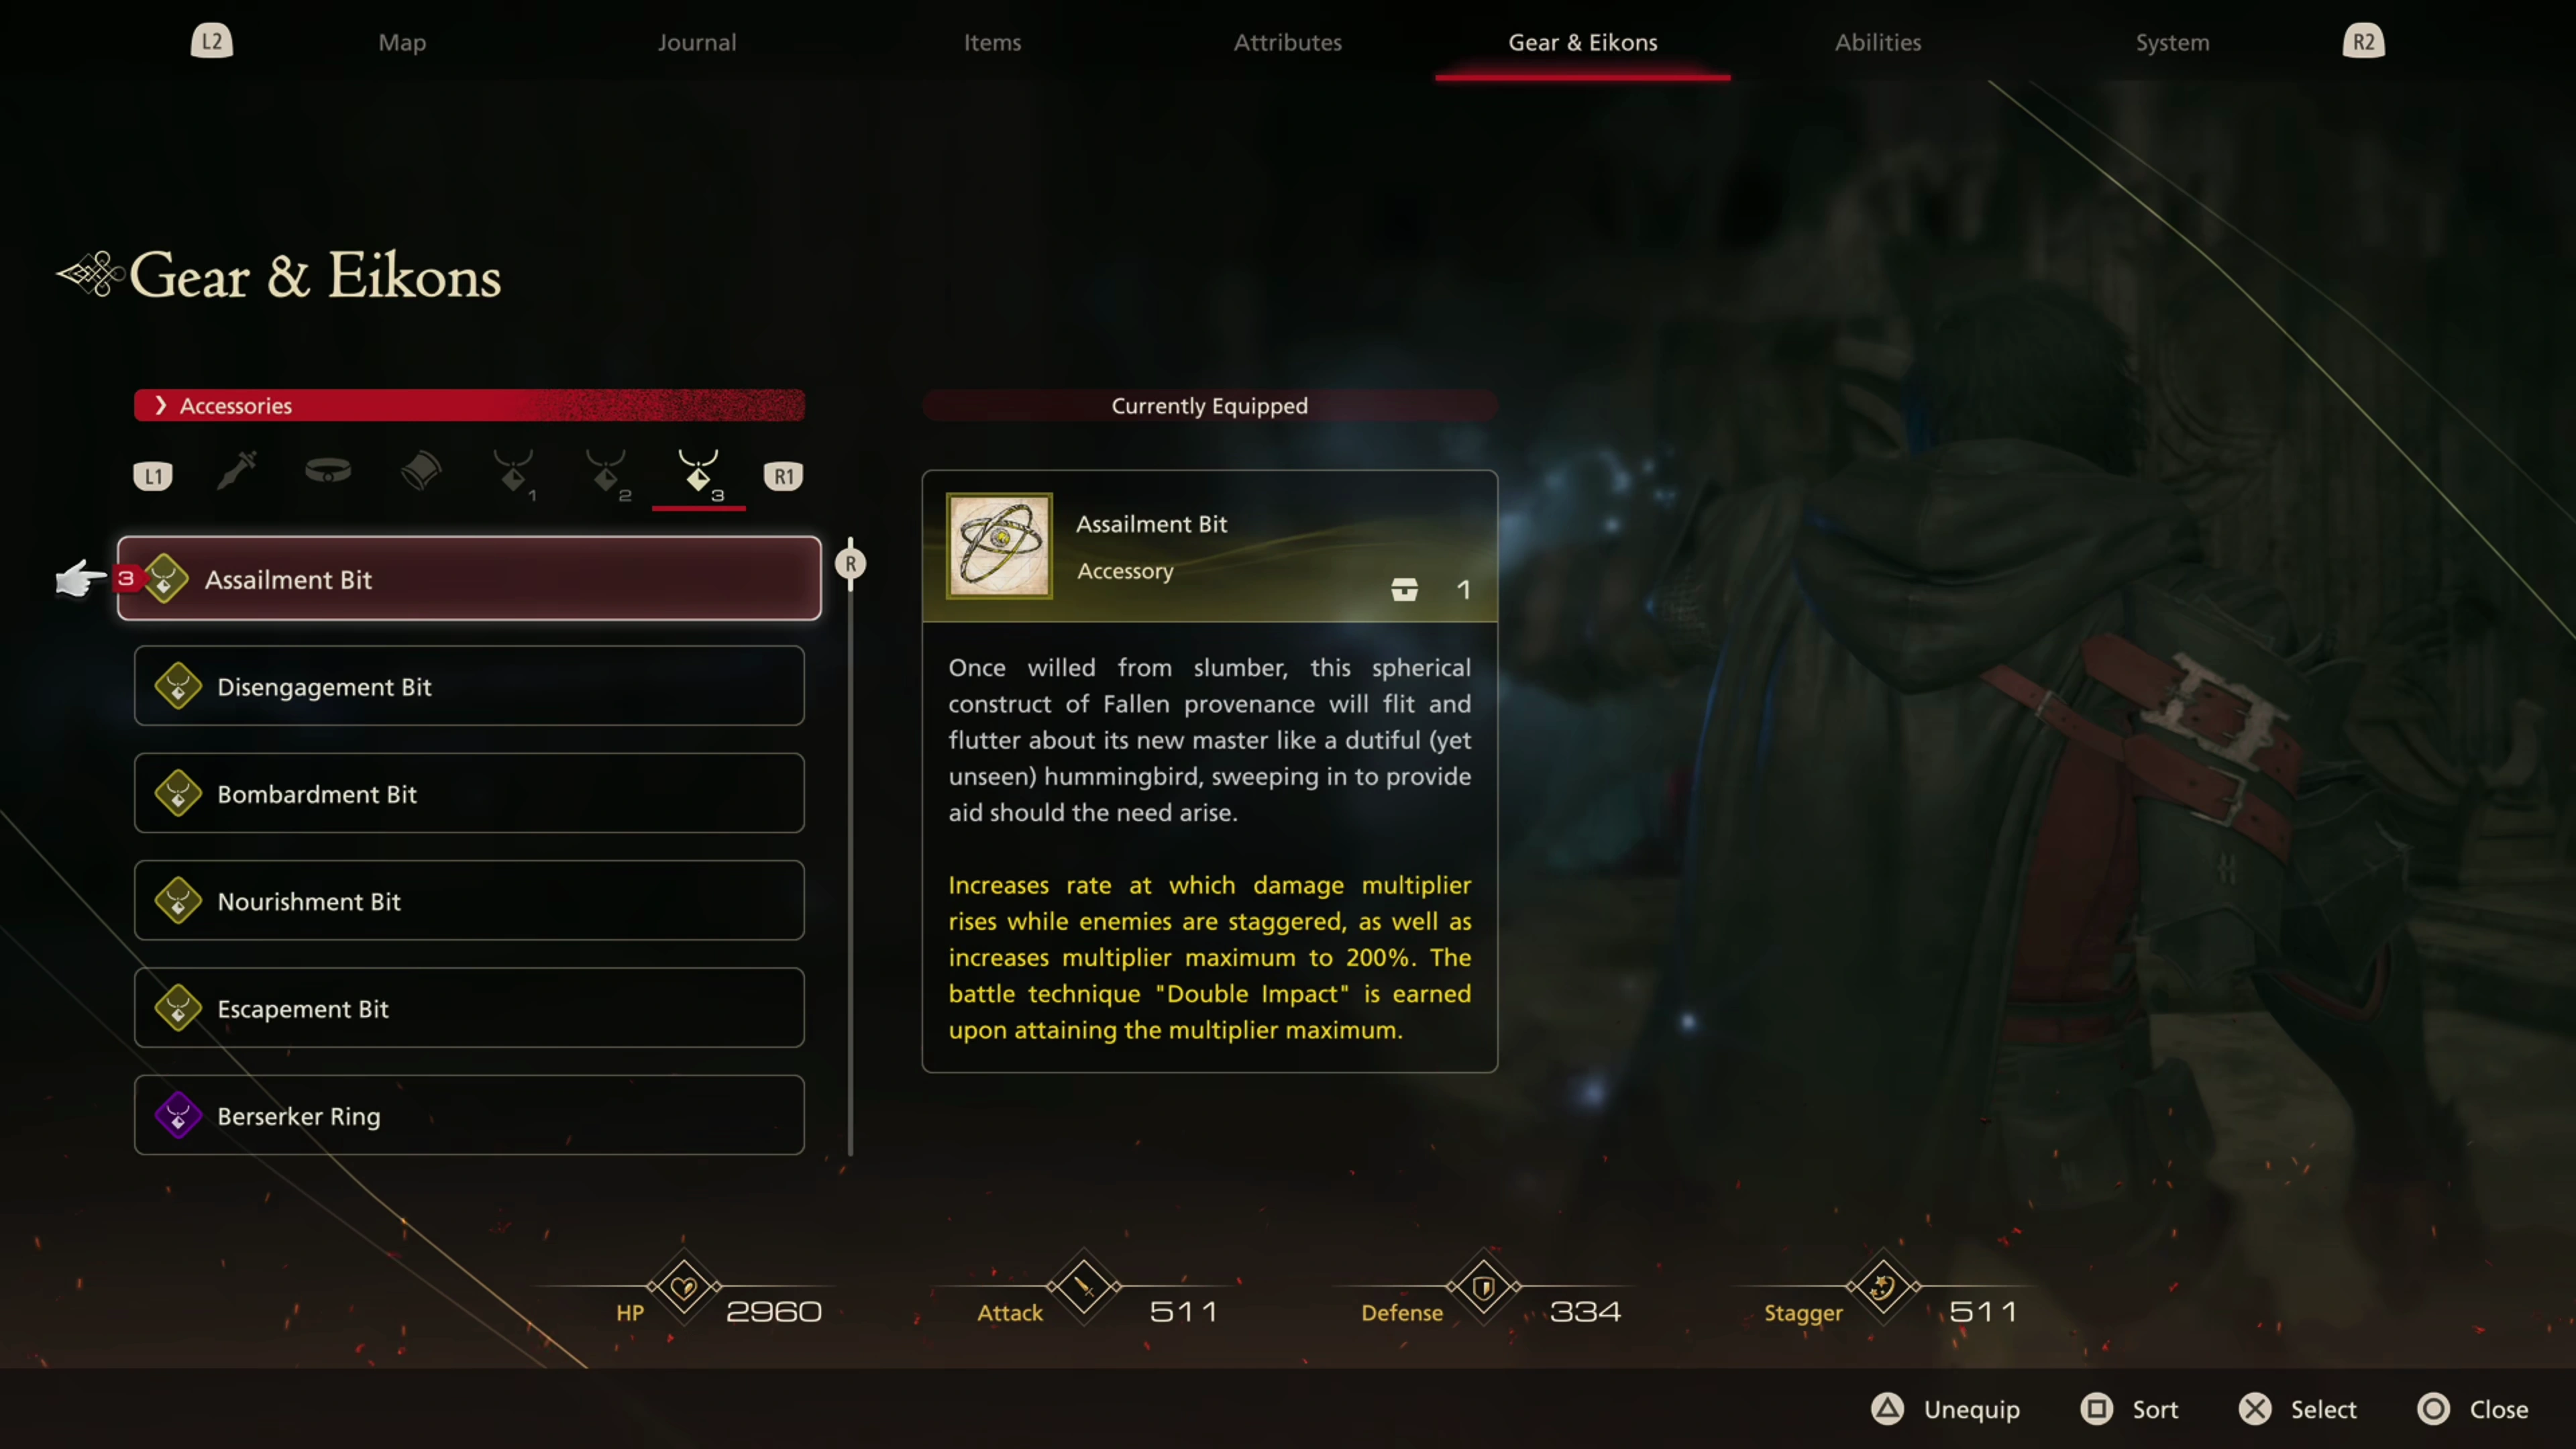
Most of the “Bits” you’ve picked up while progressing through the Sagespire have been of questionable use and are generally not items that you would equip over some of the accessories you already have, but the ![]() Assailment Bit is in another category altogether. This is a fantastic item that all players should equip straight away!
Assailment Bit is in another category altogether. This is a fantastic item that all players should equip straight away!
The Assailment Bit increases the rate at which the damage multiplier rises when an enemy is staggered and increases the maximum multiplier up to 200%. In other words, this accessory can increase the amount of damage you can deal during a stagger by tens of thousands (10,000 to 50,000 or thereabouts).
The only reason not to equip this accessory would be if you’re struggling to get a good combo going and need some practice. However, in that case, it’s worth reviewing the ![]() Eikons section to learn more about the best abilities and referring to the Tips and Tricks section to learn more about combos. Some of the videos on the Jegged.com YouTube channel can provide a demonstration of how these strong combos are executed if you’re having trouble getting high amounts of damage.
Eikons section to learn more about the best abilities and referring to the Tips and Tricks section to learn more about combos. Some of the videos on the Jegged.com YouTube channel can provide a demonstration of how these strong combos are executed if you’re having trouble getting high amounts of damage.
Proceed through the, and deal with the group of Spire Raptors and Patrol Unit MEGs. Go through the next door and continue working your way around the hallway.
Boss Battle
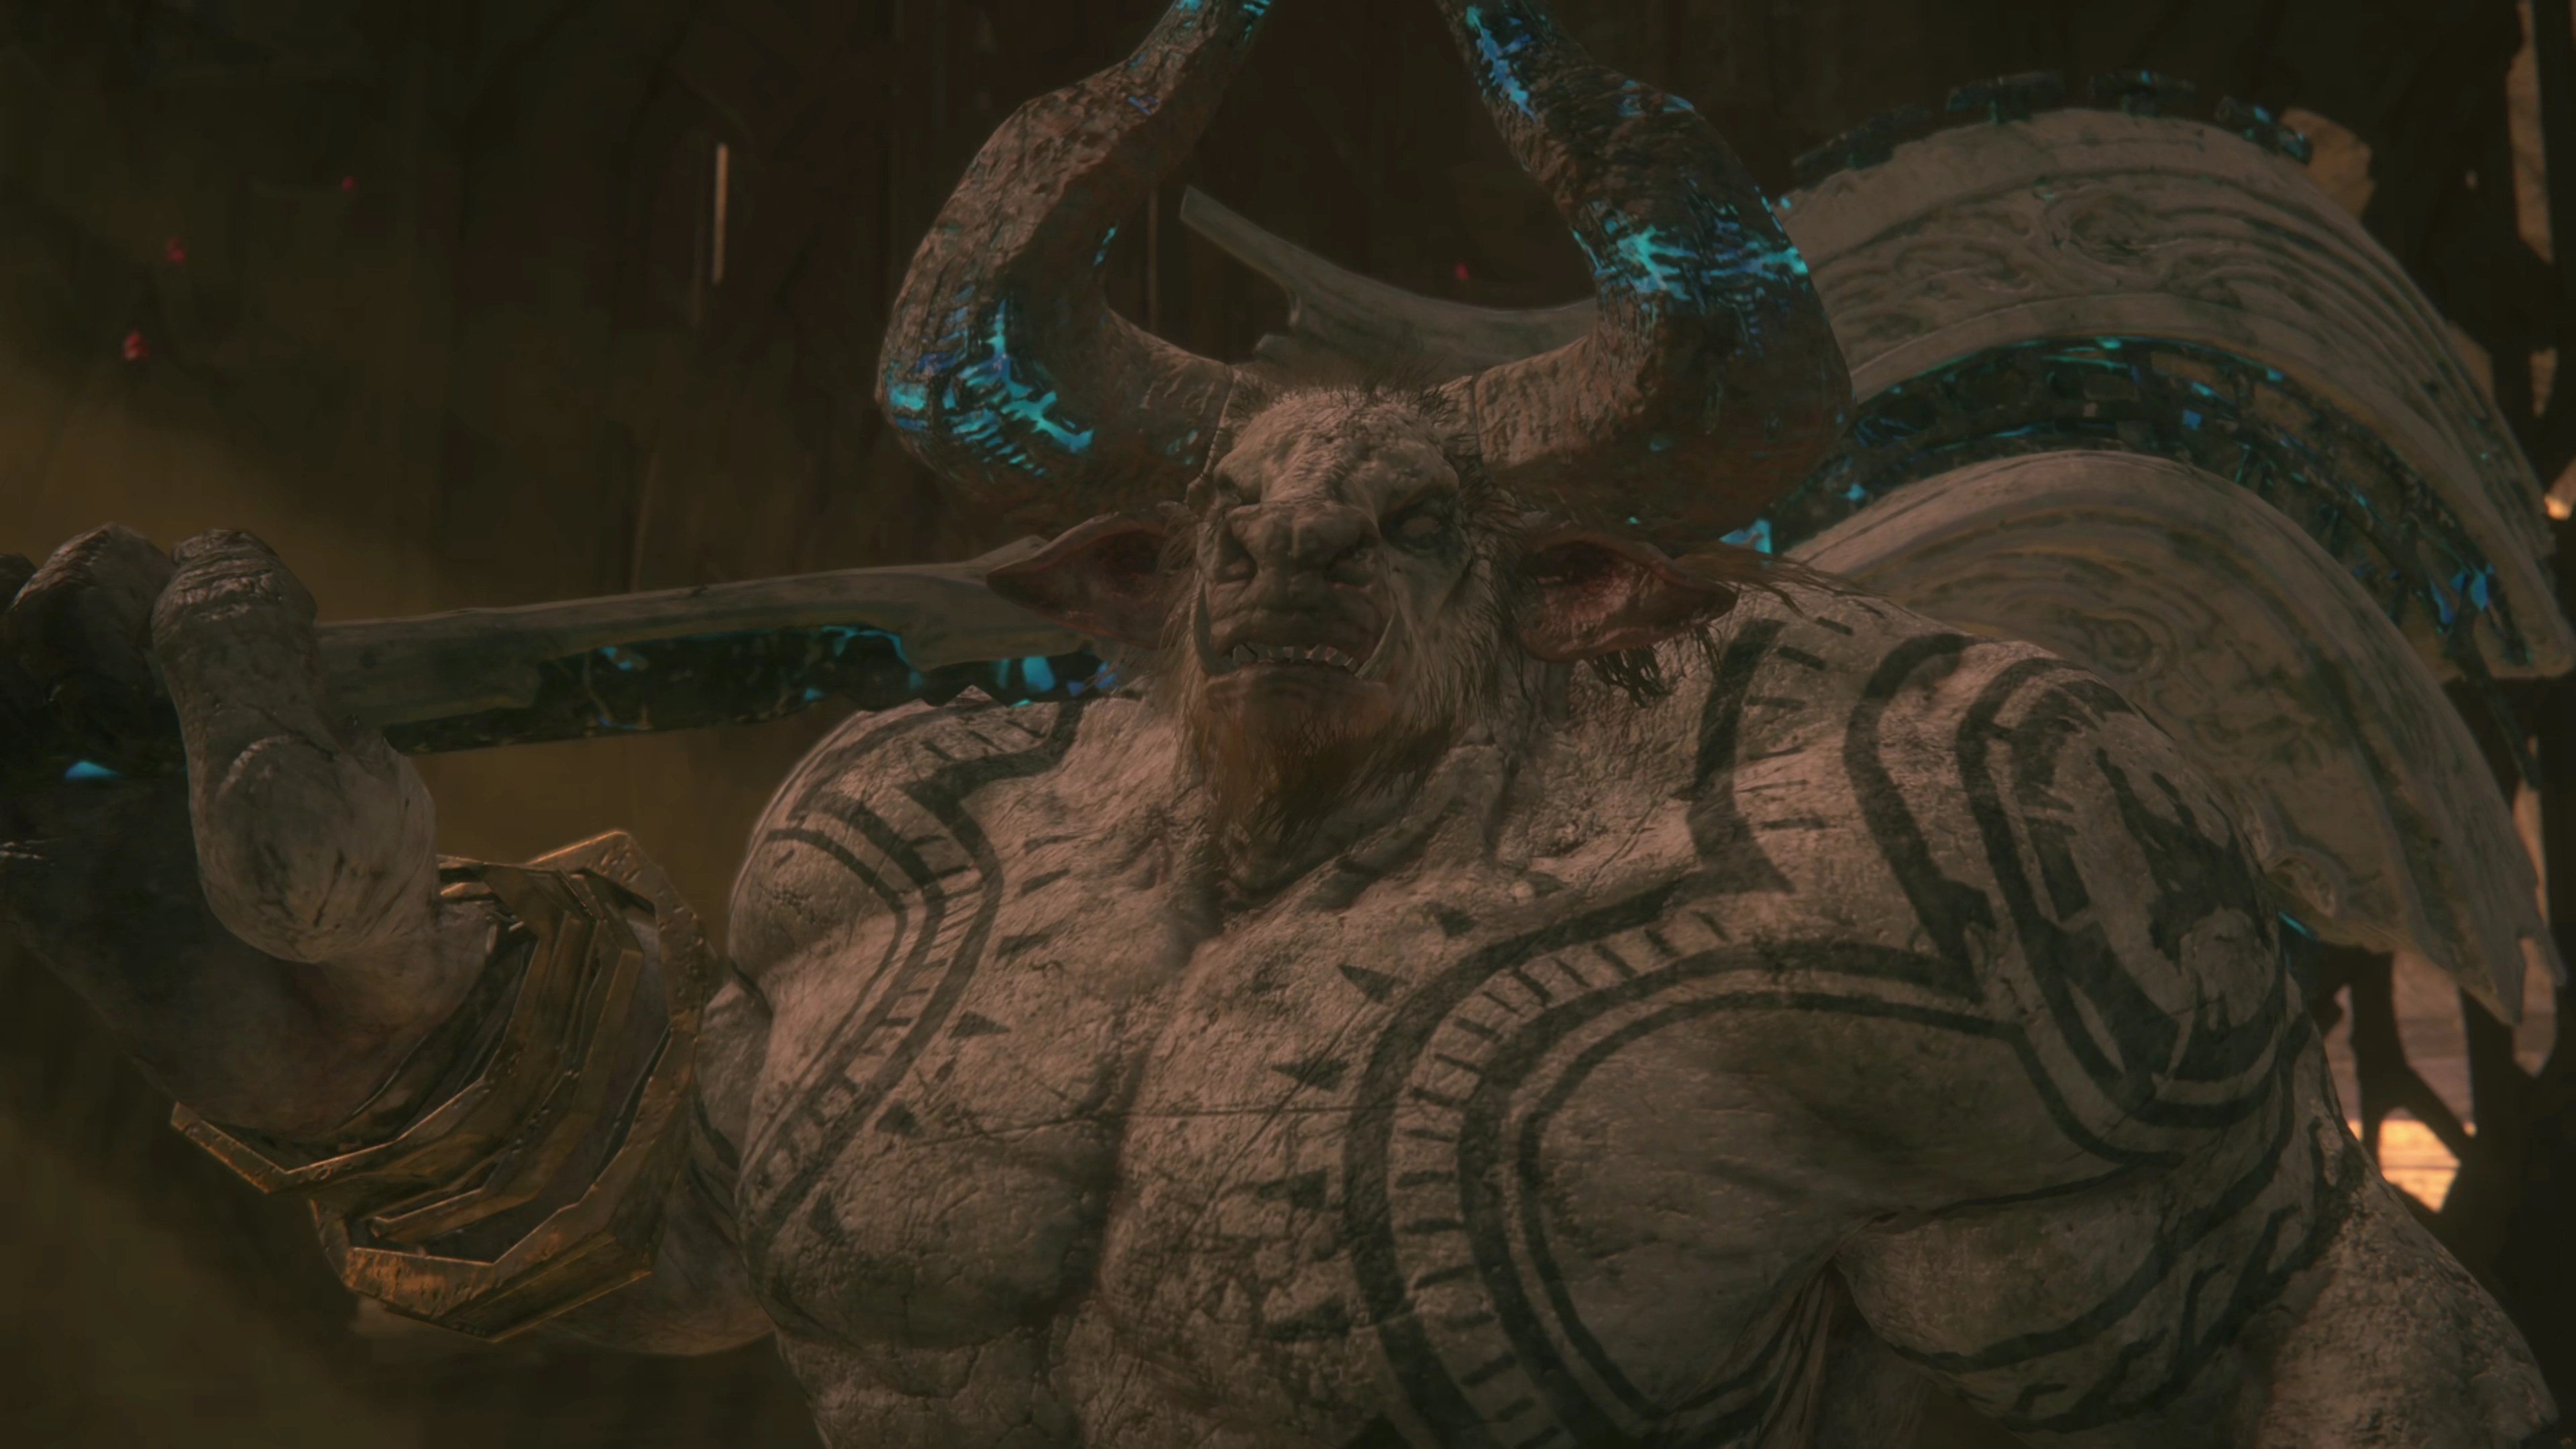
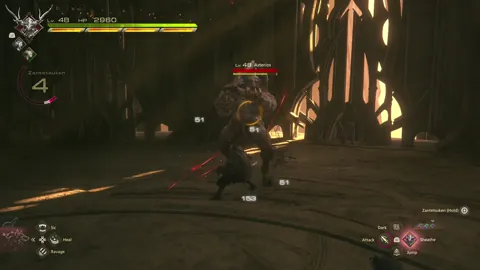
This boss is pretty easy to defeat, as far as bosses go, and it mimics a lot of the same attacks that you’re used to dealing with. Its attack pattern is similar to Gigas and Minotaur enemies, but with a few added twists.
![]() Ground Slam:
Ground Slam:
Asterios will use this new attack at the start of the battle. It will slam the ground with its club, and a large blue ripple of flames will burst through the ground heading toward Clive (similar to how ![]() Ice Age works). Dodge out of the way as it gets close.
Ice Age works). Dodge out of the way as it gets close.
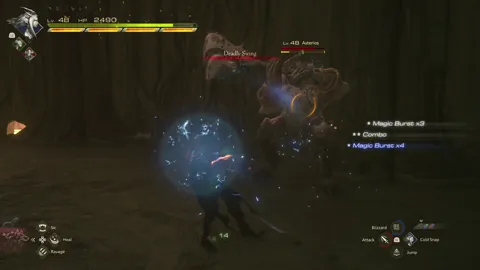
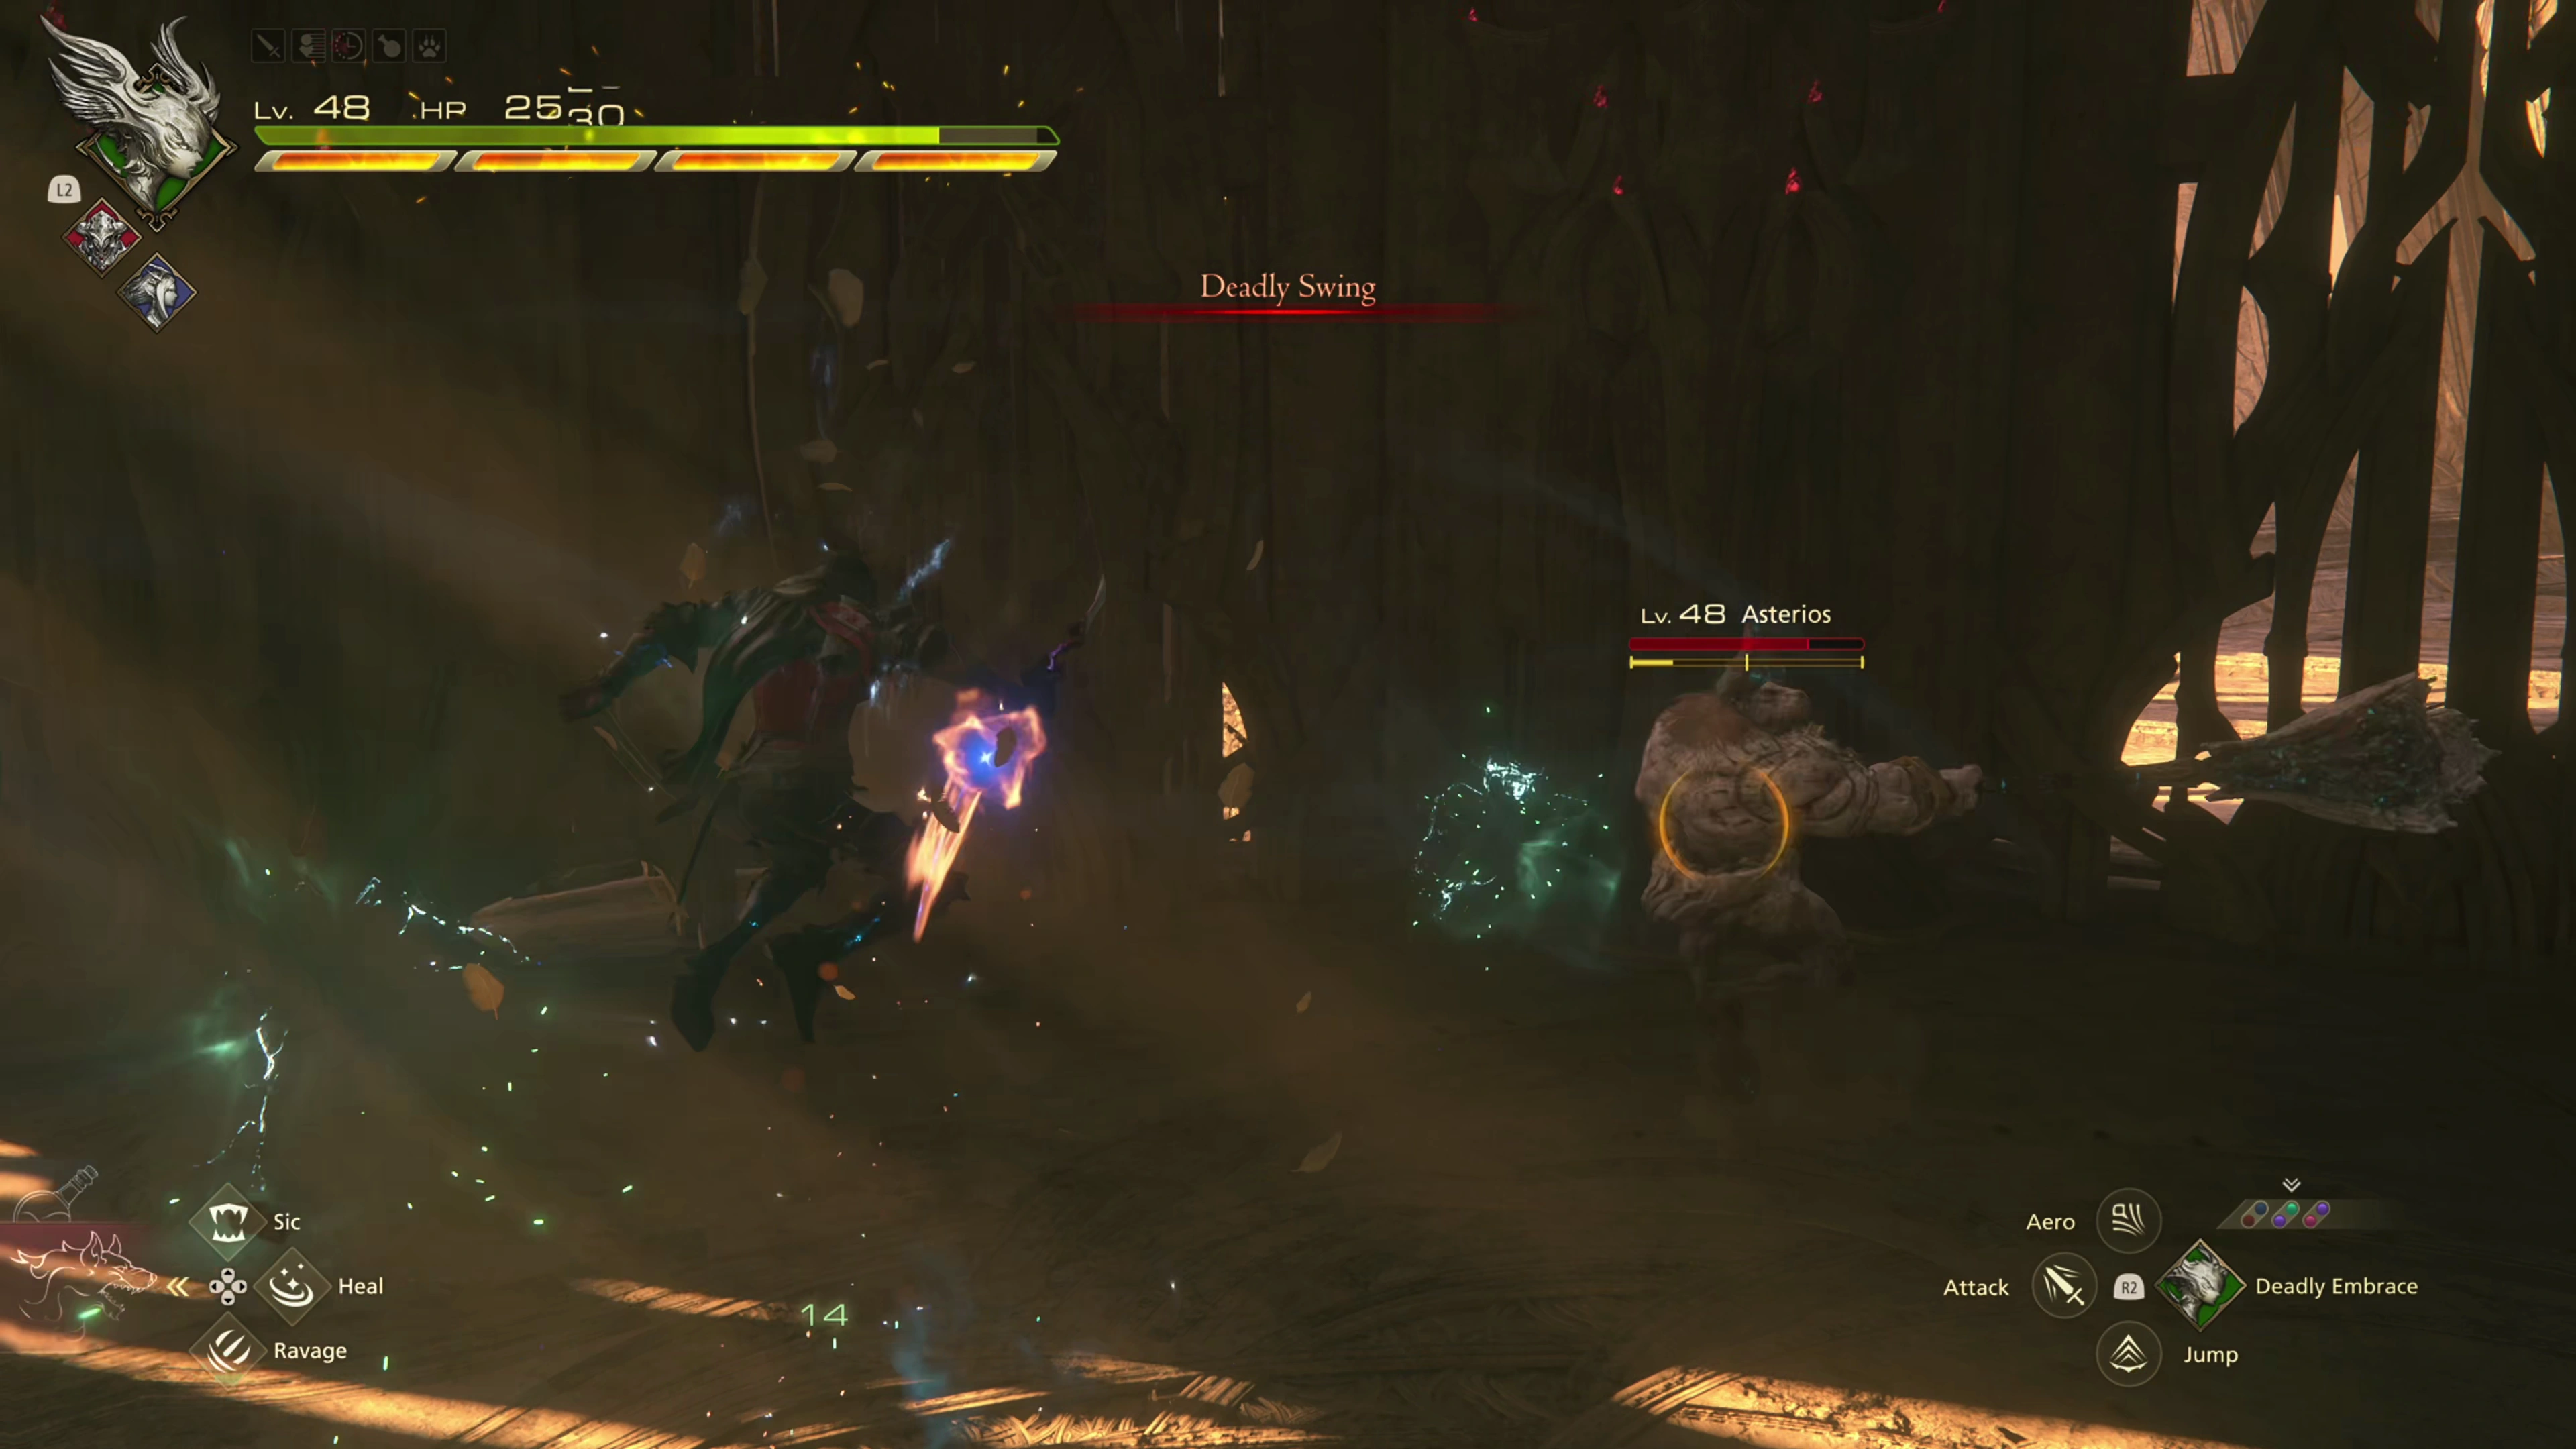
![]() Deadly Swing:
Deadly Swing:
This attack is similar to how other ogres and minotaurs would spin around, but with Deadly Swing, Asterios will move very quickly from one end of the battlefield to the other. You’ll have to be ready to dodge a lot more quickly to deal with this attack. ![]() Deadly Embrace can be used to lift Clive up above the attack radius.
Deadly Embrace can be used to lift Clive up above the attack radius.
Otherwise, this fight is the same as ones you’ve seen previously, and Asterios should go down pretty easily. There is no Medal of Valor for this fight.
250
2,000
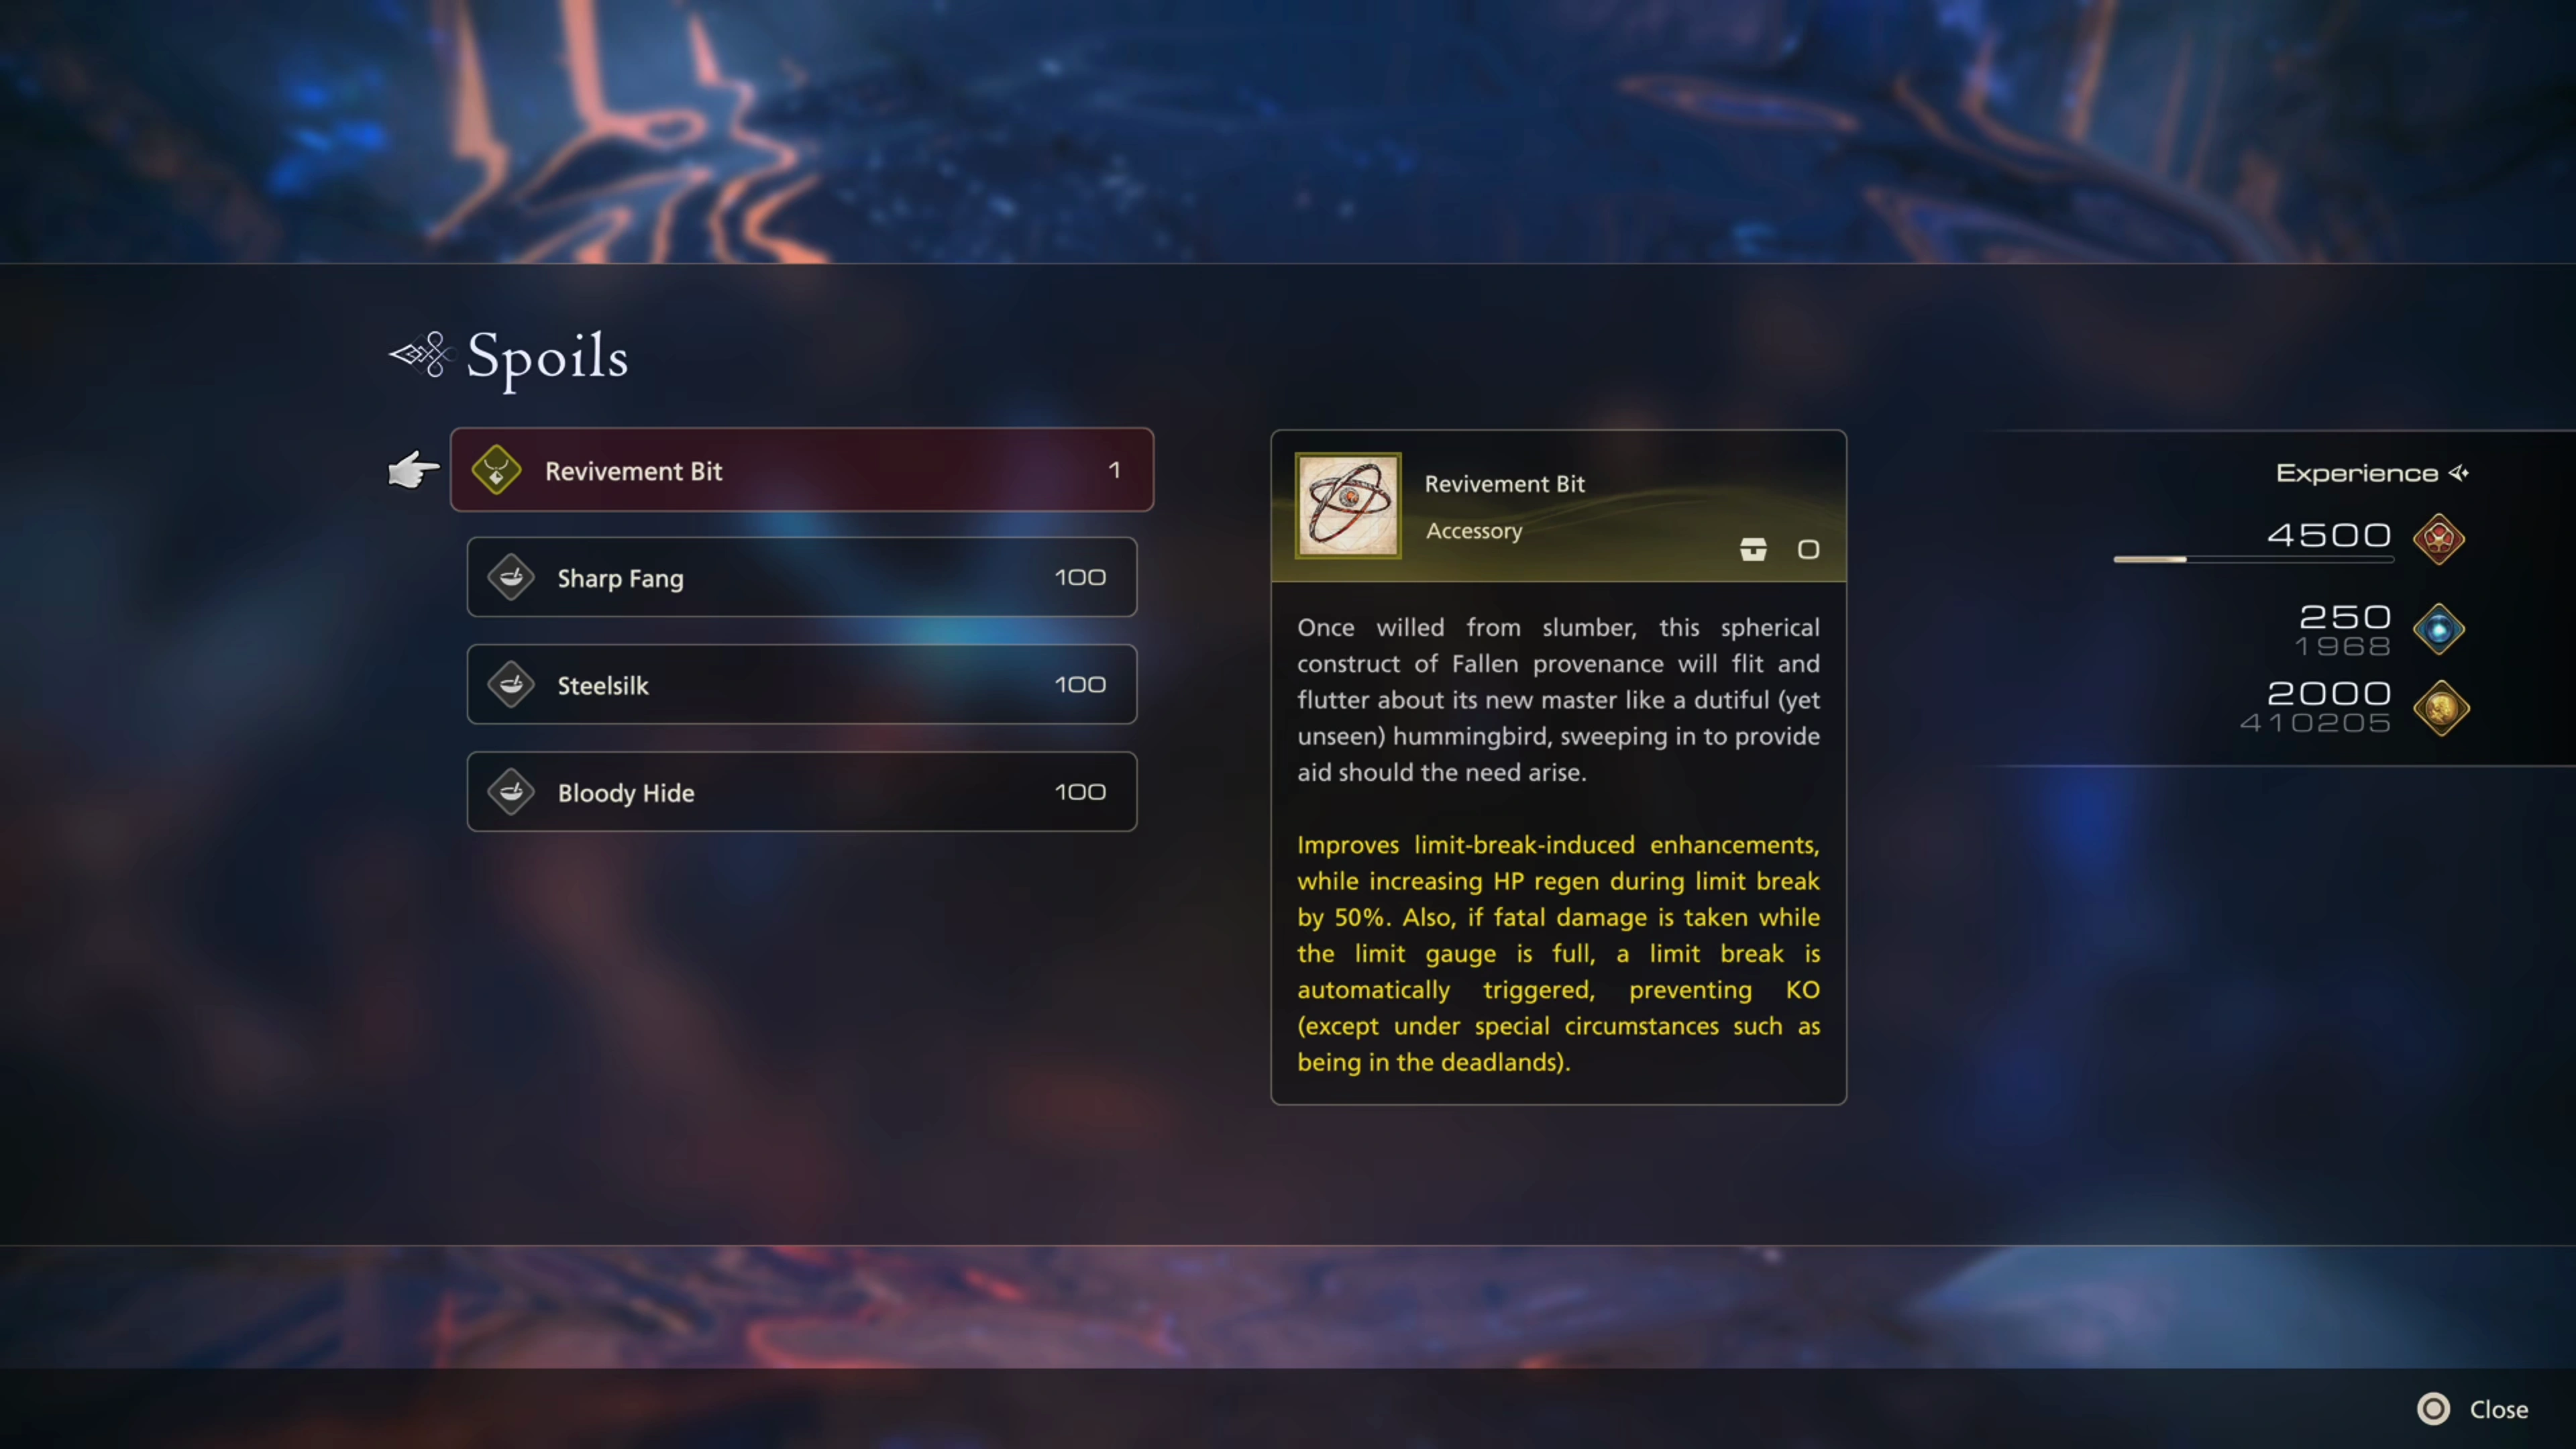
You’ll receive the ![]() Revivement Bit at the end of the fight. While not as powerful as the
Revivement Bit at the end of the fight. While not as powerful as the ![]() Assailment Bit, this accessory can be helpful if you find yourself relying on the healing power provided during a
Assailment Bit, this accessory can be helpful if you find yourself relying on the healing power provided during a ![]() Limit Break.
Limit Break.
Achievement/Trophy
“Obtain all Fallen bits.” This accessory is the last one you need to obtain to earn the Bit Fit trophy. The six accessories include:
Go through the glowing blue door nearby, head down the stairs, and go into the next room to find another lit-up panel on a platform. You can activate the panel to hear more about the history of the Sagespire’s “Development Log.”

Continue following the pathway to grab another Glimmer that contains a ![]() Potion. At the bottom of the steps, you’ll find a group of Spire Scorpions and Spire Purboros to defeat. Watch out for the additional blue flames that these bombs will summon. A group of Domovikha and Domovoi will ambush your team afterwards, but they are easy to defeat.
Potion. At the bottom of the steps, you’ll find a group of Spire Scorpions and Spire Purboros to defeat. Watch out for the additional blue flames that these bombs will summon. A group of Domovikha and Domovoi will ambush your team afterwards, but they are easy to defeat.
Follow the path through the narrow opening to find a Glimmer with another ![]() Potion in it, and a treasure coffer that contains
Potion in it, and a treasure coffer that contains ![]() The Worm Mounts Orchestrion Roll and a
The Worm Mounts Orchestrion Roll and a ![]() Goblin Coin. Follow the path up the stairs on the right and climb through the small opening into the next room.
Goblin Coin. Follow the path up the stairs on the right and climb through the small opening into the next room.
Another Omicron’ll ambush you in this room, as well as a group of four Surveillance Unit MMCs. Joshua, Jill, and Torgal will focus on the adds, but try to make sure your Area of Effect (AoE) abilities hit all of the targets to make things easier. You’re already familiar with the strategies for defeating an Omicron.
Continue through the doorway behind where the group of enemies spawned to find another Glimmer with a ![]() Potion and a
Potion and a ![]() High Potion and ride the elevator up to the final level of the Sagespire.
High Potion and ride the elevator up to the final level of the Sagespire.
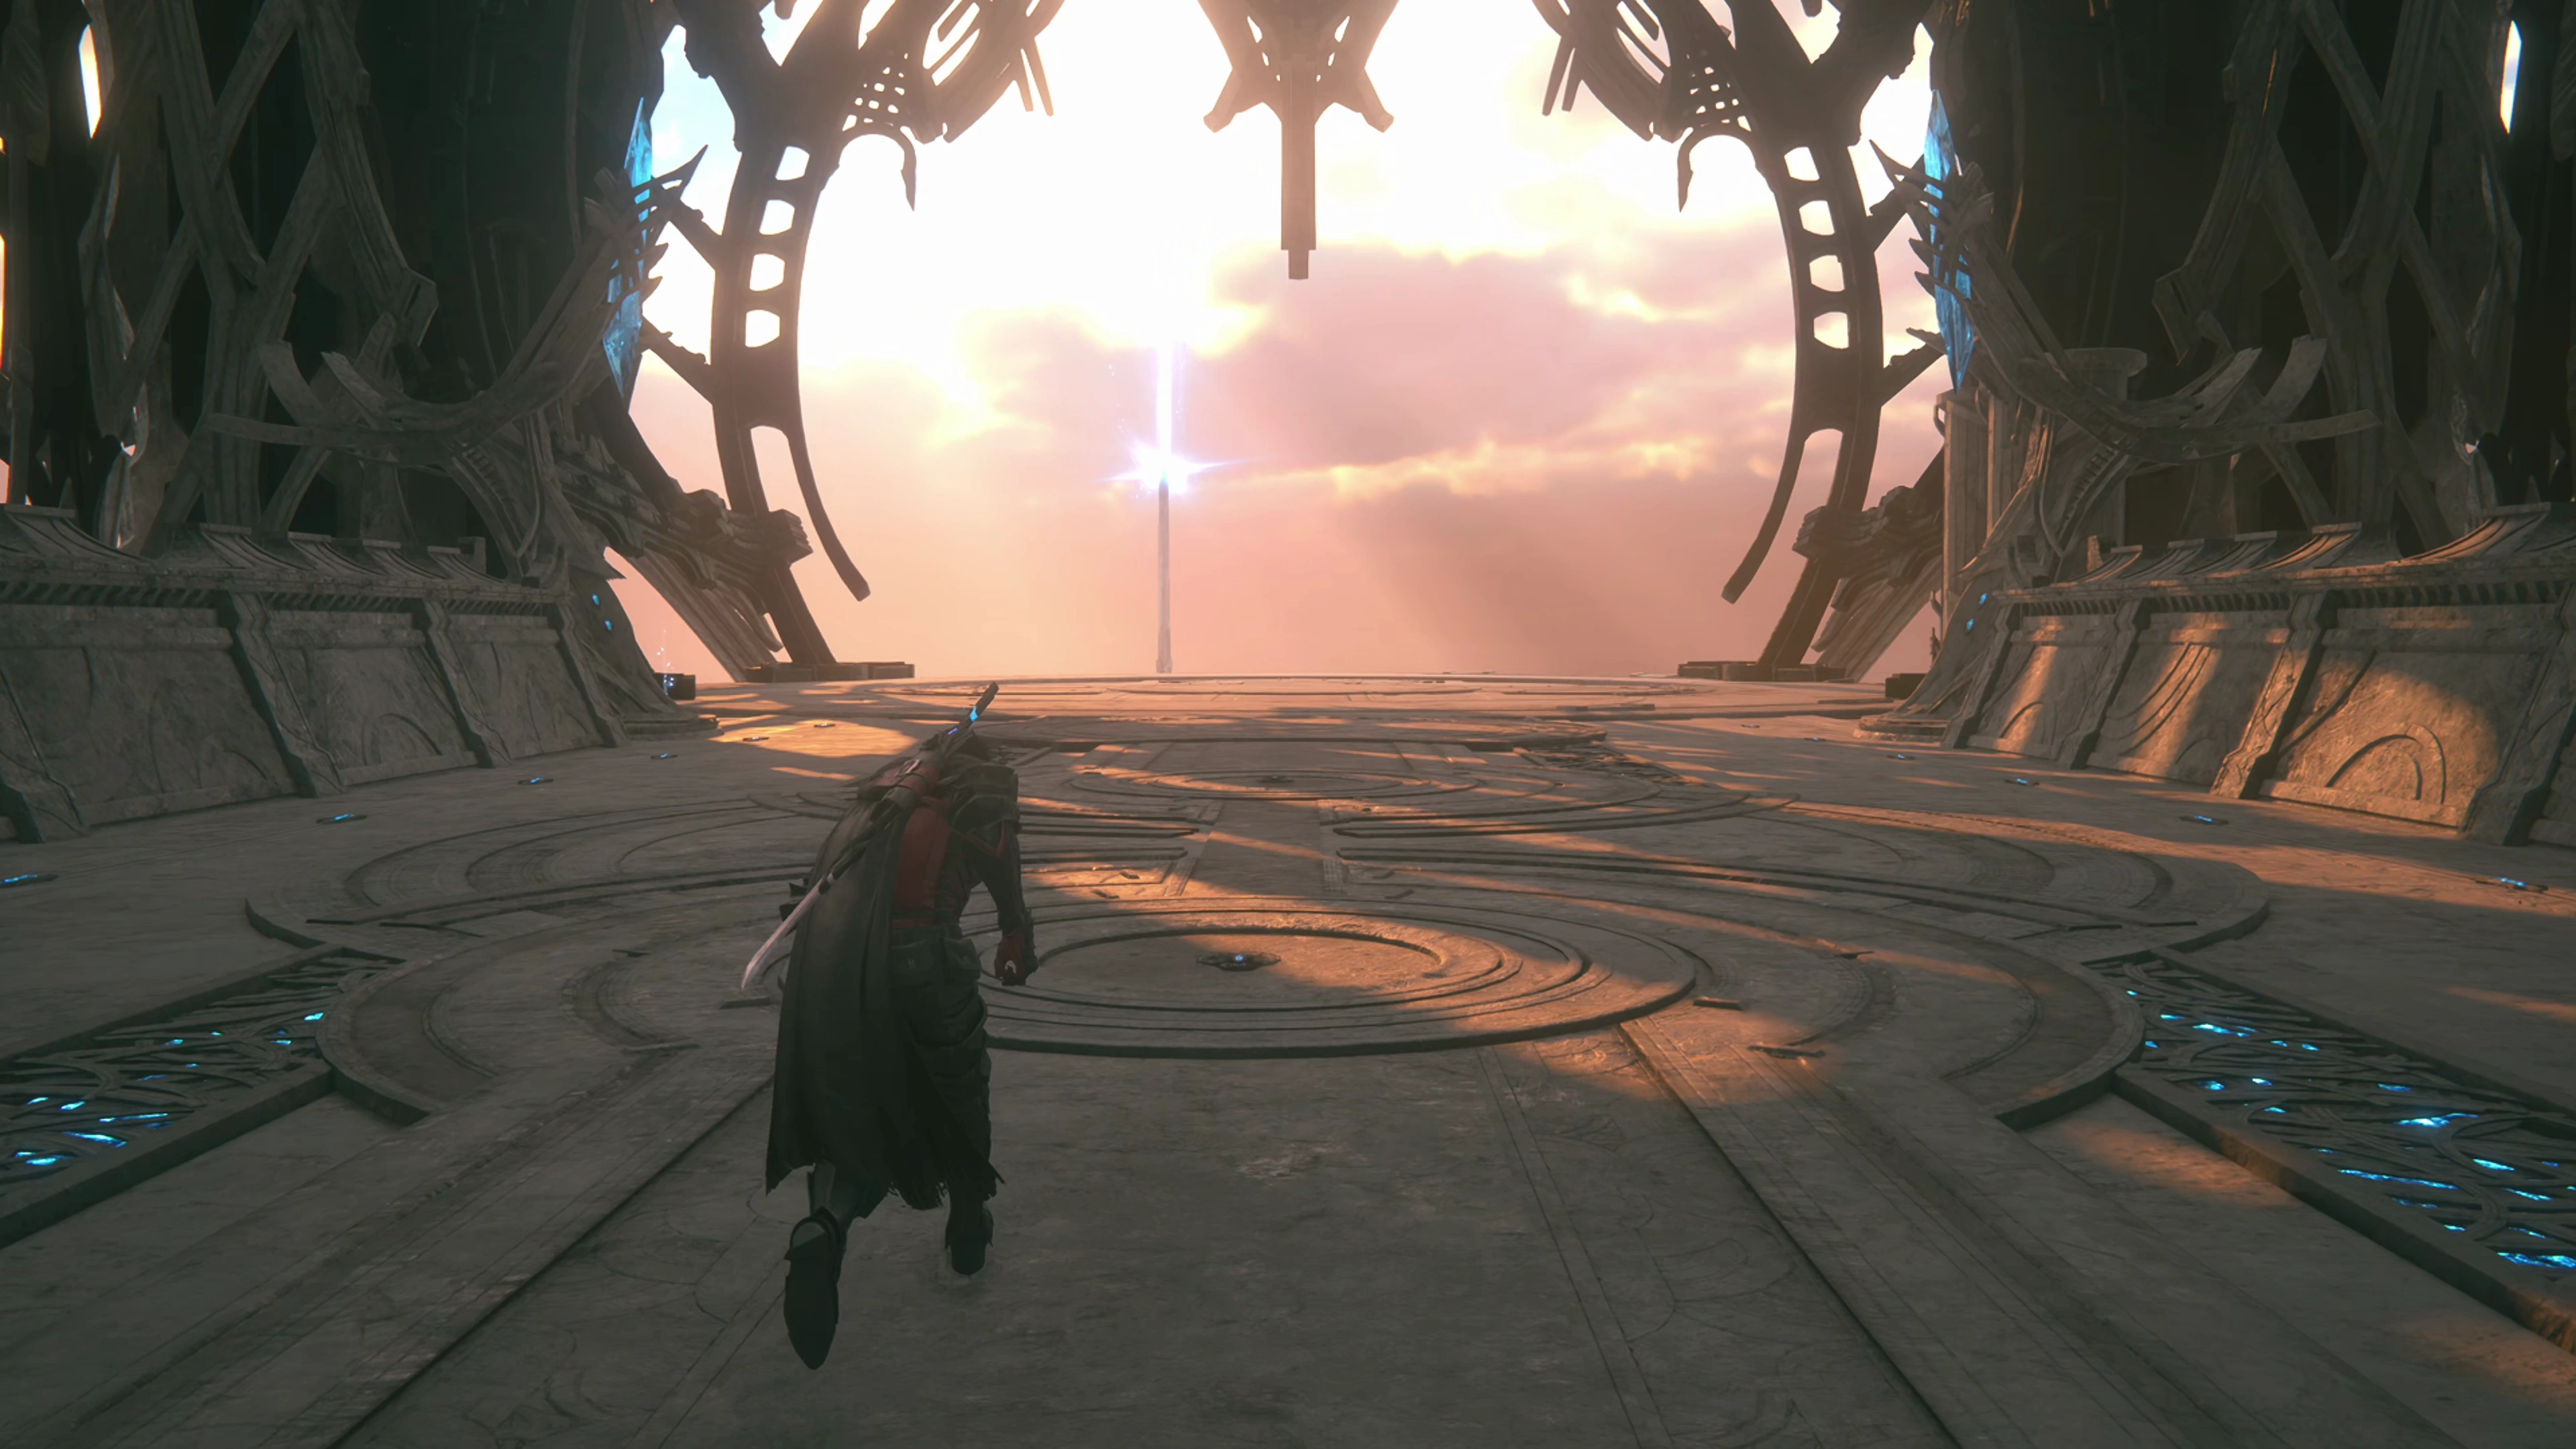
The Hall of Elicitation
Save your game along the hallway, as you have a very challenging fight coming up when you reach the top of the stairs…
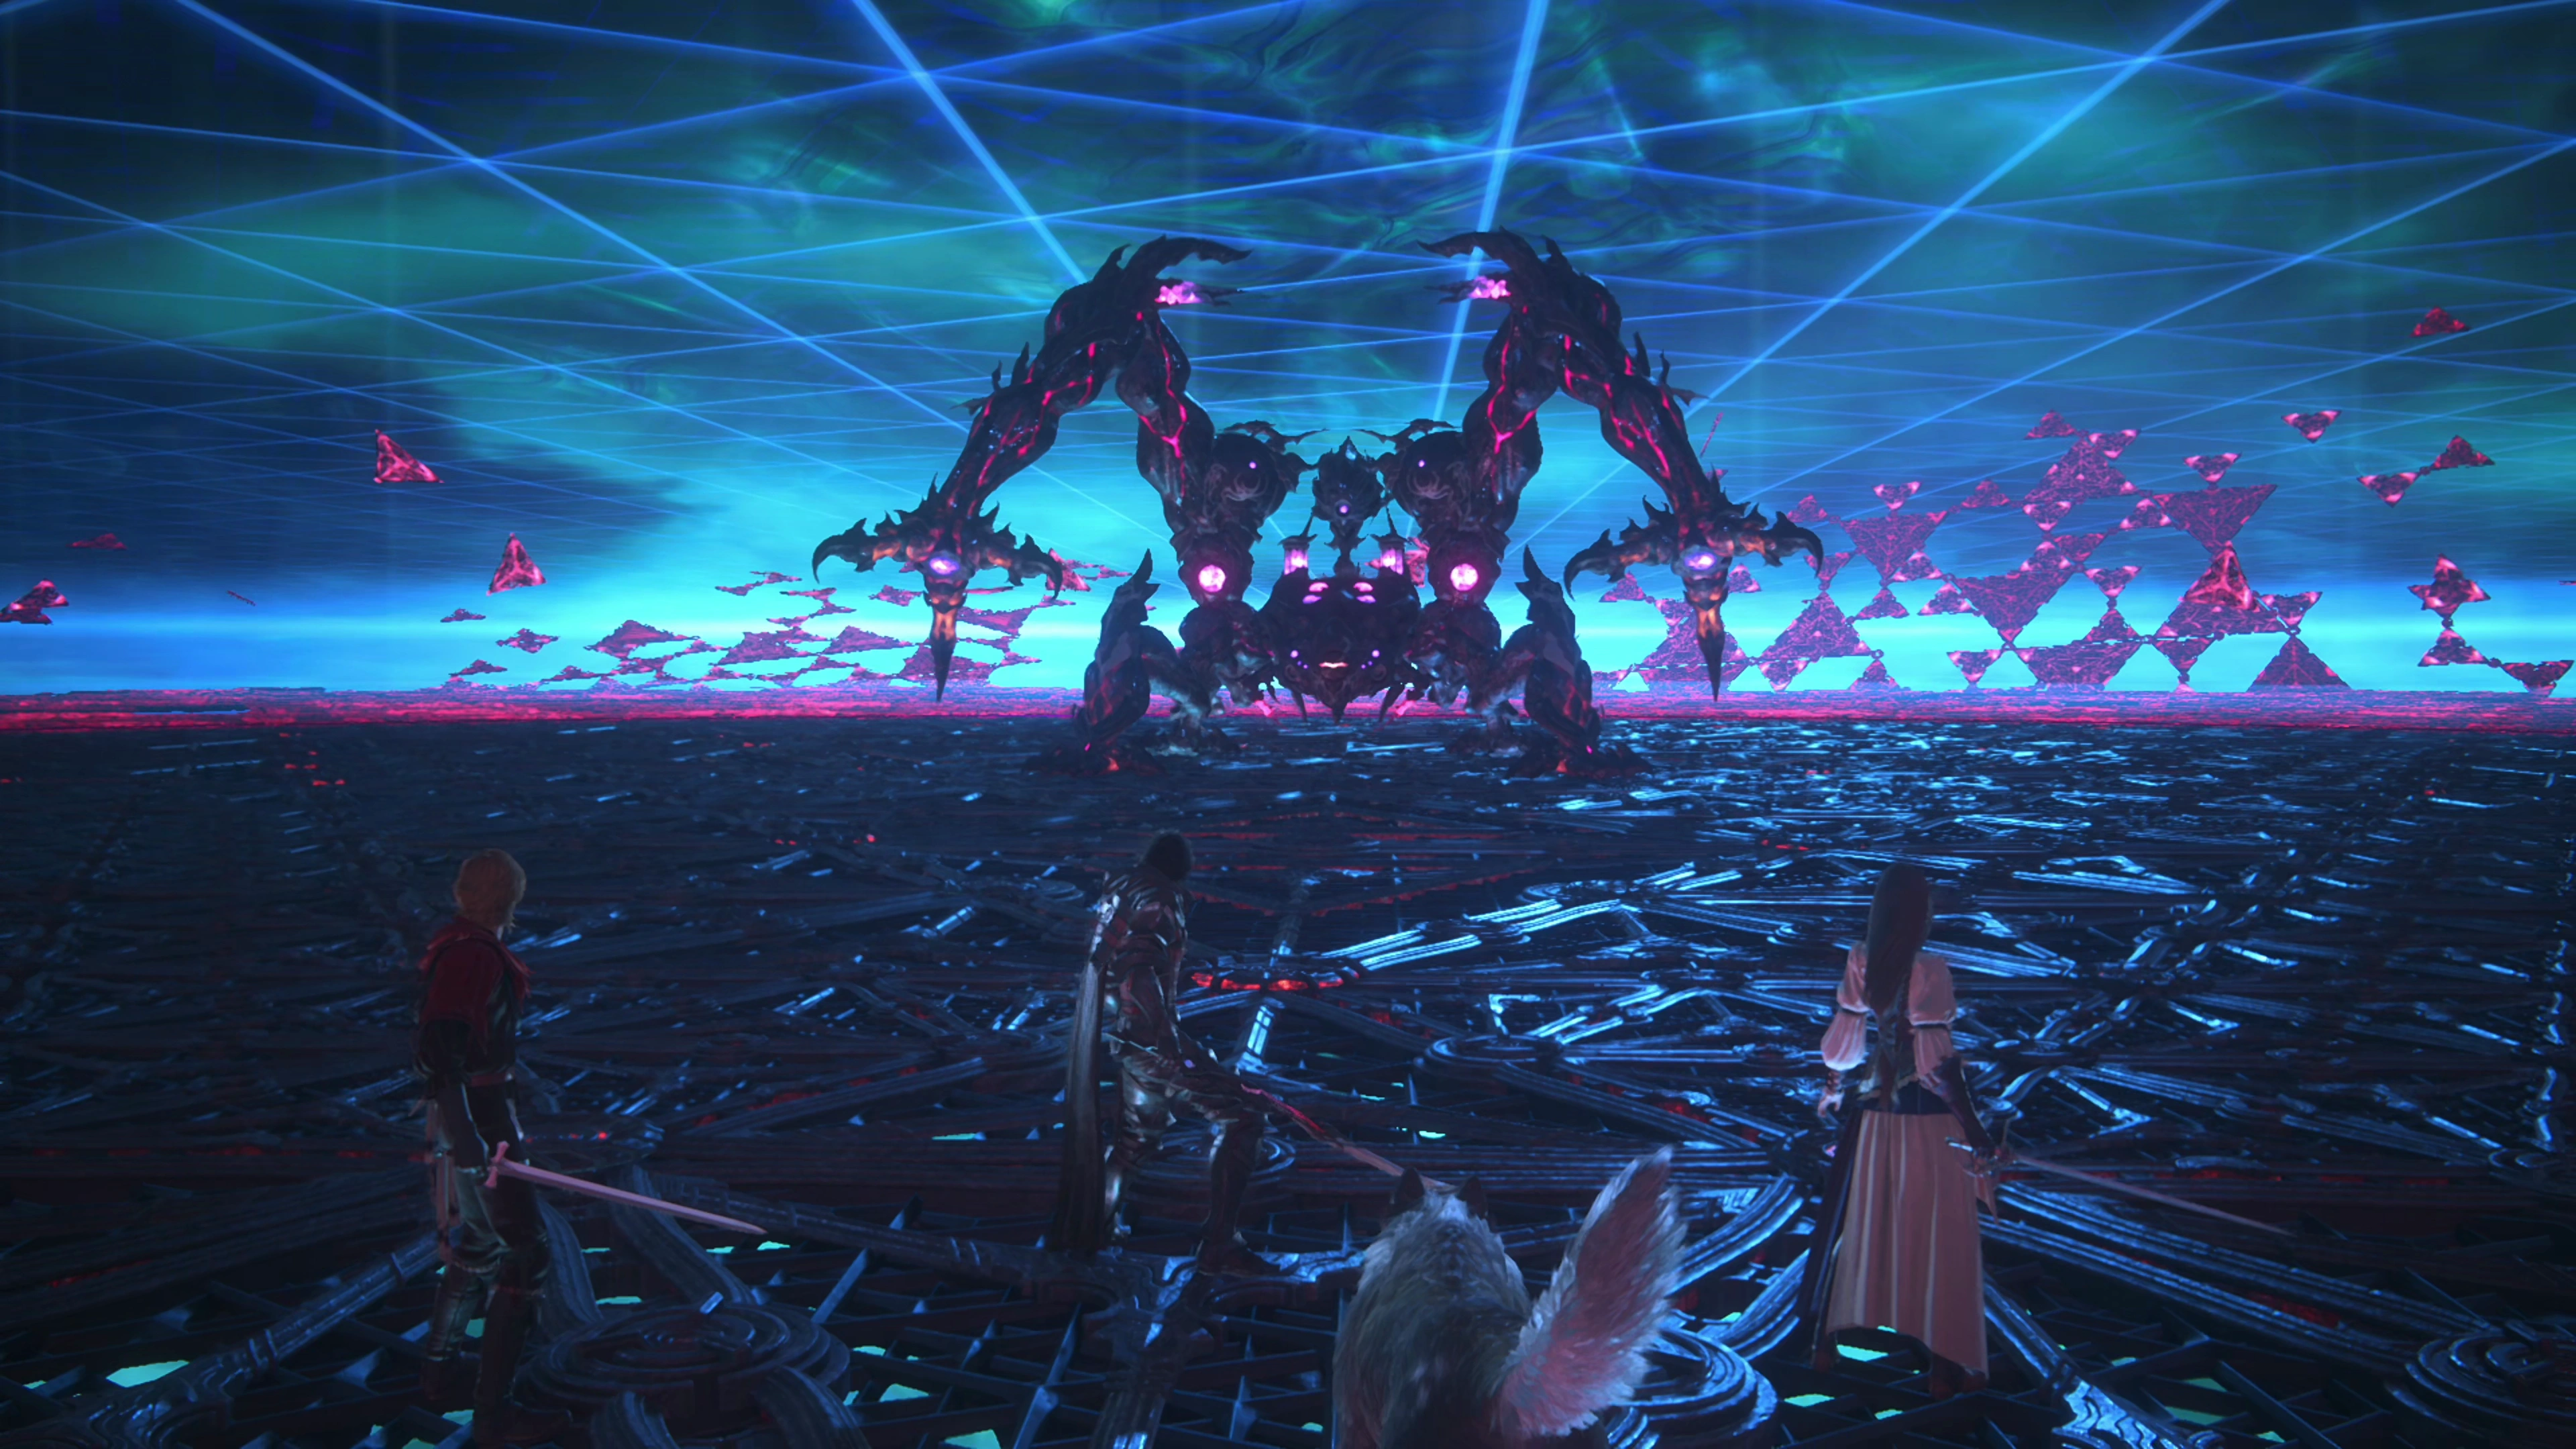
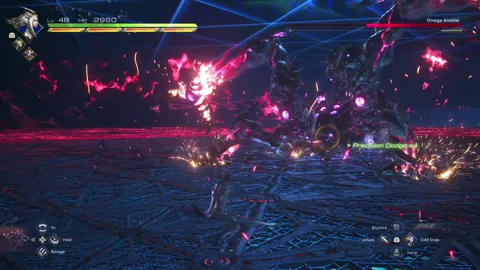
Boss Battle
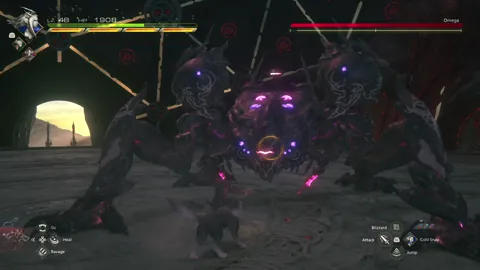
The fight against Omega is a very crazy one, and it can be challenging to deal with even on normal mode difficulty. There are a lot of flashing lights and difficult attacks to dodge, but with some preparation and practice, you should be able to get through it.
This fight is broken up into three phases. The first phase, which is relatively easy, the second phase, which is the most challenging phase, and the third phase, which involves pumping as much damage as possible into Omega before it executes its final attack. Let’s get started!

Phase 1
Omega’s attacks deal quite a bit of damage even in phase 1, but this is the easiest of the phases to deal with. Let’s go over its attacks:
![]() Delta Attack:
Delta Attack:
Omega begins phase 1 by using this attack. It will scan the room and place a set of three rotating magical orbs around Clive. Eventually, the orbs will expand, and a large dark triangle will appear on the ground under where Clive was standing. Move out of this area quickly, and be careful, because two additional triangles of magic will spawn near this one, so you might accidentally dodge into another triangle.
![]() Physical Attacks:
Physical Attacks:
Omega has quite a few swipes and swings that it’ll use when you get close. Most of these attacks are well telegraphed, though, and easy to dodge. It’s pretty easy to trigger a ![]() Cold Snap when it uses these attacks.
Cold Snap when it uses these attacks.
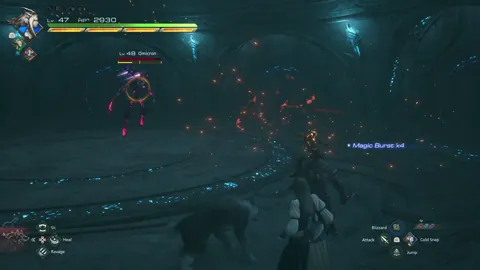
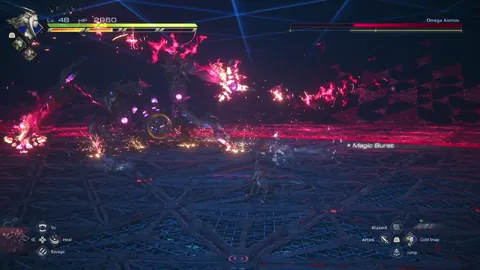
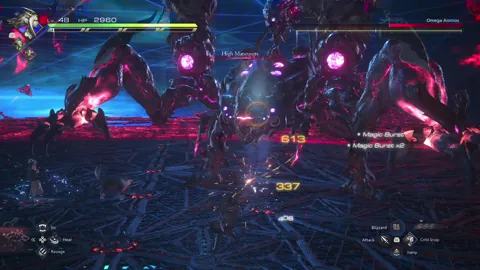
![]() Magic Blast:
Magic Blast:
Four magic shots will burst out from Omega’s head and launch towards Clive. This happens twice in a row, so be ready to dodge twice in succession. Alternatively, you can use ![]() Heatwave to counterattack these magic bursts.
Heatwave to counterattack these magic bursts.
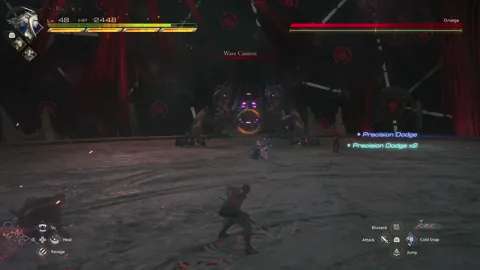
![]() Wave Cannon:
Wave Cannon:
The words “Wave Cannon” will appear on the screen, and a laser will be pointed towards Clive’s location. After a short amount of time, a magic wave burst will appear in that exact location, so dodge out of the laser beam before it activates.
![]() ML Wave Cannon:
ML Wave Cannon:
This attack is similar to a normal “Wave Cannon” attack, except that a row of Wave Cannon beams will form. After the first attacks go off, a second row of Wave Cannons will trigger in the previously open spaces. This attack is very similar to Bahamut’s “Energy Rails” attack that you’ve seen before.
![]() Beam Matrix:
Beam Matrix:
A group of 4 lasers will spawn in a matrix around Clive. Dodge out of the middle spot as quickly as possible, but be cautious, because if you’re too close to Omega, you won’t be able to dodge forward. The safest option for this attack is to dodge backwards or away from Omega.
After the first stagger, Omega will move into Phase 2, and this is where things get really crazy.
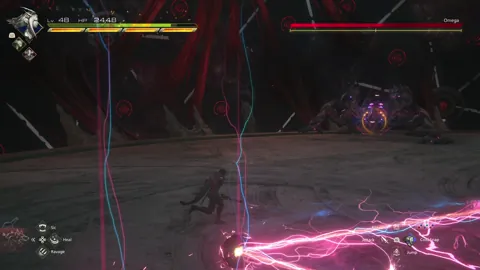
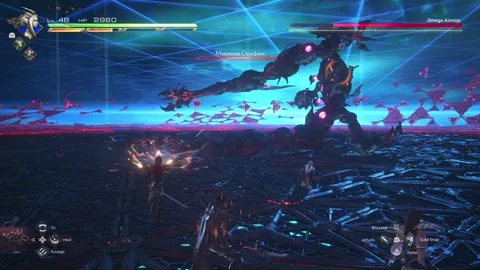
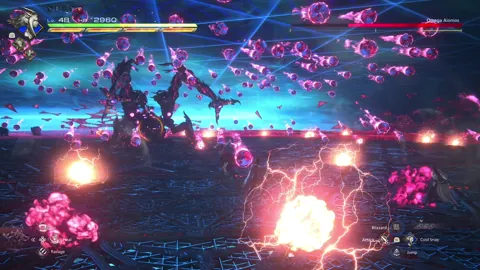
Phase 2 - Omega Aionios
Now that Omega has decided to “recalculate your threat level,” it has a much larger arsenal of attacks that are difficult to dodge, primarily because of how much is happening on the screen. This battle is like a massive laser light show. It can still use most of the attacks listed above, but let’s go over all of the new attacks you’ll have to deal with:
![]() Maximum Overdrive:
Maximum Overdrive:
The words “Maximum Overdrive” will appear on the screen, and Omega will use this at the start of Phase 2. This is a bit of an annoying attack to deal with because of how wild Omega’s attack pattern is. It will bounce around the stage, wildly swinging everywhere, until it hits the wall behind Clive, at which point it will be stunned for a brief period. Your best bet for this attack is generally to move as far away from Omega as you can while it is wildly swinging around. It is possible to get used to its attack pattern, and even to get a ![]() Cold Snap off, but this takes considerable practice.
Cold Snap off, but this takes considerable practice.
![]() Physical Attacks:
Physical Attacks:
Just like in Phase 1, Omega Aionios has a set of standard physical attacks that it will use throughout the fight. One that’s worth noting is a four-attack chain that it will do, with the final two attacks being relatively slow ‘arm slams’ into the ground where Clive is standing. These attacks are slow and predictable enough to get a ![]() Cold Snap off if you can time your dodge successfully.
Cold Snap off if you can time your dodge successfully.
![]() Double Wave Cannon:
Double Wave Cannon:
You’ll no longer get the words “Wave Cannon” on the screen when Omega uses this attack. Instead, you’ll have to quickly react when you see the initial laser beam headed in your direction. To make matters worse, during phase 2, Omega Aionios will rotate around the battlefield, making it hard to dodge the laser beam properly.
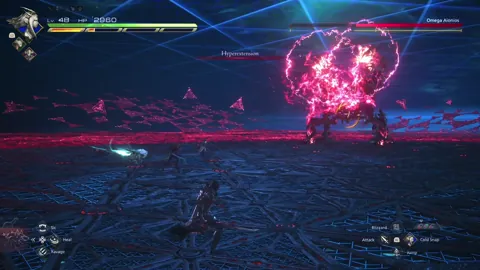
![]() Hyperextension:
Hyperextension:
Omega Aionios will smash both of its arms into the ground and quickly extend them outward toward Clive. Be ready to dodge very quickly.
![]() Energy Minefield:
Energy Minefield:
The attack doesn’t have an official name, but if you’re close to Omega Aionios, it will sometimes hold its two organic arms up in the air with two lasers coming down onto the ground in front of it, and a large glowing red circle will appear. Jump out of this area before the energy spots in the circle explode.
![]() Magic Blade Waves Combos:
Magic Blade Waves Combos:
This attack is similar to the other vertical magic waves that you’ve seen, except that Omega will sometimes shoot out waves from one arm, or both arms, and will sometimes follow both of those attacks up with a physical arm swing. These attacks are easy to dodge, but be ready for each of the follow-ups.
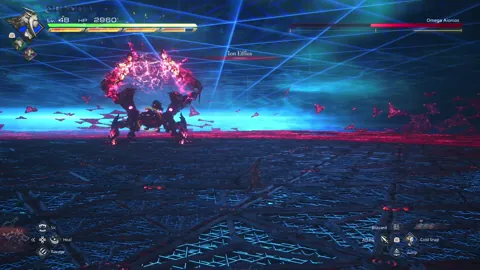
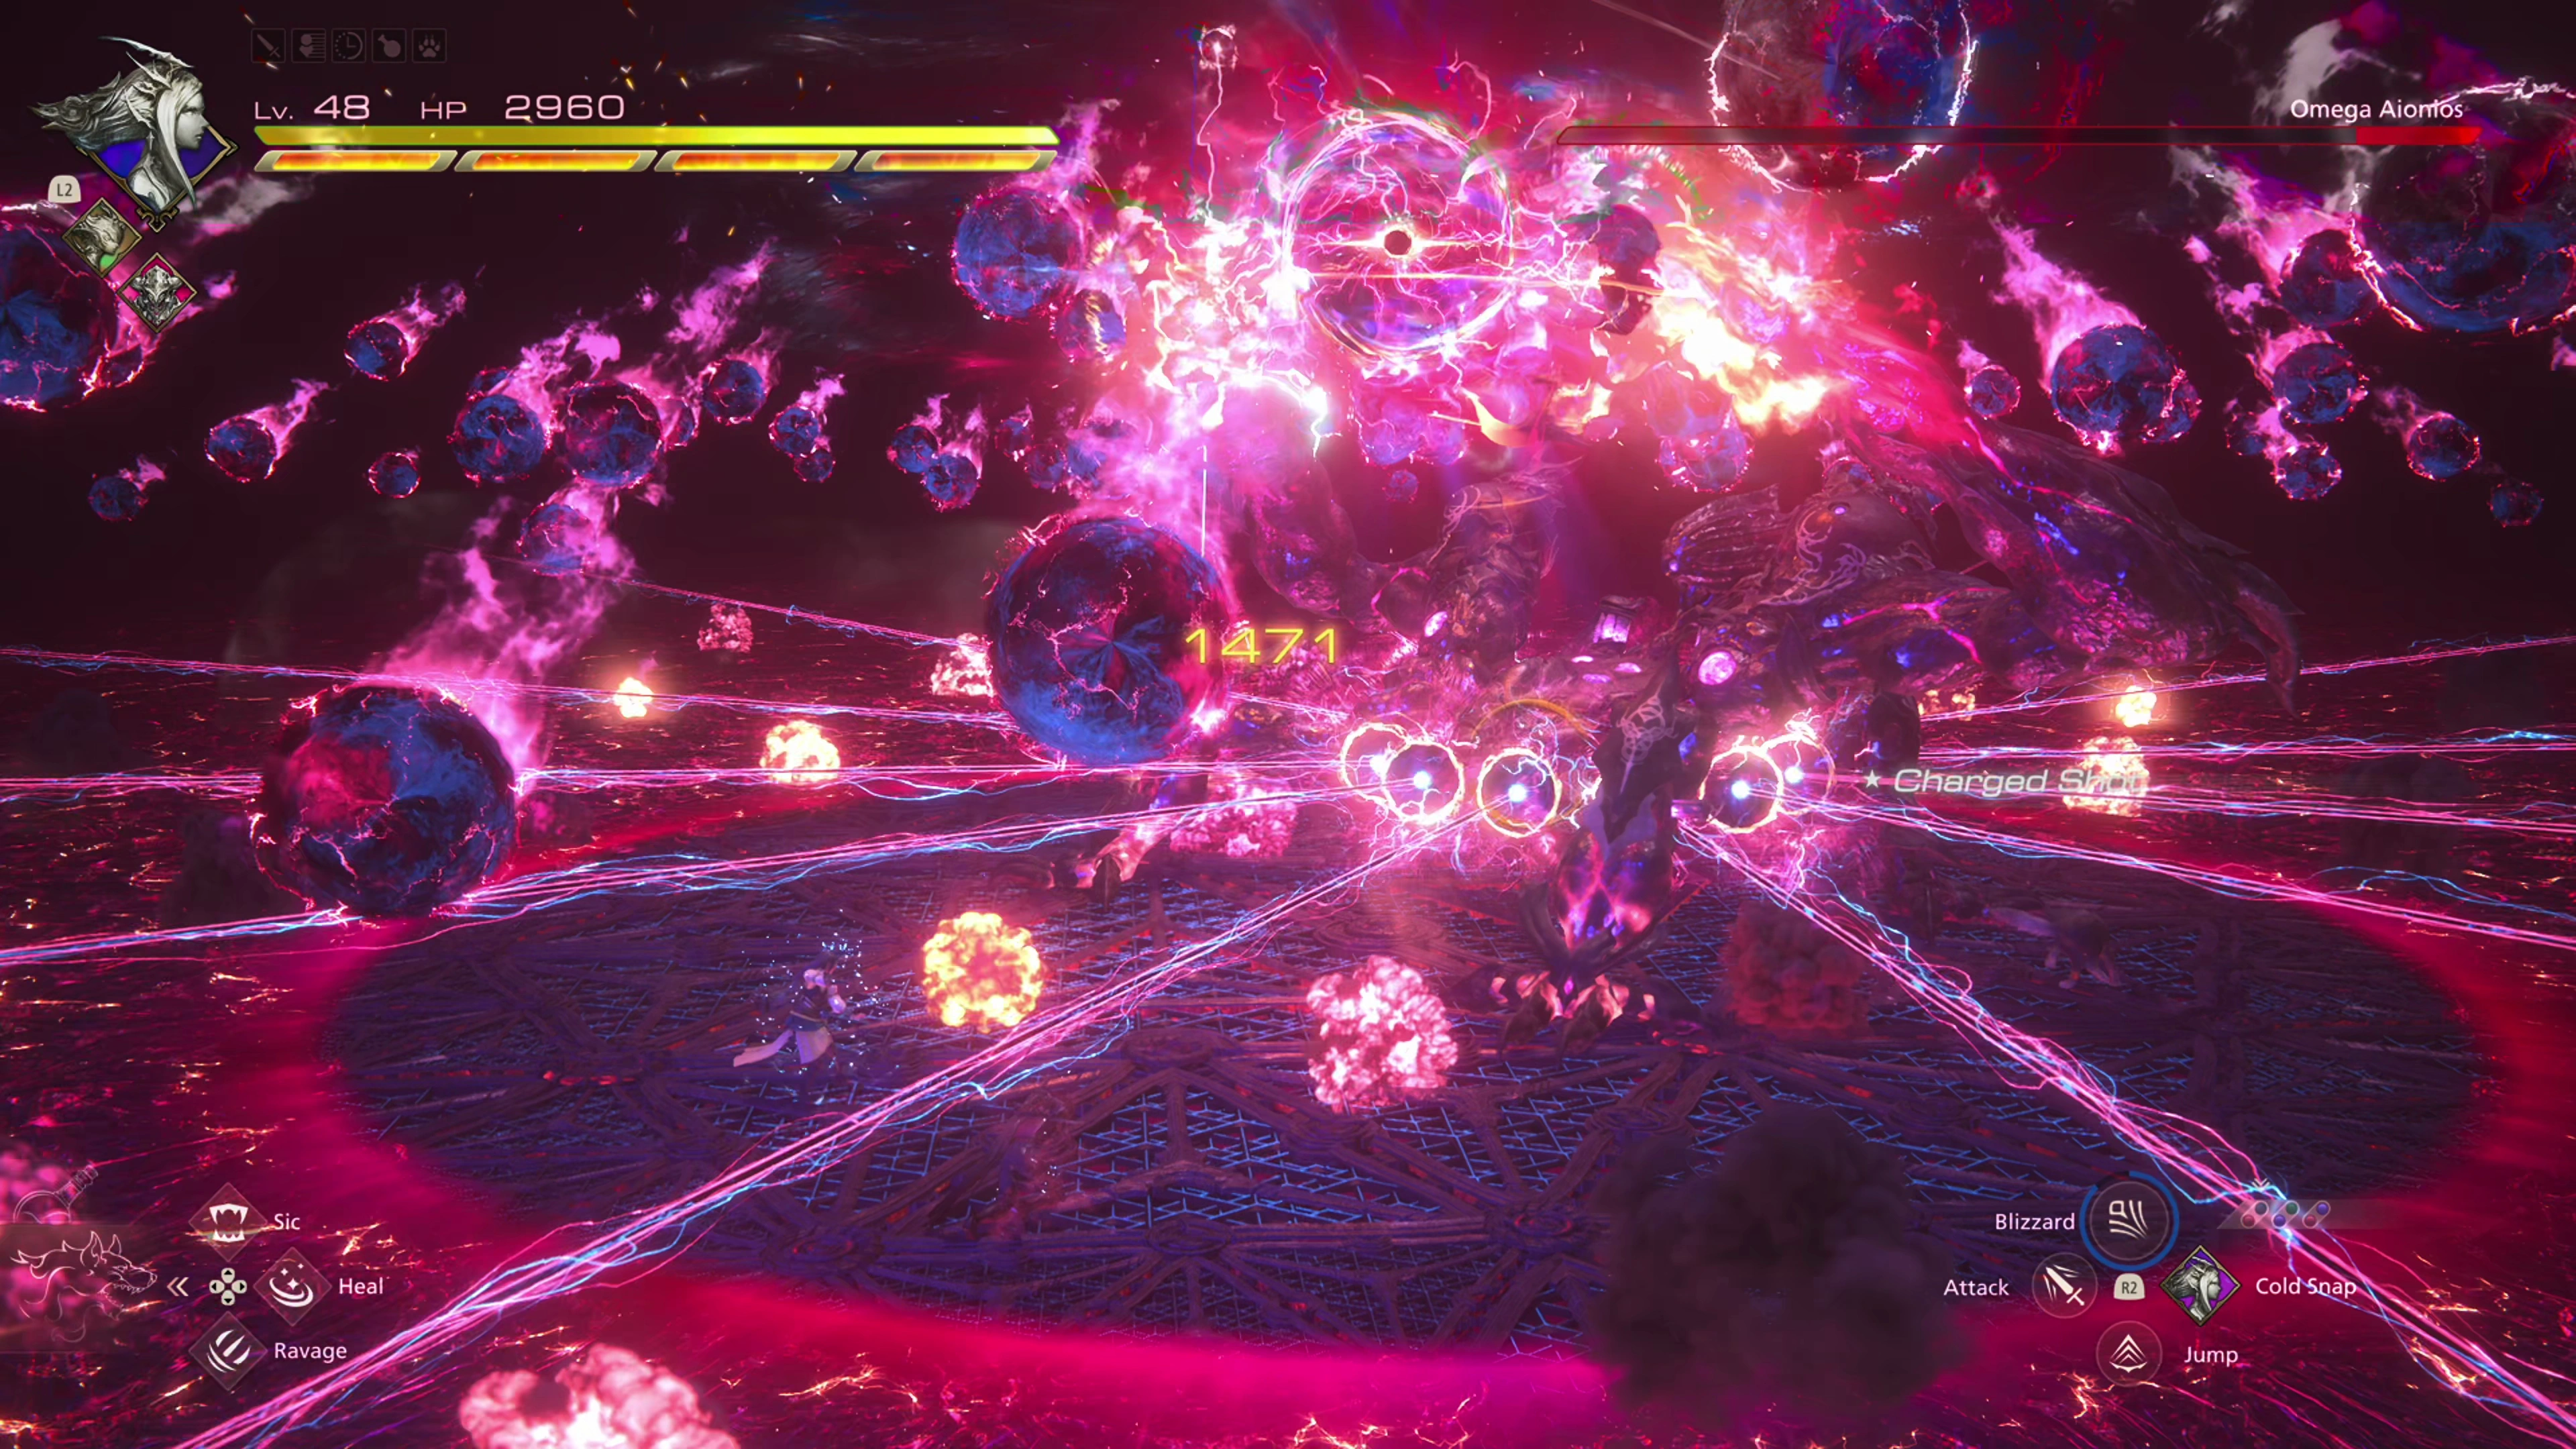
![]() Ion Efflux (2 Versions):
Ion Efflux (2 Versions):
The Ion Efflux attack itself involves Omega Aionios spawning a whole whack of glowing magic orbs that slowly fall to the ground and need to be dodged. It’s usually easier to do this by rotating the camera angle upwards so you can more easily see where they are about to land. The two different versions of this attack are related to whatever Omega will follow up with. While the Ion Efflux magic orbs are falling, it will also use either “Delta Attack” or “ML Wave Cannon,” so once again, you’re going to have to be dodging all over the place to avoid damage.
![]() Pantokrator:
Pantokrator:
This isn’t really an attack in and of itself. Omega Aionios will begin charging up and blasting out waves of energy. These waves of energy don’t deal any damage and will push Clive away from where Omega Aionios is standing. It will then typically follow this attack up with an “Atomic Ray.”
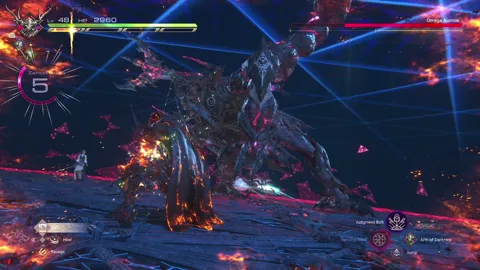
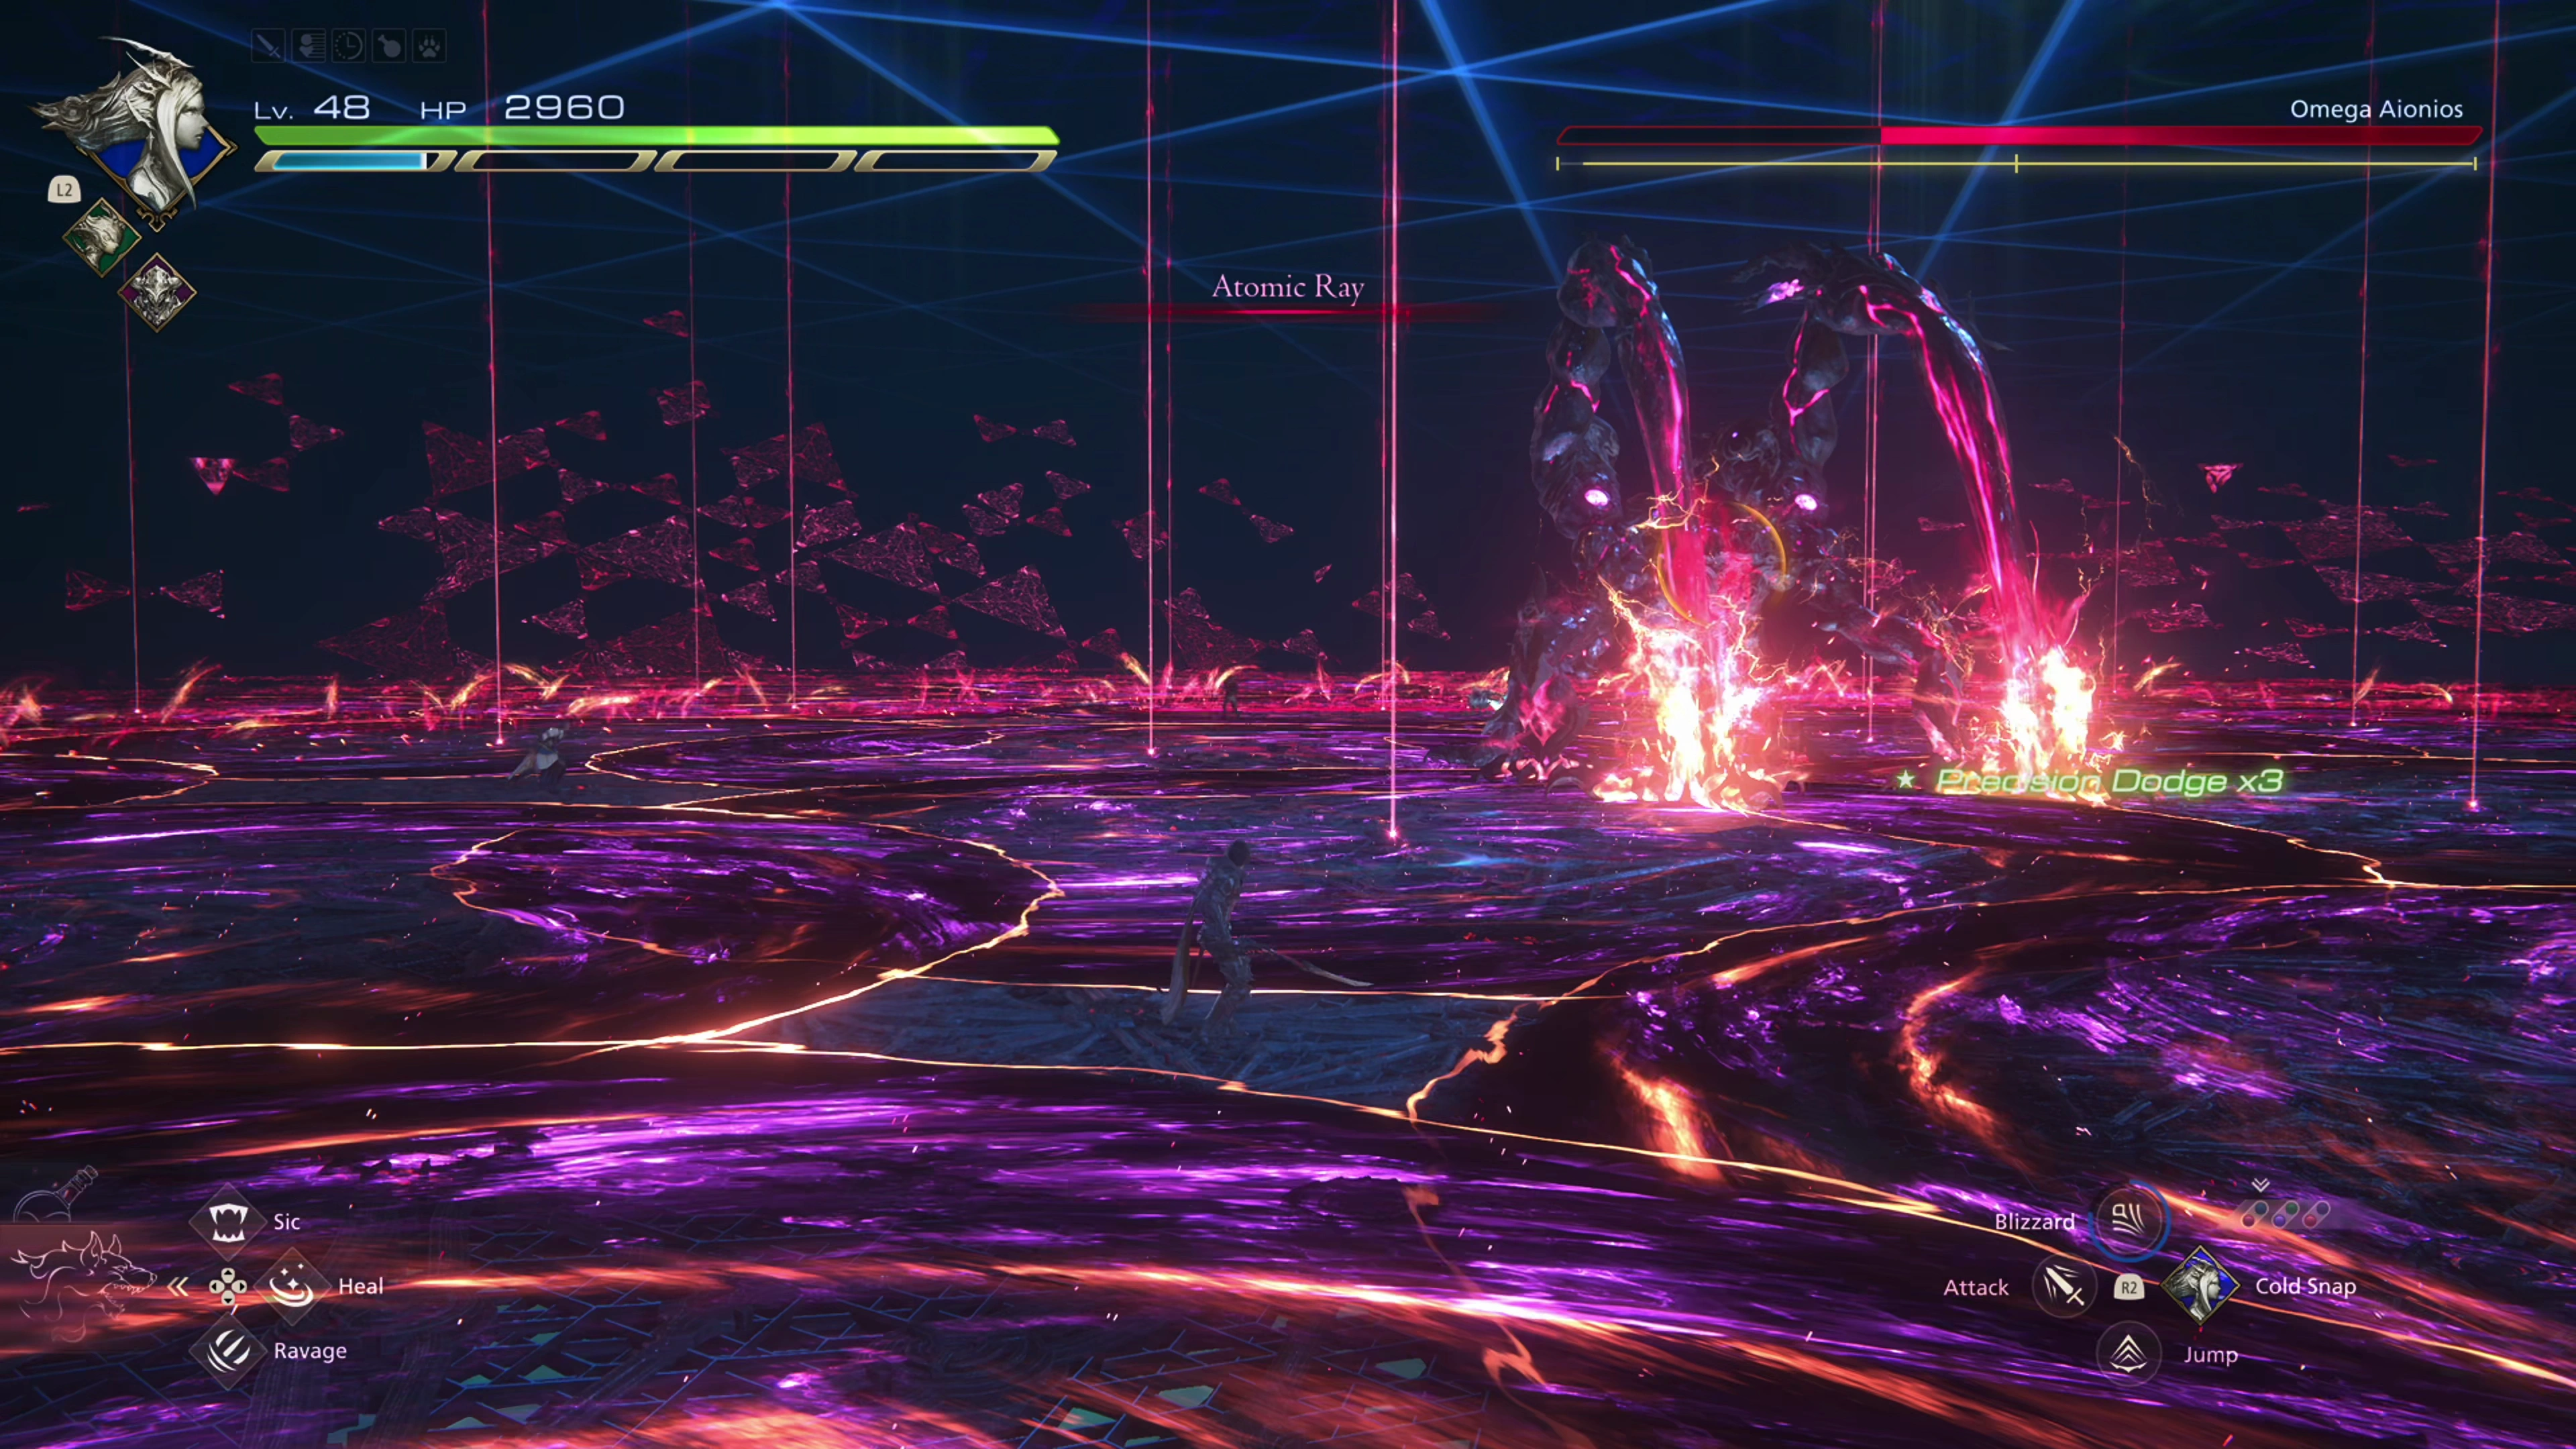
![]() Atomic Ray:
Atomic Ray:
The words “Atomic Ray” will appear on the screen, indicating that this attack is coming. This attack can be challenging because a lot is happening on the screen, but there are two components that you need to be aware of and dodge. The first component is the waves of energy that emanate from Omega Aionios’ arms, which are wedged into the ground. These red waves of energy need to be dodged as they approach Clive. There are two waves, but a single dodge at the right time will allow Clive to avoid the damage from both waves at the same time. This attack is very similar to Sleipnir’s “Dead Man’s Brier,” ![]() Svarog’s Comets, or Behemoth’s Meteors. Secondly, but at the same time that the energy waves are coming out, a large number of atomic impact points will appear all over the battlefield. You can see where they’re forming by looking for large red lasers coming from the ground. These impact points will grow in size until they take up most of the battlefield, so you’ll have to look for a spot in between the different impact zones where you won’t get hit. Start doing this as soon as you see the impact areas start to form, but don’t forget to dodge the energy waves while you’re seeking out a safe spot to stand.
Svarog’s Comets, or Behemoth’s Meteors. Secondly, but at the same time that the energy waves are coming out, a large number of atomic impact points will appear all over the battlefield. You can see where they’re forming by looking for large red lasers coming from the ground. These impact points will grow in size until they take up most of the battlefield, so you’ll have to look for a spot in between the different impact zones where you won’t get hit. Start doing this as soon as you see the impact areas start to form, but don’t forget to dodge the energy waves while you’re seeking out a safe spot to stand.
![]() High Maneuvers:
High Maneuvers:
This is another attack for which it can be annoying to try to learn the timing for when to dodge. Omega will fly up into the air and attach itself to the matrix on the ceiling, and then it will jump to another location on the ceiling. Very quickly after that side jump, it will launch itself forward towards Clive’s current location. You have to be ready to dodge as soon as you see it start launching; the entire sequence happens very quickly.
At approximately 30% HP, a short cinematic will play where Omega Aionios “removes its safeguards,” and this is when Phase 3 of the fight begins.
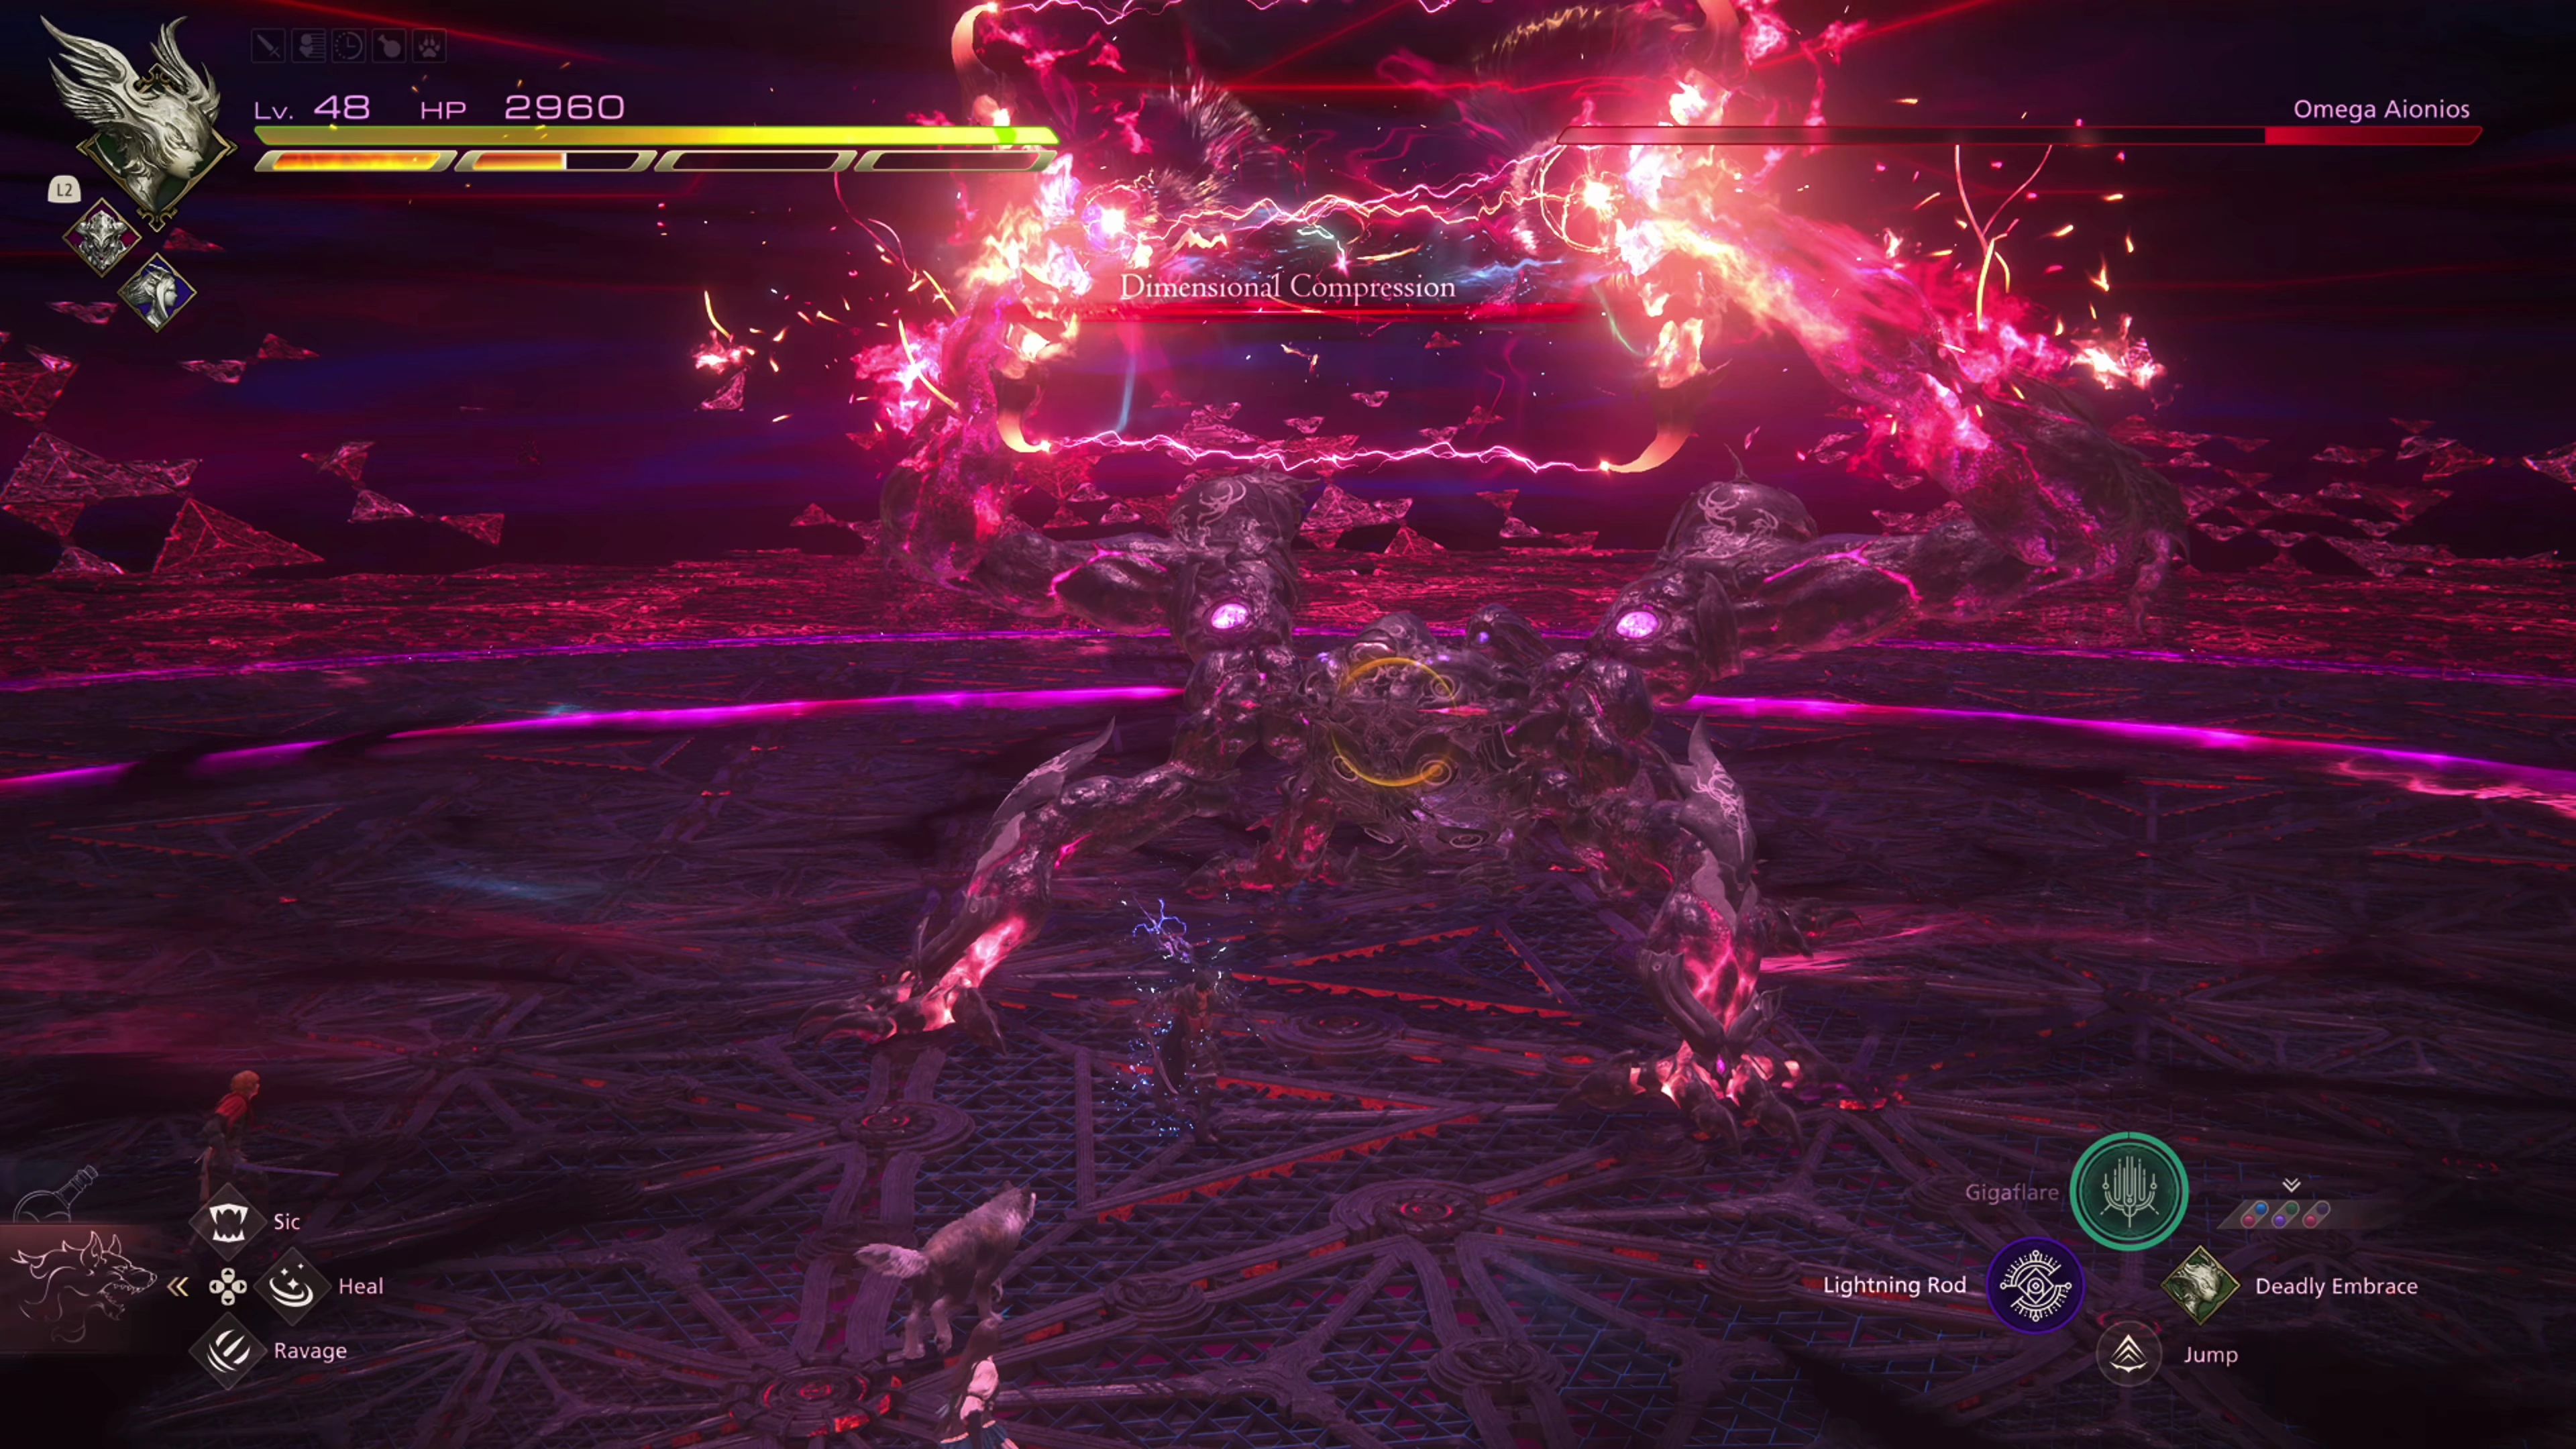
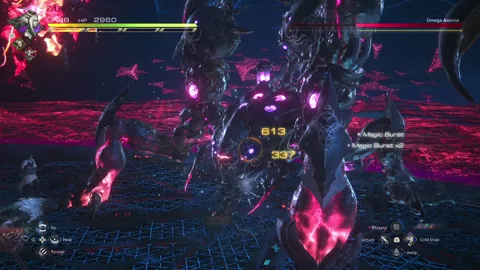
Phase 3
The goal during this phase is to defeat Omega before the battlefield completely closes in and constricts on Clive and his friends through “Dimensional Compression.” Omega Aionios doesn’t gain any additional attacks during this phase; however, while you attempt to drain the remainder of its HP bar, some of the attacks that you’ve been dealing with in the previous phases will trigger at various points of the fight.
As soon as this phase begins, use all of your abilities right away and try to use combos where it’s possible, such as doubling up ![]() Lightning Rod with
Lightning Rod with ![]() Gigaflare or
Gigaflare or ![]() Dancing Steel to get a Zantetsuken off. Use all of your abilities because, at the beginning of the fight, at least, Omega won’t use many attacks against you, giving you an excellent opportunity to deal a lot of damage.
Dancing Steel to get a Zantetsuken off. Use all of your abilities because, at the beginning of the fight, at least, Omega won’t use many attacks against you, giving you an excellent opportunity to deal a lot of damage.
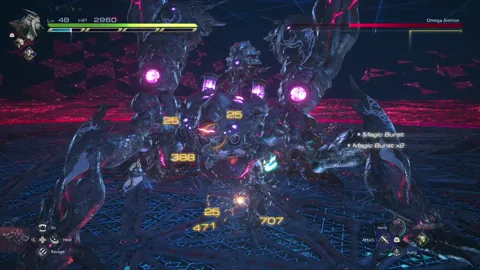
Following that, and while your abilities are recharging, a few attacks from Omega will be triggered. Here’s what you can expect:
- Laser beams coming down from the sky, which will eventually deal damage if you stand in them (one will typically land exactly where Clive is standing)
- A lattice of Wave Cannons to form, which you can dodge by standing in the center of the square that they form
- Ion Efflux bubbles will float down, which need to be dodged
- Two more waves of Wave Cannons to emit outward in a circle from where Omega is standing
This probably sounds like a lot of attacks to deal with, but the timing is pretty predictable, and if you’re ready for the attacks to come, they’re not too difficult to dodge. The best advice for this section of the fight is to:
- Deal a bunch of damage.
- Take a quick break while your abilities recharge, and you dodge all of the attacks listed above.
- Re-engage with Omega and use all of your abilities again now that they’re off cooldown.
You’ll be able to see the battlefield closing in on Clive, but you don’t panic! You have more time than it would appear. This phase of the fight tends to be easier if you’re patient and focus on dodging the attacks.
500
50,000
A video demonstration of how to successfully complete the fight against Omega.
Achievement/Trophy
“Silence the echoes.” You’ll automatically receive the Repercussion Achievement/Trophy after defeating Omega and completing the DLC.
 OMG
OMGThis concludes the final boss battle for the Echoes of the Fallen DLC Expansion, and you’ve officially completed all of the content. One final note, though, before we wrap things up…
 The Hideaway
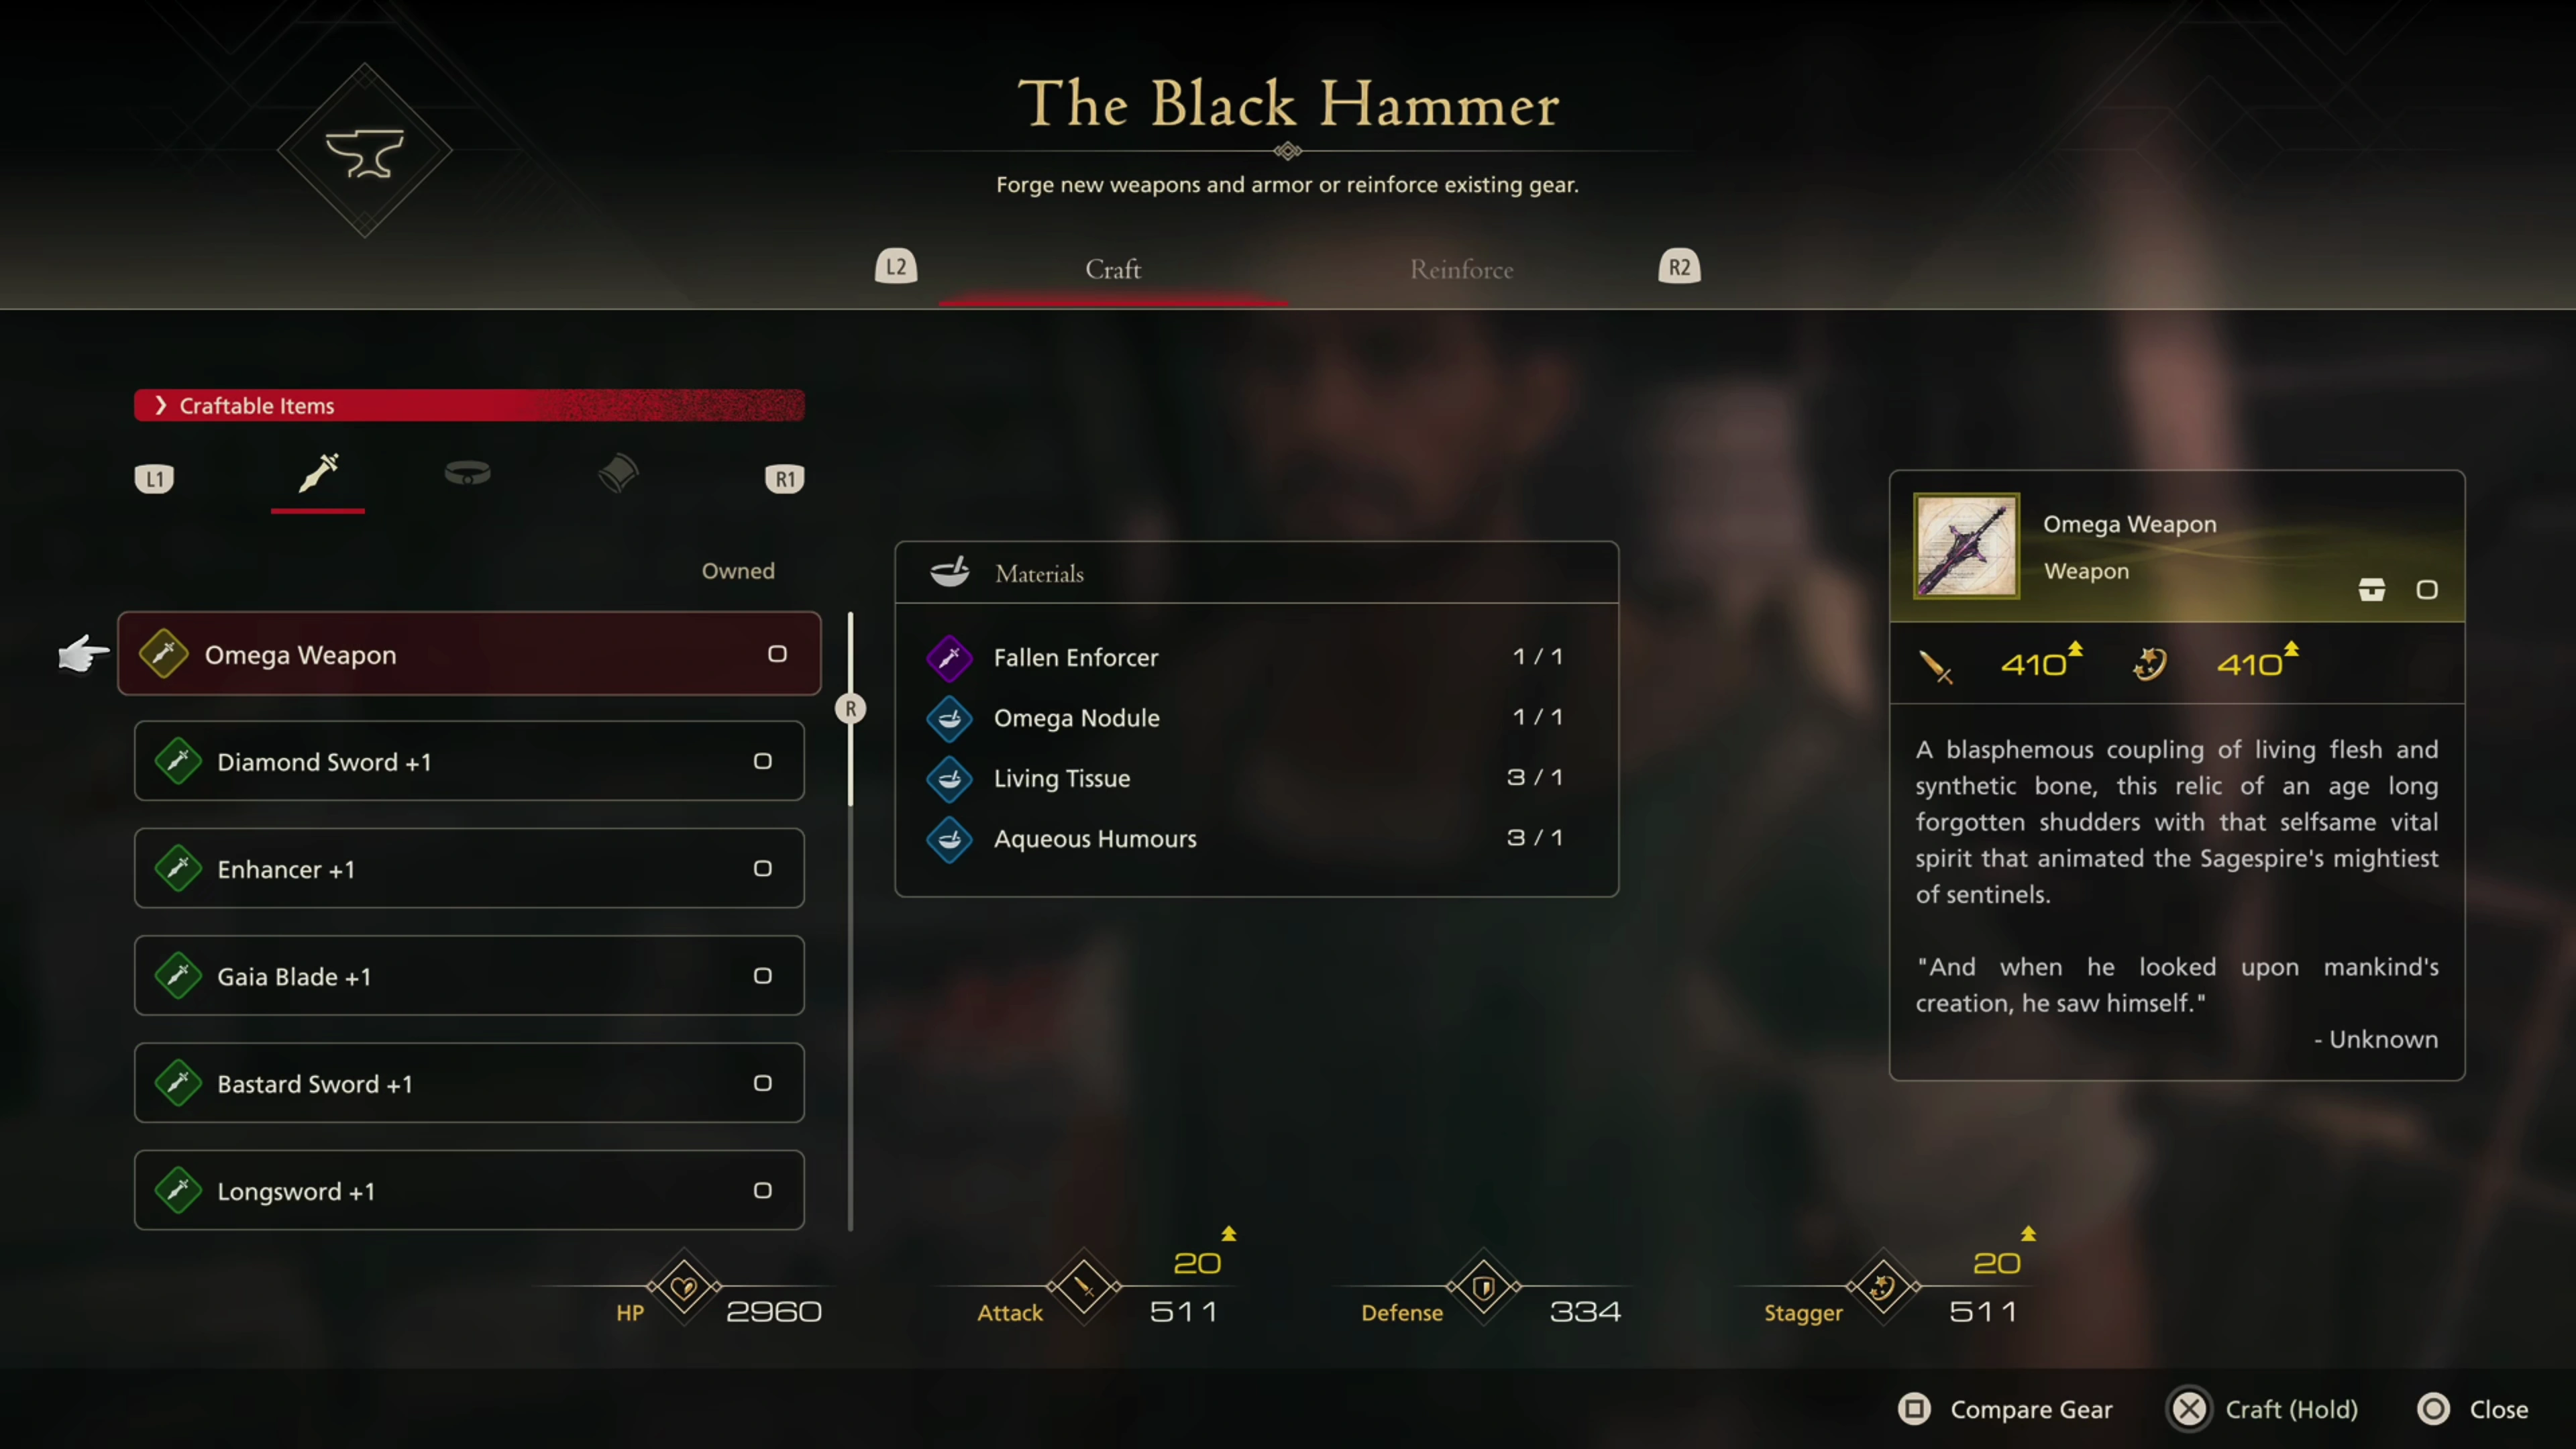
First, talk to Charon to officially wrap up the Echoes of the Fallen ![]() quest. After the quest, though, you can use the material rewards from each of the three boss battles to craft a brand new weapon and upgrade the belt and vambraces:
quest. After the quest, though, you can use the material rewards from each of the three boss battles to craft a brand new weapon and upgrade the belt and vambraces:
| Materials | |
|---|---|
| Materials | |
|---|---|
Achievement/Trophy
“Obtain the Omega Weapon.” Once you have obtained the materials listed above and crafted the ![]() Omega Weapon, you’ll receive the My Reward Is with Me Achievement/Trophy automatically.
Omega Weapon, you’ll receive the My Reward Is with Me Achievement/Trophy automatically.
Now it’s time to move on to the next DLC Expansion, The Rising Tide (Recommended!), or return to the main walkthrough section if you want to complete any of the other endgame content.
DLC Expansion
This quest begins from a missive called ![]() (Unmarked).
(Unmarked).
“Often is it that letters requesting aid find their way to Clive’s reading desk. Rarer, though, are occasions when said letters are anonymous. Even rarer still, however, are occasions when the aid in question is to rescue an Eikon thought lost for several centuries. This so happens to be one of those rarest of occasions.”
Walkthrough Guide
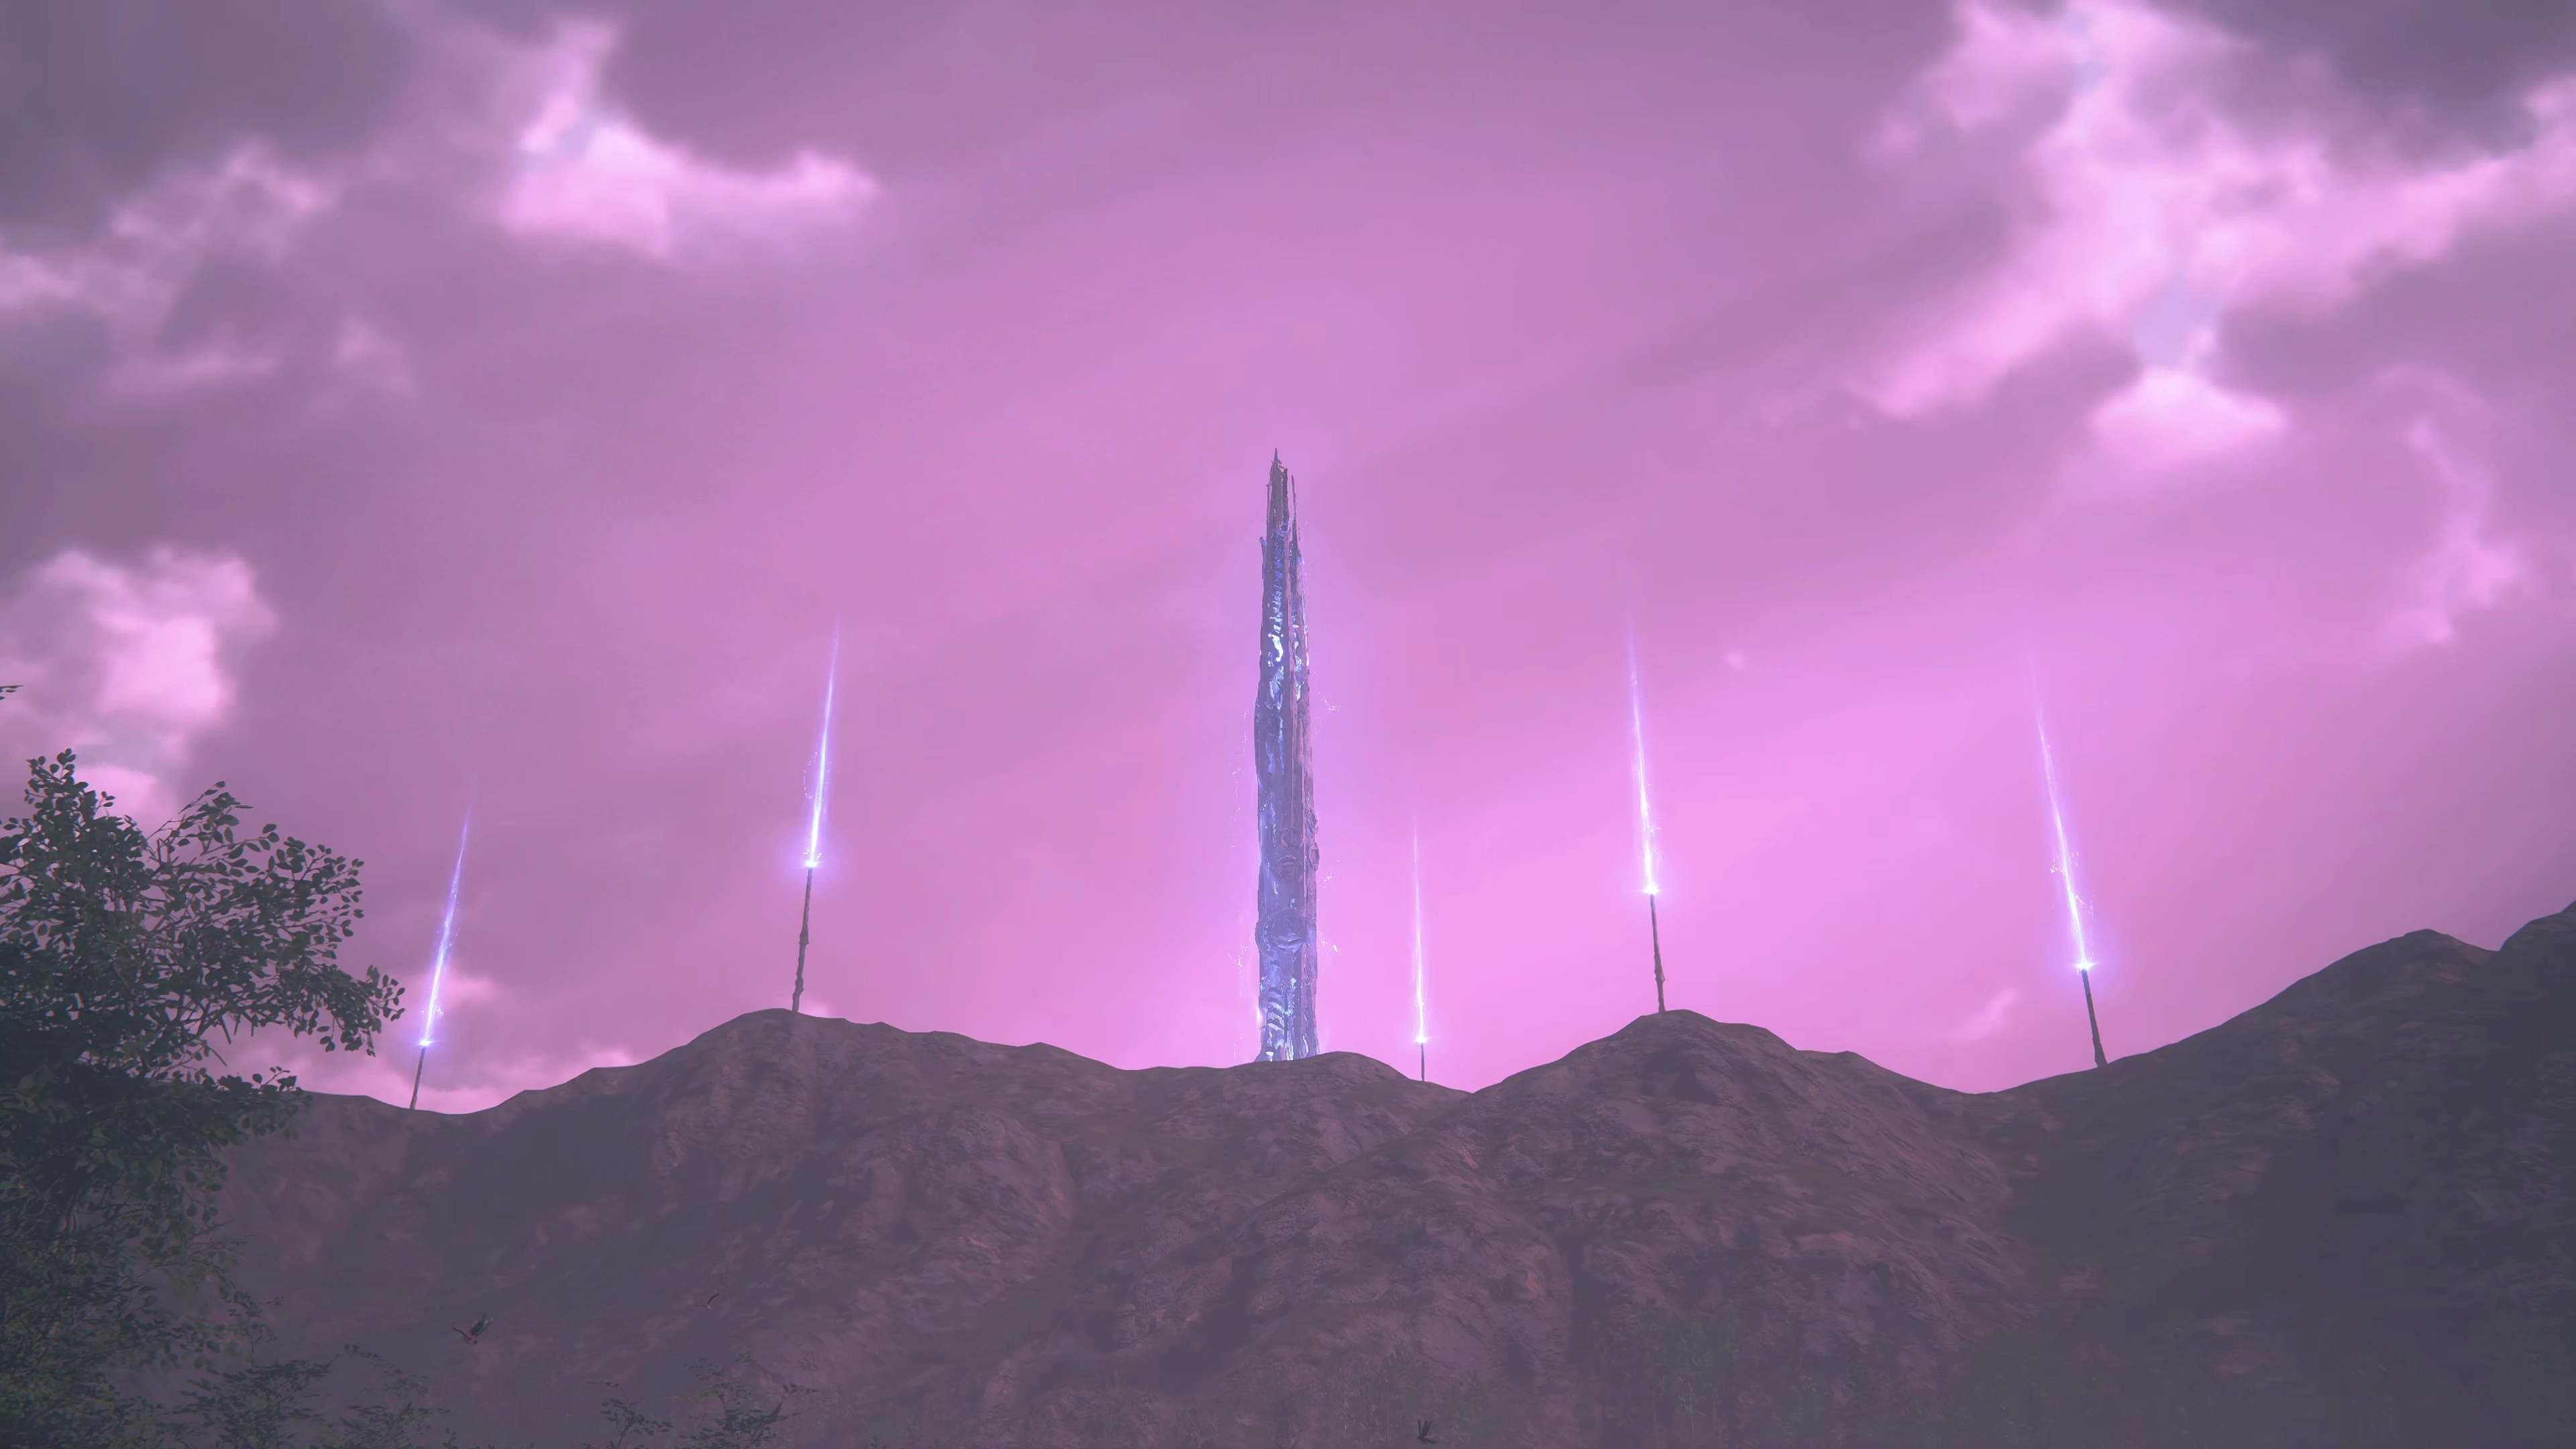
“The final Mothercrystal has fallen, but a new one has risen in its place. A stain on the horizon, filling the hearts of all who look upon it with dread—Origin. There, deep inside, a reckoning awaits.”