
 Odin
Odin
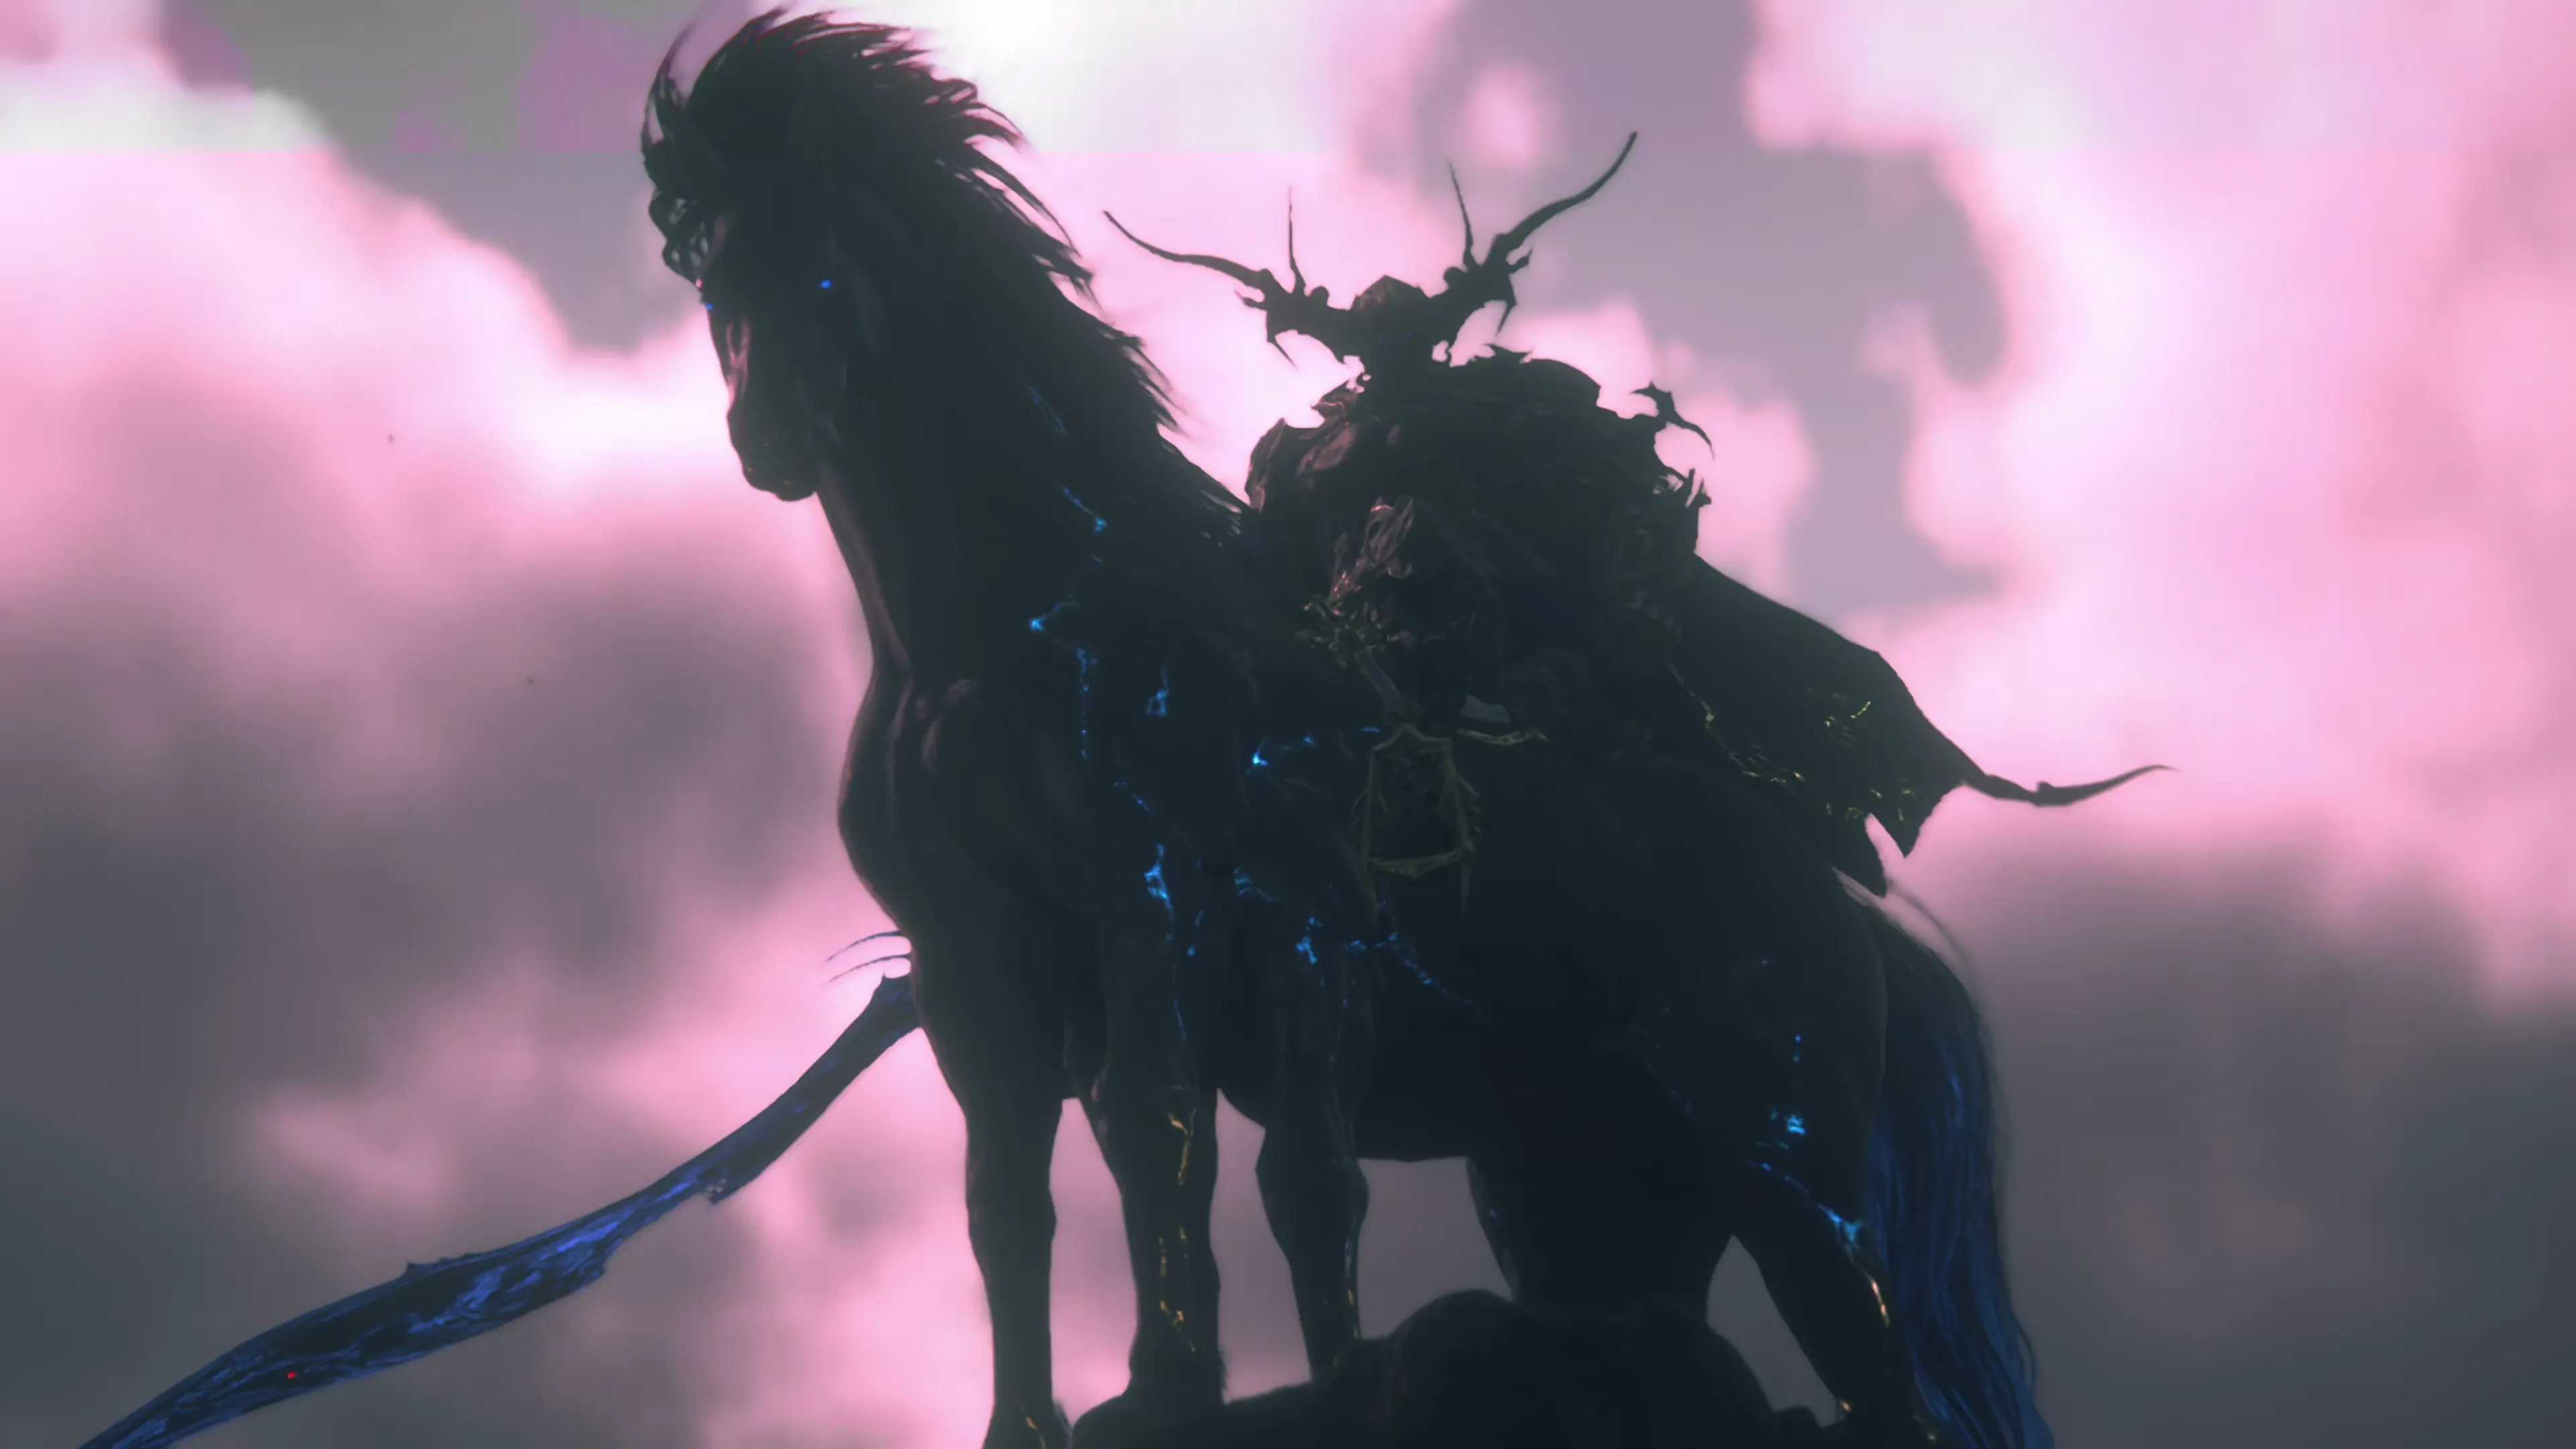
This is the last Eikon that you’ll receive as you progress through the Main Scenario Quests. Clive will gain his essence after completing ![]() The Last King Main Scenario Quest, and at this point in the game, you’ll be able to finalize your preferred set of abilities and Eikonic Ability Sets. However, you may still need to earn some
The Last King Main Scenario Quest, and at this point in the game, you’ll be able to finalize your preferred set of abilities and Eikonic Ability Sets. However, you may still need to earn some ![]() Ability Points before you can fully upgrade and master them.
Ability Points before you can fully upgrade and master them.
Much like the Eikonic Feats for ![]() Bahamut and
Bahamut and ![]() Titan, the Eikonic Feat for Odin requires you to change up your playstyle to a certain degree. You’ll need to charge up the Zantetsuken gauge by activating
Titan, the Eikonic Feat for Odin requires you to change up your playstyle to a certain degree. You’ll need to charge up the Zantetsuken gauge by activating ![]() Arm of Darkness and attacking with it or executing a
Arm of Darkness and attacking with it or executing a ![]() Precision Dodge or a parry. Alternatively, you can use Odin’s other Eikonic Abilities (except
Precision Dodge or a parry. Alternatively, you can use Odin’s other Eikonic Abilities (except ![]() Rift Slip).
Rift Slip).
The difference between Odin and some of the other Eikons is that the payoffs for adjusting to this playstyle are huge. A fully charged Zantetsuken is one of the strongest abilities in the game. If you learn to incorporate the charging process into your ability rotation, you can significantly increase the damage that Clive deals.
Eikonic Feat
Replace Clive’s current weapon with Odin’s blade. Landing abilities with the Arm of Darkness fills the Zantetsuken gauge. Hold ![]()
![]()
![]() to execute Zantetsuken.
to execute Zantetsuken.
Tips and Tricks
- The best way to learn how to use this ability is to read through the “Details” section under the ability tab. It’s generally recommended that you never attack with the weapon itself, but if you have to, pressing


 +
+

 (which would typically be a
  Lunge) will cause Clive to swing the sword in a flurry of attacks. If you catch more than one enemy in the flurry, it can quickly boost the Zantetsuken meter.
 - Instead of attacking with Arm of Darkness, your best bet is to charge the Zantetsuken gauge by using
 Gungnir,
  Heaven’s Cloud, or
  Dancing Steel, with the latter being the most effective option in most cases (see below).
 - Most players will draw the blade with , and then attempt to hold the button to unleash Zantetsuken, but it’s worth noting that you can speed this process up by holding first, then drawing the blade by pressing without letting go of . You can then release to trigger a Zantetsuken immediately. This can take some practice because it requires awkward finger positioning on the controller. Still, it significantly speeds up the process, as you can charge the blade while other attack animations and sequences are happening simultaneously. You can see examples in the Omega Video Guide and the Timekeeper Video Guide.
- Zantetsuken is excellent for dealing heavy amounts of damage to bosses, but it’s also fantastic for clearing out large groups of enemies. There is no limit to the number of enemies that it can hit, so try to gather up as many as possible to really get the most value out of its use.
Ability-Related Accessories
Eikonic Ability
Summon the legendary spear Gungnir and execute an extended flourish of deadly slices and strokes. Each hit landed fills the Zantetsuken gauge.
Tips and Tricks
- This is a flashy-looking ability, but its only purpose is to charge the Zantetsuken meter, and Dancing Steel does this better. To get the full value out of Gungnir, you’ll need to have it hit more than one enemy. If there are other enemies around, there’s a good chance you’ll get hit during the attack animation while using it.
Ability-Related Accessories
Eikonic Ability
Surge forward to strike an enemy. Can be executed multiple times in succession if previous hit lands. Each hit landed fills the Zantetsuken gauge.
Tips and Tricks
- This move has one benefit over Gungnir, which is that you’re less likely to get hit and have the attack animation be interrupted. But like Gungnir, its only purpose is to charge the Zantetsuken meter, and Dancing Steel does this much better.
Ability-Related Accessories
Eikonic Ability
Use to recover immediately from any ability or action. Can be used in mid-air.
Tips and Tricks
- This is one of the more advanced Eikonic Abilities and one of the most challenging to incorporate into your rotation, not because it’s hard to use. In fact, when you read the detailed description, the mechanics of the ability seem pretty straightforward. However, to get full value out of this ability, you’ll need to learn exactly when to trigger a Rift Slip to get the most impact.
- The reason many players consider Rift Slip to be one of the most powerful abilities in the game is that it gives you an extended window of time to execute combos and sneak in some extra attacks. Most abilities have a long animation that continues well after Clive has finished dealing damage, and you can use Rift Slip to skip that animation and go right back to dealing damage.
- Rift Slip also briefly slows time, which is how it allows you to get some extra attacks in. You can use it at the end of a
 Melee Attack combo after the final
  Magic Burst to immediately jump into another combo, thus significantly increasing the overall damage dealt to an enemy.
 - Here are some abilities where you can use Rift Slip after the primary action to jump into a follow-up immediately:
 Lightning Rod (no longer has to wait for Clive to strike the rod with an initial regular attack)
 Arm of Darkness (immediately jump out of Zantetsuken after the damage is dealt)
- Dancing Steel(use it right after the final attack when Clive flips to significantly reduce the time spent watching the animation, or use Dancing Steel right after a Rift Slip because the enemy won’t move)
 Gigaflare (reduced recovery time)
 Judgment Bolt (reduced recovery time)
 Diamond Dust (reduced recovery time)
- After any Melee Attack Combo
- It may take some practice, but it’s worth mentioning that players who have managed to get the highest amount of damage during an enemy’s stagger window will most often do so by utilizing Rift Slip to sneak in as many other Eikonic Abilities as possible.
- You can see examples of this ability in use in the Omega Video Guide and the Timekeeper Video Guide.
Ability-Related Accessories
Eikonic Ability
Summon a second blade and unleash a flurry of attacks. Each hit landed significantly fills the Zantetsuken gauge.
Tips and Tricks
- This ability is the most effective tool for quickly charging the Zantetsuken gauge. Its biggest problem, though, is the lengthy initiation animation at the beginning. There’s a considerable delay, and it’s very easy to get hit while charging it up, so you have to be really strategic about how and when you use it. If the first attack doesn’t land, the entire ability’s effects are cancelled.
- If you pair this attack with a Lightning Rod, you can fully fill the Zantetsuken gauge from zero to Lv. 5 with a single attack.
 The Pull of Darkness (Dancing Steel) is also very helpful for boosting Dancing Steel.
 - The best strategy for timing the ability properly is to use it after triggering a “Deadly Takedown” with
 Deadly Embrace, or after triggering a “Permafrost” with
  Cold Snap. You can also use
  Rift Slip to slow time to give you more time to trigger the attack.
Ability-Related Accessories