
 The Last King
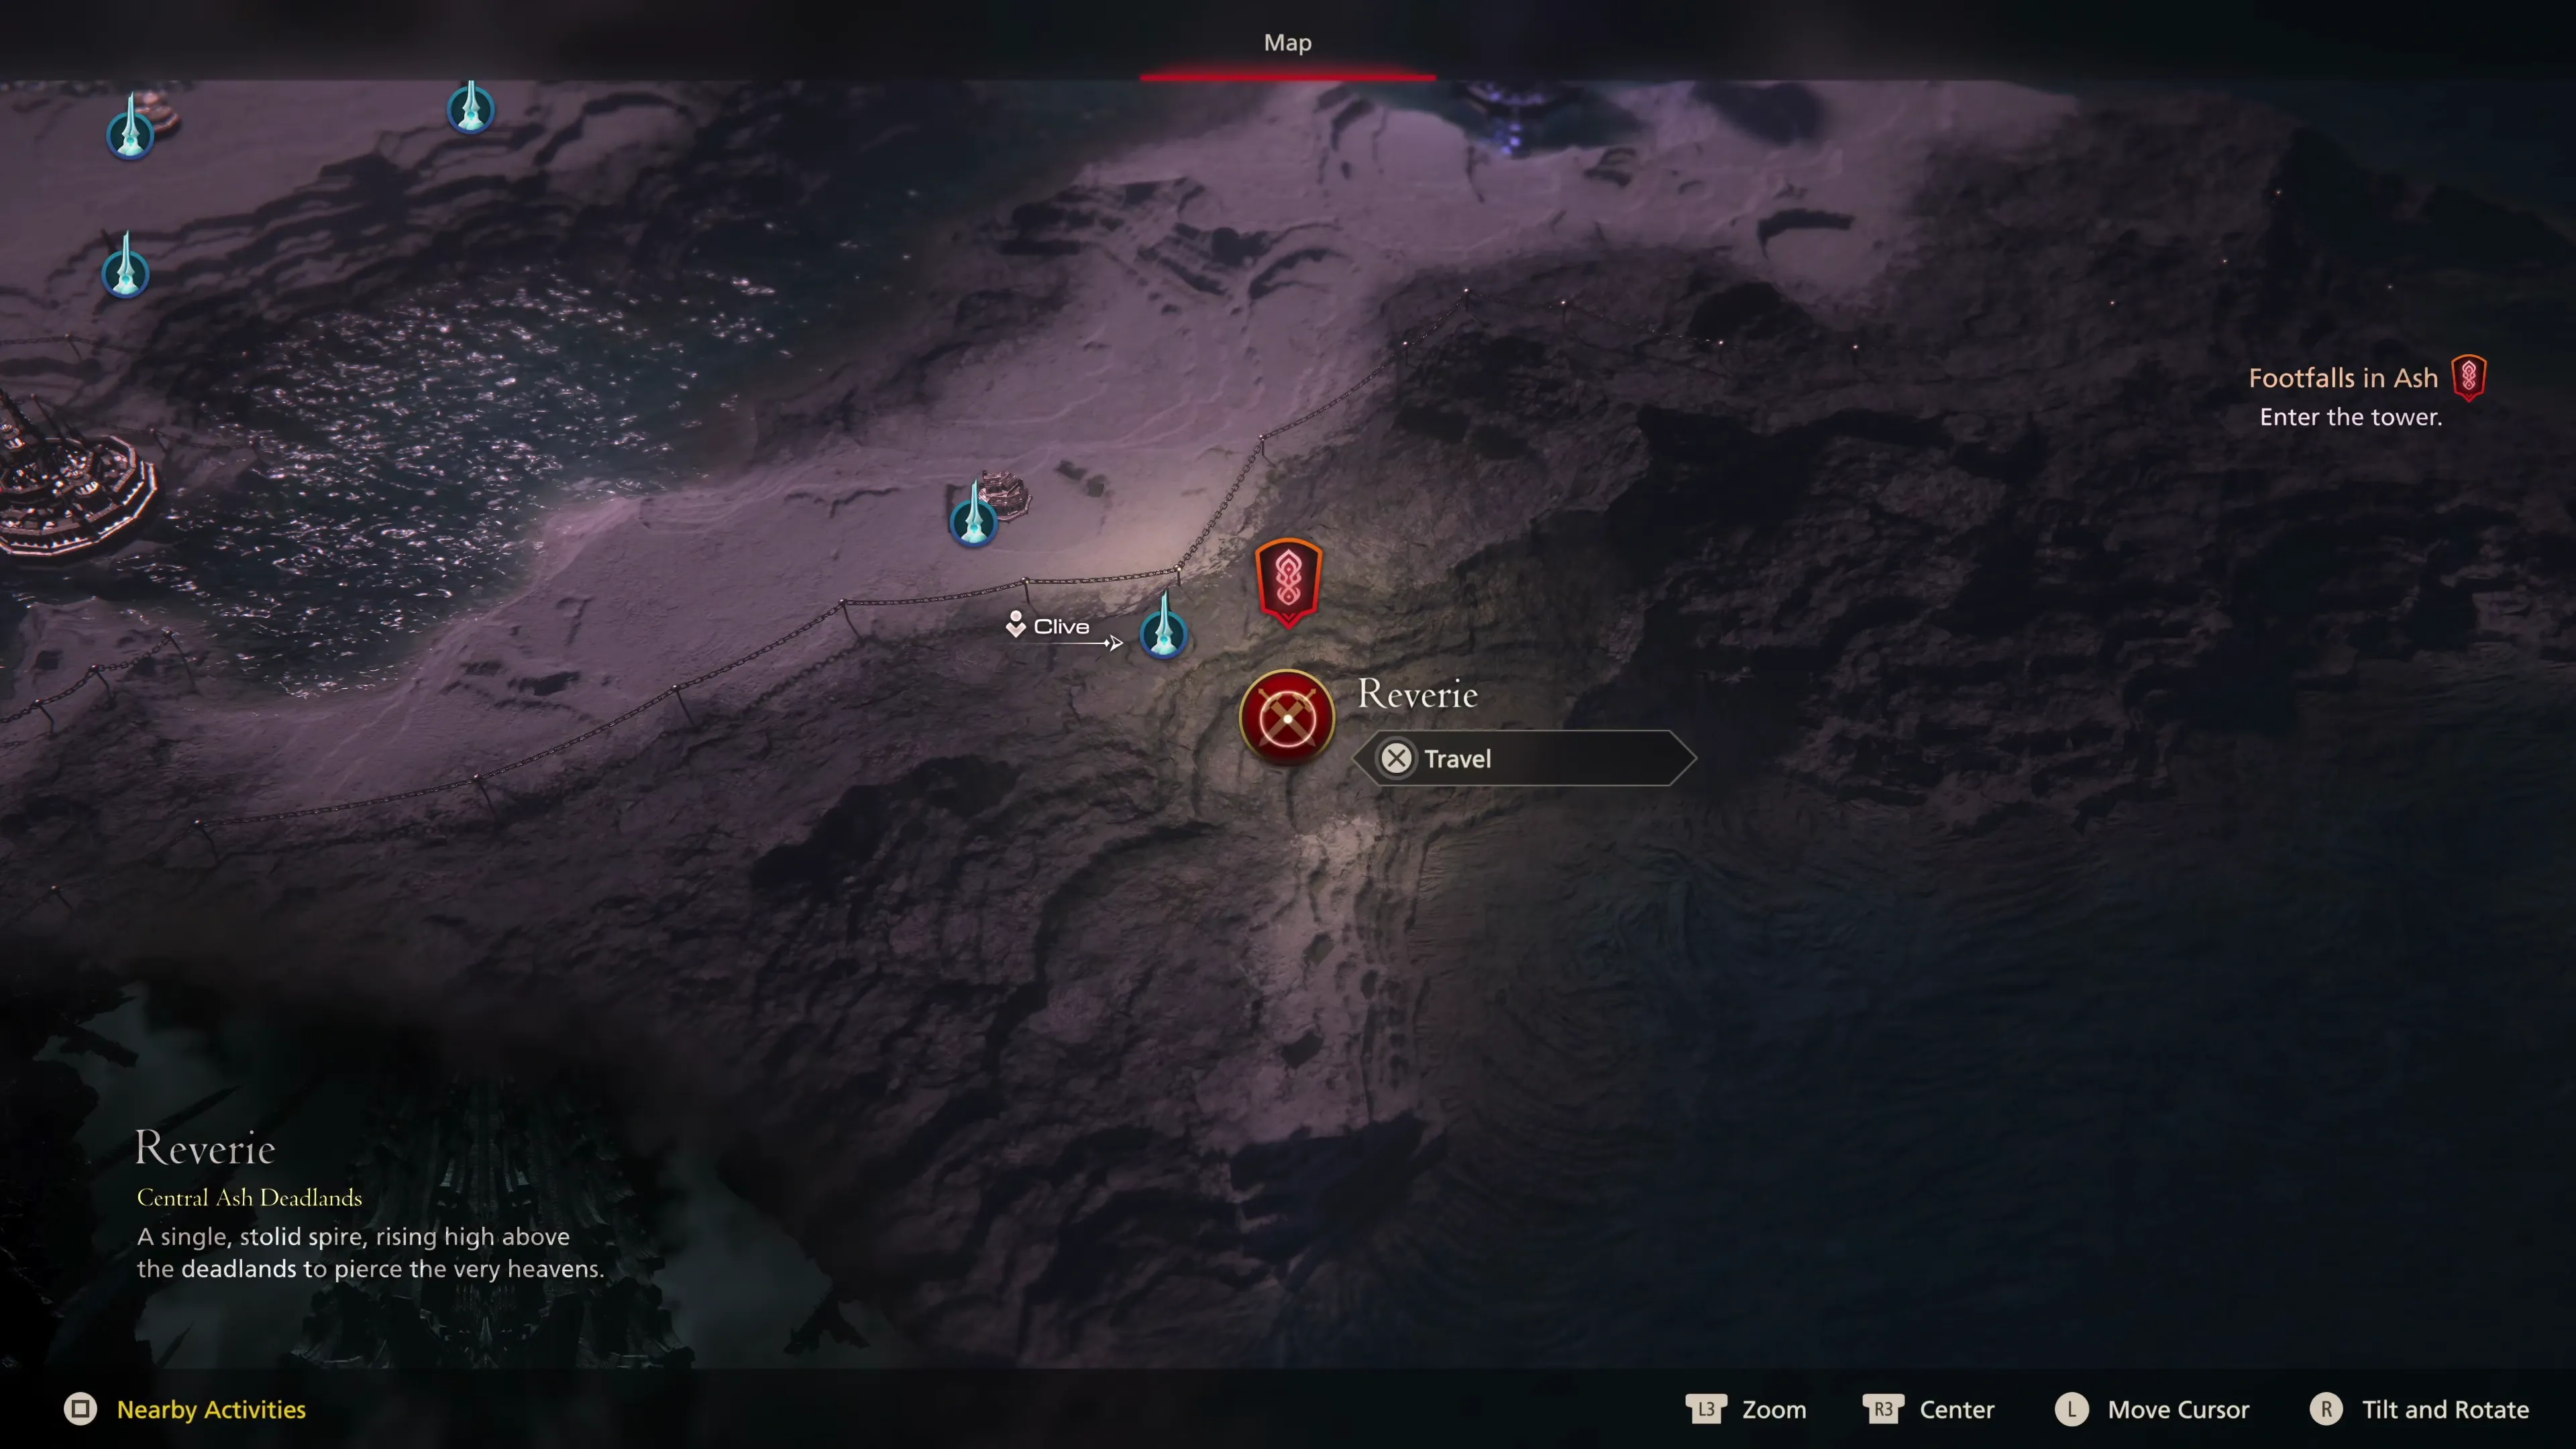
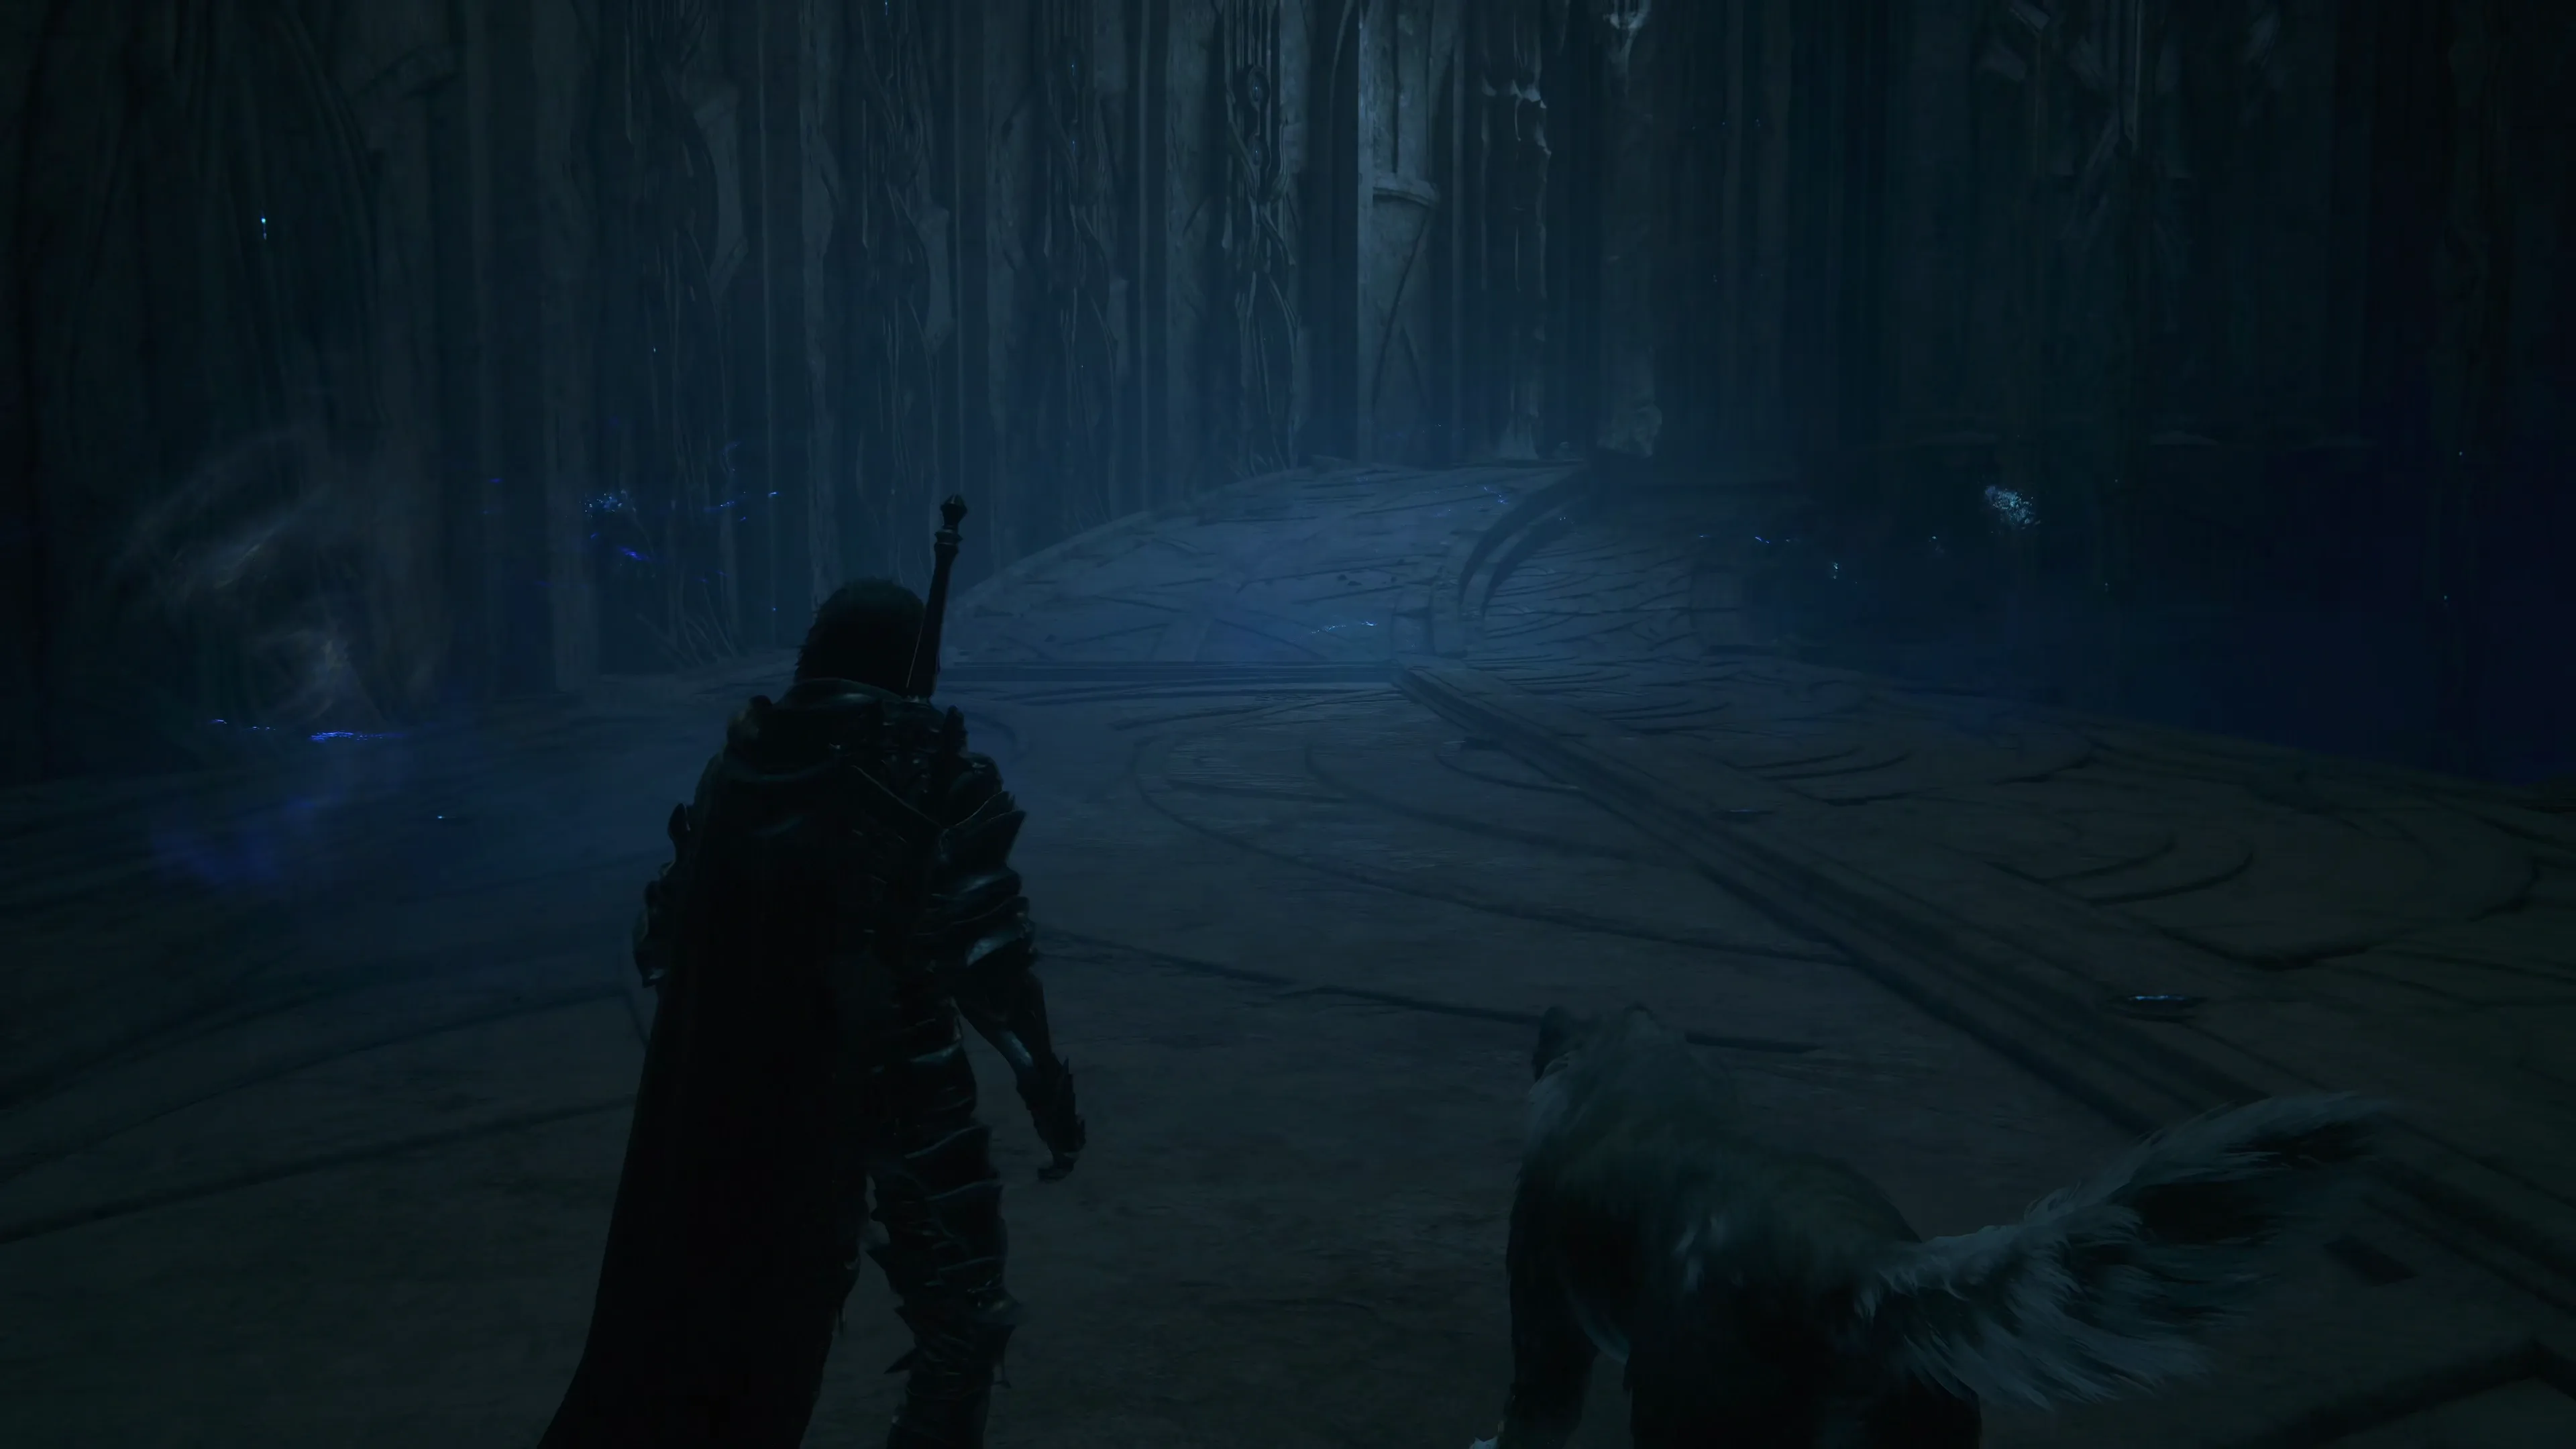
Reverie
This chapter begins in the Reverie Tower with just Clive and Torgal. Head up towards the first room to face off against your first group of ‘Fallen’ enemies. These are a bit tougher, and you should focus on taking out the Defense Nodes first. Go through the door after you’ve defeated them and down into the center of the room to activate an elevator.
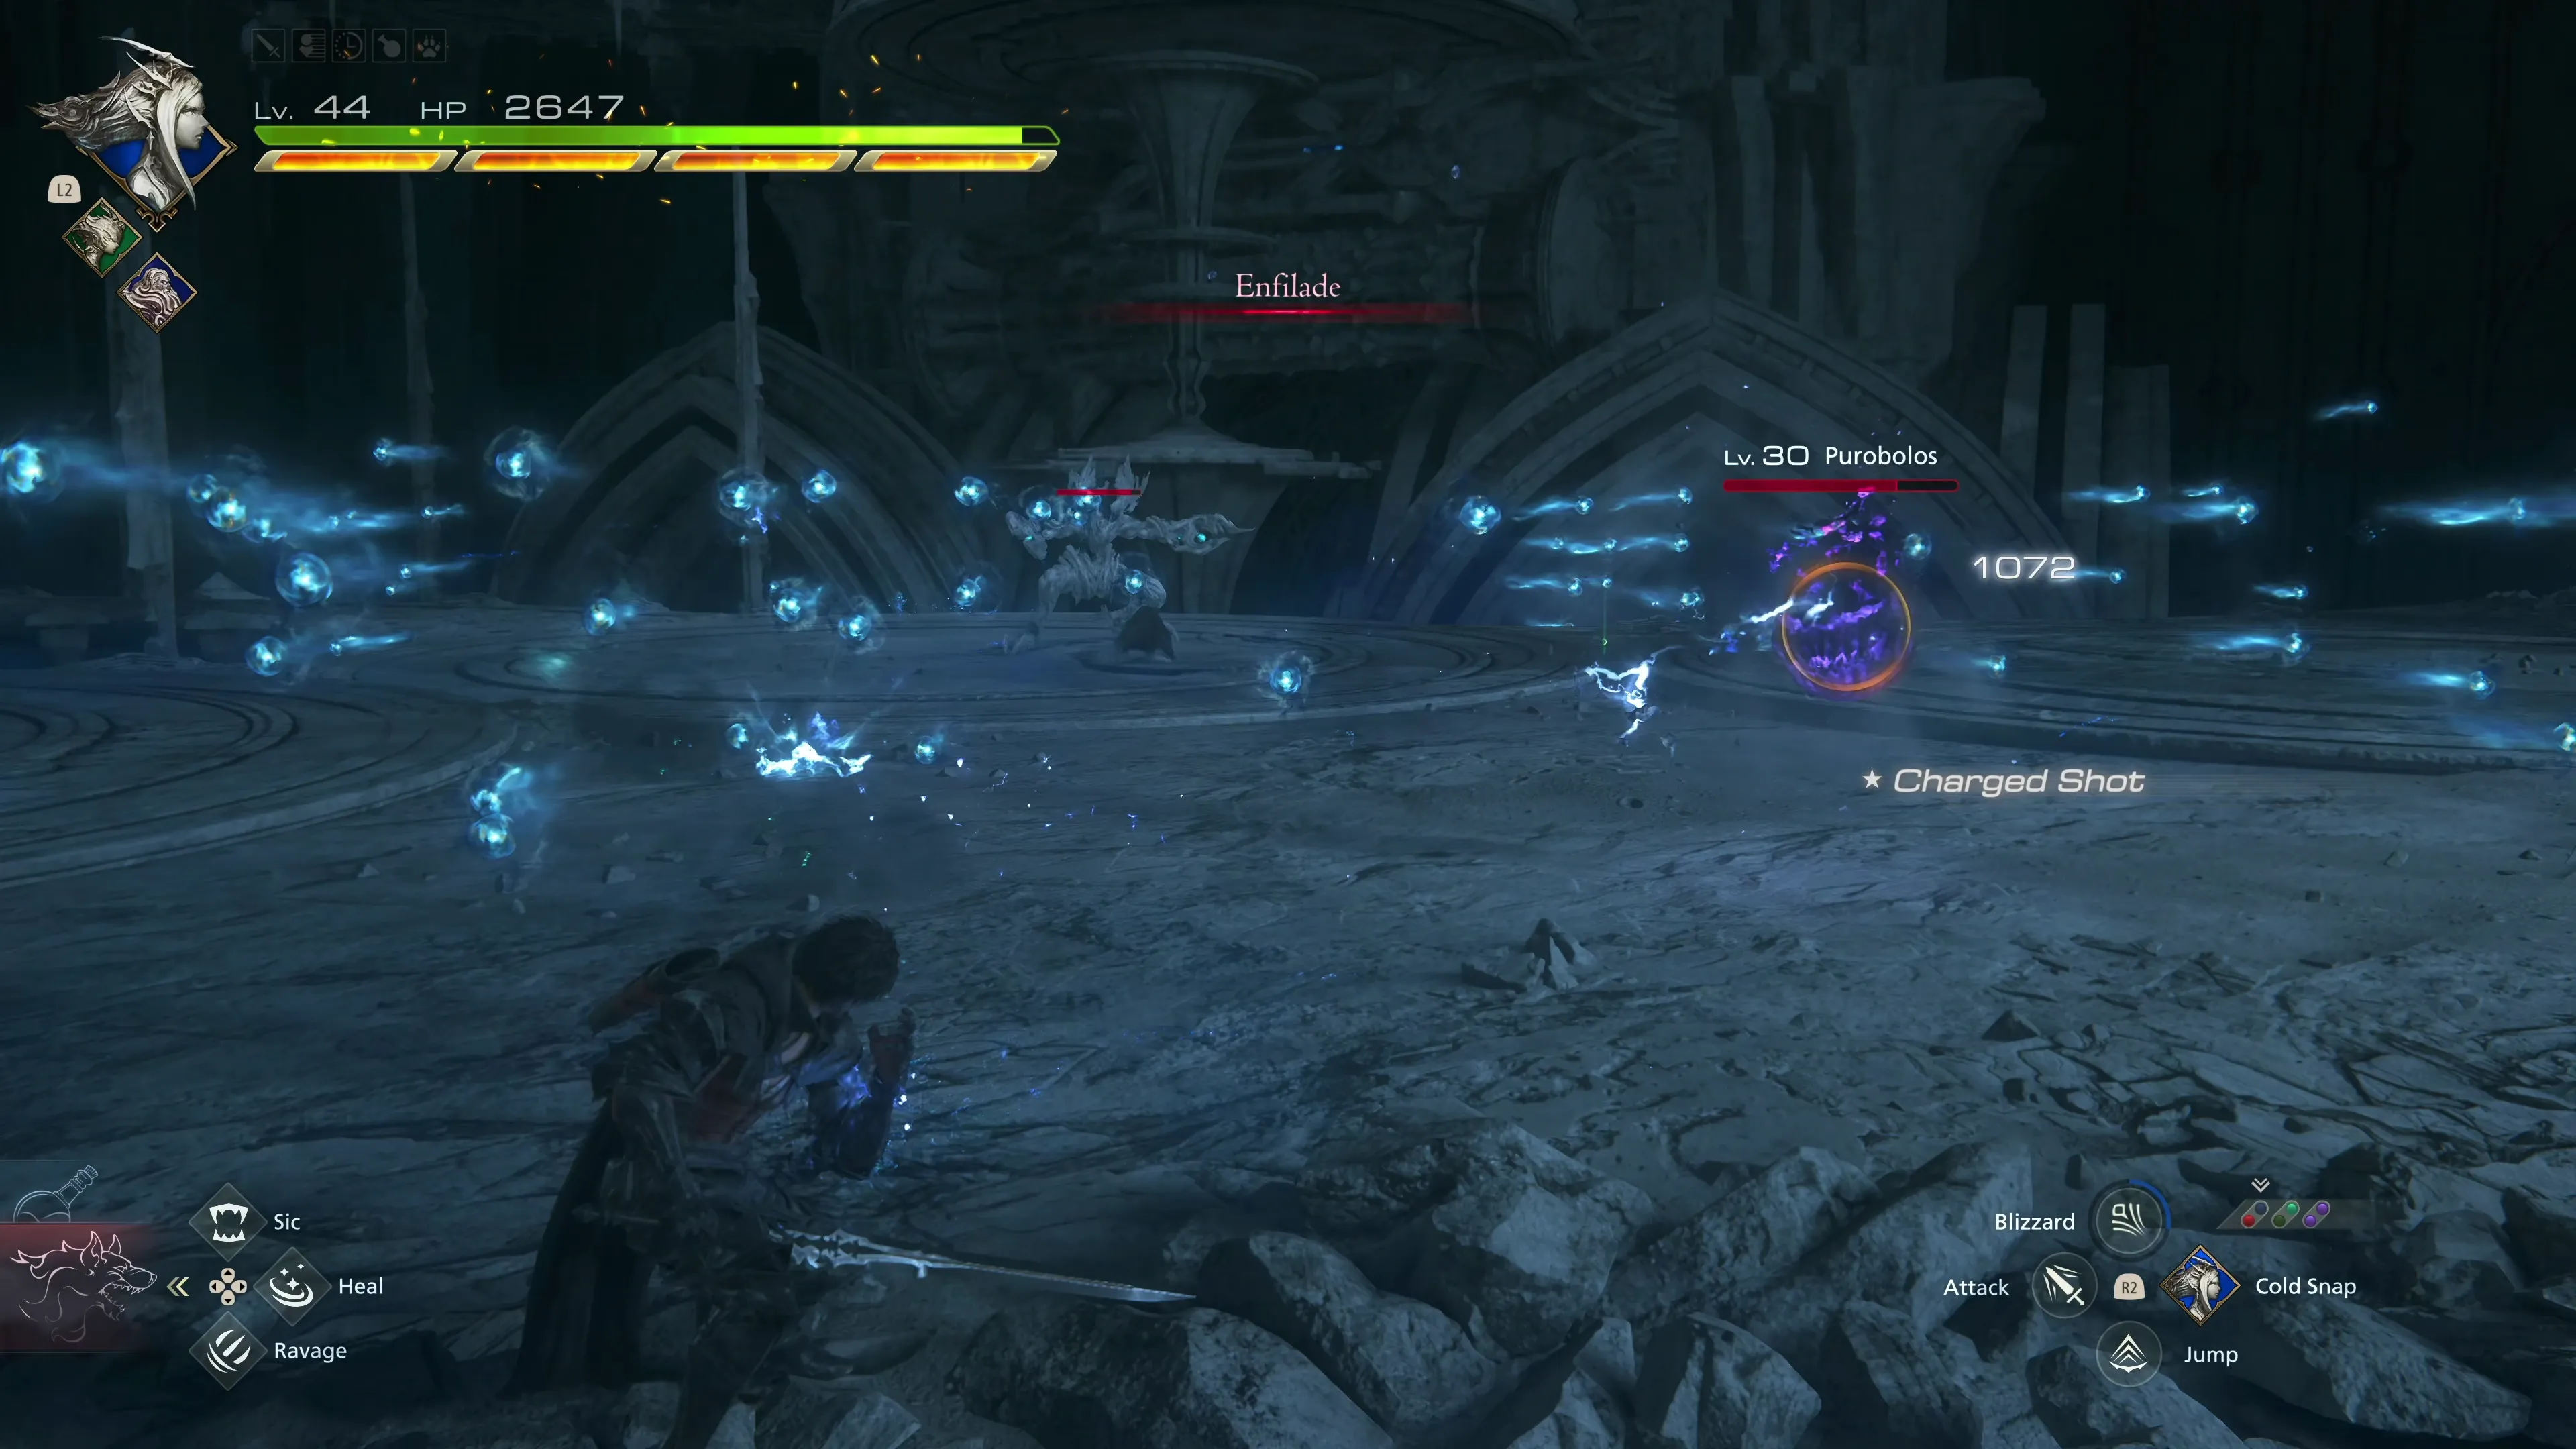
The next group of enemies that ambushes you, once the elevator stops moving, is a group of Purobolos, which are another type of bomb. They sometimes explode when their health gets low, so don’t forget to move away if you see them start glowing, as the explosion deals a lot of damage. Go through the door after you’ve defeated them.
Head down the pathway and grab the two Glimmers on your way to the next group of enemies. This one includes another Fallen Guardian, which you should be familiar with. Try to keep an eye on the surrounding Purobolos enemies, but you’ll have to be watching the Fallen Guardian for the most part, just due to the amount of damage it can put out if you let it land some attacks on Clive. Go through the next door and ride the elevator.
There are a couple of Glimmers you can grab when the elevator reaches its destination, and then head down the hallway towards the next group of Fallen. As you proceed past them, you’ll be ambushed by a “Purple Bavarois” enemy, which is another flan-type enemy (similar to the ![]() Flan Prince Notorious Mark).
Flan Prince Notorious Mark).
Through the next doorway is a treasure coffer on the right side of the room that contains ![]() The Favor of Ice (Ice Age) accessory. Go through the far door and ride the next elevator.
The Favor of Ice (Ice Age) accessory. Go through the far door and ride the next elevator.
The next room contains a few more Fallen Hunters. Defeat them, grab the Glimmers, and head through the next door.
Two elevators will arrive shortly after you enter this next room, bringing with them a whole host of Fallen Bugs and Defense Nodes. A second set of elevators will come down after the first wave, with yet another group of Fallen Hunters with a Purobolos. Head through the door and ride the next elevator.
A new enemy will appear, and Clive will say, “Well… that’s new,” but this isn’t a new enemy at all. In fact, it’s the same as the Undertaker you fought before; it has the same moves, and it’s just as easy to defeat.
Look for a nearby ledge that Clive can climb after the battle and ascend the ramp. There are a few Glimmers to pick up along this trail, which will hopefully replenish your stock of ![]() Potions and
Potions and ![]() High Potions if you are low.
High Potions if you are low.
Ascension
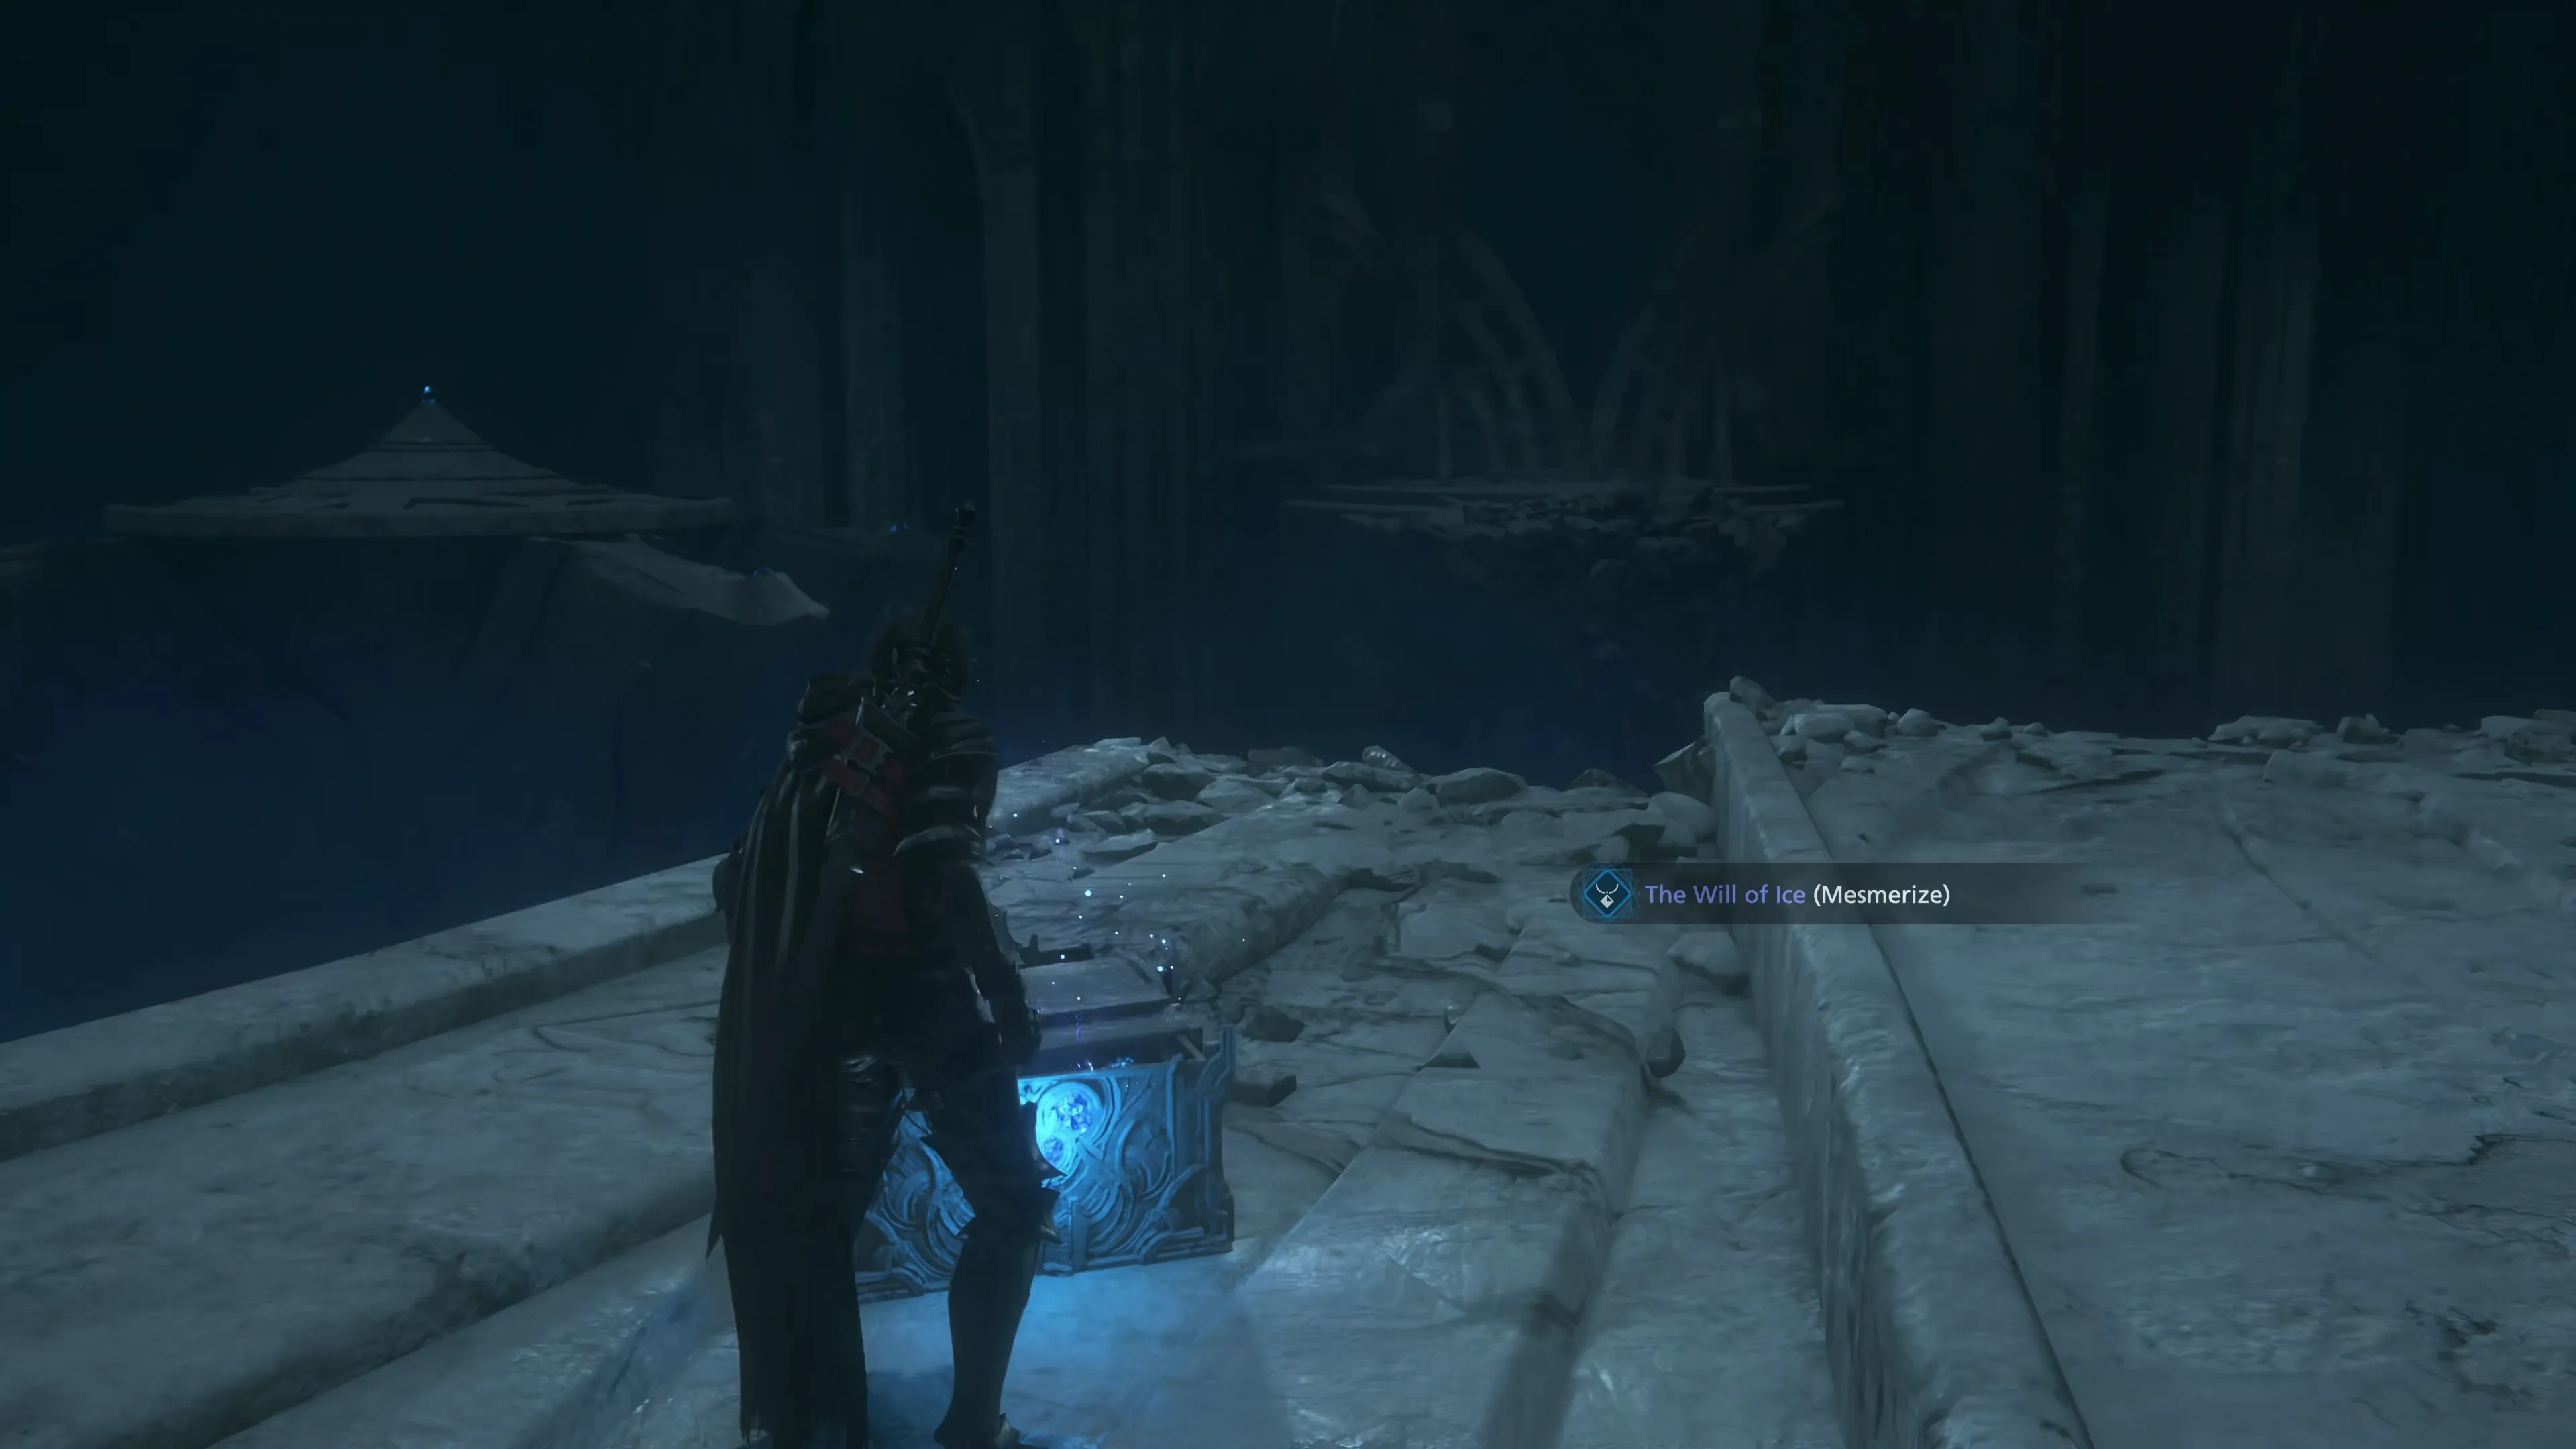
Defeat the group of three Fallen Hunters standing on the bridge and then look for a treasure coffer along the far edge of the platform. This coffer contains ![]() The Will of Ice (Mesmerize). Head through the door on the left side and then save your game. There is no Medal of Valor for the next fight, but it can be challenging.
The Will of Ice (Mesmerize). Head through the door on the left side and then save your game. There is no Medal of Valor for the next fight, but it can be challenging.
Ride the elevator to the next level when you’re ready to continue.
Boss Battle
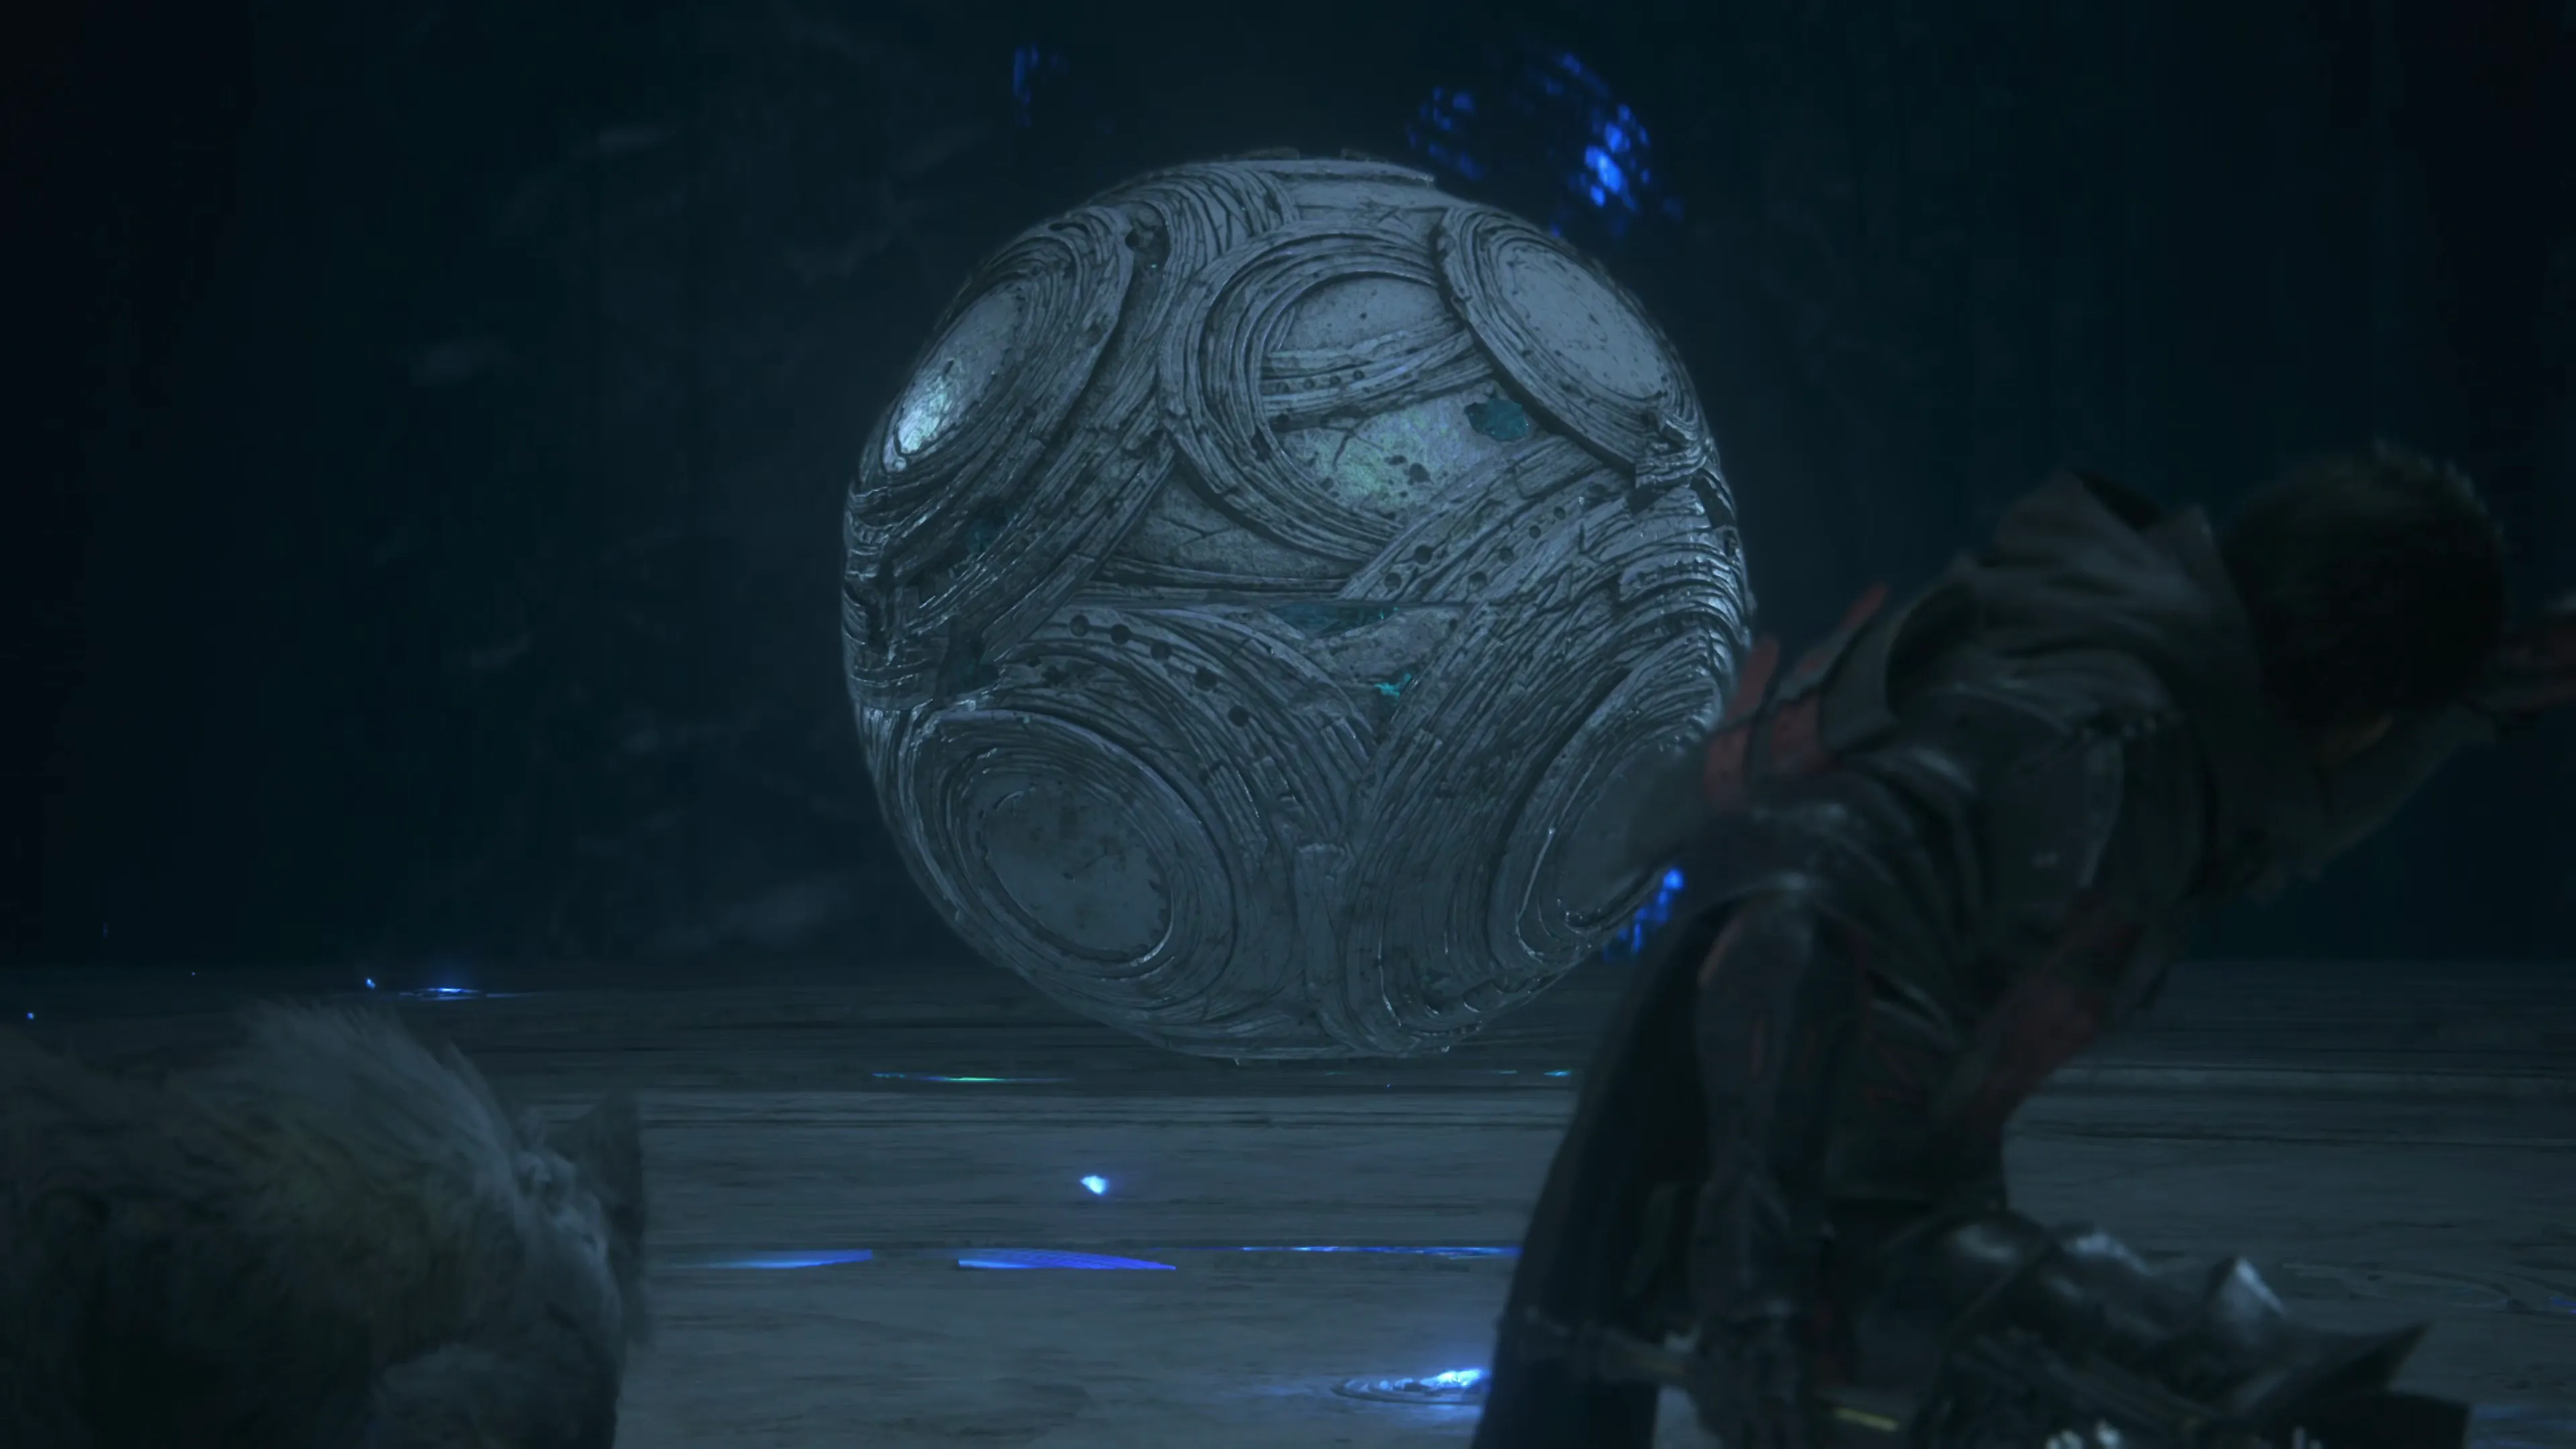
The Control Node has a fairly straightforward attack pattern, but this is the first time you’ve faced a weird orb-type enemy like this, so getting used to its attack animations can have a bit of a learning curve. Its attacks include the following:
![]() Lunge Attack:
Lunge Attack:
The Control Node will wind up backwards before lunging across the battlefield towards Clive.
![]() Horizontal Laser:
Horizontal Laser:
A protrusion will come out of the top of the Control Node. This is its laser beam gun. It will rotate downward toward Clive and begin glowing before emitting a laser beam in its direction. It will then rotate towards Clive horizontally. This attack is easy to dodge if you see the laser beam charging up.
![]() Vertical Laser:
Vertical Laser:
This attack is similar to the Horizontal Laser except that the protrusion will begin by pointing downward before rotating upward toward the ceiling.
![]() Electric Field:
Electric Field:
The Control Node will split into two halves and begin emitting an electric field. After a short amount of time, an electrical explosion will deal damage in an area around its body.
![]() Lightning Balls:
Lightning Balls:
The Control Node will move to the edge of the stage and split in half with electricity flowing between the two halves. Three balls of electricity will shoot out from the Control Node towards Clive, which can be dodged or counterattacked with ![]() Heatwave.
Heatwave.
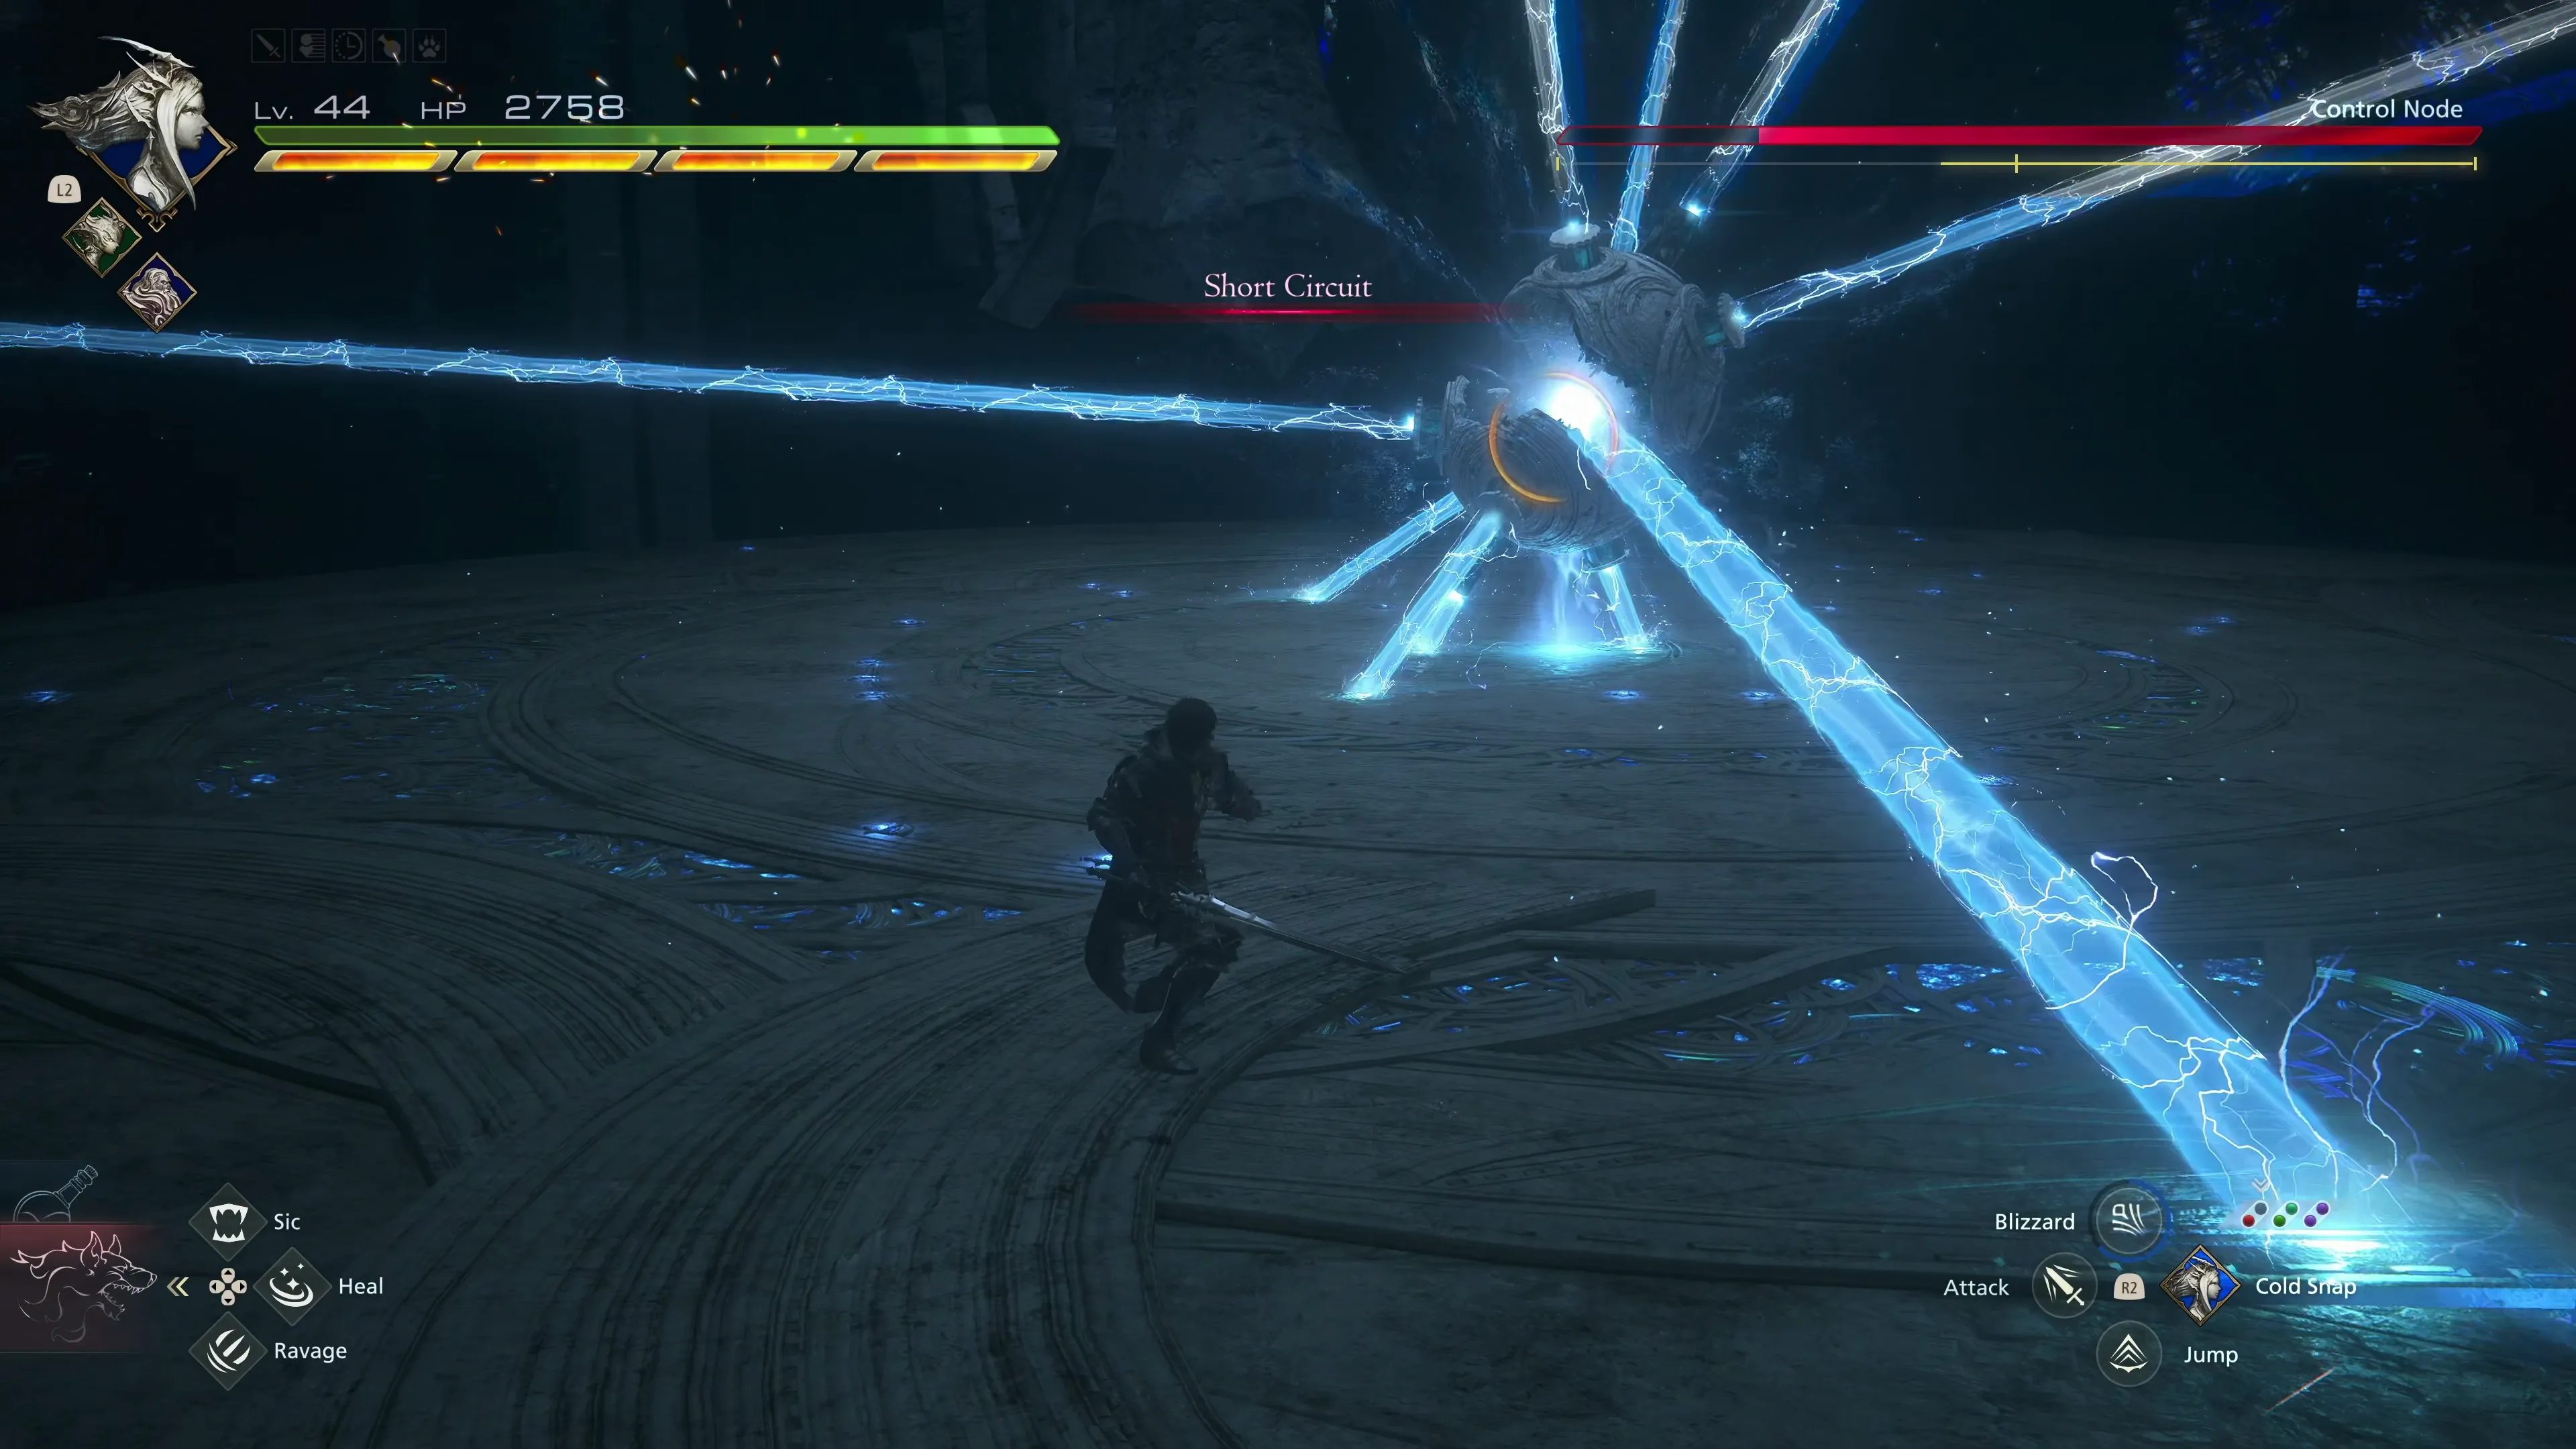
![]() Short Circuit:
Short Circuit:
The words “Short Circuit” will appear on the screen when this attack is used. All of the nodes on its body will begin emitting lasers, and the Control Node will rotate the forward-facing laser towards Clive’s location. You can just run or dodge to the left or right to avoid the attack. Make sure not to get too close during the attack sequence.
![]() Charging Cells:
Charging Cells:
The Control Node will move to the center of the room and begin charging a powerful attack. As it does this, it will slowly rise upwards and slam down to the ground, emitting an electrical discharge in all directions. Be sure to get out of range when it slams down. Use some of your Eikonic Abilities, like ![]() Gigaflare, to burn through it quickly and prevent the attack from going off.
Gigaflare, to burn through it quickly and prevent the attack from going off.
For this boss, and for all of the remaining bosses moving forward, get into the habit of using some of your more powerful abilities like ![]() Diamond Dust to rip through an enemy’s “Will Gauge” as quickly as possible.
Diamond Dust to rip through an enemy’s “Will Gauge” as quickly as possible.
The next boss battle begins immediately after the Control Node is destroyed.
Boss Battle
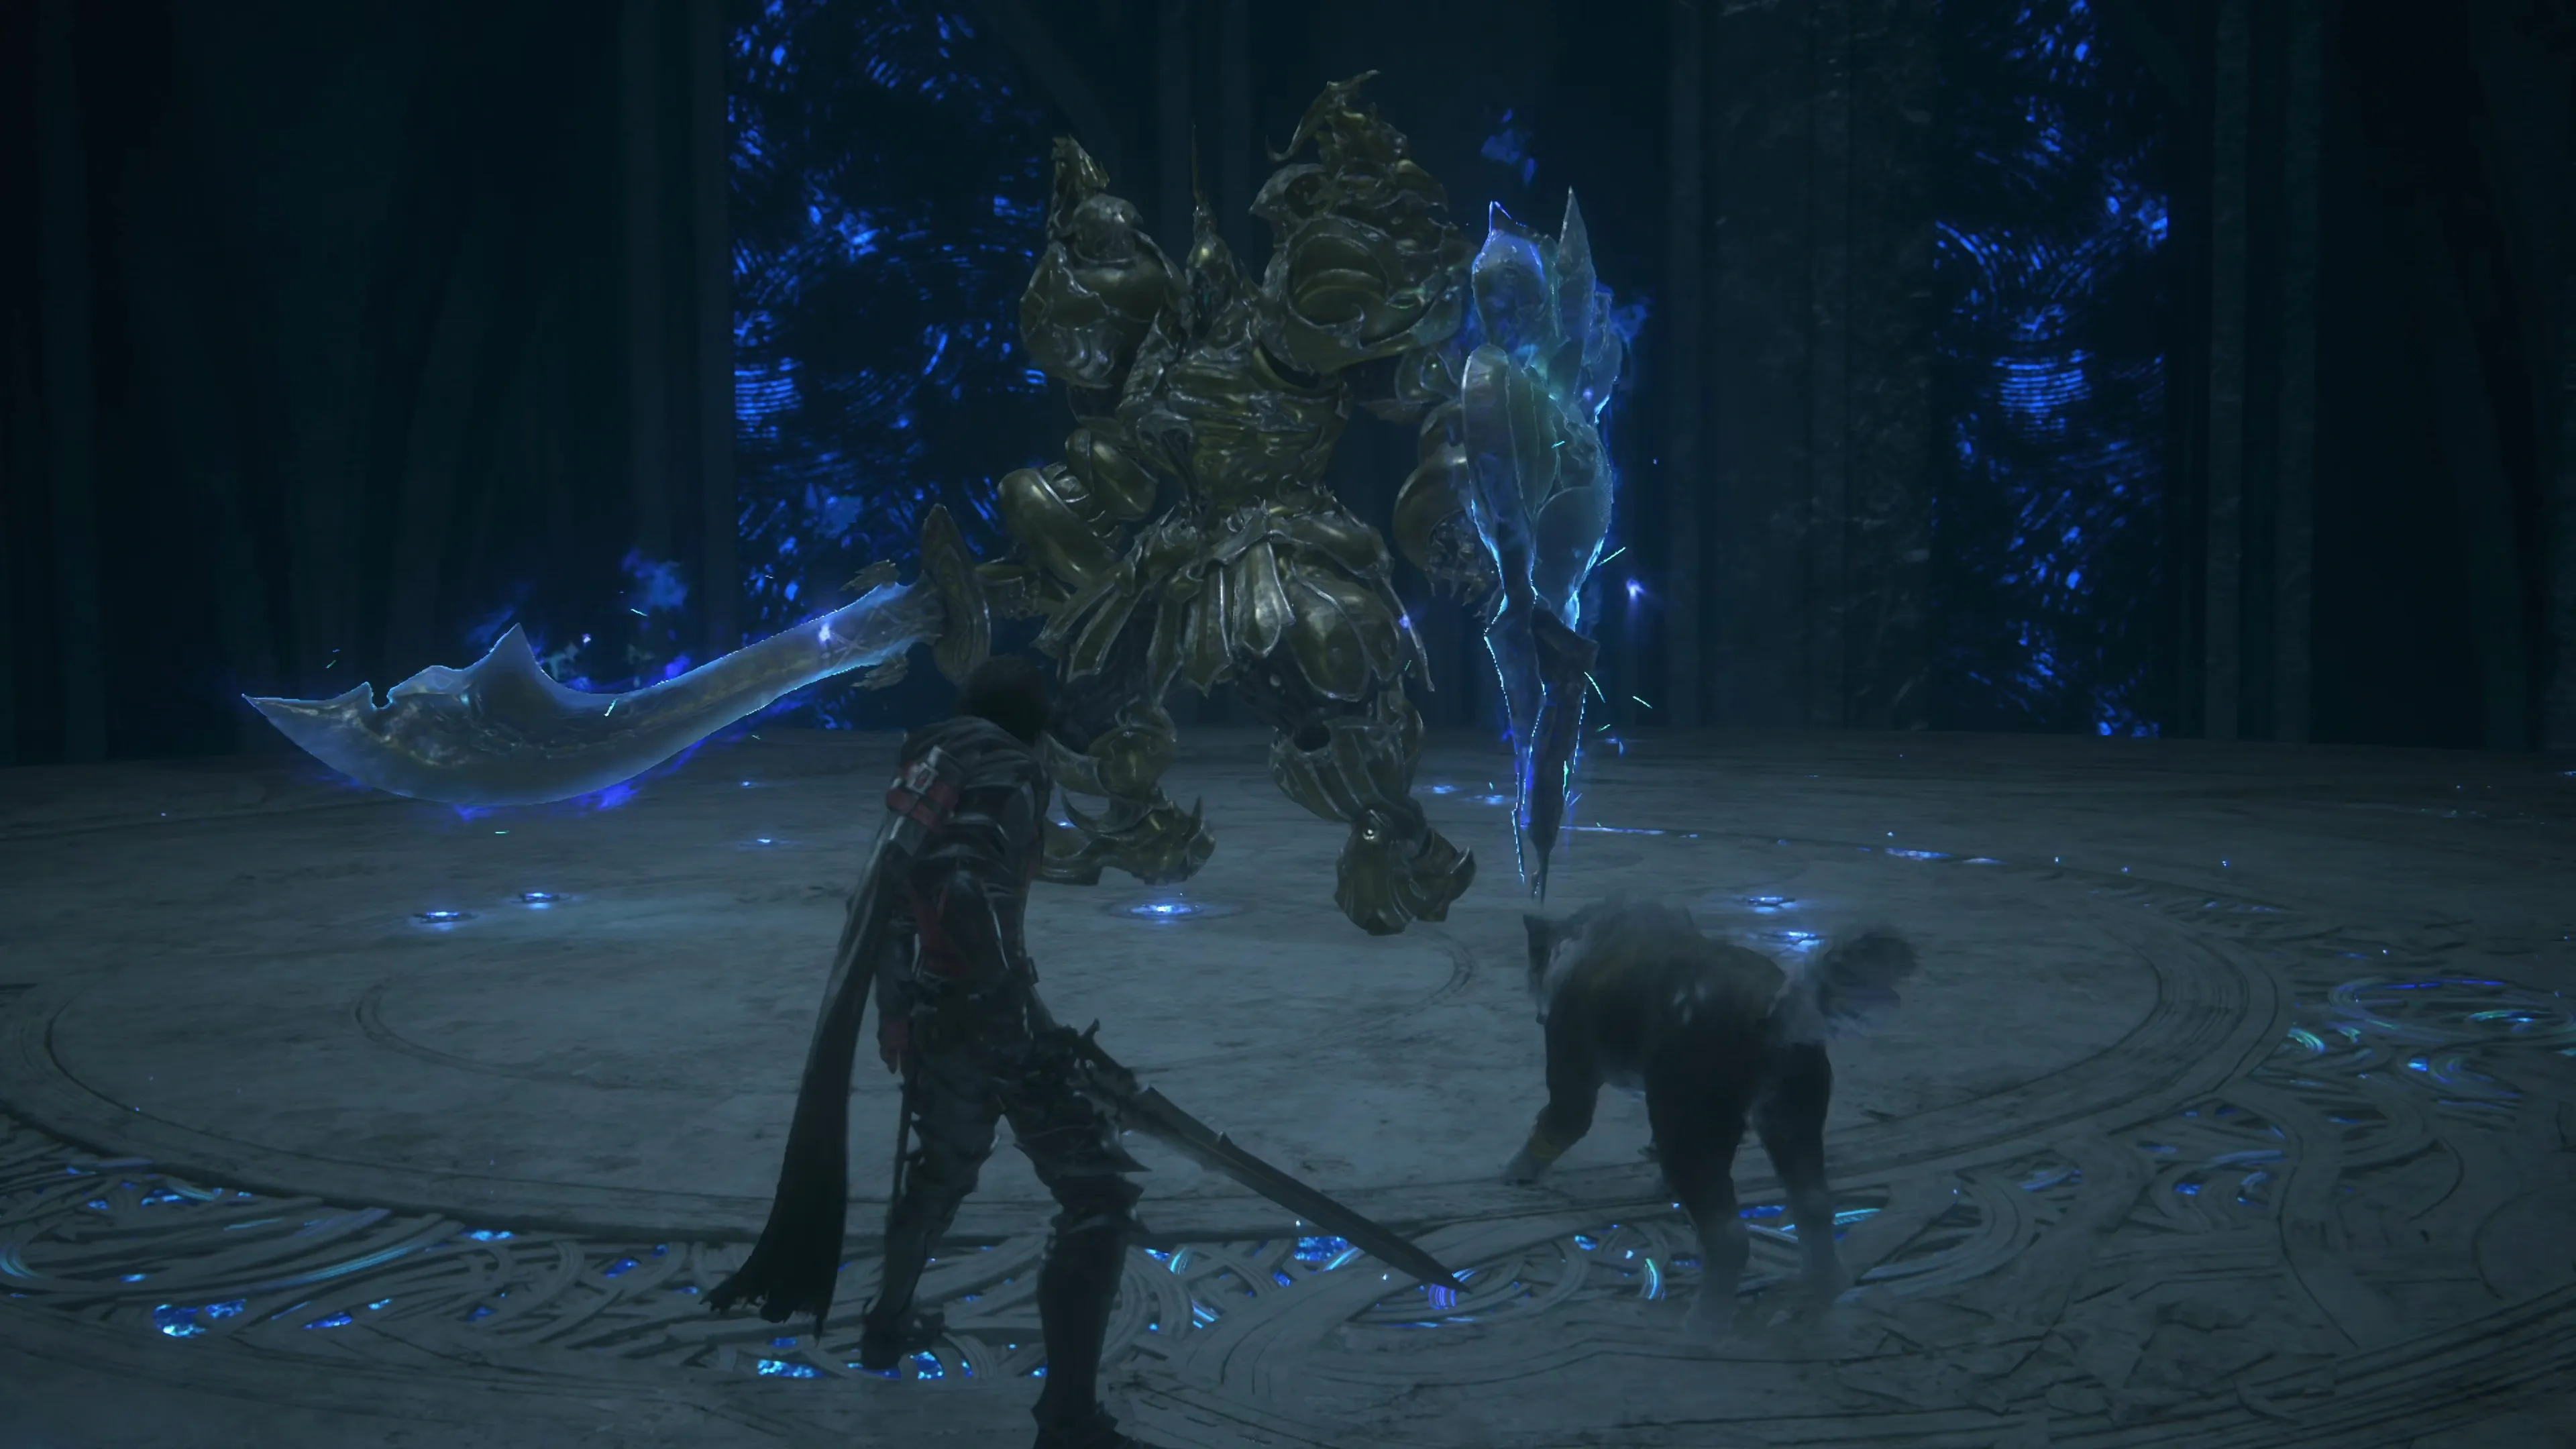
This boss is almost entirely identical to the one against ![]() Atlas. Its attacks include:
Atlas. Its attacks include:
Sword and Shield Attacks
![]() Triple Attack:
Triple Attack:
This attack has several different combo forms. It will sometimes swing its sword overhead towards you three times. Sometimes the third attack will be a horizontal swing.
![]() Swipe and Shield Smash:
Swipe and Shield Smash:
Aurum Giant will swing his sword horizontally towards Clive and then raise his shield. The shield will glow slightly before it smashes back down to wherever Clive is standing.
![]() Charge and Underhanded Swing:
Charge and Underhanded Swing:
Aurum Giant will drop its sword down to the right and charge towards wherever Clive is standing.
All of the physical ‘Sword and Shield’ attacks are easy to dodge, but Aurum Giant can substitute attacks at various times to try to trick you up using all sorts of different combinations.
Special Attacks
![]() Shield Energy Blast:
Shield Energy Blast:
This attack is similar to Sword Energy Blast, except Aurum Giant will only attack with it once rather than three times in a row, and it involves a glowing shield animation just before it launches energy in your direction. This makes it more challenging to counterattack. You have to be ready to get out of the way quickly, and Aurum Giant can add this attack to its “Triple Attack” while it’s in close range, making it difficult to dodge.
![]() Golden Section and Saber Dance:
Golden Section and Saber Dance:
It’s unclear why these two moves have different names, as they’re the same attack. Once Atlas reaches 50% HP, it will use Golden Section, followed by a “Charge/Underhanded Swing,” and then use Saber Dance. Aurum Giant will summon a giant light sword from wherever it’s standing and swing it from left to right. It reaches a considerable distance, but you can jump far enough away from Aurum Giant to not be in range; otherwise, you will have to time the dodge for the attack.
80
3,000
A video demonstration of how to successfully complete the fight against Control Node & Aurum Giant.
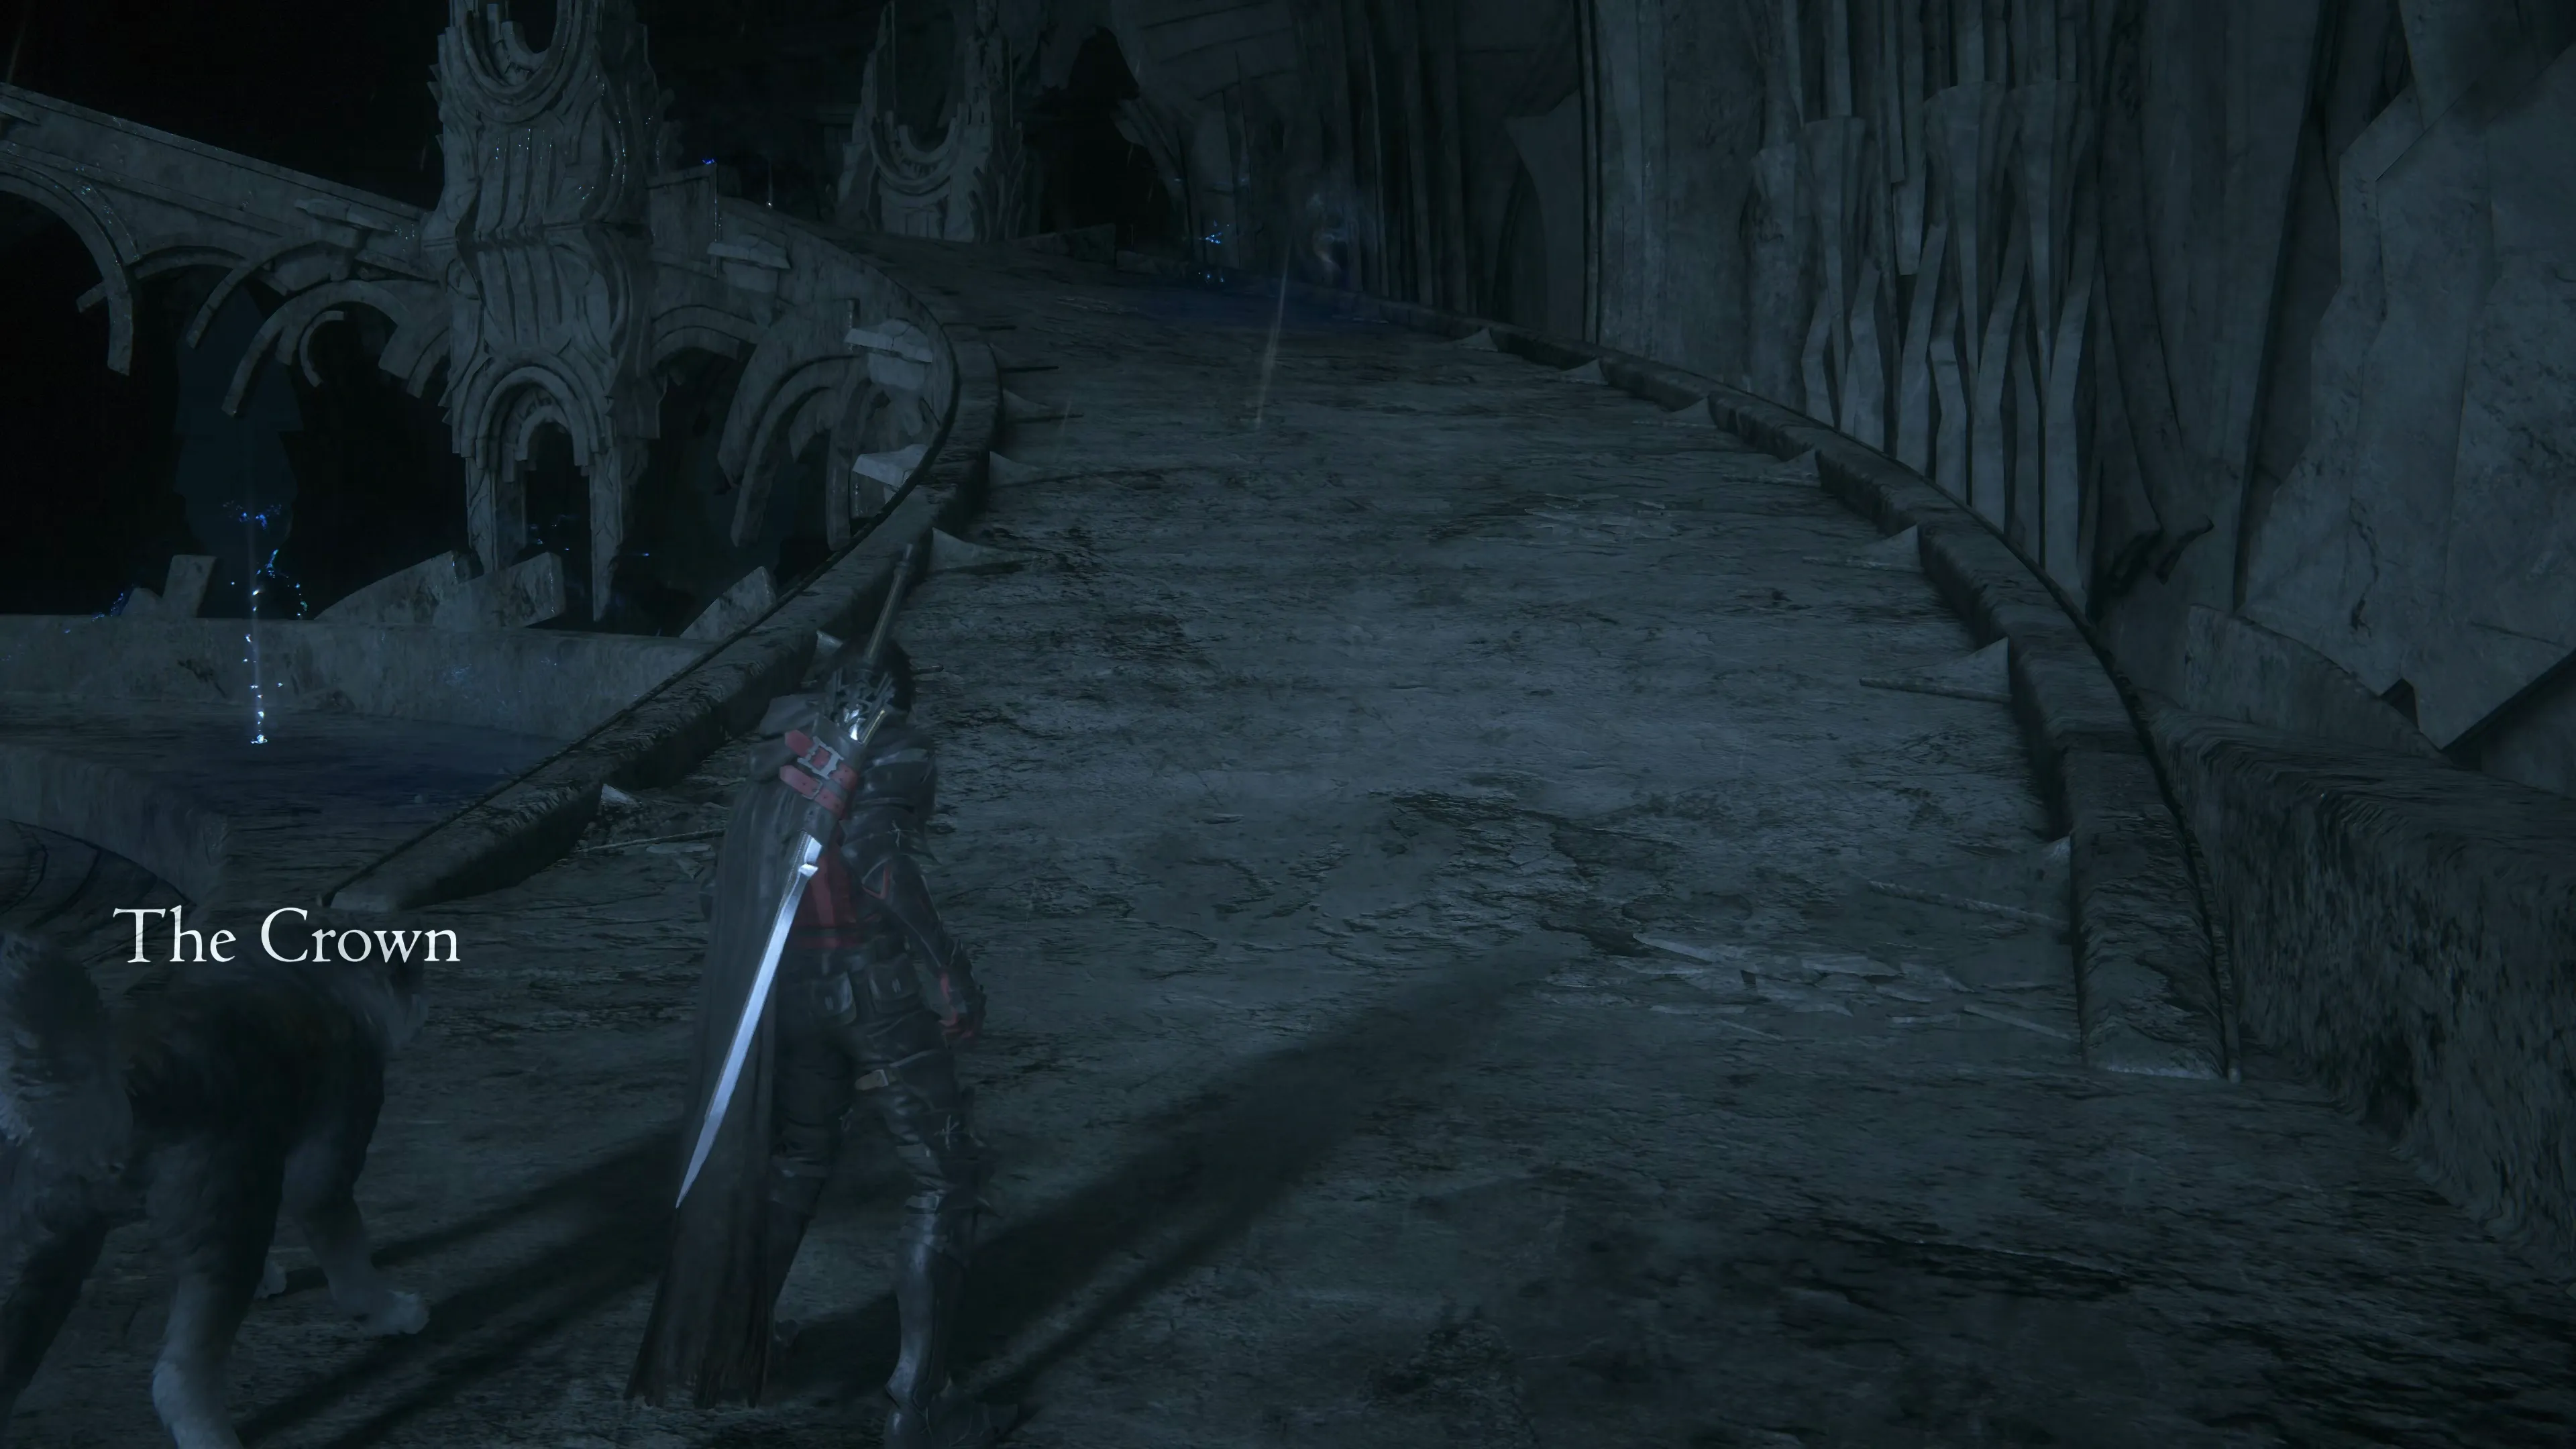
That was a long elevator ride! Clive and Torgal will reach the ‘Crown’ after Aurum Giant is defeated.
Ascension
There is a Glimmer on the elevator and some along the ramp leading upward that can be used to refill your ![]() Potion and
Potion and ![]() High Potion supply. Save your game just outside the door. You have a few cutscenes to watch, and then it’s time for the next boss battle.
High Potion supply. Save your game just outside the door. You have a few cutscenes to watch, and then it’s time for the next boss battle.
Boss Battle
This battle has three phases, and it is possible to earn a Medal of Valor from this fight if you can do all three phases without getting hit, but this is one of the toughest Medal of Valor challenges in the game.
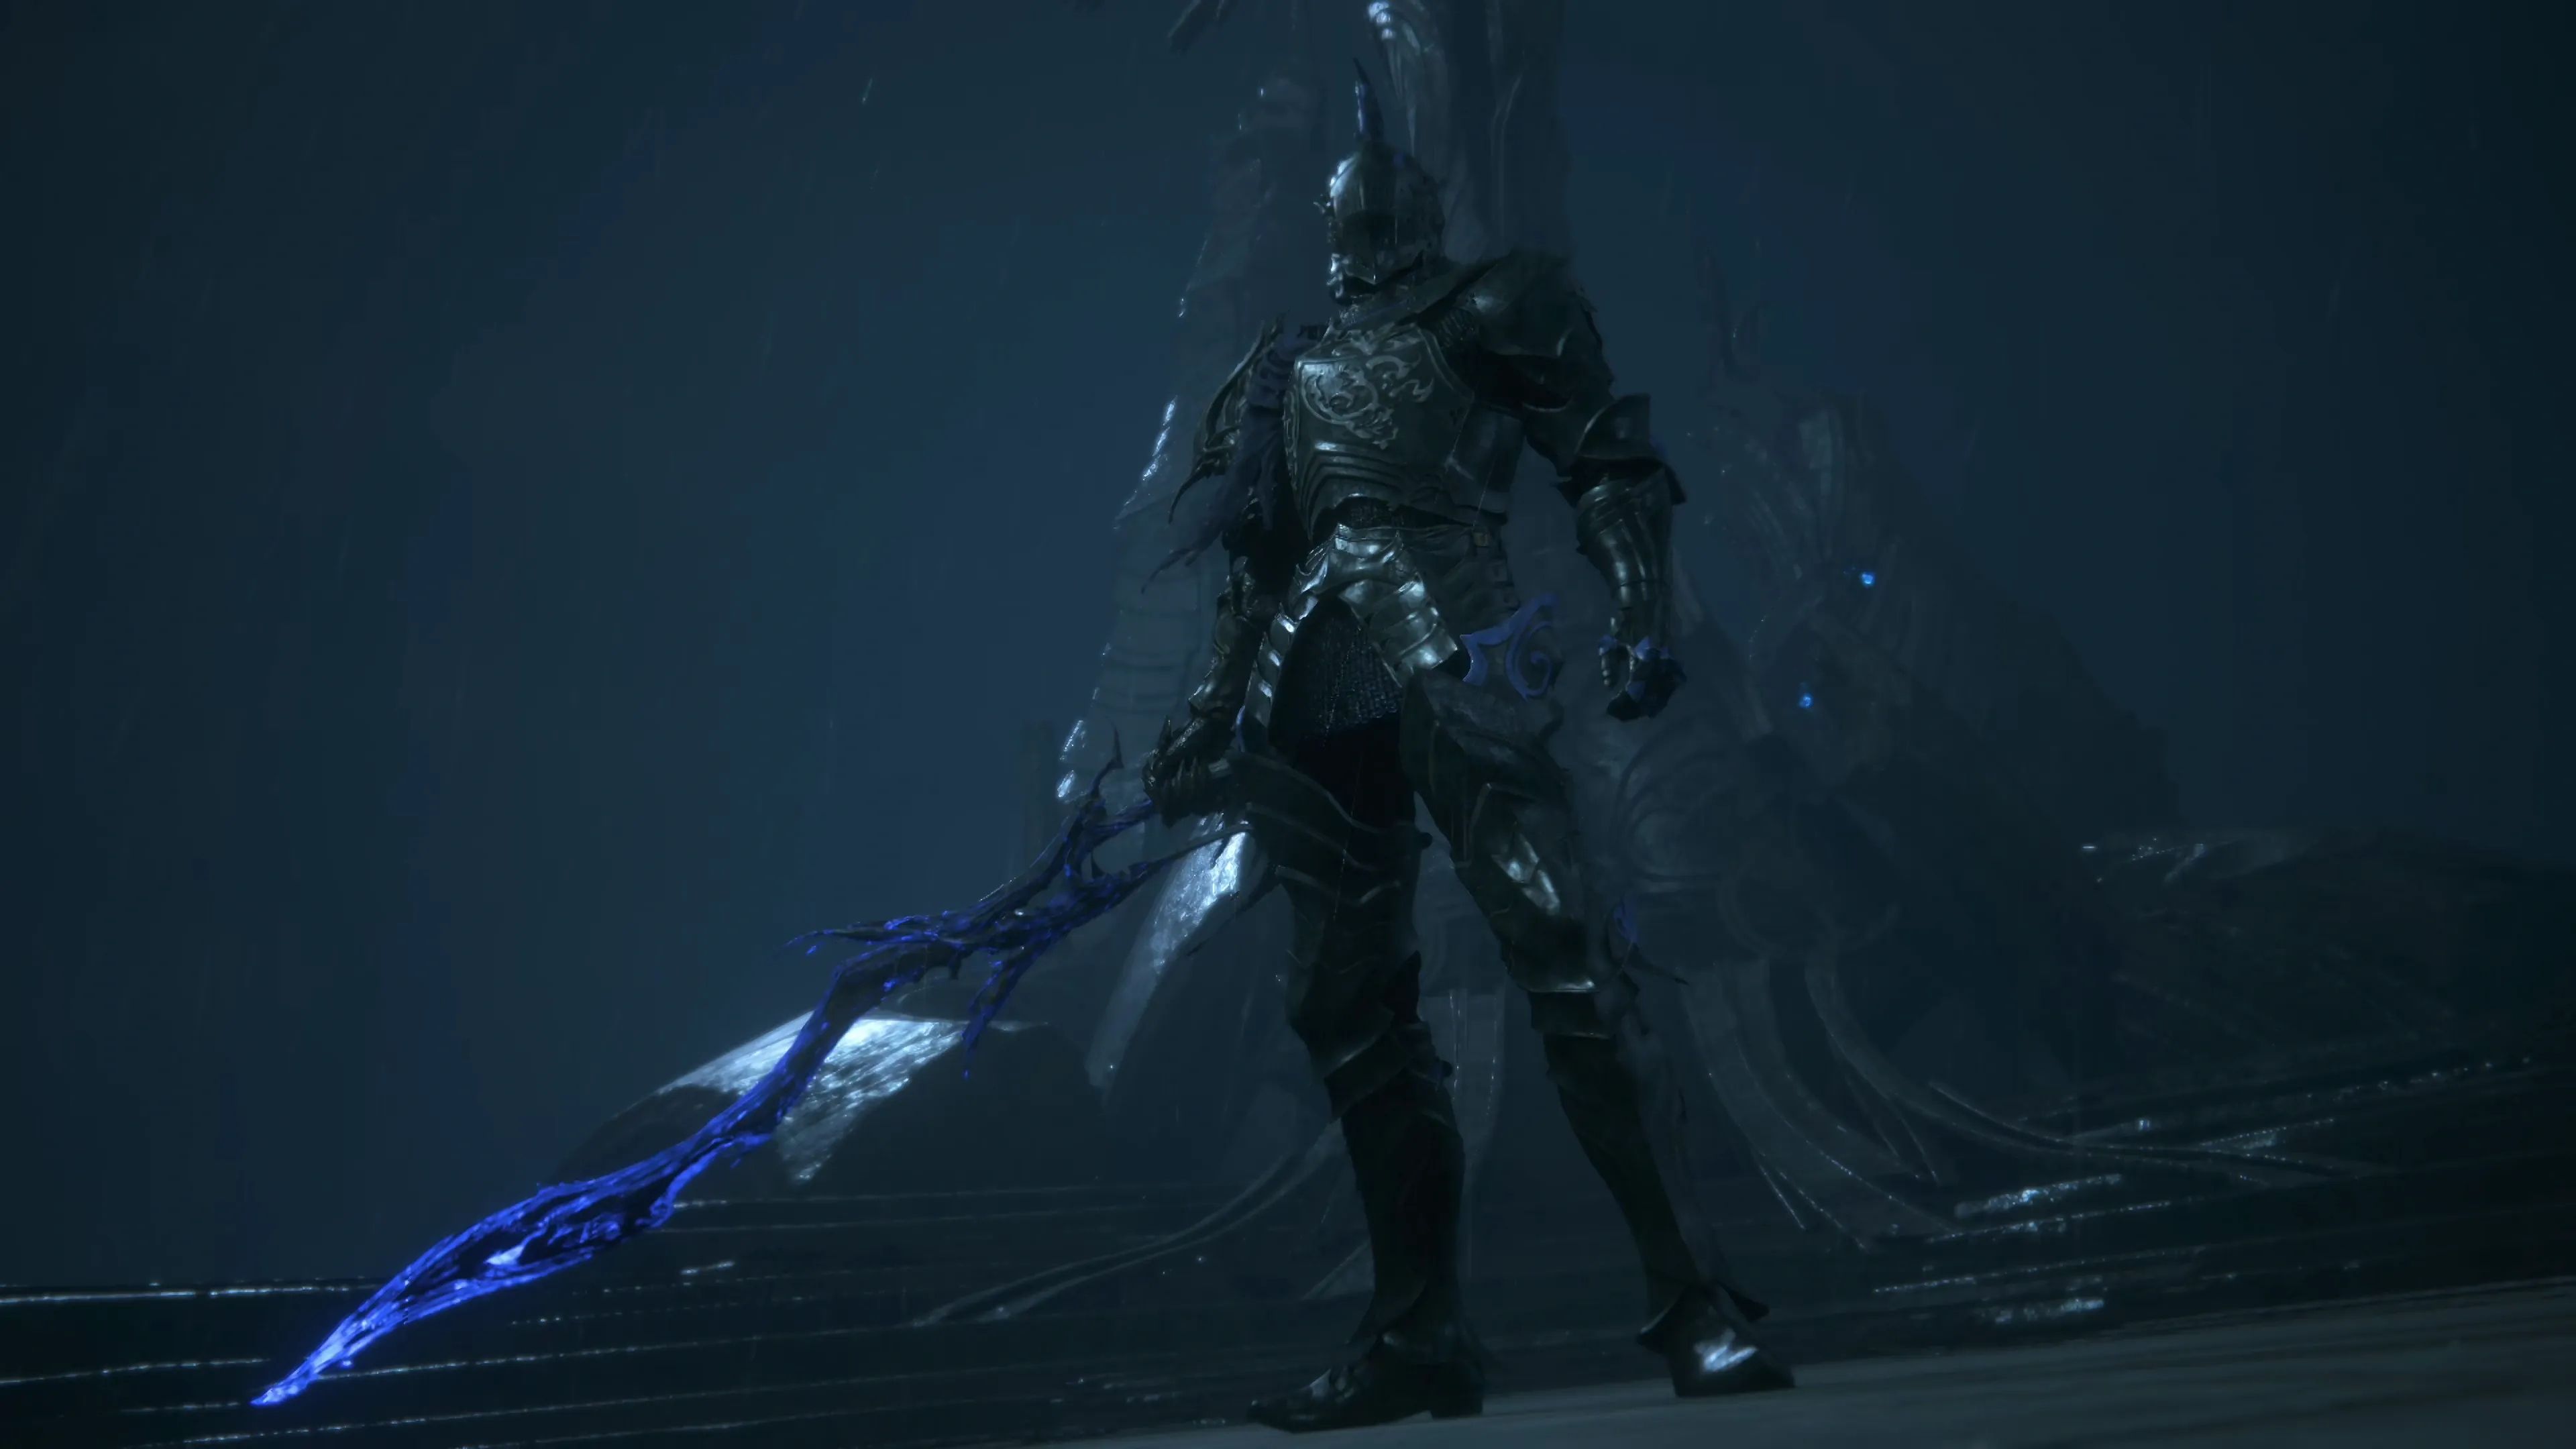
Phase 1
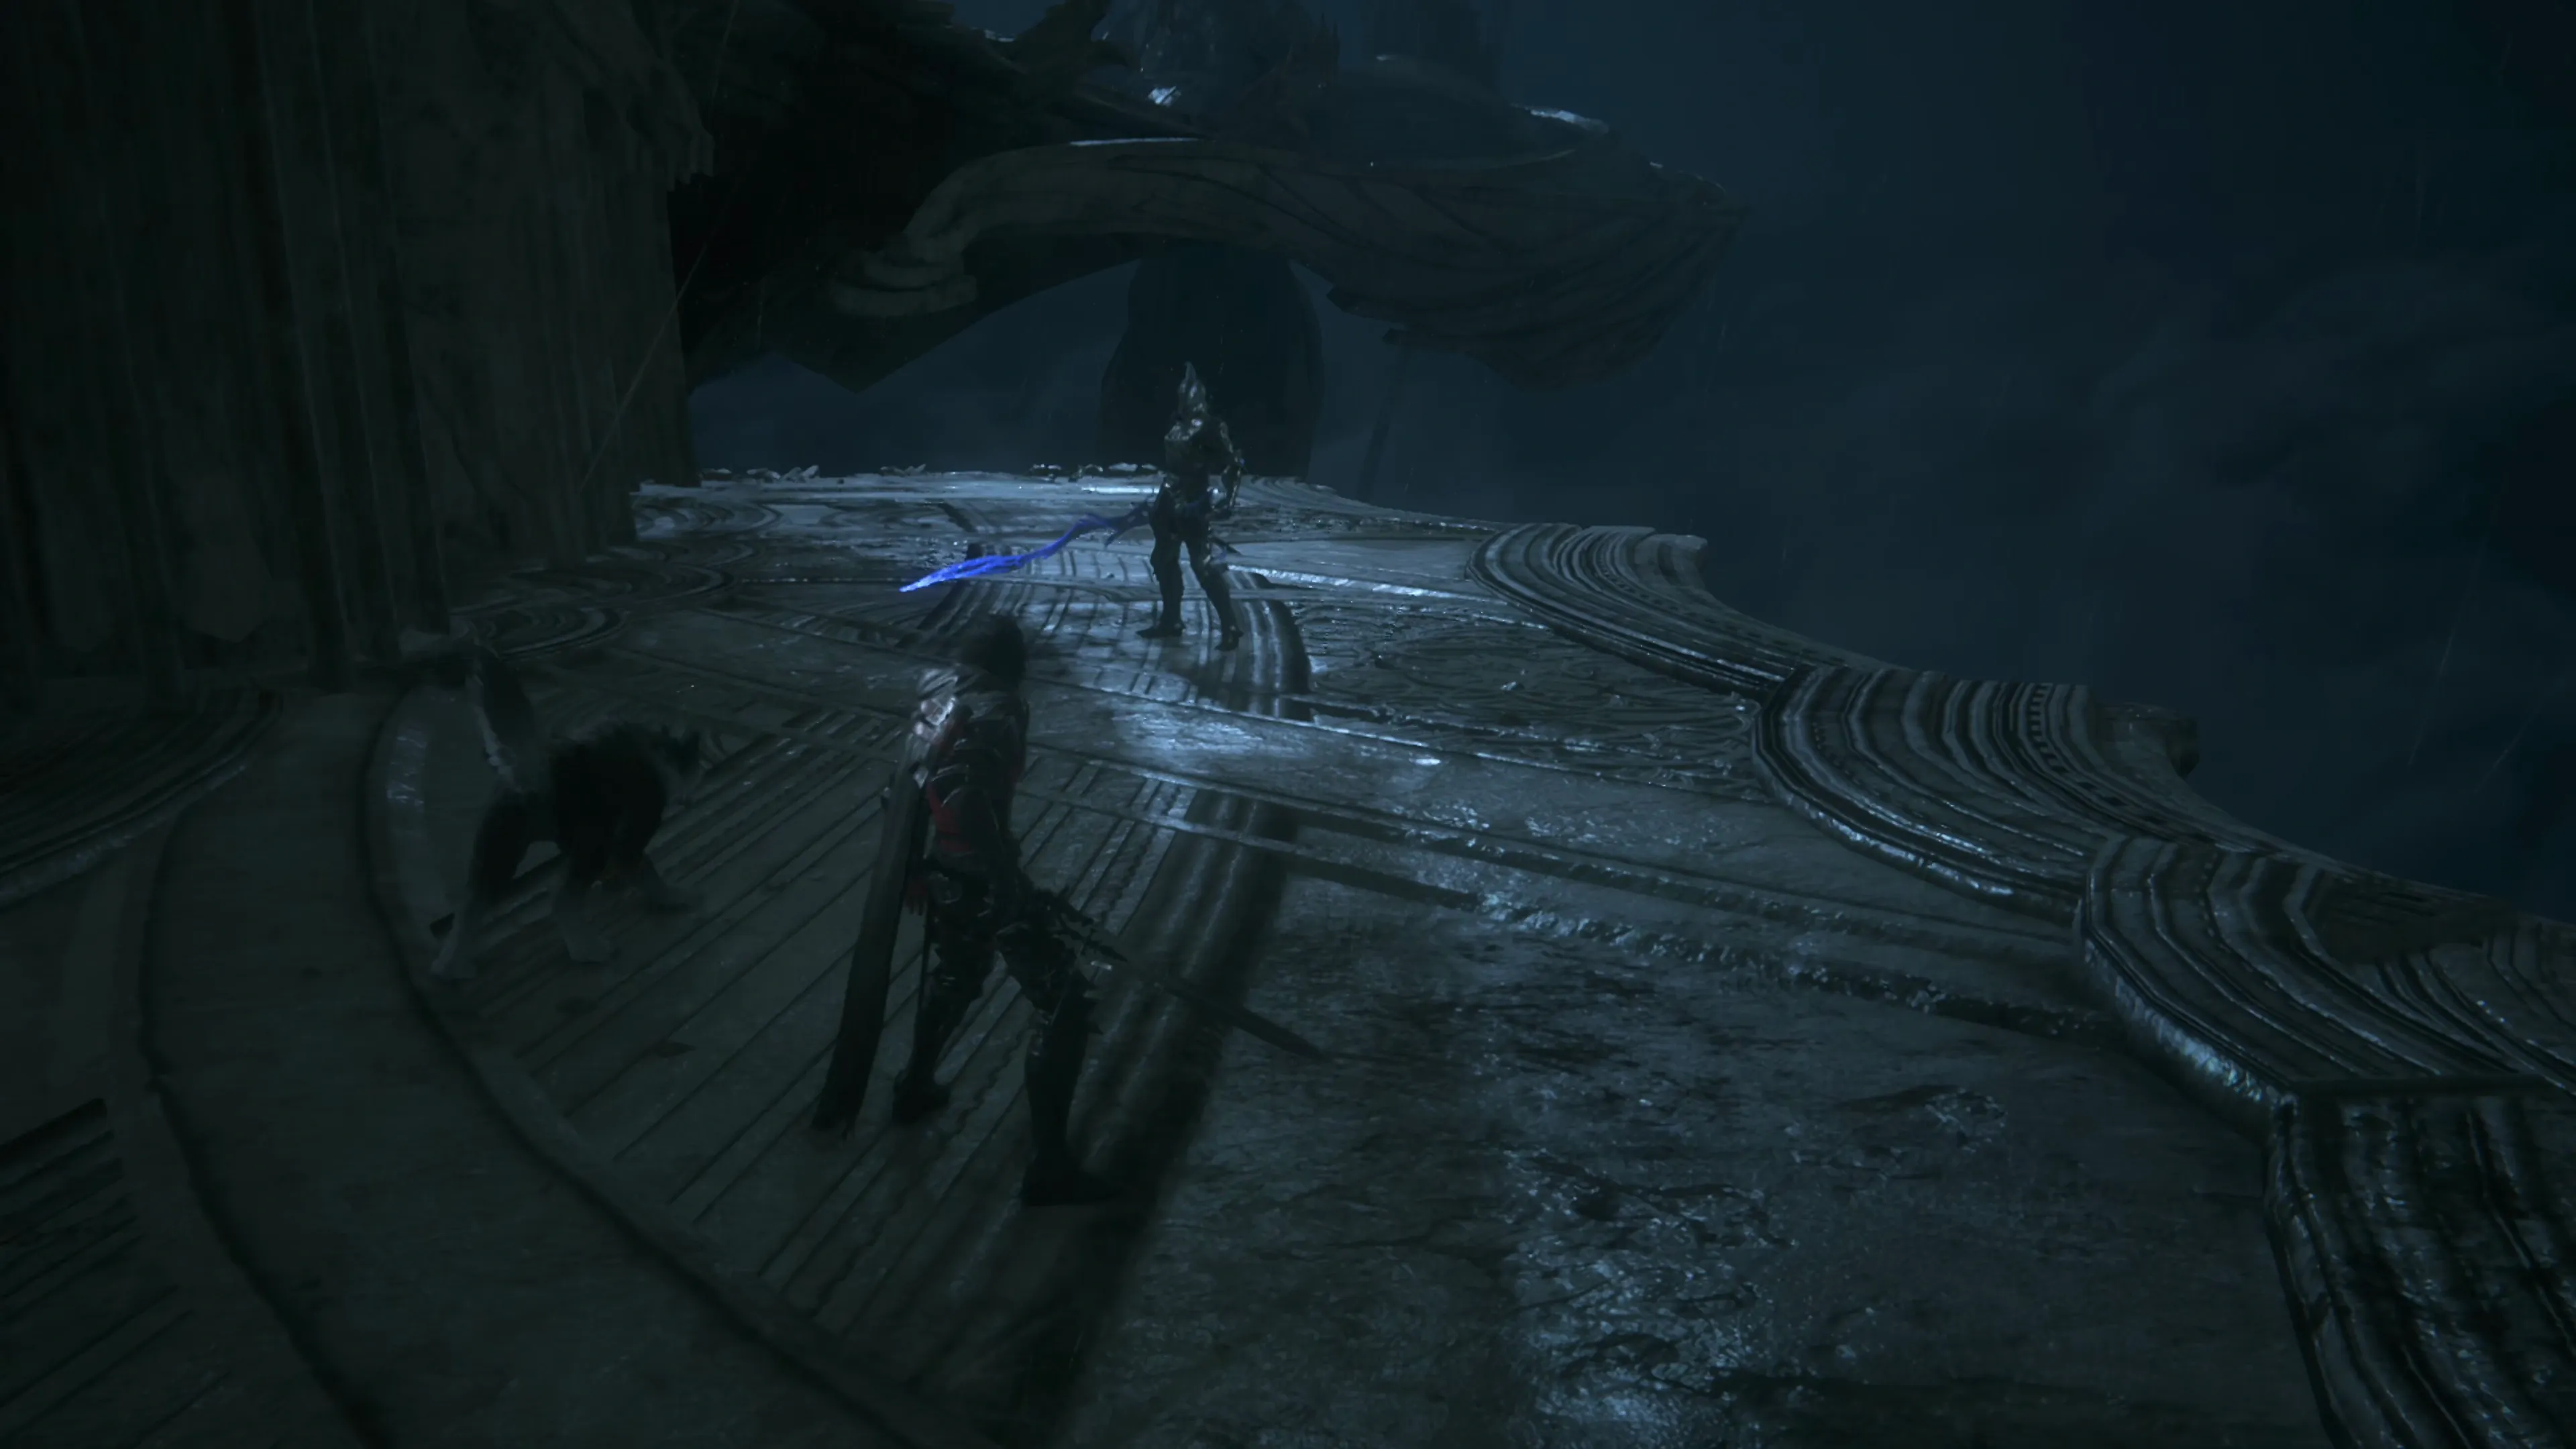
The first phase of this fight involves fighting Barnabas again, just like you did back in the Abyss after the battle on the ship. Barnabas even has the same attacks for this phase. They include:
![]() Vertical Magic Blade Slash:
Vertical Magic Blade Slash:
This is the first attack that Barnabas does at the start of every battle. He will hold his blade up with two hands as it begins glowing and then slash downwards, emitting a large magic energy wave that pushes towards Clive. This attack is easily countered with ![]() Heatwave. Time your counter for when Barnabas swings downward with the blade because the magic wave advances quickly.
Heatwave. Time your counter for when Barnabas swings downward with the blade because the magic wave advances quickly.
![]() Physical Blade Attacks:
Physical Blade Attacks:
Barnabas employs several physical attacks that involve lunging or slashing with his blade. These are all well telegraphed, and unlike the first battle, each of them now includes two attacks, one after the other, but they are both easy to dodge. This two-attack combo is something he will use during every phase of this fight.
![]() Counterattack:
Counterattack:
At times, Barnabas will begin deflecting Clive’s blade attacks. If he deflects three attacks, he will counterattack with a wide horizontal swing. You can either stop attacking while he is deflecting your blows or dodge his horizontal counterattack and swing at him with another counterattack of your own.
![]() Dancing Steel (Lite):
Dancing Steel (Lite):
Barnabas will crouch down as though he’s about to pull his weapon (Odin’s Sword) out of its sheath. Rotate around behind him before he unsheathes his weapon; otherwise, this miniature version of Dancing Steel will hit Clive a few times in succession. Barnabas has a lengthy recovery time after using this attack, even if he doesn’t connect, so take the opportunity once you get behind him to unleash a combo of attacks.
![]() The Lord’s Measure:
The Lord’s Measure:
The words “The Lord’s Measure” will appear on the screen for this attack, along with blue and red energy beams running in parallel and perpendicular lines. Escape into an area that isn’t in these energy beams to escape the damage.
![]() Gungnir:
Gungnir:
The words “Gungnir” will appear on the screen. His weapon, Gungnir, will illuminate, and then he will throw it at wherever Clive is currently standing. There’s a short ripple outwards after it lands, so it’s usually best to wait for the Gungnir spear to land rather than trying to dodge too early, as you’ll end up getting hit by the ripple. After this, he will follow the attack up with either a “Vertical Magic Blade Slash” or “The Lord’s Measure.”
The value of ![]() Diamond Dust really shines through in this fight. It decimates an enemy’s “Will Gauge” and can help you get Barnabas staggered much more quickly. It’s so effective at this that you should aim to use it every time it is off cooldown, and do not use it when the enemy is staggered. Instead, save it so that you can use it during the regular parts of the fight to get Barnabas staggered fast.
Diamond Dust really shines through in this fight. It decimates an enemy’s “Will Gauge” and can help you get Barnabas staggered much more quickly. It’s so effective at this that you should aim to use it every time it is off cooldown, and do not use it when the enemy is staggered. Instead, save it so that you can use it during the regular parts of the fight to get Barnabas staggered fast.
Phase 2 will begin right after you stagger Barnabas for the first time. There is a brief cinematic clash that takes place before the next phase begins, so be ready to press the ![]()
![]()
![]() button.
button.
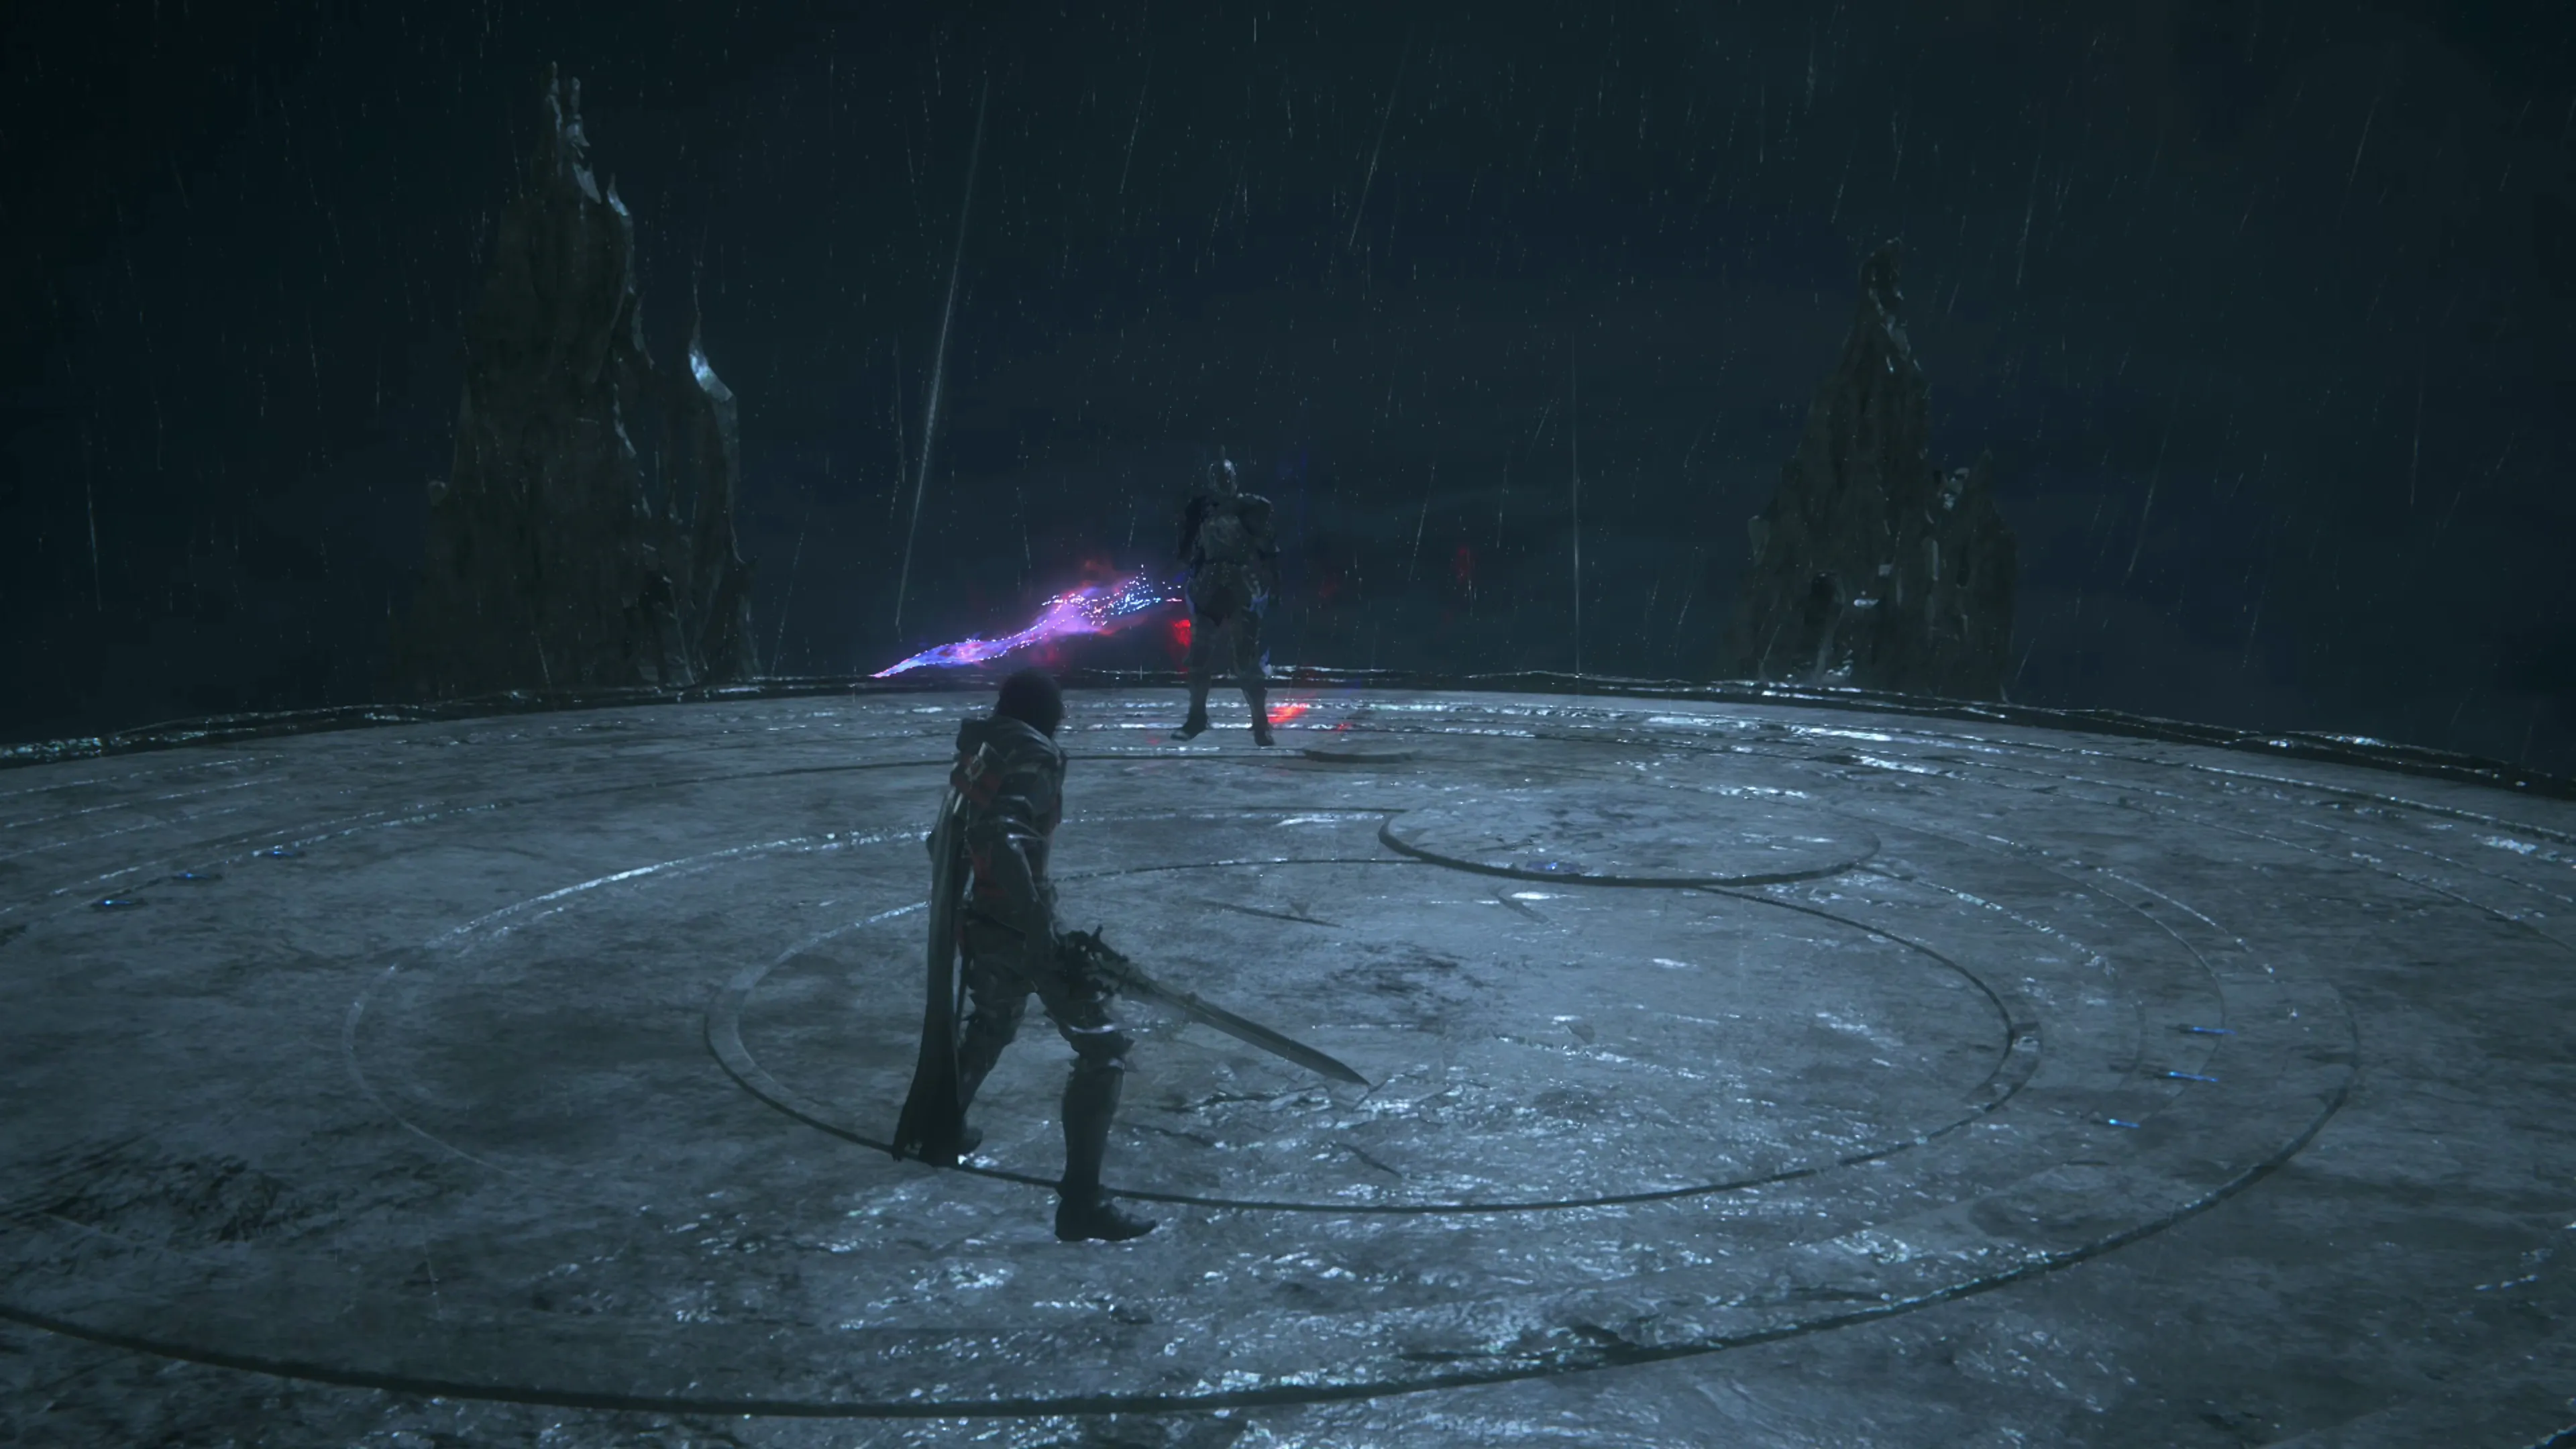
Phase 2
The second phase of the fight is very similar to the first phase; however, some of Barnabas’ attacks have changed, and the battlefield is much smaller, providing you with much less space to work with. Let’s start with the attacks that have changed:
Changed Attacks:
![]() The Lord’s Measure (Updated):
The Lord’s Measure (Updated):
The name of the attack will appear on the screen, just as before, but a multitude of light beams will appear all over the battlefield. Find a spot where the beams aren’t touching and stand there until the attack is concluded. Barnabas will typically follow this up with a “Magic Blade Slash.”
![]() Magic Blade Slash (Updated):
Magic Blade Slash (Updated):
This attack used to just be “Vertical Magic Blade Slash,” but now Barnabas will attack vertically and follow it up with a horizontal blade slash. The most effective strategy is to dodge the vertical wave and counterattack the horizontal wave (which is harder to dodge). It’s definitely possible to dodge the horizontal magic slash, but your timing needs to be perfect.
![]() Gungnir:
Gungnir:
This attack is the same, but Barnabas will follow it up with a “Magic Blade Slash” or “The Lord’s Measure,” which can be problematic because you have to stay out of the zone where his Gungnir spear landed; otherwise, you will take damage.
New Attacks:
![]() Blinding Steel:
Blinding Steel:
This is a new attack that Barnabas will use at the beginning of the fight. A line of magic will appear in front of Barnabas. If you’re standing in front of him when the attack is triggered, you will take damage. In other words, when you see the words “Blinding Steel” on the screen, get behind Barnabas as quickly as you can. The attack animation takes a very long time, giving you plenty of time to get some attacks in or a ![]() Diamond Dust cast.
Diamond Dust cast.
![]() Two-Handed Aerial Chop:
Two-Handed Aerial Chop:
Barnabas will appear in the air holding his sword with two hands above Clive and will slam it down into the ground. This attack is well telegraphed and easy to dodge.
Phase 2 ends after you stagger Barnabas for the second time. There’s a short cinematic that plays, and part of it requires you to press the ![]()
![]()
![]() button repeatedly, so be ready!
button repeatedly, so be ready!
Phase 3
This phase of the fight begins with Barnabas charging an attack, which will read “Gathering darkness….” You’ll need to tear through this purple bar first before you begin working your way through his HP, or even getting started on his “Will Gauge,” so don’t be afraid to use some of your most powerful abilities right off the bat. A ![]() Diamond Dust or a
Diamond Dust or a ![]() Lightning Rod/
Lightning Rod/![]() Gigaflare combination can help you get there quickly. You’ll have time for these abilities to recharge before you break through his stagger bar.
Gigaflare combination can help you get there quickly. You’ll have time for these abilities to recharge before you break through his stagger bar.
Barnabas will continue to use the abilities listed above with the following additions and changes:
![]() Quieting:
Quieting:
This isn’t an attack on its own, but after Barnabas uses it, he will begin glowing bright blue, and his attacks will deal more damage. He will use “Quieting” after you deplete the “Gathering darkness…” bar.
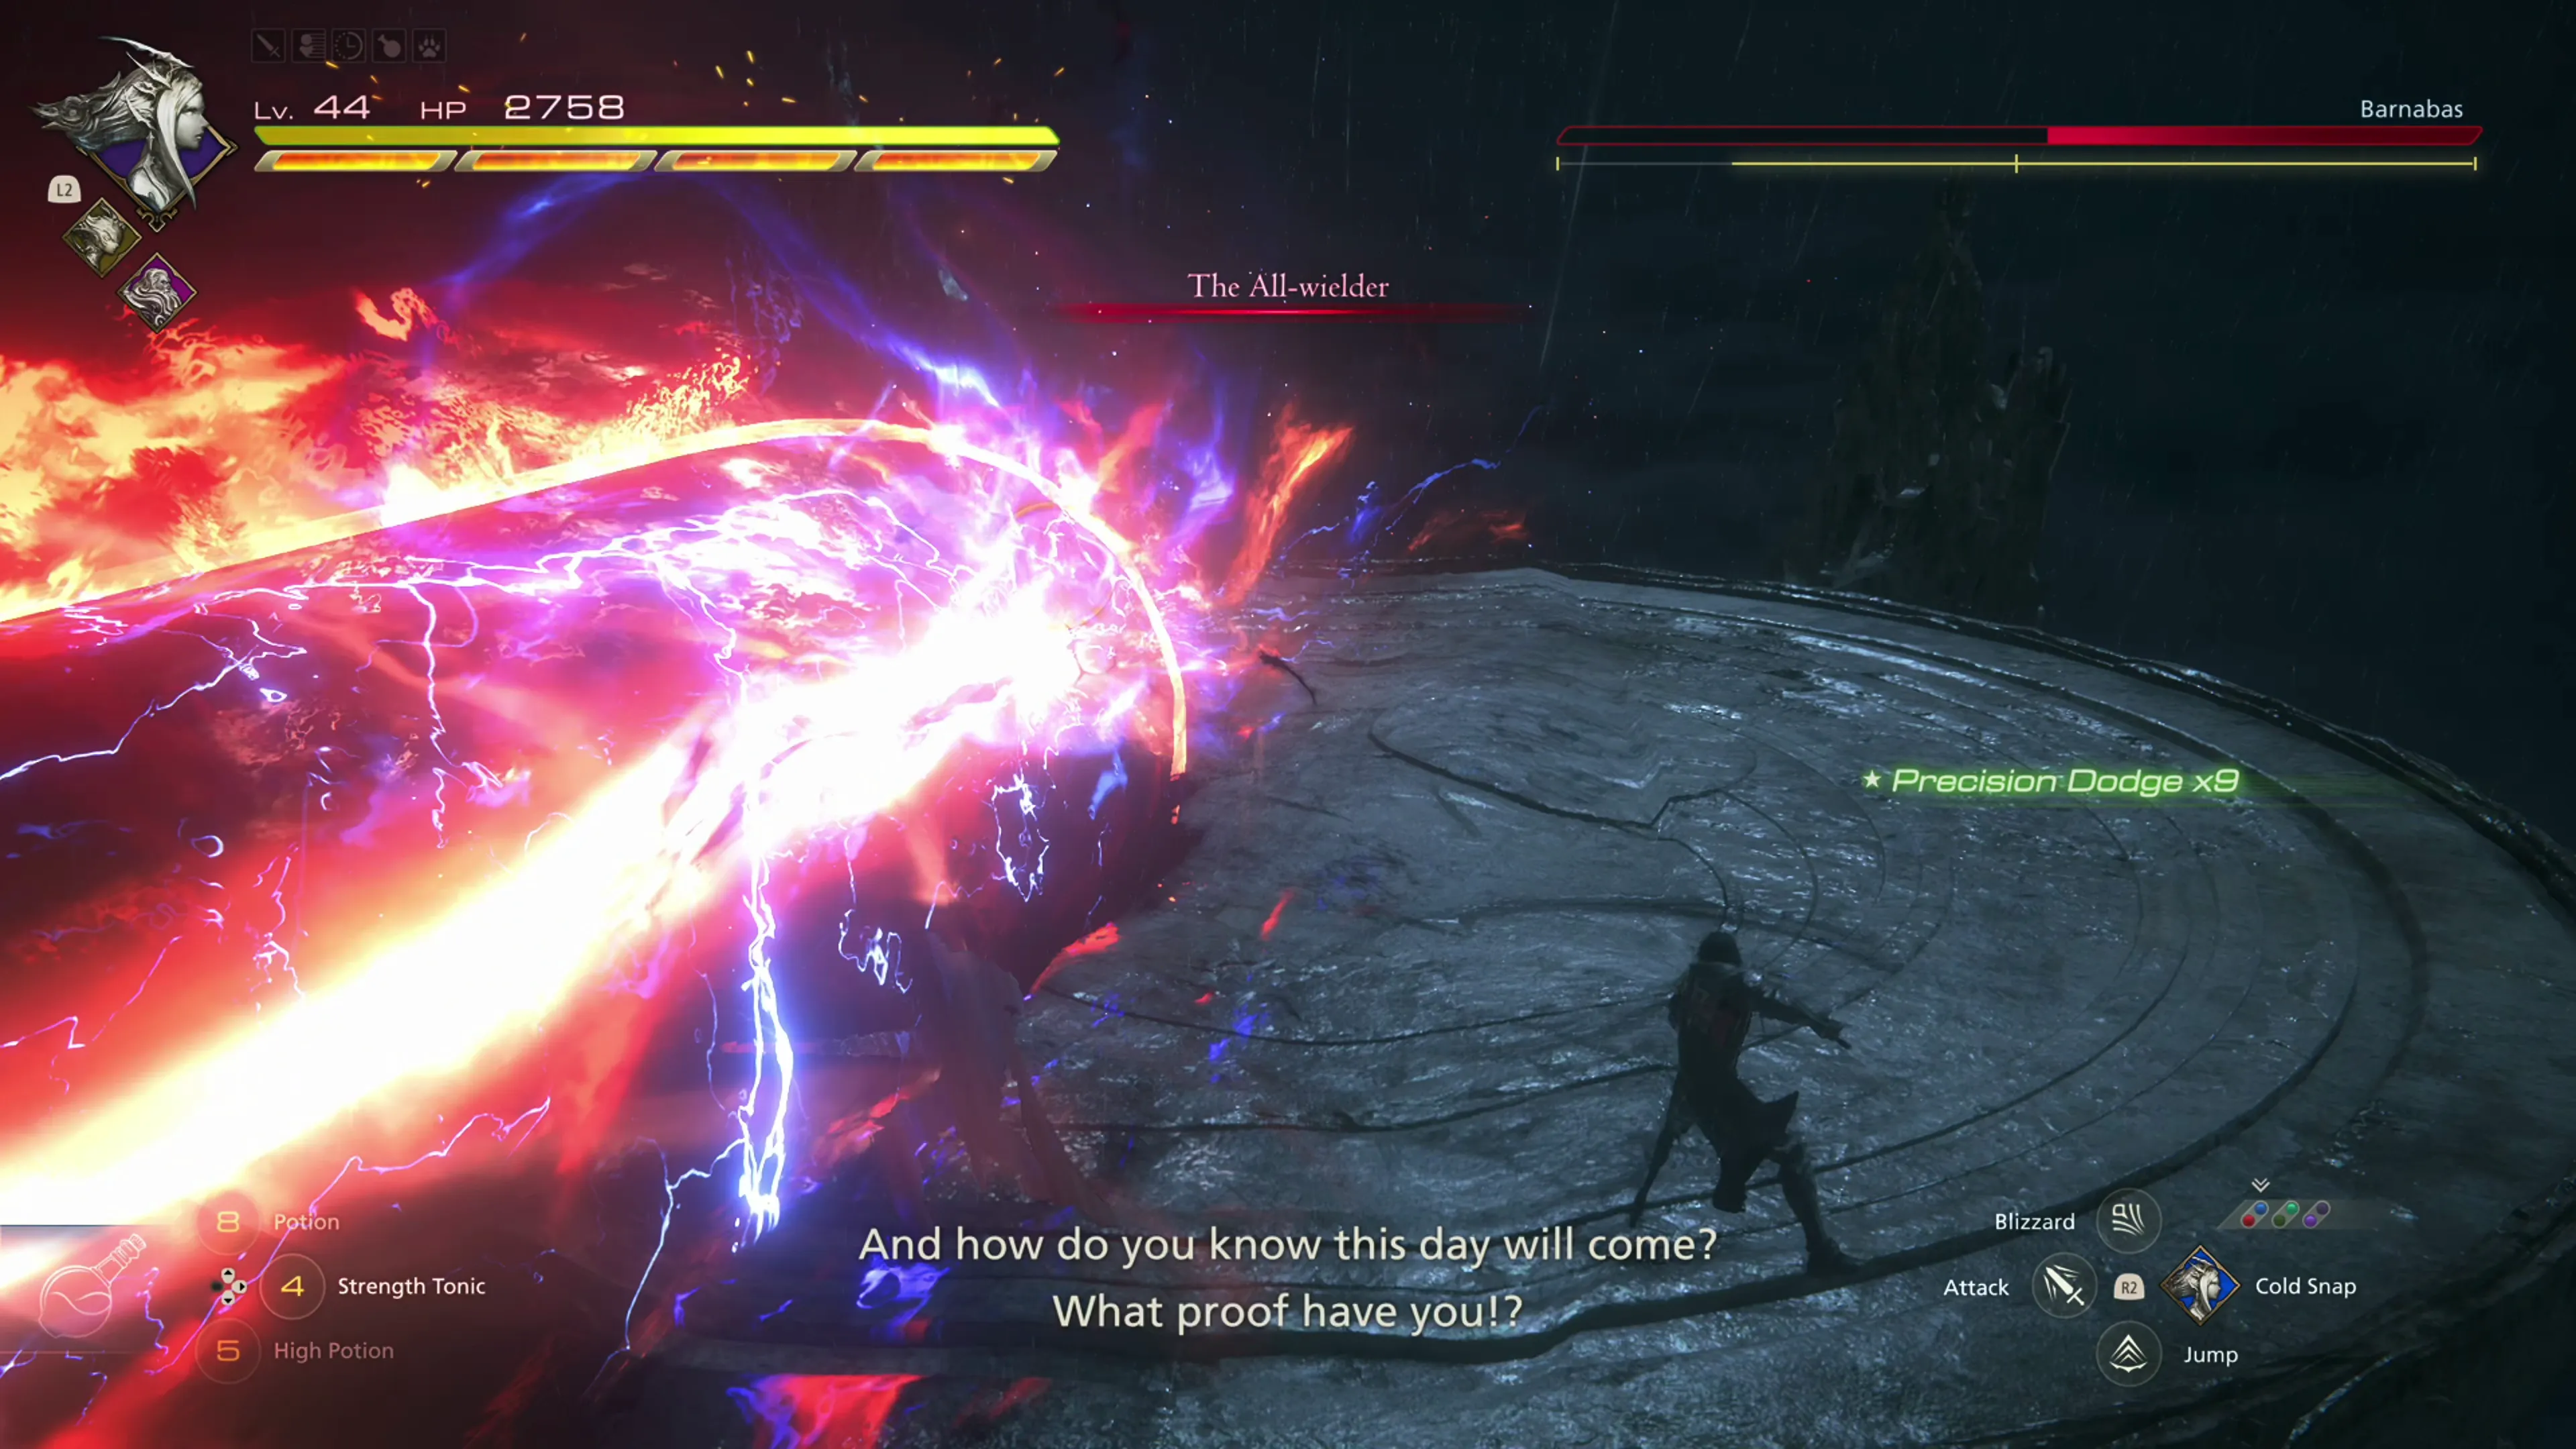
![]() Great Divide:
Great Divide:
This attack behaves exactly like Squall’s Blasting Zone Limit Break. A large beam of light/magic will extend out from Barnabas’ sword, and he will attack you with it three times. First, an overhanded swing landing directly down on the spot where Clive is standing, followed by a horizontal swing from the side through the middle, and then one more overhanded swing downward (called “The All-wielder”). All three of these attacks will need to be dodged, and the final ‘All-wielder’ attack is a lengthy blast of energy that deals a massive amount of damage if you get hit by it. Still, it also gives you plenty of time to deal some damage to Barnabas if you rotate around and behind where he is standing.
![]() Woden Worhte Weos:
Woden Worhte Weos:
Barnabas will transform into the gigantic Odin Eikon and begin whacking away with his sword. This sequence includes a horizontal swing, a straight thrust, another horizontal swing from the opposite side, and an overhanded blast. All of these attacks need to be dodged, and during this entire sequence, you can blast away at him with ![]() Charged Magic. You’ll have to press
Charged Magic. You’ll have to press ![]()
![]()
![]() to re-target him after he transforms.
to re-target him after he transforms.
![]() Circle of Malius:
Circle of Malius:
Barnabas will split his blade in two and begin cycling around the battlefield, attempting to hit Clive. These attacks are easy to dodge, but be ready to dodge two physical attacks he does with his split swords that follow after he comes out of the Circle.
As another reminder, you should be making every attempt to use ![]() Diamond Dust during this fight as often as possible. It is possible to earn a Medal of Valor for this fight, but it is extremely difficult. Check out the video below if you would like to see a demonstration of this battle and how to go about earning a Medal of Valor (note that the character voices did not come through properly during this recording).
Diamond Dust during this fight as often as possible. It is possible to earn a Medal of Valor for this fight, but it is extremely difficult. Check out the video below if you would like to see a demonstration of this battle and how to go about earning a Medal of Valor (note that the character voices did not come through properly during this recording).
600
7,000
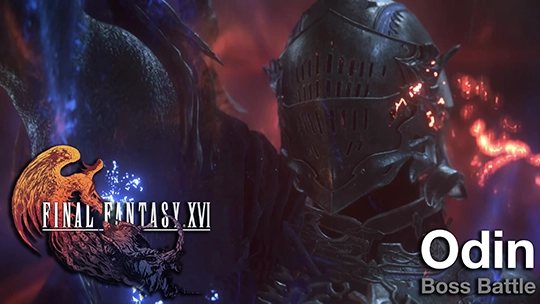
A video demonstration of how to successfully complete the fight against Odin.
This concludes this Main Scenario Quest and wraps up the chapter.
Achievement/Trophy
“Collect the final piece.” The  A Vessel Complete Achievement/Trophy is earned as soon as you complete the “The Last King” Main Scenario Quest.