
Medals of Valor
Unlike most of the other Side Quests and optional content, the game doesn’t provide any clues that there’s an additional award you can obtain and a challenge you can complete in the game. This Side Quest or challenge involves defeating a specific group of the most challenging bosses and fights without taking damage.
It’s worth noting that this is not a Side Quest that new players should attempt to achieve during their first playthrough. Trying to complete a boss without getting hit involves mastering dodge techniques and forming an expert-level understanding of the boss’s attack and animation mechanics. It can take quite a few attempts, especially for the more difficult and lengthy encounters.
The following is a list of encounters in the game where it’s possible to win a Medal of Valor:
This is a tough achievement, even for those who have played through the game more than once; however, below this, you’ll find some tips and recommendations that are generic and apply to all of the fights, as well as some more specific recommendations for each of the fights themselves. But how hard are they, exactly?
Medal of Valor Difficulty
The following list orders each of the Medals of Valor in the order of how difficult they are to obtain:
| Tier | Medal | Difficulty Level Explanation |
|---|---|---|
| S | Ultimalius | - Lengthy unskippable cutscenes - Four phases with different attack patterns - Difficult to dodge attacks that take up a large amount of space on the battlefield - Phase 2 is an Ifrit section requiring you to switch up play styles and switch back mid-fight |
| Odin | - Lengthy unskippable cutscenes - Lengthy battle (~18 minutes) - Strong, difficult-to-dodge attacks in the later phases - Powerful boss with a lot of HP (Great Divide, All-Wielder, Circle of Malius, Blinding Steel) - The Odin transformation phase includes attacks that sweep the entire stage, and are difficult to time your dodge to avoid properly |
|
| Leviathan | - Unforgiving attacks that require a lot of practice (Angry Seas, Maelstrom, Riptide, Waterspout) - Multiple phases, including the notorious “Troubled Waters” phase - Lengthy battle (~16 minutes) |
|
| Omega | - Lengthy battle (~15 minutes) - Floods the battlefield with projectiles, lasers, and attacks that take up large areas and are difficult to dodge (Ion Efflux, Atomic Ray) - Sneaky attacks that are difficult to time for dodging (Maximum Overdrive, High Maneuvers) - Third phase that can feel very random (more projectiles and random beams) |
|
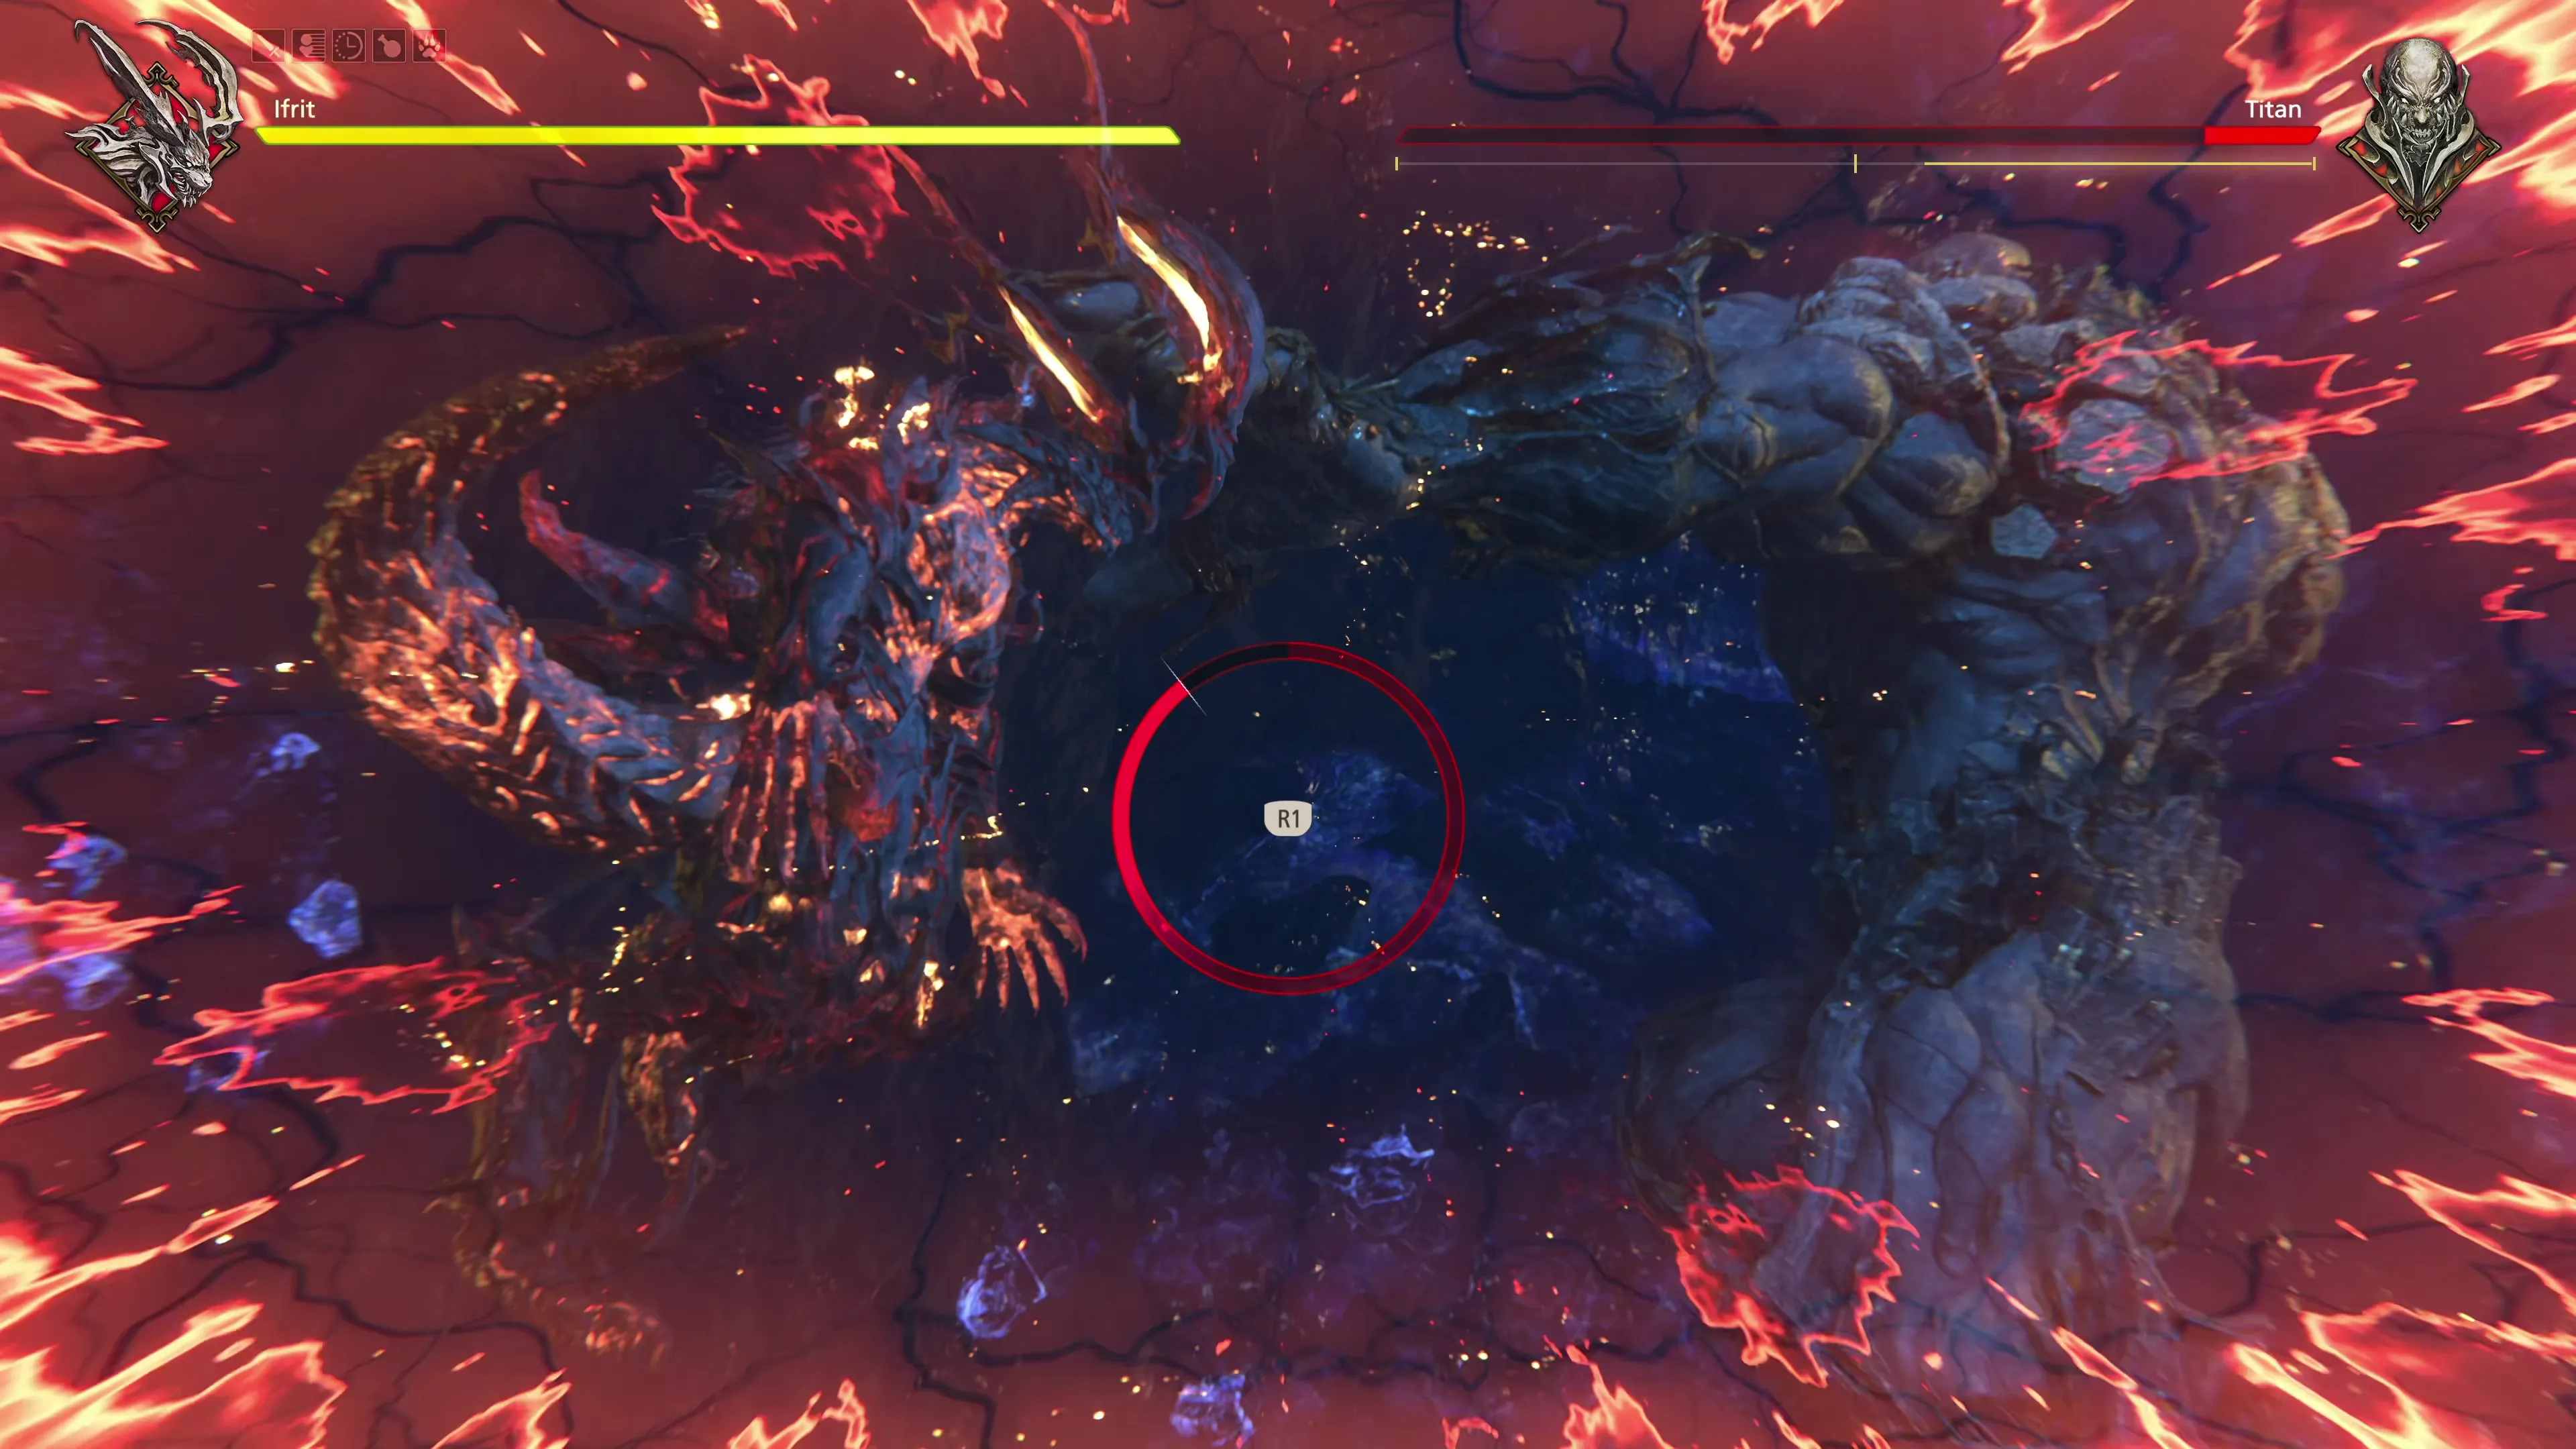
| Titan | - Lengthy, unskippable cutscenes that constantly interrupt the flow of battle - Very lengthy fight (20-minute battle!!) - The final phase is probably the most challenging, requiring you to learn the dodge timing for all of Titan’s floating attacks, and requiring you to replay all of the other phases every time you fail |
|
| A | Hugo | - Not as many lengthy cutscenes, the entire fight can be completed in around 7 to 8 minutes - Hugo has some attacks that are difficult to deal with (Force of the Land, some of his combination punches) |
| Ultima | - Not as many lengthy cutscenes, the entire fight can be completed in around 7 to 8 minutes - Ultima has some attacks that are difficult to deal with (Neutron Flare and Event Horizon Combo, some of his combination punches) |
|
| Benedikta | - Not as tricky as other fights, but it has many unskippable cutscenes - Early on in the game, when Clive has a minimal set of moves available - Some difficult-to-dodge attacks in the latter half of the fight (Tornado, various claw attacks) |
|
| B | Bahamut | - Extremely lengthy fight! (~25 minutes) - This is counterbalanced by the fact that you only need to avoid getting hit in the final phase. Still, that means completely restarting the fight every time you make a mistake. |
| Ifrit | - Some of Ifrit’s attacks can be difficult to deal with because of the Eikon’s size - Some of Infernal Shadow’s attacks are difficult to deal with, but not compared to those of other bosses - Relatively quick fight (~7 minutes) |
|
| Sleipnir | - Has a sequence in the middle of the battle that can be challenging to deal with, but most other attacks are routine - Relatively quick fight (~7 minutes) |
|
| Typhon | - Somewhat lengthy fight at ~13 minutes - Most of the fight is completed as Ifrit, with a limited attack set, just takes some getting used to Typhon and Typhon the Transgressor’s moveset |
|
| Liquid Flame | - Quick fight (~5 minutes excluding cutscenes) - Boss does not have many unique attacks, and once you’ve learned to dodge the core mechanics, you’re good - “Eleventh Hour” attack during Phase 3 is challenging, but the rest of the fight is easy once you get it down - Not hitting the lava at the edge of the stage adds an extra challenge as this counts as ‘damage’ |
|
| C | Barnabas | - Very quick fight (~3 minutes) - Barnabas gains a whole slough of attacks for the Odin fight, but for his first battle, most of his attacks are well telegraphed and easy to dodge |
| War Panther | - Relatively easy and quick fight against enemies that you fight many times - Has to be completed right after the Typhon battle, so it can be tough to earn a “Medal of Valor” on both without making a mistake |
|
| D | The Knight of the Dying Sun | - Relatively easy and quick fight against enemies that you fight many times |
| Midnight Raven | - Relatively easy and quick fight against enemies that you fight many times | |
| E | Garuda | - This boss has easy mechanics that can be exploited |
Generic Tips
Have you decided that you want to try to complete each of these fights and earn the associated “Medals of Valor” for them? Here are some generic tips to help you get started, and these tips can be applied to all of the fights:
- Preparation and Timing:
The easiest opportunity to earn the Medals of Valor is to achieve them during a regular playthrough, rather than trying to earn them through the “Stage Replay” at the Arete Stone. If you’ve decided that you want to try to earn them, and you’re already part of the way through a playthrough of the game, it’s recommended to start over from the beginning with a new game.
Make sure you save your game as close as you can to where the boss battle begins, and skip past any of the cutscenes that you can at the beginning of the fight (by pressing

 and holding

 ). Many of the boss fights have unskippable cutscenes that you’ll have to watch every time you attempt the fight.
- Studying Up:
The second step is to take your time and learn the fight, inside and out, rather than winging it and hoping that you manage to dodge everything that the enemy throws your way. Spend some time in each phase of the fight studying the enemy’s moves without attacking, making sure that you have the dodge timing down, ideally, and you’ll slowly become familiar with each of the attack animations. You’ll know exactly what to expect.
This way, nothing will hit you by surprise, and as you start making it to the later phases of some of the longer fights, you’ll be ready.
It’s worth noting that for most of the attacks in most of the battles, the game designers put in some visual indication of when an attack is coming to help you time your dodge. Many enemies will light up or make some sound at the exact second that you’re supposed to press

 and get Clive out of the way.
- Patience and Safety:
Dealing damage to the boss is necessary, but it’s not as crucial as having patience and properly dodging attacks. At the end of the day, it doesn’t matter how long the fight takes, as long as you don’t take any damage. Take your time and don’t overextend, because the best offense is a good defense, and you can spend most of your time counterattacking with Precision Dodge as long as you never let the enemy hit you.

- Play Optimization:
This tip still works while you’re being patient and playing safely, but you do need to learn how to optimize your damage rotations and maximize the amount of damage you deal to the enemy, especially when that enemy is staggered. For example, using Diamond Dust early on when the enemy is staggered will massively boost the damage multiplier, sometimes as high as 1.50x or more, allowing all of your subsequent attacks to do a lot more damage.
Additionally, these are great fights for you to assign Strength Tonics and
  Lionheart Tonics to the D-Pad (

 ). You’ll have no use for Potions or High Potions, and any increase in damage you can get will be helpful over the long term.
You should also learn how to utilize Arm of Darkness and “Zantetsuken.” You can use
  Lightning Rod and a single
  Dancing Steel to fully charge the gauge, and you can use
  Rift Slip to significantly increase the amount of damage you do during a stagger window combo. Most importantly, when you hit the stagger window, you should not have to ‘think’ about what attacks to use, and you shouldn’t accidentally have the wrong attacks on their cooldown cycle. It should come naturally, and that takes practice.
Consider heading to the “Hall of Virtue” at theArete Stone if you need to practice. Speaking of which… - Practice, Practice, Practice:
Some gamers may glide through these challenges with ease, but for most of us, and for most of these battles, you should expect some frustration. You’re going to get hit by attacks that you thought you dodged, you’re going to learn the hard way that specific attacks hit farther, or the animation is slightly off from your expectations… in short, you’re going to have to learn everything the hard way. Get used to seeing some of the mid-battle cutscenes over and over and over again. That’s part of the challenge and part of the fun, so don’t let it get you down!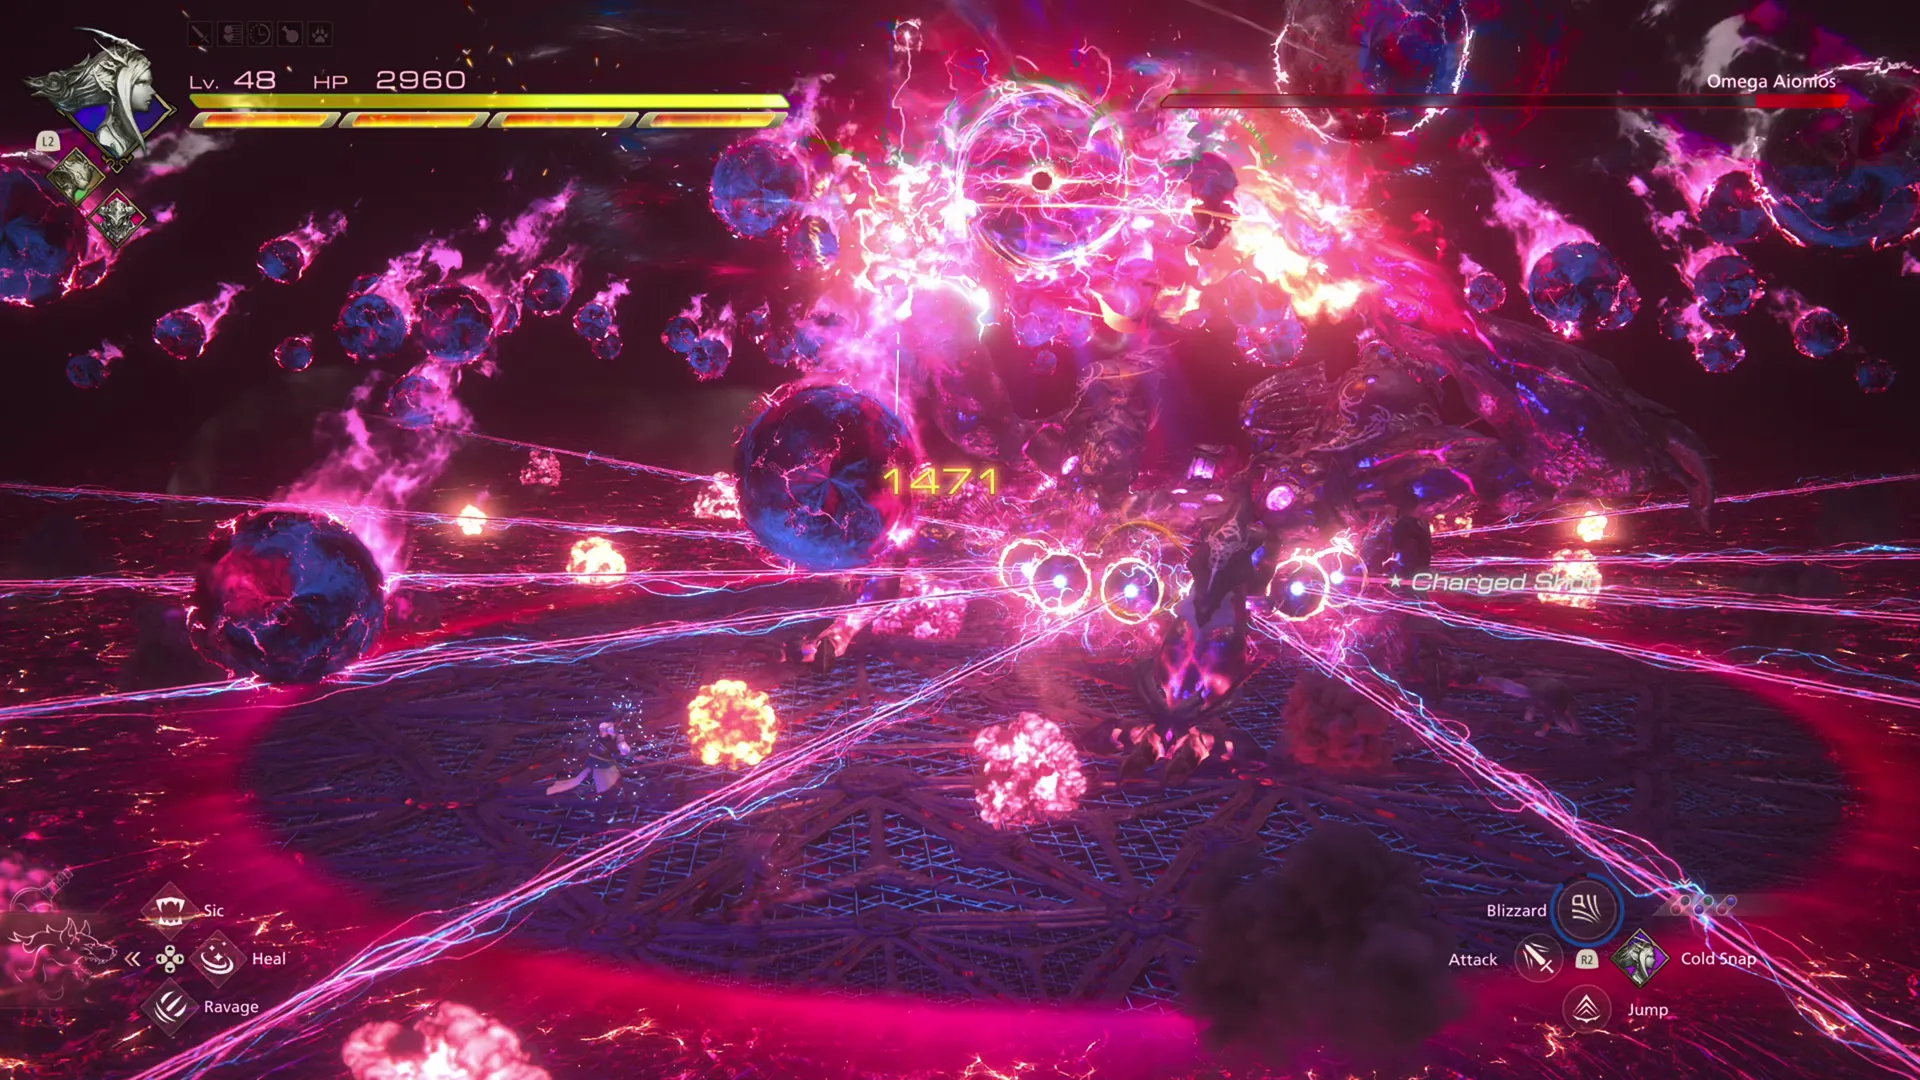

Achievement/Trophy
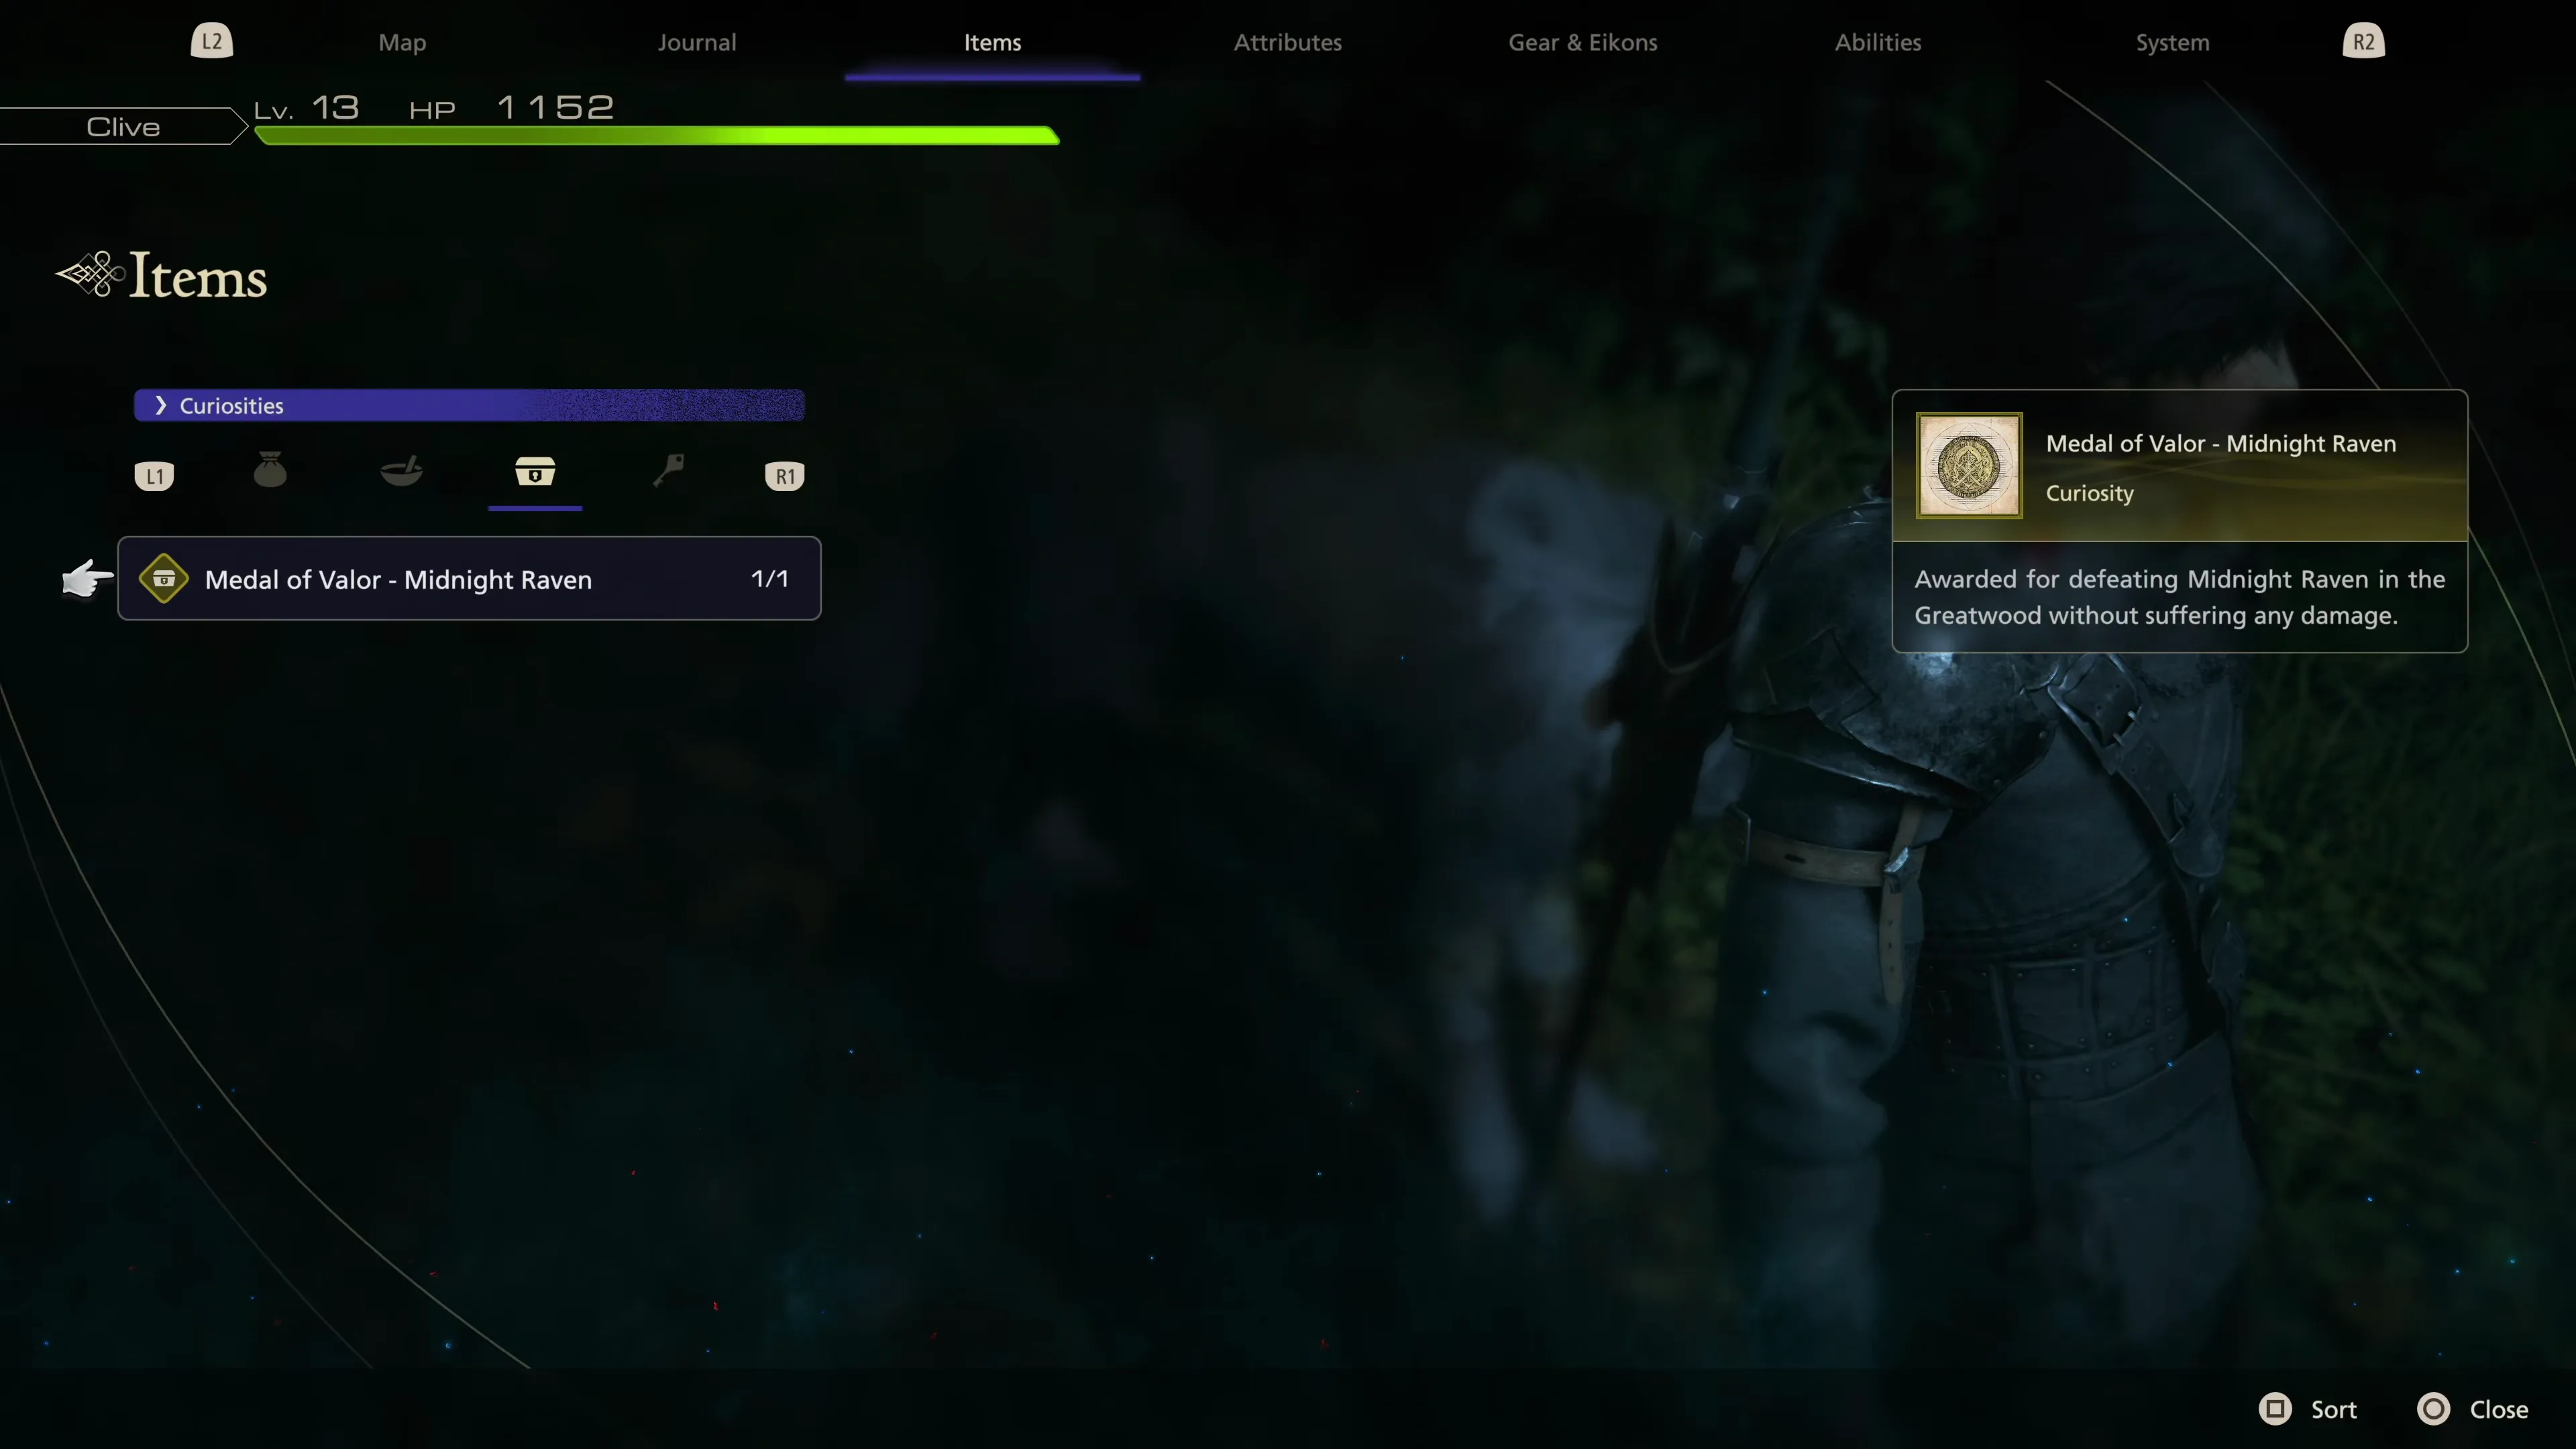
“Defeat a boss without taking damage.” You don’t have to pursue a “Medal of Valor” to earn the  You’re Not the Boss of Me trophy. Instead, you can visit the
 ![]() Arete Stone and select one of the earlier missions like The Greatwood to battle Midnight Raven, and you can reattempt this until you earn the trophy.
Arete Stone and select one of the earlier missions like The Greatwood to battle Midnight Raven, and you can reattempt this until you earn the trophy.
Specific Battle Tips
Below this, you will find “Medal of Valor” tips that are specific to each of the fights. For the most part, each fight involves practicing and getting used to the boss’s mechanics, but these tips may help you complete the fights more quickly.
- These are standard battles that should not require much in the way of tips or help to complete. The only thing that helps for these battles is having some familiarity with the game’s mechanics and having played the game before.
- Clive does not have many Eikonic Abilities for this fight, but
 Heatwave is incredibly useful for this battle. Benedikta has a lot of attacks that can be counterattacked. Keep in mind that the cooldown for Heatwave goes way down if you successfully reflect magic at Benedikta, and a proper reflection will significantly reduce her “Will Gauge.”
 - Get used to using
 Rising Flames as often as possible; it should be on cooldown for most of the fight.
 - You should also get used to utilizing
 Torgal as much as you can during this fight. There is a portion of the battle where he’s not available, but for the other phases, be using his “Sic” and “Ravage” attacks as often as possible. That damage adds up!
 - Benedikta often flies away and attacks Clive from a distance. Don’t overextend yourself to the point where you get hit, but get into the habit of using
 Charged Magic to continue dealing damage to her while she’s far away.
 - If you’re struggling with timing the dodges for her attacks, note that her claws will illuminate a bright white color, and there is a sound you can hear just before she initiates an attack. These triggers will help you learn how to time the dodges (and will apply to all future fights).
- The tip for this section is simple: you only need to avoid damage for the second phase of the fight (when Clive transforms into Ifrit), and it’s very easy to avoid all damage by standing at the back and launching
 Fireballs. This is the easiest “Medal of Valor” to obtain.
Infernal Eikon
- Staying close to him and attacking his feet is usually the best option, especially if you’re not familiar with aerial combat.
- You can counterattack “Scorched Earth” with Heatwave, which deals a ton of damage and heavily depletes its “Will Gauge.”
- This Eikon has an annoying attack called “Flame Toss,” where it will launch a bunch of fireballs up in the air towards Clive. There’s no visual indication that this attack is being used, so you have to be ready to dodge very quickly. Your best bet is to dodge it by using
 Phoenix Shift instead of trying to dodge, as you’ll quite often end up dodging right into another flame attack and taking damage.
Infernal Shadow
- Infernal Shadow has both fireballs and Fira magic that can be counterattacked with Heatwave. Just be careful that Heatwave isn’t on cooldown if he uses them back-to-back.
- For Phase 3, when Clive “Accepts the Truth” and triggers his
 Limit Break, be very careful of the updated attack sequence. Pressing

 too quickly will put Clive into a combo that he can’t get out of quickly, which will leave you open to an attack if you’re not ready. Be careful overextending during this phase.
Typhon’s Minions
- After this phase, and for the remainder of the fight, Clive will be in his “Ifrit” form, so don’t be afraid to blow through all of your larger cooldown moves. Rising Flames,
 Scarlet Cyclone, Heatwave for when you get them all lined up, and you may as well even use your Limit Break.
Typhon
- Typhon’s attacks are deceptively slow. The challenge for this fight is getting used to just how slow you need to be with your dodges. Your most significant risk is often dodging too quickly.
Typhon the Transgressor
- You’ll need to use
 Wildfire throughout this fight, but be very careful with it. If you press

 and let your finger off it, there’s a lengthy cooldown before you can reuse it again.
 - Demon Wall is an attack where it’s easy to slip up with Wildfire. You don’t need to use it for the first opening, as you can walk over to it in time, but for later walls, slowly work your way further from Typhon to give yourself more time in case Wildfire doesn’t put you in exactly the right spot.
- The only tip you need to read for this “Medal of Valor” is the one listed above. Patience, patience, patience! Don’t overextend, because if you managed to get the
 Medal of Valor - Typhon during the last fight, you don’t want to have to repeat the sequence.
 - If you do get hit, let the War Panther KO you so you can restart the fight and try to get the “Medal of Valor” again.
- The
 Berserker Ring is beneficial for this fight.
 - Clive begins this battle semi-primed (i.e., having used his Limit Break), but press


 and
and 

 to turn off his Limit Break because you shouldn’t be using it right at the start of the fight. Save your Limit Break for the first stagger.
 - Liquid Flame has a limited moveset, so once you learn the attacks, you’ll be really well-positioned to complete the whole fight, but learning the attack animation sequences can take a bit of time. They’re deceptively timed.
- Try to stay as close to the center of the battlefield as you can. Every player eventually learns this the hard way, but the surrounding lava will deal damage to you if you touch it, and you won’t earn the “Medal of Valor.”
- There is no tip for keeping Liquid Flame targeted. You will have to retarget him with


 every time he transforms into one of his other creature forms.
 - His “Eleventh Hour” attack is the most annoying one to deal with, and there’s not much you can do other than practice it over and over again until you get the timing down. Check out the video demonstration if you’d like help.
- Hugo has a lot of predictable punch attacks that you can use
 Rook’s Gambit on to counterattack. This will add up to a ton of “Will Gauge” damage if you can get the timing down.
 - If you’re struggling with his “Voice of the Land” attack, you can use
 Deadly Embrace if you’re quick enough to lift Clive off the ground, which will prevent you from taking any damage. Getting this timing down can be just as tricky as learning to time a dodge properly.
 - The chain of attacks that happen during his “Torment” sequence is challenging to deal with. Check out the boss section in the
 Capital Punishment walkthrough page for the complete walkthrough of this attack and how to deal with each portion.
 - As mentioned on that page as well, during the “Upheaval” sequence, make sure you’re only focusing on the energy waves that extend out from where Hugo lands. Don’t worry about the other magic around Clive. When you dodge to the right through the energy waves, you will automatically move out of the range of the different attacks.
- Spend a fair bit of time early on in your attempts in Phase 3 (the last phase) of this fight. This is a long battle, but what can make it even longer is entering the final phase unprepared. The final phase is uniquely challenging because it is another “floating through the air” fight where both Ifrit’s and Titan’s movesets are entirely different. Adding to that is that a lot of Titan’s moves in this phase are long, drawn-out physical swings that can throw you off with their timing.
- Getting back to Phase 1 and Phase 2, remember that Ifrit’s Charged Fireball attack is extremely powerful, and you can spend most of the battle launching magic attacks at him from a distance to slowly dwindle his “Will Gauge.”
- The Phase 2 Intermediate Phase, which reminds one of Sonic running through the tubes in Sonic the Hedgehog 2 on Sega Genesis, is easier than it looks. There’s no need to jump; you can spam Ifrit’s Fireball attack using the entire time, but make sure you get close enough to the thrown stones to hit them.
- Dodging the blue crystals that spawn out of the rock formations takes a bit of practice. Check out the Video Demonstration if you need help seeing how it’s done.
- Note that for Phase 3, it’s possible to dodge through Titan’s “Stone’s Throw” attack rather than using Brimstone so that you can save that attack for the stagger phase.
- Don’t forget that there are cinematic clashes that require you to press the and buttons before the fight is over. Many players end up accidentally missing these queues, which will ruin your “Medal of Valor” attempt.
- Remember that the only phase that matters for a “Medal of Valor” is the final phase (a.k.a. Phase 4), where you fight Bahamut in space.
- Getting in close to Bahamut is the preferred attack method for this Phase, as Bahamut will warp away for most of its attacks, giving you time to recover. That said, Fireball Burst are still just as powerful as ever during this phase.
- Your most powerful and quickest attack sequence is , which will trigger a
 Backdraft.
- Dead Man’s Bier is a frustrating ability to deal with. The three beams can spawn in random locations, so try to stick toward the outer edge of the battlefield. One important thing to note, though, is that the Berserker Ring can make these beams more difficult to dodge. The Berserker Ring can be helpful because it slows the battle down when you complete a successful Precision Dodge. However, this slowdown can make it much more difficult to dodge the follow-up magic energy rings. It is recommended that you remove the Berserker Ring for this fight. Additionally, make sure you’re using the


 stick to rotate the camera upwards so you can see the rings more easily and prepare yourself to dodge.
- This is a very short fight because you don’t actually have to defeat Barnabas, and he uses a straightforward set of moves during this first encounter.
- Check out the Barnabas section of the walkthrough for more tips on how to deal with each of his moves, but this is one of the easier Medal of Valor challenges to deal with.
- As noted above, this is one of the most challenging Medals of Valor to earn. Barnabas starts with a simple set of moves that grow in complexity as you progress through one phase to another, and within each phase. This is a fight where practice makes perfect, and you may need to study up. Check out the Video Demonstration if you need help.
- In Phase 1, Barnabas’ “Gungnir” attack is probably the most difficult to deal with. The best approach is to dodge right when the spear lands, and then create some distance between Clive and the impact spot so you don’t accidentally get hit by residual magic.
- “Blinding Steel” is not an attack that Barnabas uses often, but it’s an attack you have to be prepared for constantly, because the only way to survive it is to get behind Barnabas and out of the impact zone. Be watching for this attack continually.
- Don’t overextend during stagger windows. Barnabas has many HP breakpoints that you can’t extend past until a cutscene triggers, so there’s no point in wasting abilities, blowing through your Limit Break gauge, or putting your powerful abilities like
 Judgment Bolt on cooldown.
 - During Phase 3, and specifically during the “Gathering Darkness” sequence, don’t be afraid to blow through all of your cooldowns. The sequence that follows will completely reset Barnabas’ “Will Gauge,” so all of your abilities will have an opportunity to come off cooldown.
- “Quieting,” “Great Divide,” “All-wielder,” and “Circle of Malius” are annoying attacks that you’ll just have to practice and get used to. Because this is such a long battle, with a ton of cutscenes in between the phases, it’s these attack sequences (along with the Odin transformation) that make this one of the most challenging Medals of Valor to obtain.
- Ultima has a few moves that you’ll have to get used to, like Neutron Flare, but as noted in the Ultima walkthrough section, you can use Deadly Embrace to get Clive airborne and dodge it much more easily.
- This version of Ultima is not nearly as challenging as the later versions that you’ll face at the end of the game. His attacks are well telegraphed, except some of those in Phase 3…
- “Deliverance” can be a challenge. The timing of Ultima’s sword swings is unintuitive, and he thrashes back and forth for a while. There’s nothing you can do to make this easier; it just requires practice and successful execution during one of your attempts.
- Your goal in the first phase should be to rip through Omega as quickly as possible. There’s a reasonably lengthy cutscene between Phases 1 and 2 that will allow your abilities to recharge and come off cooldown, so go all out so you can get to Phase 2 quickly.
- Both Omega and Omega Aionios’ regular physical attacks can all be dodged with
 Cold Snap if you learn the timing.
 - It’s possible to Cold Snap its “Maximum Overdrive” attack as well, but it may be easier to get out of the way and play it defensively instead.
- Rotate your camera upward during its “Ion Efflux” attacks so that you can see where the energy balls will hit and so you know when and where to dodge.
- Omega Aionios will often reset its “Will Gauge,” and you may struggle to get a stagger off. As a result, it’s usually better to use your Eikonic Abilities rather than saving them. Omega Aionios has a lot of HP that you need to burn through.
- “High Maneuvers” is complex to dodge, but the trick is to dodge the very second you see it launch off the ceiling.
- During the final phase (“Dimensional Compression”), don’t panic! You have more time than it would seem, and if you try to rush it and deal too much damage too quickly, you’ll end up getting hit. Check out the Video Demonstration and the Omega walkthrough section for a full rundown of how to complete this phase efficiently.
- Learning Ifrit’s combo attacks is critical for this fight. While he’s flying through the air, his combo is x3, x2, whereas when he’s on the ground, his combo is x4, x2. It is possible to include a
 Magic Burst between every attack; however, his most efficient and highest damage ability is the final attack of the combo, which deals a significant amount of damage. Your focus should be on getting as many of them in as possible.
 - This boss has many attacks that you need to get used to, unfortunately. From the very first phase, with “Spinning Dive,” to the more complicated attacks like “Breach,” “Riptide,” “Maelstrom,” and “Water Spout.” The best ways to learn methodologies behind these attacks (how they work and how to dodge efficiently) are to either read through the complete Leviathan walkthrough section or to watch the Video Demonstration.
- The “Troubled Waters” phase will give players a headache whether they’re attempting to earn the Medal of Valor - Leviathan or not. Make sure you use Spitflare and Brimstone as often as you can, ideally using Spitflare at least 3 times in the fight. Your last attempt to use it will usually be with 1 or 2 seconds left.
This section is to be completed at a later date.