
 The Crystals’ Curse
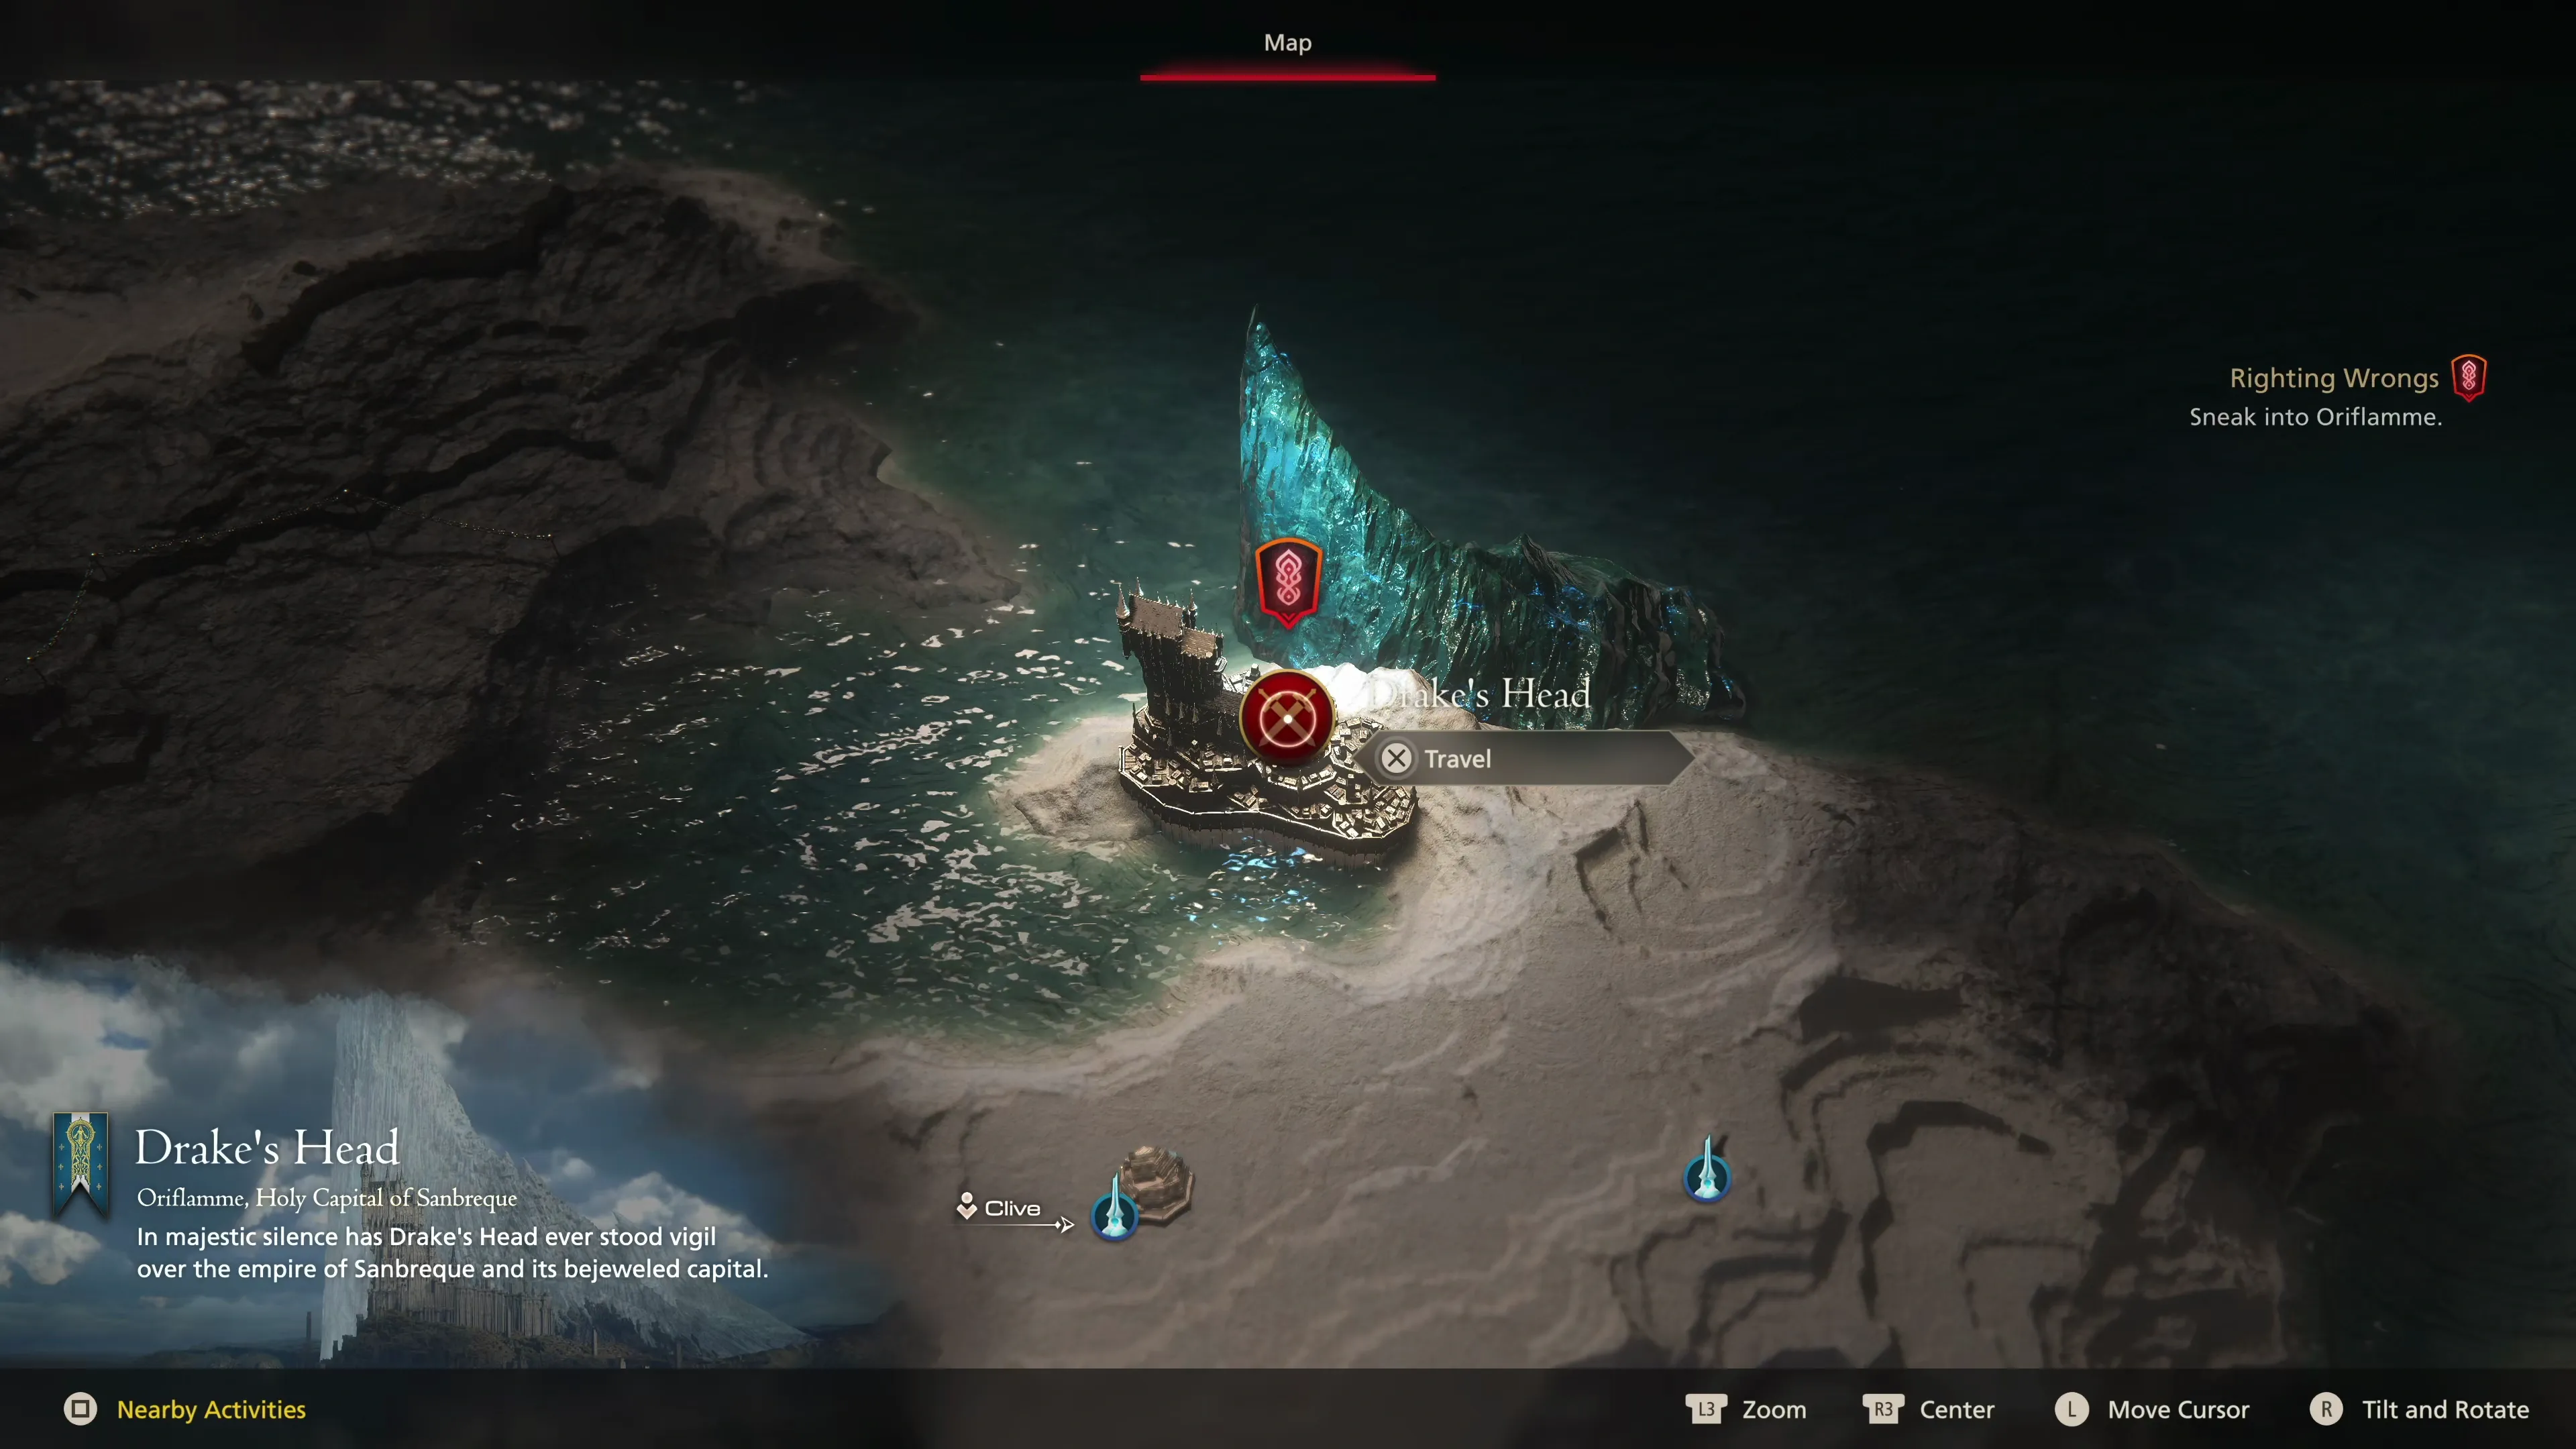
After watching the cutscenes that take place after you reach the chapel outside of Moore, you’ll be able to select “Drake’s Head” as your next destination from the world map.
 Drake’s Head
Helpful Hint
This guide will utilize maps to help guide you through each location; however, this is the fourth section of the game that has a linear map.
As a reminder, these areas are one single trail that you use to travel from the start of the zone to the end, and there are no maps available in the game for these sections. These are typically utilized during sections of the game that are important to the story.
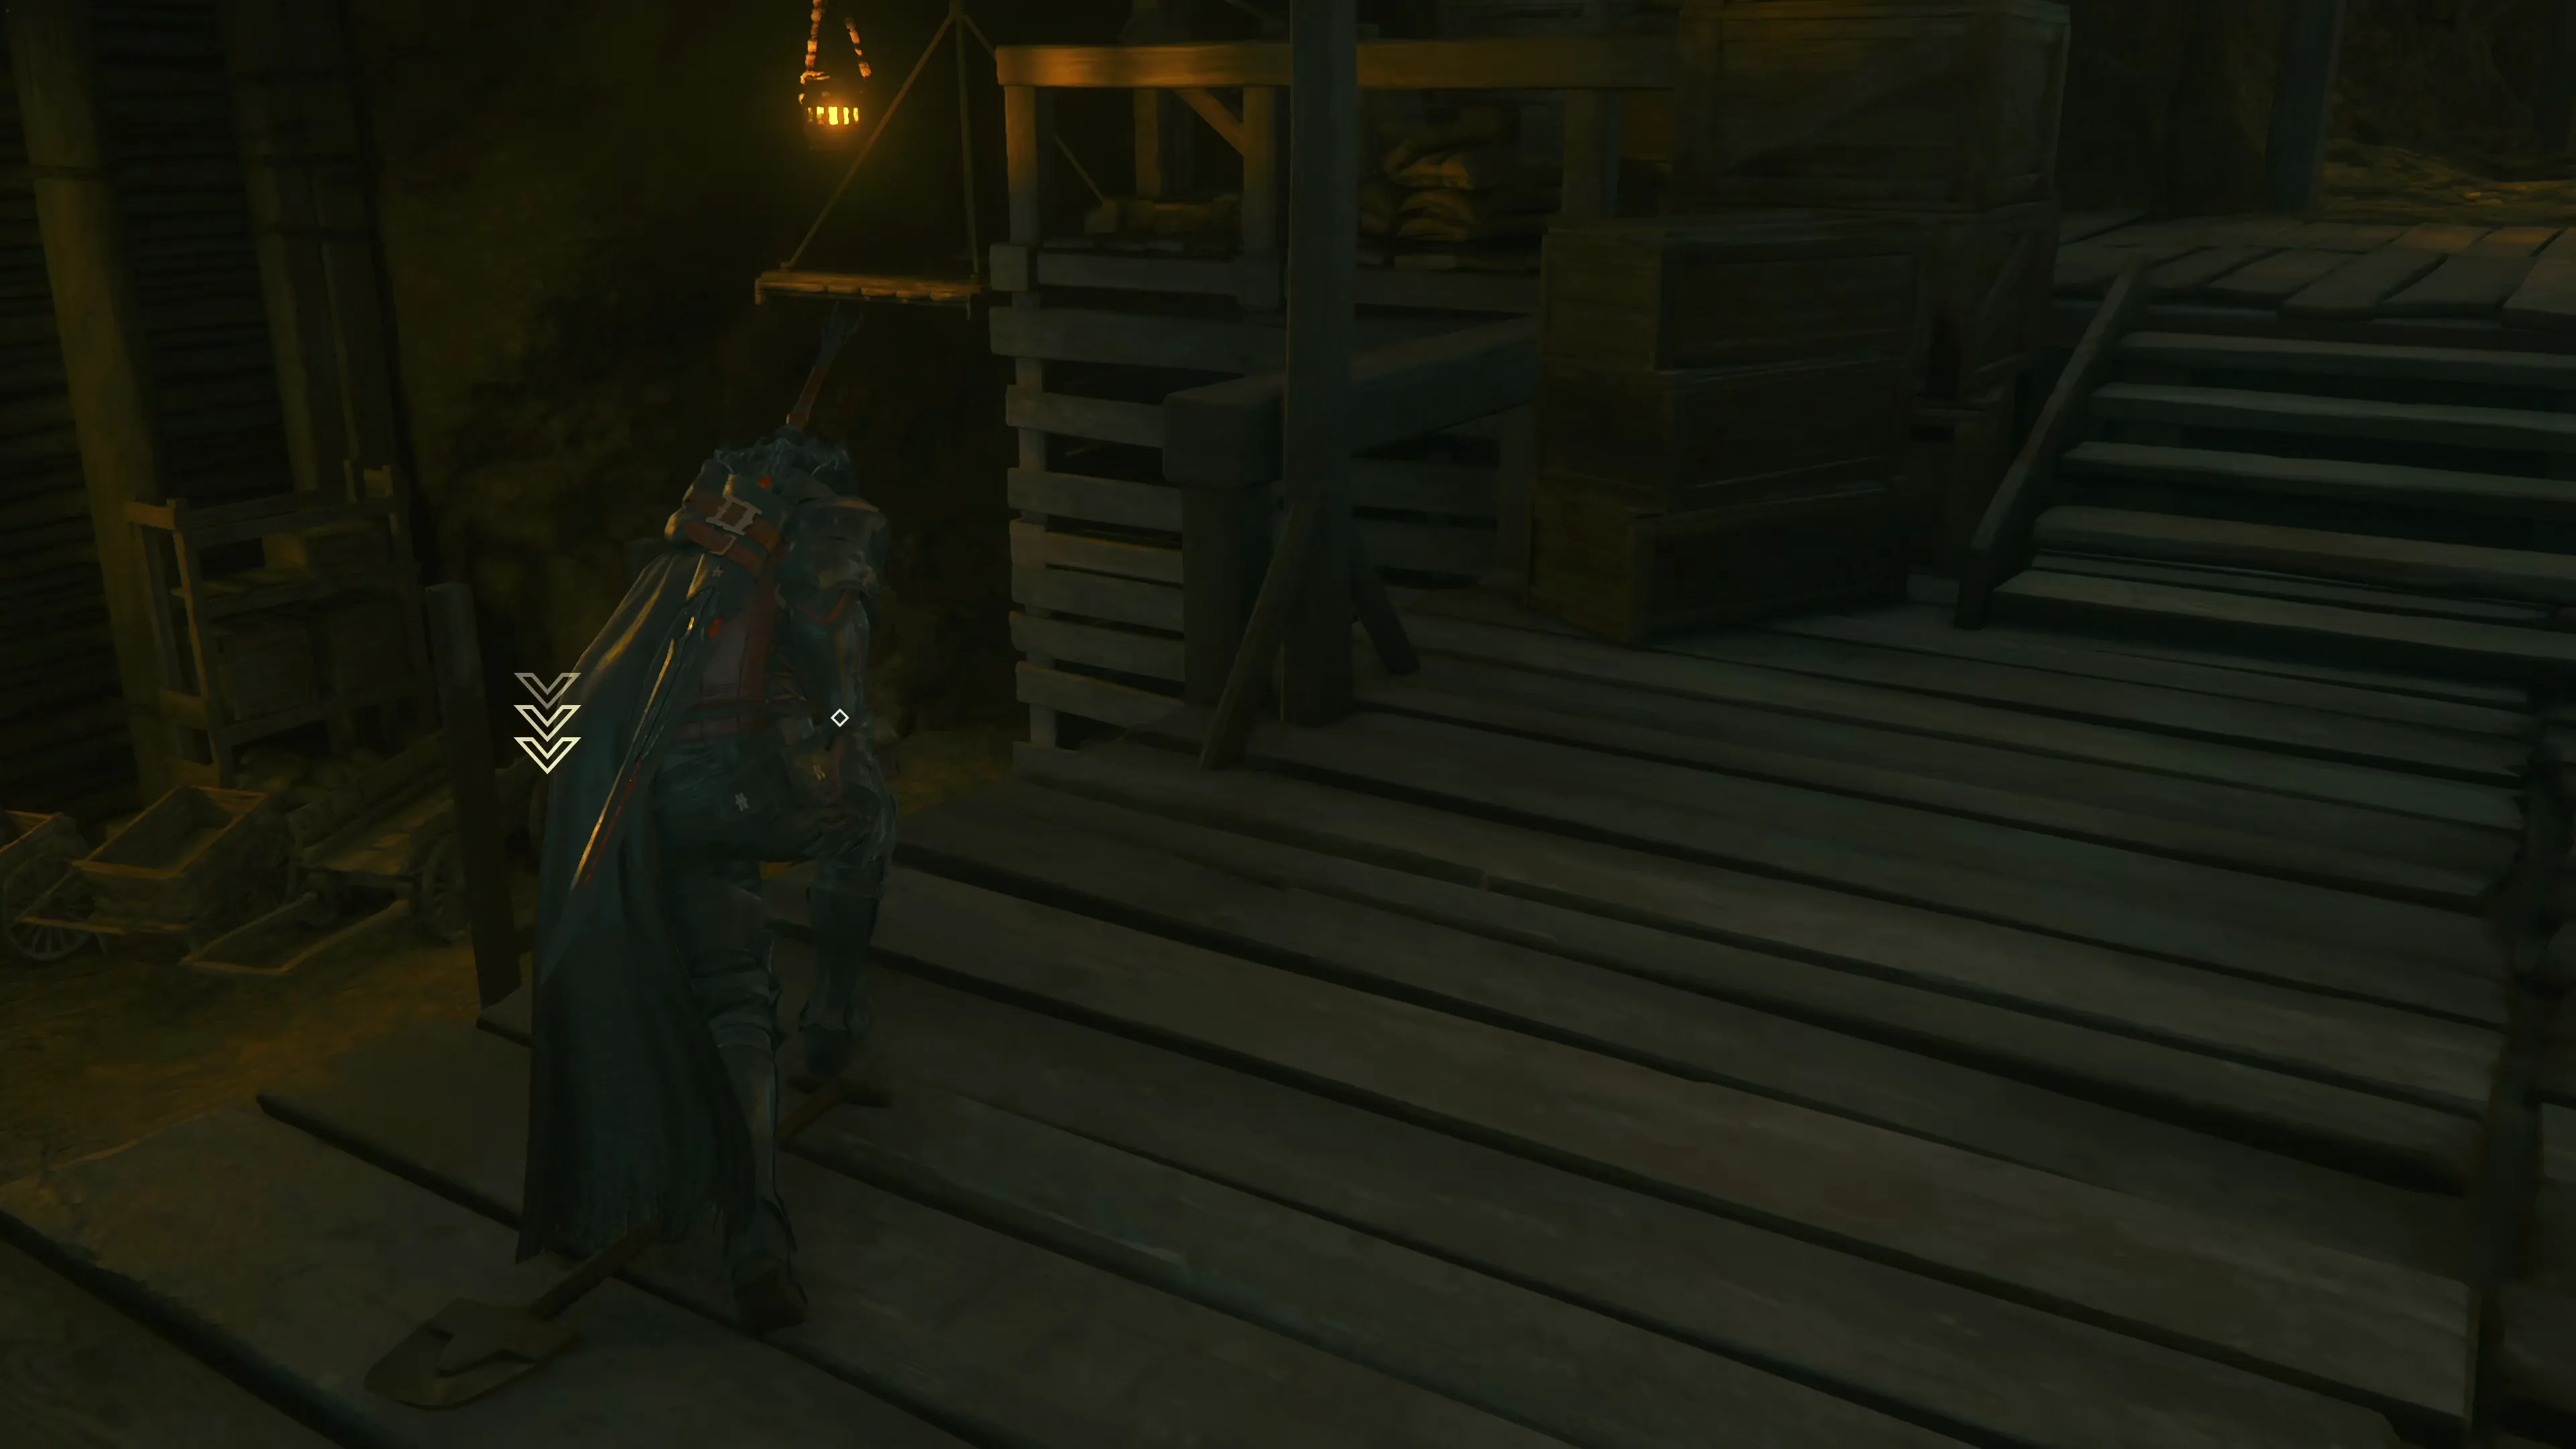
Follow Cid forward, into the stone structure, and down the wooden stairs. On your left, you will see a ladder that you can use to climb down to the lower level to retrieve a treasure coffer. This one contains 800 ![]() Gil.
Gil.
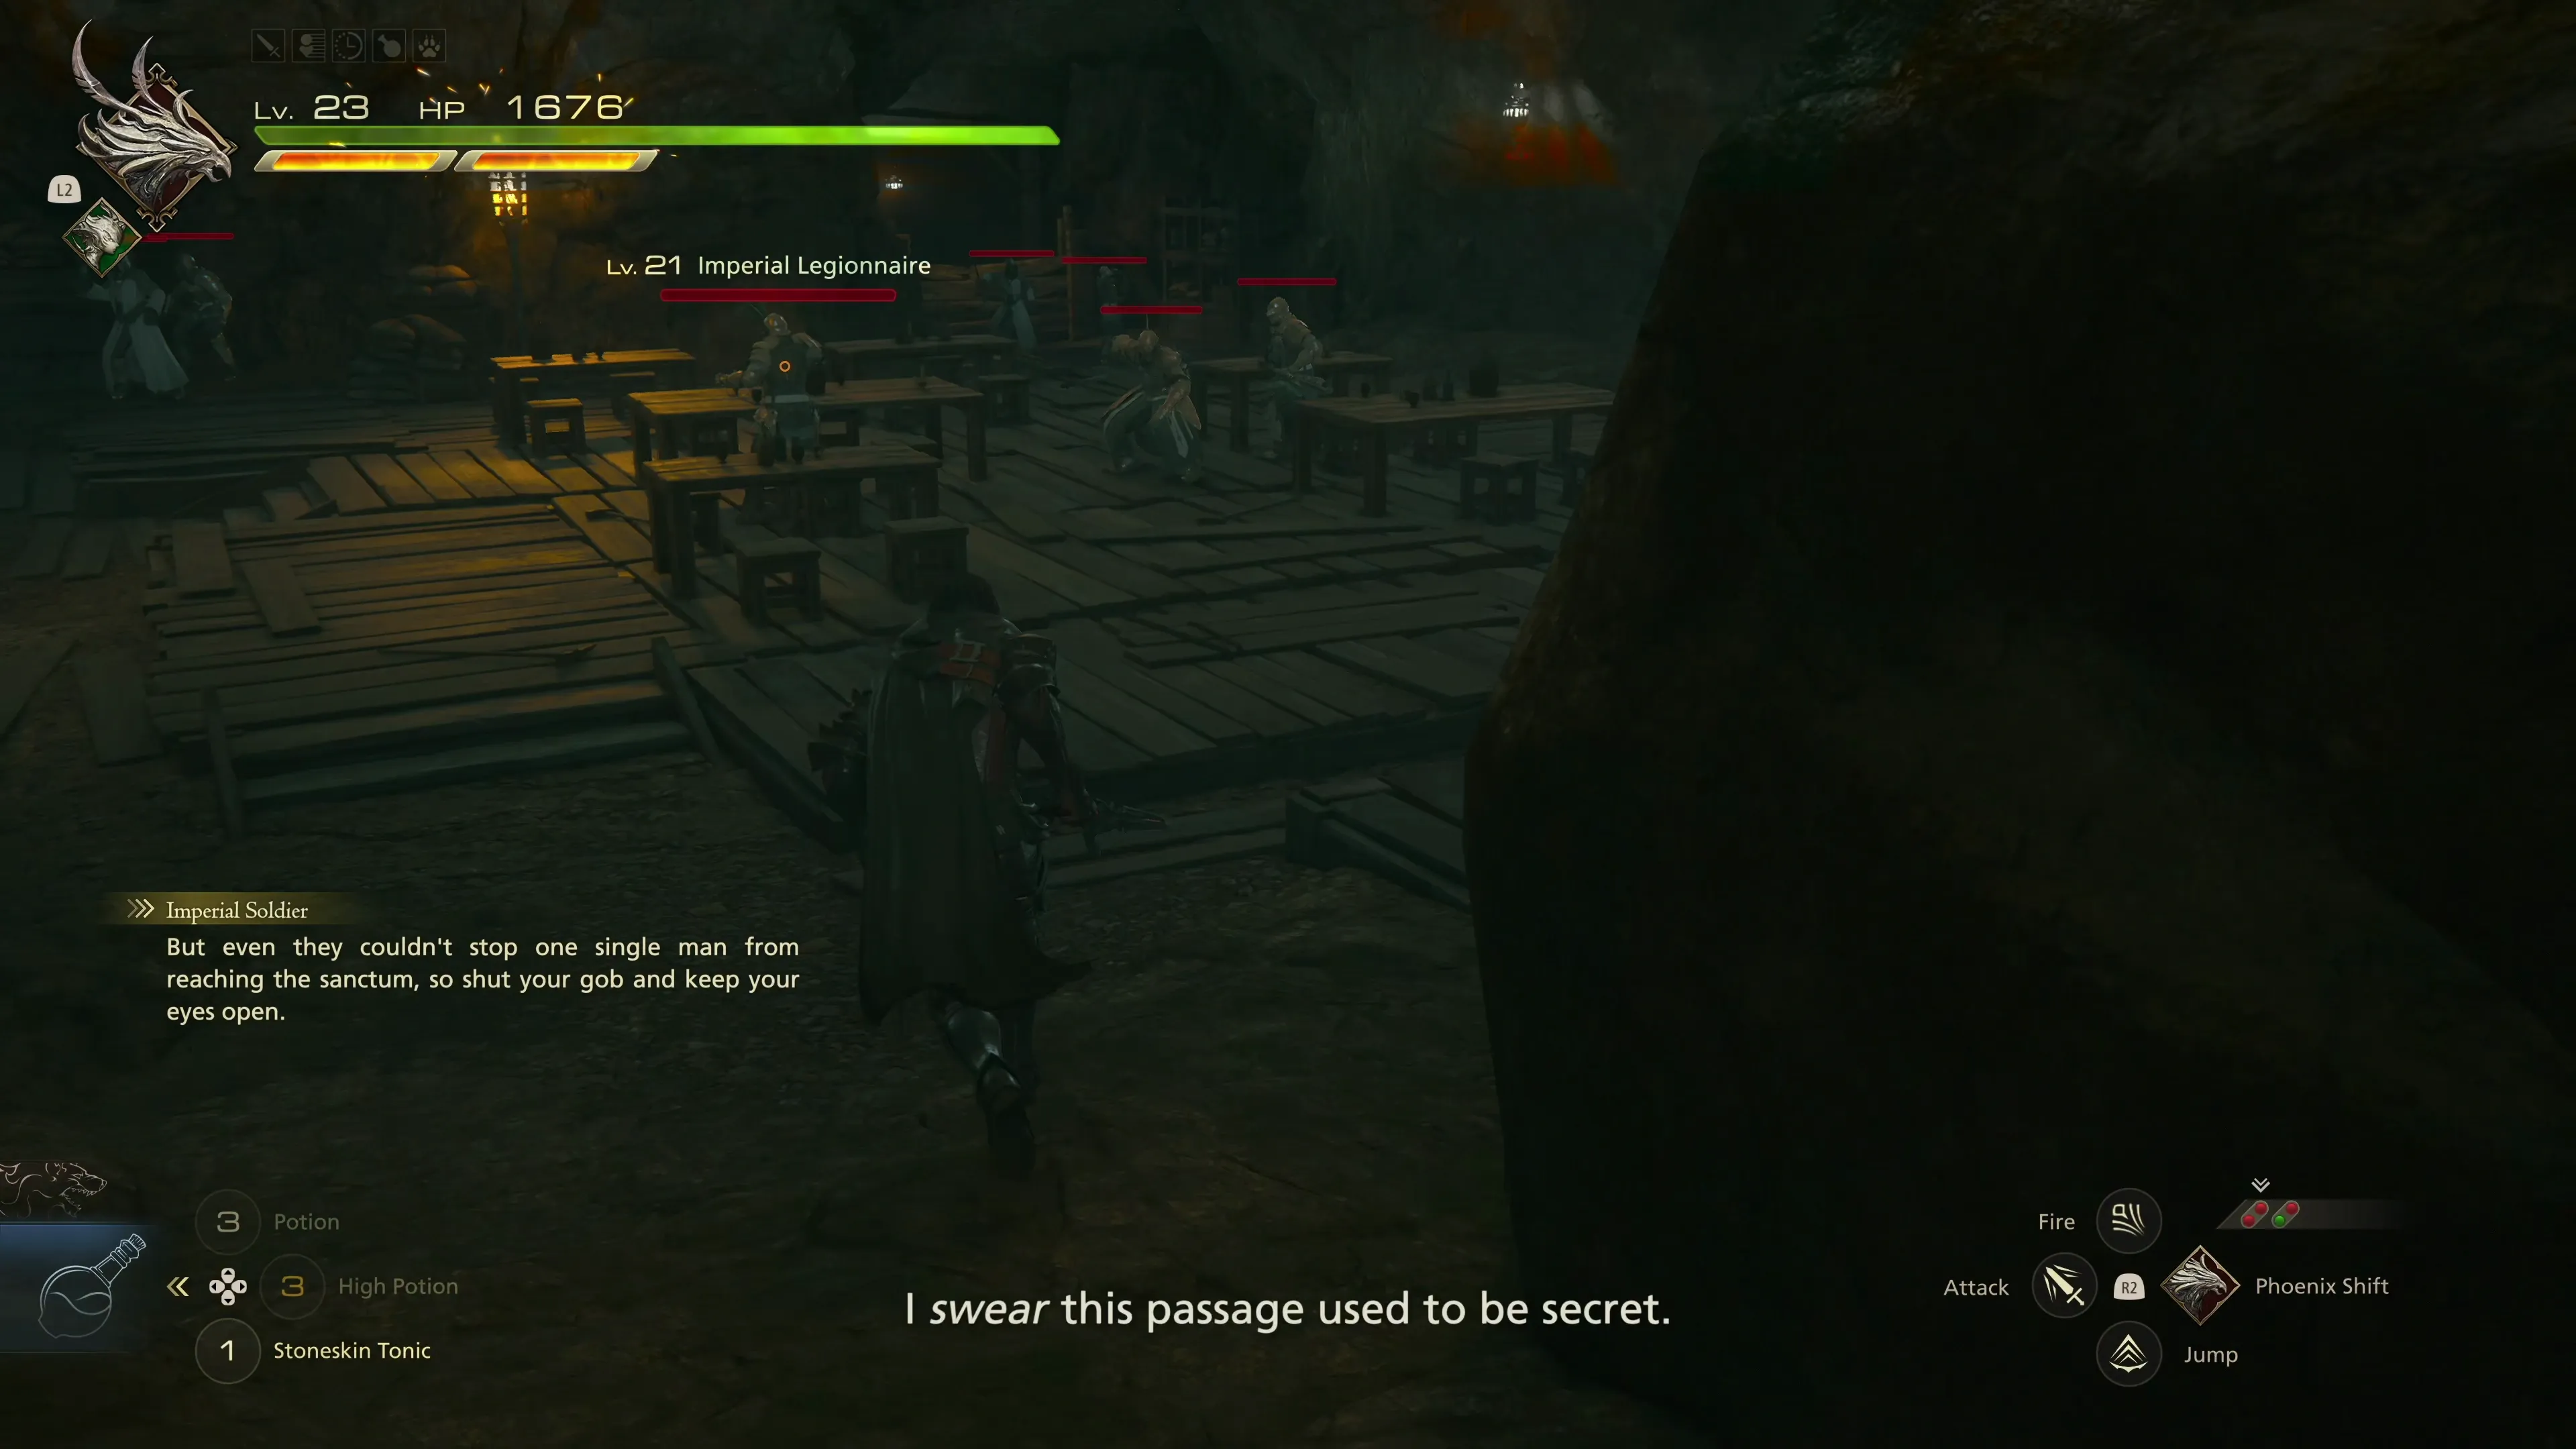
Make sure you switch back to your multi-target ![]() Eikonic Ability Set and then continue along the cave trail. Eventually, you’ll come up behind Cid, who is crouched down, peering over a ledge into a large room full of Imperials. This is your next battle! You should know what to do here already, but as a reminder, make sure you focus on spellcasters first.
Eikonic Ability Set and then continue along the cave trail. Eventually, you’ll come up behind Cid, who is crouched down, peering over a ledge into a large room full of Imperials. This is your next battle! You should know what to do here already, but as a reminder, make sure you focus on spellcasters first.
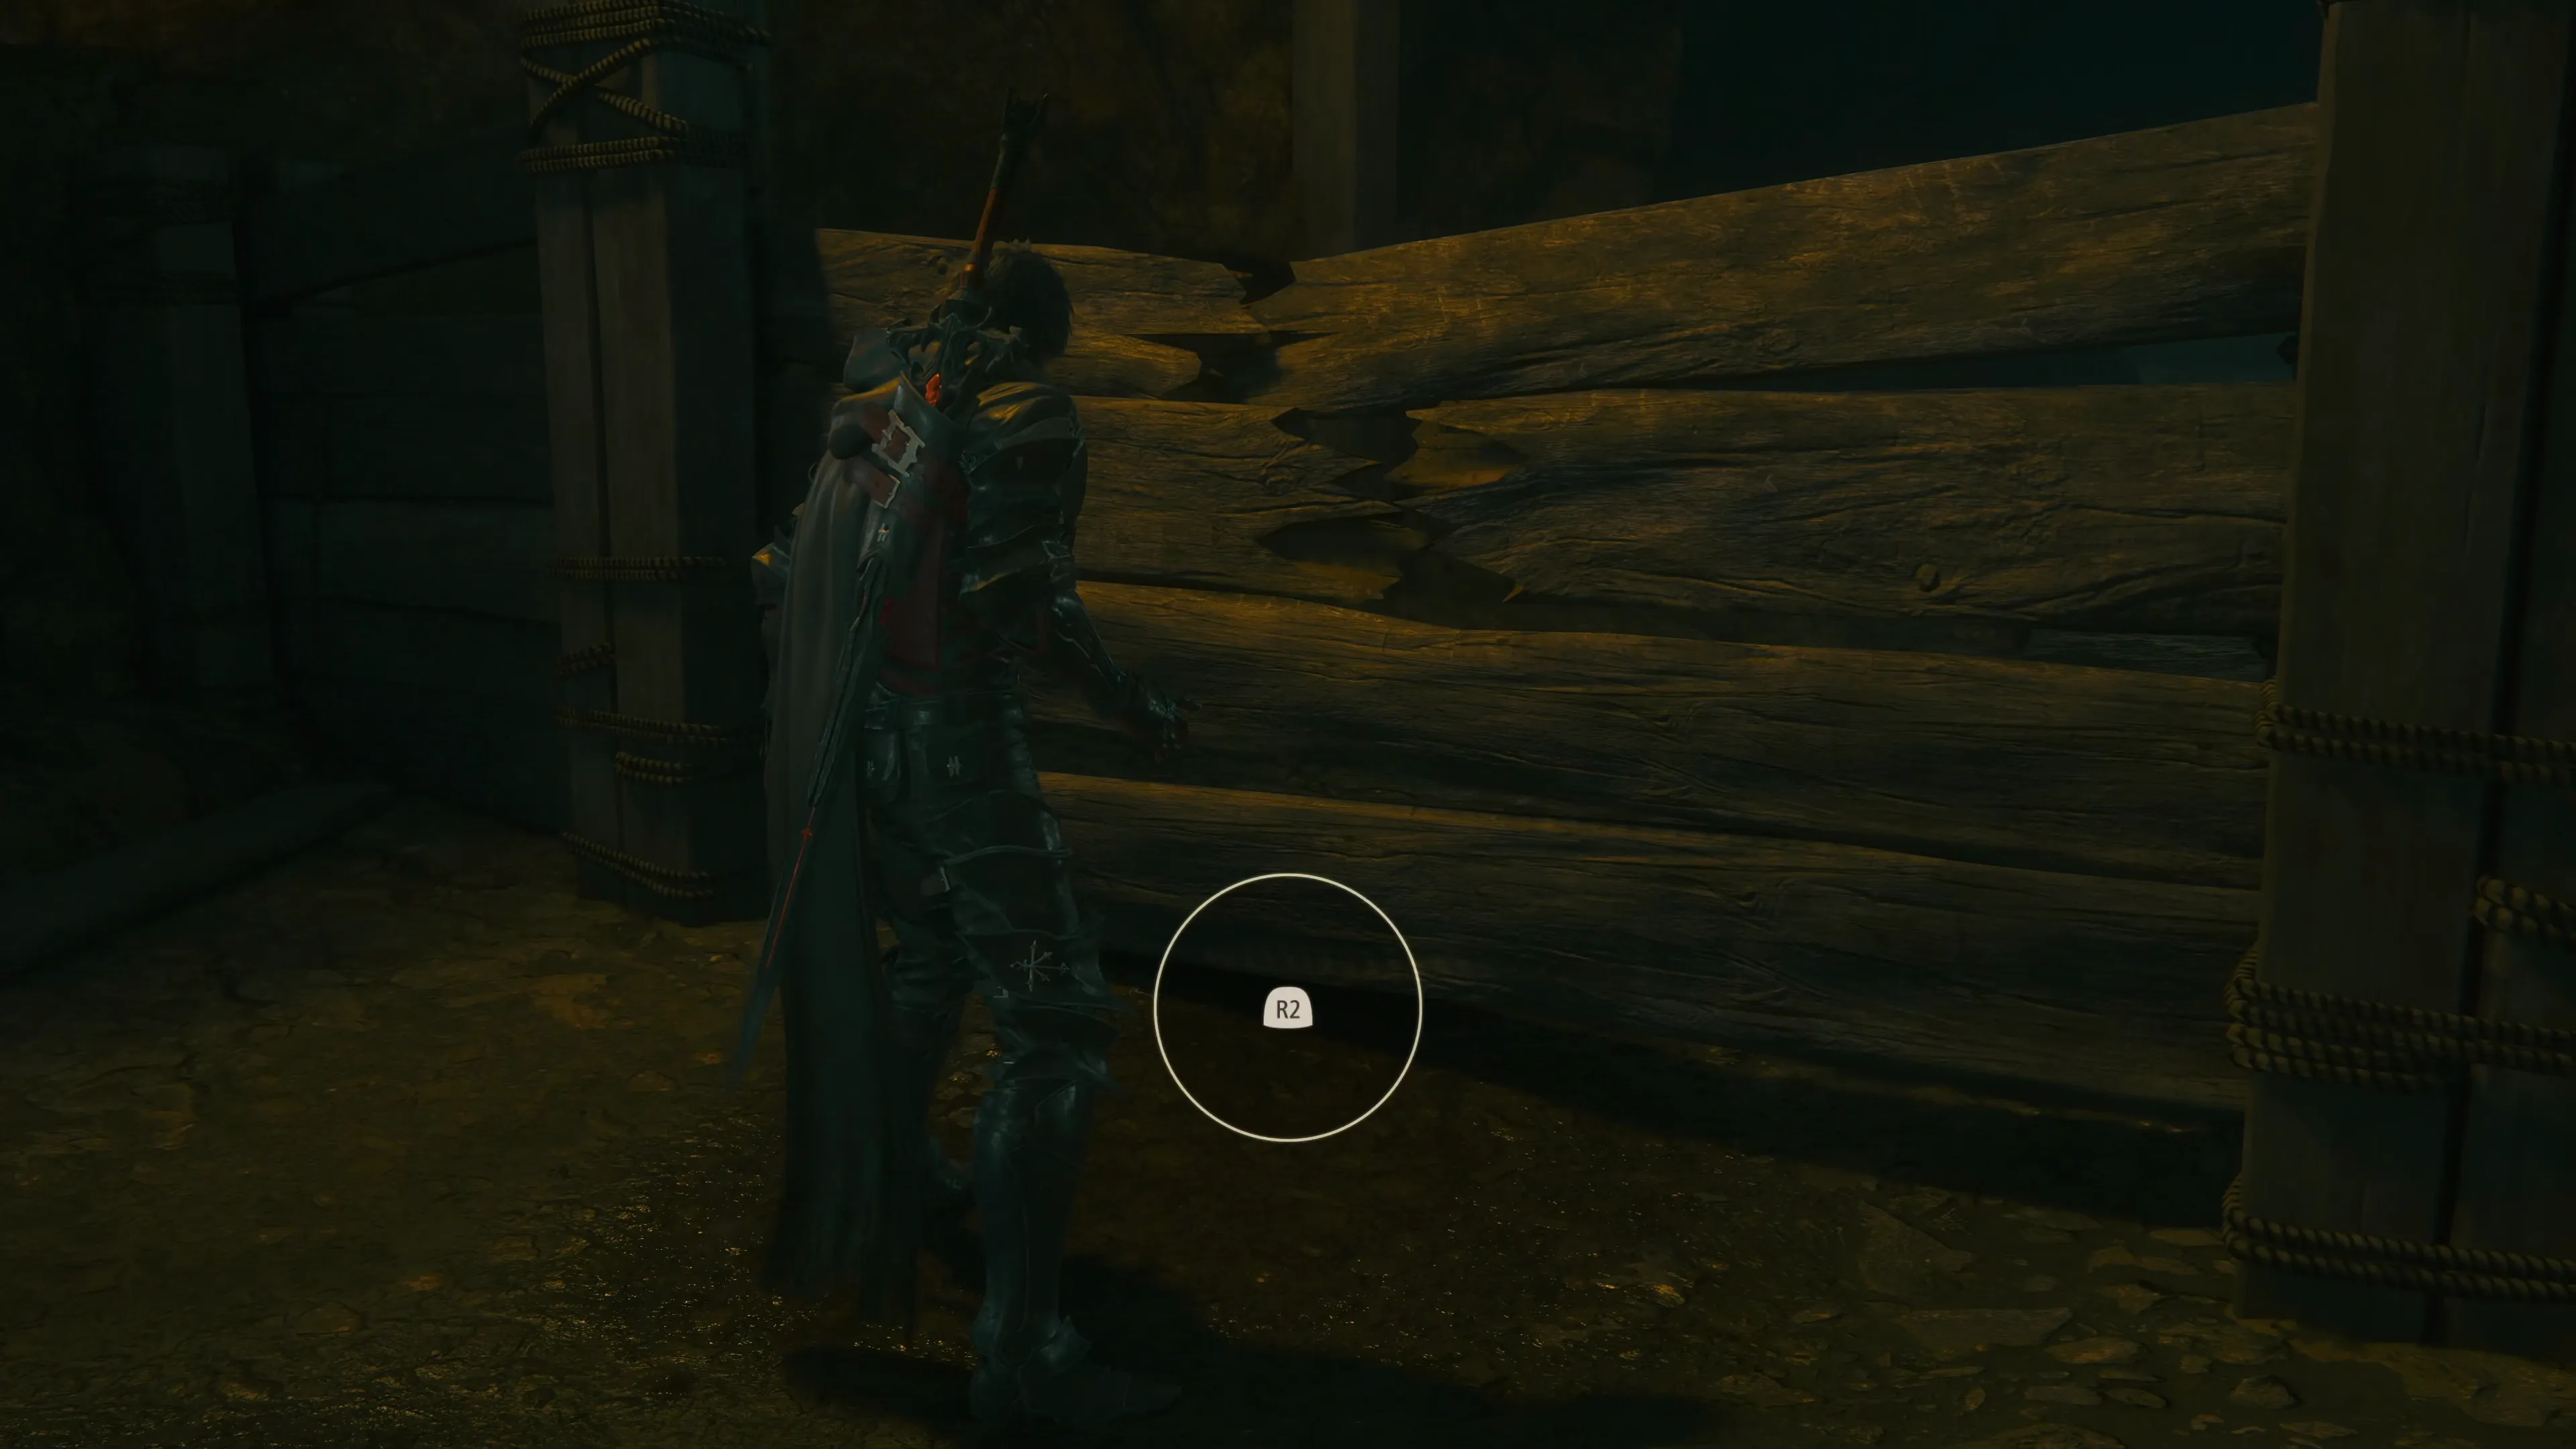
Look around for a section of the cave walled off by a few planks of wood (near where Cid is standing) and press ![]()
![]()
![]() to have Clive kick his way through it. Keep following the trail along, picking up the three Glimmers and sneaking under the lowered cave wall until you come up to the next group of soldiers. Jump in and fight them when you’re ready.
to have Clive kick his way through it. Keep following the trail along, picking up the three Glimmers and sneaking under the lowered cave wall until you come up to the next group of soldiers. Jump in and fight them when you’re ready.
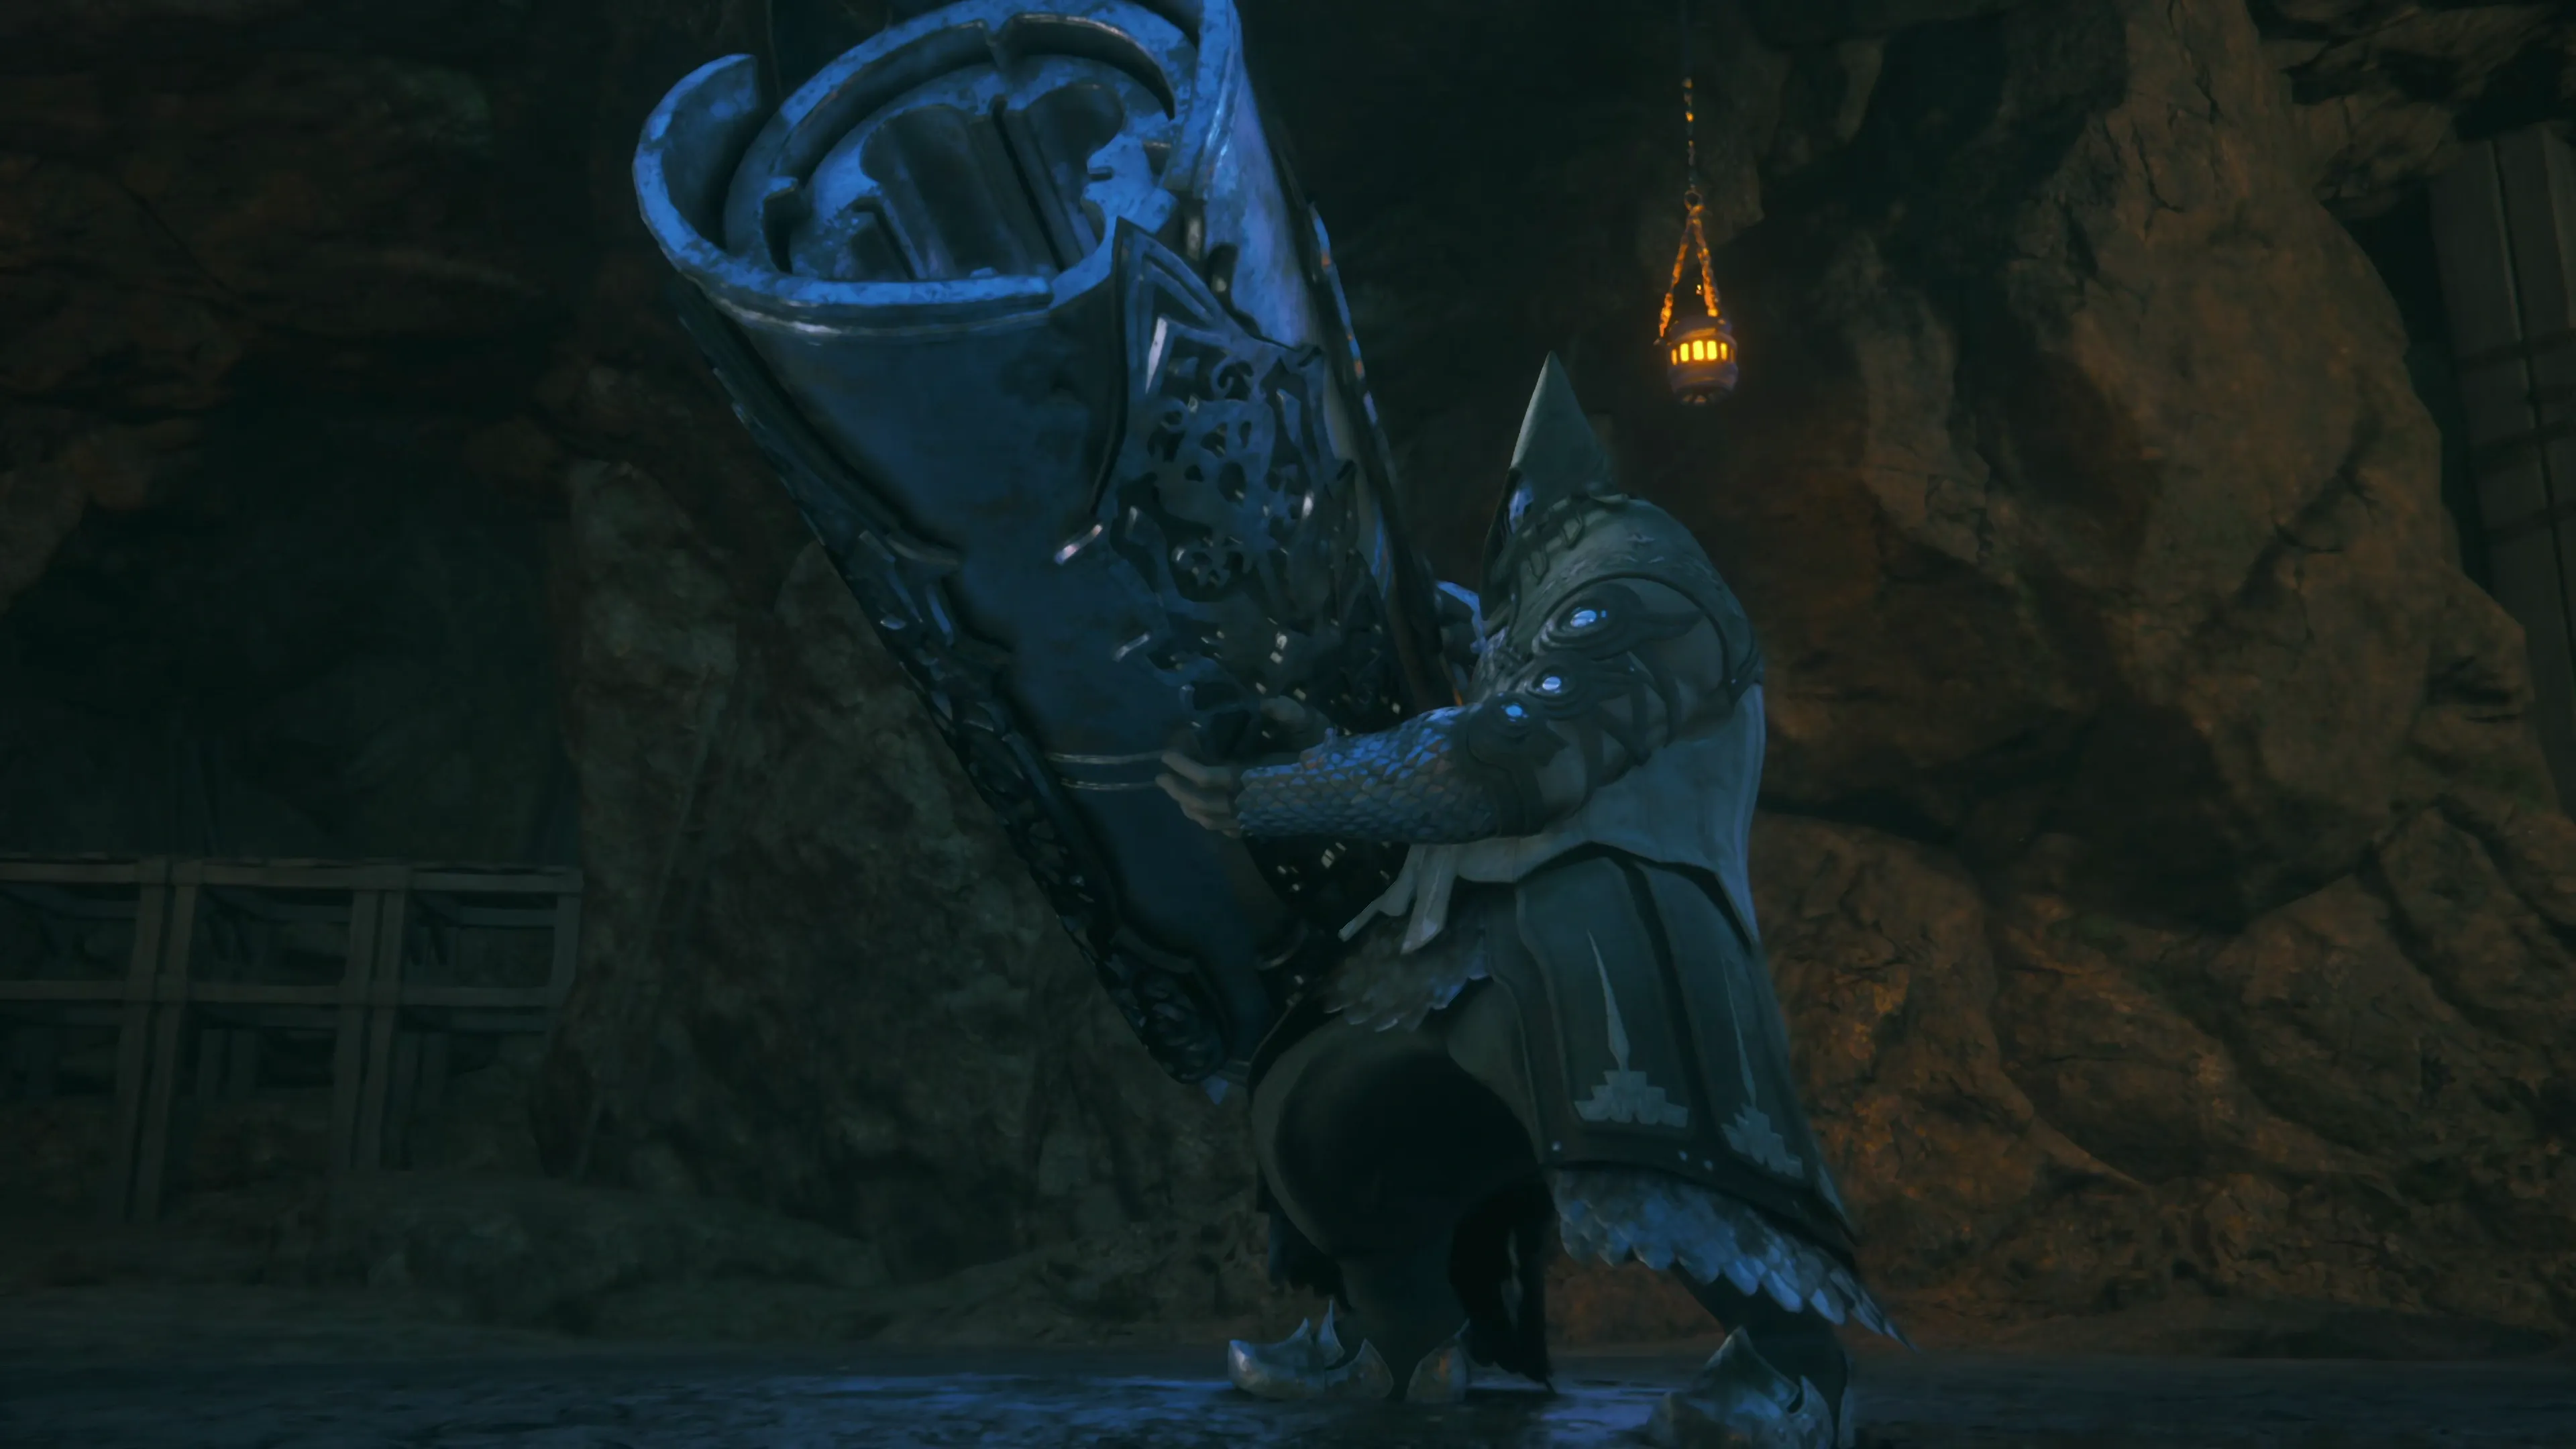
A cutscene will trigger once all of the enemies have been defeated, and a new type of enemy will step out from behind one of the iron gates.
Boss Battle
The Cannonier’s HP and “Will Gauge” will appear in the top-right corner of the screen, just like any other boss, but you will be facing this type of enemy a few times as you progress through the game. His moveset includes:
![]() Physical Attacks:
Physical Attacks:
The Cannonier has several physical attacks when you get within melee range of him, but most of them are slow and easy to dodge. You’ll have to get used to their attack animations to dodge them effectively.
![]() Fireballs:
Fireballs:
Three shots of fire are launched in Clive’s direction. These are easy to dodge or to counter with ![]() Heatwave.
Heatwave.
![]() Cannon Flames:
Cannon Flames:
The Cannonier will spark up his cannon like a butane lighter before running at Clive full speed. You can either dodge this attack or try to get behind him, as his turn radius is quite large when using this attack.
![]() Black Powder:
Black Powder:
The ground will light up in front of the Cannonier and then explode a short time afterwards in a fairly wide radius, but this attack is well telegraphed and easy to dodge.
At 30% HP, the Imperial Cannonier will go full “Akashic,” regain all of his HP, and will gain a few additional moves, including:
![]() Rocketeer:
Rocketeer:
He will jump on his cannon and ride it like a rocket from one side of the room to the other. He will do this a total of 3 times, and you’ll need to dodge the attack all three times, because he will always aim his rocket directly at you.
![]() Hard Launch:
Hard Launch:
He will jump across the screen from wherever he currently is and land in Clive’s current location, so be ready to dodge quickly.
What’s neat about this battle is that the surrounding environment will become engulfed in a blue haze as the battle progresses. There is no Medal of Valor to earn for this fight.
110
2,000
You’ll receive ![]() The Favor of the Inferno (Ignition) accessory after the battle, which can help to improve the damage output of your multi-target Eikonic Ability Set. Walk forward towards the elevator and activate it using the switch on the wall (and the
The Favor of the Inferno (Ignition) accessory after the battle, which can help to improve the damage output of your multi-target Eikonic Ability Set. Walk forward towards the elevator and activate it using the switch on the wall (and the ![]()
![]()
![]() button).
button).
The Glass Mines
Head forward towards the Glimmers, which can be a bit harder to spot with all of the white and blue glowing light around, and grab the treasure coffer in this room that contains a ![]() Meteorite. Follow the trail along and defeat the next group of Akashic Miners in the next section of the mines.
Meteorite. Follow the trail along and defeat the next group of Akashic Miners in the next section of the mines.
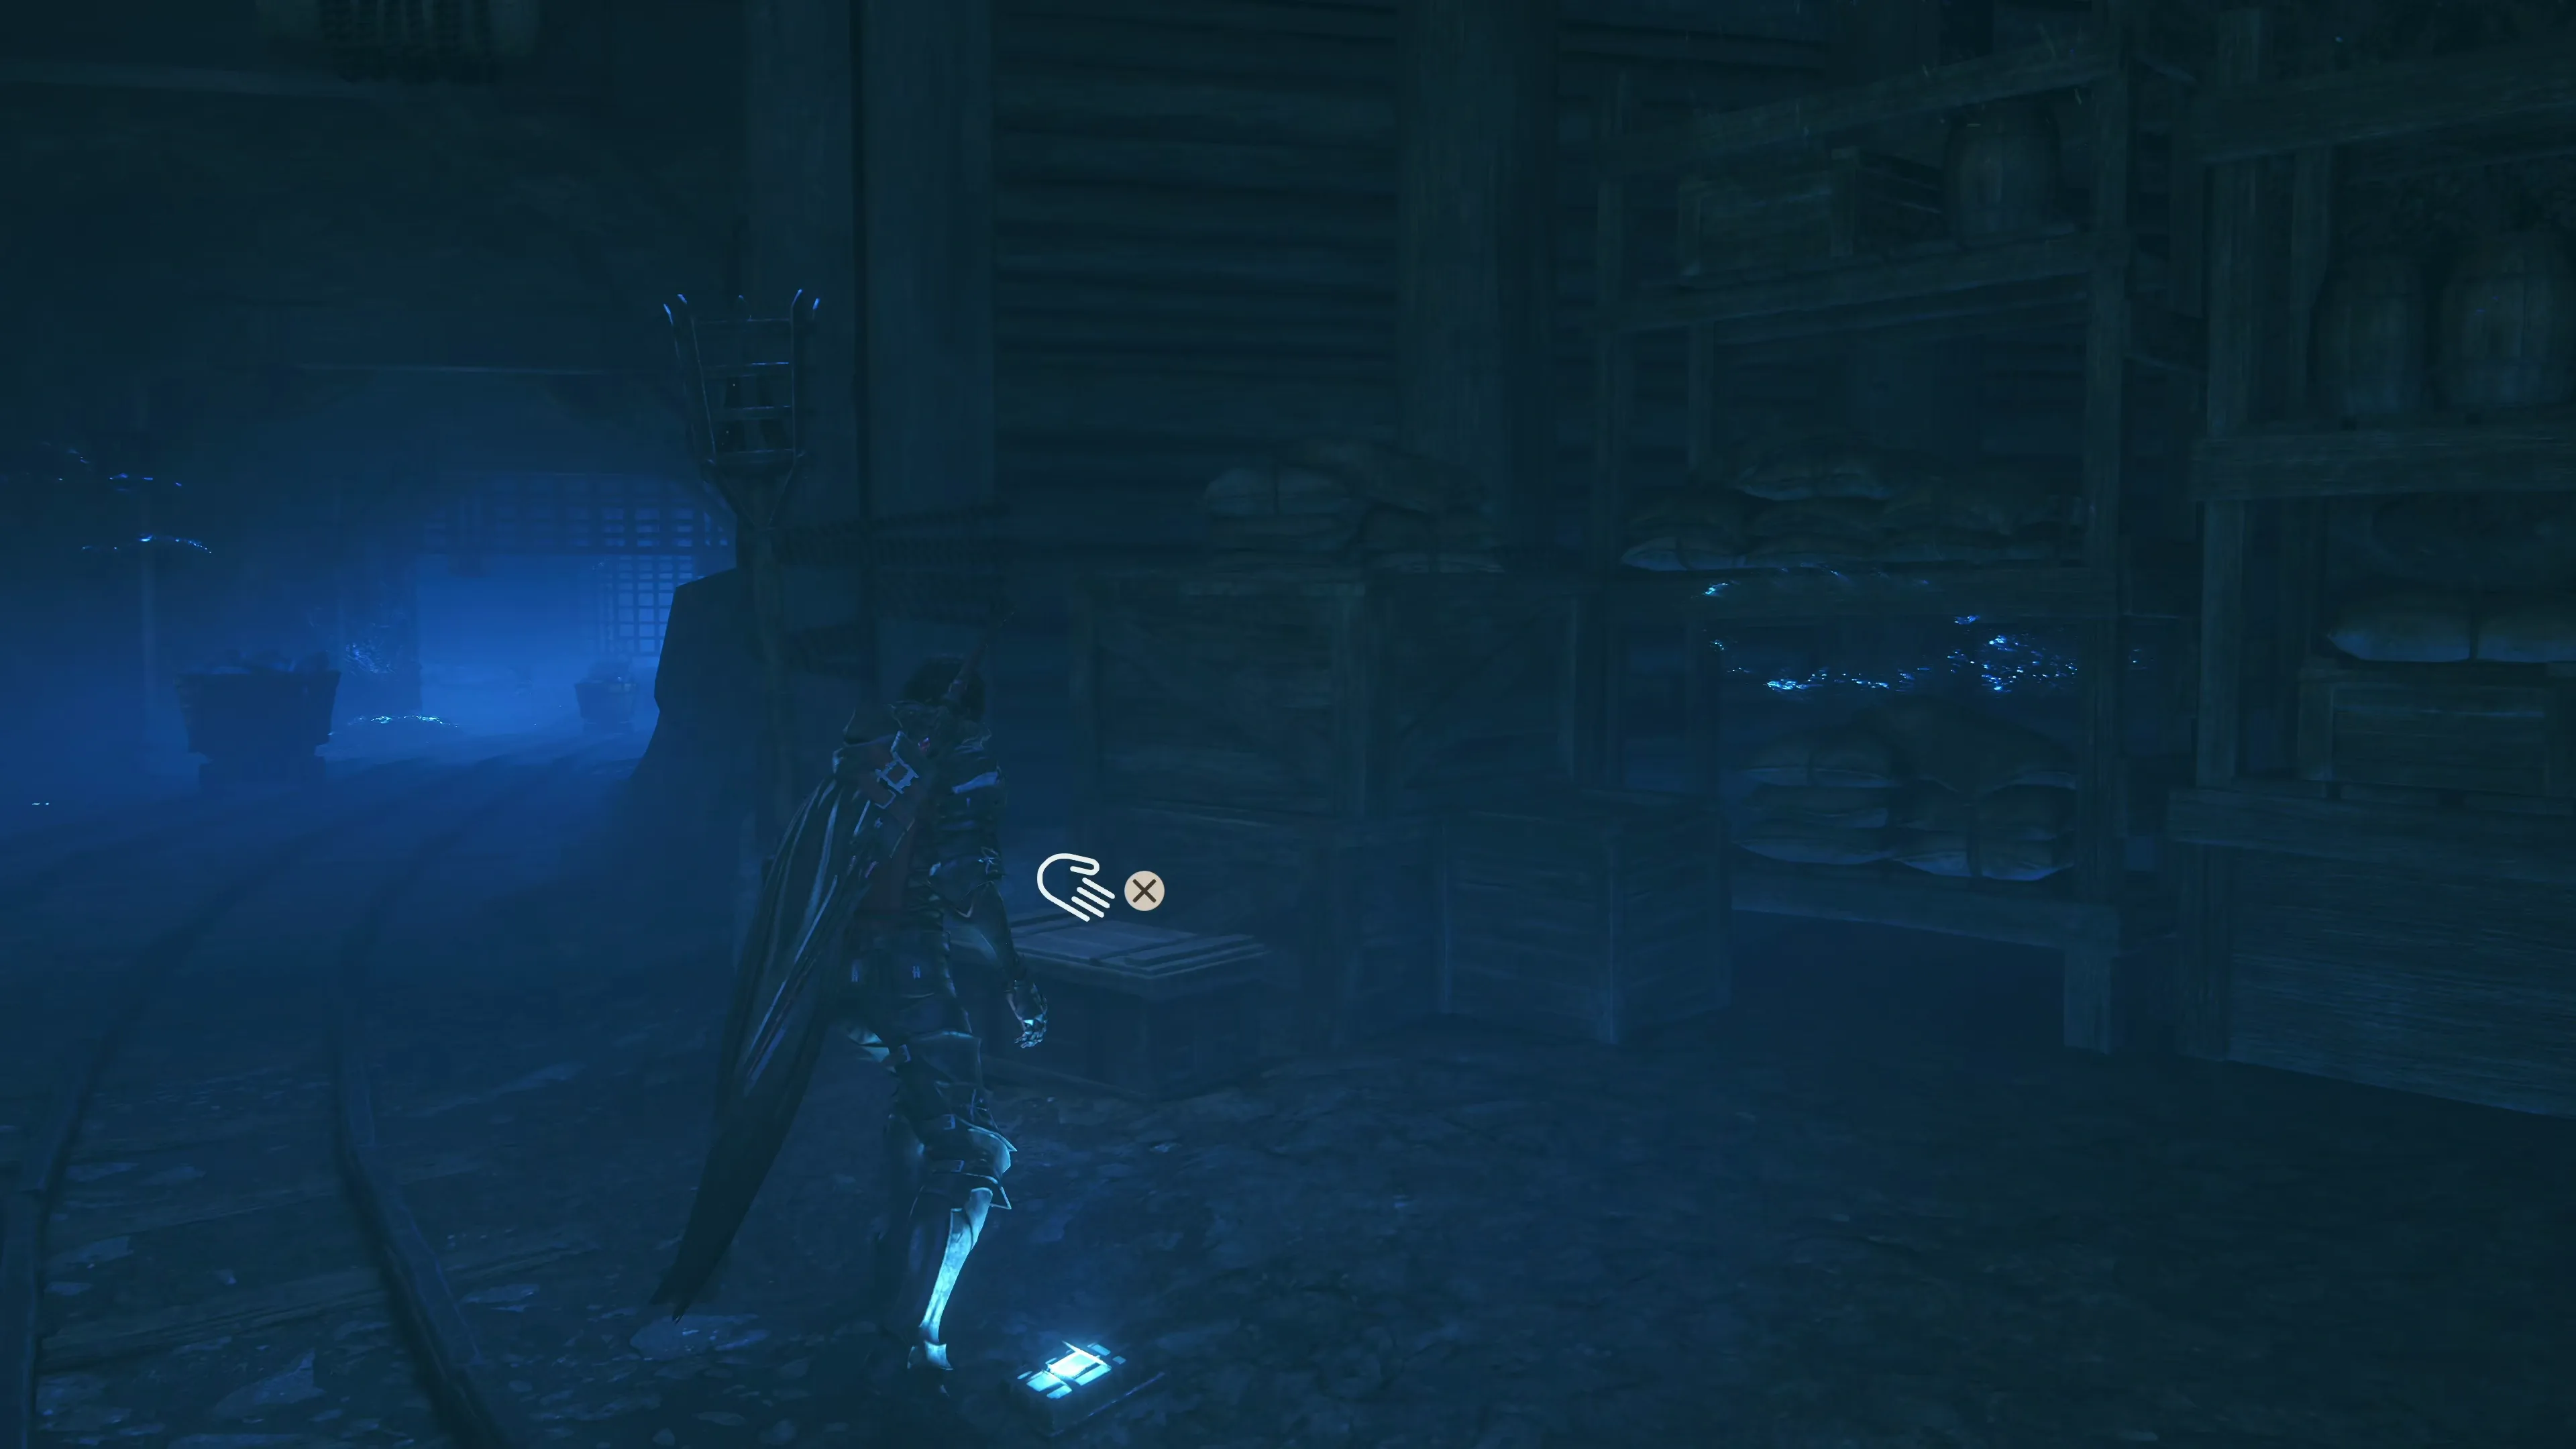
There is another wooden wall that you can break down on the left side of the cave that you can break through (using the ![]()
![]()
![]() button). Follow the cave along to the bridge for another cutscene.
button). Follow the cave along to the bridge for another cutscene.
Keep following the path, and just ahead of the next group of Akashic Miners, a tutorial message will pop up on the screen that provides an overview of enemies that have the “Warcry” ability. Some enemies will increase the damage of their team members, but it doesn’t change your battle strategy - rip through them as quickly as possible!
This large room has several Glimmer spots and a treasure coffer near the exit at the back. The coffer contains 60 ![]() Gil and seven
Gil and seven ![]() Sharp Fangs. Continue through the small hole in the rock formation at the back of this room.
Sharp Fangs. Continue through the small hole in the rock formation at the back of this room.
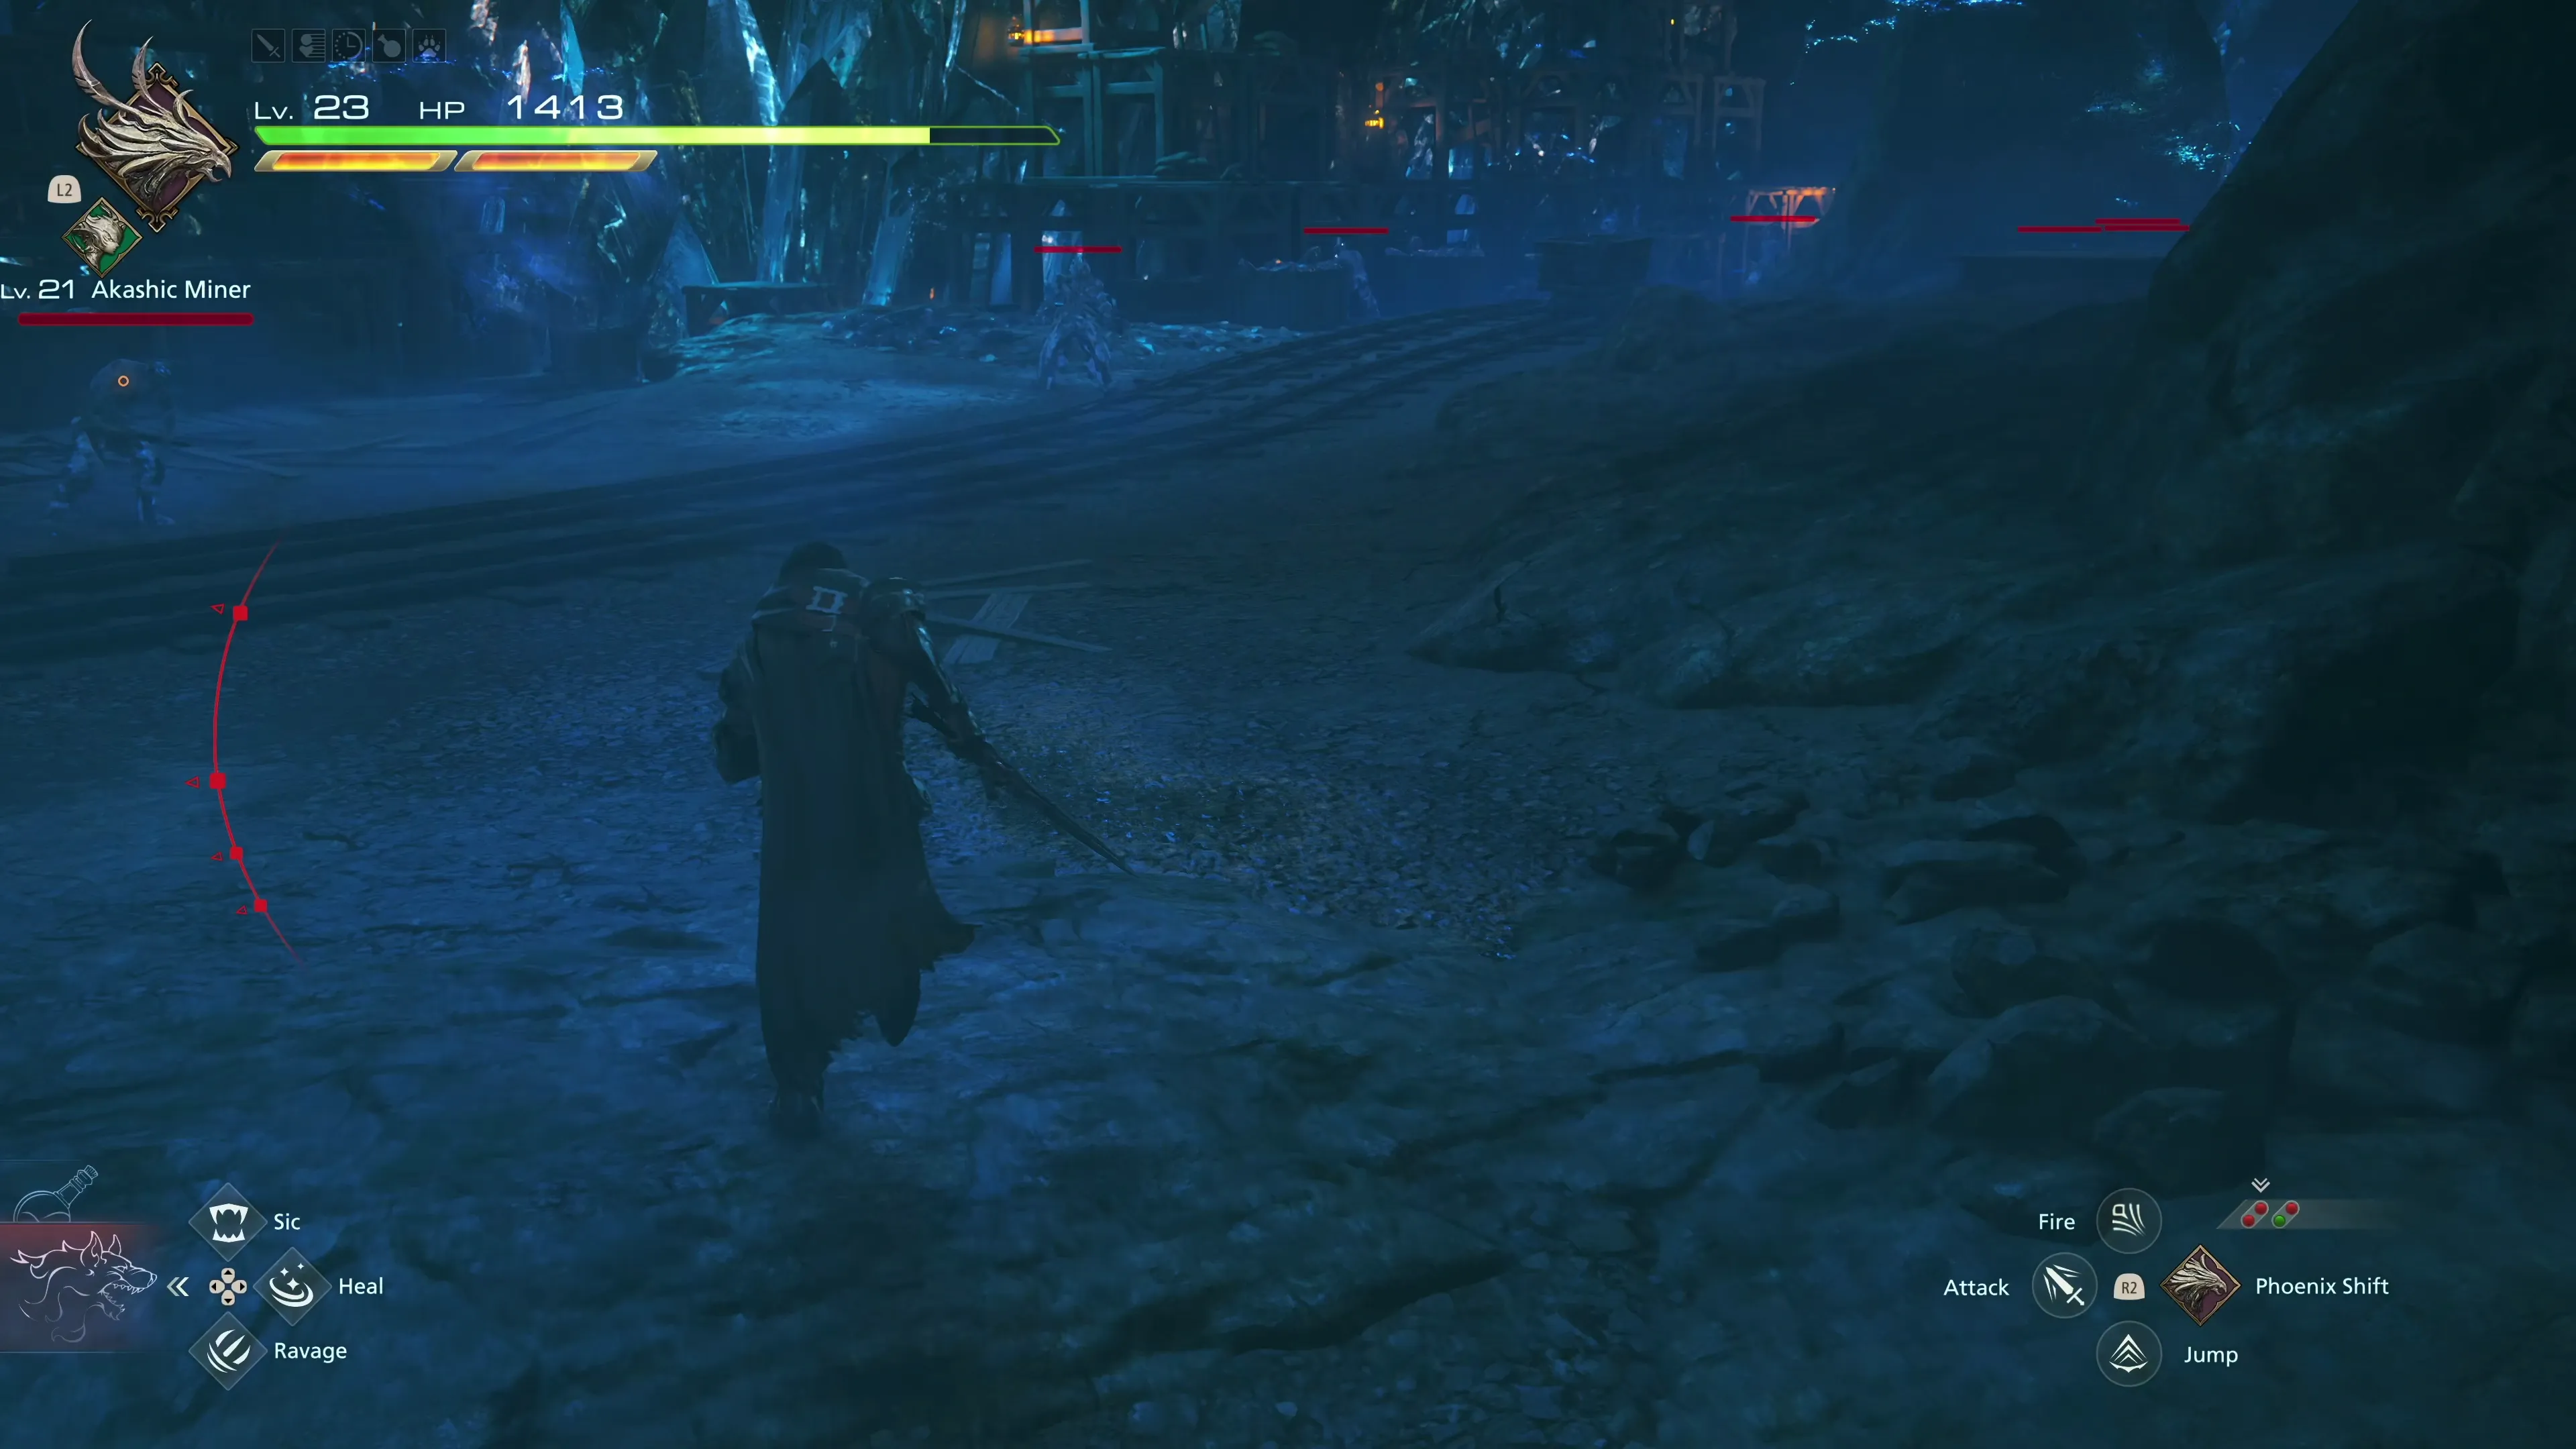
There are two options for proceeding in the next area. You can follow the train tracks that lead off to the right. At the end of the path, you will find another treasure coffer that contains ten chunks of ![]() Wyrrite, but you will have to battle against a group of Akashic Miners and an Akashic War Wyrm when you make your way back down the tracks. Nothing wrong with a little bit of extra
Wyrrite, but you will have to battle against a group of Akashic Miners and an Akashic War Wyrm when you make your way back down the tracks. Nothing wrong with a little bit of extra ![]() Experience Points, though. Use the lever on the right side of the gate to enter the next section of the mines.
Experience Points, though. Use the lever on the right side of the gate to enter the next section of the mines.
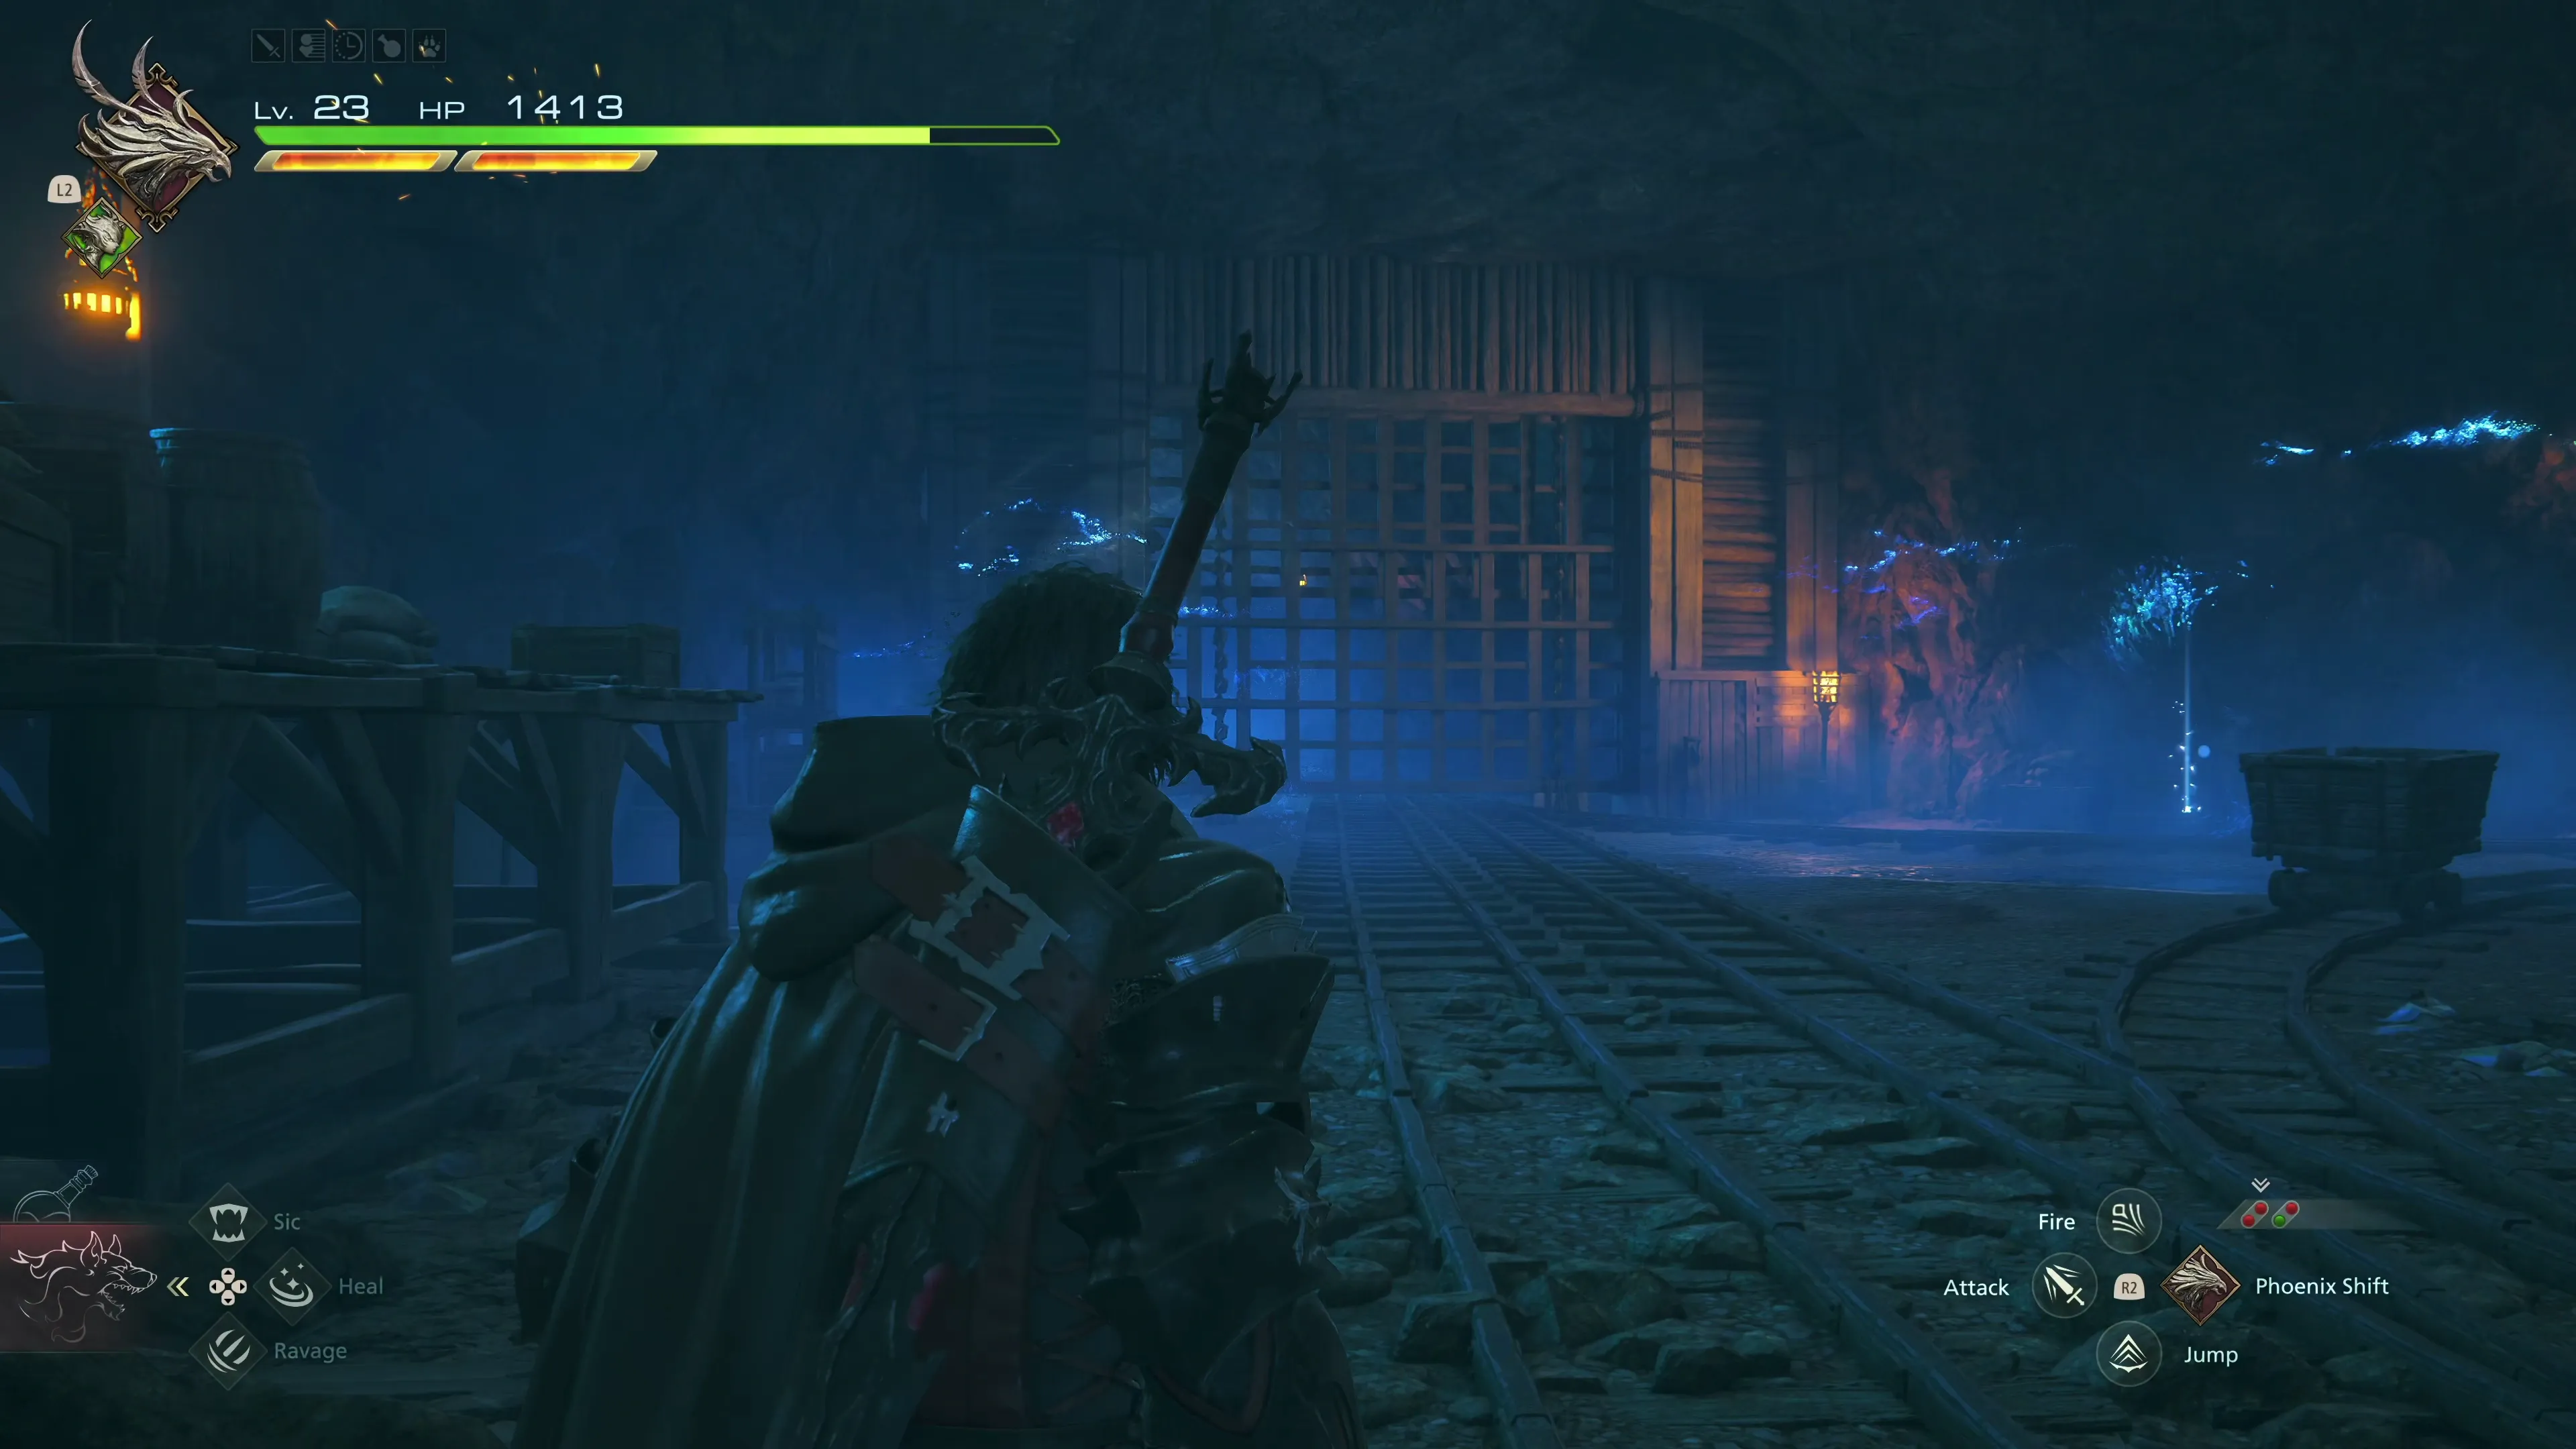
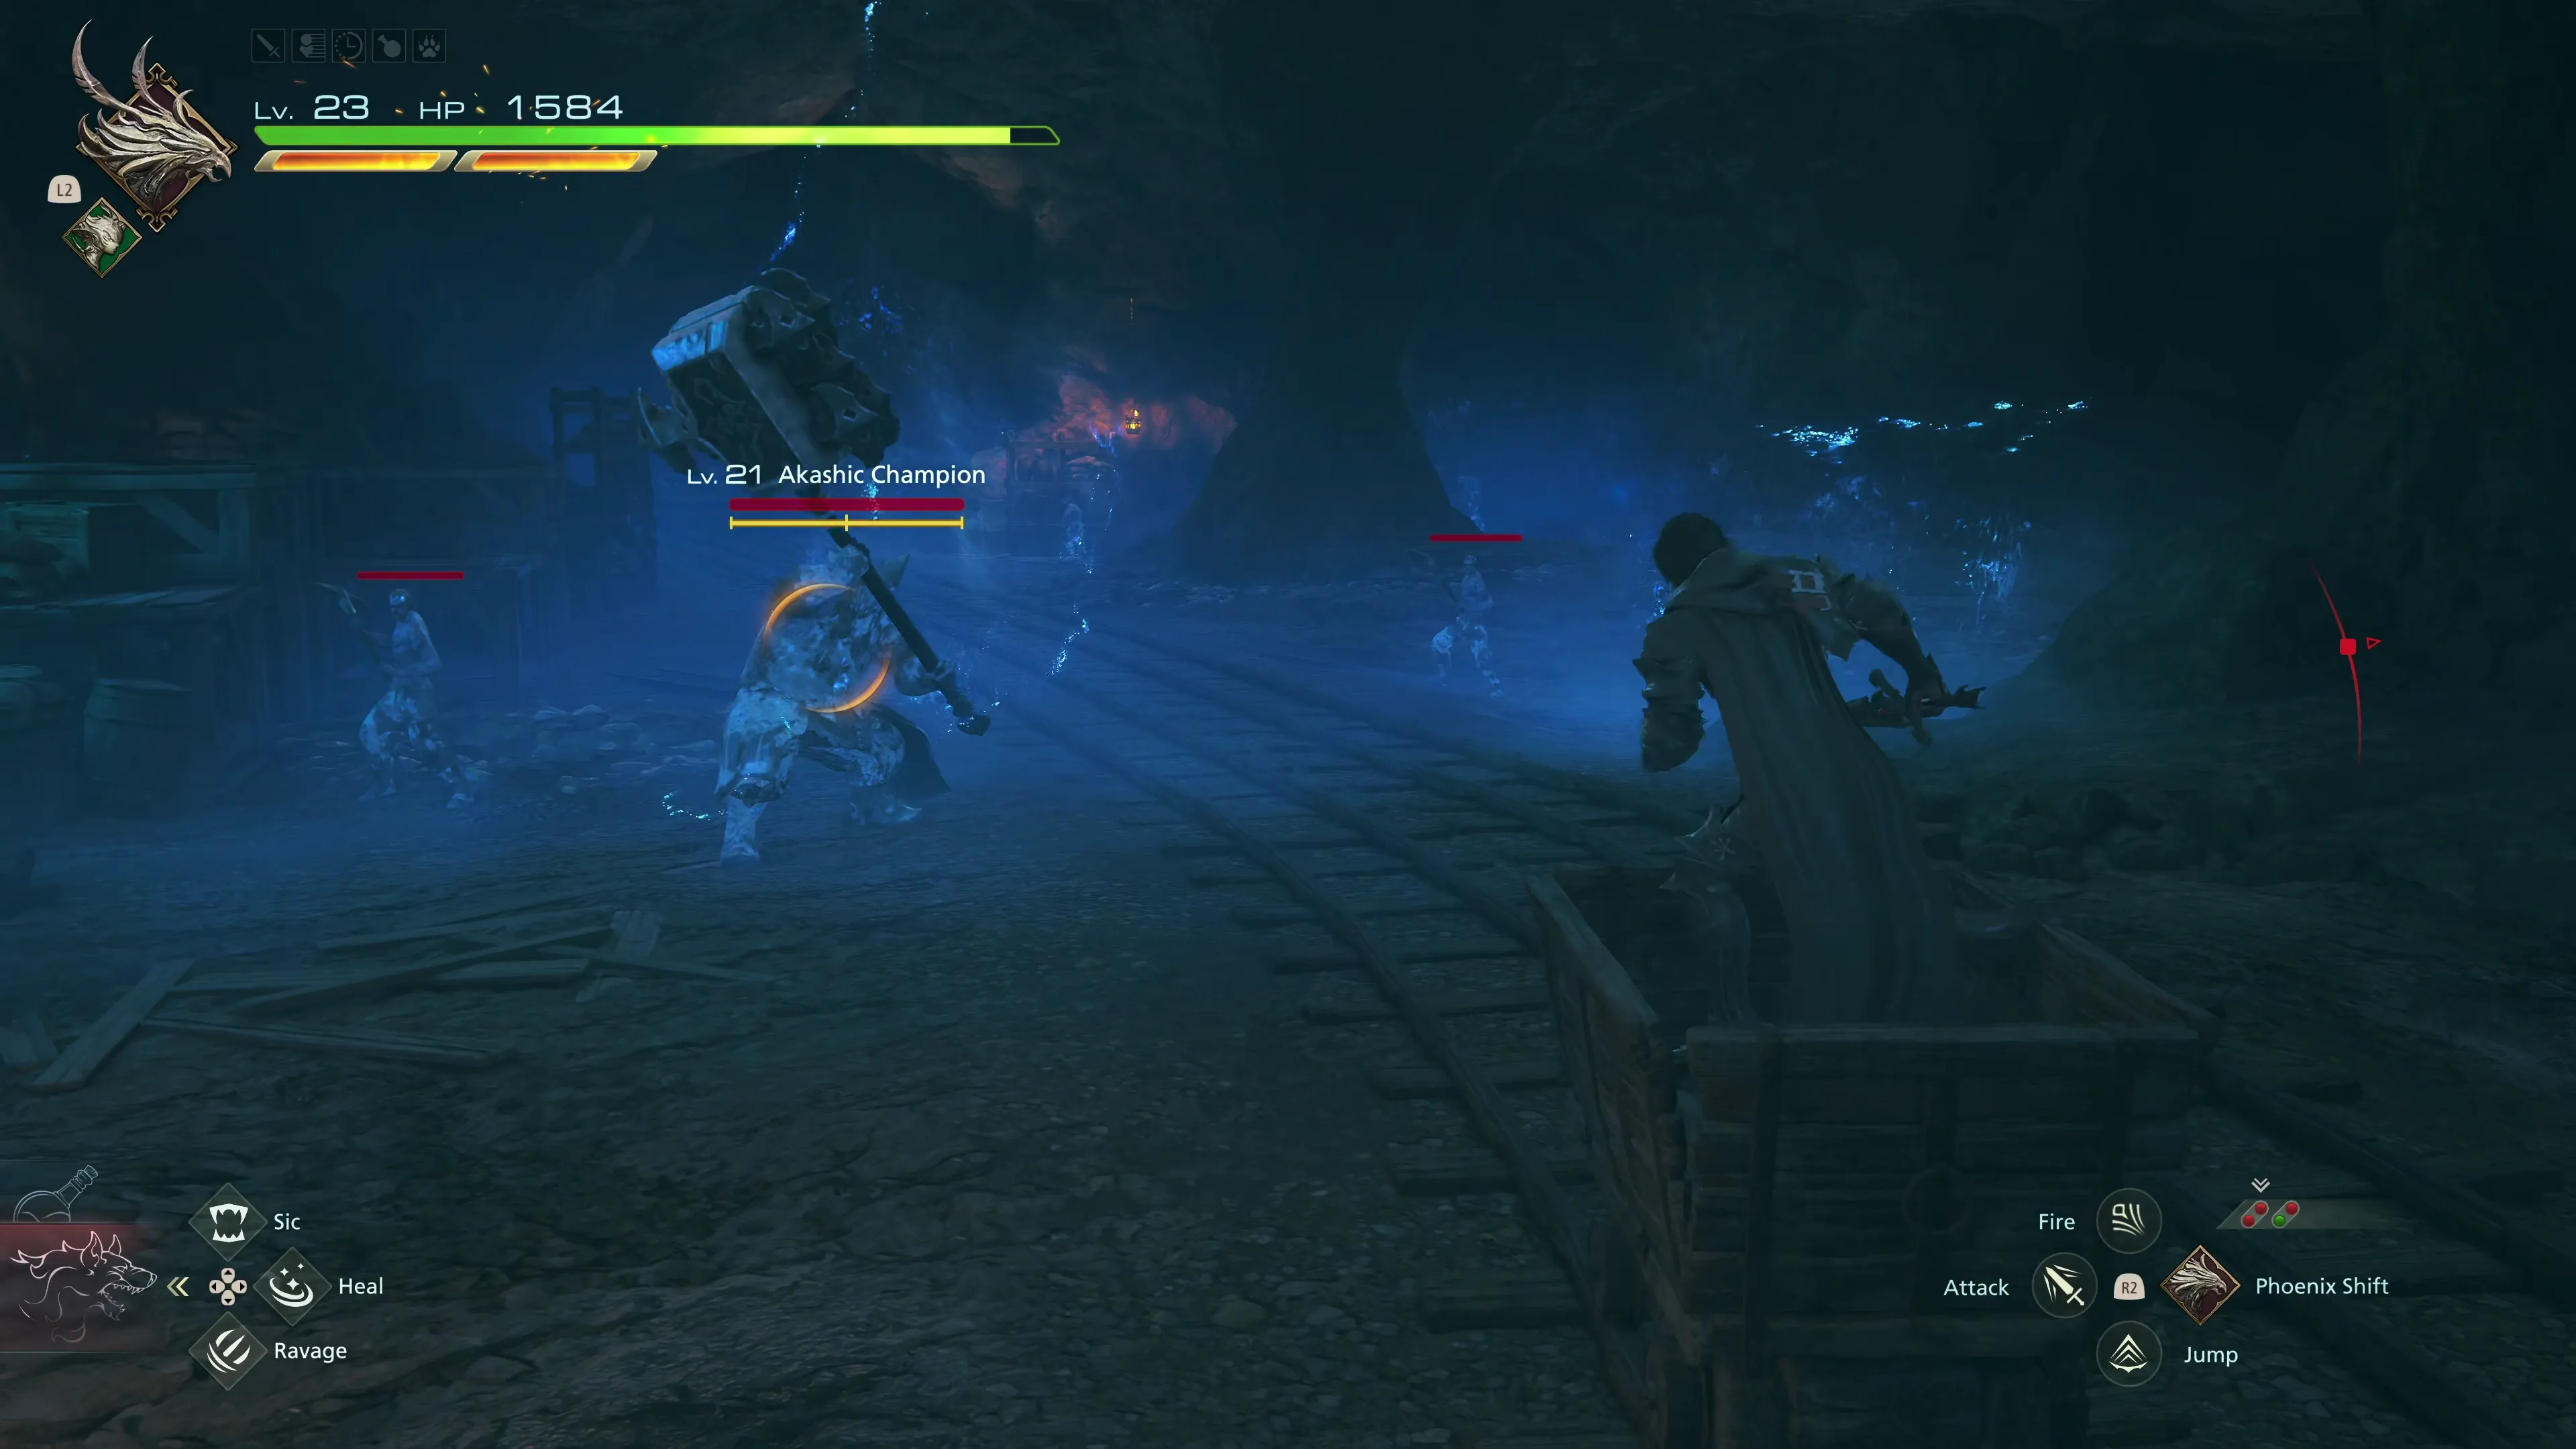
The next group of enemies includes an Akashic Champion with the Akashic Miners. This Champion behaves exactly like Gigas, Minotaurs, and the Imperial Champions that you’ve seen before. Jill and Torgal will help with defeating the Miners while you focus on the Champion, but if you still have your multi-target Eikonic Ability Set active, try to make sure your attacks hit more than one target, and you can rip through them much faster.
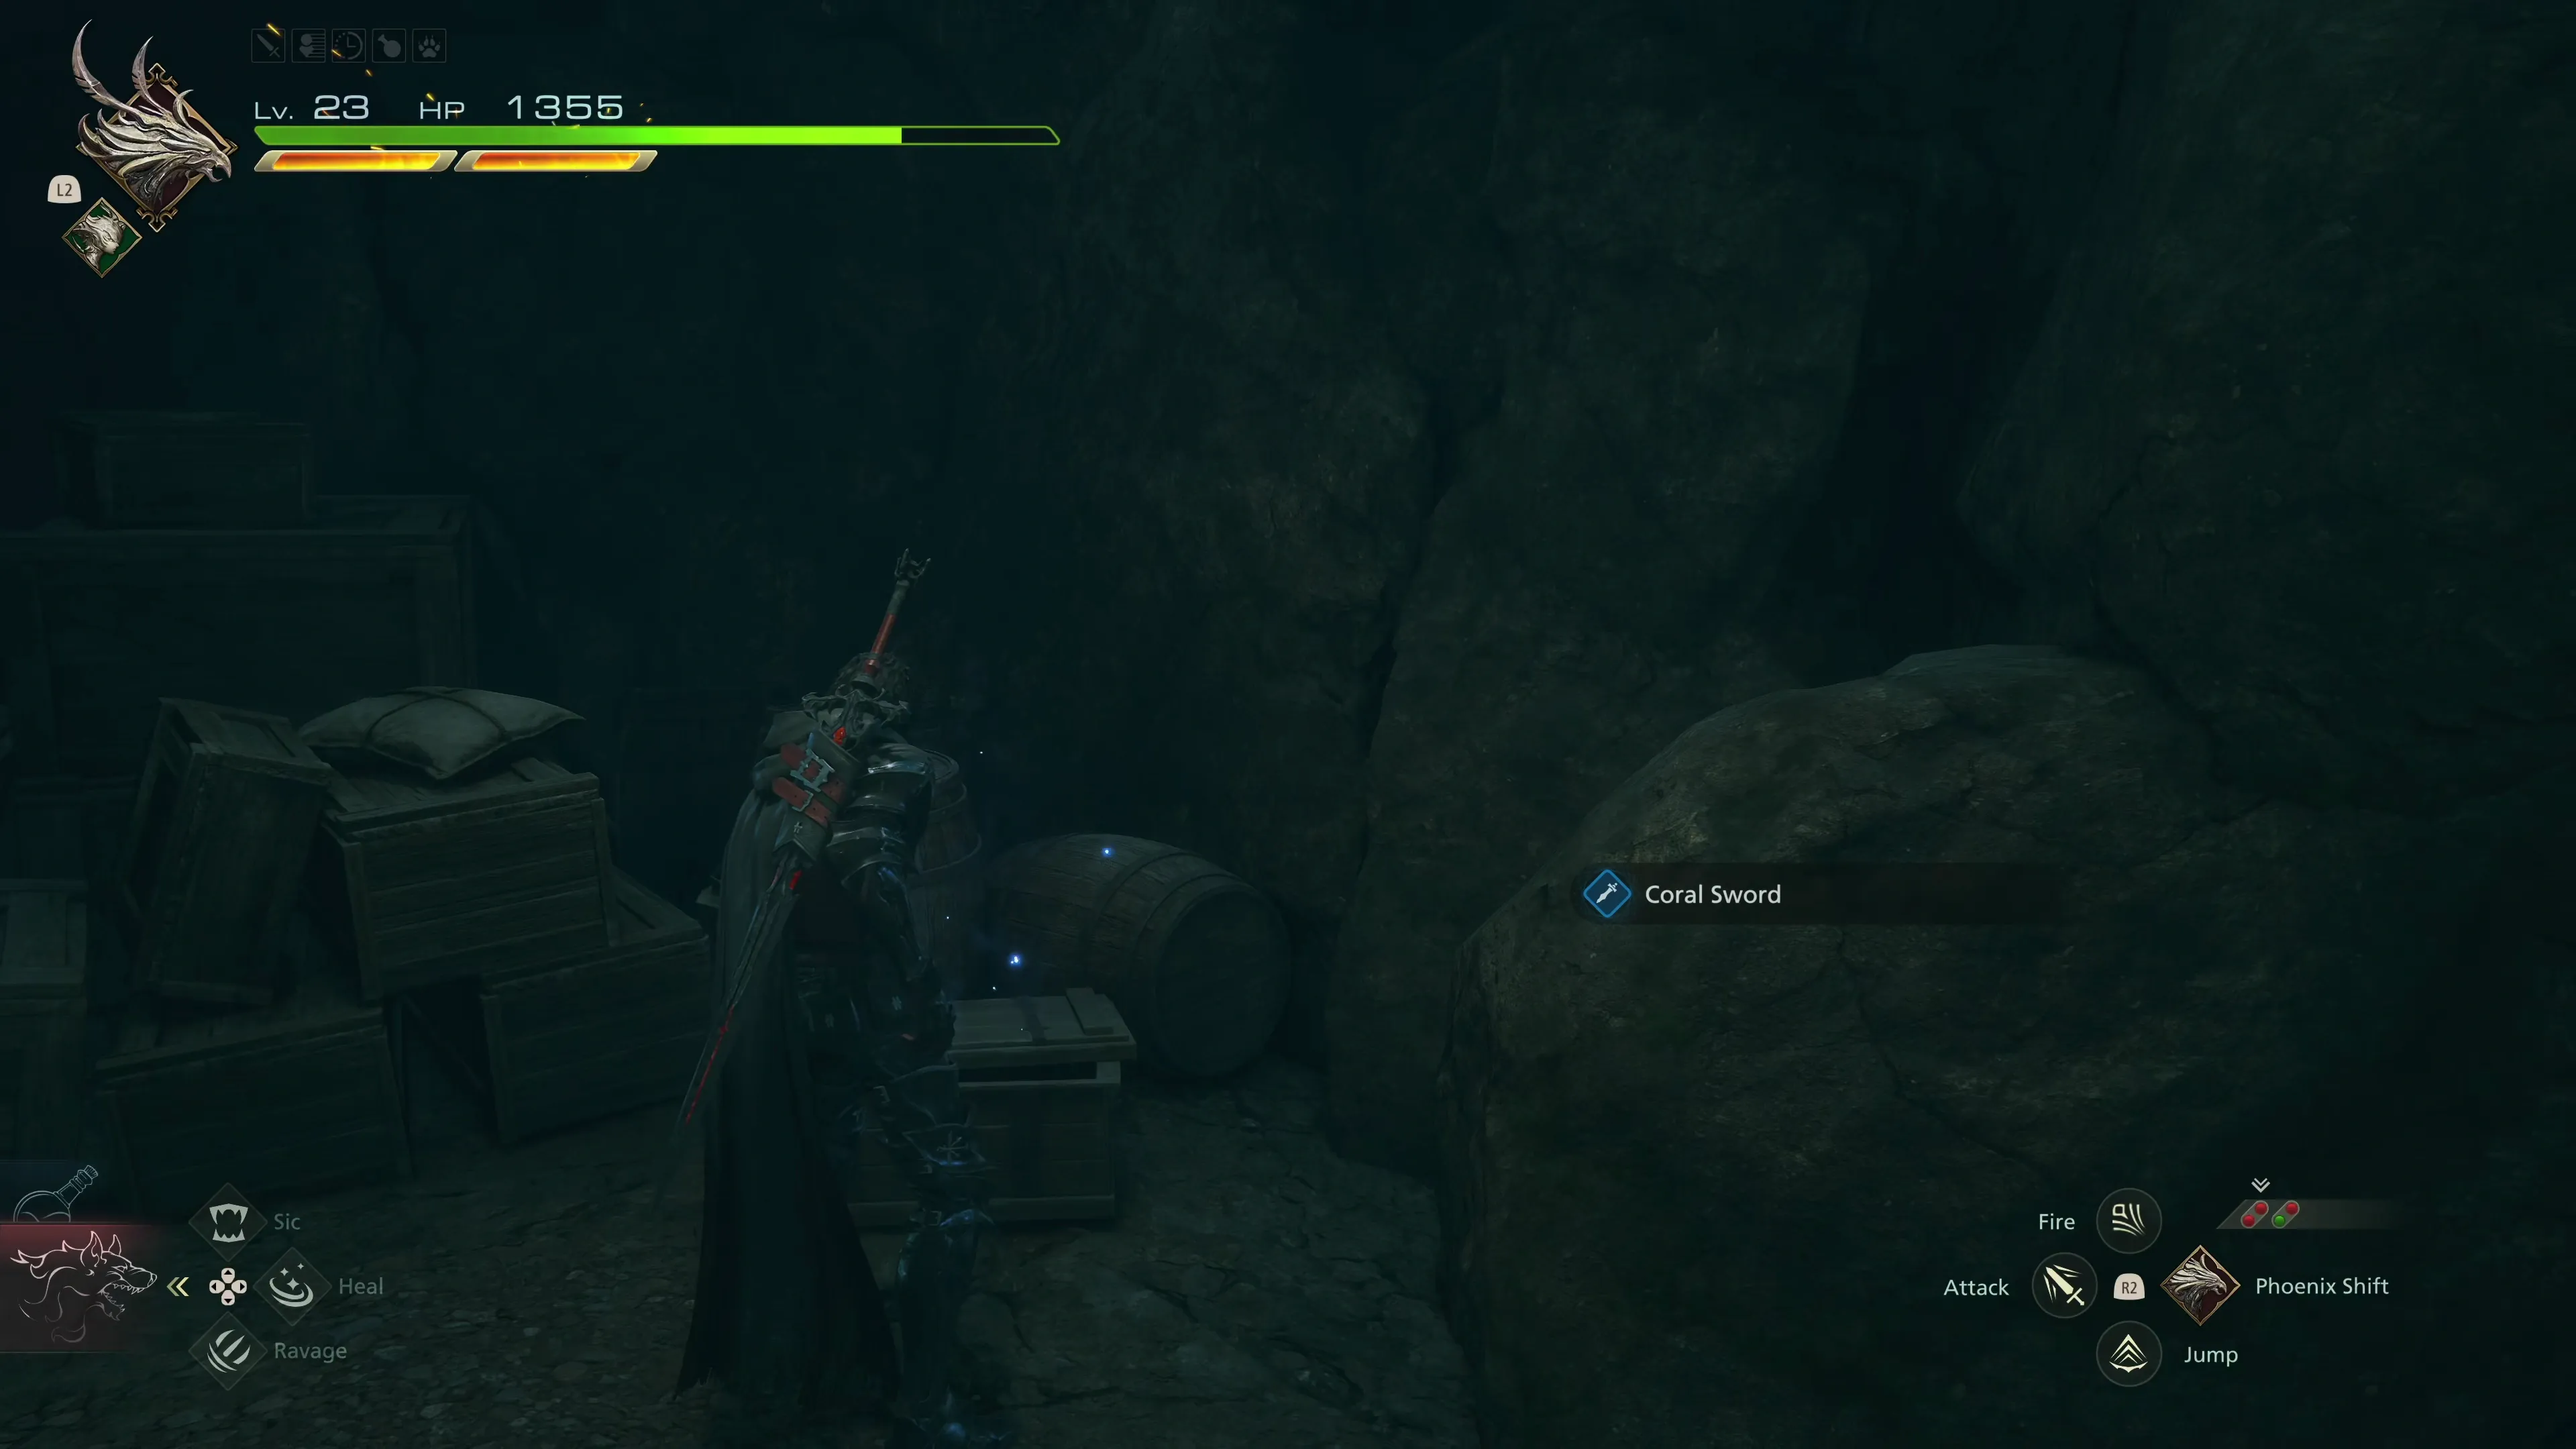
Locate the next walled-off section of the cave that you can break open with the ![]()
![]()
![]() button. At the end of this cave is a treasure coffer that contains the
button. At the end of this cave is a treasure coffer that contains the ![]() Coral Sword. This weapon is an upgrade over Clive’s current weapon, which is the
Coral Sword. This weapon is an upgrade over Clive’s current weapon, which is the ![]() Flametongue, so jump into the “Gear & Eikons” menu and equip it.
Flametongue, so jump into the “Gear & Eikons” menu and equip it.
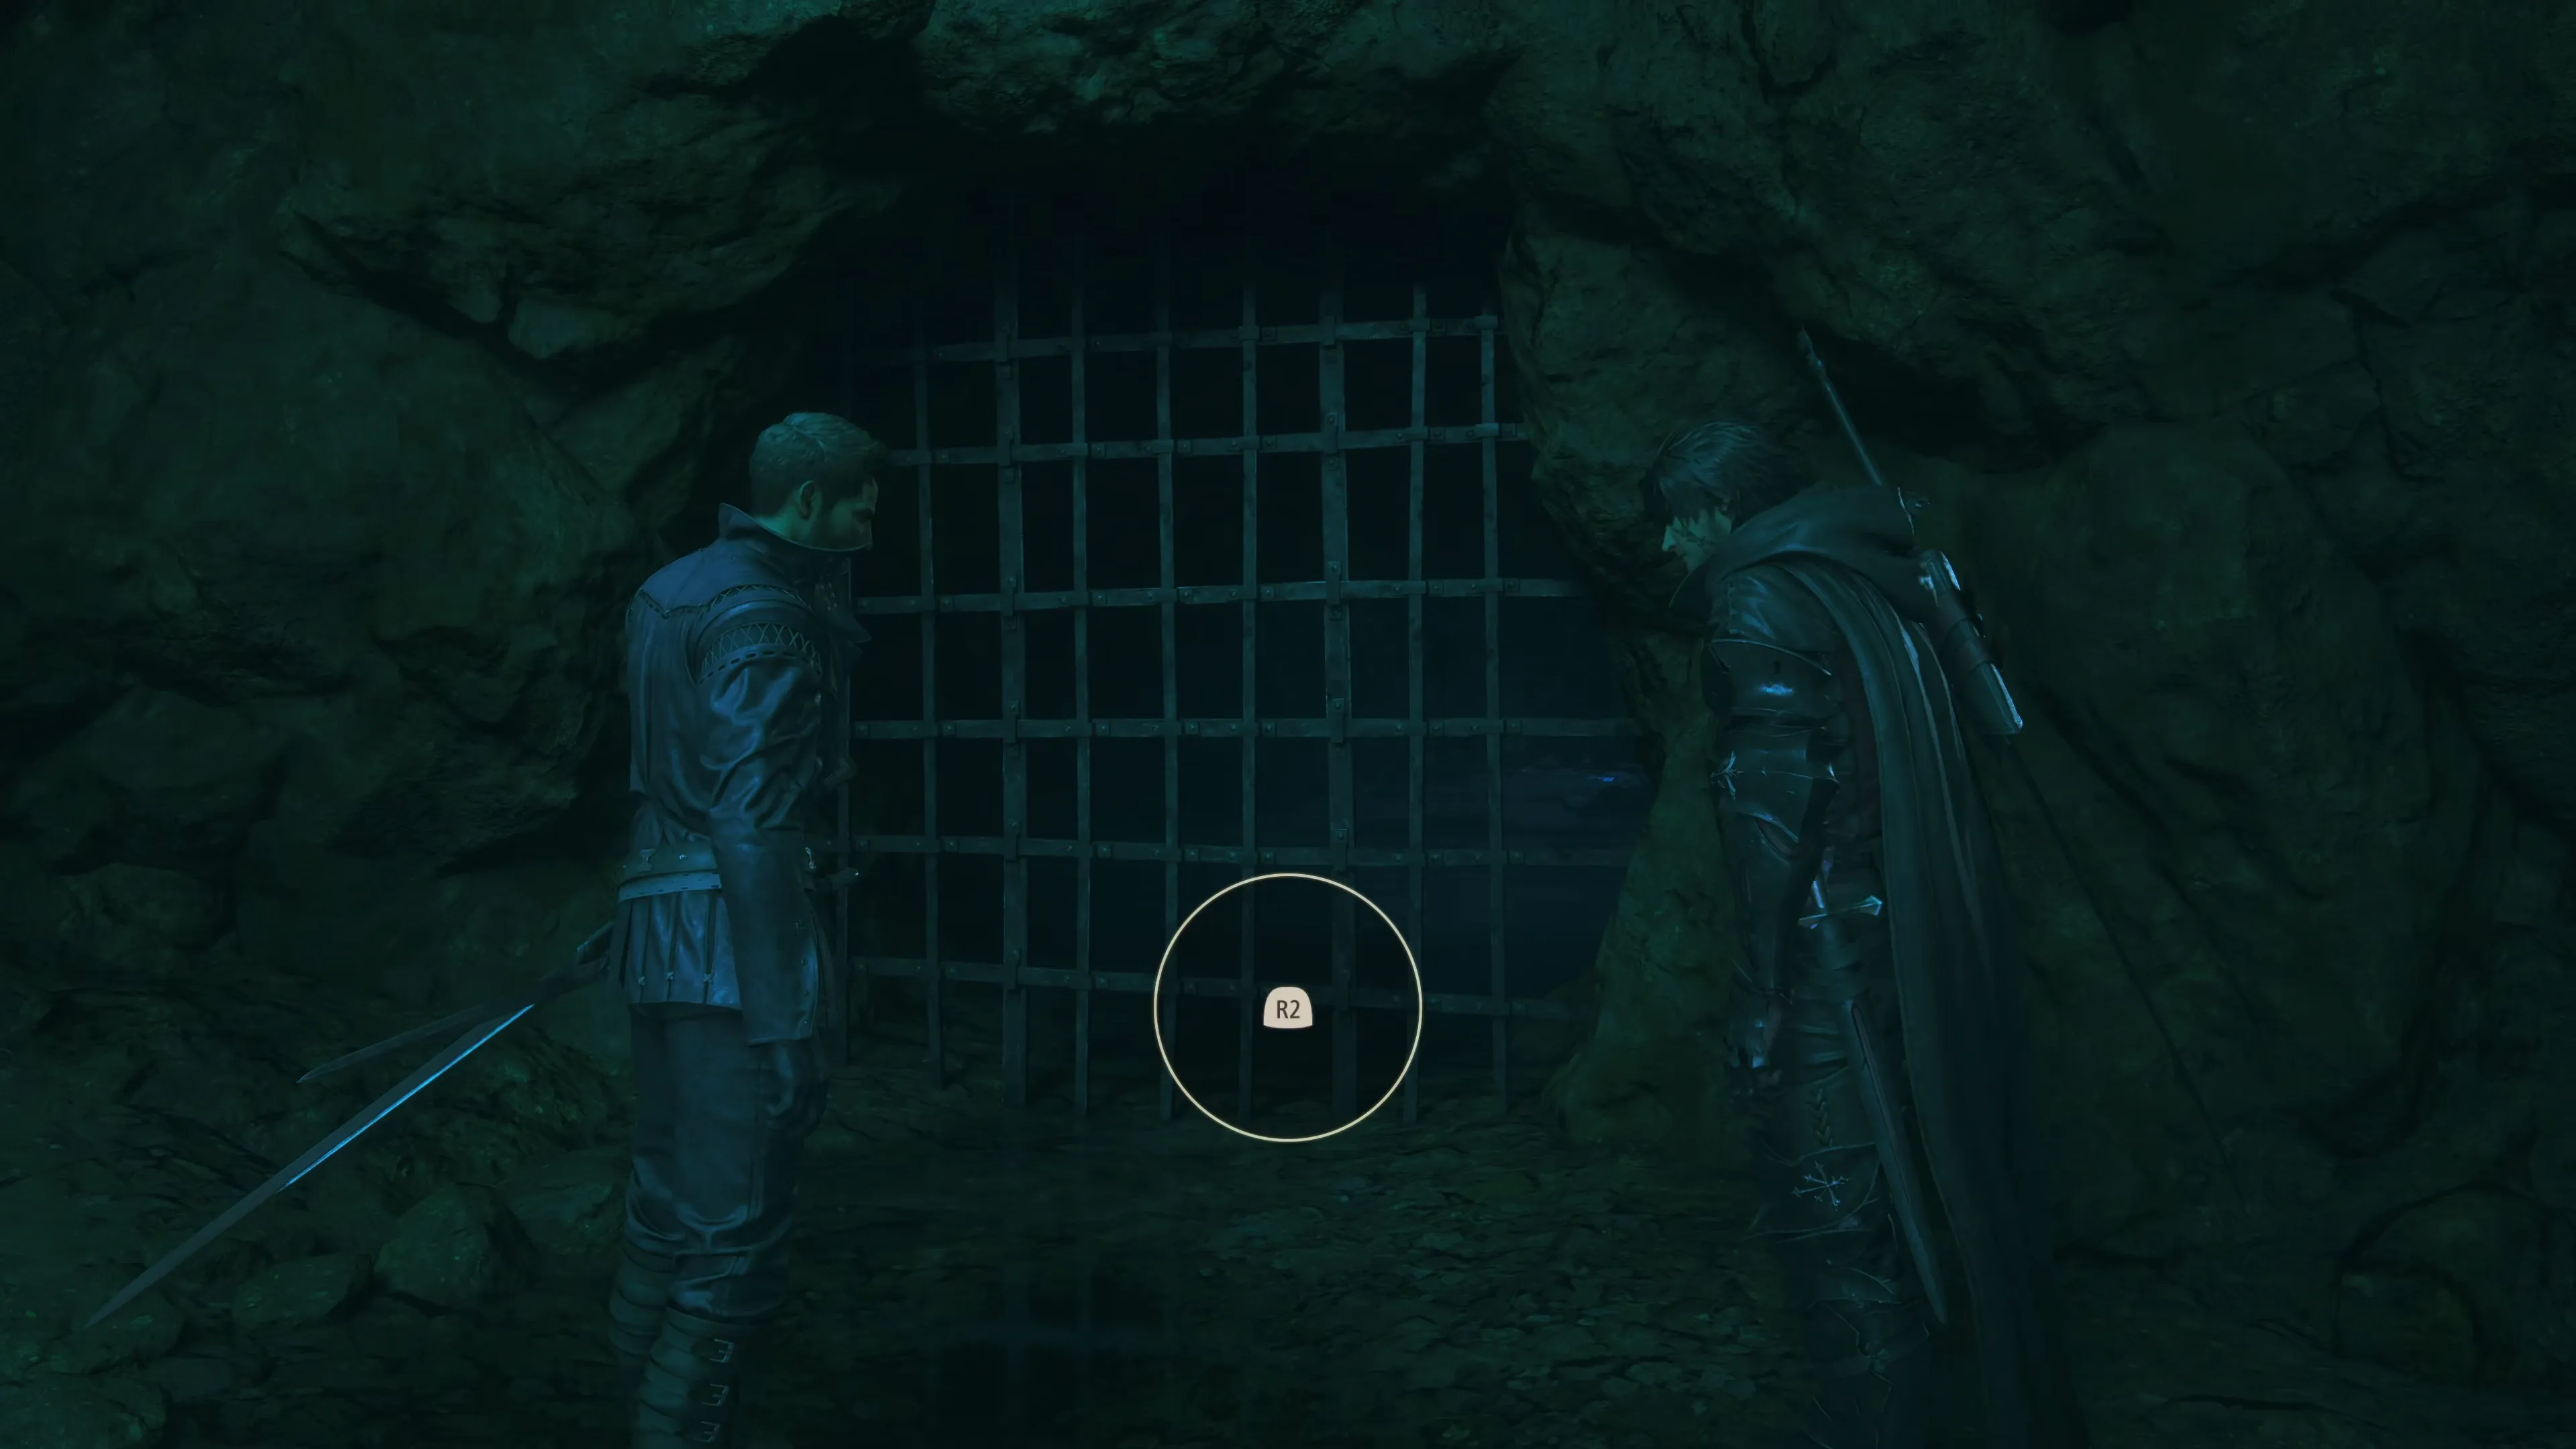
The next gate will require the two-person effort of both Clive and Cid to open. You’ll have to press the ![]()
![]()
![]() button three times to get it out of the way. Follow the path along until you reach a large open area.
button three times to get it out of the way. Follow the path along until you reach a large open area.
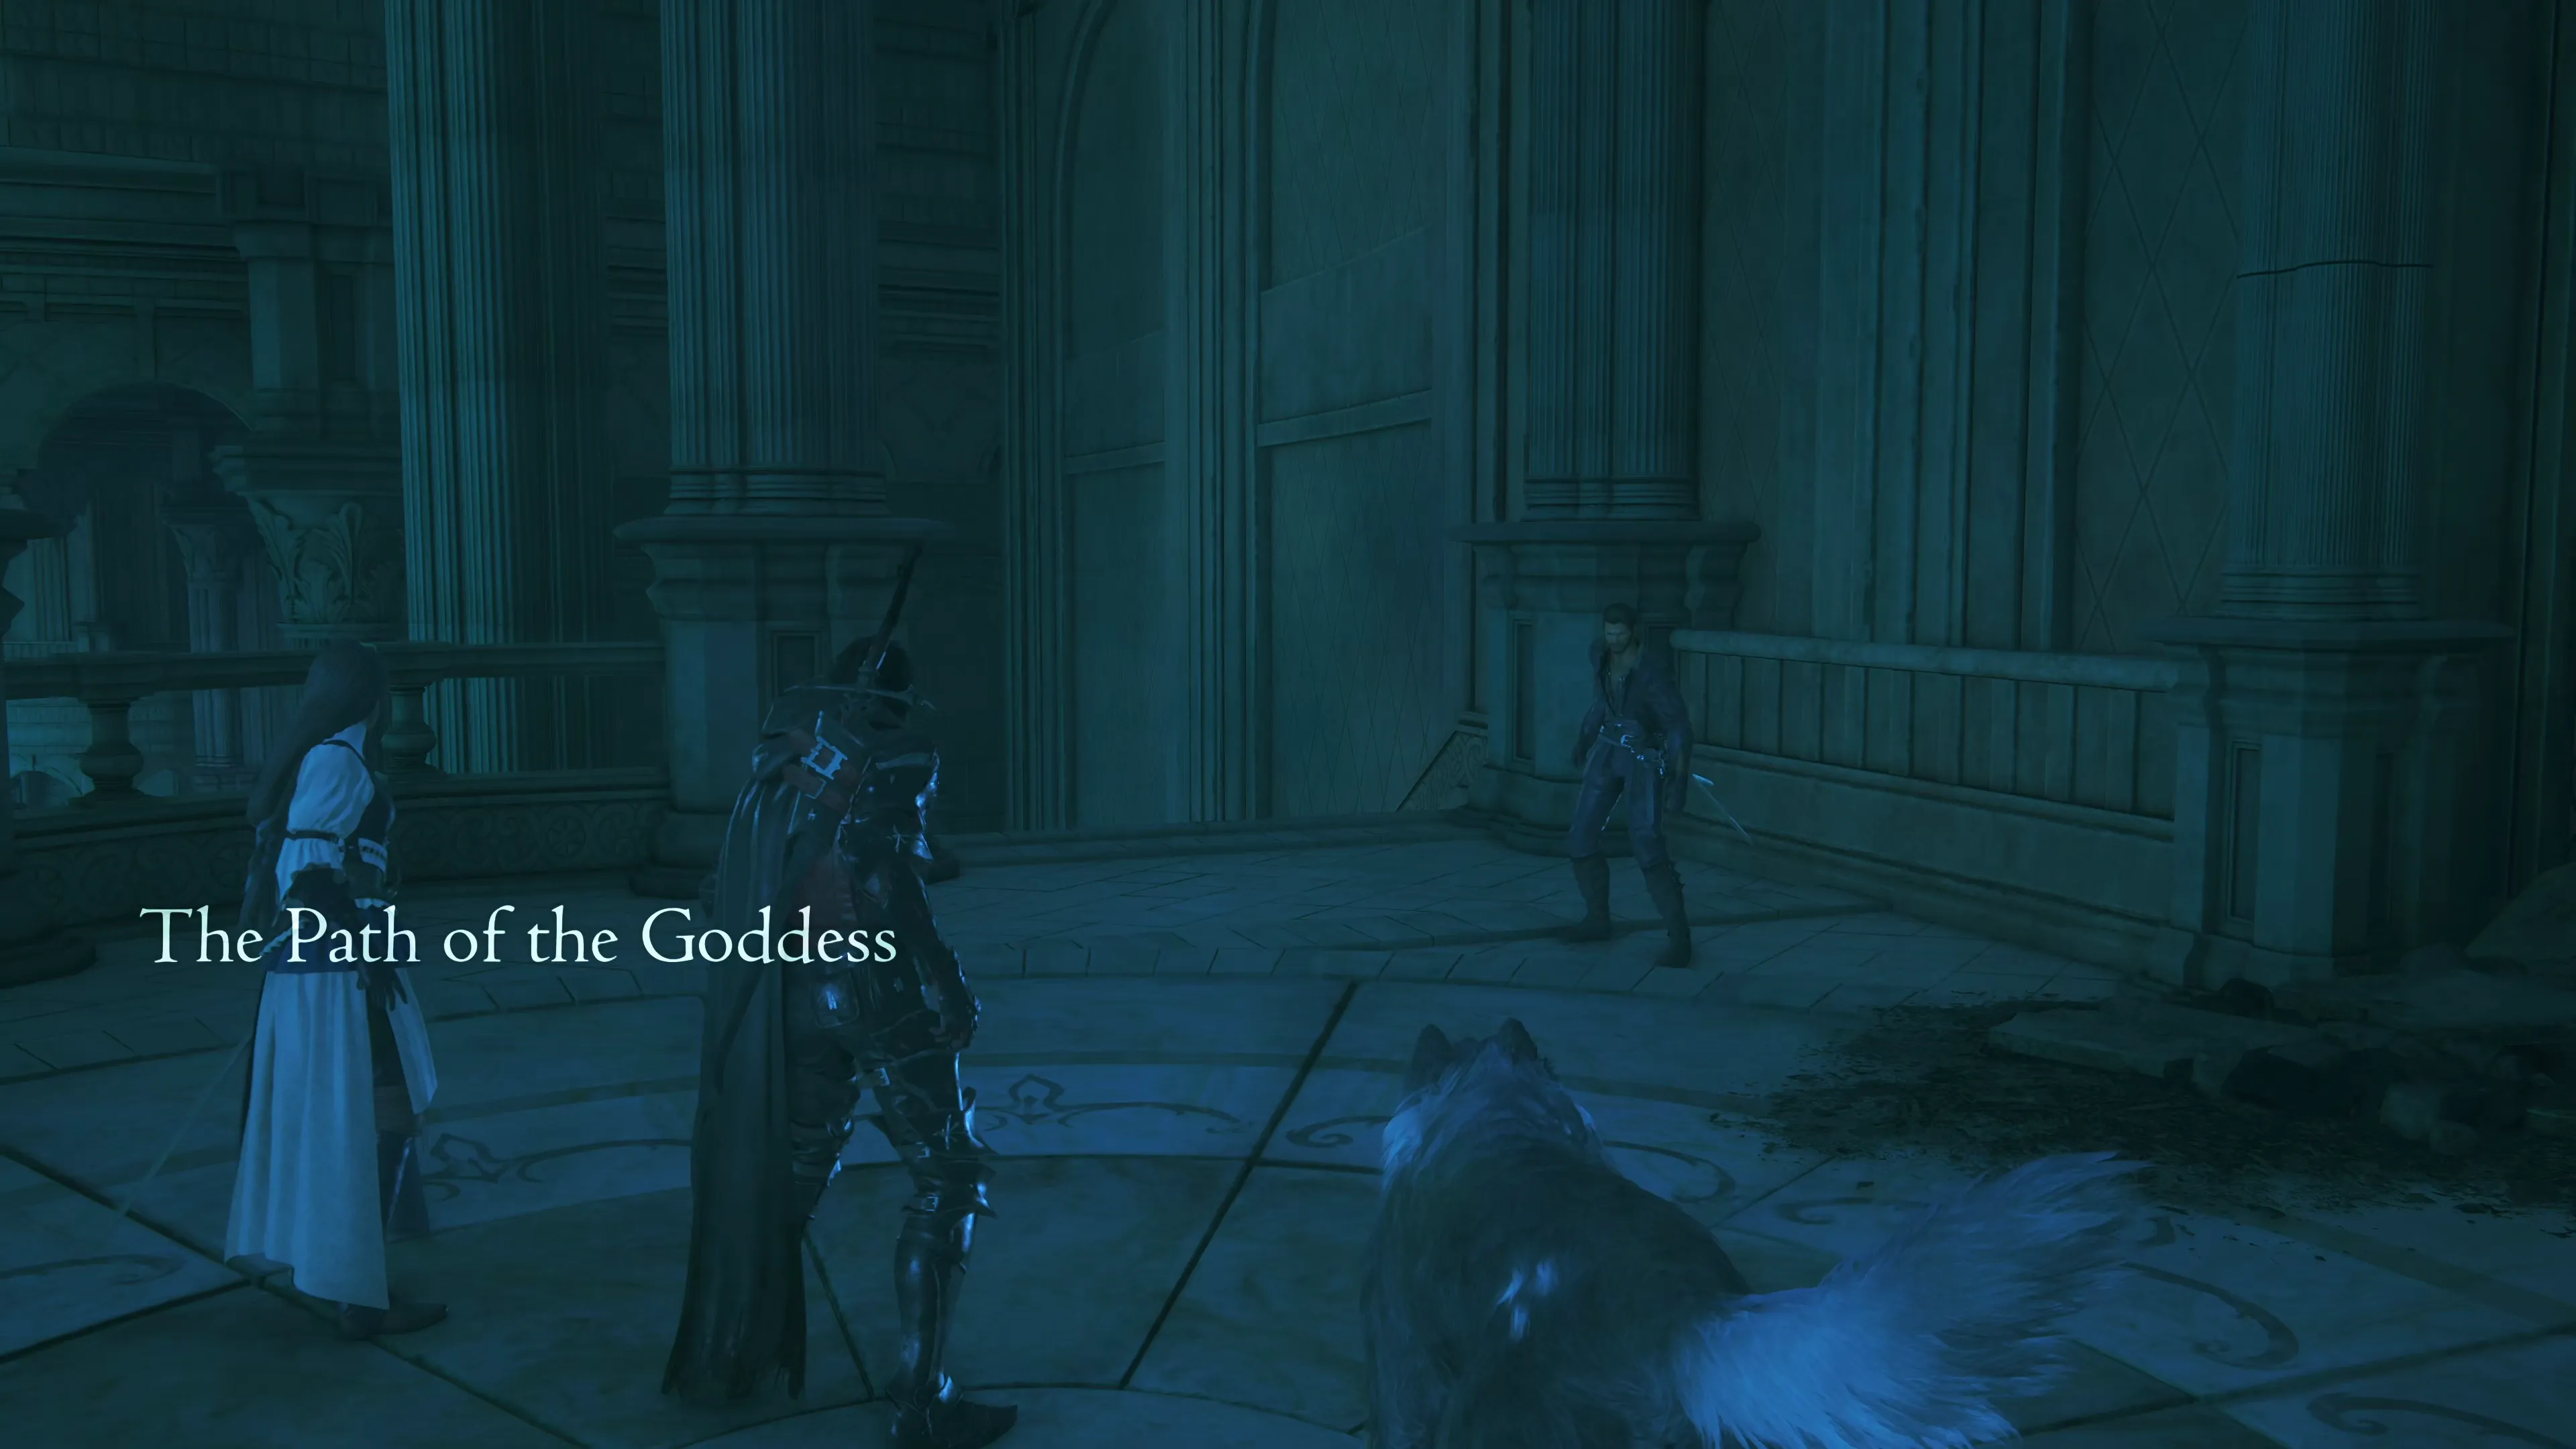
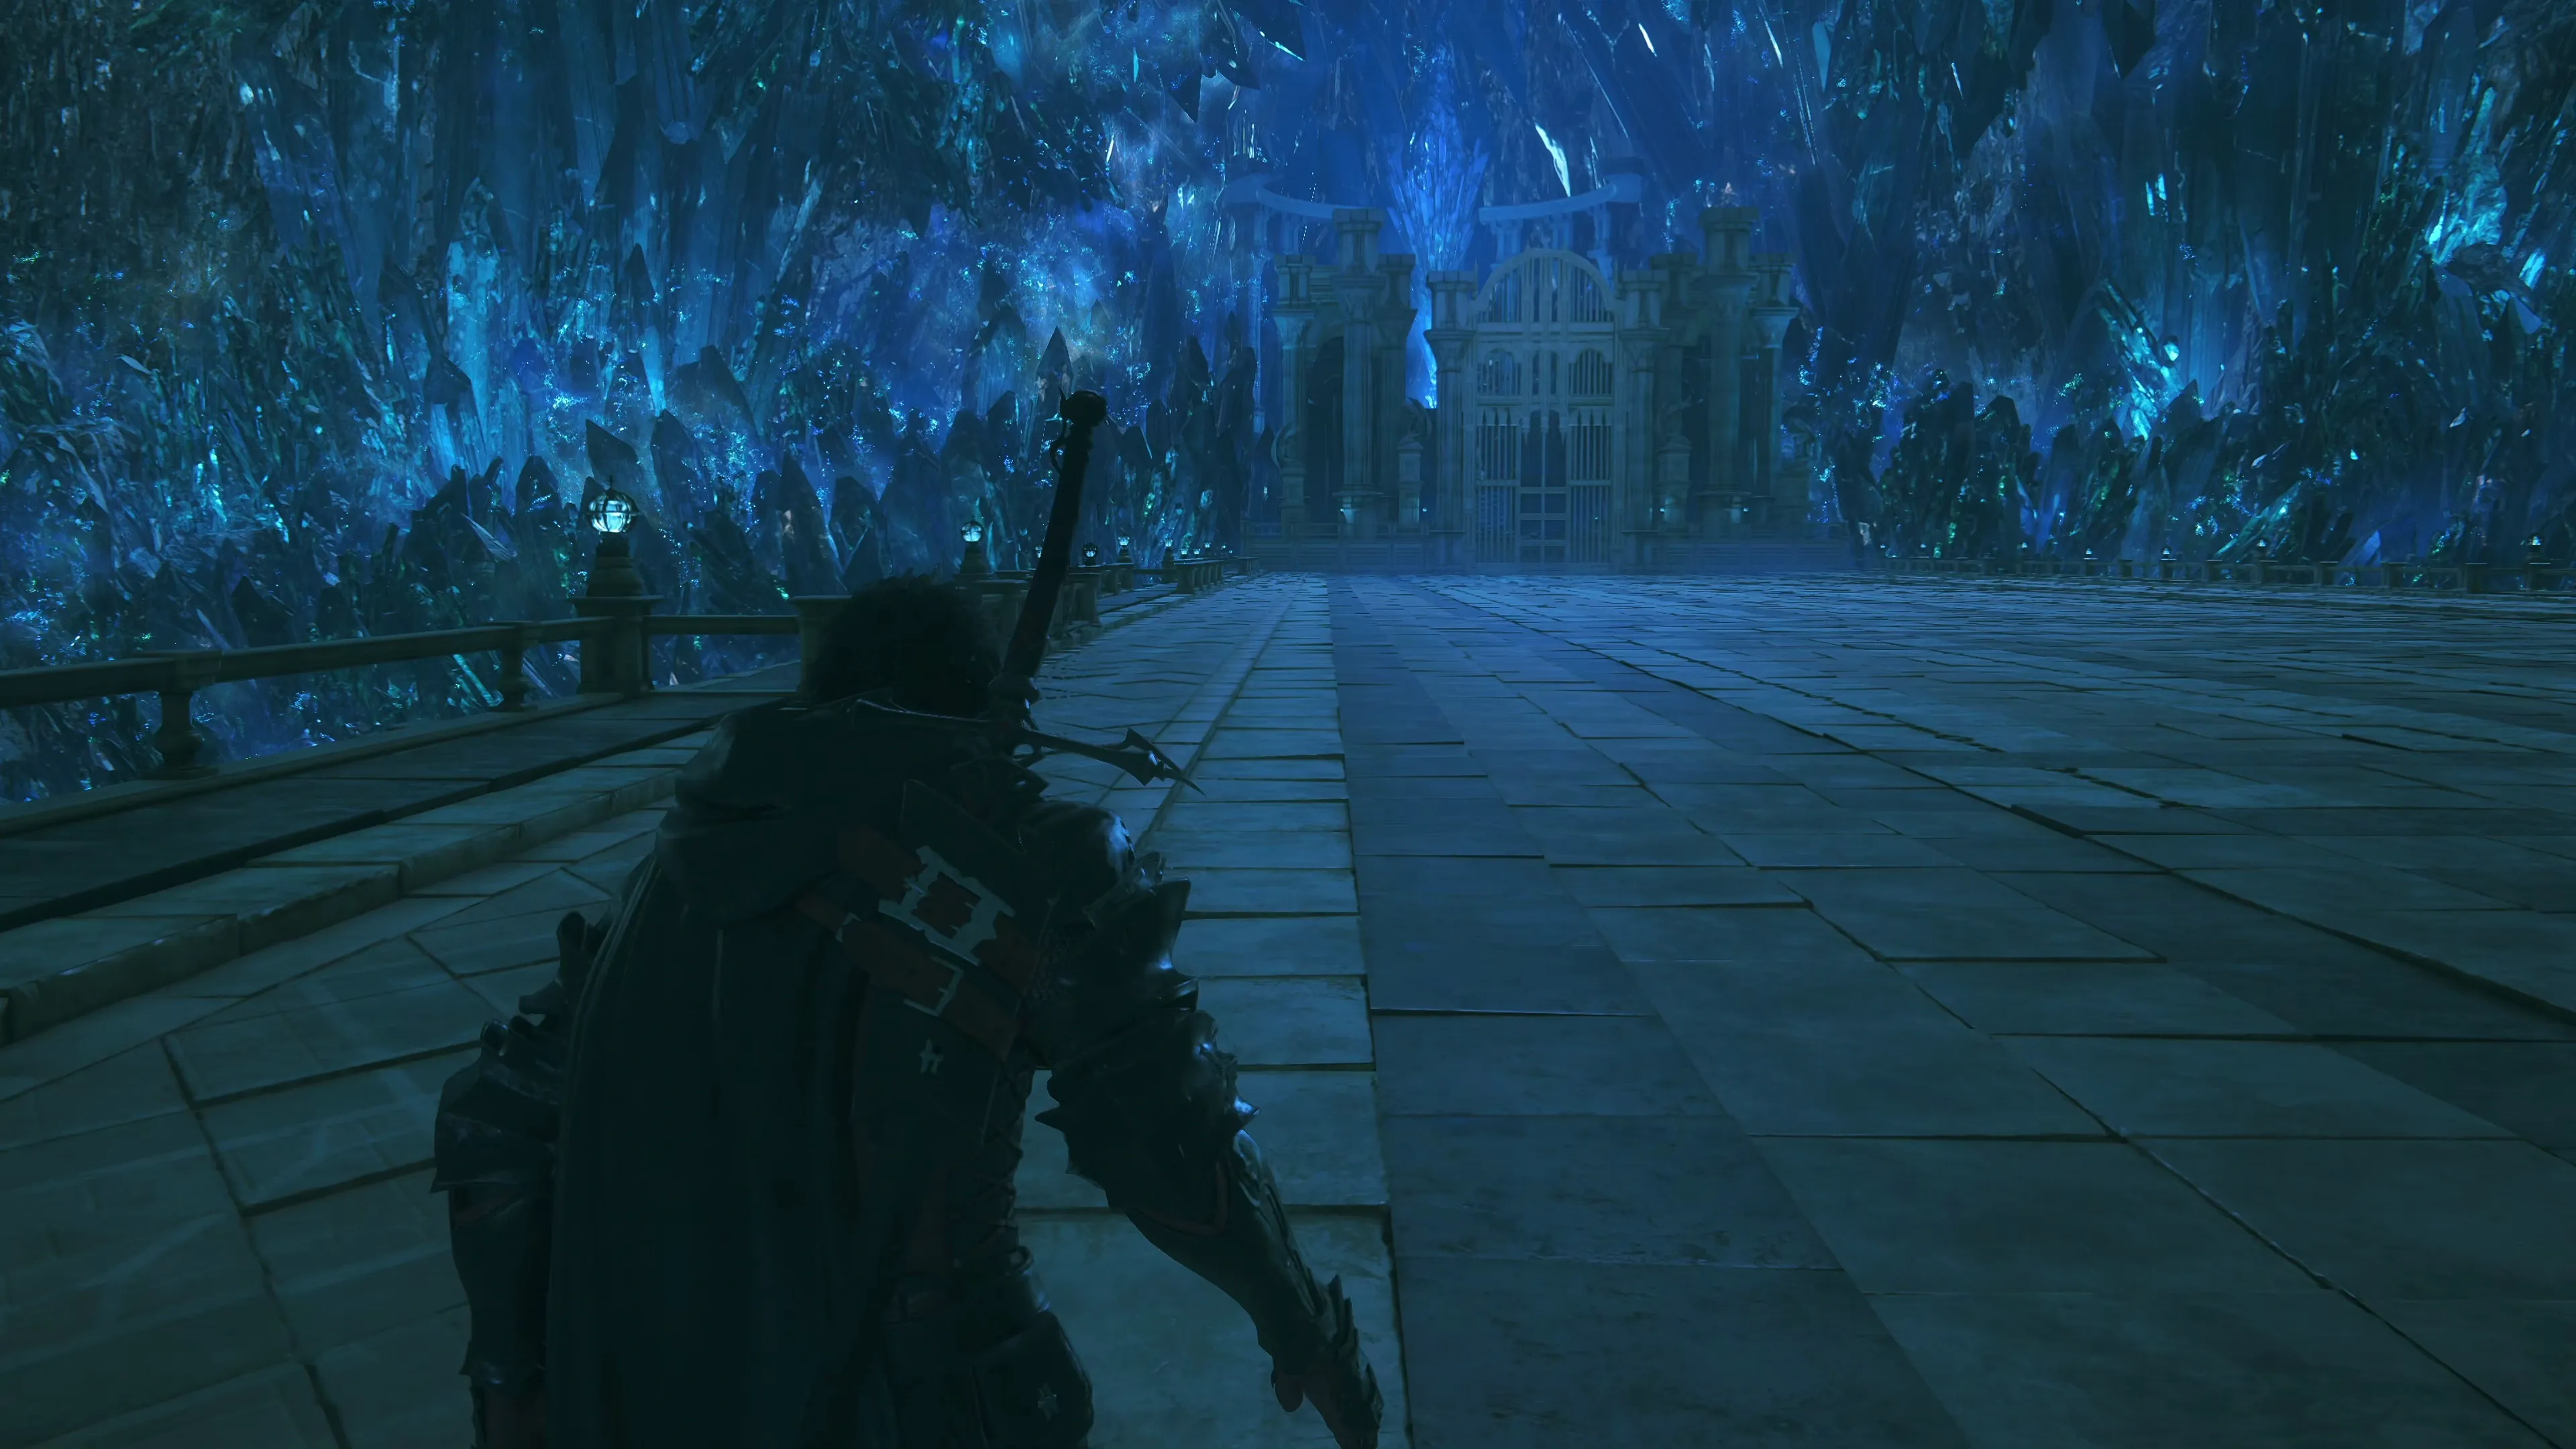
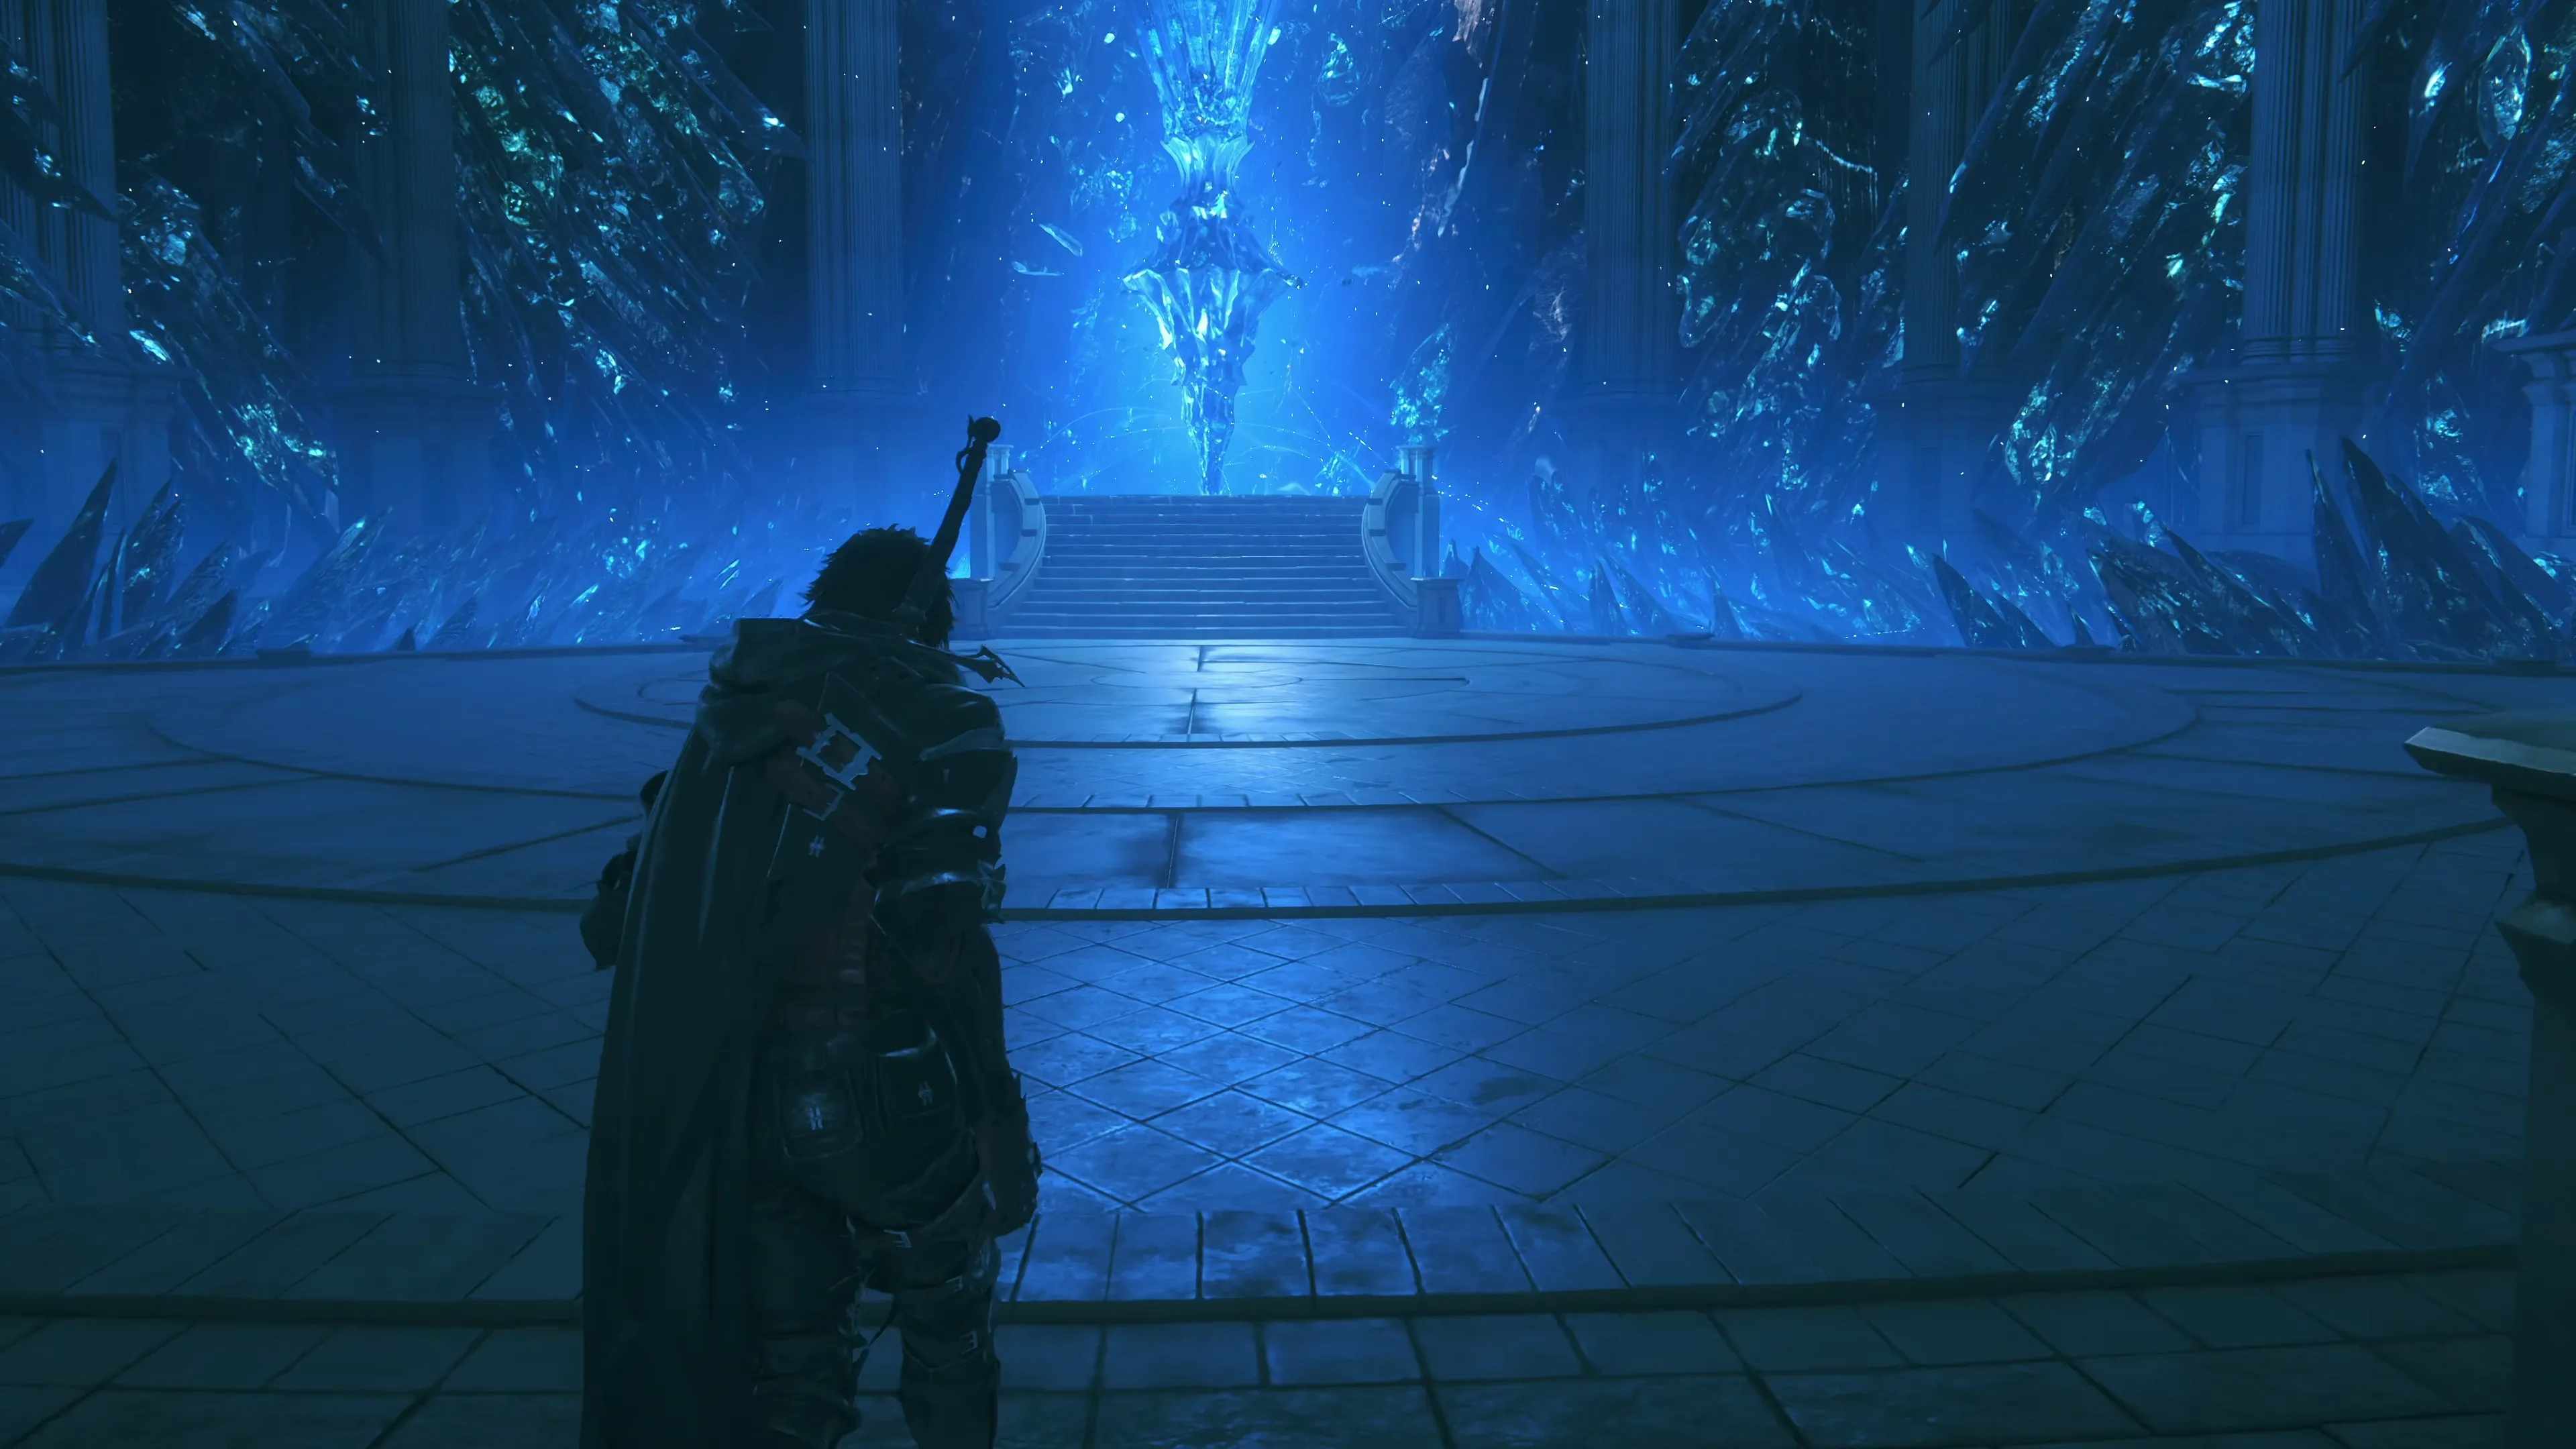
The Path of the Goddess
Head down the stairs and, in the next large room, you’ll face off against a group of Wraiths. Then head through the doors and down to the next large room, and you’ll encounter another group of enemies—this time it’s a group of Wraiths and Specters. Defeat the Specters first to stop them from lobbing long-range attacks at you. Once the first group has been defeated, you’ll have to fight another Lich.
After the Lich, take some time to save your game and swap to your single-target ![]() Eikonic Ability Set. You’ll cross over a couple of Glimmers that contain
Eikonic Ability Set. You’ll cross over a couple of Glimmers that contain ![]() Potions and
Potions and ![]() High Potions, which are intended to refill your stock ahead of an upcoming boss battle.
High Potions, which are intended to refill your stock ahead of an upcoming boss battle.
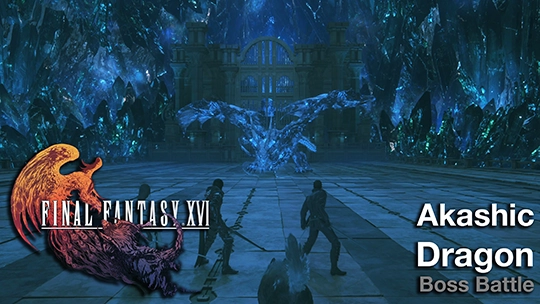
Boss Battle
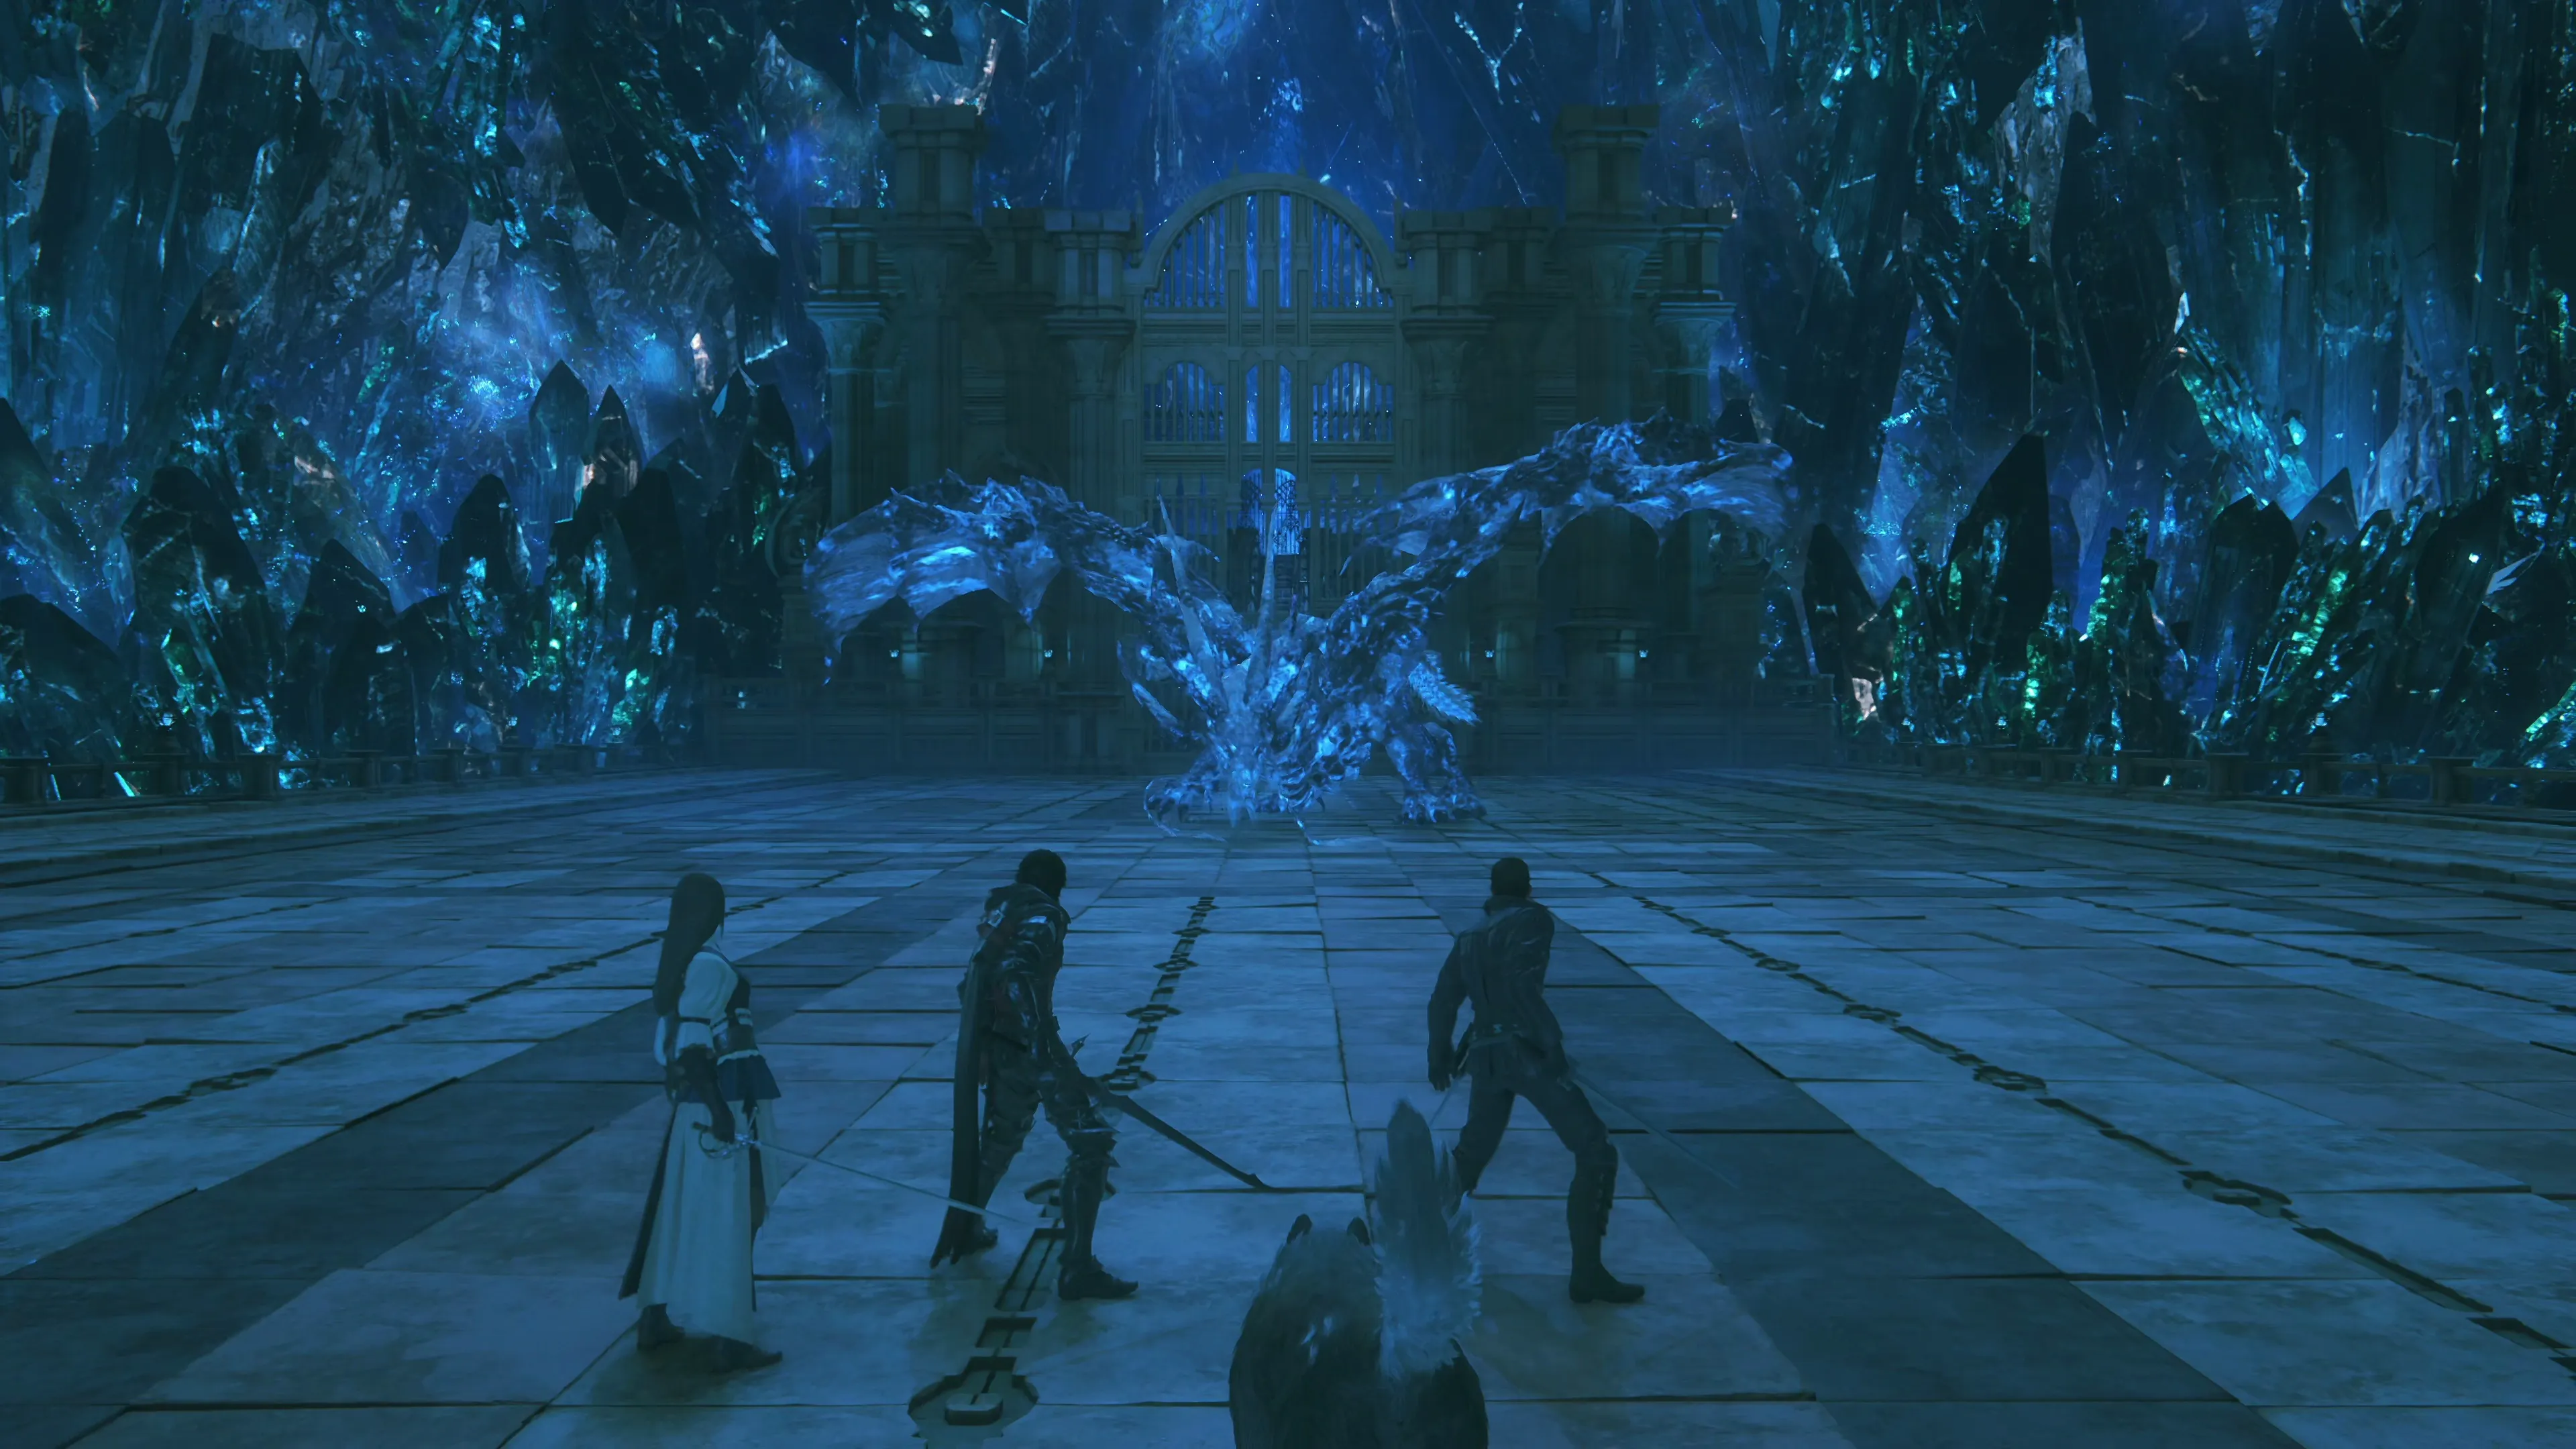
As you walk towards the center of the room, you’ll trigger a short cutscene ahead of your next boss battle against the Akashic Dragon. It’s worth noting that this is the first major boss battle you’ve faced since you gained access to the ![]() Will-o’-the-Wykes ability, and this invaluable ability can be helpful early on in boss fights as you get used to the boss’s attack pattern.
Will-o’-the-Wykes ability, and this invaluable ability can be helpful early on in boss fights as you get used to the boss’s attack pattern.
So what attacks does this massive dragon have?
![]() Physical Attacks (Head):
Physical Attacks (Head):
The dragon has two physical attacks that it will use involving its head. The first two involve it swinging its head from left to right or from right to left, usually one after the other. The second ‘head-based’ attack is a single lunge forward.
![]() Physical Attacks (Wings):
Physical Attacks (Wings):
The dragon has two different types of ‘wing-based’ attacks. The first is very well telegraphed—the dragon will slam either its left or right wing on the ground before swiping it in a frontal swinging motion. The second type of attack involves a downward chopping motion, which you can see coming because the dragon will raise its wing very high into the air.
![]() Flying lunge attack:
Flying lunge attack:
If the dragon is flying, it will do a spin in the air and then lunge forward across the map.
Getting used to these physical attacks is the most critical aspect of the fight because, as long as you keep a close distance to the dragon, it will use these most frequently.
Ranged attacks include:
![]() Fireballs:
Fireballs:
It will fly into the air and launch fireballs from its mouth. These are easy to dodge and counterattack with ![]() Heatwave.
Heatwave.
![]() Cauterize:
Cauterize:
The dragon will fly towards your group, breathing fire in a zig-zagging pattern. You can dodge these attacks by timing it so that Clive is standing in one of the areas that doesn’t get hit by the breath, but admittedly, this is hard to do, so it’s sometimes better to save ![]() Will-o’-the-Wykes for this attack just in case you get the timing wrong.
Will-o’-the-Wykes for this attack just in case you get the timing wrong.
![]() Dragon Dance:
Dragon Dance:
There’s nothing special about this move—it’s a burst of regular fireballs followed by a beam/line of flame that you can see on the ground.
This is a boss where aerial combat can be very helpful. Getting Clive off the ground (with ![]() Jump) can increase the damage he deals with regular attacks by making sure you’re hitting the Dragon in its most vulnerable areas (typically the head).
Jump) can increase the damage he deals with regular attacks by making sure you’re hitting the Dragon in its most vulnerable areas (typically the head).
Have a look at the reference video below if you’re having trouble with this fight.
Note that there is no Medal of Valor for this fight, so it is okay to take damage even if you’re planning to obtain all of the medals.
120
3,000
A video demonstration of how to successfully complete the fight against Akashic Dragon.
Another cutscene will occur once the battle has concluded. Head through the gate at the far wall.
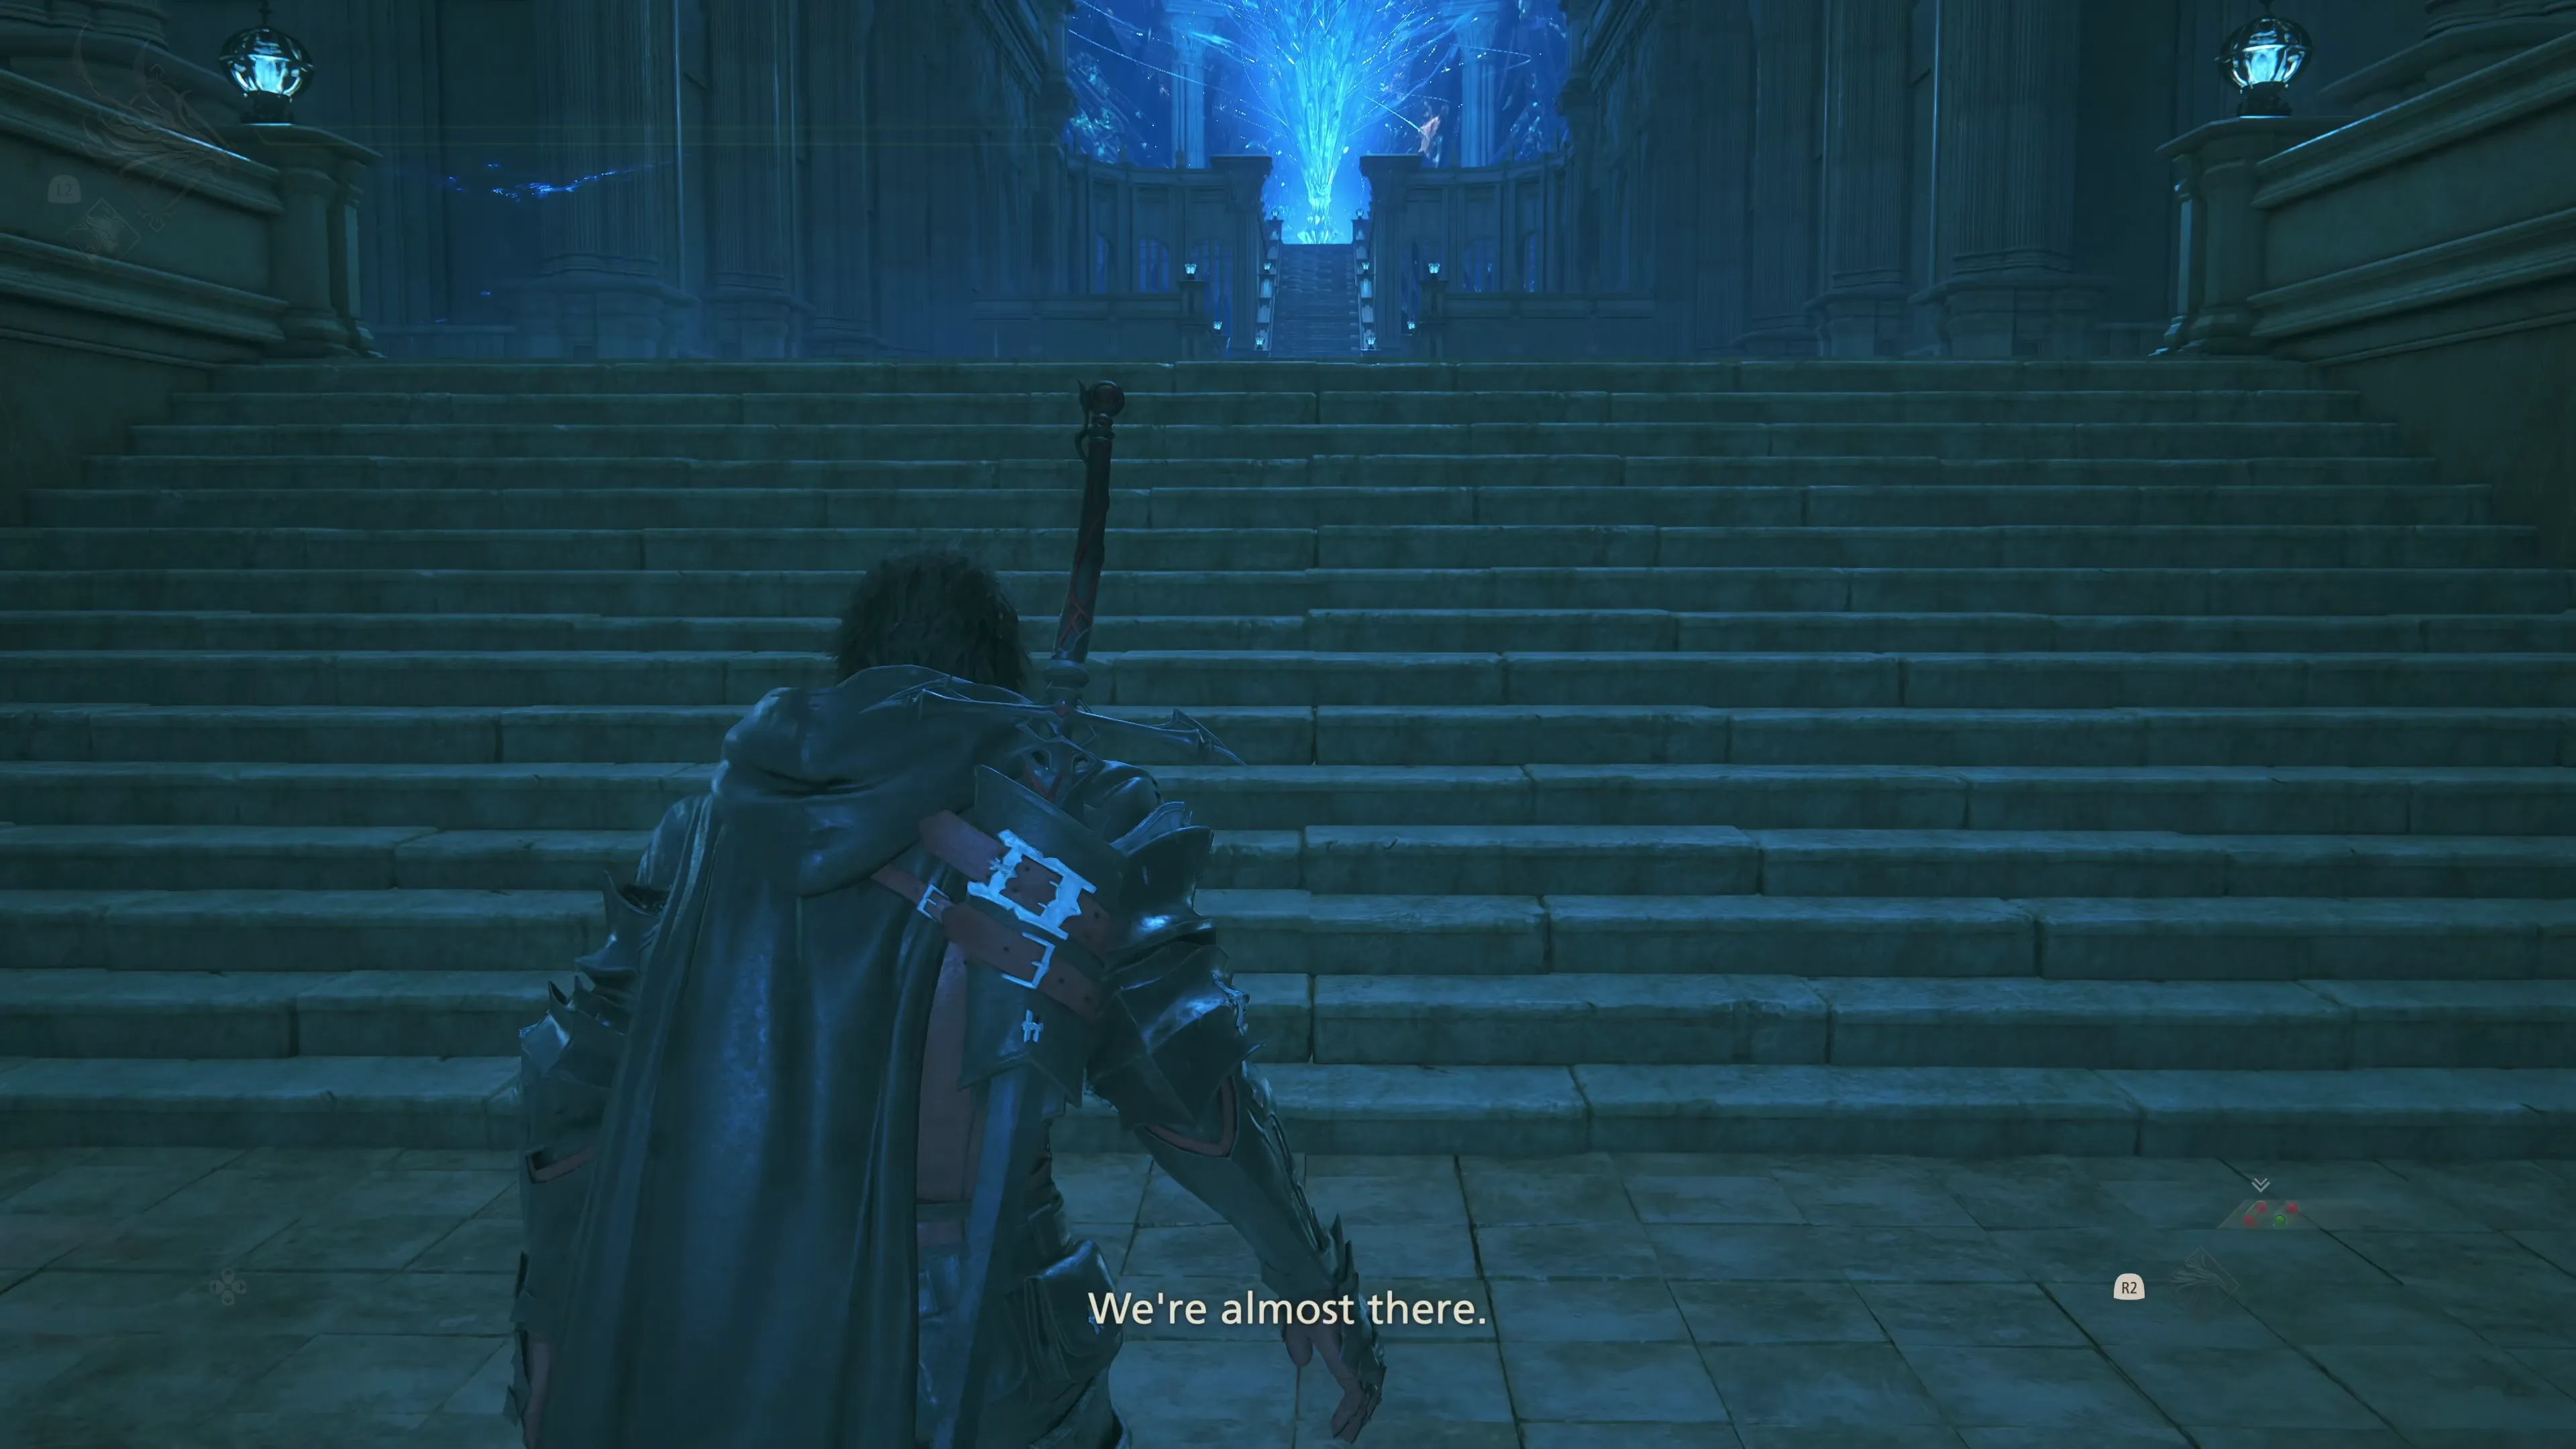
The Inner Sanctum
The stairs at the top of the Inner Sanctum lead to the next boss battle, but on your way up, make sure to grab the three Glimmers and the treasure coffer. The three Glimmers contain ![]() Potions and
Potions and ![]() High Potions that are meant to refill your potentially depleted inventory, assuming you used some during the last fight. The coffer contains ten spools of
High Potions that are meant to refill your potentially depleted inventory, assuming you used some during the last fight. The coffer contains ten spools of ![]() Steelsilk, ten
Steelsilk, ten ![]() Bloody Hides, and ten pinches of
Bloody Hides, and ten pinches of ![]() Magicked Ash.
Magicked Ash.
There is a boss battle coming up, but instead of using your normal single-target ![]() Eikonic Ability Set for this fight, swap over to your multi-target set. Having access to the
Eikonic Ability Set for this fight, swap over to your multi-target set. Having access to the ![]() Will-o’-the-Wykes ability can also be helpful for this sequence, as well as the sequence following the upcoming boss battles.
Will-o’-the-Wykes ability can also be helpful for this sequence, as well as the sequence following the upcoming boss battles.
Save your game and then head up the stairs when you’re ready.
Warning
For those players who are trying to collect the Medals of Valor, it’s worth noting that this upcoming boss fight, as well as the battle immediately following this sequence, both have a Medal of Valor that you can earn. You should save your game ahead of the upcoming boss battle as you’ll need to complete both battles without getting hit, which may take quite a few tries.
Note that it does not matter if you get hit during Phase 1, against Typhon’s Minions, as the Medal of Valor only tracks whether you take damage in Phase 2 or 3.
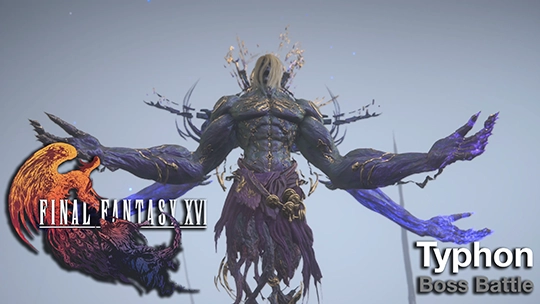
Boss Battle
Phase 1 - Typhon’s Minions
This is another multi-phase boss fight. In the second and third phases, you will face off against Typhon, but this first phase is a fight against groups of enemies that Typhon summons during the opening sequence. Each group of enemies is easy to defeat, but there’s an added challenge of having to dodge Typhon’s random attacks while you’re taking care of his acolytes, and some of his attacks hit large areas of the battlefield.
Wave 1: The first wave consists of six Revenants. They typically attack with sword swings, but they also have a ranged magic attack that they rarely use that sends a slow-moving burst of magic in Clive’s direction. It moves slowly enough that it can be challenging to counterattack with ![]() Heatwave, but there’s a good chance that you’ll defeat them before they get a chance to use any magic.
Heatwave, but there’s a good chance that you’ll defeat them before they get a chance to use any magic.
Wave 2: The second wave consists of six Specters. These enemies move around a lot less, but you’ll have to move around a lot more because Typhon will begin casting large magical blasts on the battlefield that are so large that they can be challenging to dodge. The Specters have a ranged magical attack that is easy to counter with ![]() Heatwave.
Heatwave.
Wave 3: The third and final wave is a large group of Wraiths. They are easy to defeat, especially if you can get them grouped up, but Typhon’s magic attacks will need to be dodged again. Make good use of your Eikonic abilities during this phase.
The next phase of the battle begins after all three waves have been defeated.
Phase 2
This is the second battle where Clive will prime into the Ifrit Eikon. He’ll have access to a few more abilities for this fight, which are outlined on the “Eikonic Abilities” tab of the menu screen. He can now perform the following additional moves:
In Phase 2, Typhon’s attacks are straightforward and well telegraphed, allowing you to dodge them easily. They include:
![]() Physical attacks:
Physical attacks:
Typhon will wind up with his arms or hands (which will begin glowing blue) before striking forward. He has a few different swings, including one where he lunges forward like a missile, and one where he does a large overhanded chop. The chop attack has a lengthy recovery time for Typhon, so you can get a full attack combo in on him after he uses it.
![]() Laser Beam:
Laser Beam:
A beam of blue light will be emitted from one of Typhon’s hands. Dodge to the left or right to avoid any damage.
![]() Laser Blade:
Laser Blade:
This attack is very similar to Benedikta’s “Wind Blade” attack. Typhon will launch a vertical beam of light towards Ifrit. Dodge to the left or right as it gets close.
![]() Multi-Lasers:
Multi-Lasers:
Typhon will hold his arms to the side, and three lasers will be emitted from each hand. He will wave them forward in a sweeping motion; make sure you’re not anywhere in front of him, and you won’t take damage.
![]() Magic Barrage:
Magic Barrage:
There are two versions of this attack, one where Typhon will hold his arms out to the side and bring them to the center, and one where he will hold both arms out in front of himself. Both attacks involve Typhon shooting a bunch of blue magic balls towards Ifrit that can be dodged by creating distance whenever you see this attack being used.
![]() Unending Clamor:
Unending Clamor:
The game will provide you with an explanation on how to dodge this attack the first time Typhon uses it. A large, circular area of the battlefield will begin to glow a dark purple color. Press the ![]()
![]()
![]() button to perform a Wildfire slide and escape the area.
button to perform a Wildfire slide and escape the area.
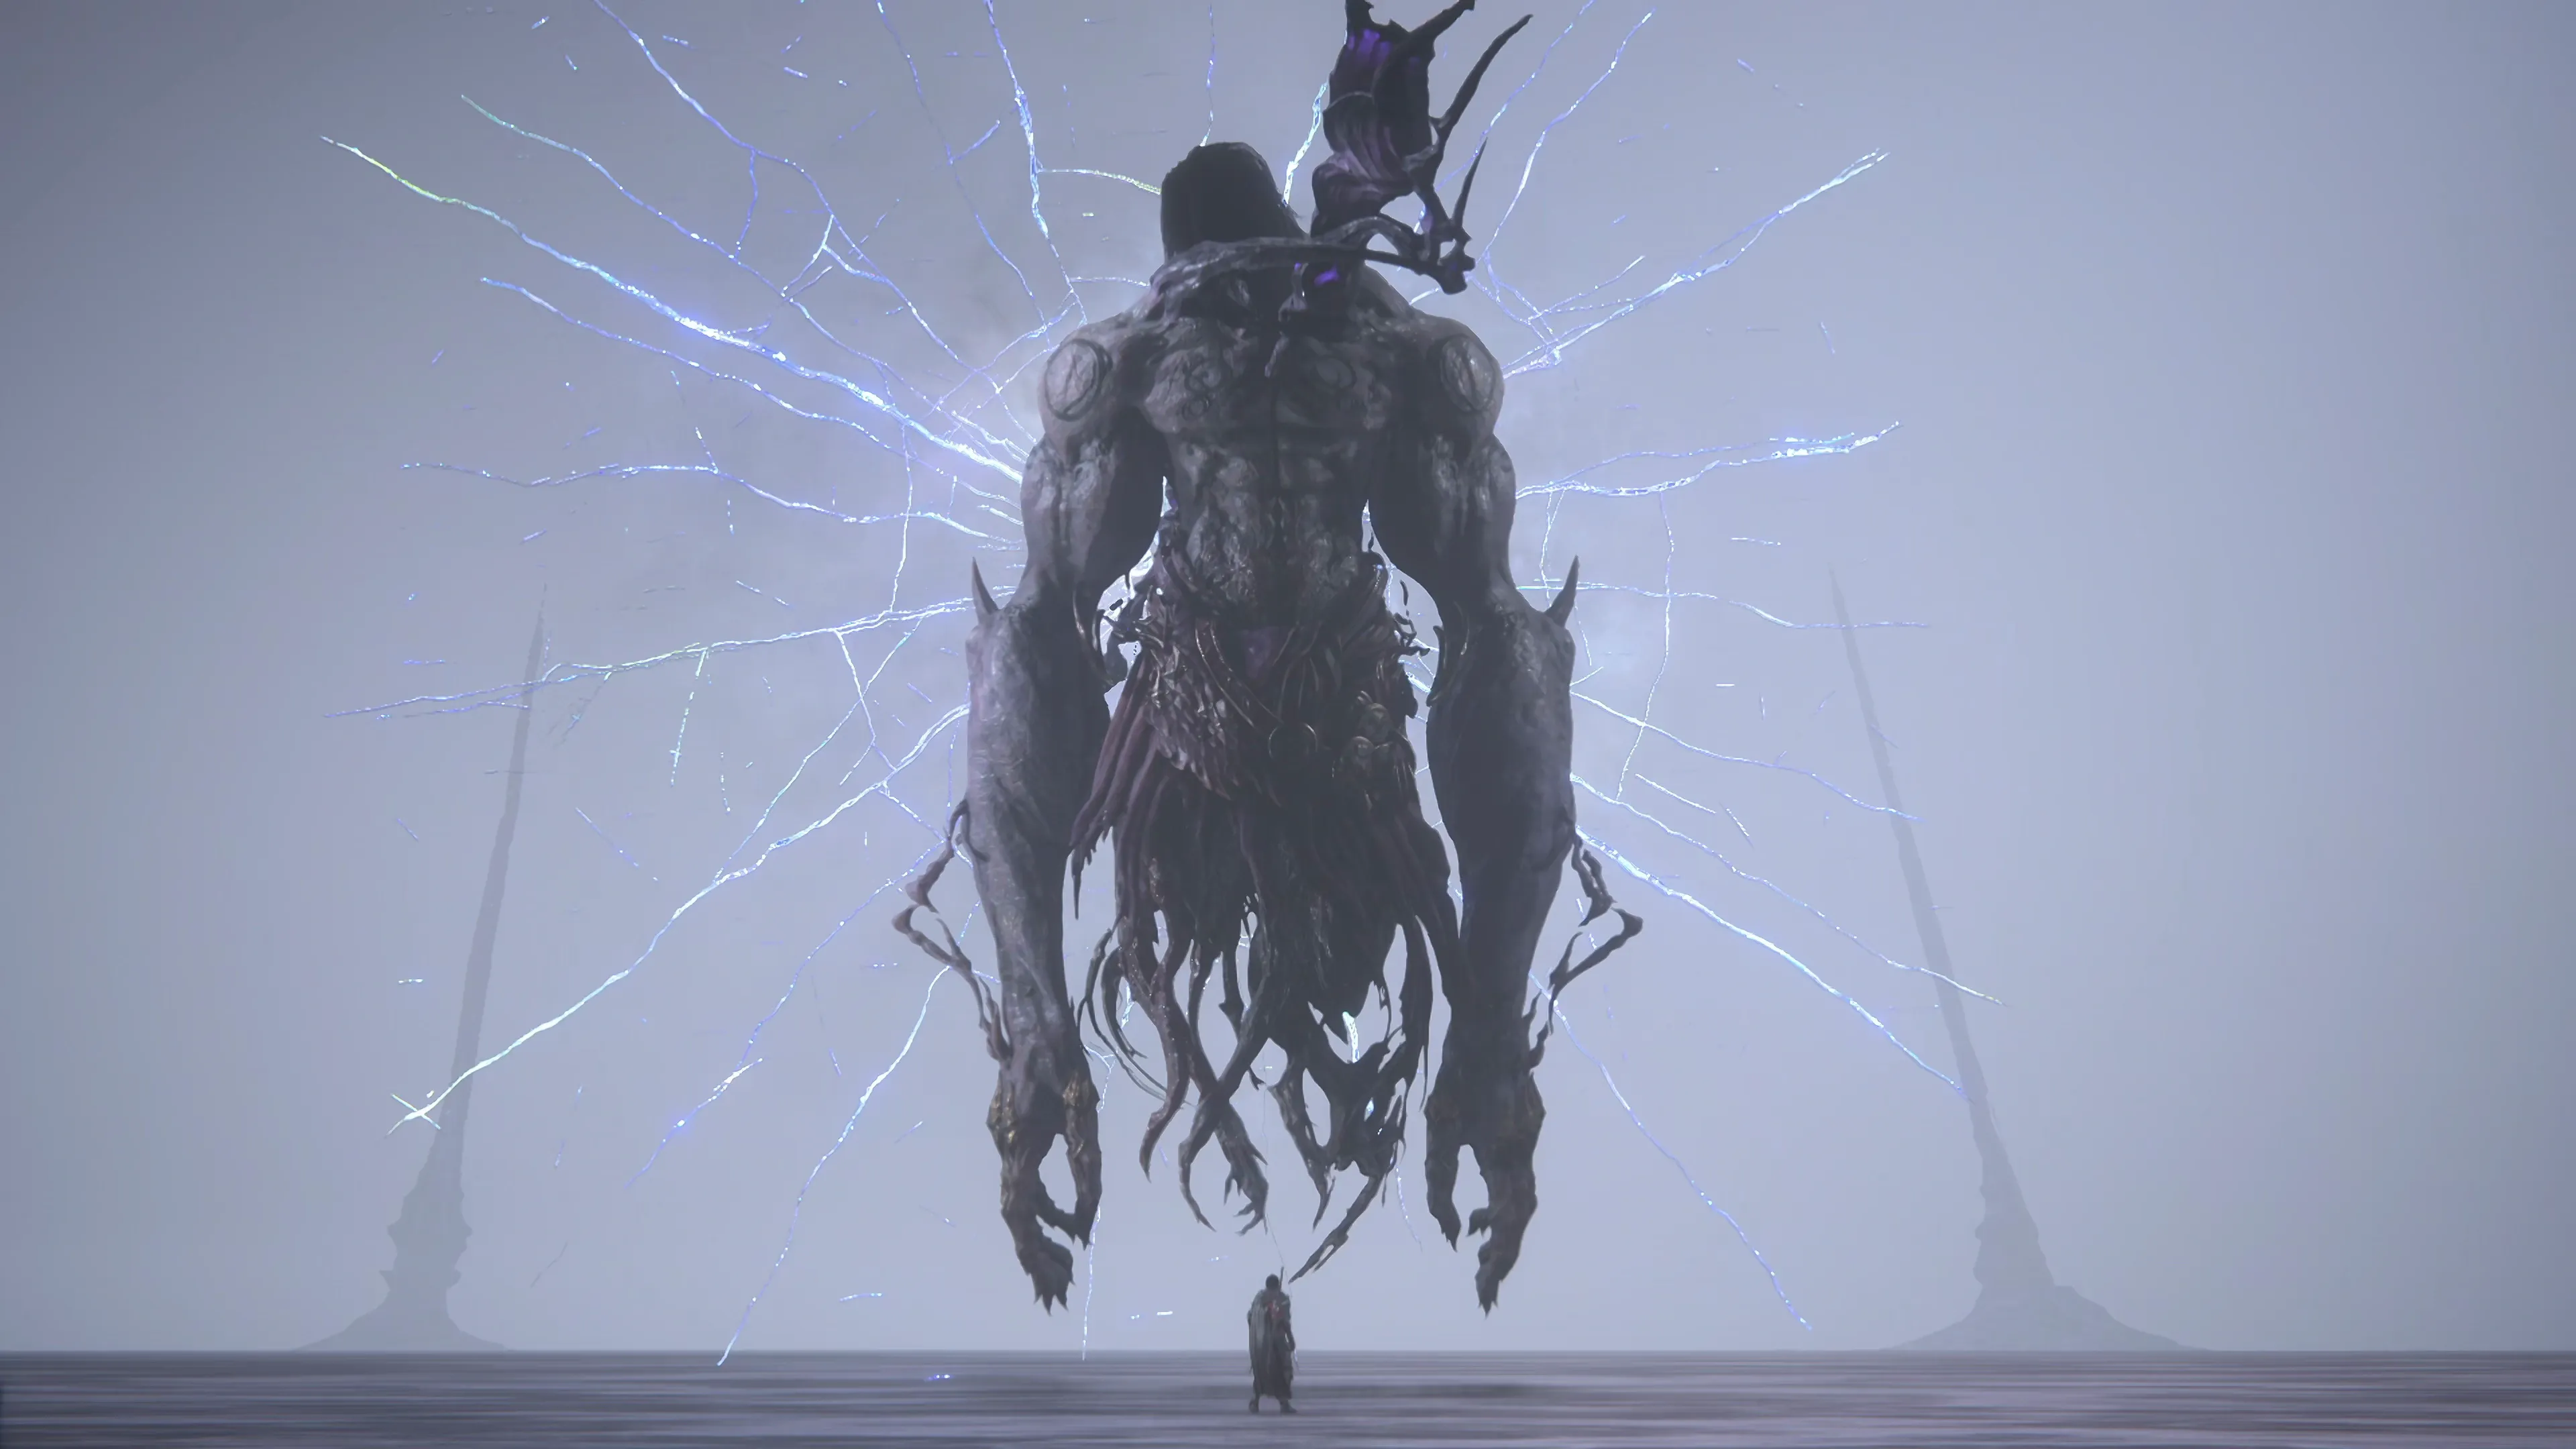
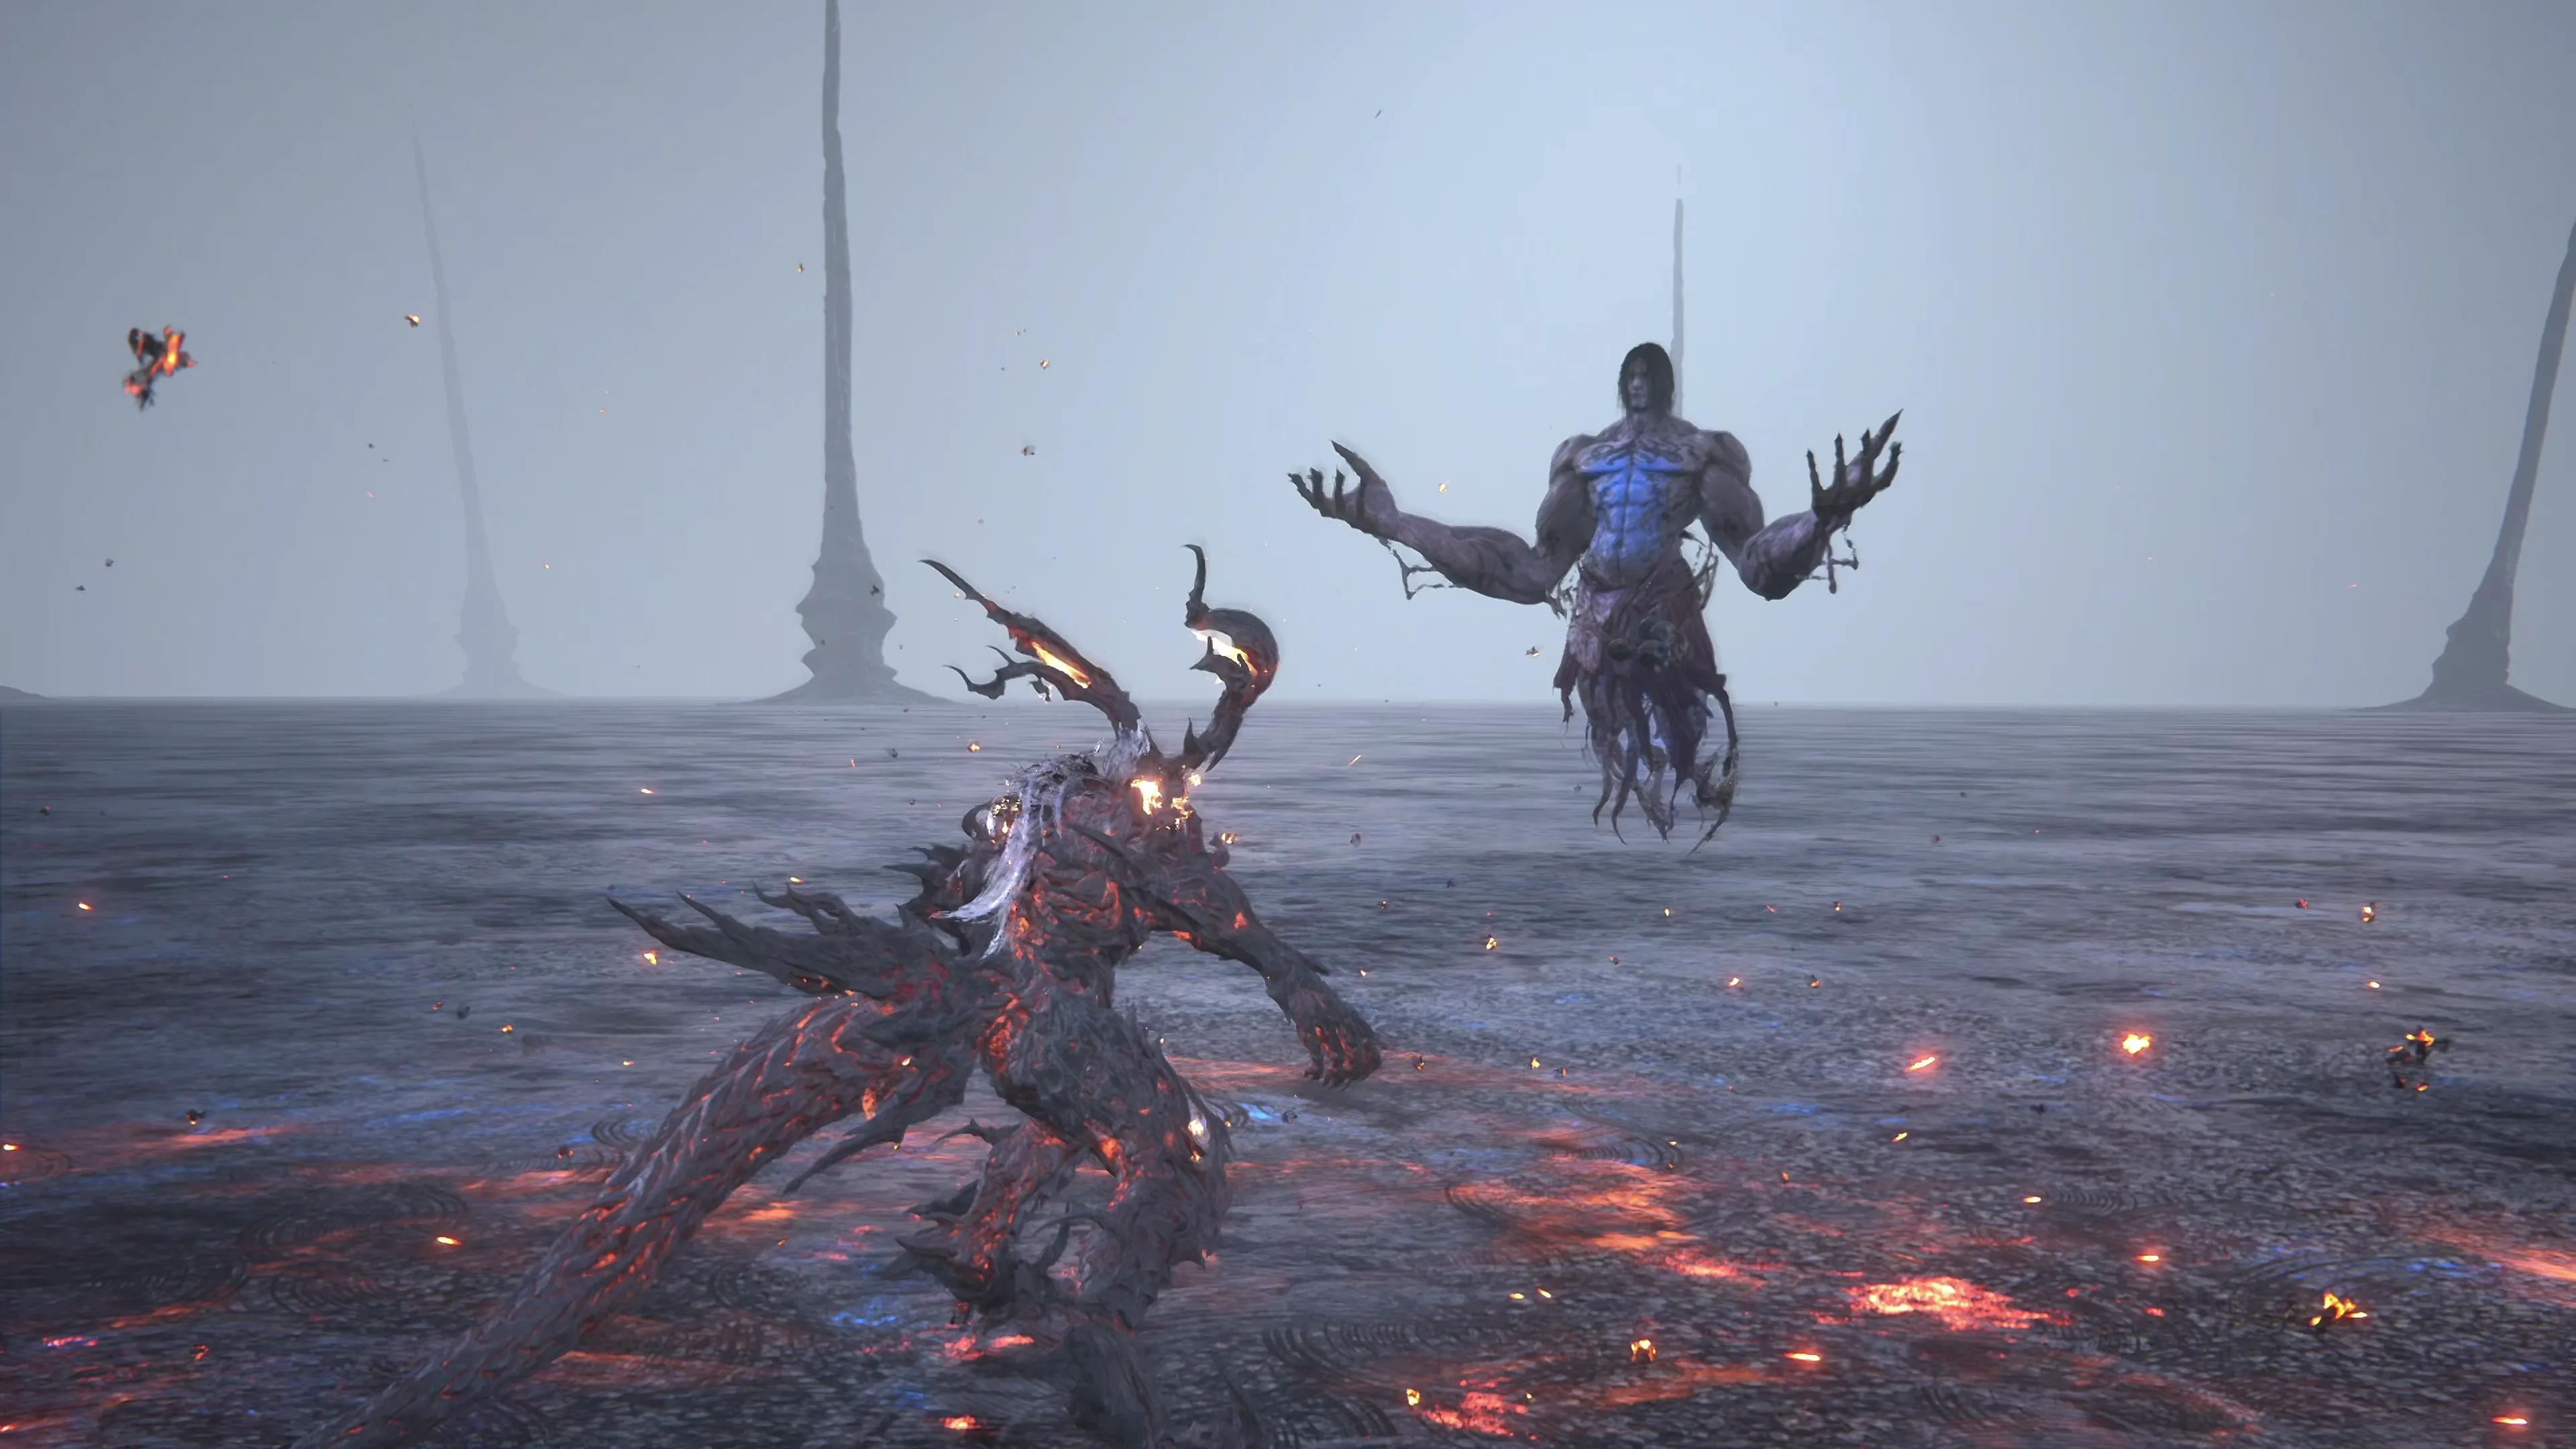
At the end of the phase, when Typhon’s HP reaches zero, Typhon will merge with mirror images of itself and transform into its ultimate form, Typhon the Transgressor.
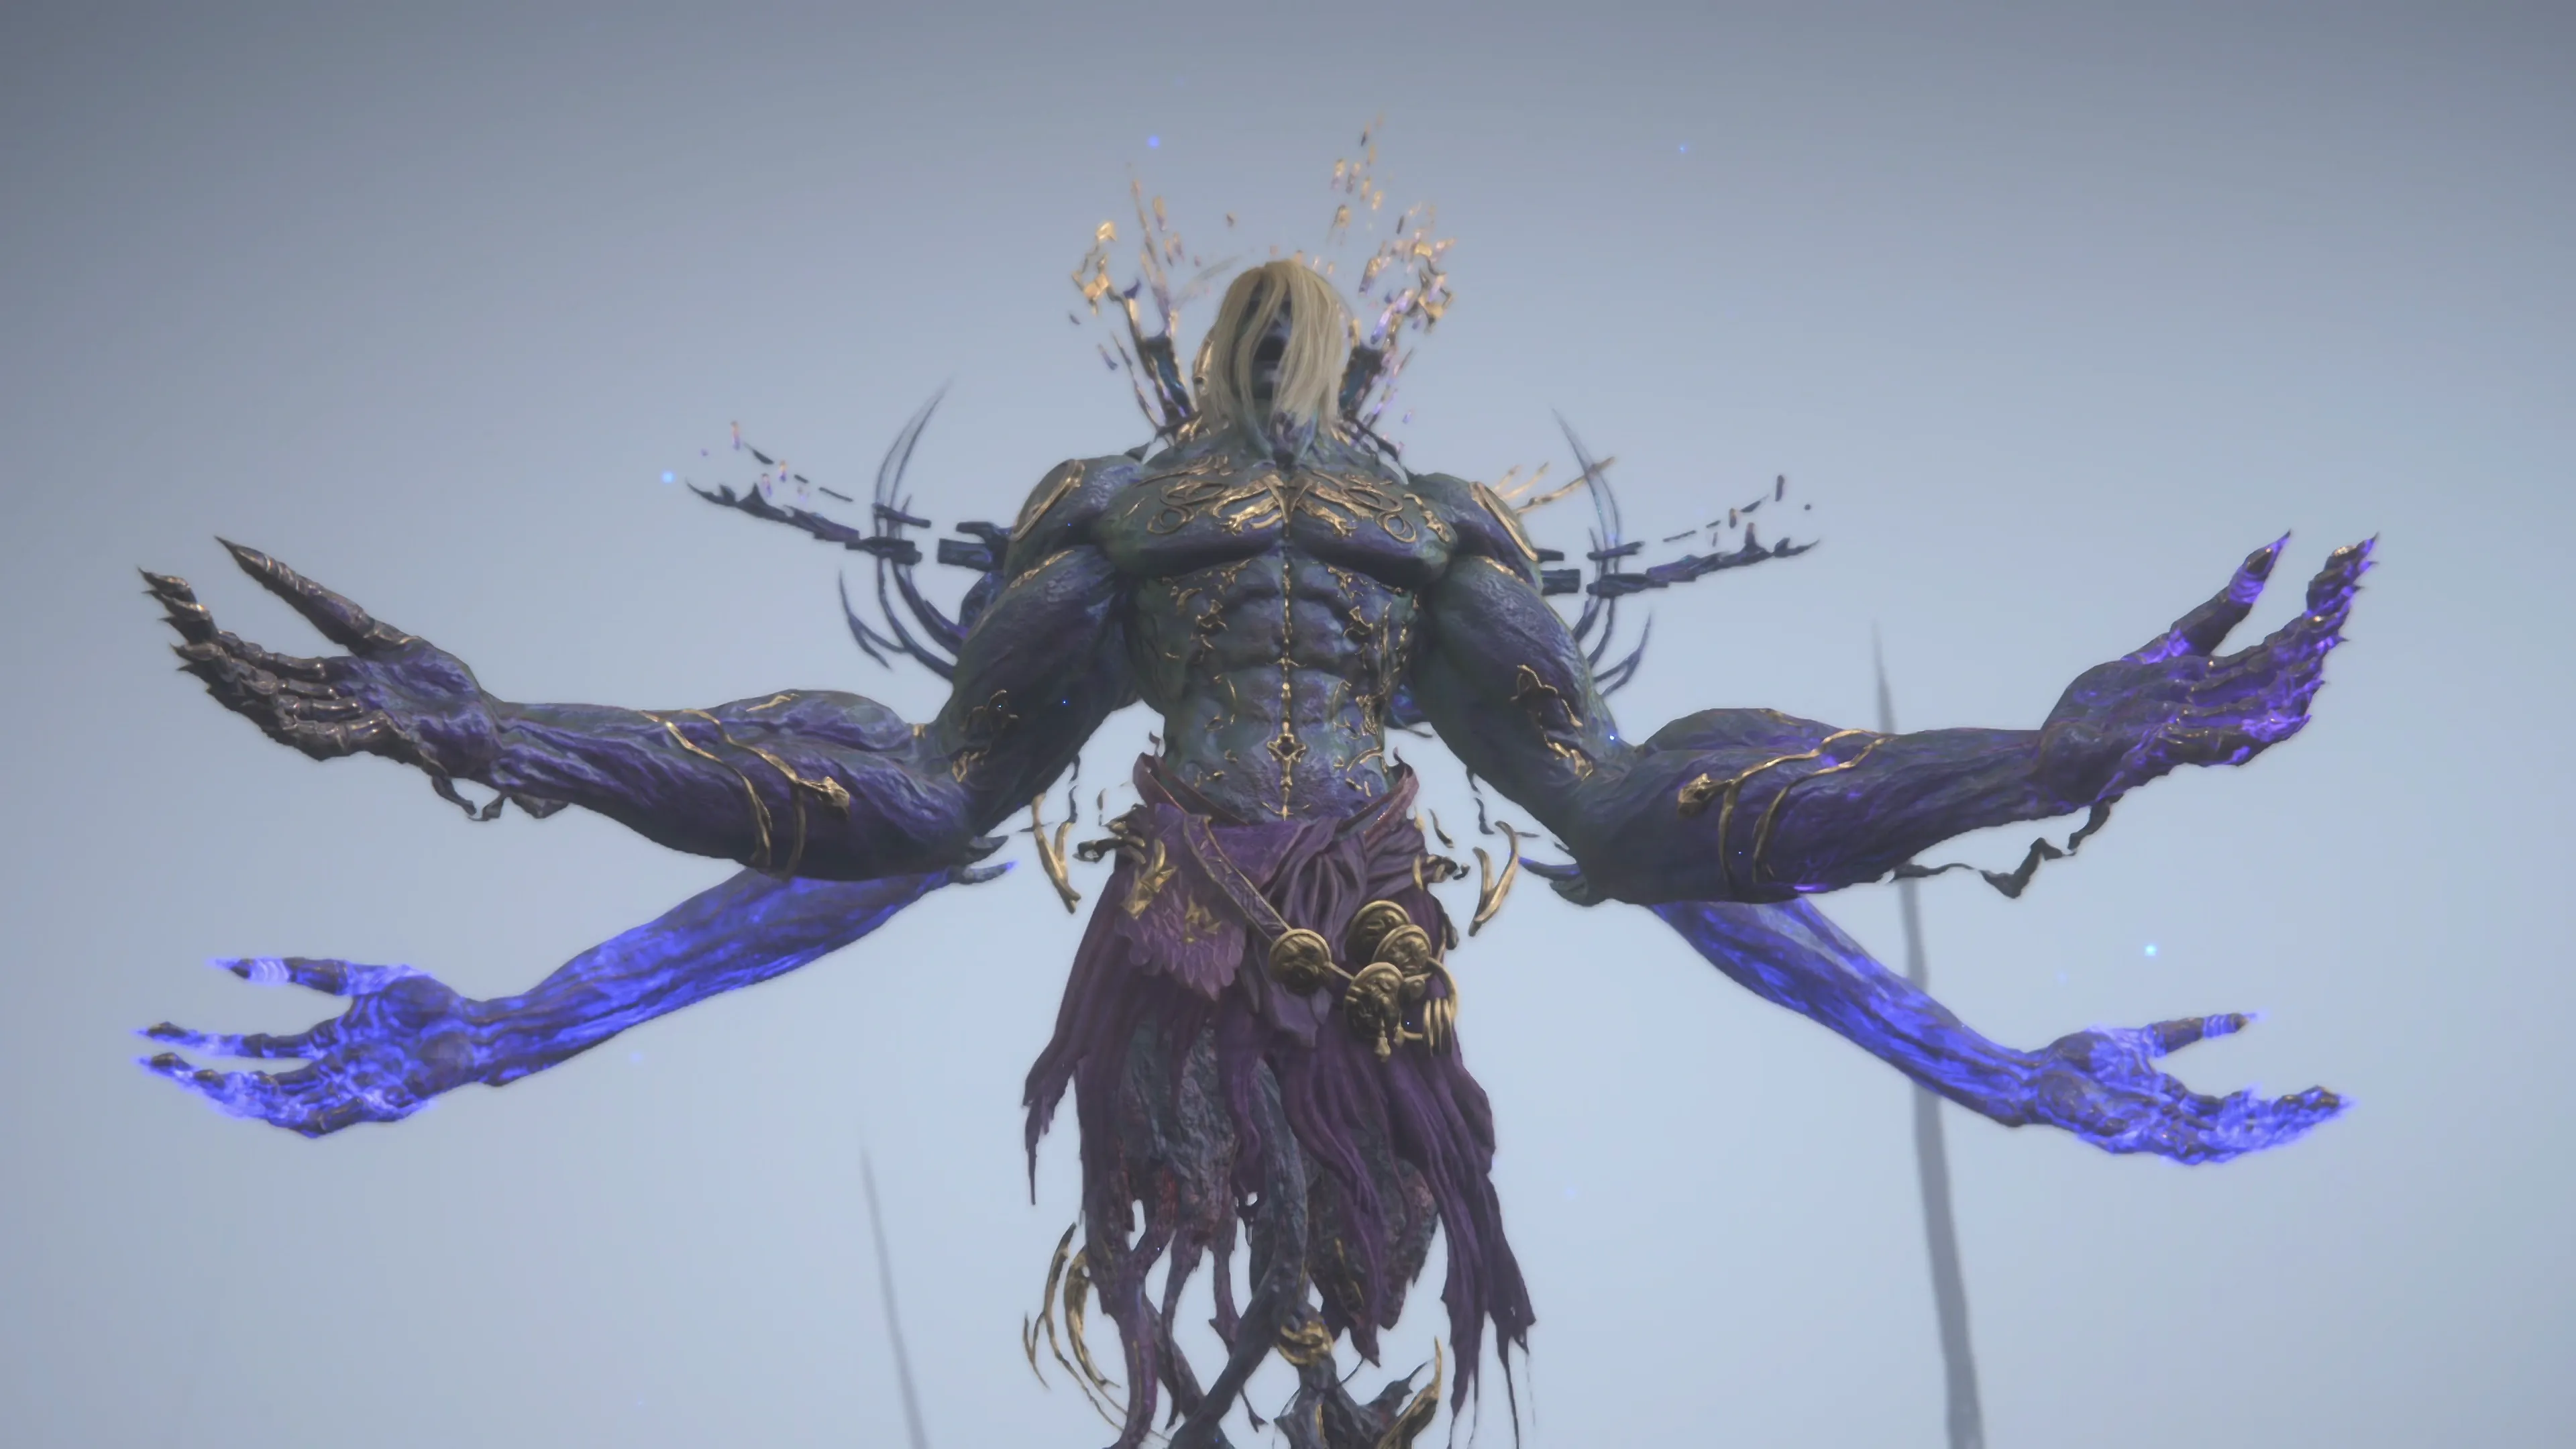
Phase 3 - Typhon the Transgressor
Most of Typhon’s attacks will carry over into its new form, but they’re each enhanced in some way.
![]() Laser Beam (changed):
Laser Beam (changed):
Typhon will now fire three laser beams in quick succession, which will all need to be dodged.
![]() Laser Blade (changed):
Laser Blade (changed):
Multiple blades will spawn instead of just a single blade, but this is still very similar to the attack you’ve seen already from Benedikta. Just be careful of the vertical blades as they will now bend their pathway towards Ifrit, making them a bit harder to dodge.
![]() Unending Clamor:
Unending Clamor:
Typhon will attack three large areas at once, meaning you can just mindlessly Wildfire (![]()
![]()
![]() ) to the right or the left. Instead, you’ll have to direct Ifrit to an open area that isn’t being attacked.
) to the right or the left. Instead, you’ll have to direct Ifrit to an open area that isn’t being attacked.
![]() Demon Wall:
Demon Wall:
This is a fun ability, and it’s pretty self-explanatory as soon as you see it. Move Ifrit into one of the open areas of the wall where he won’t get hit as the wall pushes forward. Four walls will spawn in total; you can walk through the first two, but you will need to use ![]()
![]()
![]() (
(![]() Wildfire (Ifrit)) to slide across the screen and get through the third and fourth walls. Be very careful, though. Wildfire has a lengthy cooldown, so if you stop using it too soon, you won’t be able to start sliding again quickly. The fifth and final hole in the wall can be slid to or walked to, whichever is easiest.
Wildfire (Ifrit)) to slide across the screen and get through the third and fourth walls. Be very careful, though. Wildfire has a lengthy cooldown, so if you stop using it too soon, you won’t be able to start sliding again quickly. The fifth and final hole in the wall can be slid to or walked to, whichever is easiest.
![]() Catacecaumene:
Catacecaumene:
Large beams of energy will fall from the sky, and Typhon will create bursts of magic underneath where Ifrit is standing. Move out of the way when you see the ground beneath Ifrit begin to glow, and be ready to dodge Typhon’s other attacks (he’ll quite often use Unending Clamor at the same time as this ability).
There are a few additional cutscenes that occur after the battle. This is another battle where you can earn a Medal of Valor. To reiterate, you should not worry about trying to get this very difficult achievement on your first playthrough.
The Medal has no use in the game, and it’s not tied to any Achievements/Trophies. It’s only been included by the game developers for those looking to challenge themselves, but if you’ve played through the battles before and want to retry it a few times, your reward will be the ![]() Medal of Valor - Typhon. You only need to complete Phases 2 and 3 without taking damage.
Medal of Valor - Typhon. You only need to complete Phases 2 and 3 without taking damage.
200
3,500
A video demonstration of how to successfully complete the fight against Typhon.
Achievement/Trophy
“Defy your fate.” The  Lawless Achievement/Trophy is earned as soon as you complete “The Crystals’ Curse” Main Scenario Quest.