
 Righting Wrongs
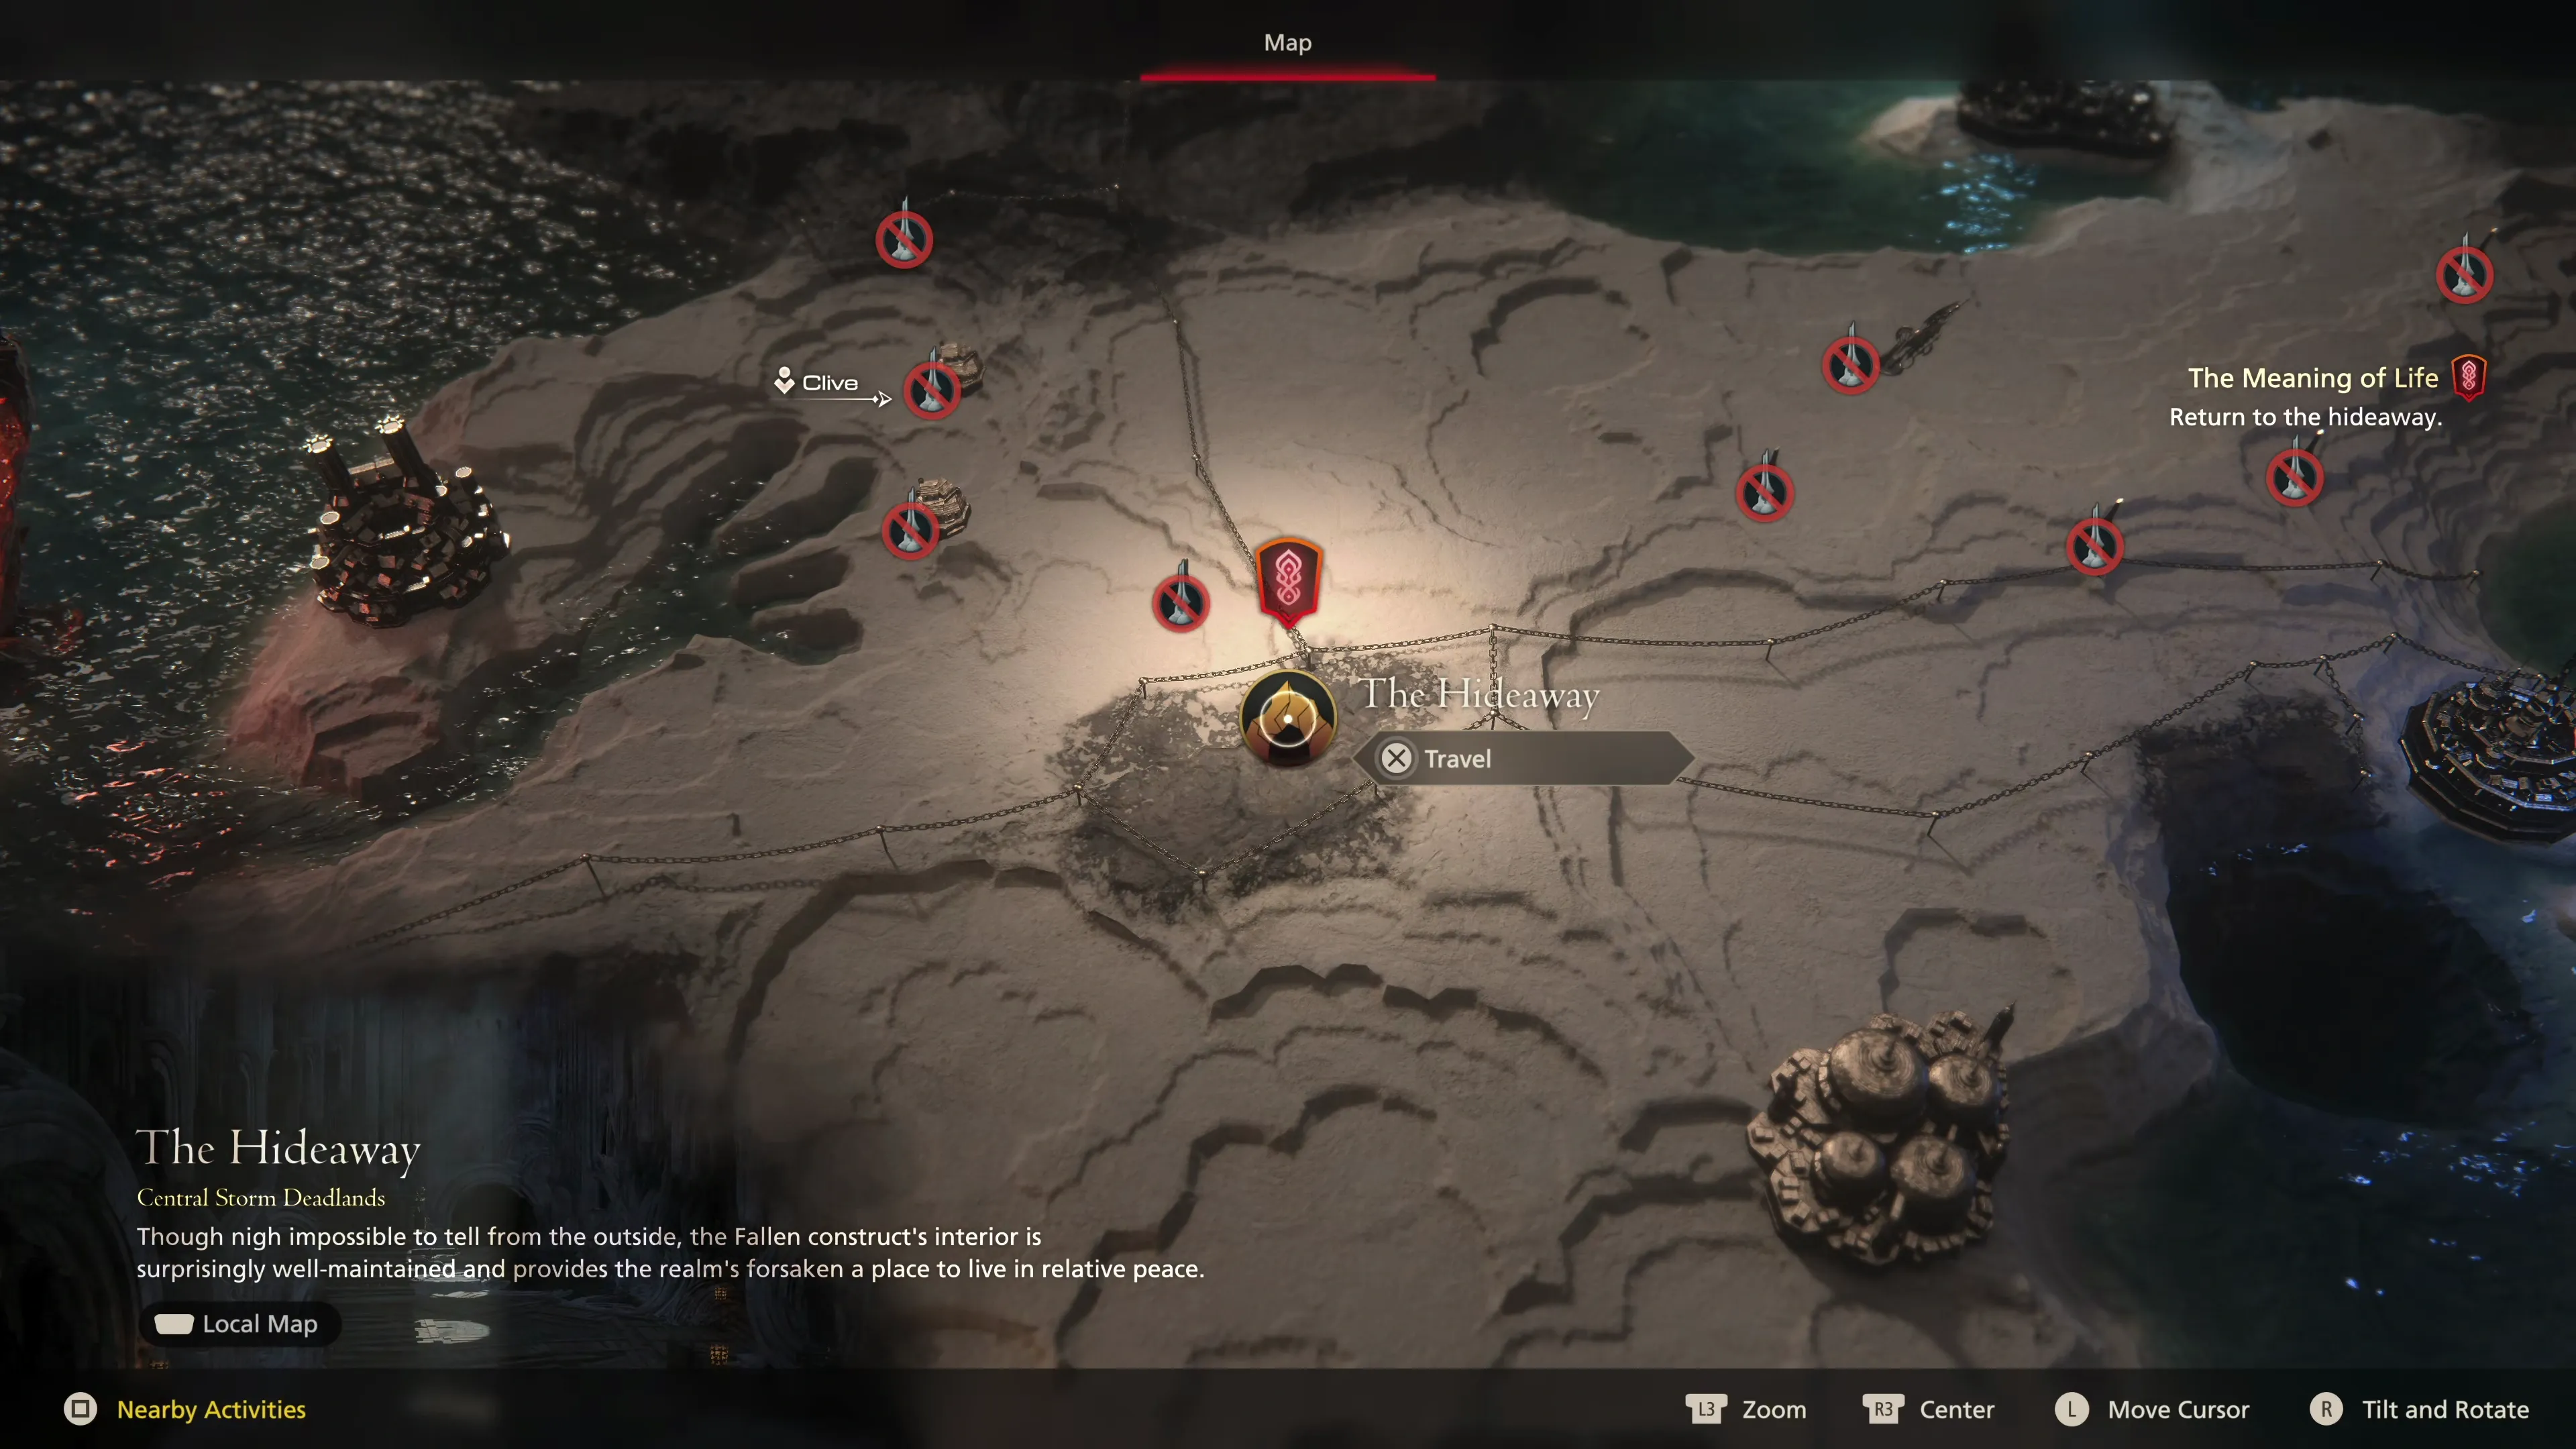
 The Hideaway
This chapter begins when Clive returns to the Hideaway after completing the Main Scenario events at the Phoenix Ruin Gates and in Eastpool. Head up to visit Cid in his solar to kick off another set of cutscenes, after which you can exit the solar, and a group of Optional Quests will open up.
Before we do that, let’s speak to Charon at her shop to complete the next Main Scenario Quest task. While there, you can restock any ![]() Potions or
Potions or ![]() High Potions you might need. She’s also selling a new accessory called
High Potions you might need. She’s also selling a new accessory called ![]() The Breath of Fire (Heatwave).
The Breath of Fire (Heatwave).
Head over to Blackthorne at ![]() The Black Hammer next and have him craft a new sword for you using the materials you picked up from the last set of battles.
The Black Hammer next and have him craft a new sword for you using the materials you picked up from the last set of battles.
| Materials | |
|---|---|
Blackthorne won’t be able to reinforce your currently equipped items, and there’s nothing else that’s worthwhile to have him craft at this point in the game, so you’re all done once you have your new sword.
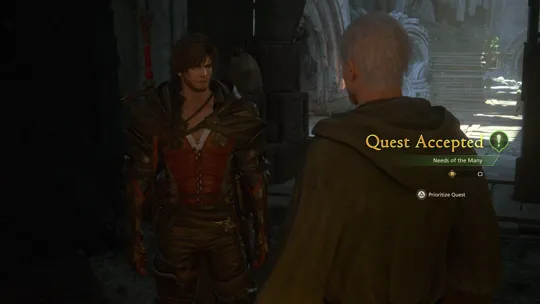
Let’s move on to the Optional Quests:
Optional Quest
“A courier at the hideaway asks Clive to find some goods he lost, including an important letter for Cid.”
Optional Quest
“An old man at the hideaway asks Clive to find his friend Randal, who went to Lostwing to work, and hasn’t come back.”
The next step in the Main Scenario Quest ![]() is to speak to Otto, who is standing near the Fat Chocobo. At the end of their conversation, a message will pop up indicating that
is to speak to Otto, who is standing near the Fat Chocobo. At the end of their conversation, a message will pop up indicating that ![]() Alliant Reports have been unlocked.
Alliant Reports have been unlocked.
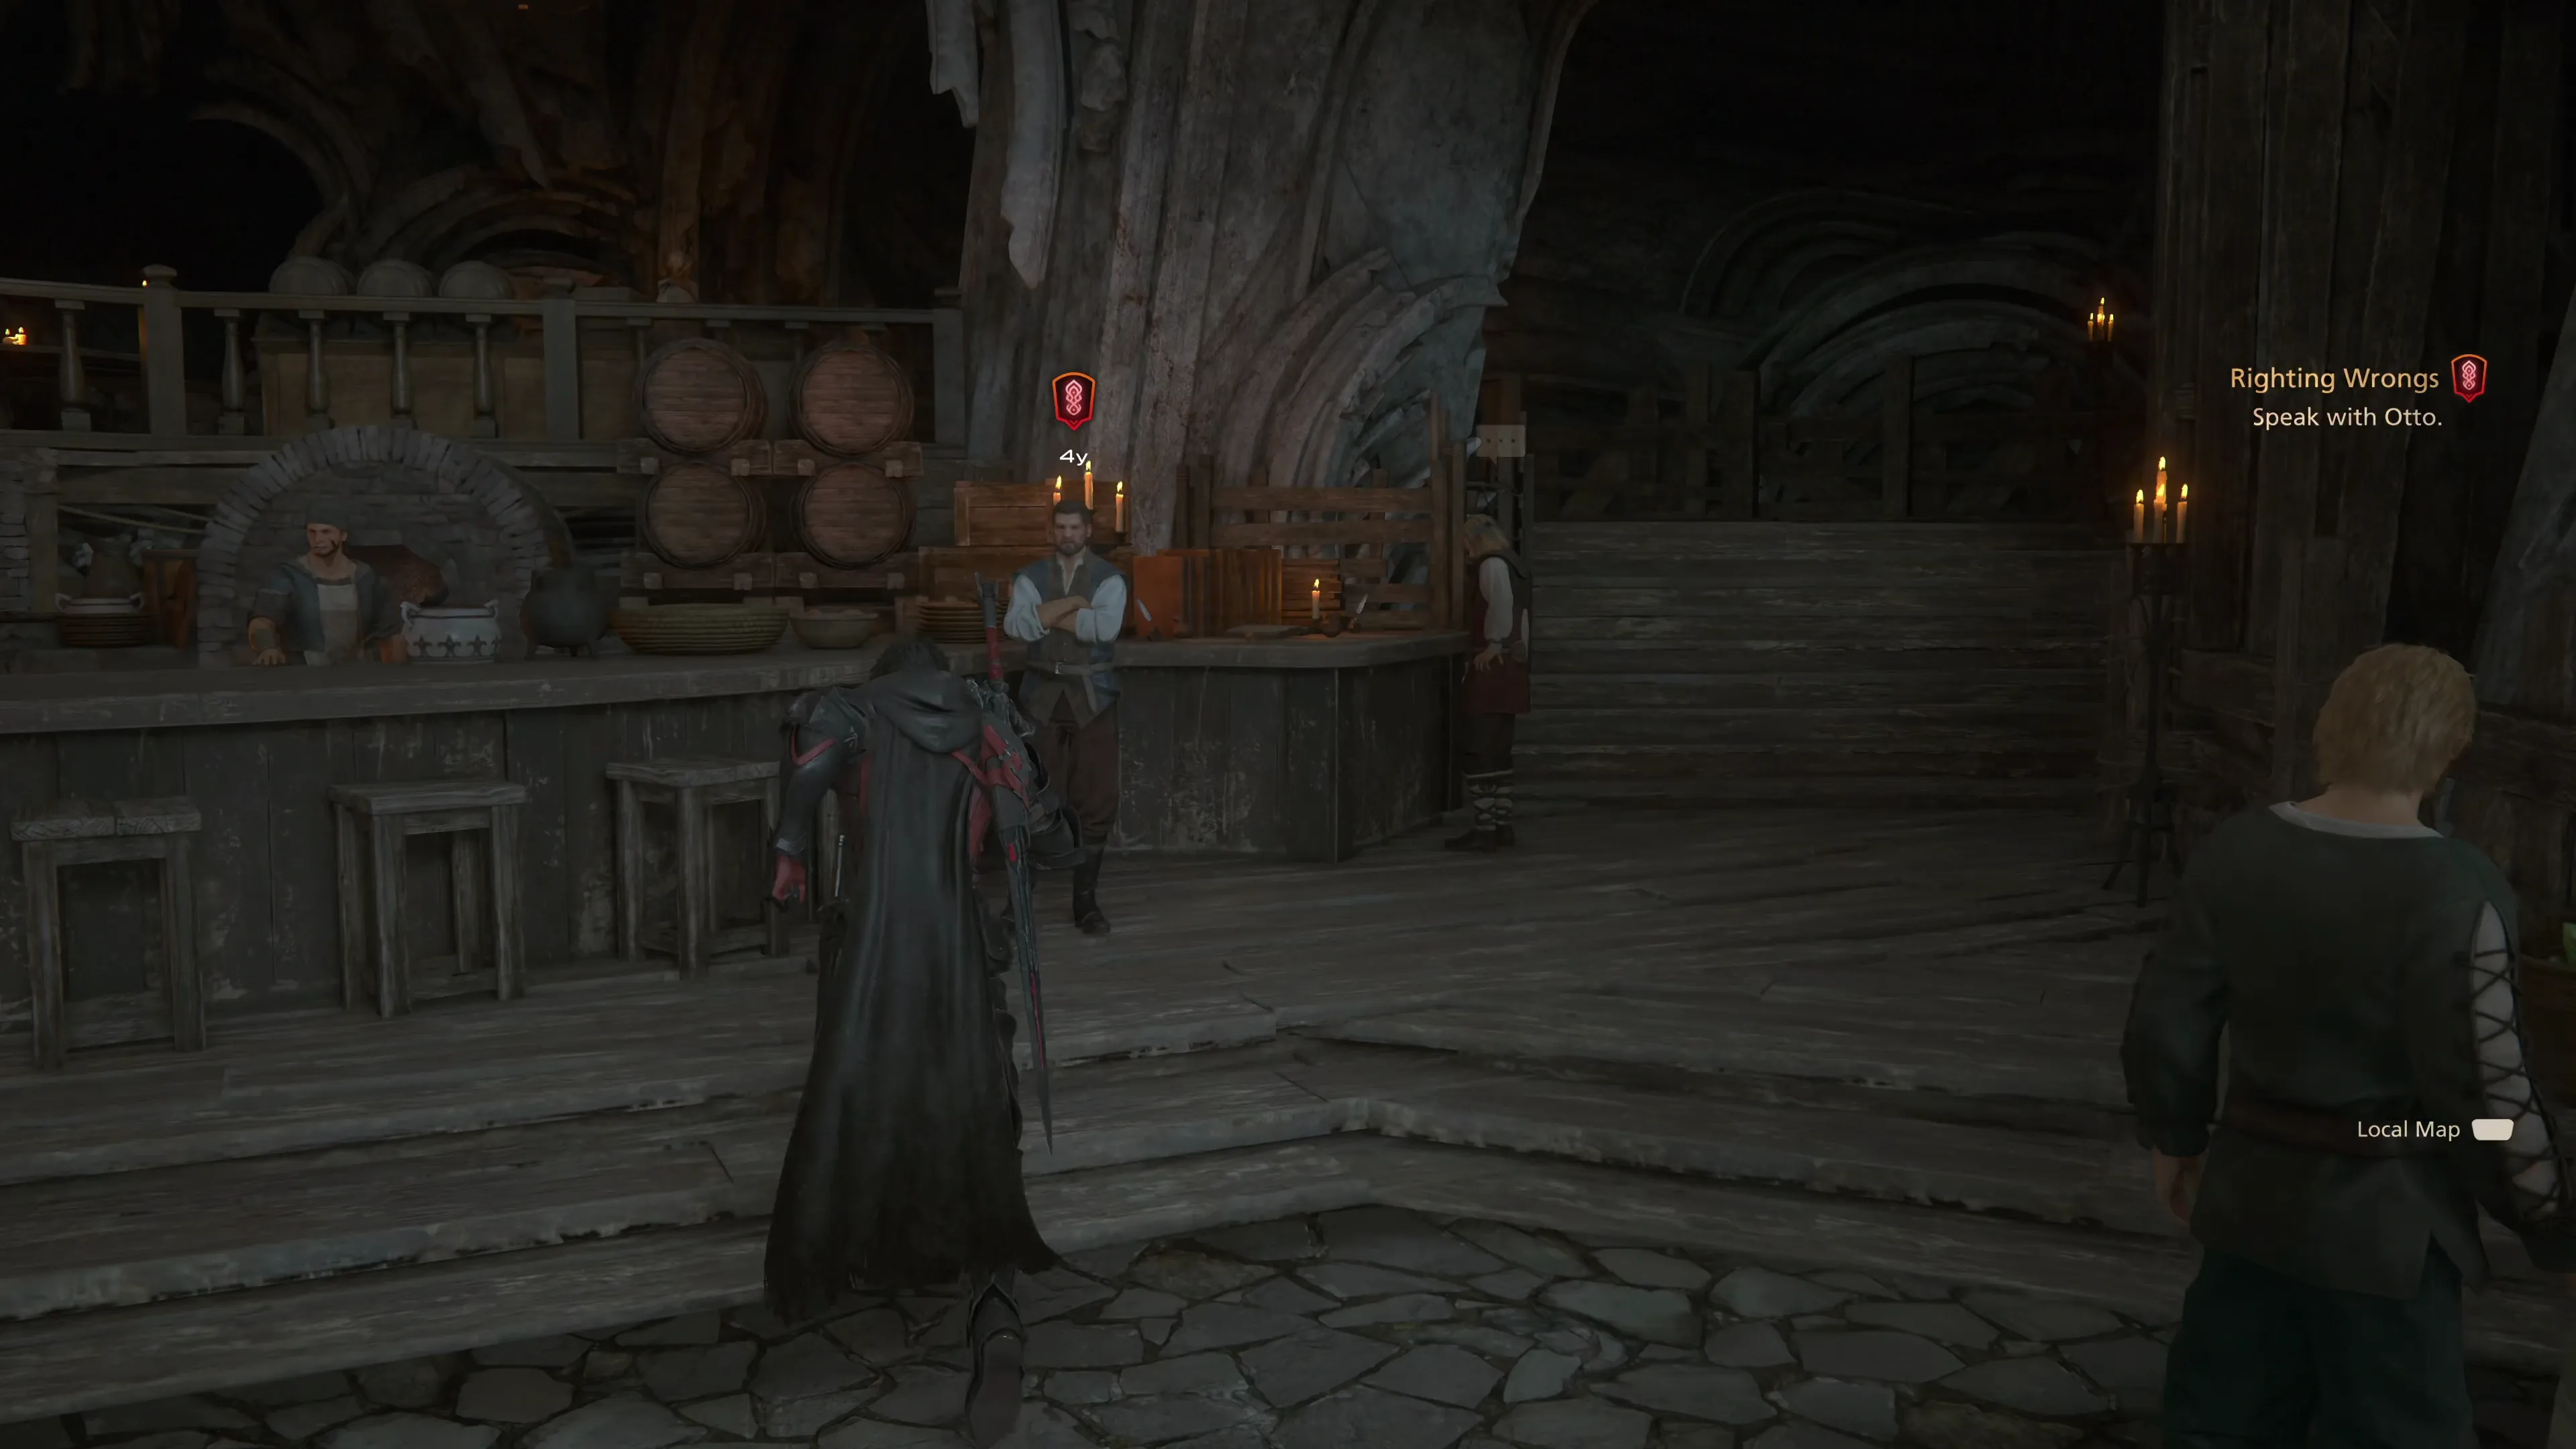
You can speak to Gaute to get a list of any quests that are available that you haven’t completed yet, but to be honest, they’re pretty easy to find regardless. Otto will also give Clive the ![]() Fragrant Satchel to help him gain an audience with the Dame at Northreach.
Fragrant Satchel to help him gain an audience with the Dame at Northreach.
Optional Quest
“A band of rowdy ne’er-do-wells are raising a ruckus at the tavern in Martha’s Rest and refuse to leave. Clive is enlisted to take out the rubbish.”
Optional Quest

“One of Quinten’s underlings enlists the help of Clive to help two new Bearers settle into Lostwing. Apparently, their former master mistreated them terribly, and they’re extremely nervous as a result.”
Optional Quest

“A field hand at the vineyard in Lostwing turns to Clive to get rid of a monstrous menace. This year’s crop looks to be a particularly fine one, but it can’t be harvested until the plague of pests is dealt with.”
Gav is standing near the entrance of the Hideaway. Speak to him to move the Main Scenario Quest forward, and then you have a few routes available that you can use to reach your next destination, Northreach.
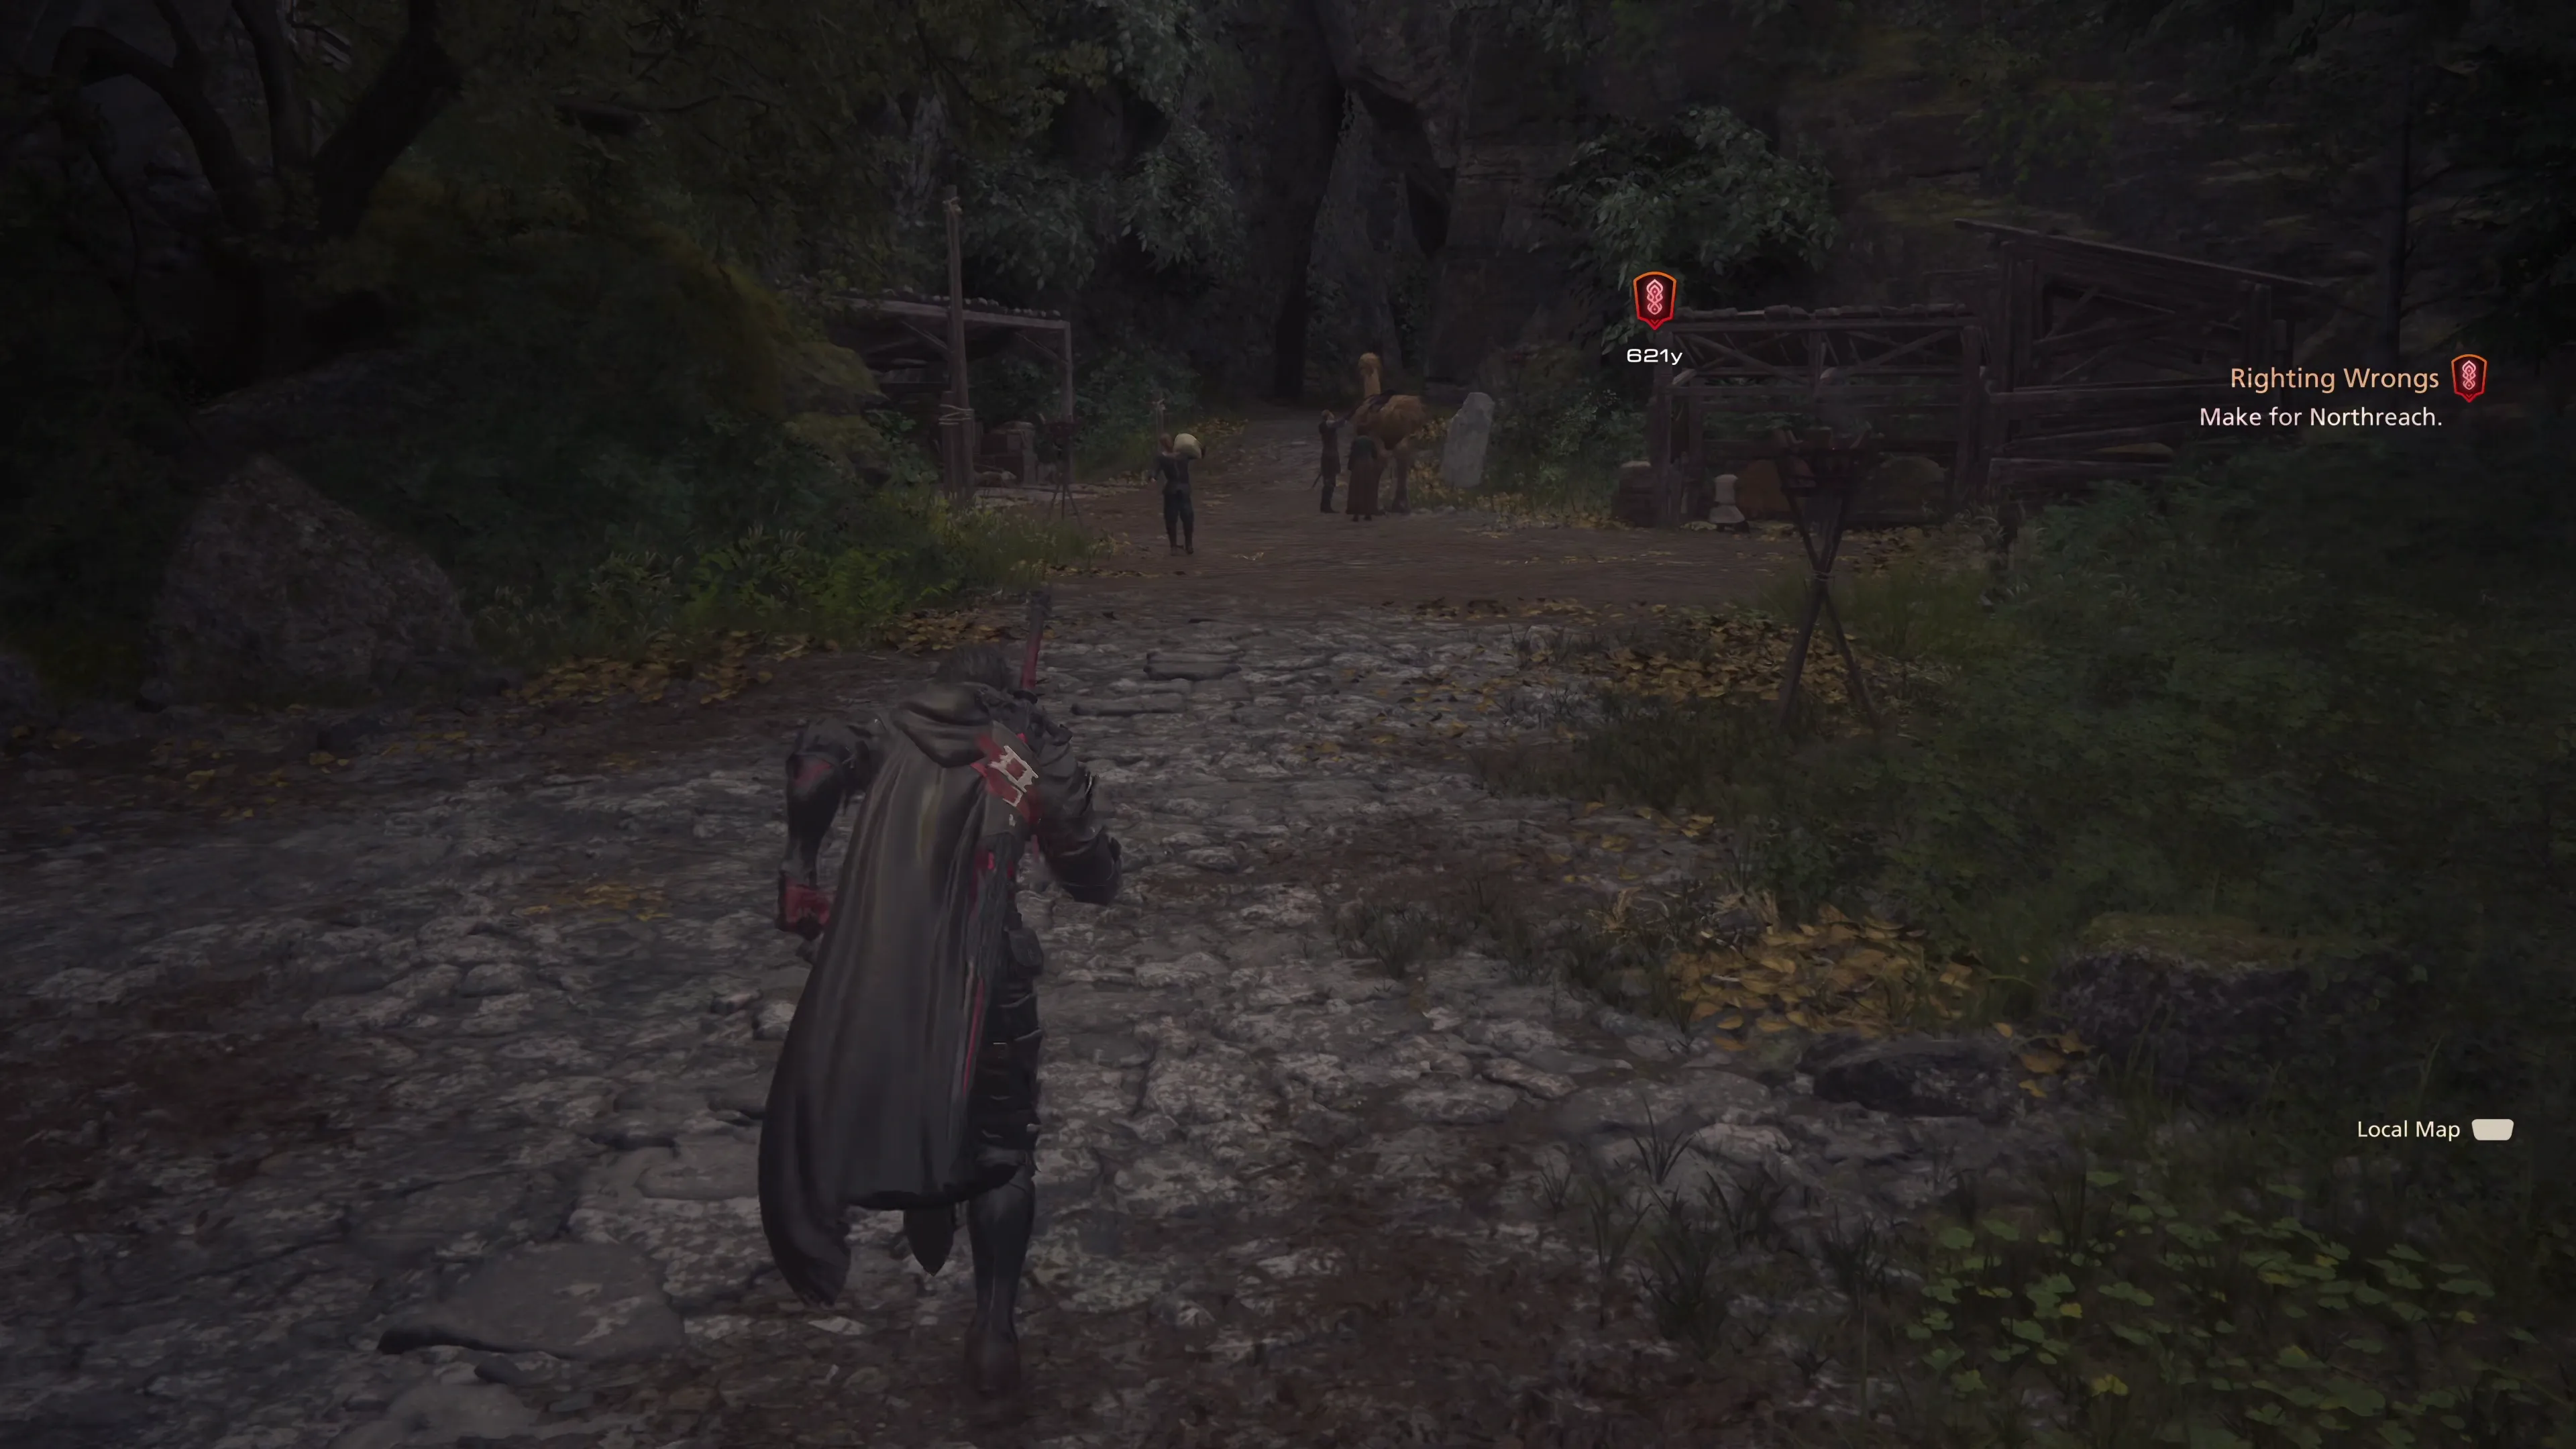
The game will recommend warping to the ![]() Lostwing Obelisk and heading northeast through the “Weeping Rent” and “Old Road” into the large open area of Claireview. This route works just fine, and there’s no reason not to take it, but be aware that you can also reach Claireview by traveling to either the
Lostwing Obelisk and heading northeast through the “Weeping Rent” and “Old Road” into the large open area of Claireview. This route works just fine, and there’s no reason not to take it, but be aware that you can also reach Claireview by traveling to either the ![]() Caer Norvent Glorieuse Gate Obelisk or
Caer Norvent Glorieuse Gate Obelisk or ![]() The Dragon’s Aery Obelisk.
The Dragon’s Aery Obelisk.
There are quite a few treasure coffers in this area:
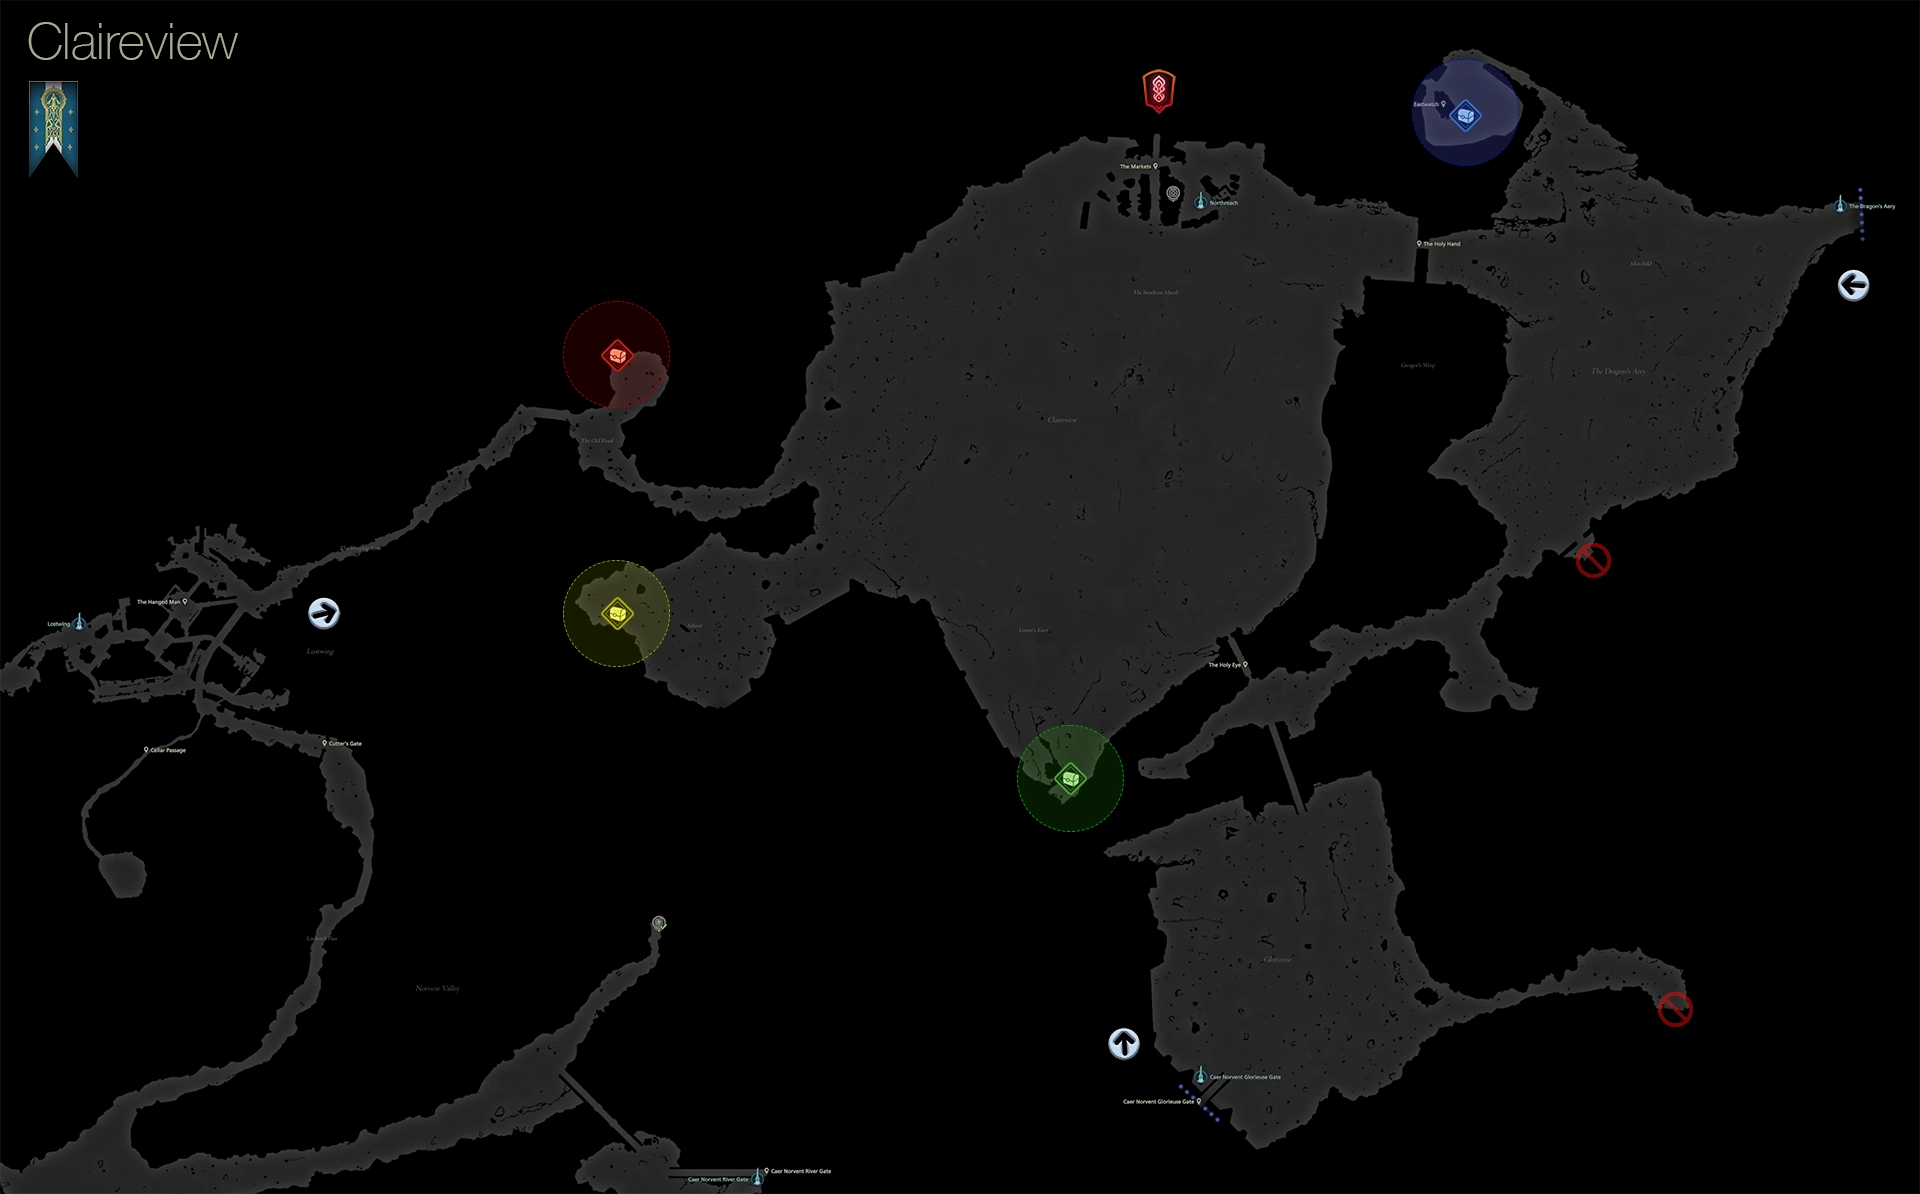
| 1) | ||
|---|---|---|
| 2) | ||
| 3) | ||
| 4) |
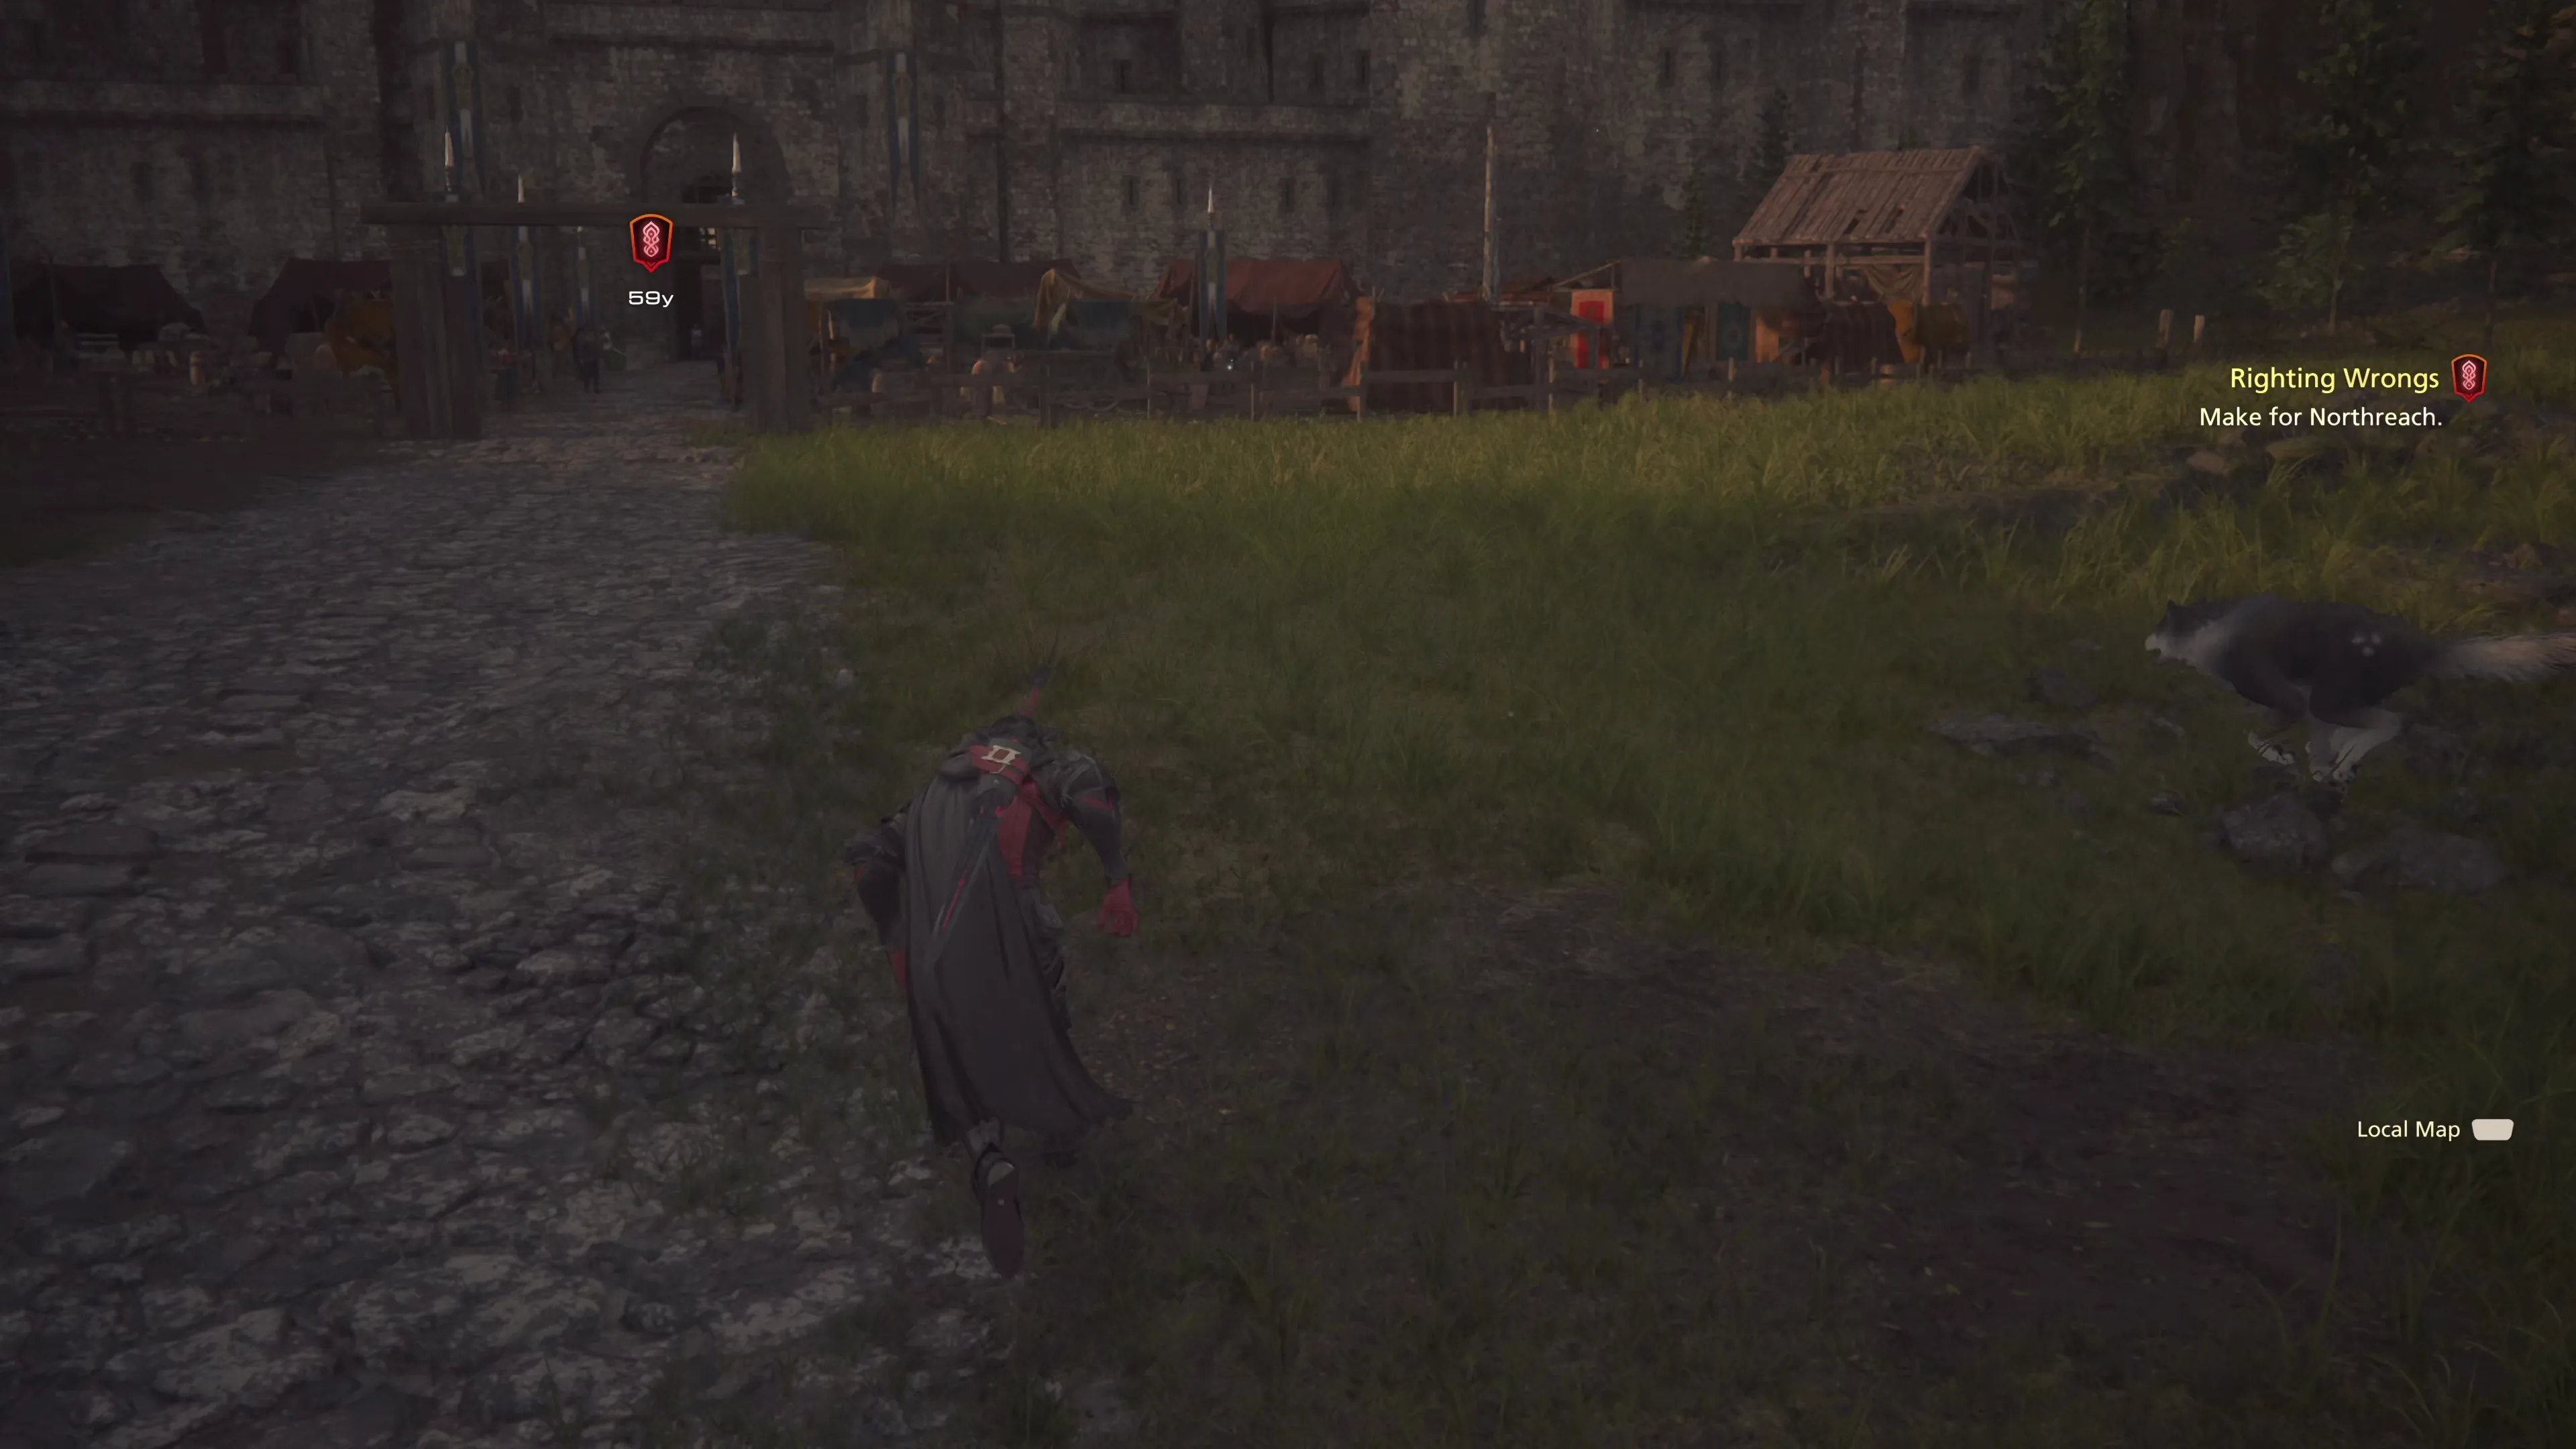
The town of Northreach is located in the northern section of Claireview. Head there once you’re done exploring.
 Northreach
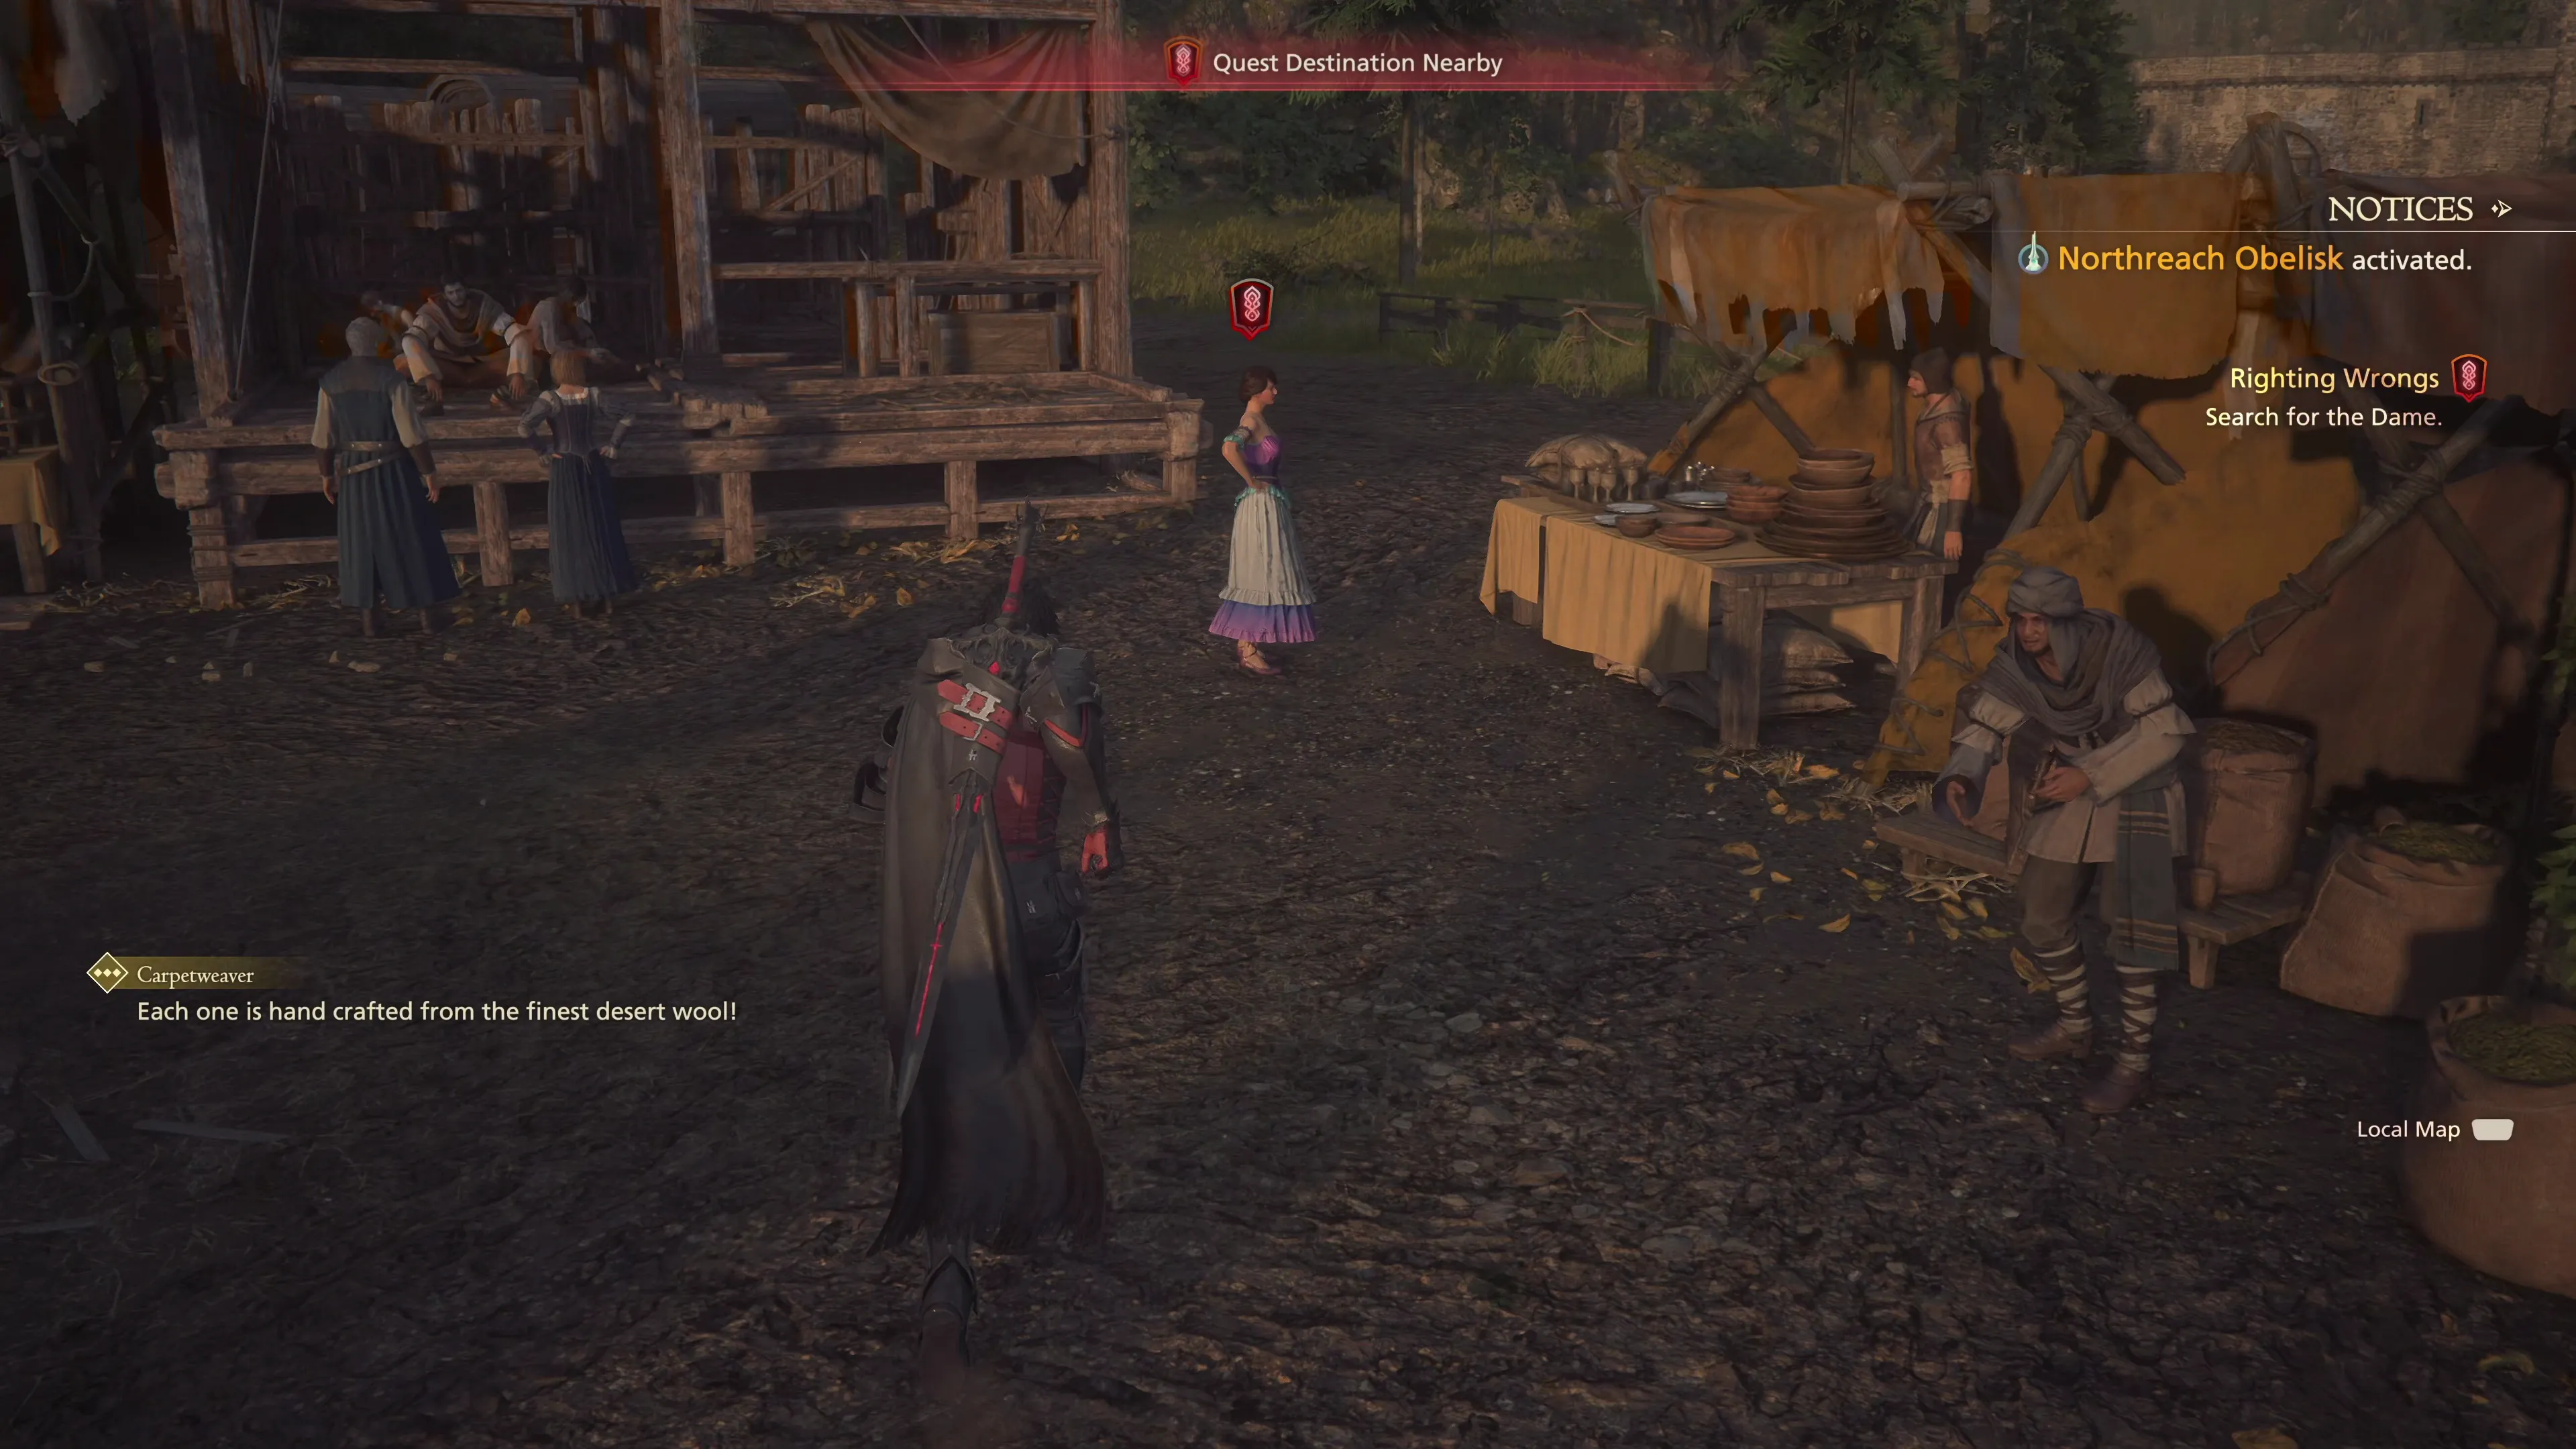
The “Quest Destination” when you reach Northreach is Lady Isabelle. The ![]() Northreach Obelisk will automatically be activated when you get close enough to it. Before you run 30 yards further to speak with her again, go around to the backside of the tent structure near where she was standing to find a treasure coffer that contains a
Northreach Obelisk will automatically be activated when you get close enough to it. Before you run 30 yards further to speak with her again, go around to the backside of the tent structure near where she was standing to find a treasure coffer that contains a ![]() Black Blood.
Black Blood.
The guards at Northreach will allow you to pass through the gate now that you’re with the Dame. She will ask you to follow her down to an area of Northreach called “the Veil,” but before you do, locate the two other treasure coffers in this northern section of Northreach.
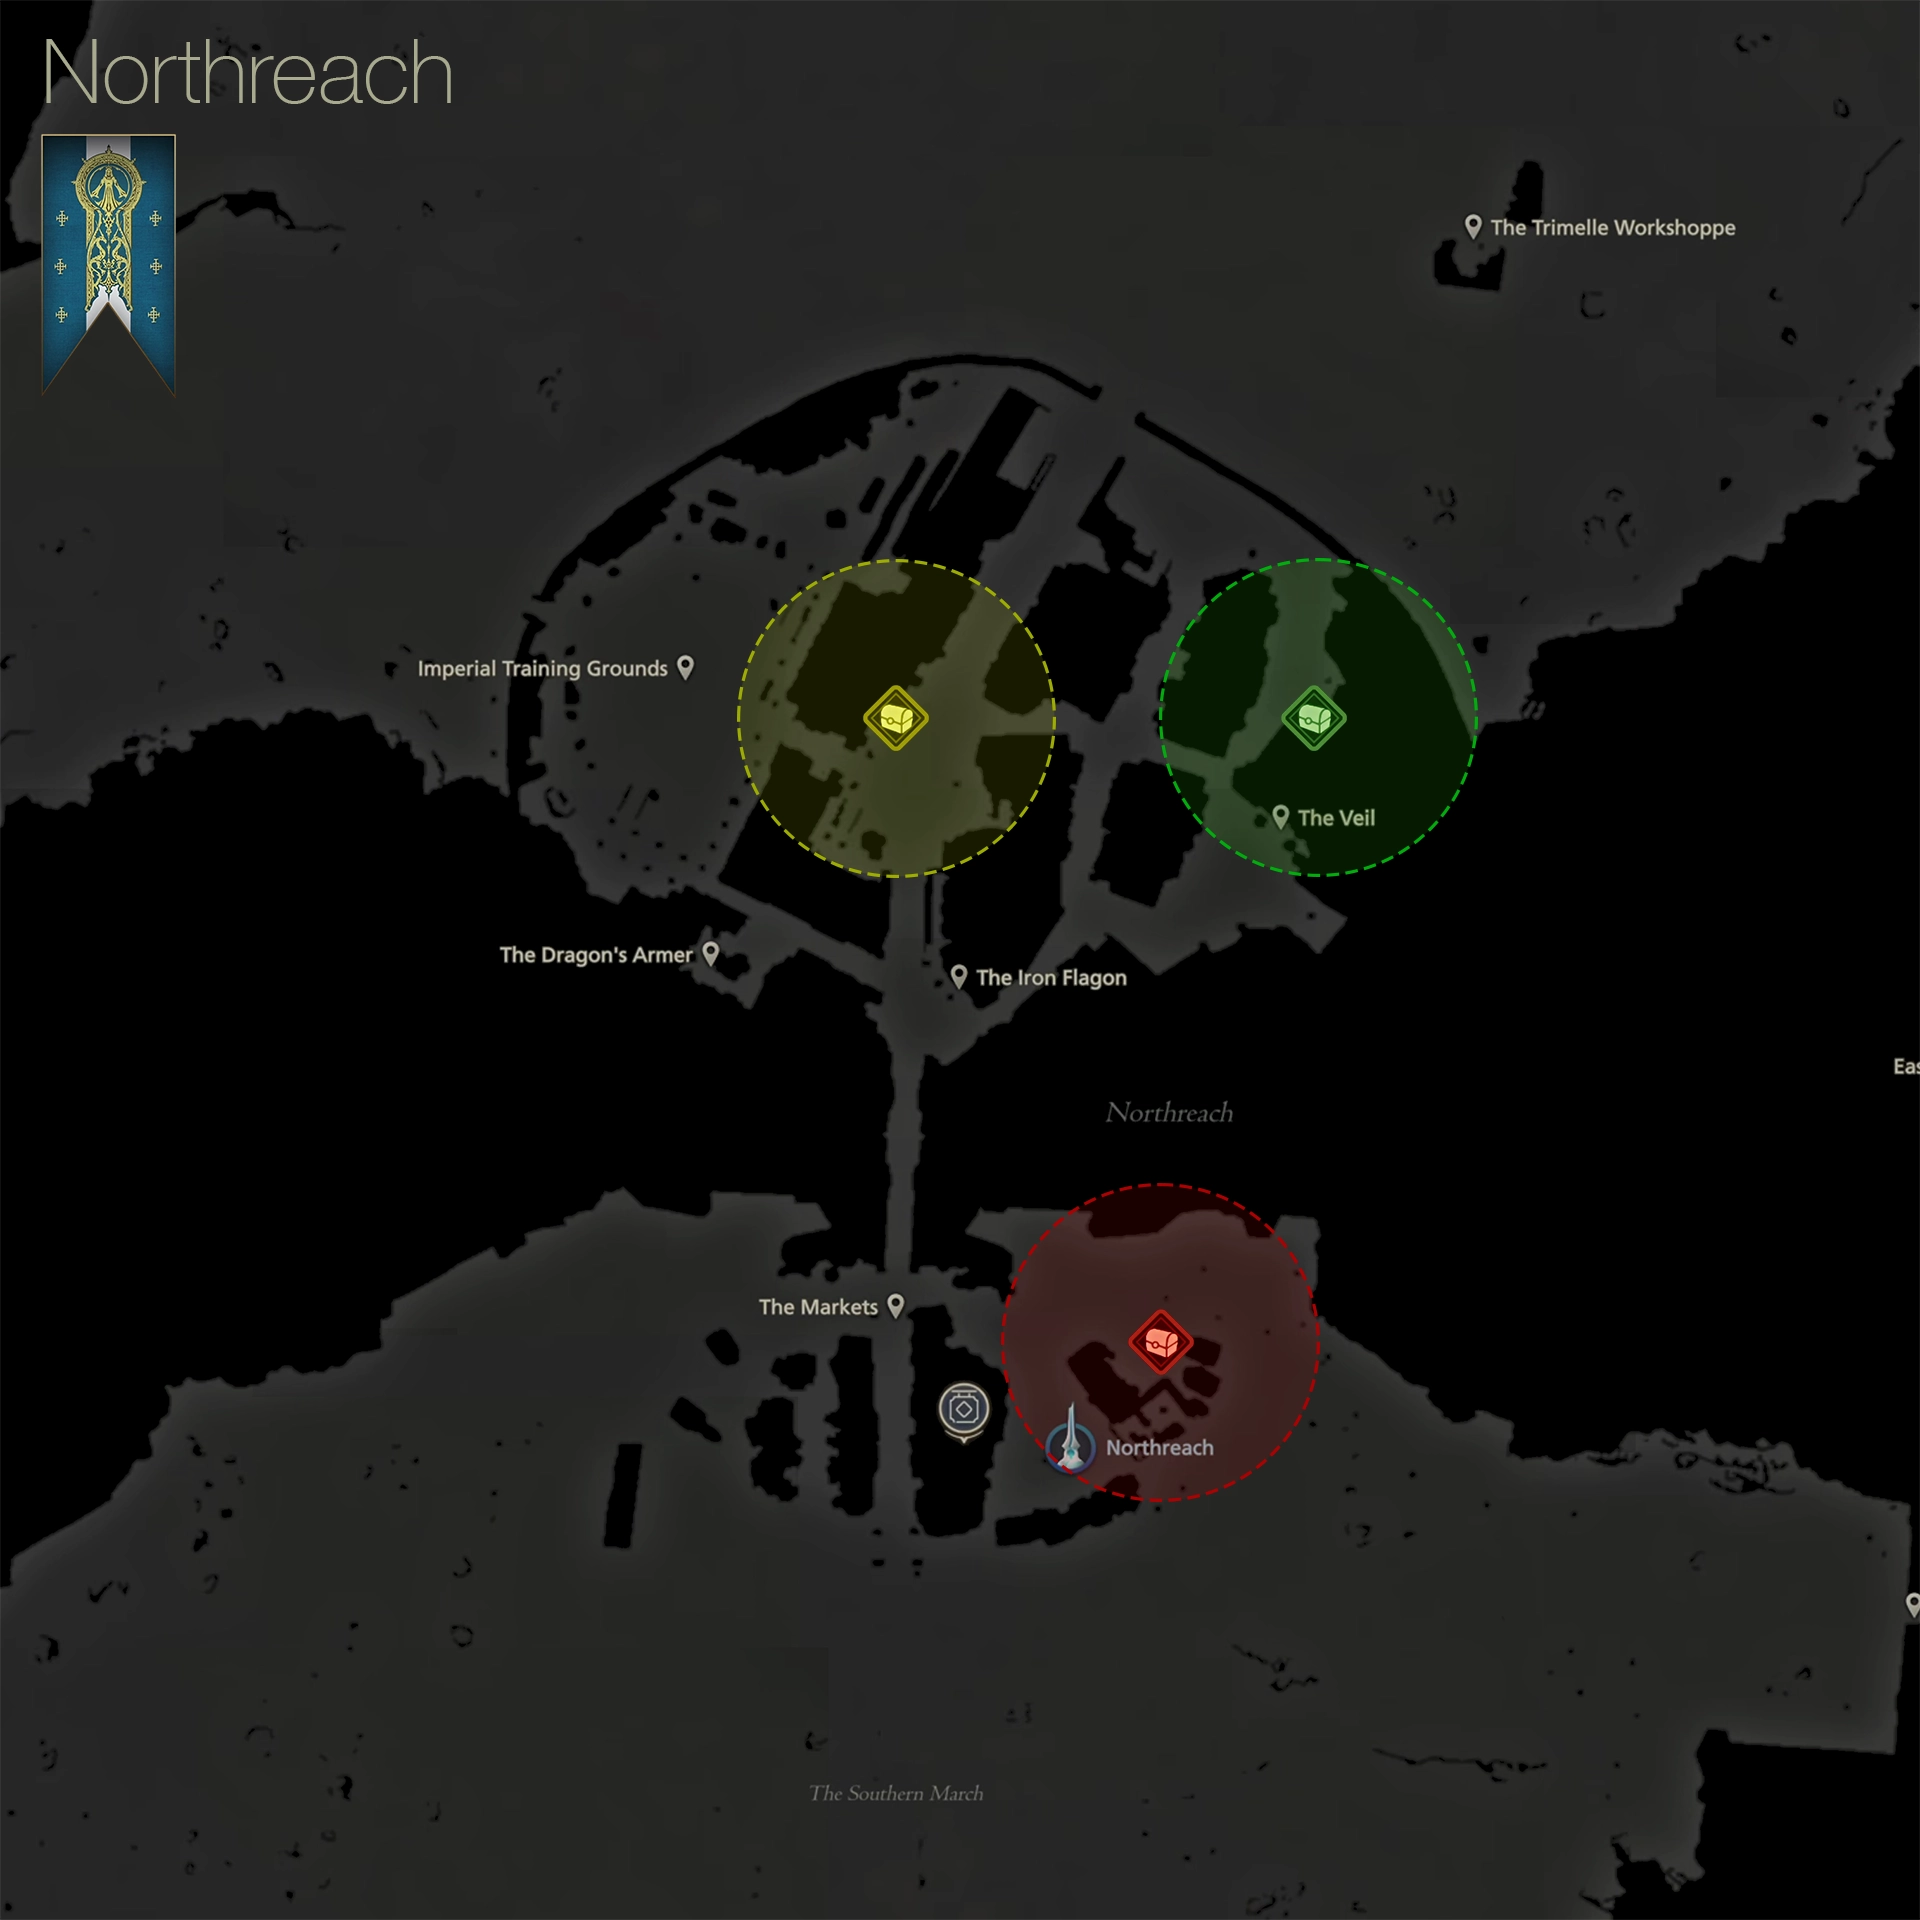
The ![]() Red Treasure Coffer treasure coffer to the south is the one you should have already opened, but you can find two more inside Northreach. The
Red Treasure Coffer treasure coffer to the south is the one you should have already opened, but you can find two more inside Northreach. The ![]() Yellow Treasure Coffer treasure coffer in the center of town is located up on the scaffolding/ramparts. It contains
Yellow Treasure Coffer treasure coffer in the center of town is located up on the scaffolding/ramparts. It contains ![]() Black Blood, five chunks of
Black Blood, five chunks of ![]() Wyrrite, and five
Wyrrite, and five ![]() Bloody Hides.
Bloody Hides.
The third ![]() Green Treasure Coffer treasure coffer is behind one of the stone houses. It contains one more
Green Treasure Coffer treasure coffer is behind one of the stone houses. It contains one more ![]() Black Blood. As a reminder, these Black Blood items can be sold to any of the Item Shops for 400
Black Blood. As a reminder, these Black Blood items can be sold to any of the Item Shops for 400 ![]() Gil. Head over to the Veil in the eastern section of Northreach to continue with the Main Scenario Quest.
Gil. Head over to the Veil in the eastern section of Northreach to continue with the Main Scenario Quest.
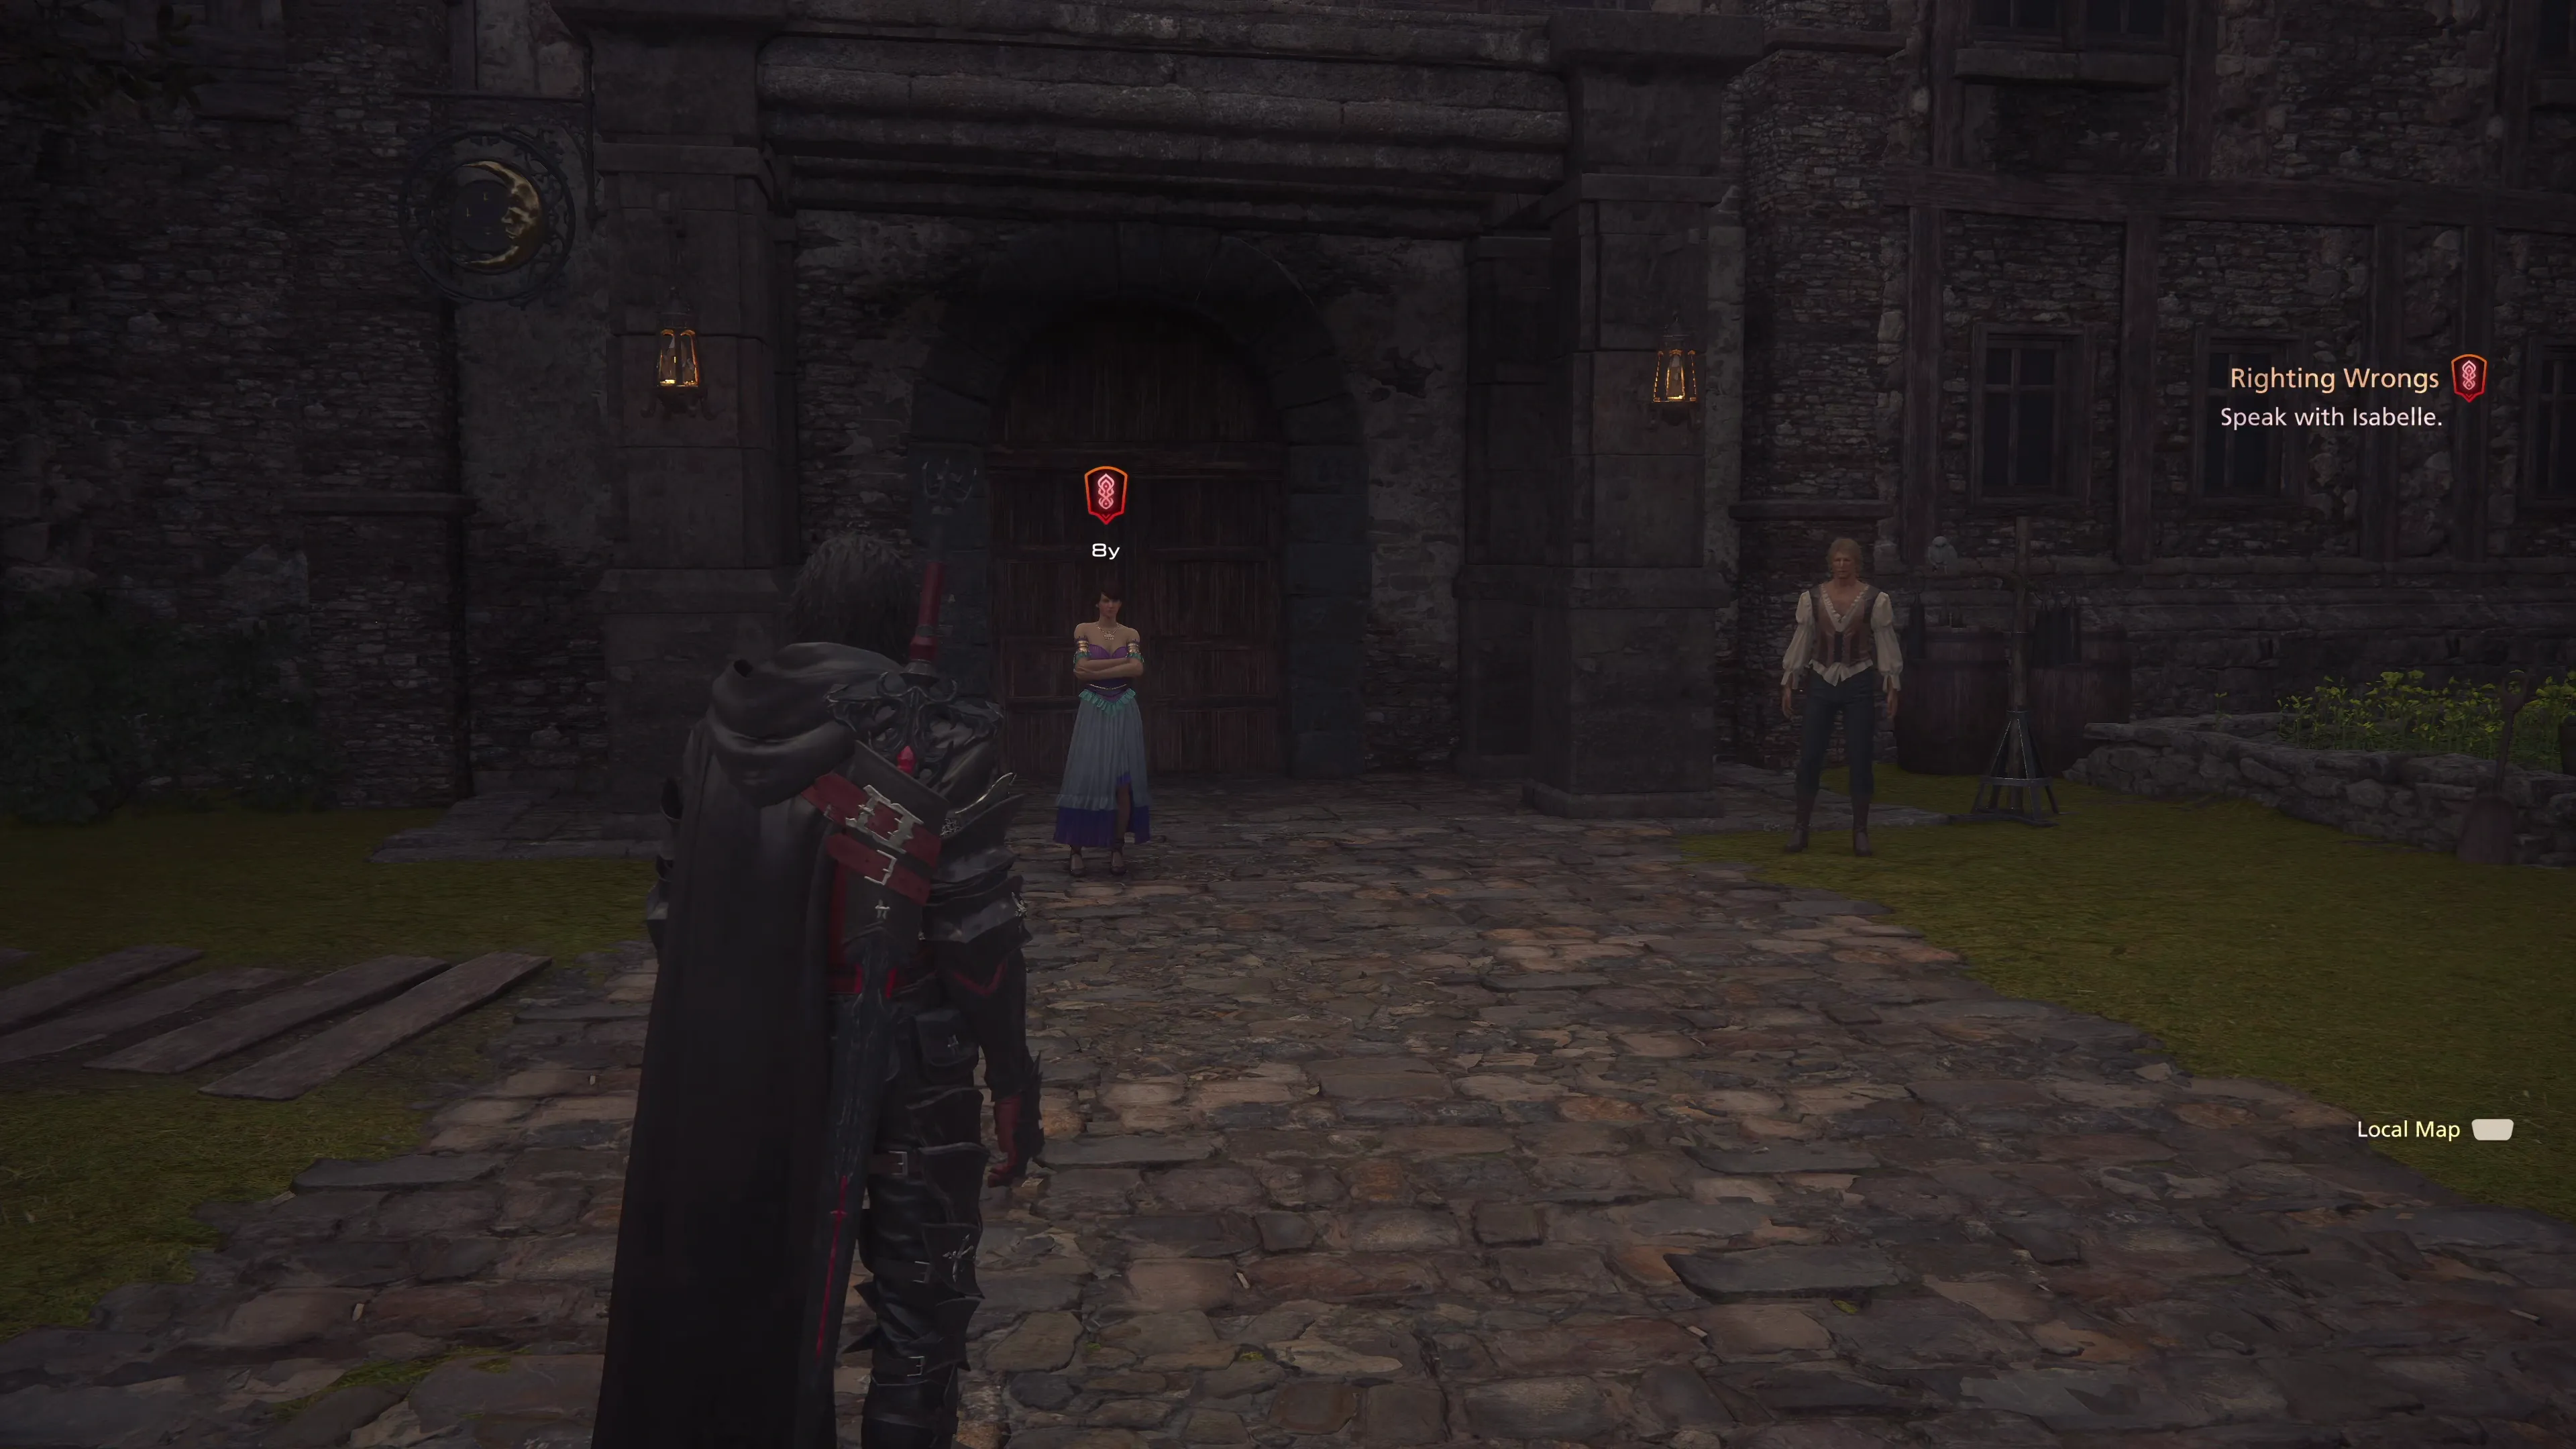
Lady Isabelle will provide Clive with ![]() The Moon and Stars curiosity. This will allow Clive to move freely between the different areas of Northreach without being accosted by the guards. The next step of the “Righting Wrongs” Main Scenario Quest is a Subquest—Lady Isabelle will ask you to track down her friend Tatienne, but before we move on to that, there are a few Optional Quests that are available here in Northreach.
The Moon and Stars curiosity. This will allow Clive to move freely between the different areas of Northreach without being accosted by the guards. The next step of the “Righting Wrongs” Main Scenario Quest is a Subquest—Lady Isabelle will ask you to track down her friend Tatienne, but before we move on to that, there are a few Optional Quests that are available here in Northreach.
Optional Quest
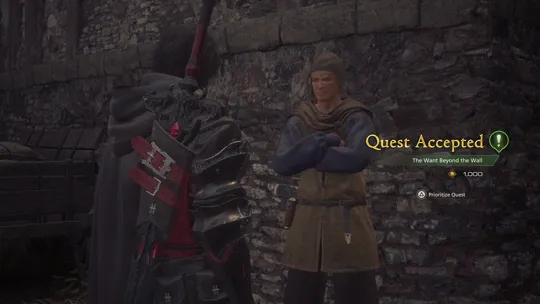
“A merchant requires Clive to deliver some goods beyond the wall in Northreach, along with a mysterious message about them being ‘fresh from the master’s table…’”
Optional Quest
“Clive is challenged to prove his worth by a pair of soldiers in Northreach. It seems that it doesn’t do to call the Imperial Guard’s competence into question…”
Optional Quest
“Clive is asked to deliver food to various overworked Bearers around Northreach by a certain concerned noble.”
Now let’s get back to tracking down Tatienne.
 The Dame
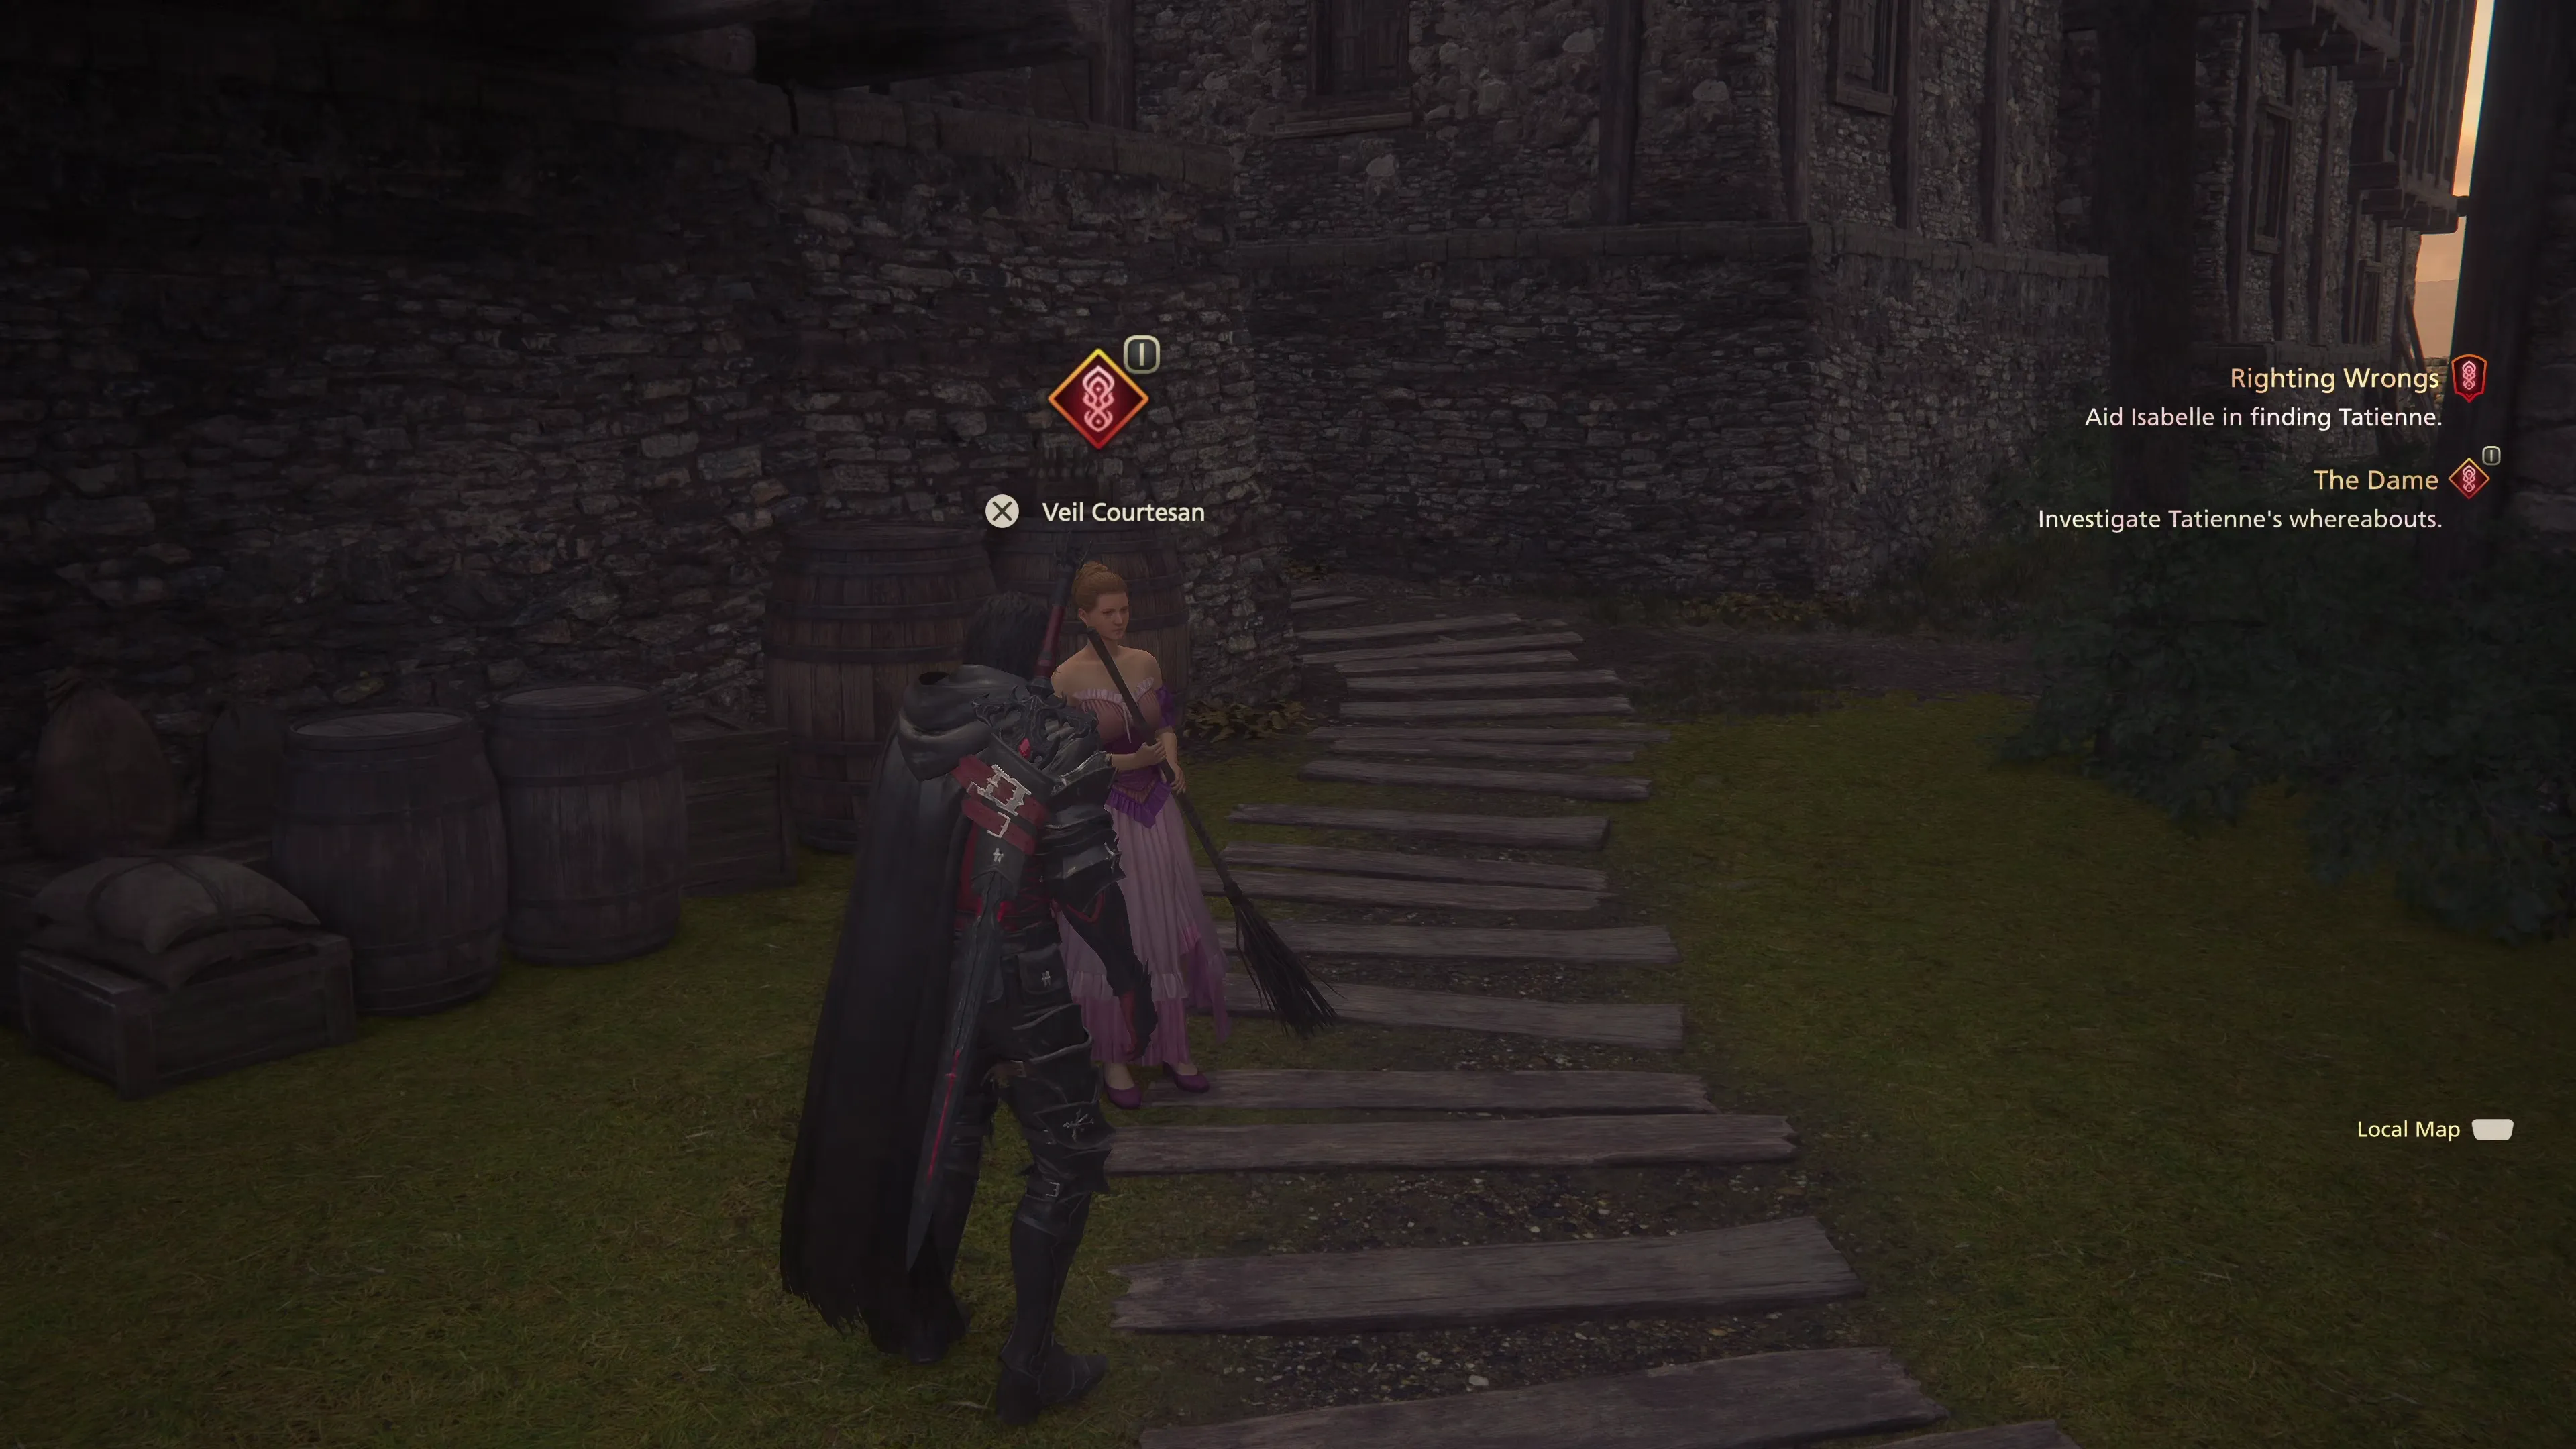
Speak to the Veil Courtesan standing near the entrance to the Veil. She will suggest you speak to Tatienne’s chambermate, who can be found sitting on the bench on the opposite side of this area.
Next, you’ll need to “investigate the garrison.” Speak to the Garrison Soldier and then find Lady Isabelle in the center of Northreach and talk to her again. Your next objective is to see Bertrand in Moore.
The town of Moore is quite a distance away and requires traveling through a large open area of Sanbreque called the Royal Meadows. There are a lot of things that we can do in this new area, including tracking down some treasure coffers and completing some Optional Quests.
Royal Meadows
There are a couple of treasure coffers you can grab first in this open field. Use the map below to help you locate them. Note that you will have to battle a few waves of Imperial Soldiers in some of these areas to access the treasure.
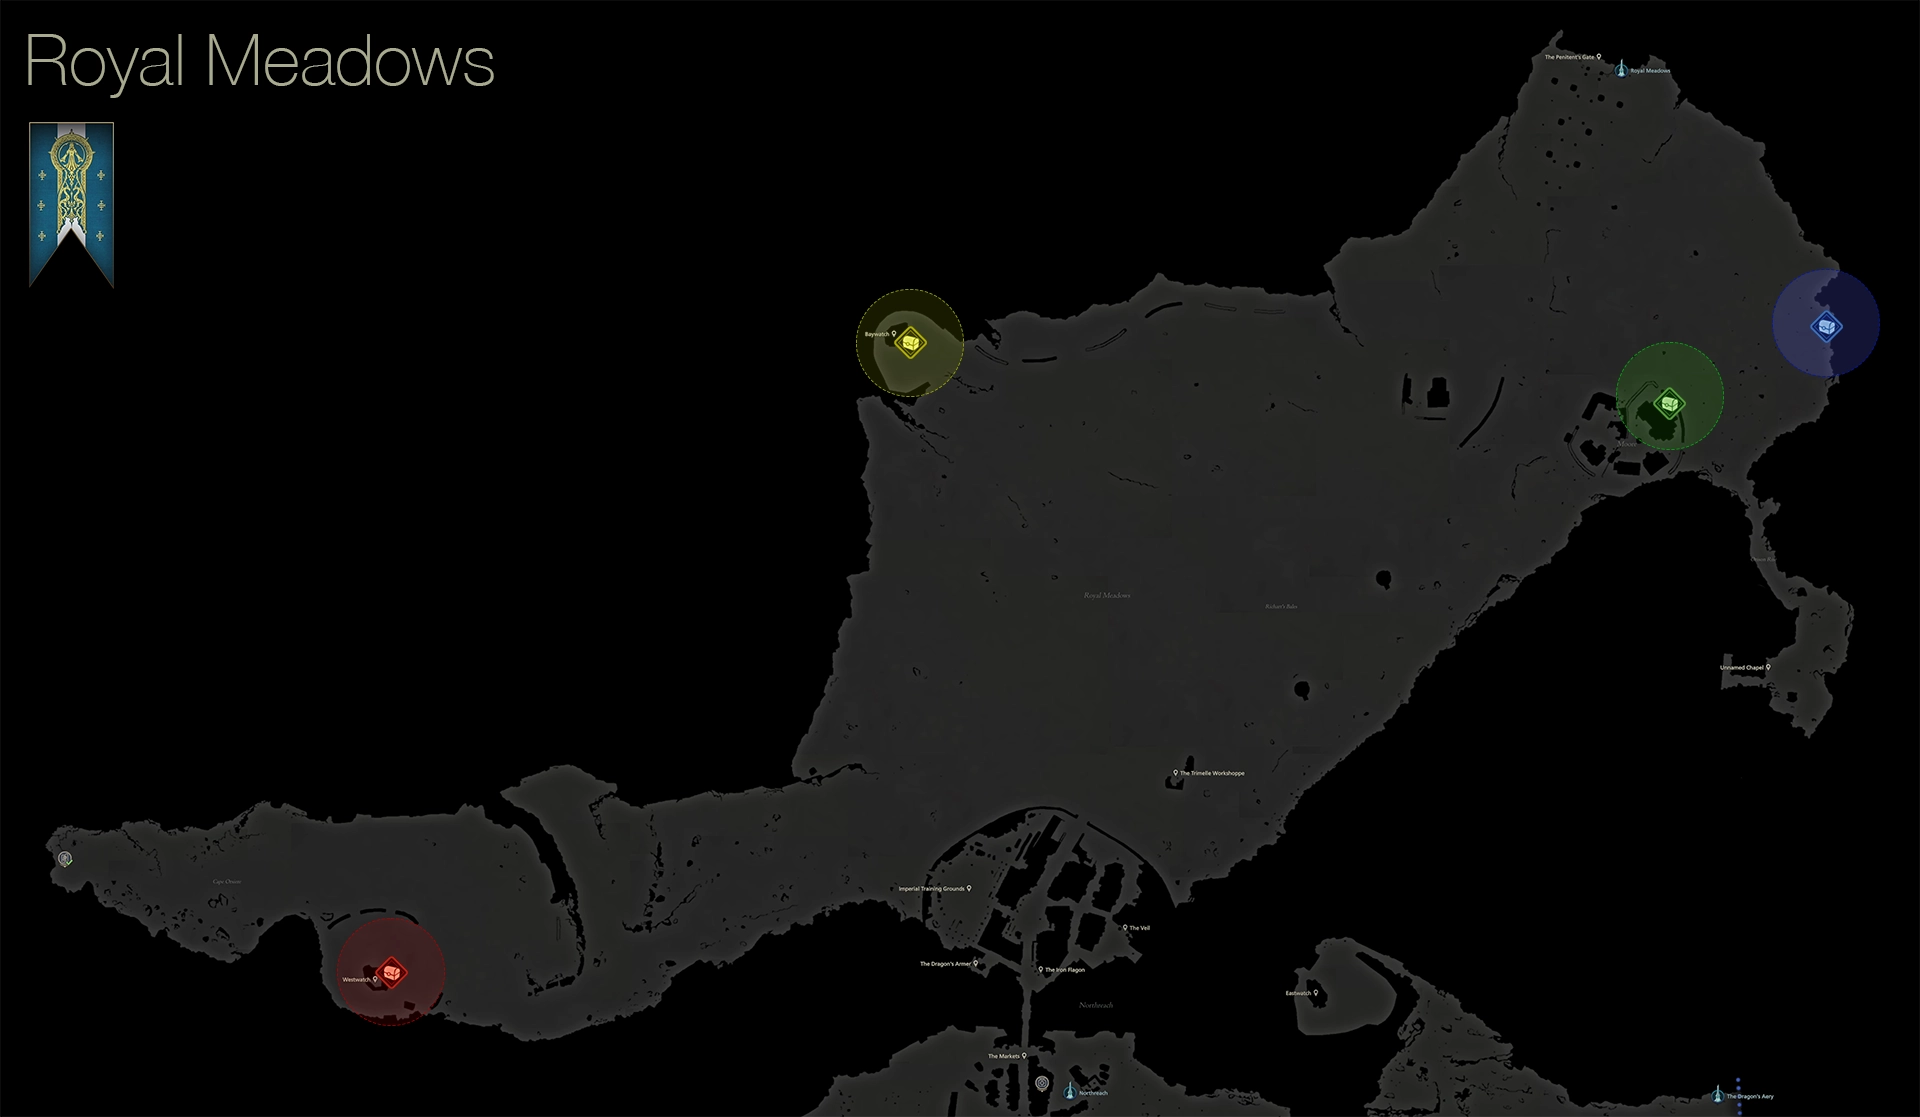
| 1) | ||
|---|---|---|
| 2) |
In the center of the field are two Optional Quests to complete:
Optional Quest
“A nobleman in the fields near Moore orders Clive to save his son from wild beasts—although he seems more irritated at Clive’s attitude than concerned for his son’s safety…”
Optional Quest
“A girl in Moore asks Clive to help her find her pet Chloe. Apparently, she has beautiful white hair, and is ‘ever such a good girl.’”
These are some depressing quests… Anyways, if you’re feeling adventurous, you can also wander up to the northernmost section of the Royal Meadows to activate the ![]() Royal Meadows Obelisk. Afterwards, head into the town of Moore.
Royal Meadows Obelisk. Afterwards, head into the town of Moore.
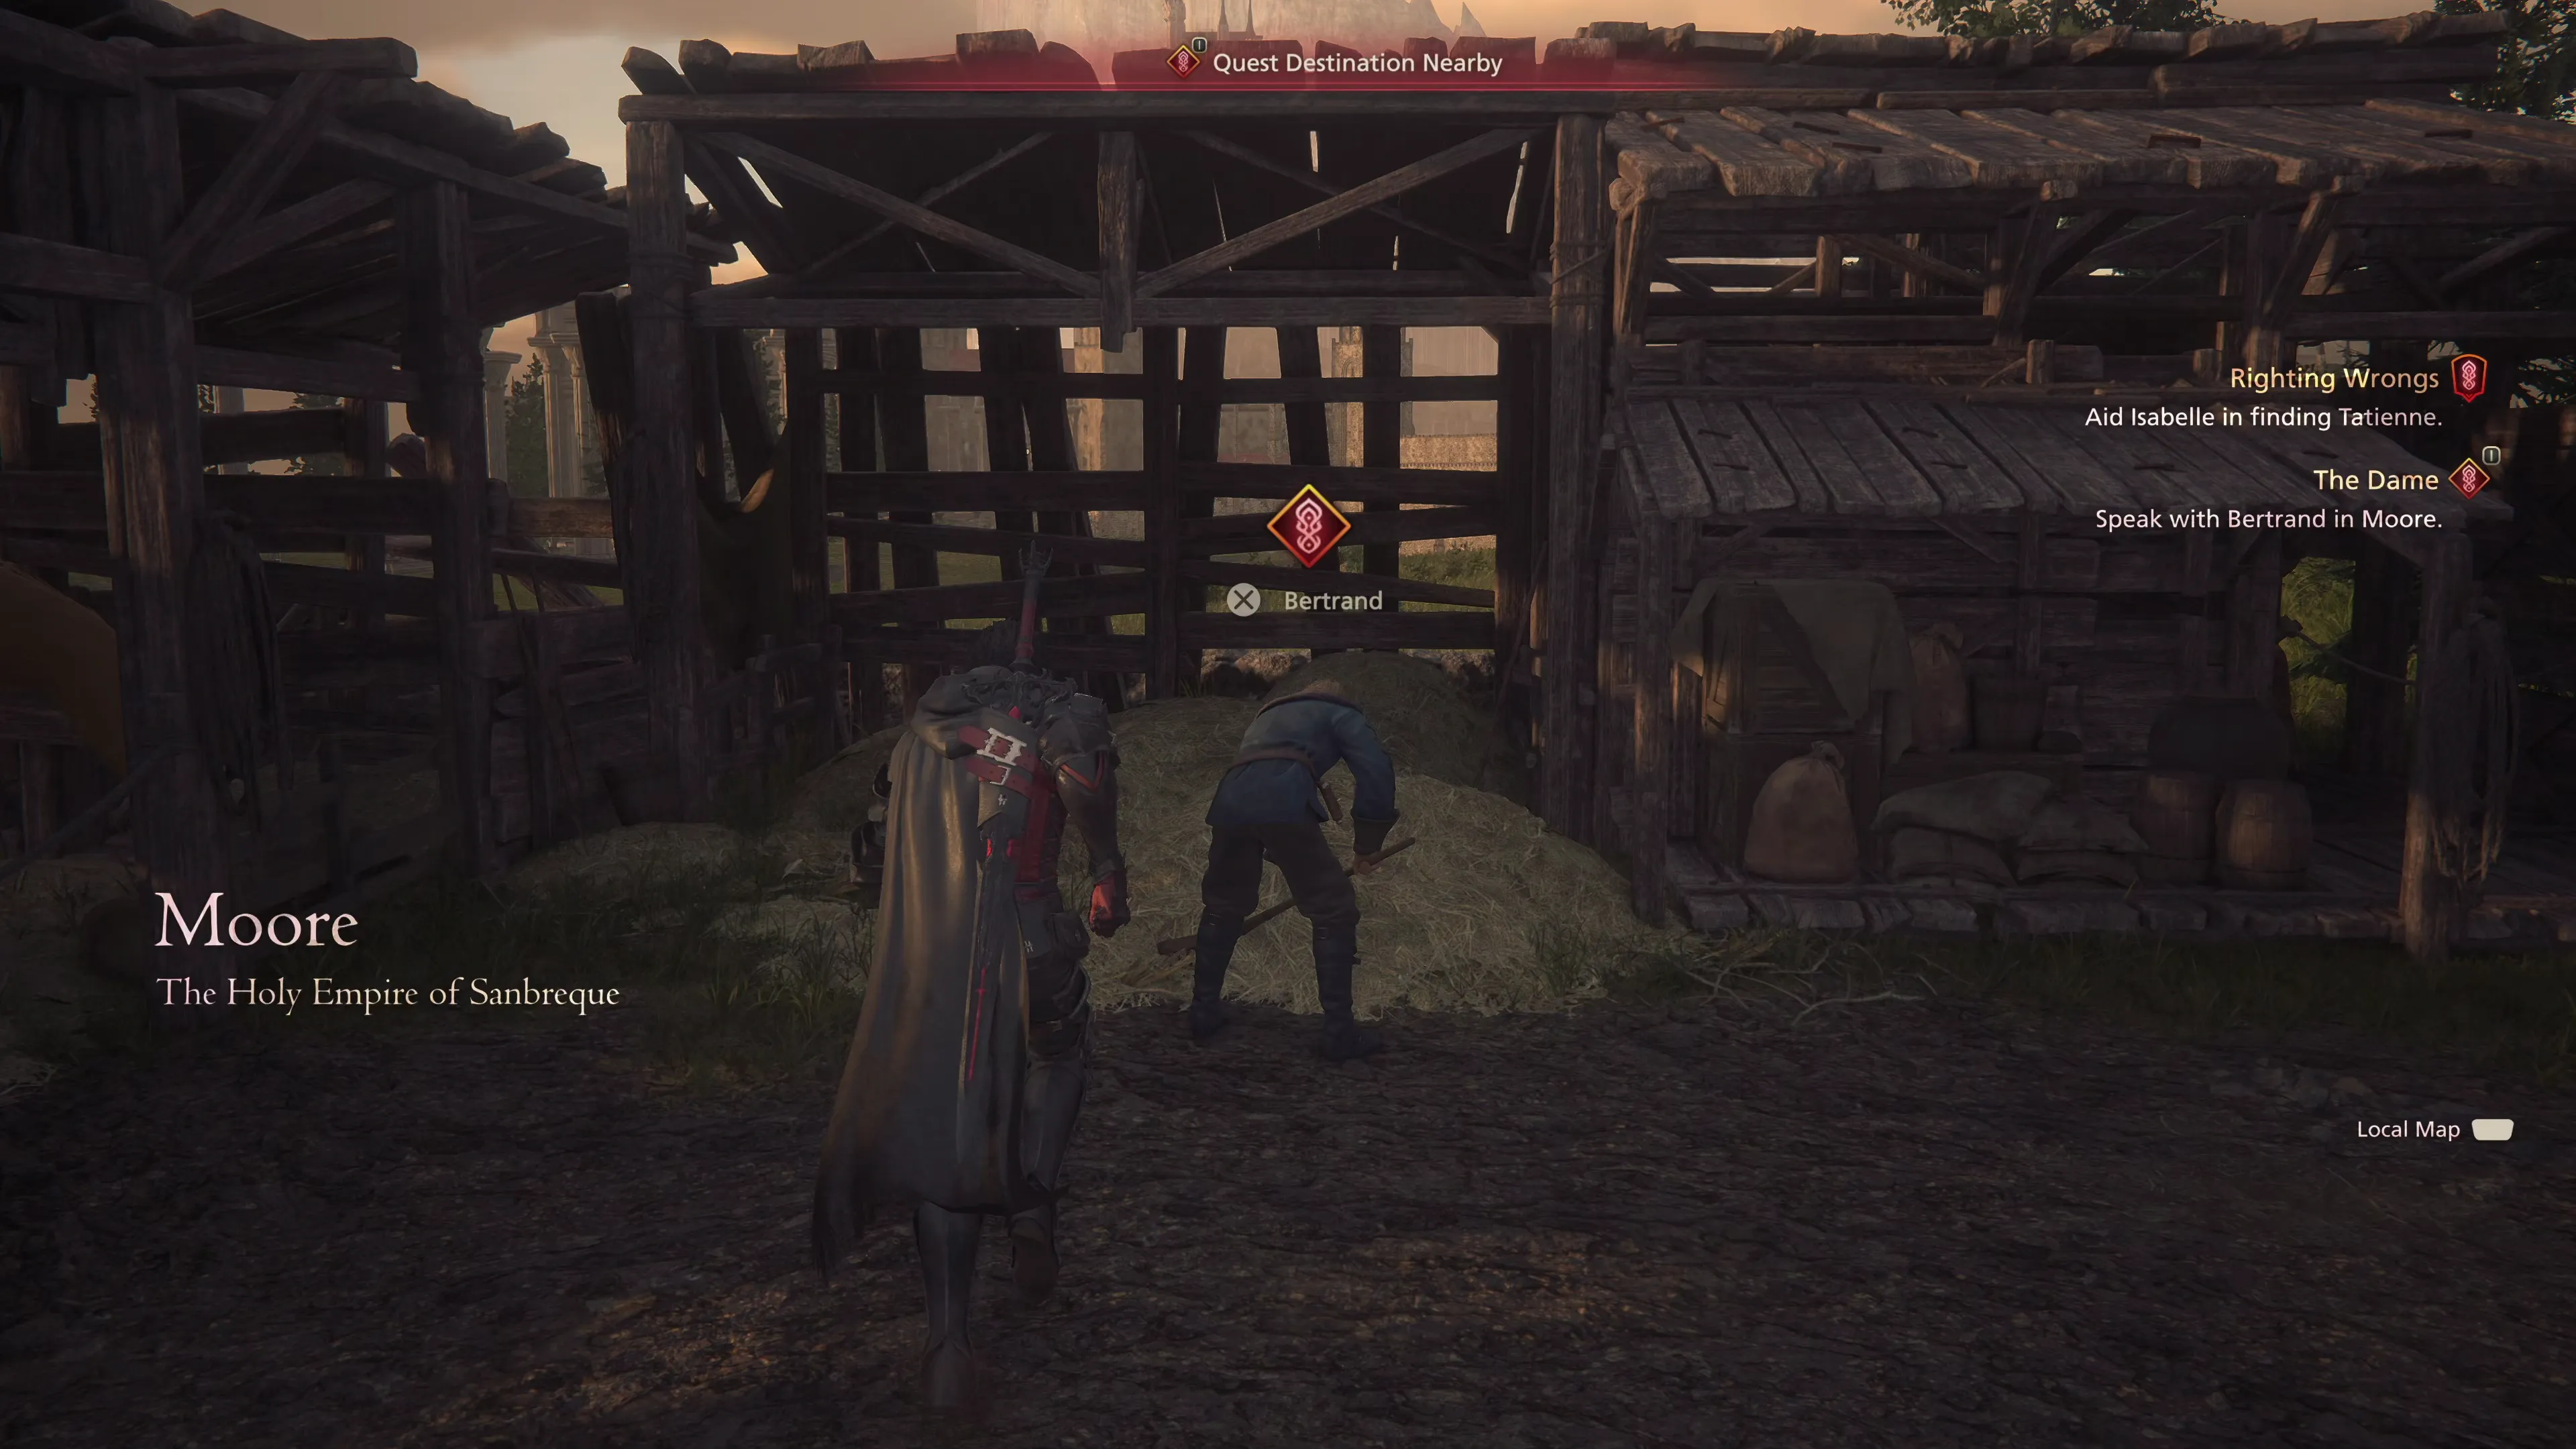
 Moore
Moore
Bertrand can be found immediately to your left as you enter the town. Speak to him and then speak to the traveling trader in the center of town.
Your next destination is a location just outside of town. Before you leave, though, search the area behind the farmhouse to find the ![]() Green Treasure Coffer that contains a
Green Treasure Coffer that contains a ![]() Black Blood, five
Black Blood, five ![]() Sharp Fangs, and five spools of
Sharp Fangs, and five spools of ![]() Steelsilk.
Steelsilk.
Switch to your multi-target ![]() Eikonic Ability Set and travel in the direction of the Main Scenario Subquest Marker
Eikonic Ability Set and travel in the direction of the Main Scenario Subquest Marker ![]() . You will eventually come across a group of “Bloated Wolves” that you’ll have to defeat. Examine the bodies afterwards to complete the quest and obtain the
. You will eventually come across a group of “Bloated Wolves” that you’ll have to defeat. Examine the bodies afterwards to complete the quest and obtain the ![]() Weathered Comb.
Weathered Comb.
You’ll have the option to fast travel back to Isabelle, who has traveled to the town of Moore, but before you do, grab the ![]() Blue Treasure Coffer nearby if you haven’t already.
Blue Treasure Coffer nearby if you haven’t already.
The reward for completing this Main Scenario Subquest is a ![]() Meteorite. Visit the nearby shop to refill your
Meteorite. Visit the nearby shop to refill your ![]() Potions and
Potions and ![]() High Potions if you’re getting low, and then make your way up towards the abandoned chapel (following the Main Scenario Quest Marker
High Potions if you’re getting low, and then make your way up towards the abandoned chapel (following the Main Scenario Quest Marker ![]() ).
).
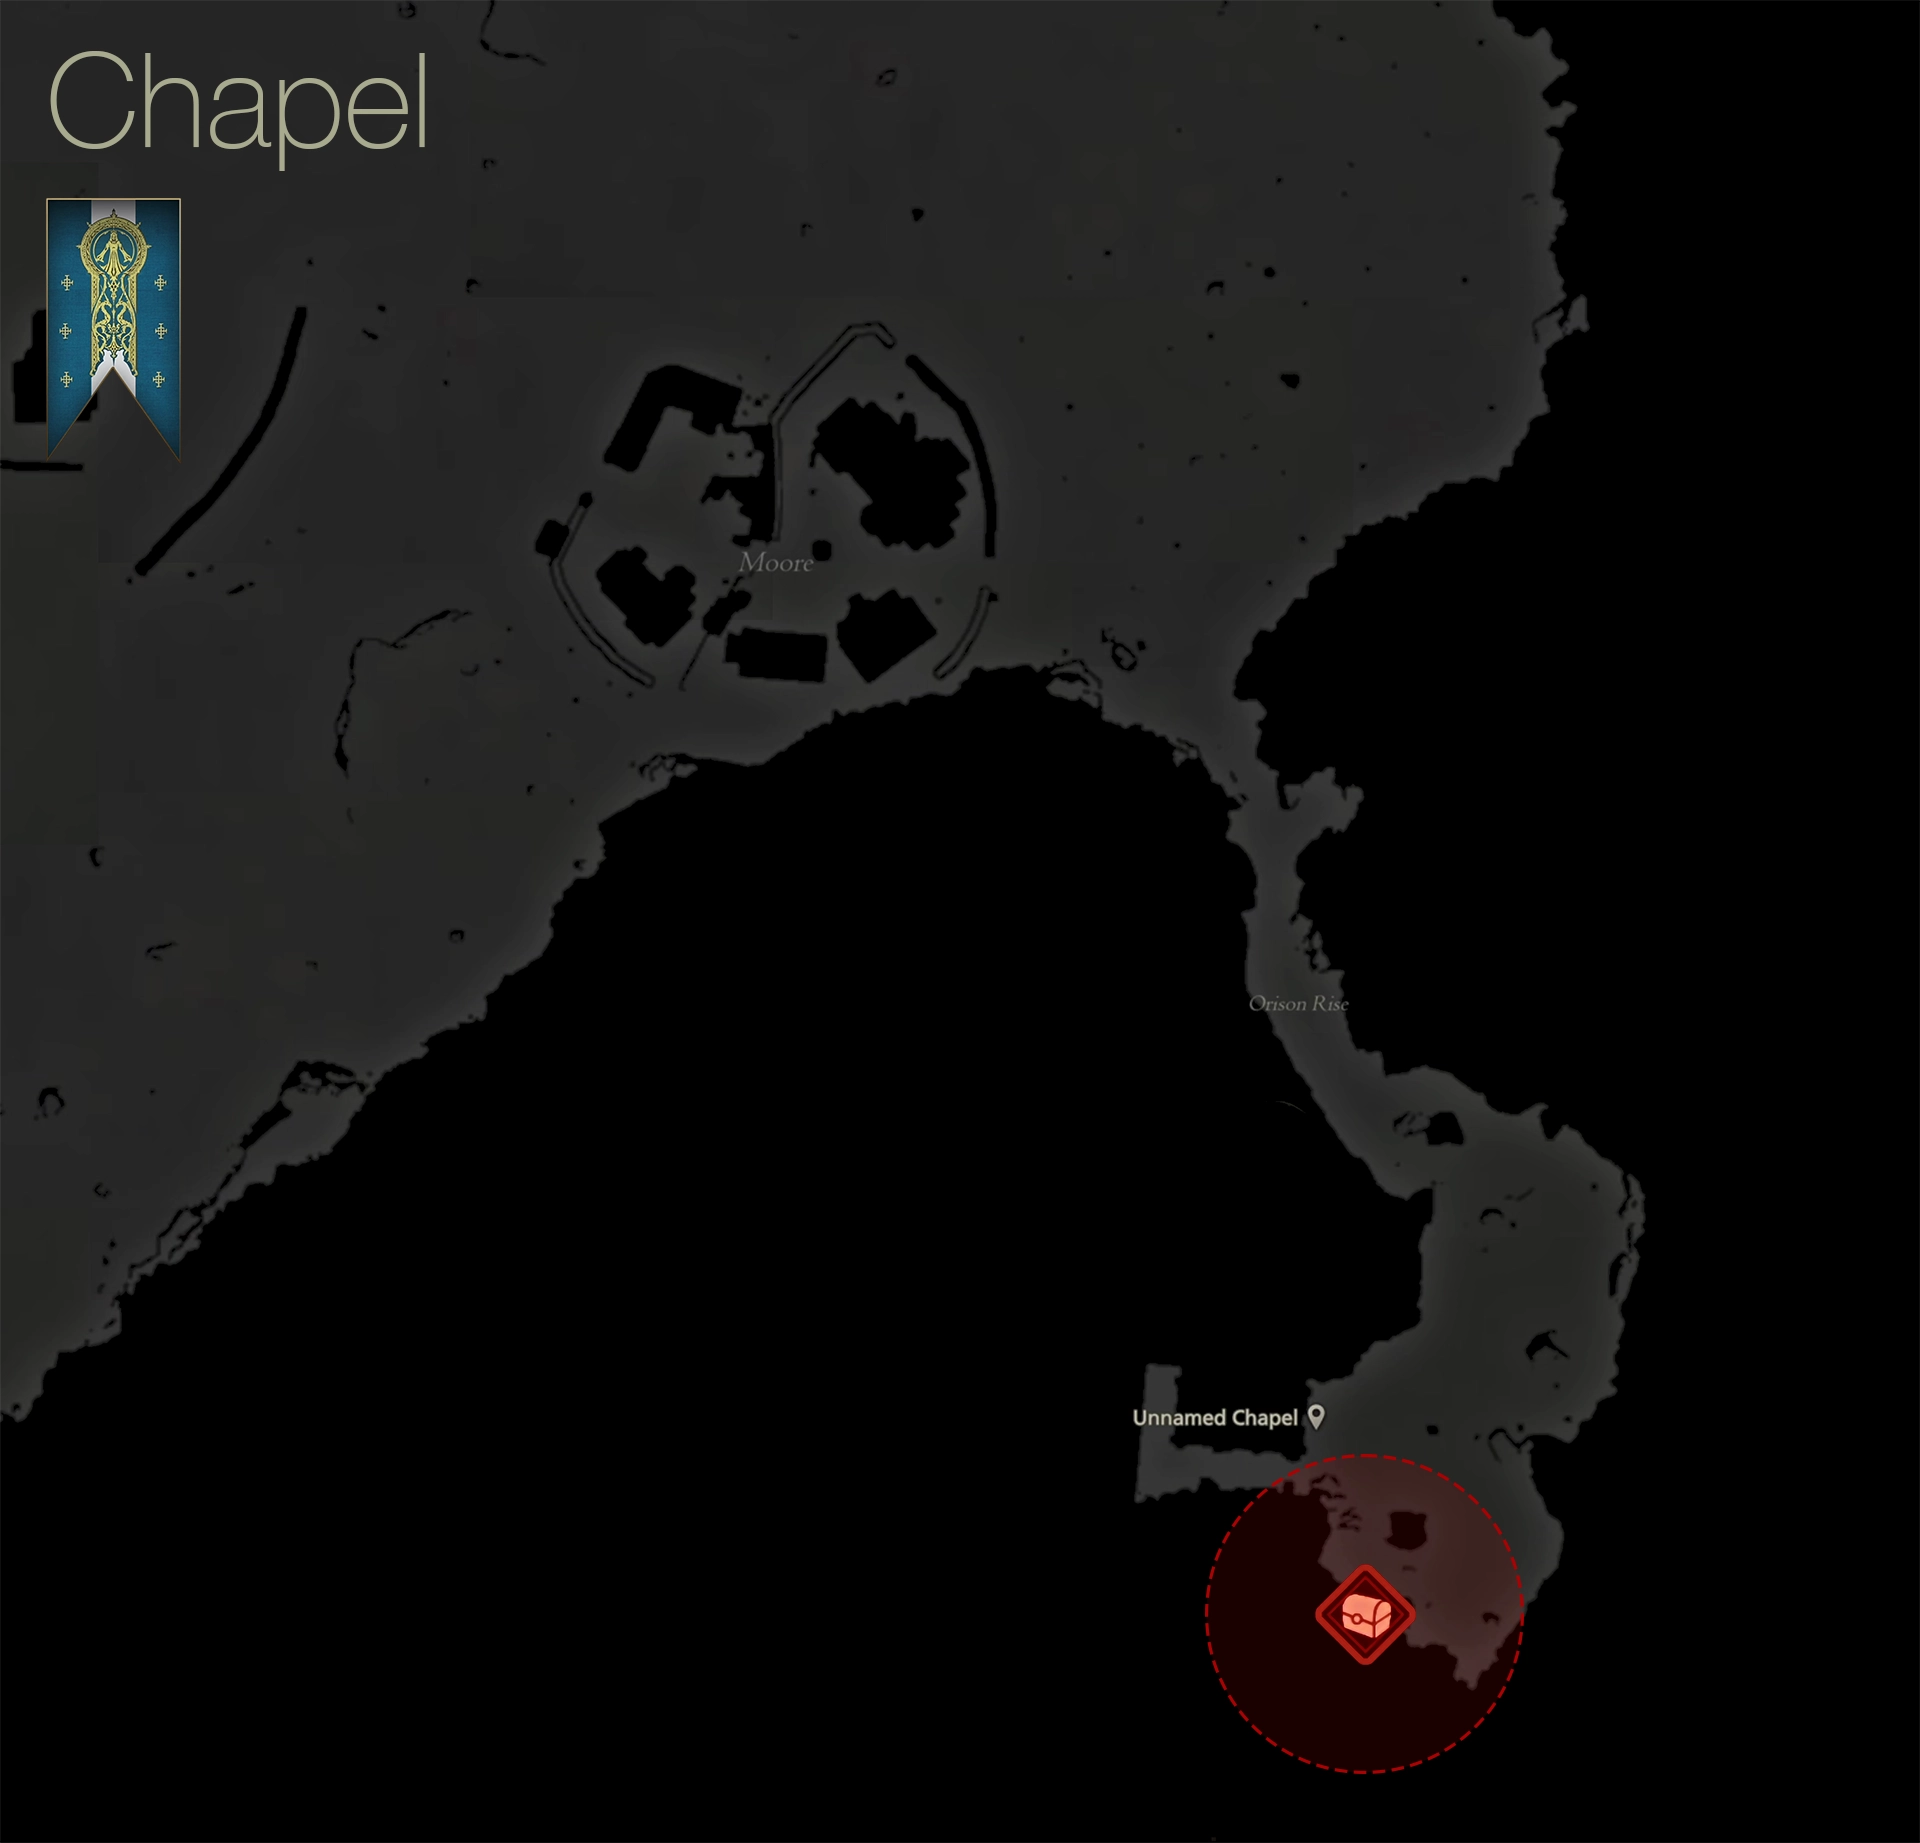
There is a treasure coffer in the southernmost area near the chapel that contains another ![]() Black Blood. Use the map below to help you find it:
Black Blood. Use the map below to help you find it:
Head through the gate at the chapel to meet up with Cid and Jill again, and you’ll get to watch a few more cutscenes.
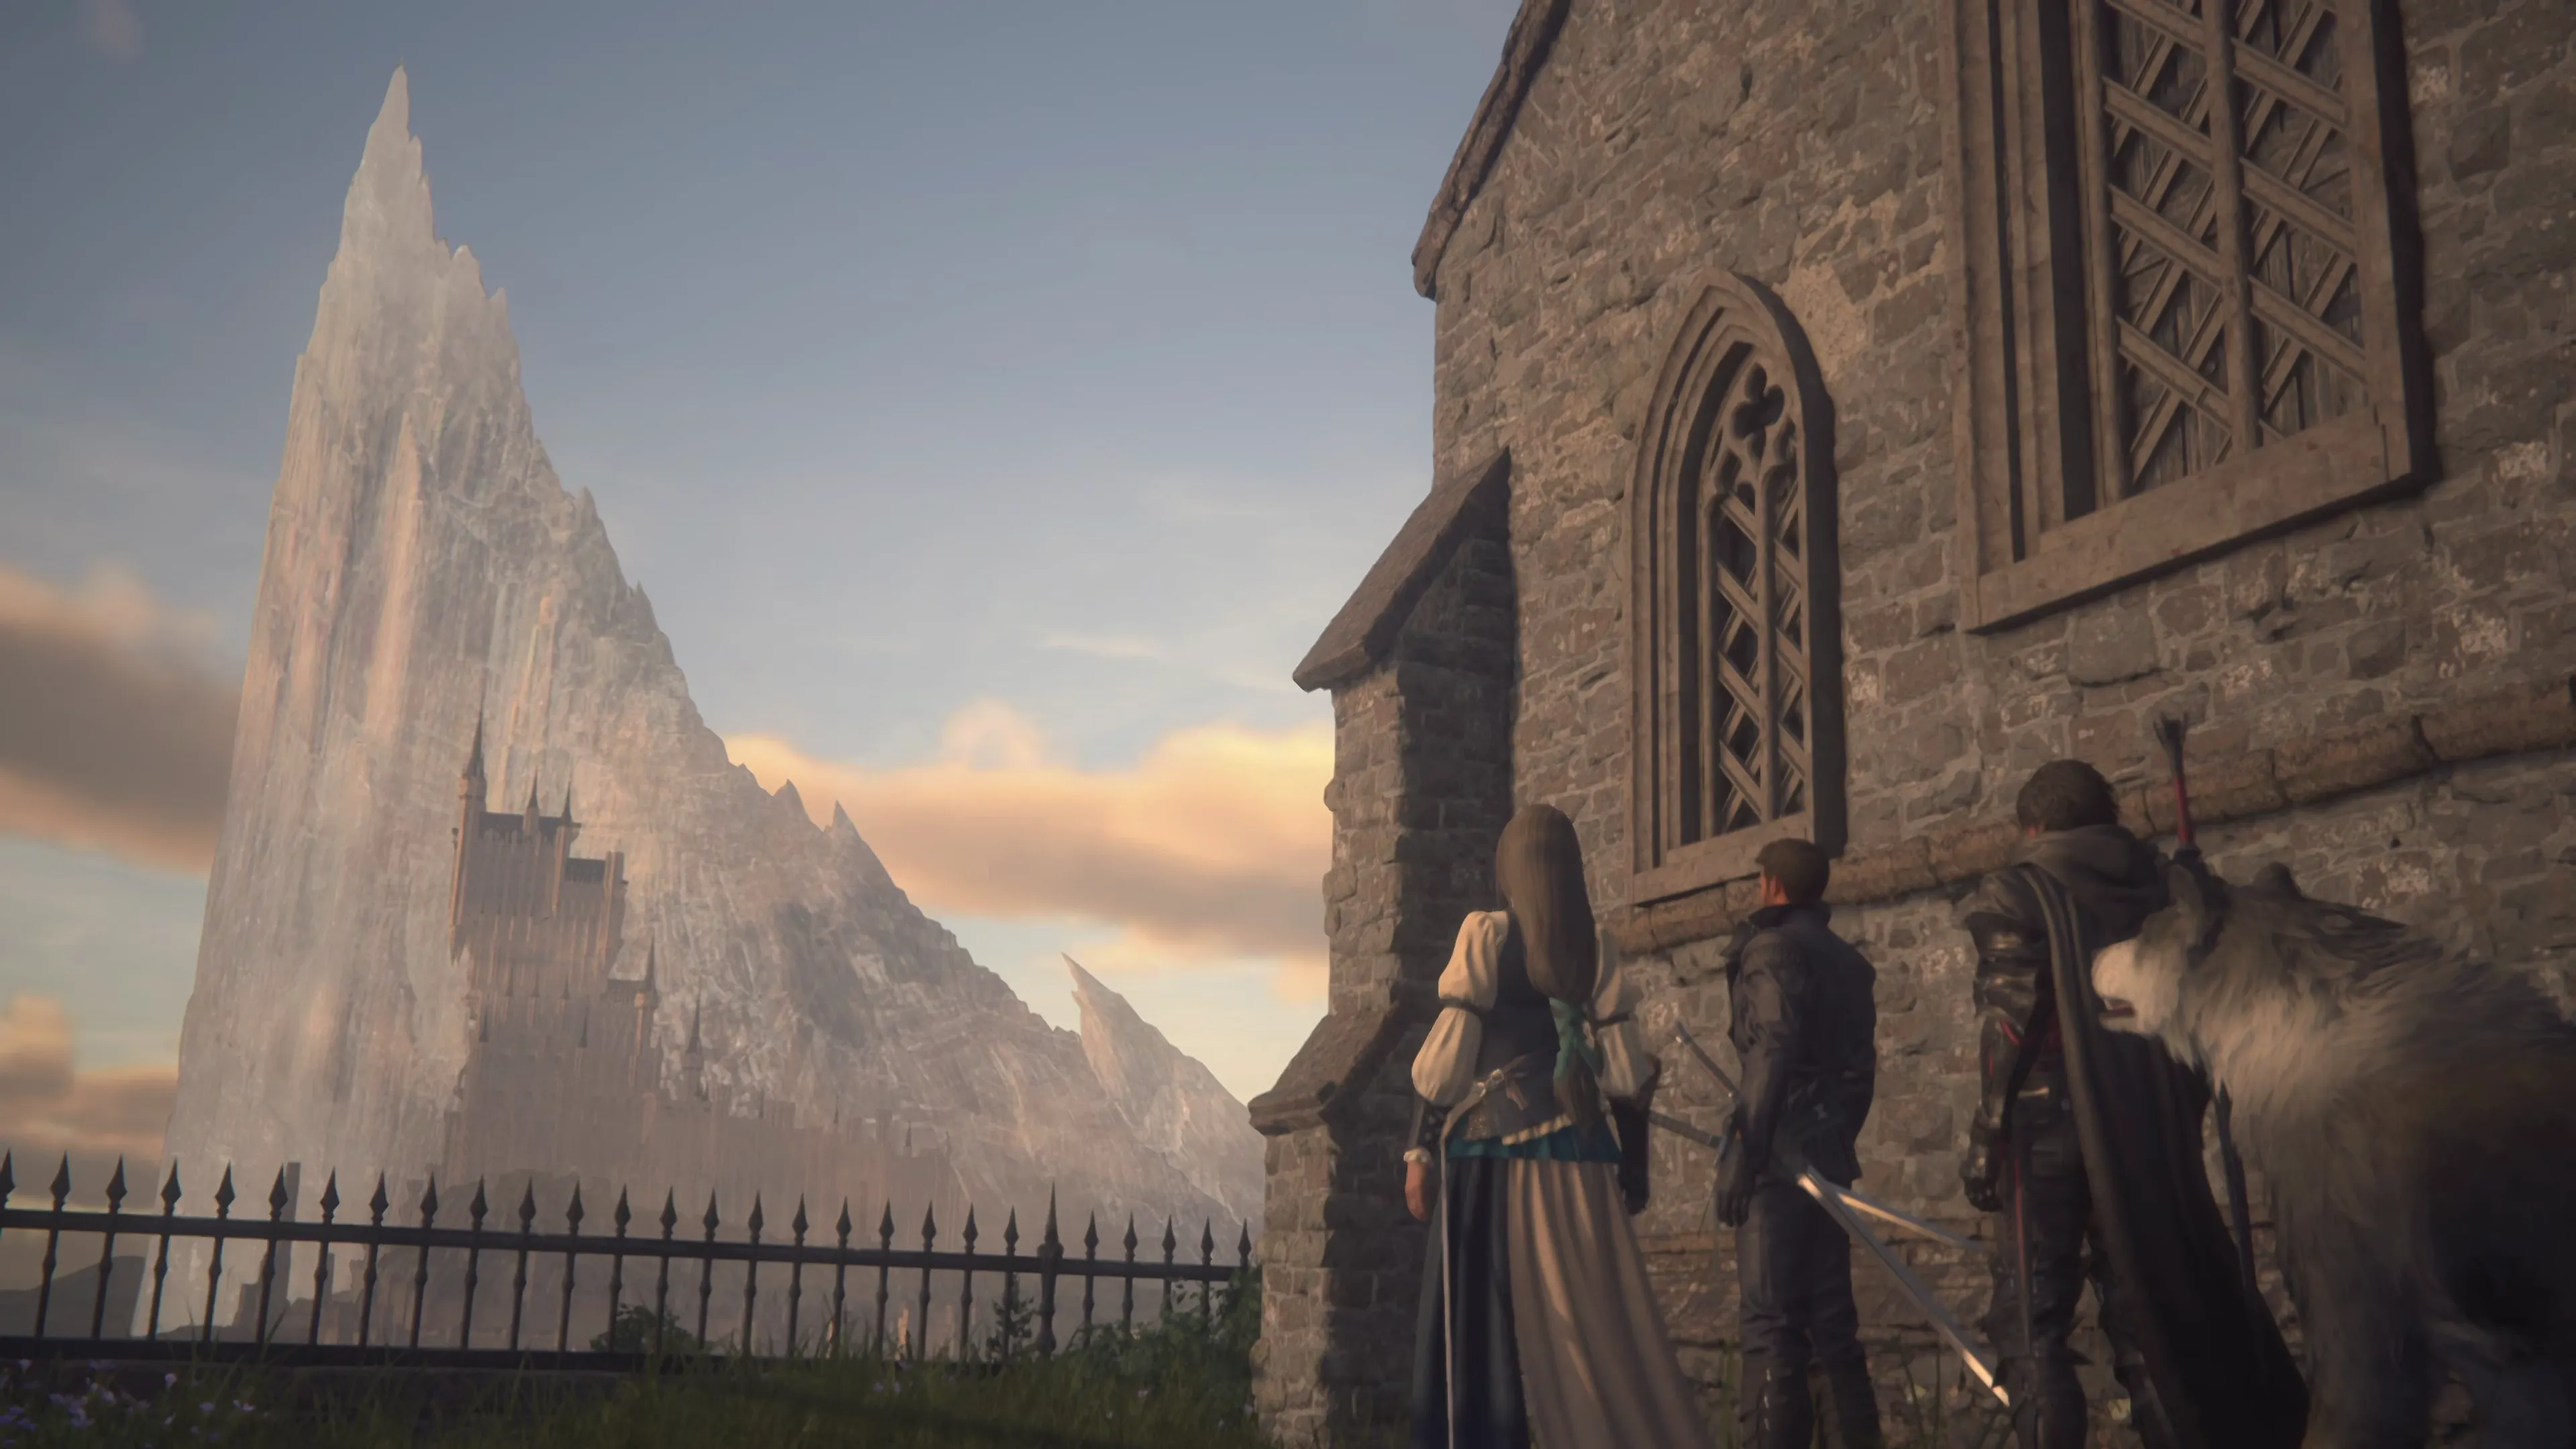
The next destination that appears on the world map is ![]() Drake’s Head. If you try to select it, though, you’ll get a warning message indicating that this is a ‘pivotal moment in the story’ and asking you if you want to proceed. If you’ve completed all of the Optional Quests listed up to this point, you can select “Proceed.”
Drake’s Head. If you try to select it, though, you’ll get a warning message indicating that this is a ‘pivotal moment in the story’ and asking you if you want to proceed. If you’ve completed all of the Optional Quests listed up to this point, you can select “Proceed.”
Warning
So, what exactly does this warning message mean? This guide will attempt to avoid any spoilers; however, at the end of the story sequence at ![]() Drake’s Head, the game’s story will move forward in time a few years.
Drake’s Head, the game’s story will move forward in time a few years.
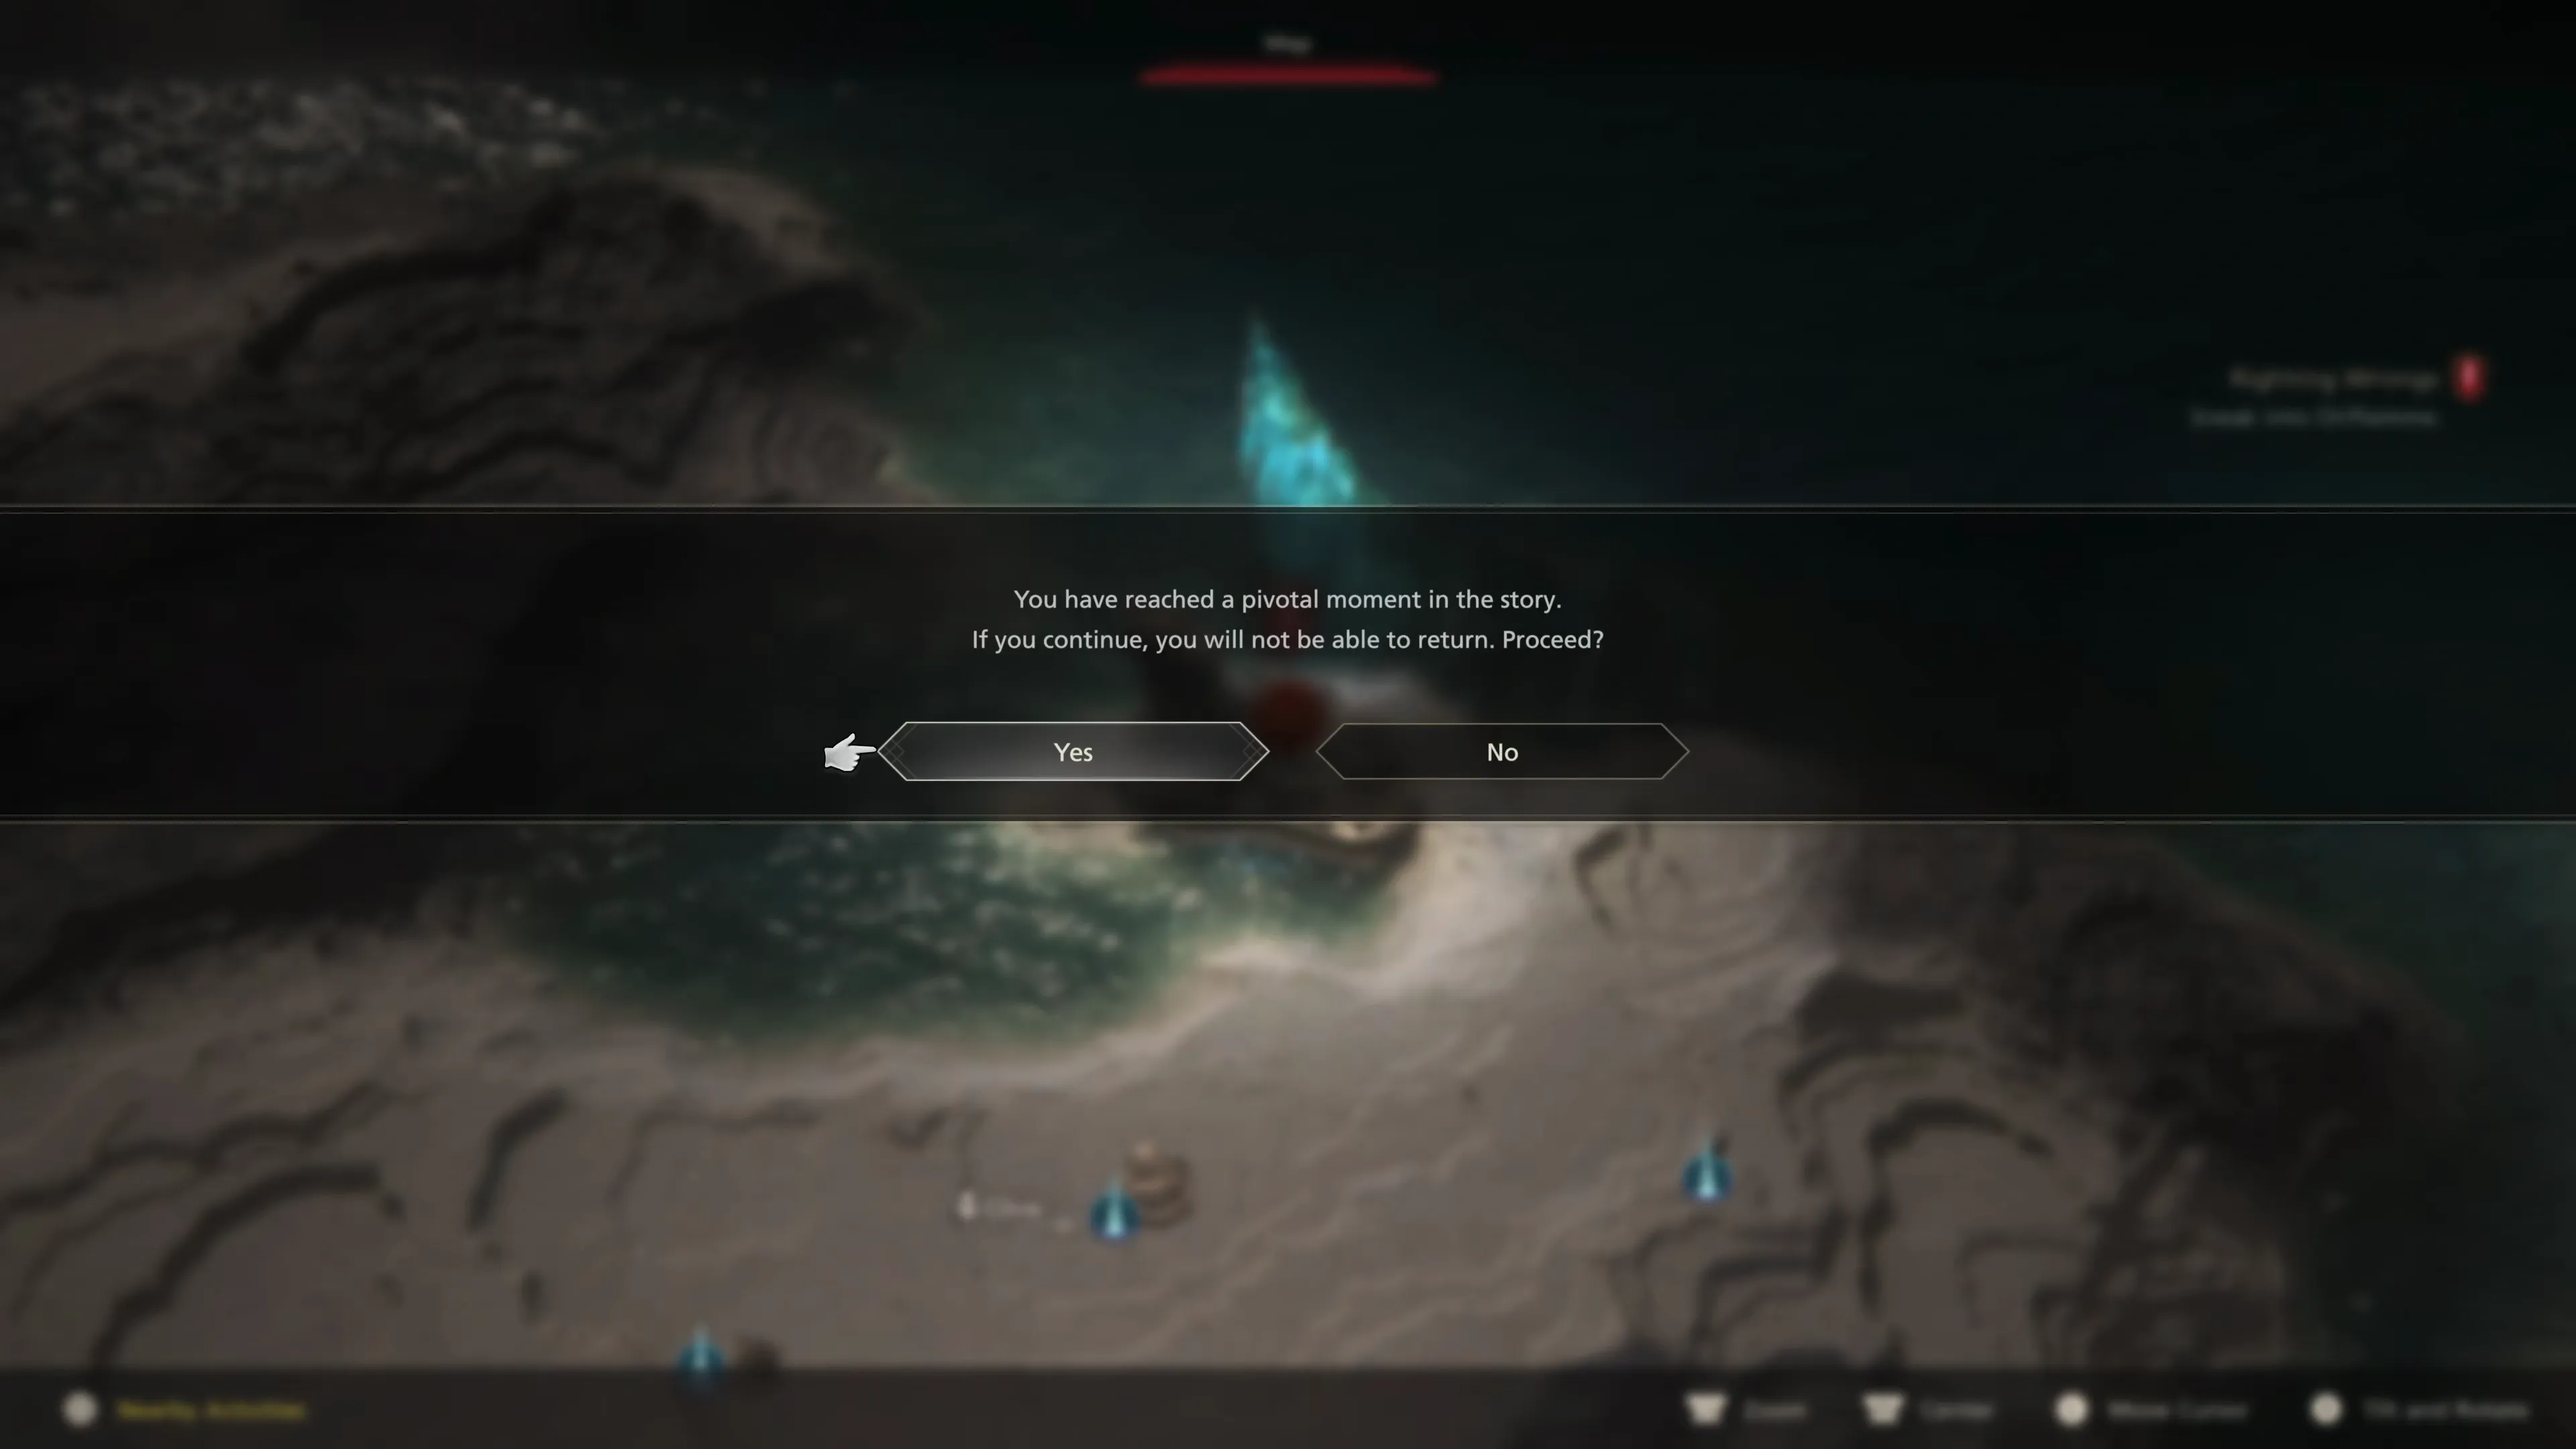
This will change some of the game’s locations in small ways, but more importantly, it means that many of the Optional Quests will no longer be available. If you skipped past any of them, there’s a good chance you won’t be able to go back and complete them after you’ve traveled to Drake’s Head.
Which Optional Quests become unavailable? You can use the checklist below to help you confirm that you haven’t missed anything, but if you’ve been following this strategy guide, there’s no need to worry. That said, none of the quests up to this point provide critical rewards that you need, so it’s not a big deal if you missed any of them.