
 The Meaning of Life
The Dim
As explained in the Tutorial Message that pops up when you return to “The Dim,” you now have access to the Ifrit Eikon’s abilities. These fire-related abilities appear in the red center circle in the middle of the “Abilities” tab and don’t form their own circle like the abilities for Phoenix and Garuda.

That said, even though you only get three new abilities through Ifrit, each of them is quite strong and can prove very useful during your playthrough of the game. You can find a complete overview of these new abilities in the Ifrit page in the Eikons section using the link below:
Eikon

A complete list of the Eikonic Feats and Eikonic Abilities for Ifrit, including recommendations on which abilities to use and what situations call for their usage.
Helpful Hint
As you’ve probably noticed, you can use ![]() Ability Points to “upgrade” and then “master” each of your abilities. Upgrading your abilities typically causes them to do increased damage or increases their overall impactfulness when you use them, so what does mastering them do?
Ability Points to “upgrade” and then “master” each of your abilities. Upgrading your abilities typically causes them to do increased damage or increases their overall impactfulness when you use them, so what does mastering them do?
For standard abilities in the center of the ability circle, mastering them will continue to increase their overall effectiveness, making them easier to execute or increasing the damage dealt, but for Eikonic Abilities (those found in the Phoenix or Garuda circles), upgrading to the “Mastered” level has only one effect, and you can see what this effect is by pressing ![]()
![]()
![]() on any of them.
on any of them.
“Allows assignment to any Eikon”; for example, it allows you to assign one of Garuda’s abilities to your Phoenix Eikonic Ability Set.
What’s important to remember is that mastering an ability is a waste of ![]() Ability Points if you’re not planning to assign it to another Eikon. You can read more on this topic from the
Ability Points if you’re not planning to assign it to another Eikon. You can read more on this topic from the ![]() Eikonic Ability Set page in the Tips and Tricks section.
Eikonic Ability Set page in the Tips and Tricks section.
Helpful Hint
Using the new ![]() Limit Break ability is pretty straightforward, especially if you read the details of how it works under the “Abilities” tab, but there are some additional tactics listed in the Limit Breaks page of the tips and tricks section.
Limit Break ability is pretty straightforward, especially if you read the details of how it works under the “Abilities” tab, but there are some additional tactics listed in the Limit Breaks page of the tips and tricks section.
Achievement/Trophy
“Defeat 20 enemies while semi-primed (excluding battles in the Hall of Virtue.)” Now that you can trigger Limit Breaks, you’ll be able to earn the  Made to Be Broken Achievement/Trophy as you progress through the game. Just make sure you’re semi-primed as the enemy is defeated and it will count towards the 20 enemies you need.
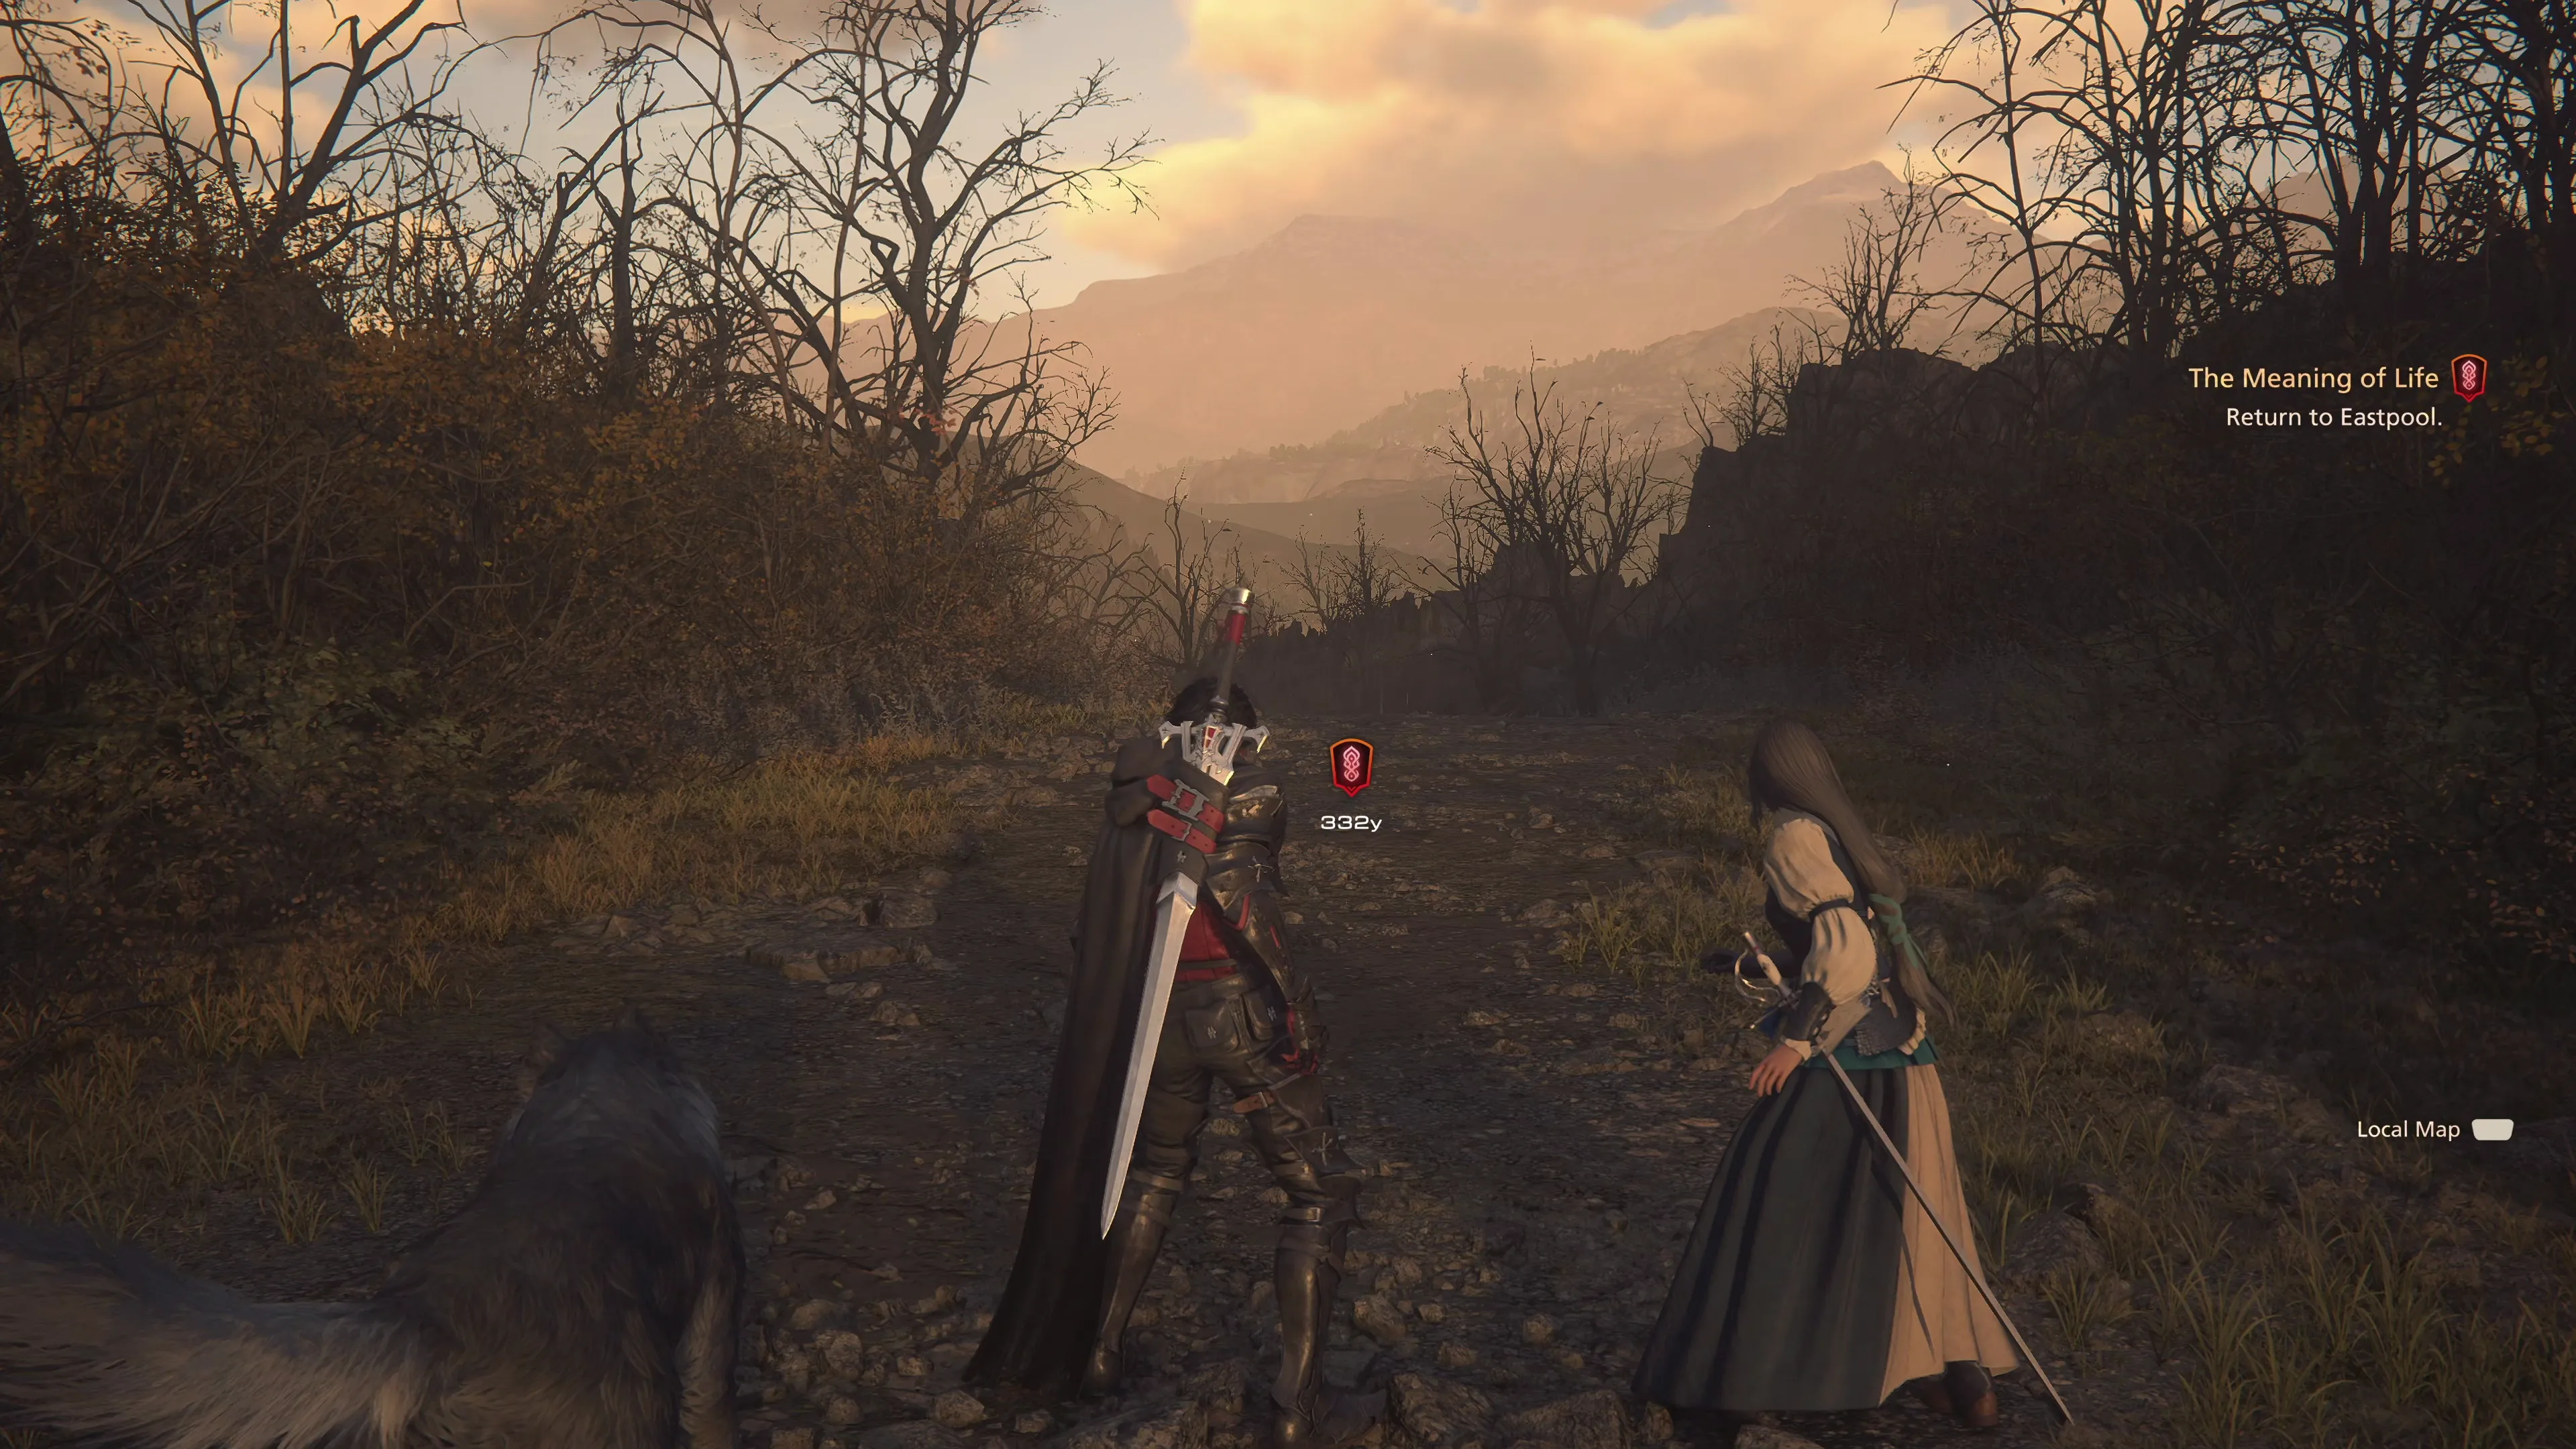
Follow the pathway towards Eastpool and you’ll end up walking over a couple of Glimmers. They are full of ![]() Potions and
Potions and ![]() High Potions, which will help you refill your stockpile if you ended up using some during the last boss fight.
High Potions, which will help you refill your stockpile if you ended up using some during the last boss fight.
Swap over to a multi-target ![]() Eikonic Ability Set before you open the gate to Eastpool. This is a good time to try out some of your new abilities, including
Eikonic Ability Set before you open the gate to Eastpool. This is a good time to try out some of your new abilities, including ![]() Ignition and
Ignition and ![]() Will-o’-the-Wykes.
Will-o’-the-Wykes.
 Eastpool
The first battle is against a group of Imperial Legionnaires. They will be joined afterwards by another group of soldiers and some flying Imperial War Wyrms.
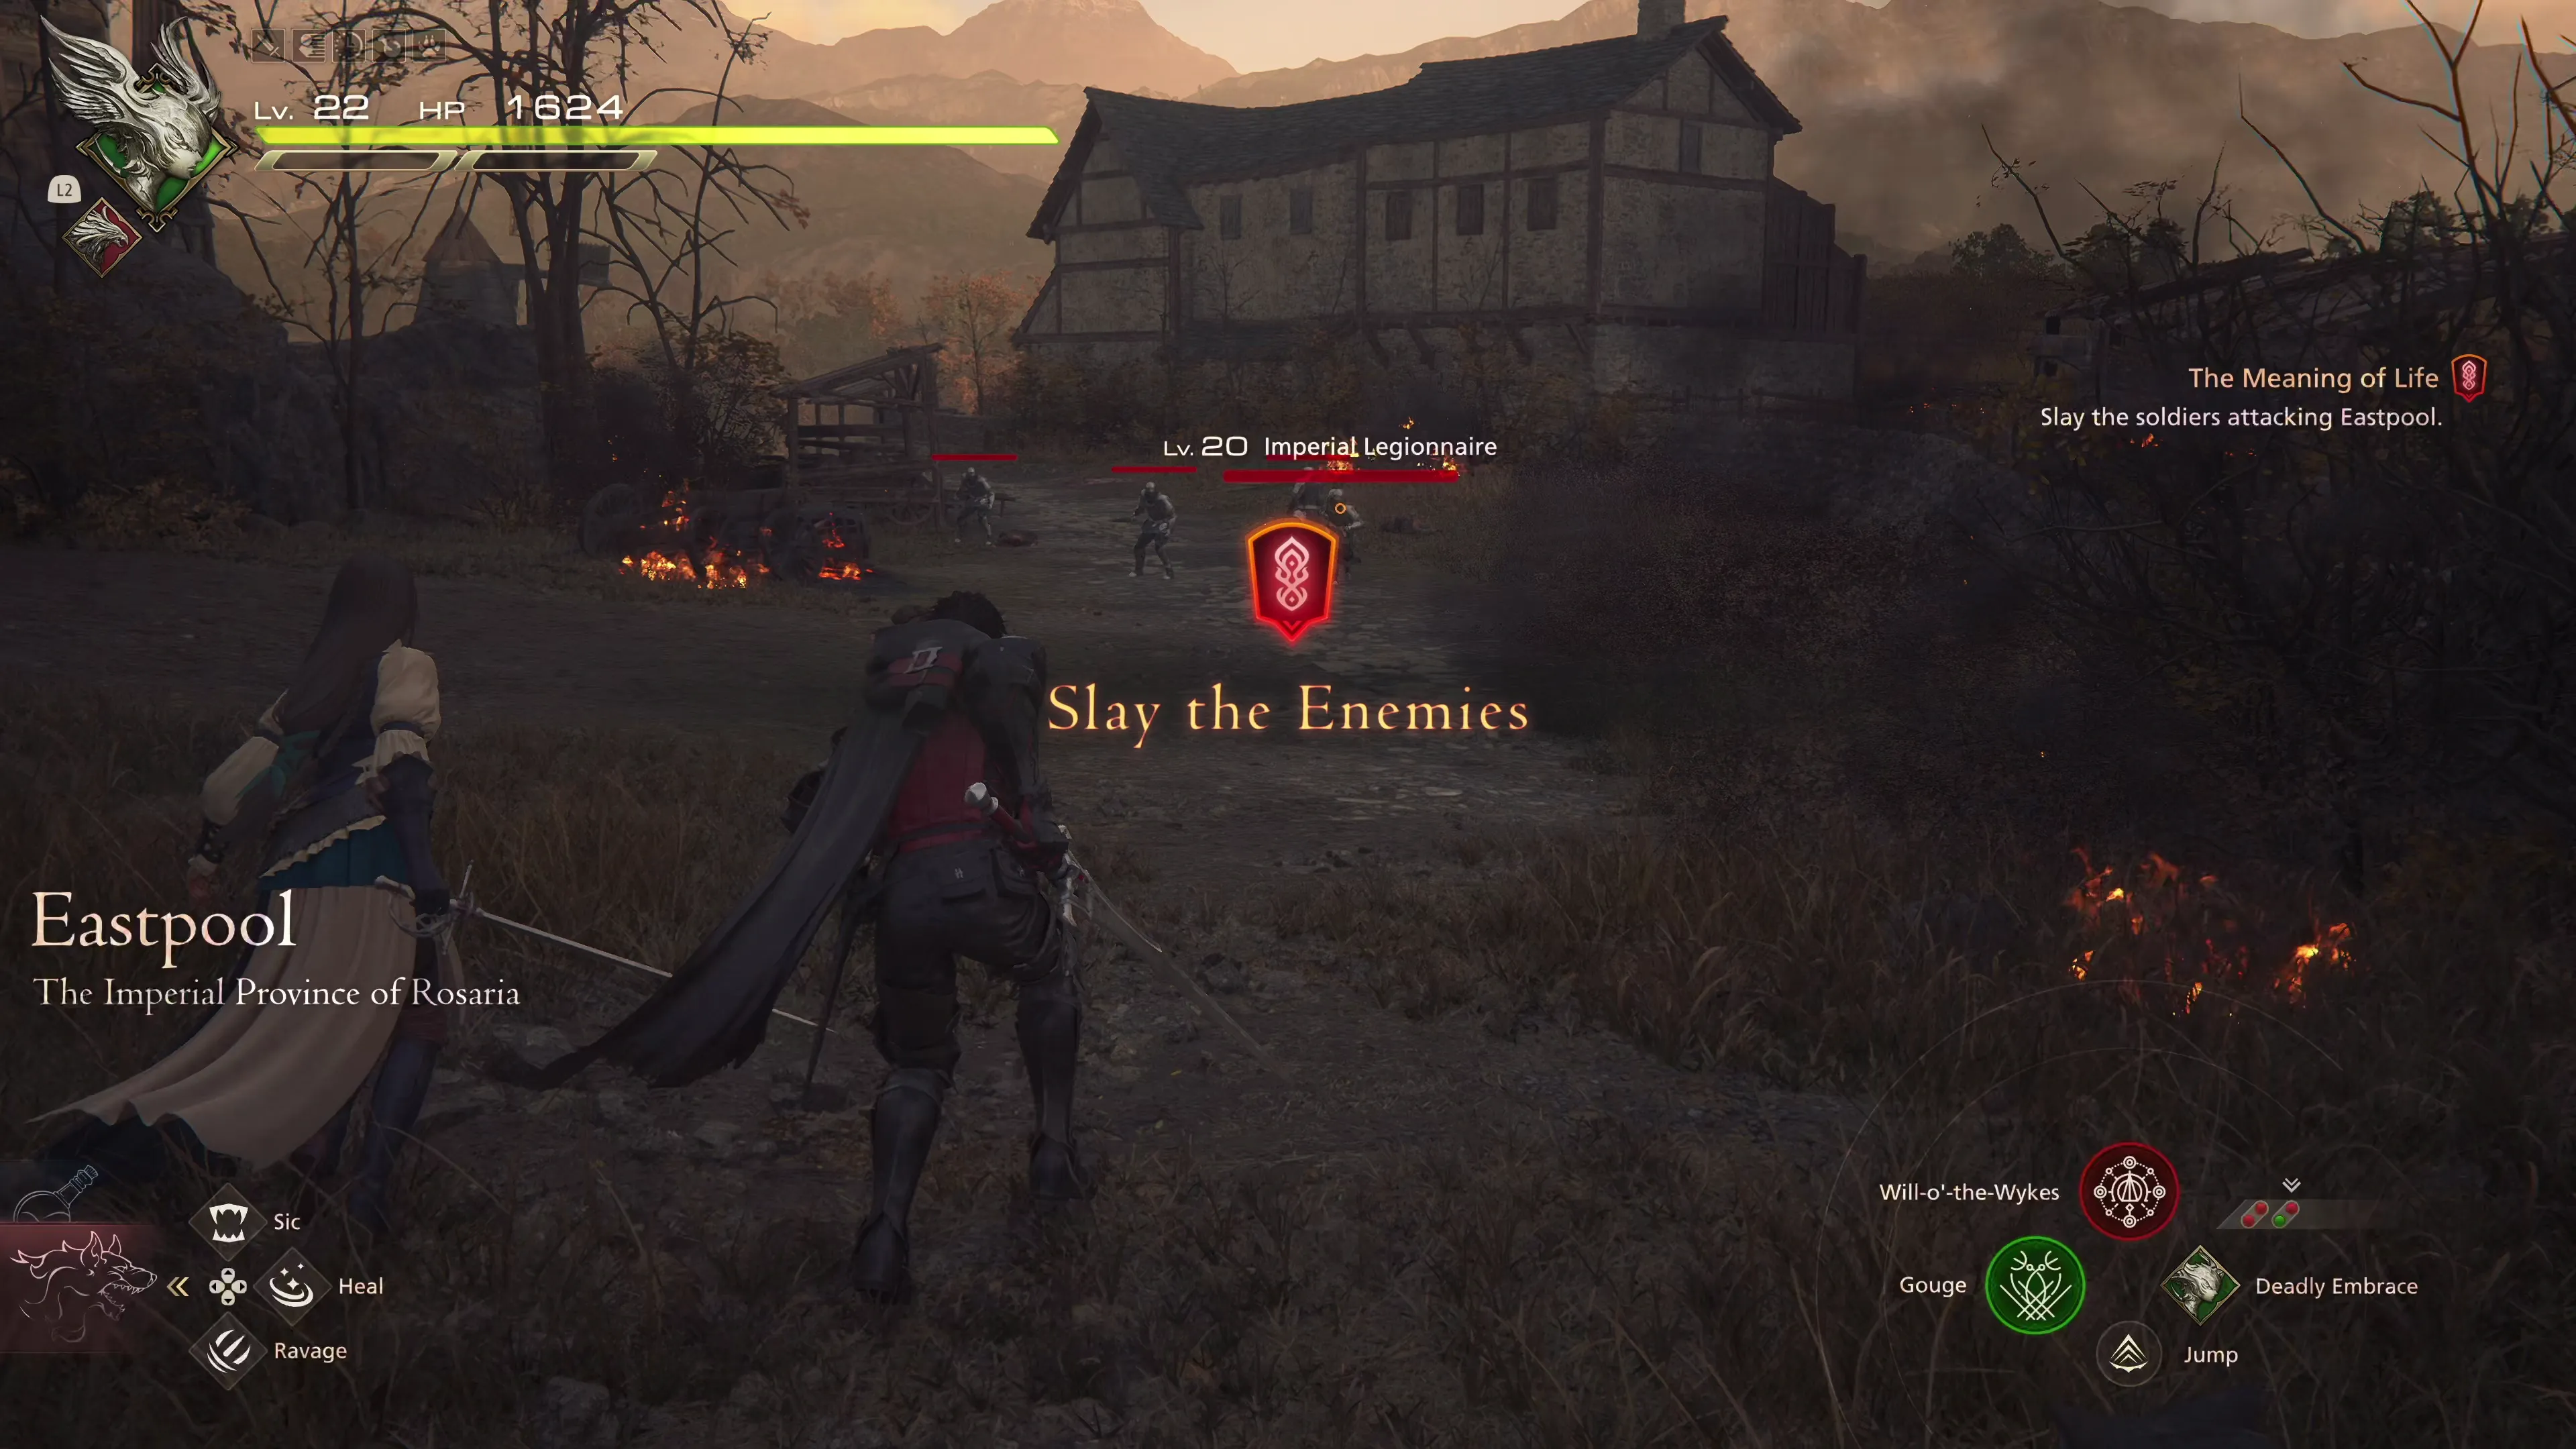
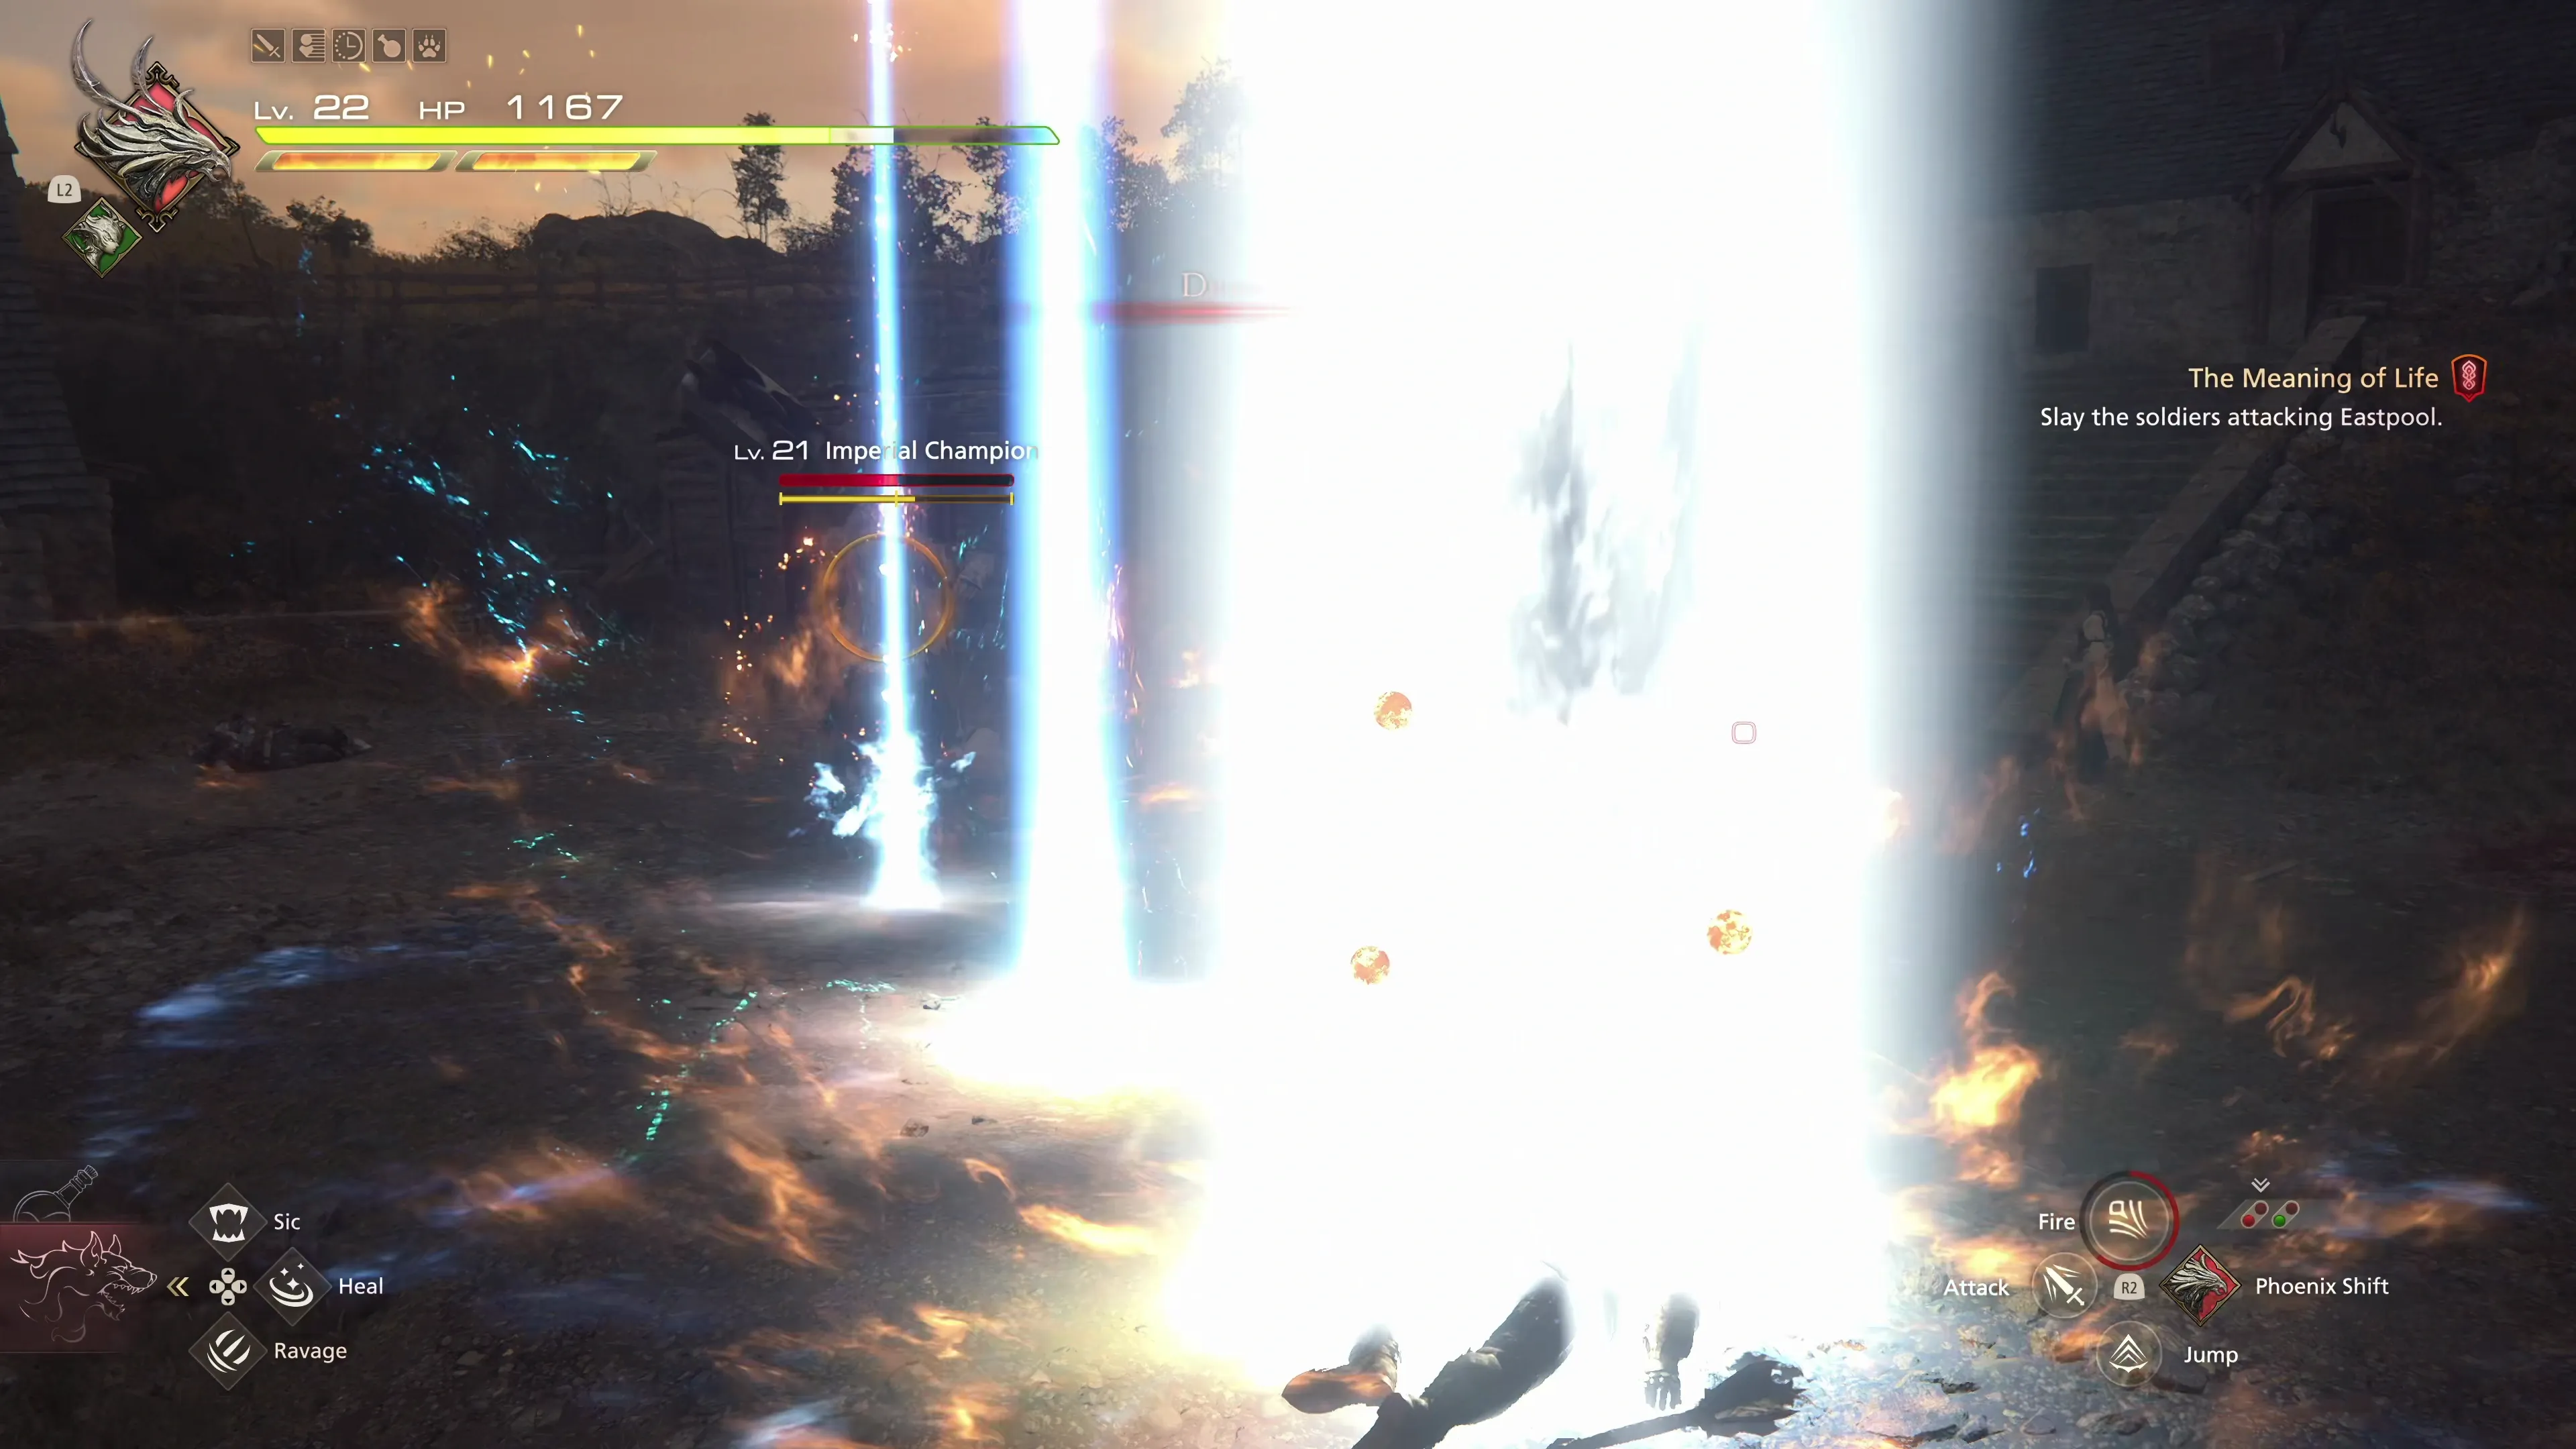
Continue down the pathway towards the center of town to find the next group of Imperials. This one includes some casters (Imperial Astrologers). Like before, focus on them first, or use ![]() Ignition to gather them up and close the distance. The last group will include some more Imperials and some more War Wyrms, and then you’ll end up facing off against an “Imperial Champion.”
Ignition to gather them up and close the distance. The last group will include some more Imperials and some more War Wyrms, and then you’ll end up facing off against an “Imperial Champion.”
The Imperial Champion is just like the Gigas orcs and Minotaurs that you’ve faced before. Slow-moving attacks with a massive, two-handed weapon. He has a new move called “Divine Hammer,” which causes a massive burst of magic forward in the direction he casts it. This is easy to dodge but also easy to reflect with ![]() Heatwave.
Heatwave.
A few more cutscenes after the battle, and this short chapter is already concluded. You’ll be returned to the world map—select ![]() The Hideaway when you’re ready to continue.
The Hideaway when you’re ready to continue.