
 Buried Memories
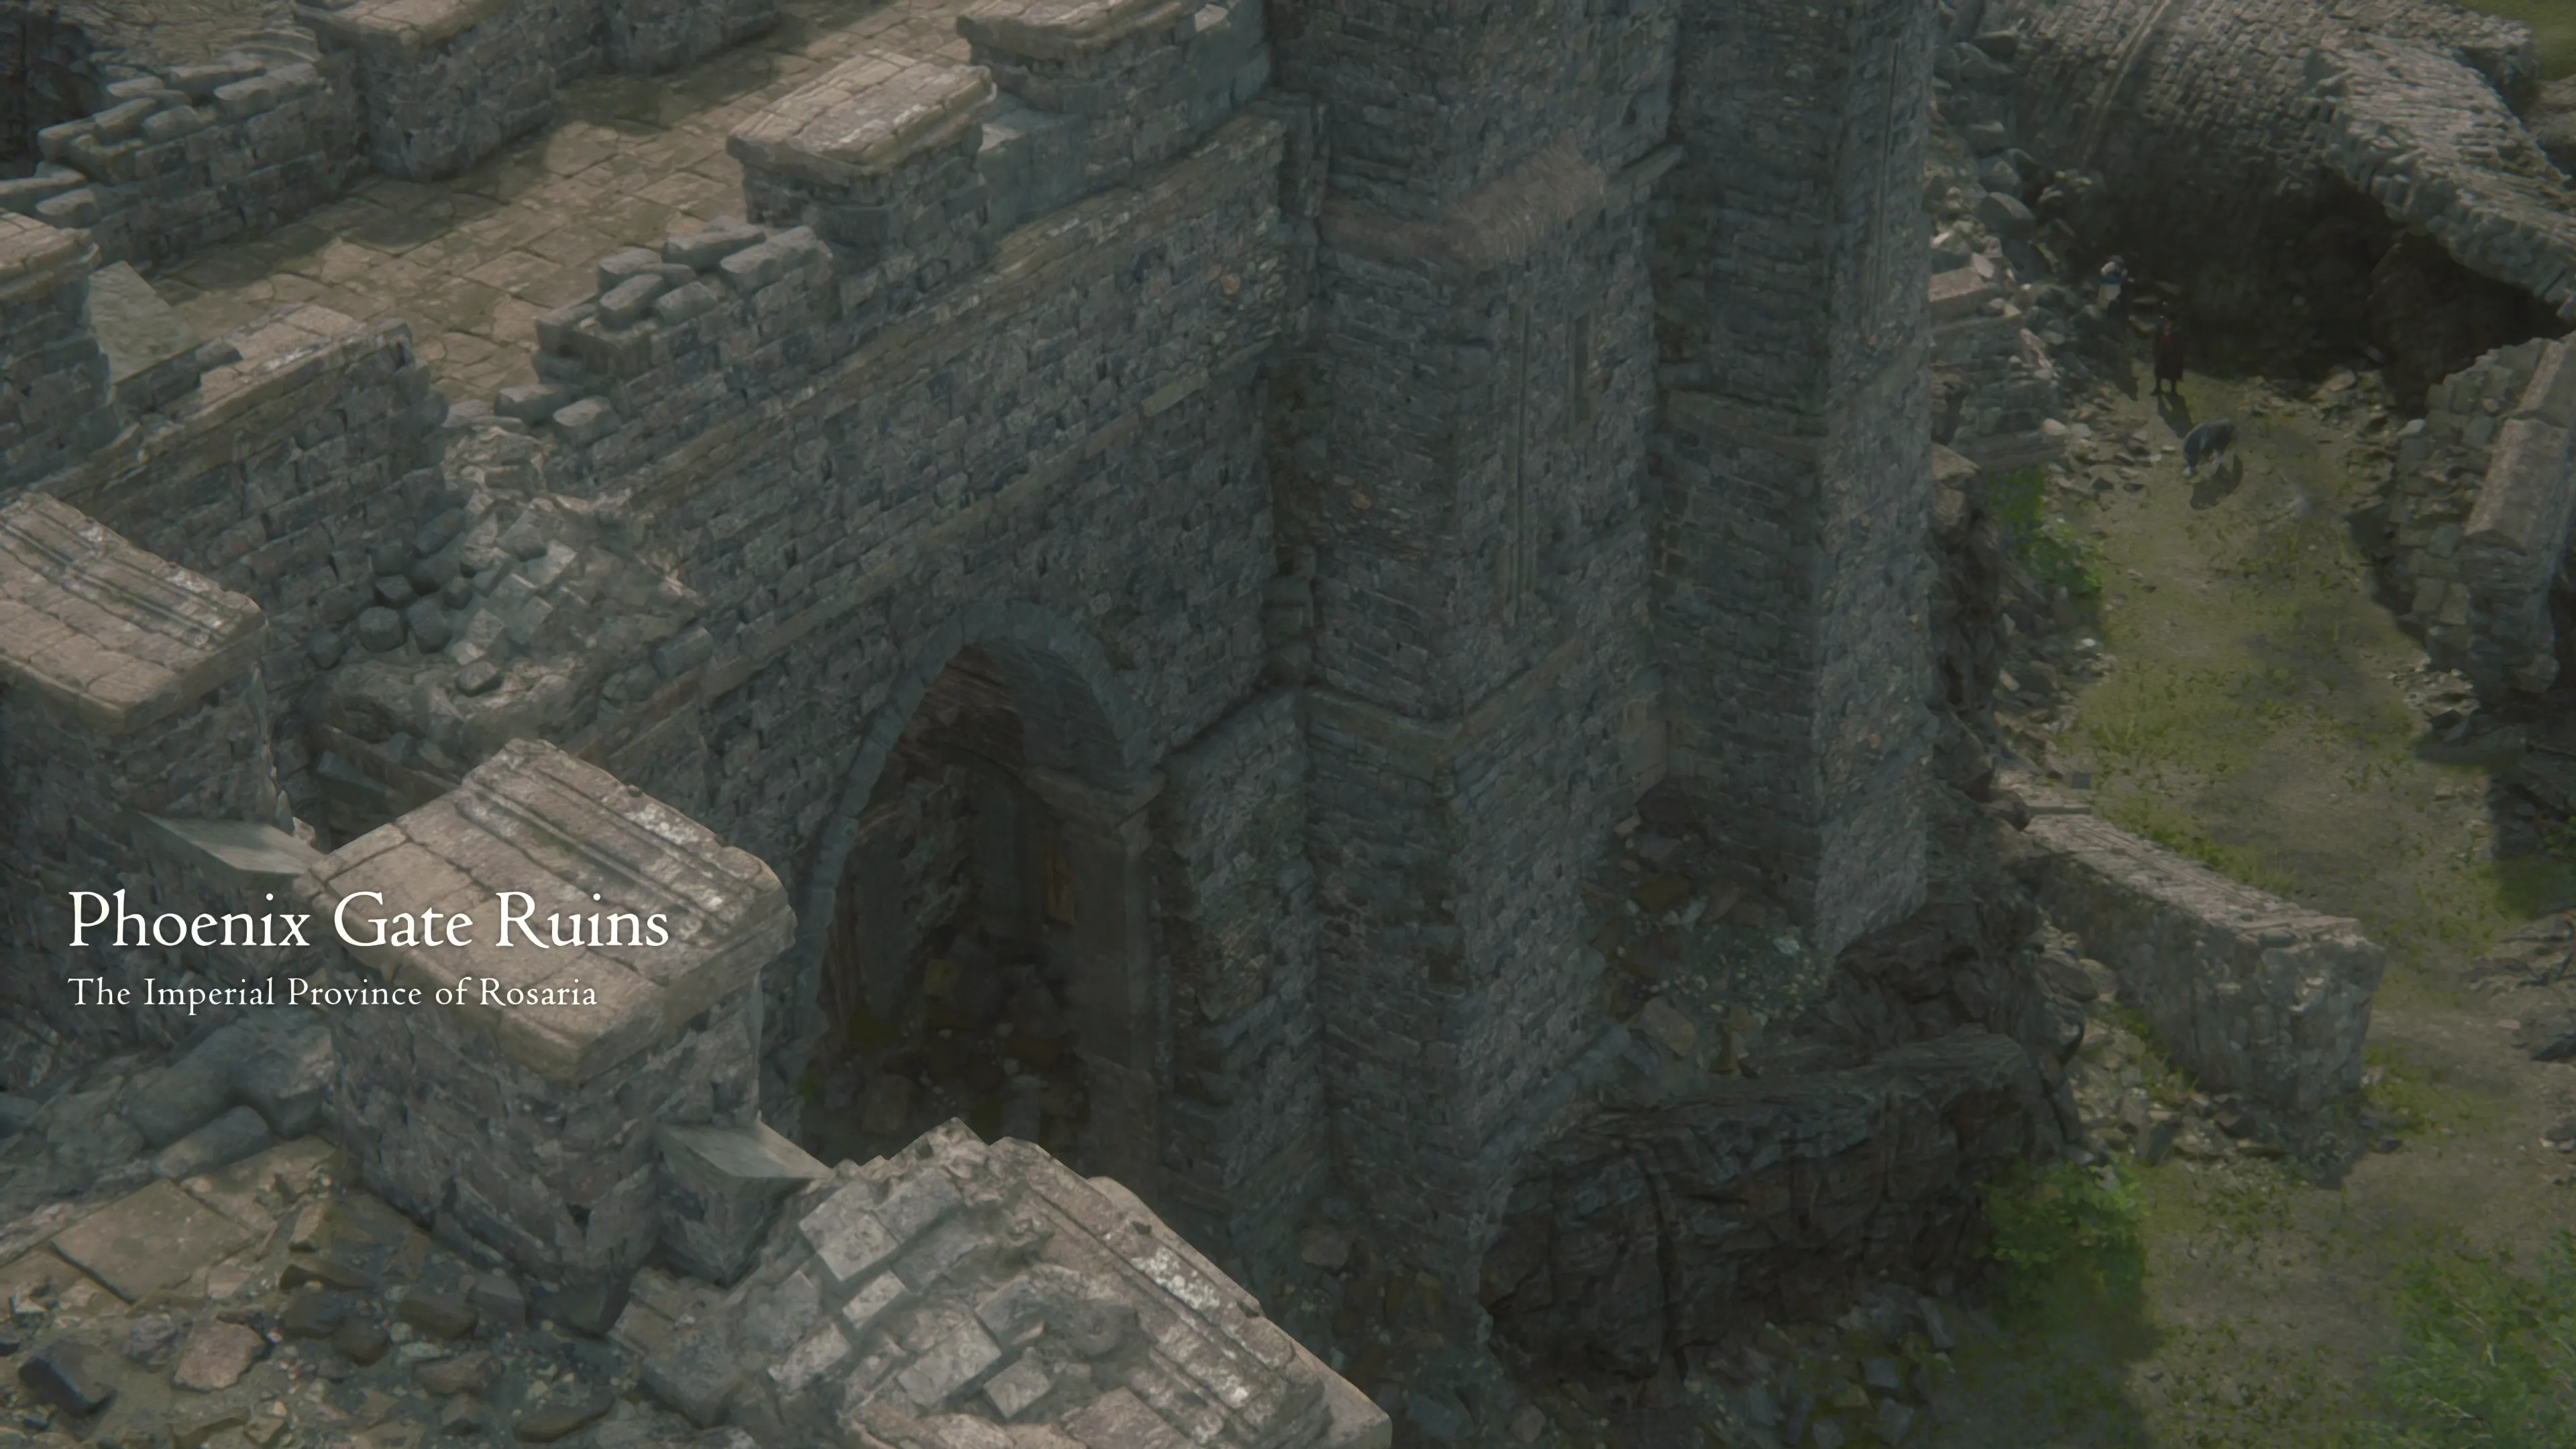
 Phoenix Gate Ruins
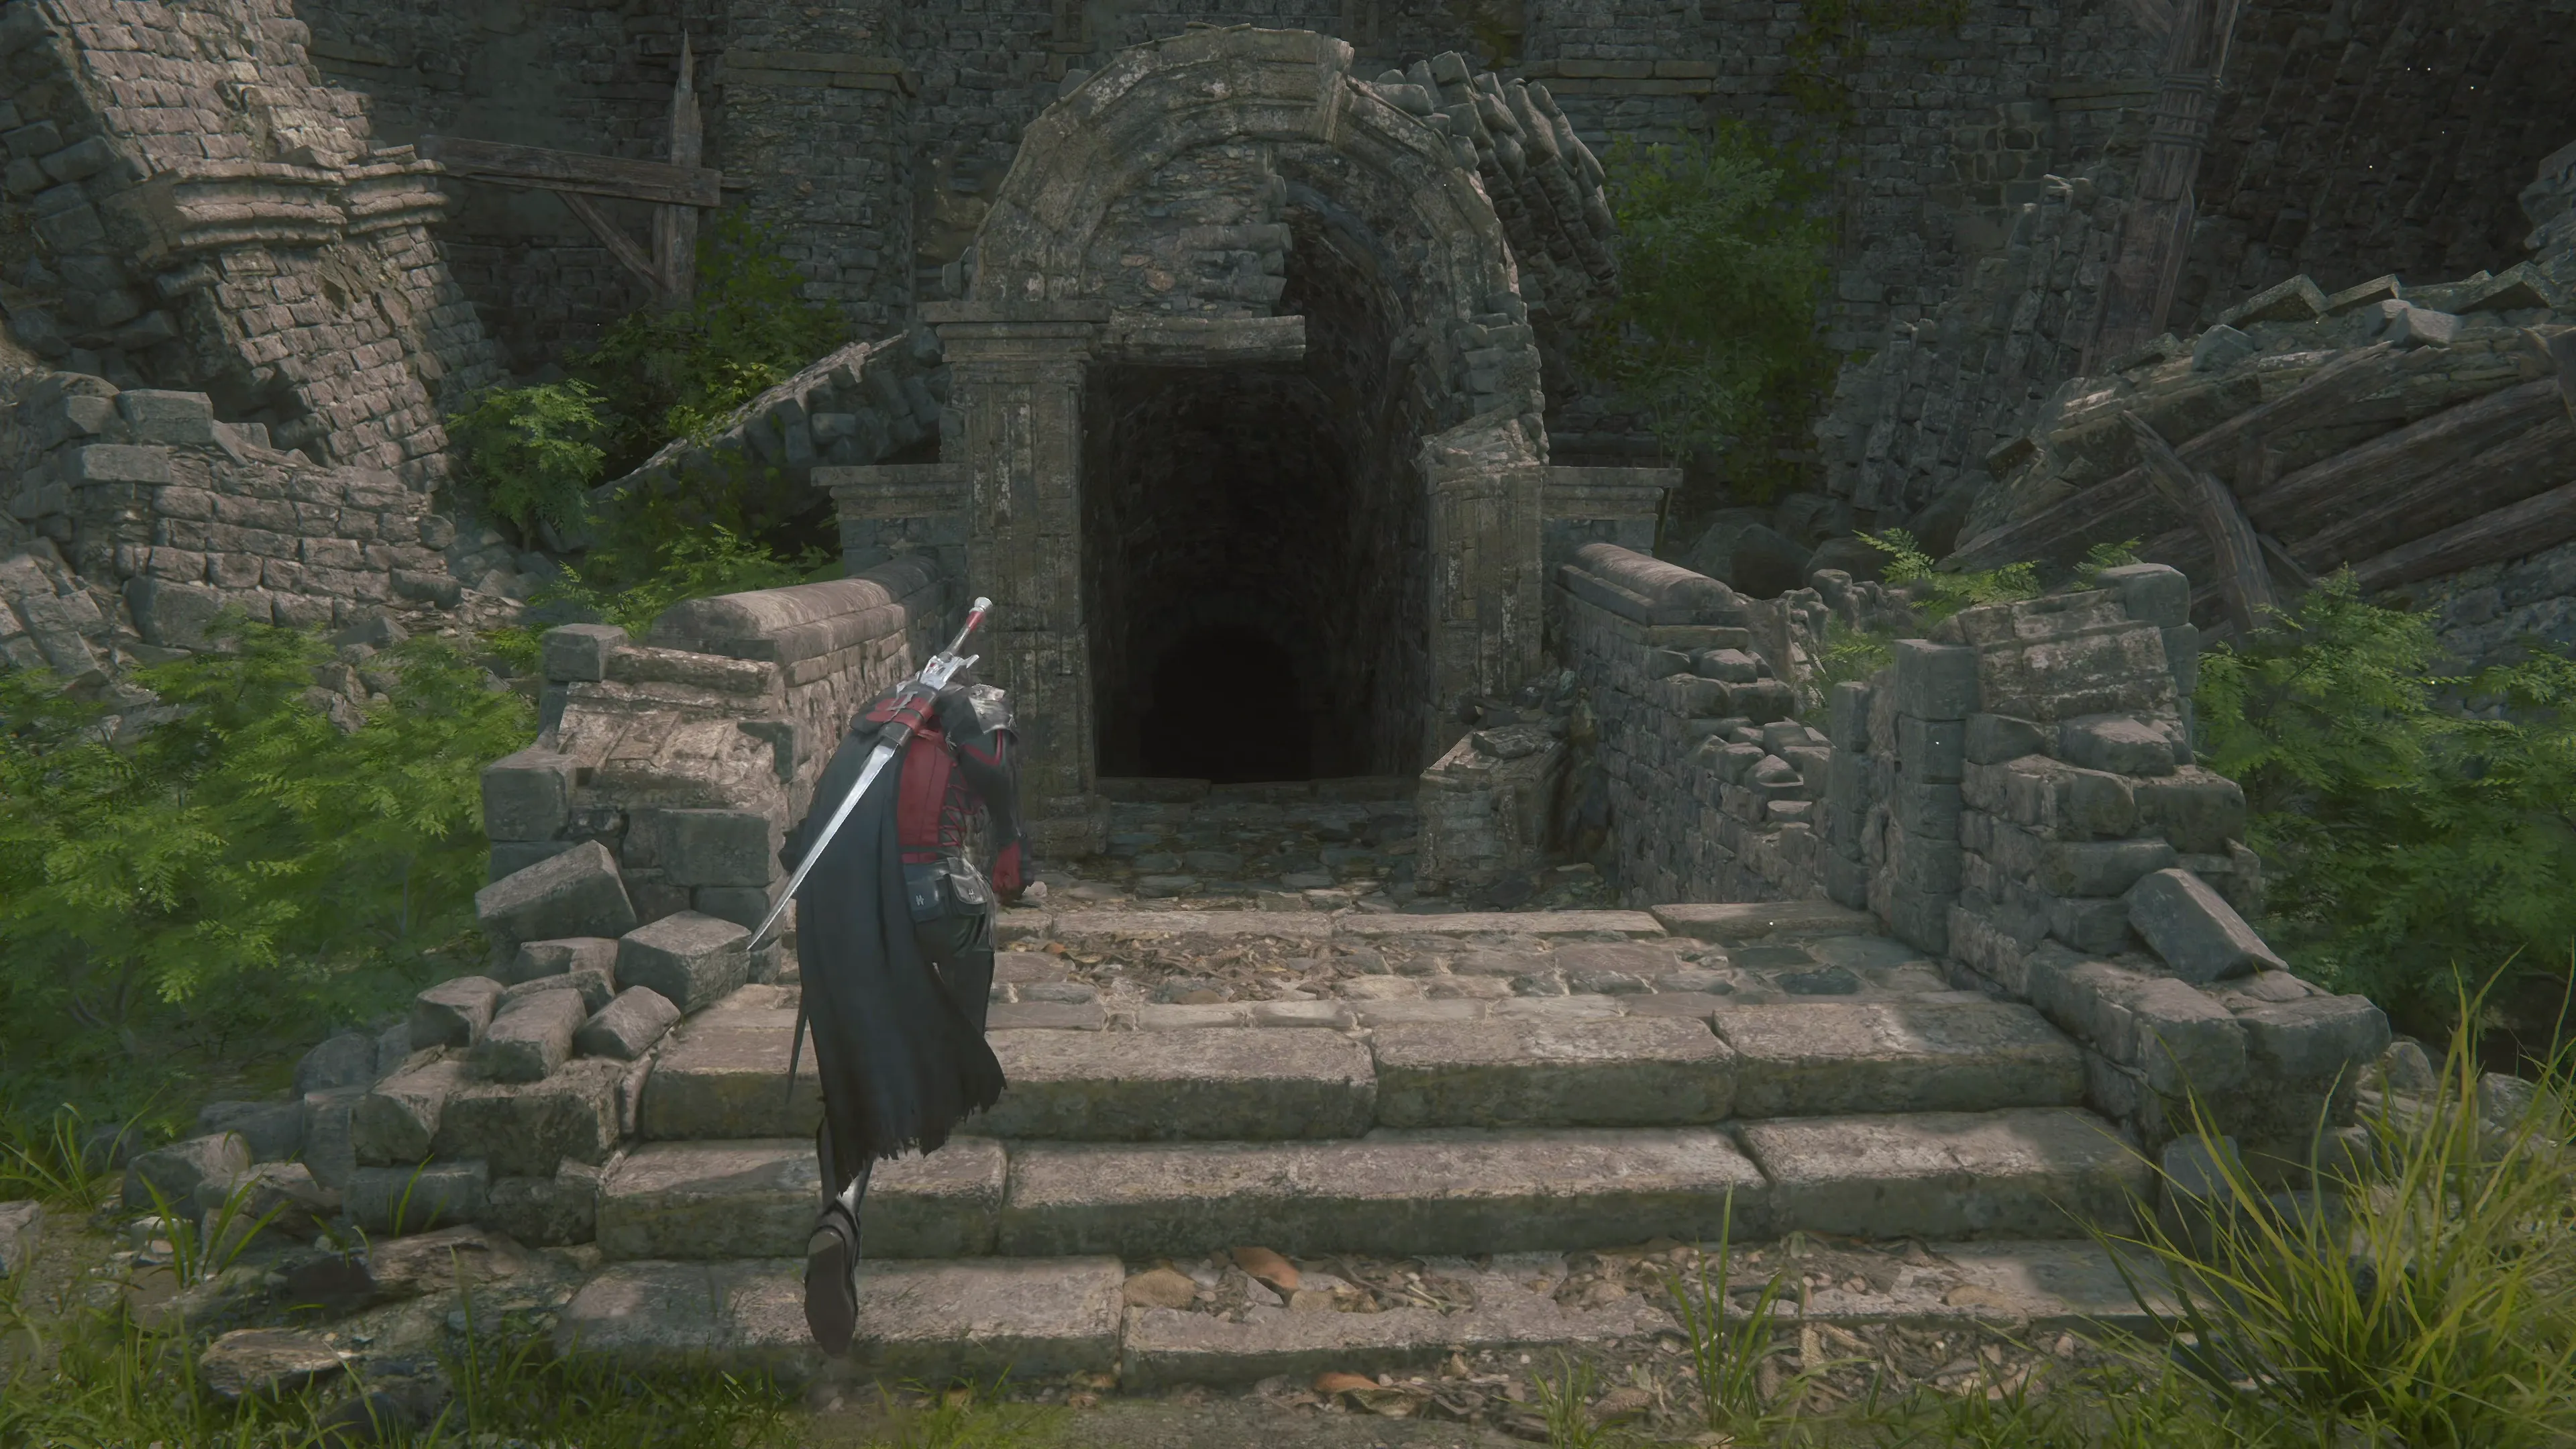
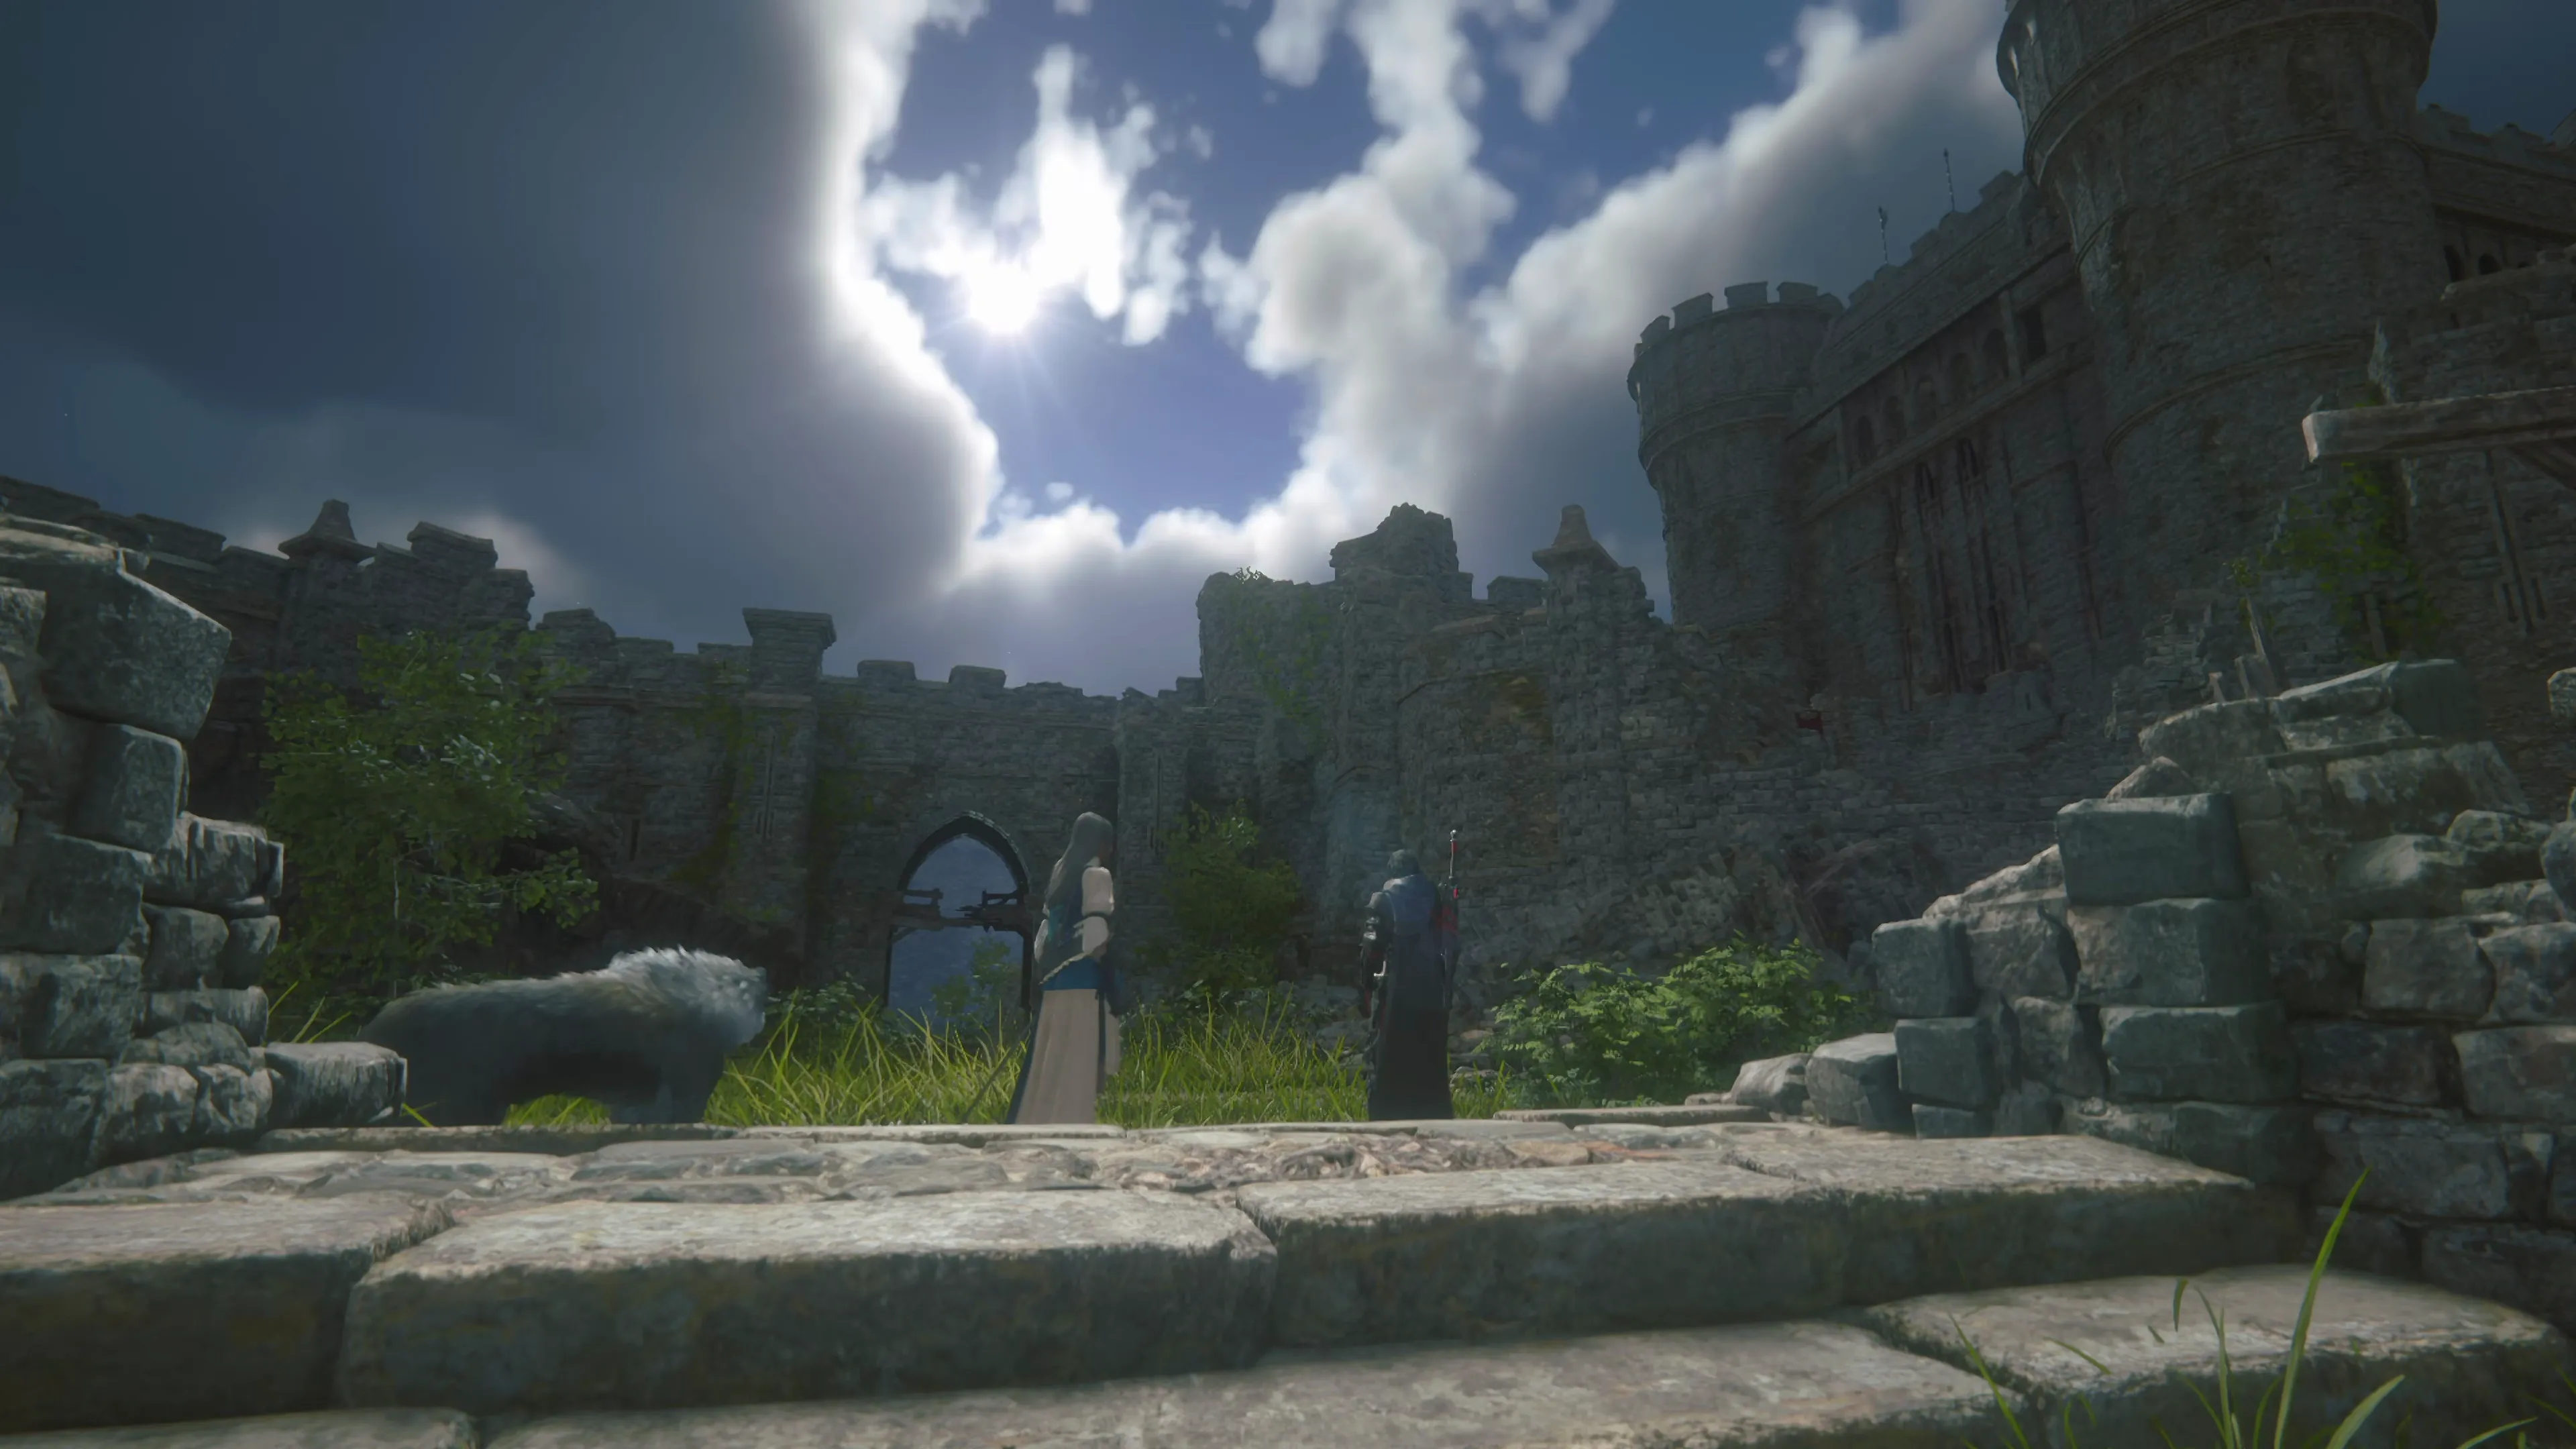
This section of the game begins with a short cutscene involving Clive and Jill. Walk forward along the grassy trail for some additional dialogue and more cutscenes before you can run down into the “relic of the Fallen.” Swap to your multi-target ![]() Eikonic Ability Set when you get the chance.
Eikonic Ability Set when you get the chance.
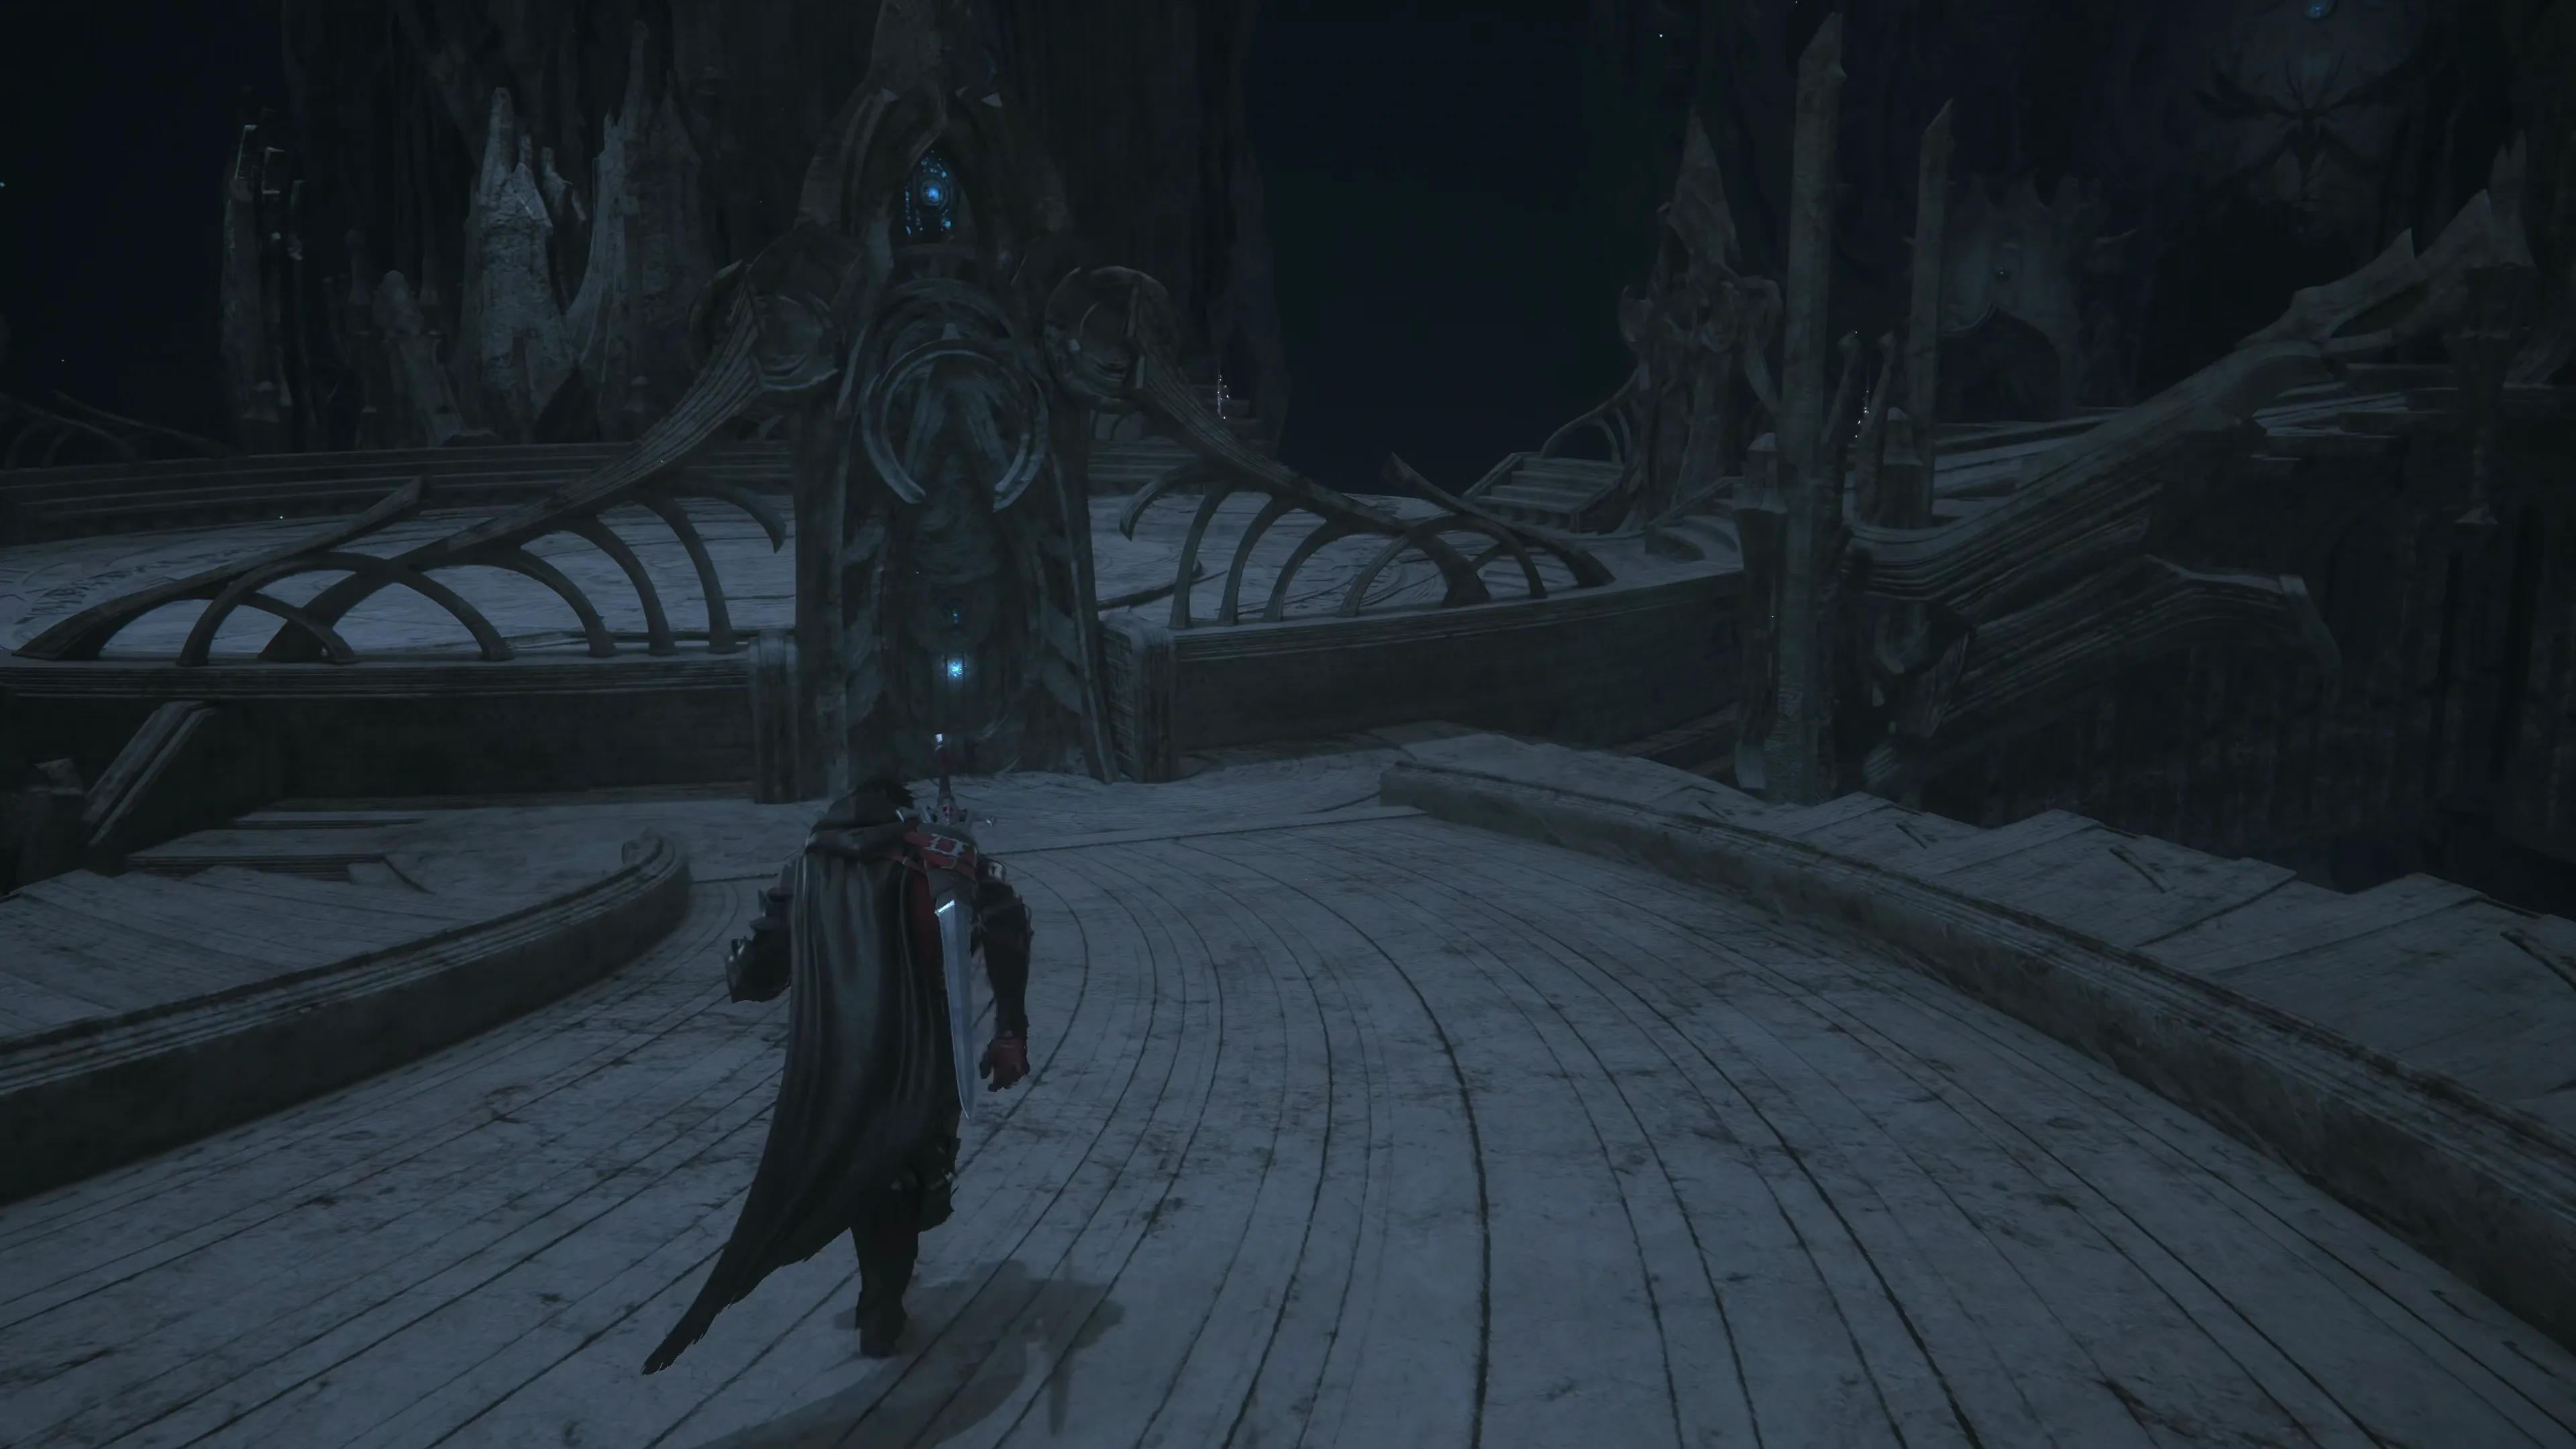
The Hall of the Ancestors
Walk down the ramp towards the first doorway and press the ![]()
![]()
![]() button to open it. Head down into the large platform, and you’ll be attacked by a group of four Fallen Bugs. As the platform descends lower into the ruins, Clive and Jill will be attacked by another group of Fallen Hunters and Defense Nodes. It’s generally considered a better strategy to go after the Defense Nodes and take them out first.
button to open it. Head down into the large platform, and you’ll be attacked by a group of four Fallen Bugs. As the platform descends lower into the ruins, Clive and Jill will be attacked by another group of Fallen Hunters and Defense Nodes. It’s generally considered a better strategy to go after the Defense Nodes and take them out first.
Go through the next doorway to find a Glimmer and keep moving into the next room to find another group of Fallen Bugs and Defense Nodes. There’s a treasure coffer in this room that contains 50 ![]() Gil and 5
Gil and 5 ![]() Sharp Fangs.
Sharp Fangs.
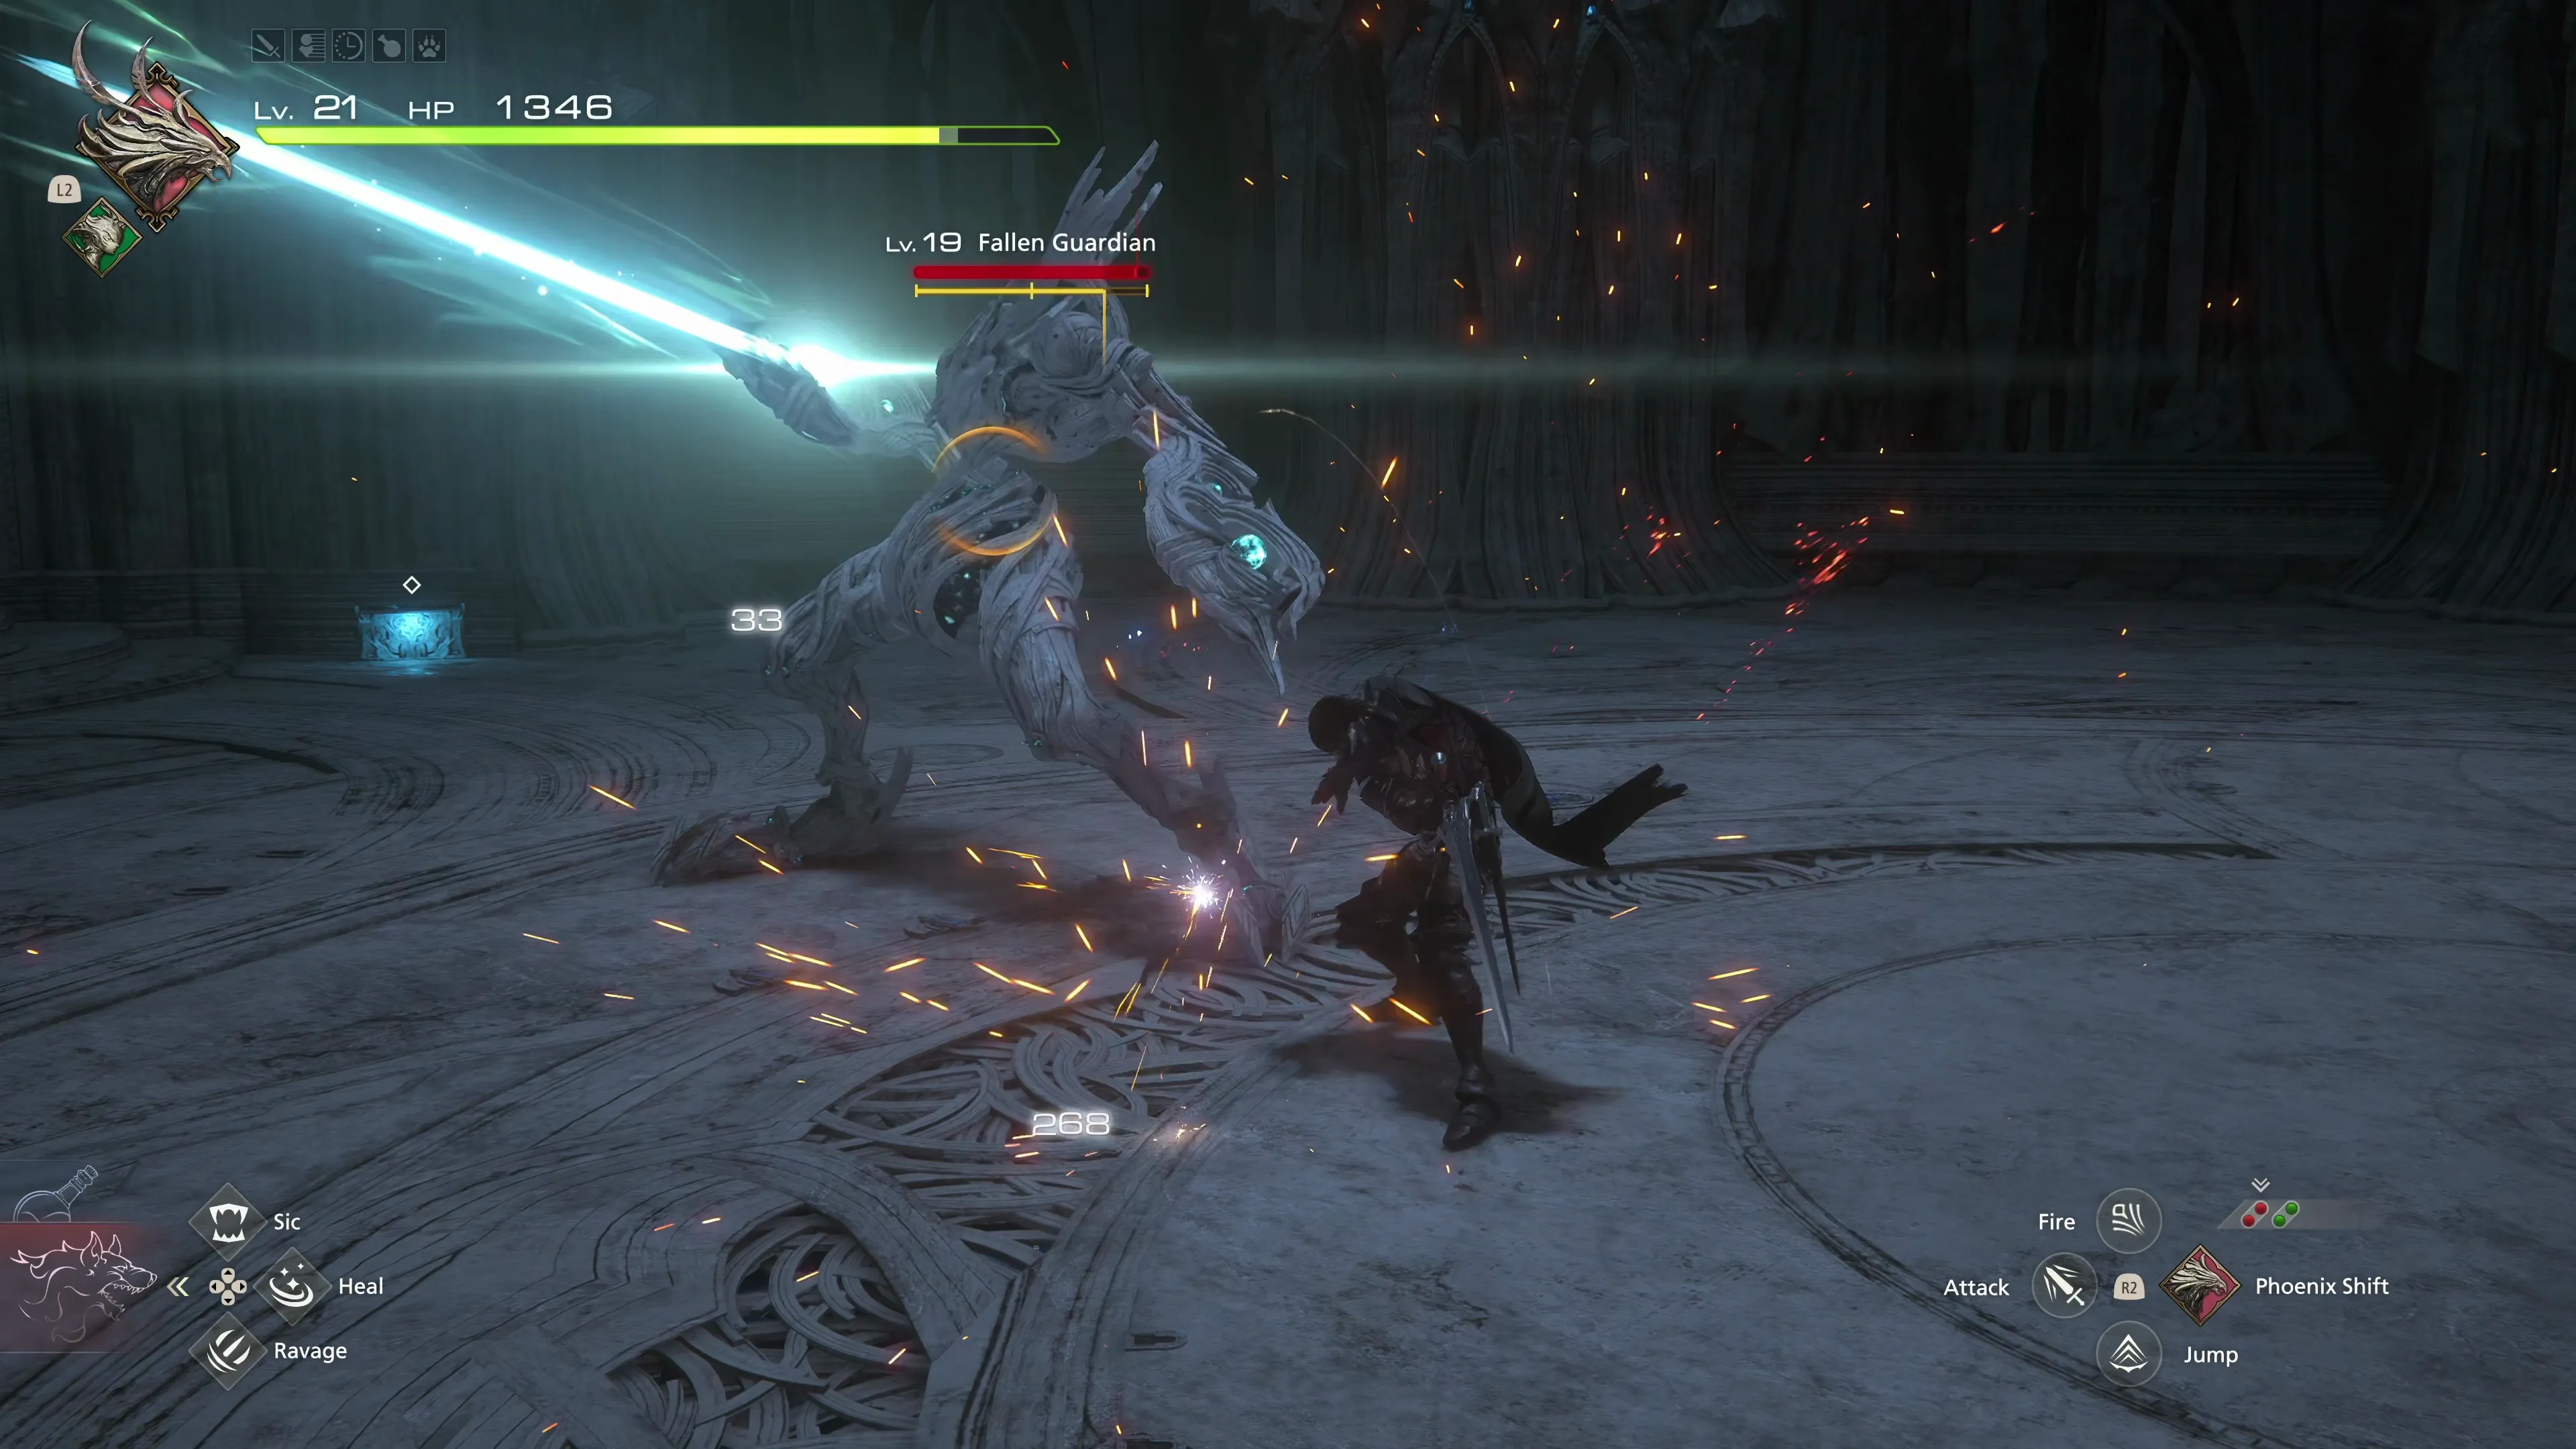
You will encounter your first Fallen Guardian in the next room. Getting familiar with this mini-boss’s attacks will involve getting a bit beaten up, but it’s important because you will be facing this type of enemy quite a bit throughout the game. Its attacks include:
- A lunging strike forward
- A slashing forward arc
- A glowing explosion: a large blue bubble will form around it; just jump out of range or dodge at the right time
- Two-sword slash: both swords are pulled out and aimed upwards, before slashing in a wide cone in front.
- Two-sword whirlwind spin attack: probably not the official name of this attack, but it accurately describes what the Fallen Guardian does. It will turn to face Clive just before it starts spinning forward. Dodge around to the backside of it and attack it from behind while it spins.
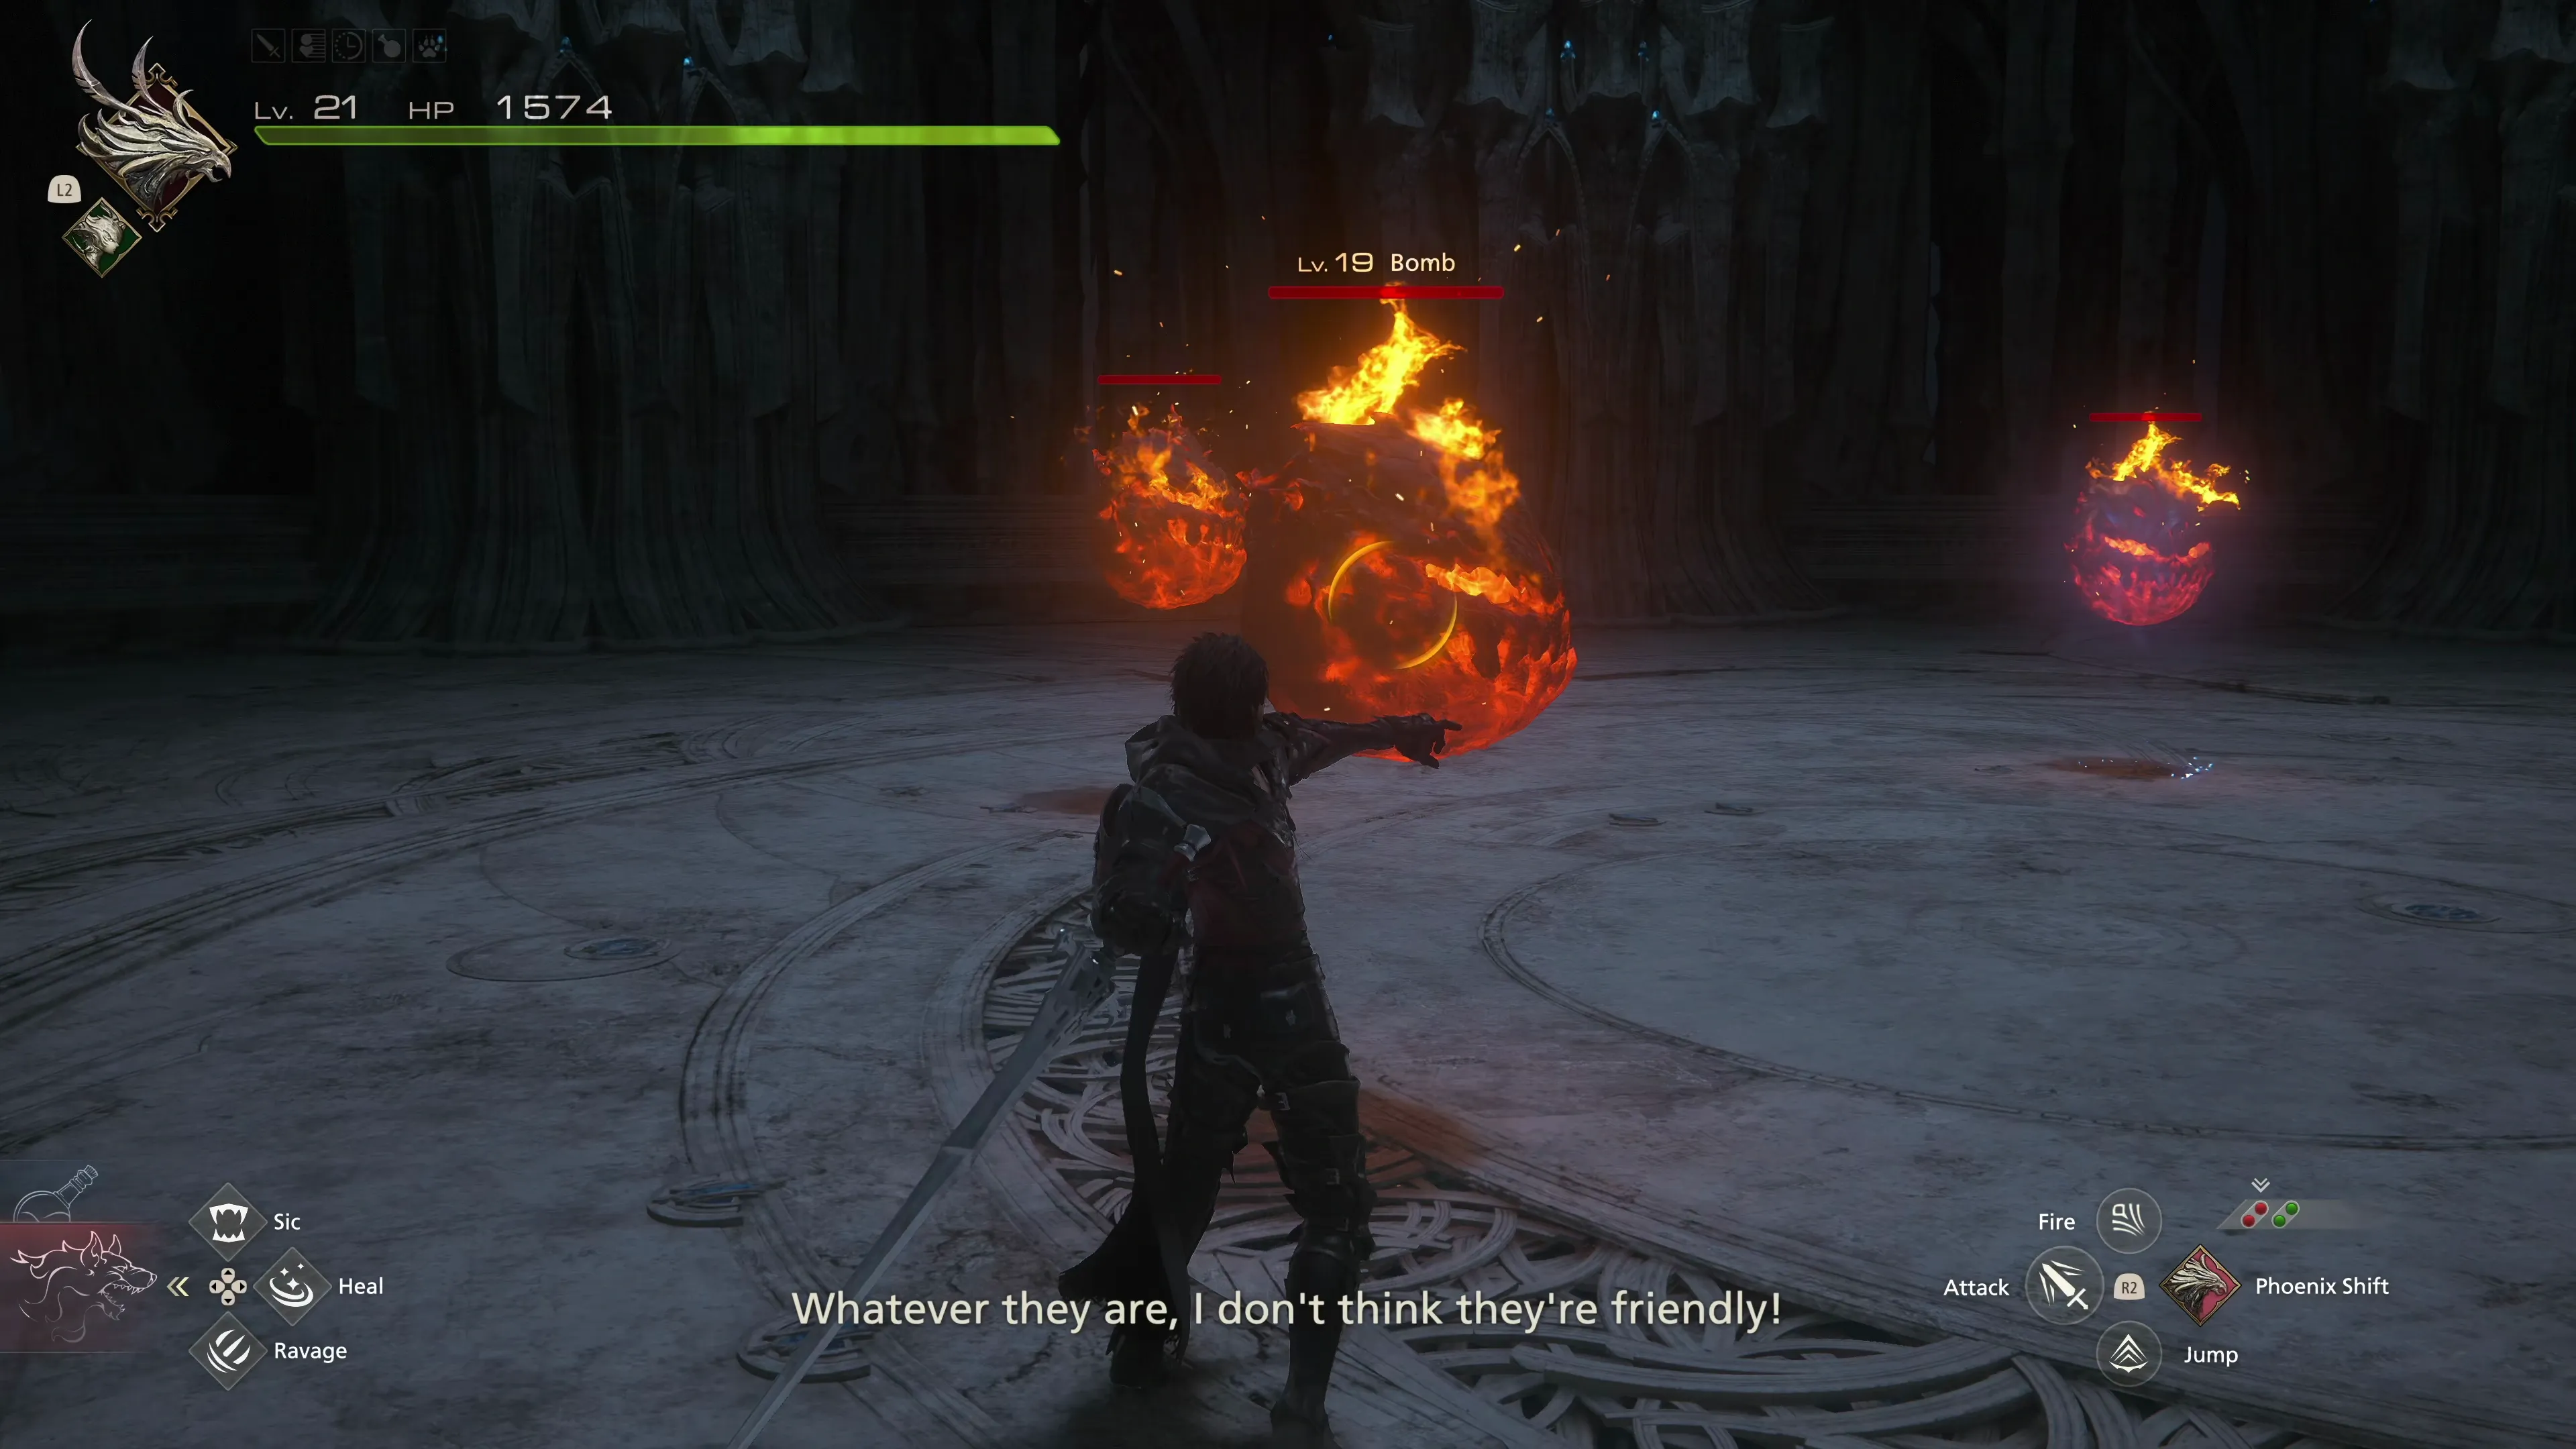
Grab the treasure coffer in this room after the battle to obtain ![]() The Favor of Wind (Gouge) and then proceed into the next room. The next hallway contains two more Glimmers, and the next room contains three Bomb enemies.
The Favor of Wind (Gouge) and then proceed into the next room. The next hallway contains two more Glimmers, and the next room contains three Bomb enemies.
Fans of the Final Fantasy series should know exactly what to expect from any Bomb-type enemies in this game. They have a chance of exploding once their health gets low. This large-scale and high-damaging attack is well telegraphed—a large red outline will appear around the Bomb indicating the blast radius.
The next hallway contains another Glimmer, and the next room contains yet another elevator that will take Clive and Jill further upwards into the ruins. Open the treasure coffer after the short ride for a free 1,200 ![]() Gil.
Gil.
The next room contains yet another Fallen Guardian, although this one is accompanied by three Defense Nodes. The Fallen Guardian can inflict a lot of damage very quickly if you’re not paying attention to its attack patterns, so it’s usually easier to let Jill and Torgal distract the other targets. Partway through the fight, the Defense Nodes will be replaced by Fallen Hunters, but continue to focus on the Fallen Guardian until it’s defeated.
The next room includes another four Fallen Bugs and a treasure coffer that contains ![]() The Will of Wind (Rook’s Gambit). You may want to equip either of these two last accessories you’ve received, especially if you’re finding that you prefer the Garuda abilities over Phoenix. You may want to save your game at this point and swap over to a single-target
The Will of Wind (Rook’s Gambit). You may want to equip either of these two last accessories you’ve received, especially if you’re finding that you prefer the Garuda abilities over Phoenix. You may want to save your game at this point and swap over to a single-target ![]() Eikonic Ability Set.
Eikonic Ability Set.
Helpful Hint
You may have noticed that most of the previous accessories you’ve picked up that improve one specific Eikonic Ability would do so by increasing overall damage; however, it’s worth pointing out that this accessory increases “will damage,” something easy to miss if you don’t read through the accessory’s details.
So what is “will damage”? In short, an accessory with this effect increases the amount that the Eikonic Ability depletes the “Will Gauge” and helps get an enemy to stagger faster. This is still very valuable, but it’s something worth paying attention to when you’re deciding between all of your accessory options.
There’s a cinematic that takes place as you go through the next doorway.
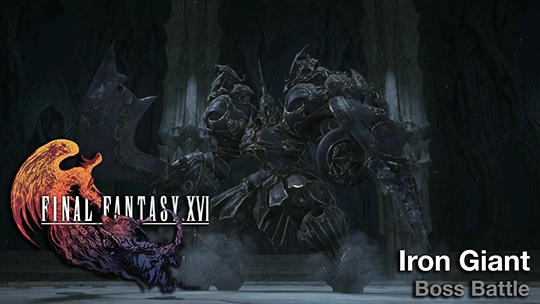
Boss Battle
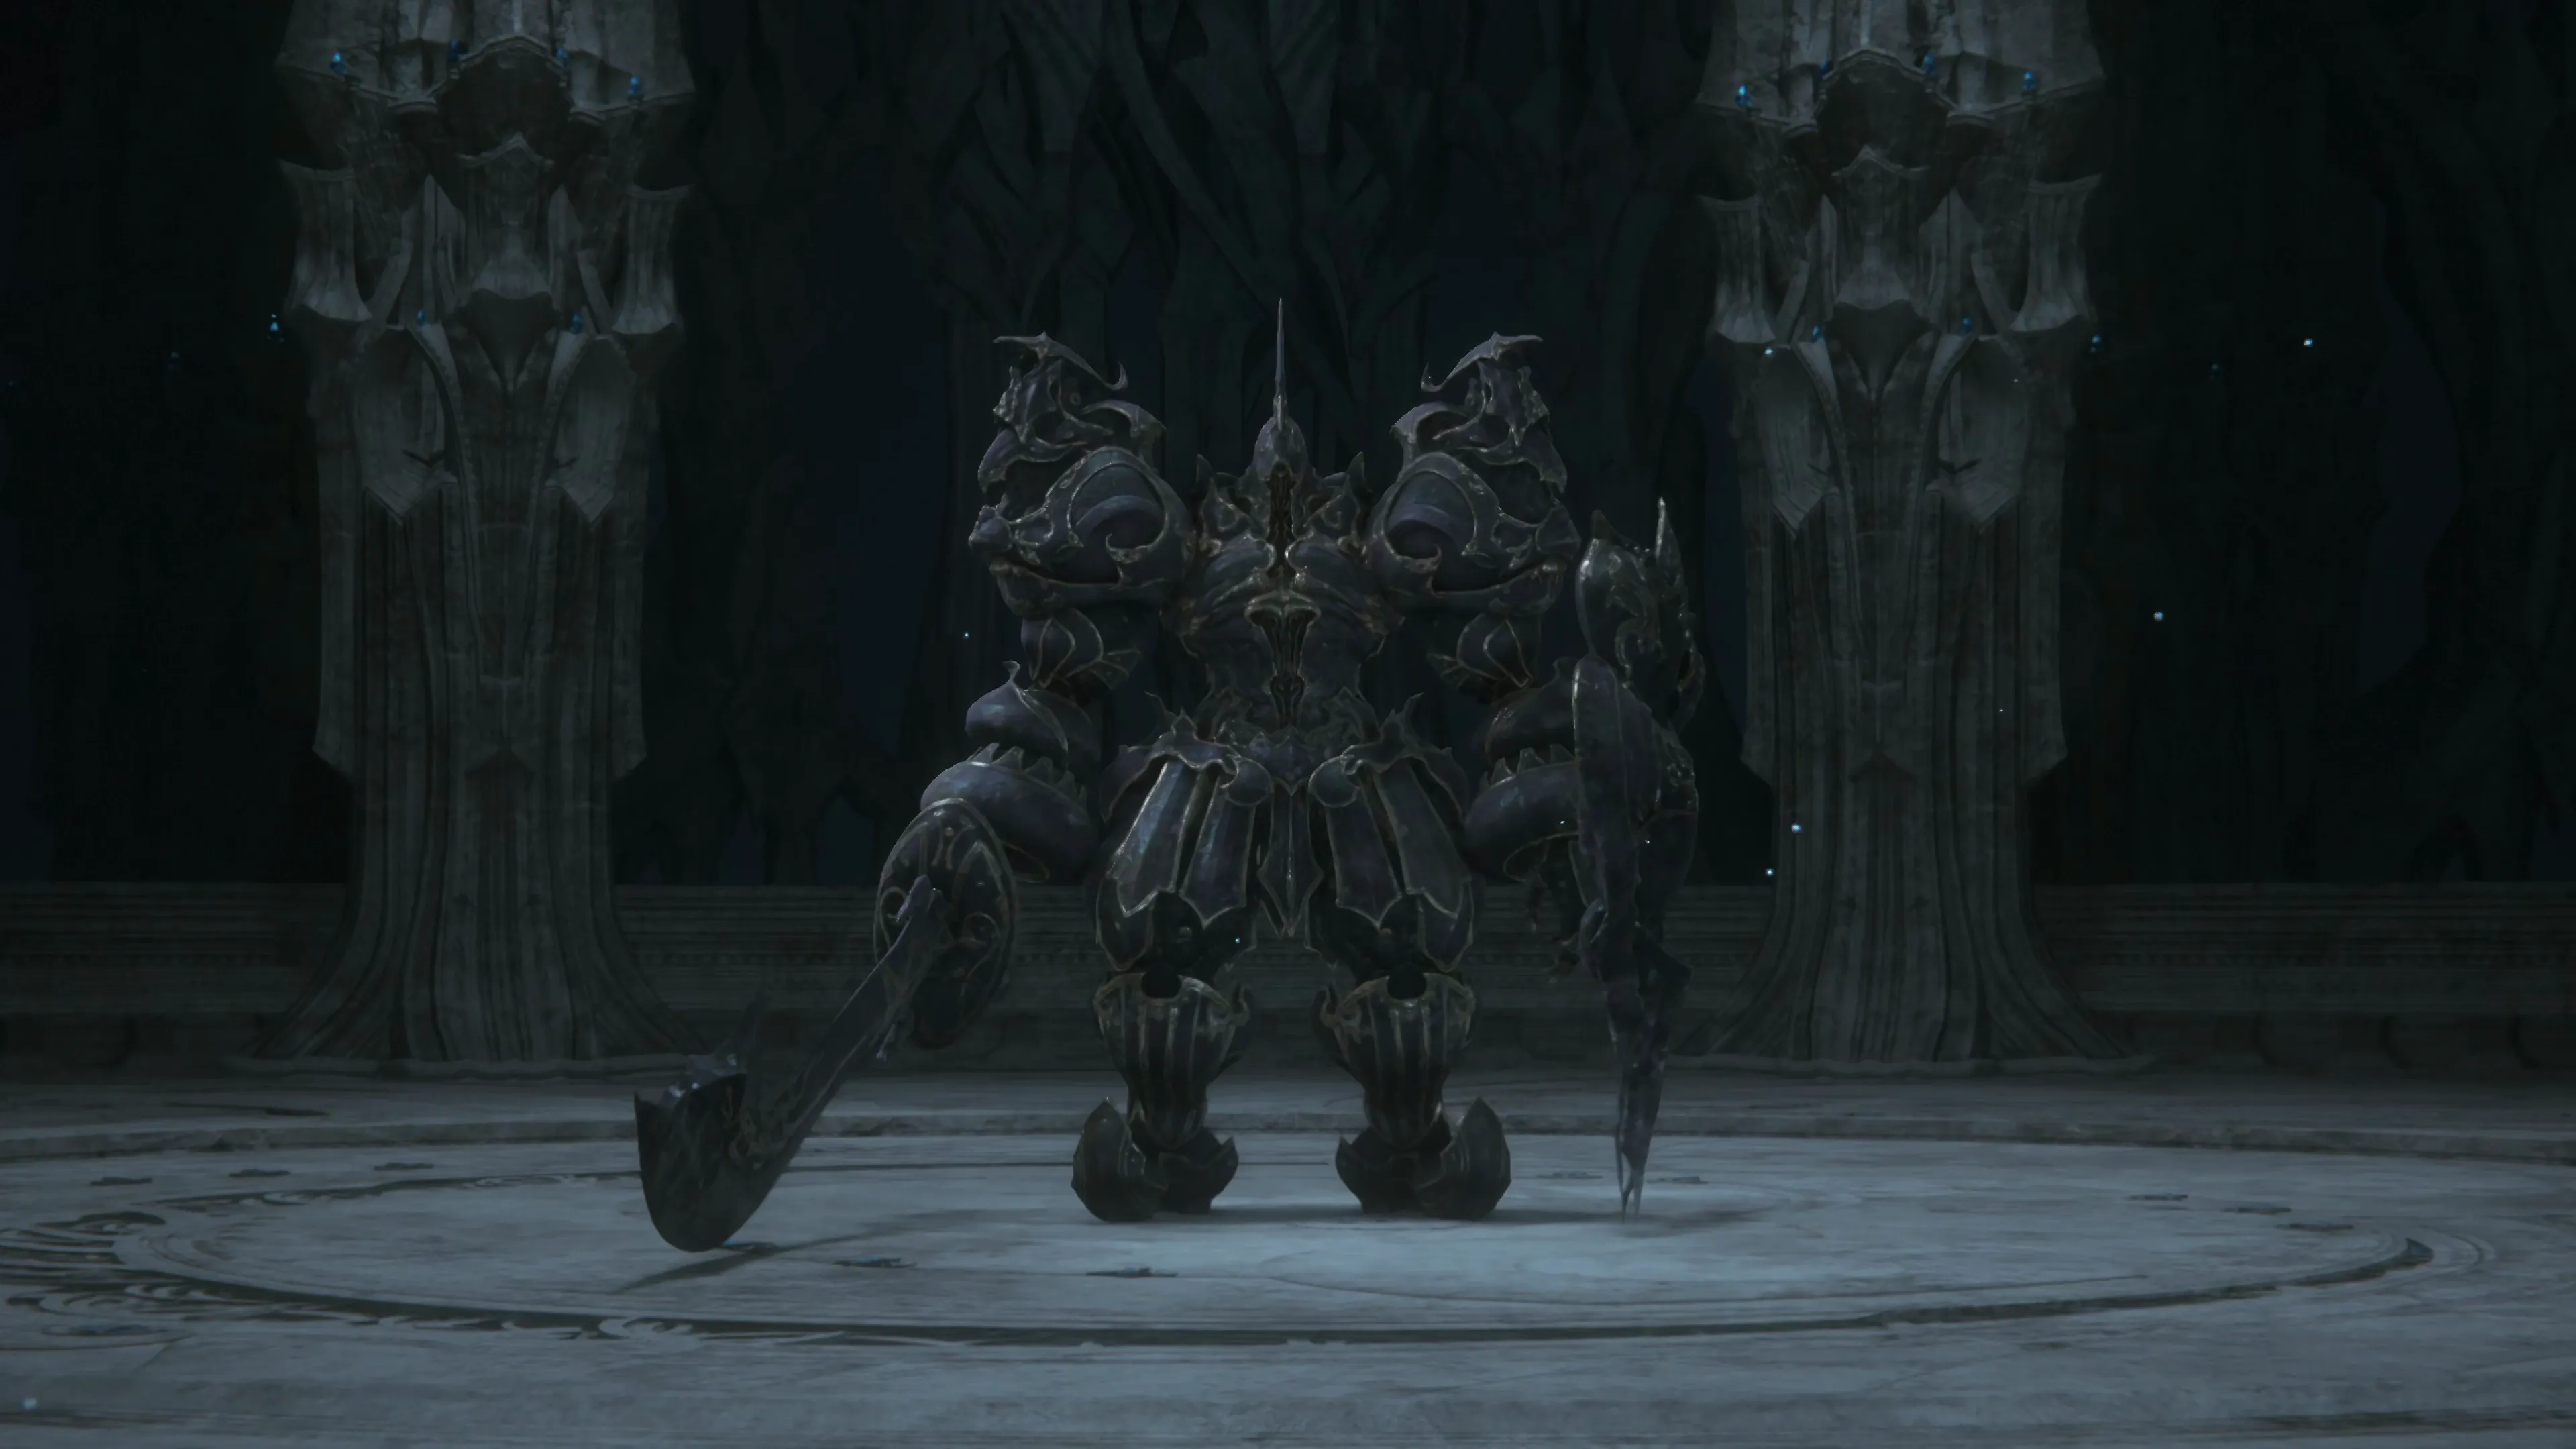
The Iron Giant is another type of enemy that you will see a few times throughout the game, so while it’s referred to as a “boss” in this section of the guide, it won’t be during later fights.
Iron Giant’s attacks include:
![]() Jumping Attack:
Jumping Attack:
This is the first attack that the Iron Giant will use at the beginning of the fight. It will crunch down and then jump into the air, landing where Clive is currently standing. Dodge the attack as the Iron Giant is landing.
![]() Glowing Stomp:
Glowing Stomp:
Iron Giant will always use this attack after it completes a “Jumping Attack.” Dodge the attack as the Iron Giant’s foot comes down.
![]() Forward, Downward Slash, and Shield Bash:
Forward, Downward Slash, and Shield Bash:
These are Iron Giant’s regular, forward-facing attacks.
![]() Glowing Shield Smash:
Glowing Shield Smash:
Similar to Iron Giant’s Glowing Stomp, its Shield will begin glowing before it thrusts forward. A fairly straightforward attack that’s easy to dodge.
![]() Shield Magic:
Shield Magic:
Iron Giant will jump away. Its shield will begin to glow, and then, after swinging it underhanded, a magic burst will fly towards Clive. This is a great attack to counterattack with ![]() Heatwave.
Heatwave.
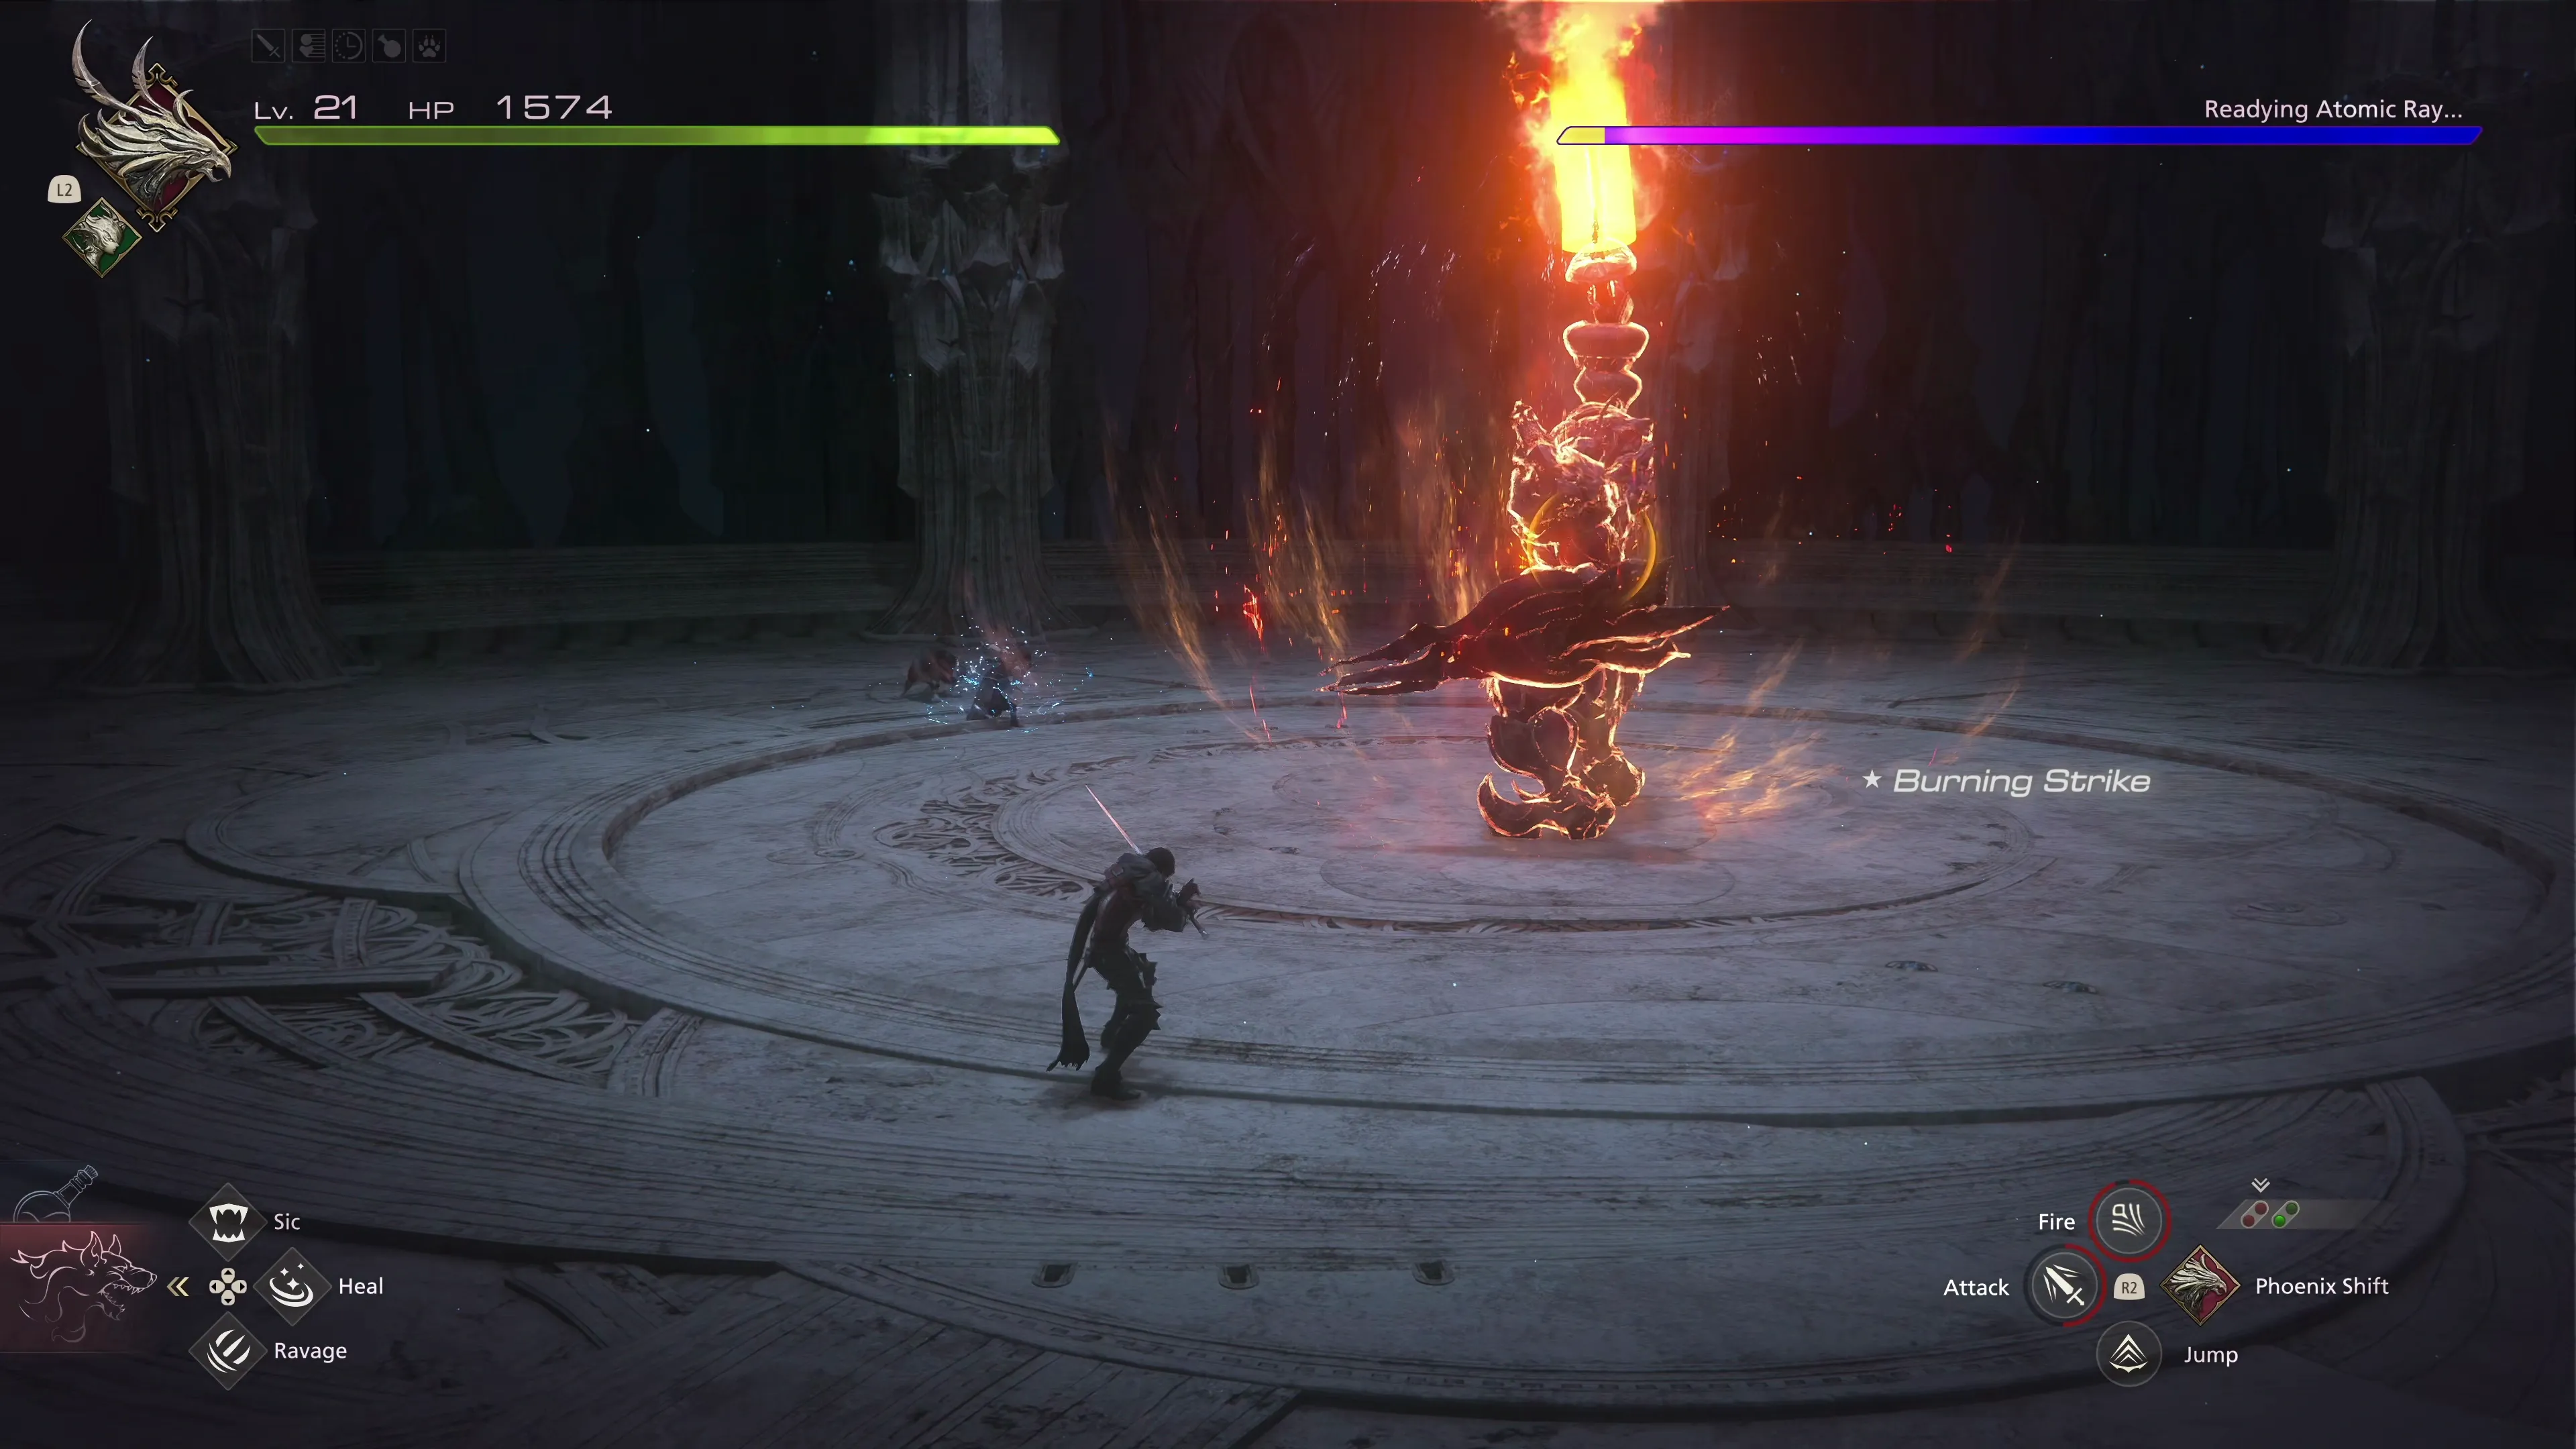
![]() Atomic Ray:
Atomic Ray:
A message indicating “Press the Attack!” will appear on the screen. Deal enough damage to the Iron Giant while this attack is charging (enough to deplete the purple bar in the top-right corner of the screen). The attack will deal a heavy amount of damage to Clive if it is cast, so make sure to heal up with ![]() Potions or
Potions or ![]() High Potions if you don’t think you’ll be able to interrupt it in time.
High Potions if you don’t think you’ll be able to interrupt it in time.
Other than getting yourself familiar with its attack pattern, there isn’t too much else to explain. Check out the video below if you’re having trouble with this boss.
100
1,800
A video demonstration of how to successfully complete the fight against Iron Giant.
The platform will ascend once Iron Giant has been defeated. Remember to swap back to a multi-target Eikonic Ability Set before continuing forward.
Clive and Jill will wind up in a very large room, but before heading down either of the two side platforms, turn around and grab the treasure coffer to pick up ![]() The Favor of Wind (Wicked Wheel). There are also a couple of Glimmers you can grab and, once you’re done, head down towards the large platform in the center of the room using either the left or right pathway (which both lead to the same area).
The Favor of Wind (Wicked Wheel). There are also a couple of Glimmers you can grab and, once you’re done, head down towards the large platform in the center of the room using either the left or right pathway (which both lead to the same area).
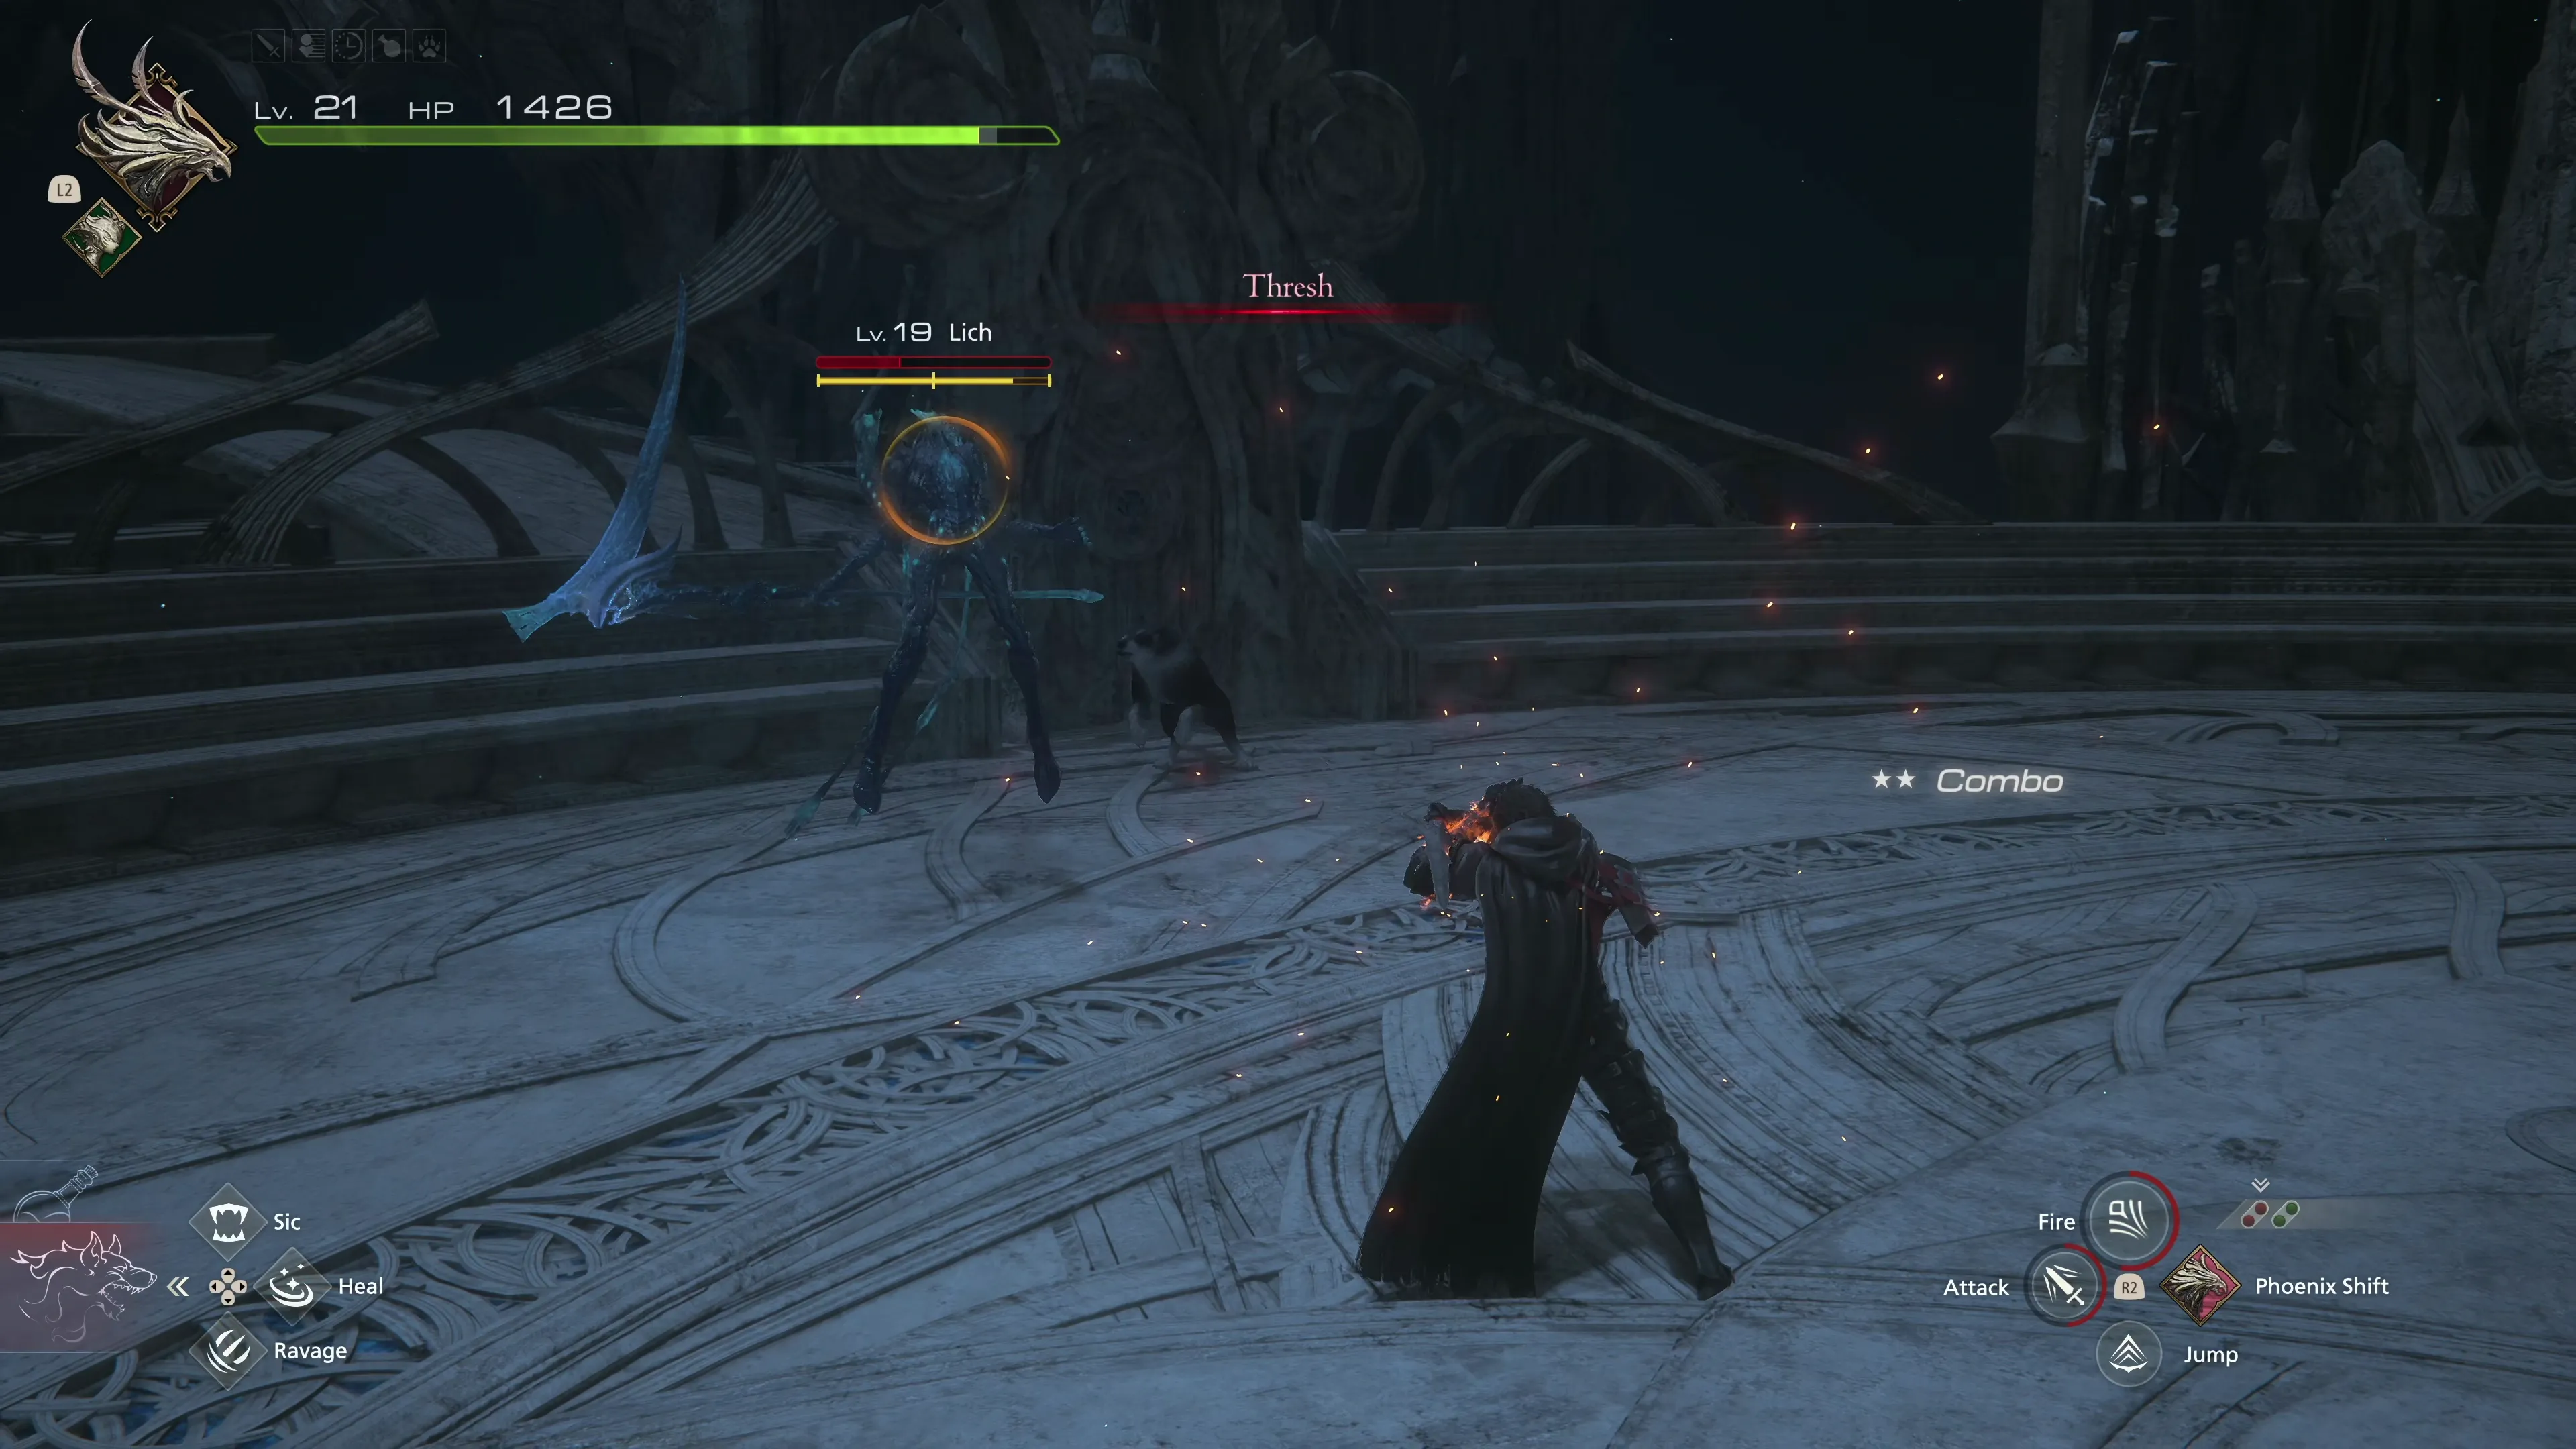
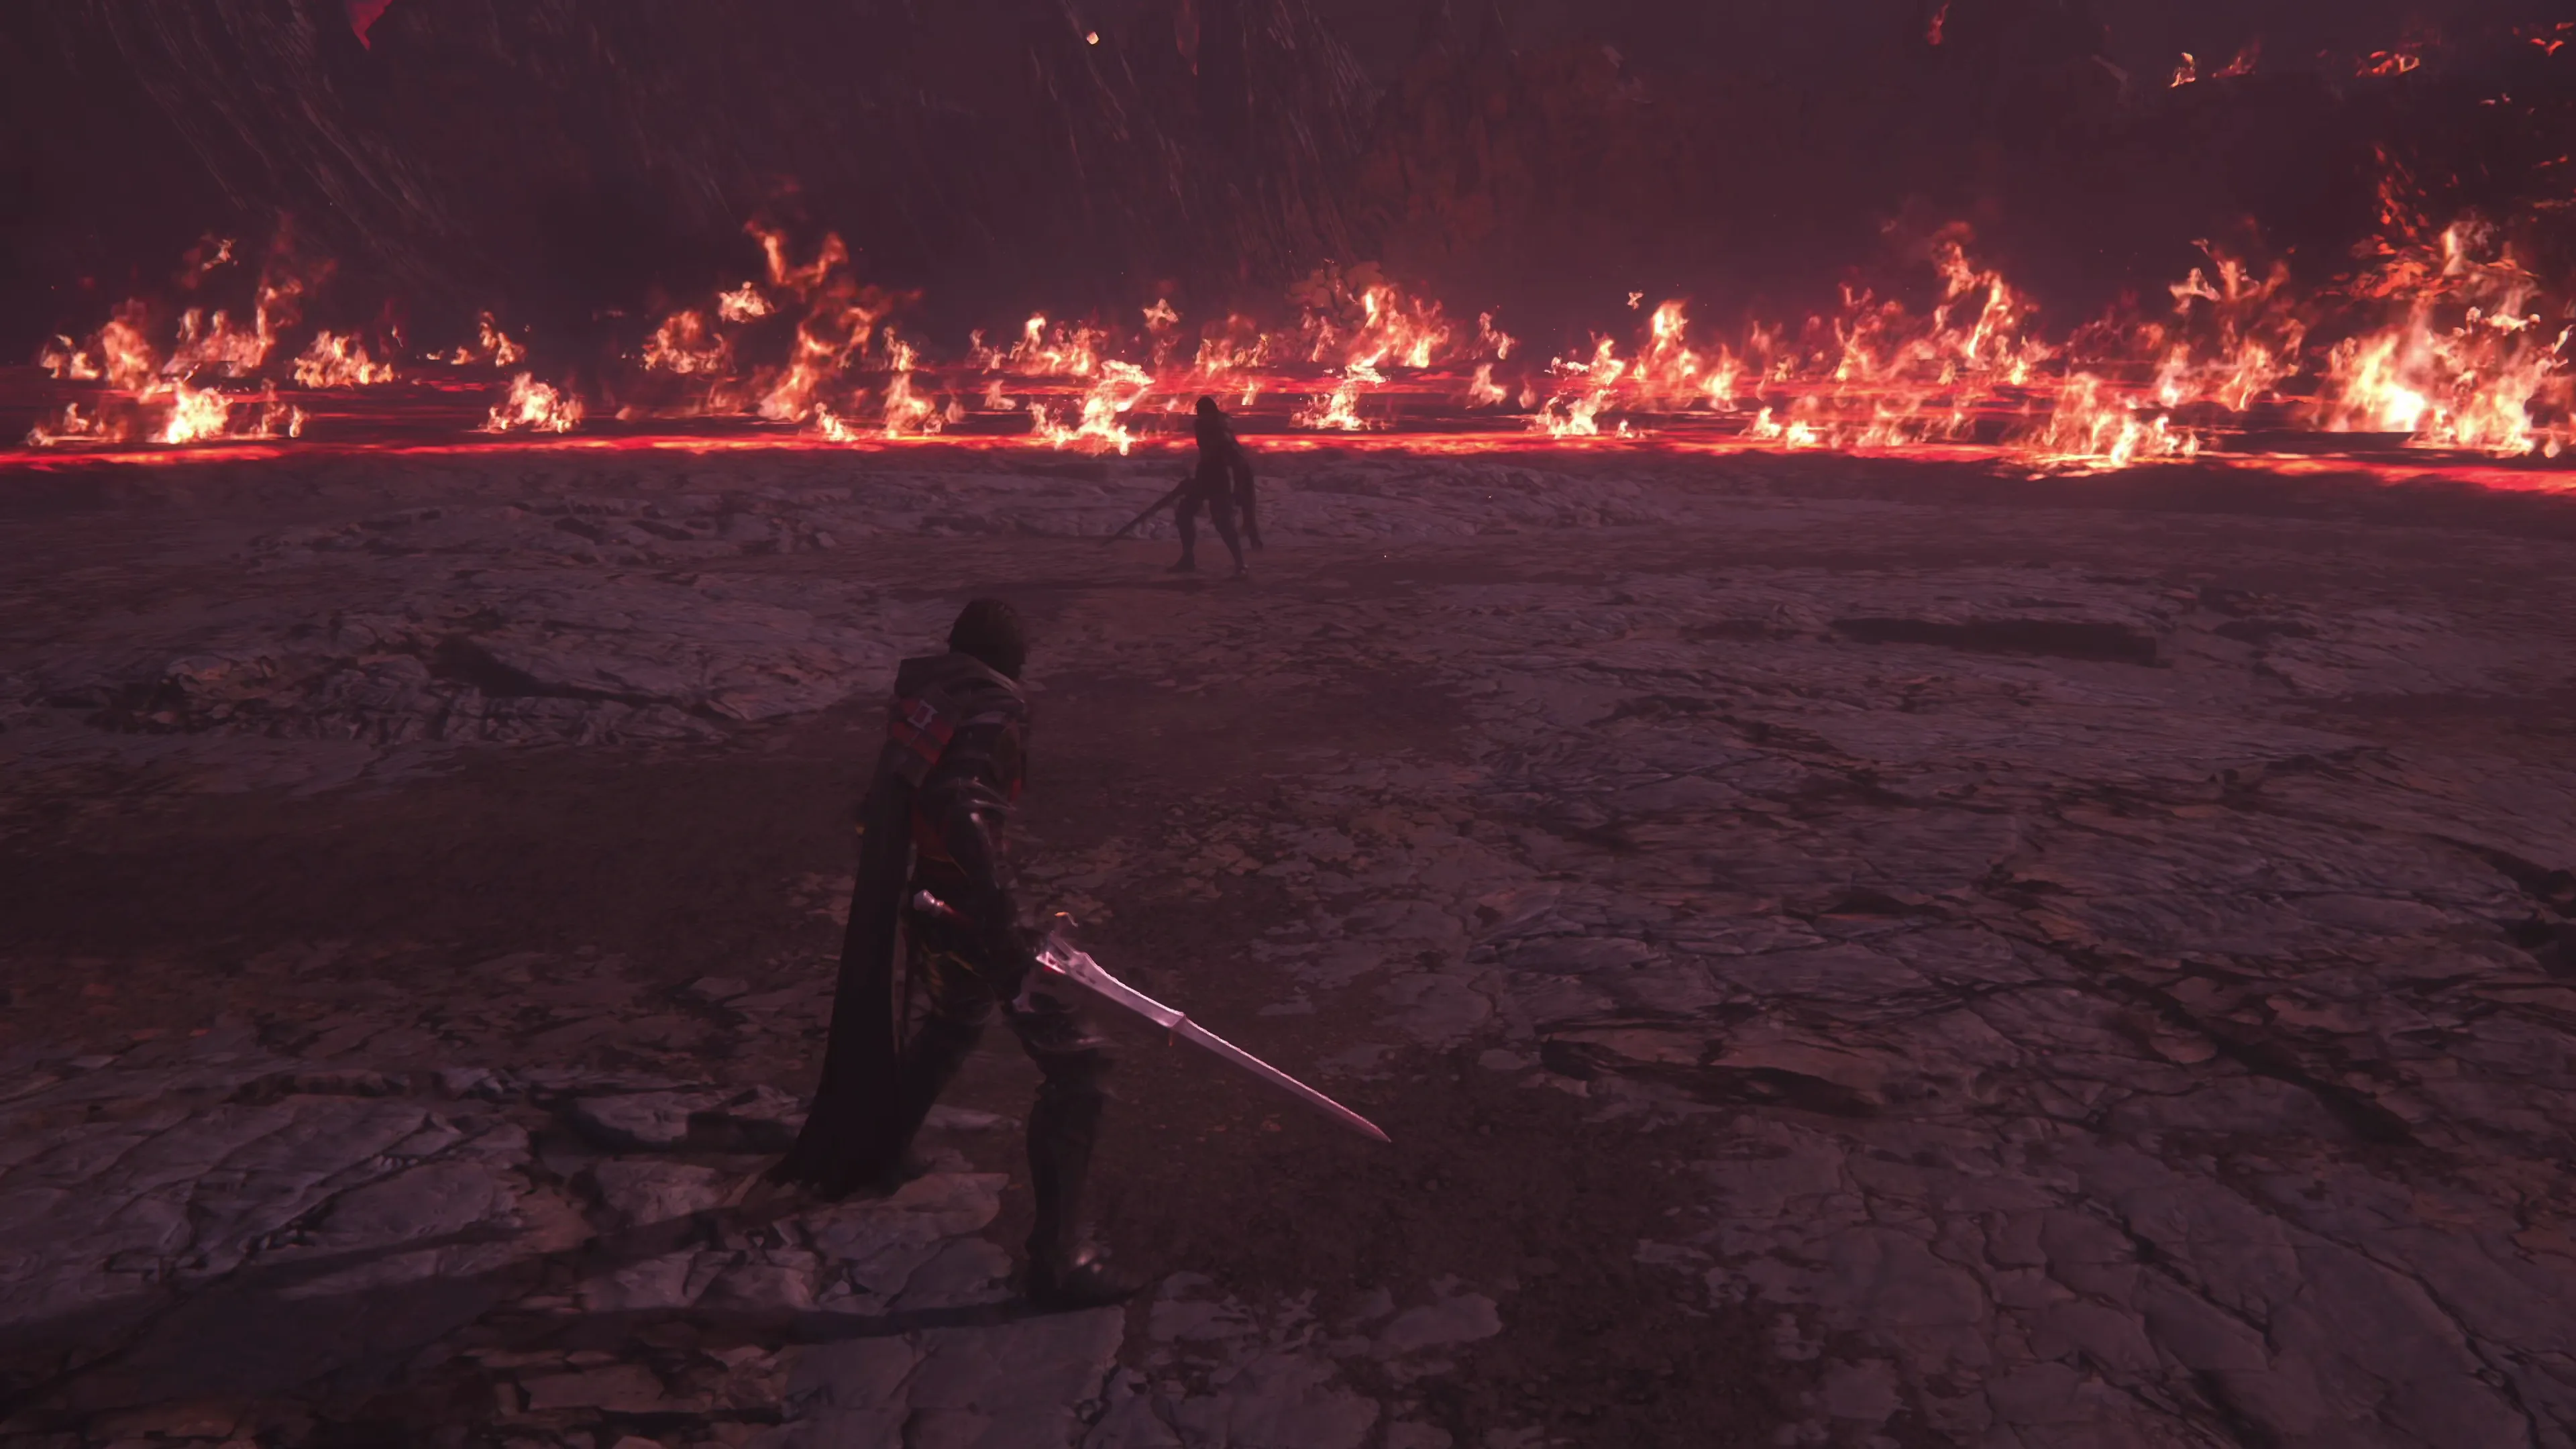
There’s another short cutscene to watch, and then a battle against a Lich will begin. Similar to the Iron Giant, this fight just involves getting used to the different swing patterns that the Lich will throw at Clive. They are typically wide, well telegraphed swings, along with a ranged magic attack which the Lich will only cast after it warps to a ranged position (which can be counterattacked with ![]() Heatwave).
Heatwave).
Its last attack is called “Thresh,” and it’s just a combination of forward-facing physical attacks. You’ll get some ![]() Magicked Ash and
Magicked Ash and ![]() Wyrrite loot after the Lich is defeated.
Wyrrite loot after the Lich is defeated.
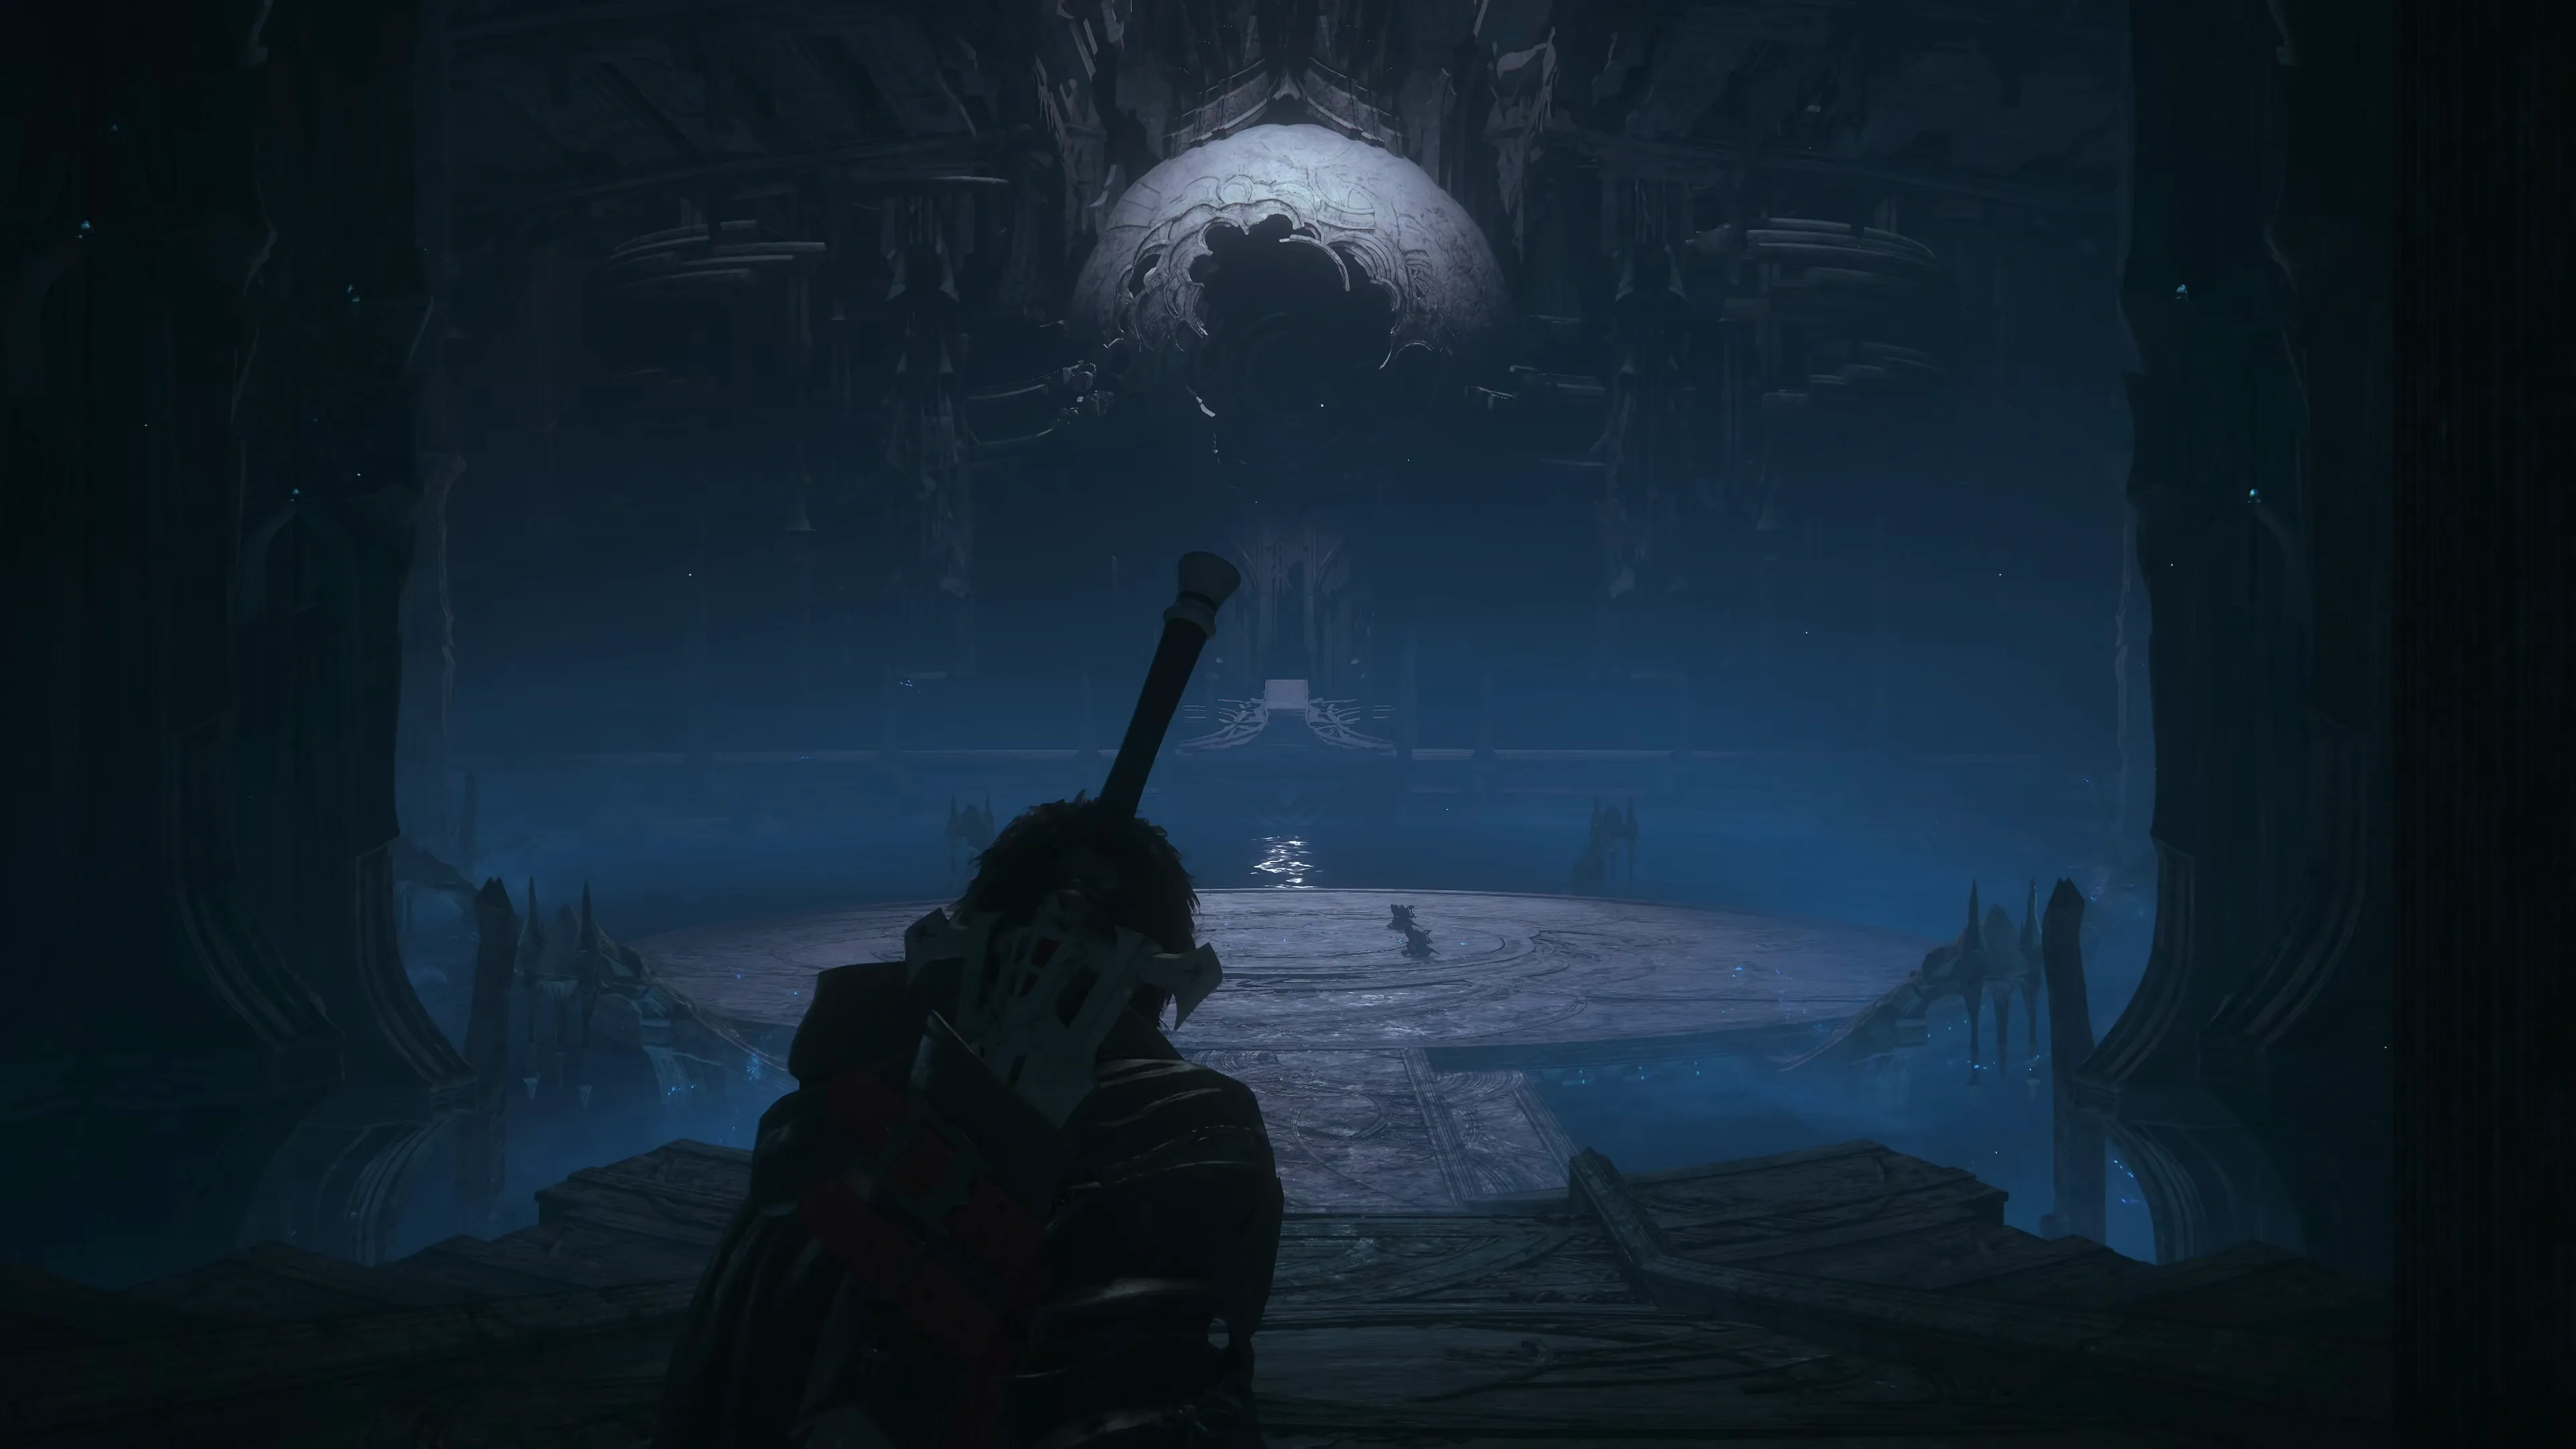
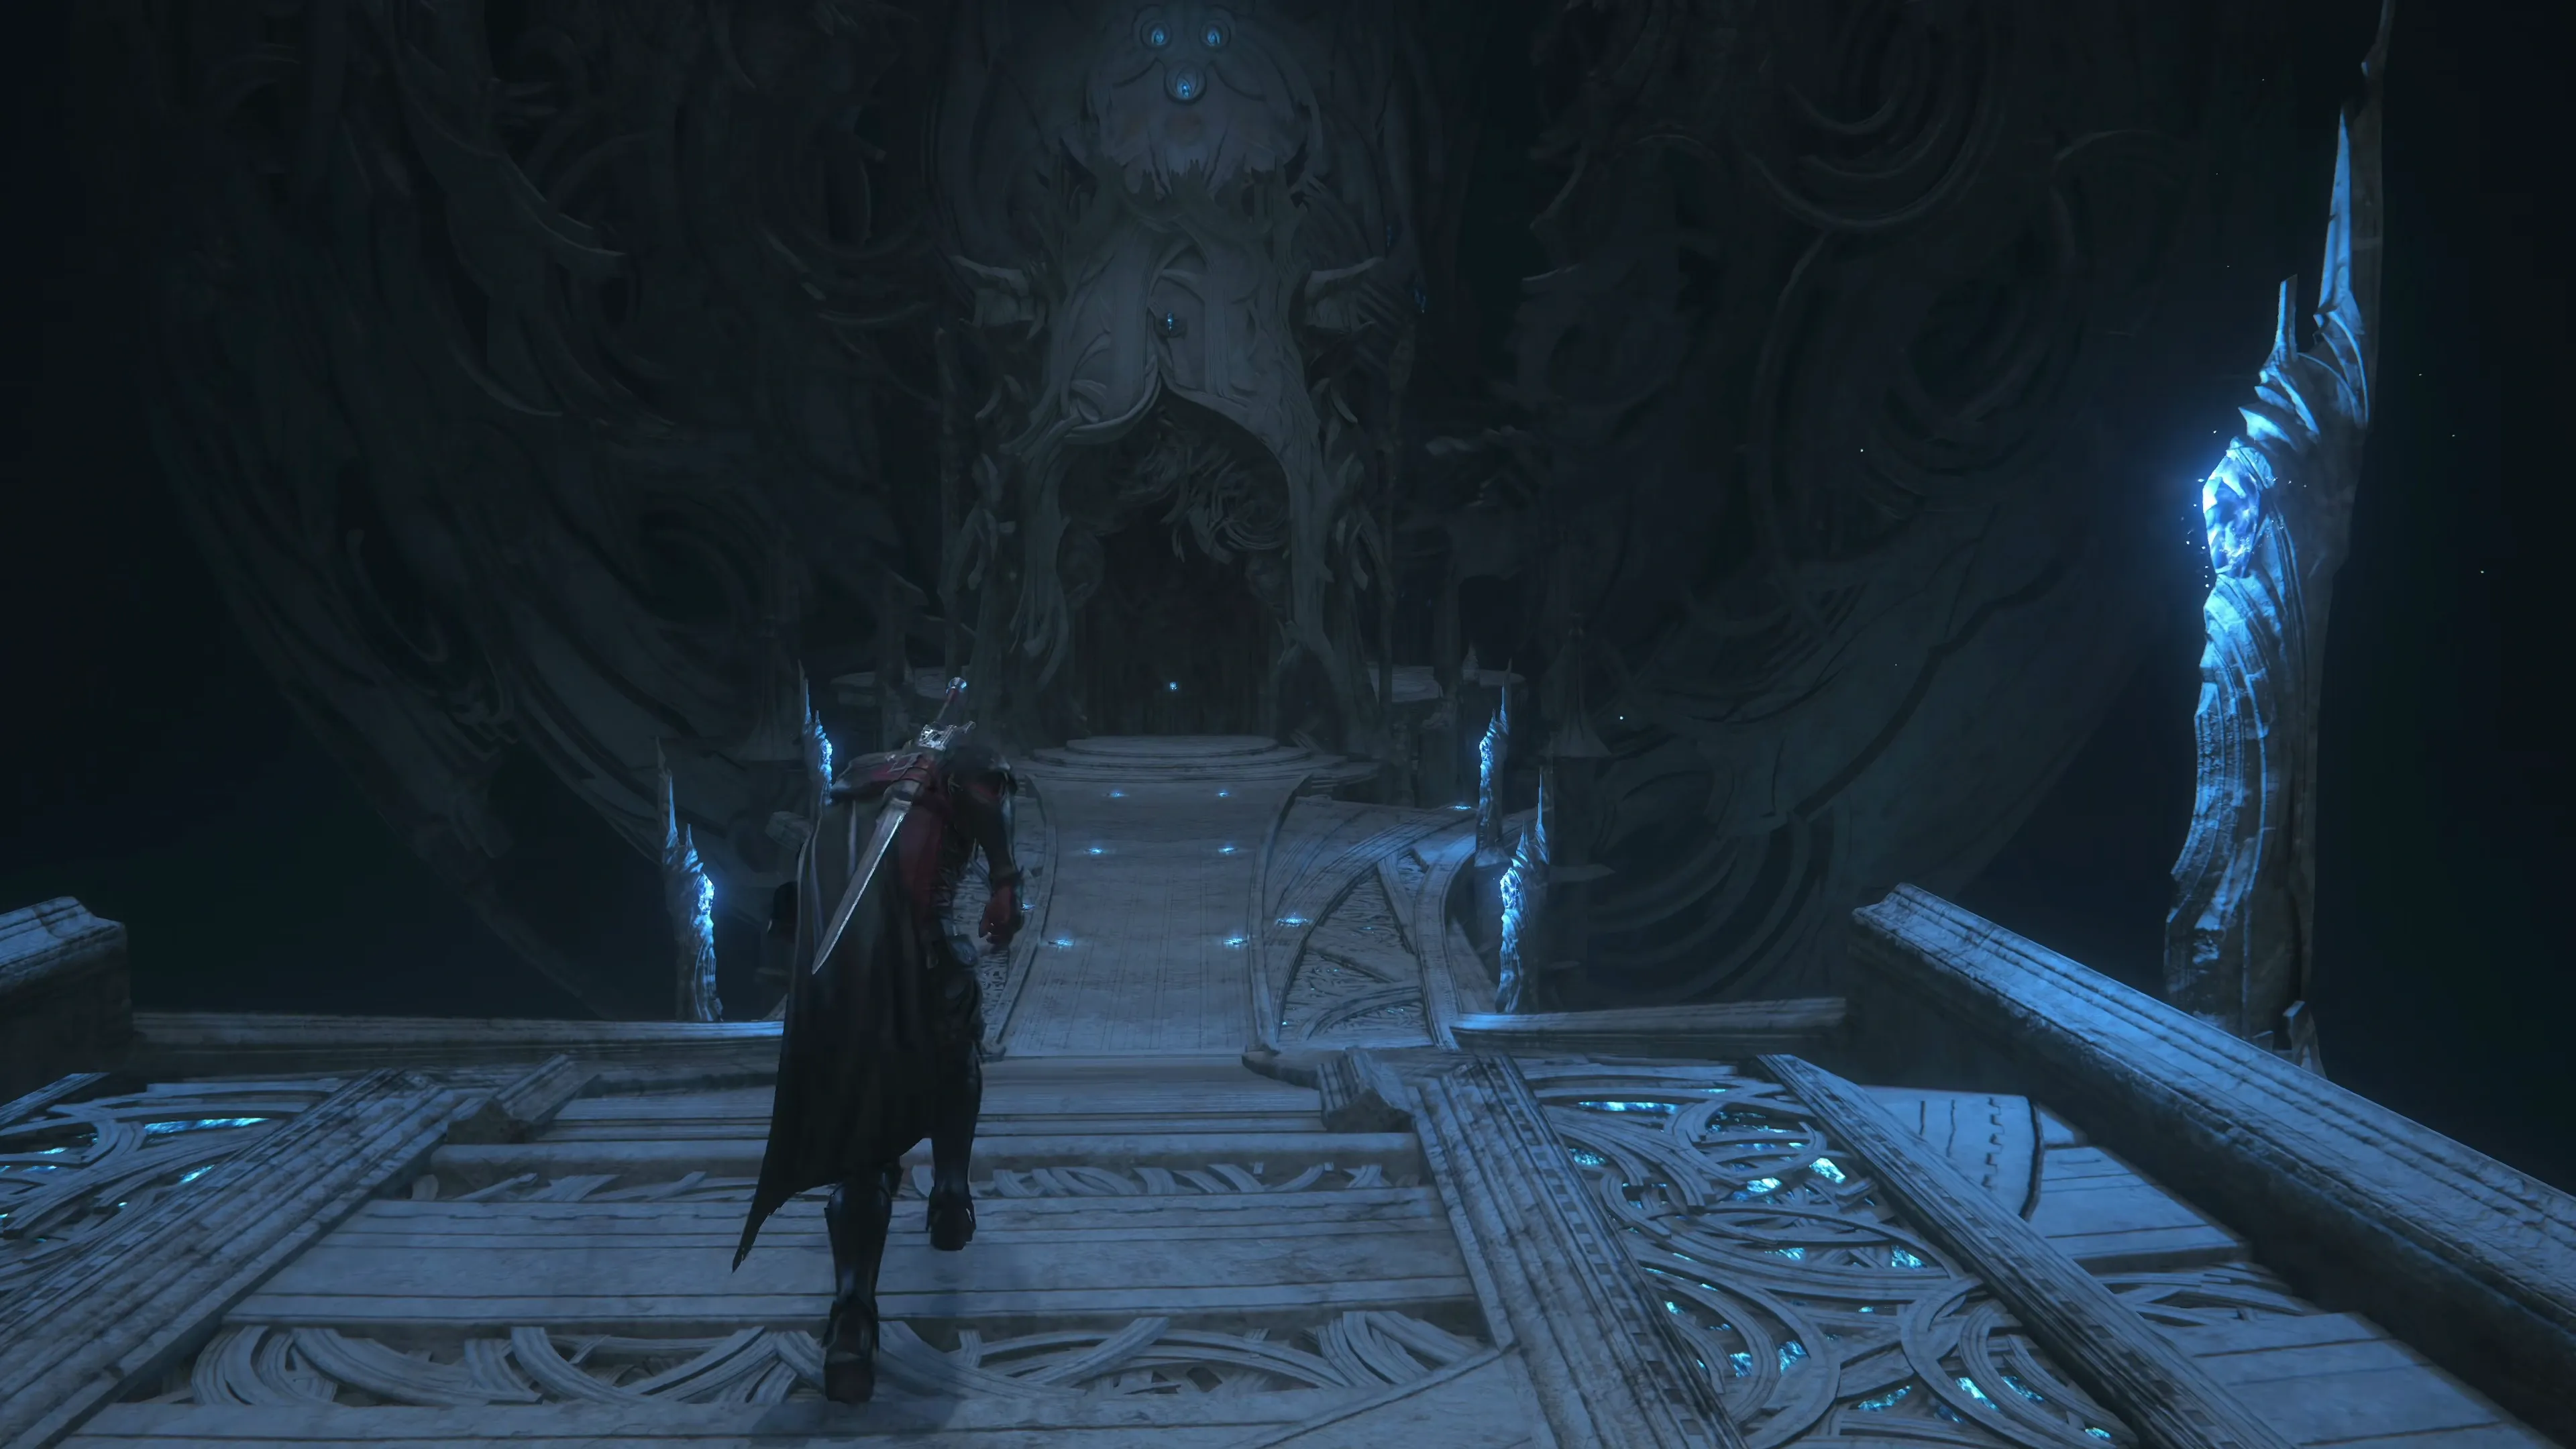
There are now two open doorways leading away from the platform with some Glimmer spots along the ramps. Go into both of these rooms, defeat the enemies inside, and activate the ruin structures inside. Head back down to the large, central platform and activate the last ruin structure in the center. This will trigger a walkway to rise from the depths, allowing Cid/Jill/Torgal to get to the next area.
The Apodytery
Swap back over to a single-target Eikonic Ability set and consider saving your game before you move too far forward into this room. Review your accessories and equip ones that support your single-target abilities. After several cutscenes, it’s time for your next boss battle.
Boss Battle
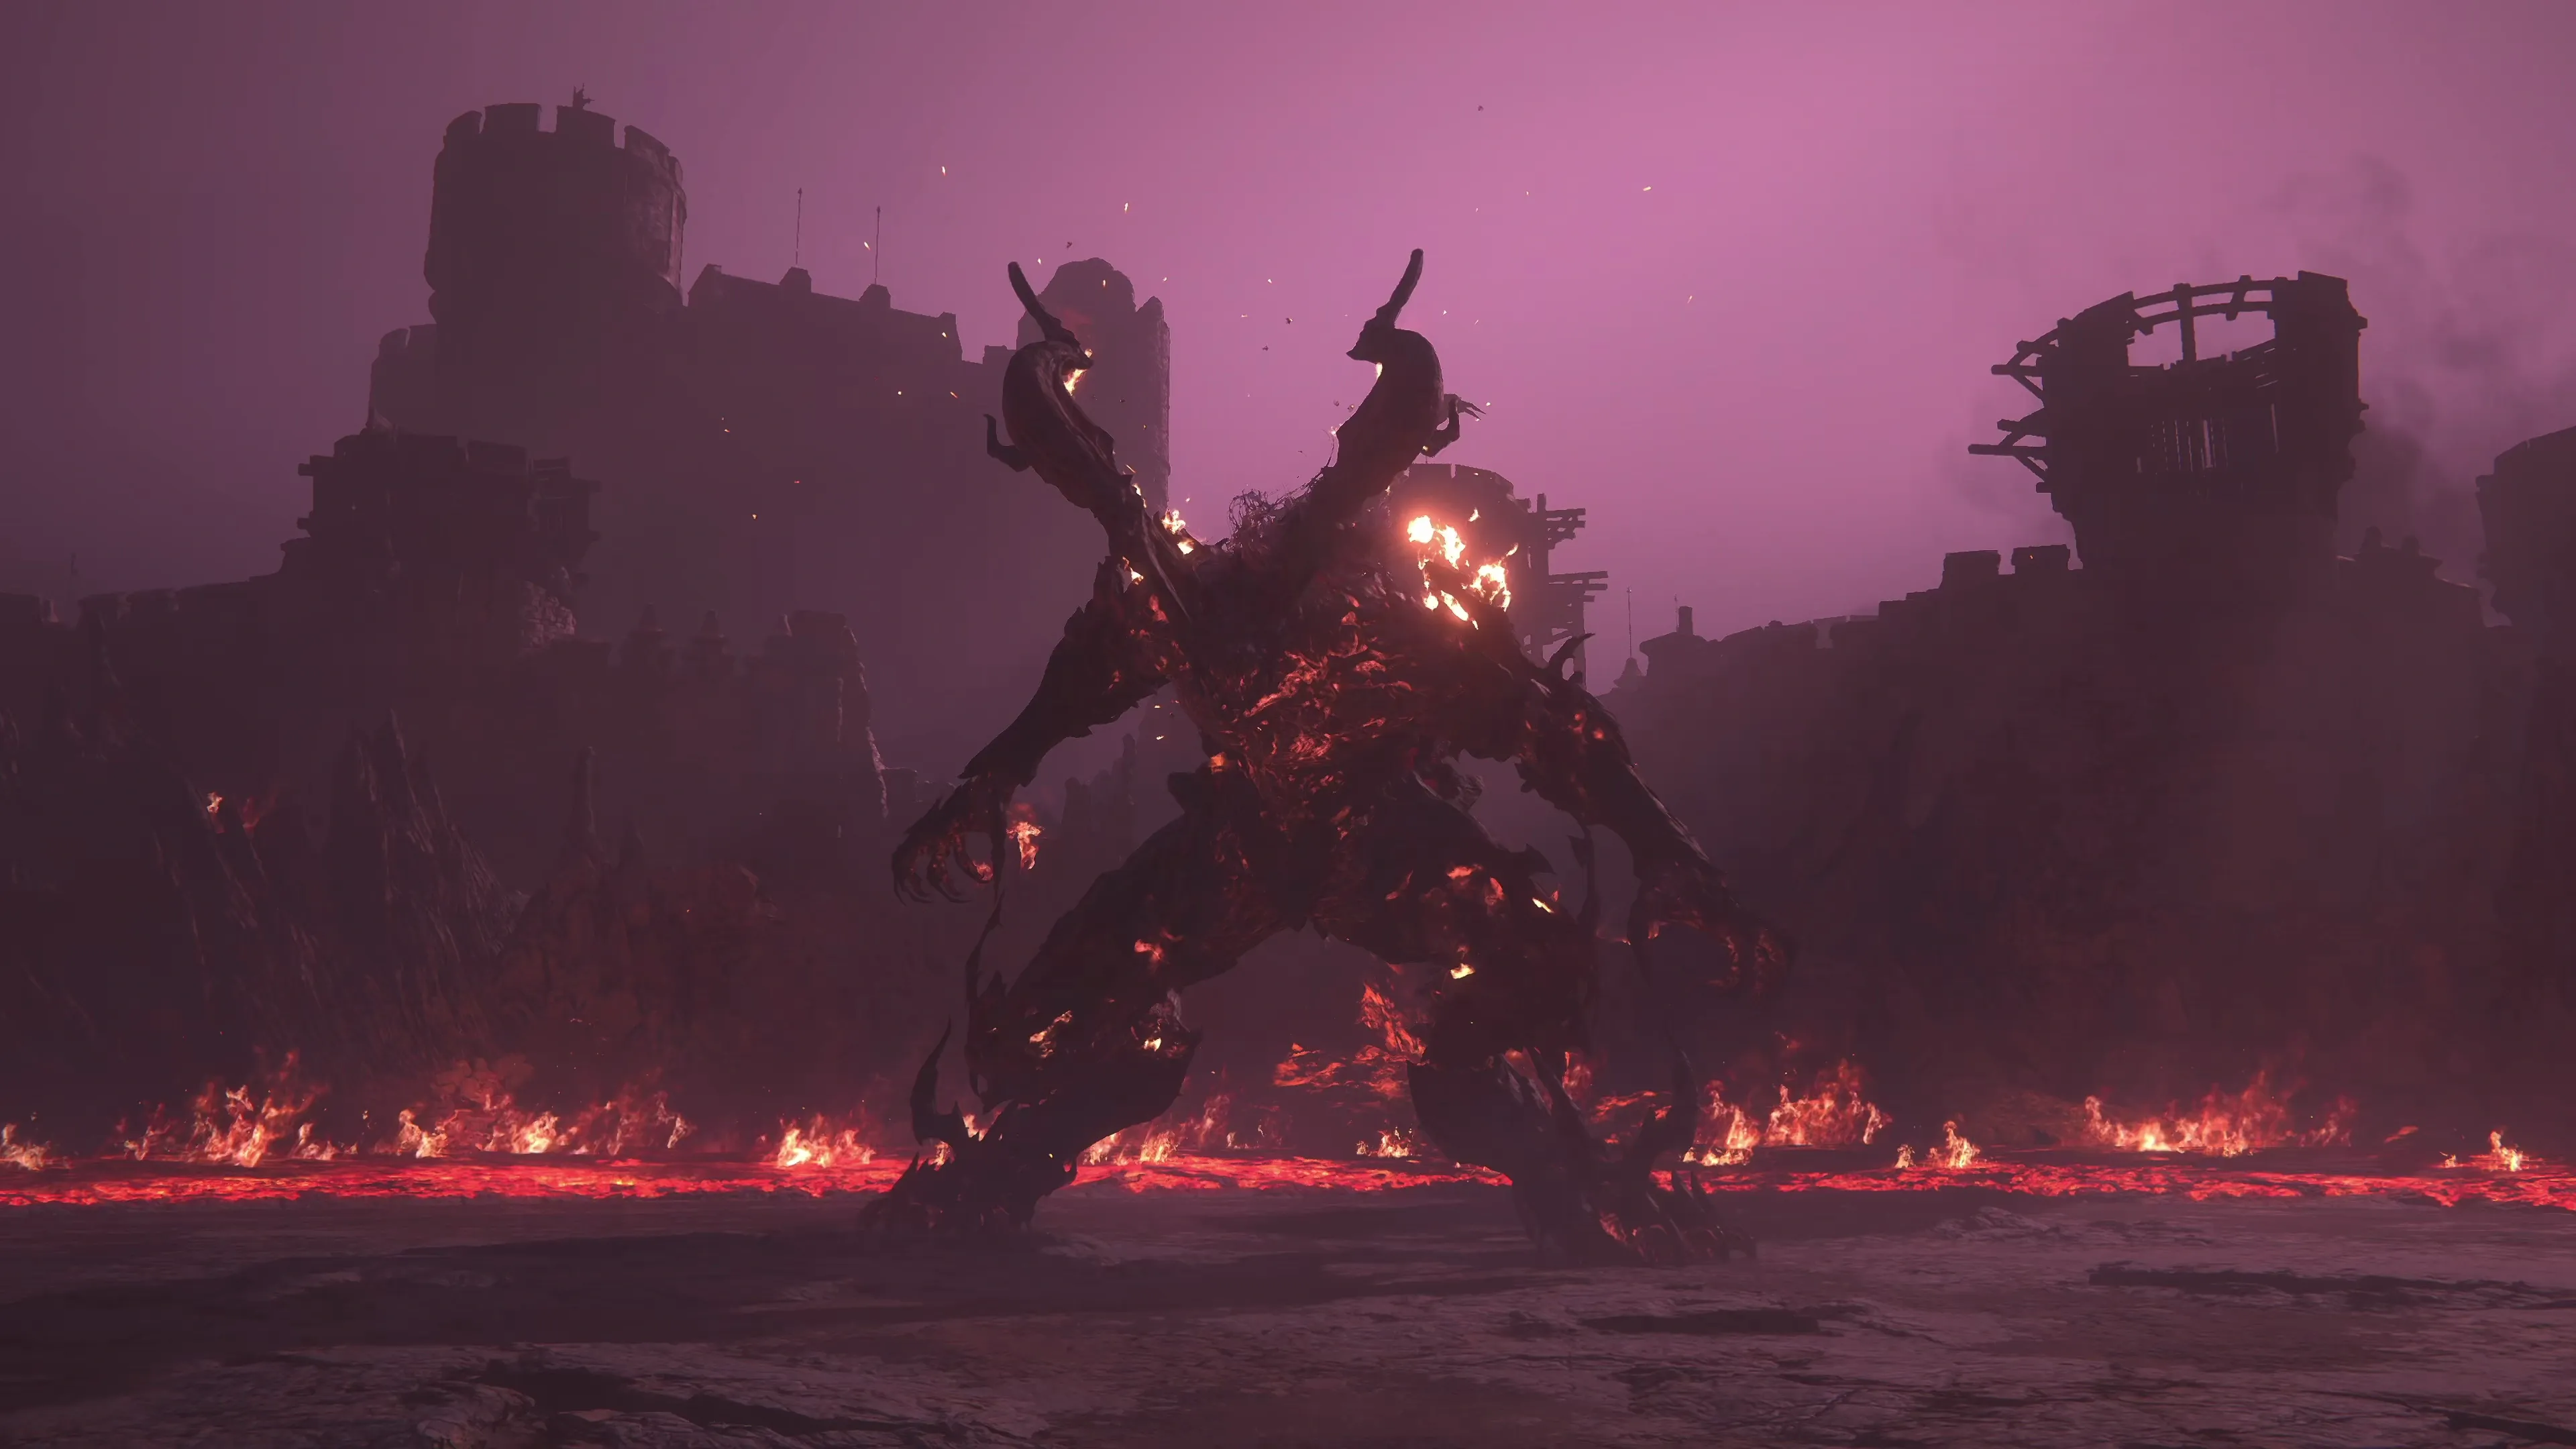
This battle sequence involves several distinct phases. The first phase is against the Infernal Eikon, or a large Eikon that looks like Ifrit, and this is the first battle you’ll have faced where there is more than one ‘thing’ you can target on the enemy.
You can target Ifrit’s face or either of its two feet; it’s generally recommended that you target the right foot because when Ifrit is in its default standing position, this foot will extend forward, making it easier to attack. It’s possible to deal more damage to Infernal Eikon by attacking its head or face, but this is only worth pursuing if you’re strong at aerial combat (or want to get there), which is outside the scope of this section of the guide.
Press the ![]()
![]()
![]() button to target the enemy and press the
button to target the enemy and press the ![]()
![]()
![]() button to cycle between available targets.
button to cycle between available targets.
So, what attacks will “Ifrit” throw your way?
![]() Crimson Rush:
Crimson Rush:
Infernal Eikon will drive forward across the battle area, leaving a flaming trail of fire behind it. This attack looks a lot menacing than it is. It is very easy to dodge, and you can walk through the flaming trail left behind without taking any damage.
![]() Tail Swipe:
Tail Swipe:
This attack is annoying to deal with and dodge, but Infernal Eikon will only use it when Clive is positioned behind it, so stay in front at all times, and you won’t have to deal with it at all.
![]() Front Swipes:
Front Swipes:
Infernal Eikon will swipe the ground in front of it with either its left or right arm (just one, not both). Its hand will light up with fire just before it strikes, which will give you time to dodge. It’s relatively easy to dodge, but it hits a wide area, so be ready to dodge even if you think you’re out of its melee range.
![]() Foot Stomp:
Foot Stomp:
If you’re attacking or near one of Infernal Eikon’s feet, it will slowly raise that foot in the air before slamming that foot down and dealing a wave of fire damage outward from where the stomp hits. It’s possible to run away far enough to escape any damage when you see it start lifting its foot, but if you get used to the timing, you can consistently dodge this attack.
![]() Vulcan Burst:
Vulcan Burst:
Infernal Eikon will drop down onto all four limbs and begin charging, while an area around it will begin glowing; this is the area that the attack will hit, which will give you time to get out of range of the attack. During the intervening time, it’s possible to use one or two ![]() Charged Magic attacks if you’re quick enough.
Charged Magic attacks if you’re quick enough.
![]() Scorched Earth:
Scorched Earth:
Infernal Eikon will launch a line of fire magic towards Clive. It’s possible to dodge this attack or counterattack it with ![]() Heatwave, but to hit Infernal Eikon with the counterattack damage, you will have to get closer to it. Run up towards Infernal Eikon before the attack goes off if you plan to counterattack it. If you’re successful, this is a great way to heavily deplete Infernal Eikon’s “Will Gauge.”
Heatwave, but to hit Infernal Eikon with the counterattack damage, you will have to get closer to it. Run up towards Infernal Eikon before the attack goes off if you plan to counterattack it. If you’re successful, this is a great way to heavily deplete Infernal Eikon’s “Will Gauge.”
![]() Flame Toss:
Flame Toss:
This is Infernal Eikon’s most annoying attack. While it’s at a range, its left hand will glow with flames, and it will launch a smattering of fire blobs in a line towards Clive. They are very difficult to dodge because successfully pressing the ![]()
![]()
![]() button when they hit may land you in one of the other blobs on the right or left. Instead, use
button when they hit may land you in one of the other blobs on the right or left. Instead, use ![]() Phoenix Shift to jump forward quickly, and you can dodge them much more easily.
Phoenix Shift to jump forward quickly, and you can dodge them much more easily.
You should only need to get Infernal Eikon staggered once to defeat it and move on to the next phase of the fight.
Boss Battle
This is a very cool fight that has three mini-phases with small changes to the mechanics that are outlined below. Here are Infernal Shadow’s starting attacks:
![]() Sword Lunge:
Sword Lunge:
This is the first attack Infernal Shadow will use at the start of the fight. Timing the dodge can take some practice to make sure you don’t dodge too early. He leaves himself open to an attack chain when he uses this move.
![]() Sword Attack:
Sword Attack:
Infernal Shadow’s sword will glow purple before he initiates up to three attacks in a chain. This attack can be difficult to dodge until you get used to the timing; it’s two quick attacks in succession, followed by a third attack that comes after a short delay.
![]() Fireballs and Fira:
Fireballs and Fira:
Infernal Shadow will quite often use these two moves interchangeably, or one after the other, and they behave the same. They can both be dodged from a distance, and they can both be counterattacked with ![]() Heatwave.
Heatwave.
![]() Molten Thrust:
Molten Thrust:
He will lunge across the screen, similar to “Sword Lunge,” but quite a bit faster and, again, leaving himself open to an attack chain after this move is used.
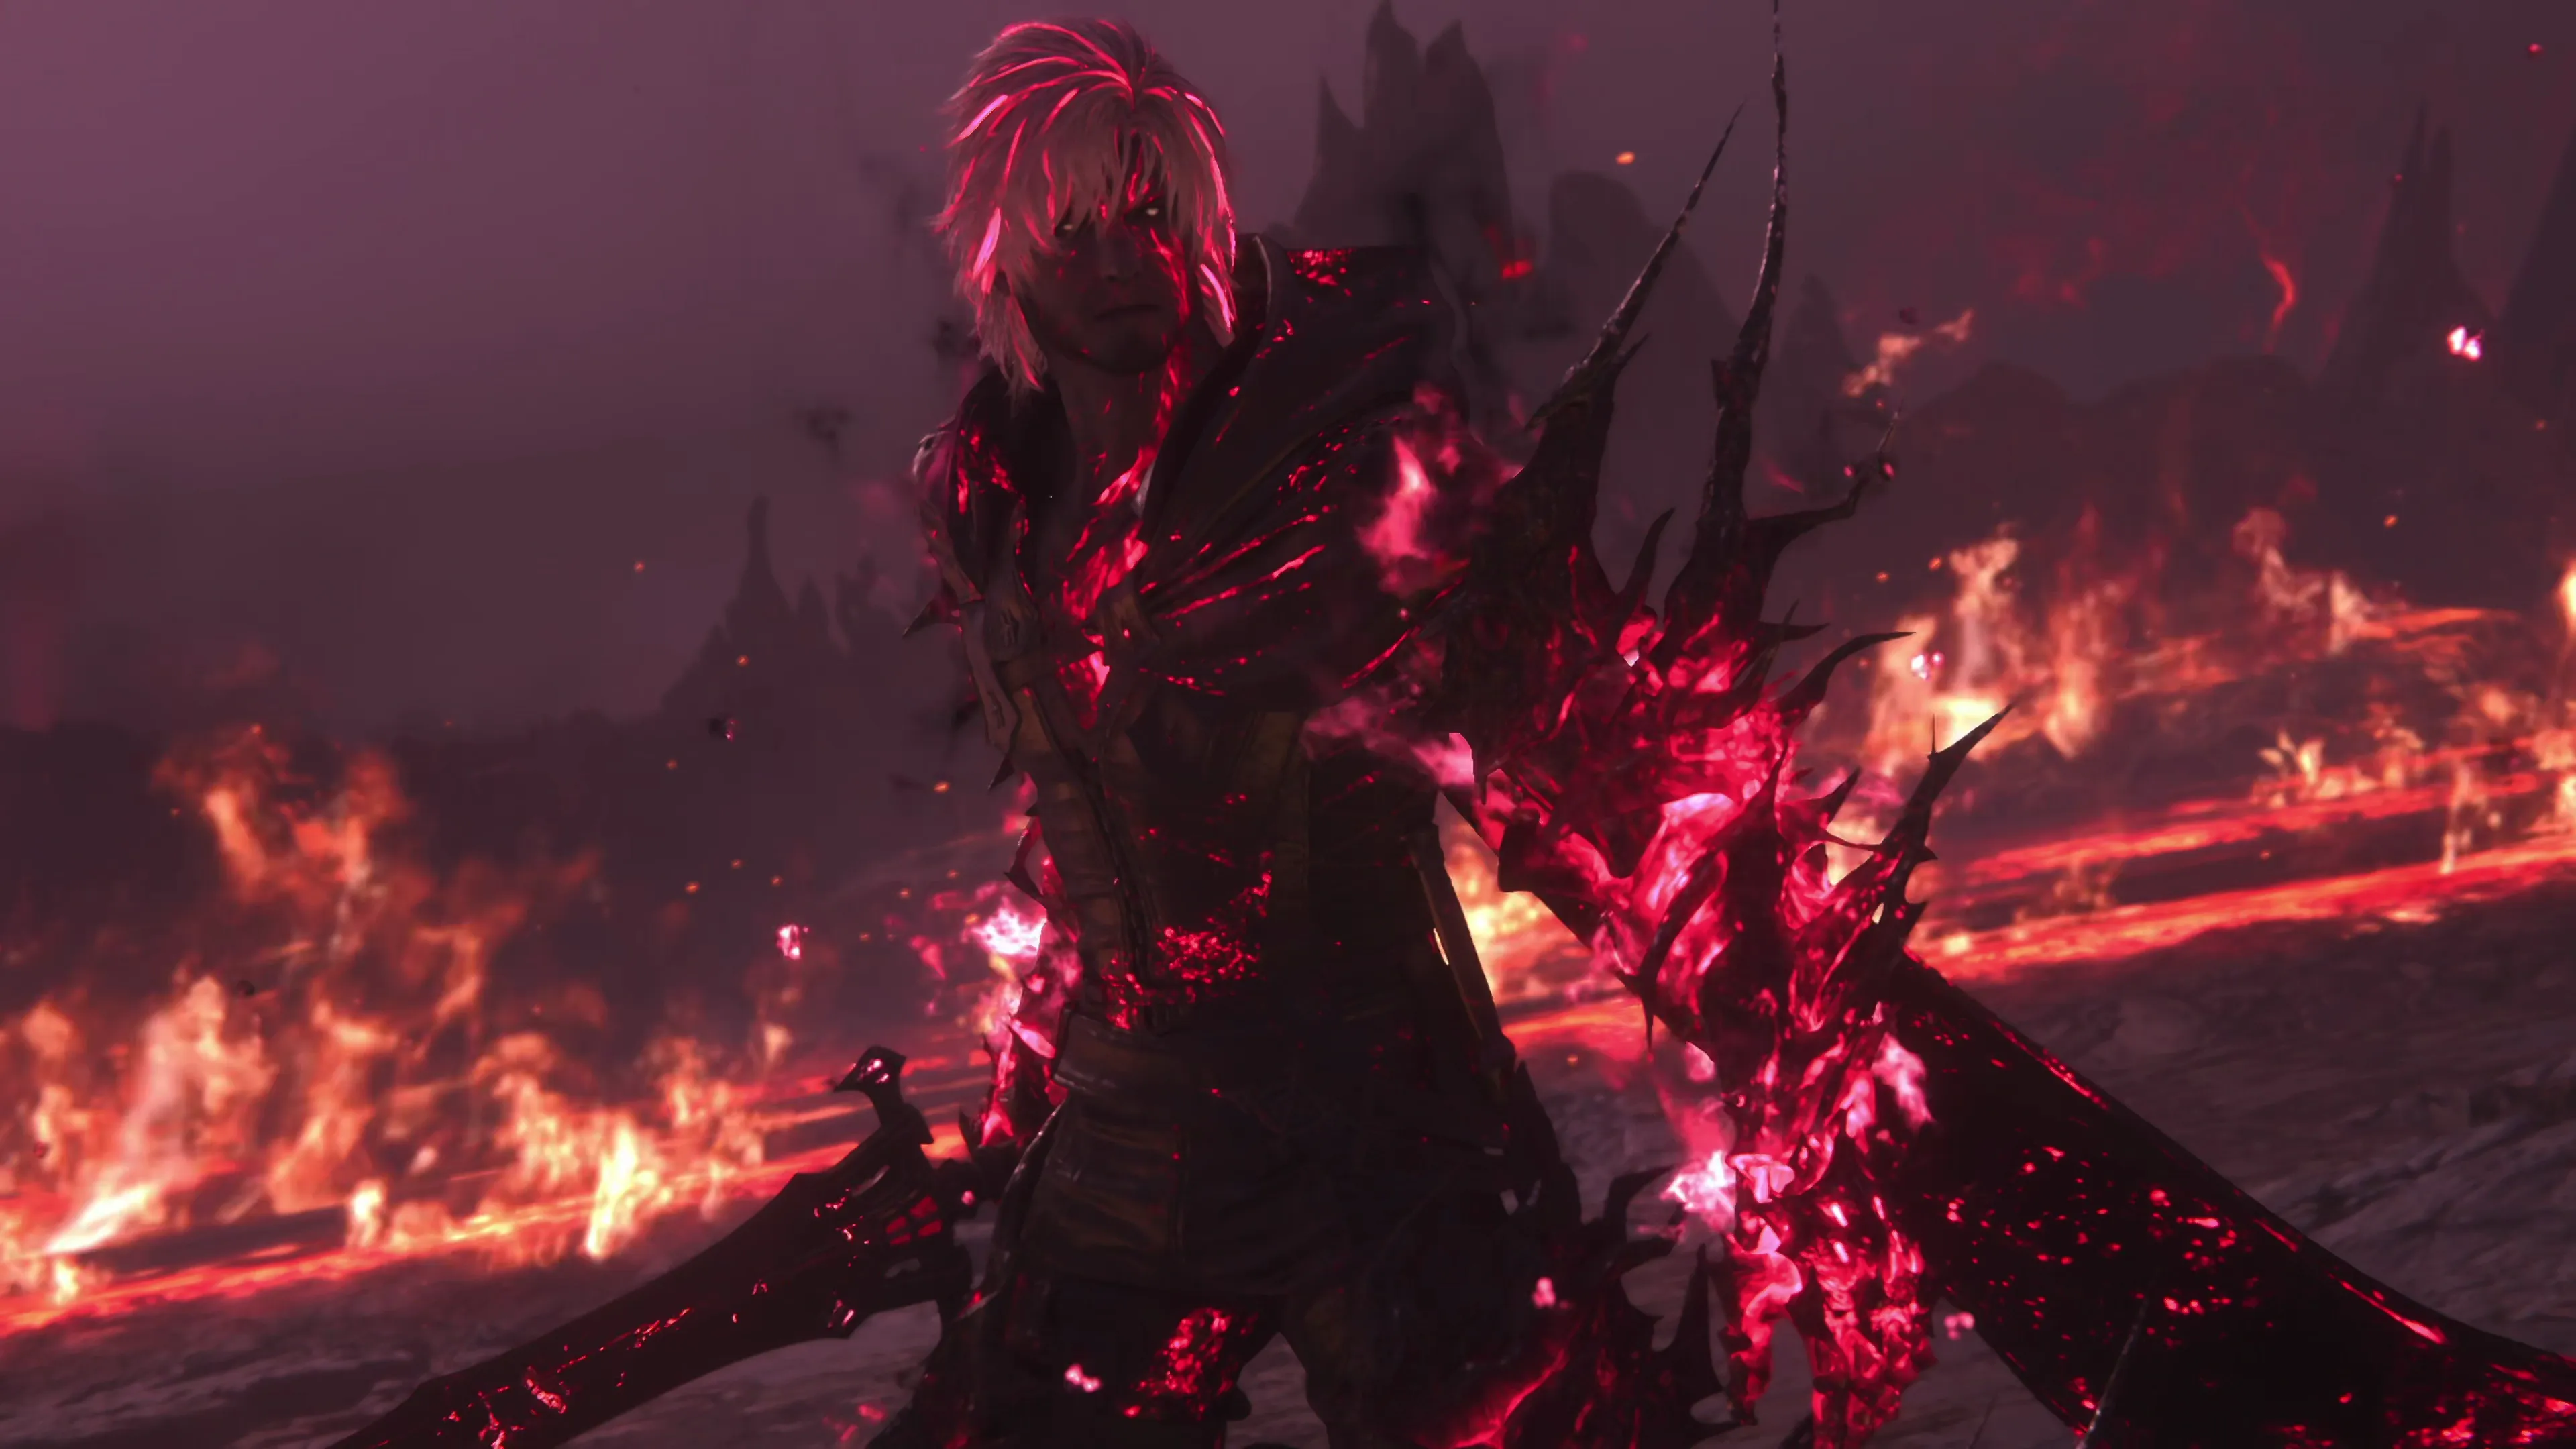
At approximately 70% HP, a short cinematic will trigger, and Infernal Shadow will start glowing bright red, marking Phase 2. He will still have all the attacks listed above, but there are a few additional things to know:
![]() Sword Attack:
Sword Attack:
This attack is similar except that his sword will be on fire, causing it to deal more damage but also causing the attack to be a bit slower. This makes it a bit easier to dodge out of the way or run away altogether if you’re having trouble timing the dodges.
![]() Incinerate:
Incinerate:
A cone of red cracks will appear in front of Infernal Shadow. Get out of the cone before the ground explodes! The best way to do this is to dodge (![]()
![]()
![]() ) around to the back of him and get some attacks in from the back.
) around to the back of him and get some attacks in from the back.
![]() Fireballs and Fira:
Fireballs and Fira:
There are a few changes to note. Firstly, there will be more fireballs when he launches those and two casts of Fira when he casts those. He will disappear and reappear in a new spot to launch the second cast of Fira, which can be annoying if you’re trying to counterattack with ![]() Heatwave. Sometimes he will be mid-teleport, and your Heatwave won’t hit anything.
Heatwave. Sometimes he will be mid-teleport, and your Heatwave won’t hit anything.
![]() Hammer and Anvil (New Attack):
Hammer and Anvil (New Attack):
Infernal Shadow will hover up into the air before slamming down and dealing damage in a circle around the area where he lands. Timing the dodge may take some practice, but you can also run away from the impact area and get out of range if that works better.
![]() Hellfire (New Attack):
Hellfire (New Attack):
Infernal Shadow will try to drag Clive to the center of the map into a wall of flame. Just press ![]()
![]()
![]() on the D-Pad, dodge the fire blasts that appear on the ground, and, if you’re feeling confident, get some
on the D-Pad, dodge the fire blasts that appear on the ground, and, if you’re feeling confident, get some ![]() Charged Magic blasts in on him while he’s floating there.
Charged Magic blasts in on him while he’s floating there.
At 40% HP, another cinematic will trigger, moving you into the final phase of the fight. Press ![]()
![]()
![]() and
and ![]()
![]()
![]() , and Clive will “Accept the Truth” (which triggers a Limit Break). There are a few changes to both Infernal Shadow’s attacks and Clive’s attacks that you should be aware of.
, and Clive will “Accept the Truth” (which triggers a Limit Break). There are a few changes to both Infernal Shadow’s attacks and Clive’s attacks that you should be aware of.
![]() Crimson Rush (New Attack):
Crimson Rush (New Attack):
This attack is functionally the same as Ifrit’s Crimson Rush.
![]() Eruption (New Attack):
Eruption (New Attack):
Flame blasts will appear on the ground that Clive will need to dodge away from, just like during his Hellfire cast.
![]() Clive’s Combo Attack:
Clive’s Combo Attack:
While in Limit Break mode, Clive’s regular attack combo has a much lengthier flame animation with his new flaming sword. It deals a lot more damage, but the lengthy animation can make it tougher to dodge an incoming attack from Infernal Shadow.
Check out the video for a demonstration of how to complete this fight.
This is another boss where you can earn a Medal of Valor. As stated before, don’t worry about trying to get this very difficult achievement on your first playthrough. Medals of Valor have no use in the game, and they are not tied to any Achievements/Trophies. It’s only been included by the game developers as an added challenge, but if you’ve played through the battles before and want to retry it a few times, your reward will be the ![]() Medal of Valor - Ifrit.
Medal of Valor - Ifrit.
180
3,200
A video demonstration of how to successfully complete the fight against Ifrit.
This concludes the Main Scenario Quest for the Phoenix Gate Ruins. There are a few cutscenes that take place after the battle, before Clive and Jill are returned to “The Dim” to start the next Main Scenario Quest.
Achievement/Trophy
“Accept your fate.” The  Acceptance Achievement/Trophy is earned as soon as you complete the “Buried Memories” Main Scenario Quest.