
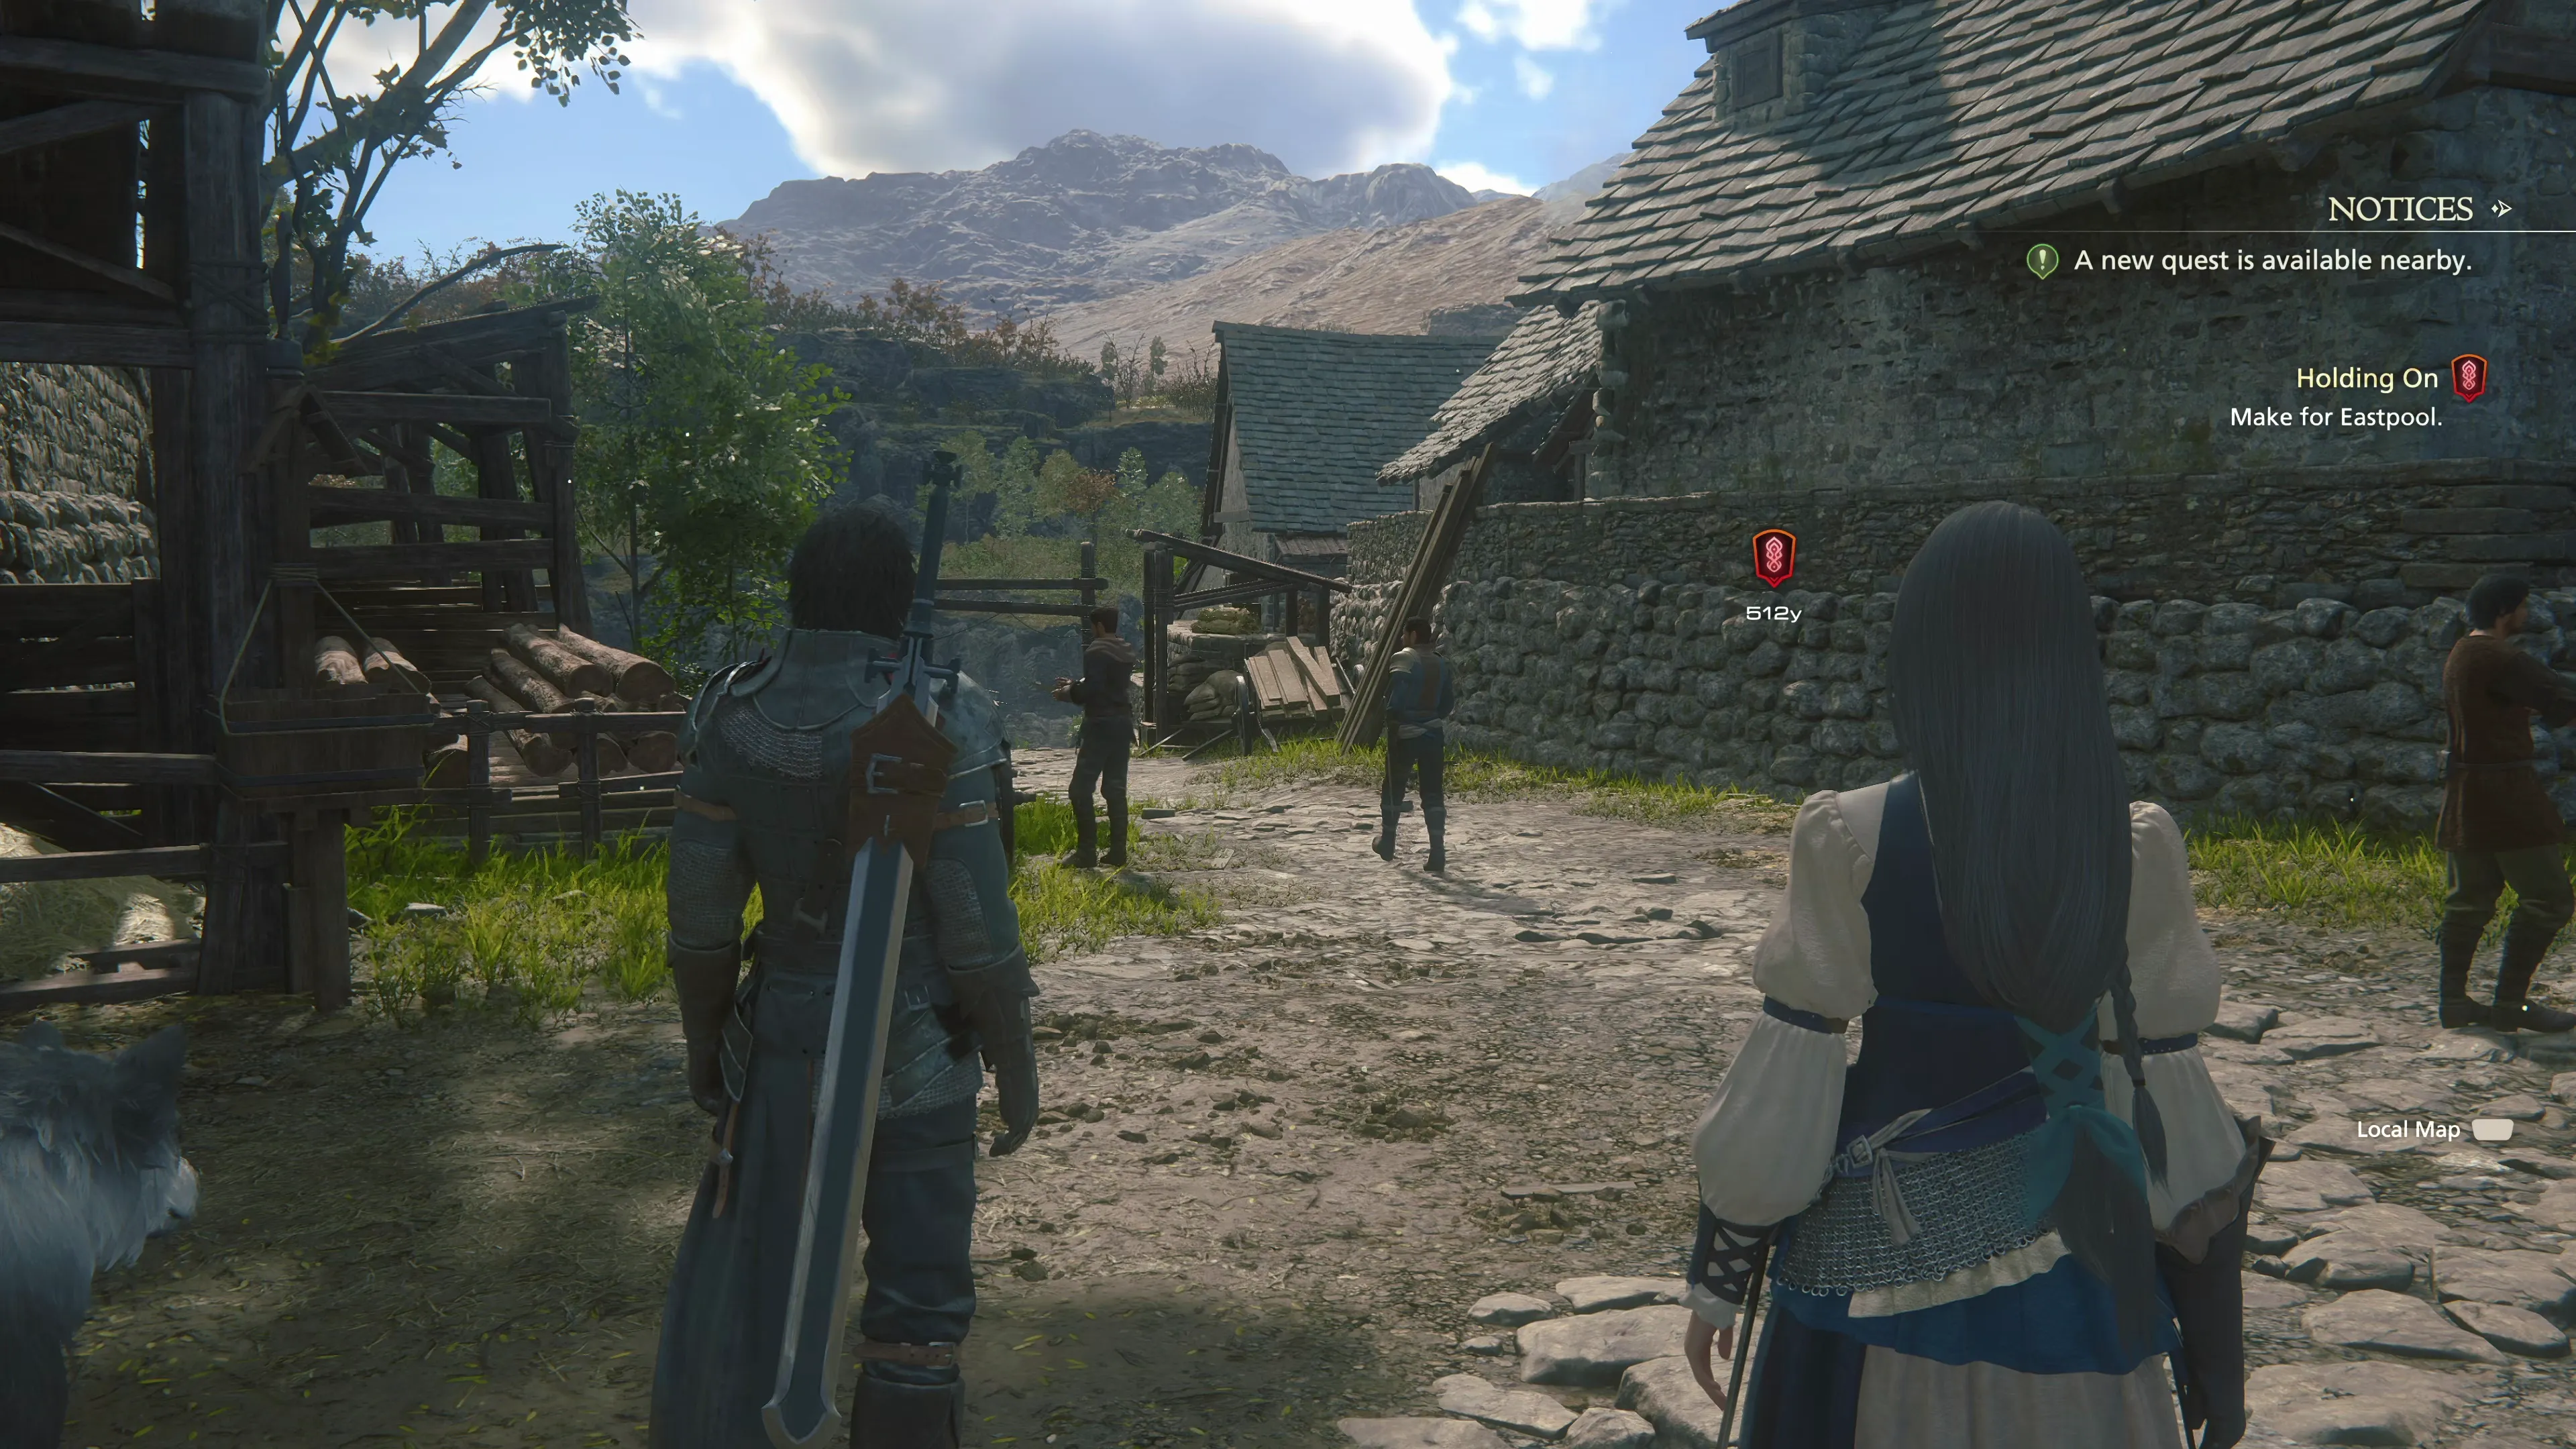
 Holding On
 Martha’s Rest
This Main Scenario Quest begins after you’ve received ![]() The Slumbering Chocobo from Martha, and the first task is to have Clive and Jill make their way to Eastpool. But before that, there are a few Optional Quests that we can complete right here at Martha’s Rest.
The Slumbering Chocobo from Martha, and the first task is to have Clive and Jill make their way to Eastpool. But before that, there are a few Optional Quests that we can complete right here at Martha’s Rest.
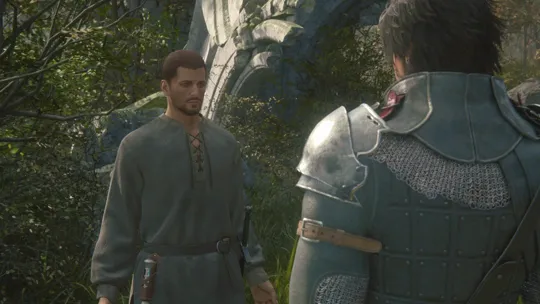
Start with the easiest one, which can be initiated by speaking to Clarke, the Fishmonger, standing on the scaffolding in the south section of town.
Optional Quest
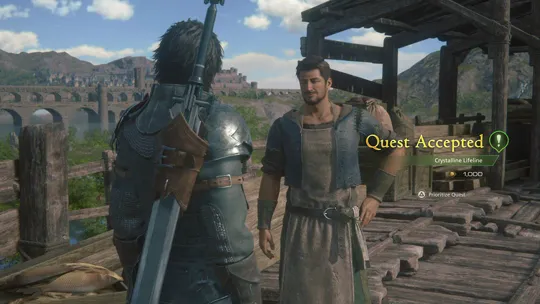
“A clumsy fisherman from Martha’s Rest has dropped his only crystal, putting his livelihood in jeopardy. To make matters worse, it appears the crystal has been devoured by some of the local fauna… Clive is to find it, by any means necessary.”
Optional Quest
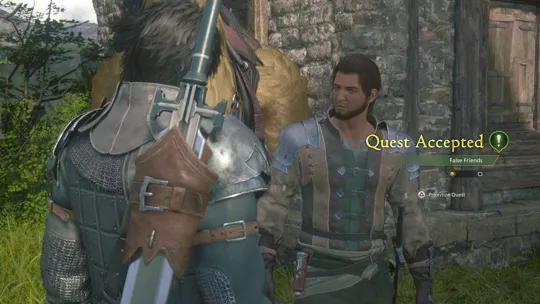
“A recently unmasked Bearer has run away from Martha’s Rest due to his true identity having been discovered. The Bearer’s former friend Ronald is extremely upset at what he sees as a betrayal and asks Clive to help him locate the missing man.”
Once both have been completed, take some time to restock your inventory of ![]() Potions and
Potions and ![]() High Potions before heading out across the bridge on the north side of town.
High Potions before heading out across the bridge on the north side of town.
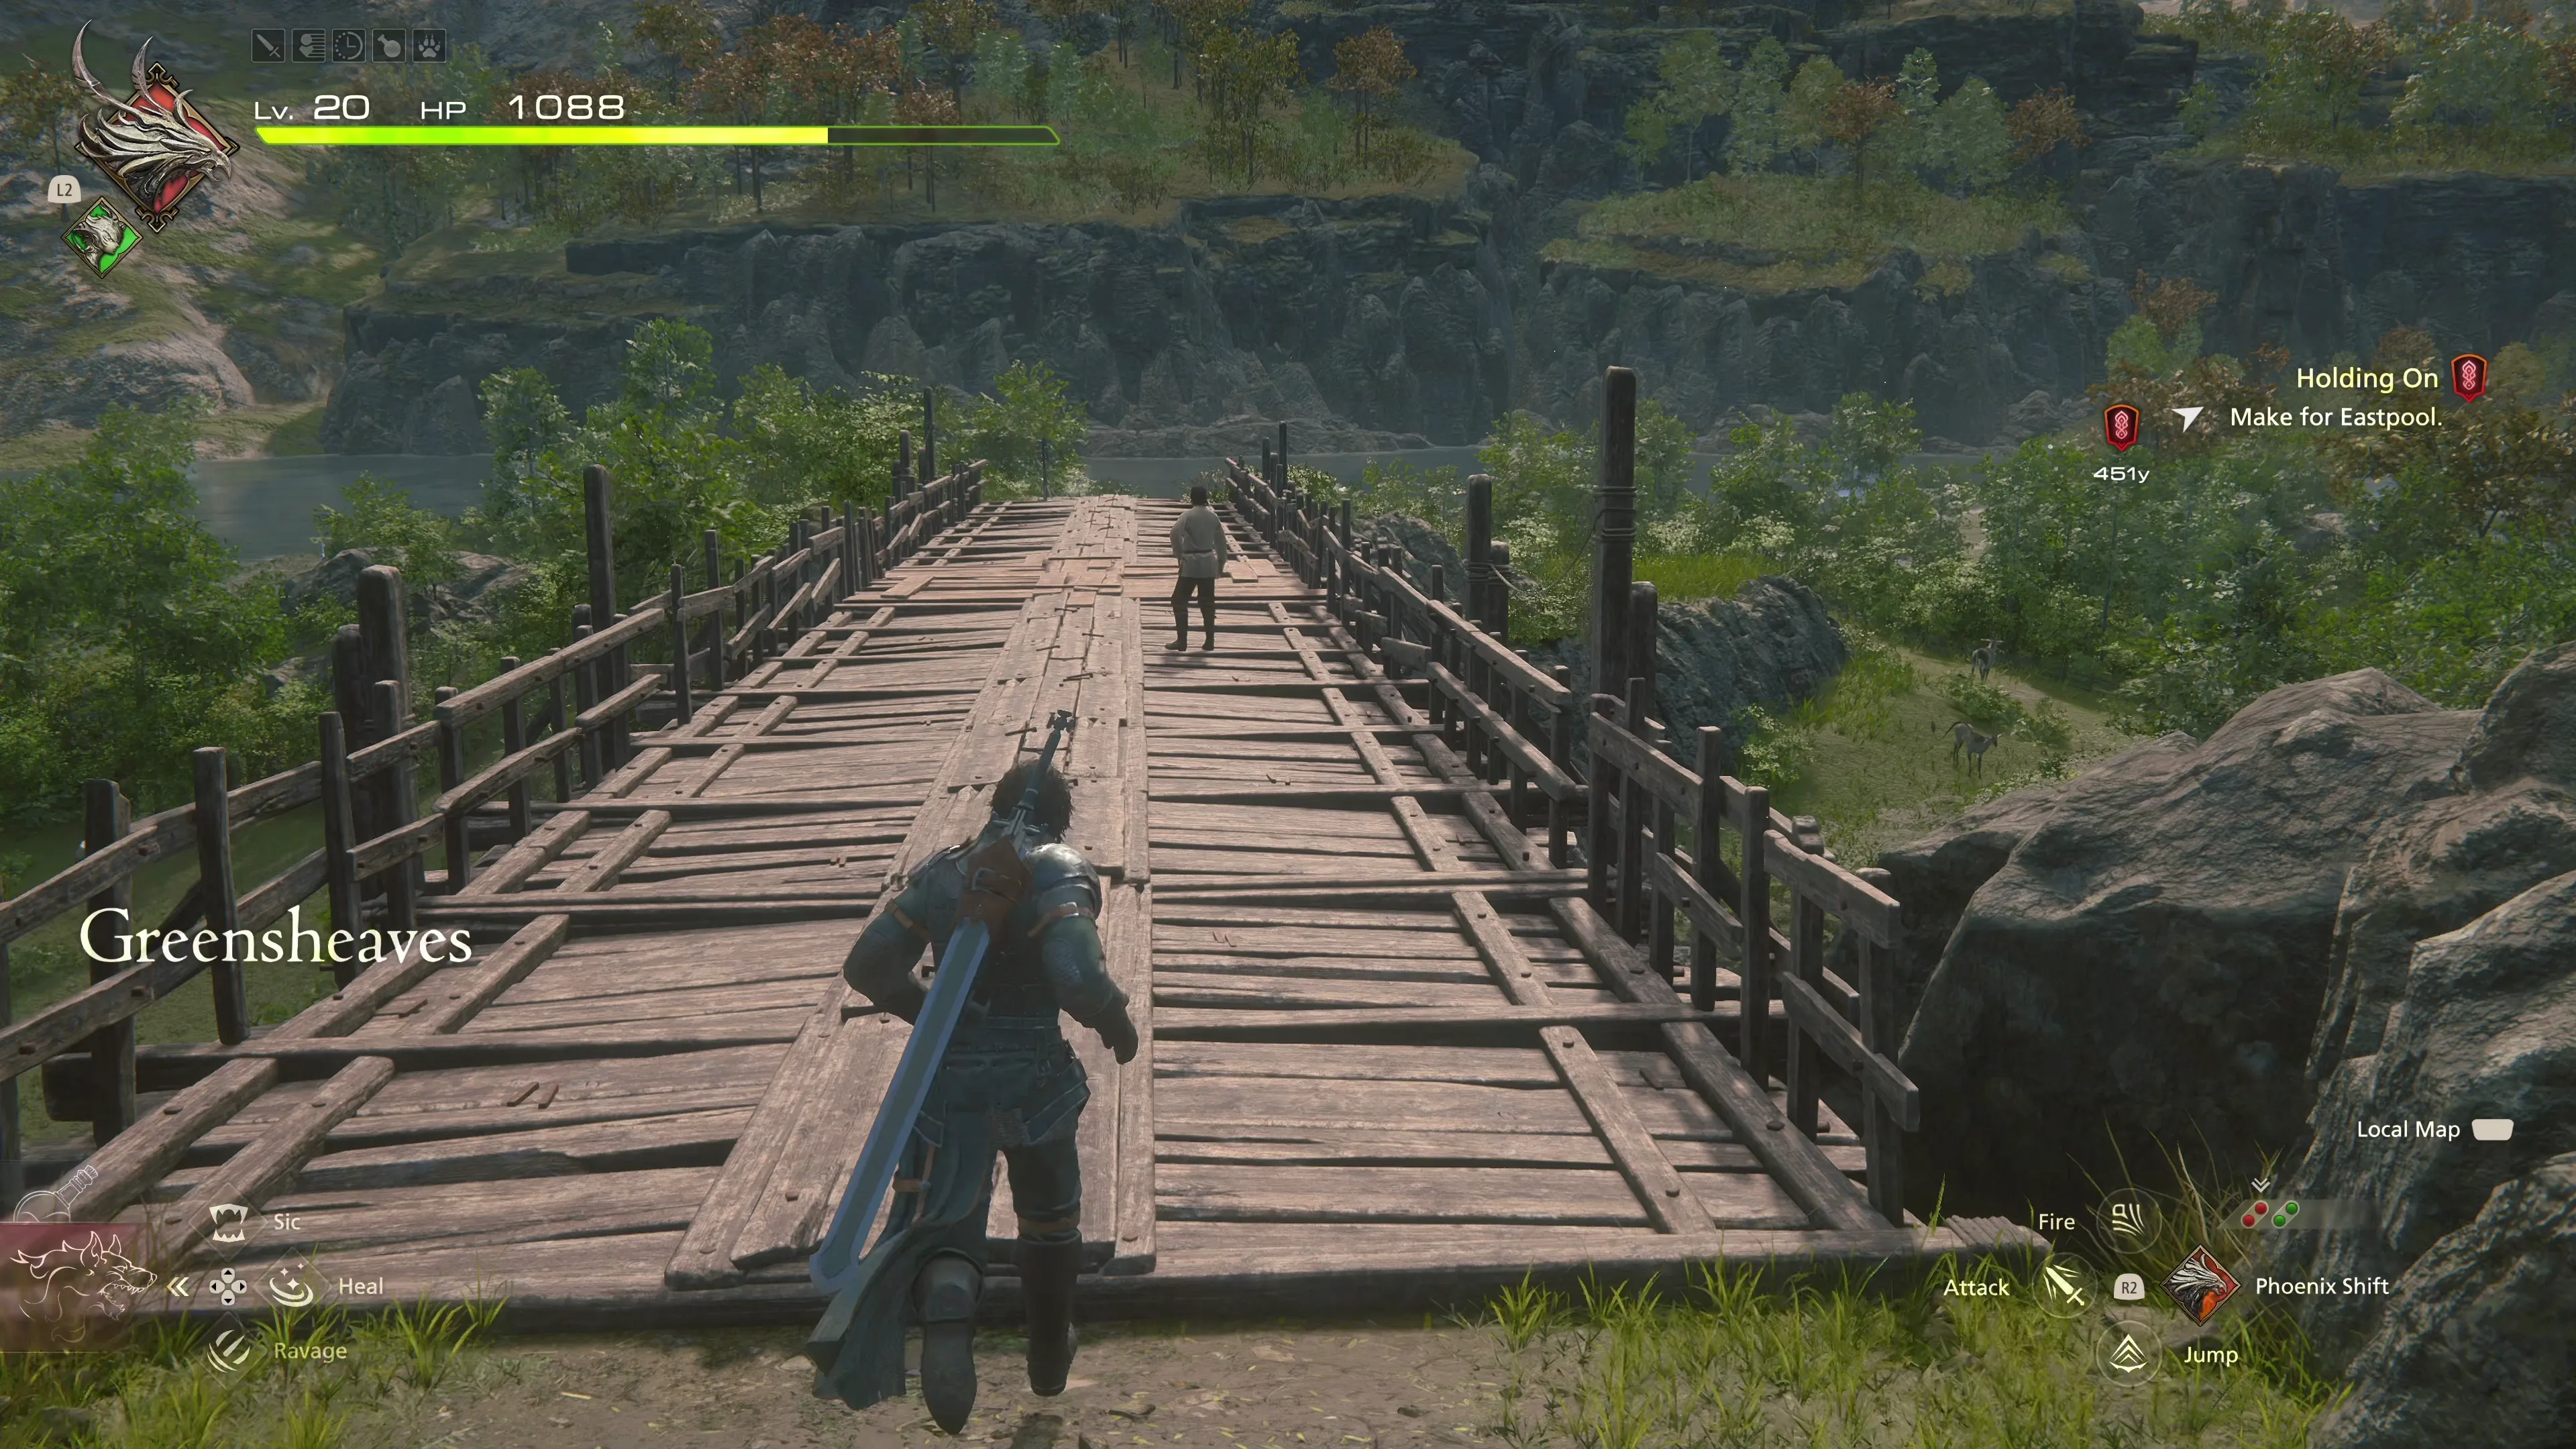
Greensheaves
You’ll see another Optional Quest giver just up ahead, but first head north to grab the ![]() Red Treasure Coffer treasure coffer. It contains 10 pinches of
Red Treasure Coffer treasure coffer. It contains 10 pinches of ![]() Magicked Ash.
Magicked Ash.
Then, head to the south side of the path to find the ![]() Yellow Treasure Coffer which contains a
Yellow Treasure Coffer which contains a ![]() Blood Hawk Jess accessory. A Wivre enemy will be guarding the treasure; this is an enemy very similar to other Aevis enemies you’ve faced, but they will slowly gain more moves as you progress through the game. The ‘improvement’ to this Aevis over ones you’ve faced previously is that it will swing twice with its primary physical front-facing attack, so you’ll have to be ready to dodge twice.
Blood Hawk Jess accessory. A Wivre enemy will be guarding the treasure; this is an enemy very similar to other Aevis enemies you’ve faced, but they will slowly gain more moves as you progress through the game. The ‘improvement’ to this Aevis over ones you’ve faced previously is that it will swing twice with its primary physical front-facing attack, so you’ll have to be ready to dodge twice.

The game will also flag that there is a Chronolith nearby, but there’s nothing you can do with these yet. Later on, you can come back to the chronolith to complete challenges for rewards (outlined in the Chronoliths section of the guide). Speak to Fredric, the Hunter, to complete the next Optional Quest.
Optional Quest
“A man on the road to Eastpool asks Clive to help deal with some wolves, and to go and tell his friend Brice when he has done so.”
There are two more treasure coffers to pick up in this area. The ![]() Green Treasure Coffer treasure coffer in the northwest can be found on the second floor of the wooden structure. It contains a
Green Treasure Coffer treasure coffer in the northwest can be found on the second floor of the wooden structure. It contains a ![]() Goblin Coin.
Goblin Coin.
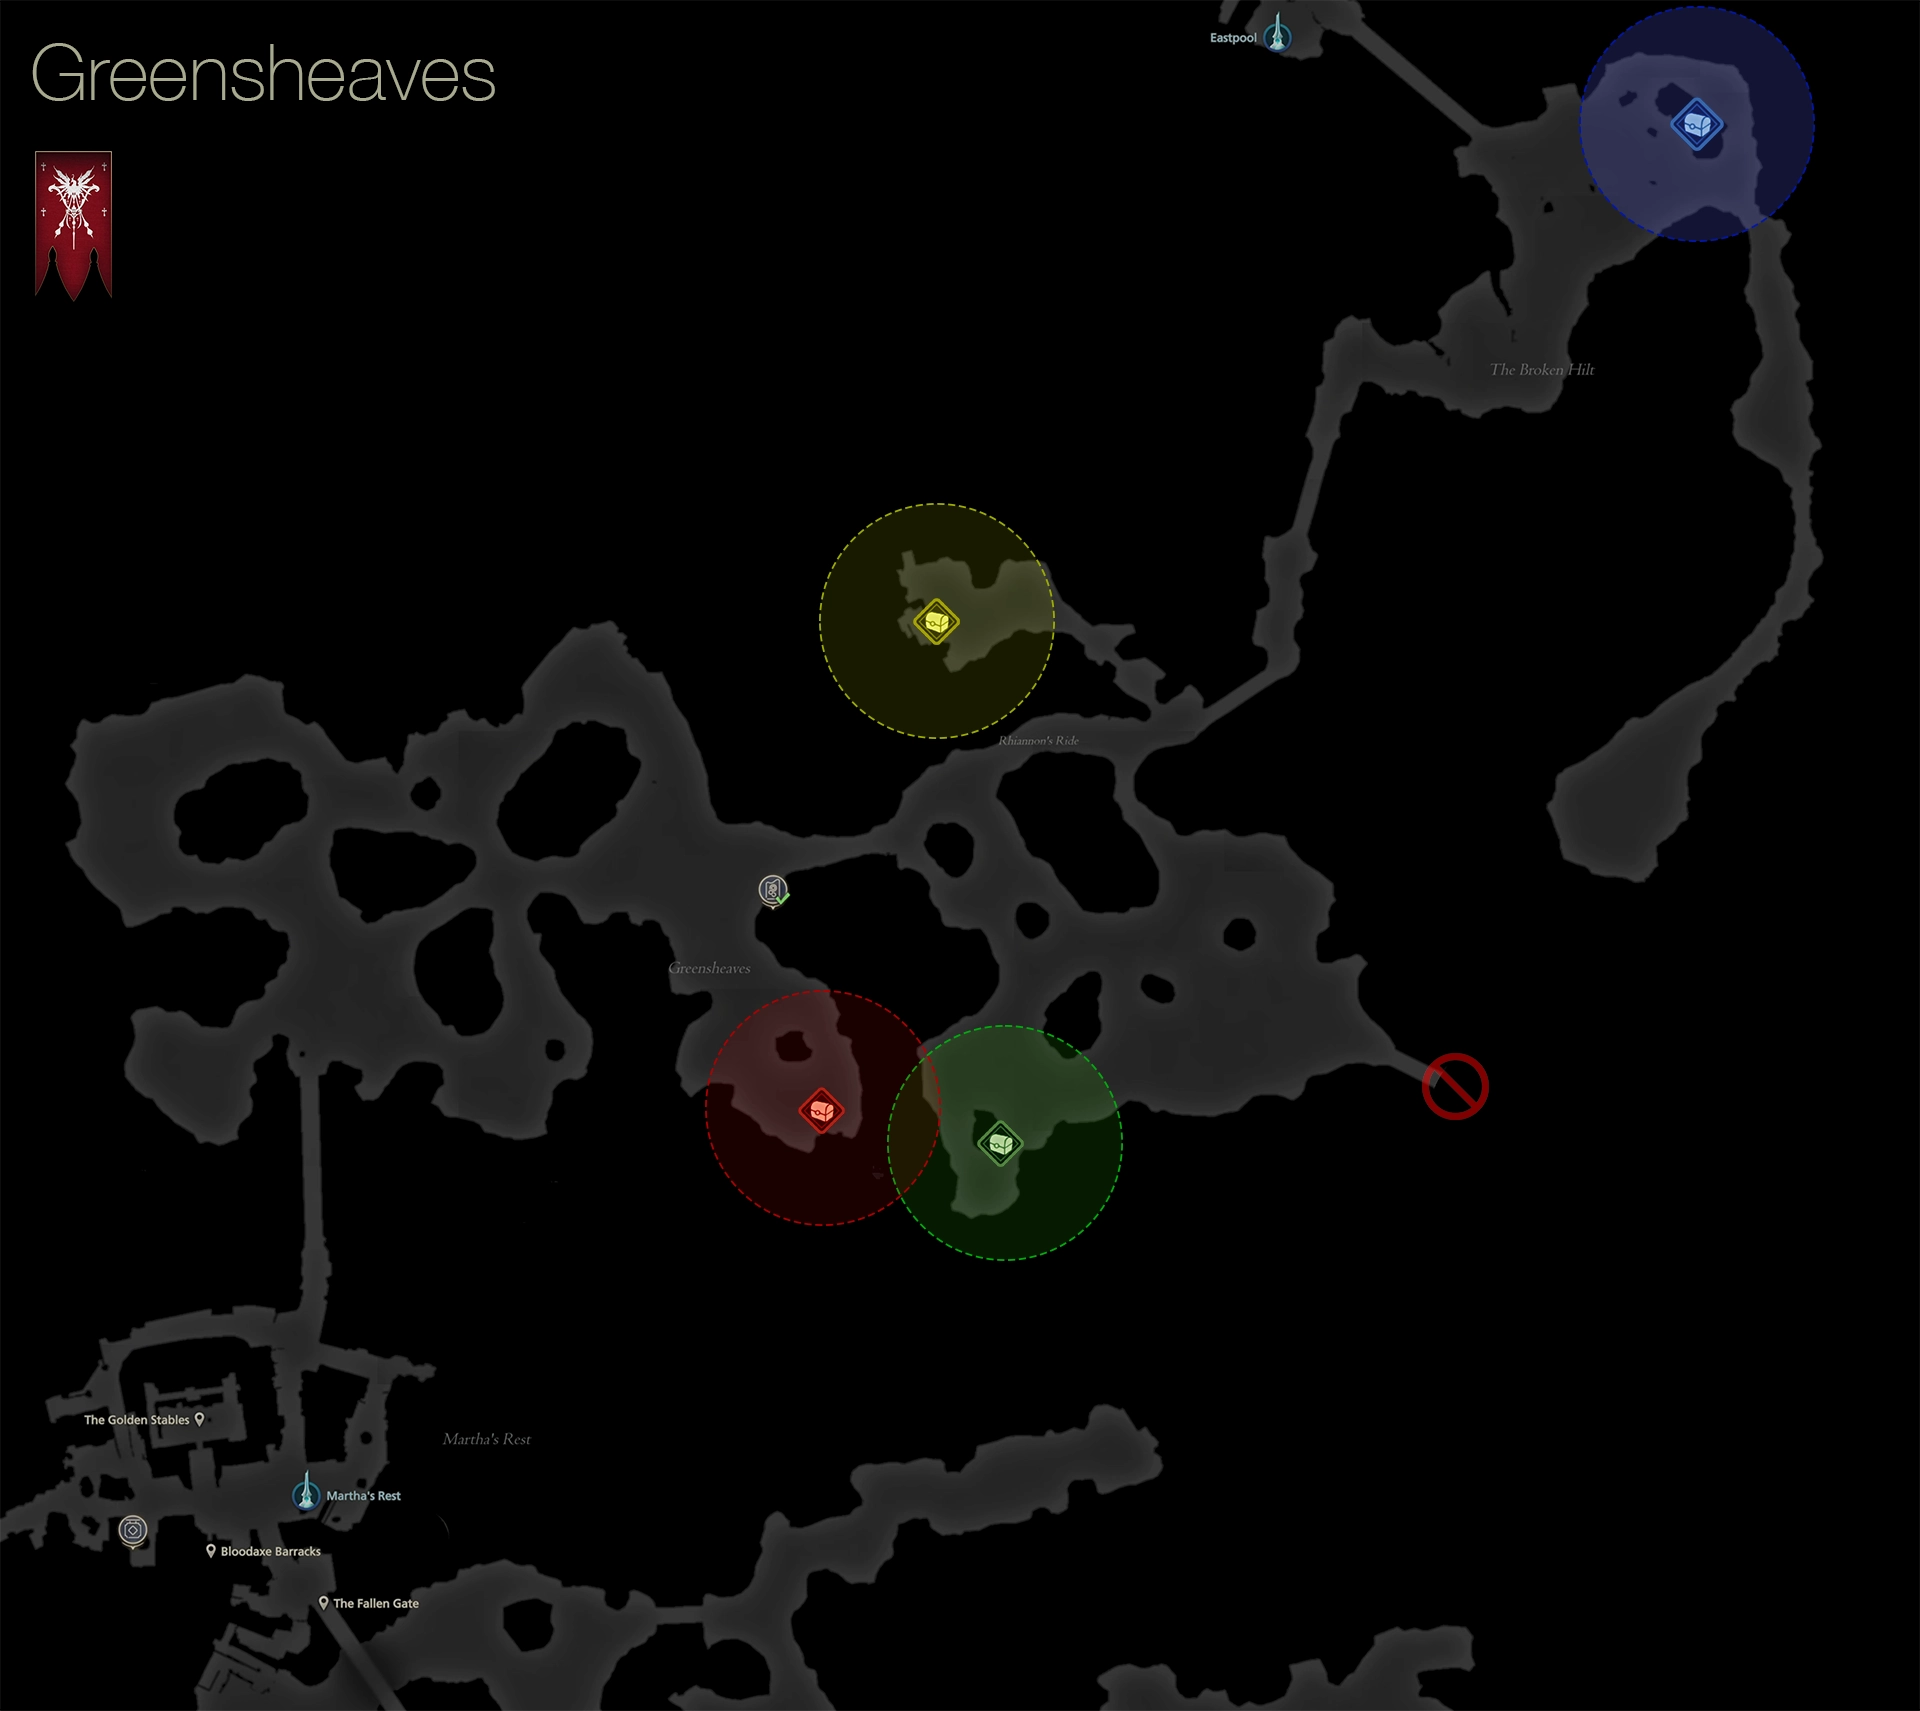
The ![]() Blue Treasure Coffer treasure coffer to the south is guarded by a Minotaur enemy—something you’re already familiar with defeating by this point. Defeat it and open the coffer to obtain another
Blue Treasure Coffer treasure coffer to the south is guarded by a Minotaur enemy—something you’re already familiar with defeating by this point. Defeat it and open the coffer to obtain another ![]() Meteorite. After you have both treasure coffers, make your way north again.
Meteorite. After you have both treasure coffers, make your way north again.
The Broken Hilt
There’s one more ![]() Purple Treasure Coffer to pick up in this area. It can be found between the house and the windmill—it contains 10
Purple Treasure Coffer to pick up in this area. It can be found between the house and the windmill—it contains 10 ![]() Bloody Hides. That’s everything you can do along the pathway to Eastpool for now, and don’t worry about exploring the stretch of land on the east side of the map just yet. Head into the town.
Bloody Hides. That’s everything you can do along the pathway to Eastpool for now, and don’t worry about exploring the stretch of land on the east side of the map just yet. Head into the town.
 Eastpool
A few cutscenes will start up when you first enter the town. Once they have concluded, Clive will be sporting his brand new outfit, which includes the following gear pieces:
Helpful Hint
In “Final Fantasy Mode,” the game will automatically equip Clive with these three items, but are they the most powerful items he has access to?
Don’t worry, though, you’ll be getting upgrades for this equipment soon!
There are a few more treasure coffers to hunt down in this area:
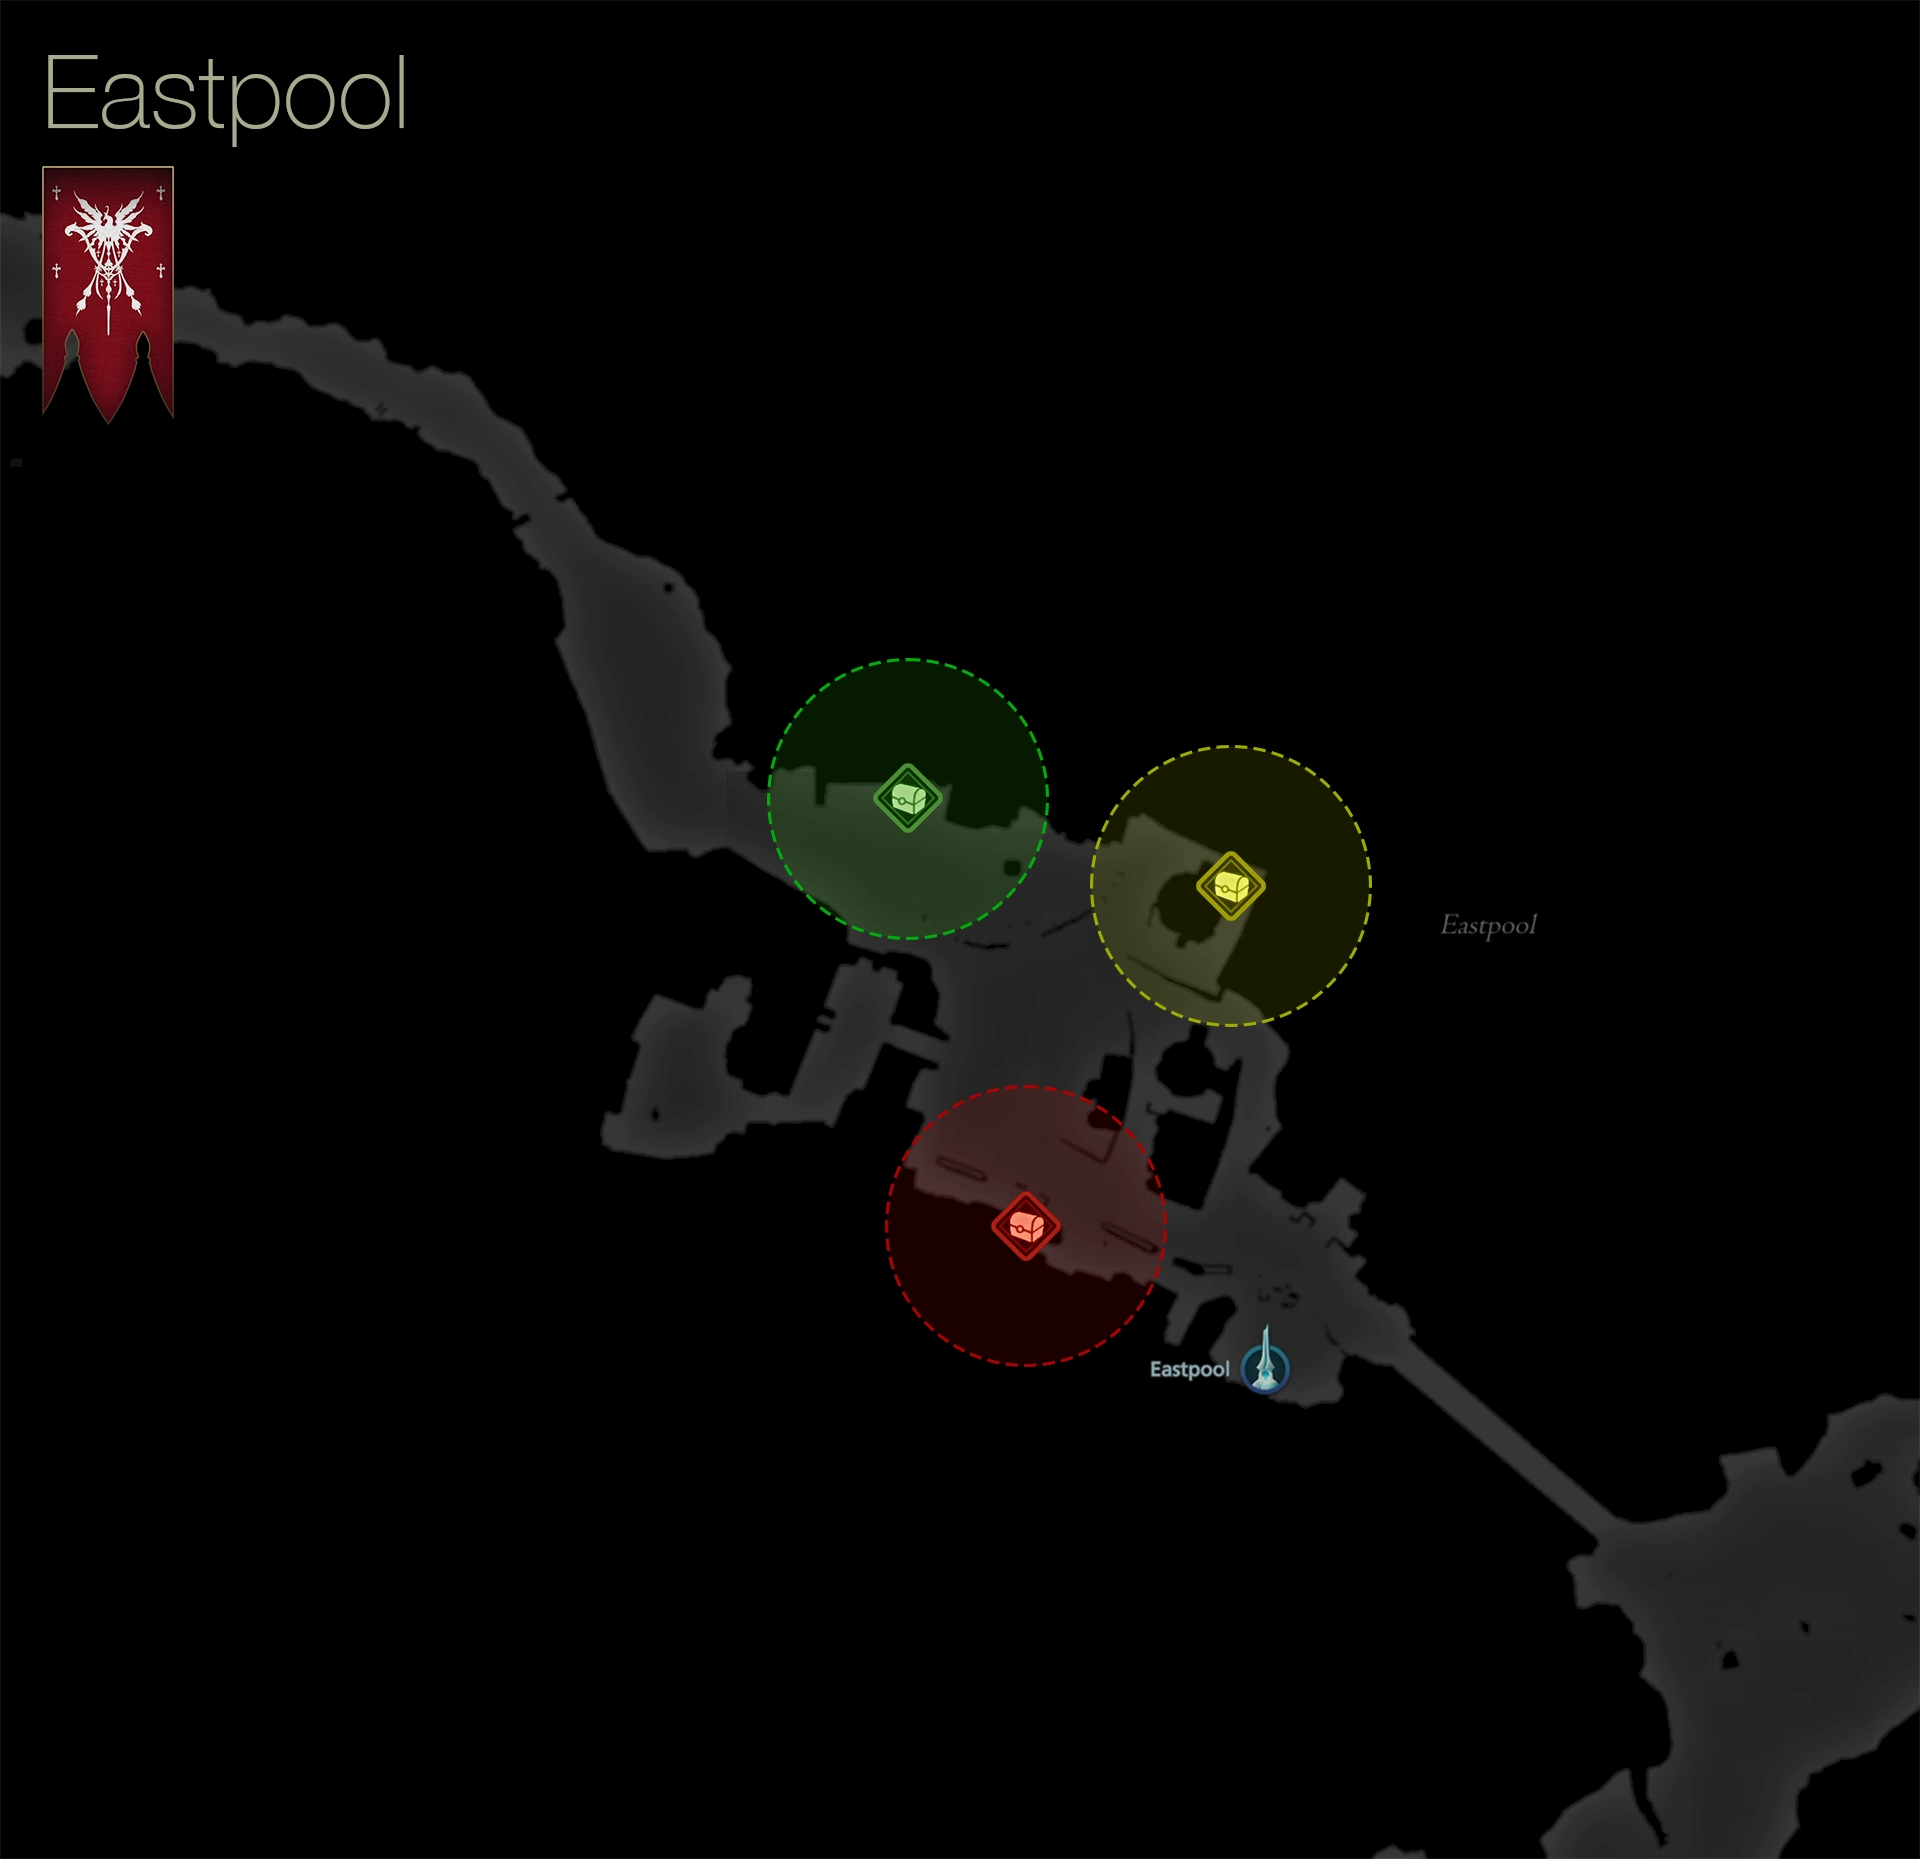
| 1) | ||
|---|---|---|
| 2) | ||
| 3) |
Make your way towards the northwest exit out of town to initiate another cutscene with the Mayor. He will have a few tasks for you to complete around town that involve speaking with some of the townsfolk.
 Back in the Day
Follow the Main Scenario Quest Marker ![]() around town, starting with an inspection of the well. Speak with the villagers around town after that until your next task is to “find the old man.” Exit town across the bridge and back into…
around town, starting with an inspection of the well. Speak with the villagers around town after that until your next task is to “find the old man.” Exit town across the bridge and back into…

The Broken Hilt
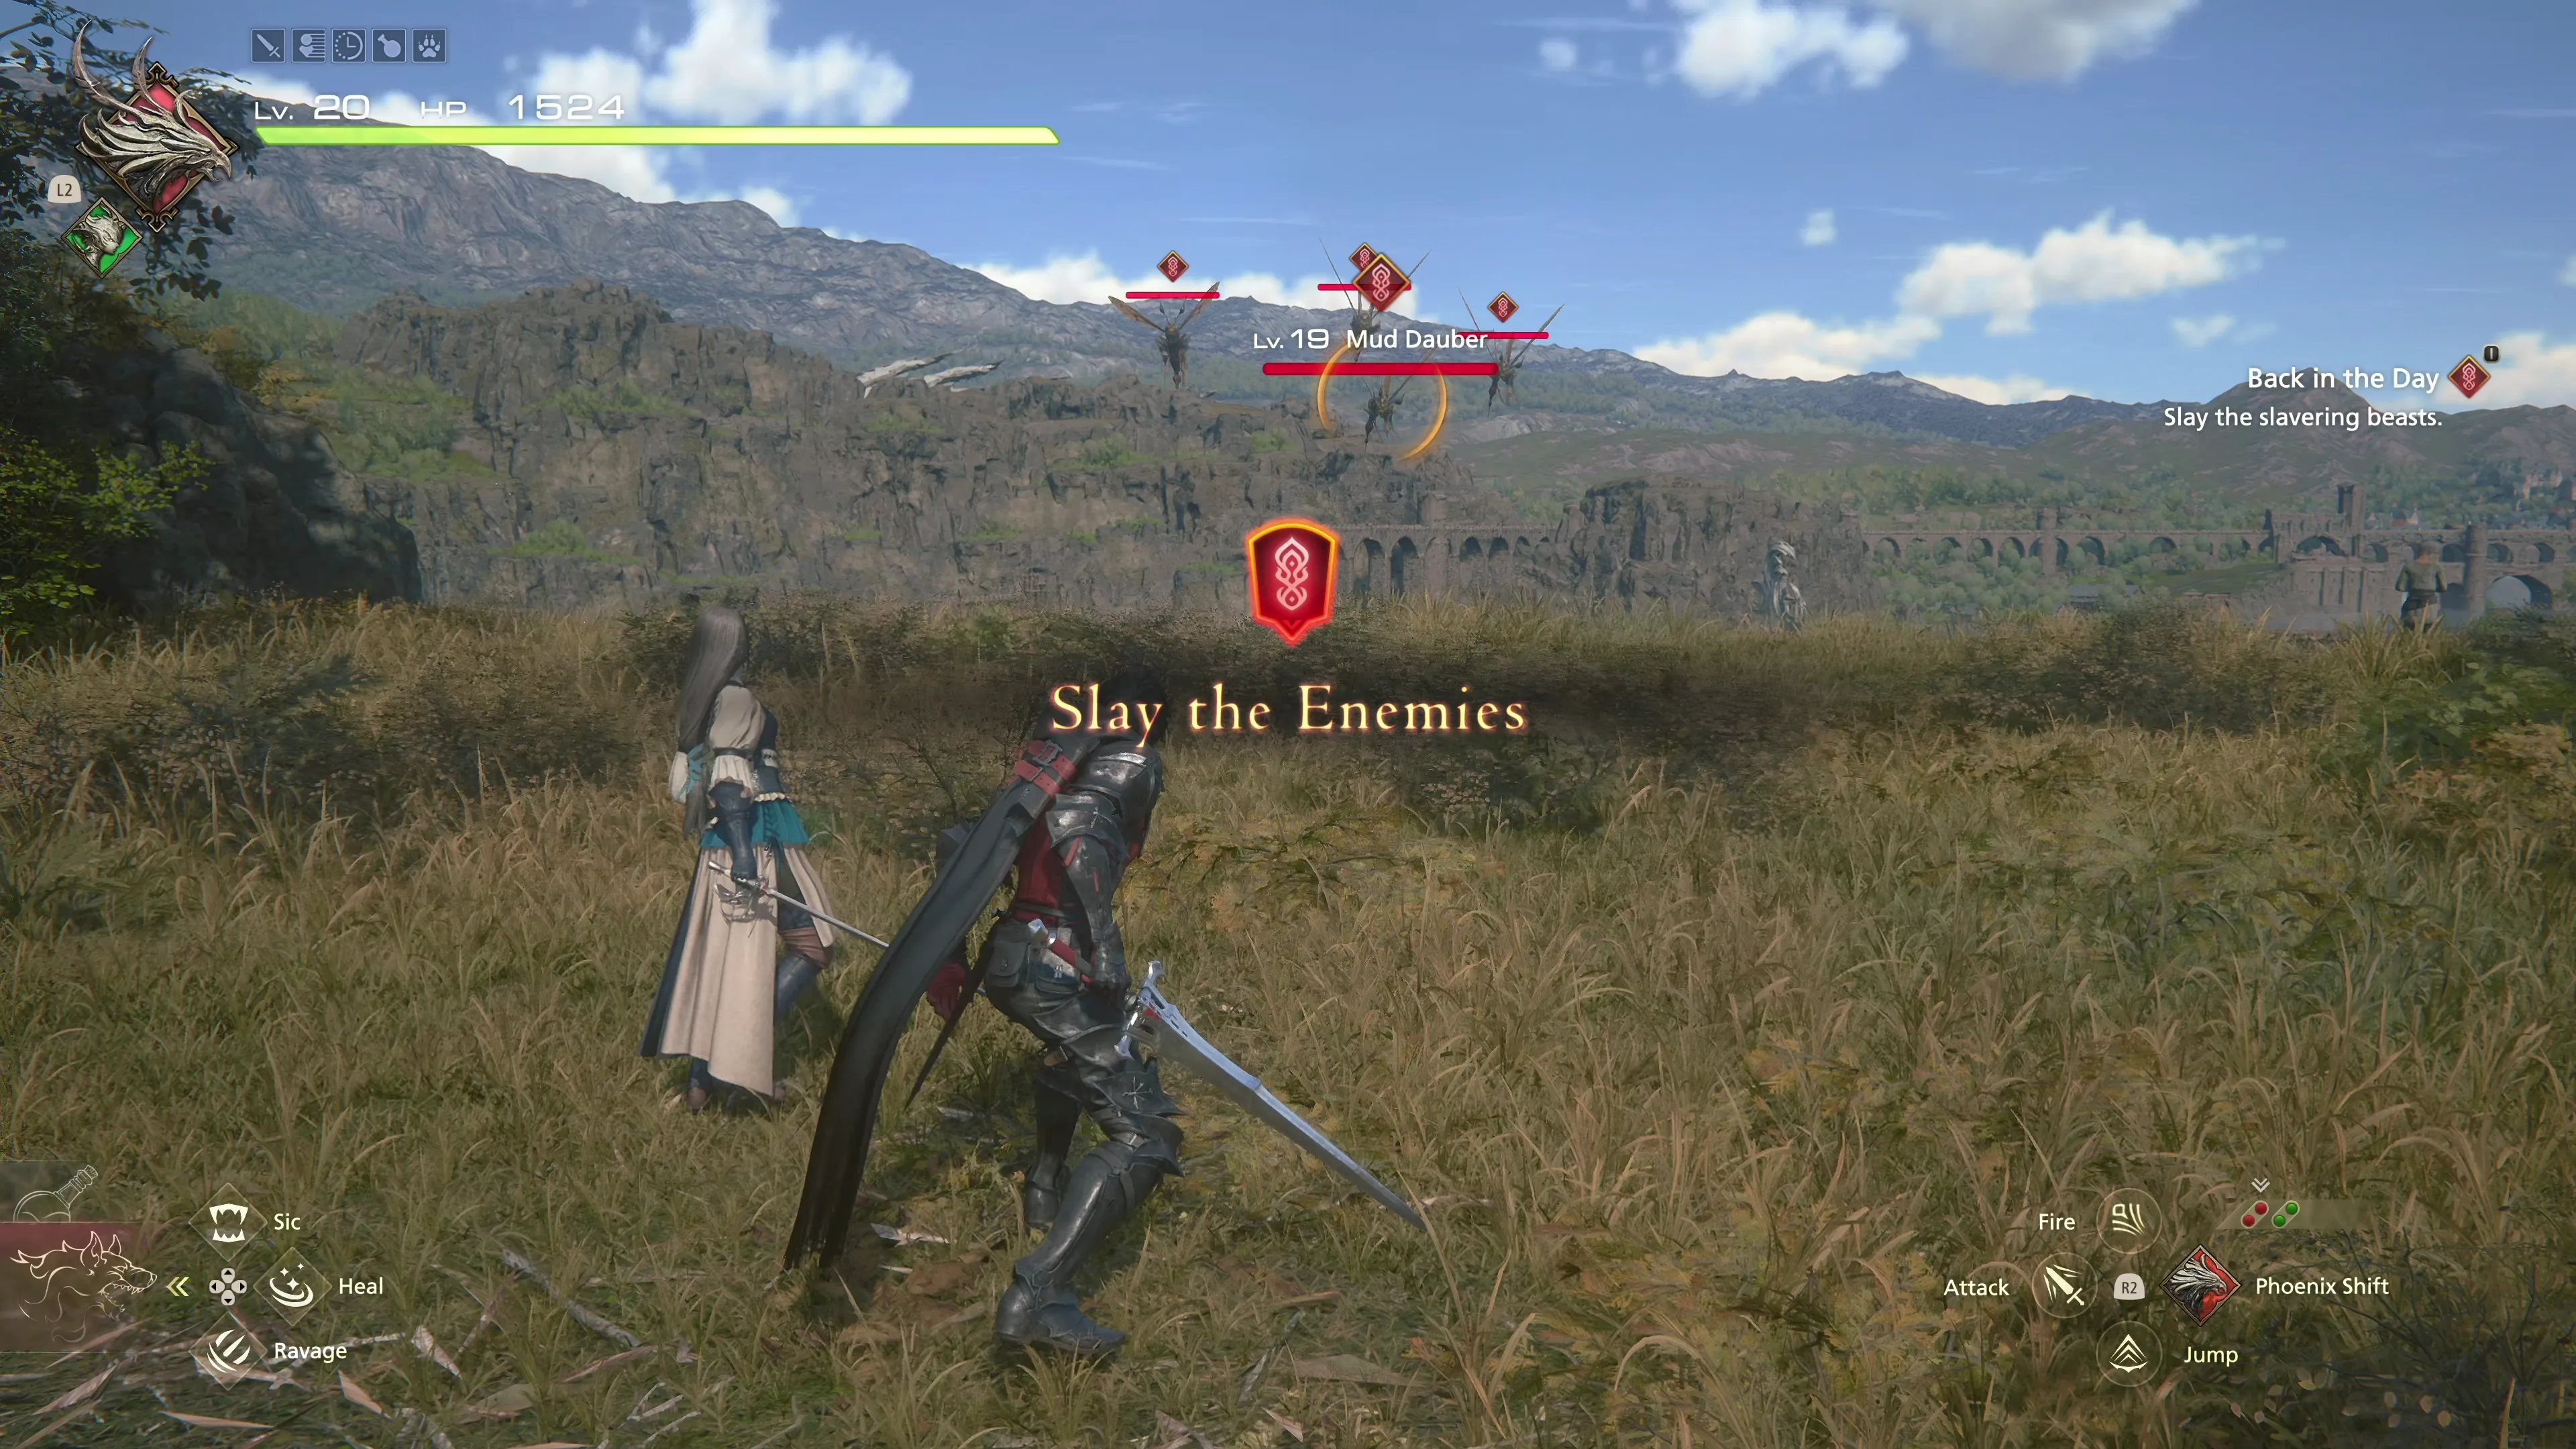
The Main Scenario Quest Marker ![]() will take you to the alcove on the east side of the map. Grab the two Glimmer spots along the way and continue up the trail until you find the old man. You’ll be ambushed by a group of flying Mud Dauber enemies.
will take you to the alcove on the east side of the map. Grab the two Glimmer spots along the way and continue up the trail until you find the old man. You’ll be ambushed by a group of flying Mud Dauber enemies.
After they’re defeated, a group of Worgens will join the fight, all pretty easy enemies to defeat at this point in the game. A few more cutscenes will take place here and back in town after the Subquest is complete.
Eastpool
You’ll also receive a whole host of rewards from the Mayor for completing this little side task, including ![]() Magicked Ash, a
Magicked Ash, a ![]() Meteorite, as well as experience,
Meteorite, as well as experience, ![]() Ability Points, and
Ability Points, and ![]() Gil. Head out through the large gate when you’re ready.
Gil. Head out through the large gate when you’re ready.
The Dim
This blighted area will be devoid of any plant or animal life. There are a few Glimmer spots to pick up along the trail, but there are no treasure coffers here. You may notice a structure on your left (west), but there’s nothing you can do in this area yet.
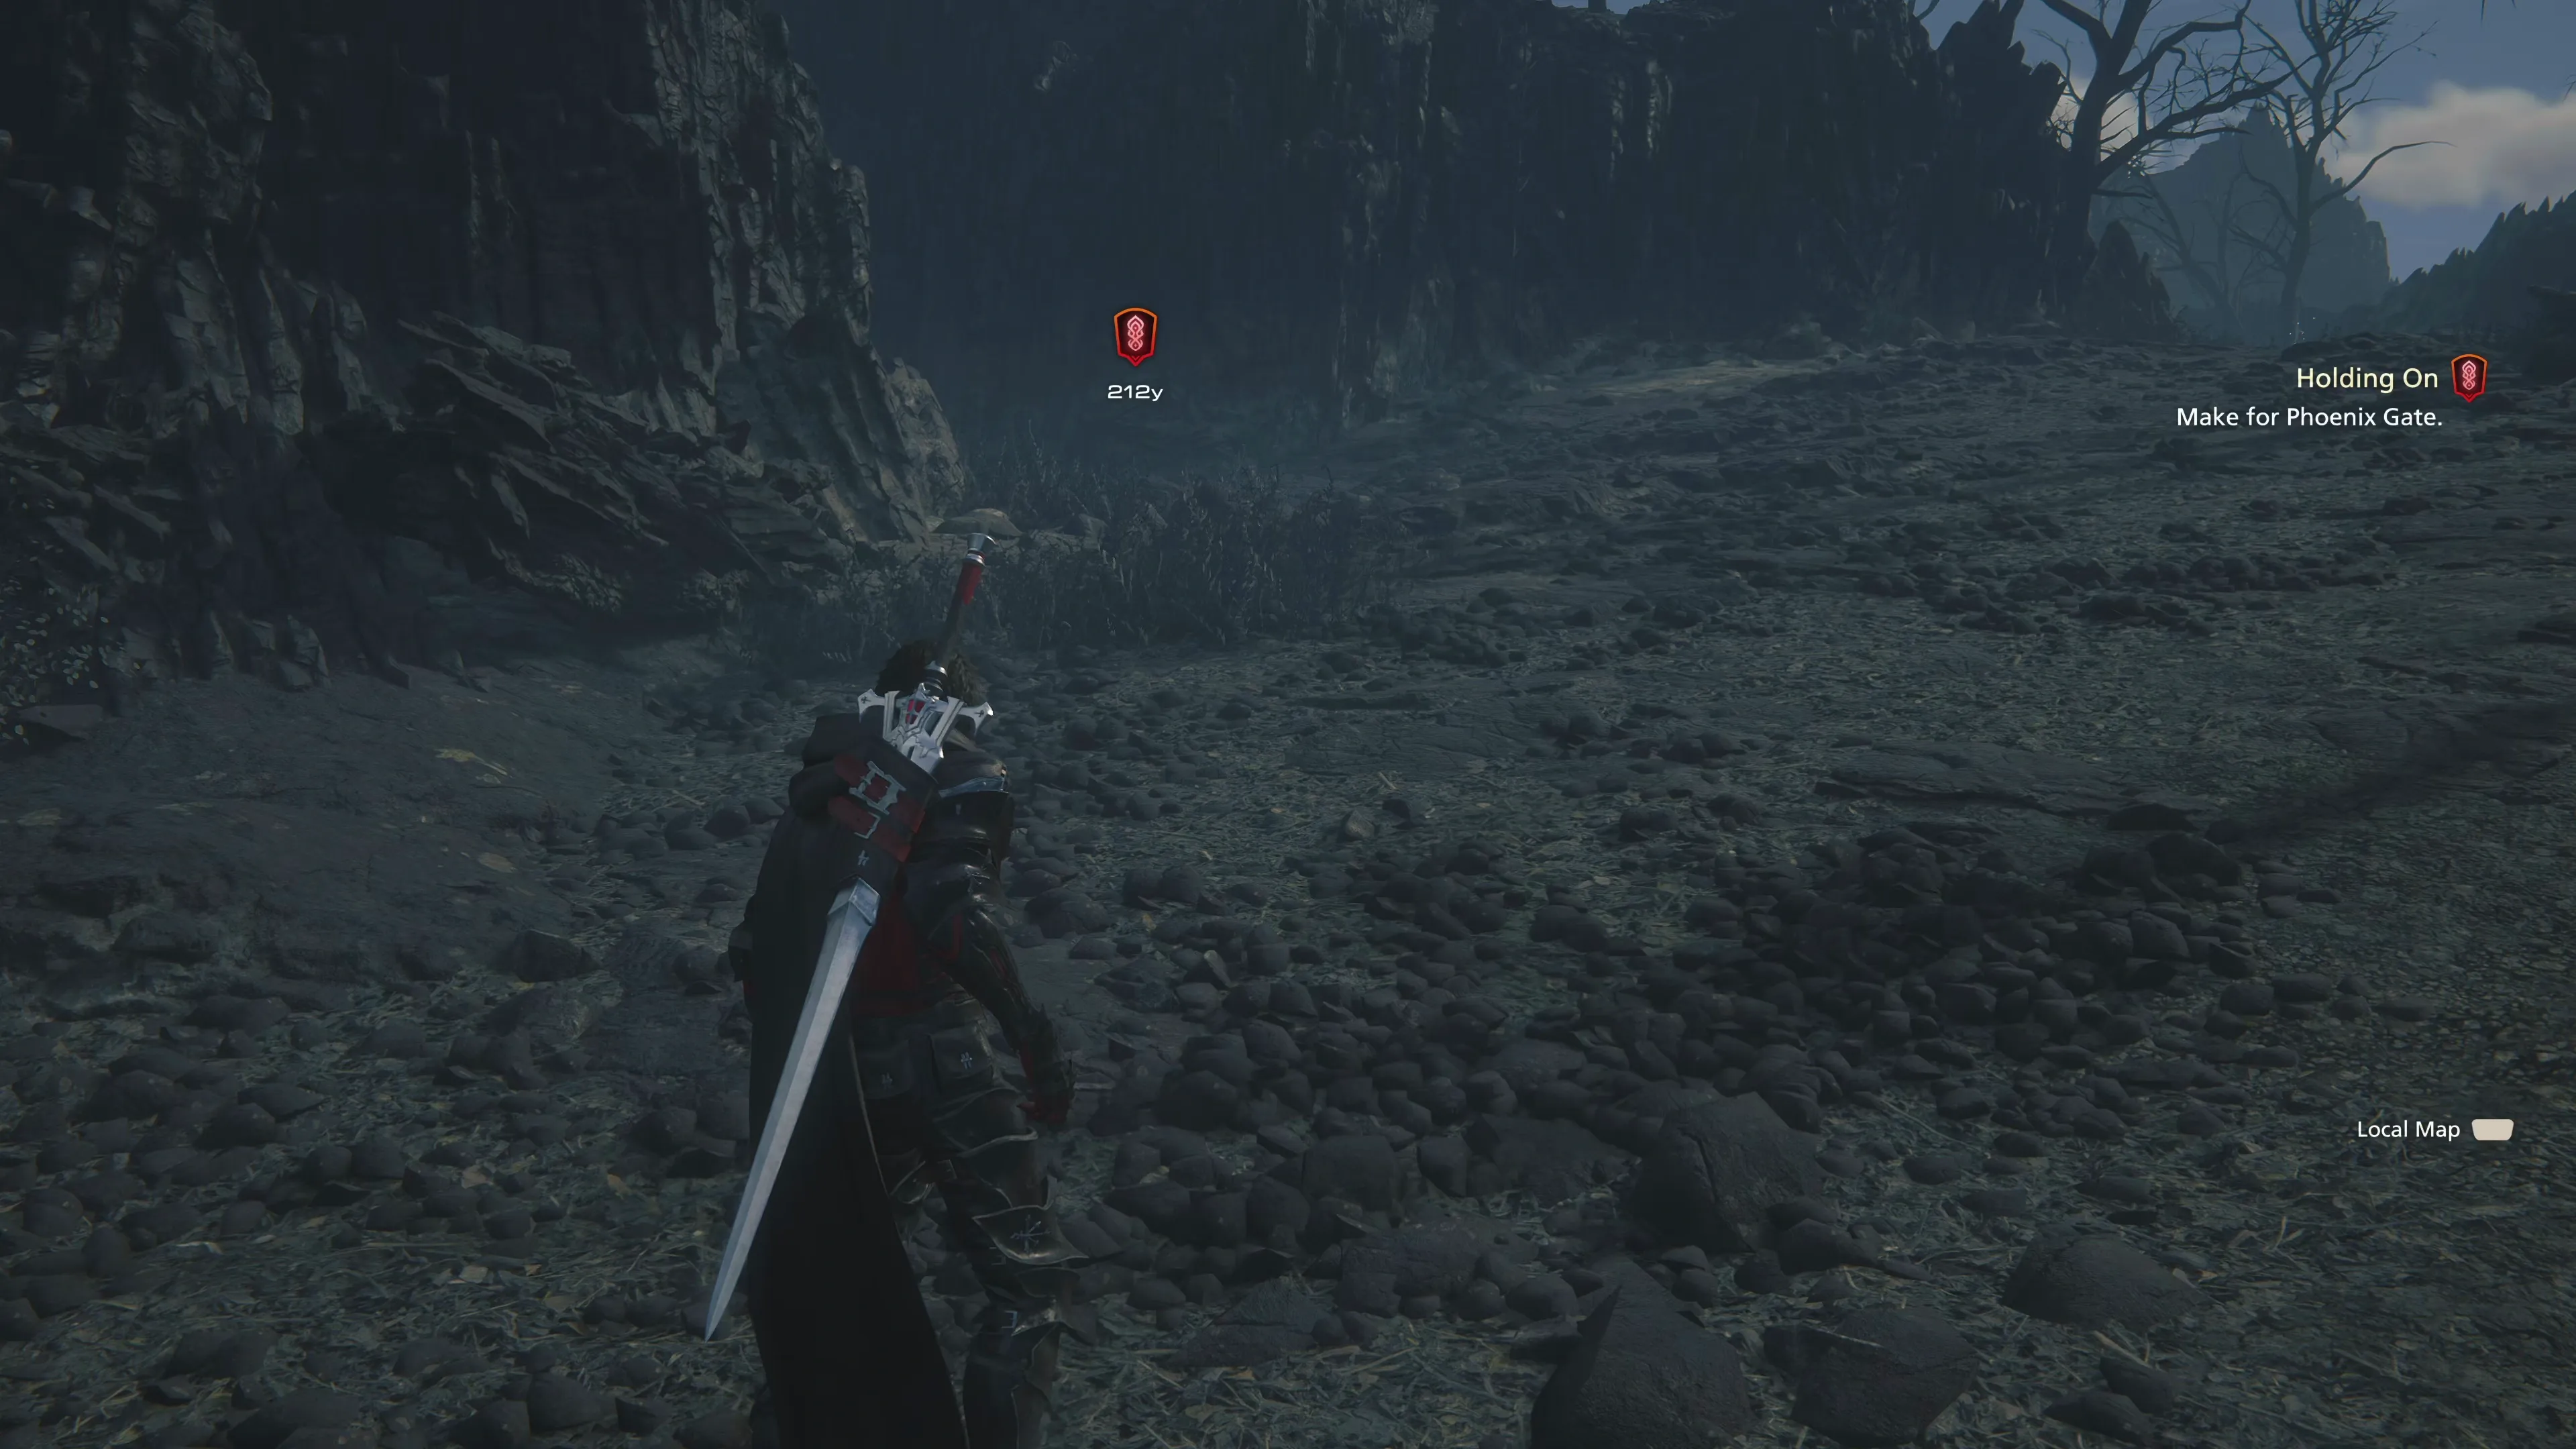
Later on, this structure will play a role in the Echoes of the Fallen ![]() DLC Expansion if you choose to play through it, but for now, continue to the end of the trail.
DLC Expansion if you choose to play through it, but for now, continue to the end of the trail. ![]() The Dim Obelisk will be activated automatically once you get close enough, and you’ll be returned to the world map. Select “Phoenix Gate Ruins” when you’re ready to continue.
The Dim Obelisk will be activated automatically once you get close enough, and you’ll be returned to the world map. Select “Phoenix Gate Ruins” when you’re ready to continue.