
 Homecoming
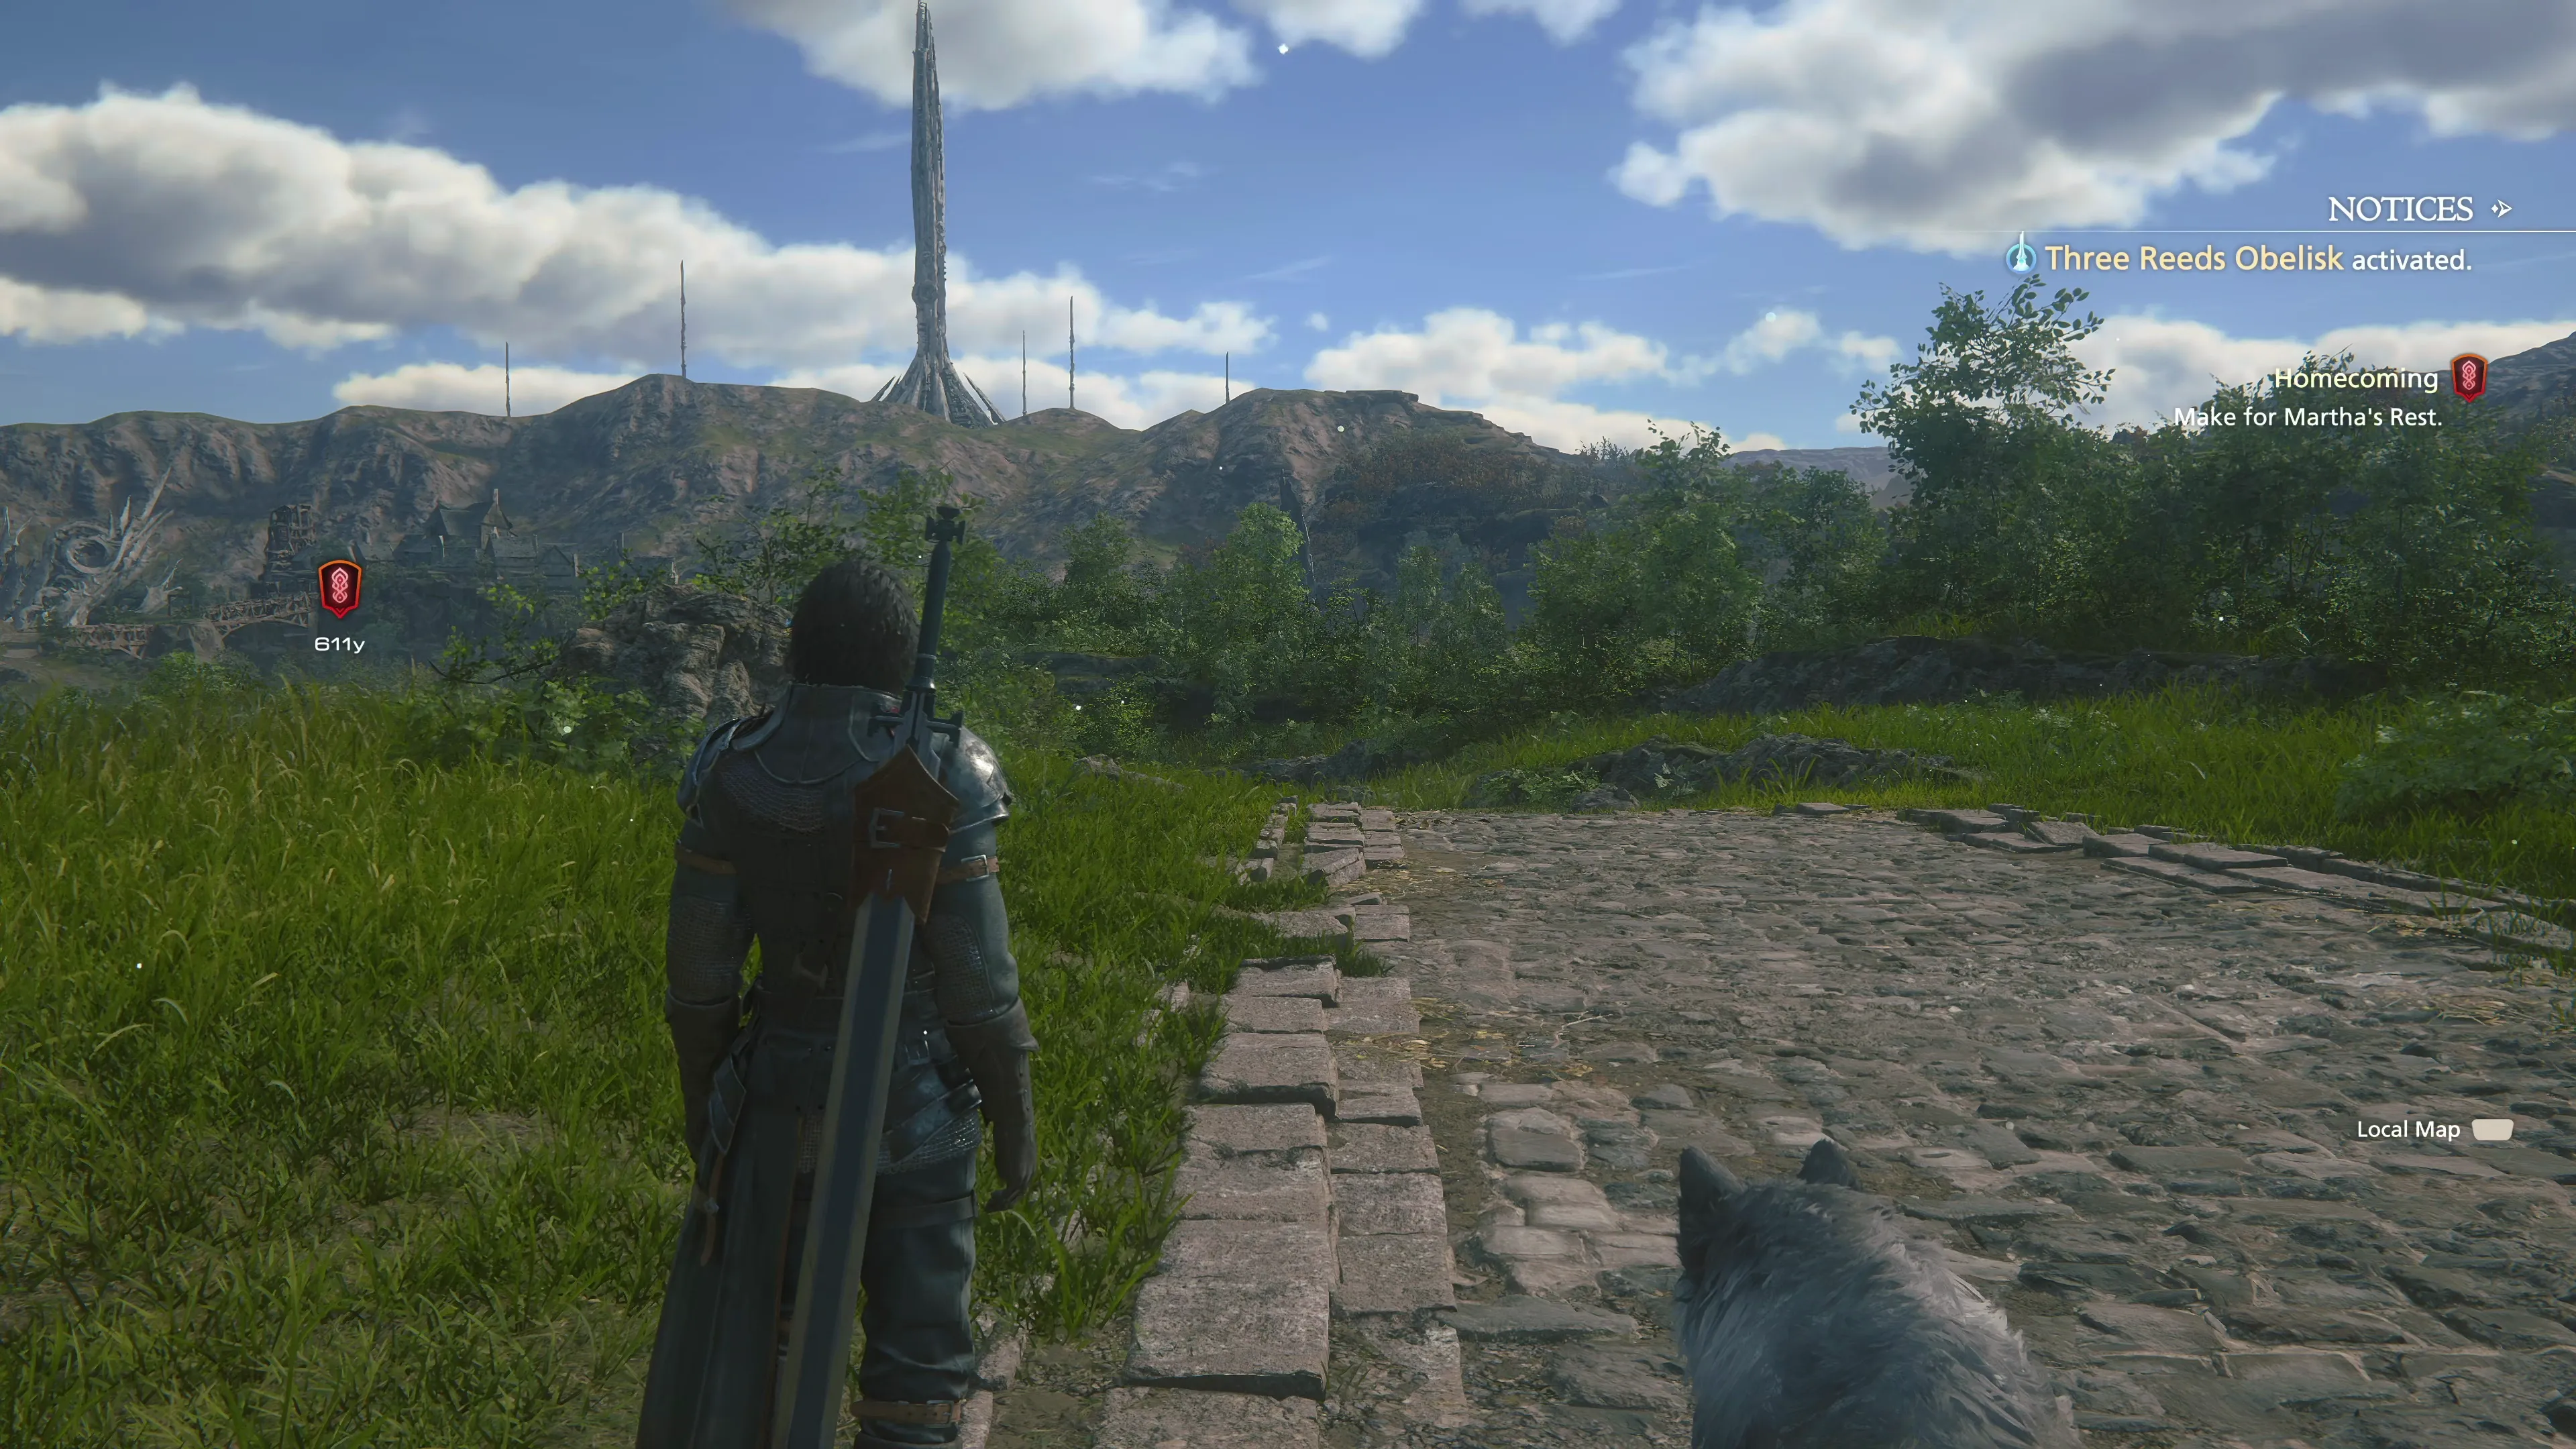
Select the newly opened ![]() Three Reeds Obelisk on the world map. After a short introduction video, this will be your first time exploring an area in Rosaria (aside from the Prologue missions). As a reminder…
Three Reeds Obelisk on the world map. After a short introduction video, this will be your first time exploring an area in Rosaria (aside from the Prologue missions). As a reminder…
Helpful Hint
The zone-specific crafting material for Rosaria is called a ![]() Briar Clam Shell. You’ll likely come across plenty of these as you progress through the zone, but don’t rip through it too quickly without hitting up at least a few Glimmer spots. You’ll need this new crafting material to craft and reinforce some of your upcoming gear.
Briar Clam Shell. You’ll likely come across plenty of these as you progress through the zone, but don’t rip through it too quickly without hitting up at least a few Glimmer spots. You’ll need this new crafting material to craft and reinforce some of your upcoming gear.
Three Reeds
Your objective is to head towards Martha’s Rest in the center of Rosaria, but there are a few pit stops we can make along the way. For starters, though, make your way towards the Optional Quest Marker ![]() on the map.
on the map.
Characters

Jill has now joined your party and will accompany Clive and Torgal for the next section of the game. Similar to Cid before, and Torgal now, Jill will target enemies you’re fighting and attack with both physical and magic-based abilities. She helps keep an enemy or two tied up when you’re dealing with a large group. Check out the Characters section for more information.
Speak to Rowan, the Optional Quest giver, as you’re passing by, but don’t complete the quest just yet. Our travels will take us to where Rowan wants us to go eventually.
Optional Quest
“Clive is asked by Rowan, a merchant making his way to Martha’s Rest, to take charge of an urgent delivery.”
Instead, take some time to explore the Three Reeds zone along the way. As you can see from the map below, there are four treasure coffers that you can find in this area:
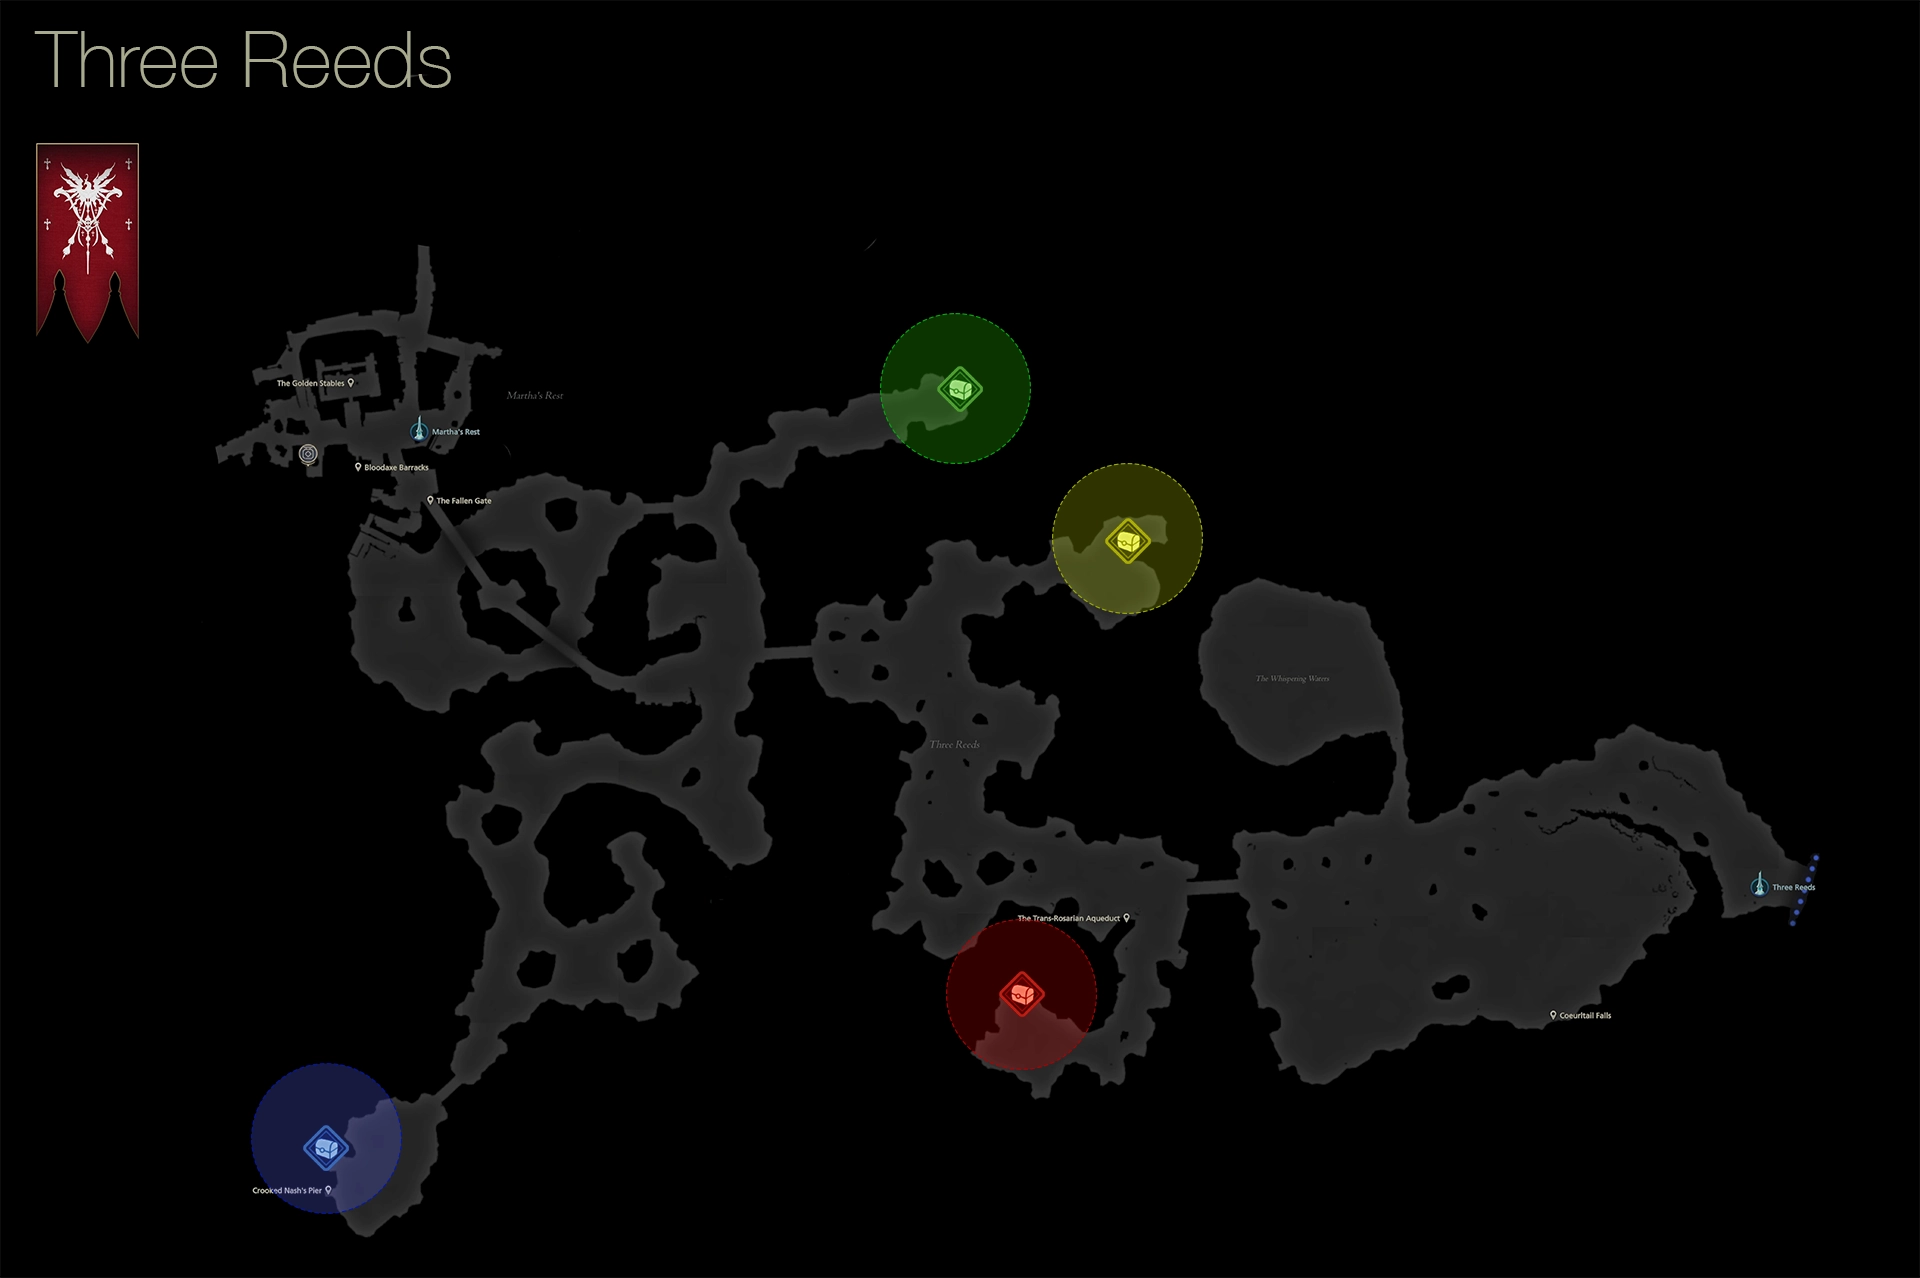
| 1) | ||
|---|---|---|
| 2) | ||
| 3) | ||
| 4) |
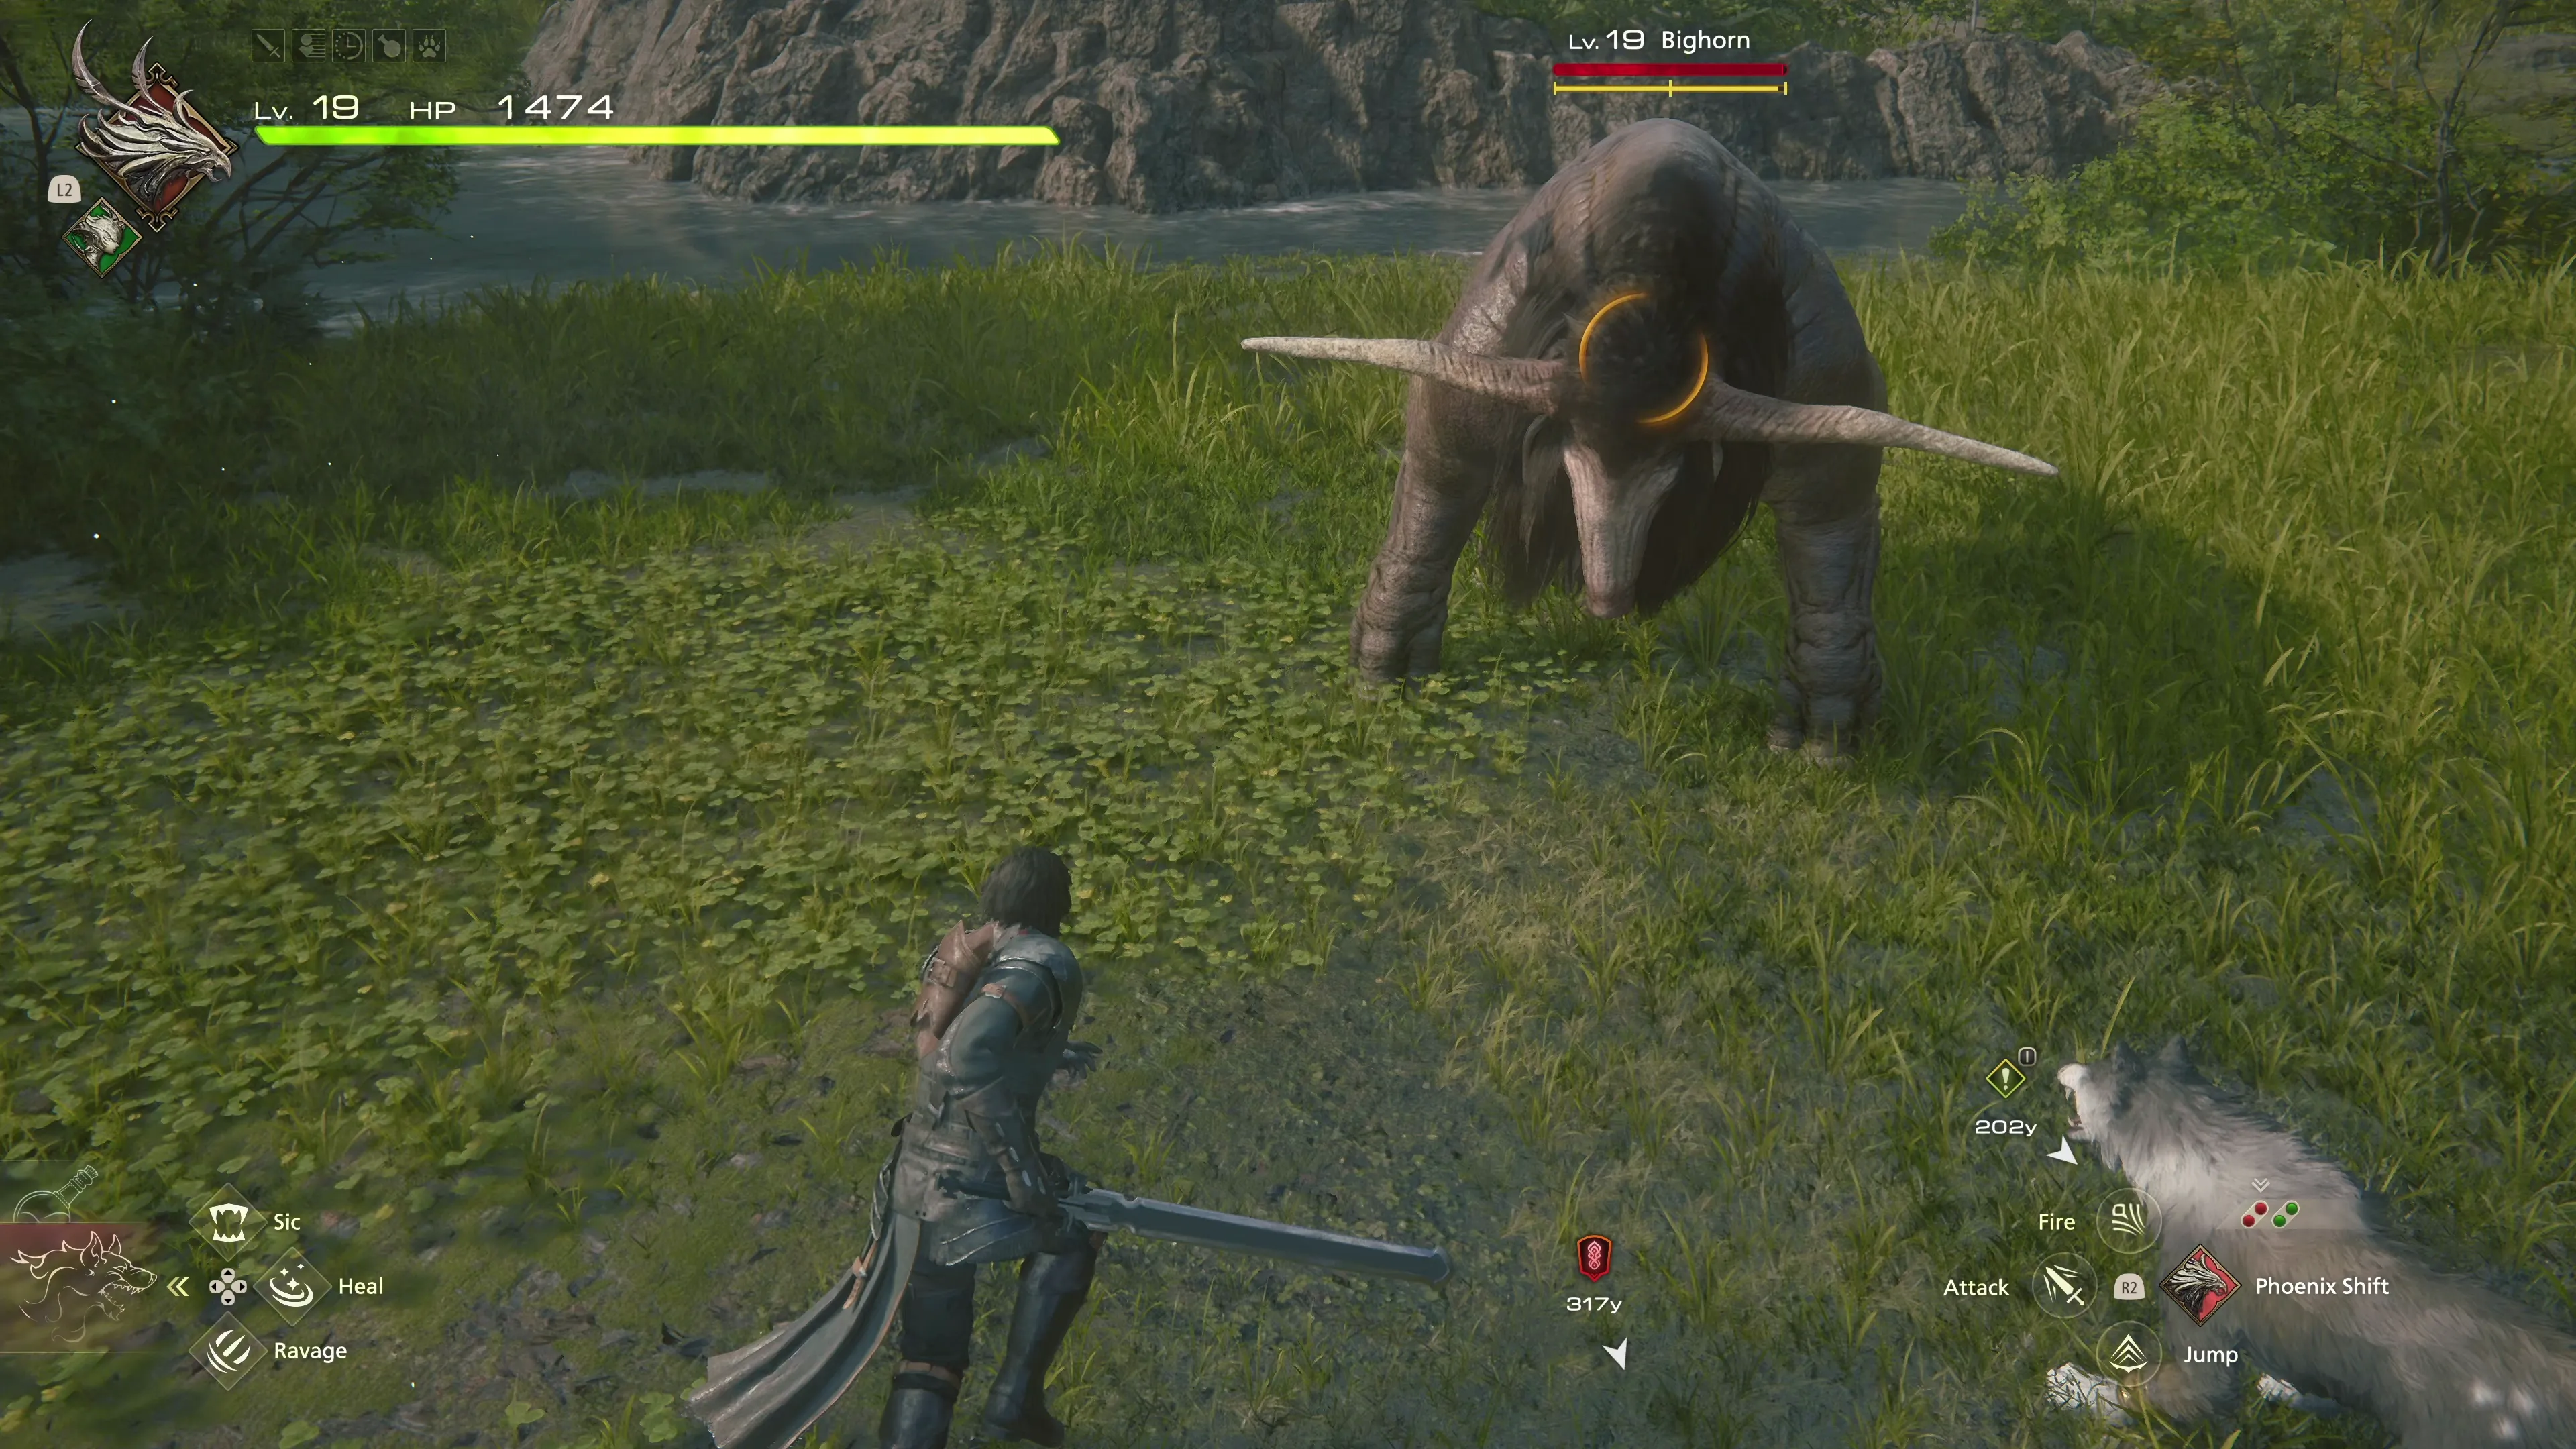
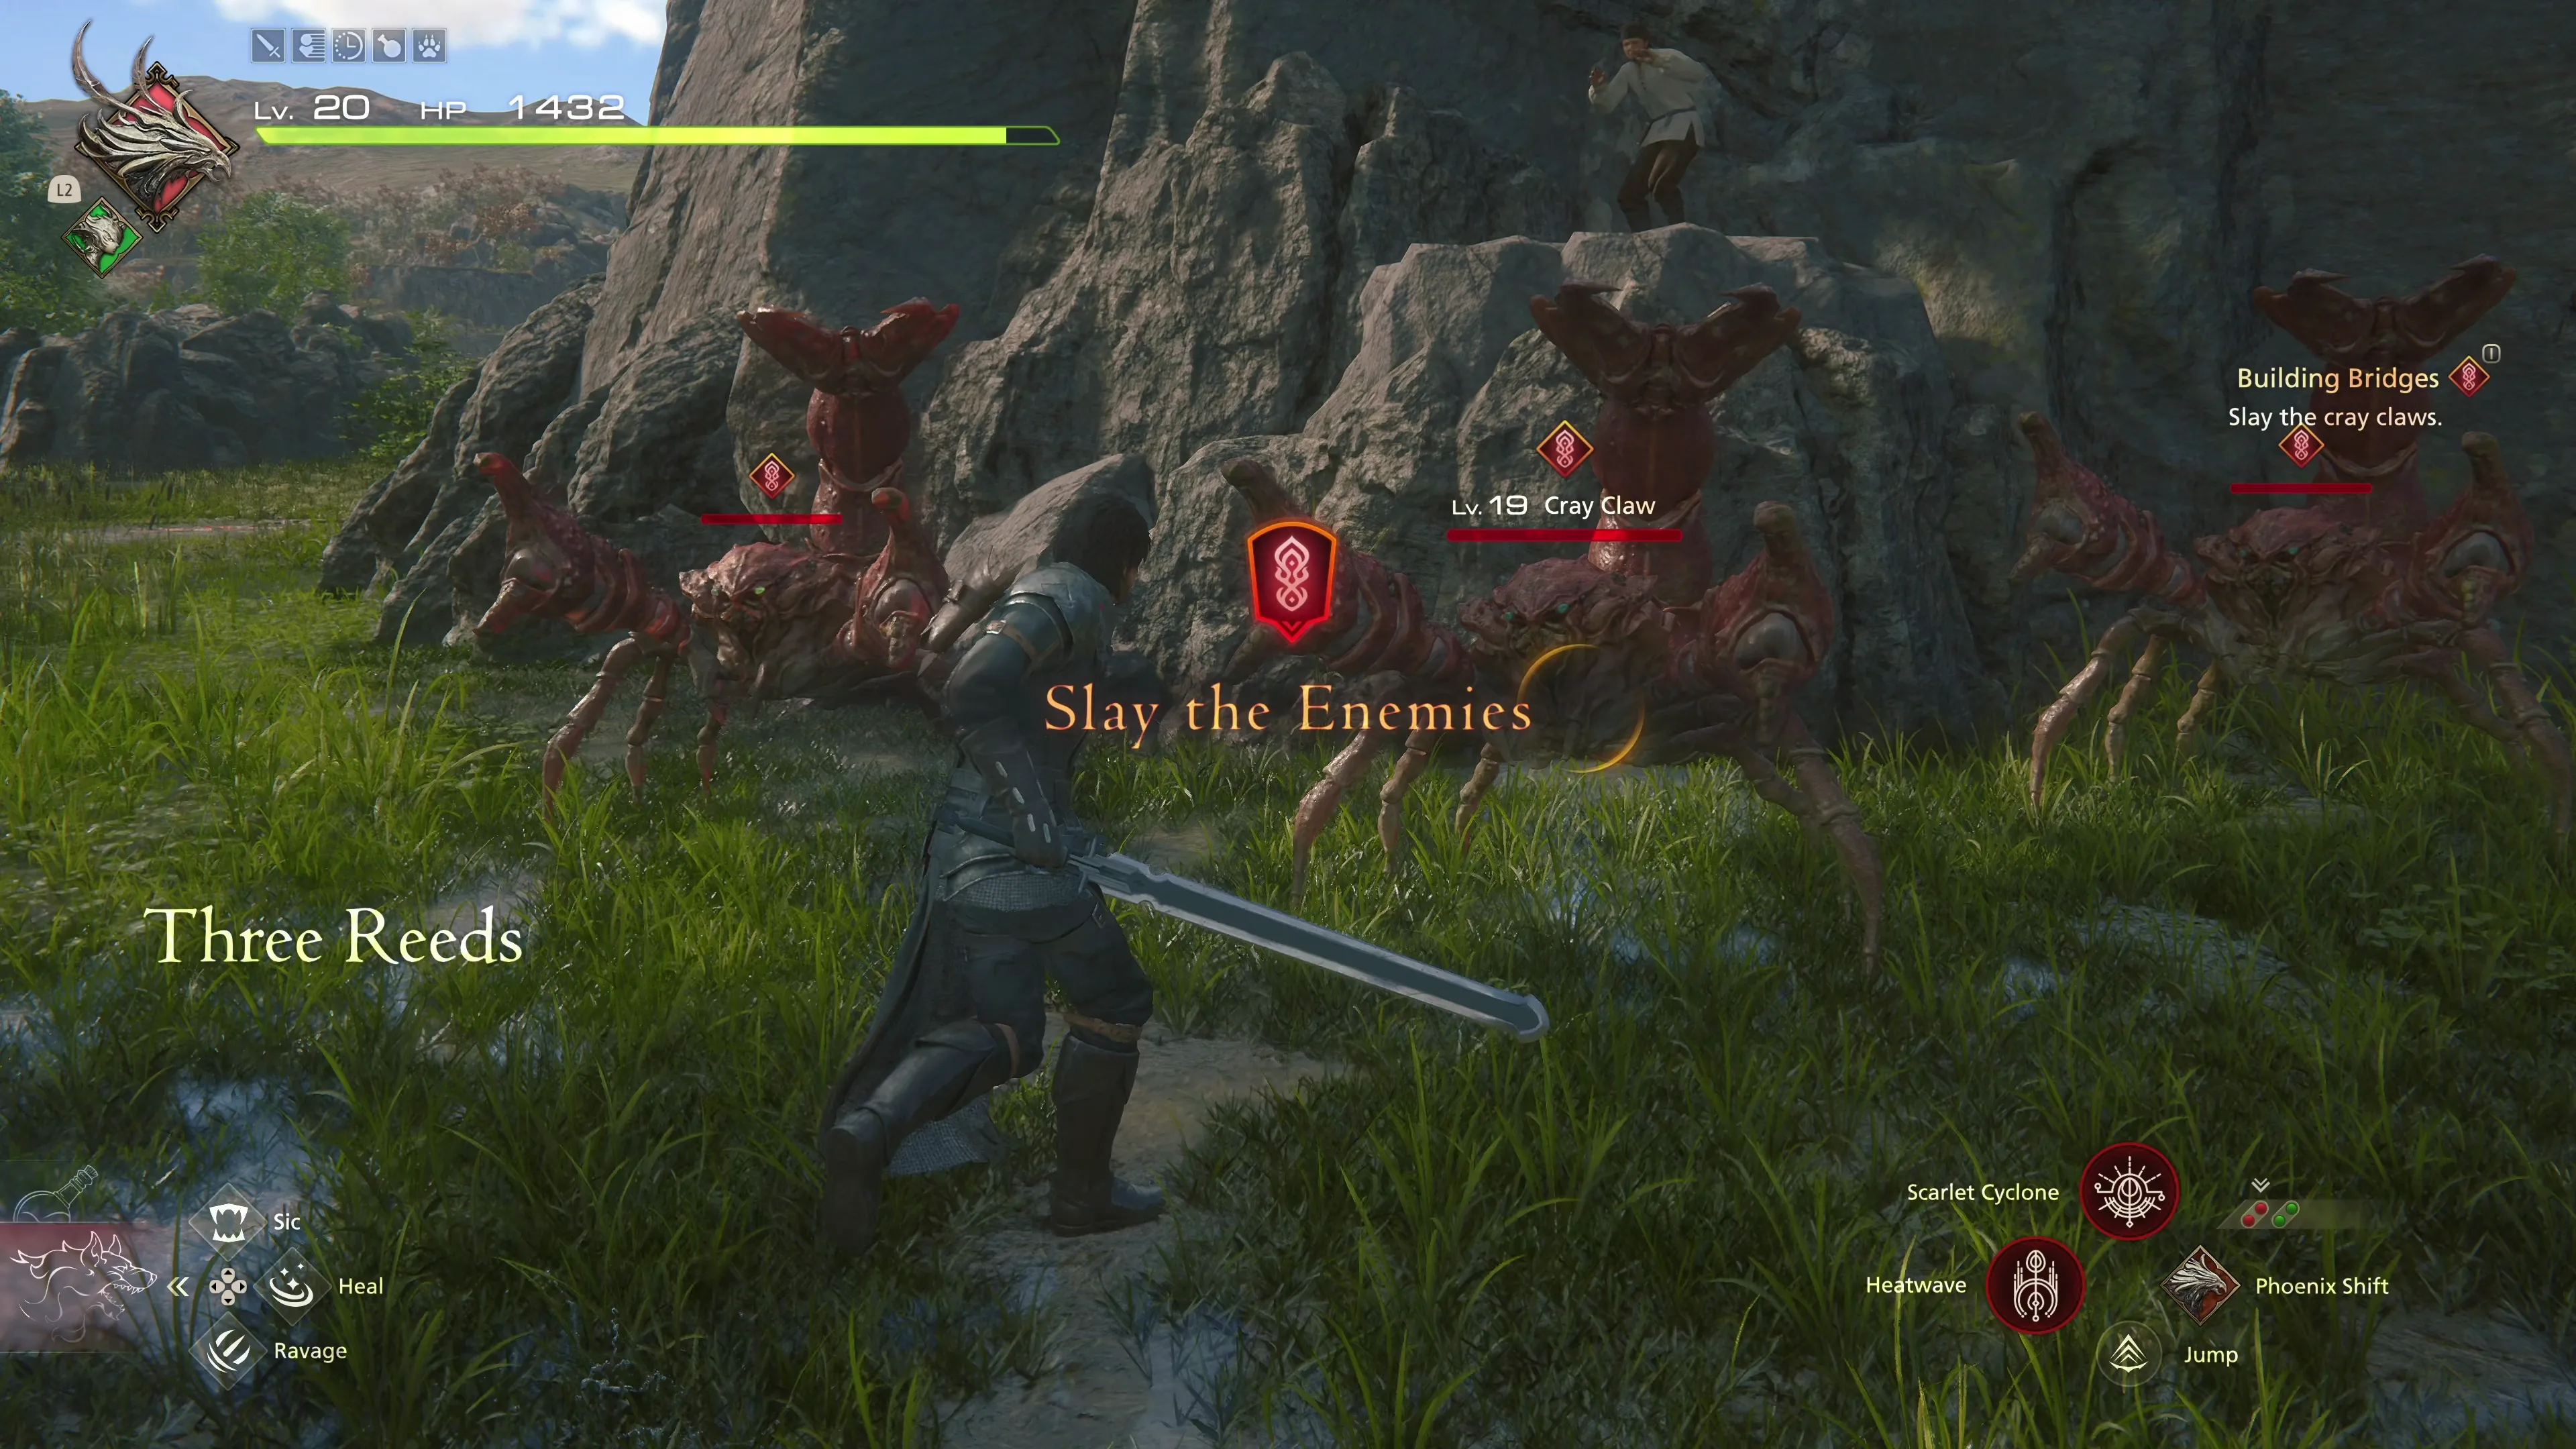
You’ll come across a variety of enemies in this area, most of which you are already familiar with. There are some large ‘Bighorn’ enemies in this area that have quite a bit of HP but are still pretty easy to take down. All of their attacks have wind-up animations that make them easy to dodge.
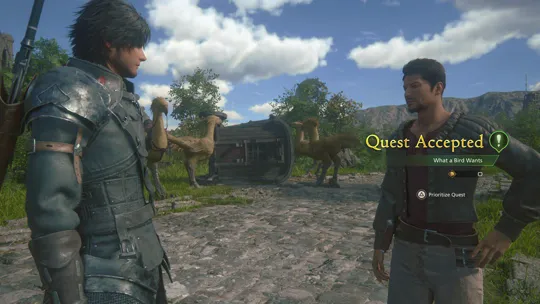
Once you’ve gathered all four treasure coffers, make your way towards the Optional Quest Marker ![]() and speak to Gerard, the Stable Master, to complete
and speak to Gerard, the Stable Master, to complete ![]() What a Bird Wants.
What a Bird Wants.
Continue along the bridge towards the Main Scenario Quest Marker ![]() .
.
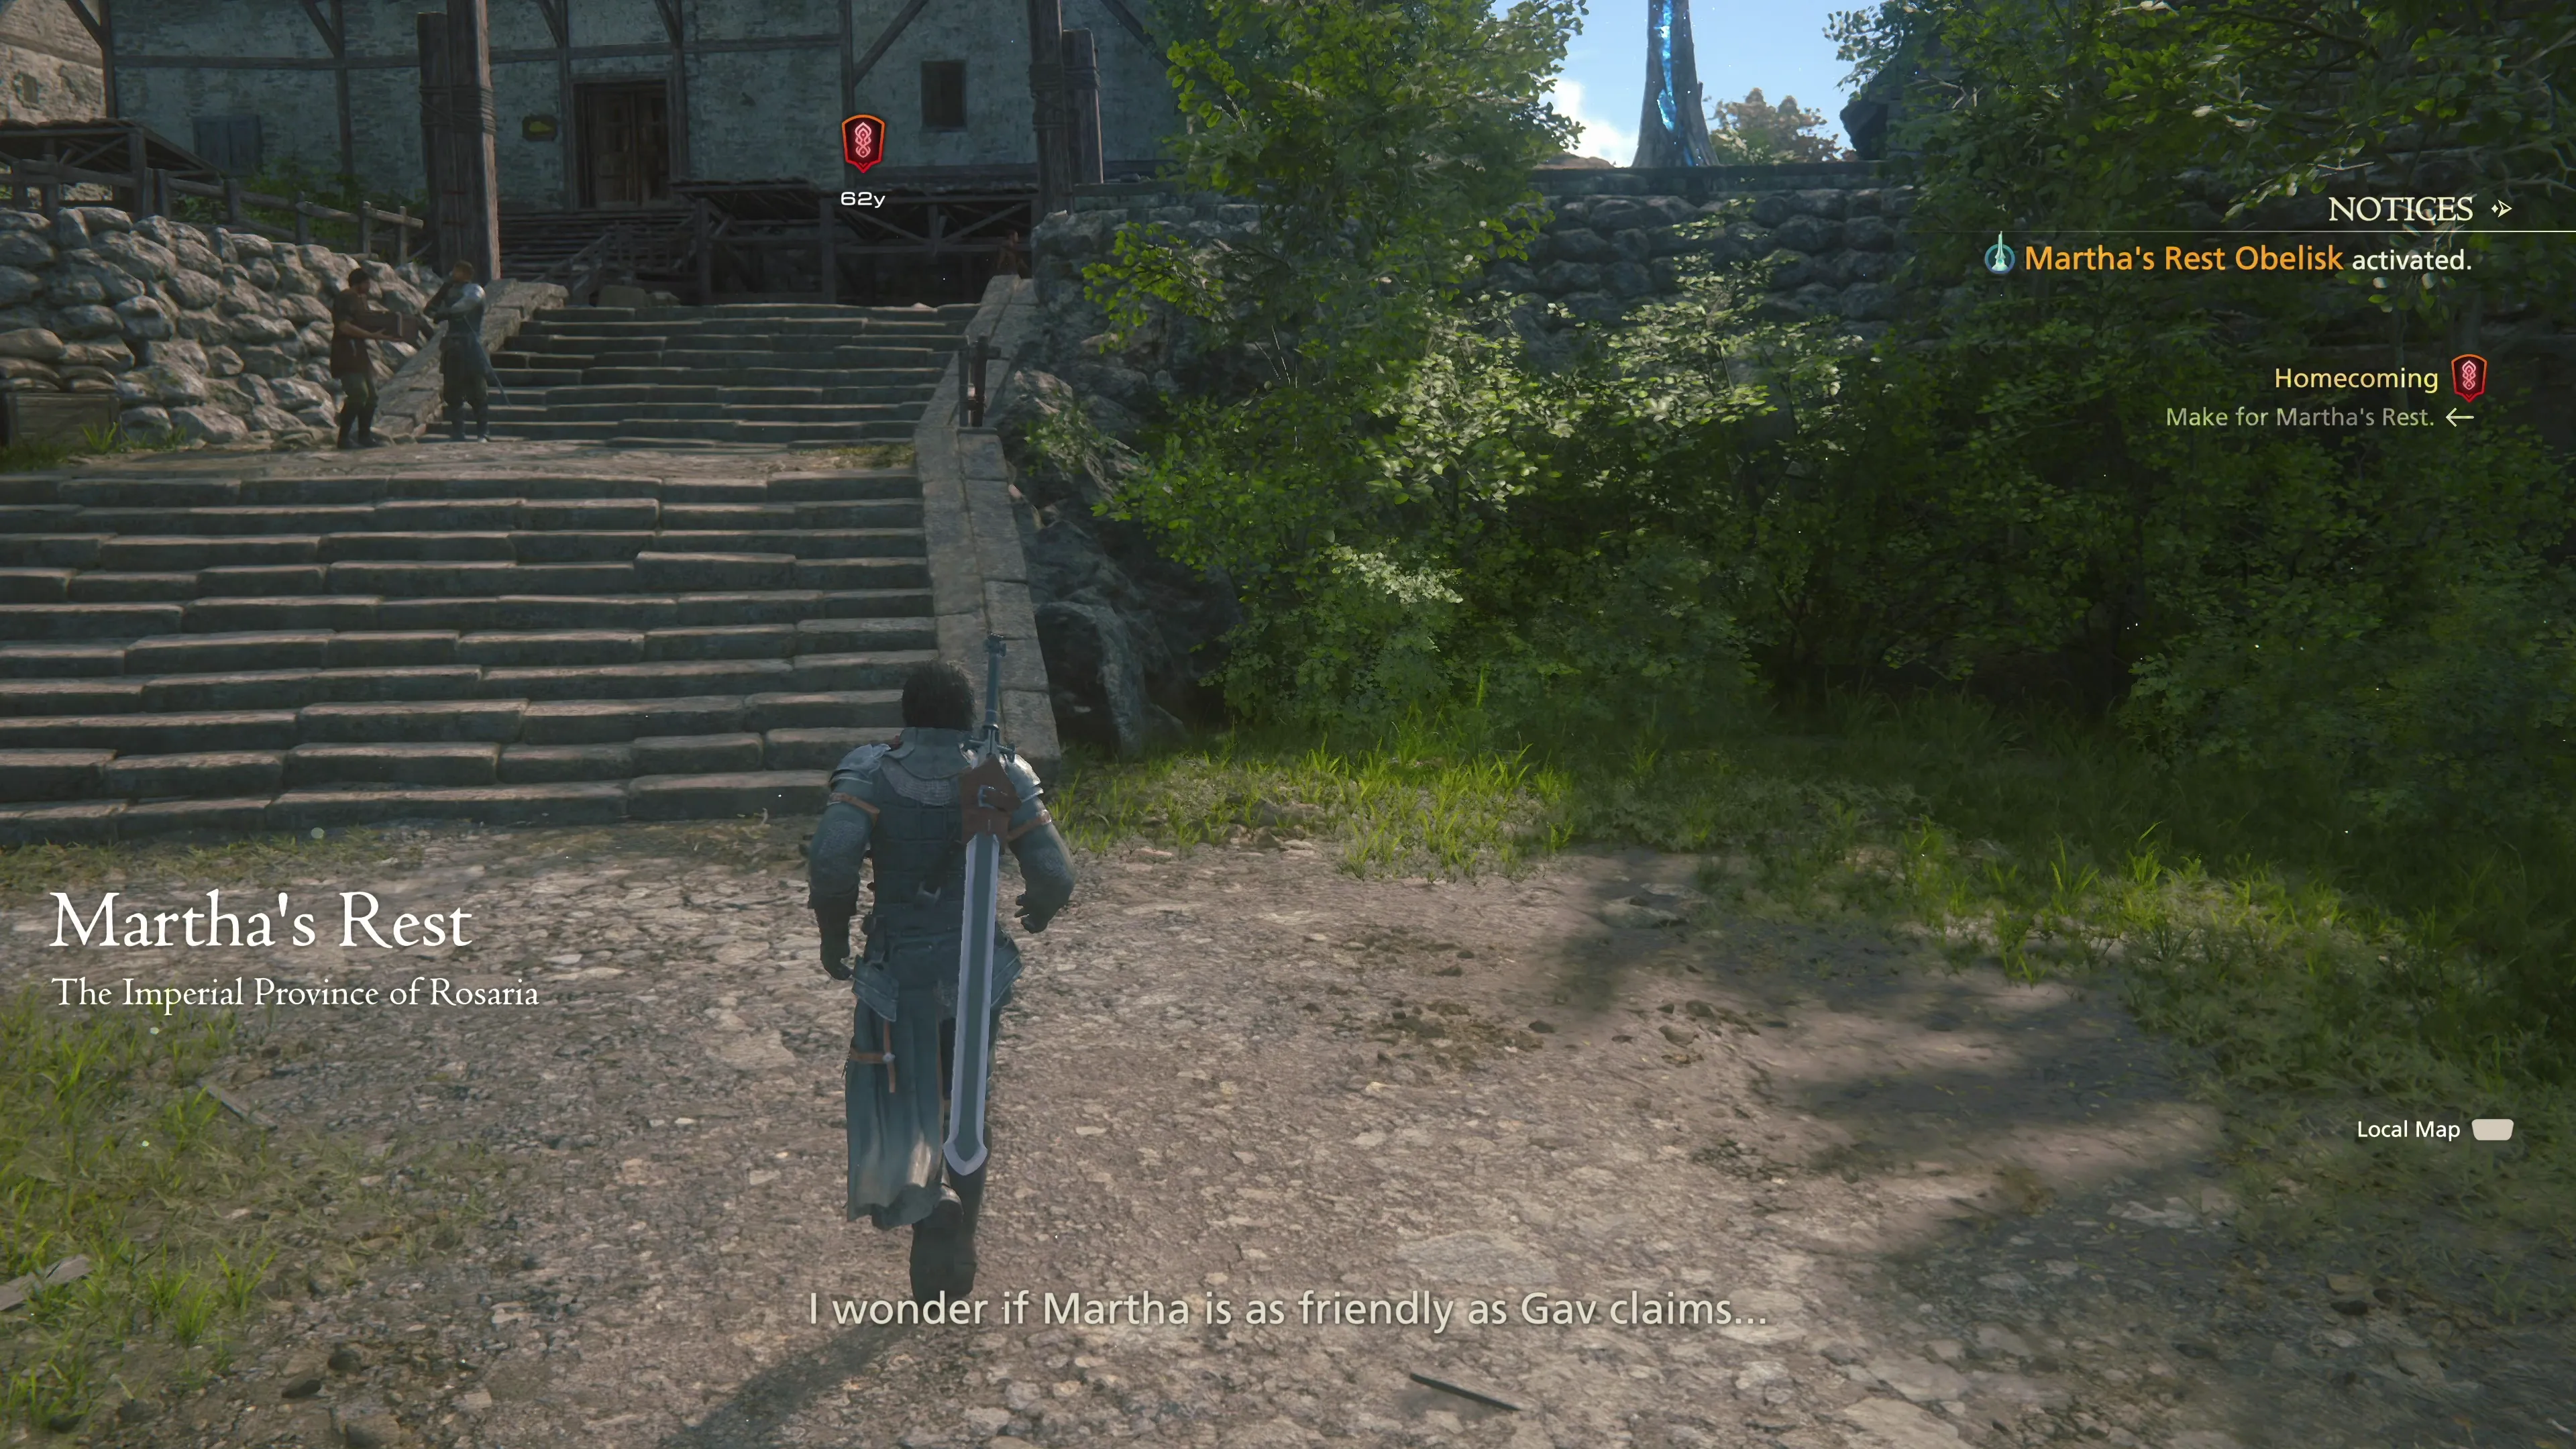
 Martha’s Rest
The ![]() Martha’s Rest Obelisk will activate automatically as soon as you enter the town proper. Before we move on with anything, there are a few treasure coffers that you can pick up in this area:
Martha’s Rest Obelisk will activate automatically as soon as you enter the town proper. Before we move on with anything, there are a few treasure coffers that you can pick up in this area:
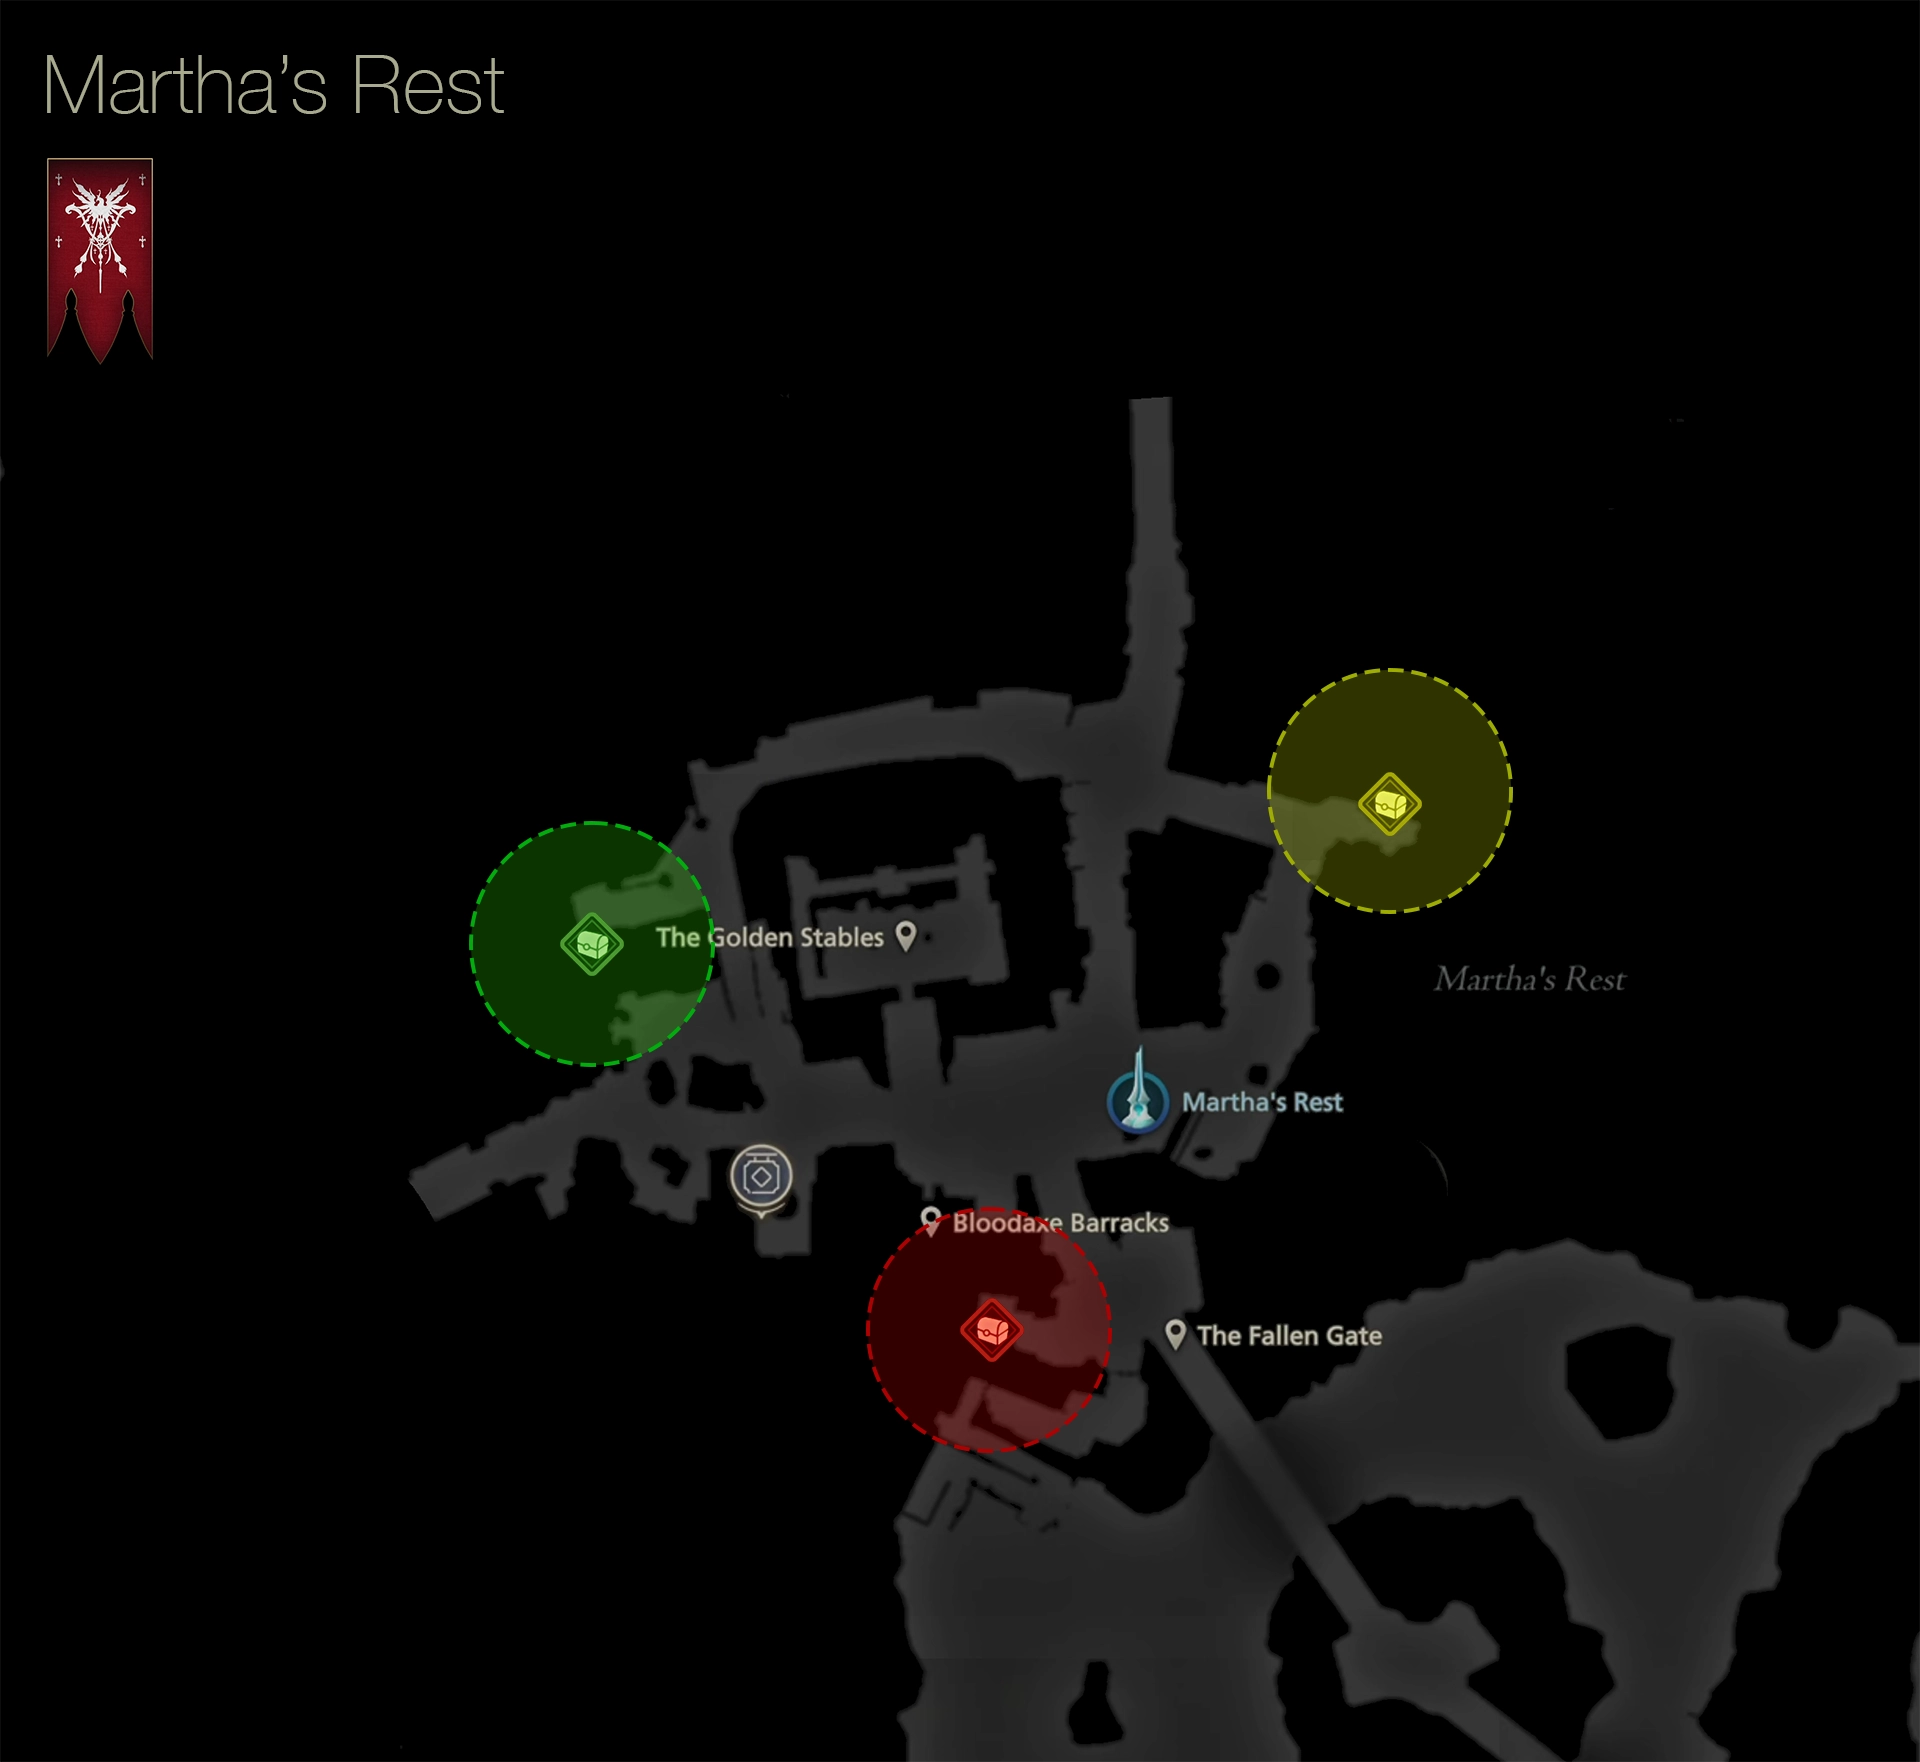
| 1) | ||
|---|---|---|
| 2) | ||
| 3) |
Now follow the Main Scenario Quest Marker ![]() into the large building in the center of town, the “Golden Stables,” to meet with Martha. Following the discussion, Martha will give you a Main Scenario Subquest
into the large building in the center of town, the “Golden Stables,” to meet with Martha. Following the discussion, Martha will give you a Main Scenario Subquest ![]() called “Building Bridges” to complete.
called “Building Bridges” to complete.
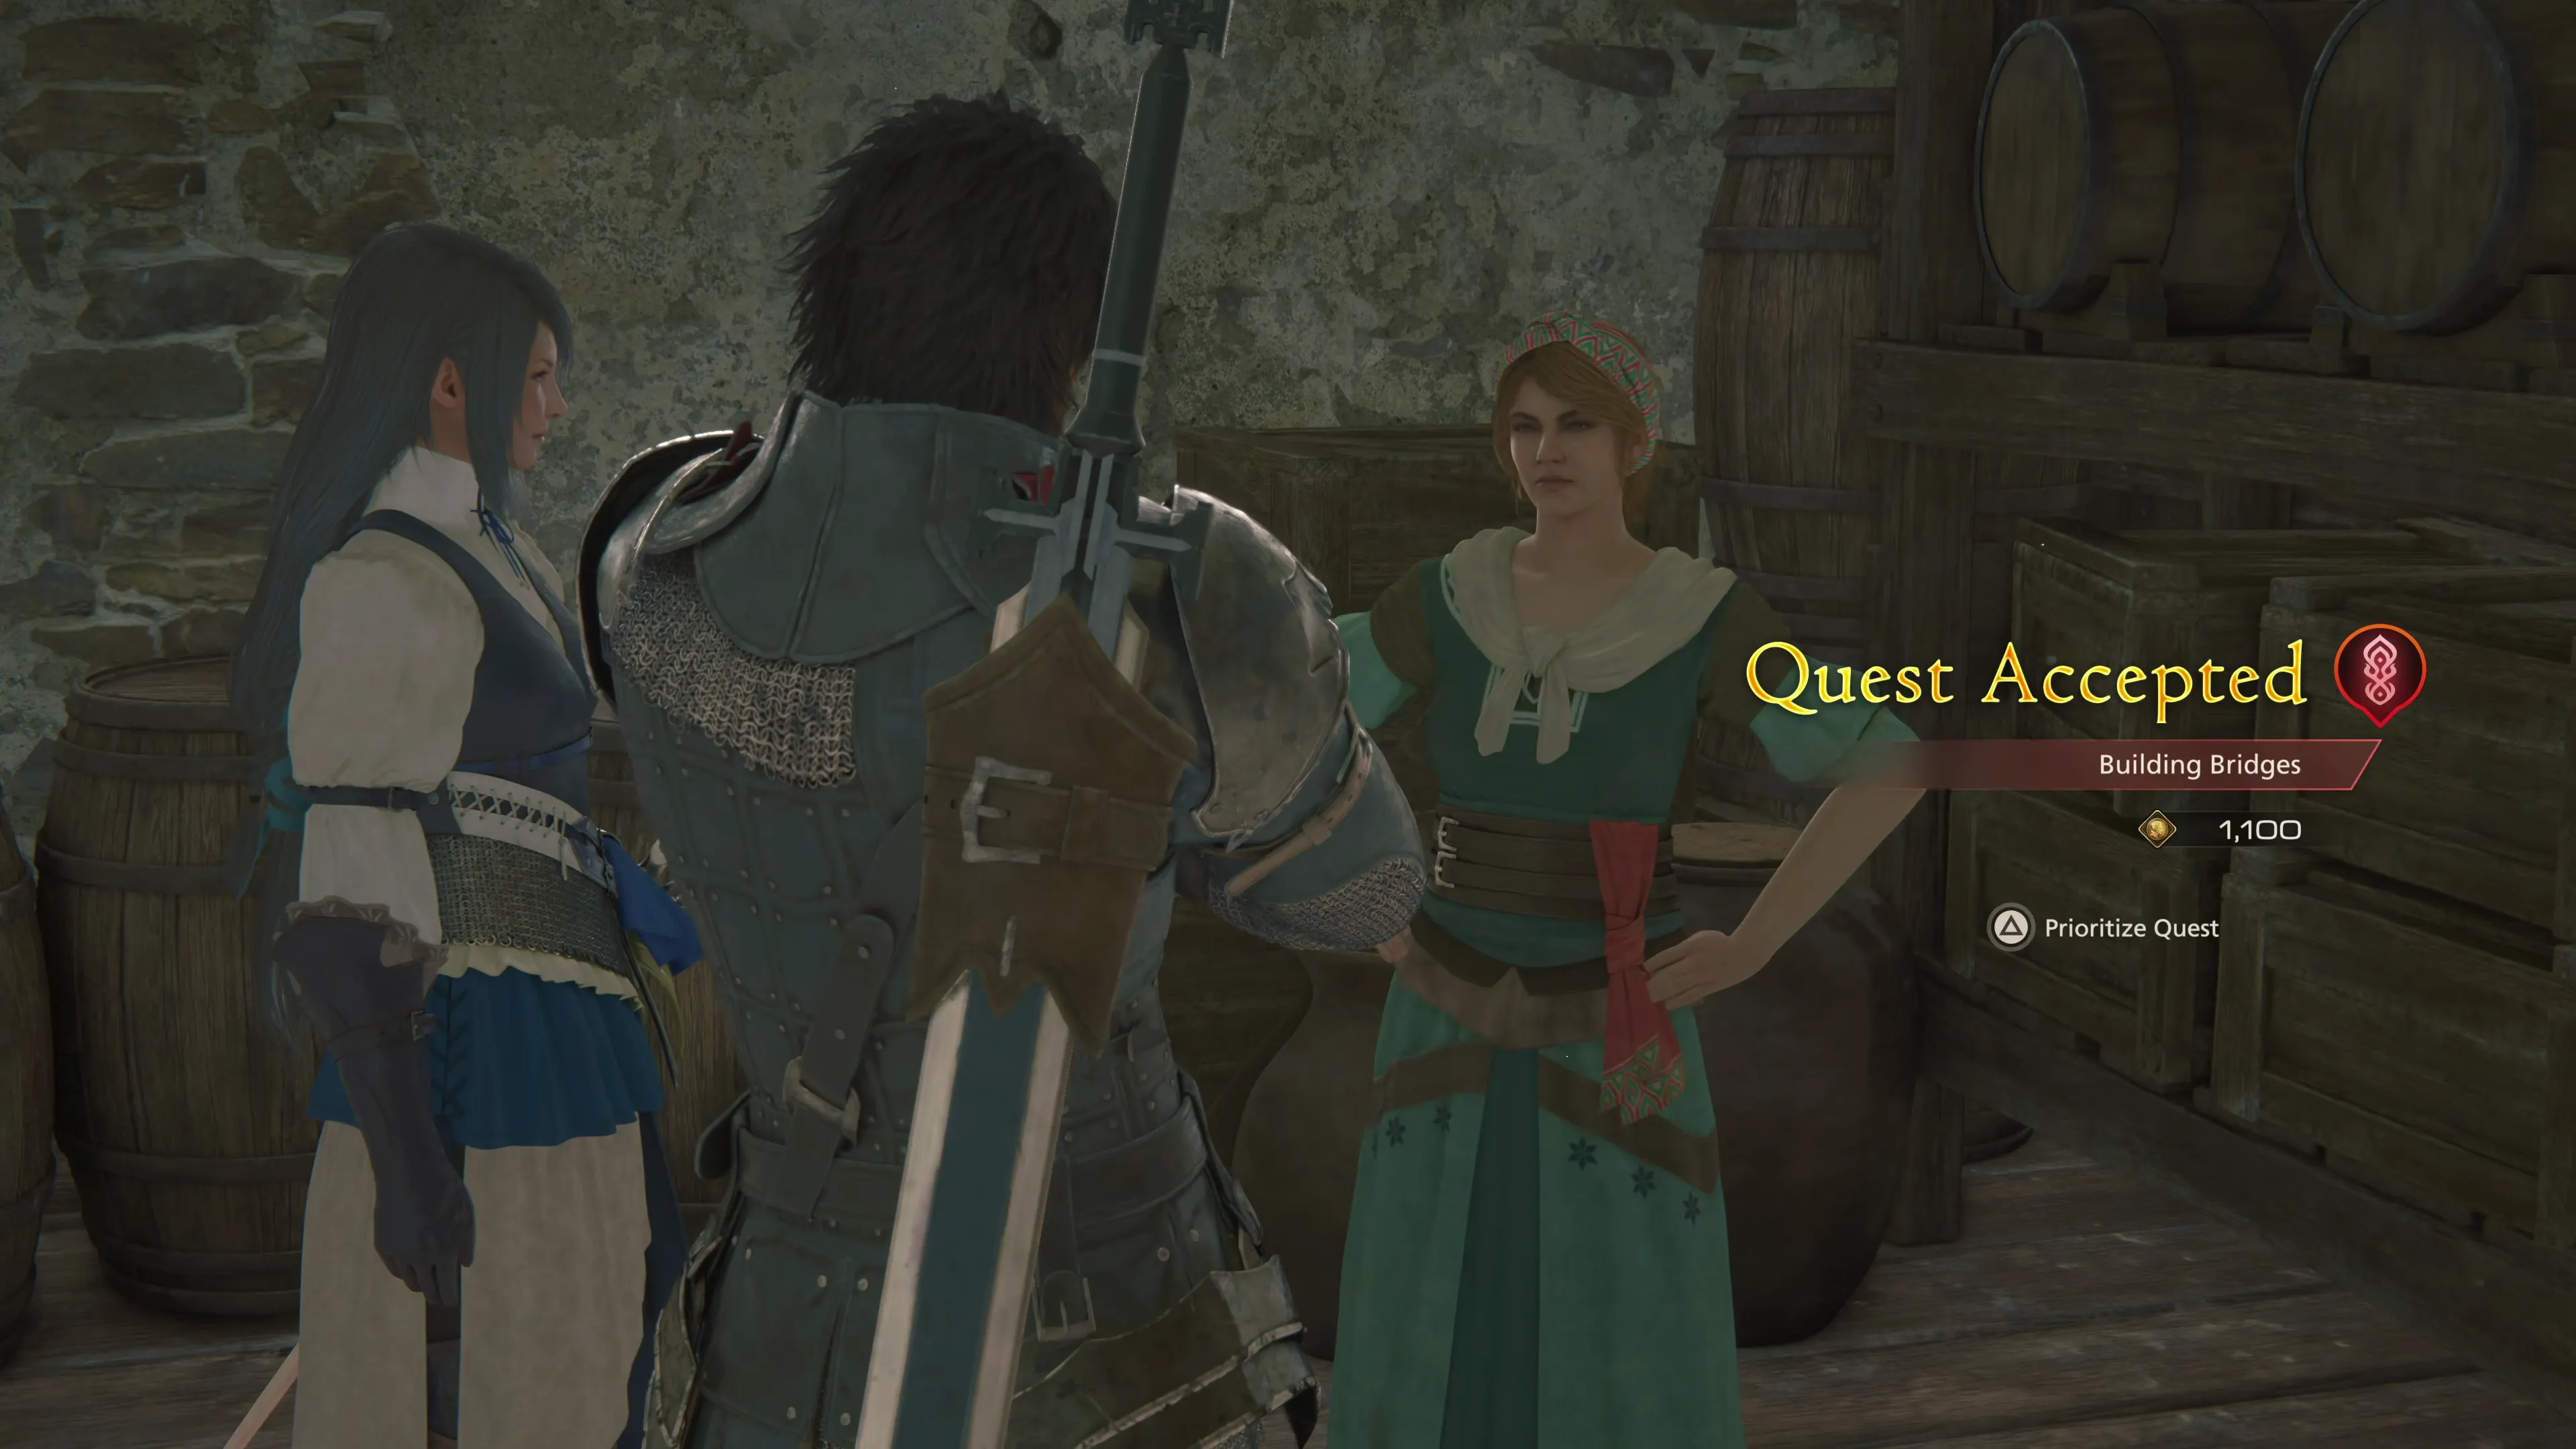
 Building Bridges
This small Subquest is completed while you’re completing “Homecoming,” and you’ll see both quests on the right side of your screen. These Subquests are usually very straightforward to complete, and this one is no exception.
Head towards the town’s entrance and look for a ladder on the right side of the screen. Climb down the ladder, and the second ladder after that, and look towards the bottom of the cliff to see a man surrounded by three Cray Claw enemies.
Defeat the three Cray Claws and you’ll earn some spoils (which include ![]() Valley Madder and
Valley Madder and ![]() Sharp Fangs). Bernard, the Carpenter, will head back up to keep working on the bridge. Meanwhile, you can fast travel back to Martha to complete the Subquest. She’ll give you a
Sharp Fangs). Bernard, the Carpenter, will head back up to keep working on the bridge. Meanwhile, you can fast travel back to Martha to complete the Subquest. She’ll give you a ![]() Leather Pouch key item to deliver as part of your next Subquest.
Leather Pouch key item to deliver as part of your next Subquest.
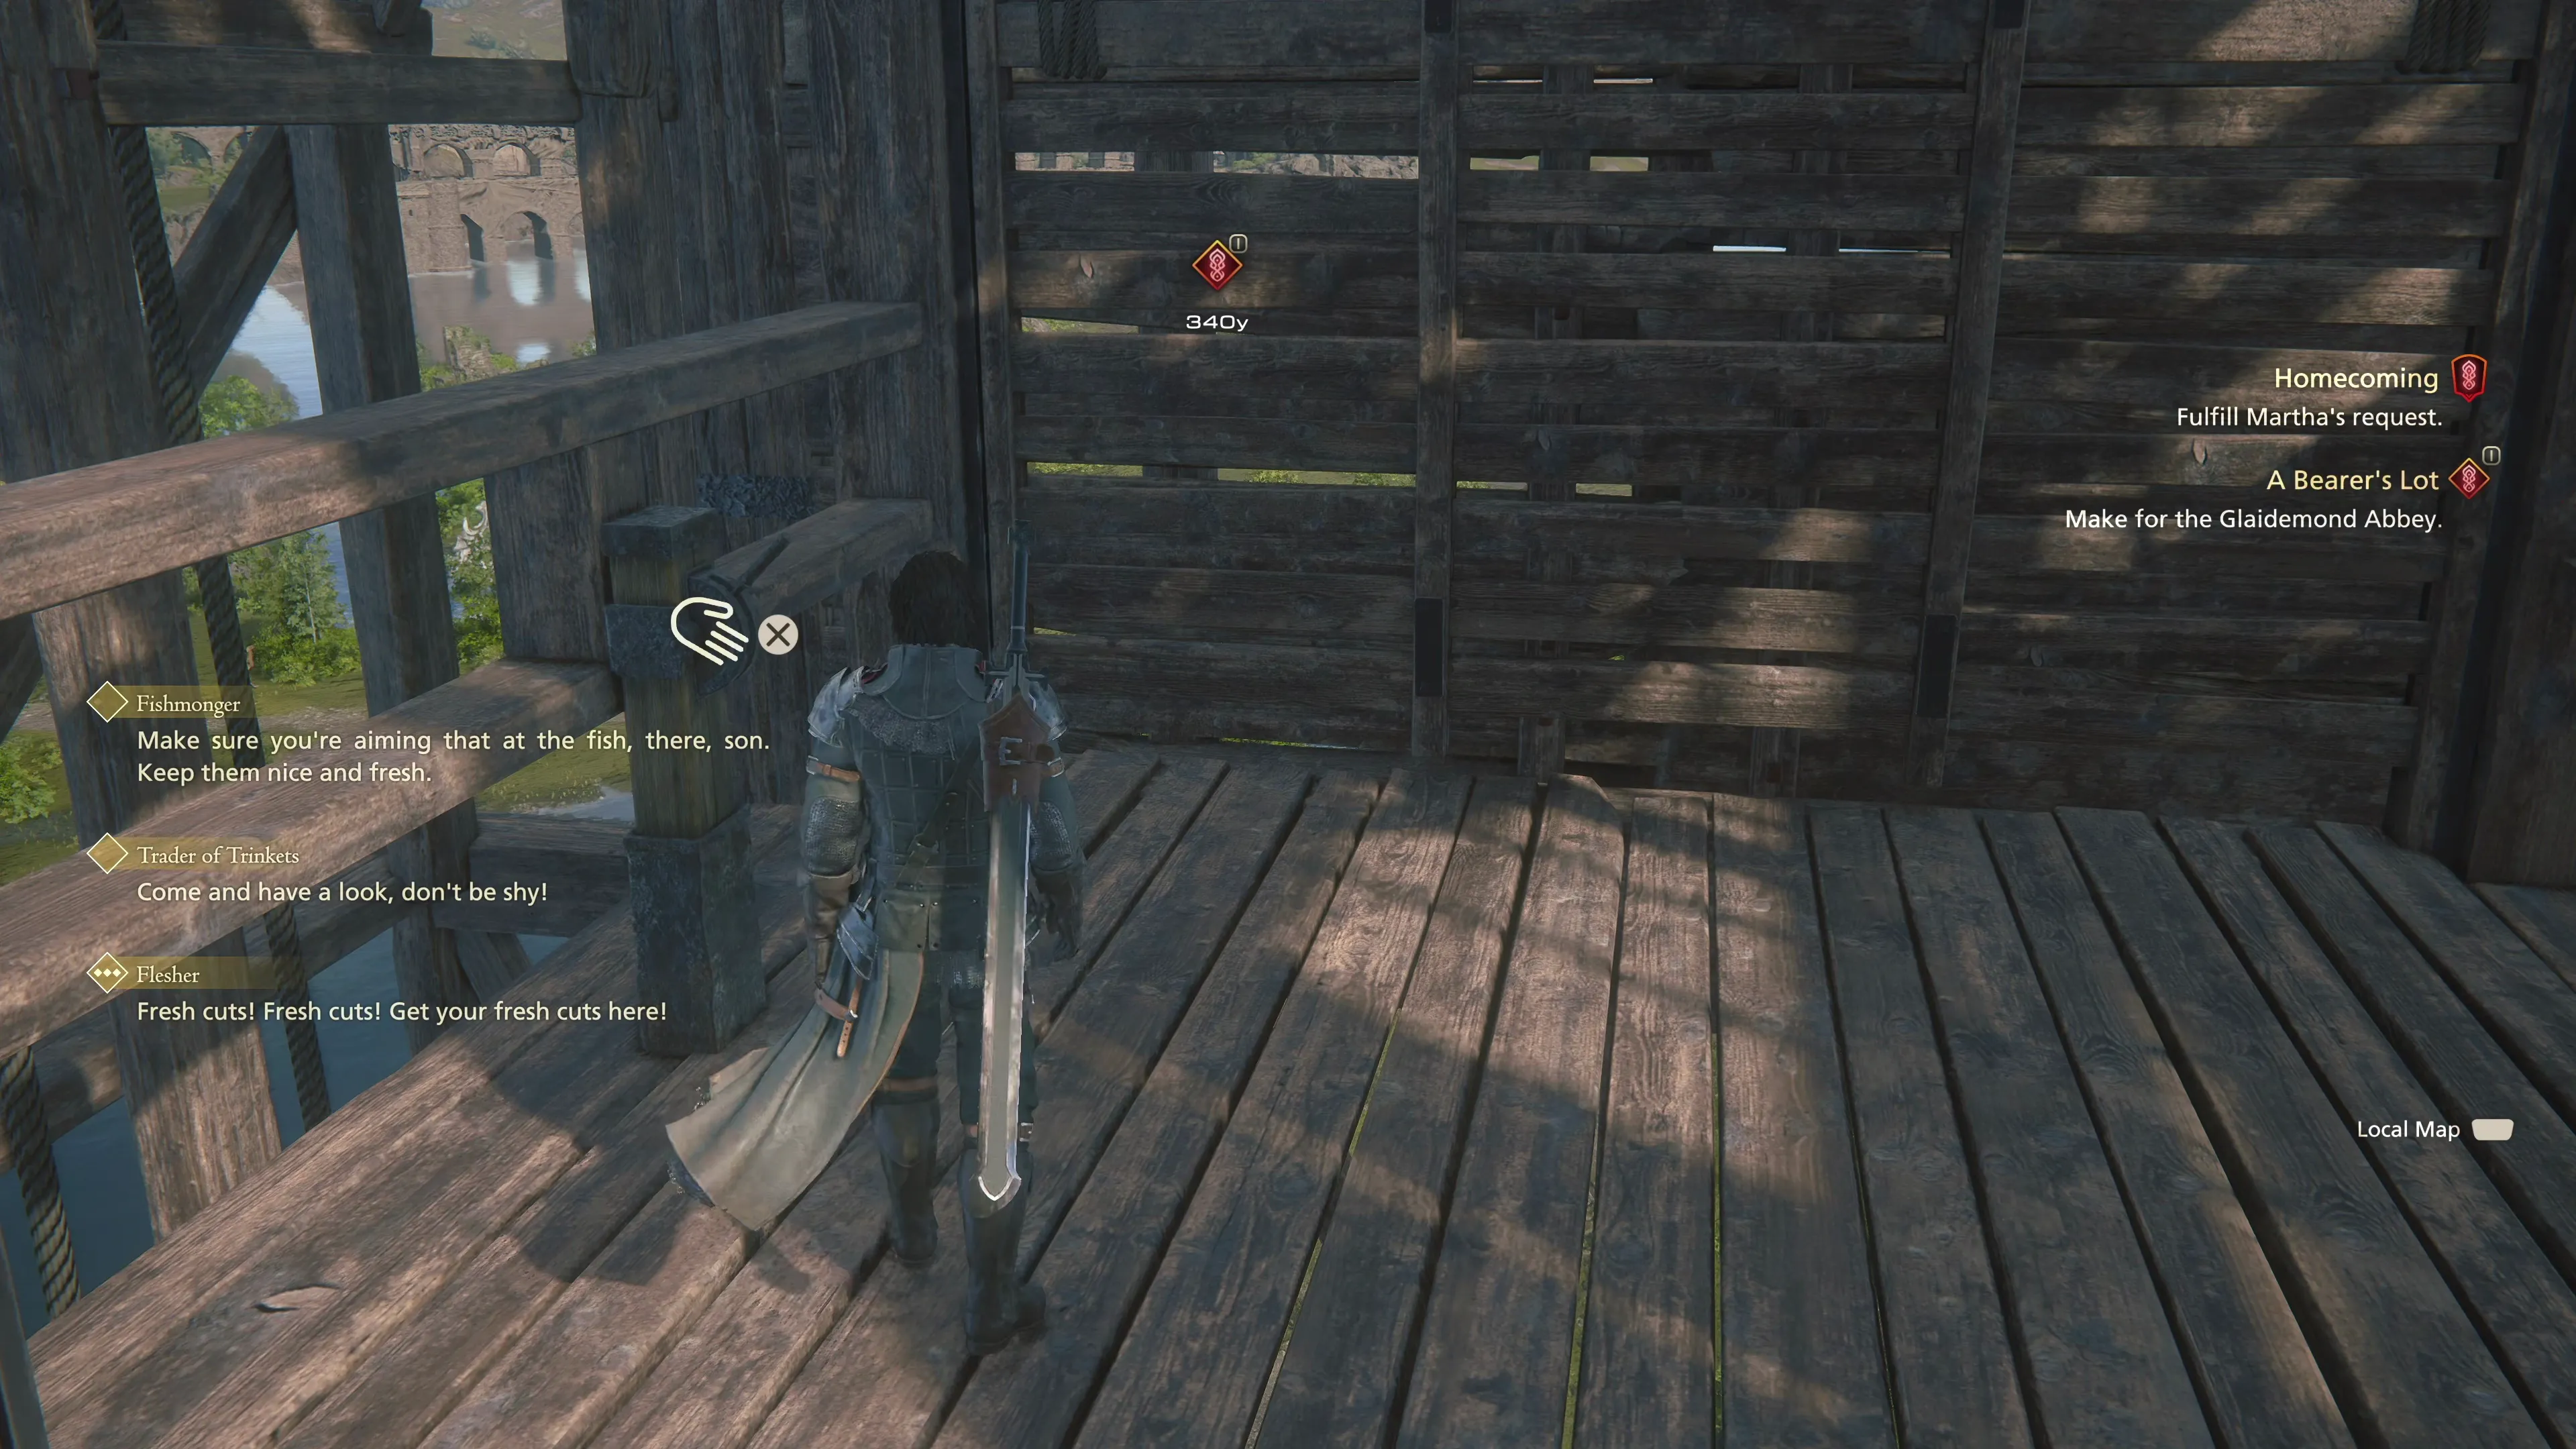
A Bearer’s Lot
The Leather Pouch needs to be delivered to Martha’s friend in Glaidemond Abbey in Sorrowise. You can see the location you’re headed to if you pull up the map, but Sorrowise is the area southwest of Martha’s Rest. You can reach it by activating the elevator near the cliffs on the east side of town.
There are three treasure coffers that you can open up in the Sorrowise area. Use the map below to help you find them:
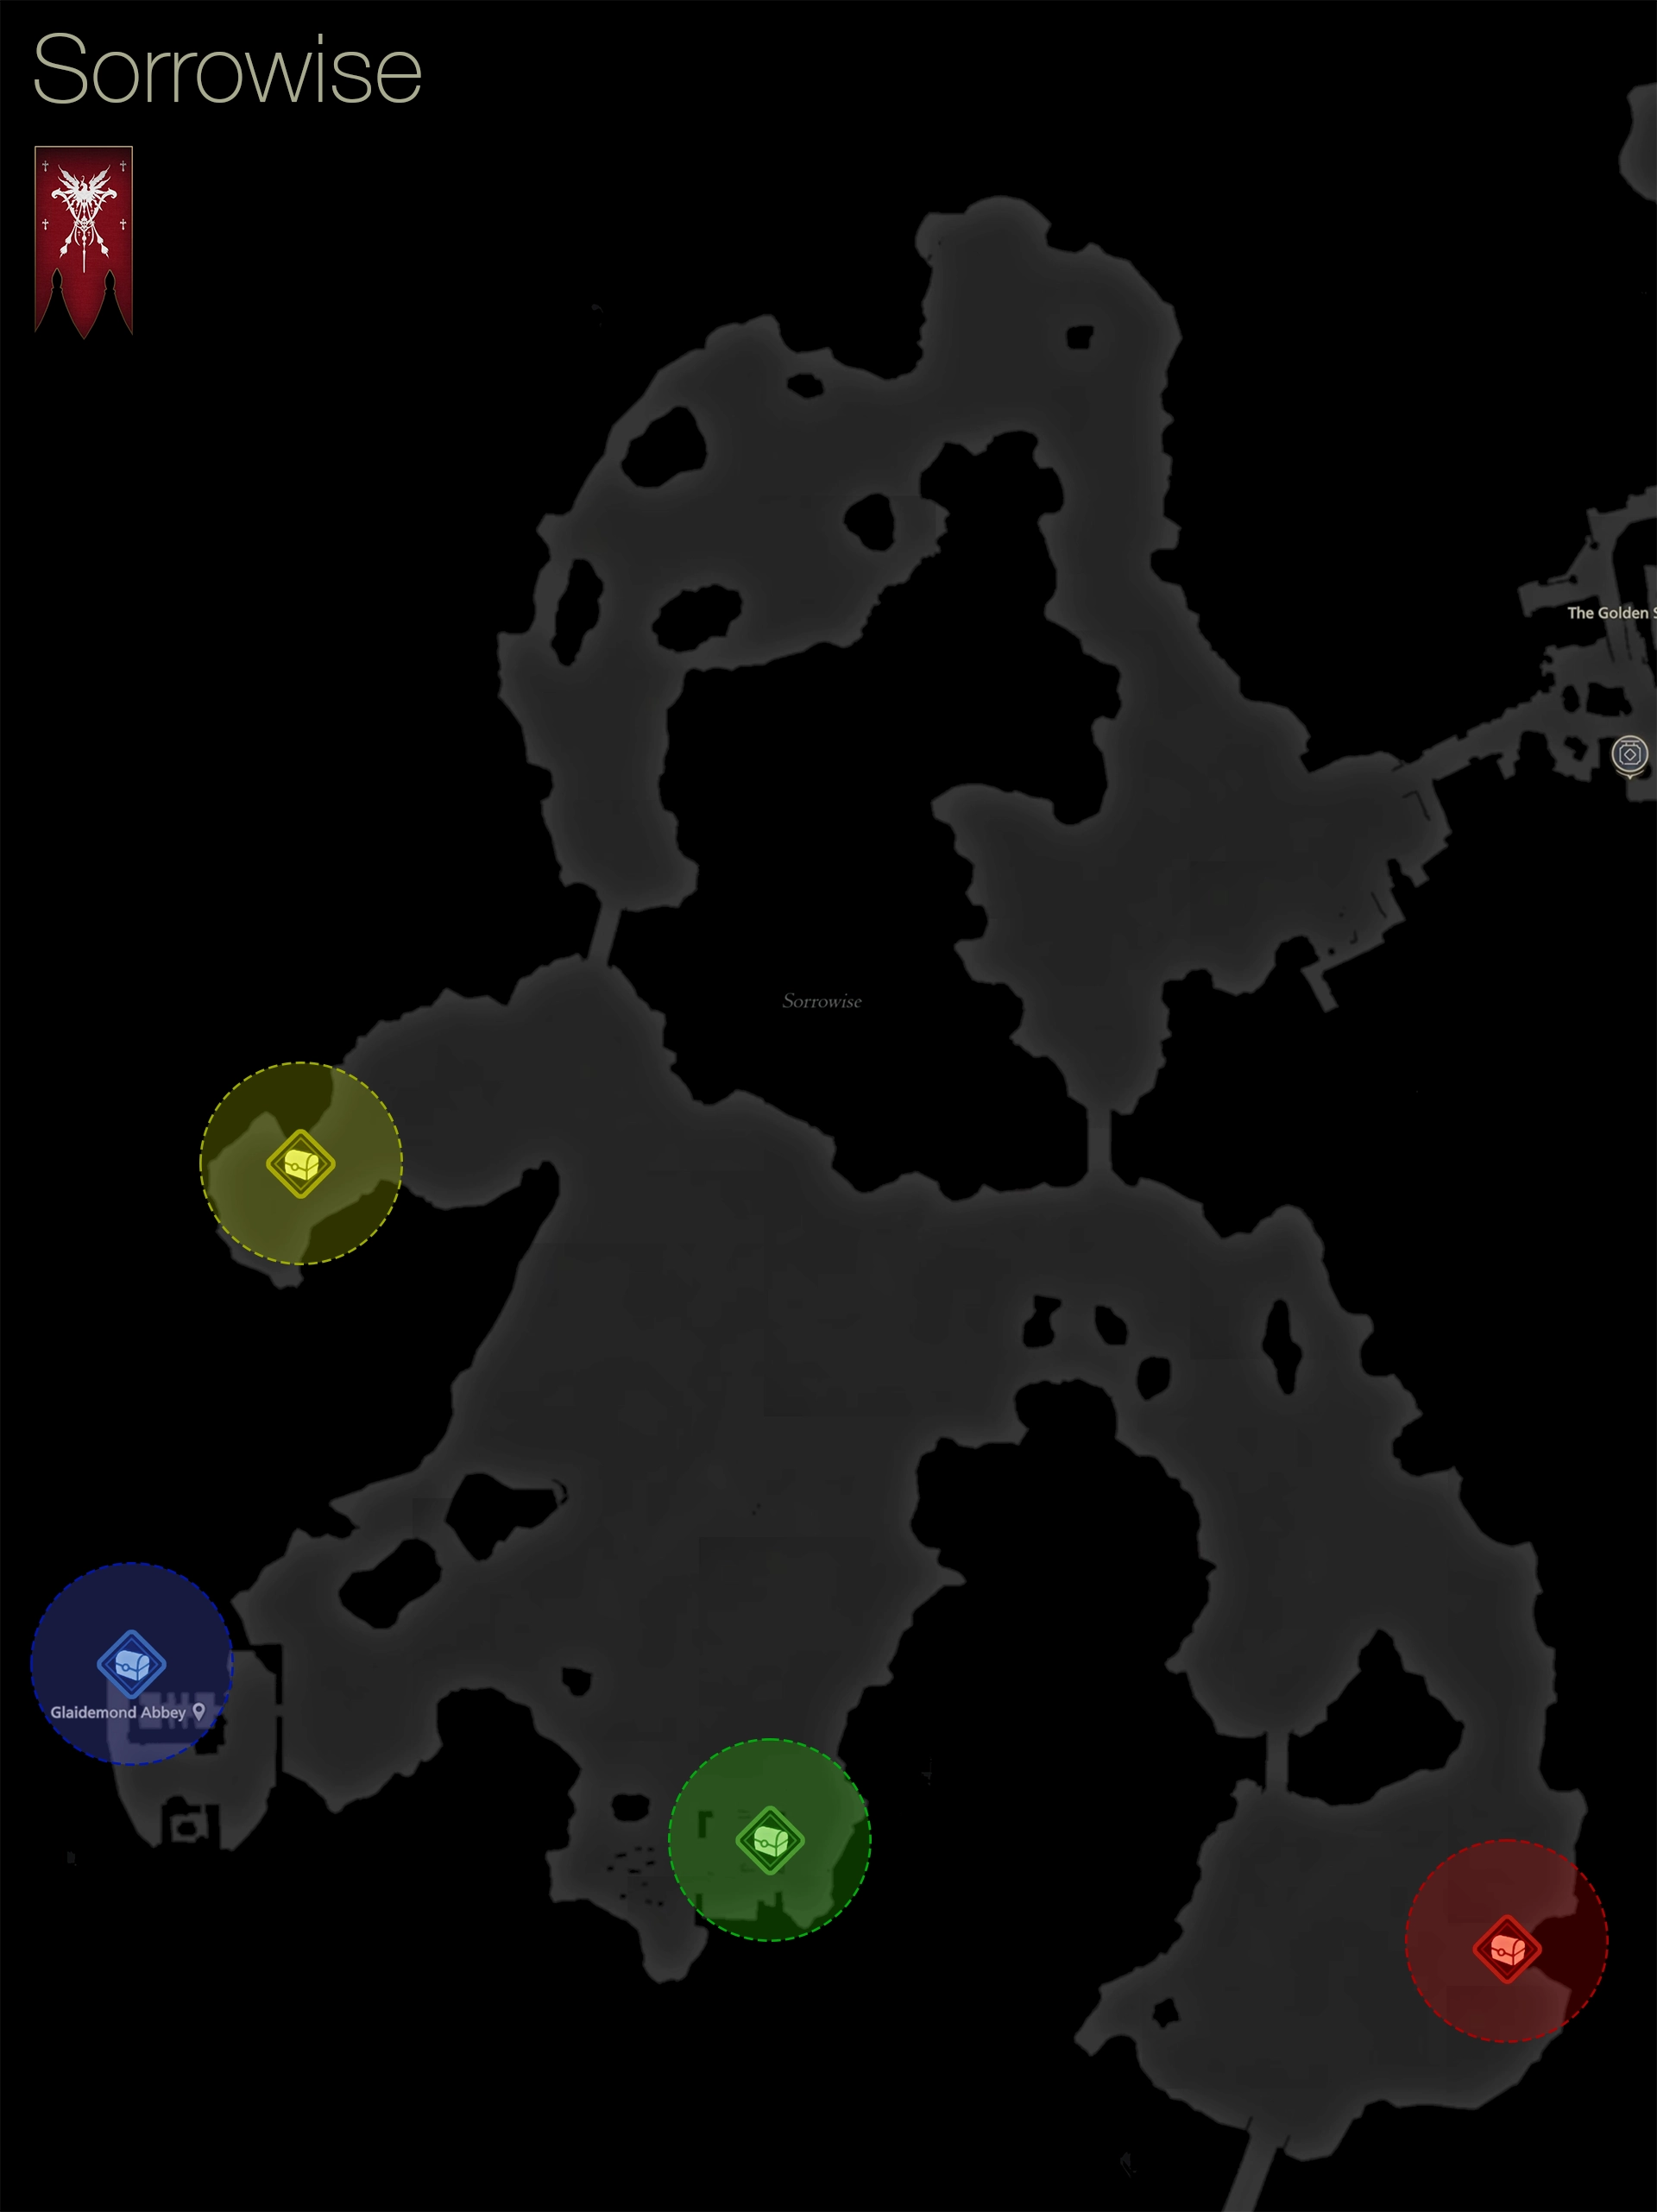
| 1) | ||
|---|---|---|
| 2) | ||
| 3) | ||
| 4) |
You can only obtain the ![]() Green Treasure Coffer after you’ve completed the story events at Glaidemond Abbey. You’ll have the option to fast travel back to Martha’s Rest, but make sure you grab the treasure coffer before you do.
Green Treasure Coffer after you’ve completed the story events at Glaidemond Abbey. You’ll have the option to fast travel back to Martha’s Rest, but make sure you grab the treasure coffer before you do.
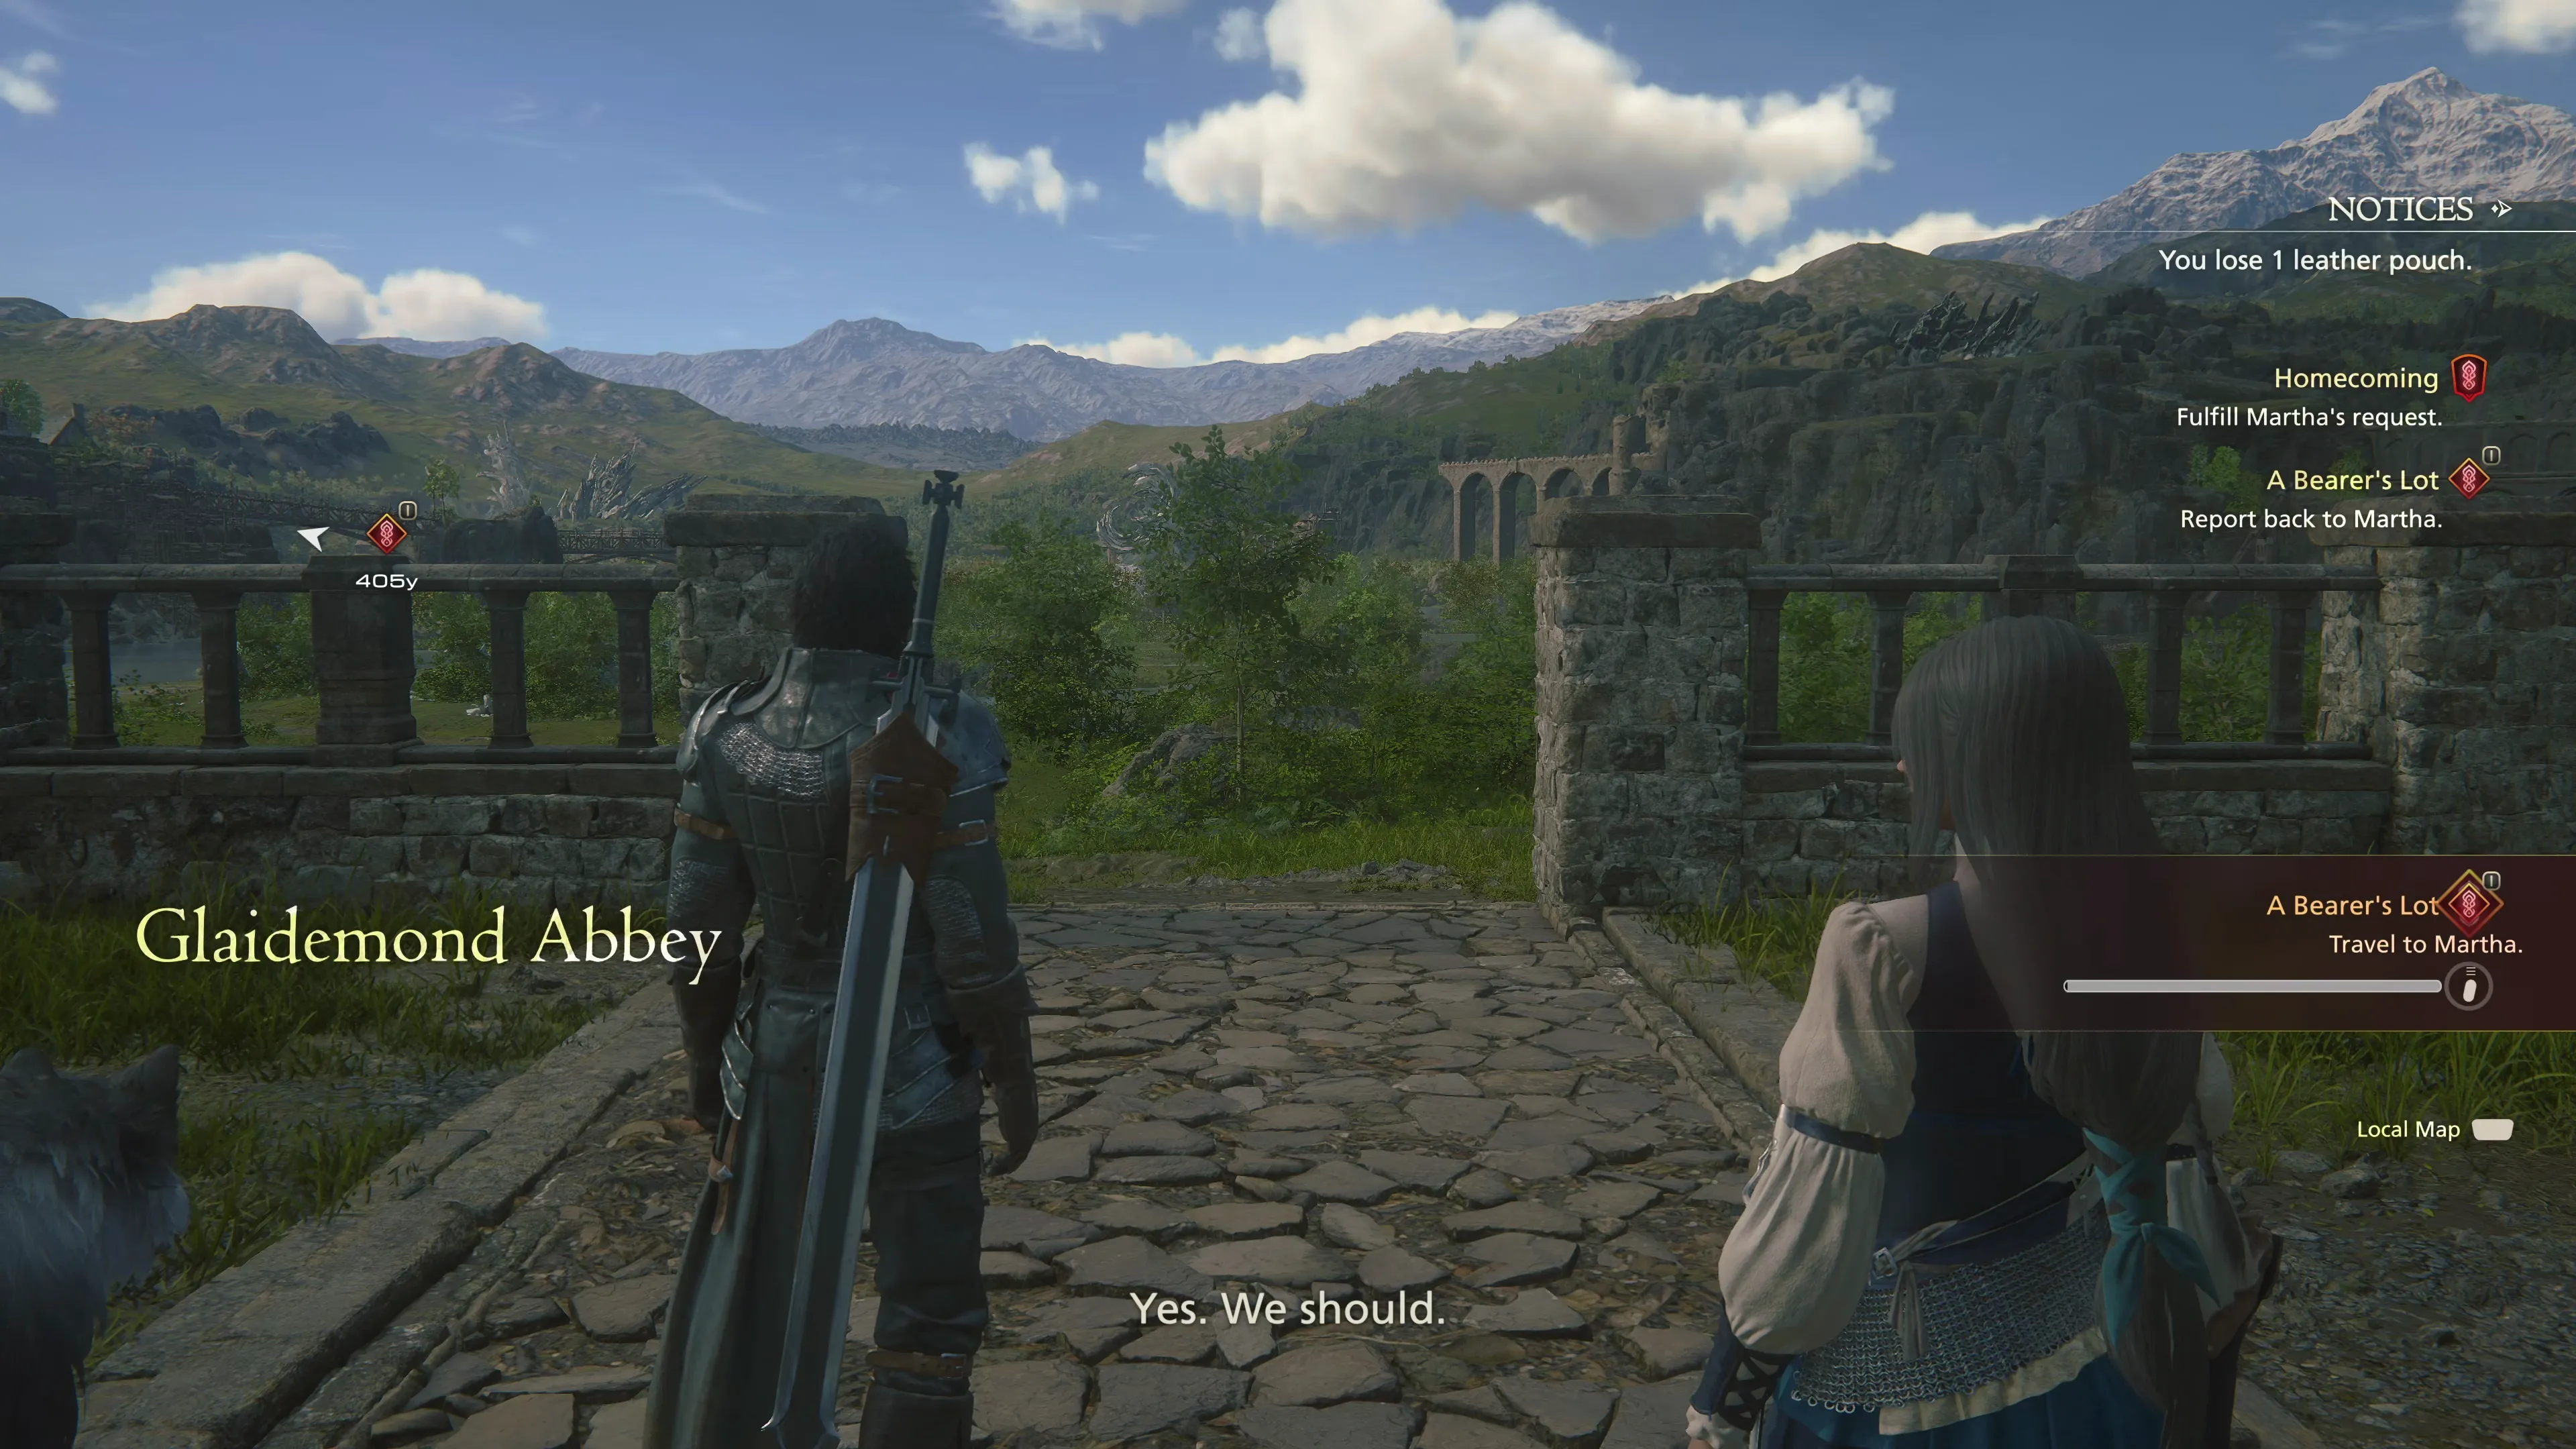
You’ll receive ![]() The Slumbering Chocobo from Martha once the Subquest has been completed. After stepping outside the Golden Stable, you’ll complete the Main Scenario Quest for “Homecoming.” It’s time to move on to the next section of the game.
The Slumbering Chocobo from Martha once the Subquest has been completed. After stepping outside the Golden Stable, you’ll complete the Main Scenario Quest for “Homecoming.” It’s time to move on to the next section of the game.