
 The Hunter and the Hunted
The Kingsfall
Helpful Hint
This guide will utilize maps to help you navigate through each location; however, this is the third section of the game that features a linear map.
As a reminder, these areas are one single trail that you use to travel from the start of the zone to the end, and there are no maps available in the game for these sections. These are typically utilized during sections of the game that are important to the story.
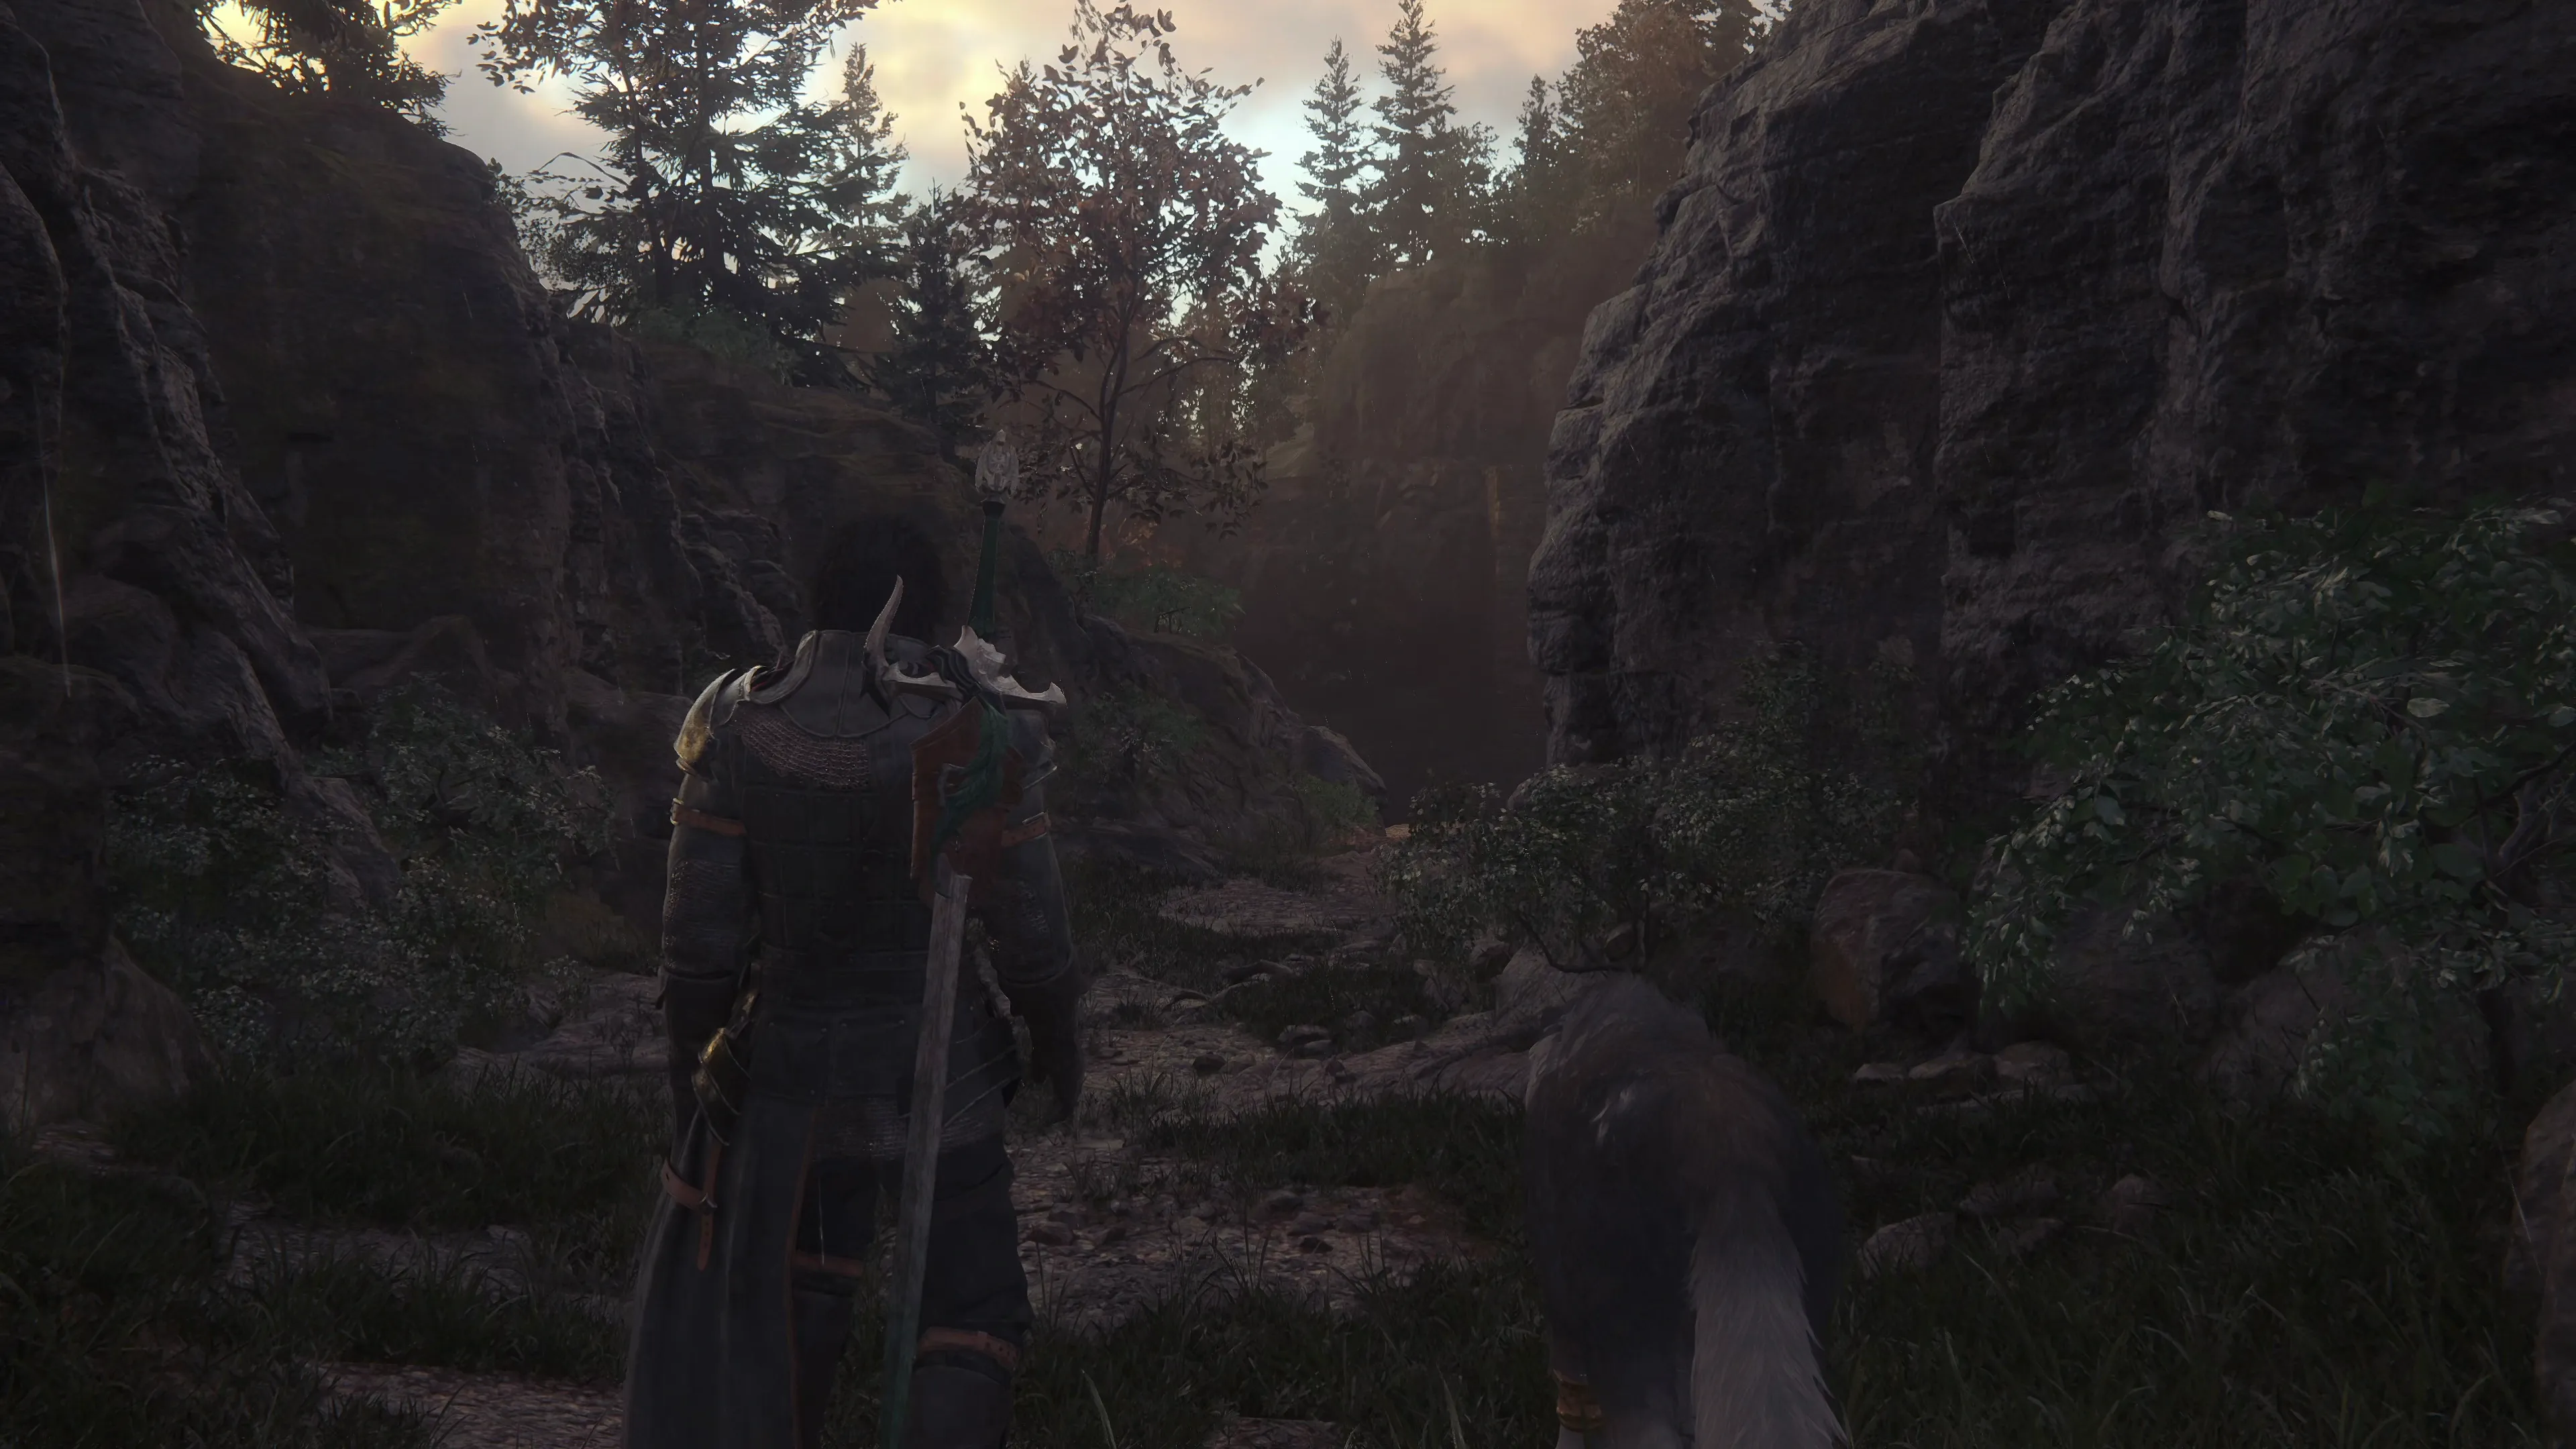
Swap your ![]() Eikonic Ability Set over to your multi-target set if you have one, and proceed down the pathway. Grab the Glimmer and drop down the cliff towards the banks of the stream. Defeat the group of five Black Widows and jump across the river. Keep moving forward until a short cutscene takes place ahead of your next fight against a mini-boss called “Minotaur.”
Eikonic Ability Set over to your multi-target set if you have one, and proceed down the pathway. Grab the Glimmer and drop down the cliff towards the banks of the stream. Defeat the group of five Black Widows and jump across the river. Keep moving forward until a short cutscene takes place ahead of your next fight against a mini-boss called “Minotaur.”
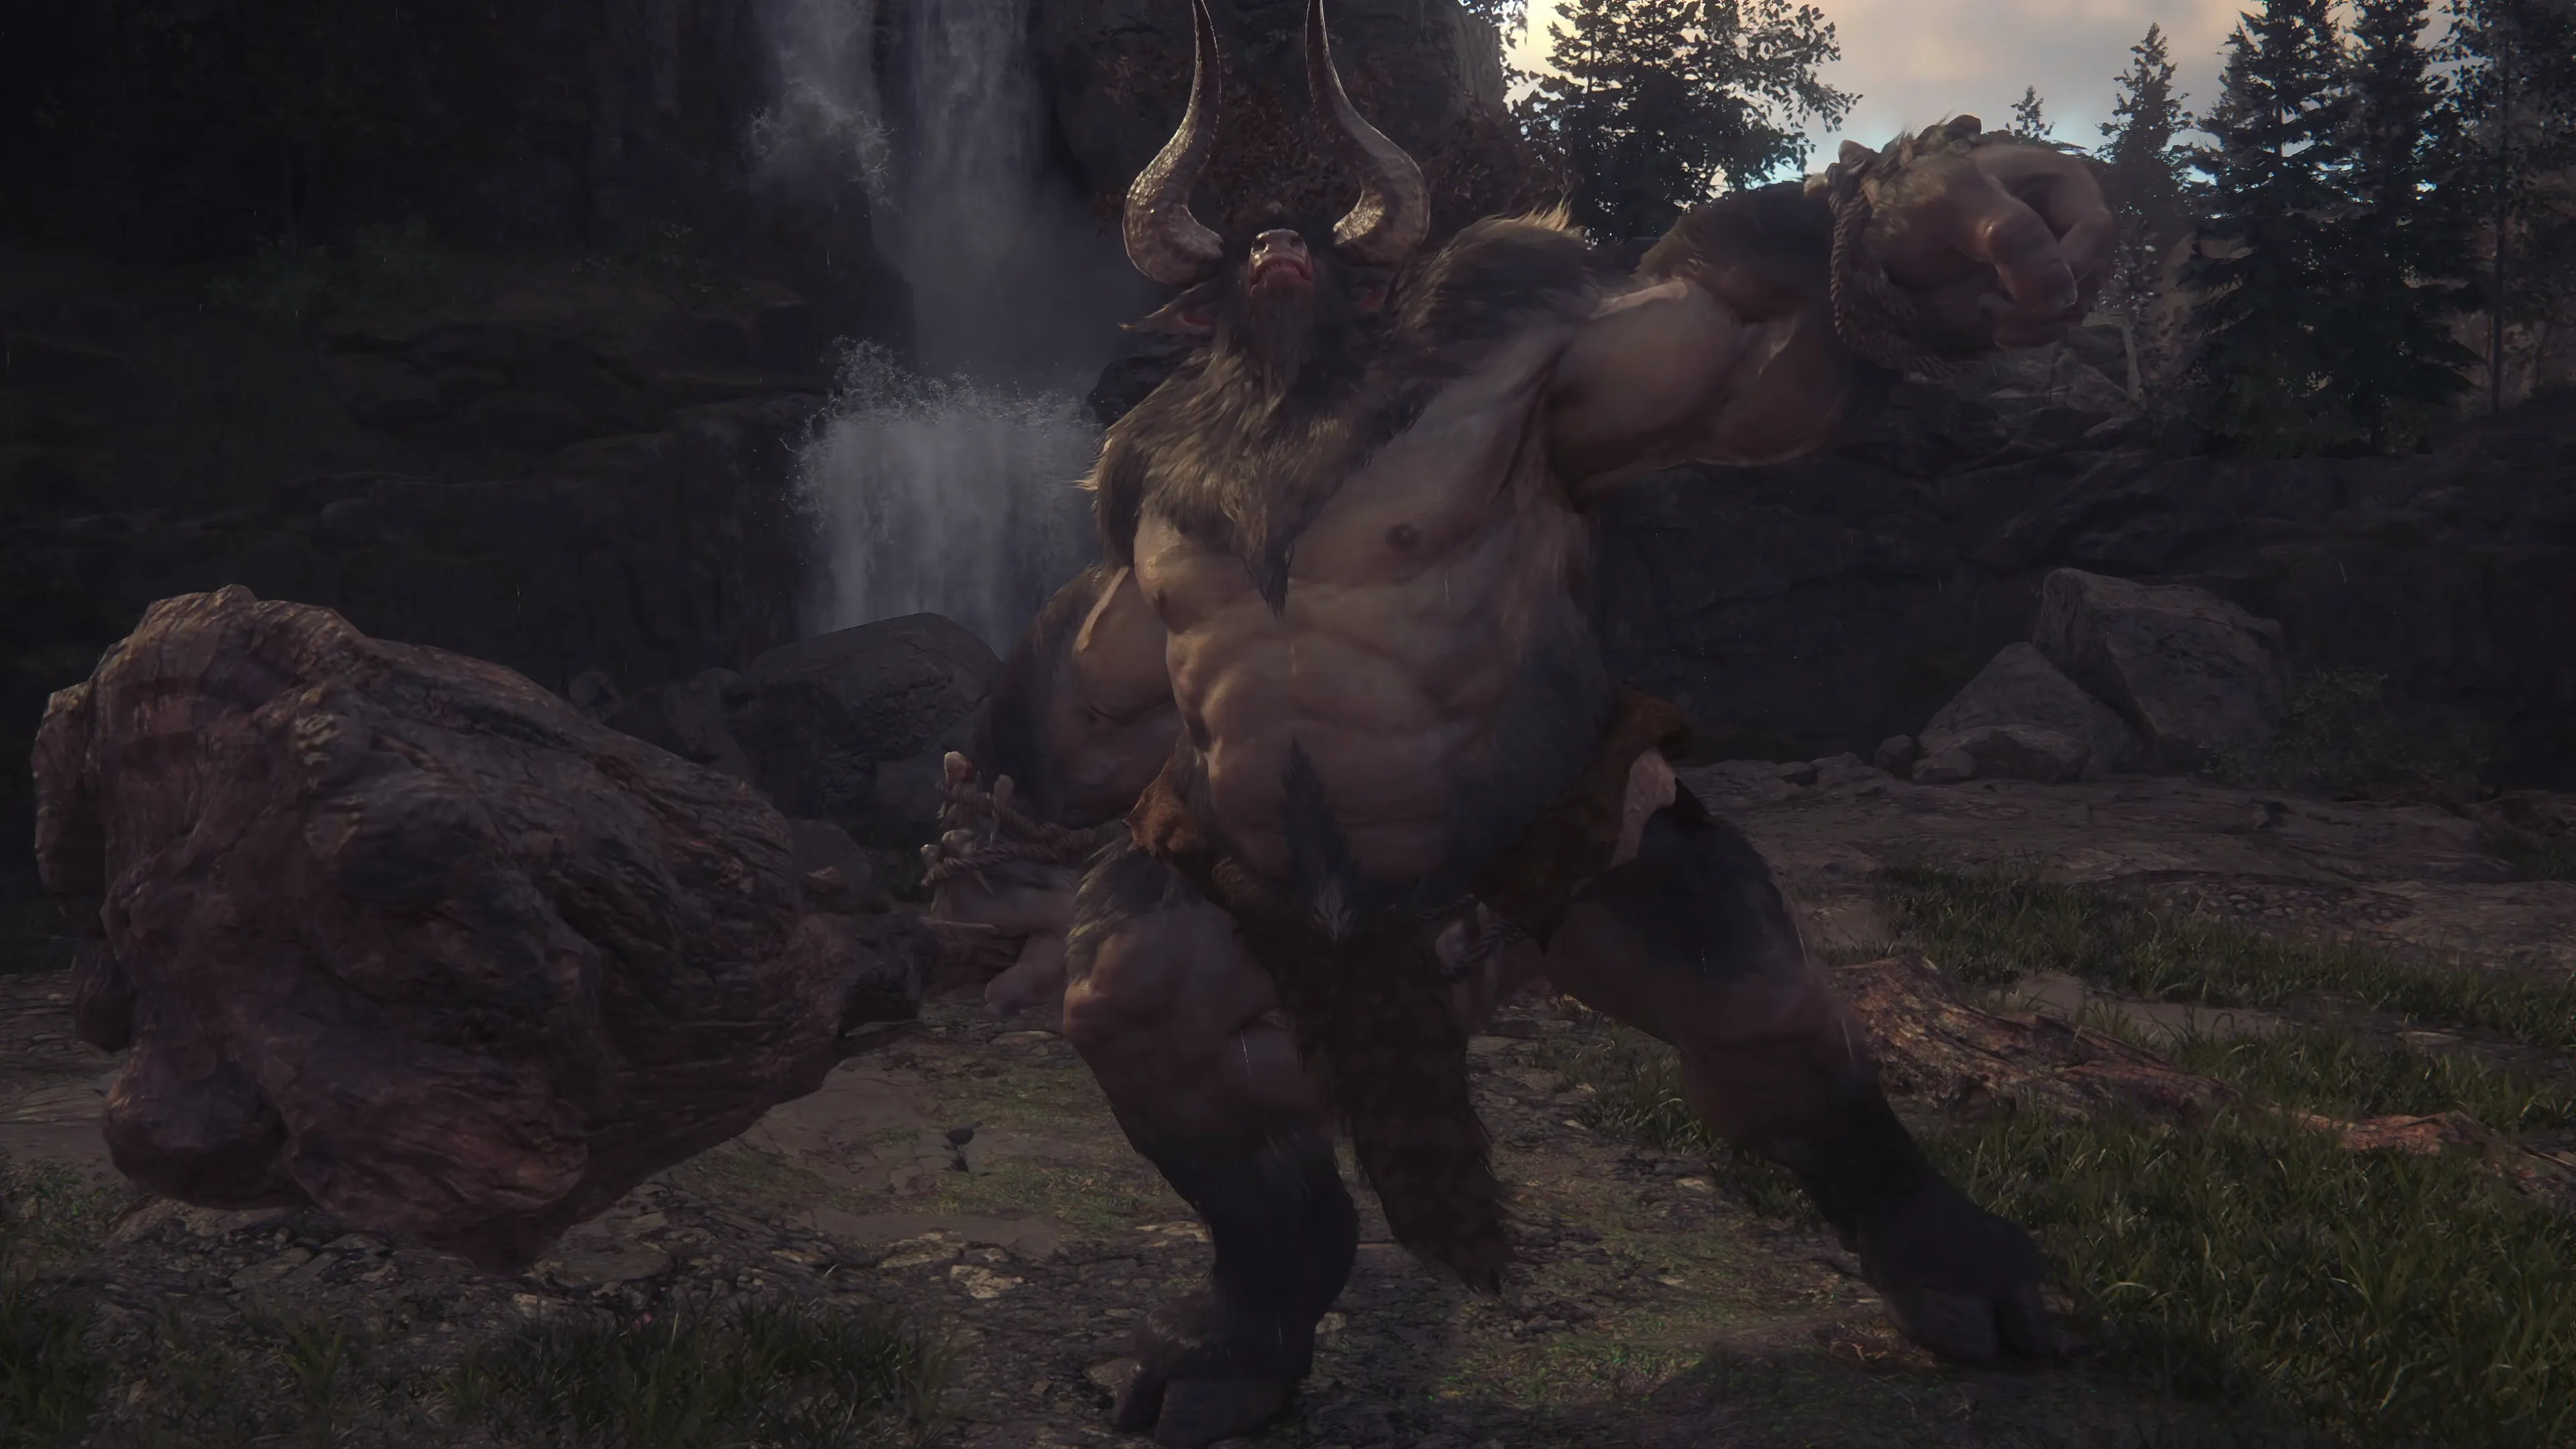
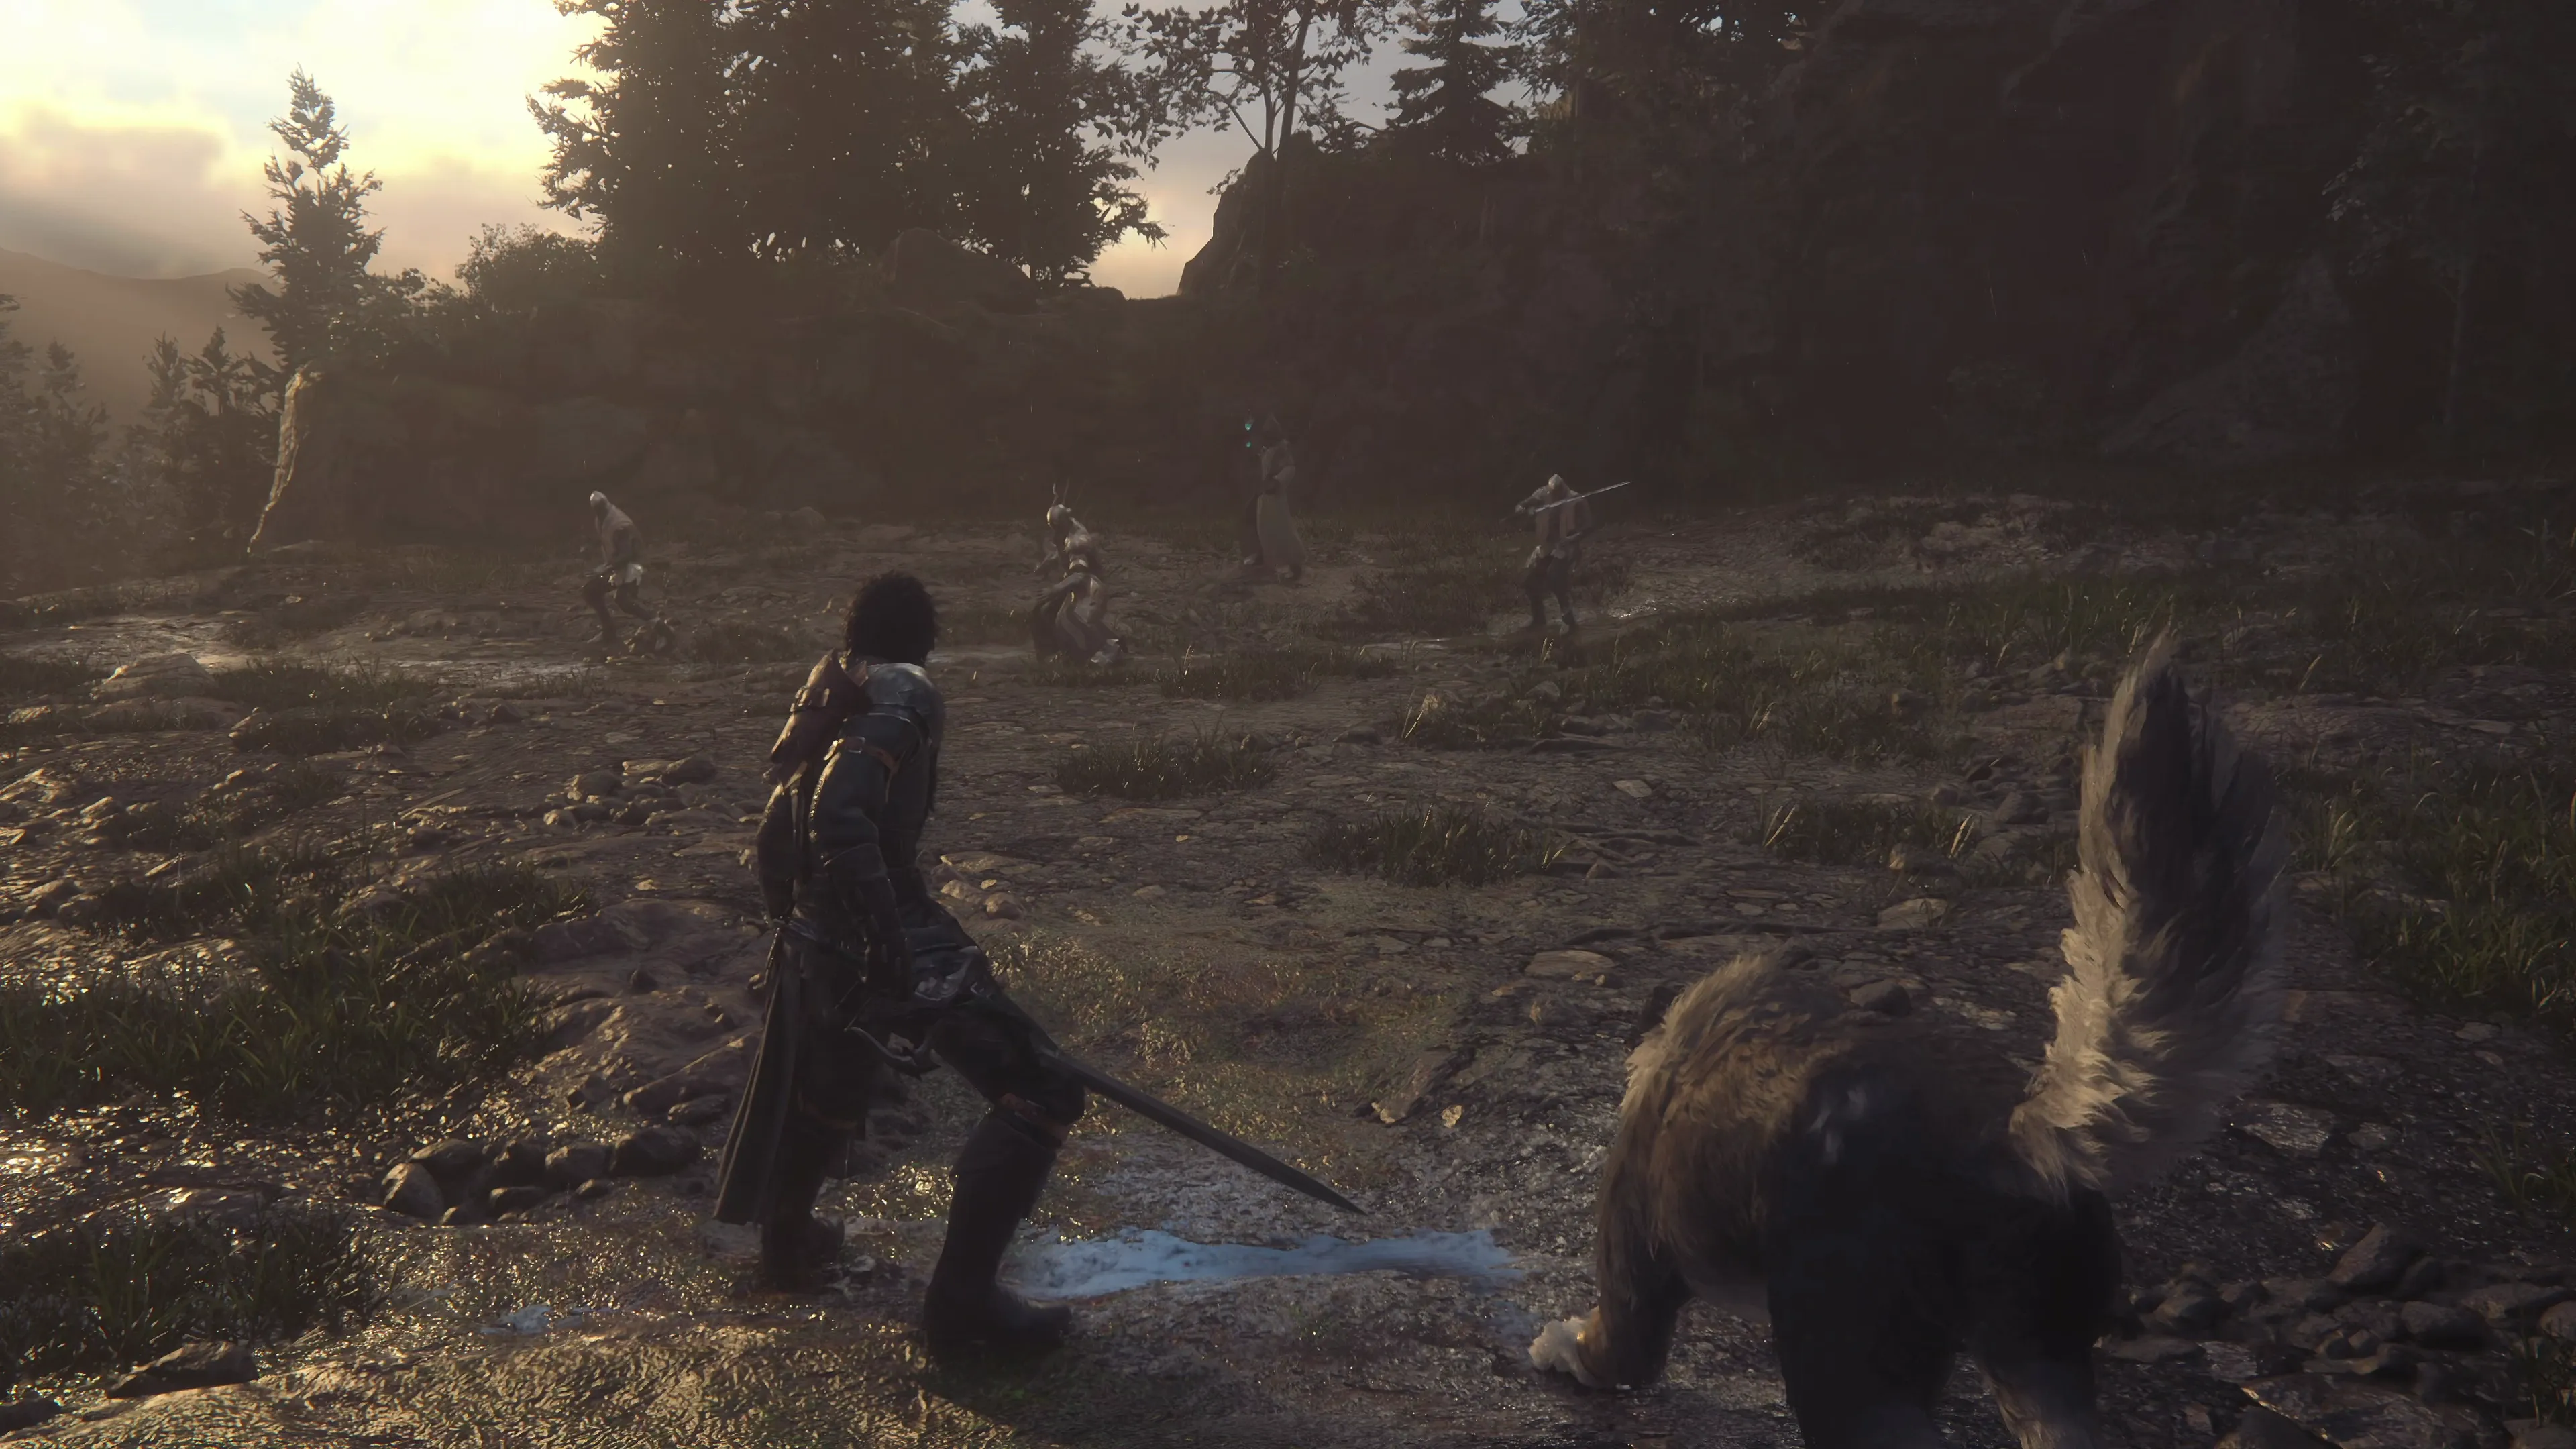
This mini-boss behaves almost the same way that Gigas and the other ogre-type bosses behave, except it has one new move. Minotaur will sometimes initiate a charge and run rapidly across the screen. The animation leading up to its charge makes it fairly obvious when it’s going to use this attack.
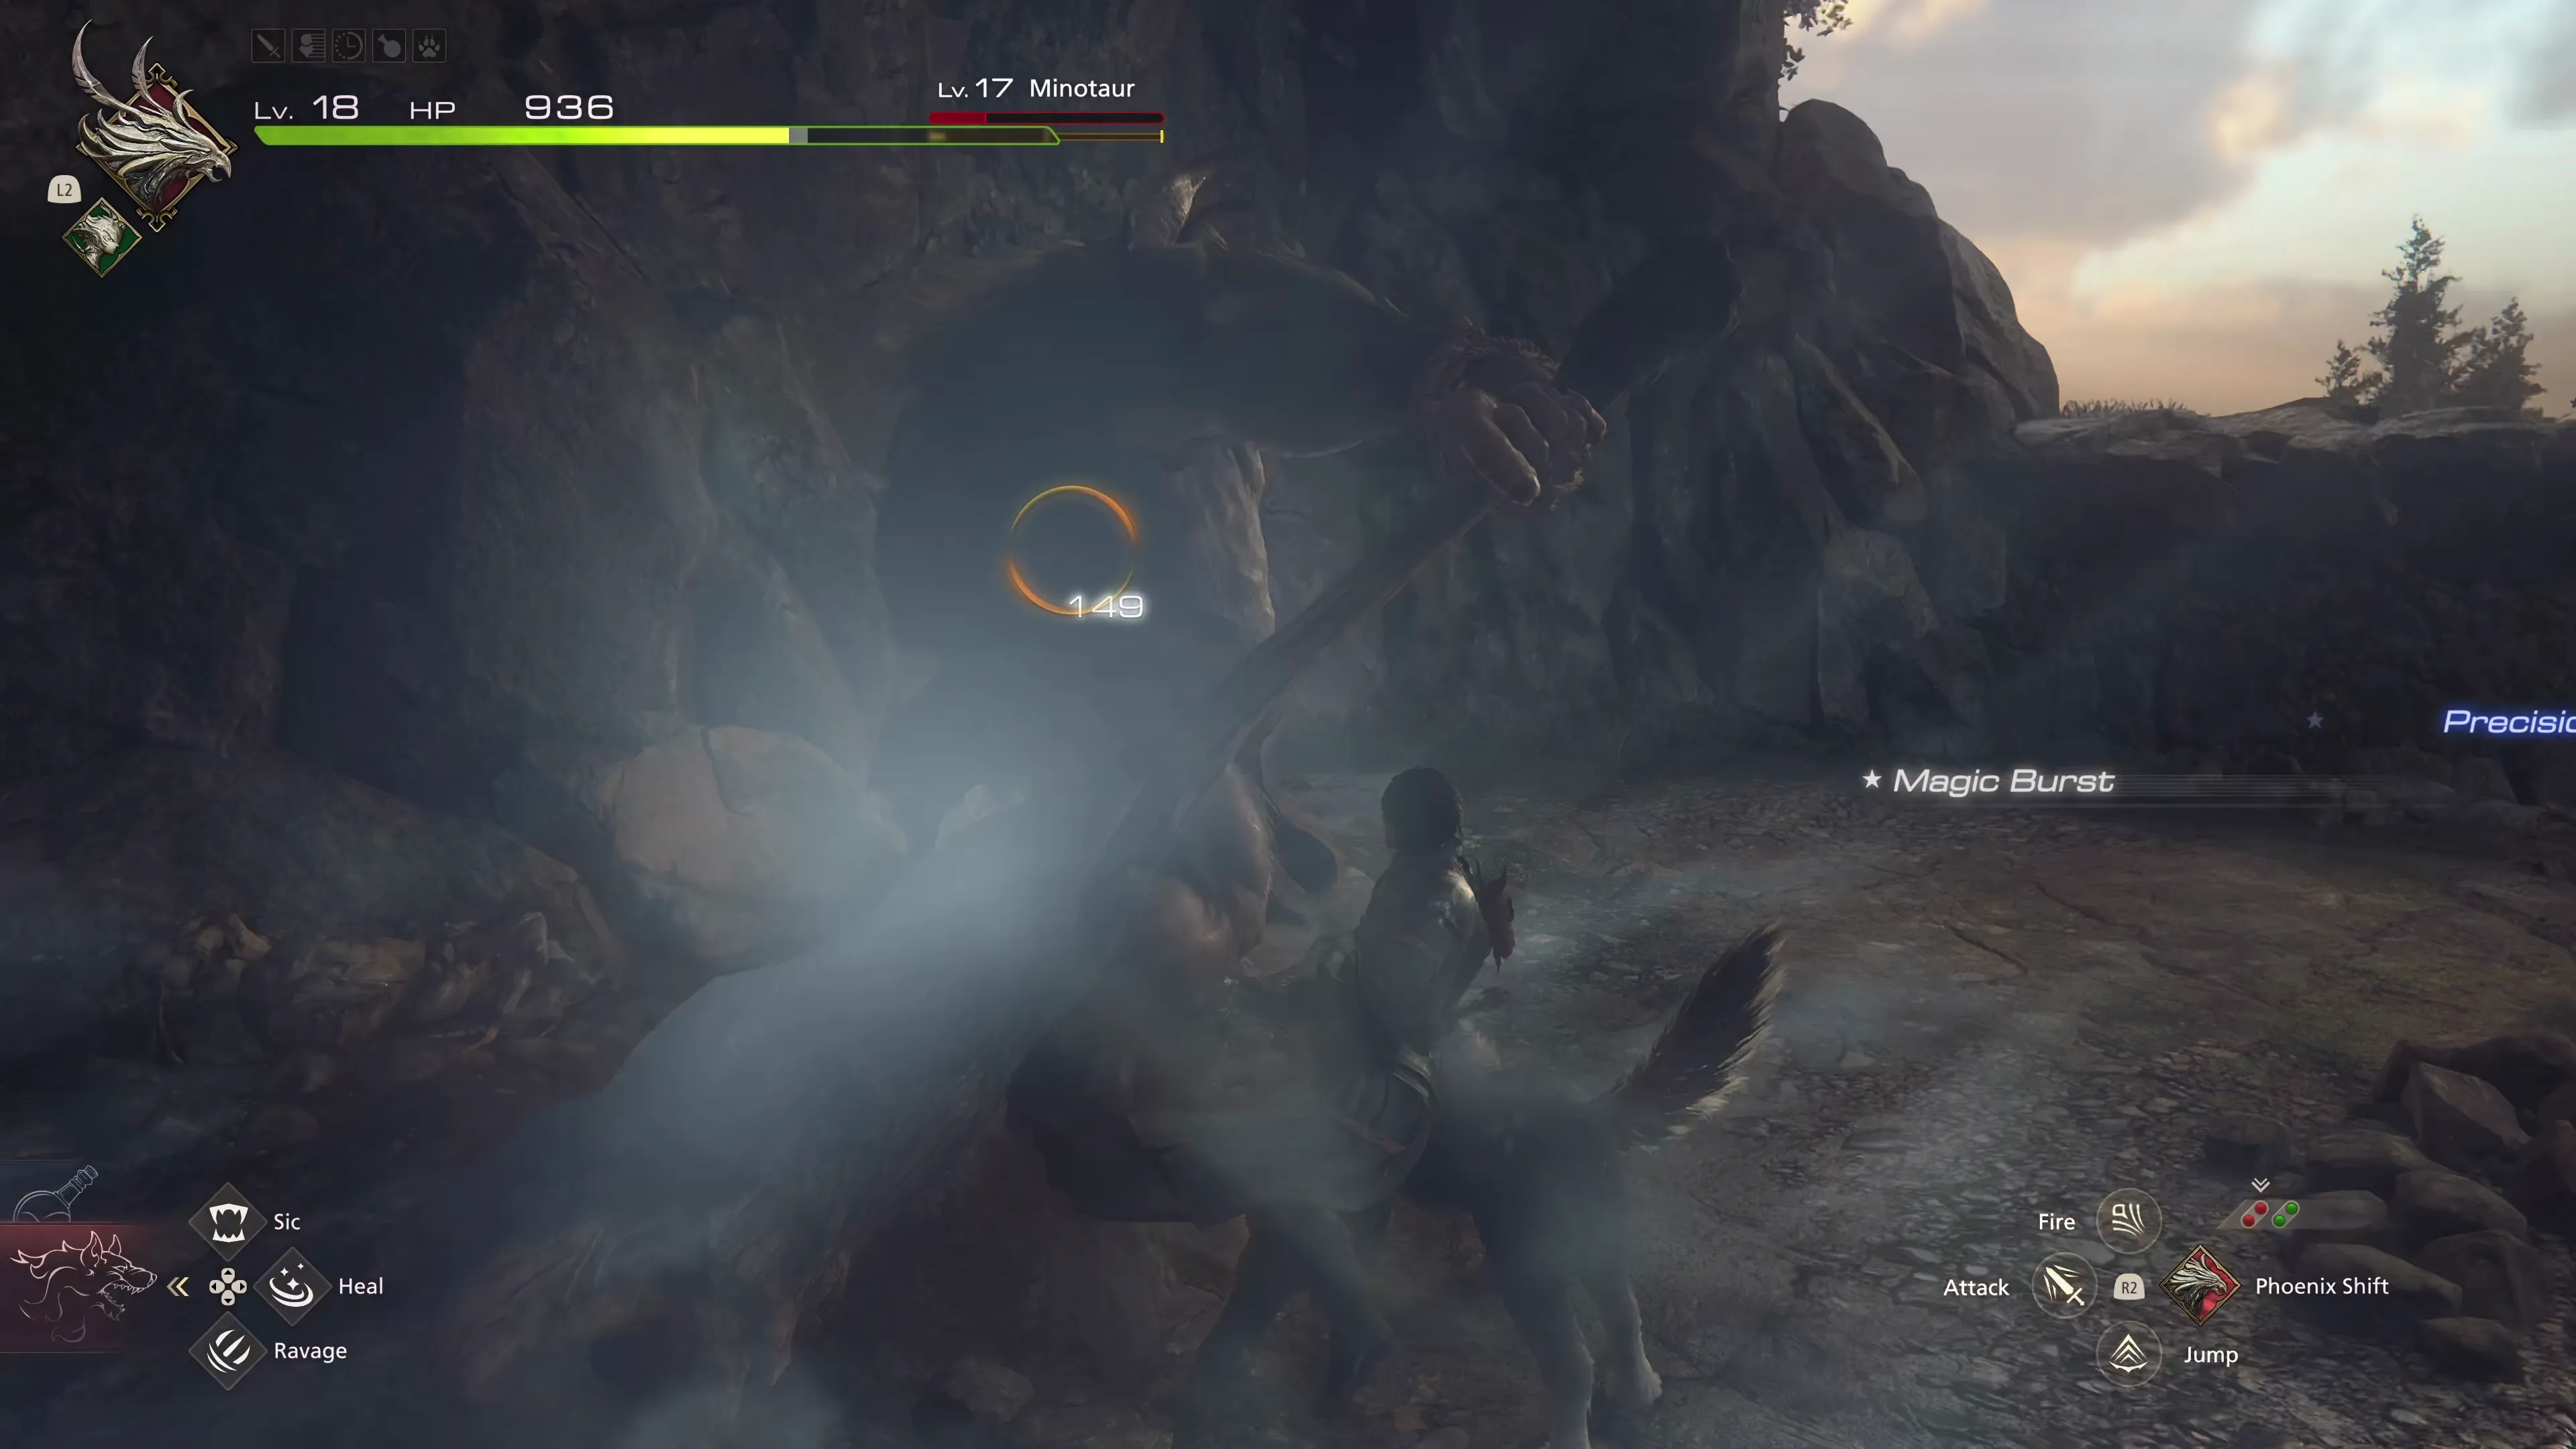
On the other hand, Minotaur has a deceptive club swing attack that can be a bit difficult to dodge. When you see Minotaur drop its club down onto the ground, on the left side of its body when you’re facing it, it’ll quickly swing the club upwards. It’s generally easy to see this attack coming, but if you dodge towards the left (e.g., the same side that he drops the club on), you’ll sometimes get hit with the club as he swings it upwards. Use the screenshot below for reference, and remember to always dodge (![]()
![]()
![]() button) to the right. You’ll avoid it every time.
button) to the right. You’ll avoid it every time.
Helpful Hint
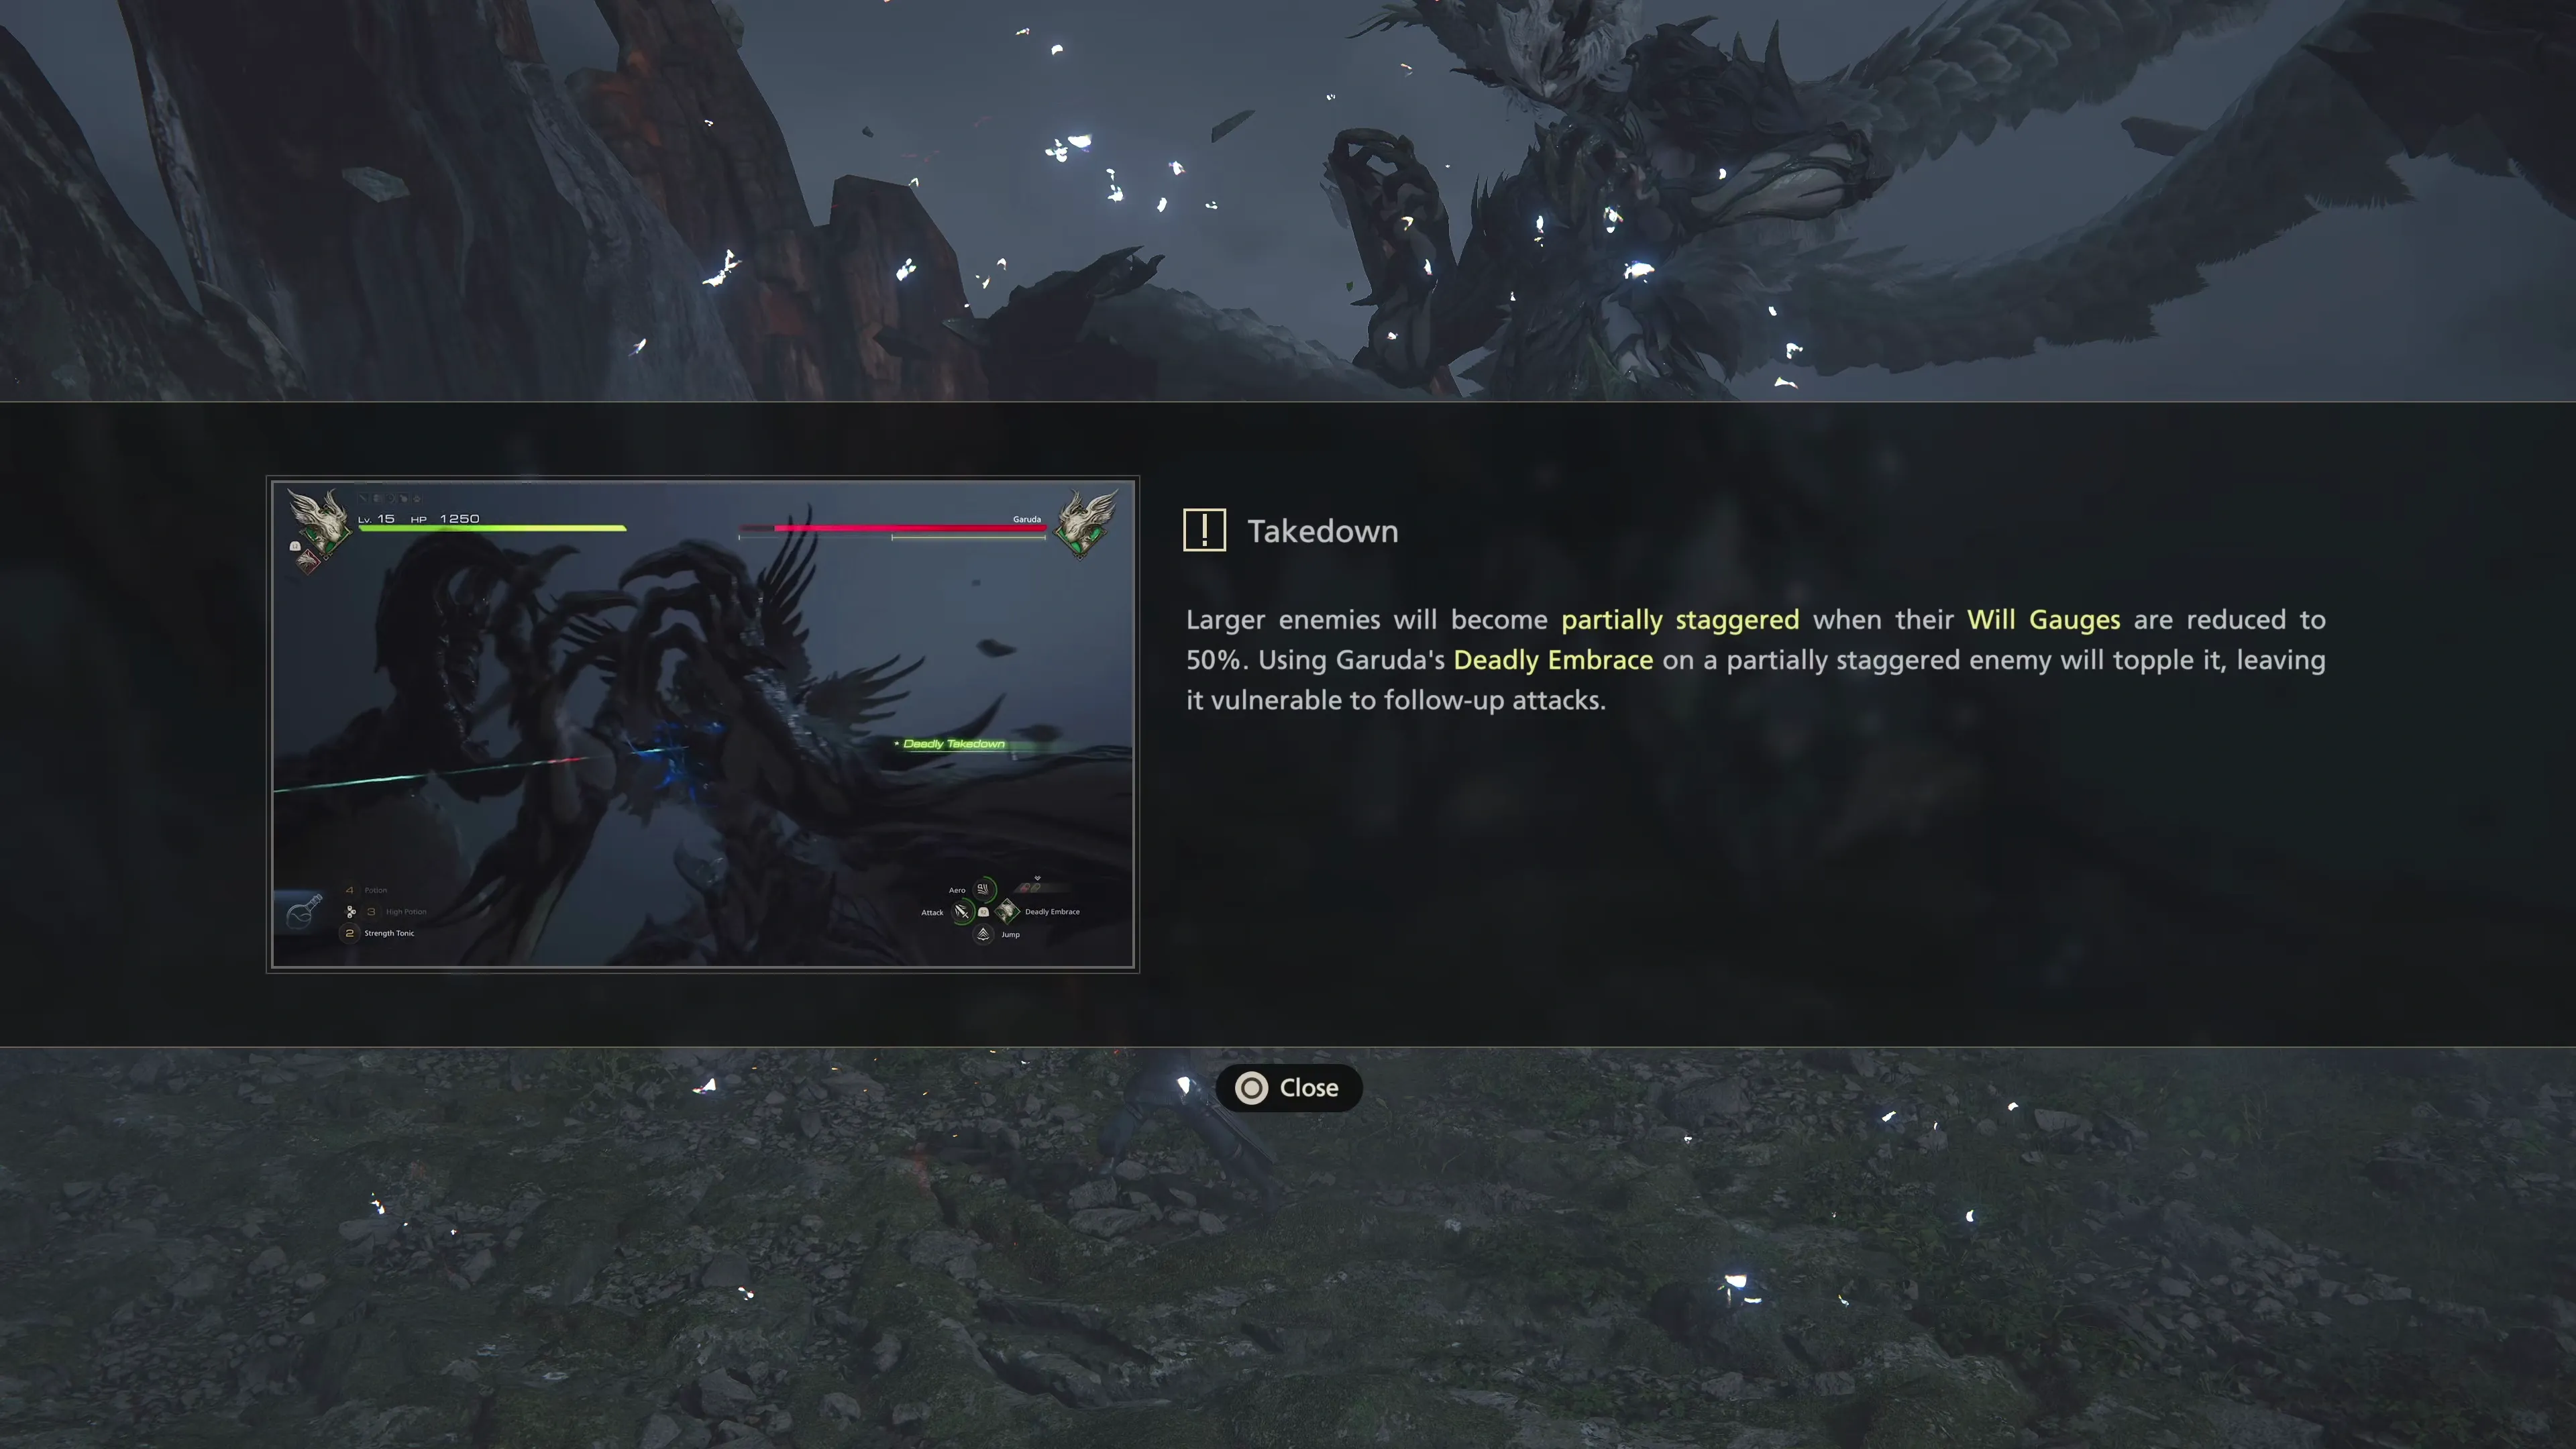
During the boss battle sequence against Garuda, a tutorial message popped up explaining that when an enemy becomes “partially staggered” (i.e. their “Will Gauge” reaches 50% and they stumble backwards), you could use Garuda’s ![]() Deadly Embrace to topple the enemy (called a “Deadly Stagger”).
Deadly Embrace to topple the enemy (called a “Deadly Stagger”).
This mechanic is something you can continue to employ on every boss fight for the rest of the game. Even the Minotaur will be partially staggered when it’s Will Gauge hits the 50% mark. Get into the habit of preparing to use ![]() Deadly Embrace whenever you see an enemy’s Will Gauge getting close, and this will allow you to get some extra attacks in while the enemy is stunned.
Deadly Embrace whenever you see an enemy’s Will Gauge getting close, and this will allow you to get some extra attacks in while the enemy is stunned.
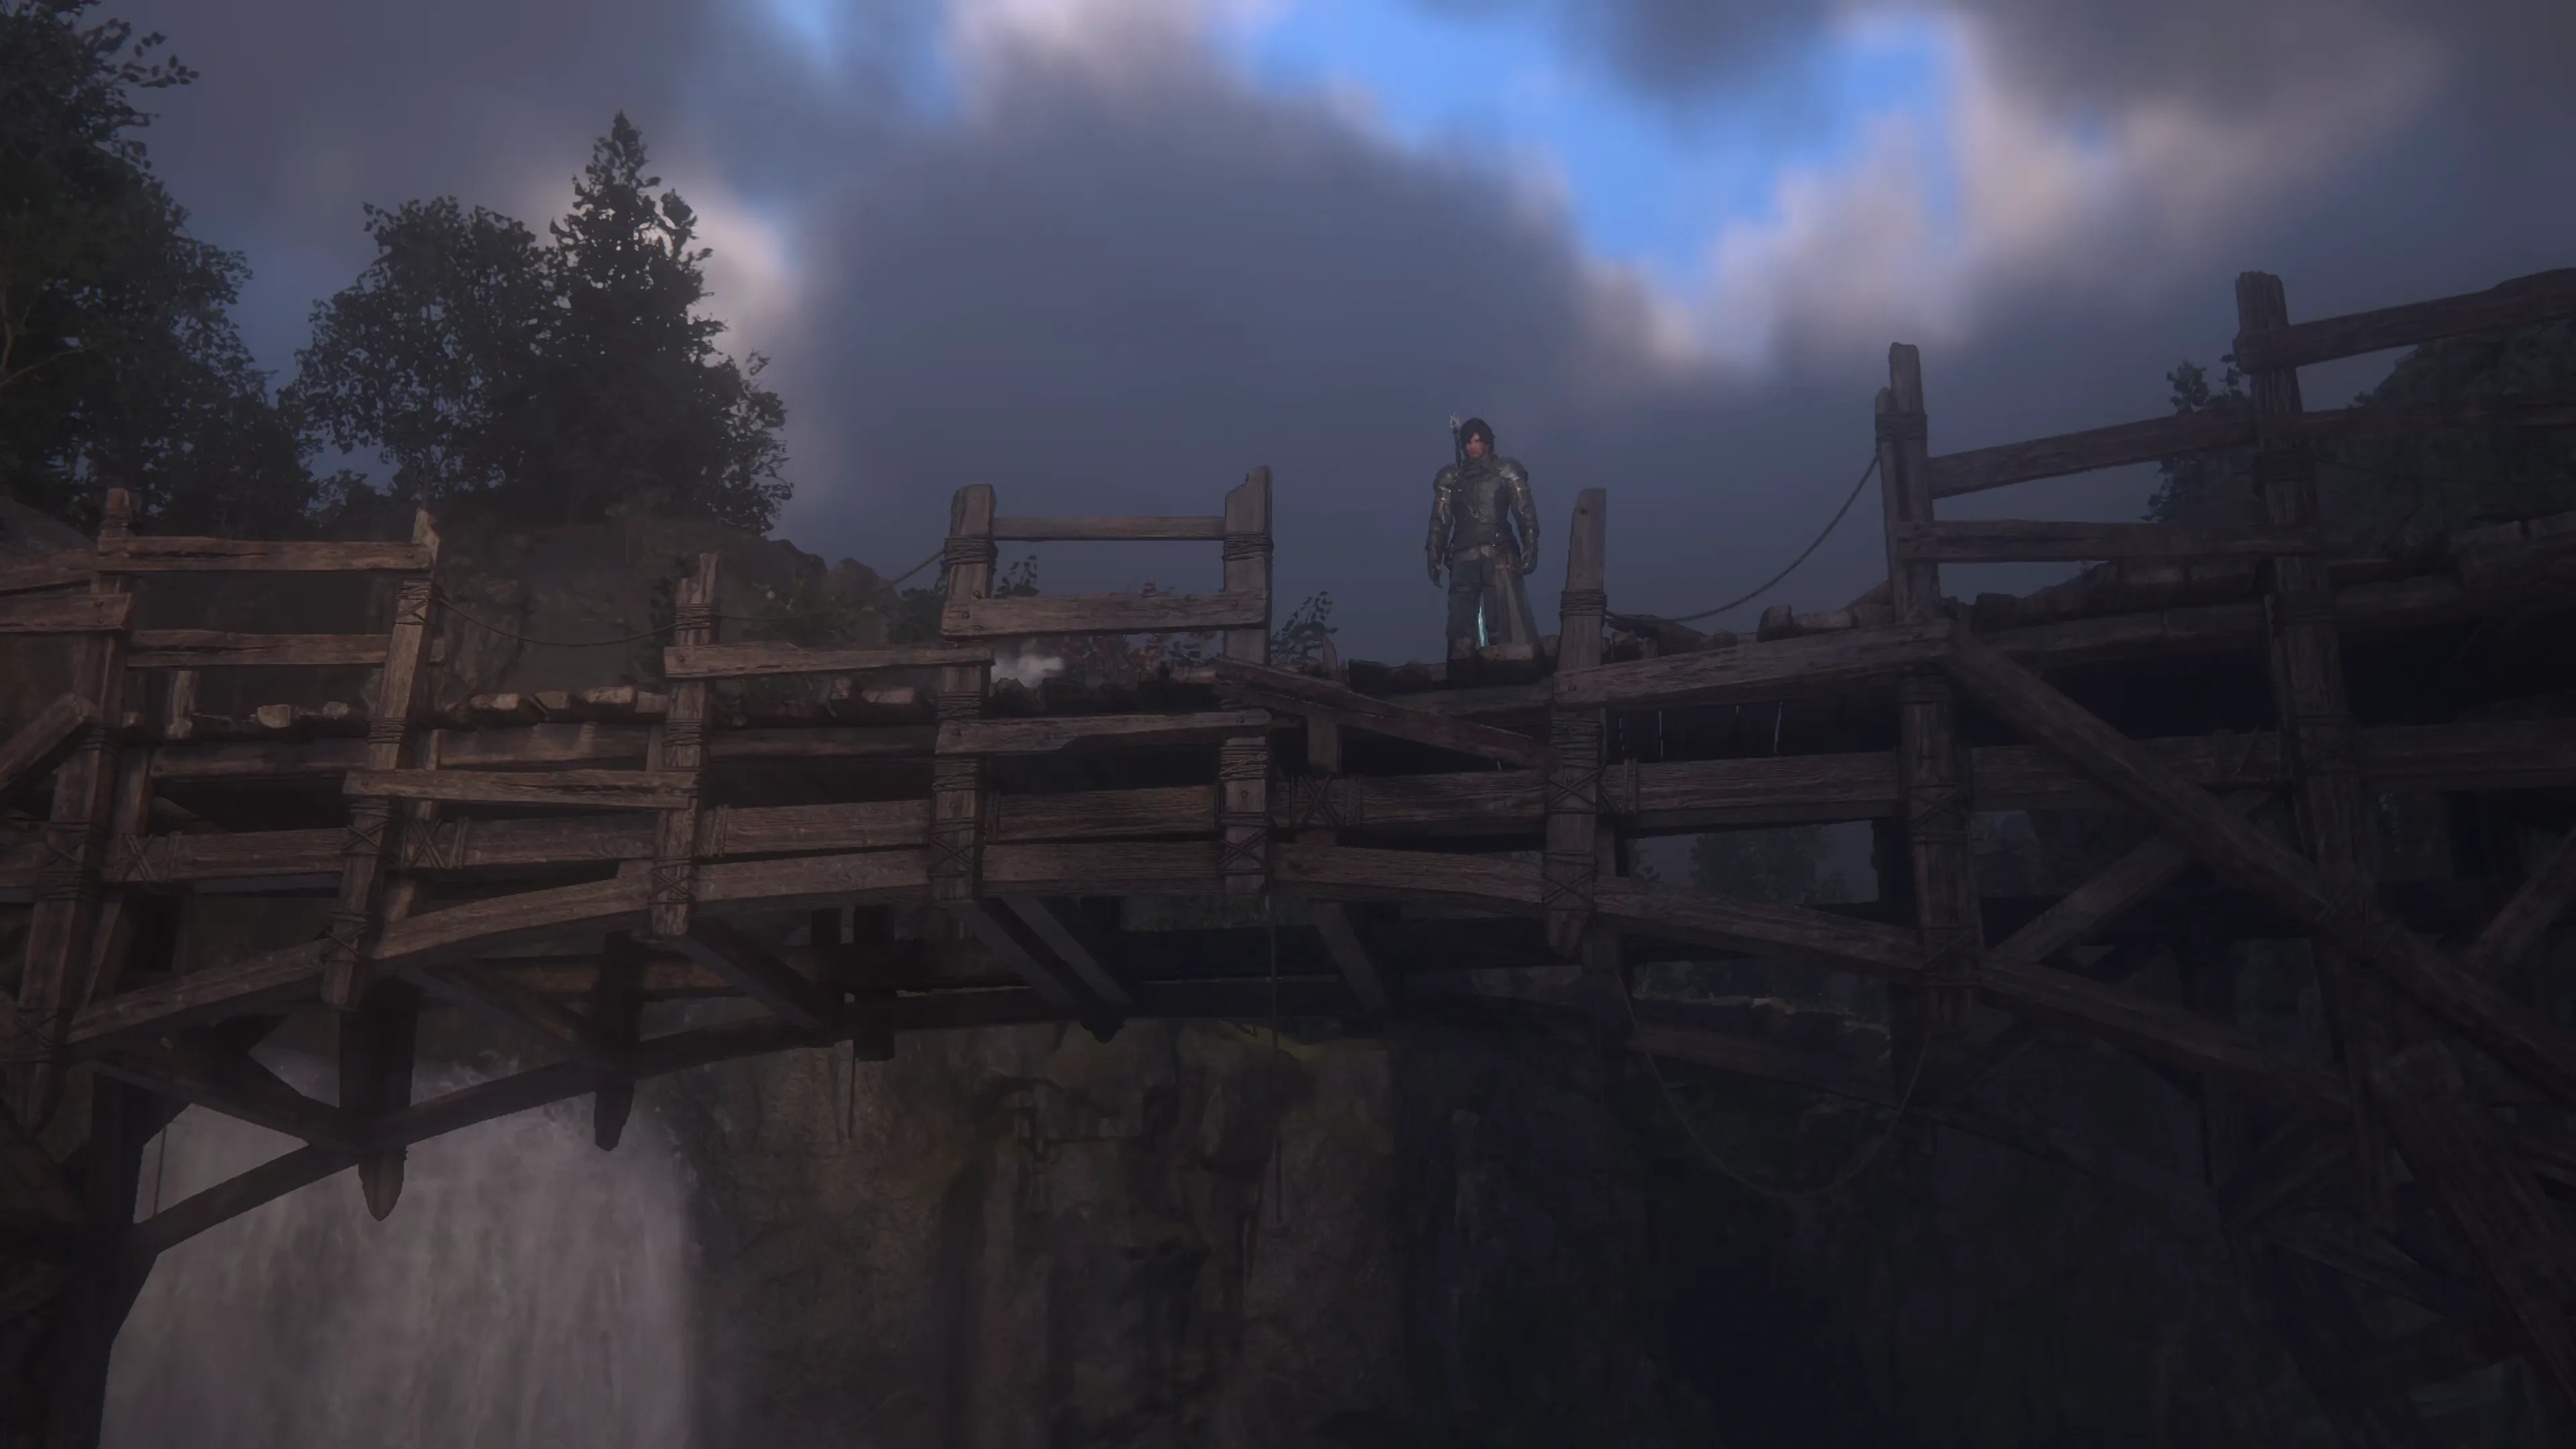
Keep working your way forward through the groups of enemies. You’ll eventually have to deal with one more Minotaur that is accompanied by a few Black Widow enemies. Save your game after that fight and swap your ![]() Eikonic Ability Set back to a single-target focused option (if you have one) before you cross the bridge up ahead. Cross it when you’re ready for the next boss battle.
Eikonic Ability Set back to a single-target focused option (if you have one) before you cross the bridge up ahead. Cross it when you’re ready for the next boss battle.
Boss Battle
First, you will have to deal with a group of four Imperial soldiers. Try to focus on taking out the magic-caster in the back before moving on to the other targets. Once they’ve been dealt with, there are two bosses during this fight. Once it starts, Cid will jump in to join the fray and will recommend leaving the Aevis to him. Cid will be able to defeat the Aevis one-on-one pretty quickly, so listen to what he says and focus solely on the Knight of the Dying Sun.
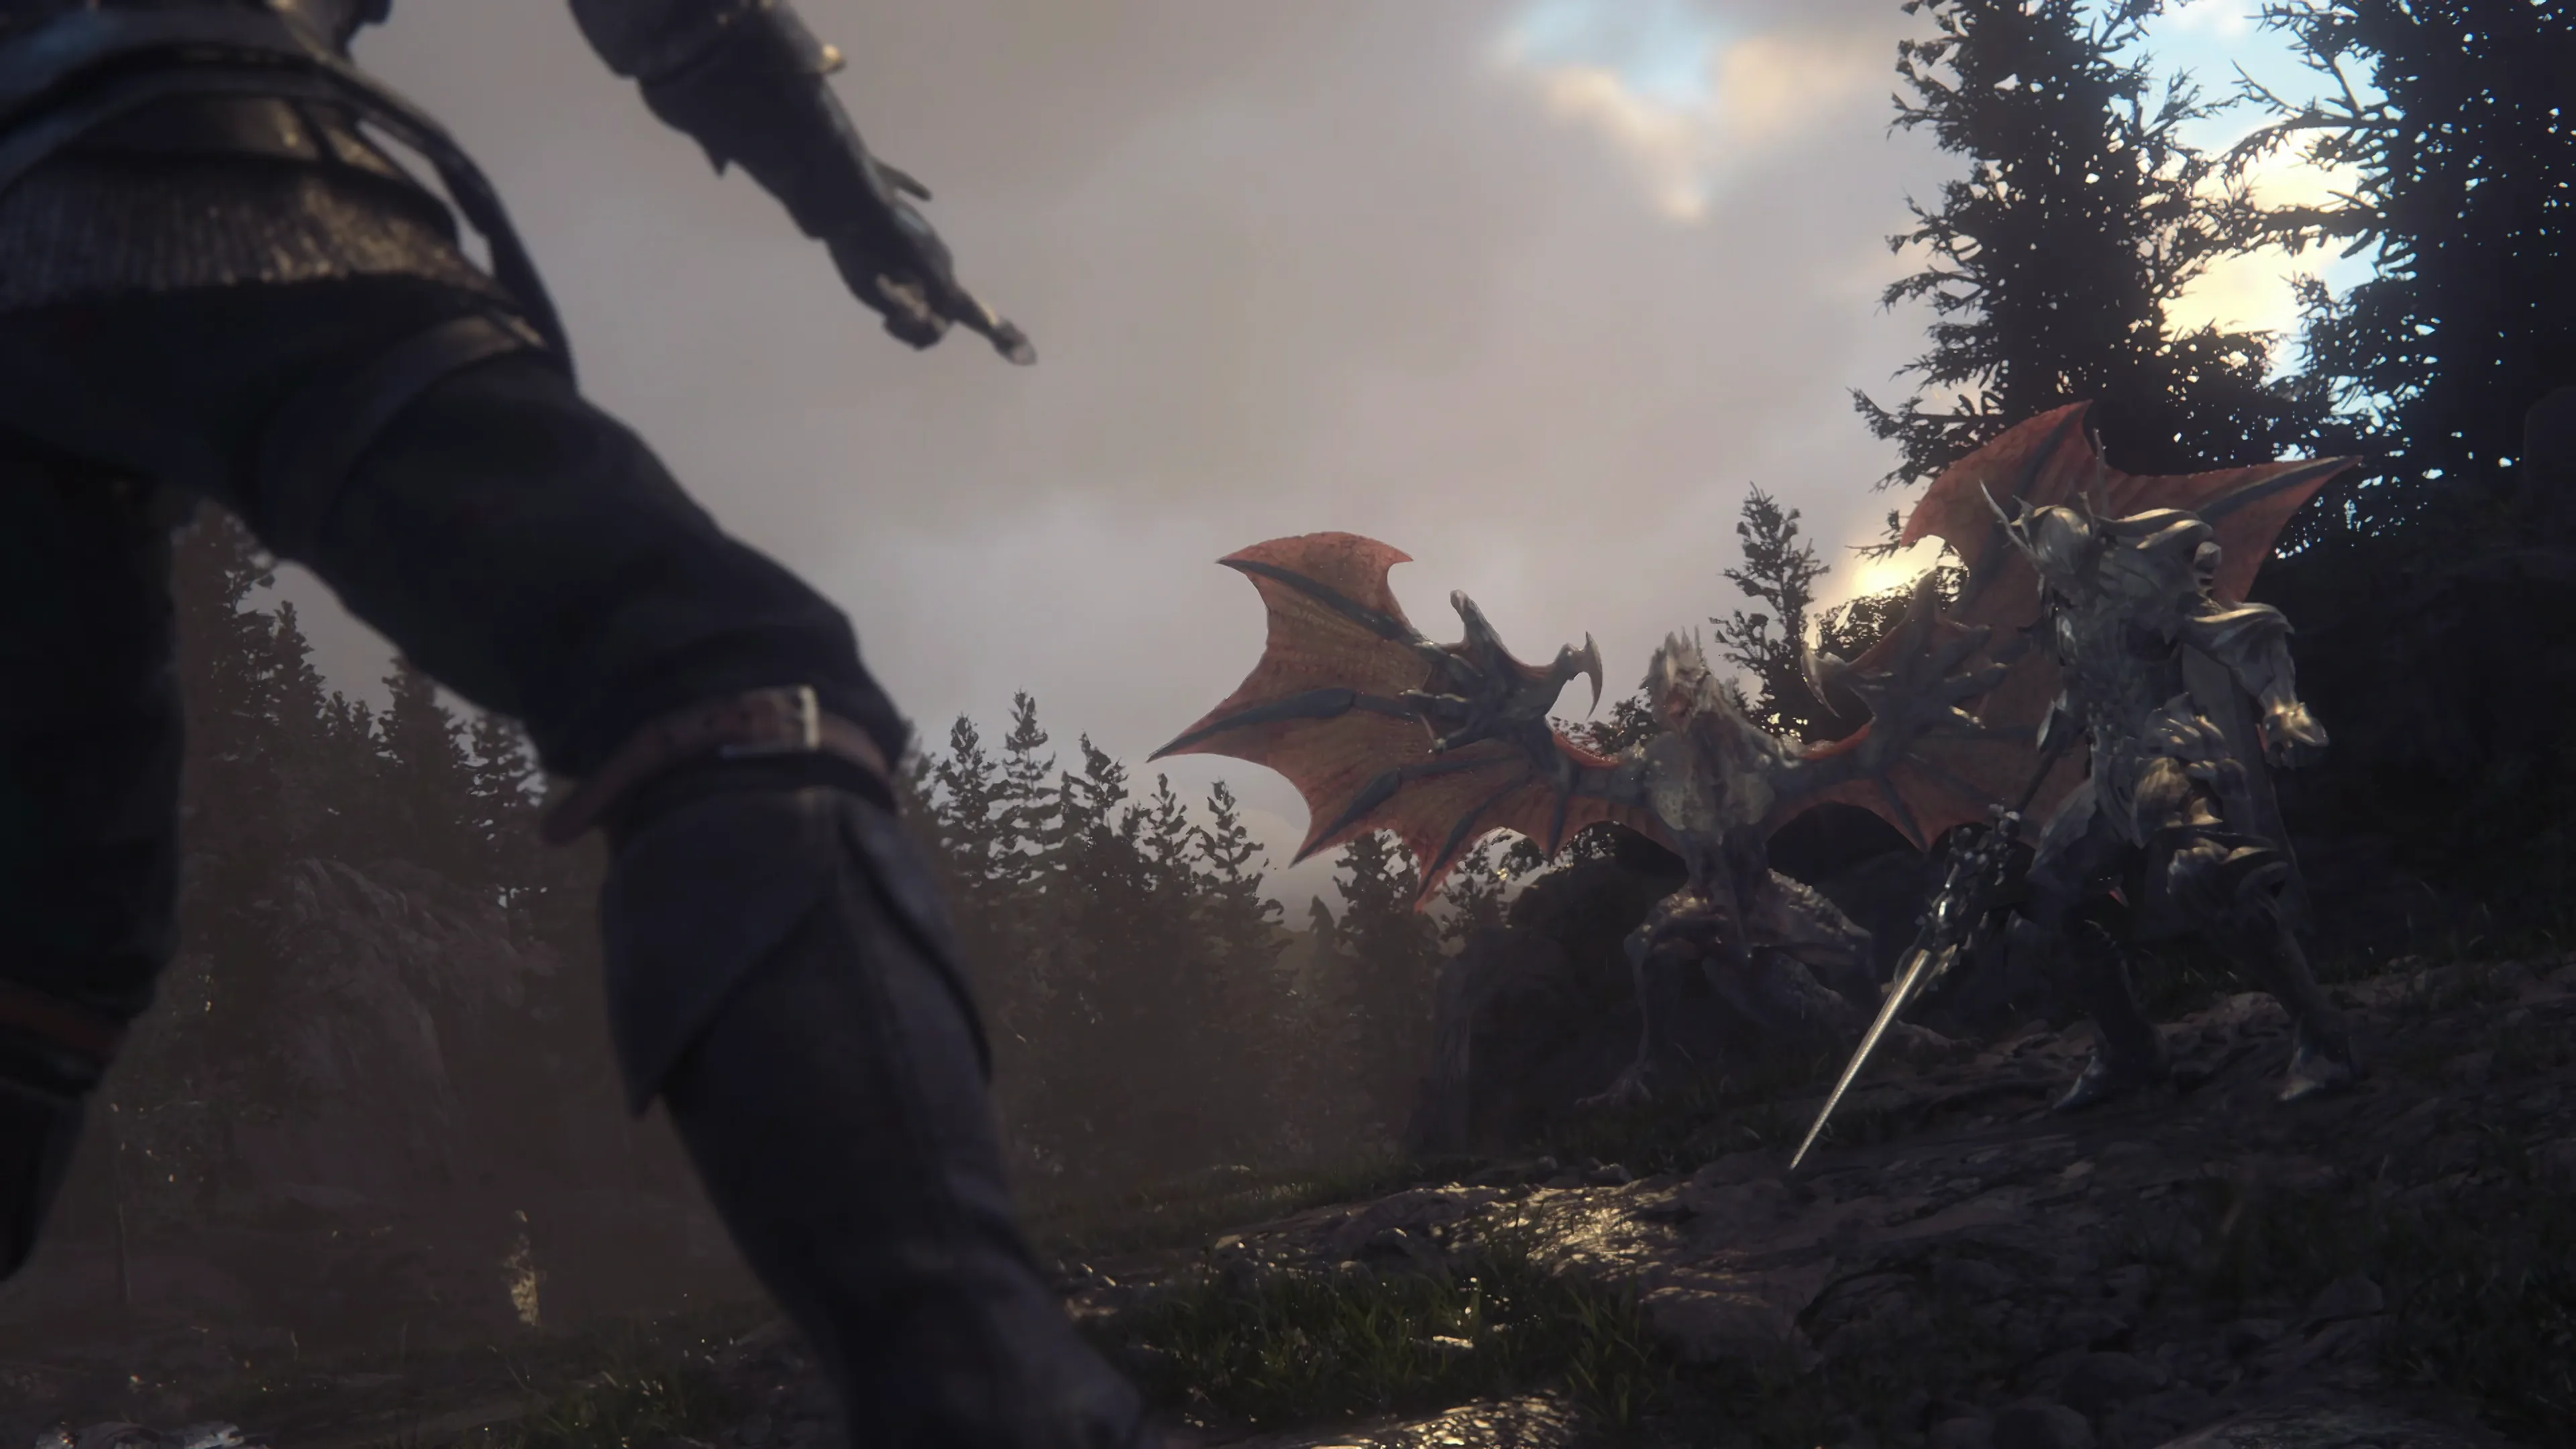
This Knight’s attacks come much more quickly than the other Dragoon-type enemies you’ve faced up until this point, but its attacks are almost the same. Some of the physical attacks have a few more combos (he’ll attack three times in a row instead of twice), but otherwise, this is a fight that shouldn’t have many surprises in store for you.
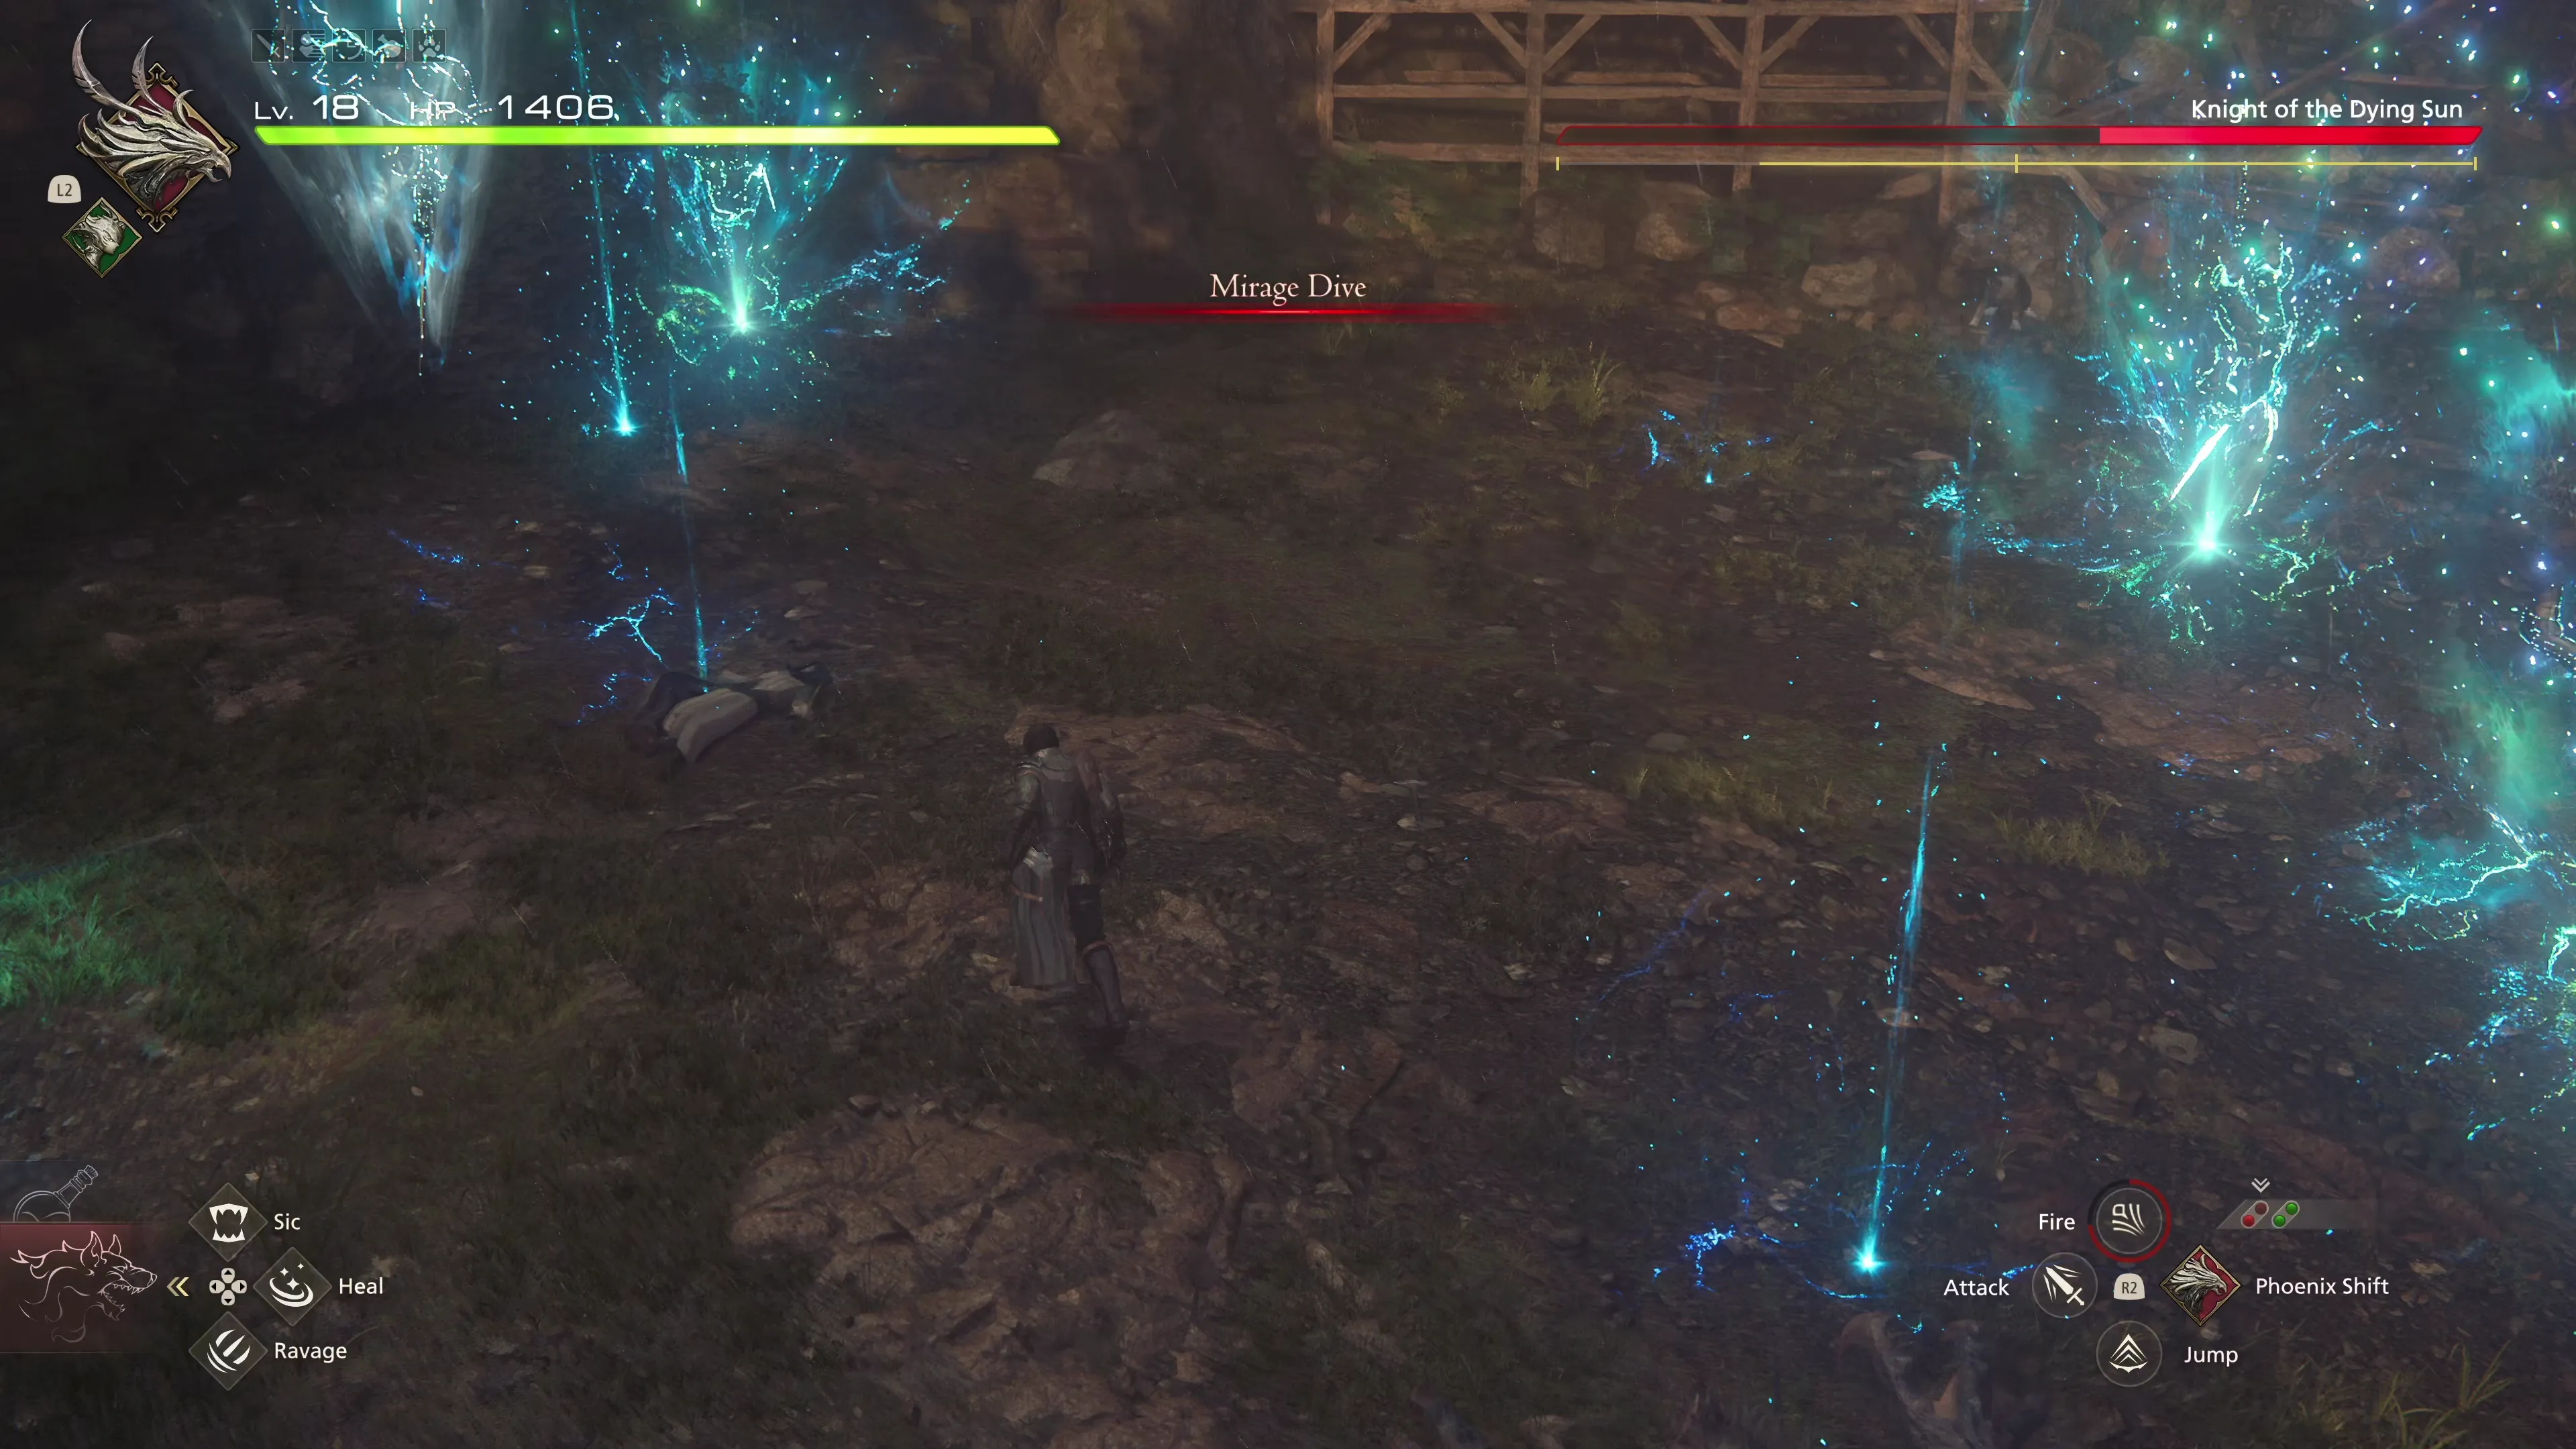
After his HP falls below 50%, he will use a new move called “Mirage Dive,” which, similar to Jump and Double Jump, will cause apparitions of the Knight to drop down on the illuminated spots, dealing damage to Clive if he stands still, so keep moving for the duration of this move.
Check out the video below for a demonstration of how to complete this fight.
Note that this is another battle where you can earn a Medal of Valor. To reiterate, do not worry about trying to get this very difficult achievement on your first playthrough. The Medal has no use in the game, and it’s not tied to any Achievements/Trophies. It’s only been included by the game developers for those looking to challenge themselves, but if you’ve played through the battles before and want to retry it a few times, your reward will be the ![]() Medal of Valor - Kingsfall.
Medal of Valor - Kingsfall.
120
2,500
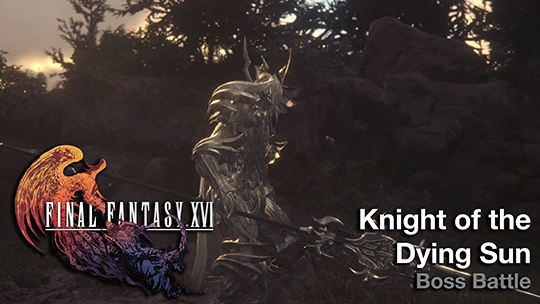
A video demonstration of how to successfully complete the fight against Knight of the Dying Sun.
A short cutscene will take place involving a conversation between Clive, Cid, and Gav before you return to the world map. The only option you’ll be able to select is the Hideaway.
 The Hideaway
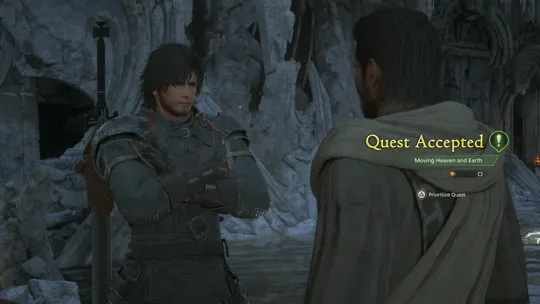
Tarja will come running towards the group as they enter to let them know that Jill has woken up. Head up the stairs towards the Main Scenario Quest Marker ![]() to speak with her. The next step of “The Hunter and the Hunted” is to speak with Charon, but there are a few Optional Quests you can complete right now:
to speak with her. The next step of “The Hunter and the Hunted” is to speak with Charon, but there are a few Optional Quests you can complete right now:
Optional Quest
“Kenneth asks Clive to deliver three more meals to residents of the hideaway. Who will he be serving this time?”
Optional Quest
“Bohumil, chief botanist at the hideaway, is missing an assistant and anxious to see her return.”
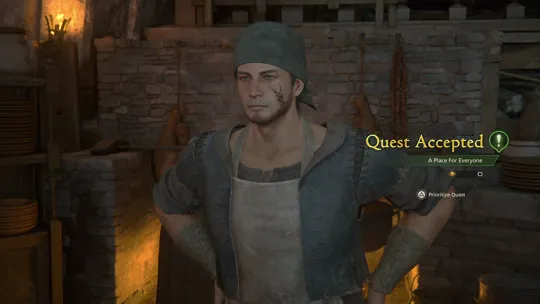
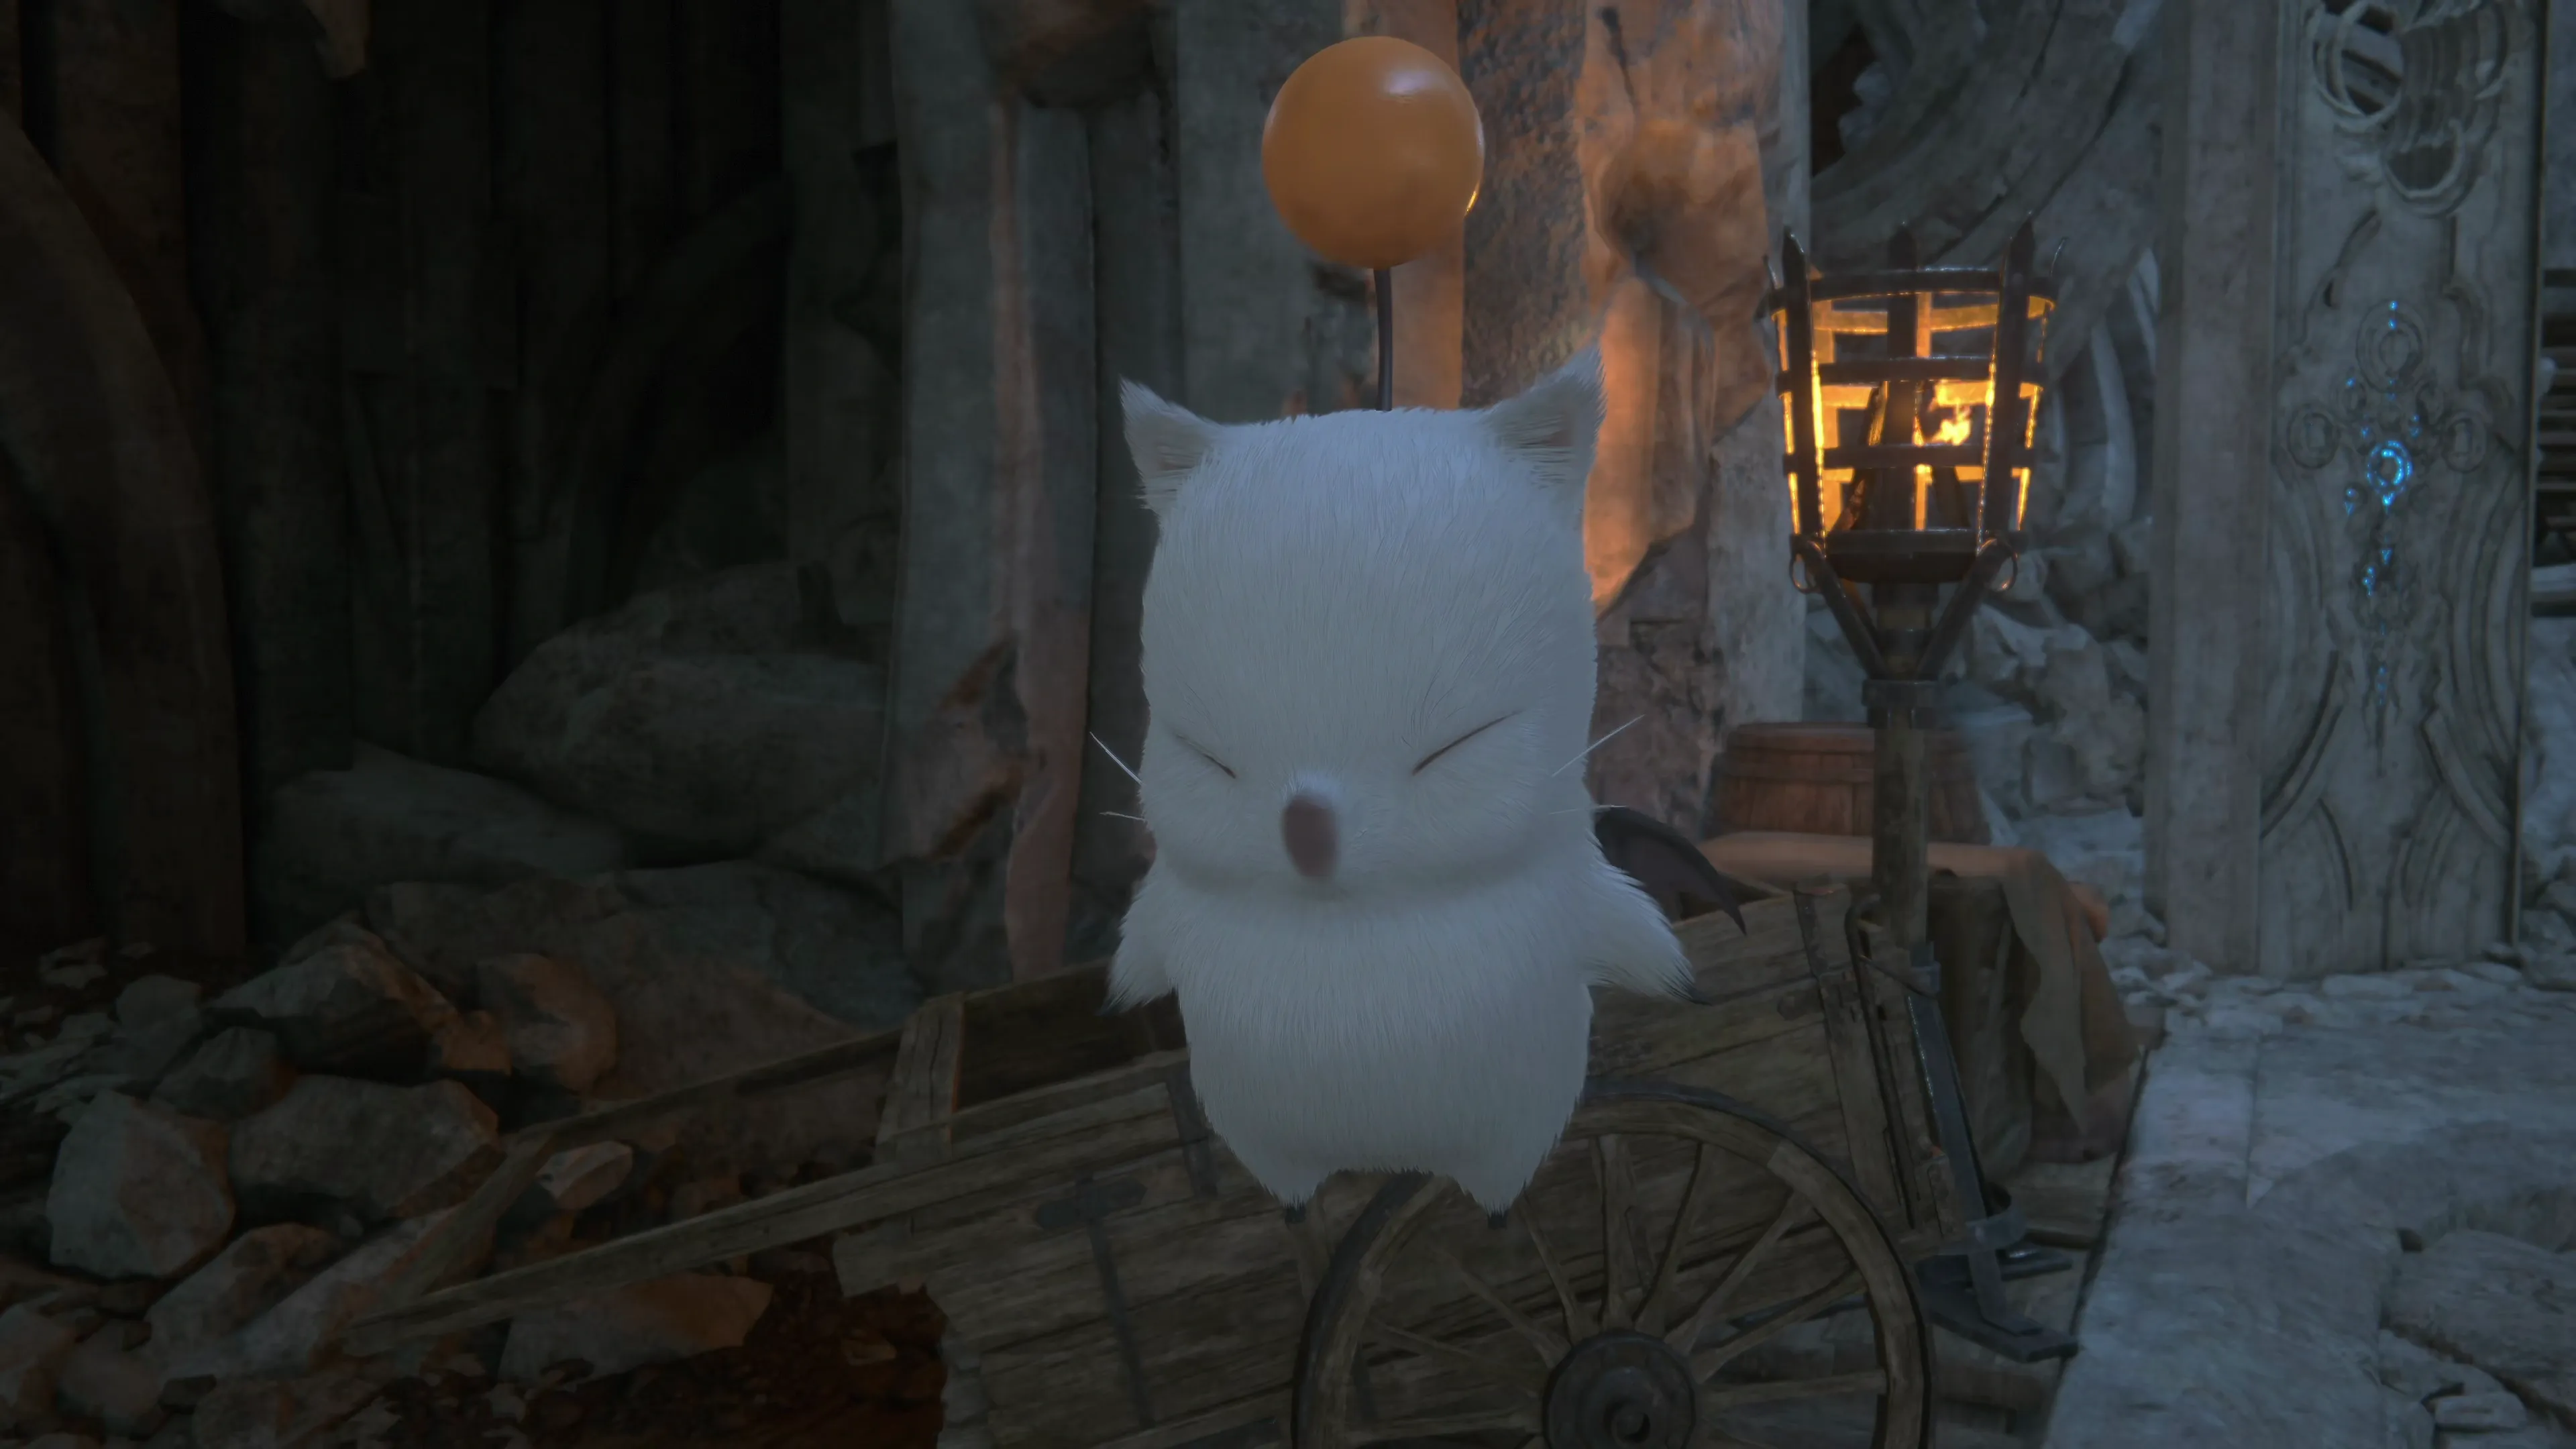
You may have noticed, while running around the Hideaway completing tasks, that a new character has appeared. “Nektar the Bold” is a new Moogle that can be seen flying around near the broken wooden cart towards the entrance. You can speak to him now to have him introduce himself, but it isn’t until later in the game, when Hunts become available, that you’ll be speaking to him more frequently.
It’s time to move on to the next part of the Main Scenario Quest, but before we do, let’s upgrade some of Clive’s equipment. Firstly, you will need to have 11 ![]() Valley Madders to complete the upgrades.
Valley Madders to complete the upgrades.
Helpful Hint
As a reminder, ![]() Valley Madder is one of the zone-specific drops that can be found while traveling through Sanbreque. You’ll receive a total of 10
Valley Madder is one of the zone-specific drops that can be found while traveling through Sanbreque. You’ll receive a total of 10 ![]() Valley Madders for completing the
Valley Madders for completing the ![]() Moving Heaven and Earth Optional Quest, which means you just need to have obtained one more. Hopefully, you picked up one more along the way.
Moving Heaven and Earth Optional Quest, which means you just need to have obtained one more. Hopefully, you picked up one more along the way.
If not, we can do a bit of a detour and, while we’re at it, activate an ![]() Obelisk that we weren’t able to before. Travel to the
Obelisk that we weren’t able to before. Travel to the ![]() Obelisk in Lostwing and head south towards the Norvent Valley. Follow the trail all the way south again towards Caer Norvent.
Obelisk in Lostwing and head south towards the Norvent Valley. Follow the trail all the way south again towards Caer Norvent.
All of the Glimmer spots in this area have a chance to drop ![]() Valley Madder, but in addition to this, when you reach the end of the trail, you can activate the
Valley Madder, but in addition to this, when you reach the end of the trail, you can activate the ![]() Caer Norvent River Gate Obelisk, which will make traveling back here much faster later on in the game.
Caer Norvent River Gate Obelisk, which will make traveling back here much faster later on in the game.

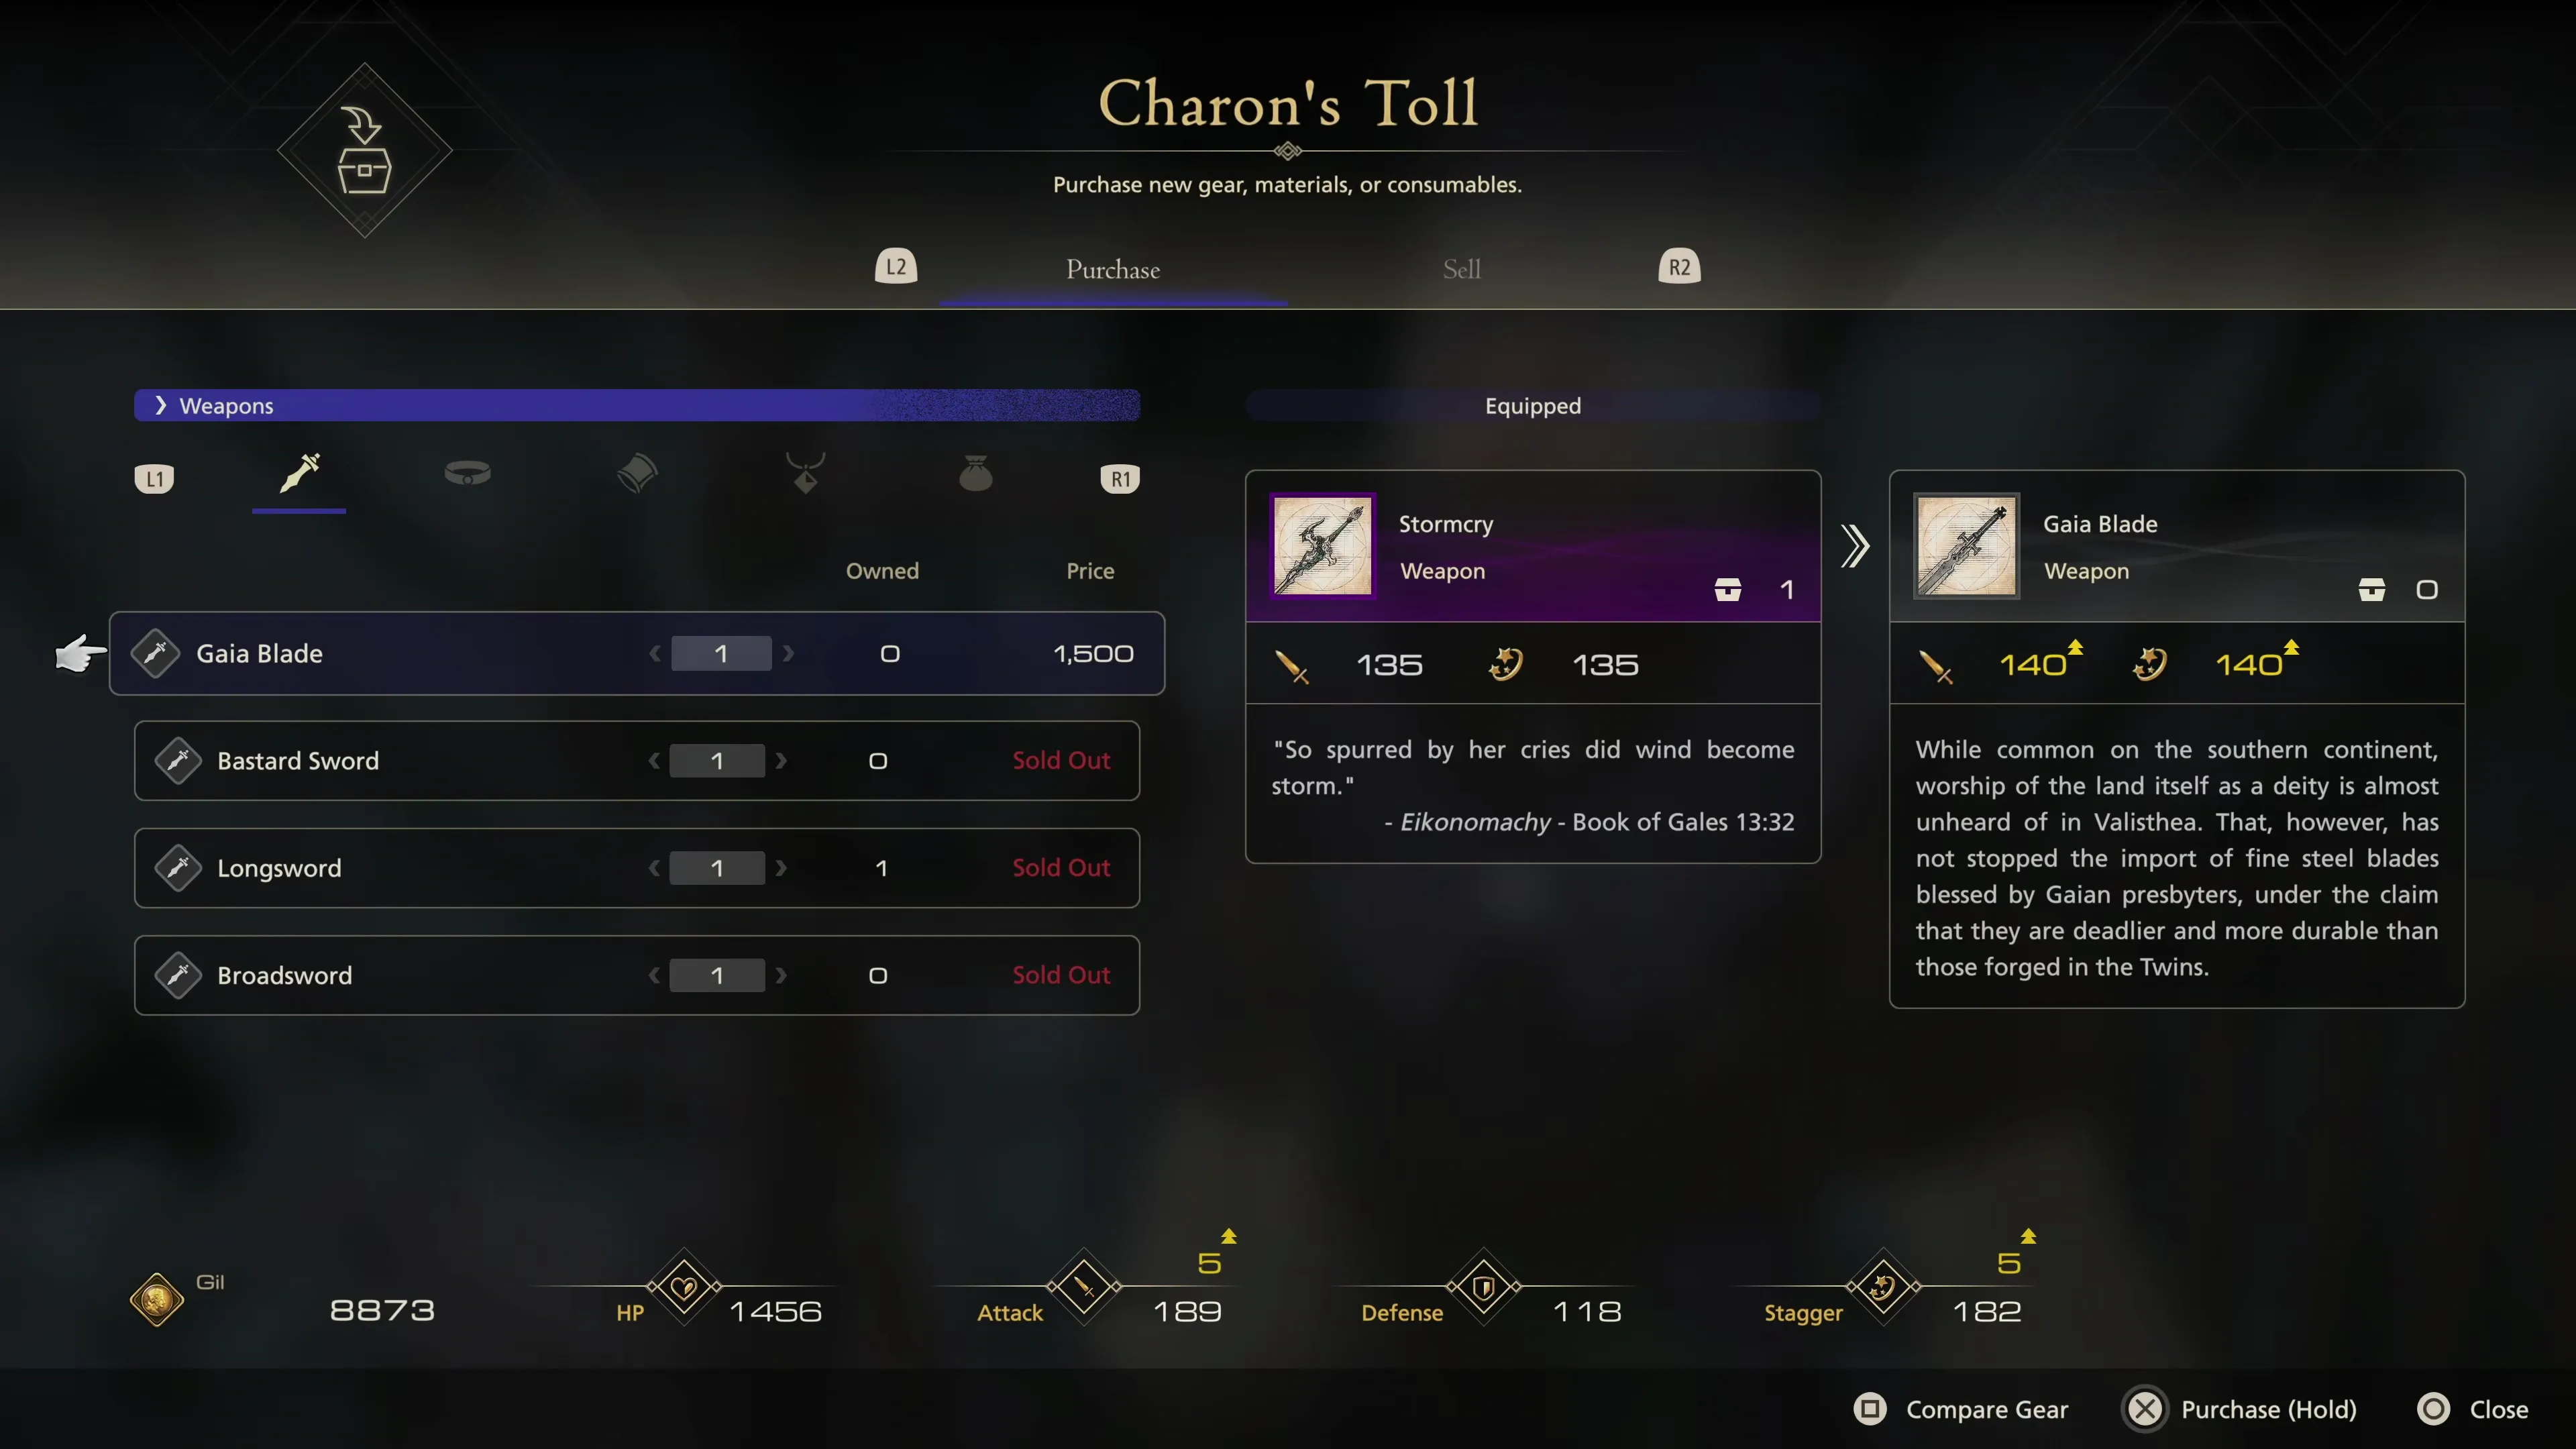
Speak to Charon to complete the next Main Scenario Quest task and, while you’re there, buy the new weapon she is selling.
| Cost | |
|---|---|
| 1,500 |
The Main Scenario Quest Marker ![]() will move over to Gav, but before we talk to him, head over to Blackthorne at
will move over to Gav, but before we talk to him, head over to Blackthorne at ![]() The Black Hammer. Use
The Black Hammer. Use ![]()
![]()
![]() button to swap over to the “Reinforce” option and take some time to reinforce all of your current equipment:
button to swap over to the “Reinforce” option and take some time to reinforce all of your current equipment:
| Materials | |
|---|---|
And that’s everything for now! Speak to Gav if you’re done exploring the Hideaway. After a few cutscenes, it’s on to the next mission.