
 Fire and Ice
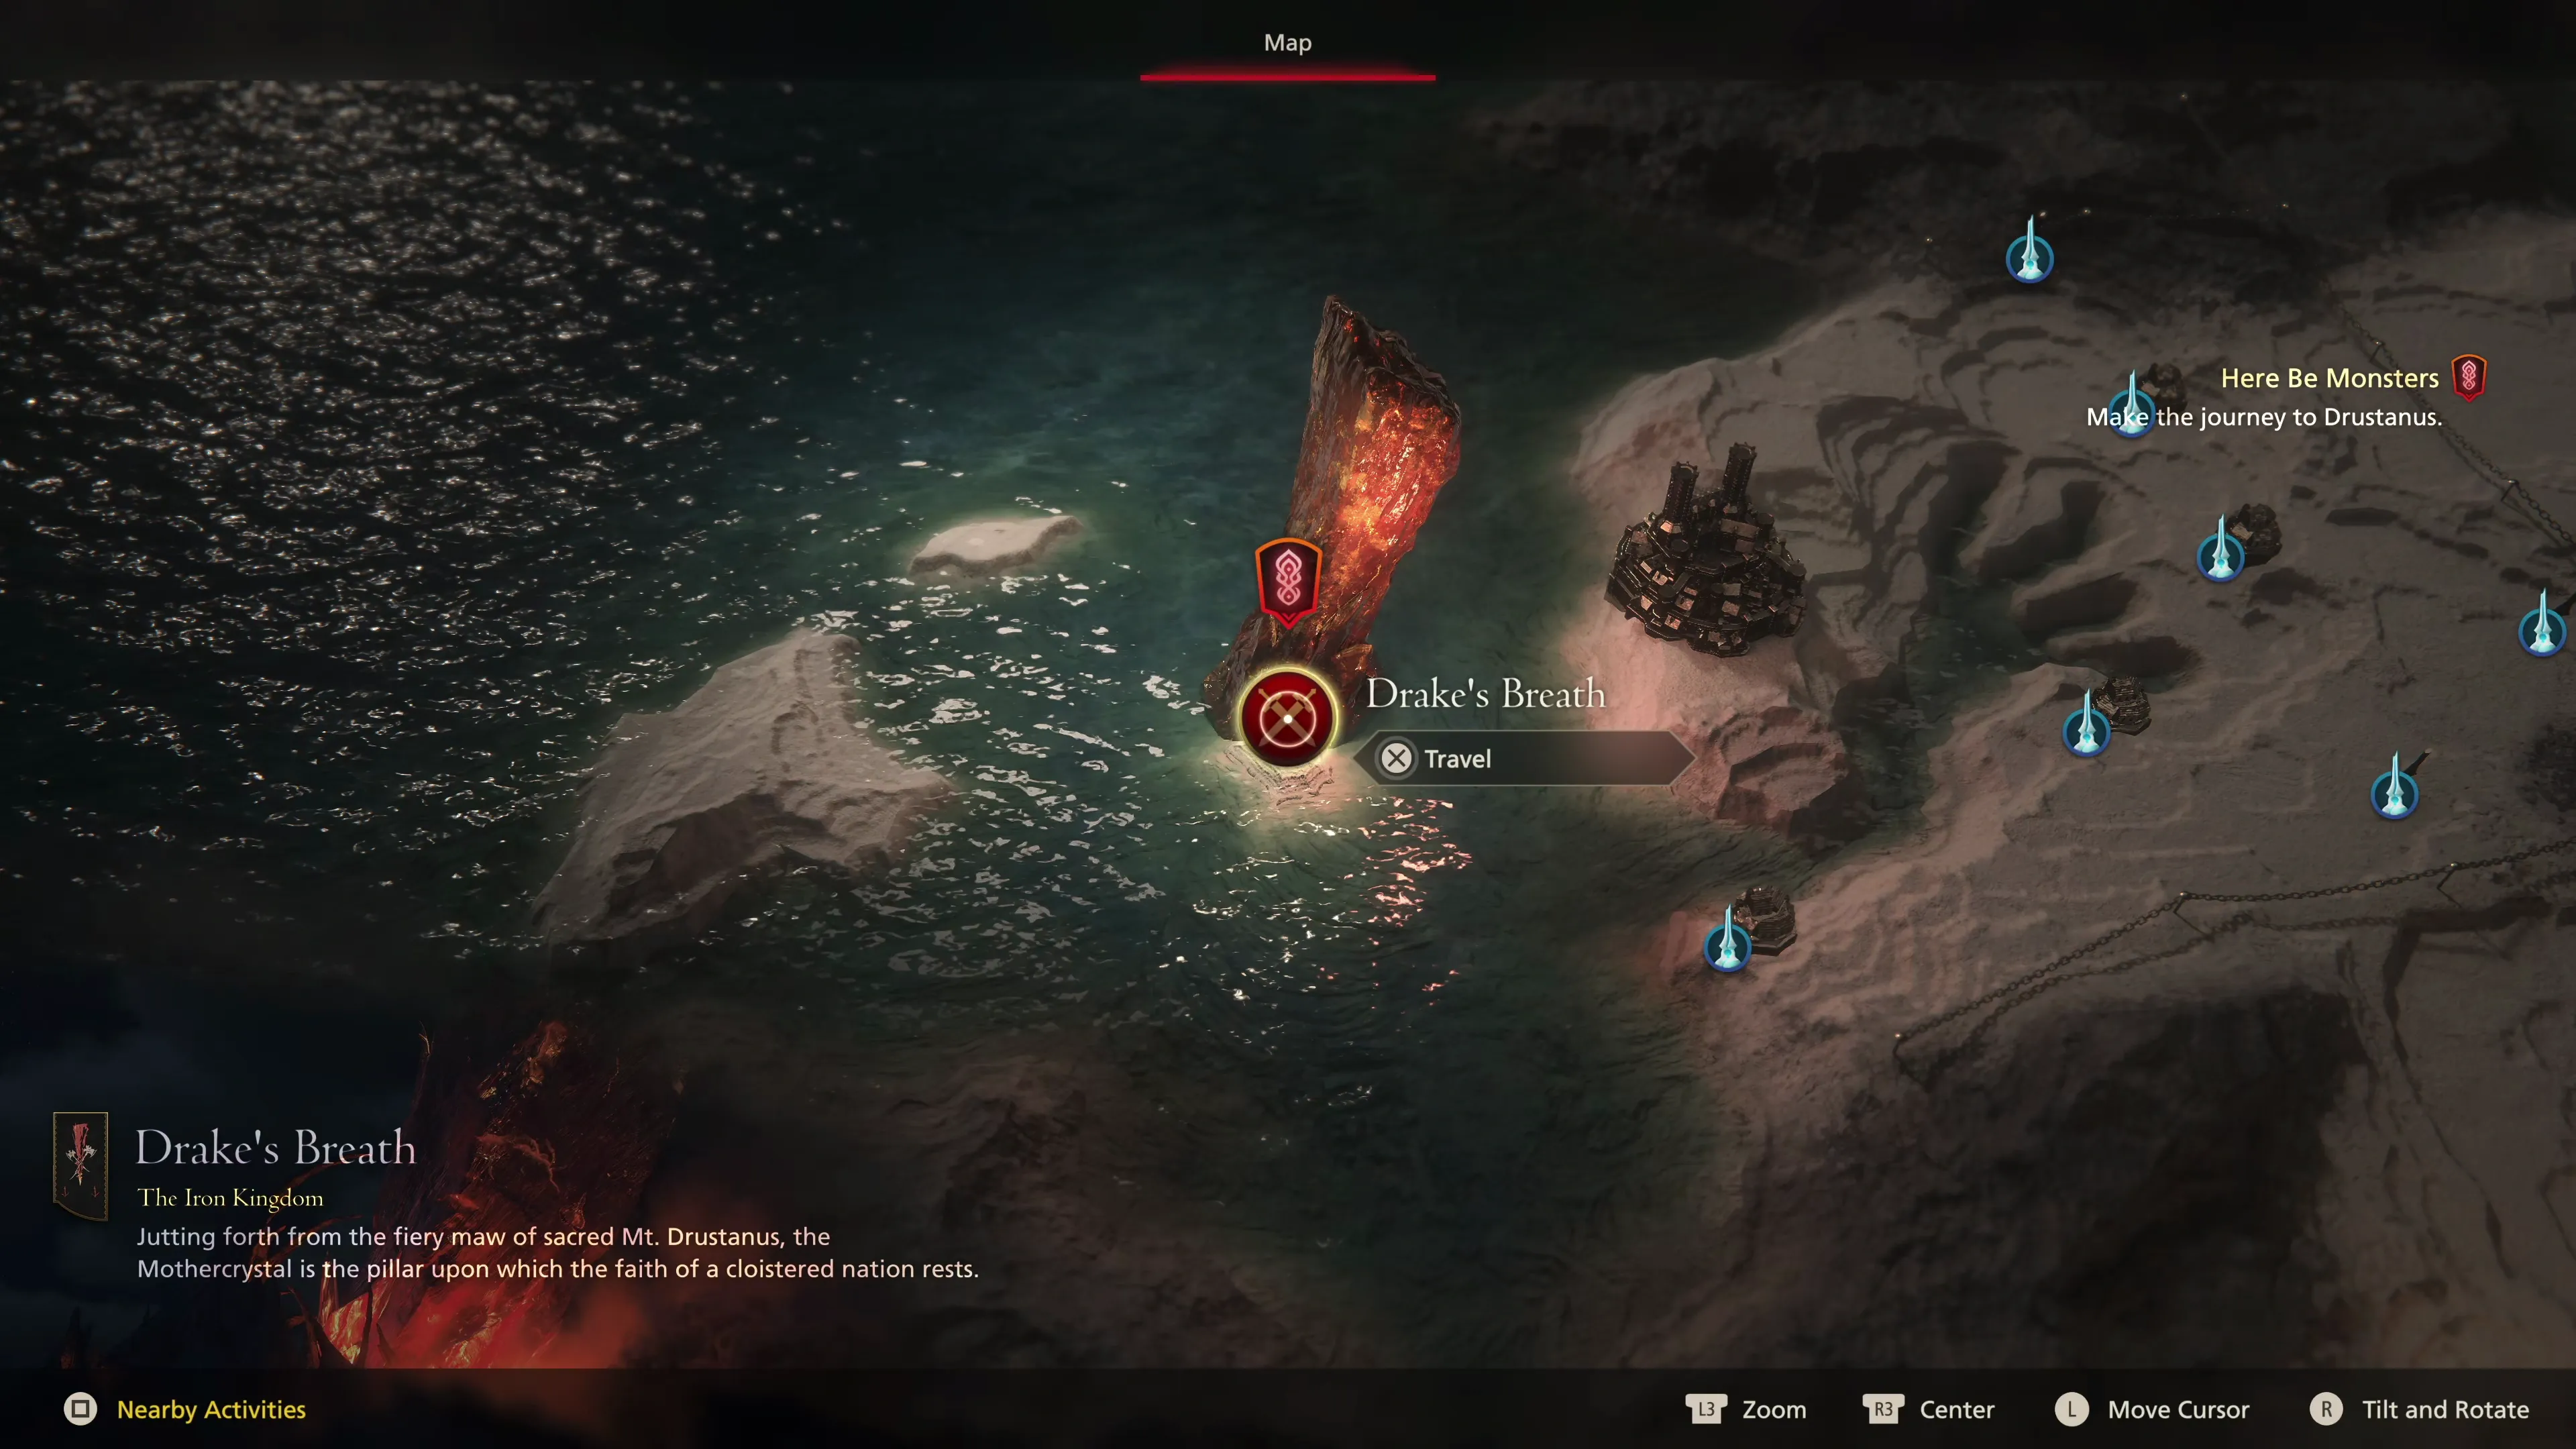
 Drake’s Breath
Helpful Hint
This guide will utilize maps to help guide you through each location; however, this is the fifth section of the game that has a linear map.
As a reminder, these areas are one single trail that you use to travel from the start of the zone to the end, and there are no maps available in the game for these sections. These are typically utilized during sections of the game that are important to the story.
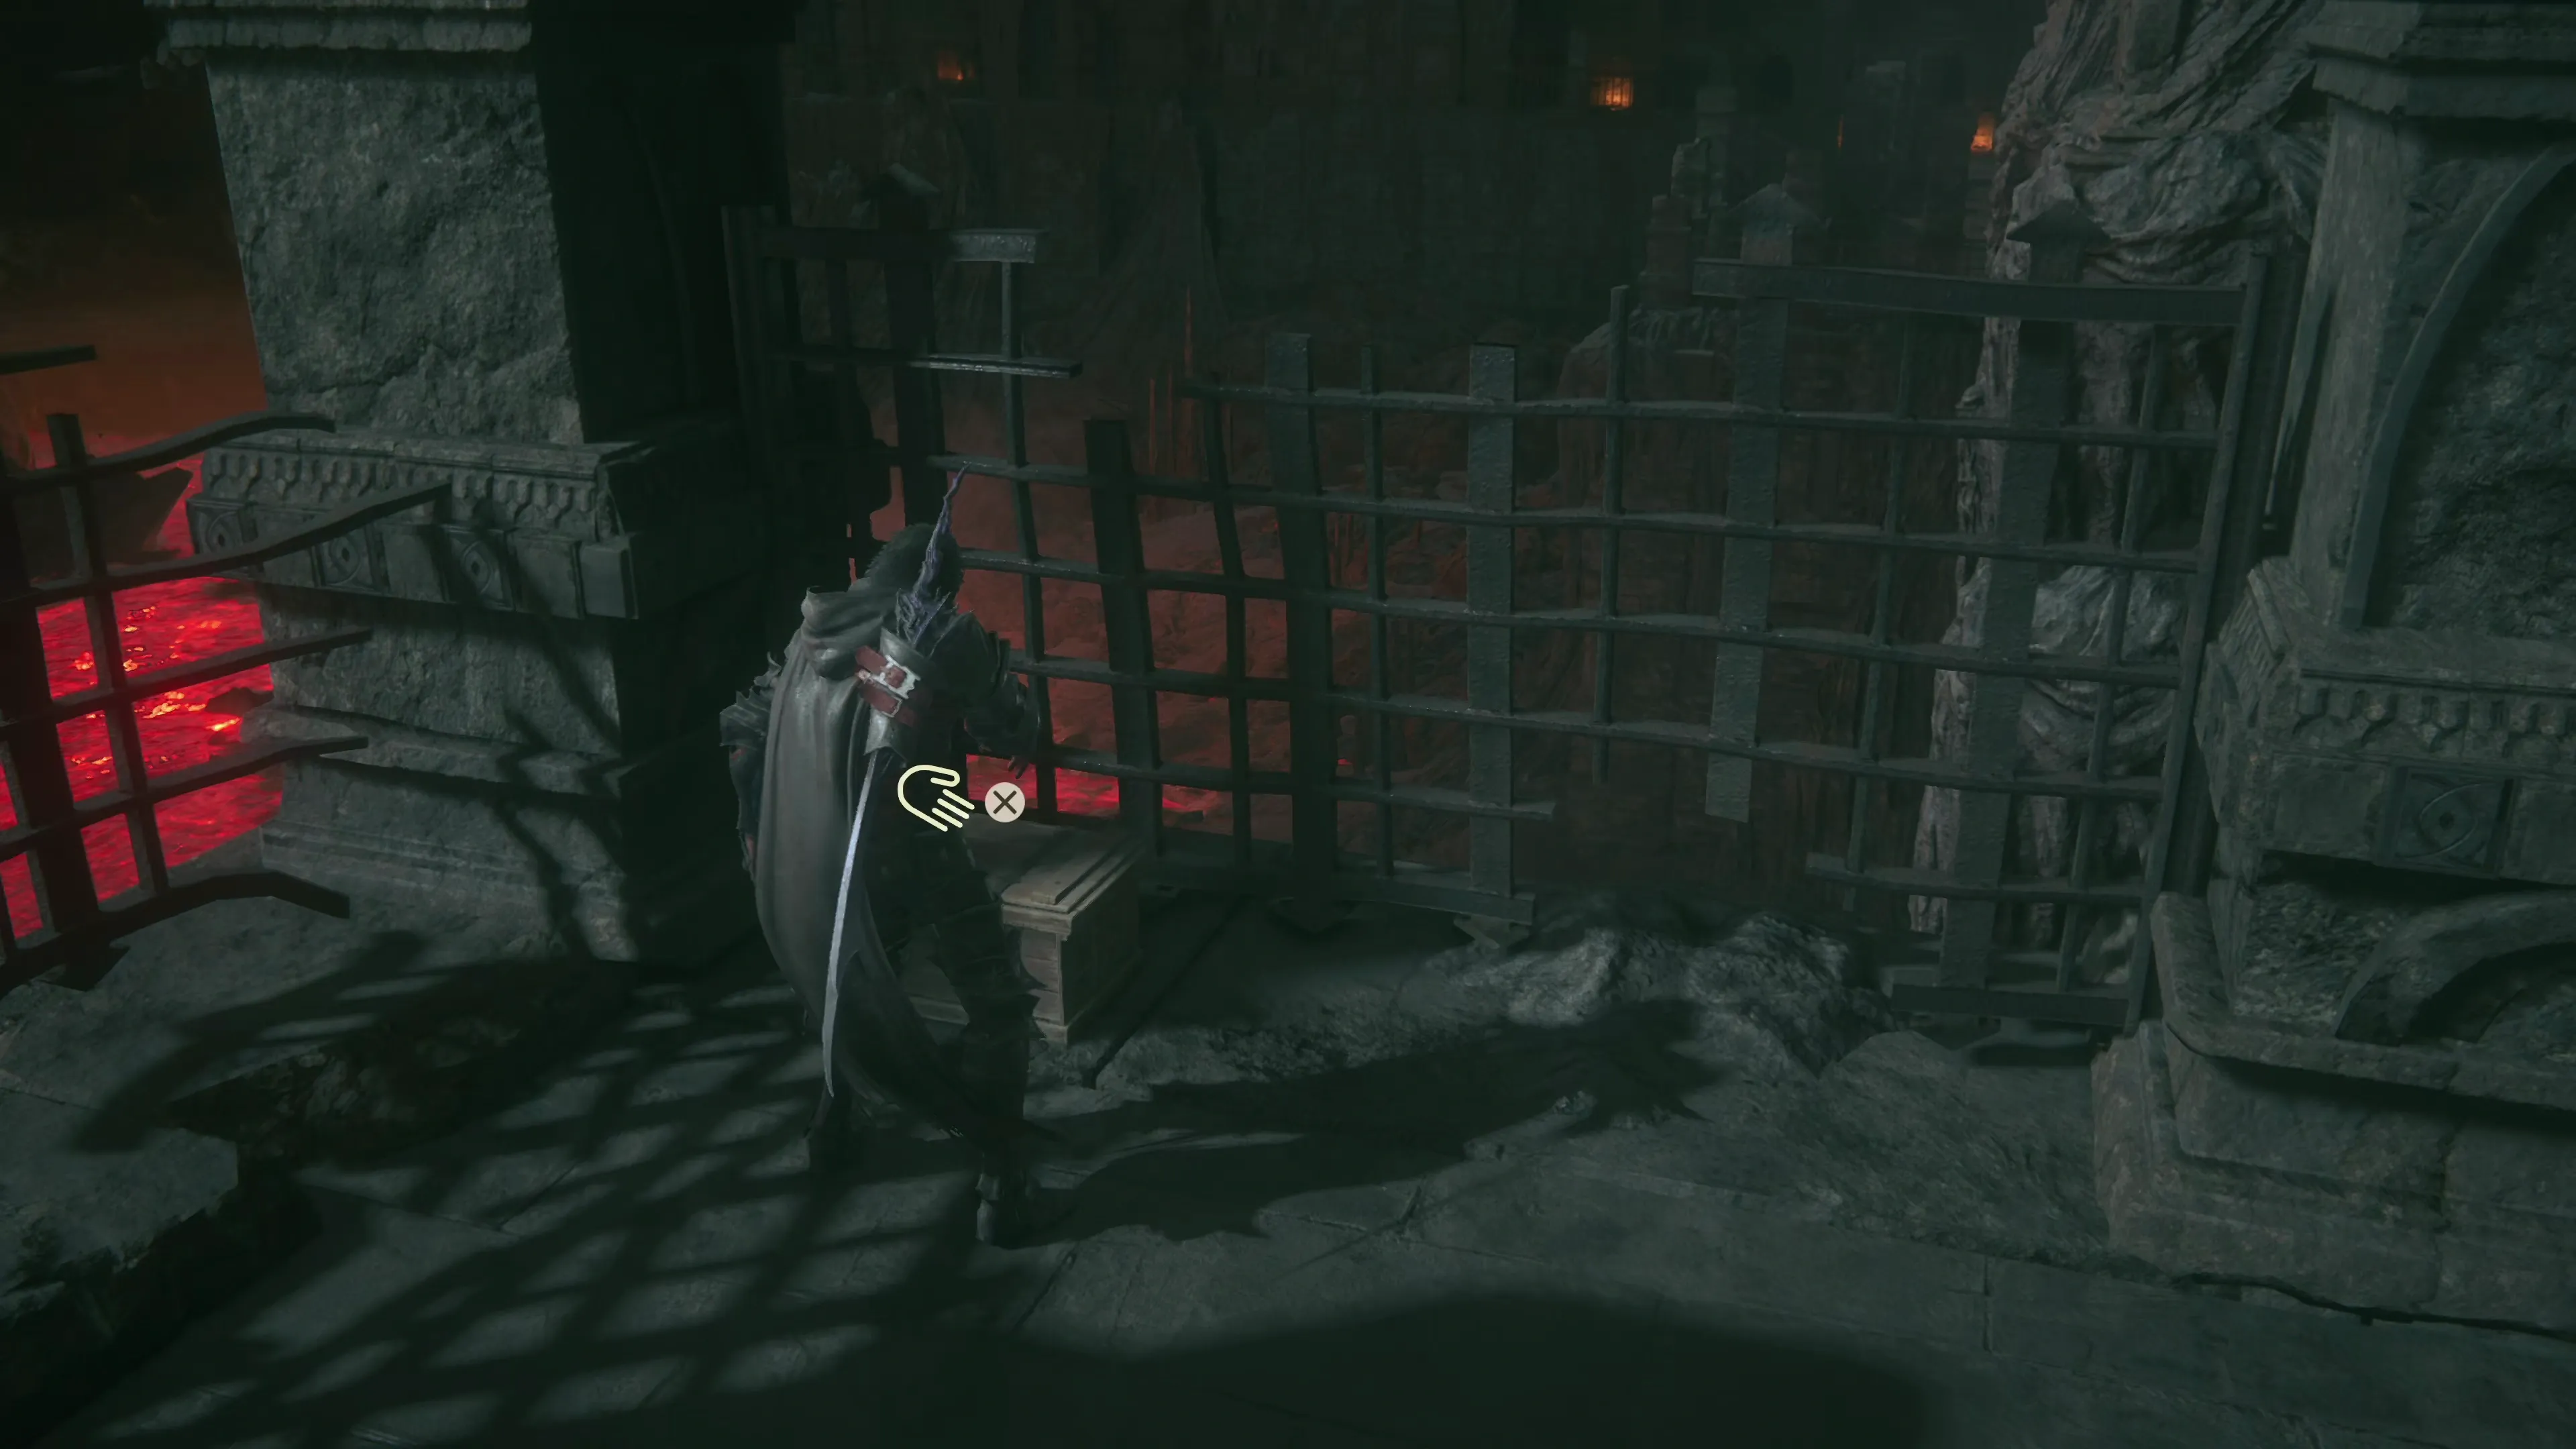
Remember to switch back to your multi-target ![]() Eikonic Ability Set and then head down the trail. Go through the gate, and you’ll come across your first group of Akashic Thorns and Akashic Hornets.
Eikonic Ability Set and then head down the trail. Go through the gate, and you’ll come across your first group of Akashic Thorns and Akashic Hornets.
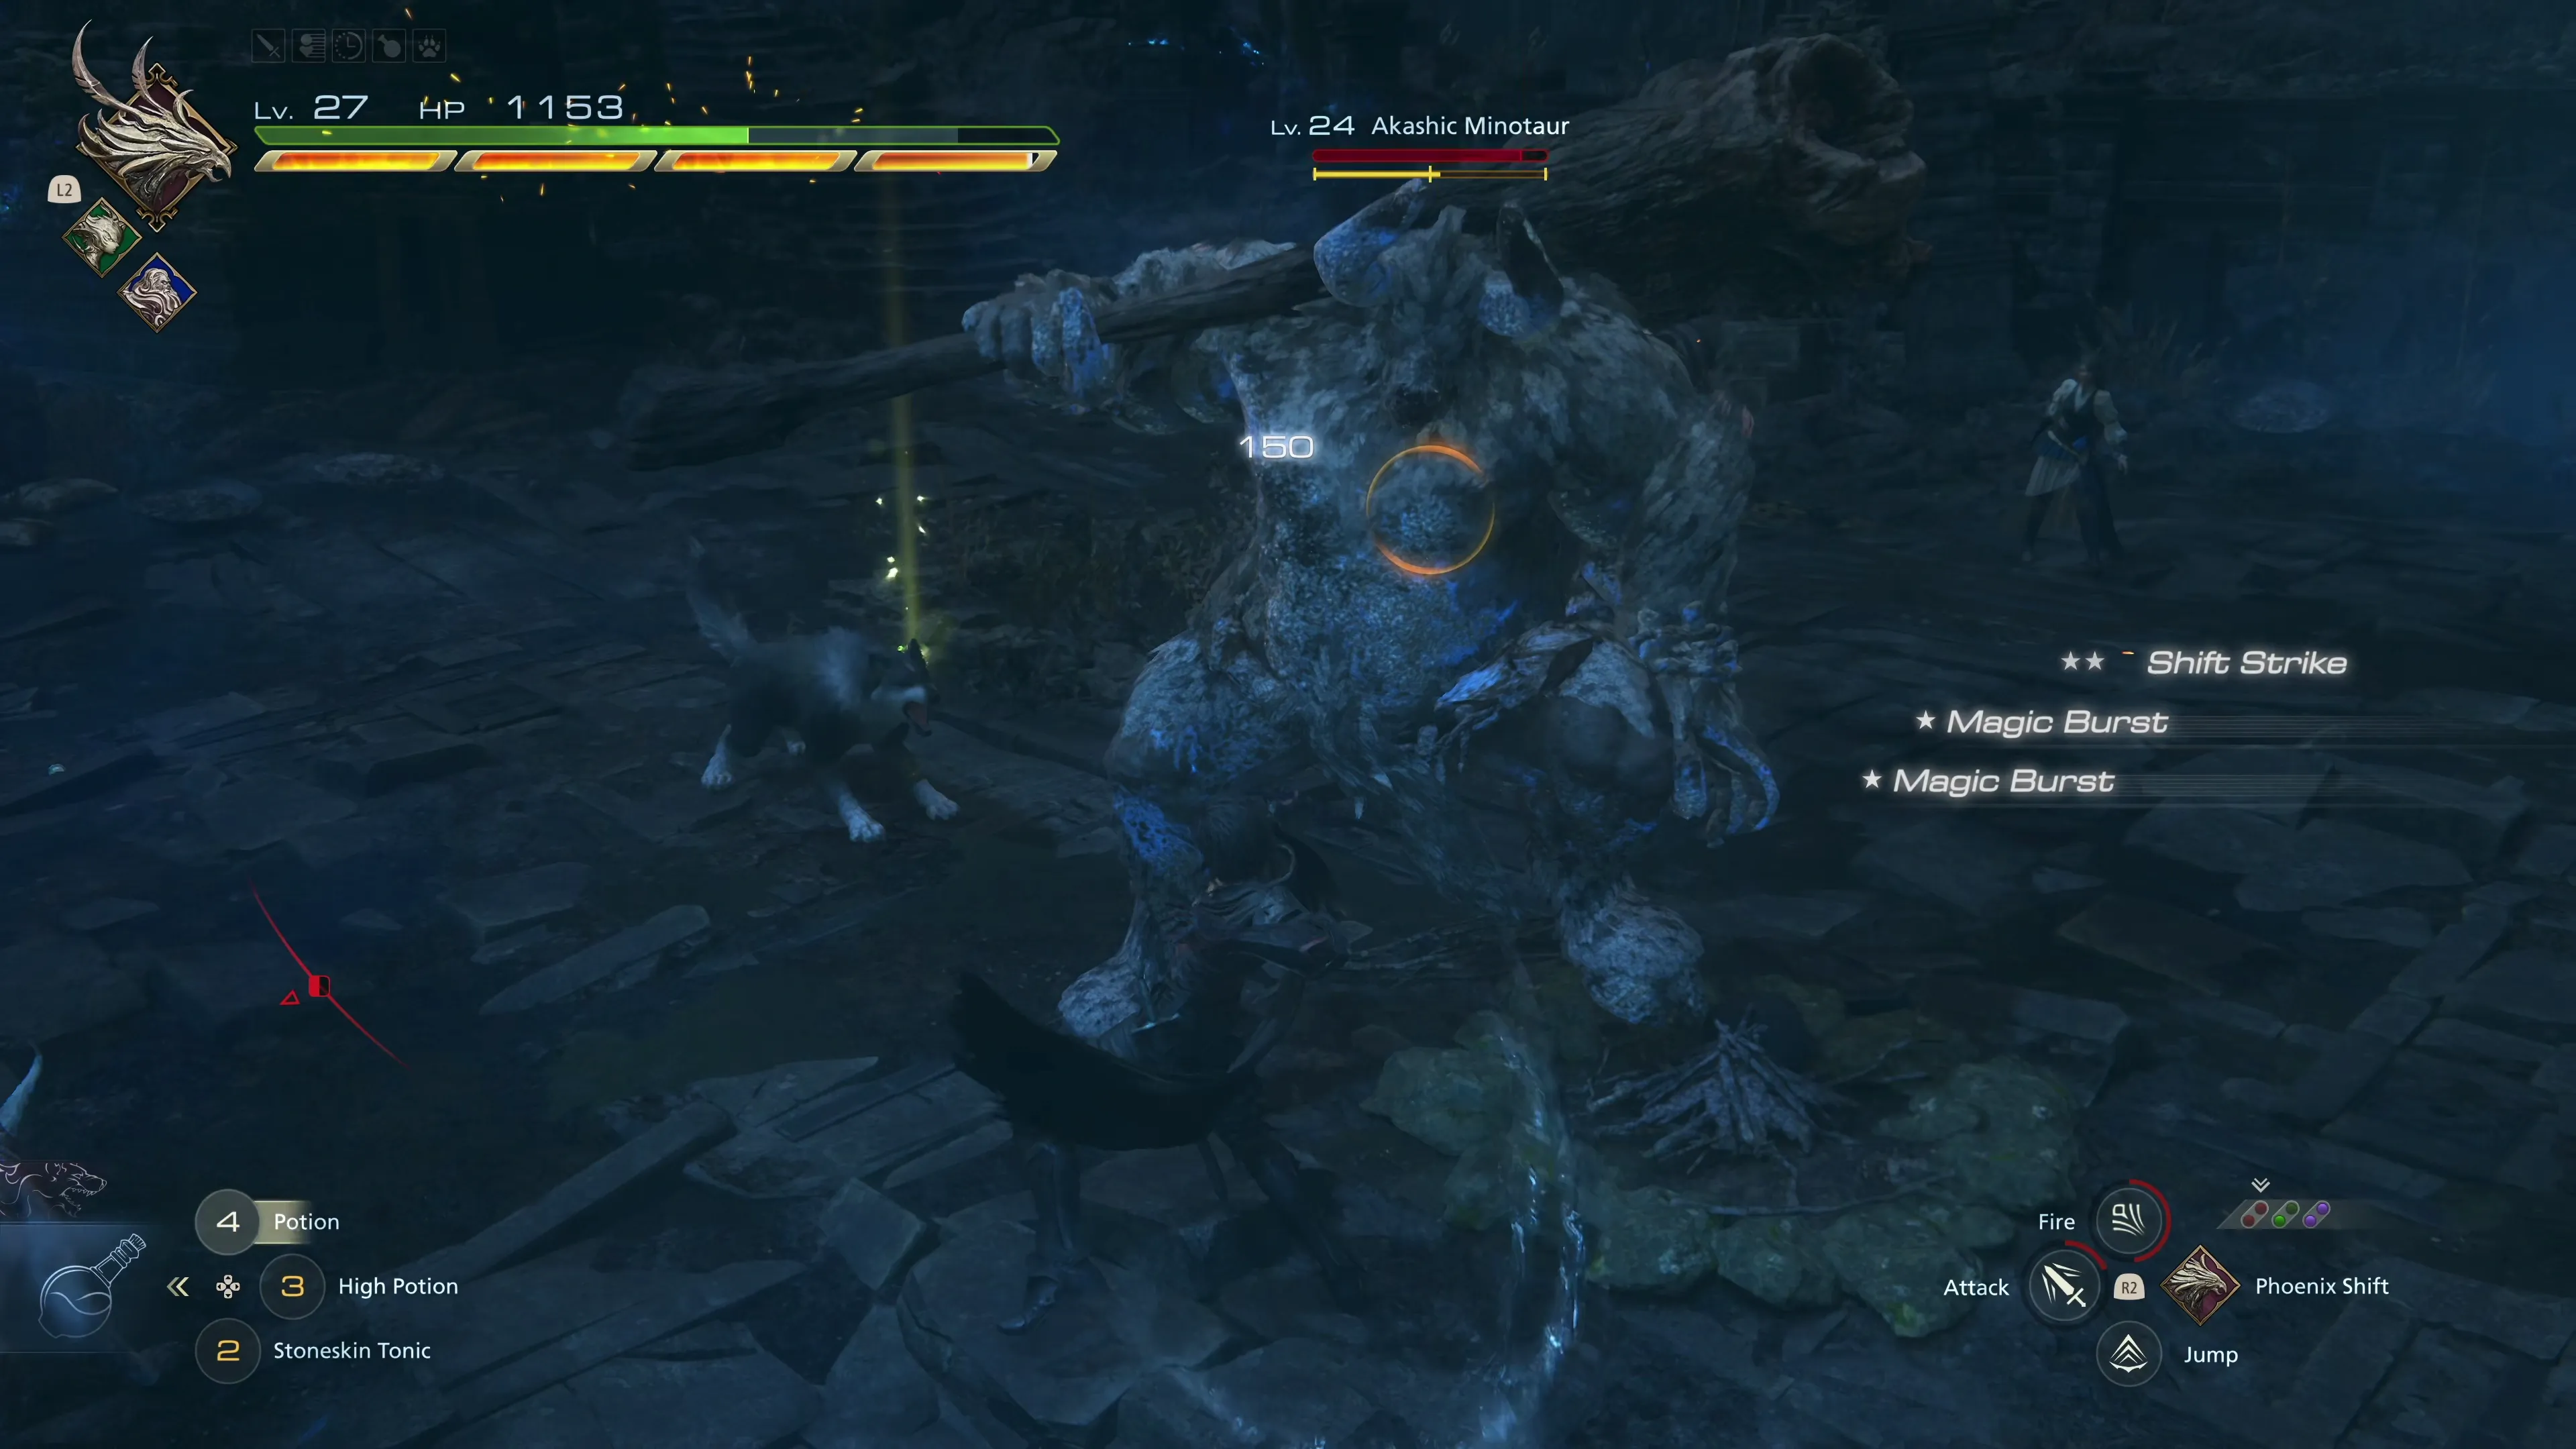
Proceed through the gate on the far side and up the next set of stairs. The next enemies you come across are a group of Akashic Worgen that are also easy to defeat. After that is a group that includes an Akashic Minotaur, which certainly has more HP, but is not harder—by now, you should be used to fighting these enemies. Just remember to dodge to the right to improve your odds of dodging its underhanded swing.
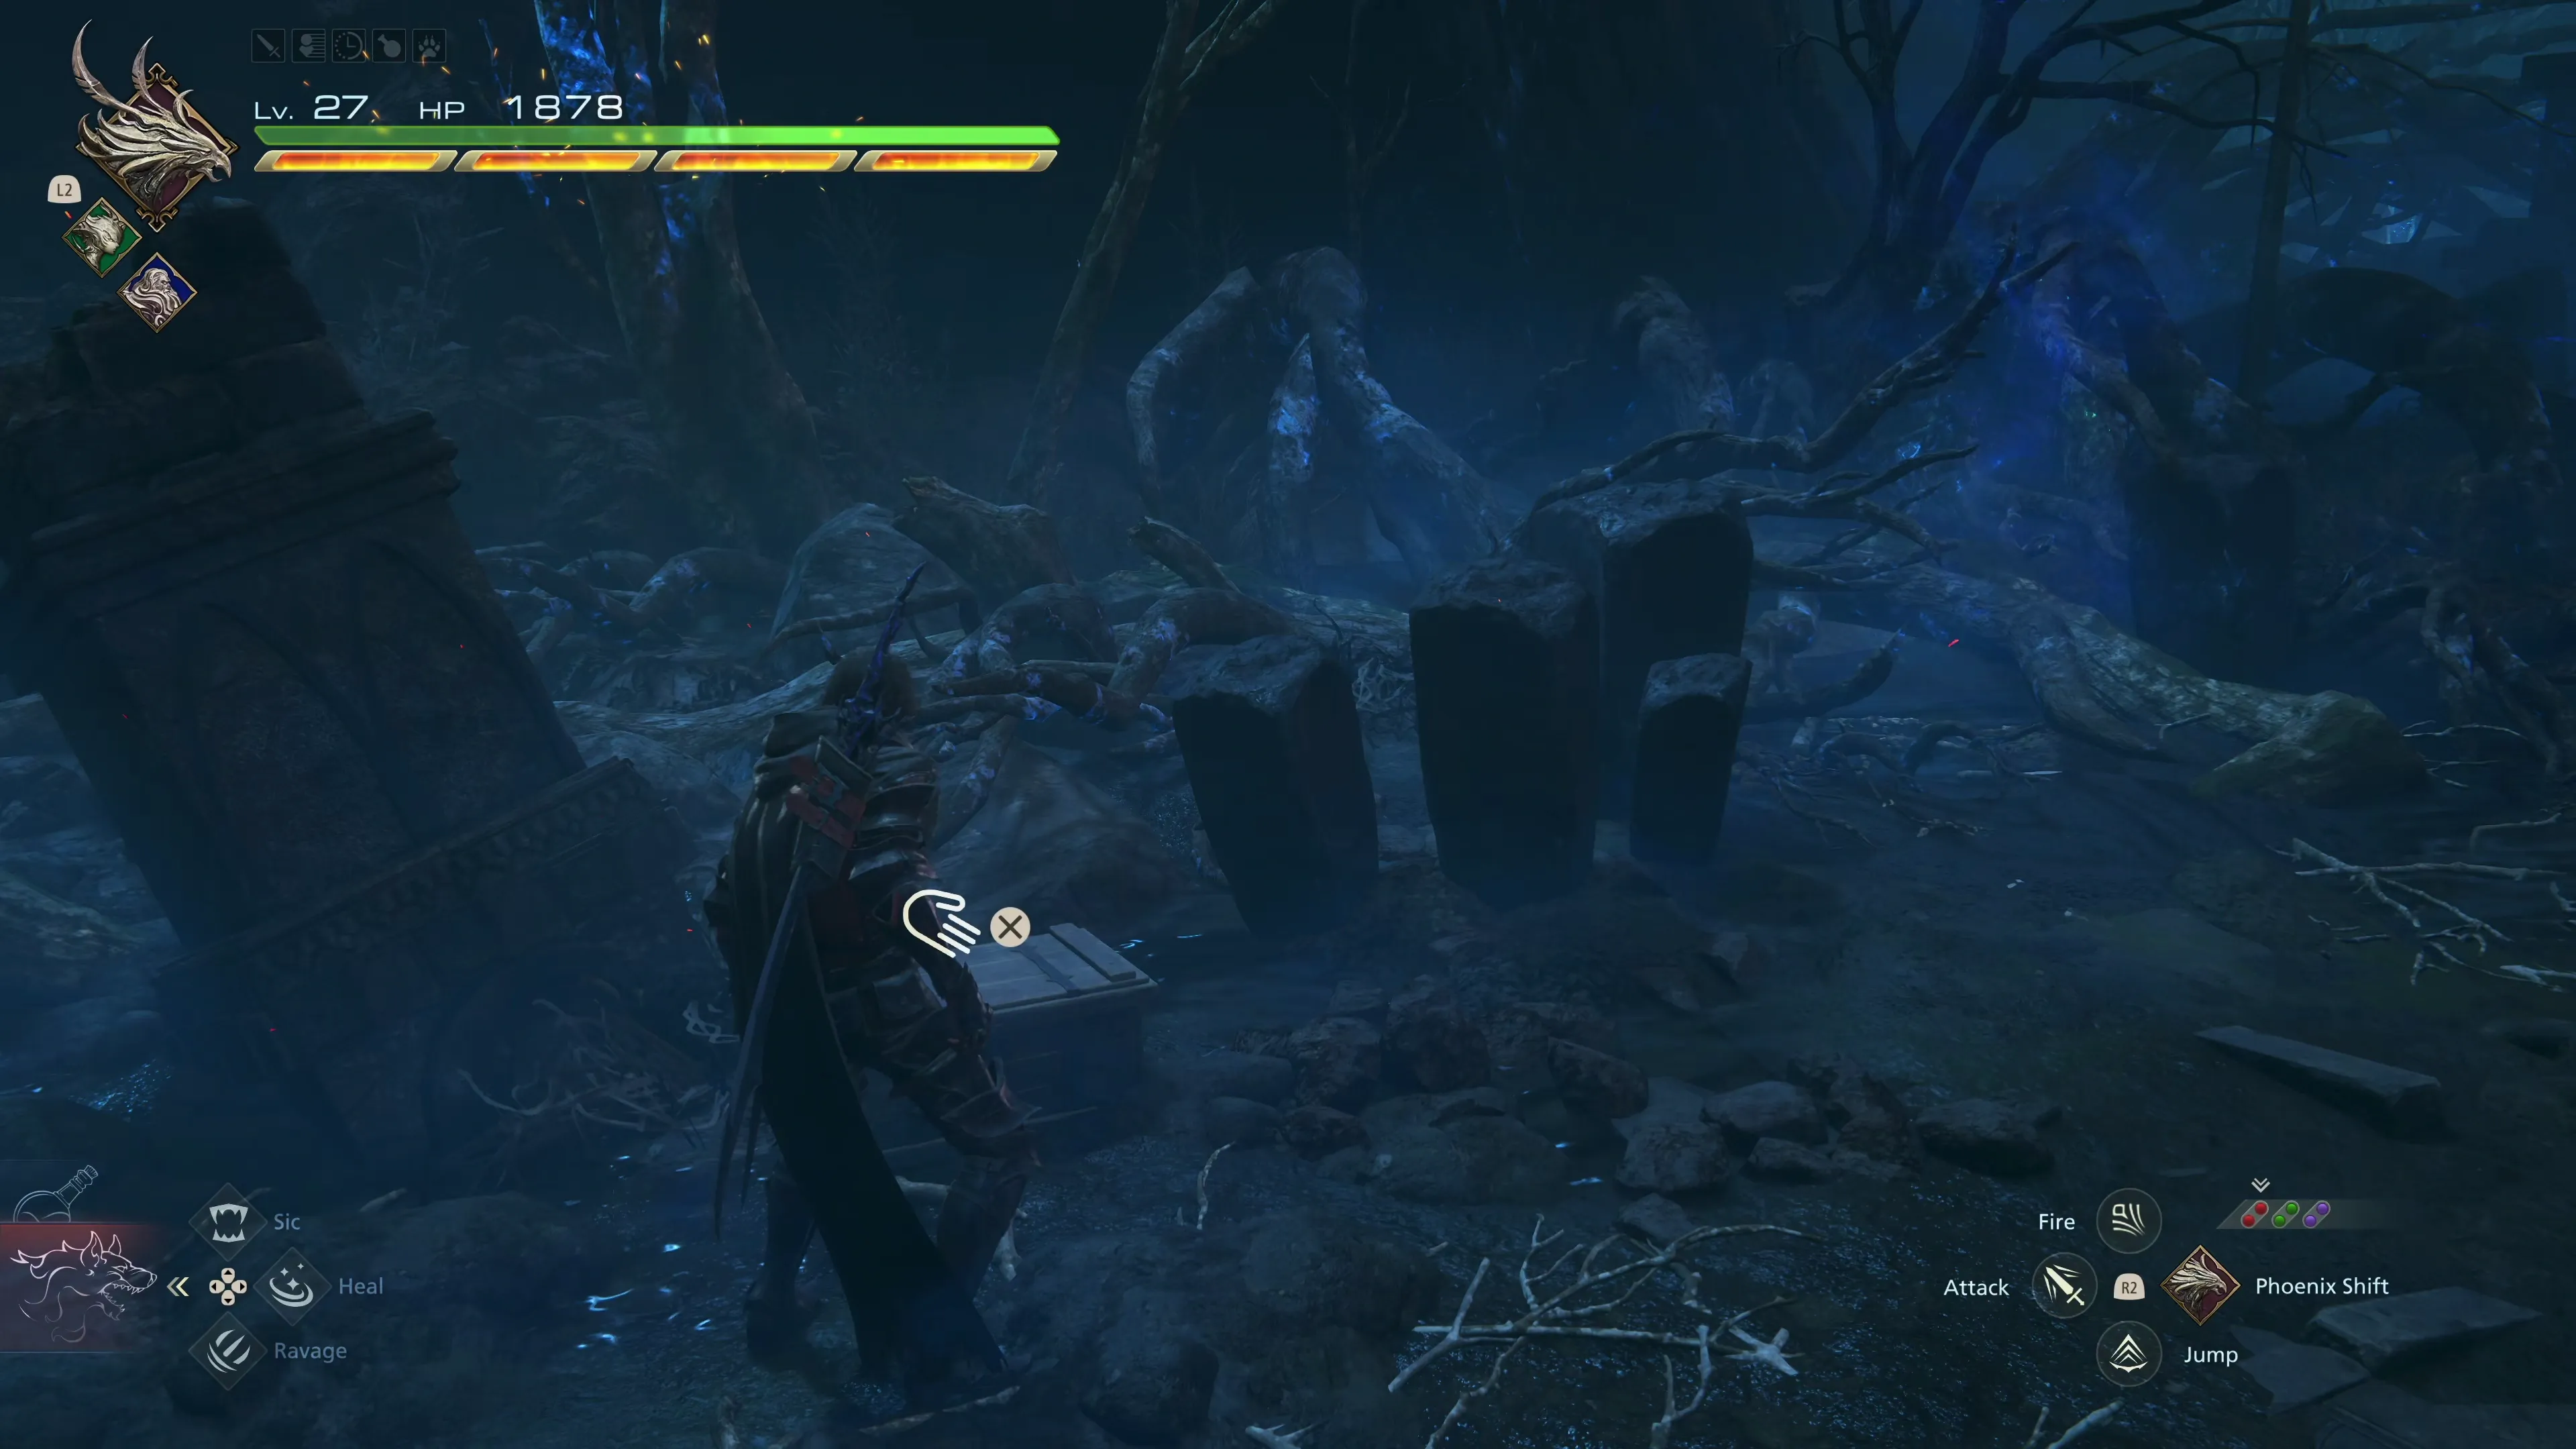
You will find two Glimmers up the stairs as well as a treasure coffer that contains ![]() The Breath of Wind (Aerial Blast). Aerial Blast is not considered to be a strong ability, though, so there’s no need to equip this accessory.
The Breath of Wind (Aerial Blast). Aerial Blast is not considered to be a strong ability, though, so there’s no need to equip this accessory.
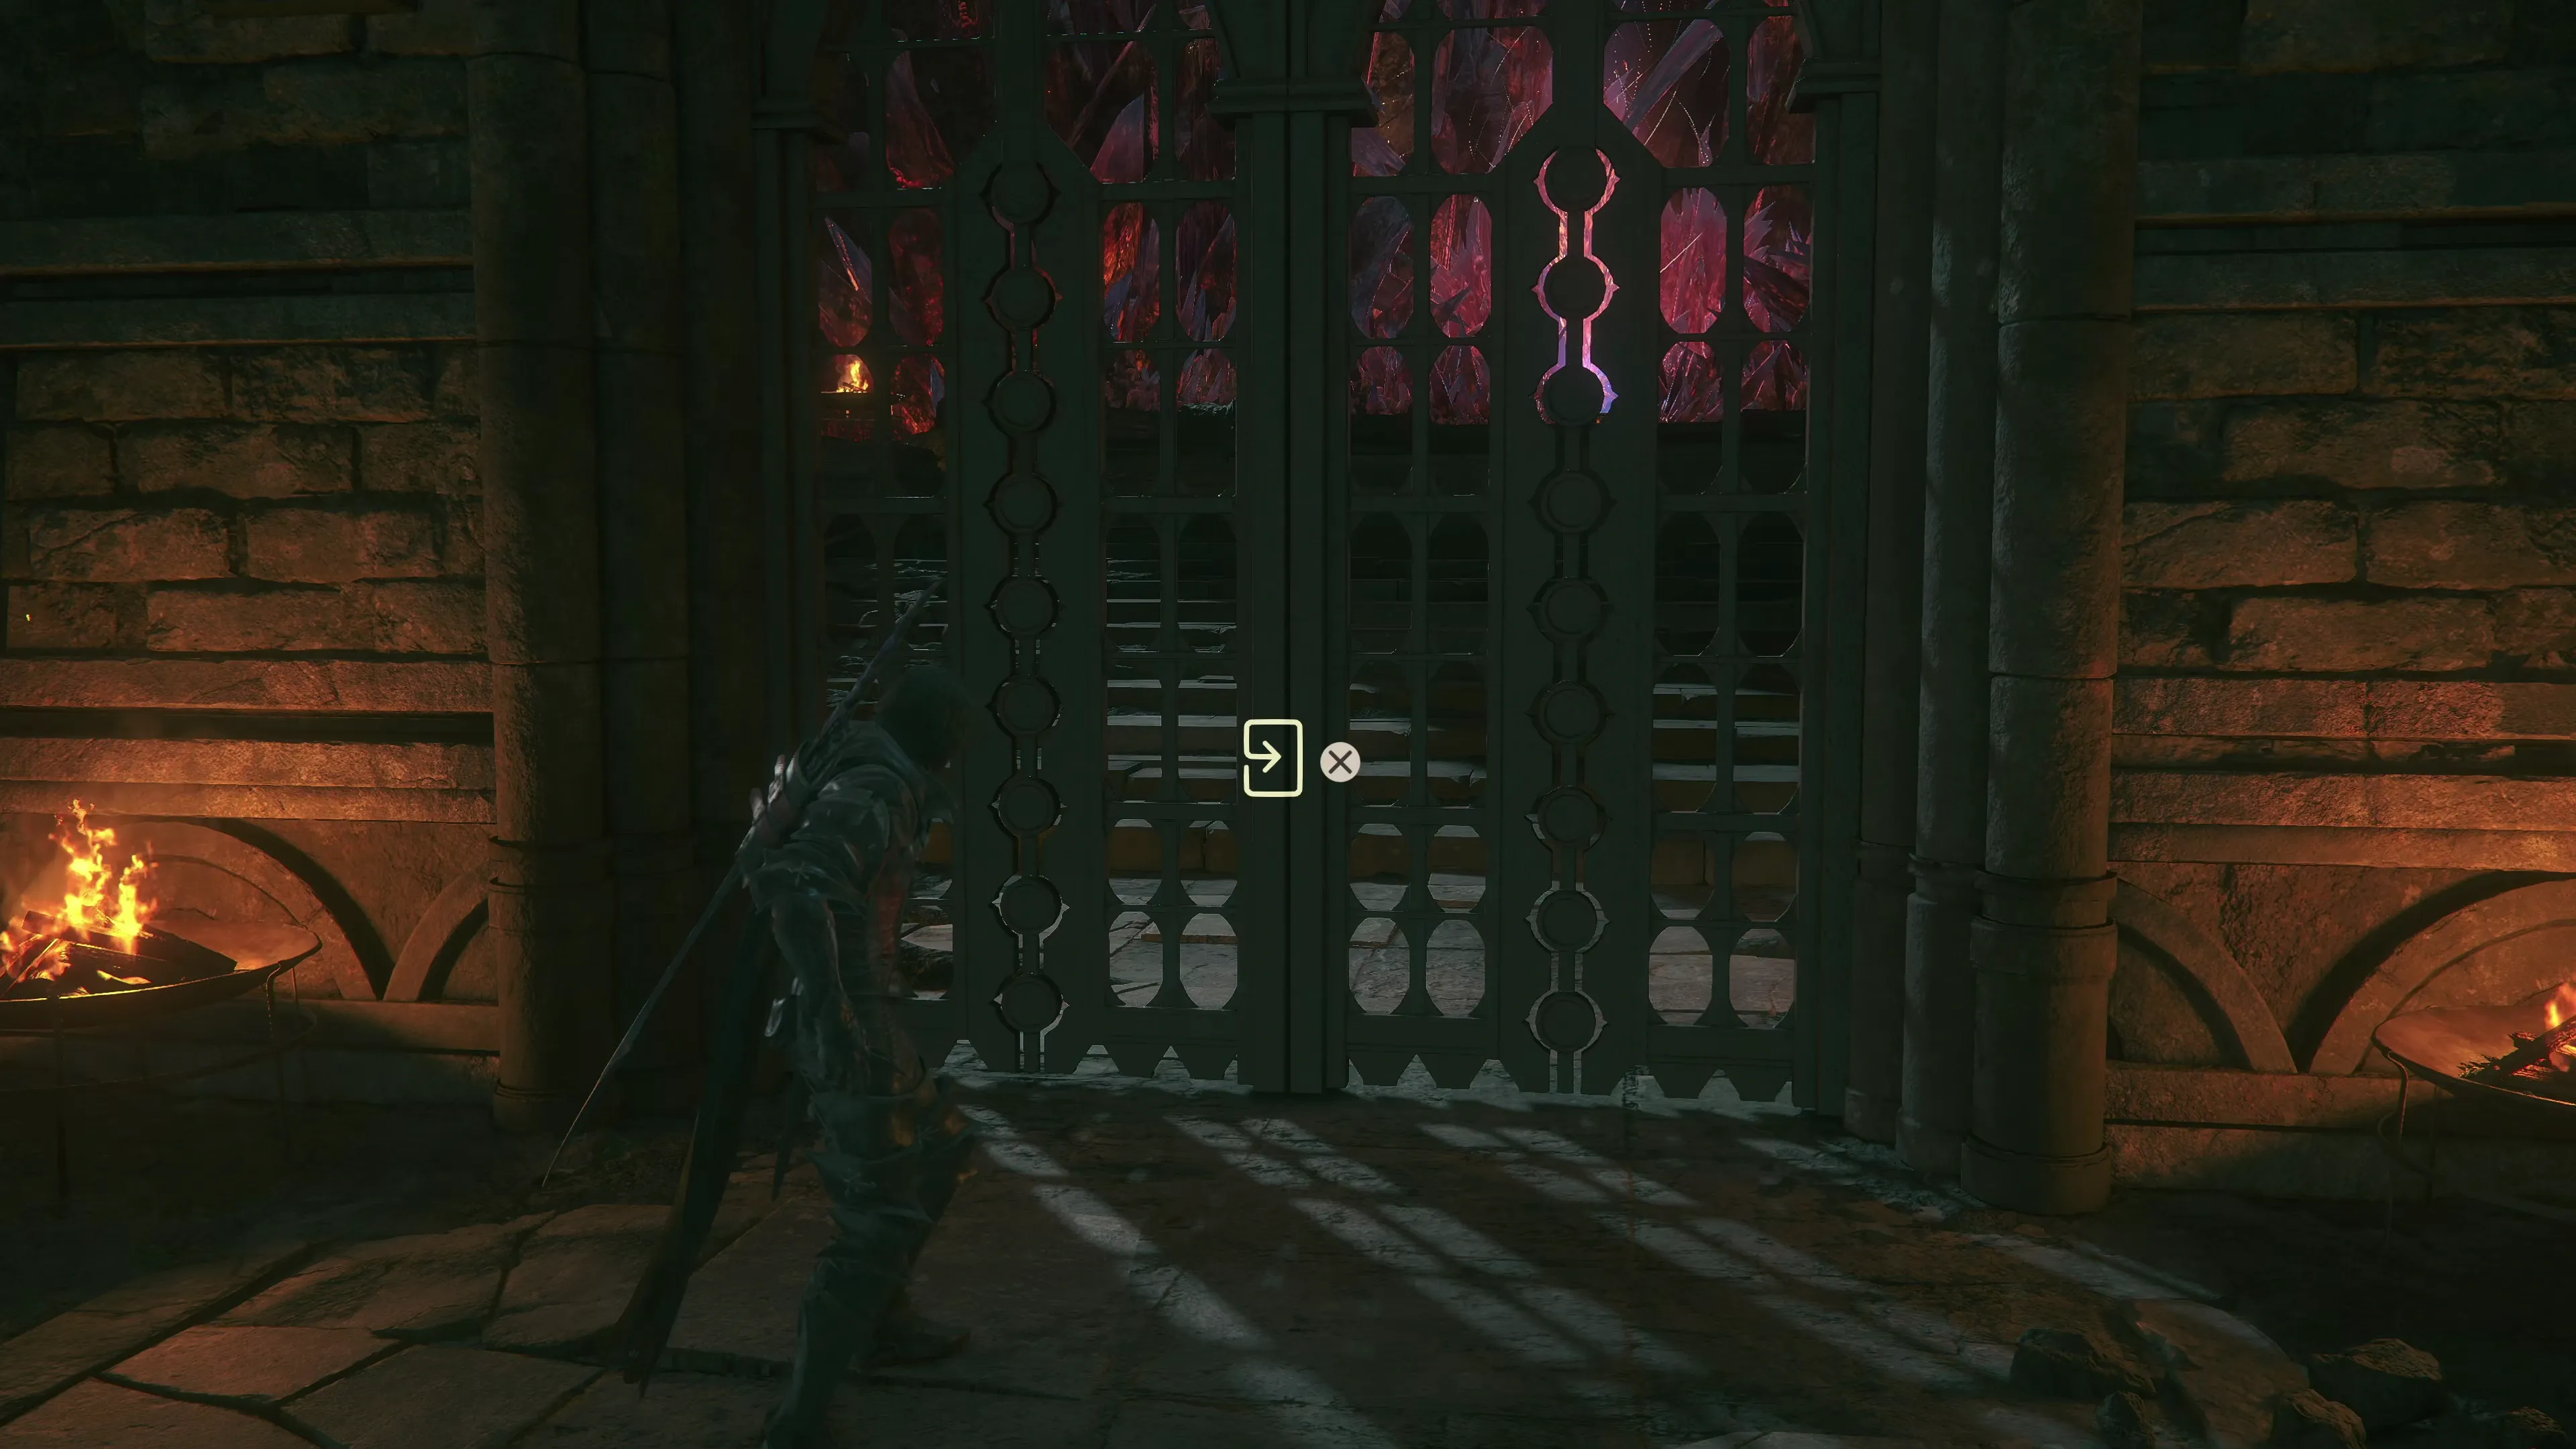
Before you open the next gate, swap over to your single-target ![]() Eikonic Ability Set.
Eikonic Ability Set.
Boss Battle
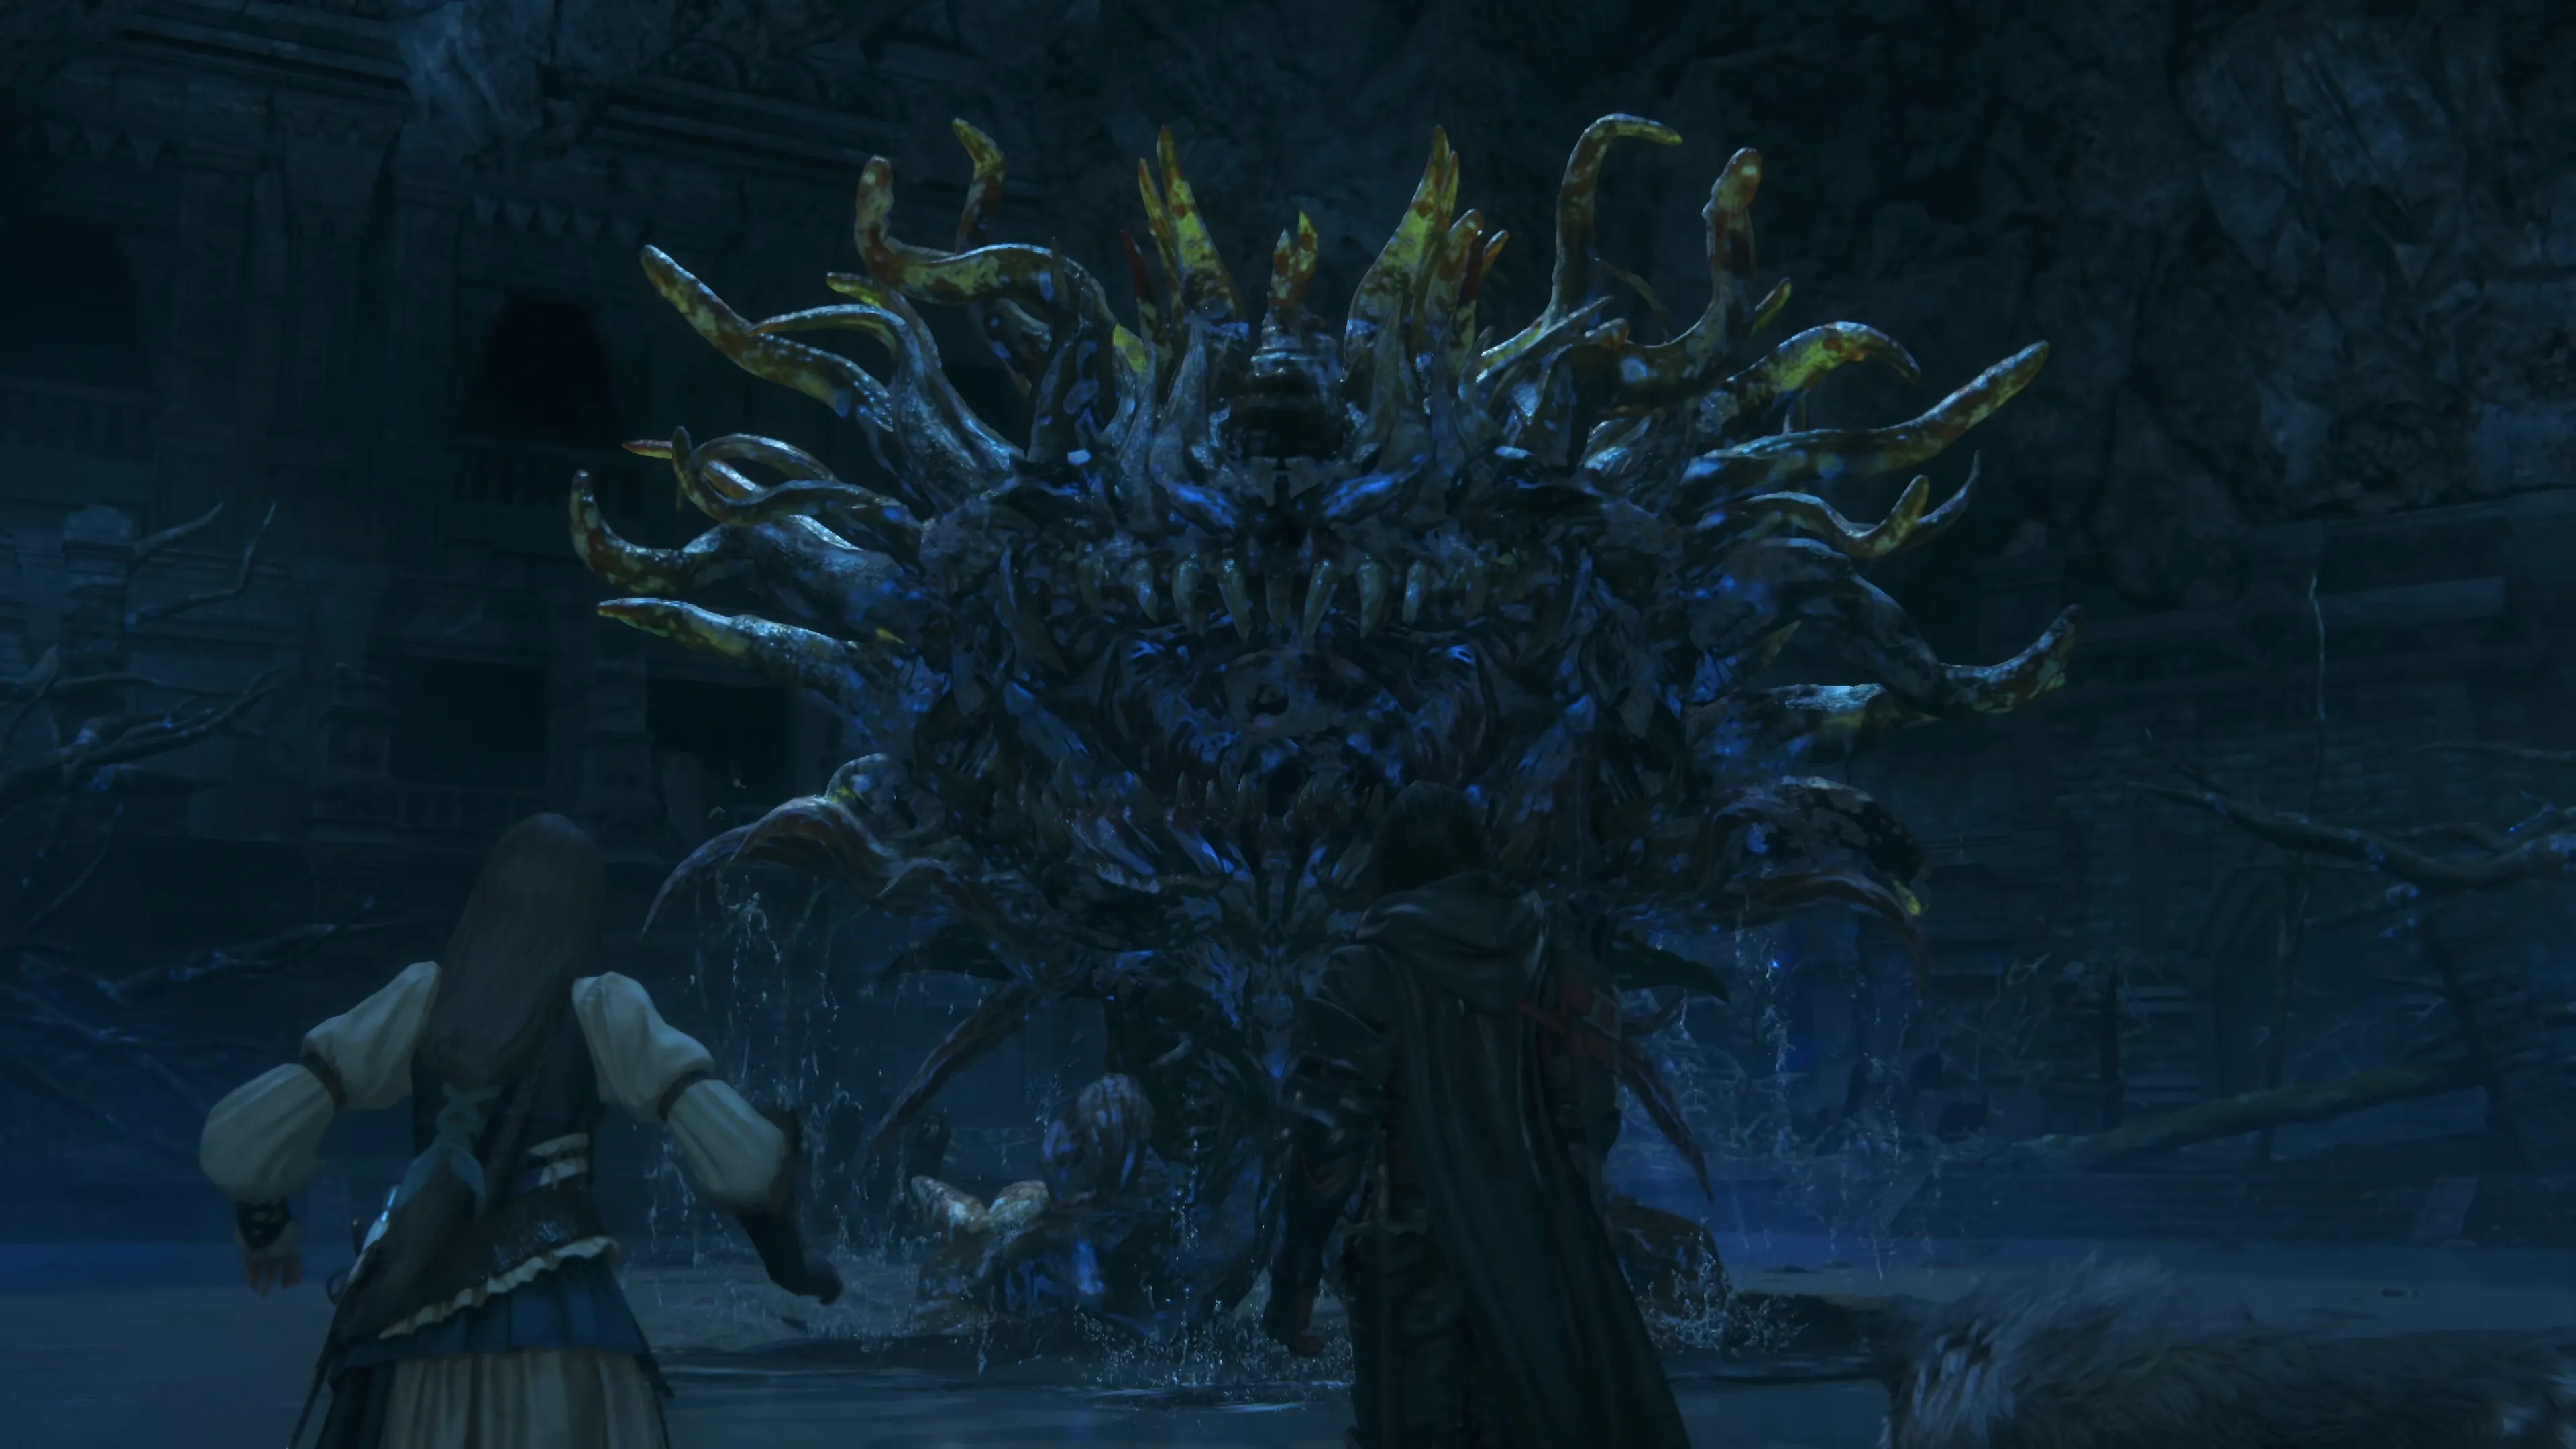
This is an enemy that you’re already familiar with, as you’ve already fought the non-Akashic version back in Stillwind during the Prologue. So what’s different about it this time?
![]() “Worse Breath”
“Worse Breath”
Replaces “Bad Breath,” and the difference is that “Worse Breath” will have the Akashic Morbol rotate in position. You can still dodge through the attack or position Clive in an area of the battlefield that won’t get hit by the cloud.
![]() “Tentacle Forest”
“Tentacle Forest”
Is an attack where the Akashic Morbol will dig all of its tentacles into the ground and spawn them all over the map. There are two methods of dodging this attack—the first is to find an area of the battlefield that doesn’t have any tentacles nearby. This can be difficult because the spot may be hard to find, or far away, and you risk taking damage from tentacles while you try to see it. The second method involves getting as close to the backside of the boss as possible and dodging to the left and right without attacking. This will allow you to avoid most of the damage without having to travel too far.
The rest of the attacks are variations of things you’ve already seen, including “Wild Rage” and “Acid Rain.” For a bit of a refresher, check out the Morbol boss section in the Prologue or watch the video below.
There is no Medal of Valor to earn for this fight.
120
2,000
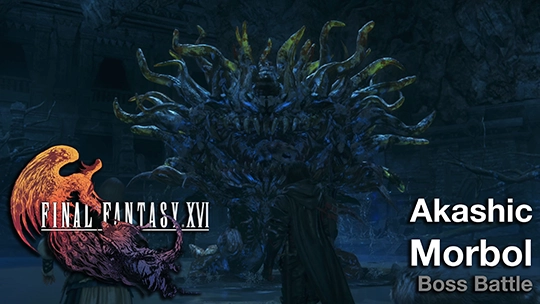
A video demonstration of how to successfully complete the fight against Akashic Morbol.
The next section of the game takes place inside the mountain below Drake’s Breath.
 Mt. Drustanus
Follow the path forward, up the stairs, across the bridge, and grab the two Glimmers along the way. Your first battle will be against a group of “Scarlet Scorpions.” Continue up the stairs to fight another group of enemies that includes both “Scarlet Scorpions” and flying “Dragonets.”
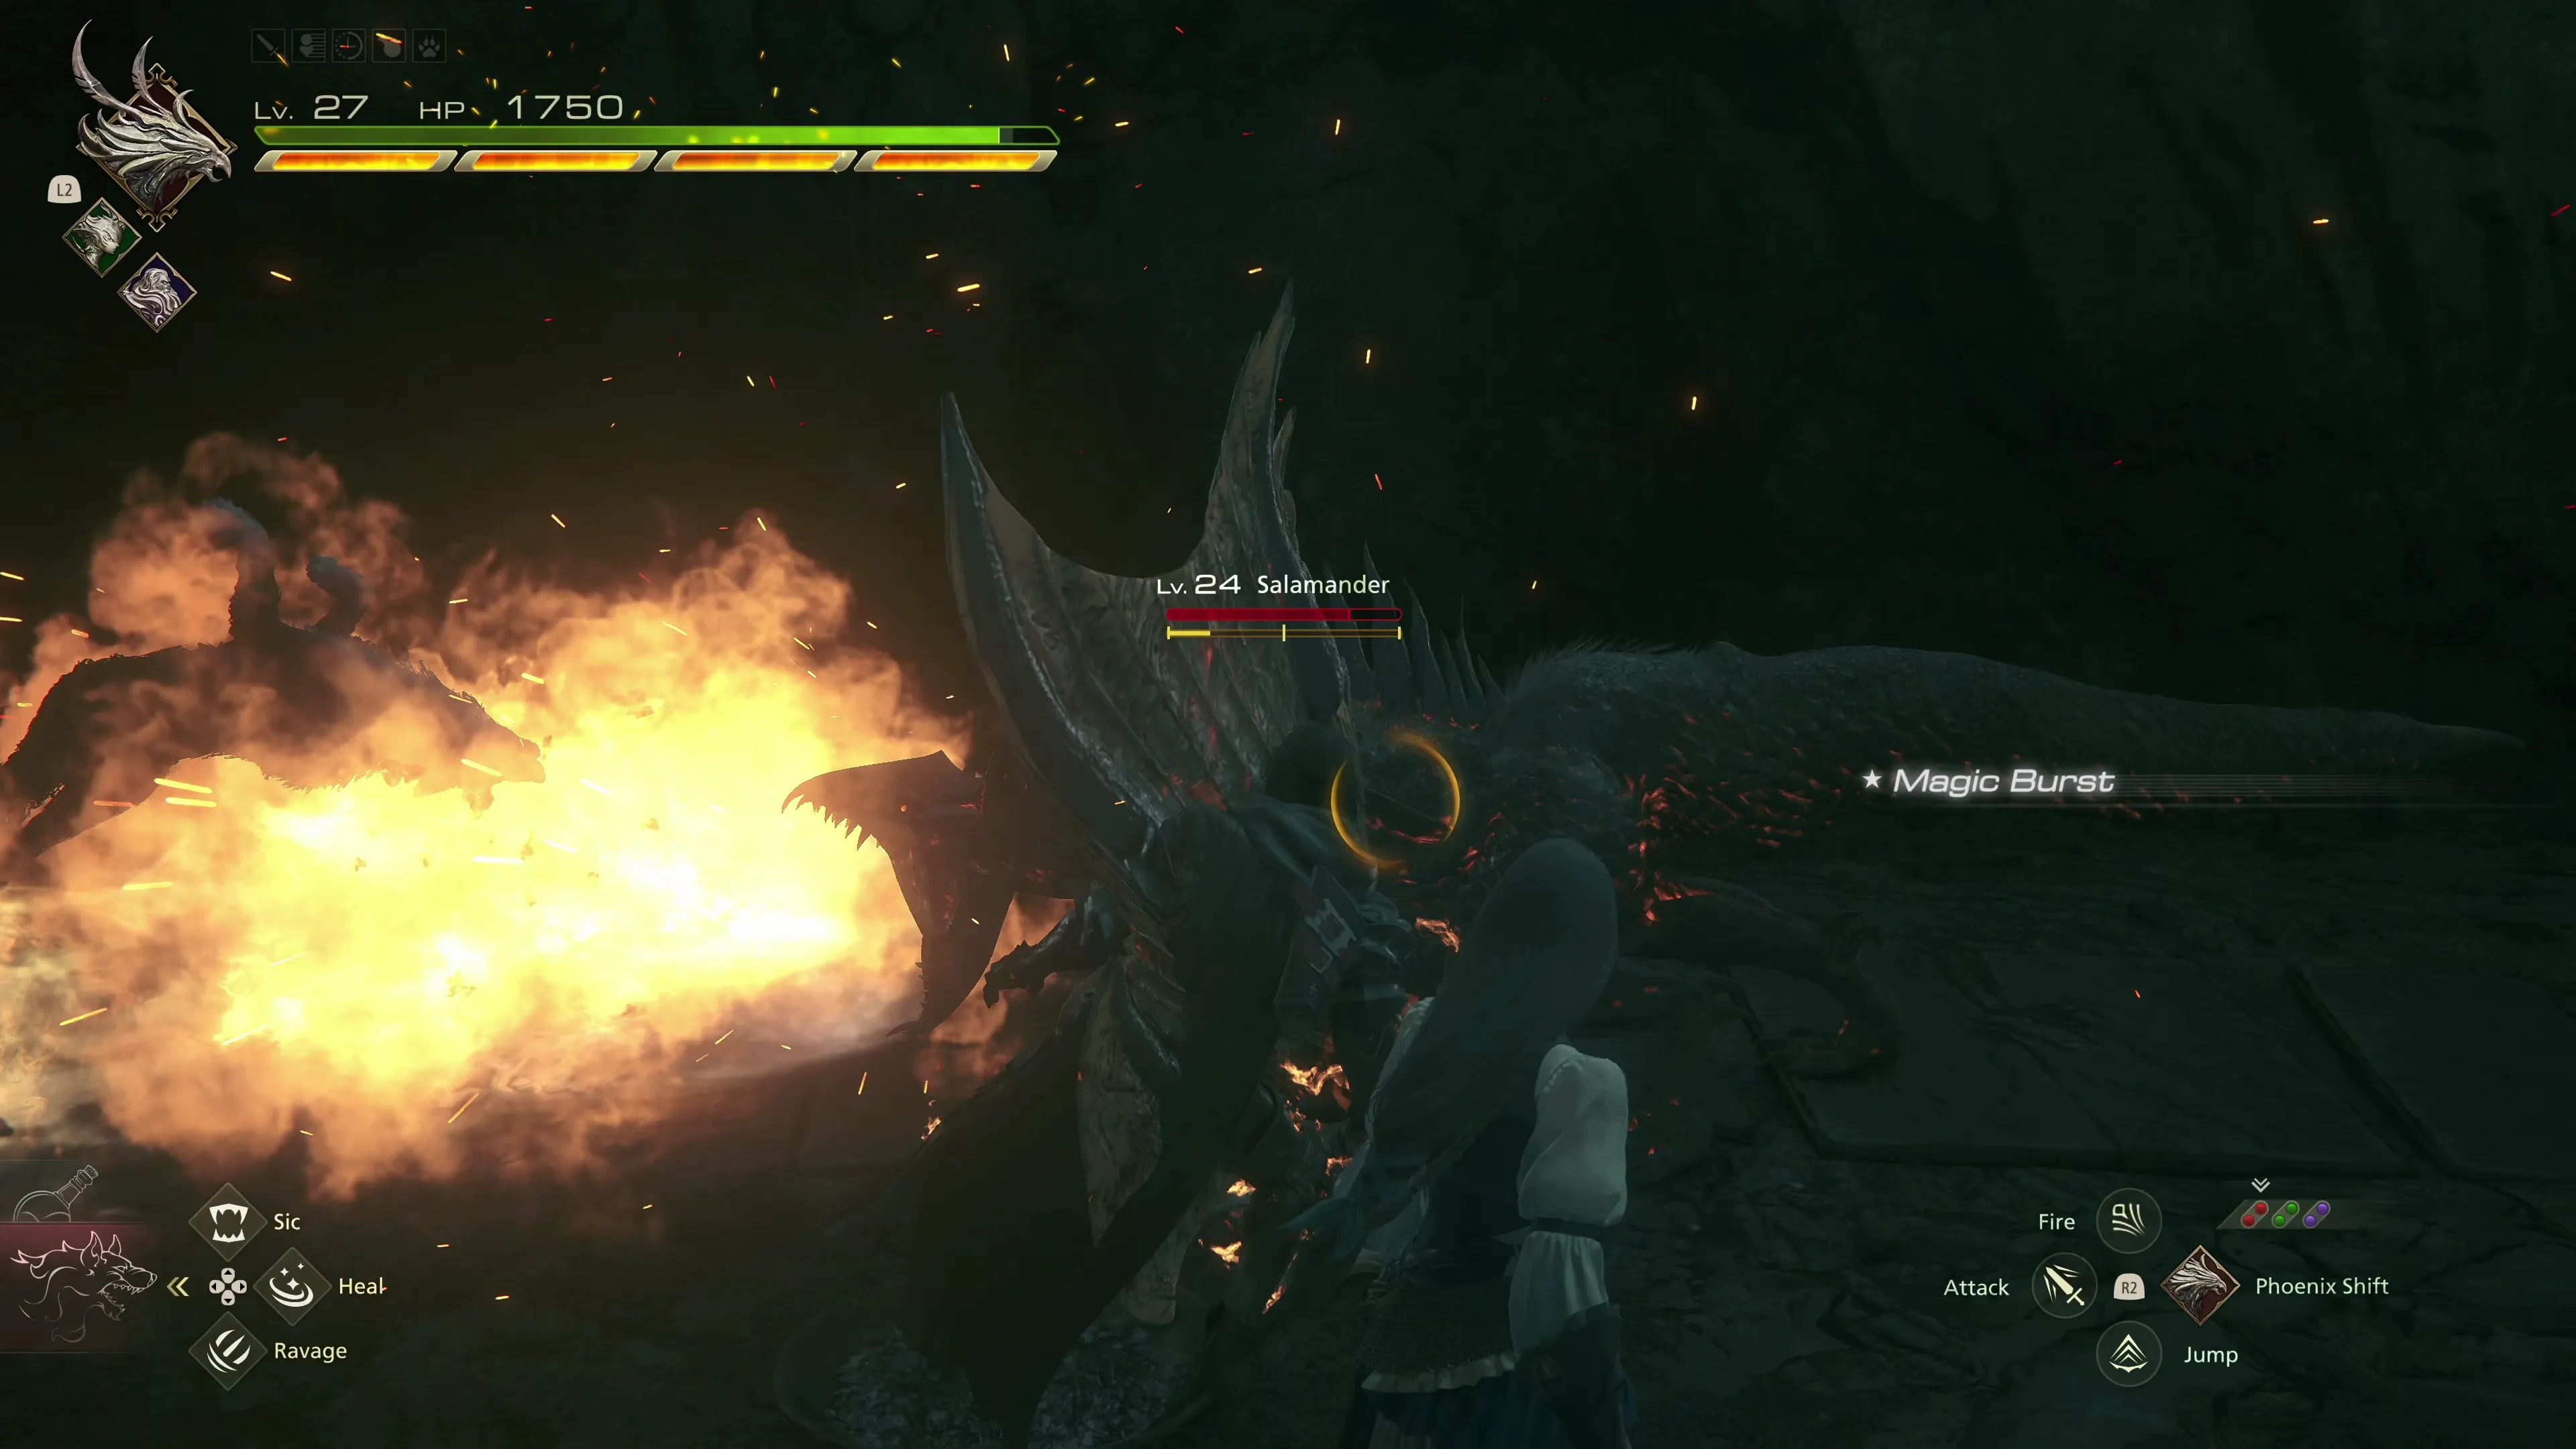
The path splits just up ahead, with the path on the right leading to a Salamander. You can skip this enemy, but it’s just another wyvern-type enemy that you’ve faced quite a few times before. There’s a treasure coffer up ahead that contains ten spools of ![]() Steelsilk and ten
Steelsilk and ten ![]() Bloody Hides.
Bloody Hides.
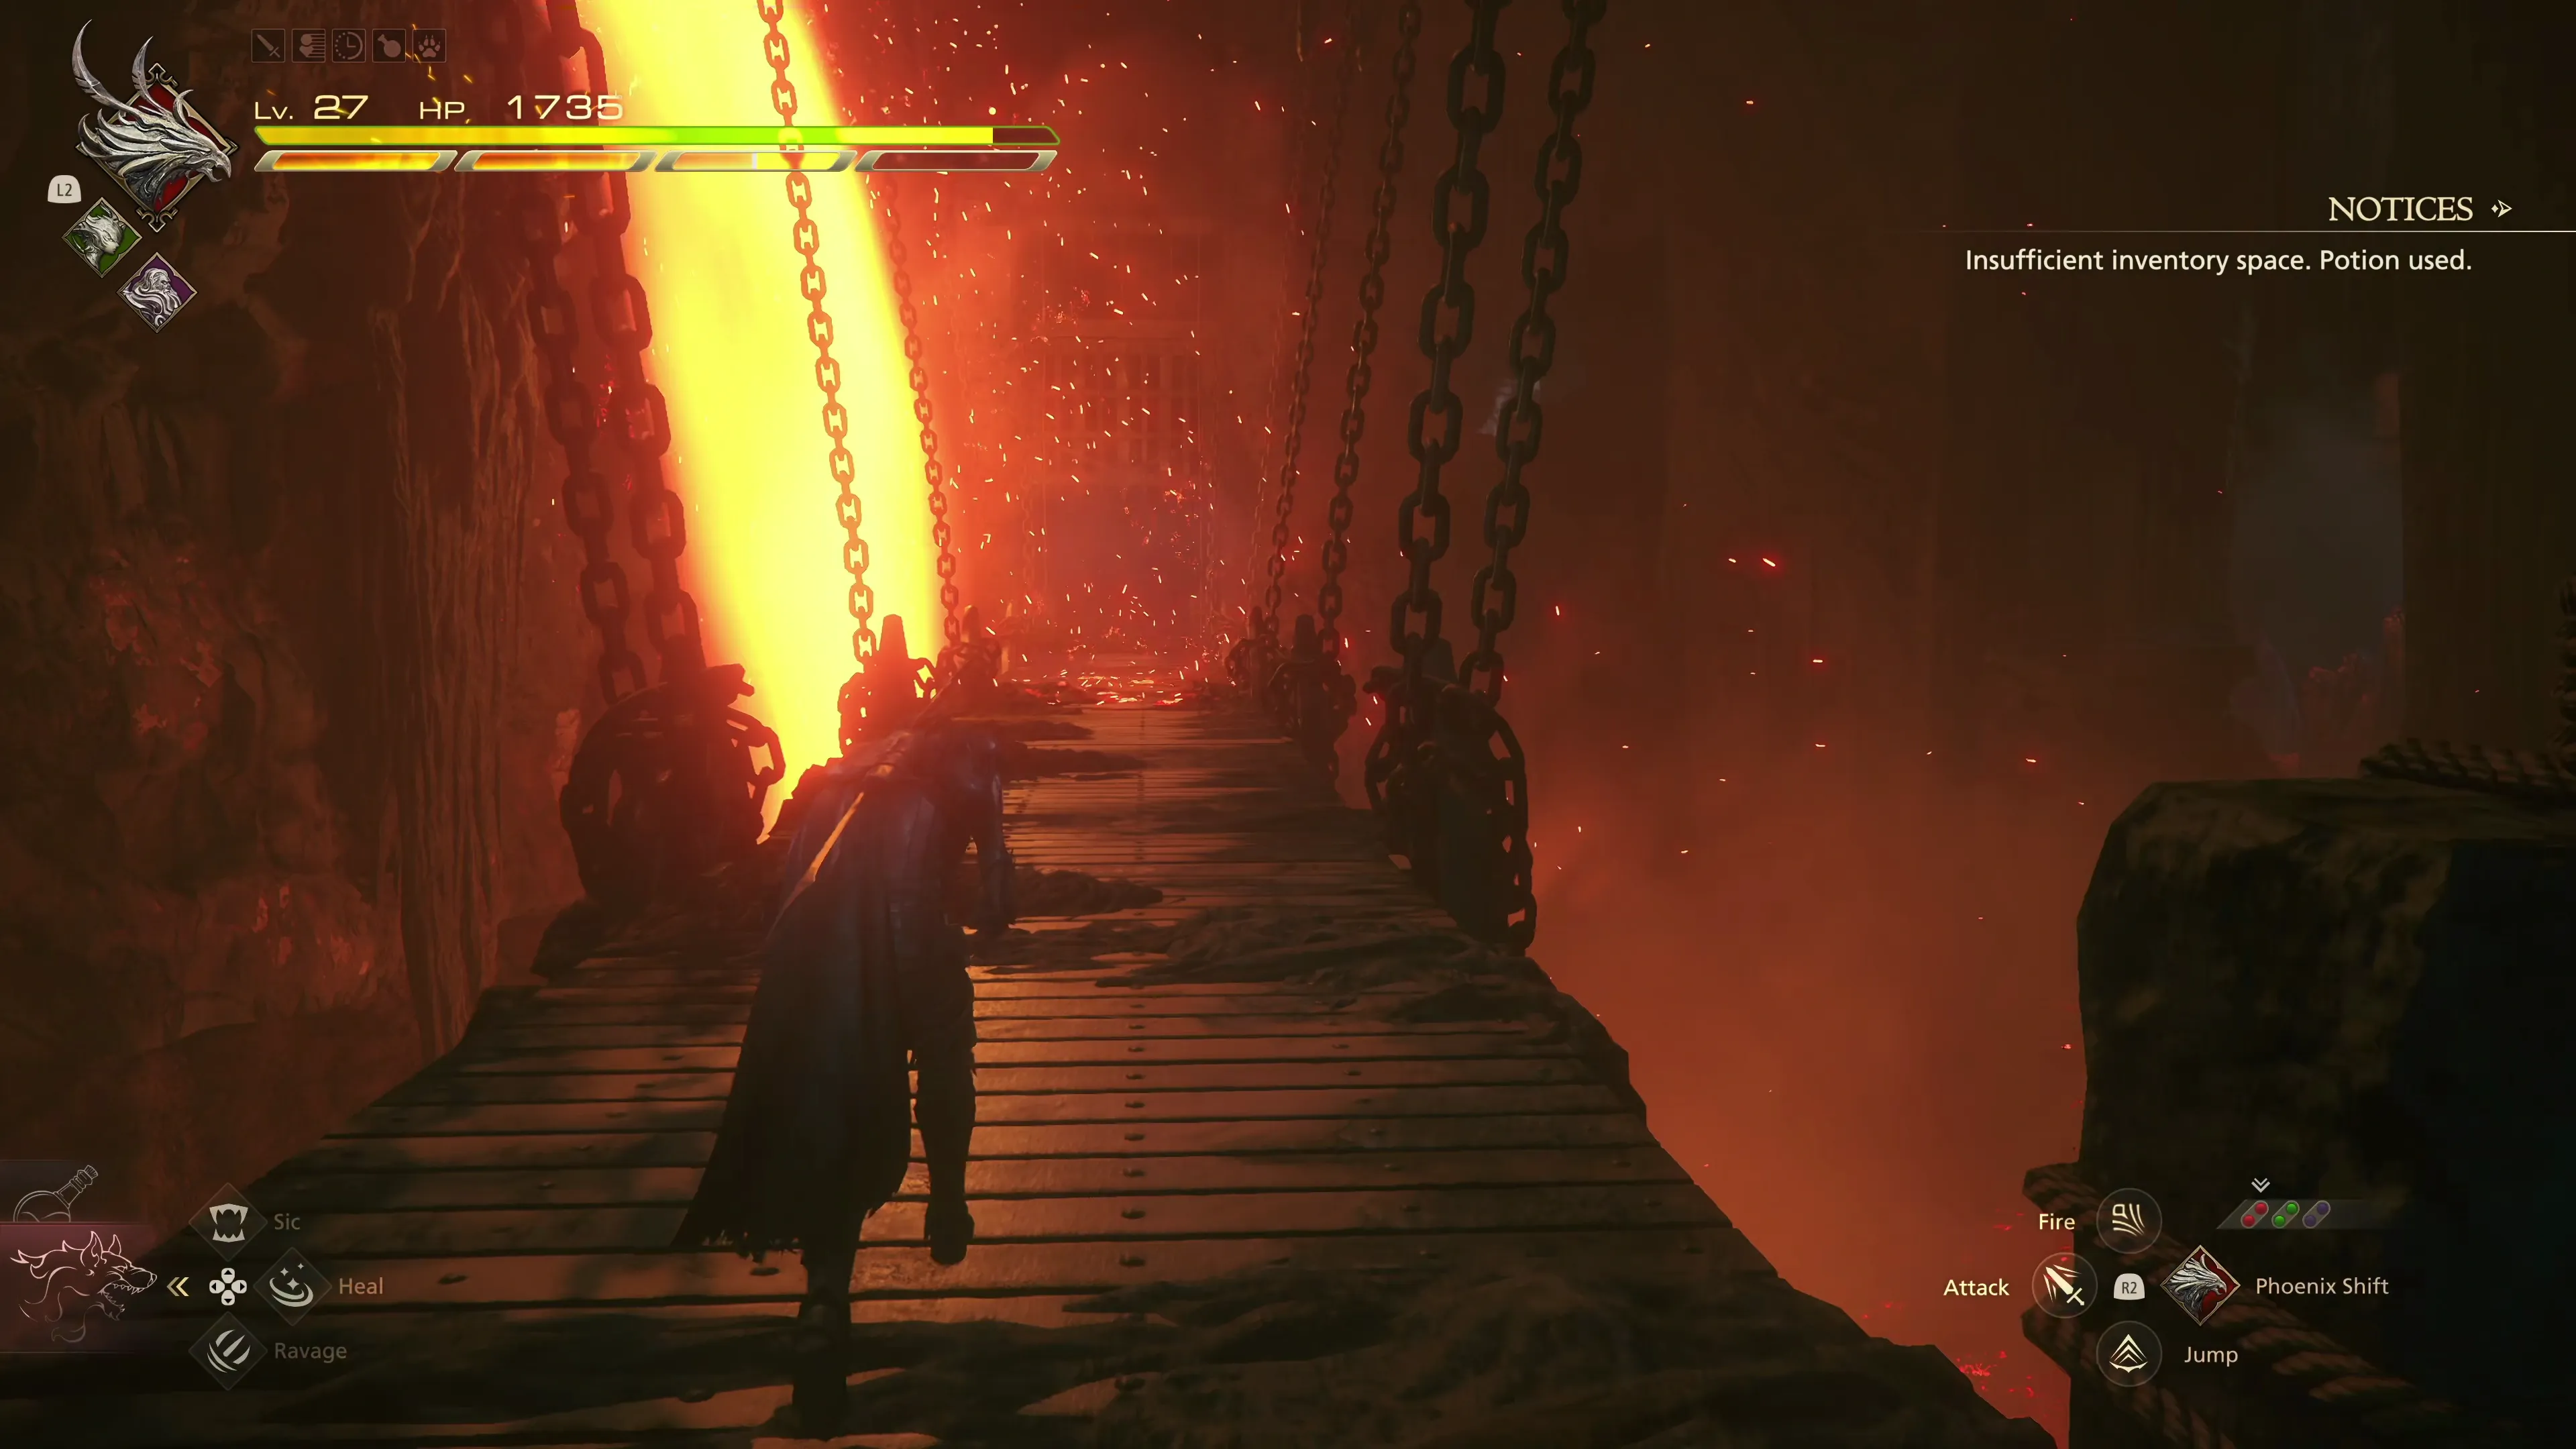
Run across the bridge for a short cutscene that involves Clive and Jill making their way past the flow of lava. Just a bit further ahead is a group of enemies that includes two “Bombs,” which are just like the previous ones you’ve faced (run away from them if they start to explode).
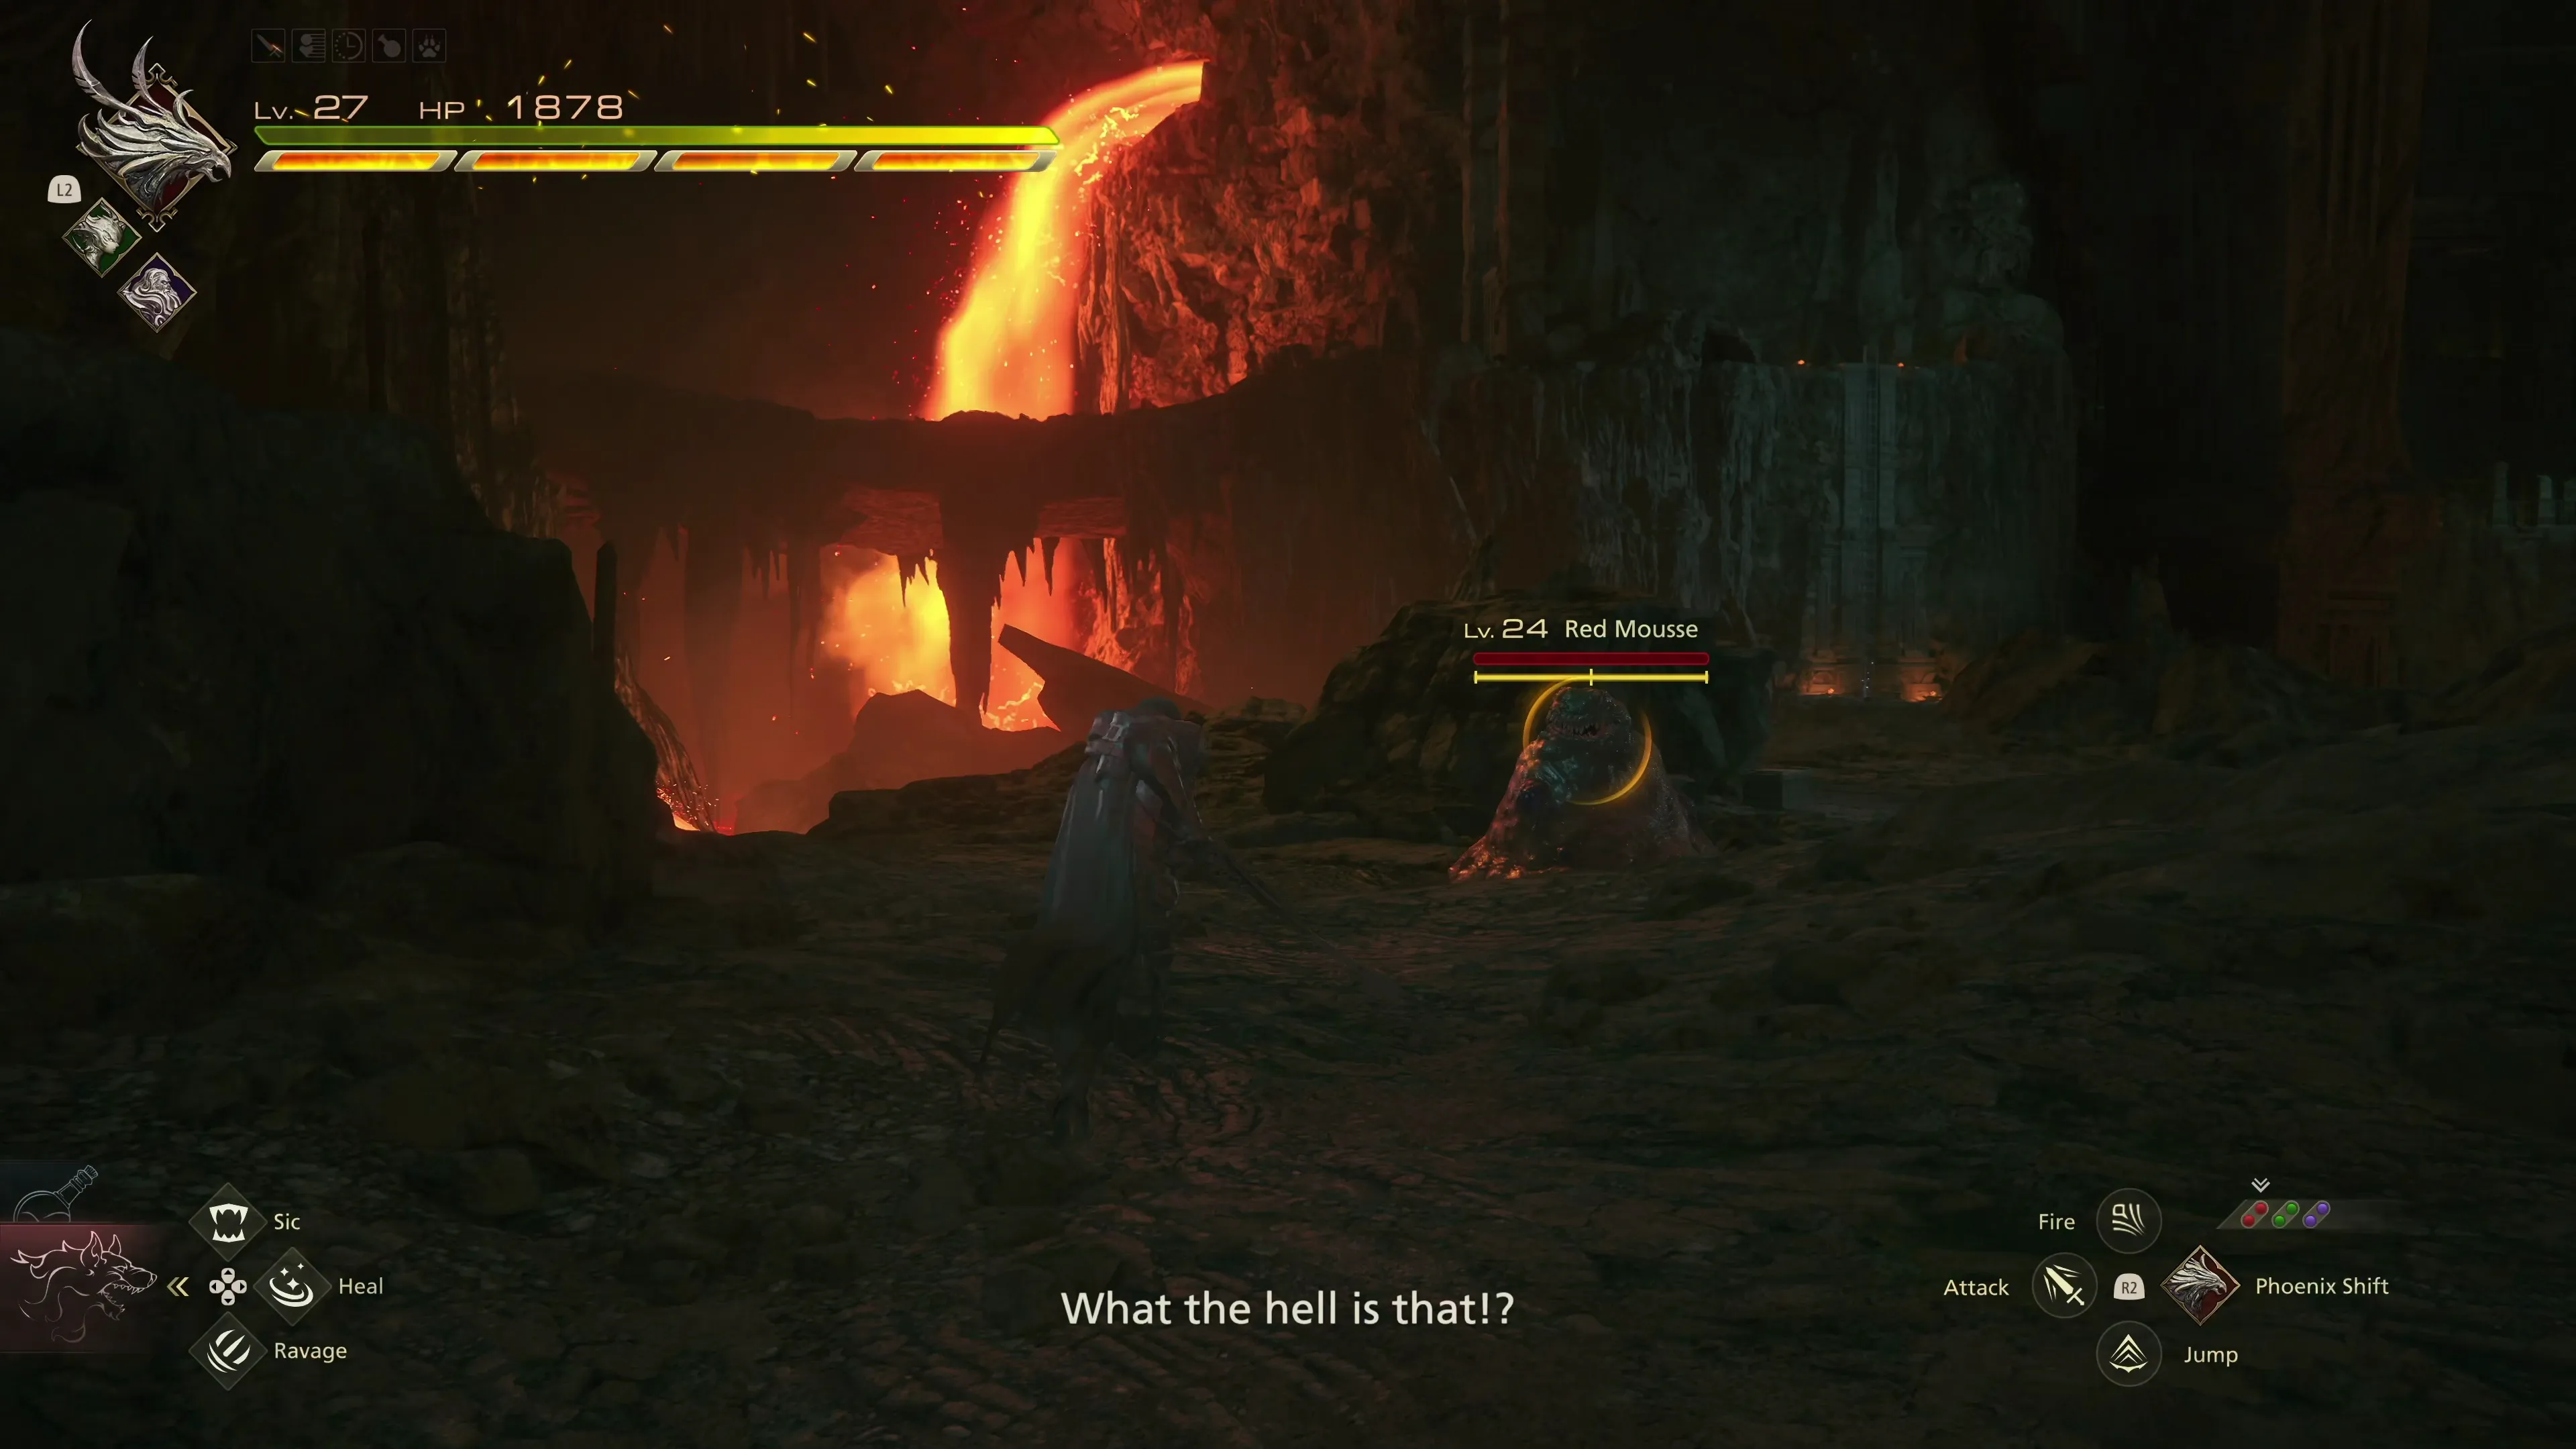
Follow the rocky pathway down until you encounter your first flan-type enemy in this game, the “Red Mousse.” It has a straightforward set of moves that consists primarily of physical attacks. They are easy to dodge, though it will take some practice to get used to the timing. It can also launch “Firaga” magic at you, which it will slowly cast, summoning a fireball above its head, before launching it forward towards Clive. This is an excellent opportunity for you to counterattack with ![]() Heatwave since the attack is easy to anticipate.
Heatwave since the attack is easy to anticipate.
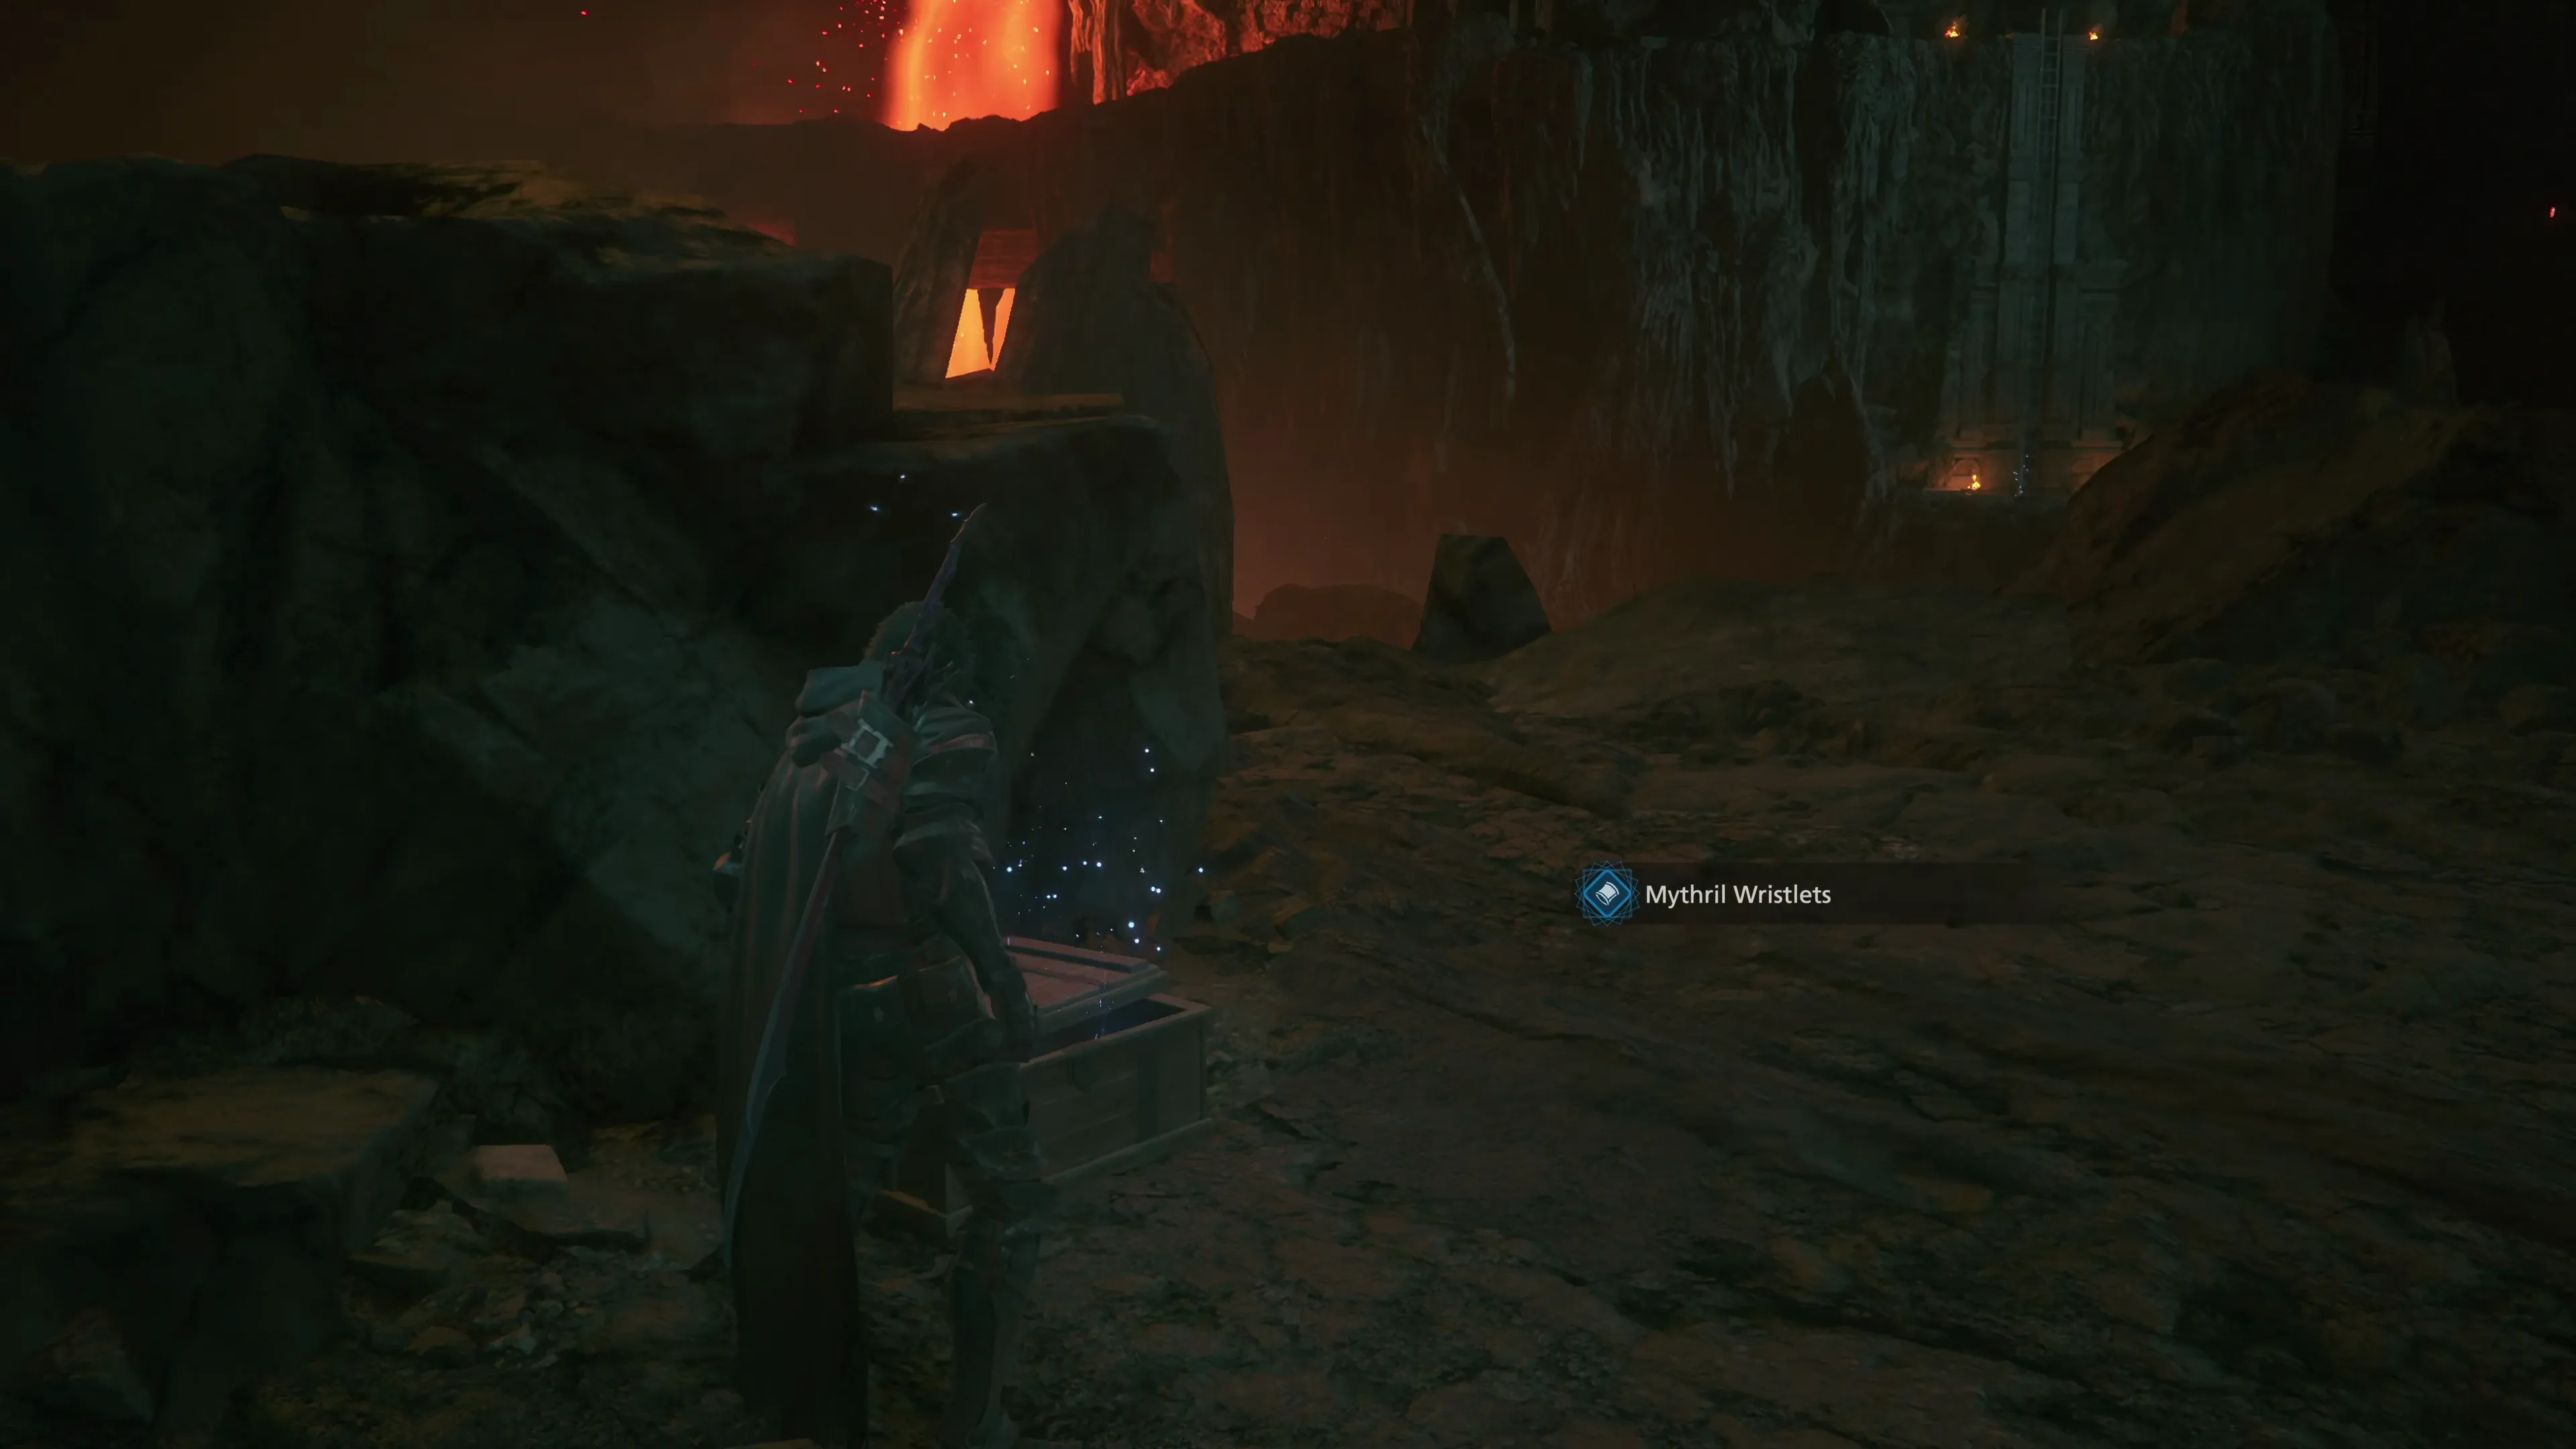
Open the nearby treasure coffer after you defeat the “Red Mousse” to pick up a set of ![]() Mythril Wristlets. These vambraces are a massive upgrade over the
Mythril Wristlets. These vambraces are a massive upgrade over the ![]() Demontamer’s Armguards, offering an additional 20 defense.
Demontamer’s Armguards, offering an additional 20 defense.
It’s pretty easy to tell that you’ll be facing off against the next boss in the large, circular battlefield-looking area just up ahead, so switch to your single-target ![]() Eikonic Ability Set.
Eikonic Ability Set.
Boss Battle
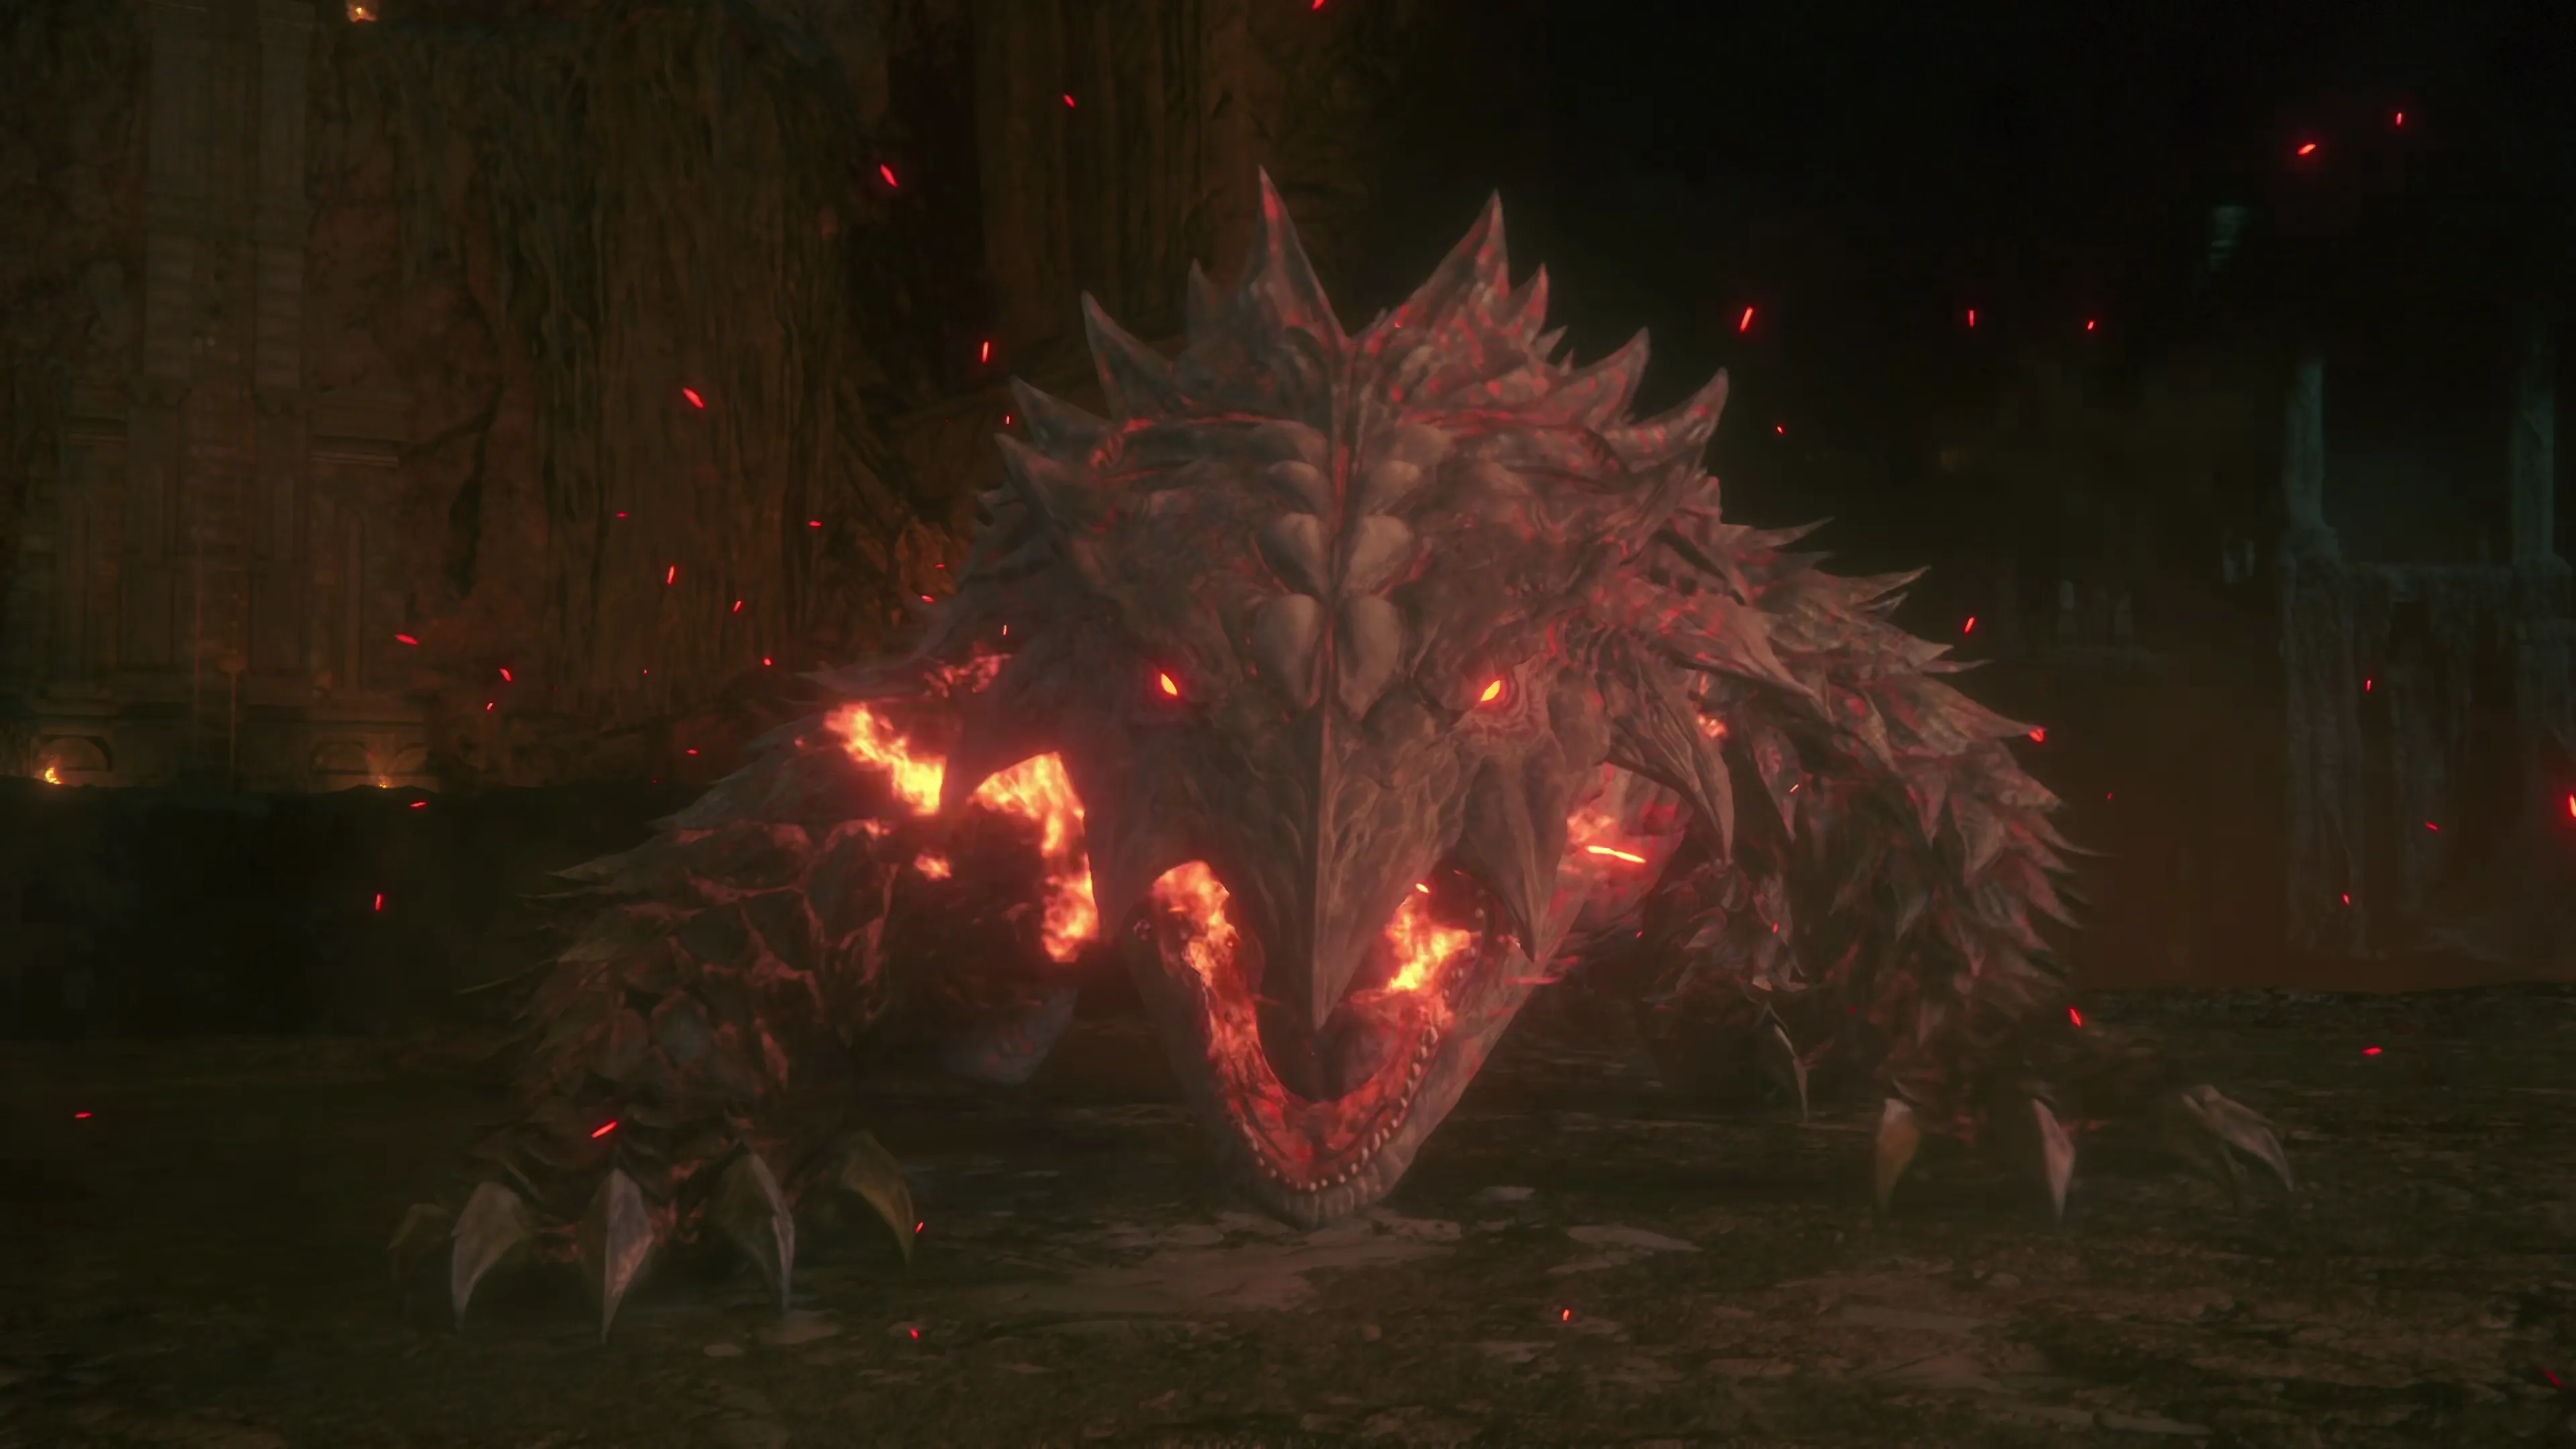
This boss battle is very similar to the fight against Fafnir during the “Fanning Embers” Main Scenario Quest. It uses the same attacks, which are listed below:
![]() Head Charge:
Head Charge:
Flame Lizard will typically start off the battle with this attack. It will stand up on two legs and arch its head backwards before lunging forward towards and through where Clive is standing. Quite often, this will put Clive behind Flame Lizard, opening it up to a Tail Swipe attack.
![]() Tail Swipe:
Tail Swipe:
Speaking of its “Tail Swipe” attack, this is something the boss will use when Clive is positioned behind it. The attack involves two swings, back and forth, that must be dodged. This attack can be difficult to predict, so it’s recommended to keep Clive near the front of Flame Lizard if possible.
![]() Front Leg Stomp:
Front Leg Stomp:
This attack can be done with either Flame Lizard’s left or right front leg. It’s a fairly quick attack and easy to dodge once you get the hang of it.
![]() Rolling Attack:
Rolling Attack:
Flame Lizard will lift its front and back legs, either on the left or right side, and then slam that side down and begin to roll. This attack is also easy to dodge, but make sure that you dodge in a direction that keeps you out of Fafnir’s rolling path.
It also has a few new surprises, including:
![]() Aerial Rolling Smash:
Aerial Rolling Smash:
It will use this attack at the start of the fight, every time, jumping up into the air and rolling into a ball before smashing down to the ground wherever Clive is standing. It will use this attack again to close the distance if you get too far away from it. It will also use this attack in succession while “Incense” is active.
![]() Incense:
Incense:
This will cause the Flame Lizard to start attacking much faster (using the same attacks as those listed above). The quick speed of the strikes, especially when using front leg stomps, can make it more challenging to dodge, making it a good idea to try to create some distance while Incense is active. The Flame Lizard will have quite a bit of downtime as the flames from ‘Incense’ wear off, giving you ample time to get a few attacks in.
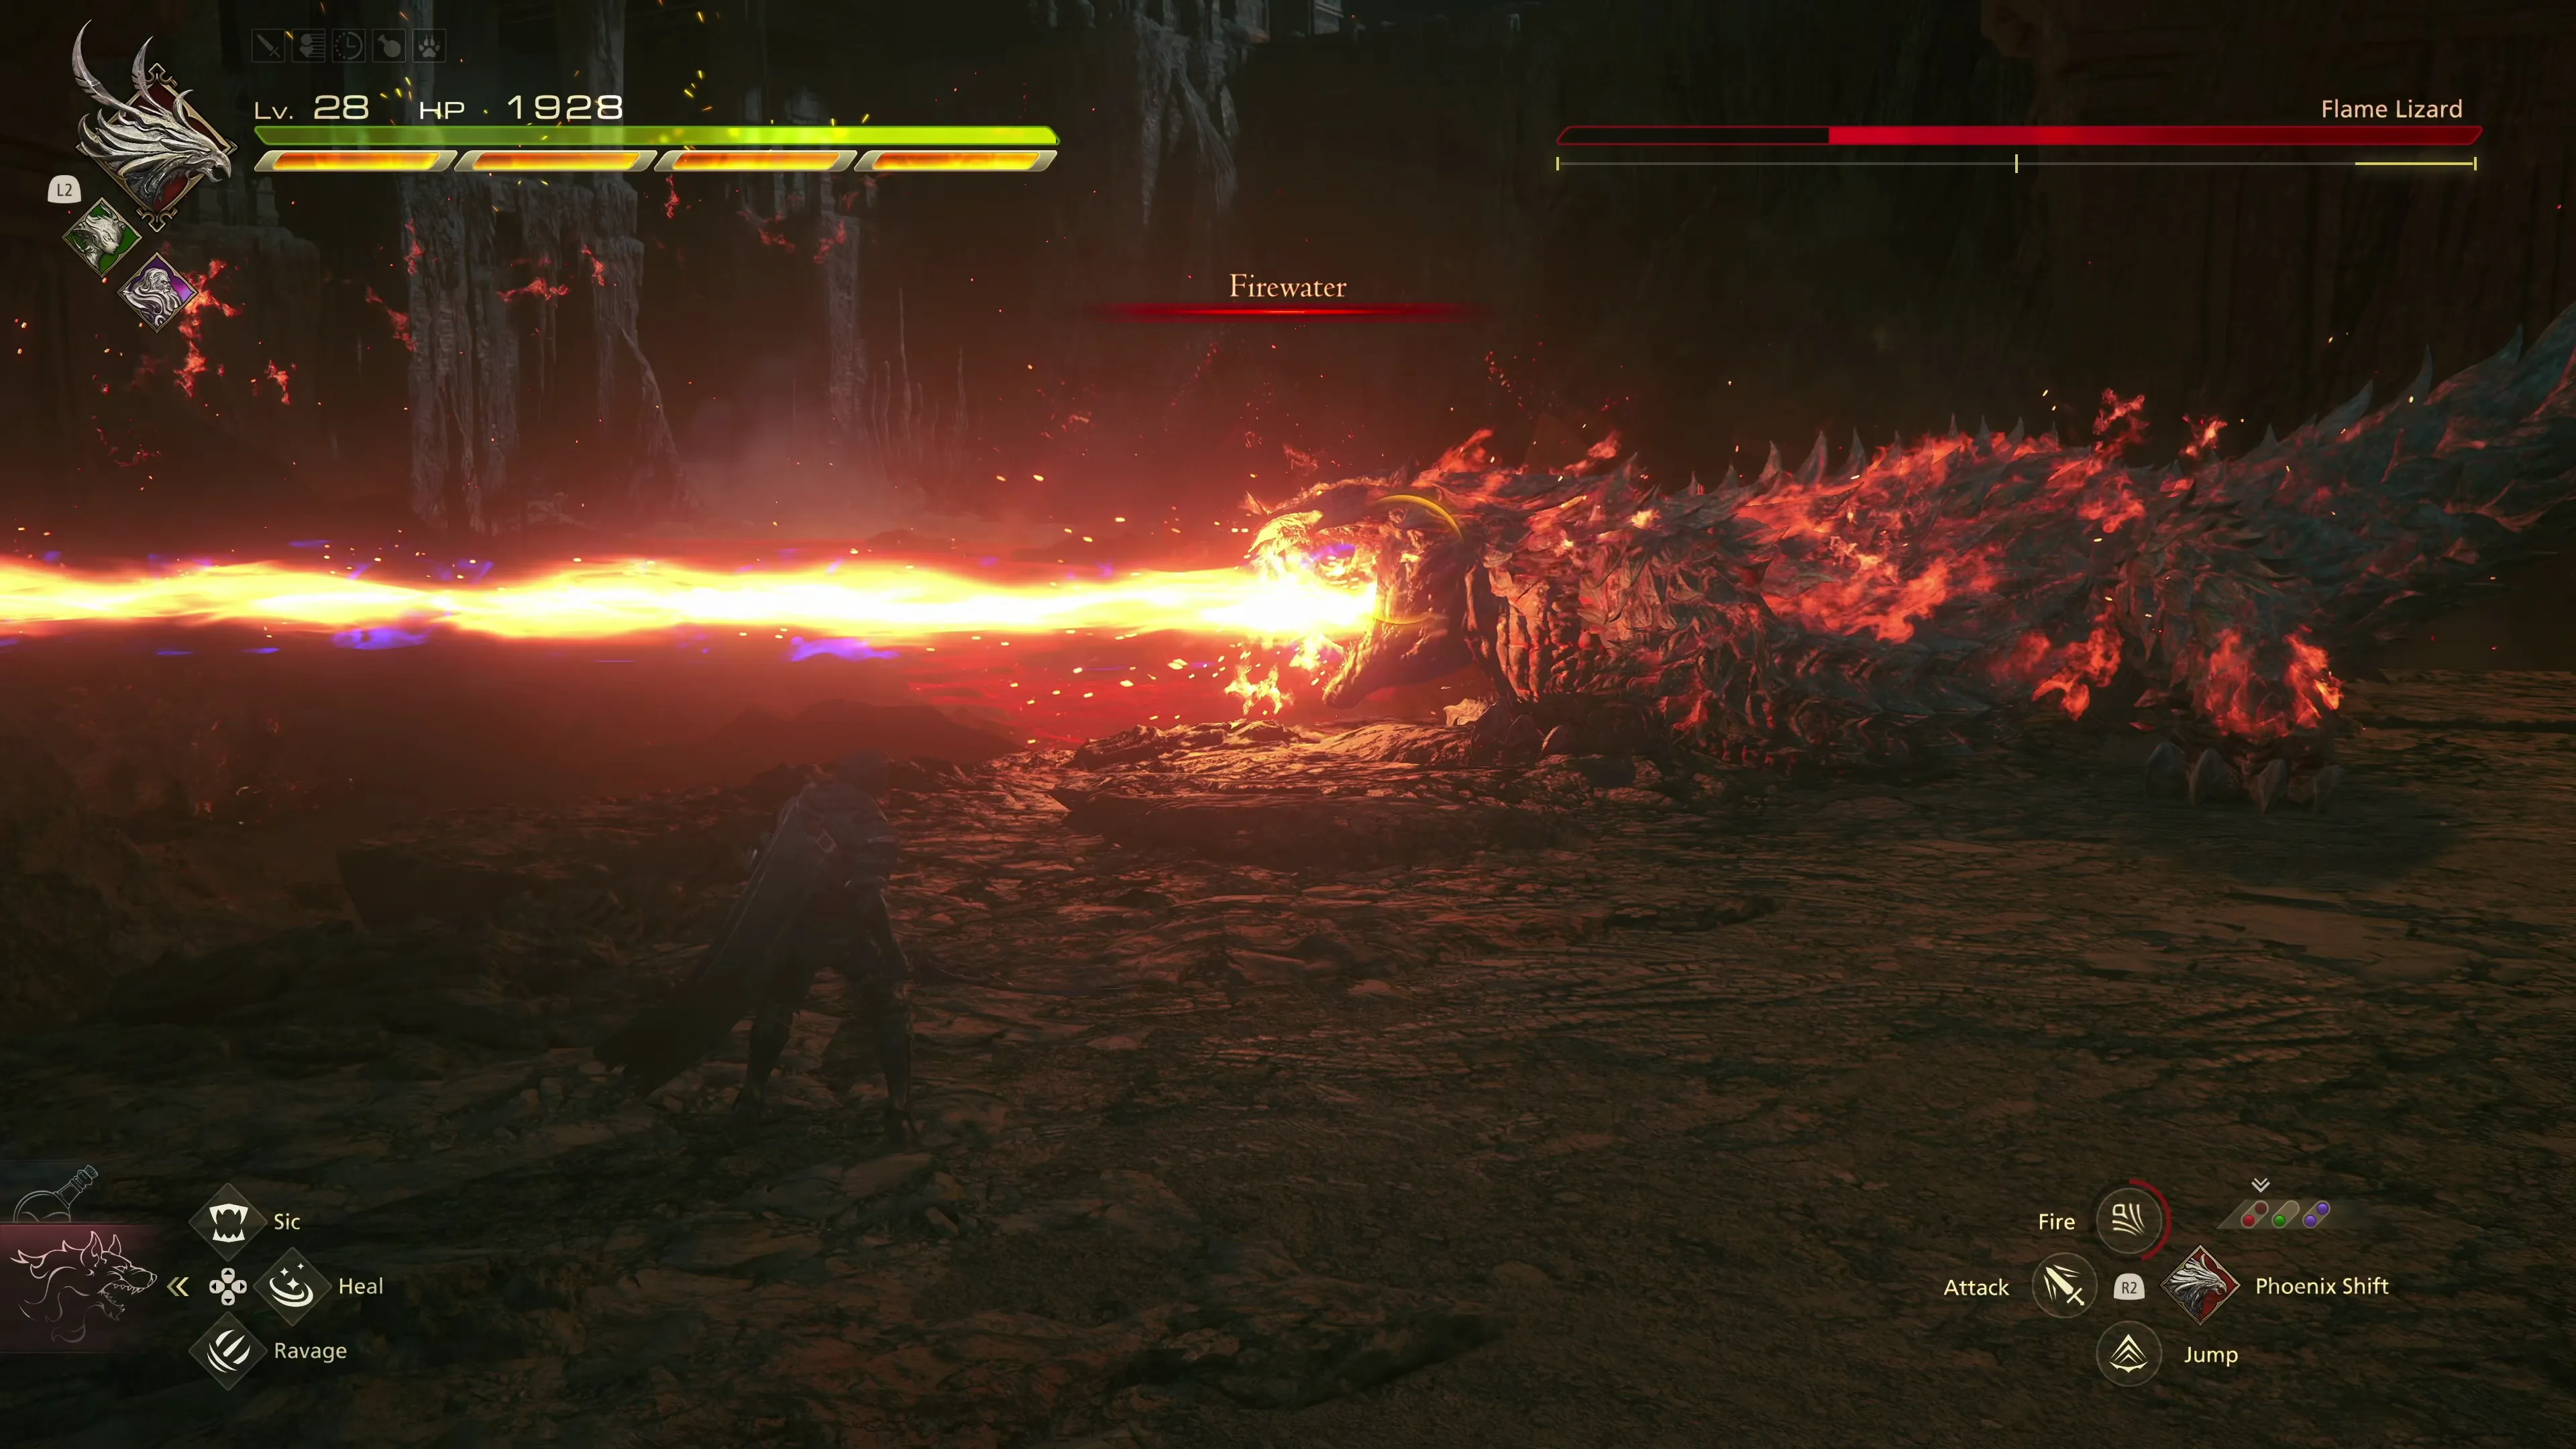
![]() Overdrive:
Overdrive:
It will use this ability only after its HP has dropped below 50%, causing it to blast the battlefield with fire, first in a vertical line and then in a horizontal line. It will then lunge towards Clive and unleash a flurry of attacks that need to be dodged. Finally, it will use an attack called “Firewater” during this time, which blasts the battlefield with a fire stream that you need to get out of the way of.
Your best bet, just like during the previous battle, is to stay near the Flame Lizard’s head so you don’t accidentally get rolled over by its rolling attack.
There is no Medal of Valor to earn during this fight, so don’t worry at all about getting hit. Use the video below if you’re having any trouble.
150
2,500

A video demonstration of how to successfully complete the fight against Flame Lizard.
Climb the nearby ladder and go through the door.
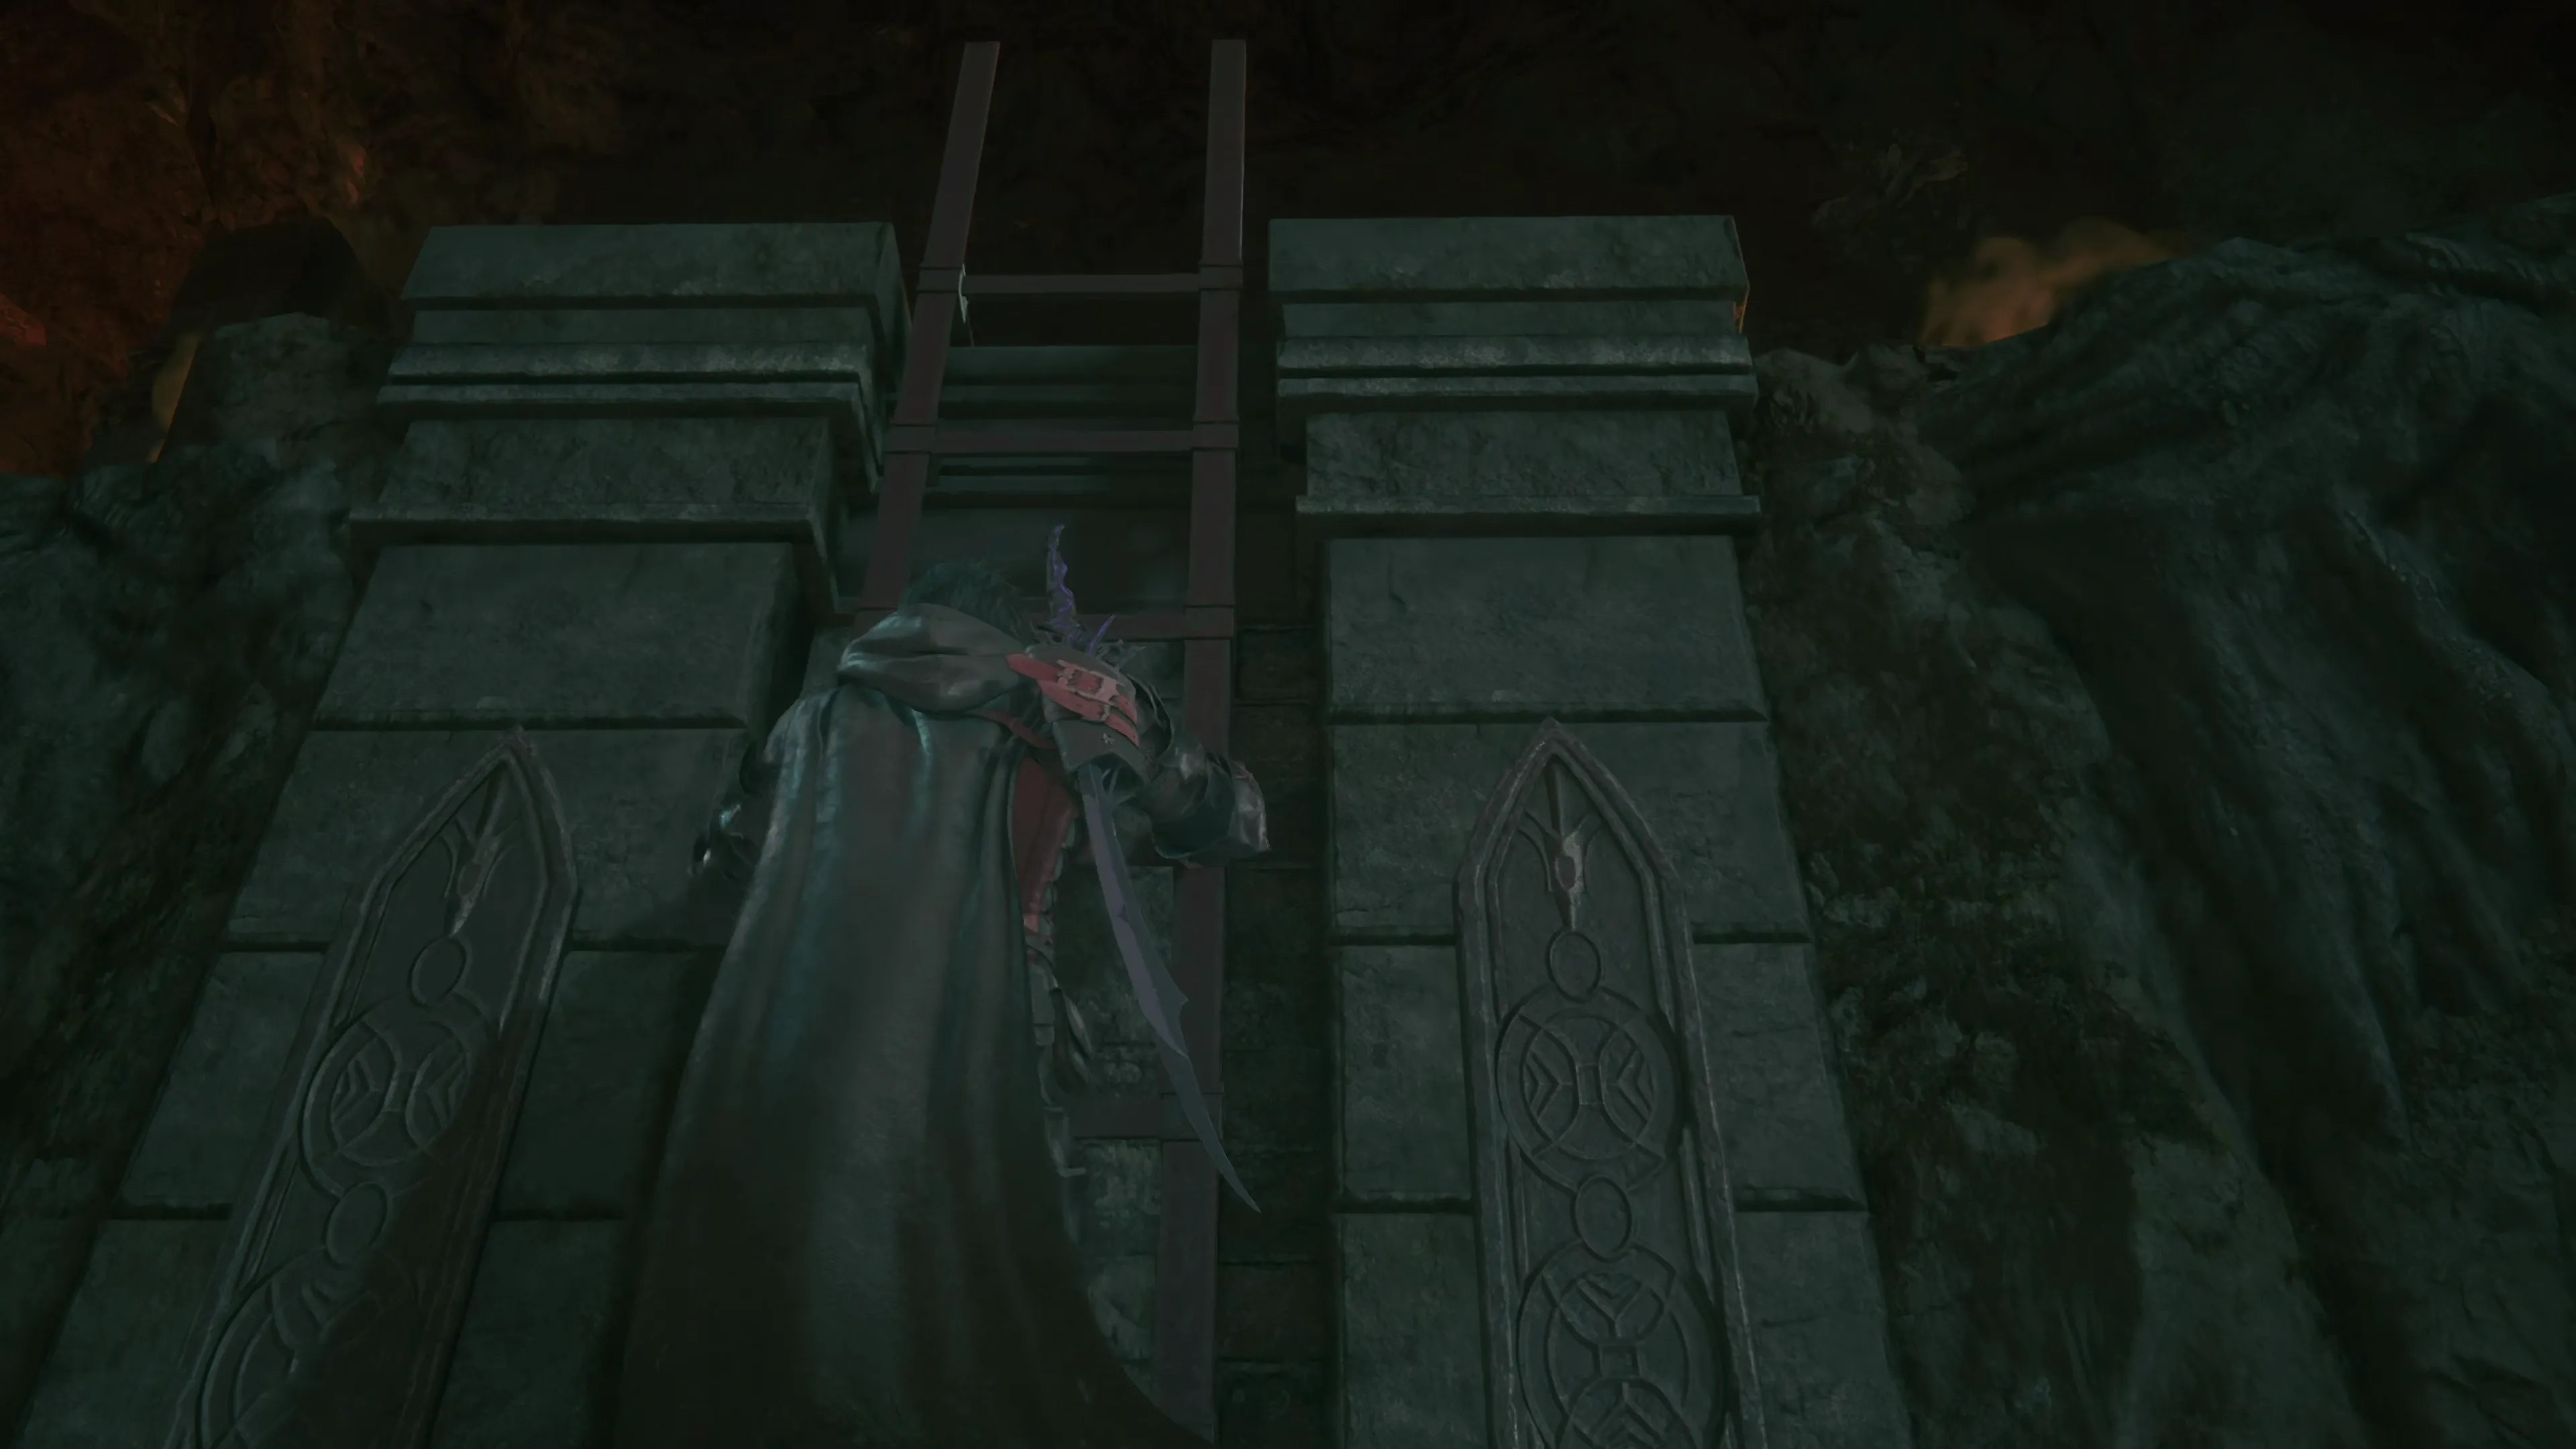
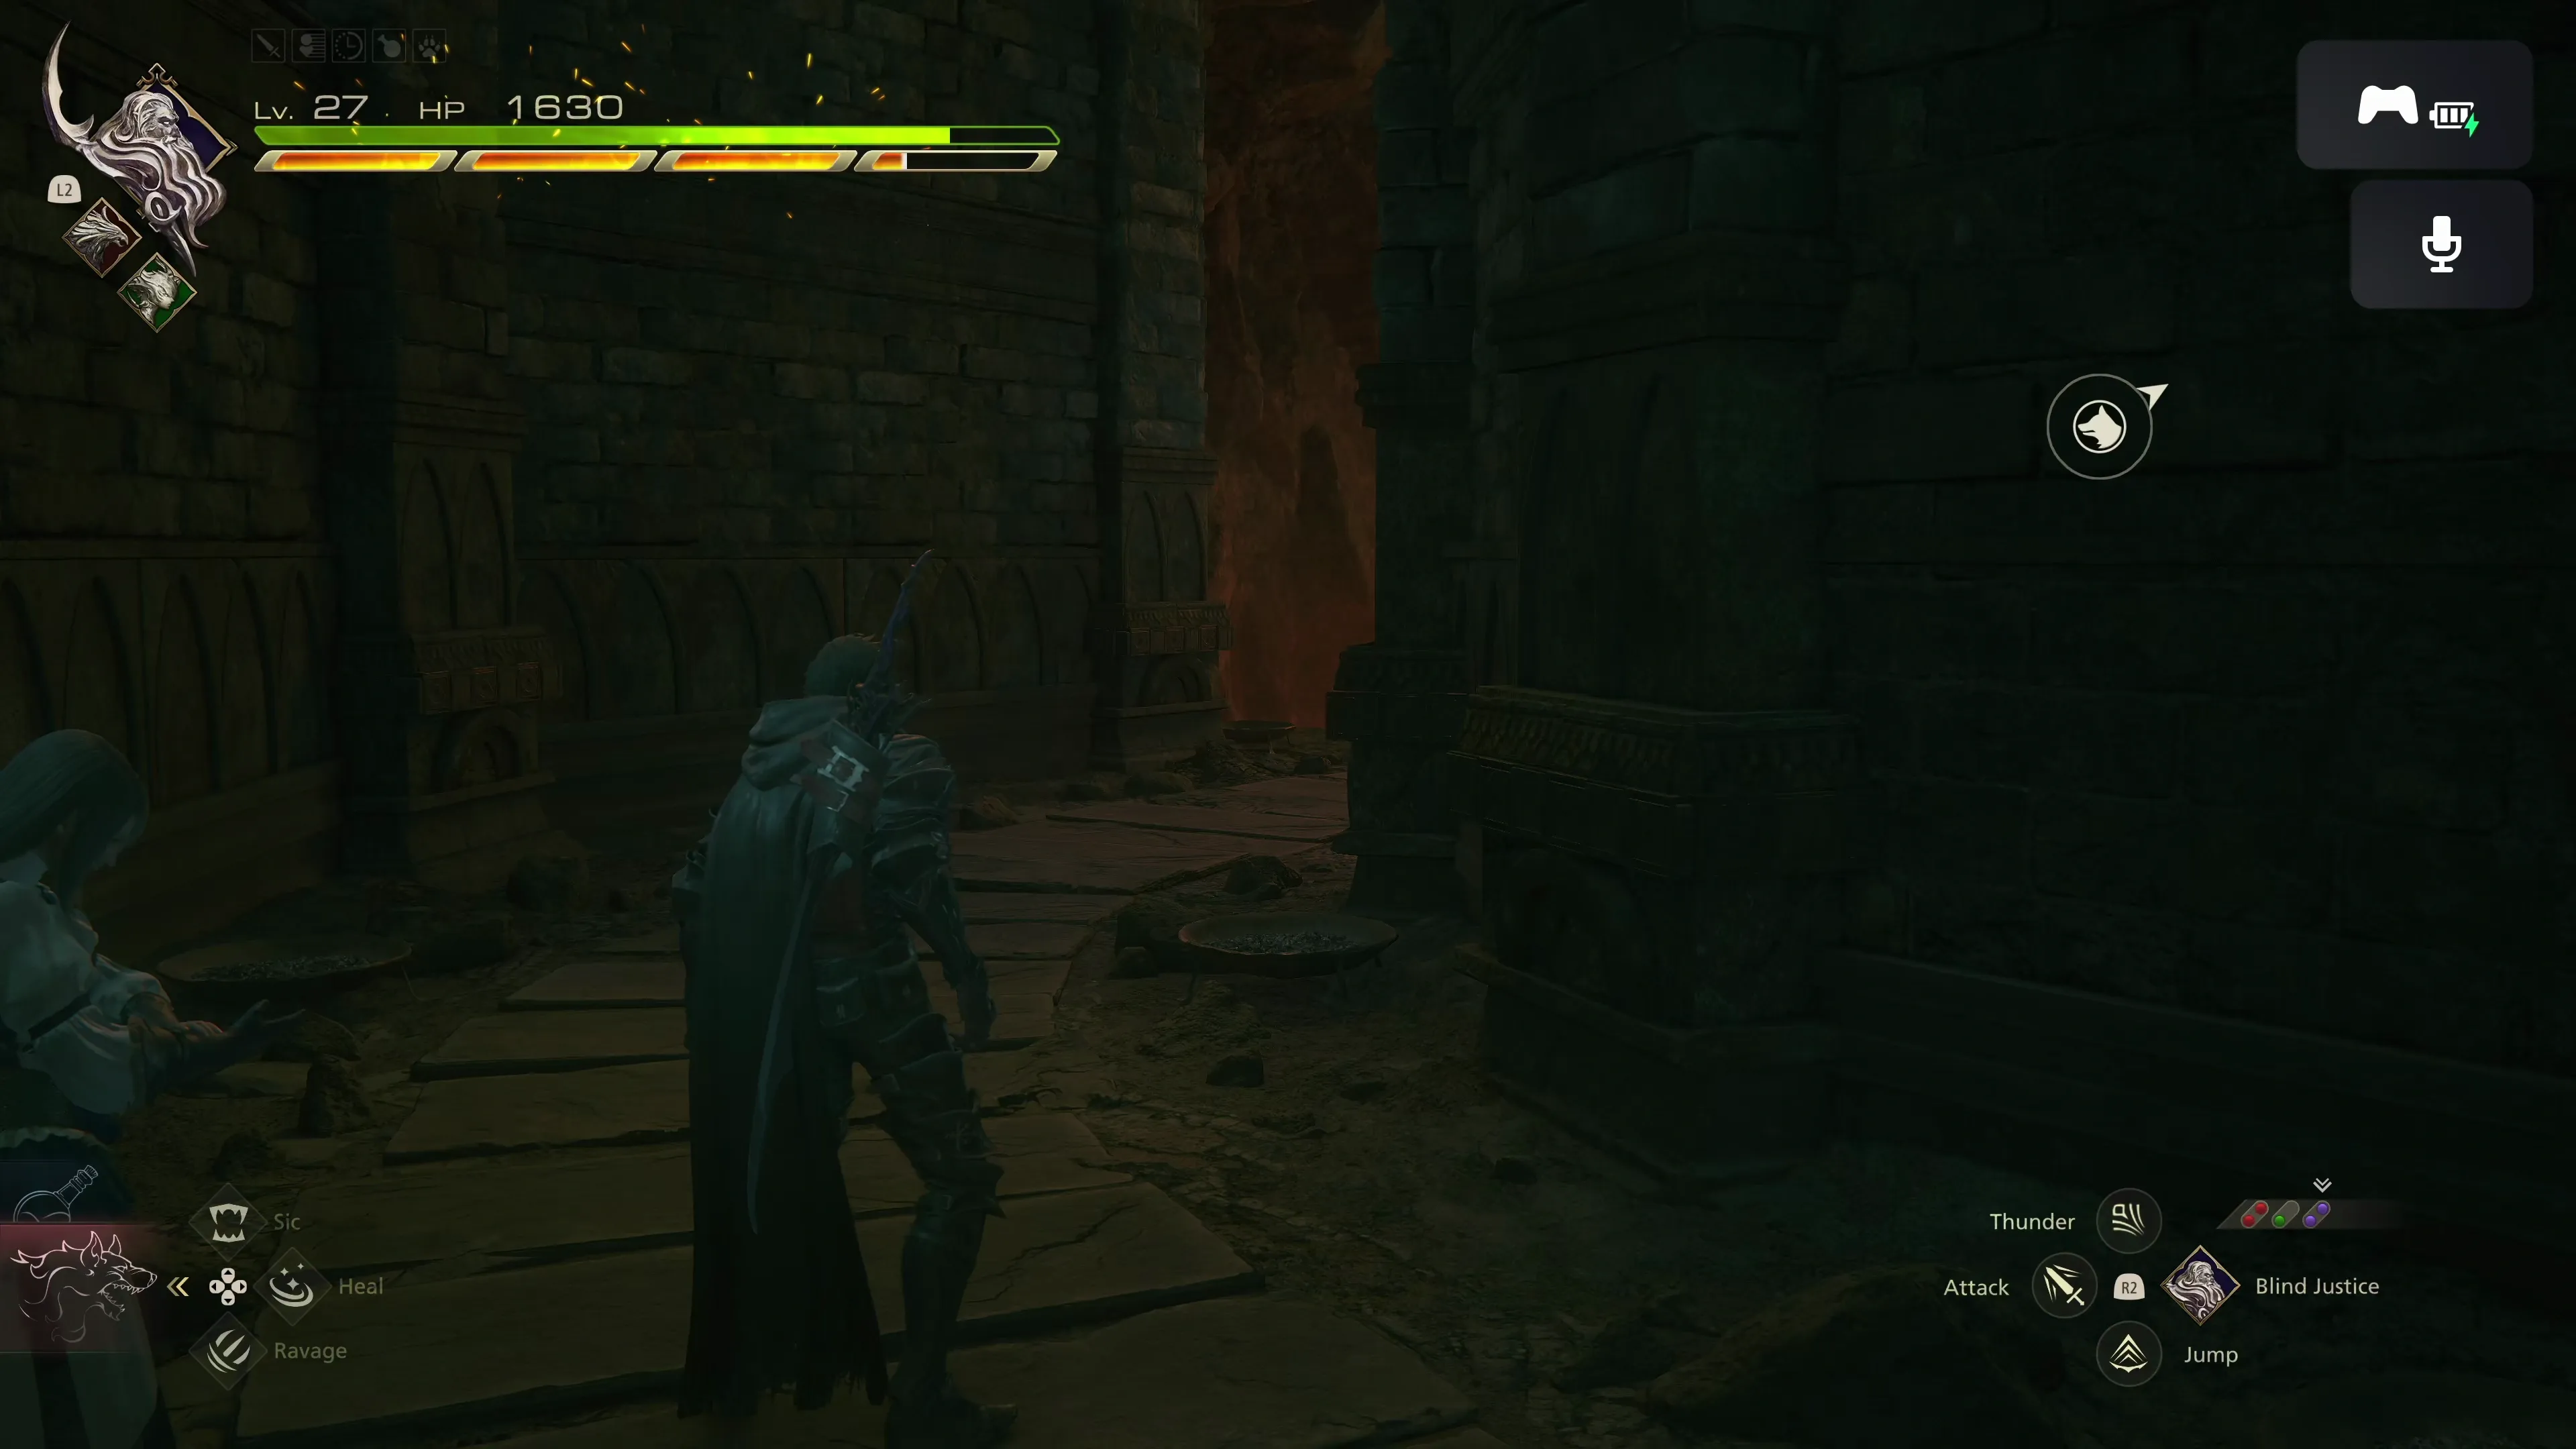
The Oratory
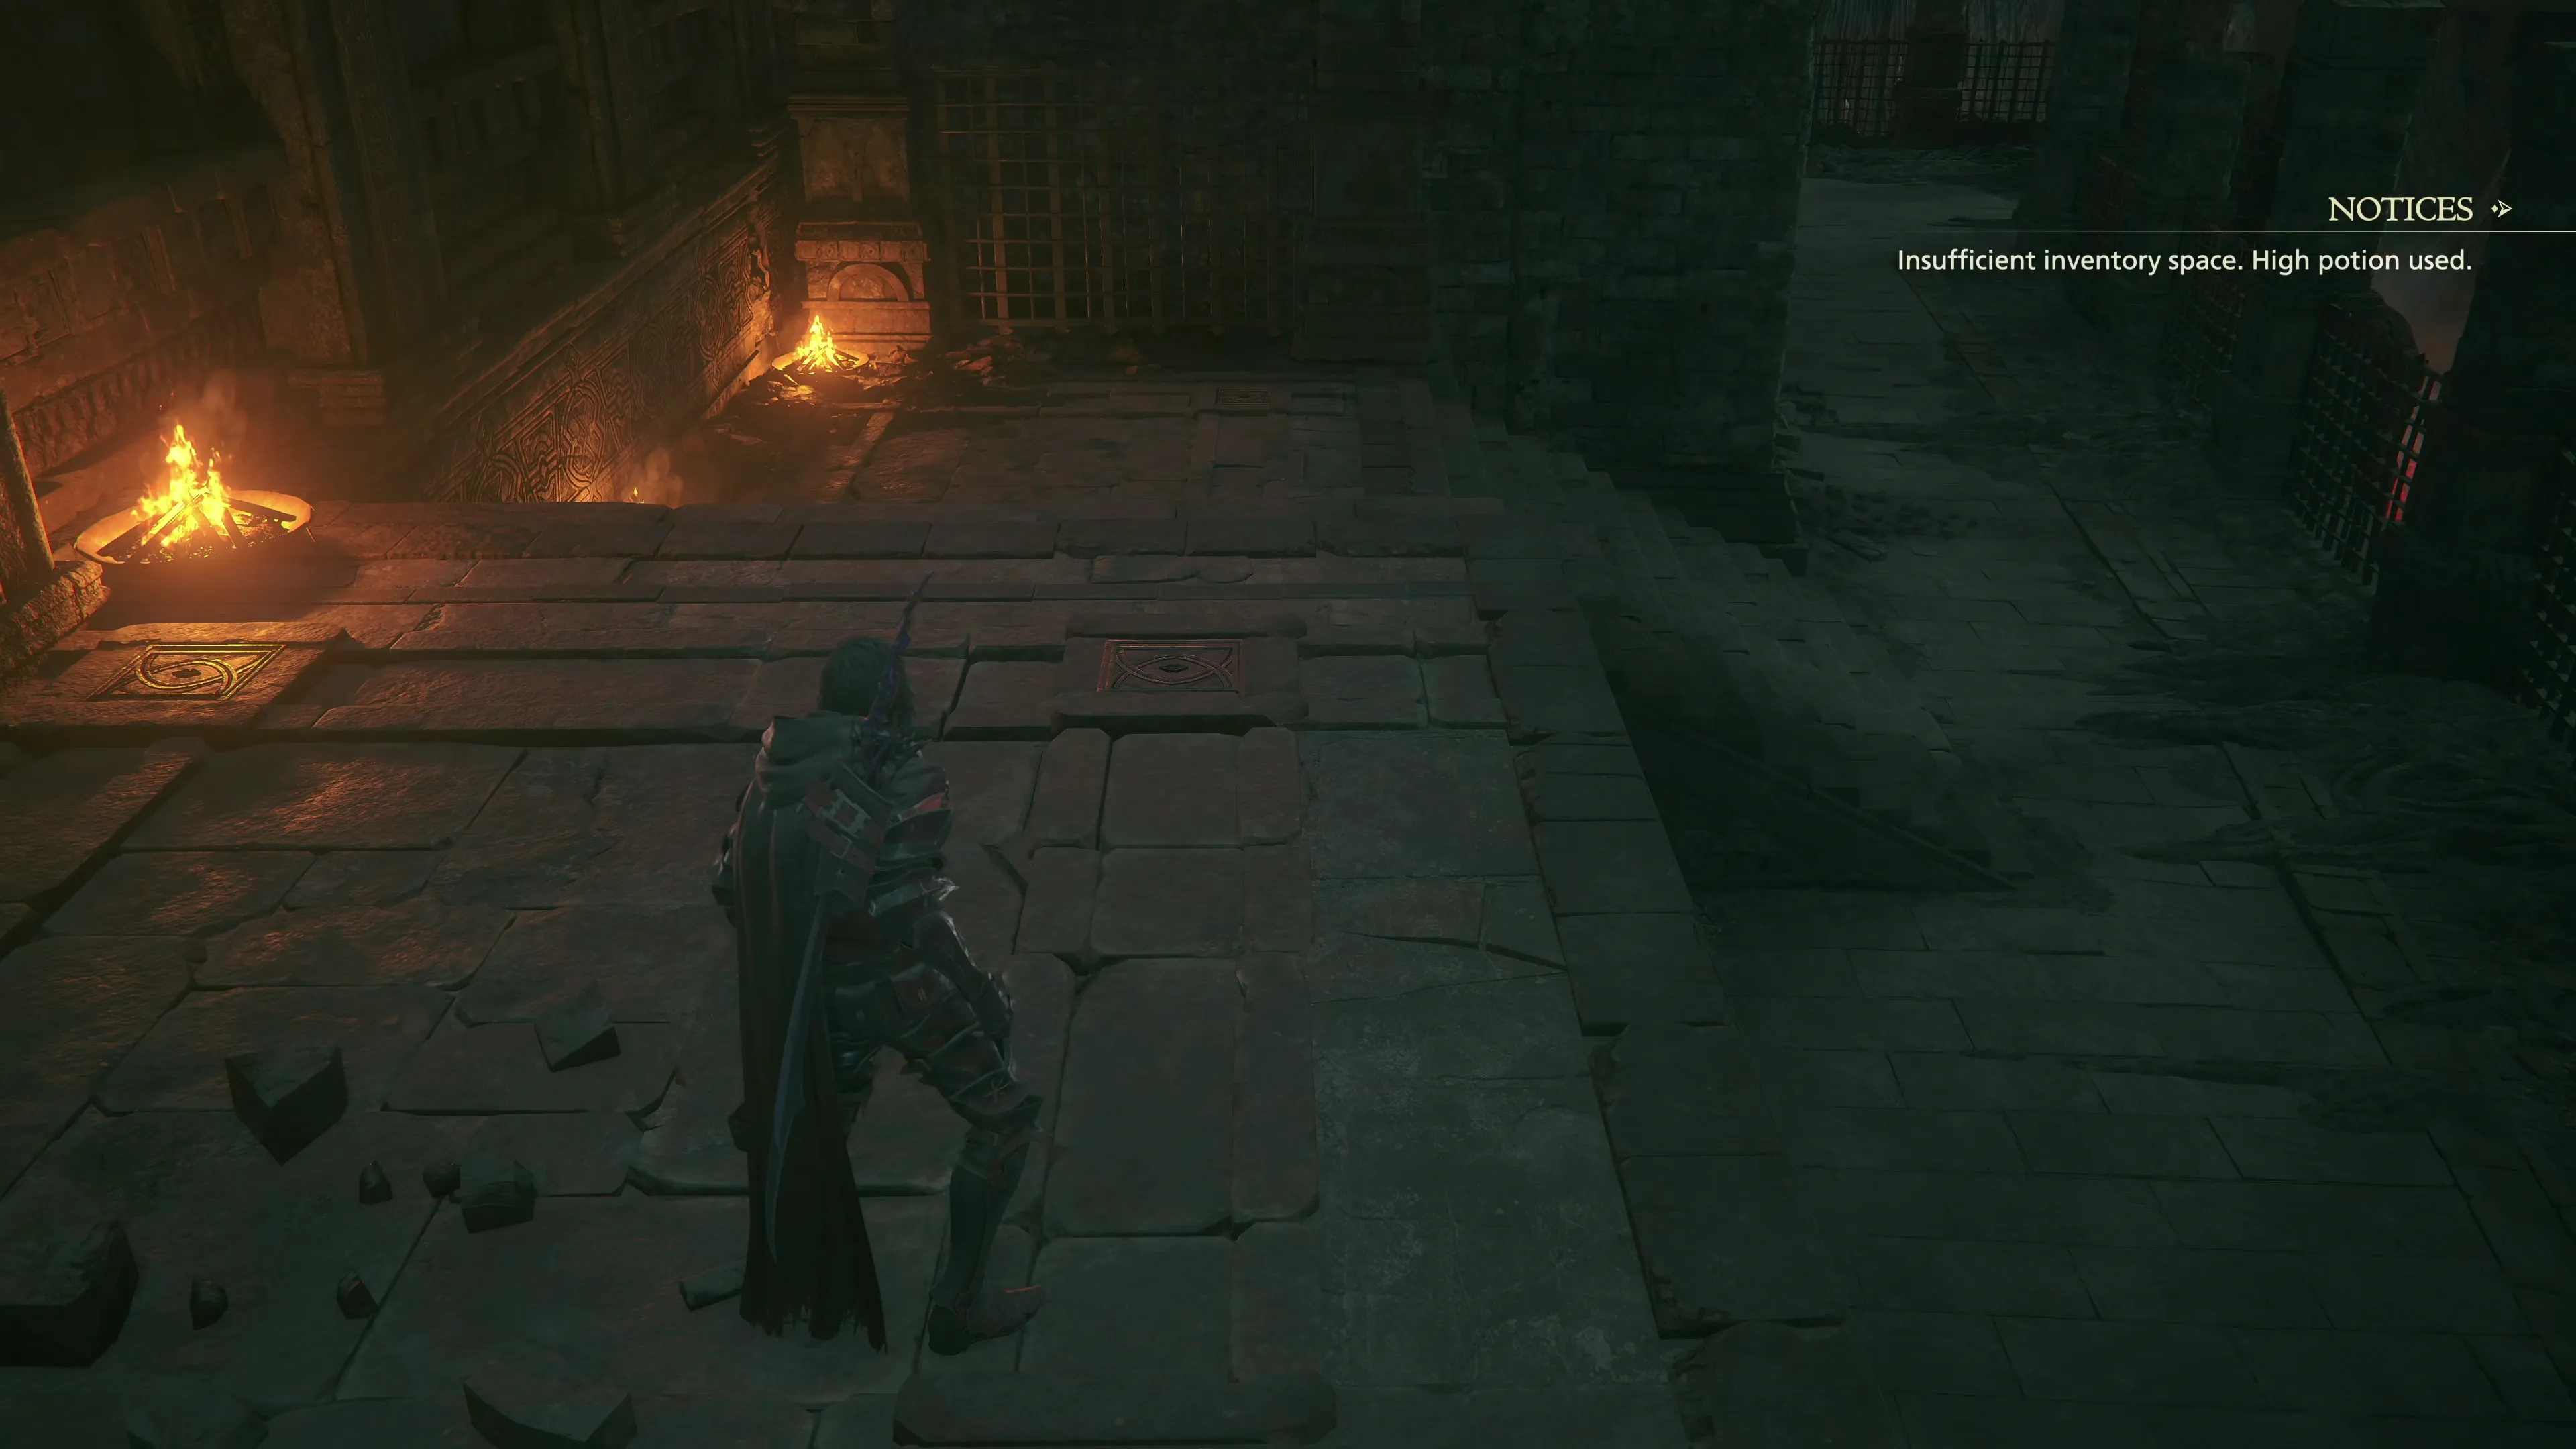
Switch back to your multi-target ![]() Eikonic Ability Set. Grab the Glimmer down the stairs, and the second Glimmer just a bit further up. These will contain
Eikonic Ability Set. Grab the Glimmer down the stairs, and the second Glimmer just a bit further up. These will contain ![]() Potions and
Potions and ![]() High Potions as the game attempts to refill your stock. At the bottom of the stairs is your first group of Ironblood soldiers to defeat (which will be joined by new enemies partway through the fight).
High Potions as the game attempts to refill your stock. At the bottom of the stairs is your first group of Ironblood soldiers to defeat (which will be joined by new enemies partway through the fight).
Go through the double doors and up the stairs into the next room. You’ll face off against an “Ironblood Fanatic,” which is an enemy type you’ve faced several times before that has a new name.
Go through the passageway to find another group of Ironbloods to defeat. There is a treasure coffer out on the balcony that contains 1,200 ![]() Gil that you should pick up before heading through the side door in the previous room.
Gil that you should pick up before heading through the side door in the previous room.
Up the hall and out on the balcony, you will encounter another “Ironblood Fanatic” with a large group of Ironblood soldiers. Open the treasure coffer next to the gate to pick up ![]() The Grace of the Inferno (Will-o’-the-Wykes) accessory. Before you head into the next room…
The Grace of the Inferno (Will-o’-the-Wykes) accessory. Before you head into the next room…
- Save your game
- Swap to your single-target
 Eikonic Ability Set
After a few cutscenes, it’s time for your next boss battle against…
Boss Battle
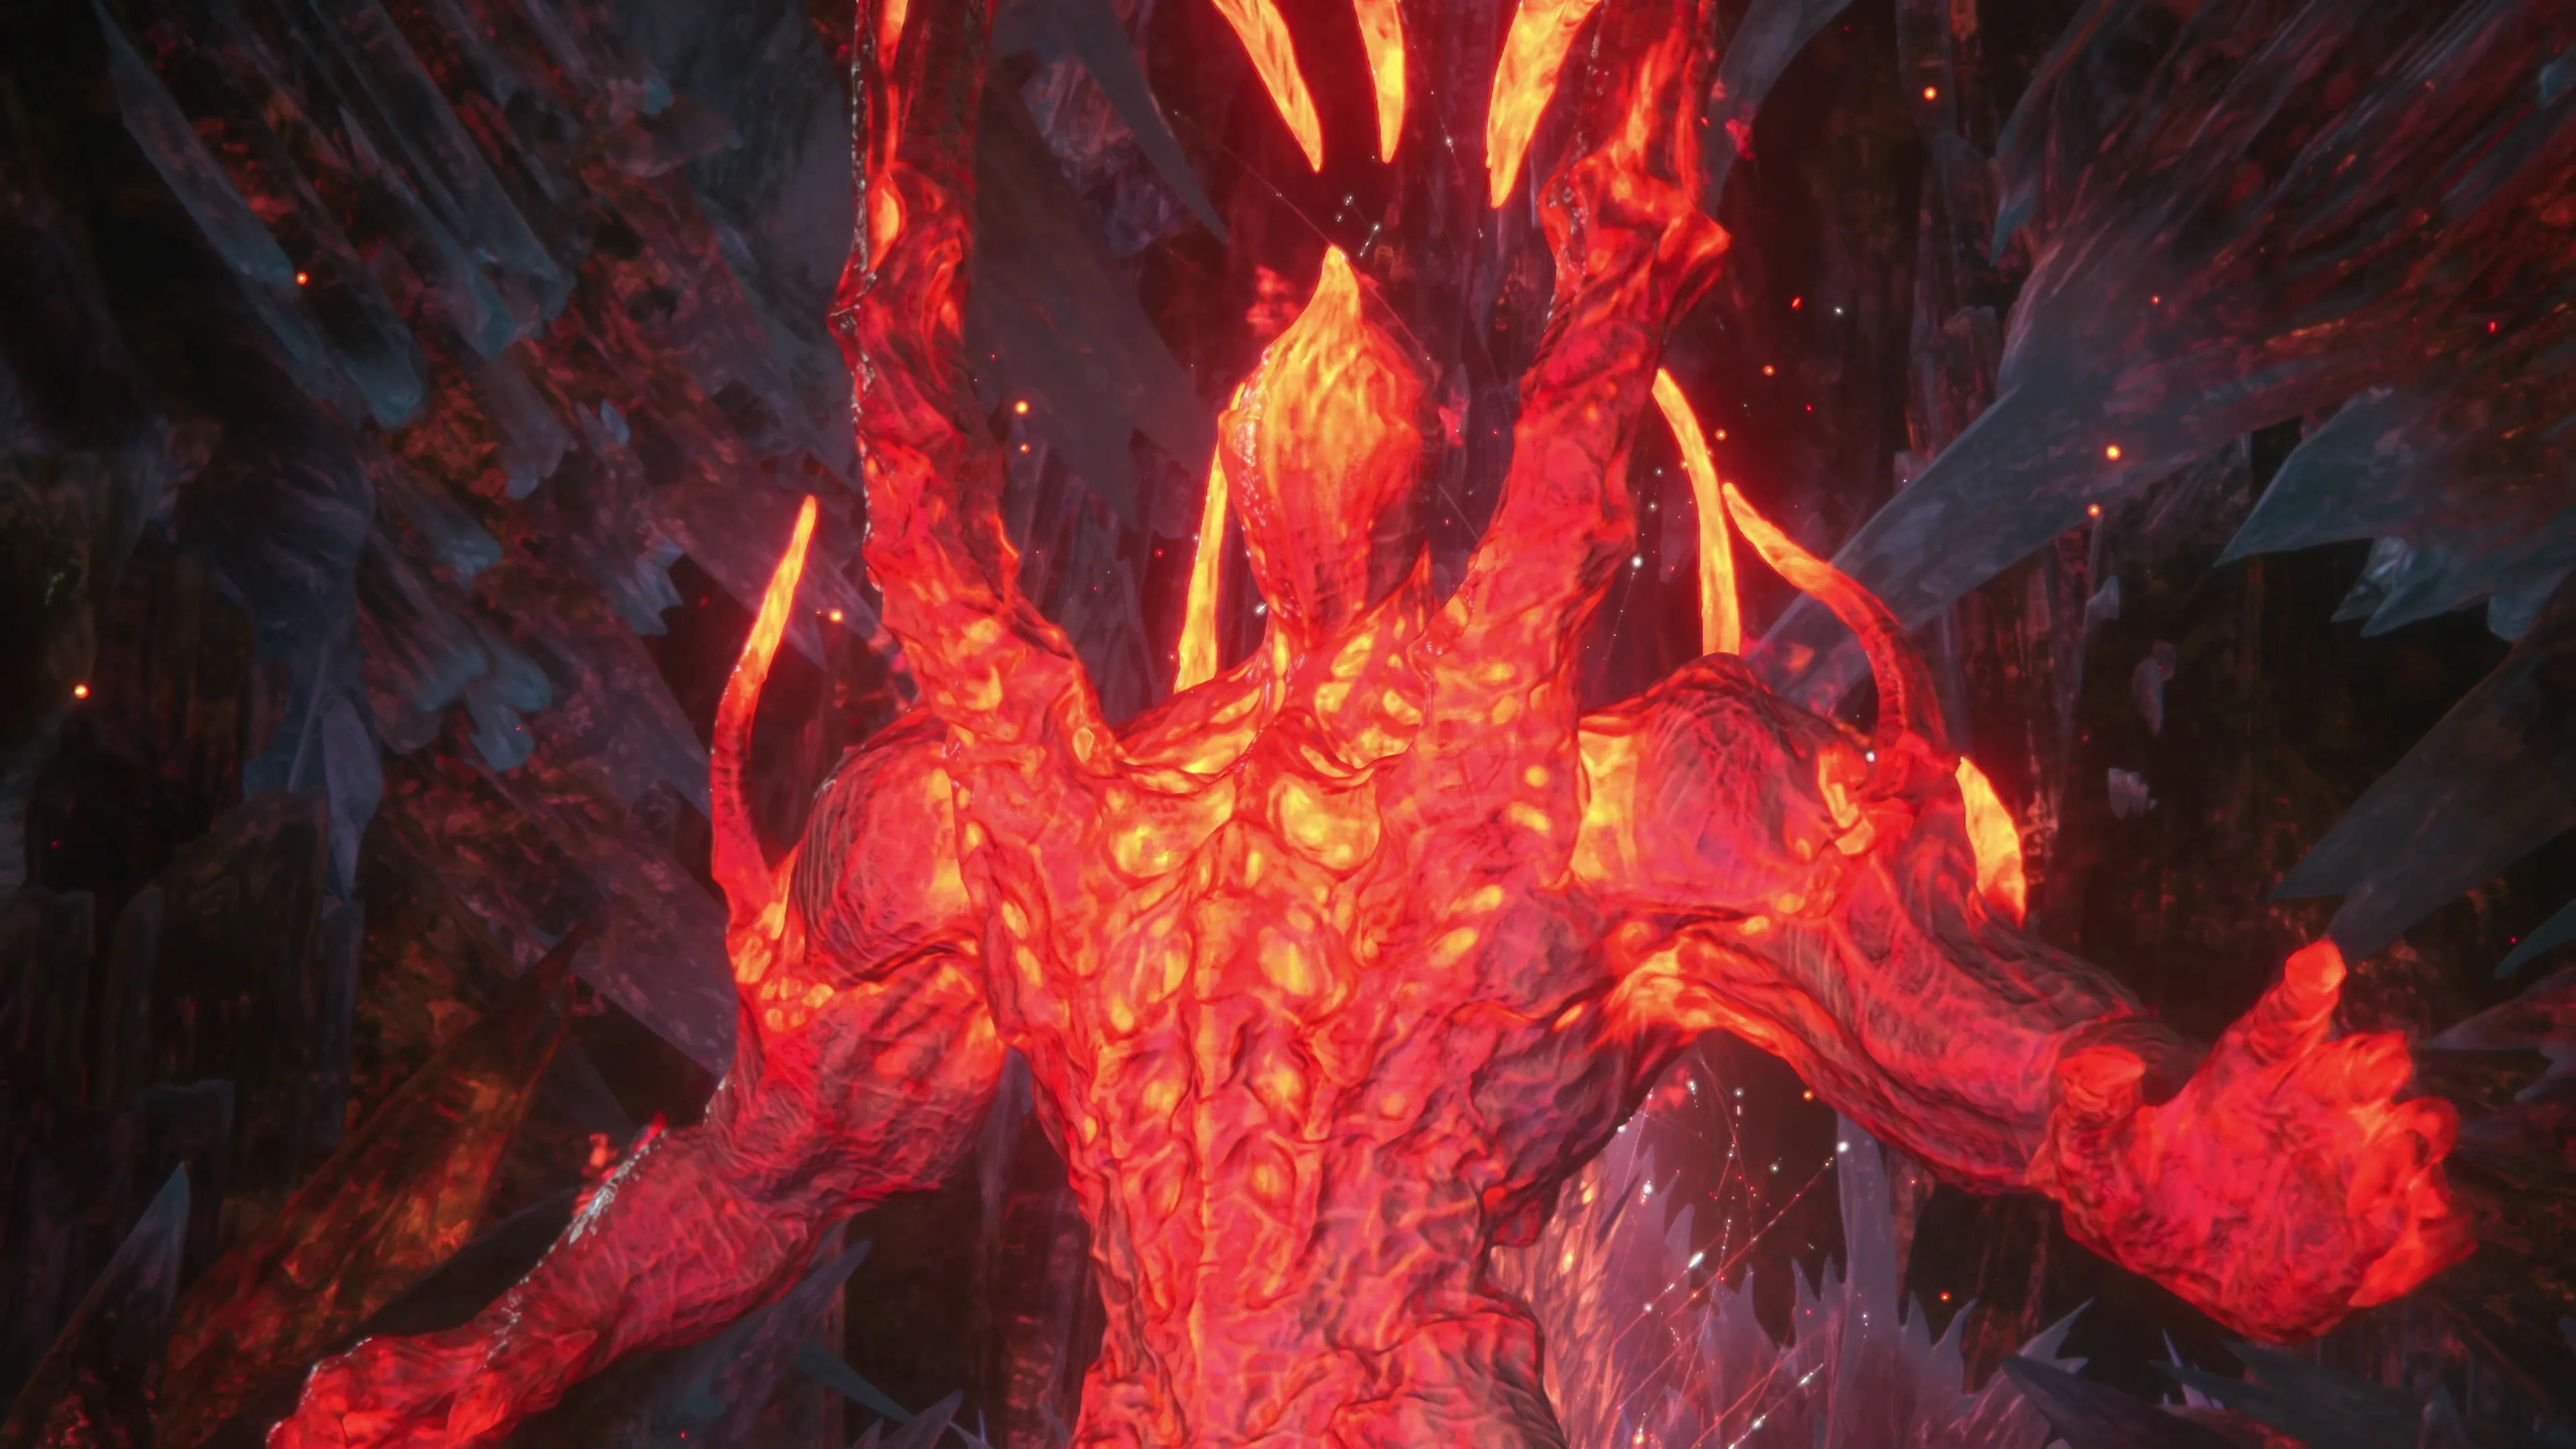
This is another multi-phase boss fight, but the only difference between the phases is the number and type of attacks that Liquid Flame will use. The phases trigger at approximately 60% and 30% HP.
Phase 1
Liquid Flame will waste no time at the start of the fight, and it will use its “Double Axe Kick” attack right away. Make sure you dodge this attack with ![]()
![]()
![]() , but for some reason, you start this fight off with Clive’s Limit Break triggered, so make sure to press in the
, but for some reason, you start this fight off with Clive’s Limit Break triggered, so make sure to press in the ![]()
![]()
![]() and
and ![]()
![]()
![]() sticks to deactivate his Limit Break and save it for a more appropriate time in the fight. Let’s go over Liquid Flame’s Phase 1 moves:
sticks to deactivate his Limit Break and save it for a more appropriate time in the fight. Let’s go over Liquid Flame’s Phase 1 moves:
![]() Double Axe Kick:
Double Axe Kick:
As mentioned, you’ll see this attack right at the beginning of the fight. Liquid Flame will raise one leg in the air and slam it down on Clive. It will then raise its other leg and repeat the attack. Dodging them both is pretty easy.
![]() Double Punch:
Double Punch:
Liquid flame will raise its right arm into the air, swing it in front of itself (dodge this attack), and then punch forward, lunging long distances if you happen to be far away. Again, these two attacks are easy to dodge. It will always follow this attack up with a “Fiery Impact” attack.
![]() Fiery Impact:
Fiery Impact:
Liquid Flame will morph into a glowing red orb form, quickly bursting out of that form and slamming his fist down into Clive’s current location. Getting the timing of this attack down can take some practice, but you can dodge Fiery Impact as soon as you see it transform out of the glowing orb and into its humanoid form.
At some points throughout the fight, Liquid Flame will teleport away in its glowing red orb form and launch a ranged attack at Clive. This attack will be either one of the two below:
![]() Firaga:
Firaga:
It will launch a ball of magic towards Clive. This is similar to any “Fire Ball” type magic you’ve seen before, except that Liquid Flame can cast it extremely quickly. Try to counterattack it with a ![]() Heatwave, but you’ll have to be quick to do this effectively.
Heatwave, but you’ll have to be quick to do this effectively.
![]() Eructation:
Eructation:
The ground beneath Clive will change color. Move out of this area quickly to dodge the attack.
The most annoying part of this fight, including the following two phases, is that you’re going to lose your targeting on Liquid Flame constantly. Every time it transforms into a glowing orb, you will have to press ![]()
![]()
![]() again to re-target the boss. Get into the habit of pushing it often.
again to re-target the boss. Get into the habit of pushing it often.
Phase 2
The second phase begins after Liquid Flame uses its “Swelter” attack. Jill / Shiva will intercede using “Diamond Dust” during a short cutscene to save Clive from the encroaching lava, and Liquid Flame will have a slightly adjusted attack pattern as noted below. Liquid Flame will begin transforming into other creatures to perform some of these new attacks.
![]() Coeurl Spin Attack:
Coeurl Spin Attack:
After completing a “Double Punch” attack, Liquid Flame may still follow up with a Fiery Impact, but sometimes it will use this attack instead, which involves floating close to Clive in the glowing orb, jumping out in Coeurl form, and quickly performing a wide circular attack around where it lands. This attack can be challenging to dodge, though not impossible; however, you can also just back up out of the way to be safe (which is much easier).
![]() Wyvern Breath:
Wyvern Breath:
It may also transform into a Wyvern in the center of the battlefield. Its attack, once it has transformed, involves a spray of flame breath outward and toward Clive. Just keep dodging to the left or to the right to avoid the flames.
![]() Eructation (Update):
Eructation (Update):
This attack will now strike the ground below Clive and several surrounding areas, in addition to the impact zone. Just be careful where you dodge to and make sure you don’t land in one of the secondary blast zones.
It’s worth noting that the surrounding lava can also deal damage to Clive during this battle. It becomes more of a problem in phases 2 and 3 when the battlefield shrinks, and it can be problematic if you’re attempting to earn the Medal of Valor on this fight. Check out the Medal of Valor section for tips specific to this fight if you are.
Don’t shy away from using some of your ![]() Stoneskin Tonics and
Stoneskin Tonics and ![]() Strength Tonics during this fight.
Strength Tonics during this fight.
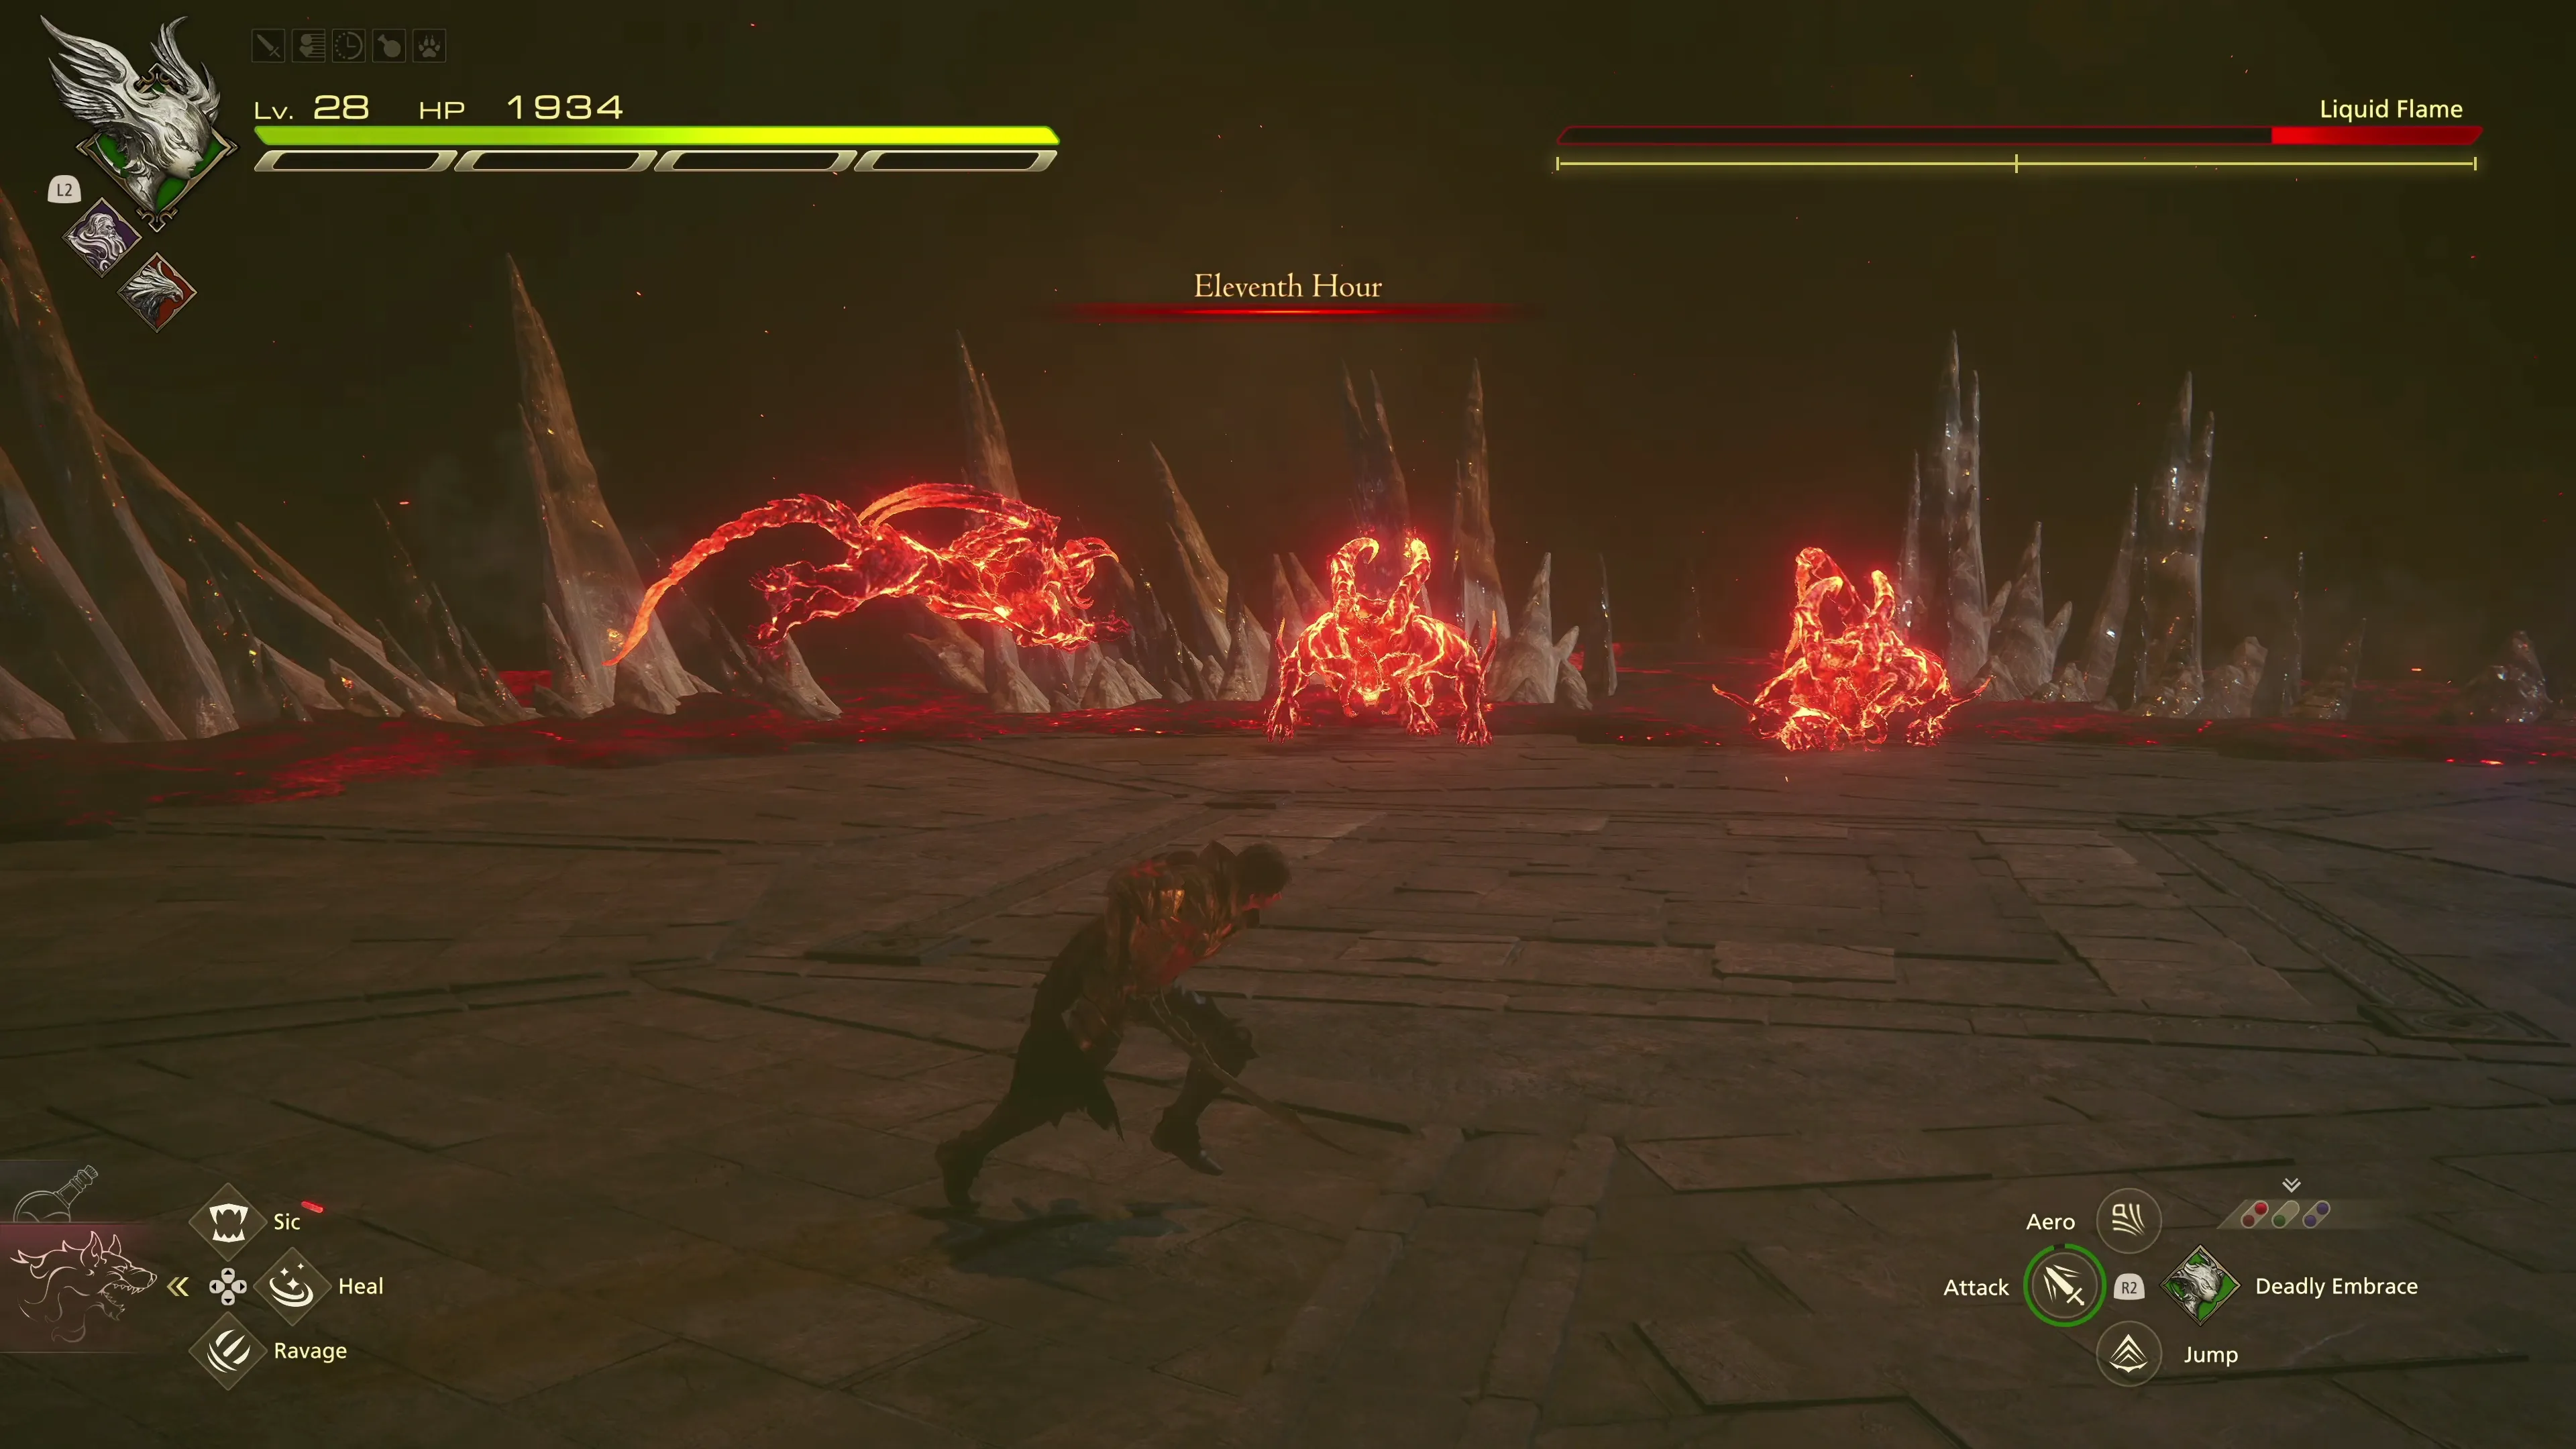
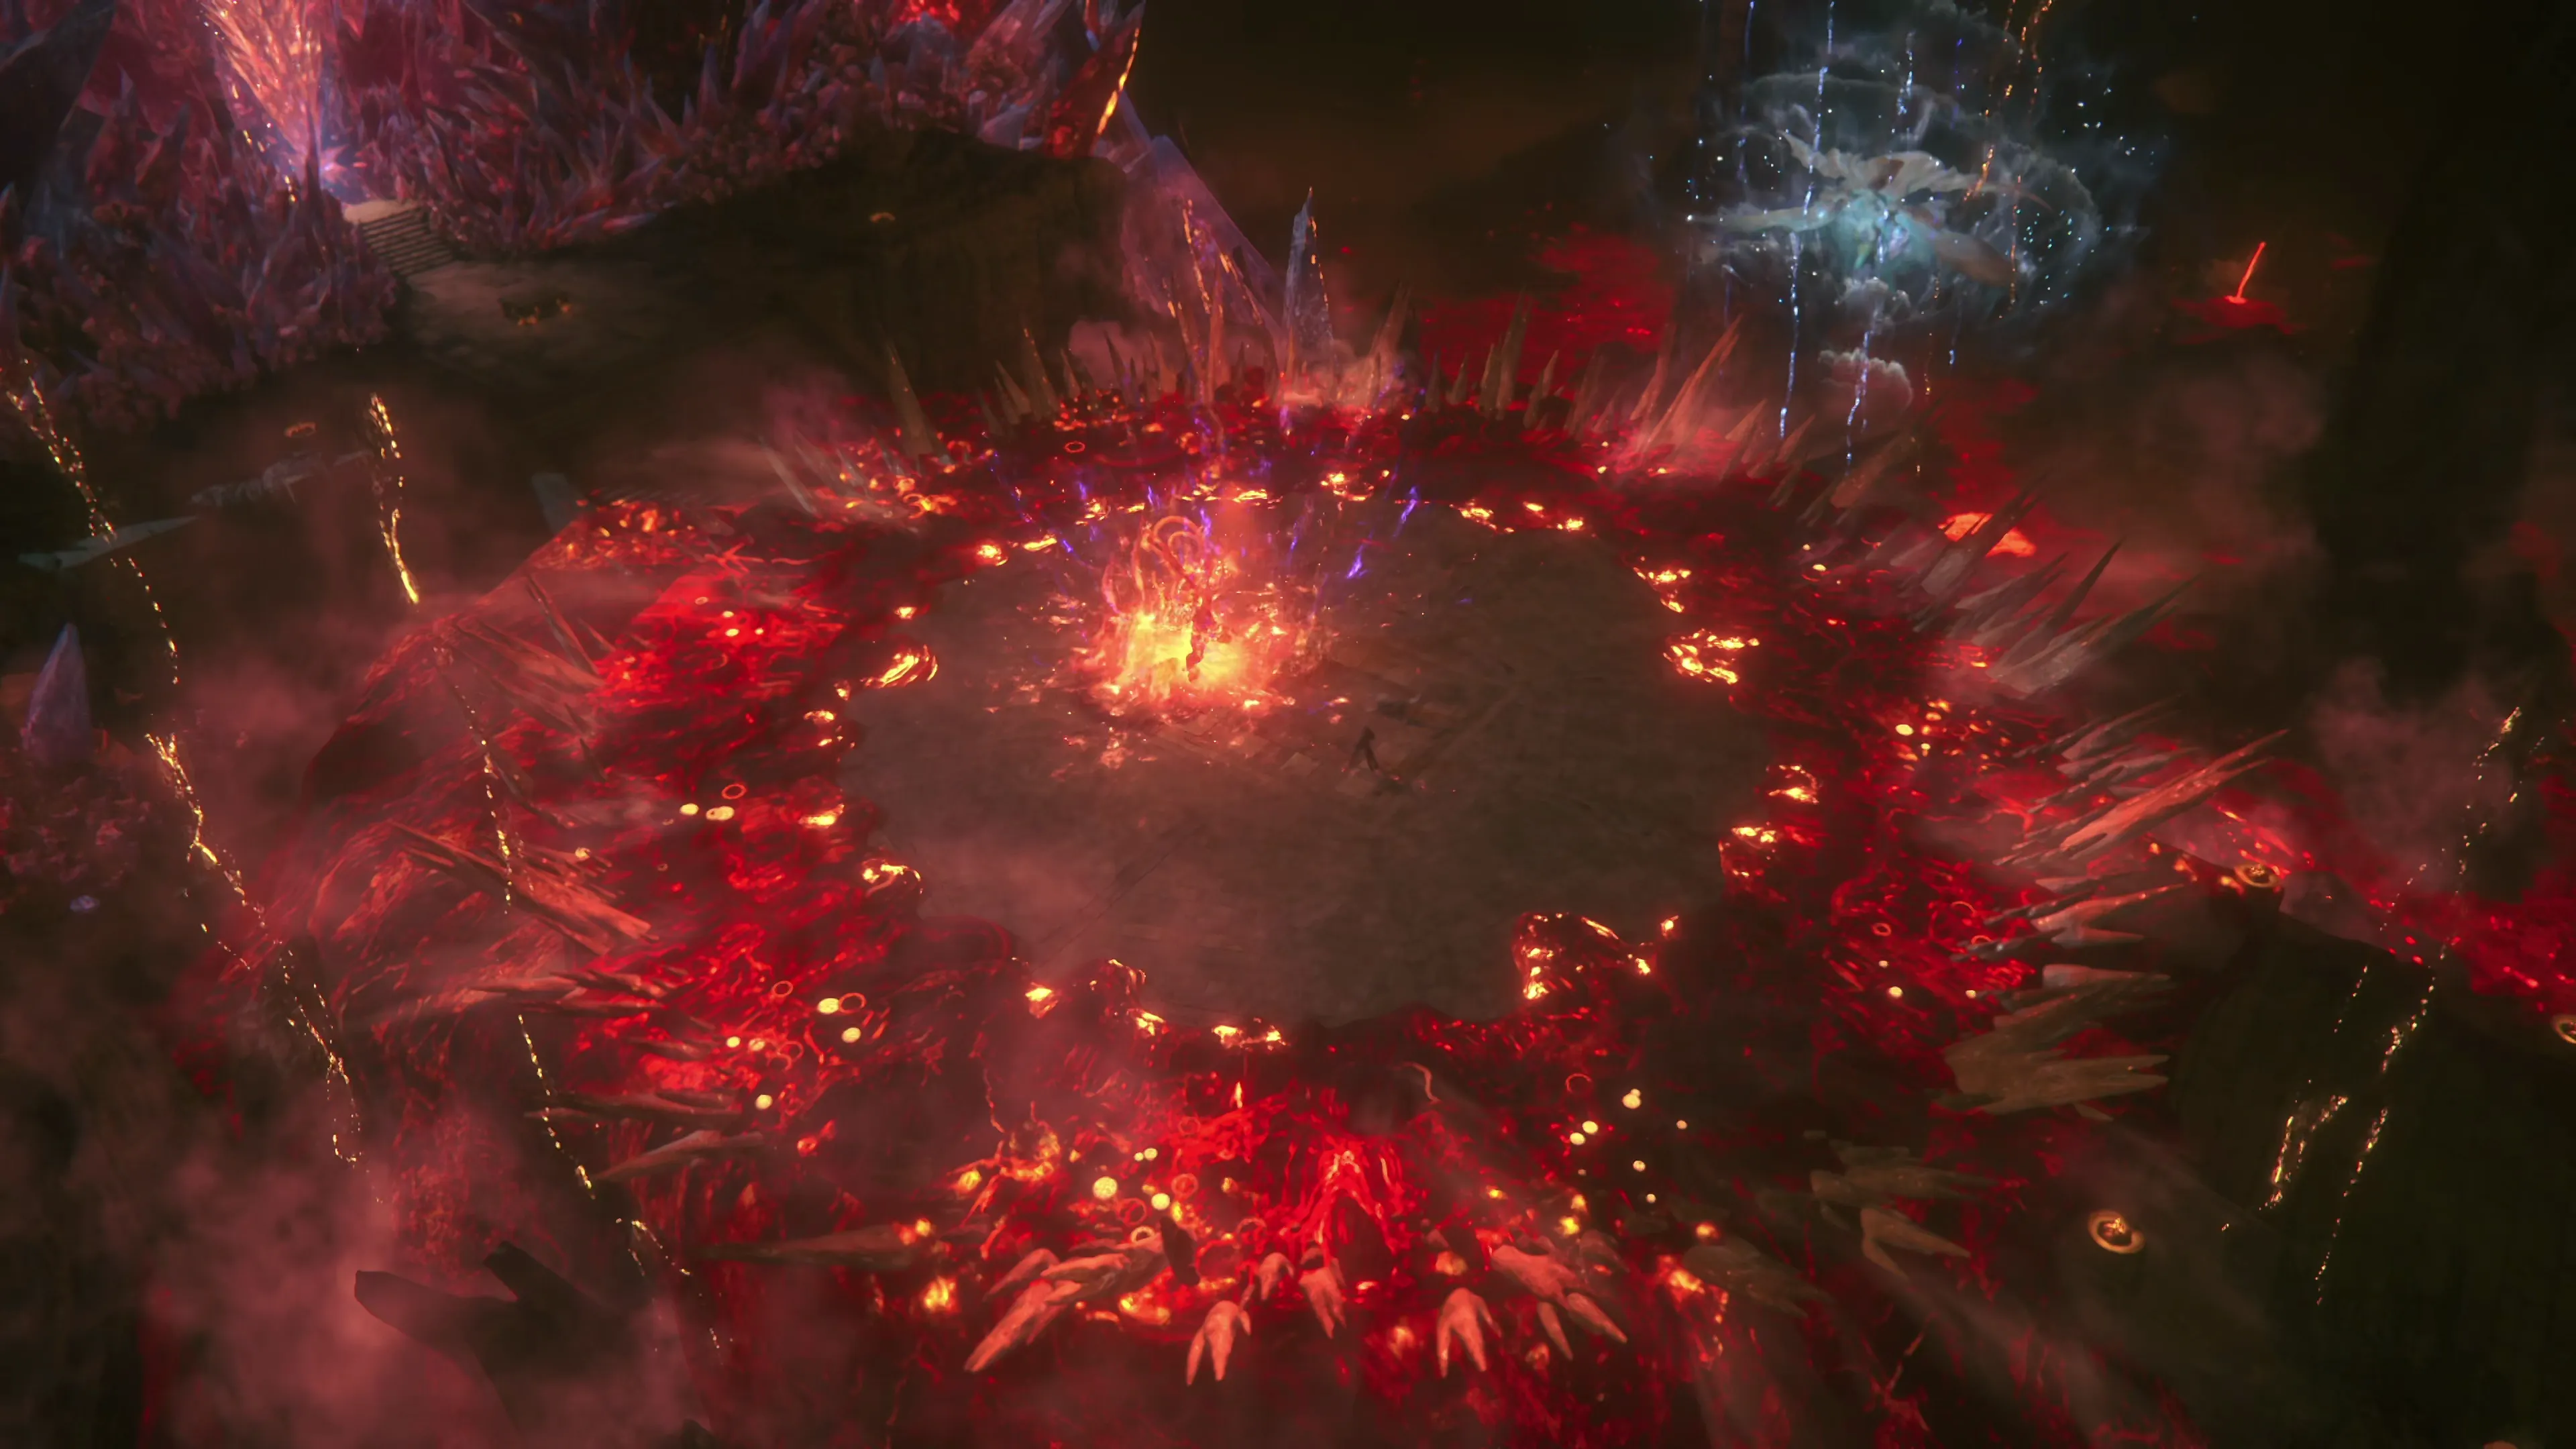
Phase 3
The final phase begins when Liquid Flame uses an attack called “Eleventh Hour,” so let’s talk about that attack first.
![]() Eleventh Hour:
Eleventh Hour:
This attack involves a sequence of events that occur in succession. At first, Liquid Flame’s glowing orb will appear on the side of the battlefield close to you. Then it will transform into four Coeurls that will run to the opposite side of the map, furthest from you. Each of them will lunge towards Clive, and all four will need to be dodged. After the four attacks, Liquid Flame will transform into four Wyverns that will start in four corners of the map. If you’re close to the Wyverns when they spawn, you’ll be stunned. Each of them will begin flying towards the center of the map, breathing flame. Just dodge the pathways of the Wyverns and use the ![]()
![]()
![]() button to dodge if they get too close. Finally, Liquid Flame will reappear near the center of the map, and a large glowing circle will appear around him. This large circle will occupy most of the map, but try to reach one of the areas not covered by the circle or covered in lava. After a few seconds, the glowing area will explode, dealing damage if you’re nearby. It’s possible to dodge the damage, but your best bet is to get out of the blast radius. After all three events, Liquid Flame has a lengthy recovery period, so get some damage in.
button to dodge if they get too close. Finally, Liquid Flame will reappear near the center of the map, and a large glowing circle will appear around him. This large circle will occupy most of the map, but try to reach one of the areas not covered by the circle or covered in lava. After a few seconds, the glowing area will explode, dealing damage if you’re nearby. It’s possible to dodge the damage, but your best bet is to get out of the blast radius. After all three events, Liquid Flame has a lengthy recovery period, so get some damage in.
![]() Flagrant Wyvern:
Flagrant Wyvern:
Liquid Flame will transform into its Wyvern form, fly up into the air, and after a short time, slam down onto the ground where Clive is standing. Dodge the attack when it lands on the ground.
![]() Flagrant Coeurl:
Flagrant Coeurl:
Similar to the four Coeurls that spawned during “Eleventh Hour,” Liquid Flame will turn into a Coeurl, run around the map for a short while, brace itself to attack, and then launch across the screen towards Clive. Just be ready to dodge when it comes at you.
This is a challenging fight that may take some practice to get used to (hence why we saved our game just outside the gates). It’s also one of the more challenging battles if you’re attempting to earn the ![]() Medal of Valor - Liquid Flame. Check out the video below if you need help, and good luck!
Medal of Valor - Liquid Flame. Check out the video below if you need help, and good luck!
220
3,000
A video demonstration of how to successfully complete the fight against Liquid Flame.
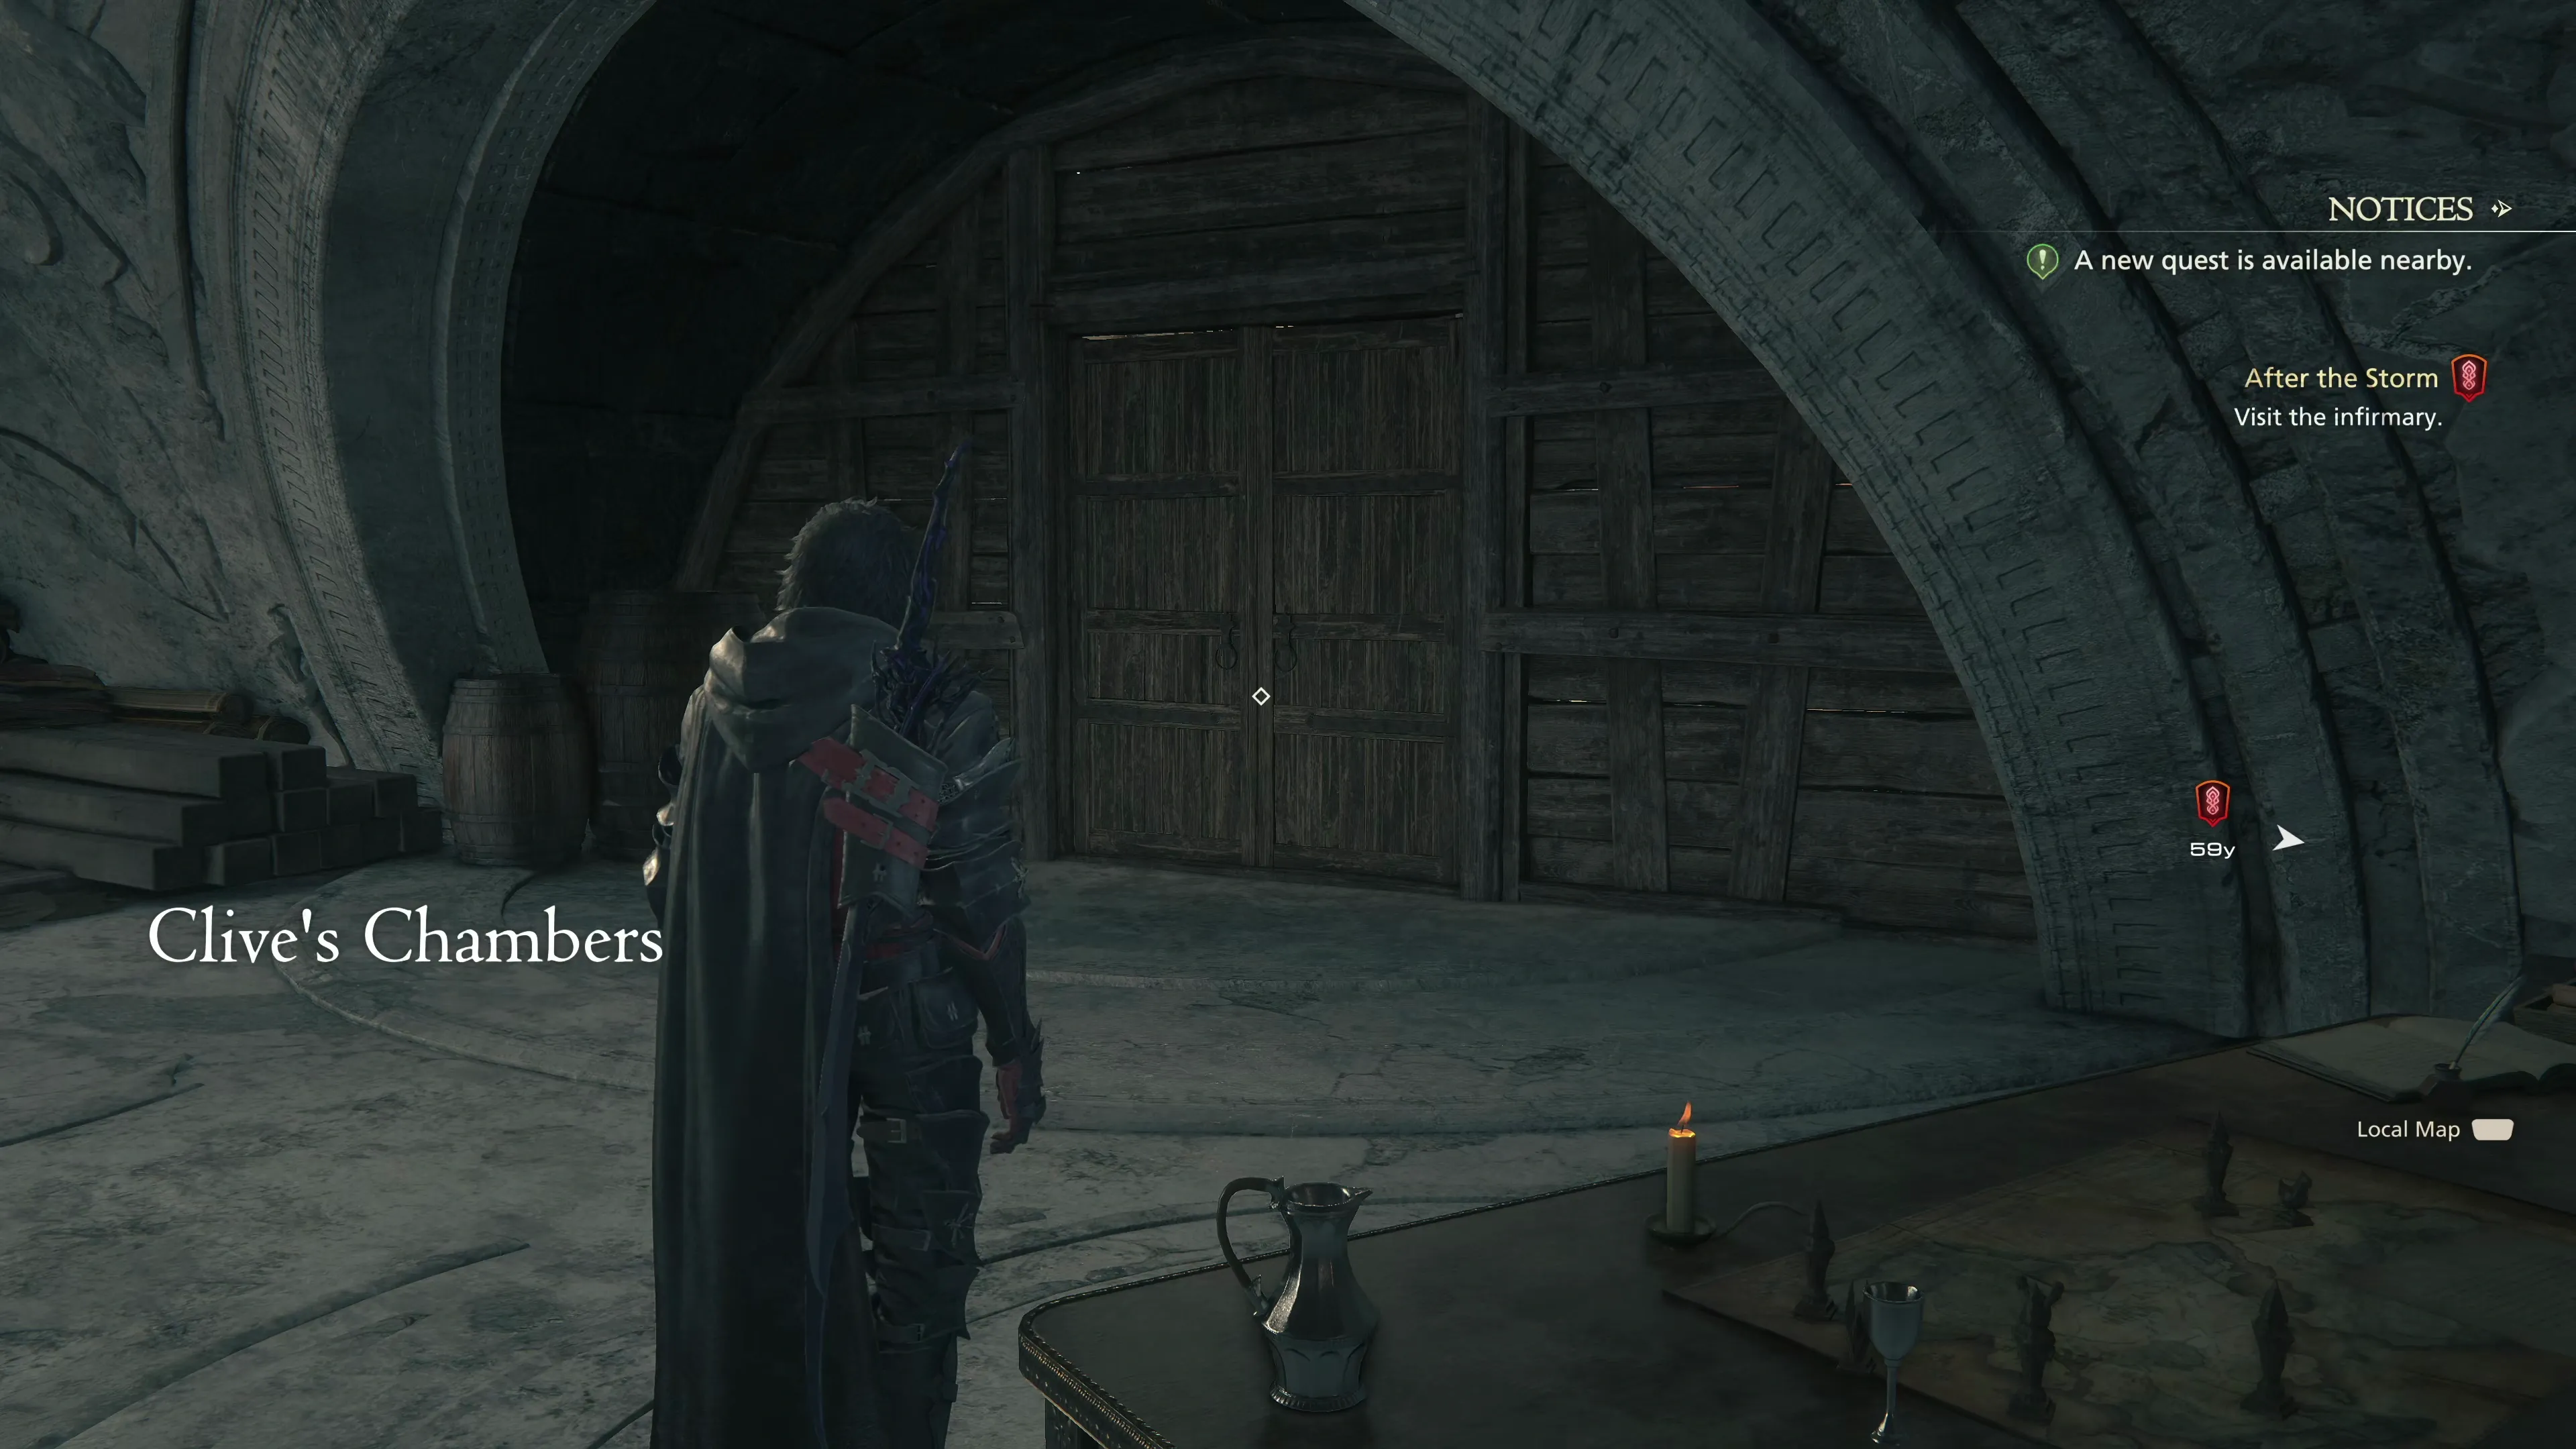
There are quite a few cutscenes that take place after the battle. You’ll regain control of Clive in his chambers in the Hideaway, and it’s time to take on the next Main Scenario Quest.
Achievement/Trophy
“Turn the corner.” The  Legacy Achievement/Trophy is earned as soon as you complete the “Fire and Ice” Main Scenario Quest.