Lost in a Fog
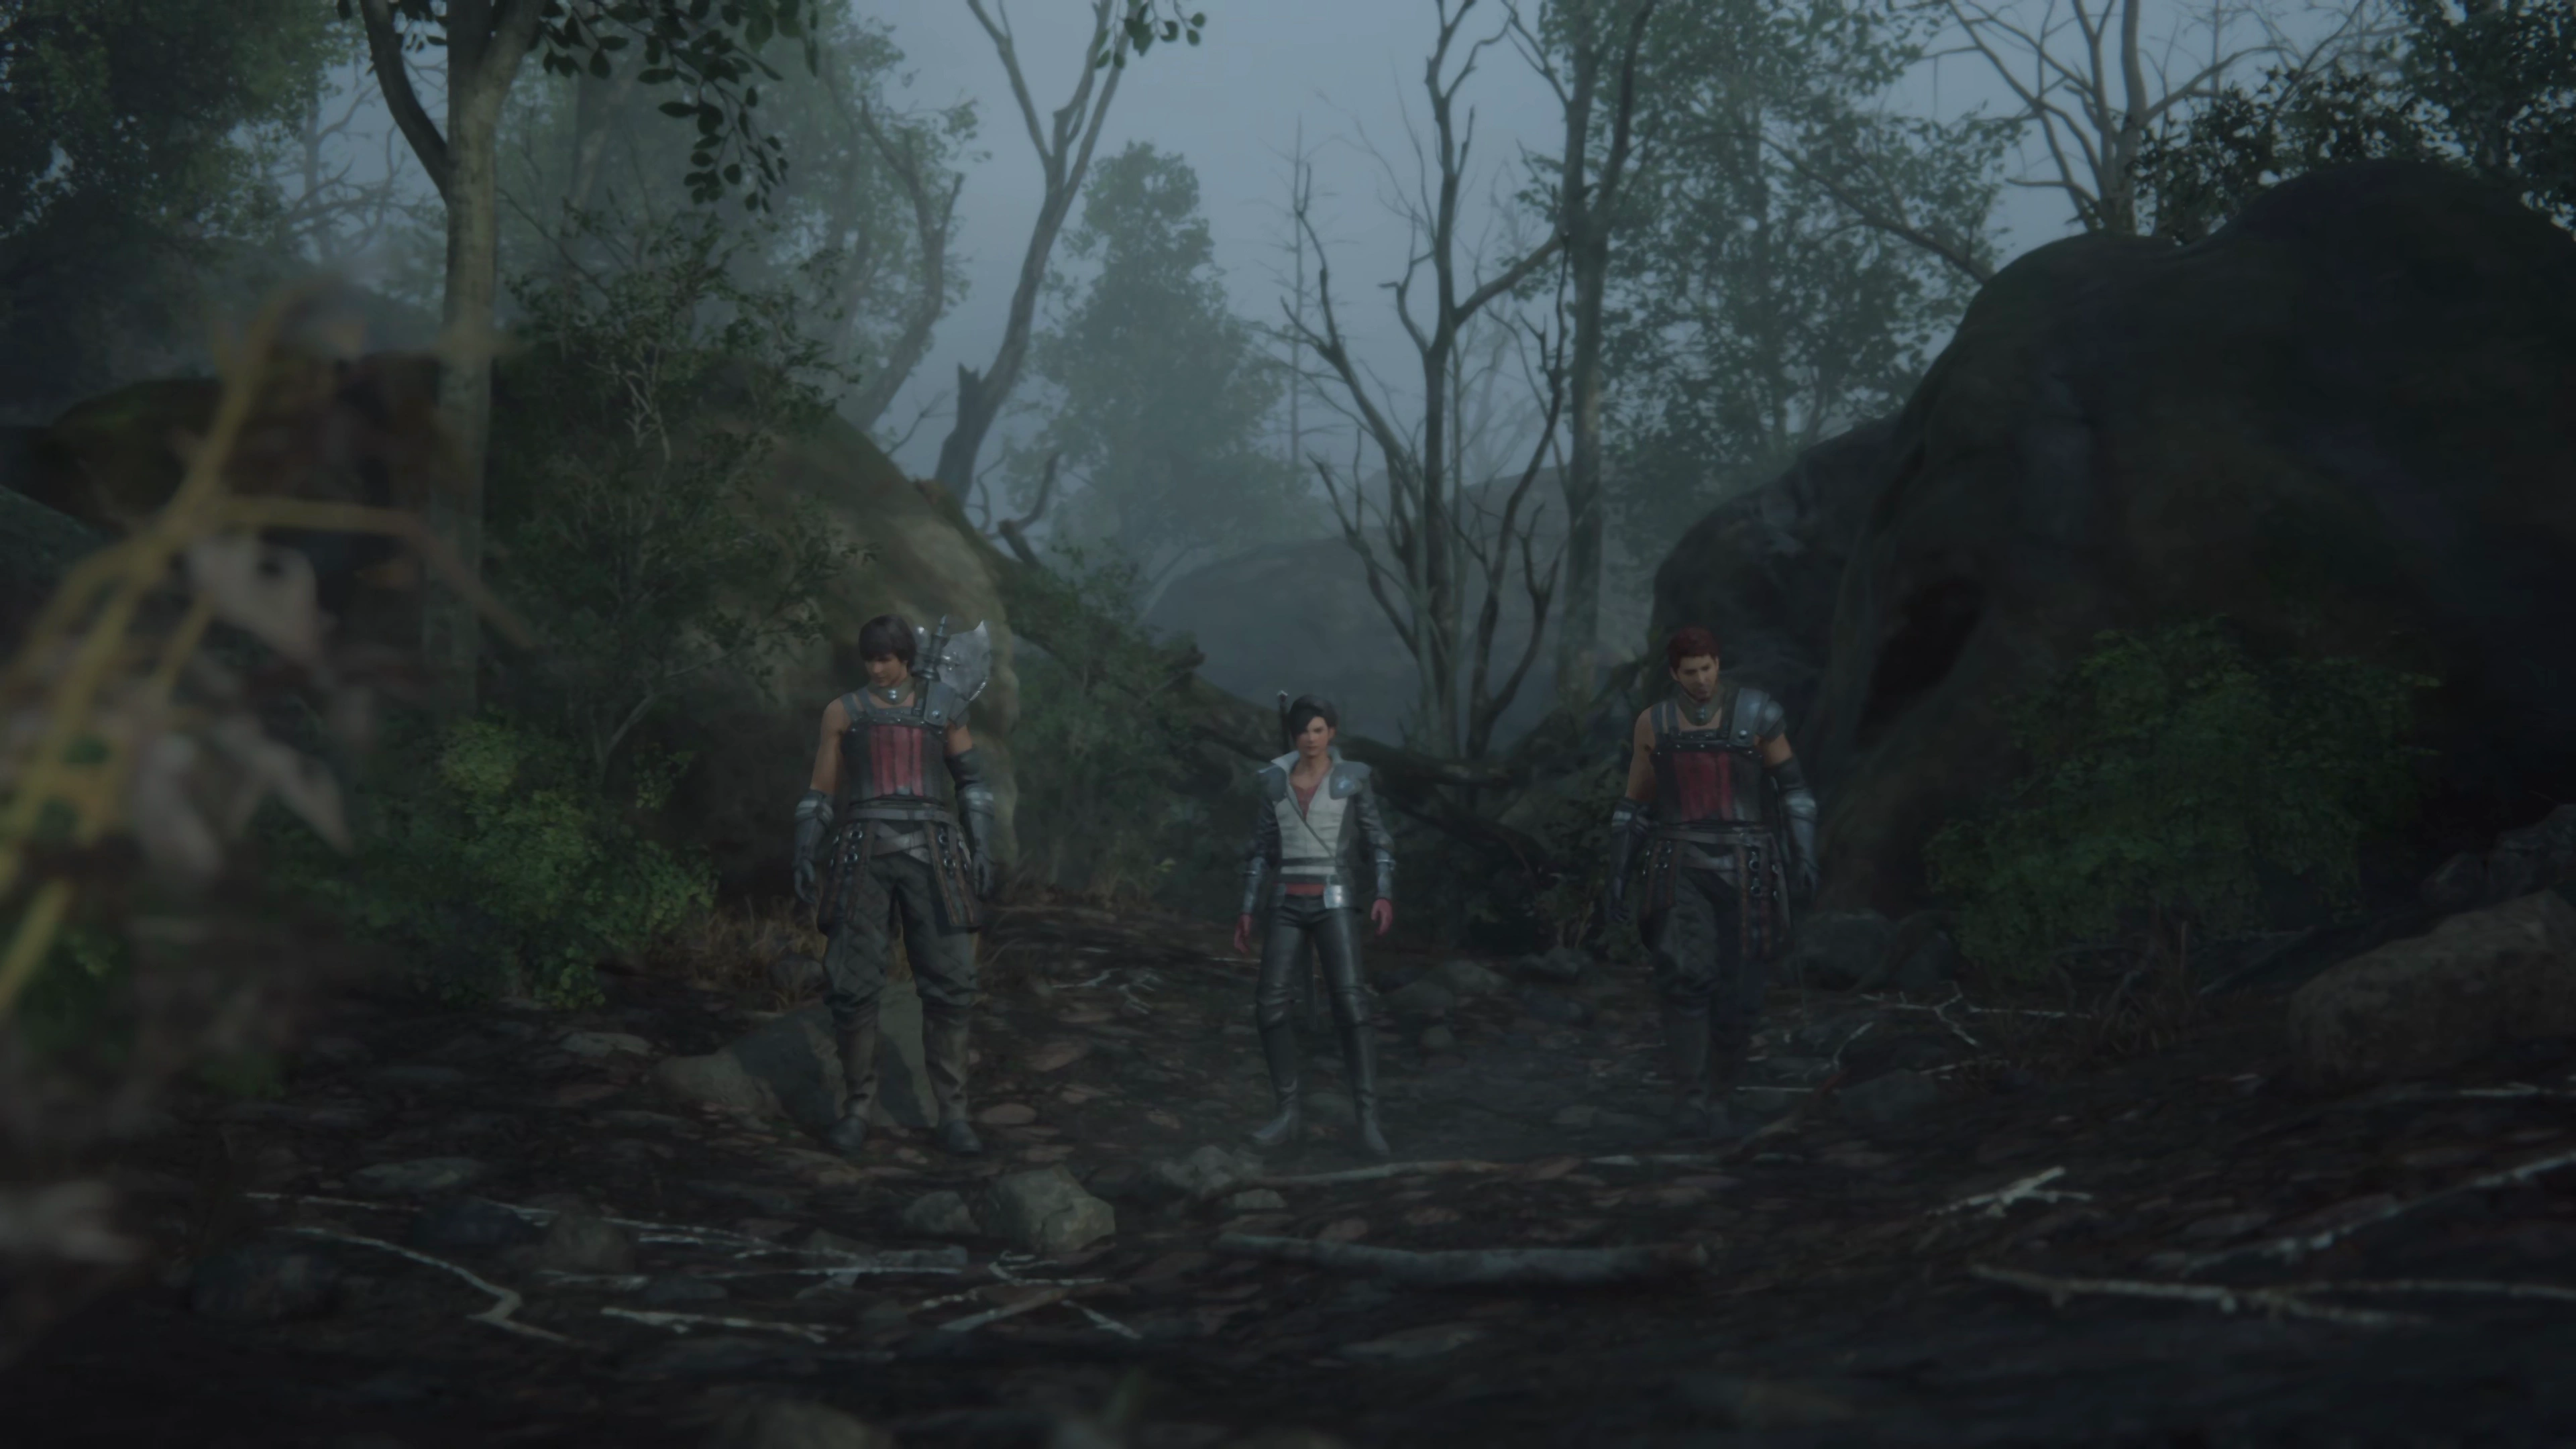
The first Main Scenario Quest, ![]() Sunrise, Sunset, is now complete. It’s time to move on to your first actual mission in the town of Stillwind in Rosaria as part of a new quest called “Lost in the Fog.” Sir Wade and Sir Tyler will join Clive as he travels through this section of the map. This first area is one of many linear locations you will visit throughout the game.
Sunrise, Sunset, is now complete. It’s time to move on to your first actual mission in the town of Stillwind in Rosaria as part of a new quest called “Lost in the Fog.” Sir Wade and Sir Tyler will join Clive as he travels through this section of the map. This first area is one of many linear locations you will visit throughout the game.
Helpful Hint
This guide uses maps to guide you through each location. However, many “linear map” parts of the story have only one pathway that you use to travel from the start of the zone to the end. These are typically utilized during sections of the game that are important to the story.
Linear map parts of the game will be identified in this guide; this is the first one. There is no map for this area, either in the game or in this guide, but it is impossible to get lost as there is only one direction you can go.
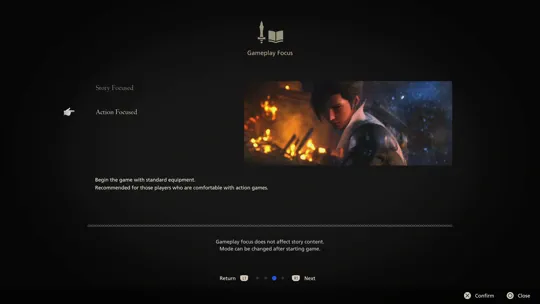
A dialogue box will provide a brief explanation of how the “Timely Accessories” work. Even though you probably selected the “Action Mode” gameplay option, you will still have access to these special accessories if you’re having trouble with any specific component of the game.
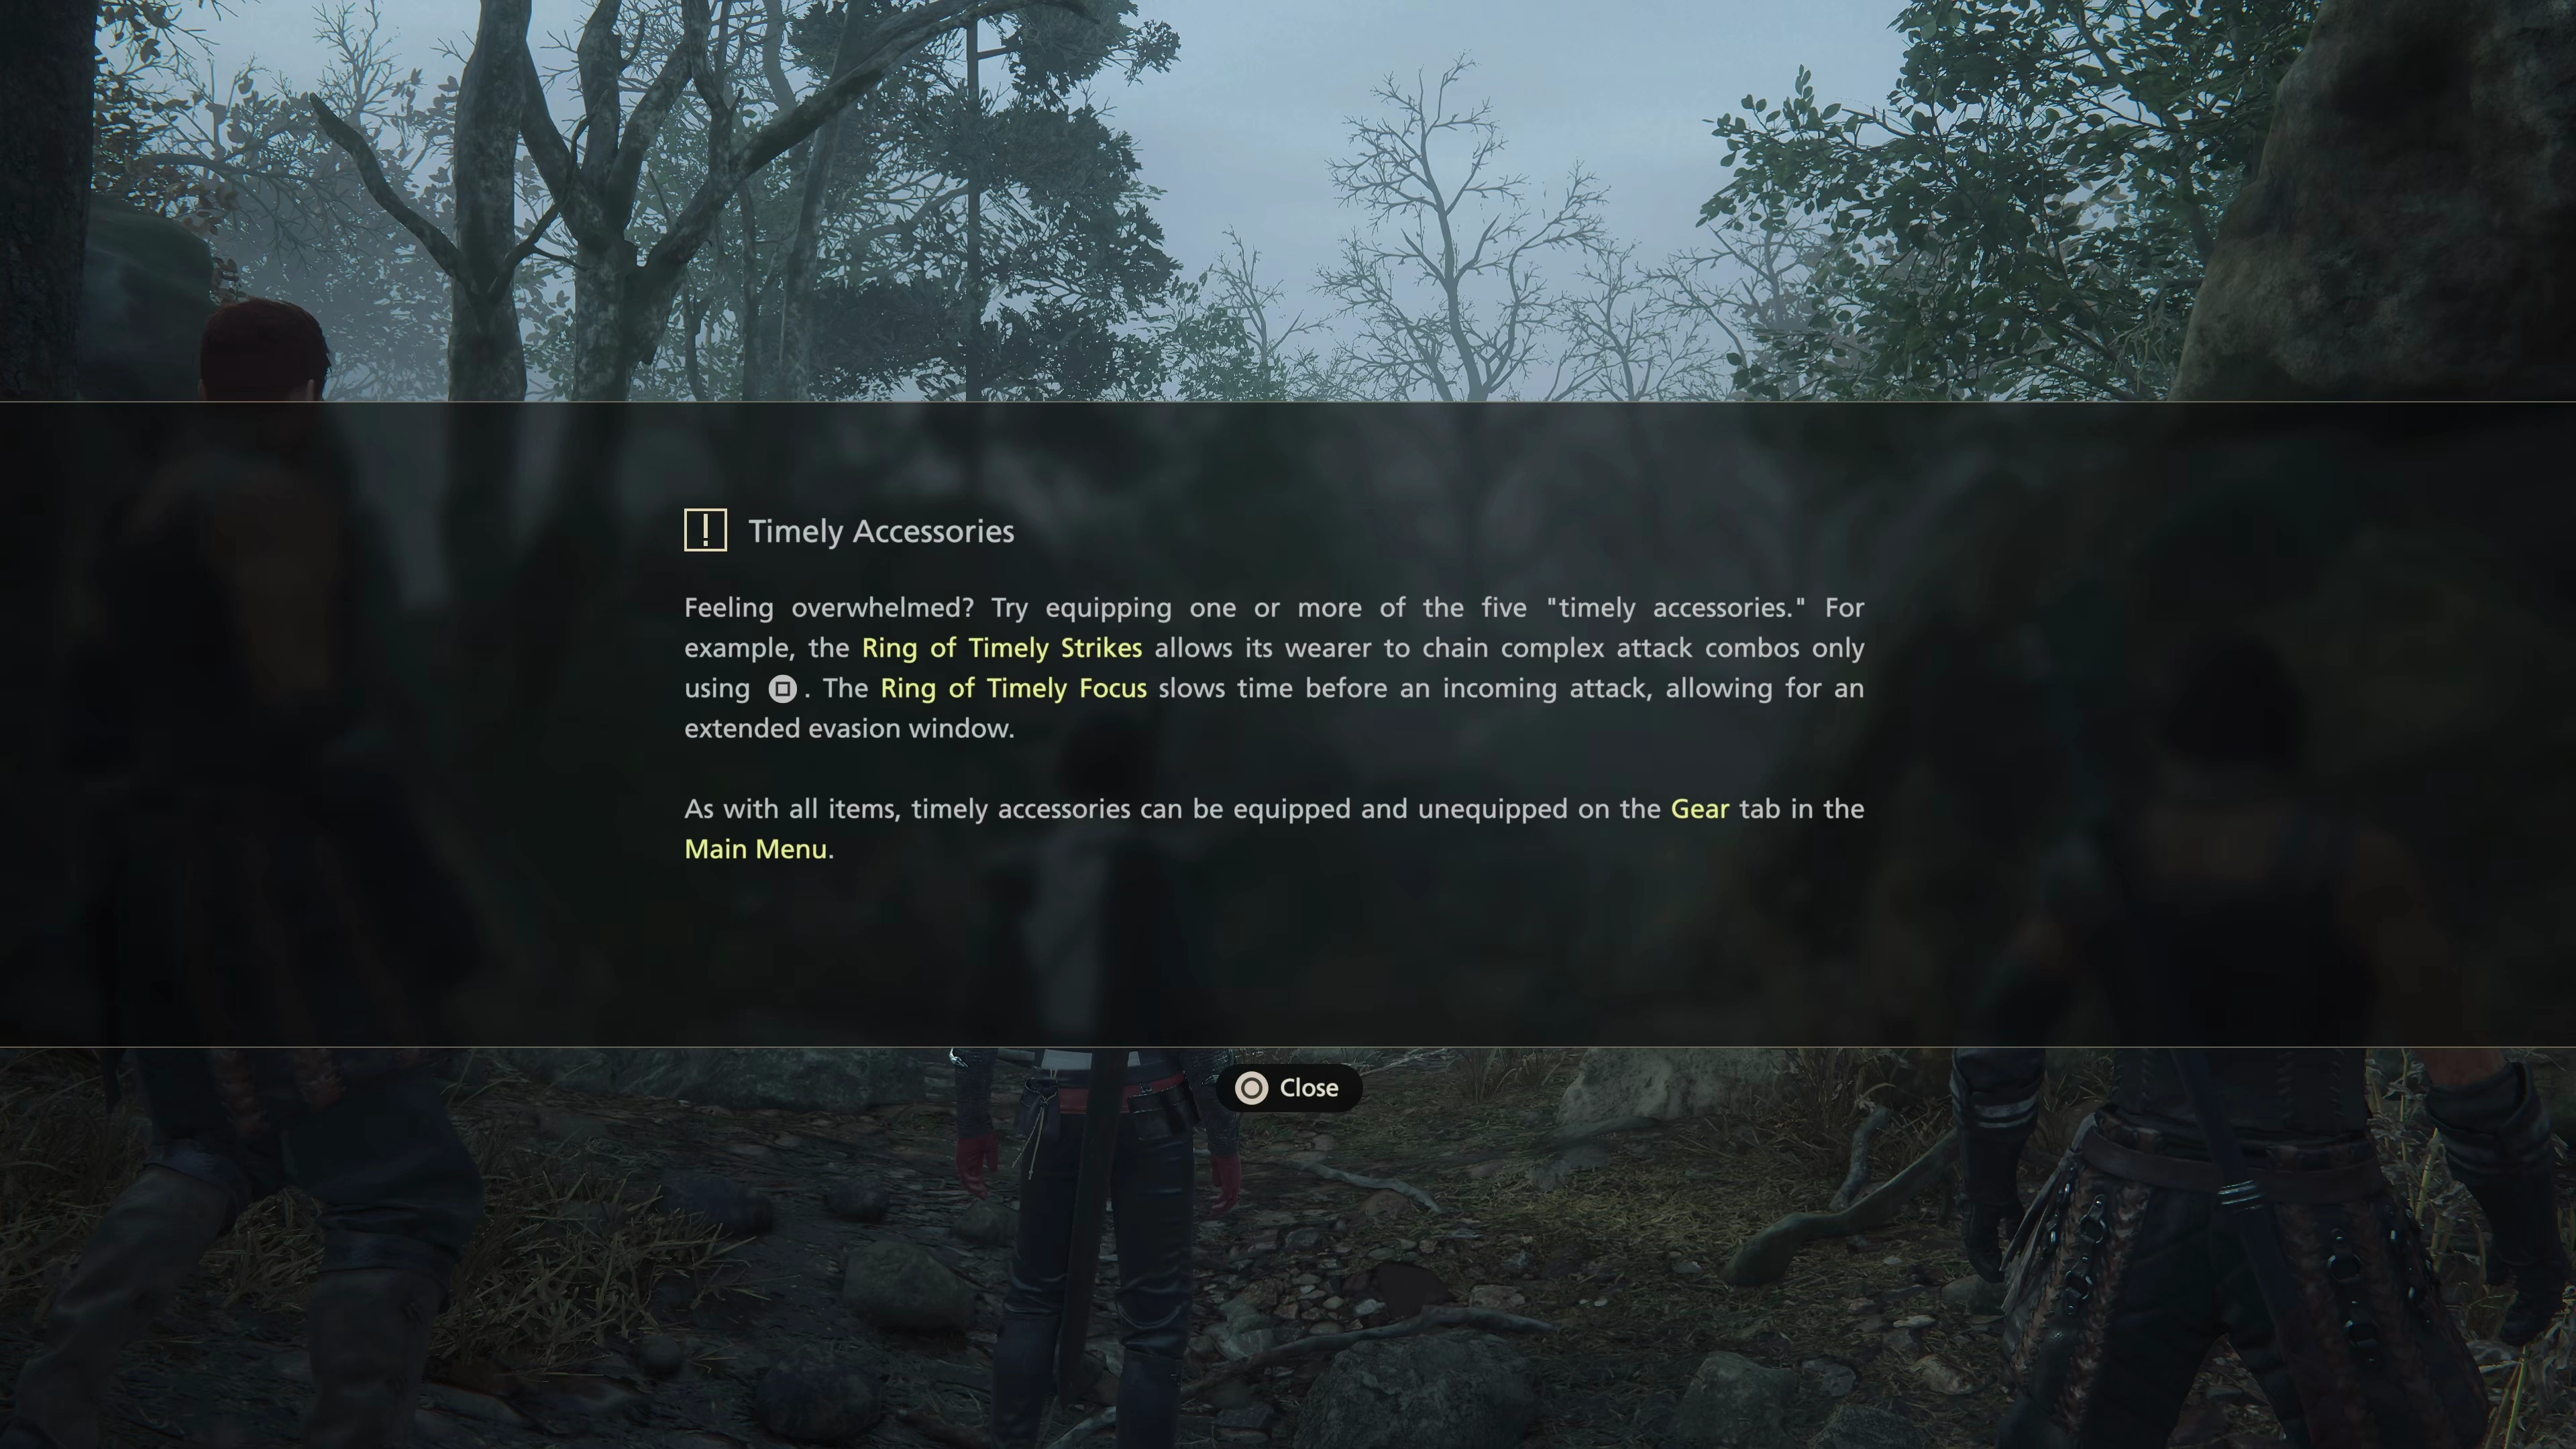
For those interested in playing through the game without assistance, i.e., at the “normal difficulty” level, you can ignore all of the accessories labeled “Ring of Timely __________”. But if you’d like to learn more about how they work, check out the “Gameplay Modes” page in the Tips and Tricks section:
Tips and Tricks
An overview of the different gameplay modes in Final Fantasy XVI, with details on how or when the different “Ring of Timely…” accessories should be used. These rings can help struggling players handle the more difficult game mechanics.
Walk forward through the swamp on your way towards the old village of Stillwind. You will come across a Glimmer that contains 2 measly ![]() Gil. At this point, it’s worth adding a reminder that, while some of the Glimmer spots hold
Gil. At this point, it’s worth adding a reminder that, while some of the Glimmer spots hold ![]() Potions and
Potions and ![]() High Potions to help you refill your inventory, many others contain almost nothing, like this first one on the way to Stillwind.
High Potions to help you refill your inventory, many others contain almost nothing, like this first one on the way to Stillwind.
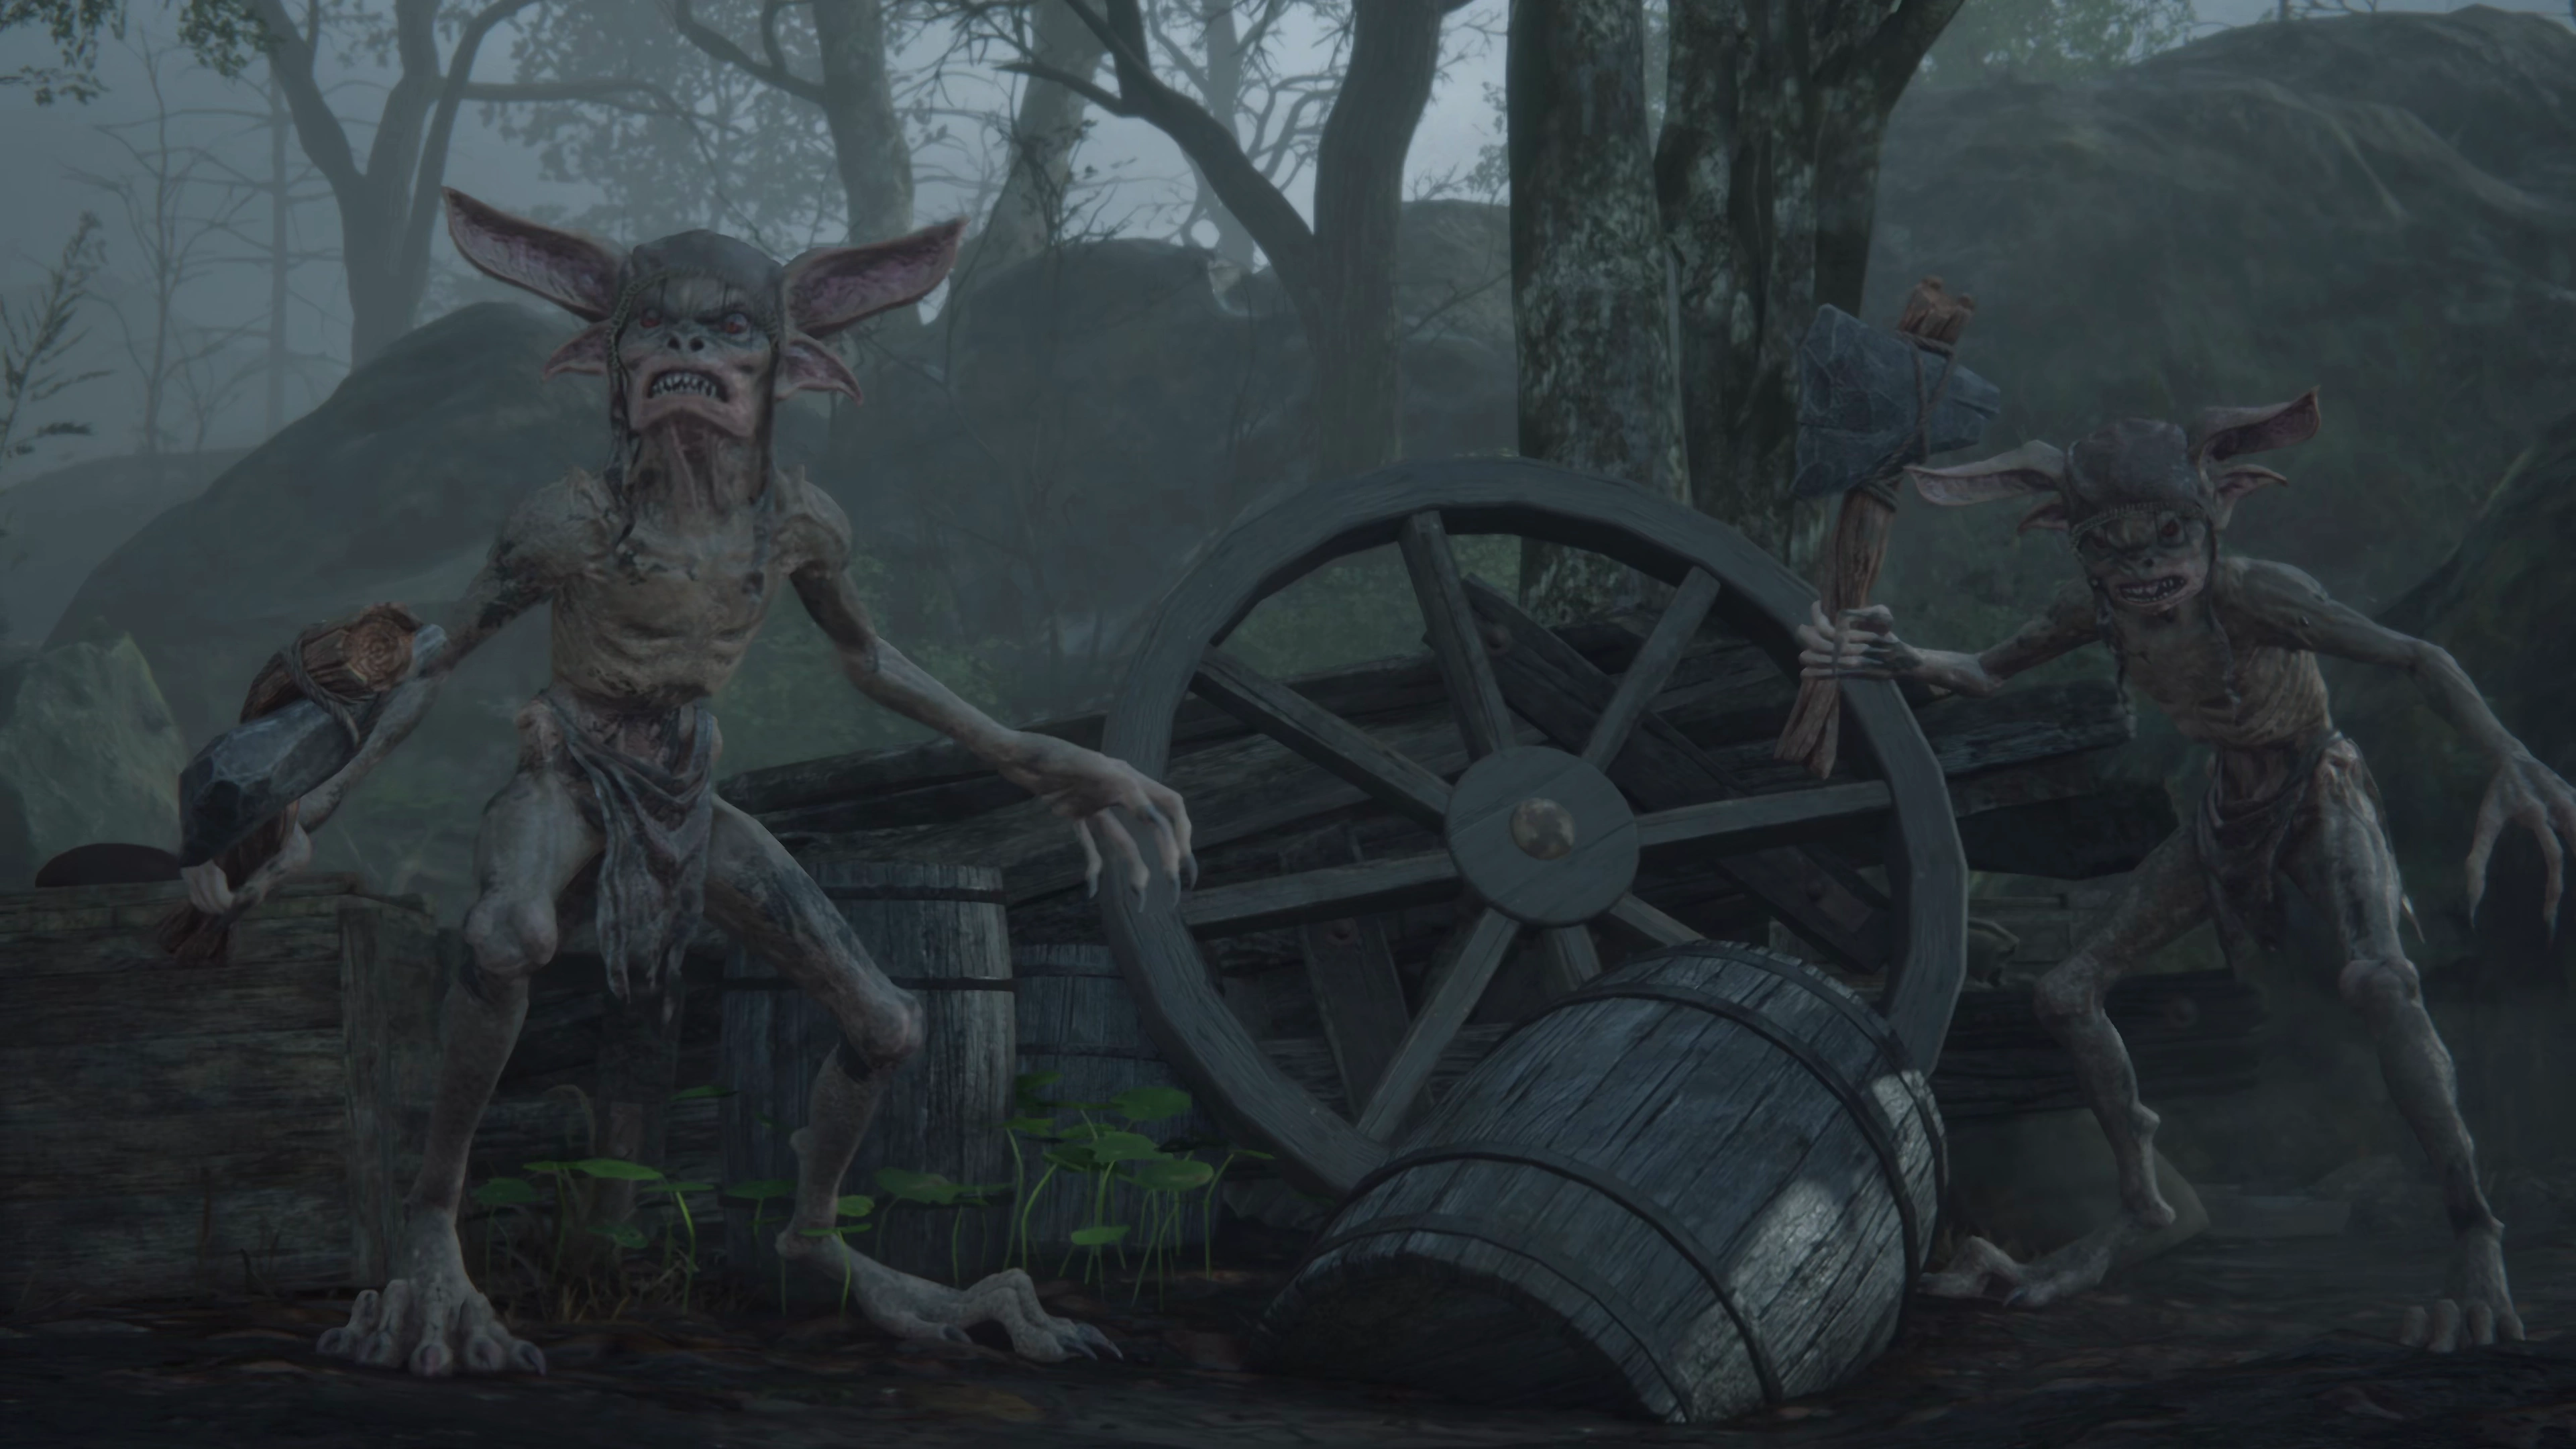
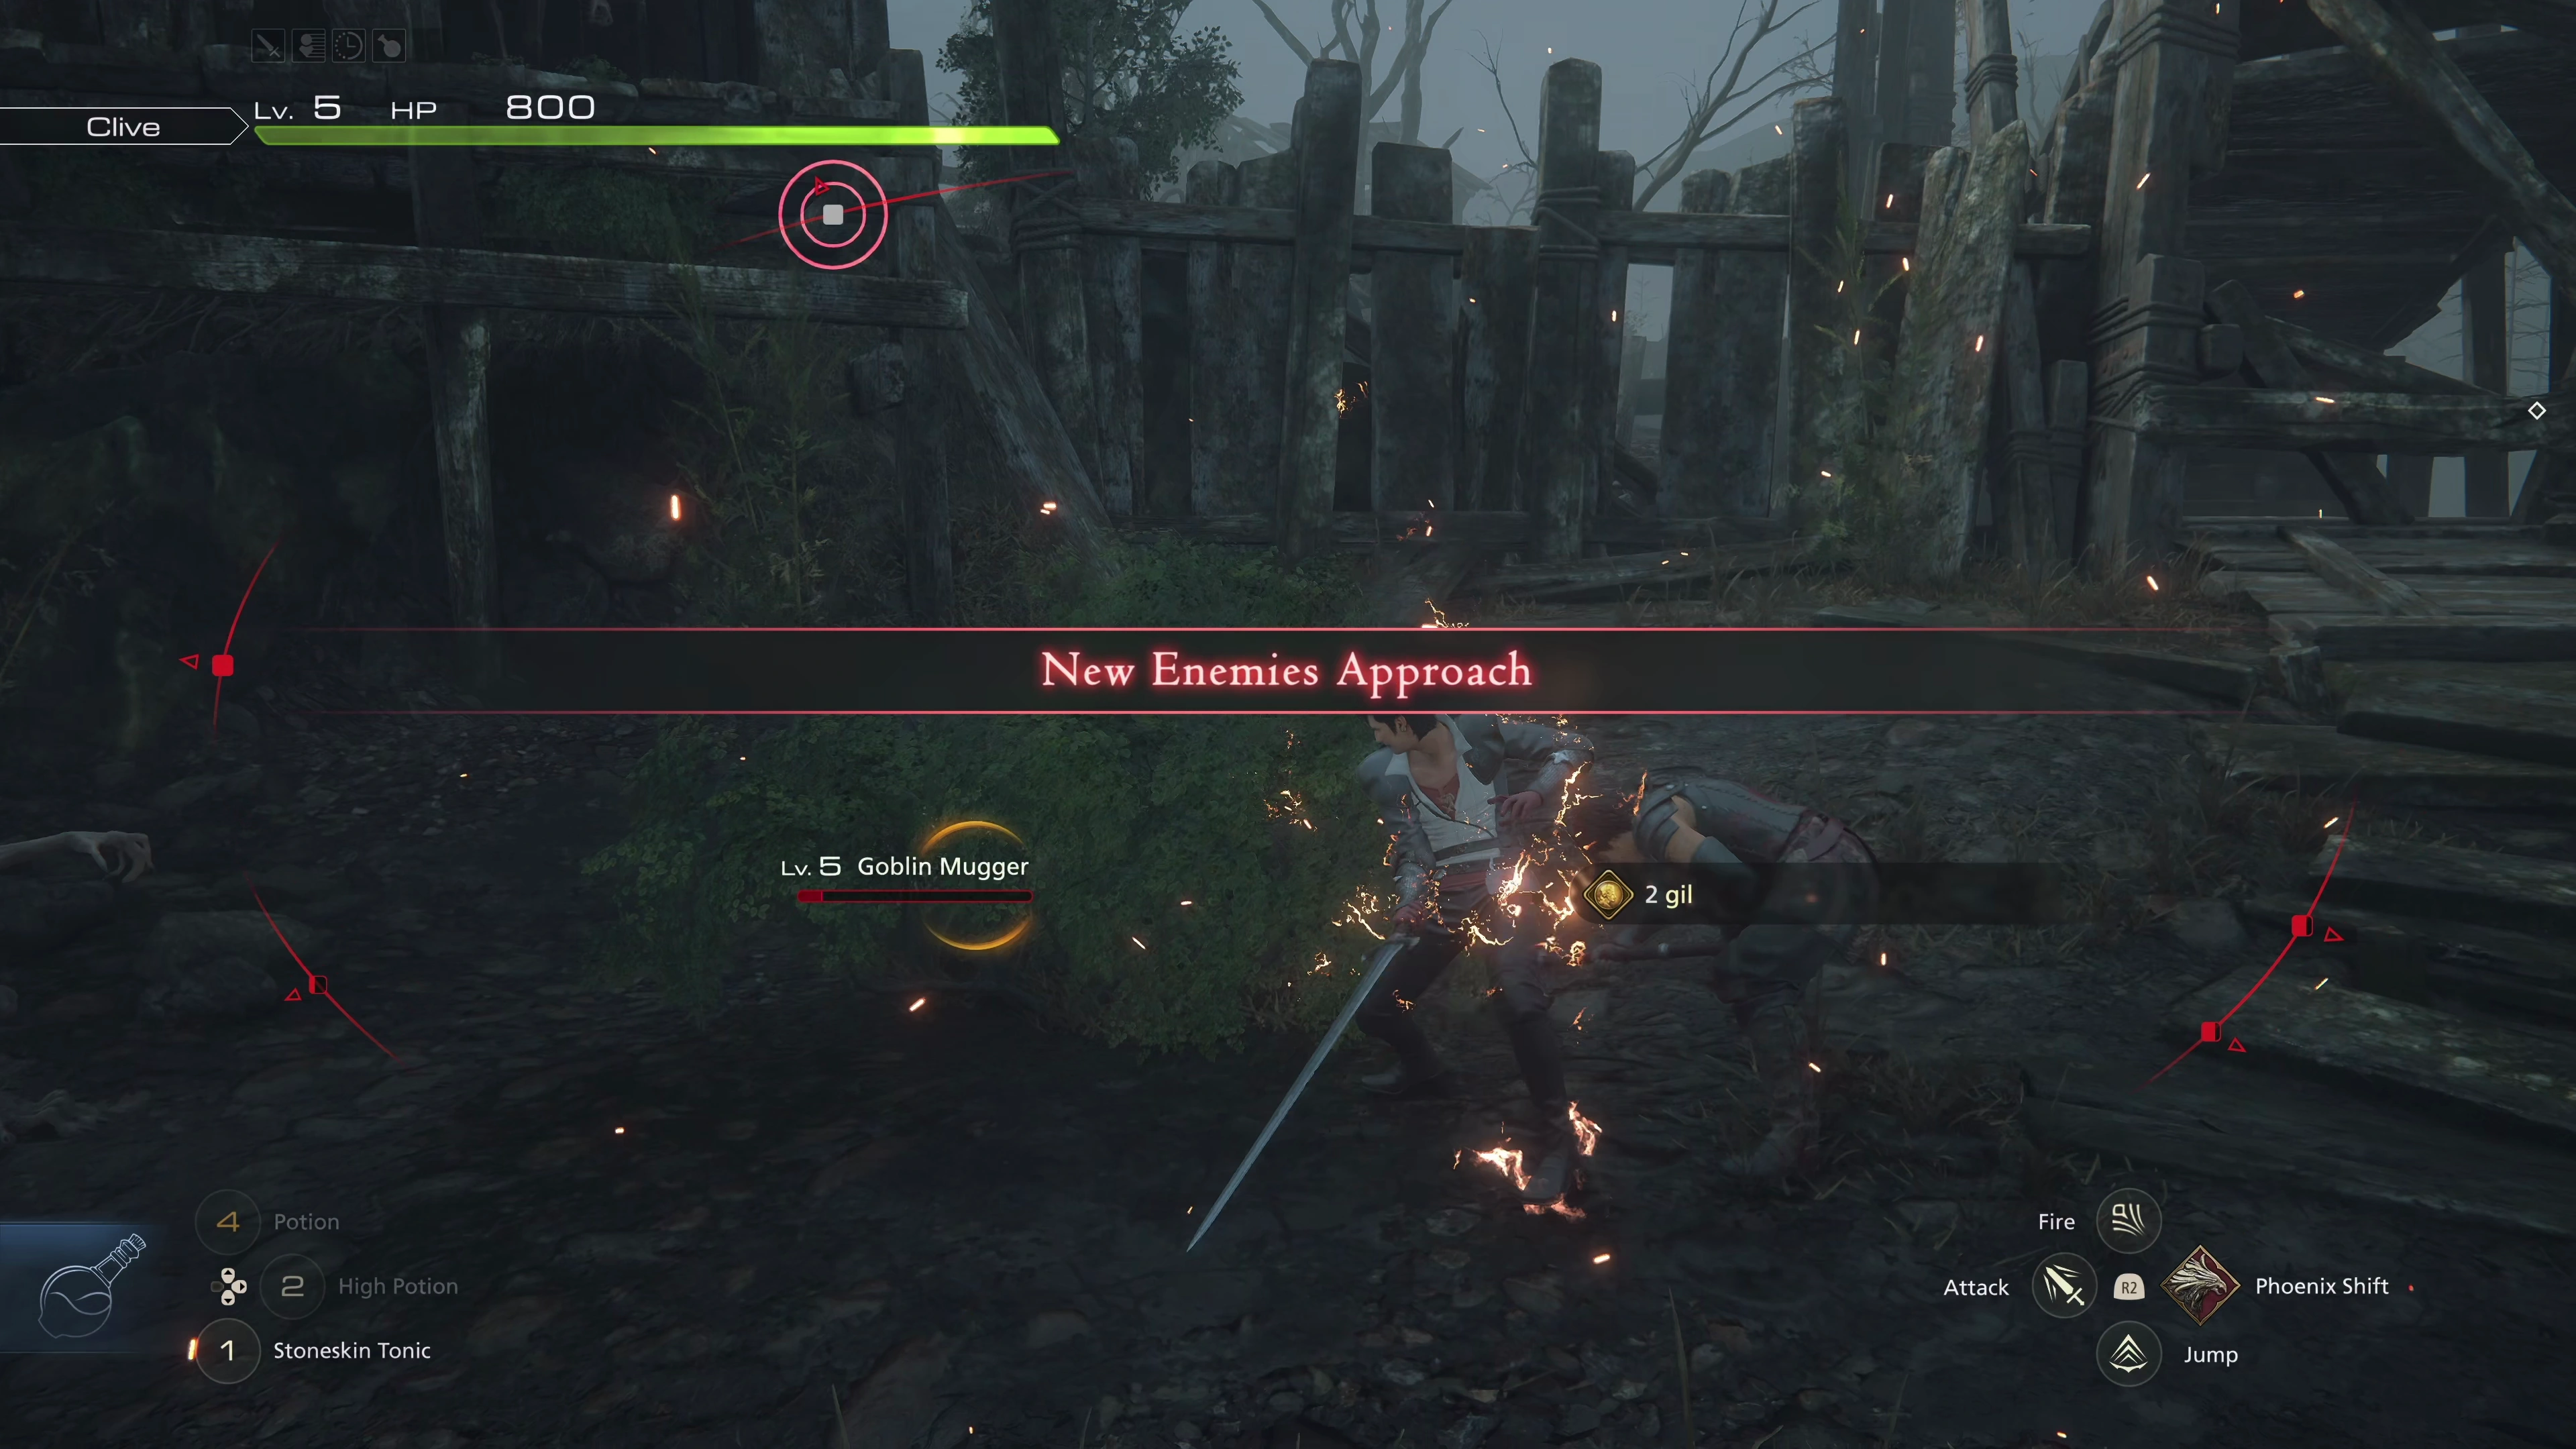
Continue following the path under the fallen tree trunk. A short cutscene will play as Clive, Wade, and Tyler attempt to sneak up on a group of Goblin Muggers. Before the battle begins, you will get a short explanation of how the ![]() Magic Burst combo works (by pressing
Magic Burst combo works (by pressing ![]()
![]()
![]() in between sword swings). The combo timing will take some getting used to, but it’s something worth practicing, especially in these early, easier areas of the game.
in between sword swings). The combo timing will take some getting used to, but it’s something worth practicing, especially in these early, easier areas of the game.
After the battle has concluded, you will be awarded with both ![]() Experience Points and
Experience Points and ![]() Ability Points, so it’s worth spending a bit of time discussing what you should be focusing on when it comes to using your Ability Points specifically. Open up the menu screen and navigate to the “Abilities” tab.
Ability Points, so it’s worth spending a bit of time discussing what you should be focusing on when it comes to using your Ability Points specifically. Open up the menu screen and navigate to the “Abilities” tab.
There are two different types of Abilities on this page—Eikon abilities, at the top, which have the “Phoenix” label on them, and Clive’s regular abilities in the center of the page. You can use your ![]() Ability Points to learn any of the new Abilities at the bottom of the circle, or you can use them to upgrade (“Master”) the abilities you already have. Press the
Ability Points to learn any of the new Abilities at the bottom of the circle, or you can use them to upgrade (“Master”) the abilities you already have. Press the ![]()
![]()
![]() button while hovering over an ability to see what happens when you Master an ability.
button while hovering over an ability to see what happens when you Master an ability.

You don’t need to go too deep into the explanations at this early stage of the game, but if you want to learn more about how the Ability upgrading process works, check out the Abilities section of the guide:
Abilities
An overview of how upgrading regular and Eikon abilities works, a full list of abilities available as you progress through the game, and a tier list ranking to provide guidance on which abilities to use.
There are two routes you can go when it comes to spending your points—a recommended route and an alternative route. The recommended route is to unlock all of Clive’s abilities one by one, as nearly all of them come in handy at various points during a playthrough. ![]() Magic Burst has already been unlocked, but consider unlocking the following abilities next:
Magic Burst has already been unlocked, but consider unlocking the following abilities next:
Alternatively, you can start saving up some of your ability points to “Master” some of your more commonly used abilities. For example, mastering the ![]() Magic Burst or
Magic Burst or ![]() Precision Dodge abilities extends their trigger window, meaning it’s much easier to get a combo going or execute a precision dodge. It takes a lot of points to master these abilities, anywhere from 300 to 500, so your best bet is to start by unlocking the other abilities Clive can access.
Precision Dodge abilities extends their trigger window, meaning it’s much easier to get a combo going or execute a precision dodge. It takes a lot of points to master these abilities, anywhere from 300 to 500, so your best bet is to start by unlocking the other abilities Clive can access.
Helpful Hint
Unlocking ![]() Lunge is pretty cheap; it only takes 25
Lunge is pretty cheap; it only takes 25 ![]() Ability Points, so you should unlock it when you can, but this ability overlaps with one that you already have that allows you to close the distance between yourself and your target, namely
Ability Points, so you should unlock it when you can, but this ability overlaps with one that you already have that allows you to close the distance between yourself and your target, namely ![]() Phoenix Shift. There are nuanced differences between the two, but it isn’t until later in the game when you have access to all sorts of other abilities that you may need to start using
Phoenix Shift. There are nuanced differences between the two, but it isn’t until later in the game when you have access to all sorts of other abilities that you may need to start using ![]() Lunge more in battles.
Lunge more in battles.
On the flip side, ![]() Taunt is not necessary to unlock for most players. There are some unique and custom situations and non-standardized play styles that can make use of it, but it isn’t useful at this stage of the game, so consider saving yourself 40
Taunt is not necessary to unlock for most players. There are some unique and custom situations and non-standardized play styles that can make use of it, but it isn’t useful at this stage of the game, so consider saving yourself 40 ![]() Ability Points by not unlocking it.
Ability Points by not unlocking it.
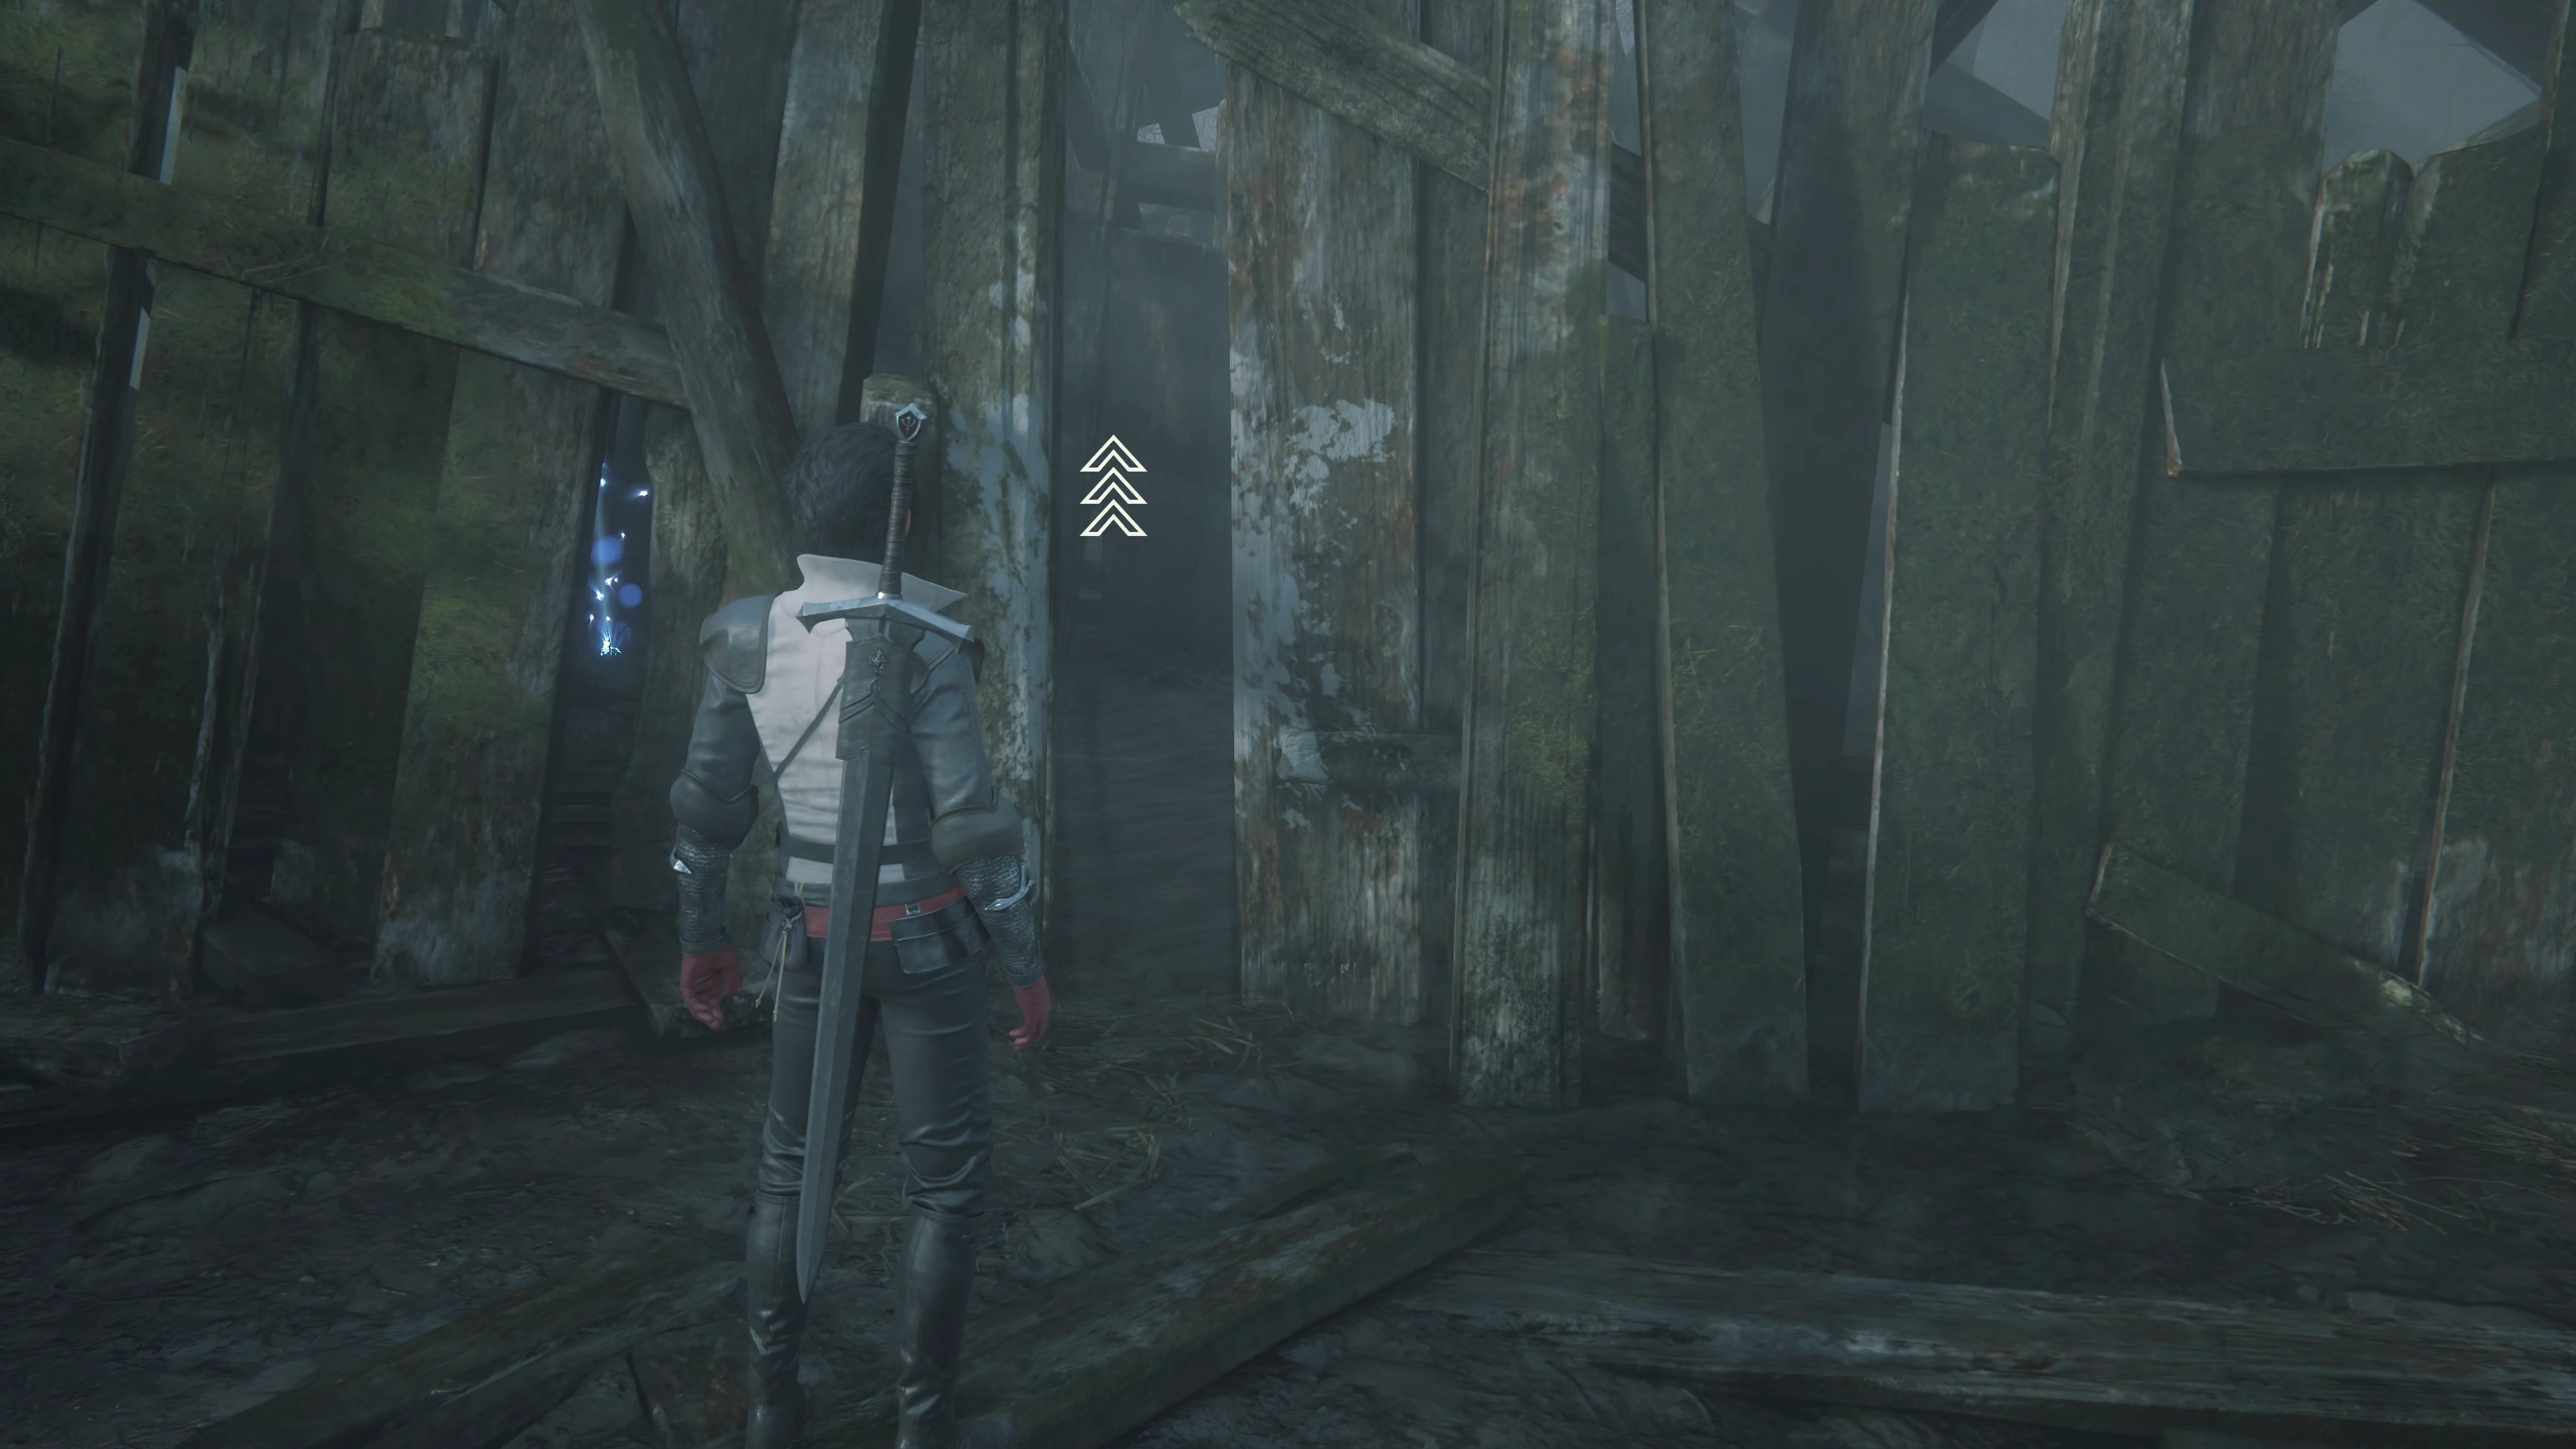
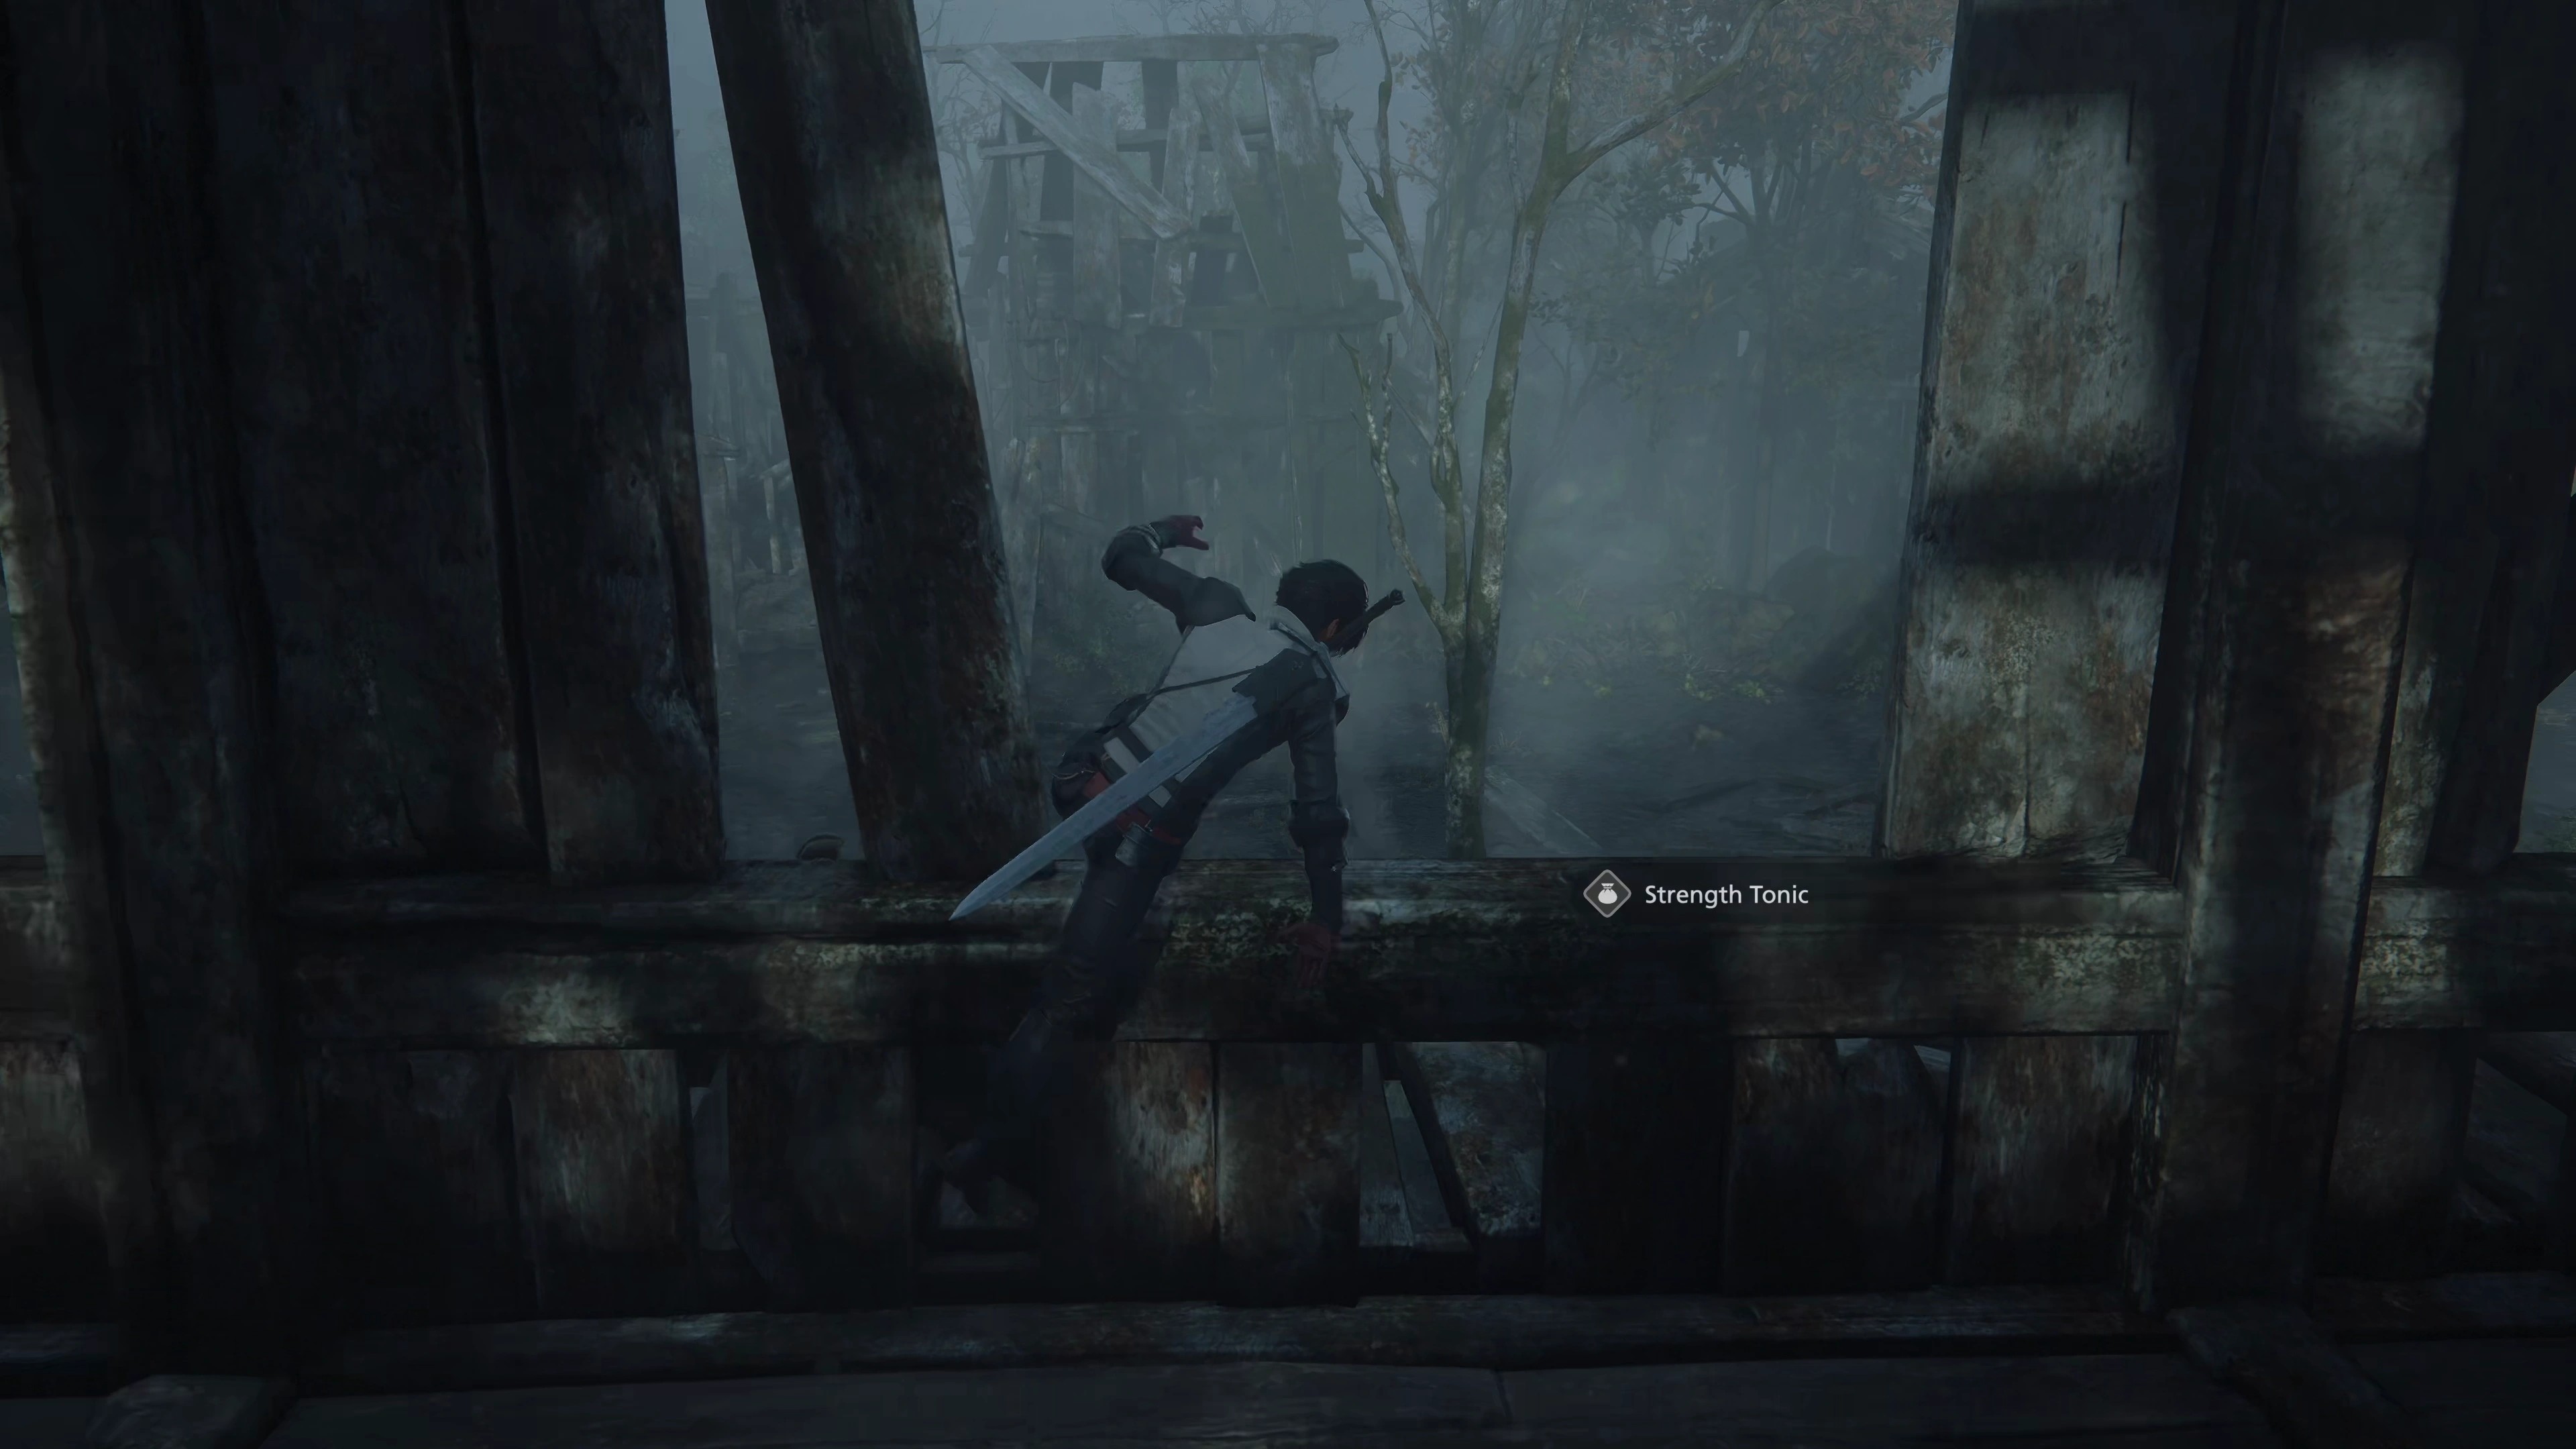
Continue forward by ducking under the broken wooden gate to continue following the path. There’s another Glimmer on the right side of the trail inside a broken-down wooden structure. You can access it by squeezing through two of the boards, and you will receive a ![]() Strength Tonic for your efforts.
Strength Tonic for your efforts.
Stillwind
Head into the town proper, and you’ll face off against another group of Goblin Muggers. During this battle, you will get a brief explanation about how loot is picked up after the battle. Loot will drop into glowing, glittery icons on the ground that are automatically retrieved (they just float over to you) after the battle has concluded. In addition to loot, you will sometimes receive “Spoils” at the end of other battles, which can be seen on the “Spoils” screen.

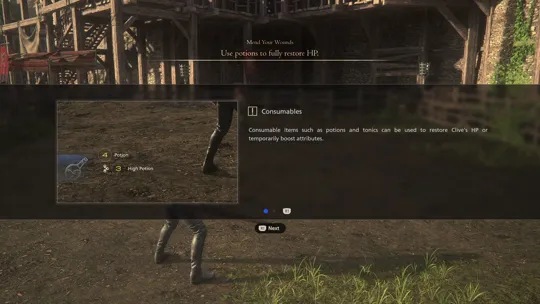
Enter the wooden structure on the left side of the screen to find another glimmer that contains a ![]() Potion. It is at this point in the game that it may be worthwhile to spend some time explaining how healing works. In short,
Potion. It is at this point in the game that it may be worthwhile to spend some time explaining how healing works. In short, ![]() Potions and
Potions and ![]() High Potions are your primary methods of recovering HP throughout your travels through the world of Final Fantasy XVI. There are no Cure, Cura, or Curaga spells like you may be used to from other titles (with one minor exception).
High Potions are your primary methods of recovering HP throughout your travels through the world of Final Fantasy XVI. There are no Cure, Cura, or Curaga spells like you may be used to from other titles (with one minor exception).
You can only hold a maximum of 4 Potions and 3 High Potions at this stage of the game, so any consumables you pick up after that will automatically be used as soon as Clive touches them and will refill his health if it is low. There are a few more nuances that are not too important to know just yet, but if you want to read up more about how healing works in this game, check out the “Healing” page in the Tips and Tricks section:
Tips and Tricks
How can you heal your characters after battle? What do the different colored HP bars mean (light green, dark green, etc.)? Explanations of HP recovery are covered in this section of the guide.
Head over to the large, wooden, walled-off pathway and press the ![]()
![]()
![]() button to have Clive break through it. On the other side is another glimmer on top of a busted-up cart that contains a
button to have Clive break through it. On the other side is another glimmer on top of a busted-up cart that contains a ![]() Potion. Inside the house on the left, at the top of the stairs, is a
Potion. Inside the house on the left, at the top of the stairs, is a ![]() Strength Tonic. You can jump out of the window on the second level to exit the house quickly.
Strength Tonic. You can jump out of the window on the second level to exit the house quickly.
Helpful Hint
Unlike other games, where falling from great heights may cause damage and hurt your character, there is no fall damage in Final Fantasy XVI. You never have to worry about accidentally harming or KO’ing your character by falling off something.
Climb the ladder on the opposite side of this area and drop down into the next section of the town to initiate another battle. One of your compatriots will mention that some of the enemies are “spell-slingers,” and in this case, it’s the Goblin Weaver standing on top of the rocks in the center of the room. You’ll see it start casting a blue, glowing spell shortly after the battle begins.
A good habit to get into is to target the spellcasters first. Not only are they typically the weakest of any group of enemies you face, but they sometimes cast healing spells on other mobs, and it’s difficult to dodge their spellcasts from a distance. Another spellcaster will join the battle partway through as well.
Helpful Hint
Press ![]()
![]()
![]() to target and “lock on” to an enemy, and press the
to target and “lock on” to an enemy, and press the ![]()
![]()
![]() button to cycle between enemies until Clive is targeting the “spell-slingers.” You can press
button to cycle between enemies until Clive is targeting the “spell-slingers.” You can press ![]()
![]()
![]() again to stop targeting an enemy if you’re having trouble getting Clive to focus on the right target.
again to stop targeting an enemy if you’re having trouble getting Clive to focus on the right target.
This setup can be switched in the “Controller Settings” section of the System Settings. You can adjust target cycling to be a few other buttons or button combinations, but the default setting is the most popular among players.
Achievement/Trophy
“Land 15 Shift Strikes or Shift Shots combined (excluding those in the Hall of Virtue).” Attacking an attack or a magic blast after using ![]() Phoenix Shift fifteen times will trigger the
Phoenix Shift fifteen times will trigger the  Sheeeeeeeeeeeeeeeift Achievement/Trophy. Just make sure you’re pressing
 ![]()
![]()
![]() or
or ![]()
![]()
![]() after using the ability.
after using the ability.
There is a doorway into one of the wooden structures, which is blocked by some wooden planks that Clive can knock down. Inside is a glimmer that contains a ![]() Potion. Use the
Potion. Use the ![]()
![]()
![]() button on the blanks blocking the bridge and head across to find another glimmer with another
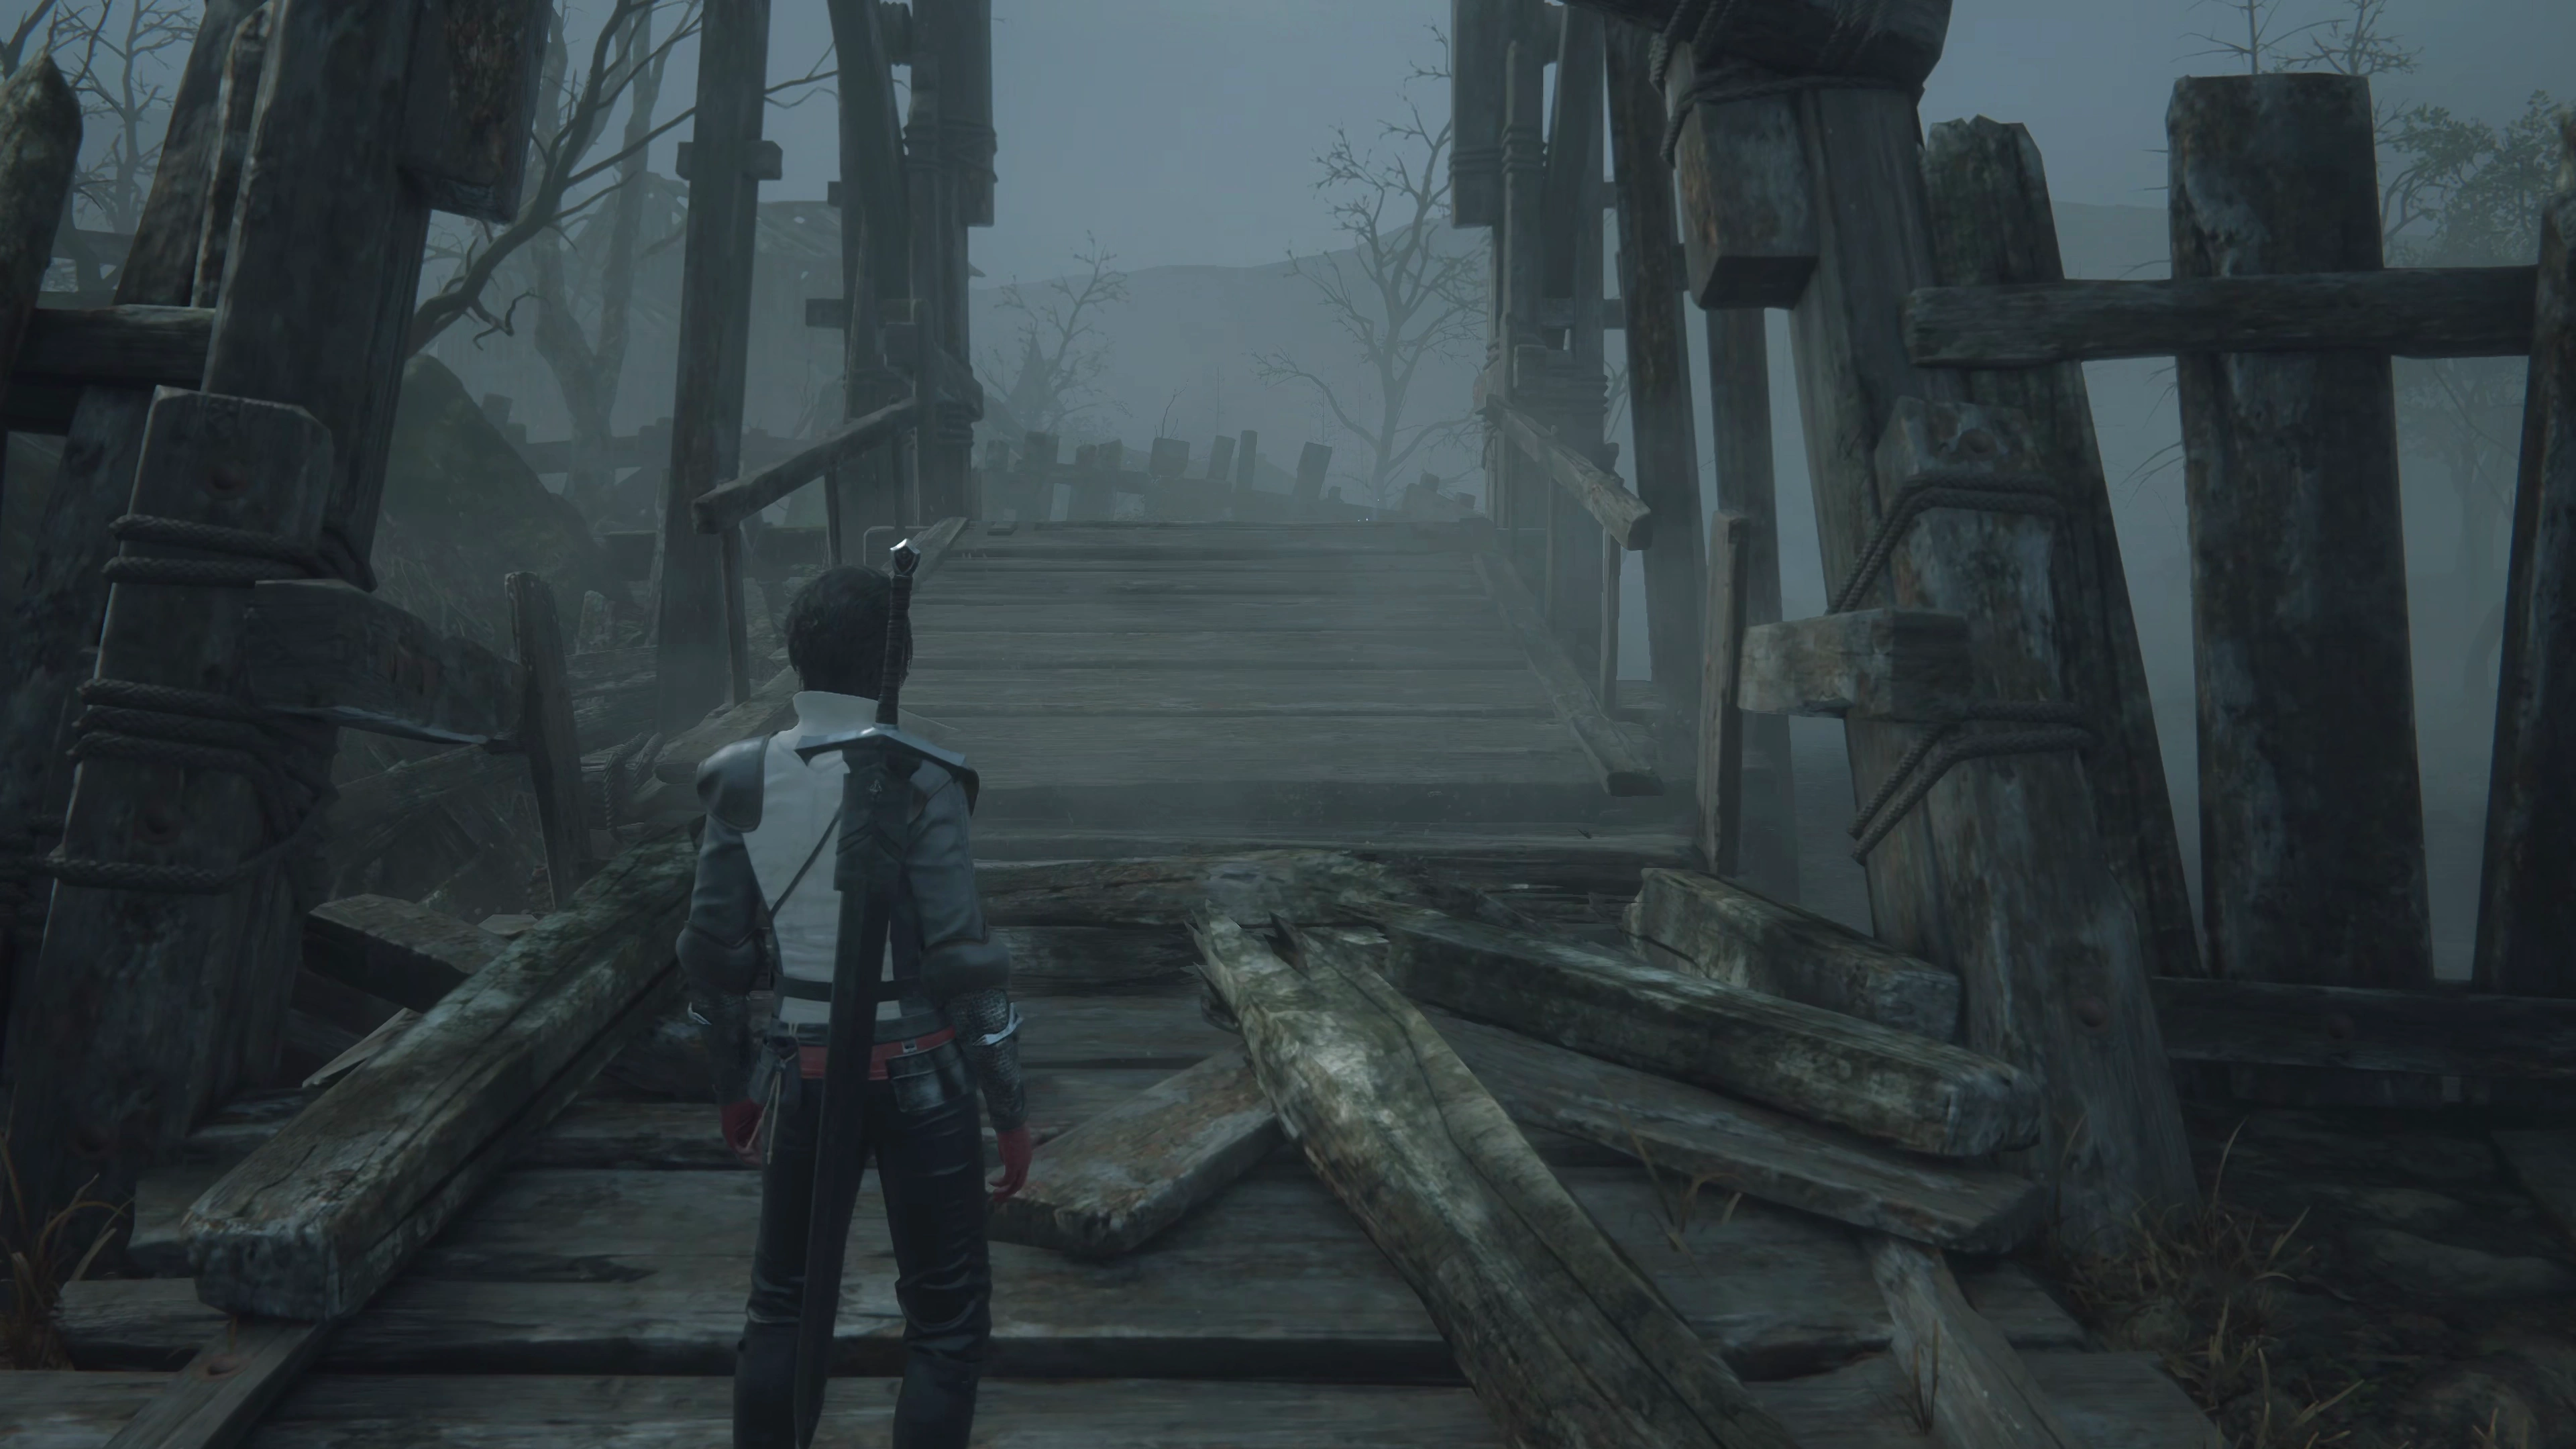
button on the blanks blocking the bridge and head across to find another glimmer with another ![]() Potion. Jump across the bridge to initiate your first boss battle.
Potion. Jump across the bridge to initiate your first boss battle.
Boss Battle
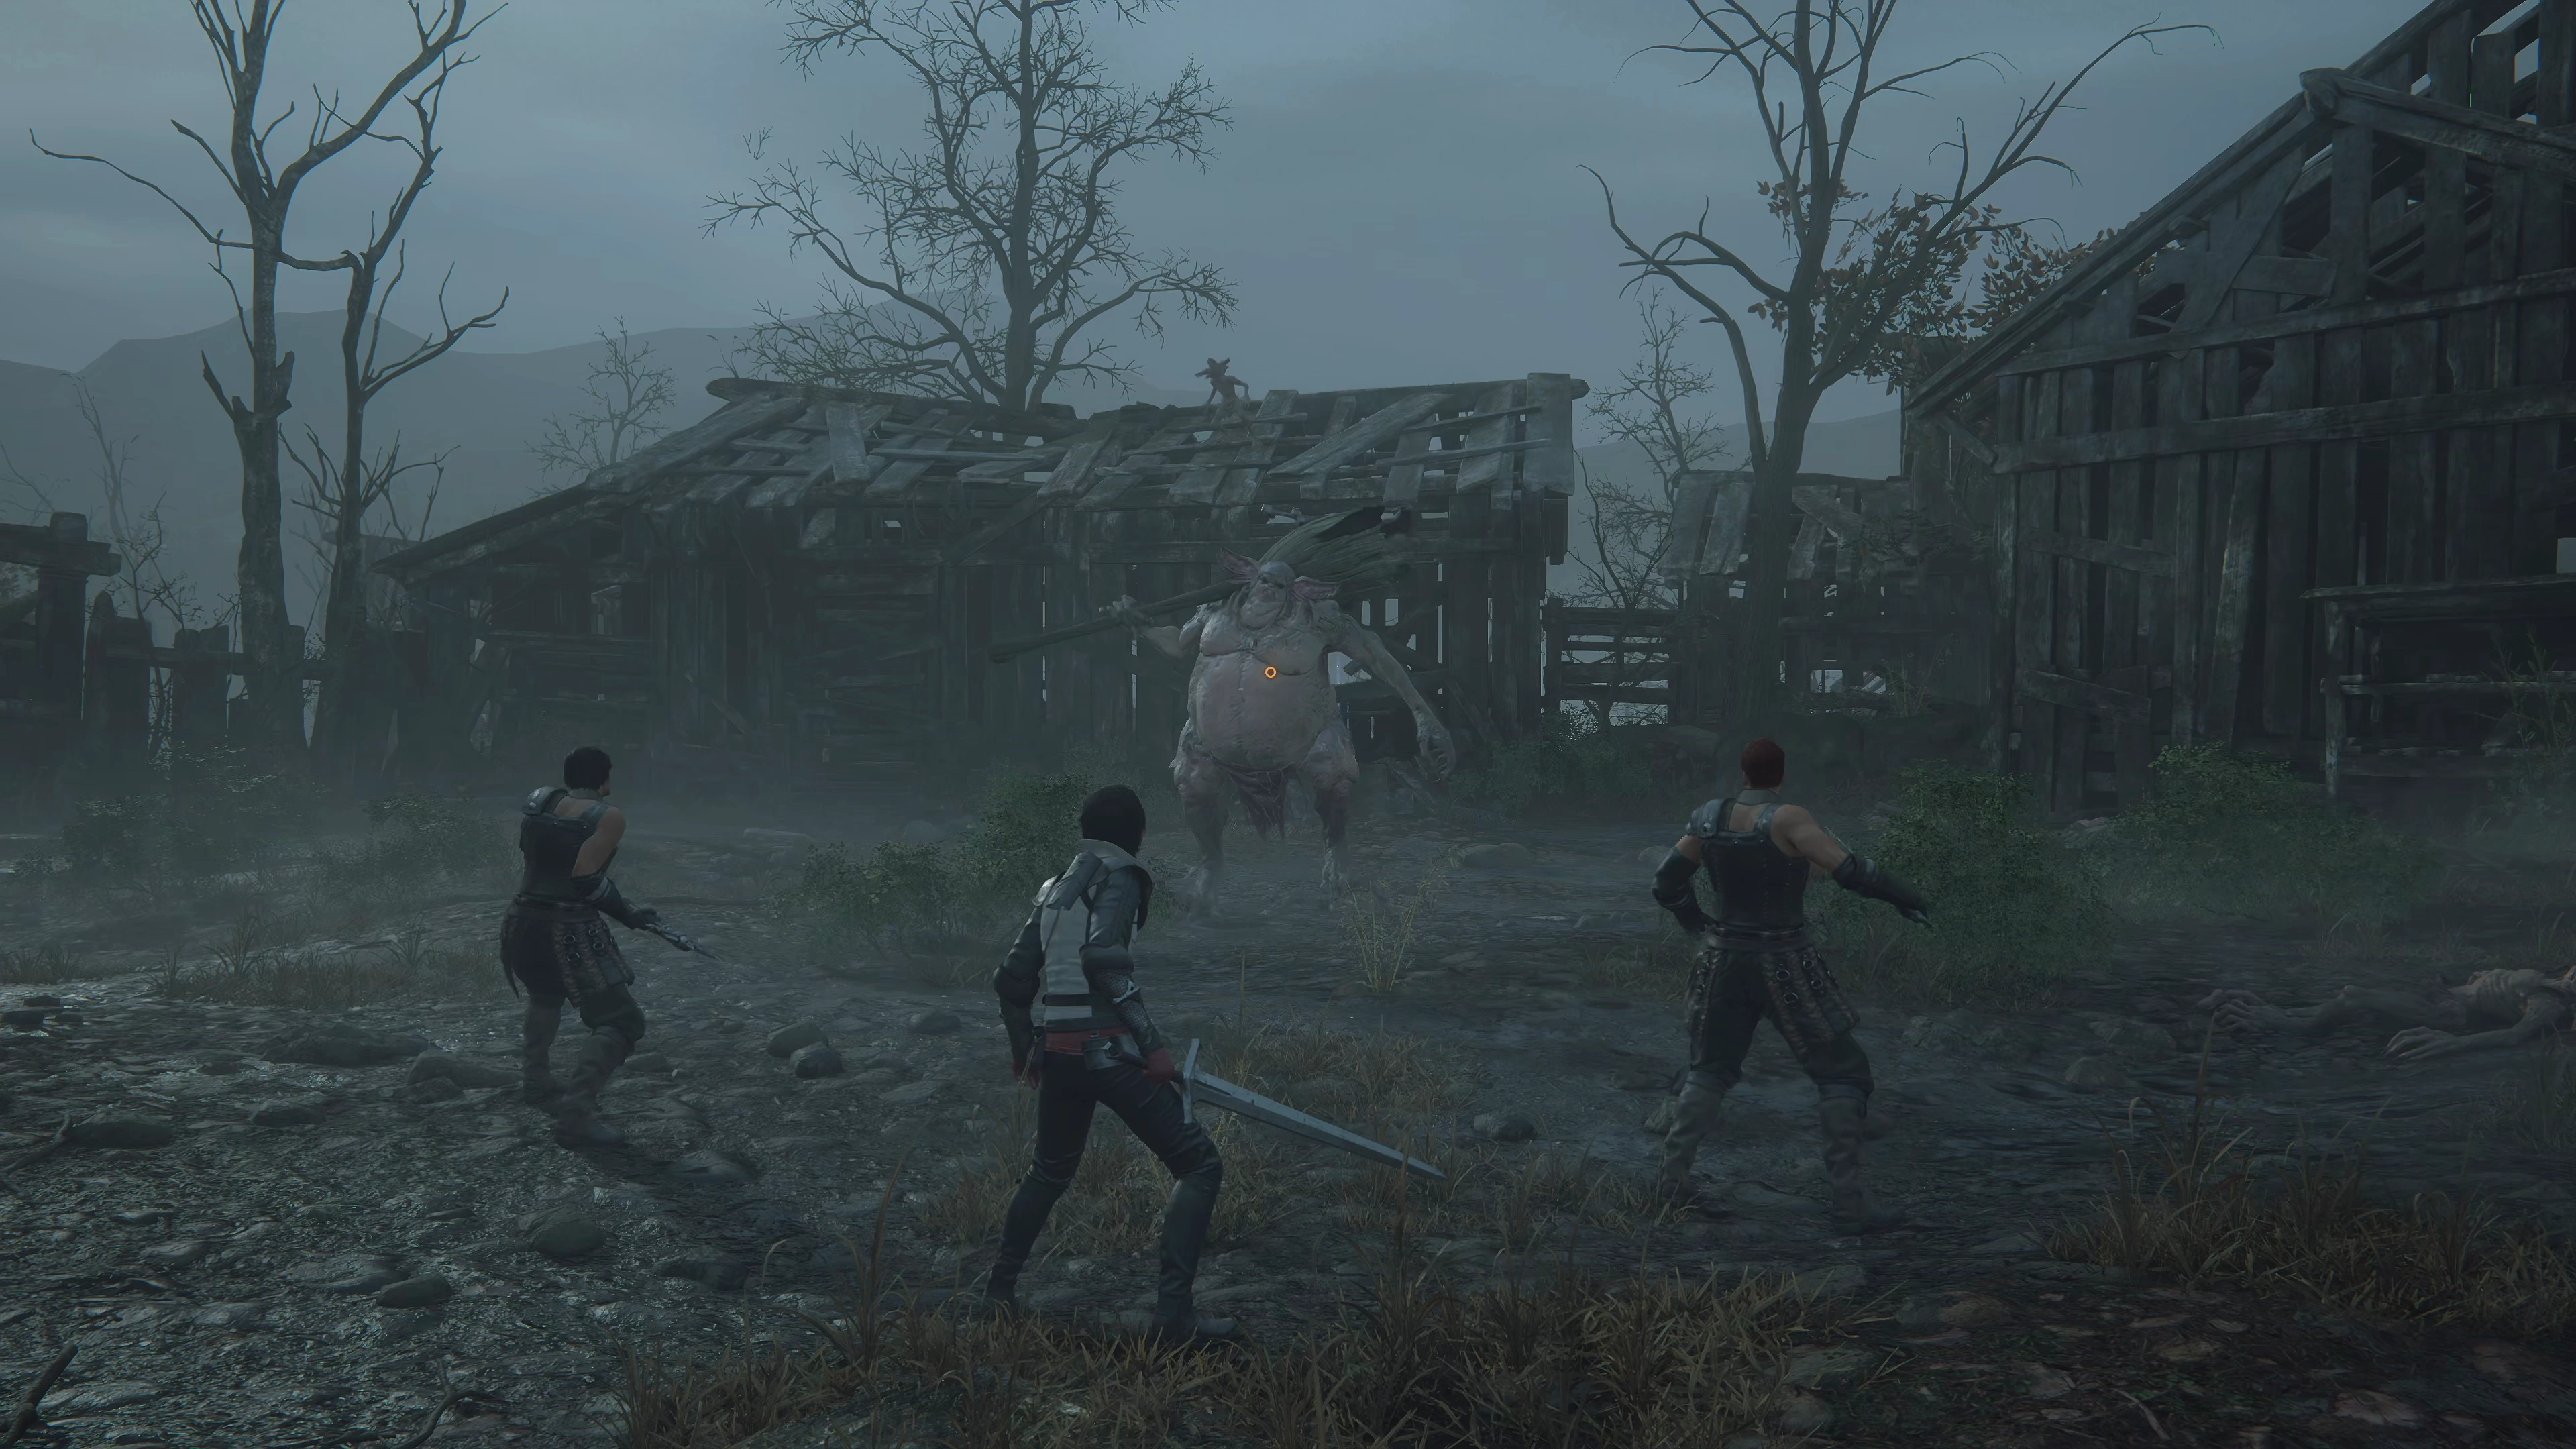
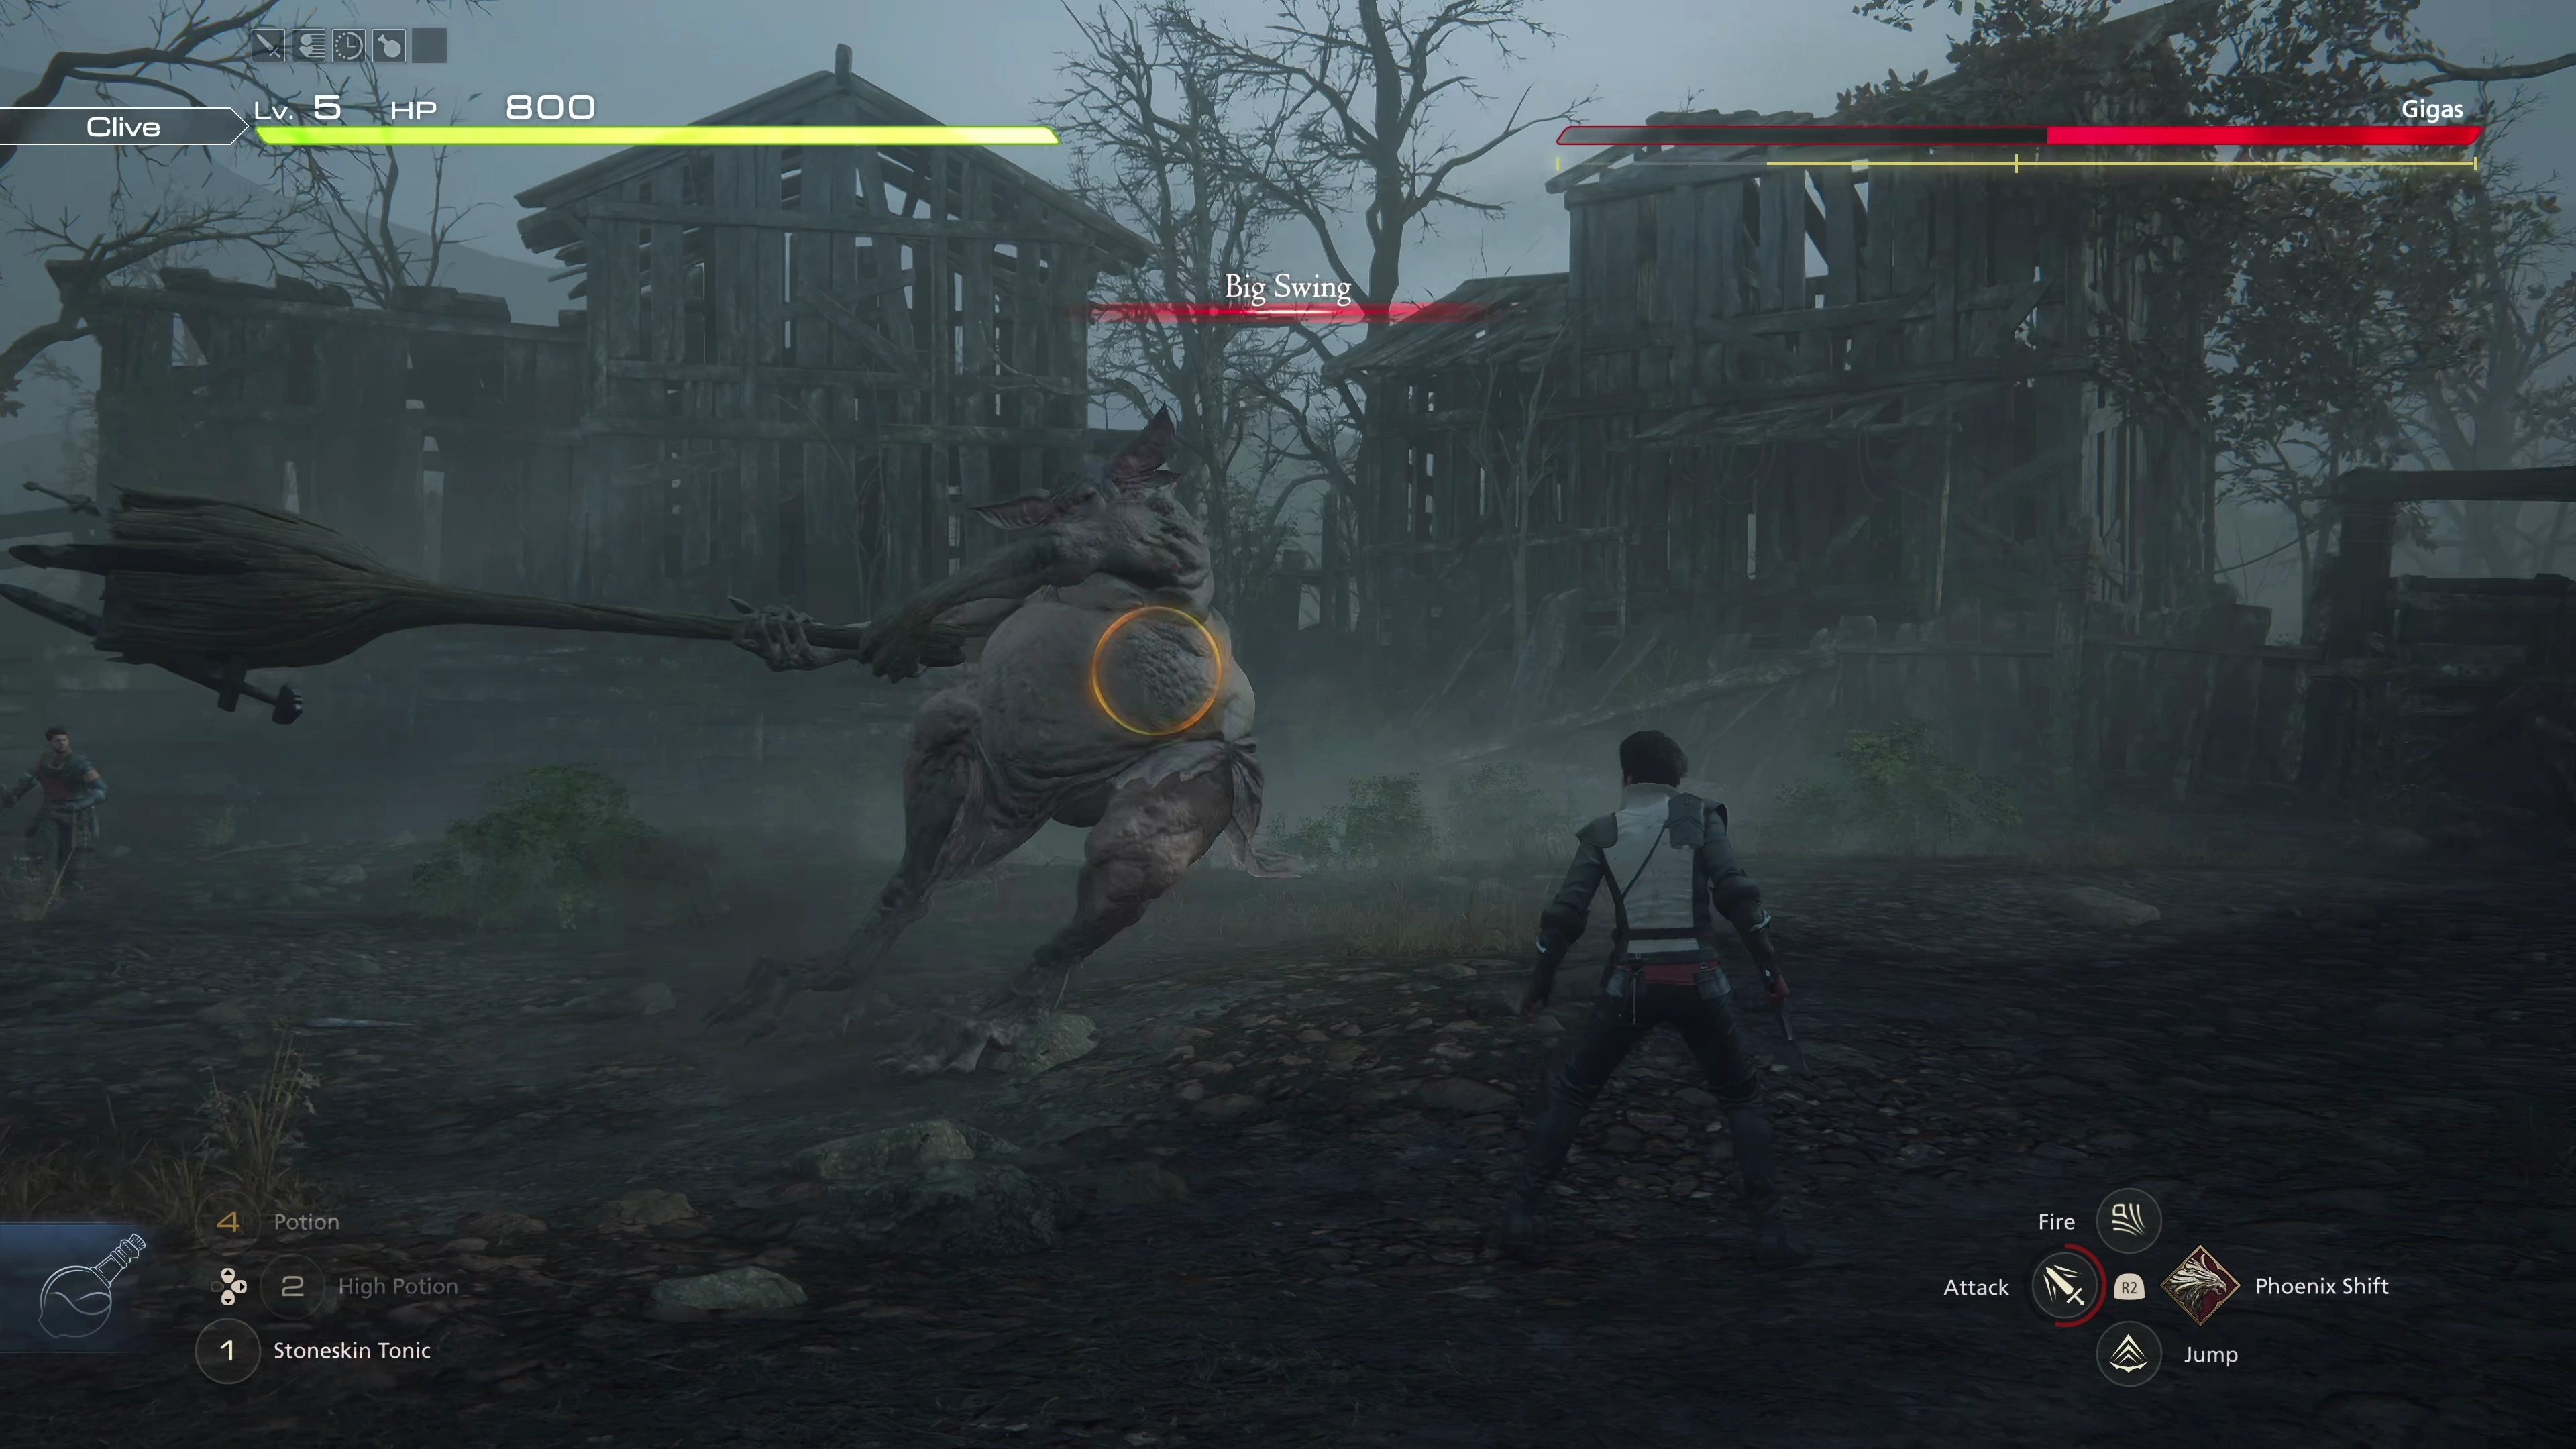
Clive, Tyler, and Wade will need to defeat a few Goblins before Gigas joins the fray. This is the first enemy you will face (other than during training) that has a “Will Gauge” and can be staggered. Gigas has quite a bit of HP and, unlike the Goblins you’ve been fighting, will be able to get in a few attacks that will need to be dodged.
Dodging attacks is something that takes a bit of practice and, usually, requires familiarizing yourself with an enemy’s attack pattern. Gigas moves slowly, and predicting its attacks is relatively straightforward. Don’t get frustrated if you’re having trouble dodging. This is just the prologue, and it’s designed to be an opportunity to familiarize yourself with how the game works. Take this time to practice, and you’ll have it in no time!
Use the video below as a reference to see how to time the dodging of Gigas’ attacks.
As a reminder, use ![]() Rising Flames often, and only save it if Gigas is about to be staggered. There’s enough time to use it early on in the fight to help get Gigas closer to a stagger.
Rising Flames often, and only save it if Gigas is about to be staggered. There’s enough time to use it early on in the fight to help get Gigas closer to a stagger.
45
0
A video demonstration of how to successfully complete the fight against Gigas.
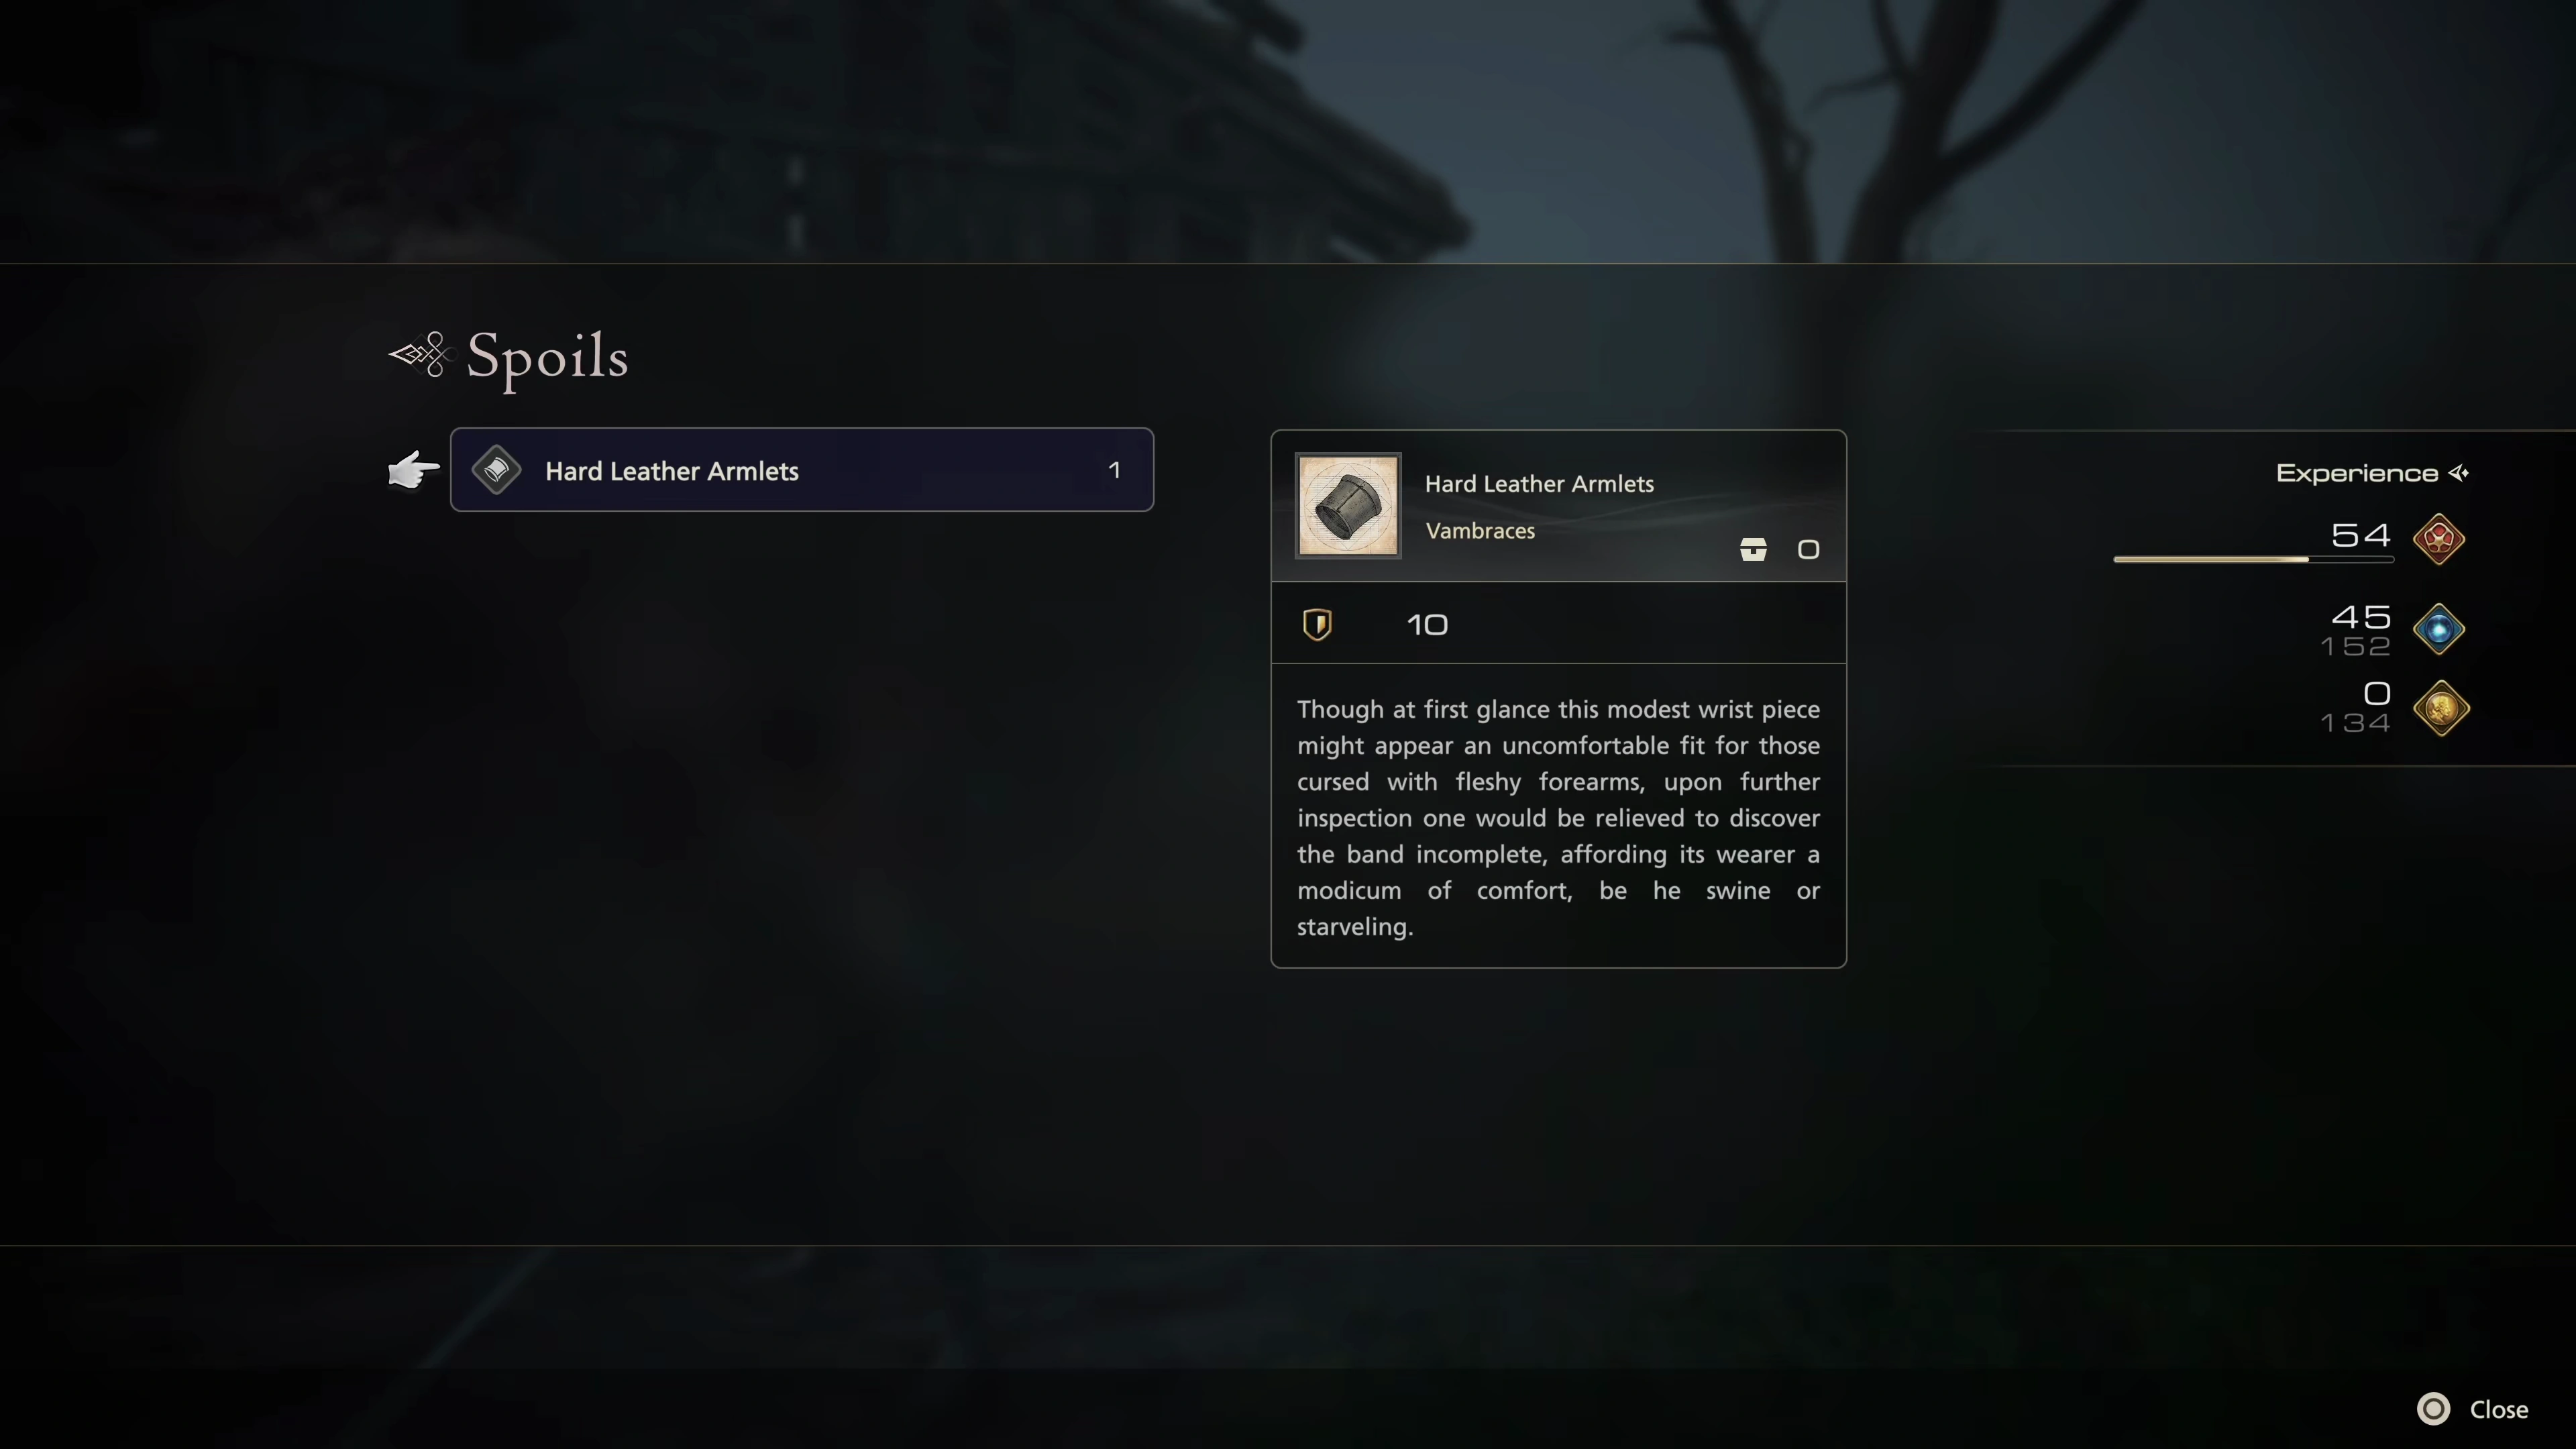
You’ll receive the ![]() Hard Leather Armlets as a reward for defeating Gigas. Open the “Gear & Eikons” menu and equip them in Clive’s open vambraces slot. The game will remind you to do this at the end of the battle, and it will also remind you to spend some of your
Hard Leather Armlets as a reward for defeating Gigas. Open the “Gear & Eikons” menu and equip them in Clive’s open vambraces slot. The game will remind you to do this at the end of the battle, and it will also remind you to spend some of your ![]() Ability Points if you haven’t done so already.
Ability Points if you haven’t done so already.
Go into the wooden structure towards the glimmer. This one contains a ![]() High Potion while the next one, just a bit further up, contains a
High Potion while the next one, just a bit further up, contains a ![]() Potion. Keep chasing the Goblin with the horn along the trail, but before you get too far ahead, consider saving your game at this point because there is another boss battle coming up. This one isn’t too much harder than the previous boss fight, but the attacks are a bit more difficult to dodge, and this will allow you to restart if you want to give it another attempt.
Potion. Keep chasing the Goblin with the horn along the trail, but before you get too far ahead, consider saving your game at this point because there is another boss battle coming up. This one isn’t too much harder than the previous boss fight, but the attacks are a bit more difficult to dodge, and this will allow you to restart if you want to give it another attempt.
Keep following the Goblin for another short cutscene before the battle begins.
Boss Battle
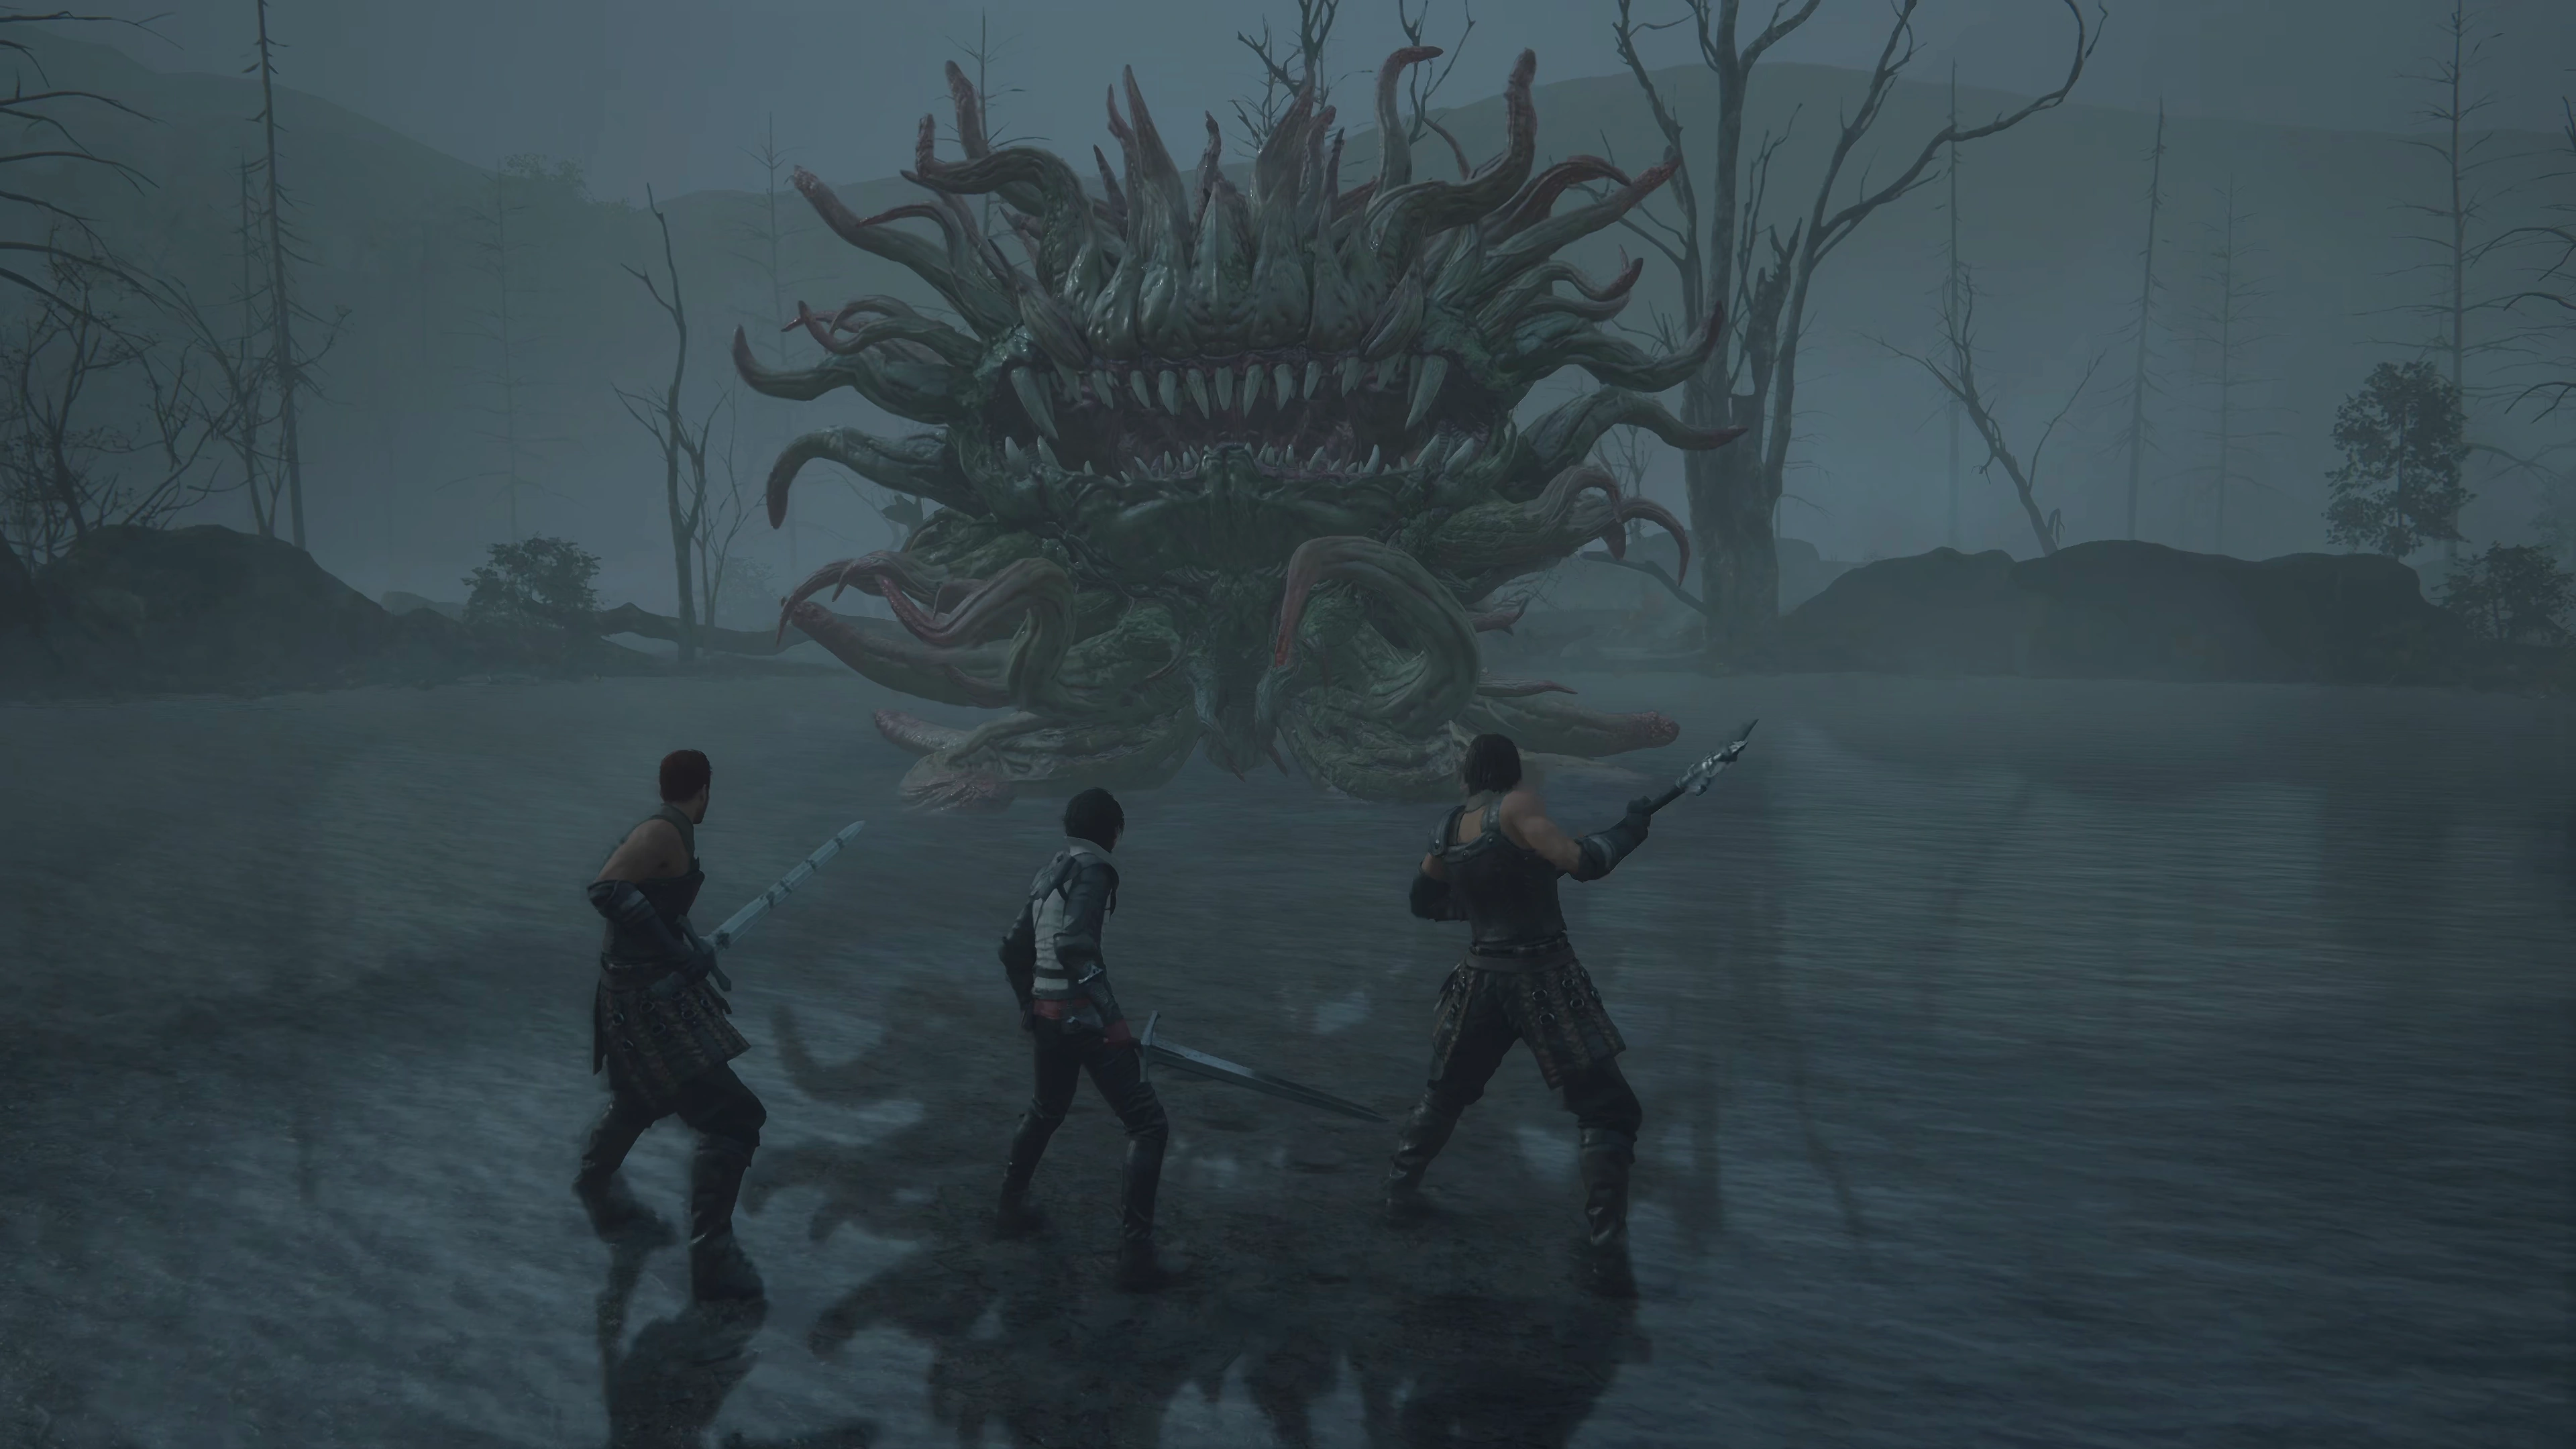
As mentioned above, dodging the Morbol’s attacks can be a bit more challenging as you’ll need to get used to its attack pattern first. A good strategy is to keep a distance at the start of the fight and focus on playing defensively until you become familiar with its attacks. So let’s go over them. Morbol has the following attacks:
![]() Standard Attacks (Tentacle Stab and Tentacle Sweep):
Standard Attacks (Tentacle Stab and Tentacle Sweep):
There are two standard attacks with different animations that Morbol will use. The first is where it will lift its tendrils straight up and slam them down. The second is when the Morbol winds up with its tendrils to the side like it’s about to throw a big haymaker. If you charge in, expect to get hit by one of these right from the start.
![]() Bad Breath:
Bad Breath:
There are no negative status effects to deal with (fans of Final Fantasy games will know!). Instead, this attack deals damage in a cone in front of the Morbol. Use the ![]()
![]()
![]() button to jump to the side or the back and keep attacking.
button to jump to the side or the back and keep attacking.
![]() Putrid Cloud:
Putrid Cloud:
The Morbol will take a giant breath, like it’s about to sneeze, before emitting a large cloud of damage in all directions. The easiest way to tell when it’s using this attack is when you start to see a visible green cloud start to form at the base of the creature.
![]() Acid Spit:
Acid Spit:
Morbol will launch between one and three puddles of acid on the ground around it. Getting hit by the acid or standing in the acid after it’s hit the ground will deal damage to Clive.
![]() Wild Rage:
Wild Rage:
Morbol will run in a straight line forward, dealing damage to anything in its path, so get out of the way. After the first charge, it will turn around to target Clive and charge again. Get some distance when you see the words “Wild Rage” on the screen and be ready to use the ![]()
![]()
![]() button to dodge Morbol as it rushes towards you.
button to dodge Morbol as it rushes towards you.
There isn’t too much more to know about this fight. Just make sure to use ![]() Rising Flames when it’s off cooldown, use
Rising Flames when it’s off cooldown, use ![]() Potions and
Potions and ![]() High Potions if you need to, and be ready to press the
High Potions if you need to, and be ready to press the ![]()
![]()
![]() button for the cinematic strike and the
button for the cinematic strike and the ![]()
![]()
![]() button for the cinematic evasion. Morbol won’t start using Wild Rage until after these two cinematic portions of the fight have taken place.
button for the cinematic evasion. Morbol won’t start using Wild Rage until after these two cinematic portions of the fight have taken place.
70
0

A video demonstration of how to successfully complete the fight against Morbol.
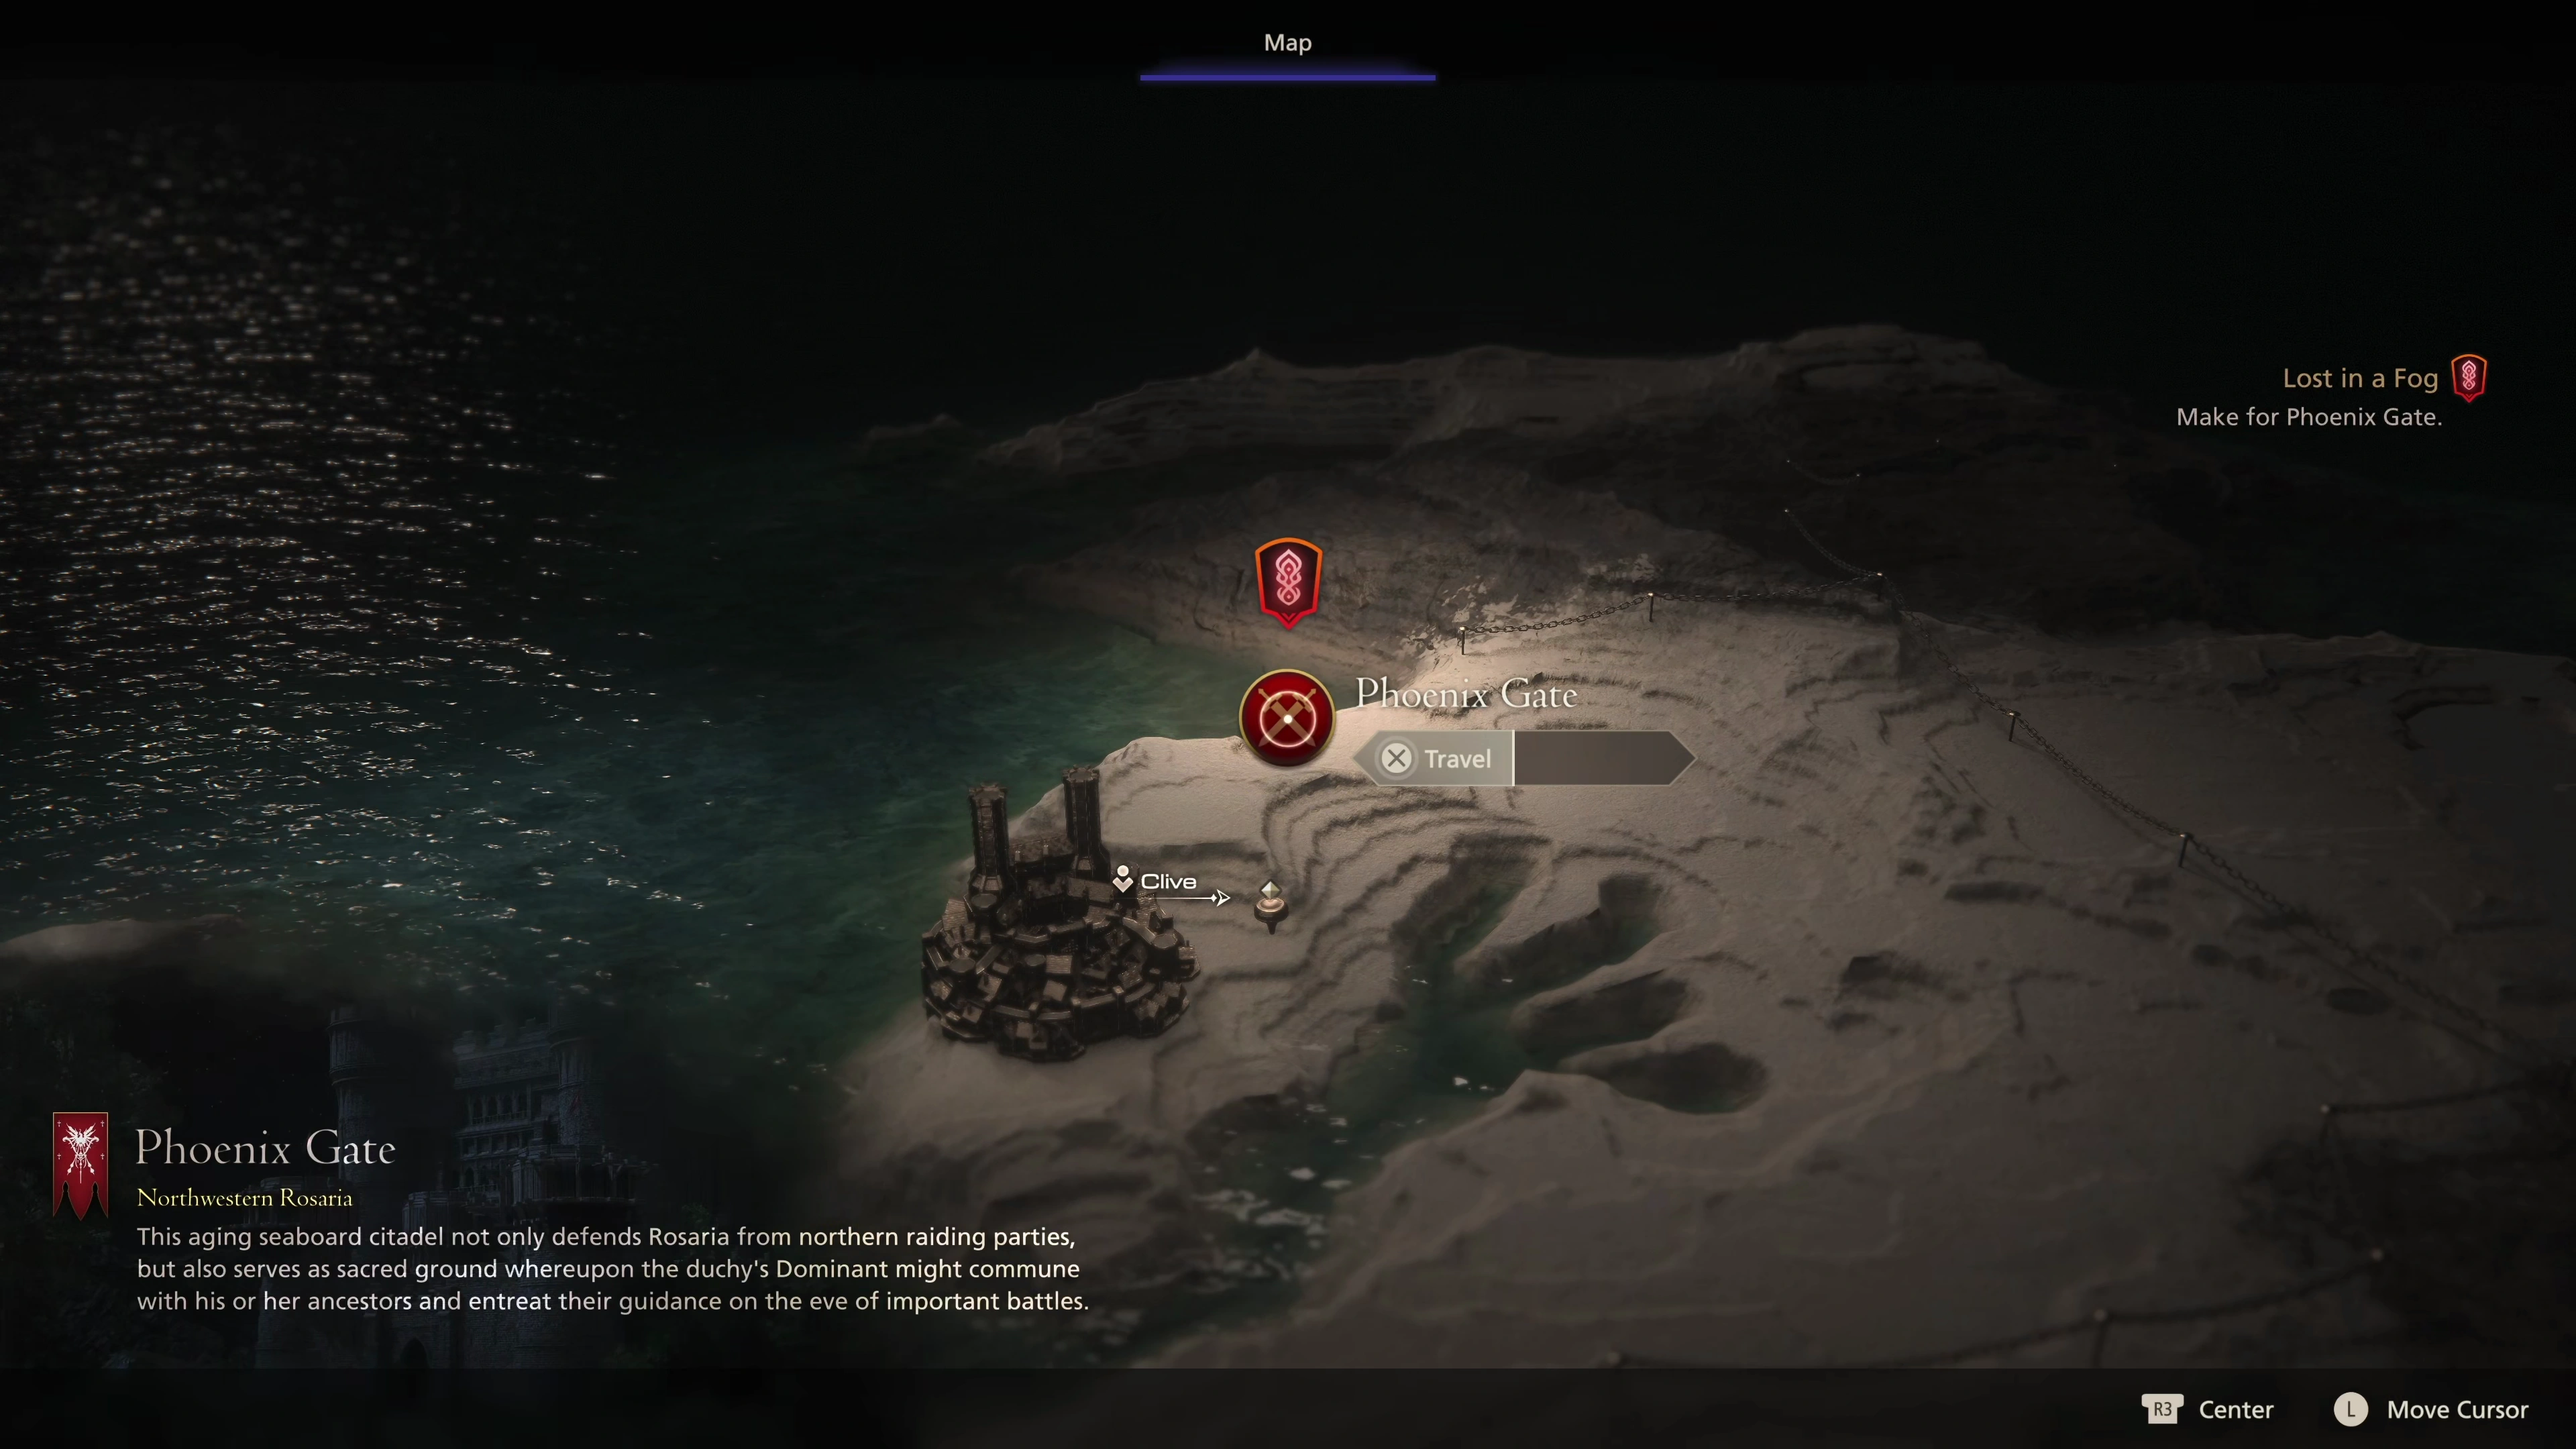
Select ![]() Phoenix Gate from the map once you’re back in control to kick off a few more cutscenes. This concludes the
Phoenix Gate from the map once you’re back in control to kick off a few more cutscenes. This concludes the ![]() Lost in a Fog Main Scenario Quest.
Lost in a Fog Main Scenario Quest.