Fanning Embers
Helpful Hint
This guide will utilize maps to help guide you through each location; however, this is the second section of the game that has a linear map.
As a reminder, these areas are one single trail that you use to travel from the start of the zone to the end, and there are no maps available in the game for these sections. These are typically utilized during sections of the game that are important to the story.
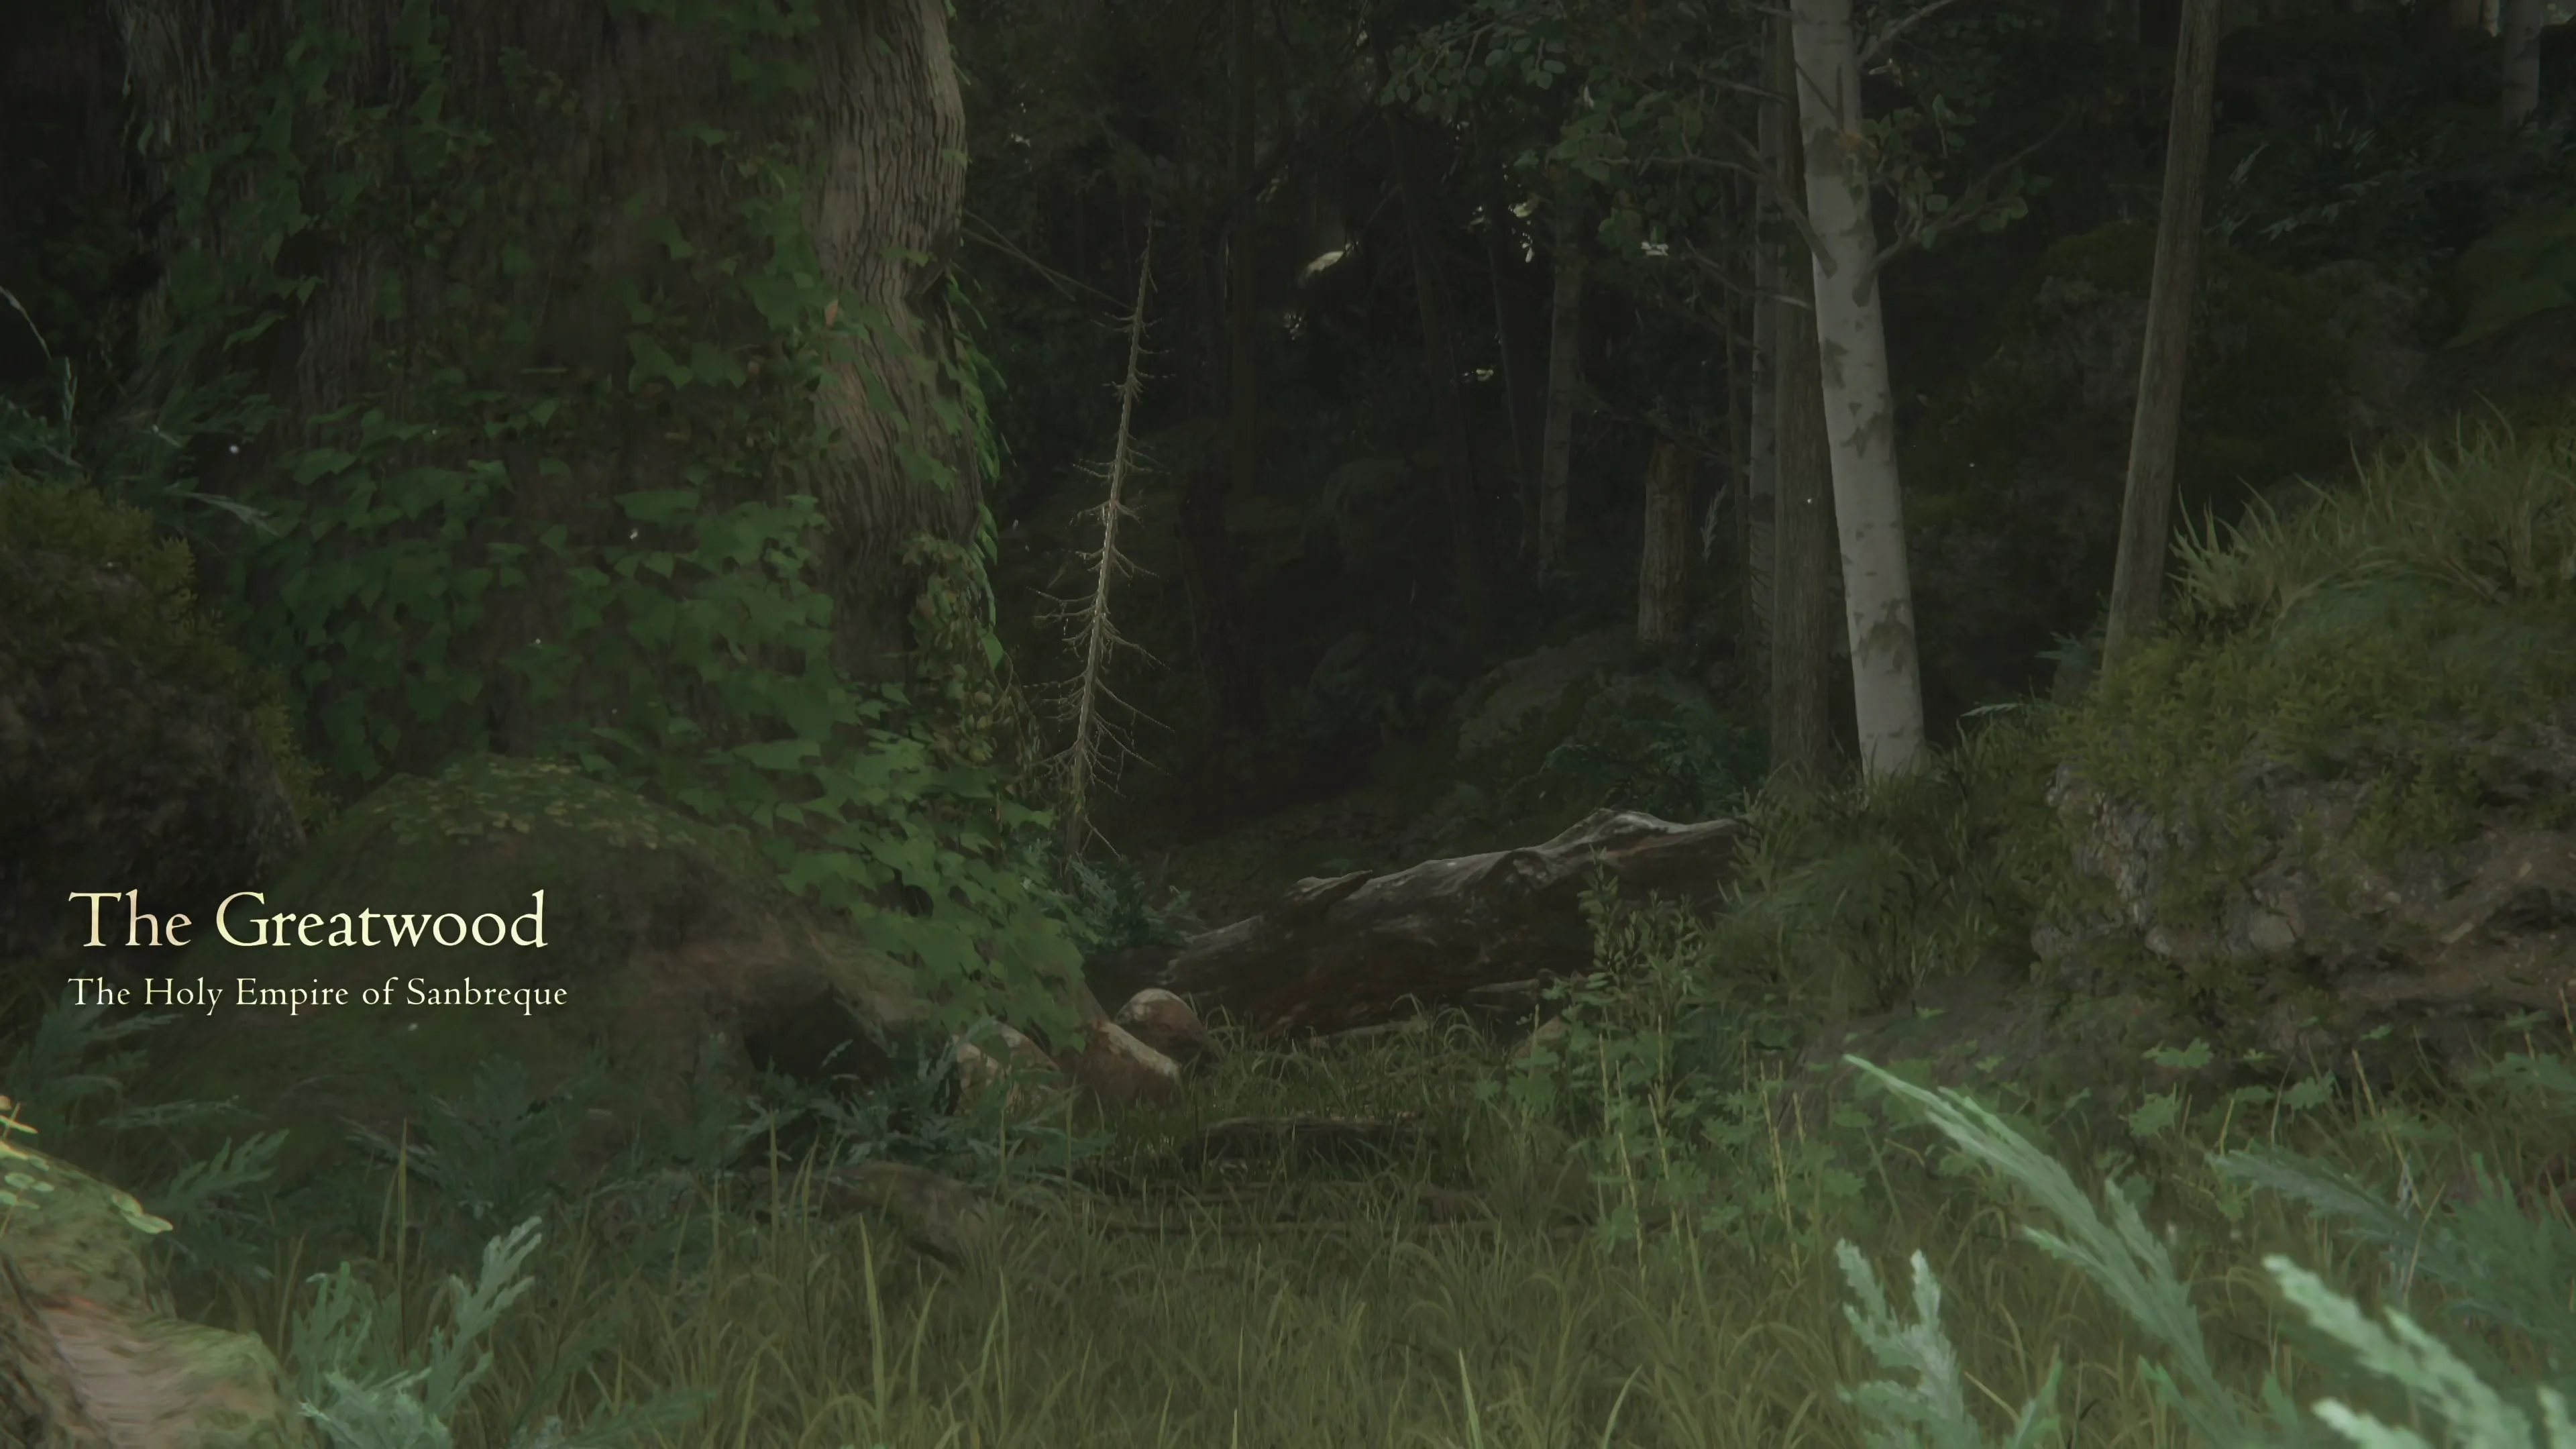
The Greatwood
There are a few tutorial windows that pop up after the introductory cutscene has concluded. The first lets you know that ![]() Torgal has joined your party, the second provides an overview of his abilities, and the third is a reminder about the
Torgal has joined your party, the second provides an overview of his abilities, and the third is a reminder about the ![]() Ring of Timely Assistance.
Ring of Timely Assistance.
Let’s start with your new companion, Torgal, who will be in your party for most of the rest of the game. Learning how to manage Torgal effectively is important—he can provide quite a bit of additional damage, and has a command (“Heal”) that provides one of the few methods of recovering Clive’s HP in battle.
In short, you need to ensure that you are activating these abilities while in battle to get the most out of them. For more information on how to use Torgal as effectively as possible in battle, check out the Torgal character page using the link below:
Characters

Clive’s faithful friend. He is fiercely protective of him and his allies, loath as he is to lose his best friend again, and never strays far from Clive’s side—putting hunting skills Cid taught him to use in fending off foes and picking up trails.
Press ![]()
![]()
![]() to switch between inventory and commands for
to switch between inventory and commands for ![]() Torgal. Additionally, if you need a refresher on the gameplay modes, including how the
Torgal. Additionally, if you need a refresher on the gameplay modes, including how the ![]() Ring of Timely Assistance works, check out the following page:
Ring of Timely Assistance works, check out the following page:
Tips and Tricks

An overview of the different gameplay modes in Final Fantasy XVI, with details on how or when the different “Ring of Timely…” accessories should be used. Some players struggle with specific game mechanics. These rings can help get past these challenges.
You don’t need to use the “Ring of Timely Assistance,” but it’s easy to forget to make sure you’re using Torgal effectively and often, and these ‘easy mode’ rings can help with that if you’re struggling. Speaking of Torgal, there’s a very easy Achievement/Trophy that you can pick up right now:
Achievement/Trophy
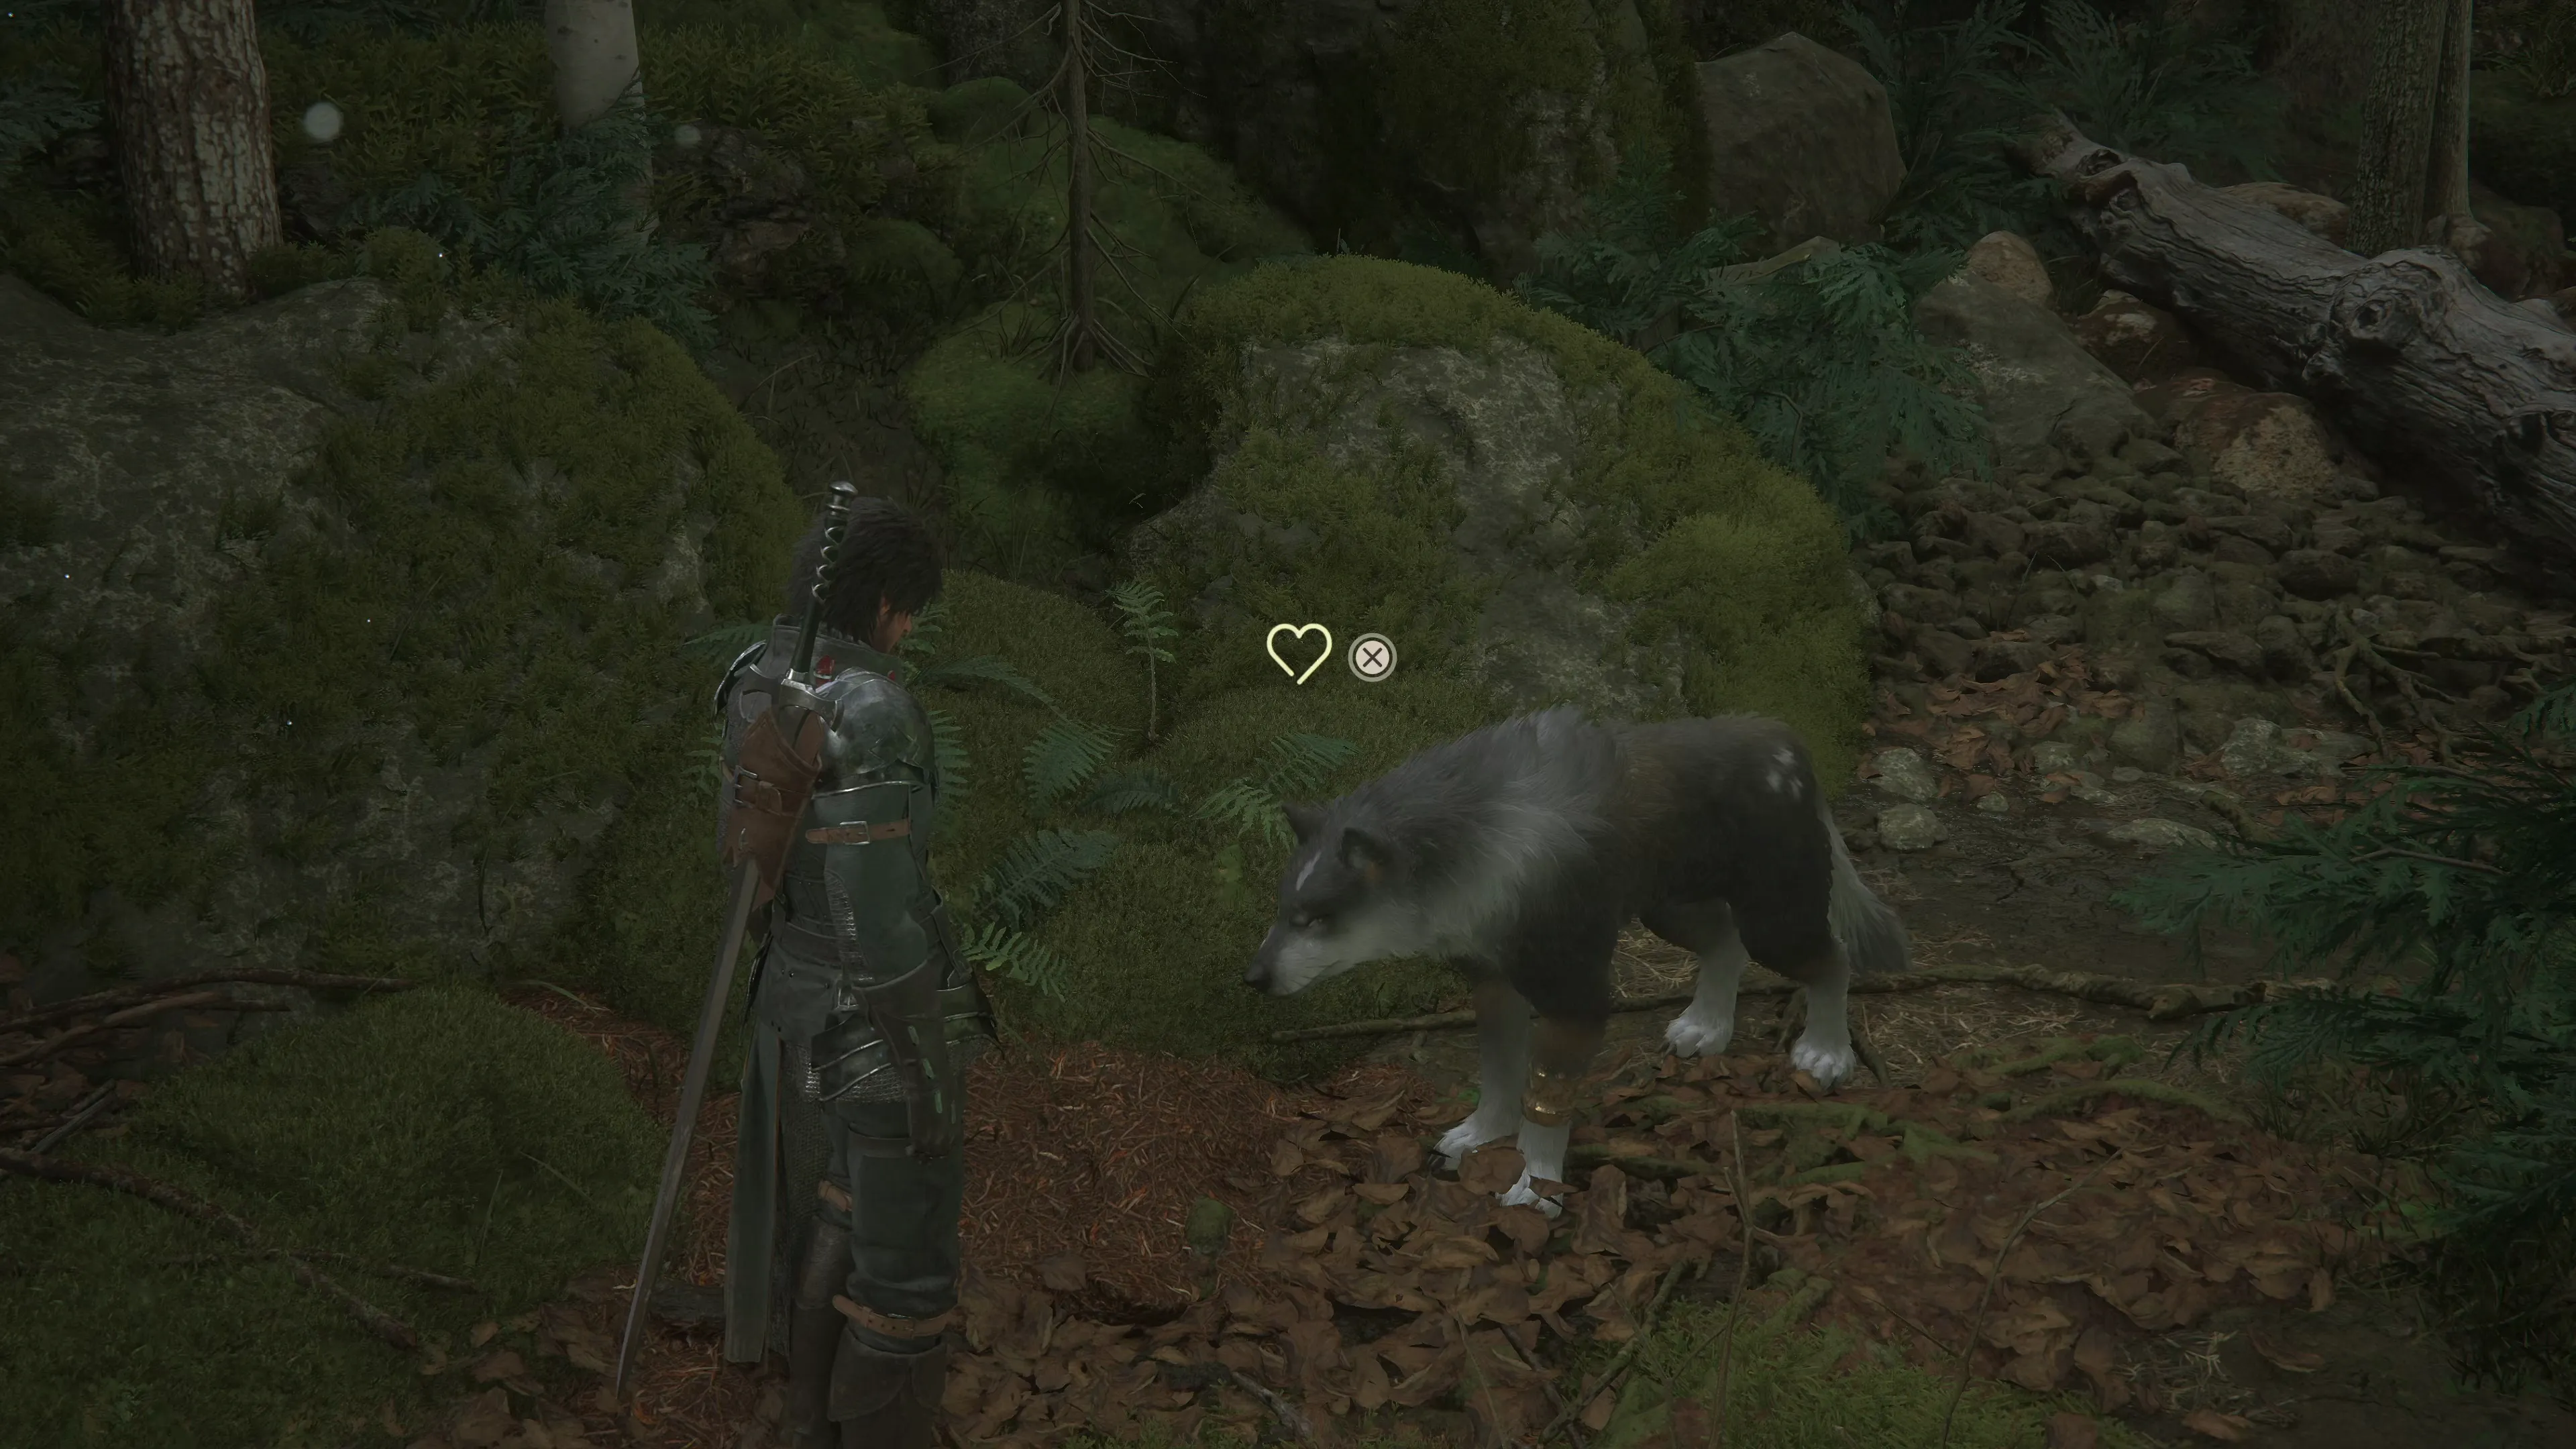
All you have to do to obtain the  You Can Pet the Dog Achievement/Trophy is turn around, face Torgal, and press the
 ![]()
![]()
![]() button to pet him. You should do this anyway, because he’s such a good boy, but do it five times, and this Achievement/Trophy is yours.
button to pet him. You should do this anyway, because he’s such a good boy, but do it five times, and this Achievement/Trophy is yours.
Achievement/Trophy
“Execute and land 5 Precision Sics (excluding battles in the Hall of Virtue).” Press the ![]()
![]()
![]() button in battle to have
button in battle to have ![]() Torgal use his “Sic” command. You’ll likely obtain the A Fine Hound Achievement/Trophy naturally as you get used to using Torgal in battle, but the idea behind a “Precision Sic” is just a regular Sic attack that’s used after you knock an enemy down or after executing a
Torgal use his “Sic” command. You’ll likely obtain the A Fine Hound Achievement/Trophy naturally as you get used to using Torgal in battle, but the idea behind a “Precision Sic” is just a regular Sic attack that’s used after you knock an enemy down or after executing a ![]() Precision Dodge.
Precision Dodge.
This was mentioned earlier in the guide, but you should consider having two separate ![]() Eikonic Ability Sets, one for single-target enemies and a second for multiple targets. You don’t have many ability options at this early stage of the game, but you should make sure that your current Eikonic Ability set includes the
Eikonic Ability Sets, one for single-target enemies and a second for multiple targets. You don’t have many ability options at this early stage of the game, but you should make sure that your current Eikonic Ability set includes the ![]() Scarlet Cyclone for groups of enemies.
Scarlet Cyclone for groups of enemies.
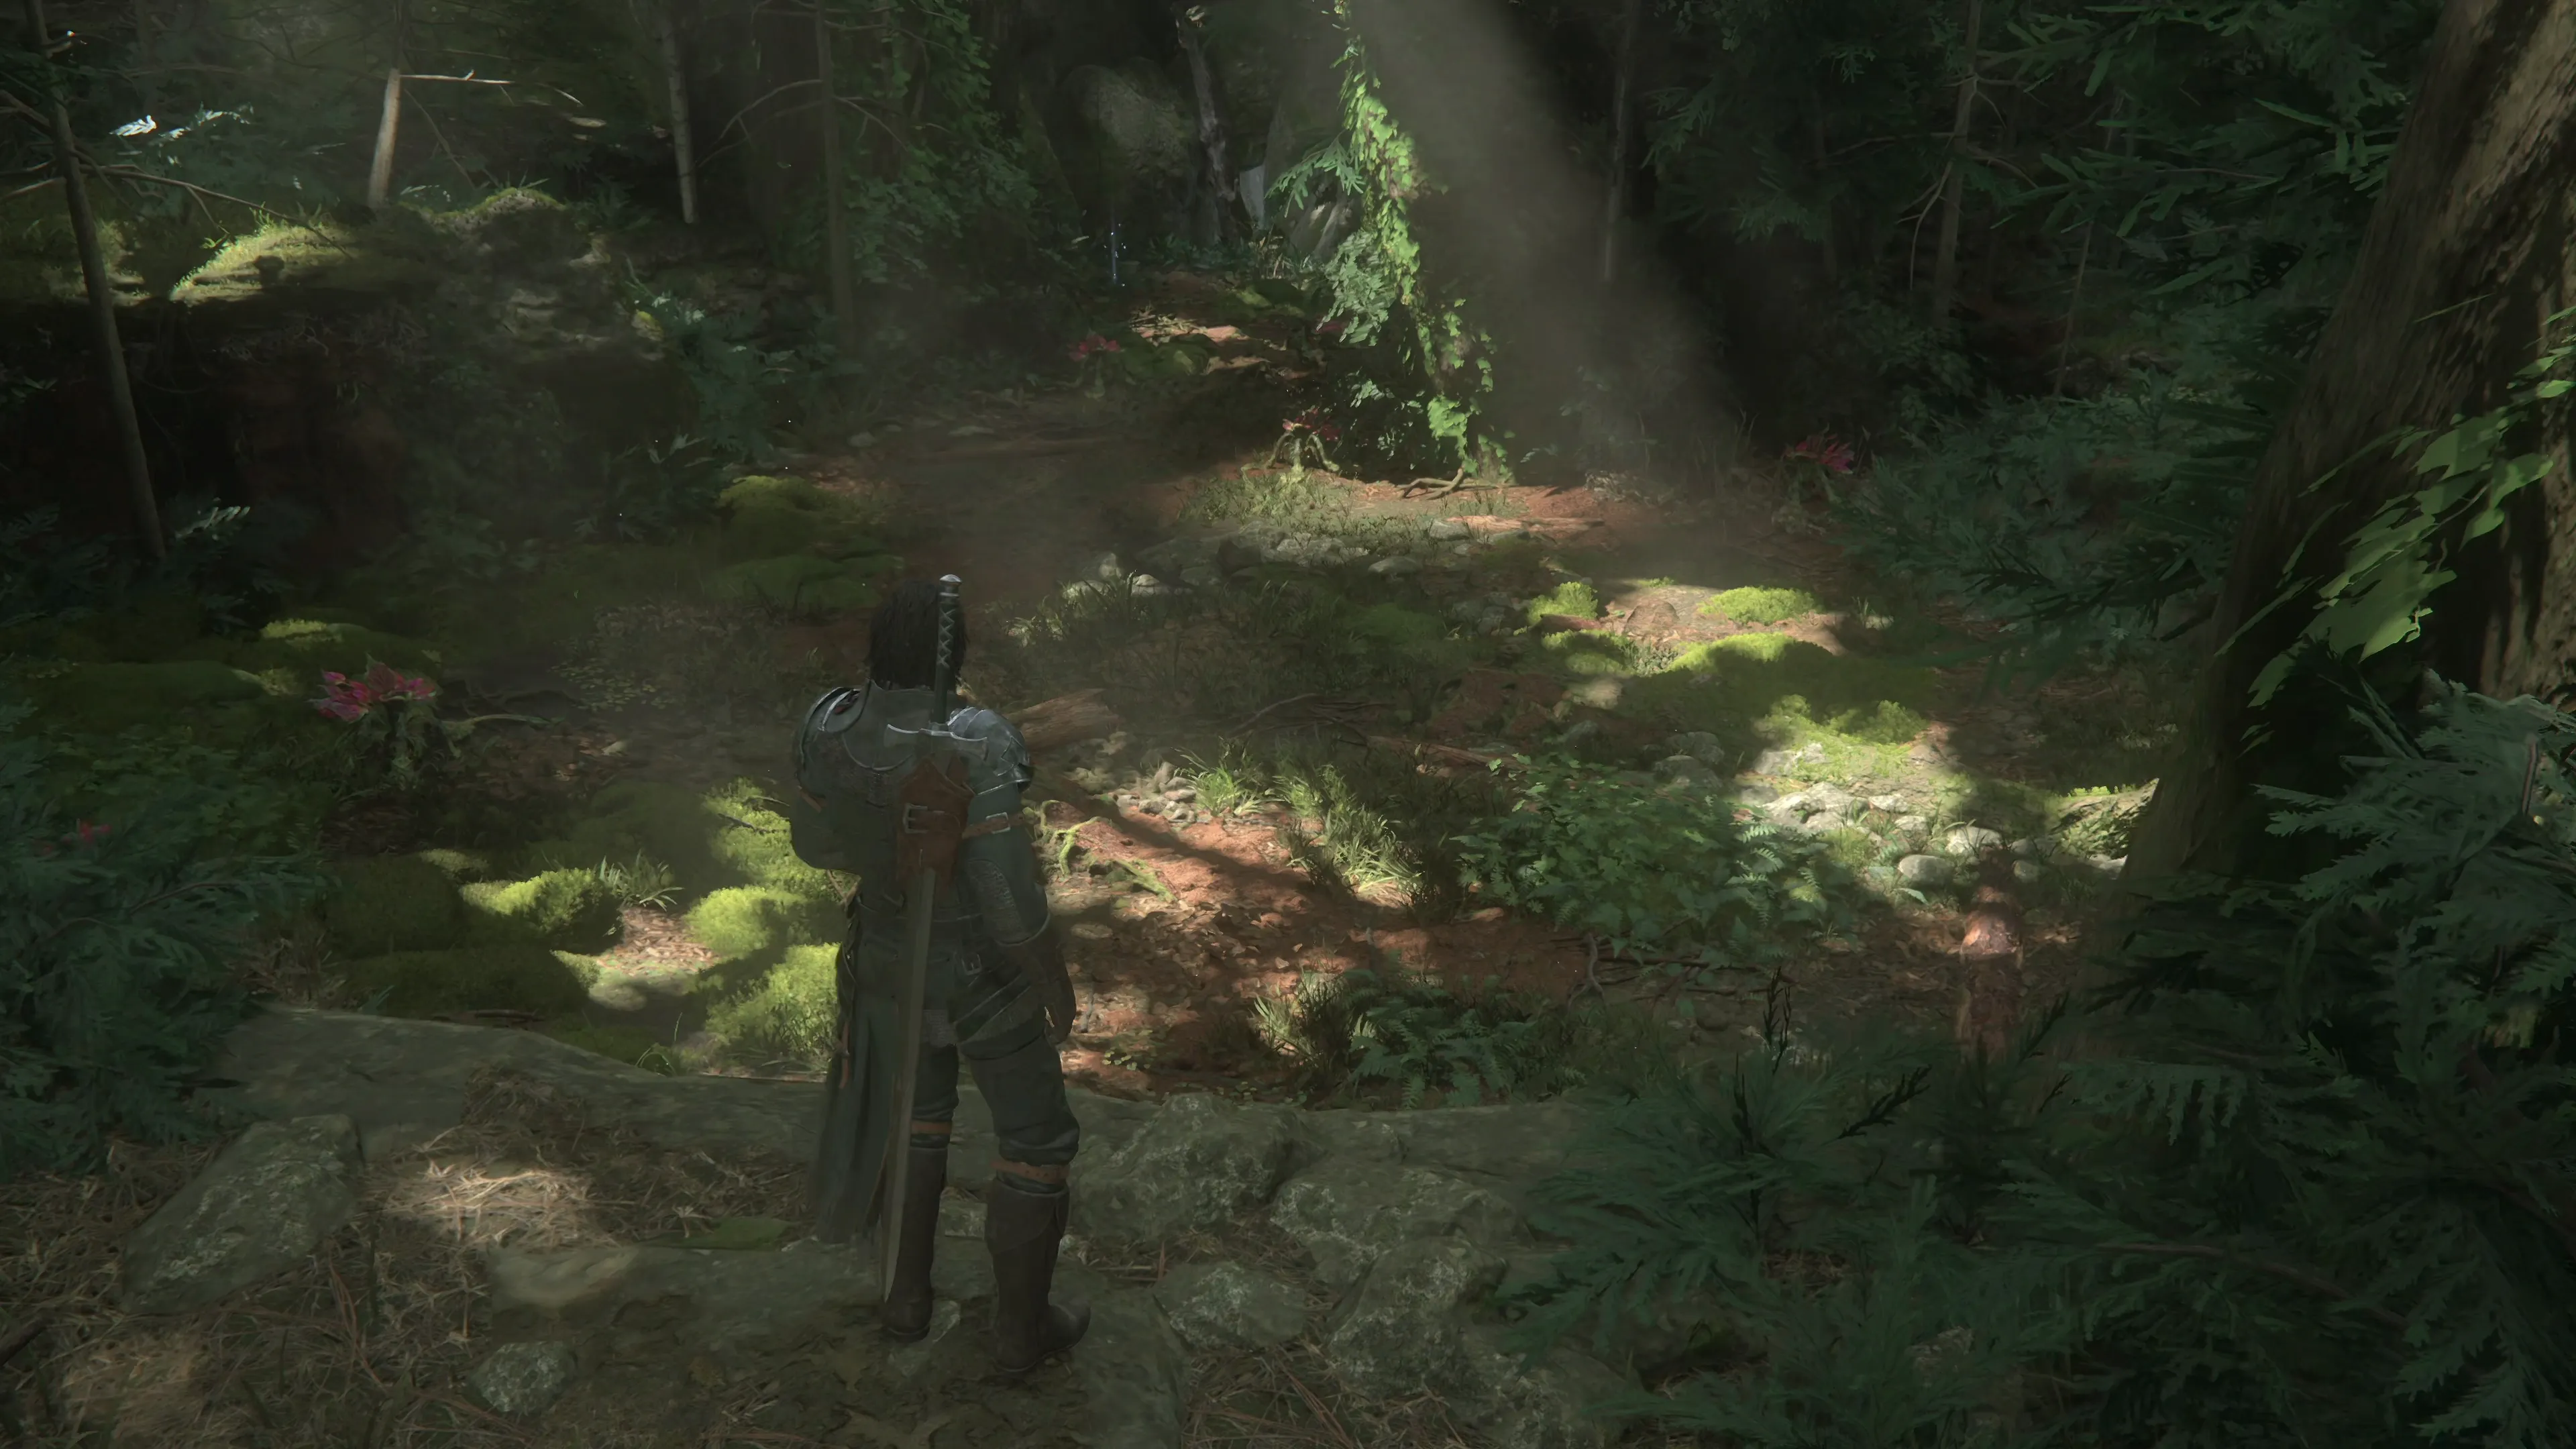
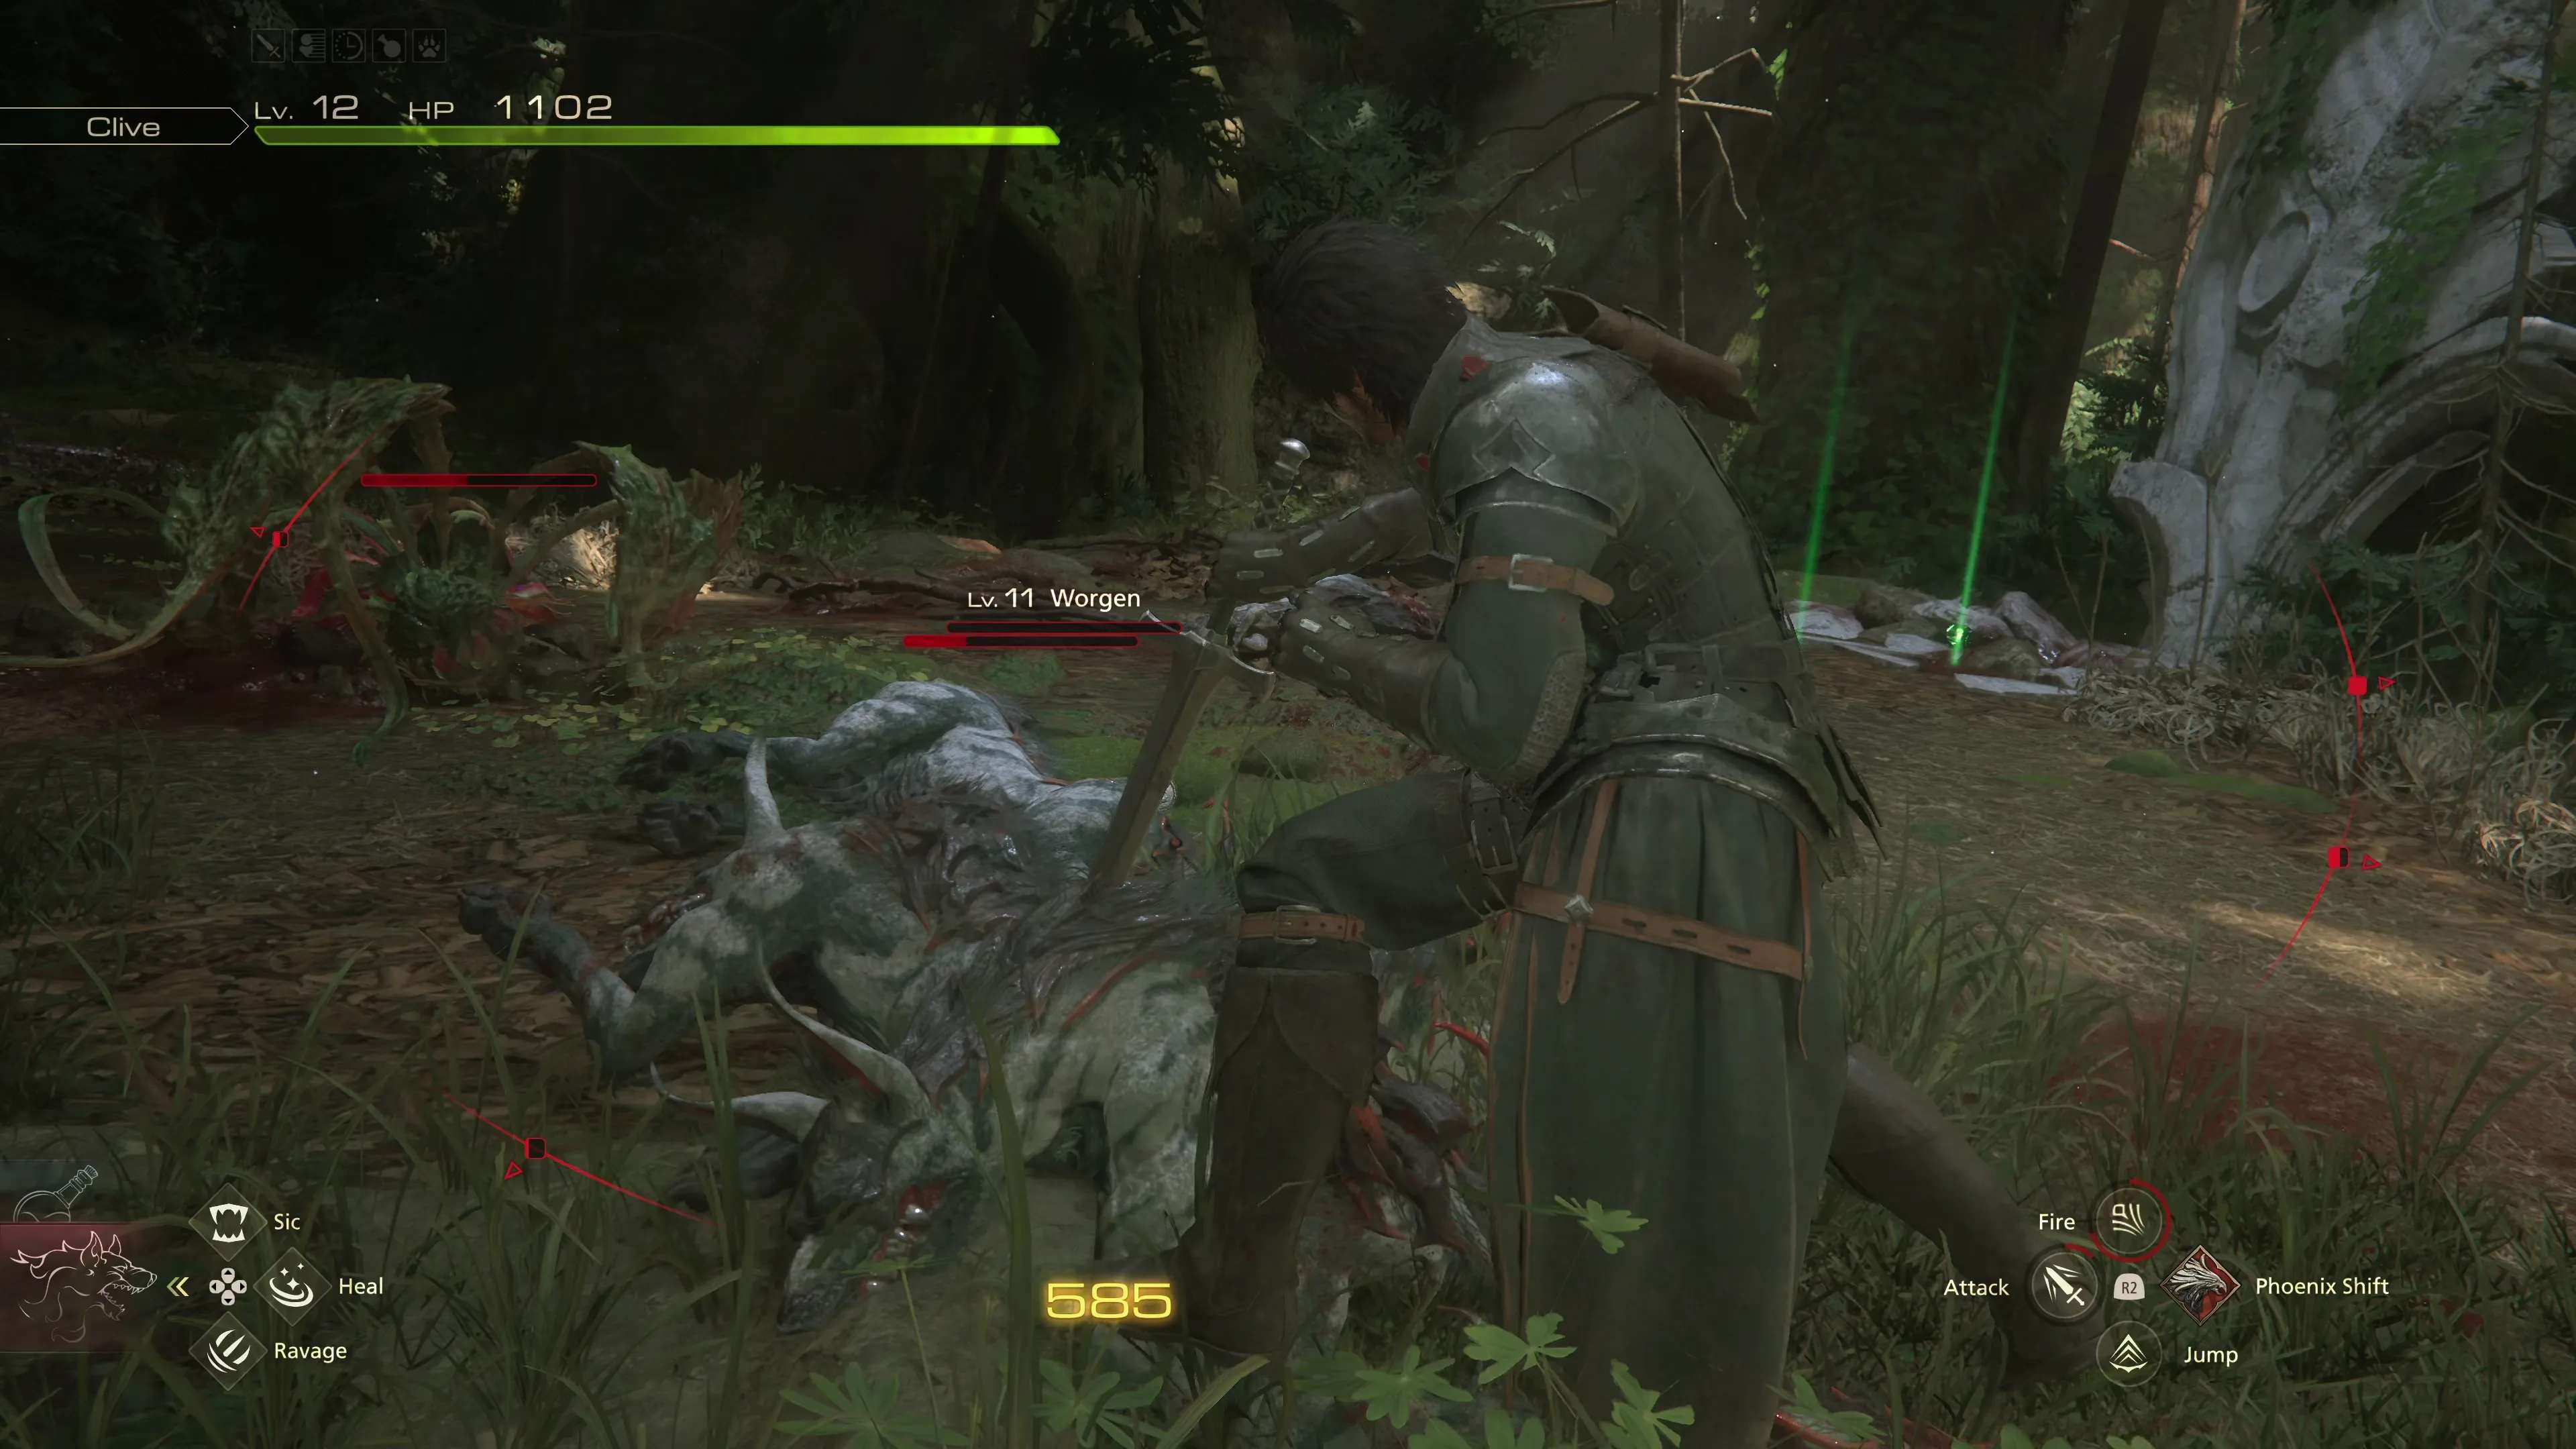
Follow Cid forward into the clearing to face your first group of enemies. This group includes two groups of Worgen wolves. Head up towards the next clearing for a short cutscene where a large, lizard-like creature will run past. Continue down into the clearing to face your next group of enemies, which includes both Worgens and Vampire Thorns.
There’s a Glimmer in front of a large tree that blocks the pathway. Press ![]()
![]()
![]() near it, and Clive will clear the pathway for both Torgal and Cid. Follow Cid under the log along the pathway to find one more Glimmer (with two
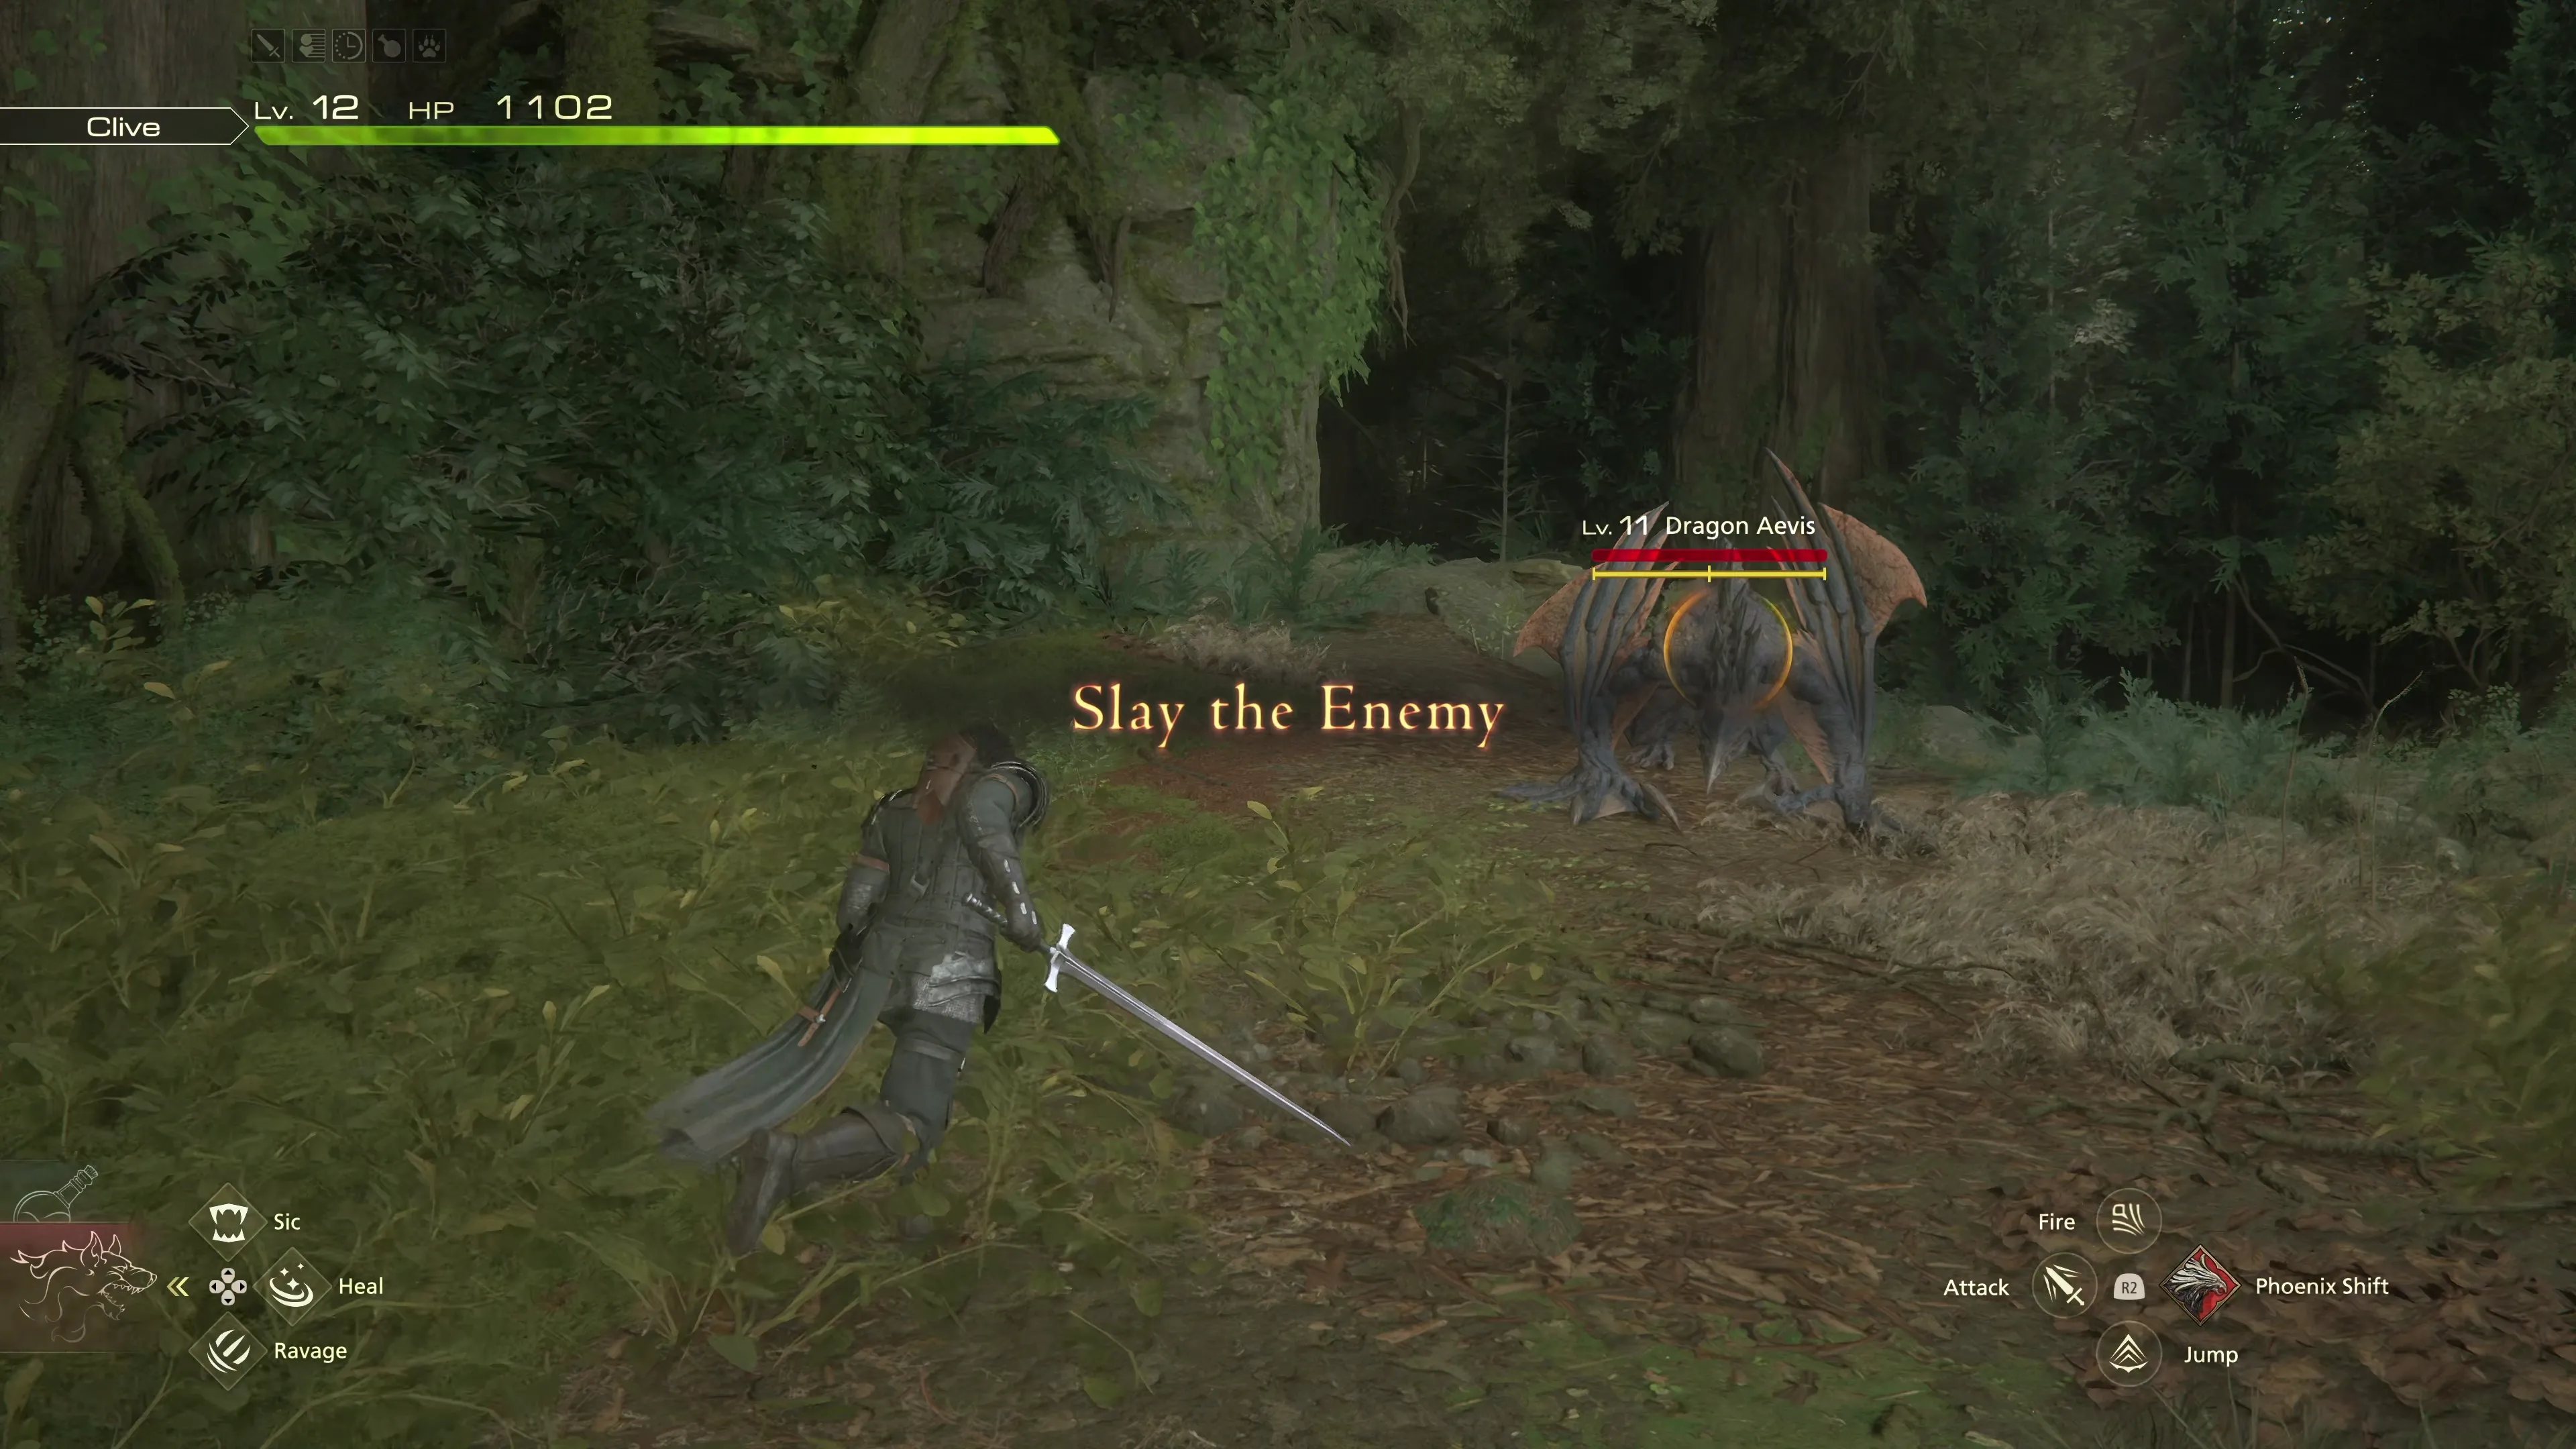
near it, and Clive will clear the pathway for both Torgal and Cid. Follow Cid under the log along the pathway to find one more Glimmer (with two ![]() Sharp Fangs) on your way to the next battle against a Dragon Aevis.
Sharp Fangs) on your way to the next battle against a Dragon Aevis.
This enemy isn’t technically a boss, and you’ll be facing many more of them, but it does have a “Will Gauge” and takes a lot more attacks than a regular enemy to bring down. Take some time to get used to its attack pattern. It has the following attacks:
- Three regular attacks with different animations:
- A lunging strike. It will wind up with one arm/claw before lunging forward to strike one time.
- A spinning strike. It will curl its tail around its body before spinning quickly and dealing damage on all sides. This attack has a slight delay that takes some getting used to.
- A somersault attack. It will briefly go airborne before executing a quick, forward-facing attack.
- One ranged-magic attack. From a distance, Aevis will breathe in before launching magic forward. This attack can be reflected with
 Heatwave.
Don’t be afraid to use your Eikonic Abilities, like ![]() Rising Flames or
Rising Flames or ![]() Scarlet Cyclone if you have it equipped, as often as possible. Try to make sure that the cooldown is off when the Dragon Aevis is staggered, but don’t be stingy about using them often to inflict as much damage as you can as quickly as possible.
Scarlet Cyclone if you have it equipped, as often as possible. Try to make sure that the cooldown is off when the Dragon Aevis is staggered, but don’t be stingy about using them often to inflict as much damage as you can as quickly as possible.
Follow Cid across the narrow pathway along the cliff and through two Glimmers that contain a ![]() Potion and
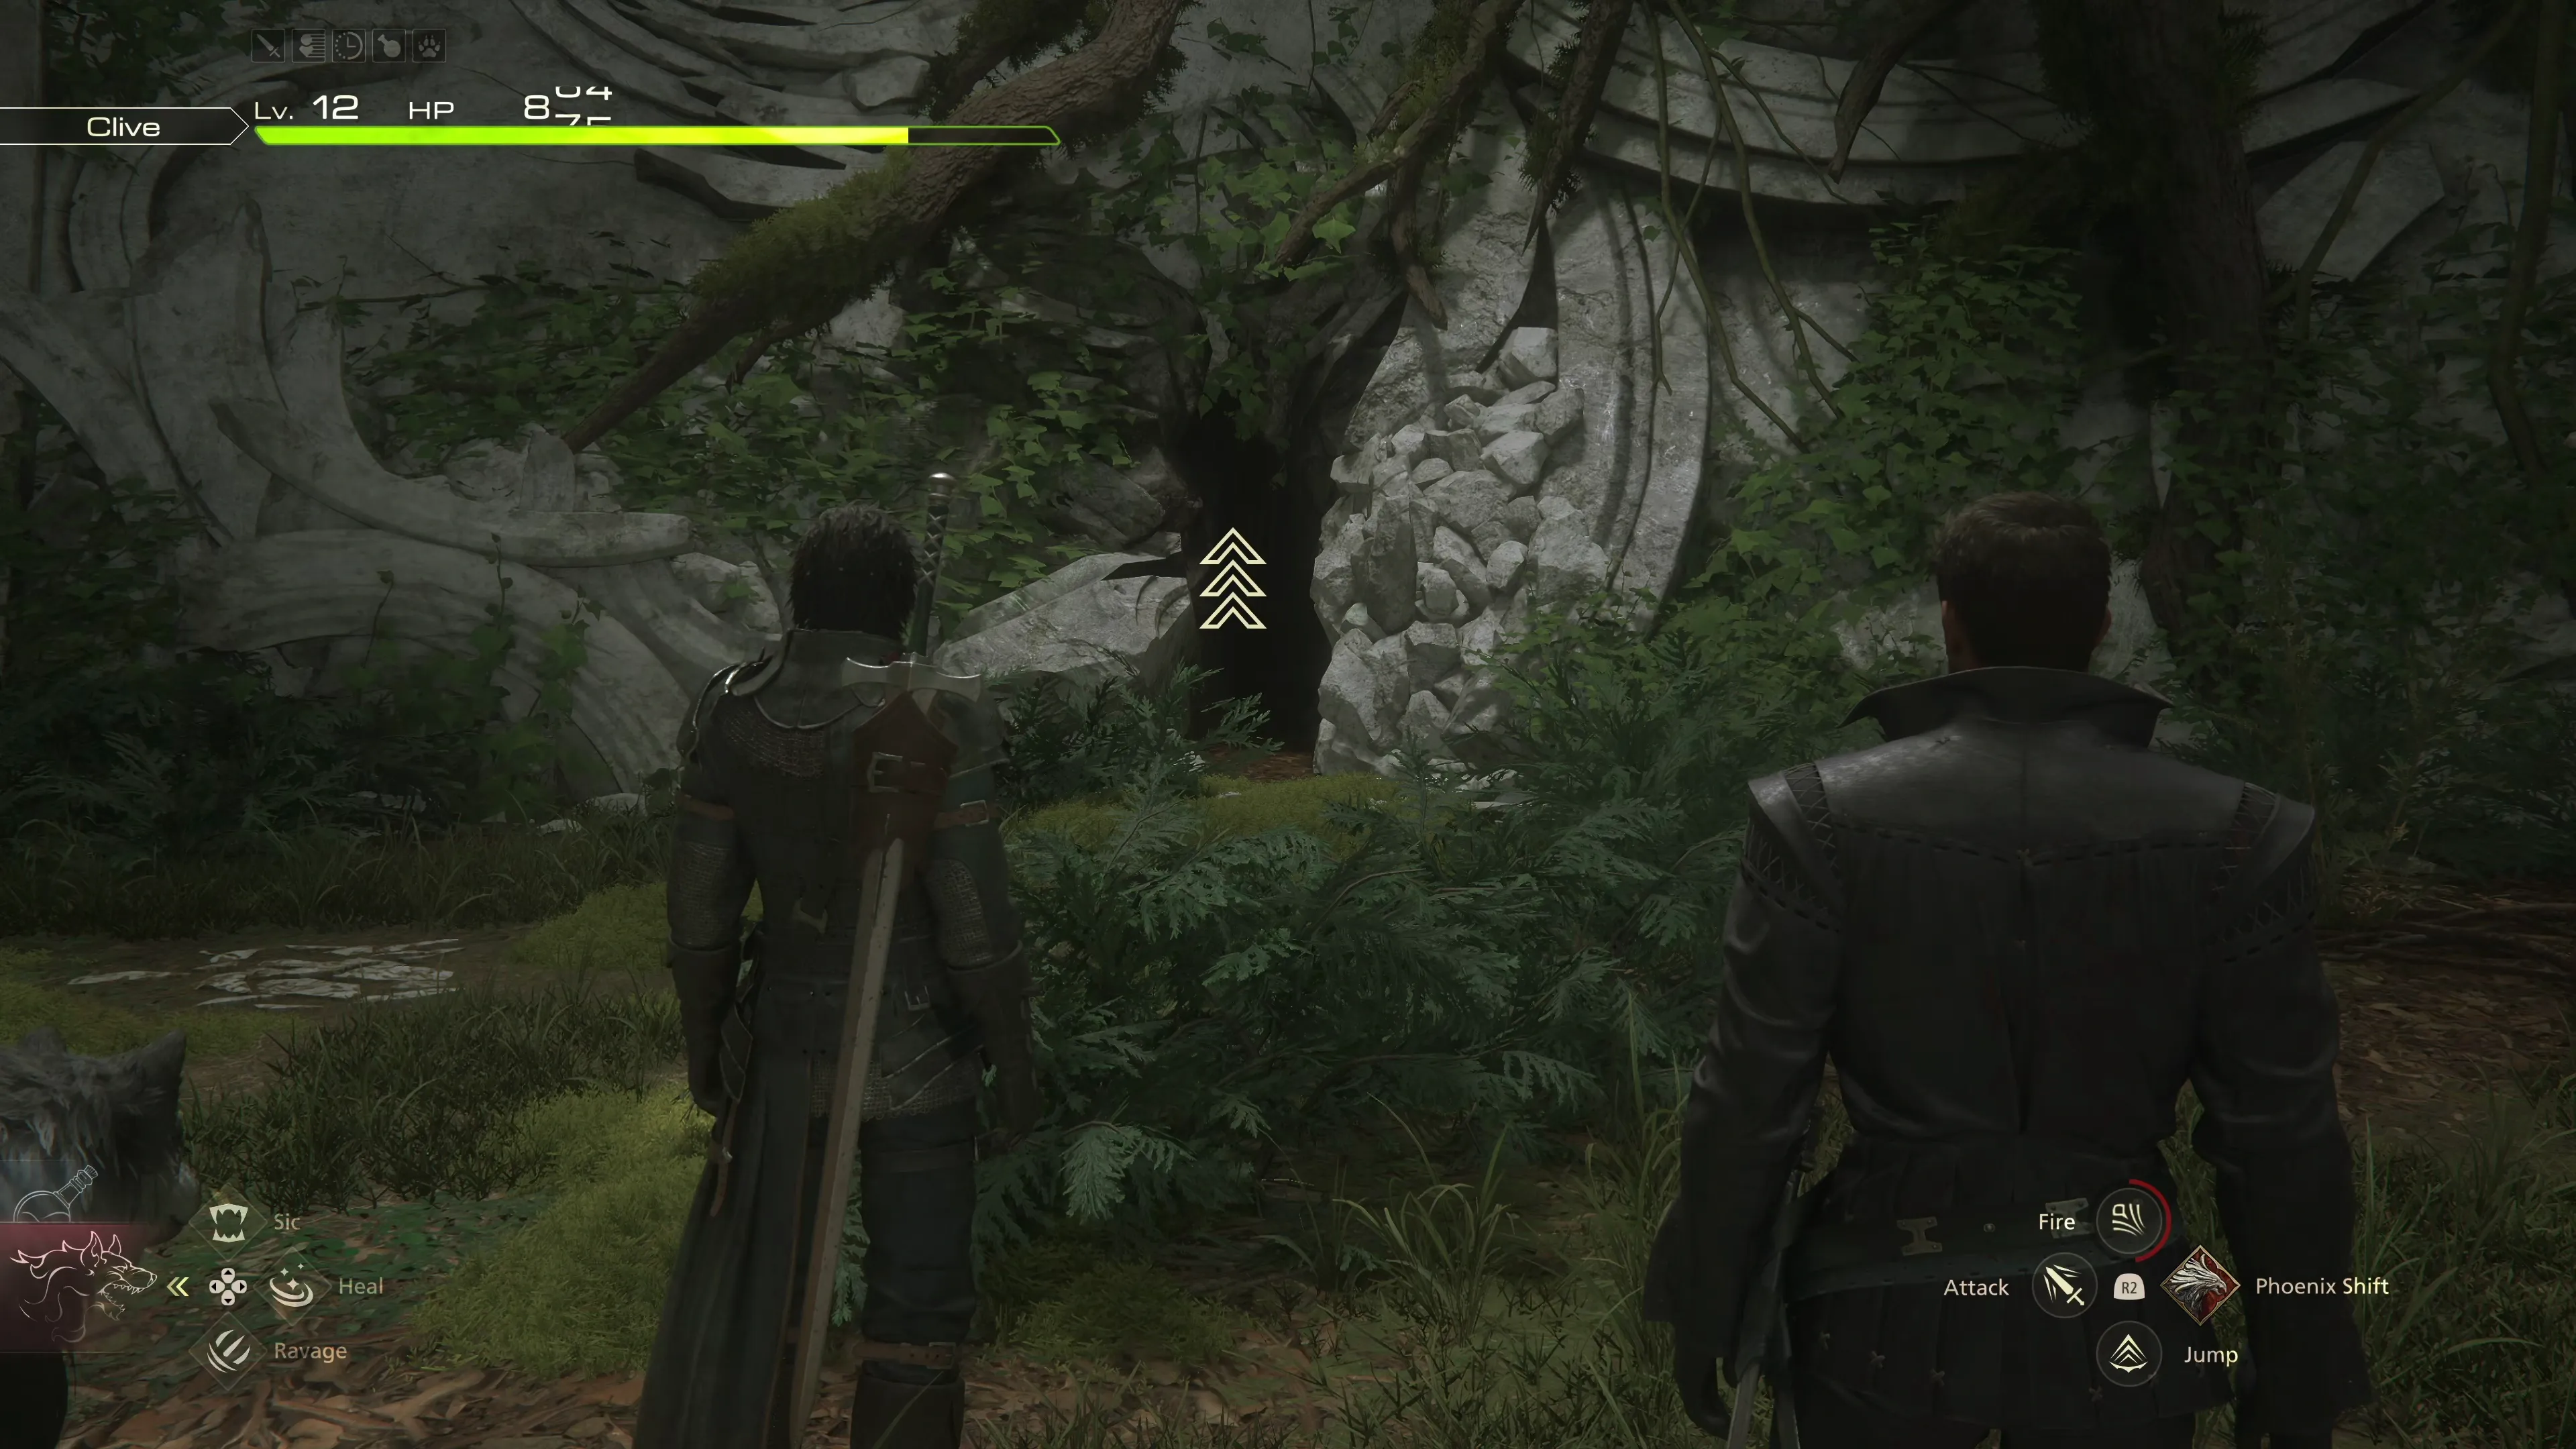
Potion and ![]() Steelsilk. It won’t be entirely clear where to go once you reach the next area. But, as Cid points out, Torgal can be useful for helping you find the way, or you can press and hold the
Steelsilk. It won’t be entirely clear where to go once you reach the next area. But, as Cid points out, Torgal can be useful for helping you find the way, or you can press and hold the ![]()
![]()
![]() button to point the camera in the right direction. Look for a small crevasse between two rocks that Clive can squeeze through.
button to point the camera in the right direction. Look for a small crevasse between two rocks that Clive can squeeze through.
You will pass by another Glimmer that contains two ![]() Sharp Fangs and, just up ahead from here, is another group of Worgens and Vampire Thorns to defeat.
Sharp Fangs and, just up ahead from here, is another group of Worgens and Vampire Thorns to defeat. ![]() Scarlet Cyclone can help make quick work of them. Afterwards, look for another small crack in the wall to sneak through.
Scarlet Cyclone can help make quick work of them. Afterwards, look for another small crack in the wall to sneak through.
There are two more Glimmers in this area that contain a ![]() Potion and a
Potion and a ![]() High Potion. Before you drop down into the large, open area, consider swapping your
High Potion. Before you drop down into the large, open area, consider swapping your ![]() Eikonic Ability Set to focus on single targets, as there is a boss battle coming up. Drop down into the open area when you’re ready.
Eikonic Ability Set to focus on single targets, as there is a boss battle coming up. Drop down into the open area when you’re ready.
Boss Battle
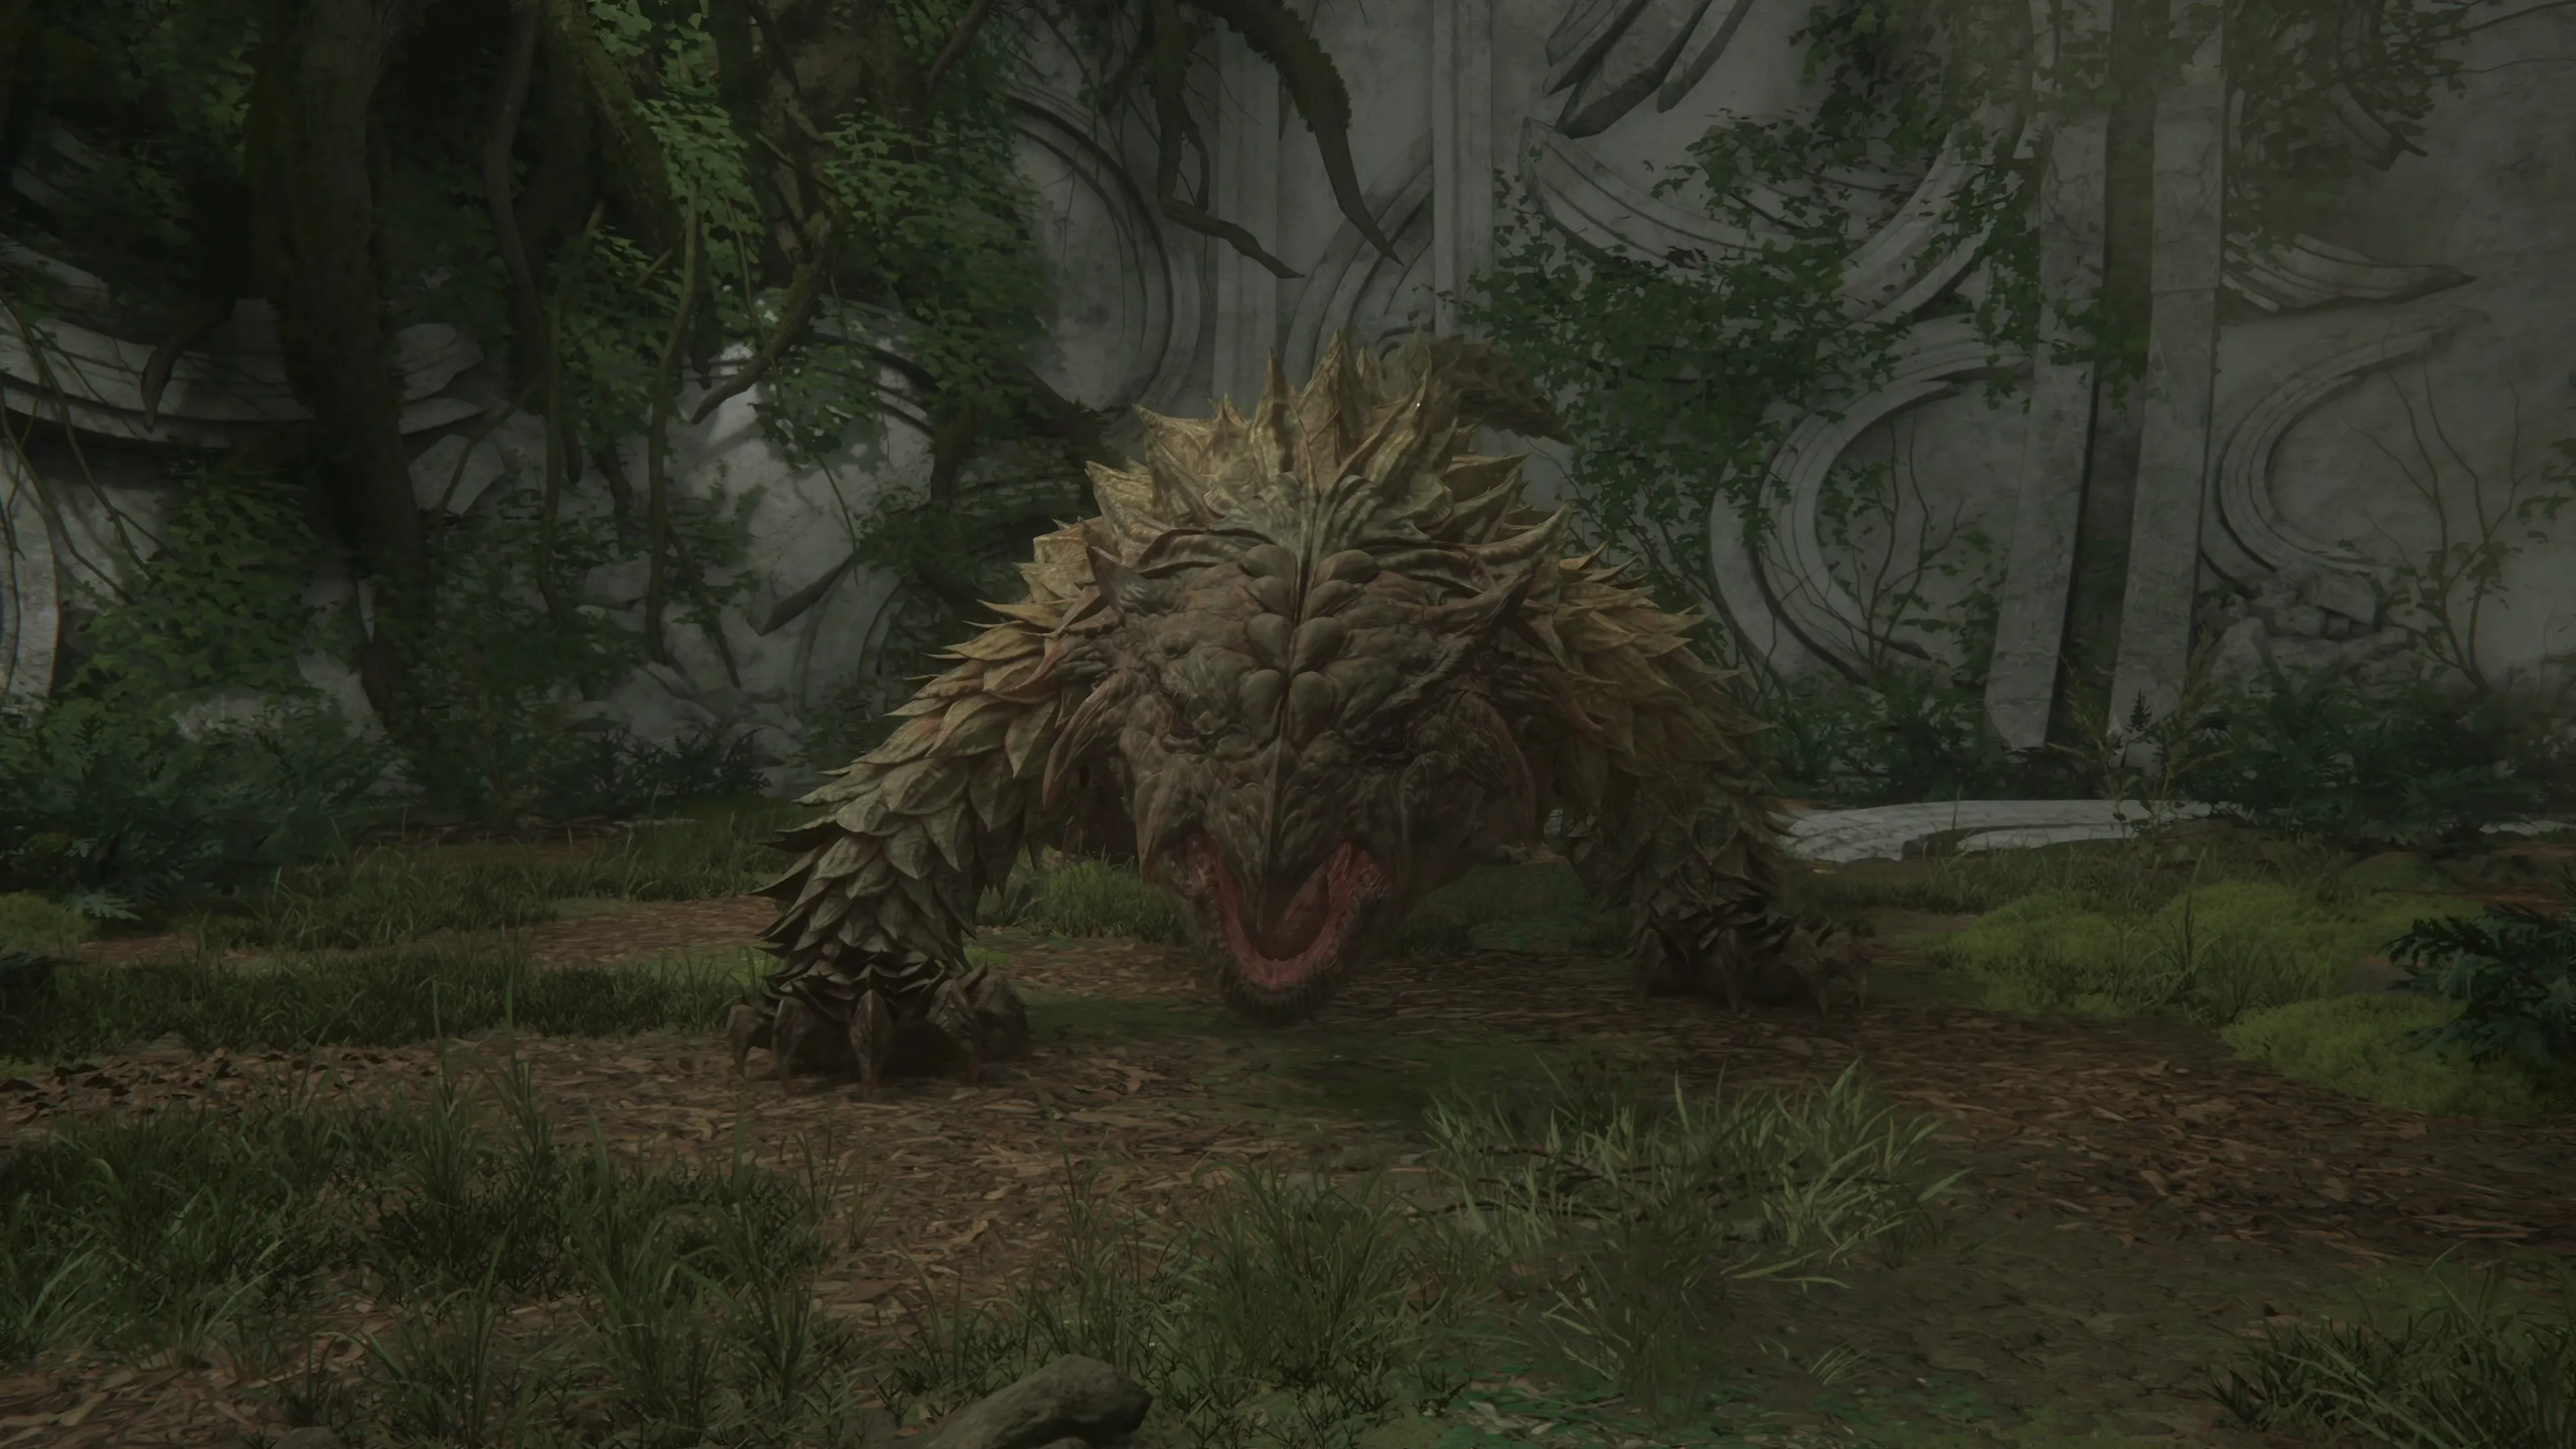
Fafnir’s attacks are fairly straightforward, but a few of them have some annoying delays that make them somewhat difficult to dodge until you get used to them. Its attacks include:
![]() Head Charge:
Head Charge:
Fafnir will typically start off the battle with this attack. It will stand up on two legs and arch its head backwards before lunging forward towards and through where Clive is standing. Quite often, this will put Clive behind Fafnir, opening it up to a Tail Swipe attack.
![]() Tail Swipe:
Tail Swipe:
Speaking of its “Tail Swipe” attack, this is something the boss will use when Clive is positioned behind it. The attack involves two swings, back and forth, that must be dodged. This attack can be difficult to predict, so it’s recommended to keep Clive near the front of Fafnir if possible.
![]() Front Leg Stomp:
Front Leg Stomp:
This attack can be done with either Fafnir’s left or right front leg. It’s a fairly quick attack and easy to dodge once you get the hang of it.
![]() Rolling Attack:
Rolling Attack:
Fafnir will lift its front and back legs, either on the left or right side, and then slam that side down, beginning to roll. This attack is also easy to dodge, but make sure that you dodge in a direction that keeps you out of Fafnir’s rolling path.
![]() Spin Cycle:
Spin Cycle:
The words “Spin Cycle” will flash on the screen when Fafnir is using this attack. It will curl into a ball, bounce backward, and then roll towards Clive. Just dodge out of the way using ![]()
![]()
![]() . It will then spin around the open area a couple of times before slamming back into the middle of the arena towards Clive. Dodge this slam attack as well.
. It will then spin around the open area a couple of times before slamming back into the middle of the arena towards Clive. Dodge this slam attack as well.
Defeating this boss efficiently is all about understanding the attack pattern and making good use of your abilities. Make sure to use your ![]() Magic attacks any time Fafnir is at range and play defensively until you get used to its attack pattern. And lastly, don’t forget to use
Magic attacks any time Fafnir is at range and play defensively until you get used to its attack pattern. And lastly, don’t forget to use ![]() Torgal’s abilities with the Directional Pad (
Torgal’s abilities with the Directional Pad (![]()
![]()
![]() ) during your combos and when Fafnir is staggered.
) during your combos and when Fafnir is staggered.
The video below demonstrates how to complete this fight.
70
1,000

A video demonstration of how to successfully complete the fight against Fafnir of the North.
Swap your ![]() Eikonic Ability Set back to a multi-target setup so that you have access to
Eikonic Ability Set back to a multi-target setup so that you have access to ![]() Scarlet Cyclone again. Head through the hole in the wall and into the next area.
Scarlet Cyclone again. Head through the hole in the wall and into the next area.
There are two Glimmers along this pathway. One of them contains a ![]() Potion and the second one contains a
Potion and the second one contains a ![]() High Potion, which should help to refill your stockpile if you ended up using a few during the last battle. Jump down into the next area, and you’ll come across a group of Hornets.
High Potion, which should help to refill your stockpile if you ended up using a few during the last battle. Jump down into the next area, and you’ll come across a group of Hornets.
Helpful Hint
Final Fantasy XVI includes many abilities and attacks that involve Clive jumping or staying in the air. You will receive quite a few of them as you progress through the game. For now, the only attack that will cause you to go airborne is to use ![]() Phoenix Shift while you are close enough to the Hornets. You can continue to press the attack while Clive is up there, such as by using
Phoenix Shift while you are close enough to the Hornets. You can continue to press the attack while Clive is up there, such as by using ![]() Magic Burst,
Magic Burst, ![]() Downthrust, or
Downthrust, or ![]() Stomp.
Stomp.
Alternatively, you can use your ![]() Magic attack, which will knock these targets out of the air, allowing you to continue your attacks from the ground. This may be a more straightforward approach right now, given the limited number of abilities you have access to.
Magic attack, which will knock these targets out of the air, allowing you to continue your attacks from the ground. This may be a more straightforward approach right now, given the limited number of abilities you have access to.
There is a group of Vampire Thorns on the left side of the screen guarding a Glimmer that contains 3 pinches of ![]() Magicked Ash. Continue along the trail until you reach an open area with a large group of Worgens standing around there with another Dragon Aevis. Just before this area, the path splits off to the right.
Magicked Ash. Continue along the trail until you reach an open area with a large group of Worgens standing around there with another Dragon Aevis. Just before this area, the path splits off to the right.
There aren’t any missable treasure coffers in this area, but exploring around a bit will reveal some Glimmer spots and some easy-to-defeat enemy groups that you can dispatch to earn some quick ![]() Experience Points and
Experience Points and ![]() Ability Points.
Ability Points.
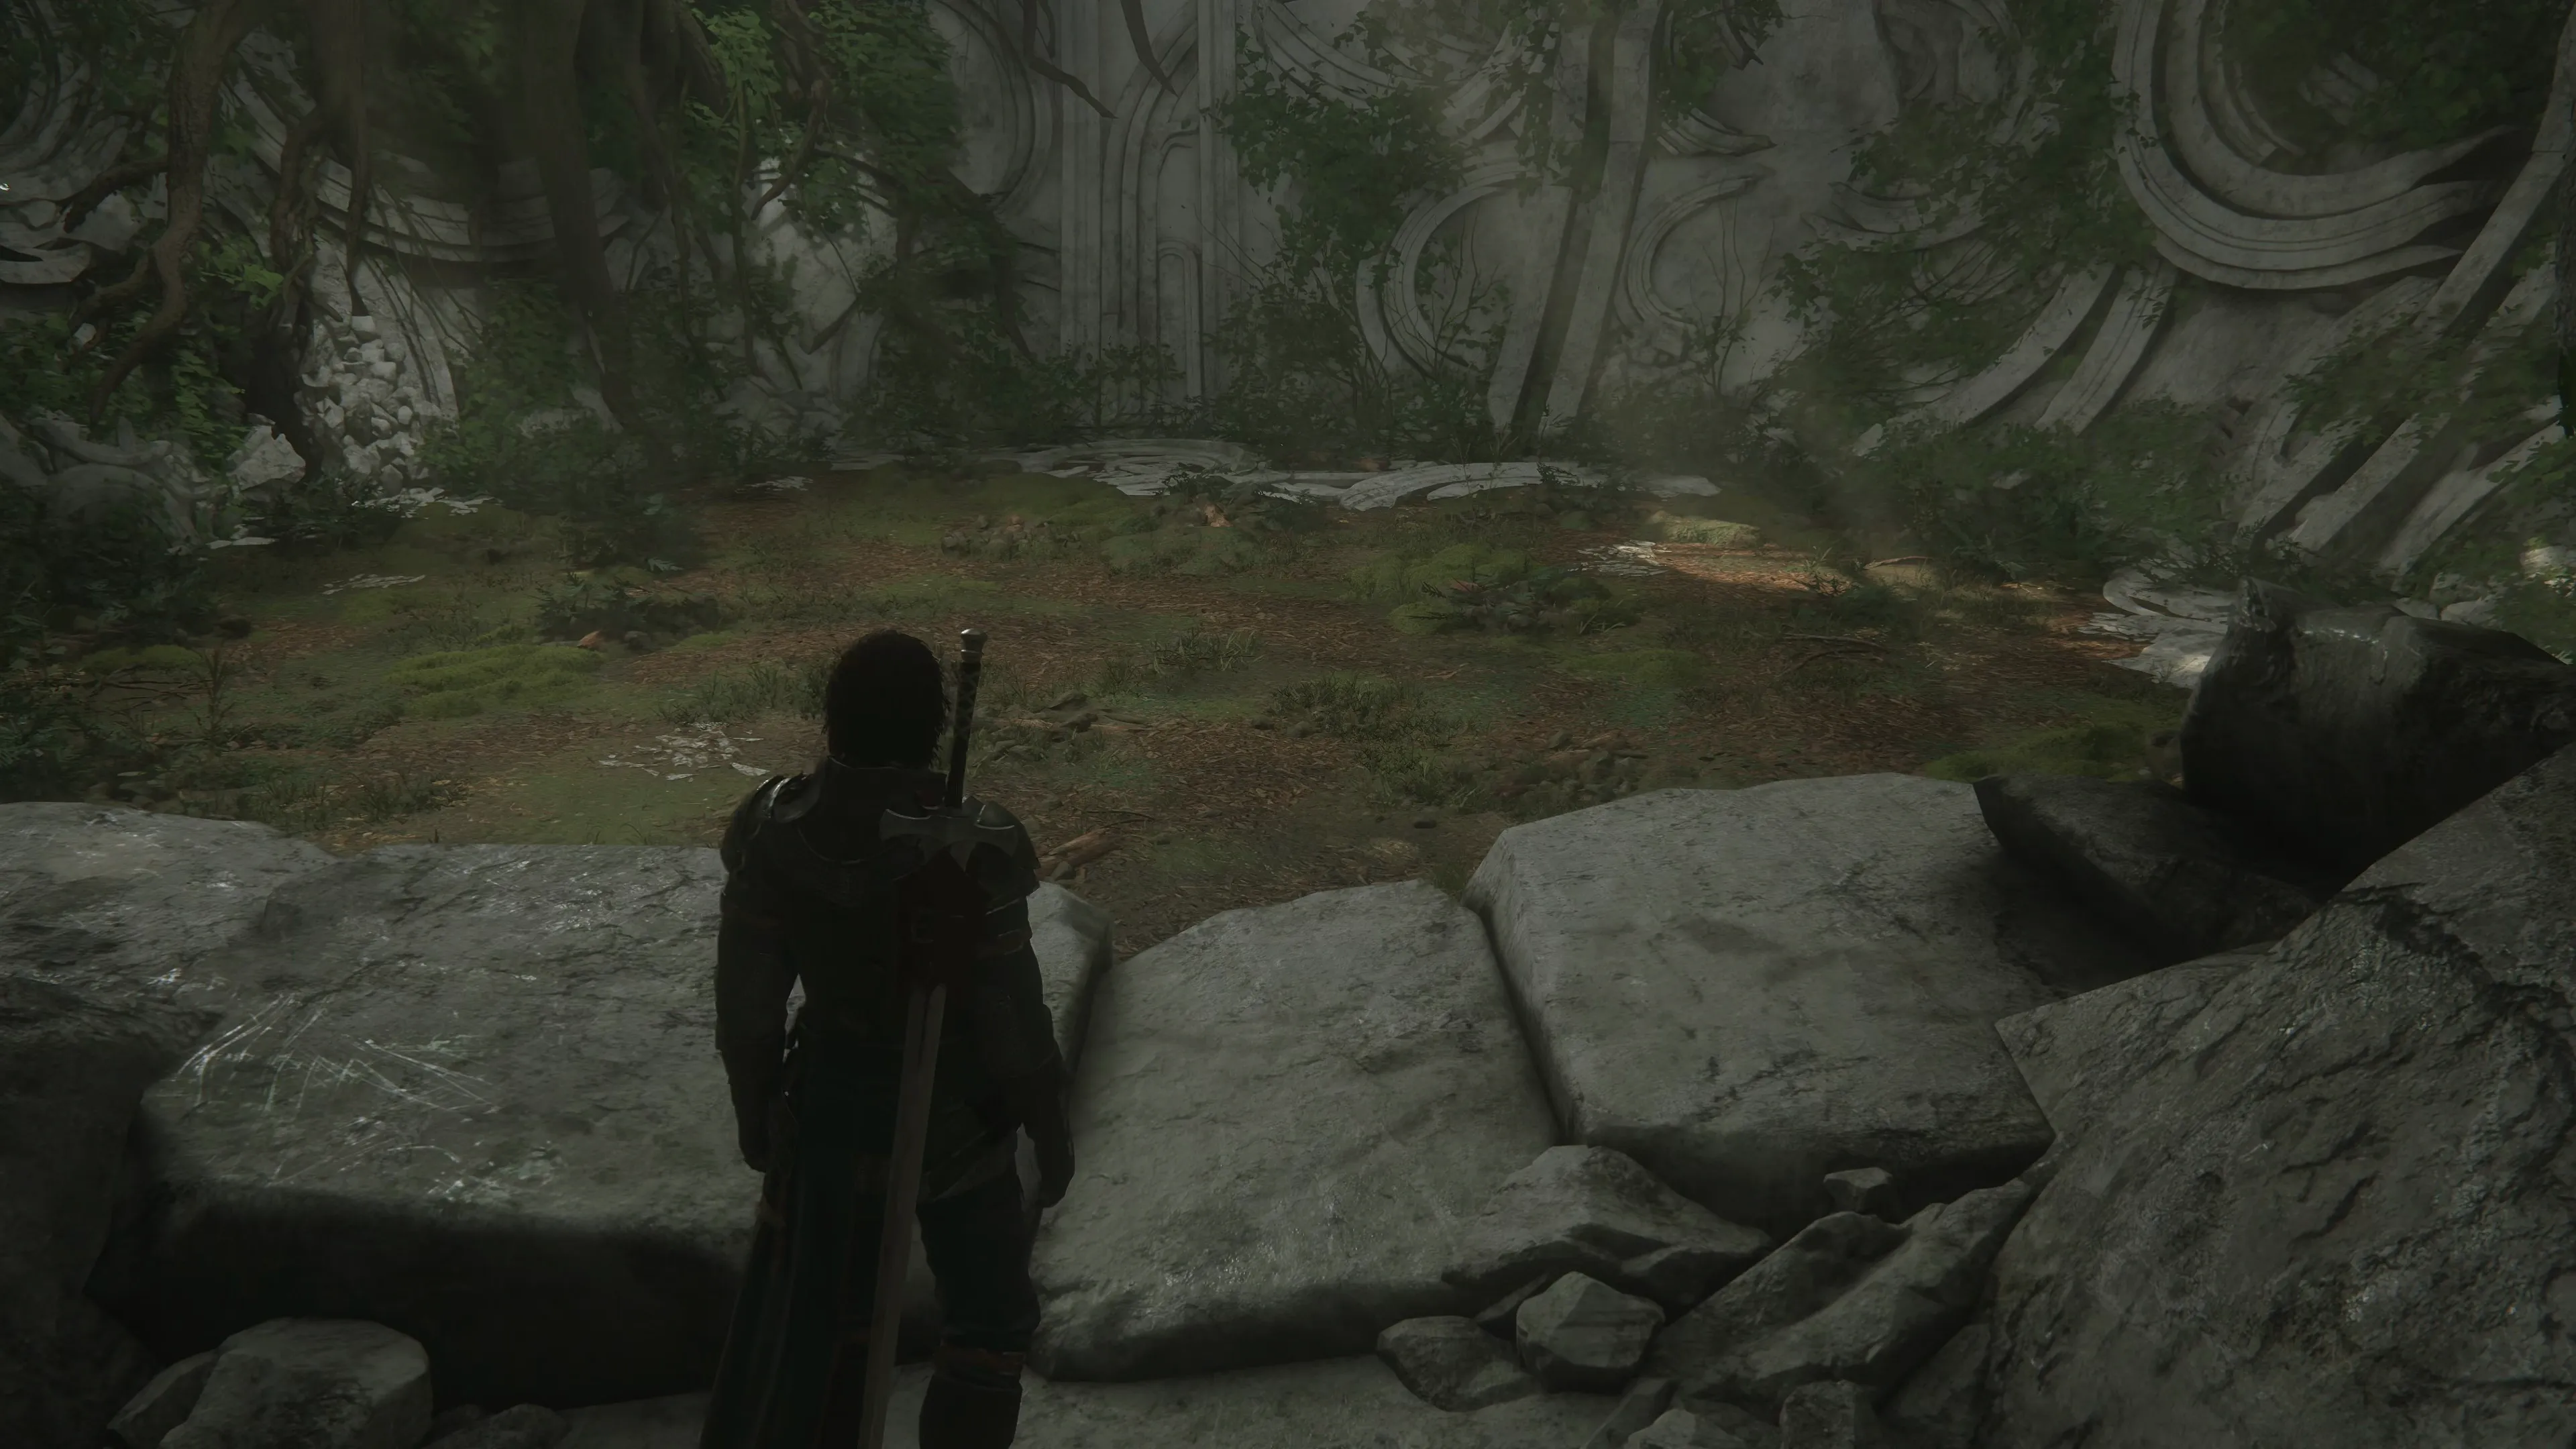
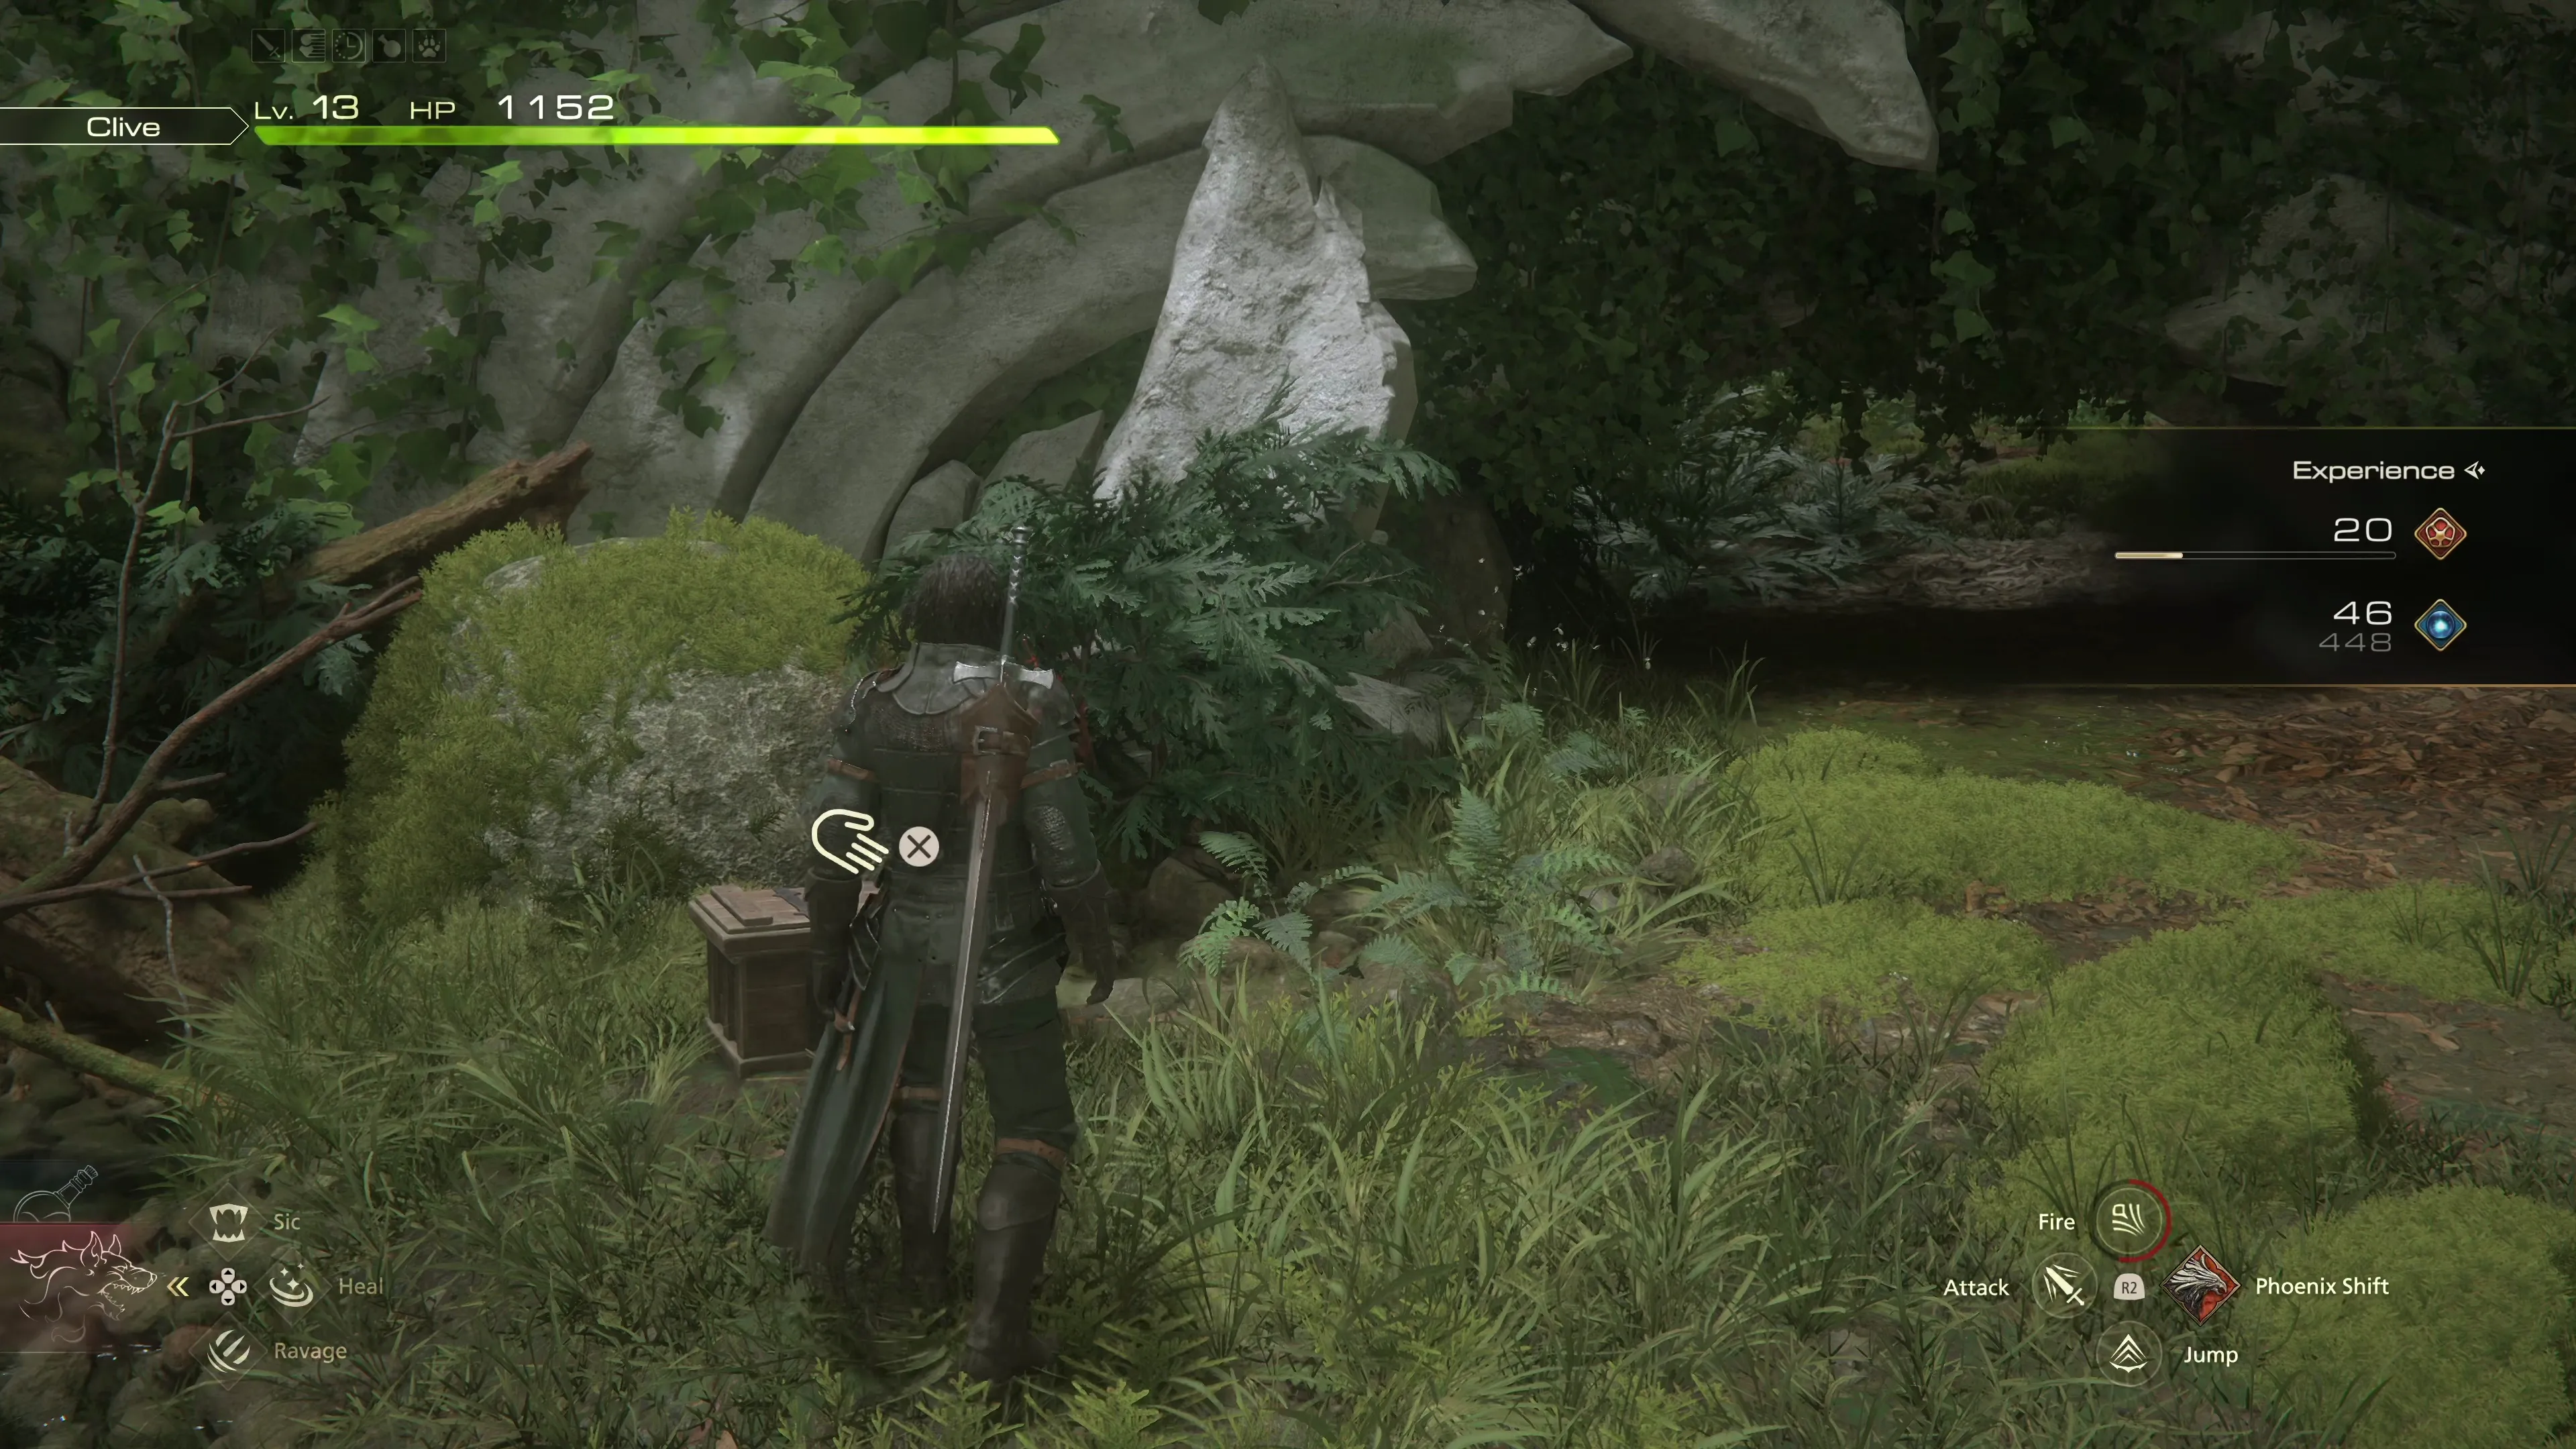
Defeat the group of Worgens and the Dragon Aevis. There’s a nearby treasure coffer that contains a ![]() Flawless Meteorite. Consider saving your game, then sneak under the ruins and into the next section of the path. Another cutscene will play before you fight your next mini-boss.
Flawless Meteorite. Consider saving your game, then sneak under the ruins and into the next section of the path. Another cutscene will play before you fight your next mini-boss.
Boss Battle
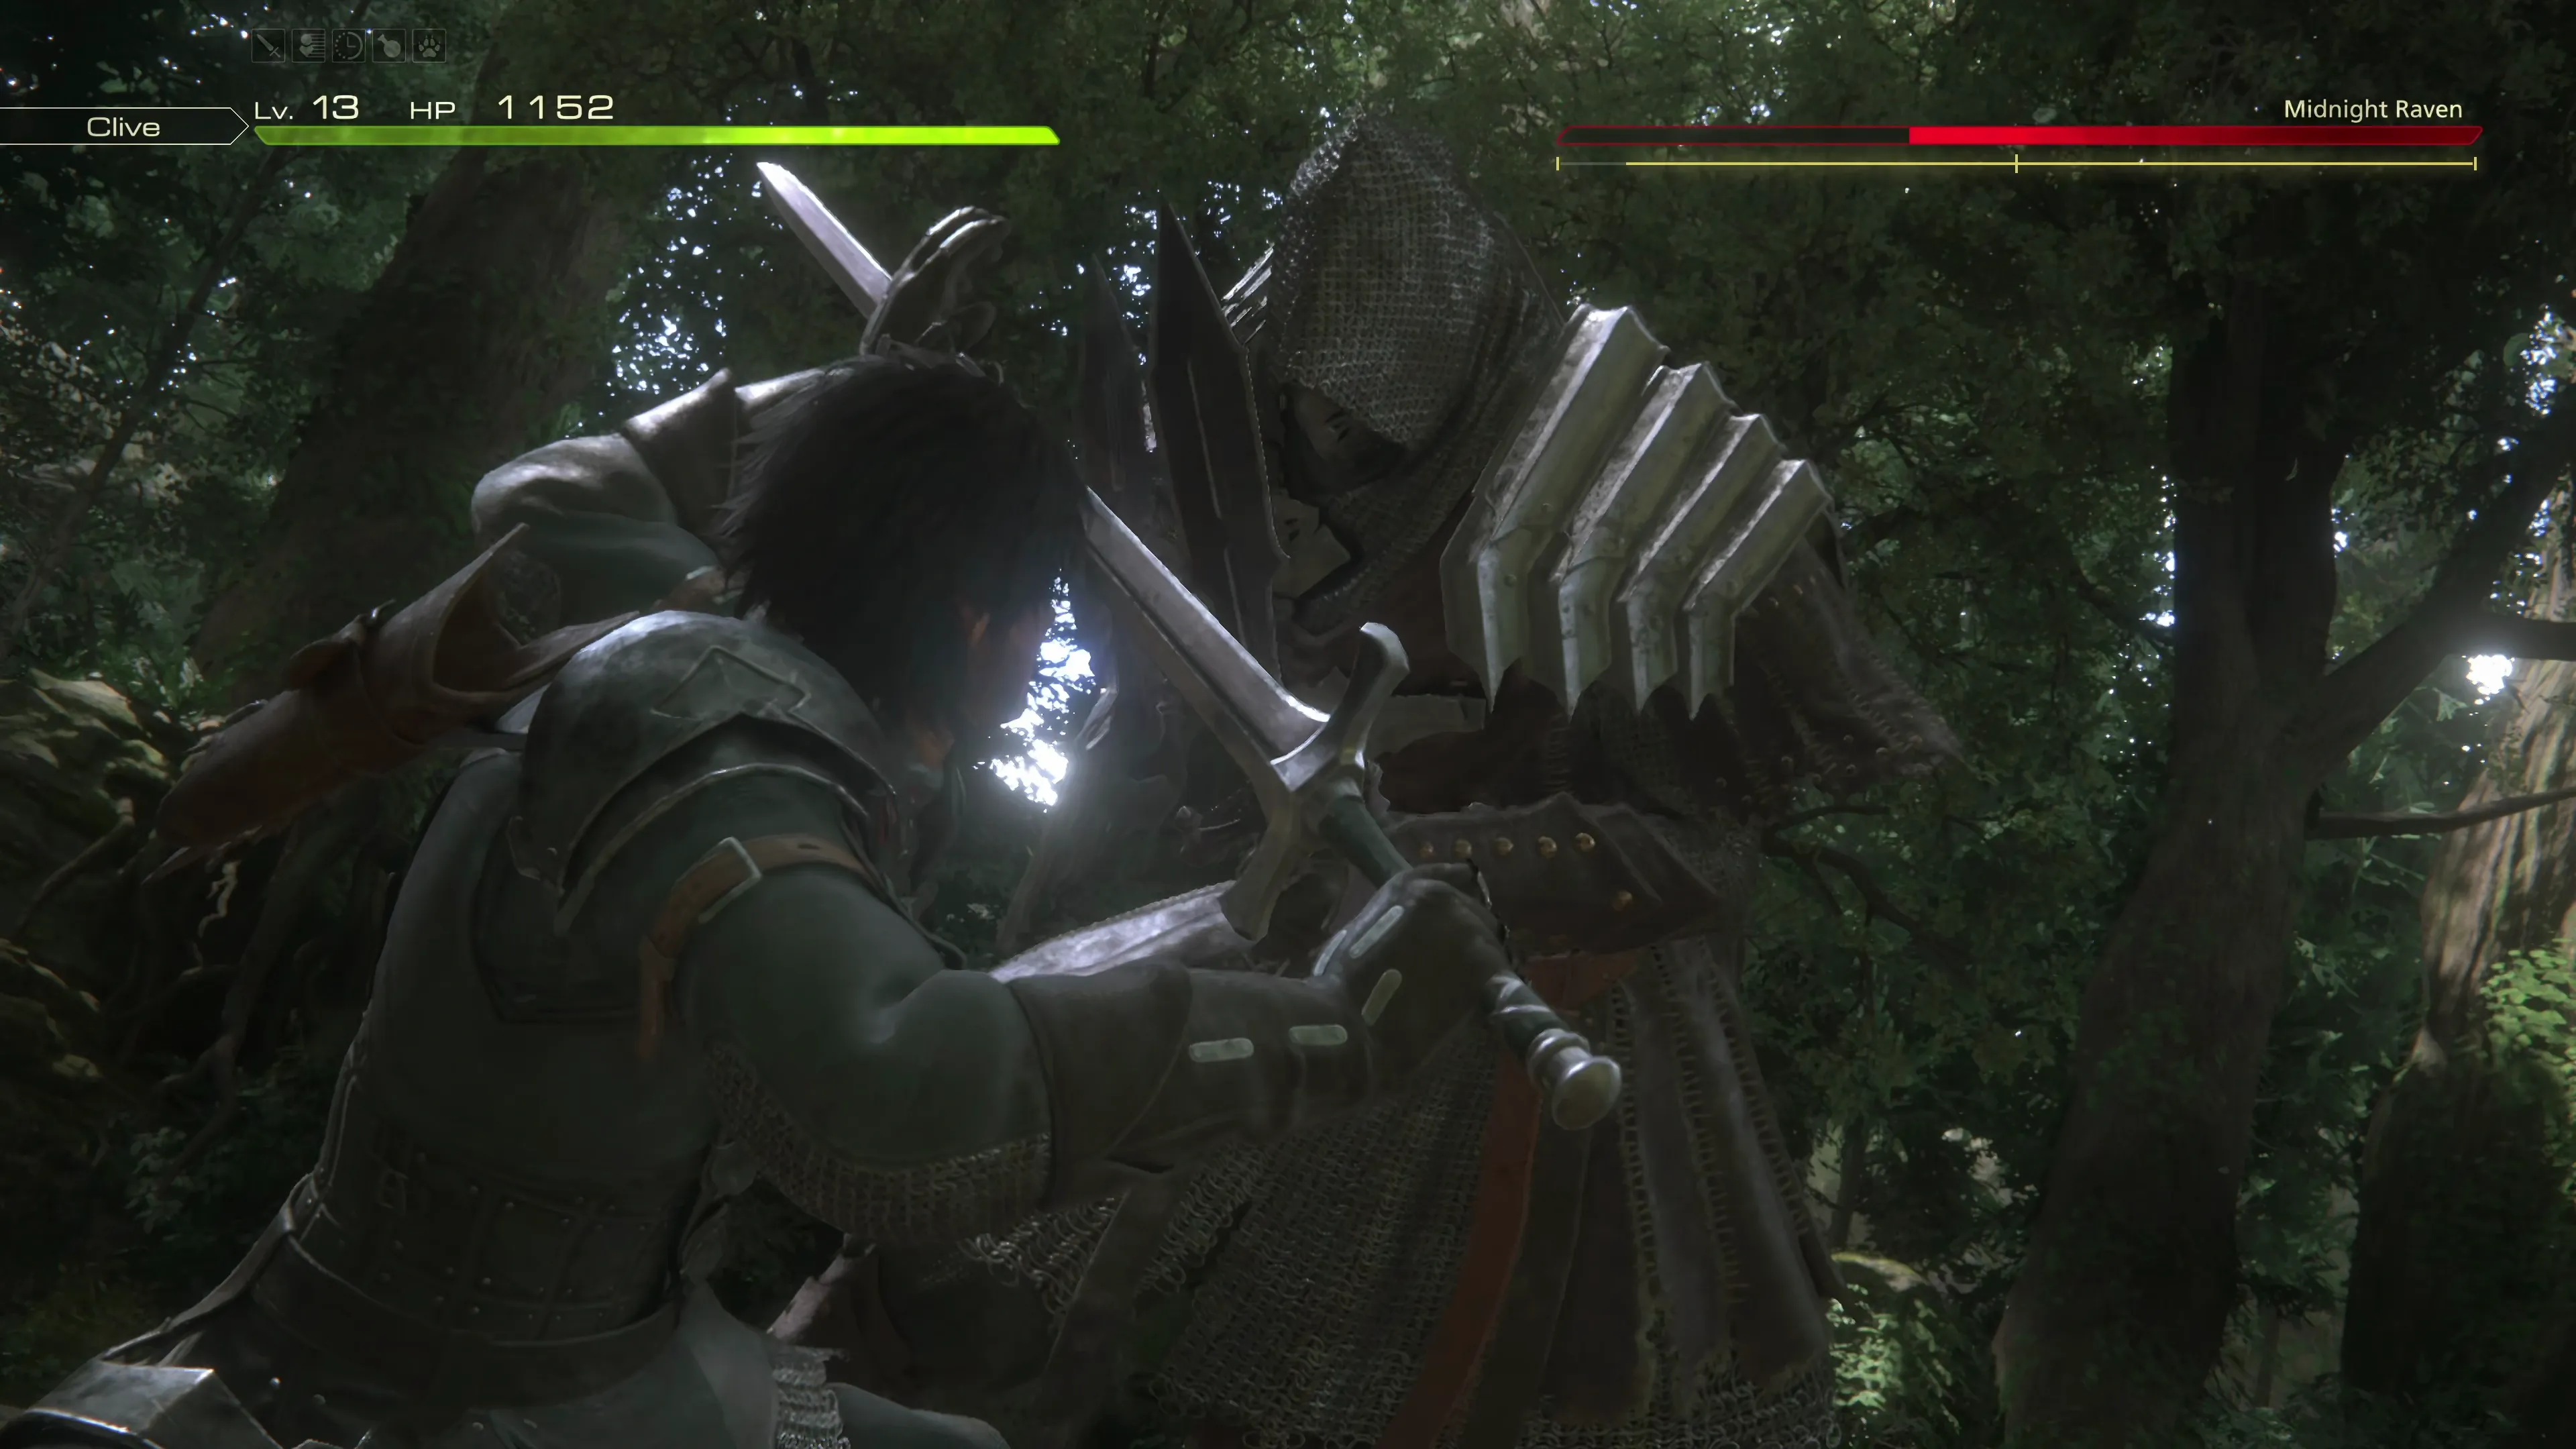
Two Royal Sigfreyr enemies accompany the Midnight Raven at the start of the battle. You can focus your efforts on the Midnight Raven directly and let Cid and Torgal take out the adds, or join them so that you can quickly get the extra enemies dispatched before moving on to the main boss. Midnight Raven tends to attack a bit less when you are not focused on him and while his friends are active.
You will eventually be facing many of these Ninja-type enemies, so this is a good opportunity to get used to fighting them. Midnight Raven has the following attacks:
![]() Lunge (Close-range):
Lunge (Close-range):
Midnight Raven will cartwheel backwards briefly, which gives you a visual indicator that an attack is coming, before launching forward with his swords.
![]() Launch (Long-range):
Launch (Long-range):
Midnight Raven will disappear into a puff of smoke and lunge forward to Clive’s location. Press the ![]()
![]()
![]() button to dodge as soon as you see him disappear from the screen, as he will be reappearing very quickly. When he becomes visible again, he will attack with a short combo, and you’ll need to dodge both attacks. Once his combo is complete, he will stand there stunned for a while, which is a good opportunity to get a few attacks in.
button to dodge as soon as you see him disappear from the screen, as he will be reappearing very quickly. When he becomes visible again, he will attack with a short combo, and you’ll need to dodge both attacks. Once his combo is complete, he will stand there stunned for a while, which is a good opportunity to get a few attacks in.
![]() Raiton:
Raiton:
Three glowing charges will appear on the ground where Clive is standing. Move away from these highlighted spots quickly before they explode.
![]() Katon:
Katon:
Midnight Raven will spew fire breath directly in front of himself. Dodge to the left or right of it using the ![]()
![]()
![]() button (this attack is pretty easy to dodge).
button (this attack is pretty easy to dodge).
![]() Futon:
Futon:
Midnight Raven will disappear into a puff of smoke, launching himself up into the air, and will land roughly where Clive is standing when he launches. Just run away from your current position to dodge the attack.
![]() Assassinate:
Assassinate:
Probably the most challenging of Midnight Raven’s attacks, simply because of how quickly he launches into it. Midnight Raven will almost immediately launch towards Clive, throwing him into an aerial combo and dealing a high amount of damage. As soon as you see the words “Assassinate” on the screen, you should be spamming the ![]()
![]()
![]() button to constantly dodge and ensure that it misses him.
button to constantly dodge and ensure that it misses him.
The Midnight Raven tends to enjoy encircling you from a distance before launching into an attack. This will give you plenty of time throughout the battle to use ![]() Magic and
Magic and ![]() Charged Magic from a distance. And remember to send in Torgal with
Charged Magic from a distance. And remember to send in Torgal with ![]()
![]()
![]() and
and ![]()
![]()
![]() to get some additional damage while he’s far away.
to get some additional damage while he’s far away.
Two cinematic clashes take place during this fight. The first one occurs when Midnight Raven reaches 60% HP, and the second is at 10% HP (which will end the fight). During these clashes, press the ![]()
![]()
![]() button rapidly.
button rapidly.
Here is a quick video demonstrating how to complete this fight.
90
1,500
180
3,000
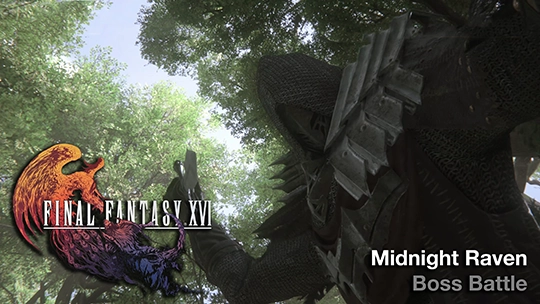
A video demonstration of how to successfully complete the fight against Midnight Raven.
Warning
As noted in the Achievement/Trophy window below, this is technically the first boss you face where you have the opportunity to obtain the “You’re Not the Boss of Me” Achievement/Trophy. This is also the first boss you face where you can earn a Medal of Valor for not taking any damage—in other words, two rewards if you’re able to achieve this.
However, if this is your first playthrough of the game, it is highly recommended that you not burden yourself with trying to obtain the Medals of Valor items yet. They are identified in this guide for completionists and for those who may have already played through the game, and they are much easier to earn after you have already completed a regular playthrough and/or completed “hard mode” (Final Fantasy Mode).
To repeat, ignore the Achievement/Trophy note below, as well as any references this guide makes to Medals of Valor, if this is your first time playing the game.
Achievement/Trophy
Defeat the Midnight Raven without taking any damage. The You’re Not the Boss of Me Achievement/Trophy can be earned on other bosses and is much easier to earn later on in the game. You’ll also receive the ![]() Medal of Valor - Midnight Raven for completing this task.
Medal of Valor - Midnight Raven for completing this task.
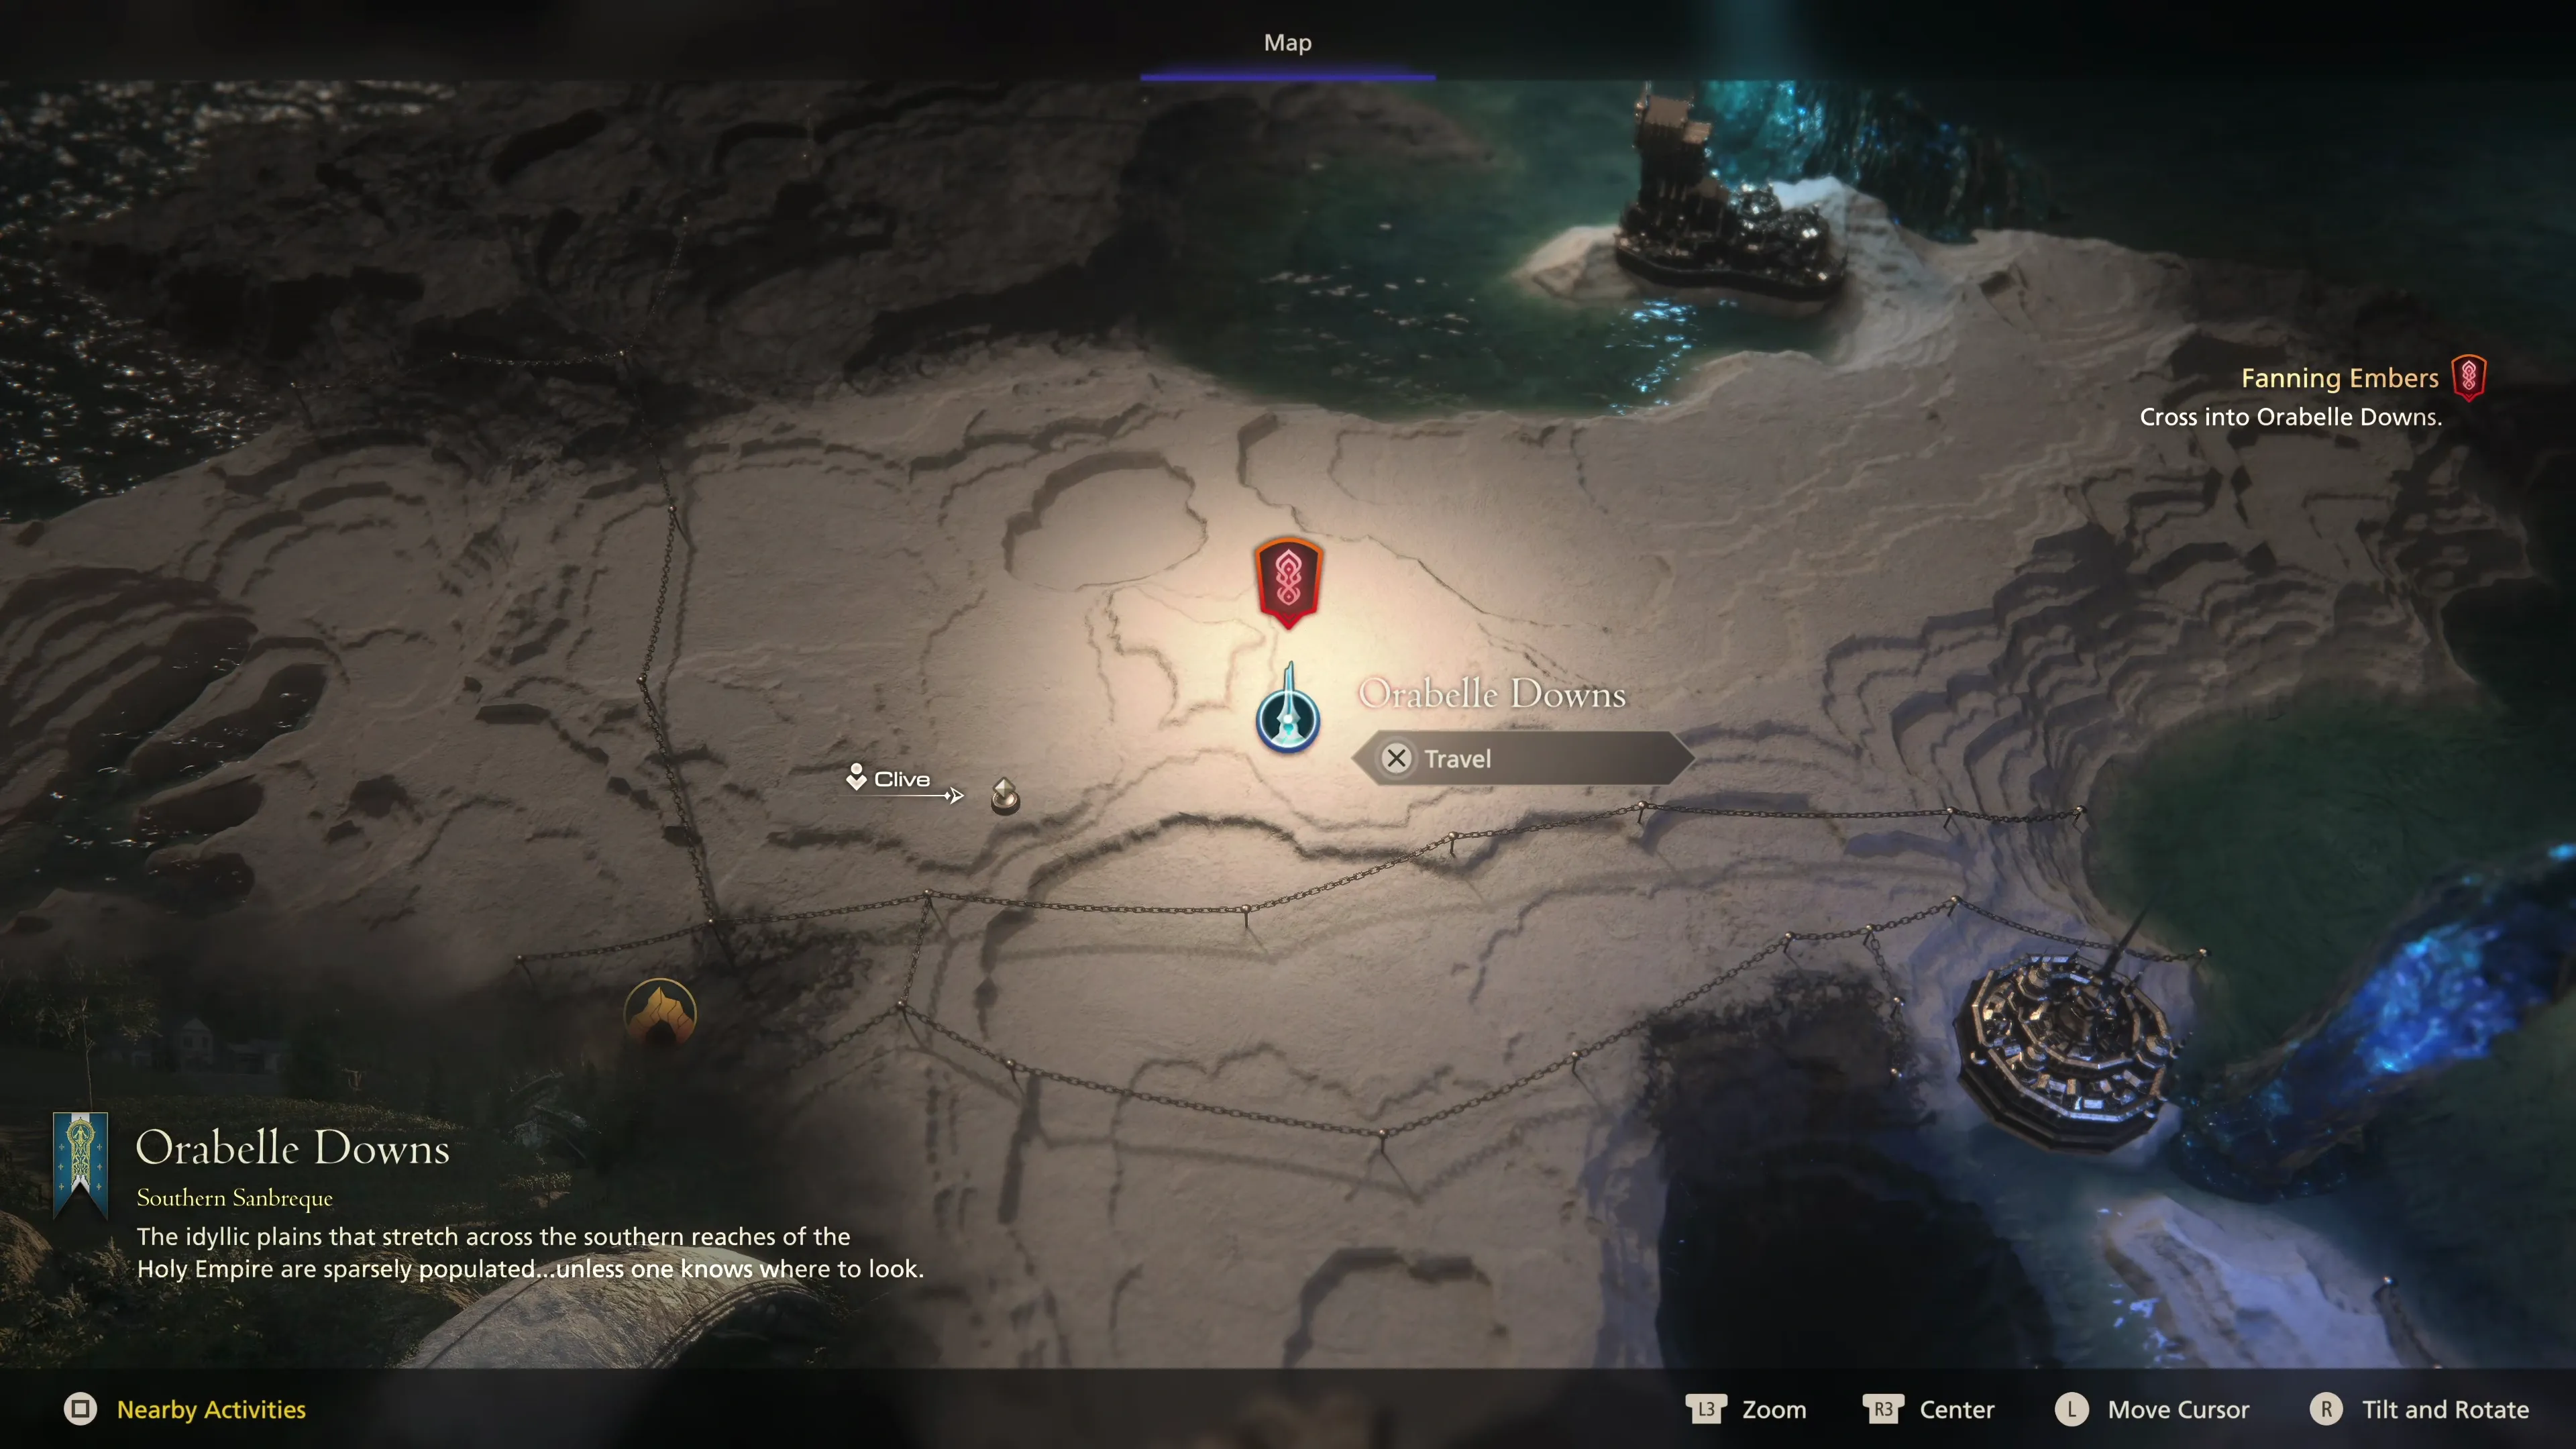
After the cutscenes, the next ![]() Obelisk that pops up on the World Map is for Orabelle Downs, but you should take a quick break to return to the Hideaway first.
Obelisk that pops up on the World Map is for Orabelle Downs, but you should take a quick break to return to the Hideaway first.
Hideaway
This pitstop at the Hideaway will allow us to restock Clive’s inventory before the next round of battles. Speak to Charon at ![]() Charon’s Toll and buy
Charon’s Toll and buy ![]() Potions and
Potions and ![]() High Potions if you are running low, and then purchase:
High Potions if you are running low, and then purchase:
| Cost | |
|---|---|
| 700 |
|
| 630 |
|
| 680 |
Then head over to Blackthorne and reinforce your newly purchased gear:
| Materials | |
|---|---|
We don’t have the materials we need to upgrade ![]() Traveler’s Bands +1 into
Traveler’s Bands +1 into ![]() Traveler’s Bands +2 as we’re missing one extra
Traveler’s Bands +2 as we’re missing one extra ![]() Meteorite, but these upgrades will prove quite helpful.
Meteorite, but these upgrades will prove quite helpful.
Helpful Hint
You may have noticed this already, but the naming conventions for weapons and gear in their final upgraded form differ from other upgrades which just add +1, +2, etc. You can see an example of the updated naming conventions below. “Reforged” weapons and “Reinforced” gear are their final, most upgraded and powerful form:
Pull open the world map and select the ![]() Orabelle Downs Obelisk to continue with the next section of the game.
Orabelle Downs Obelisk to continue with the next section of the game.