
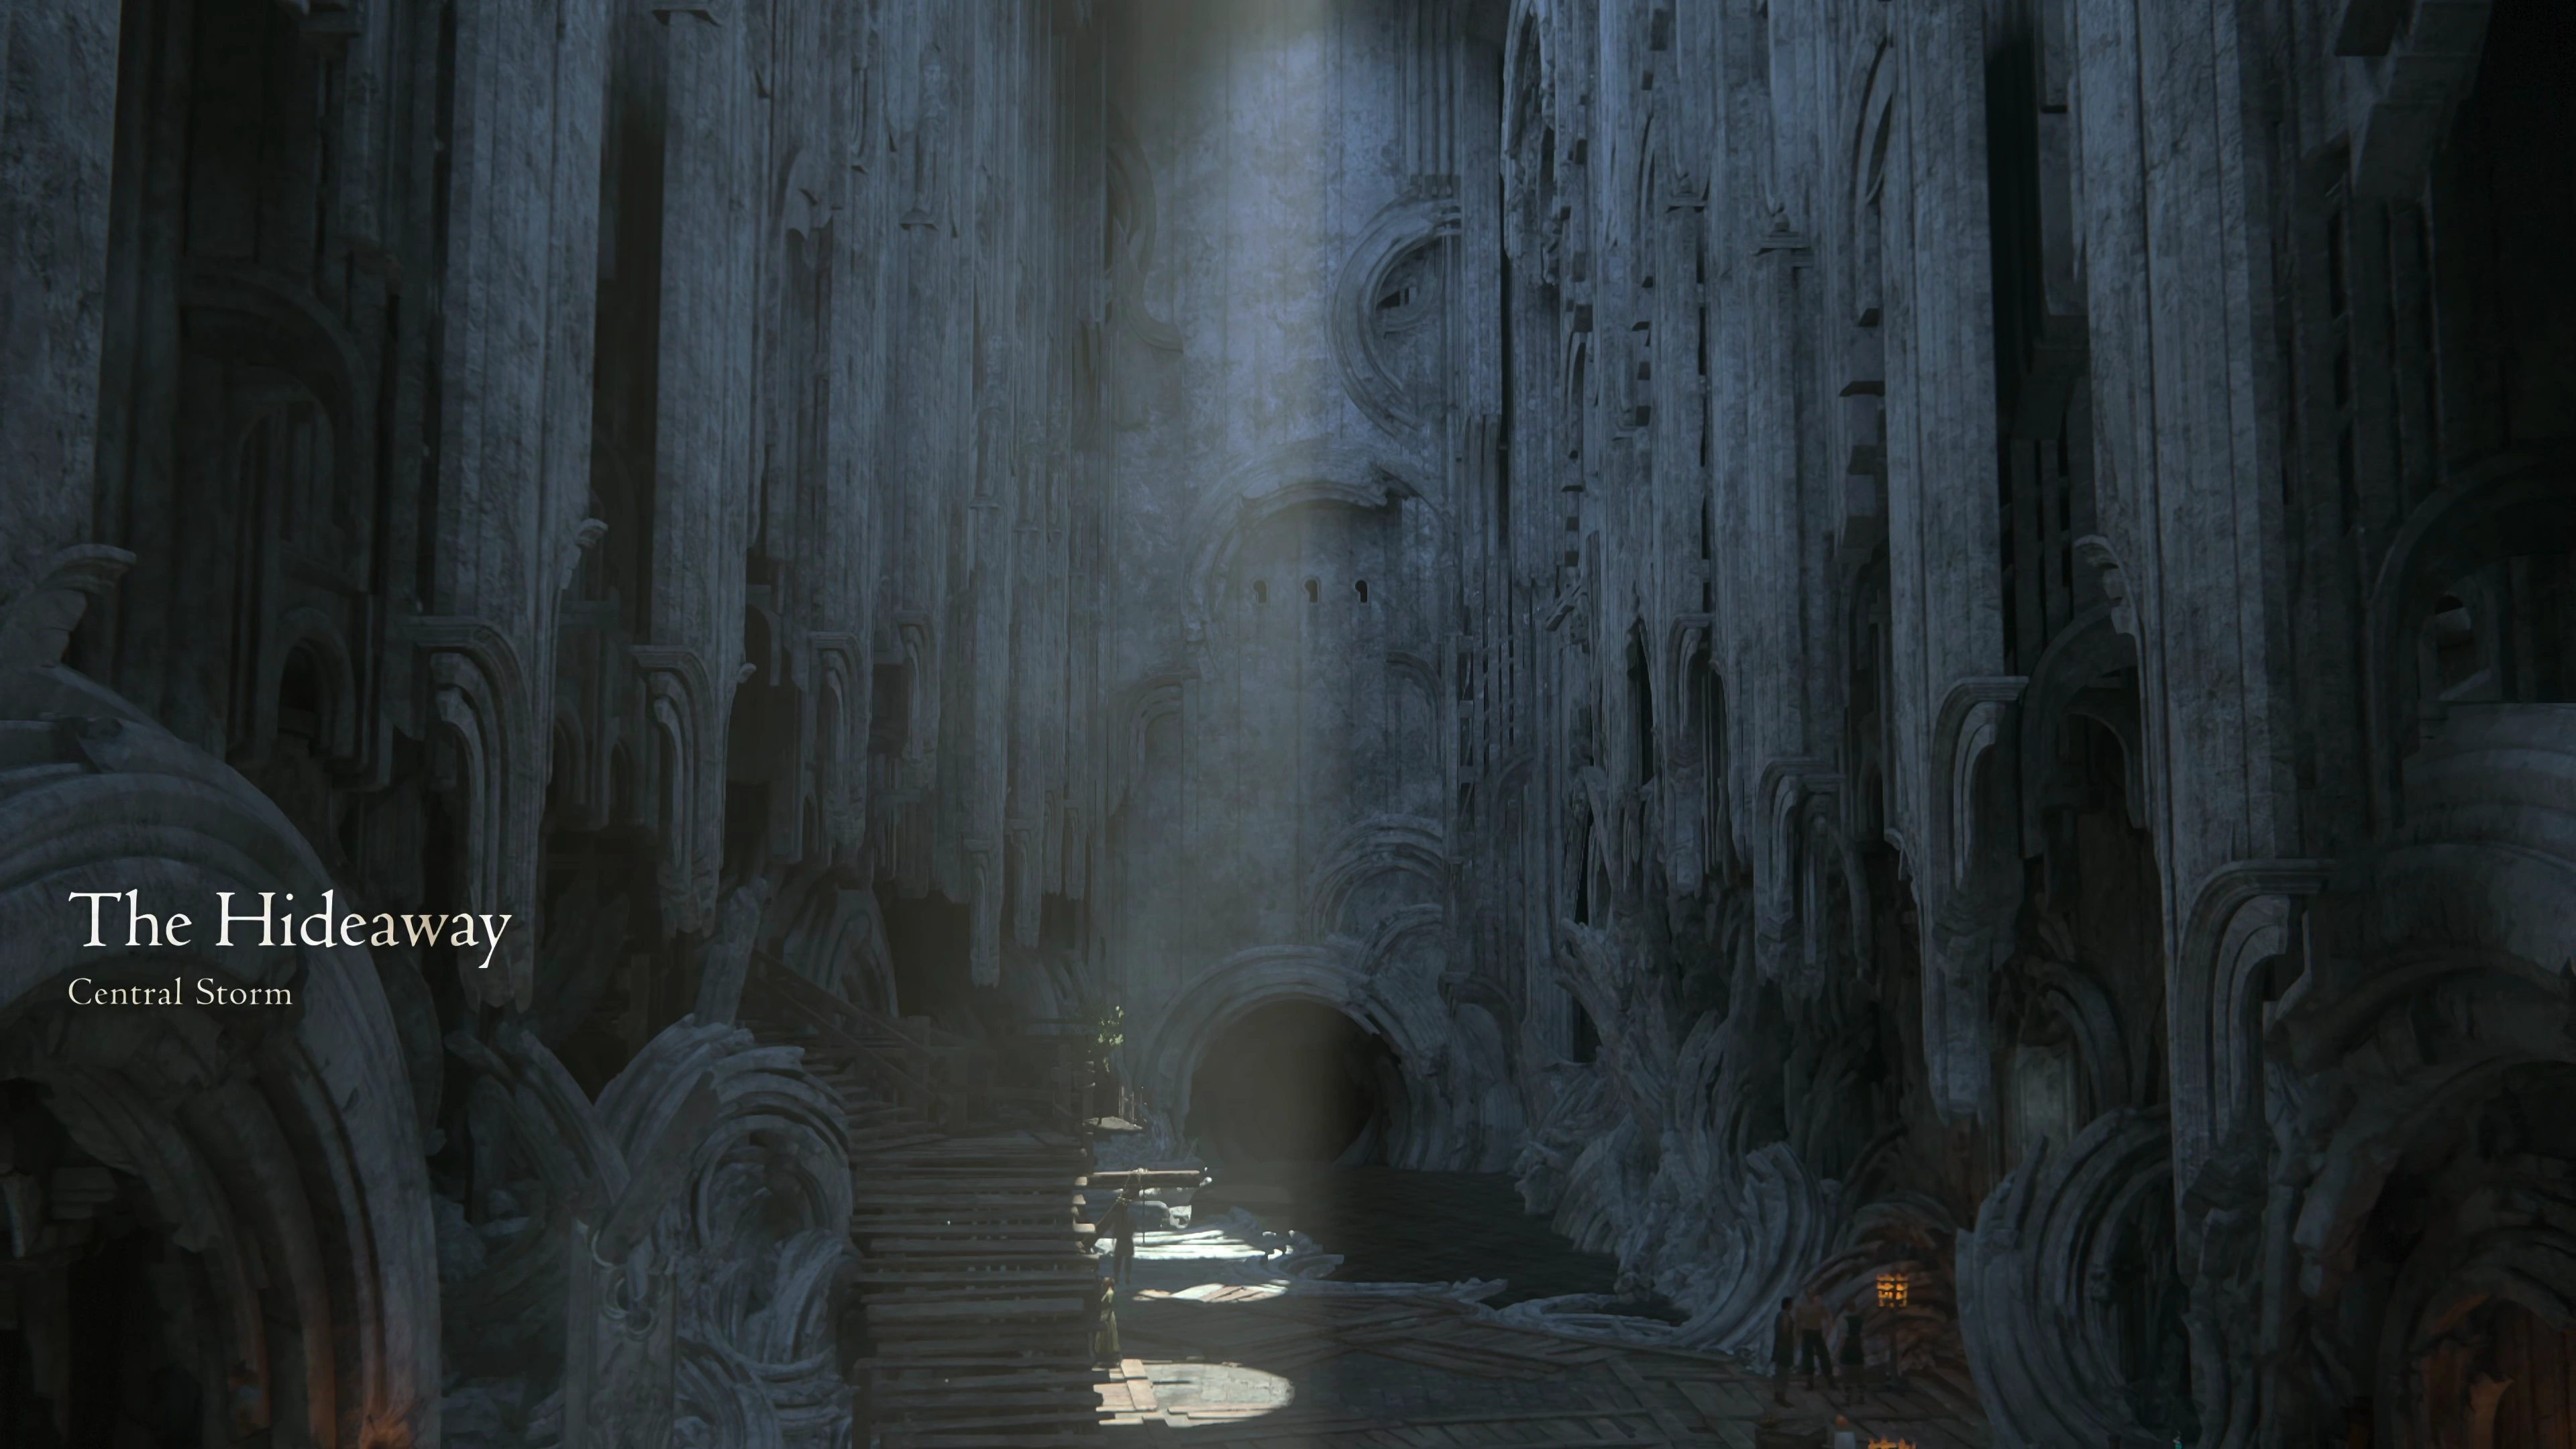
 Hide, Hideaway
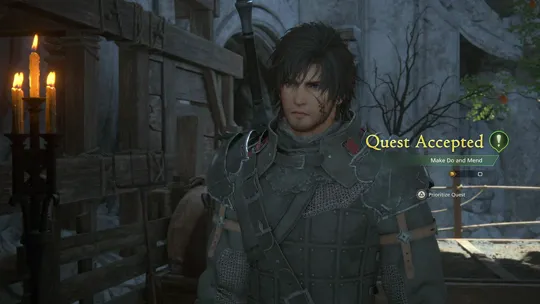
When you first arrive, Cid will suggest that you “have a look around,” but this is a bit of a tease because there isn’t anything that you can do in the Hideaway until you advance the Main Scenario Quest forward a bit. Travel up the stairs, following the Main Scenario icon, and speak to Cid in his chambers as the game suggests.
Cid’s Solar
Another cutscene will take place once Clive enters Cid’s Solar, and just like that, it’s time to exit and head back down to the main hall.
Clive will speak to Goetz to make ready for the upcoming mission. To help with this, Goetz will give Clive the ![]() Continental Rum key item and will ask Clive to go and speak with Blackthorne, the blacksmith. Blackthorne can be found just around the corner. Speak to him and provide him with the rum.
Continental Rum key item and will ask Clive to go and speak with Blackthorne, the blacksmith. Blackthorne can be found just around the corner. Speak to him and provide him with the rum.
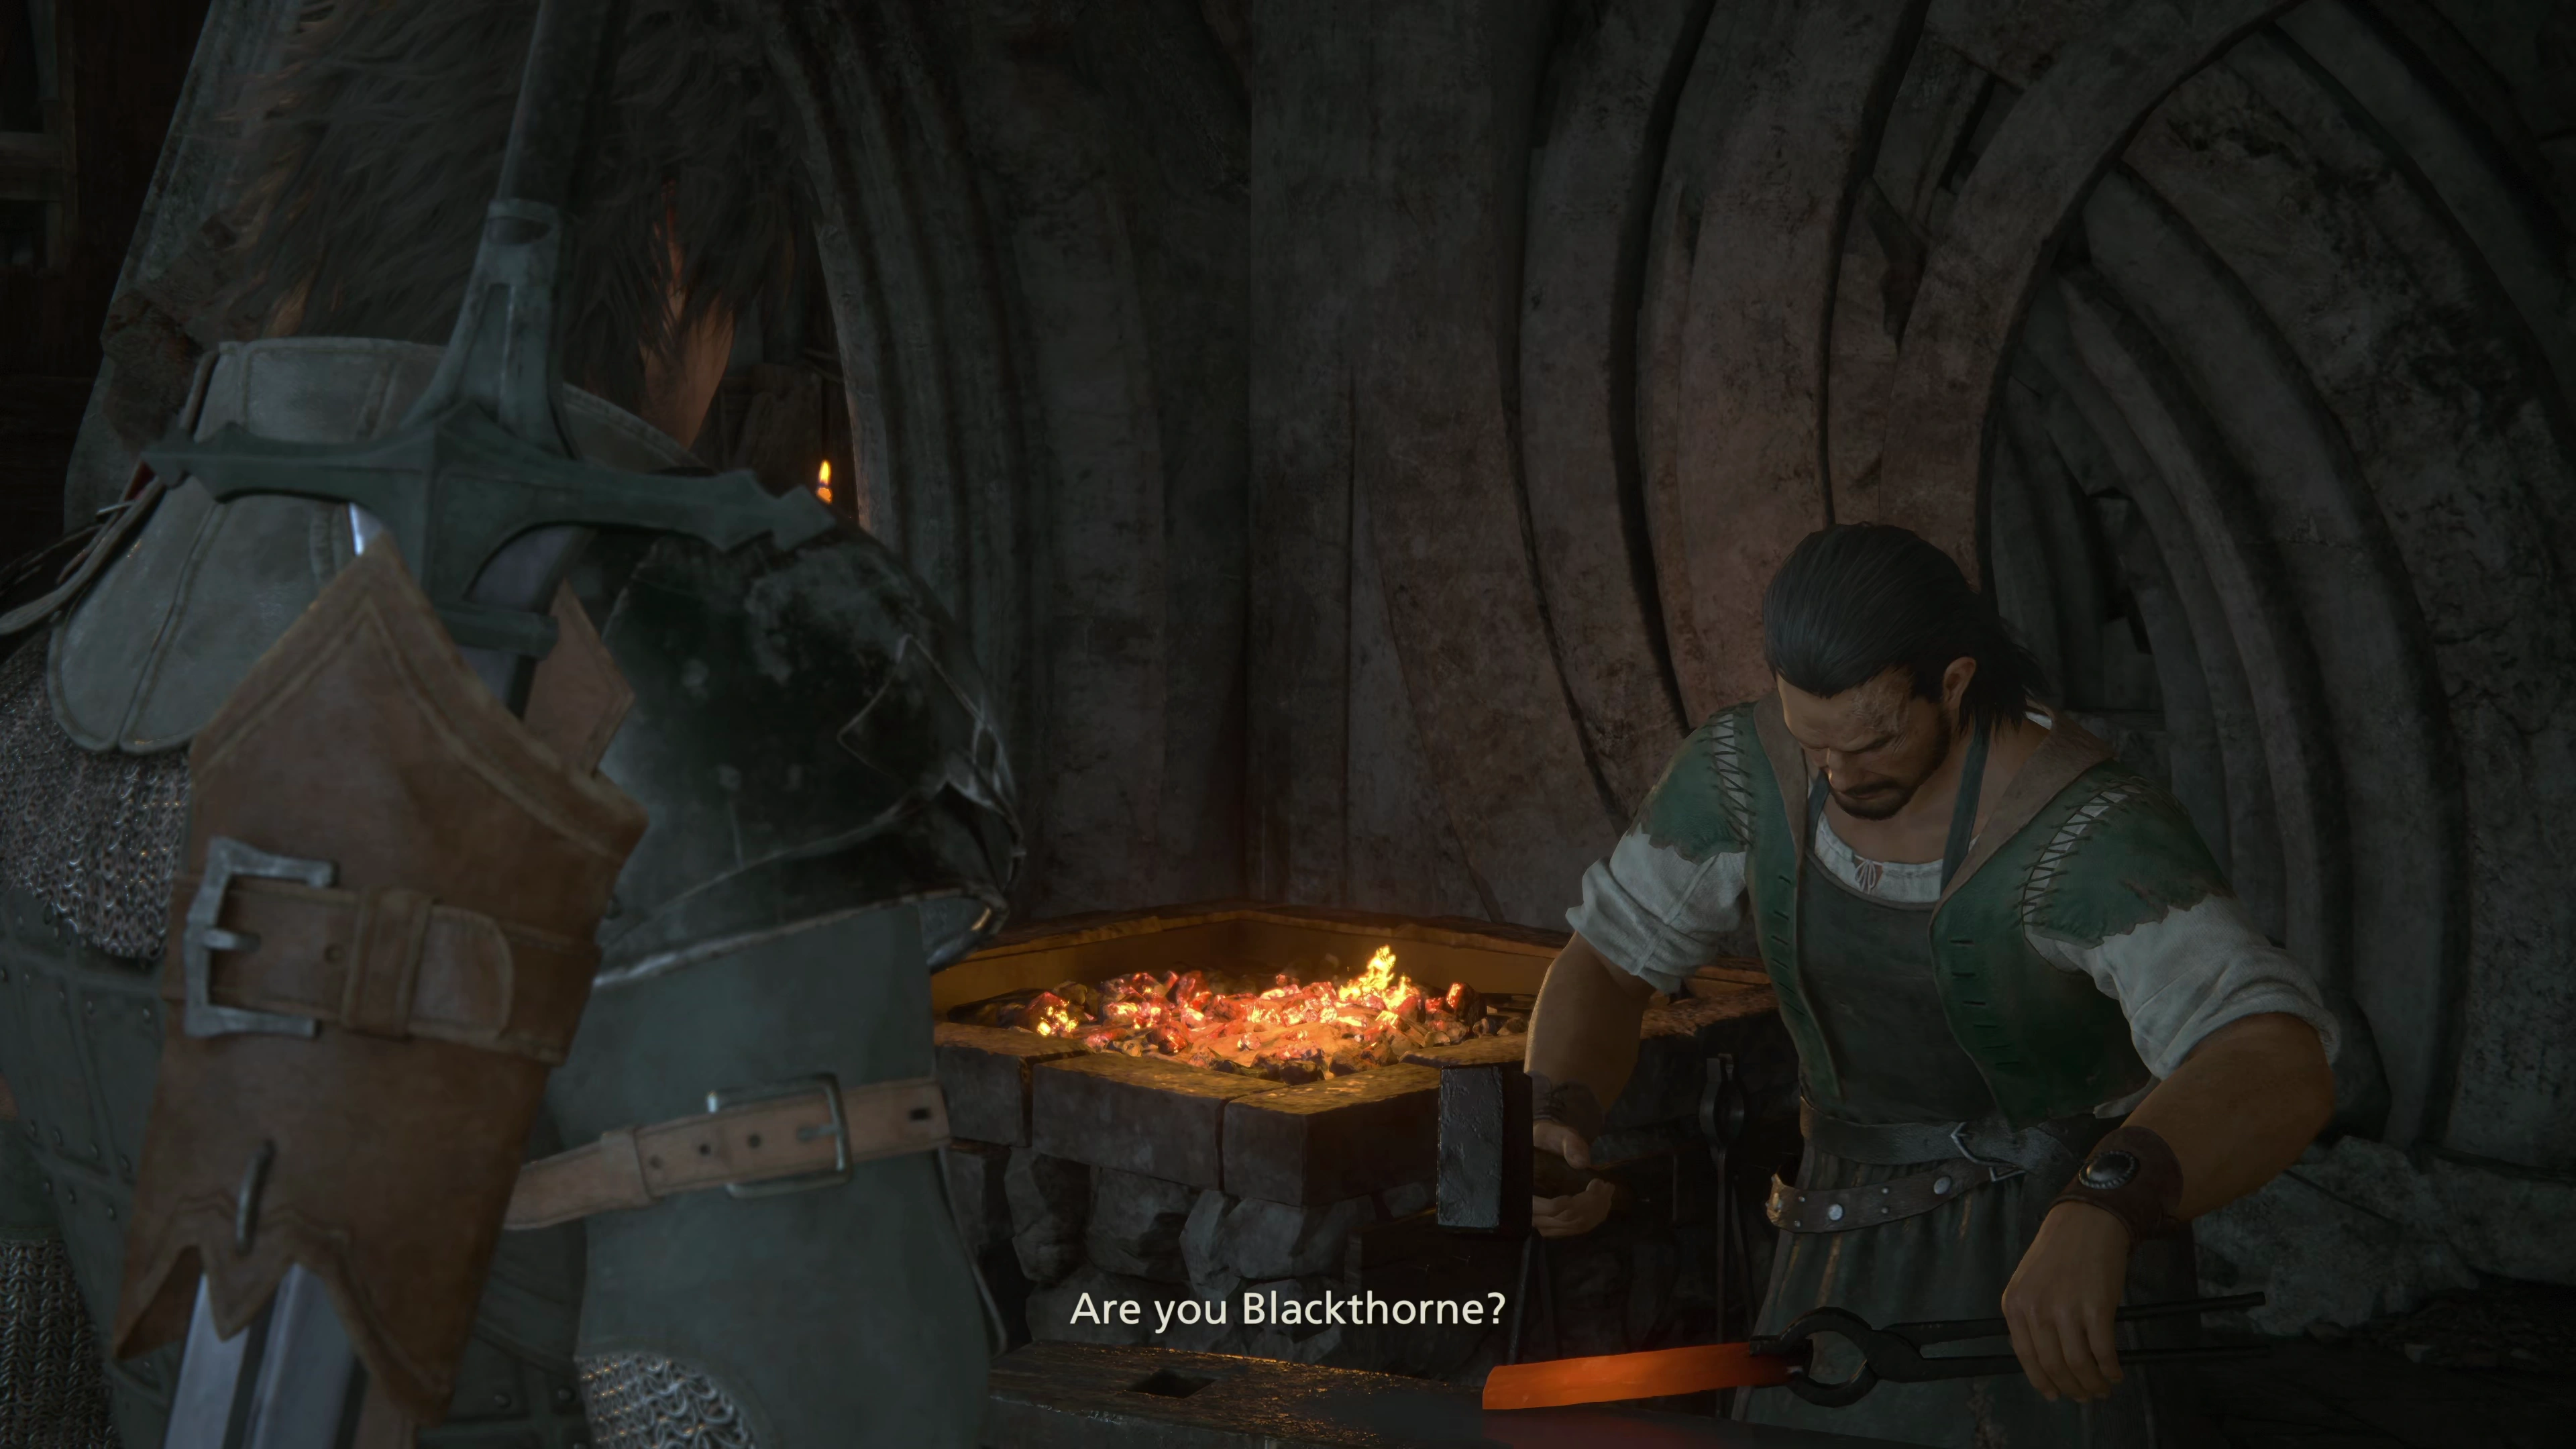
The game will give you a brief explanation of how forging works, and the reward for providing Blackthorne with the rum is that he will help Clive forge the ![]() Iron Belt +1 gear. Hold the
Iron Belt +1 gear. Hold the ![]()
![]()
![]() button to craft the belt. You can see from the item window on the right side of the screen that equipping this belt will increase Clive’s defense to 23. Once this is completed, select “yes” to equip the newly crafted item.
button to craft the belt. You can see from the item window on the right side of the screen that equipping this belt will increase Clive’s defense to 23. Once this is completed, select “yes” to equip the newly crafted item.
Helpful Hint
There are three methods for obtaining gear in Final Fantasy XVI:
- Finding it in a treasure coffer, or as spoils after a battle
- Crafting it at the forge
- Purchasing it at one of the shops
You won’t run into too many problems obtaining the right crafting materials or storing up a large amount of ![]() Gil (even if things are tight at the beginning of the game), but it is generally recommended that you purchase gear where possible instead of crafting it so that you can save your raw materials for reinforcing your gear instead.
Gil (even if things are tight at the beginning of the game), but it is generally recommended that you purchase gear where possible instead of crafting it so that you can save your raw materials for reinforcing your gear instead.
Purchase Gear => Reinforce that Gear
Always check to see if you can purchase gear from the shop instead of crafting it. In this case, you will be able to purchase much of the rest of the gear you need instead of having Blackthorne craft it.
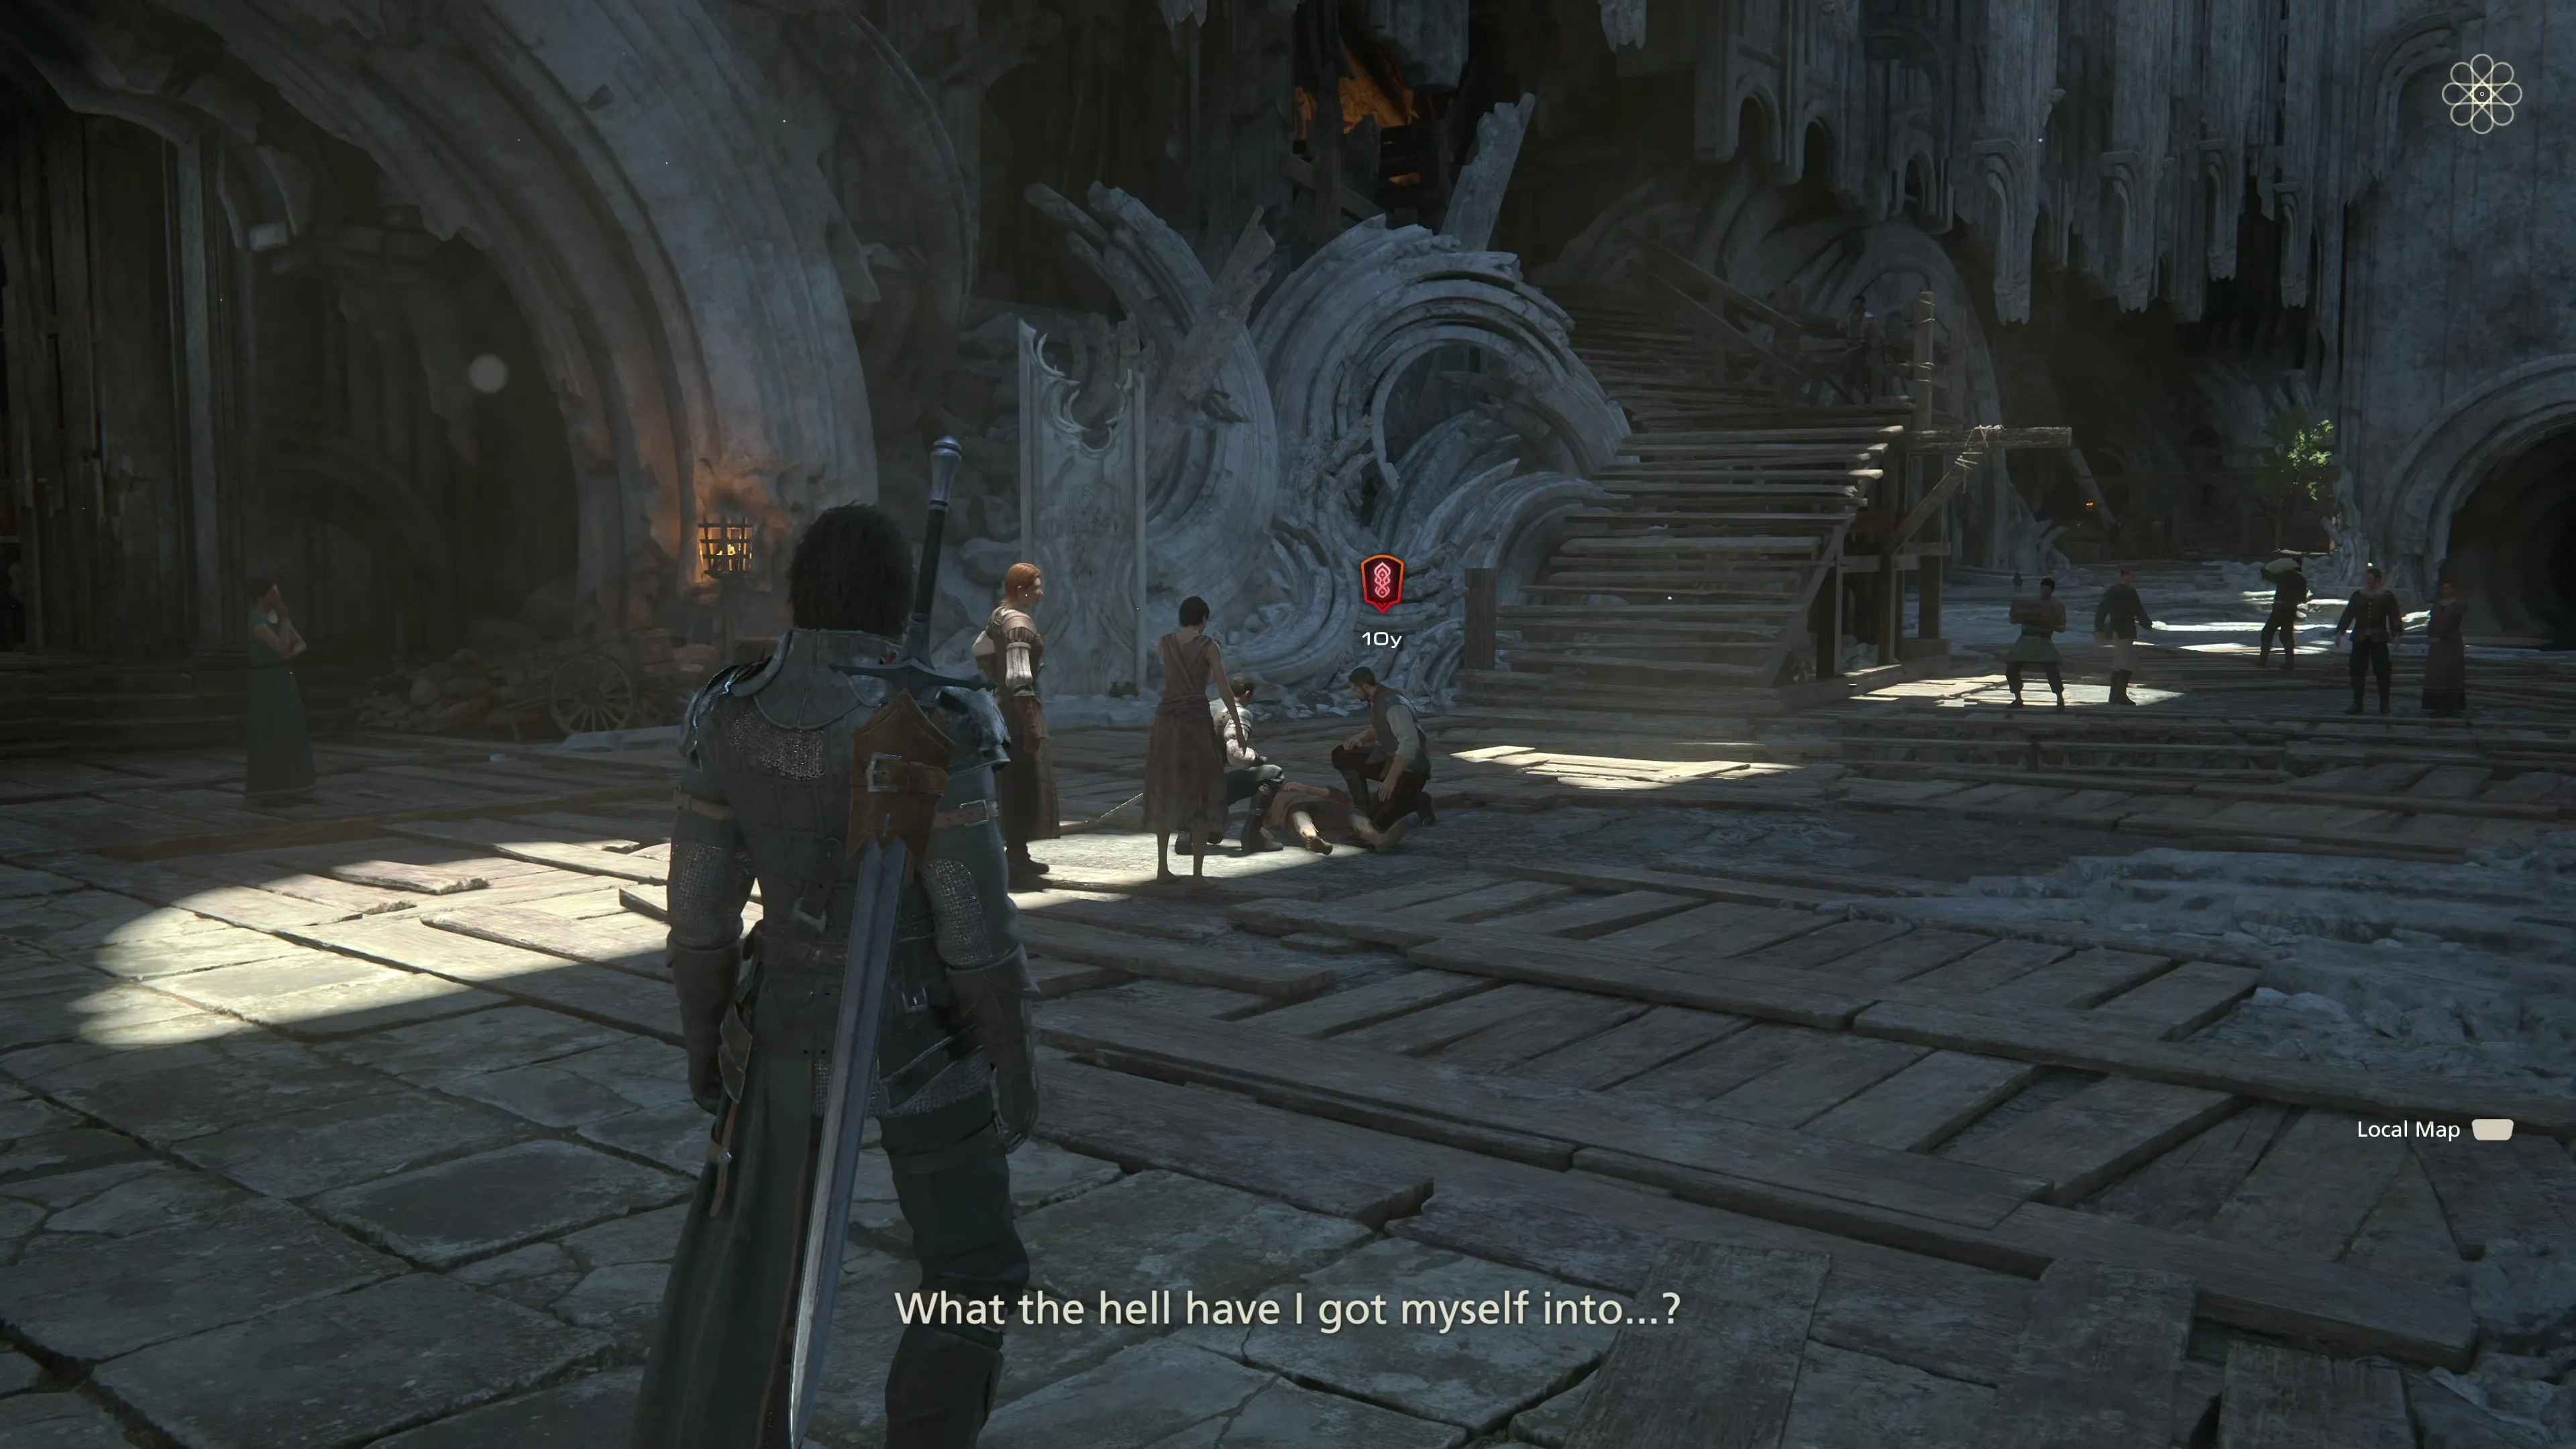
As noted in the Helpful Hint above, don’t have Blackthorne craft any additional gear just yet. Instead, wander back over and have Clive speak to Goetz. A cutscene will trigger with Goetz taking off. Speak to the “Curmudgeon” in the center of the Hideaway to continue, and then head up the stairs to speak to Tarja.
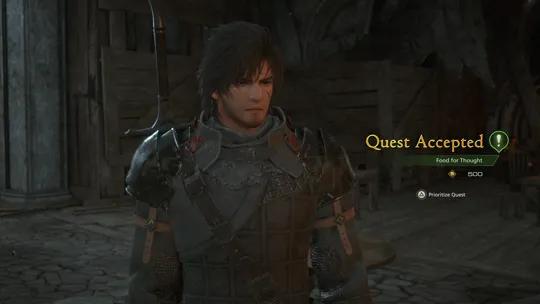
Sidequests Unlocked
Now that side quests have been unlocked, it’s worth briefly going over the different types of quests in Final Fantasy XVI to be clear on the terminology, especially if you’ve used other Jegged.com walkthroughs in the past. Check out the Helpful Hint below.
Helpful Hint
There are three different types of quests in Final Fantasy XVI:
- Main Scenario Quest: This is the “main scenario” of the game, which you can easily distinguish using the red marker on the screen . It will sometimes be referred to as just the “story” itself.
- Optional Quest: These are the in-game side quests that have just been unlocked that the game calls “Sidequests.” They are marked with green icons in the game and have their own “Optional Quest” page in the Optional Quests section.
- Side Quests: So what’s the difference between Optional Quests and Side Quests? “Side Quests” refer to the non-mandatory endgame and extra content included with the game, such as the Arete Stone, Kairos Gate, and more. You don’t need to know about each of the side quests just yet, but just remember that when this guide refers to “Optional Quests,” it’s referring to the quests that quest givers with these green icons initiate:
Optional Quests: — ![]()
![]()
![]()
There are two “Optional Quests” that you can complete now before speaking to Charon or leaving the Hideaway. Use the links below for more information on each of them.
Optional Quest
“Kenneth asks Clive to help him in his work by delivering food to some of the hideaway’s residents. Three hungry customers await…”
Optional Quest
“Geoffroy, the hideaway’s head carpenter, needs Clive to fetch him some wood with which to make repairs.”
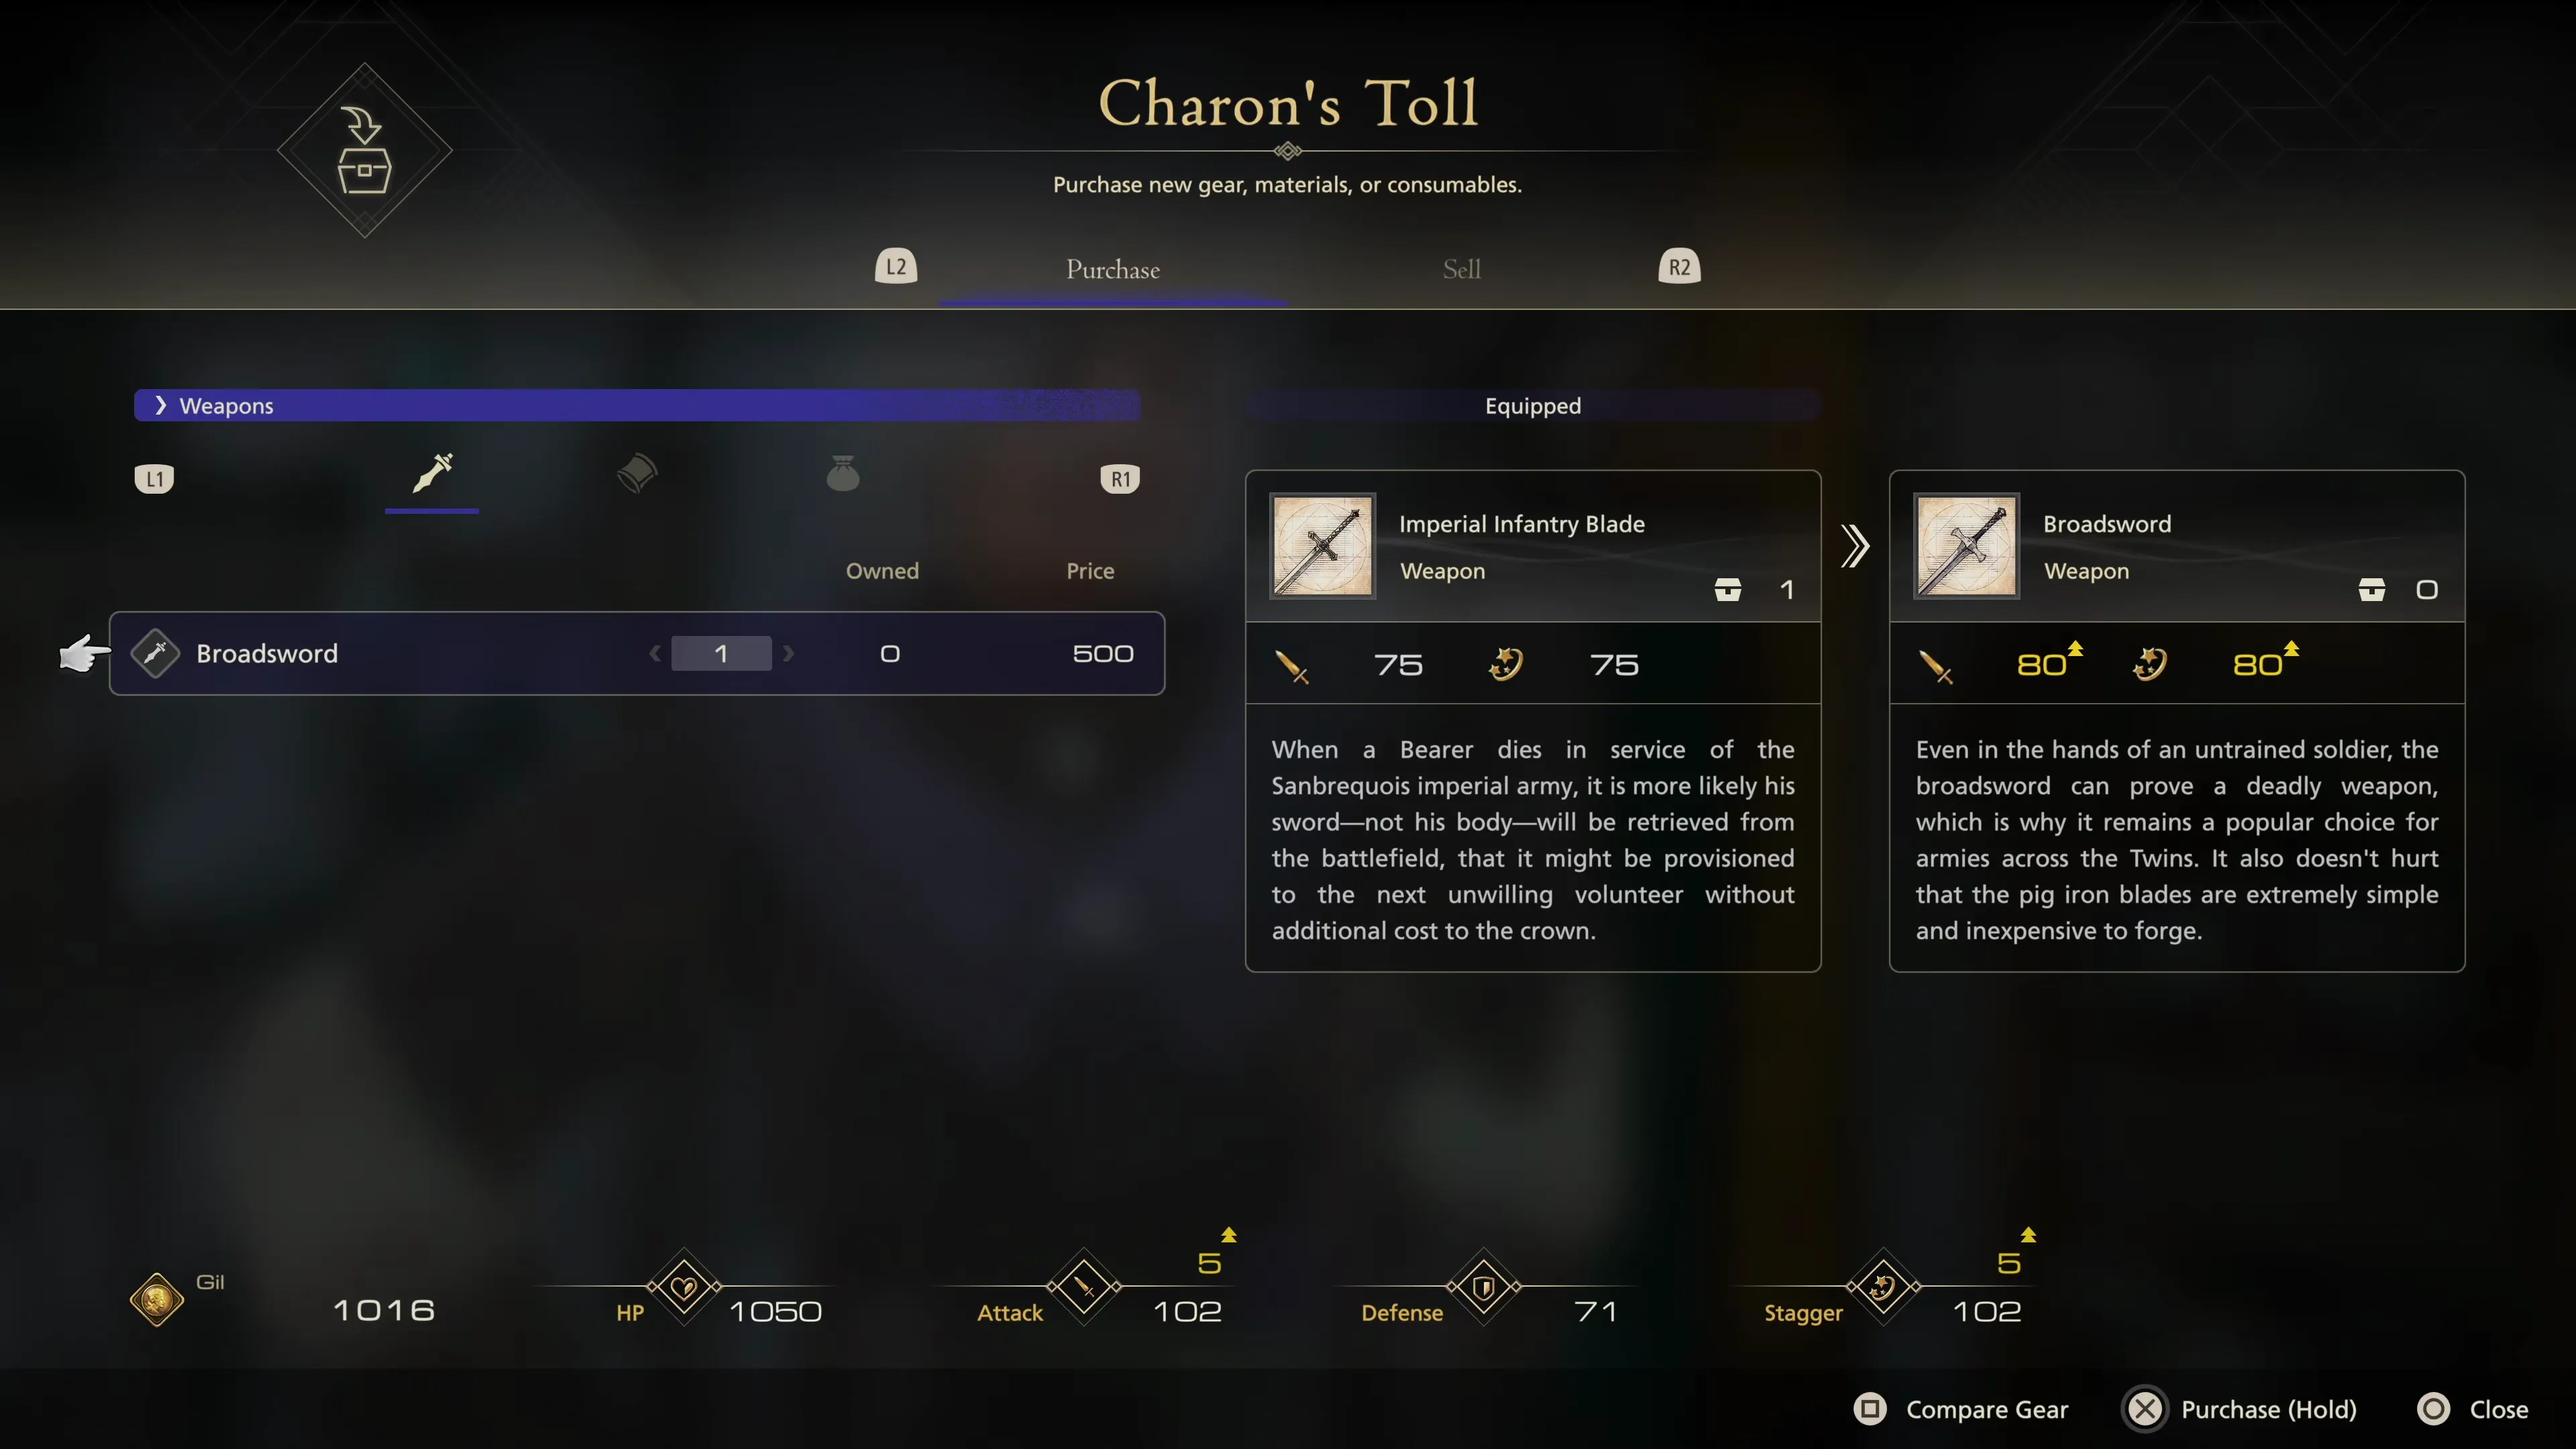
Once the two Optional Quests have been completed, follow the Main Scenario Quest Marker ![]() and talk to Charon. While you’re there, purchase and equip the following:
and talk to Charon. While you’re there, purchase and equip the following:
| Cost | |
|---|---|
| 500 |
|
| 400 |
You should already have enough ![]() Gil, but don’t forget to sell all of your valuables. These include any Materials in your inventory that have yellow writing at the bottom that reads “Valuable. Can be traded for Gil.” The only purpose these items serve in the game is to be sold at a shop, so don’t worry about accidentally selling something that you won’t be able to recover.
Gil, but don’t forget to sell all of your valuables. These include any Materials in your inventory that have yellow writing at the bottom that reads “Valuable. Can be traded for Gil.” The only purpose these items serve in the game is to be sold at a shop, so don’t worry about accidentally selling something that you won’t be able to recover.
As noted in the Helpful Hint (“Crafting vs. Purchasing”), purchasing these items and then having Blackthorne reinforce them at the Forge is nearly always the better way to go. After Charon’s done chatting with you and Torgal, travel over to the ![]() Forge and press the
Forge and press the ![]()
![]()
![]() button to navigate to the “Reinforce” menu.
button to navigate to the “Reinforce” menu.
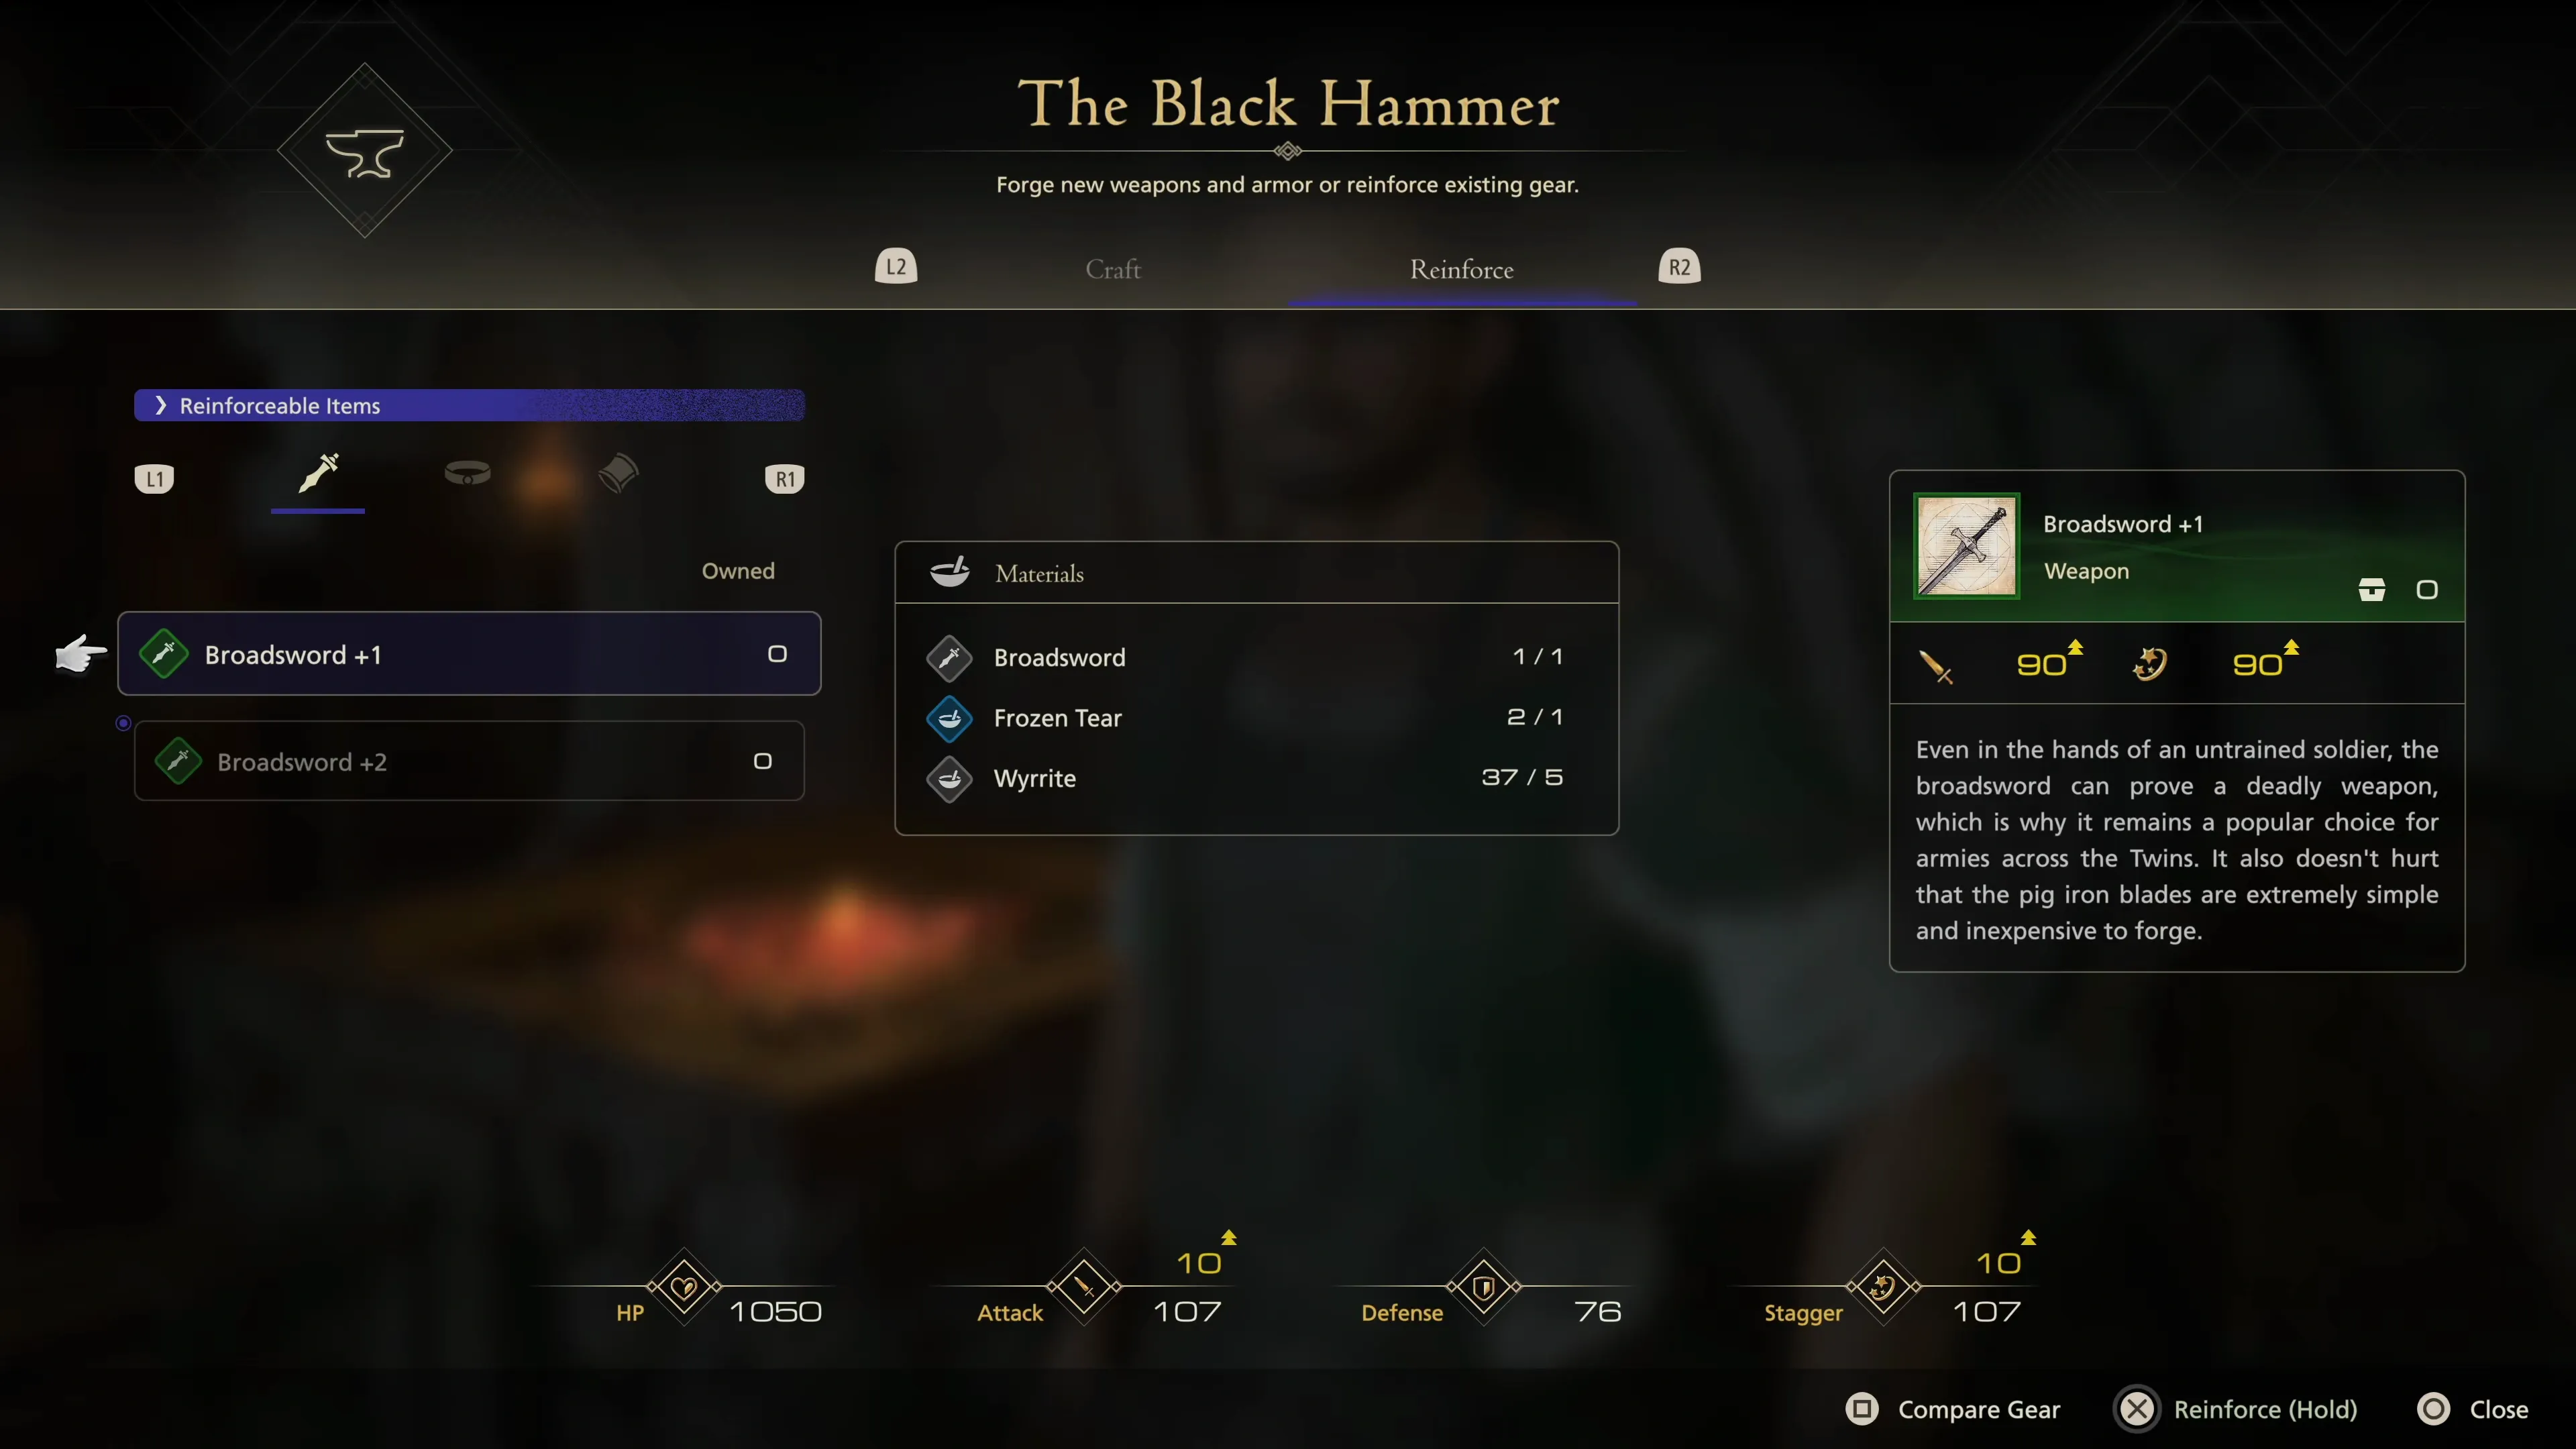
Blackthorne can reinforce the following:
| Materials | |
|---|---|
Achievement/Trophy
“Craft or upgrade 5 pieces of gear.” You will earn the  Dressed to the Fives Achievement/Trophy once you have reinforced a total of five gear pieces.
You won’t be able to reinforce the ![]() Iron Bracers +1 into
Iron Bracers +1 into ![]() Iron Bracers +2 because you’ll be out of
Iron Bracers +2 because you’ll be out of ![]() Meteorites at this point. You will eventually get more, but by the time you do, there will already be new gear to purchase and upgrade.
Meteorites at this point. You will eventually get more, but by the time you do, there will already be new gear to purchase and upgrade.
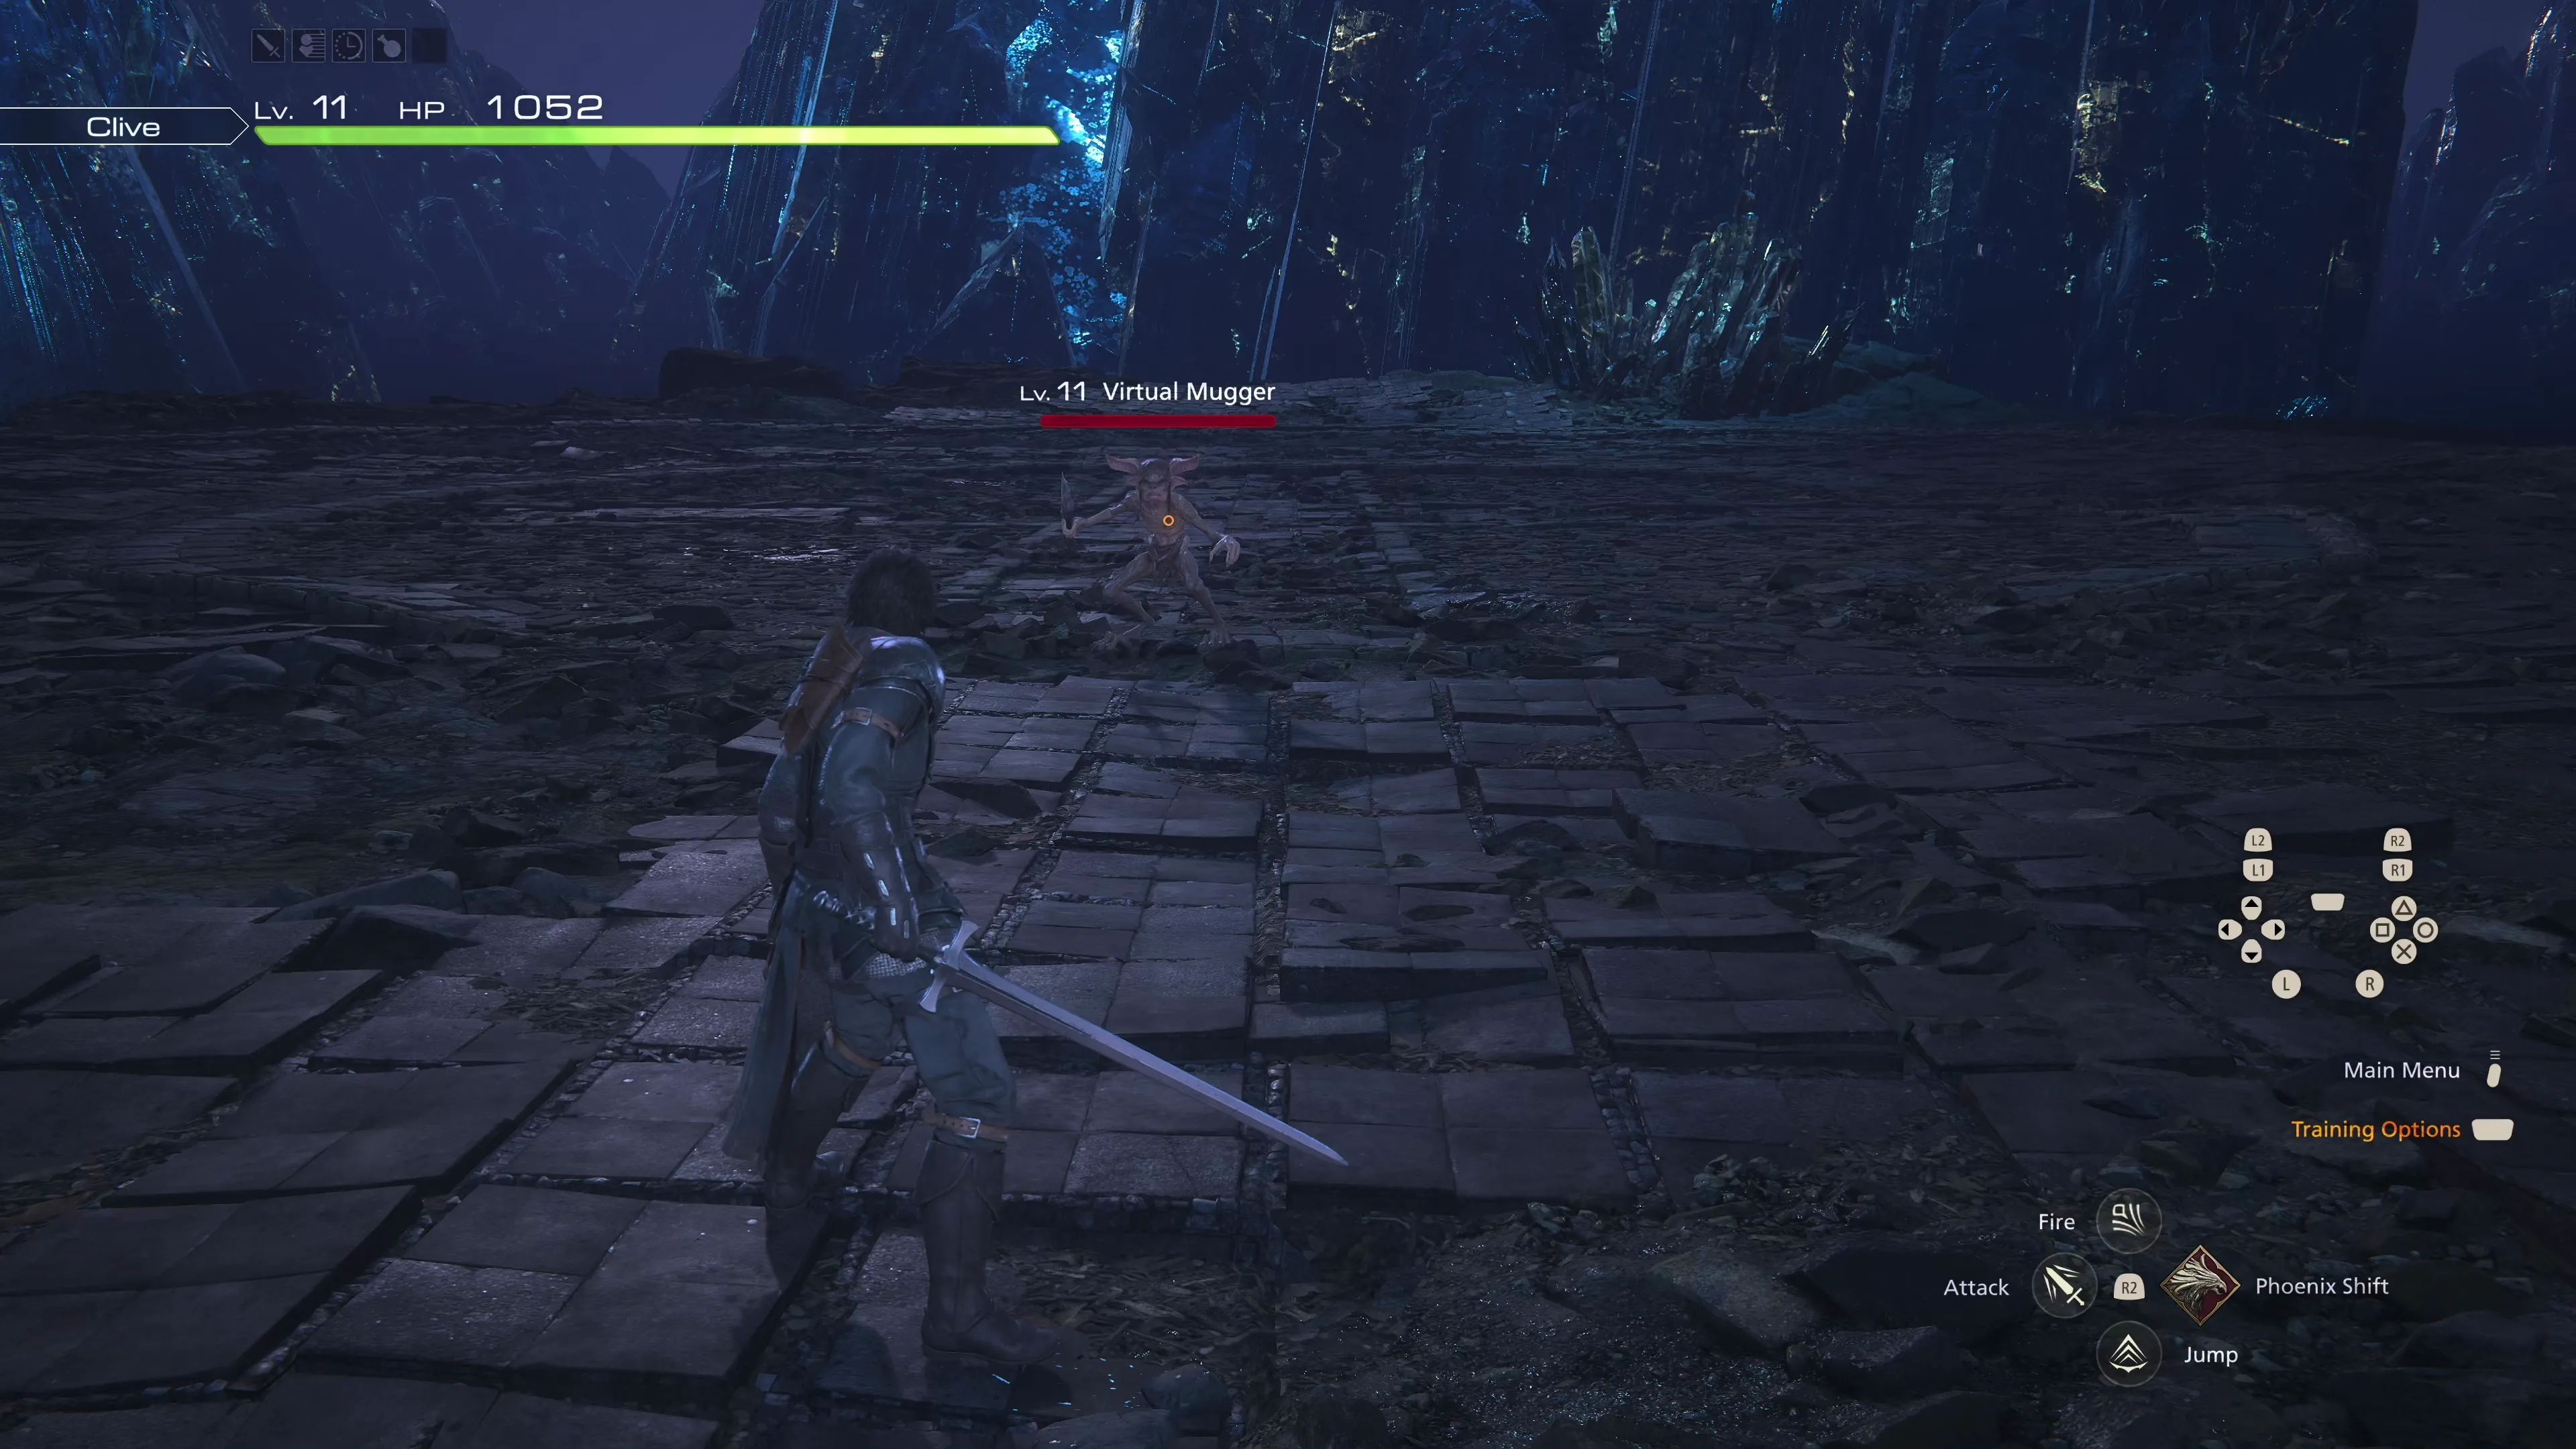
Follow the Main Scenario Quest Marker ![]() over to the Arete Stone and examine the bundle of sacks in front of it. You will now have the opportunity to use the “Hall of Virtue” to practice battle tactics—attacks, defensive mobility, including dodging and parrying, Eikonic Abilities, and more.
over to the Arete Stone and examine the bundle of sacks in front of it. You will now have the opportunity to use the “Hall of Virtue” to practice battle tactics—attacks, defensive mobility, including dodging and parrying, Eikonic Abilities, and more.
This is a good opportunity to practice some of the combat elements of the game that you may have been struggling with. Check out the Combat Tutorial page in the Tips and Tricks section and make sure that you have mastered most, if not all, of the elements of battle listed there.
The sacks contain two free ![]() Potions, which will be added to your inventory. Don’t forget to equip the
Potions, which will be added to your inventory. Don’t forget to equip the ![]() Badge of Mettle accessory you received from the Optional Quests. After that, it’s time to move on to the next portion of the game. You’ll receive an explanation of how to “Fast Travel” using the world map.
Badge of Mettle accessory you received from the Optional Quests. After that, it’s time to move on to the next portion of the game. You’ll receive an explanation of how to “Fast Travel” using the world map.
Press the ![]()
![]()
![]() button and navigate to the “Map” tab. Hover over the red location marker for The Greatwood and hold
button and navigate to the “Map” tab. Hover over the red location marker for The Greatwood and hold ![]()
![]()
![]() to fast travel there. It’s on to the next chapter!
to fast travel there. It’s on to the next chapter!