
 Louder than Words
Orabelle Downs
Clive and Cid will arrive at Orabelle Downs on their way through to Lostwing in the middle of the night. Upon entering the area, the very first ![]() Obelisk will be activated. These Obelisks allow you to quickly warp back to them by opening up the map screen and holding the
Obelisk will be activated. These Obelisks allow you to quickly warp back to them by opening up the map screen and holding the ![]()
![]()
![]() button while targeting them. Most of the Obelisks will be automatically activated as you progress your way through the story, but there are a few that we’ll need to go out of our way to activate.
button while targeting them. Most of the Obelisks will be automatically activated as you progress your way through the story, but there are a few that we’ll need to go out of our way to activate.

Swap your ![]() Eikonic Ability Set back to its multiple-target setup (that includes
Eikonic Ability Set back to its multiple-target setup (that includes ![]() Scarlet Cyclone) and proceed along the pathway towards the Main Scenario Quest Marker
Scarlet Cyclone) and proceed along the pathway towards the Main Scenario Quest Marker ![]() . You’ll pick up two Glimmer spots along the pathway before reaching a group of Royal Osfreyr guards. Continue along the trail until you reach Lostwing.
. You’ll pick up two Glimmer spots along the pathway before reaching a group of Royal Osfreyr guards. Continue along the trail until you reach Lostwing.

 Lostwing
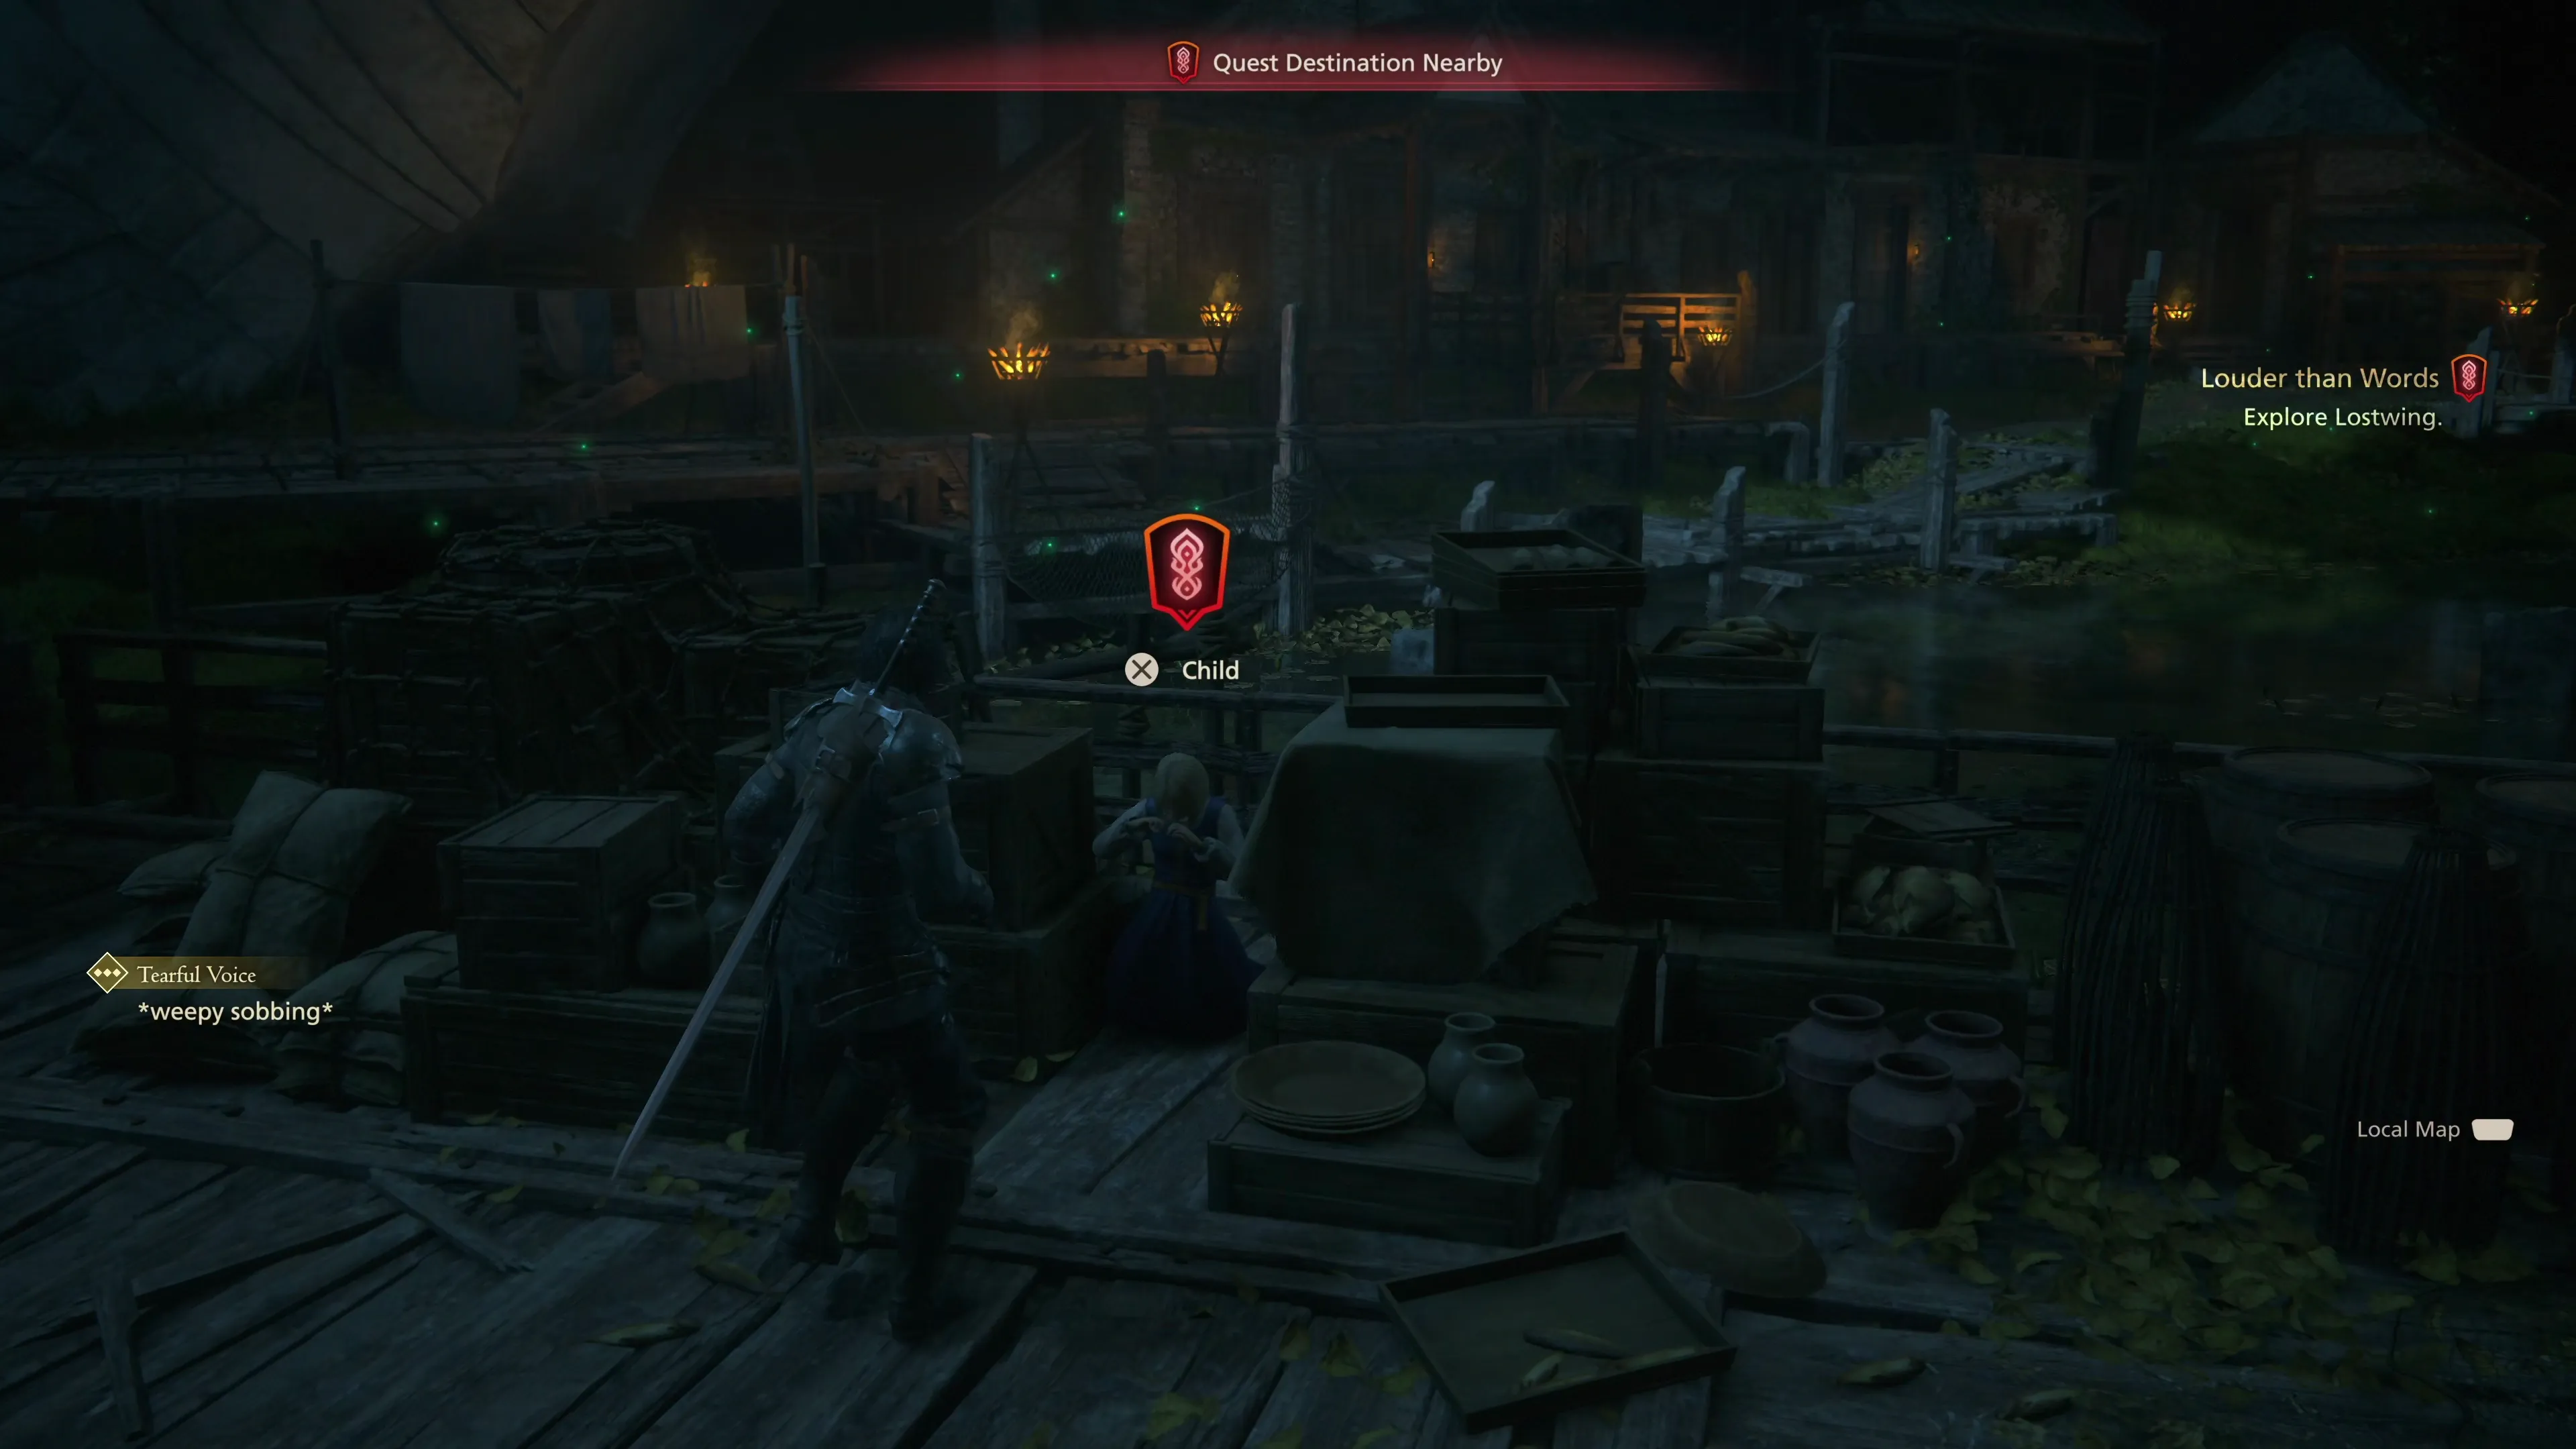
Follow the trail down to the left to find the next Obelisk to activate. It will automatically light up bright blue once you get close enough, and then head towards the center of Lostwing. The Main Scenario Quest Marker ![]() will identify your next target: a small, crying child hiding between the crates along the docks. Speak to her once you get close enough.
will identify your next target: a small, crying child hiding between the crates along the docks. Speak to her once you get close enough.
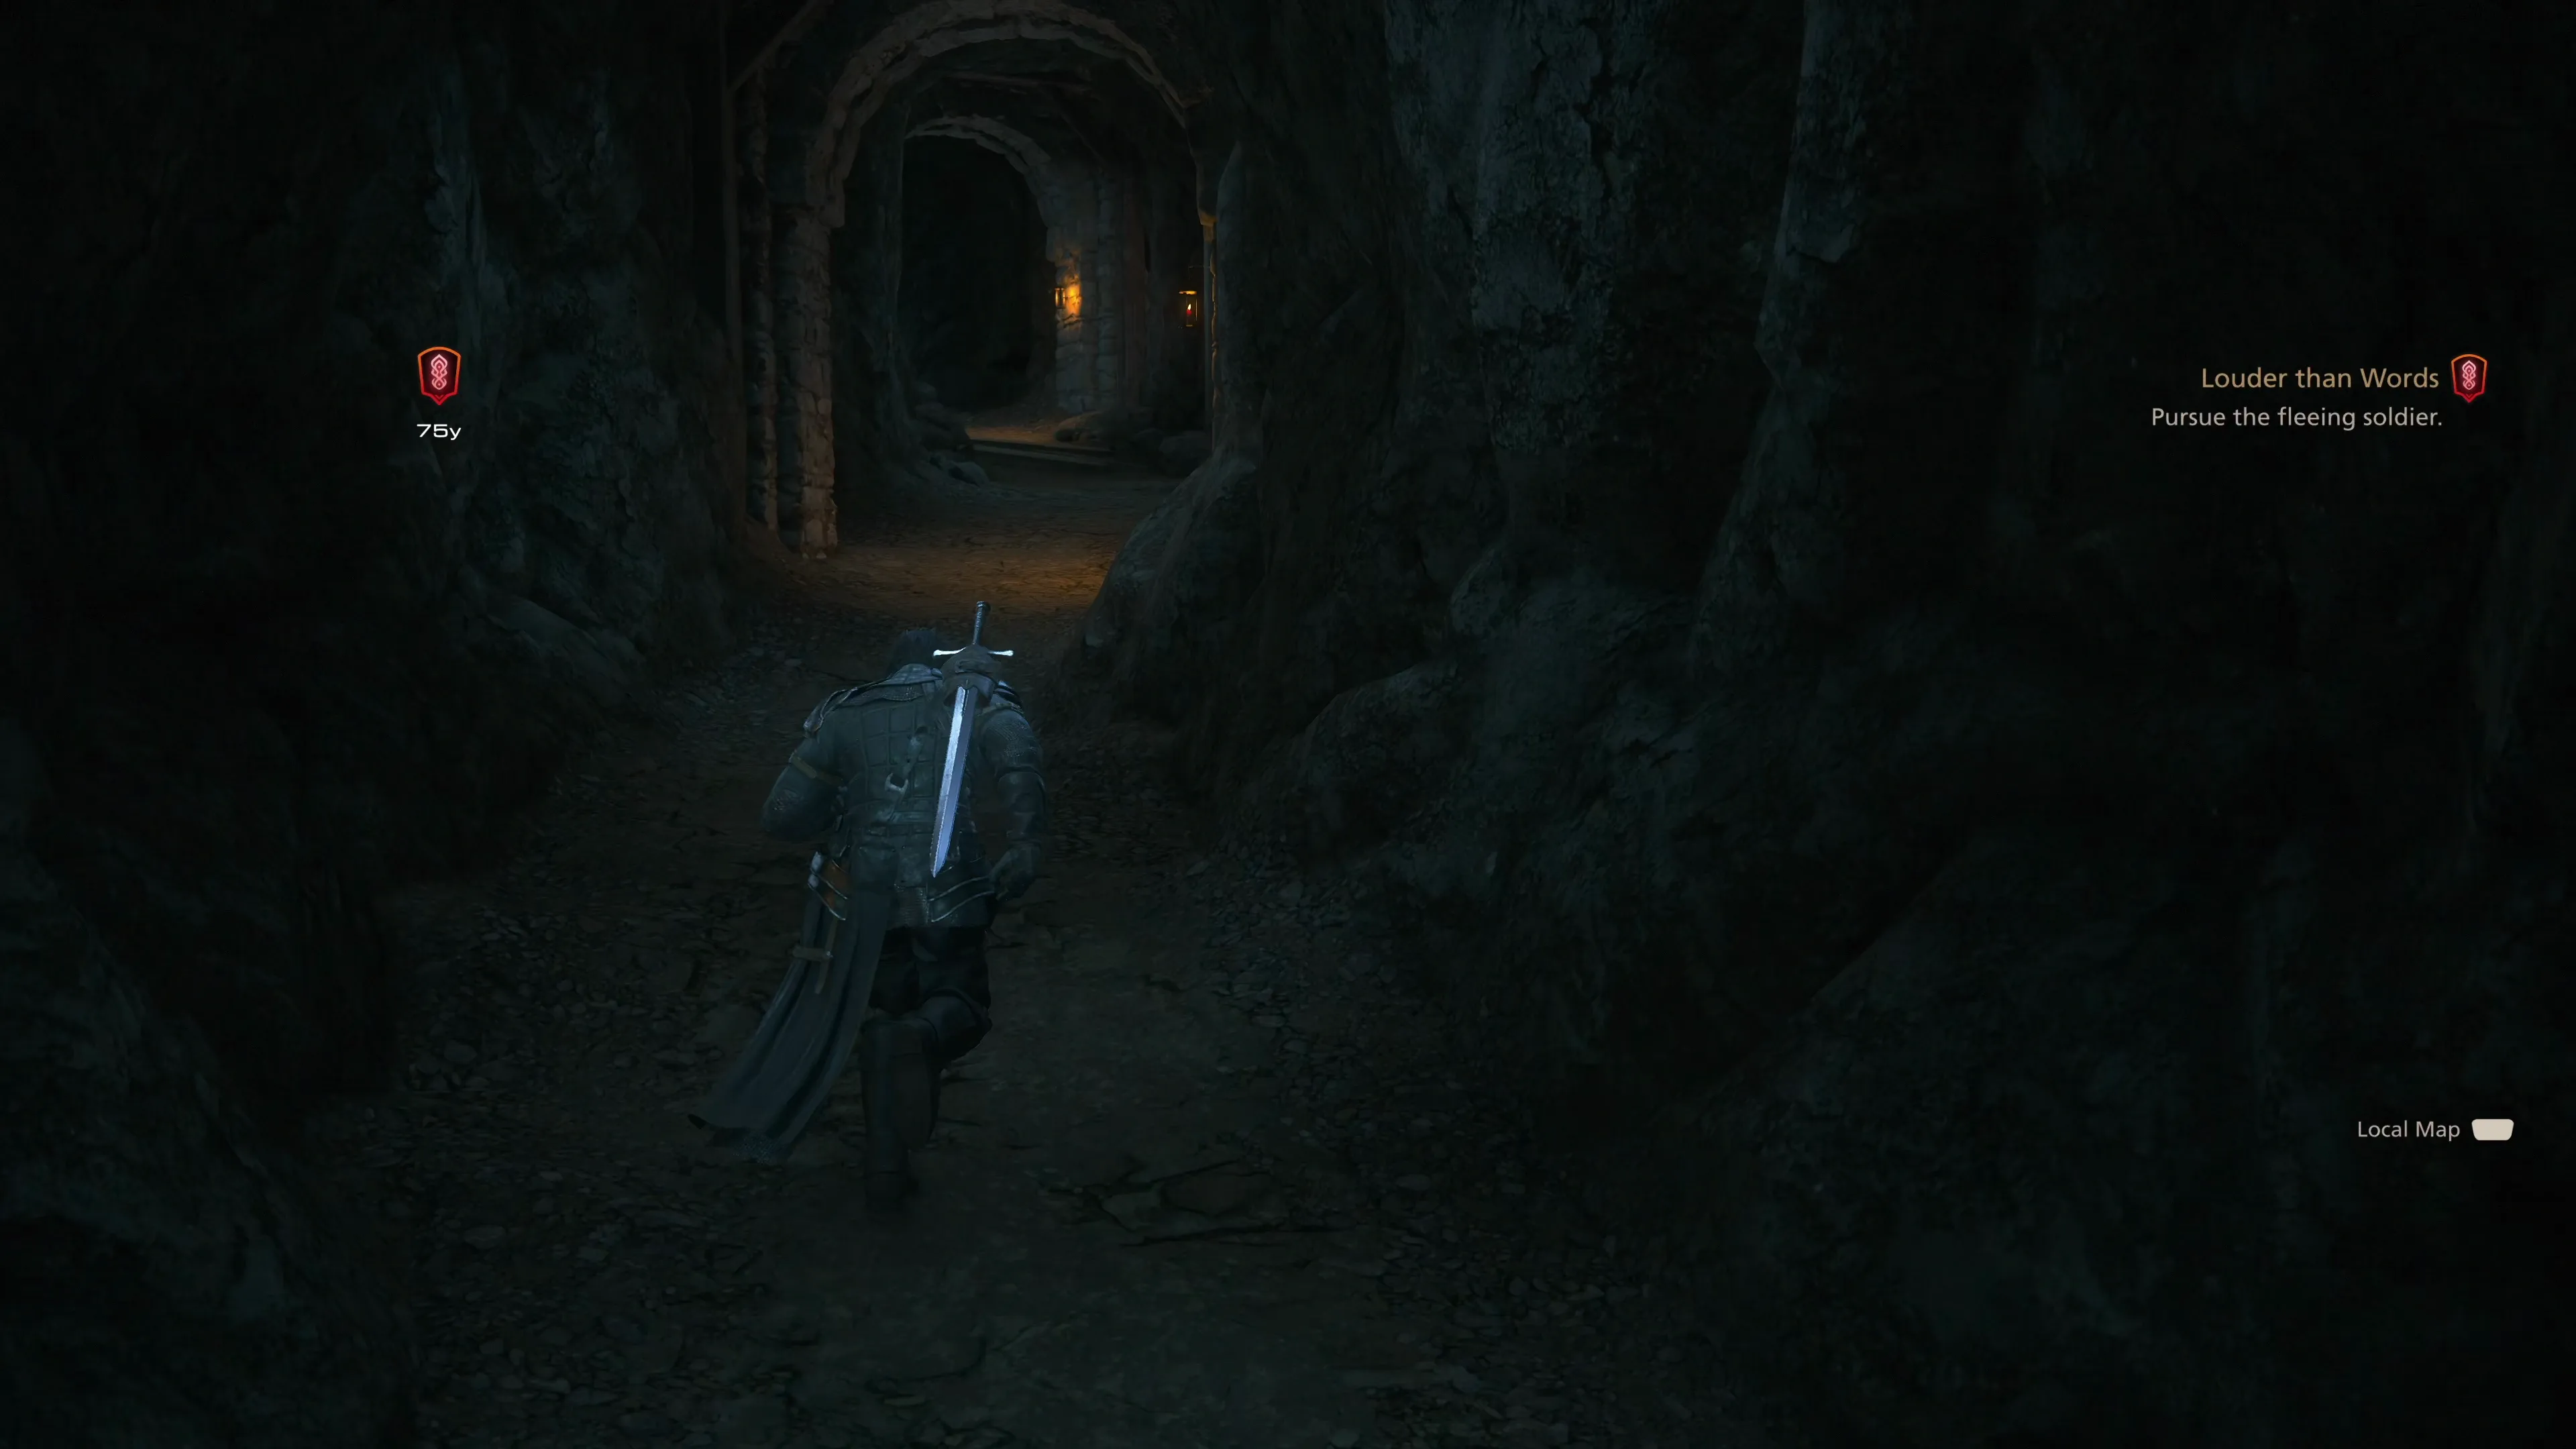
The Main Scenario Quest Marker ![]() will move up the stairs and into the nearby church. Enter the church, and another short cutscene will take place with Clive and Cid being interrupted by a fleeing guard. Chase the guard along the hallway and, before you reach the end, swap to a single-target
will move up the stairs and into the nearby church. Enter the church, and another short cutscene will take place with Clive and Cid being interrupted by a fleeing guard. Chase the guard along the hallway and, before you reach the end, swap to a single-target ![]() Eikonic Ability Set and save your game.
Eikonic Ability Set and save your game.
There’s a lengthy cutscene that takes place once you reach the Main Scenario Quest Marker ![]() before you’re thrown into battle against the next boss.
before you’re thrown into battle against the next boss.
Boss Battle
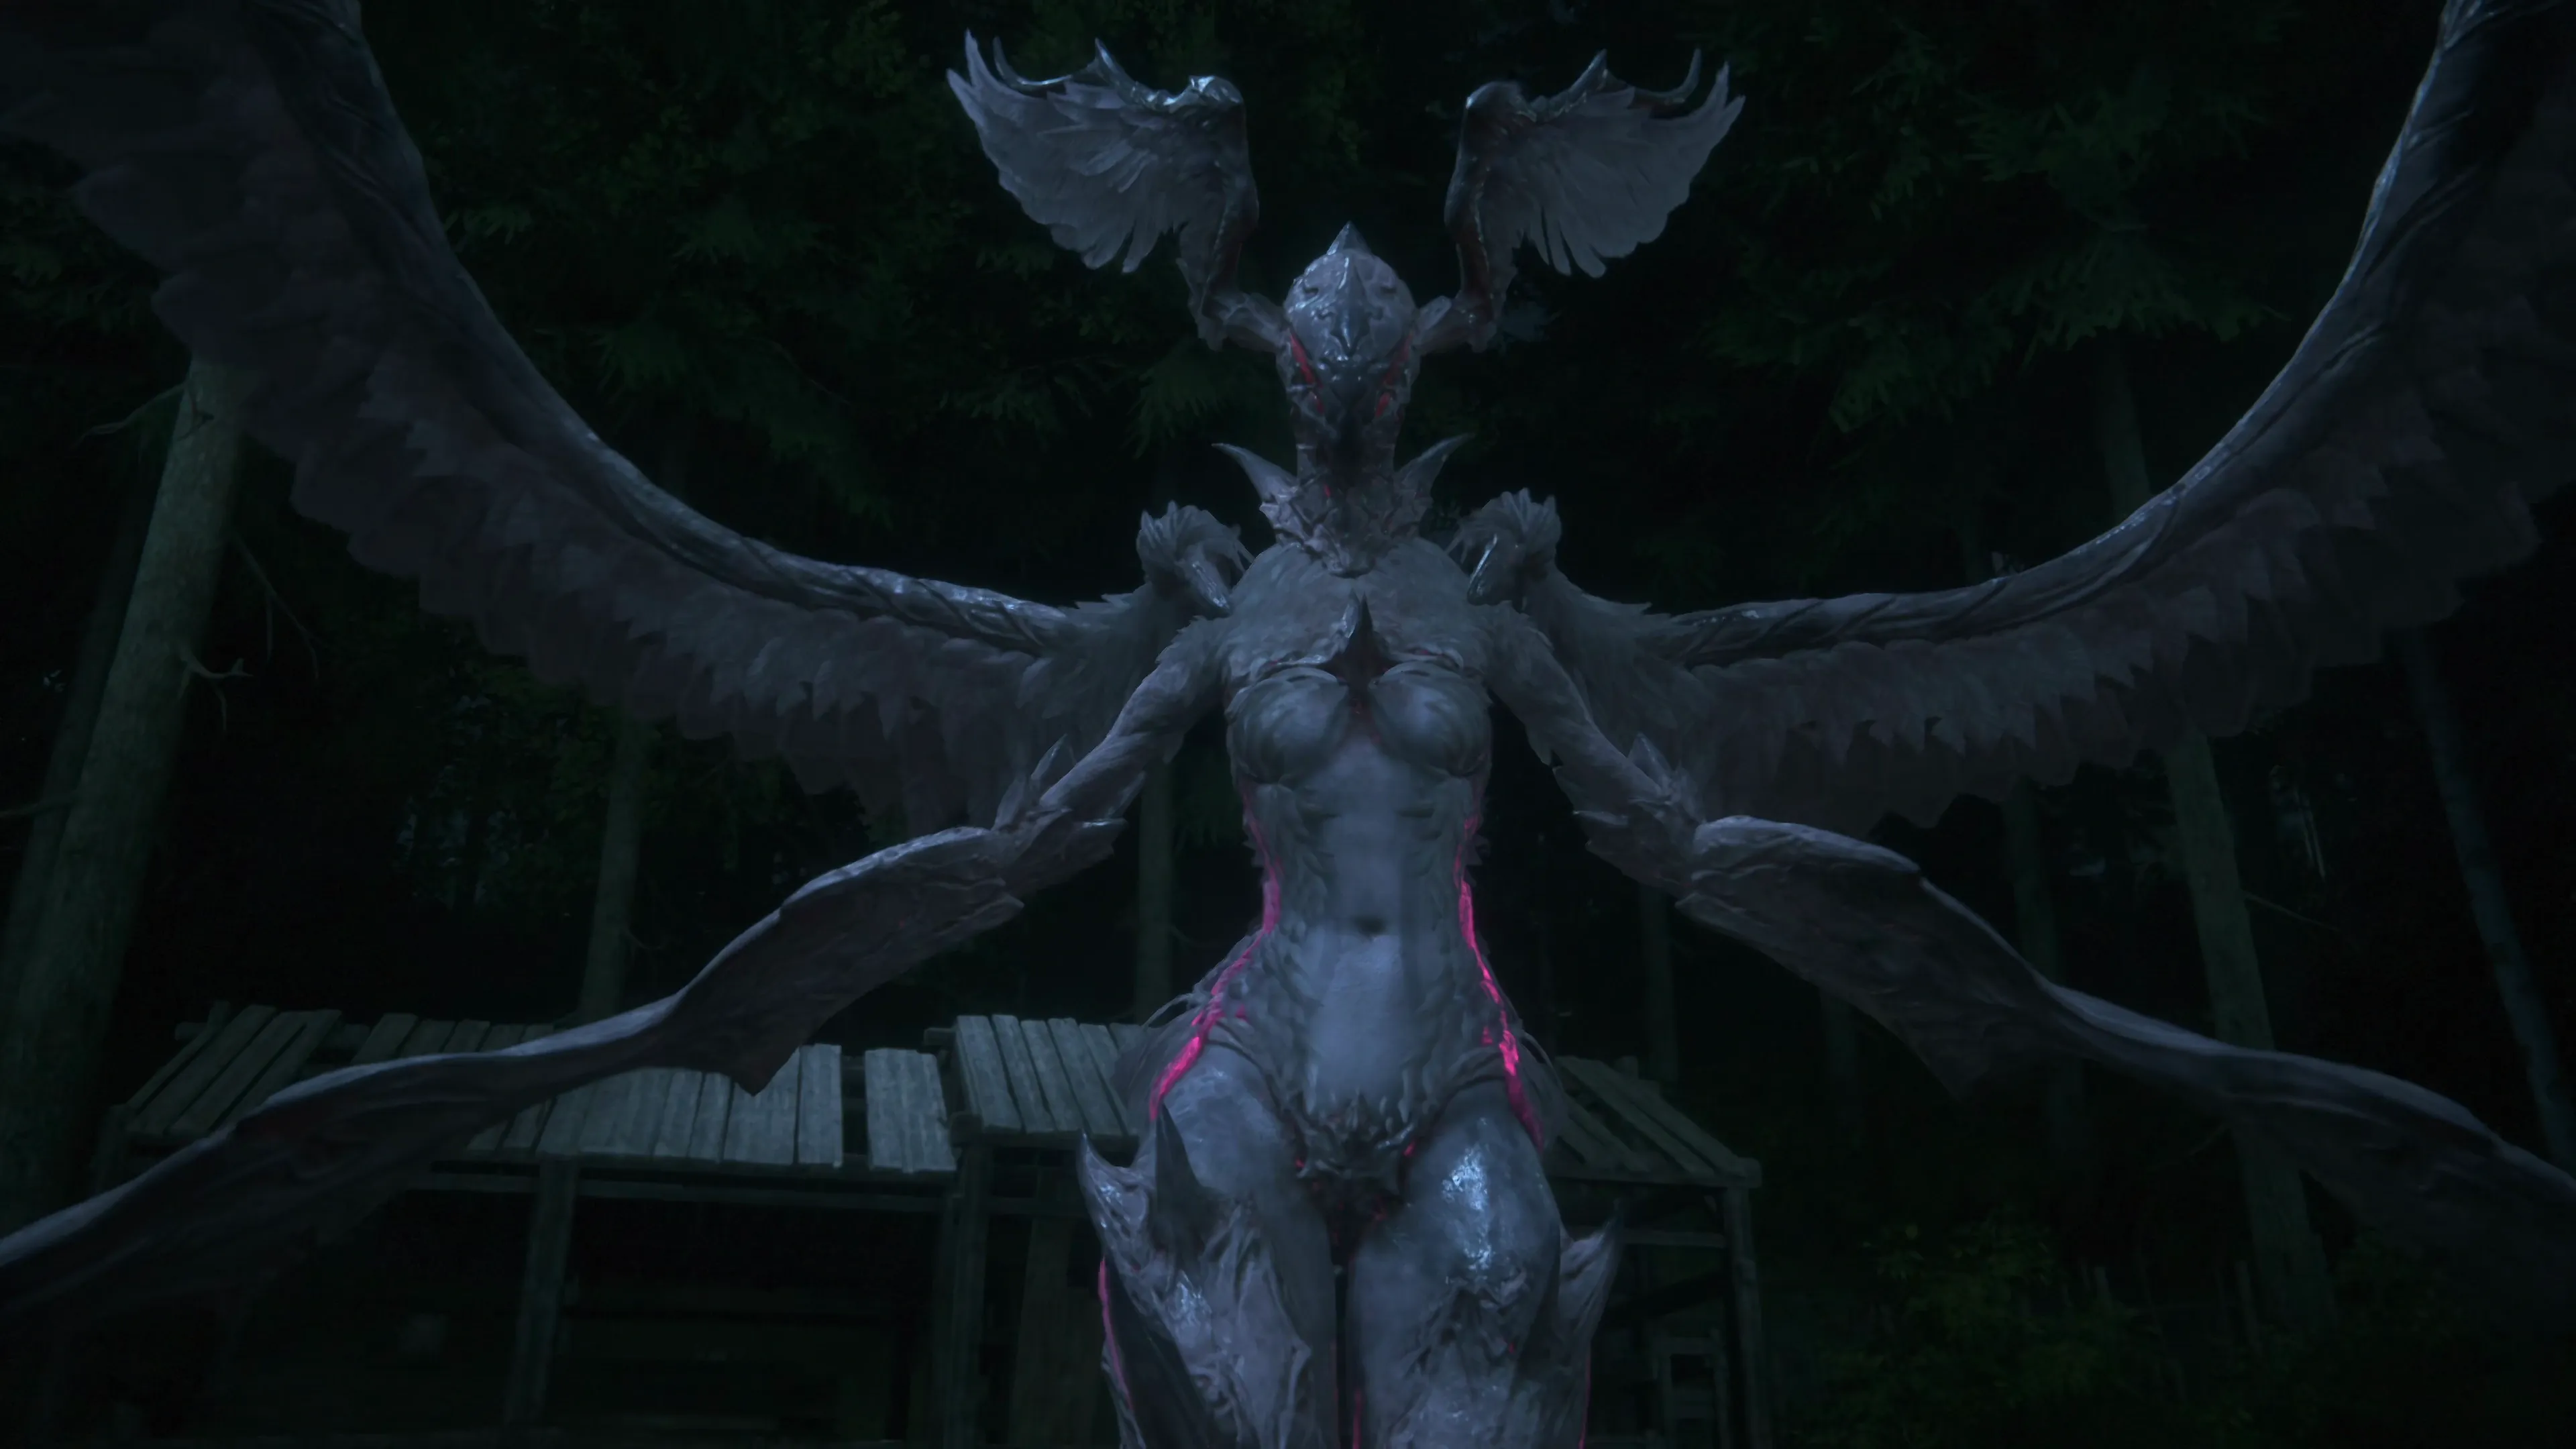
This is considered a boss battle during the early stages of the game, but much like the battle against the Midnight Raven, you’ll be fighting quite a few of these harpy creatures during your playthrough of the game. Thankfully, these creatures make it fairly obvious when they are about to strike. They use the following attacks:
![]() Swipe:
Swipe:
Chirada will hold her glowing talon up in the air before swinging it in a wide arc in front of her.
![]() Lunge:
Lunge:
She will jump upwards and slightly backwards before charging towards Clive. The initial animation makes it quite obvious that she’s about to come lunging forward.
![]() Magic Beam:
Magic Beam:
Chirada will jump a short distance away, and then you’ll see the path and ground in front of her light up in a giant, green beam. This will give you plenty of time to prepare a counter with ![]() Heatwave.
Heatwave.
![]() Spinning Attack:
Spinning Attack:
Much like Shiva’s Dominant, the ground will illuminate around Chirada, indicating where she is about to attack. Run away from her before the animation concludes.
This is also one of the first flying enemies that you face, so there’s a good chance that when you use ![]() Phoenix Shift near her that Clive will fly up in the air. Attacking enemies while in the air can increase the amount of damage that Clive deals. Spend some time getting used to aerial combat, but don’t open yourself up to attacks by spending too much time trying to get a combo off in the air.
Phoenix Shift near her that Clive will fly up in the air. Attacking enemies while in the air can increase the amount of damage that Clive deals. Spend some time getting used to aerial combat, but don’t open yourself up to attacks by spending too much time trying to get a combo off in the air.
There is no Medal of Valor for defeating this boss without taking damage. Check out the video below for a demonstration of how to defeat her.
30
600
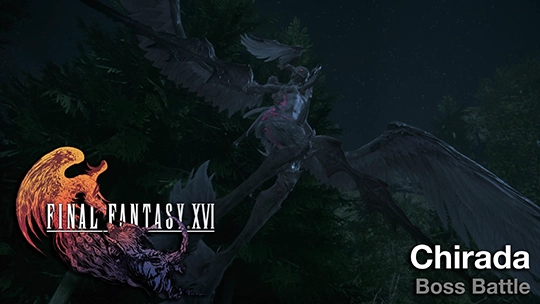
A video demonstration of how to successfully complete the fight against Chirada.
Helpful Hint
Most of the attacks that bosses use in Final Fantasy XVI don’t have an official name. In this guide, an attempt has been made to use names that accurately describe each attack; however, these names are not officially mentioned in the game, and the attack name does not appear on the screen.
There are quite a few more cutscenes to watch before you end up back in the center of Lostwing, but this concludes the Main Scenario quest “Louder than Words.”