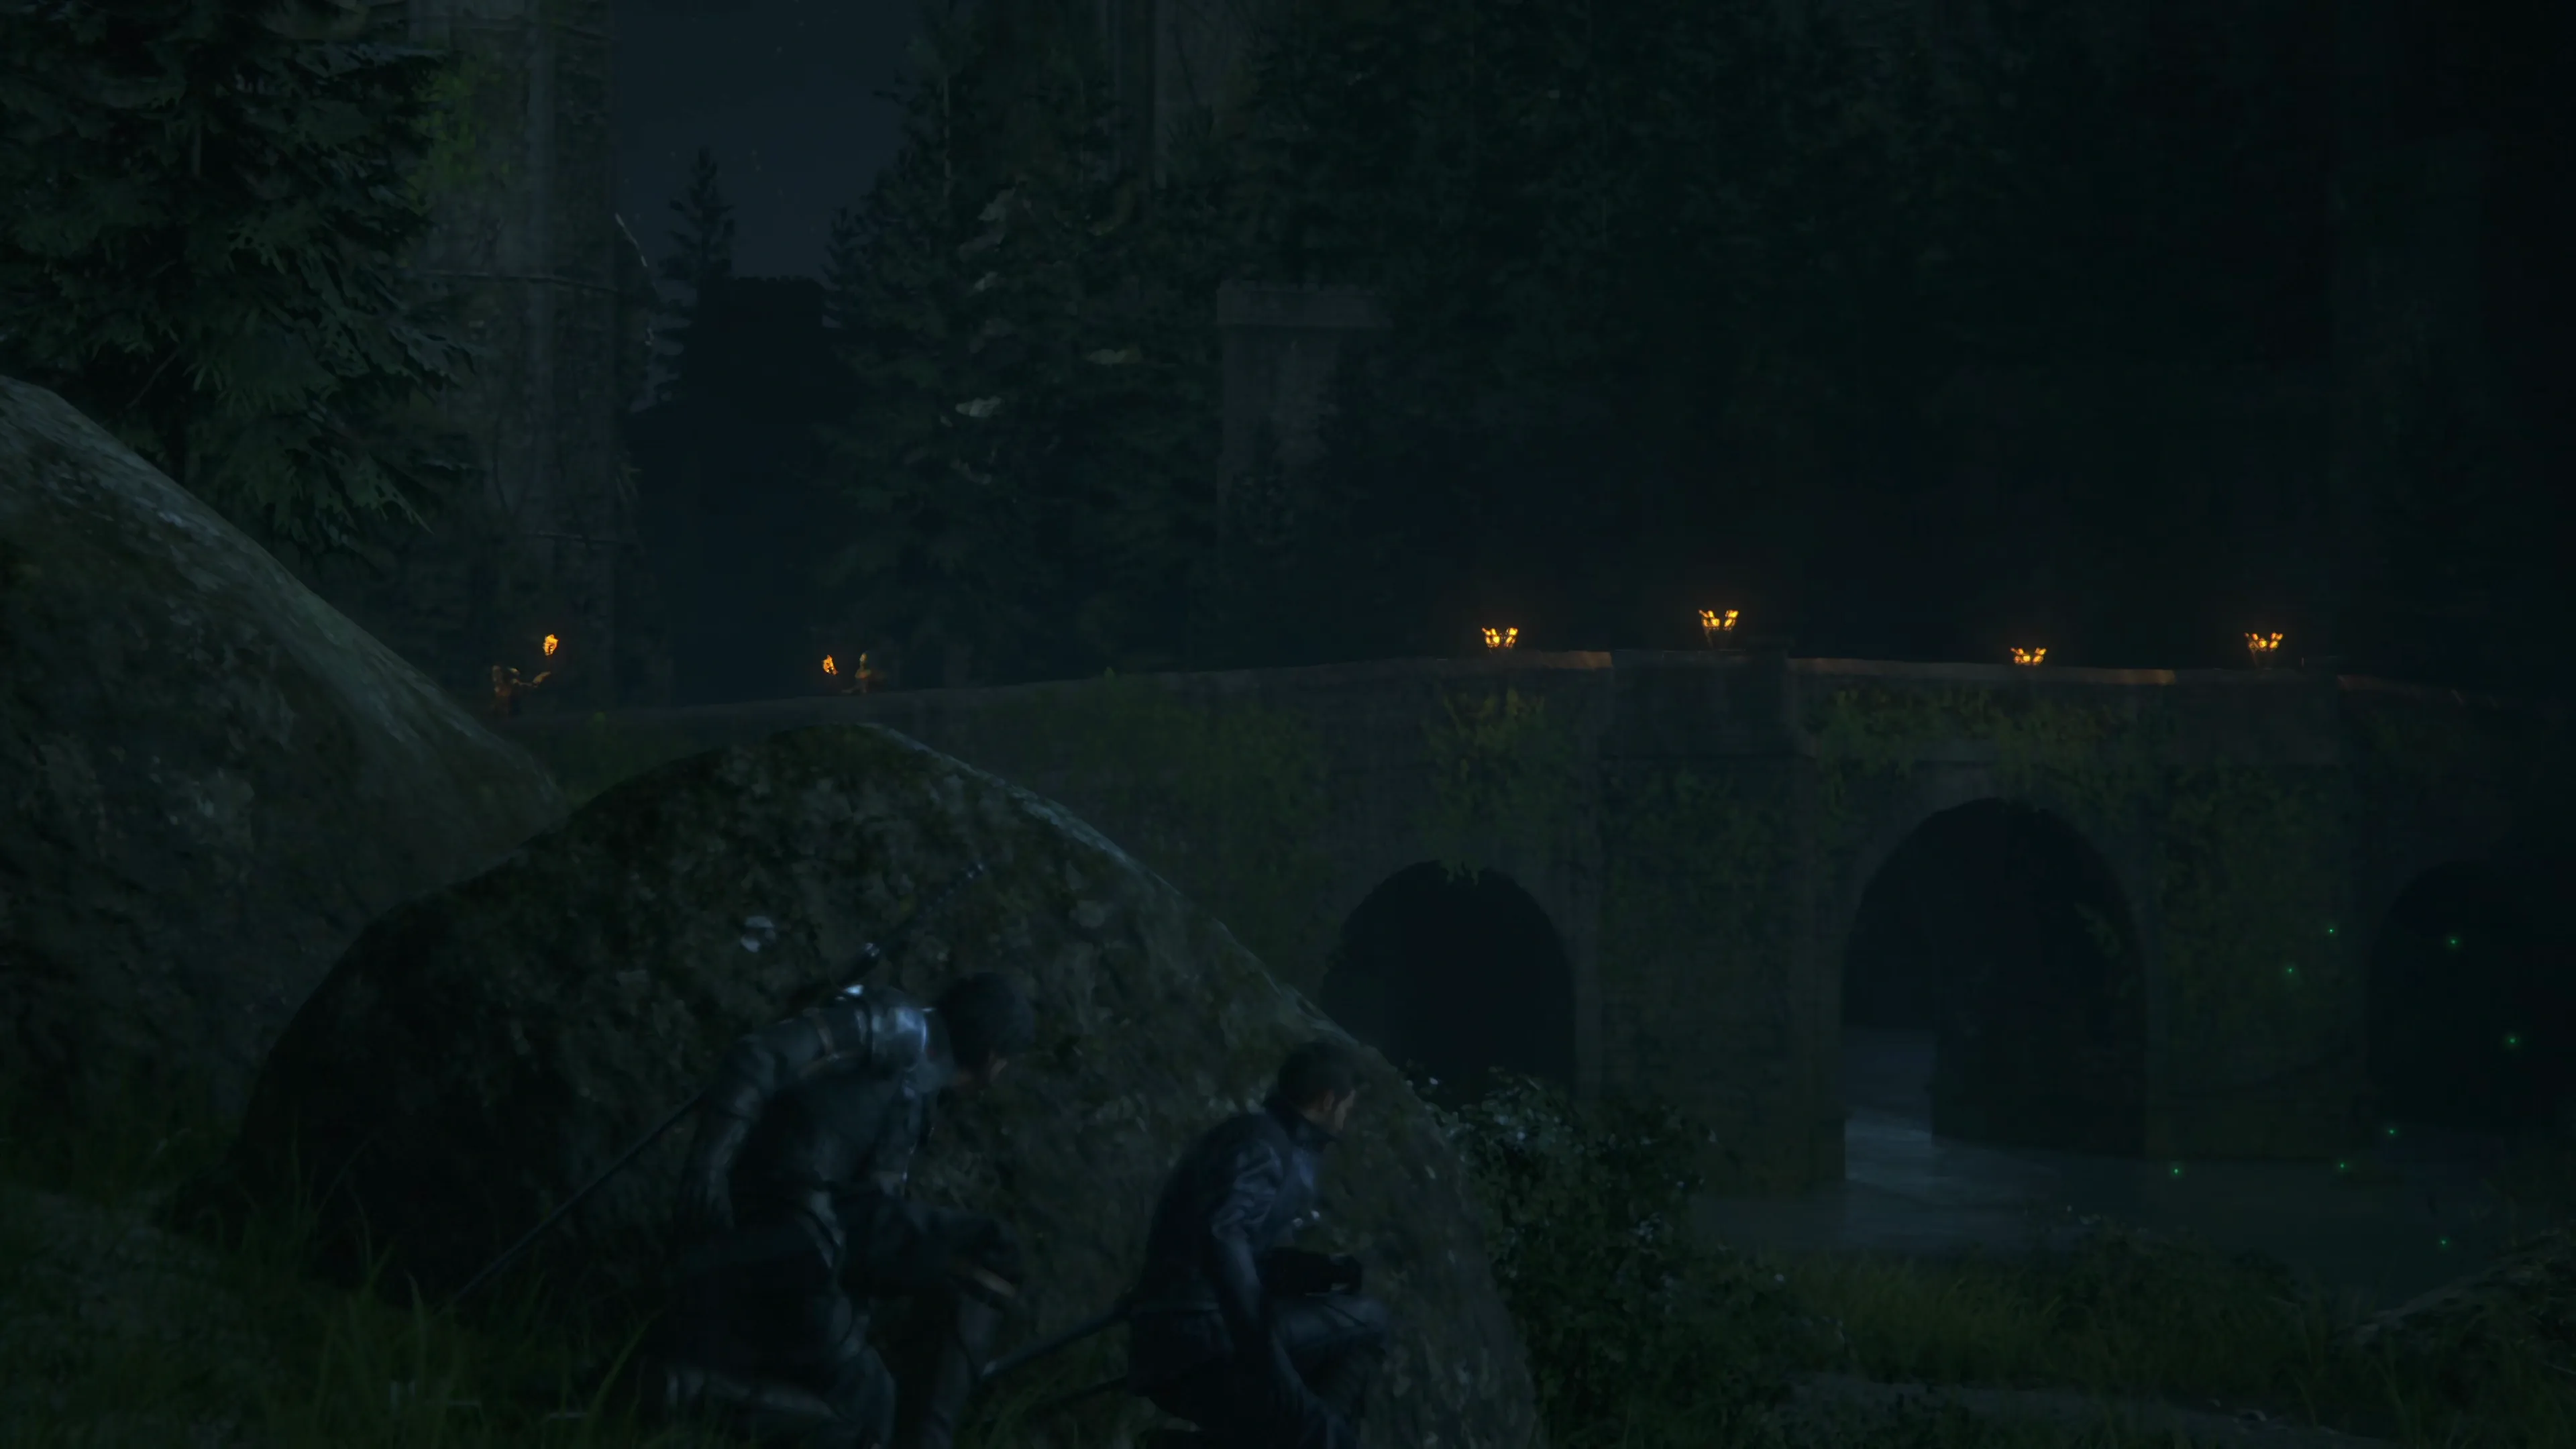
The Dead of Night
 Lostwing
After defeating Chirada and watching several cutscenes, you’ll be back in the town of Lostwing. The Main Scenario Quest Marker ![]() will lead you directly to Quinten to continue with the story, but there are some treasure coffers in Lostwing for you to pick up first.
will lead you directly to Quinten to continue with the story, but there are some treasure coffers in Lostwing for you to pick up first.
The map below can help you find them, but Lostwing has a confusing, multi-level layout that can make them a bit tough to find, so use the screenshots below to help you track them down.
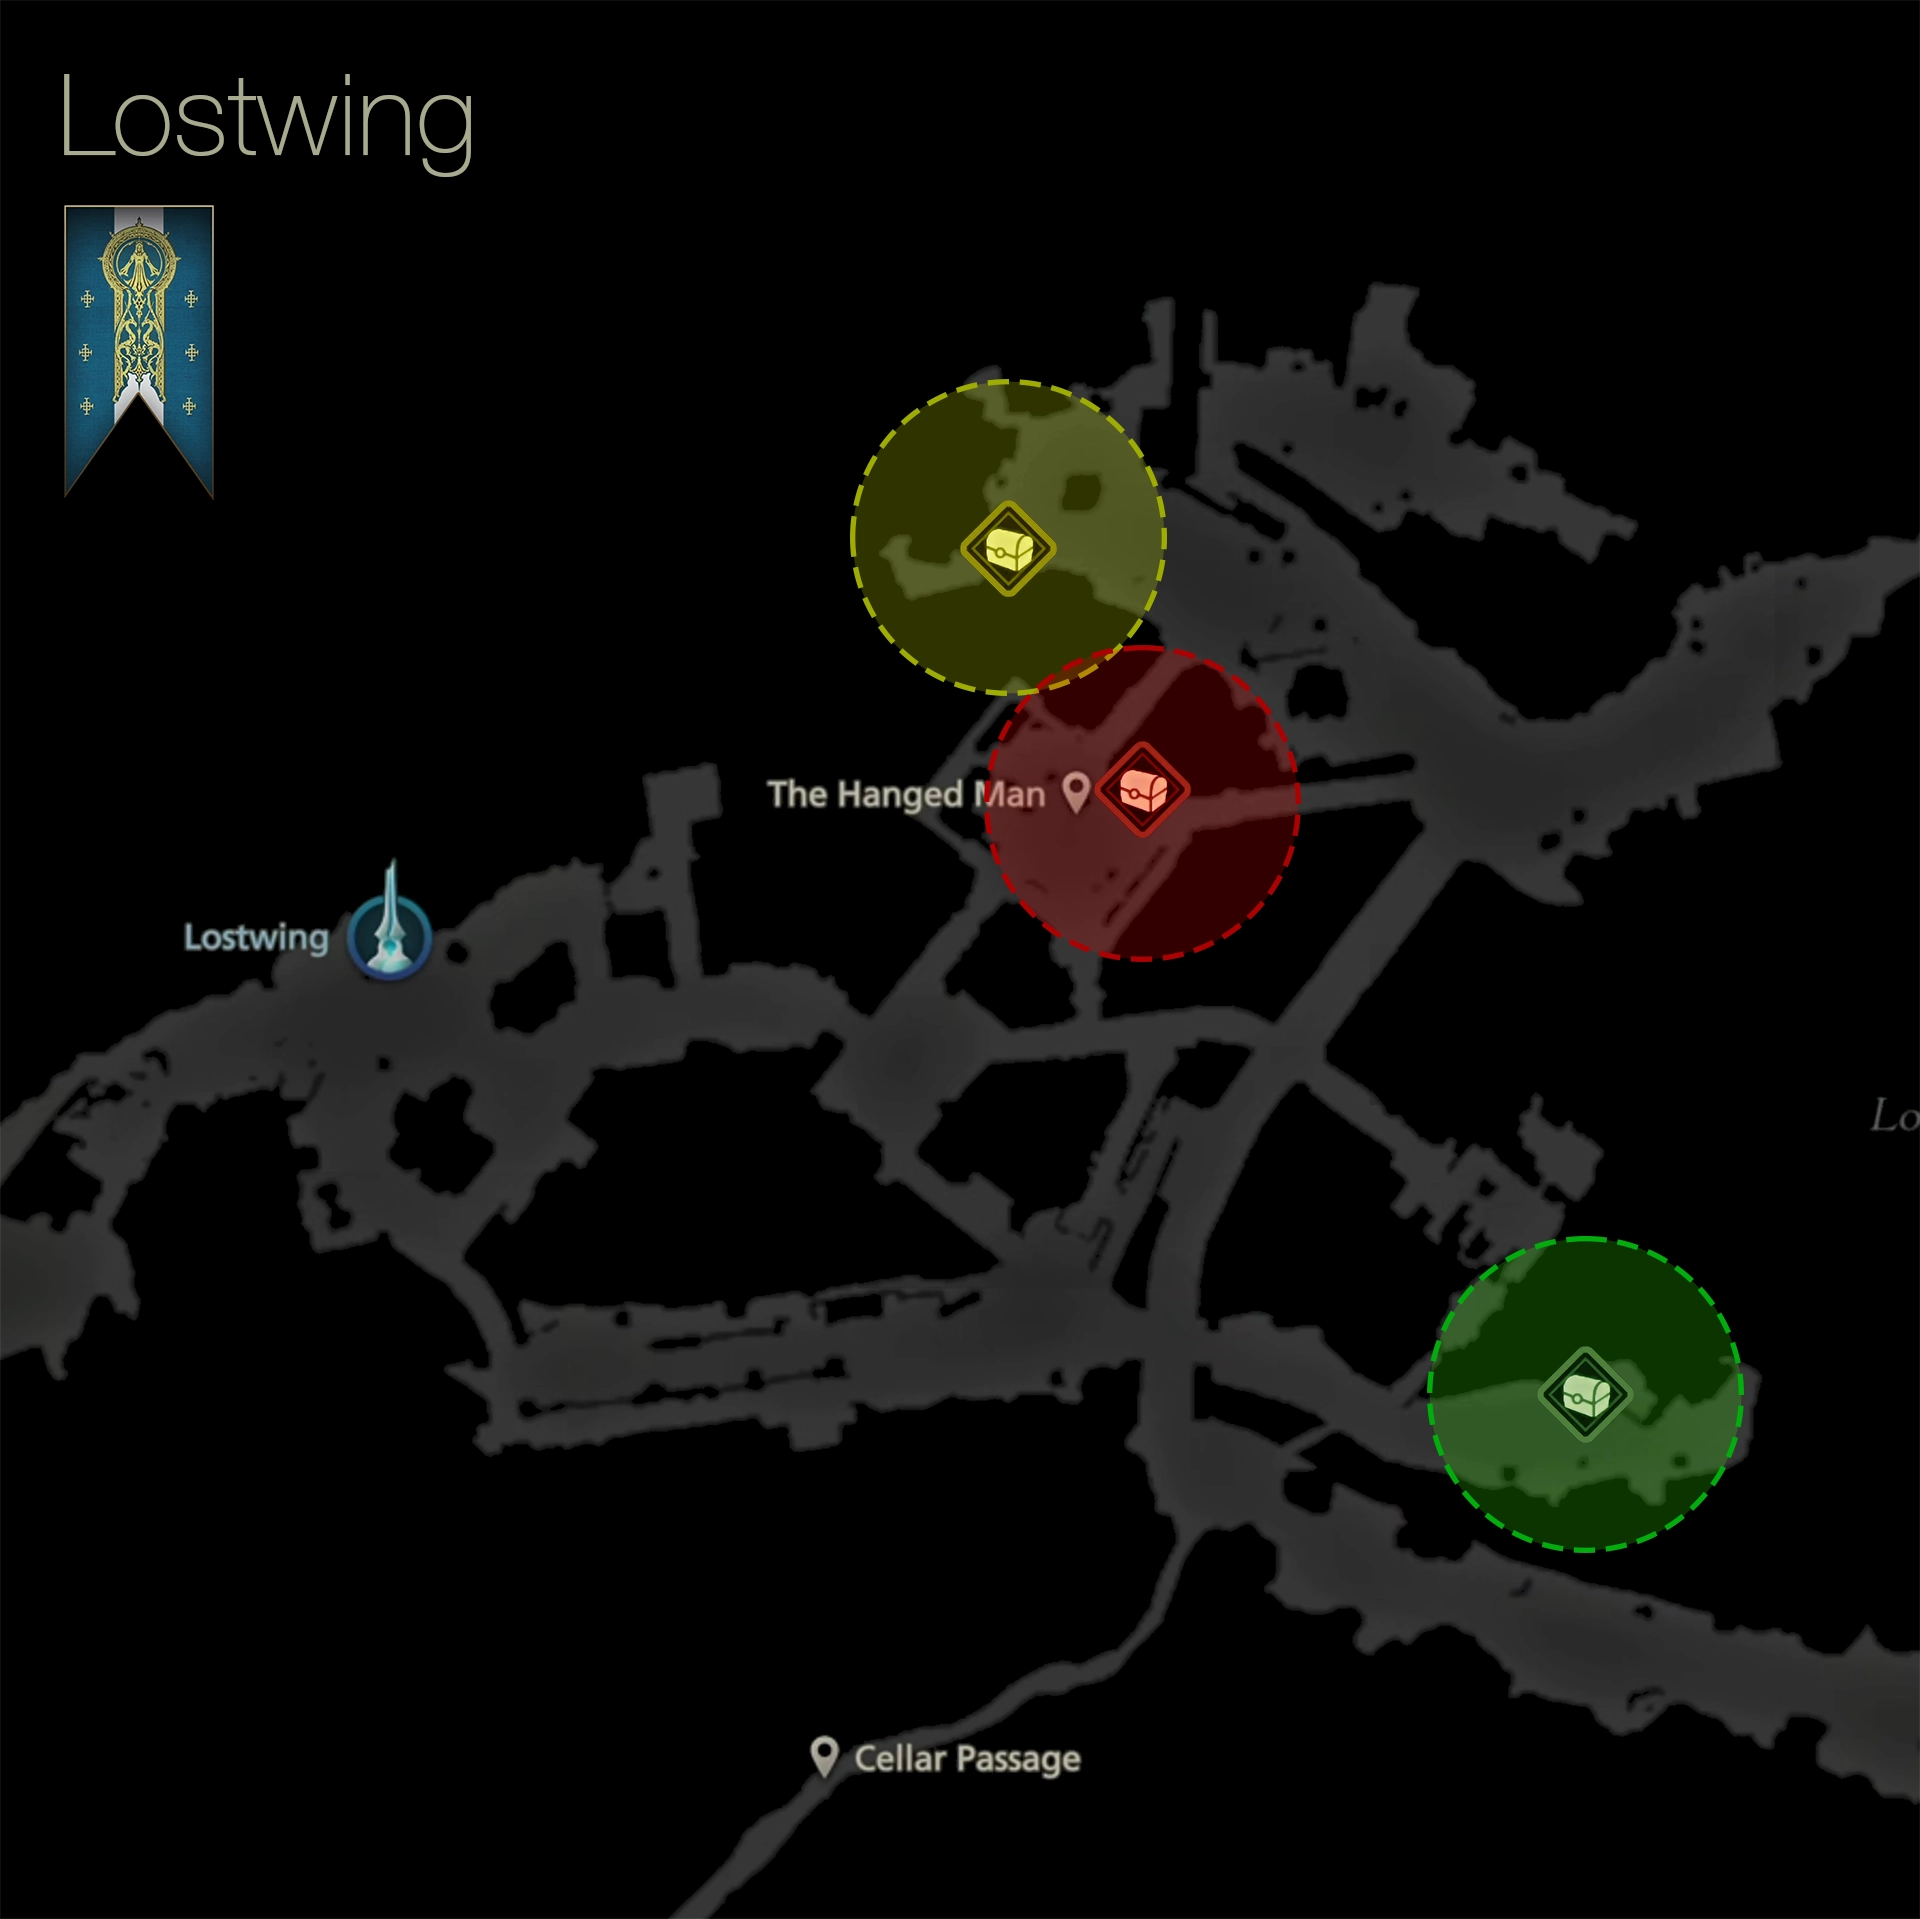
The first ![]() Red Treasure Coffer treasure coffer is up near the top of the center structure in Lostwing. Climb the stairs and ladders until you reach the top and open the treasure coffer to obtain the
Red Treasure Coffer treasure coffer is up near the top of the center structure in Lostwing. Climb the stairs and ladders until you reach the top and open the treasure coffer to obtain the ![]() Histoire Orchestrion Roll and some
Histoire Orchestrion Roll and some ![]() Black Blood.
Black Blood.

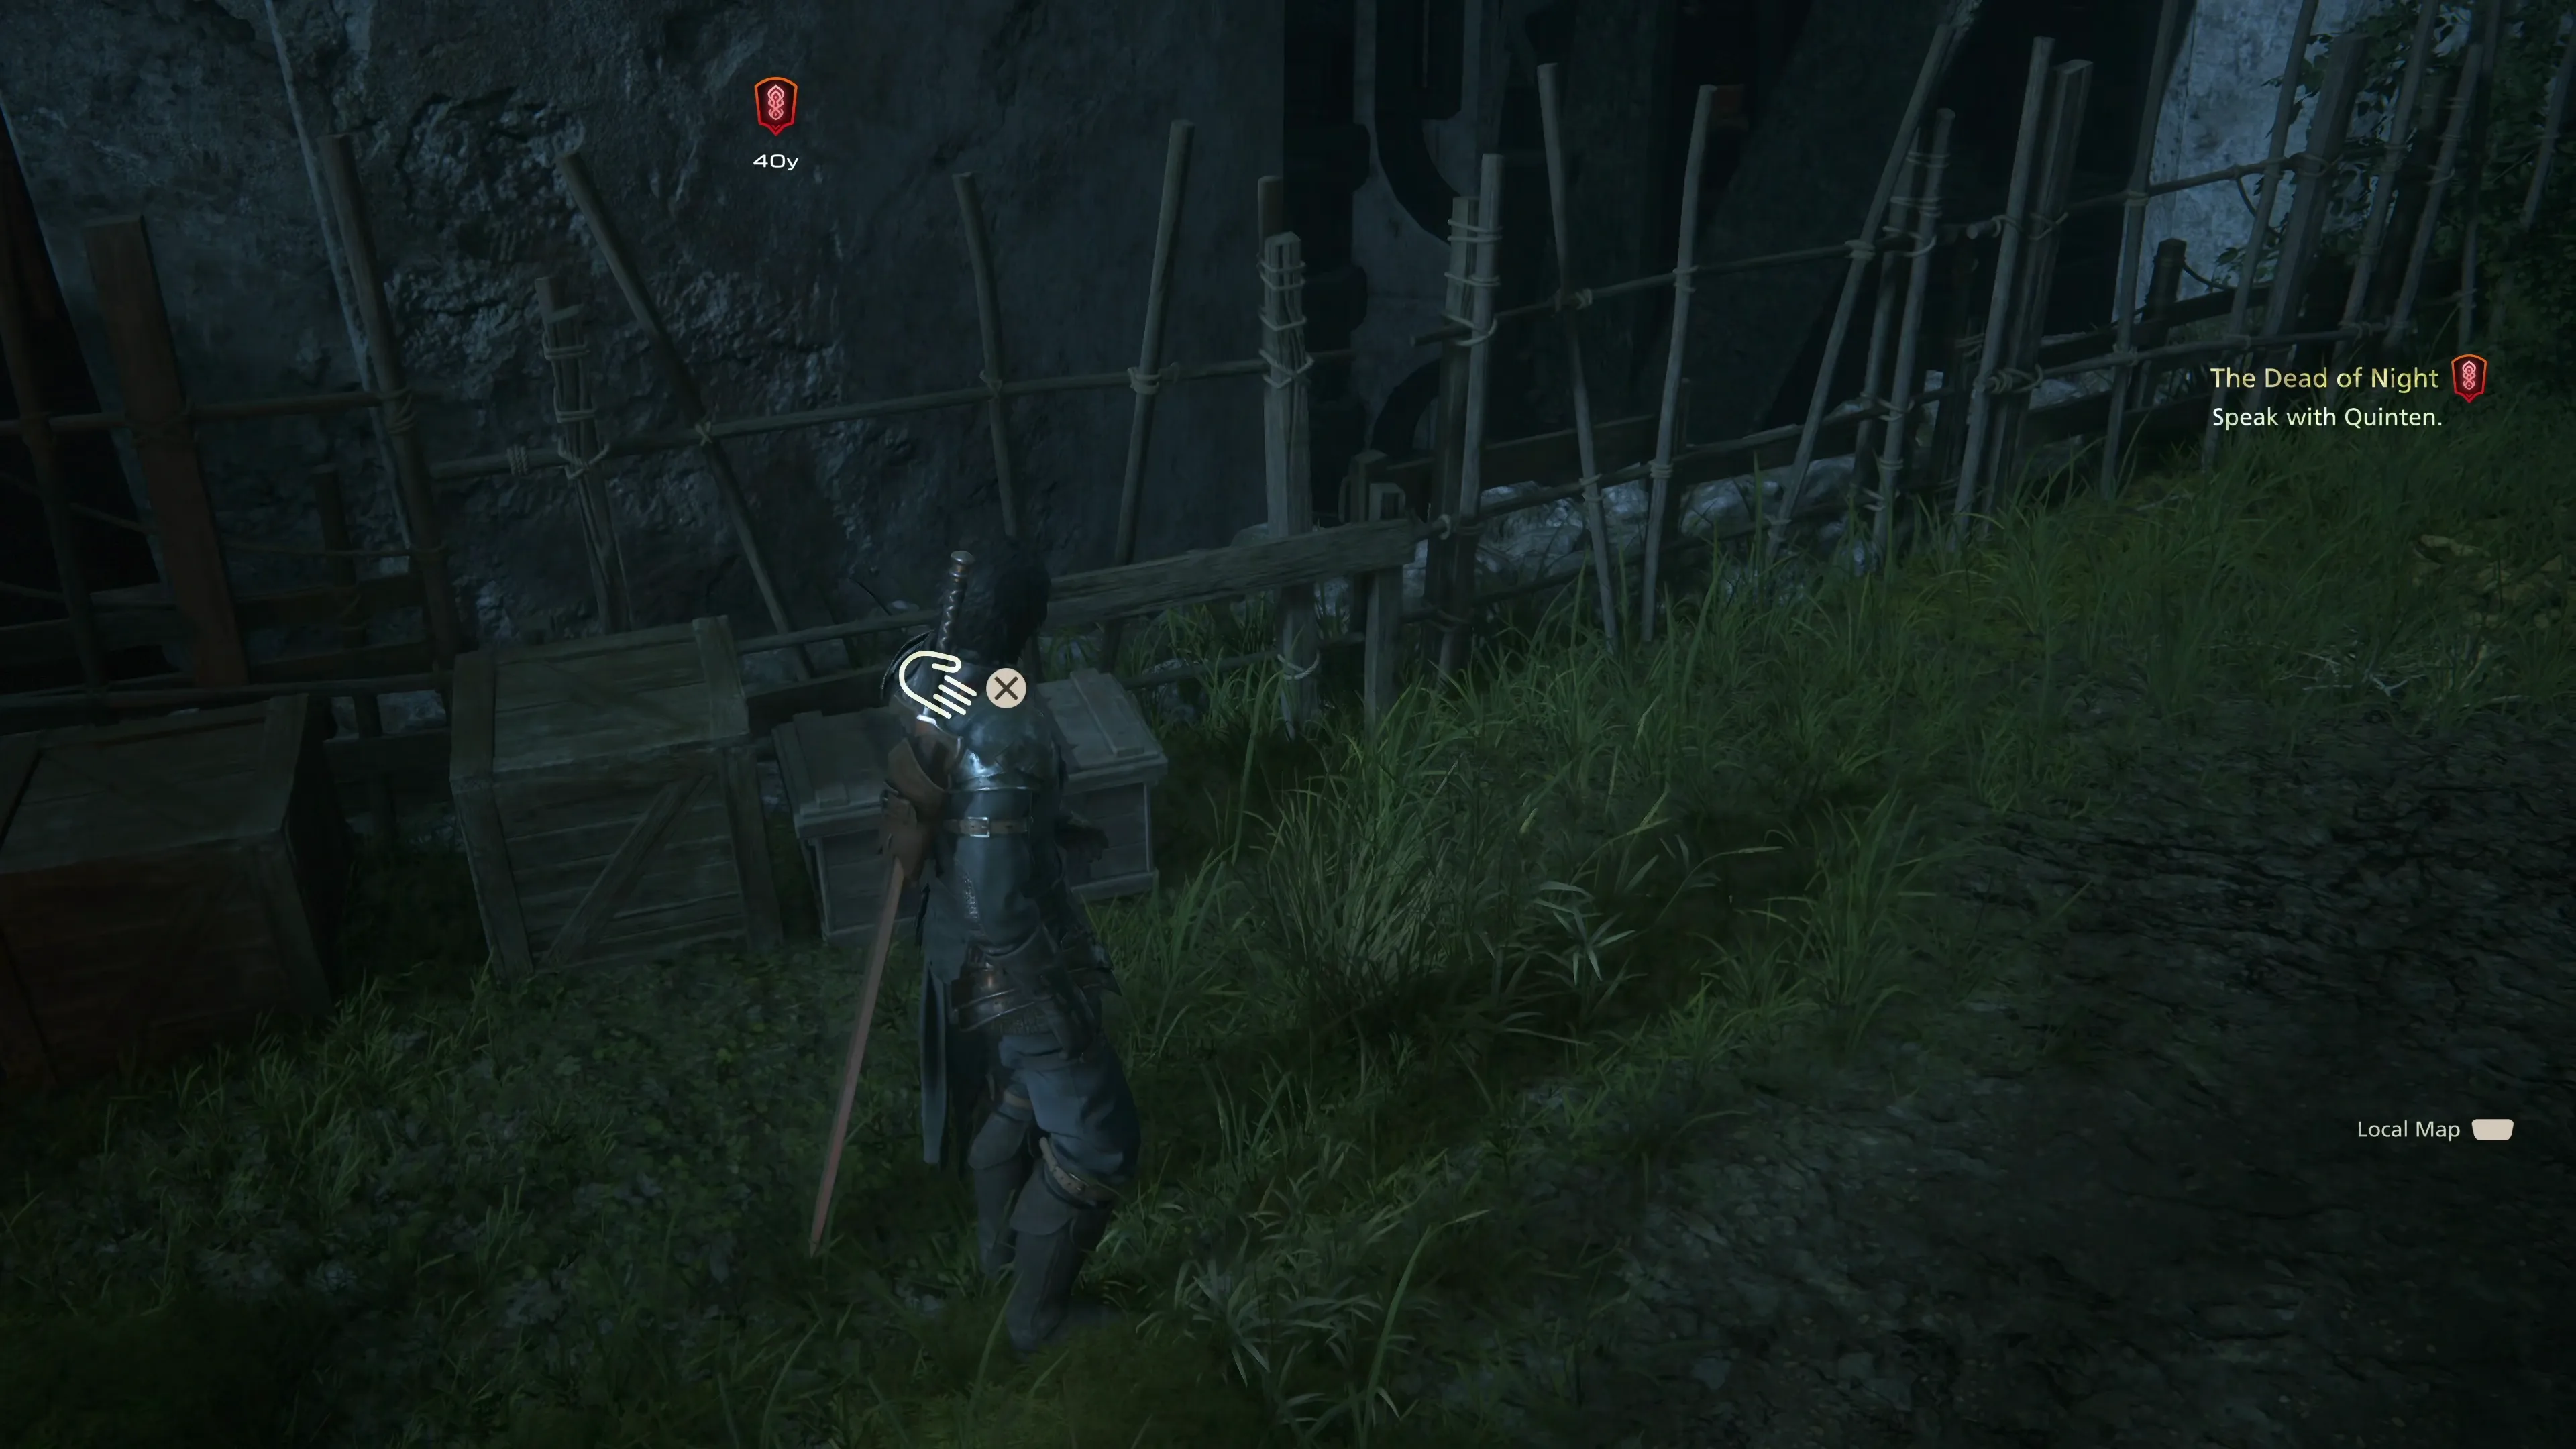
Head outside near the sheds at the back of Lostwing to find the next ![]() Yellow Treasure Coffer treasure coffer which contains a second
Yellow Treasure Coffer treasure coffer which contains a second ![]() Black Blood, and then head down the stairs, back into the center of Lostwing and through the archway to find the last
Black Blood, and then head down the stairs, back into the center of Lostwing and through the archway to find the last ![]() Green Treasure Coffer treasure coffer at the back of the village that contains five
Green Treasure Coffer treasure coffer at the back of the village that contains five ![]() Bloody Hides.
Bloody Hides.
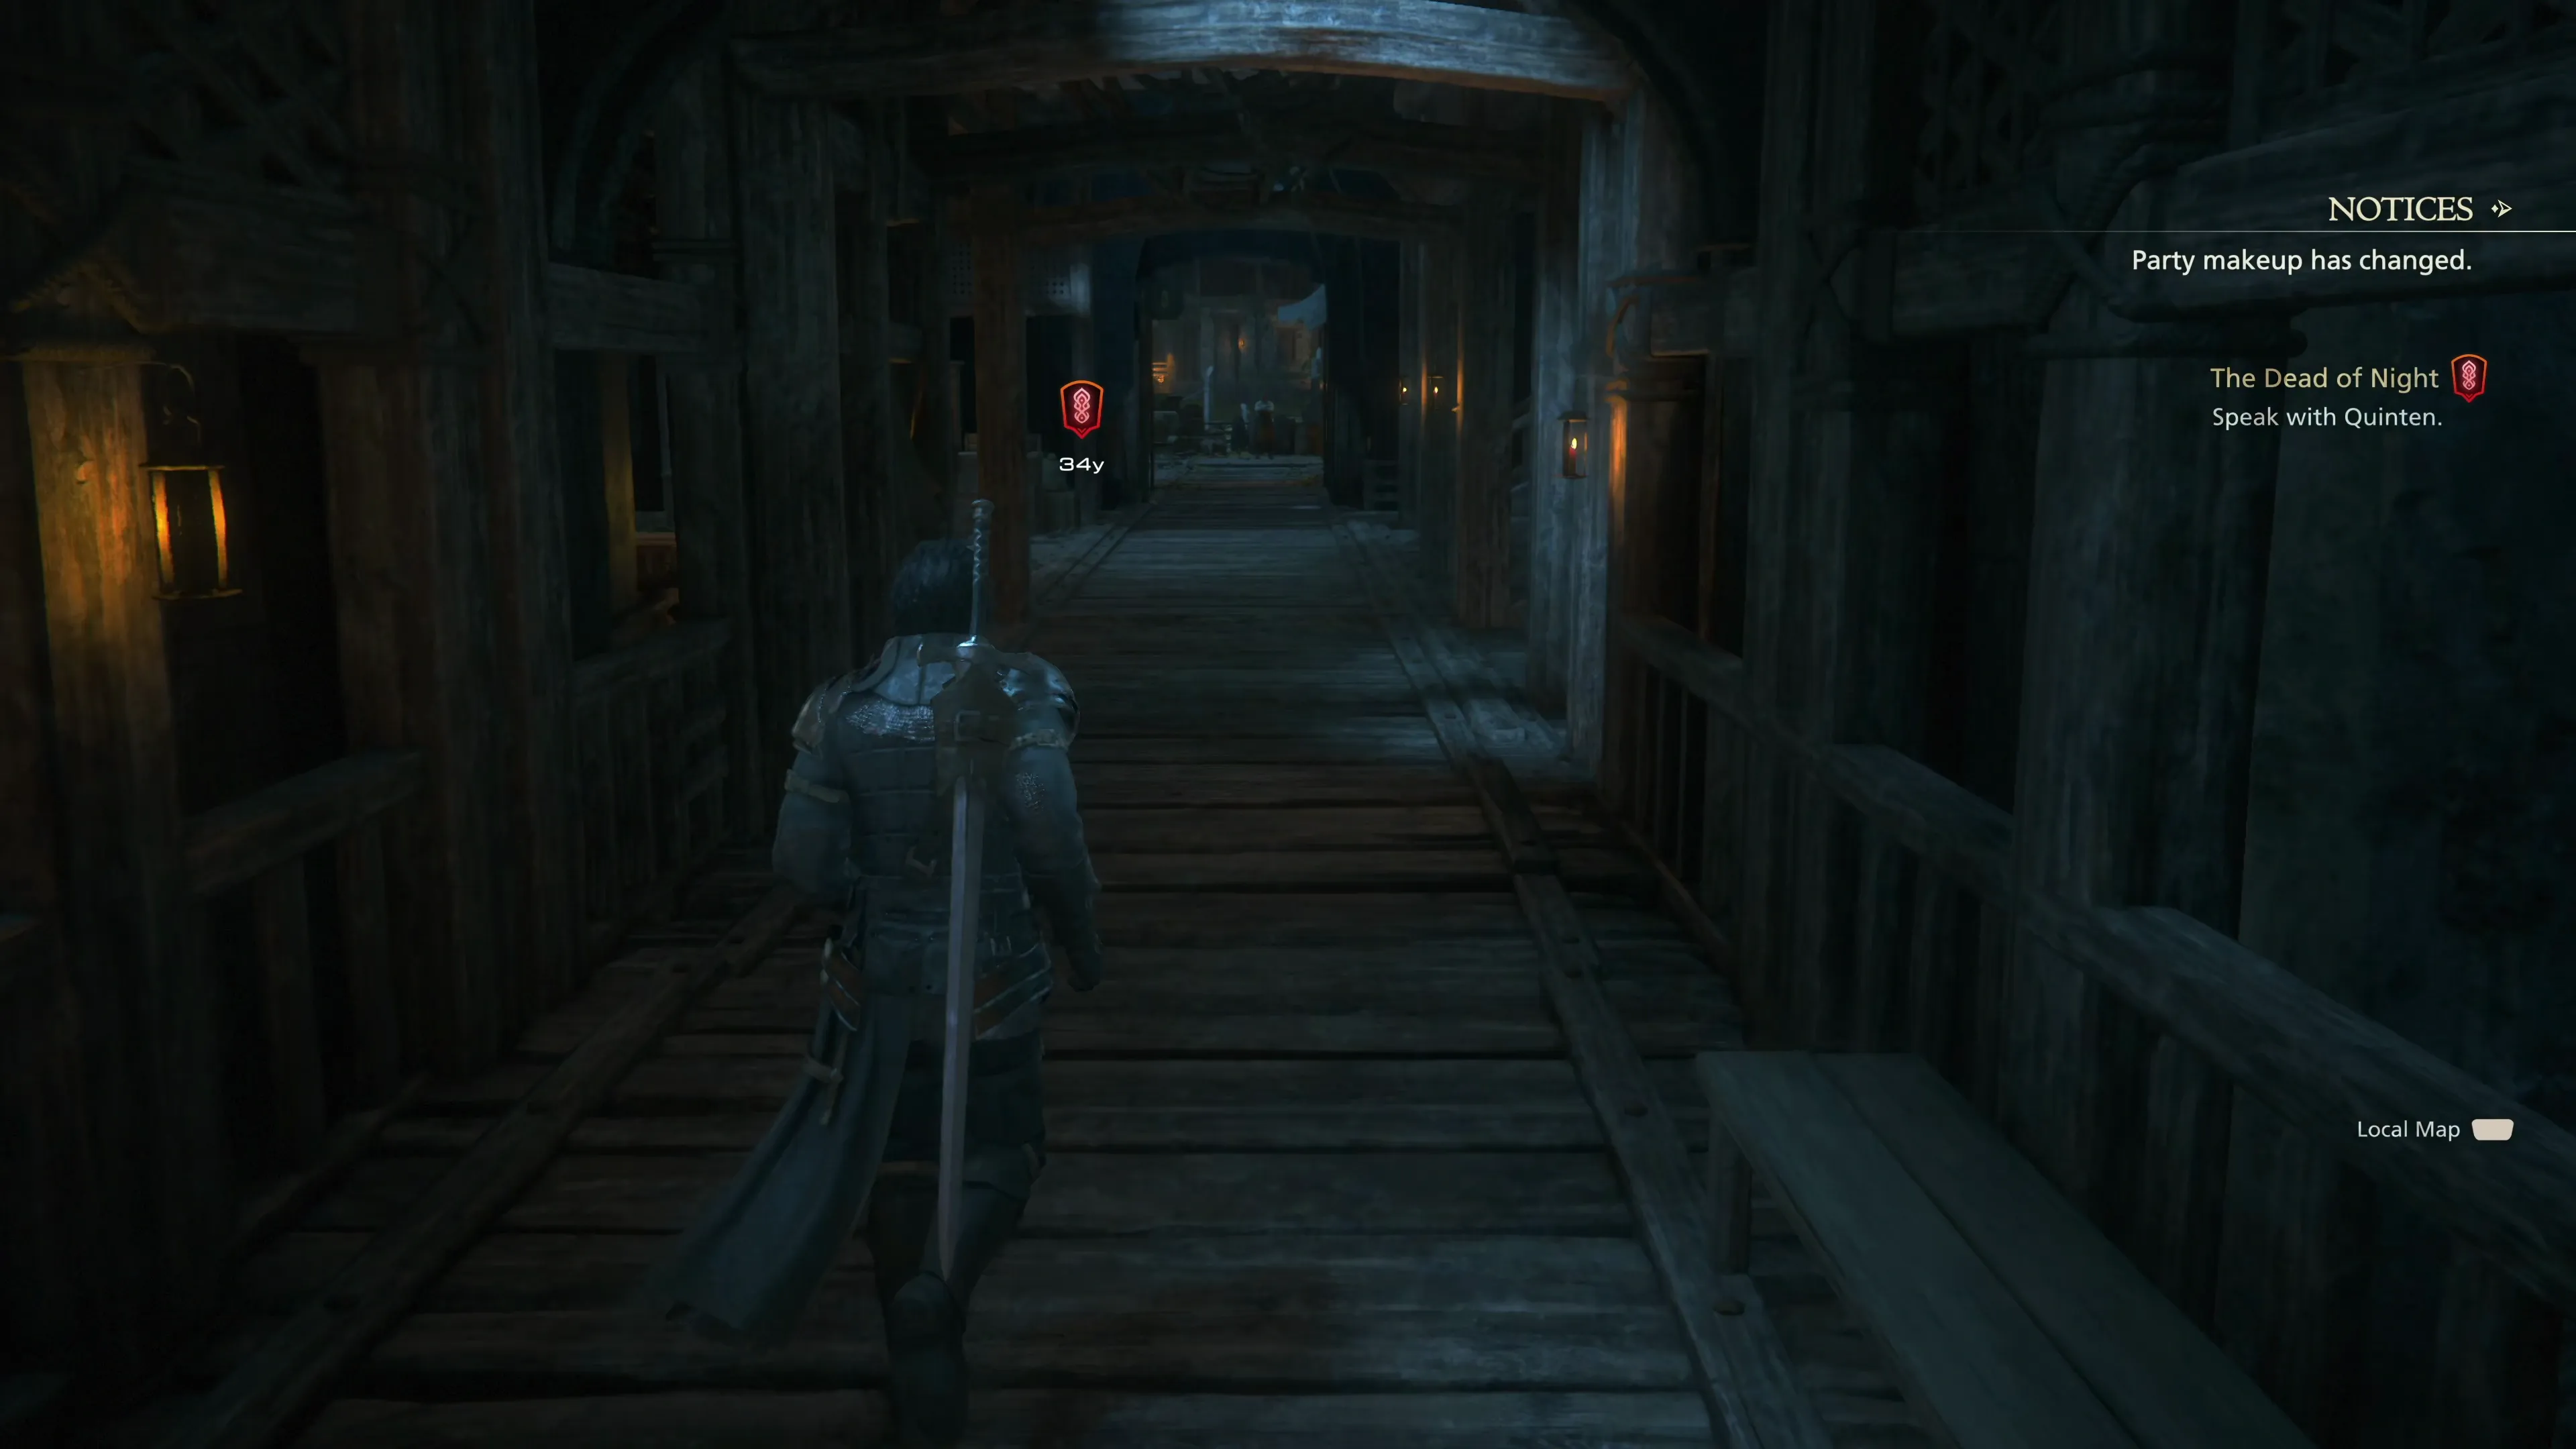
After finding all three, head back to the center of Lostwing and speak to Quinten. He will provide you with ![]() The Hanged Man curiosity, which will identify you as a trusted ally to those in Lostwing. This will change what some of the villagers say when Clive speaks to them.
The Hanged Man curiosity, which will identify you as a trusted ally to those in Lostwing. This will change what some of the villagers say when Clive speaks to them.
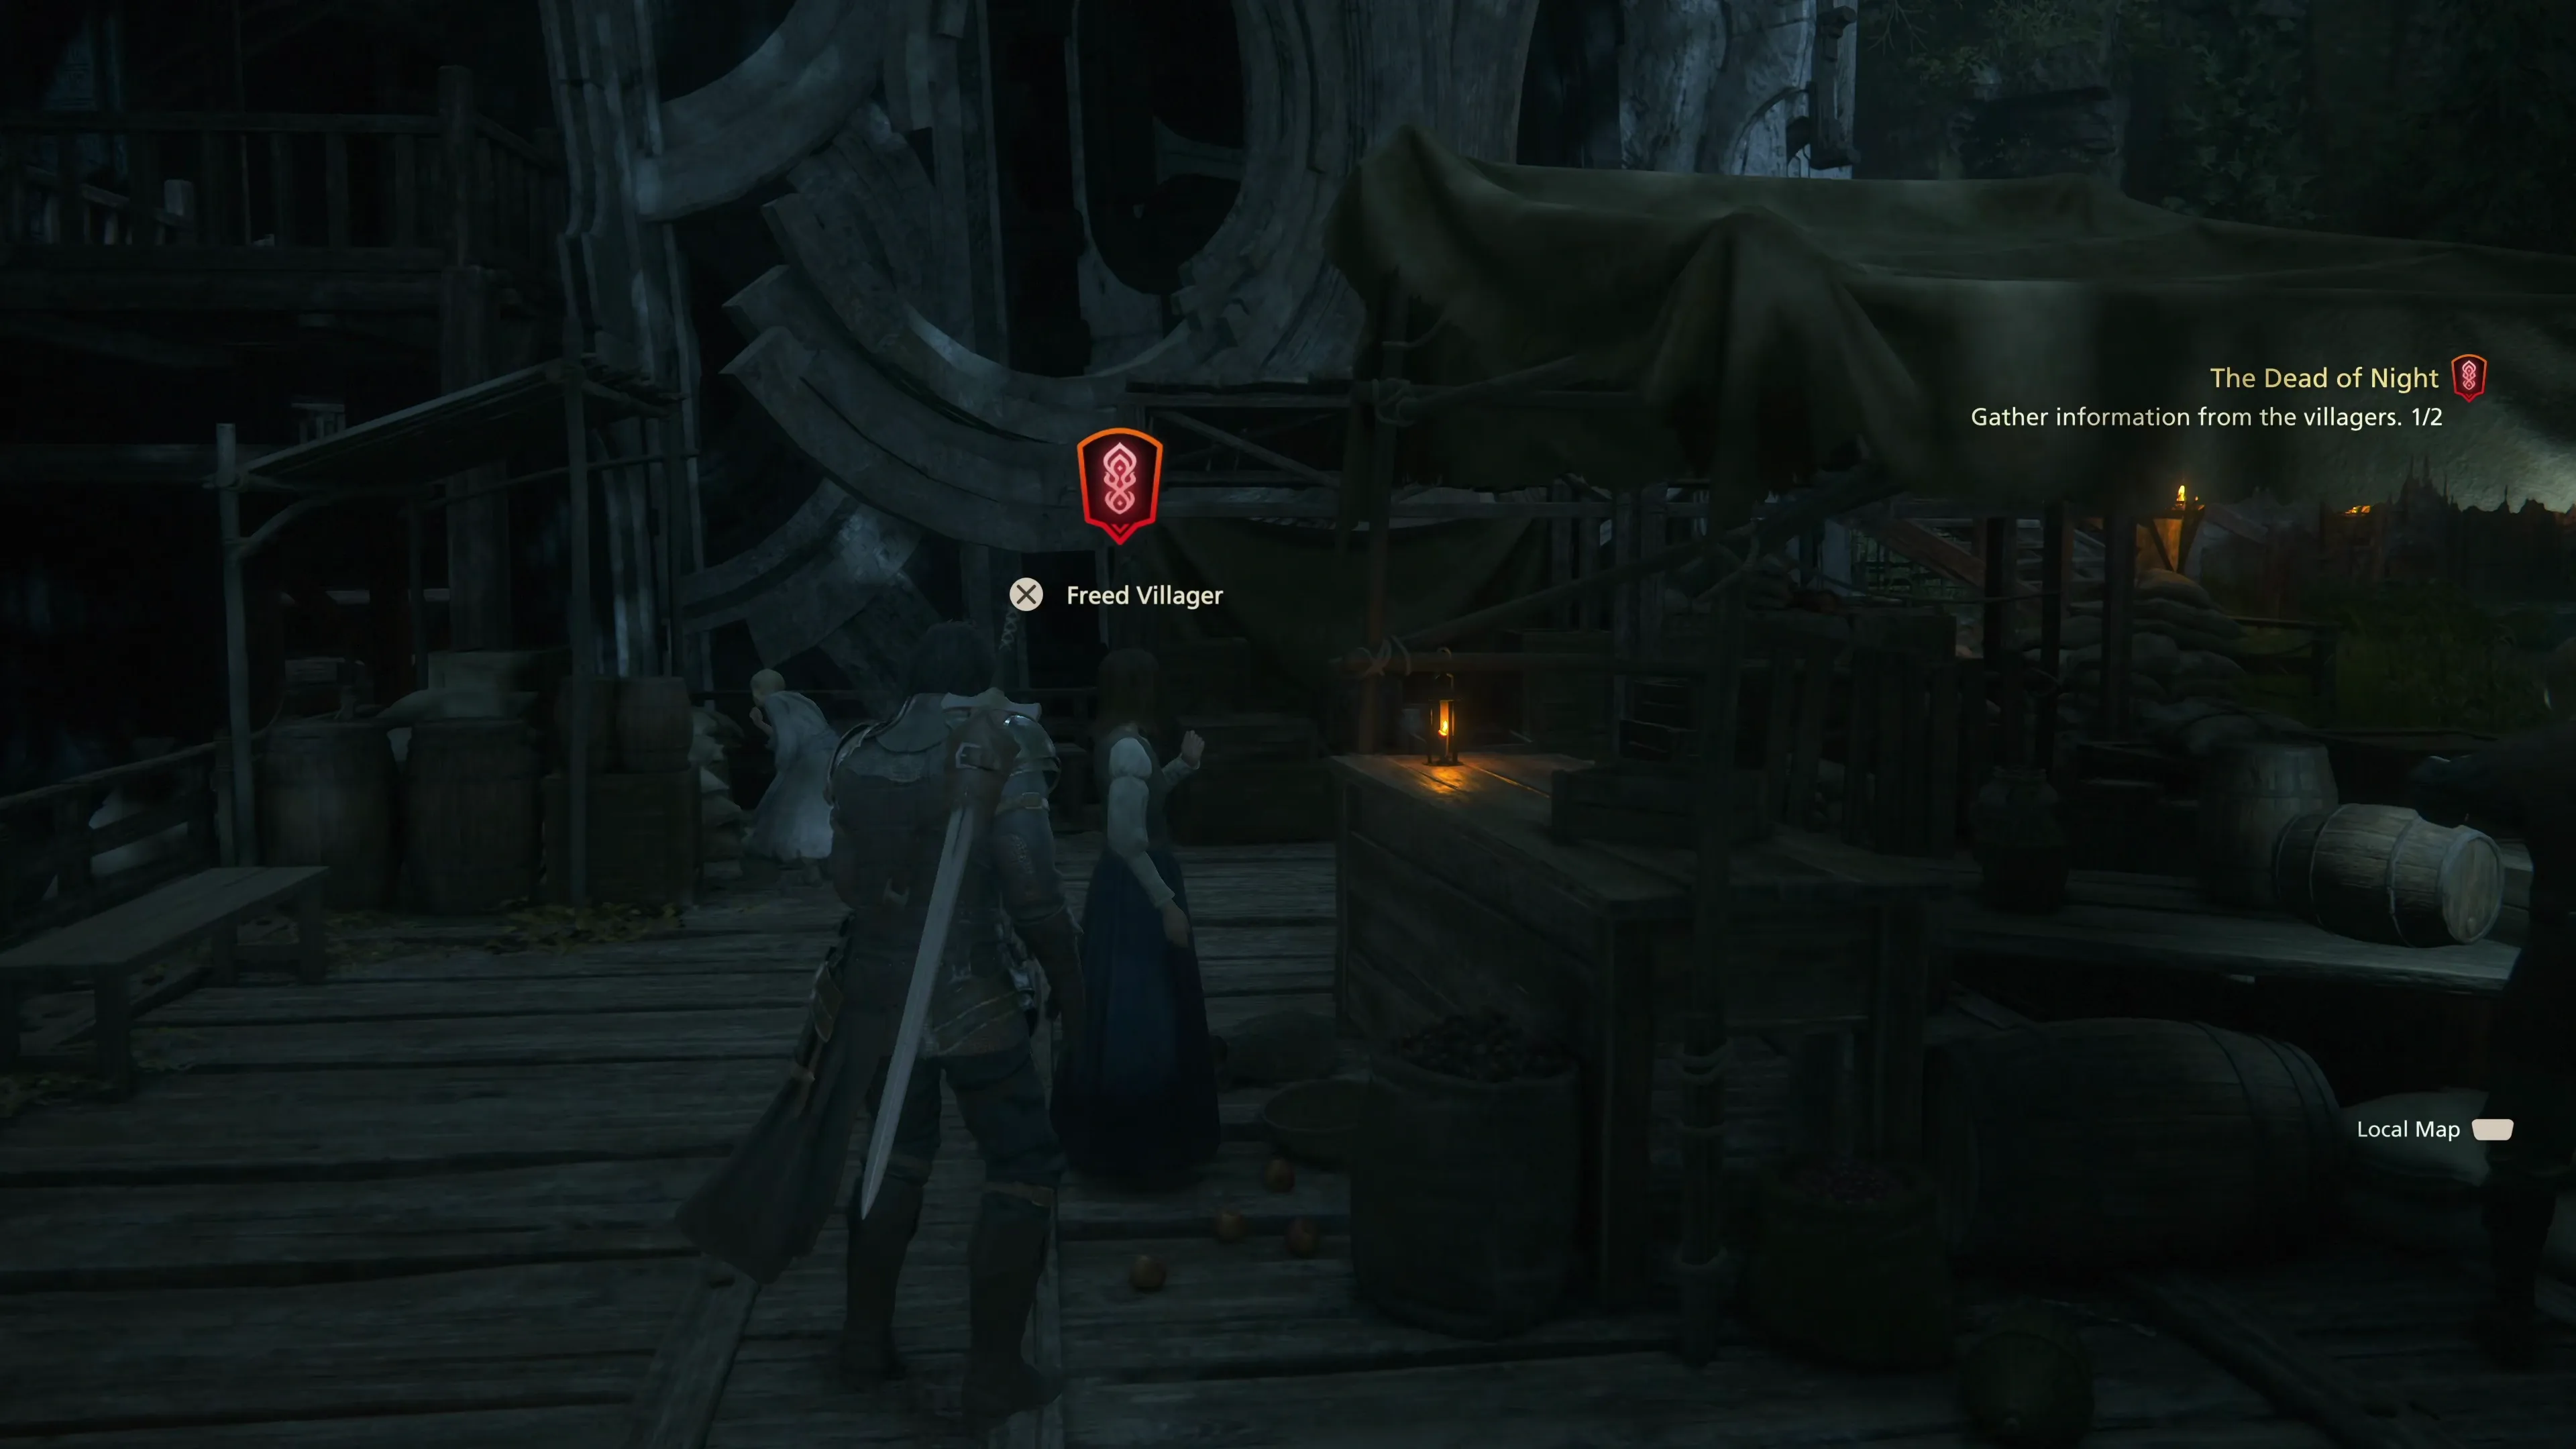
Your next task is to “gather information from the villagers.” You can use the Main Scenario Quest Marker ![]() to help you find the locations of the two Lostwing villagers that you need to speak with. The first one (Woodcutter) can be found directly behind where you spoke to Quinten, and the second one (Freed Villager) is just up the nearby stairs.
to help you find the locations of the two Lostwing villagers that you need to speak with. The first one (Woodcutter) can be found directly behind where you spoke to Quinten, and the second one (Freed Villager) is just up the nearby stairs.
Go back down the stairs and speak to Cid afterwards, and then speak to Quinten one more time after that. It’s now time to make your way to Caer Norvent, but before you leave Lostwing, take this opportunity to restock your supply of ![]() Potions and
Potions and ![]() High Potions if you are low. And remember, you can quickly sell all of your valuables for
High Potions if you are low. And remember, you can quickly sell all of your valuables for ![]() Gil by pressing the
Gil by pressing the ![]()
![]() button.
button.
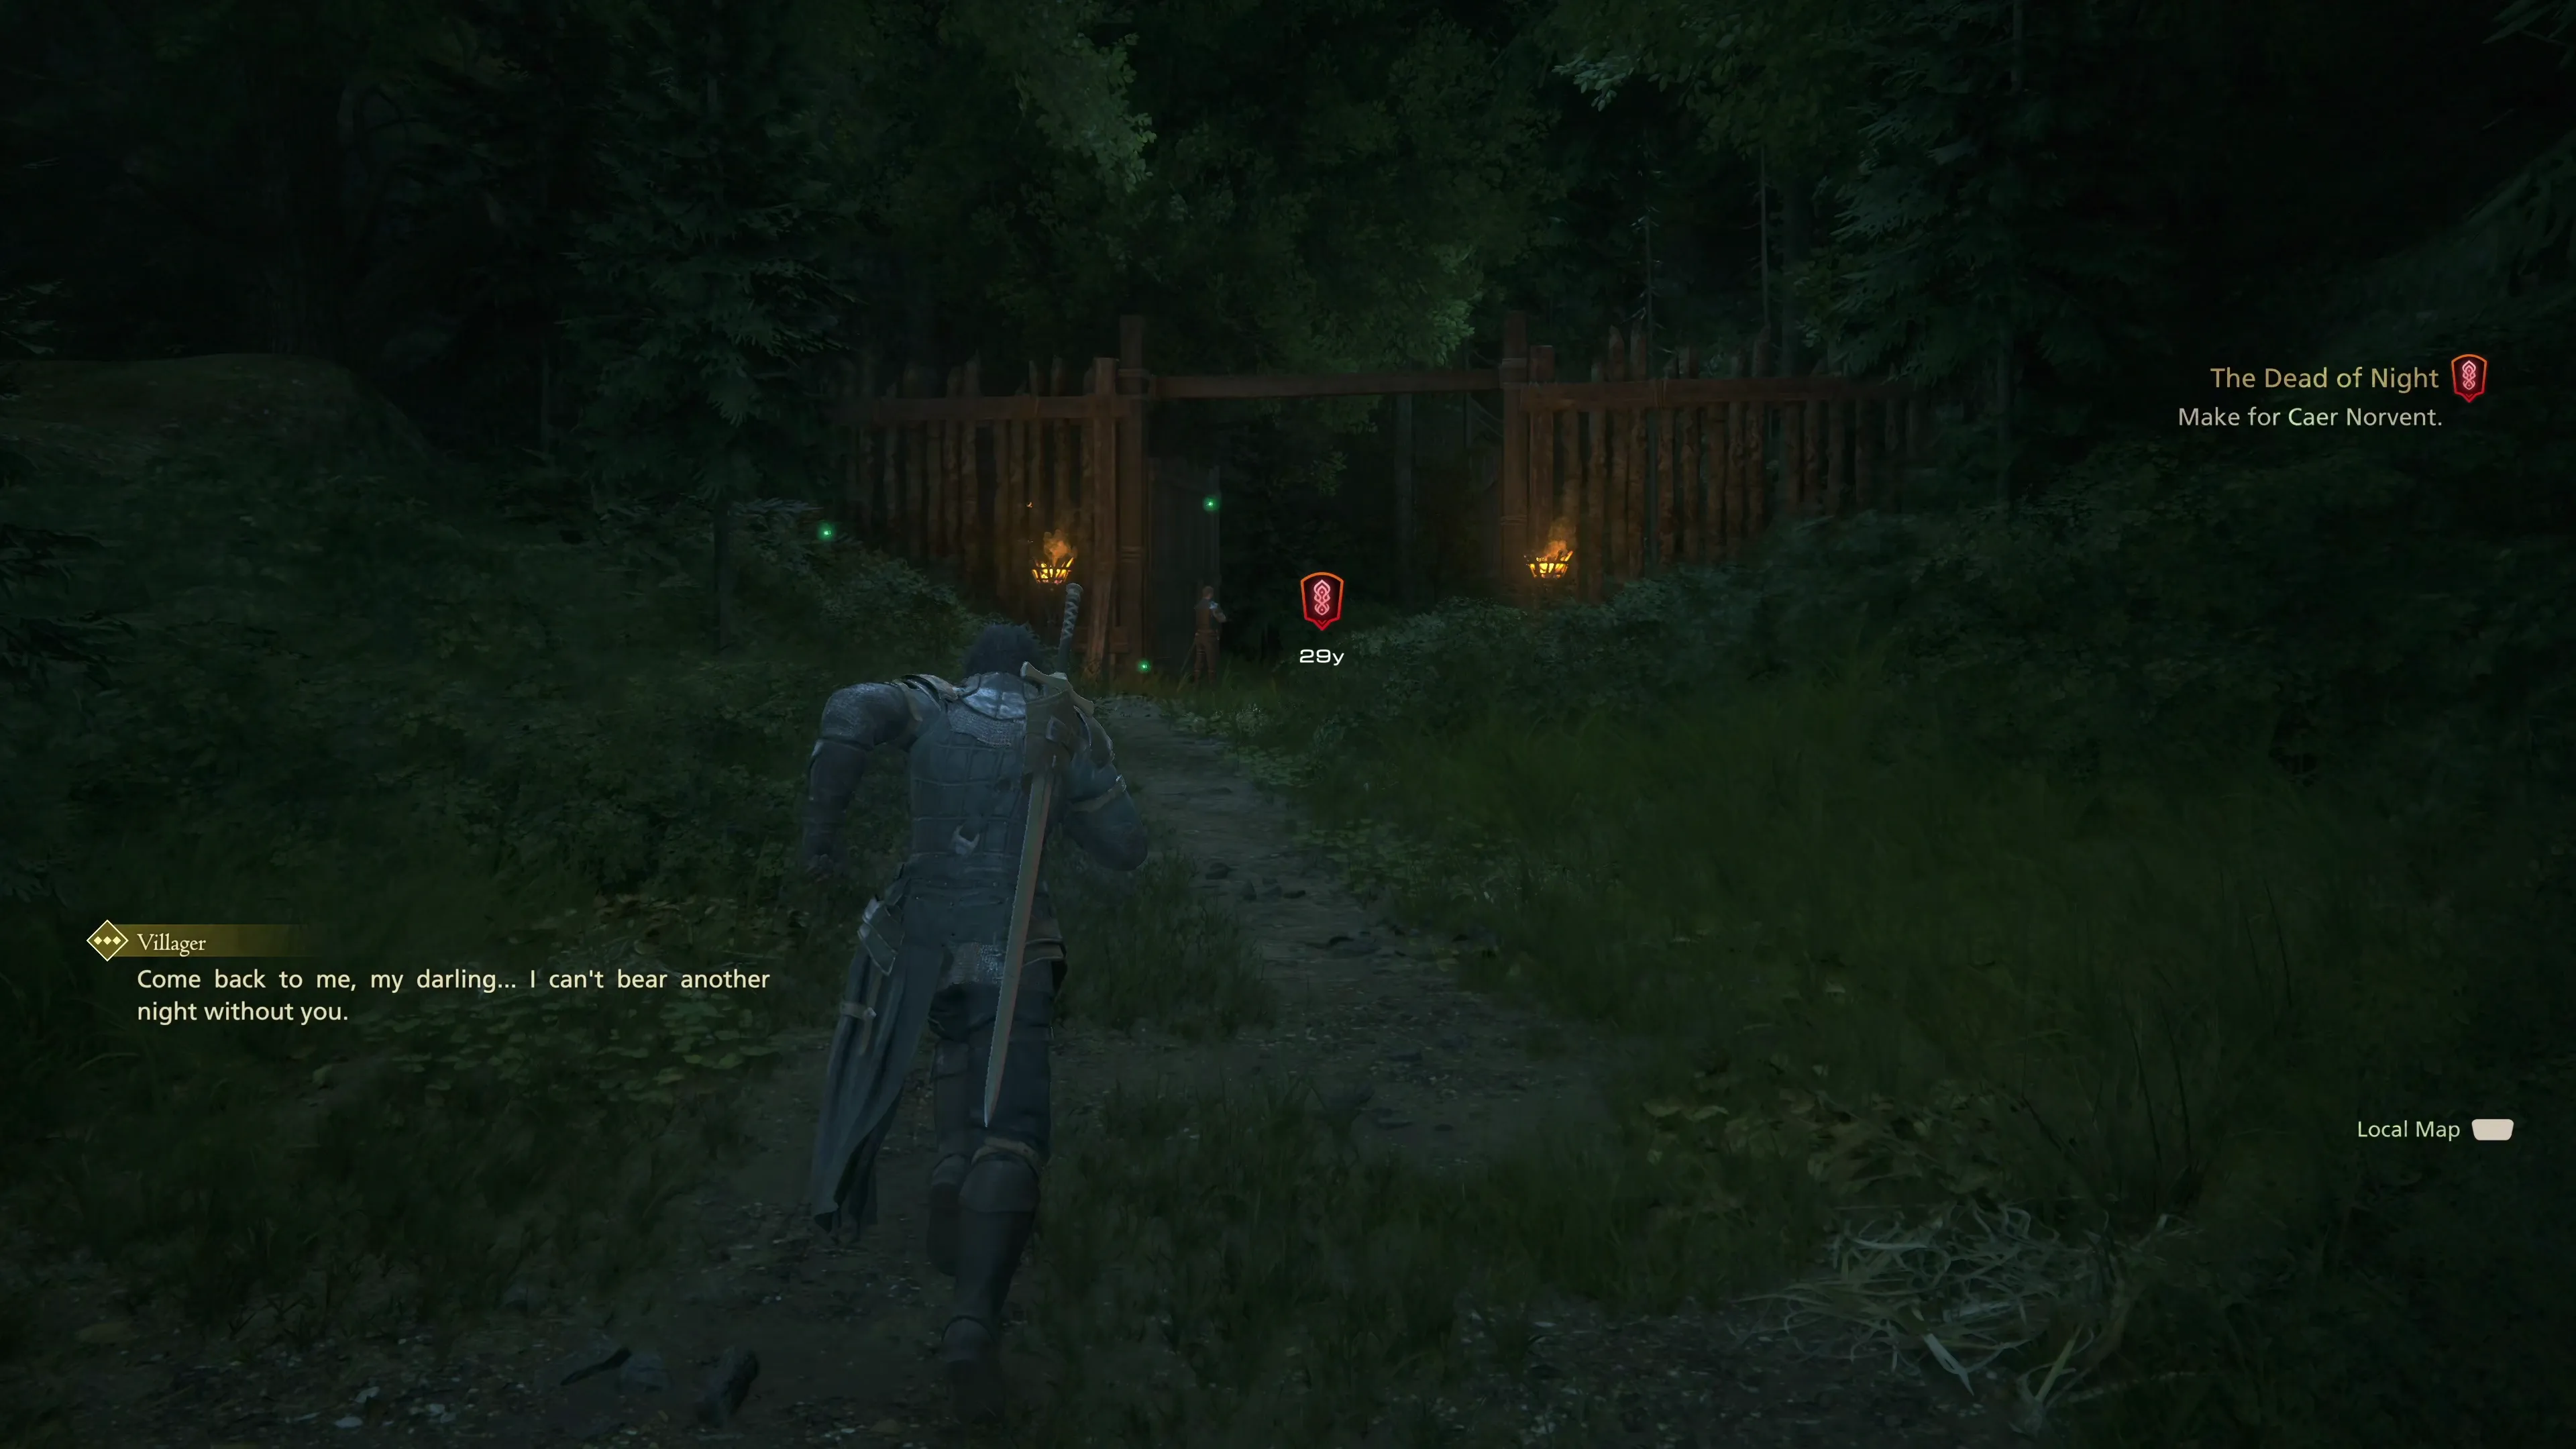
Head up the stairs and head out of town, through “Cutter’s Gate,” and into Laubert’s Pass.
Norvent Valley
Don’t forget to swap your ![]() Eikonic Ability Set back to one that includes abilities that hit multiple targets, and then continue along the pathway. There is a Glimmer on the right side of the screen and another one just a few yards further up.
Eikonic Ability Set back to one that includes abilities that hit multiple targets, and then continue along the pathway. There is a Glimmer on the right side of the screen and another one just a few yards further up.
Helpful Hint
During your travels, you will now come across some crafting materials that are specific to the zone that you are in. The zone-specific crafting materials in Sanbreque are called ![]() Valley Madder. You can only find them in this region. As you travel across Valisthea, you will obtain other zone-specific items, like
Valley Madder. You can only find them in this region. As you travel across Valisthea, you will obtain other zone-specific items, like ![]() Briar Clam Shells,
Briar Clam Shells, ![]() Desert Roses, and
Desert Roses, and ![]() Clutchmine.
Clutchmine.
Don’t go out of your way to try to obtain them, as you will generally gather up enough as you progress through each zone, but if not, you can always return to the zone by fast-traveling using an Obelisk and hit up some more Glimmer spots (which will respawn after a certain amount of time).
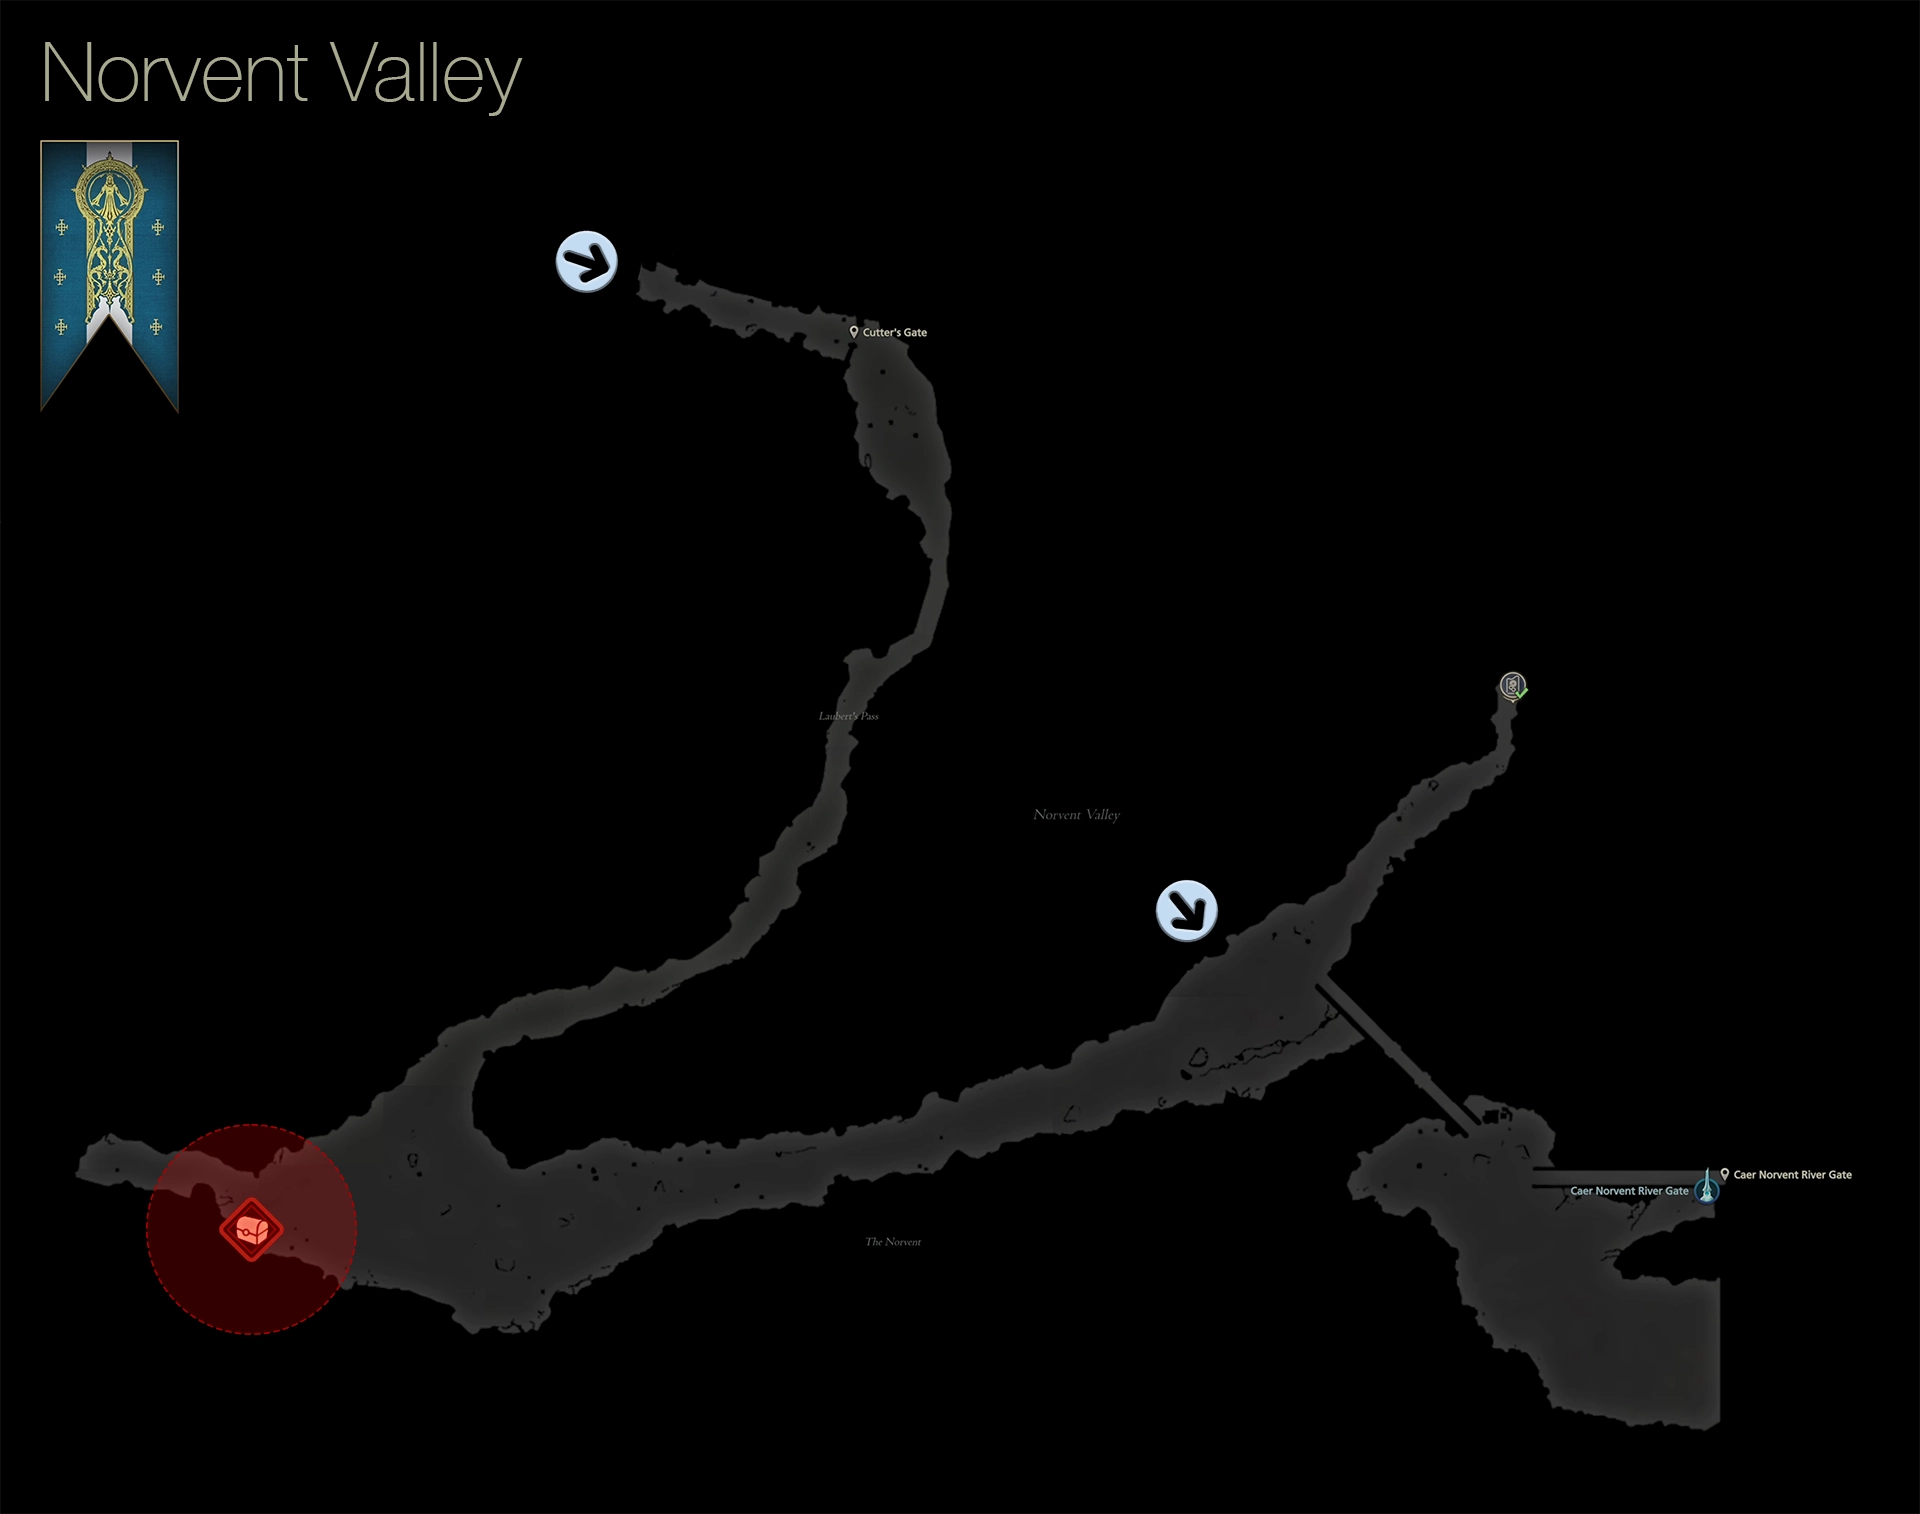
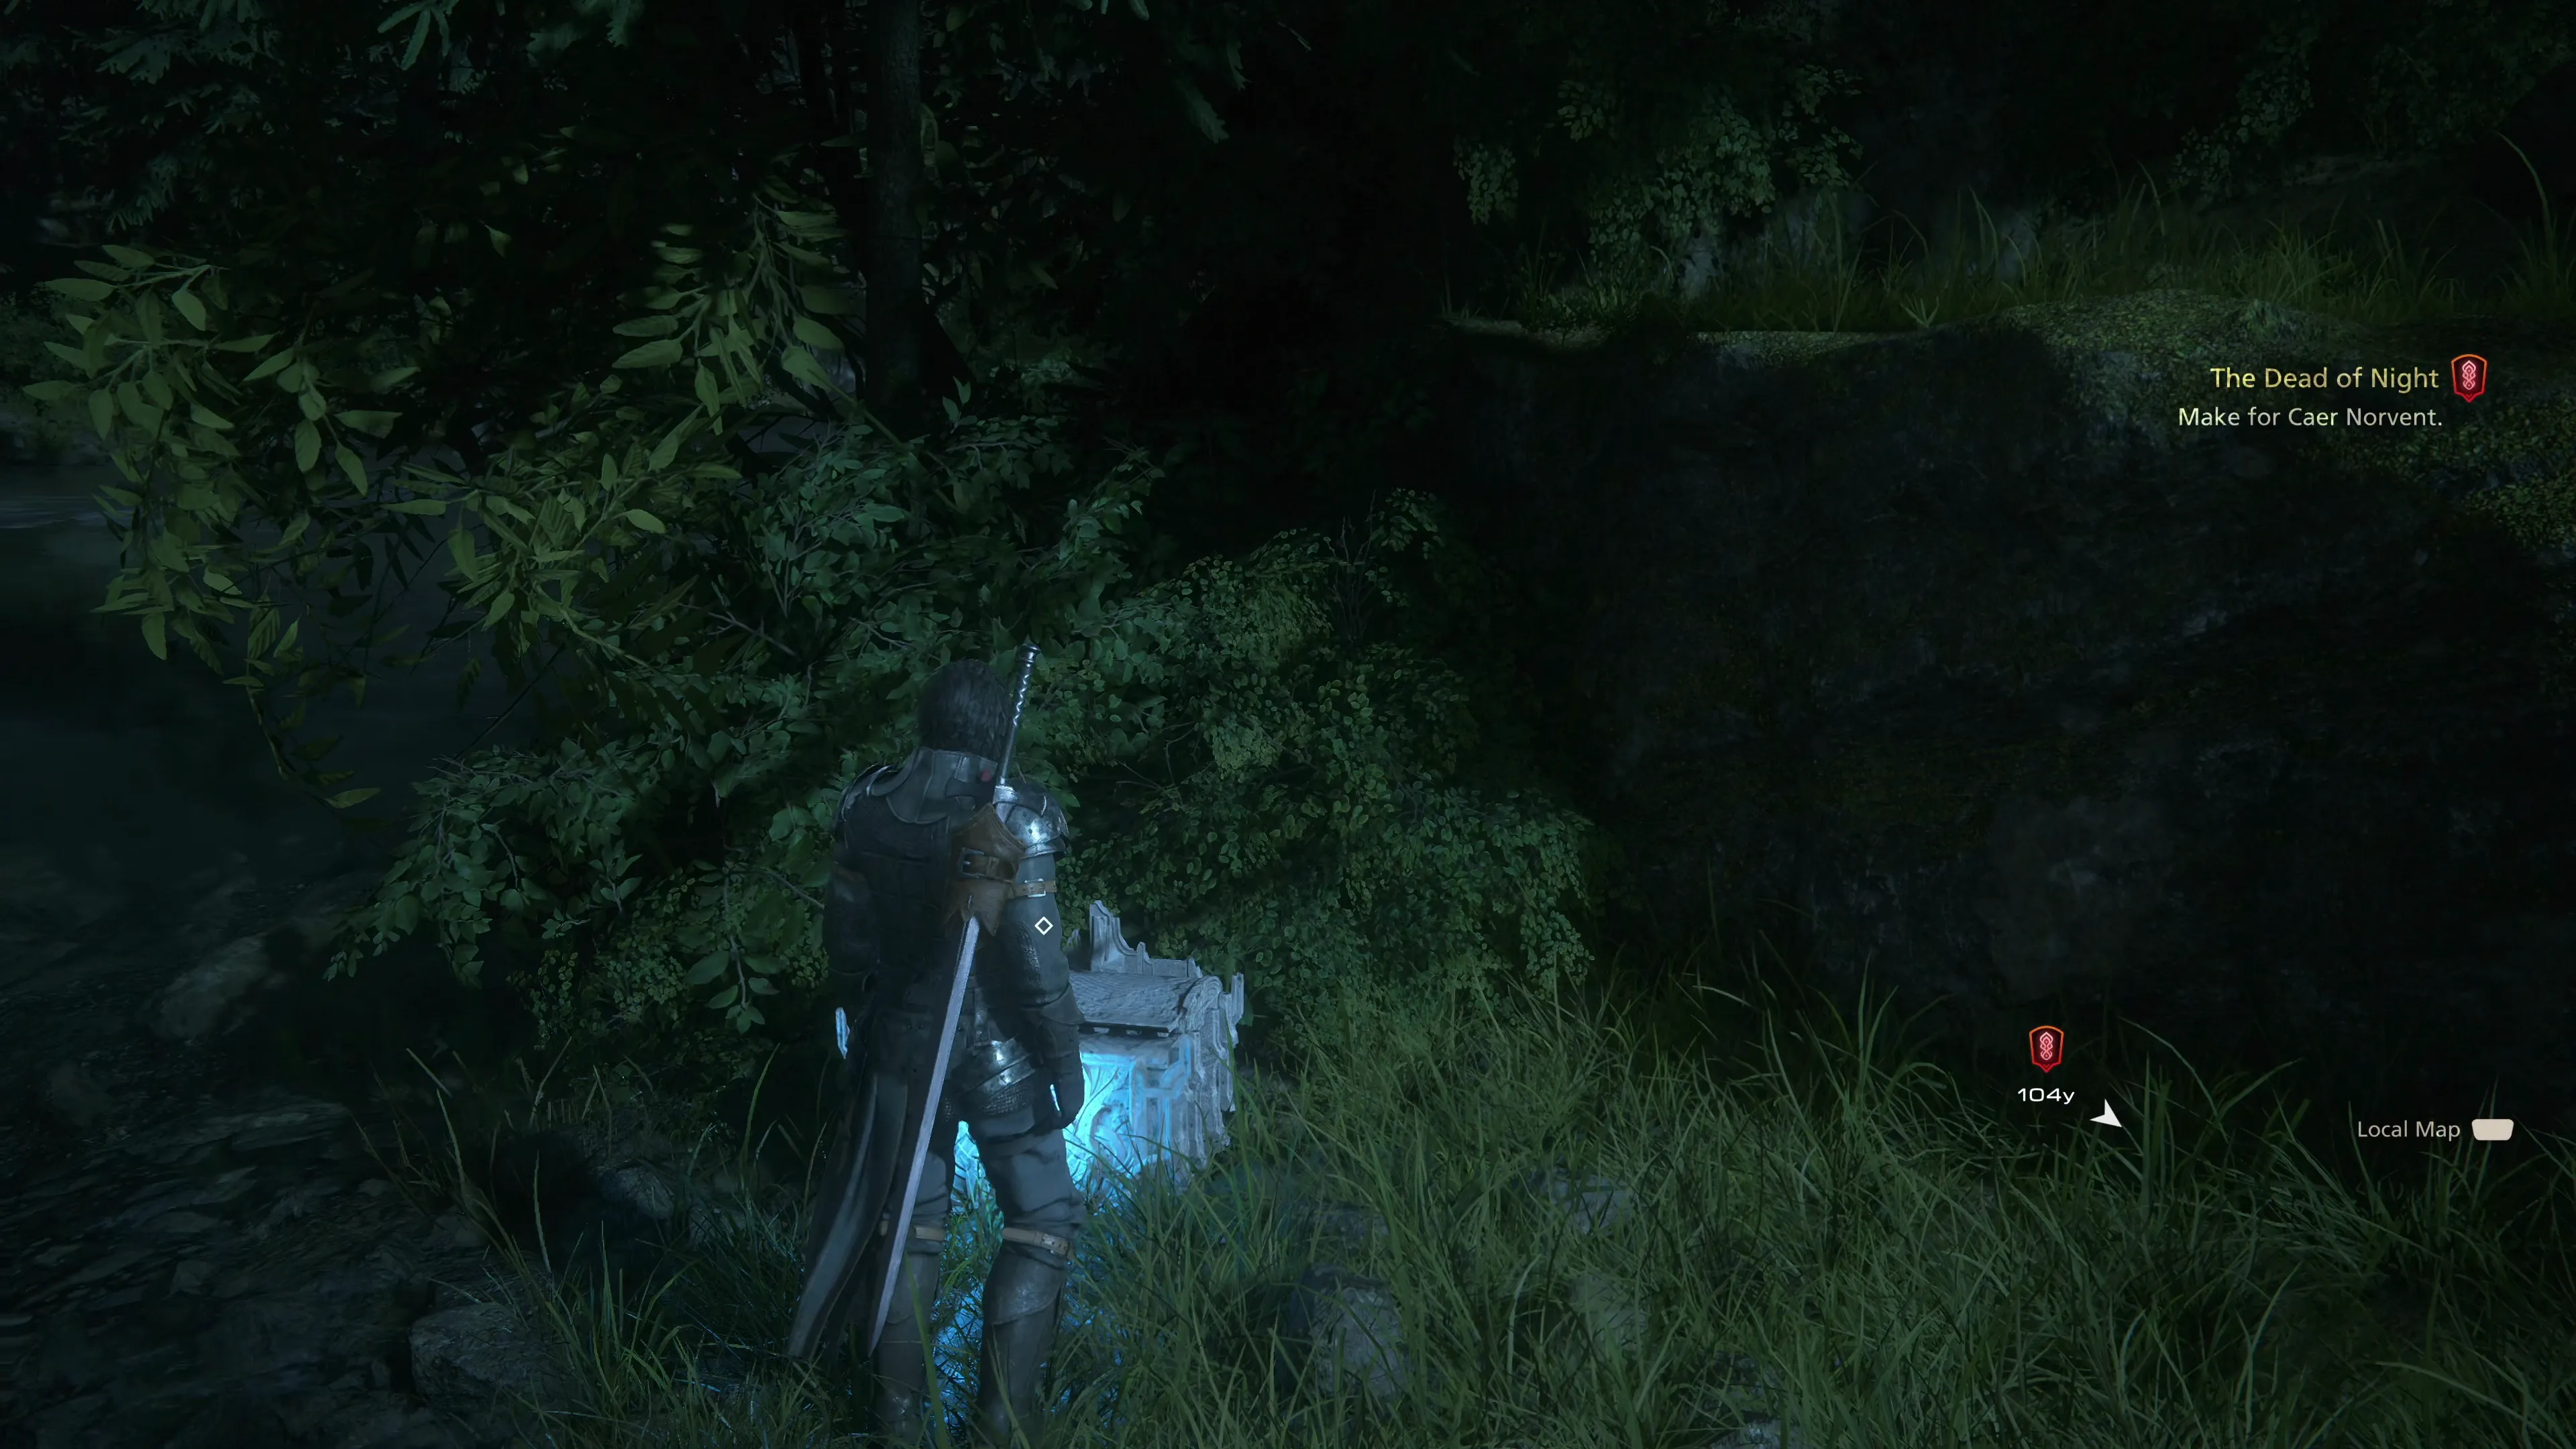
Defeat the group of enemies and continue to hug the right side of the valley until you reach a ![]() Red Treasure Coffer treasure coffer down near the shores of the river. The map below can be used to help you find it. Open it up to obtain another
Red Treasure Coffer treasure coffer down near the shores of the river. The map below can be used to help you find it. Open it up to obtain another ![]() Meteorite.
Meteorite.
Continue along the pathway through two more groups of enemies, and once you get far enough along the pathway, another cutscene will kick off, ending this Main Scenario quest. You’ll be pulled back out onto the world map. Select “Caer Norvent” to proceed to the next section of the game.