
 Headwind

 Caer Norvent
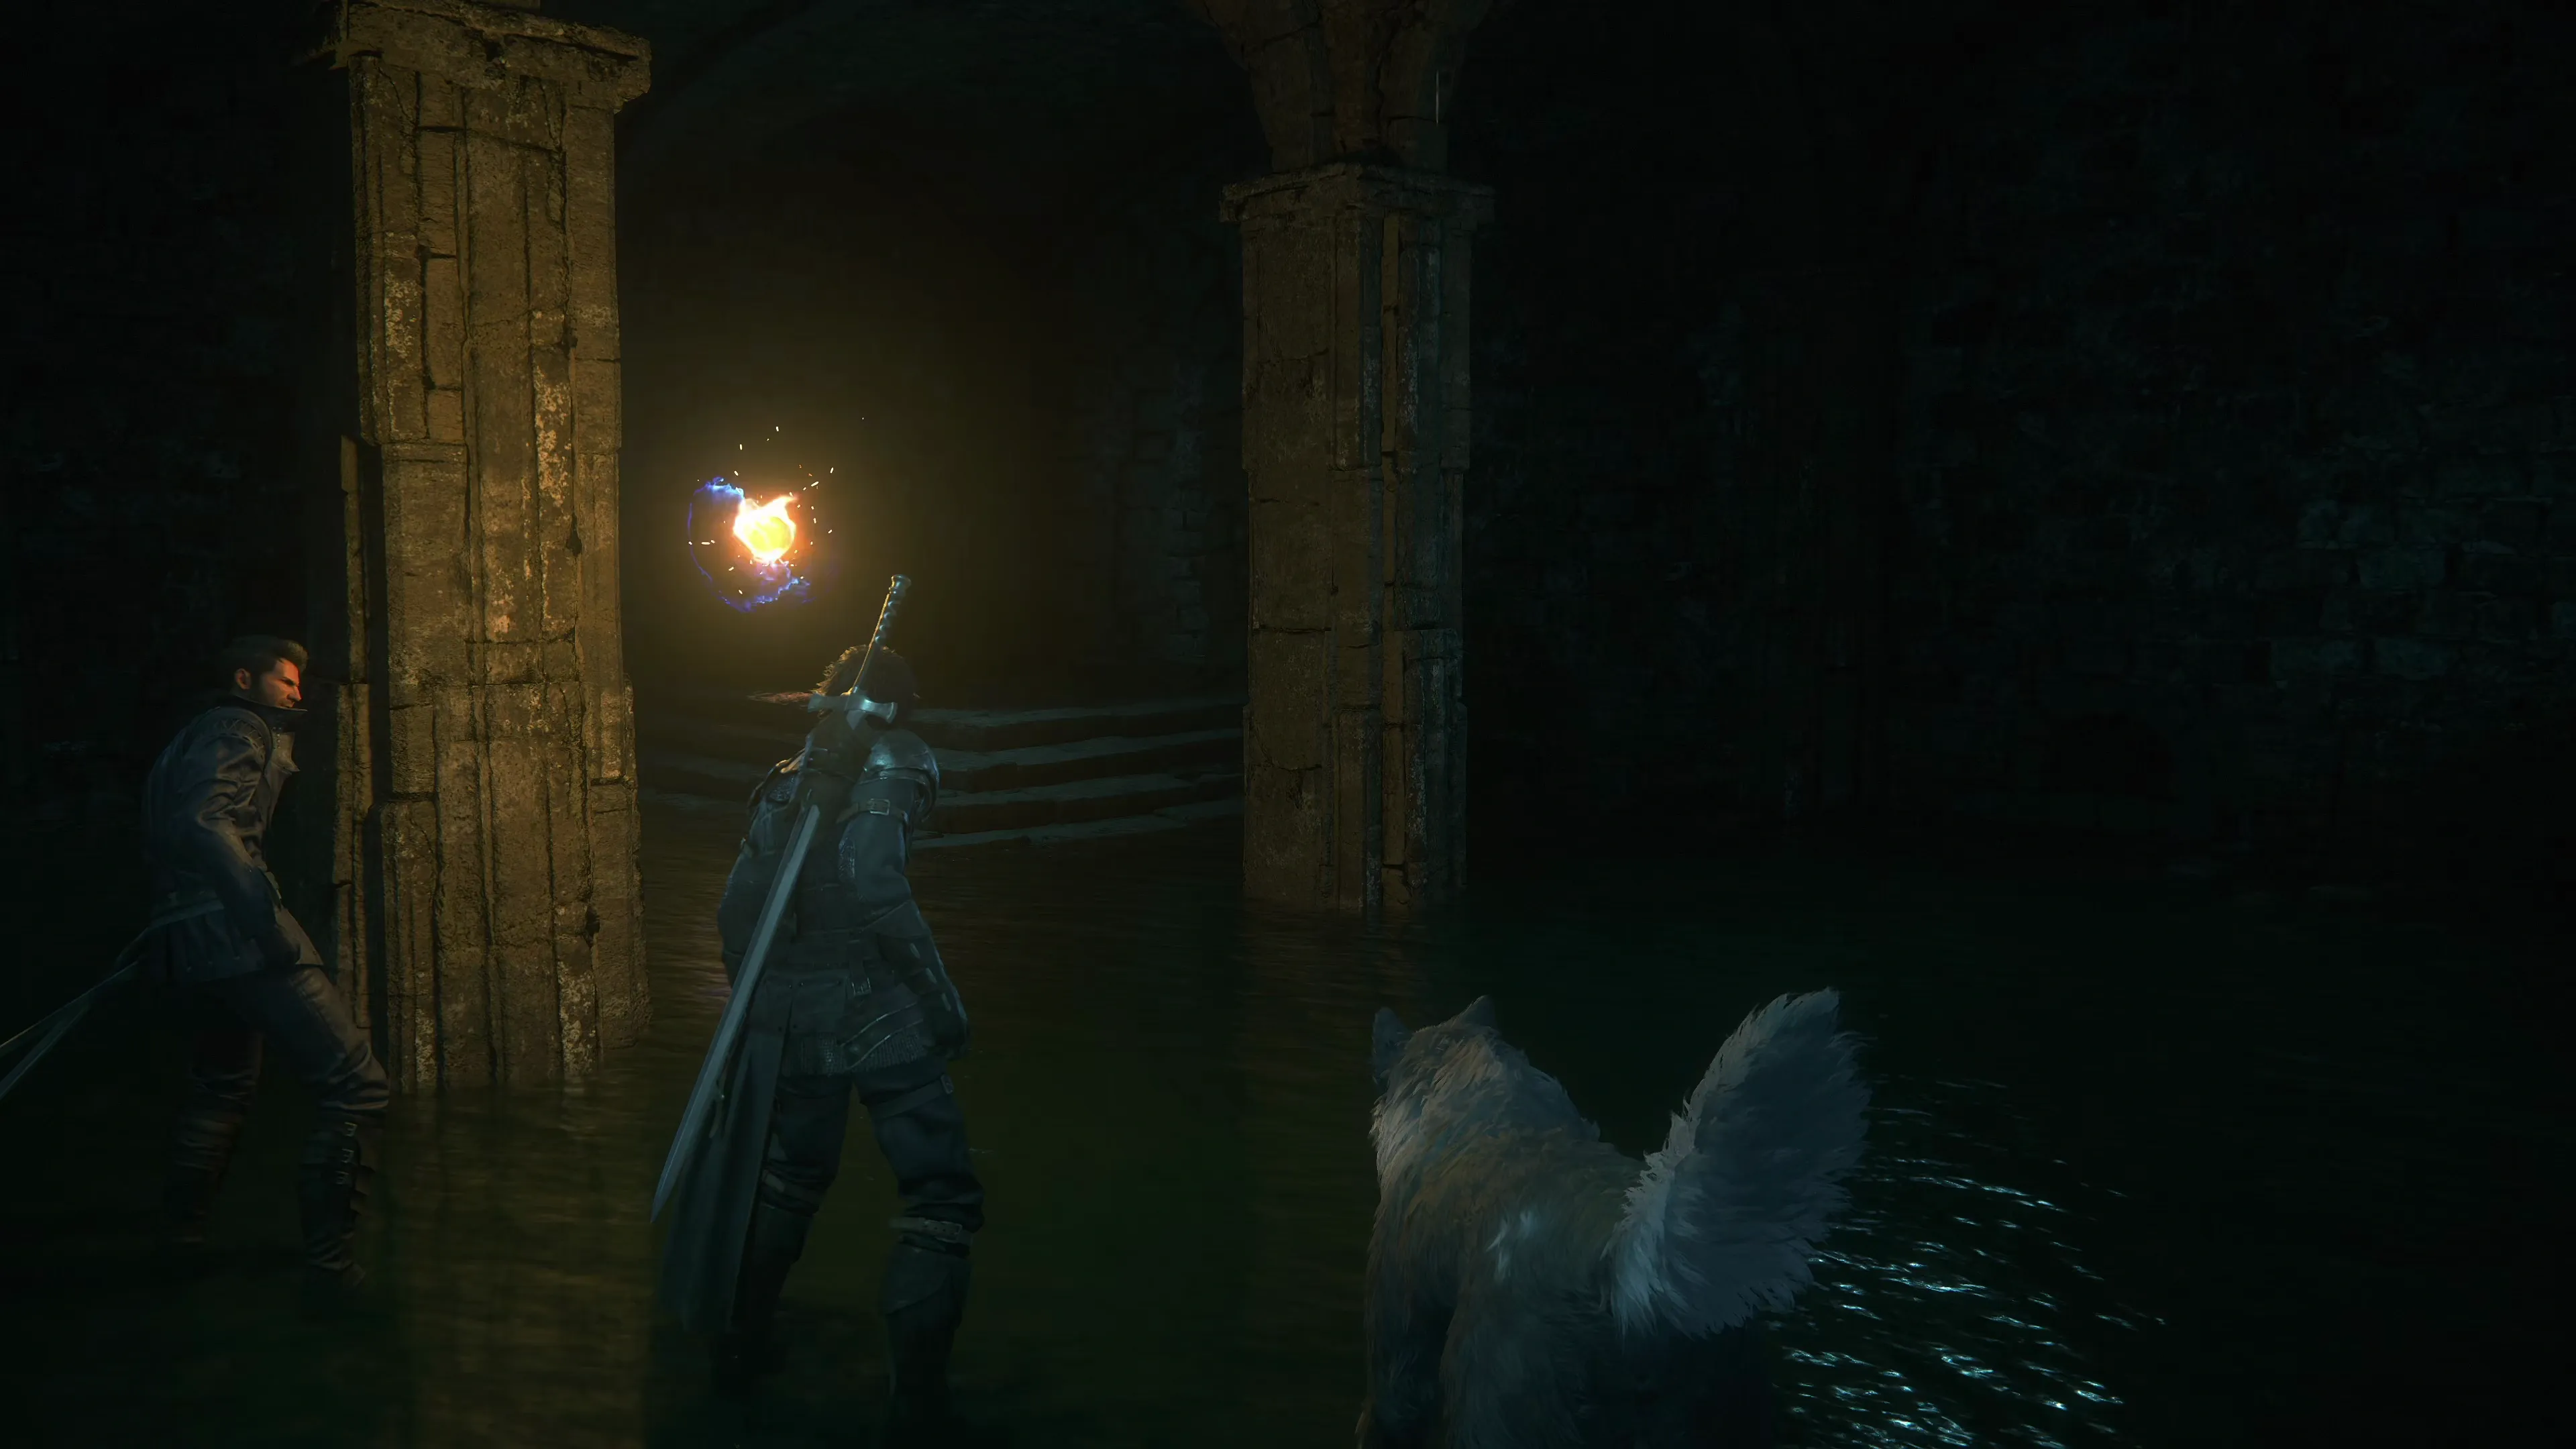
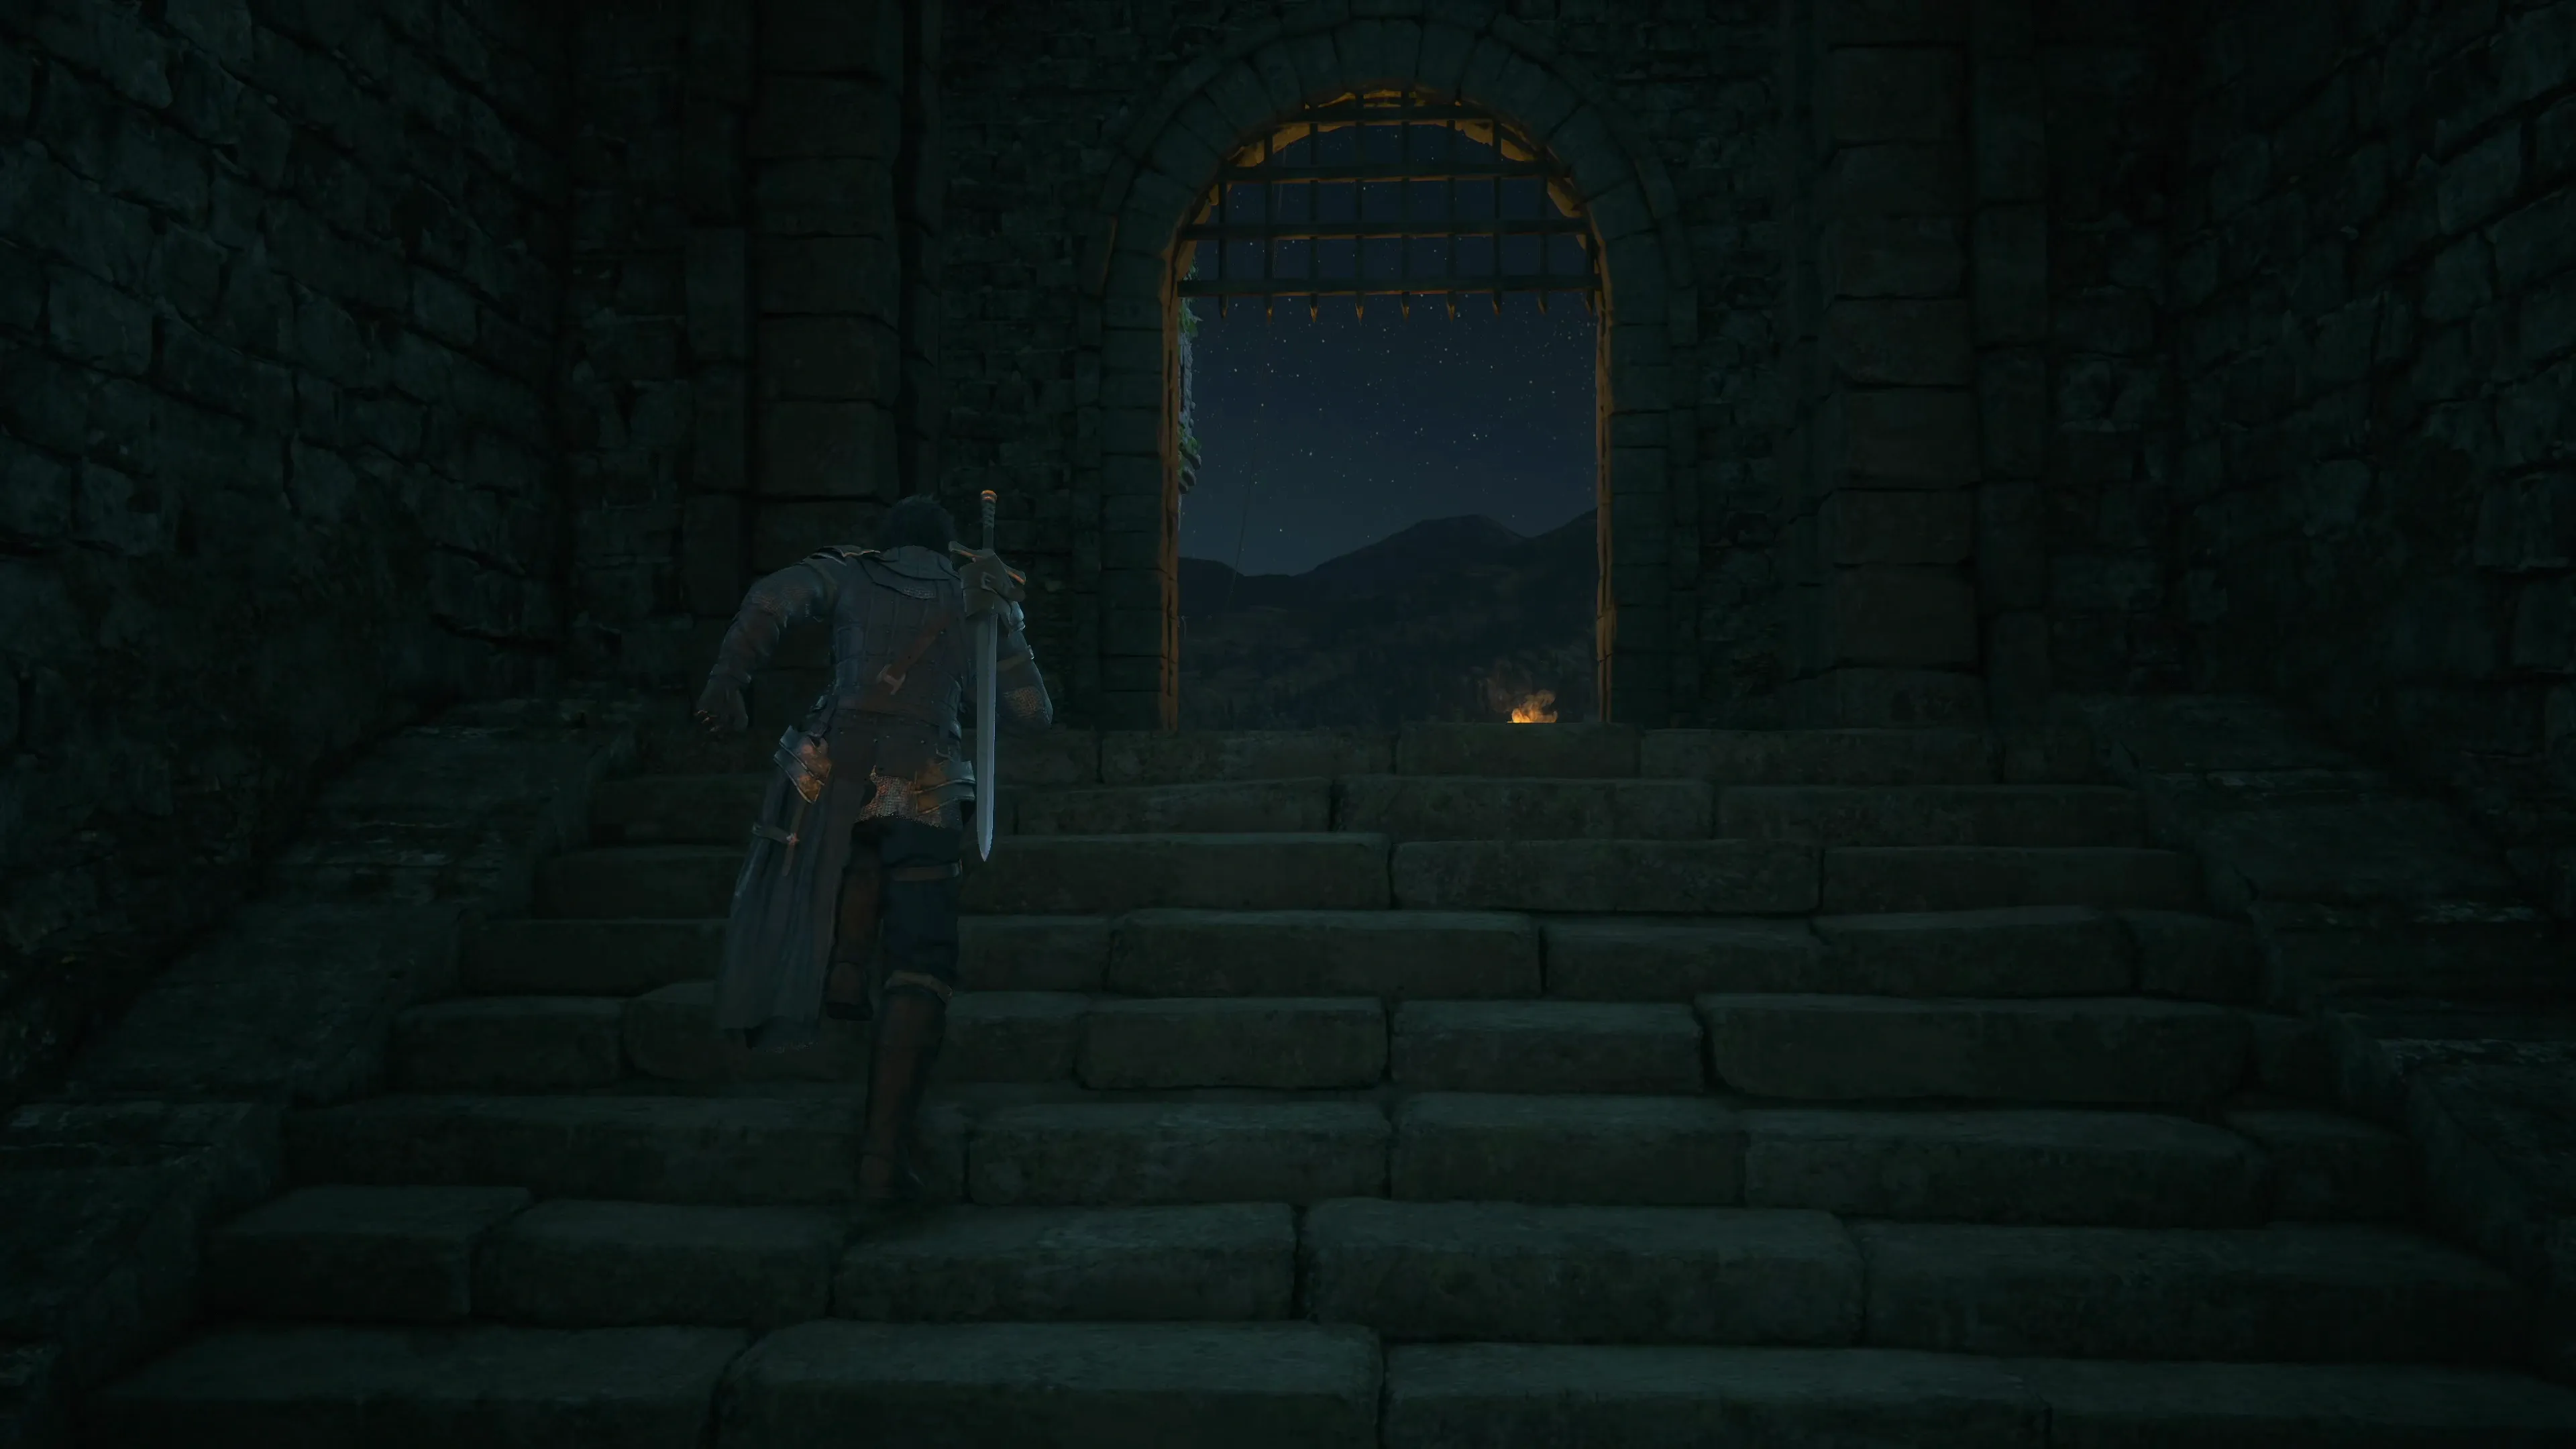
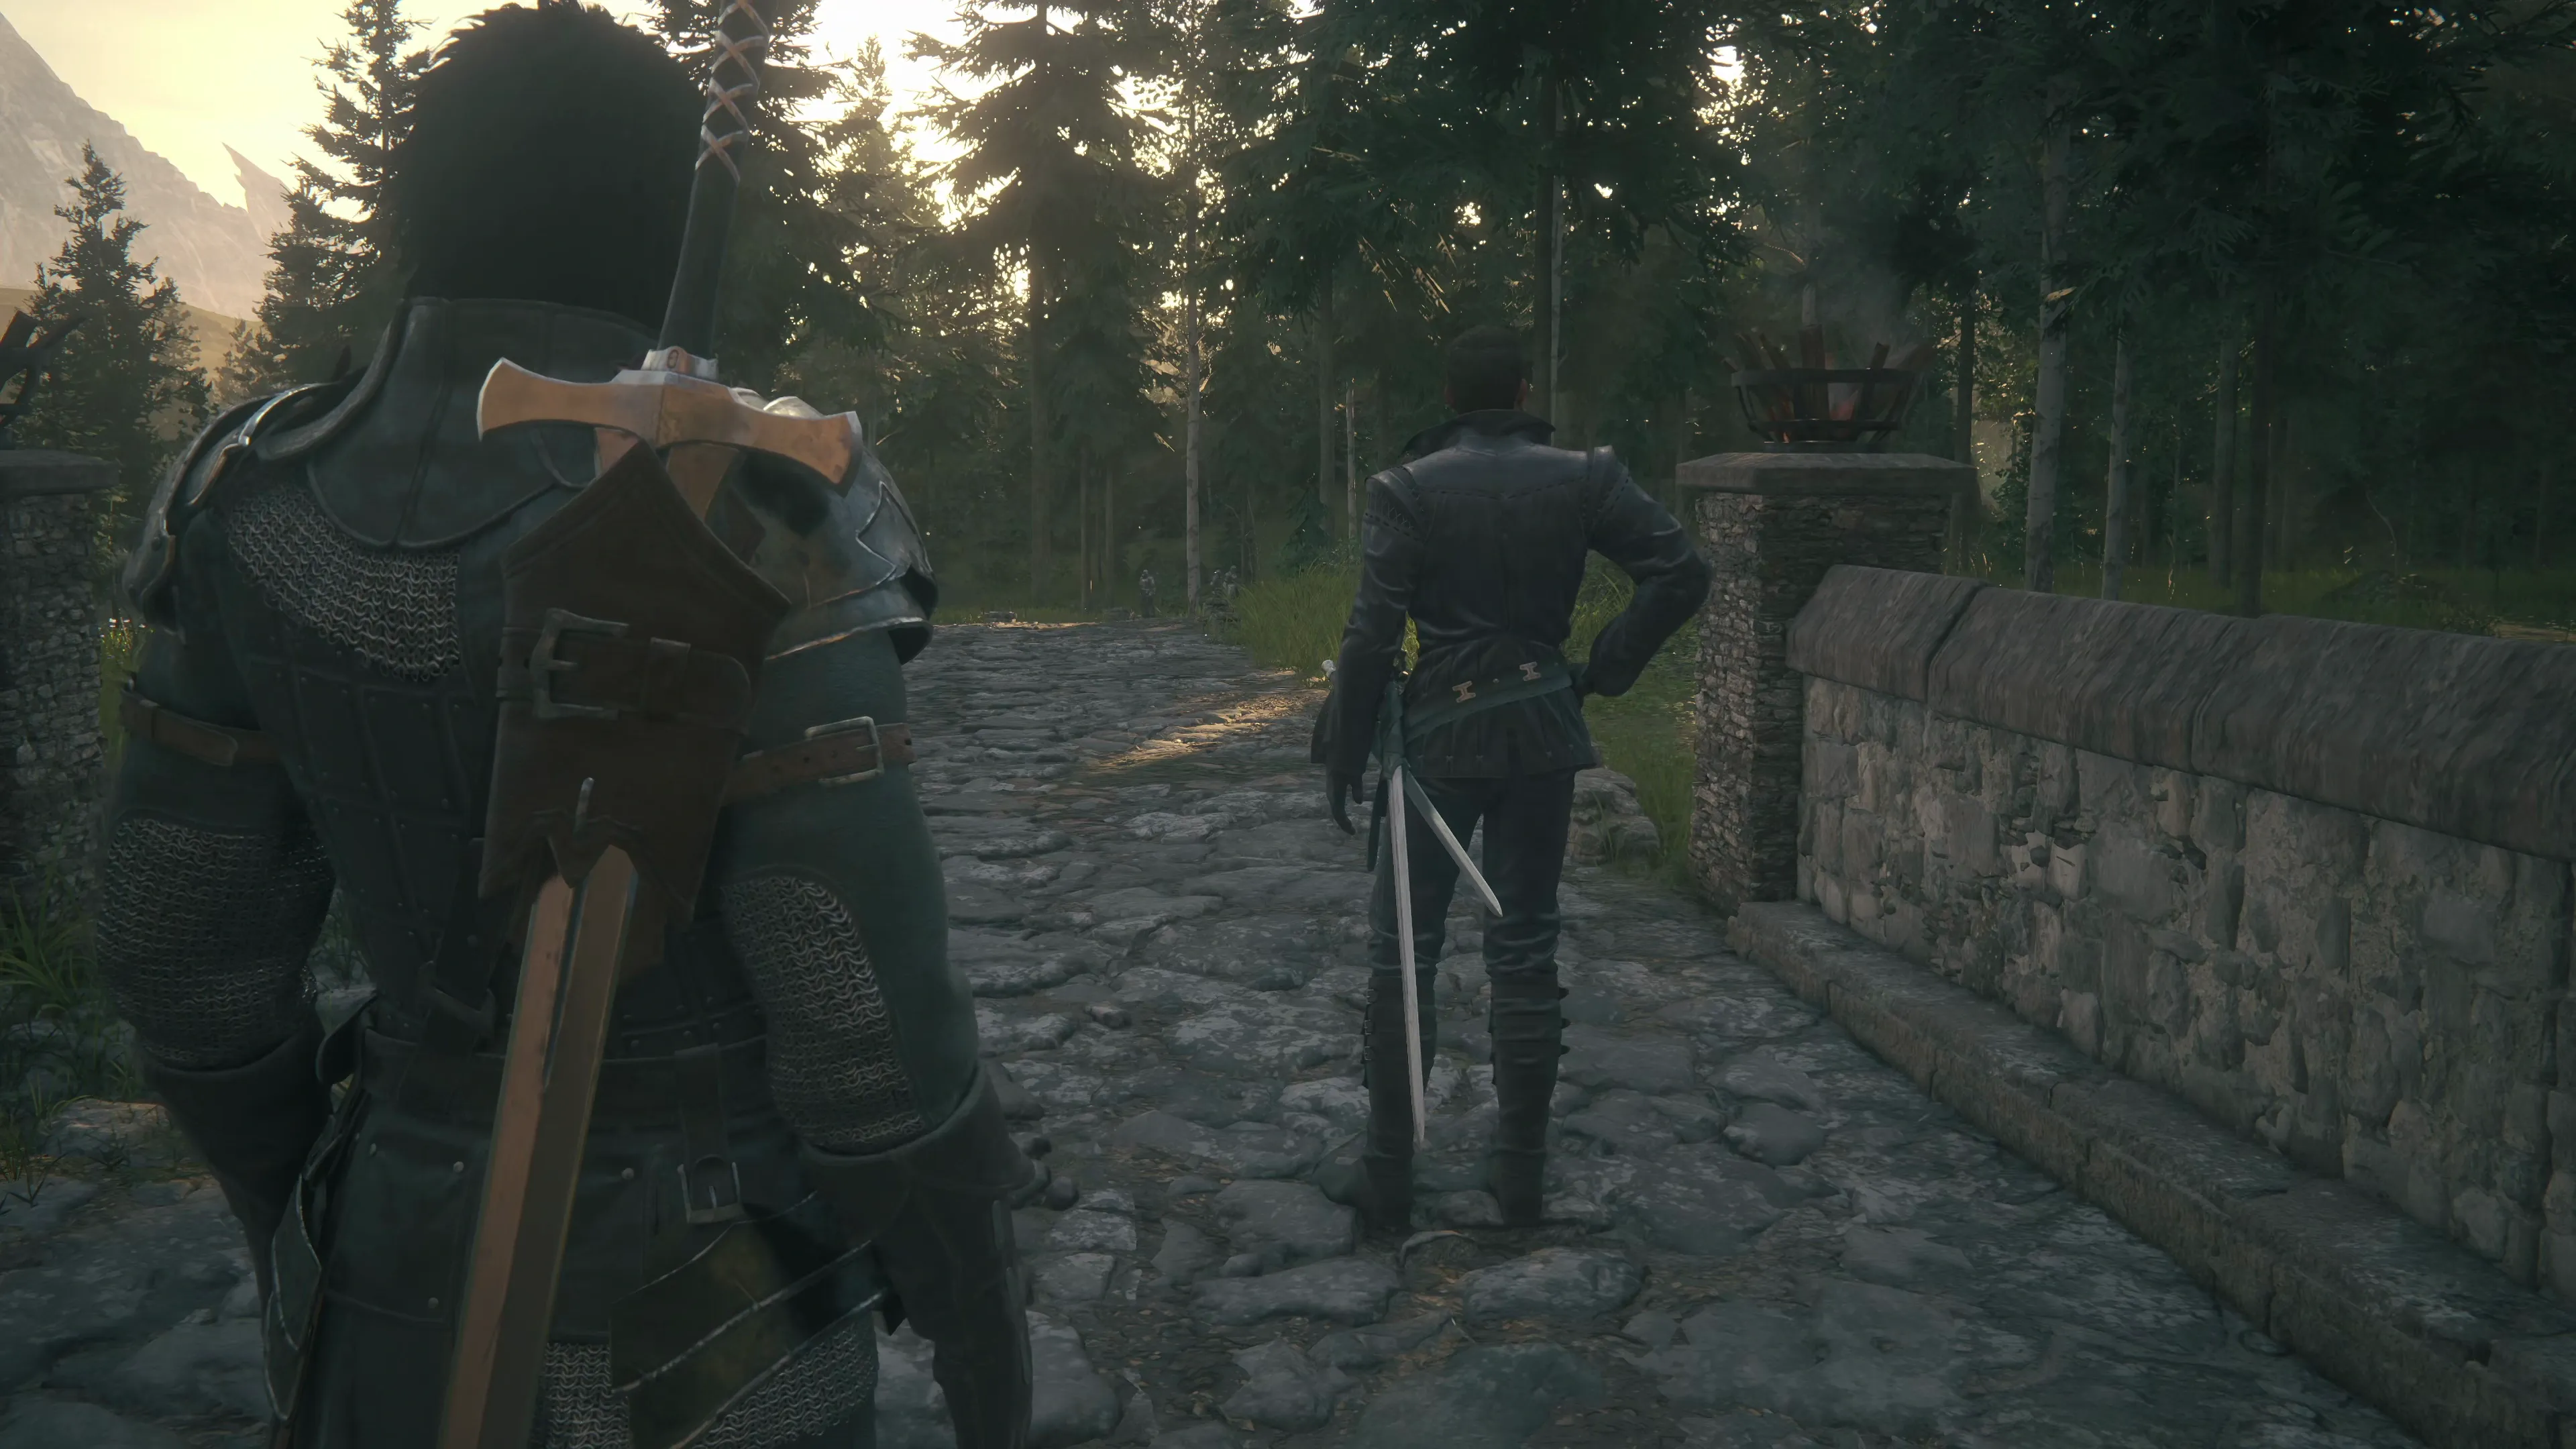
You will regain control of Clive inside Caer Norvent after he ignites a floating flame orb to help light up the dark pathways ahead. Cid and Torgal will accompany Clive for most of the upcoming sections.
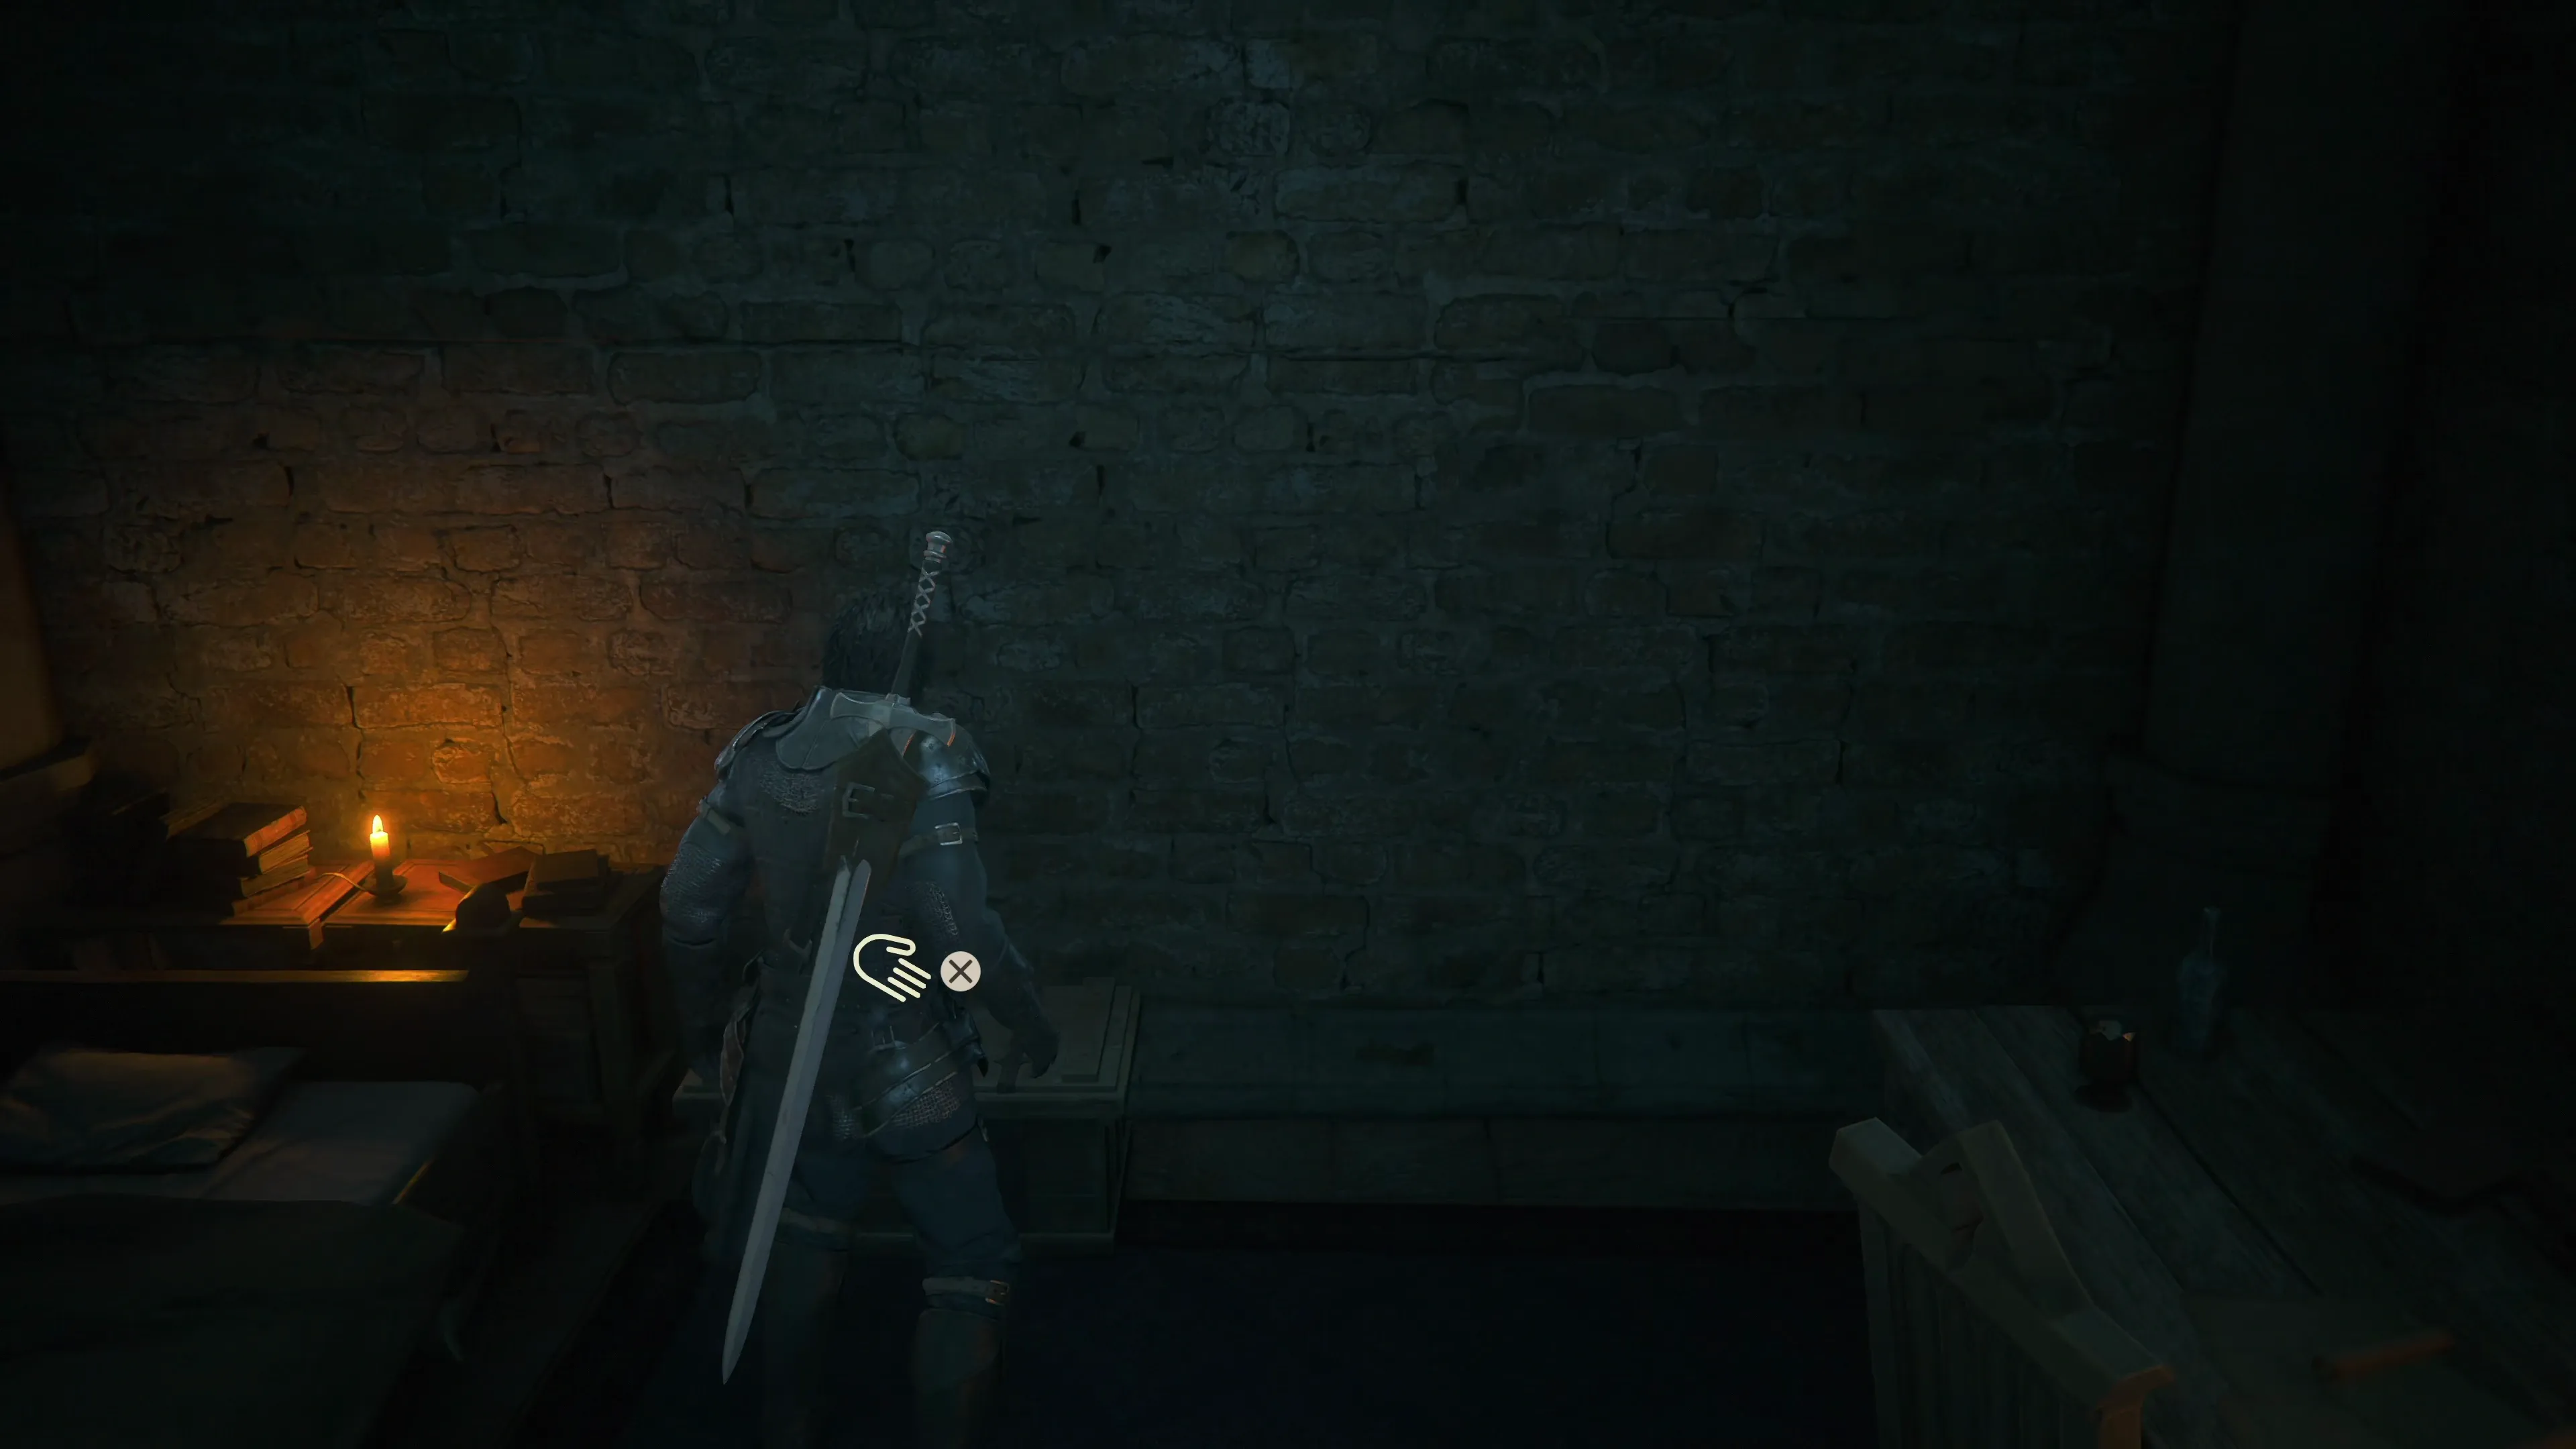
Proceed up the dark corridors, through the empty jail cells, and towards the locked prison gate on the far wall. Cid and Clive will need to work together to lift the heavy gate out of their way. Press and hold the ![]()
![]()
![]() button three times to get through the gate.
button three times to get through the gate.
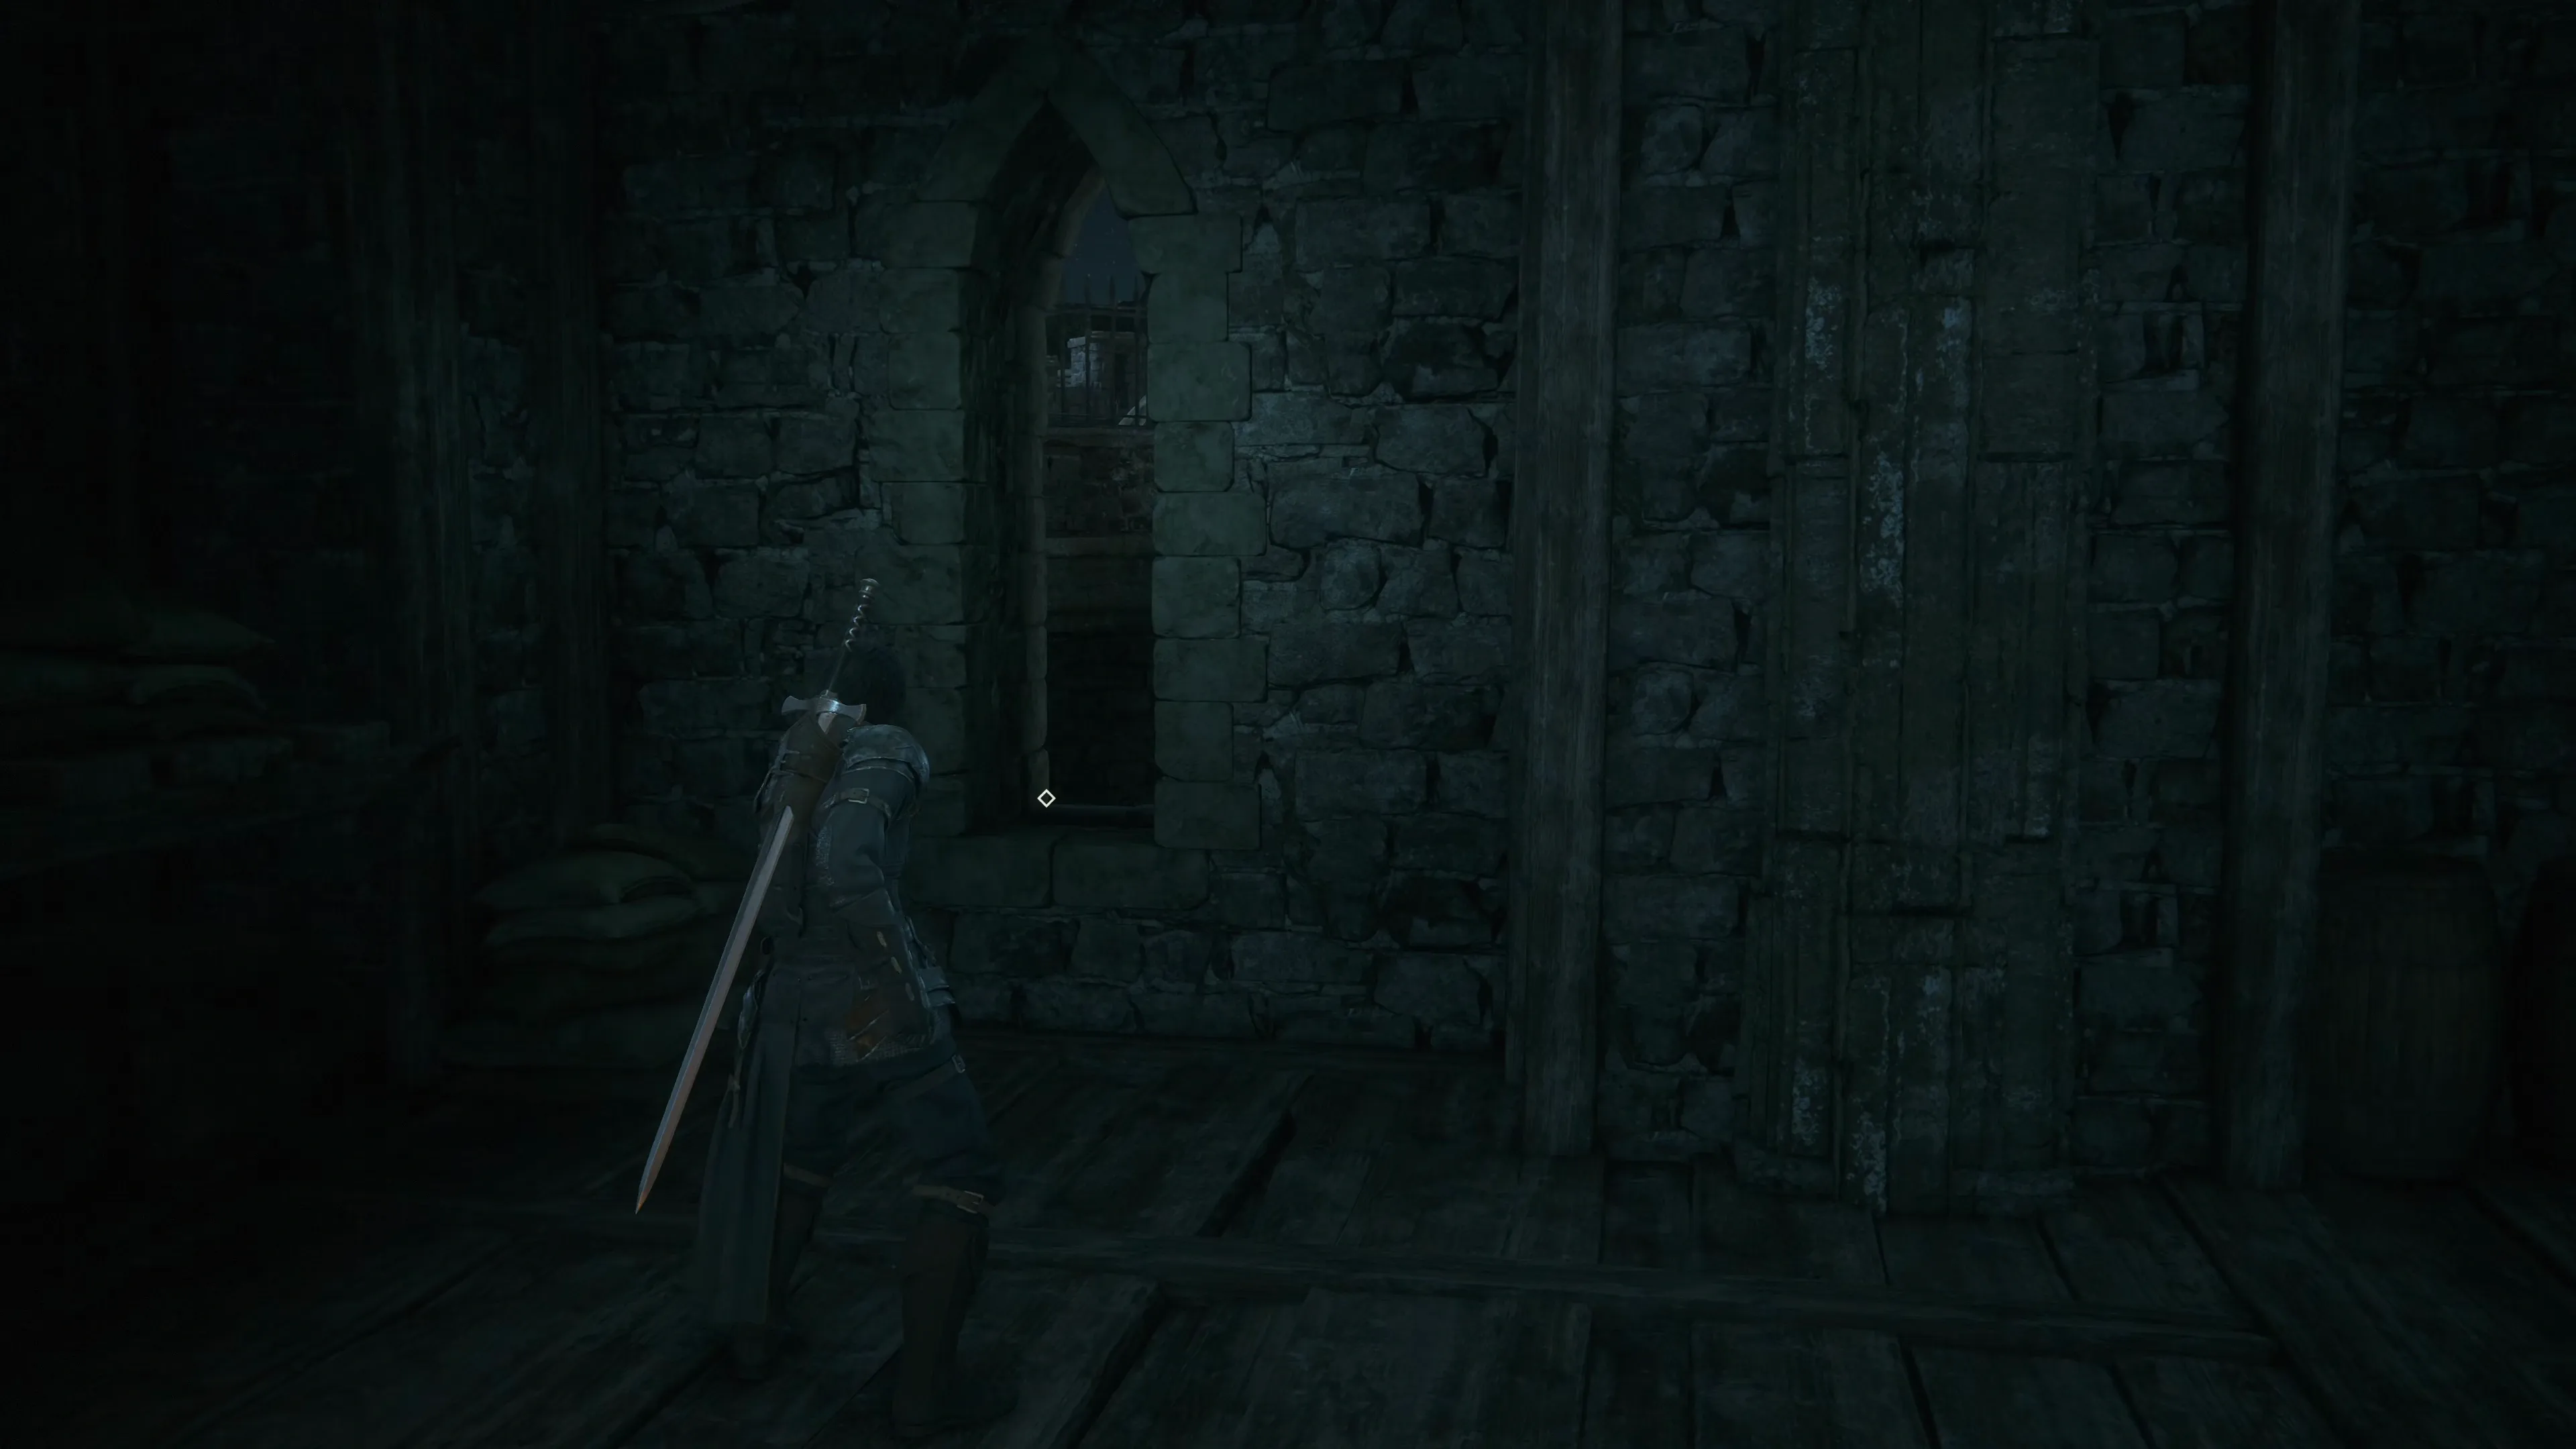
There is a group of Royal Sigfreyrs just up ahead. Make sure that you have your multi-target ![]() Eikonic Ability Set selected so that you can rip through them quickly. As you attempt to go through the doorway, Clive will turn back and suggest taking another route that doesn’t go through so many royalists. Turn around and look for a window on the far wall, and have Clive jump through it.
Eikonic Ability Set selected so that you can rip through them quickly. As you attempt to go through the doorway, Clive will turn back and suggest taking another route that doesn’t go through so many royalists. Turn around and look for a window on the far wall, and have Clive jump through it.
After dropping down, Clive will have the option of taking two different pathways: the lower pathway on the left or the stairs to the upper pathway on the right. There are Glimmers to collect along both pathways, but along the right pathway, you will find a treasure coffer that contains 50 ![]() Gil and 5 spools of
Gil and 5 spools of ![]() Steelsilk. Just keep an eye out for casters in the groups of enemies in this area, as some of them can cast Cure on their allies.
Steelsilk. Just keep an eye out for casters in the groups of enemies in this area, as some of them can cast Cure on their allies.
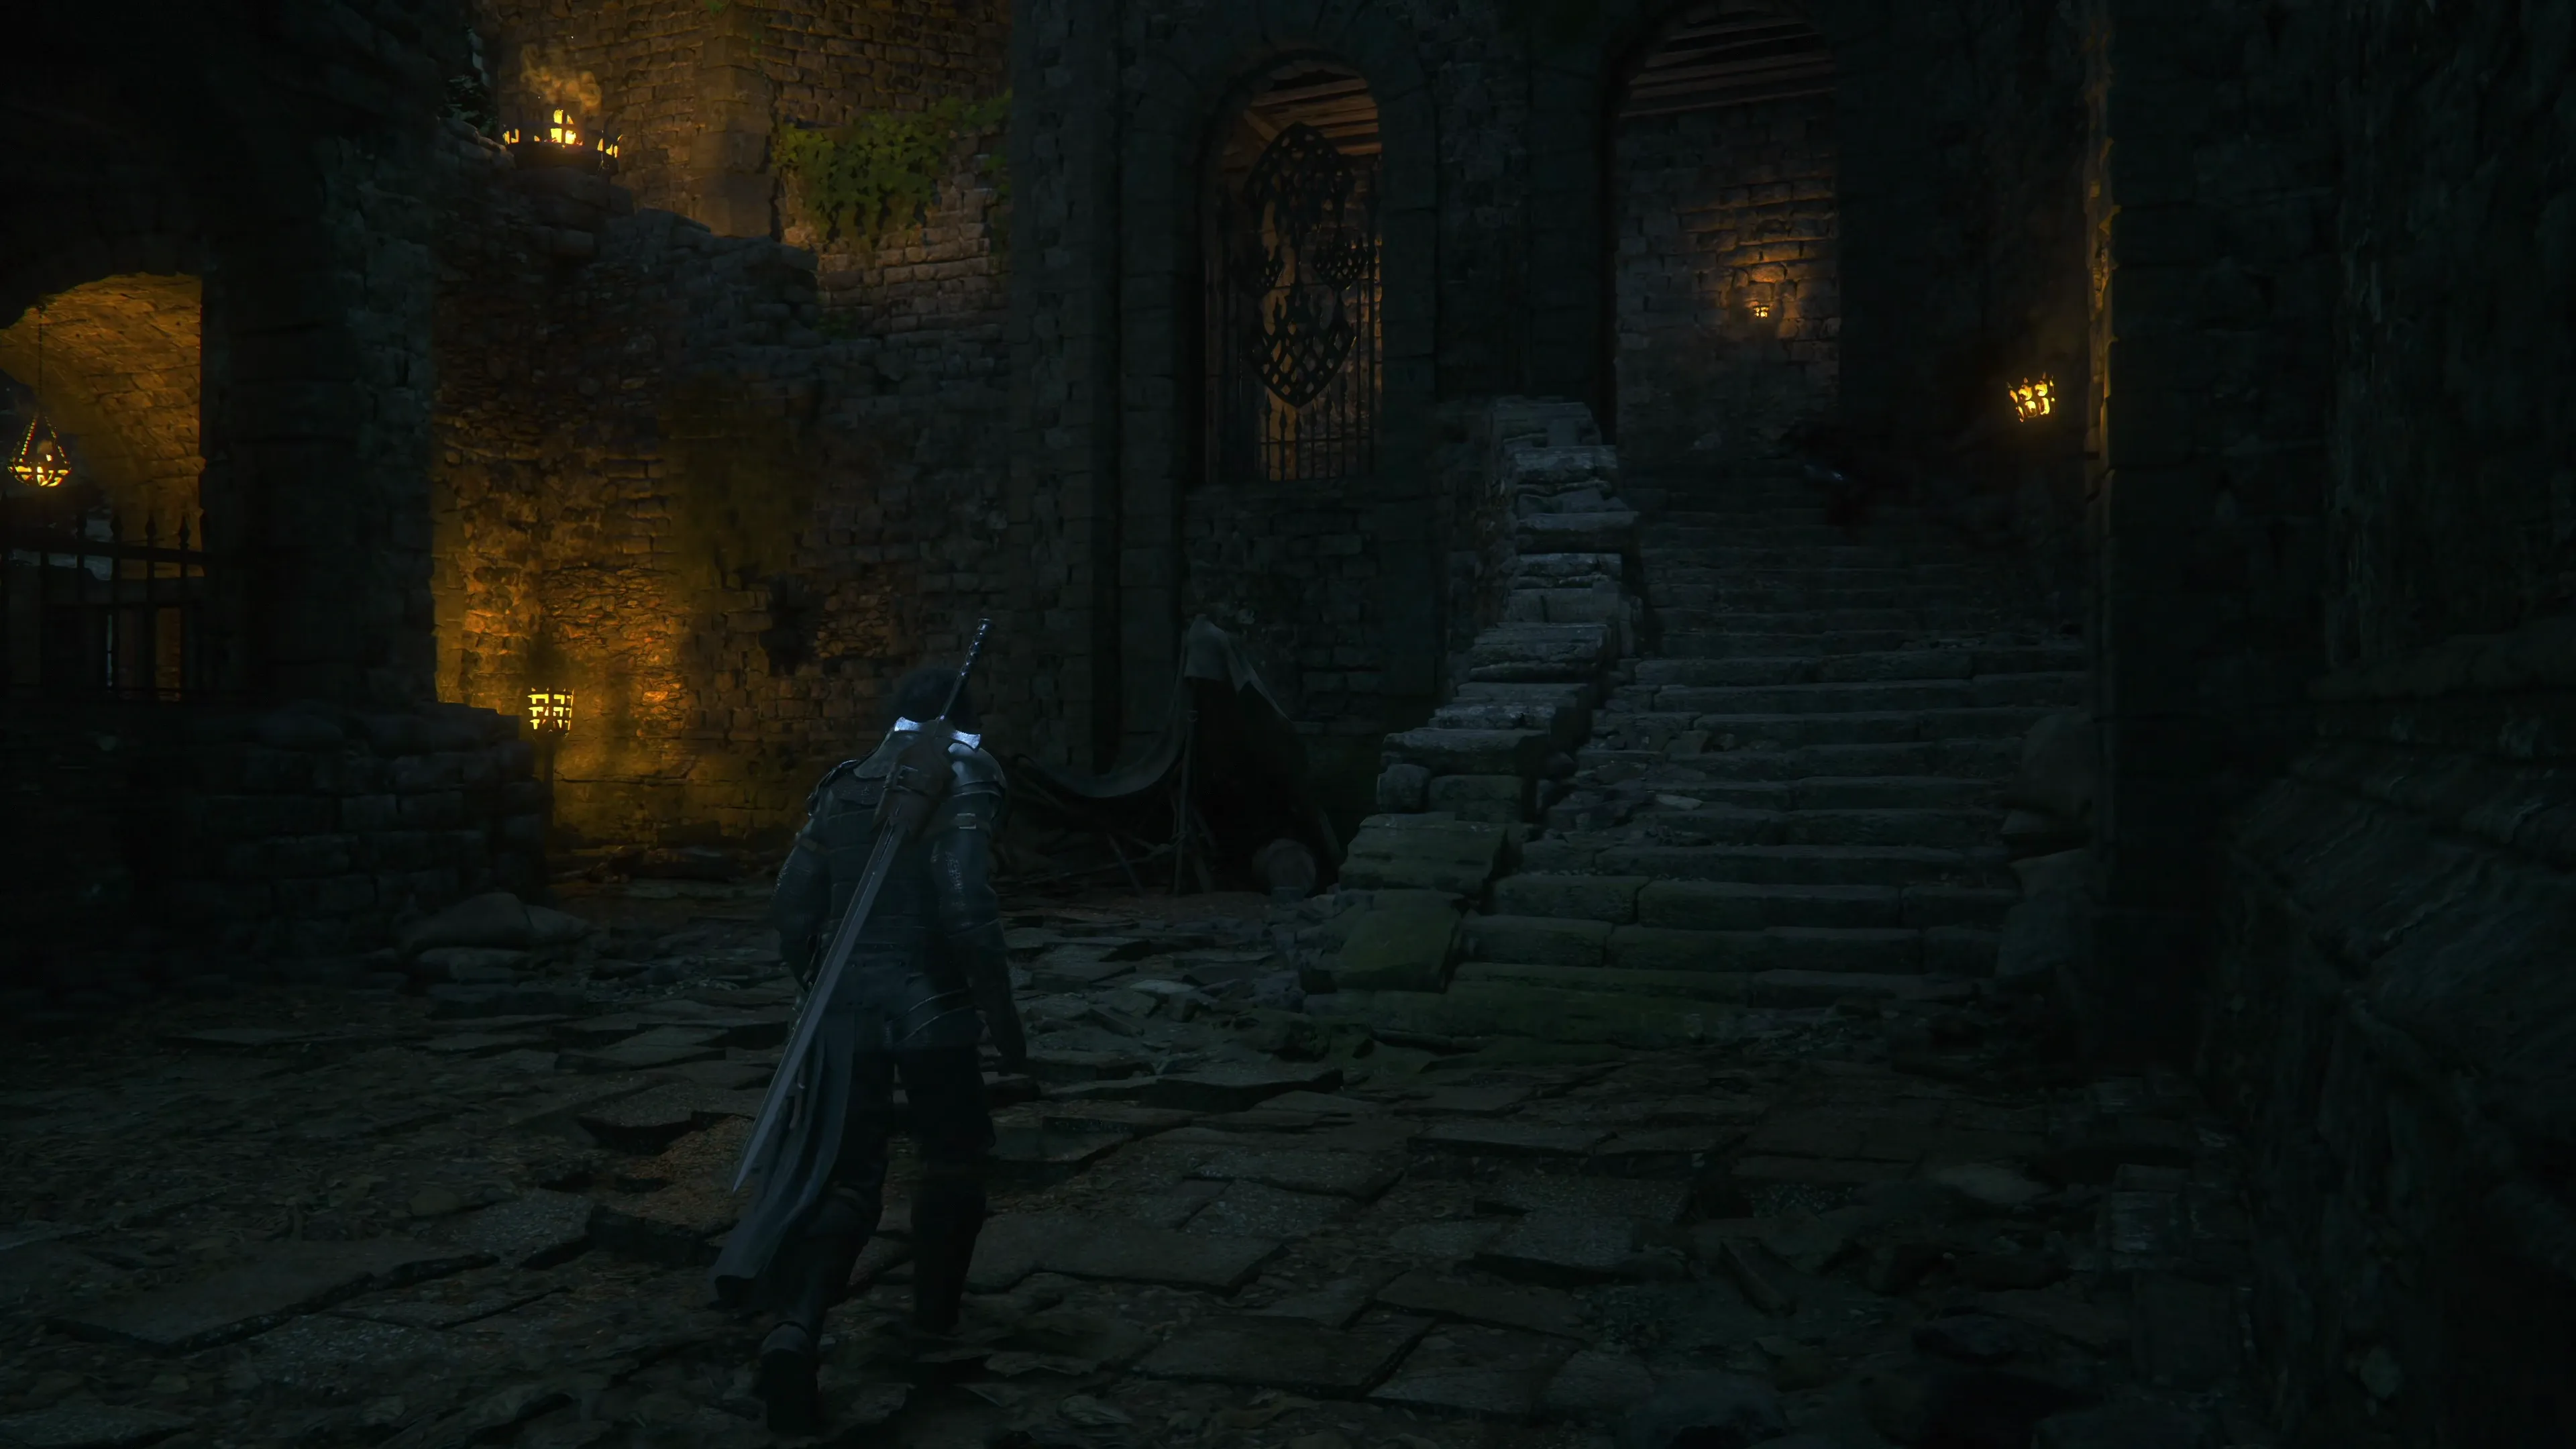
Both pathways lead to the same place, and once you reach the spot where they converge (shown in the screenshot below), there’s no harm in going back through the other pathway to defeat the enemies and collect the Glimmers. Earning extra ![]() Ability Points to spend on the “Abilities” page can help you build up Clive’s power before some of the more difficult fights coming up.
Ability Points to spend on the “Abilities” page can help you build up Clive’s power before some of the more difficult fights coming up.
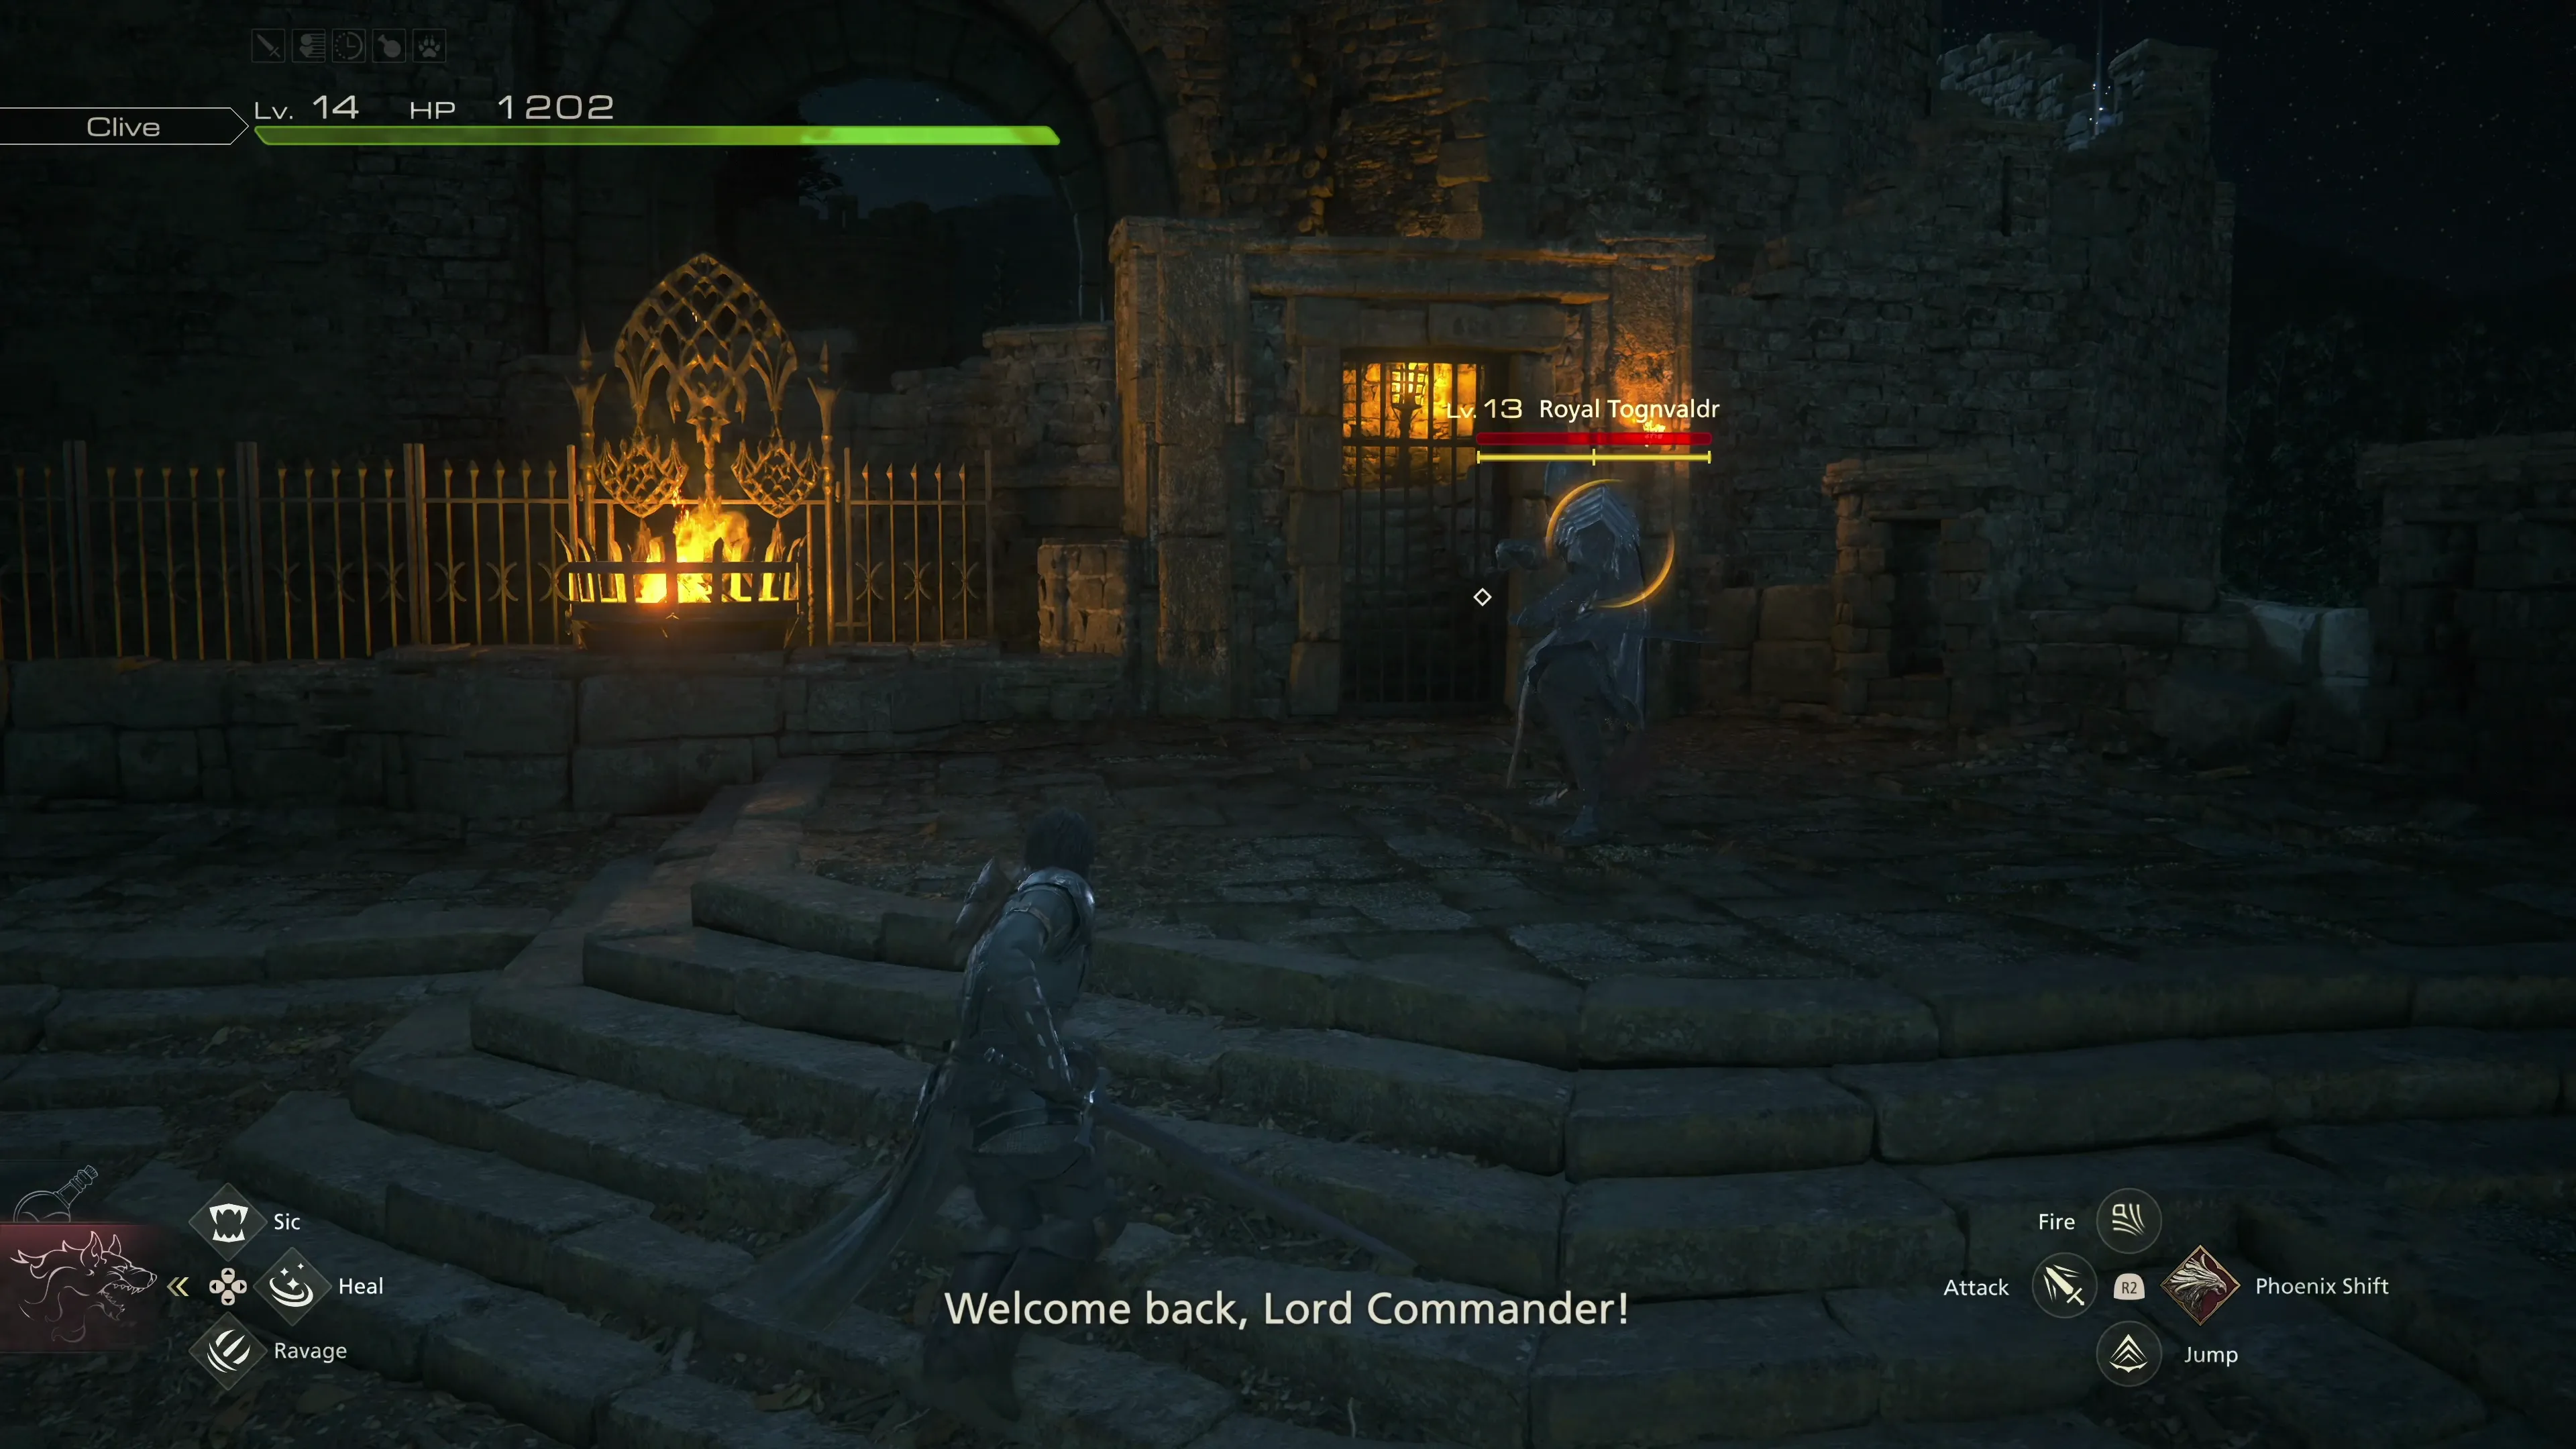
A Royal Tognvaldr will drop down from the air when you approach the doorway in the area where the two paths converge. The Royal Tognvaldr’s moves are almost the same as those for the Midnight Raven; it’s another Ninja-type enemy, so you should already know exactly how to defeat it.
Go through the gated doorway and up the stairs. On the far wall, on the opposite side of the platform you reach at the top of the first set of stairs you climb, is a treasure coffer that contains ![]() The Favor of Fire (Scarlet Cyclone) accessory. This helpful accessory will boost the damage output of your
The Favor of Fire (Scarlet Cyclone) accessory. This helpful accessory will boost the damage output of your ![]() Scarlet Cyclone ability. Assuming you’re not using any of the “Ring of Timely…” helper accessories, you should have three accessories equipped. Your other options are:
Scarlet Cyclone ability. Assuming you’re not using any of the “Ring of Timely…” helper accessories, you should have three accessories equipped. Your other options are:
Make sure that all three accessory slots have something equipped.
Continue up the stairs, chasing down the two guards when you run into them, and another Tutorial Message will pop up describing how to break through enemies that are “well guarded.” The short version of this hint is that you’ll need to use a powerful ability to break through an enemy’s guard if you see them blocking attacks. ![]() Burning Blade,
Burning Blade, ![]() Charged Magic, or any Eikonic Ability can help break through.
Charged Magic, or any Eikonic Ability can help break through.
There are a few large groups of enemies that you’ll face off against in the open area ahead. New waves of enemies will approach as you work your way through each group. Proceed through the double doors ahead to enter the Chapel, where you will find two Glimmers.
Consider saving your game at this point and switching to your single-target ![]() Eikonic Ability Set, and then open the large cast iron gates to start up a cutscene.
Eikonic Ability Set, and then open the large cast iron gates to start up a cutscene.
Boss Battle
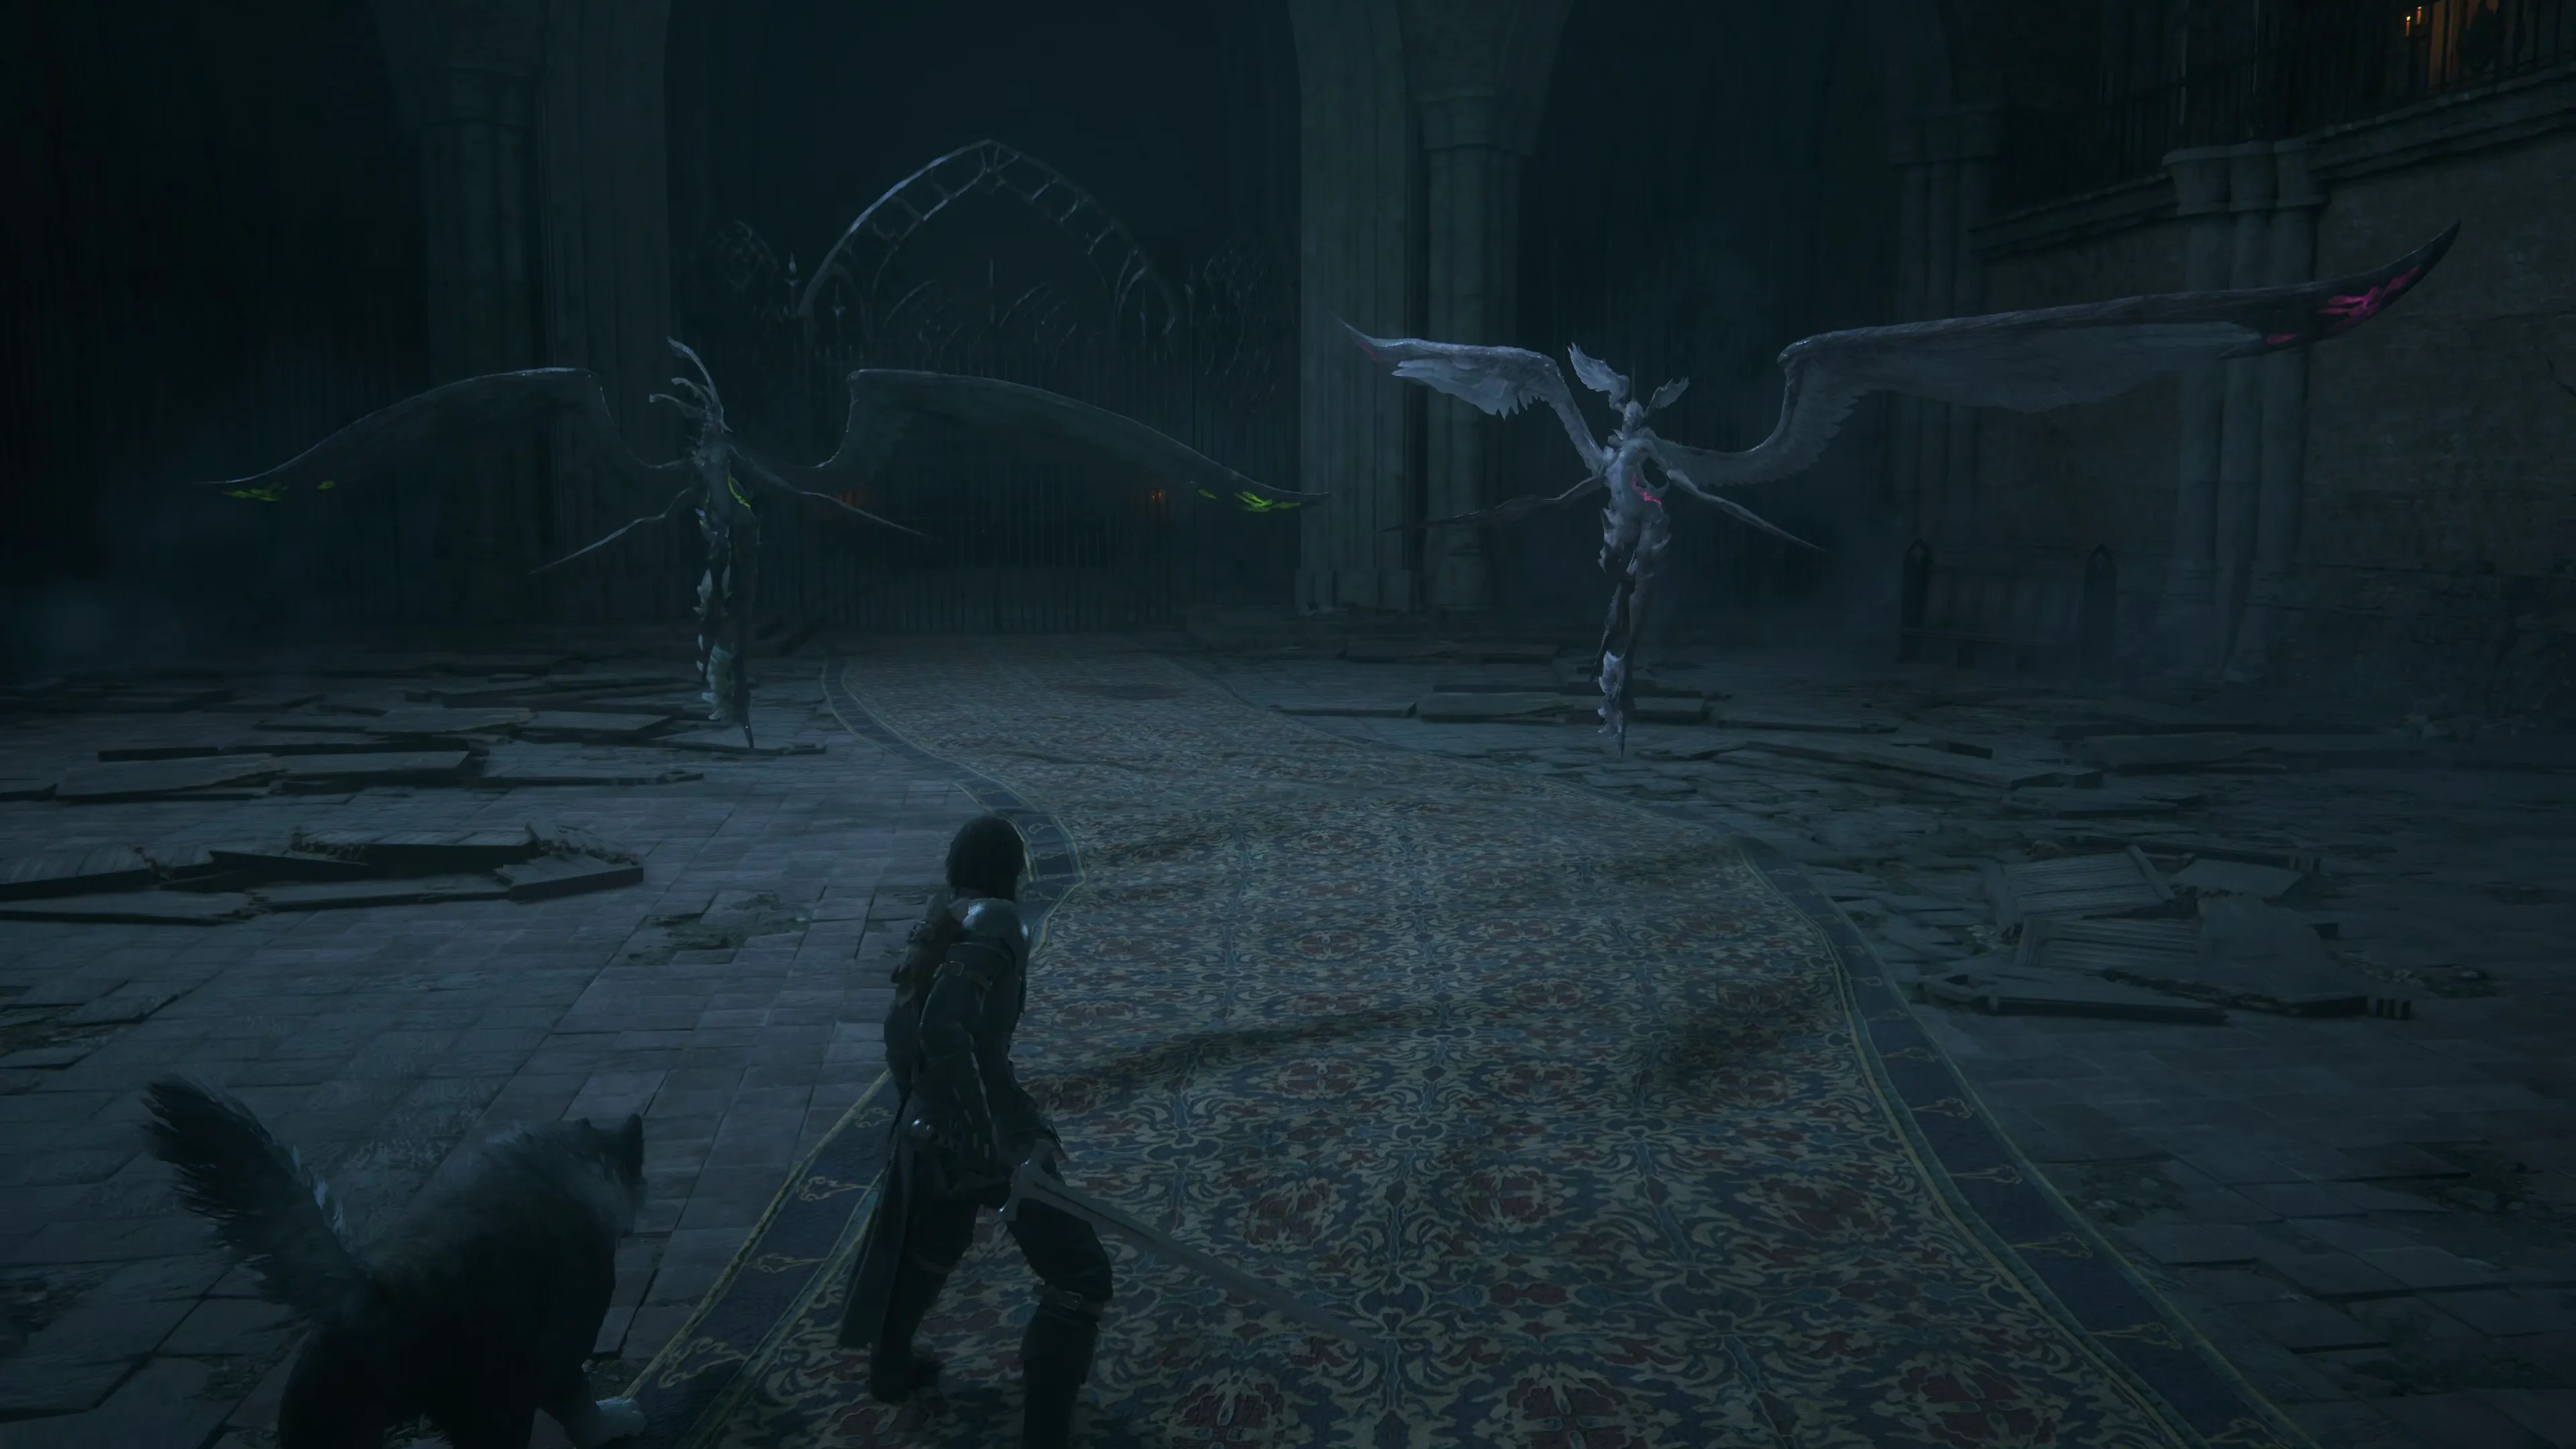
Cid will be incapacitated for this battle, so it’s just Clive and Torgal, but this is a boss you’re already familiar with, except this time there are two harpies. While both of them are active, they attack somewhat less than they do when they’re alone, so there should be plenty of time to dodge attacks not just from your primary target, but also from the other “Aetherial Creation” that you are not currently battling against.
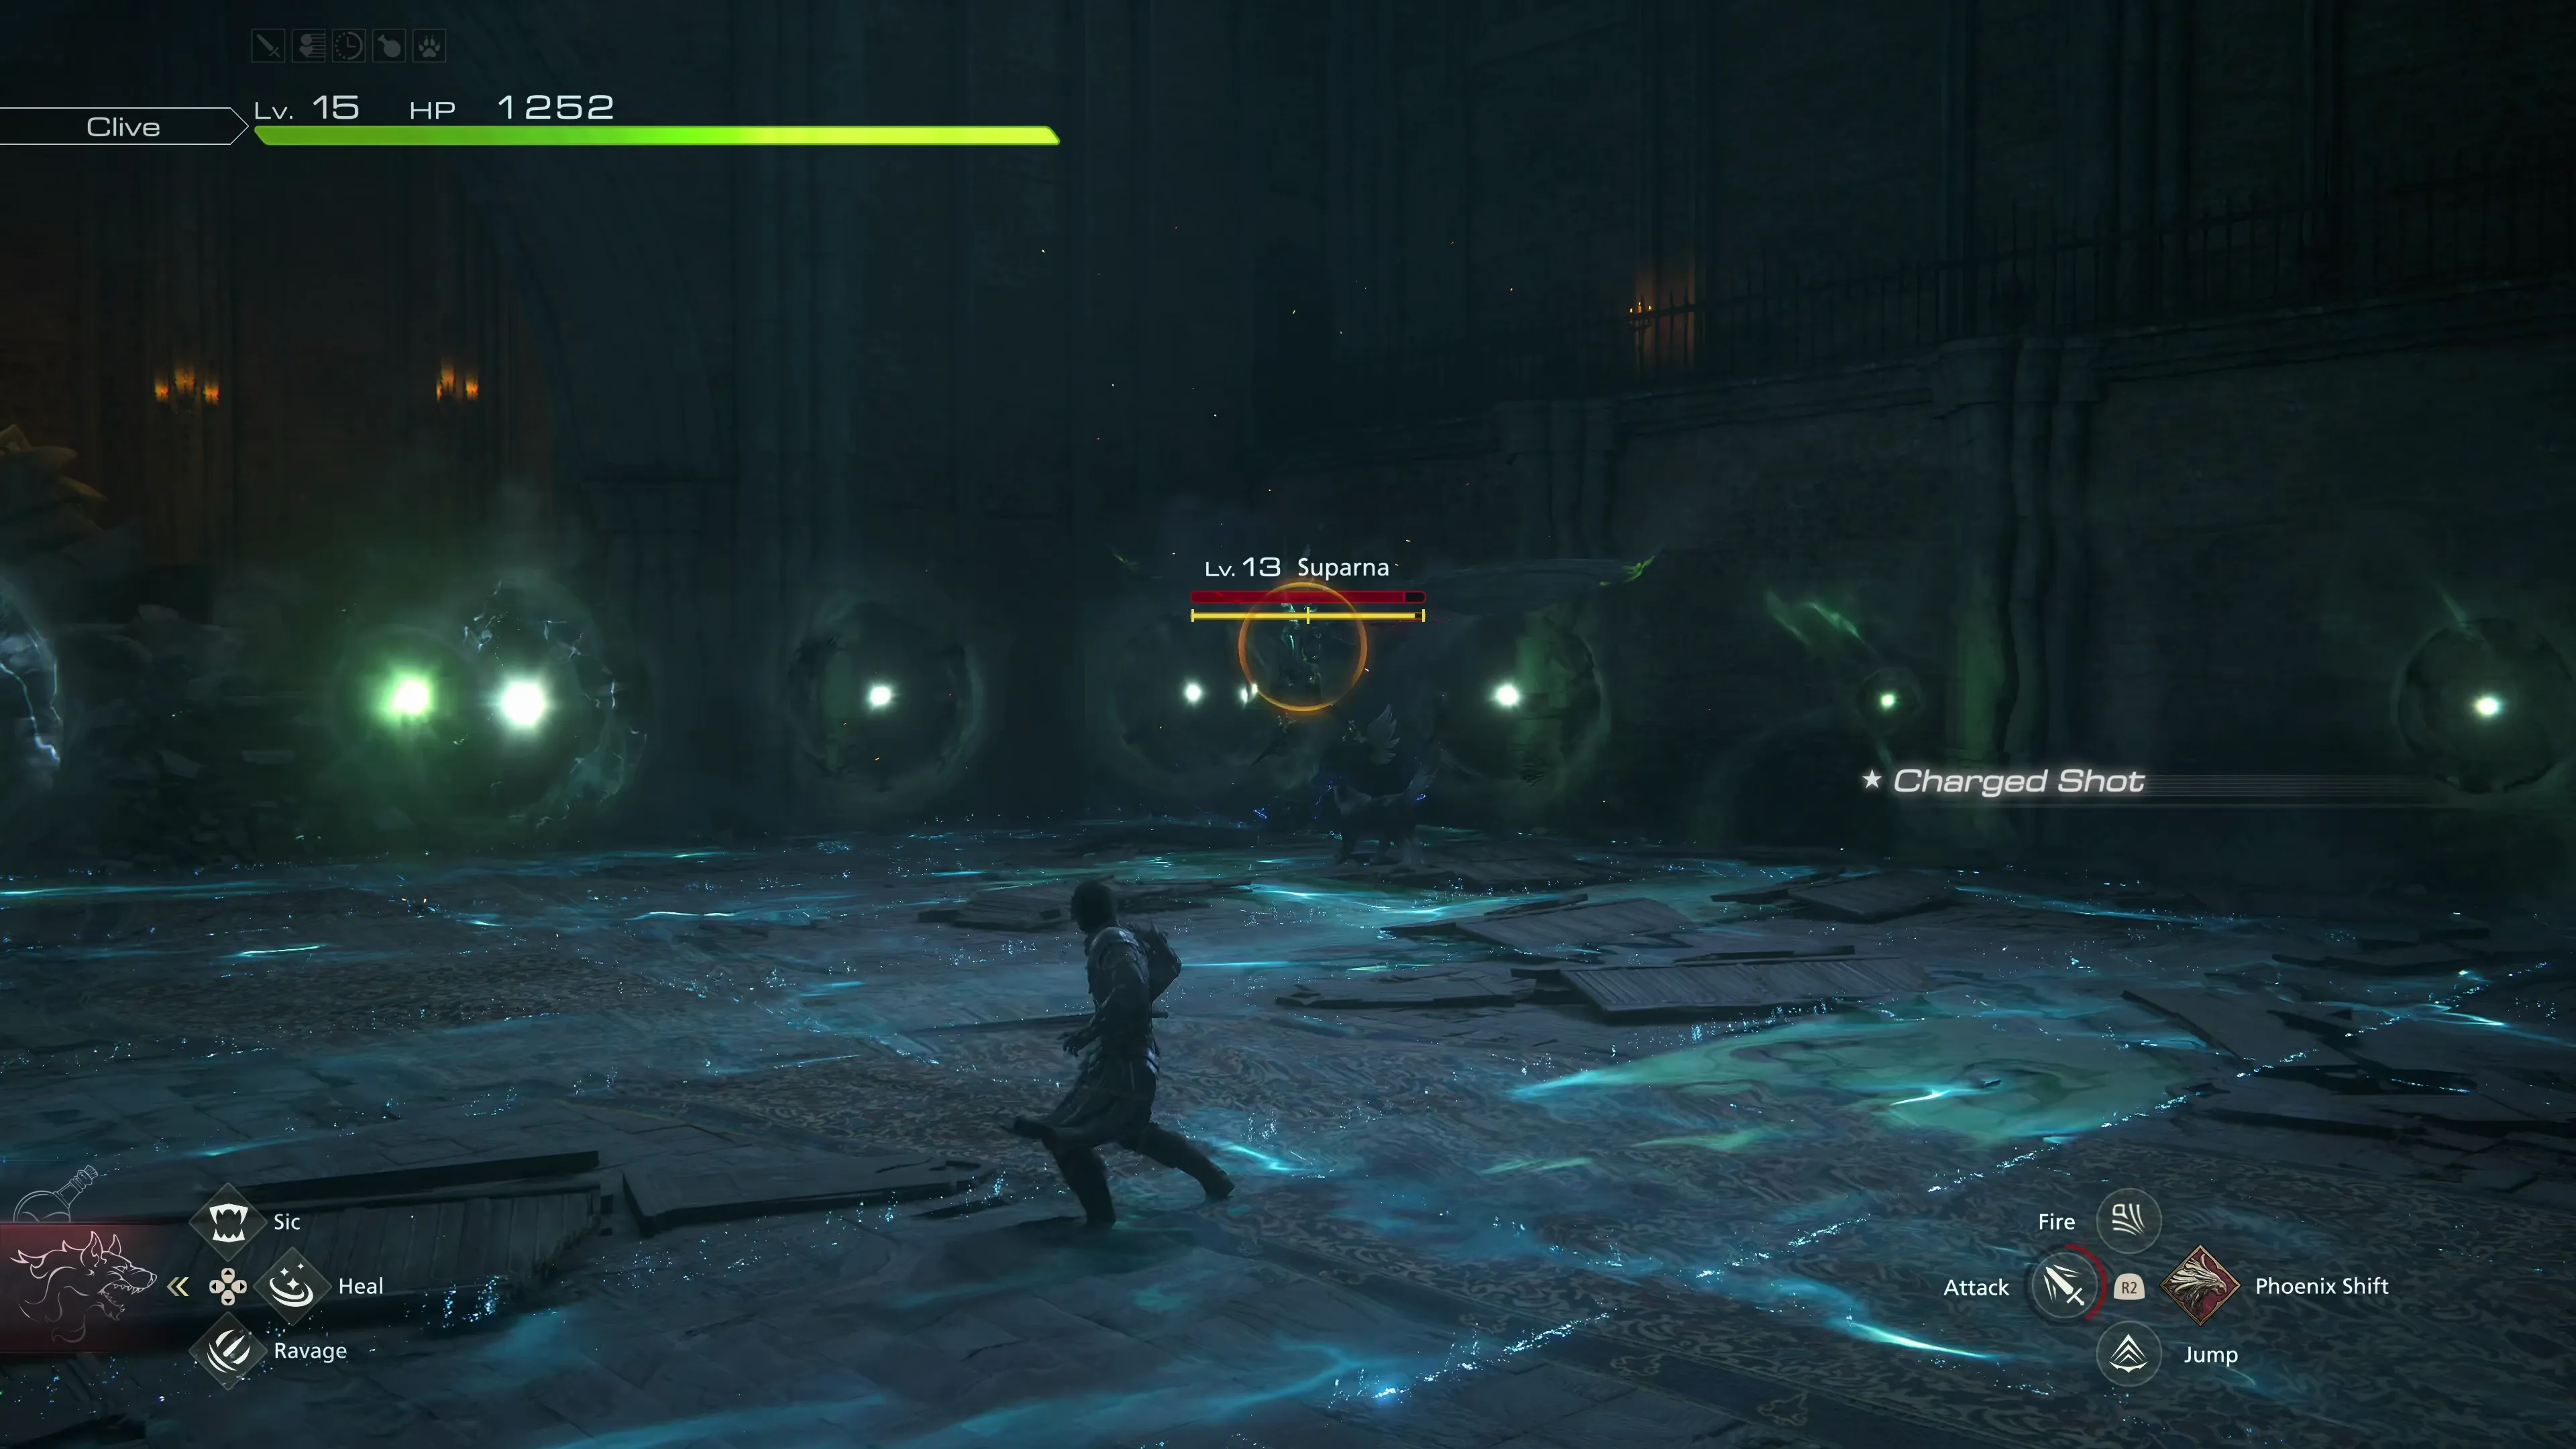
The moveset for both Chirada and Suparna is the same, but with a few additions:
![]() Perfect Storm:
Perfect Storm:
Occasionally, the two bosses will come together and launch their “Perfect Storm” attack. One of them will summon damaging magical explosions on the ground (the ground will light up before the explosion goes off, allowing you to dodge the attack) while the second lunges at Clive from afar. While there can be a lot going on, all you have to do during this attack is continually dodge attacks and damage until they’ve finished.
![]() Magic Beams:
Magic Beams:
Both Chirada and Suparna can cast the same magic beams emanating from themselves, just like before, but they can also launch them from the four walls of the room in a checkerboard pattern. Just make sure you’re not standing on a part of the ground that’s lit up when the magic beams launch, and you won’t take any damage.
Once one of the bosses is defeated, the other will perform a move called “Inheritance,” which will increase the damage it does, cause it to attack more frequently, and cause additional “Magic Beams” to come from the walls when that move is used.
Make sure you remember to make use of ![]() Torgal’s abilities. Press
Torgal’s abilities. Press ![]()
![]()
![]() and
and ![]()
![]()
![]() on the D-Pad to have him join in on the attack, and use
on the D-Pad to have him join in on the attack, and use ![]()
![]()
![]() to heal up Clive if he takes damage from either boss’s attacks.
to heal up Clive if he takes damage from either boss’s attacks.
Below is a video demonstrating how to defeat this boss.
45
1,200
A video demonstration of how to successfully complete the fight against Chirada and Suparna.
It’s just Clive and Torgal for this next section. Switch back to a multi-target ![]() Eikonic Ability Set and proceed up the stairs. The path will split at the very top of the staircase, with doorways on the left and right sides. Take the doorway on the left and into the room to find a treasure coffer that contains a
Eikonic Ability Set and proceed up the stairs. The path will split at the very top of the staircase, with doorways on the left and right sides. Take the doorway on the left and into the room to find a treasure coffer that contains a ![]() Meteorite. Exit the room and go through the doorway on the right.
Meteorite. Exit the room and go through the doorway on the right.
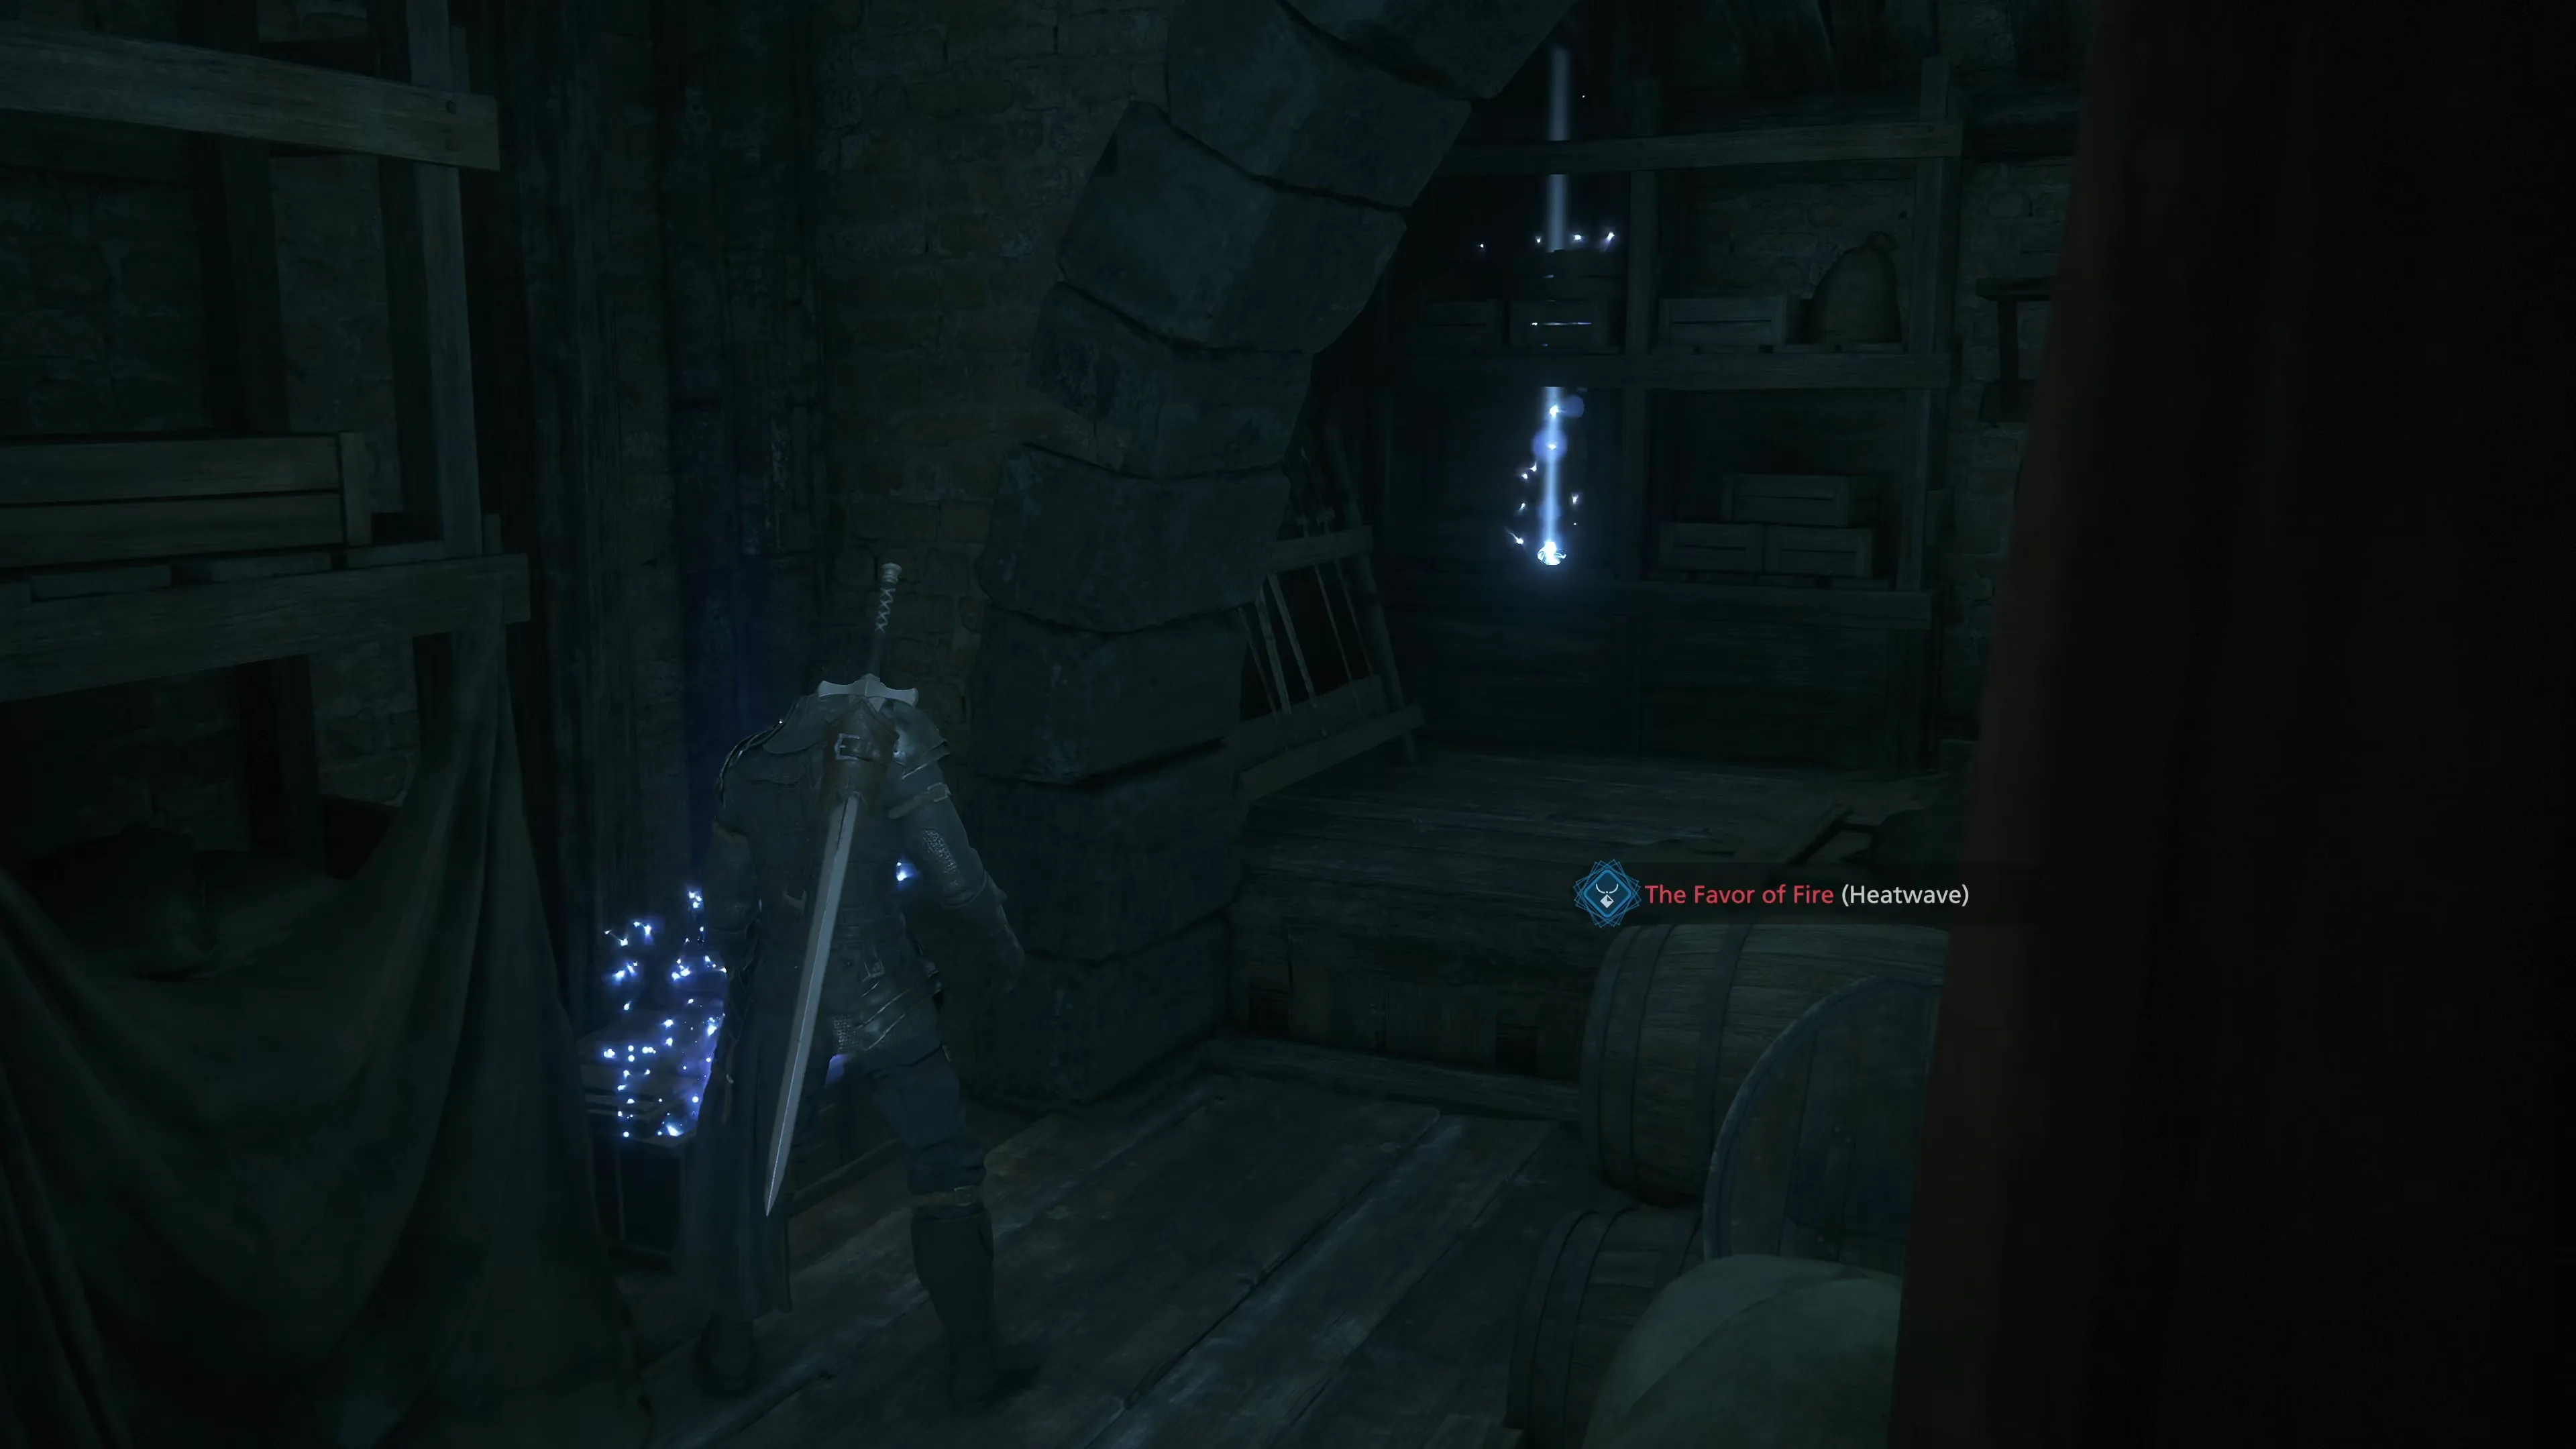
As you proceed through the two rooms (picking up a Glimmer in the first one), you’ll see a doorway on the far wall. Enter the room to find two more Glimmers and a treasure coffer that contains ![]() The Favor of Fire (Heatwave). This accessory increases the damage dealt by
The Favor of Fire (Heatwave). This accessory increases the damage dealt by ![]() Heatwave and makes a good addition to either your single or multi-target ability builds, so consider swapping one of your other accessories out for it.
Heatwave and makes a good addition to either your single or multi-target ability builds, so consider swapping one of your other accessories out for it.
After defeating a group of royalists and climbing another set of stairs, you’ll see a Glimmer on the other side of some wooden planks that you can’t reach. Don’t worry! The path circles back around so that you can retrieve the item later. Follow the pathway up and to the right and climb the ladder to the upper level. There’s another group of royalists with some Royal Mastiffs in the group.
Go through the doorway and proceed down the steps ahead to see and pick up the Glimmer that you couldn’t before. Continue climbing the tower; you’ll have to defeat a small and a large group of guards along the way, and, after that, you’ll come across your second Royal Tognvaldr with two Royal Mastiffs with him. This one can be a bit more challenging to defeat due to the confined space, which makes it harder to dodge attacks.
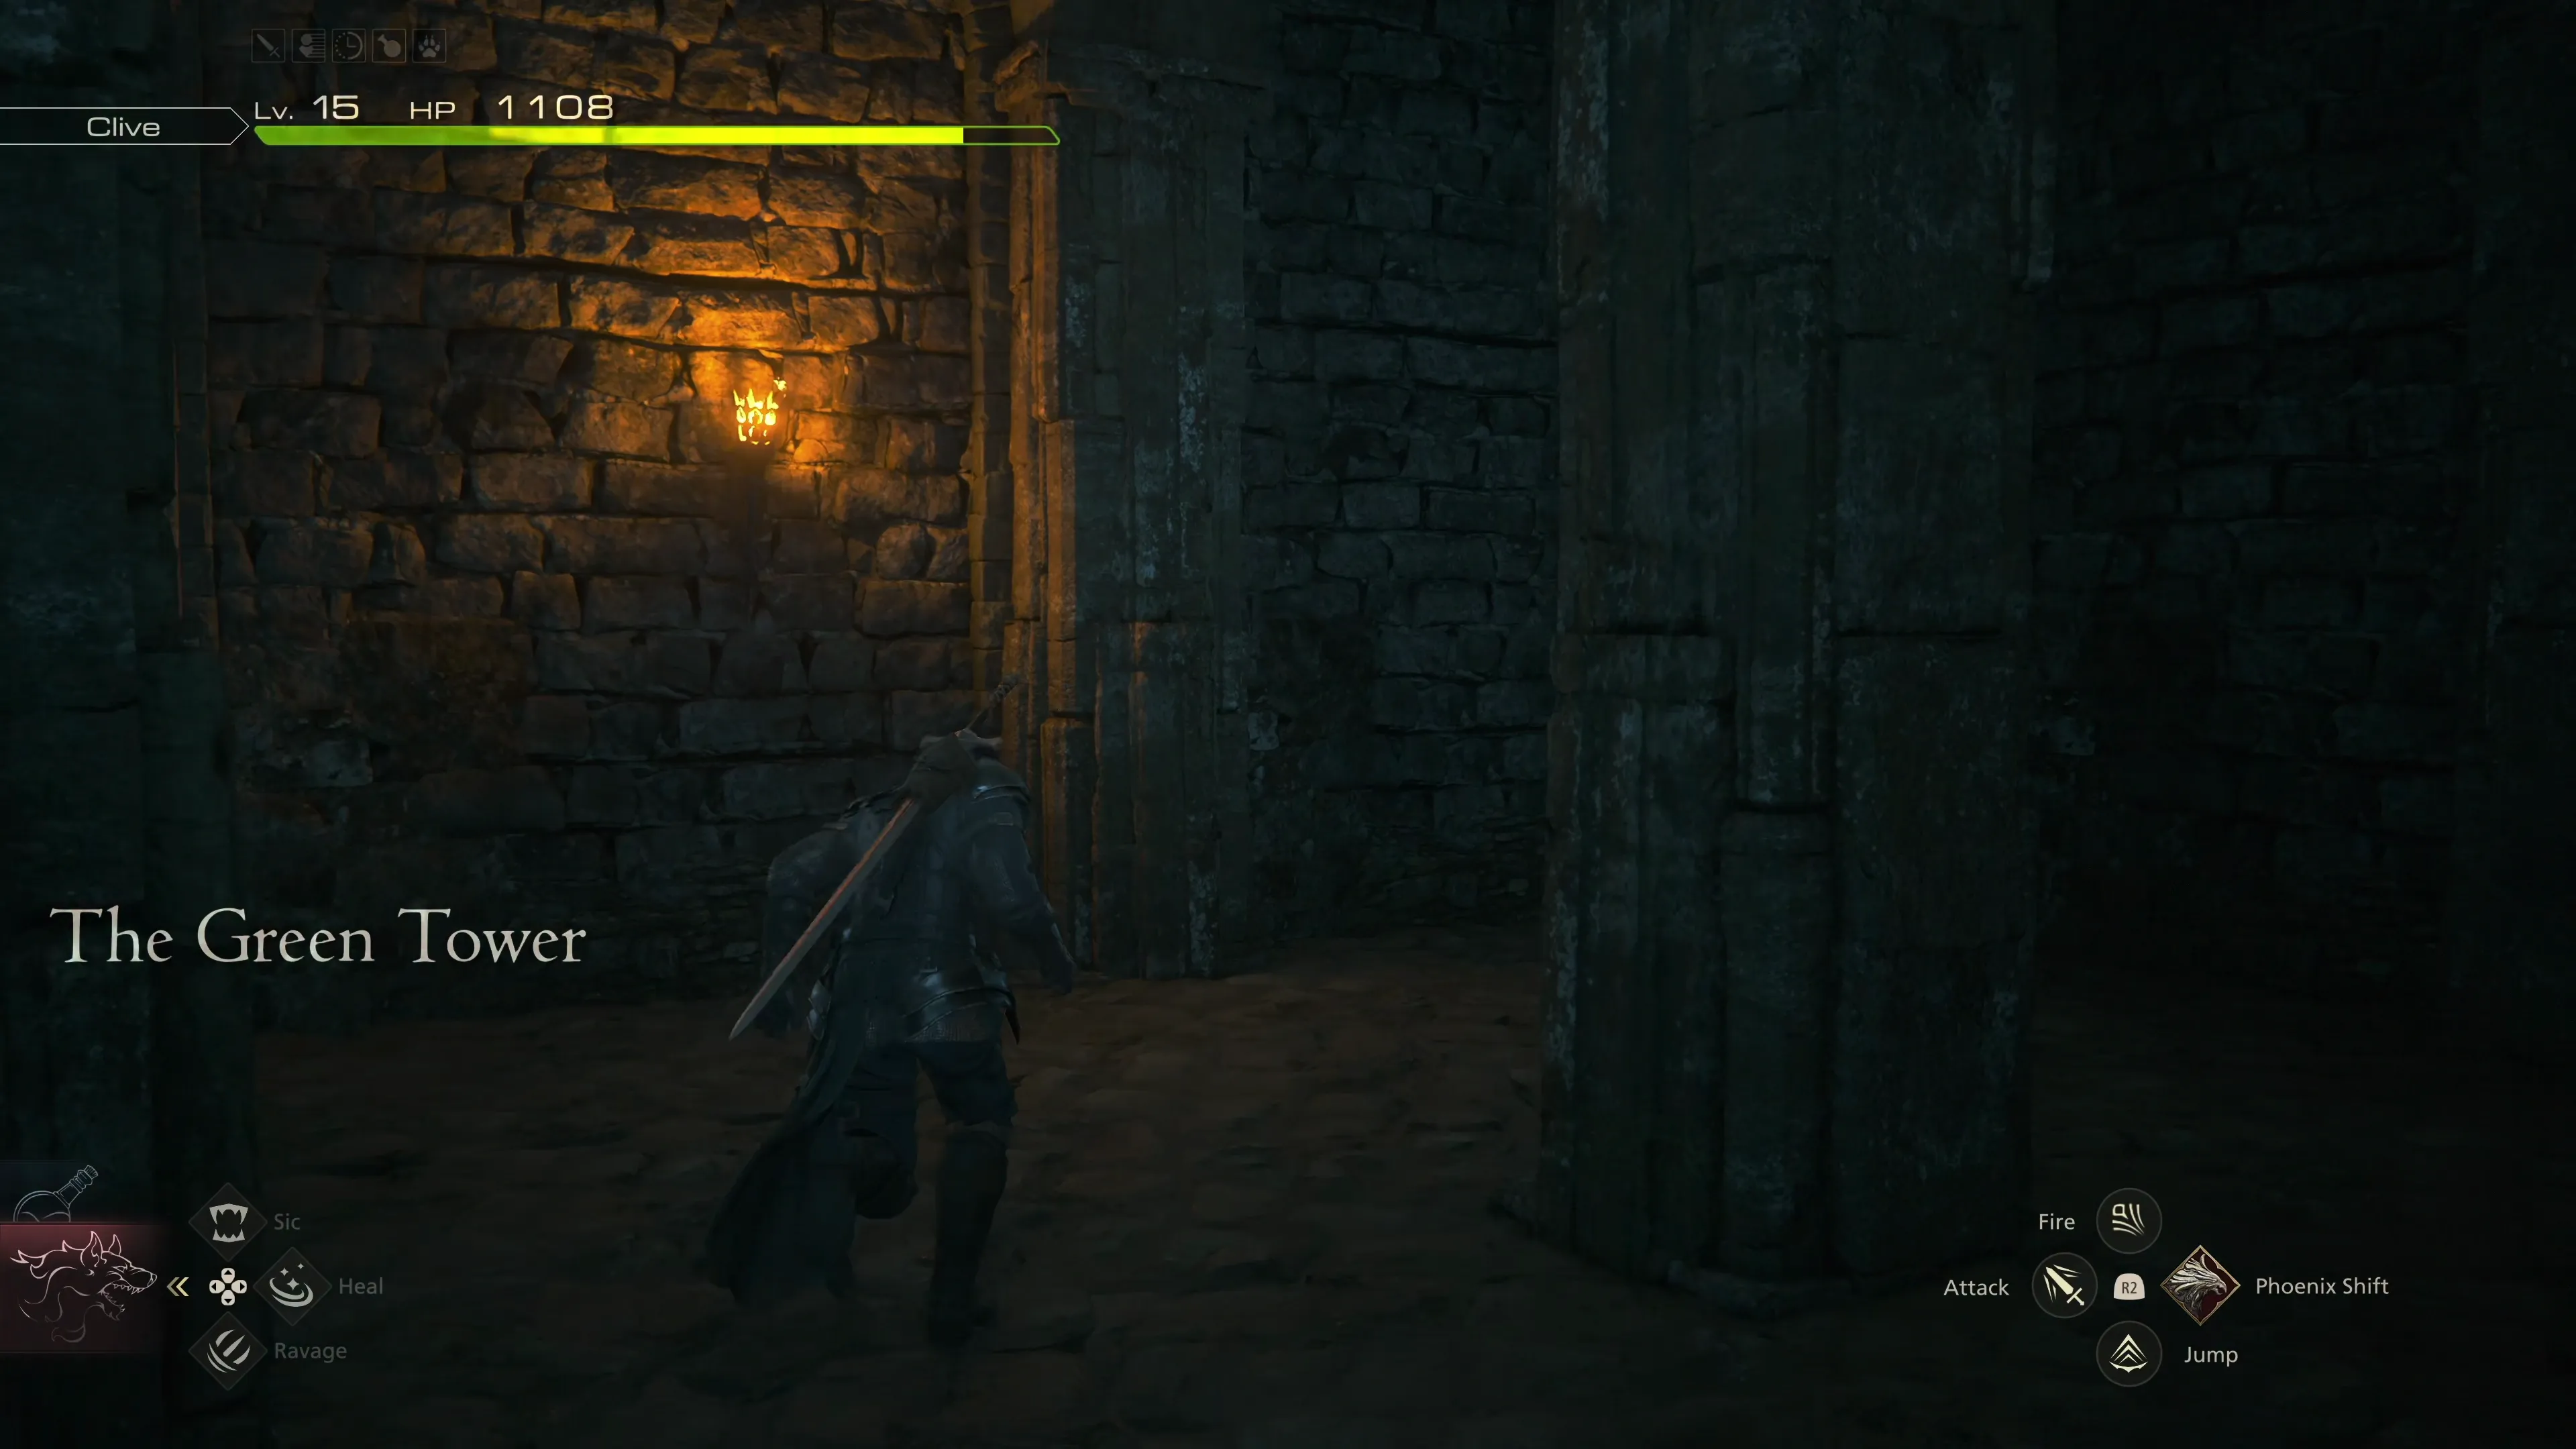
There’s another doorway to go through that leads into a room with two more Glimmers. You’ll see the words “The Green Tower” come up on the screen to confirm that you’ve reached the tail end of Caer Norvent.
The Green Tower
Go up the stairs to find two more Royal Sigfreyrs blocking the way. There are three more Glimmers on your way up the remaining stairs before you reach a room with a set of double doors (shown in the screenshot below).
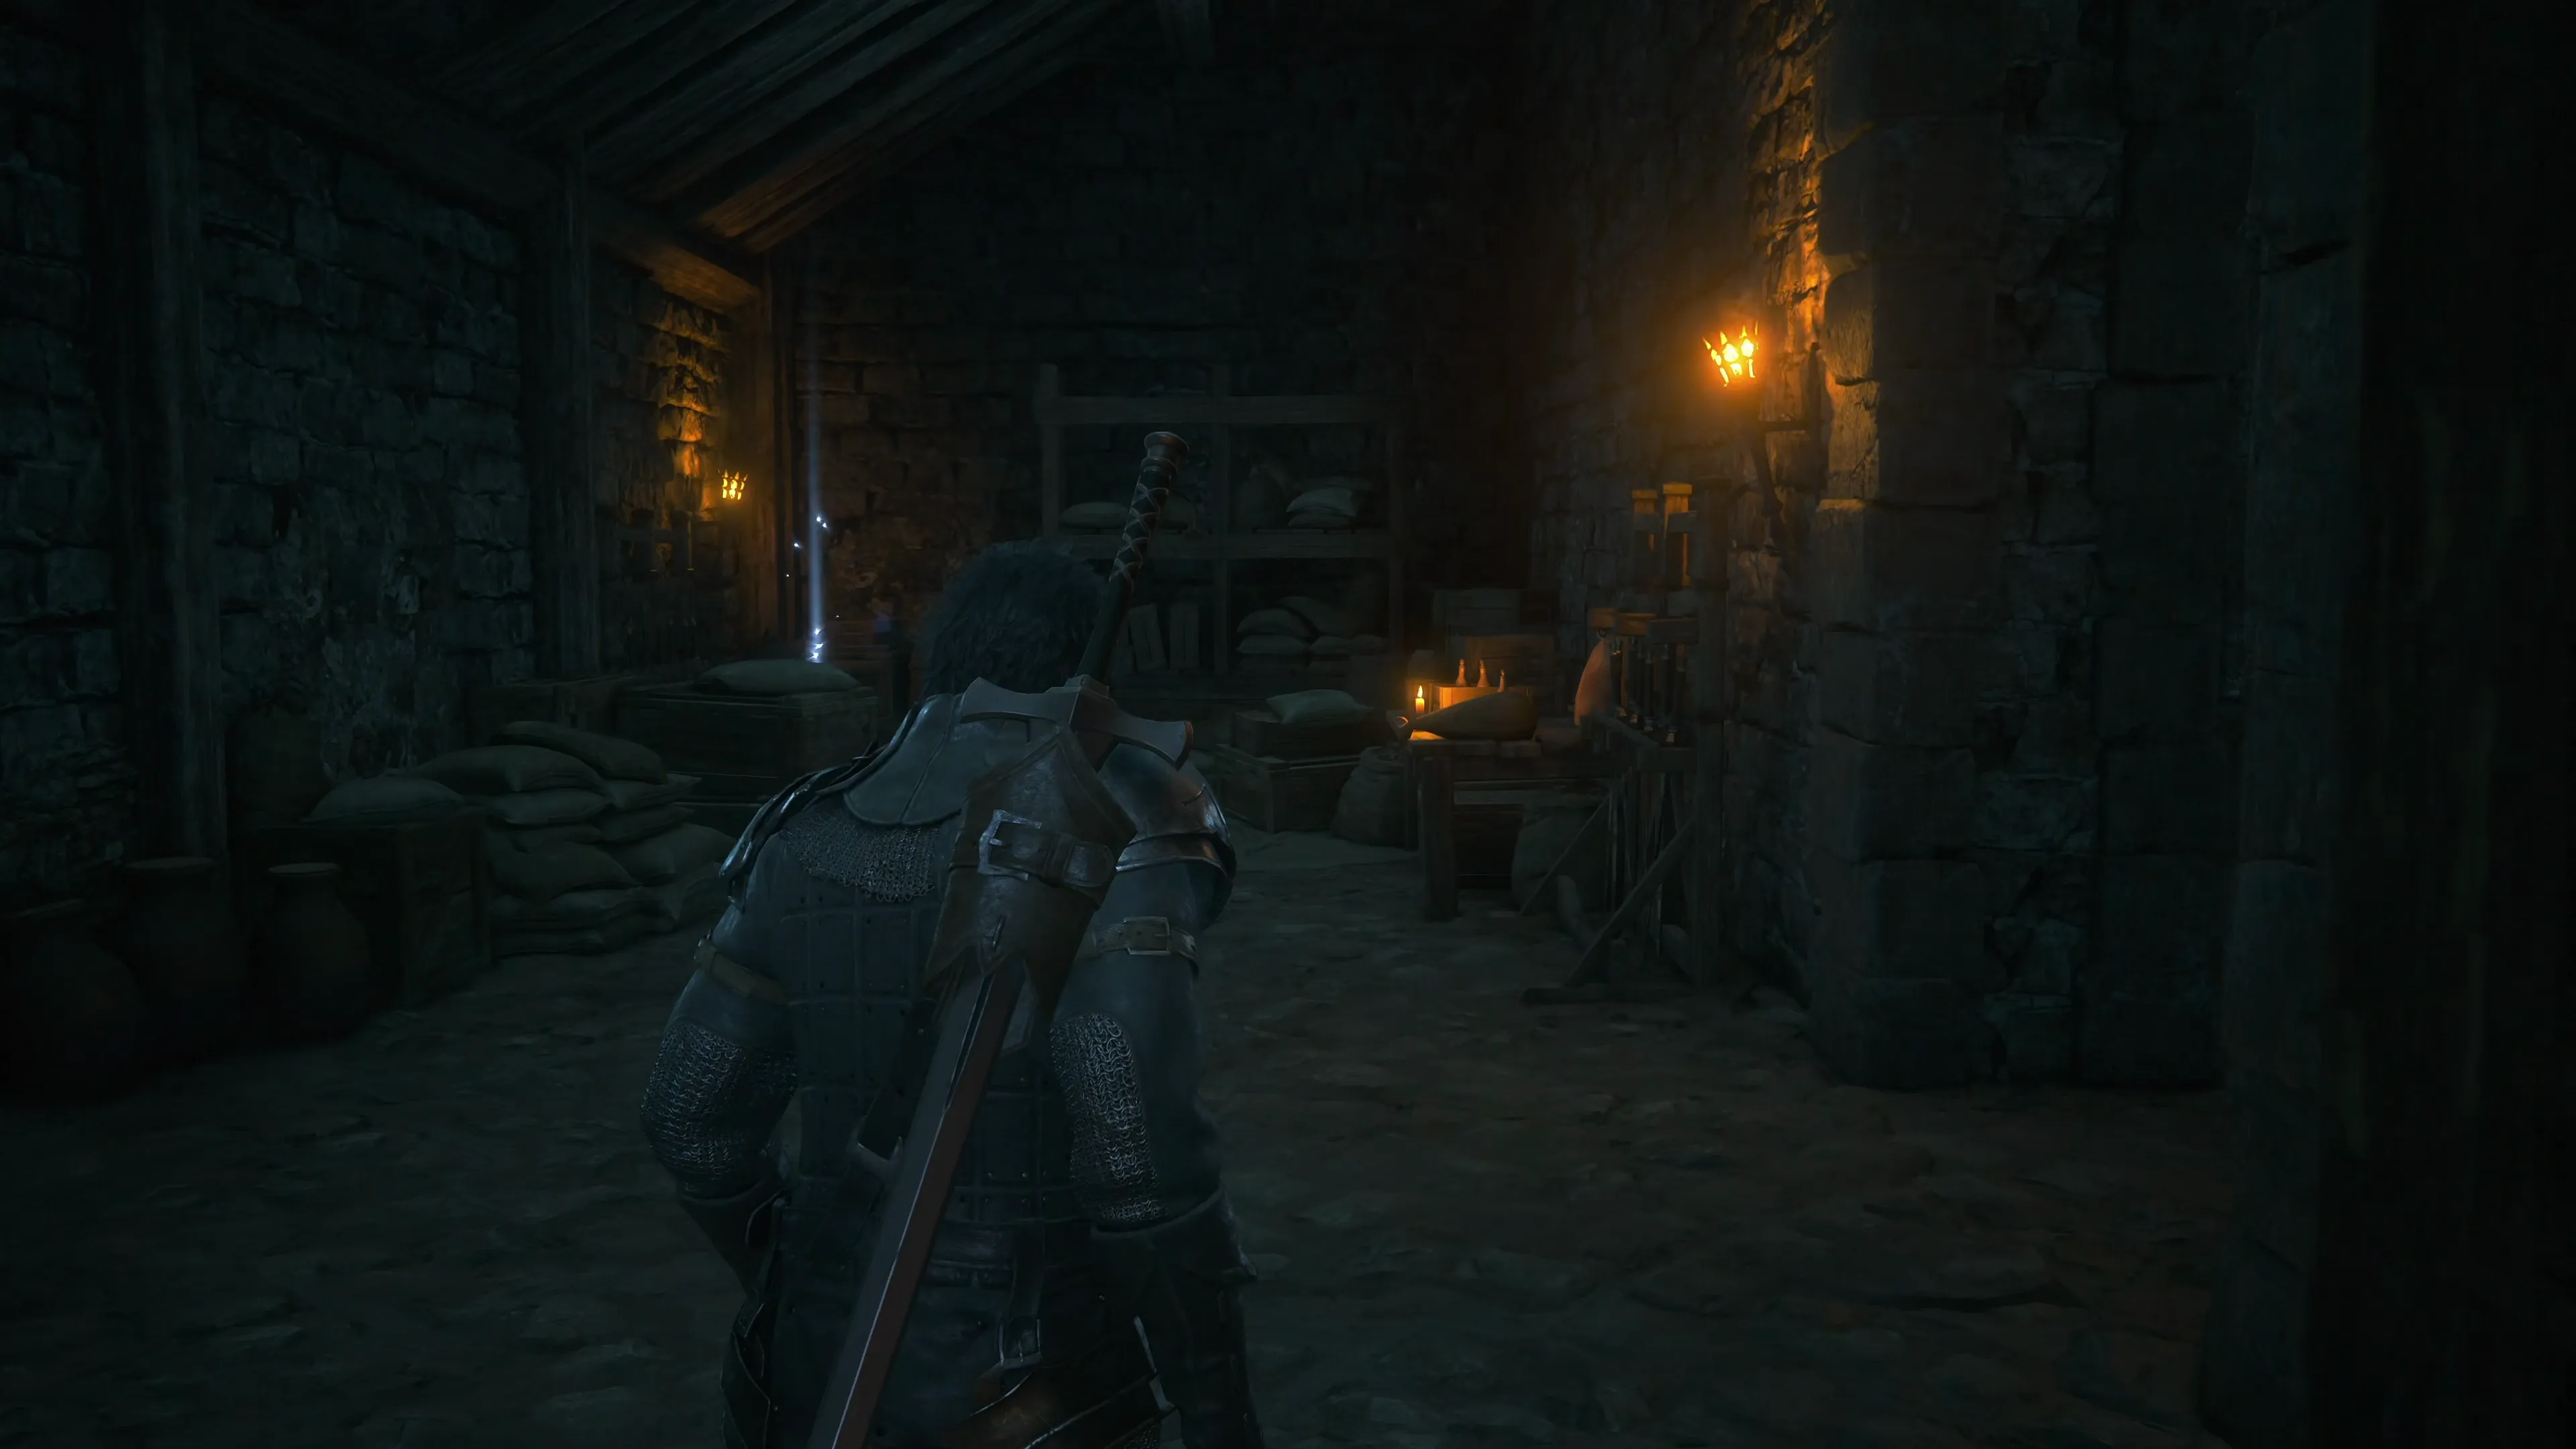
It’s time to swap over to your single-target ![]() Eikonic Ability Set in preparation for the next fight, and you may want to save your game. Open the door to kick off a short cutscene before the action begins.
Eikonic Ability Set in preparation for the next fight, and you may want to save your game. Open the door to kick off a short cutscene before the action begins.
Helpful Hint
Most of the attacks that bosses use in Final Fantasy XVI don’t have an official name. In this guide, an attempt has been made to use names that accurately describe each attack; however, these attack names are not officially mentioned in the game and do not appear on the screen.
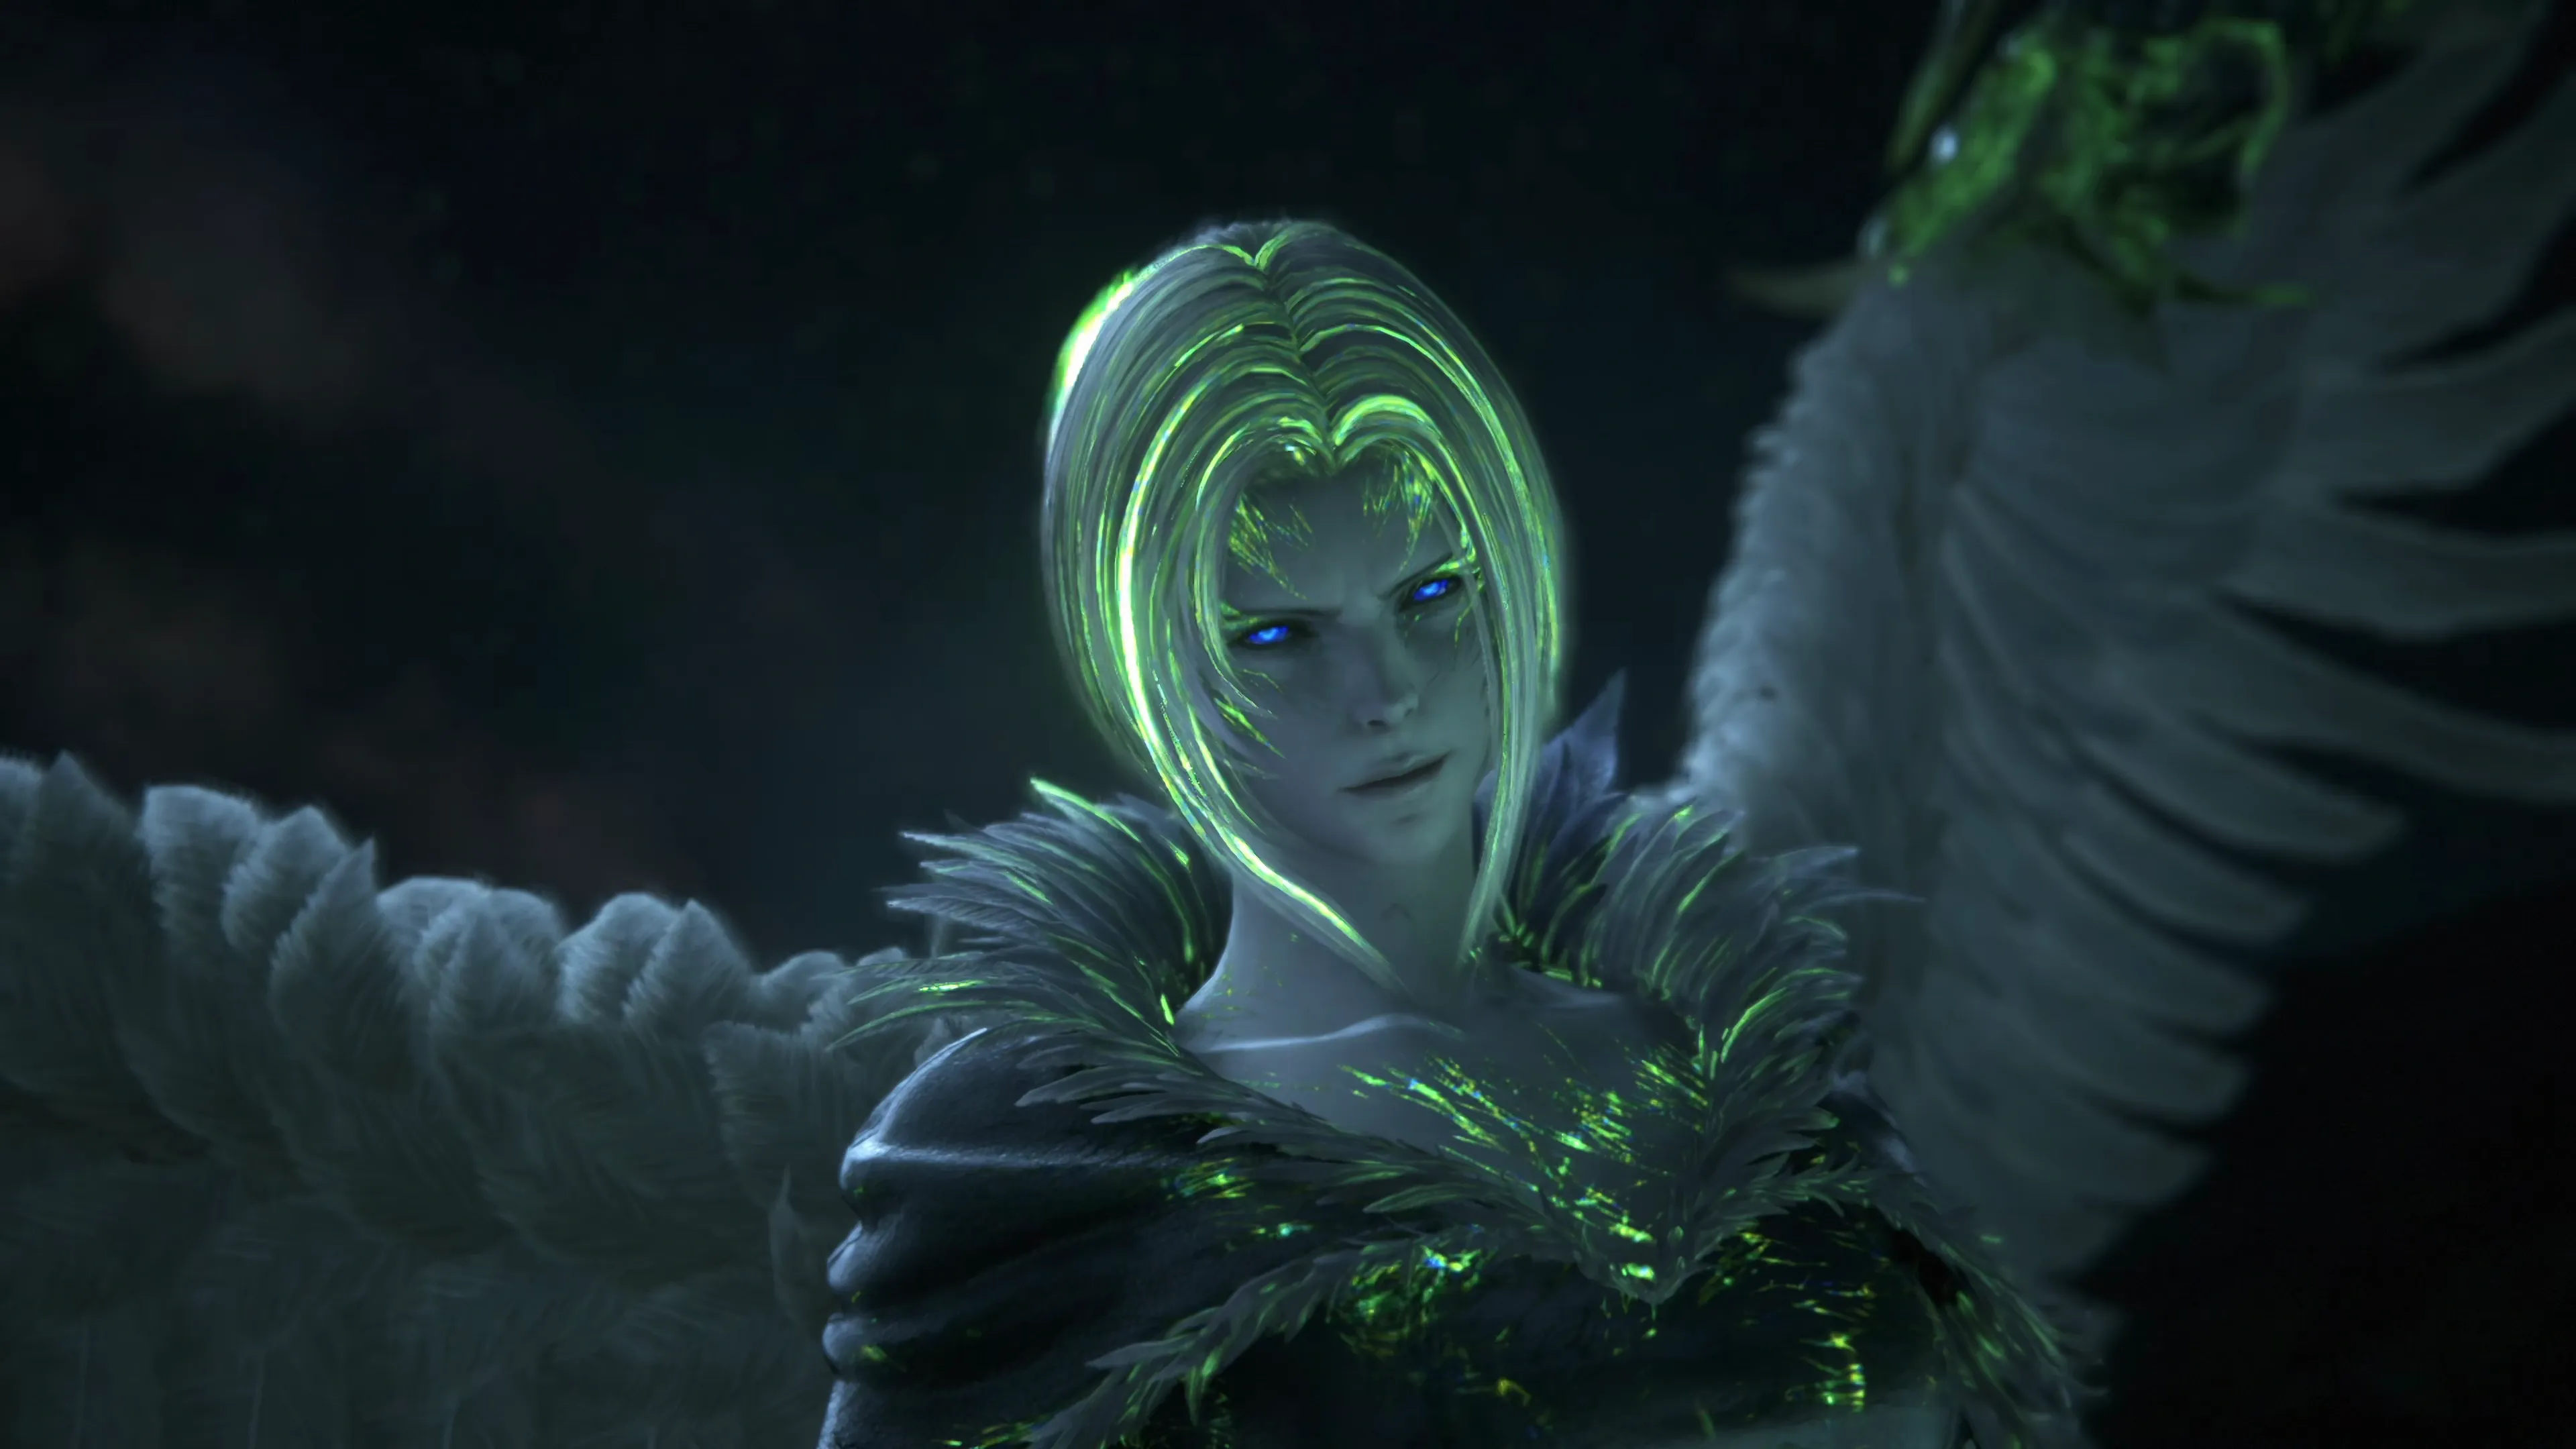
Boss Battle

This fight has three distinct phases. Benedikta’s attacks in the first and second phases are quite a bit different, and in the third phase, she gains access to a few more powerful abilities. So let’s get started!
Phase 1
Benedikta’s attacks in the first phase are pretty easy to deal with, other than her close-range attack, which can be a bit difficult to dodge because of how quick she is. Her attacks include:
![]() Physical Attack:
Physical Attack:
Benedikta will typically only use her physical attack if you are close to her, but not too close. So if you’re at a distance or if she has flown away, you will rarely see her use a normal, physical attack. It’s tough to dodge, so try to be far away unless you’ve recently dodged one of her launches. Her physical attack is similar to her launch, except that her launch attack has a large glowing animation that gives you time to react.
![]() Lunge Attack:
Lunge Attack:
She will only use this when she is far away from Clive. She will start glowing and levitating into the air before thrusting forward.
![]() Magic Volley:
Magic Volley:
Similar to Clive’s ![]() Magic attack, her hand will begin to glow, and she will start walking to either the left or right side.
Magic attack, her hand will begin to glow, and she will start walking to either the left or right side.
![]() Aero and Aerora:
Aero and Aerora:
Benedikta will launch a wave of five magic shots in front of her. Right after this, she will use Aerora to launch one more powerful blast at Clive. Both of these attacks always come one after the other, and they are great candidates for a ![]() Heatwave counterattack, which is good because the first wave can be difficult to dodge.
Heatwave counterattack, which is good because the first wave can be difficult to dodge.
![]() Aeroga:
Aeroga:
This attack is very similar to Aerora except that it travels through the air a little bit slower, and it also leaves a glowing magical rift on the ground where it makes contact that will continue to deal damage if Clive gets too close.
![]() Wind Blade:
Wind Blade:
She will launch three pillars of magic (that look like blades) forward towards Clive. These can be dodged by going to the left or right once they’re propelled forward, or counterattacked with a ![]() Heatwave.
Heatwave.
![]() Wind Slash:
Wind Slash:
Similar to Wind Blade, except that the pillar of magic is horizontal, making it a bit more challenging to get out of the way completely. Instead, it’s usually easier to dodge through this attack because it comes towards Clive fairly slowly and predictably.
If you’re having difficulty with the timing to successfully dodge Benedikta’s attacks, check out the video below. Once she reaches ~10% HP, a cutscene will trigger with a cinematic dodge (![]()
![]()
![]() button) before Benedikta transforms into her next form.
button) before Benedikta transforms into her next form.
Phase 2
Benedikta’s attacks are similar to what she had in phase 1, but with small adjustments that make them both more powerful and more difficult to dodge/counteract. Unfortunately, you won’t have Torgal to assist you during this phase, so be careful not to accidentally press any of the Directional Pad (![]()
![]()
![]() ) buttons, as this will cause you to use up some of your consumable items.
) buttons, as this will cause you to use up some of your consumable items.
Here are her updated attacks:
![]() Magic Volley (Changed):
Magic Volley (Changed):
Just like before, she will rotate around in a circle (but this time flying), launching magic attacks at Clive. The timing for the dodges can be a bit of a challenge when you first encounter them, but the two dodges happen very closely together, one after the other. Using ![]() Heatwave against these attacks is not recommended because counterattacking the first burst of magic will usually not give you enough time to dodge the second one.
Heatwave against these attacks is not recommended because counterattacking the first burst of magic will usually not give you enough time to dodge the second one.
![]() Lunge Attack (Changed):
Lunge Attack (Changed):
She will only use this when she is far away from Clive. She will somersault backward before thrusting forward, except this time she can attack once, twice, or three times in succession, so be ready to dodge a second time or third time. The third attack, if she uses it, can be a real challenge to get the timing right. The third attack has her creating a giant claw in the air before slamming it onto the ground. The easiest way to dodge this last attack is to dodge forwards, both towards and under Benedikta, as the animation extends quite a bit farther outwards than it appears. This will also position you right behind her so you can jump in with an attack chain of your own. For a demonstration of this, check out the video below.
![]() Aerora (changed):
Aerora (changed):
She will launch two magic blasts towards Clive instead of one.
![]() Aeroga (changed):
Aeroga (changed):
She will launch three orbs of magic towards Clive instead of one. Each of the three blasts will still leave a glowing rift on the ground that will damage Clive if he gets too close.
![]() Nosedive (New):
Nosedive (New):
This attack is the same as the Knight of the Blinding Dawn’s “Jump” ability. A flash of light will appear underneath the spot where Clive is standing. Move away from this spot before Benedikta slams down. She takes quite a while to recover after using this ability, so afterward is a great opportunity to get a melee attack chain going.
![]() Aerial Slash:
Aerial Slash:
This attack has two forms. The first is the same as “Wind Slash” except that there will be one beam at ground level, followed by another beam high off the ground, and one final beam that is at ground level again. The second beam does not have to be dodged as long as Clive isn’t in the air and doesn’t jump. The second form of the attack is the same as “Wind Blade” except that she will launch more waves of blades.
![]() Aero Rain:
Aero Rain:
Benedikta will fly around the outside of the castle, launching waves of magic towards Clive. Focus on the magic and be ready to dodge when it gets close. This can be made easier by circling away from Benedikta as she’s flying.
Phase 3
Two more cutscenes with cinematic actions will take place once she reaches approximately 70% HP and 30% HP. During these phases, she will gain a few more abilities:
![]() Tornado:
Tornado:
A flashing burst of light will appear where Clive was standing, which will eventually spawn a large Tornado. Move away from where it spawns and continue to move away from it as it comes towards Clive. Keep your eye on Benedikta, though, as she’ll sometimes jump right into a Lunge Attack as soon as the Tornado despawns.
![]() Gathering Clouds into Rammelfall:
Gathering Clouds into Rammelfall:
Gathering Clouds will do a small amount of damage if you’re too close to Benedikta, so just move away. She will always follow up Gather Clouds by using Rammelfall, which, like during the cinematic, will launch a piece of the castle towards Clive. Just dodge out of the way as soon as the animation ends.
![]() Talons:
Talons:
This attack doesn’t have a name, but when she starts slamming large talons onto the ground, run away quickly! This attack comes in waves and hits an extremely wide area in front of her. It’s fairly difficult to get out of the way if you’re too close, so try to be ready to run as soon as you see this attack start.
![]() Deadly Embrace:
Deadly Embrace:
Make sure you dodge as soon as you see the words “Deadly Embrace” come up on the screen before a giant claw grabs Clive. Don’t worry if he’s caught by it, as the grabbing action itself doesn’t cause any damage. But move away very quickly if you do get grabbed!
Something to keep in mind for this fight is that a lot of the challenge comes from trying to familiarize yourself with all of the different attacks you’ll see during all of the phases of this fight. Practice can help (and you can reset your game if you saved), or you can watch the reference video below to see how to manage the different attacks you’ll face.
This is the second boss in the game where you have an opportunity to win a Medal of Valor for not getting hit by any attack during any phase of the fight. Specifically, it’s the ![]() Medal of Valor - Benedikta. As noted about Medals of Valor before, do not worry about trying to get this very difficult achievement on your first playthrough. The Medal has no use in the game, and it’s not tied to any Achievements/Trophies. It’s only been included by the game developers for those looking to challenge themselves.
Medal of Valor - Benedikta. As noted about Medals of Valor before, do not worry about trying to get this very difficult achievement on your first playthrough. The Medal has no use in the game, and it’s not tied to any Achievements/Trophies. It’s only been included by the game developers for those looking to challenge themselves.
150
2,200
A video demonstration of how to successfully complete the fight against Benedikta.
A large number of cutscenes will take place once the battle has concluded. You will regain control of Clive just outside the castle for the next Main Scenario mission of the game, titled “Wings of Change.”
Achievement/Trophy
“Inherit a power unknown.” The  With Great Power Achievement/Trophy is earned as soon as you complete the “Headwind” Main Scenario Quest.
Helpful Hint
Note that you now have access to the “Arcade Mode” and “Stage Replay” modes at the Arete Stone. Check out the ![]() Arete Stone section for more information about how these modes work.
Arete Stone section for more information about how these modes work.