
 Wings of Change
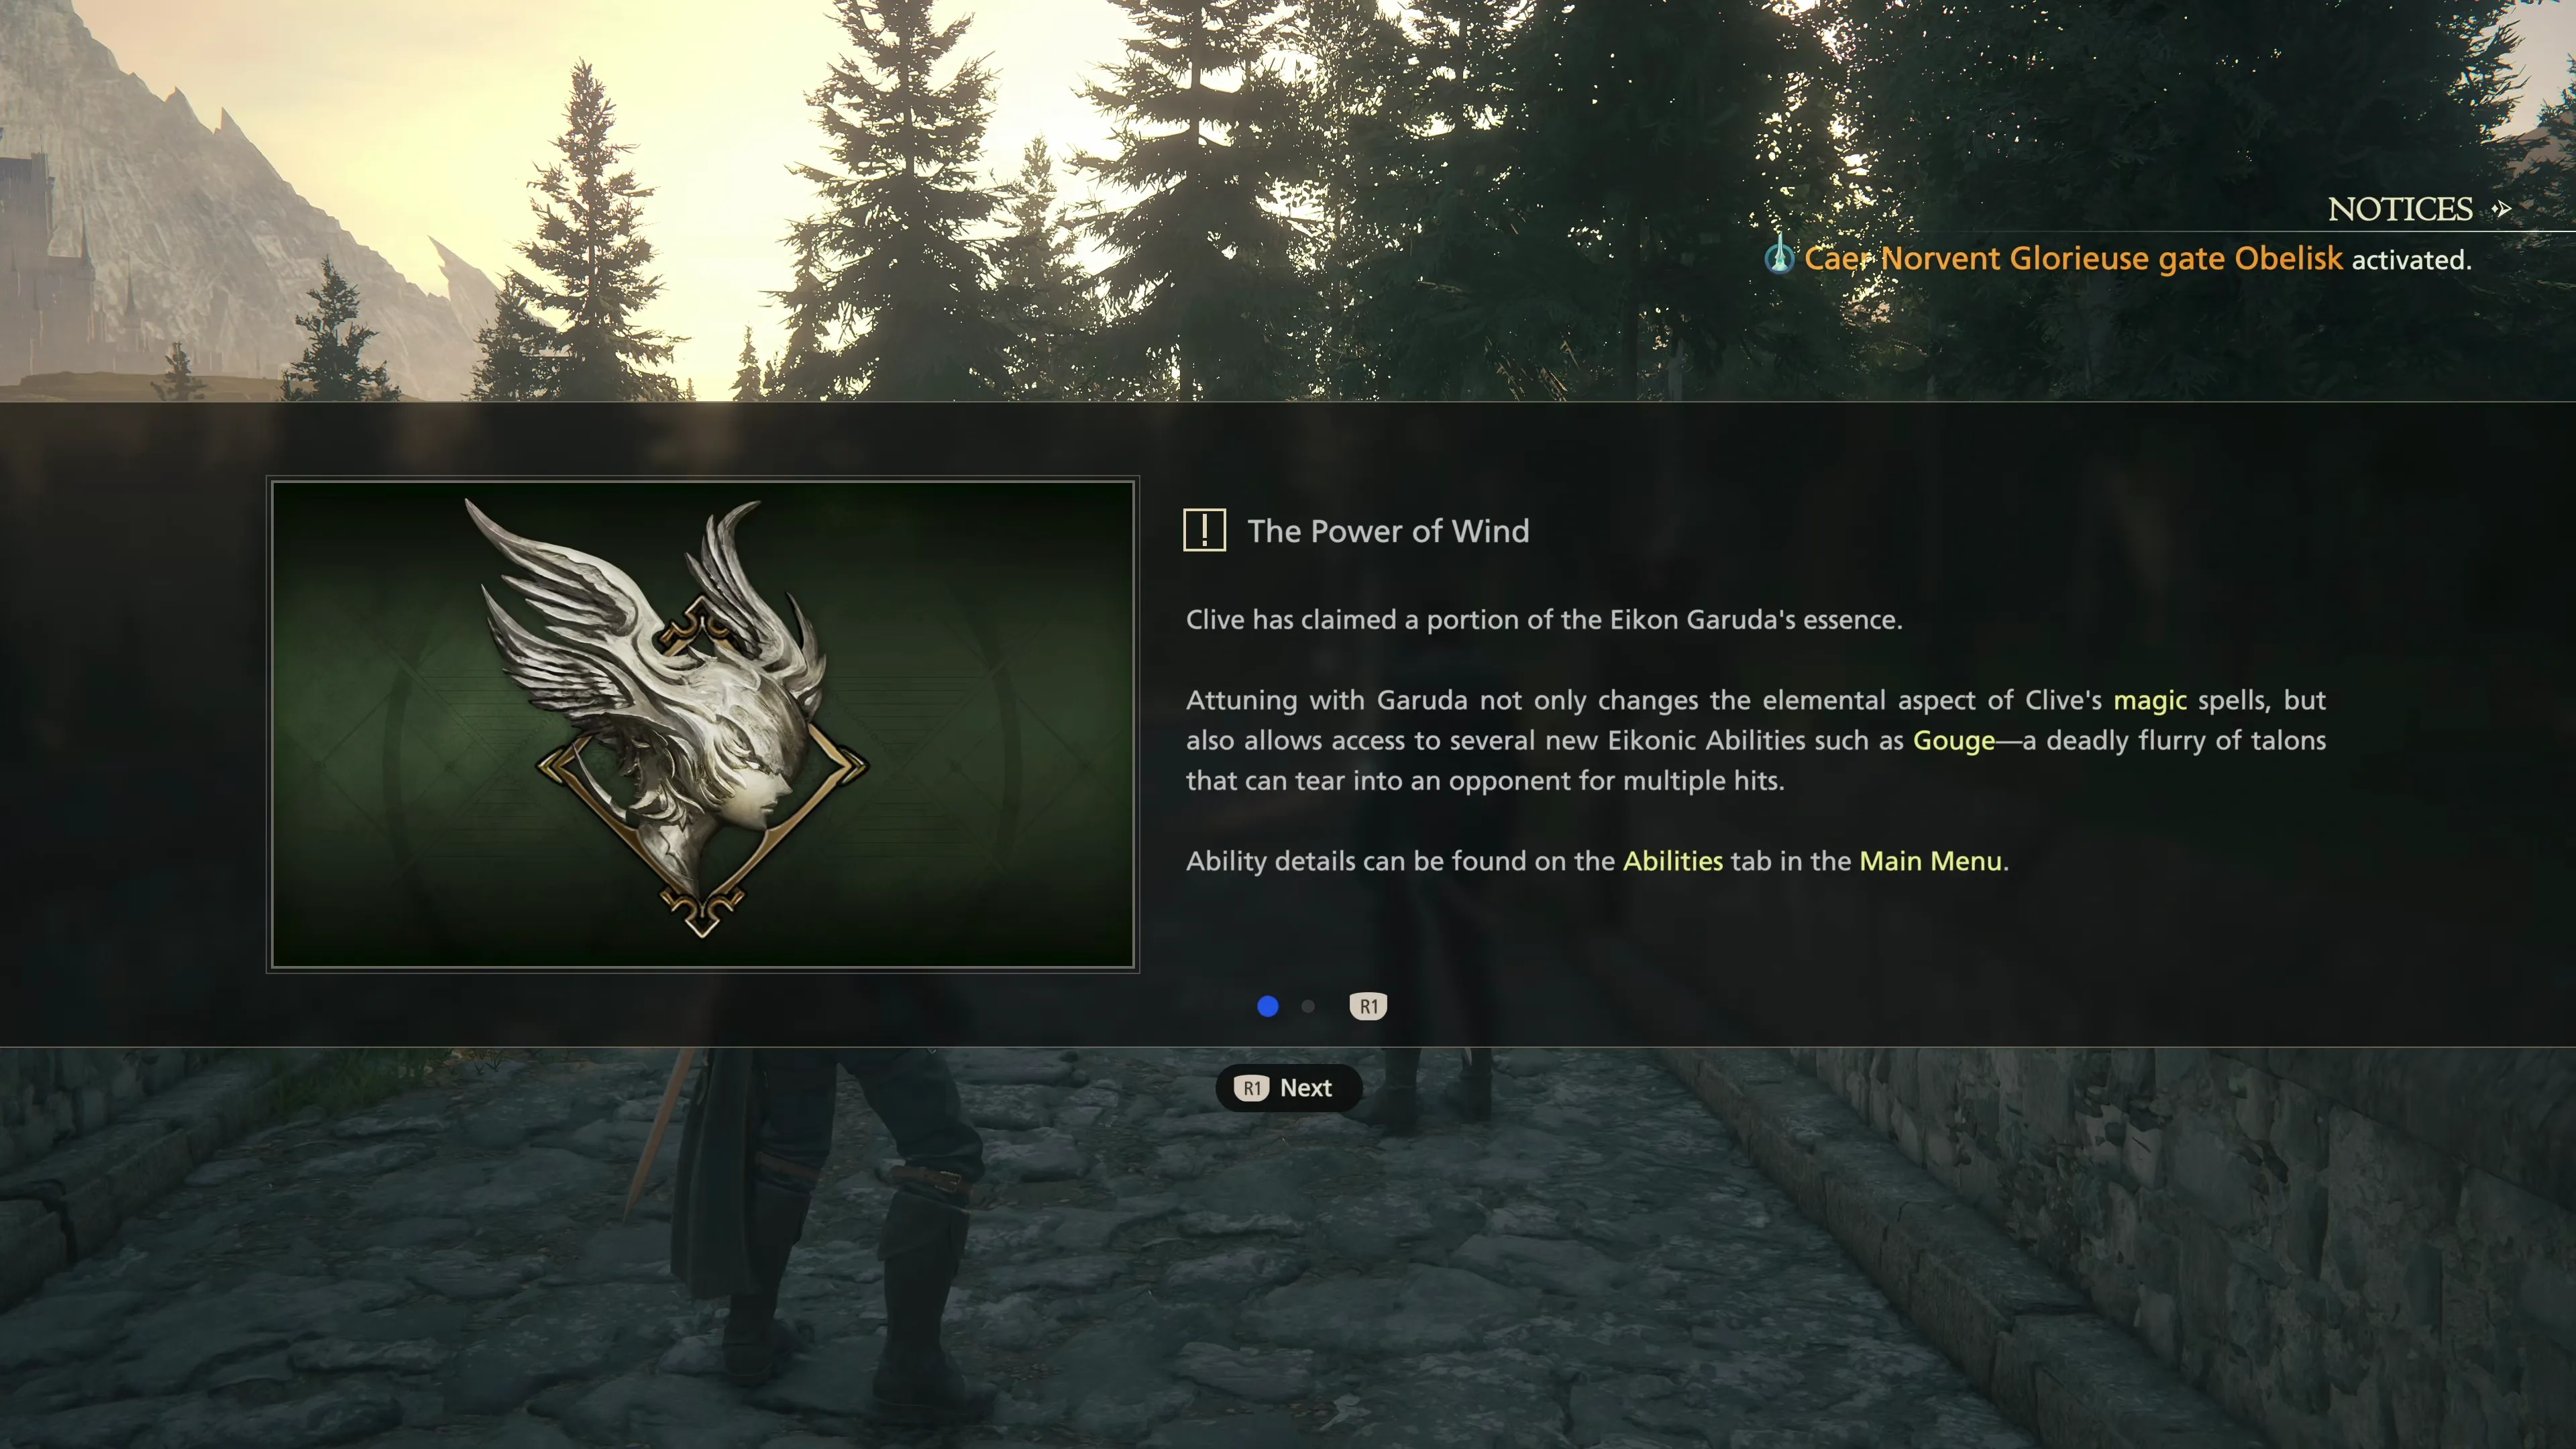
The ![]() Obelisk outside of Caer Norvent will automatically be activated once Clive, Cid, and Torgal exit through the Glorieuse gate. After that, a Tutorial Message will pop up explaining that you now have access to the “Power of Wind” through the Eikon Garuda’s essence. Or to rephrase that, you can now swap between different Eikons and Eikon Abilities.
Obelisk outside of Caer Norvent will automatically be activated once Clive, Cid, and Torgal exit through the Glorieuse gate. After that, a Tutorial Message will pop up explaining that you now have access to the “Power of Wind” through the Eikon Garuda’s essence. Or to rephrase that, you can now swap between different Eikons and Eikon Abilities.
There are four important things to consider now that you have more options for customizing Clive’s ability sets.
- How to Set Up Your Eikon Ability Sets
- Learning Your Personal Ability Preferences (and rotating between “channels”)
- Optimizing
 Ability Point Allocation
 - Learning to Utilize Stagger Combos
1) How to Set Up Your Eikon Sets
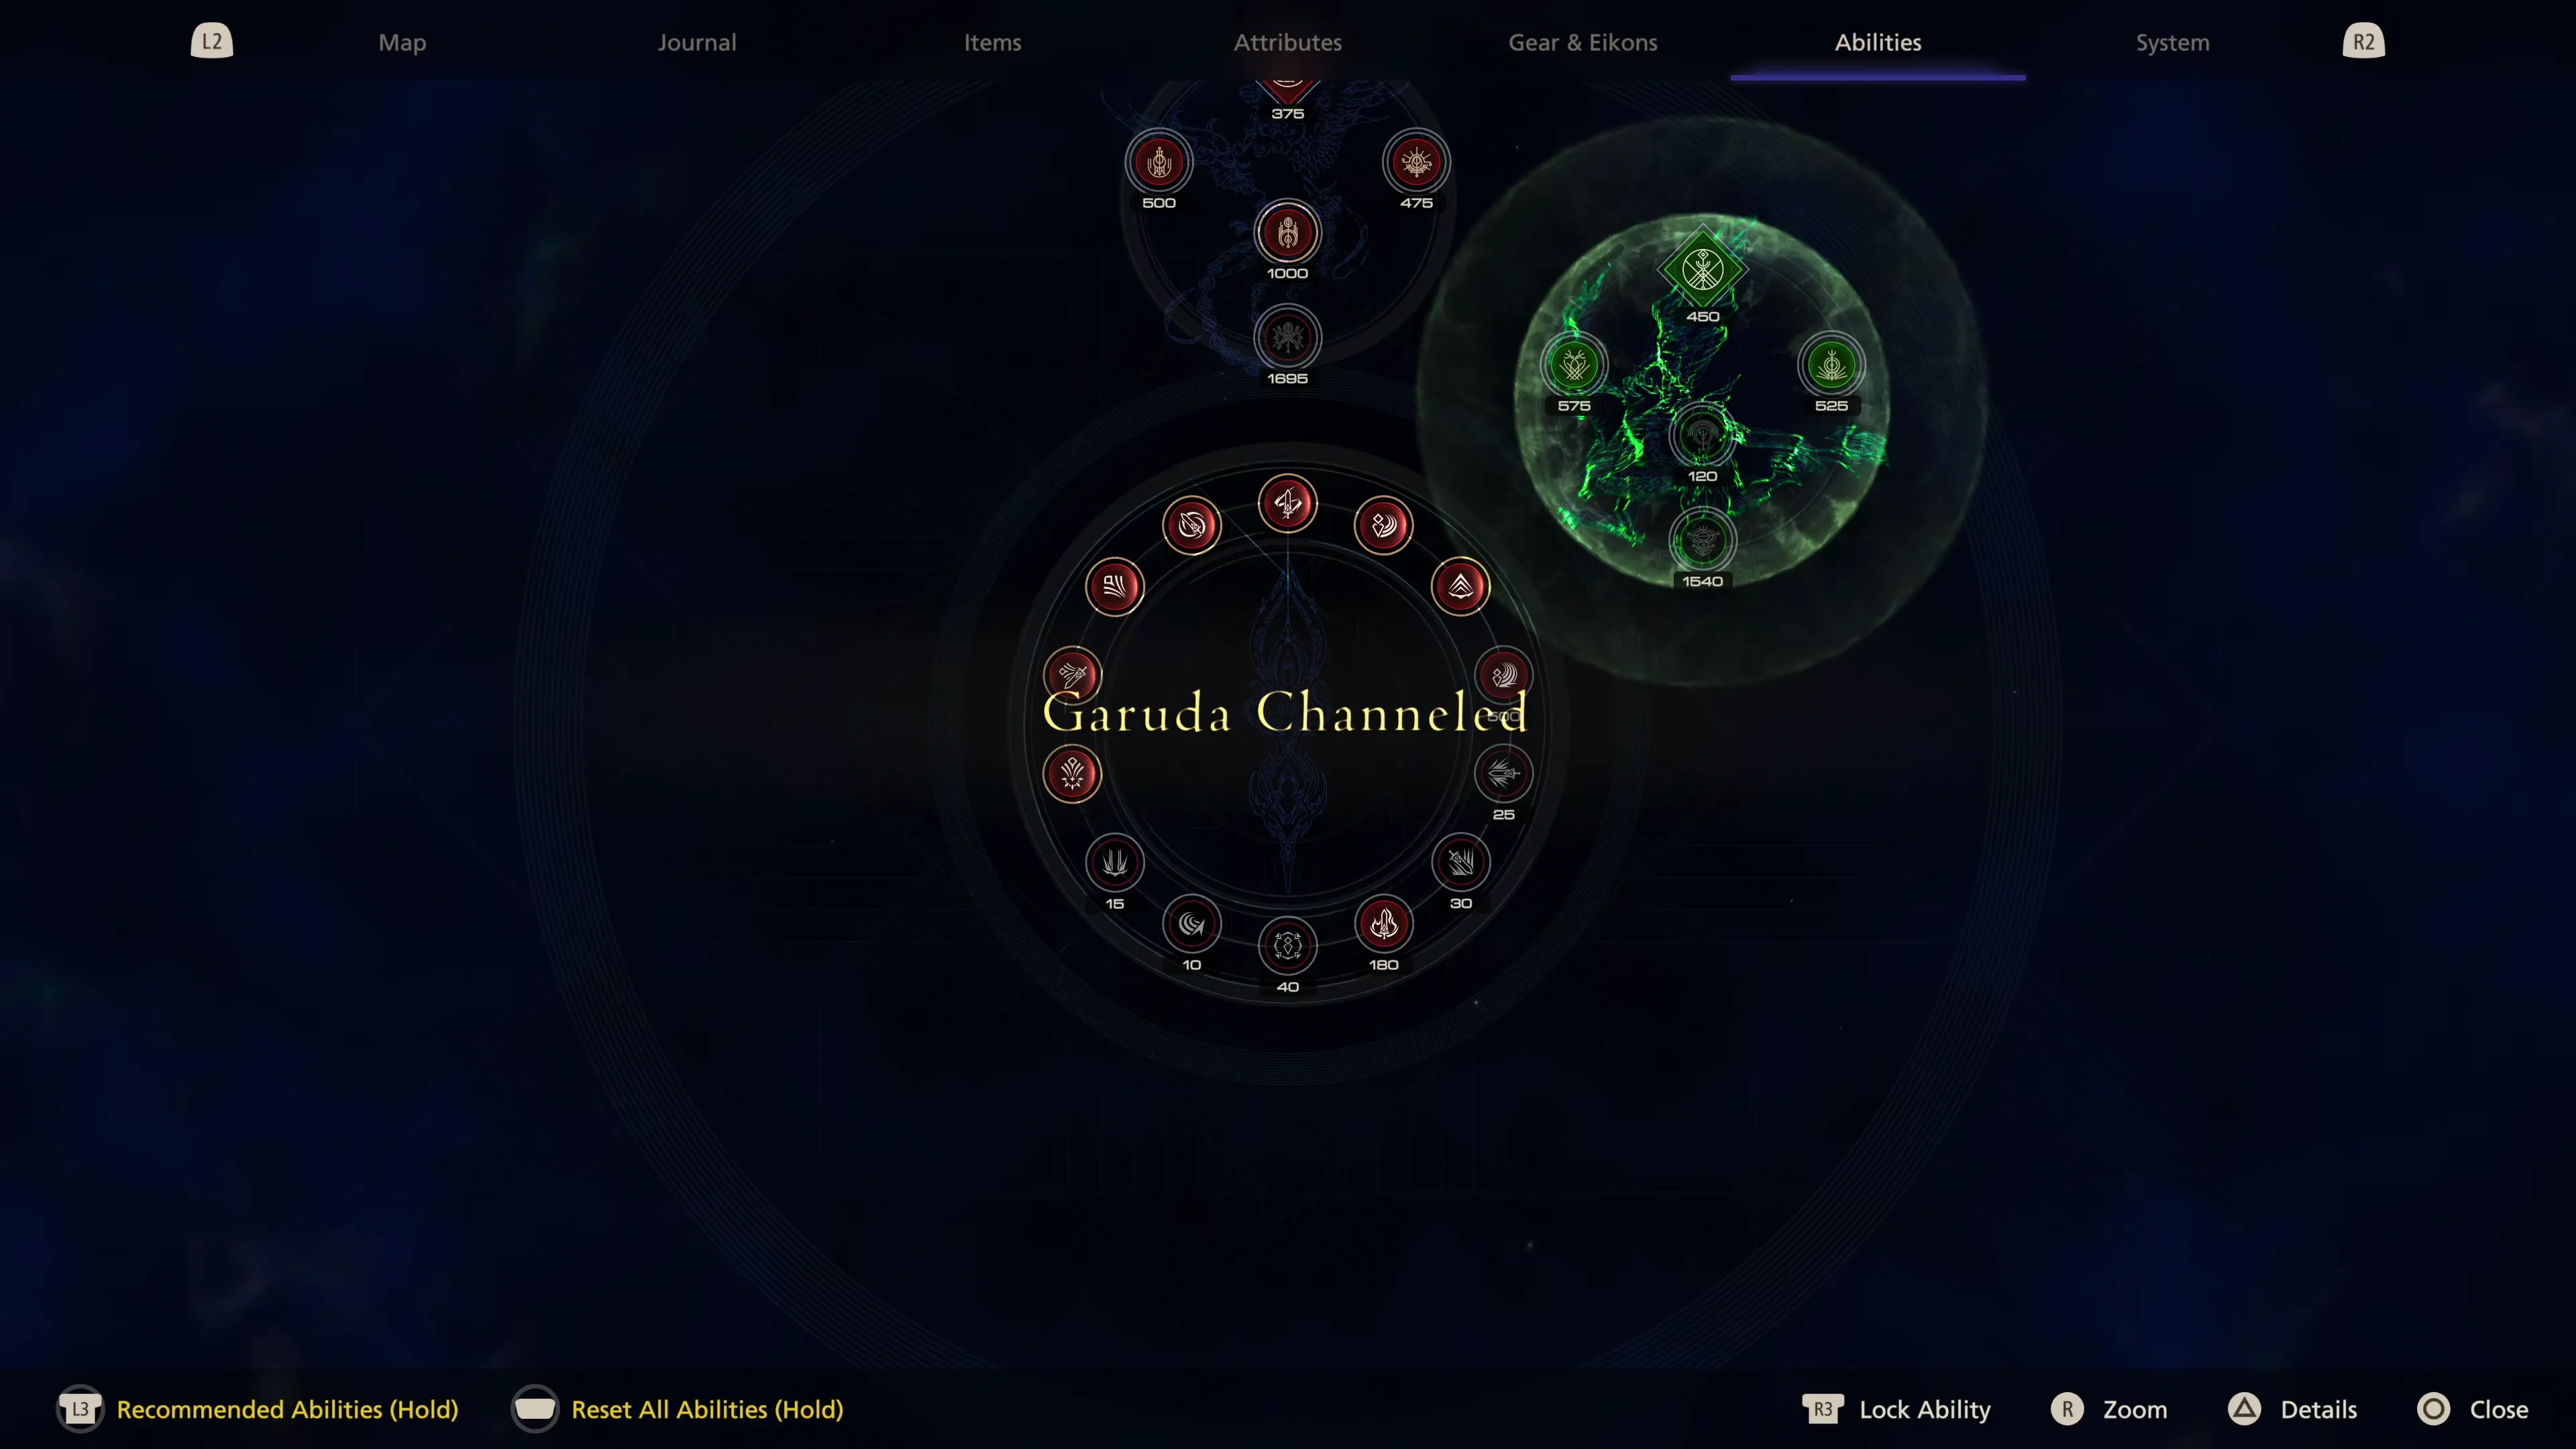
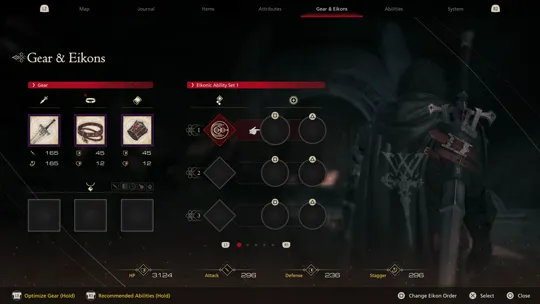
The game will automatically set up a second Eikon channel on whichever ![]() Eikonic Ability Set Clive has activated now. By navigating to the “Gear & Eikons” tab, you’ll see the first row of Phoenix-related abilities and a new row for Garuda’s abilities, which will include:
Eikonic Ability Set Clive has activated now. By navigating to the “Gear & Eikons” tab, you’ll see the first row of Phoenix-related abilities and a new row for Garuda’s abilities, which will include:
If you have been using two Eikonic Ability Sets (one for single target and one for multiple targets), you will need to activate a new row for Garuda’s abilities and add them to your second set. You can also activate other Garuda-related abilities like ![]() Rook’s Gambit or
Rook’s Gambit or ![]() Aerial Blast, depending on how many
Aerial Blast, depending on how many ![]() Ability Points you have and where you want to spend them.
Ability Points you have and where you want to spend them.
To learn more about the individual abilities, including their strengths, weaknesses, and how to use them effectively in battle, check out the Garuda page in the Eikon section using the link below:
Eikon
A complete list of the Eikonic Feats and Eikonic Abilities for Garuda, including recommendations on which abilities to use and what situations call for their usage.
2) Learning Your Ability Preferences
So, which abilities should you use? You can practice while traveling through Glorieuse and the next areas, playing around with different abilities and combos. ![]() Deadly Embrace,
Deadly Embrace, ![]() Wicked Wheel, and
Wicked Wheel, and ![]() Gouge are all, for the most part, considered useful or strong abilities, so you can’t go too wrong yet… but there are two things to keep in mind that somewhat contradict each other.
Gouge are all, for the most part, considered useful or strong abilities, so you can’t go too wrong yet… but there are two things to keep in mind that somewhat contradict each other.
Firstly, some abilities are generally considered superior to others. You can check out the Eikonic Ability Ranking page for some recommendations from this strategy guide; however, these recommendations are HIGHLY SUBJECTIVE. The second thing to keep in mind is that an ability that one player might find bad, another player may find extremely engaging and fitting to their play style. Don’t be afraid to get creative!
![]() Rook’s Gambit is generally considered better than
Rook’s Gambit is generally considered better than ![]() Wicked Wheel and
Wicked Wheel and ![]() Gouge. Consider activating it now, but it’s recommended that you continue using Gouge. Better abilities will eventually replace Gouge, but for now, it’s one of the better combo-building abilities in your arsenal.
Gouge. Consider activating it now, but it’s recommended that you continue using Gouge. Better abilities will eventually replace Gouge, but for now, it’s one of the better combo-building abilities in your arsenal.
3) Optimizing Ability Points Allocation
At this point in the game, you don’t have too many Ability Points to spend just yet, so you won’t be able to activate all of the various abilities that you have access to. You may have to stick with the default abilities that have been activated already.
If you would like a recommendation on Ability Point allocation and Eikonic Ability Sets to create, check out the “Ability Recommendations” page.
Tips and Tricks
This section will provide some tips for setting up your single-target and multi-target Eikonic Ability Sets, including covering which Abilities are the most effective and which you should consider avoiding altogether.
4) Learning to Utilize Stagger Combos
Waiting for abilities to come off of their cooldowns so you can use them again is annoying, but now you can swap to channeling another Eikon using ![]()
![]()
![]() , giving you access to a total of four cooldown abilities. Get used to swapping back and forth between Eikons so that you can maximize your use of abilities—these are your strongest attacks, so you should get used to using them all the time!
, giving you access to a total of four cooldown abilities. Get used to swapping back and forth between Eikons so that you can maximize your use of abilities—these are your strongest attacks, so you should get used to using them all the time!
Additionally, when you’re fighting enemies that have a “Will Gauge” and can be staggered, make sure to save your abilities so that they are off cooldown when an enemy is staggered. You’ll want to be able to activate as many of them as you can, back-to-back, to maximize damage during this window, as the enemy will be taking increased damage (from 1.1x up to 1.5x).
For example, when an enemy is staggered, consider using ![]() Gouge,
Gouge, ![]() Rook’s Gambit,
Rook’s Gambit, ![]() Heatwave, and
Heatwave, and ![]() Rising Flames in succession. They’ll all need to be off cooldown for you to do this, but you’ll decimate an enemy’s HP bar if you get this chain in successfully.
Rising Flames in succession. They’ll all need to be off cooldown for you to do this, but you’ll decimate an enemy’s HP bar if you get this chain in successfully.
Now that we have that out of the way, let’s get moving forward with the game again.
Glorieuse
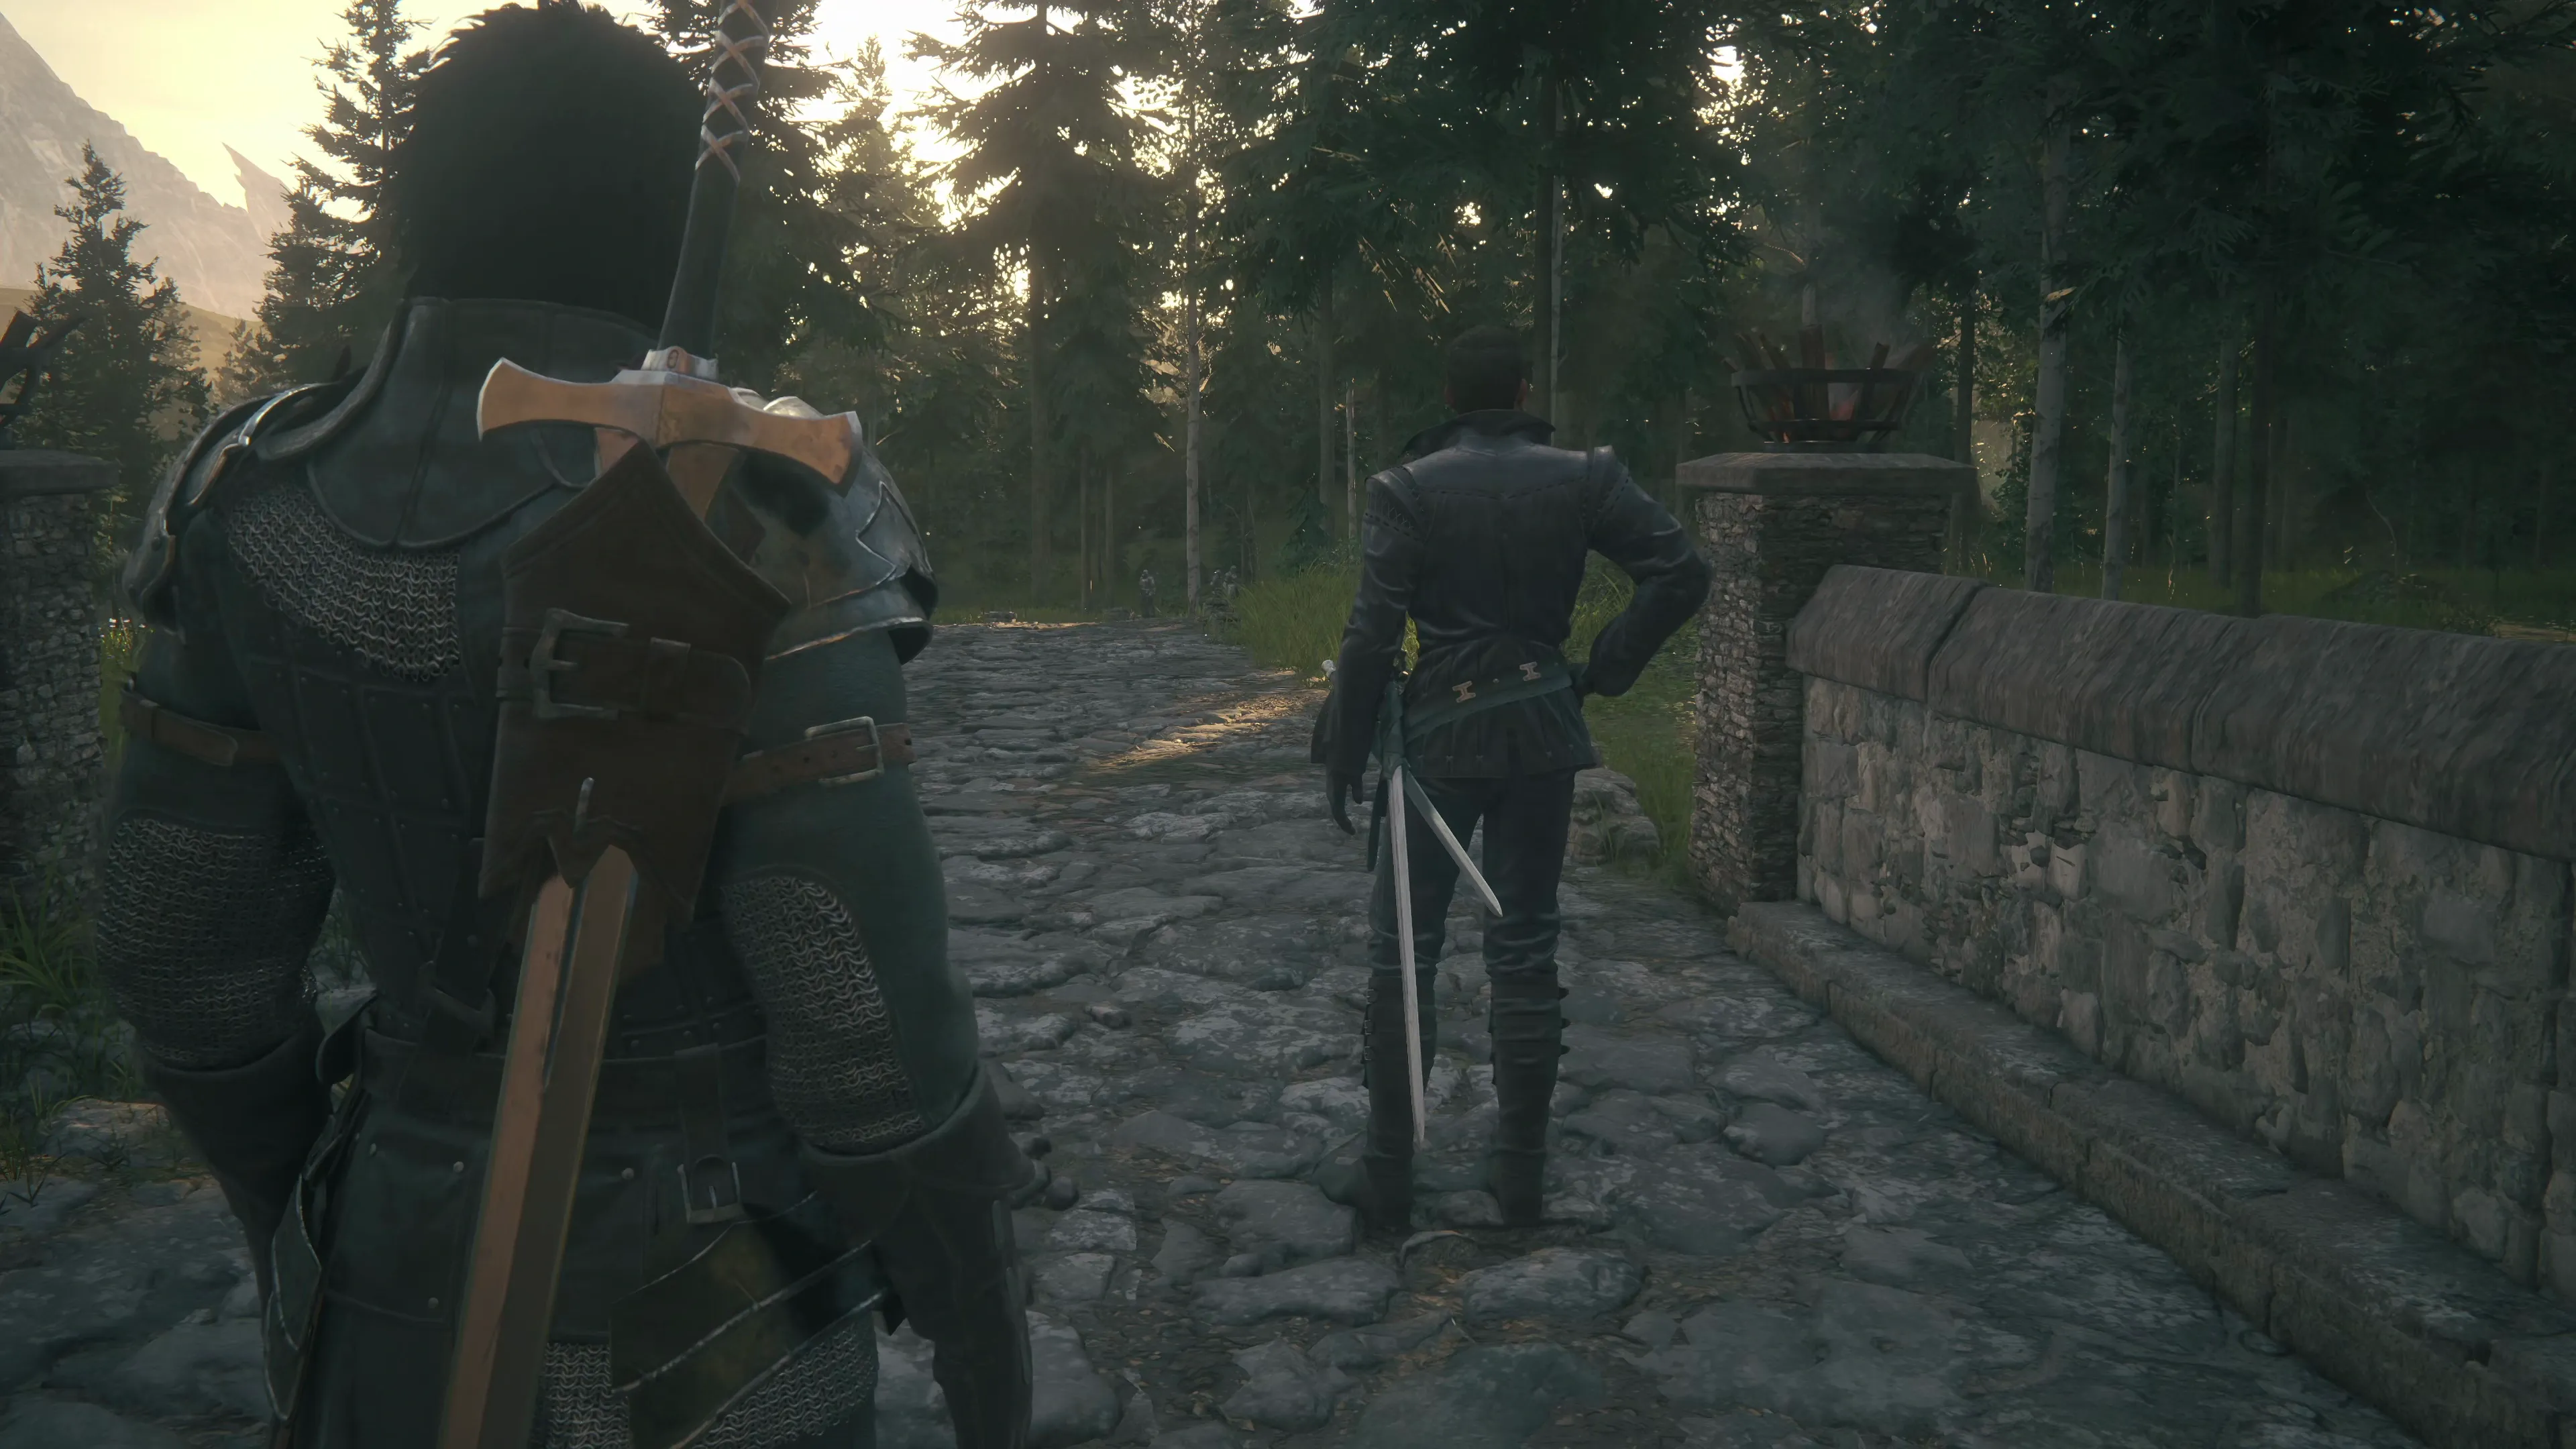
There is a group of four Imperial soldiers just up ahead that are slowly patrolling the pathway, just up ahead from where Clive and Cid cross the first bridge. This first battle offers a good opportunity to try out your new Garuda abilities. There’s also another group of Imperial soldiers in the field to the north that includes some flying enemies. This is a good opportunity to try out ![]() Deadly Embrace for bringing them down to ground level.
Deadly Embrace for bringing them down to ground level.
Helpful Hint
Through the use of jumps and specific Eikonic abilities, it’s possible to have Clive become an aerial specialist where most of his abilities are activated while airborne, and the goal, for some gamers at least, is to initiate aerial combat when possible. This can be a difficult but fun (if not unnecessary) challenge. Check out the Aerial Combat section of the Combat Tutorials page of the Tips and Tricks.
Achievement/Trophy
“Defeat 5 enemies in the air after using Deadly Embrace (excluding battles in the Hall of Virtue).” The easiest way to earn the  Fatal Attraction Achievement/Trophy is to jump into the air, pull enemies towards Clive using
 ![]() Deadly Embrace, and quickly defeat them with a combo before landing. Check out the Fatal Attraction section for more tips, but this doesn’t have to be completed in a single battle, so take your time with it.
Deadly Embrace, and quickly defeat them with a combo before landing. Check out the Fatal Attraction section for more tips, but this doesn’t have to be completed in a single battle, so take your time with it.
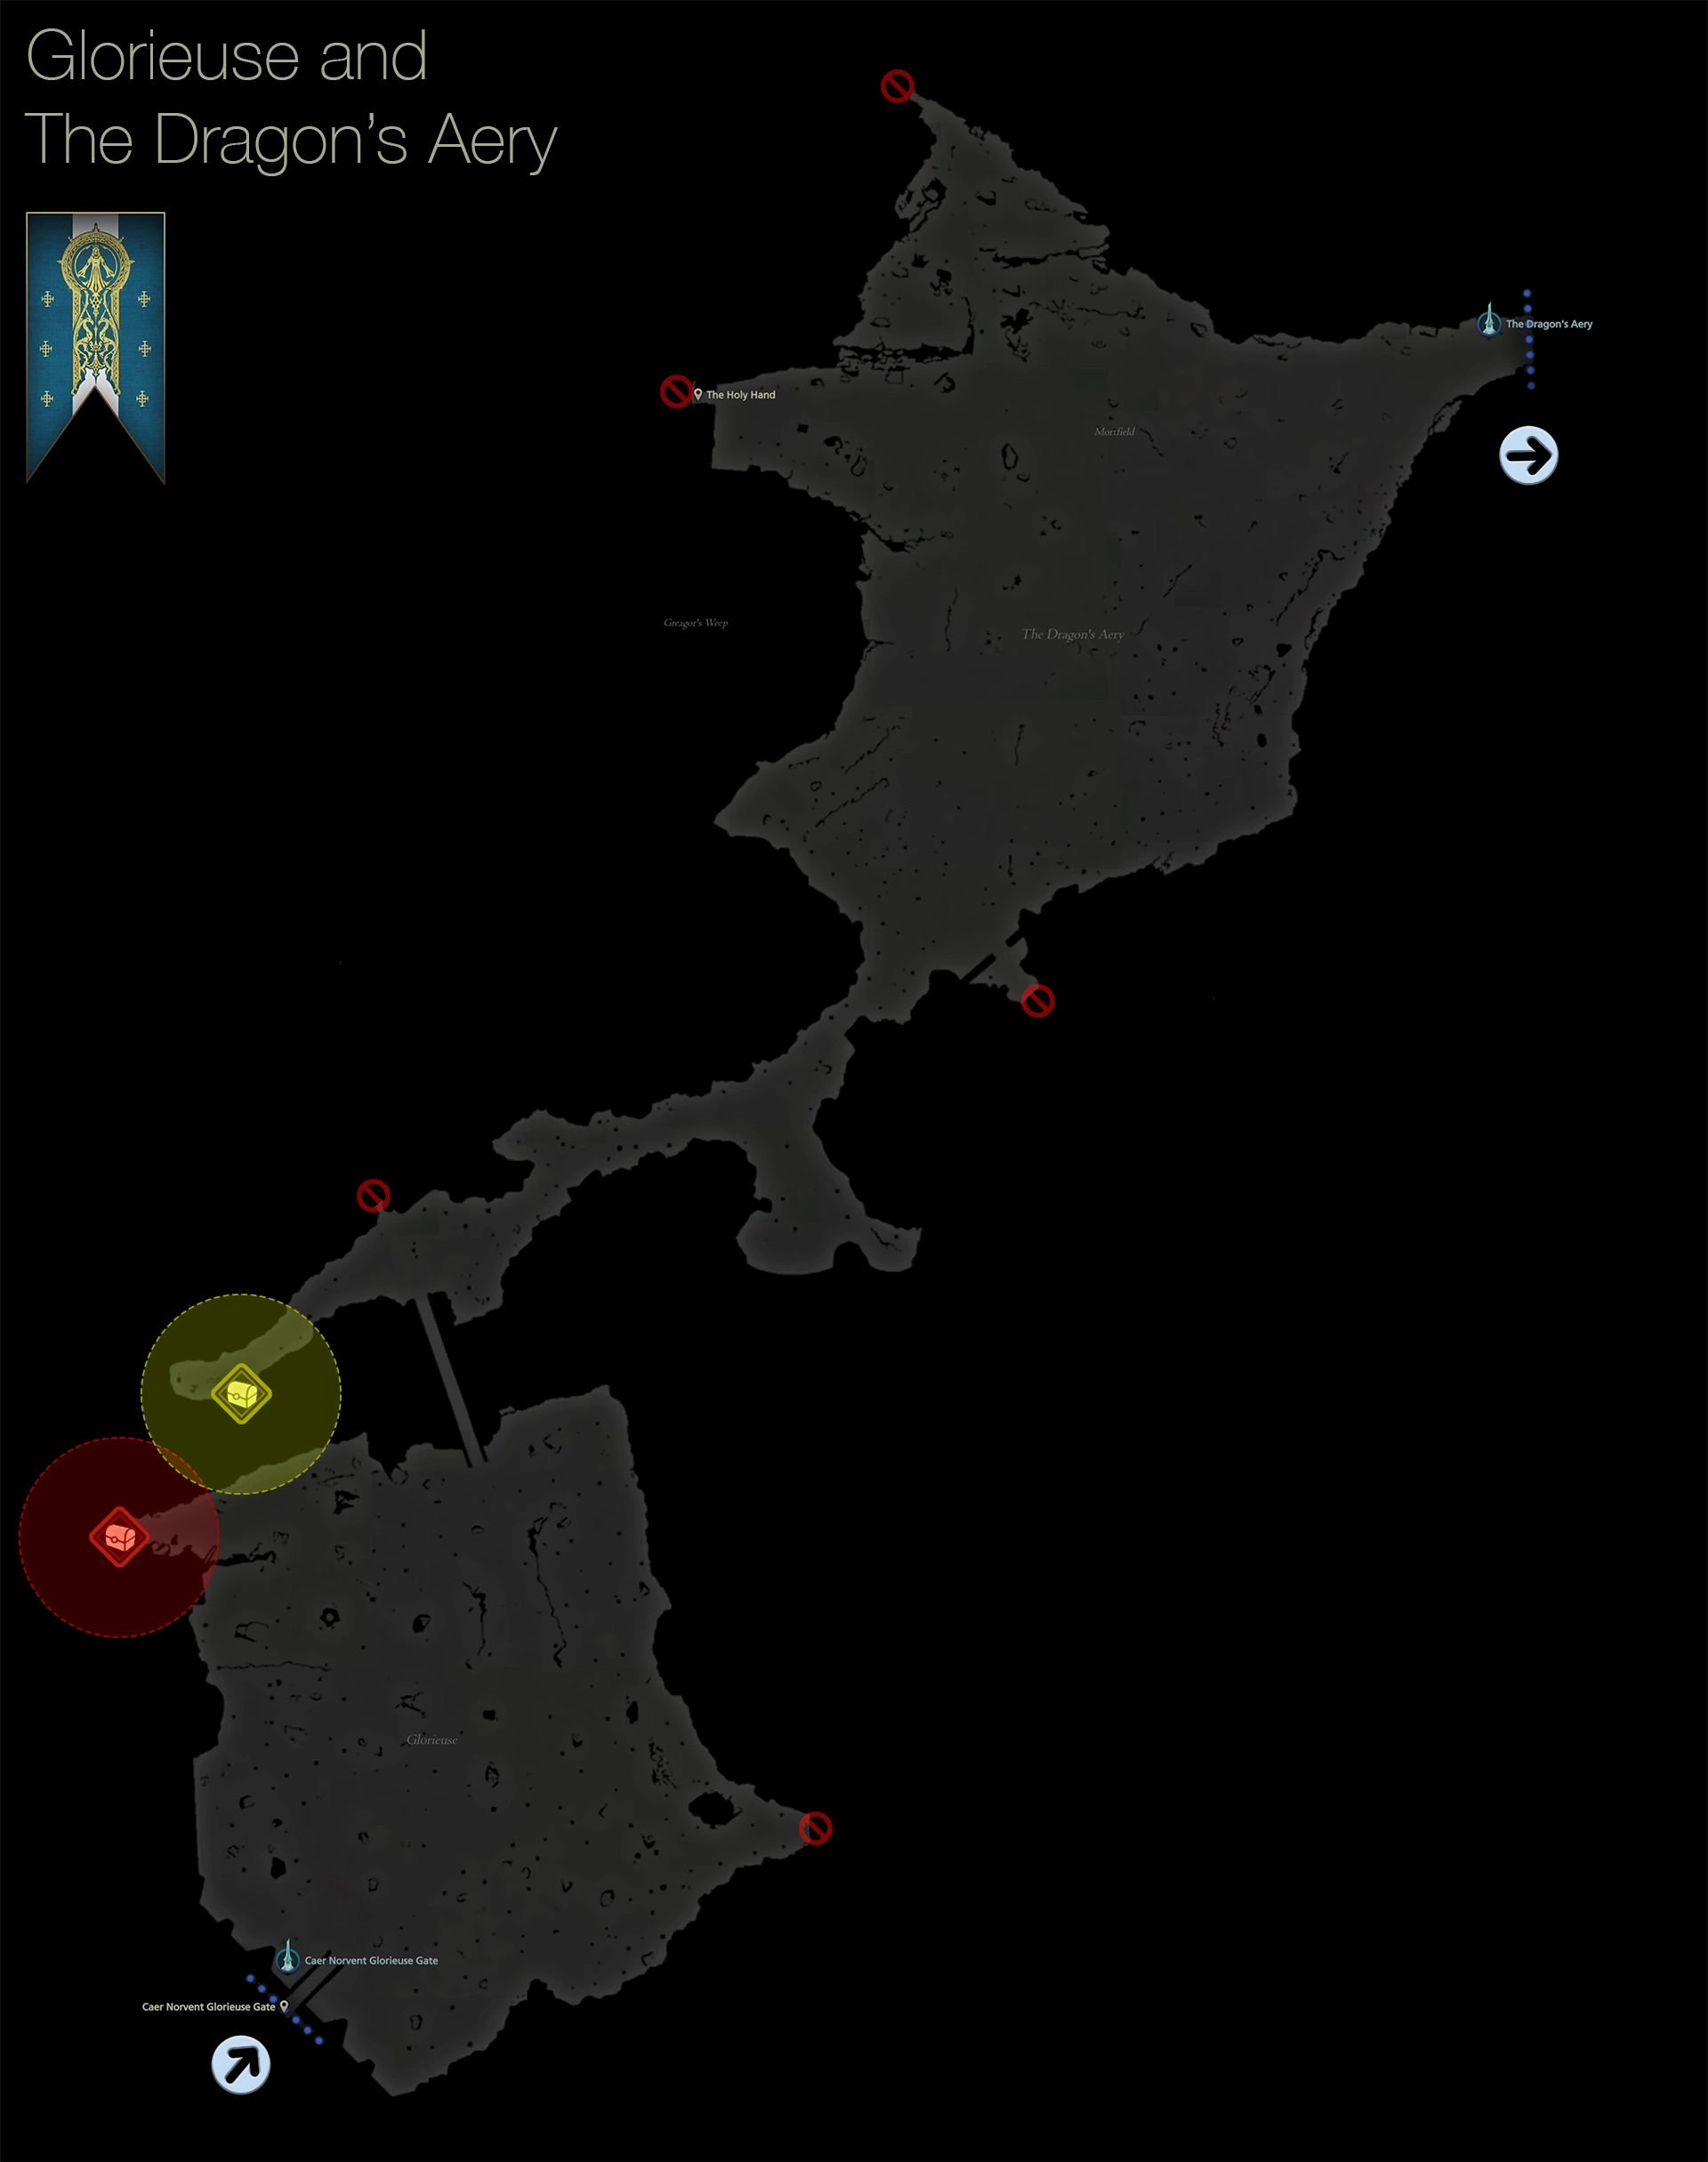
Search the coastline in the northeast section of Glorieuse to find a treasure coffer ![]() Red Treasure Coffer that contains a
Red Treasure Coffer that contains a ![]() Gil Bug that you can sell for some
Gil Bug that you can sell for some ![]() Gil.
Gil.
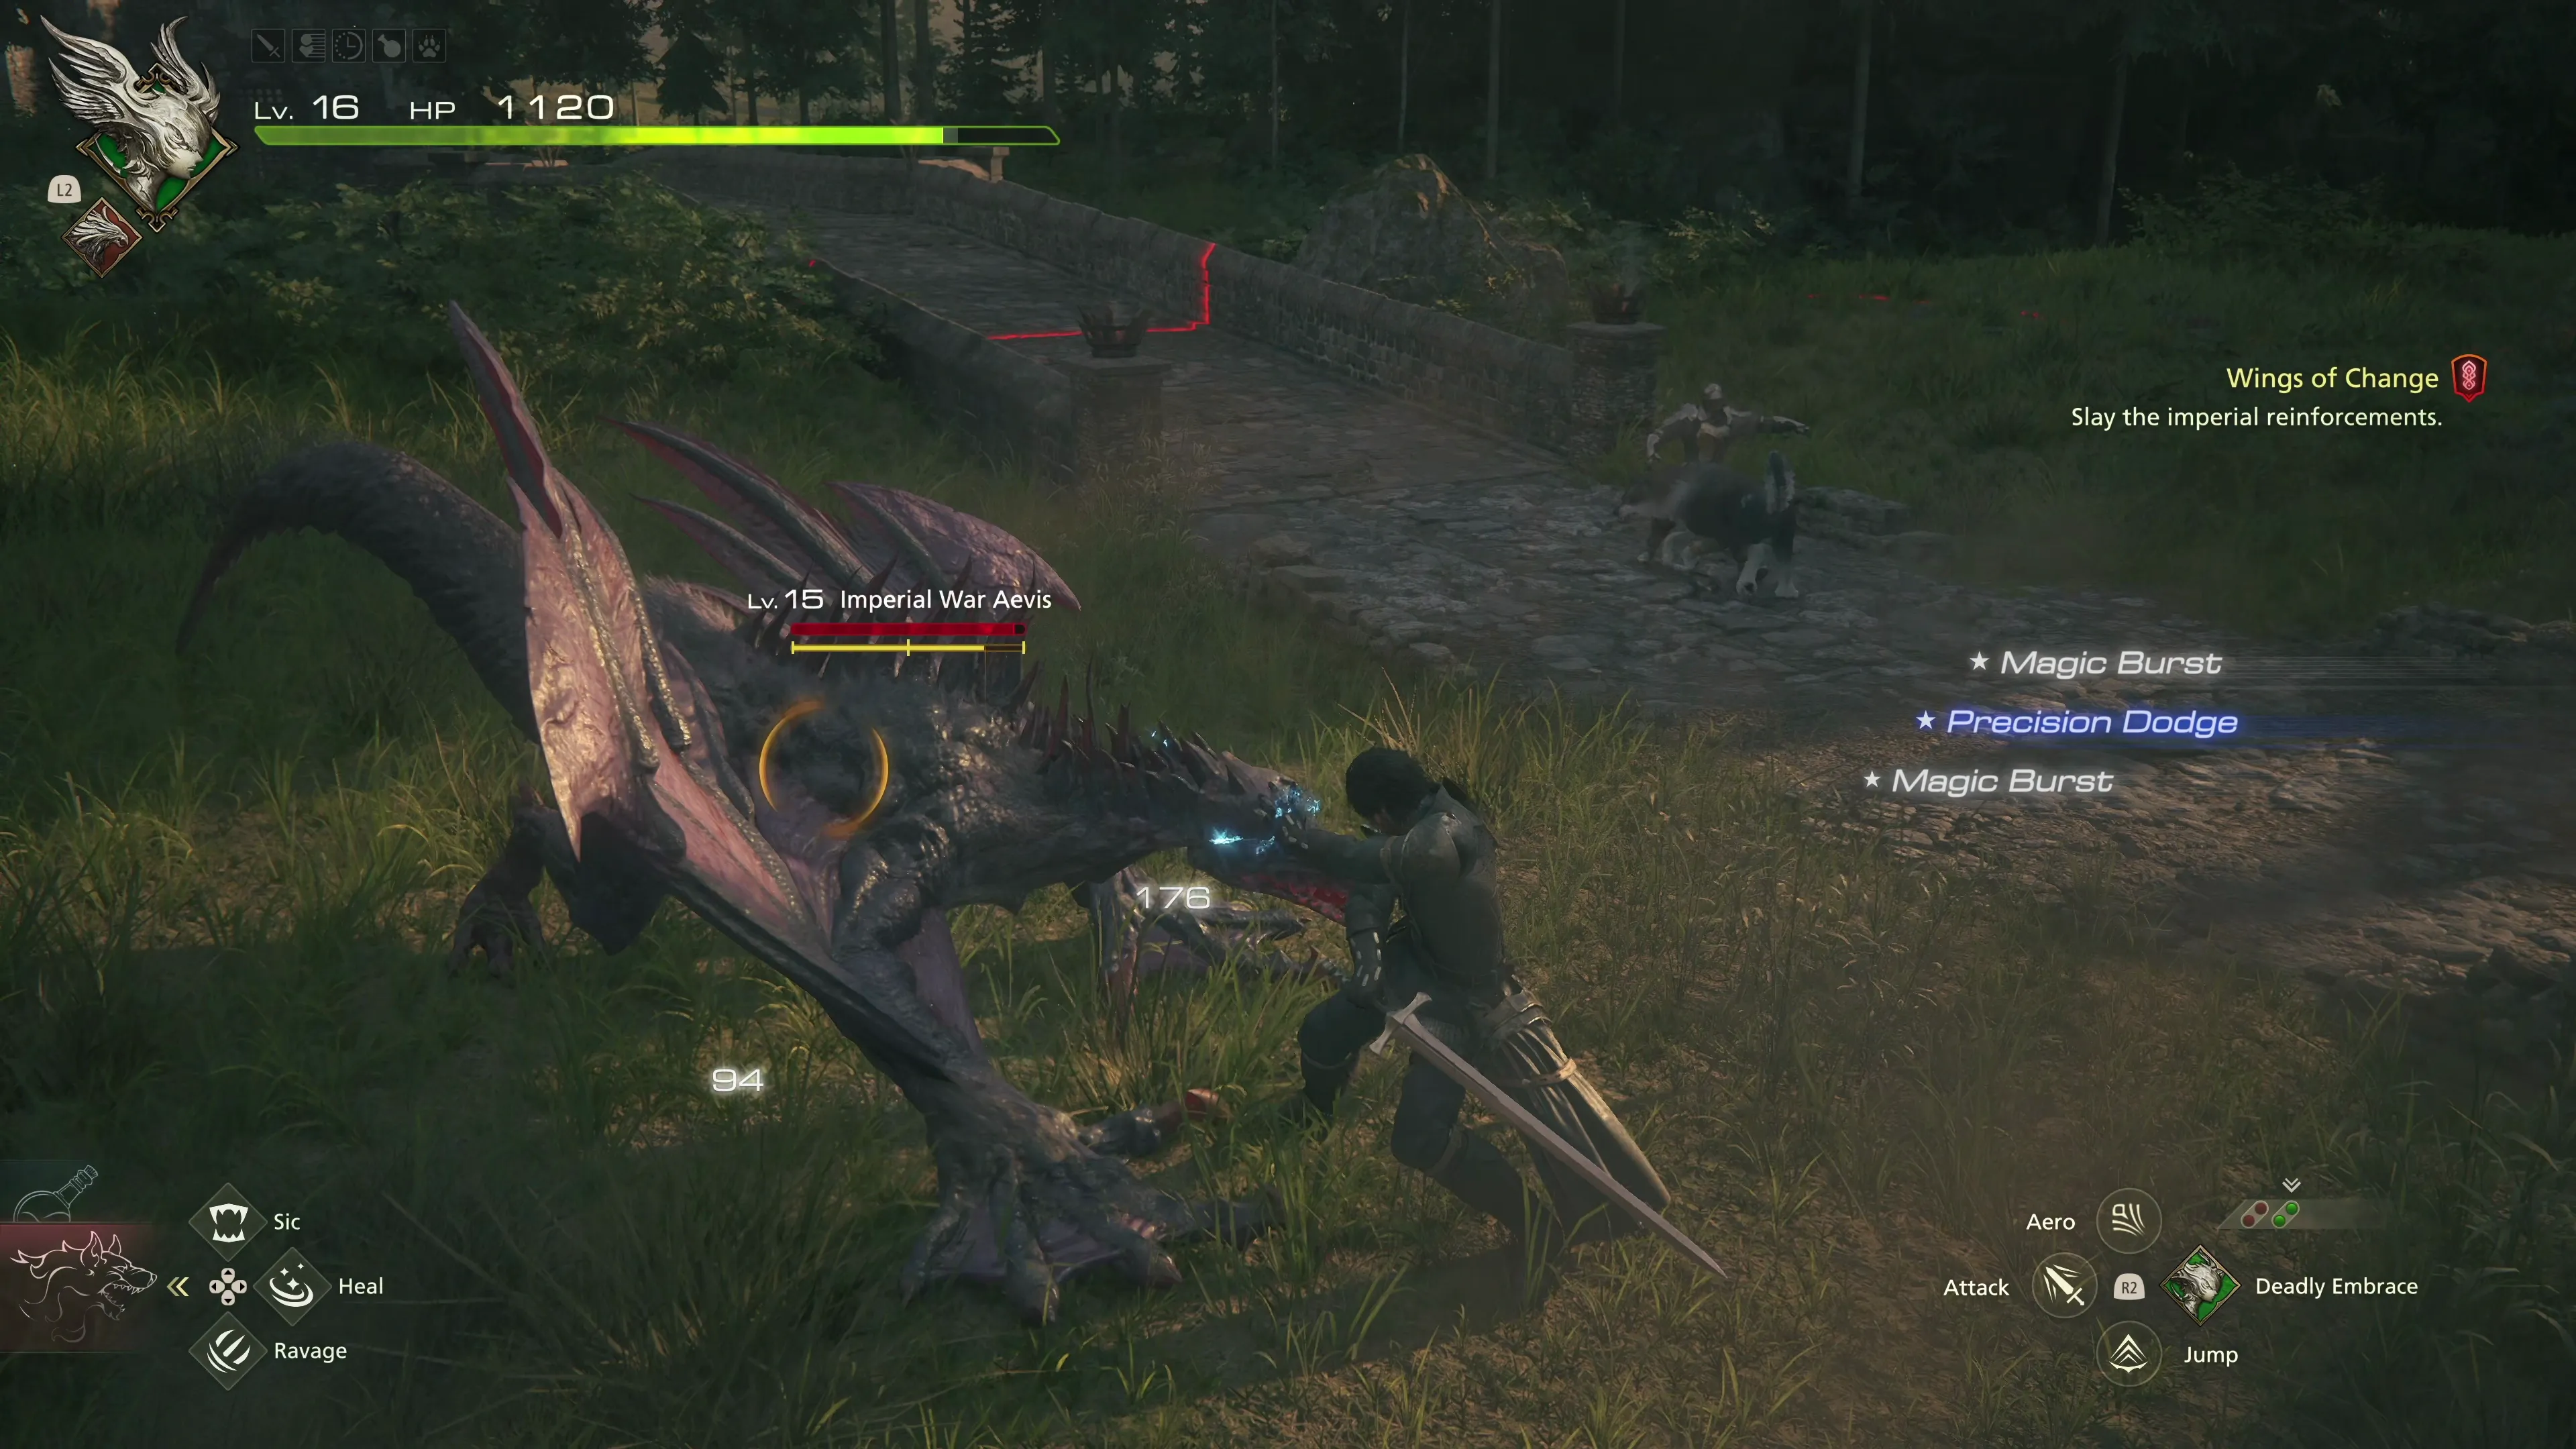
Walk towards the Main Scenario Quest Marker ![]() to find the next group of enemies, which includes Imperial Legionnaires and an Imperial War Aevis (which is the same as the other Dragon Aevis enemies you’ve faced before).
to find the next group of enemies, which includes Imperial Legionnaires and an Imperial War Aevis (which is the same as the other Dragon Aevis enemies you’ve faced before).
A cutscene involving Gav starts as you cross the bridge. After a few more cutscenes, Clive will be a bit further down the map, well on his way to the Dragon’s Aery, but you can turn around to pick up another treasure coffer ![]() Yellow Treasure Coffer that contains 5 pinches of
Yellow Treasure Coffer that contains 5 pinches of ![]() Magicked Ash. Once you’ve got it, head back down the trail towards the Dragon’s Aery again.
Magicked Ash. Once you’ve got it, head back down the trail towards the Dragon’s Aery again.
The Dragon’s Aery
There are no treasure coffers to pick up in this area, but there are a ton of Glimmers you can grab if you want to. There is also a large number of “Wind Elemental” harpy enemies flying around in this area.
These enemies have the same attacks as Chirada and Suparna, so you’re already somewhat familiar with what to look for and how to dodge their attacks. So it may be a good idea to spend some time practicing and learning your new Eikonic Ability Sets on these enemies. In addition to the practice you’ll get, you’ll also get ![]() Experience Points,
Experience Points, ![]() Ability Points, and some
Ability Points, and some ![]() Clouded Eyes (materials used for crafting).
Clouded Eyes (materials used for crafting).
Warning
Don’t worry about using up too many ![]() Potions or
Potions or ![]() High Potions while traveling through this area. You’ll have a chance to restock before the next part of the story.
High Potions while traveling through this area. You’ll have a chance to restock before the next part of the story.
Head towards the ![]() Obelisk in the northeast corner, and you’ll return to the main map. The next section of the story takes place at the Eye of the Tempest, but you can use this opportunity to return to the Hideaway to stock up on some new items and gear.
Obelisk in the northeast corner, and you’ll return to the main map. The next section of the story takes place at the Eye of the Tempest, but you can use this opportunity to return to the Hideaway to stock up on some new items and gear.
Hideaway
Start by going to ![]() Charon’s Toll and restock your
Charon’s Toll and restock your ![]() Potions and
Potions and ![]() High Potions if you need to. You should also purchase the following:
High Potions if you need to. You should also purchase the following:
| Materials | |
|---|---|
| 1,000 |
|
| 950 |
|
| 950 |
Head over to ![]() The Black Hammer and have Blackthorne reinforce your gear. A quick reminder to press the
The Black Hammer and have Blackthorne reinforce your gear. A quick reminder to press the ![]()
![]()
![]() button to move from the “Craft” tab to the “Reinforce” tab—don’t accidentally craft the gear listed on the first page.
button to move from the “Craft” tab to the “Reinforce” tab—don’t accidentally craft the gear listed on the first page.
| Materials | |
|---|---|
When you’re ready, press the Menu Button (![]()
![]()
![]() ) to pull up the Map tab and select The Eye of the Tempest.
) to pull up the Map tab and select The Eye of the Tempest.