
Ability Recommendations
Warning
As a reminder, this section of the guide is highly subjective. Across the world, you will find different players who will say that X or Y ability is highly underrated or overrated, and players who hate or love certain ability combos. This section provides some guidance if you are unsure of how to set up your abilities and allocate your ![]() Ability Points, but there are many different routes you can go.
Ability Points, but there are many different routes you can go.
Take some time and head to the “Hall of Virtue” at the Arete Stone and test out different combinations for yourself. The recommendations on this page may work for many players, but you may also find something else that works better for your play style.

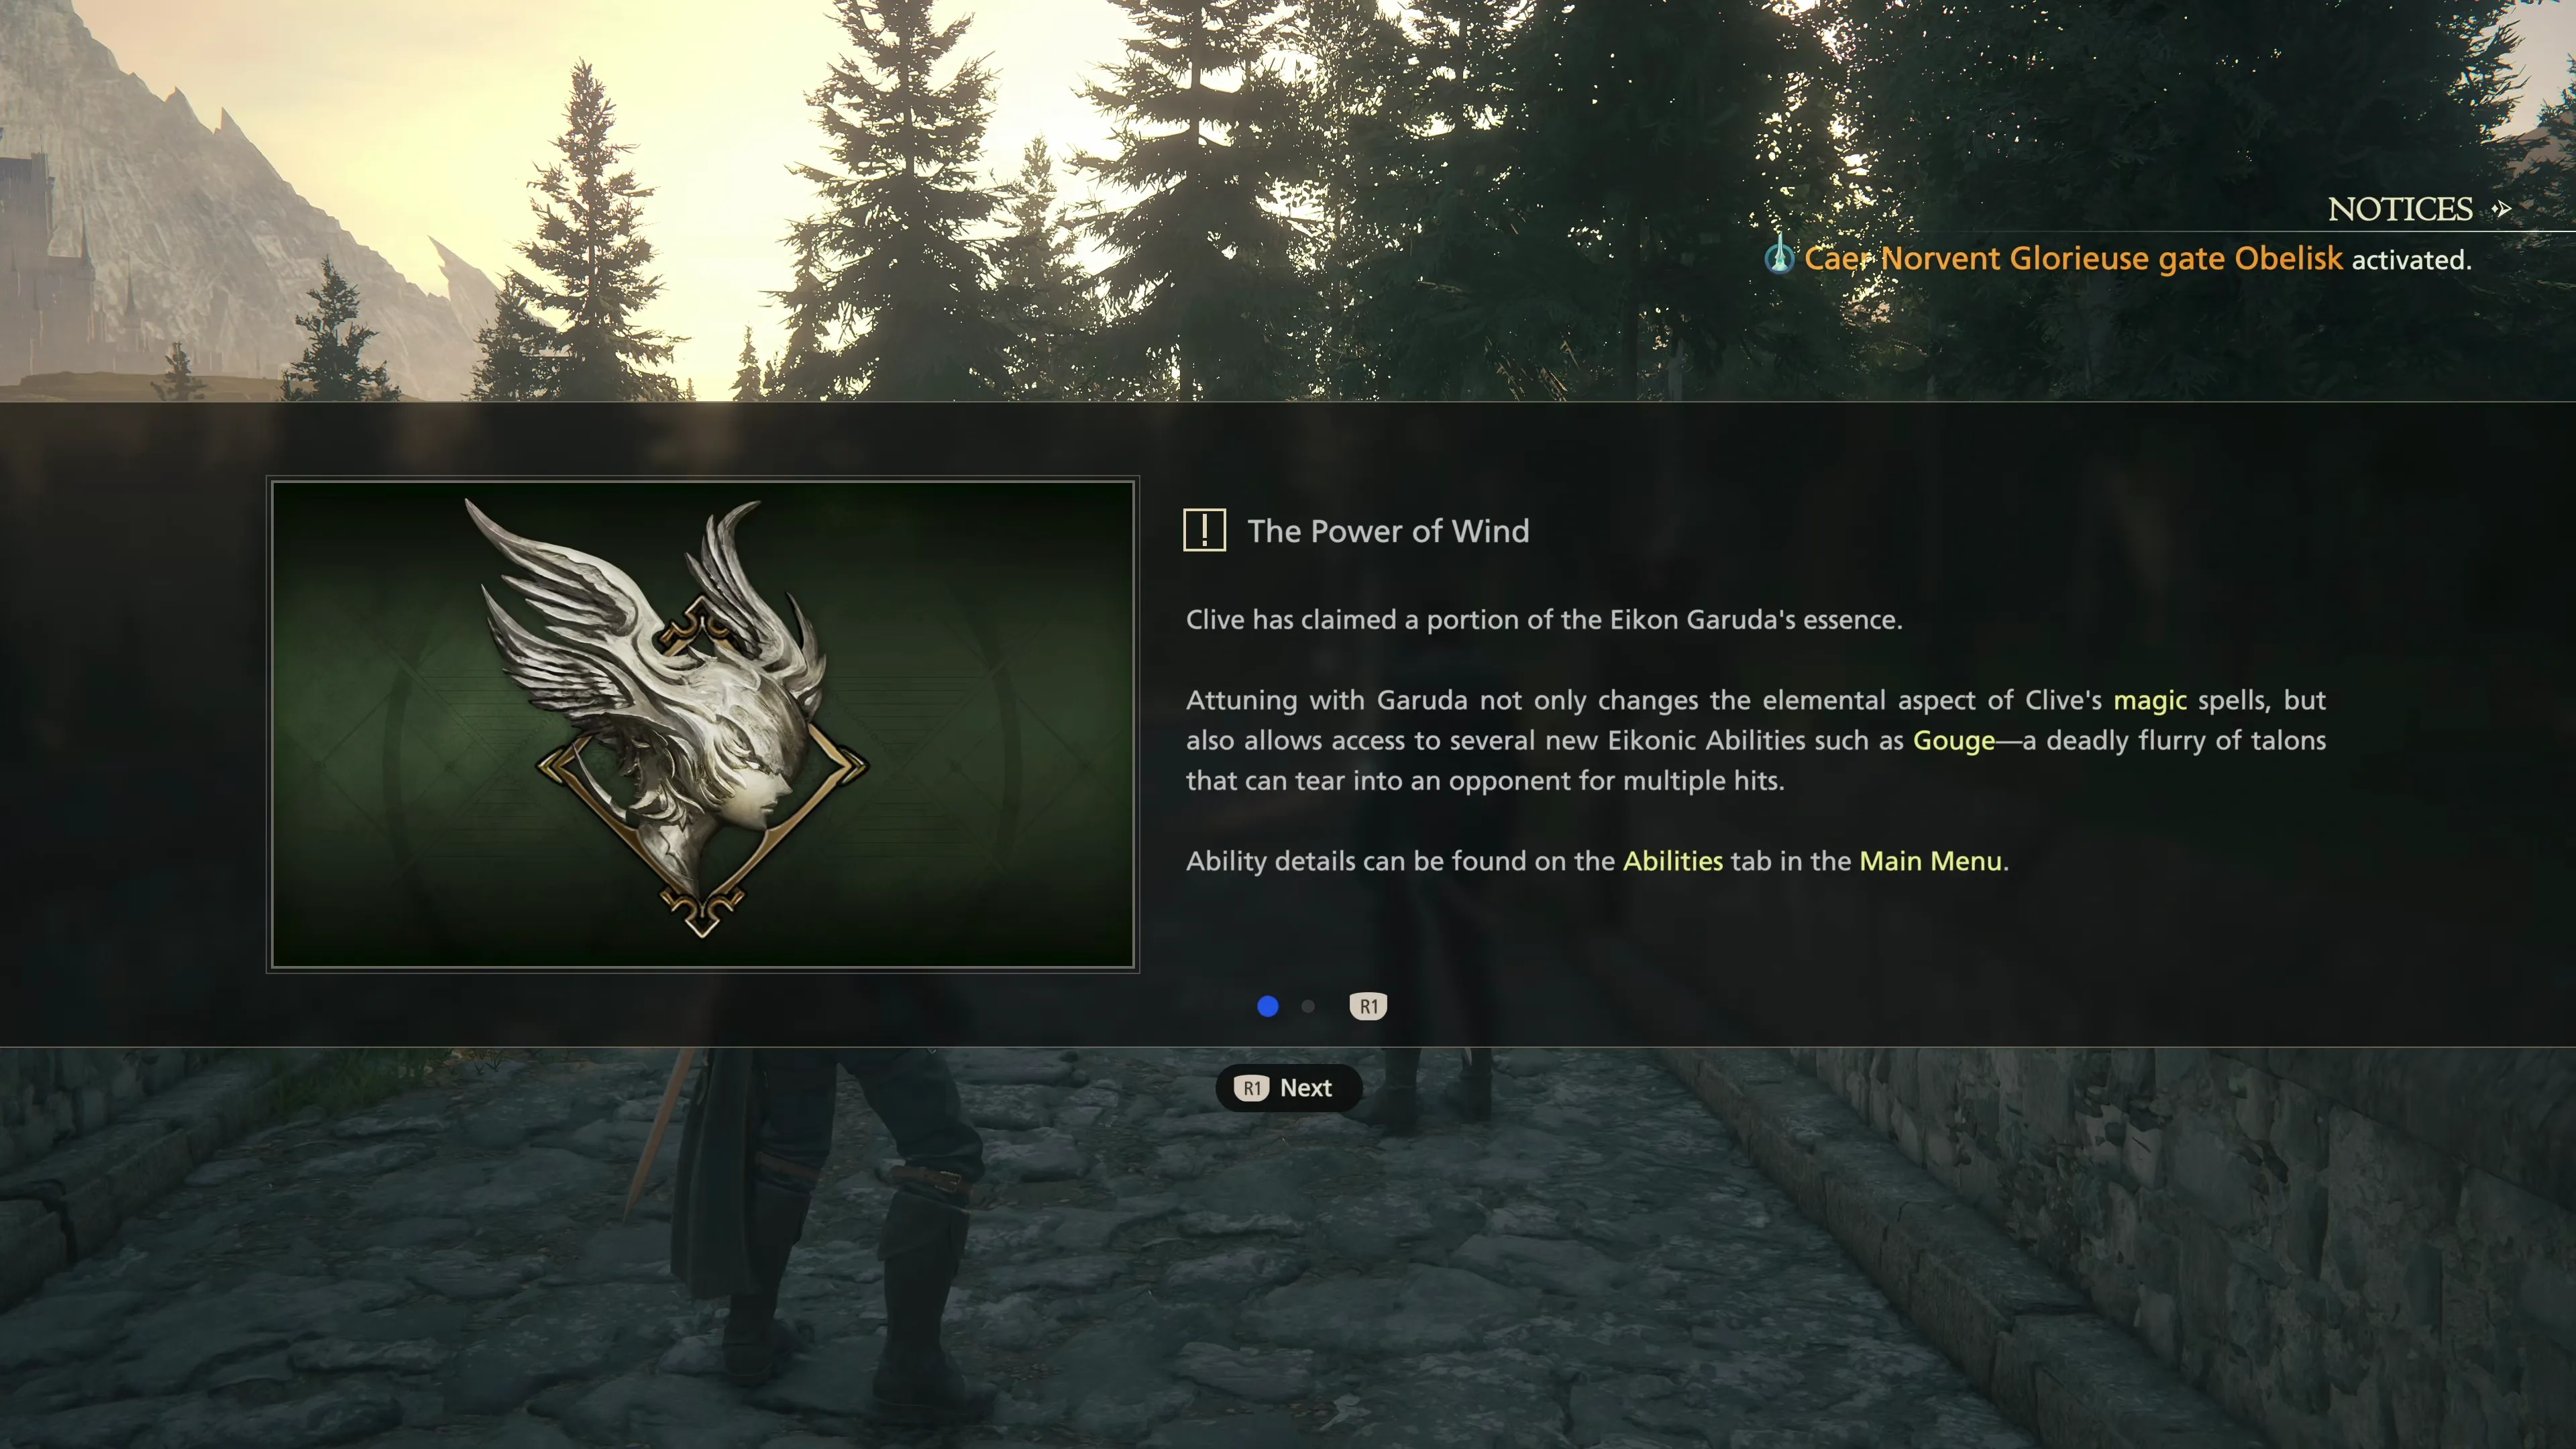
Wings of Change
This setup recommendation can be applied when you first gain access to the Eikon Garuda and the ability to channel a second Eikon. You can swap between them using the ![]()
![]()
![]() button.
button.
For starters, you should have around 1,600 ![]() Ability Points if you’ve completed everything, including side quests, up to this point. Here’s how you can spend them:
Ability Points if you’ve completed everything, including side quests, up to this point. Here’s how you can spend them:
Regular Abilities
 Magic Burst to mastered (300 AP)
 Charged Magic to learned (20 AP)
 Swift Recovery to learned (10 AP)
 Burning Blade to learned (25 AP)
 Precision Dodge to mastered (500 AP)
Phoenix Abilities
 Heatwave to learned (120 AP)
Decision Points
Allocate points to Rook’s Gambit if you plan to use it. If not, allocate these points to upgrading Heatwave. Upgraded Heatwave deals an incredibly high amount of damage to enemies, whereas upgrading Rook’s Gambit will leave lots of extra AP to use on upgrading other regular abilities.
Home, Sweet Home
The previous Ability Recommendation section for “Wings of Change” provided a complete overview of where to spend your ![]() Ability Points, and this was because there were few places to allocate them during that chapter. You now have access to four channeled Eikons (Phoenix, Garuda, Ifrit, and Ramuh), and the number of choices available to you is skyrocketing.
Ability Points, and this was because there were few places to allocate them during that chapter. You now have access to four channeled Eikons (Phoenix, Garuda, Ifrit, and Ramuh), and the number of choices available to you is skyrocketing.
Instead, the focus will turn to which Abilities you should add to your single-target and multi-target ![]() Eikonic Ability Sets and whether you should consider upgrading them.
Eikonic Ability Sets and whether you should consider upgrading them.
| Single Target Eikonic Ability Set |
Ability 1 | Ability 2 |
|---|---|---|
| 1) |
||
| 2) |
||
| 3) |
| Multi Target Eikonic Ability Set |
Ability 1 | Ability 2 |
|---|---|---|
| 1) |
||
| 2) |
||
| 3) |
Some notes regarding the configurations listed above:
- Heatwave is such a powerful ability that it belongs in both sets. You can use it to line up groups of enemies with a wave of damage or use it to counterattack larger enemies and bosses.
 Will-o’-the-Wykes can be a good addition to either of your Ability Sets, but note that to add it to the Garuda ability line, you will have to Master it; otherwise, you will end up having to replace
  Rising Flames or
  Scarlet Cyclone to get it, which is a pretty big trade-off. You would be sacrificing two of your higher damage-dealing abilities to get it. “Will-o’-the-Wykes” requires 1,600
  Ability Points to master.
 Lightning Rod is an awkward but powerful Ability. It takes some time to get used to using it, but it’s worth it, both against large groups of enemies and against bosses that are
  staggered during your stagger combo. Use the link to the Eikon Ability page to learn more about how to use “Lightning Rod” effectively in battle.
 Thunderstorm and Rising Flames for single targets, and
  Pile Drive and Scarlet Cyclone for multiple targets. This should be self-explanatory, but the goal moving forward will be to maximize single-target damage when fighting a mini-boss or boss, and maximize damage to large groups at all other times. Remember to constantly switch between your Eikons using the

 button to use Abilities as soon as they are off cooldown. Eventually, Thunderstorm should be replaced with
  Judgment Bolt, which costs a lot of Ability Points but is the better of the two abilities by far.
- Extra Ability Points should be spent on your core Abilities in the center circle, with a focus on upgrading and mastering
 Limit Break, which you should get used to including in your Stagger rotation.
Bolts from the Blue
Just like the previous Ability Recommendation section for “Home, Sweet Home,” this recommendation section will focus on a recommended set of Abilities you can add to your single-target and multi-target ![]() Eikonic Ability Sets and whether you should consider upgrading them. You now have access to several Eikons, and you can Master your Eikonic Abilities, allowing you to assign them to different Eikons.
Eikonic Ability Sets and whether you should consider upgrading them. You now have access to several Eikons, and you can Master your Eikonic Abilities, allowing you to assign them to different Eikons.
Most of the abilities recommended for this section of the game will carry over from the previous section because most of Titan’s abilities are mediocre. Check out the ![]() Titan Eikon section for more information about each ability, but otherwise, consider setting up your abilities as follows:
Titan Eikon section for more information about each ability, but otherwise, consider setting up your abilities as follows:
| Single Target Eikonic Ability Set |
Ability 1 | Ability 2 |
|---|---|---|
| 1) |
||
| 2) |
||
| 3) |
| Multi Target Eikonic Ability Set |
Ability 1 | Ability 2 |
|---|---|---|
| 1) |
||
| 2) |
||
| 3) |
Things Fall Apart
These are a few recommendations for your single-target and multi-target ![]() Eikonic Ability Sets and whether you should consider upgrading them. You now have access to several Eikons, and you can Master your Eikonic Abilities, allowing you to assign them to different Eikons. It’s worth noting now that there is a significant amount of customization that you can do, and there are all sorts of creative ability builds that you can put together, so don’t be afraid to be creative!
Eikonic Ability Sets and whether you should consider upgrading them. You now have access to several Eikons, and you can Master your Eikonic Abilities, allowing you to assign them to different Eikons. It’s worth noting now that there is a significant amount of customization that you can do, and there are all sorts of creative ability builds that you can put together, so don’t be afraid to be creative!
Most of the abilities recommended for this section of the game will carry over from the previous section because most of Bahamut’s abilities are very situational; however, Bahamut’s ![]() Gigaflare is one of the strongest abilities in the game, especially when the enemy is staggered. It costs a lot of
Gigaflare is one of the strongest abilities in the game, especially when the enemy is staggered. It costs a lot of ![]() Ability Points if you plan to ‘Master’ it and activate it on another Eikon channel, but it’s worth including in almost all builds.
Ability Points if you plan to ‘Master’ it and activate it on another Eikon channel, but it’s worth including in almost all builds.
Check out the ![]() Bahamut Eikon section for more information about each ability, but otherwise, consider setting up your abilities as follows:
Bahamut Eikon section for more information about each ability, but otherwise, consider setting up your abilities as follows:
| Single Target Eikonic Ability Set |
Ability 1 | Ability 2 |
|---|---|---|
| 1) |
||
| 2) |
||
| 3) |
| Multi Target Eikonic Ability Set |
Ability 1 | Ability 2 |
|---|---|---|
| 1) |
||
| 2) |
||
| 3) |
It’s tough to get all of the abilities fully upgraded and mastered at the beginning of this section of the game. Still, as you earn ![]() Ability Points through defeating enemies and completing quests, you can upgrade more and more of them. Remember that you can still substitute in
Ability Points through defeating enemies and completing quests, you can upgrade more and more of them. Remember that you can still substitute in ![]() Will-o’-the-Wykes if you’re finding it helpful. It would replace
Will-o’-the-Wykes if you’re finding it helpful. It would replace ![]() Rising Flames or
Rising Flames or ![]() Gouge in the single-target set and
Gouge in the single-target set and ![]() Scarlet Cyclone in the multi-target set.
Scarlet Cyclone in the multi-target set.
Across the Narrow
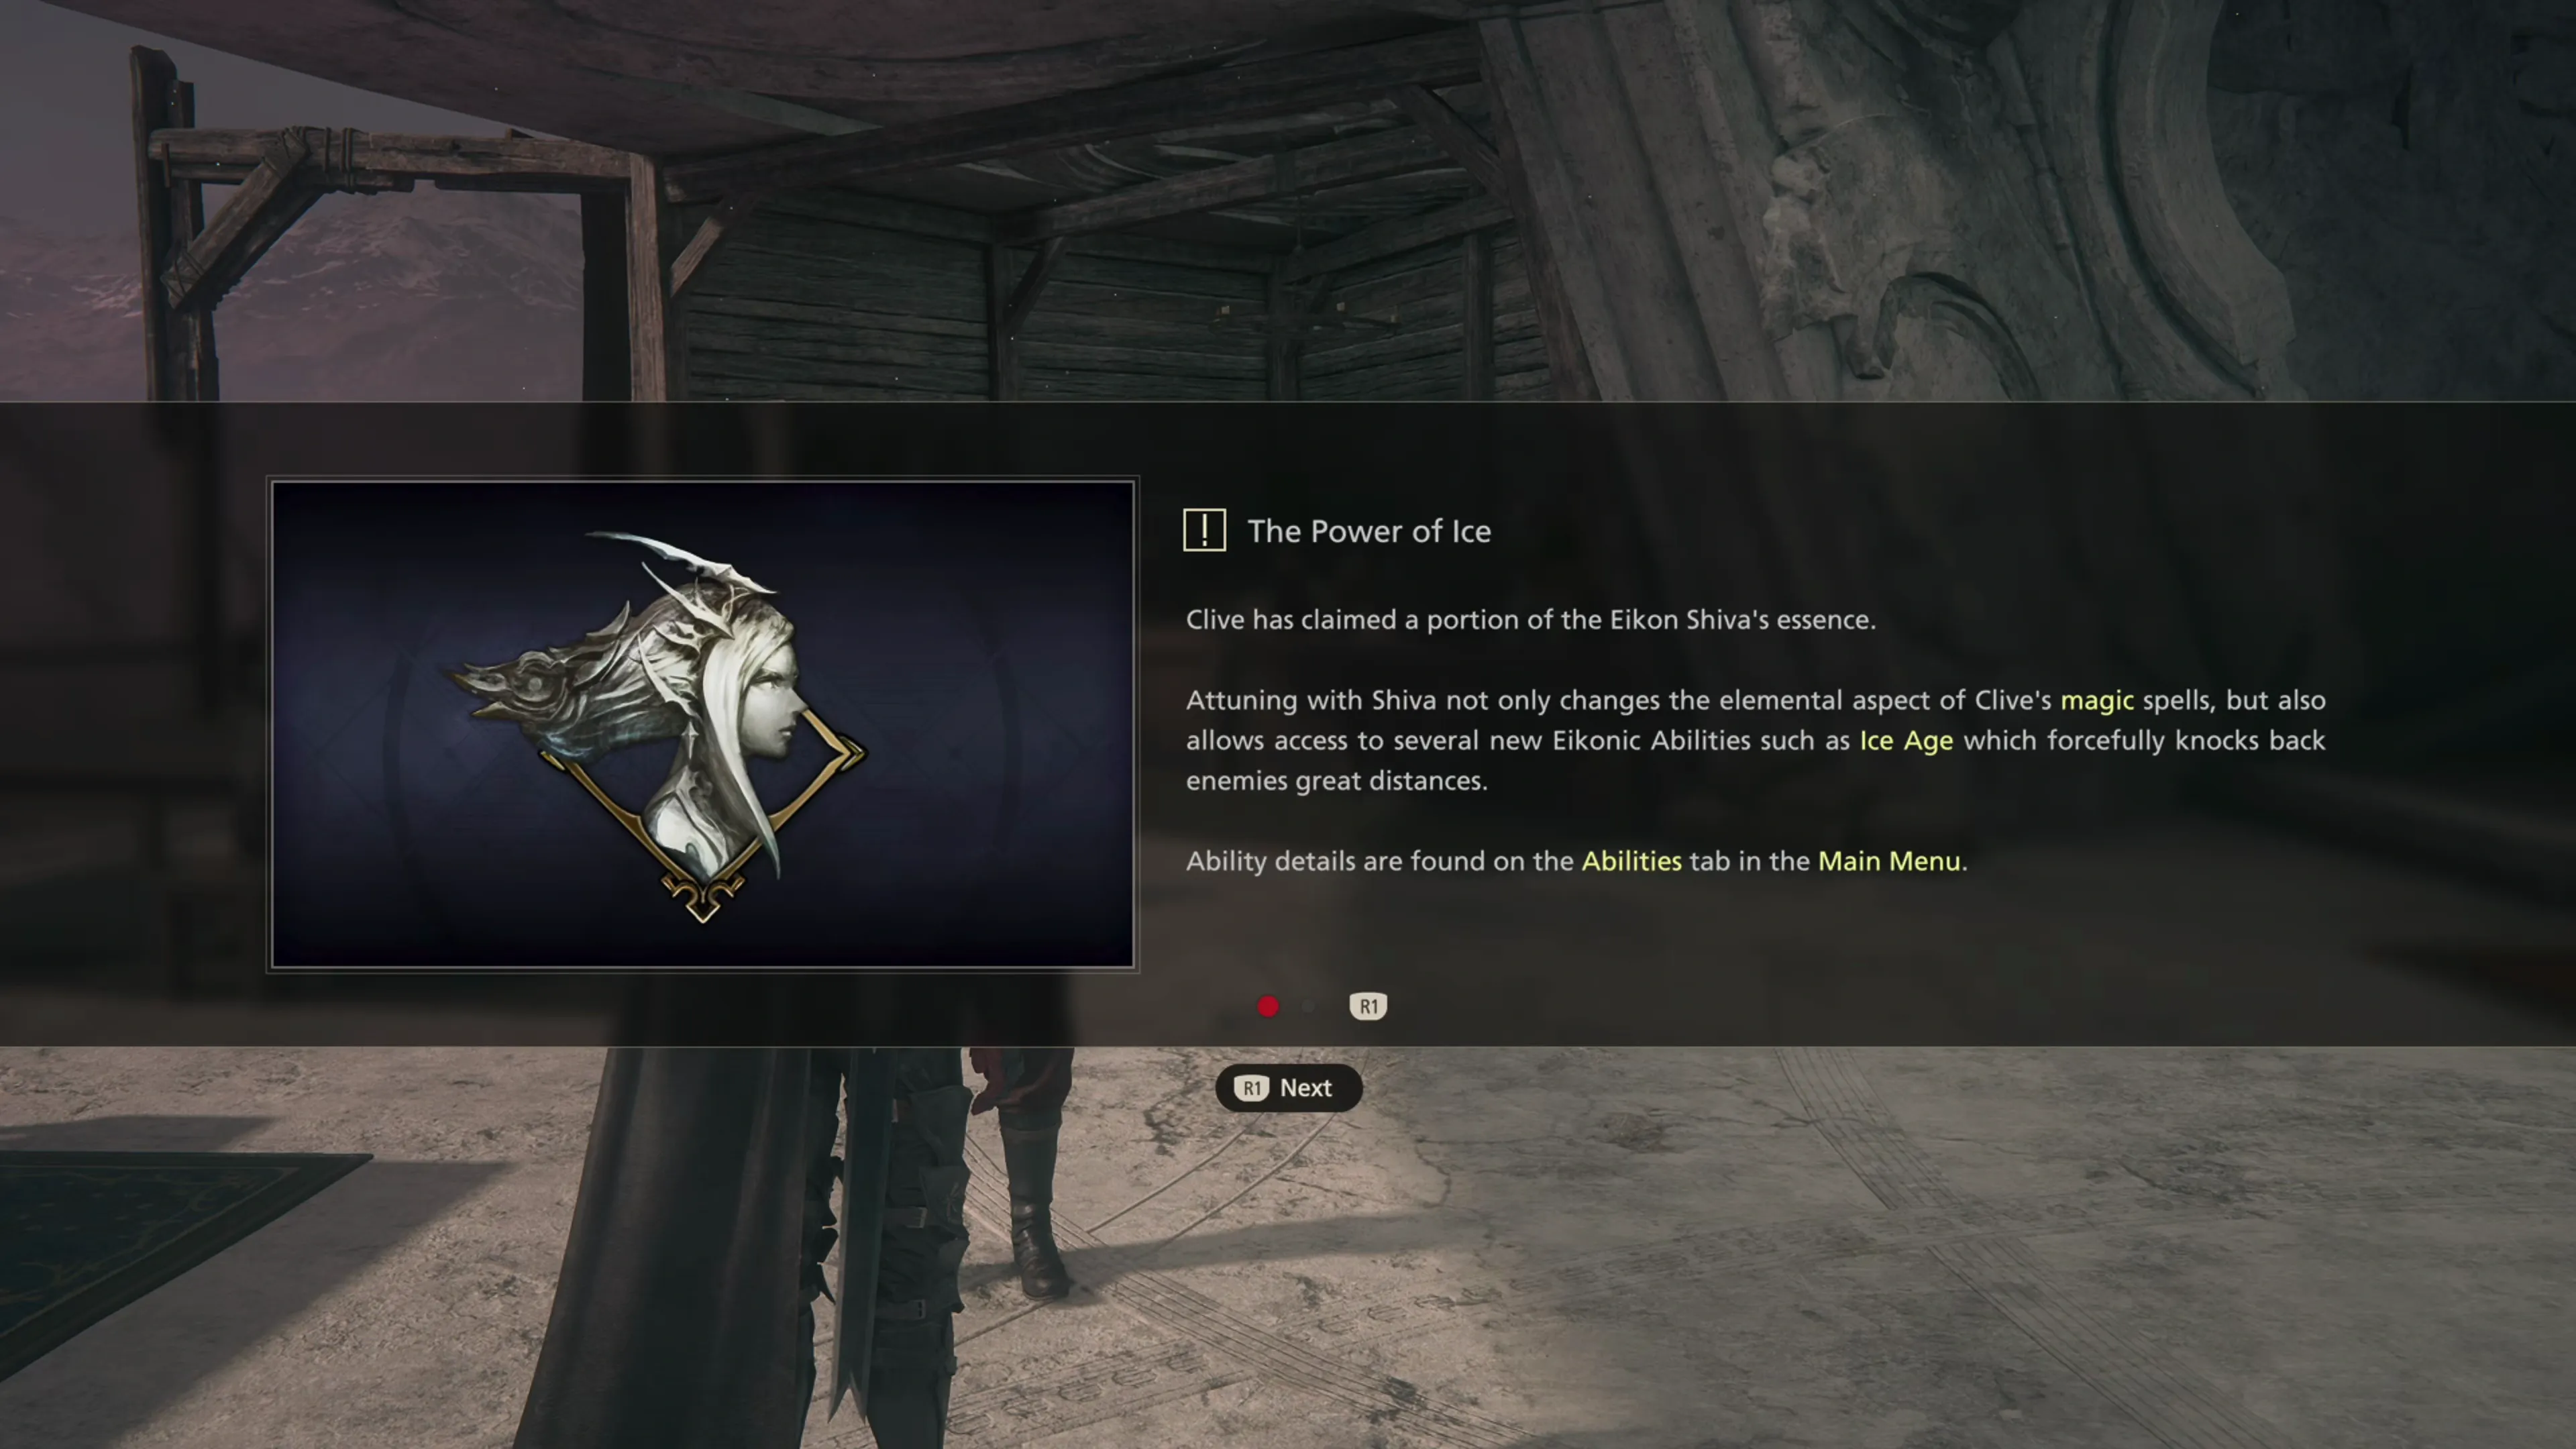
You can now significantly customize Clive’s moveset since you have access to seven different Eikons and 26 different abilities (and this excludes Eikonic feats!). This also marks the first time that you may want to revisit the attacks that you’ve been using throughout most of the game. Shiva’s Eikonic Feat is very powerful, but using it means moving away from what may have been some of your most commonly used attacks, like ![]() Phoenix Shift. Check out the “Helpful Hint” section below:
Phoenix Shift. Check out the “Helpful Hint” section below:
Helpful Hint
It can be argued that ![]() Cold Snap is one of the most powerful attacks in the game; however, utilizing it means making some minor adjustments to the play style that you’ve been using up until this point. If you read the description of Cold Snap, it states that this attack allows you to “slide effortlessly across the ground,” which is true, but if you pull up the full description of the attack, its most essential details are as follows:
Cold Snap is one of the most powerful attacks in the game; however, utilizing it means making some minor adjustments to the play style that you’ve been using up until this point. If you read the description of Cold Snap, it states that this attack allows you to “slide effortlessly across the ground,” which is true, but if you pull up the full description of the attack, its most essential details are as follows:
- “Can be used to dodge incoming enemy attacks.”
- “Precisely dodging an enemy attack with Cold Snap freezes all enemies within a radius. This is known as Permafrost.”
- “Permafrost duration is determined by the strength of the enemy attack dodge.”
In other words, if you use ![]() Cold Snap to dodge enemy attacks instead of just a regular
Cold Snap to dodge enemy attacks instead of just a regular ![]() Precision Dodge, you can freeze all enemies in place. Permafrost is an incredibly powerful effect that, when appropriately executed, gives you a window of time to attack the enemy or the boss while they are completely frozen. This attack is so powerful that it is considered overpowered by many players!
Precision Dodge, you can freeze all enemies in place. Permafrost is an incredibly powerful effect that, when appropriately executed, gives you a window of time to attack the enemy or the boss while they are completely frozen. This attack is so powerful that it is considered overpowered by many players!
The challenge that you face is learning to dodge with the ![]()
![]()
![]() button to trigger a
button to trigger a ![]() Cold Snap instead of using the
Cold Snap instead of using the ![]()
![]()
![]() button to activate a
button to activate a ![]() Precision Dodge. It’s not that hard, though, and it’s worth learning this new play style.
Precision Dodge. It’s not that hard, though, and it’s worth learning this new play style.
You also won’t have access to ![]() Phoenix Shift, so if you had been using it to close the distance between Clive and his enemies, you’ll have to switch to an alternative, like
Phoenix Shift, so if you had been using it to close the distance between Clive and his enemies, you’ll have to switch to an alternative, like ![]() Lunge.
Lunge.
This means that you’ll need to rethink your entire Eikonic Ability Set. However, as you’re now gaining access to some of the strongest abilities in the game, there will tend to be quite a bit of overlap between your single-target and multi-target sets, as noted below.
Some abilities are better for single-target fights, like ![]() Gigaflare, but it can be helpful to keep that ability in your multi-target set for battles. Many of the fights from this point forward will start with waves of enemies, but they typically conclude with a ‘heavy hitter’ at the end.
Gigaflare, but it can be helpful to keep that ability in your multi-target set for battles. Many of the fights from this point forward will start with waves of enemies, but they typically conclude with a ‘heavy hitter’ at the end.
![]() Diamond Dust is another very powerful ability that you have access to through Shiva’s Essence. This attack is amazing for clearing out groups of enemies, but it’s also one of the strongest attacks you have for depleting an enemy’s “Will Gauge.” As a reminder, abilities that deplete the stagger meter quickly have a higher star rating next to the stagger icon
Diamond Dust is another very powerful ability that you have access to through Shiva’s Essence. This attack is amazing for clearing out groups of enemies, but it’s also one of the strongest attacks you have for depleting an enemy’s “Will Gauge.” As a reminder, abilities that deplete the stagger meter quickly have a higher star rating next to the stagger icon ![]() .
.
You’ll notice that the recommendations below have significant overlap, to the point where it becomes questionable as to whether it’s worth constantly switching back and forth between Eikonic Ability Sets. Feel free to customize these recommendations to match your play style and decide for yourself whether you want to have more than one build for different types of enemies. The walkthrough section will continue to provide recommendations on whether you should be utilizing a single-target or multi-target ![]() Eikonic Ability Set.
Eikonic Ability Set.
| Single Target Eikonic Ability Set |
Ability 1 | Ability 2 |
|---|---|---|
| 1) |
||
| 2) |
||
| 3) |
| Multi Target Eikonic Ability Set |
Ability 1 | Ability 2 |
|---|---|---|
| 1) |
||
| 2) |
||
| 3) |
Don’t forget to invest your remaining points that you have or that you will earn into other useful abilities, such as ![]() Limit Break.
Limit Break.
Brotherhood
You now have access to all of the available Eikons that are available during the regular section of the game, and excluding those that become available in the Echoes of the Fallen ![]() and The Rising Tide
and The Rising Tide ![]() DLC content.
DLC content.
Odin has some of the strongest attacks in the game. His most powerful attack, “Zantetsuken,” is an ability that you gain access to by fully charging Odin’s ![]() Arm of Darkness, which is his Eikonic Feat
Arm of Darkness, which is his Eikonic Feat ![]()
![]()
![]() button ability. The process for using Odin’s attacks is to activate Odin’s weapon using
button ability. The process for using Odin’s attacks is to activate Odin’s weapon using ![]() Arm of Darkness, attack and defend enemies with it to charge it up, and then unleash a fully charged Zantetsuken by holding the
Arm of Darkness, attack and defend enemies with it to charge it up, and then unleash a fully charged Zantetsuken by holding the ![]()
![]()
![]() button (while Odin’s weapon is active).
button (while Odin’s weapon is active).
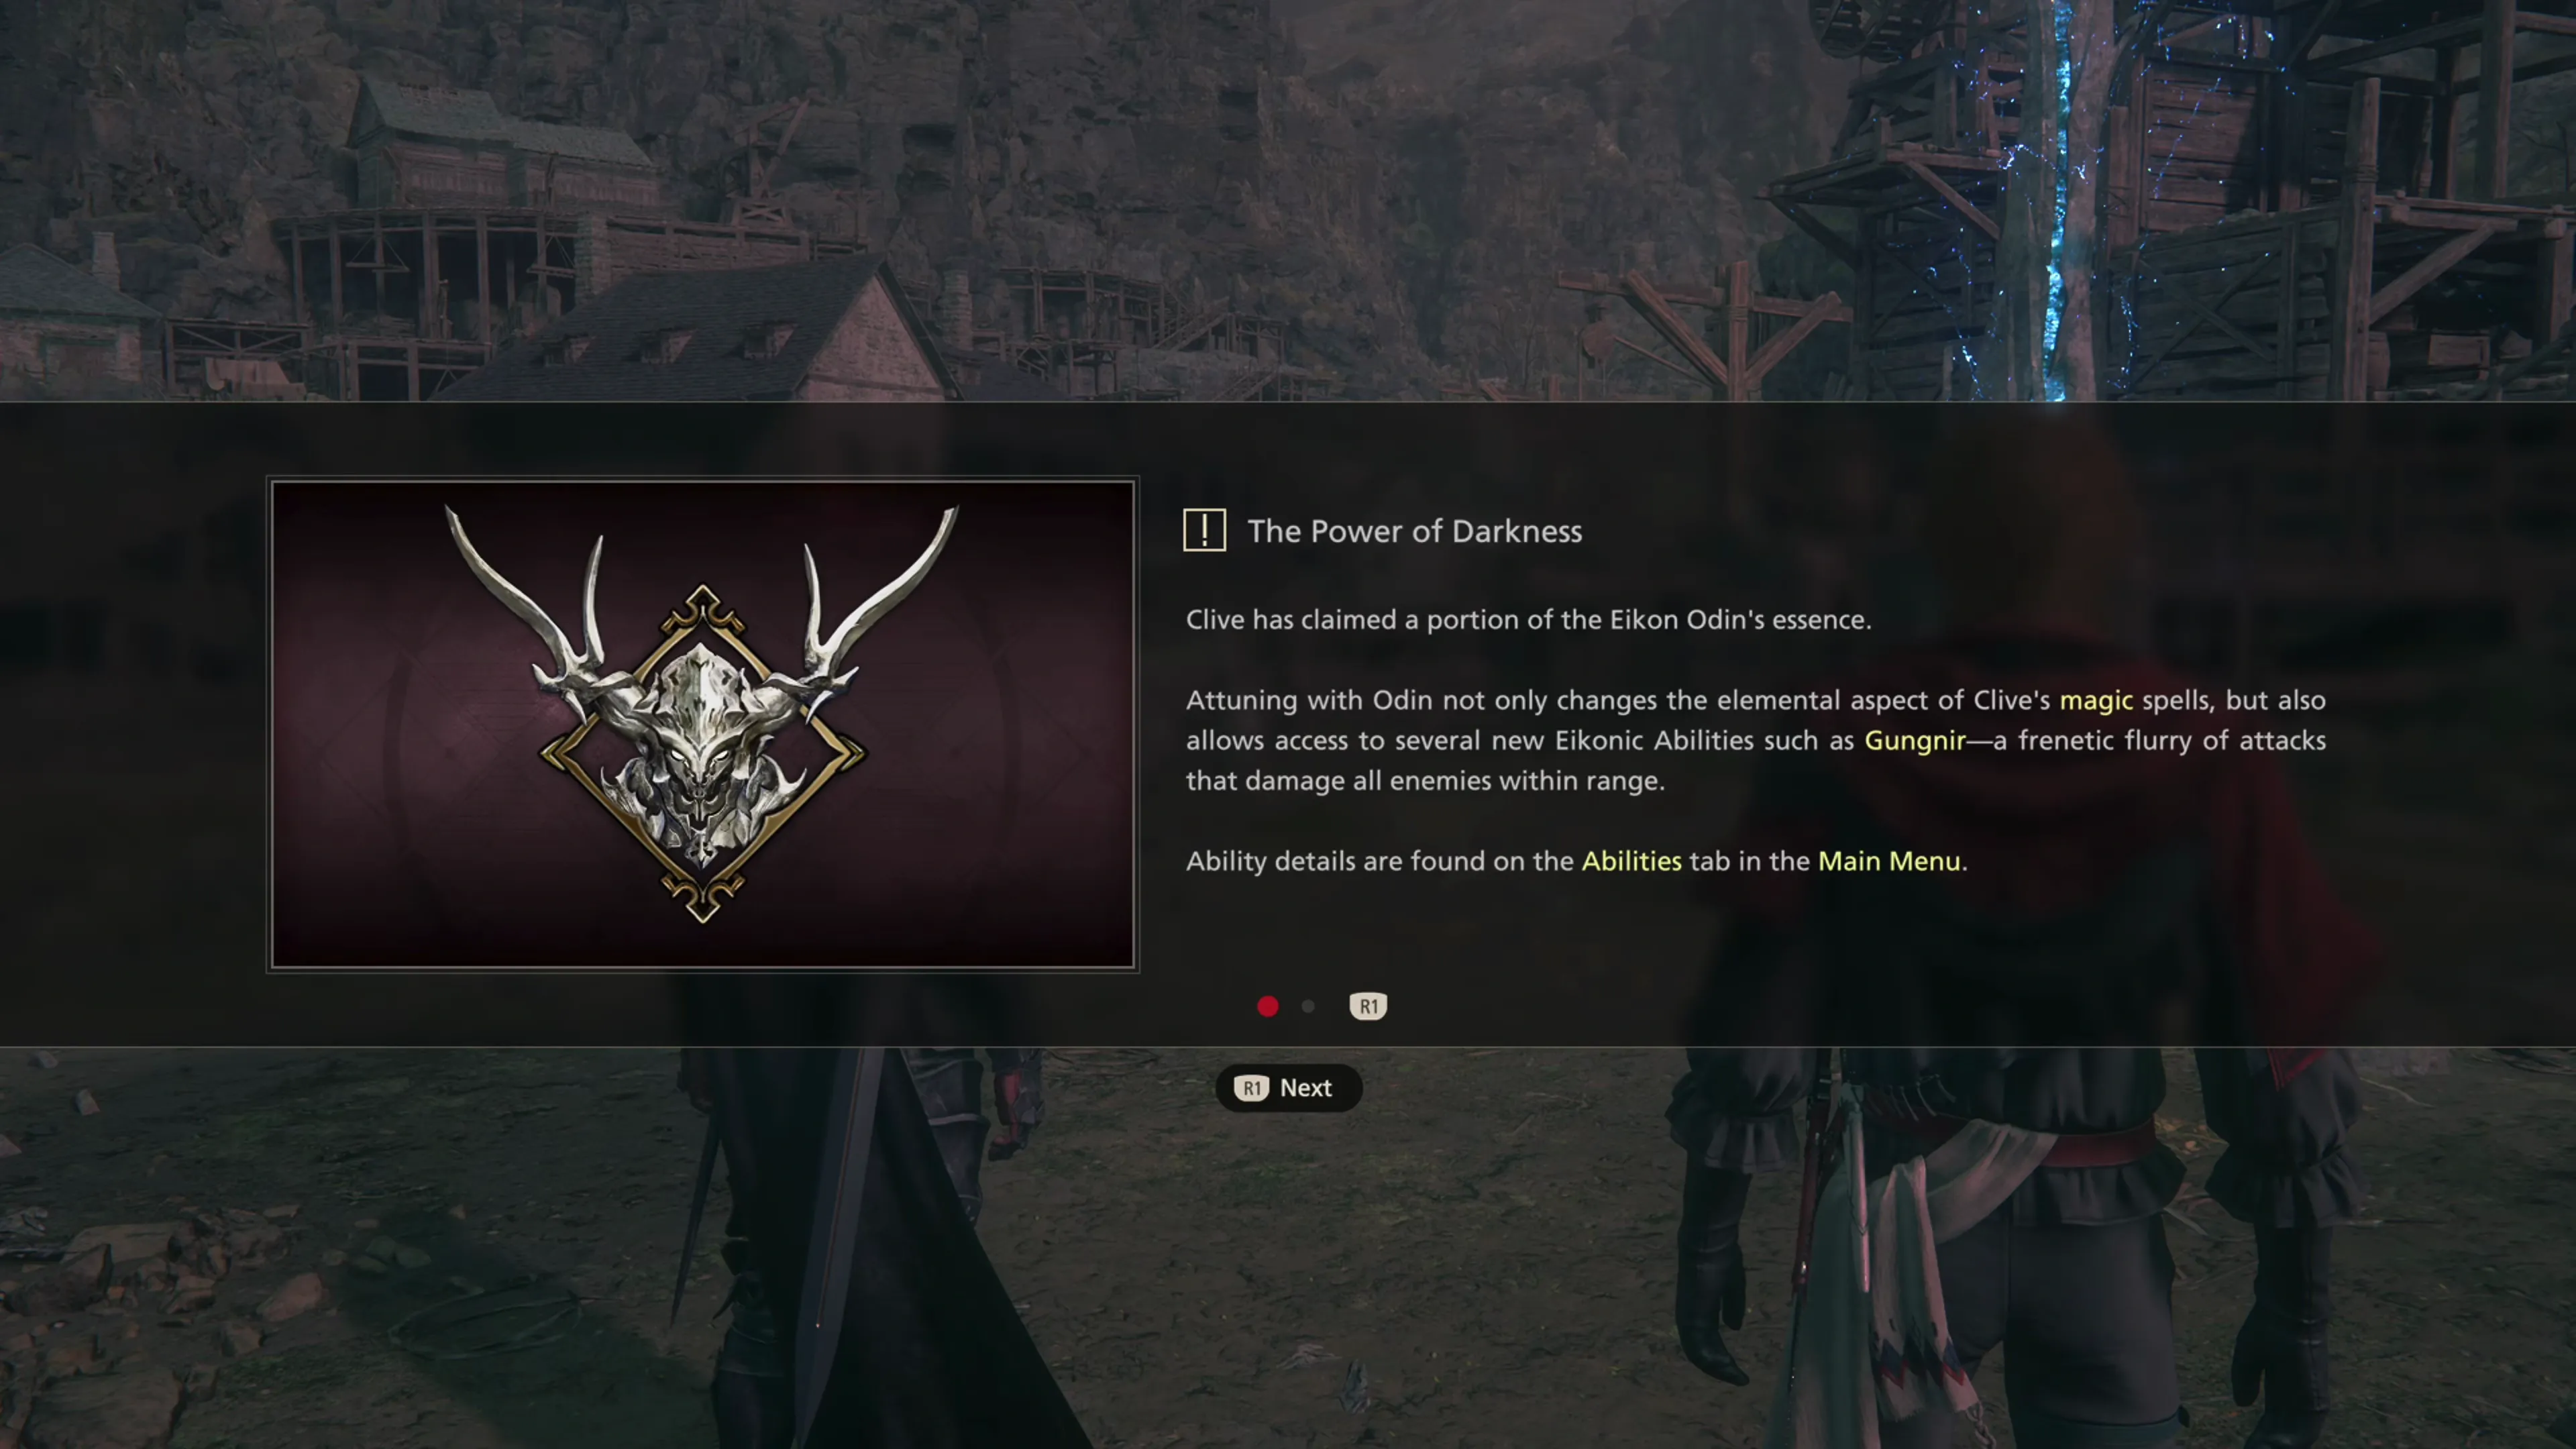
Remember that attacks with Odin’s weapon are pretty weak on their own. Their only purpose is really just to charge the Zantetsuken gauge. Speaking of which, what are the methods you can use to charge up the Zantetsuken gauge? These methods are pulled from the Ability screen but are listed below for convenience:
- Regular attacks with the


 button.
 - Press following a Precision Dodge to unleash a “Flash of Steel.”
- Press following a parry to execute a “Steel Counter.”
 Lunge becomes “Dark Lunge,” and the attack animation changes (it can hit multiple enemies)
 Downthrust becomes “Dark Downthrust,” and the attack animation changes
As you’ve no doubt noticed, Clive’s entire attack pattern changes while he’s armed with Odin’s sword using ![]() Arm of Darkness. You’ll have to get used to this new attack pattern so you can learn to quickly and efficiently charge the Zantetsuken gauge. However, the most efficient means of charging the meter is through Odin’s Eikonic Abilities as outlined below:
Arm of Darkness. You’ll have to get used to this new attack pattern so you can learn to quickly and efficiently charge the Zantetsuken gauge. However, the most efficient means of charging the meter is through Odin’s Eikonic Abilities as outlined below:
| Eikonic Ability | Effect and Use Tips |
|---|---|
| Using standard sword swings and attacks with Odin’s sword active is one way to charge the Zantetsuken gauge, but it’s not the most efficient. You would typically only use it when you need to fill the last segment or two in a pinch. Executing a parry combo or a |
|
| This ability’s strength is that it allows Clive to keep swinging and charging the Zantetsuken gauge with every attack. Unfortunately, if you don’t capture all of the nearby enemies in Clive’s swings, it leaves him open to an easy attack from additional enemies. It’s just not the best option to use. | |
| This ability doesn’t charge the Zantetsuken gauge. Check out the |
|
| This ability is better than Gungnir because it doesn’t leave Clive as open to attacks from enemies, but it’s still lacking when it comes to how quickly it charges the Zantetsuken gauge. | |
| This is the strongest ability Clive has in his arsenal for charging the Zantetsuken gauge. Its biggest drawback is that it has a very large windup time, so you have to be very strategic when it comes to using it to make sure that you don’t get hit right after you activate the ability. Using an upgraded Dancing Steel will charge up the gauge by quite a bit, and if you throw a |
With all of that said, we now need to find a way to work ![]() Arm of Darkness and, ideally, an upgraded (but not mastered)
Arm of Darkness and, ideally, an upgraded (but not mastered) ![]() Dancing Steel into our Eikonic Ability Sets. There may have been
Dancing Steel into our Eikonic Ability Sets. There may have been ![]() Ability Points deficits before, but at this point, it is highly likely that we won’t have enough points to activate all of the abilities that we want in our ideal setup.
Ability Points deficits before, but at this point, it is highly likely that we won’t have enough points to activate all of the abilities that we want in our ideal setup.
For now, we’ll have to decide which abilities NOT to activate, and it may have to include critical center circle abilities like ![]() Limit Break,
Limit Break, ![]() Stomp,
Stomp, ![]() Swift Recovery,
Swift Recovery, ![]() Burning Blade, etc.
Burning Blade, etc.
Helpful Hint
It’s also at this point of the game where you may no longer need to put together a multi-target Eikonic Ability set. The standard set listed below includes some powerful multi-target abilities already. You can still create one and substitute in Area of Effect (AoE) abilities to maximize efficiency, but at this point, this is entirely optional. Some recommendations, if you do choose to continue running a multi-target set, are outlined below.
| Eikonic Ability Set | Ability 1 | Ability 2 |
|---|---|---|
| 1) |
||
| 2) |
||
| 3) |
* These are the abilities that you should consider substituting out if you want to include more multi-target abilities in a separate set; however, even if you don’t have a multi-target set, you can use ![]() Diamond Dust, Zantetsuken,
Diamond Dust, Zantetsuken, ![]() Lightning Rod, and
Lightning Rod, and ![]() Heatwave to hit multiple targets. Here are some abilities to consider swapping in for a multi-target set:
Heatwave to hit multiple targets. Here are some abilities to consider swapping in for a multi-target set:
As you continue to earn ![]() Ability Points through Optional Quests and defeating enemies, don’t forget to go back into the “Abilities” tab and continue upgrading and leveling up any of the remaining abilities that you couldn’t afford to right now.
Ability Points through Optional Quests and defeating enemies, don’t forget to go back into the “Abilities” tab and continue upgrading and leveling up any of the remaining abilities that you couldn’t afford to right now.
Helpful Hint
One of the more advanced abilities to use is Odin’s ![]() Rift Slip ability. A lot of players, especially new players, struggle to utilize this ability to its full potential, and opt for other easy-to-use abilities. But if you take the time to master the use and timing of this ability, it can lead to some of the most overpowered ability combinations in the game. Check out the
Rift Slip ability. A lot of players, especially new players, struggle to utilize this ability to its full potential, and opt for other easy-to-use abilities. But if you take the time to master the use and timing of this ability, it can lead to some of the most overpowered ability combinations in the game. Check out the ![]() Rift Slip ability page for more information.
Rift Slip ability page for more information.
Warning
You will need to Master the ![]() Arm of Darkness ability to increase the maximum Zantetsuken level to 5. In other words, if you don’t master this ability, you won’t be able to execute Odin’s most powerful ability. Upgrading Arm of Darkness is a requirement.
Arm of Darkness ability to increase the maximum Zantetsuken level to 5. In other words, if you don’t master this ability, you won’t be able to execute Odin’s most powerful ability. Upgrading Arm of Darkness is a requirement.
DLC
This section of the guide does not include any updates as it relates to the additional Eikons that you receive in the Echoes of the Fallen ![]() and The Rising Tide
and The Rising Tide ![]() DLC content. At this point in the game, the level of customization that you’ll have is nearly infinite, though several of Leviathan’s and Ultima’s abilities are incredibly strong.
DLC content. At this point in the game, the level of customization that you’ll have is nearly infinite, though several of Leviathan’s and Ultima’s abilities are incredibly strong.