
 Capital Punishment
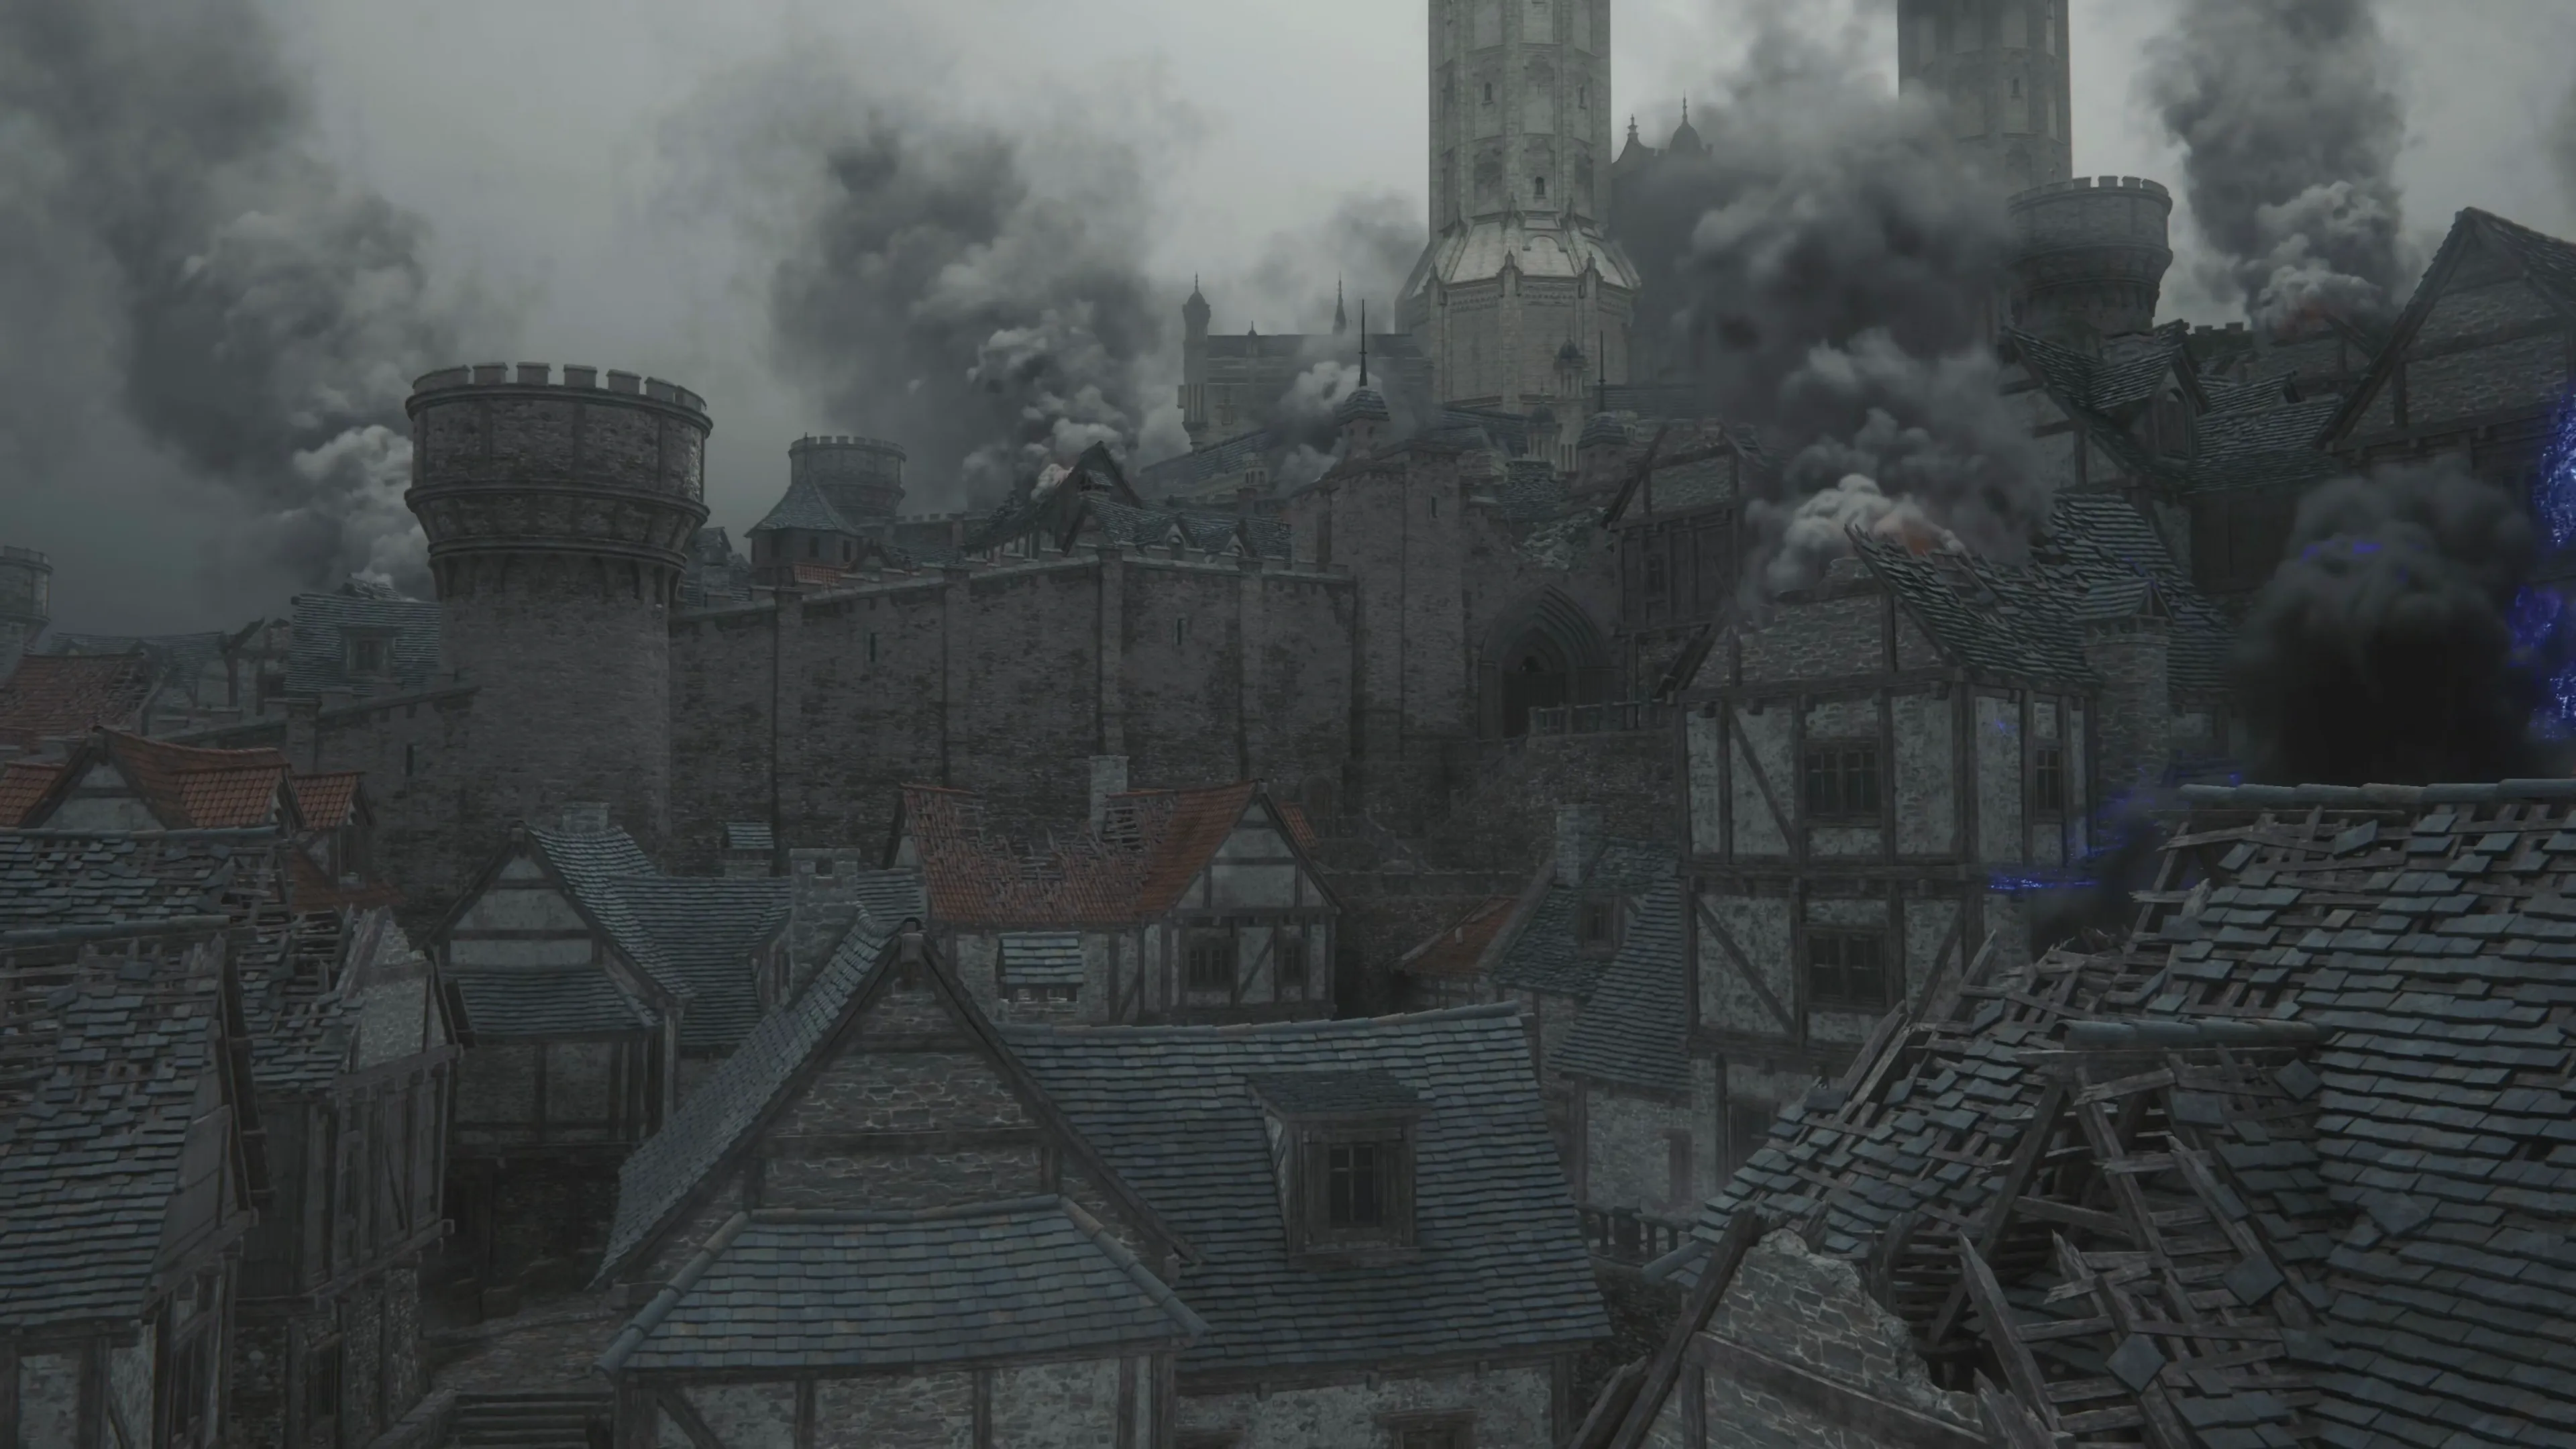
 Rosalith
Helpful Hint
This guide will utilize maps to help guide you through each location; however, this is the sixth section of the game that has a linear map.
As a reminder, these areas are one single trail that you use to travel from the start of the zone to the end, and there are no maps available in the game for these sections. These are typically utilized during sections of the game that are important to the story.
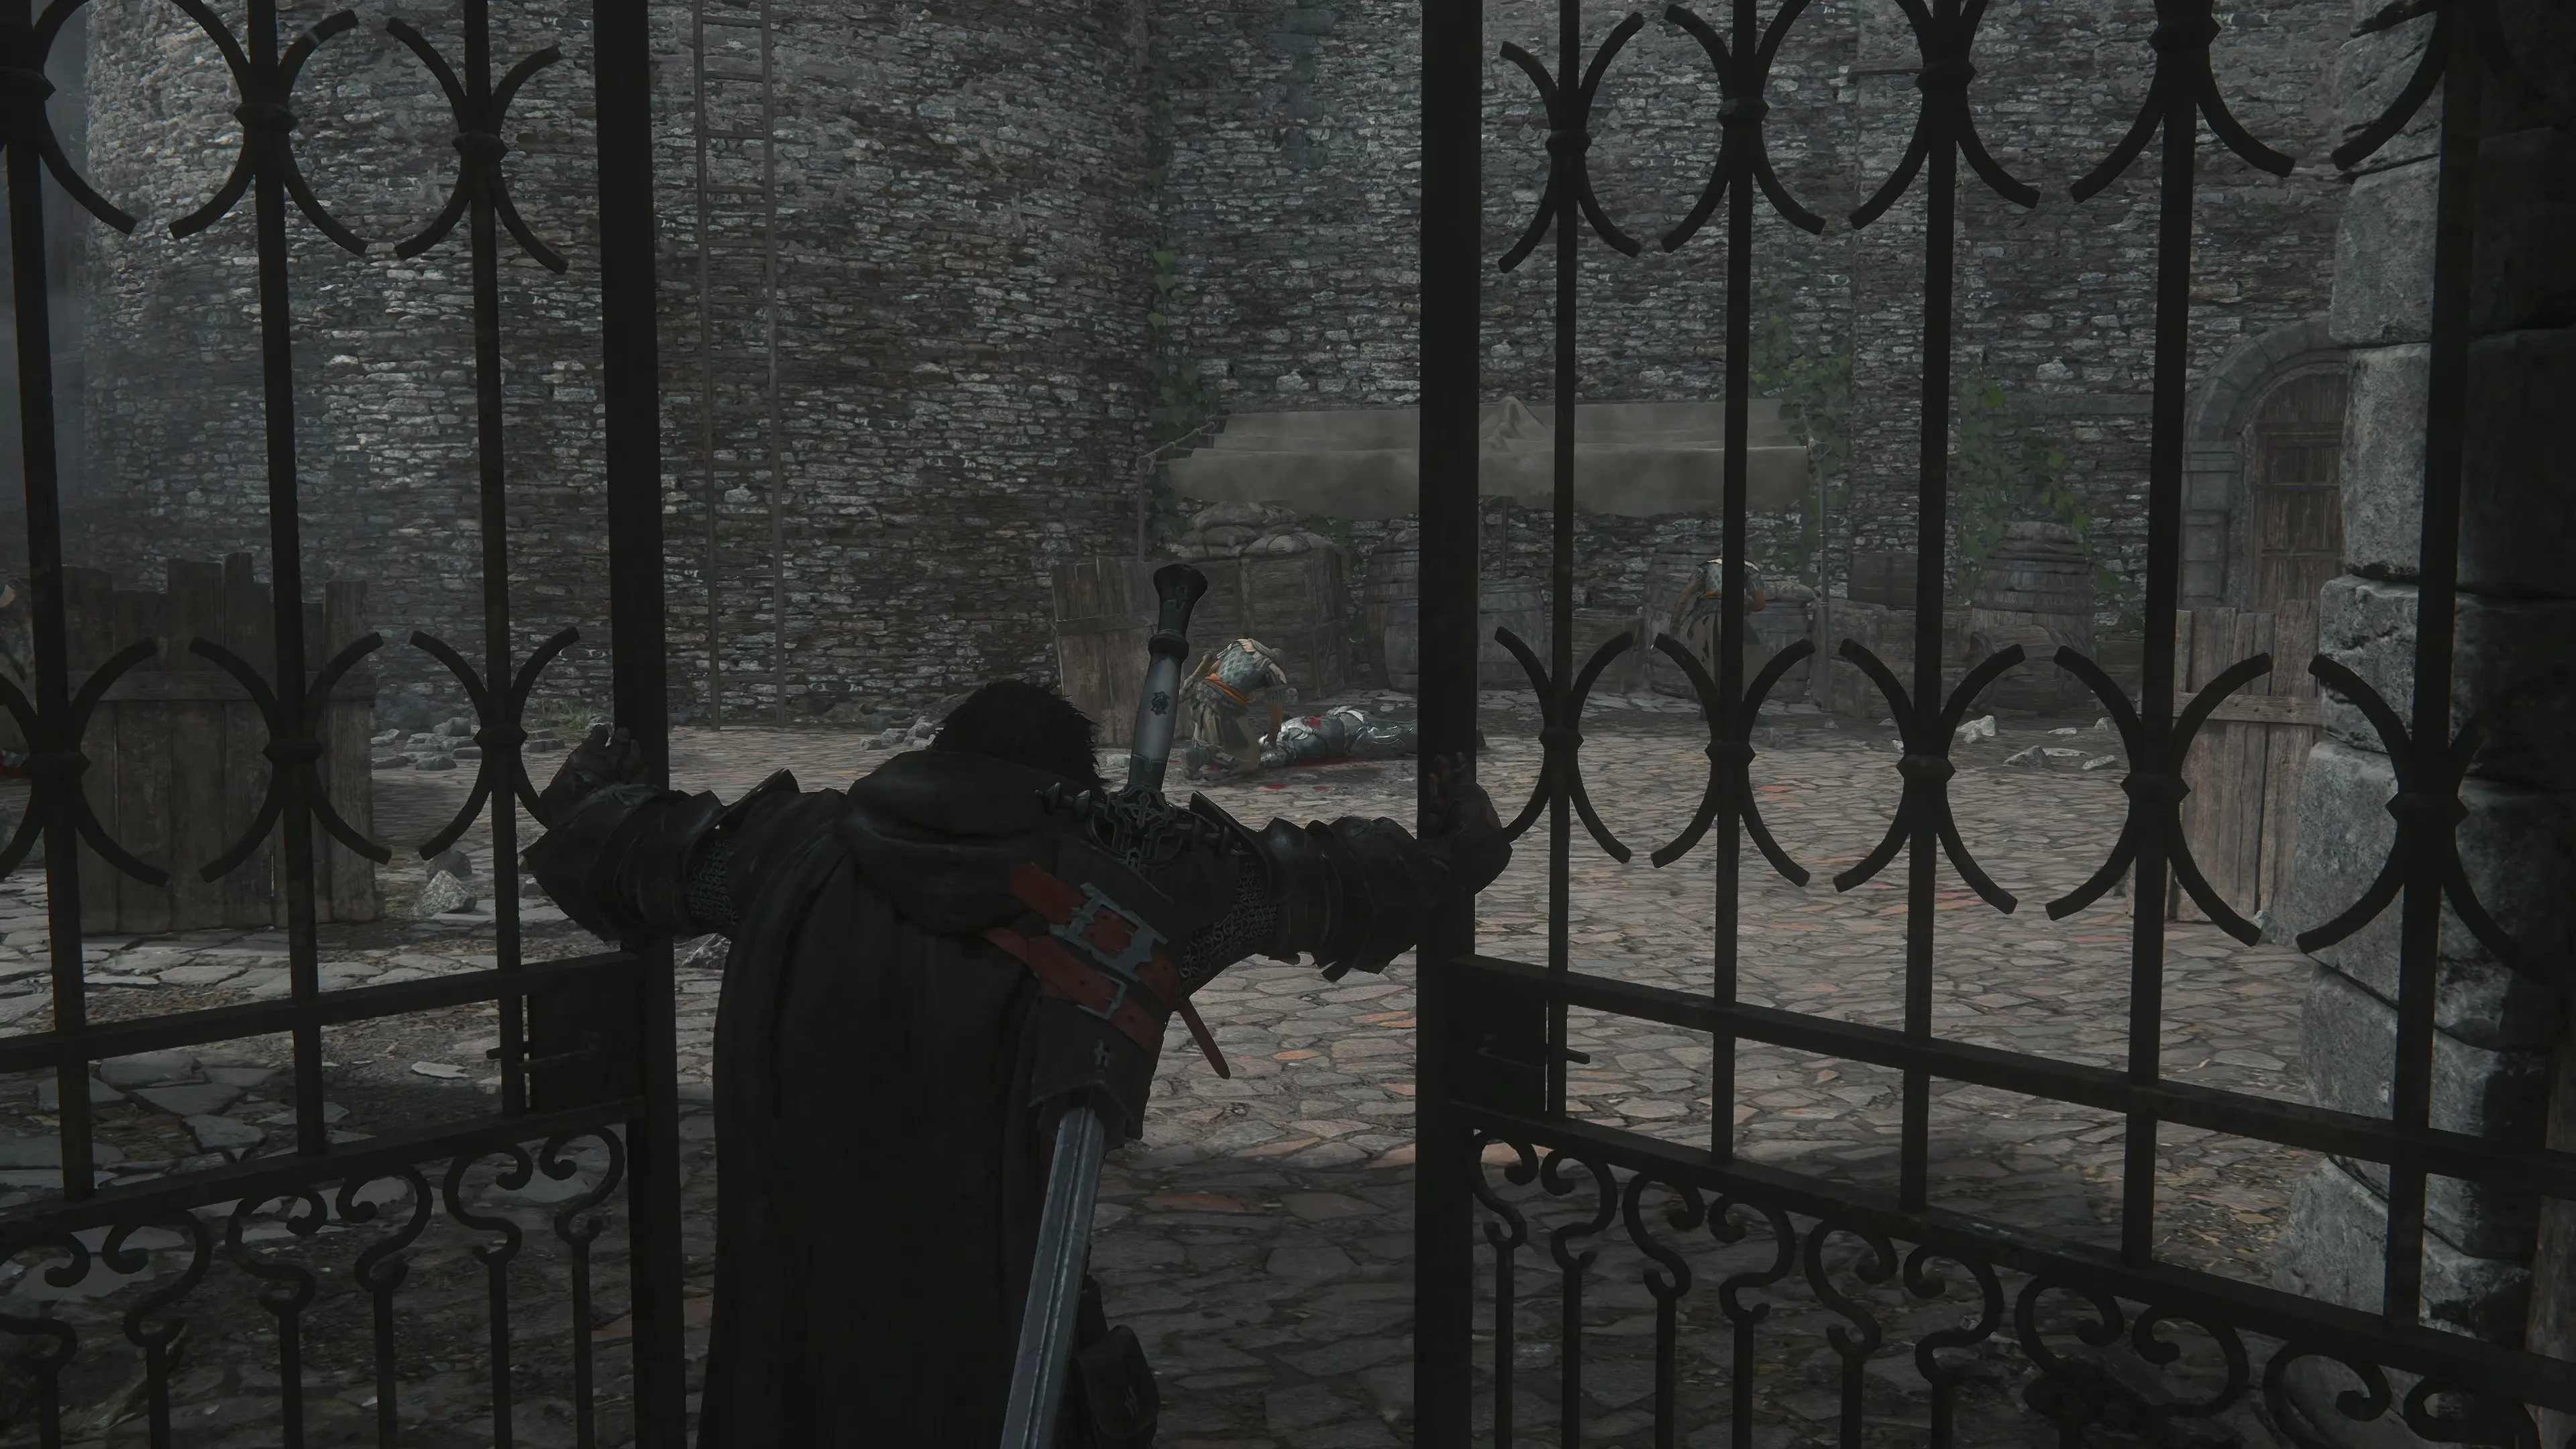
Activate your multi-target ![]() Eikonic Ability Set once you arrive. Proceed a short distance forward for a brief cinematic, and then turn to the right and go through the gate. The game will provide you with a Tutorial Message that explains how “Protect” works. In short, some spellcaster enemies will cast Protect on their allies, so, like before, you should focus on taking out any spellcaster enemies you see first.
Eikonic Ability Set once you arrive. Proceed a short distance forward for a brief cinematic, and then turn to the right and go through the gate. The game will provide you with a Tutorial Message that explains how “Protect” works. In short, some spellcaster enemies will cast Protect on their allies, so, like before, you should focus on taking out any spellcaster enemies you see first.
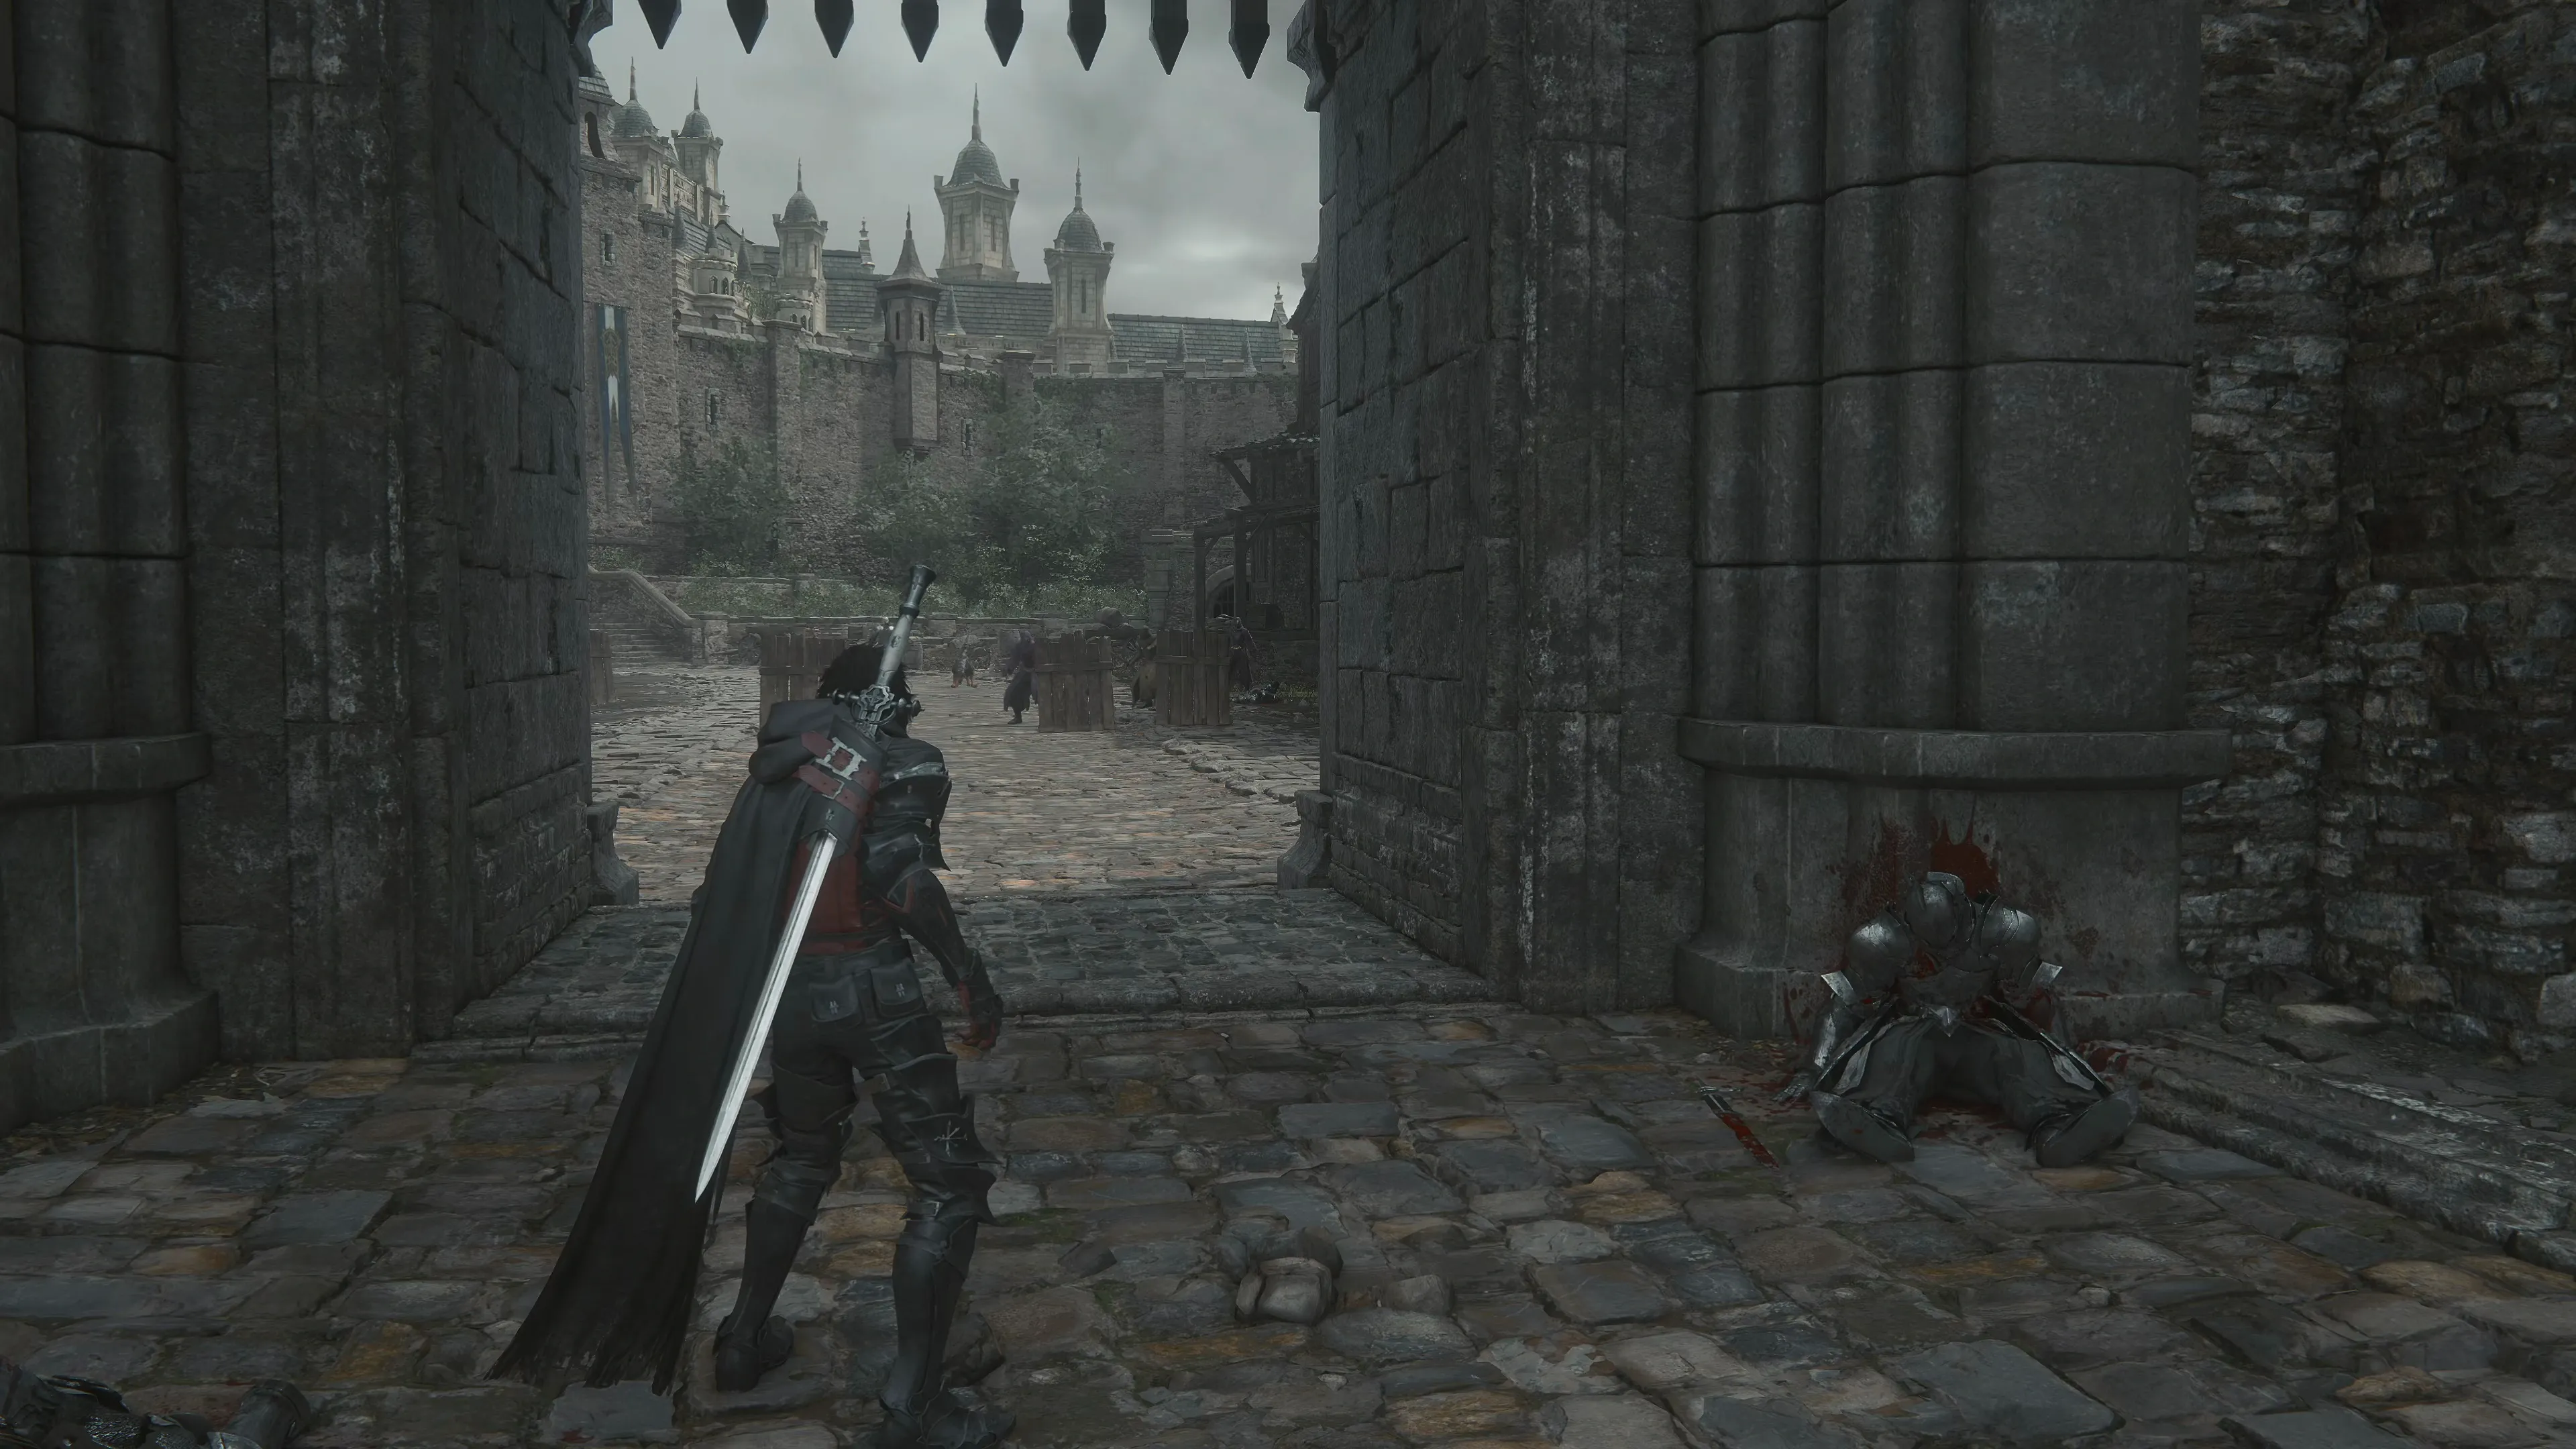
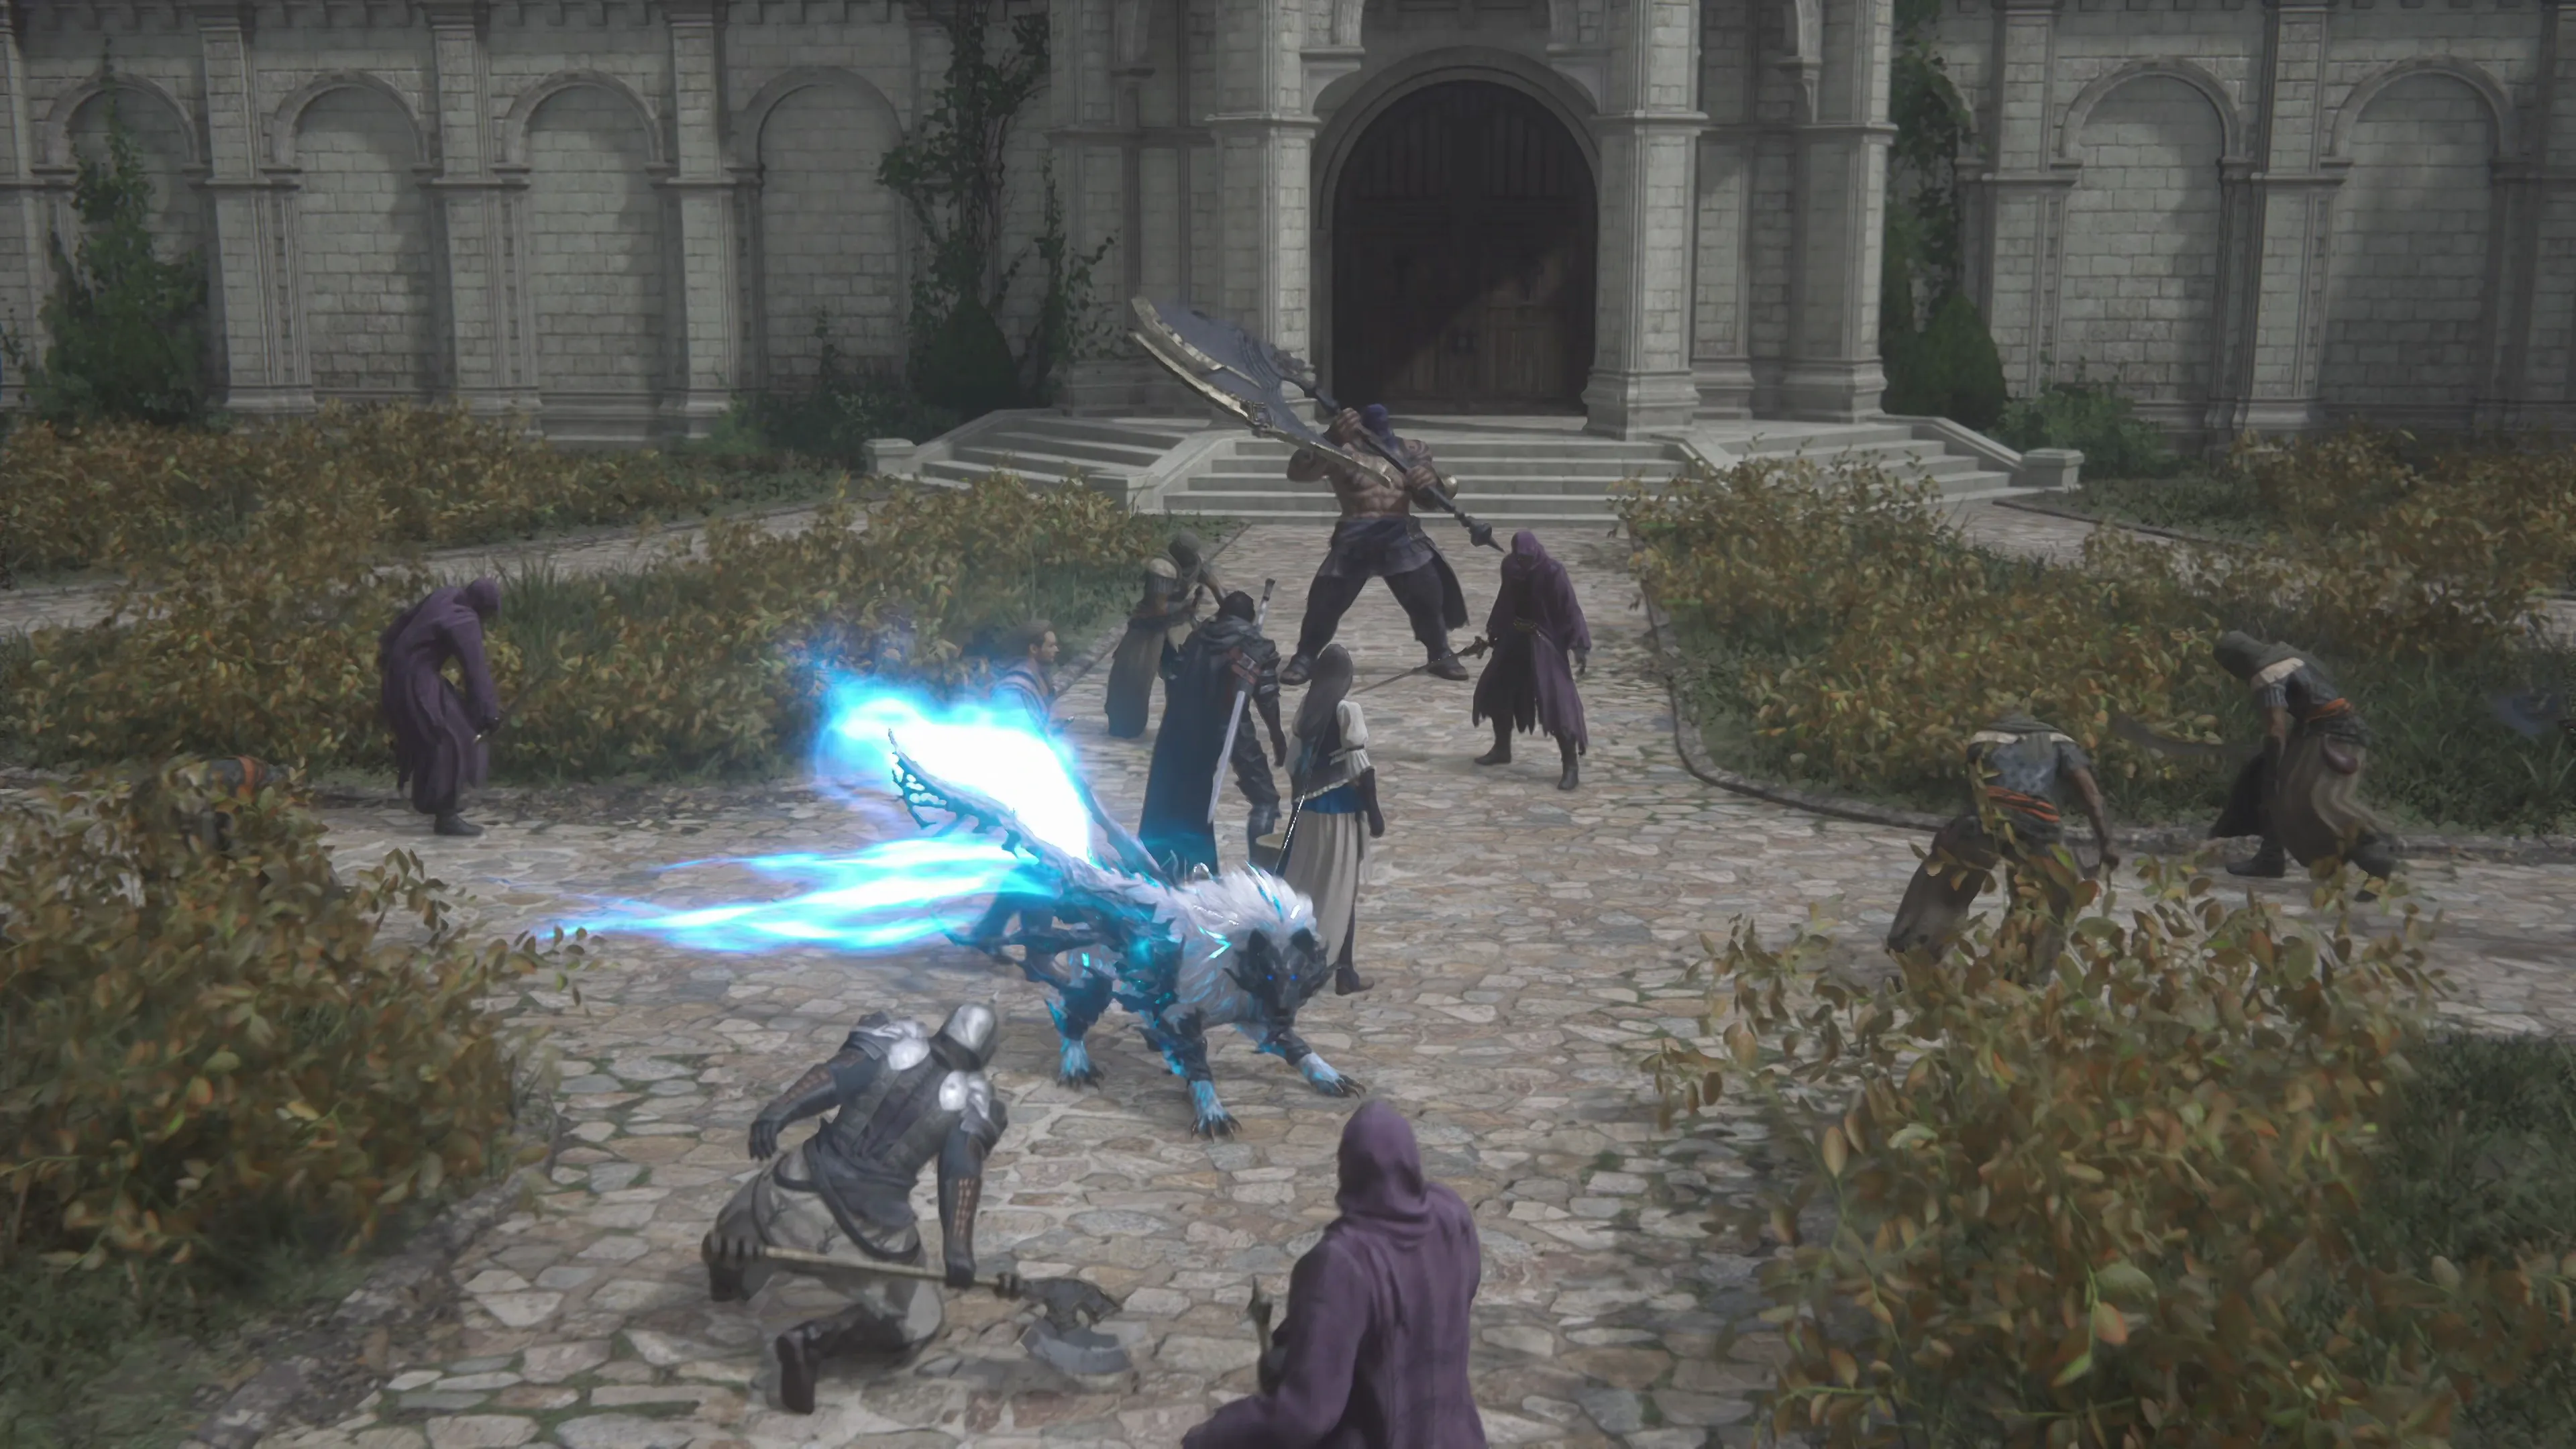
Look for a ladder on the nearby wall and climb it. Follow the path, dropping down from the roof and back down to the cobblestone pathway. Defeat the next group of four Stone Scimitar enemies and then head under the stone bridge just up ahead.
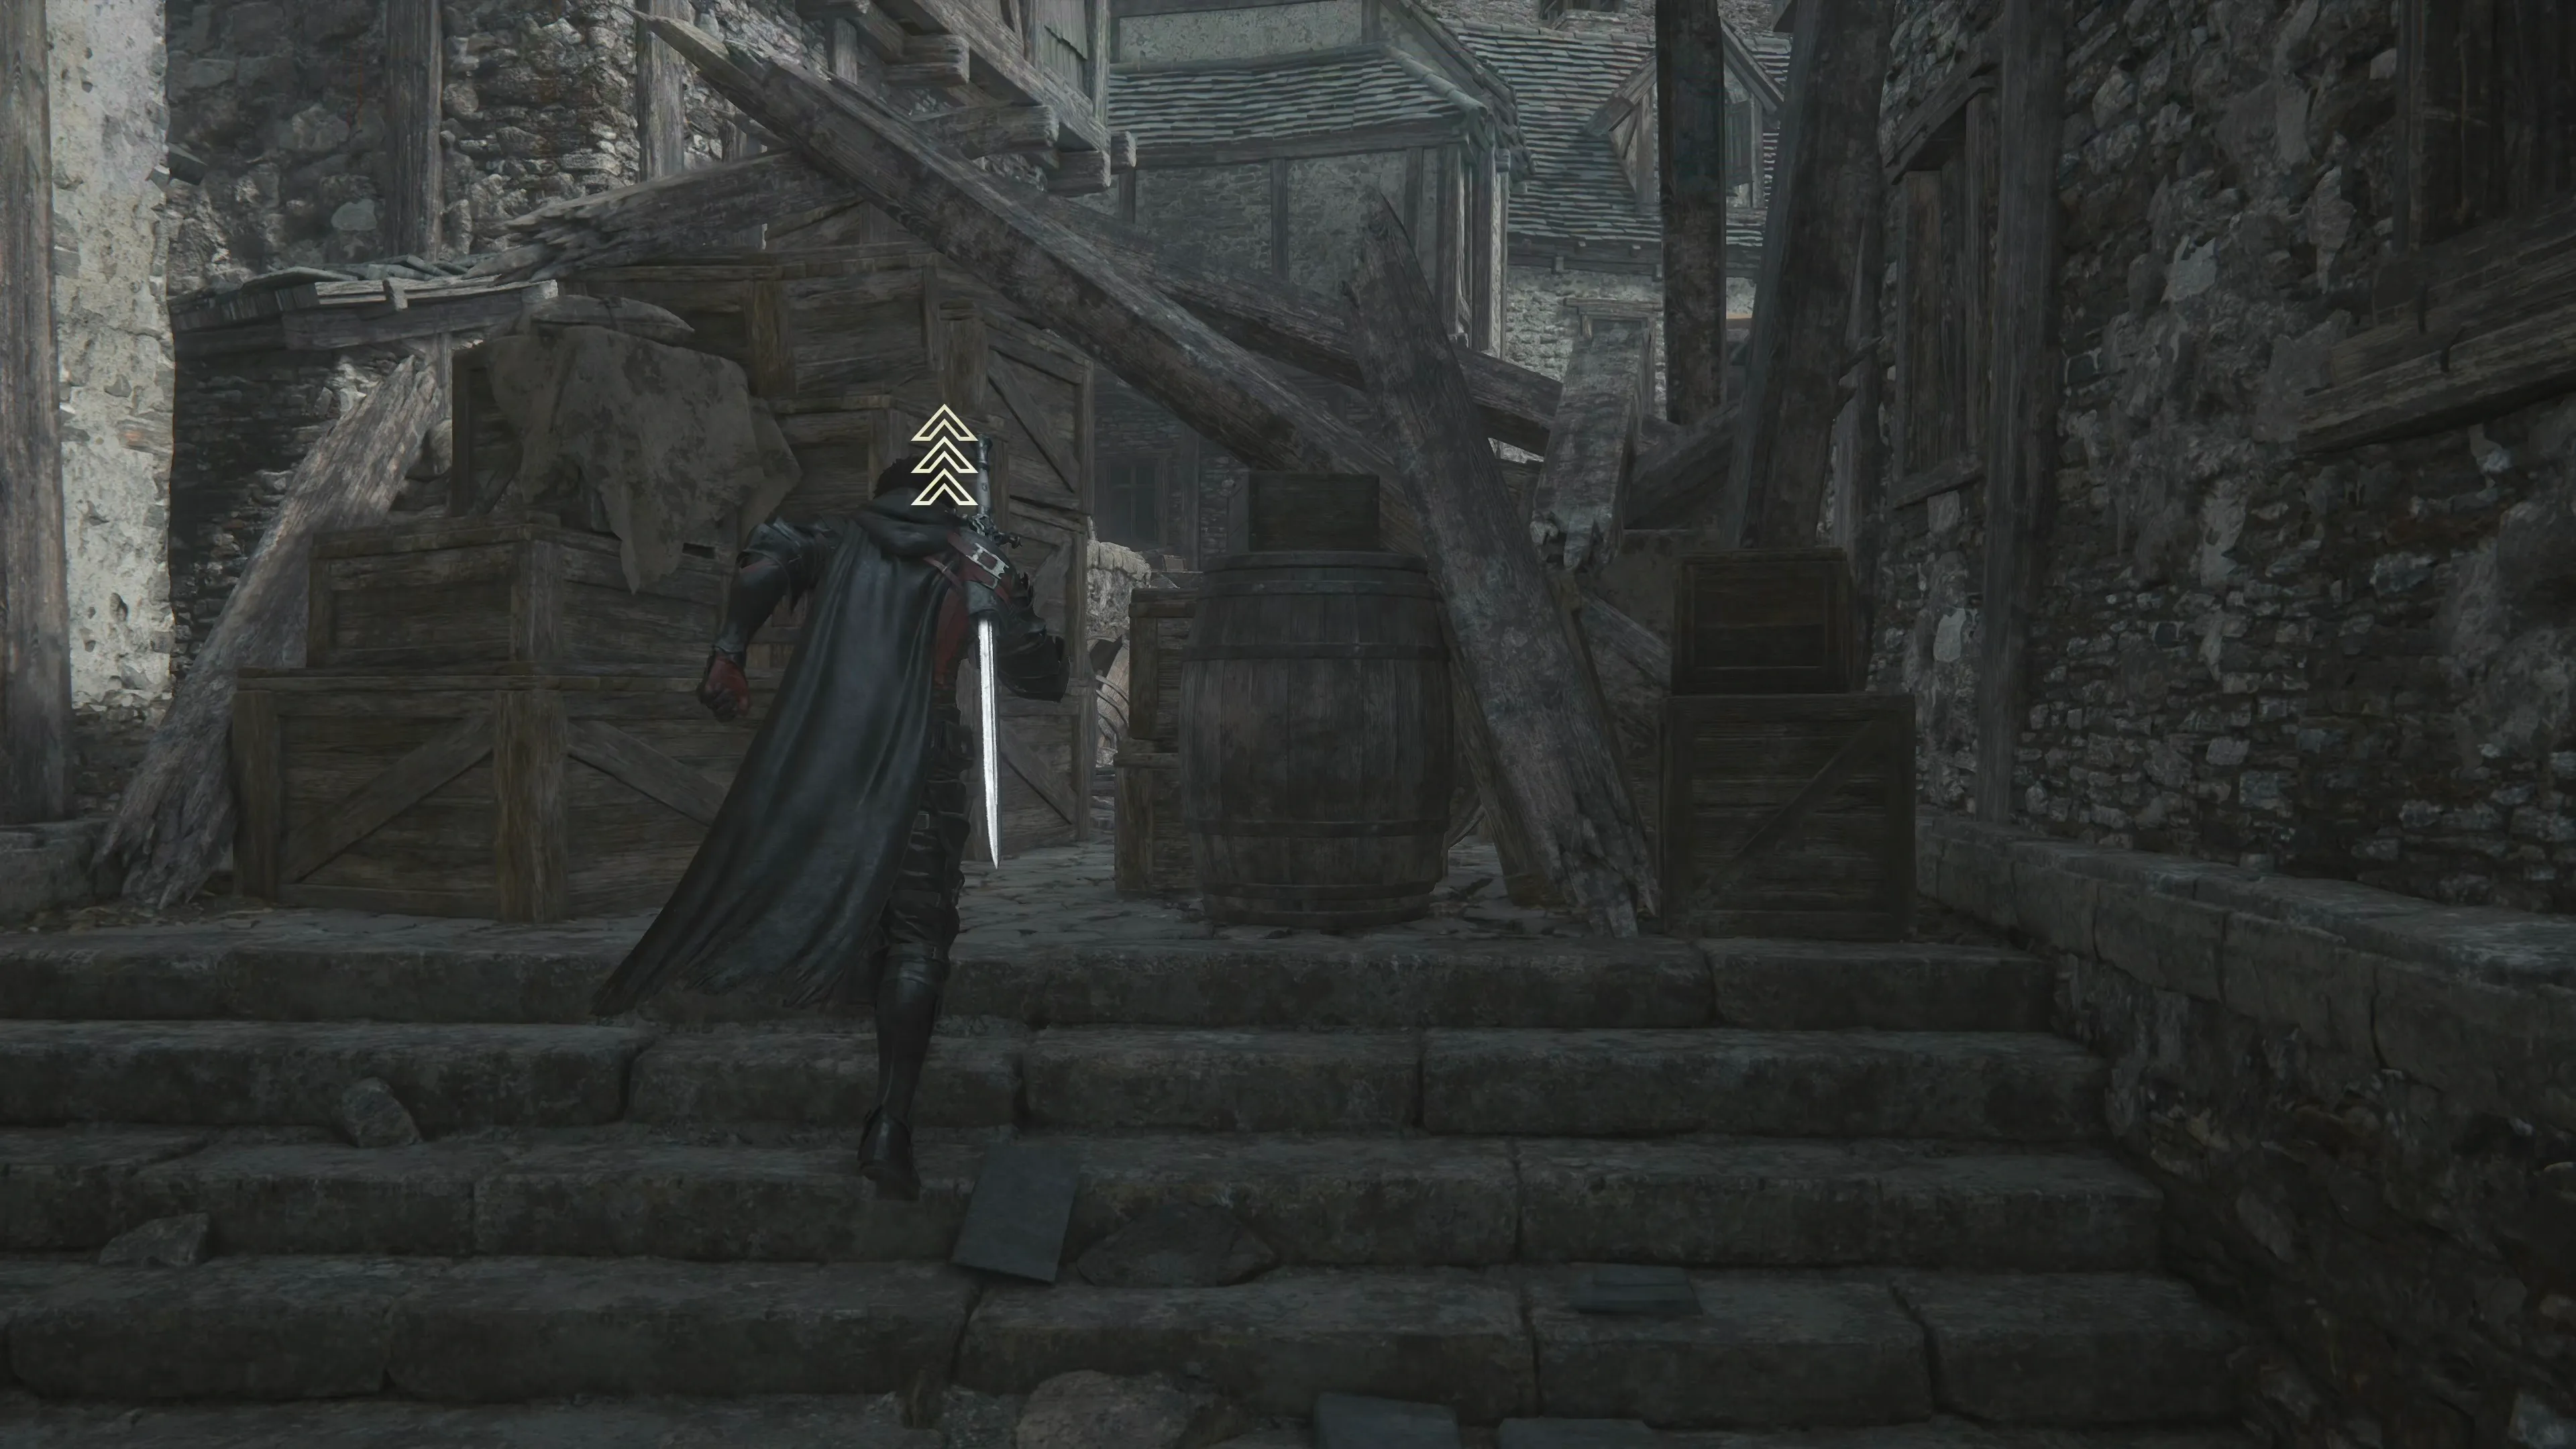
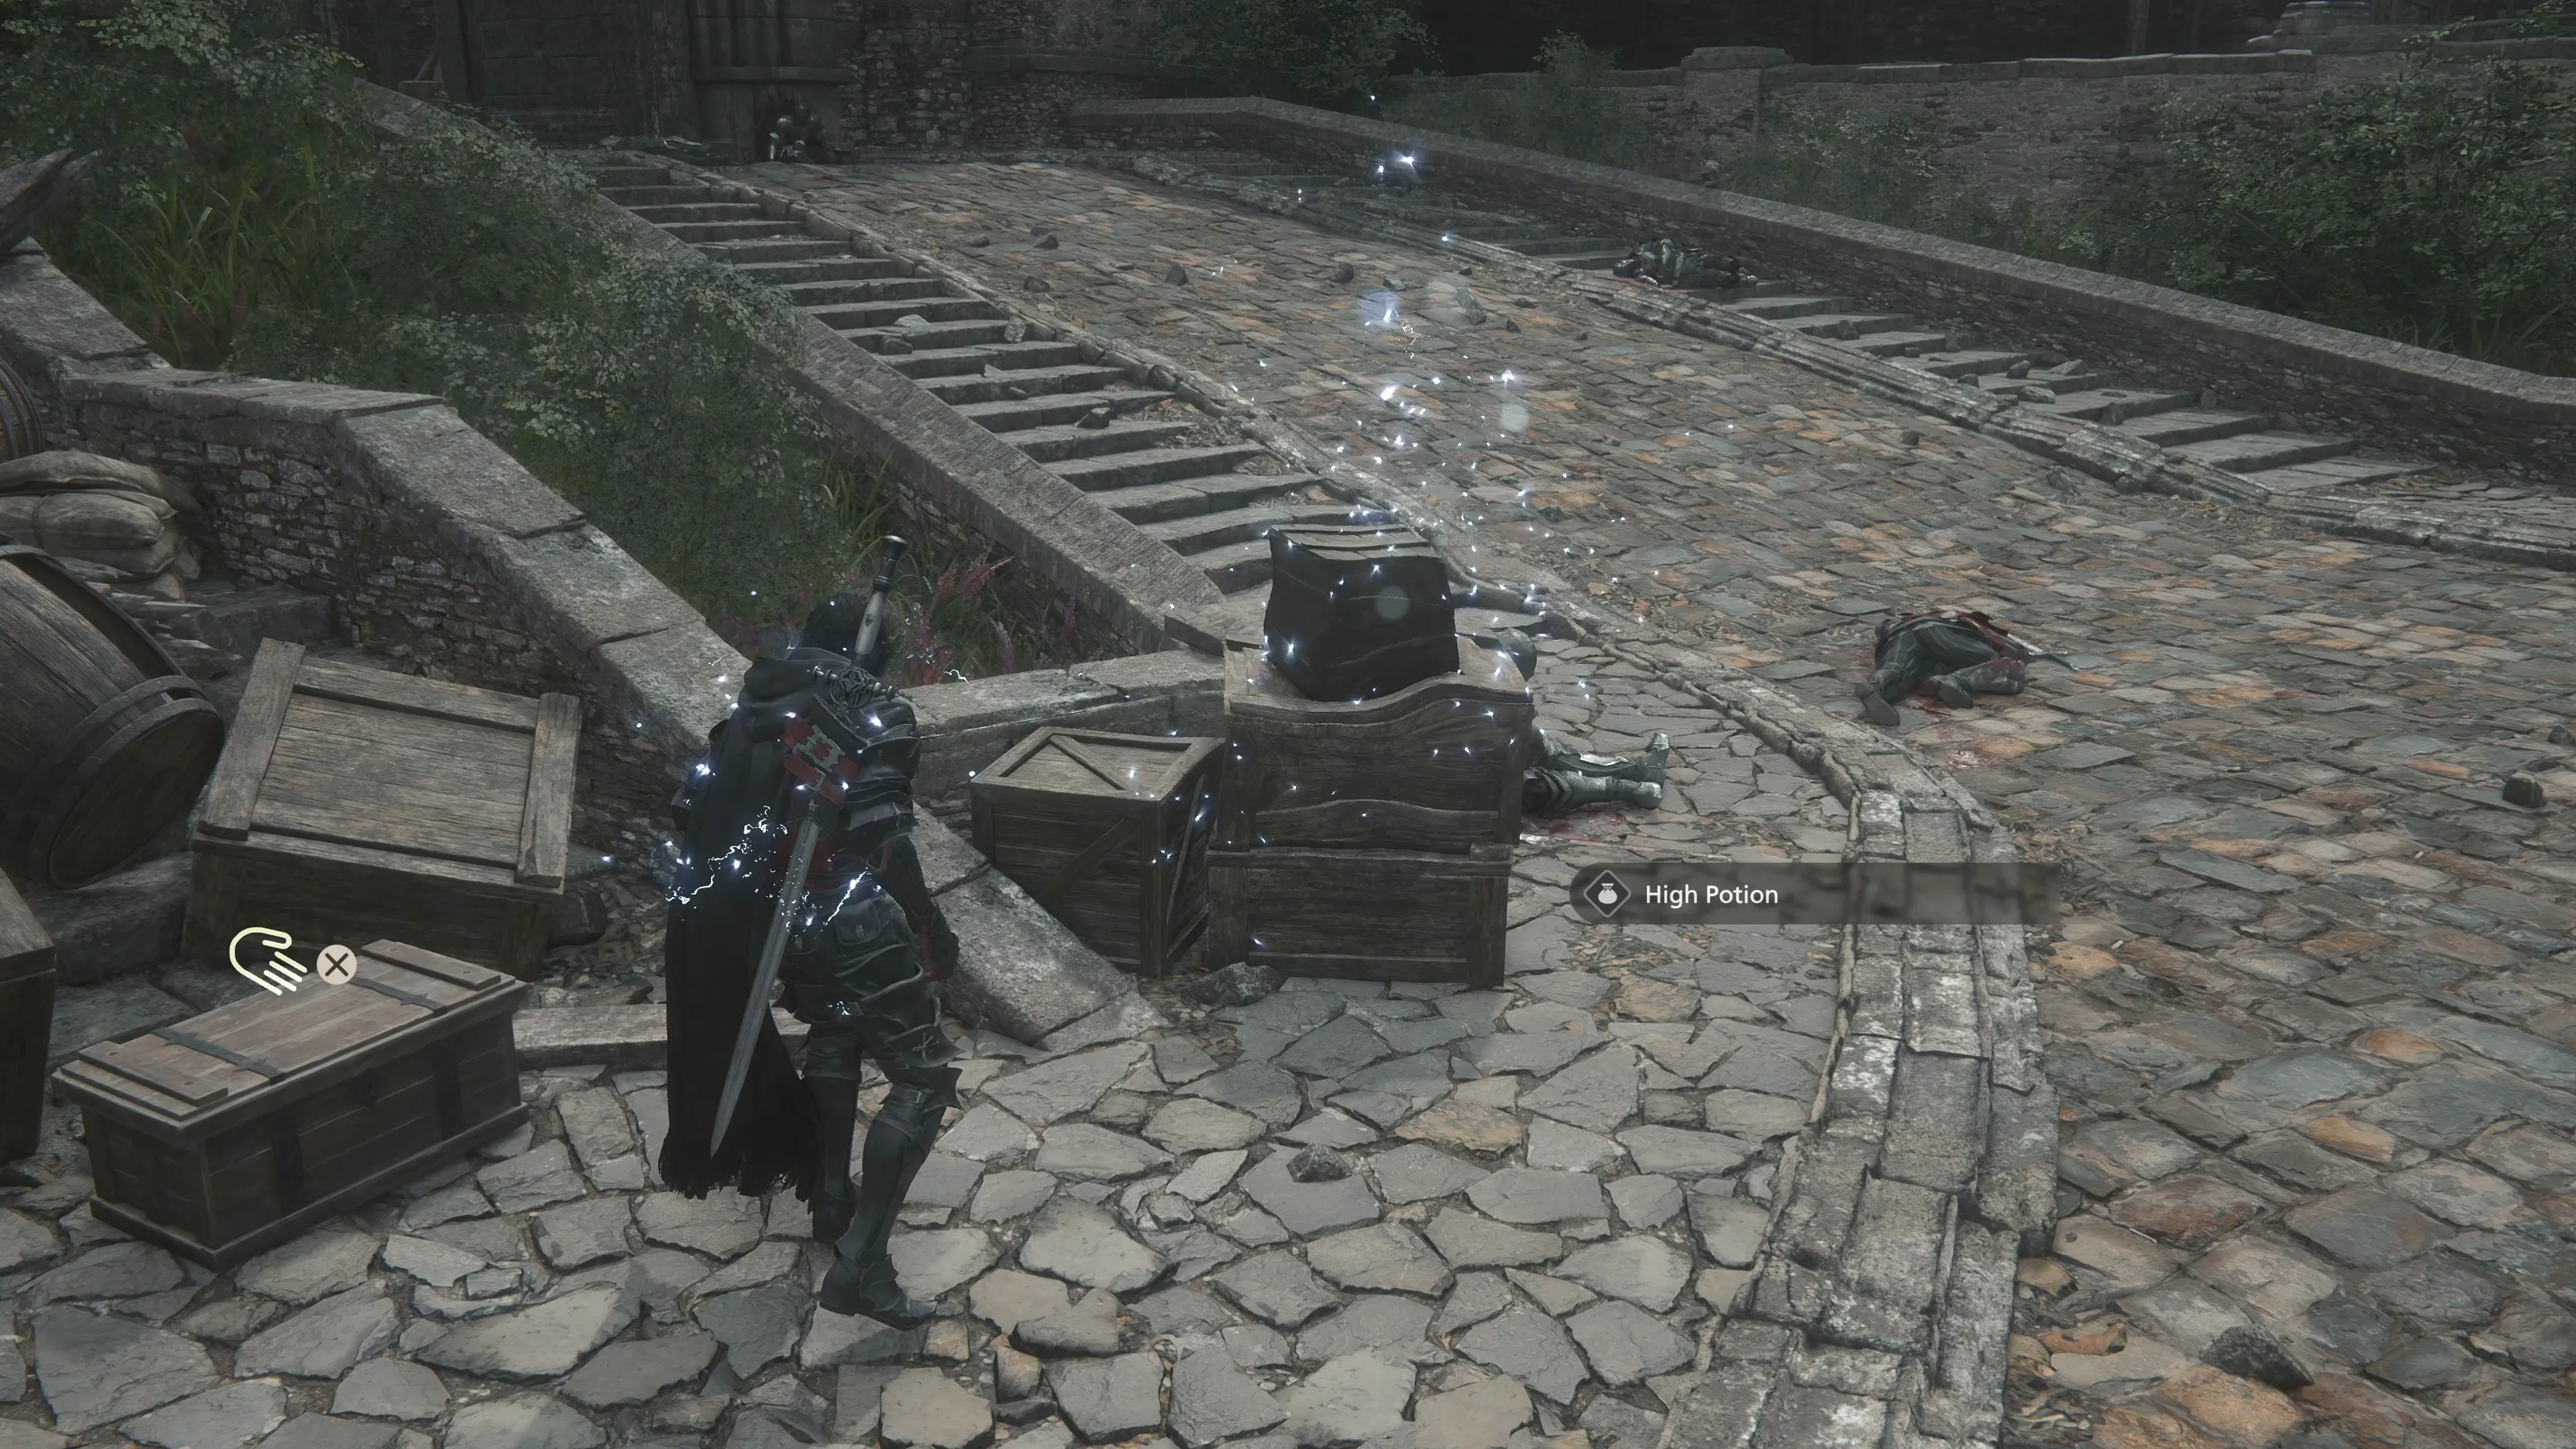
The next group of enemies is full of Republican Battlehounds as well as a Stone Scepter that will cast Protect—focus on the Stone Scepter before switching to the hounds. Squeeze through the nearby collection of boxes and barrels to get to the next group of enemies, which includes a “Stone Headsman.”
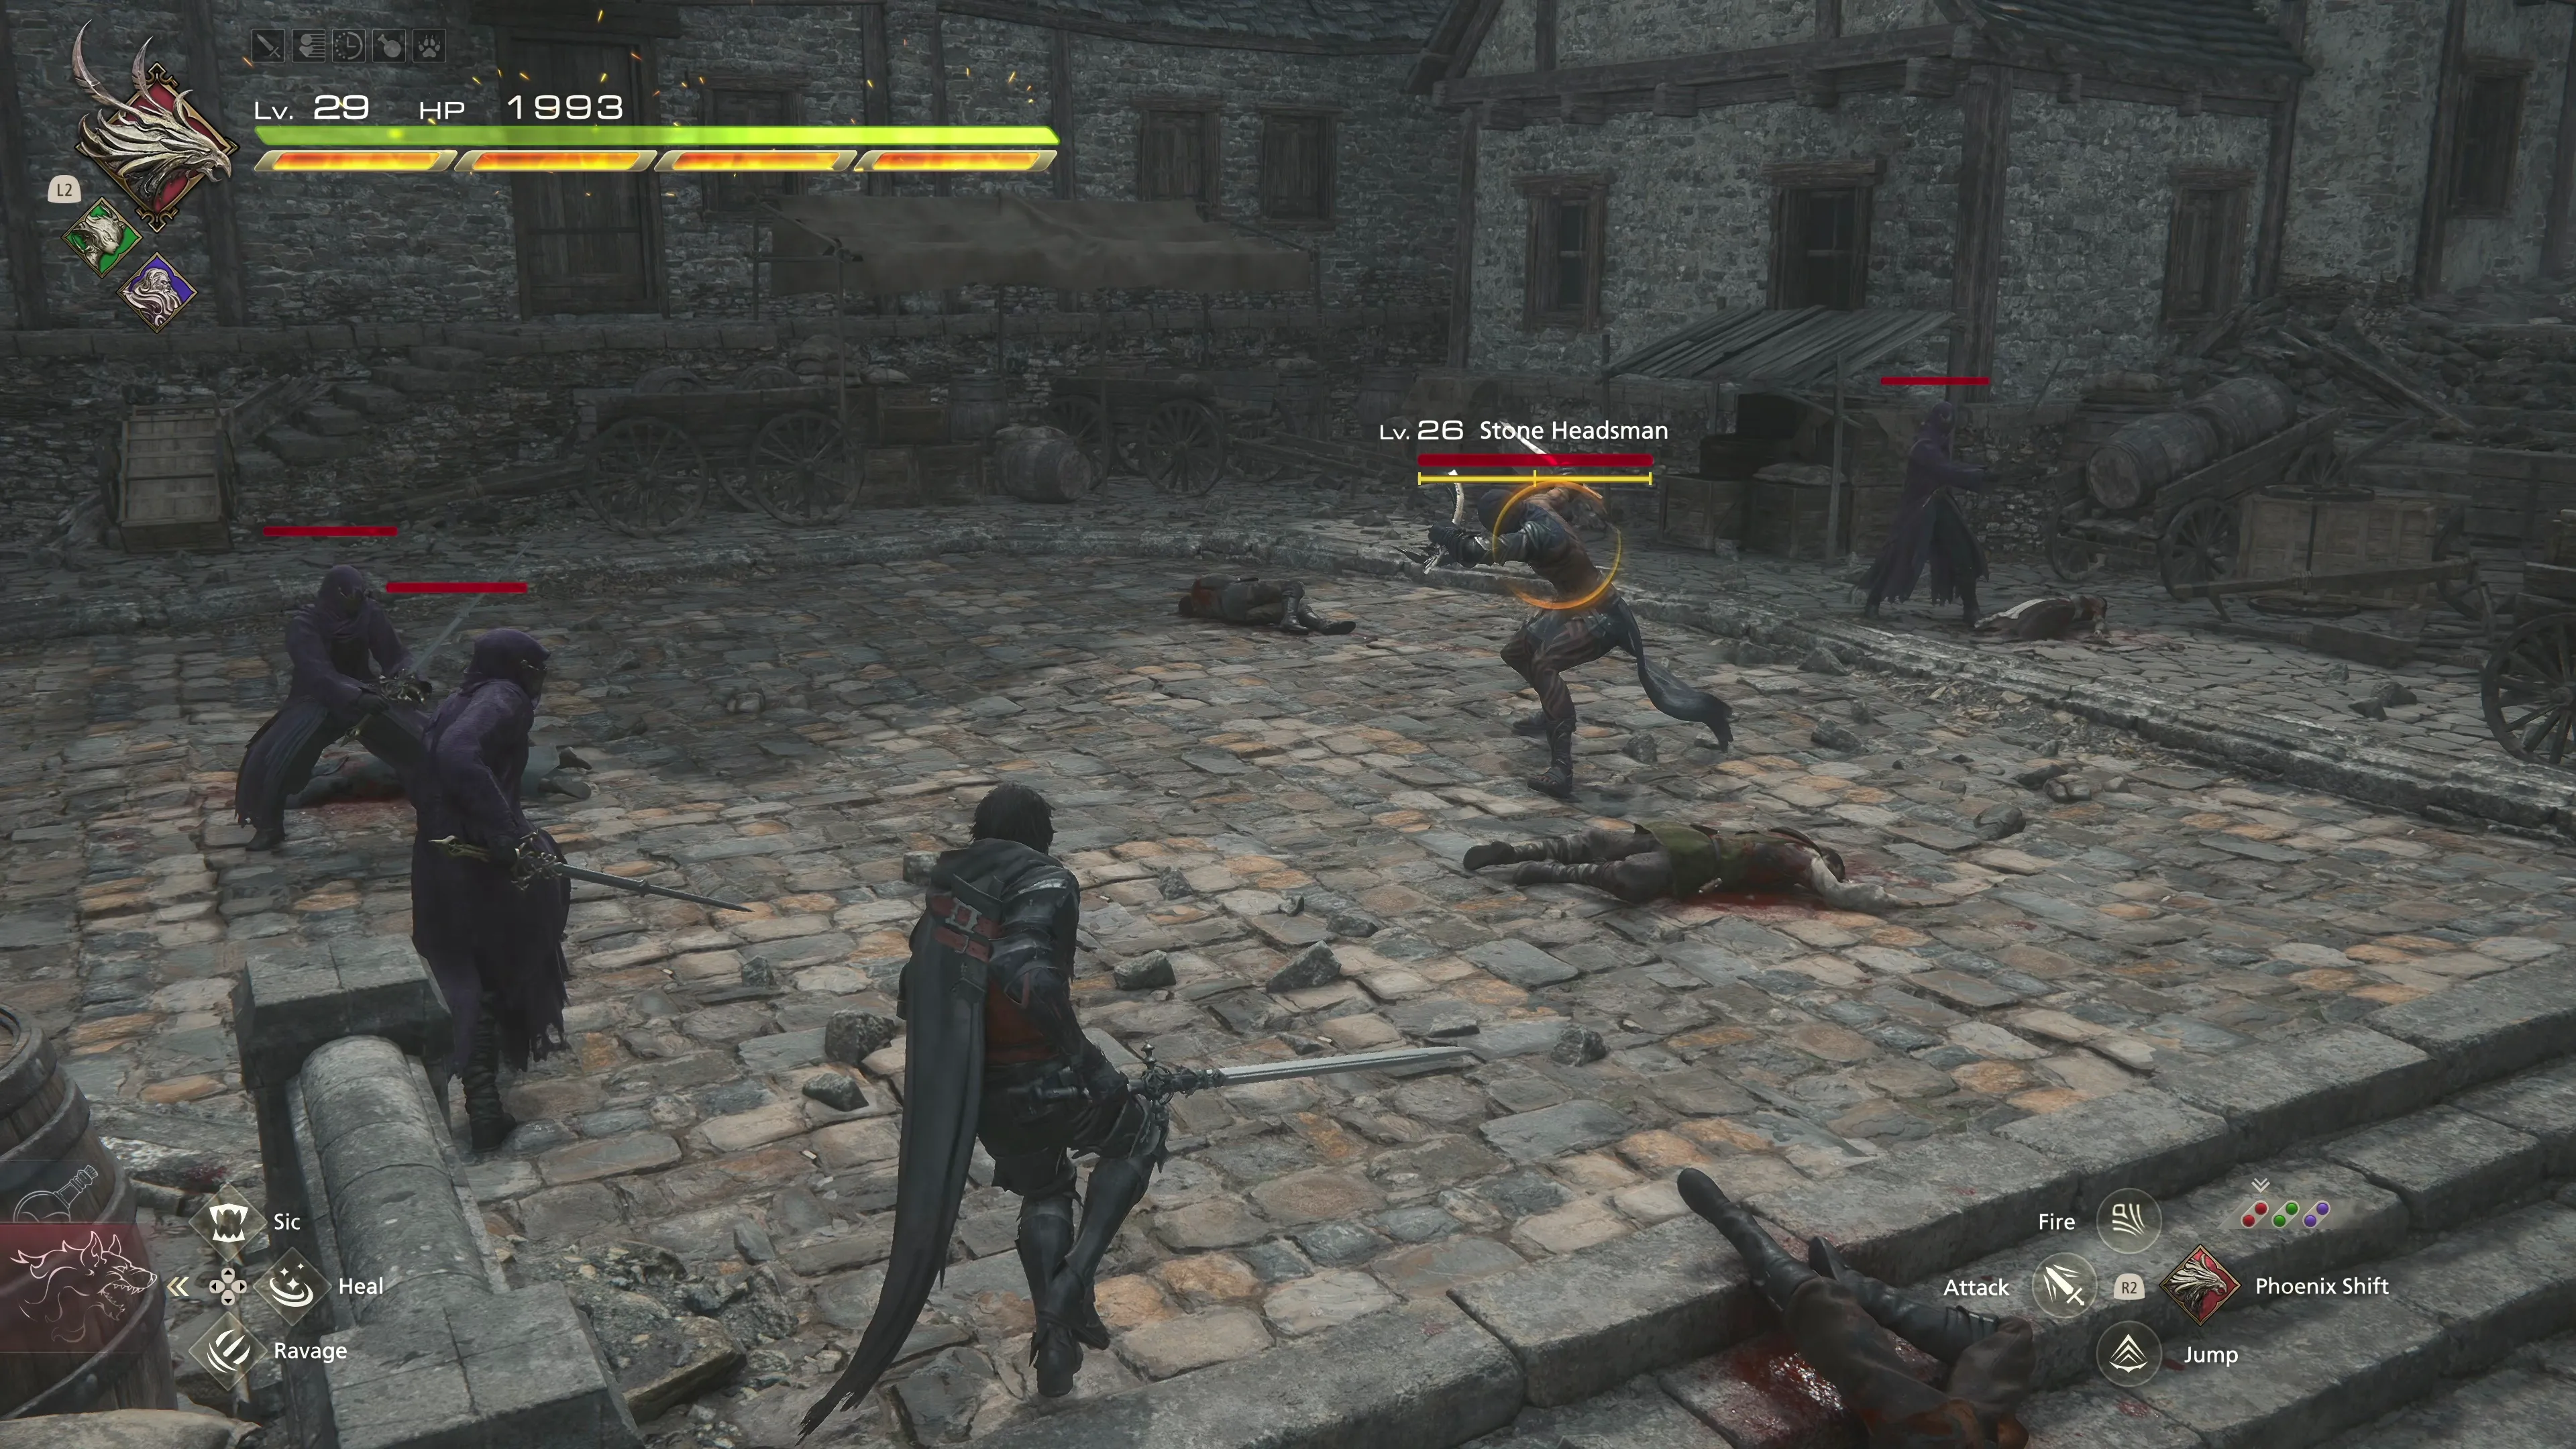
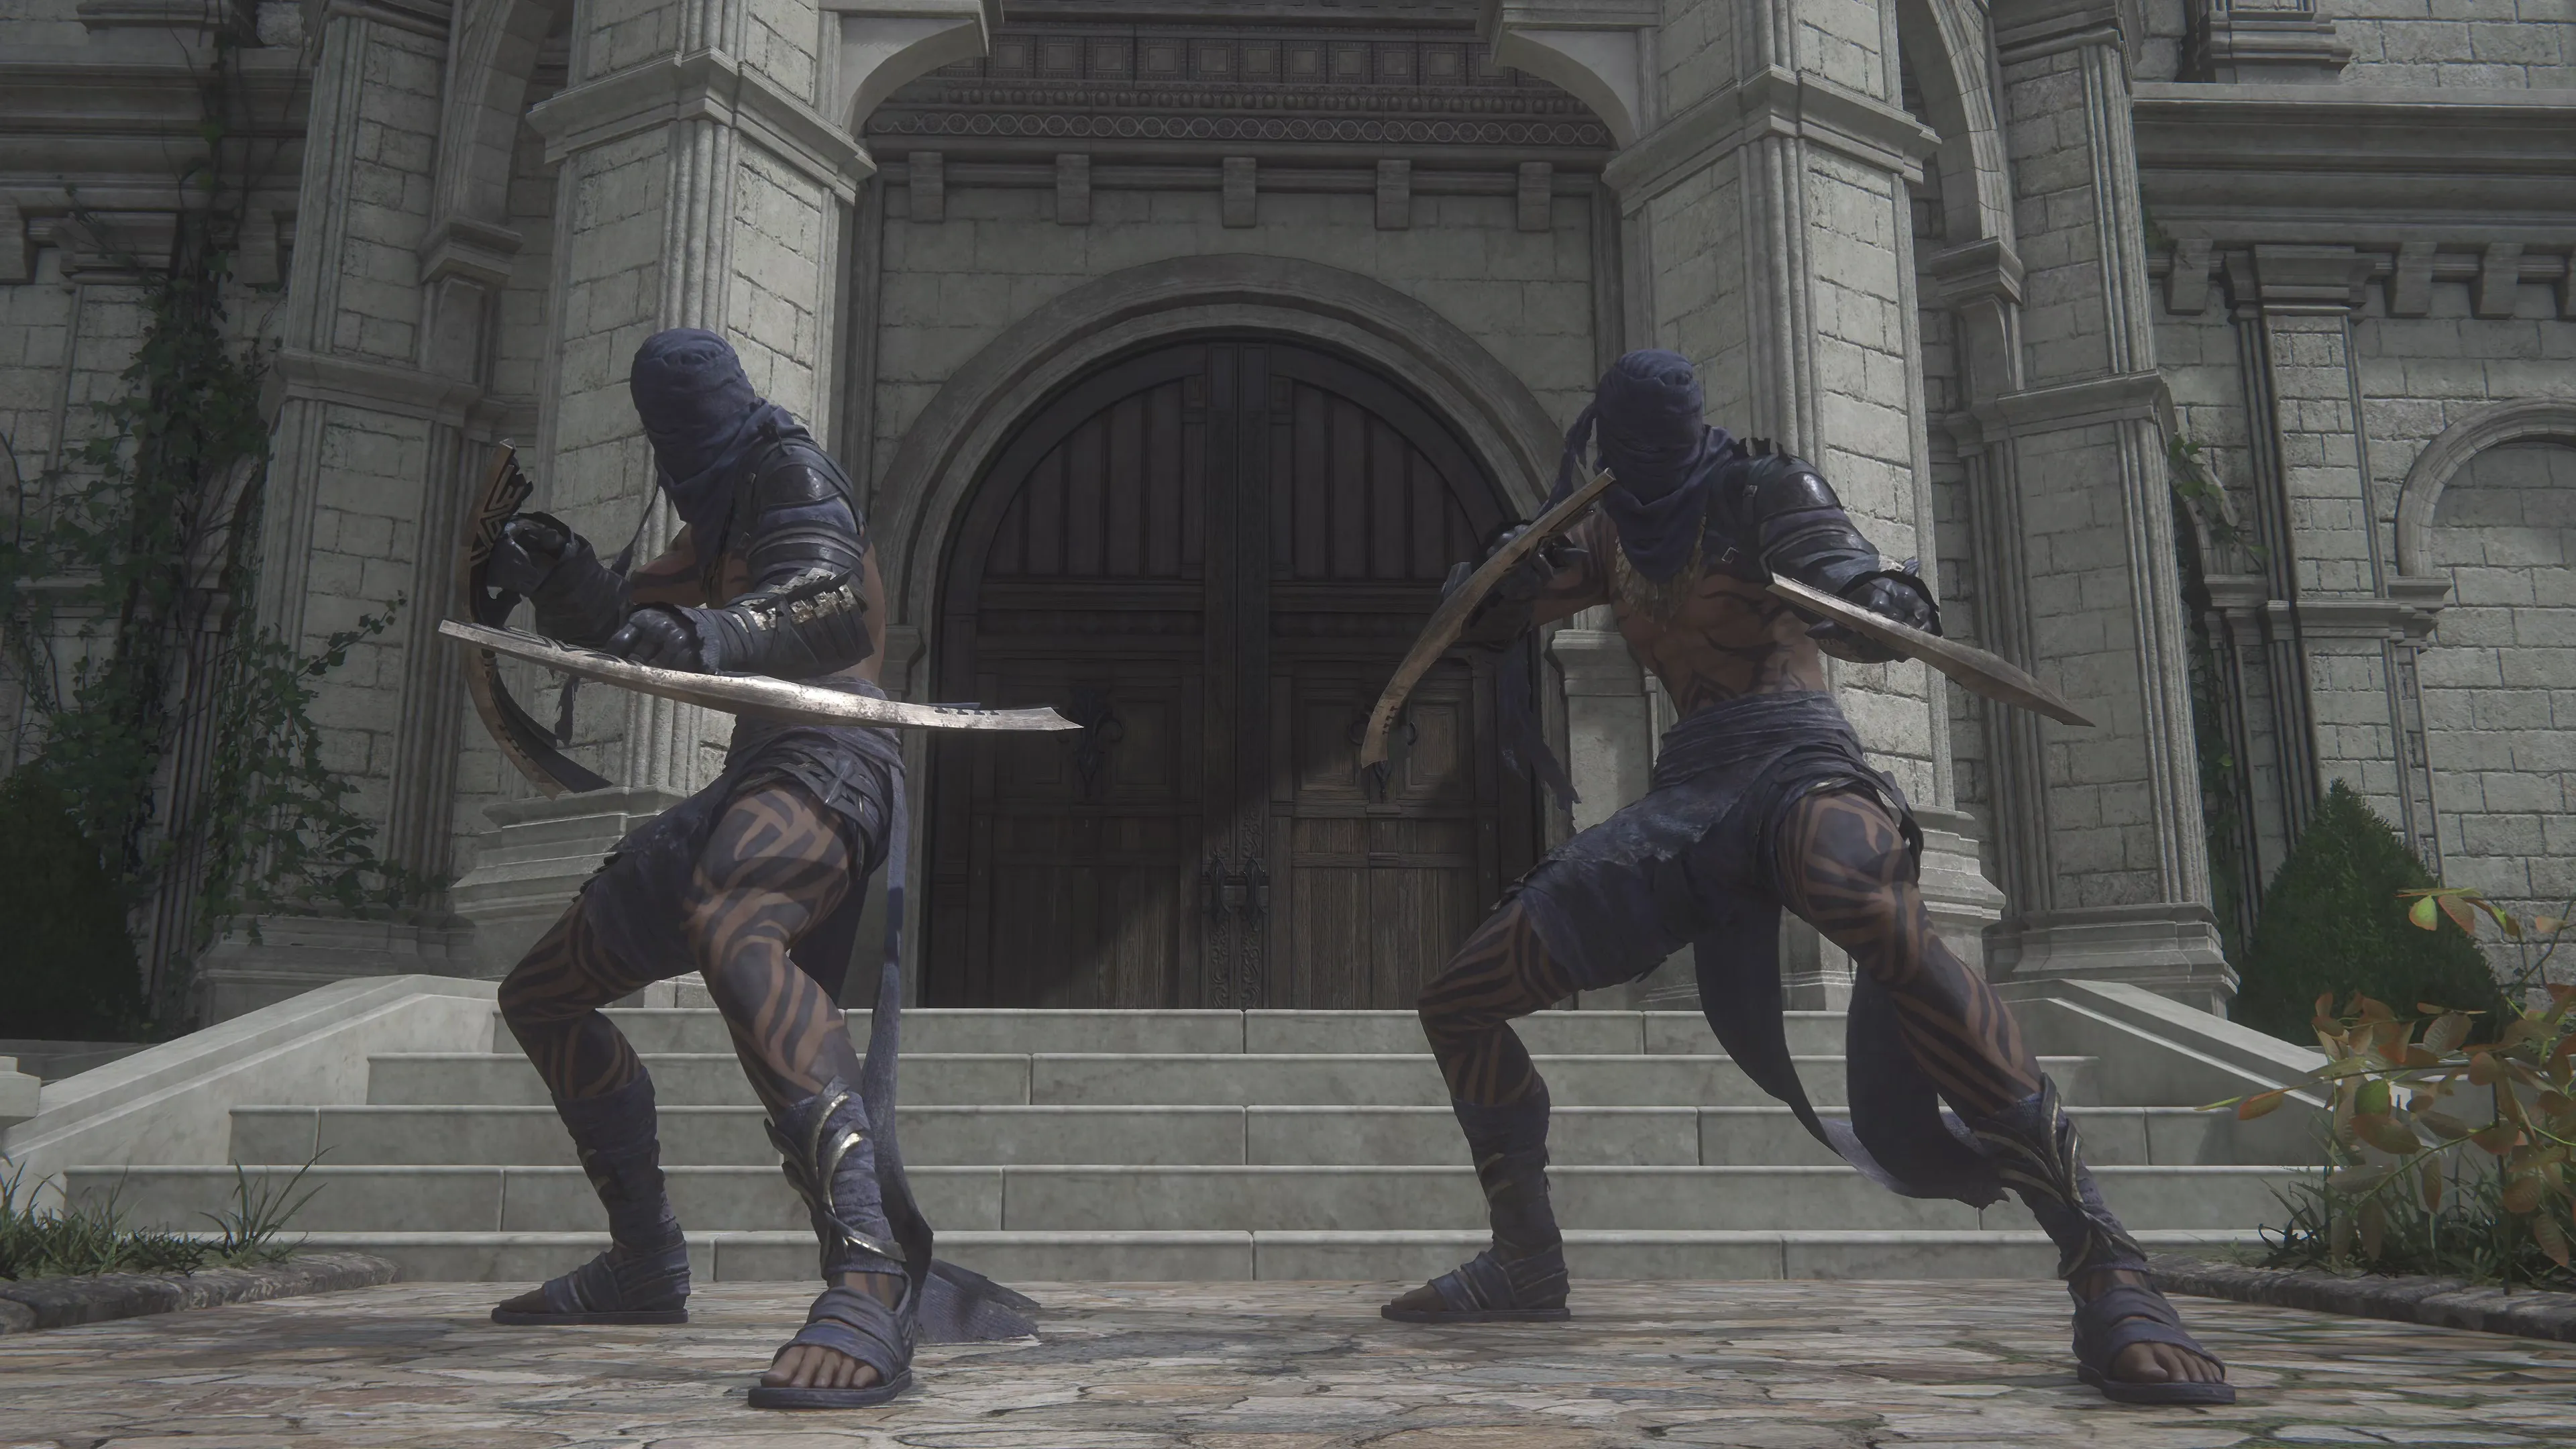
The Stone Headsman is a ninja-type enemy, just like the Midnight Raven enemy and Royal Tognvaldr that you have faced before. Try to focus on and target the Stone Headsman while Jill and Torgal focus on the Stone Scimitars that accompany him. After the battle, look for a ladder leading to the roof of one of the nearby stone houses.
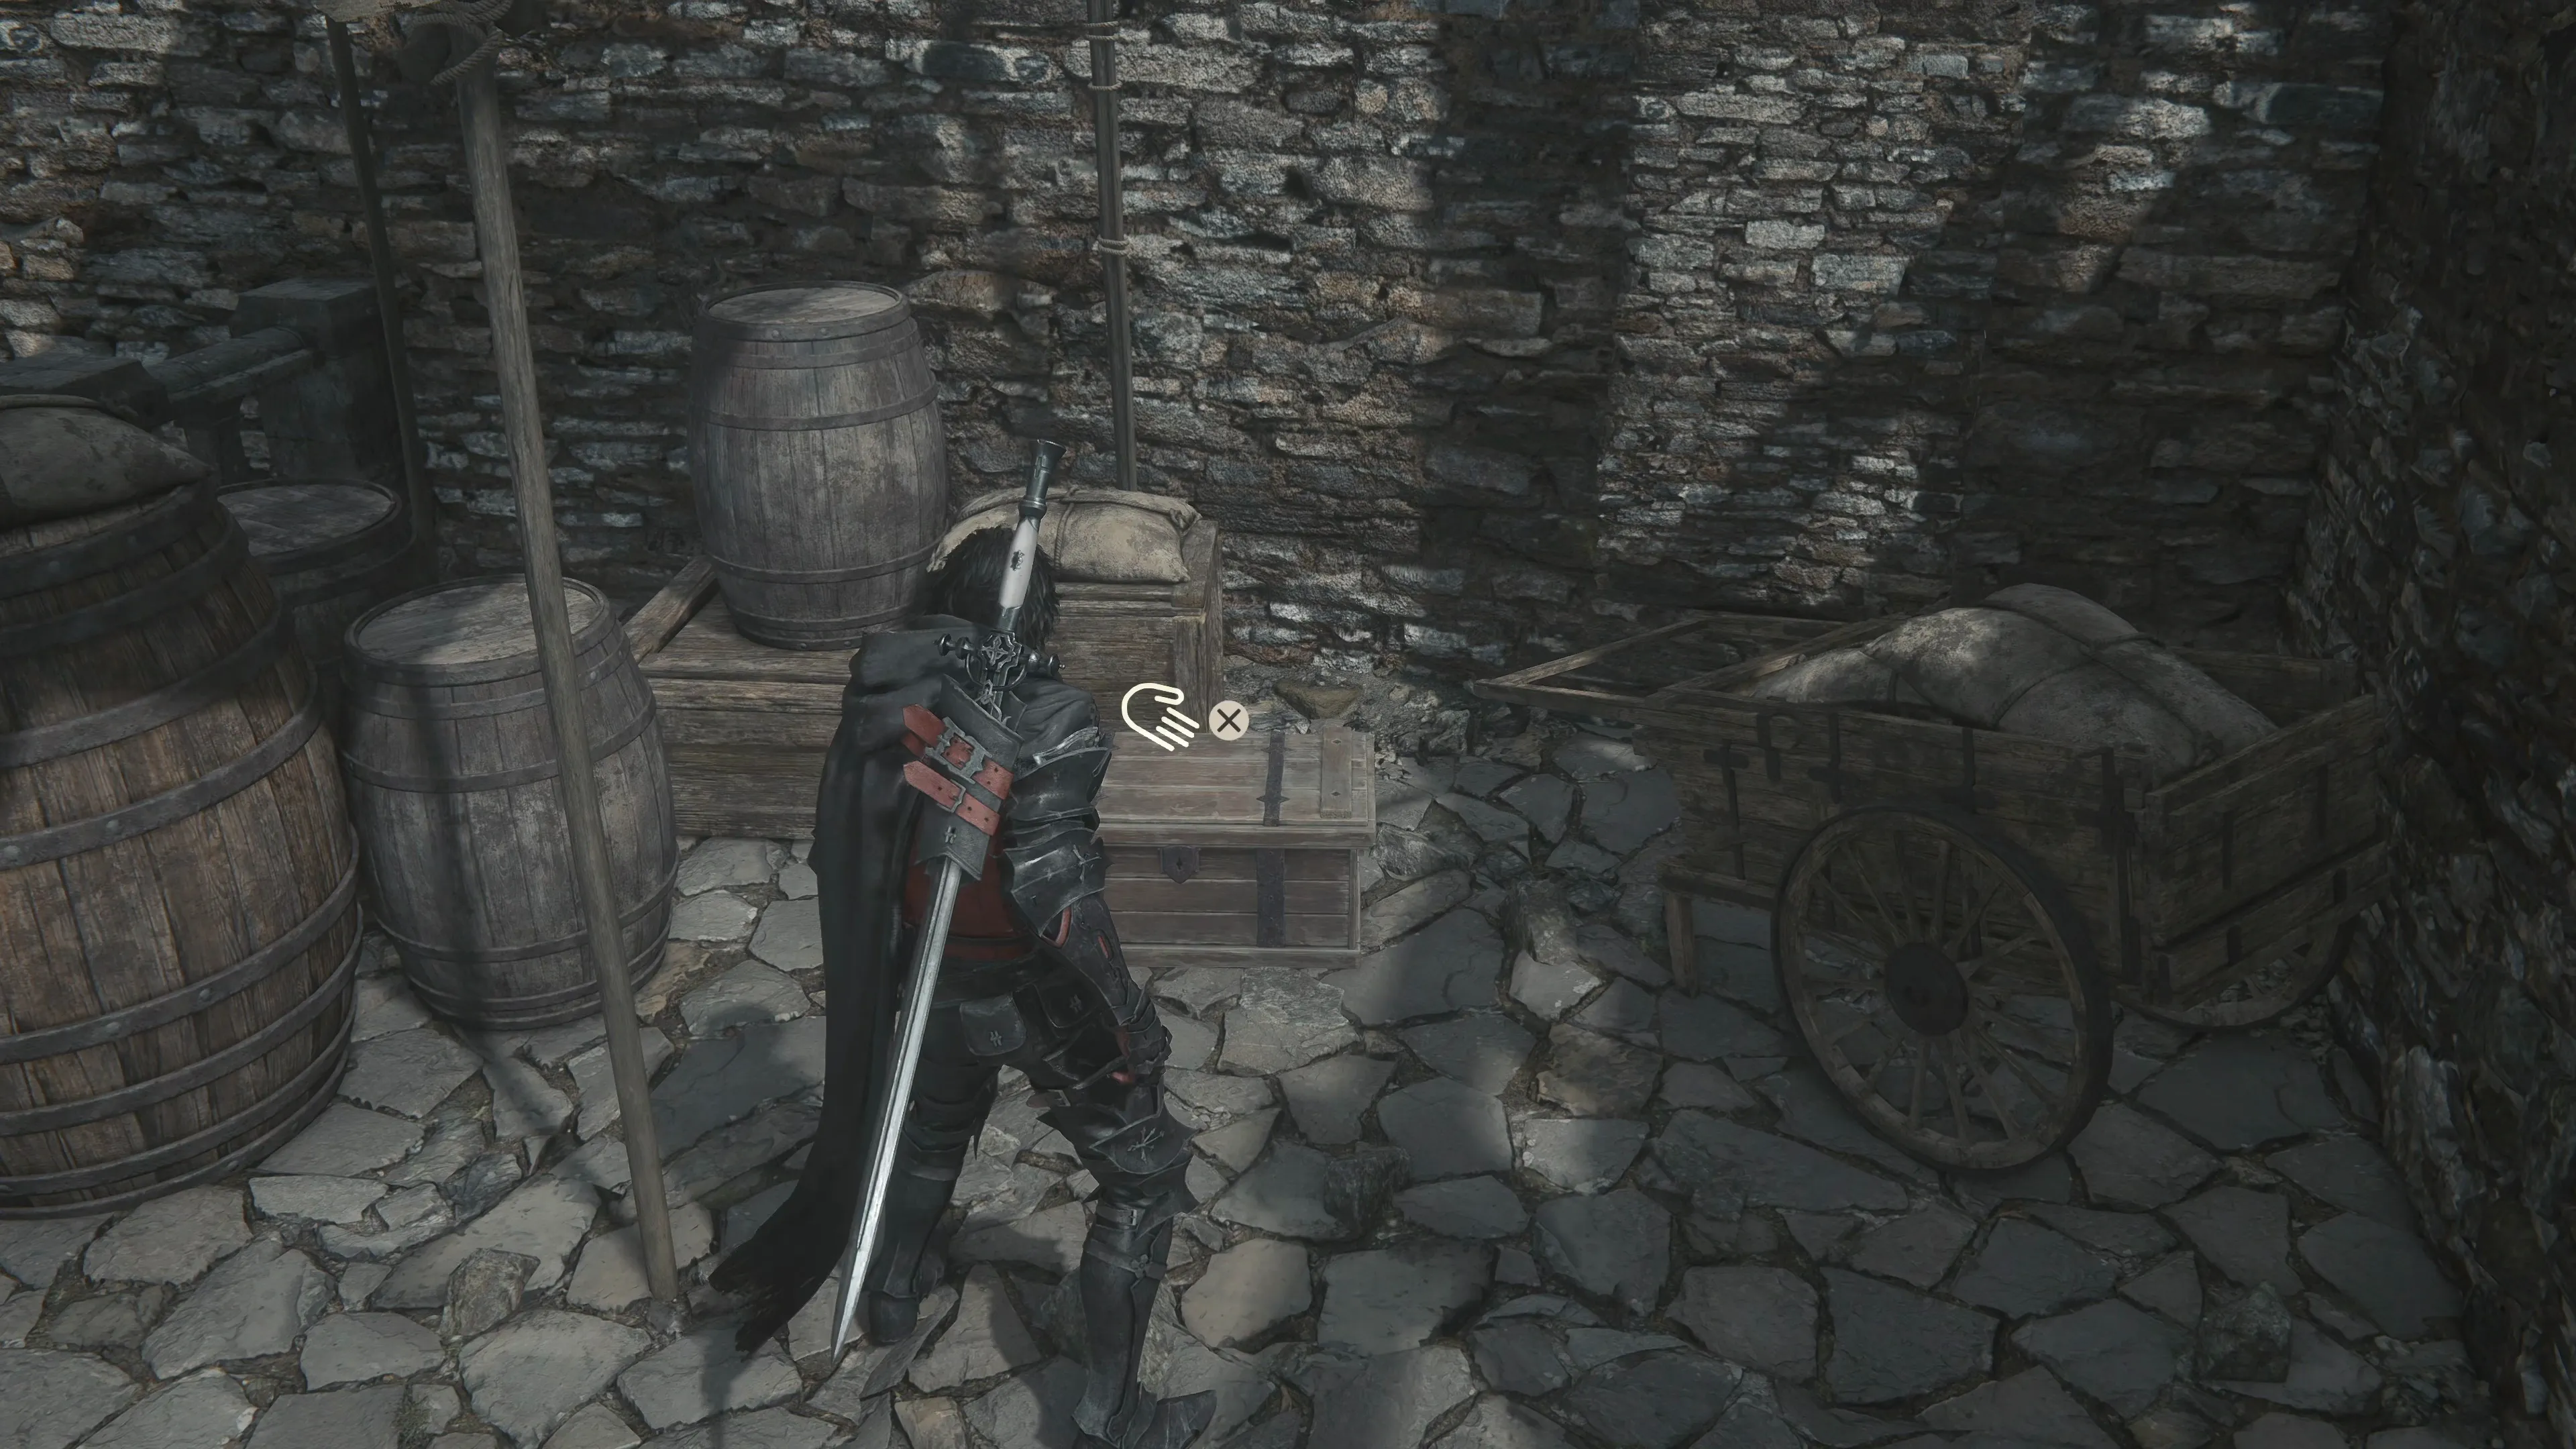
Along this upper balcony, to the left of the staircase, is a treasure coffer that contains 600 ![]() Gil and ten spools of
Gil and ten spools of ![]() Steelsilk. Climb the stairs, grabbing the Glimmers along the way, and go through the gate into the next area. There is a Stone Scepter up the stairs to the left that you should focus on first.
Steelsilk. Climb the stairs, grabbing the Glimmers along the way, and go through the gate into the next area. There is a Stone Scepter up the stairs to the left that you should focus on first.
Clive can climb the wall behind where the Stone Scepter was standing to get around the blockade of barrels blocking the staircase beside it. Keep climbing the stairs and look for another treasure coffer on the left side of the screen that contains the ![]() The Will of Lightning (Pile Drive) accessory.
The Will of Lightning (Pile Drive) accessory.
Switch to your single-target ![]() Eikonic Ability Set before you proceed through the gate into the next area.
Eikonic Ability Set before you proceed through the gate into the next area.
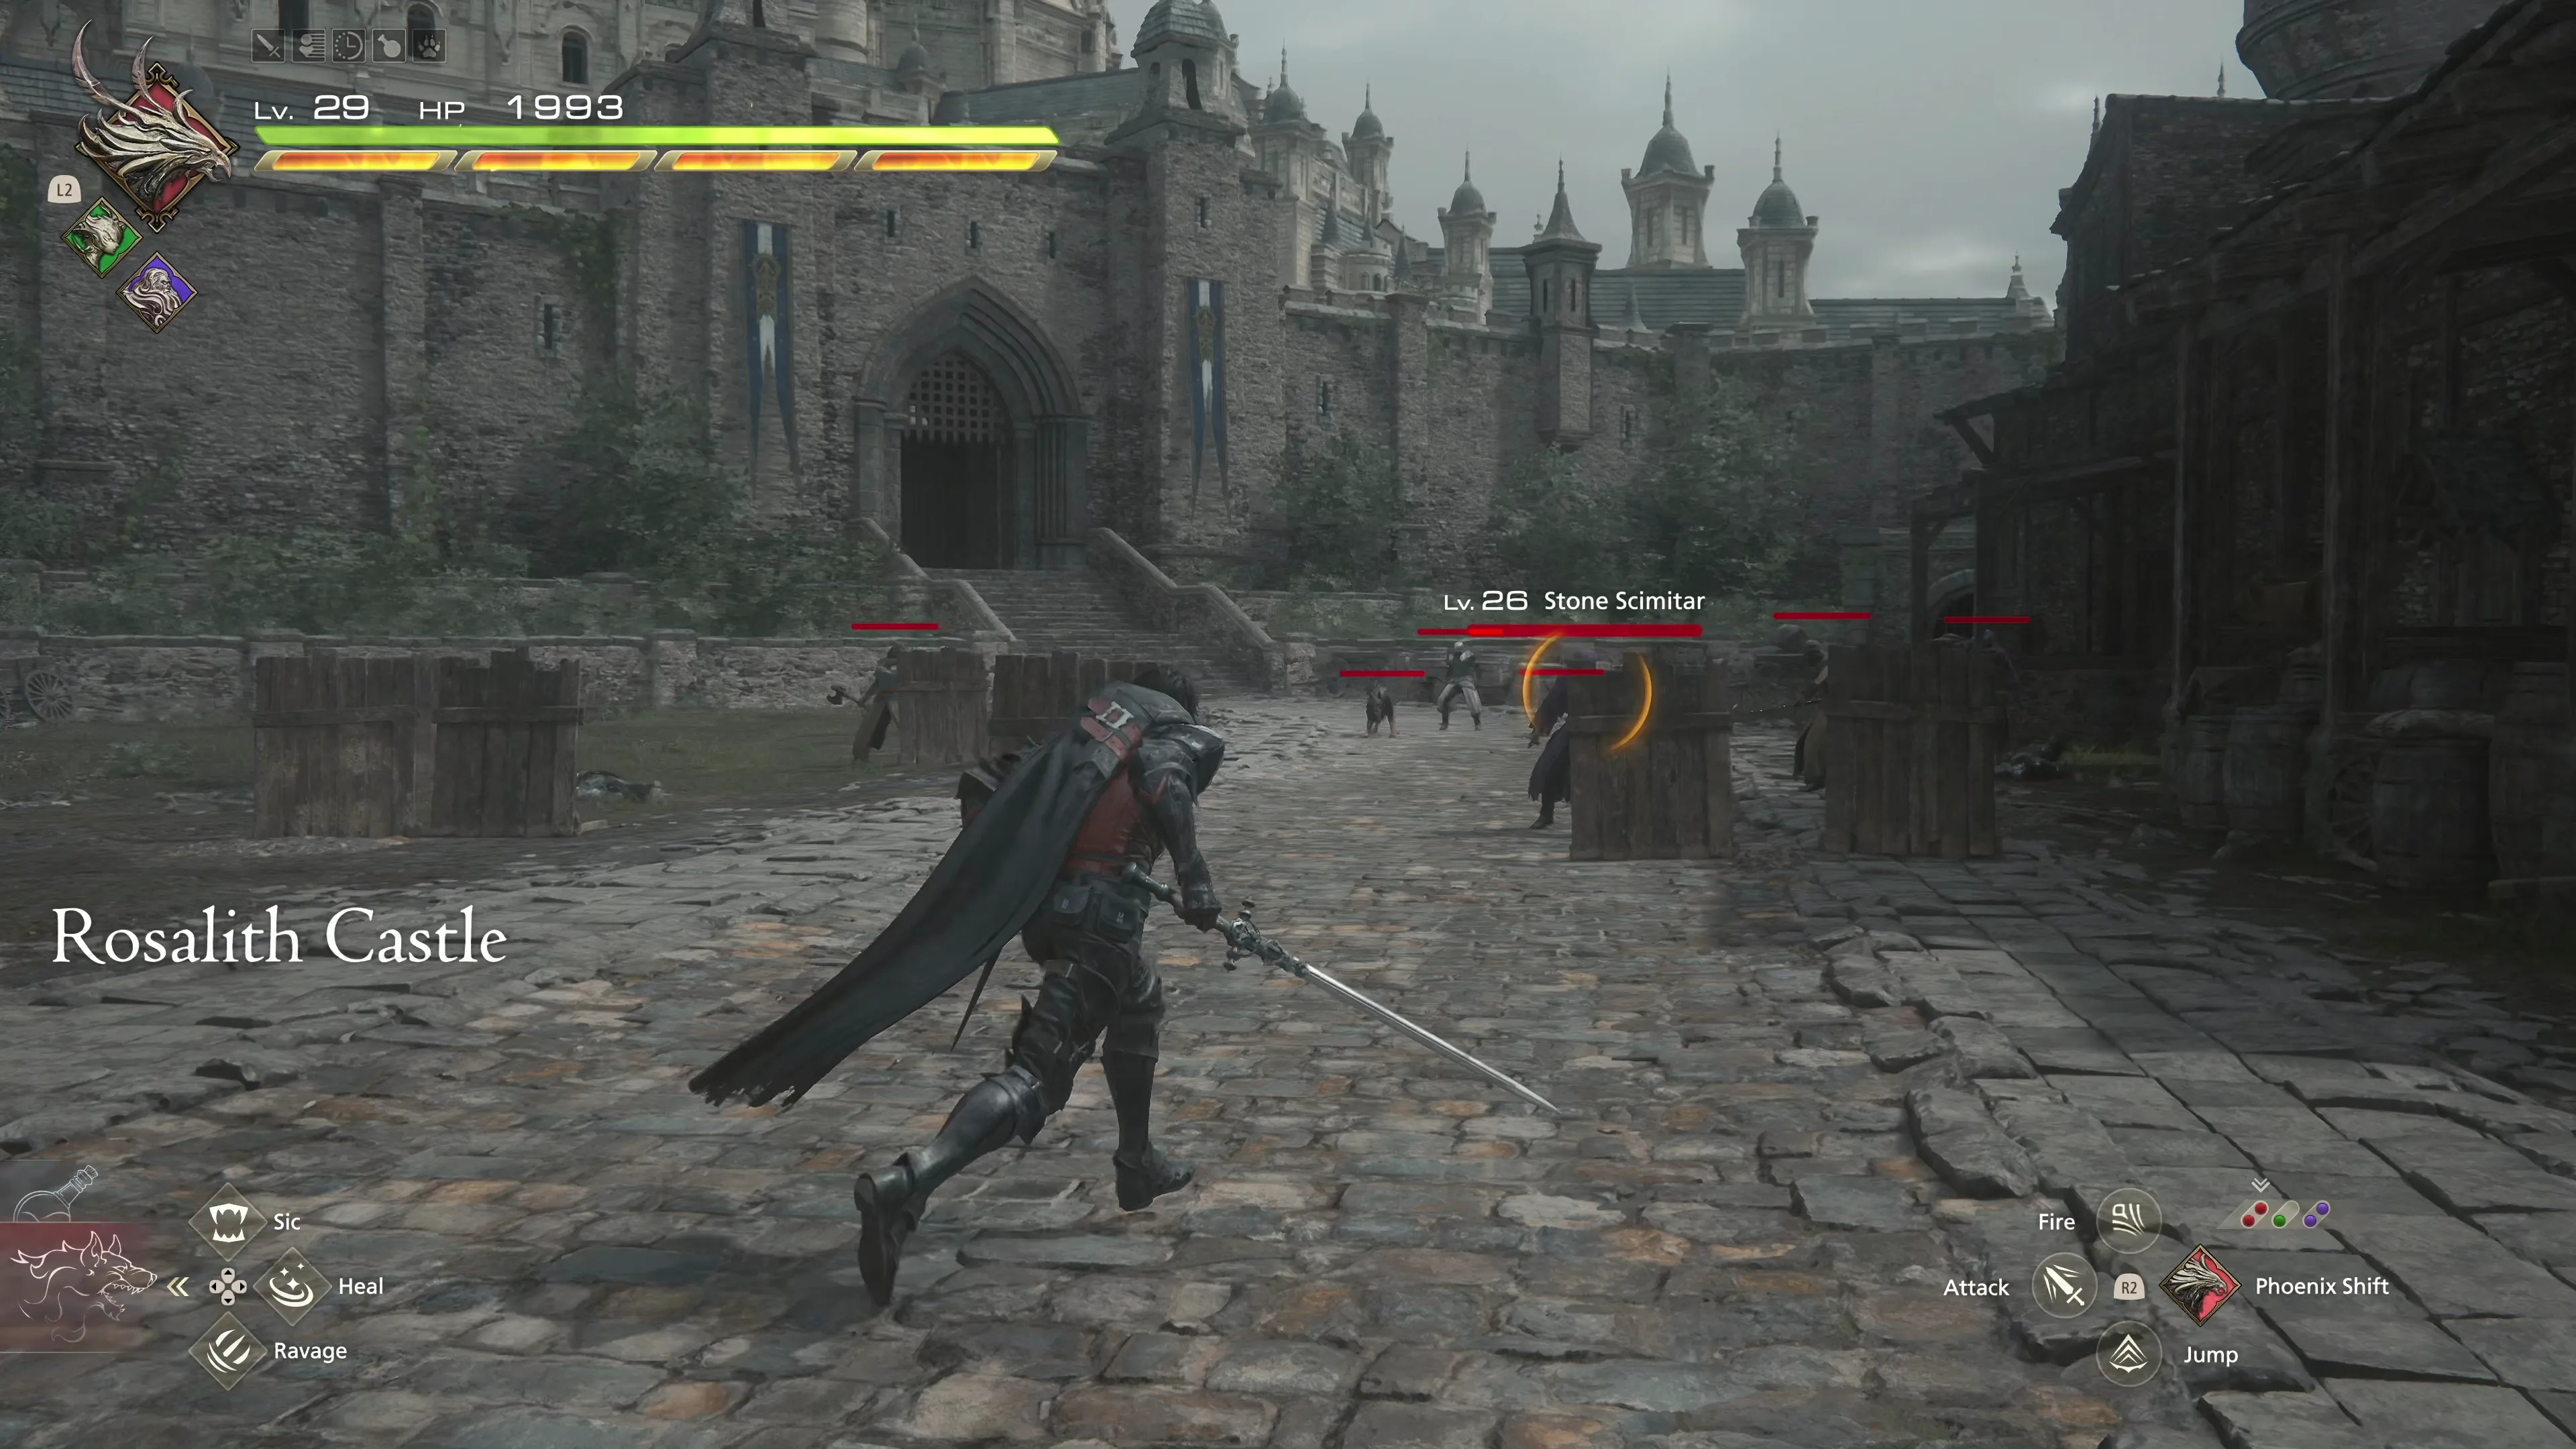
 Rosalith Castle
There is a large group of Stone Scimitars, Stone Commandants, and Stone Scepters to deal with when you first enter the castle courtyard. Just as before, focus on defeating the Scepters first to stop them from casting Protect on their allies. You will need to use an Eikonic Ability or other magic ability (such as ![]() Charged Magic or
Charged Magic or ![]() Burning Blade) to break through to enemies that have the “Protect” status effect.
Burning Blade) to break through to enemies that have the “Protect” status effect.
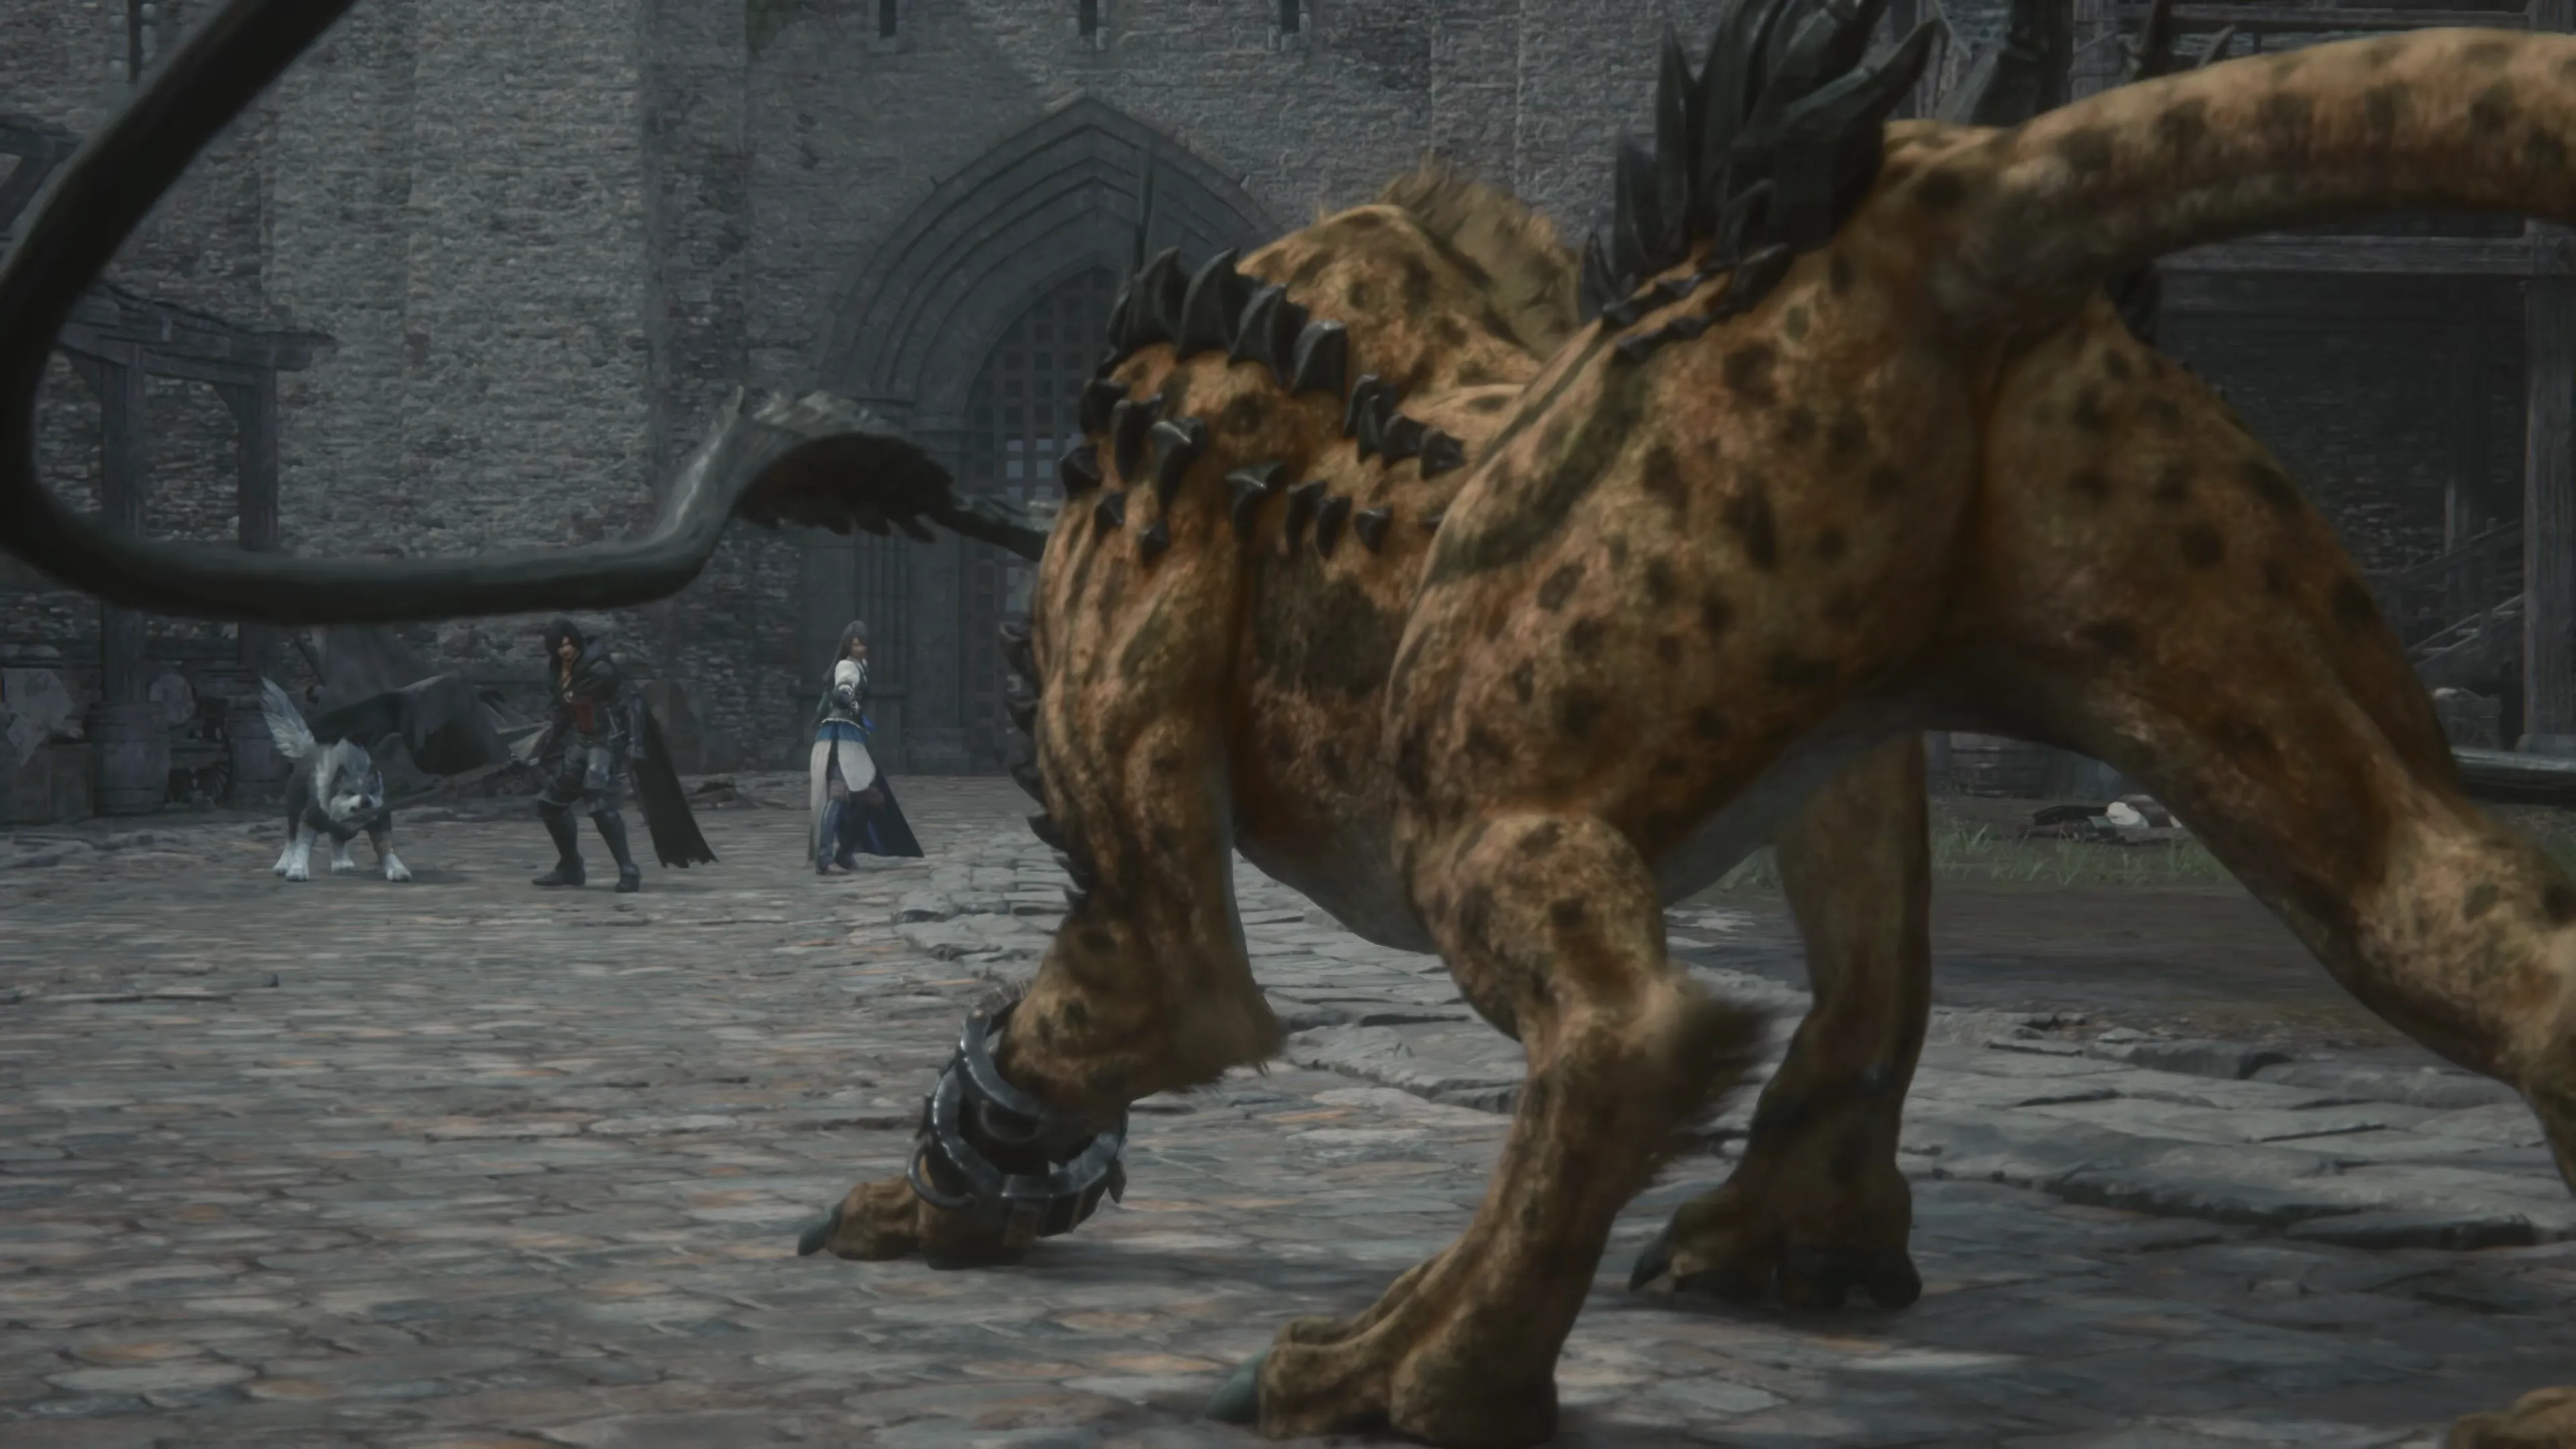
The Dhalmekians will set a Coeurl loose into the courtyard, which isn’t technically a boss, but let’s go over its moves because it can be a bit more challenging of a fight.
Helpful Hint
As a quick reminder, make sure that you’re triggering attacks from ![]() Torgal as often as you can, especially during a stagger, as the damage can add up. Press the D-Pad (
Torgal as often as you can, especially during a stagger, as the damage can add up. Press the D-Pad (![]()
![]()
![]() ) to activate his attacks, or, if you’re struggling to remember to use him, you can always use
) to activate his attacks, or, if you’re struggling to remember to use him, you can always use ![]() Ring of Timely Assistance if you’re struggling. The upcoming boss battle is an excellent opportunity to make use of Torgal’s arsenal.
Ring of Timely Assistance if you’re struggling. The upcoming boss battle is an excellent opportunity to make use of Torgal’s arsenal.
Boss Battle
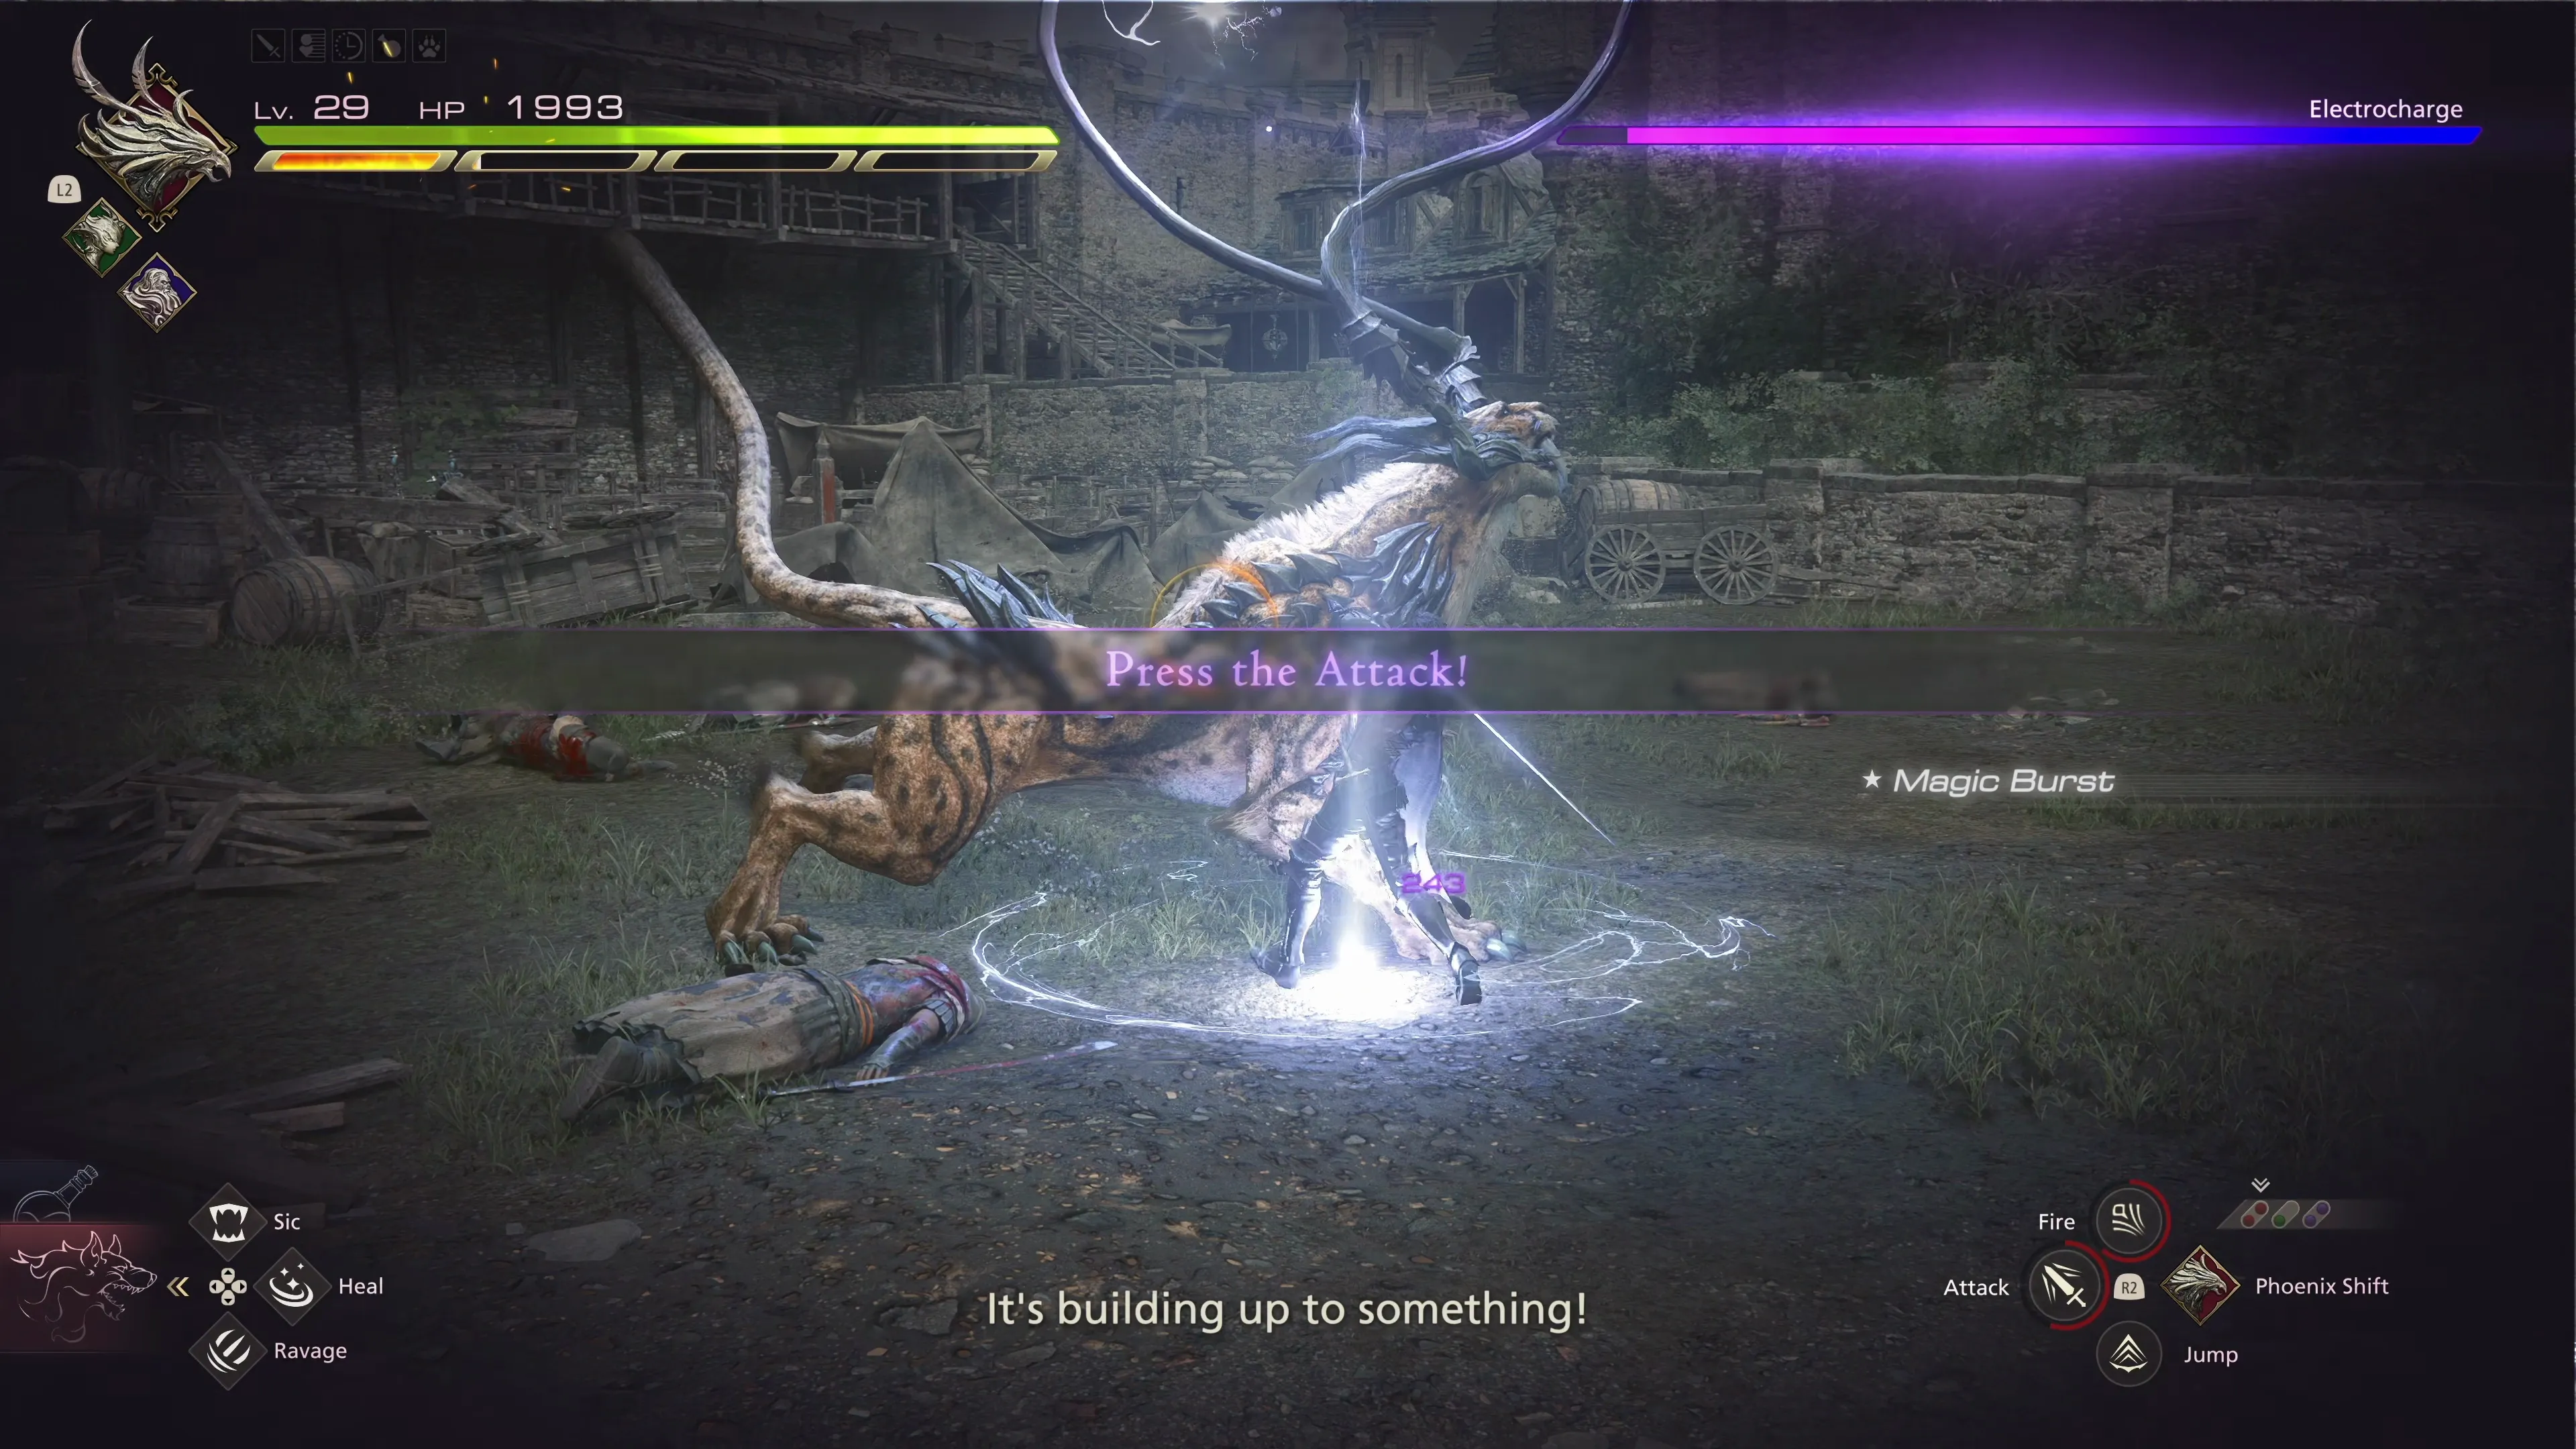
You’ll have to face a few coeurl-type enemies as you continue through the game, so it’s a good idea to get used to its moveset as early as possible. You can expect the following attacks:
![]() Claw Swipe:
Claw Swipe:
The Coeurl’s standard front-facing attack with a claw swing.
![]() Lunge:
Lunge:
The Coeurl will take a step back briefly before charging forward to attack.
![]() Whirlwind:
Whirlwind:
The Coeurl will glow a bright blue color (signifying that you should get ready to dodge) before whipping its whiskers around its body, dealing damage in all directions.
![]() Electric Blast:
Electric Blast:
The Coeurl’s two electric whiskers will light up, and a blue orb will begin forming in front of it. Once it’s done charging, the Coeurl will launch a quick blast of electricity towards you. You can counterattack this magic blast using ![]() Heatwave.
Heatwave.
![]() Whipcrack:
Whipcrack:
The Coeurl will fling its two whiskers forward, one after the other, hitting a vast area in front of it. It can be challenging to get used to the timing and range of this attack, but get ready to dodge twice when you see it coming, unless you can get out of its range or behind the Coeurl once it initiates the attack.
![]() Lightning Rods:
Lightning Rods:
Similar to Ramuh’s Lightning Rods, but electricity will flow between them, which will damage you if you cross it. Your best bet if these spawn is to get distance between you and the Coeurl and wait until they despawn.
At 50% HP, Coeurl will begin charging a powerful attack (“Electrocharge”), and you’ll have to deplete the purple bar in the top-right corner of the screen before its move is finished casting. This is pretty easy to do, as the game gives you more than enough time, but make sure to dodge the lightning spots on the ground.
Check out the video if you need help.
60
2,000
A video demonstration of how to successfully complete the fight against Coeurl.
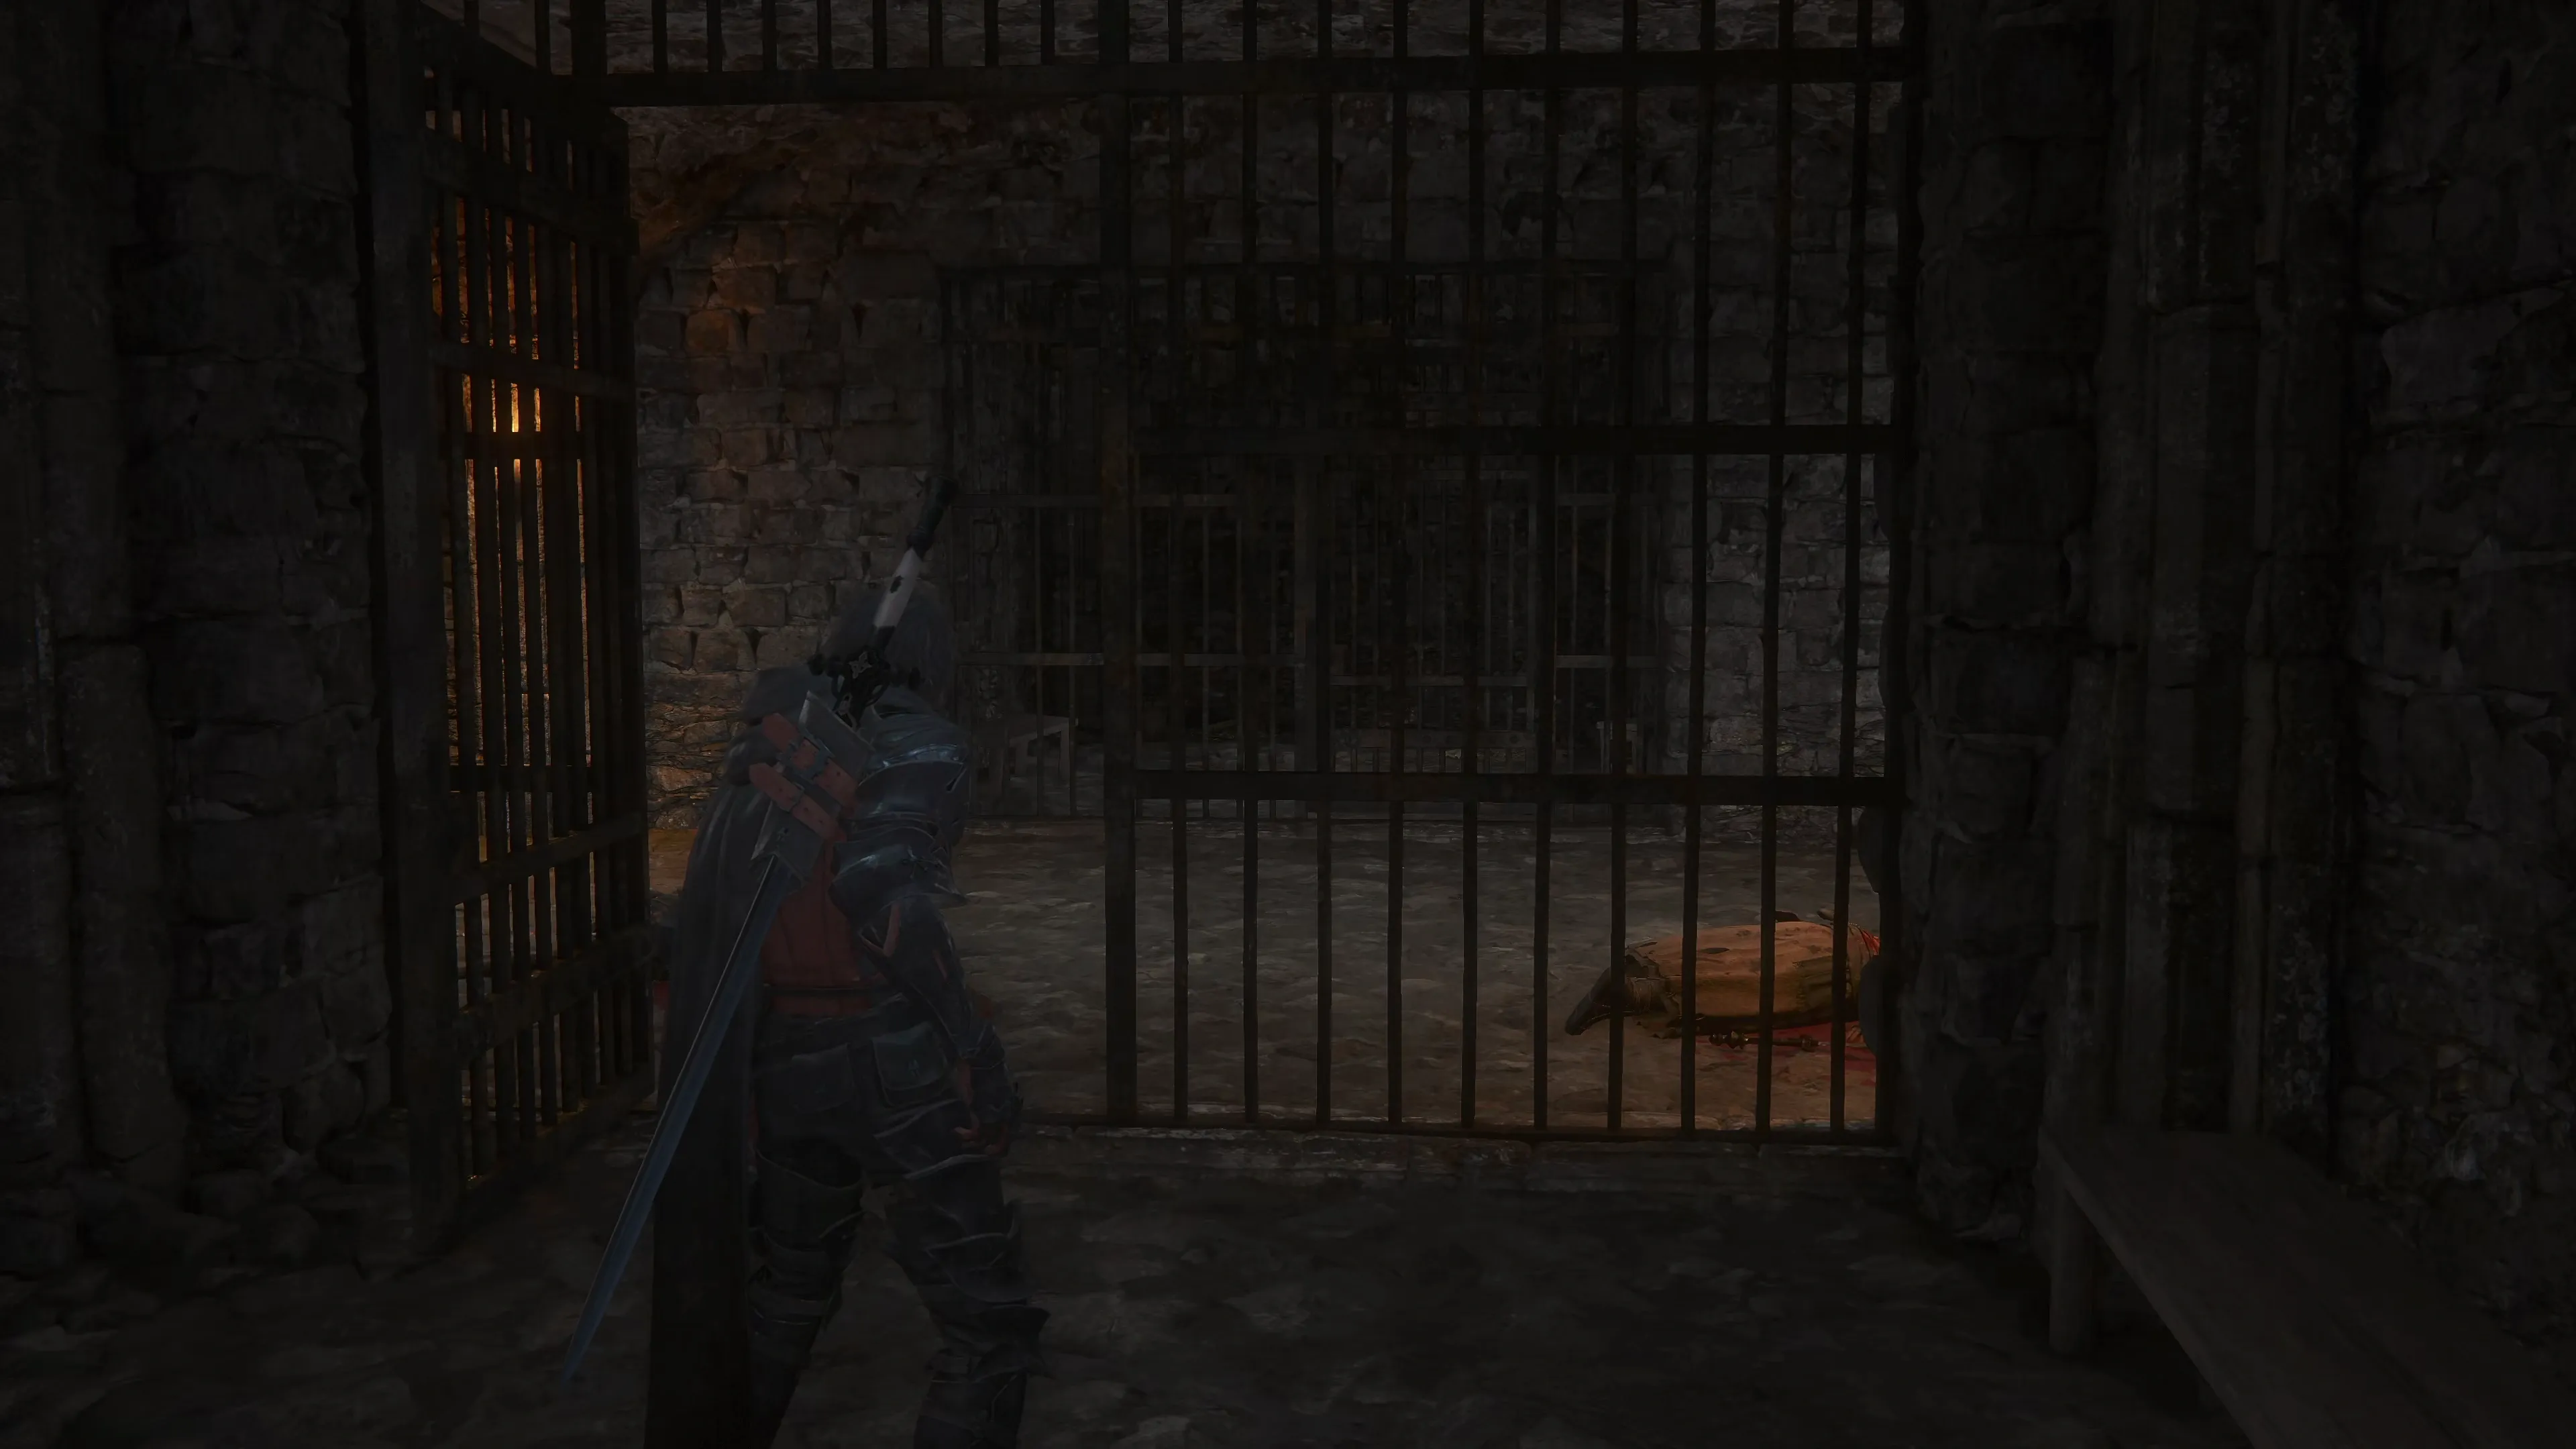
A few cutscenes will take place after the battle before Clive finds himself back in another prison. Follow the pathway out of the prison and up the stairs, collecting the Glimmers as you pass, and go back into the castle’s courtyard.
Clive, Jill, Gav, and Torgal will now face off against two sets of enemies. The first includes a Stone Gaoler, which is just like the Imperial Champion and Akashic Champions you’ve fought before. Steer clear of its large axe and let your other party members take care of the Stone Scimitars.
The second wave is a wave of just two enemies—two Stone Headsman, just like the one you faced earlier while traveling through the streets of Rosalith, except this time you’ll have to deal with both. While both of them are active, they attack less frequently, making it easier to focus on just one of them at a time. You can all rely on your three teammates to distract one of them so you can focus on one. If you can, though, try to have your ‘area of effect’ and multi-target abilities hit both of them at the same time.
The next boss you’ll face off against is just up ahead in the throne room. Inside the front foyer, though, head up the stairs and grab the Glimmer spots to refill your ![]() Potions and
Potions and ![]() High Potions, and then save your game just outside the doors. Make sure your single-target
High Potions, and then save your game just outside the doors. Make sure your single-target ![]() Eikonic Ability Set is active before you head through. Also, it’s a good idea to equip your
Eikonic Ability Set is active before you head through. Also, it’s a good idea to equip your ![]() Berserker Ring for this fight.
Berserker Ring for this fight.

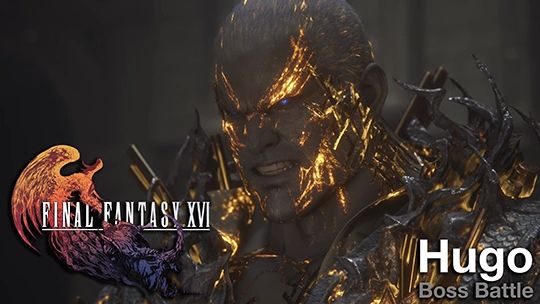
Boss Battle

This fight involves battling against Hugo for all three phases, but Hugo’s ability set changes for each phase, so it’s easier to break the fight down into each of these three phases and provide an overview of Hugo’s moves and the strategies you should employ for each section of the battle.
Phase 1
Hugo’s attacks in Phase 1 are pretty straightforward. They all involve him thrusting forward towards Clive, allowing you ample opportunity to dodge each of them once you get the timing down. His attacks are as follows:
![]() Flying X Attack:
Flying X Attack:
This is the very first attack that Hugo will use. This isn’t the official name of this attack or anything, but it’s easy to identify this way because Hugo’s hands will enlarge and he will cross them in an X pattern in front of himself before flying across the screen towards Clive. There are two attacks that Hugo uses, including this one, that won’t change throughout the fight. This attack is easy to see coming, easy to dodge, and it’s easy to get some attacks in on Hugo once he uses it (or counterattack it with ![]() Rook’s Gambit.
Rook’s Gambit.
![]() Regular Attack Combo:
Regular Attack Combo:
This regular attack can be identified easily because it’s the only one where Hugo’s fists won’t light up when he initiates the attacks. The attack combo is one haymaker punch followed by an immediate kick, and you’ll need to be ready to dodge both quickly. This is the second of Hugo’s attacks that stay the same throughout the fight.
![]() Earth Fists:
Earth Fists:
Hugo’s two arms will light up at his side, and he will dash across the screen, attempting to uppercut Clive. Hugo will turn this into a more lengthy combo attack as we move into later phases of the fight, but at the beginning, it’s just a single uppercut attack.
![]() Sledgehammer:
Sledgehammer:
This is a counterattack that Hugo will use if you attack him with a regular ![]() Melee Attack. You can dodge and counterattack his counterattack.
Melee Attack. You can dodge and counterattack his counterattack.
Throughout all three phases of the fight, Hugo can counterattack regular ![]() Melee Attacks and will use
Melee Attacks and will use ![]() Titanic Block for phases 2 and 3. You can break through all of this if your
Titanic Block for phases 2 and 3. You can break through all of this if your ![]() Berserker Ring attack proficiency is active after executing a successful
Berserker Ring attack proficiency is active after executing a successful ![]() Precision Dodge, making this accessory extremely helpful for this battle.
Precision Dodge, making this accessory extremely helpful for this battle.
This phase of the fight concludes when Hugo reaches approximately 65% HP. A cutscene will trigger with a cinematic evasion partway through. Once Hugo and Clive fall to the lower level, phase 2 of the fight begins.
Phase 2
Hugo will begin Phase 2 by using an attack called Geocrush. He will still use the “Flying X Attack” and the “Regular Attack Combo,” which remain unchanged, but here are his updated and new abilities:
![]() Geocrush:
Geocrush:
Hugo will dive into the earth, temporarily becoming untargetable. You will then see or feel three rumbles, and Hugo will begin bursting through the ground on the third rumble. If you happen to dodge right when he emerges, you can run away; otherwise, you’ll be temporarily stunned in place. You’ll still have to run out of the circle that appears, but you’ll have to wait for the stun to wear off. Don’t be in the circle when Hugo emerges; otherwise, you’ll take damage.
![]() Titanic Counter:
Titanic Counter:
At times, Hugo will raise both of his fists to block your attacks. If you hit him too many times while his fists are in a blocking position, he will perform a “Titanic Counter,” which deals a ton of damage. There are two ways to deal with this—you can either wait out the attack until Hugo puts his fists back down or break right through it, but only with an Eikonic Ability such as ![]() Heatwave or
Heatwave or ![]() Rising Flames.
Rising Flames.
![]() Earth Fists (Updated):
Earth Fists (Updated):
Now, instead of just one uppercut, Hugo will do two uppercuts, with the second uppercut being two consecutive attacks. You have to dodge both attacks now instead of just the one, similar to how you would dodge the “Regular Attack Combo.”
![]() Weight of the Land:
Weight of the Land:
Hugo will summon Quake underneath Clive, as well as in four spots around where Clive is standing, for a total of five places to dodge on the ground. This is easy to dodge, but you’ll have to make sure that you don’t accidentally dodge into one of the other Quake spots. Hugo very often follows this attack up with a “Landslide.”
![]() Landslide:
Landslide:
A straight line of magic will flow out from Hugo towards Clive. Dive out of the pathway before it explodes.
![]() Tumult:
Tumult:
Hugo will fly towards you and remain floating in the air. As he slams into the ground, a wave of energy radiates outward. The goal here is to dodge each of the circles that radiate away from him, as he will slam the ground a total of 3 times. The hardest part of doing this successfully is dodging the attacks without setting yourself up to be easily hit by the next wave. The easiest way to do this is to get a bit of distance from Hugo’s starting location and then dodge to the left or right, not forward or backward.
![]() Torment:
Torment:
This is the last attack that Hugo will use once he reaches approximately 40% HP, and it is an extremely long and drawn-out attack sequence.
Step 1) He will start by slamming the ground and lunging towards wherever Clive is, so dodge this first slam.
Step 2) He will dig into the ground using “Earth Fury” and explode most of the ground in a cone directly in front of him. Move far away from him to stay safe.
Step 3) He will begin winding up his arms and then lunge across the screen to Clive’s location, swinging his right arm (our left side), then left arm (our right side), and then one more right arm (our left side). The goal here is to be constantly jumping away from him and dodging until this attack sequence is over. It’s usually better to dodge to our left because, for some reason, the second attack (on our right side) tends to be the most difficult to dodge.
Step 4) Hugo will retreat to the back of the room and then fire his fists across the room to hit you. First the left, then the right, and then both at the same time. These are not too difficult to dodge because the distance gives us more time to react.
Step 5) Hugo will lunge across the screen towards Clive and slam his fist down twice in a row. For these attacks, don’t just continuously press the dodge button. Instead, time the dodges appropriately to coincide with when his fists hit the ground; otherwise, he has a high likelihood of connecting with these attacks.
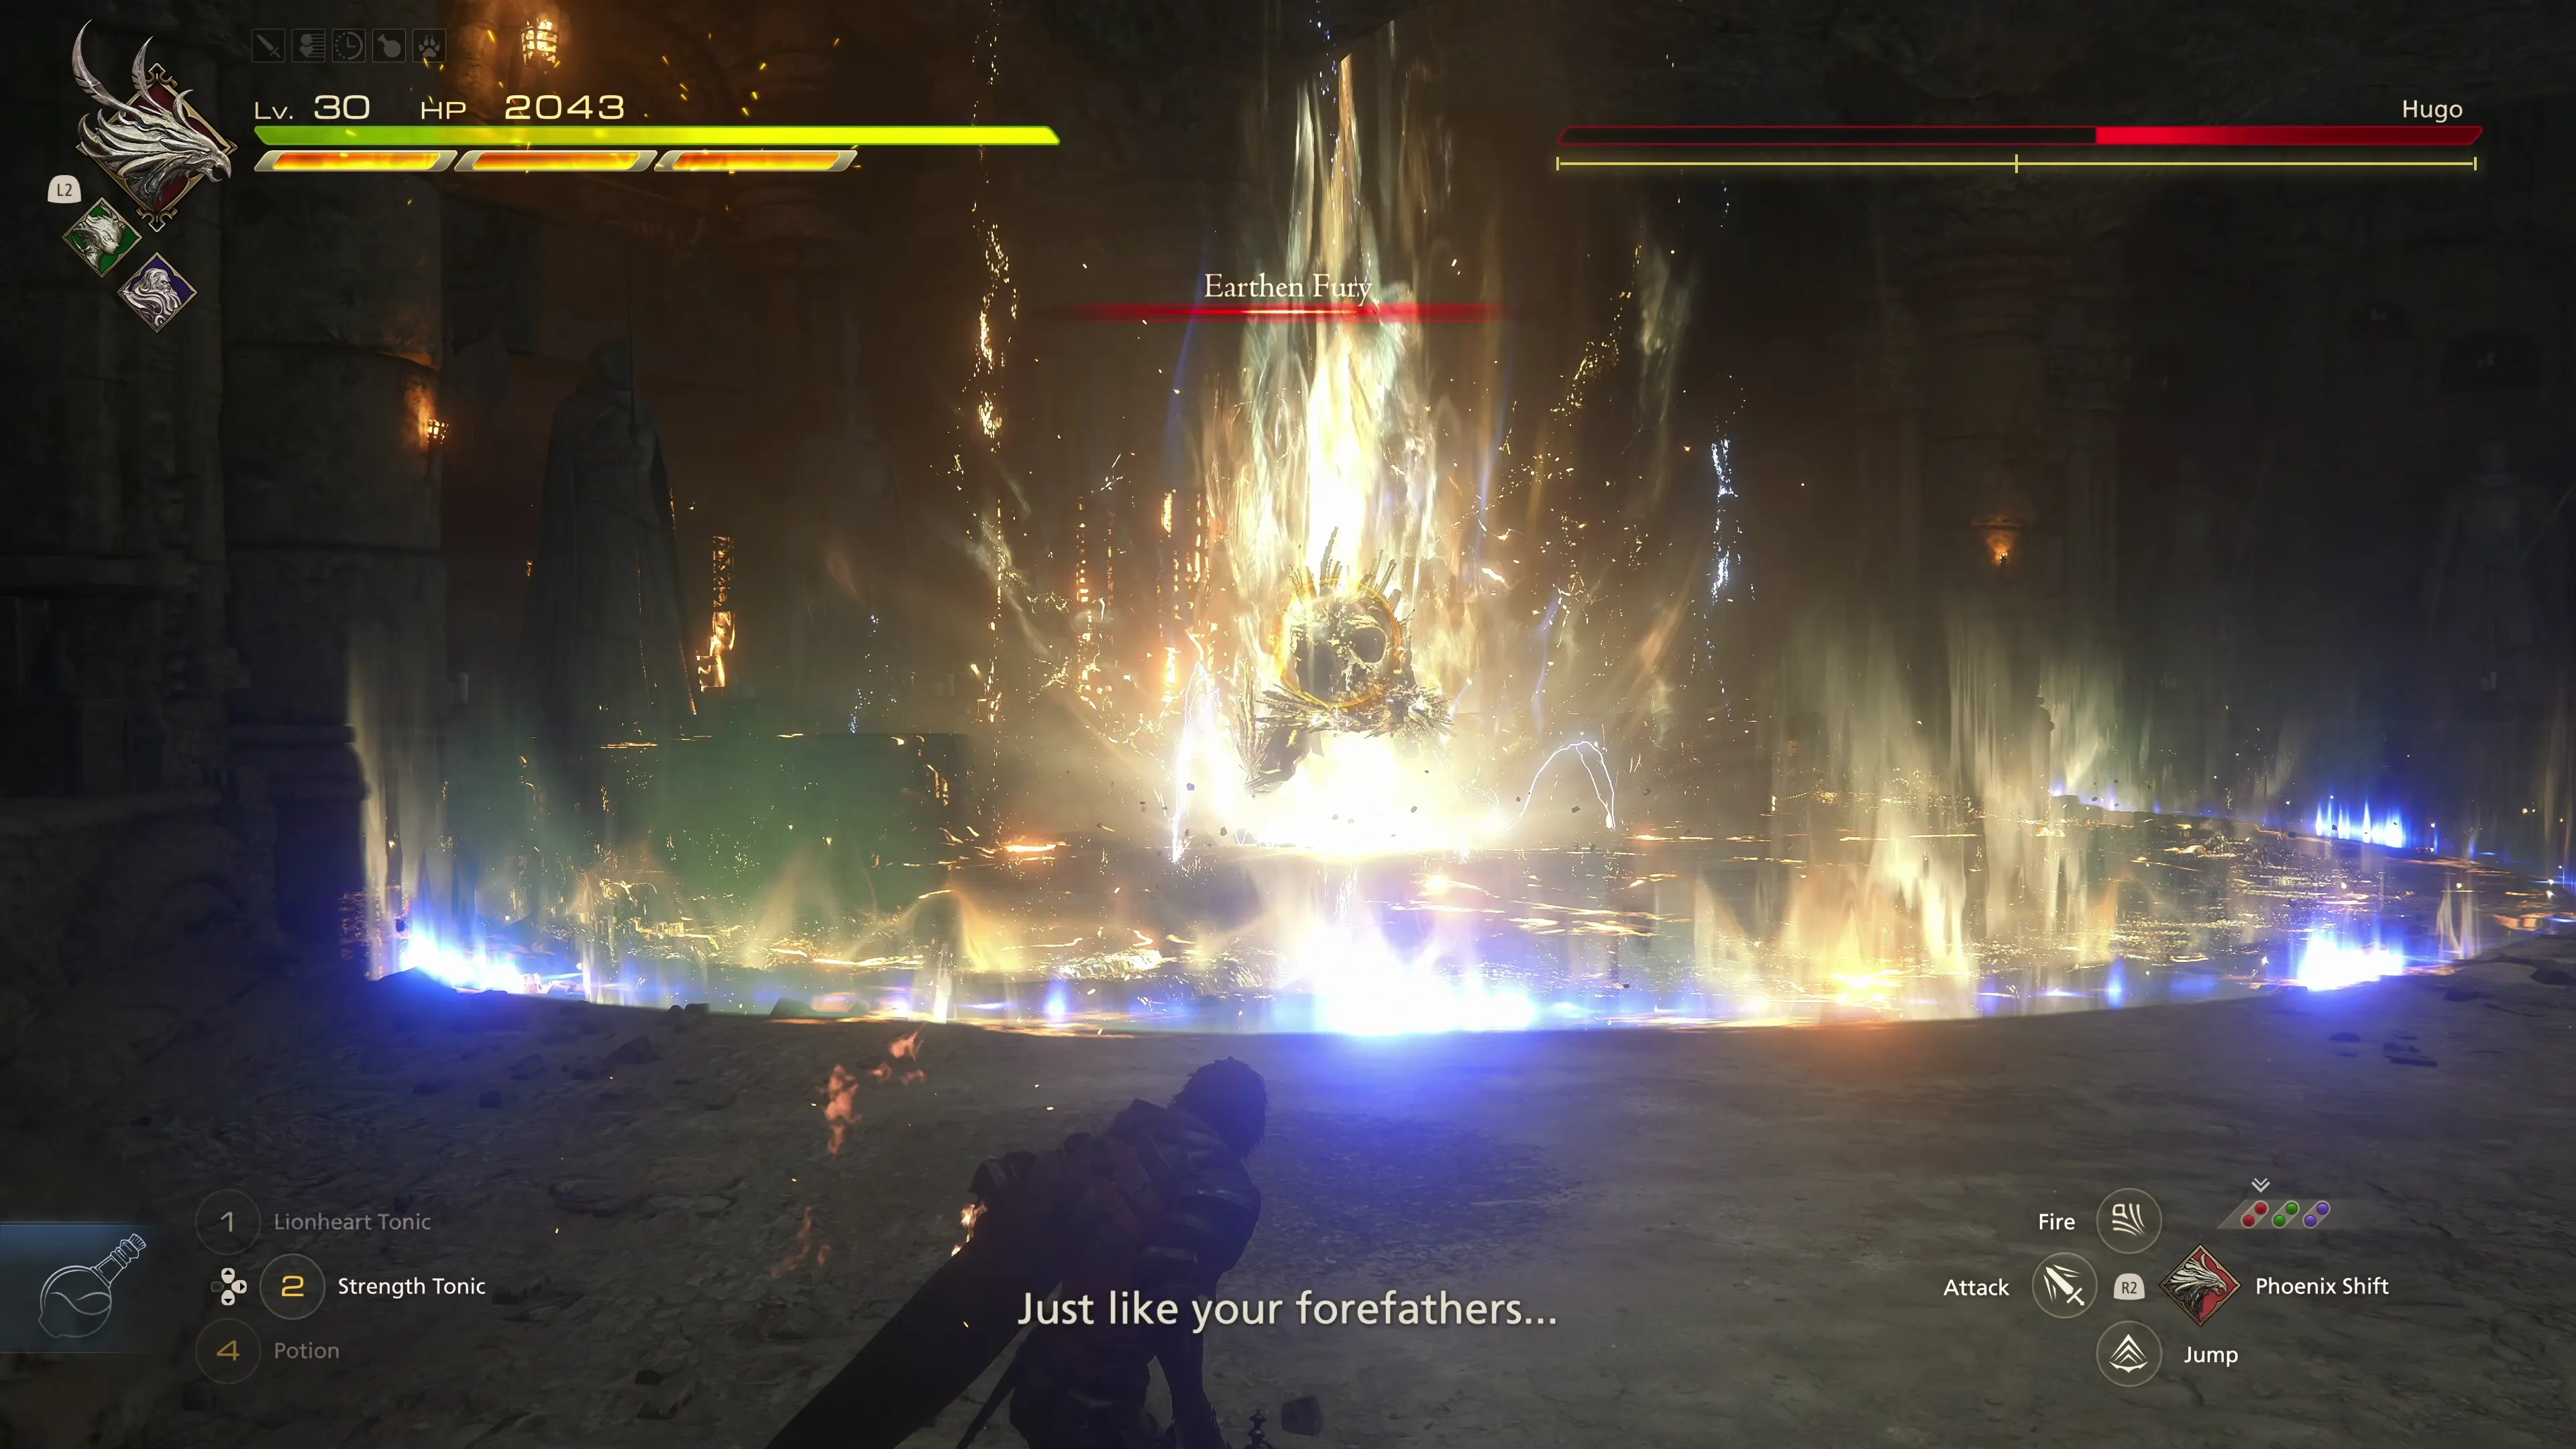
Step 6) He will transform and begin casting “Earthen Fury.” This attack lights up a large circle on the ground around Hugo. Move out of this circle to dodge the attack.
Once “Torment” has been used, we move into phase 3 of the fight, but it’s worth noting that Hugo is stunned for a brief period after using “Earthen Fury” at the end of the last sequence, so make sure you get a good attack combo on him before the beginning of the next phase.
Phase 3
We’ve reached the last and most challenging phase! So, what new attacks does he have, and what has changed?
![]() Earth Fists (Updated):
Earth Fists (Updated):
This attack has been updated yet again. We’ve moved from two attacks to three attacks. The third attack is a little bit slower, though, so you can’t dodge three times immediately. Instead, watch for Hugo to jump into the air and slam his fists down, and be ready to dodge when he does.
![]() Force of the Land (New):
Force of the Land (New):
This is the most annoying of Hugo’s new attacks. He will jump to one of the edges of the battlefield, but the attack covers almost the entire battlefield anyway, and he completes it so quickly that it’s nearly impossible to get out of range, so you’ll have to dodge it. The key to avoiding this attack is to watch Hugo’s large, lit-up hands. He will smash them into the ground once, which will spread yellow magical shards across the ground, and then he will quickly smash them into the ground, shattering all of the shards upwards. You need to execute an ![]()
![]()
![]() Dodge at the exact time that his hands hit the ground the second time. The timing is tricky to get used to—consider watching the video demonstration below if you’re having trouble.
Dodge at the exact time that his hands hit the ground the second time. The timing is tricky to get used to—consider watching the video demonstration below if you’re having trouble.
![]() Earthen Fist (New/Updated):
Earthen Fist (New/Updated):
This is a new ability, but it replaces his “Sledgehammer” and “Titanic Counter” attack as a counter if you hit him with your sword. His two fists will grow increasingly large before he slams them together in front of himself. This attack is easy to avoid because you can have plenty of time to run away or dodge out of the area in front of Hugo.
![]() Wind Up Punch: (New):
Wind Up Punch: (New):
This attack looks similar to the Regular Attack combo; Hugo will lunge towards Clive, but rather than immediately throwing a punch, he will wind his arm up backwards and blast magic forwards in a large radius. This is just another attack that you have to dodge when Hugo comes rushing out, but there are two differences from the other attacks. This one hits a large radius in front of Hugo, so you have to dodge away as far as possible, and there’s a slight delay on the attack compared to the “Regular Attack Combo,” so be prepared for this too.
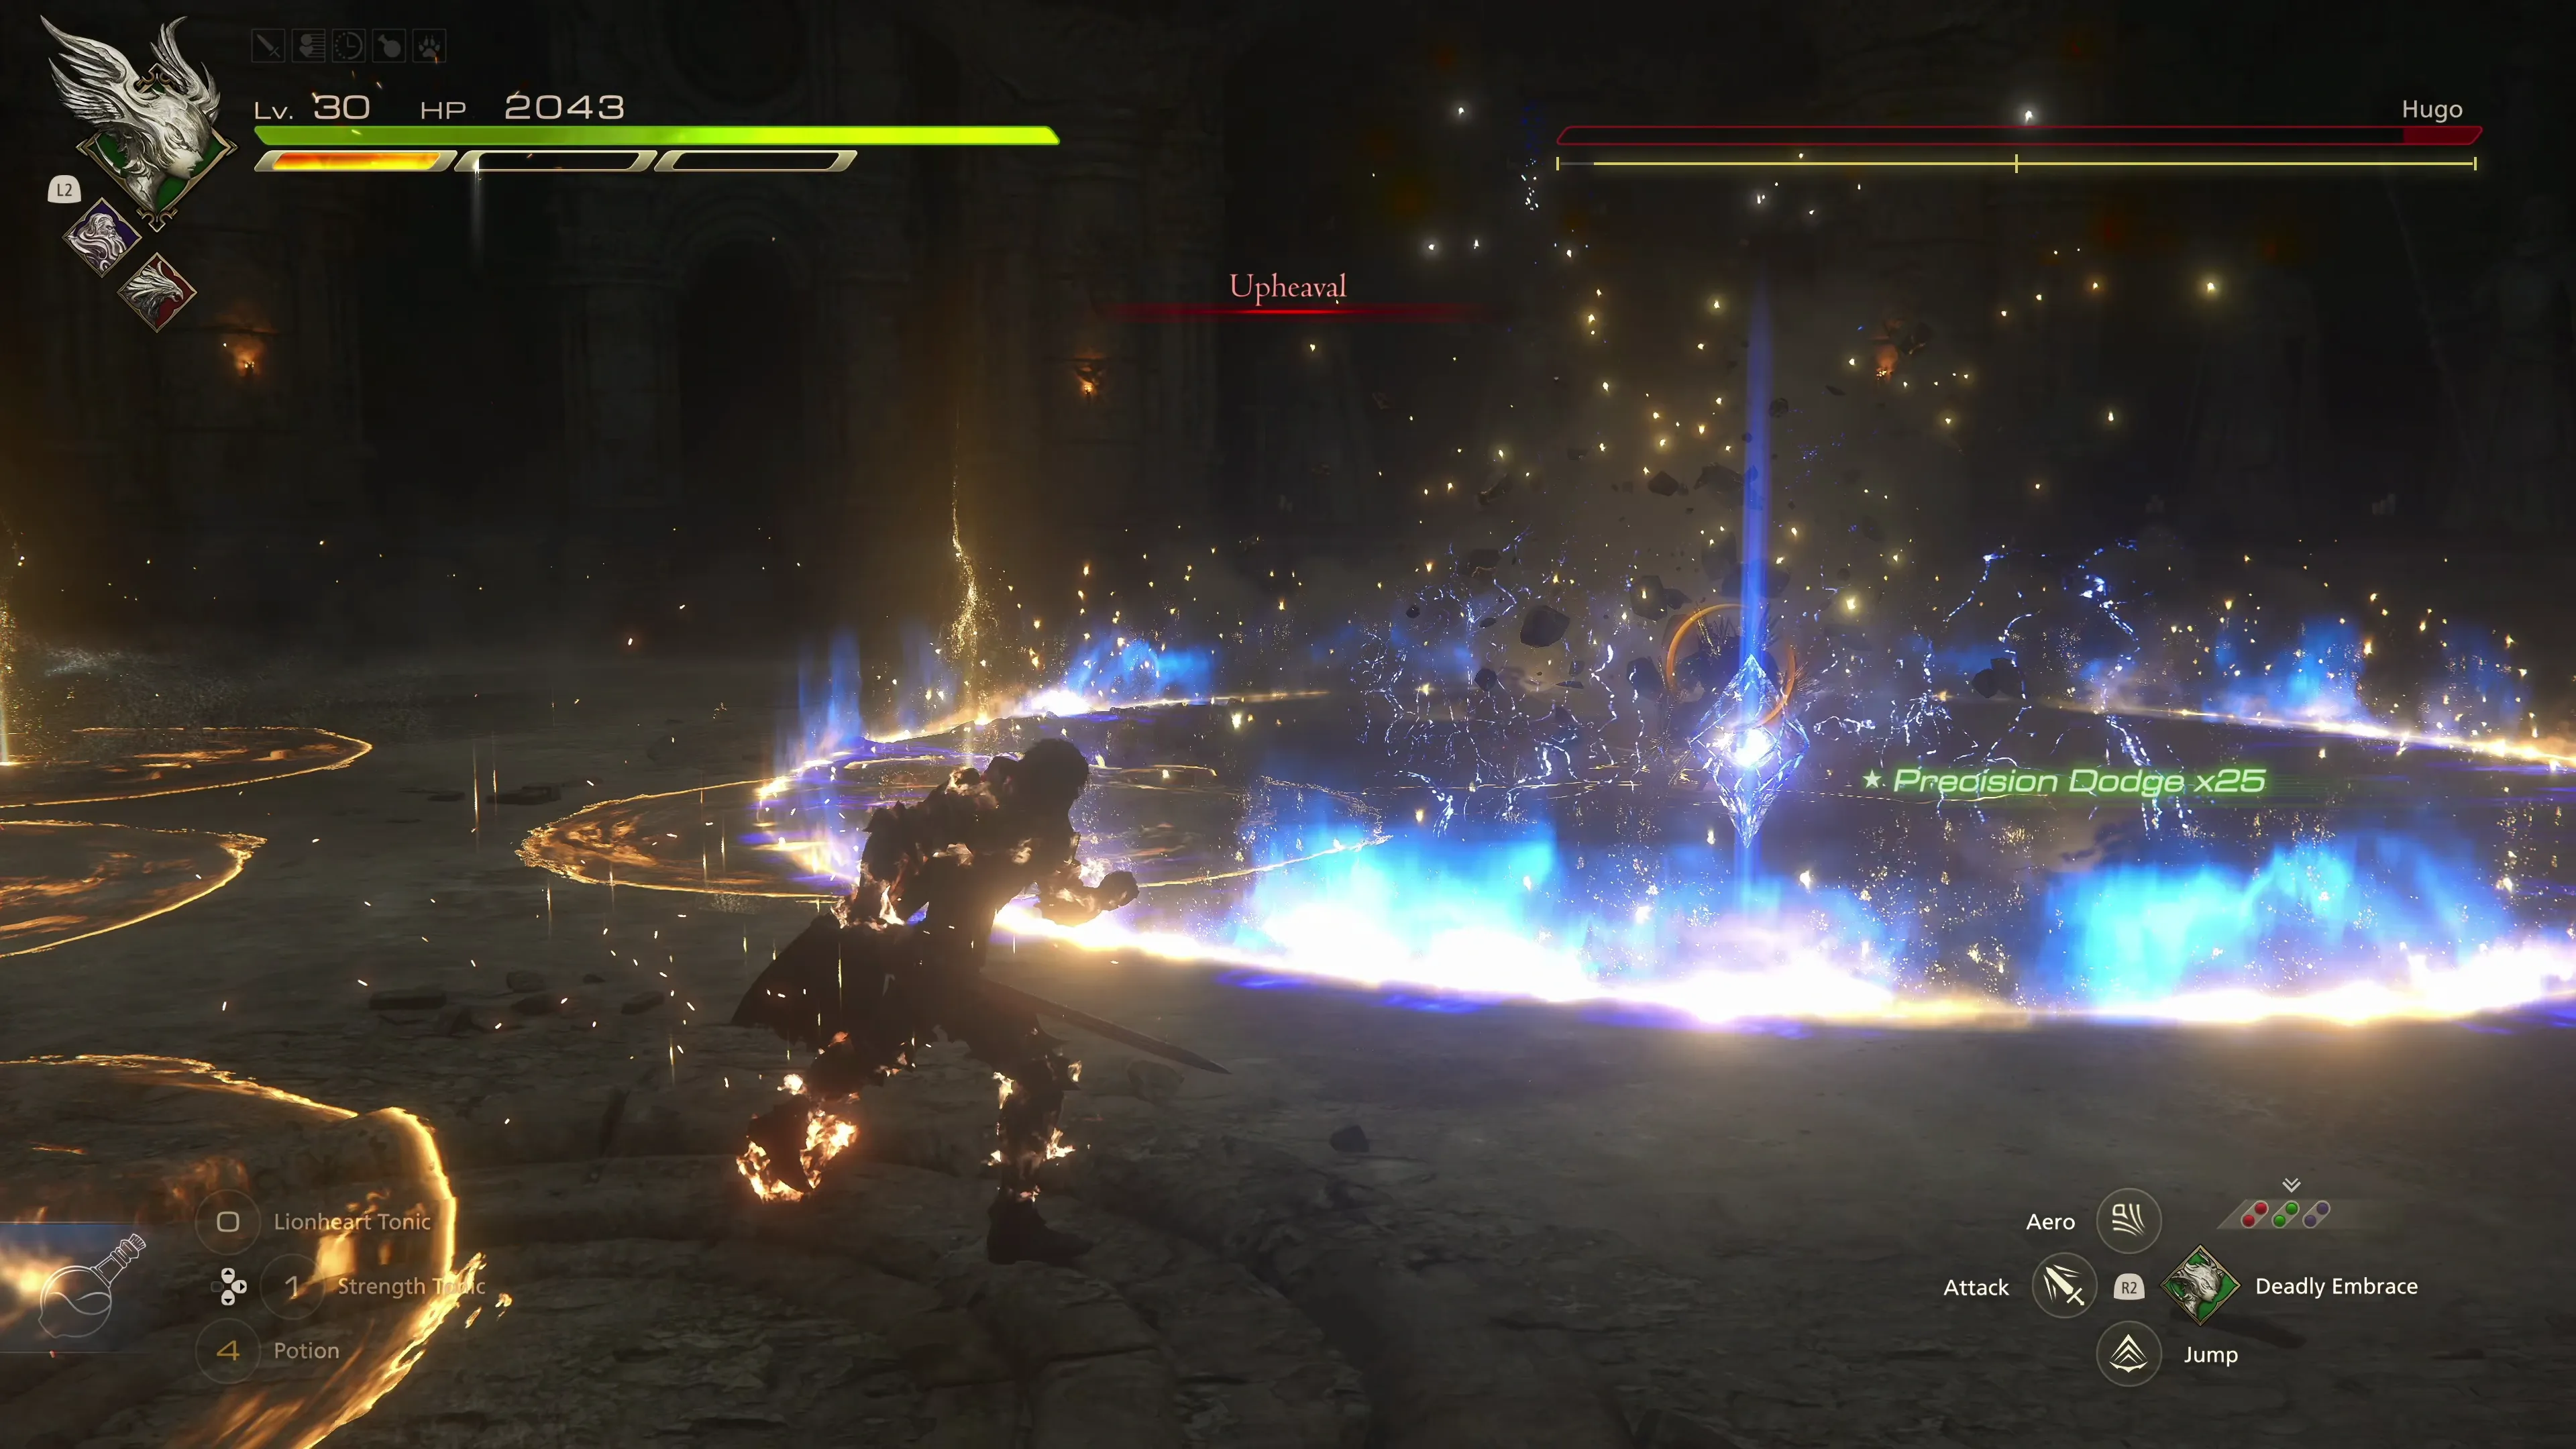
![]() Upheaval (New):
Upheaval (New):
This is technically a new ability, but it’s just a combination of two abilities that Hugo was using before; he will use “Weight of the Land” and “Tumult” at the same time. This means you have to dodge the radiating circles as well as the Quake magic spots on the ground. This may sound incredibly complex, but it’s relatively straightforward. Just run to the right or the left and ignore the Quake spots on the ground—save your dodges and be ready to dodge when the circles of energy from “Tumult” radiate outwards. The movement from your dodging to the left and the right will help you get away from the Quake spots, and you have to save your dodges for the energy waves; otherwise, they will hit you and deal damage.
This is one of the more challenging fights you’ve faced up to this point, so don’t be afraid to use your ![]() Strength Tonics,
Strength Tonics, ![]() Stoneskin Tonics, and
Stoneskin Tonics, and ![]() Lionheart Tonics. It’s also one of the more challenging battles if you’re attempting to earn the
Lionheart Tonics. It’s also one of the more challenging battles if you’re attempting to earn the ![]() Medal of Valor - Hugo due to how many phases there are. Check out the video below if you need help, as it demonstrates how to execute strong counterattacks quickly. Good luck!
Medal of Valor - Hugo due to how many phases there are. Check out the video below if you need help, as it demonstrates how to execute strong counterattacks quickly. Good luck!
270
4,000
A video demonstration of how to successfully complete the fight against Hugo.
The team will return to the Hideaway, concluding the events at Rosalith Castle.
Achievement/Trophy
“Revisit the past.” The  Twilight Rose Achievement/Trophy is earned as soon as you complete the “Capital Punishment” Main Scenario Quest.