
 Bolts from the Blue
 The Hideaway
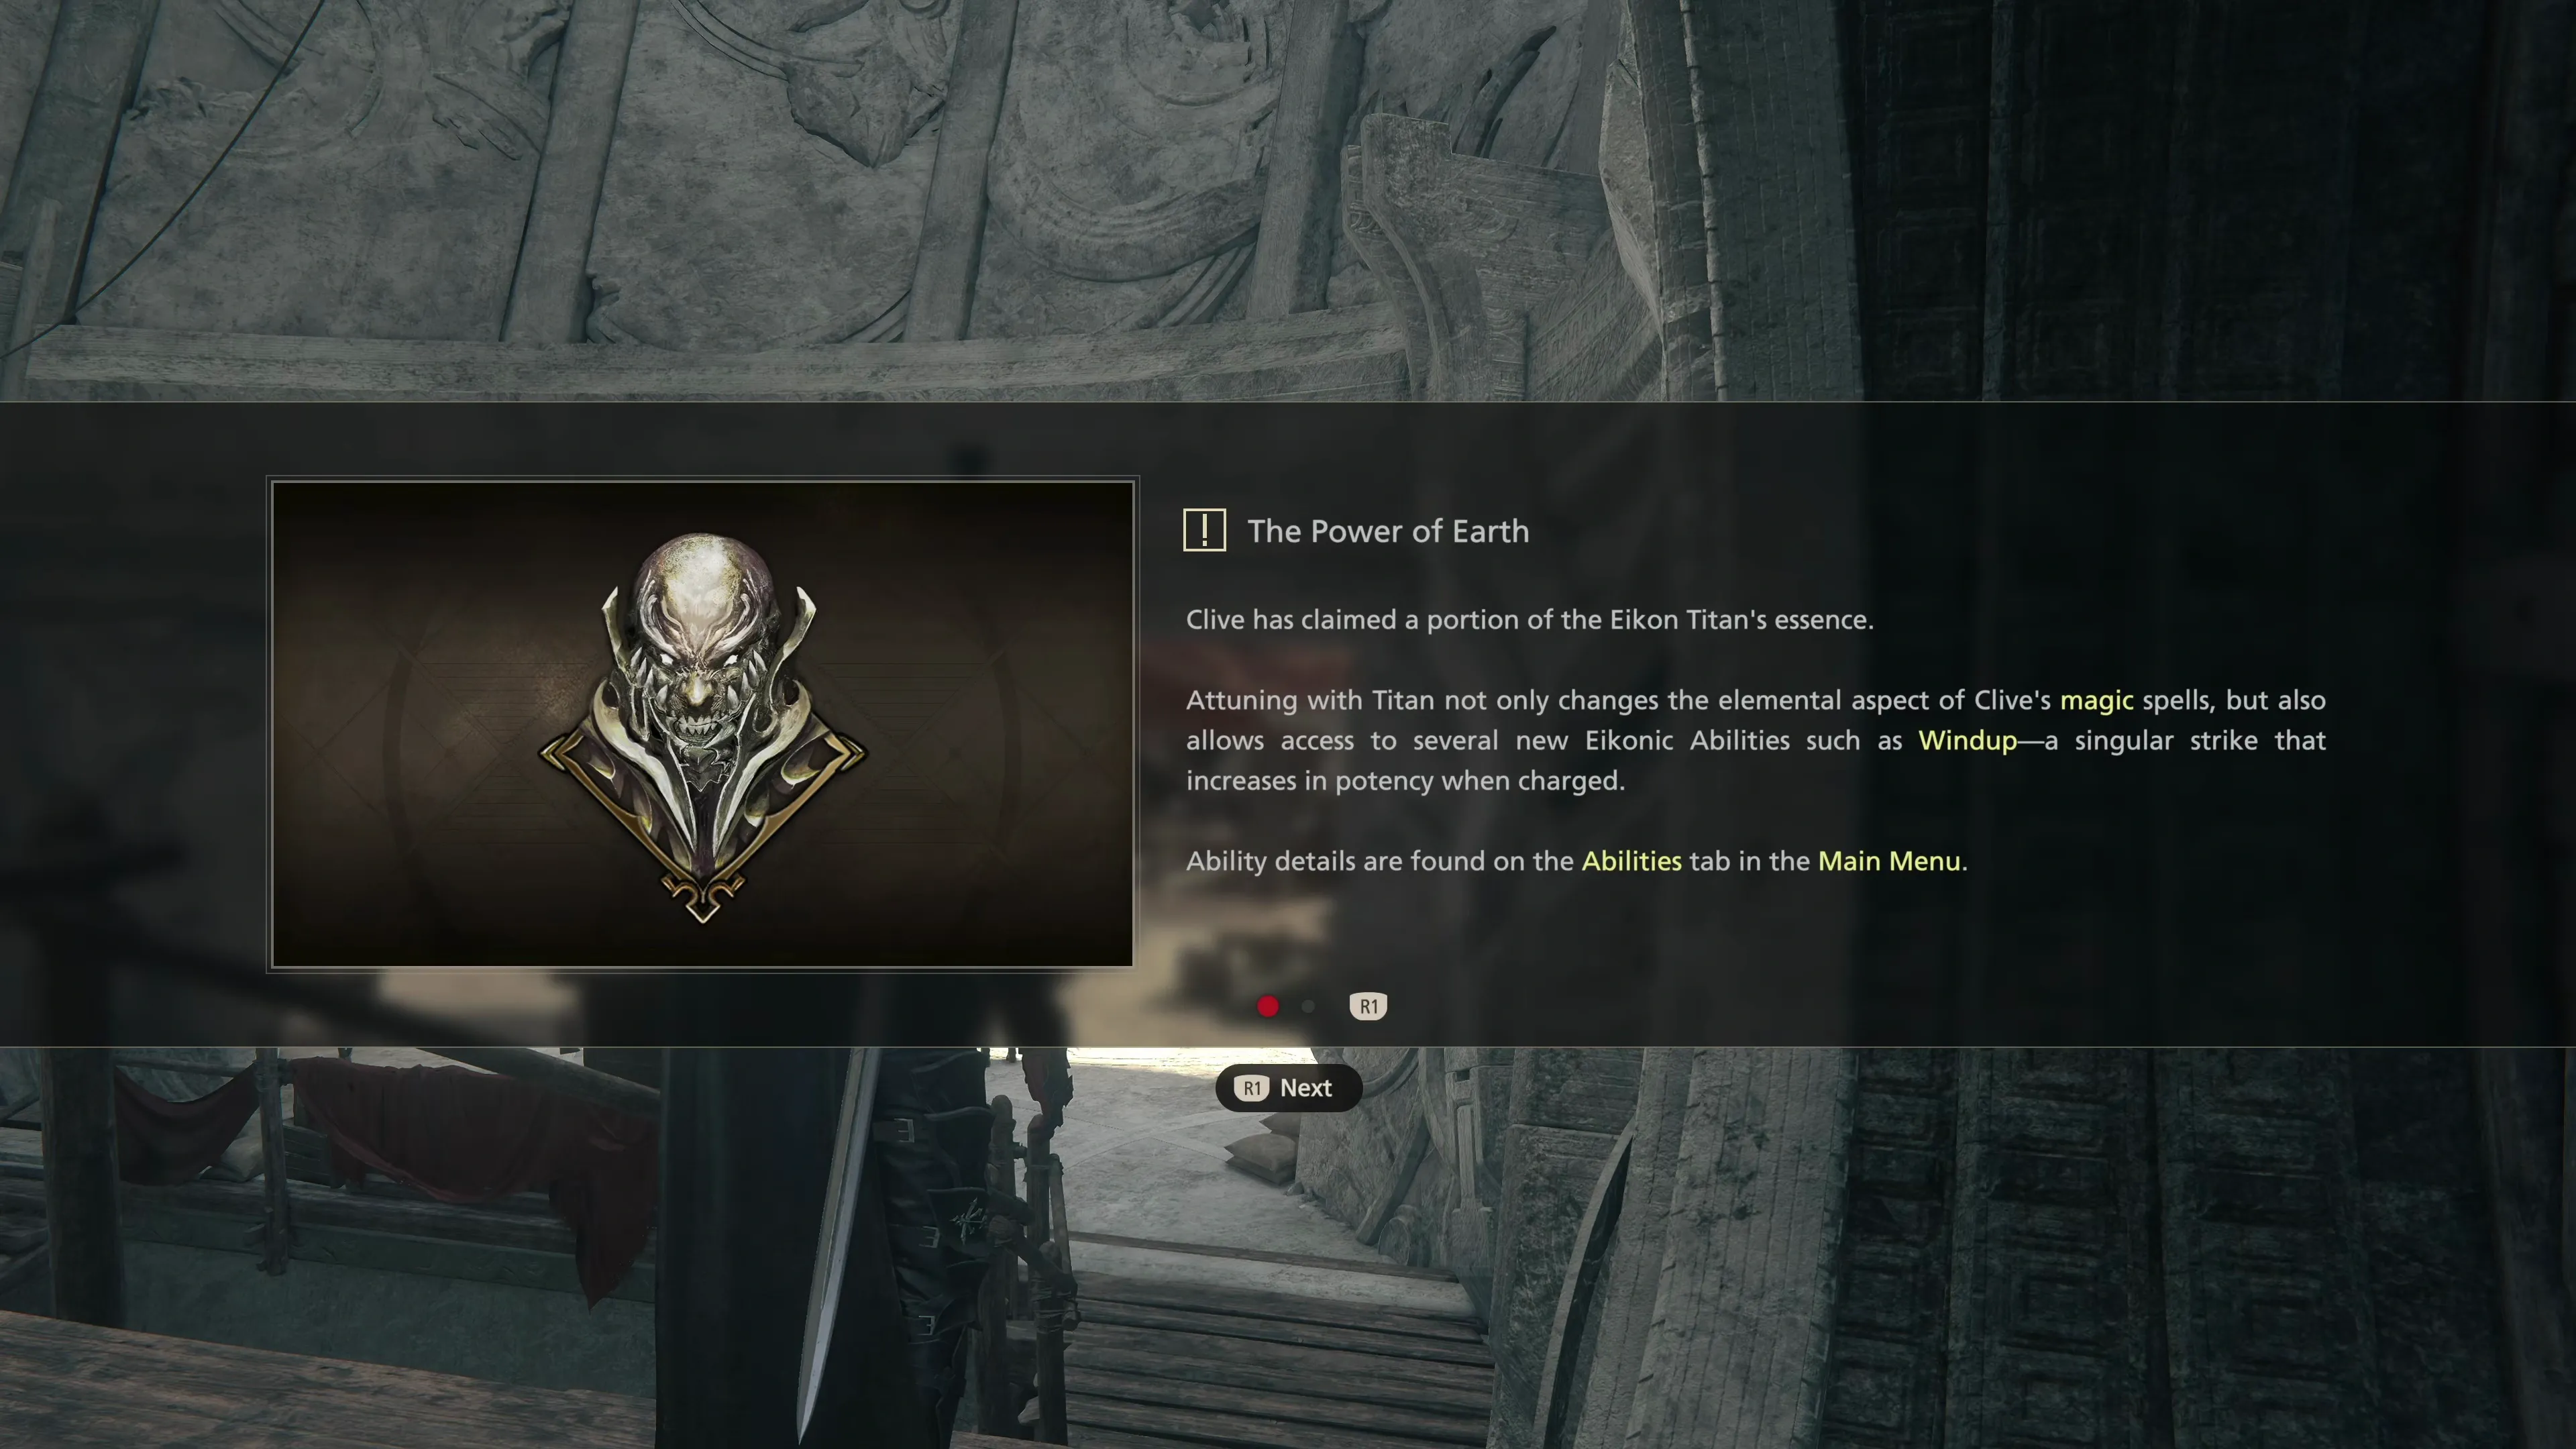
You now have access to an additional Eikon and a new set of Eikonic Abilities through the “Power of Earth.”
The link below provides some guidance on the utility and usefulness of the new Eikonic Abilities you have access to through Titan. You can also find some ![]() Eikonic Ability Set setup tips in the “Ability Recommendations” section listed below.
Eikonic Ability Set setup tips in the “Ability Recommendations” section listed below.
Eikon
A complete list of the Eikonic Feats and Eikonic Abilities for Titan, including recommendations on which abilities to use and what situations call for their usage.
Tips and Tricks
This section will provide some tips for setting up your single-target and multi-target Eikonic Ability Sets, including covering which Abilities are the most effective and which you should consider avoiding altogether.
Achievement/Trophy
“Use Titanic Block to fend off 10 enemy attacks (excluding battles in the Hall of Virtue).” The  Untouchable Achievement/Trophy is easy to earn. Just use Titan’s Eikonic Feat,
 ![]() Titanic Block, instead of dodging enemy attacks, and you’re all done after you manage to block ten total attacks.
Titanic Block, instead of dodging enemy attacks, and you’re all done after you manage to block ten total attacks.
Achievement/Trophy
“Land the third punch of a Titanic Counter twice in a single battle (excluding battles in the Hall of Virtue).” Use ![]() Titanic Block at the right time to get a “Perfect Guard” (similar to executing a
Titanic Block at the right time to get a “Perfect Guard” (similar to executing a ![]() Precision Dodge), and then press the
Precision Dodge), and then press the ![]()
![]()
![]() button to counter punch up to three times. You’ll have to complete this task against an enemy with higher HP to earn the Beat Rocking Blocks Achievement/Trophy, as most smaller enemies won’t survive two Titanic Counters.
button to counter punch up to three times. You’ll have to complete this task against an enemy with higher HP to earn the Beat Rocking Blocks Achievement/Trophy, as most smaller enemies won’t survive two Titanic Counters.
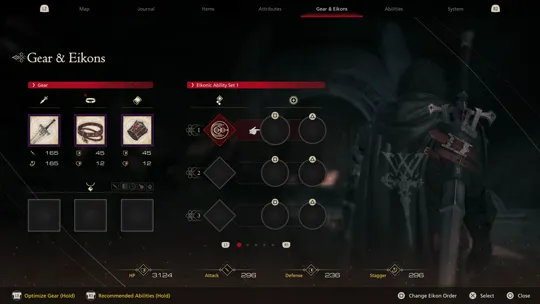
Like last time, you can test out some of Titan’s earth-based Abilities in the “Hall of Virtue” using the Arete Stone in the center of the new Hideaway. Many of the other Abilities you have access to are better than the ones you get through Titan, though. Any extra points you have should be assigned to leveling up your ![]() Limit Break.
Limit Break.
There are new Optional Quests and Hunts available, but to start things off, follow the Main Scenario Quest Marker ![]() and speak to Otto. Follow Mid back towards the Haven/Atrium and talk to her again to get a new Subquest to complete.
and speak to Otto. Follow Mid back towards the Haven/Atrium and talk to her again to get a new Subquest to complete.
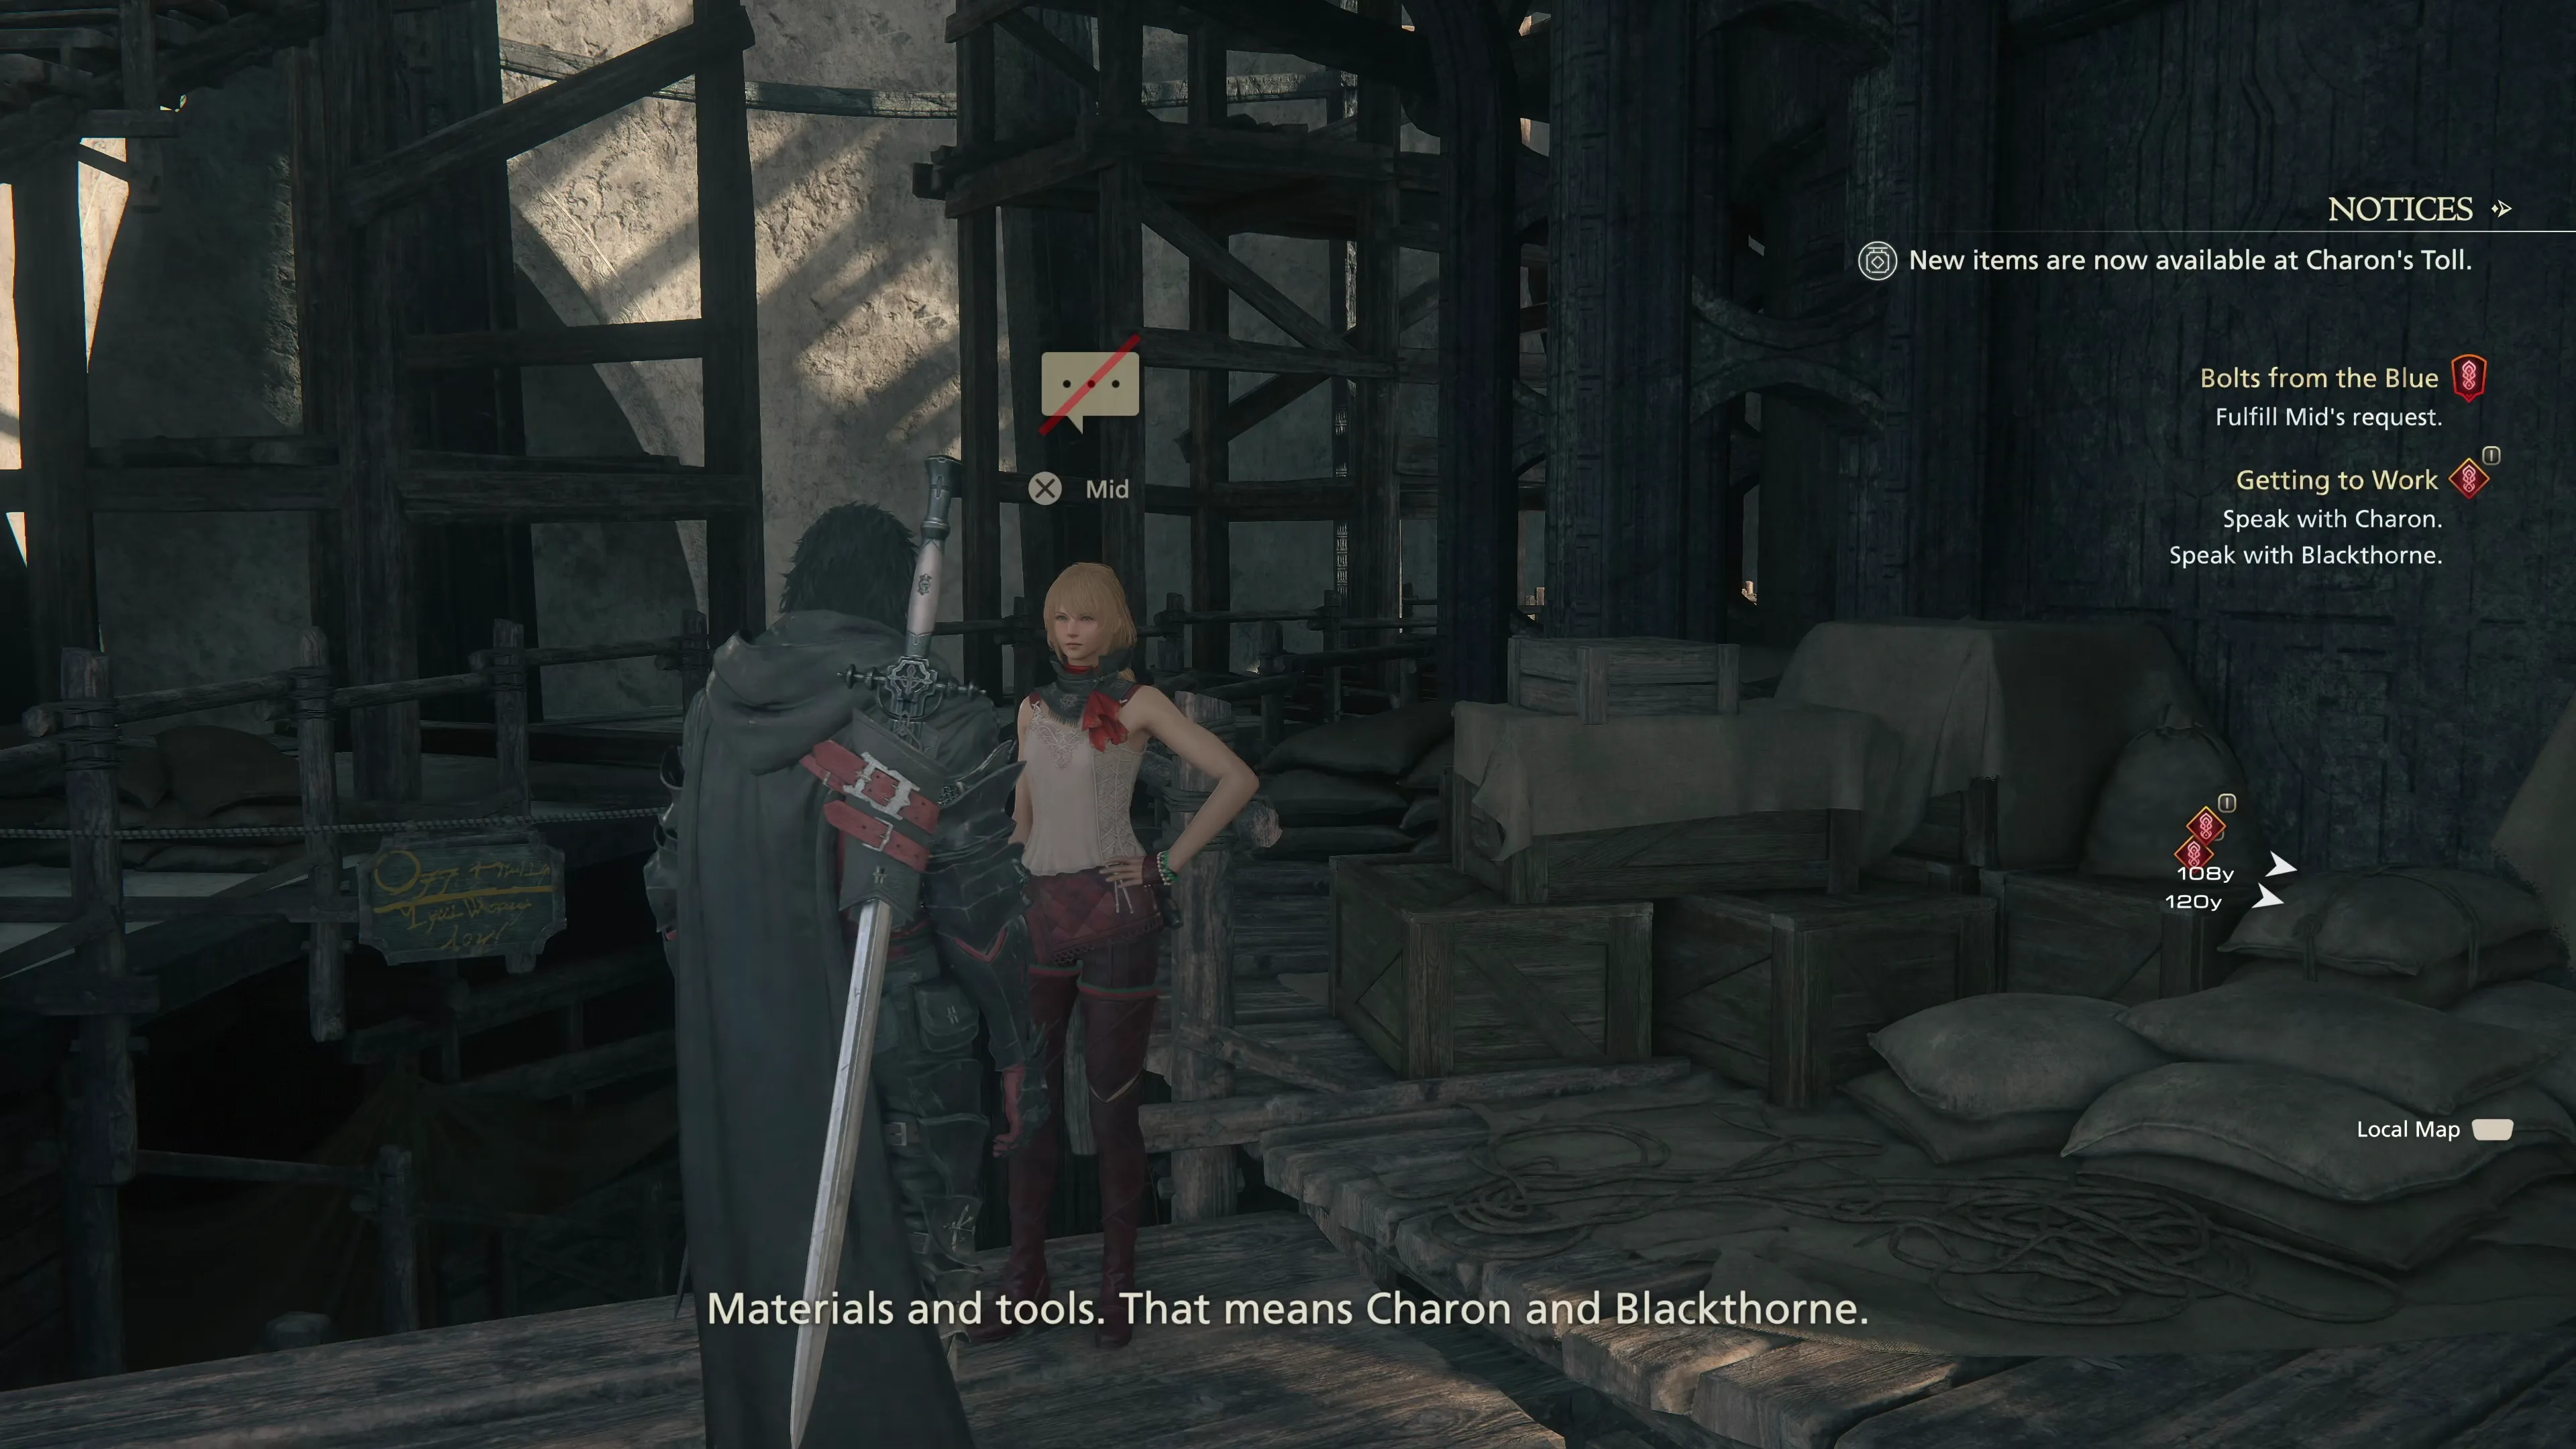
 Getting to Work
This Subquest involves speaking to Charon and Blackthorne, which allows us to upgrade our equipment while advancing the story. Start by talking to Charon at ![]() Charon’s Toll and provide her with the
Charon’s Toll and provide her with the ![]() List of Materials from Mid. Charon sells the
List of Materials from Mid. Charon sells the ![]() Hunter’s Waistcloth and the
Hunter’s Waistcloth and the ![]() Hunter’s Armcloths; however, these are both worse than the items you’re already wearing (the
Hunter’s Armcloths; however, these are both worse than the items you’re already wearing (the ![]() Drakeslayer’s Belt and
Drakeslayer’s Belt and ![]() Mythril Wristlets), even if you upgrade them, so the only reason to purchase them is for completionist purposes. You shouldn’t equip them.
Mythril Wristlets), even if you upgrade them, so the only reason to purchase them is for completionist purposes. You shouldn’t equip them.
Speak to Blackthorne next and provide him with the ![]() Supply Kit and, while you’re here, have him craft your new sword:
Supply Kit and, while you’re here, have him craft your new sword:
| Materials | |
|---|---|

He can’t reinforce any of your current gear unless, for some reason, you purchased and equipped the gear from Charon, so it’s time to complete the last step of the Subquest. Head down to the pier and speak with Bardolph, the Head Carpenter. Your next destination is Martha’s Rest. But before we head there, let’s take care of the next Hunt.
Notorious Mark / Hunt

“Rumor is spreading throughout the southern reaches of Rosaria of a pool of opalescent ooze that has been sighted in the moors and meadows of the region. While it resembles naught but a puddle of strange sludge from a distance, any man or beast that draws too close is met with masses of slimy hands that drag their prey into a gaping, grinning maw. Is this what we want for our children?”
Now, let’s make our way over to Martha’s Rest to continue the Main Scenario Subquest. Travel to the ![]() Martha’s Rest Obelisk.
Martha’s Rest Obelisk.
 Martha’s Rest
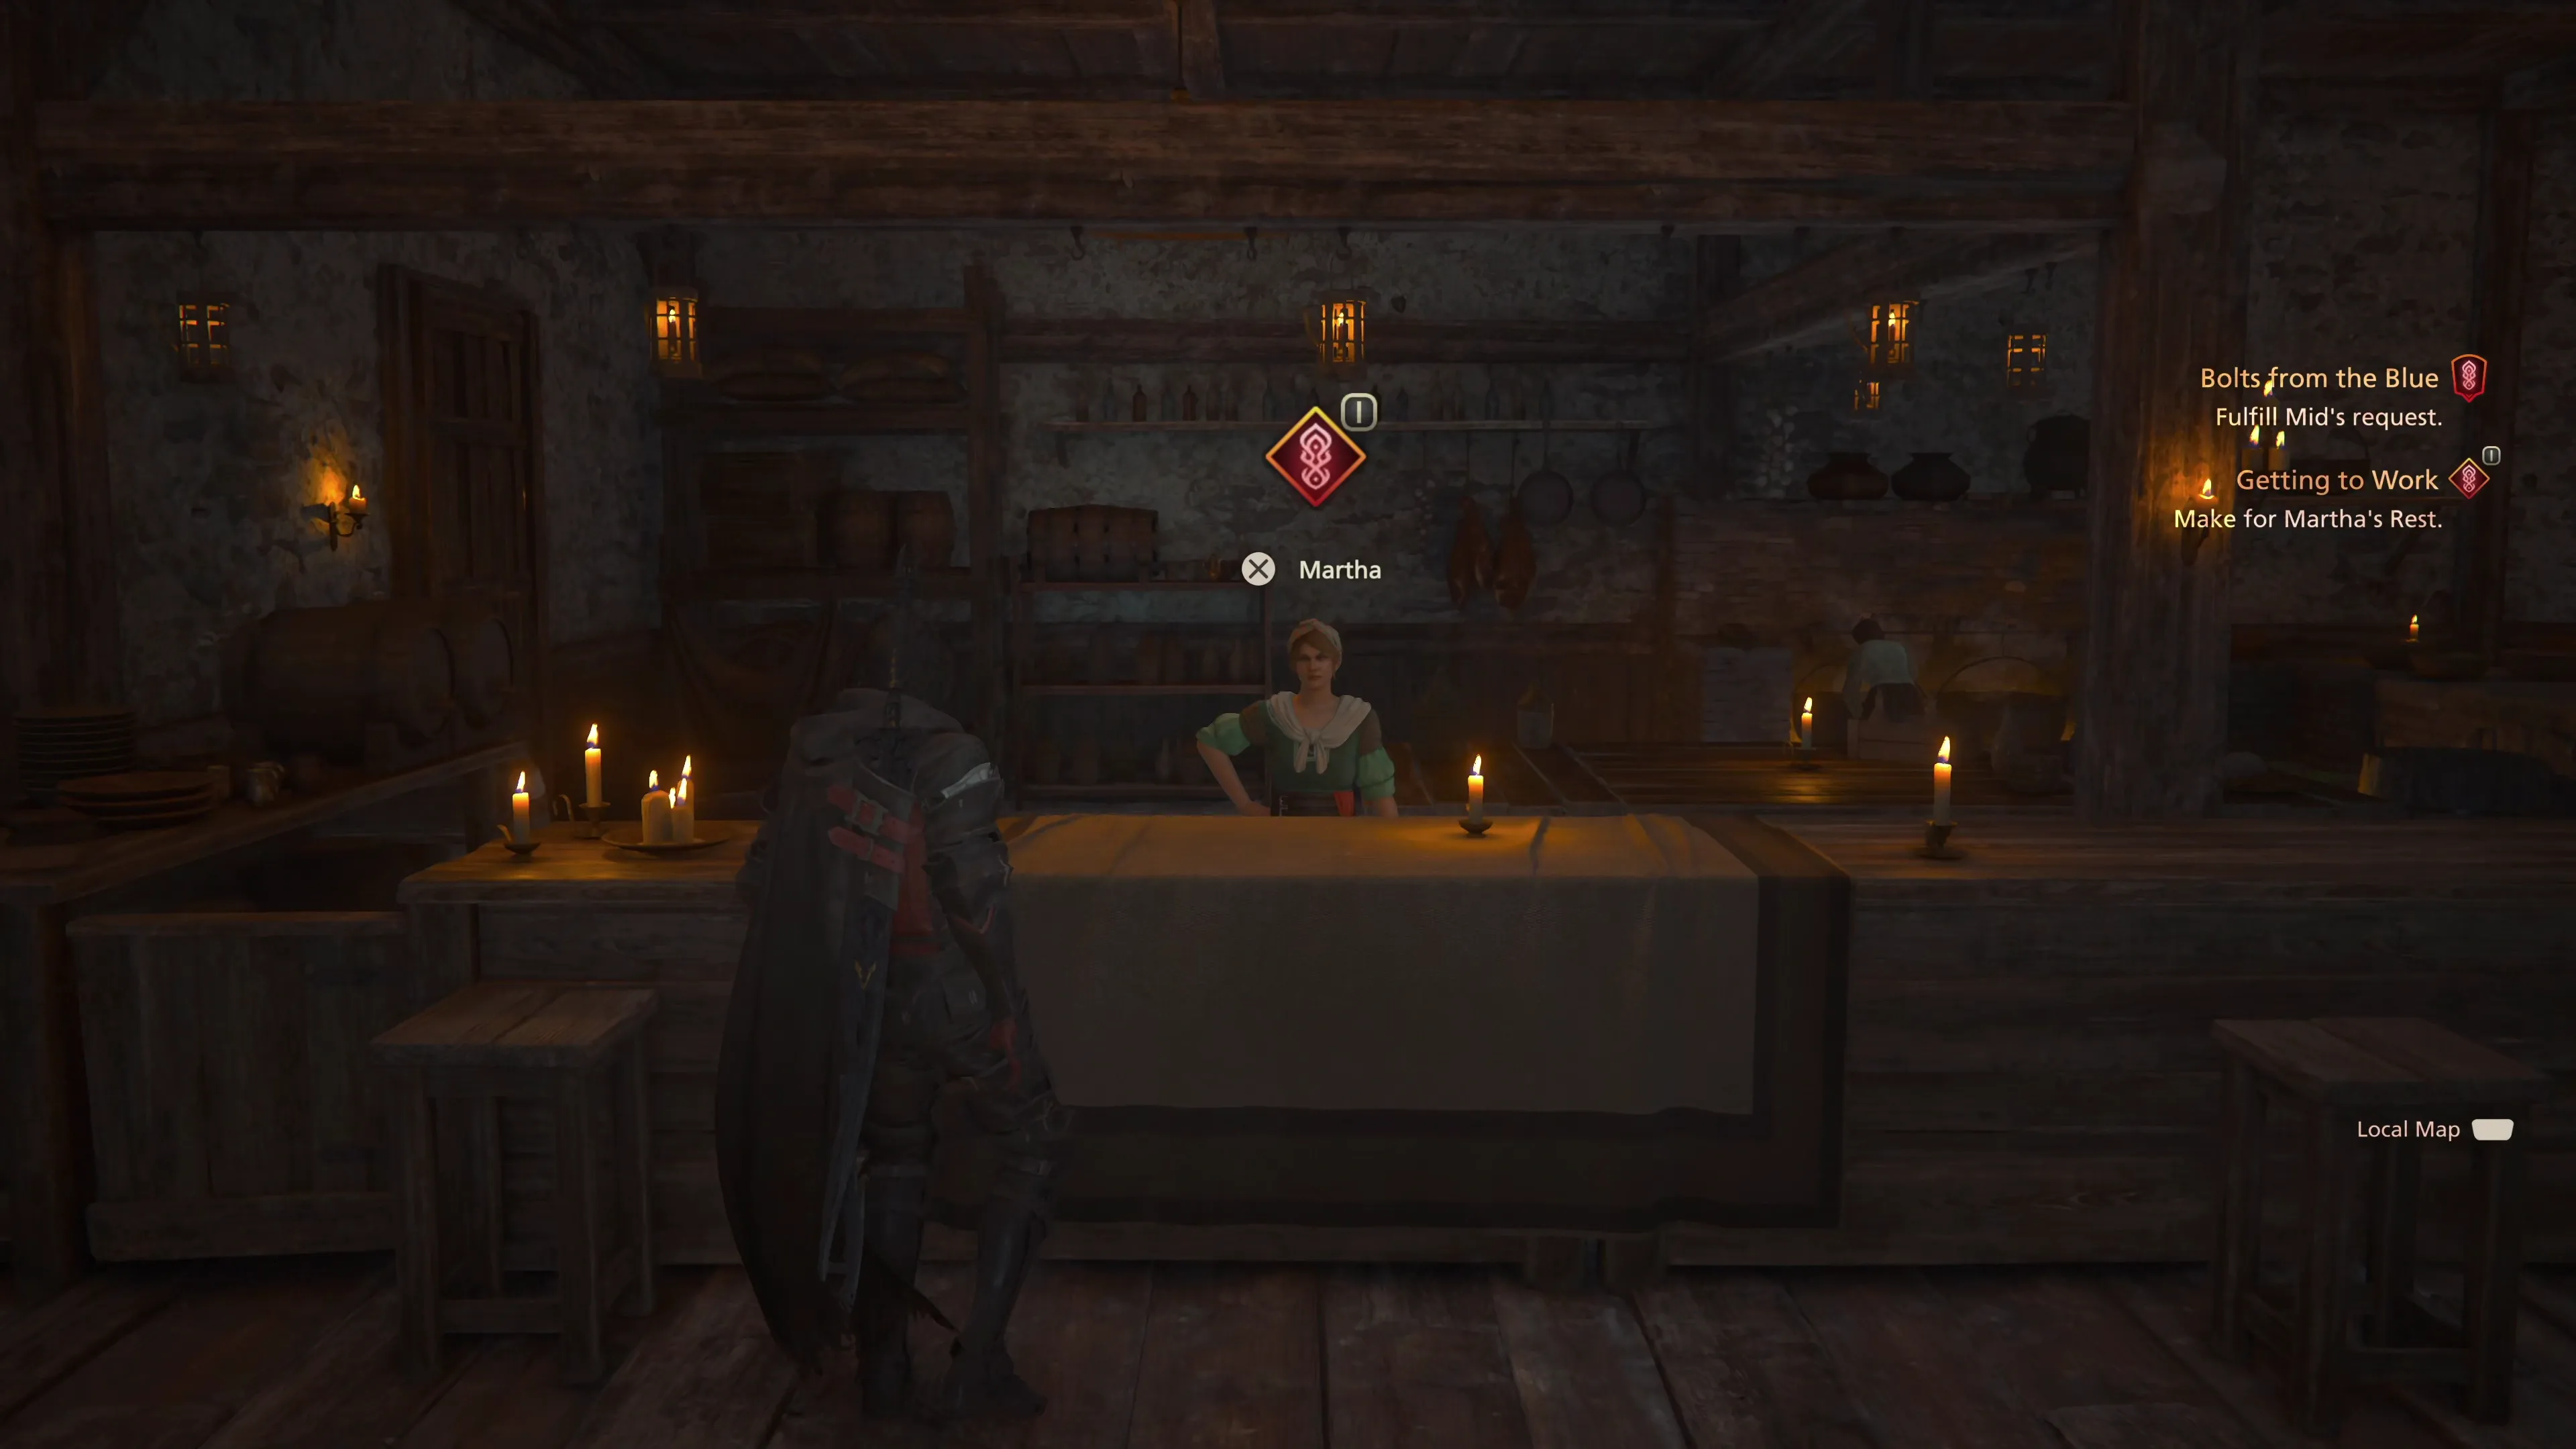
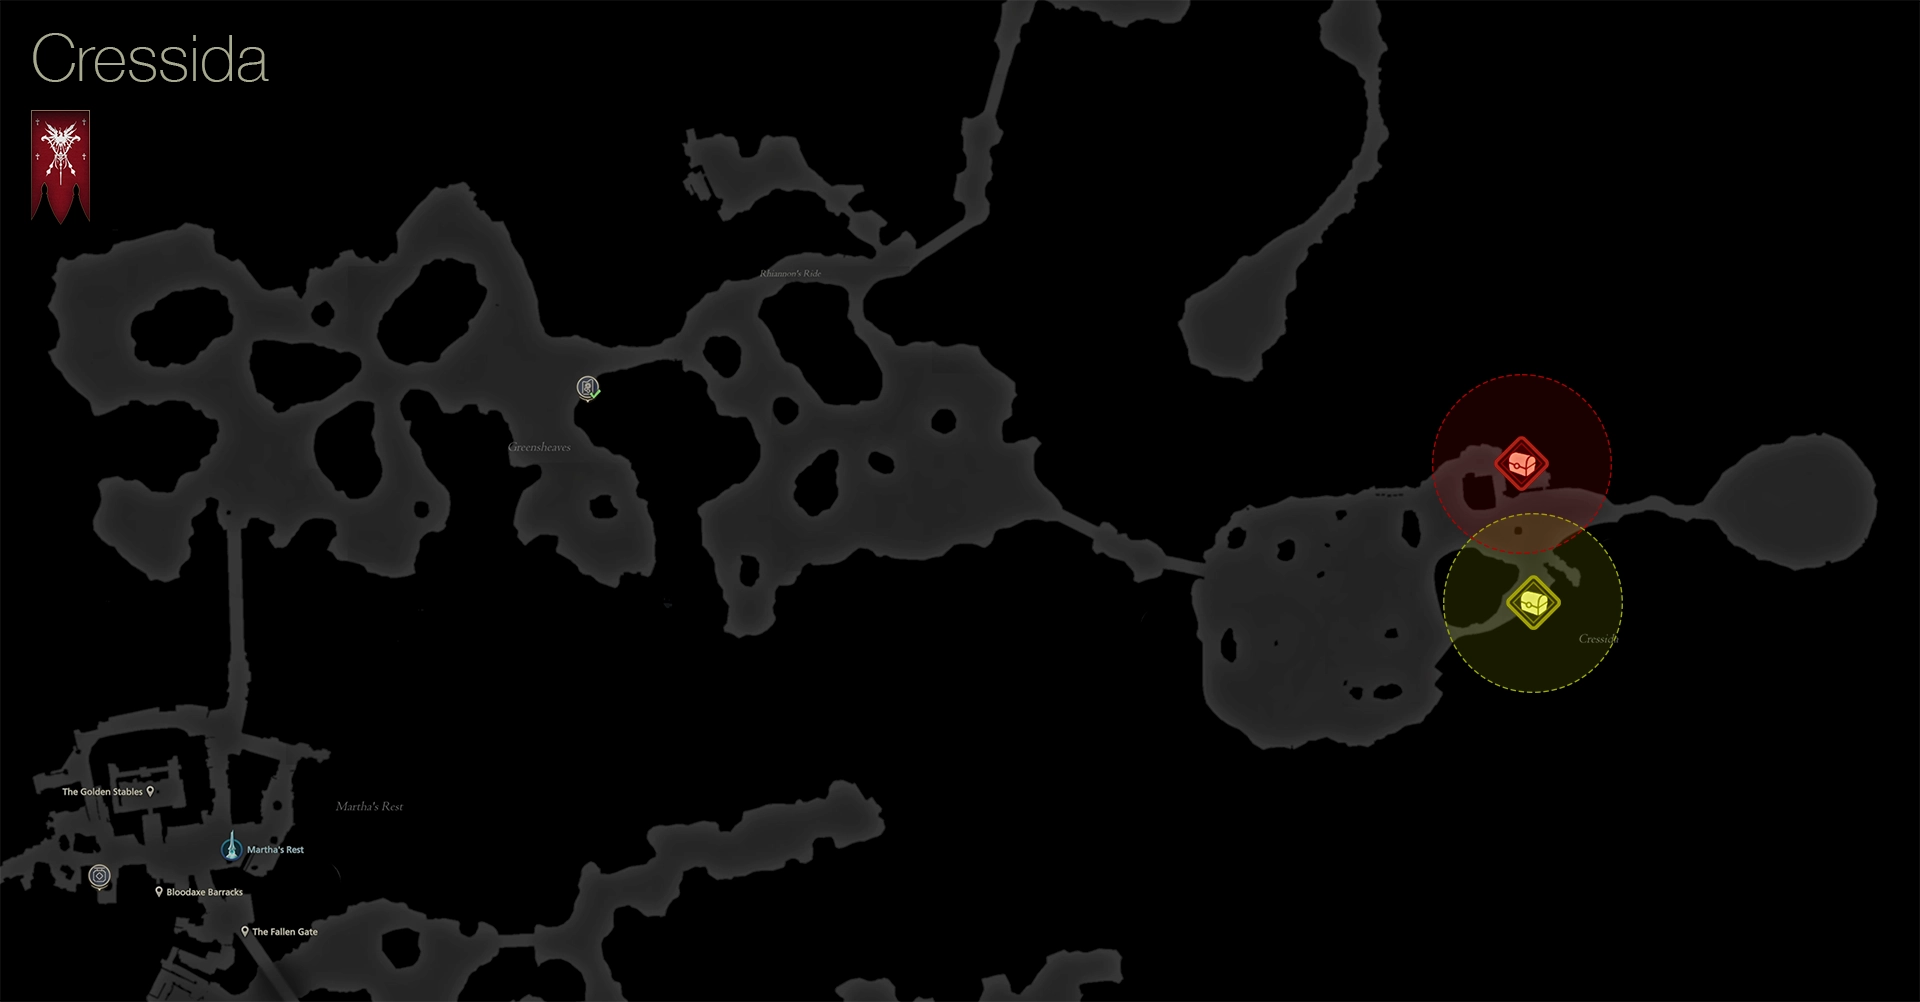
Head into the Golden Stables in the center of Martha’s Rest and speak to Martha. She will tell you that Bernard can be found in an area called “Cressida.” Exit Martha’s Rest using the north bridge and hop on your ![]() Chocobo and ride to the following location:
Chocobo and ride to the following location:
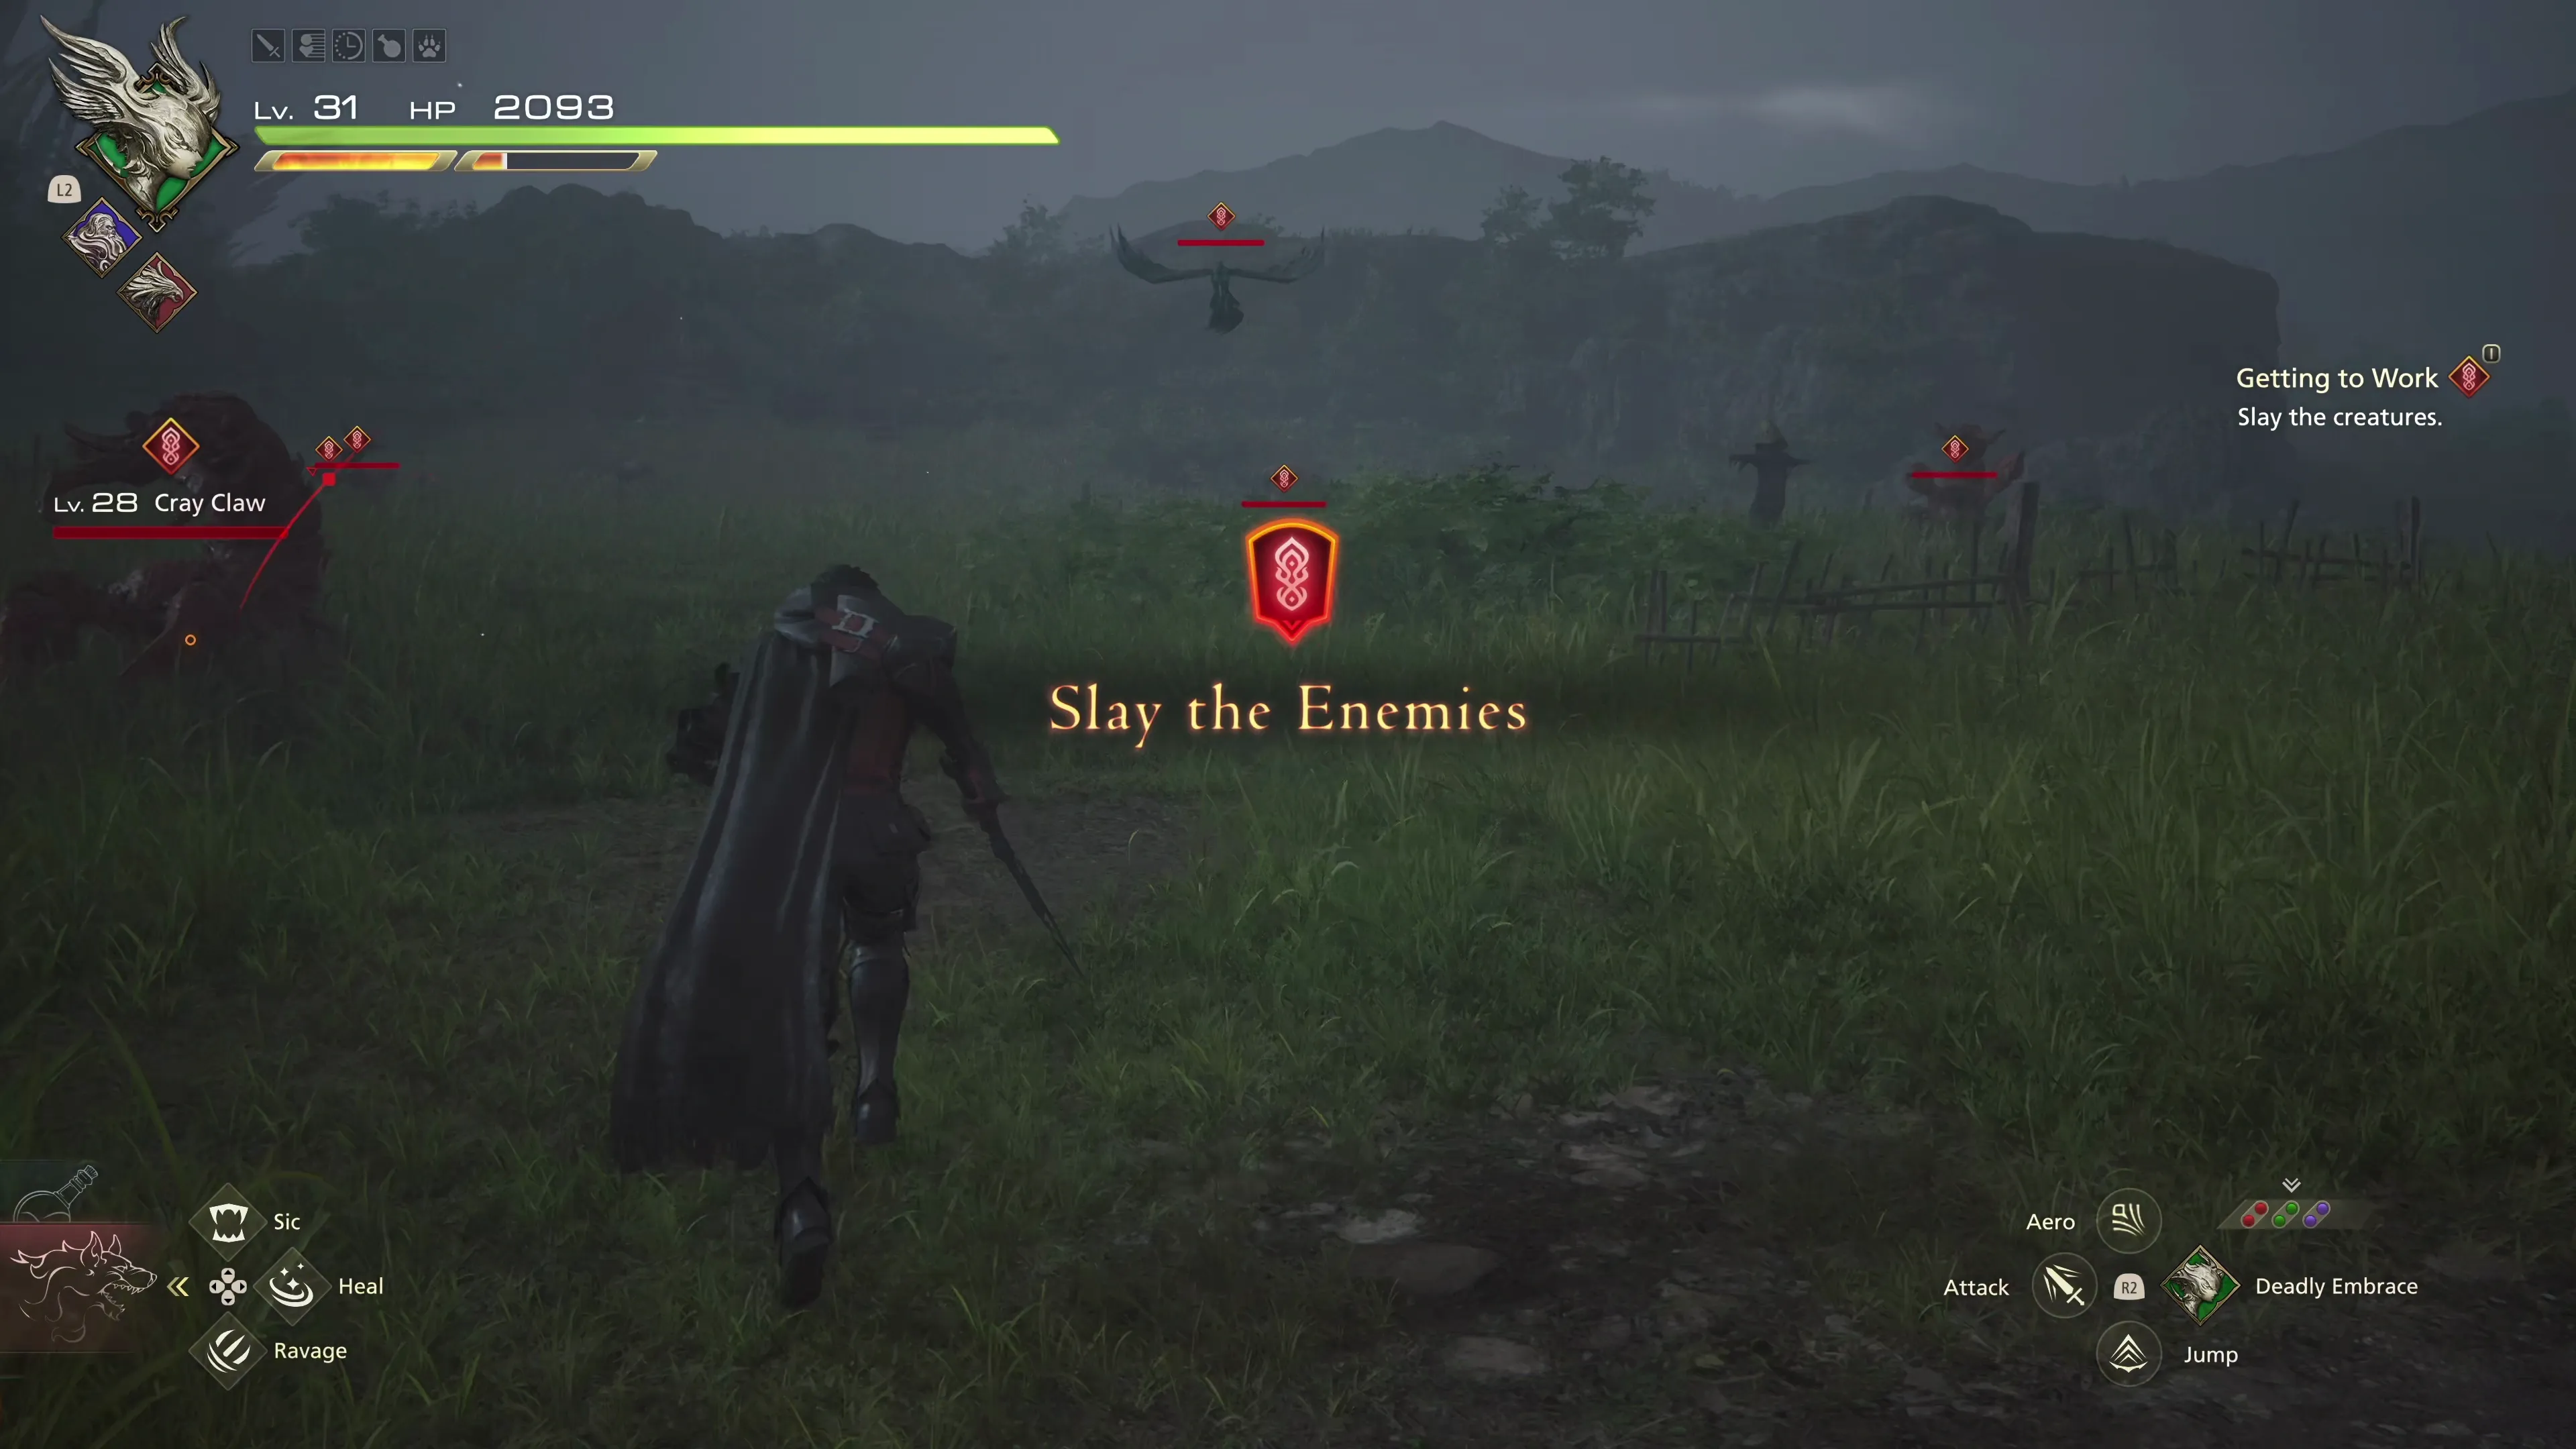
Bernard will ask you to clear out the area, which is full of “beasts and bogles.” This is pretty easy to do, but make sure you swap over to your multi-target ![]() Eikonic Ability Set before you venture into the open field. The enemies you’ll face come in three waves:
Eikonic Ability Set before you venture into the open field. The enemies you’ll face come in three waves:
- Wave 1: Cray Claws and Vultures
- Wave 2: Vampire Thorns
- Wave 3: Wivre (similar to the wyvern-type enemies you’ve faced)
You’re done in this area for now, but make sure to grab the treasure coffers before you warp back to Mid in the Hideaway. The treasure coffers contain:
The Hideaway
Speak to Mid, and she’ll reward you with ![]() The Breath of Earth (Windup) for completing the “Getting to Work” Subquest. The next step of the Main Scenario Quest (“Bolts from the Blue”) will be to visit the infirmary, but we have some quests we can complete at the same time. Head to the infirmary to speak with Tarja and then initiate the Optional Quests by speaking to Rodrigue.
The Breath of Earth (Windup) for completing the “Getting to Work” Subquest. The next step of the Main Scenario Quest (“Bolts from the Blue”) will be to visit the infirmary, but we have some quests we can complete at the same time. Head to the infirmary to speak with Tarja and then initiate the Optional Quests by speaking to Rodrigue.
Optional Quest
“Rodrigue, a physicker at the infirmary, is in desperate need of errmonea—an herb needed to ease the pain of Bearers undergoing the perilous procedure of Brand-removal. Clive has offered to gather some, despite his obvious lack of herblore.”
The second quest is just down the stairs towards the lift:
Optional Quest
“Cole and the party of Cursebreakers under his command have been attacked somewhere near Northreach and Dorys seeks Clive’s assistance in learning their fate.”
Completing these Optional Quests and Hunts will give you enough Renown for your next reward from ![]() The Patron’s Whisper:
The Patron’s Whisper:
| Renown | Crate Contents | |
|---|---|---|
| 295 |
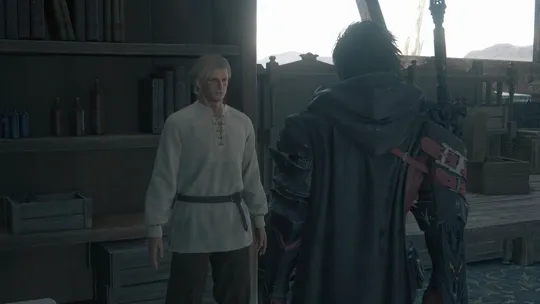
Head to the “Shelves” in the Hideaway to speak with Gav and Tomes to continue the story. You’ll regain control of Clive down in Mid’s workshop. Talk to Vivian next to kick off a few cutscenes, including the arrival of Clive’s uncle, Byron, at the Hideaway.
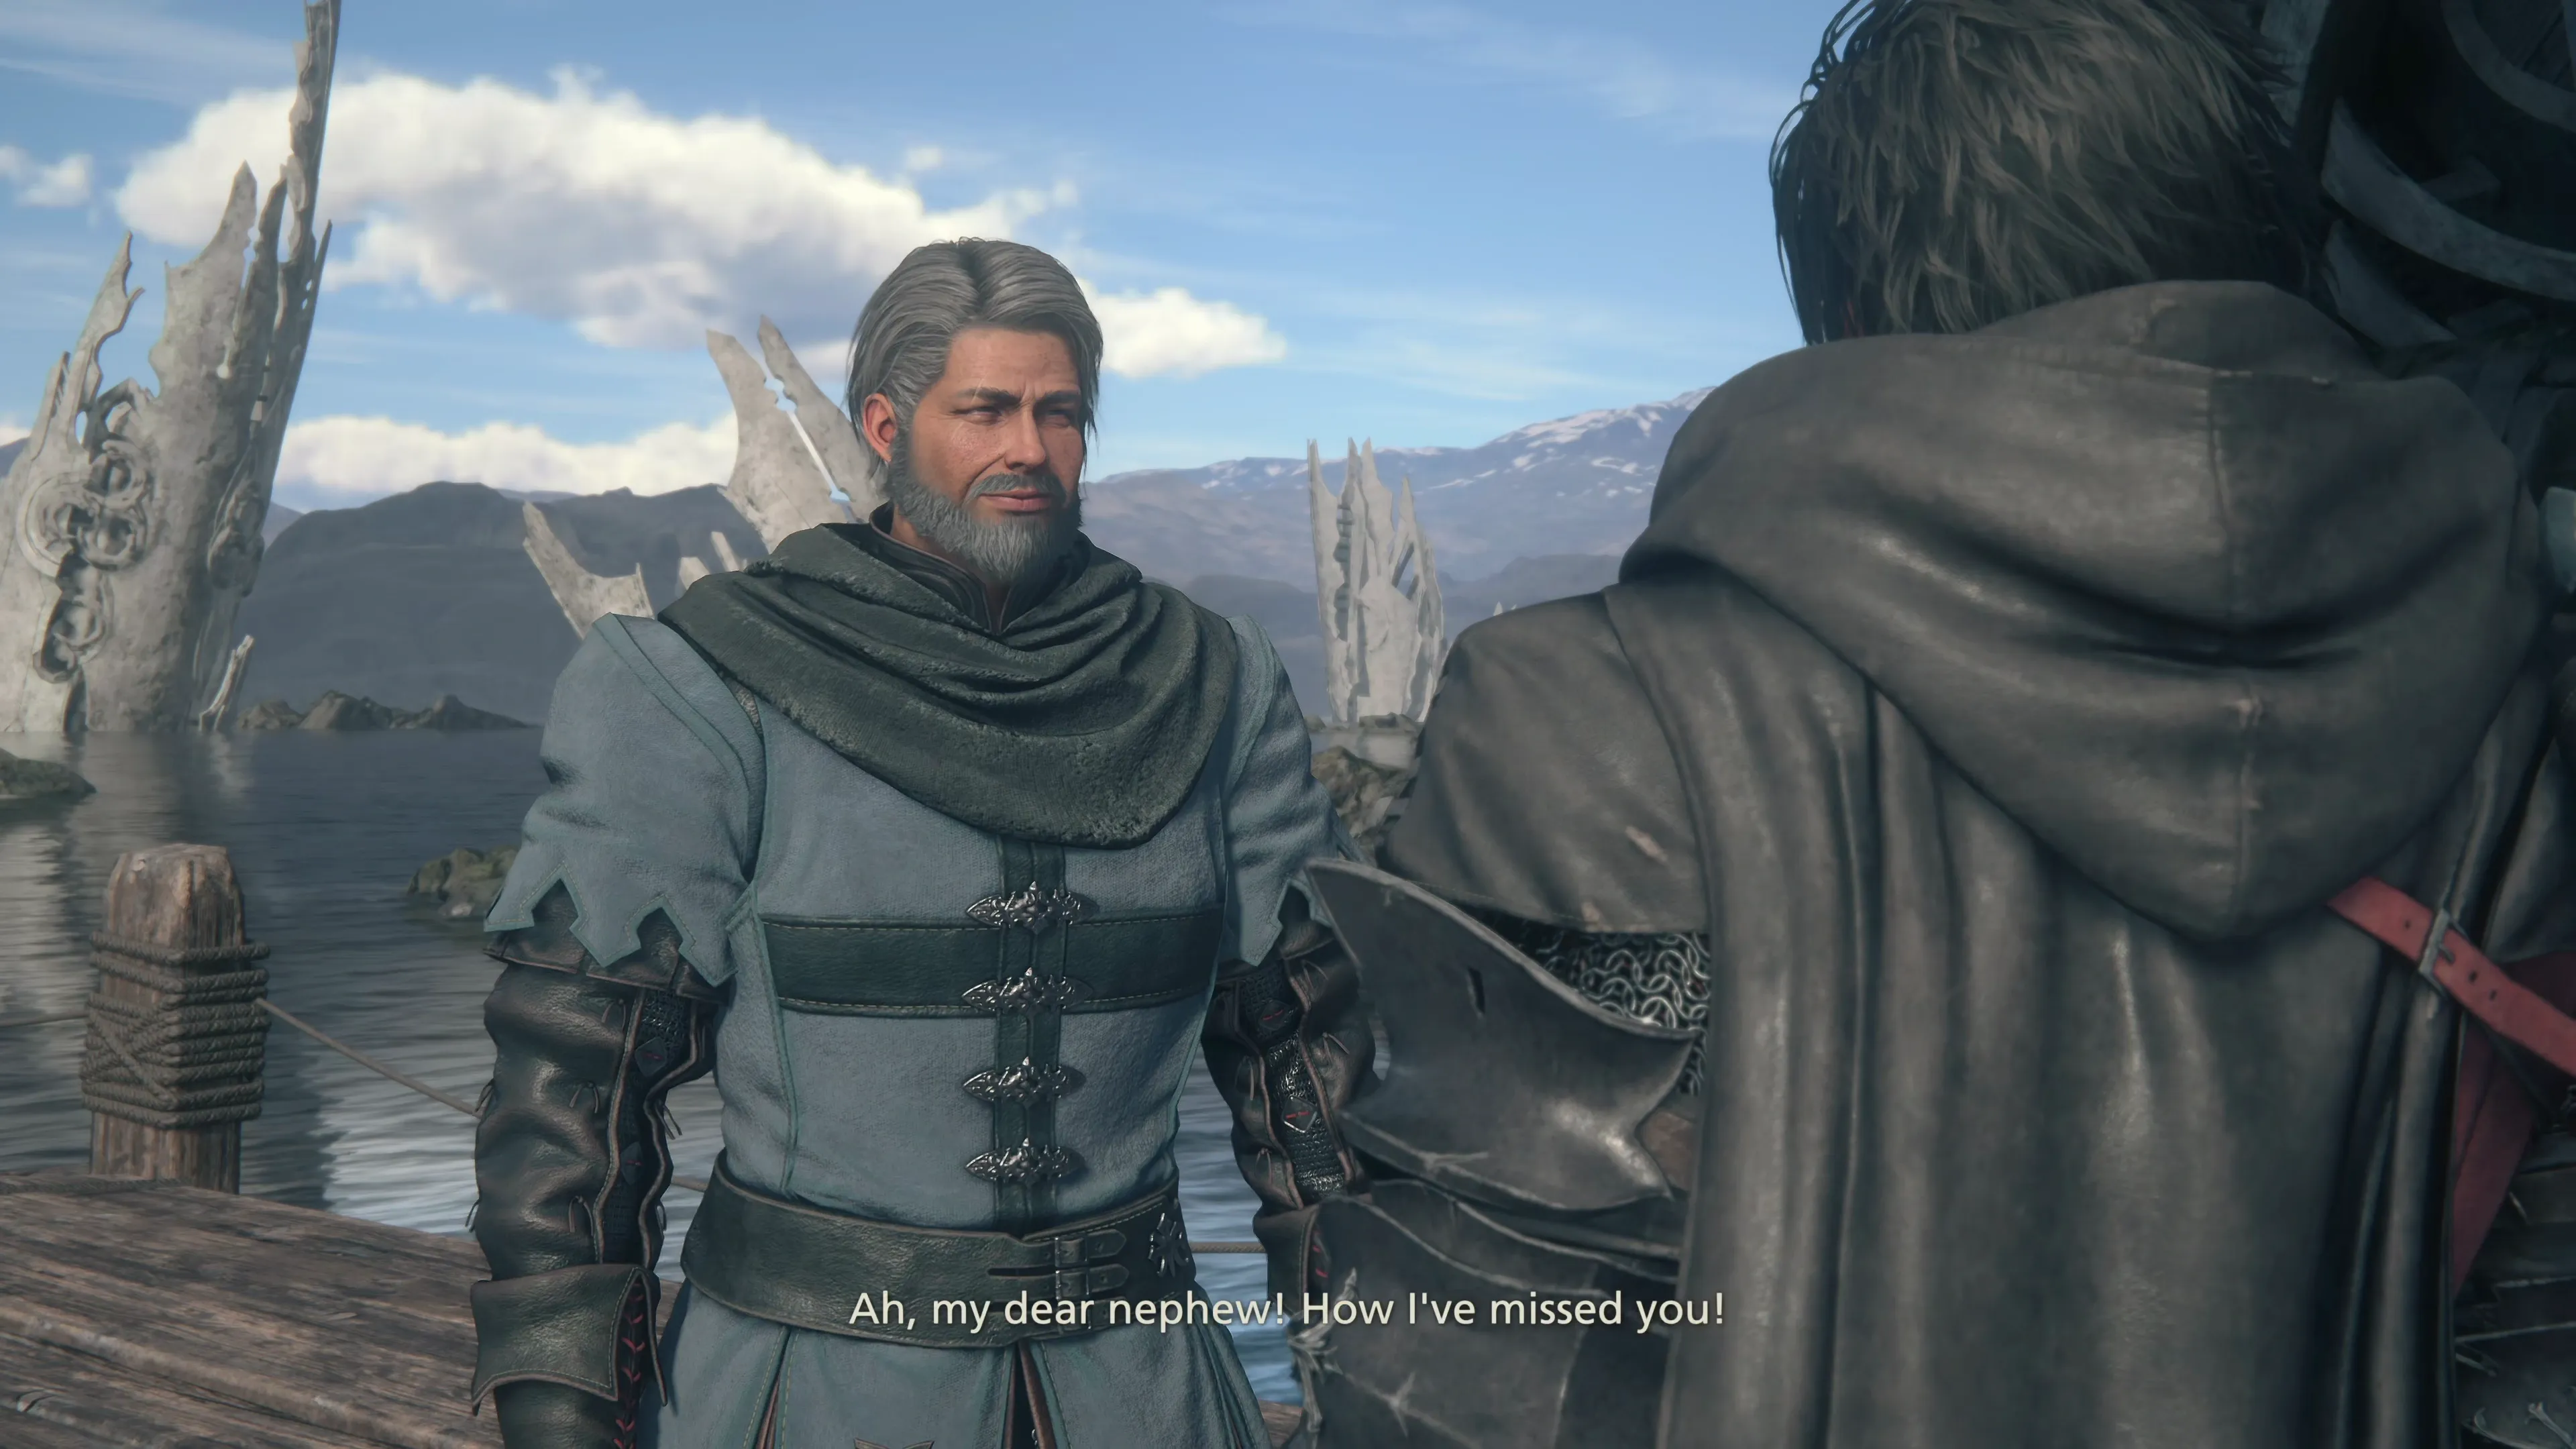
Go down and speak to Byron, and then, after a lengthy cutscene and a bunch of expository dialogue, talk to Otto. Finally, speak to Byron one more time. Traveling to the next destination on the world map, the “Velkroy Desert,” is the start of the next Main Scenario Quest.