Riddle of the Sands
The Velkroy Desert
Despite the vast size of the Velkroy Desert, there is just one treasure coffer to be found in this area. Use the map below to help you find it:
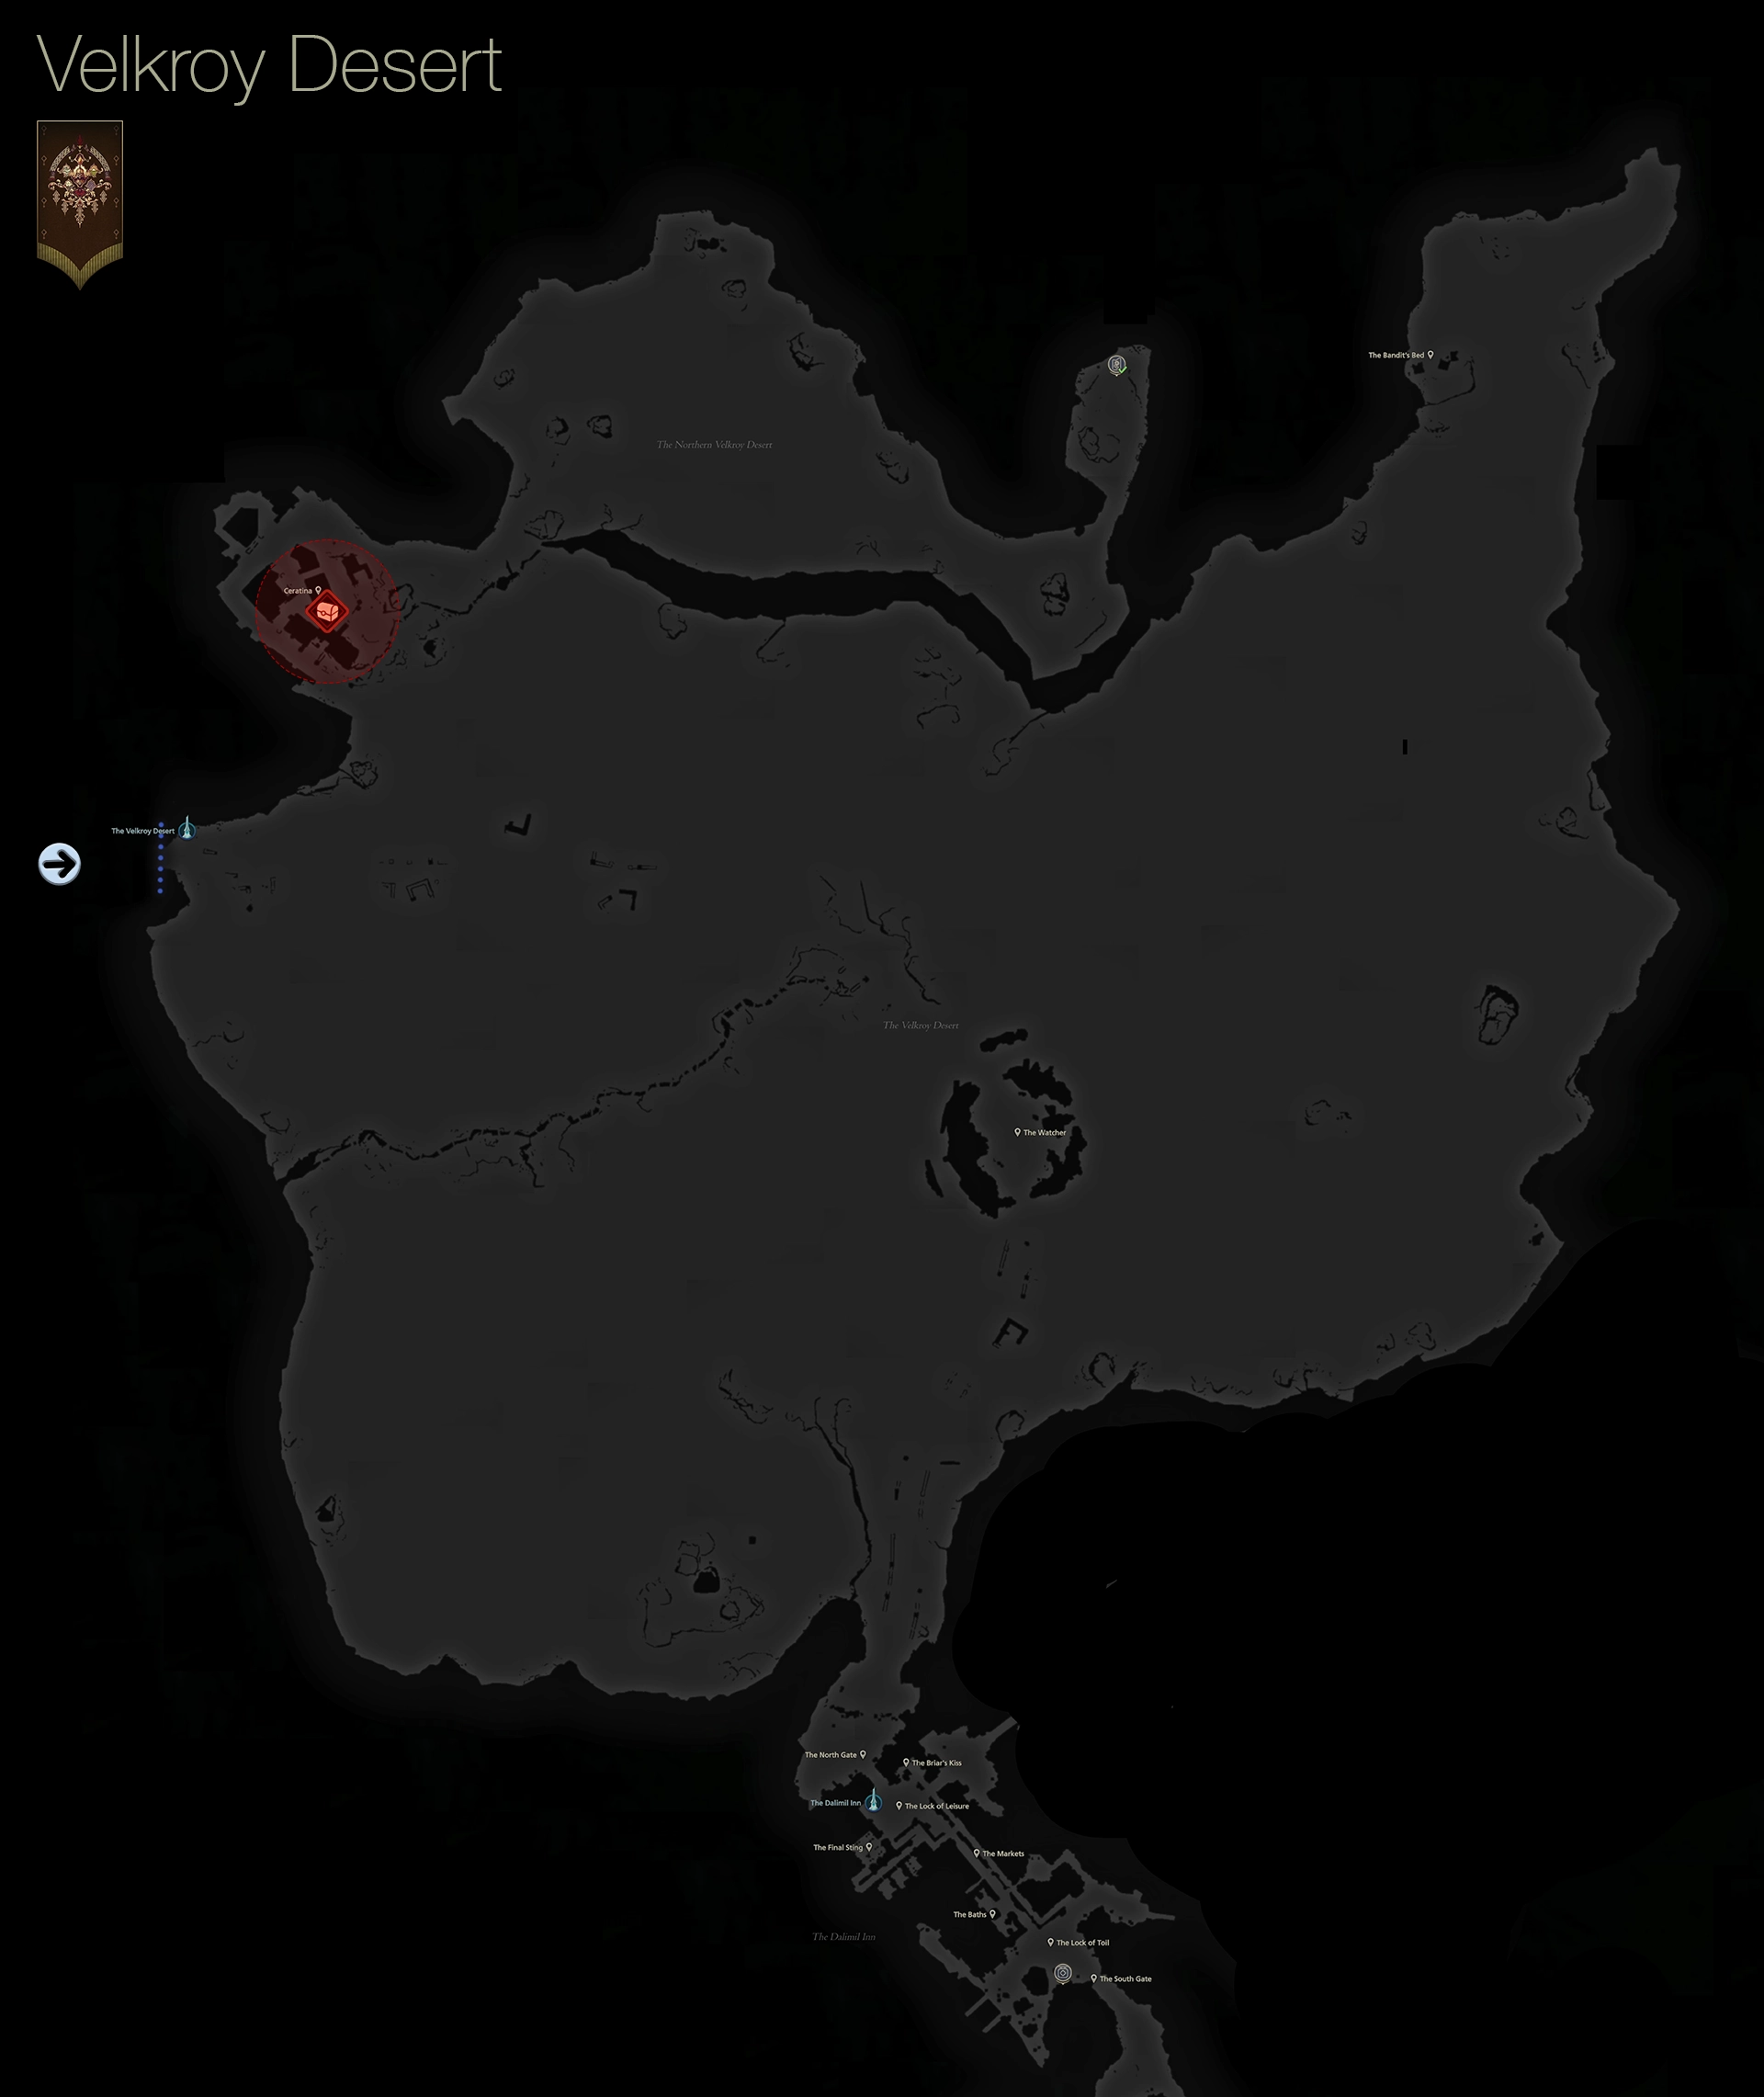
| 1) |
|---|
The worst part is that this one and only treasure coffer contains a useless ![]() Mythril Belt that is quite a bit worse than the
Mythril Belt that is quite a bit worse than the ![]() Drakeslayer’s Belt you’re already wearing. There is one other thing you can do in this area, though—your next Hunt target can be found in the northern section of the desert:
Drakeslayer’s Belt you’re already wearing. There is one other thing you can do in this area, though—your next Hunt target can be found in the northern section of the desert:
Notorious Mark / Hunt
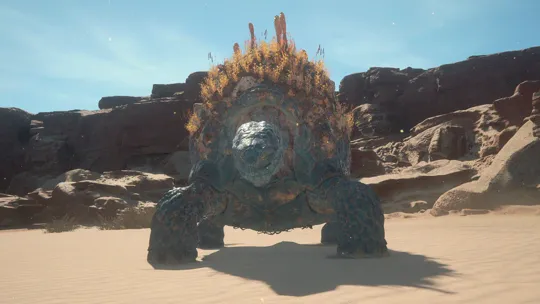
“Among republican merchants, reports abound of caravans being crushed by a ‘black boulder’—a creature indeterminate in nature, but quite decided in size, strength, and spite. He or she who took it upon themselves to seek out and slay this black mass would earn the eternal gratitude not only of the desert traders, but of the Cursebreakers who risk life and limb with every trip through the Velkroy.”
The rewards for completing this Hunt include two ![]() Scarletite, which are the exact materials we needed to complete the last of the Drakeslayer gear. Open up the world map and travel back to the Hideaway.
Scarletite, which are the exact materials we needed to complete the last of the Drakeslayer gear. Open up the world map and travel back to the Hideaway.
 The Hideaway
Head over to Blackthorne at ![]() The Black Hammer and use the
The Black Hammer and use the ![]() Scarletite to craft the following:
Scarletite to craft the following:
| Materials | |
|---|---|
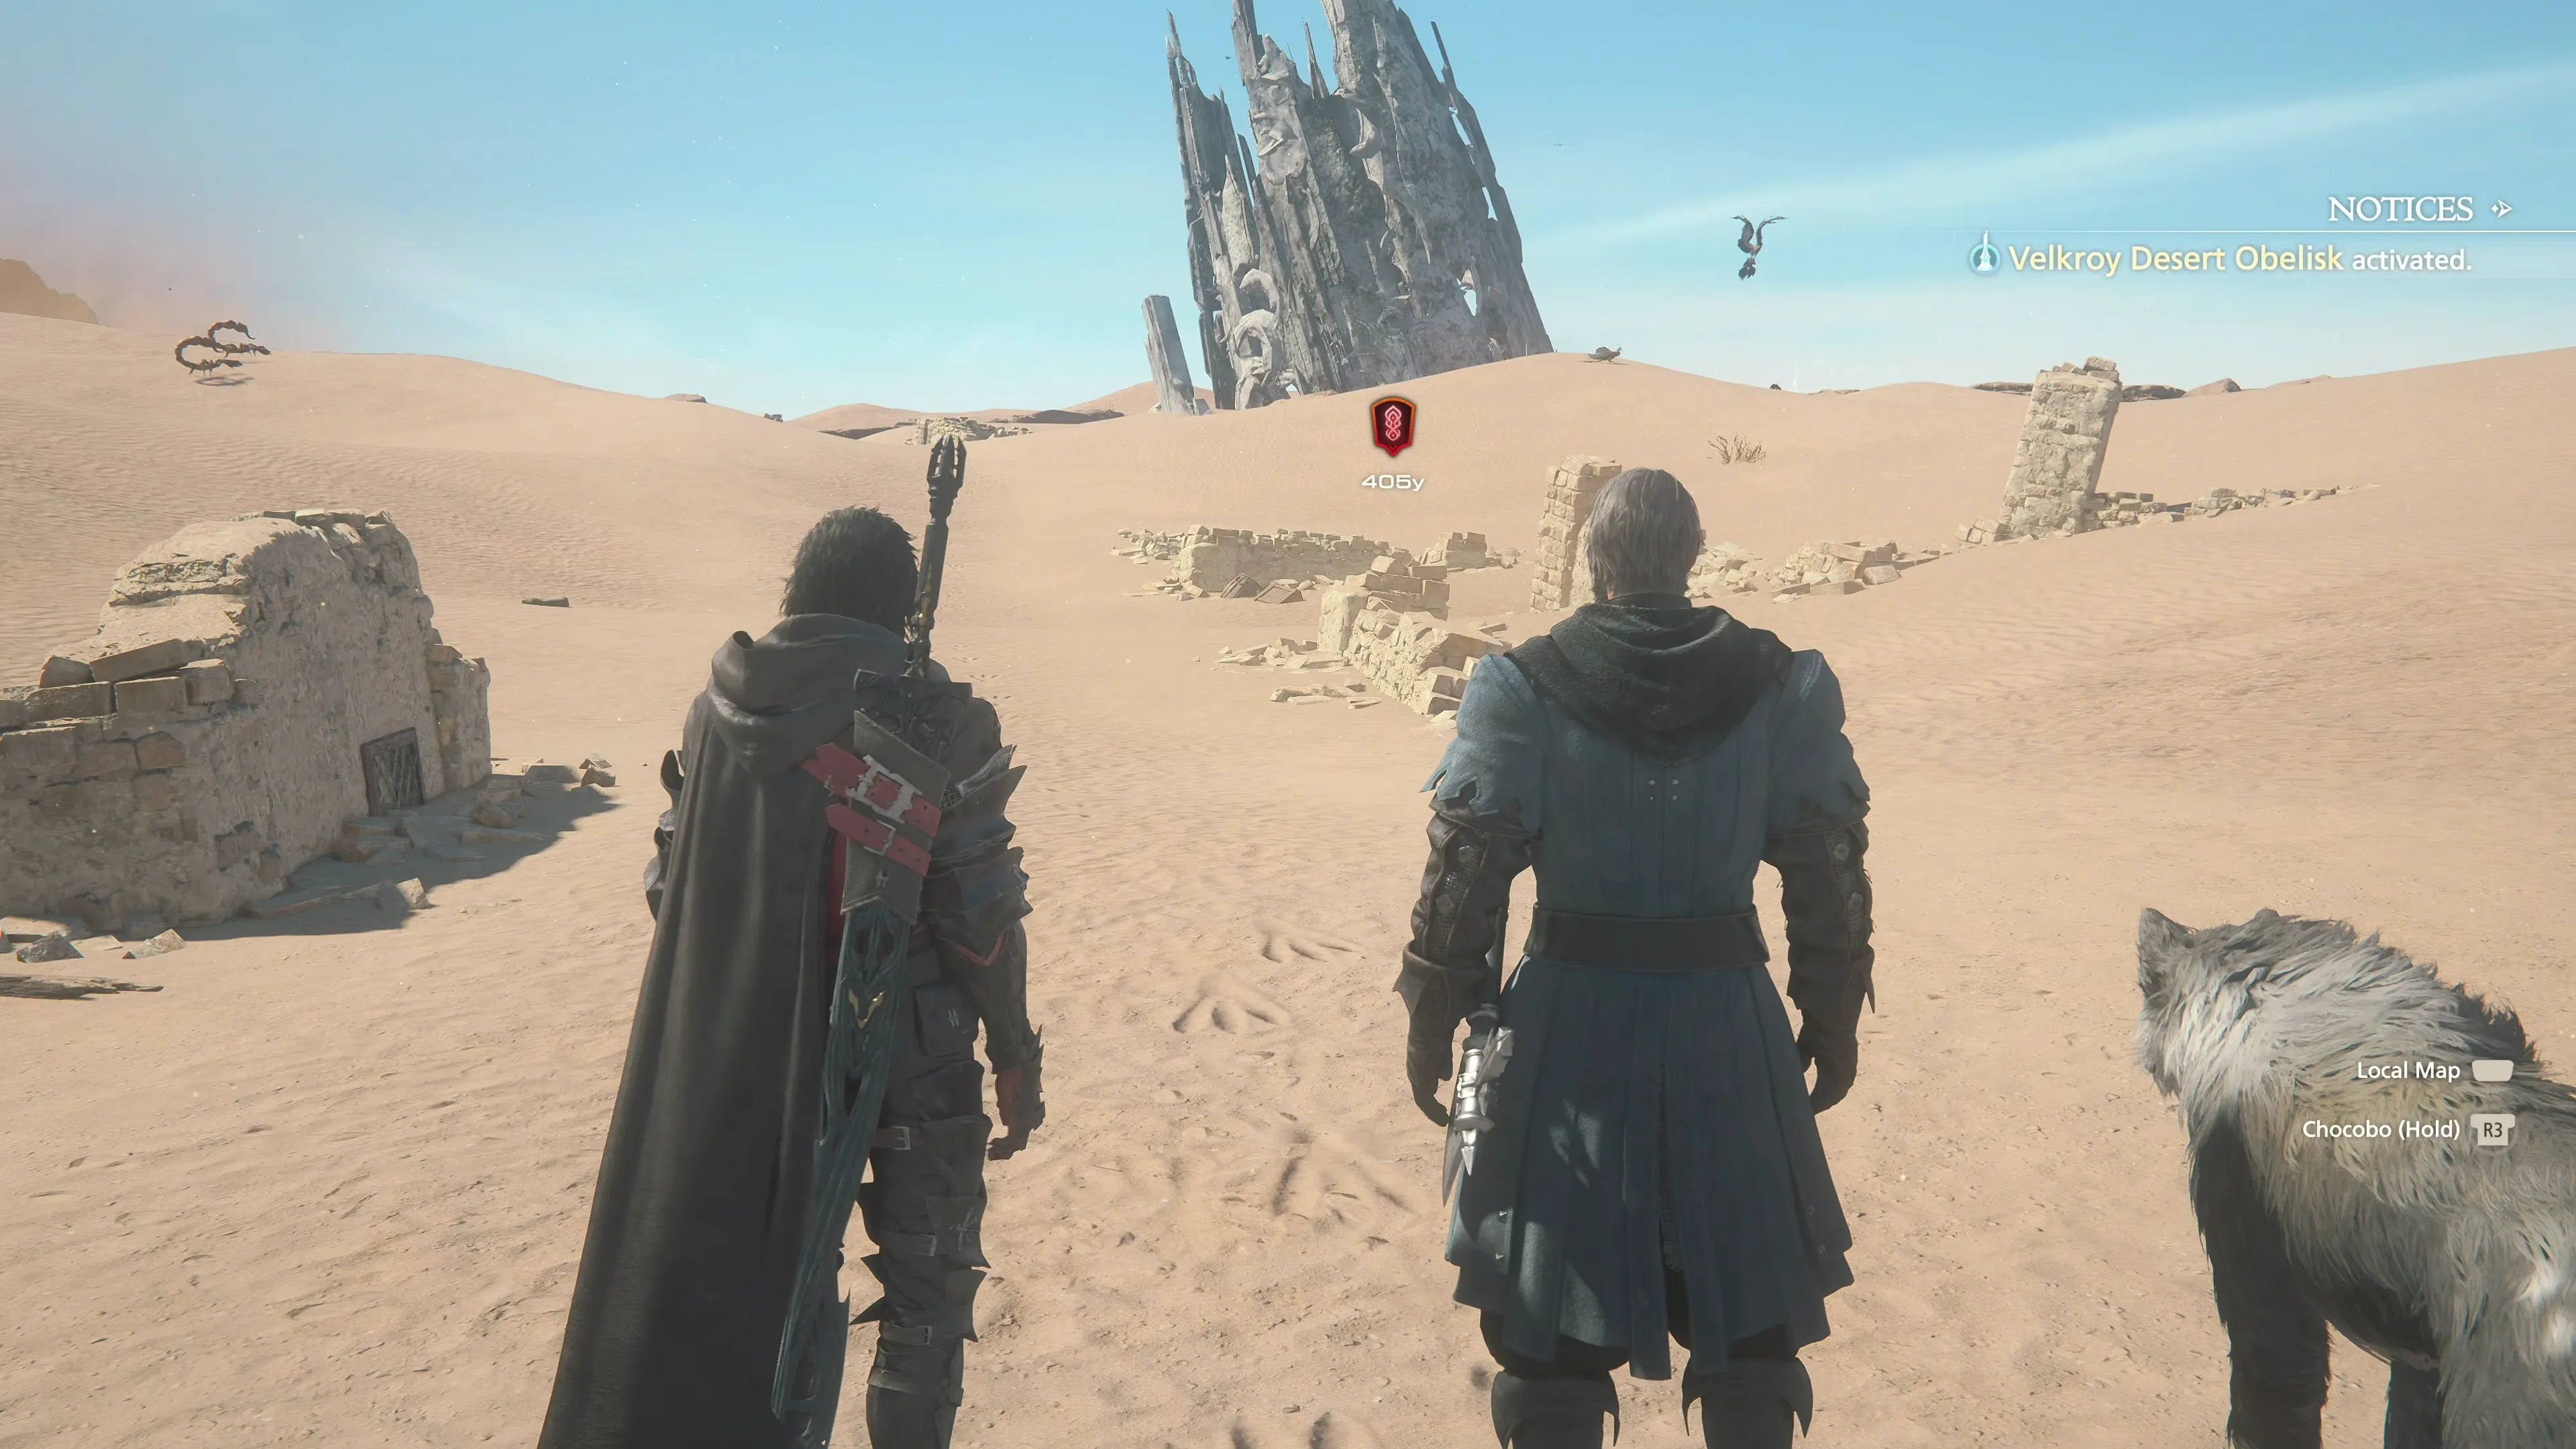
Travel back to the ![]() Velkroy Desert Obelisk.
Velkroy Desert Obelisk.
The Velkroy Desert
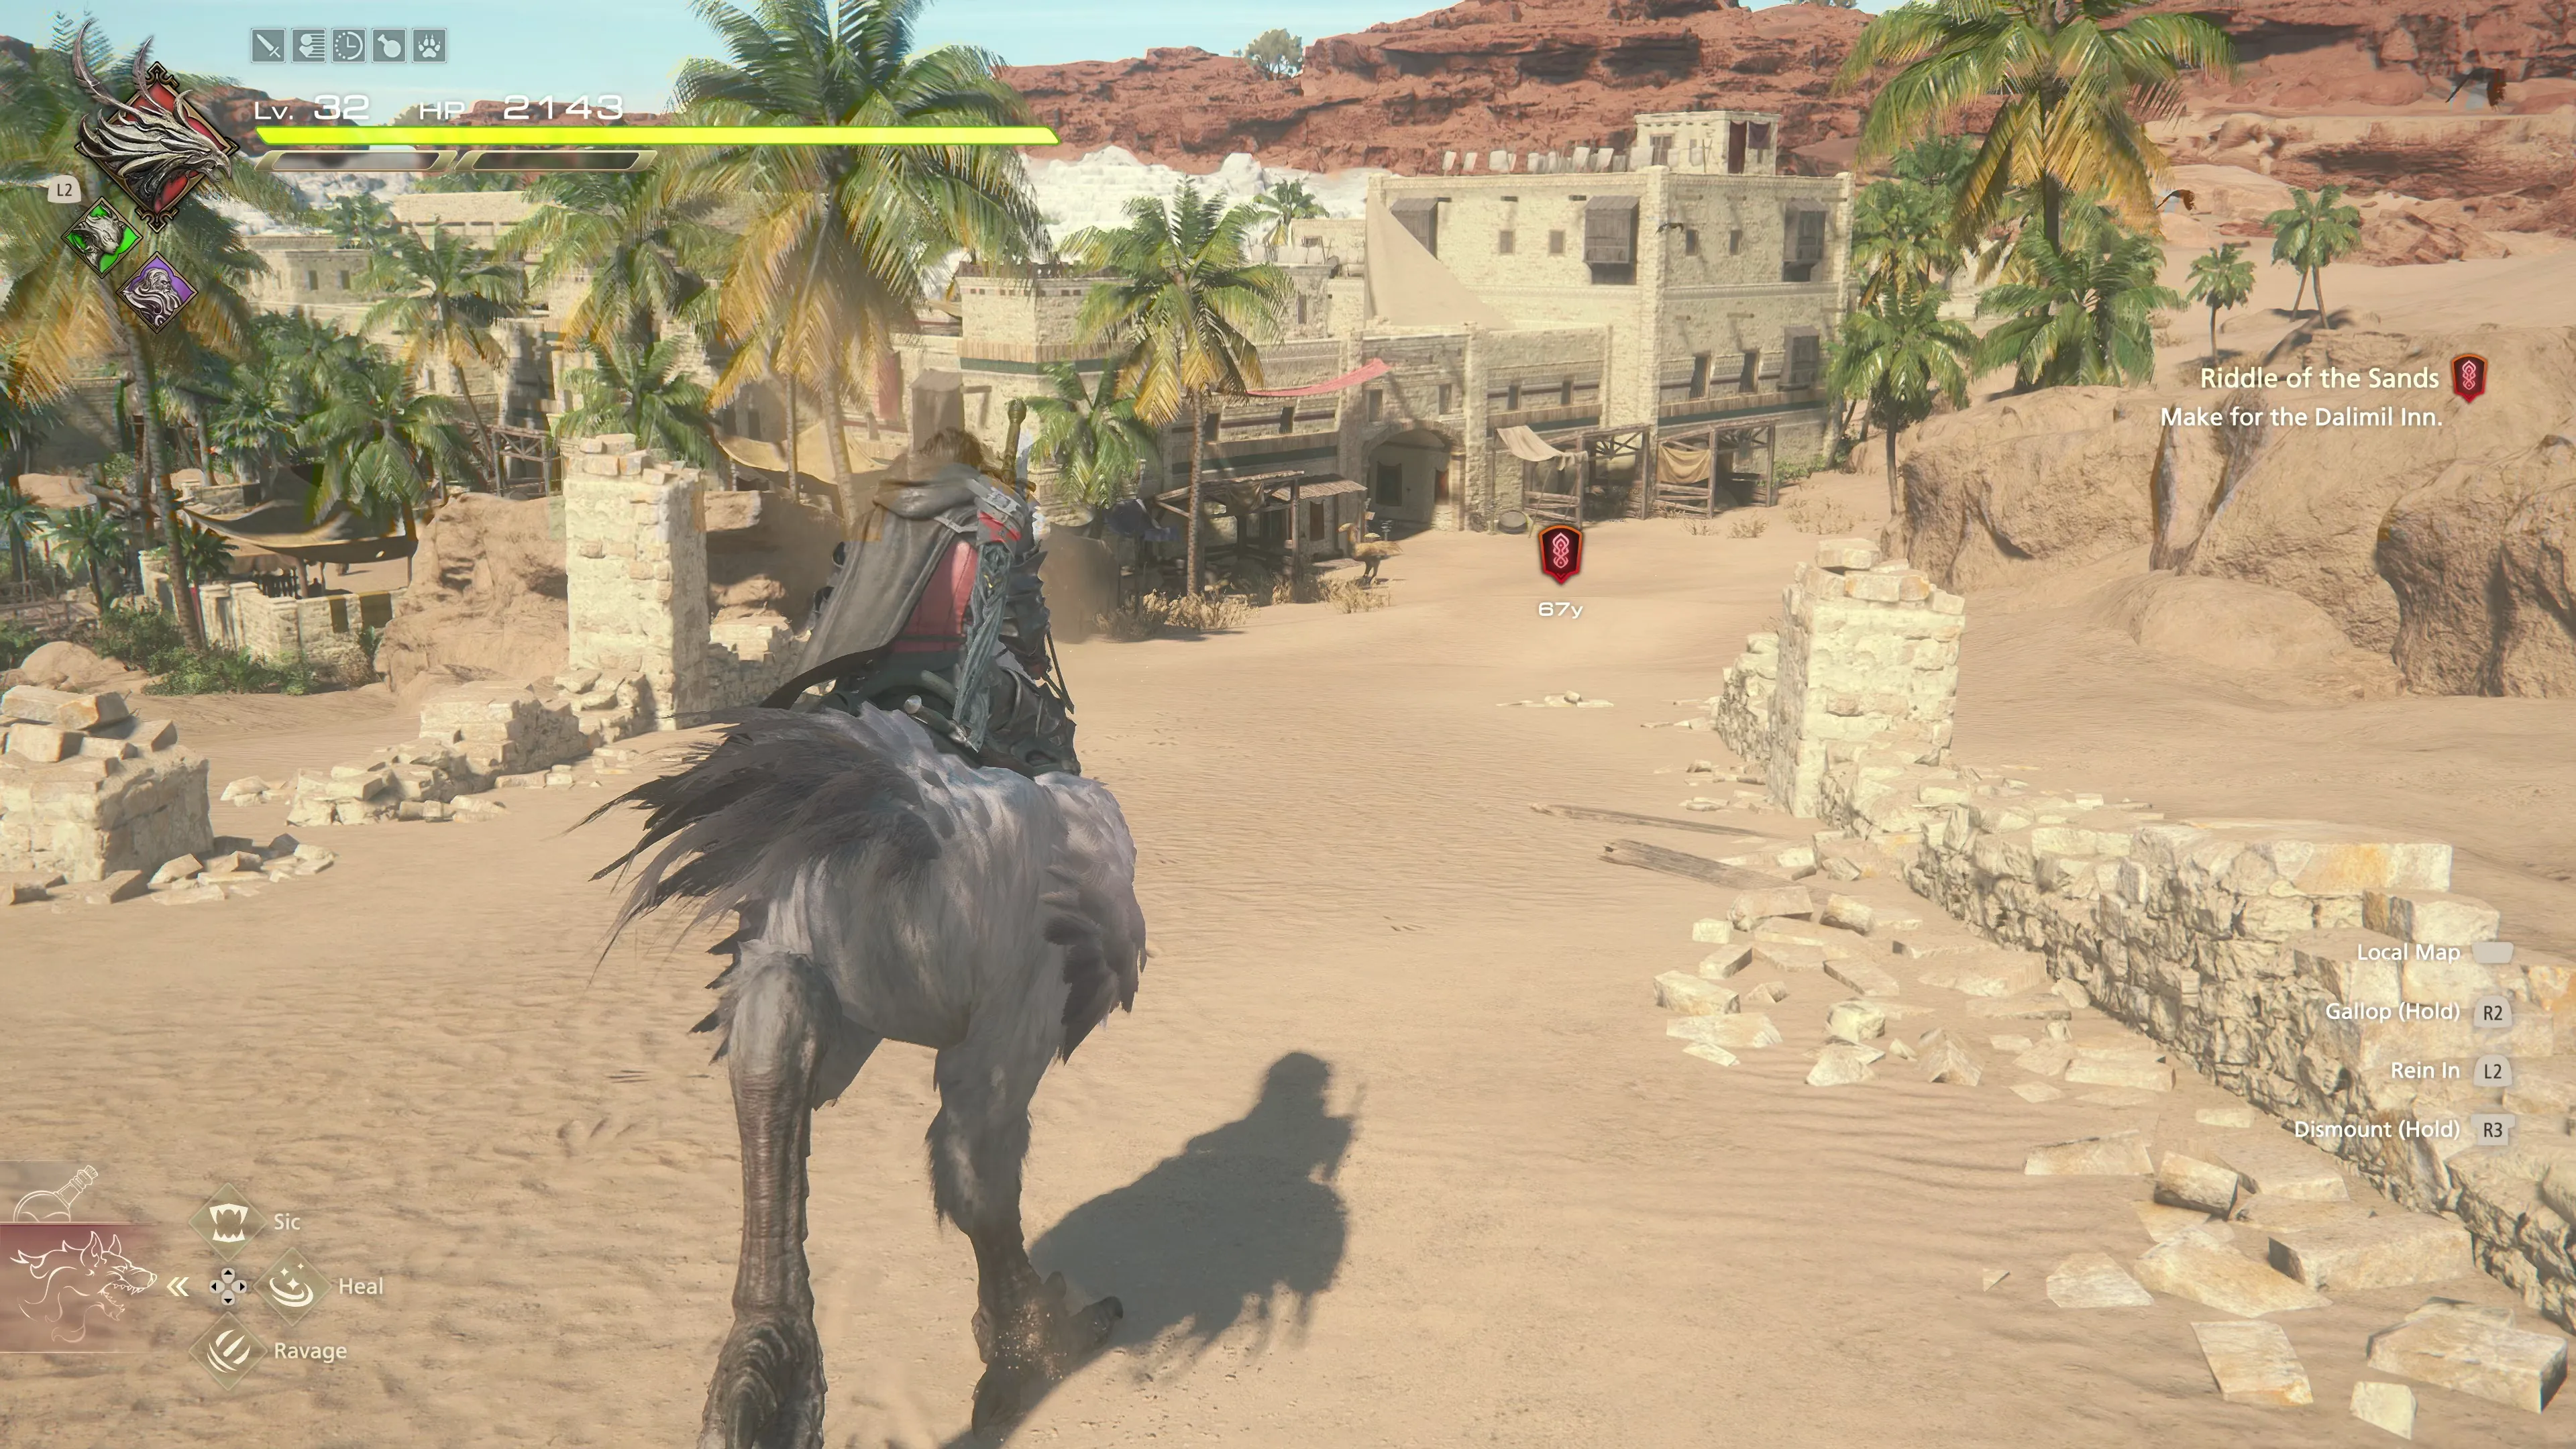
We can now continue with the story. Hop on your ![]() Chocobo and head straight for the Main Scenario Quest Marker
Chocobo and head straight for the Main Scenario Quest Marker ![]() . It will lead you to “The Watcher” in the center of the desert, but when you get there, it will immediately move south.
. It will lead you to “The Watcher” in the center of the desert, but when you get there, it will immediately move south.
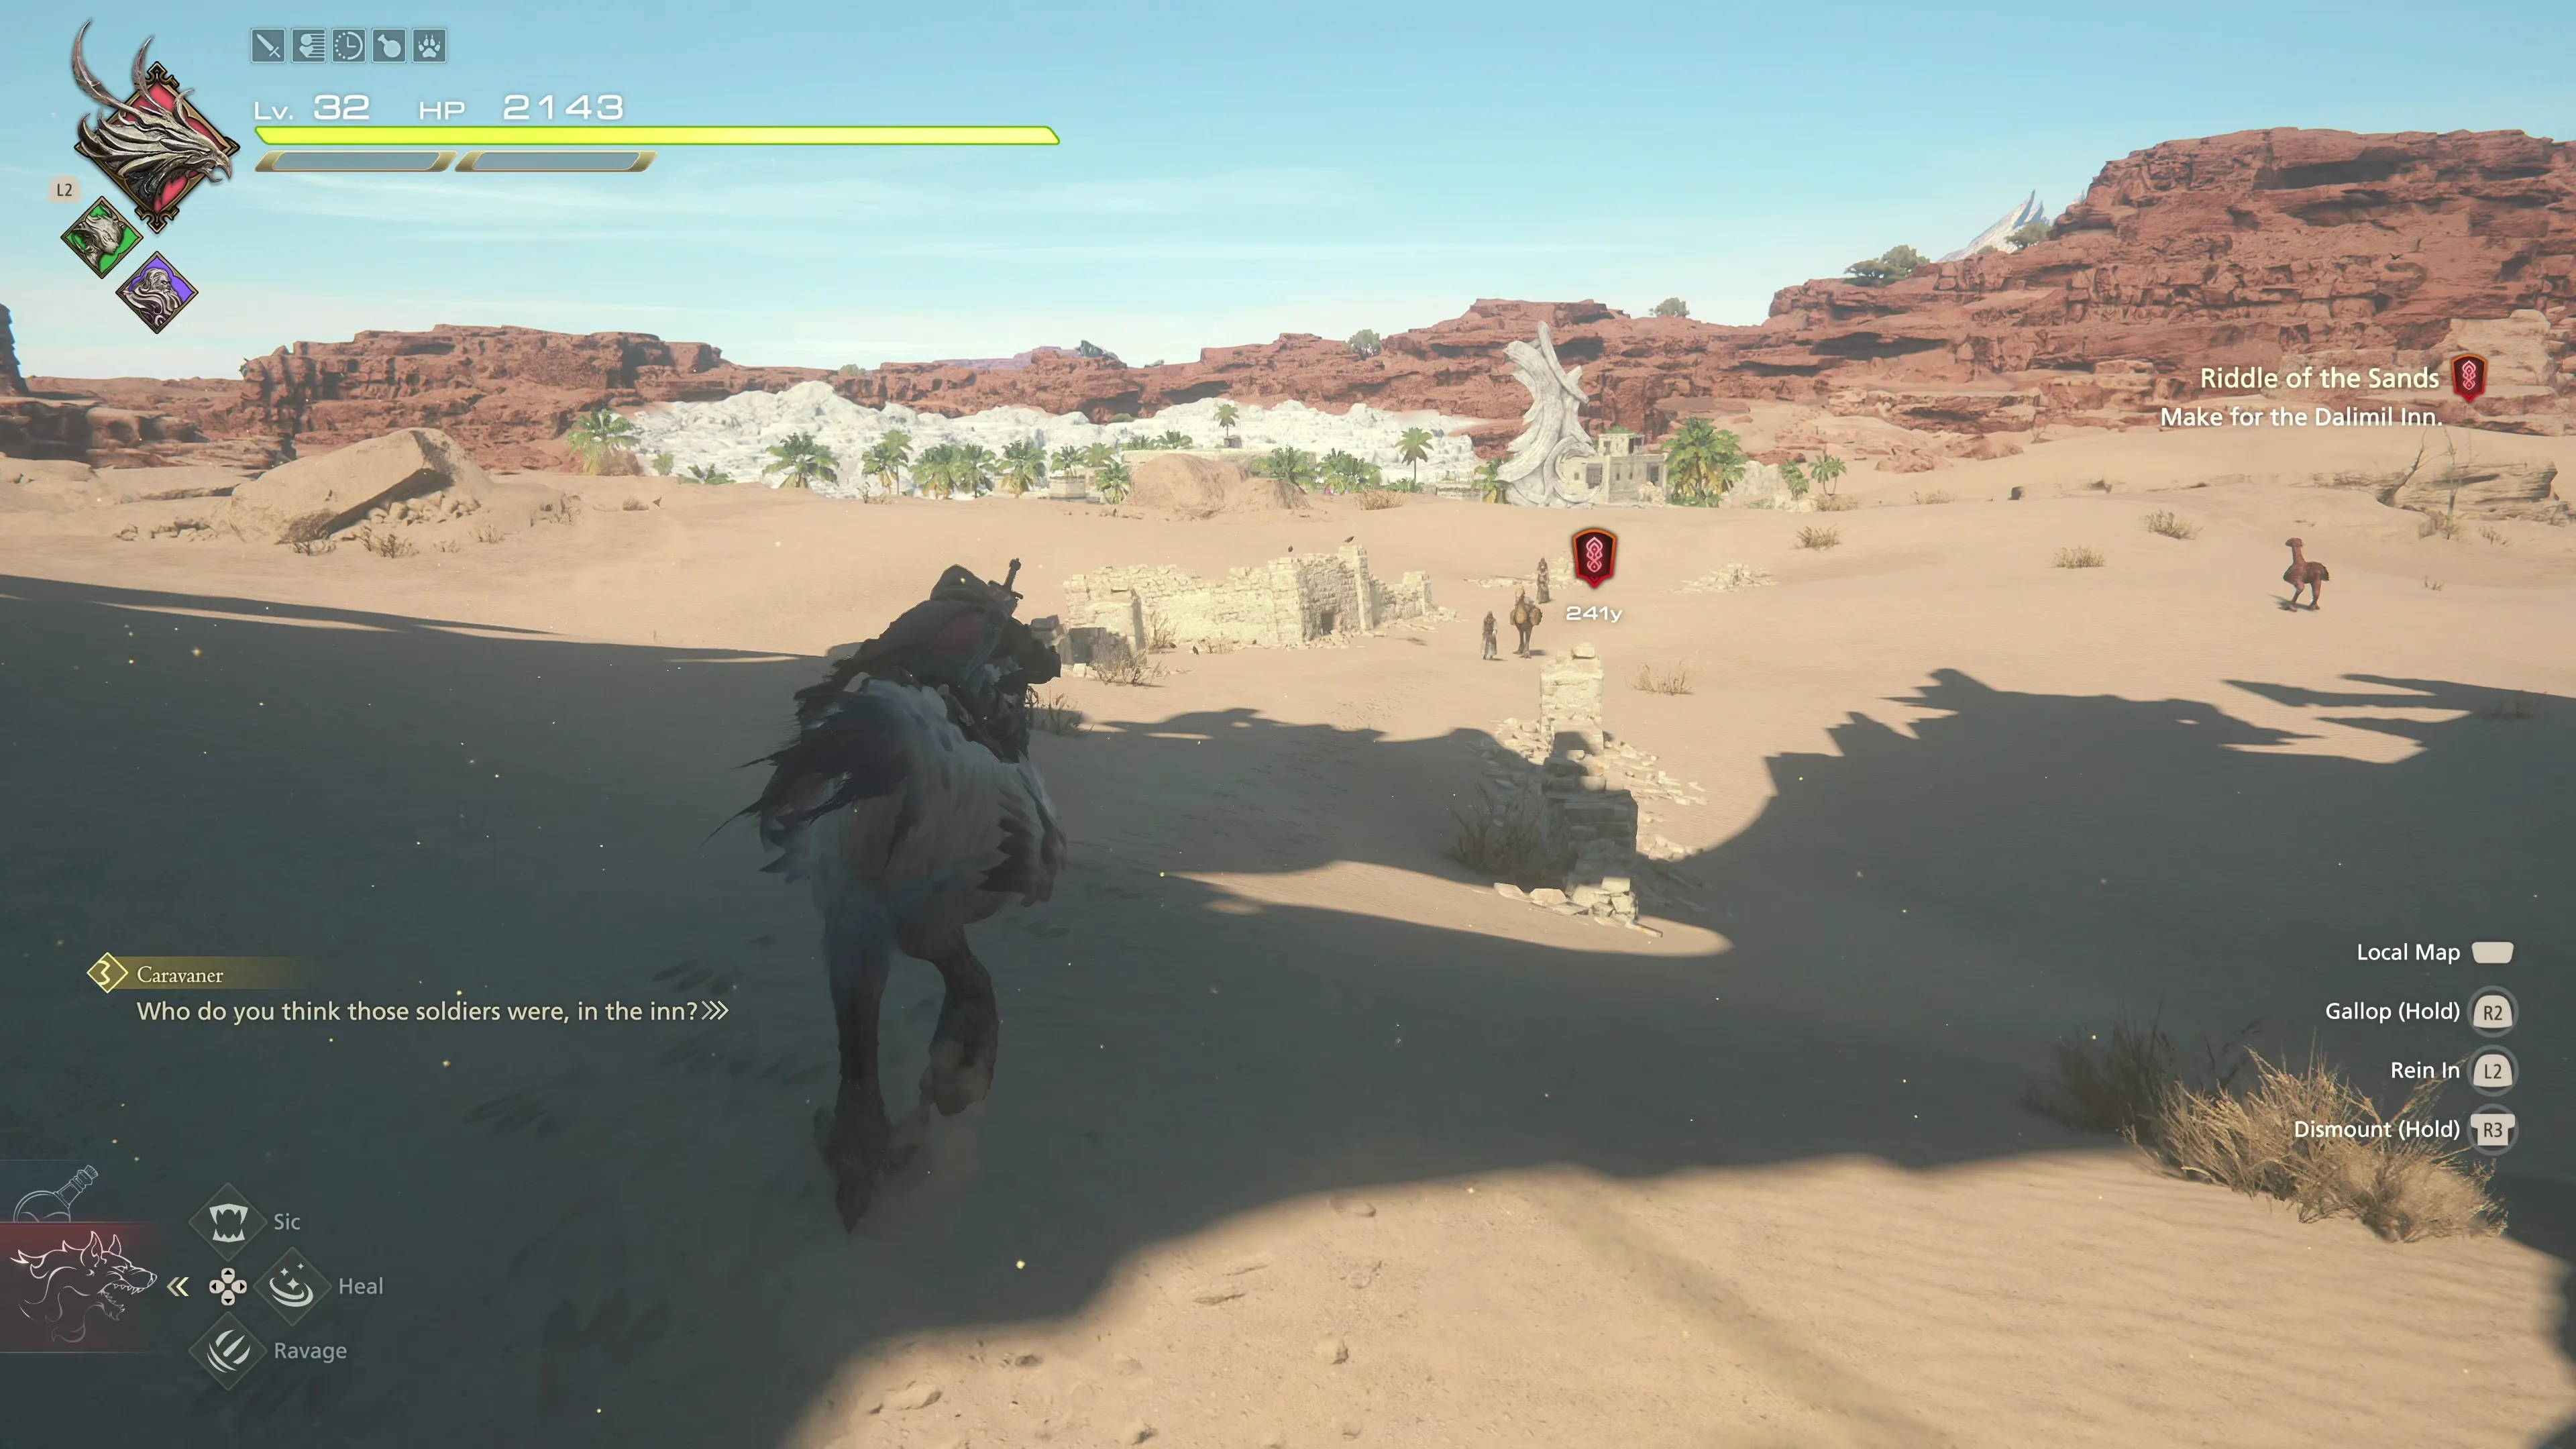
Swap over to your multi-target ![]() Eikonic Ability Set and then keep following the Main Scenario Quest Marker
Eikonic Ability Set and then keep following the Main Scenario Quest Marker ![]() along the trail until you reach the town of Dalimil and the Dalimil Inn.
along the trail until you reach the town of Dalimil and the Dalimil Inn.
 The Dalimil Inn
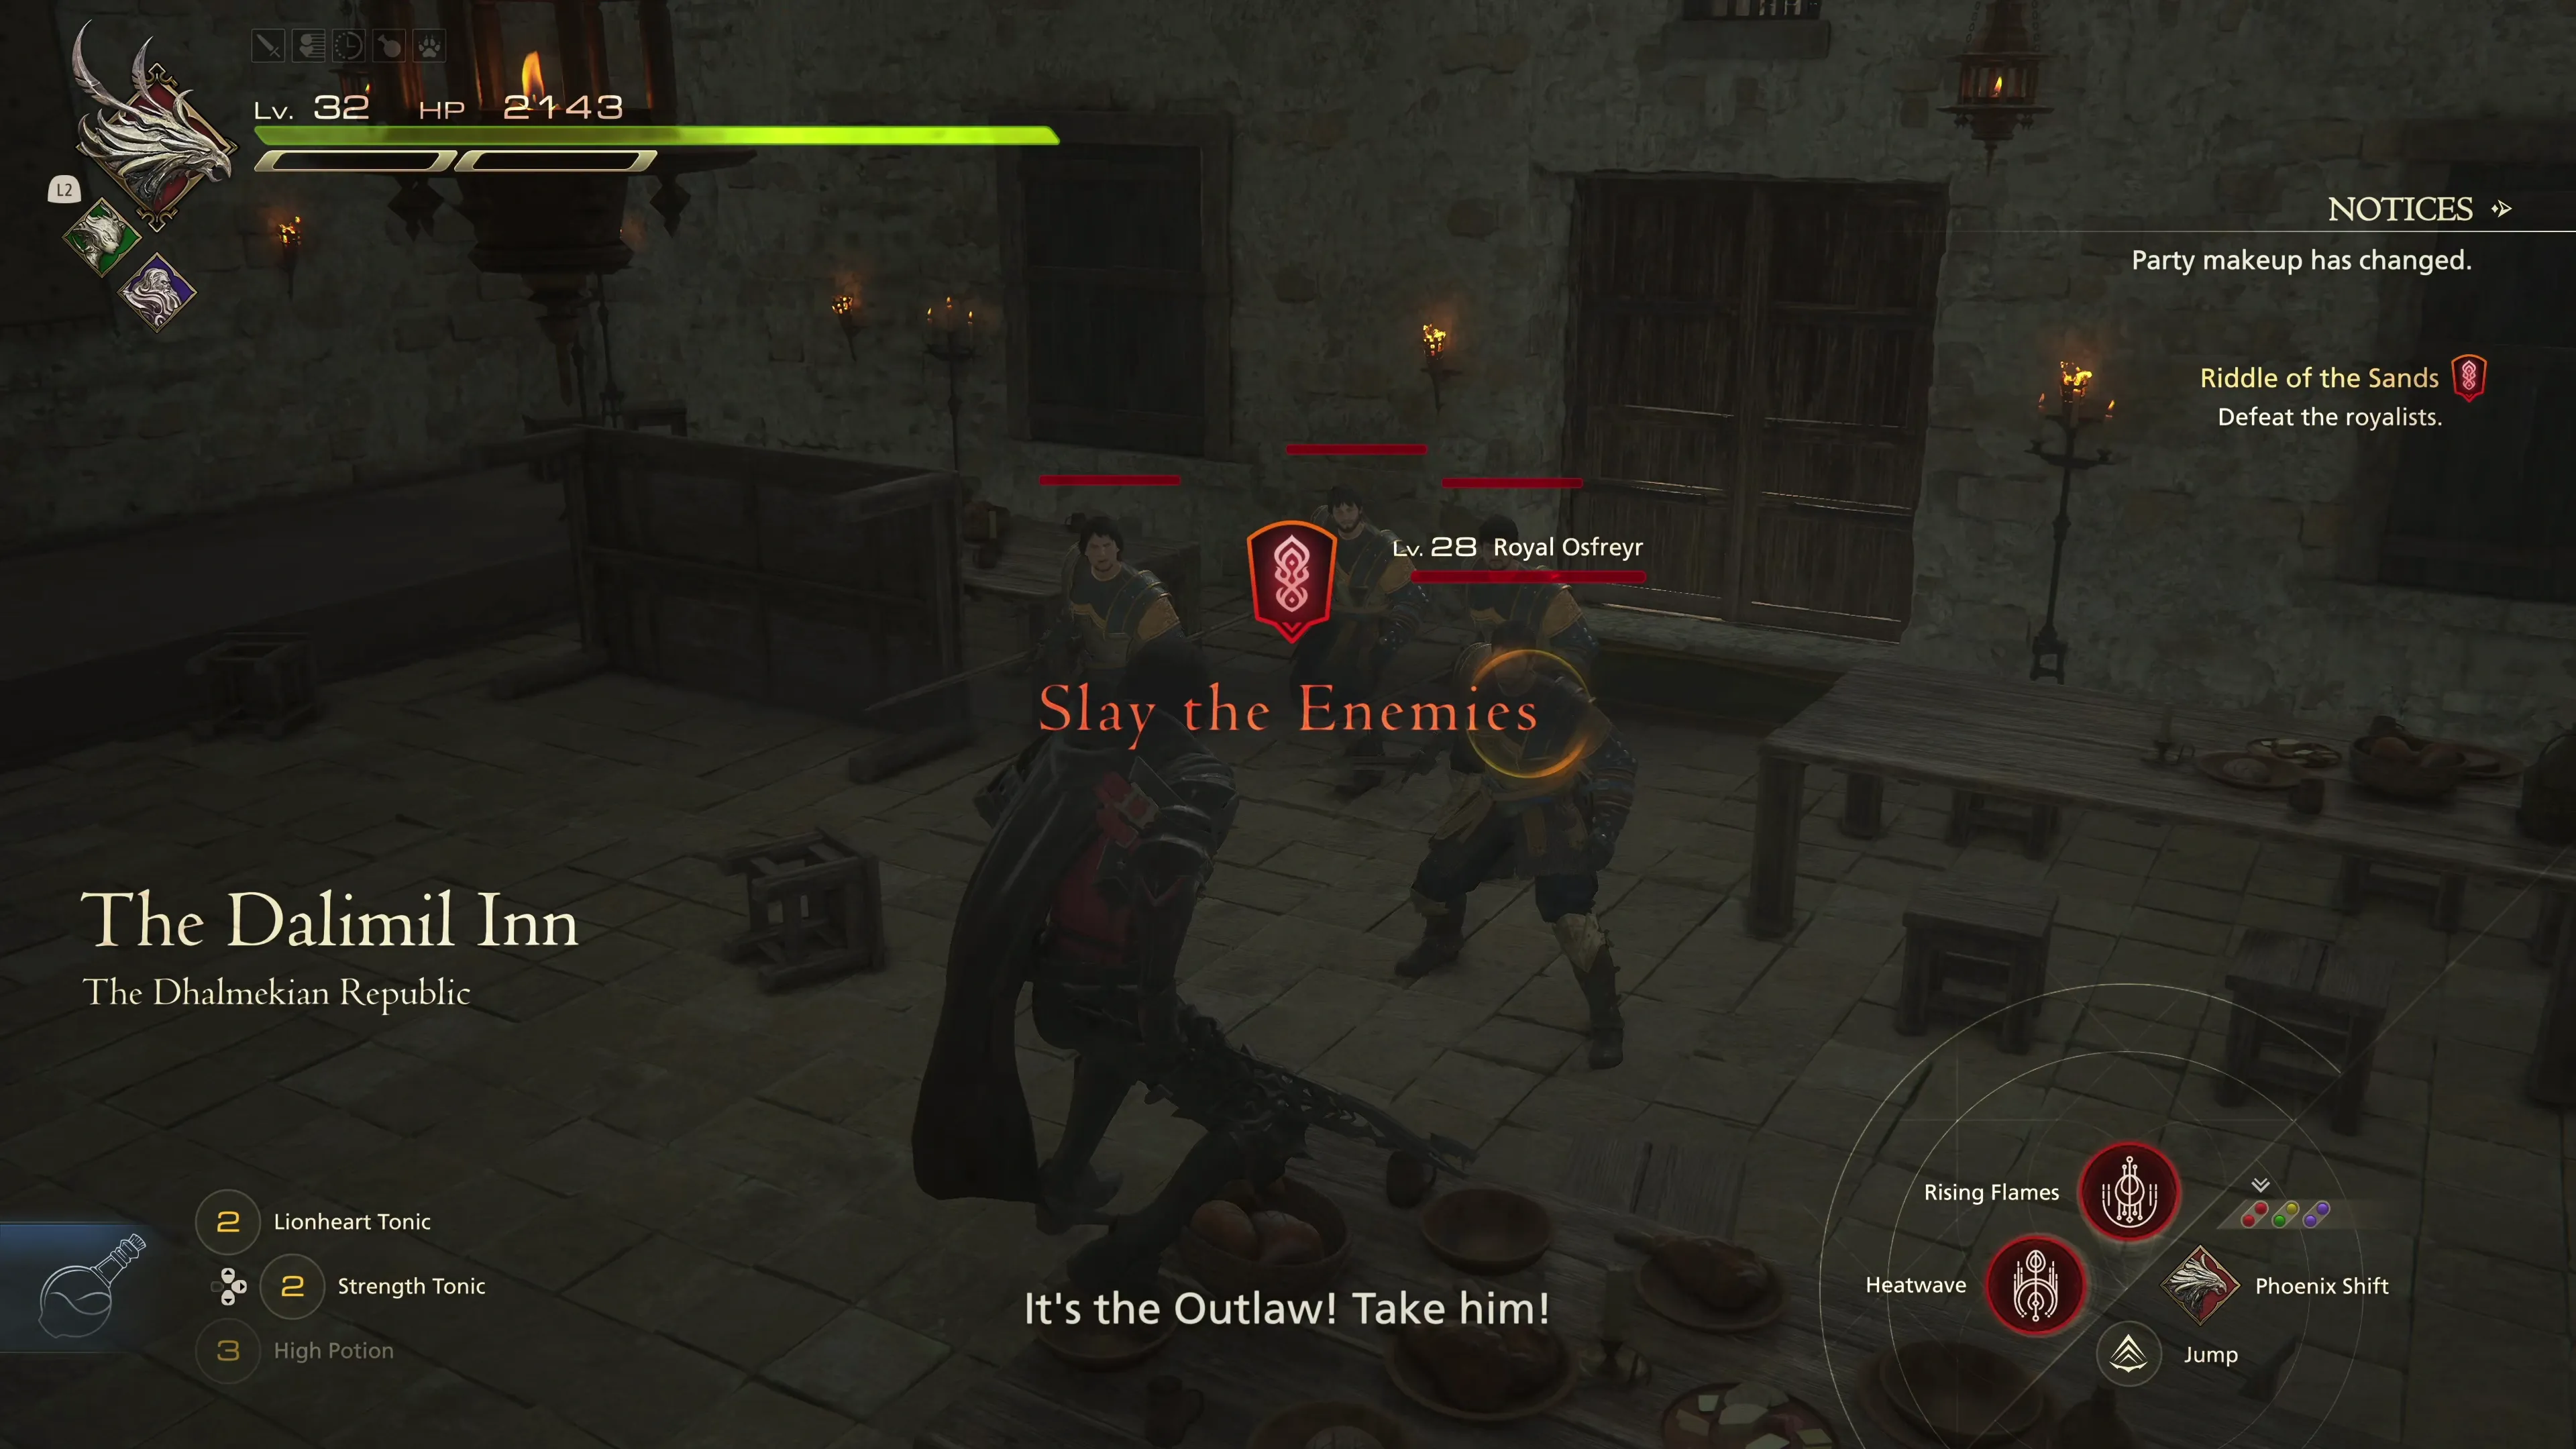
After the cutscene, Byron will run and hide behind the counter. Clive will be left to take care of a group of four “Royal Osfreyr” enemies. They go down without much of a fight.
You’ll regain control of Clive in the center of Dalimil. Head towards the gate in the southeast section of town, towards the Main Scenario Quest Marker ![]() , for another short cutscene.
, for another short cutscene.
The exit out of town and towards Drake’s Fang is closed. Byron and Clive will decide to talk to some of the townsfolk to see if they can track down “Ruzena Dalimil,” but before that, there are some treasure coffers we can pick up here in town. Note that the green treasure coffer is actually up on the second level, up the stairs:
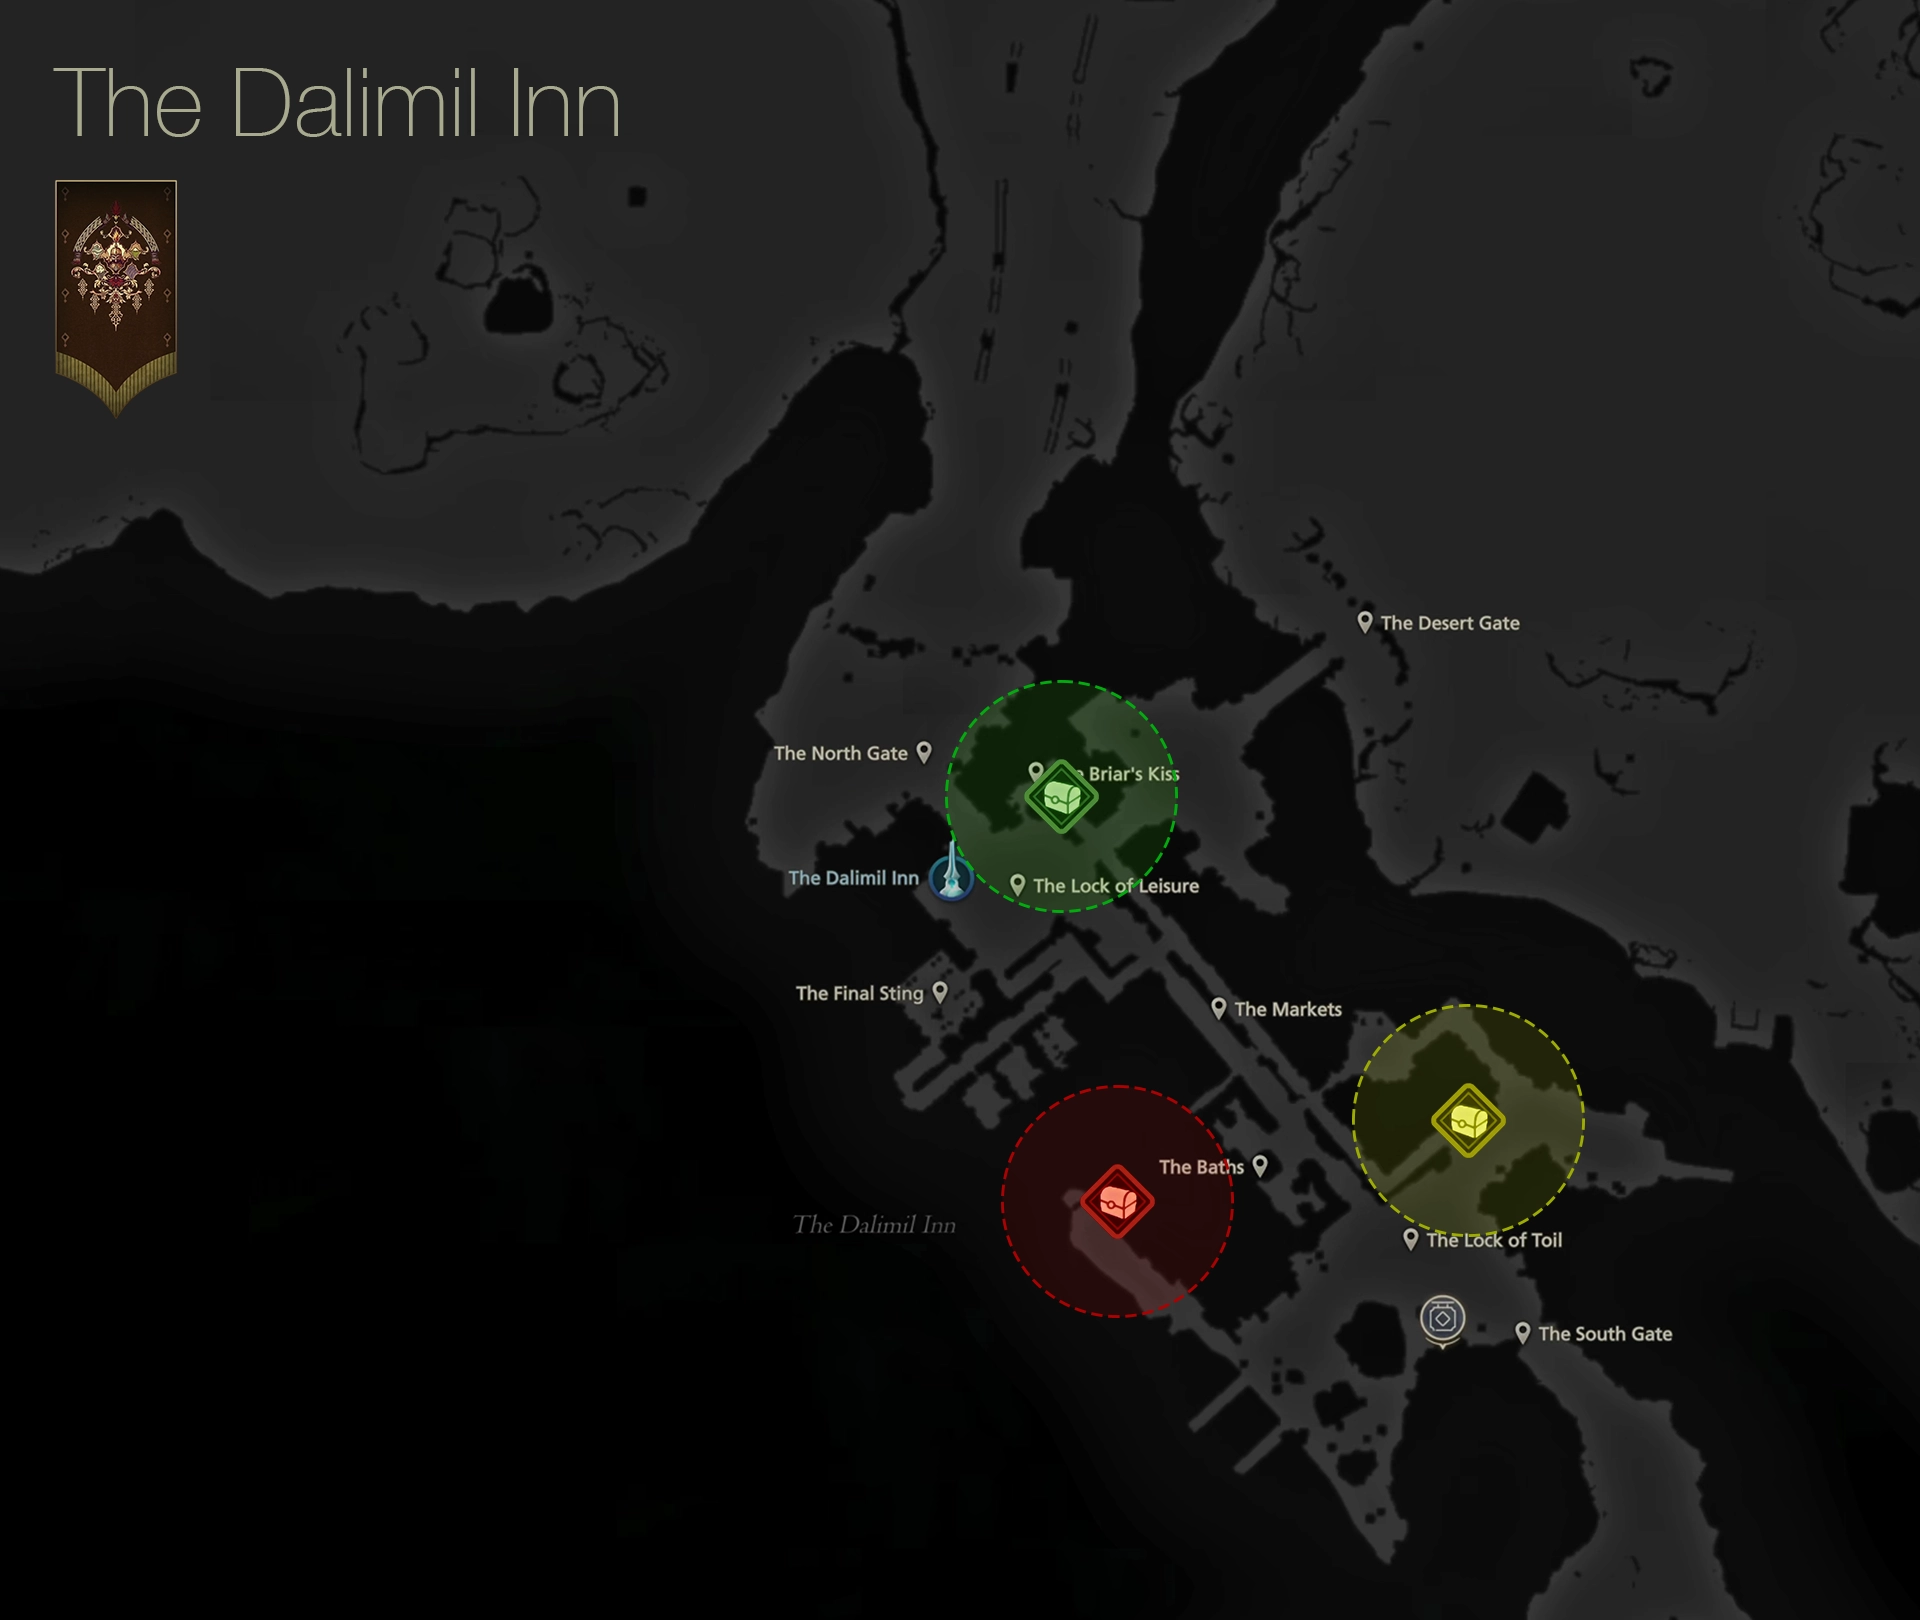
| 1) | ||
|---|---|---|
| 2) | ||
| 3) |
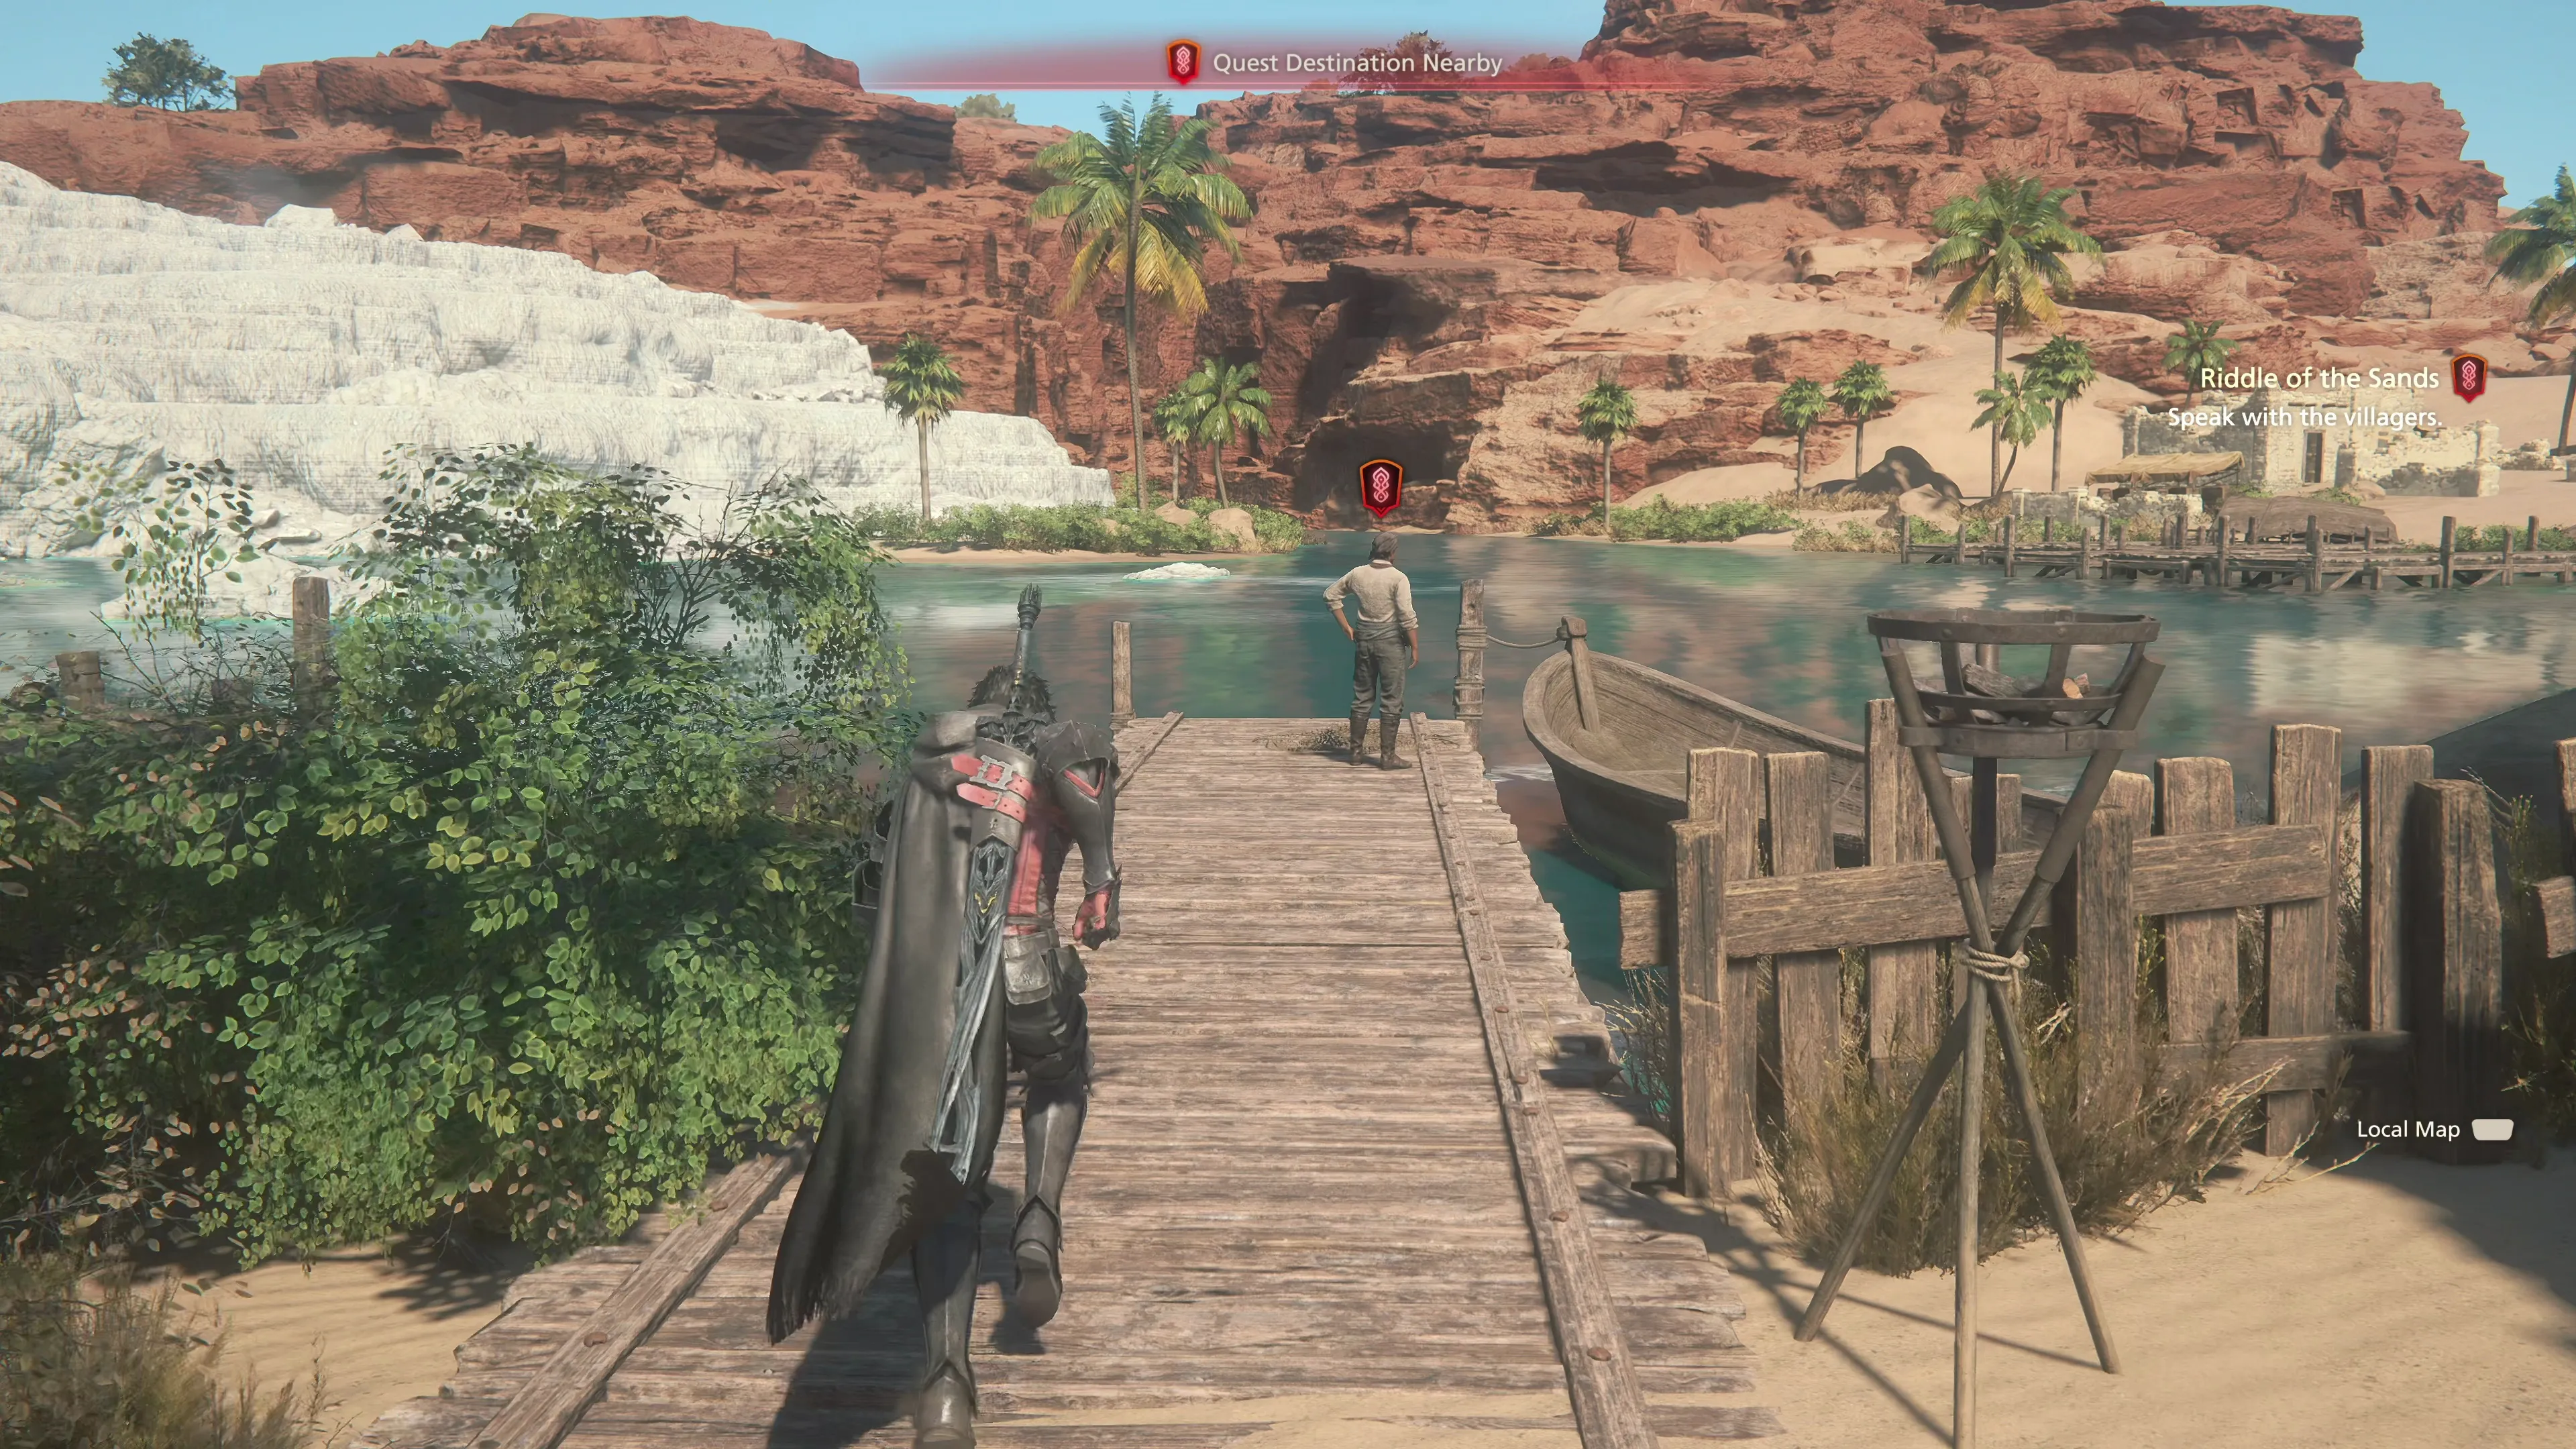
The two townspeople can be found in the eastern section of town near the gate. Talk to the “Traveling Trader” and the “Stallholder.” Next, head towards the docks near the river to find the “Riverboat Captain” and speak to him. Make sure you still have your multi-target ![]() Eikonic Ability Set active.
Eikonic Ability Set active.
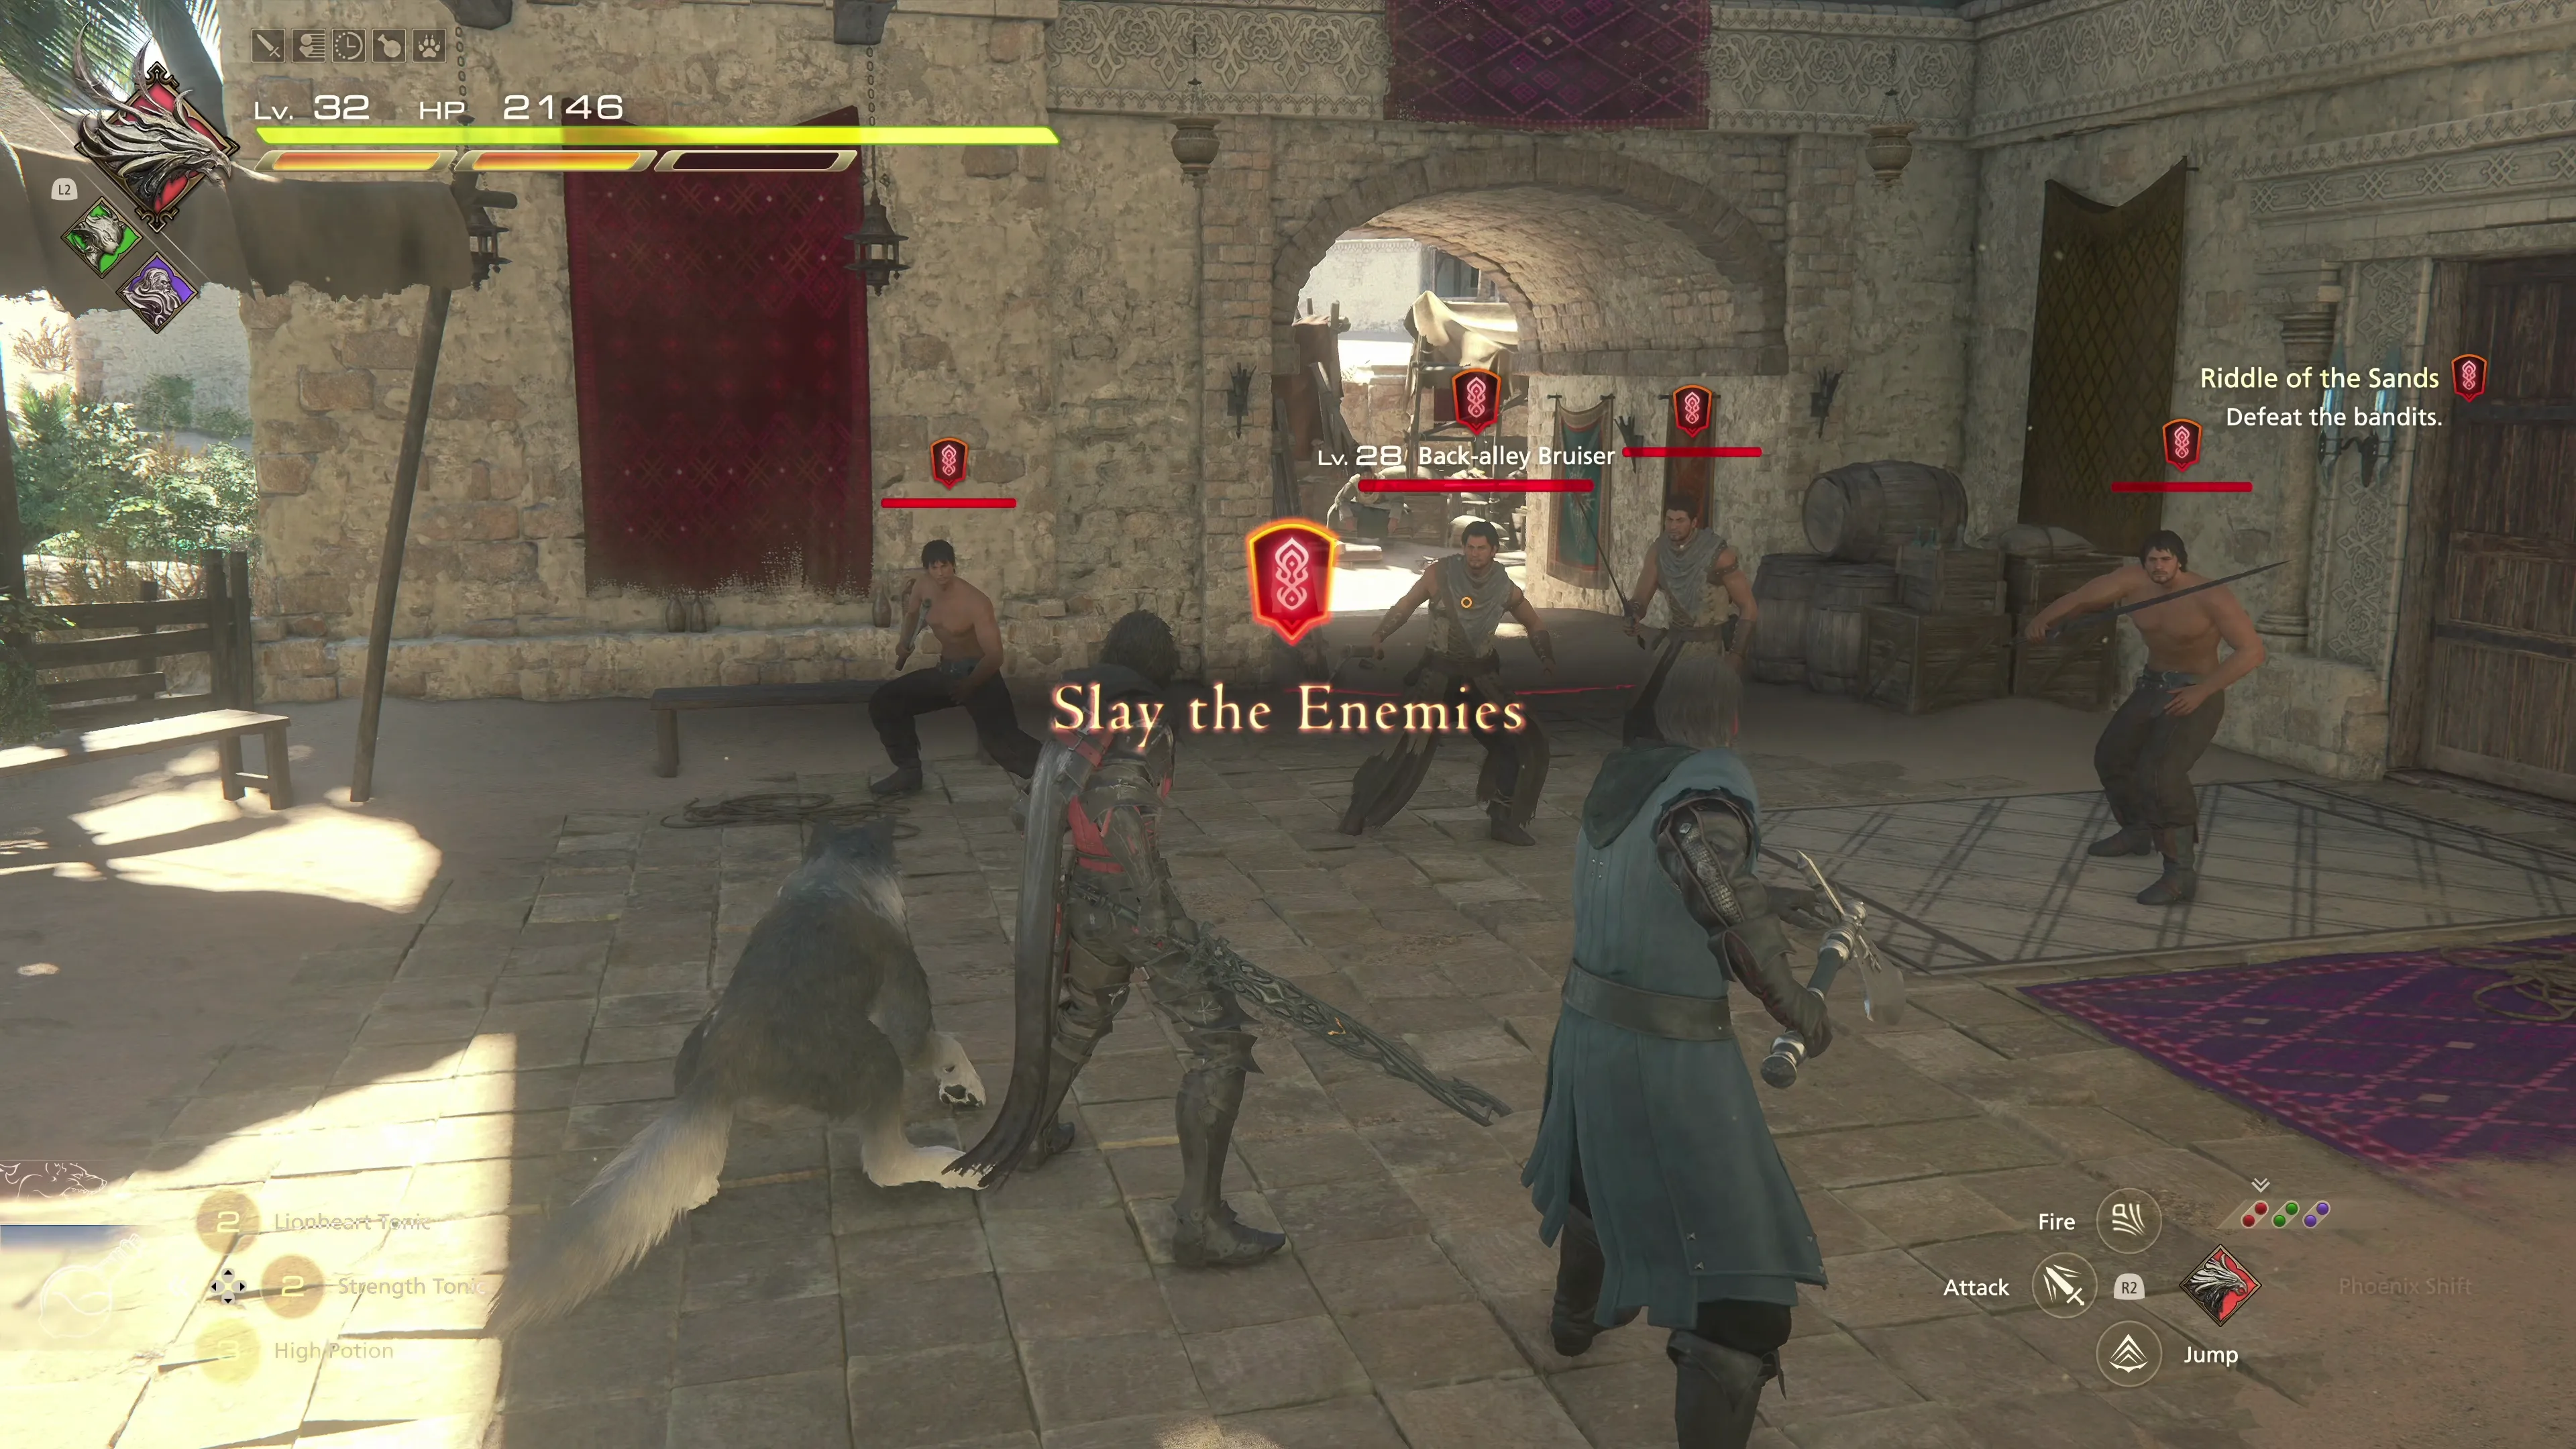
The last person to talk to is Ferda, who can be found in the center of town. Speak to him and then “make for the bordello,” which is in the nearby alleyway. A group of “back-alley bruisers” will ambush Clive, Byron, and Torgal. A second group of enemies will follow up this group, but they are easy to defeat, other than the fact that you have to face off against them in pretty cramped quarters.
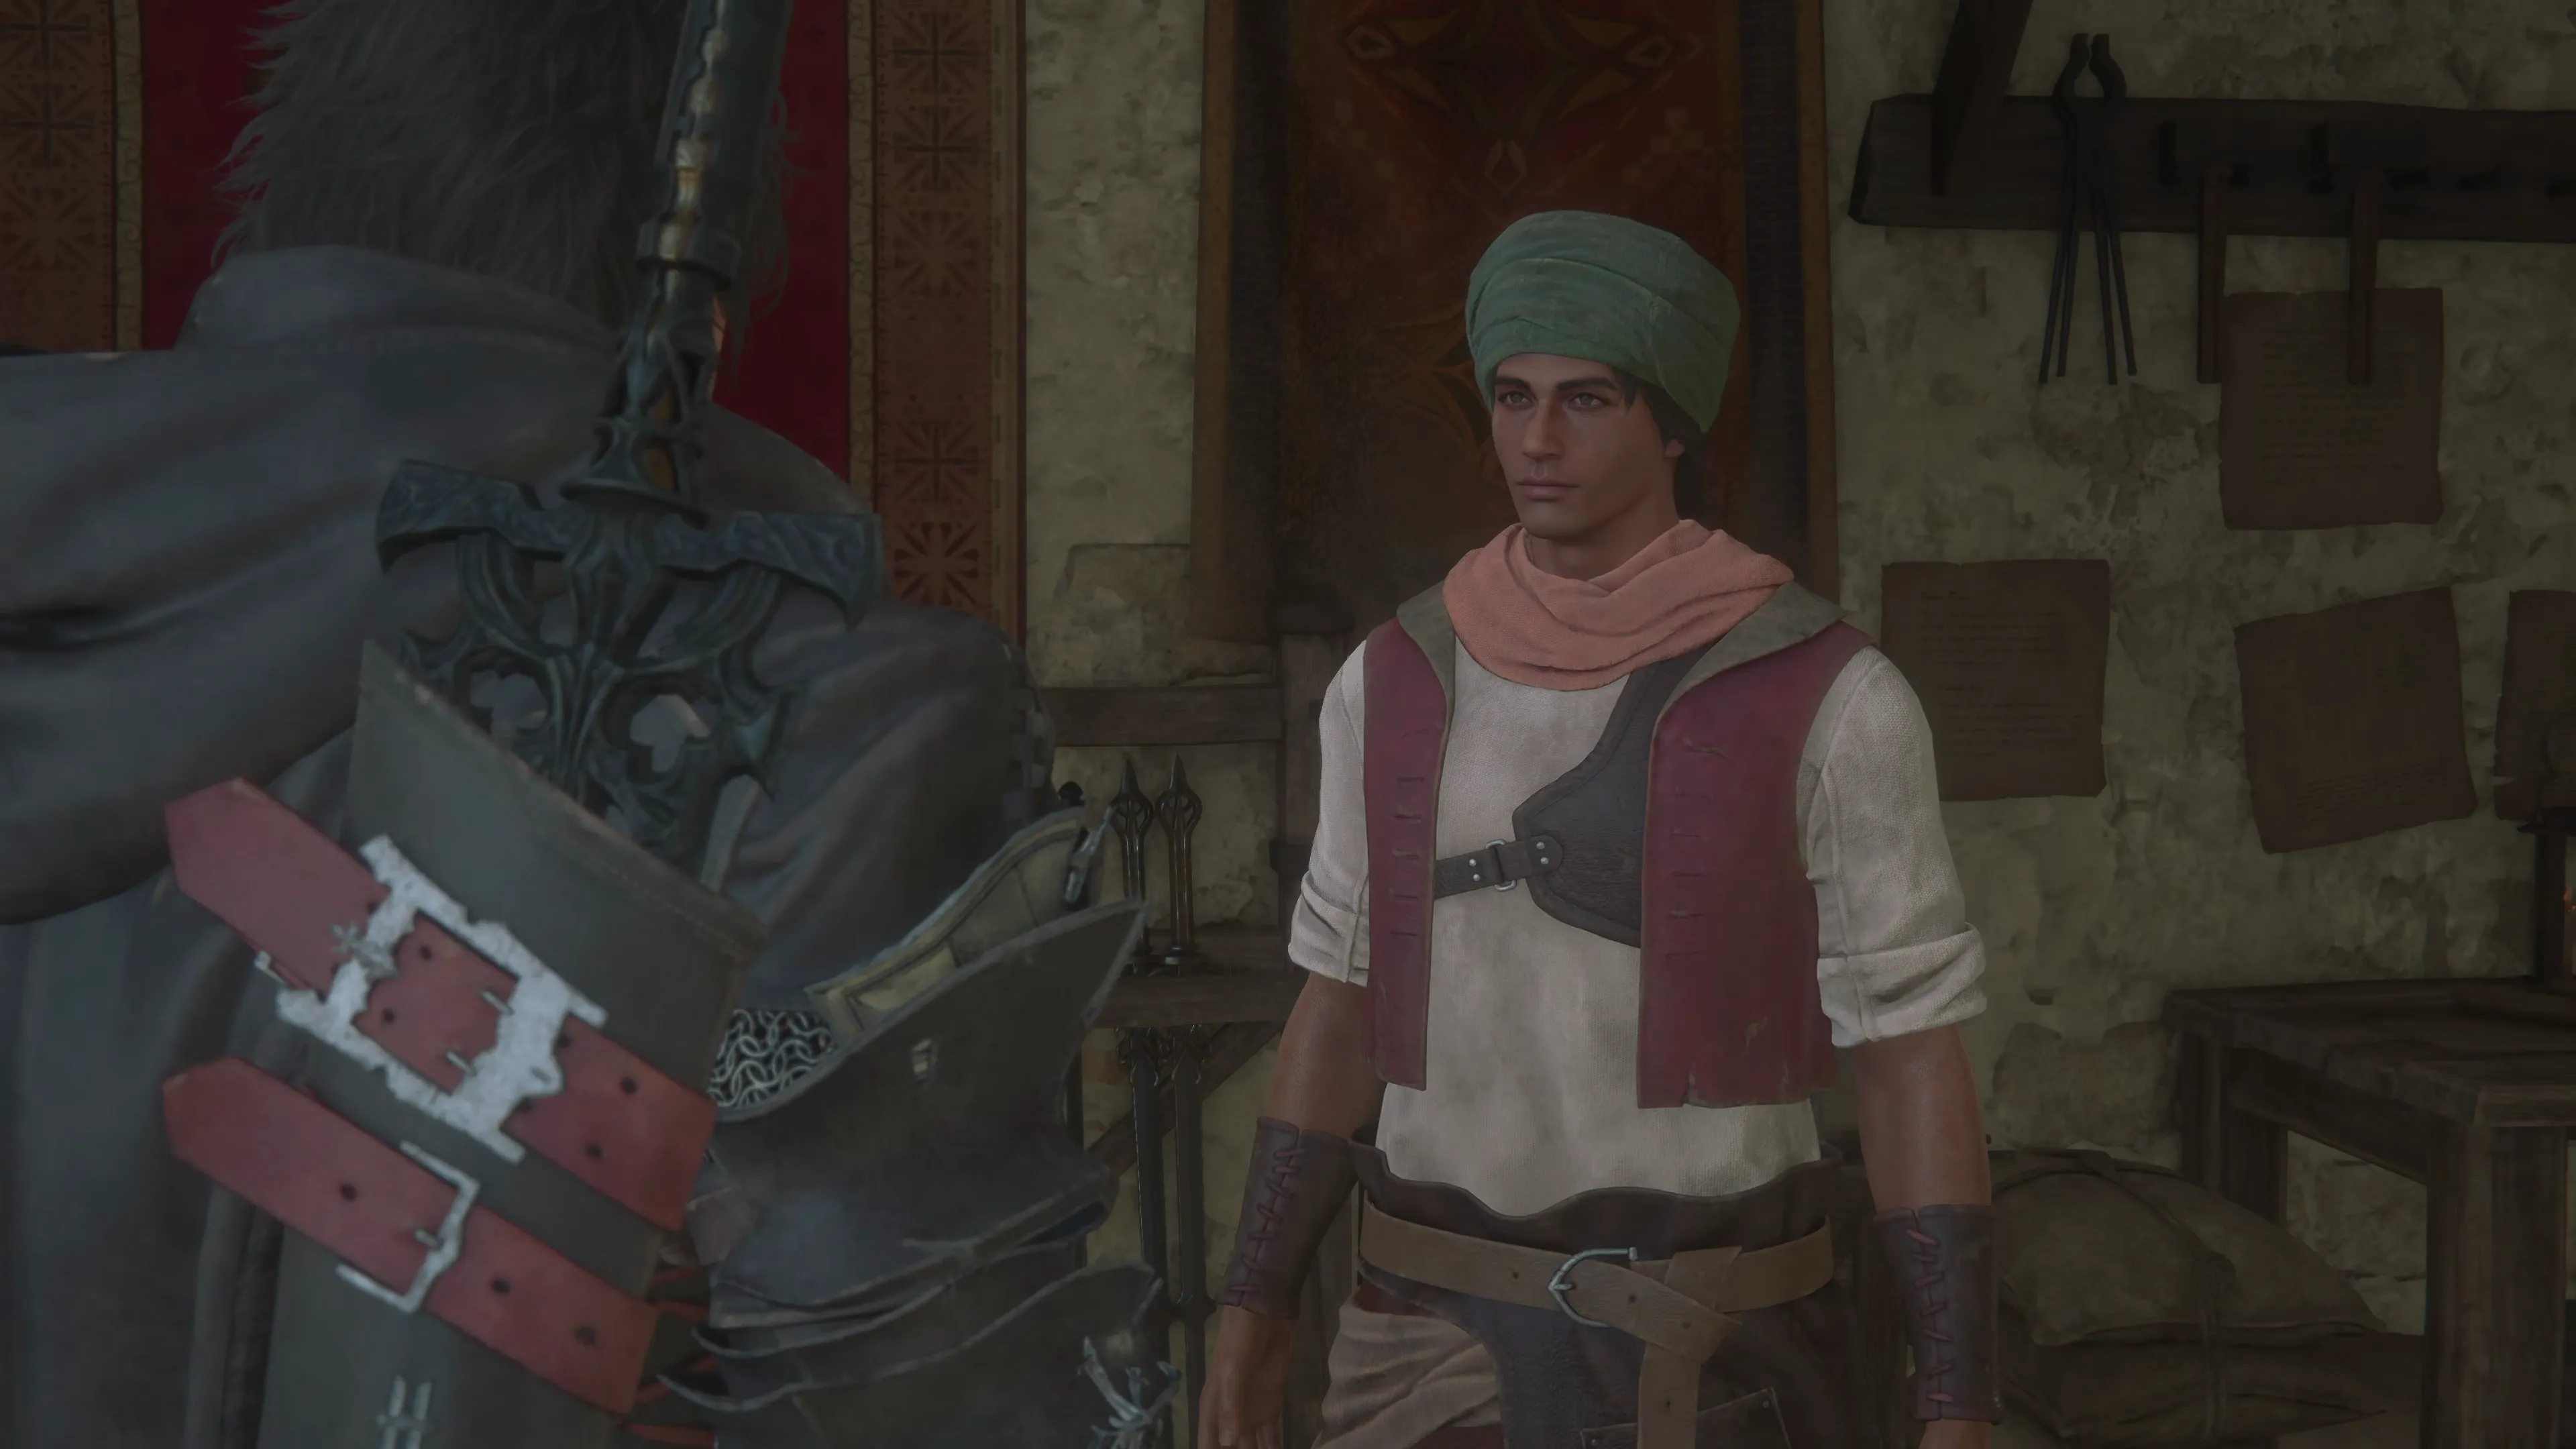
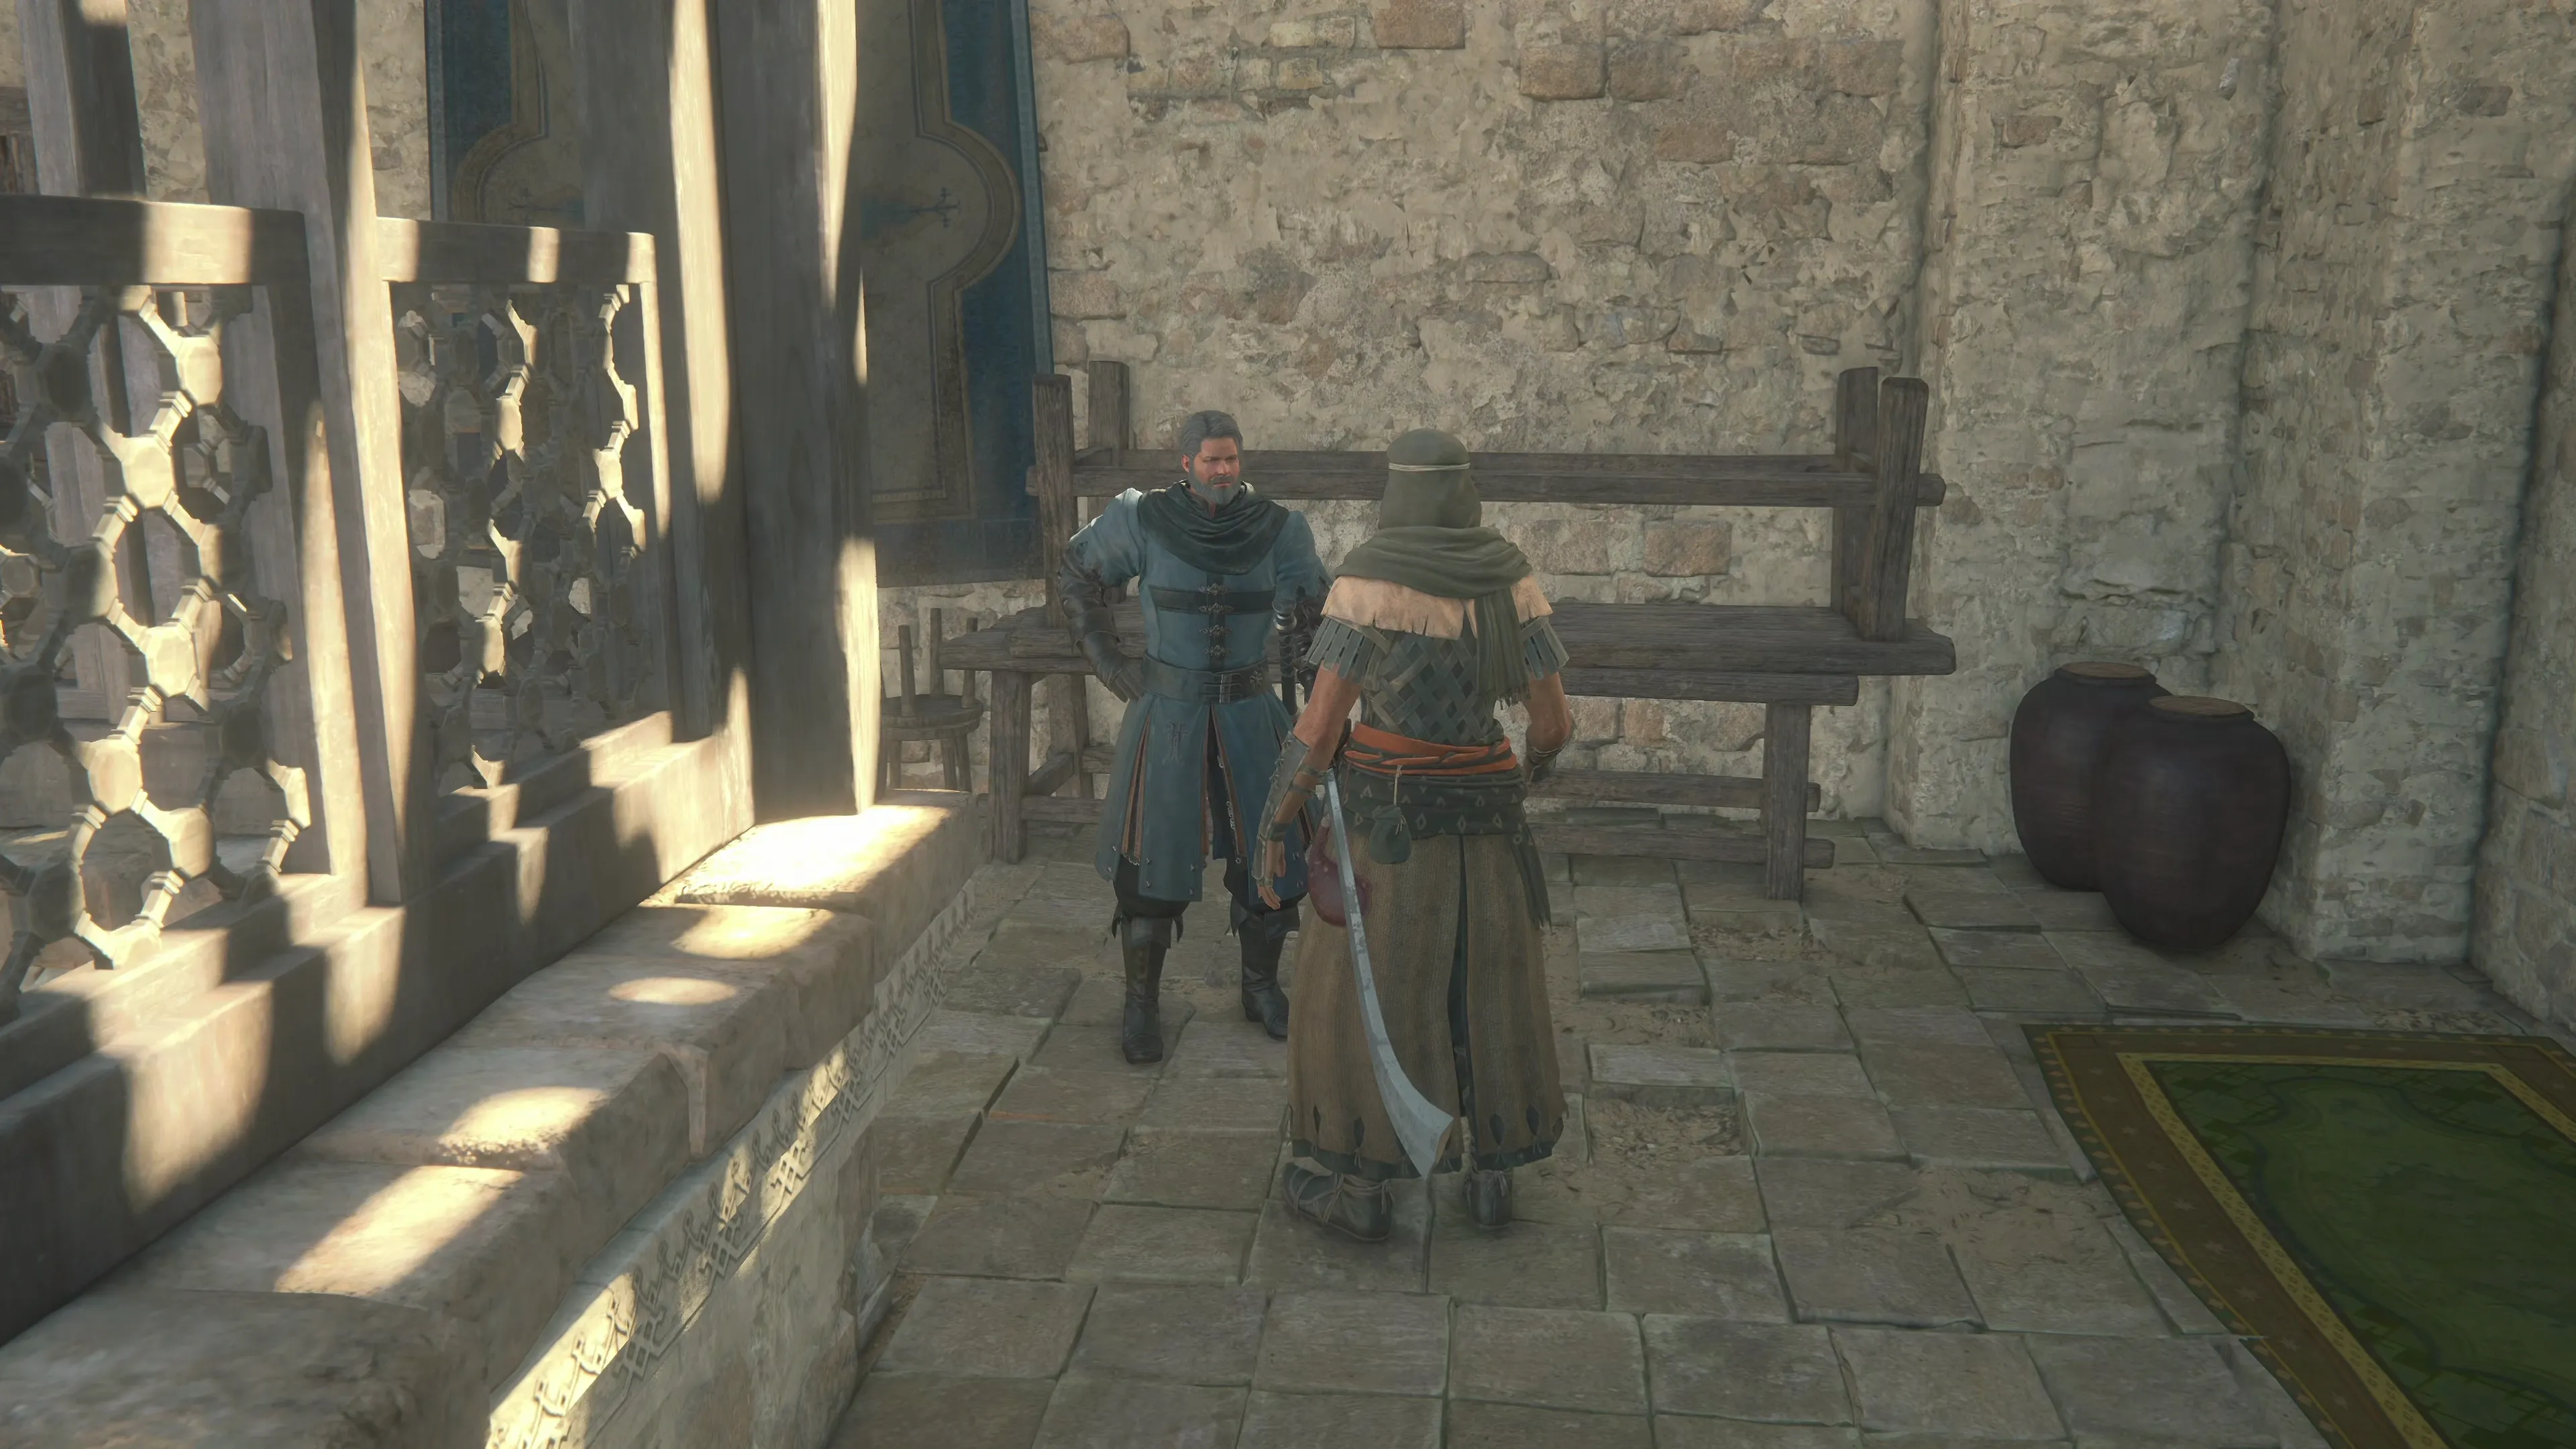
Follow the Main Scenario Quest Marker ![]() again to meet up with L’ubor finally. After a quick back-and-forth, L’ubor will give you a Subquest that involves “following the crystals.”
again to meet up with L’ubor finally. After a quick back-and-forth, L’ubor will give you a Subquest that involves “following the crystals.”
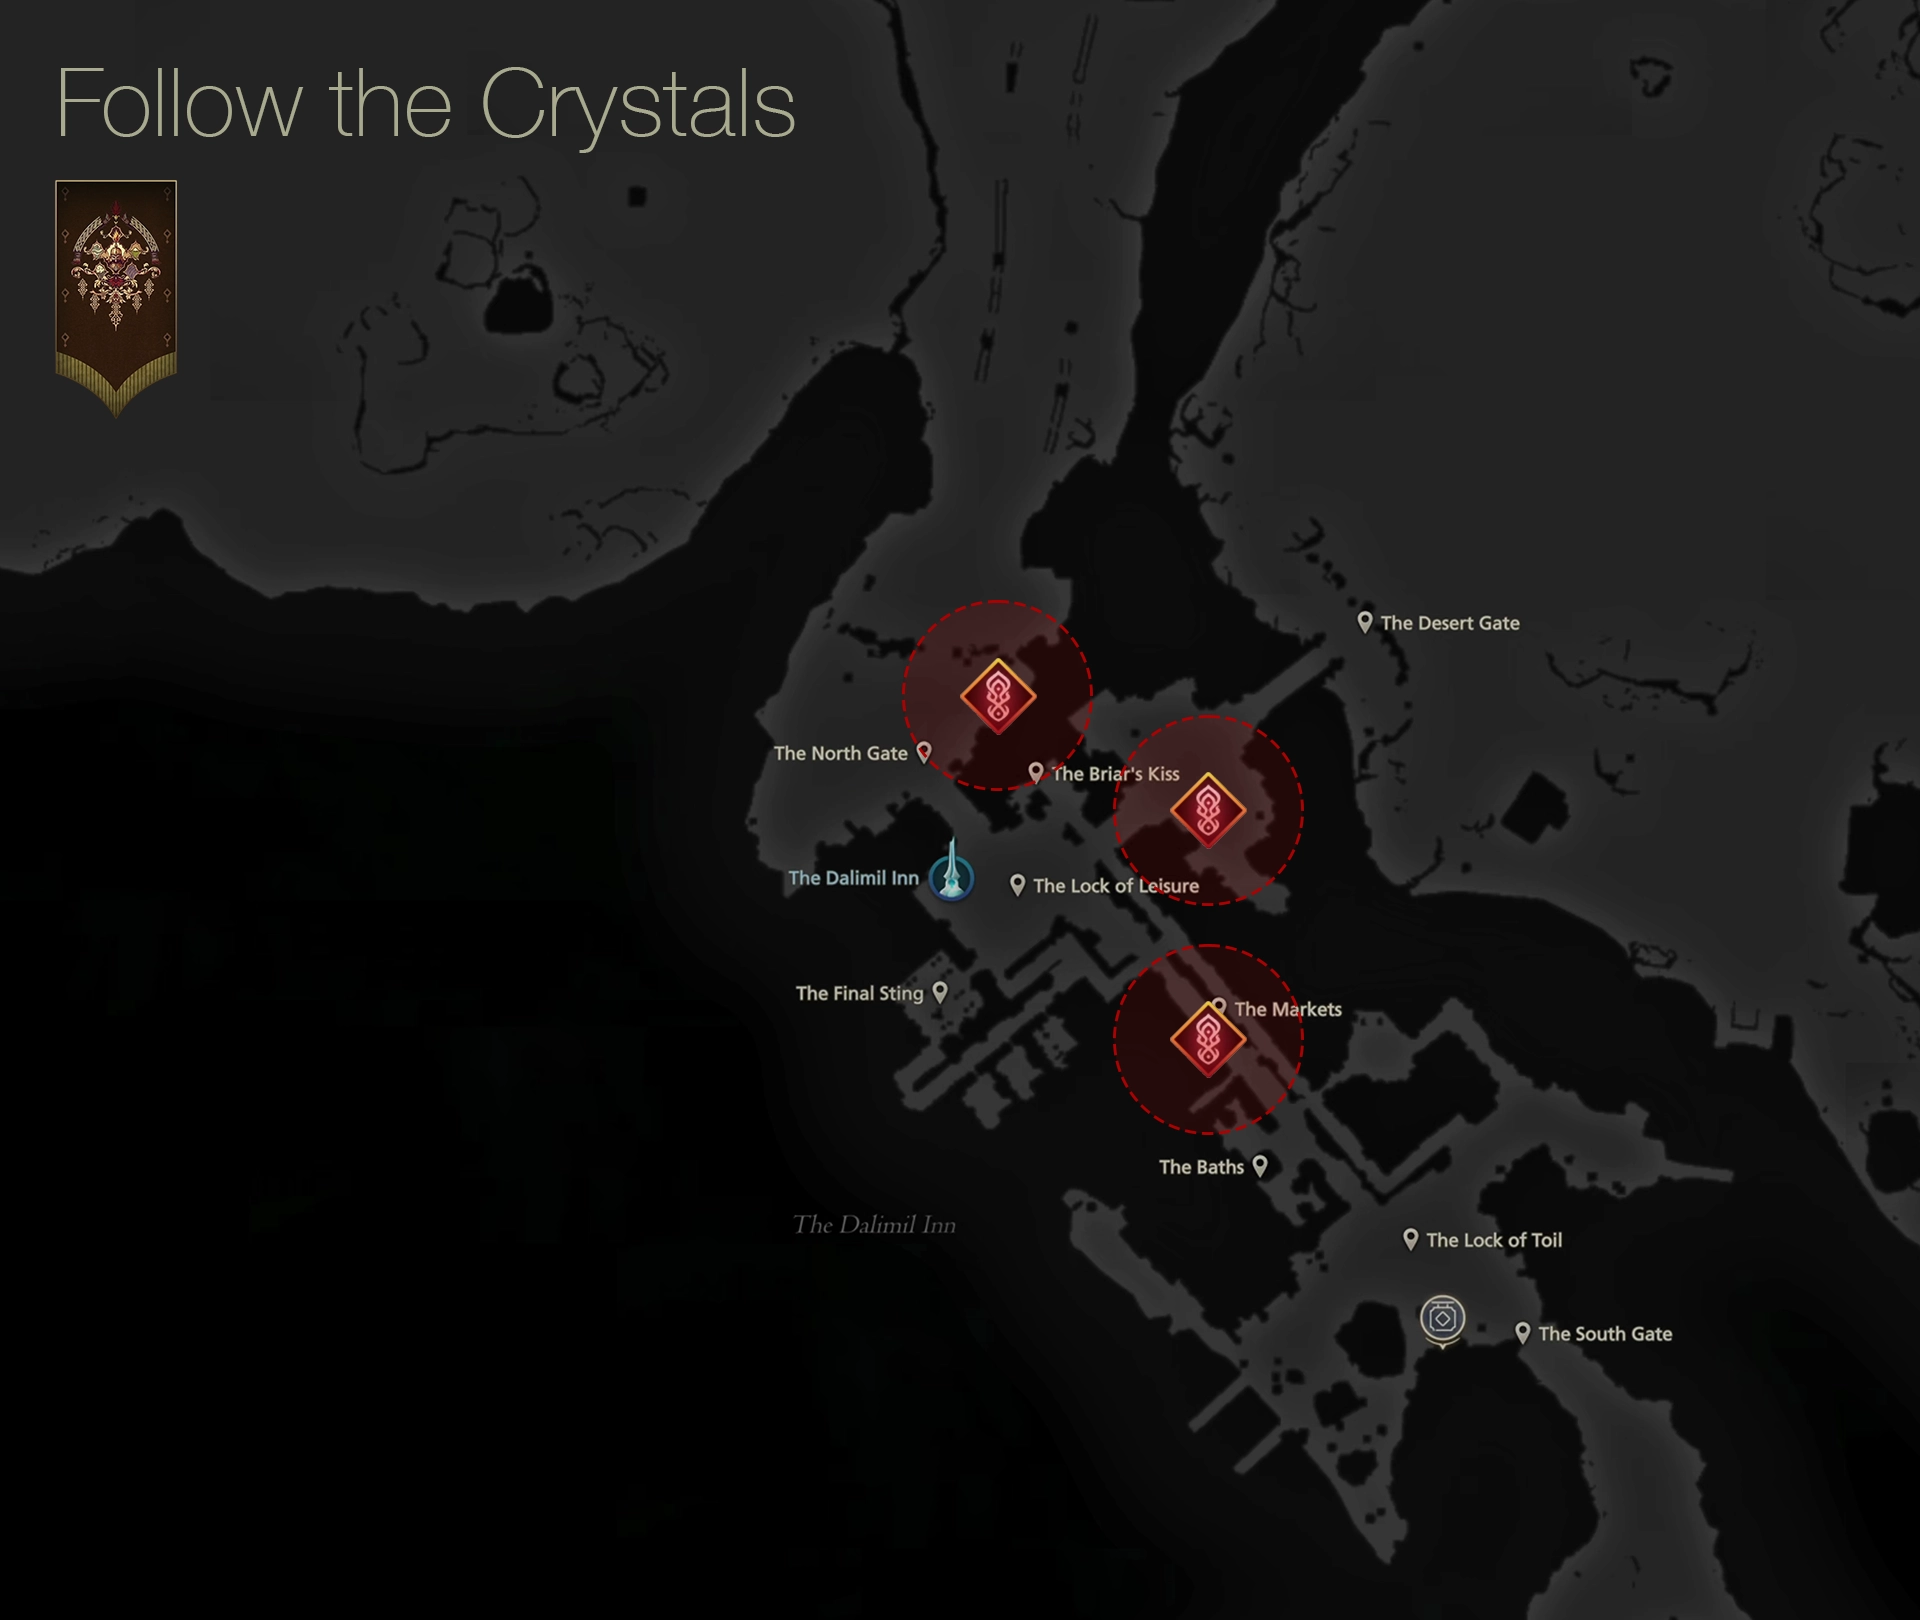
 Follow the Crystals
This Subquest is as easy as they come—all you have to do is speak to the townspeople for starters. Use the map in-game (or the map below) to help you find each of them:
Head back to the Dalimil Inn after speaking to all three, and the Serving Girl will inform you that Uncle Byron can be found on the second level. Climb up the stairs to find him.
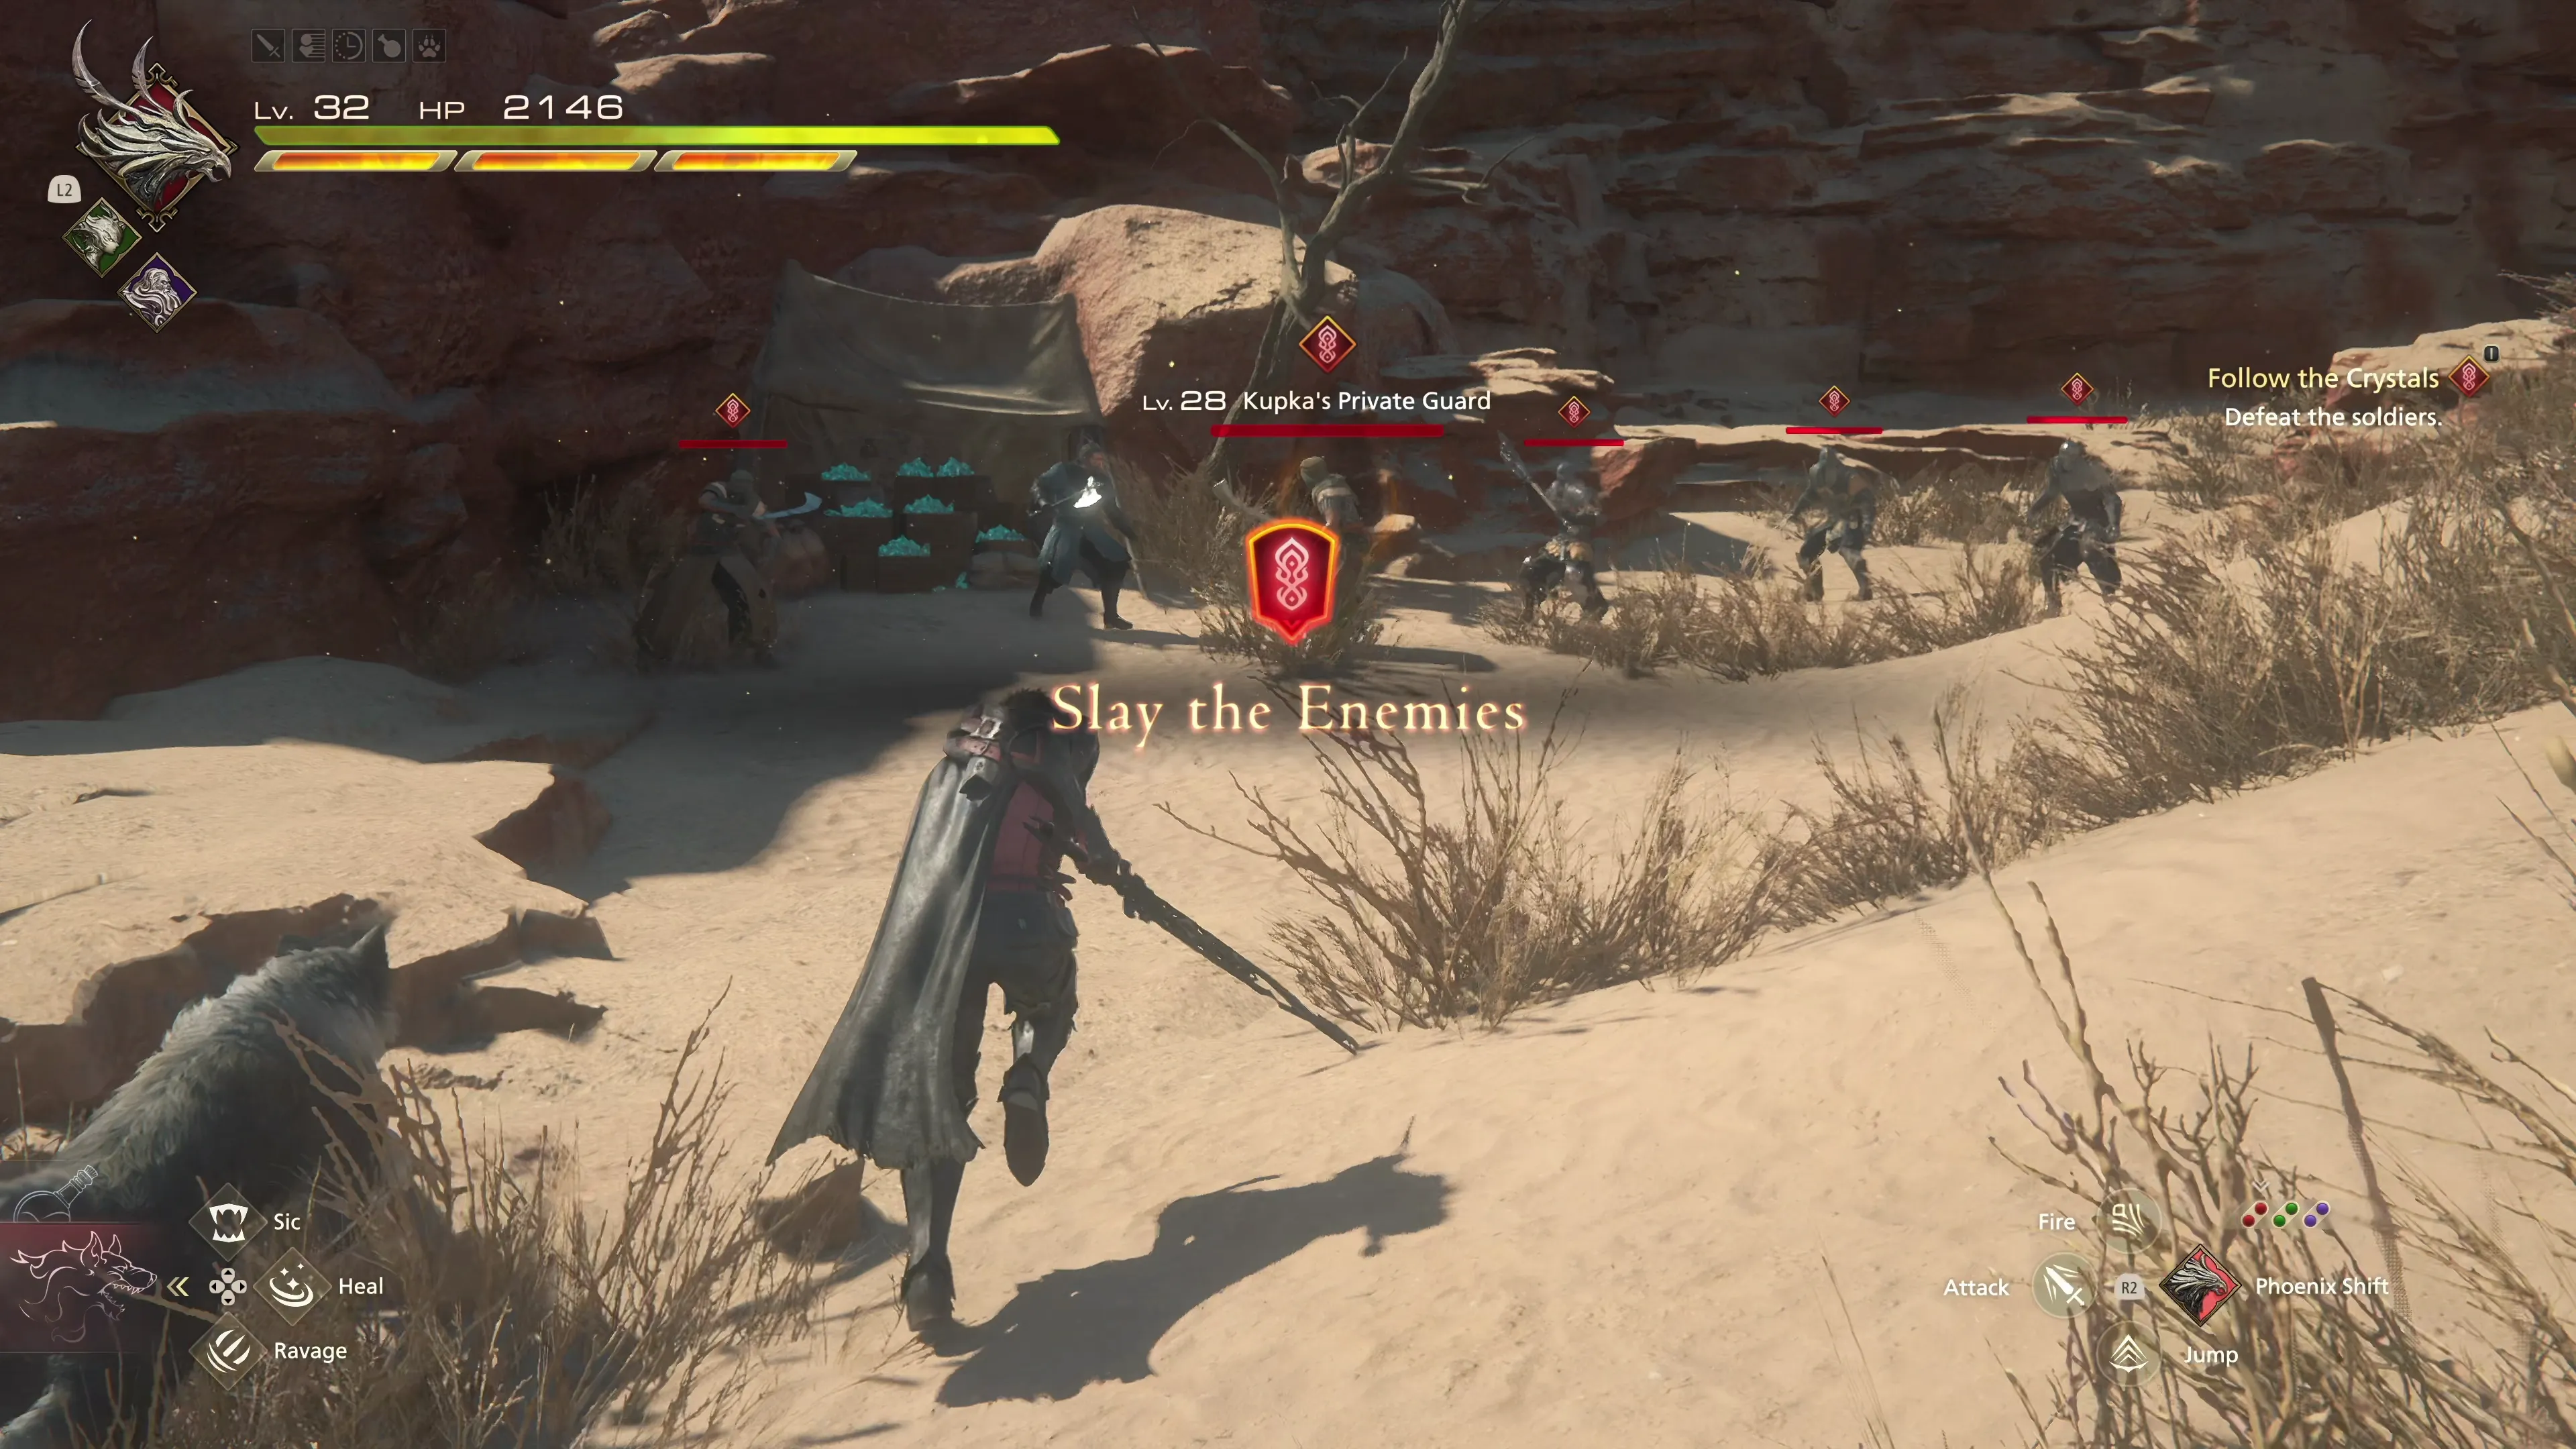
The next destination is well outside of town. Use the map below to help you find it, or follow the Main Scenario Subquest Marker ![]() . Another discussion will take place before a battle takes place against a large group of “Kupka’s Private Guards.” These guards are easy to defeat, but make sure you focus on taking out the spellcasters first; otherwise, they will cast ‘Cure’ on their party members.
. Another discussion will take place before a battle takes place against a large group of “Kupka’s Private Guards.” These guards are easy to defeat, but make sure you focus on taking out the spellcasters first; otherwise, they will cast ‘Cure’ on their party members.
The Dalimil Inn
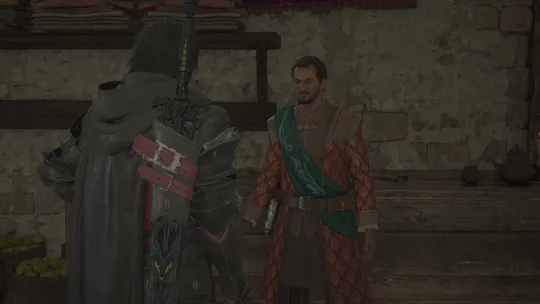
L’ubor will provide Clive with ![]() The Desert Rose curiosity, and two new Optional Quests have become available. They both require a trip out of town, but otherwise, they are very easy to complete:
The Desert Rose curiosity, and two new Optional Quests have become available. They both require a trip out of town, but otherwise, they are very easy to complete:
Optional Quest
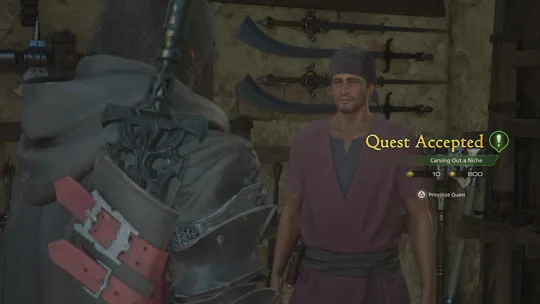
“Sava, an apprentice of L’ubor’s, enlists Clive’s aid in finding out how to make a carving knife that somehow ‘embodies the spirit of Dalimil.’”
Optional Quest
“The owner of a bathhouse in Dalimil bids Clive journey to Doeznov Terraces and investigate the cause of the waters having become too hot for his customers to bear.”
After you’ve completed both of them, head out of the South Gate and hop on your ![]() Chocobo to ride the ~400 yards towards the Main Scenario Quest Marker
Chocobo to ride the ~400 yards towards the Main Scenario Quest Marker ![]() . There is an area where the path splits off to the left and right (with the path going right leading back to the Doeznov Terraces), but continue straight through into the large, open cave.
. There is an area where the path splits off to the left and right (with the path going right leading back to the Doeznov Terraces), but continue straight through into the large, open cave.

A cutscene will trigger between Clive and Byron, and then it’s back out to the world map. Select ![]() Drake’s Fang to finish up this Main Scenario Quest, and then it’s on to “Into the Darkness.”
Drake’s Fang to finish up this Main Scenario Quest, and then it’s on to “Into the Darkness.”
Achievement/Trophy
“Master all of a single Eikon’s abilities and feats.” At this point (or in short order), you should have enough ![]() Ability Points to activate and upgrade all of a single Eikon’s abilities. This is easiest to do with Phoenix, and you can reset your Ability Points at any time using
Ability Points to activate and upgrade all of a single Eikon’s abilities. This is easiest to do with Phoenix, and you can reset your Ability Points at any time using ![]()
![]()
![]() or
or ![]()
![]() , and then reset them again when you’re done to earn the
, and then reset them again when you’re done to earn the  Yes, Eikon Achievement/Trophy.