
 Into the Darkness
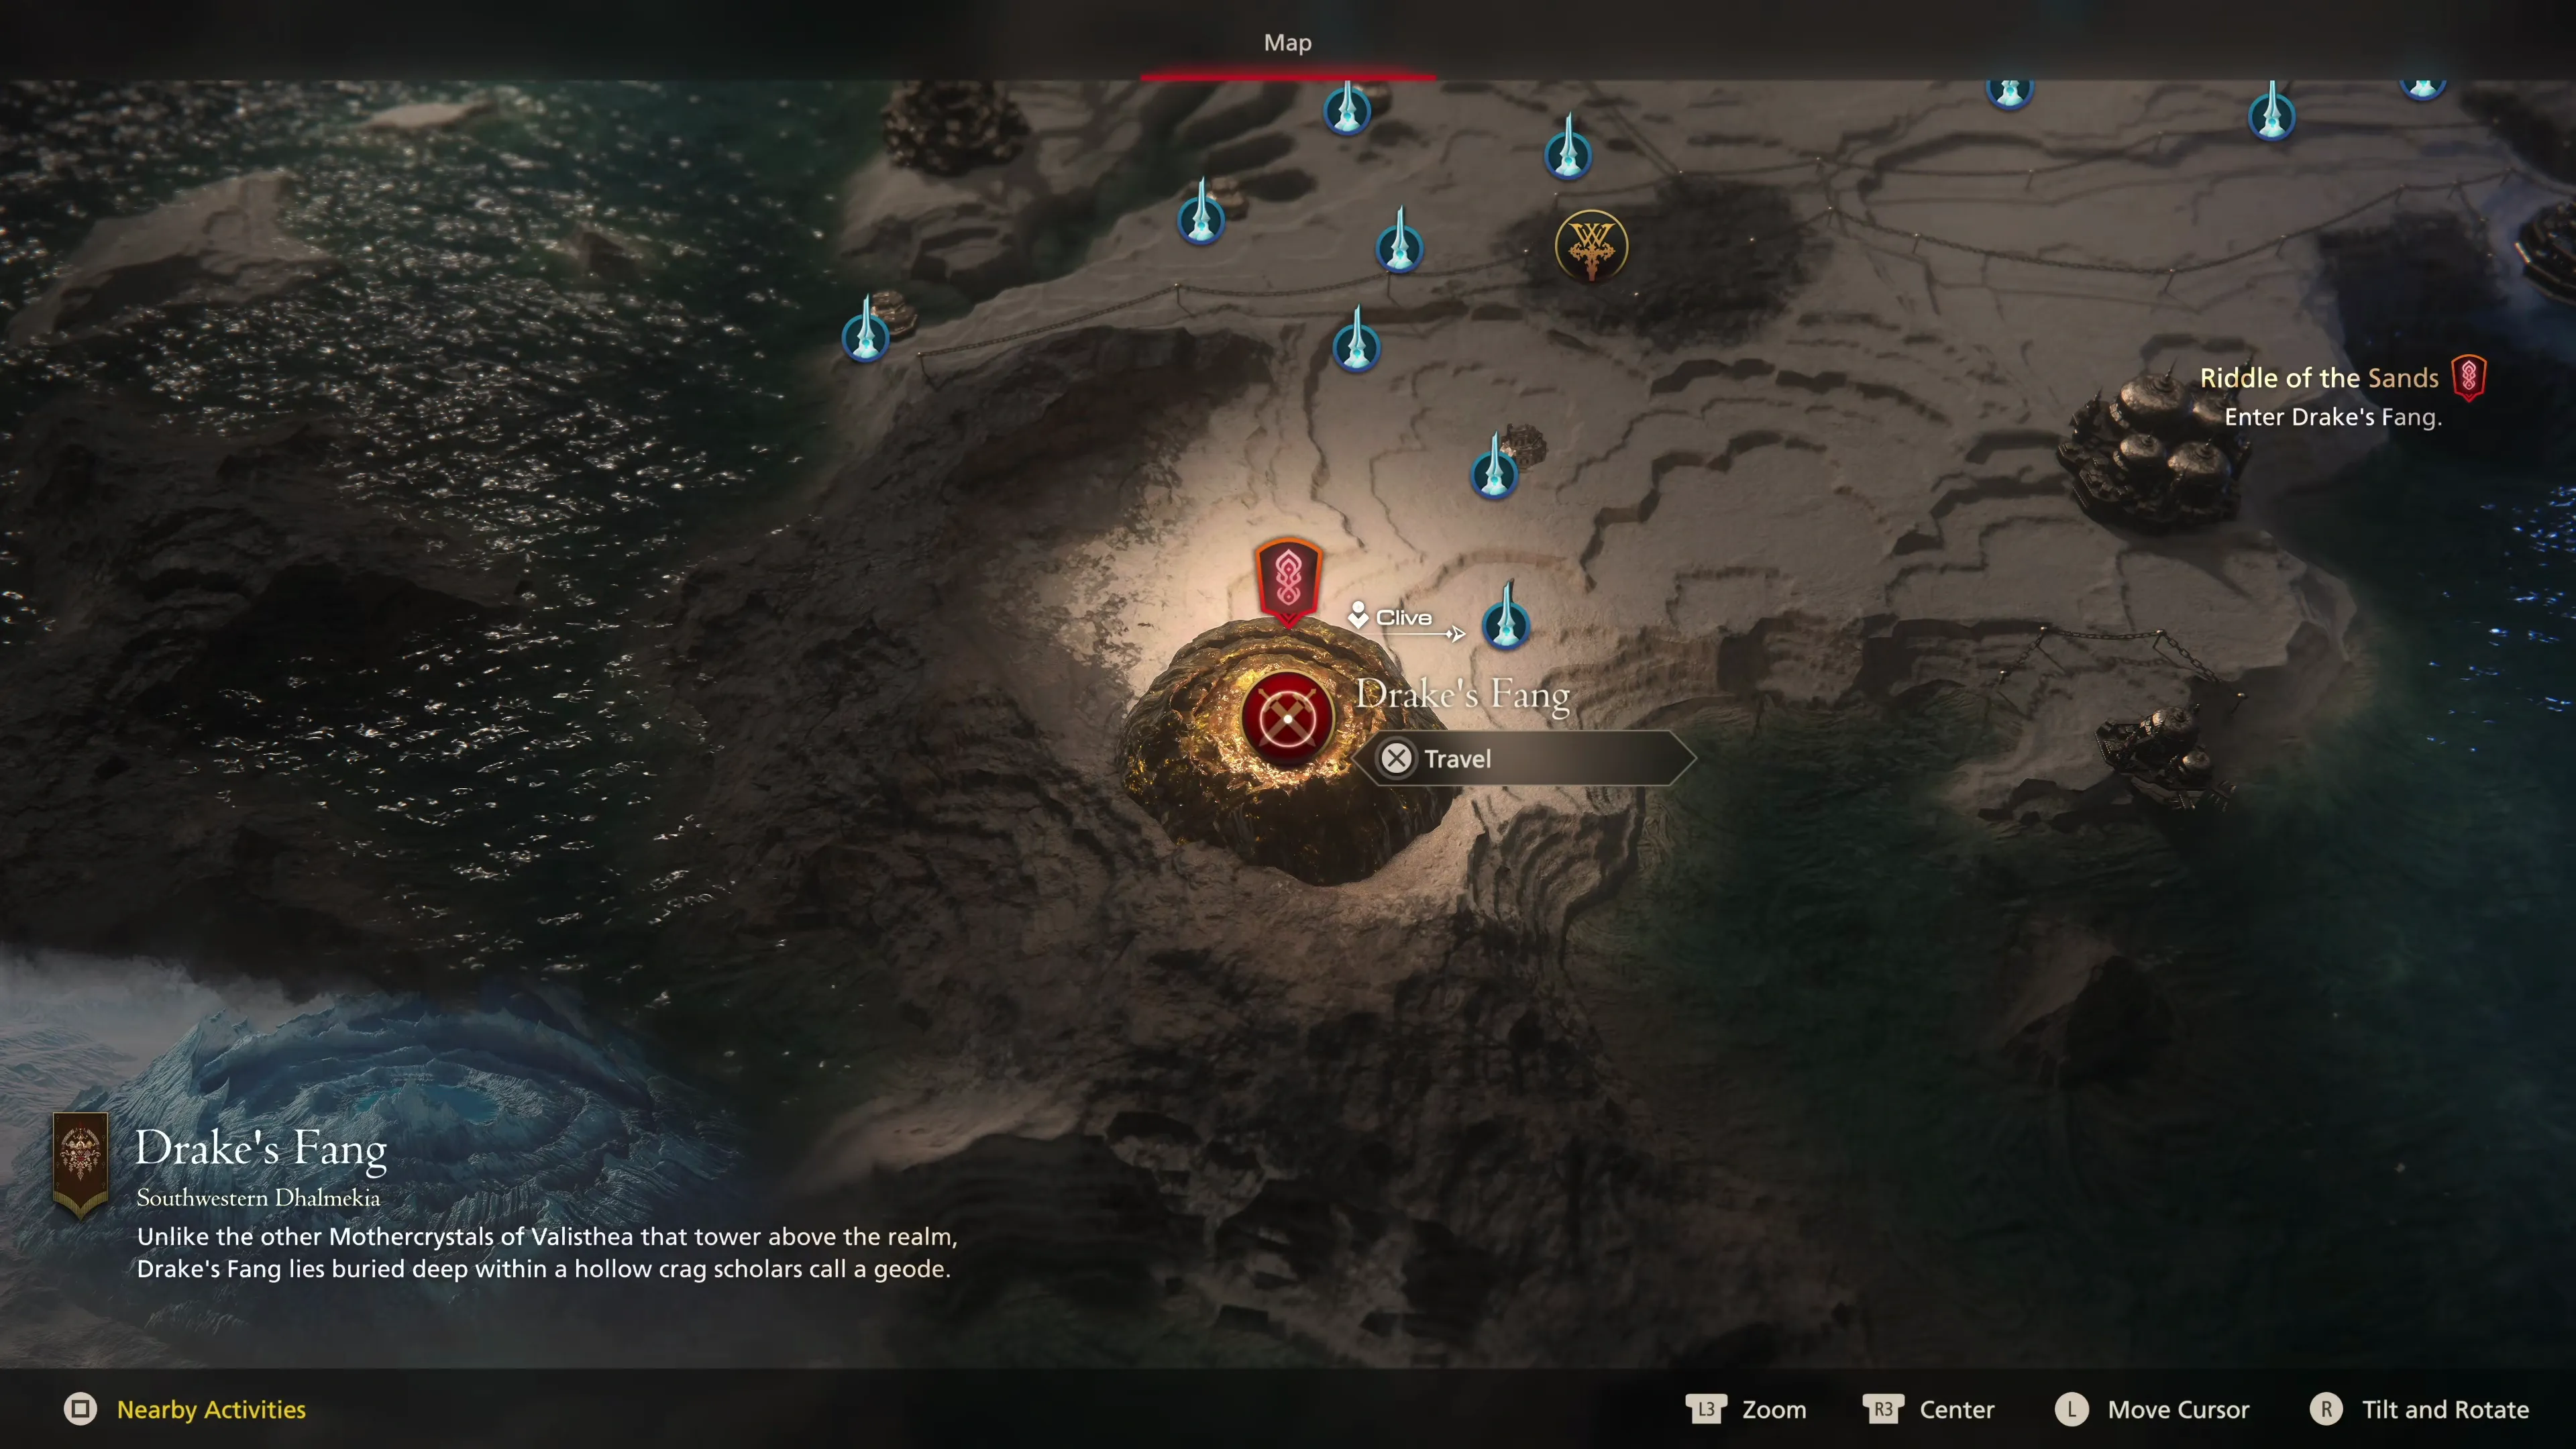
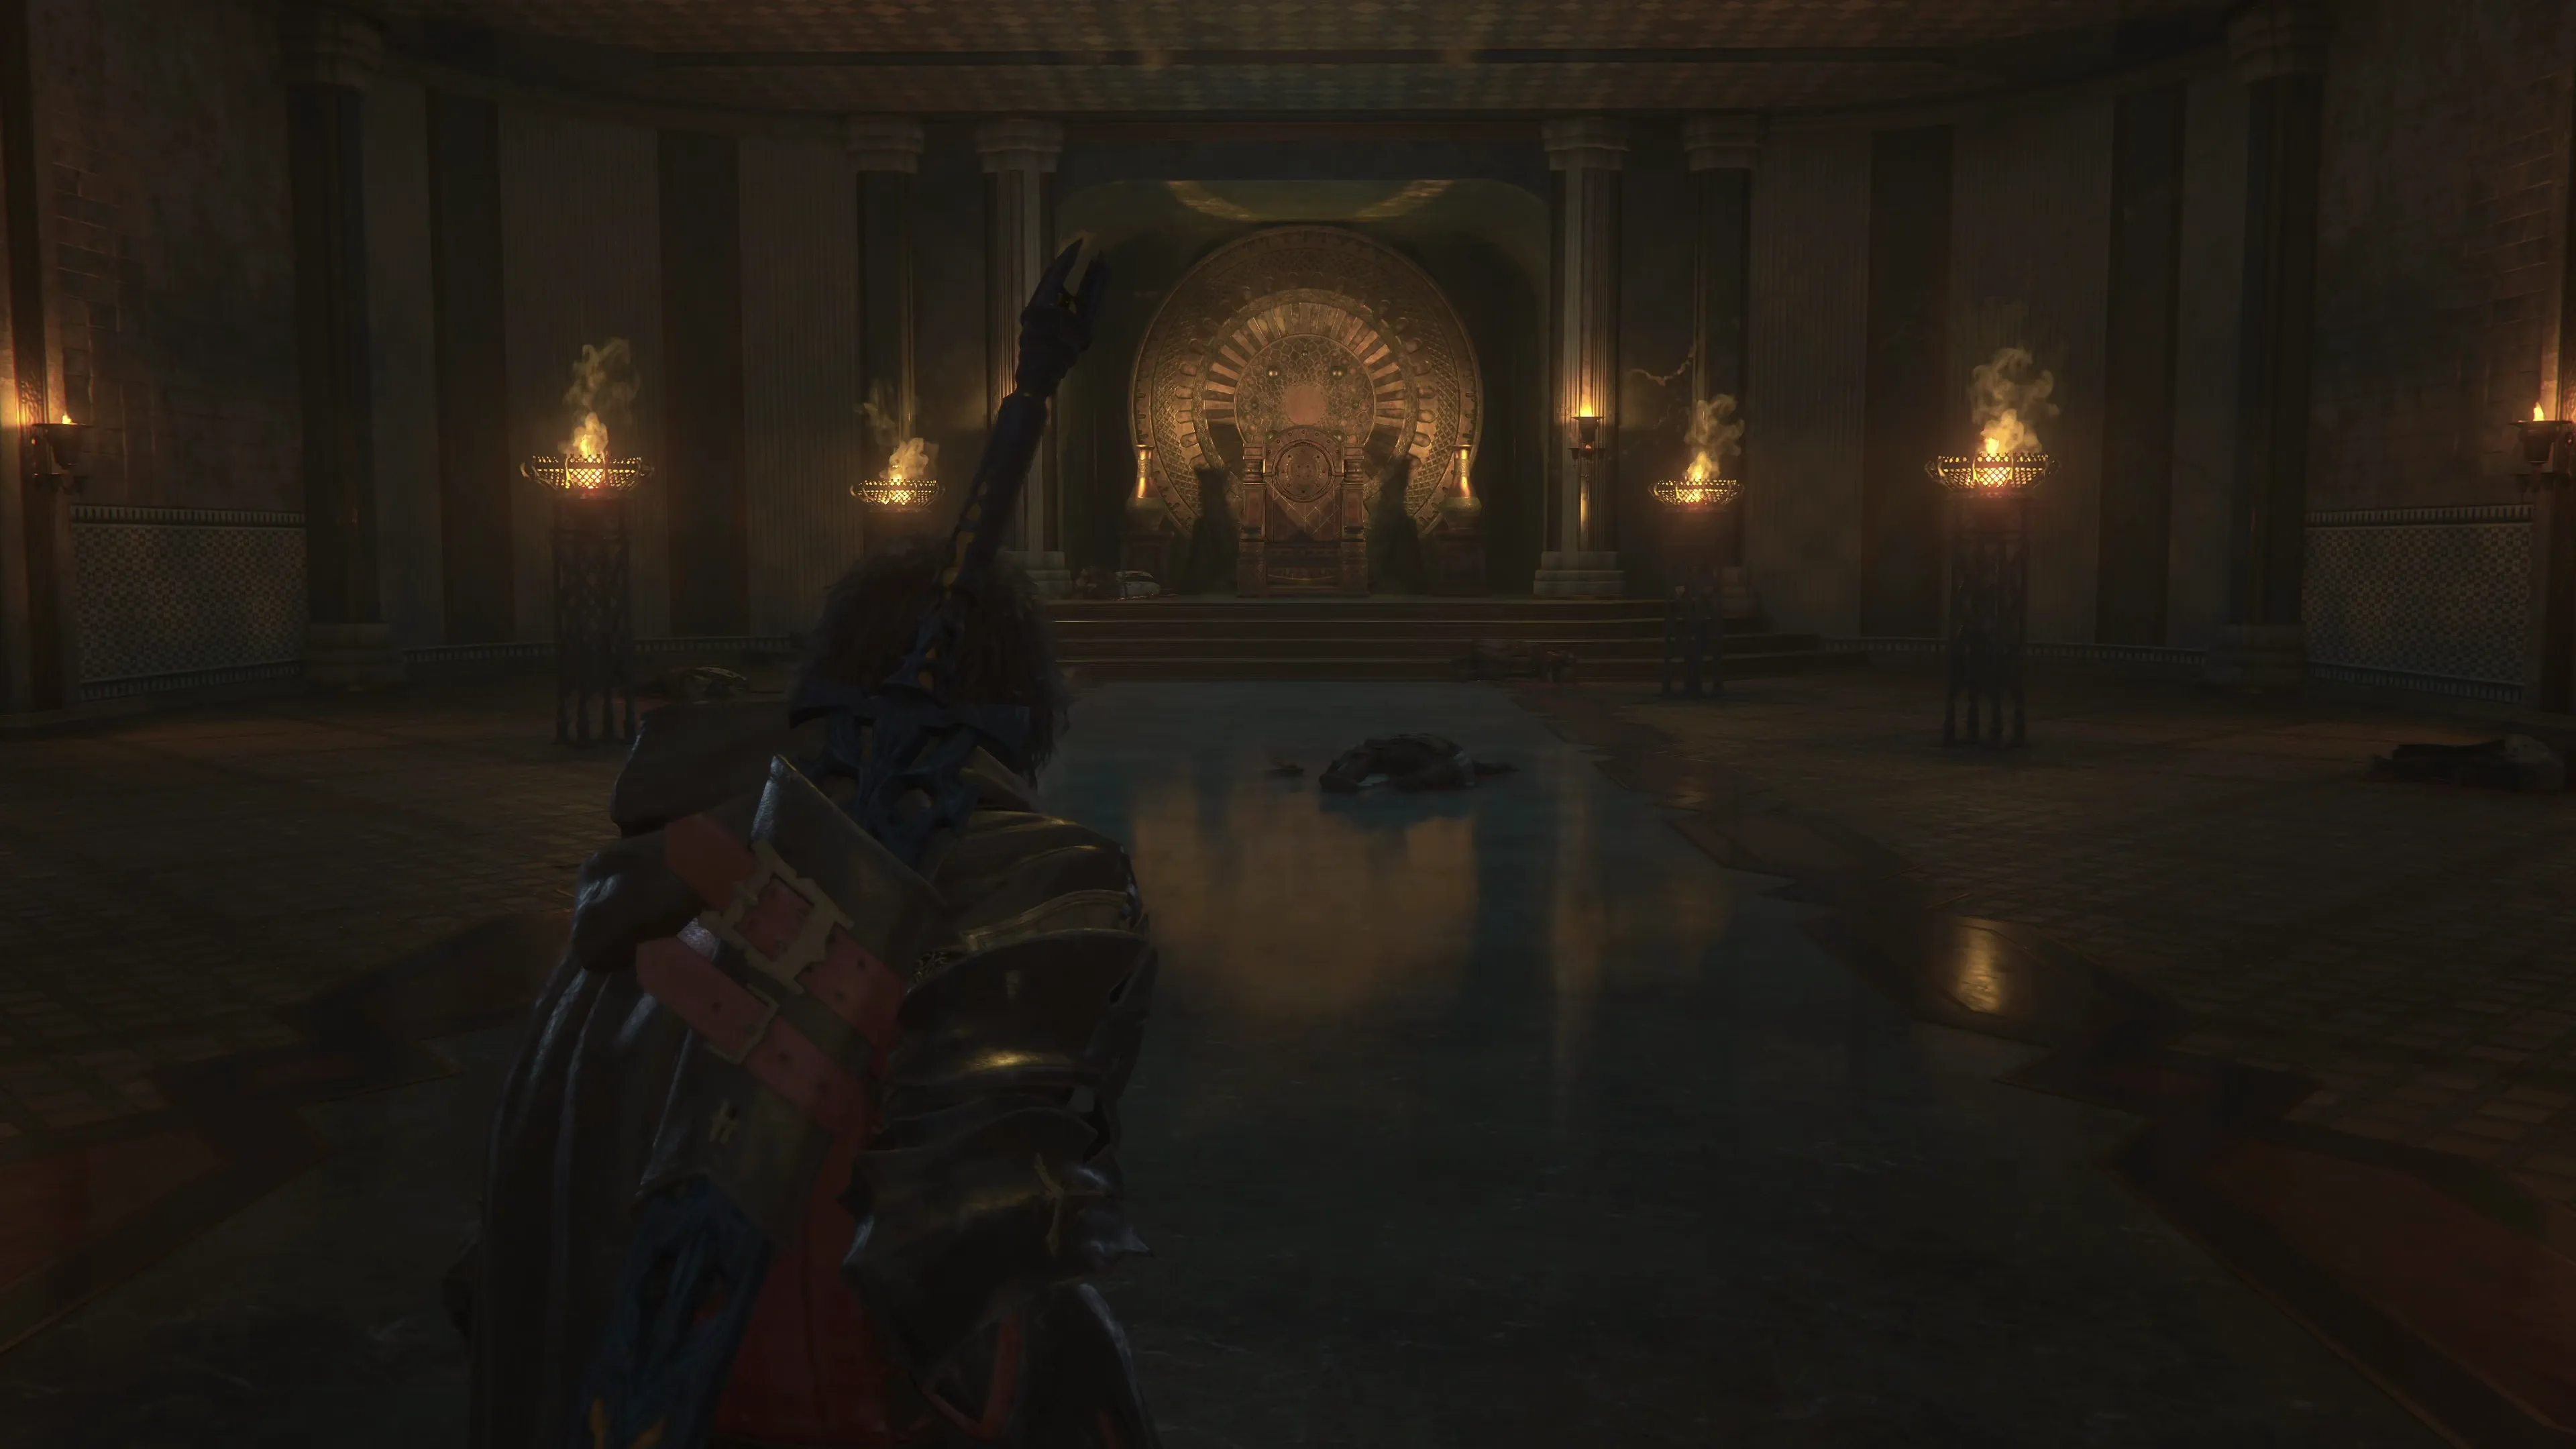
 Drake’s Fang
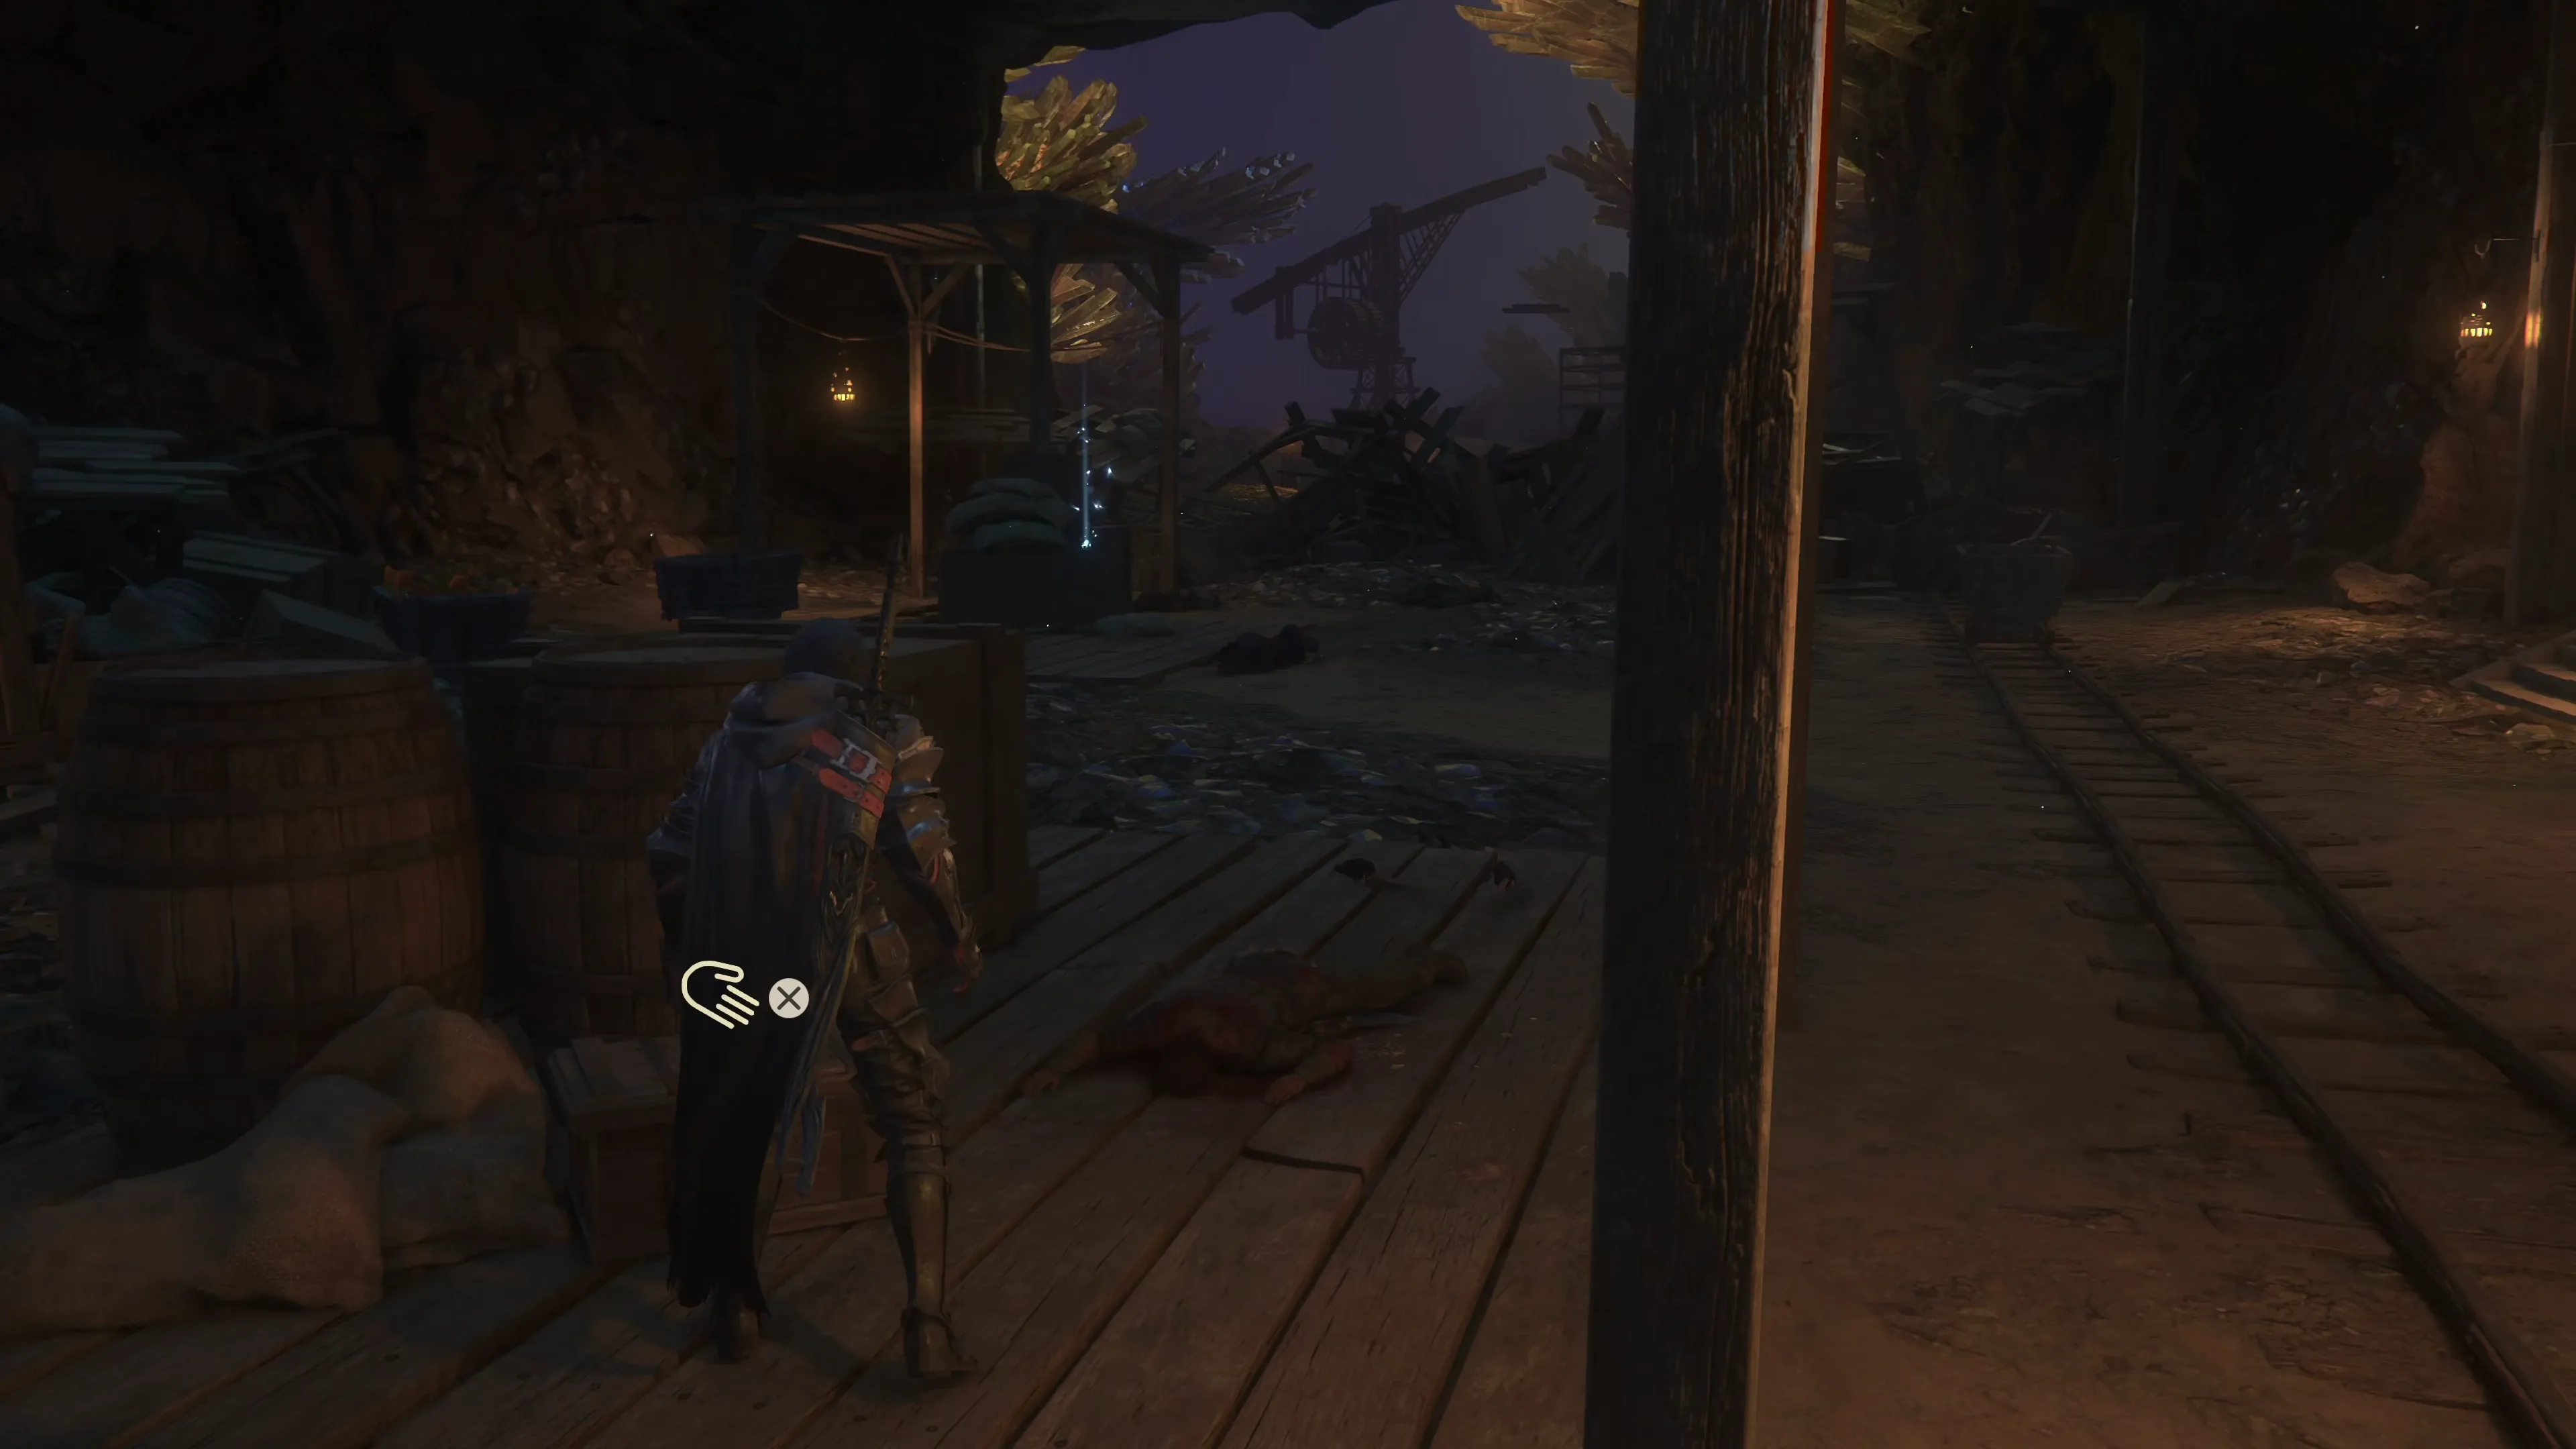
Activate your multi-target ![]() Eikonic Ability Set if it’s not active already. Clive will act like he’s planning to sneak into Drake’s Fang without alerting any enemies, but that is definitely not the case.
Eikonic Ability Set if it’s not active already. Clive will act like he’s planning to sneak into Drake’s Fang without alerting any enemies, but that is definitely not the case.
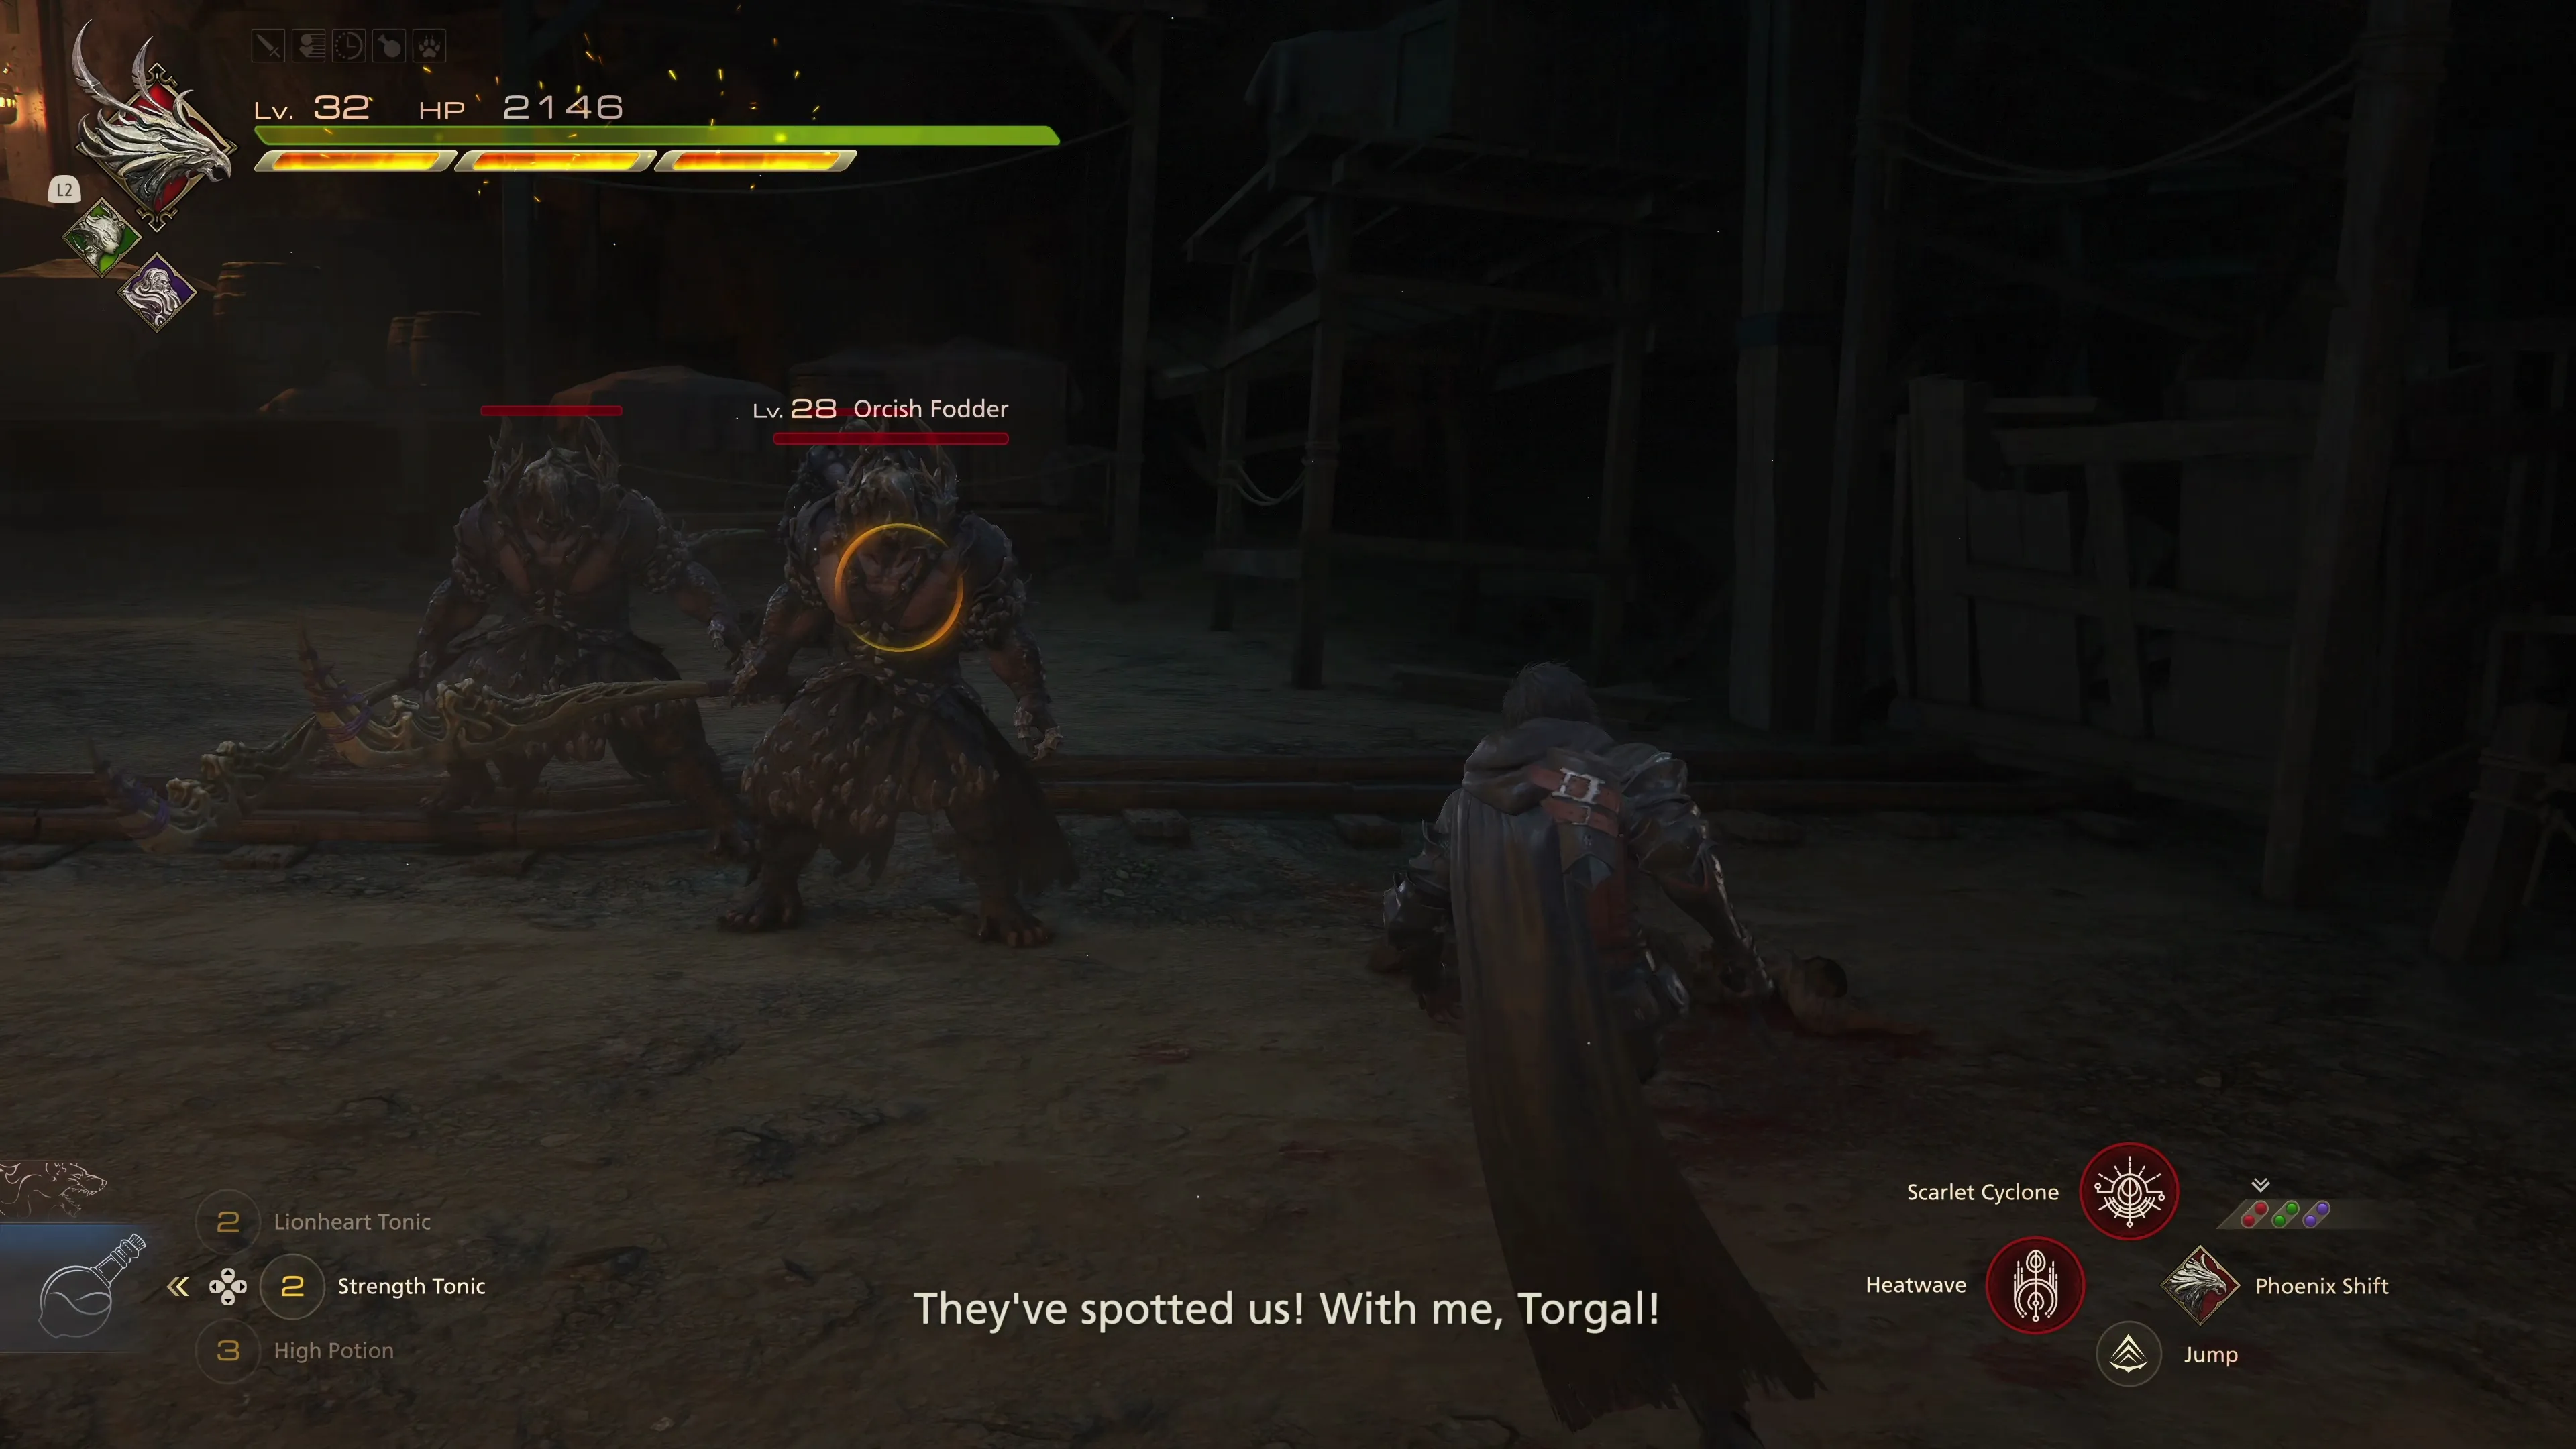
Just up ahead is a group of three “Orcish Fodder” enemies. These are all melee enemies that are easy to defeat. Sneak under the wooden structure into the next area to find a second group of Orcs with Black Mastiffs accompanying them.
There is a set of large wooden doors on the far side of this room—use the switch on the right side of it to open up the doors and proceed through. There is another group of Orcs in this room, but this one includes some “Orcish Mesmerizers,” which are spellcasting enemies; take them out first.
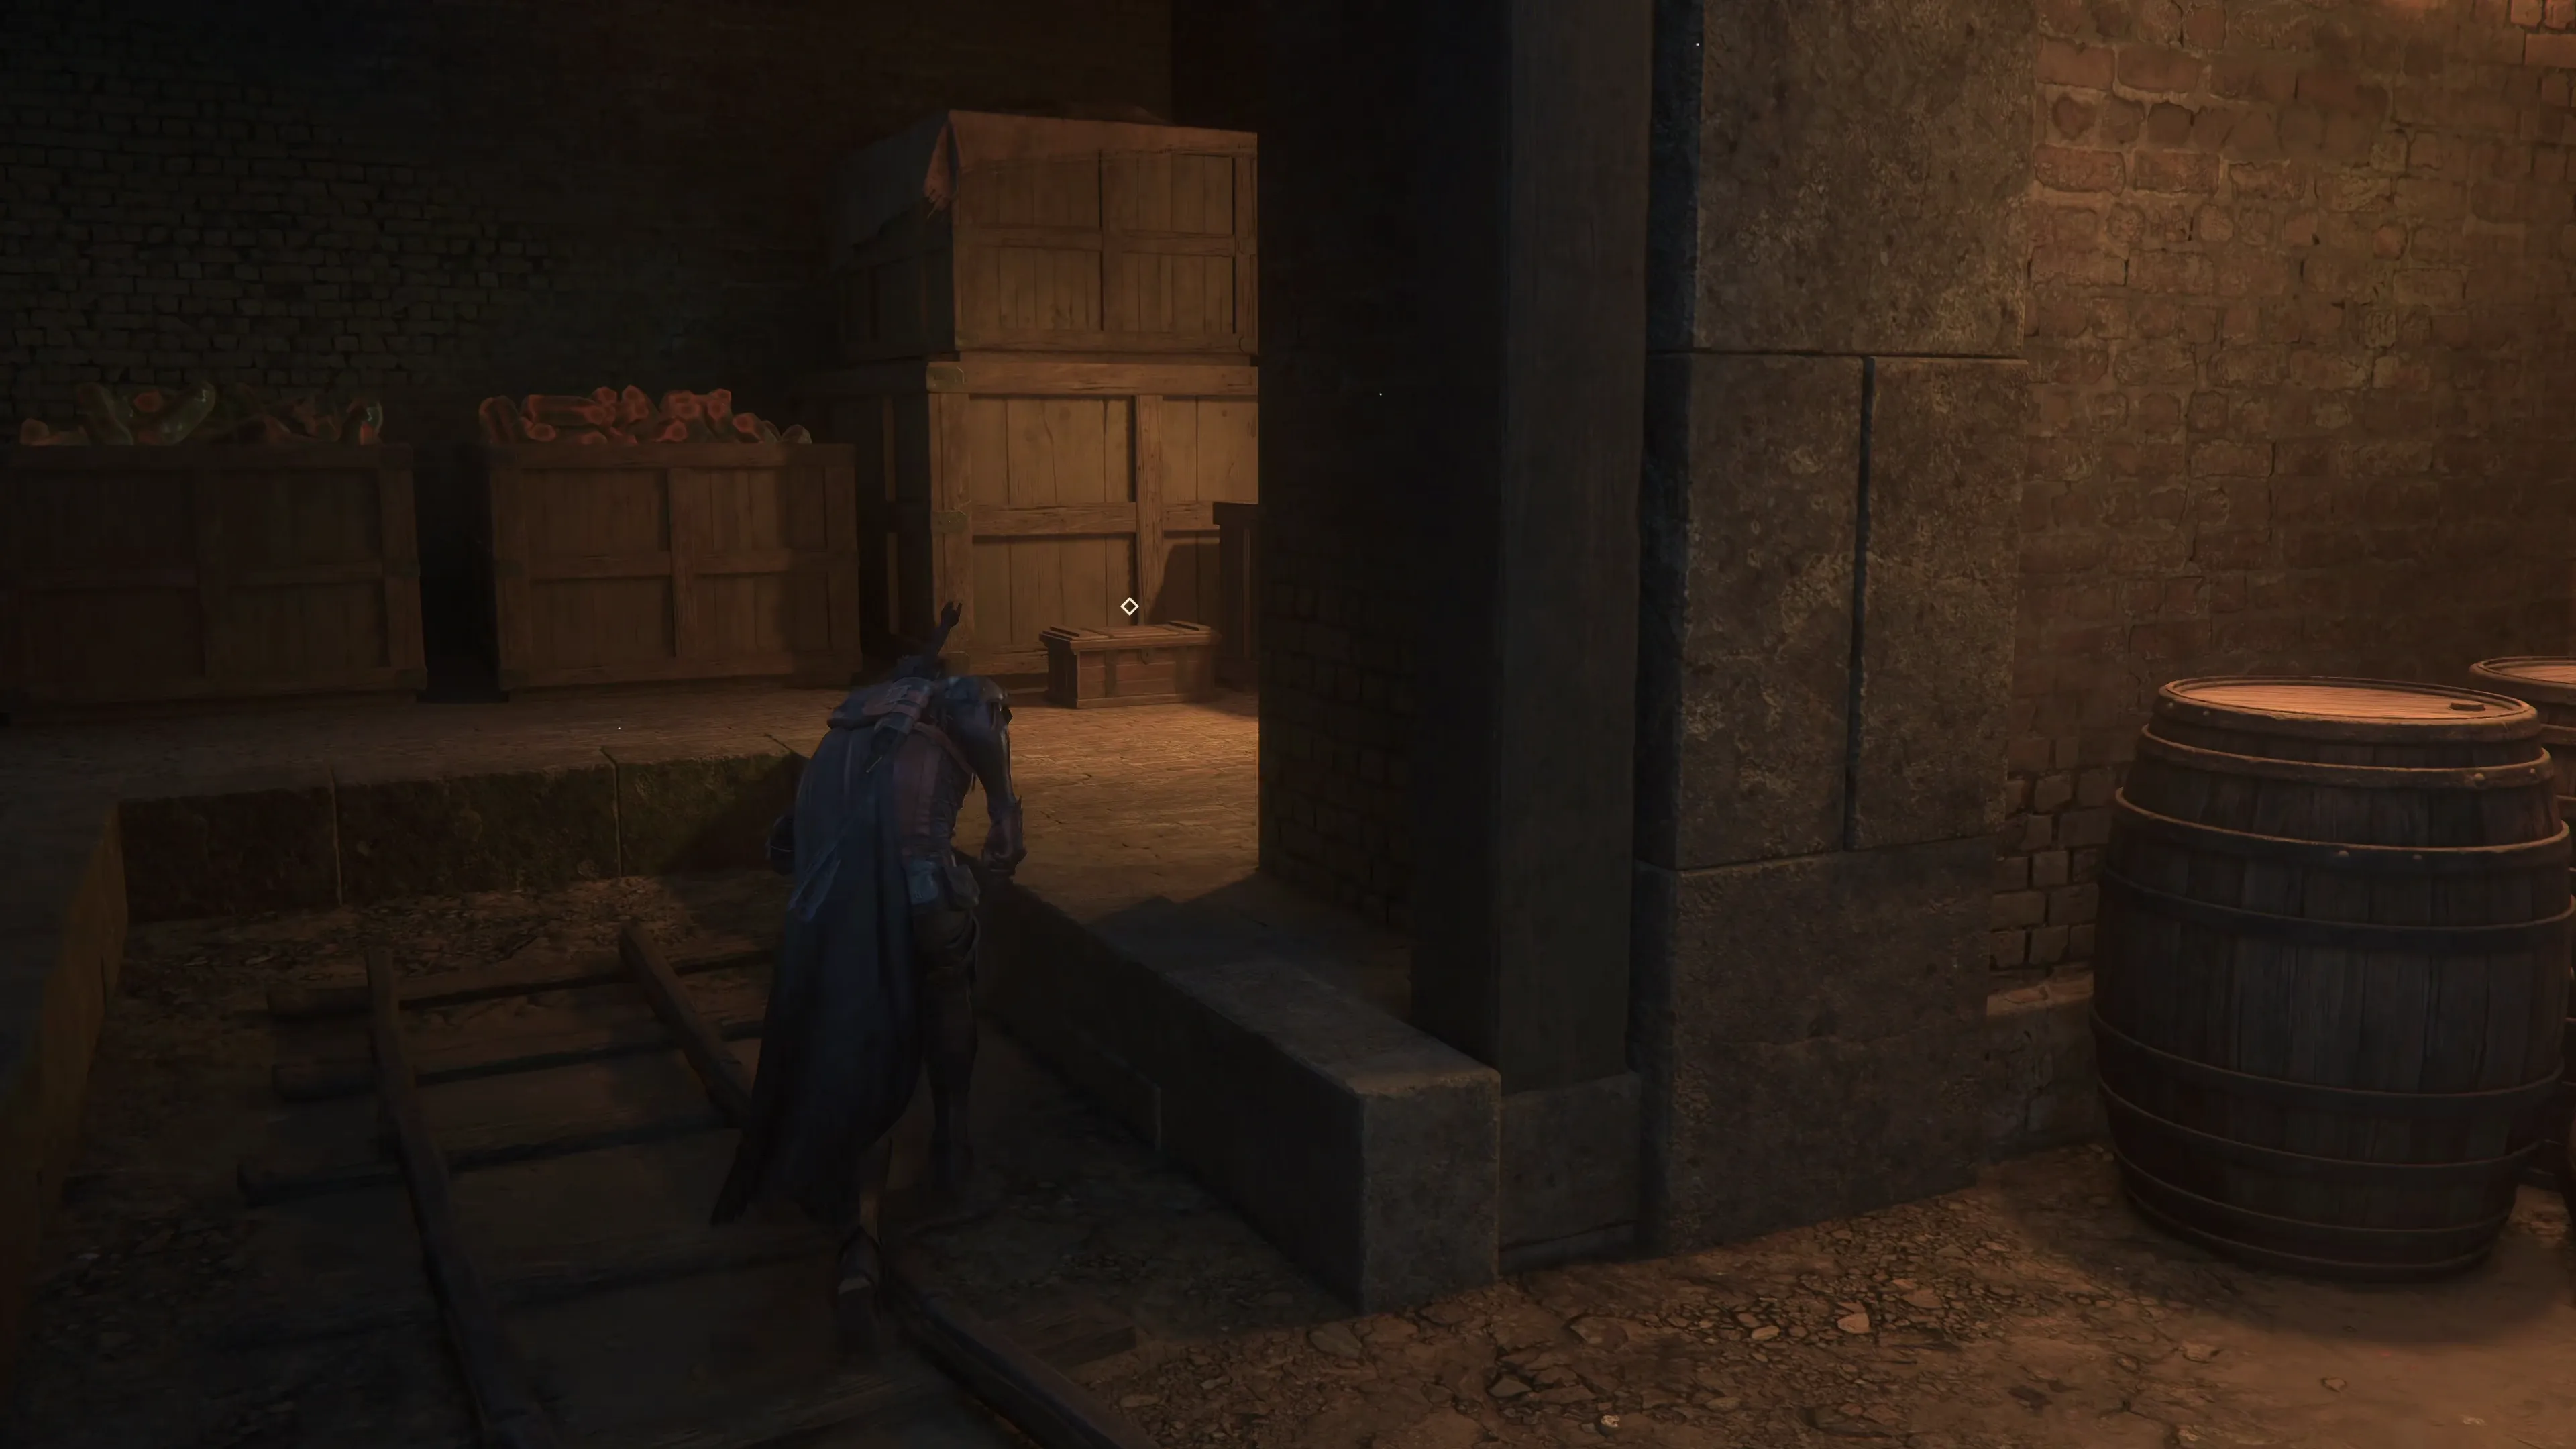
Before you sneak through the cracked-open doorway, grab the treasure in the alcove on the left side of the room. It contains ten spools of ![]() Steelsilk, ten
Steelsilk, ten ![]() Bloody Hides, and ten pinches of
Bloody Hides, and ten pinches of ![]() Magicked Ash.
Magicked Ash.
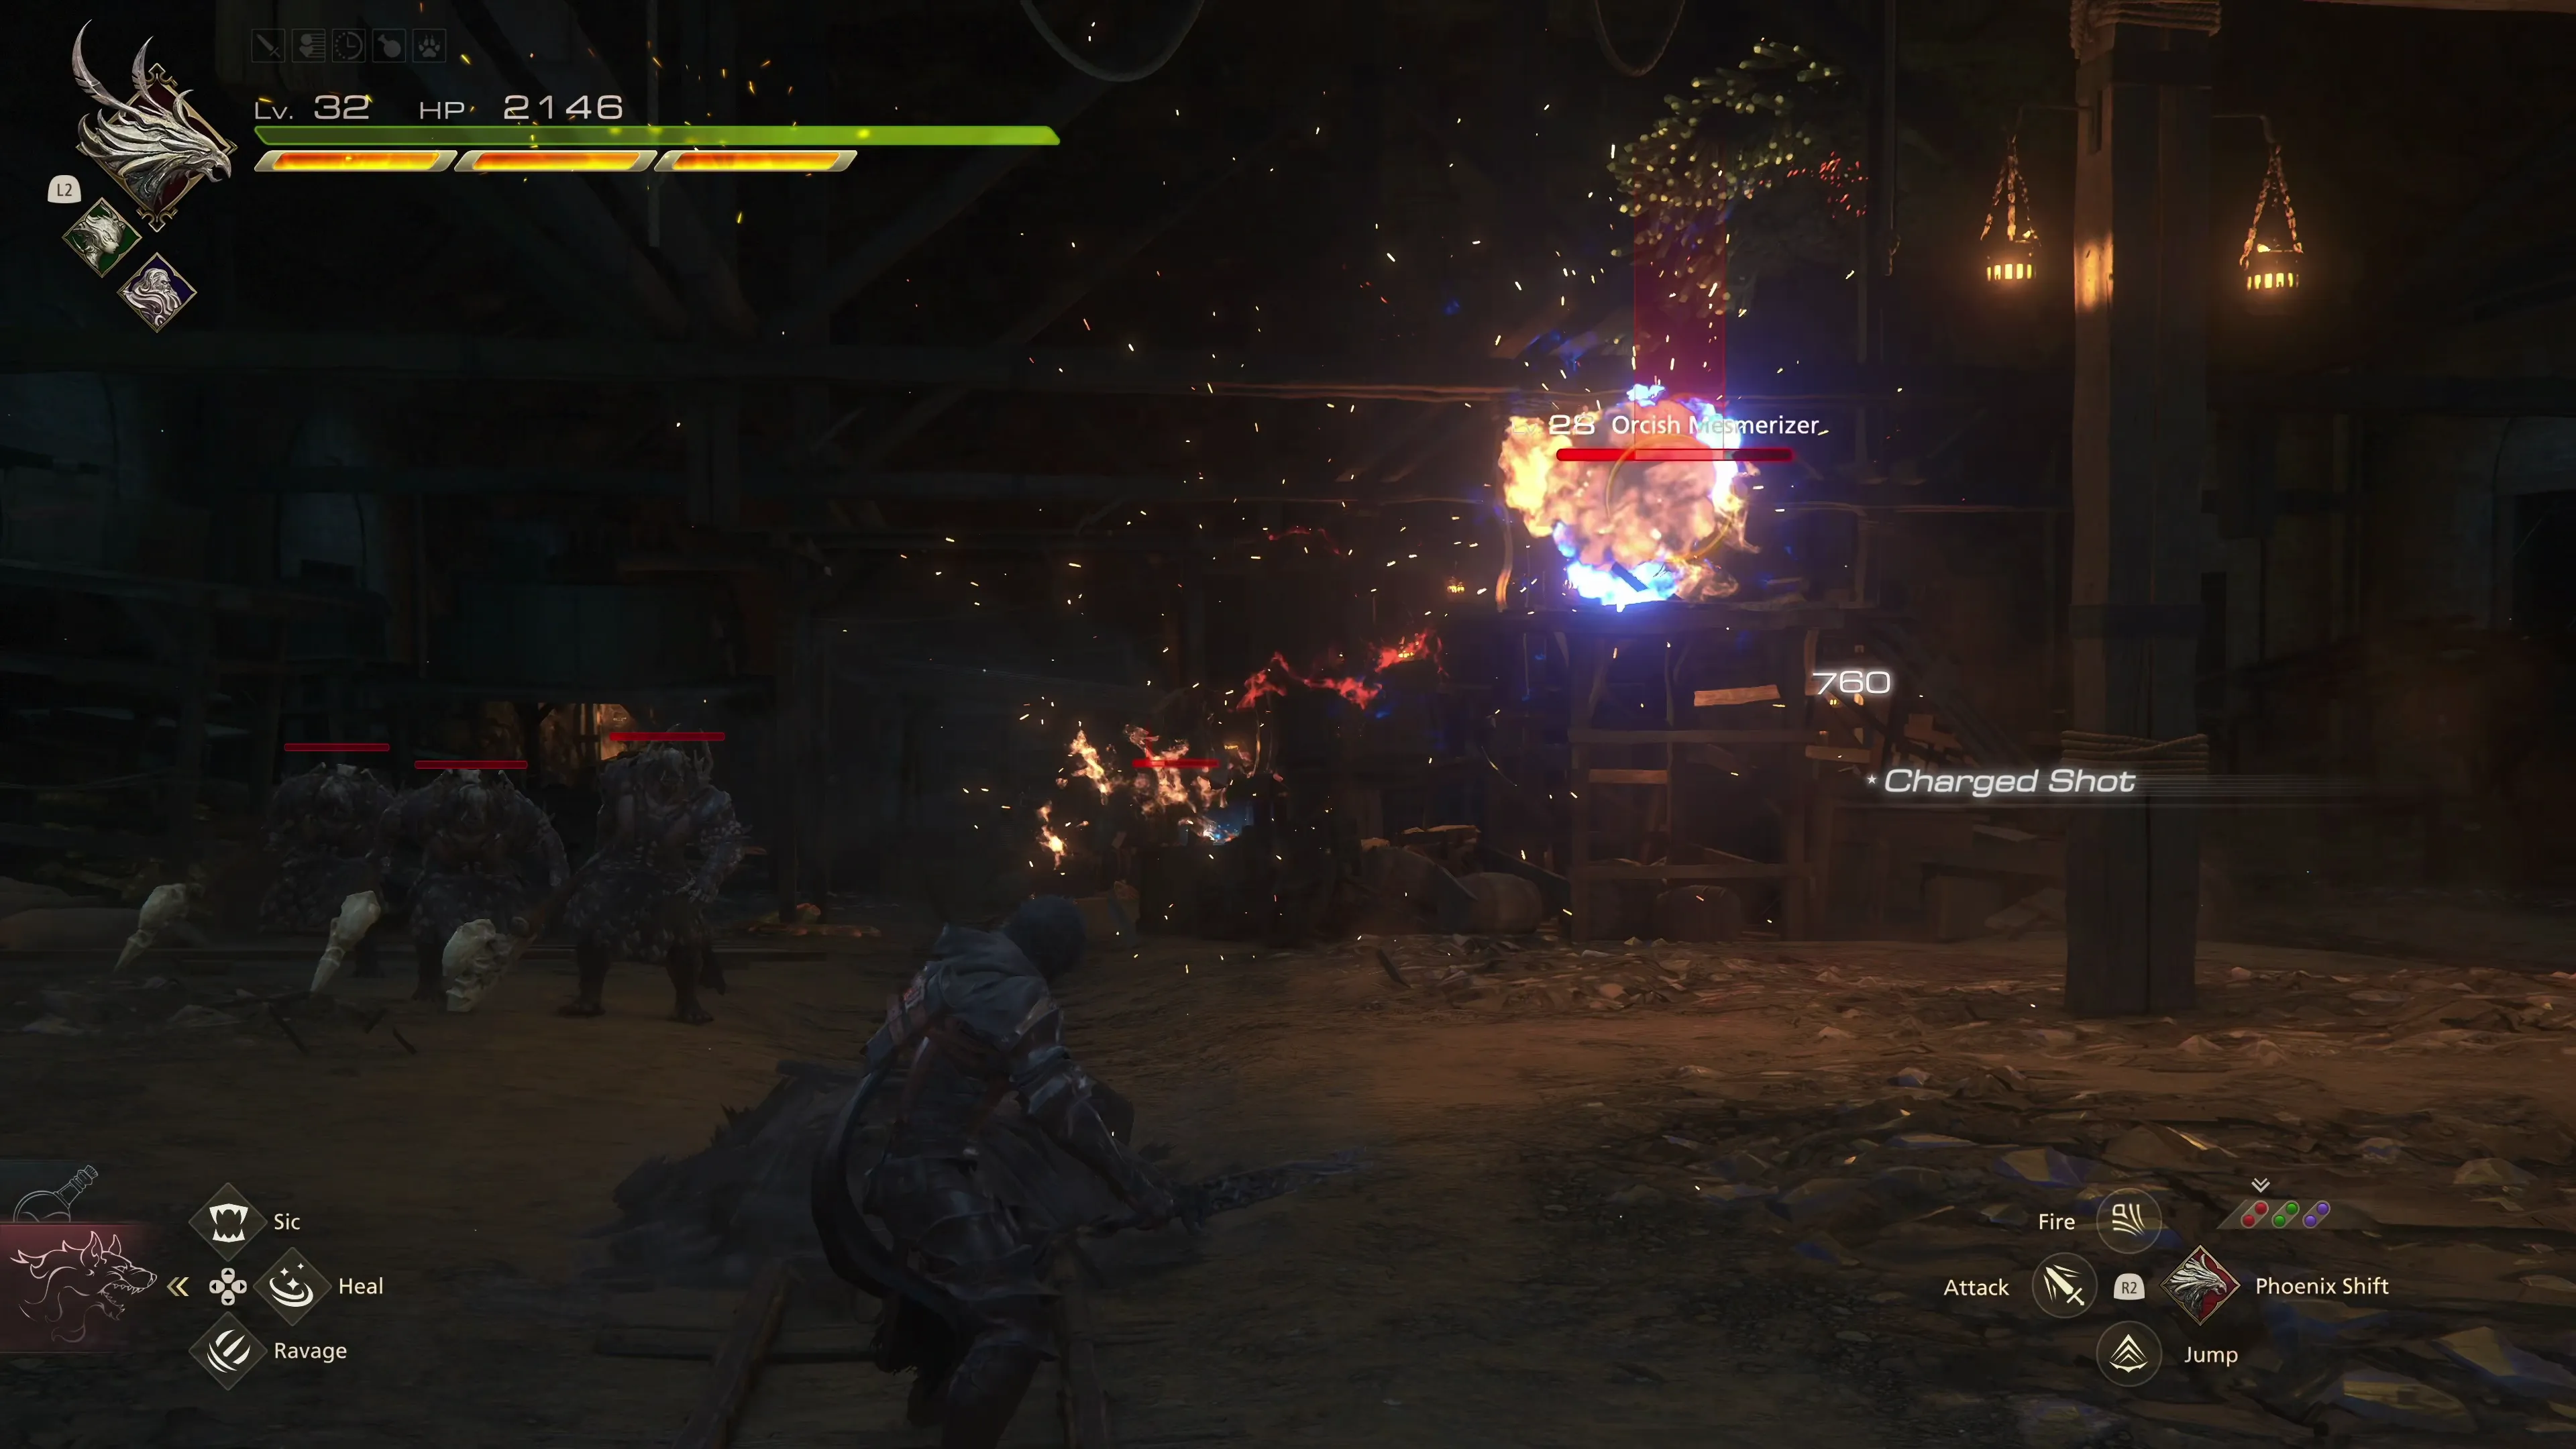
The next room is more complicated to deal with because there are Orcish Mesmerizers up in the rafters that will launch magic at you from a distance. Use ![]() Charged Magic to blast them down or
Charged Magic to blast them down or ![]() Phoenix Shift to warp up to their location and take them out quickly. At this point in the game, you have many different options for defeating them, but make sure you focus on them first so that you don’t take too much damage.
Phoenix Shift to warp up to their location and take them out quickly. At this point in the game, you have many different options for defeating them, but make sure you focus on them first so that you don’t take too much damage.
Use the switch on the right side of the doorway on the far wall to open it. There is a treasure coffer on the platform just up ahead that contains ![]() The Favor of Lightning (Lightning Rod). This is an invaluable accessory if you’re regularly using
The Favor of Lightning (Lightning Rod). This is an invaluable accessory if you’re regularly using ![]() Lightning Rod in your rotation. Go through the doorway on the right side of the screen after you pick up the Glimmer.
Lightning Rod in your rotation. Go through the doorway on the right side of the screen after you pick up the Glimmer.
Travel up the stairs to find a group of two Orcish Fodder enemies. Grab the Glimmer at the top of the stairs, but before you proceed through the doorway, swap over to your single-target ![]() Eikonic Ability Set.
Eikonic Ability Set.
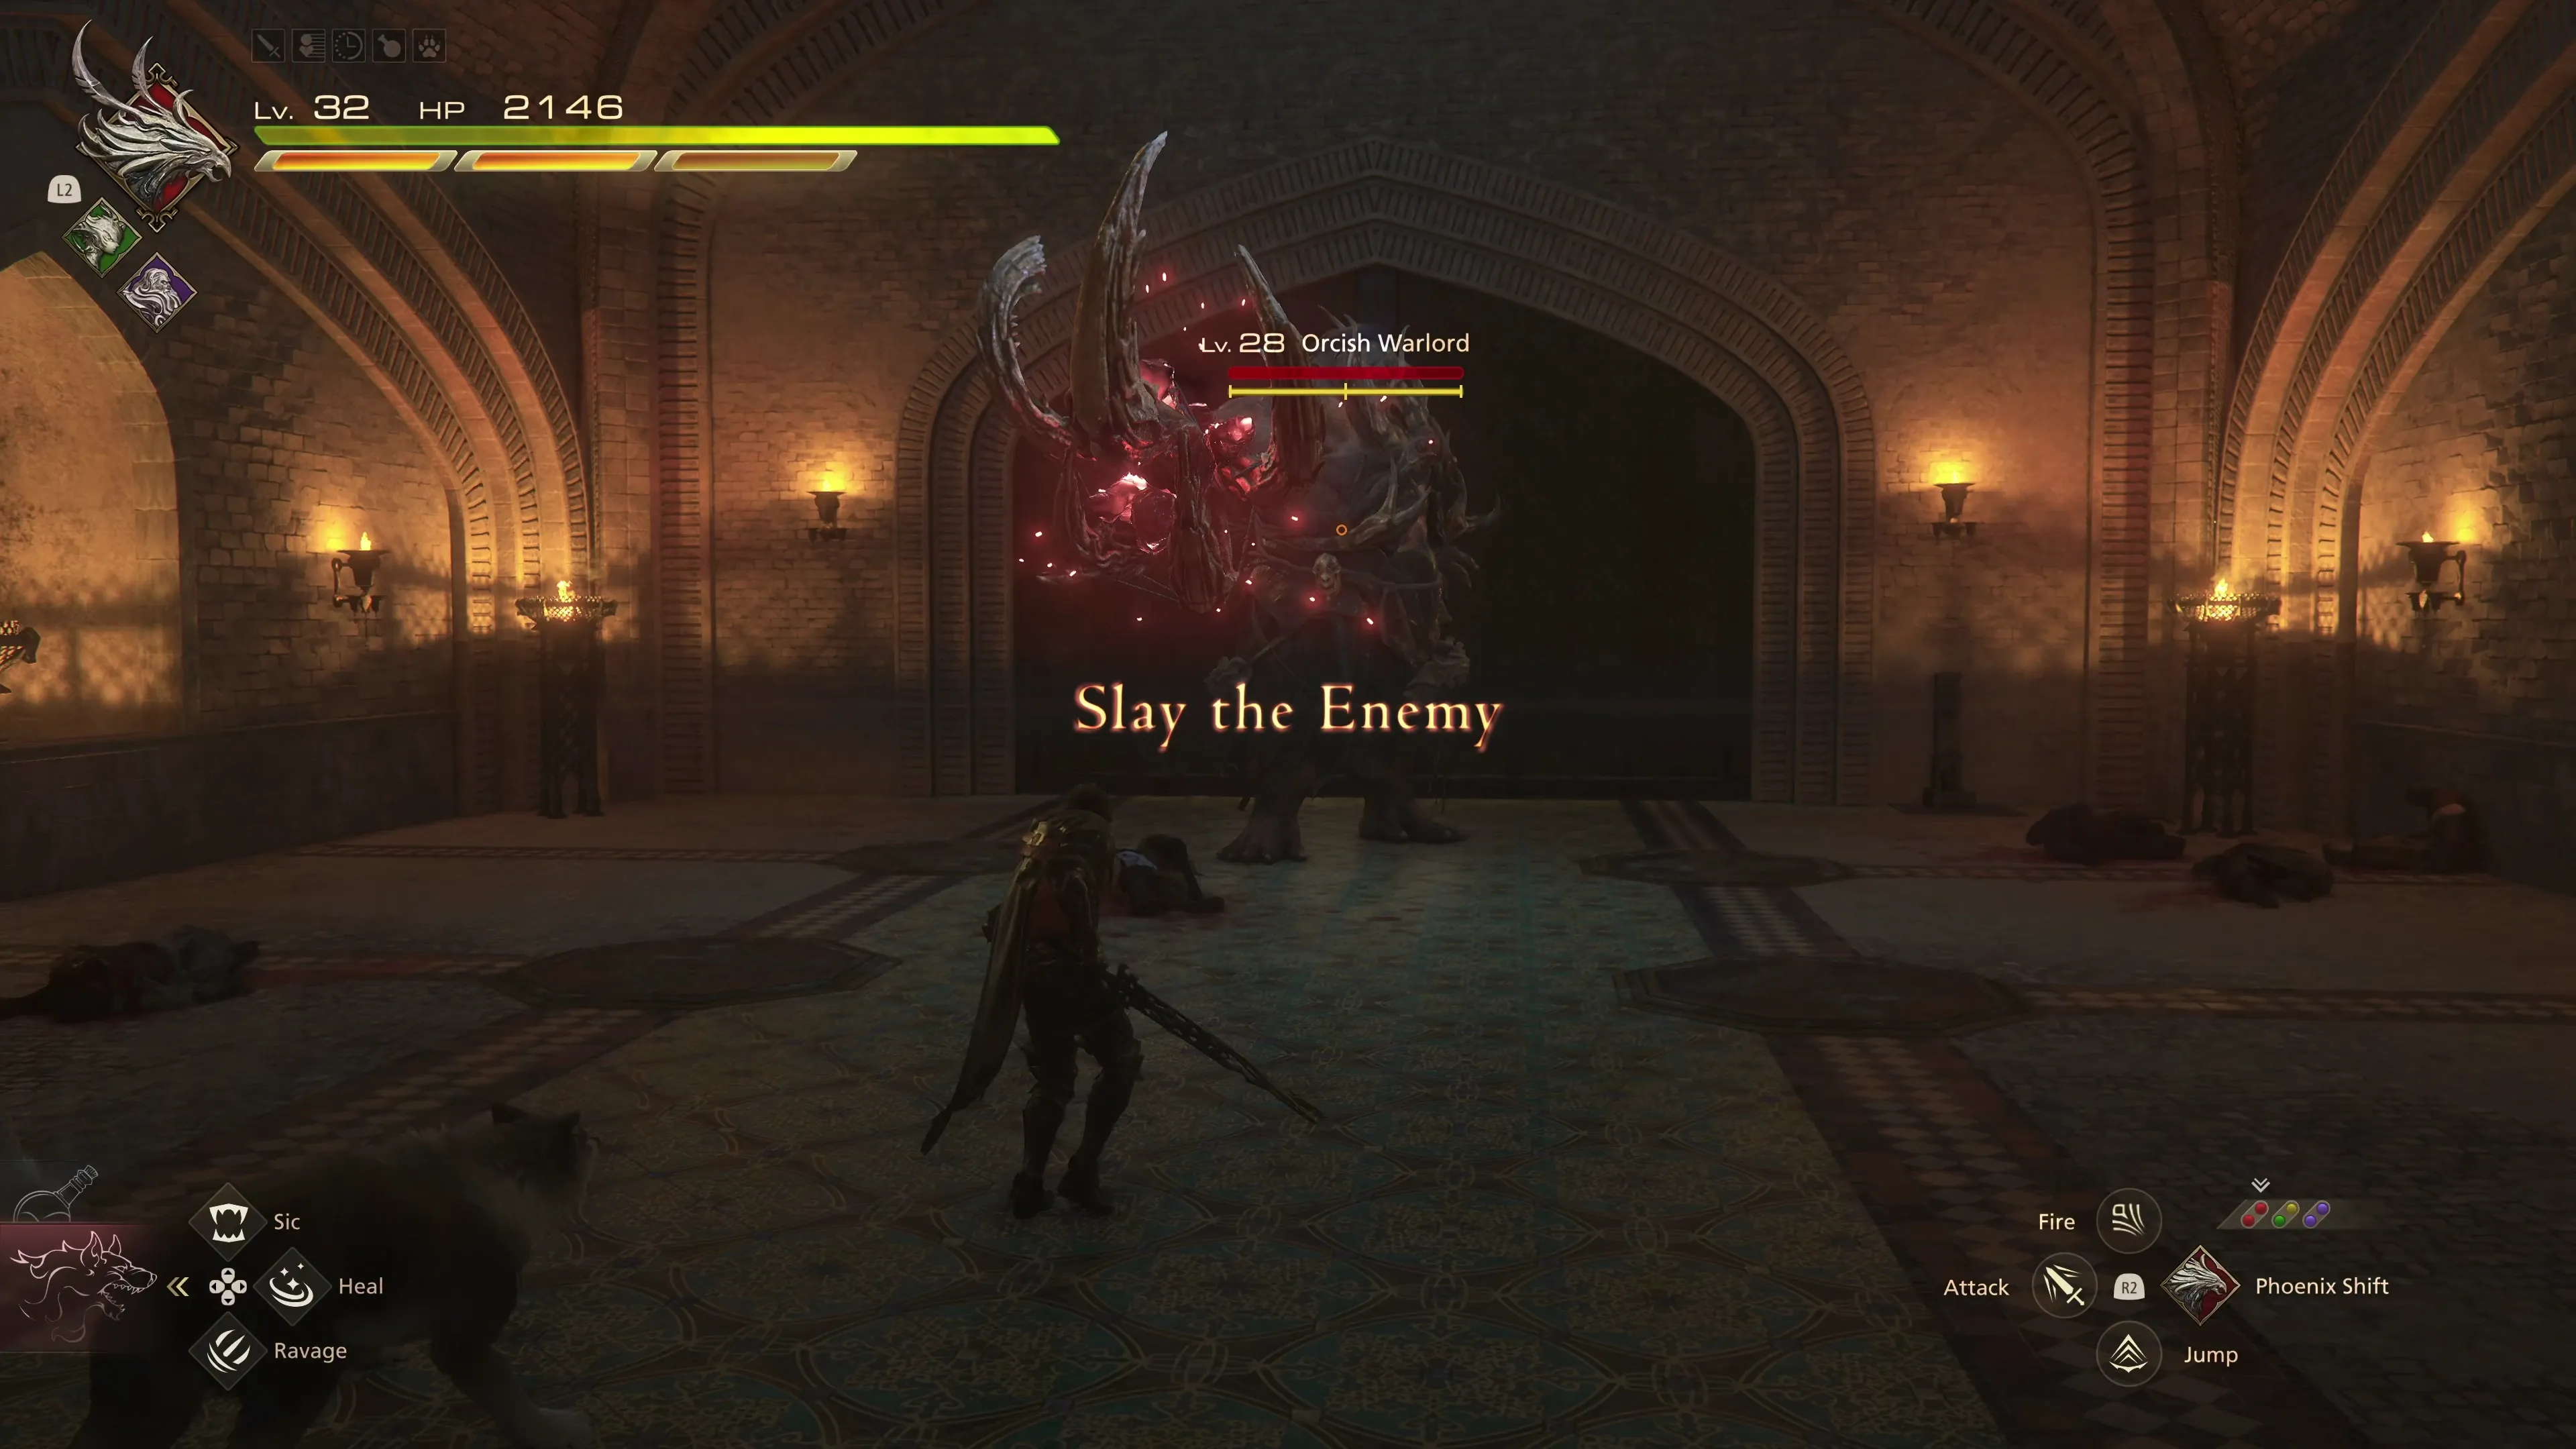
The enemy in this room is called an “Orcish Warlord.” It’s technically not a boss (which we can tell because its HP bar is not in the top-right corner of the screen). That said, it has several high-powered abilities that can be challenging to deal with.
- It will start by launching magic orbs towards Clive. These magic orbs move a bit more slowly than some other magic blasts you’ve seen up to this point, but this makes them easier to reflect with a
 Heatwave.
 - It will warp to different parts of the map, often getting behind Clive, which adds to the challenge of both initiating attacks and dodging its attacks. Learning how to dodge its slow and wide swings can take some practice.
- Be aggressive, and you may find that you can deal enough damage to take the Warlord out during a single stagger.
Use the lever on the right side of the door to open it and proceed into the next area.
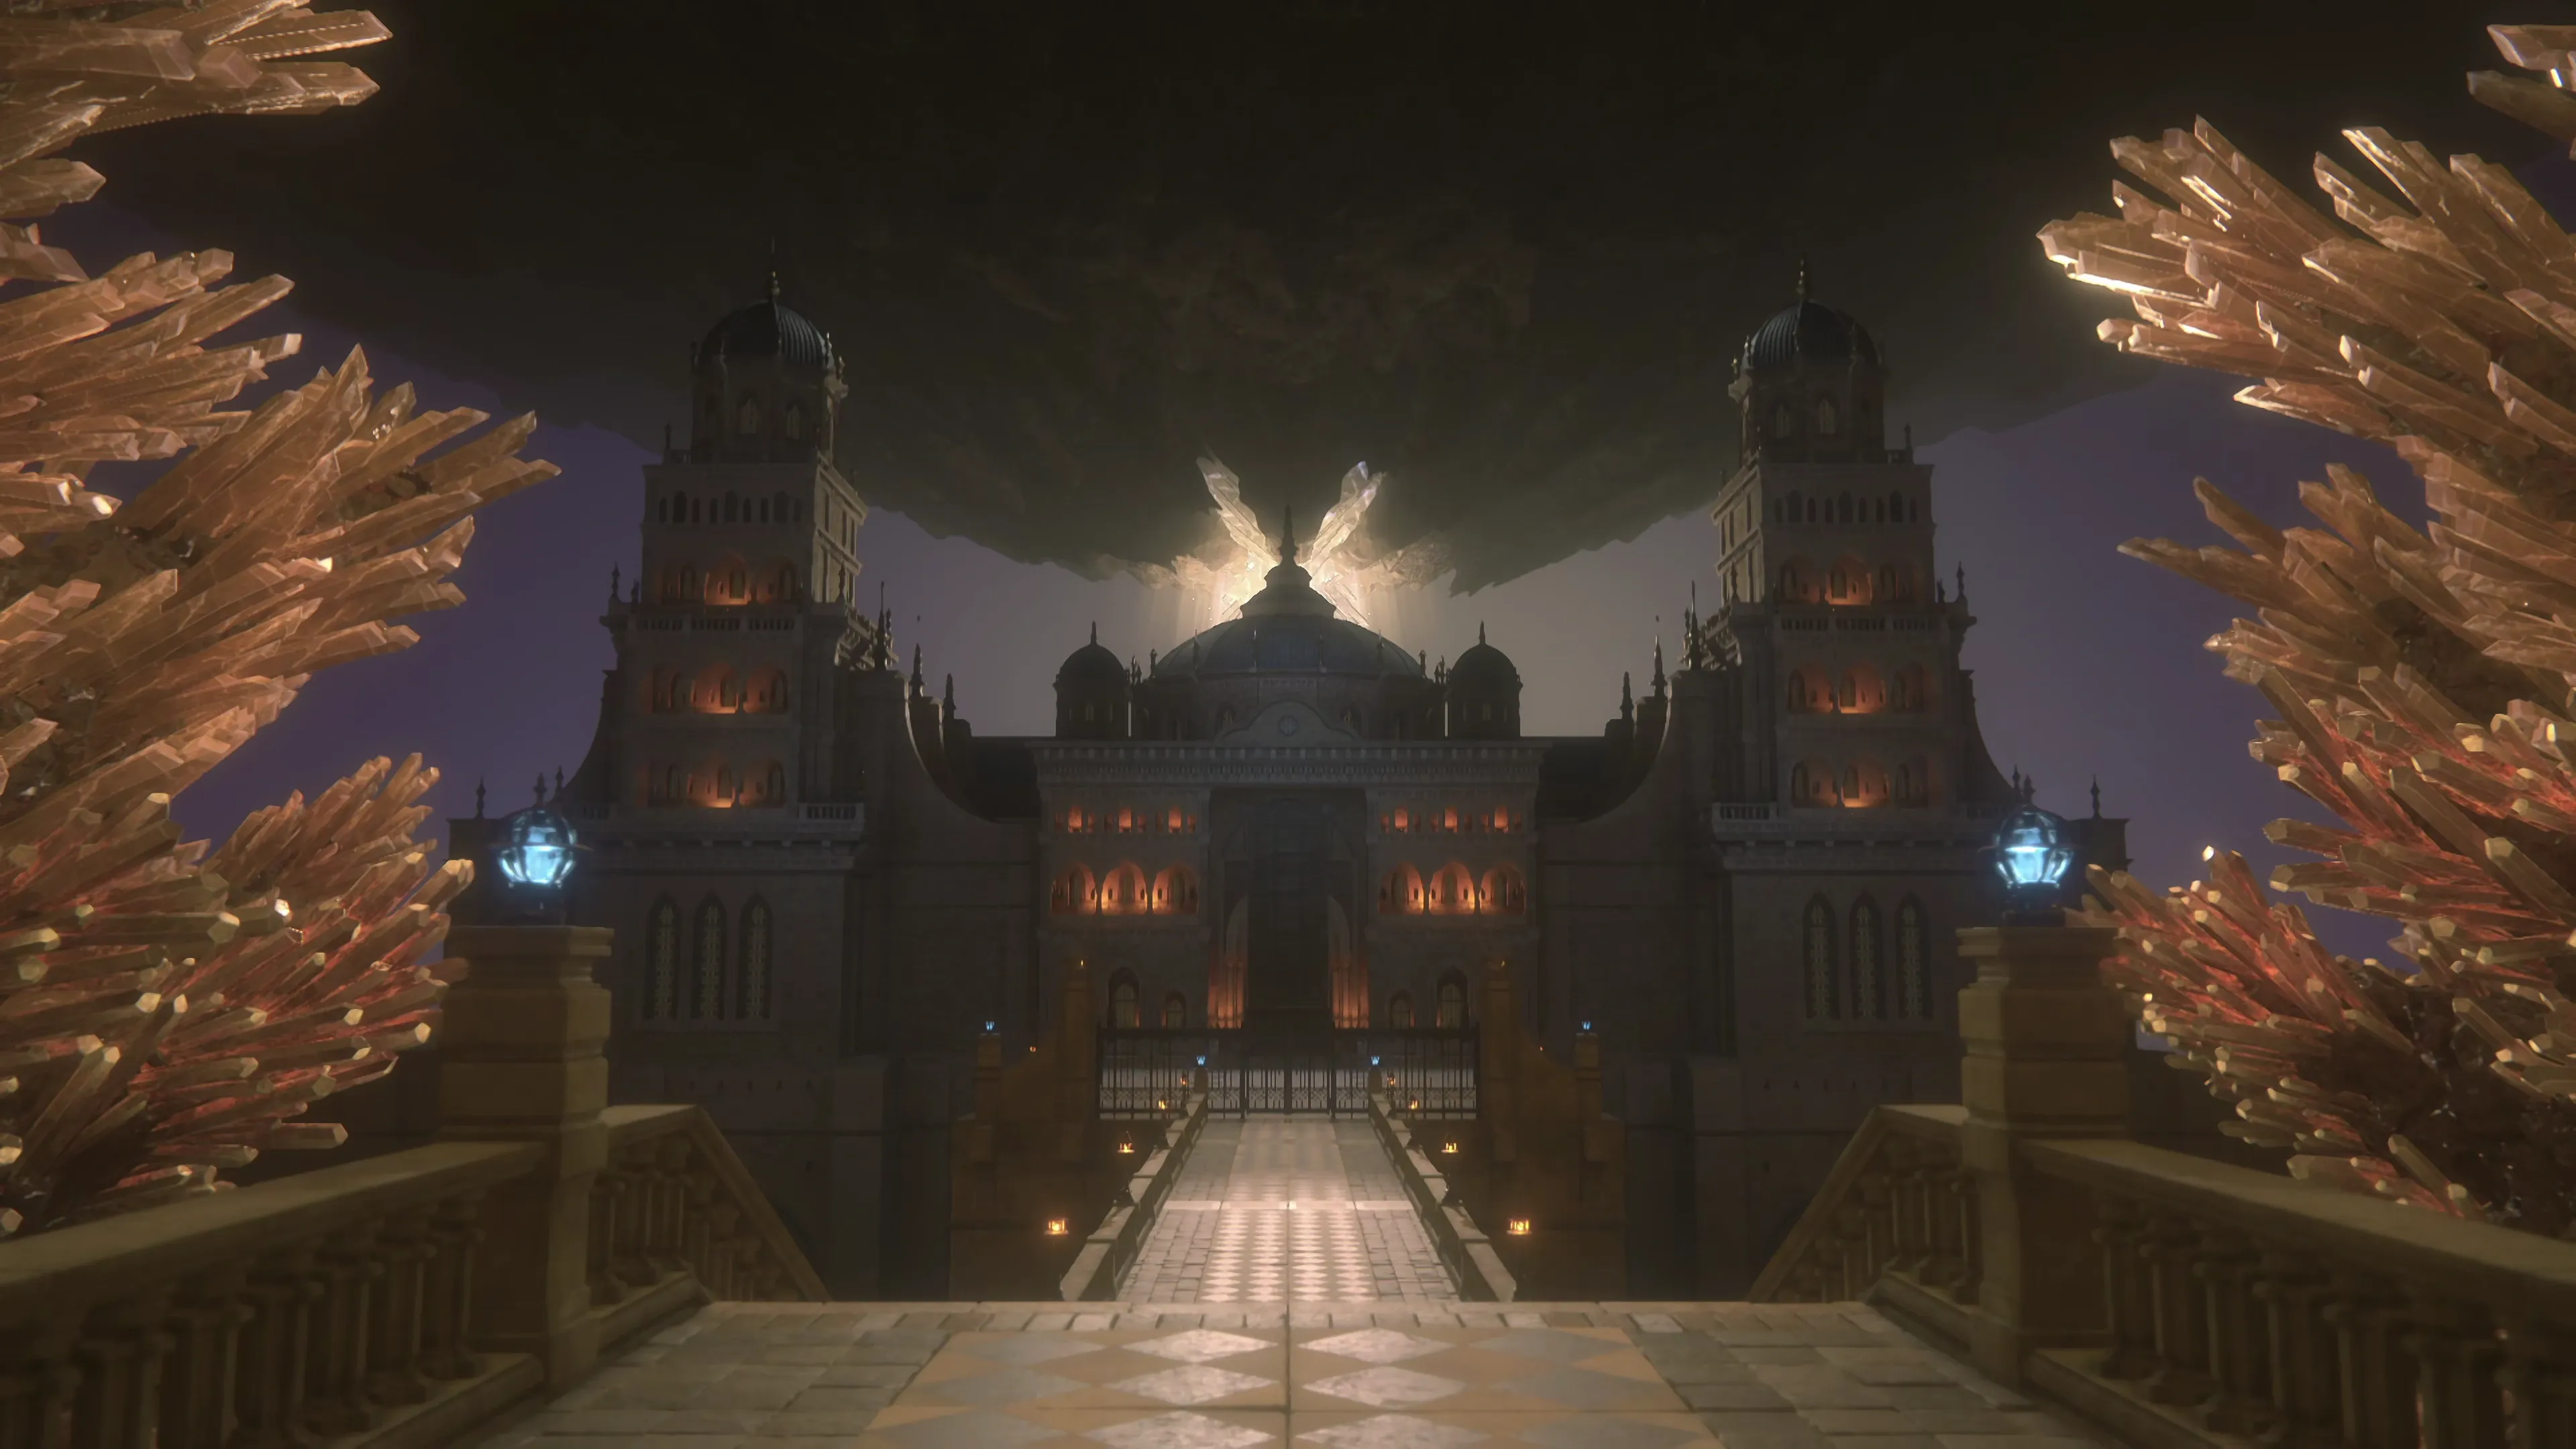
Outside the Castle
Grab the Glimmers on your way down the stairs. These Glimmers will help to replenish your potions. Make sure you still have your single-target ![]() Eikonic Ability Set and head through the gate on the far side of the walkway.
Eikonic Ability Set and head through the gate on the far side of the walkway.
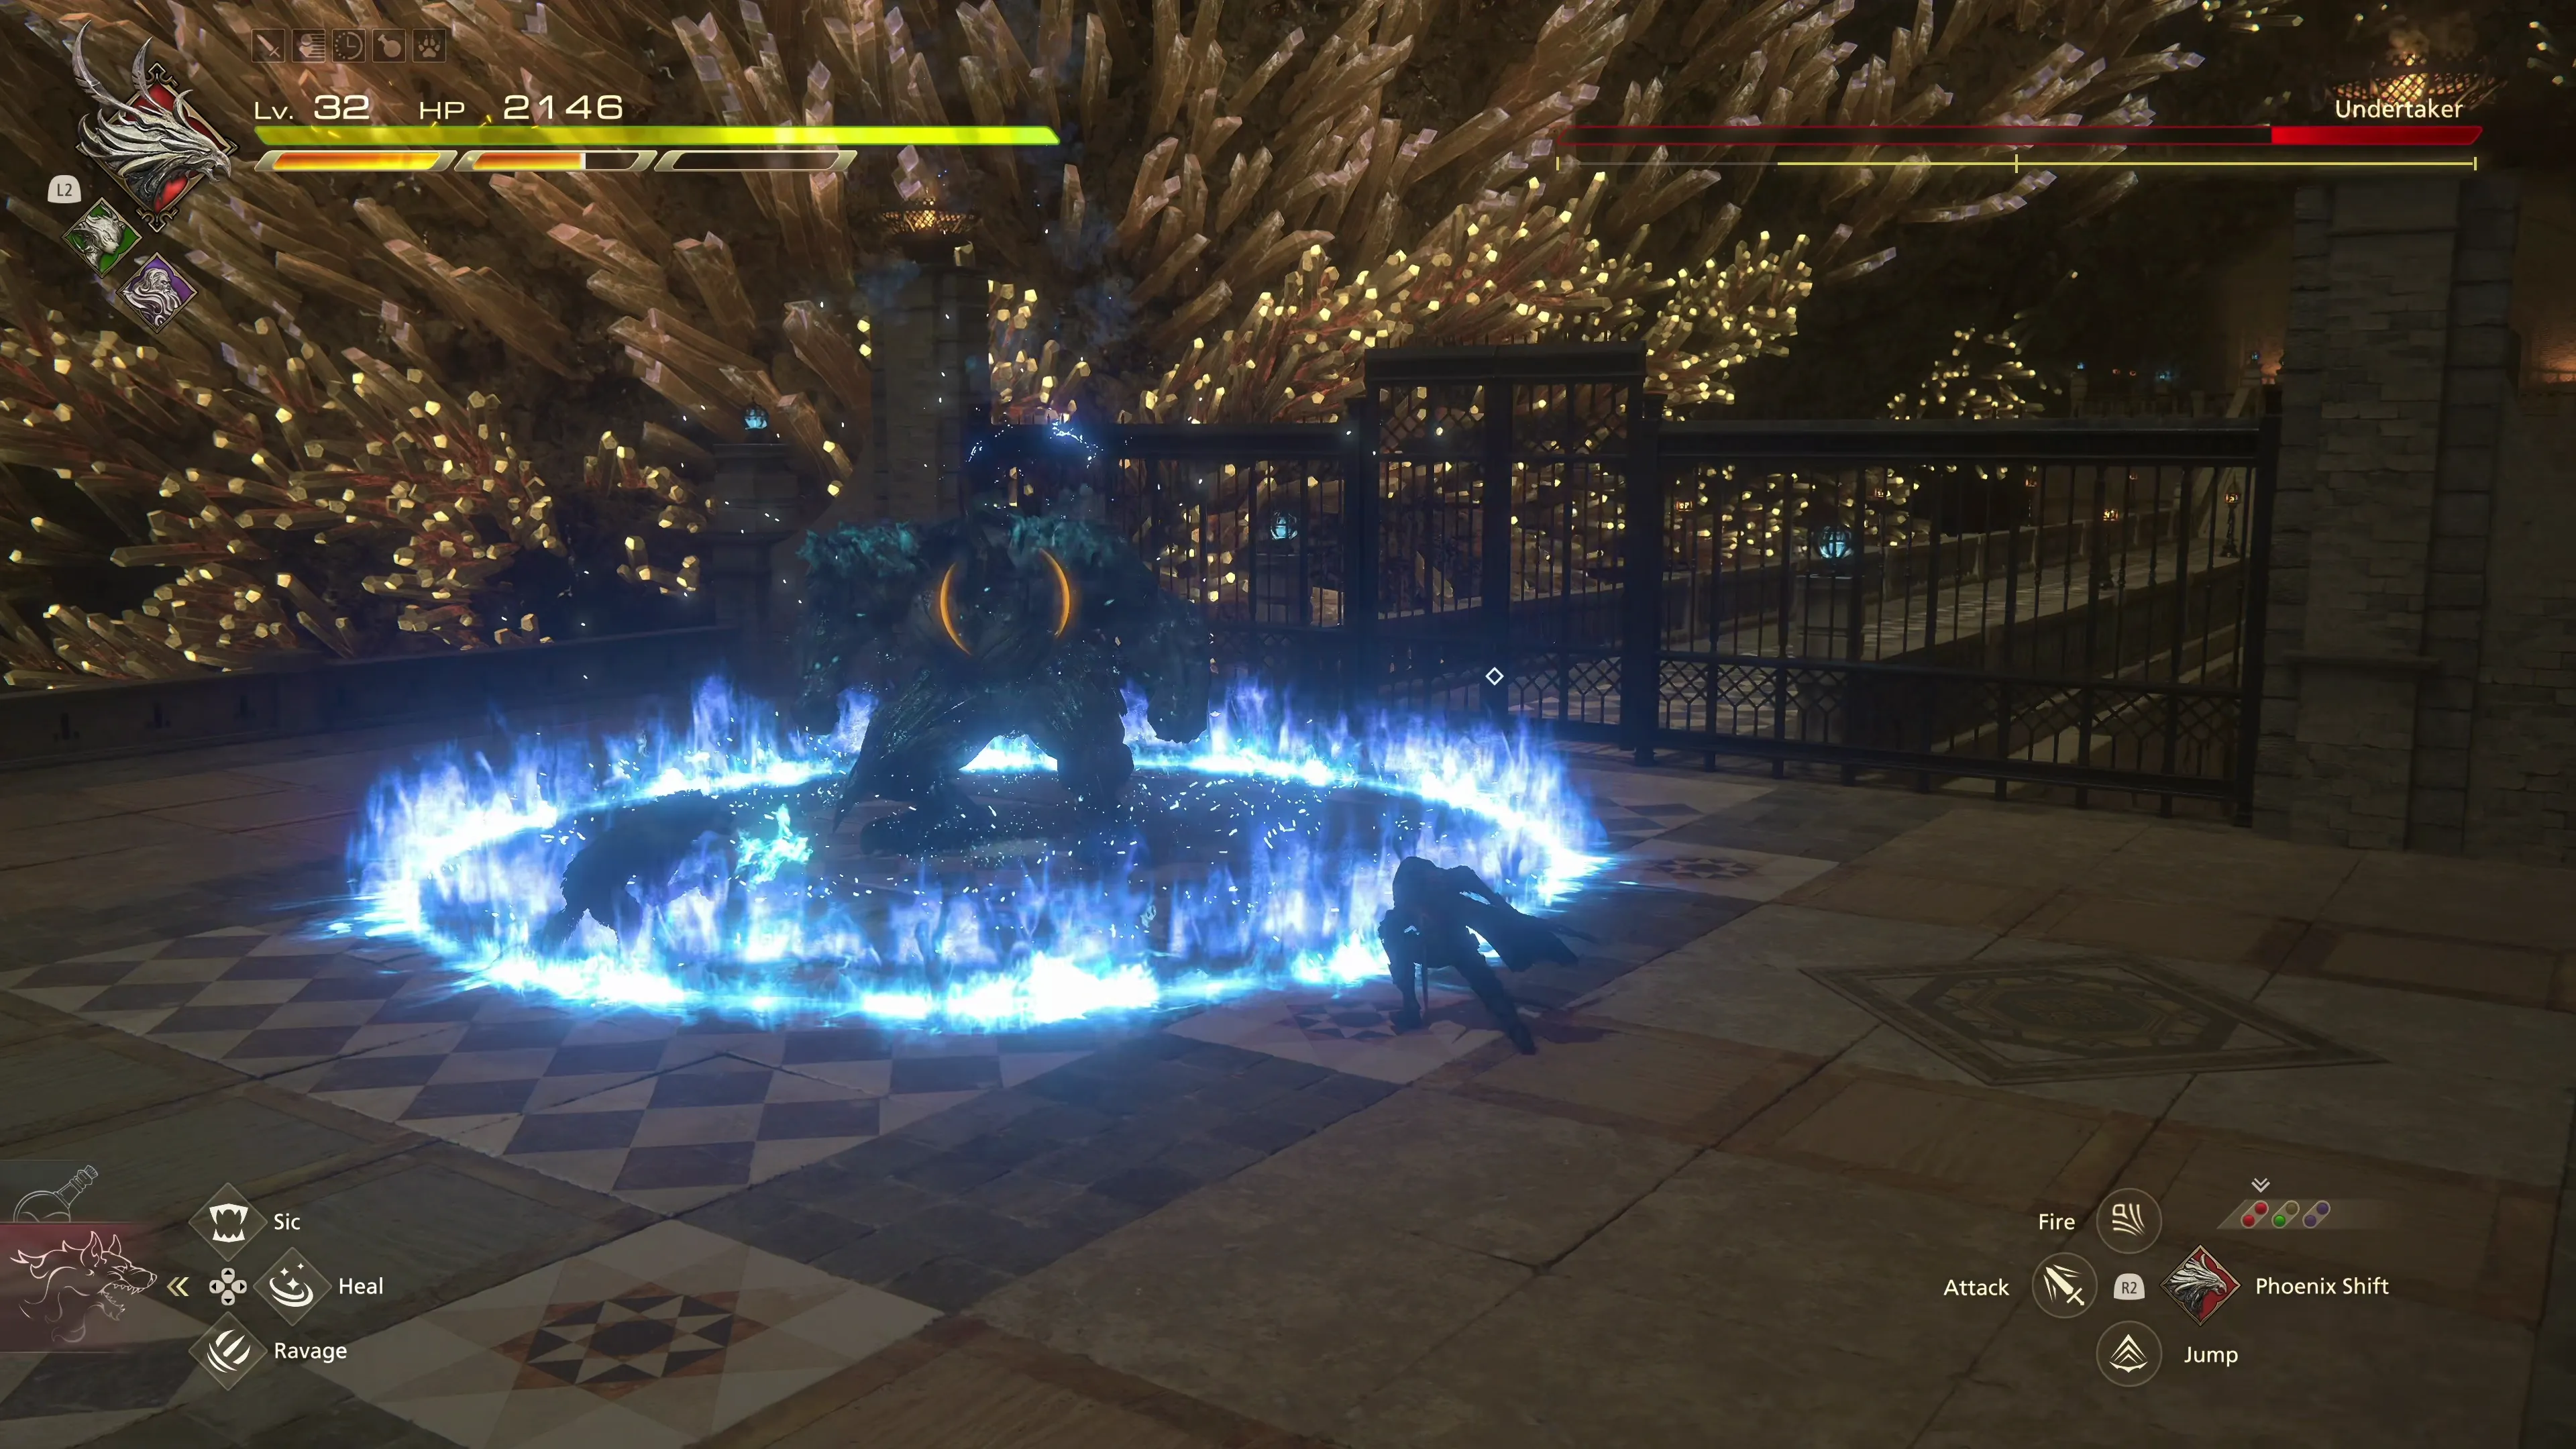
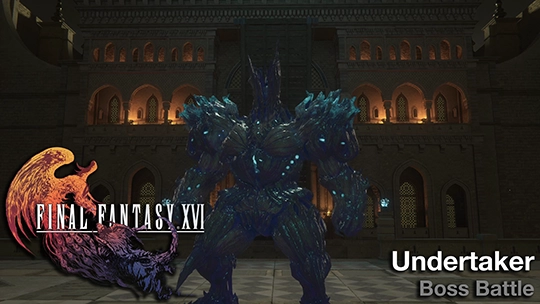
Boss Battle
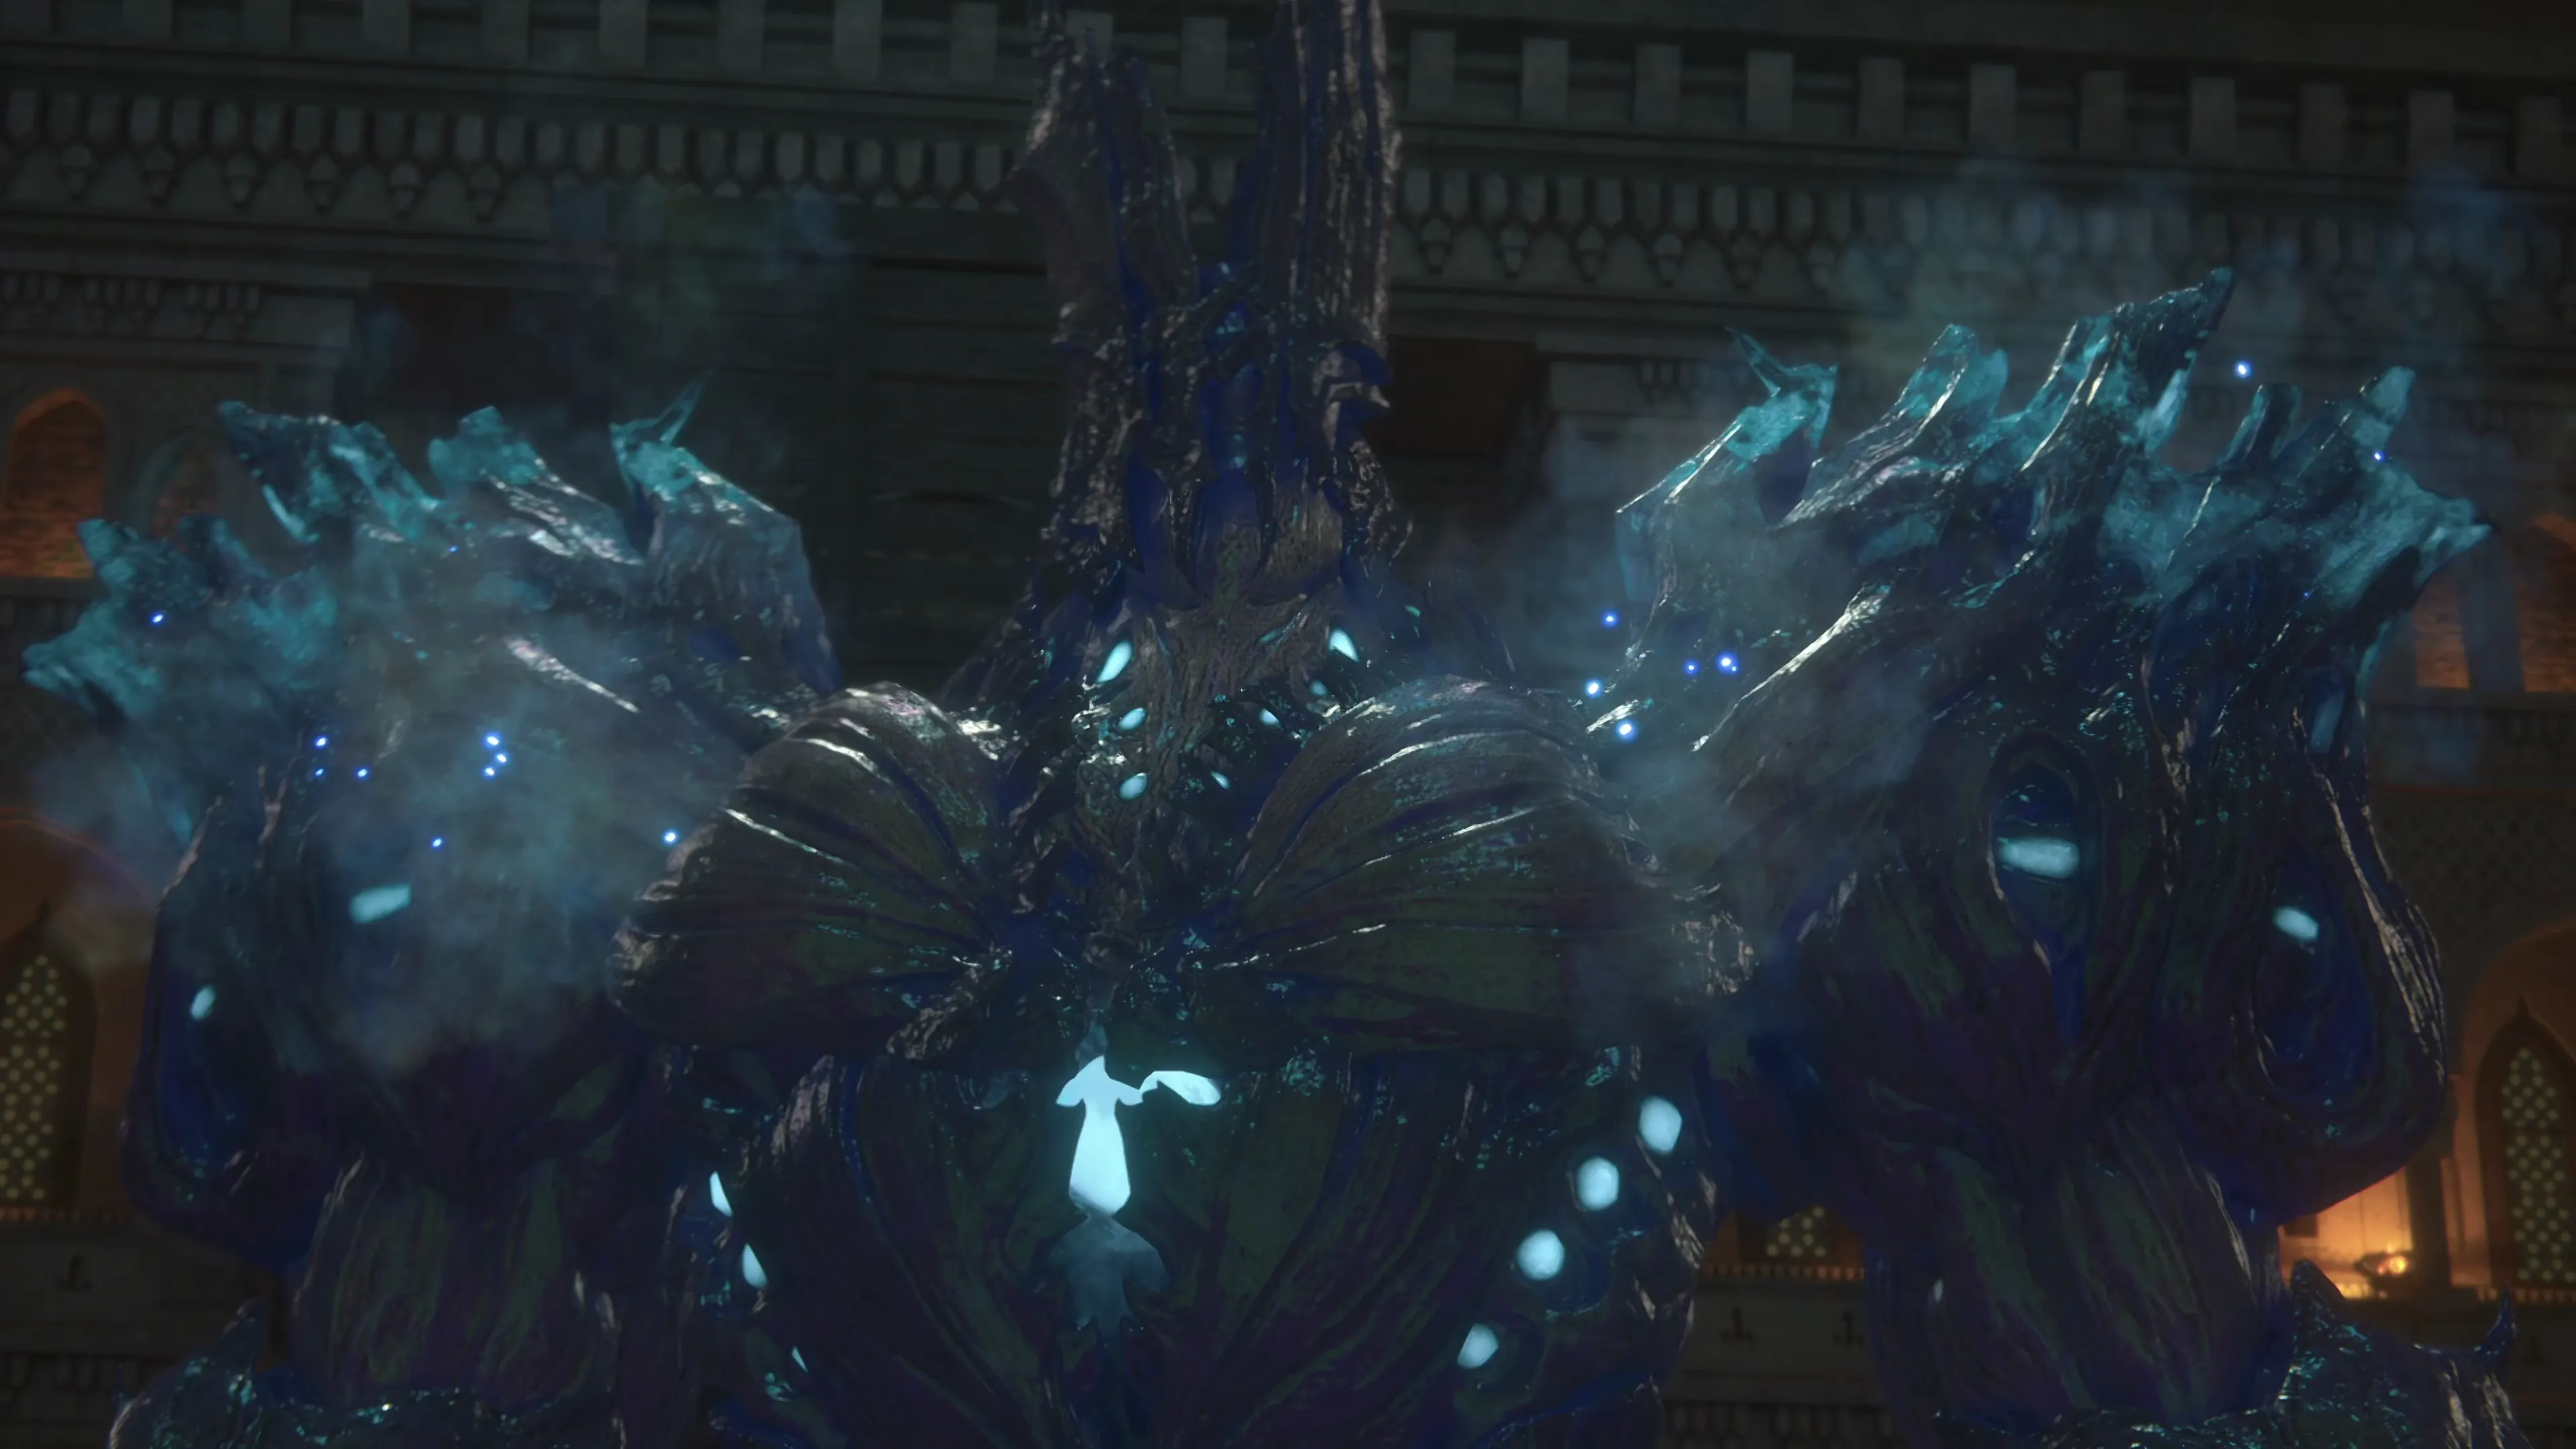
This boss doesn’t have a large quantity of abilities, nor does it have a large HP pool. Its abilities include the following:
![]() Physical Attacks:
Physical Attacks:
These include punches and kicks that can easily be dodged, as well as a running charge.
![]() Spirits Within:
Spirits Within:
The creature’s chest will open up, and a beam of light will burst out. The Undertaker will rotate from its right to its left, shooting a beam of light across the screen that starts on the left and travels to the right. You can dodge through this attack, but it’s so slow that it’s easier to step in behind the Undertaker and continue attacking.
![]() Ground Slam:
Ground Slam:
This ability is similar to Hugo’s Tumult and Upheaval abilities. The Undertaker will jump up into the air and then slam down, and a ring of energy will emanate outwards from where it lands.
![]() Exhume:
Exhume:
Beams of light appear on the ground that you need to dodge away from before they explode.
There isn’t much in the way of ‘strategy’ to defeat this boss. Its moveset is pretty simple compared to some of the other bosses you’ve faced, but you can watch the video below if you would like to see a demonstration on how to complete it.
170
3,000
A video demonstration of how to successfully complete the fight against Undertaker.
The “Spirits Within” attack is likely a reference to the “Final Fantasy: The Spirits Within” film from 2001.
Achievement/Trophy
“Deal an enemy 50,000 damage while it is staggered (excluding battles in the Hall of Virtue and while fully primed as Ifrit).” At this point, you should be able to get over 50,000 damage with a stagger to earn the  It's Over 50,000 Achievement/Trophy. If you’re having trouble getting that high, consider stacking your single-target damage abilities and using them all in sequence (e.g.,
 ![]() Rising Flames,
Rising Flames, ![]() Lightning Rod,
Lightning Rod, ![]() Judgment Bolt,
Judgment Bolt, ![]() Windup,
Windup, ![]() Limit Break).
Limit Break).
One of the spoils for defeating the Undertaker is ![]() The Favor of Lightning (Thunderstorm). Consider equipping it if you use that ability, as this accessory will increase the damage it deals by 10%.
The Favor of Lightning (Thunderstorm). Consider equipping it if you use that ability, as this accessory will increase the damage it deals by 10%.
Castle Dazbog
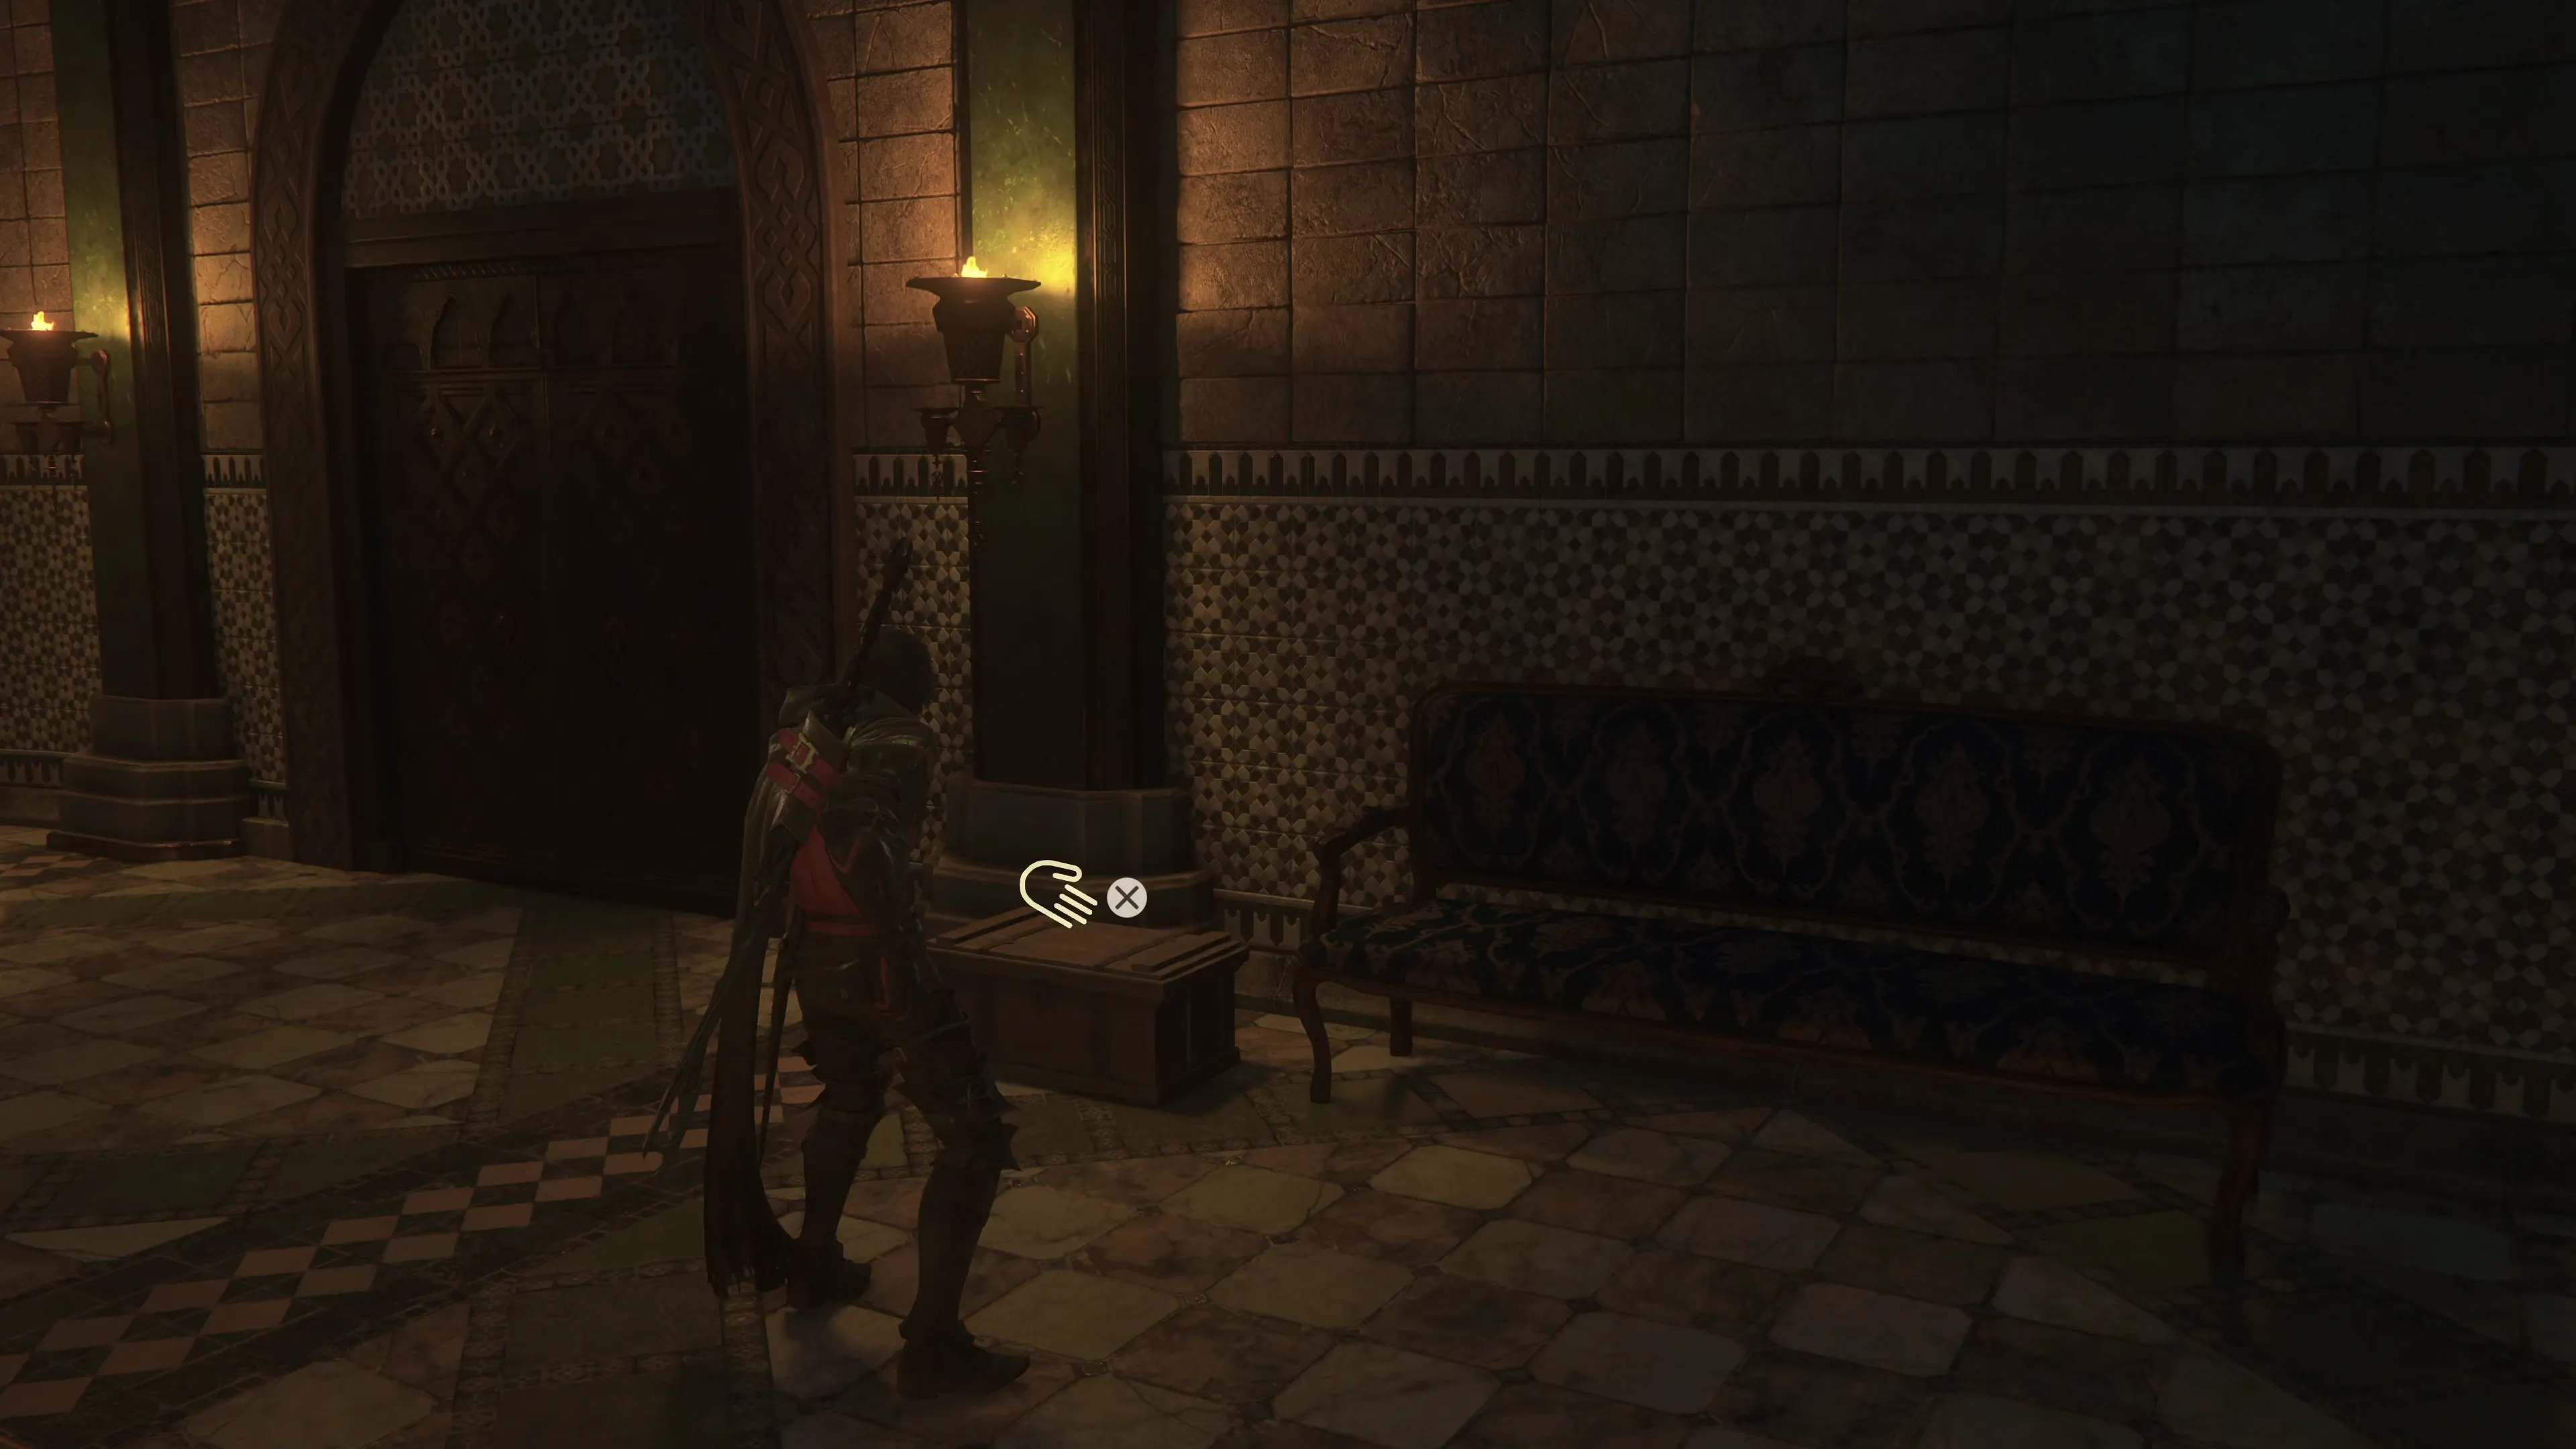
Swap over to your multi-target ![]() Eikonic Ability Set before you head up the stairs. On the ground floor, on the right side of the room, is a treasure coffer that contains 100
Eikonic Ability Set before you head up the stairs. On the ground floor, on the right side of the room, is a treasure coffer that contains 100 ![]() Gil and ten
Gil and ten ![]() Sharp Fangs. Grab the Glimmer and head up to the top of the staircase.
Sharp Fangs. Grab the Glimmer and head up to the top of the staircase.
A group of Wraiths will spawn on the right side of the staircase. There’s another Glimmer at the far end of the balcony. Stepping near the door on the second floor will spawn a group of Revenants, but you should also go down the balcony pathway on the left side to find another treasure coffer that contains 1,600 ![]() Gil.
Gil.
Open the double doors using the ![]()
![]()
![]() button, and a tutorial message will explain how the enemy’s “Bravery” ability works. Just like other abilities that enemies can use on their allies, your goal should be to defeat spellcasting targets, like those that can cast “Bravery,” as quickly as possible. In this room, run to the back and defeat the two Specters first.
button, and a tutorial message will explain how the enemy’s “Bravery” ability works. Just like other abilities that enemies can use on their allies, your goal should be to defeat spellcasting targets, like those that can cast “Bravery,” as quickly as possible. In this room, run to the back and defeat the two Specters first.
Go through the doorway on the right side of the room and follow the pathway up the stairs. Another group of Revenants will spawn along with a Lich. Focus your efforts on defeating the Lich while Torgal distracts the Revenants. You can use your multi-target abilities to try and hit both the Lich and its allies, though, to speed up the fight.
The next doorway to go through is on the same side of the room that you came in from. Going through these double doors will initiate a short cutscene involving the ‘heart’ of Drake’s Fang.
Grab the treasure coffer at the end of the bed, which contains ![]() The Favor of Earth (Upheaval), and then head down the stairs that lie on the opposite side of the room from the bed. Going through the next set of doors will take Clive outside the Castle.
The Favor of Earth (Upheaval), and then head down the stairs that lie on the opposite side of the room from the bed. Going through the next set of doors will take Clive outside the Castle.
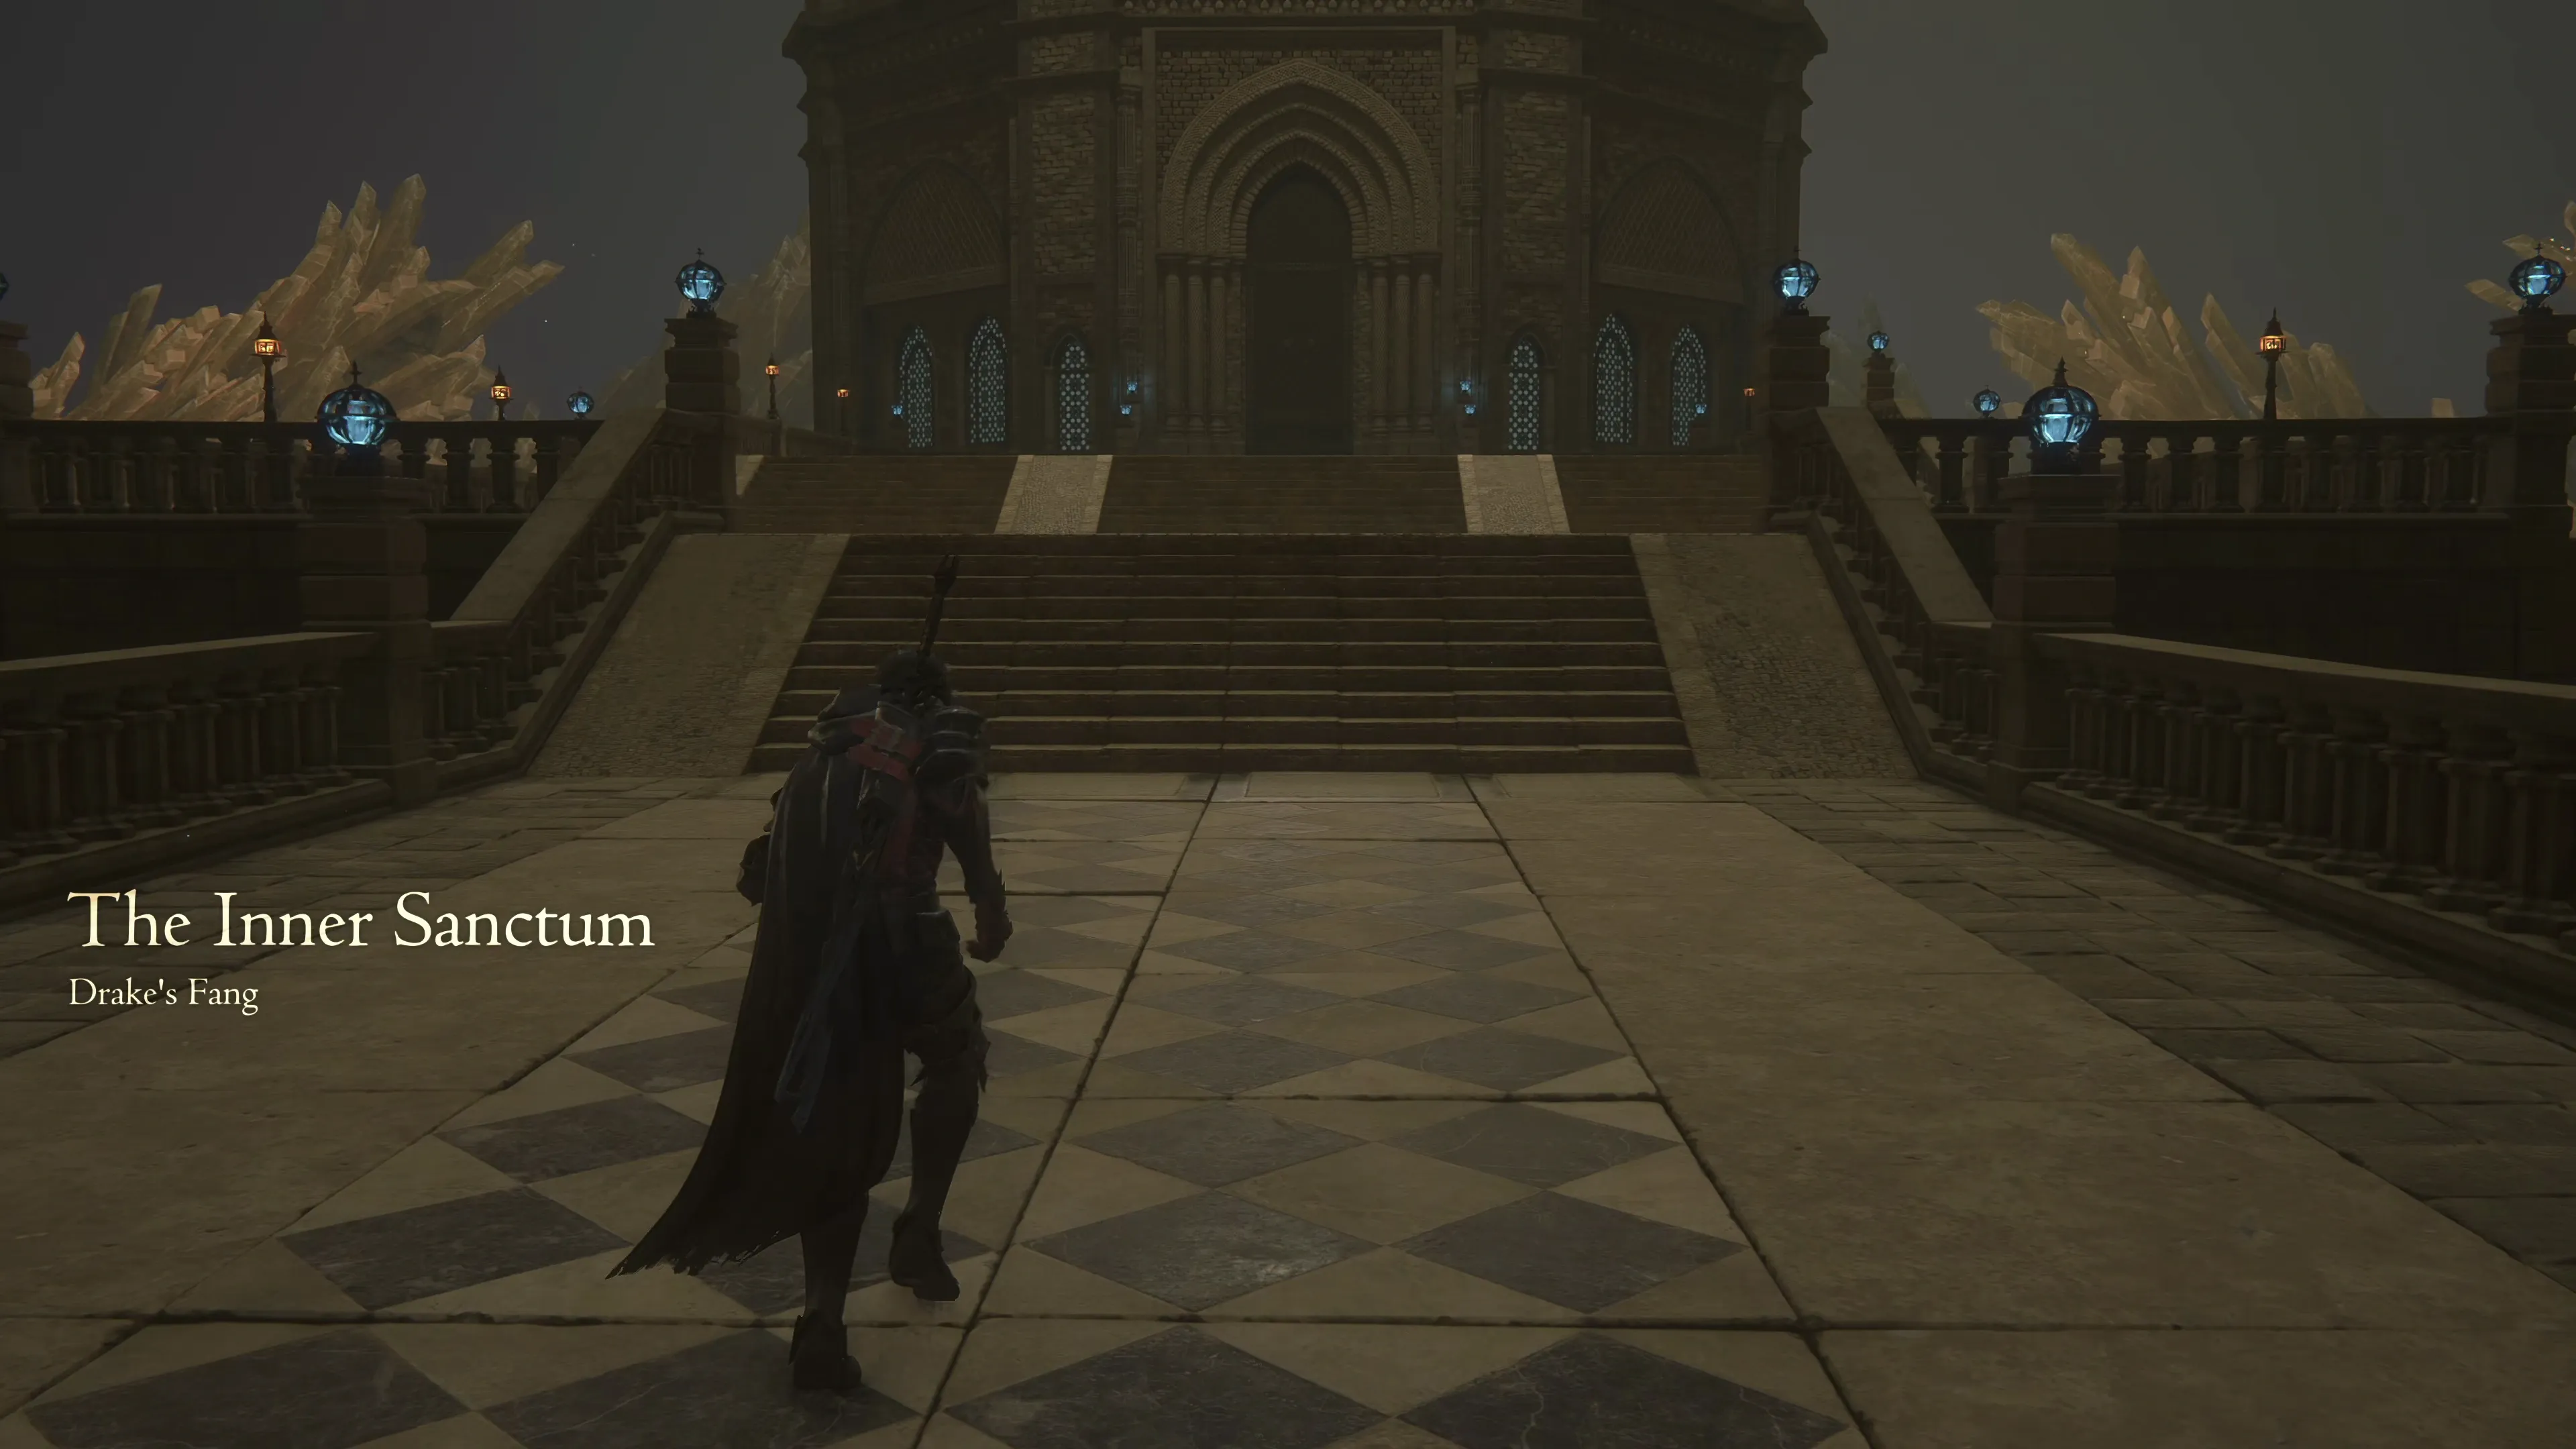
The Inner Sanctum
A large group of enemies will ambush you at the top of the stairs. This group includes two Specters and six Revenants. A second group of enemies will spawn as you are defeating the last of the last group, and this second group consists of six Wraiths with two more Specters. Both of these groups are easy to defeat.
Save your game outside the next set of doors.
Warning
Reading the Helpful Hint will spoil a small part of the upcoming battle (not much), but there is some preparation you can do to make Clive much more effective for the duration of the fight. Read through the Helpful Hint if you’re okay with a mild spoiler.
Helpful Hint
The next battle is another Eikon battle where Clive will take the form of Ifrit and will battle against Hugo in his Titan form. This means that Clive won’t have access to his current ability set and will instead have access to Ifrit’s Eikonic Abilities.
In theory, this means it doesn’t matter where you place your ![]() Ability Points, because you won’t have access to Clive’s moves, however its worth noting that several of Ifrit’s Eikonic Abilities, the attacks that Clive will have access to when he transforms into Ifrit, “share a mastery” if you spend points in the associated ability that Clive has.
Ability Points, because you won’t have access to Clive’s moves, however its worth noting that several of Ifrit’s Eikonic Abilities, the attacks that Clive will have access to when he transforms into Ifrit, “share a mastery” if you spend points in the associated ability that Clive has.
And this is something you can do without repercussions, too, because you can reset your ![]() Ability Points now, and reconfigure them after this upcoming battle. So, which Eikonic Abilities have a shared mastery? Use your Ability Points to level up Clive’s abilities in the list below:
Ability Points now, and reconfigure them after this upcoming battle. So, which Eikonic Abilities have a shared mastery? Use your Ability Points to level up Clive’s abilities in the list below:
| Clive Learns… | Ifrit Learns… | Clive Masters… |
|---|---|---|
| None. | ||
| Extends trigger window (makes it easier to trigger a ‘Fireball Burst’). | ||
| Enables two jumps (the same as Clive). | ||
| Extends dodge window (the same as Clive). | ||
| None. | ||
| Increases the rush distance and potency the further away Ifrit is from an enemy when executed. | ||
| Increases the damage and range when executed from a greater height. | ||
| None. |
To reiterate, ensure that Clive learns all the abilities listed above and Mastered the ones highlighted in green. This will fully enable Ifrit’s Eikonic Ability set for the upcoming fight.

This boss has three distinct phases of the fight. However, there are several intermediate phases where the gameplay and controls change to such a degree that they warrant having their own, separate explanation. These more minor, intermediate phases are identified as such in the guide below.
Boss Battle
Phase 1
This first phase of the fight is the hand-to-hand combat portion, ‘mono e mono,’ Ifrit against Titan. Let’s start by covering Titan’s moves, and then we can jump into the most efficient strategy for defeating him in this phase. His moves include:
![]() Geocrush:
Geocrush:
Titan will start off the battle using this move, and it is essentially his distance closer. Whenever Ifrit is far away from Titan, this is one of the moves he may use, and it allows him to get back into melee range. Titan will jog forward onto one foot, leap up into the air, and slam down on Ifrit’s current position. This is an easy attack to dodge, though, so be ready to press ![]()
![]()
![]() when you see Titan begin dropping out of the air.
when you see Titan begin dropping out of the air.
![]() Physical Attacks:
Physical Attacks:
These include a short list of short-range swings and punches that Titan will use when you’re close to him. They’re well telegraphed, though, so just be ready to dodge when you see him getting ready to take a swing.
![]() Voice of the Land:
Voice of the Land:
A bunch of spots on the battlefield will begin glowing bright blue. Make sure that Ifrit is not standing in any of them when they explode. If you are close to Titan when he uses this ability, there’s a chance you will accidentally ‘dodge’ into one of the other glowing bright blue spots, so keep an eye out where you’re escaping to. One of the spots will always spawn directly under where Ifrit is currently standing. If you’re close to Titan, some of the glowing spots will spawn behind Ifrit, making them hard to see on account of the camera angle, but if you’re far enough back, the glowing blue spots will all spawn in front of Ifrit and closer to Titan.
![]() Rock Toss:
Rock Toss:
Titan will dig into the earth and throw two stones in succession at Ifrit. These are easy to dodge, especially if you have some distance between Ifrit and Titan.
![]() Kick/Stomp Combo:
Kick/Stomp Combo:
These attacks occur consecutively. Titan will line up his leg and attempt to kick Ifrit like a soccer ball, and then he will immediately slam that leg down and try to stomp on you. Make sure you’re ready to dodge both attacks.
![]() Earthshaker:
Earthshaker:
If you’re somewhat close to Titan, it will use this attack to summon three lines of earth magic that will extend out from where it’s standing. Back up so that you’re out of range when it uses this attack.
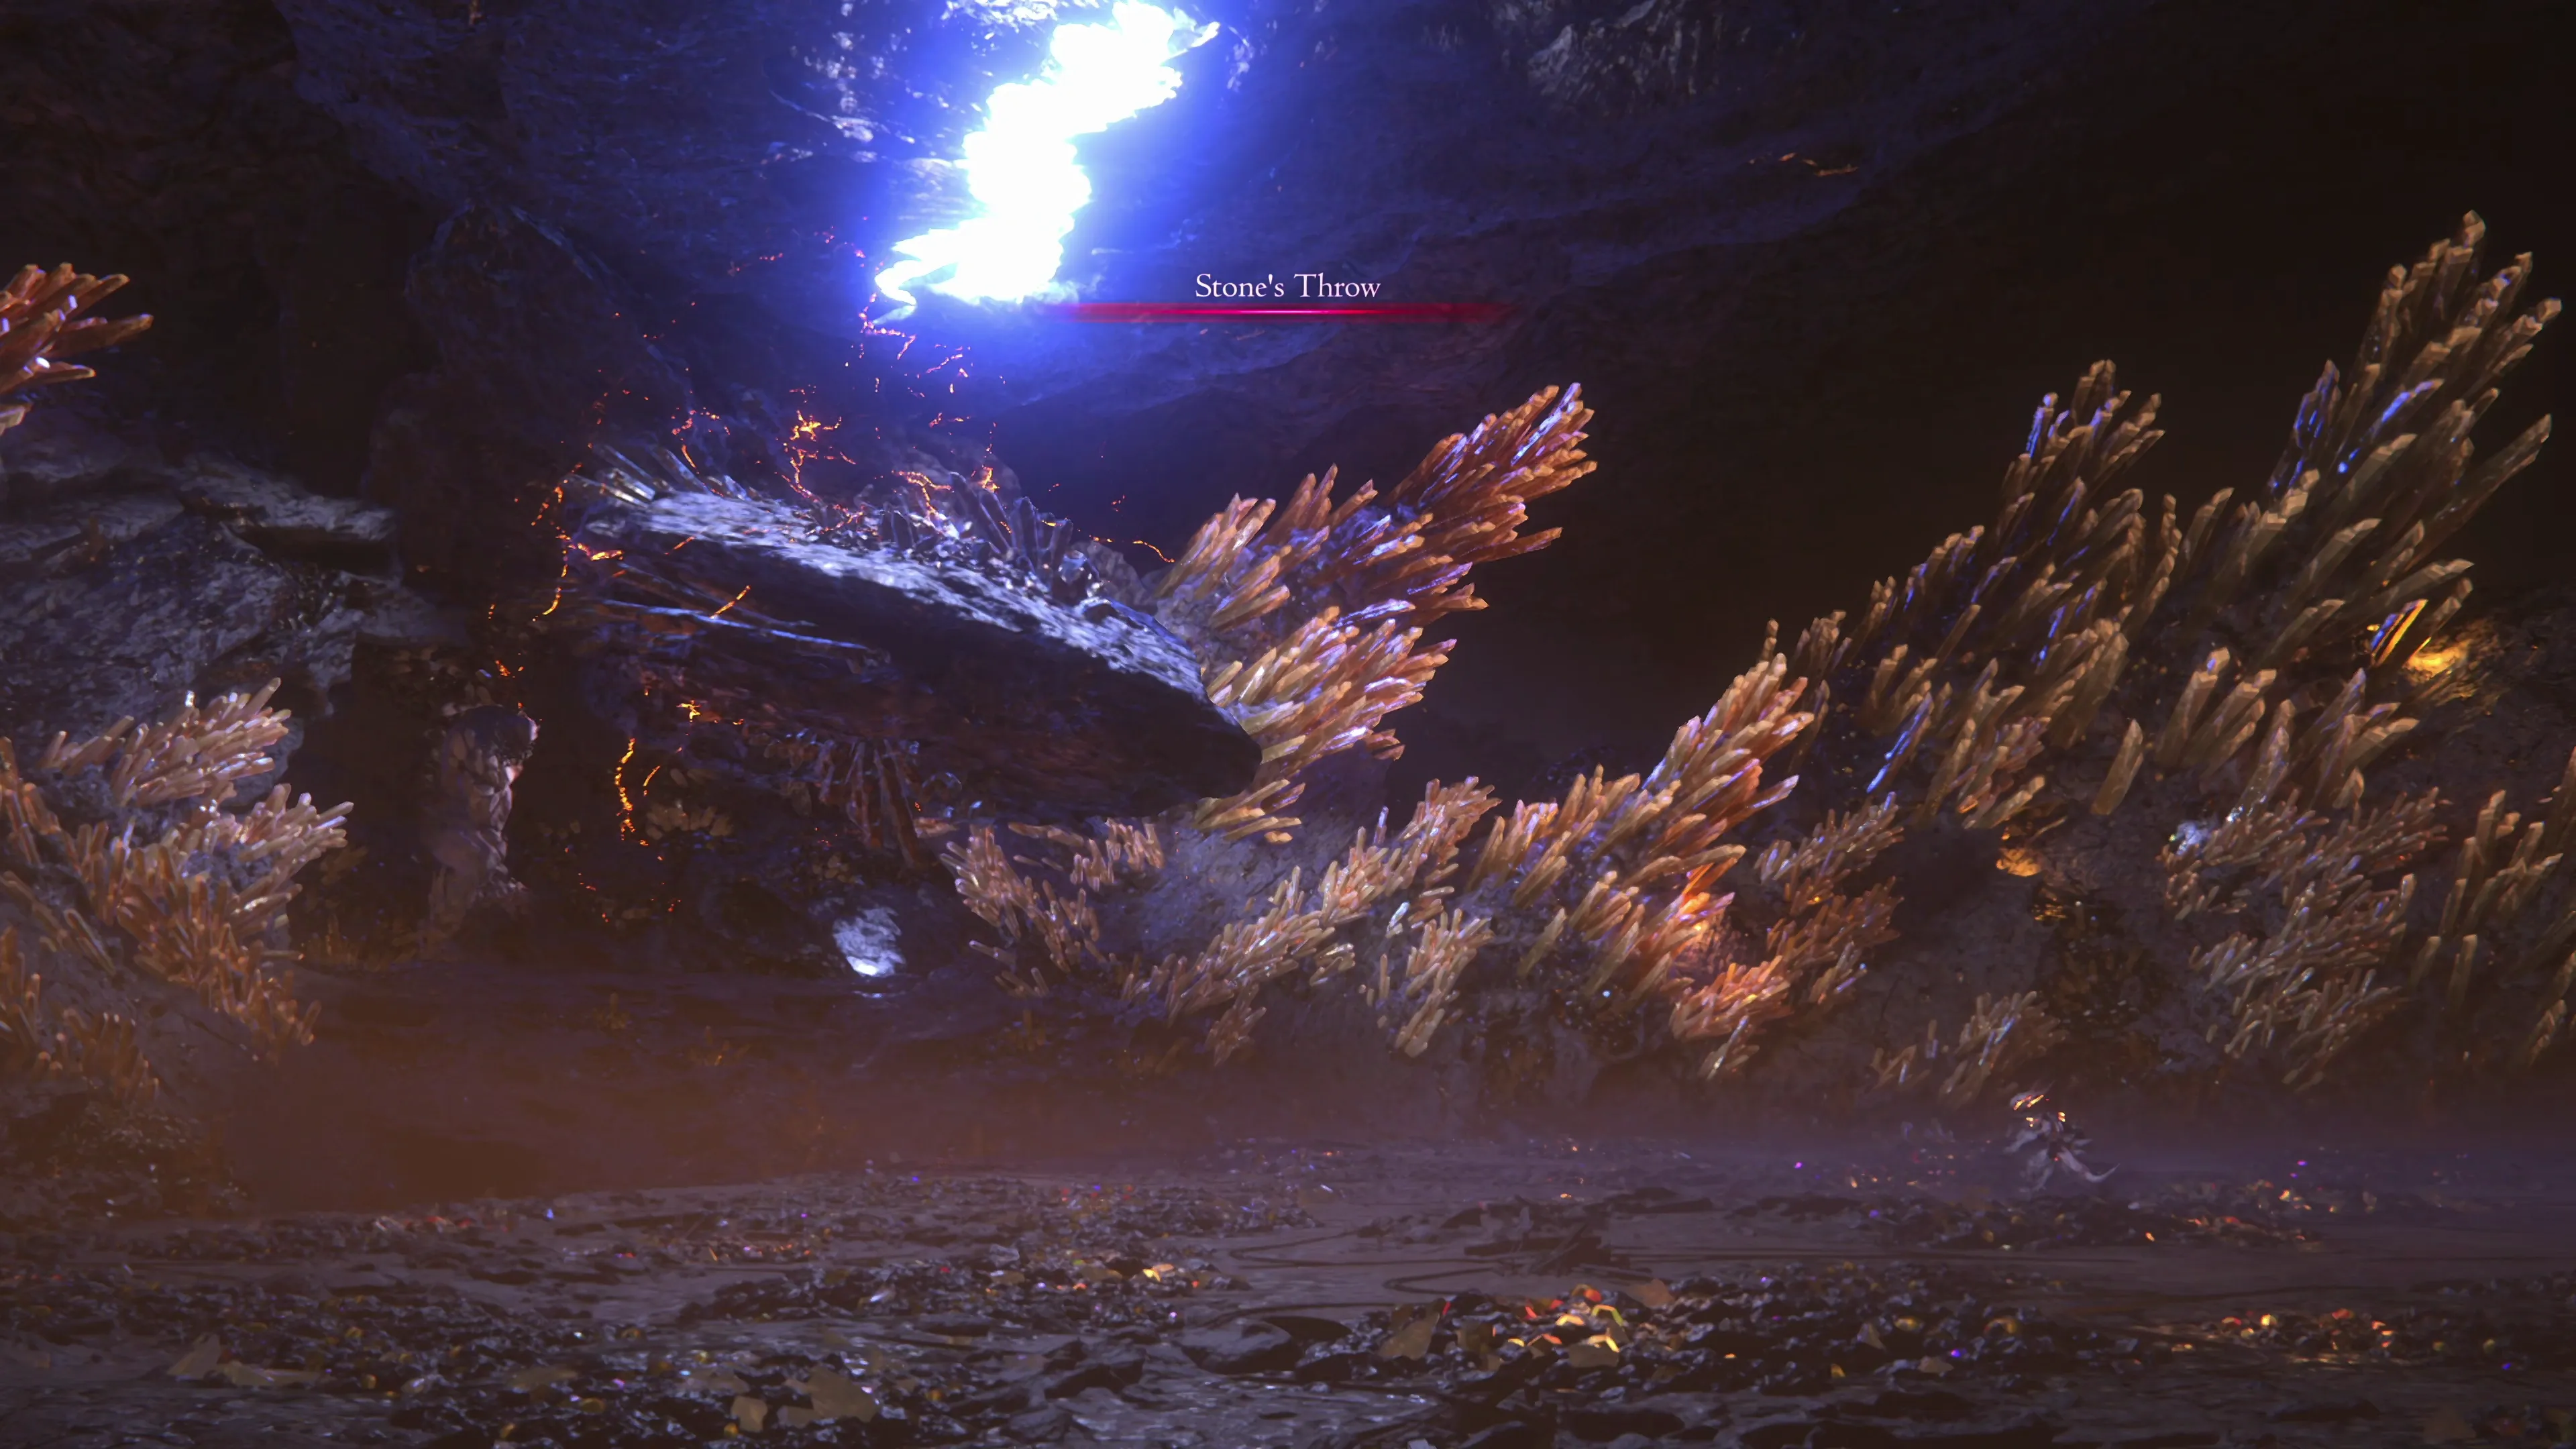
Once Titan reaches approximately 60% HP, a short intermediate phase will begin. He will jump over to the rock pile and begin flinging small rocks your way. Dodge each of them and, if you’re feeling confident, fire some ![]() Charged Fireballs at Titan between your dodges. Following that, Titan will use “Stone’s Throw,” and you’ll get a chance to use Ifrit’s new ability,
Charged Fireballs at Titan between your dodges. Following that, Titan will use “Stone’s Throw,” and you’ll get a chance to use Ifrit’s new ability, ![]() Brimstone. Hold the
Brimstone. Hold the ![]()
![]()
![]() and
and ![]()
![]()
![]() buttons until the Stone hits Ifrit.
buttons until the Stone hits Ifrit.
Remember that you can use your “Firelights” to recover HP by pressing the ![]()
![]()
![]() button, but you only have six of these to use throughout all of the phases of the fight.
button, but you only have six of these to use throughout all of the phases of the fight.
Important Tip 1:
Ifrit has two critical Eikonic Abilities that you should rely on heavily. The first is ![]() Charged Fireball, and the second is learning how to execute a
Charged Fireball, and the second is learning how to execute a ![]() Backdraft. The most effective way to use
Backdraft. The most effective way to use ![]() Backdraft is to use it at the end of a full combo from Ifrit. In short, learn how to execute a combo that goes:
Backdraft is to use it at the end of a full combo from Ifrit. In short, learn how to execute a combo that goes:


 ,
, 

 , , , , , , , **
or
 Melee Combo,
  Fireball Burst, Melee Combo, Fireball Burst, Melee Combo, Fireball Burst, Melee Combo, Fireball Burst, Backdraft
The final ![]() Backdraft in this combo will deal upwards of 100,000 damage, and it is easily your most powerful attack. Getting the combo timing down can be challenging, though, because the combo timing differs from Clive’s. Take some time to practice it, especially if you plan to earn the Medal of Valor, as it can make a huge difference.
Backdraft in this combo will deal upwards of 100,000 damage, and it is easily your most powerful attack. Getting the combo timing down can be challenging, though, because the combo timing differs from Clive’s. Take some time to practice it, especially if you plan to earn the Medal of Valor, as it can make a huge difference.
Important Tip 2:
A fully mastered ![]() Charged Fireball should be your ‘go-to’ attack for this fight. It charges very fast, you can use it from a distance, no matter how far away Titan is, you can use it quickly in succession, and it deals a high amount of damage.
Charged Fireball should be your ‘go-to’ attack for this fight. It charges very fast, you can use it from a distance, no matter how far away Titan is, you can use it quickly in succession, and it deals a high amount of damage.
Especially for Phase 1 of this fight, things tend to get messy if you try to get too close to Titan and try to land a bunch of combos. Titan will likely hit you with some close-range attacks, no matter how good at dodging you are. In the video example of this fight below, you’ll see constant usage of ![]() Charged Fireball throughout all phases of the battle.
Charged Fireball throughout all phases of the battle.
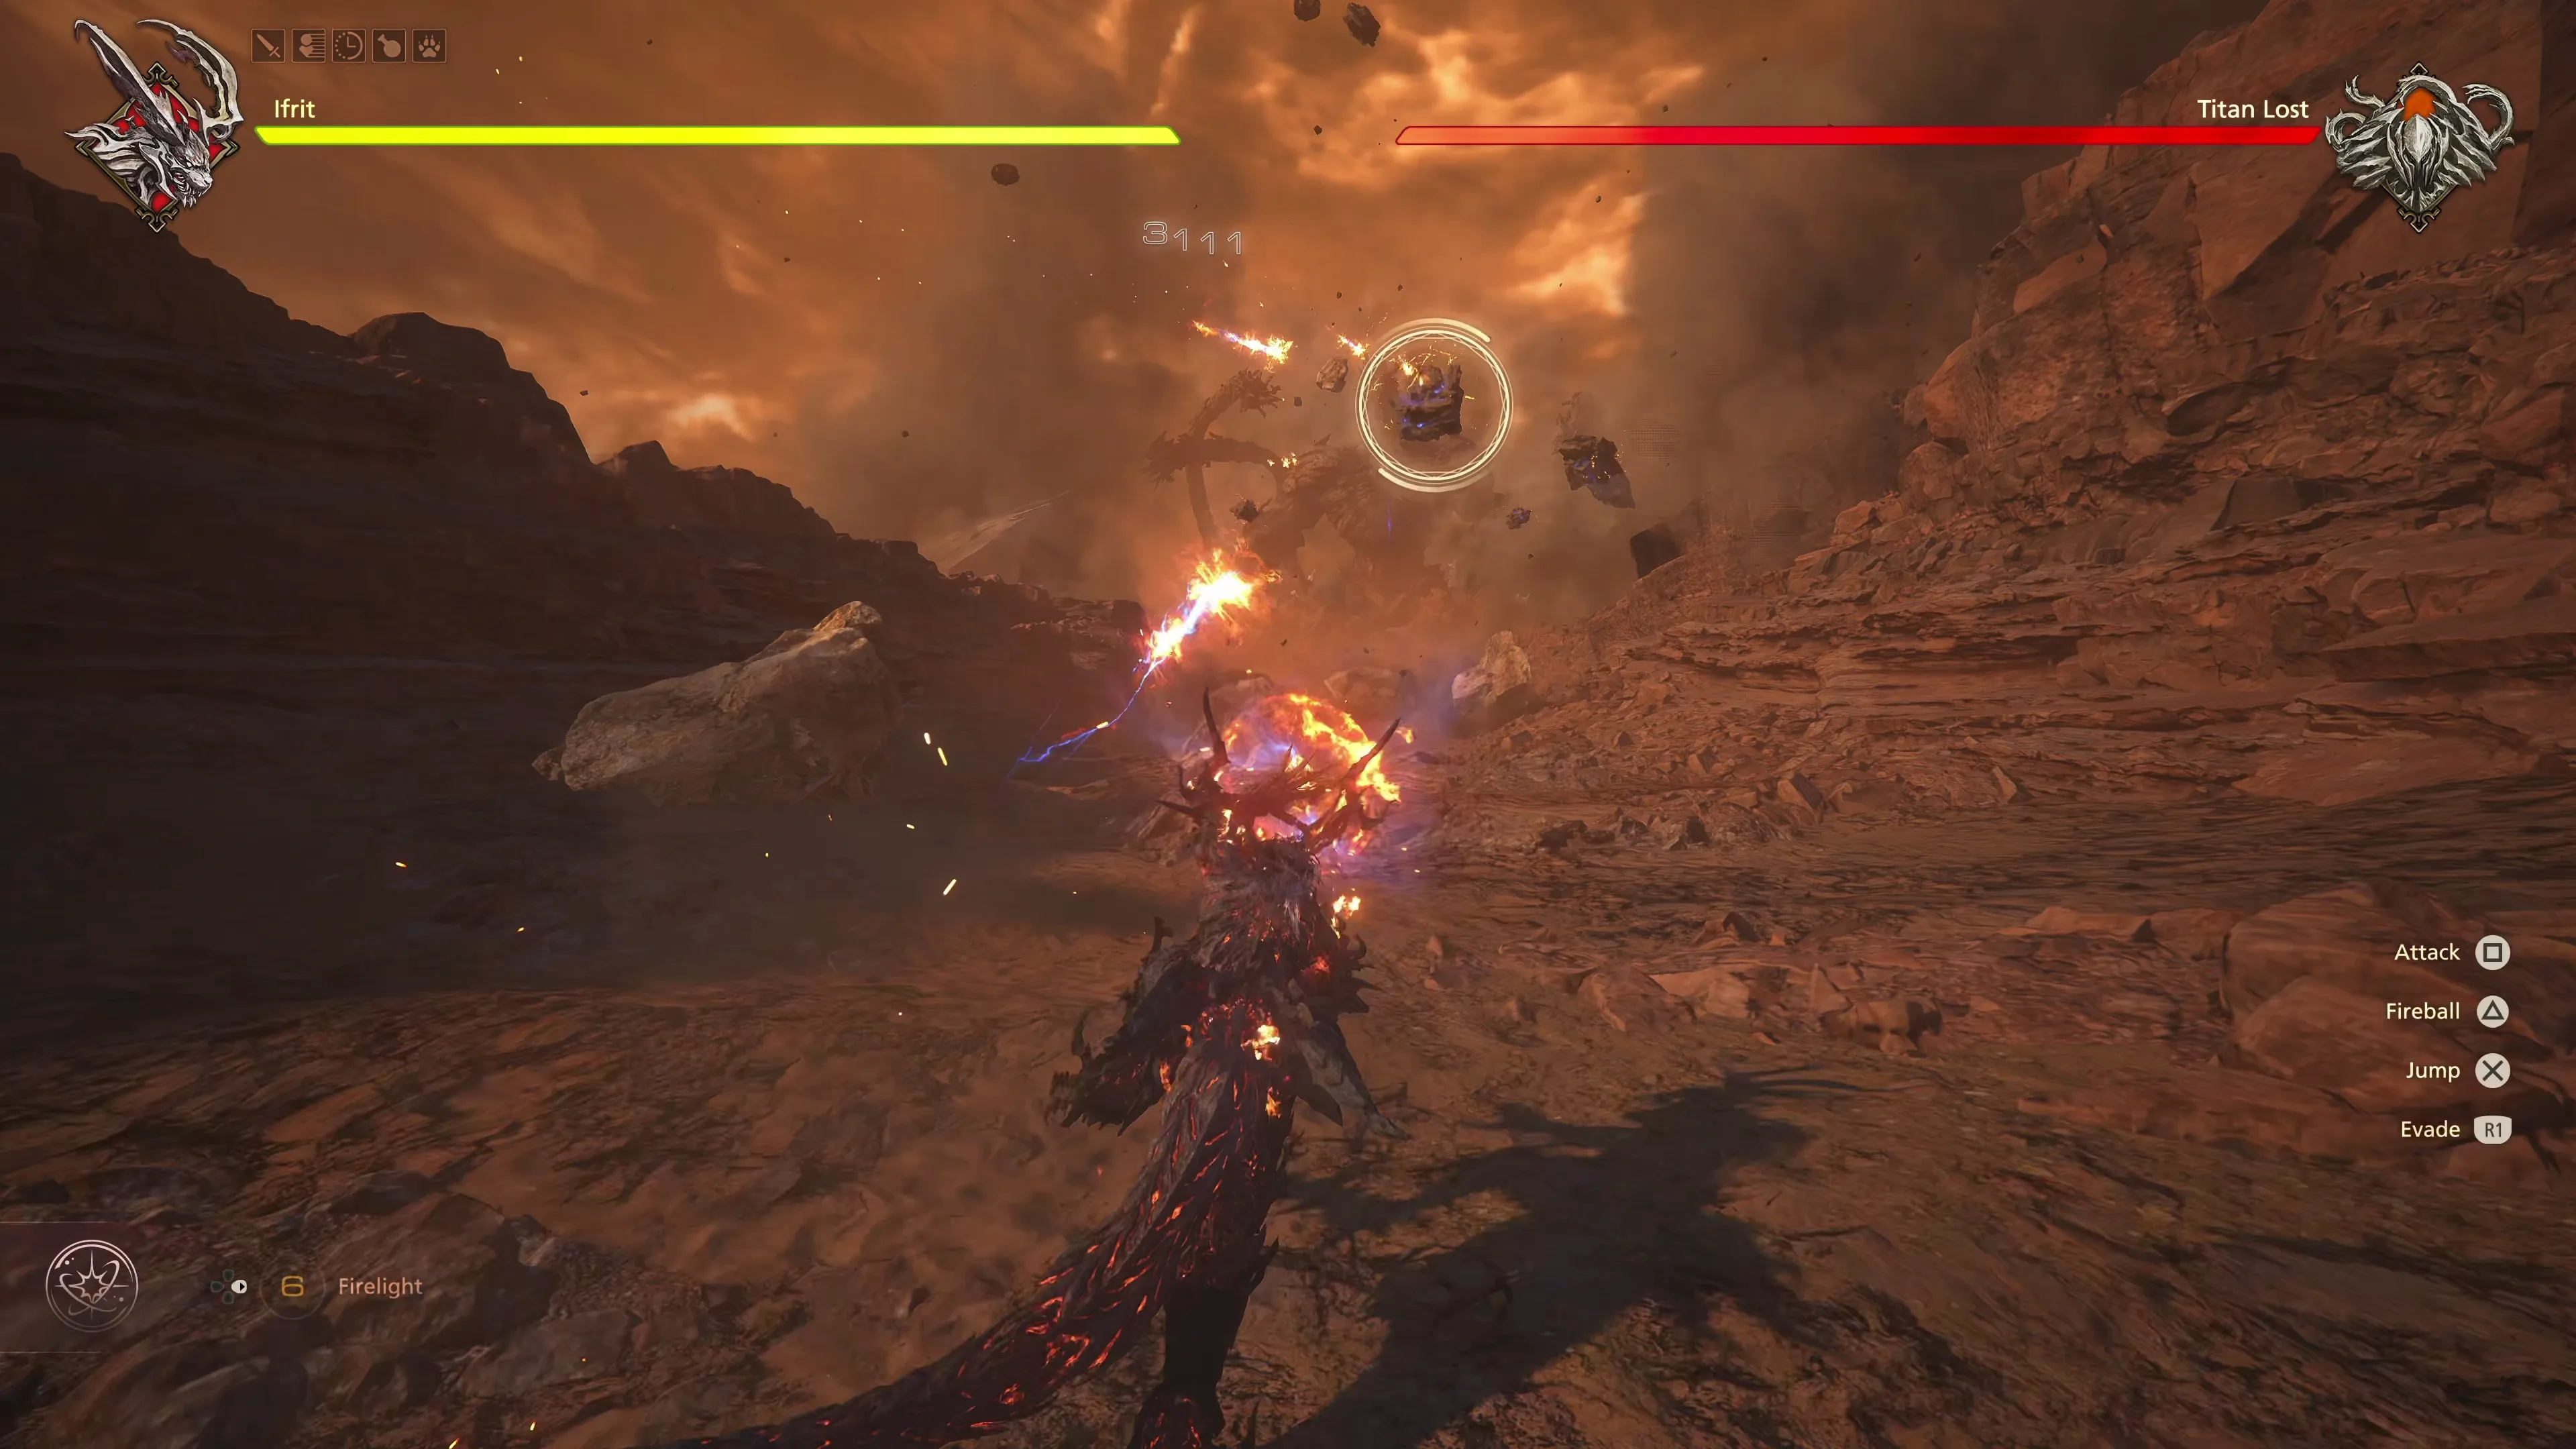
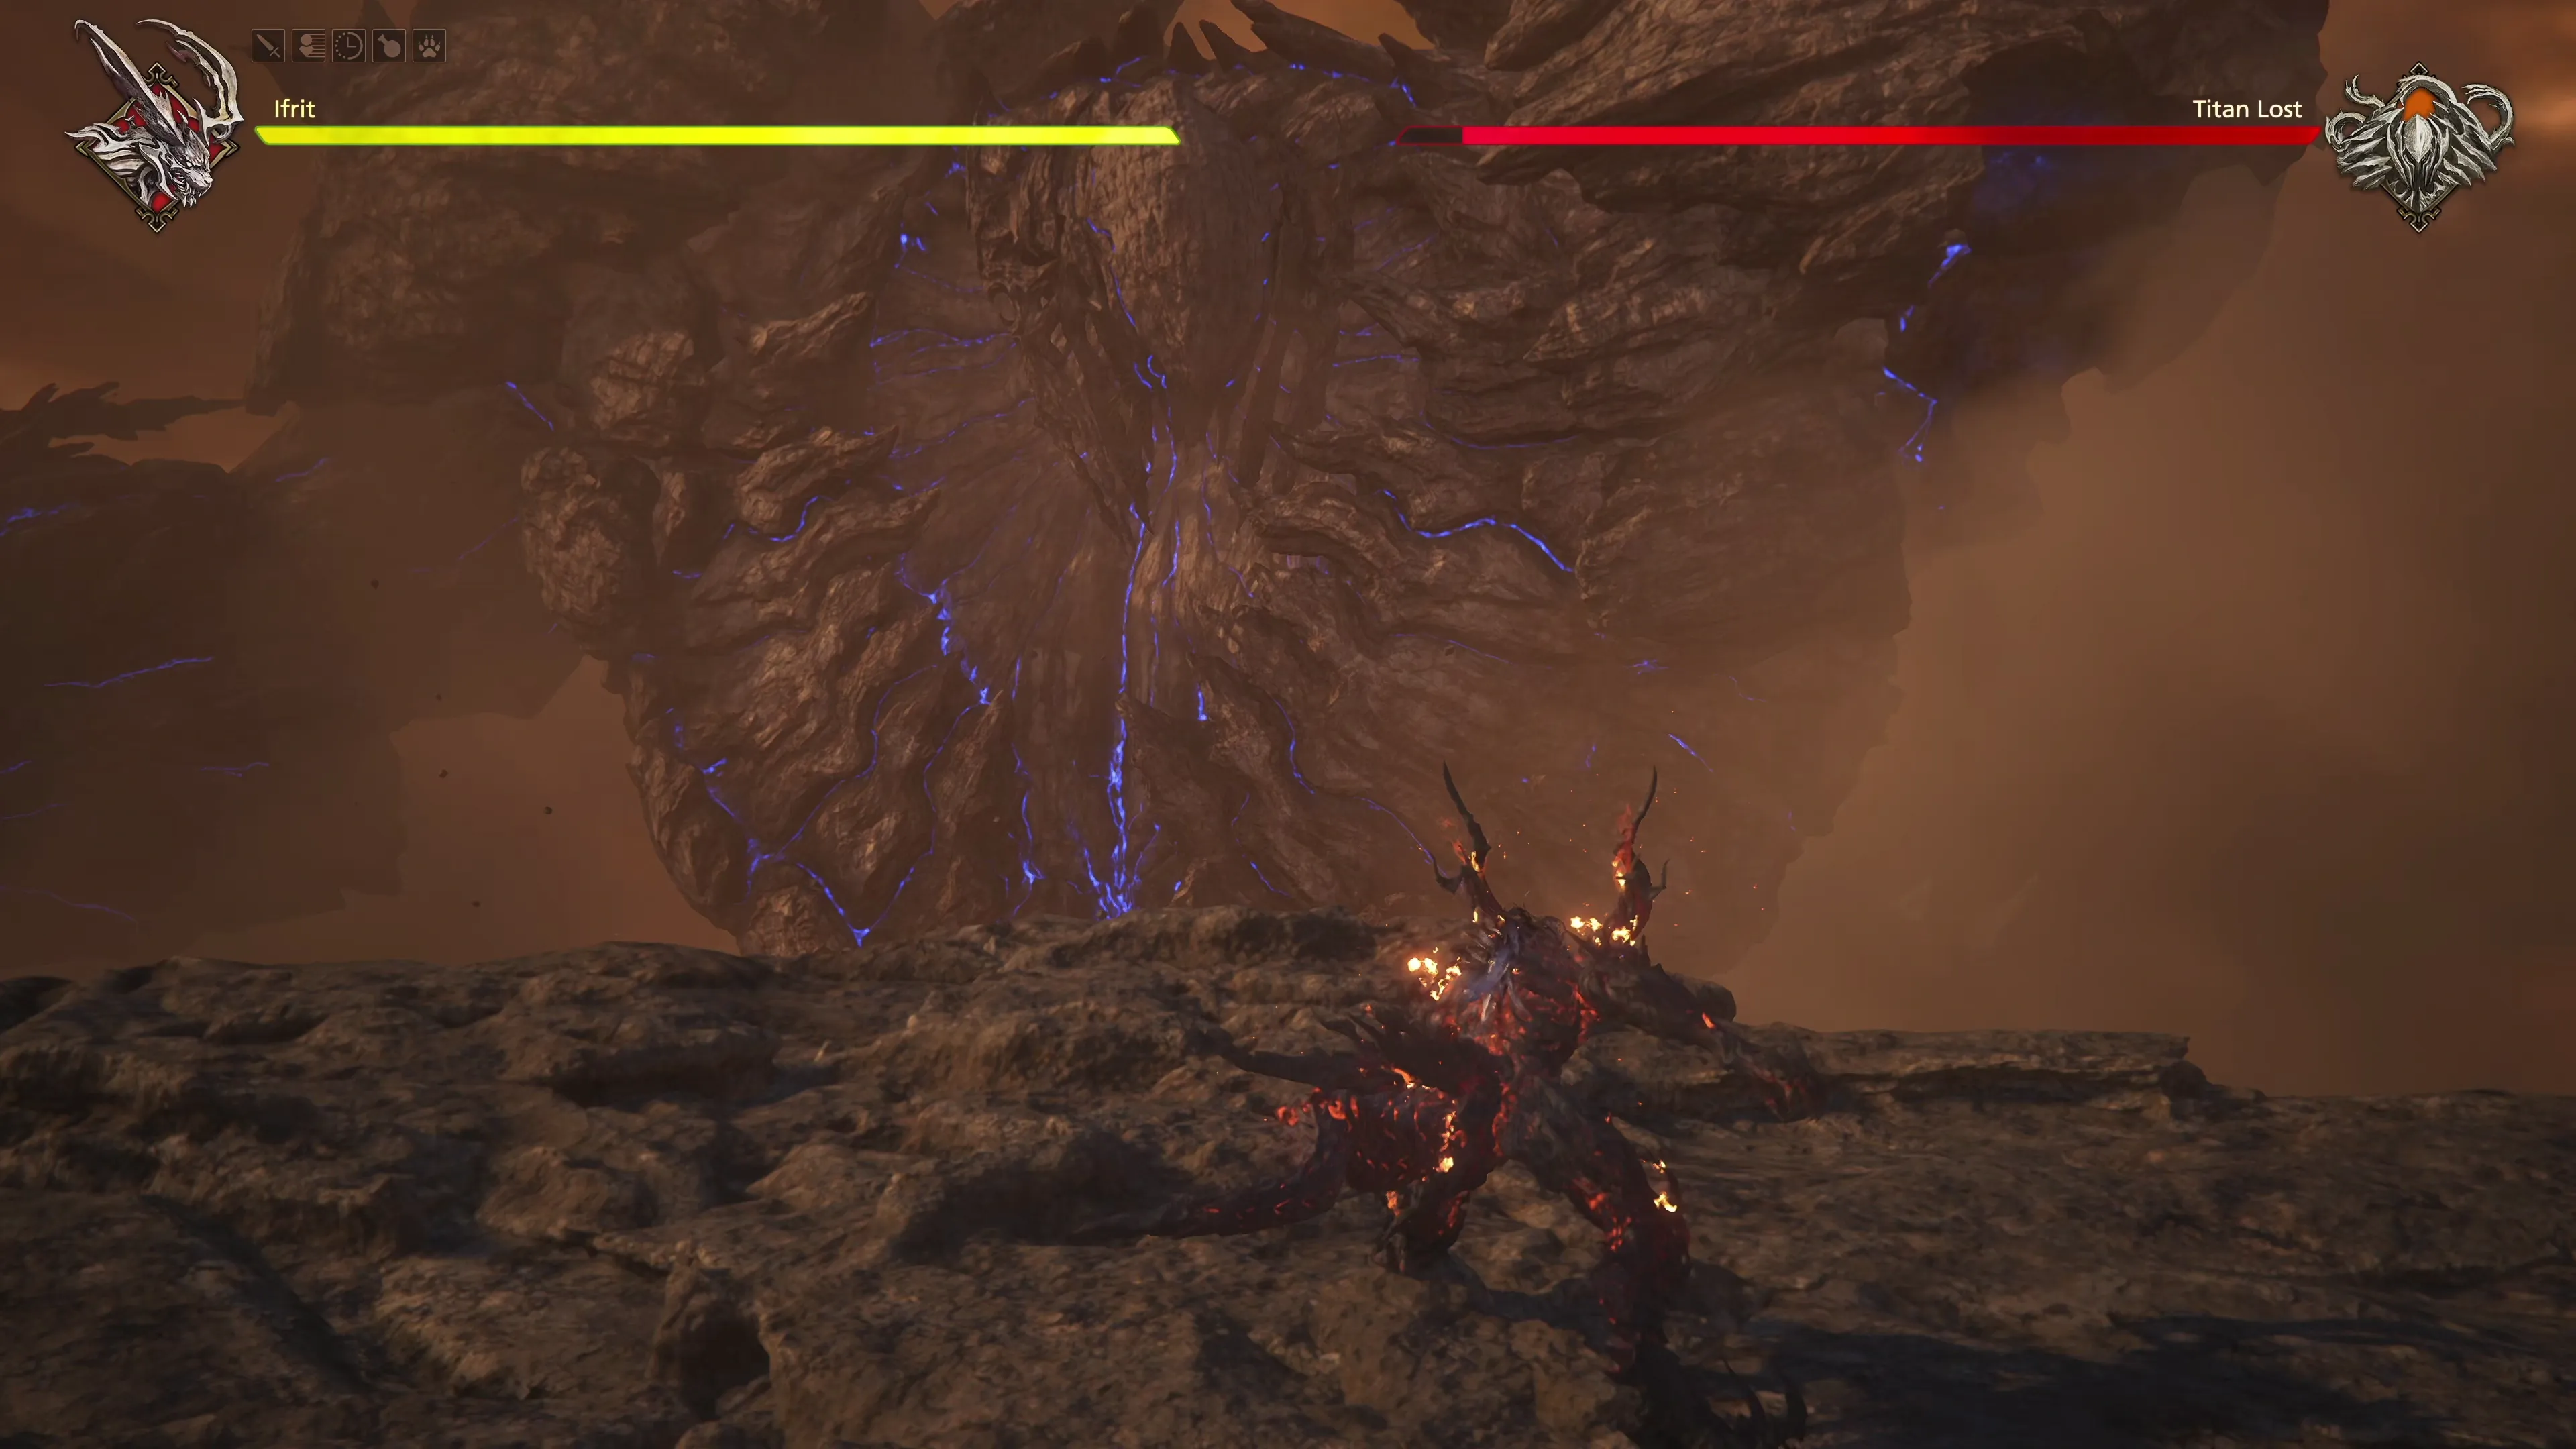
Intermediate Phase - Titan Lost
There’s a short intermediate phase that takes place before we reach “Titan Lost.” This intermediate phase involves running through the canyons and across the stony, snake-like appendages that protrude from its core.
The goal of this phase is to dodge the obstacles that appear along the path while also destroying the projectiles that Titan is launching in your direction. You can press ![]() Fireballs repeatedly, without charging it up, and Ifrit will automatically target the large stones coming your way.
Fireballs repeatedly, without charging it up, and Ifrit will automatically target the large stones coming your way.
As Ifrit starts climbing his way up the snake-like tentacles in the sequences that follow, be ready to quickly dodge the purple rocks that protrude out of the tentacles, and continue using your ![]() Fireball attack to dispatch any stones headed Ifrit’s way. An enlarged target will appear on them when they’re getting too close and when they’re about to impact Ifrit and deal damage.
Fireball attack to dispatch any stones headed Ifrit’s way. An enlarged target will appear on them when they’re getting too close and when they’re about to impact Ifrit and deal damage.
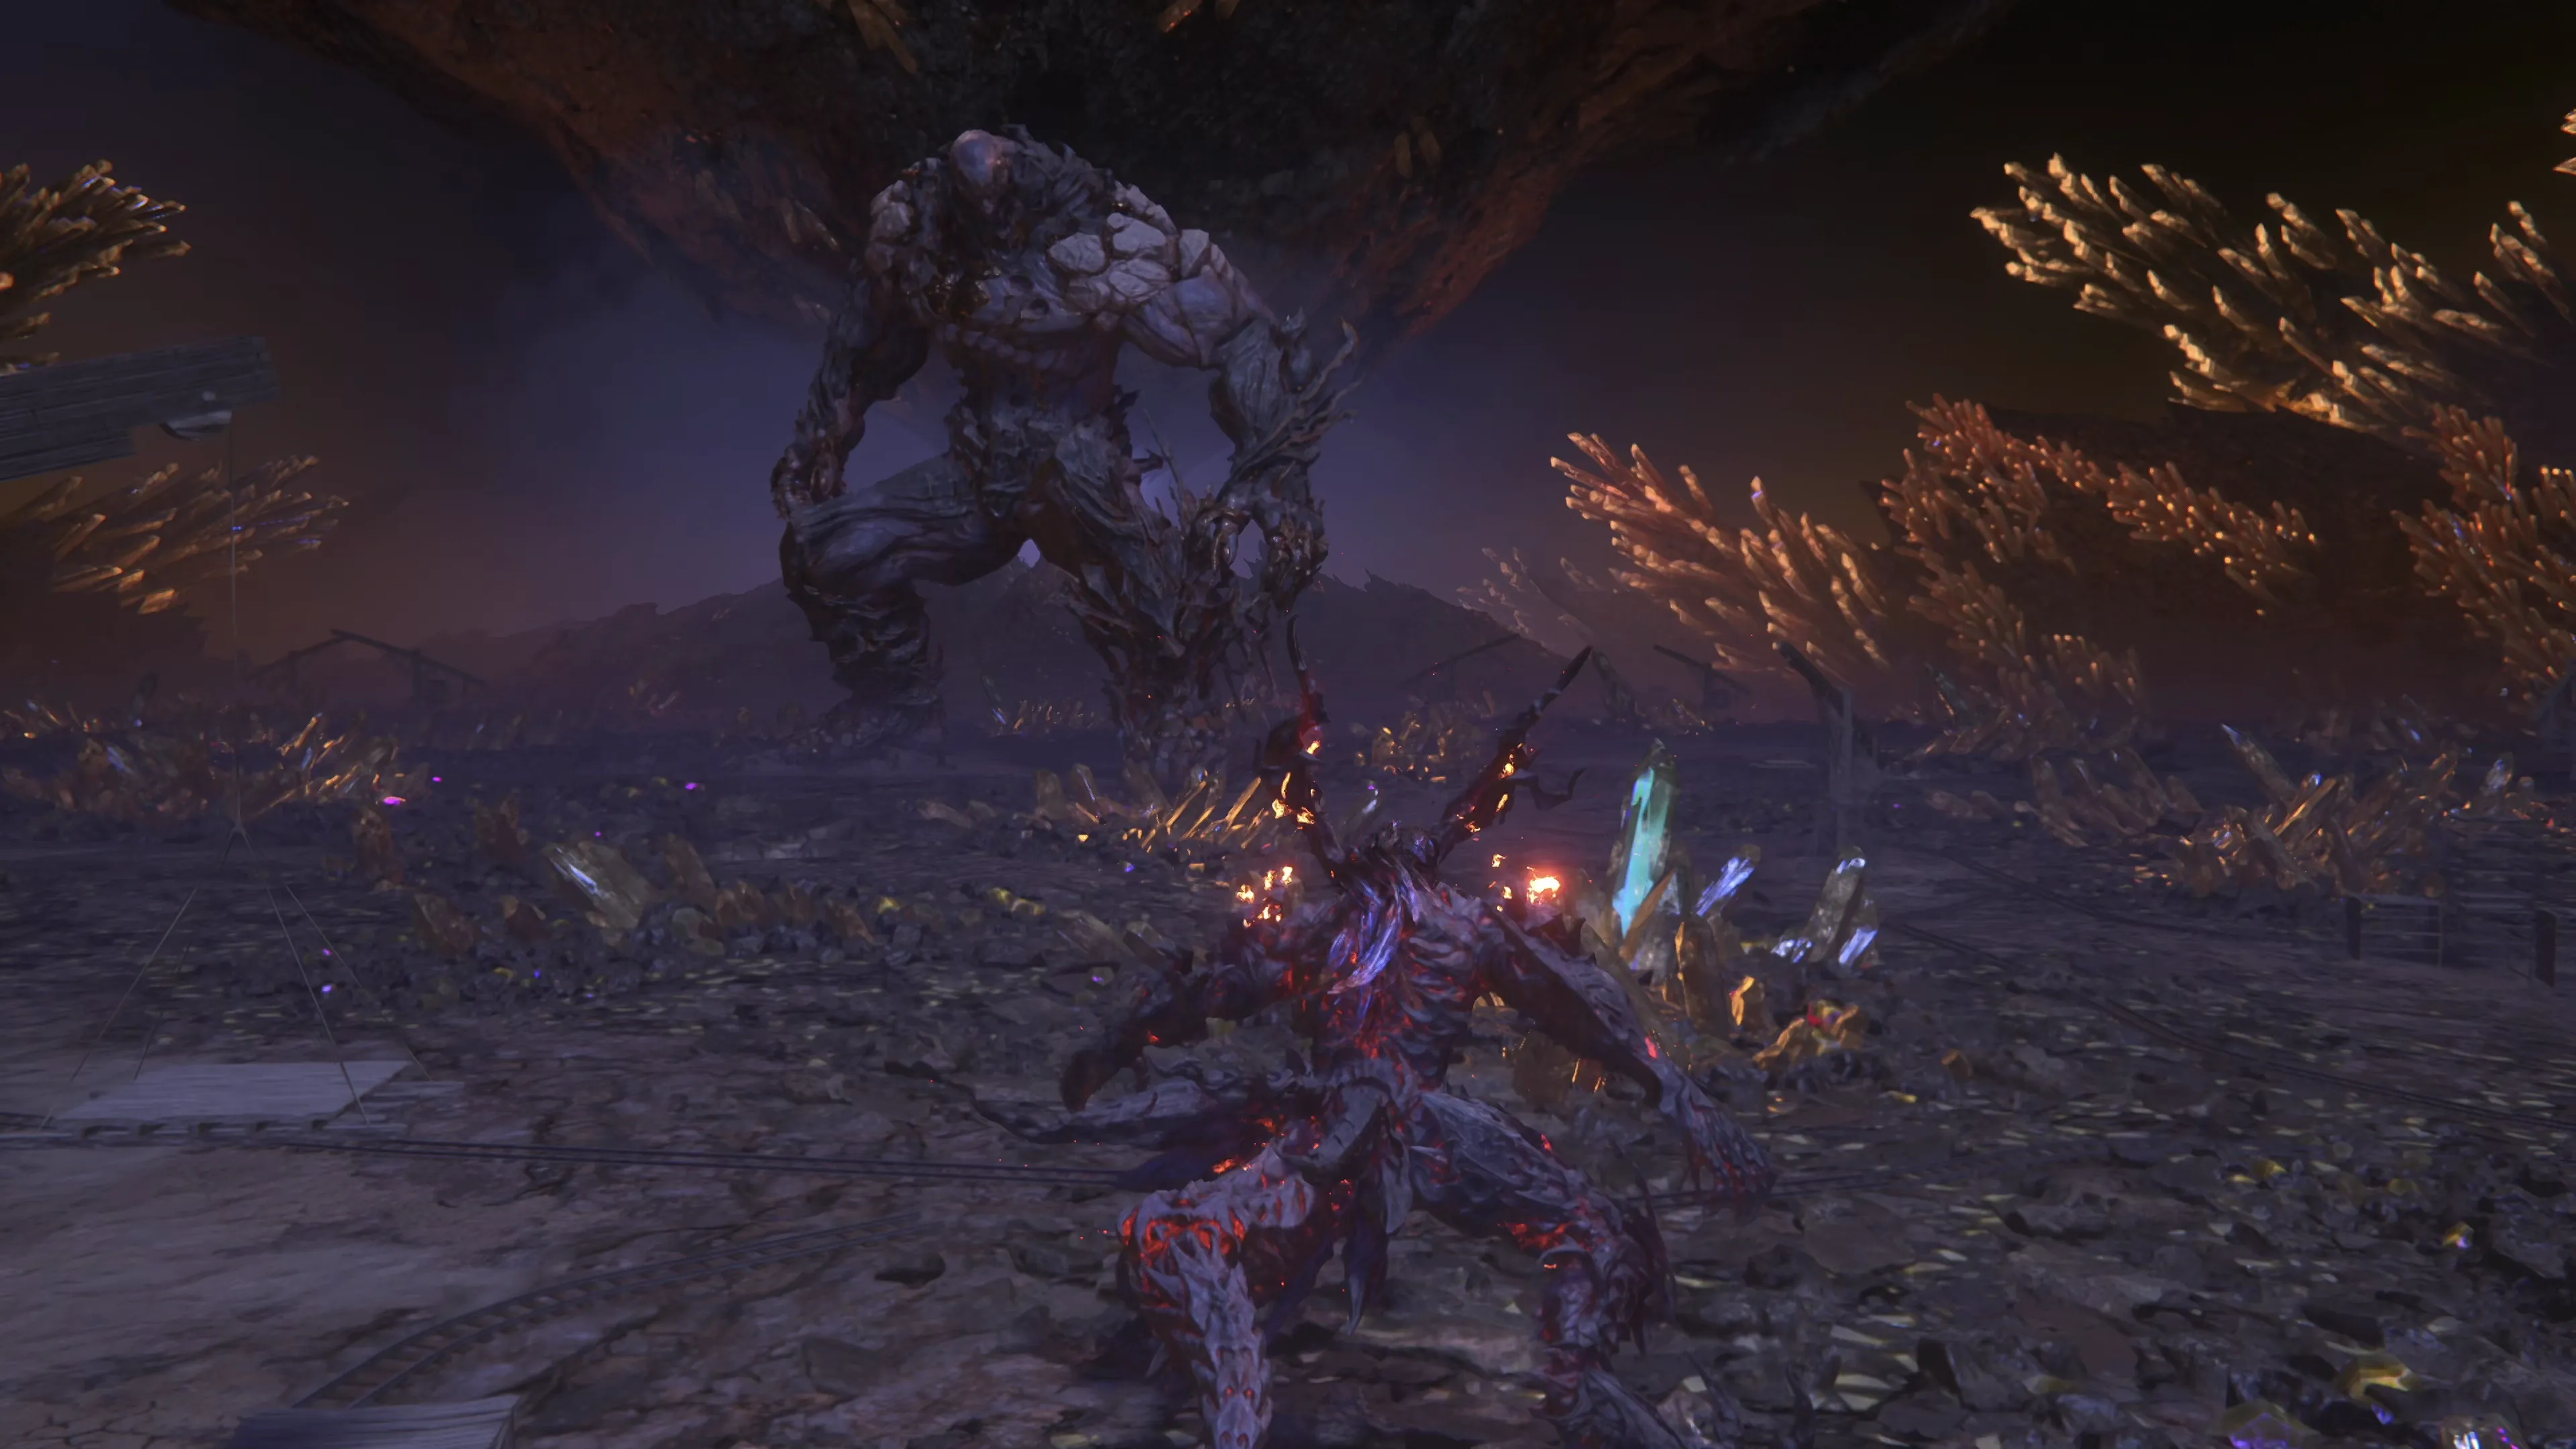
Phase 2 - Titan Lost
After destroying one of the arms, Ifrit will land on a large stone structure just in front of Titan Lost. Titan Lost will begin using the arm it has left to attack Ifrit from this vantage point. It has a relatively standard set of attacks, and, in general, you can tell where they are going to land by observing which parts of the battlefield begin glowing orange. Each time he attacks, you’ll have an opportunity to land some attacks on his hand/arm.
Its attacks during this phase include the following:
![]() Claw Slam:
Claw Slam:
This is the first attack it will use. It will slam its claws down into the front portion of the battlefield. The claws are easy enough to dodge, but this attack also causes the “Earthshaker” effect, where lines of purple rock will protrude outwards towards Clive. Get ready to dodge these rocks.
![]() Left/Right Punch:
Left/Right Punch:
Titan Lost will punch forward across either the left or right side of the battlefield. The ground will illuminate, showing the areas that are about to get hit.
![]() Left/Right Slam and Tentacle Slam:
Left/Right Slam and Tentacle Slam:
This attack is similar to Left/Right Punch, except that as Titan Lost slams his fist onto the battlefield, a ring of white energy will expand outward from where he makes contact, and you’ll have to dodge this ring of energy.
![]() Hand/Finger Swipe:
Hand/Finger Swipe:
Titan Lost will swing his open palm across the battlefield with one finger, making contact as it swipes across. Be ready to dodge through the finger as it closes in.
![]() Stone’s Throw:
Stone’s Throw:
This is similar to Titan’s attack in Phase 1. Save your ![]() Brimstone attack to counter a Stone’s Throw and press
Brimstone attack to counter a Stone’s Throw and press ![]()
![]()
![]() and
and ![]()
![]()
![]() buttons once you see the large rock approaching from the air.
buttons once you see the large rock approaching from the air.
![]() Granite Rain:
Granite Rain:
Titan Lost will launch stone projectiles up into the air, which will land back down on the battlefield. The spots they hit will light up orange just before they make contact, so be sure to avoid these areas as they land.
Remember that through most sections of this fight, you can keep tossing ![]() Charged Fireballs at him to keep the damage rolling even when his arm is too far away for you to attack. There are a few cutscenes that take place once Titan Lost reaches 25% HP, before Ifrit gets launched up into the air by one of the stone tentacles. This marks the beginning of the next intermediate phase.
Charged Fireballs at him to keep the damage rolling even when his arm is too far away for you to attack. There are a few cutscenes that take place once Titan Lost reaches 25% HP, before Ifrit gets launched up into the air by one of the stone tentacles. This marks the beginning of the next intermediate phase.
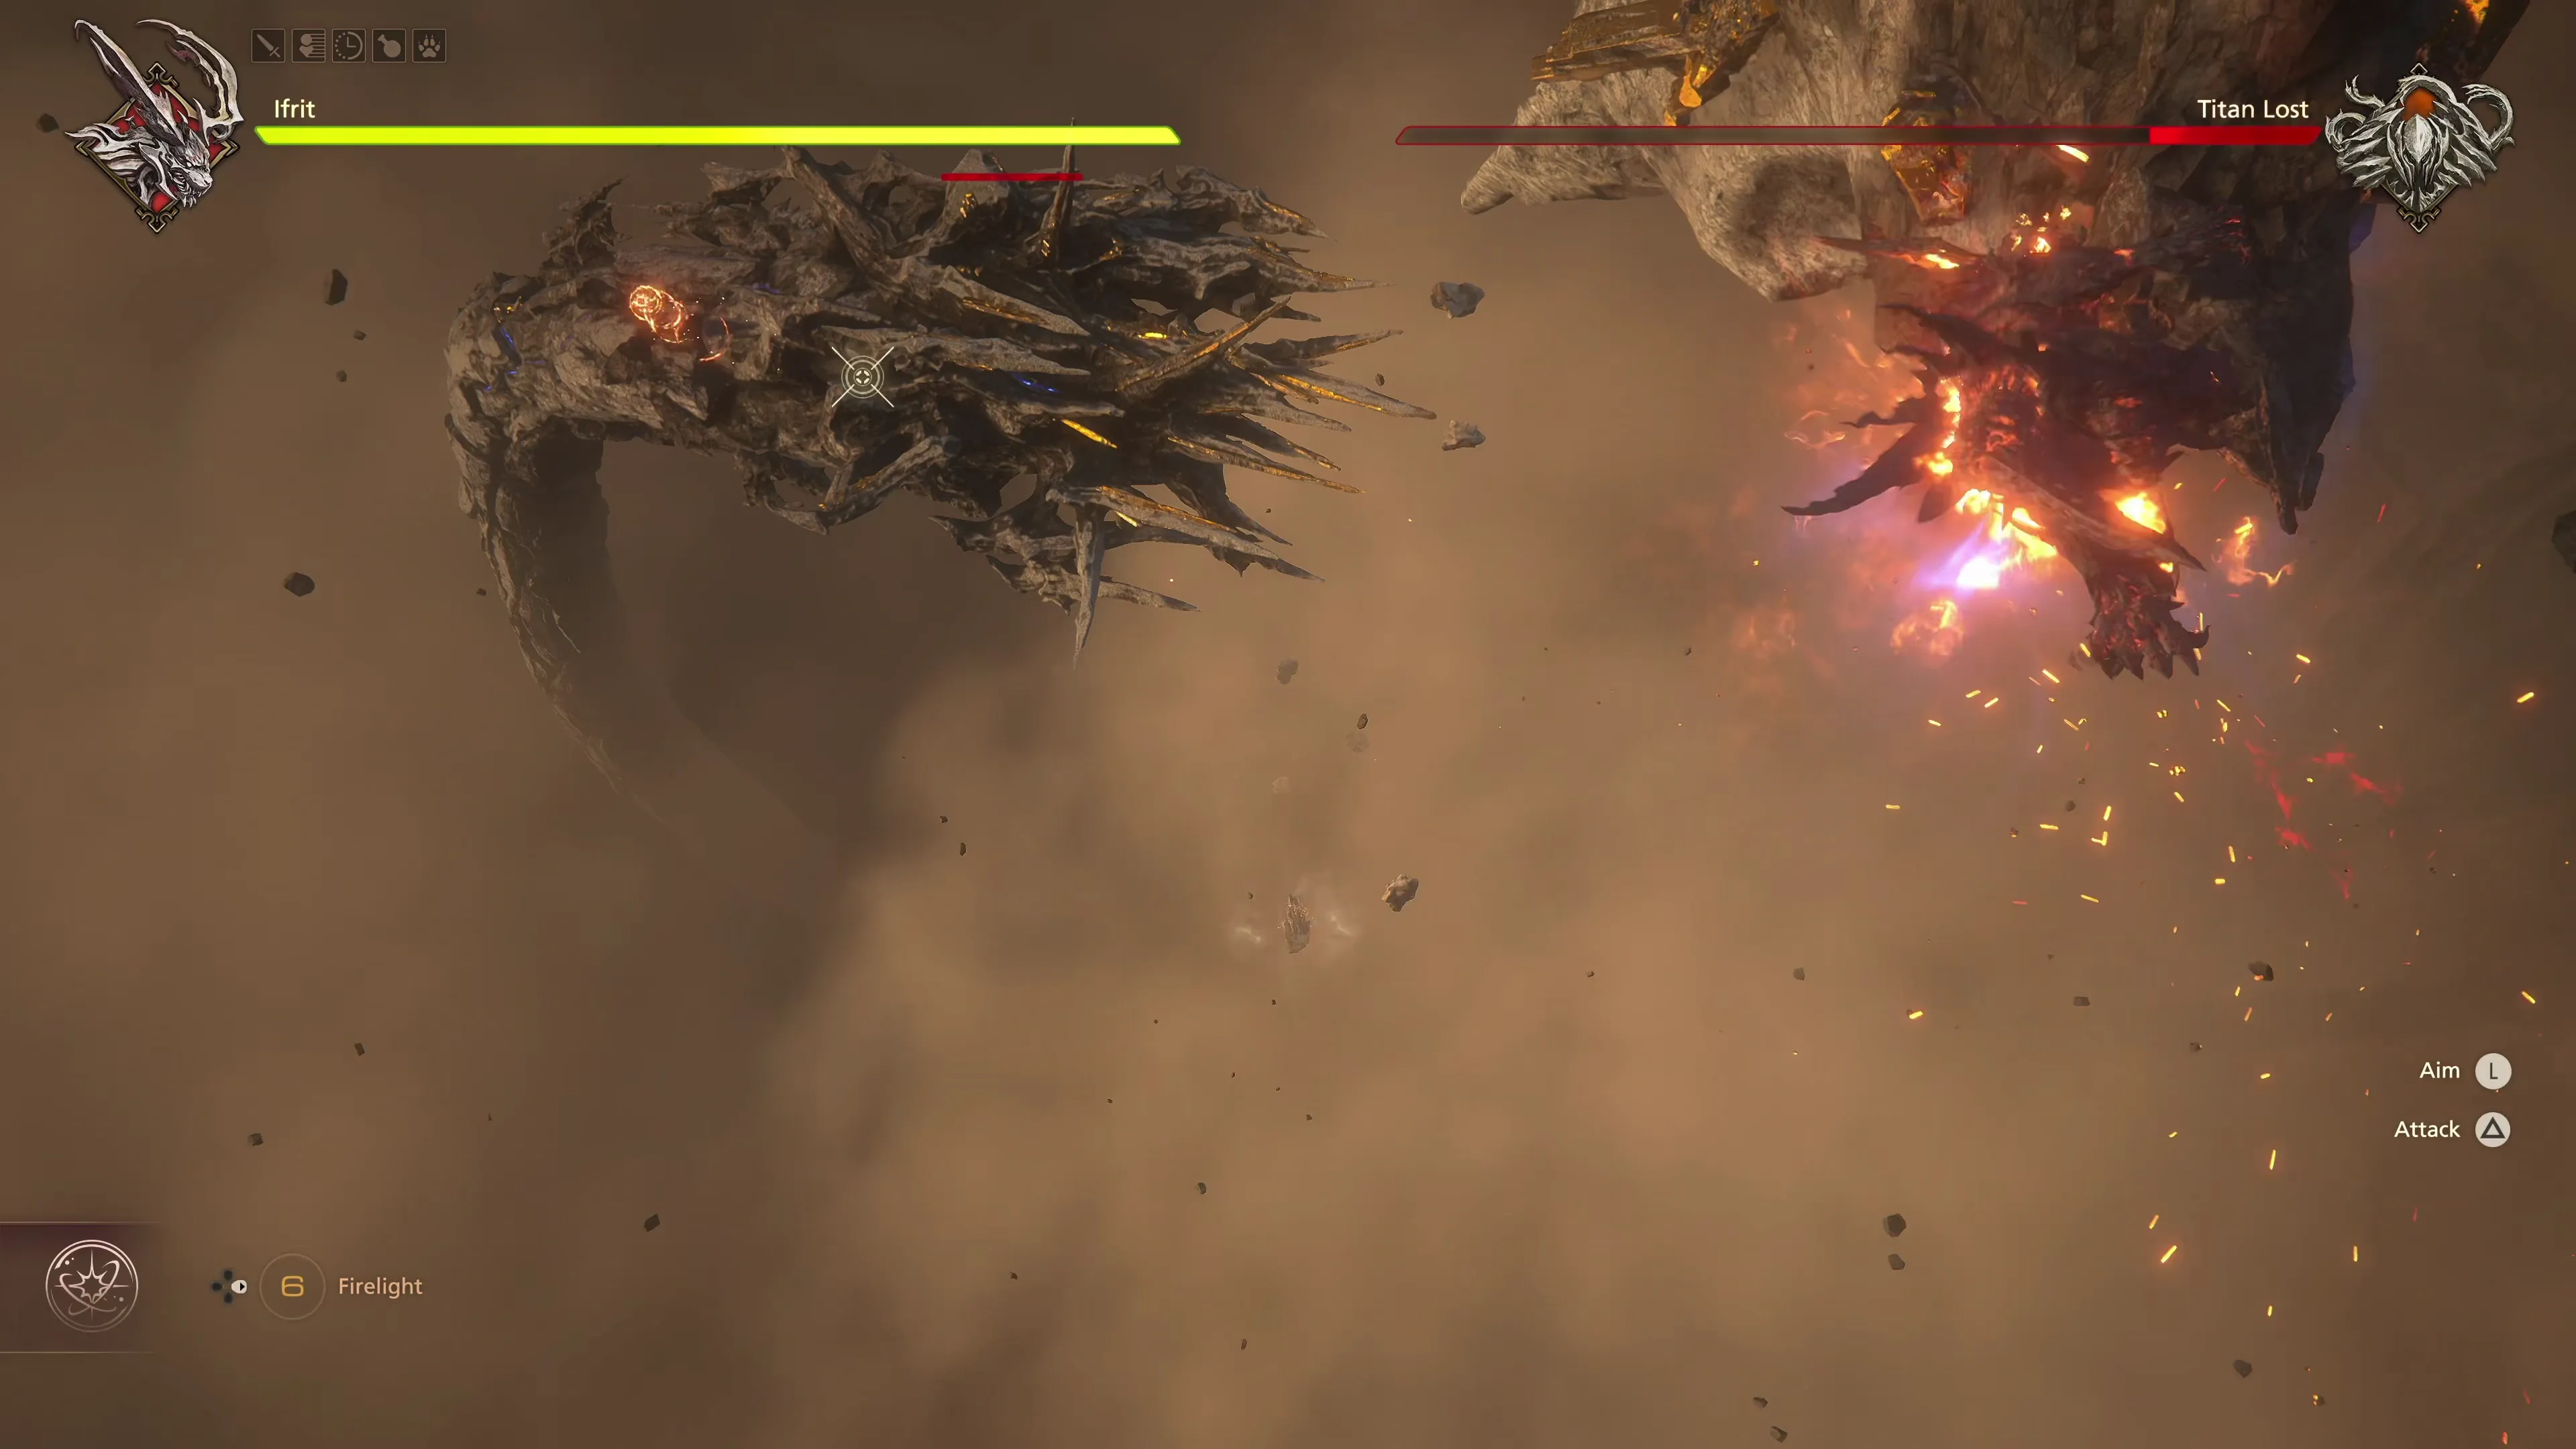
Second Intermediate Phase - Titan Lost
As far as phases of the fight go, this is probably the easiest one. Ifrit will be flying down with one of the broken-off tentacles, and you’ll have two controls available. The ![]()
![]()
![]() to aim and the
to aim and the ![]()
![]()
![]() button to launch
button to launch ![]() Charged Fireballs.
Charged Fireballs.
Launch a fireball at each of the large stones that pop up on the screen. These can be easily identified because they glow orange, and the wind breaks around them much more clearly. As they get closer to Ifrit, the targeting crosshairs will grow larger and turn into a circle.
Keep defeating rocks until another large tentacle appears on the left side of the screen. Launch a few ![]() Charged Fireballs in its direction and, once its HP reaches 0 (which doesn’t take many attacks), you will move into the final phase of the fight.
Charged Fireballs in its direction and, once its HP reaches 0 (which doesn’t take many attacks), you will move into the final phase of the fight.
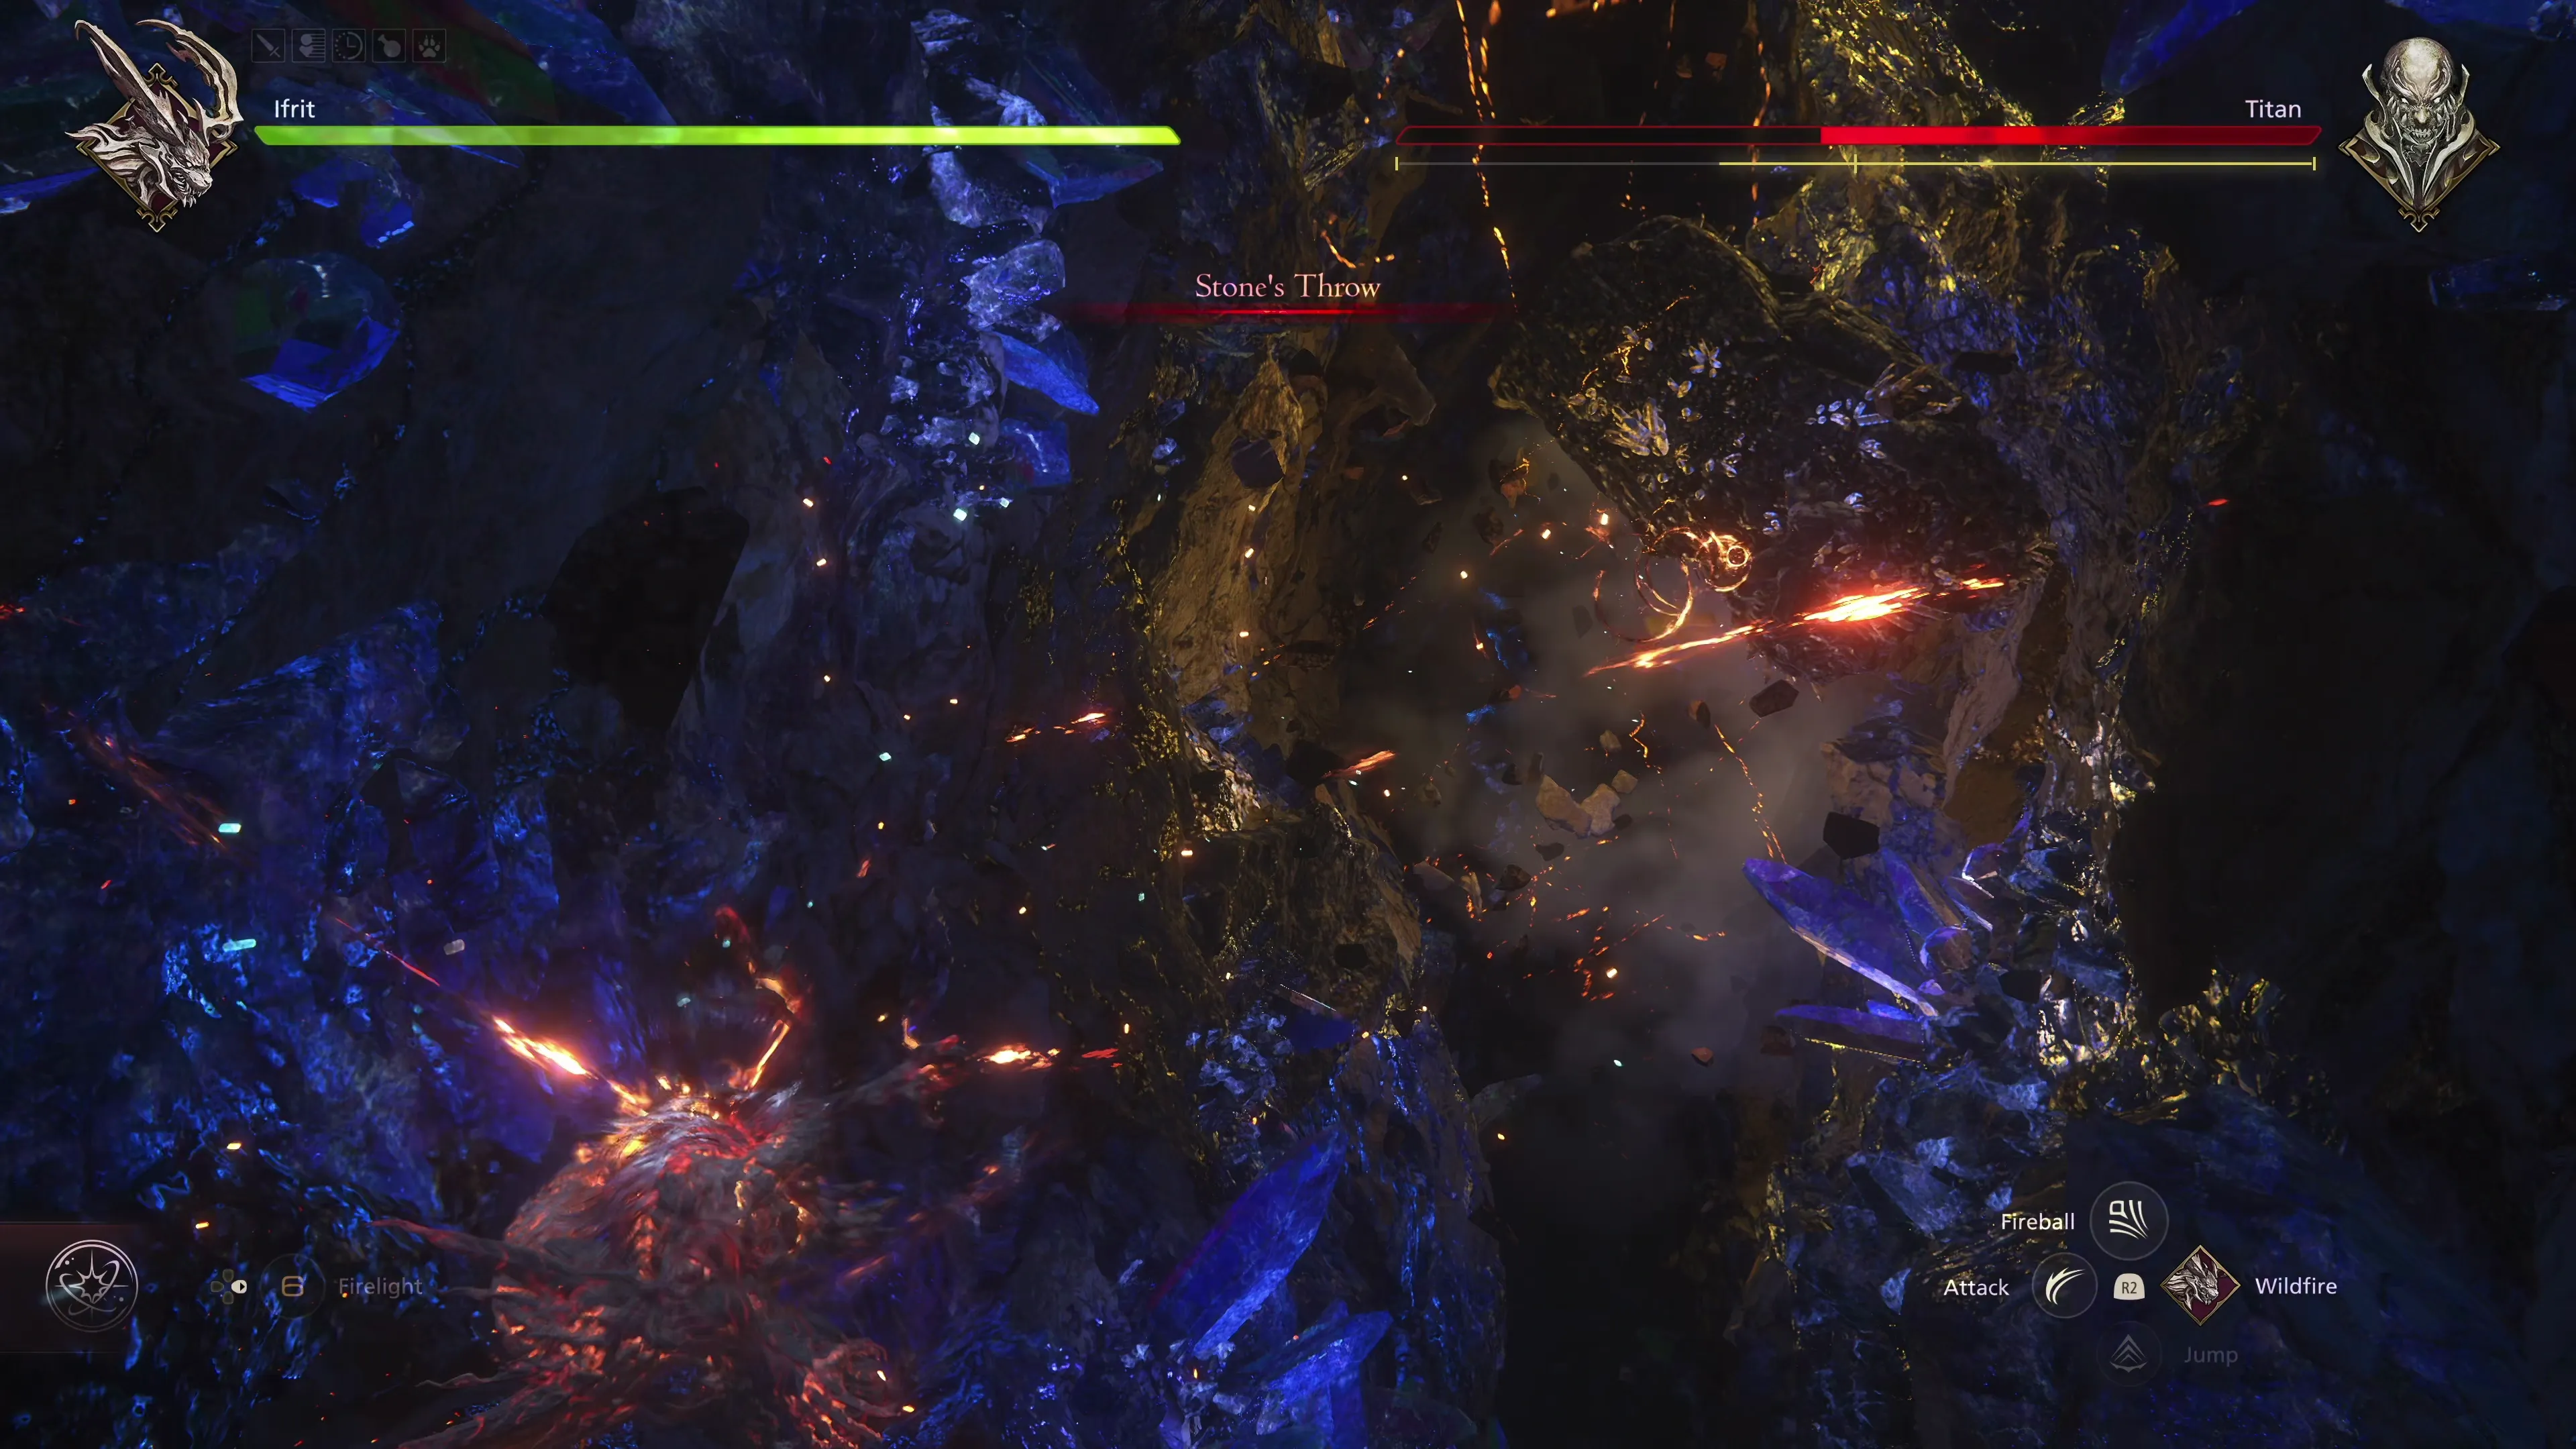
Phase 3 - Titan
This last battle takes place in the core of Drake’s Fang as Ifrit and Titan both fall into the wide crevasse. The mechanics of this fight have some similarities to the battle between Phoenix and Ifrit at the beginning of the game, but Ifrit can’t fly, so getting your bearings during this sequence can be a challenge.
It’s important to note that Ifrit’s combo attack is different while Ifrit is flying through the air. Instead of four melee attacks, the combo consists of only three melee attacks, so for Phase 1, your combo for a ![]() Backdraft should be
Backdraft should be ![]()
![]()
![]()
![]()
![]()
![]()
![]()
![]()
![]()
![]()
![]()
![]()
![]()
![]()
![]() .
.
Let’s go over Titan’s attacks:
![]() Regular Physical Attacks:
Regular Physical Attacks:
This category of attacks covers a wide range of arm swings that Titan can use: spinning punches, overhead swings, backhands, but all of them behave the same way. Titan’s hands will glow a bright yellow color just before he attacks, giving you an indication of when to dodge with ![]()
![]()
![]() .
.
![]() Rock Toss:
Rock Toss:
Titan will scrape the wall as he is falling on either the left or right side of the crevasse. He will scrape up three rocks and hurl them in Ifrit’s direction. You can dodge these rocks as they get close, or use a few ![]() Fireball shots to destroy them. Getting the timing of the dodge down can be a bit of a challenge, but unfortunately, the Fireballs tend to miss and/or not destroy all three rocks, causing Ifrit to get hit… so pick your poison.
Fireball shots to destroy them. Getting the timing of the dodge down can be a bit of a challenge, but unfortunately, the Fireballs tend to miss and/or not destroy all three rocks, causing Ifrit to get hit… so pick your poison.
![]() Earthshaker:
Earthshaker:
The words “Earthshaker” will appear on the screen when Titan uses this move, giving you time to prepare, but it works similarly to how it did in the previous fight. Titan will slam one side of the crevasse, and large purple rocks will burst out of the cliffs towards Ifrit. Be ready to dodge this attack or, if you’re quick enough, float Ifrit over to the side of the cliff that Earthshaker doesn’t hit, and you won’t have to dodge at all. The only challenge here is that Titan floats from one to the other as he tries to make it hard for you to judge which side he is going to slam.
![]() Stone’s Throw:
Stone’s Throw:
This works just like it did in the other phases of the fight. Use your new ![]() Brimstone ability to block any damage once it gets close. Note that it is possible to dodge forward through the large stone without using your Brimstone defense, allowing you to save it and use it during a stagger window, but this takes quite a bit of practice to get the timing down.
Brimstone ability to block any damage once it gets close. Note that it is possible to dodge forward through the large stone without using your Brimstone defense, allowing you to save it and use it during a stagger window, but this takes quite a bit of practice to get the timing down.
Another cinematic clash takes place when you get Titan’s HP low enough. Be ready to press the ![]()
![]()
![]() and
and ![]()
![]()
![]() buttons at the appropriate time, and this lengthy fight is complete! Check out the video below if you’re having trouble with it.
buttons at the appropriate time, and this lengthy fight is complete! Check out the video below if you’re having trouble with it.
Note that there is a Medal of Valor that you can earn from this fight. Check out the warning message below if you plan to obtain it.
300
5,000
A video demonstration of how to successfully complete the fight against Titan.
Warning
Obtaining the ![]() Medal of Valor - Titan can be very challenging for this battle, primarily as a result of how many phases there are and how long the fight is. It’s mentioned above, but your best resources for mastering this fight for the Medal of Valor challenge are to learn the two “Important Tips” above. Master Ifrit’s combo attack and use
Medal of Valor - Titan can be very challenging for this battle, primarily as a result of how many phases there are and how long the fight is. It’s mentioned above, but your best resources for mastering this fight for the Medal of Valor challenge are to learn the two “Important Tips” above. Master Ifrit’s combo attack and use ![]() Charged Fireball as often as possible. You can also check out the Medal of Valor page for more general tips on how to complete these challenges.
Charged Fireball as often as possible. You can also check out the Medal of Valor page for more general tips on how to complete these challenges.
There are quite a few cutscenes to watch after this battle. The game eventually returns to the world map—select the ![]() Hideaway to move to the next Main Scenario Quest and conclude Chapter 6 of the game.
Hideaway to move to the next Main Scenario Quest and conclude Chapter 6 of the game.
Achievement/Trophy
“Exact revenge.” The  From Stone to Sand Achievement/Trophy is earned as soon as you complete the “Into the Darkness” Main Scenario Quest.