Out of the Shadow
You’ll get to watch quite a few cutscenes at the end of the last battle before Clive returns to the world map. Select the option to return to the Hideaway.
 The Hideaway
The new gear you can purchase and the new Optional Quests won’t appear in the Hideaway until we’ve talked to a few people to move the Main Scenario Quest along. Speak to Otto in the Mess, and then speak to Vivian in the Map Room. Vivian will suggest that Clive ‘spread the news’ of Hugo Kupka’s demise to the Hideaway’s residents, and it’s at this point that you’ll receive a bunch of notices about new items and new recipes appearing.

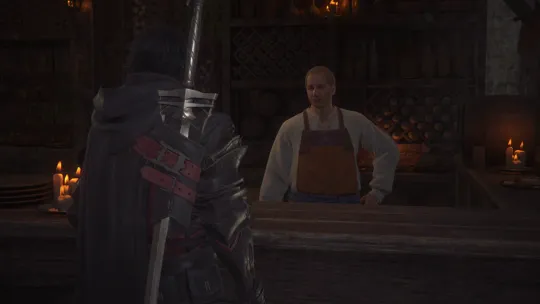
To start, head over and speak with Charon. After Clive shares the good news, you can open the shop and purchase a few new items. The most important item, though, is your new sword:
| Cost | |
|---|---|
| 2,500 |
Next, head over to Blackthorne and share the news with him. Turn around and speak to him again, and have him reinforce the new sword you just purchased. He can also craft the upgraded version outright, but remember to switch over to the “Reinforce” tab using the ![]()
![]()
![]() button (you can reload your autosave if you want to start over).
button (you can reload your autosave if you want to start over).
| Materials | |
|---|---|
There’s nothing else to purchase or upgrade at this time. Clive is already wearing some very strong gear, and we’re missing some of the materials required to upgrade the other available gear.
Run over to “The Shelves” to speak with Harpocrates. After that, head back over to the Mess to talk to Otto. You probably noticed that Nektar has some new hunts he wants to tell you about, and two new quests opened up after the conversation with Otto, too. Let’s get started on all of them.
The Jaw
Optional Quest
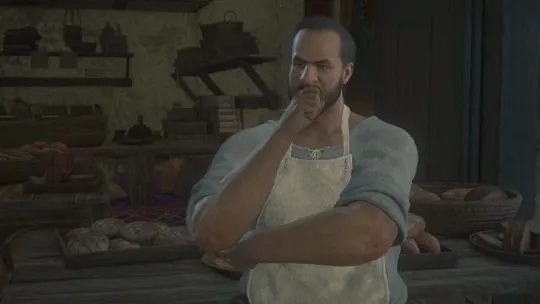
“A baker in Dalimil asks Clive to track down his missing apprentice, who can apparently often be found mooning at what remains of Drake’s Fang.”
One of the Notorious Marks that has appeared will be blocking your path to completing the quest above. You can complete this Hunt at the same time as you complete ![]() Use Your Loaf.
Use Your Loaf.
Notorious Mark / Hunt
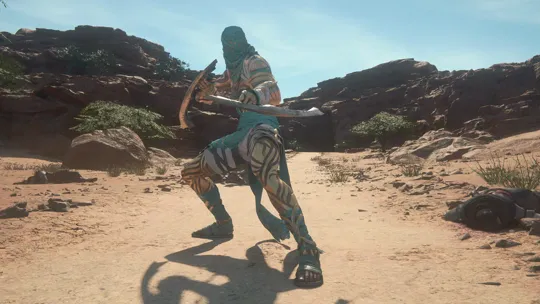
“Dhalmekian traders are wont to say a prayer for unwary travelers journeying from Dalimil to Drake’s Fang, for there lurks a bloodthirsty brigand—one who appears to be more interested in letting the blood of his quarry than he is in any Gil or goods he might plunder from their caravans. If the road is to be made safe again, then at least one traveler passing through the place must not flee, but stand and fight.”
Next, we have a few more Notorious Marks to defeat, but these Hunts take place in a new area of the Dhalmekian Republic that has opened up that you haven’t been to before. Travel to either ![]() The Jaw Obelisk or
The Jaw Obelisk or ![]() The Dalimil Inn Obelisk and head southeast back toward the split pathway, and this time, take the left path down towards the Sickle.
The Dalimil Inn Obelisk and head southeast back toward the split pathway, and this time, take the left path down towards the Sickle.
The Sickle
Follow the path as it veers right to find your next target.
Notorious Mark / Hunt
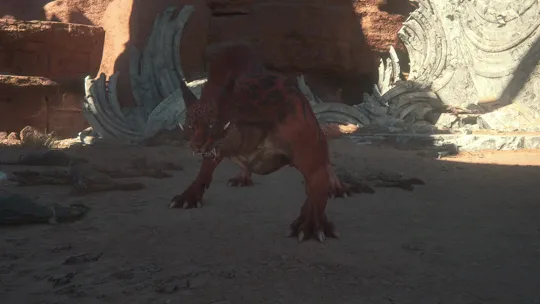
“Just off the Sickle—the road that leads from Dalimil to the Jaw—lies a dead-end canyon into which travelers moving at night are wont to stray, providing a constant supply of sustenance for a feline most foul. With the daytime desert heat ever its own threat to life, and merchants ever mindful not to waste their last shards of crystal on the lighting of lamps, only the monster’s demise might save them.”
Achievement/Trophy
“Defeat 10 notorious marks.” If you’ve completed all of the Hunts listed up to this point, you’ll receive the  Think, Mark! Achievement/Trophy after defeating Grimalkin.
After defeating Grimalkin, you can climb up the cliffs into the area behind where the Grimalkin was originally standing before it jumped down. There is a treasure coffer in this alcove that contains a ![]() Meteorite. Exit this ‘dead-end canyon’ and head south towards the large open area to find the Fields of Corava.
Meteorite. Exit this ‘dead-end canyon’ and head south towards the large open area to find the Fields of Corava.
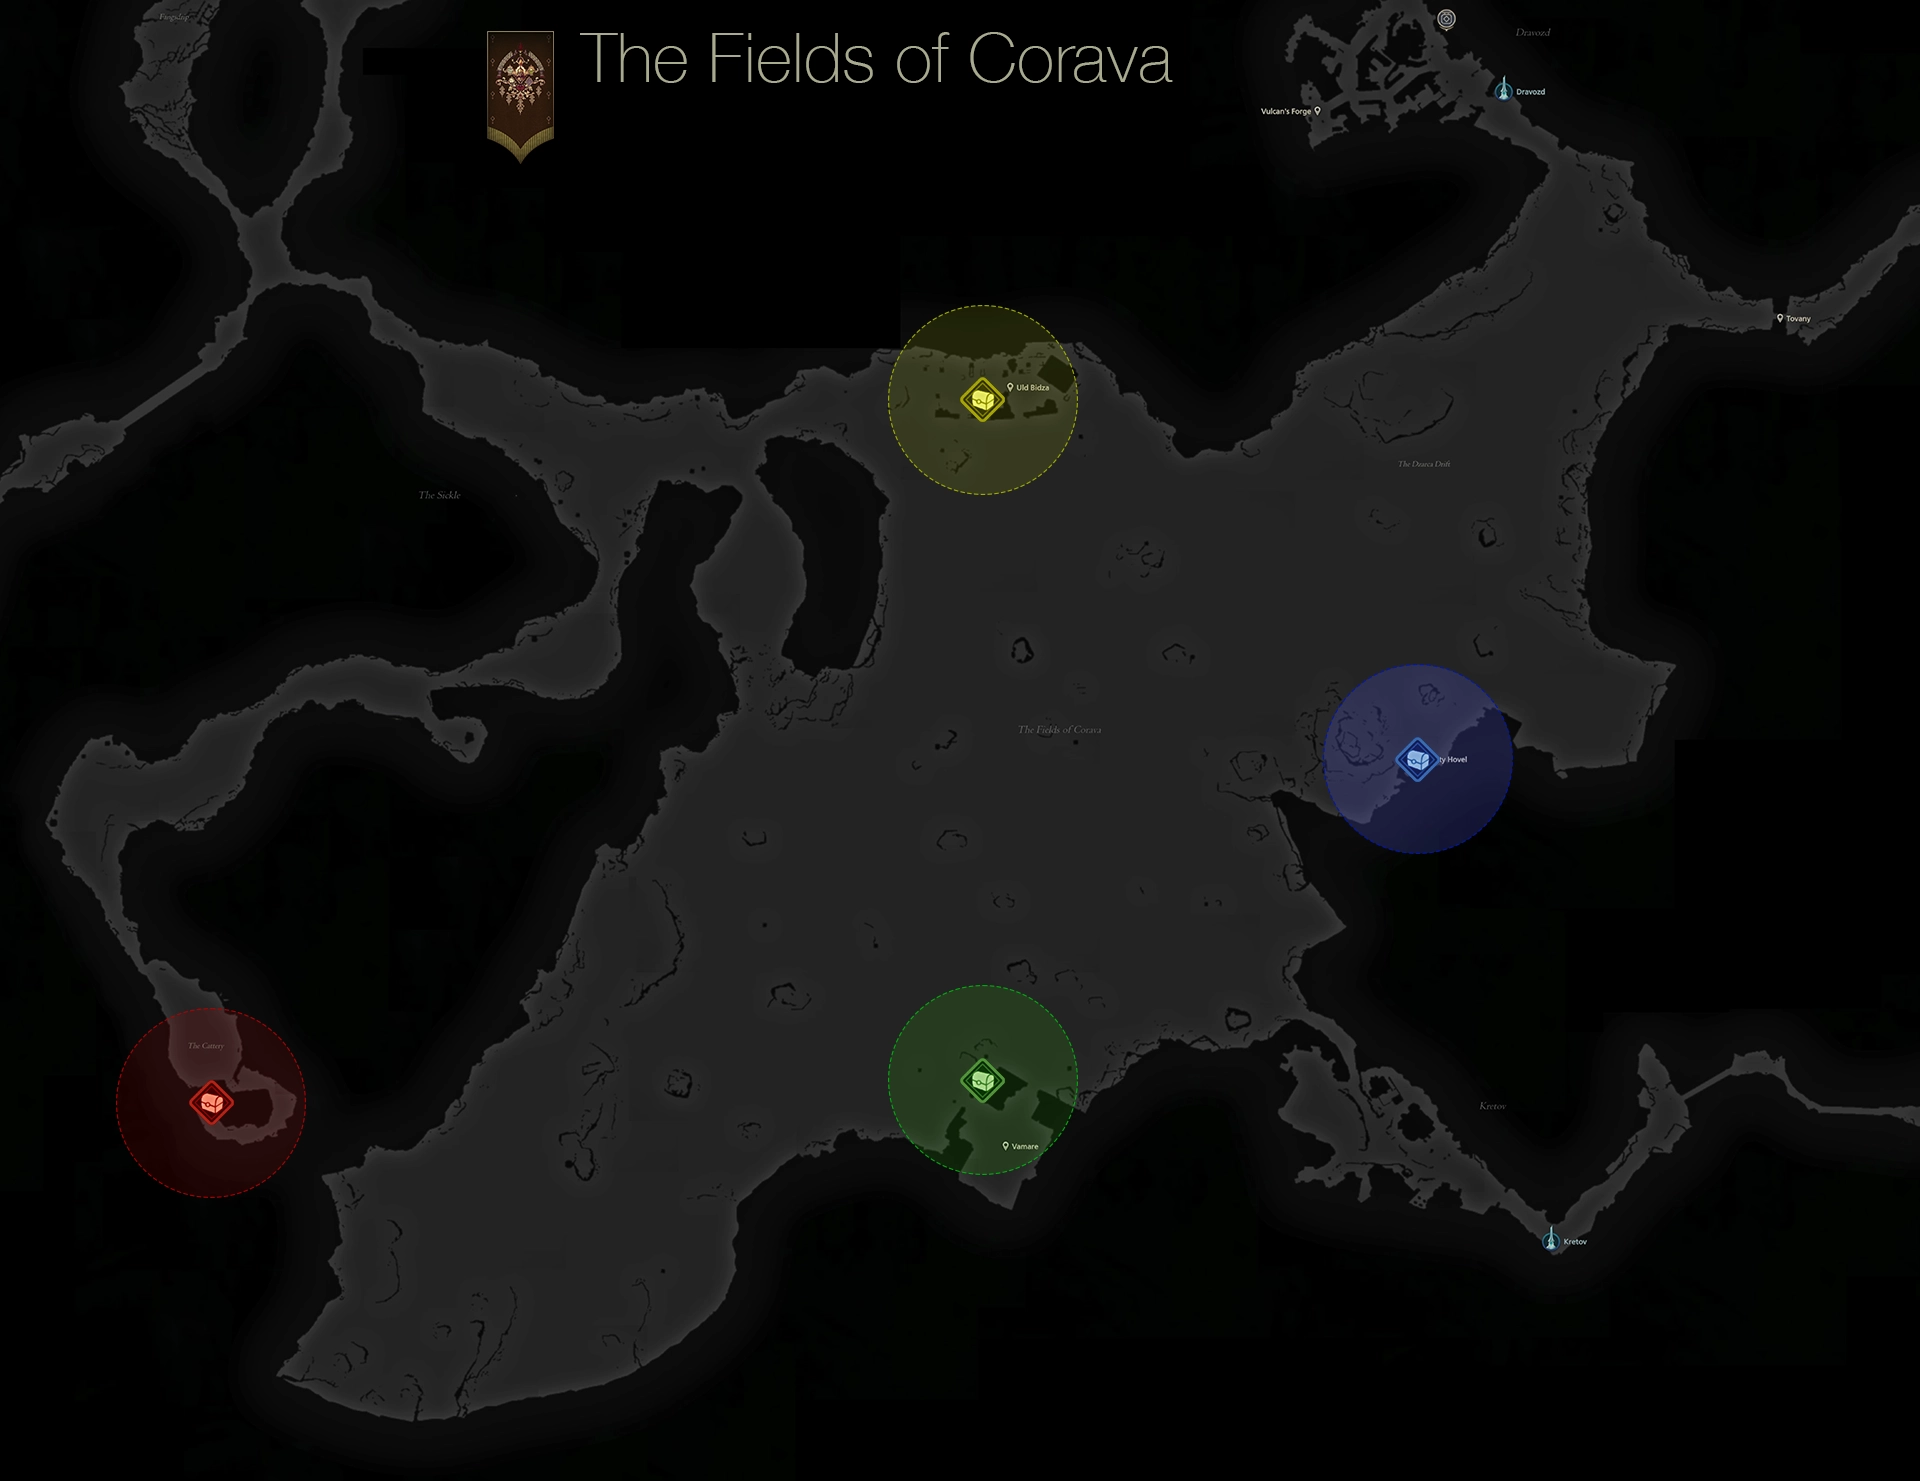
The Fields of Corava
Start by grabbing the four treasure coffers in this area. The red one is the one you already picked up in the Grimalkin’s canyon, but the rest of them have the following items:
| 1) | ||
|---|---|---|
| 2) | ||
| 3) |
You should also travel up to Dravozd. You can’t enter the town right now, but you can activate the ![]() Dravozd Obelisk. The next Hunt is nearby:
Dravozd Obelisk. The next Hunt is nearby:
Notorious Mark / Hunt
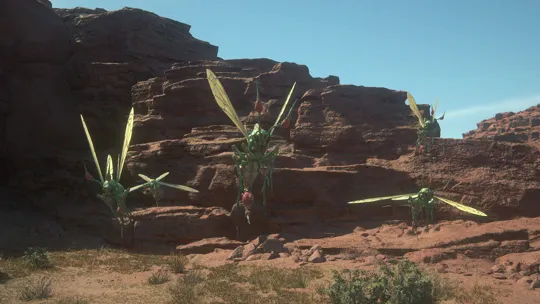
“A swarm of vicious vilekin has of late made its nest near an abandoned village in the Fields of Corava, and as the hive has grown, so too has its hunger. Already, the stripped corpses of great beasts have been sighted in its vicinity. Should the vilekin be left to their own devices, the nearby settlements shall surely be reduced to naught but a collection of bleached bones within a twelvemoon.”
This is all we can do in these newly opened areas of the desert. The next available quest is back in Lostwing.
 Lostwing
Optional Quest
“Quinten tells Clive that he has heard worrying rumors of late—tales of shadowy figures seen lurking in the woods around Lostwing. Clive sets out to investigate.”
The last Notorious Mark is found in Rosaria.
 Martha’s Rest
Head east, back to the town of Cressida, for the next encounter.
Warning
It’s worth noting that this is a “Rank S” Hunt, meaning that it’s much more challenging than any of the Notorious Marks that you’ve faced up to this point. Many players will find this fight too difficult at this point in the game; it takes a lot of damage to bring the Mark down, and its attacks deal a high amount of damage if you get hit. Consider coming back to complete this Hunt after Clive has gained a few levels and some better equipment, if you’re struggling with it or if you’re concerned about it being too challenging.
Notorious Mark / Hunt
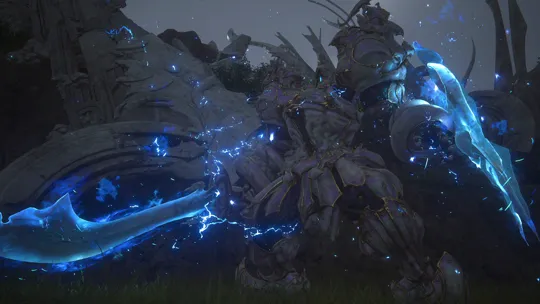
“Urgent notice to all Cursebreakers: due to the discovery of a Fallen giant in the Rosarian ruins we have lately been investigating, all work in the region is to be halted with immediate effect, and all members are to proceed no further than the village gate, lest the echo should be awakened by our presence. No further action may be taken without Cid’s express permission.”
Head back to the Hideaway once all of the Optional Quests and Hunts are completed.
The Hideaway
You should have enough ![]() Renown to pick up the next donation at
Renown to pick up the next donation at ![]() The Patron’s Whisper:
The Patron’s Whisper:
| Renown | Crate Contents | |
|---|---|---|
| 410 | 800 |
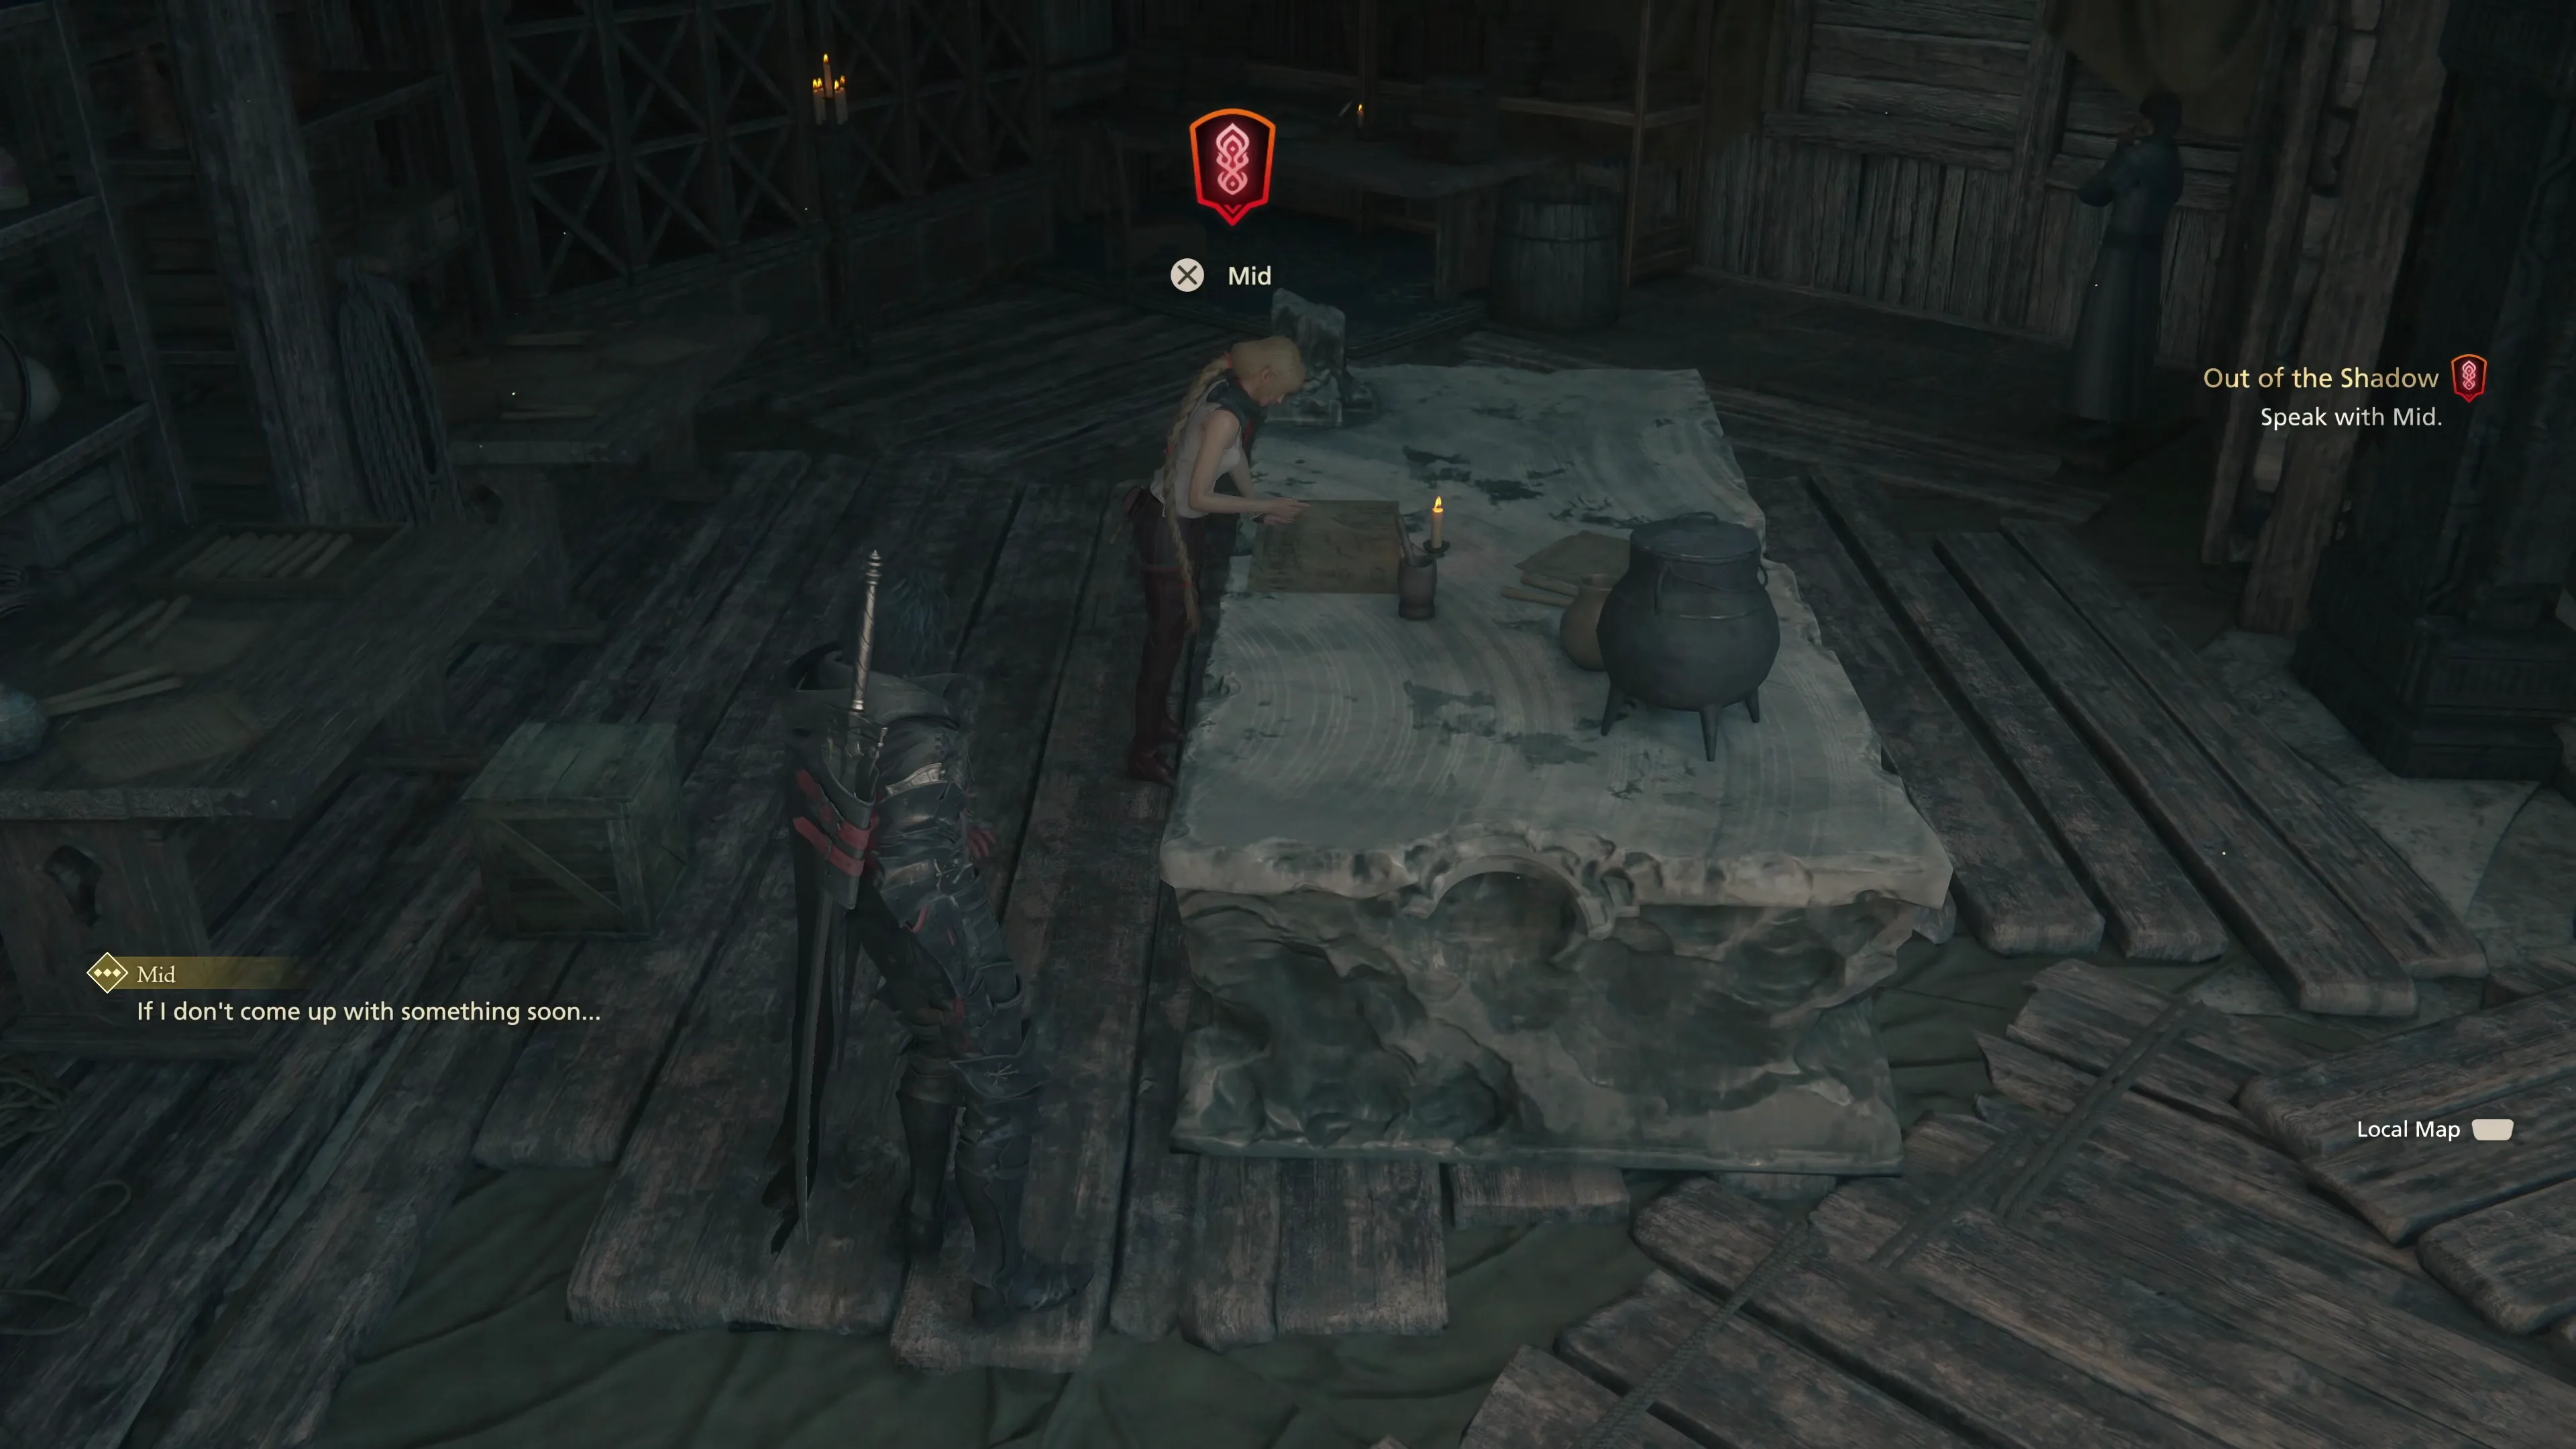
The next step for the Main Scenario Quest ![]() is to speak to Mid in “Mid’s Dungeon.” She will walk through some plans that she’s put together to build a new ship called the Enterprise.
is to speak to Mid in “Mid’s Dungeon.” She will walk through some plans that she’s put together to build a new ship called the Enterprise.
Take the ![]() Thermal Plating Designs she gives you and deliver them to Blackthorne. He will ask for help assembling the materials for the Thermal Plating, which kicks off the next Main Scenario Subquest.
Thermal Plating Designs she gives you and deliver them to Blackthorne. He will ask for help assembling the materials for the Thermal Plating, which kicks off the next Main Scenario Subquest.
 Letting Off Steam
Speak with Blackthorne one more time to tell him whether you’ll be taking Gav or Otto with you to collect the ![]() Stardust. It doesn’t matter which of the two characters you bring with you; it will only impact some of the dialogue that takes place during this Subquest.
Stardust. It doesn’t matter which of the two characters you bring with you; it will only impact some of the dialogue that takes place during this Subquest.
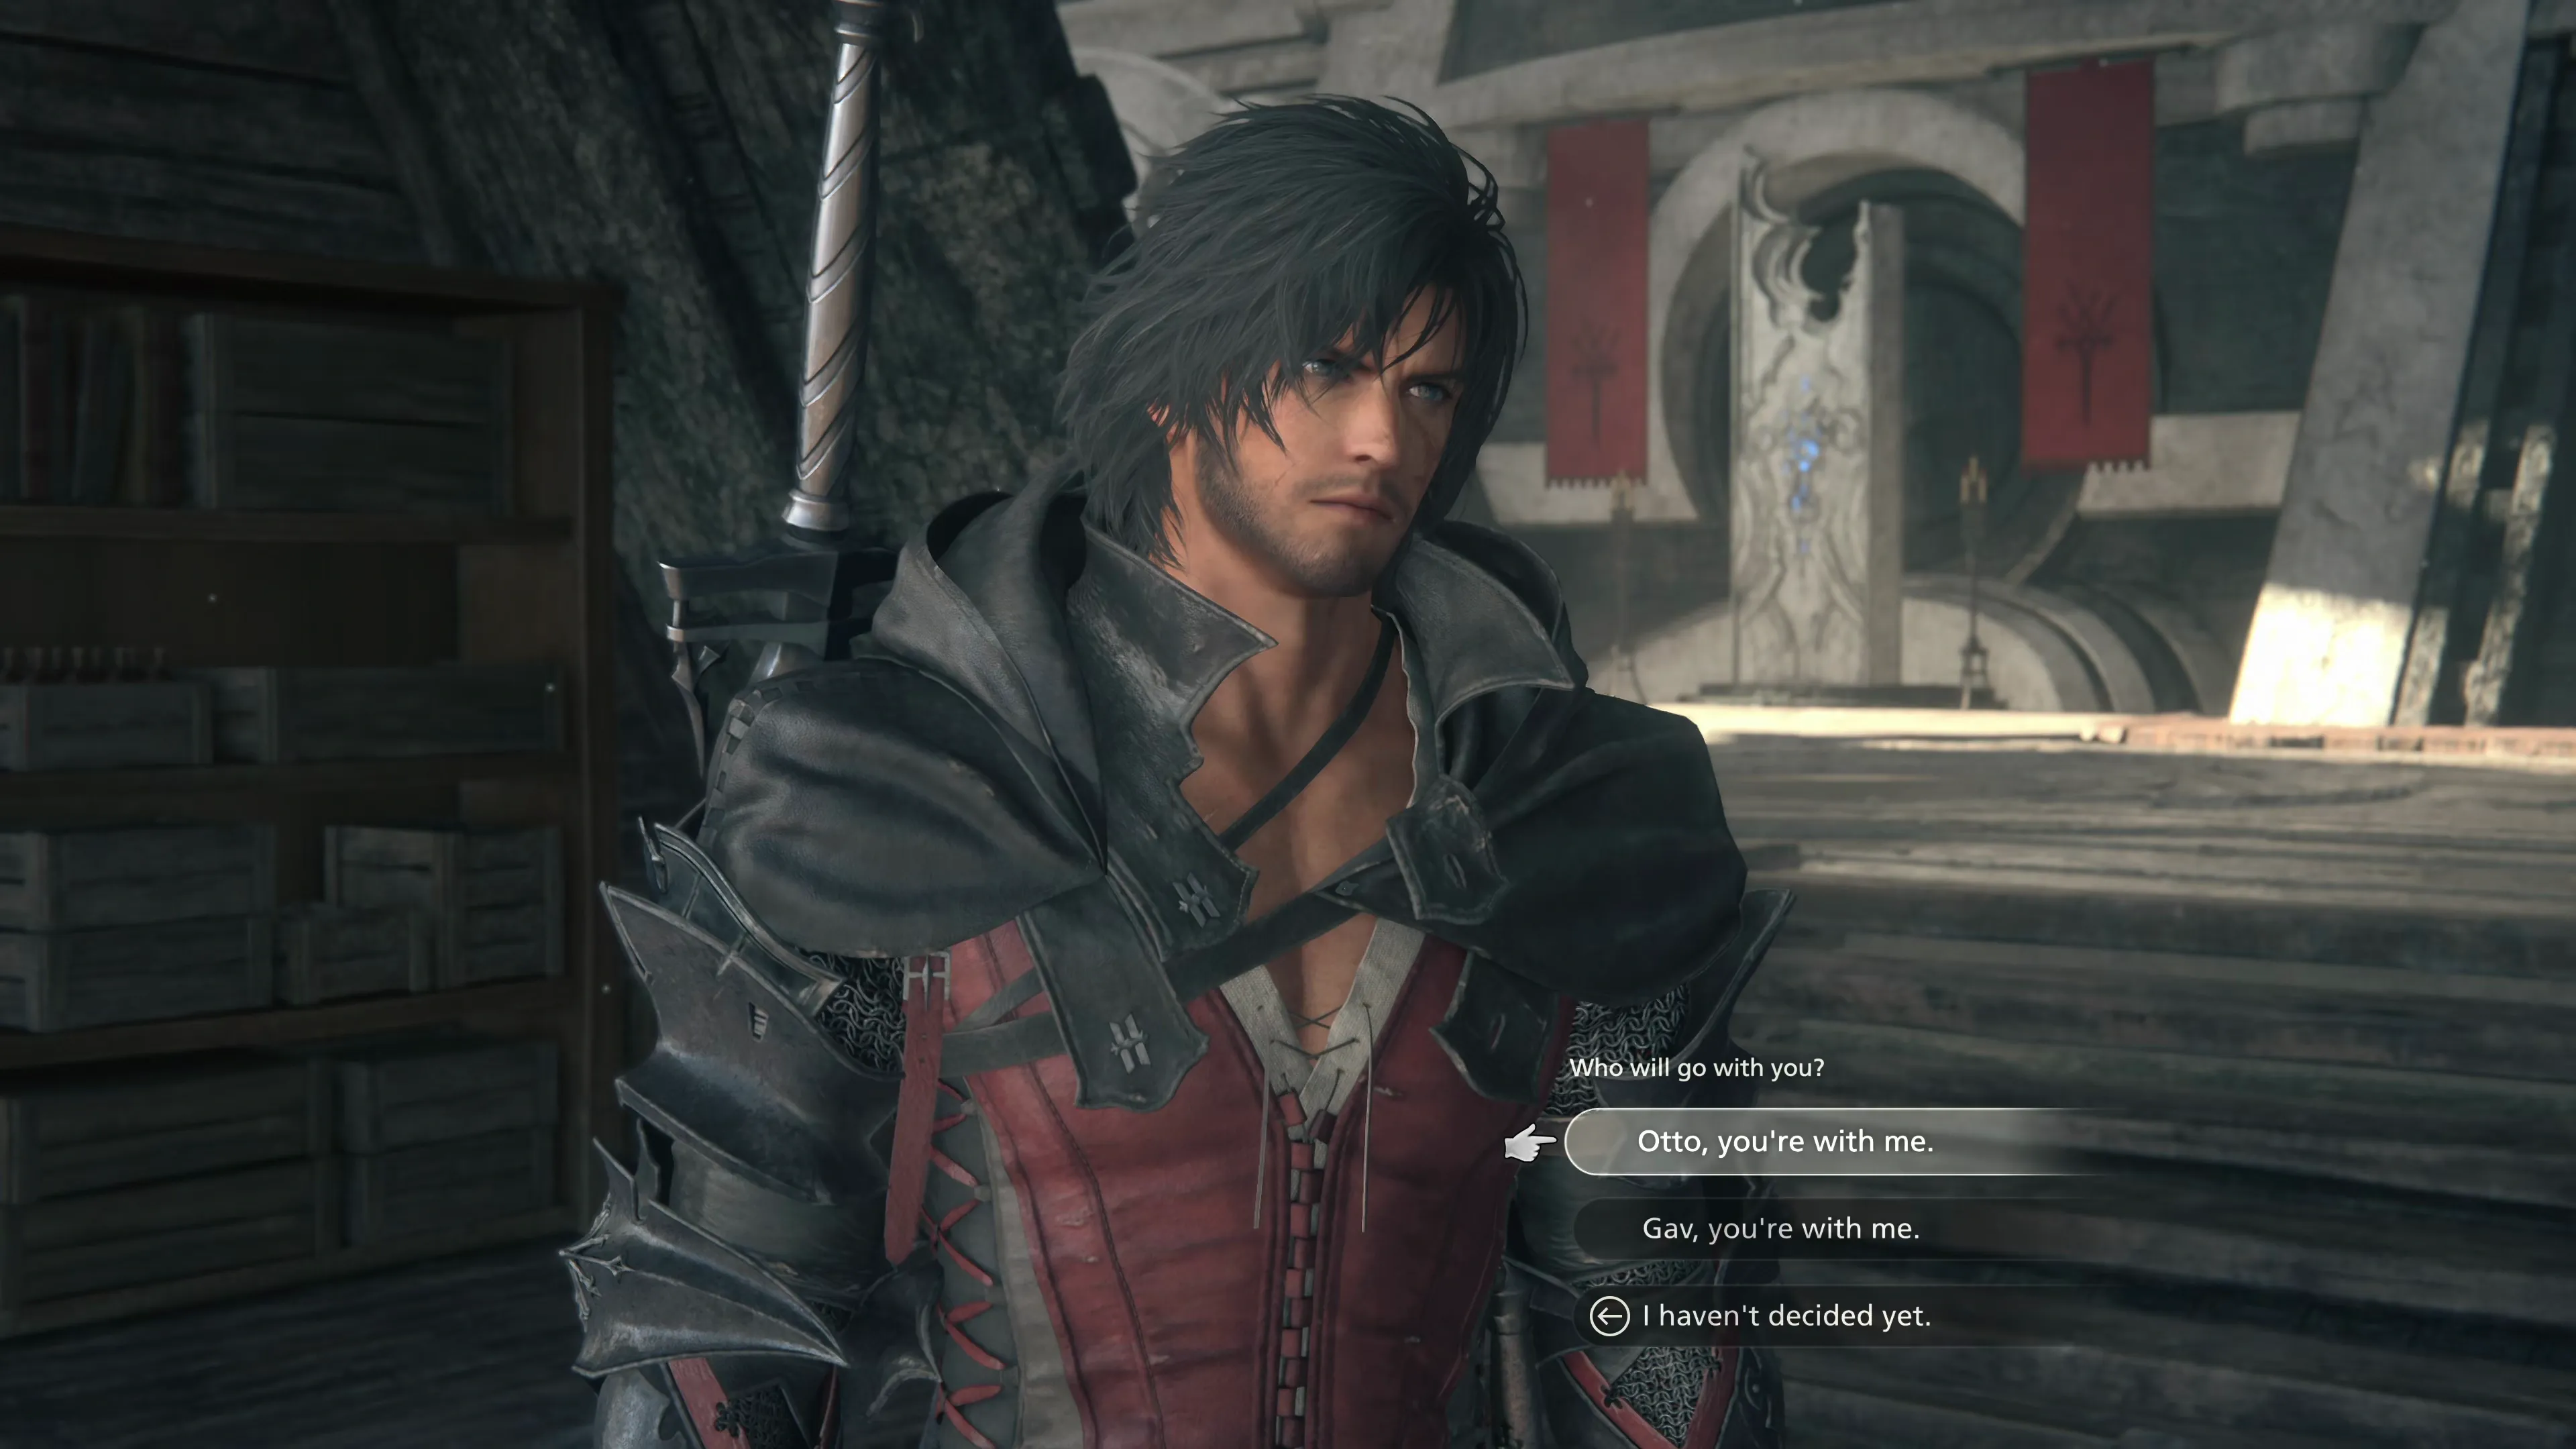
If you’re concerned about not hearing both sets of dialogue, you can always choose one team member this time and choose the opposite team member if you decide to play through Final Fantasy Mode later. After you’ve decided who you’re taking, warp to ![]() The Dalimil Inn Obelisk.
The Dalimil Inn Obelisk.
The Southern Velkroy Desert
Exit from Dalimil using the northeast exit through “The Desert Gate” and hop on your ![]() Chocobo or walk over (as he’s pretty close). Speak to either Gav or Otto, and then go searching for the
Chocobo or walk over (as he’s pretty close). Speak to either Gav or Otto, and then go searching for the ![]() Stardust on the ground along the Velkroy river shores.
Stardust on the ground along the Velkroy river shores.
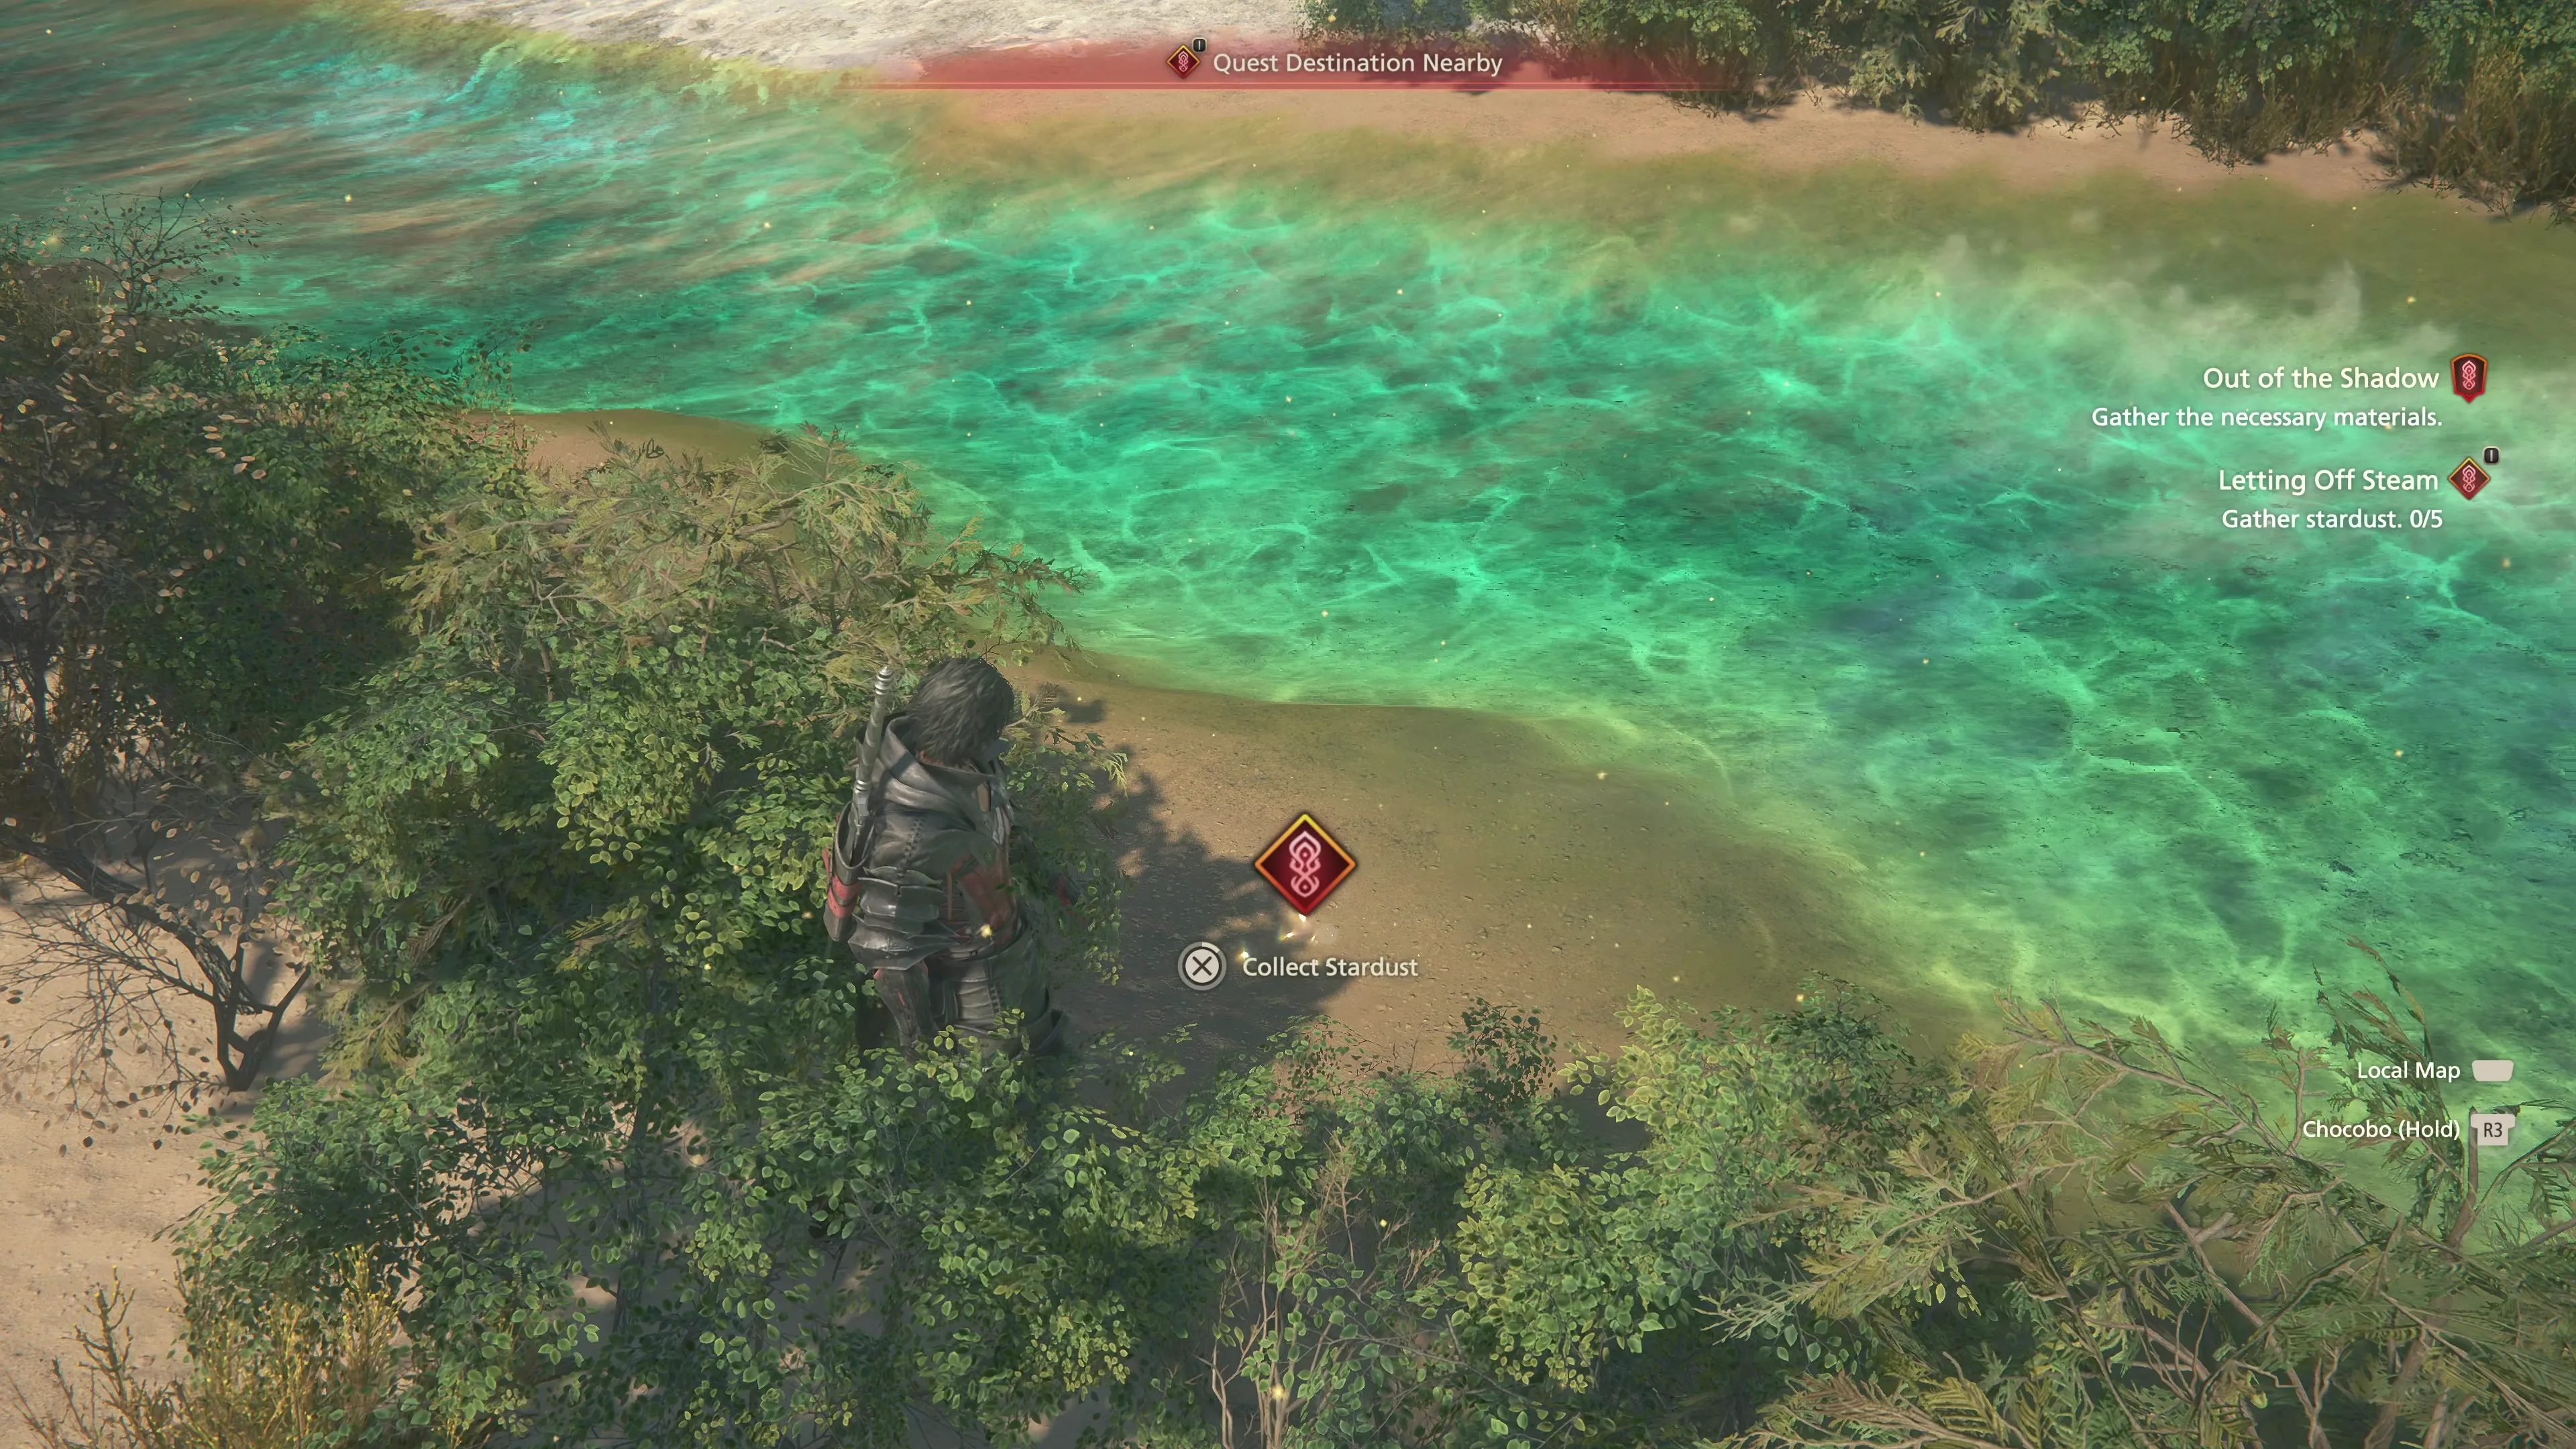
Once you’ve gathered all five pieces, go back over and speak to your companion. You’ll get to hear some more background story from whichever of the two characters you brought with you. Fast travel back to Blackthorne at the Hideaway to complete the quest.
The Hideaway
The reward for completing “Letting Off Steam” includes a ![]() Goblin Coin,
Goblin Coin, ![]() Black Blood, and
Black Blood, and ![]() Gil Bug, all of which can be sold for
Gil Bug, all of which can be sold for ![]() Gil. If you’ve been completing all of the Optional Quests and Hunts, you’ll have earned enough
Gil. If you’ve been completing all of the Optional Quests and Hunts, you’ll have earned enough ![]() Renown for your next reward from the Patron’s Whisper. Unfortunately, it isn’t very good…
Renown for your next reward from the Patron’s Whisper. Unfortunately, it isn’t very good…
Head back over to Mid to receive the next task, and then speak with her assistant nearby named “Helena.” Your next destination is “Laubert’s Pass,” which you can reach by warping to the ![]() Lostwing Obelisk.
Lostwing Obelisk.
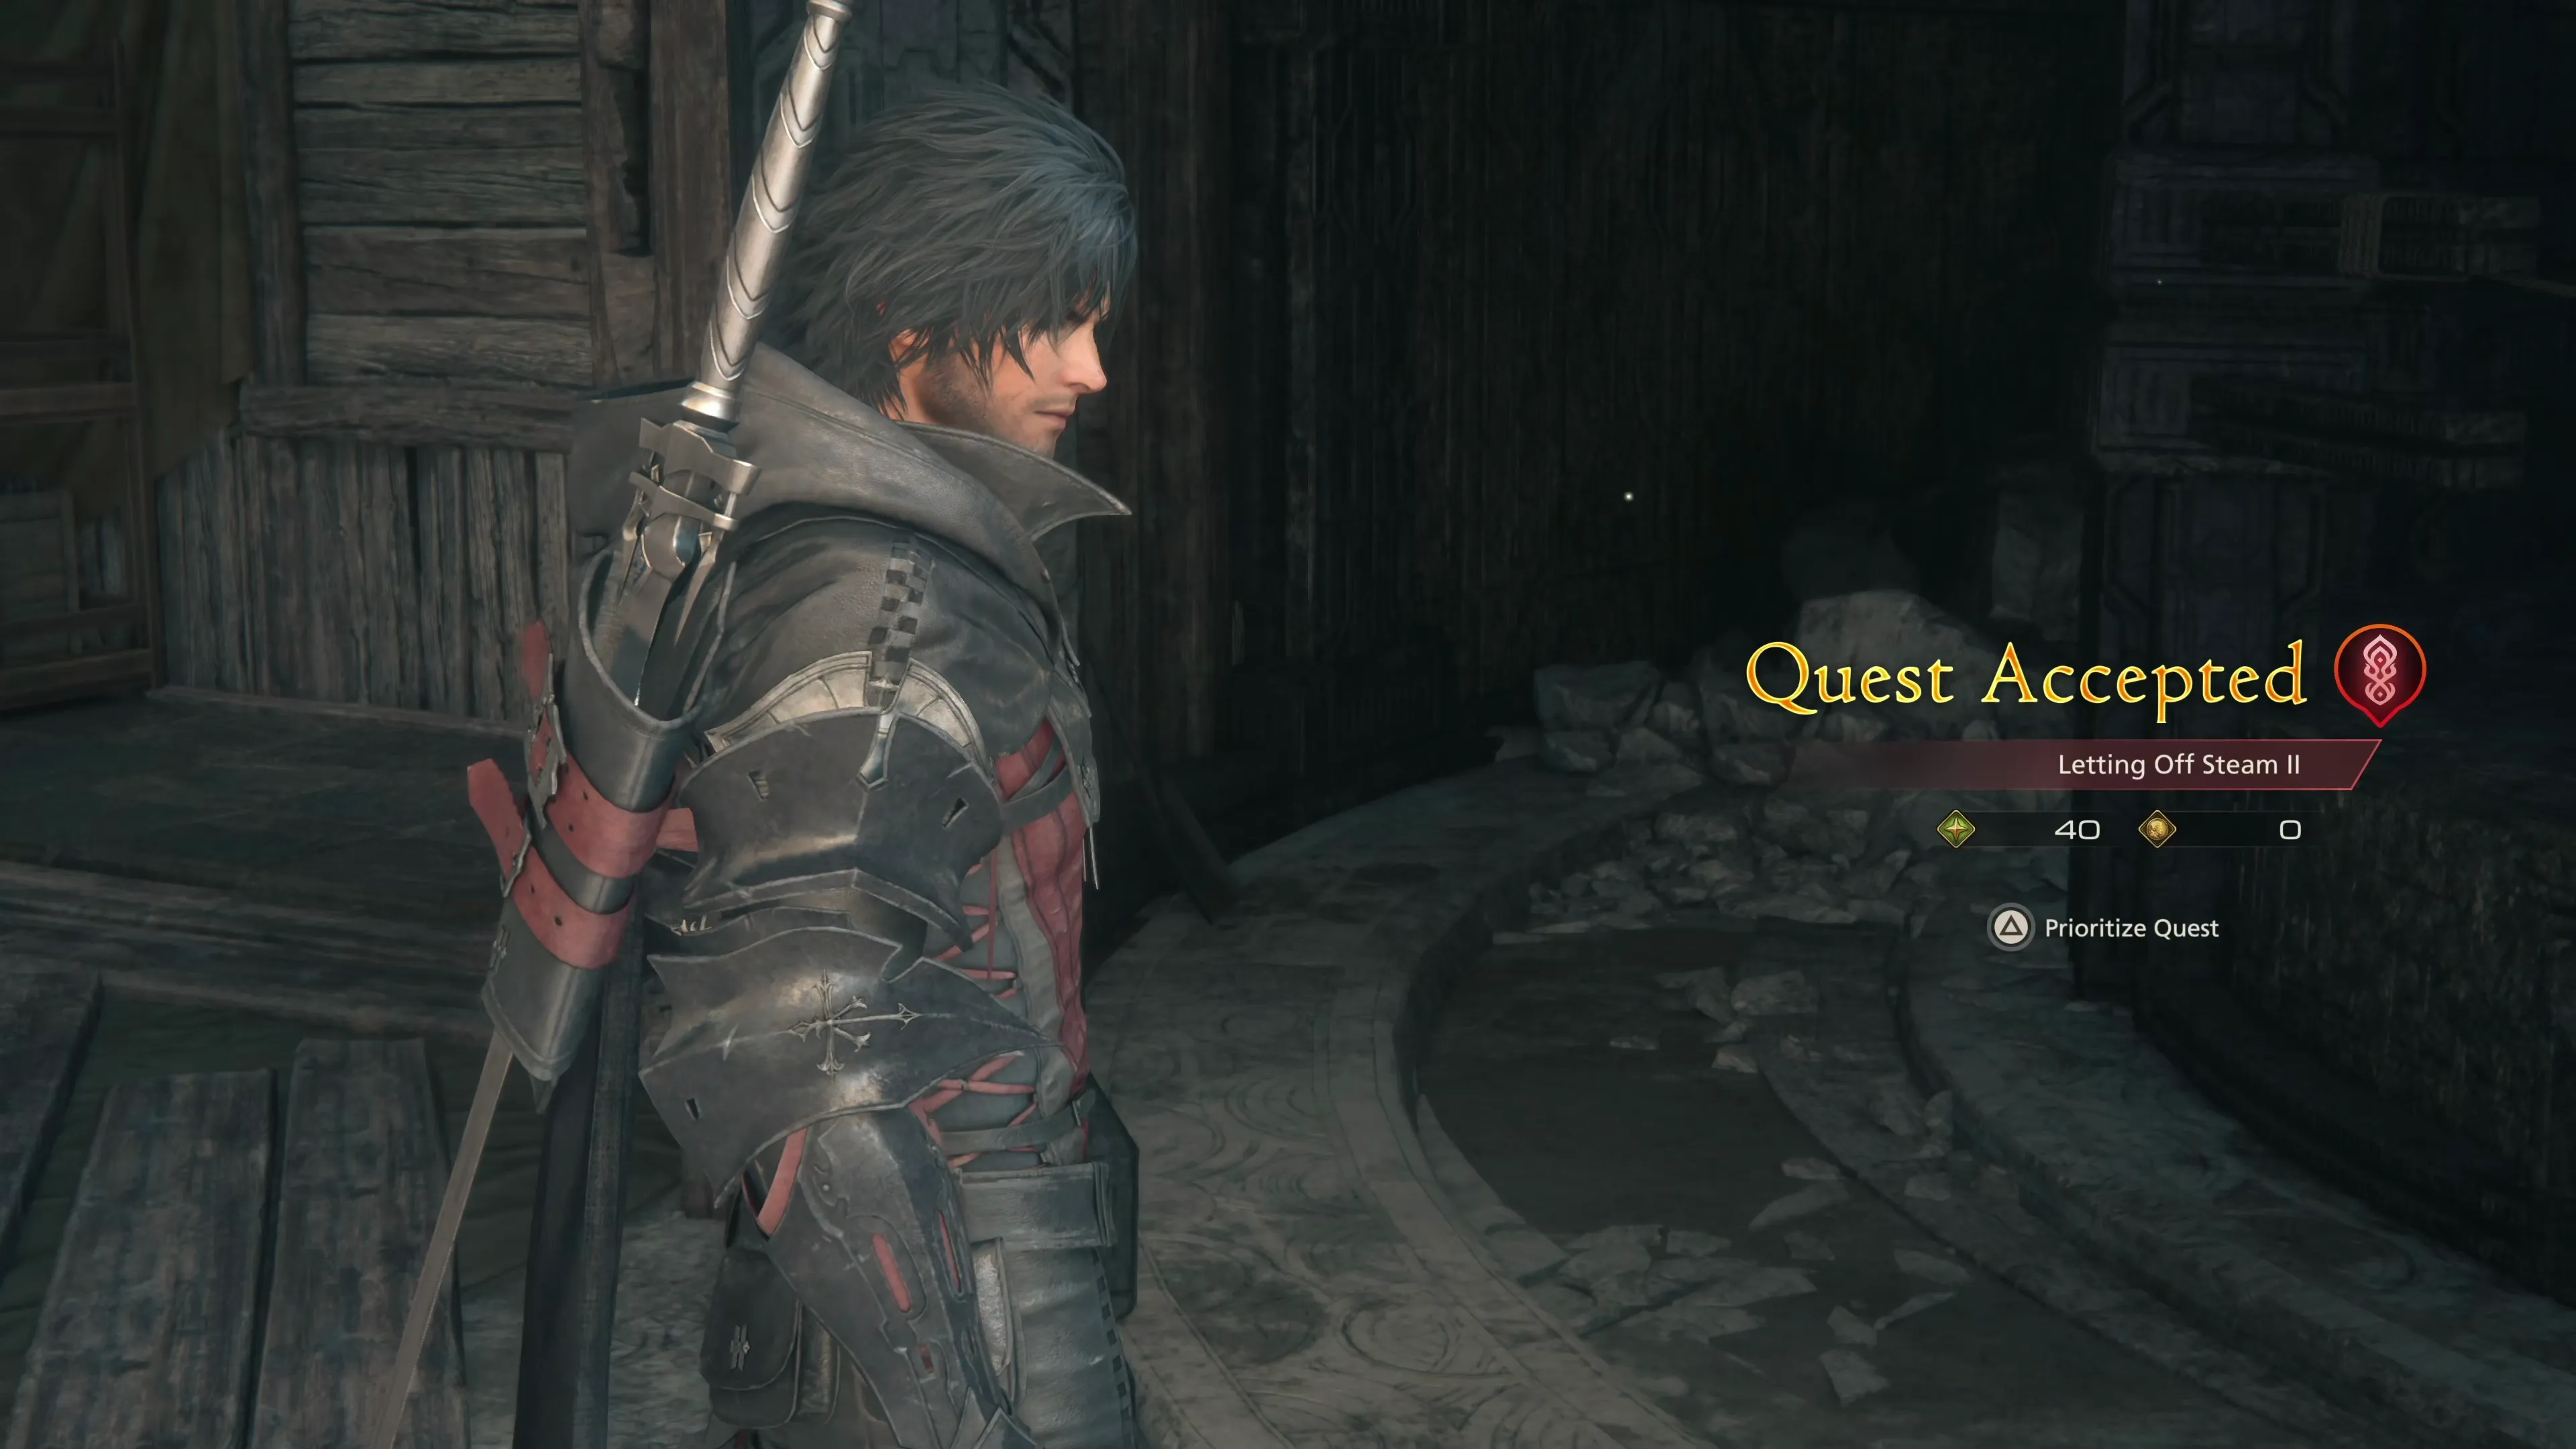
Letting Off Steam II
Lostwing
Head straight out of town, taking the southeastern pathway through the “Cutter’s Gate” just like you did if you completed the ![]() For Great Justice Optional Quest. Ride your
For Great Justice Optional Quest. Ride your ![]() Chocobo along the path until you reach Helena standing near the fence. Swap over to your single-target
Chocobo along the path until you reach Helena standing near the fence. Swap over to your single-target ![]() Eikonic Ability Set before you venture over to deal with the “creature” that Helena refers to.
Eikonic Ability Set before you venture over to deal with the “creature” that Helena refers to.
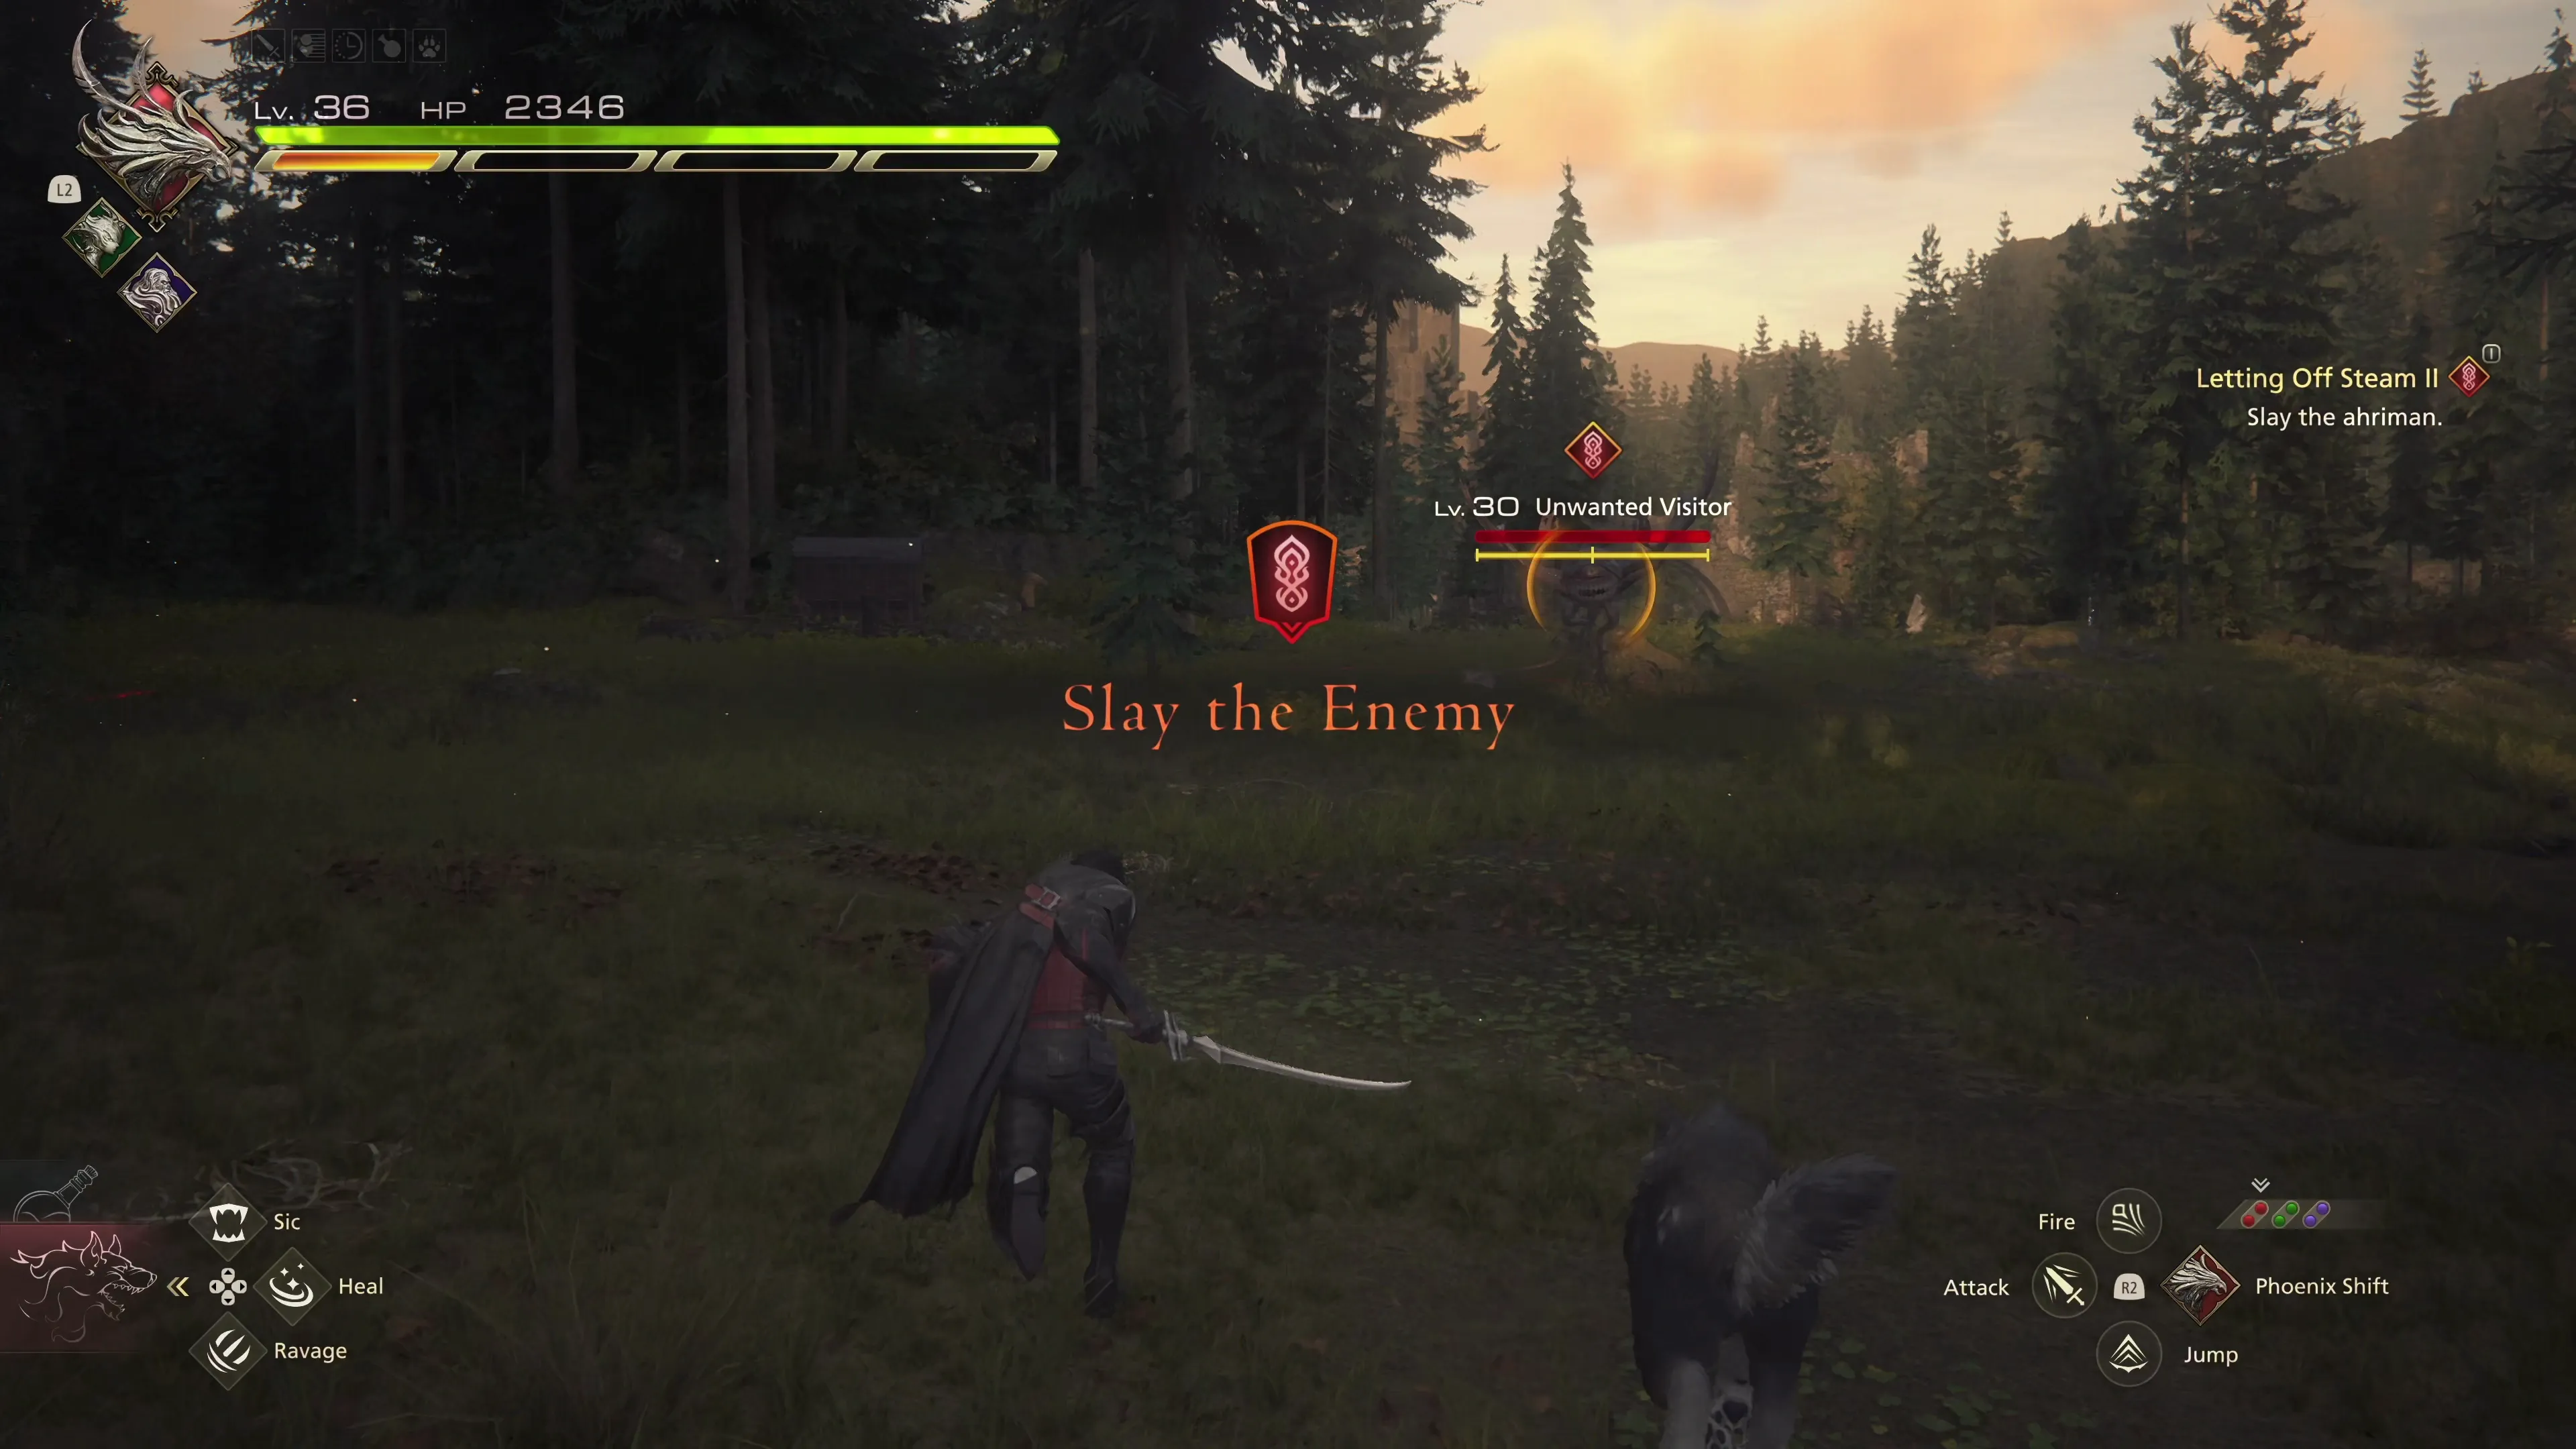
The “Unwanted Visitor” is another bat-type enemy (ahriman), similar to the ones you’ve faced before. The reward for defeating this one is ![]() The Eye of the Warrior accessory, which increases the duration of a
The Eye of the Warrior accessory, which increases the duration of a ![]() Strength Tonic.
Strength Tonic.
Travel back to Mid to complete this second task, and then it’s on to the third and final task.
Letting Off Steam III
The Hideaway
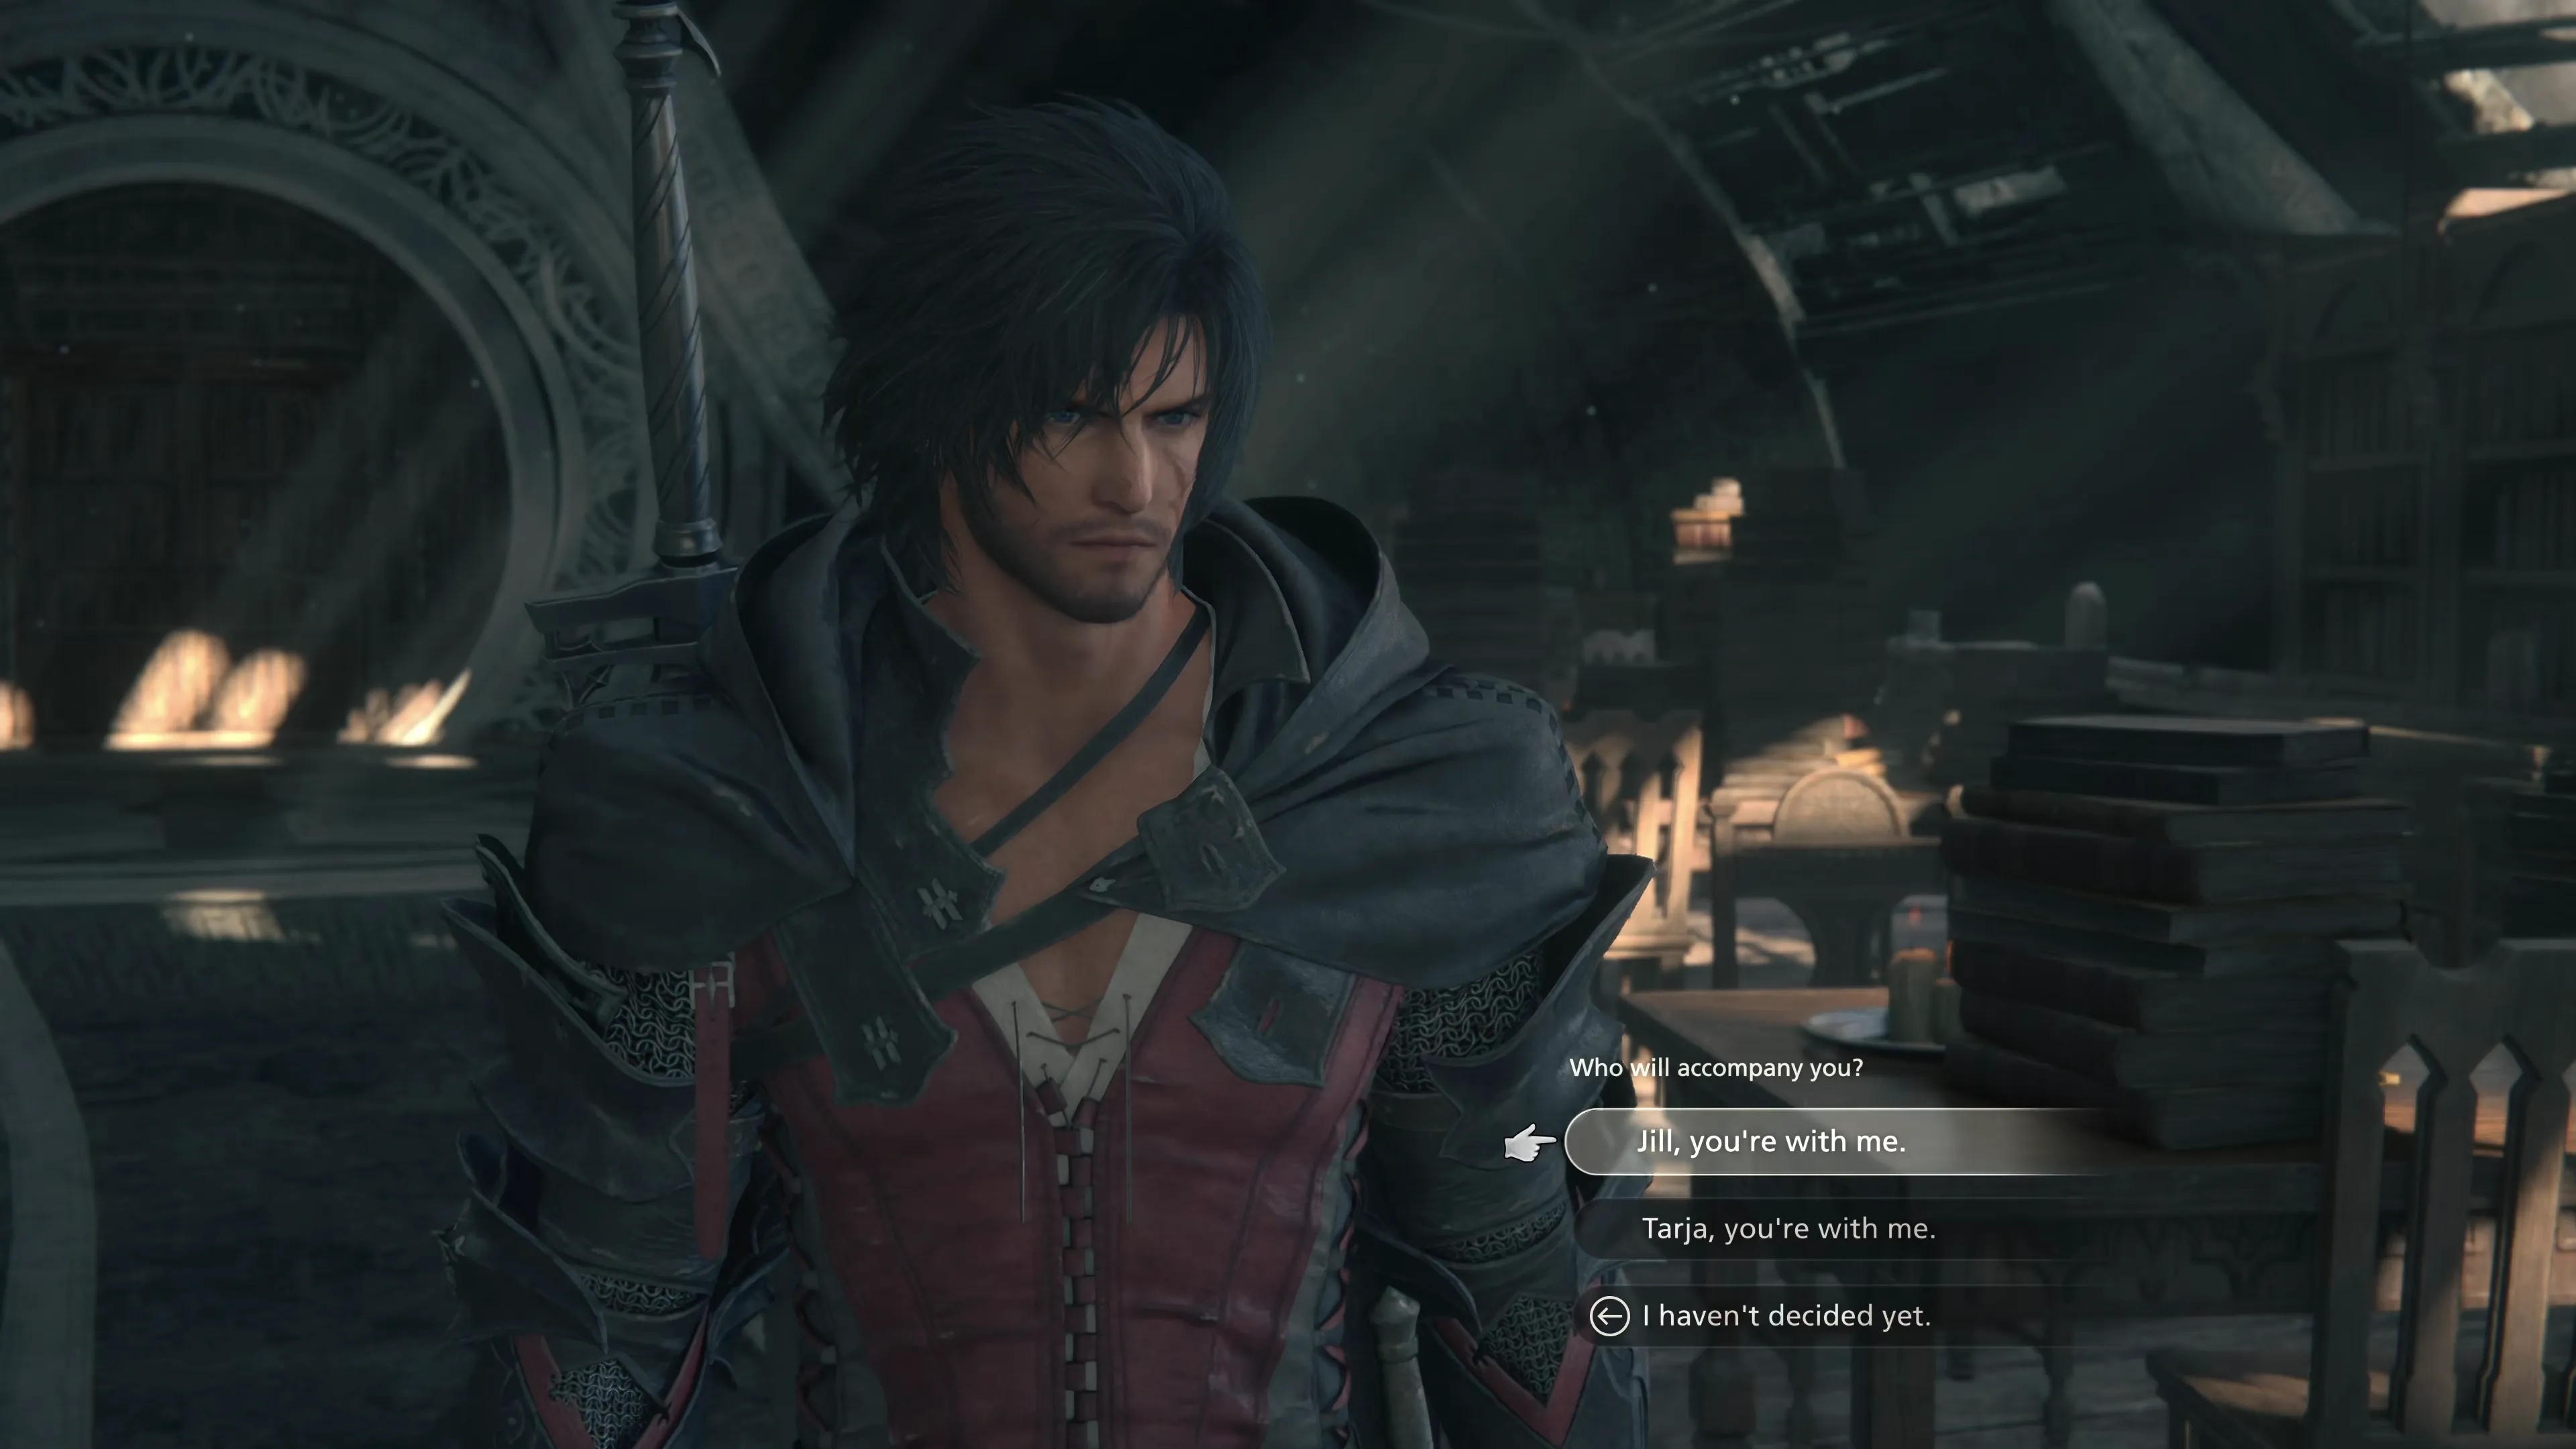
Mid will provide Clive with the ![]() Thermal Shielding Designs and ask him to speak with ‘Tomes’ in the library area of the Hideaway. Hand over the designs, and you will have the option to take either Jill or Tarja with you when you travel to the markets outside of Northreach.
Thermal Shielding Designs and ask him to speak with ‘Tomes’ in the library area of the Hideaway. Hand over the designs, and you will have the option to take either Jill or Tarja with you when you travel to the markets outside of Northreach.
Just like when you had an option to choose between Gav and Otto, your decision won’t impact the outcome of the next quest in any way. Travel to the ![]() Northreach Obelisk.
Northreach Obelisk.
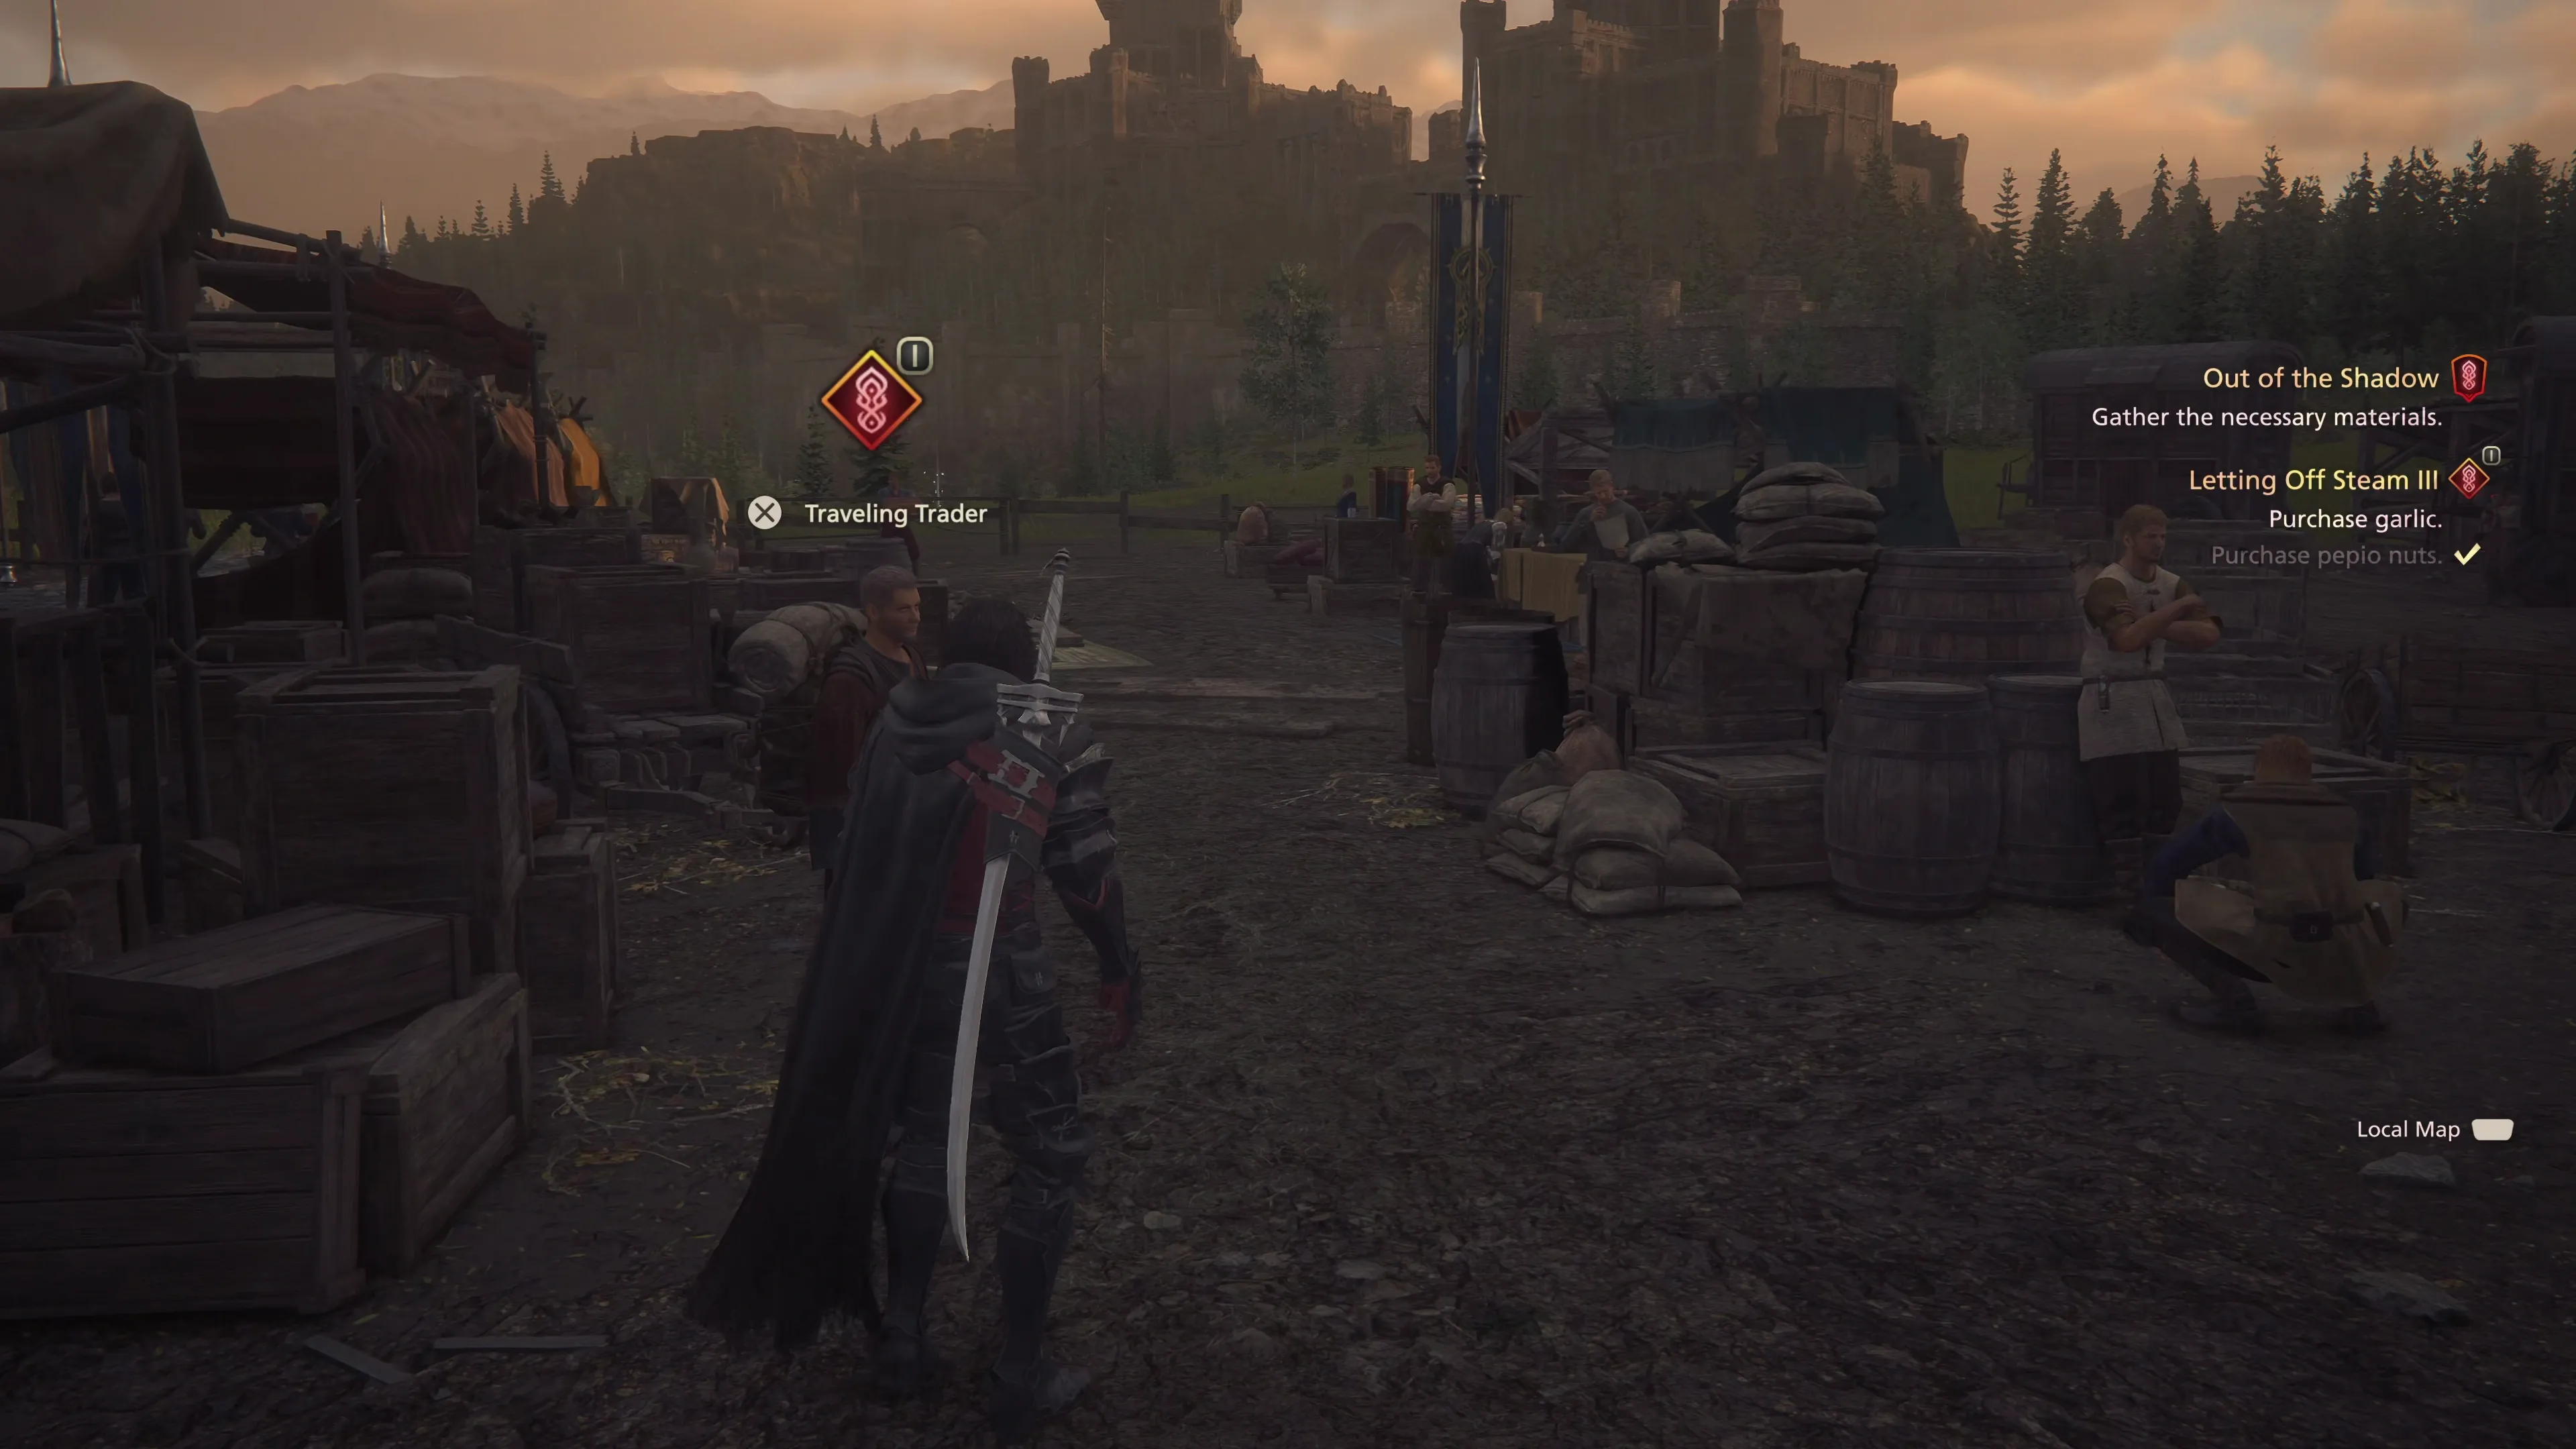
Northreach
Locate Jill/Tarja near one of the vendors and speak to her. She will ask you to find the ![]() Pepio Nuts and some
Pepio Nuts and some ![]() Garlic. You can purchase both of these items from two shops located in the Markets. Once you have both, find Jill/Tarja again near the entrance area.
Garlic. You can purchase both of these items from two shops located in the Markets. Once you have both, find Jill/Tarja again near the entrance area.
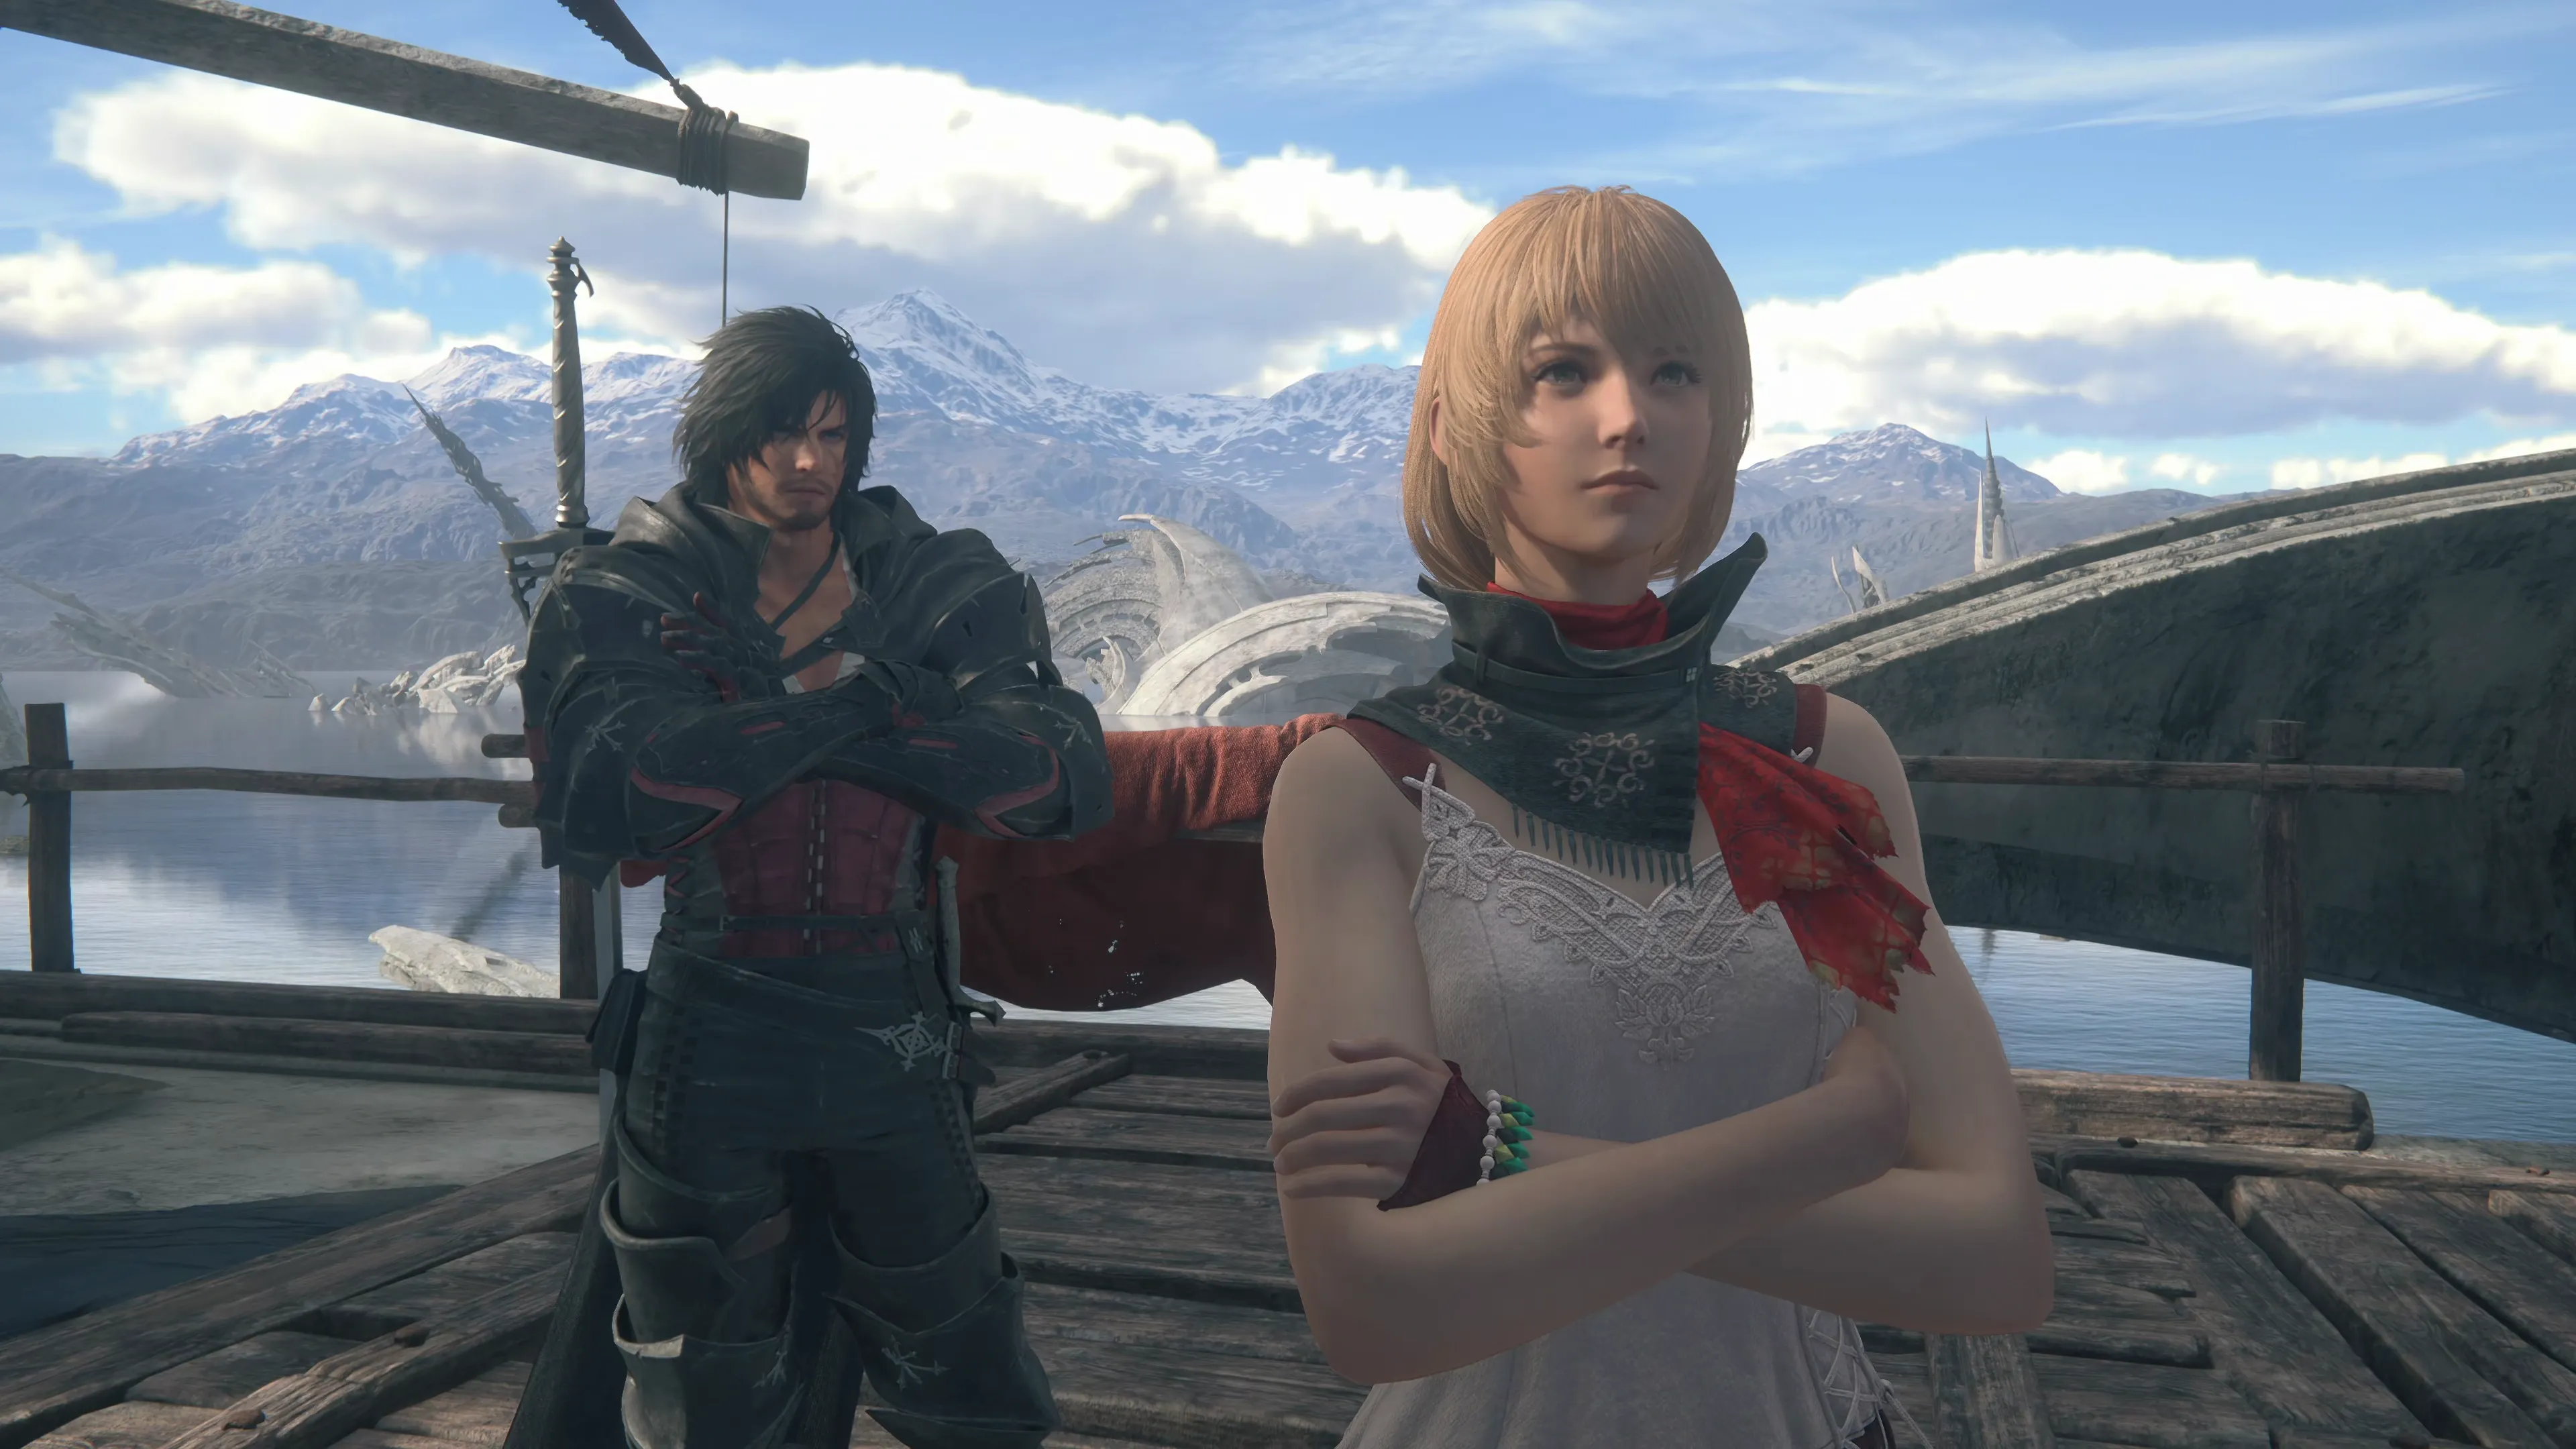
Depending on which character you brought, either Jill or Tarja, you’ll get another short cutscene with one of them near the lake. After the cutscene, travel back to Harpocrates at the Hideaway.
The Hideaway
Harpocrates will confirm that the development of the ‘shielding’ is progressing well. The rewards for completing this last Subquest include more materials that you can sell in one of the shops. Return to Mid and give her an update on your progress.
Talk to her one more time, and a bunch of new Optional Quests will become available.
Optional Quest
“Owain, denizen of Mid’s dungeon, asks for Clive’s assistance in obtaining the bomb ash he needs to complete a new invention. He has only to slay a bomb king—a beast so beastly it has earned its own billet on the Hunt Board.”
Head over to the ![]() Reading Table in Clive’s Chambers to activate the next three quests:
Reading Table in Clive’s Chambers to activate the next three quests:
Optional Quest
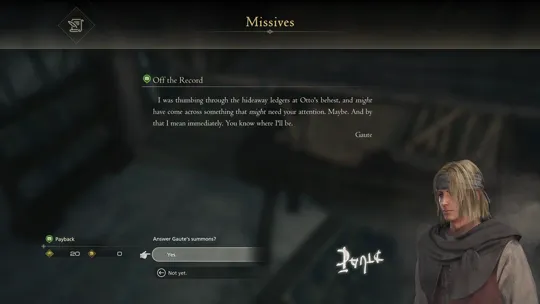
This quest begins from a missive called ![]() Off the Record.
Off the Record.
“A cursory review of the hideaway’s ledgers by Gaute has revealed an issue of utmost concern—so concerning, in fact, that he wishes to speak with Clive about it personally.”
Optional Quest
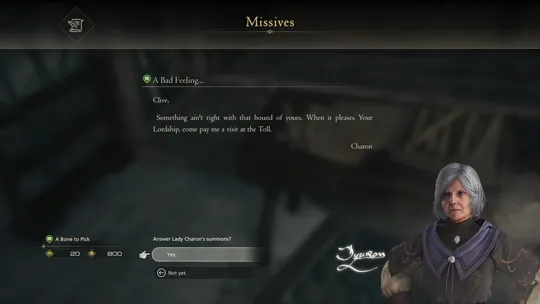
This quest begins from a missive called ![]() A Bad Feeling….
A Bad Feeling….
“Lady Charon is concerned with Torgal’s well-being and wishes to discuss the matter privately.”
Optional Quest
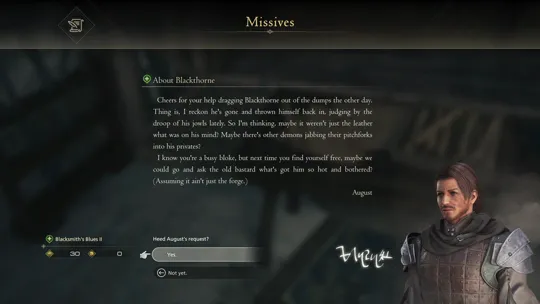
This quest begins from a missive called ![]() About Blackthorne….
About Blackthorne….
“Clive receives a letter from August asking him to help cheer Blackthorne up again. What could be the matter with him this time?”
Achievement/Trophy
“Open 10 letters at the reading table.” Completing these quests, and reading a few more missives at Clive’s ![]() Reading Table, will reward you with the The Pen Is Mightier Achievement/Trophy.
Reading Table, will reward you with the The Pen Is Mightier Achievement/Trophy.
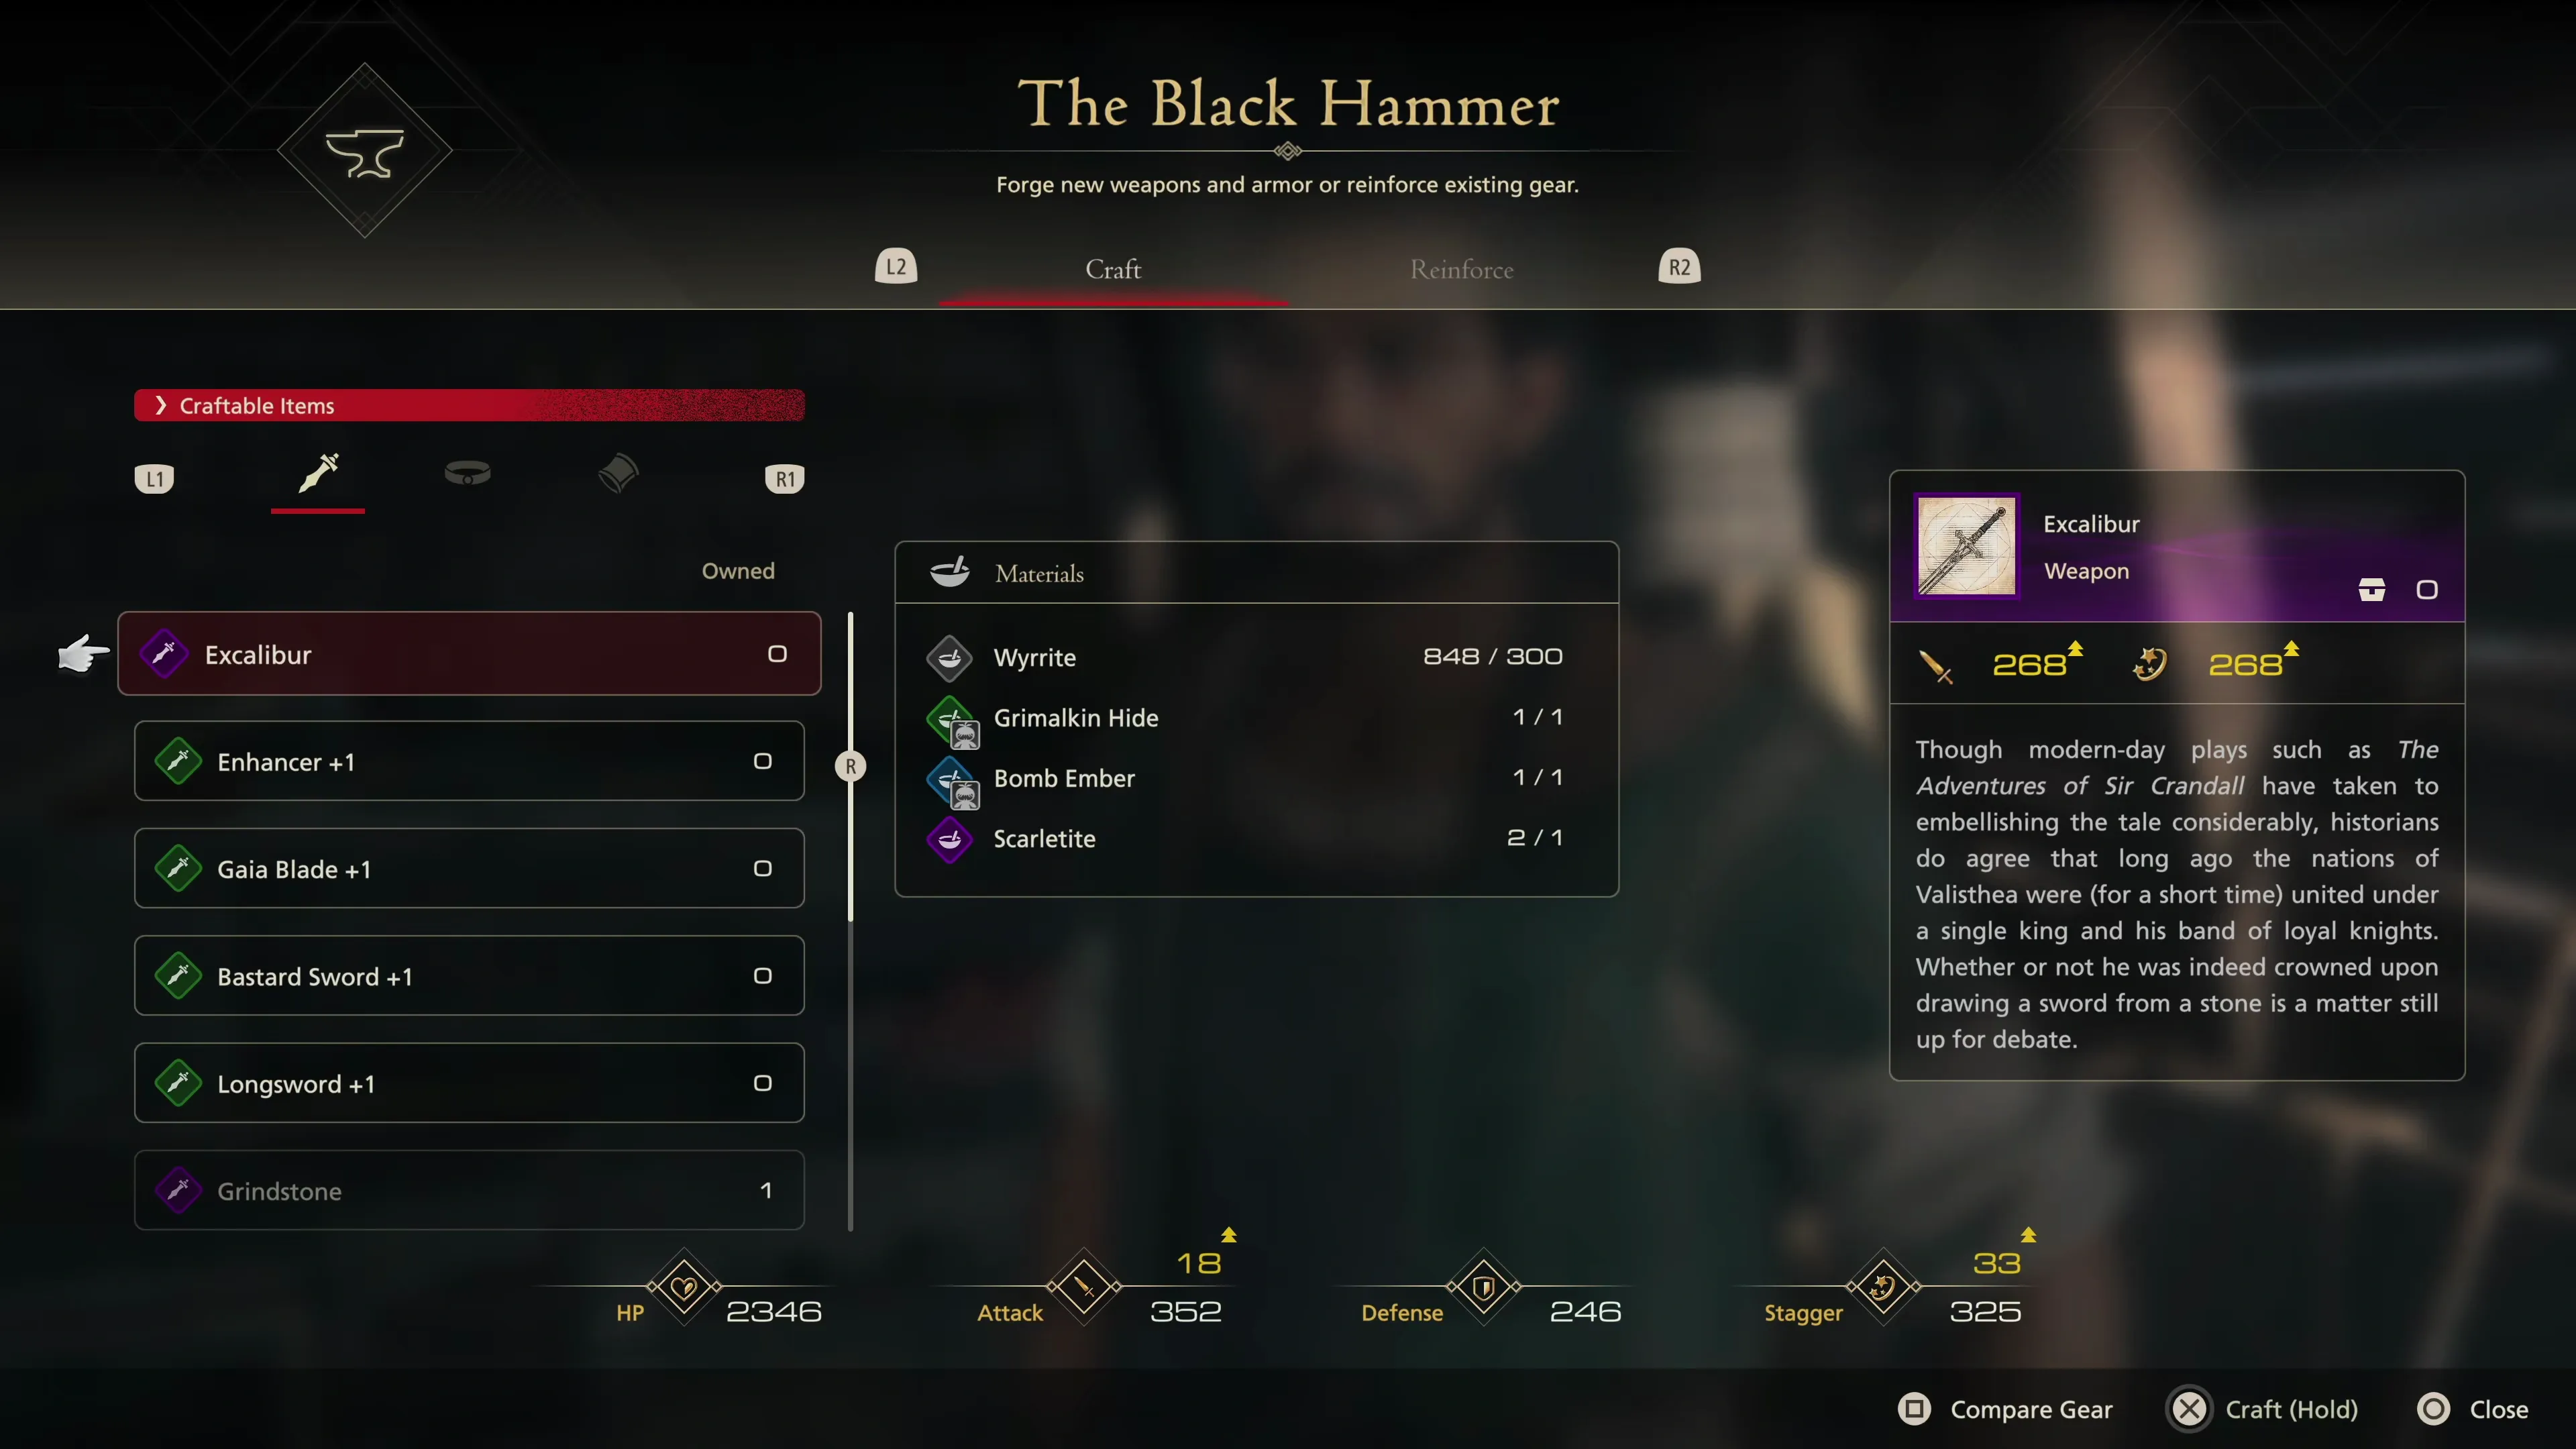
Completing the “Grimalkin” Hunt, defeating the “Bomb King,” and finding the ![]() Excalibur Design Draft for Blackthorne means you can now craft a new blade:
Excalibur Design Draft for Blackthorne means you can now craft a new blade:
| Materials | |
|---|---|
Finishing all of the Hunts and Optional Quests will also unlock the next donation at the Patron’s Whisper:
| Renown | Crate Contents | |
|---|---|---|
| 715 |
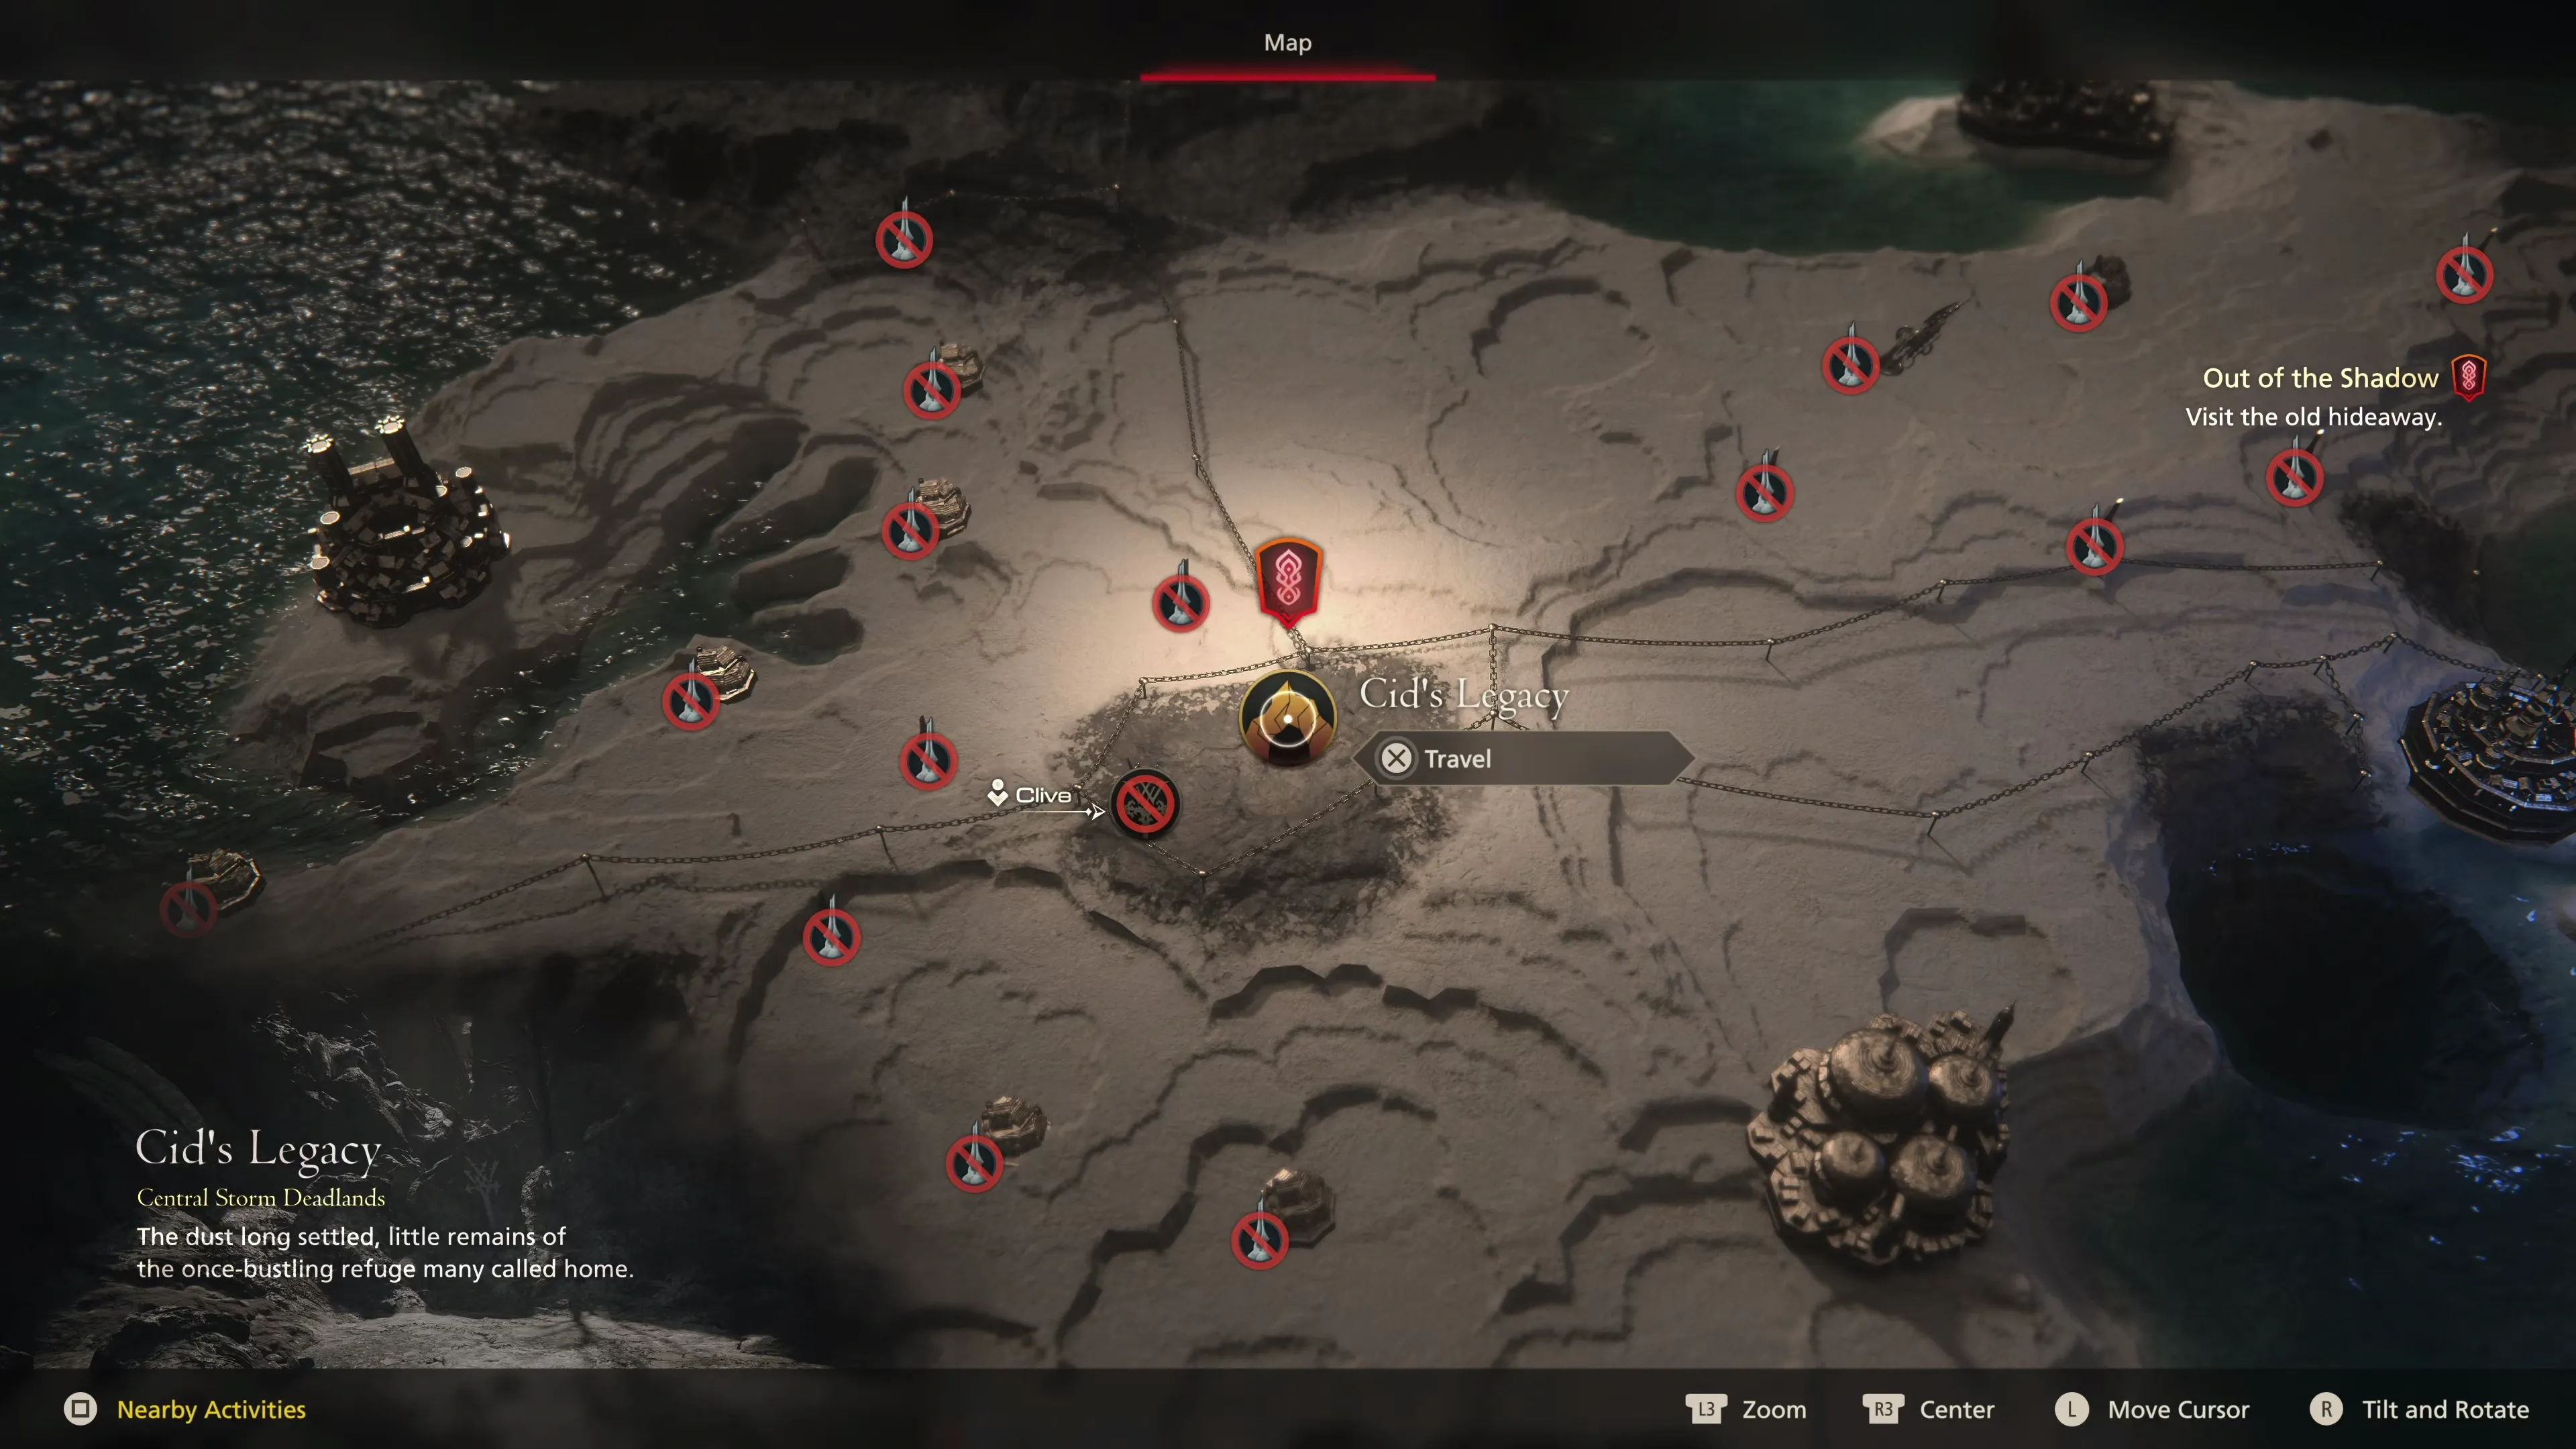
Speak to Otto to continue the story, and then speak to Obolus near the lift. The next destination is called Cid’s Legacy, which is very close to the Hideaway on the World Map, and this location serves to deliver a few cutscenes about Cid’s history. Then it’s time to move on to Boklad through Laetny’s Clef and the next section of the walkthrough.