
 Fire in the Sky
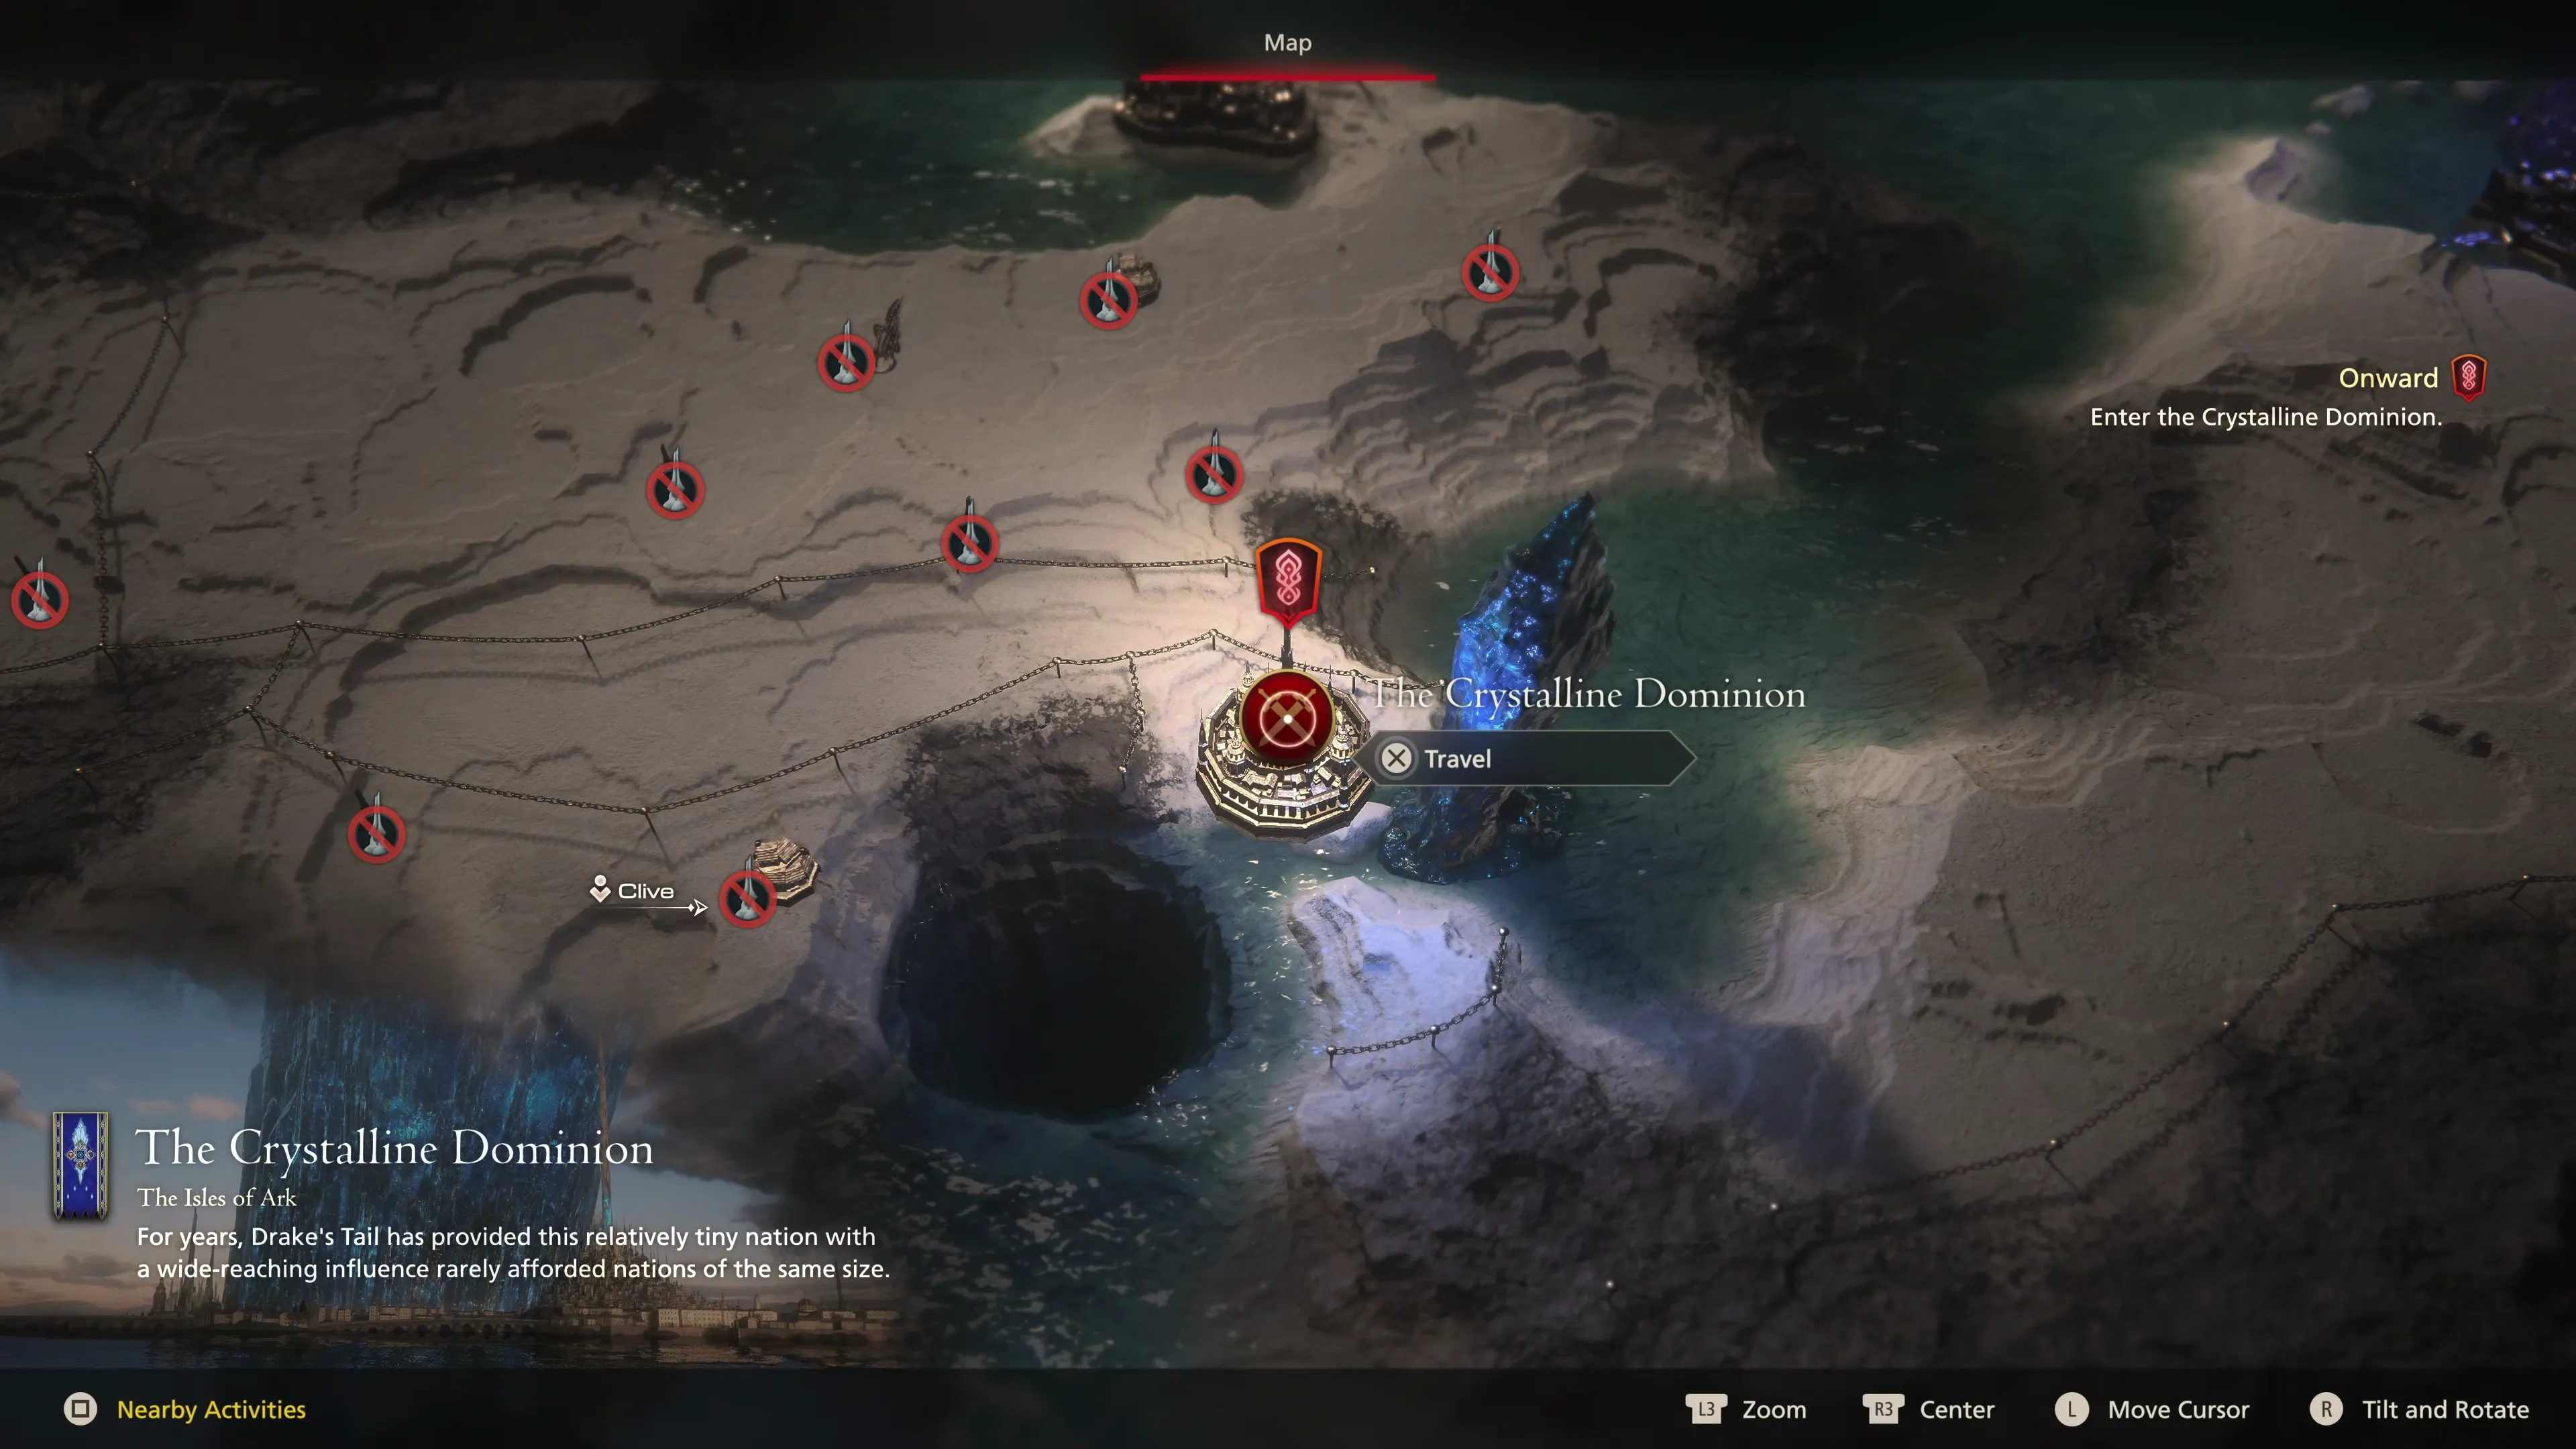
 Twinside
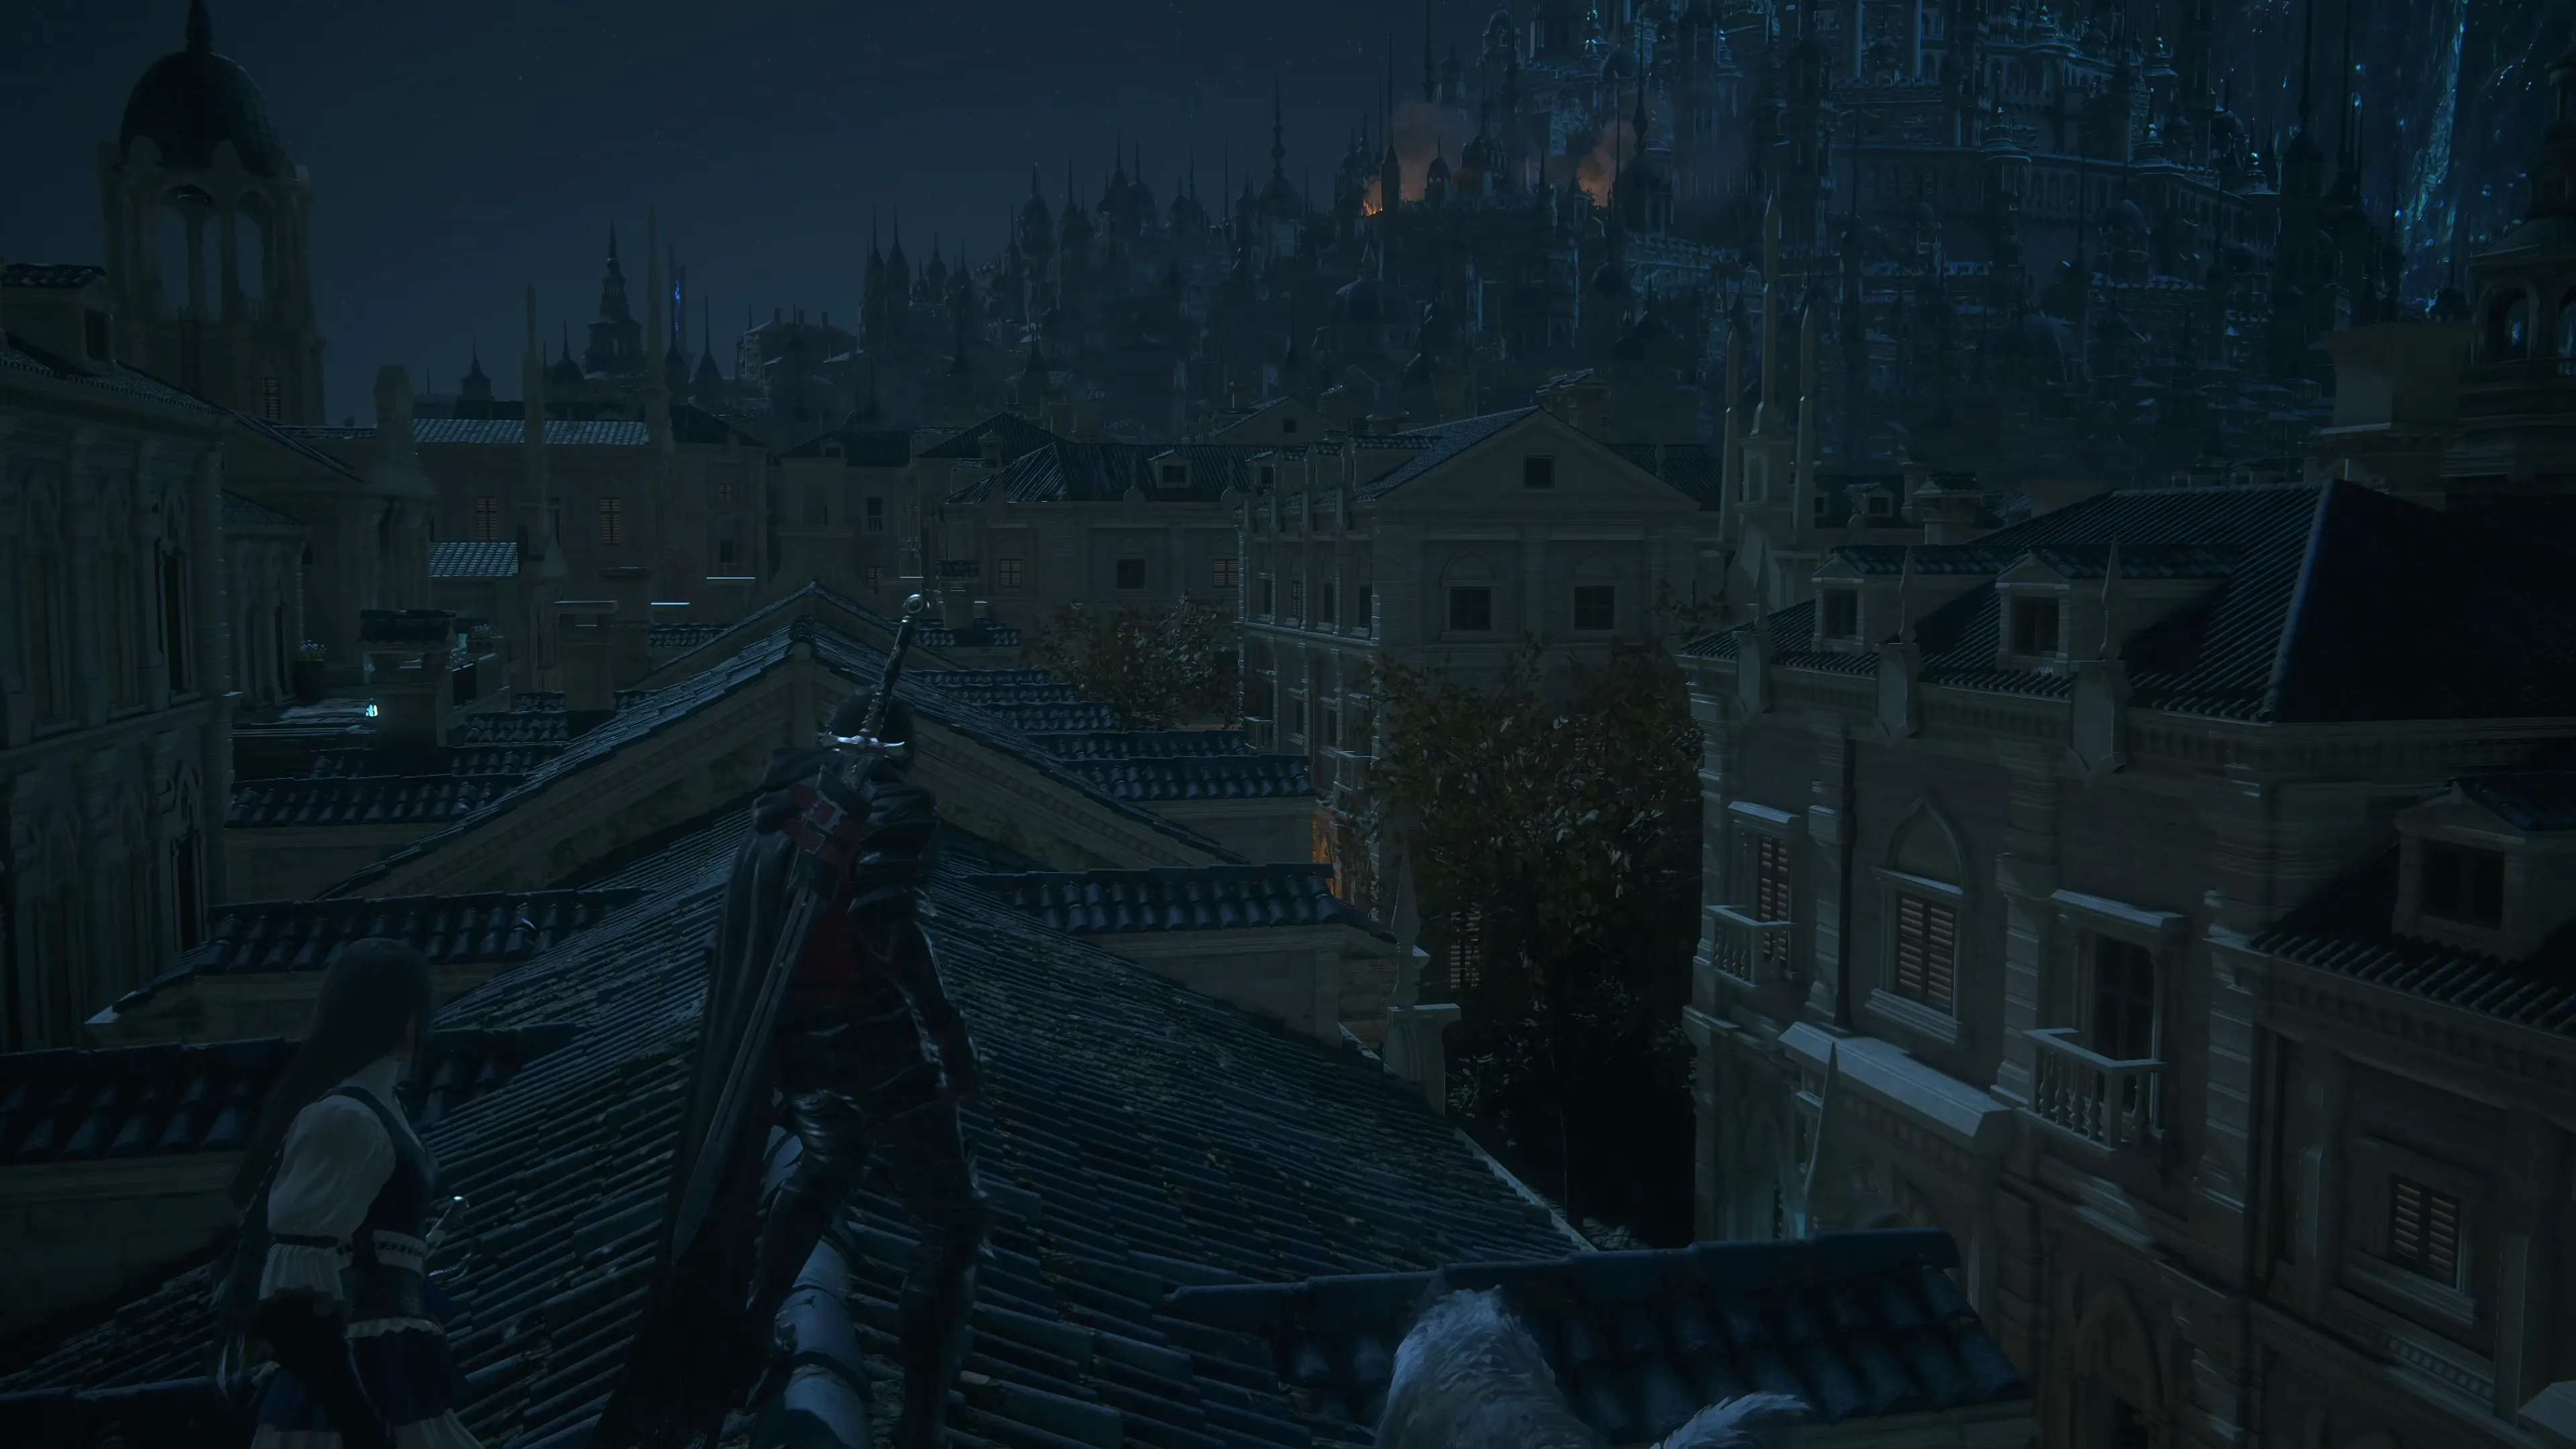
Run across the roofs of the Twinside houses until the path leads off to the left side across some scaffolding. You’ll have to sneak across a thin ledge, climb up onto a roof, and climb up a nearby ladder to the top of the tower to get a better view.
The game will continue on the ground level of the city. Switch to your multi-target ![]() Eikonic Ability Set and get ready for some easy battles. Defeat the group of soldiers and head down the stairs on the far side of the plaza.
Eikonic Ability Set and get ready for some easy battles. Defeat the group of soldiers and head down the stairs on the far side of the plaza.
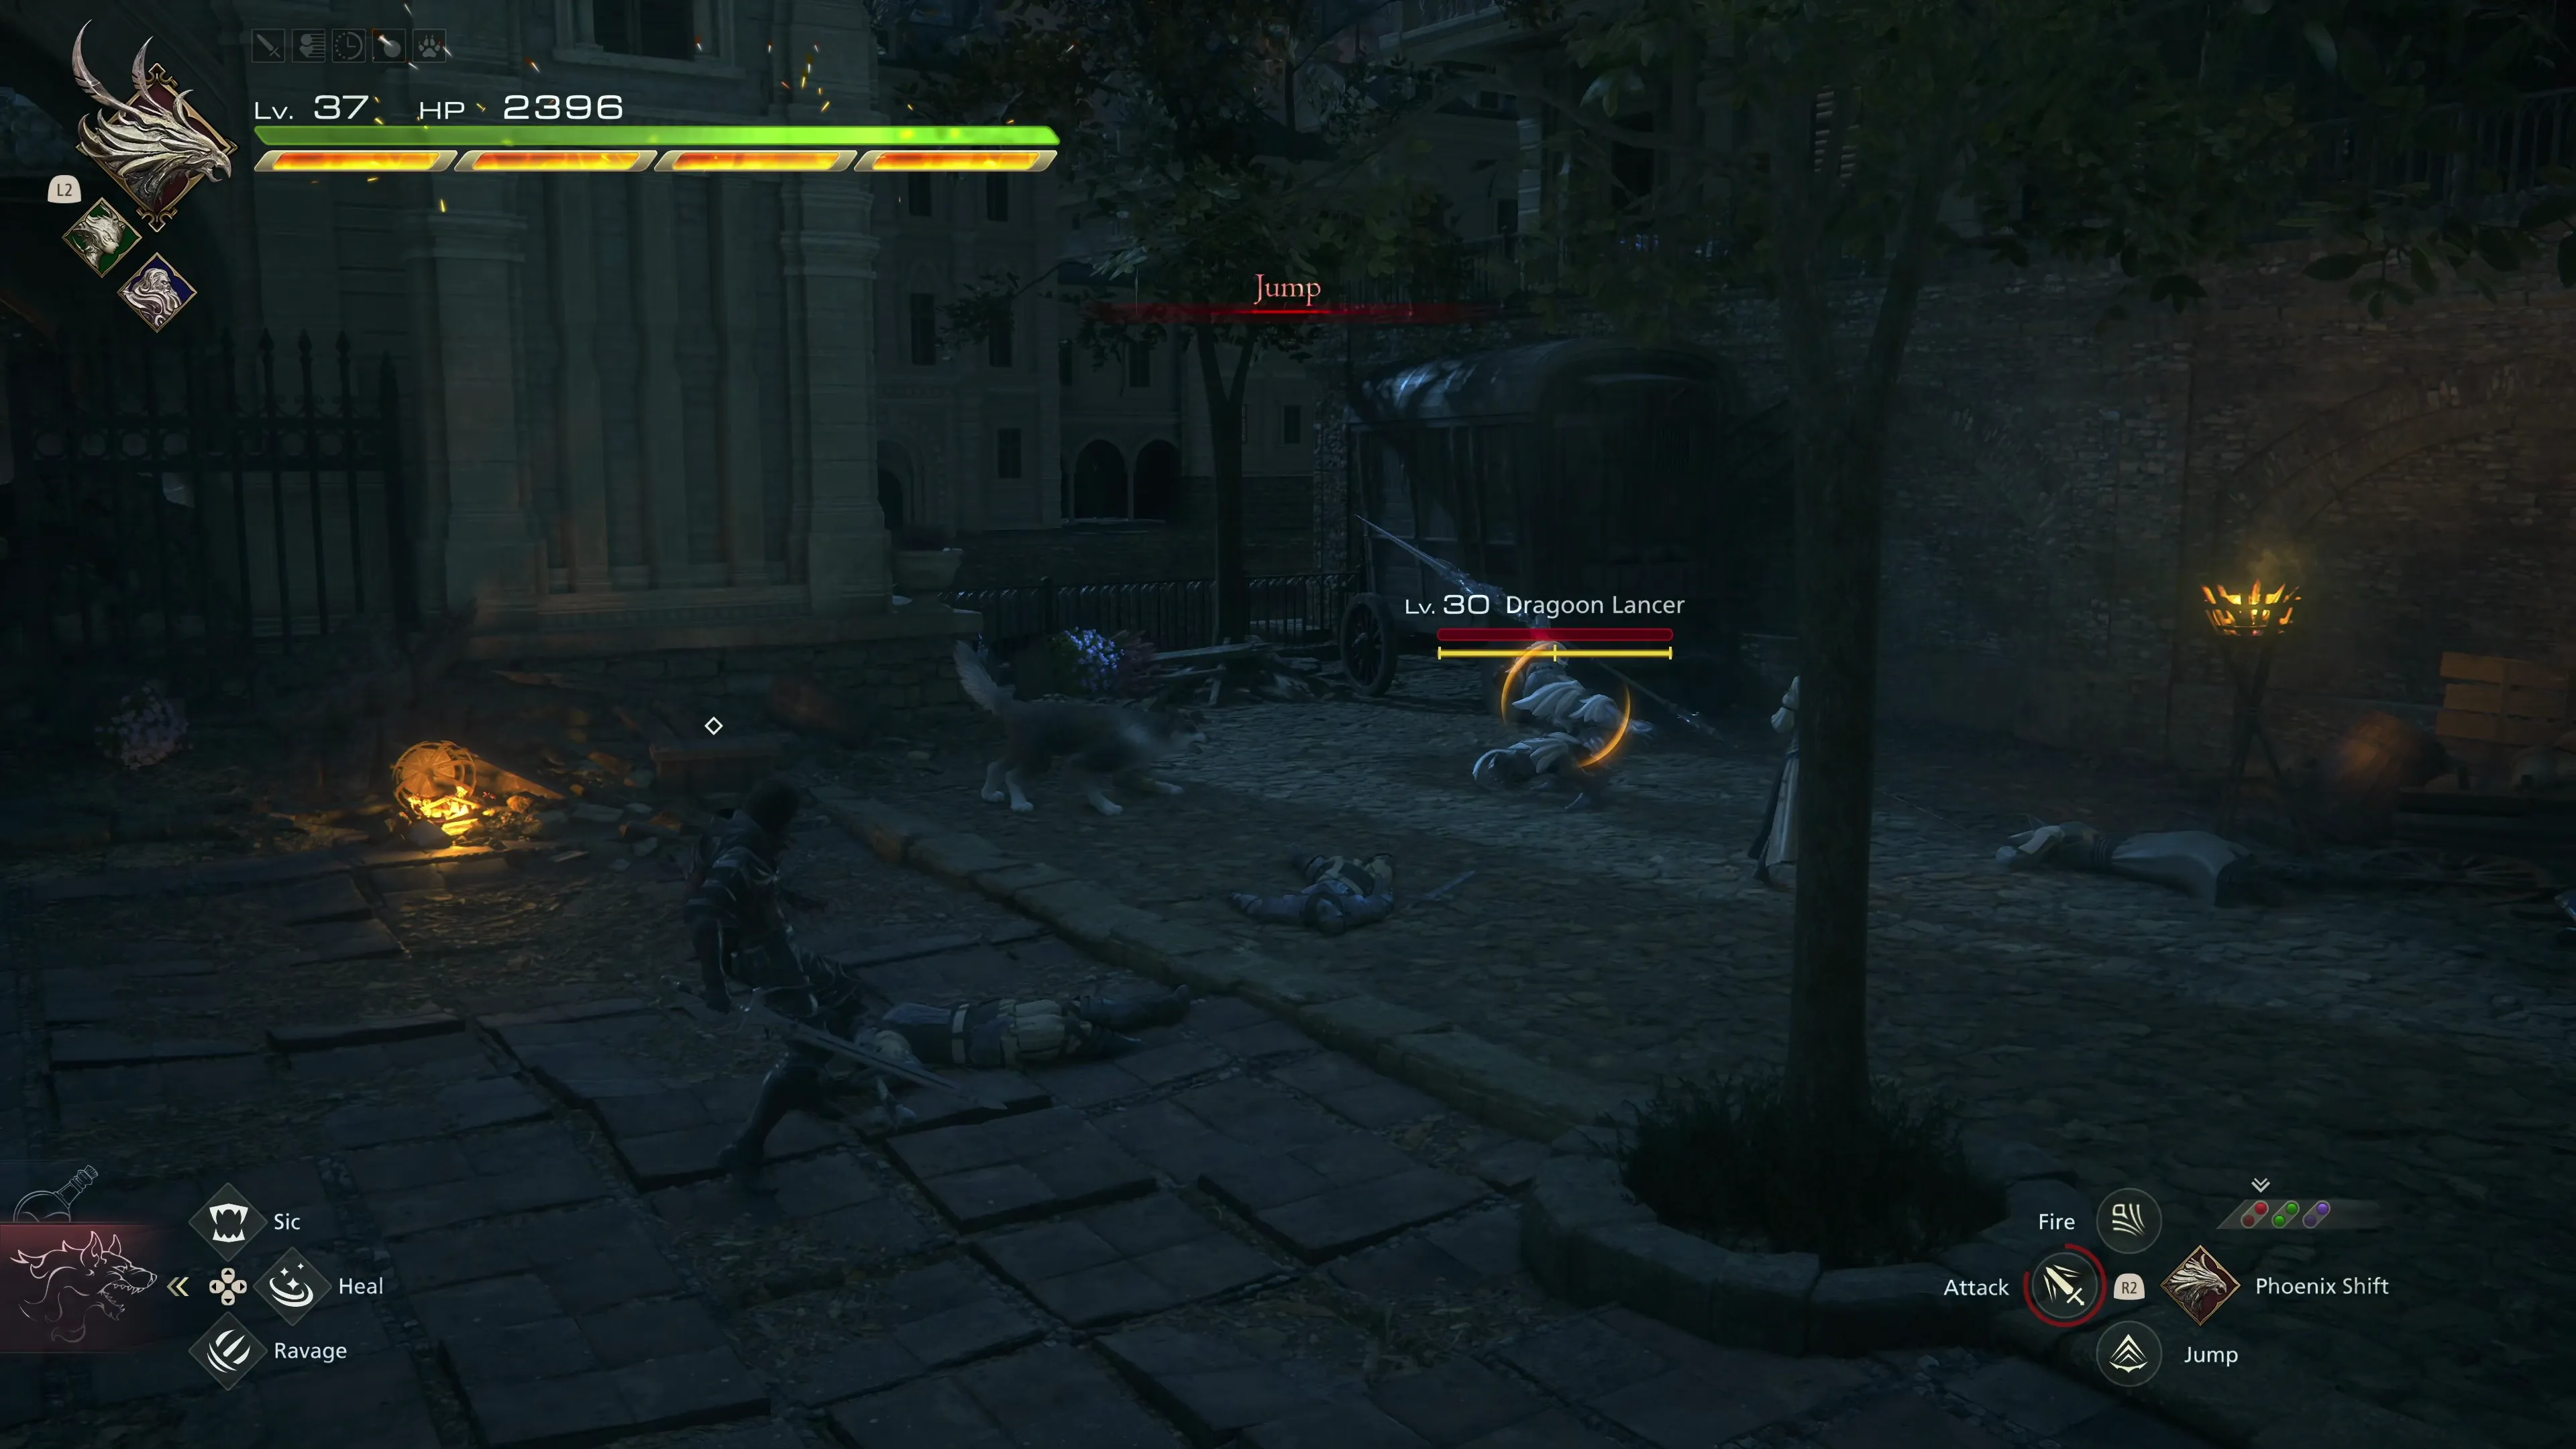
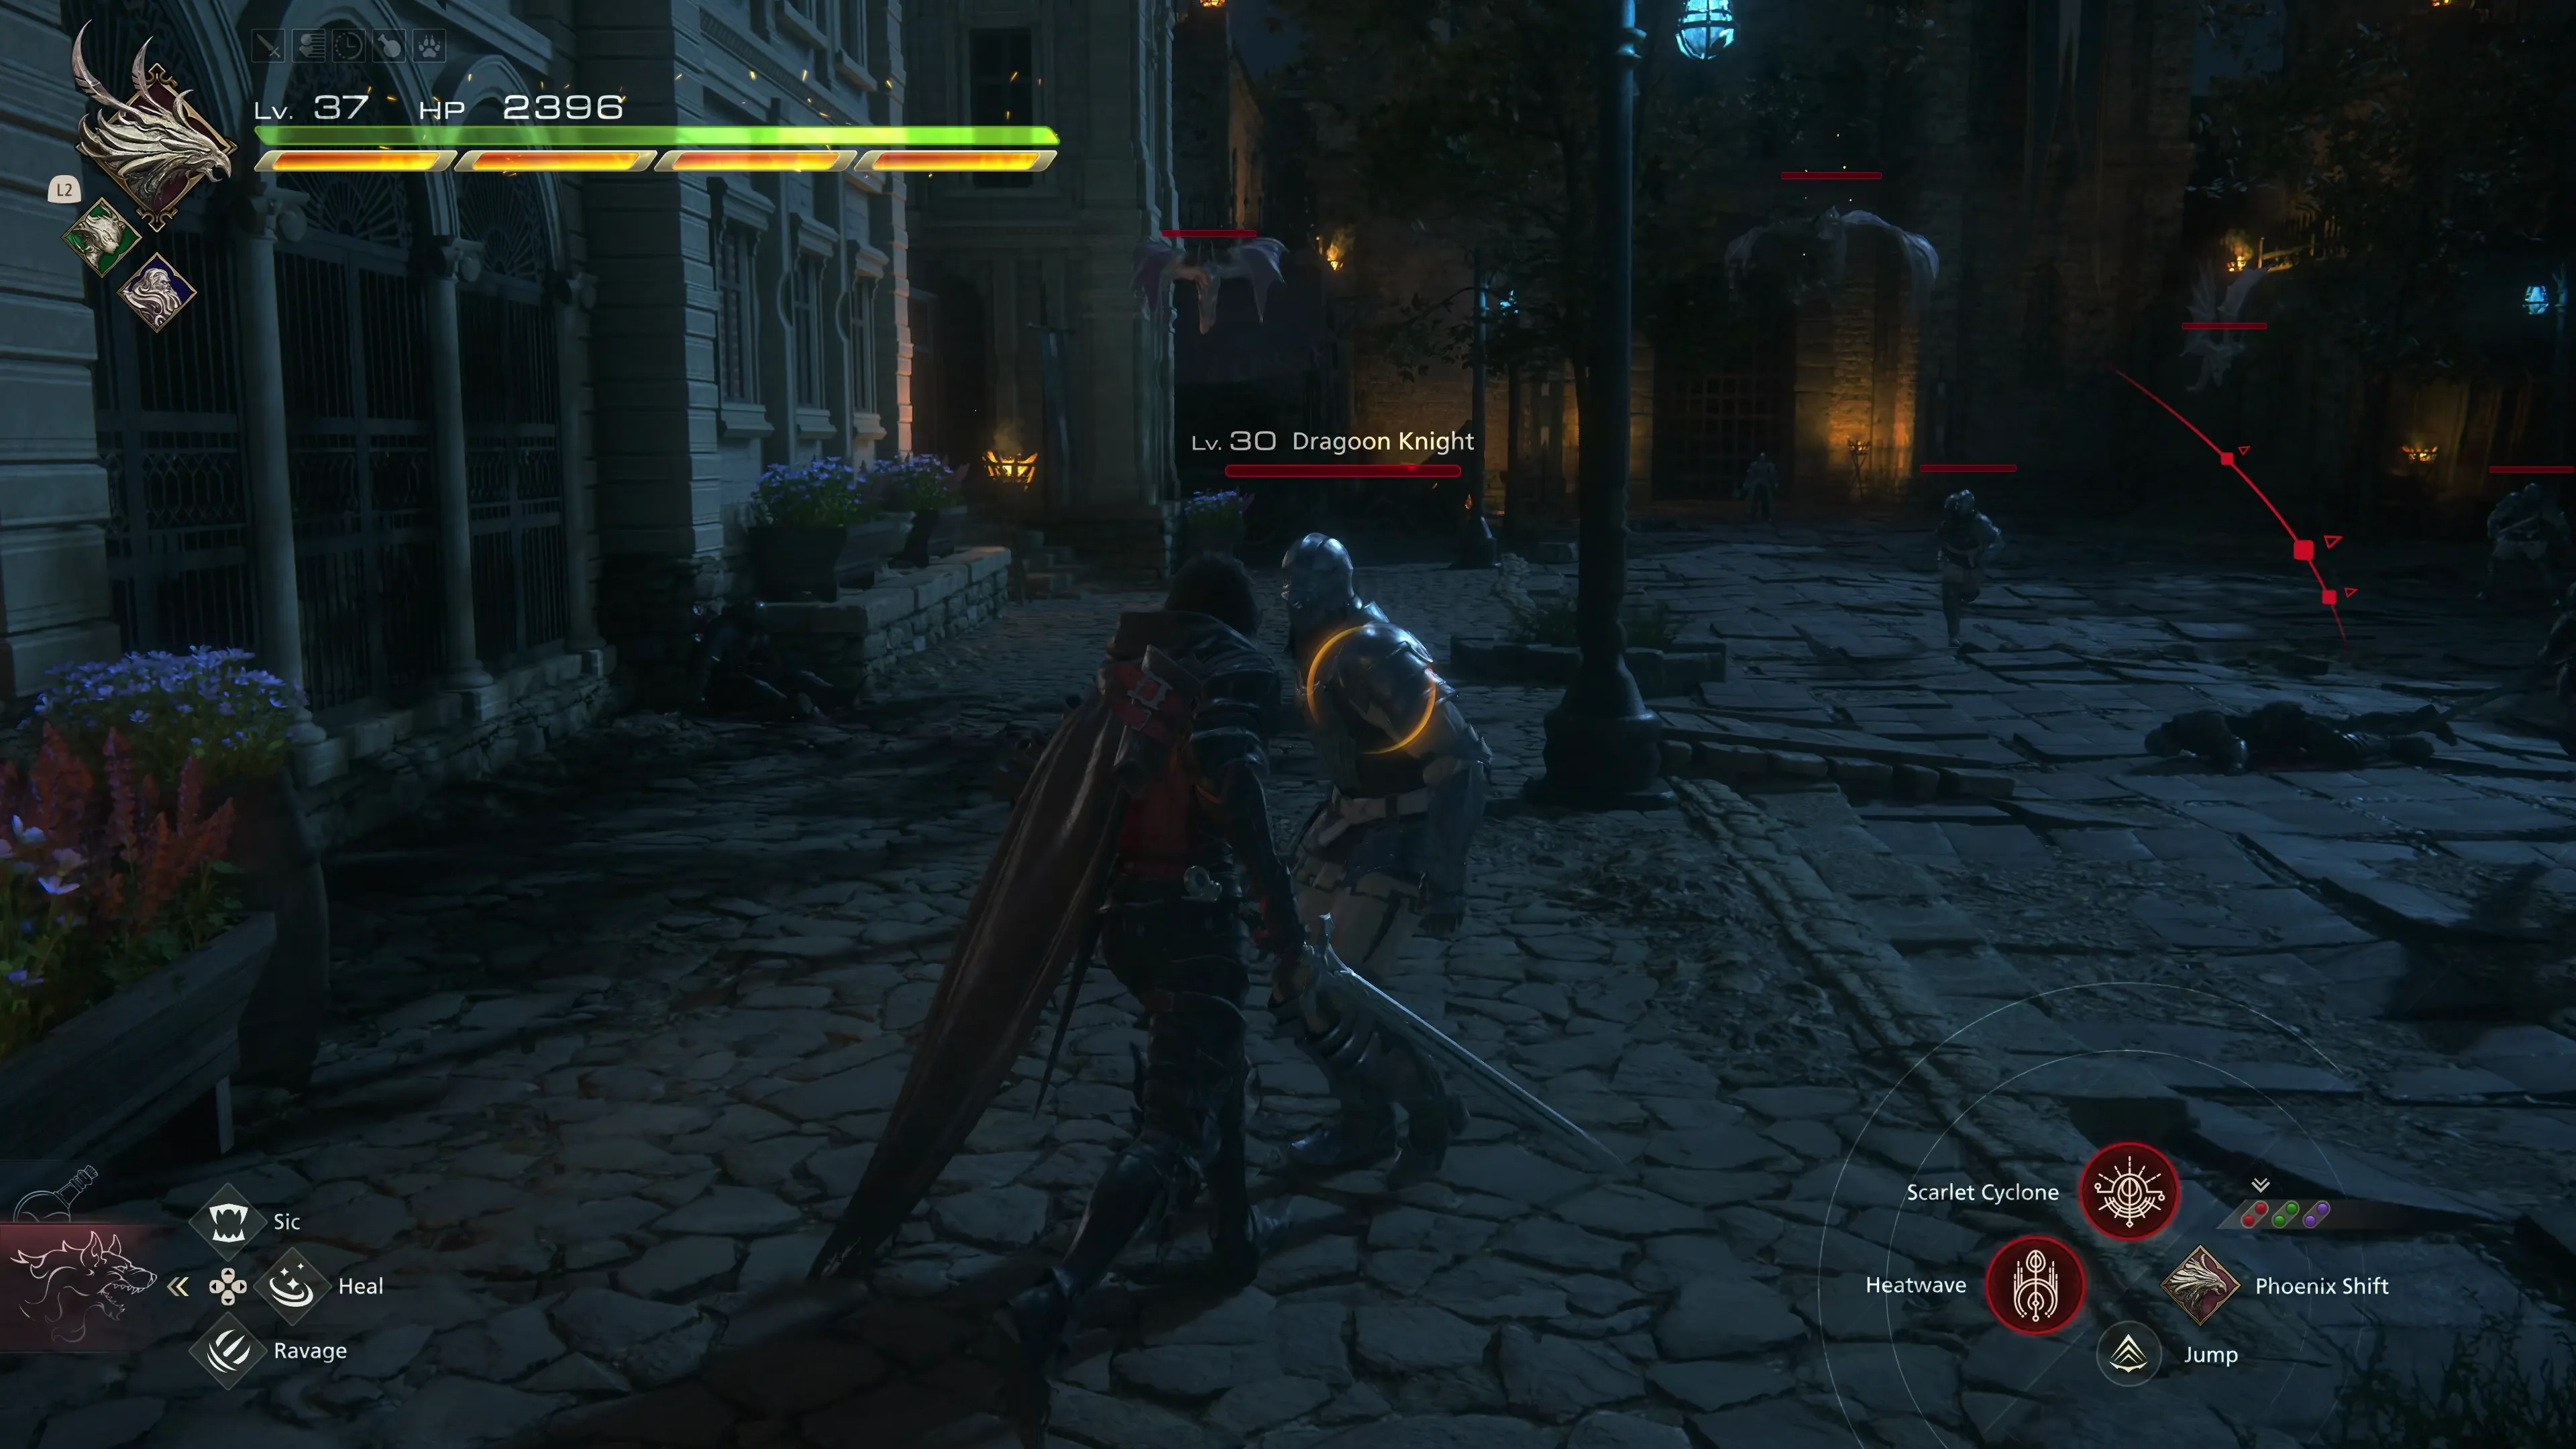
Turn right to find the next group of Dragoon Knights and some Astrologers. The Astrologers are spellcasters that can cast “Cure,” so make sure to focus your efforts on them first. After that, you’ll face a Dragoon Lancer, which is another dragoon-type enemy similar to the “Knight of the Blinding Dawn” and “Knight of the Lasting Light.” By now, you should be used to its attacks, which are easy to dodge.
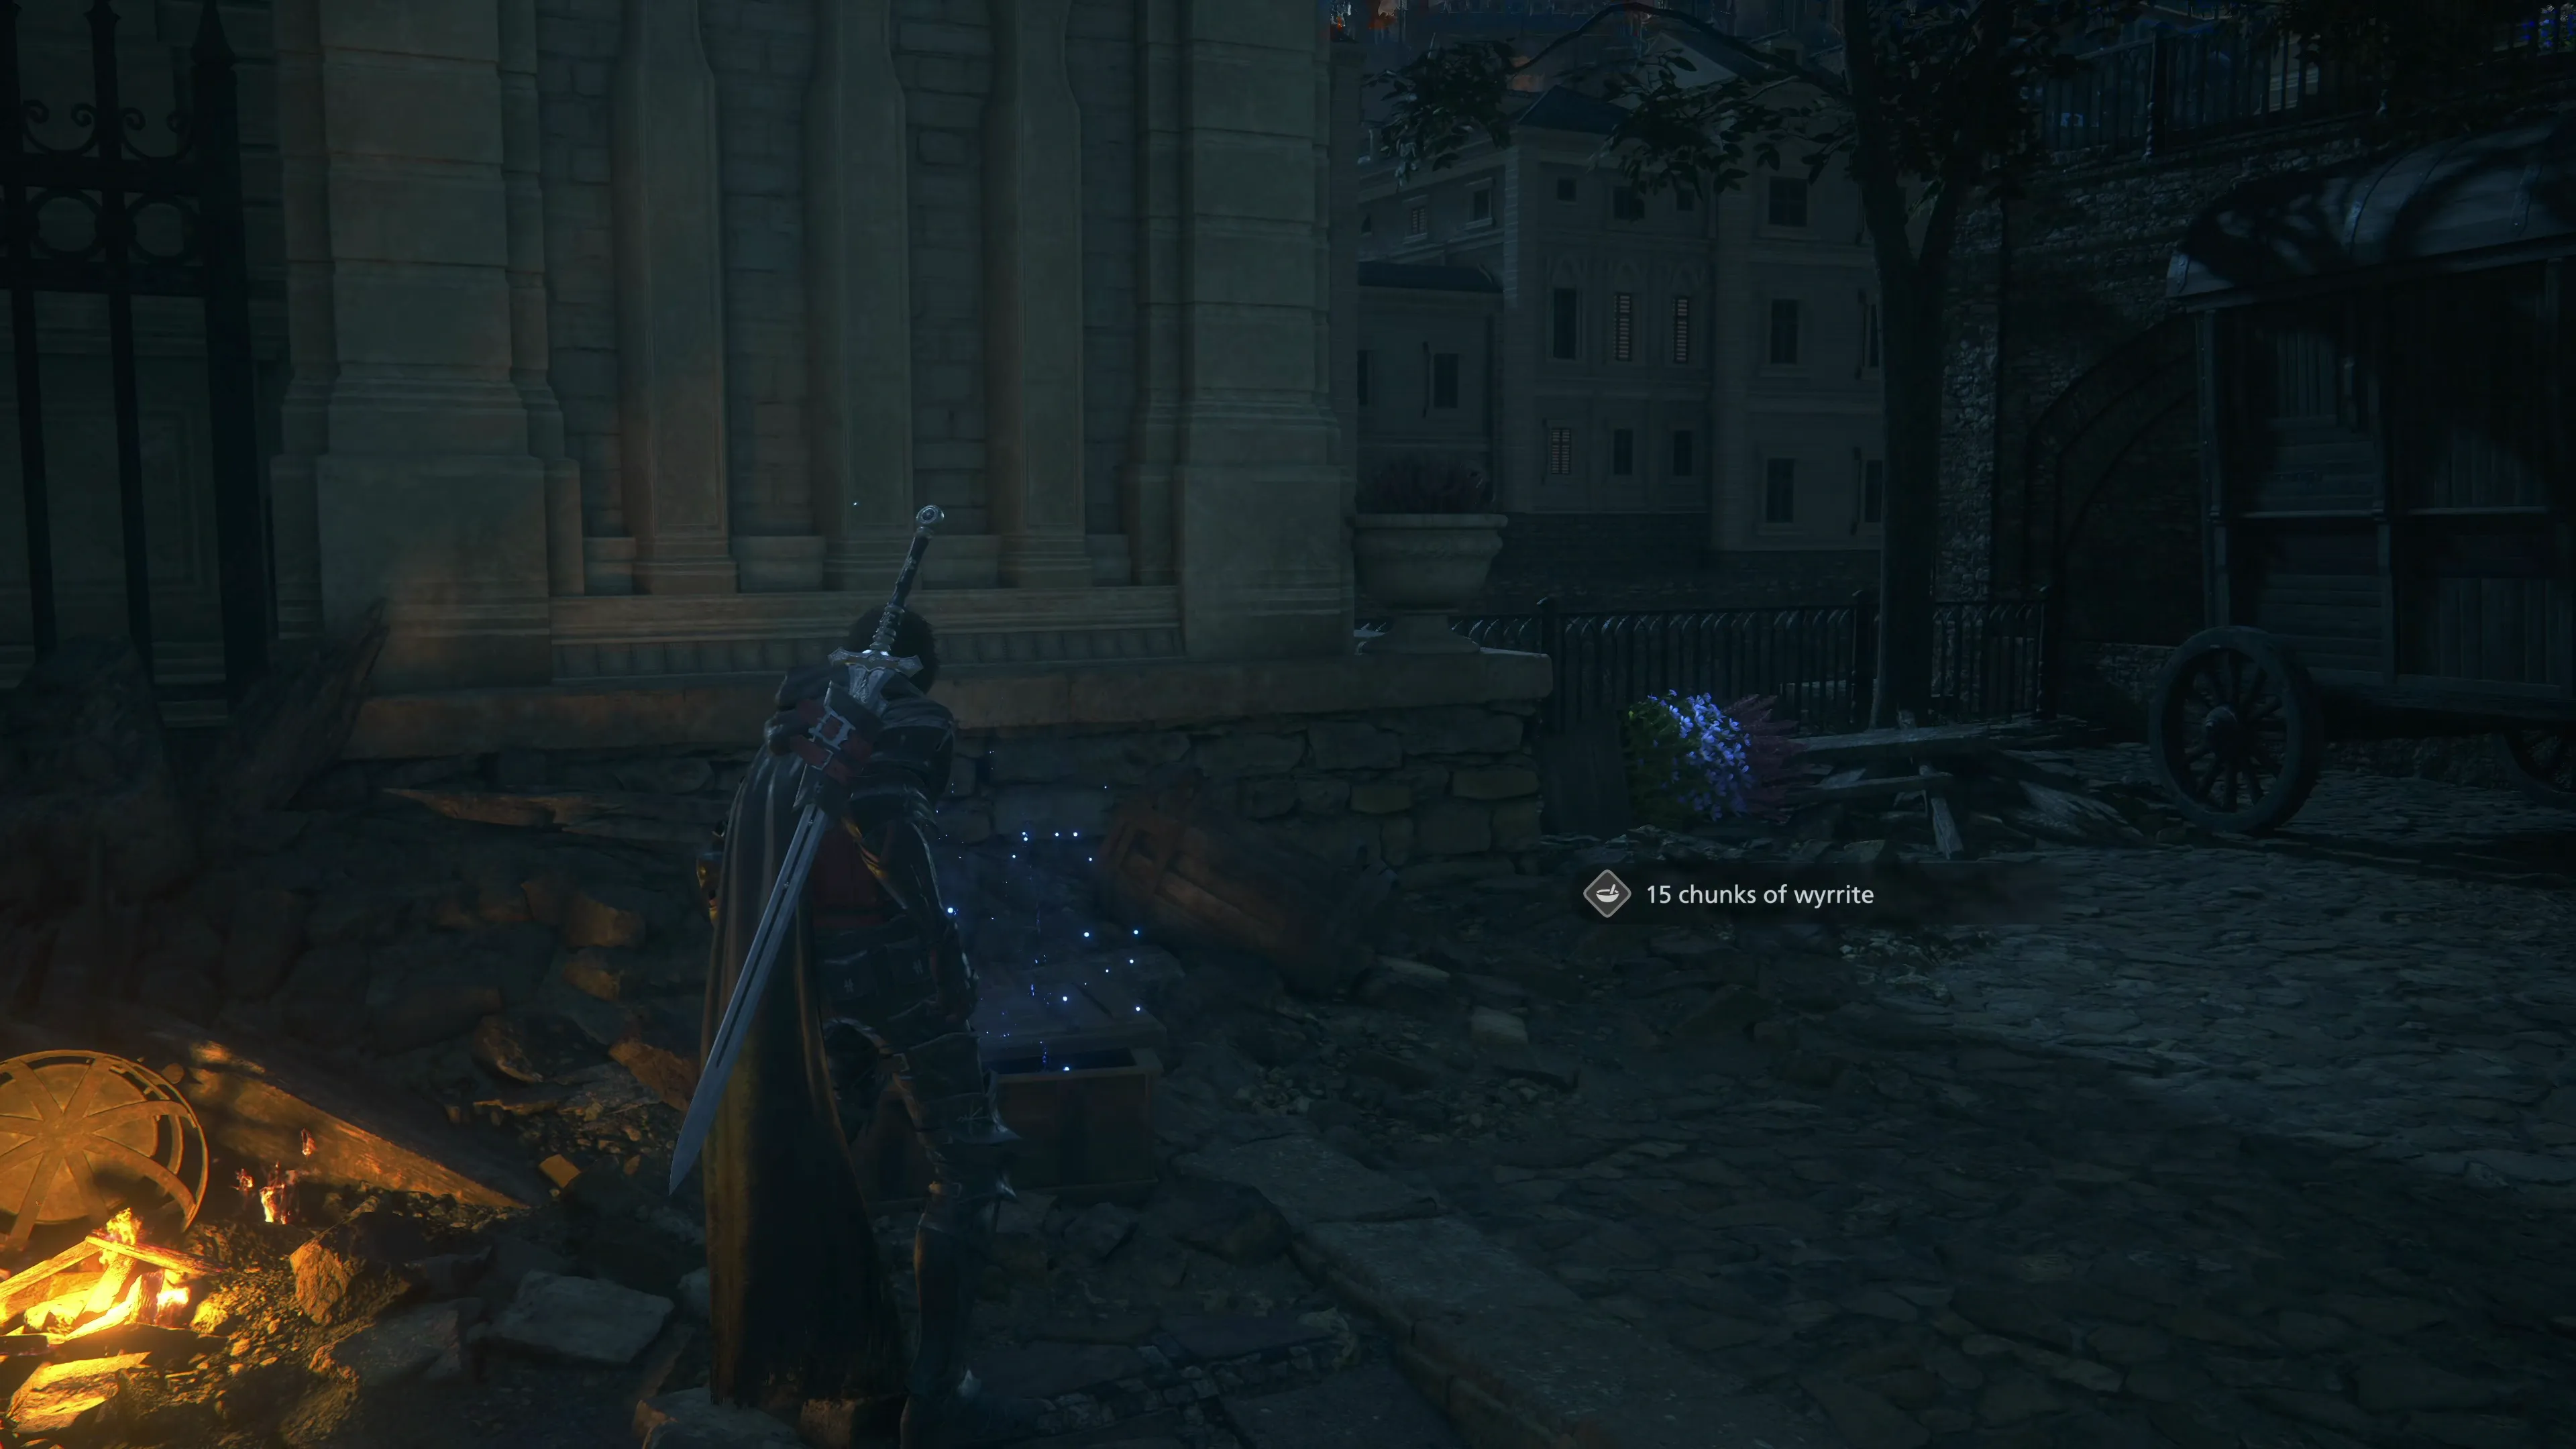
There is a treasure coffer at the base of the right side of the large archway that contains fifteen chunks of ![]() Wyrrite. Head under the knocked-down archway and down into the lower sewer levels. You’ll have to defeat some “Megalocrabs” down here.
Wyrrite. Head under the knocked-down archway and down into the lower sewer levels. You’ll have to defeat some “Megalocrabs” down here.
Follow the sewer path along and out into the causeway. Jill will point out the ‘belltower’ off in the distance. Take a left, grab the Glimmer, and ascend to the level above using the “goods lift.”
The next group of enemies consists of a smaller number of Dragoon Knights. Sneak under the wooden structures, grab the next Glimmer, and head down to the next group of enemies. This one includes several “Elite War Wyrms,” which will launch fireballs from a distance. Jill and Torgal will usually tie up one or two of them, but they should be focused down first to prevent ranged attacks from hitting you.
An “Elite War Aevis” will drop down, which is similar to the other aevis-type enemies you’ve defeated up to this point.
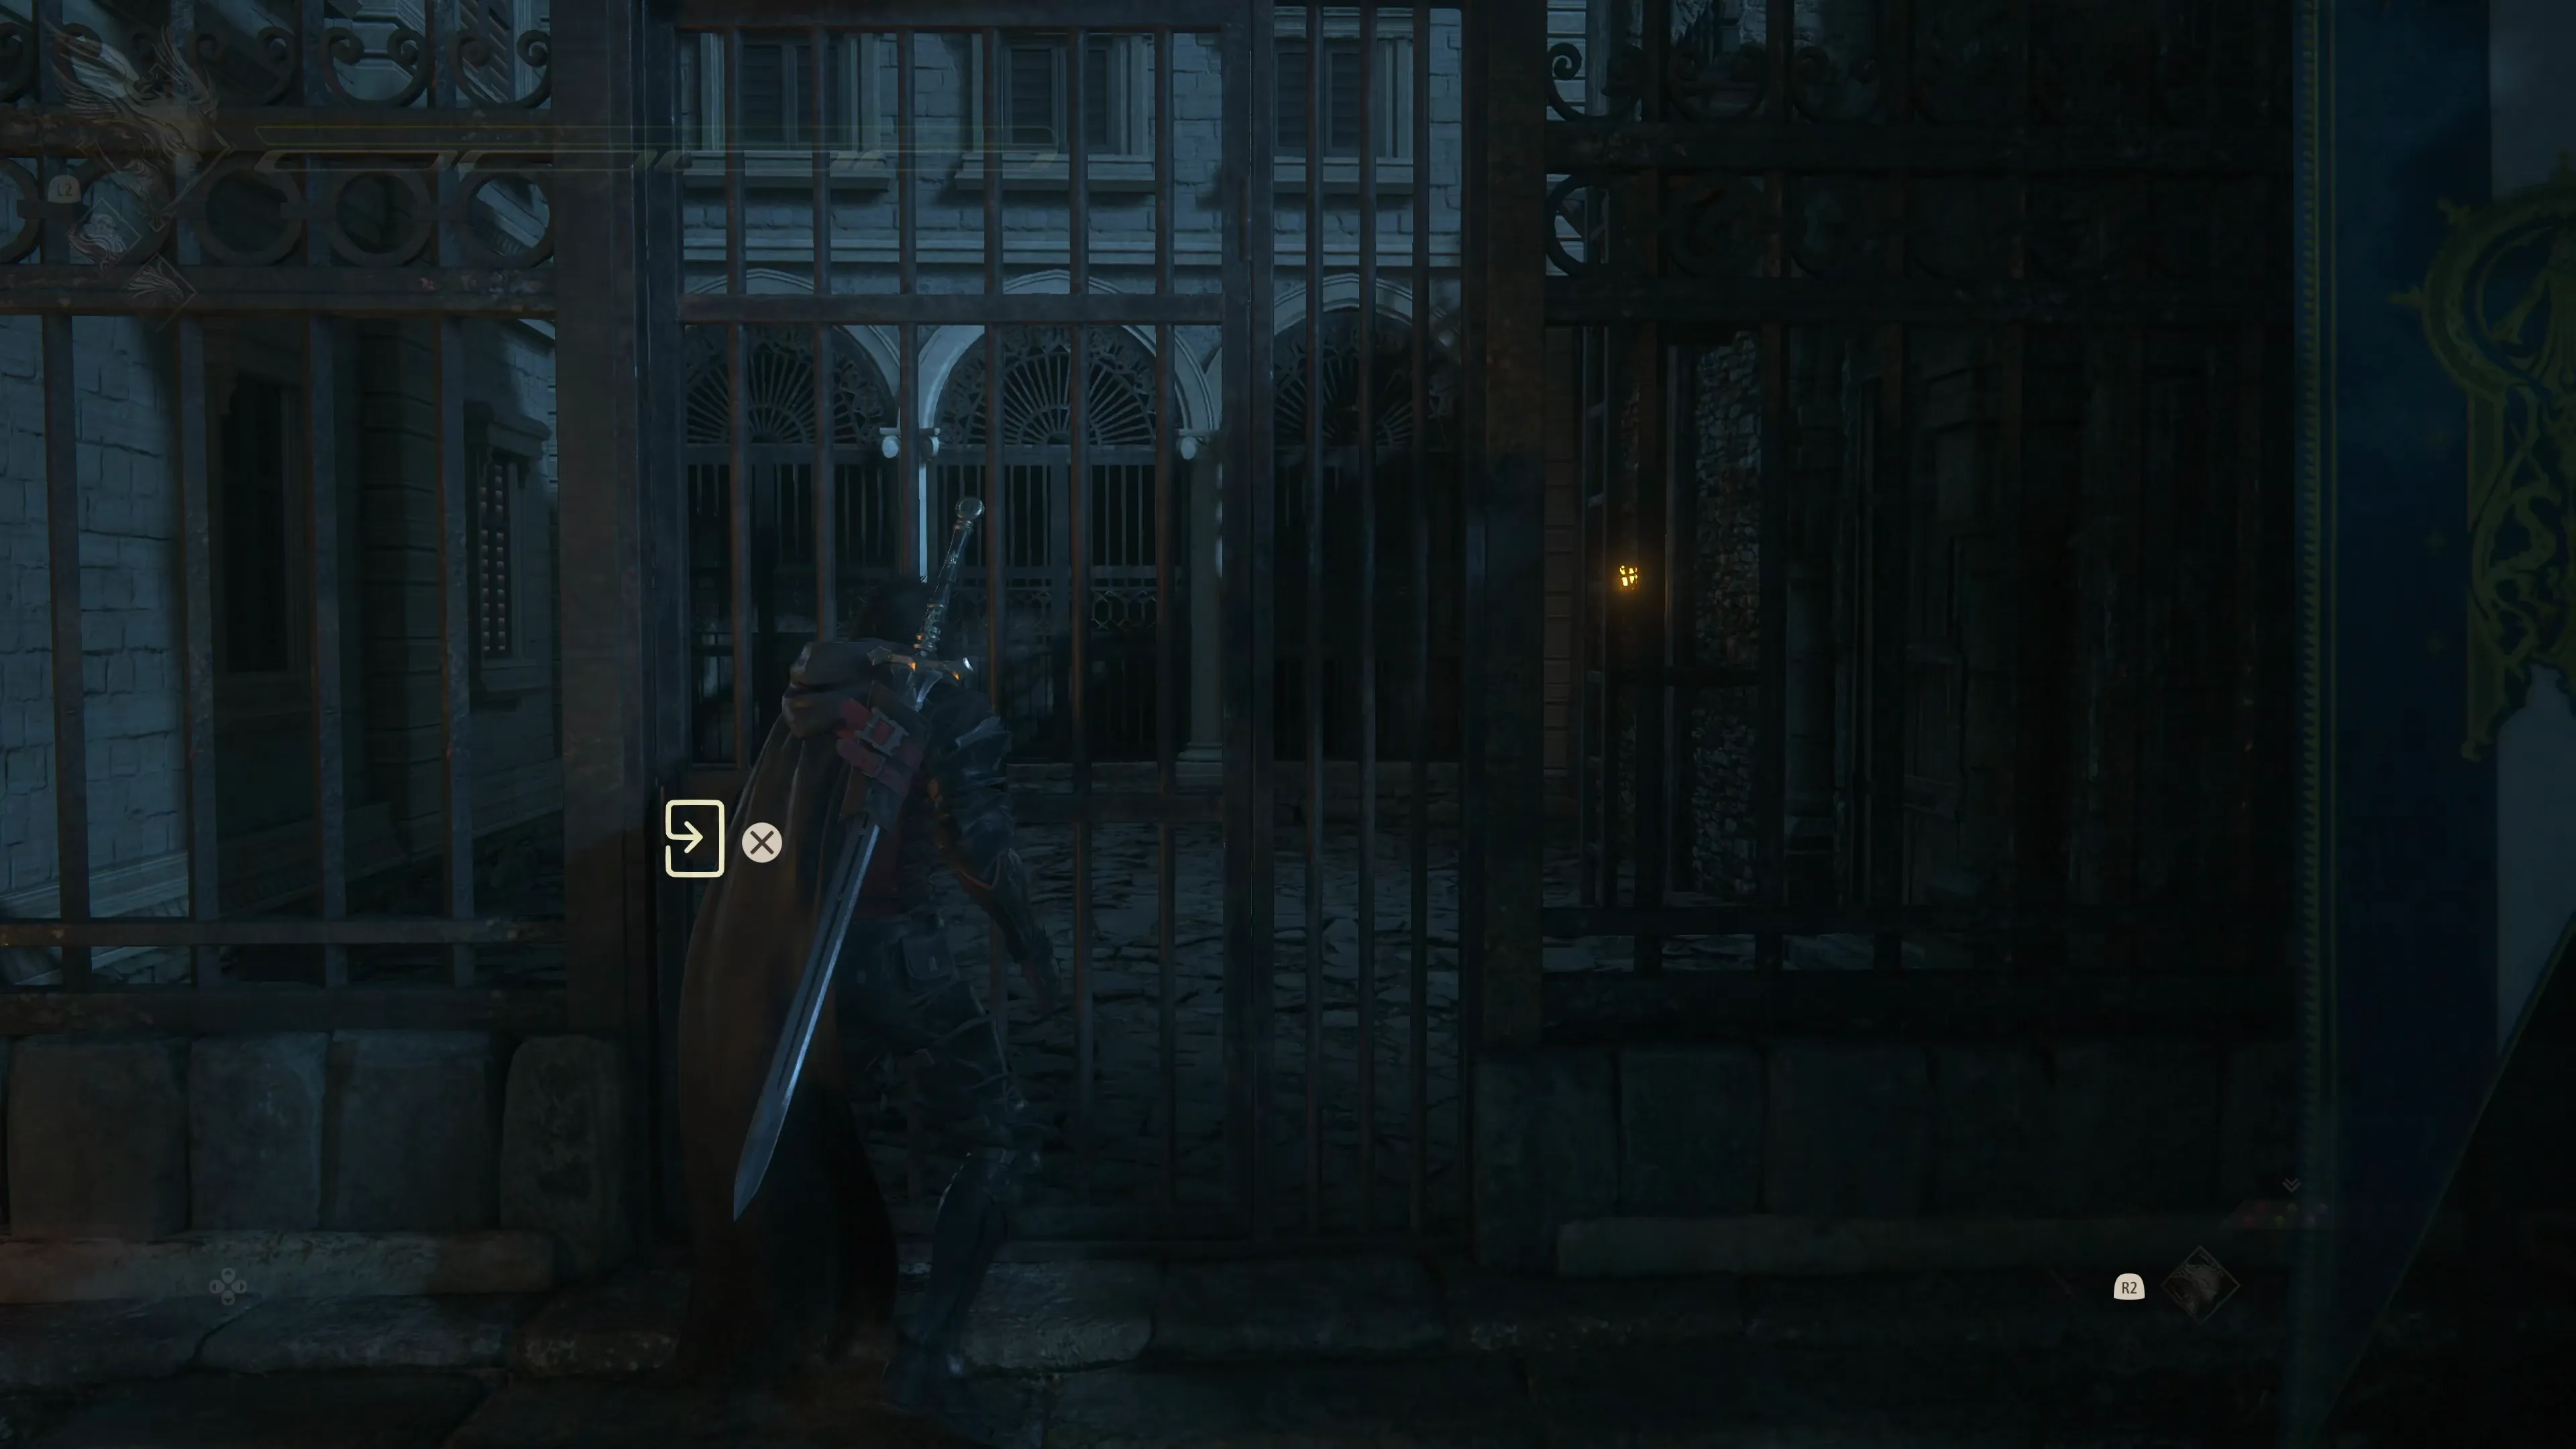
Clive will say, “We’ll have to find a way around” if you get close to the large iron gate. Search for a smaller gate on the left side of the roadway that you can open. Once you get in, look for a ladder on your right side. You’ll run past a couple of Glimmer spots and a group of Dragoons (take out the Astrologer first).
Proceed up the ladder and into the tower. Along the next bridge, you’ll face another Dragoon Lancer that is accompanied by a Dragoon Astrologer and three Elite War Wyrms. Focus on the Dragoon Lancer so you can dodge its attacks, but try to get the other enemies in range for when you use your attacks.
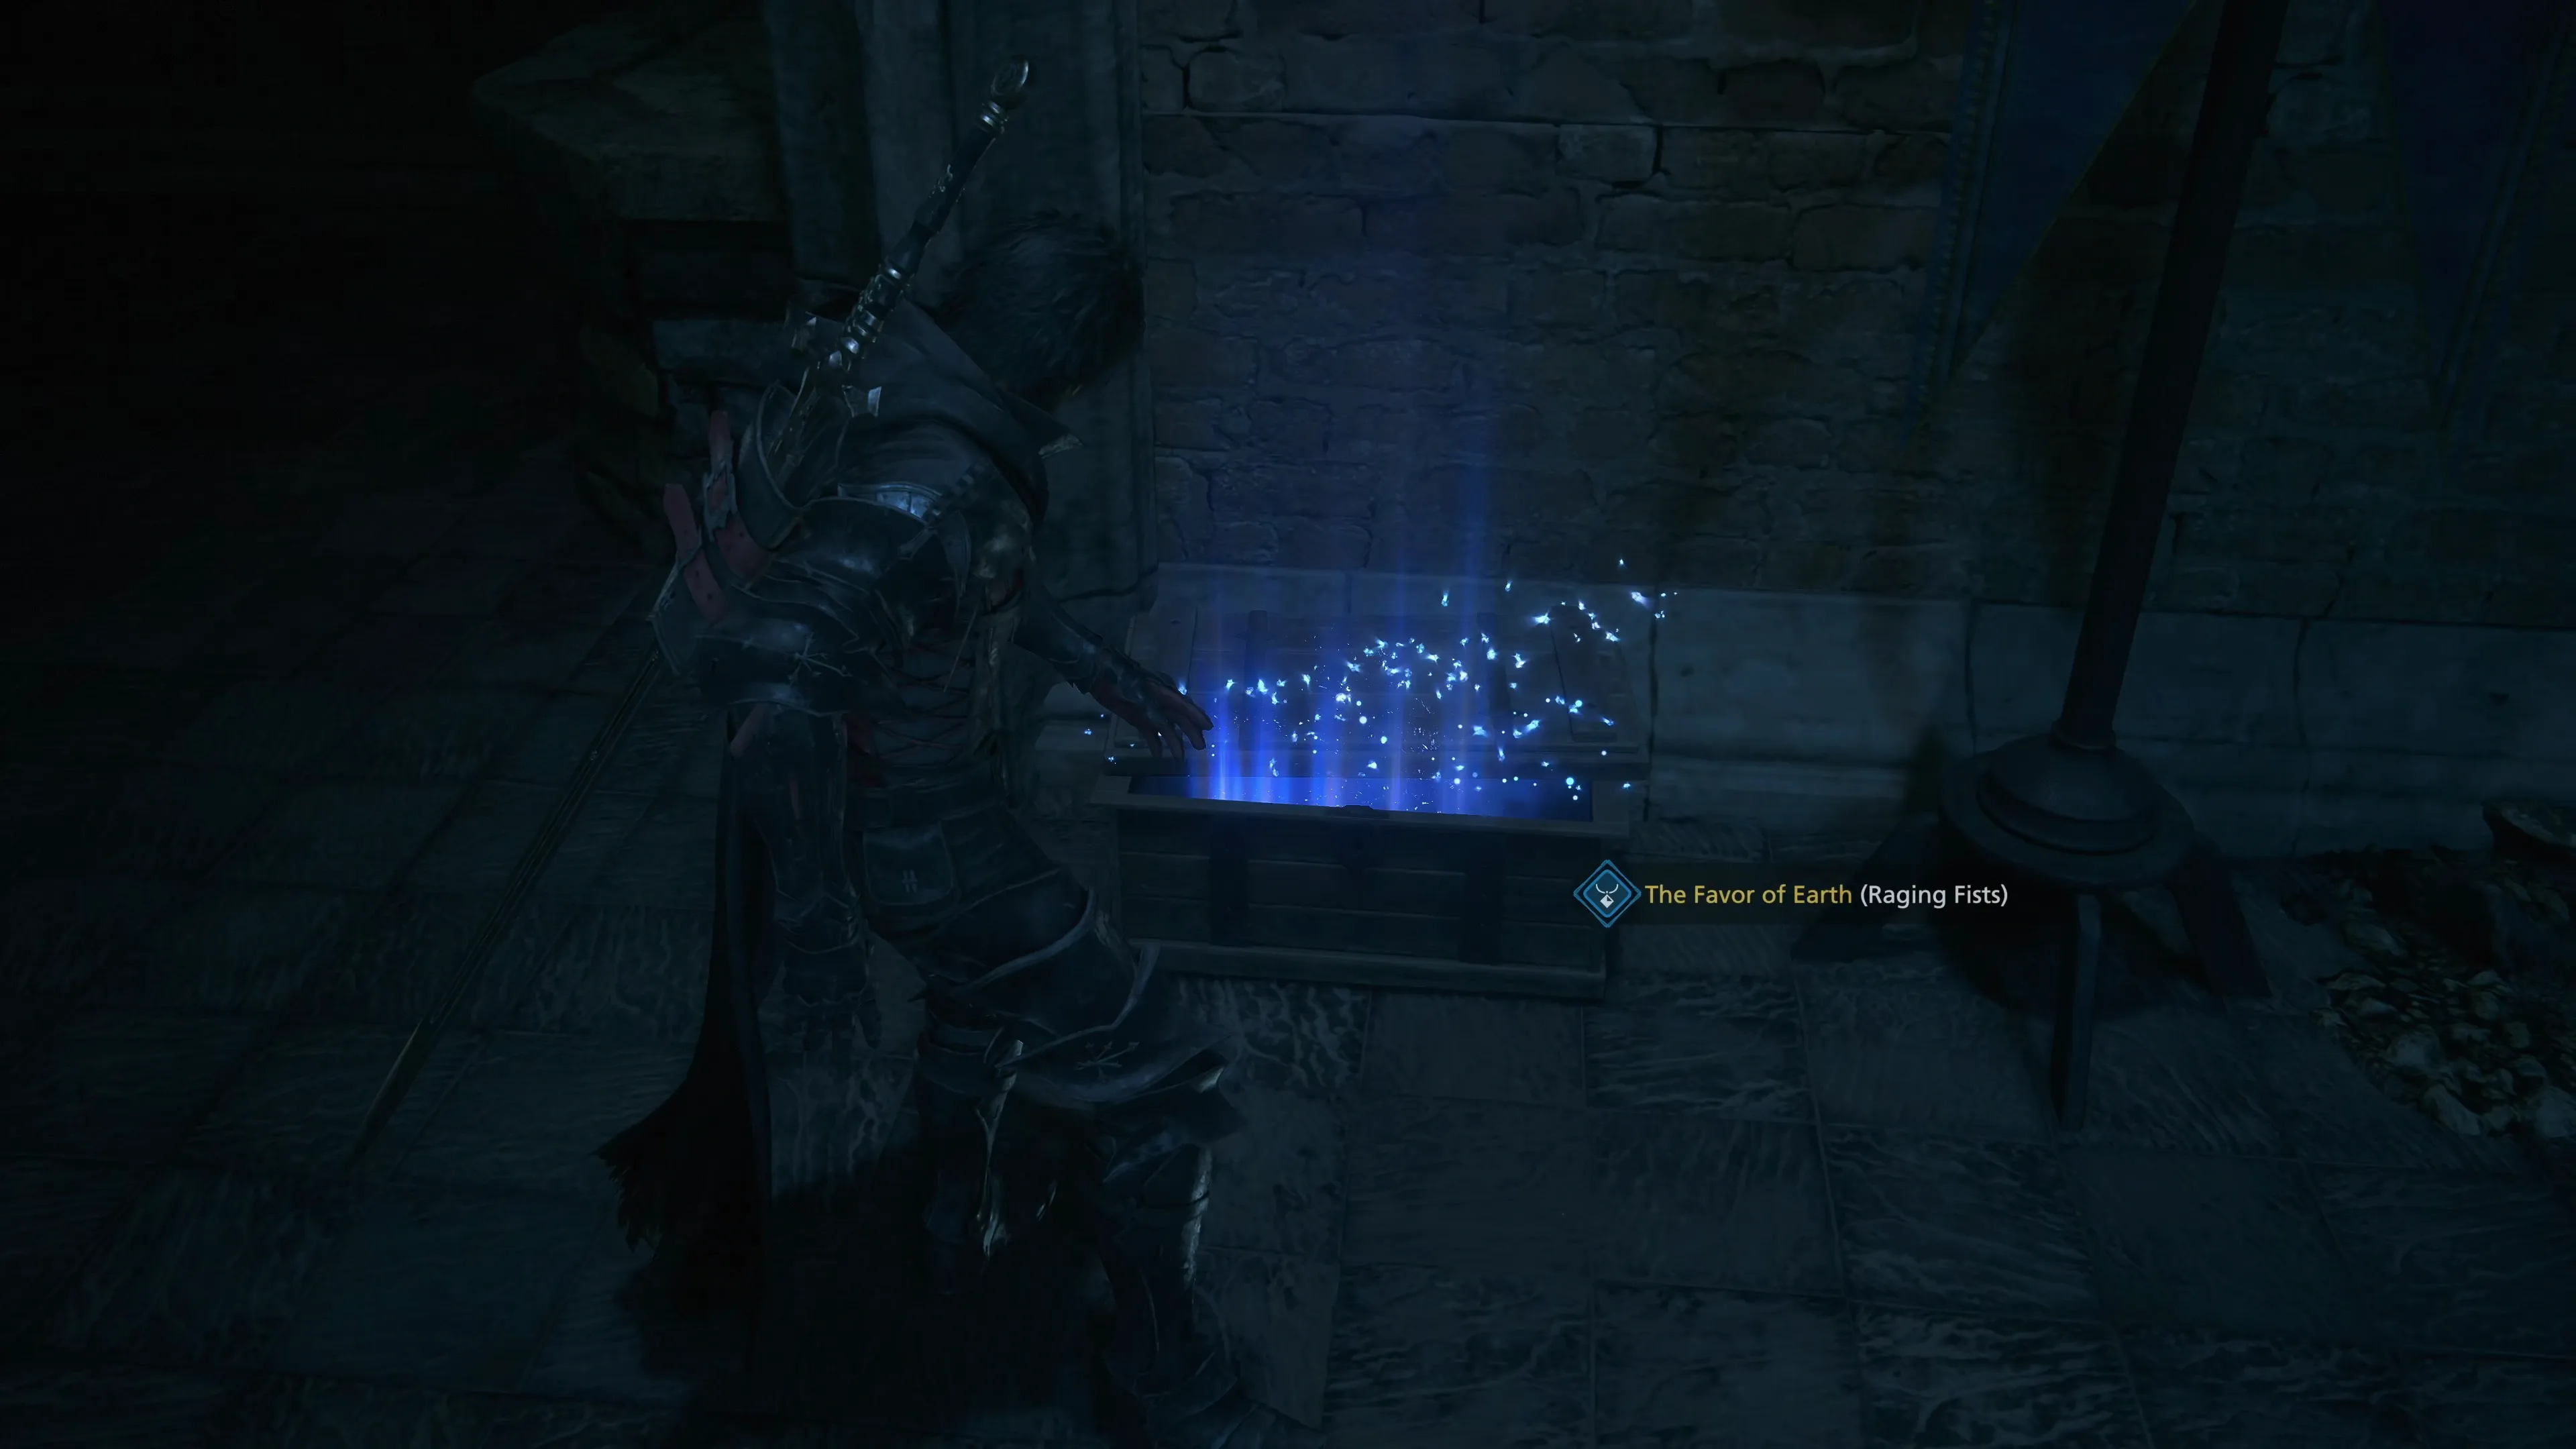
Go through the next two sets of doors at the far end of the walkway when you’re done. Head across the bridge and down the stairs to find two more Dragoon Knights along the stairwell. In the room, at the bottom of the stairs, is a treasure coffer that contains ![]() The Favor of Earth (Raging Fists). Don’t accidentally leave it behind!
The Favor of Earth (Raging Fists). Don’t accidentally leave it behind!
Swap to your single-target ![]() Eikonic Ability Set before you head through the doors here at the bottom of the stairs.
Eikonic Ability Set before you head through the doors here at the bottom of the stairs.
Boss Battle
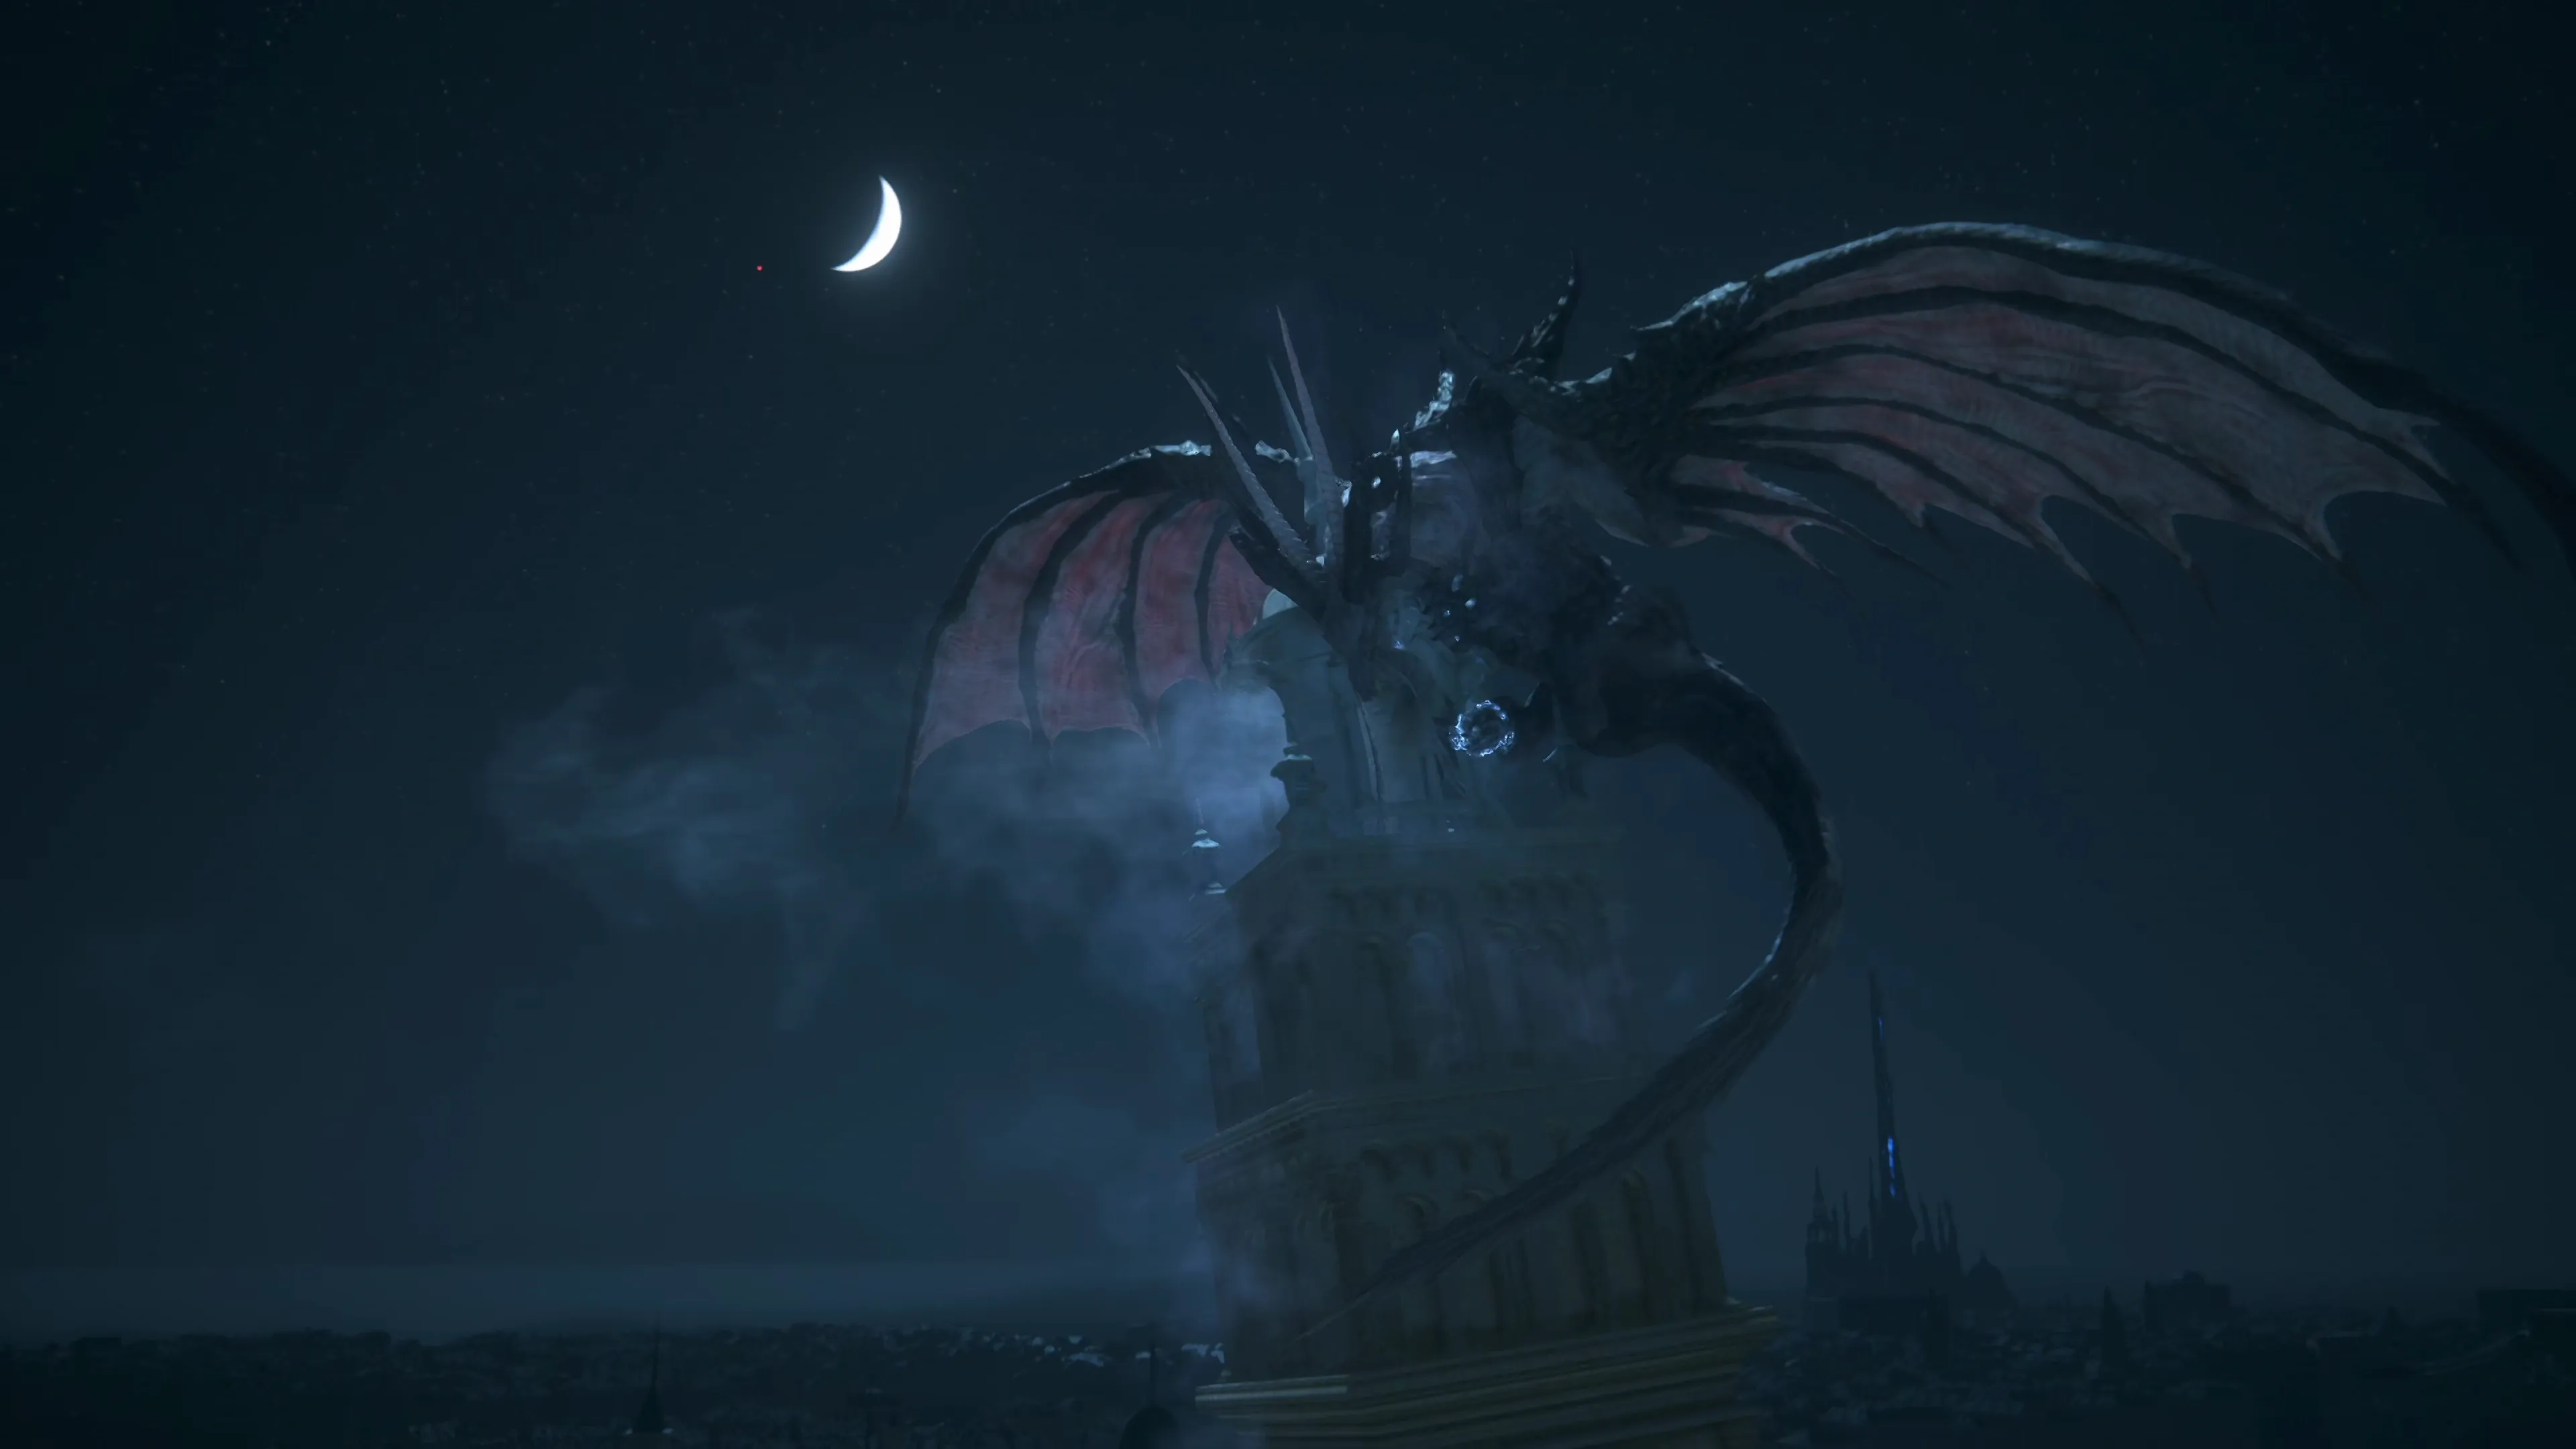
This boss battle is very similar to the one against the Akashic Dragon that you fought at Drake’s Head, except this dragon has a few more surprises in store for you. It has the following attacks:
![]() Physical Attacks (Head):
Physical Attacks (Head):
The dragon has two physical attacks that it will use involving its head. The first two involve it swinging its head from left to right or from right to left, usually one after the other. The second ‘head-based’ attack is a single lunge forward.
![]() Physical Attacks (Wings):
Physical Attacks (Wings):
The dragon has two different types of ‘wing-based’ attacks. The first is very well telegraphed—the dragon will slam either its left or right wing on the ground before swiping it in a frontal swinging motion. The second type of attack involves a downward chopping motion, which you can see coming because the dragon will raise its wing very high into the air.
![]() Slam:
Slam:
This is a new attack, but it’s pretty straightforward to deal with. The dragon will rear up on its hind legs before slamming downward in front of itself.
![]() Flying lunge attack:
Flying lunge attack:
If the dragon is flying, it will do a spin in the air and then lunge forward across the map.
Unlike the battle against Akashic Dragon, though, the White Dragon has a much larger arsenal of magical attacks, and it’s much more challenging to get in close. You will be fighting the White Dragon at a distance for most of this battle, so learning how to deal with its ranged attacks is critical.
![]() Frostbolts:
Frostbolts:
This is the first attack the dragon uses at the start of battle every time, and it doesn’t have to be in the air to use its magic attacks. It will launch three bolts towards Clive directly from the ground, but these attacks are still easy to dodge and counterattack with ![]() Heatwave.
Heatwave.
![]() Icy Wing Flares:
Icy Wing Flares:
This is the second attack it uses every time. The dragon will expand its wings, and five icy blasts of magic will launch from each wing, heading towards Clive. These can be countered, but getting the timing right can be challenging, so dodging is often easier. If you time the dodge successfully for when the first flare lands, Clive will gain temporary immunity following the dodge, and the remaining flares won’t hit him.
![]() Emanation:
Emanation:
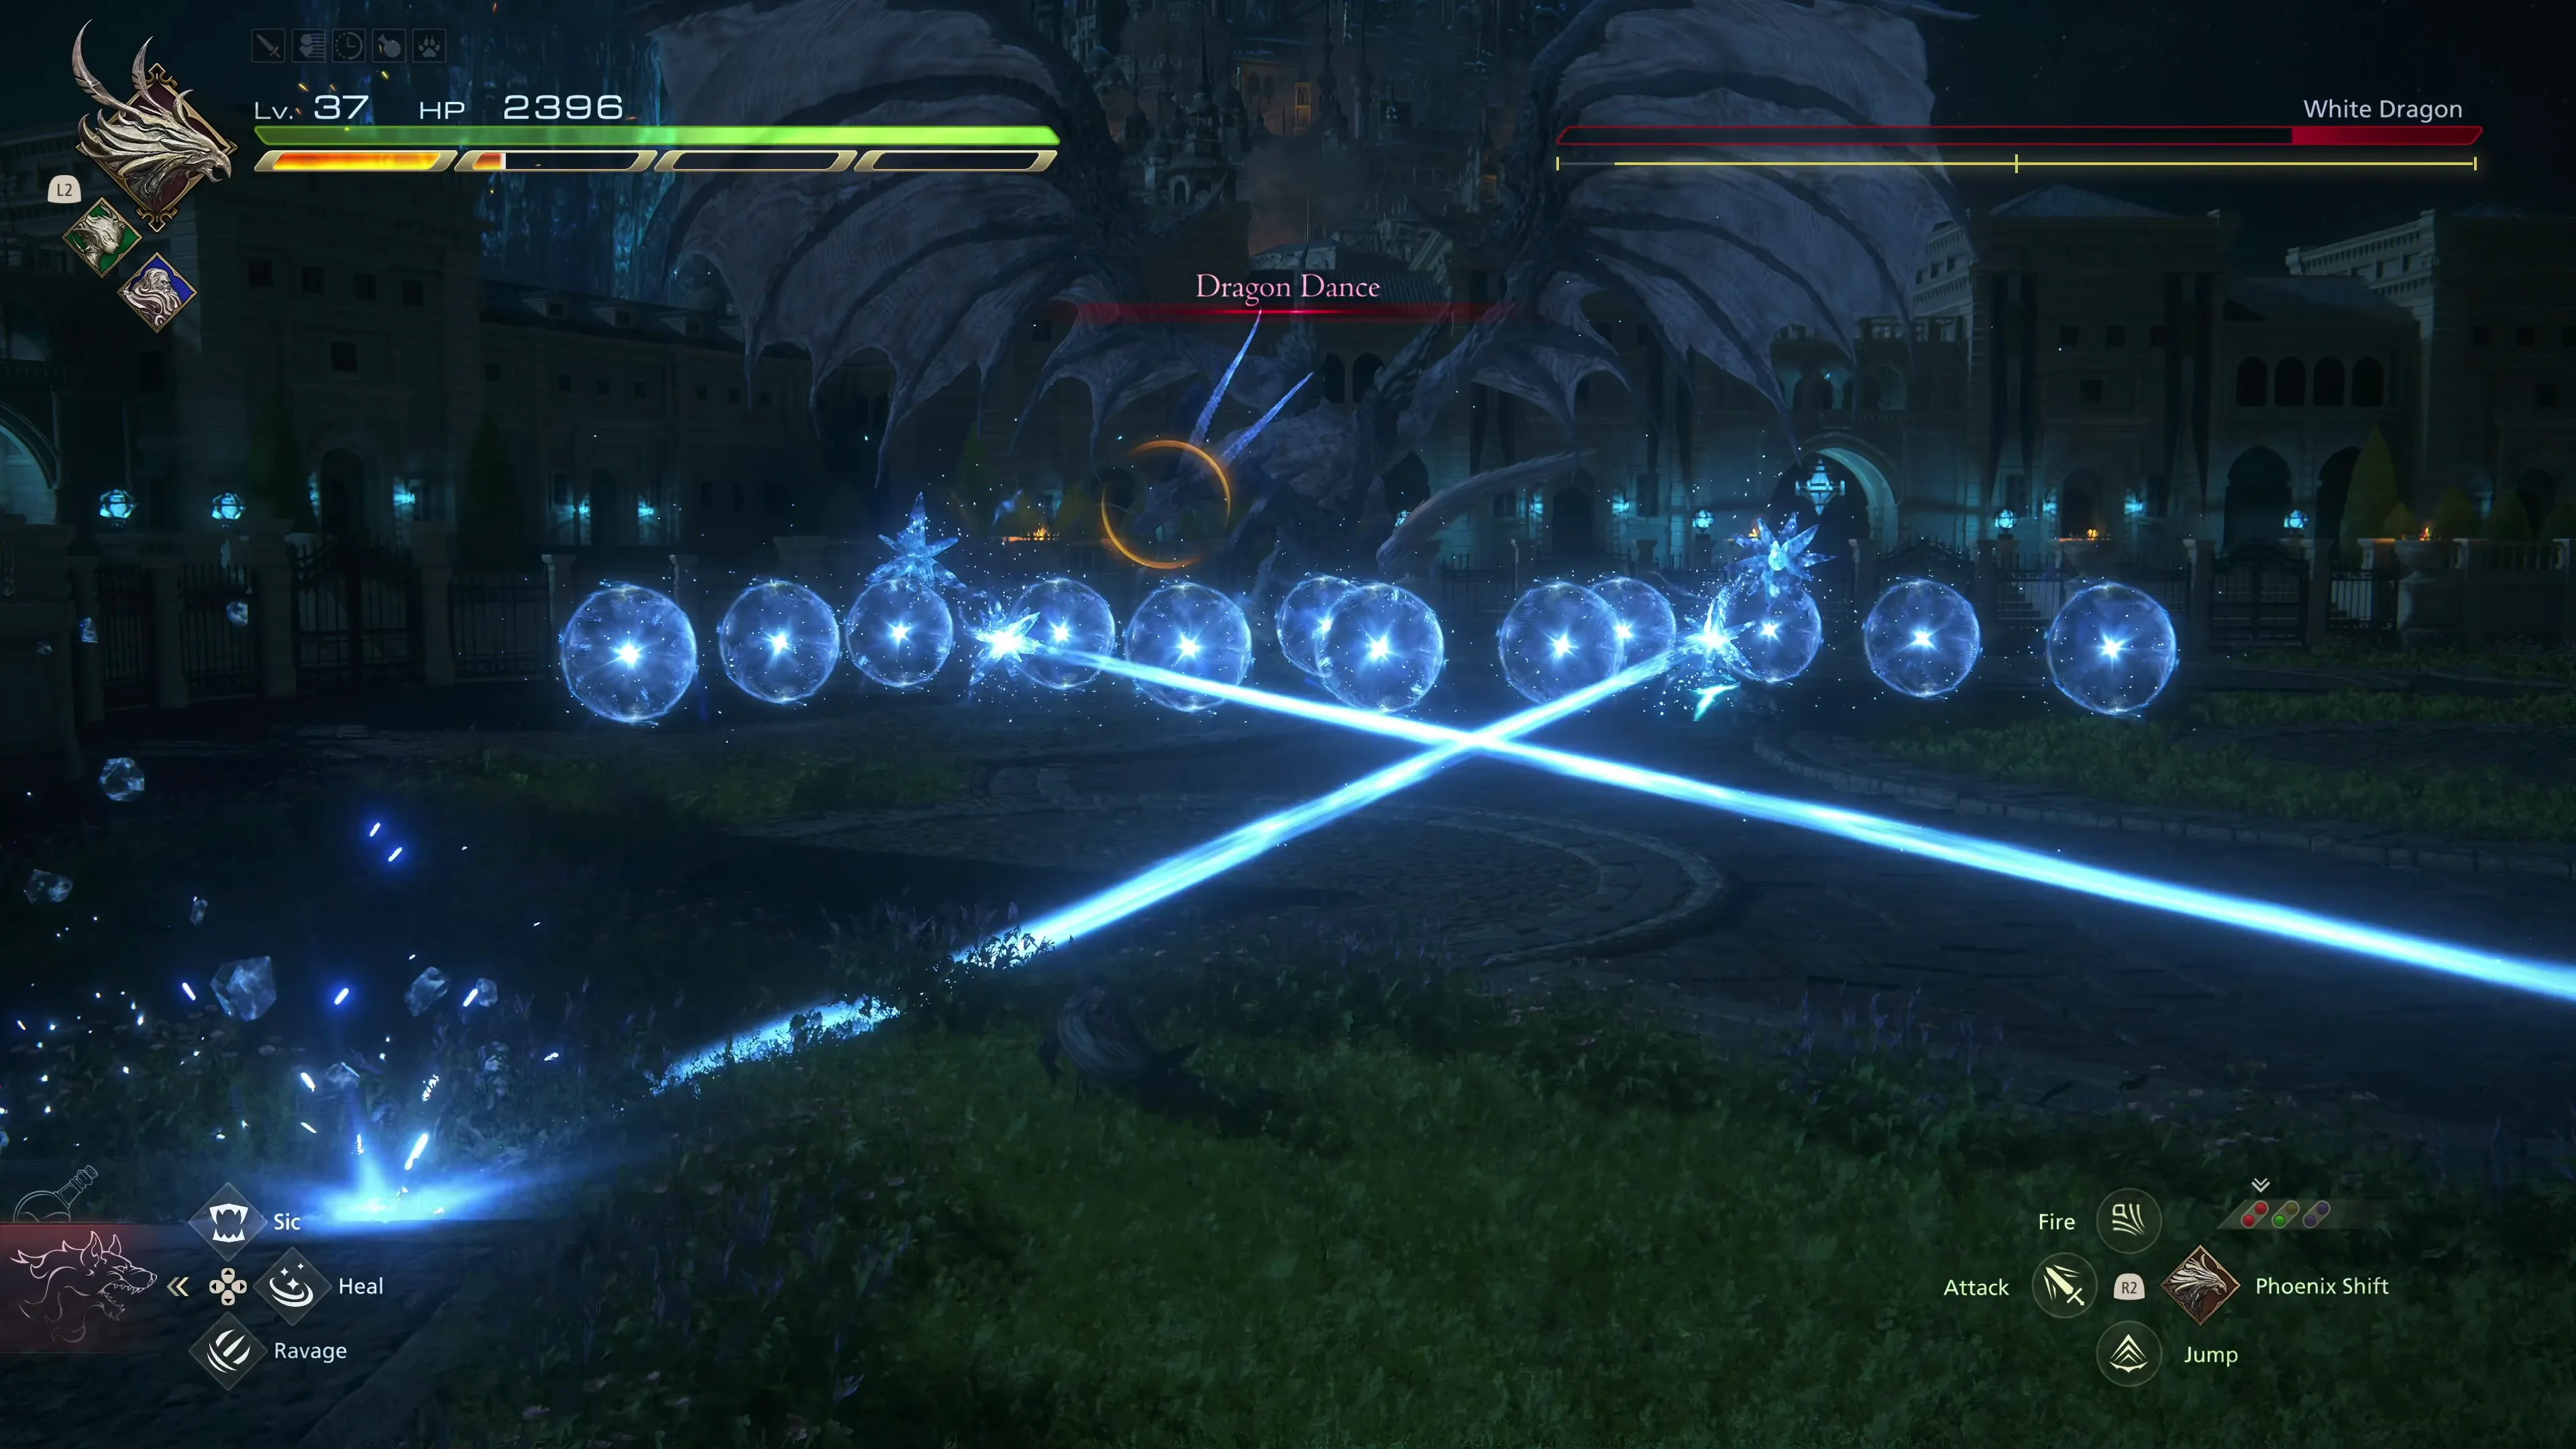
This is a new move where the dragon summons eight ice orbs that float down to various points on the battlefield. Each of them will emit a beam of ice outwards and begin circling or rotating. The beams of ice need to be dodged, and this can be made much easier if you get some distance between Clive and the White Dragon as it’s casting Emanation. The ice orbs will then group up on Clive’s position and will explode. Again, move out of the way before they finish the casting animation.
![]() Heavenly Host:
Heavenly Host:
This attack is just a combination of attacks you’ve seen before. The Dragon will launch anywhere from five to eight slow-moving icy magic balls towards your position (move left or right to get around them), followed by some “Frostbolts,” “Icy Wing Flares,” and a “Flying Lunge Attack.”
![]() Dragon Dance:
Dragon Dance:
White Dragon will use this attack once its HP gets low. It involves a flurry of attacks, just like “Heavenly Host,” that include a few ice orbs launching their beams, a few icy orbs moving towards Clive’s position, Blizzaga casts (move out of the areas on the ground that light up), a “Flying Lunge Attack,” and finally, after being shortly stunned, a blast of frost towards the ground. Get some distance between you and the dragon when it uses this final attack.
Reminder that, just like the previous dragon, you can jump towards the dragon’s head, or use attacks like ![]() Phoenix Shift and
Phoenix Shift and ![]() Deadly Embrace to get some air and get closer to the dragon’s head. Attacking the head directly will cause more overall damage than striking its body.
Deadly Embrace to get some air and get closer to the dragon’s head. Attacking the head directly will cause more overall damage than striking its body.
There is no Medal of Valor for this fight, but check out the video below if you’re having trouble.
200
3,200
A video demonstration of how to successfully complete the fight against White Dragon.
A short cutscene will take place at the end of the fight, where Clive and Jill meet up with Goetz again ahead of the next section.
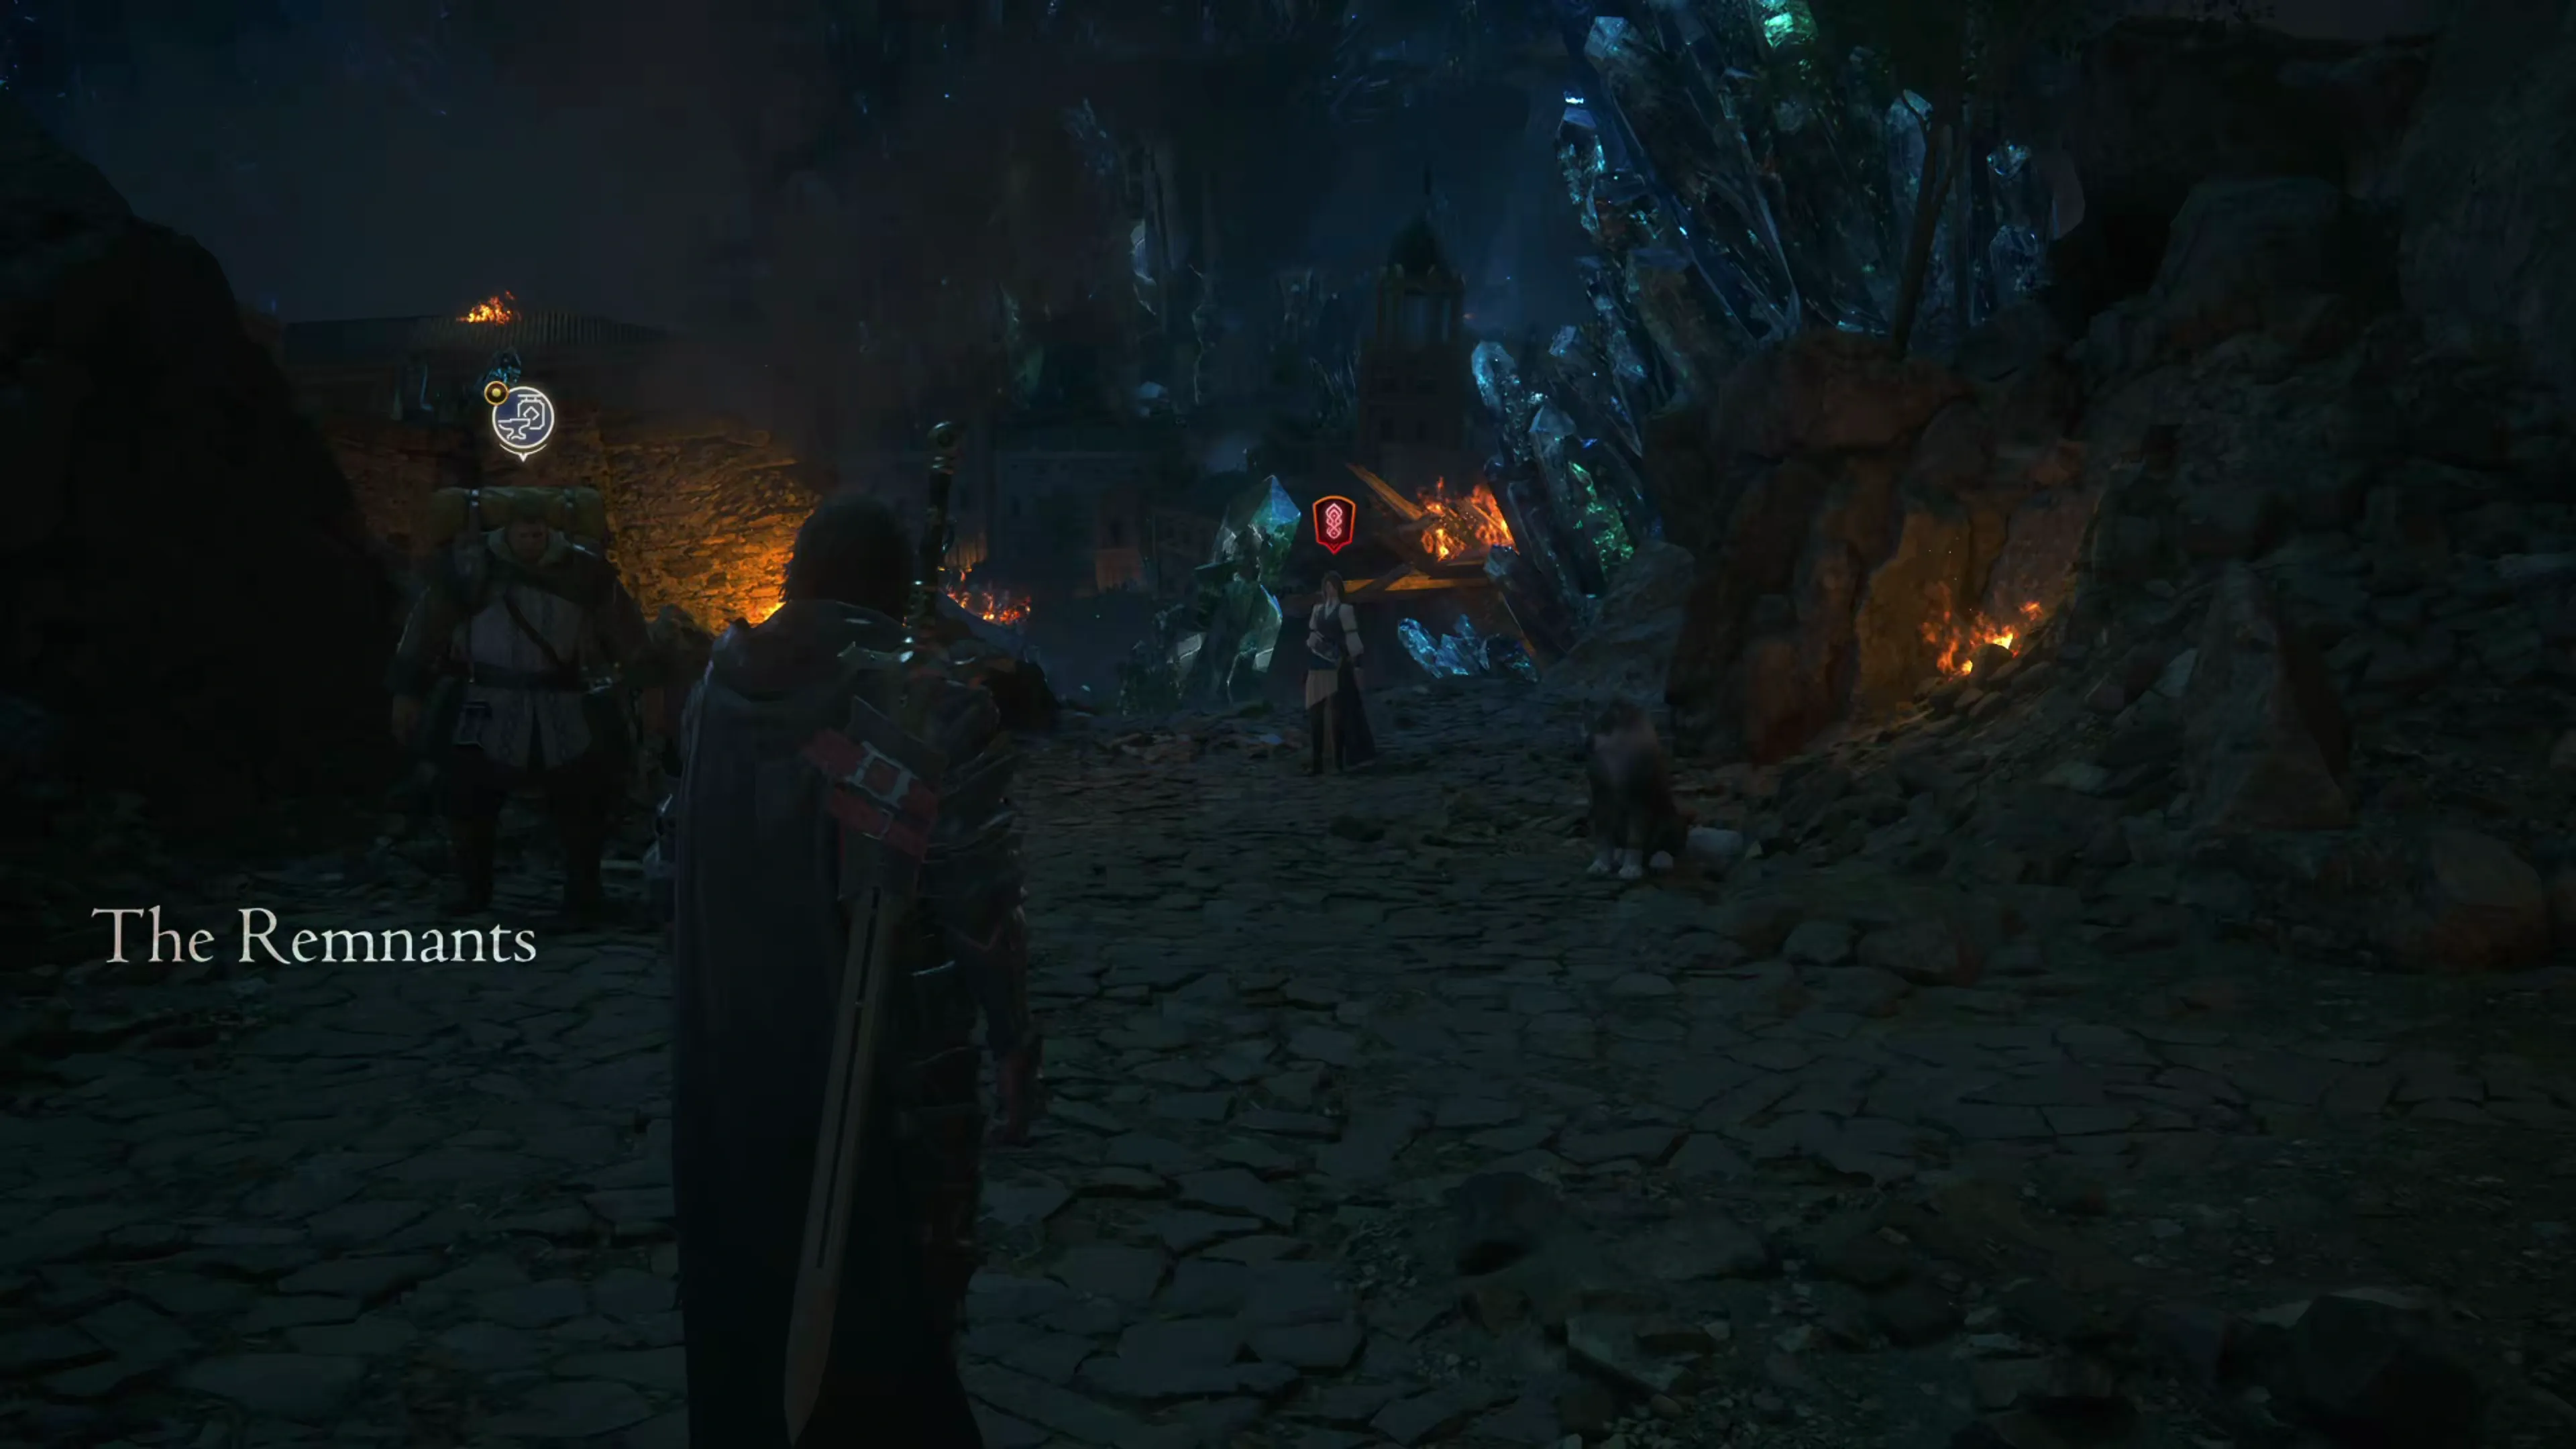
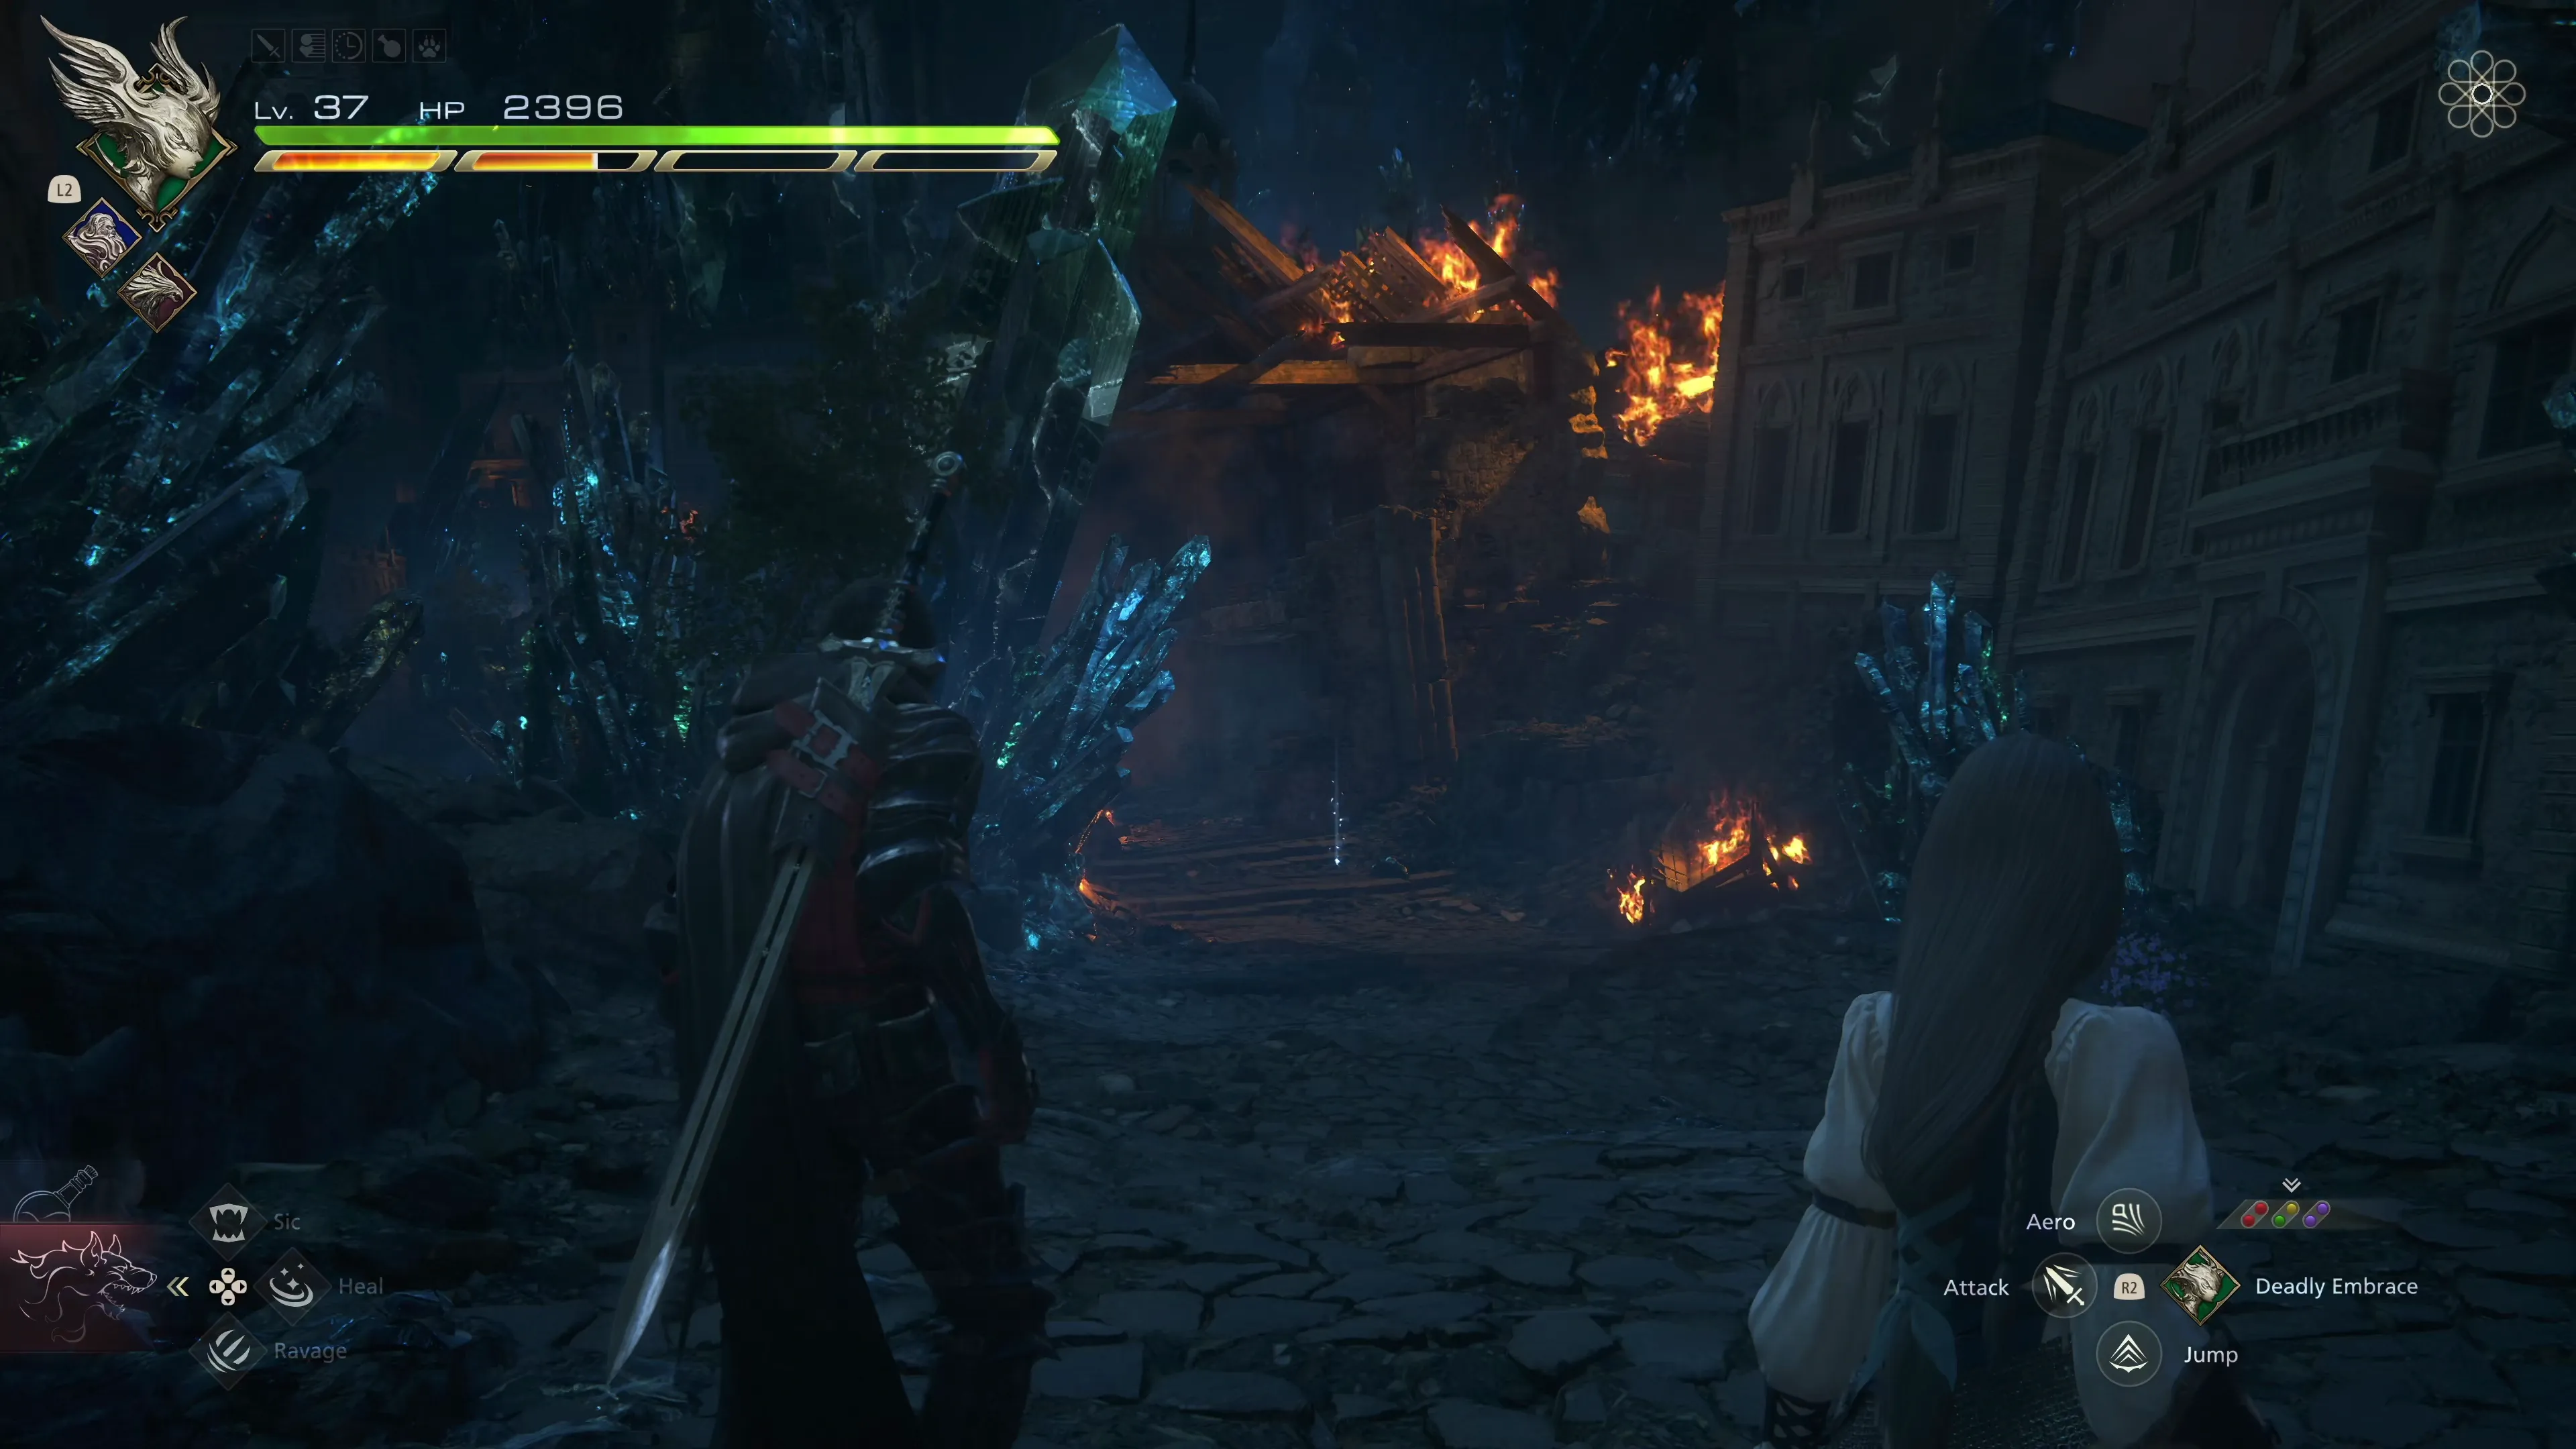
The Remnants
Start by speaking to Goetz and refilling your ![]() Potion and
Potion and ![]() High Potion supply if you need to. We can also purchase and upgrade some gear from him, too. It’s up to you whether you want to purchase the following from “Goetz’s Toll”:
High Potion supply if you need to. We can also purchase and upgrade some gear from him, too. It’s up to you whether you want to purchase the following from “Goetz’s Toll”:
| Purchase Item | Cost |
|---|---|
| 2,900 |
|
| 2,700 |
If you do purchase this gear, talk to Goetz again and access “The Big Hammer.” Press the ![]()
![]()
![]() button to navigate to the “Reinforce” tab so you can upgrade your new gear:
button to navigate to the “Reinforce” tab so you can upgrade your new gear:
| Materials | |
|---|---|
So should you buy it? These two new pieces of gear are sidegrades from your current equipment at best, which should be the ![]() Drakeslayer’s Belt and
Drakeslayer’s Belt and ![]() Drakeslayer’s Bracelets. So, whether you equip them or not is really up to you, but there’s no sense in saving these crafting materials, as most of them won’t be used for anything else. The
Drakeslayer’s Bracelets. So, whether you equip them or not is really up to you, but there’s no sense in saving these crafting materials, as most of them won’t be used for anything else. The ![]() Diamond Sword is definitely worse than
Diamond Sword is definitely worse than ![]() Excalibur, though, so if you crafted Excalibur, do not replace it.
Excalibur, though, so if you crafted Excalibur, do not replace it.
Swap back over to your multi-target ![]() Eikonic Ability Set and speak to Jill when you’re ready to move forward and “Proceed towards the heart.”
Eikonic Ability Set and speak to Jill when you’re ready to move forward and “Proceed towards the heart.”
Walk forward, grab the Glimmer, and proceed through the double doors. You’ll face off against your first group of Akashic Dragoons and Akashic Astrologers on the other side. Go through the gate on the far wall and drop down off the ledge to face another group of Akashic enemies, but this time, a Lich joins them. Focus on and target the Lich as its attacks can be devastating.
Climb the pallet leaned up against the wall and look to your right to find a treasure coffer that contains ![]() The Breath of Lightning (Judgment Bolt) and fifteen pinches of
The Breath of Lightning (Judgment Bolt) and fifteen pinches of ![]() Magicked Ash. Continue climbing the stairs and the pathway for another short cutscene, and then you’ll reach your first group of “Revenants” that spawn.
Magicked Ash. Continue climbing the stairs and the pathway for another short cutscene, and then you’ll reach your first group of “Revenants” that spawn.

Just up ahead is a battle against a group of three Specters. Once you defeat them, a group of Revenants and more Specters will spawn in after them. Climb the nearby stone wall and head towards a broken open gate that Clive can sneak through.
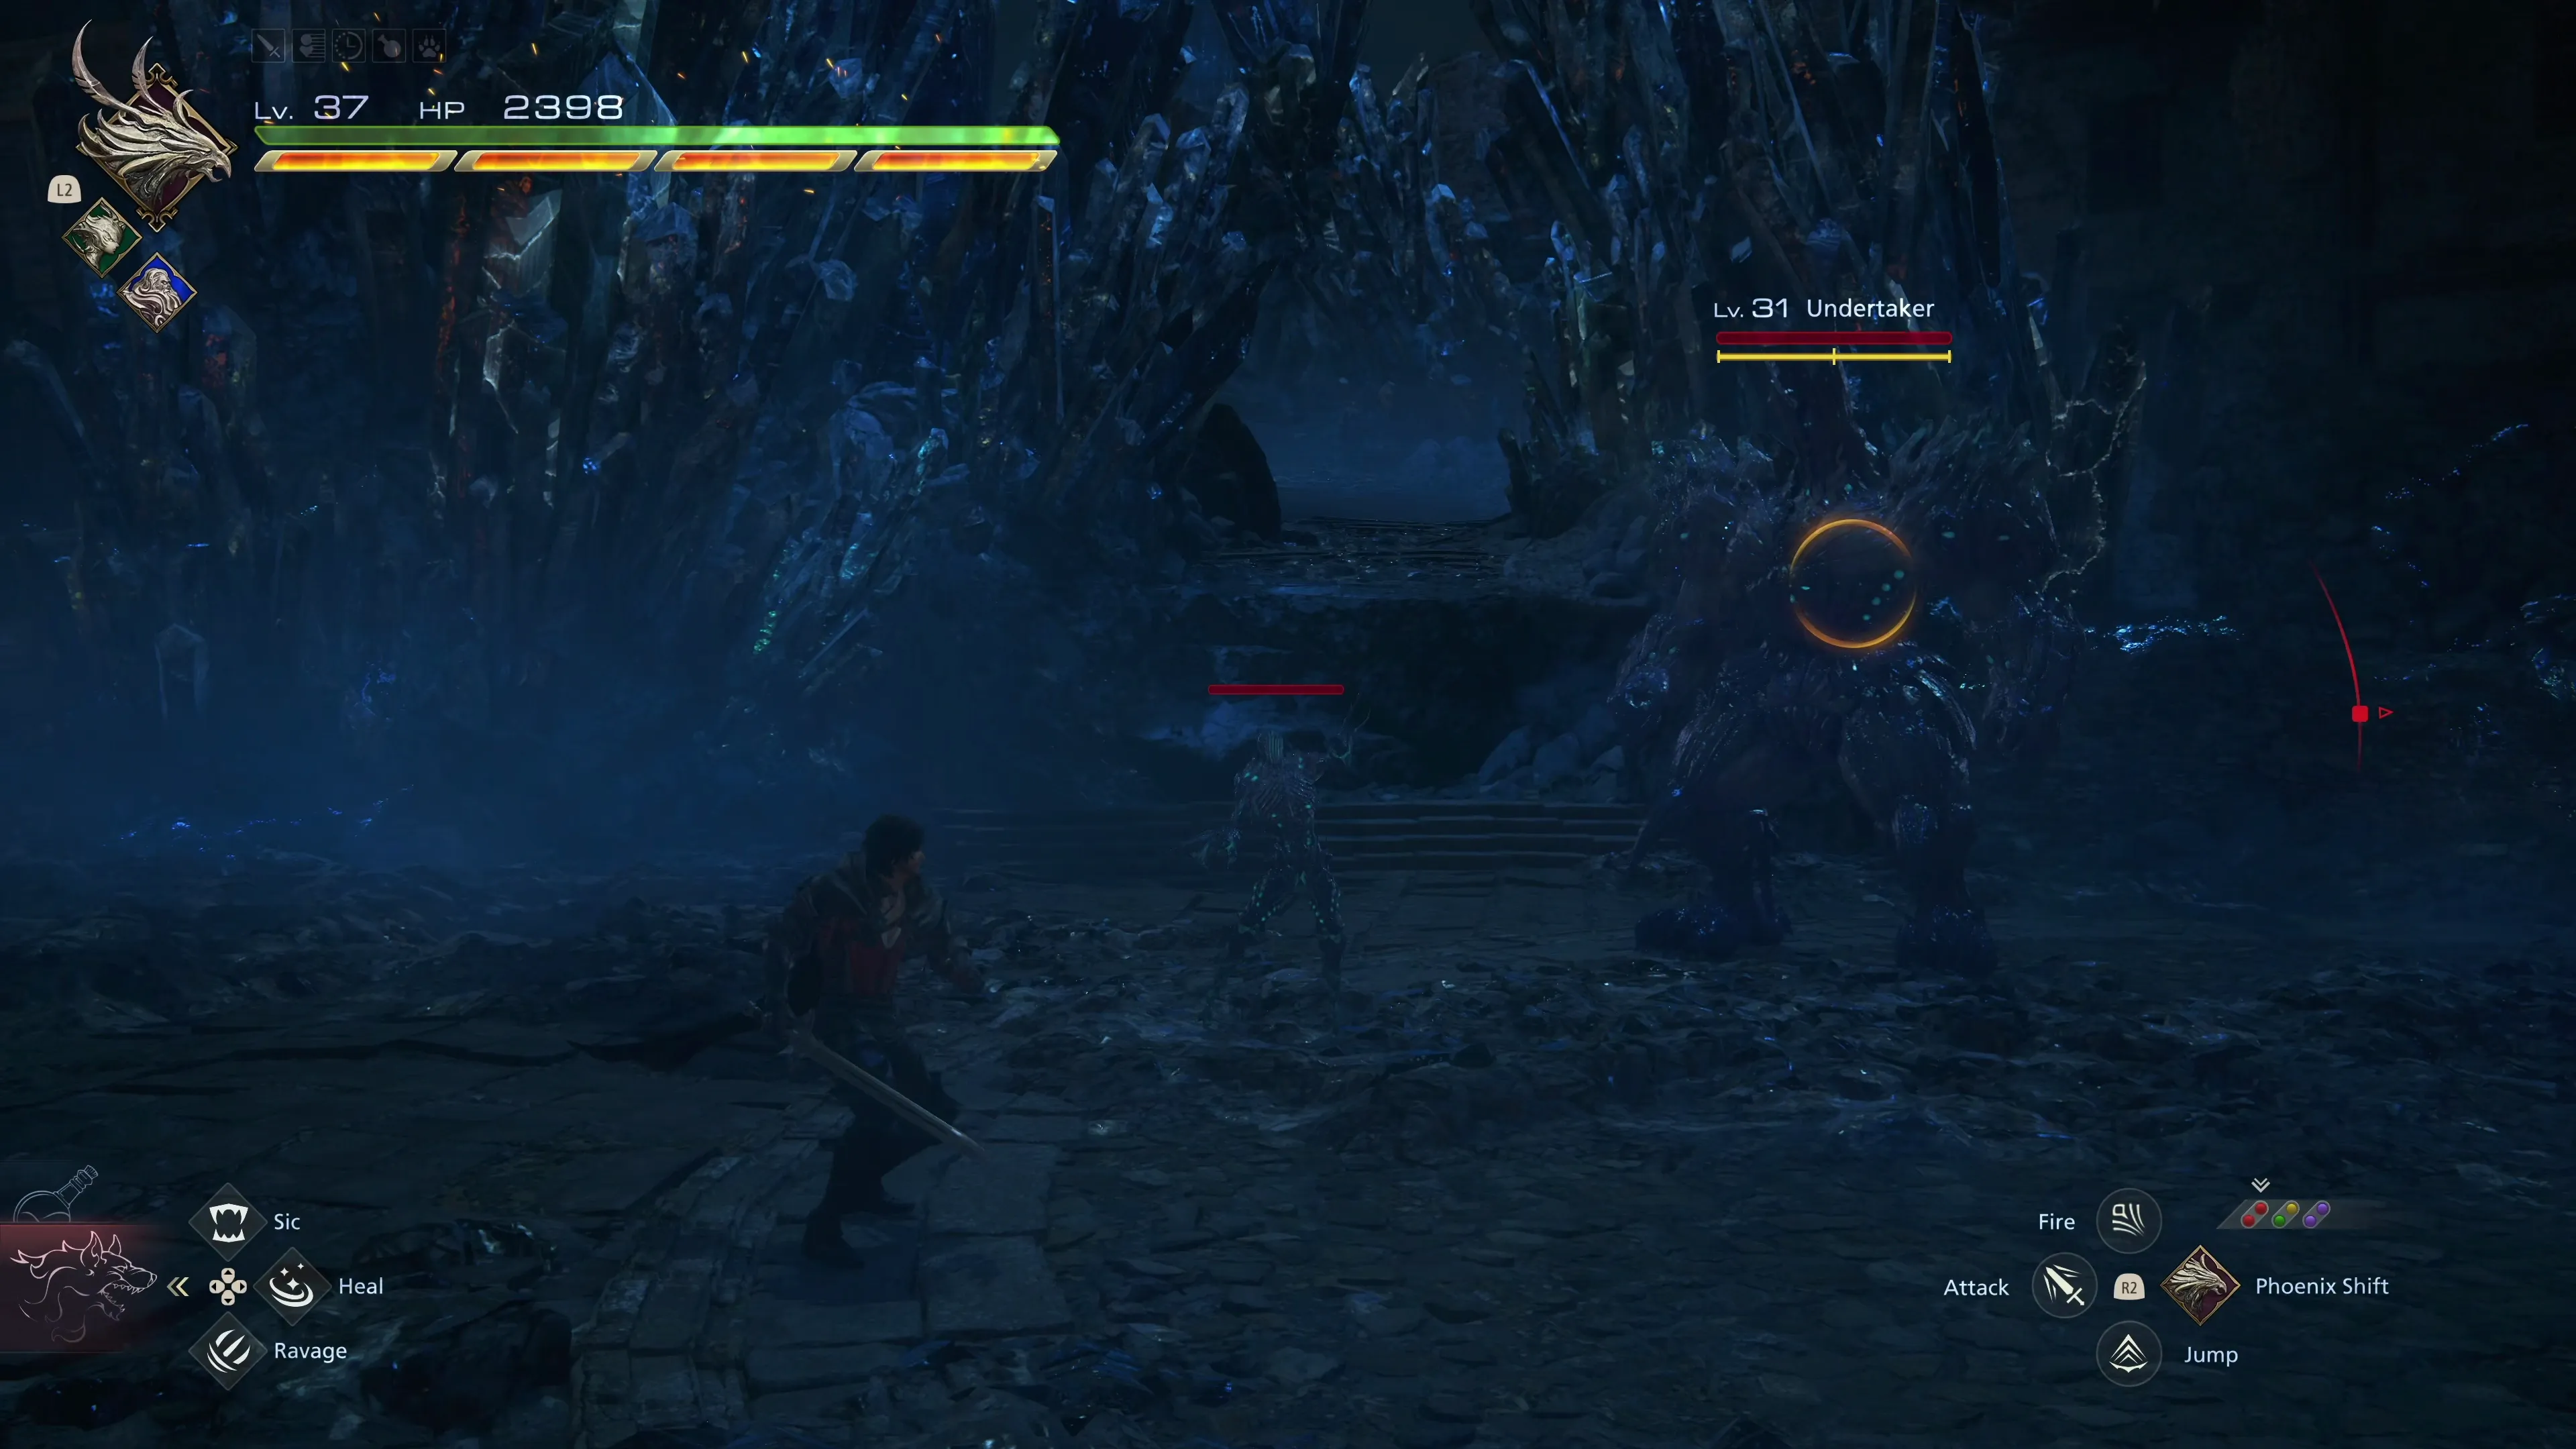
The next fight involves an “Undertaker” along with two Revenants. The Undertaker has a similar attack pattern to the one you faced at Drake’s Fang, but it is far less powerful and has far less HP to deal with. You should be able to take it down without any problems. A few Specters will join the battle once the Undertaker reaches 50% HP.
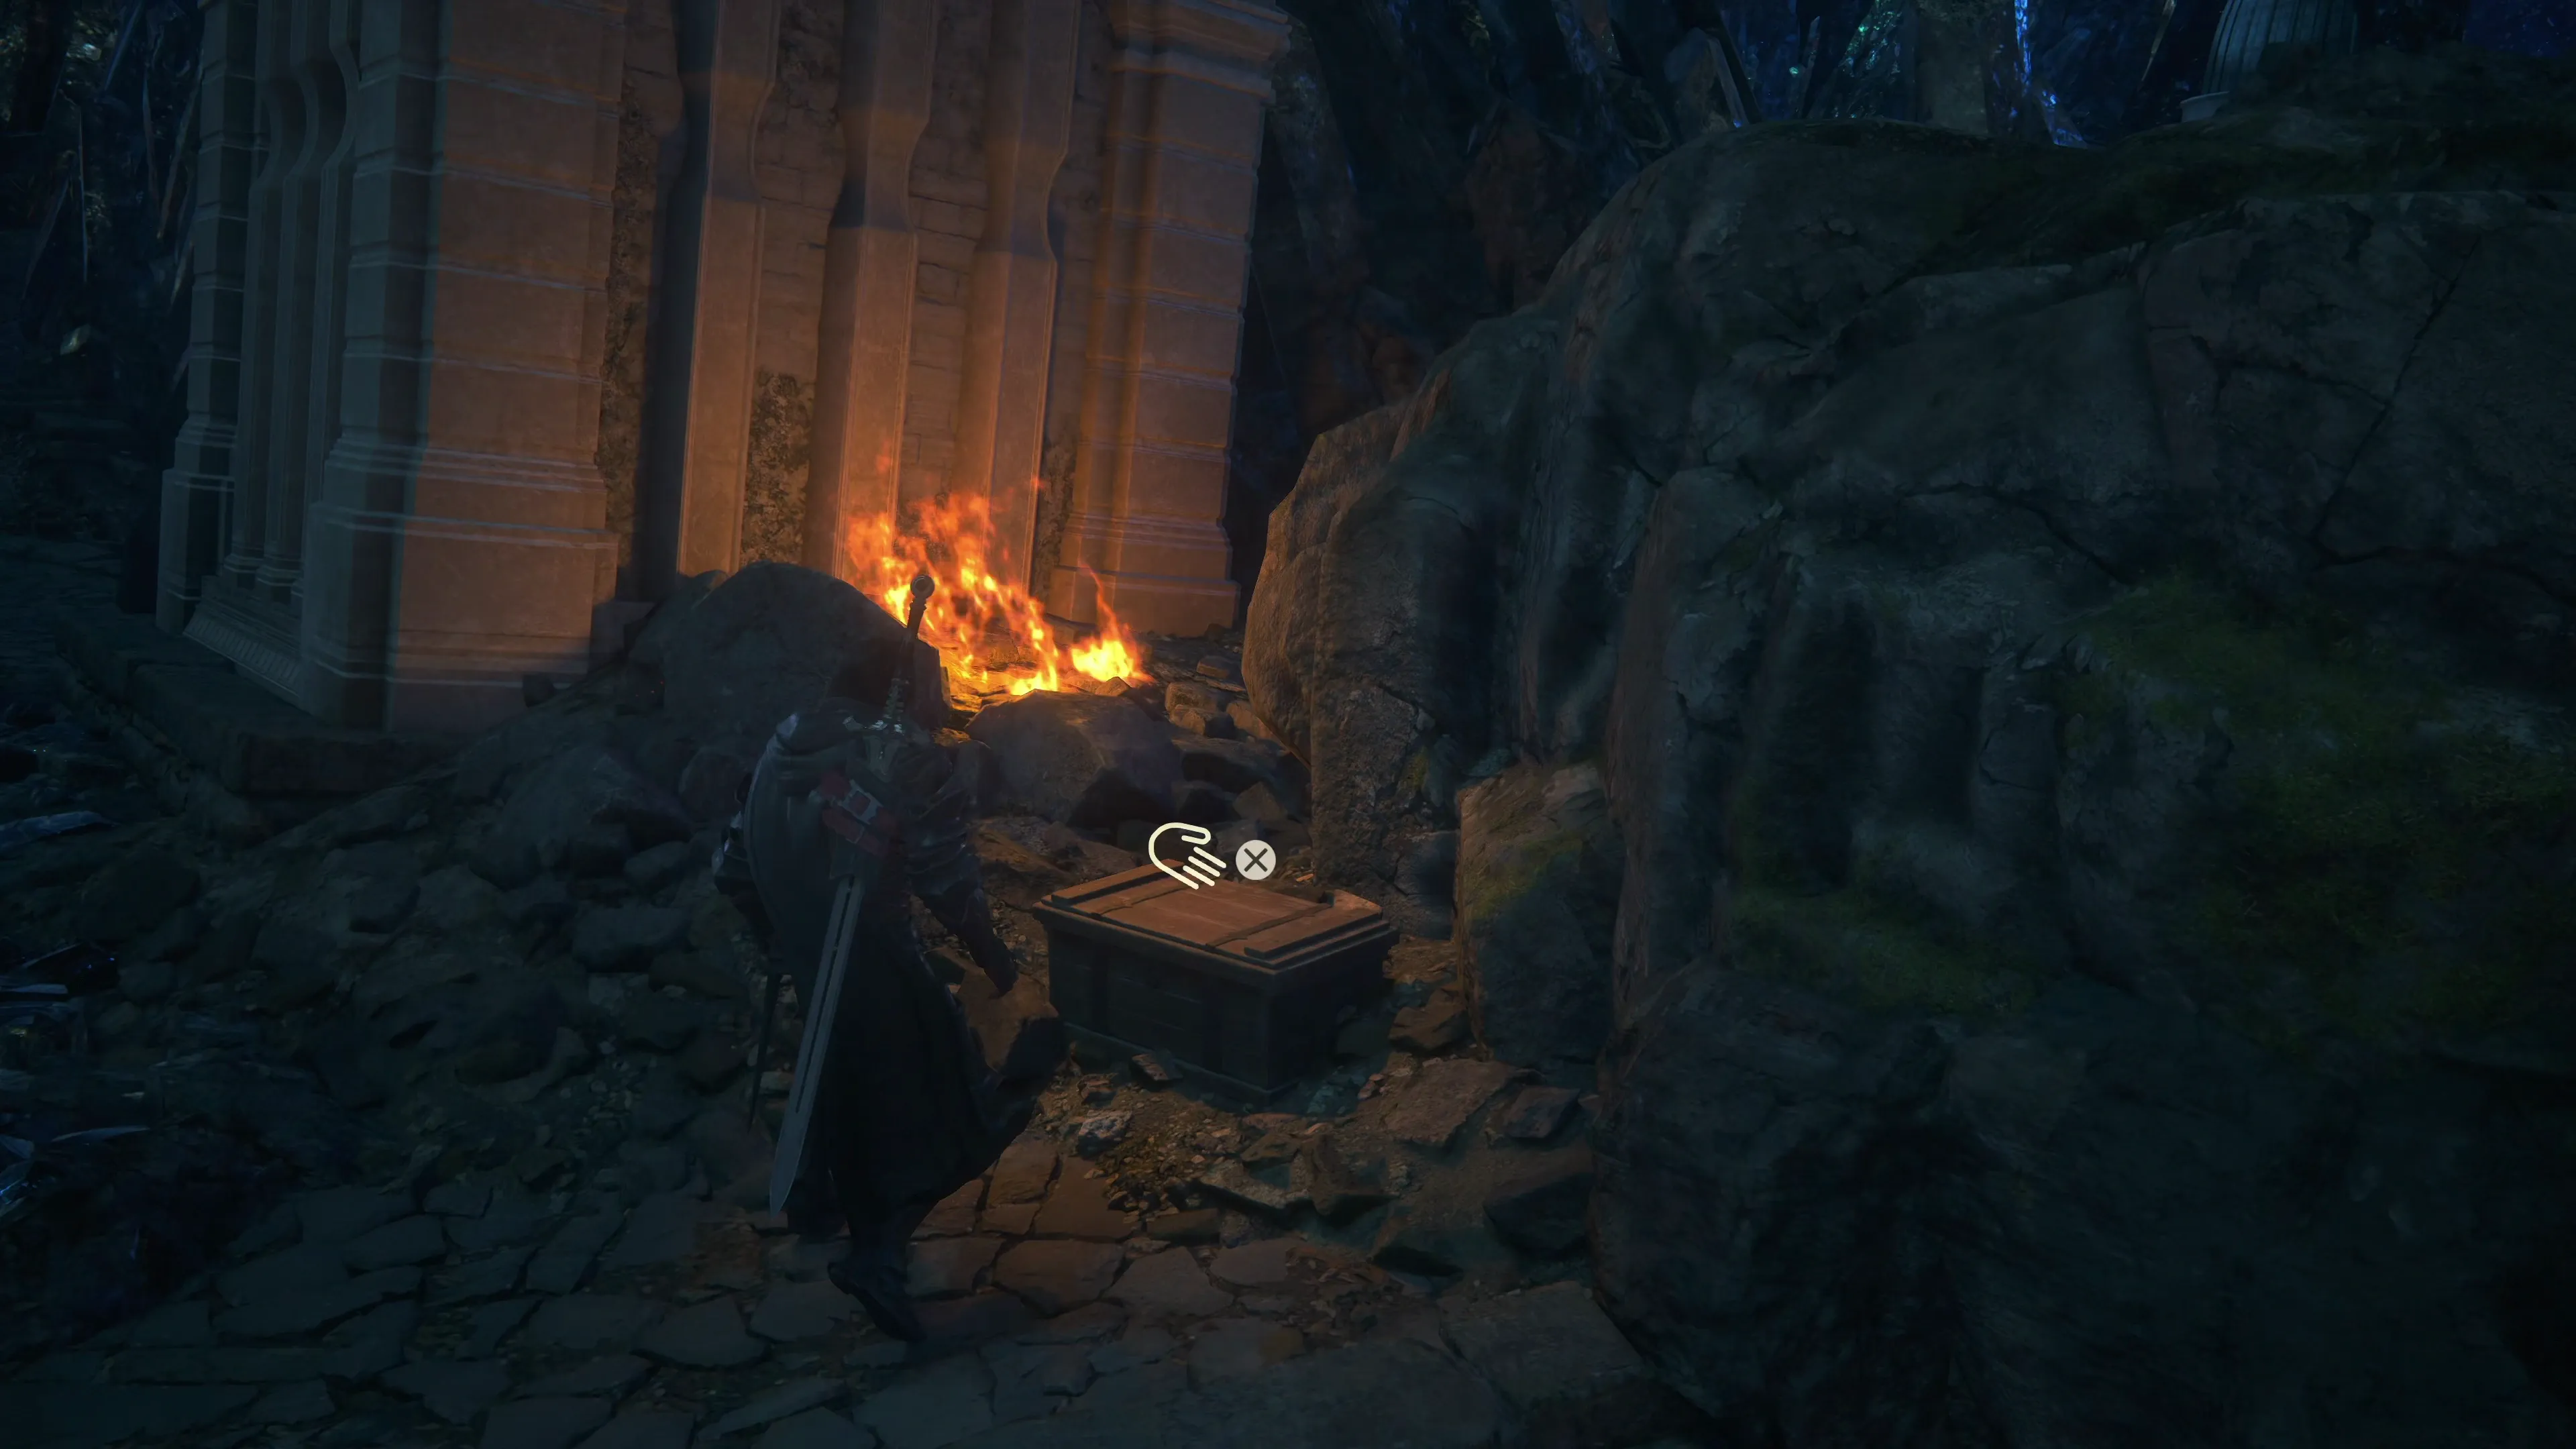
Jump up the nearby ledge and, as you walk along the next pathway, keep an eye out on the right side for a treasure coffer that contains a ![]() Black Blood and ten
Black Blood and ten ![]() Bloody Hides.
Bloody Hides.
Be careful, as the next boss battle is coming up as soon as you drop down the next ledge. Swap over to your single-target ![]() Eikonic Ability Set and consider saving your game.
Eikonic Ability Set and consider saving your game.
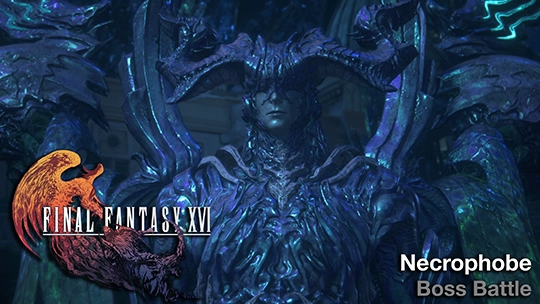
Boss Battle
The Necrophobe has all sorts of magic-based attacks that it will use on Clive, quite often choosing to do so from a distance. Getting used to the timing of these attacks can be tricky. The Necrophobe has four magical edifices surrounding it, though, that help to telegraph some of its attacks. Let’s start with its early set of attacks:
![]() Lunge:
Lunge:
Necrophobe will sometimes lunge across the screen instead of using magic. You can tell when this attack is coming because it will fly around in a little figure eight before it comes flying across the screen. You’ll see this attack early, as it always starts the battle using this attack; be ready to dodge out of the way.
![]() Magic Sword Slice:
Magic Sword Slice:
If you’re standing within close range of Necrophobe, it will often materialize a sword made of the energy edifices surrounding it, hold it up slightly, and then swing in an arc in front of itself. This attack is easy to dodge once you’ve mastered the timing.
![]() Frostbolt:
Frostbolt:
The four magical edifices around Necrophobe will begin spinning, and it will launch a quick Frostbolt towards Clive. This can be dodged or reflected with ![]() Heatwave.
Heatwave.
![]() Triple Magic Orbs:
Triple Magic Orbs:
The wind-up animation for this looks very similar to a “Frostbolt,” except the edifices will spin for a much longer duration and will keep spinning. Necrophobe will slowly fly to the left or right, launching three slower-moving orbs of energy towards Clive. This attack is more difficult to dodge and counter because of the rotation and the likelihood of getting hit with the second or third magic orb. It’s usually easier to get distance between yourself and the Necrophobe for this attack.
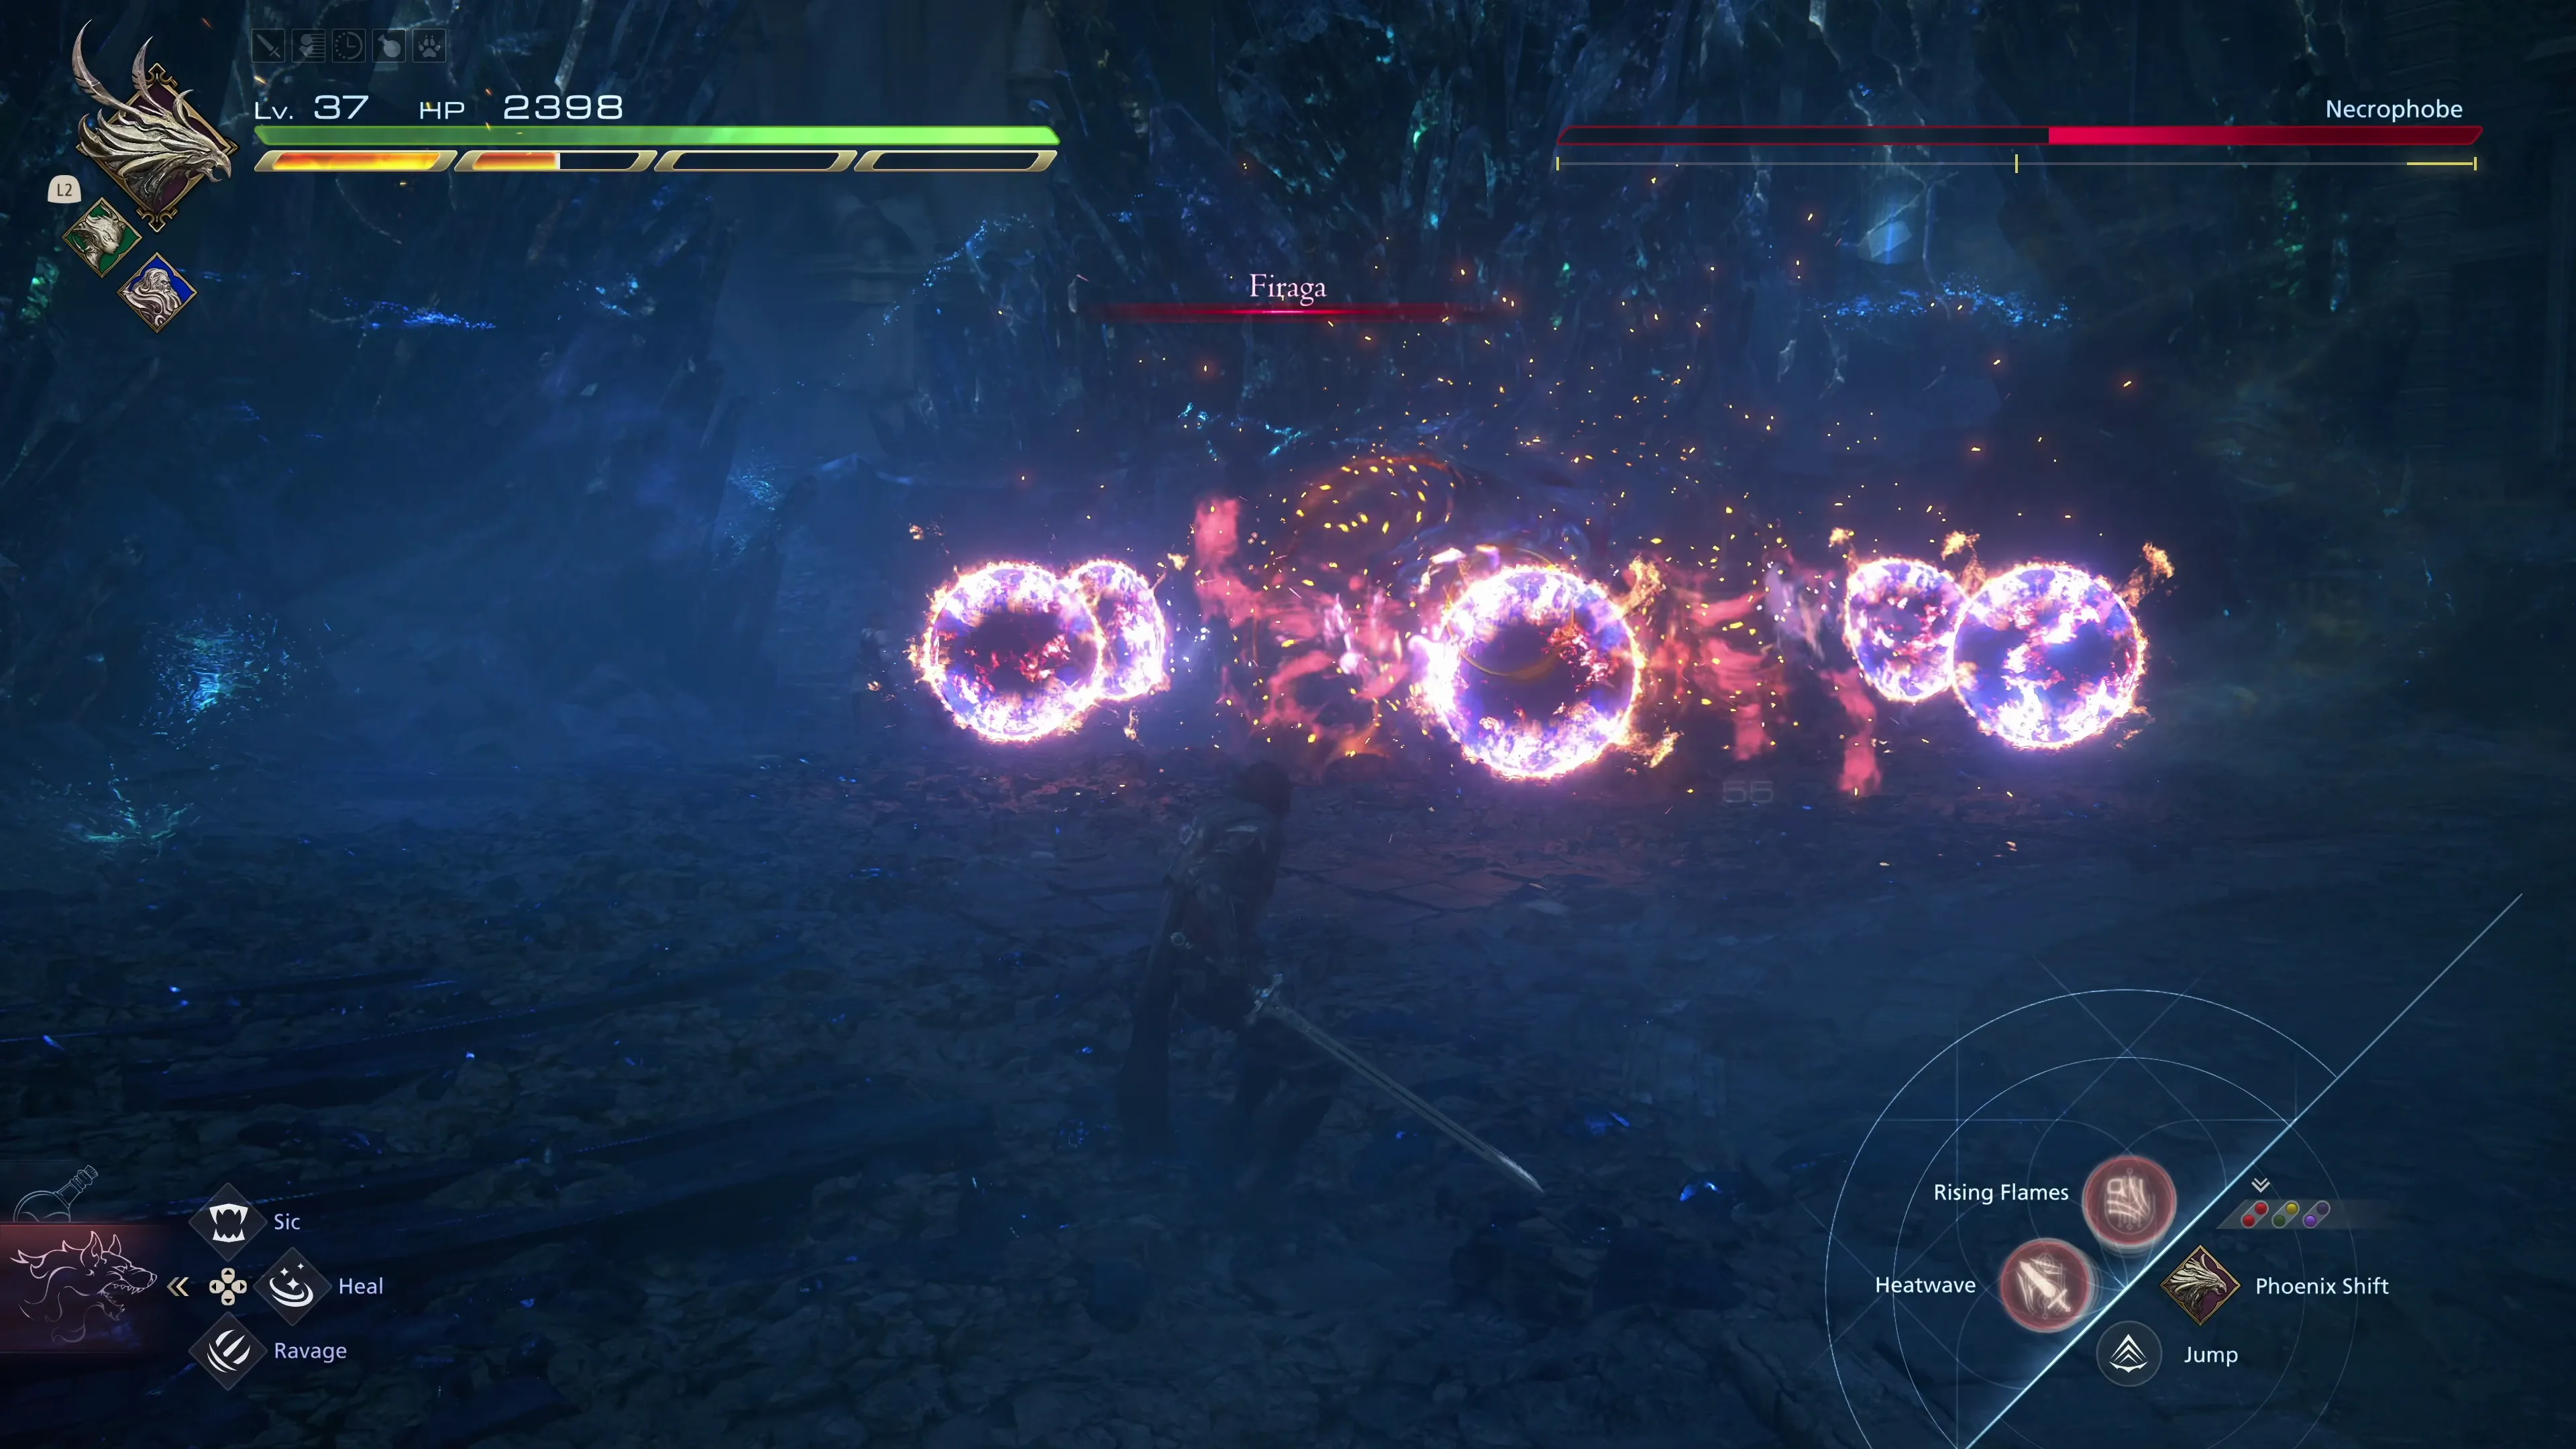
![]() Firaga Orb (Single):
Firaga Orb (Single):
Necrophobe will launch a slow-moving red orb towards Clive. This is easy to dodge and counterattack.
Once it reaches approximately 60% of its health, it will use a move called “Elemental Dissonance,” which will charge up the attacks it was using. At this point, it will begin using a more complex set of attacks. Here are the ones that will be added to the mix:
![]() Sword Lunge:
Sword Lunge:
Similar to the “Magic Sword Slice” attack, Necrophobe will materialize a sword out of the edifices floating around it, and then will lunge across the screen towards Clive. This attack is quick, so be ready to dodge as quickly as you can.
![]() Firaga (Multiple):
Firaga (Multiple):
Instead of launching a single Firaga orb like before, six Firaga orbs will spawn, and they will slowly rotate outwards from Necrophobe. It’s easy to out-range these orbs, as they don’t travel very far outward, but if you’re feeling brave and think you can get the timing down, they can be counterattacked as well with ![]() Heatwave.
Heatwave.
![]() Blizzaga:
Blizzaga:
This attack is very similar to the magic beam attack from a harpy, except it’s much quicker and you can’t counterattack it, so get out of the way as quickly as possible.
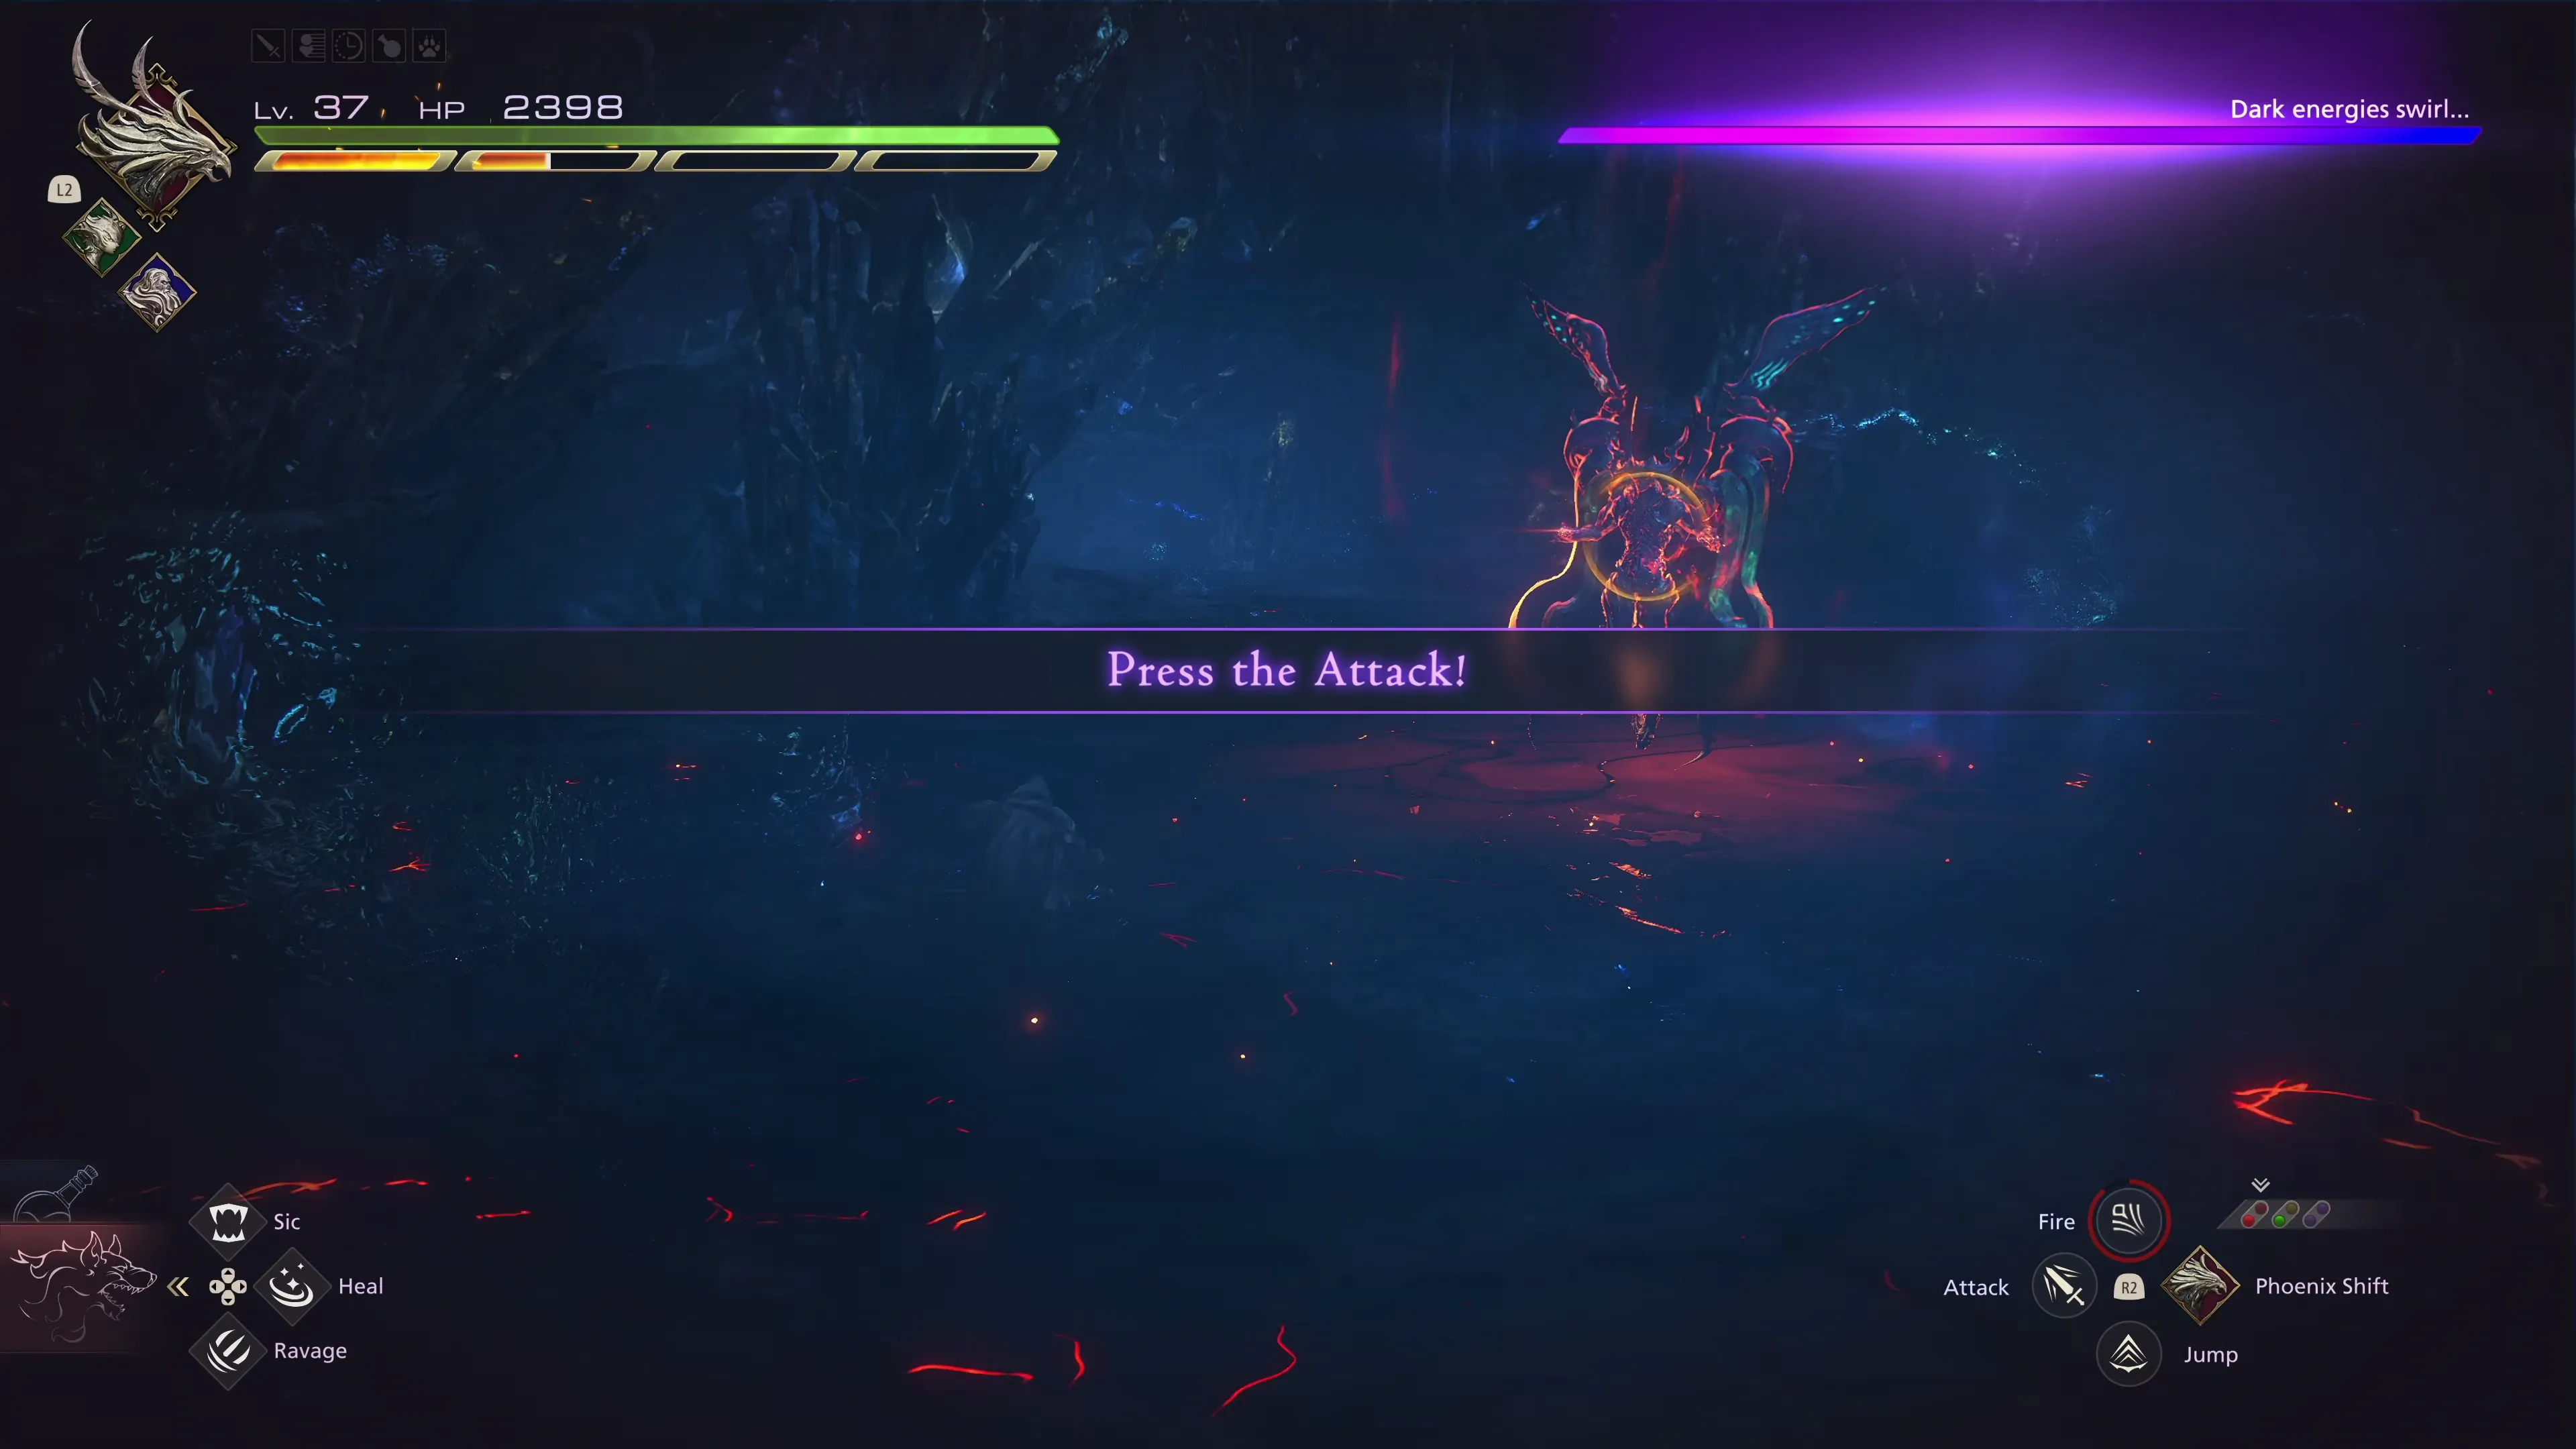
Finally, when it gets to around 30% HP, a message will appear on the screen that “Dark energies swirl…” where you’ll need to “Press the Attack!.” Deal as much damage to Necrophobe as you can; it’s not too hard to deplete the purple bar at the top-right of the screen, but you will need to dodge the Thundaga lightning energy spots that appear on the ground and back up any time it casts “Firaga.”
There are two final changes at 30% HP:
![]() Dualcast:
Dualcast:
Necrophobe will begin casting two spells quickly in succession. Be ready to dodge both. Blizzaga can be particularly challenging because of how quickly the two attacks are cast.
![]() Enfiraga:
Enfiraga:
It will light up its sword with fire magic and then lunge towards Clive from across the screen. This attack can be dodged, but timing it correctly can be challenging.
![]() Enblizzaga:
Enblizzaga:
An Area of Effect (AoE) attack that deals damage in a small circle around Necrophobe. Just get out of the area that lights up on the ground.
![]() Enthundaga:
Enthundaga:
Thunderbolts will drop from the sky. The areas that they are about to hit will light up with purple energy, giving you time to dodge out of their path.
There is no Medal of Valor for this fight. Check out the video below if you’re having trouble with it.
180
3,000
A video demonstration of how to successfully complete the fight against Necrophobe.
Climb up the nearby ledge and get ready for another boss battle. Save your game if you’re attempting to earn the Medal of Valor for this next upcoming fight, grab the Glimmer, and head into the house, up the stairs, and go through the doorway at the top.
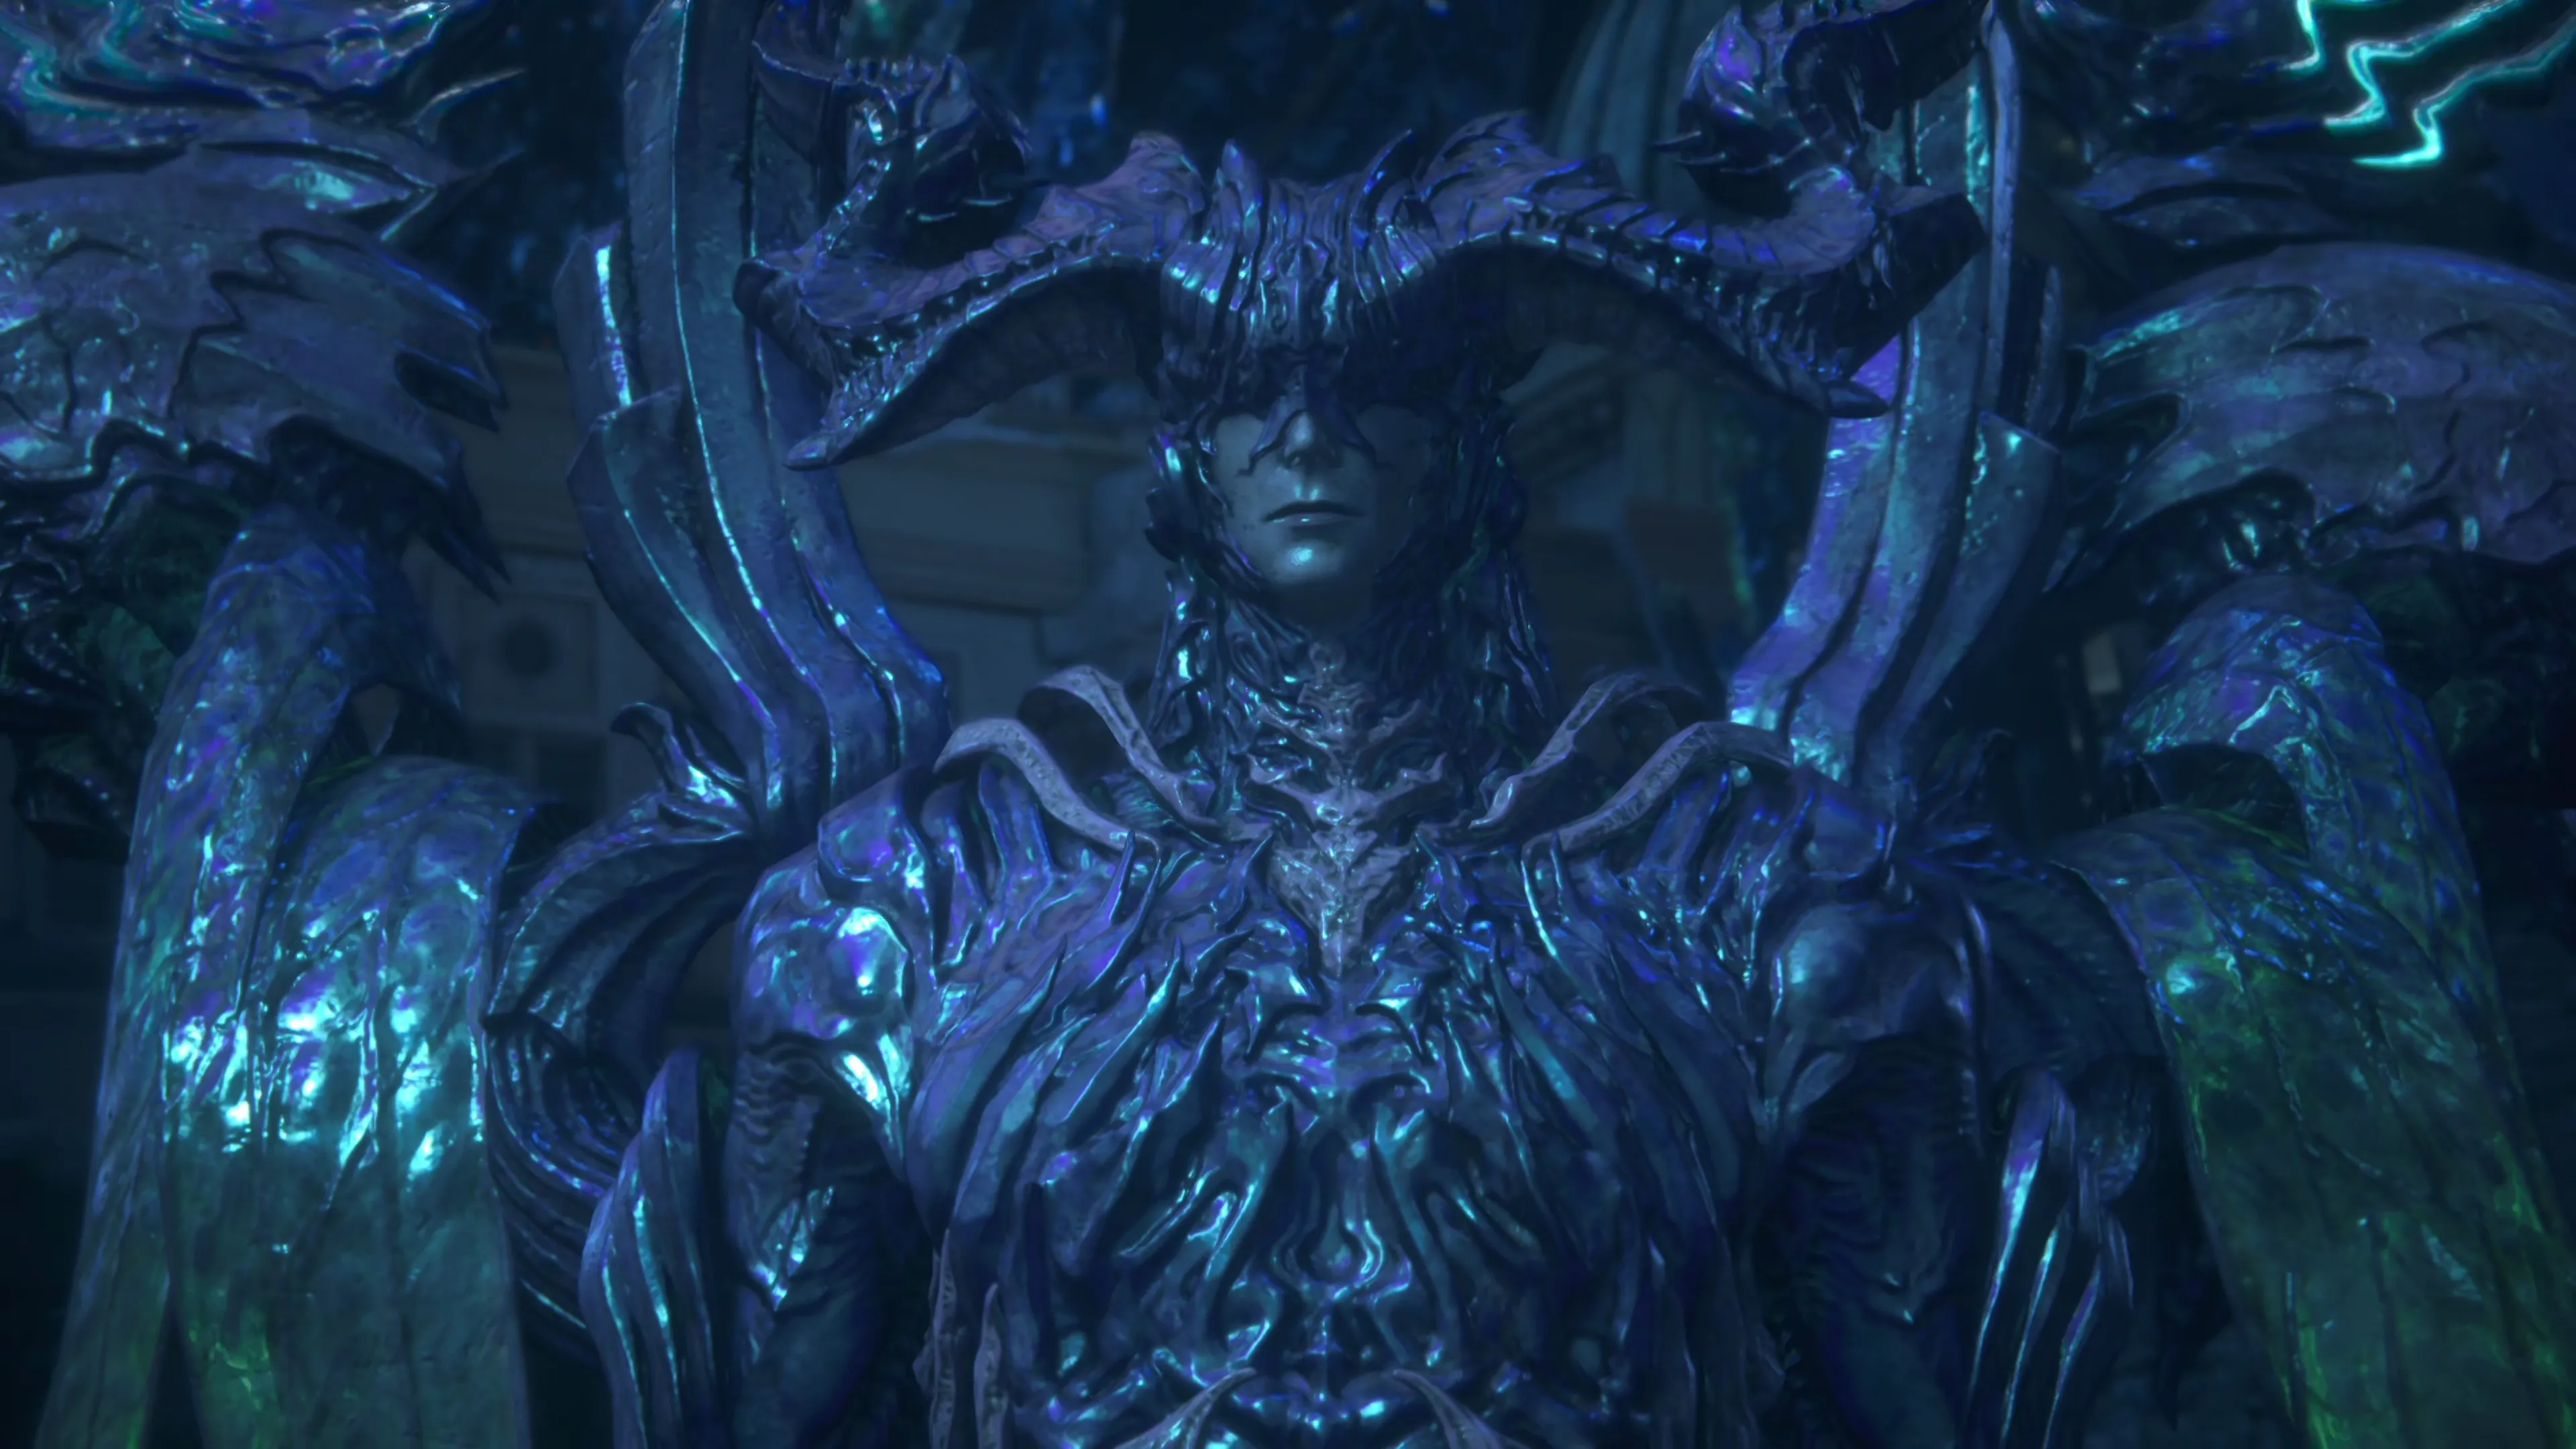
This next boss is very similar to the battle against Titan. There are three distinct phases of the fight, with a few intermediate phases where the boss gains access to new moves. All of these phases involve Clive in his Ifrit form again.
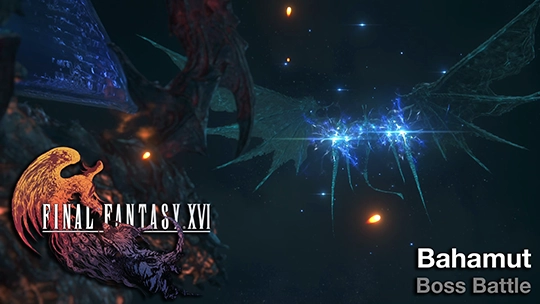
Boss Battle
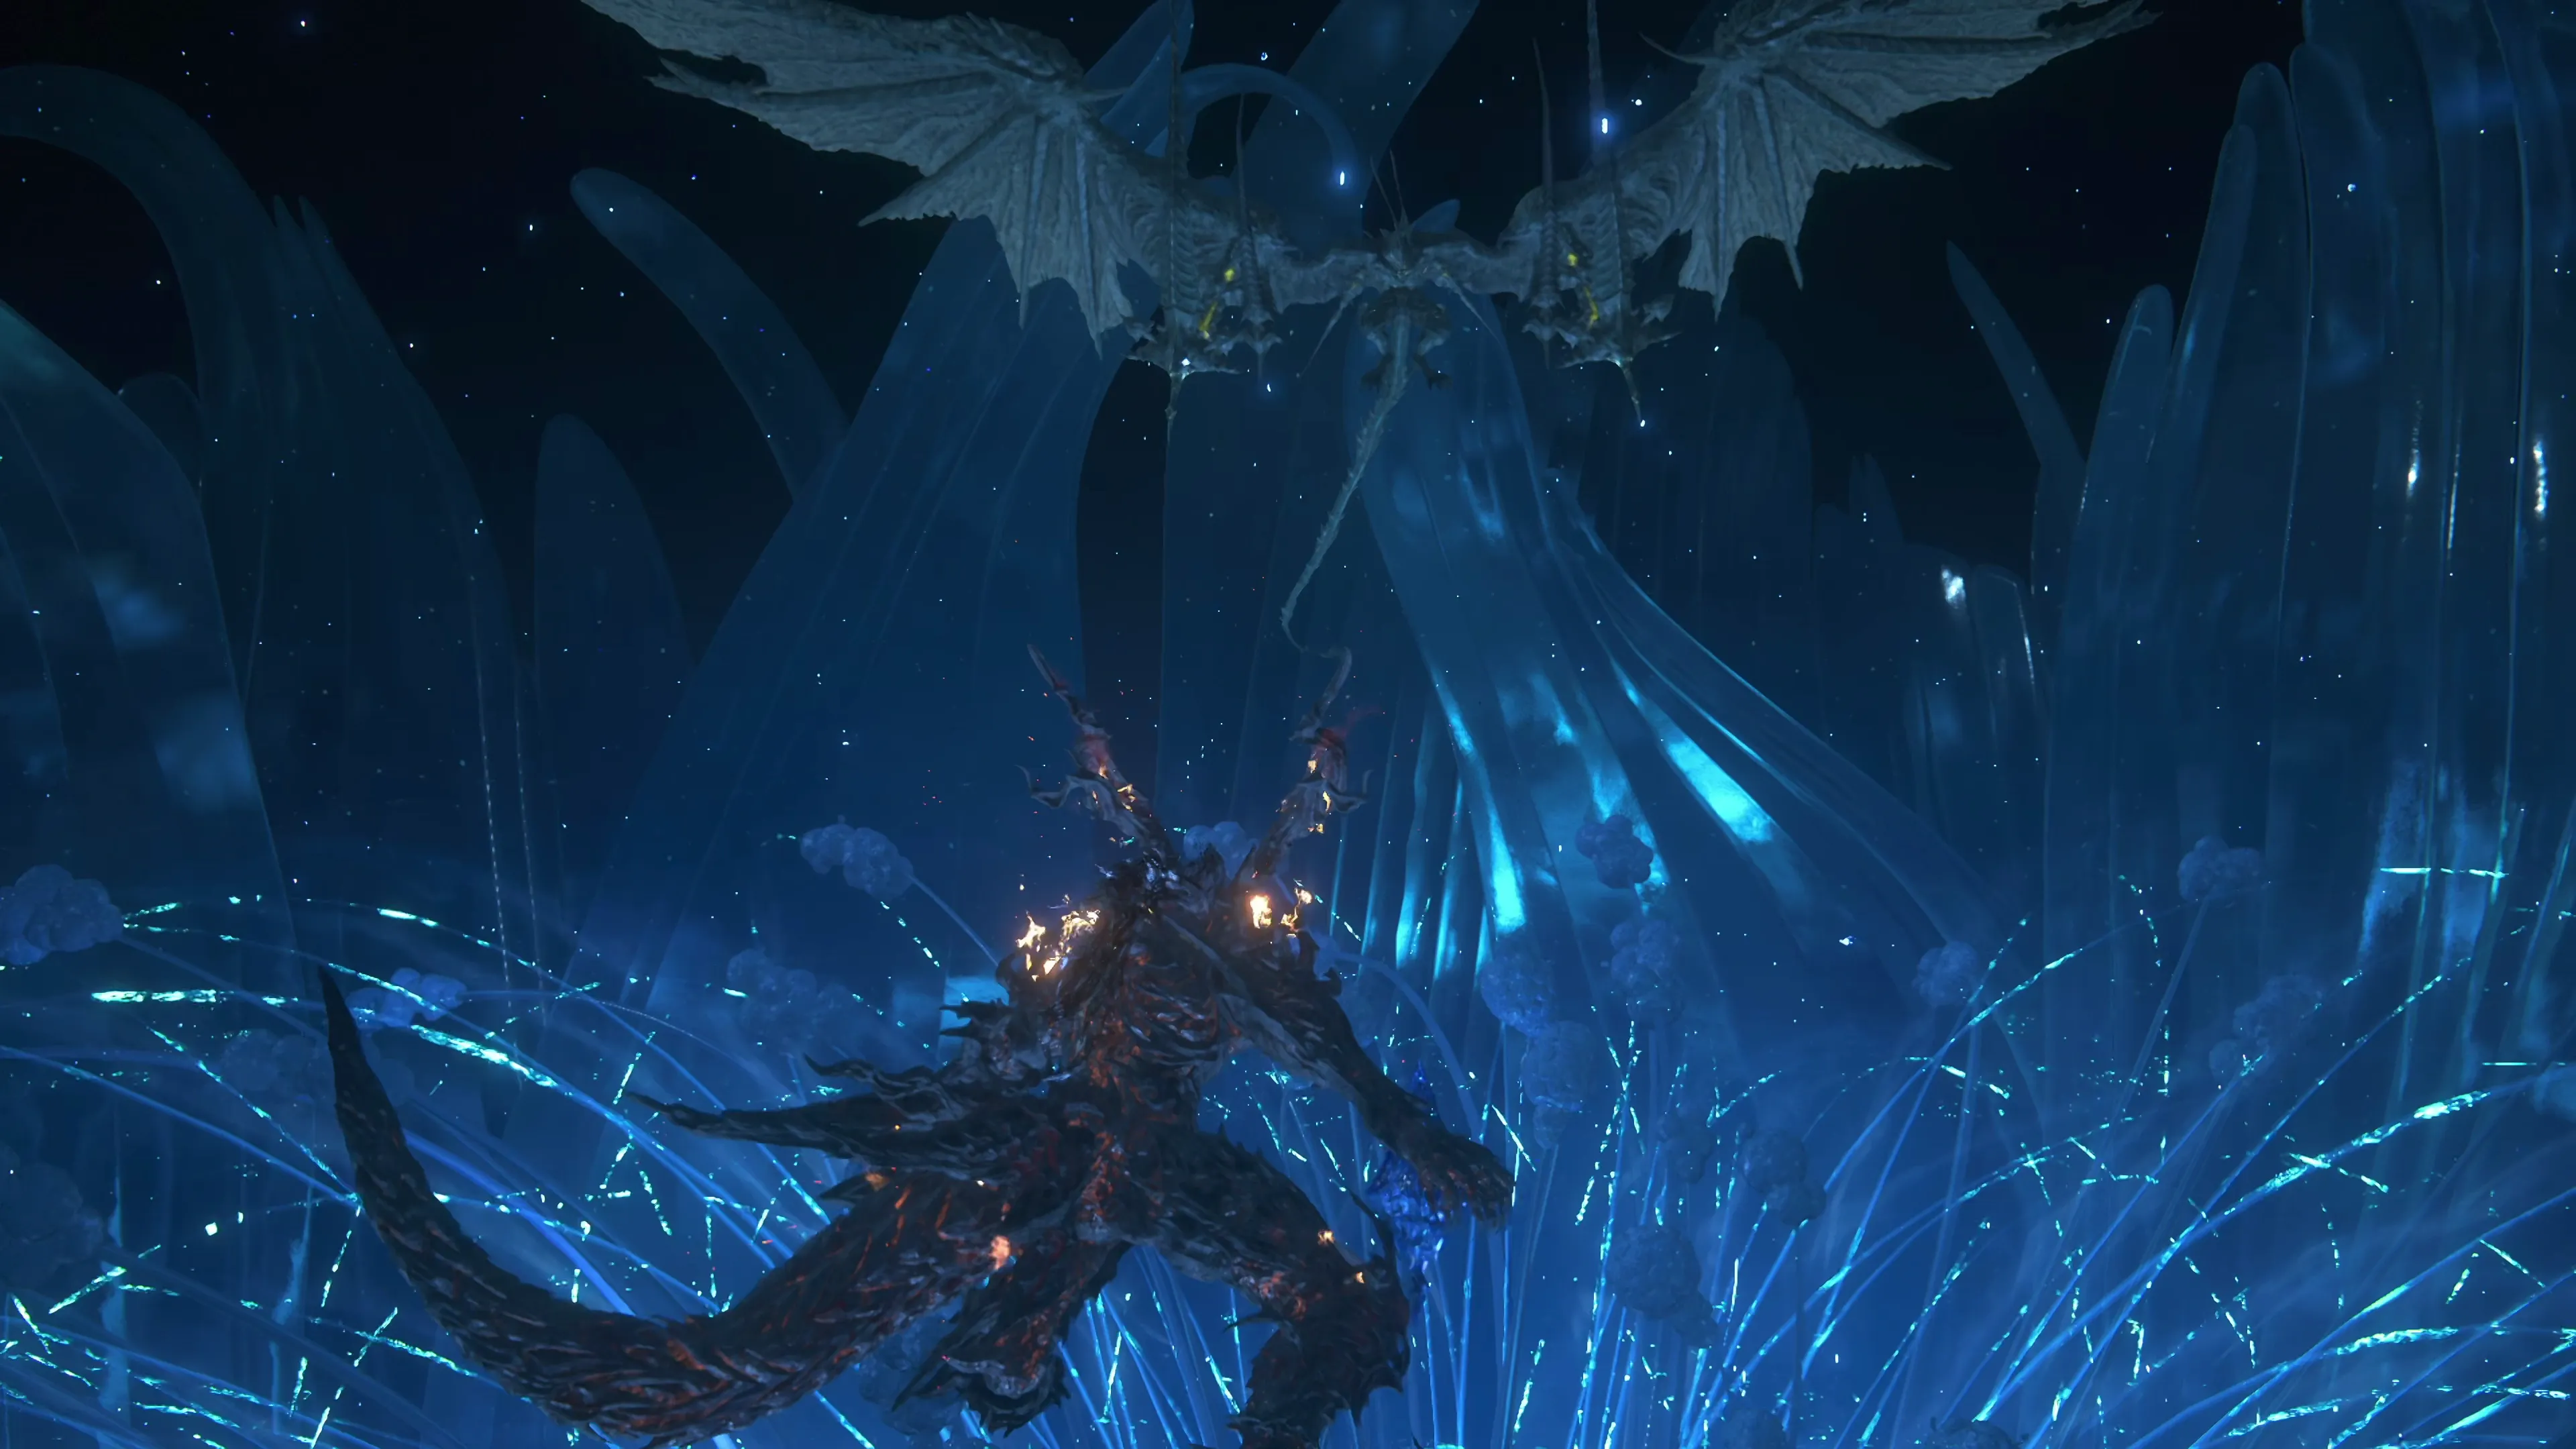
Phase 1
The battle opens with a cinematic duel between Bahamut and Ifrit. This first stage of the fight involves one Cinematic Strike (![]()
![]()
![]() ) and one Cinematic Evasion (
) and one Cinematic Evasion (![]()
![]()
![]() ). Shortly afterward, the battle will begin with the large Drake’s Tail crystal making up the battlefield for this fight.
). Shortly afterward, the battle will begin with the large Drake’s Tail crystal making up the battlefield for this fight.
Bahamut doesn’t have too many moves in his arsenal at the start of the fight. He has the following attacks:
![]() Ground Slam:
Ground Slam:
Bahamut begins the fight by using this attack at the start of the battle every single time. He will rise in the air slightly, and electricity will start flowing around him, before he slams downward into the ground. If he is close enough to Ifrit, he will attempt to hit Ifrit when he slams down, but if he is far away, he will hit the ground, trying to deal damage with a wave of energy that emits from the spot that he hits. You’ll have to dodge this wave of energy no matter where Bahamut lands, and the best way to do this is to dodge forward towards Bahamut. That way, whether he lands on you or lands somewhere else on the battlefield, your dodge will still be effective.
![]() Aerial Slash:
Aerial Slash:
This attack is very similar to Benedikta’s Wind Slash. Bahamut will pull its wings back and then launch three waves of energy from its wings towards Ifrit. Dodge to the left or right side to avoid them.
![]() Spinning Lunge:
Spinning Lunge:
Bahamut will fly to the far side of the battlefield and begin barrel rolling before lunging across the map towards Ifrit. This attack is telegraphed and easy to dodge.
![]() Aura Burst:
Aura Burst:
A large, glowing orange circle will form in a radius around Bahamut. Get out of the blast zone before Bahamut explodes to avoid the damage.
![]() Quintessence:
Quintessence:
Bahamut will summon a line of energy orbs that slowly drift towards Ifrit. You can destroy these with a ![]() Fireball, but it’s usually easier to bait them to the right or left, and then run to the opposite side to get around them. You can use
Fireball, but it’s usually easier to bait them to the right or left, and then run to the opposite side to get around them. You can use ![]()
![]()
![]() to dodge through them if they get too close.
to dodge through them if they get too close.
![]() Megaflare:
Megaflare:
This is an annoying attack that Bahamut will use throughout the fight. Similar to the White Dragon’s “Icy Wing Flares,” Megaflare beams will extend out from Bahamut’s wings towards Ifrit. It is possible to dodge this attack, but getting the timing down can be challenging. You have to dodge right when the first energy beam is about to hit Ifrit. Depending on how quickly or slowly the other beams make contact, you may have to dodge twice to avoid the damage altogether. Alternatively, if you’re struggling with the dodge, you can use ![]() Brimstone.
Brimstone.
During this fight, Ifrit will learn a new move called ![]() Spitflare. This powerful attack is best used when a Bahamut is staggered. As a reminder, if your health gets low as any of the Eikons, you can use a
Spitflare. This powerful attack is best used when a Bahamut is staggered. As a reminder, if your health gets low as any of the Eikons, you can use a ![]() Firelight with the
Firelight with the ![]()
![]()
![]() button to regain some HP.
button to regain some HP.
This phase of the fight isn’t quite finished yet, but the next phase involves controlling Phoenix while flying around Drake’s Tail.
Phase 2 - Embodying the Phoenix Again
The controls for the Phoenix phase of the fight are pretty straightforward, with the only change being that you can now hold ![]()
![]()
![]() to use his
to use his ![]() Charged Flame attack. A Charge Fireball attack does not automatically target the enemy, but it is a very powerful attack if you can aim it properly.
Charged Flame attack. A Charge Fireball attack does not automatically target the enemy, but it is a very powerful attack if you can aim it properly.
You can also hold the ![]()
![]()
![]() button to charge a
button to charge a ![]() Volley attack, which will lock onto groups of targets, although you would typically only use this during Bahamut’s “Light Sphere” attack listed below. You can use Volley to home in on five targets that are on Bahamut’s body, but this attack is weaker than a
Volley attack, which will lock onto groups of targets, although you would typically only use this during Bahamut’s “Light Sphere” attack listed below. You can use Volley to home in on five targets that are on Bahamut’s body, but this attack is weaker than a ![]() Charged Flame.
Charged Flame.
![]() Aerial Slash (Update):
Aerial Slash (Update):
Bahamut can still use its Aerial Slash attack; however, the magic beams now fly through the air and rotate, making them more challenging to dodge. It can be hard to tell when they’re about to hit Phoenix, but they change color from blue to yellow when they get close enough to strike and close enough to dodge.
![]() Energy Beams:
Energy Beams:
There are two different versions of this attack, but before both versions, a small blue laser-like beam will appear to let you know that Bahamut is about to use one of them. If the laser beam focuses in on and starts following Phoenix around, the “Energy Beam” attack that Bahamut uses will follow Phoenix around. If the beam is pointed to the left or the right of Phoenix, it will slide across the screen from left to right or vice versa, and you’ll have to dodge as it passes by.
![]() Light Spheres:
Light Spheres:
Bahamut will summon 9 (or more) light orbs that will slowly float towards Phoenix. Use a charged ![]() Volley to target all of them and release
Volley to target all of them and release ![]()
![]()
![]() only once you have them all targeted. They turn yellow when they are getting too close.
only once you have them all targeted. They turn yellow when they are getting too close.
![]() Megaflare (Updated):
Megaflare (Updated):
Megaflare will now send quite a few more waves of flares compared to before. The easiest way to dodge this is to double dodge, once going up and once coming back down, as shown in the demonstration video. The dodge timing is tricky to get down.
![]() Large Light Spheres (with Energy Beams):
Large Light Spheres (with Energy Beams):
Bahamut will also summon larger spheres that will emit a blue laser beam, eventually shooting out the same type of Energy Beam that Bahamut attacks with. These Large Light Spheres have their own HP bar, but they don’t have a lot of HP. You can take one out with a ![]() Charged Flame attack if you target well.
Charged Flame attack if you target well.
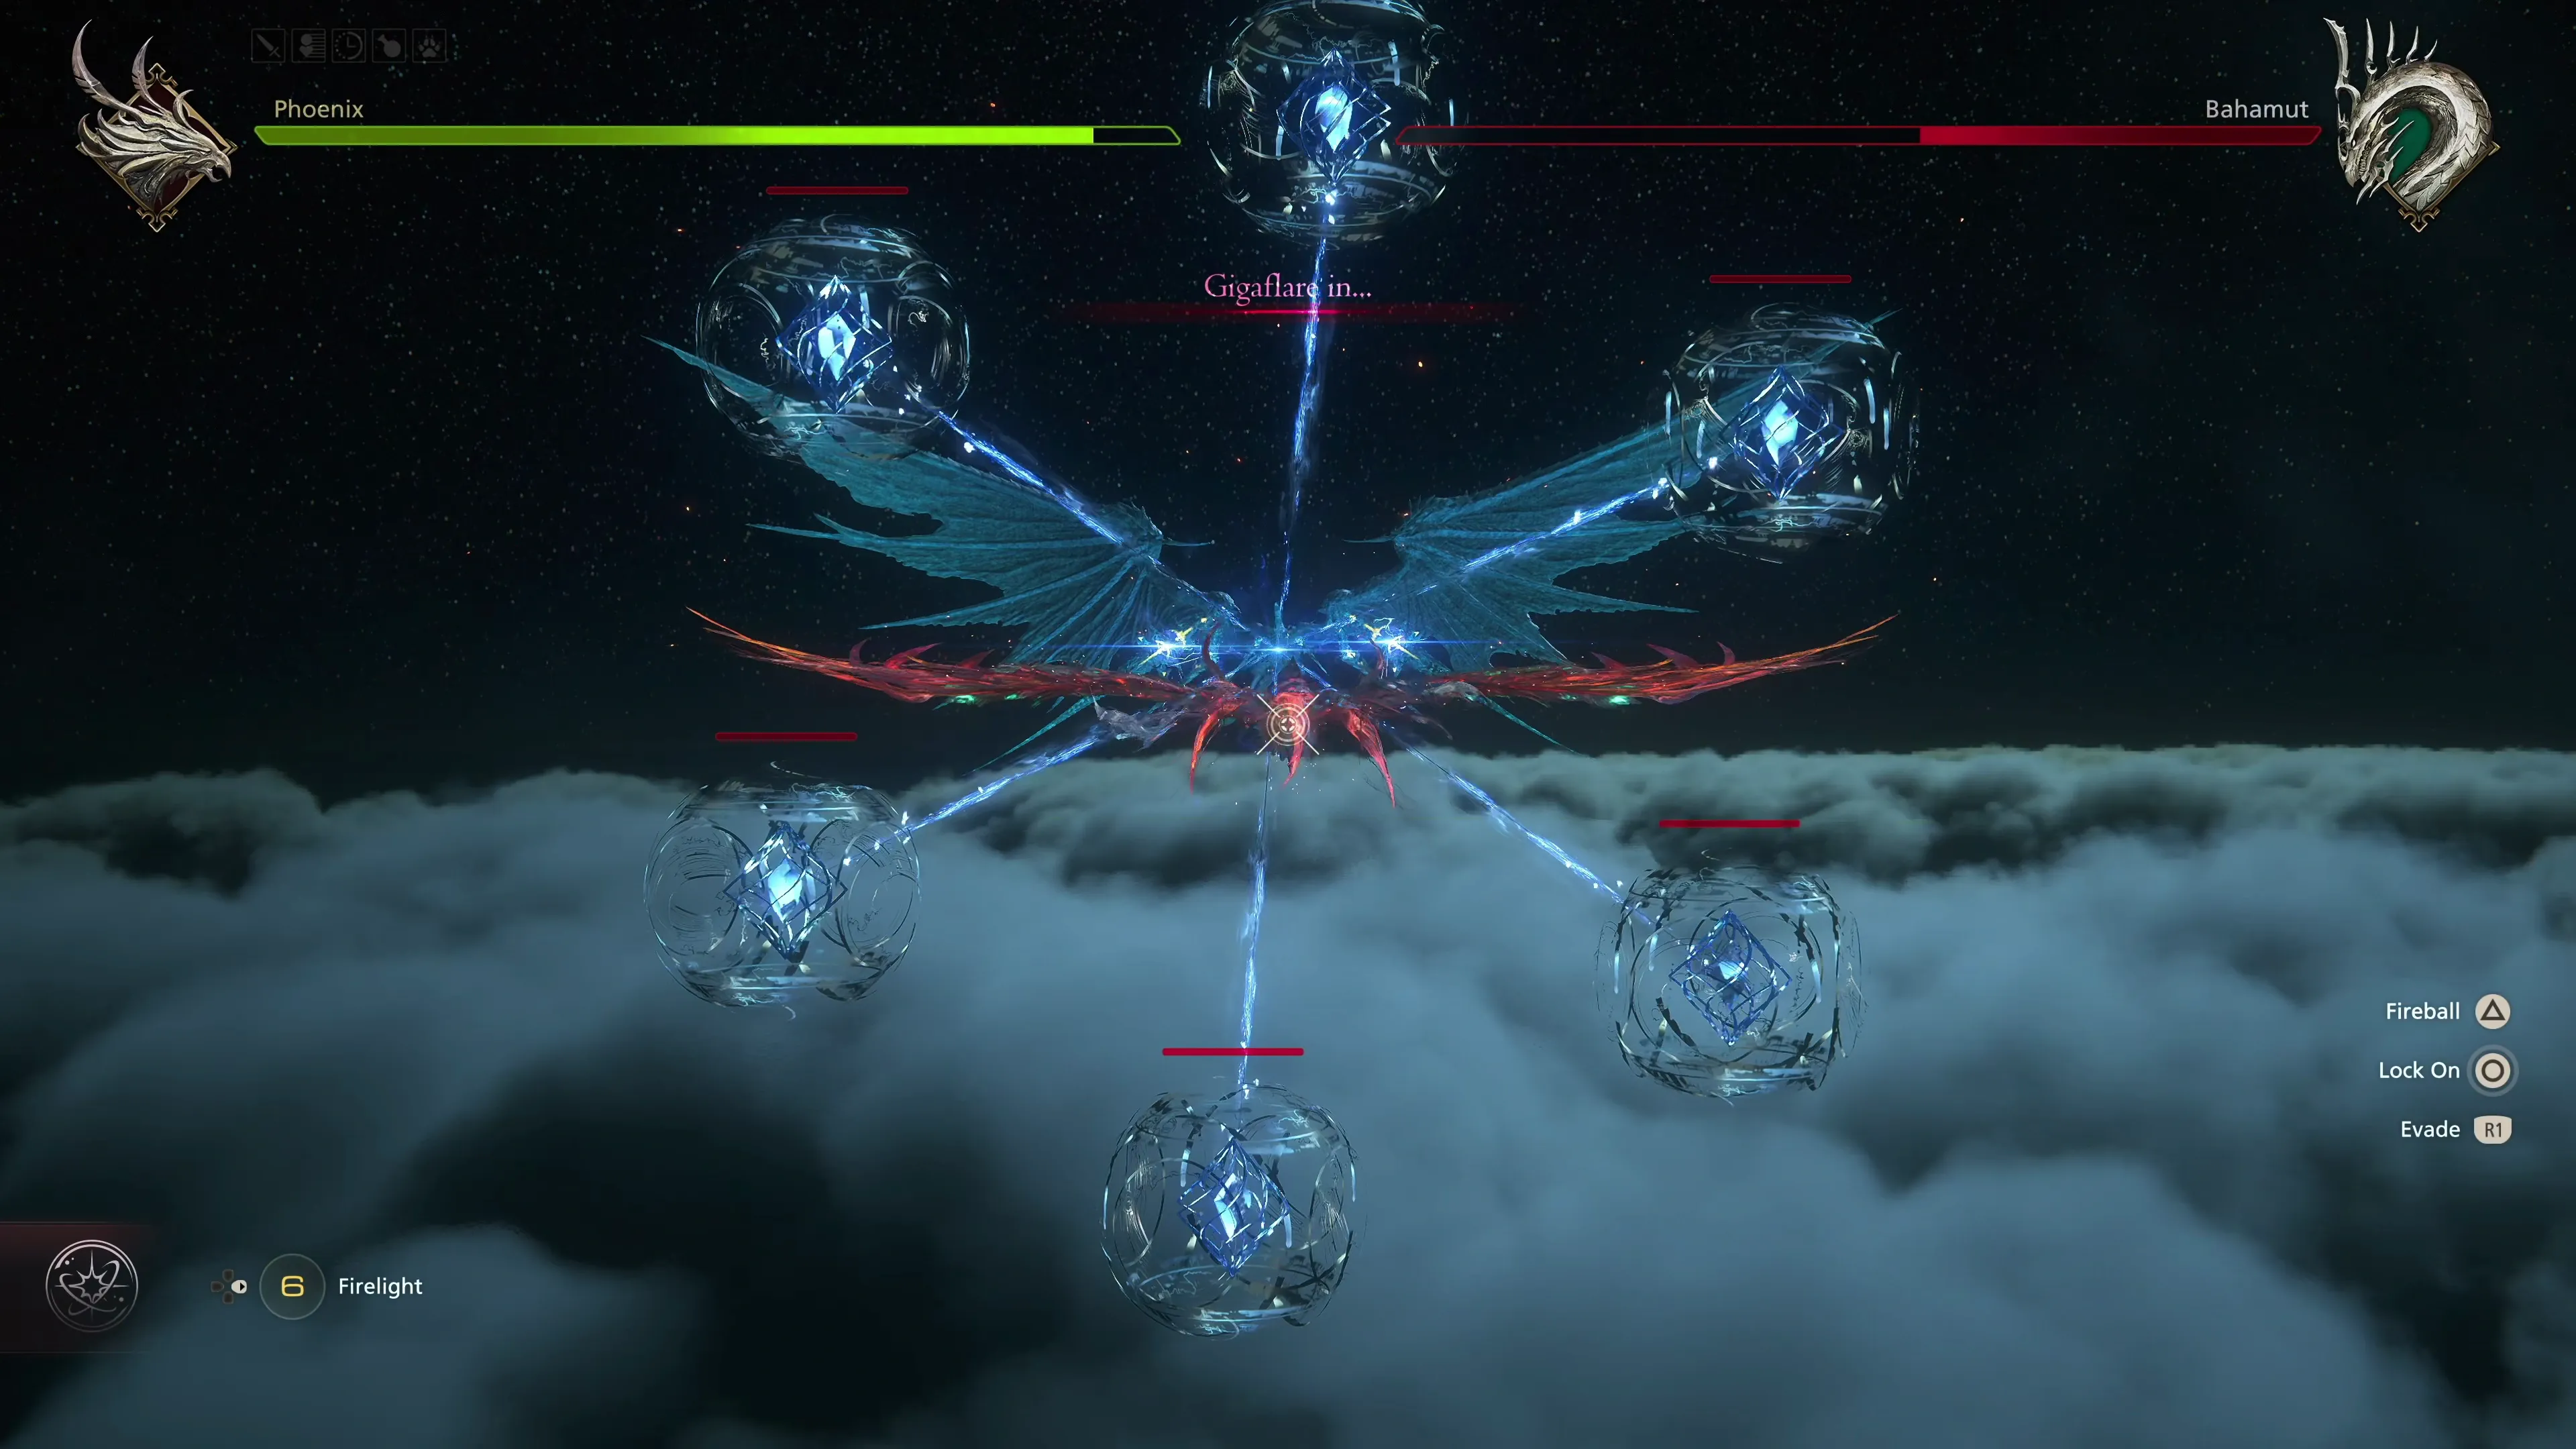
![]() Gigaflare:
Gigaflare:
This functions like a charge attack, except you’ll need to defeat the six Large Light Spheres that are summoned to interrupt Gigaflare. Watch out for the regular Light Spheres and Mini-Megaflares.

Phase 3
The third phase of the fight is just like the first phase. You’re back in control of Ifrit, and Joshua will help you out during this fight as Phoenix. There are a few changes to Bahamut’s attack pattern to be aware of:
![]() Megaflare (Updated):
Megaflare (Updated):
Bahamut will have two waves of two flares, so be ready to dodge four times instead of just twice.
![]() Lunge (Update):
Lunge (Update):
As Bahamut lunges across the screen, not only will you need to dodge him as he comes flying past, but he will also launch energy beams up into the air, which will come crashing down all over the battlefield. Watch out for the blue laser-like lights that appear. They quite often land exactly where Ifrit is standing, so you’ll have to dodge quite a bit after this attack is used.
![]() Mortal Coil (Updated):
Mortal Coil (Updated):
This attack is just a ranged projectile that Bahamut will launch at Ifrit’s current location.
Joshua/Phoenix will be attacking Bahamut throughout this section and interrupting his attacks, which can be very helpful. Make sure to be using ![]() Charged Fireball constantly during this phase. The phase ends when Bahamut begins casting “Teraflare.” Stand in the magic shield that Phoenix creates to avoid damage from this attack (it’s enough damage to immediately KO Clive).
Charged Fireball constantly during this phase. The phase ends when Bahamut begins casting “Teraflare.” Stand in the magic shield that Phoenix creates to avoid damage from this attack (it’s enough damage to immediately KO Clive).
There will be a “Spoils” page at the end of this phase, but we’re not done yet…
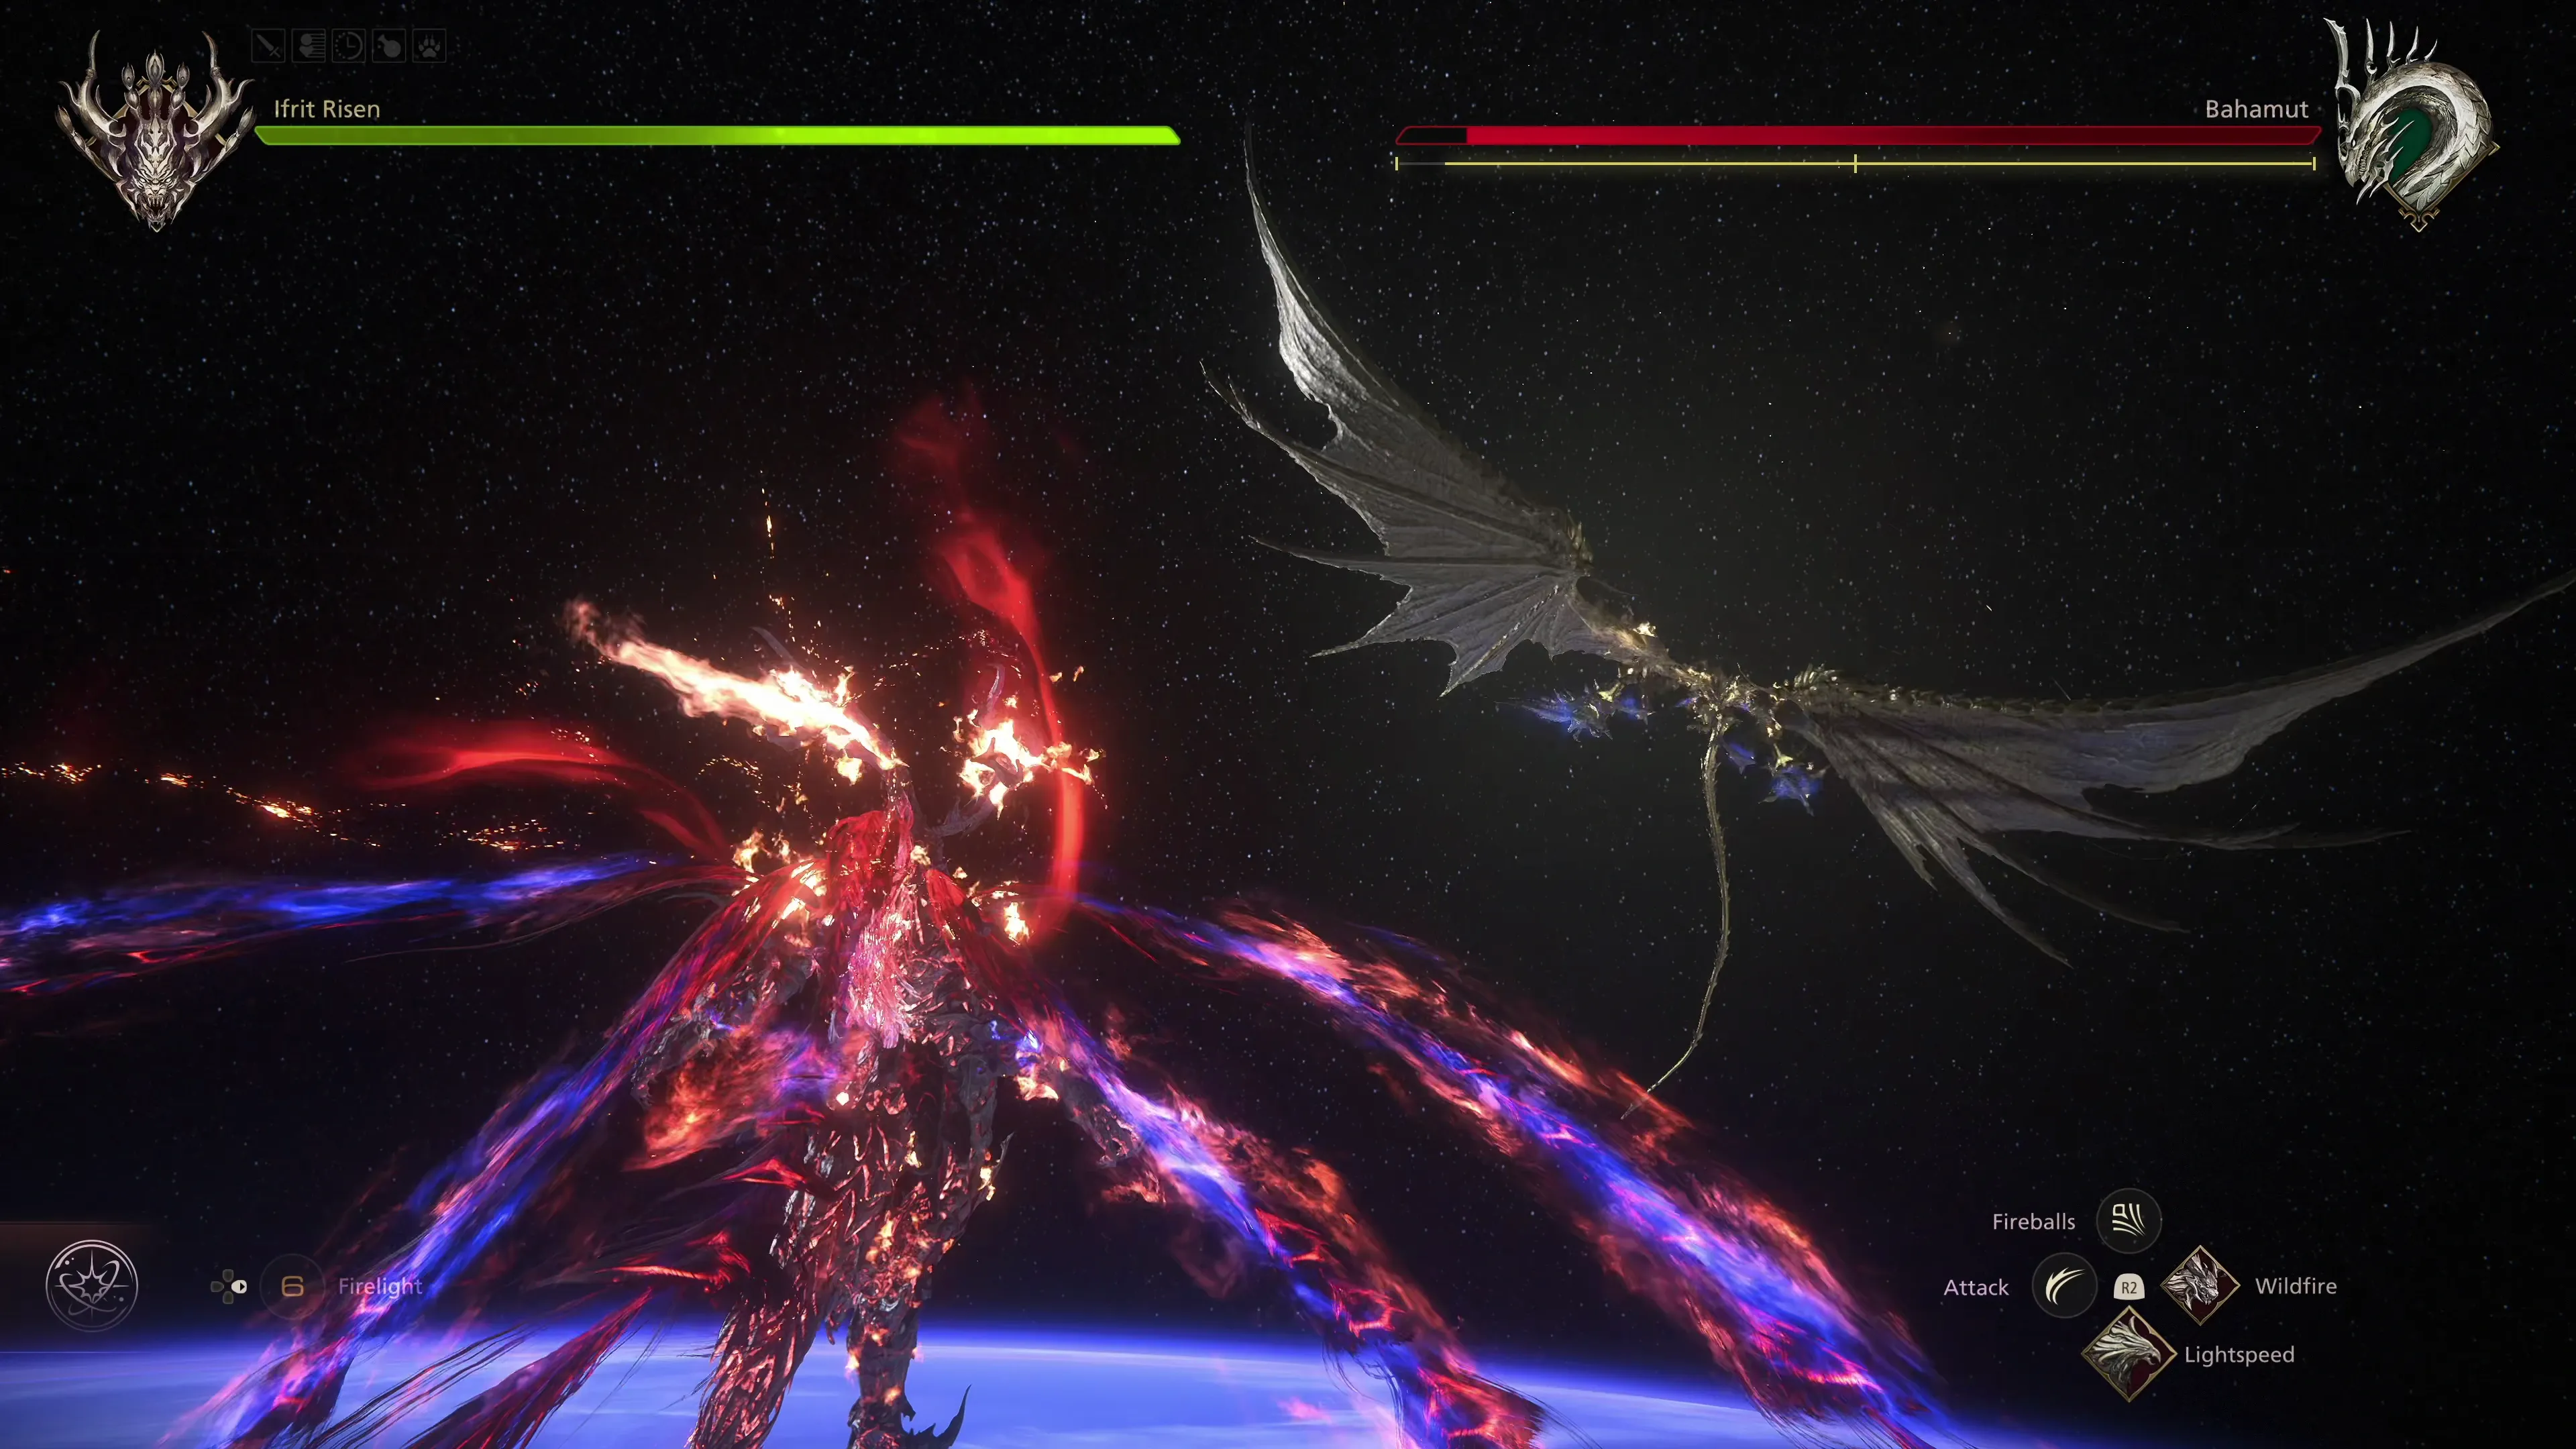
Phase 4
The most challenging aspect of this fight is that it’s another aerial battle, which makes it difficult to know where “Ifrit Risen” is relative to Bahamut. Thankfully, closing the distance between yourself and Bahamut is easy using the “Lightspeed” ability, which works just like ![]() Phoenix Shift but over much larger distances.
Phoenix Shift but over much larger distances.
![]() Charged Flame still works great for the battle, but Bahamut doesn’t have any close-range attacks in this phase or the next phase, so this is one of the few times where it makes sense to close the distance and try to get an attack combo going between Bahamut’s attacks. Speaking of Bahamut’s attacks, most of them will have changed for this fight.
Charged Flame still works great for the battle, but Bahamut doesn’t have any close-range attacks in this phase or the next phase, so this is one of the few times where it makes sense to close the distance and try to get an attack combo going between Bahamut’s attacks. Speaking of Bahamut’s attacks, most of them will have changed for this fight.
![]() Aerial Slash (Update):
Aerial Slash (Update):
This attack works the same, but the magic waves have further to travel. They still change color from blue to orange when they’re getting close enough to do damage, but it’s much easier to dodge this attack by rotating to the right or left well out of the attack’s range.
![]() Supernova:
Supernova:
This is a new attack that summons a large energy sphere, similar to “Quintessence.” And just like for that attack, you can use a ![]() Charged Flame to destroy the sphere.
Charged Flame to destroy the sphere.
![]() Gigaflare:
Gigaflare:
This attack now functions similarly to an “Energy Beam” attack. Bahamut will telegraph where the attack is about to go, but you can dodge through it if you just keep successfully dodging as it hits you. Check out the video for a demonstration.
Megaflare and Aura Burst work the same as before.
Once Bahamut falls below 60% HP, it will summon a bunch of meteors (Satellites) during a cinematic that plays. You’ll have to complete a Cinematic Dodge at this point, and then Bahamut will gain access to a host of new moves, including:
![]() Satellites / Lunge:
Satellites / Lunge:
Bahamut will summon meteor satellites, just like during the cinematic. Dodge to escape the energy beams they spawn, but then watch out for Bahamut too, as he will come lunging towards Ifrit right after he dodges. Finally, there will be one more group of satellites that appear, which you’ll have to dodge one more time.
![]() Aura Burst (Updated):
Aura Burst (Updated):
In addition to the explosion around Bahamut, “Large Energy Spheres” will appear and emit beams of energy as well.
![]() Energy Rails:
Energy Rails:
Five beams of light will emit from Bahamut’s direction, and once they’re finished blasting away, four new beams will appear in the open spaces between the previous beams. The goal is to dodge the attacks by moving between the rails as they light up.
![]() Energy Beams:
Energy Beams:
Just as in Phase 2, Bahamut will emit an energy beam from left to right, and then from right to left, across the screen. This is a fast attack, and dodging it is pretty tough.
![]() Radiance:
Radiance:
Bahamut will summon the “Large Energy Spheres,” and one of them will have a laser beam pointed right at Ifrit. Dodge the first one and then, as the other spheres begin to rotate, get ready to dodge the beams as they get close.
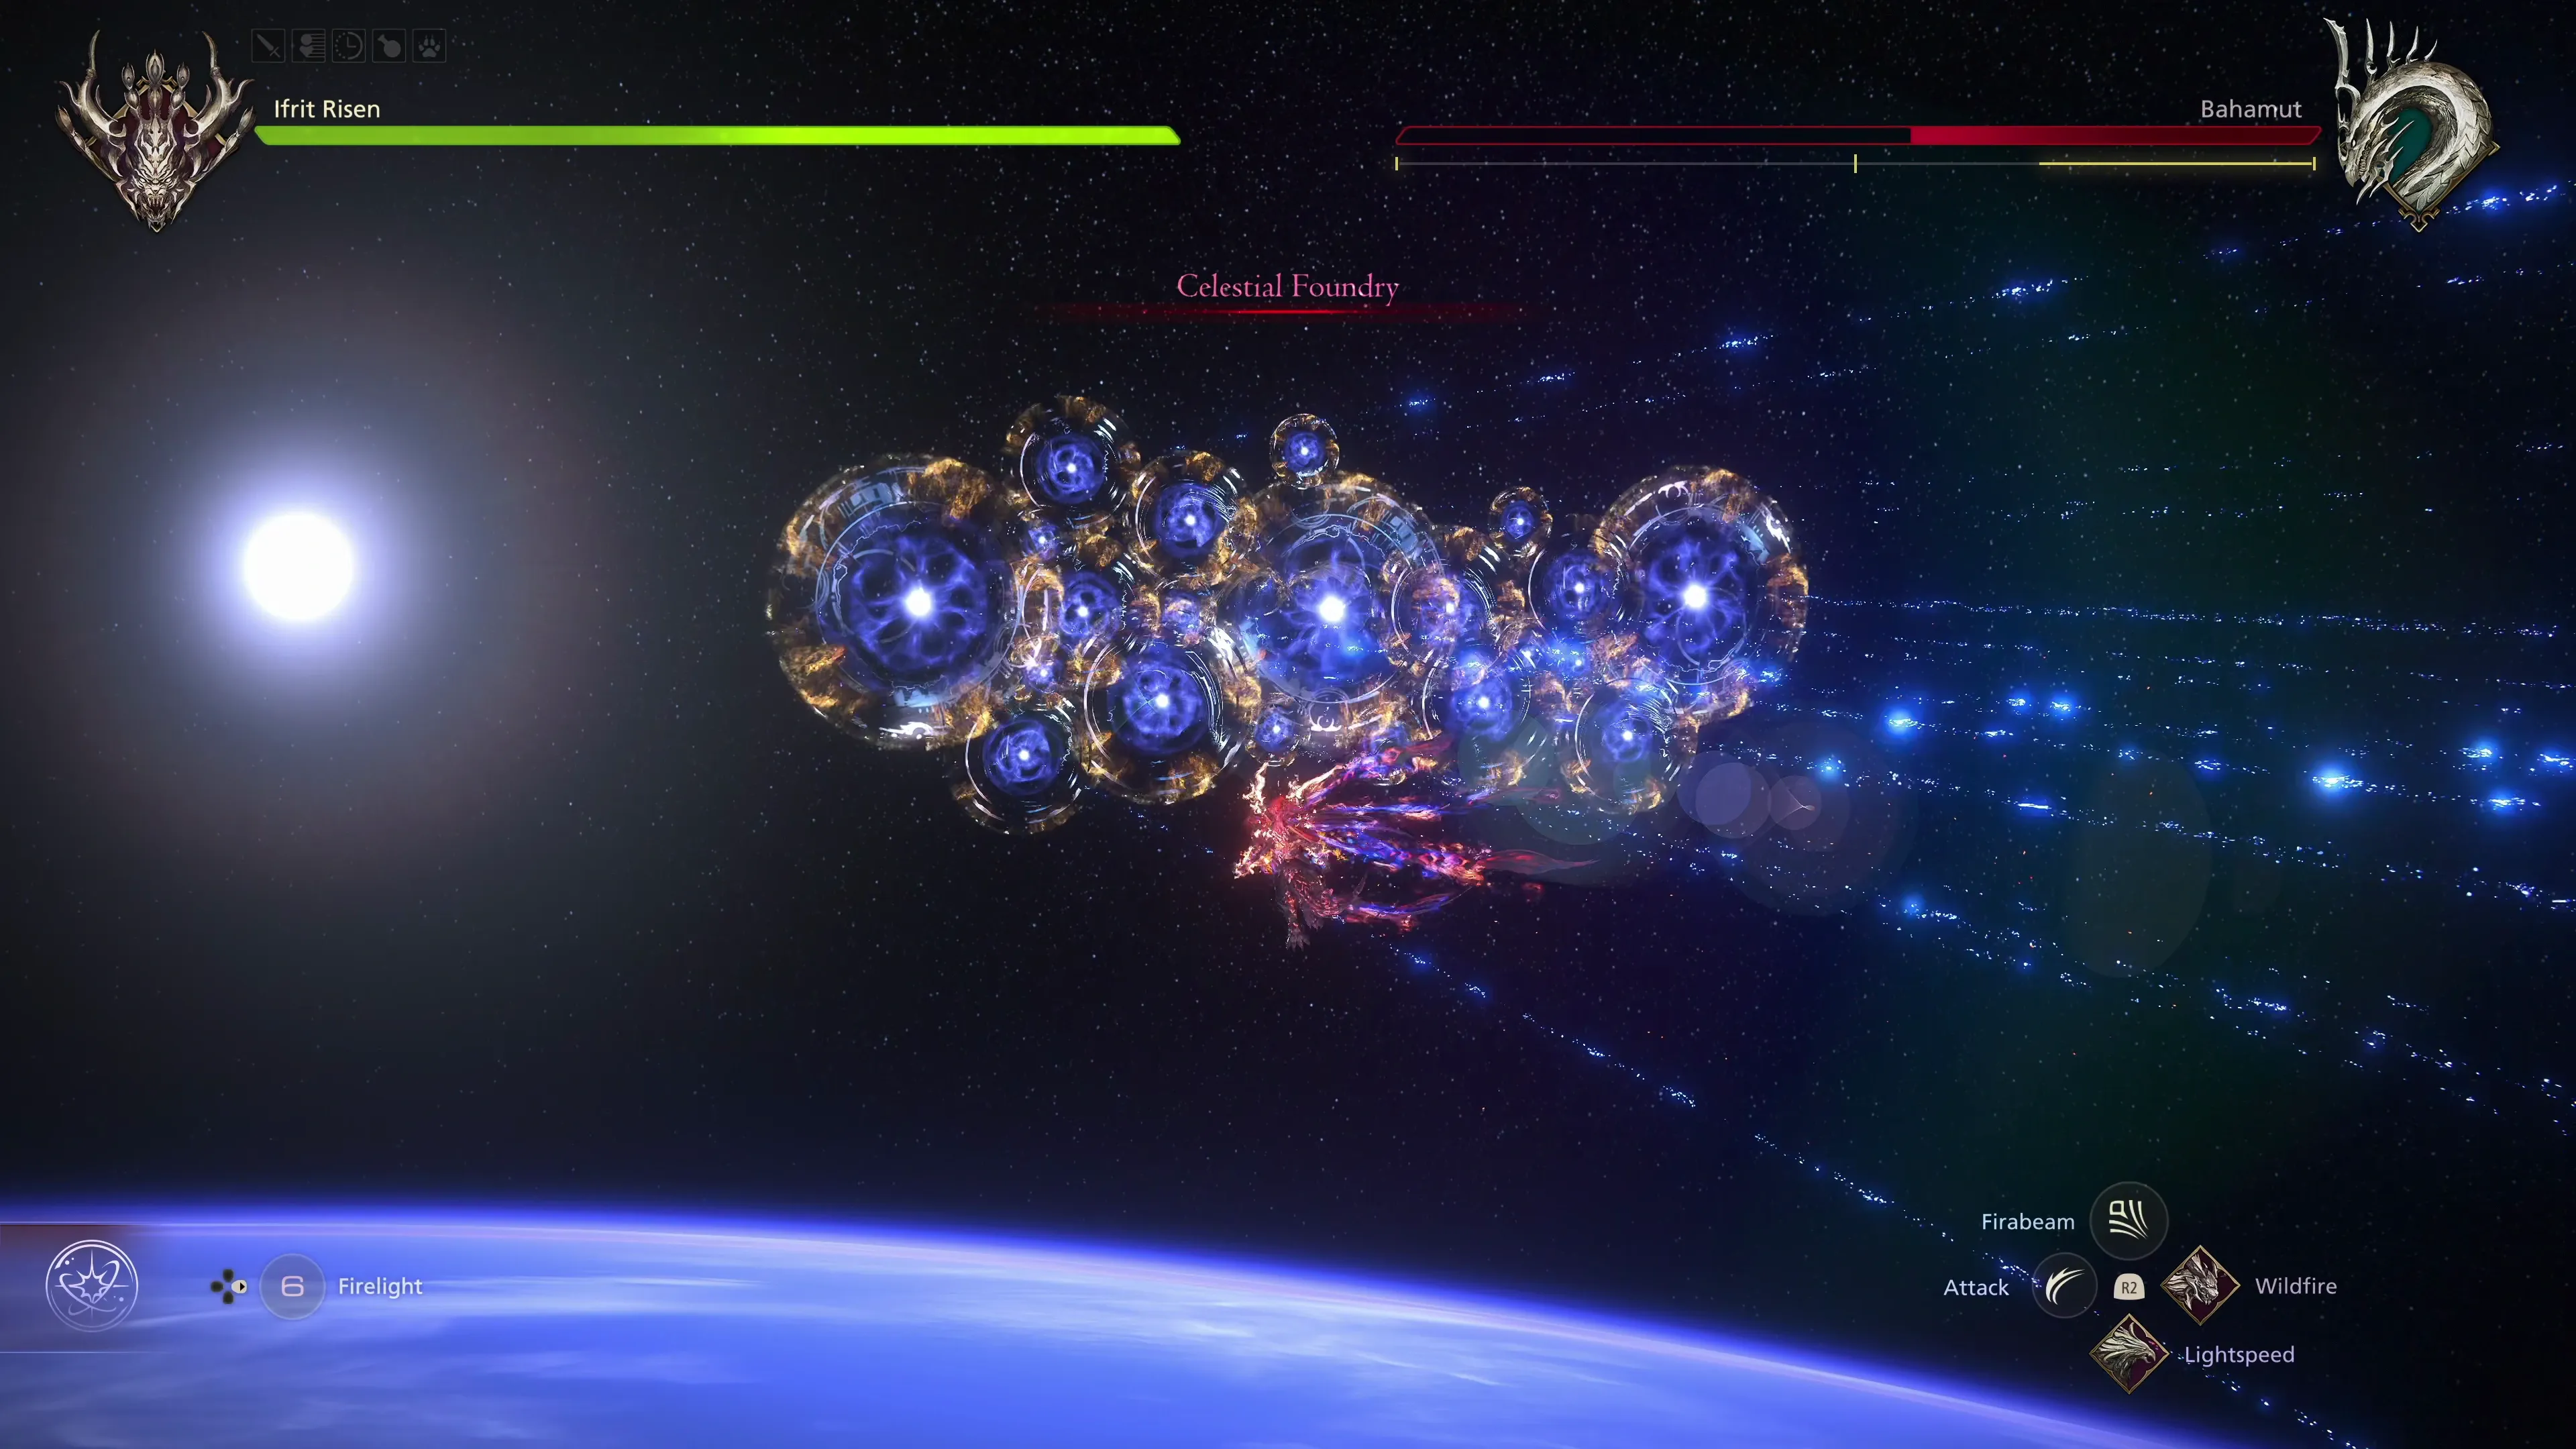
![]() Celestial Foundry:
Celestial Foundry:
A large number of beams will spawn in front of Bahamut. Either get behind Bahamut using “Lightspeed” or dodge to the left or right to escape the large blast wave.
![]() Teraflare:
Teraflare:
Bahamut will charge this move up. Just deal enough damage to prevent the attack from triggering, and dodge any of the vertical energy beams that appear.
There are a few additional light beam-based attacks that are not mentioned above, where a telegraphed beam of light will appear that Ifrit will need to dodge, but these beams are pretty straightforward and easy to dodge.
Check out the video below for a demonstration of how to complete this fight.
300
3,000
A video demonstration of how to successfully complete the fight against Bahamut.
Helpful Hint
Attempting to get the Medal of Valor for this fight? The only phase that you need to complete without taking damage to earn the Medal of Valor is phase 4. Save your game if you’re attempting to win the medal. Unfortunately, there are numerous cutscenes during this fight, which makes every reattempt take a considerable amount of time.
After a lengthy set of cutscenes, you’ll return to the world map, and the only area that you can access is to go back to the Hideaway. This concludes Chapter 7 of the game.
Achievement/Trophy
“Unite the Flames.” The  Twin Flames Achievement/Trophy is earned as soon as you complete the “Fire in the Sky” Main Scenario Quest.