Things Fall Apart
You now have access to an additional Eikon and a new set of Eikonic Abilities through the “Power of Light.”
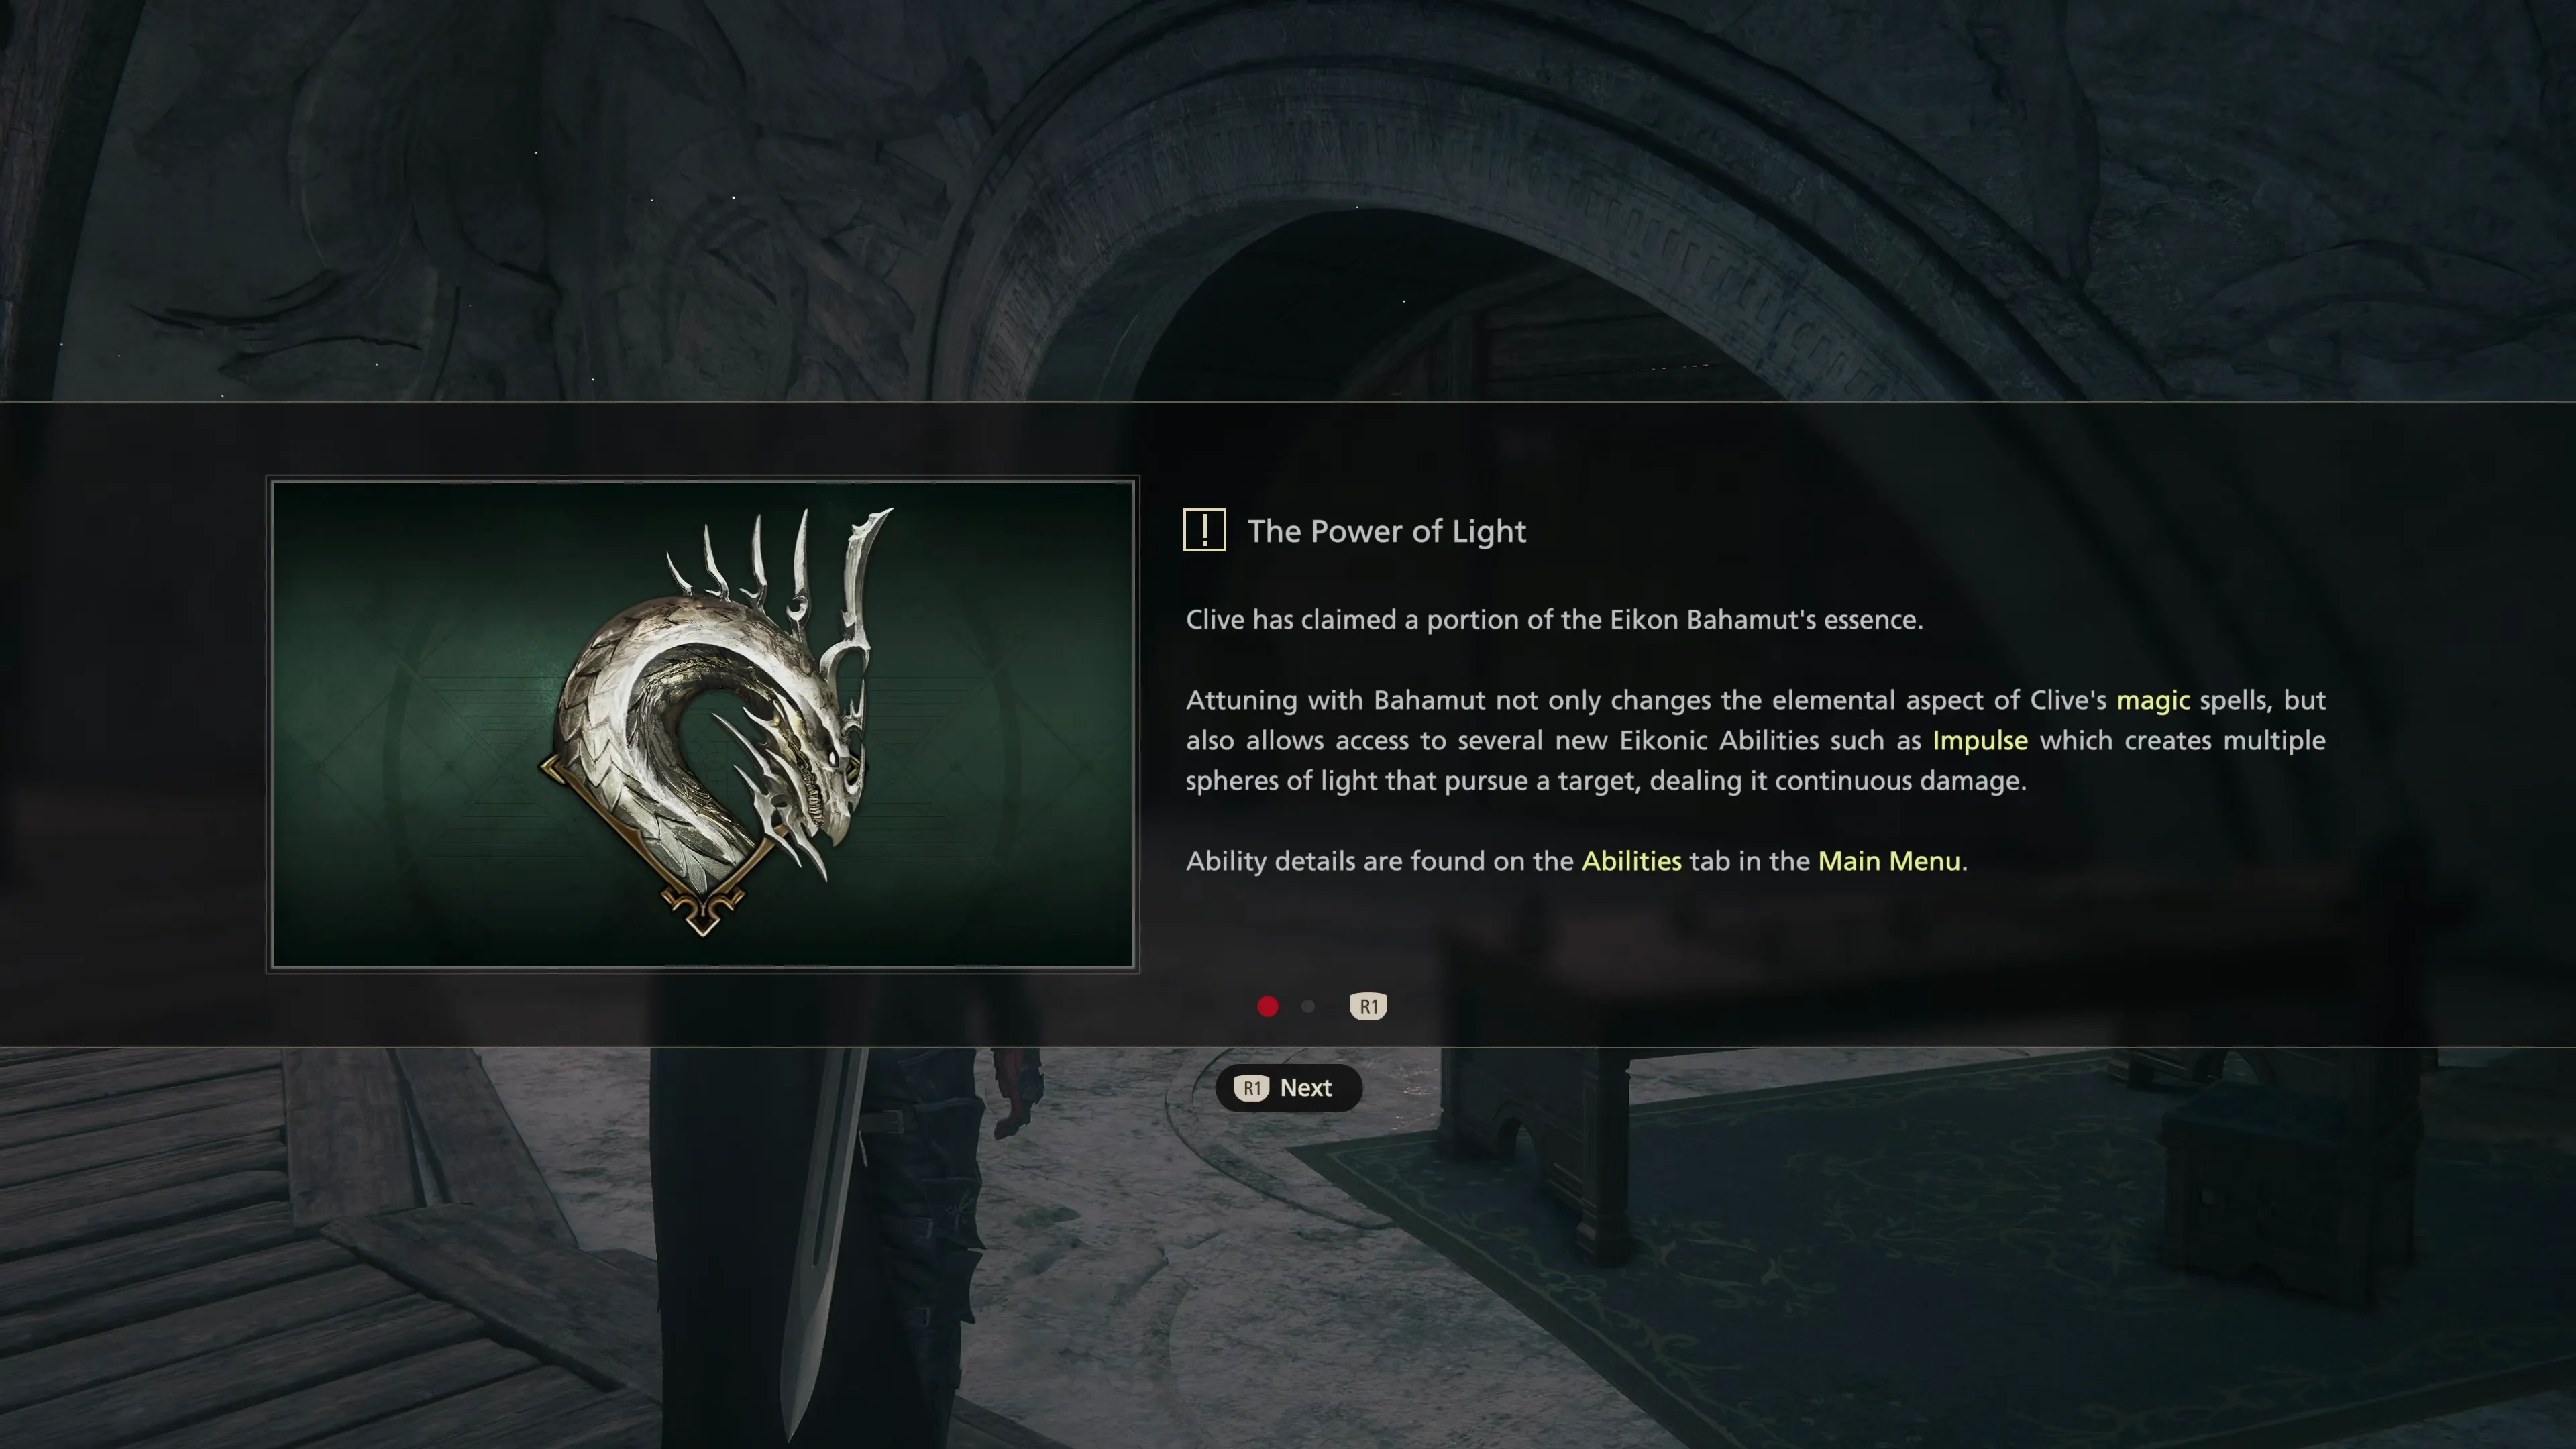
The link below provides some guidance on the utility and usefulness of the new Eikonic Abilities you have access to through Bahamut. You can also find some ![]() Eikonic Ability Set setup tips in the “Ability Recommendations” section listed below.
Eikonic Ability Set setup tips in the “Ability Recommendations” section listed below.
Eikon

A complete list of the Eikonic Feats and Eikonic Abilities for Bahamut, including recommendations on which abilities to use and what situations call for their usage.
Tips and Tricks
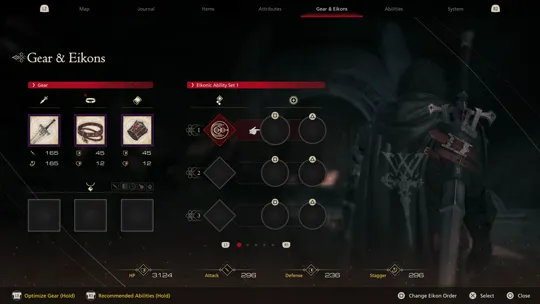
This section will provide some tips for setting up your single-target and multi-target Eikonic Ability Sets, including covering which Abilities are the most effective and which you should consider avoiding altogether.
The most important takeaway from the pages above is that you should find a way to work the ![]() Gigaflare ability into all of your builds. It’s the ability that deals the highest amount of damage that’s available to you at this stage of the game.
Gigaflare ability into all of your builds. It’s the ability that deals the highest amount of damage that’s available to you at this stage of the game.
Achievement/Trophy
“Land 100 total hits with Lv. 2 or higher Megaflare (excluding battles in the Hall of Virtue).” You can earn the  100 Mfps Achievement/Trophy now that you have access to Bahamut as an Eikon. Check out the
 ![]() Bahamut Eikon page for tips on how to use the
Bahamut Eikon page for tips on how to use the ![]() Wings of Light ability to earn it.
Wings of Light ability to earn it.
Achievement/Trophy
“Execute a Precision Dodge 3 times while charging a single Megaflare (excluding battles in the Hall of Virtue).” The Such Dodge, So Mega Achievement/Trophy can be earned by executing ![]() Precision Dodge. You can make it even easier to earn it by equipping Clive with the
Precision Dodge. You can make it even easier to earn it by equipping Clive with the ![]() Ring of Timely Evasion.
Ring of Timely Evasion.
 The Hideaway
Helpful Hint
You can now purchase a new item from ![]() Charon’s Toll called a
Charon’s Toll called a ![]() Last Elixir. This item will revive Clive if he’s KO’d in battle, fill his limit gauge, increase his attack power, and increase his defense for 60 seconds. It’s a very powerful item, but you can only purchase it from Charon once, so once you’ve used it, you can never use it again.
Last Elixir. This item will revive Clive if he’s KO’d in battle, fill his limit gauge, increase his attack power, and increase his defense for 60 seconds. It’s a very powerful item, but you can only purchase it from Charon once, so once you’ve used it, you can never use it again.
After purchasing the item, you have to add it to your usable item slot by navigating to the “Items” menu, pressing the ![]()
![]()
![]() button, and assigning it to the top, right, or bottom item slot. You don’t have to actually ‘use’ it in battle because it will automatically be used if Clive is KO’d.
button, and assigning it to the top, right, or bottom item slot. You don’t have to actually ‘use’ it in battle because it will automatically be used if Clive is KO’d.
This powerful item is best saved for more difficult battles, so this guide will include reminders of when it may be beneficial to use it.
Charon isn’t selling anything else that’s new or useful, but you can upgrade some of your equipment over at ![]() The Black Hammer.
The Black Hammer.
| Materials | |
|---|---|
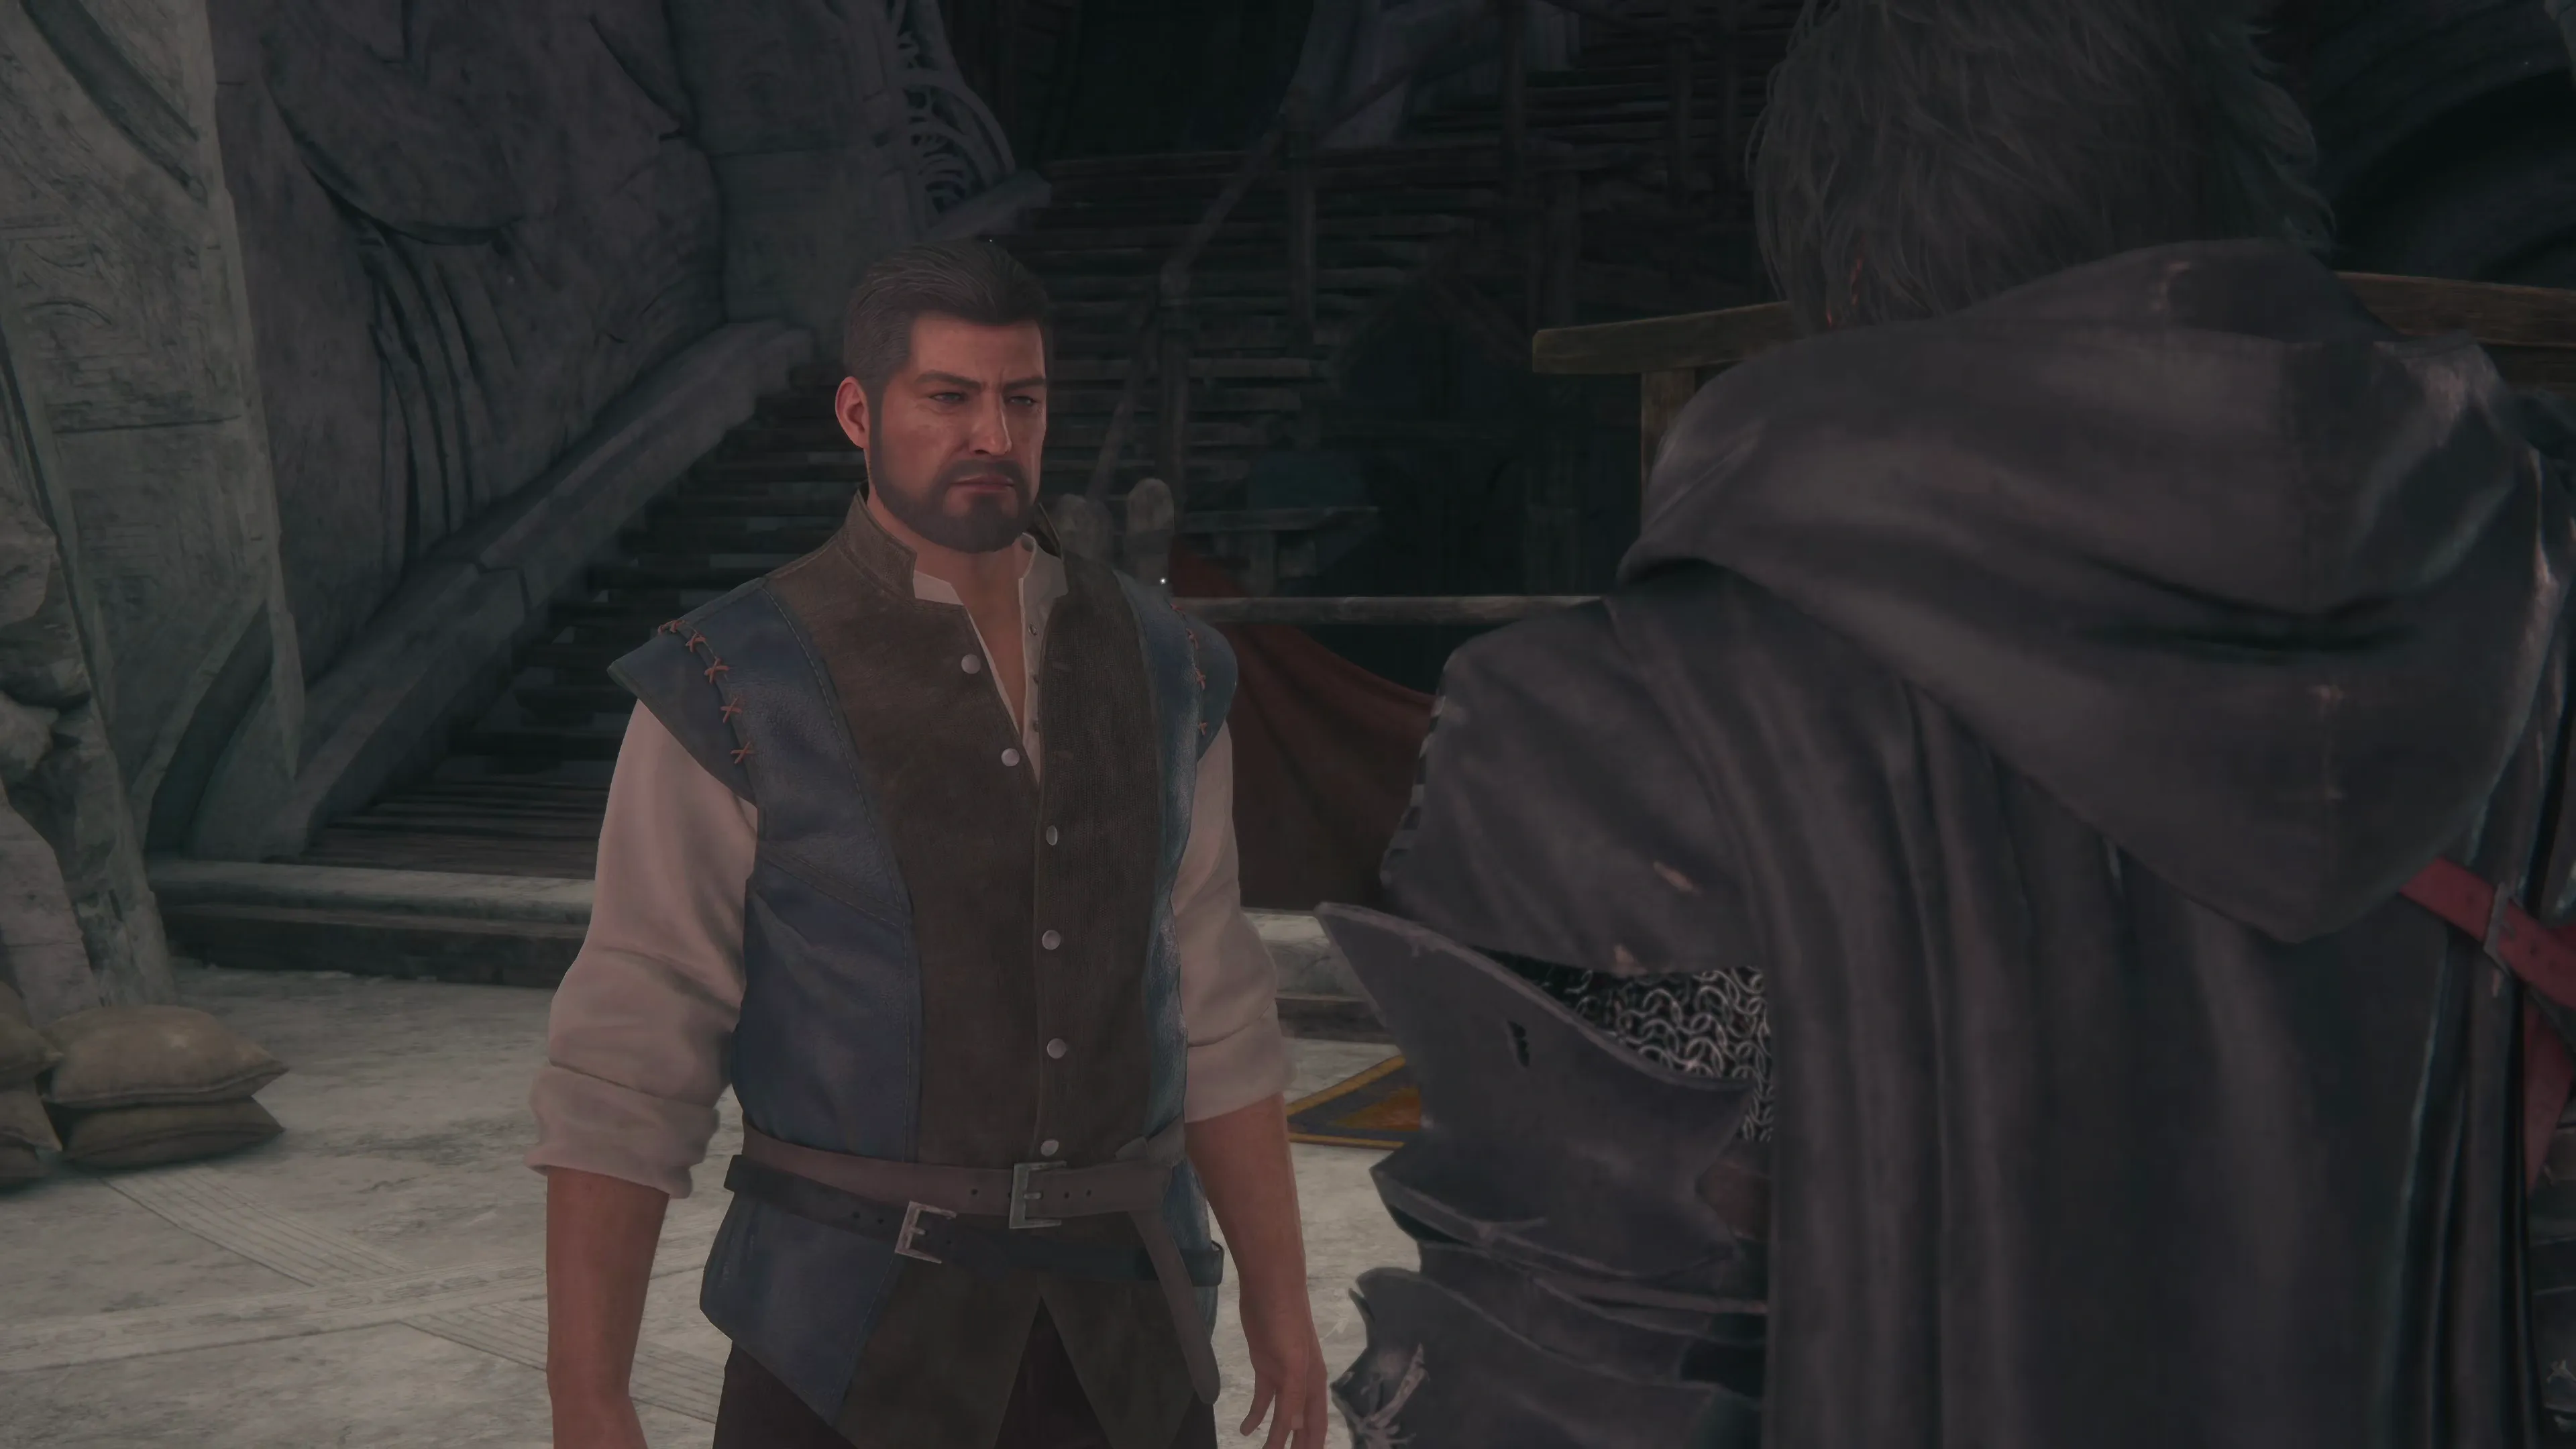
You may have noticed that Nektar has some new Hunts available, but we have to push the story forward before we can access other areas on the world map. Head over and speak to Otto to advance the Main Scenario Quest ![]() . Walk over and talk to Vivian and then Harpocrates after you’ve spoken to Otto, and then return to Otto one more time.
. Walk over and talk to Vivian and then Harpocrates after you’ve spoken to Otto, and then return to Otto one more time.
Note that if you speak to Harpocrates, you should be able to level up The Thousand Tomes to level 5. If not, you can always talk to him again after the next chapter.
Achievement/Trophy
“Help Harpocrates attain a knowledge level of 5.” Keep talking to Harpocrates in the shelves from time to time to level up his knowledge level. You should be able to get him to level 5 now, but if not, you can always visit him again after the next chapter, which will earn you the The More You Know Achievement/Trophy.
Three more Main Scenario tasks will trigger: “Aid Martha’s Rest in its dilemma,” ”Aid Northreach in its dilemma,” and “Aid Dalimil in its dilemma.” You can travel to different Obelisks across the world again, though, so before we continue with the Main Scenario, let’s get some of the Optional Quests and Hunts completed:
Notorious Mark / Hunt
“Merchants who ply their trade across the Fields of Corava tell of an outlaw five-and-twenty hands high and mighty of thew who preys upon unescorted travelers. They claim he lives alone in one of the many abandoned villages that litter the region, but none has been brave nor foolish enough to narrow the search any further. If you who read this have either, or both, of those qualities, the Dhalmekians beg your aid.”
Notorious Mark / Hunt

“A lone rowing boat has been sighted making land off the coast of Port Isolde—its occupants wearing the garb and speaking the language of Iron Kingdom Crusaders. One can only assume that they come to take their vengeance upon Cid the Outlaw for destroying that which they hold most dear. We advise against all travel to the areas, lest they think to kill or capture our members in retaliation.”
Warning
Just like the battle against ![]() Atlas during the
Atlas during the ![]() Out of the Shadow chapter, this is another “Rank S” Hunt that is quite a bit more challenging than the other Notorious Marks you’ve faced up to this point. This fight is difficult at this stage of the game; getting hit by any attack will deplete a lot of Clive’s HP. It’s recommended that you give it a try, but you may need to return to this Notorious Mark later once Clive has leveled up and obtained some higher-quality weapons and gear.
Out of the Shadow chapter, this is another “Rank S” Hunt that is quite a bit more challenging than the other Notorious Marks you’ve faced up to this point. This fight is difficult at this stage of the game; getting hit by any attack will deplete a lot of Clive’s HP. It’s recommended that you give it a try, but you may need to return to this Notorious Mark later once Clive has leveled up and obtained some higher-quality weapons and gear.
Notorious Mark / Hunt
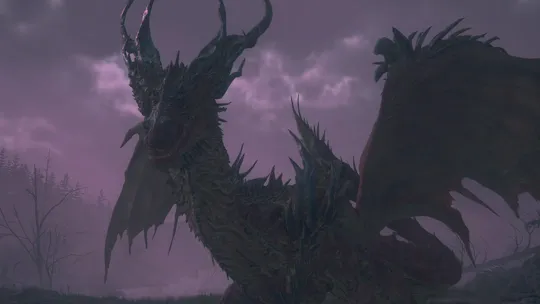
“Sanbrequois legend tells of a dread dragon who set near half the realm alight with his torrid breath, before being sealed away behind a magical mist—by Greagor Herself, some sources claim. Though it has long been forgotten which parts of the tale are true and which are mere myth, recent reports of a great dragon’s roar reverberating around the woodland passes of the empire are real enough.”
Completing some of the Hunts above should give you enough ![]() Renown for your next reward at the Patron’s Whisper:
Renown for your next reward at the Patron’s Whisper:
| Renown | Crate Contents | |
|---|---|---|
| 905 | 1,500 |
We can now move on to the quest objectives for “Things Fall Apart.” There is technically one more side quest that has become available and that you can complete, but this is better left until later in the game. Check out the warning message below:
Warning
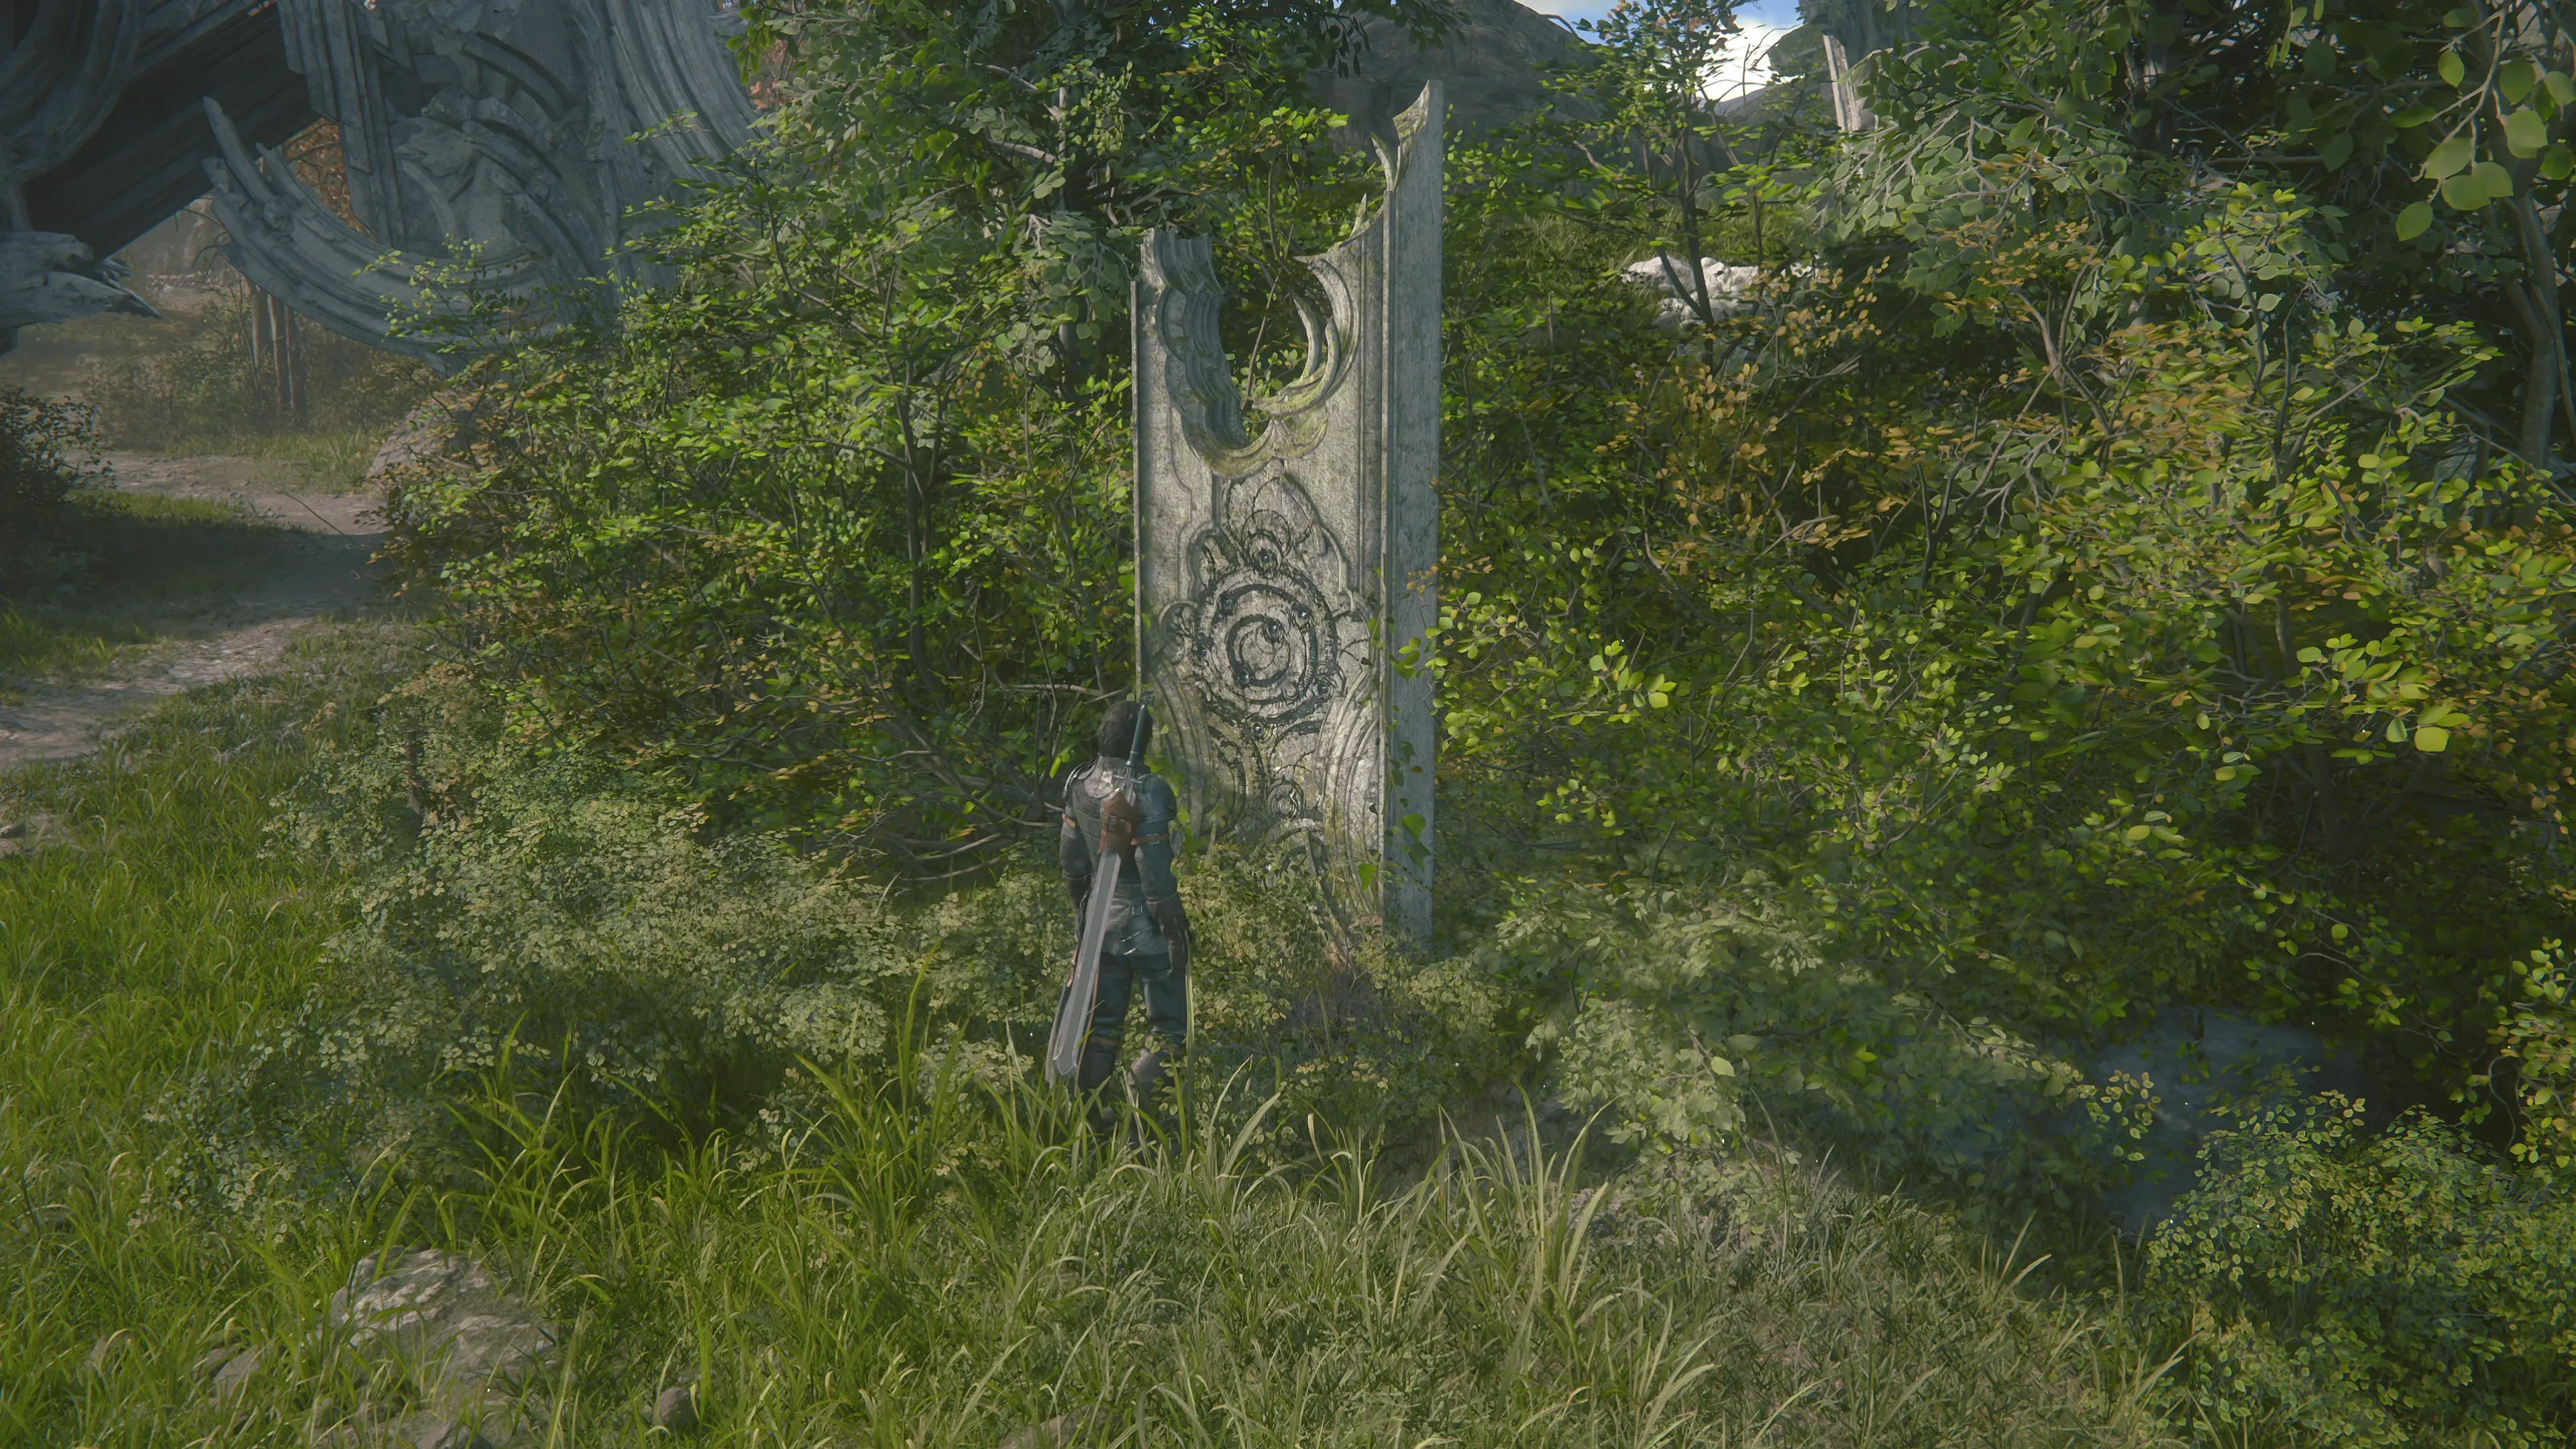
The Chronoliths in the areas that you’ve visited are now active. This includes:
- Trial by Fire / The Hand of Hyperion in Greensheaves
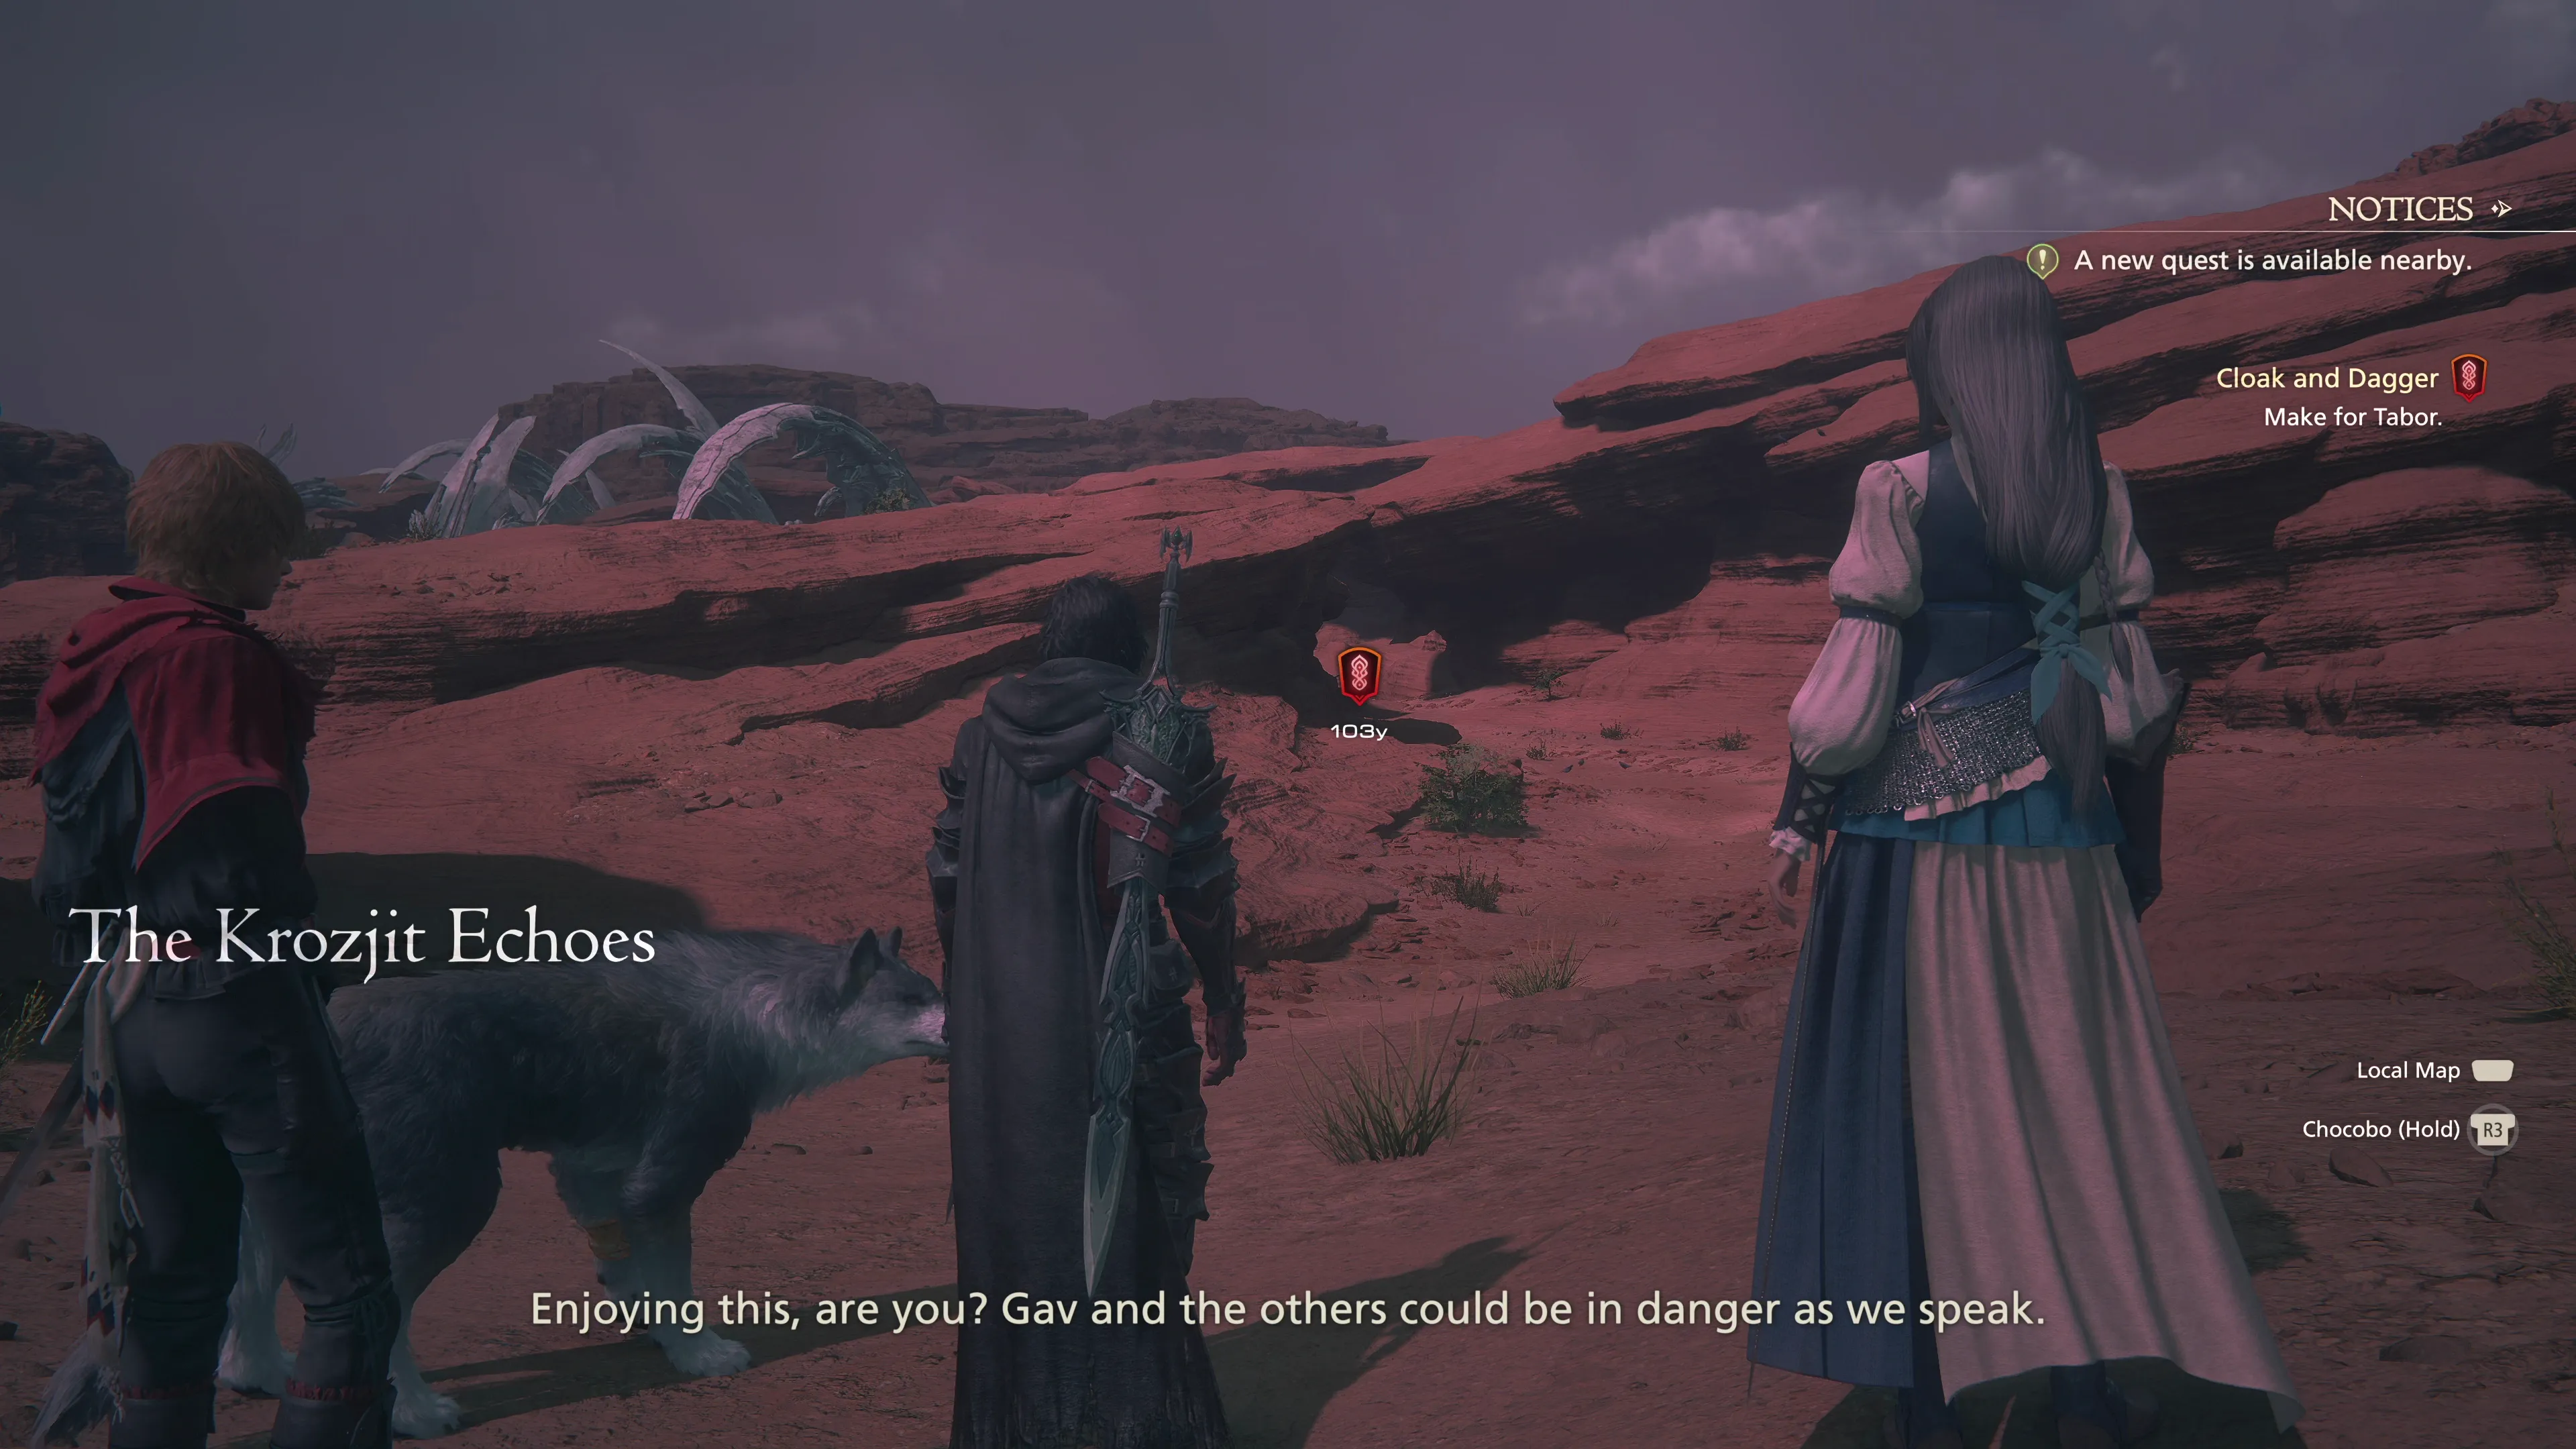
- Trial by Wind / The Hand of Dione in the Krozjit Echoes
- Trial by Thunder / The Hand of Iapetus in the Norvent Valley
- Trial by Earth / The Hand of Titan in the Northern Velkroy Desert
- Trial by Light / The Hand of Mimas in the Royal Meadows
This strategy guide recommends completing the Chronoliths towards the end of the game. The Chronoliths are time trials where you’ll be restricted to using one Eikon’s abilities, but they are much easier if Clive is higher leveled and if he has better gear. The rewards for completing them are not necessarily that great, so you can save them for later, but if you’d rather challenge yourself and complete them now that they’re available, check out the Chronolith section for more information.
Note that you can aid each of the locations in the quest objectives (Martha’s Rest, Lostwing, and Dalimil) in any order, not just the ones listed below.
 Martha’s Rest
Travel to the ![]() Martha’s Rest Obelisk and head inside the Golden Stables to speak with Martha. You’ll have another Subquest to complete, which is the first of three Subquests coming up, one for each of the areas with a ‘dilemma’ to resolve.
Martha’s Rest Obelisk and head inside the Golden Stables to speak with Martha. You’ll have another Subquest to complete, which is the first of three Subquests coming up, one for each of the areas with a ‘dilemma’ to resolve.
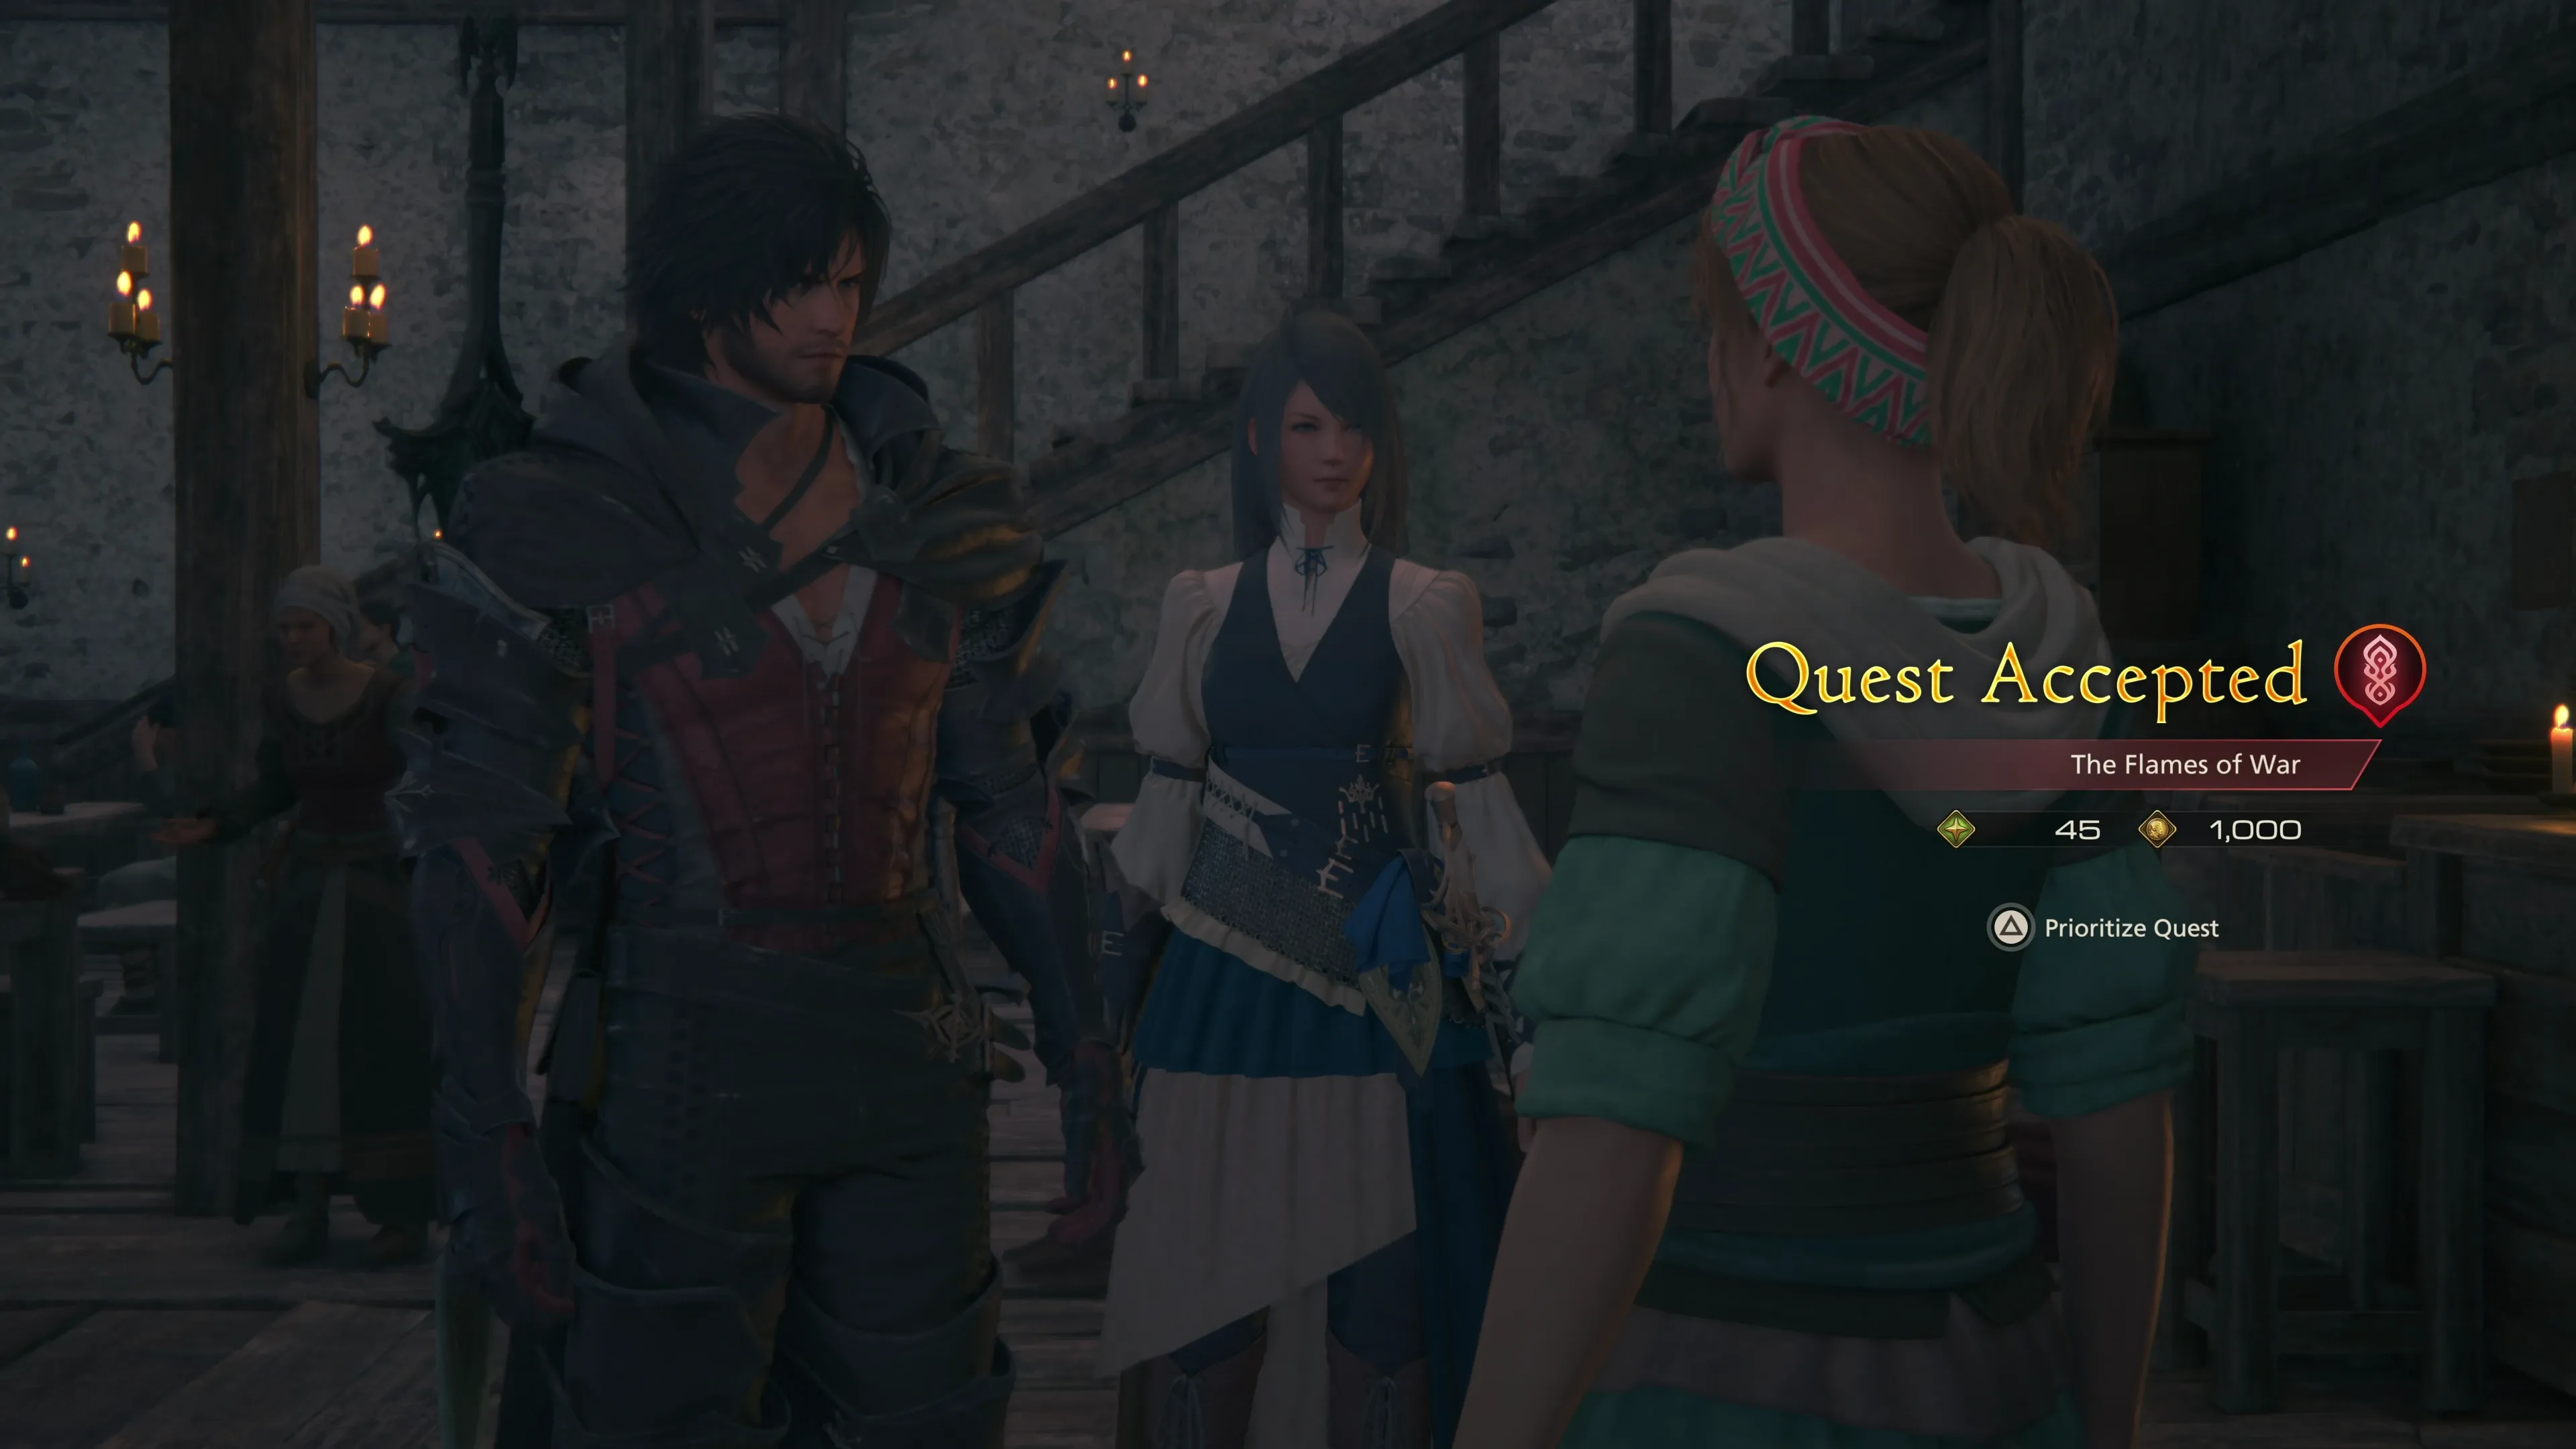
 The Flames of War
This Subquest involves defending each of the three entrances leading into Martha’s Rest from intruders. Switch over to your multi-target ![]() Eikonic Ability Set and head to the “Fallen Gate” on the south side of the town. The first few waves of enemies include Horde Wolves, Akashic Thistles, Akashic Recluses, and Akashic Vultures.
Eikonic Ability Set and head to the “Fallen Gate” on the south side of the town. The first few waves of enemies include Horde Wolves, Akashic Thistles, Akashic Recluses, and Akashic Vultures.
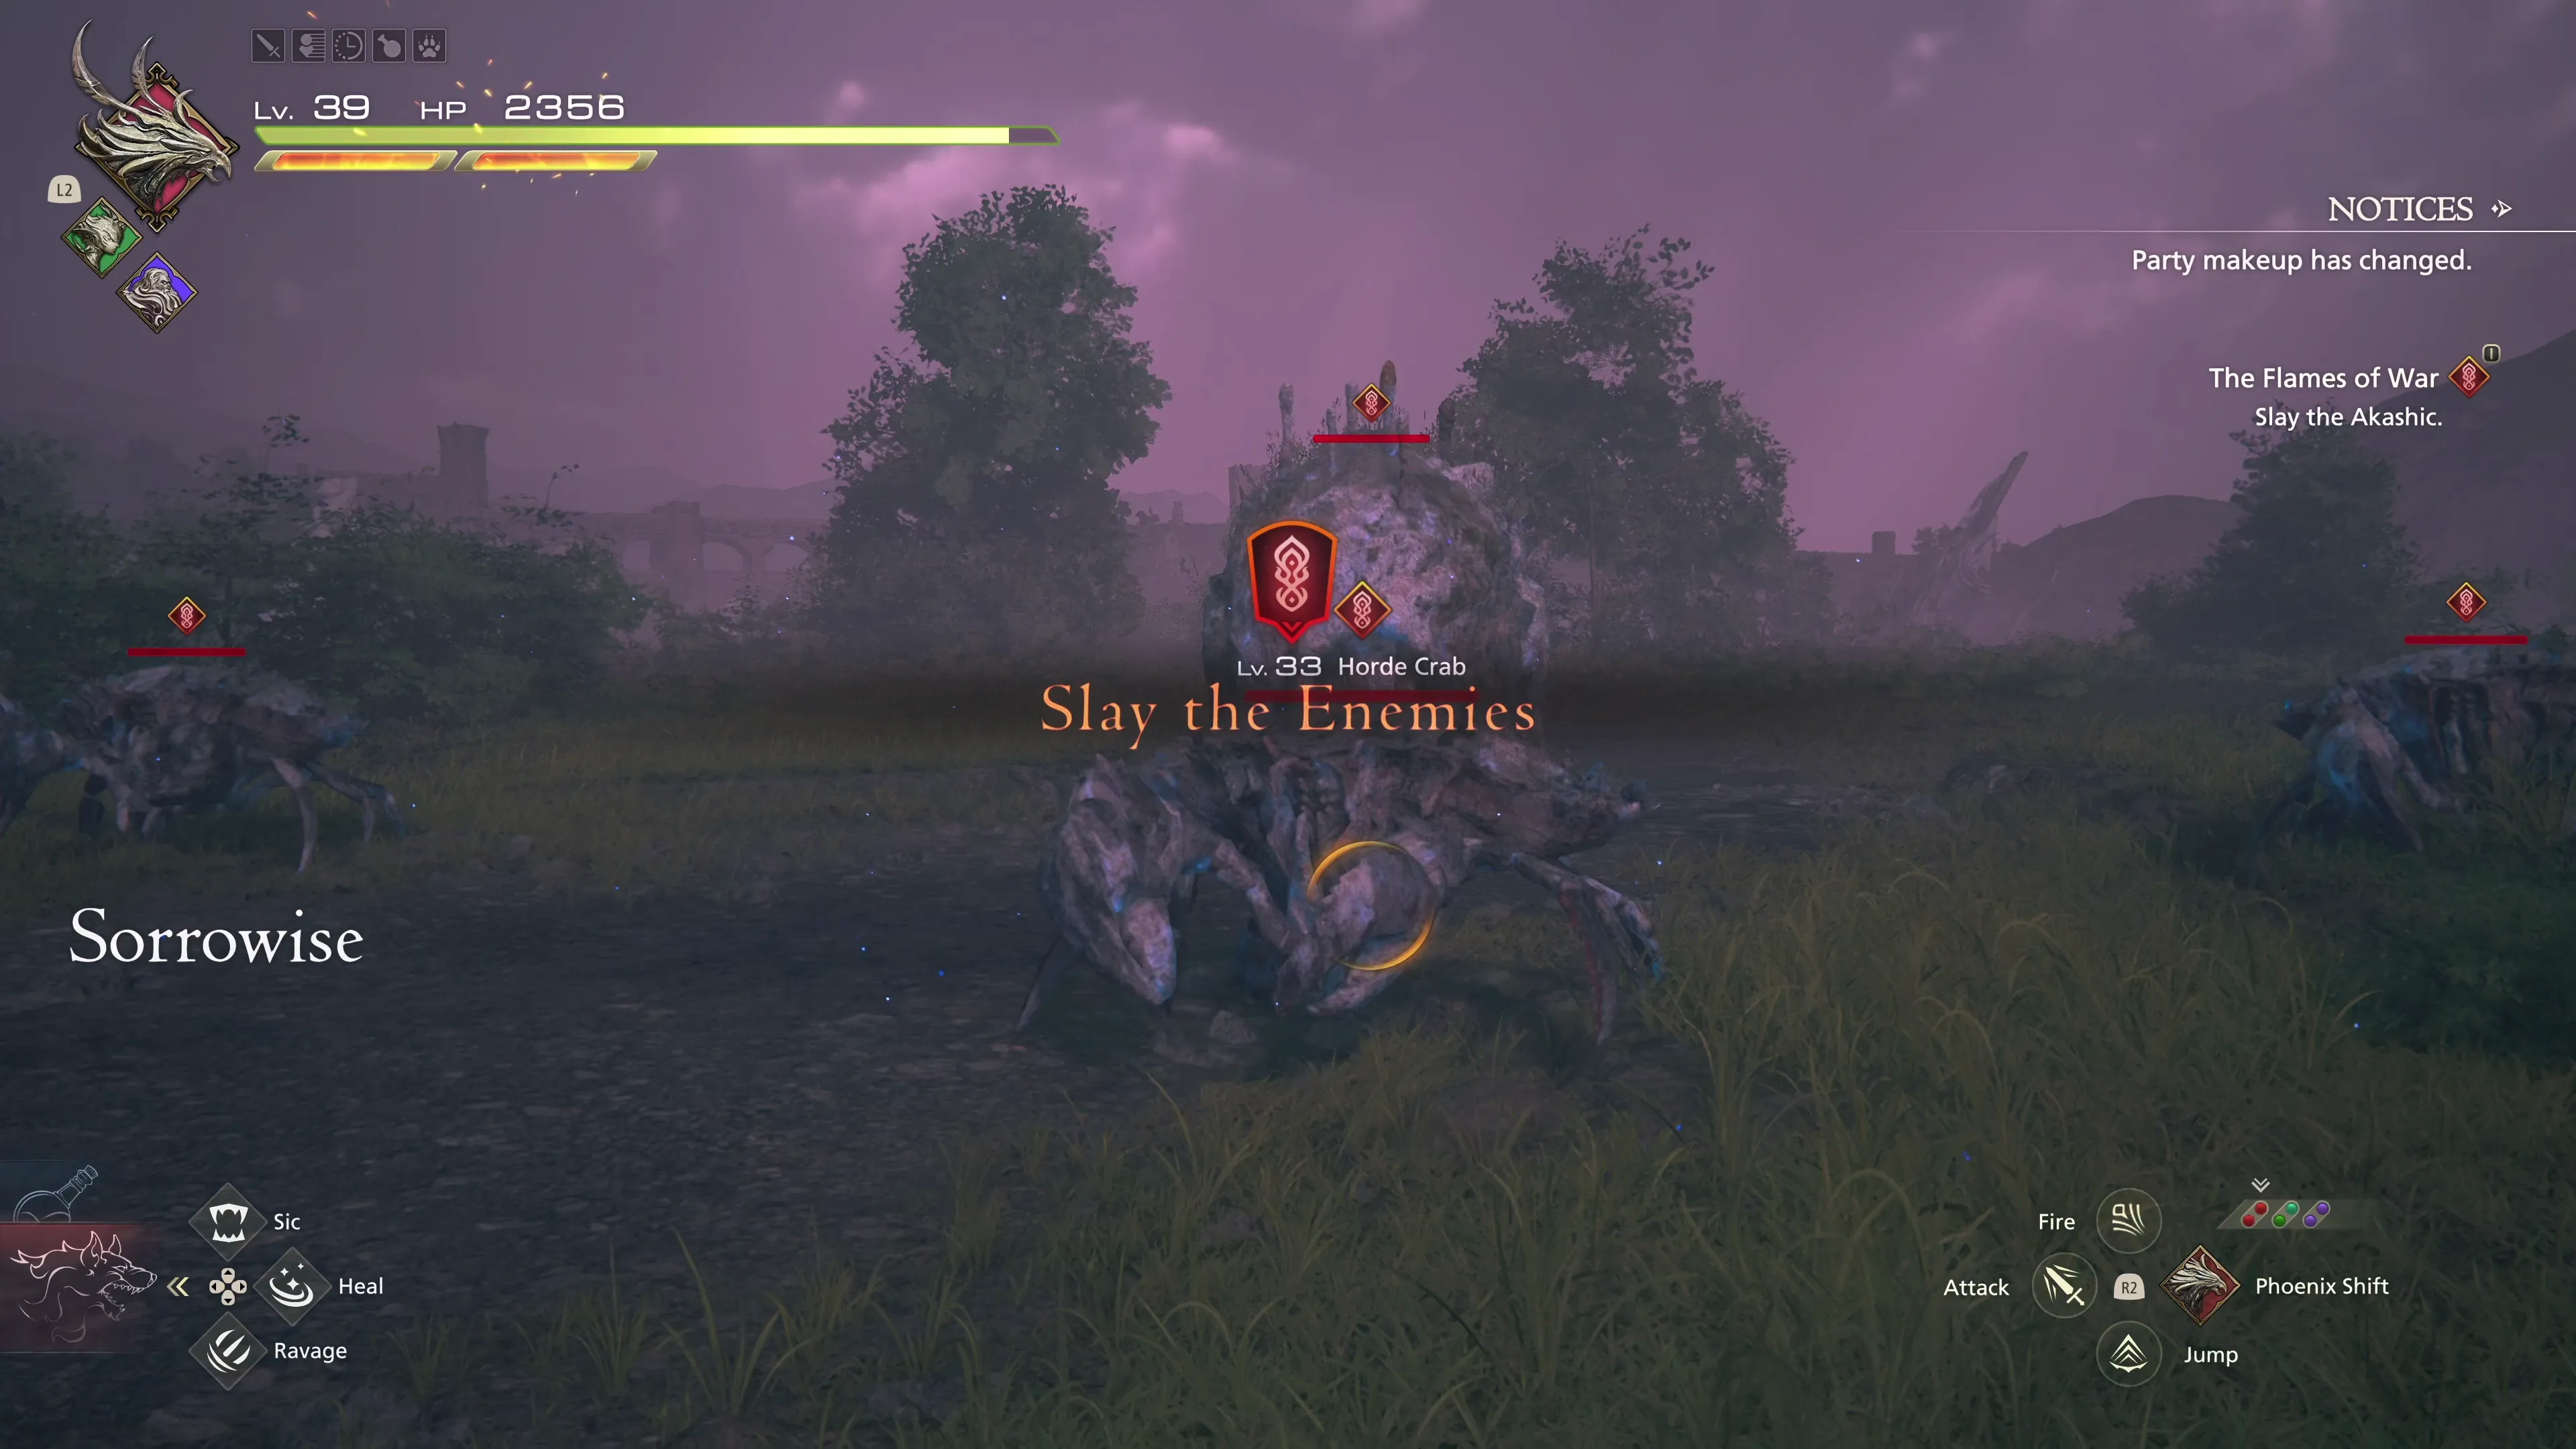
Following a quick conversation with Martha, the next area to defend is on the west side of Martha’s Rest at the bottom of the lift. This wave of Akashic includes Horde Crabs and a large Horde Adamantoise, which is similar to the ![]() Fastitocalon you defeated in the Northern Velkroy Desert. As the Adamantoise’s HP drops, it’ll be joined by some Akashic Claws.
Fastitocalon you defeated in the Northern Velkroy Desert. As the Adamantoise’s HP drops, it’ll be joined by some Akashic Claws.
One more quick visit with Martha at the bottom of the lift, and then it’s off to the bridge on the north side of town, a.k.a. Rhiannon’s Ride. These waves include Horde Goblins, Akashic Dragonets, and Akashic Chocobos. The last enemy you’ll face is an “Akashic Plague,” which is another bat-type enemy (ahriman) similar to the ones you’ve defeated previously.
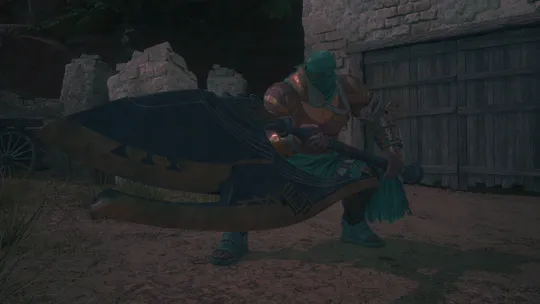
This concludes “The Flames of War” Subquest. You’ll receive the ![]() Guardians Scarf curiosity as a reward, and then it’s on to the next location.
Guardians Scarf curiosity as a reward, and then it’s on to the next location.
Northreach
Travel to the ![]() Northreach Obelisk, head inside the Northreach Castle, and speak to the Veil Courtesan to trigger the next Subquest.
Northreach Obelisk, head inside the Northreach Castle, and speak to the Veil Courtesan to trigger the next Subquest.
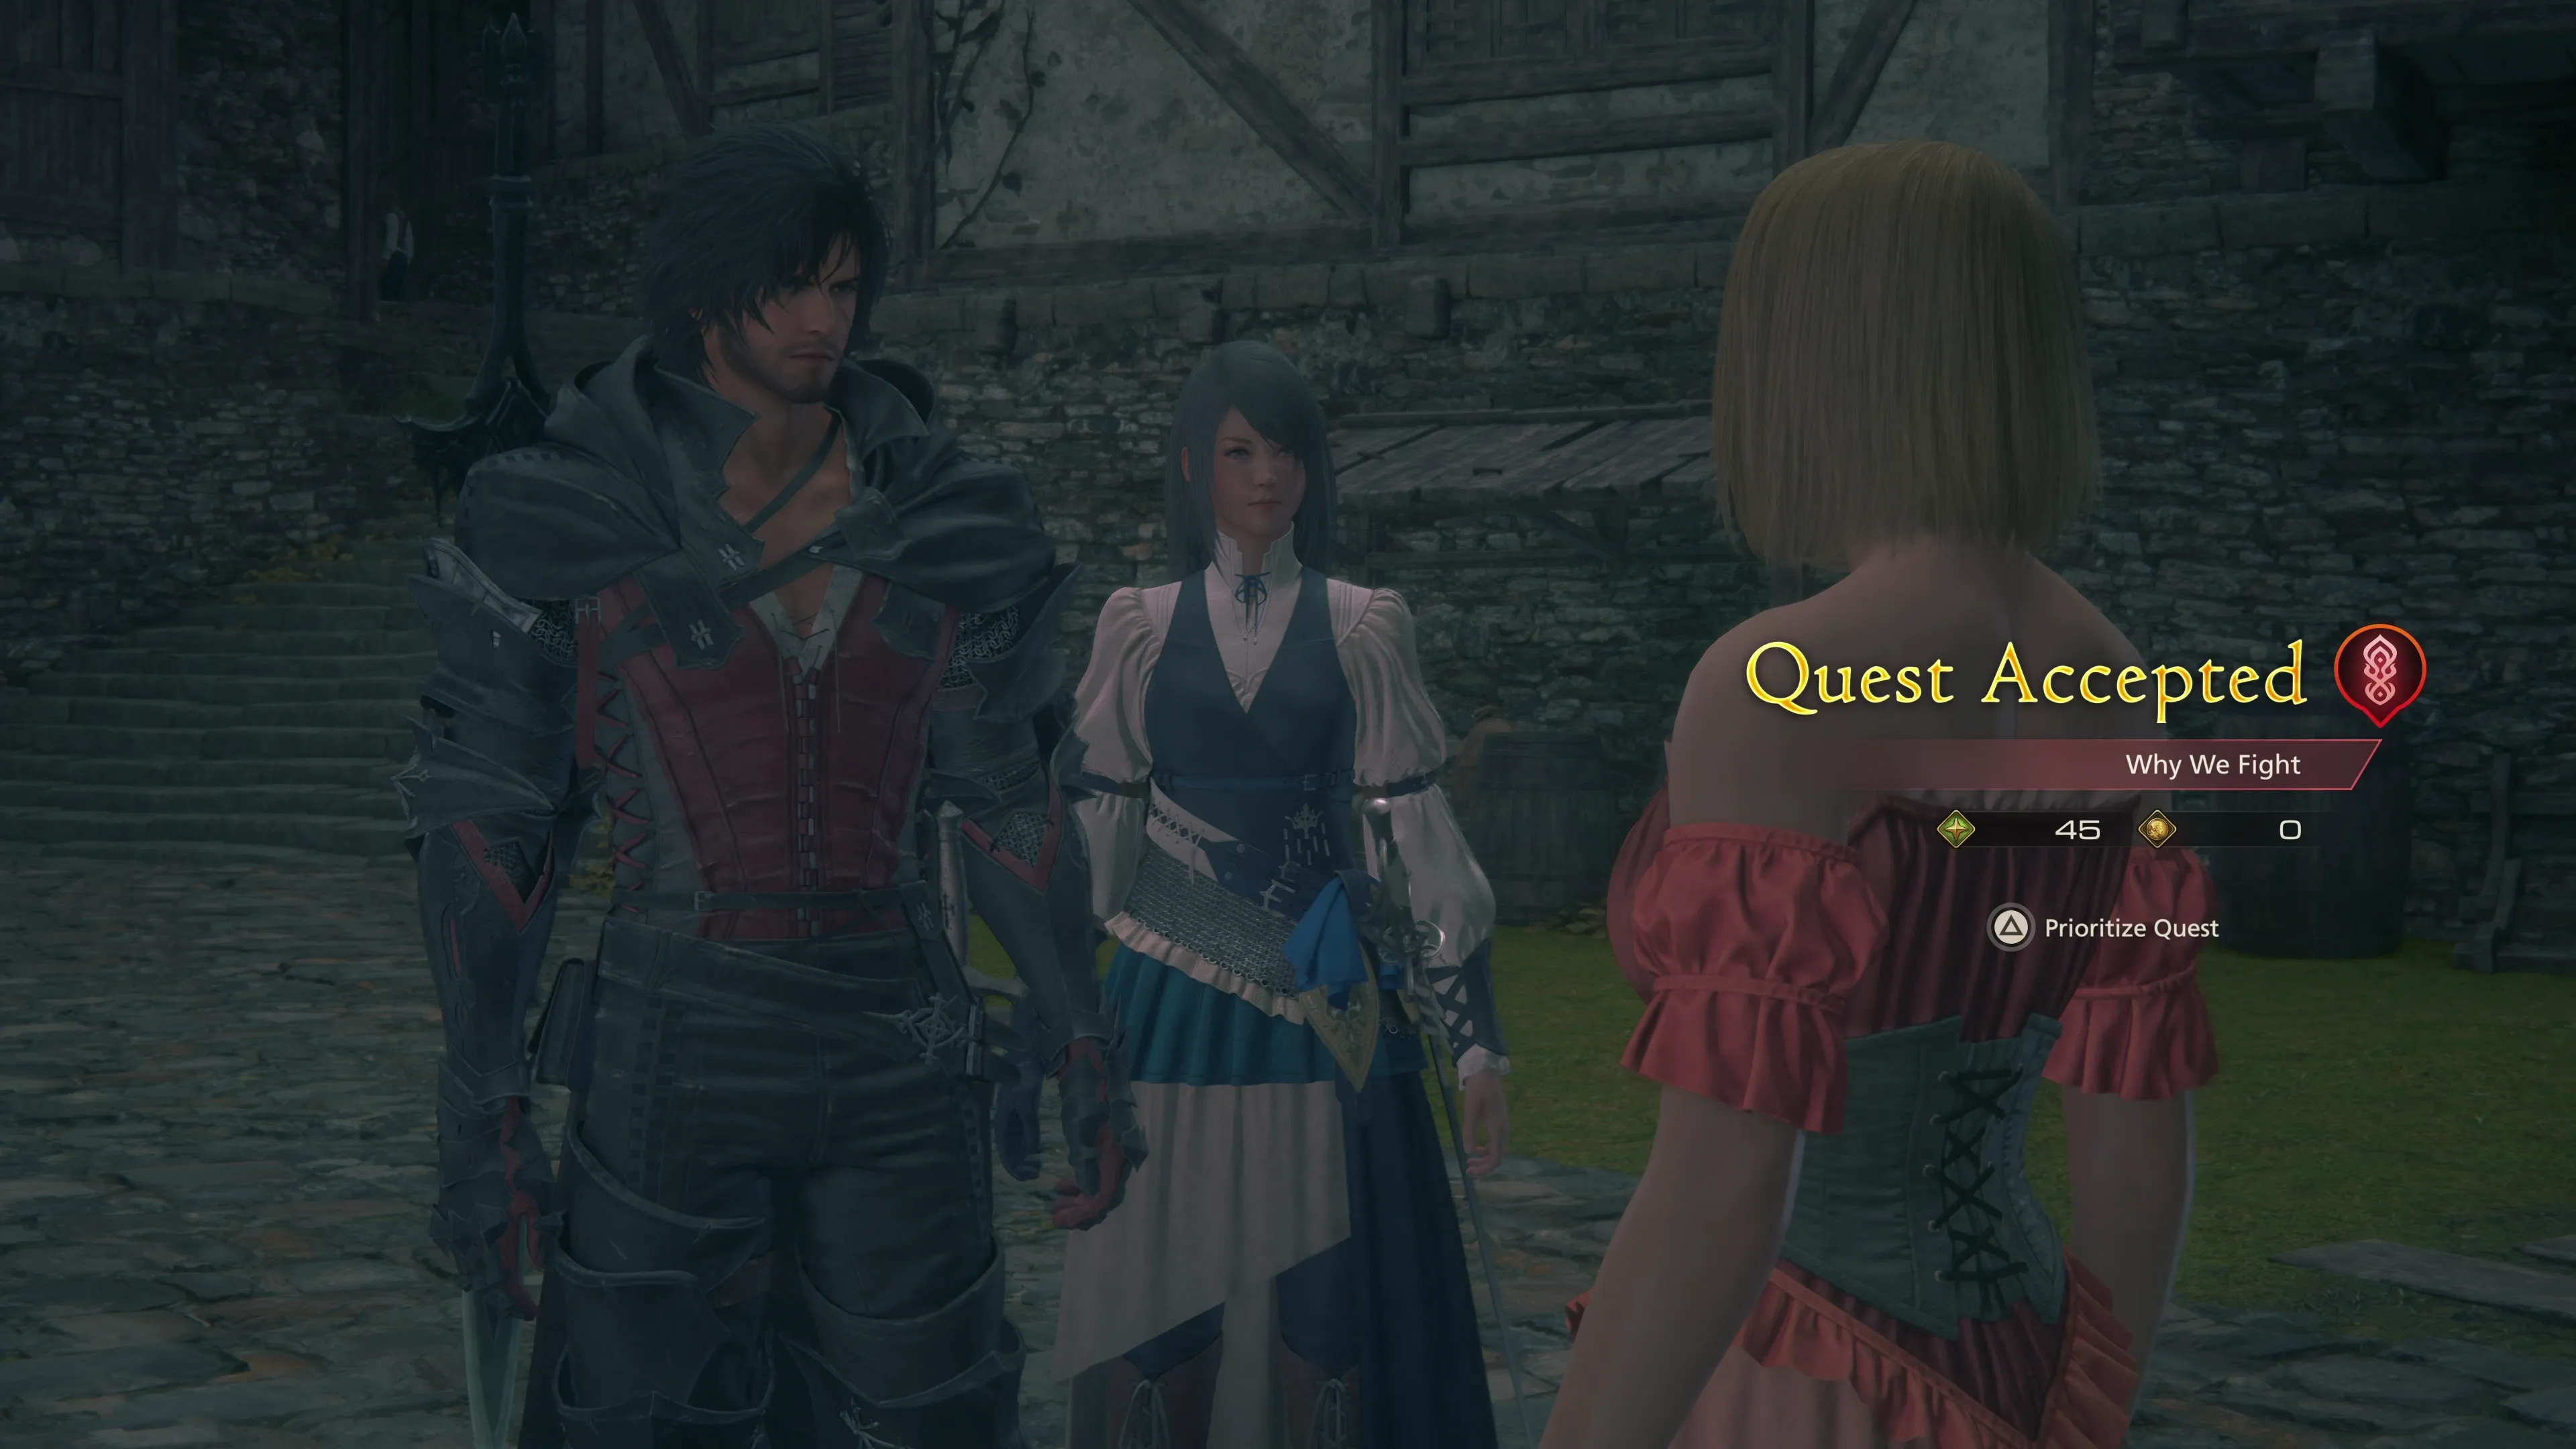
Why We Fight
There’s a fair bit of running around that you have to do to speak to different folks involved in the quest. Start by finding Dame Isabelle over in the Imperial Training Grounds, and then follow her instructions to engage with the Injured Soldier and the Refugee nearby.
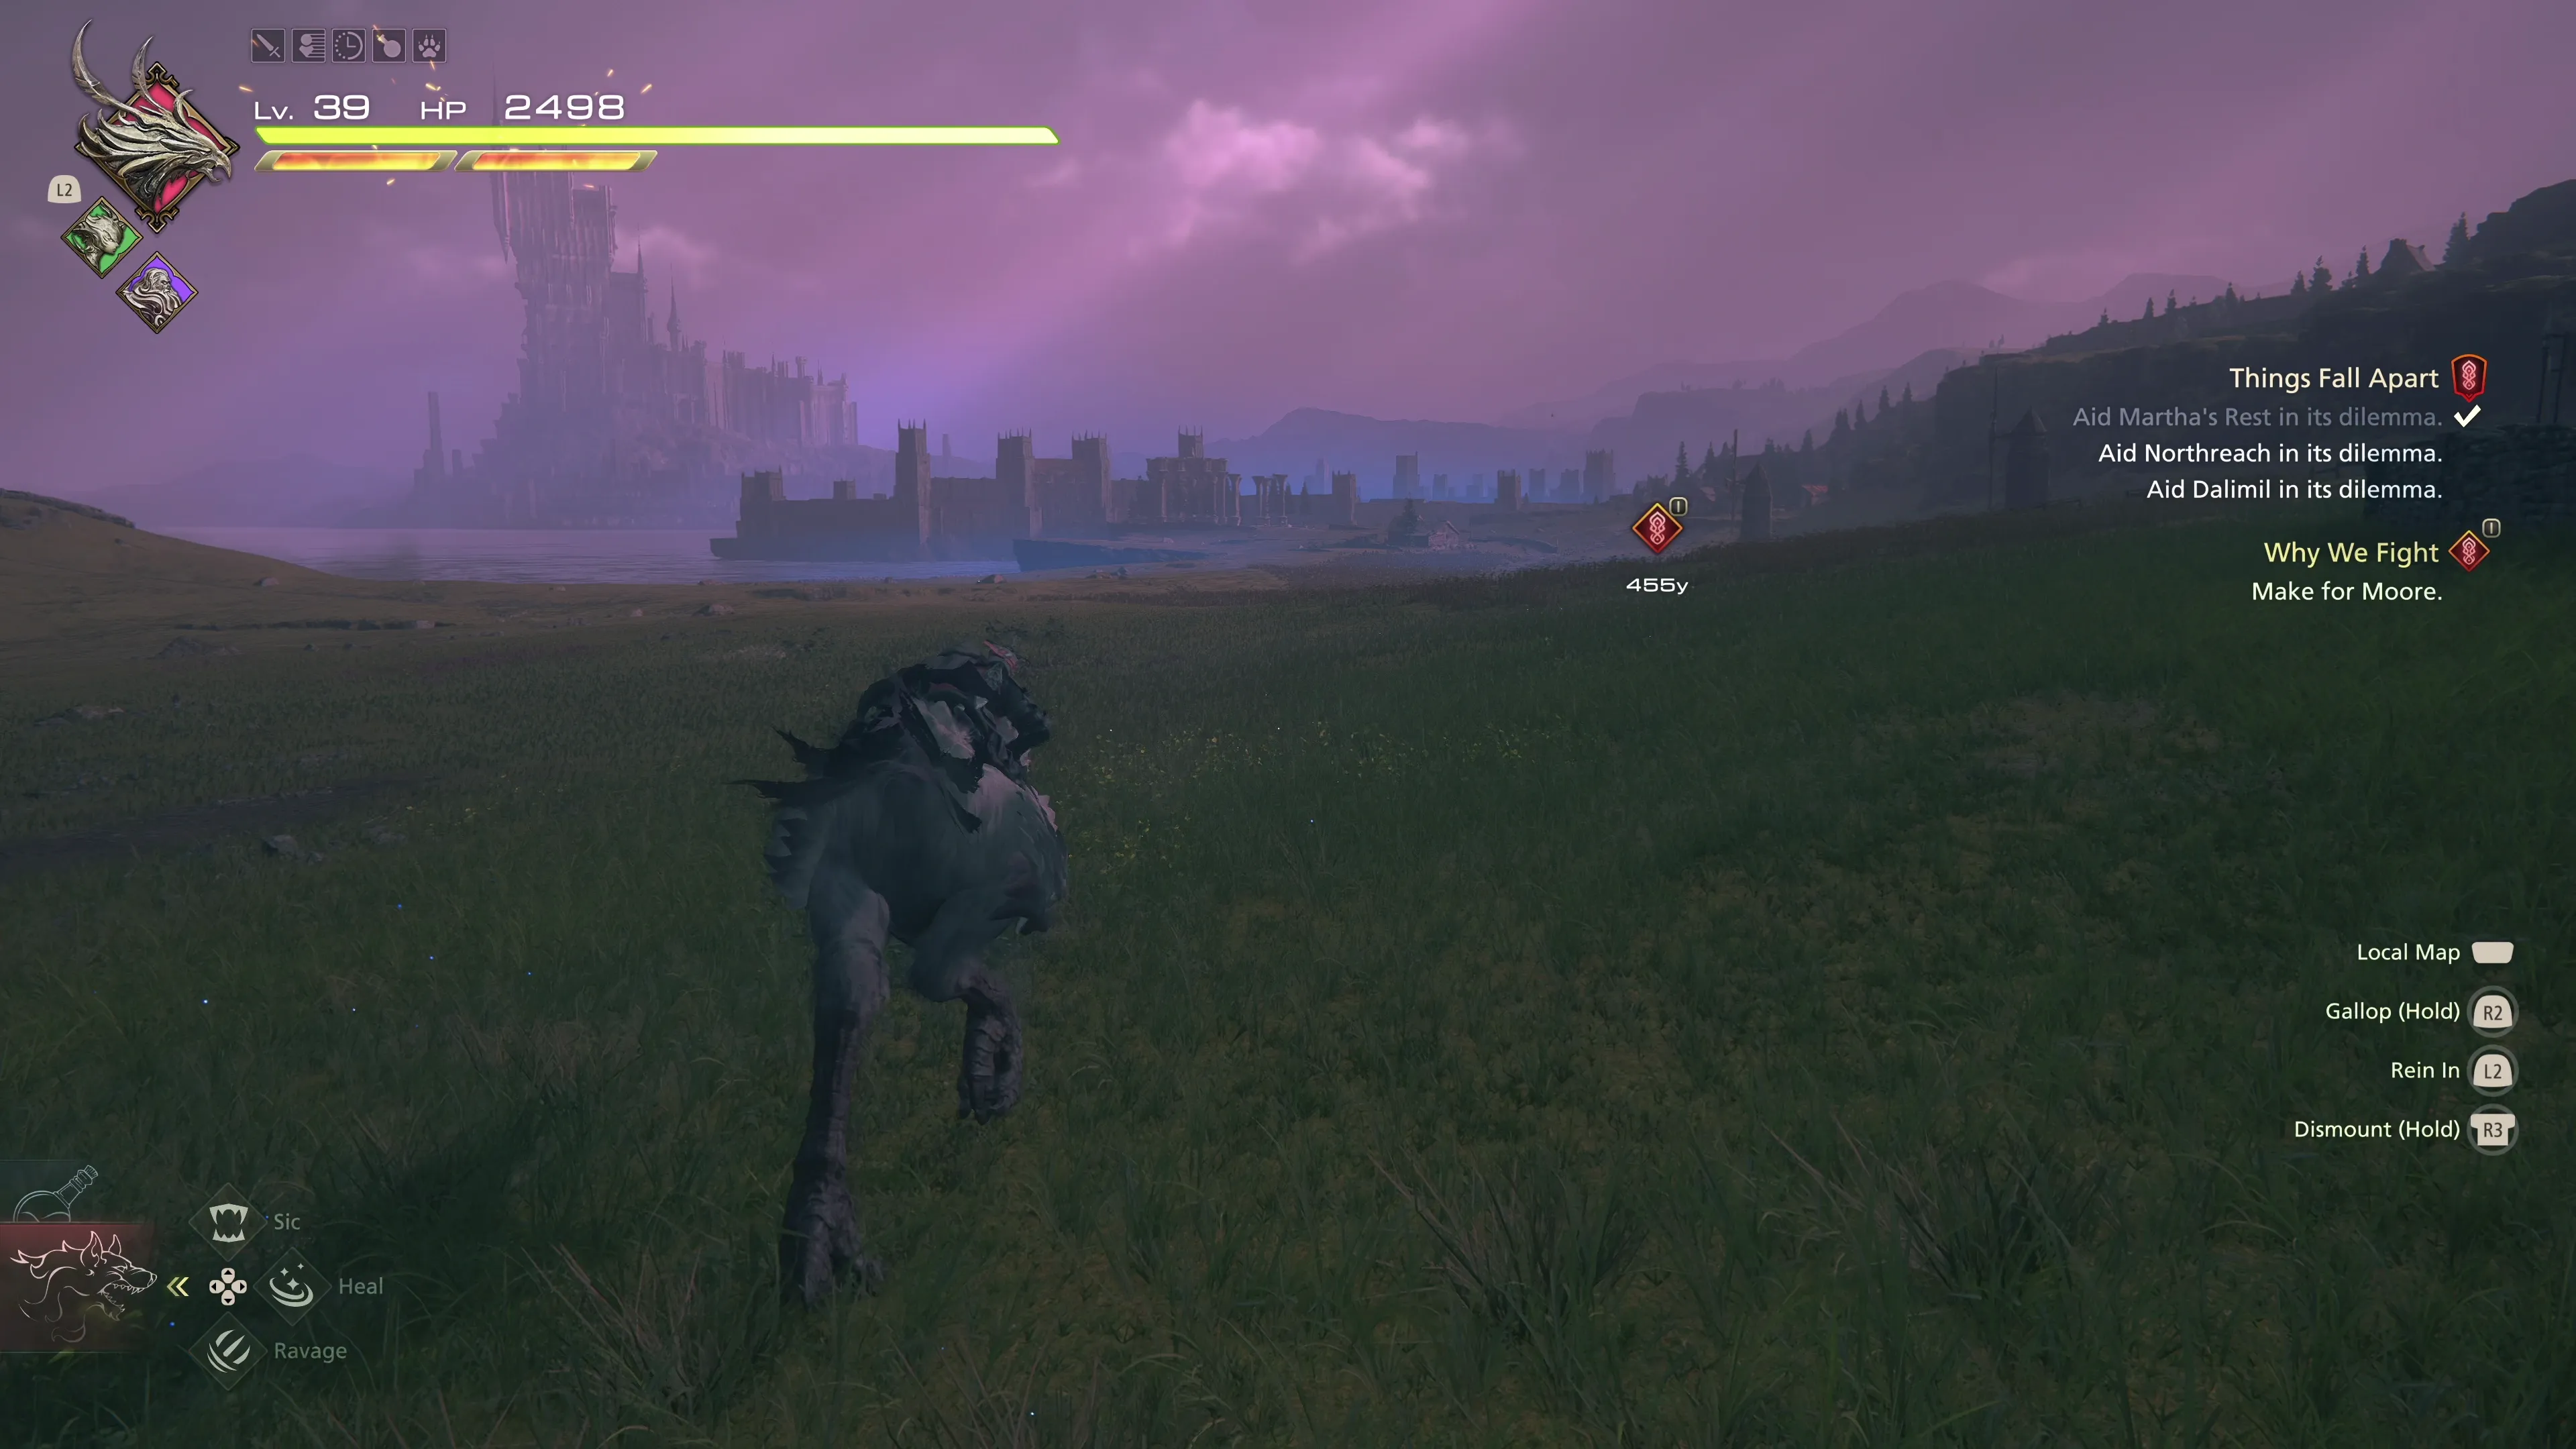
The next step of the quest is a trip to the town of Moore. Head outside the nearby gates and into the Royal Meadows, hop on your ![]() Chocobo and ride northeast until you reach it. The enemies you’ll have to slay outside the town include Revenants and a Thrall Lich.
Chocobo and ride northeast until you reach it. The enemies you’ll have to slay outside the town include Revenants and a Thrall Lich.
This completes the second of the two Subquests, but there are no unique rewards for completing this step. The last place to visit is Dalimil.
Dalimil
Travel to ![]() The Dalimil Inn Obelisk and talk to L’ubor standing nearby to trigger the next Subquest.
The Dalimil Inn Obelisk and talk to L’ubor standing nearby to trigger the next Subquest.

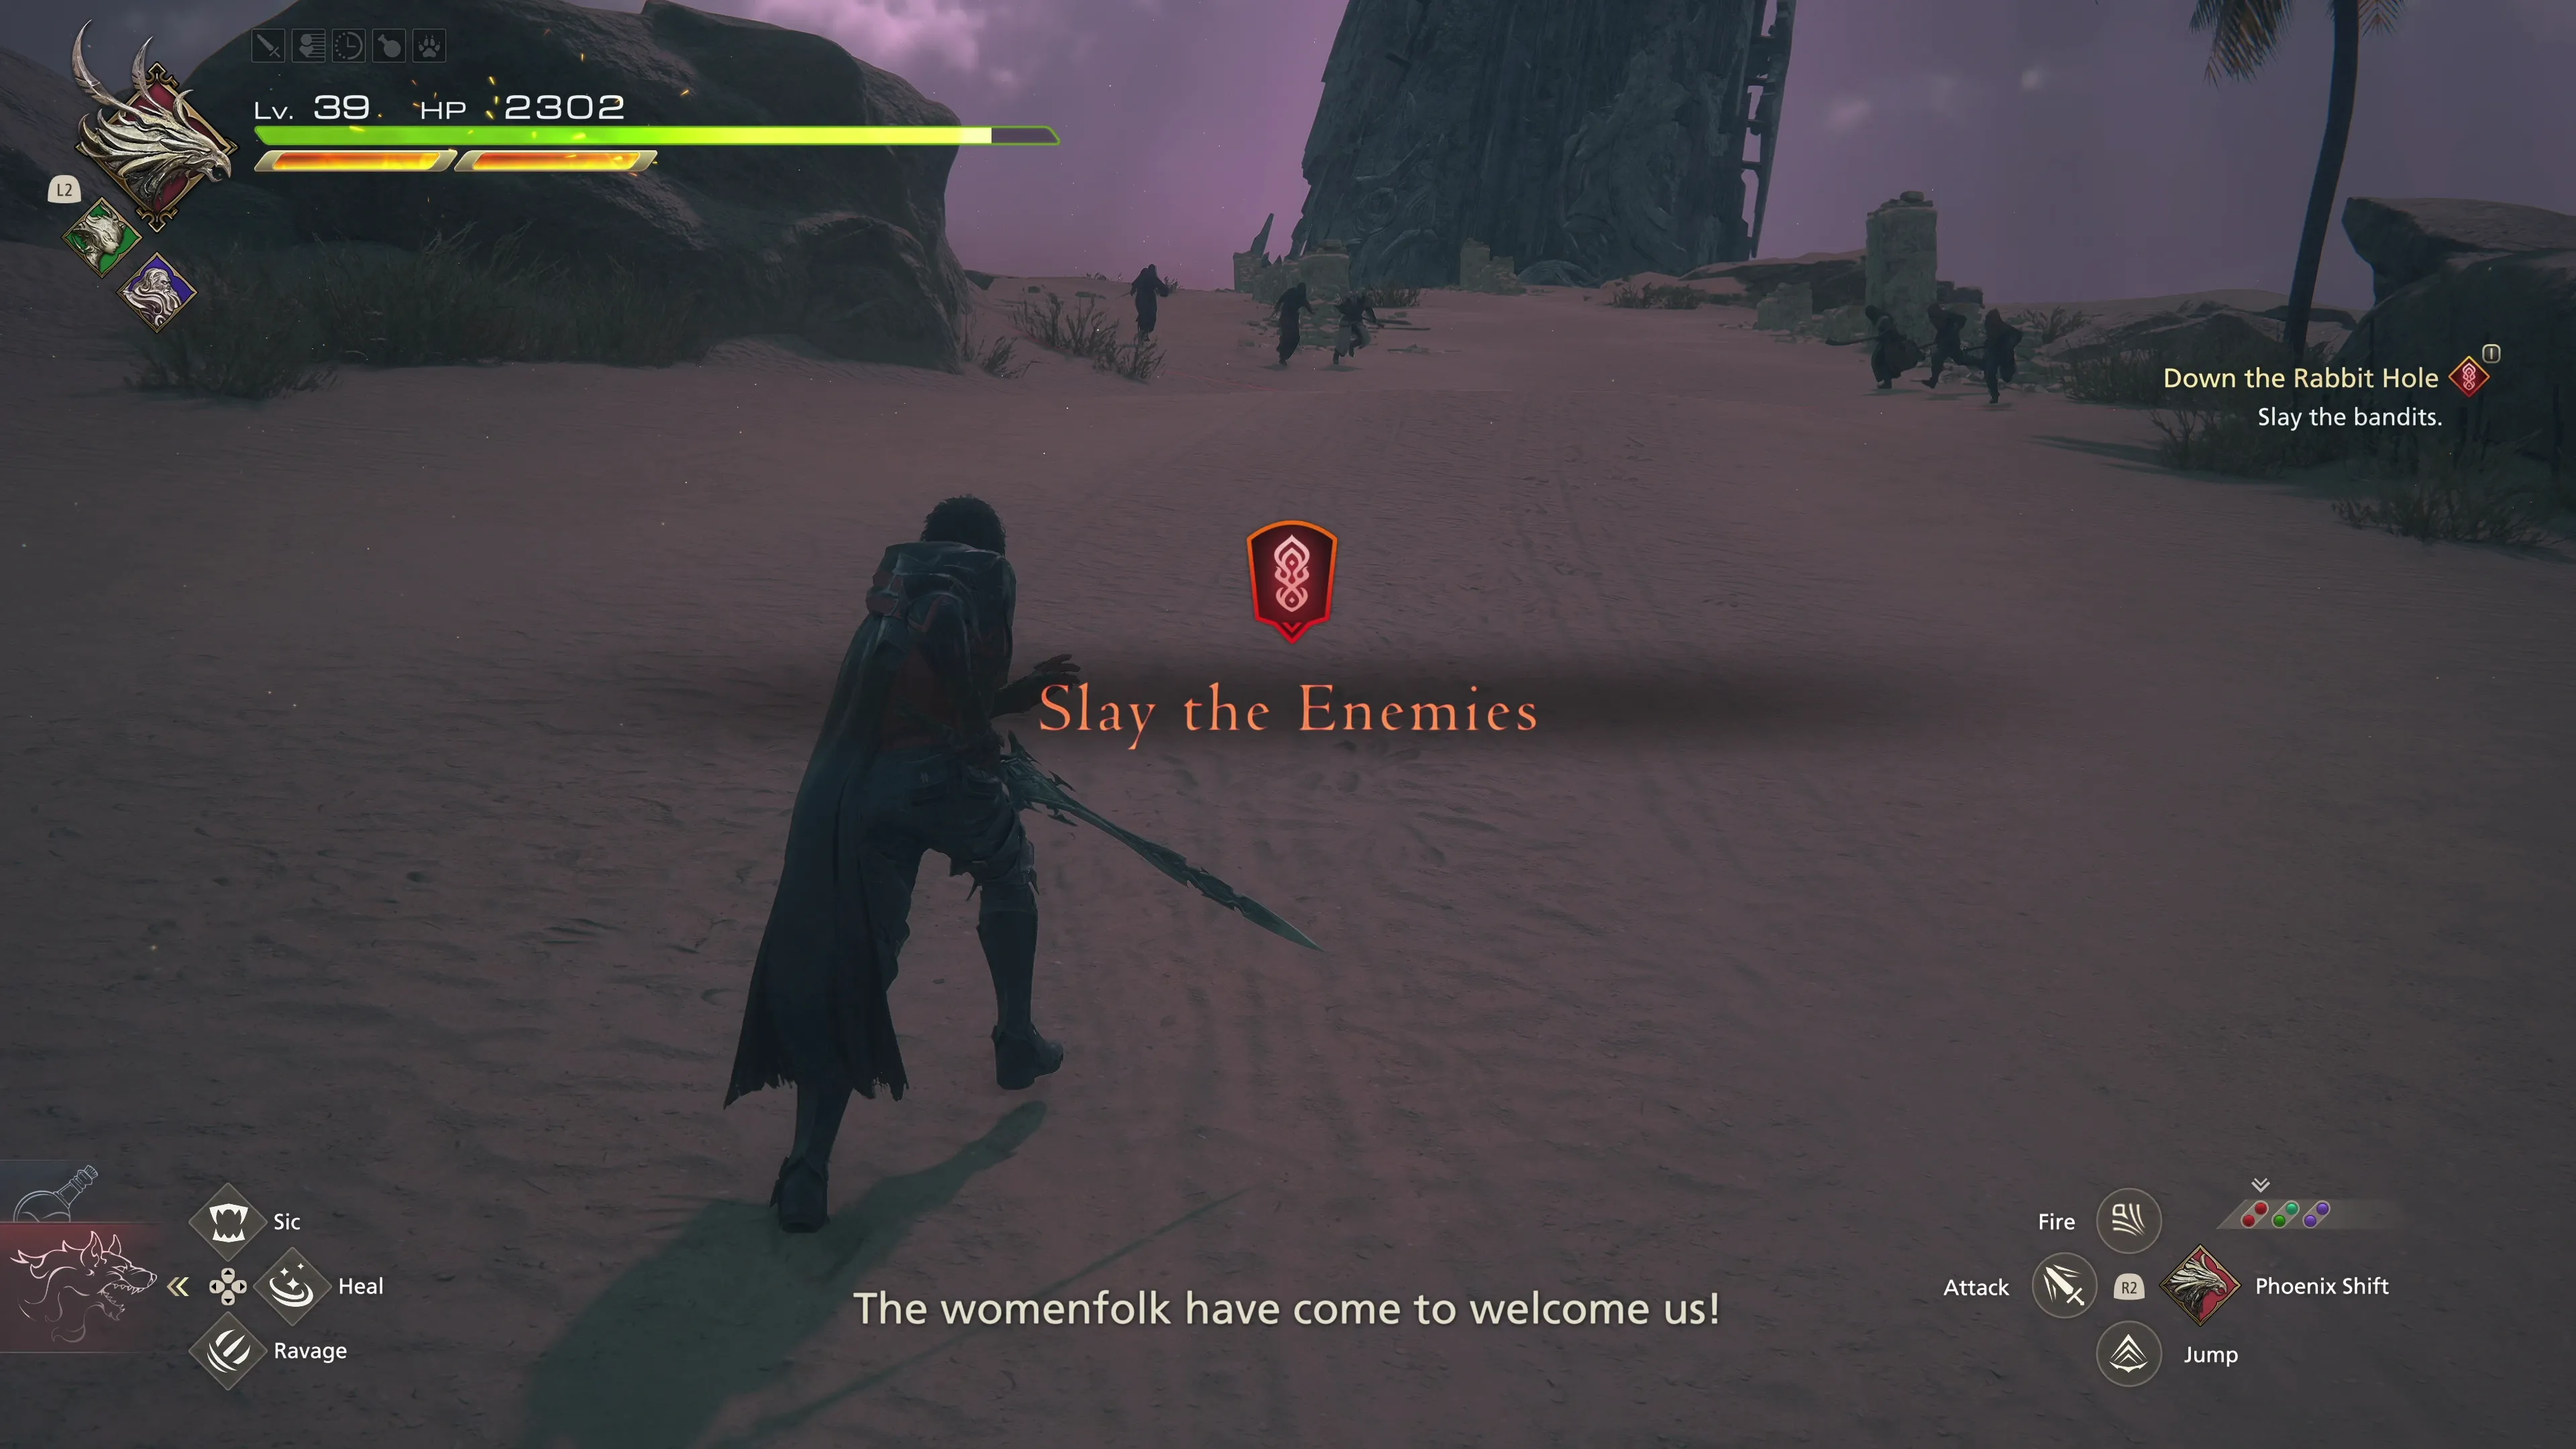
Down the Rabbit Hole
Head to the Dalimil Inn nearby to witness an argument between some of the citizens, and then speak with Viktor afterwards. Talk to L’ubor again after that, and then help recruit Konrad and Natalie, who can be found in the town. One more conversation with Viktor near the blacksmith stall, and then it’s time to fight!
The next task is to “protect the north gate.” Run over to the town’s entrance to slay a large group of Desert Bandits. Another wave of bandits will appear after that, along with “The Sultan,” which is just another ninja-type enemy with a moveset similar to other ninja enemies you’ve defeated before.
All three of the Optional Quests are now complete.
The Hideaway
Each of these Subquests provided you with some ![]() Renown, which, if you’ve been following the guide, completing the available Optional Quests and Hunts, you should be eligible for the next reward from The Patron’s Whisper:
Renown, which, if you’ve been following the guide, completing the available Optional Quests and Hunts, you should be eligible for the next reward from The Patron’s Whisper:
| Renown | Crate Contents | |
|---|---|---|
| 1,120 |
Speak to Otto to wrap up the Subquests and to trigger a few more cutscenes. This will open up even more Optional Quests that can be completed. Note, though, that you can’t complete them yet because you can’t travel anywhere except “The Krozjit Echoes” on the world map. Travel to that location now to move on to the next Main Scenario Quest, but don’t worry, we’ll complete these quests before we move on with the main story.