
 Cloak and Dagger
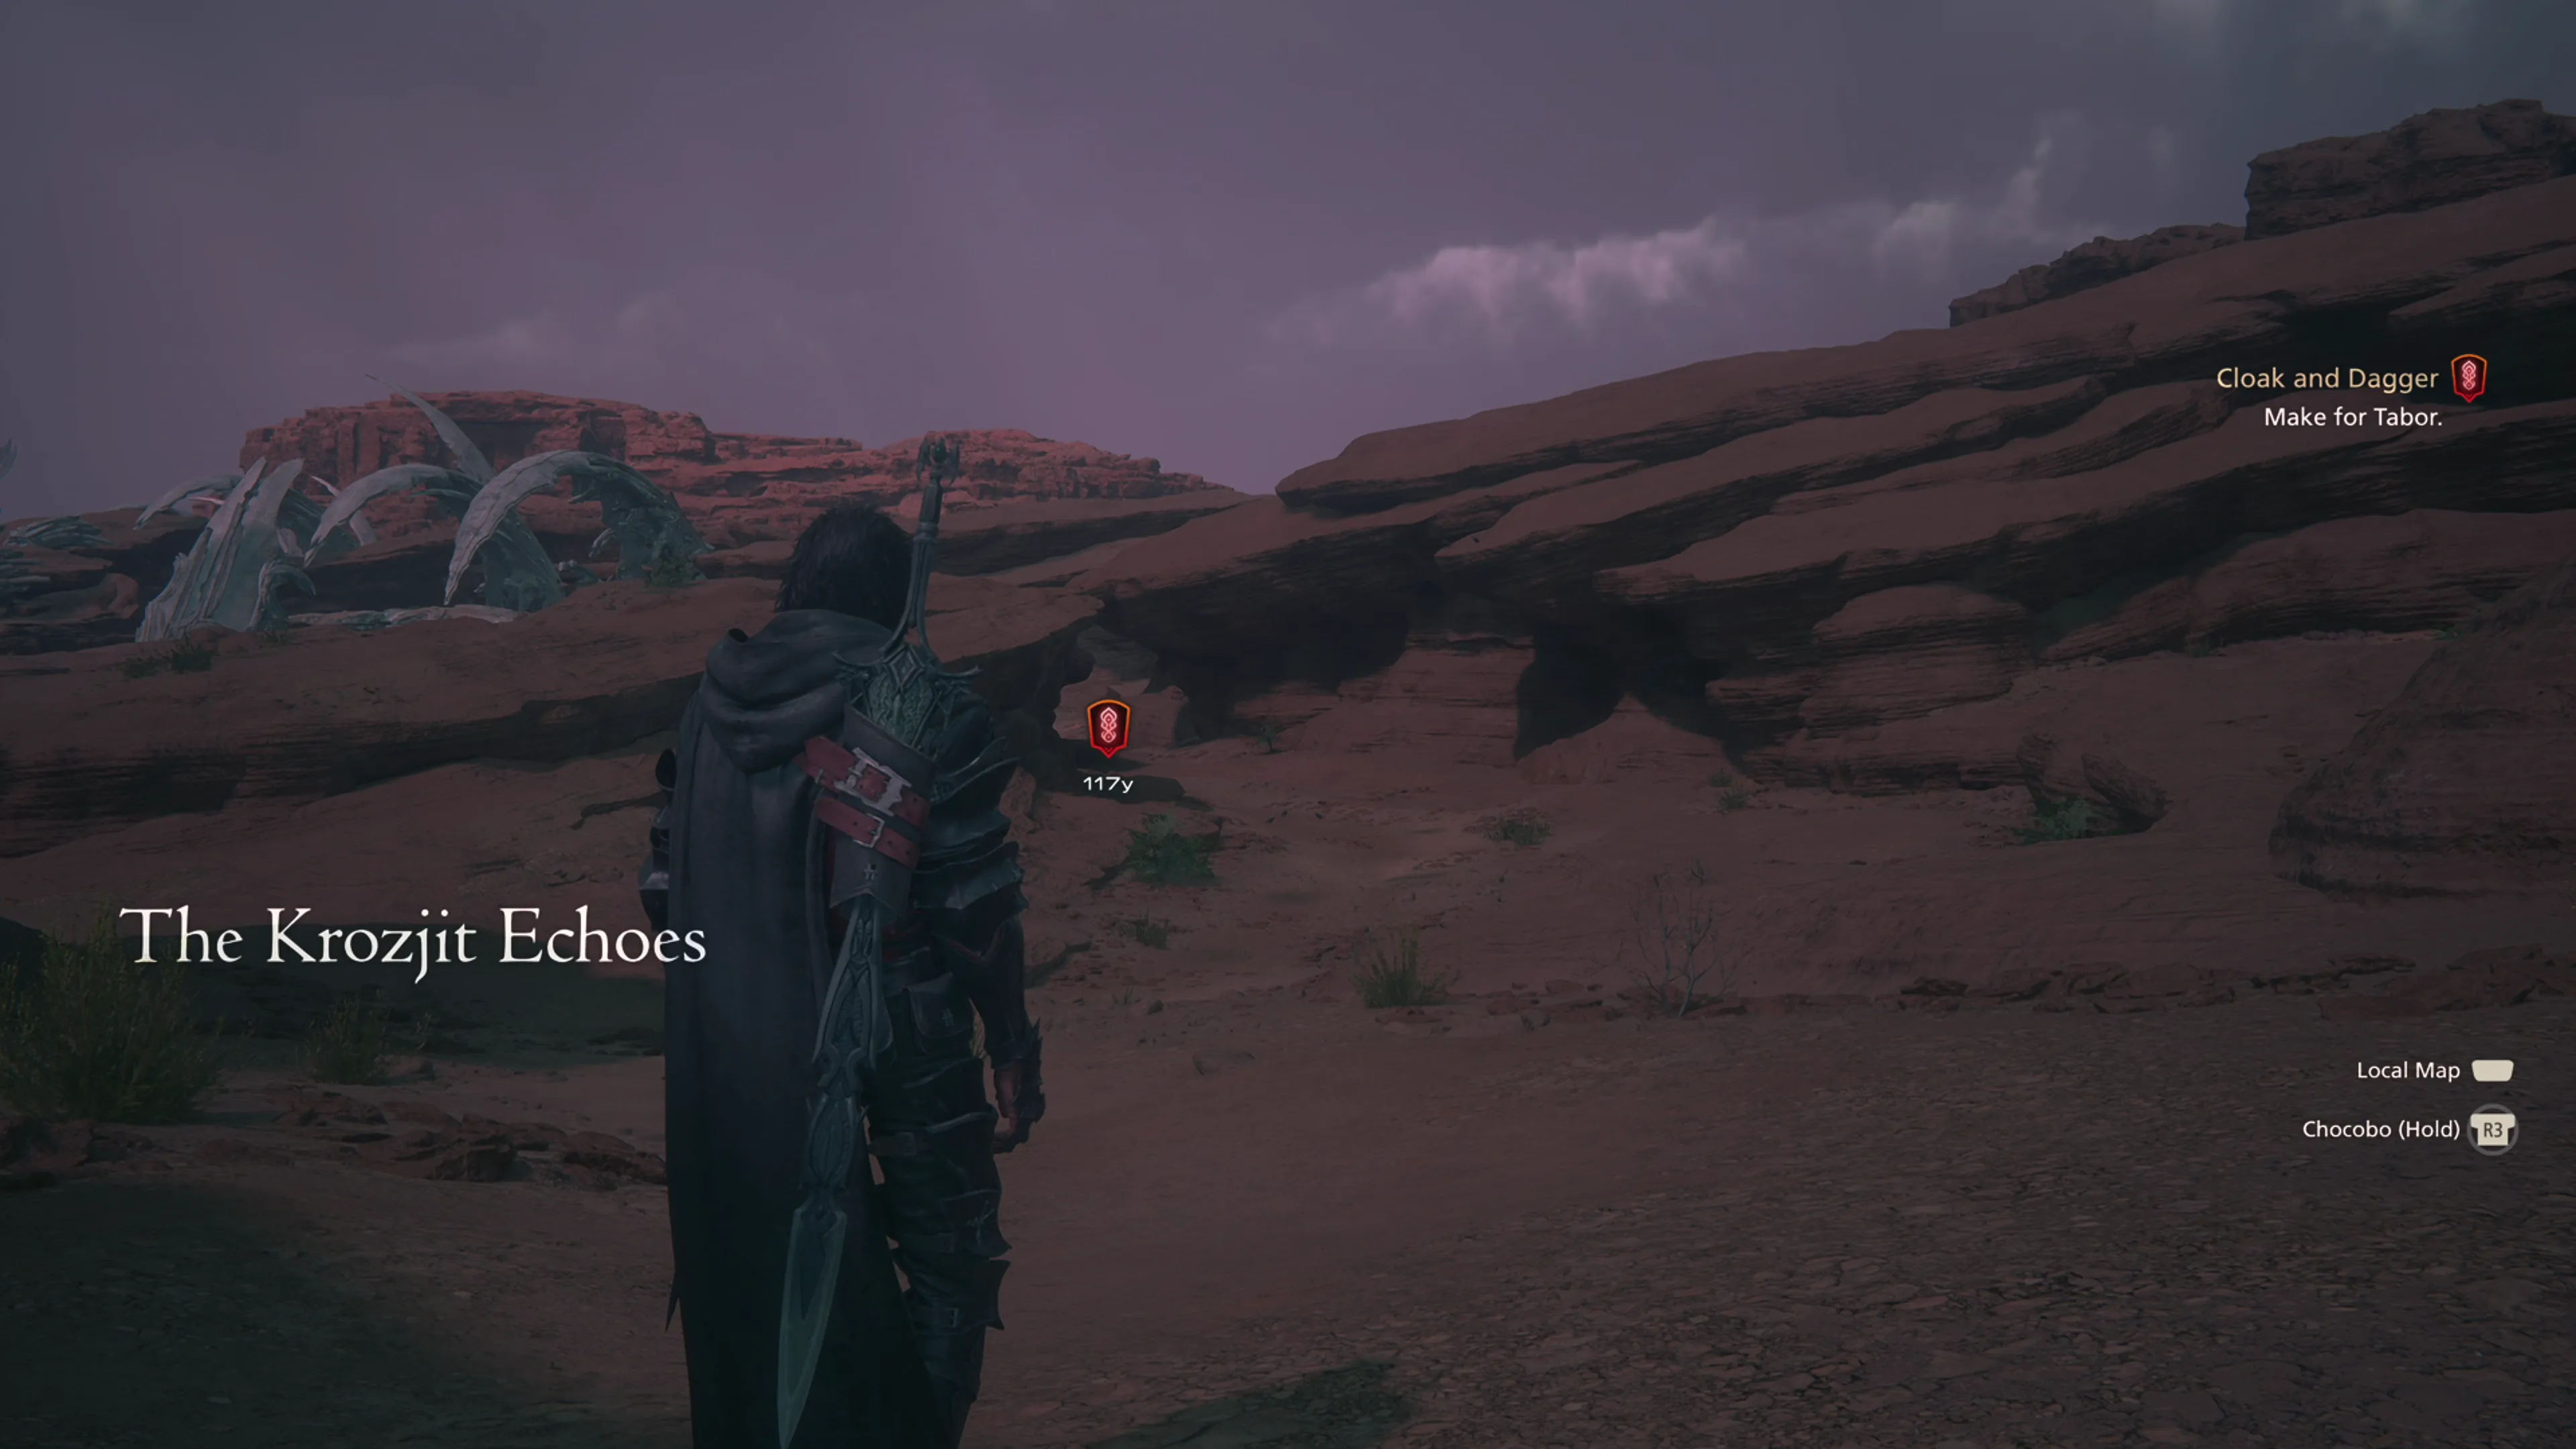
As mentioned on the previous page, the only location you’ll be able to travel to on the world map is ![]() The Krozjit Echoes Obelisk, so even though there are some Optional Quests available, you’ll need to travel there first and then head back to the Hideaway.
The Krozjit Echoes Obelisk, so even though there are some Optional Quests available, you’ll need to travel there first and then head back to the Hideaway.
Helpful Hint
You may have noticed that there’s an Optional Quest up ahead along the Krozjit Echoes pathway called ![]() Bad Blood, but you can leave this one until later and complete it when we come back to this location to proceed with the Main Scenario Quest.
Bad Blood, but you can leave this one until later and complete it when we come back to this location to proceed with the Main Scenario Quest.
Once you’re back, you can now travel to any of the Obelisks, so let’s get started on those quests.
Optional Quest
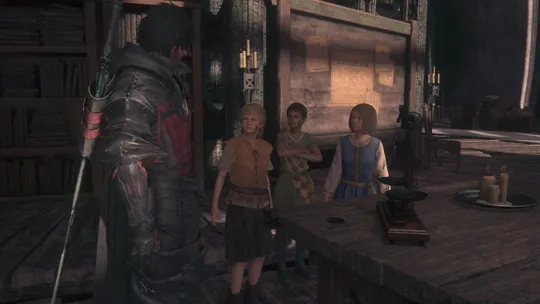
“A scale used in one of Miss Shirleigh’s recent lessons has gone missing, and the young instructor is fairly certain her mischievous pupils are behind its untimely disappearance.”
Optional Quest
“Molly, cauldron keeper at the Tub & Crown, seeks to recreate an ancient recipe for ‘fried mortress of skyworm.’ Unfortunately, she’s not exactly sure what several of the ingredients are—namely drakesmint and skyworm.”
Optional Quest
“Ill rumors being spread about Lady Charon’s past has poor Goetz worried sick for his Nan. The gentle giant has asked if Clive might discreetly inquire with her about the veracity of said whispers.”
Optional Quest
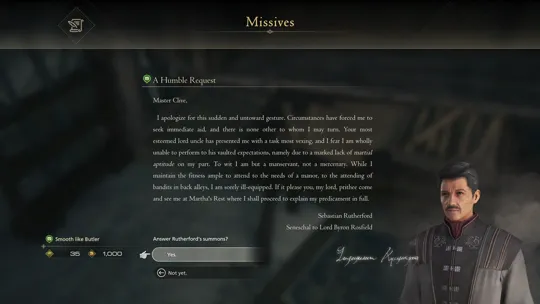
This quest begins from a missive called ![]() A Humble Request.
A Humble Request.
“Wanting to learn more of the state of the realm following the fall of its Mothercrystals and the darkening of its skies, Lord Byron Rosfield does what any man of means might: task one of his servants with the endeavor. That servant, however, now wishes to speak with Clive and urgently requests an audience in Martha’s Rest.”
Now that all of the side quests have been taken care of, we can head back to ![]() The Krozjit Obelisk and continue with the story.
The Krozjit Obelisk and continue with the story.
The Krozjit Echoes
There is a pathway ahead that leads to the right side of the screen, going west. You can follow that path around the bend to find a treasure coffer guarded by a Coeurl. This coeurl is weaker than the last one, but it has the same moveset as the one you faced in Rosalith Castle. The ![]() Red Treasure Coffer treasure coffer contains a new belt, the
Red Treasure Coffer treasure coffer contains a new belt, the ![]() Regal Sash, which is an upgrade over the
Regal Sash, which is an upgrade over the ![]() Silken Sash +2.
Silken Sash +2.
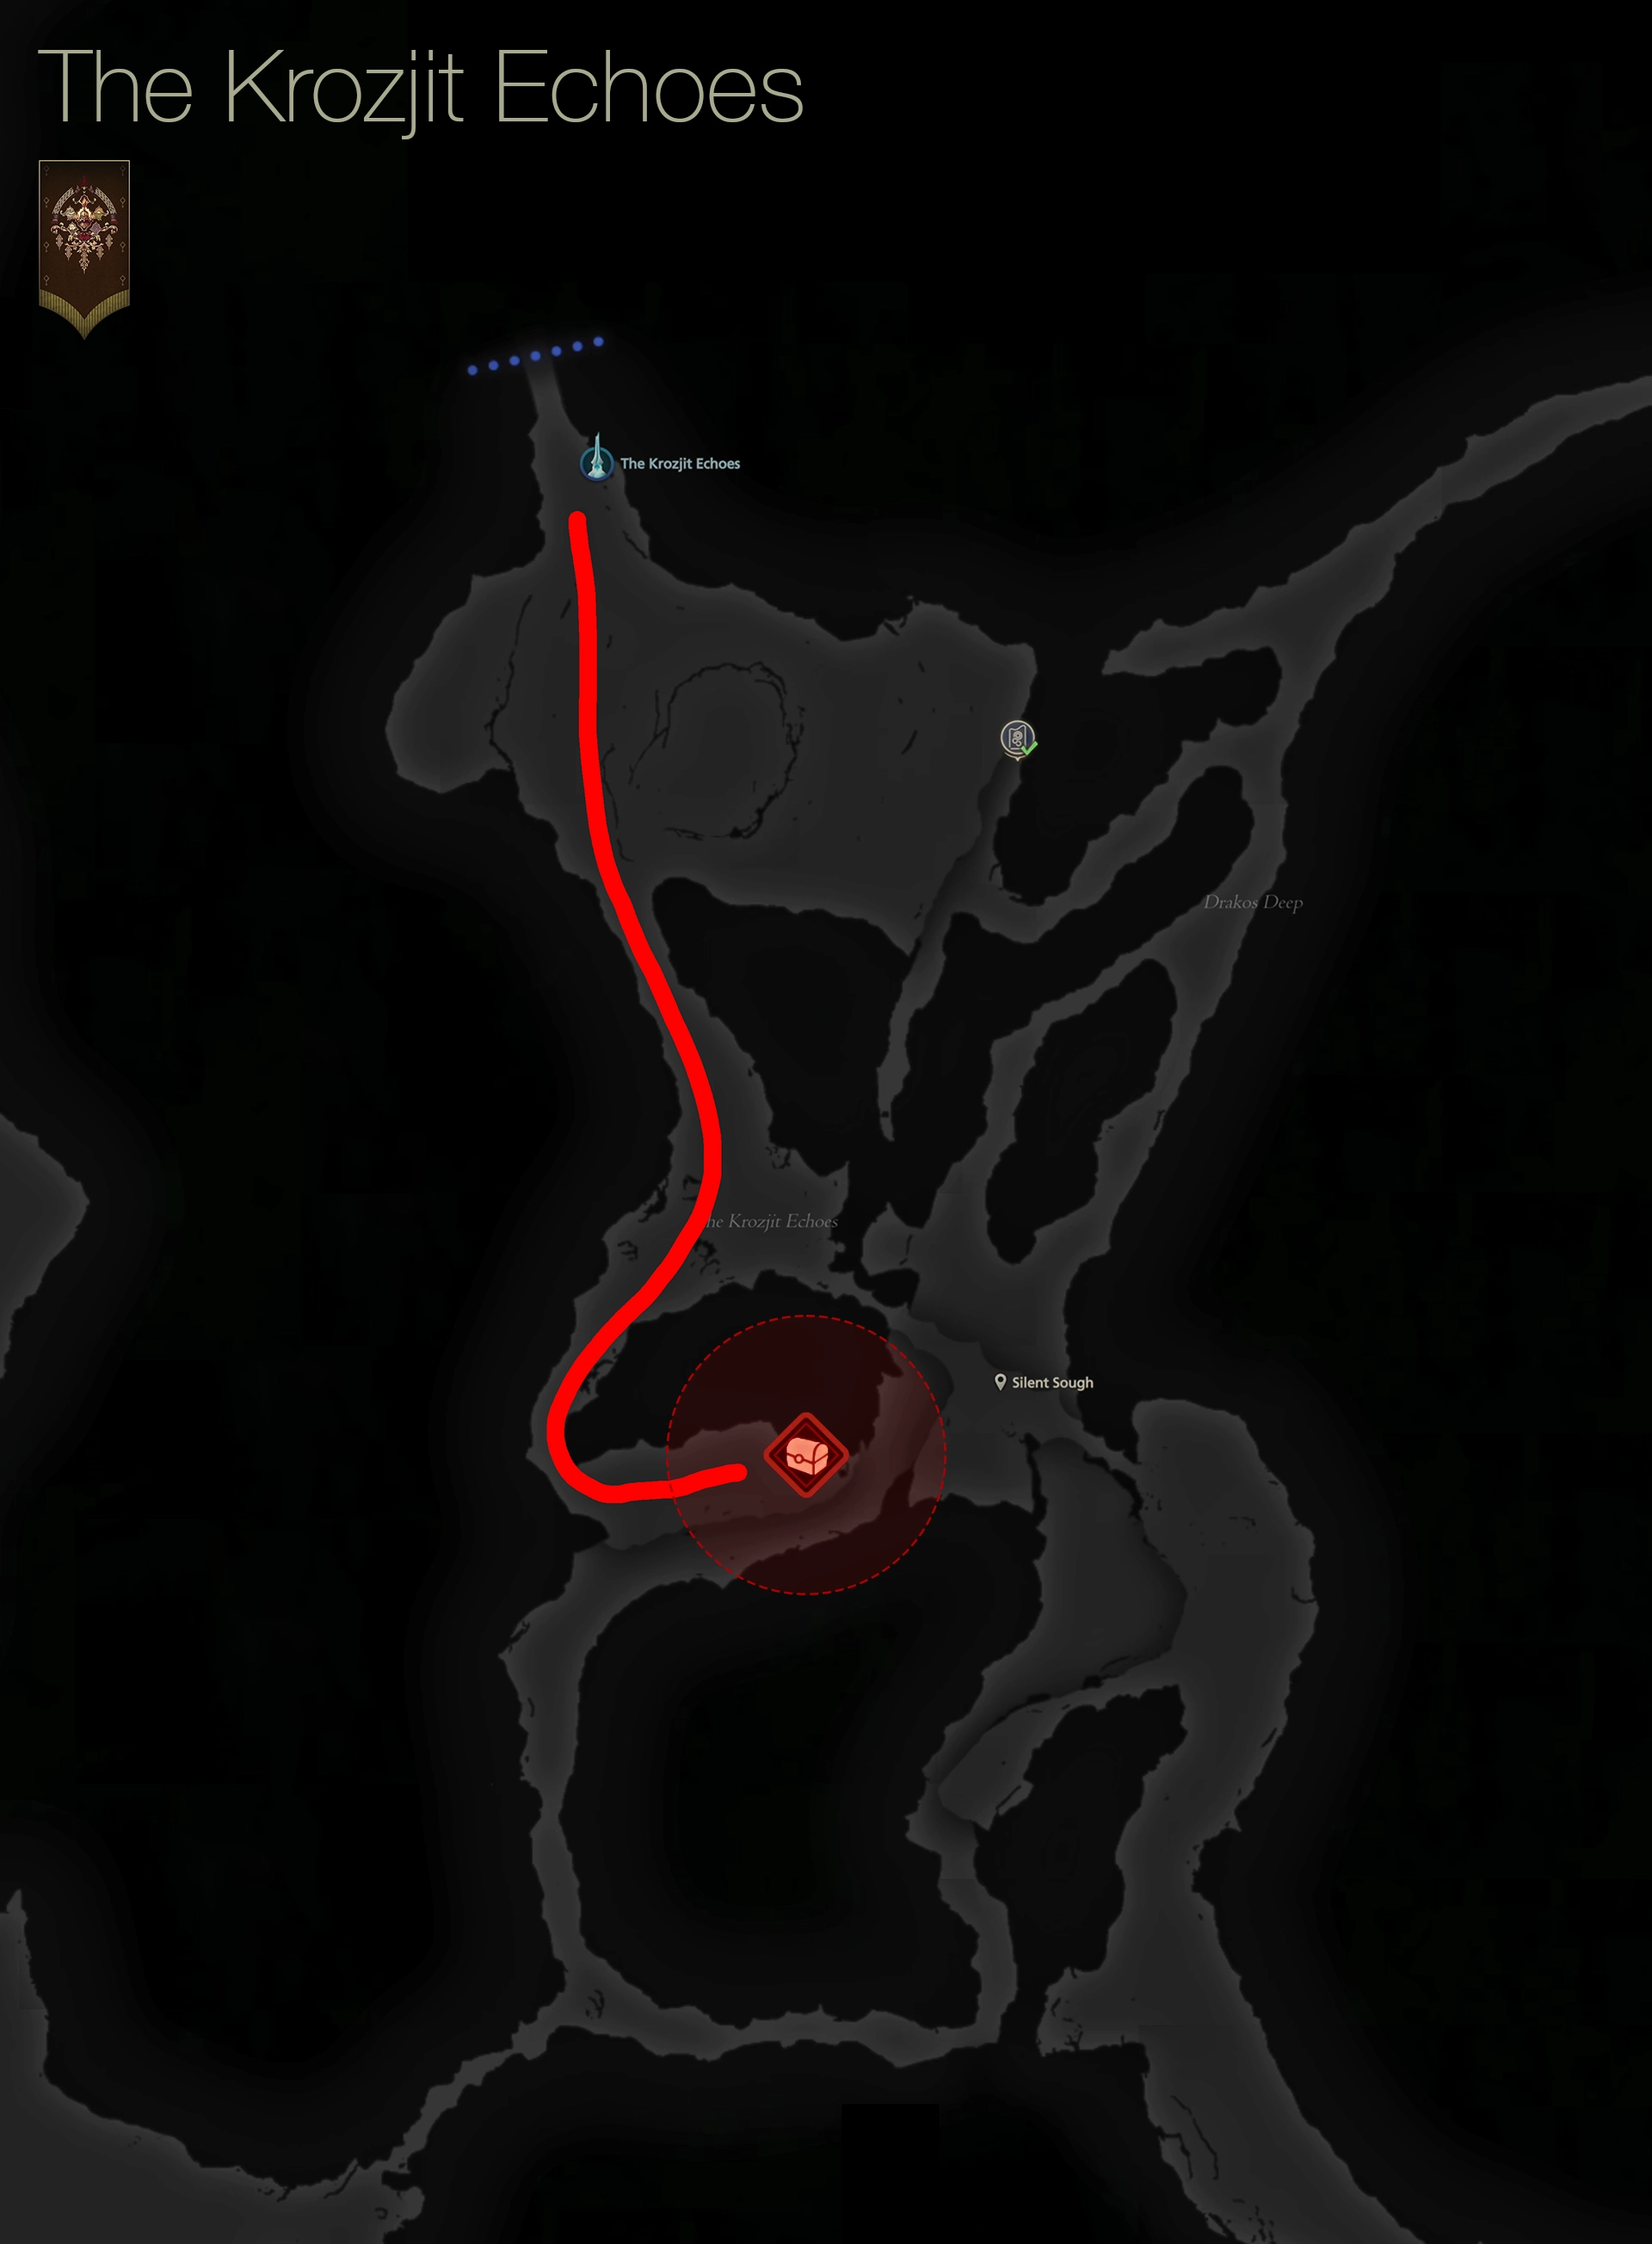
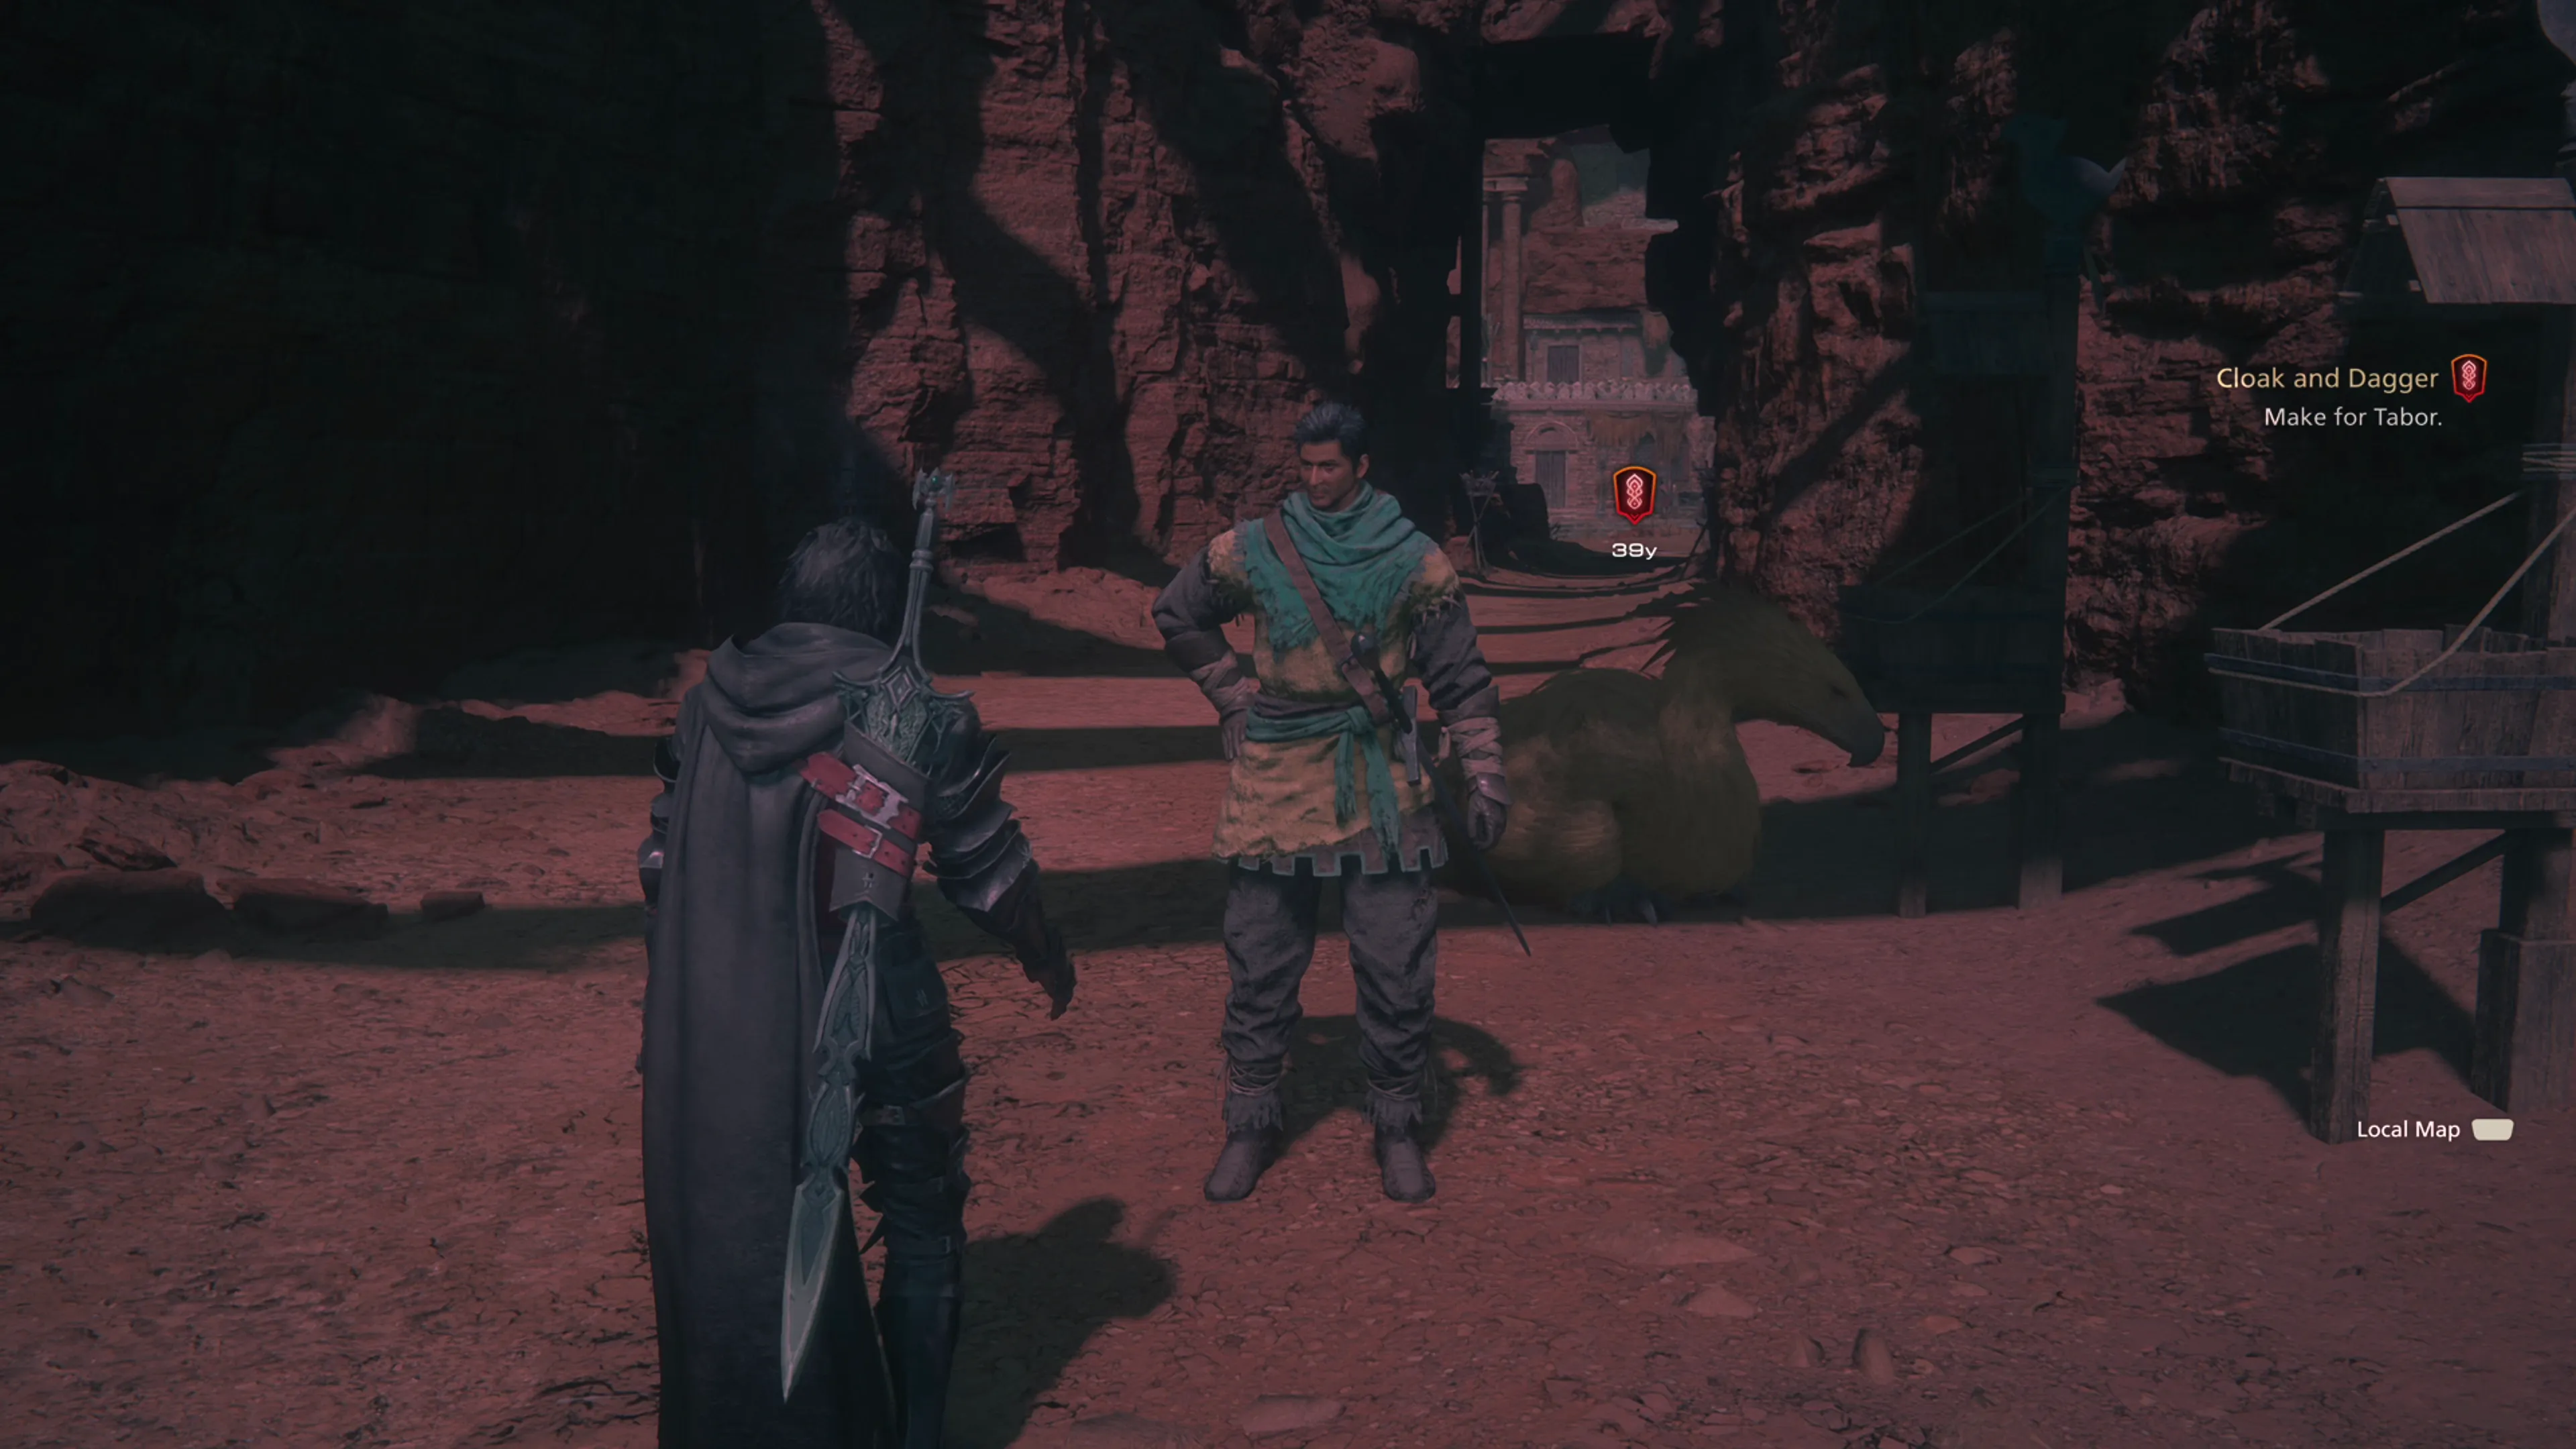
Continue along the Krozjit Echoes path. You can either stop and battle the group of ‘Fallen’ enemies and the Helldivers, or quickly run past them in your ![]() Chocobo. Just beyond them is another Optional Quest to complete. Speak to the “Wounded Republican Soldier” to initiate this quest; it can be completed on your way to the next destination.
Chocobo. Just beyond them is another Optional Quest to complete. Speak to the “Wounded Republican Soldier” to initiate this quest; it can be completed on your way to the next destination.
Optional Quest
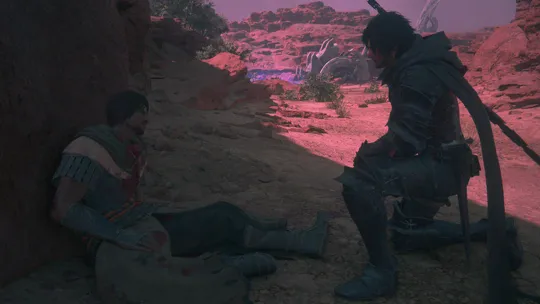
“On the road to Tabor, Clive discovers a gravely wounded republican soldier who tells him of the aetherflood that consumed his unit’s nearby encampment, rendering everyone in it Akashic. With his final breaths, the dying man asks Clive to slay his turned brothers-in-arms that they might not hurt any others.”
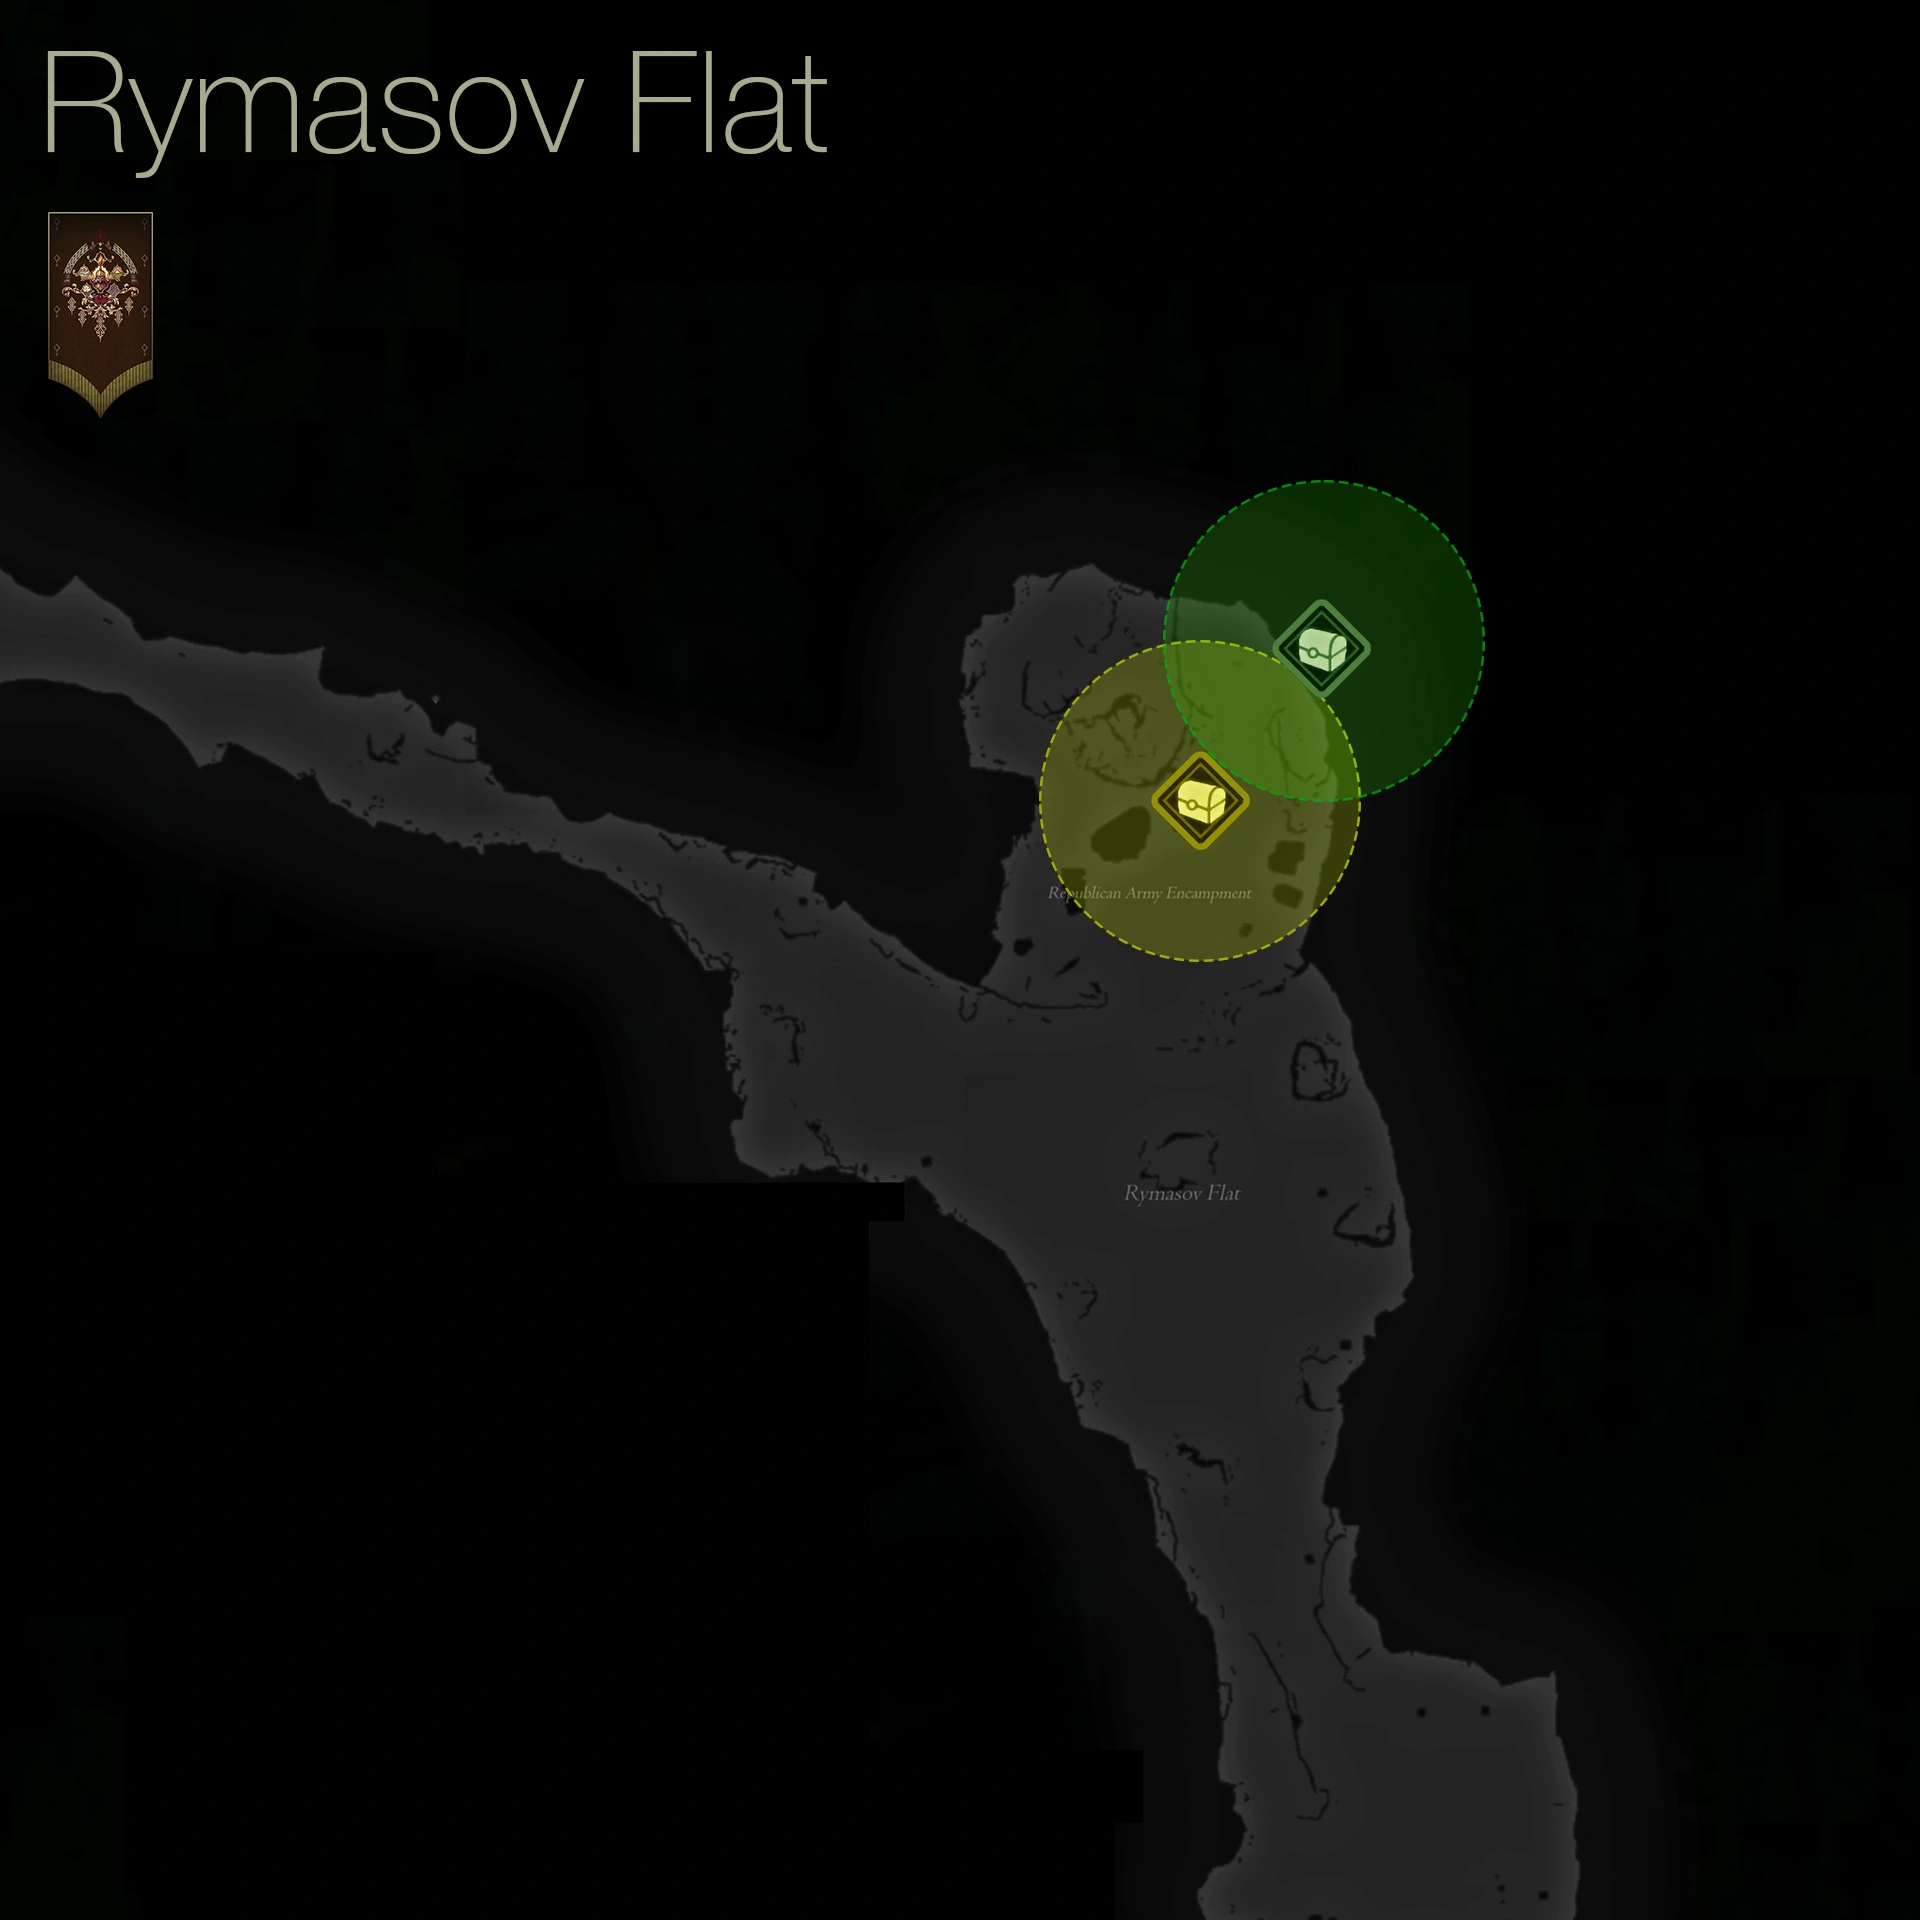
There are two treasure coffers on the east side of the Republican Army Encampment. The ![]() Yellow Treasure Coffer is on the backside of the tent (which contains an
Yellow Treasure Coffer is on the backside of the tent (which contains an ![]() Empty Shard, twenty five
Empty Shard, twenty five ![]() Wyrrite, and 25
Wyrrite, and 25 ![]() Sharp Fangs).
Sharp Fangs).
The ![]() Green Treasure Coffer is on the wooden platform extending out over the cliff (which contains an
Green Treasure Coffer is on the wooden platform extending out over the cliff (which contains an ![]() Empty Shard, a
Empty Shard, a ![]() Goblin Coin, and 25 pinches of
Goblin Coin, and 25 pinches of ![]() Magicked Ash)
Magicked Ash)
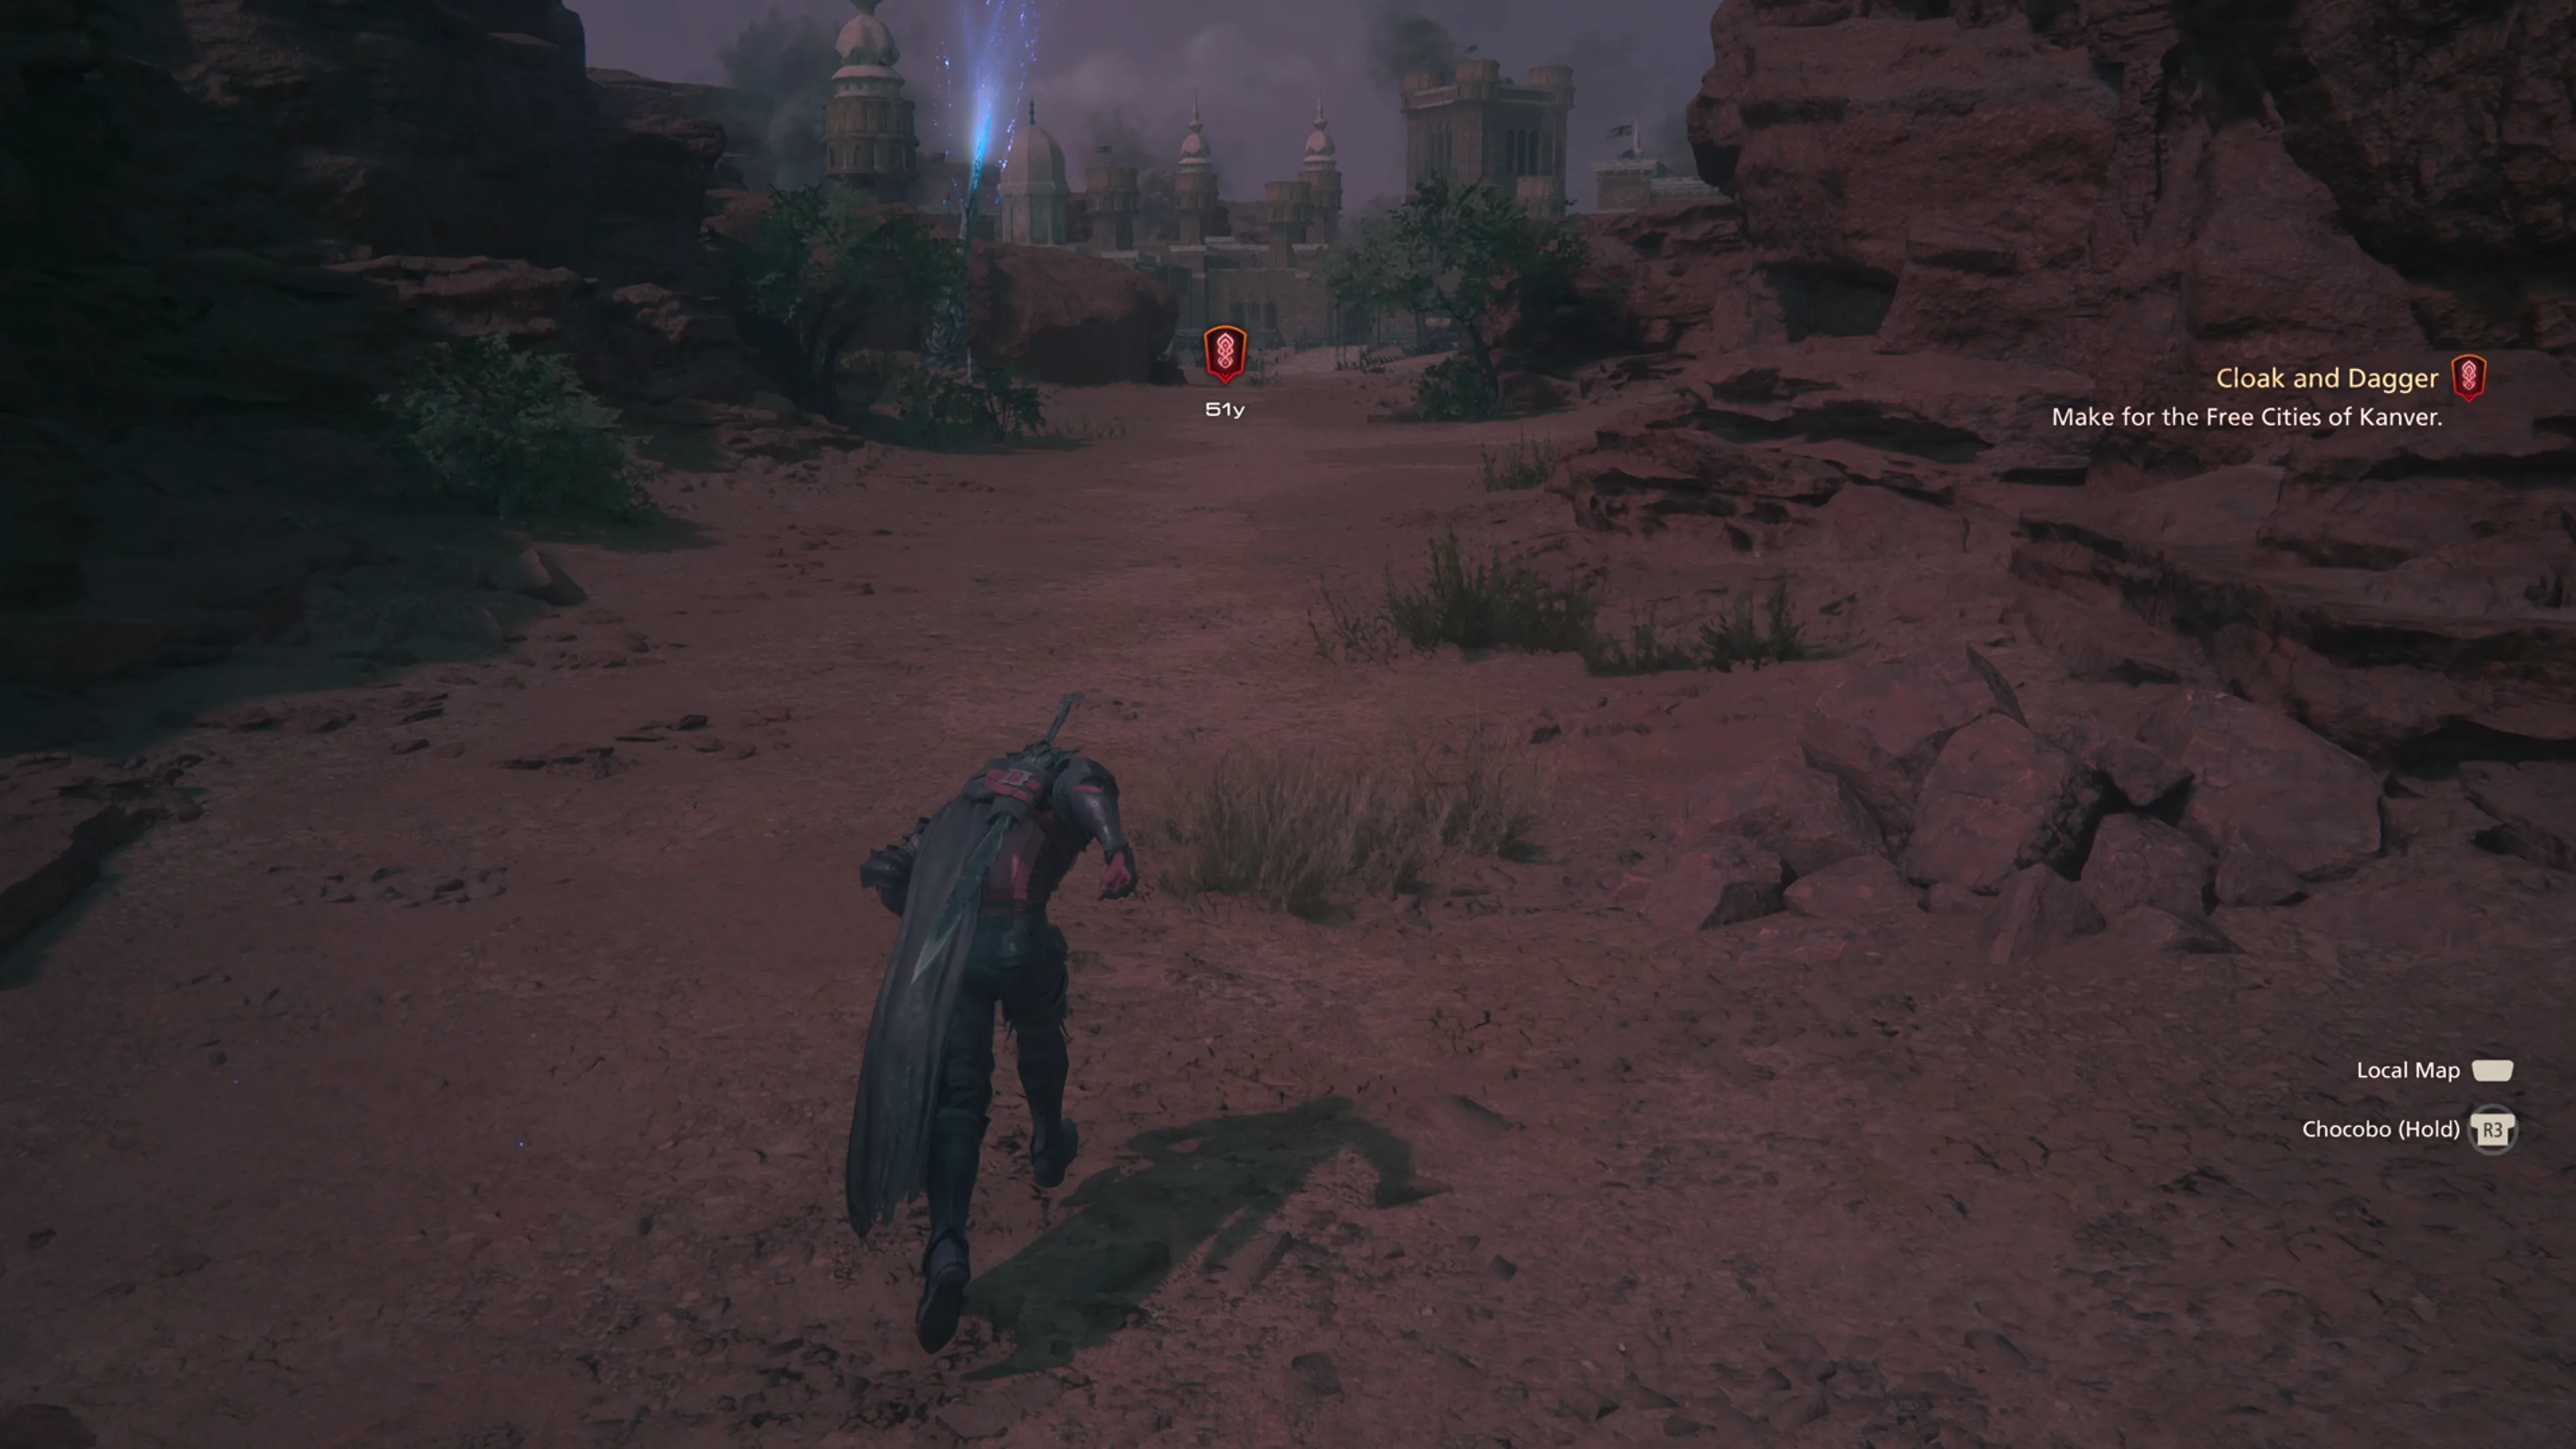
Jump back on your ![]() Chocobo and make for the town of Tabor by following the Main Scenario Quest Marker
Chocobo and make for the town of Tabor by following the Main Scenario Quest Marker ![]() .
.
 Tabor
Tabor
Go through the doorway into the nearby home for another cutscene involving the team reuniting with Jote. There are a few other lengthy cutscenes that follow this meeting, and it may be worth reminding you at this time that you can press the ![]()
![]()
![]() button and then press and hold the
button and then press and hold the ![]()
![]()
![]() button to skip cutscenes if you’re finding yourself uninterested in some of these ‘subplot’ elements.
button to skip cutscenes if you’re finding yourself uninterested in some of these ‘subplot’ elements.
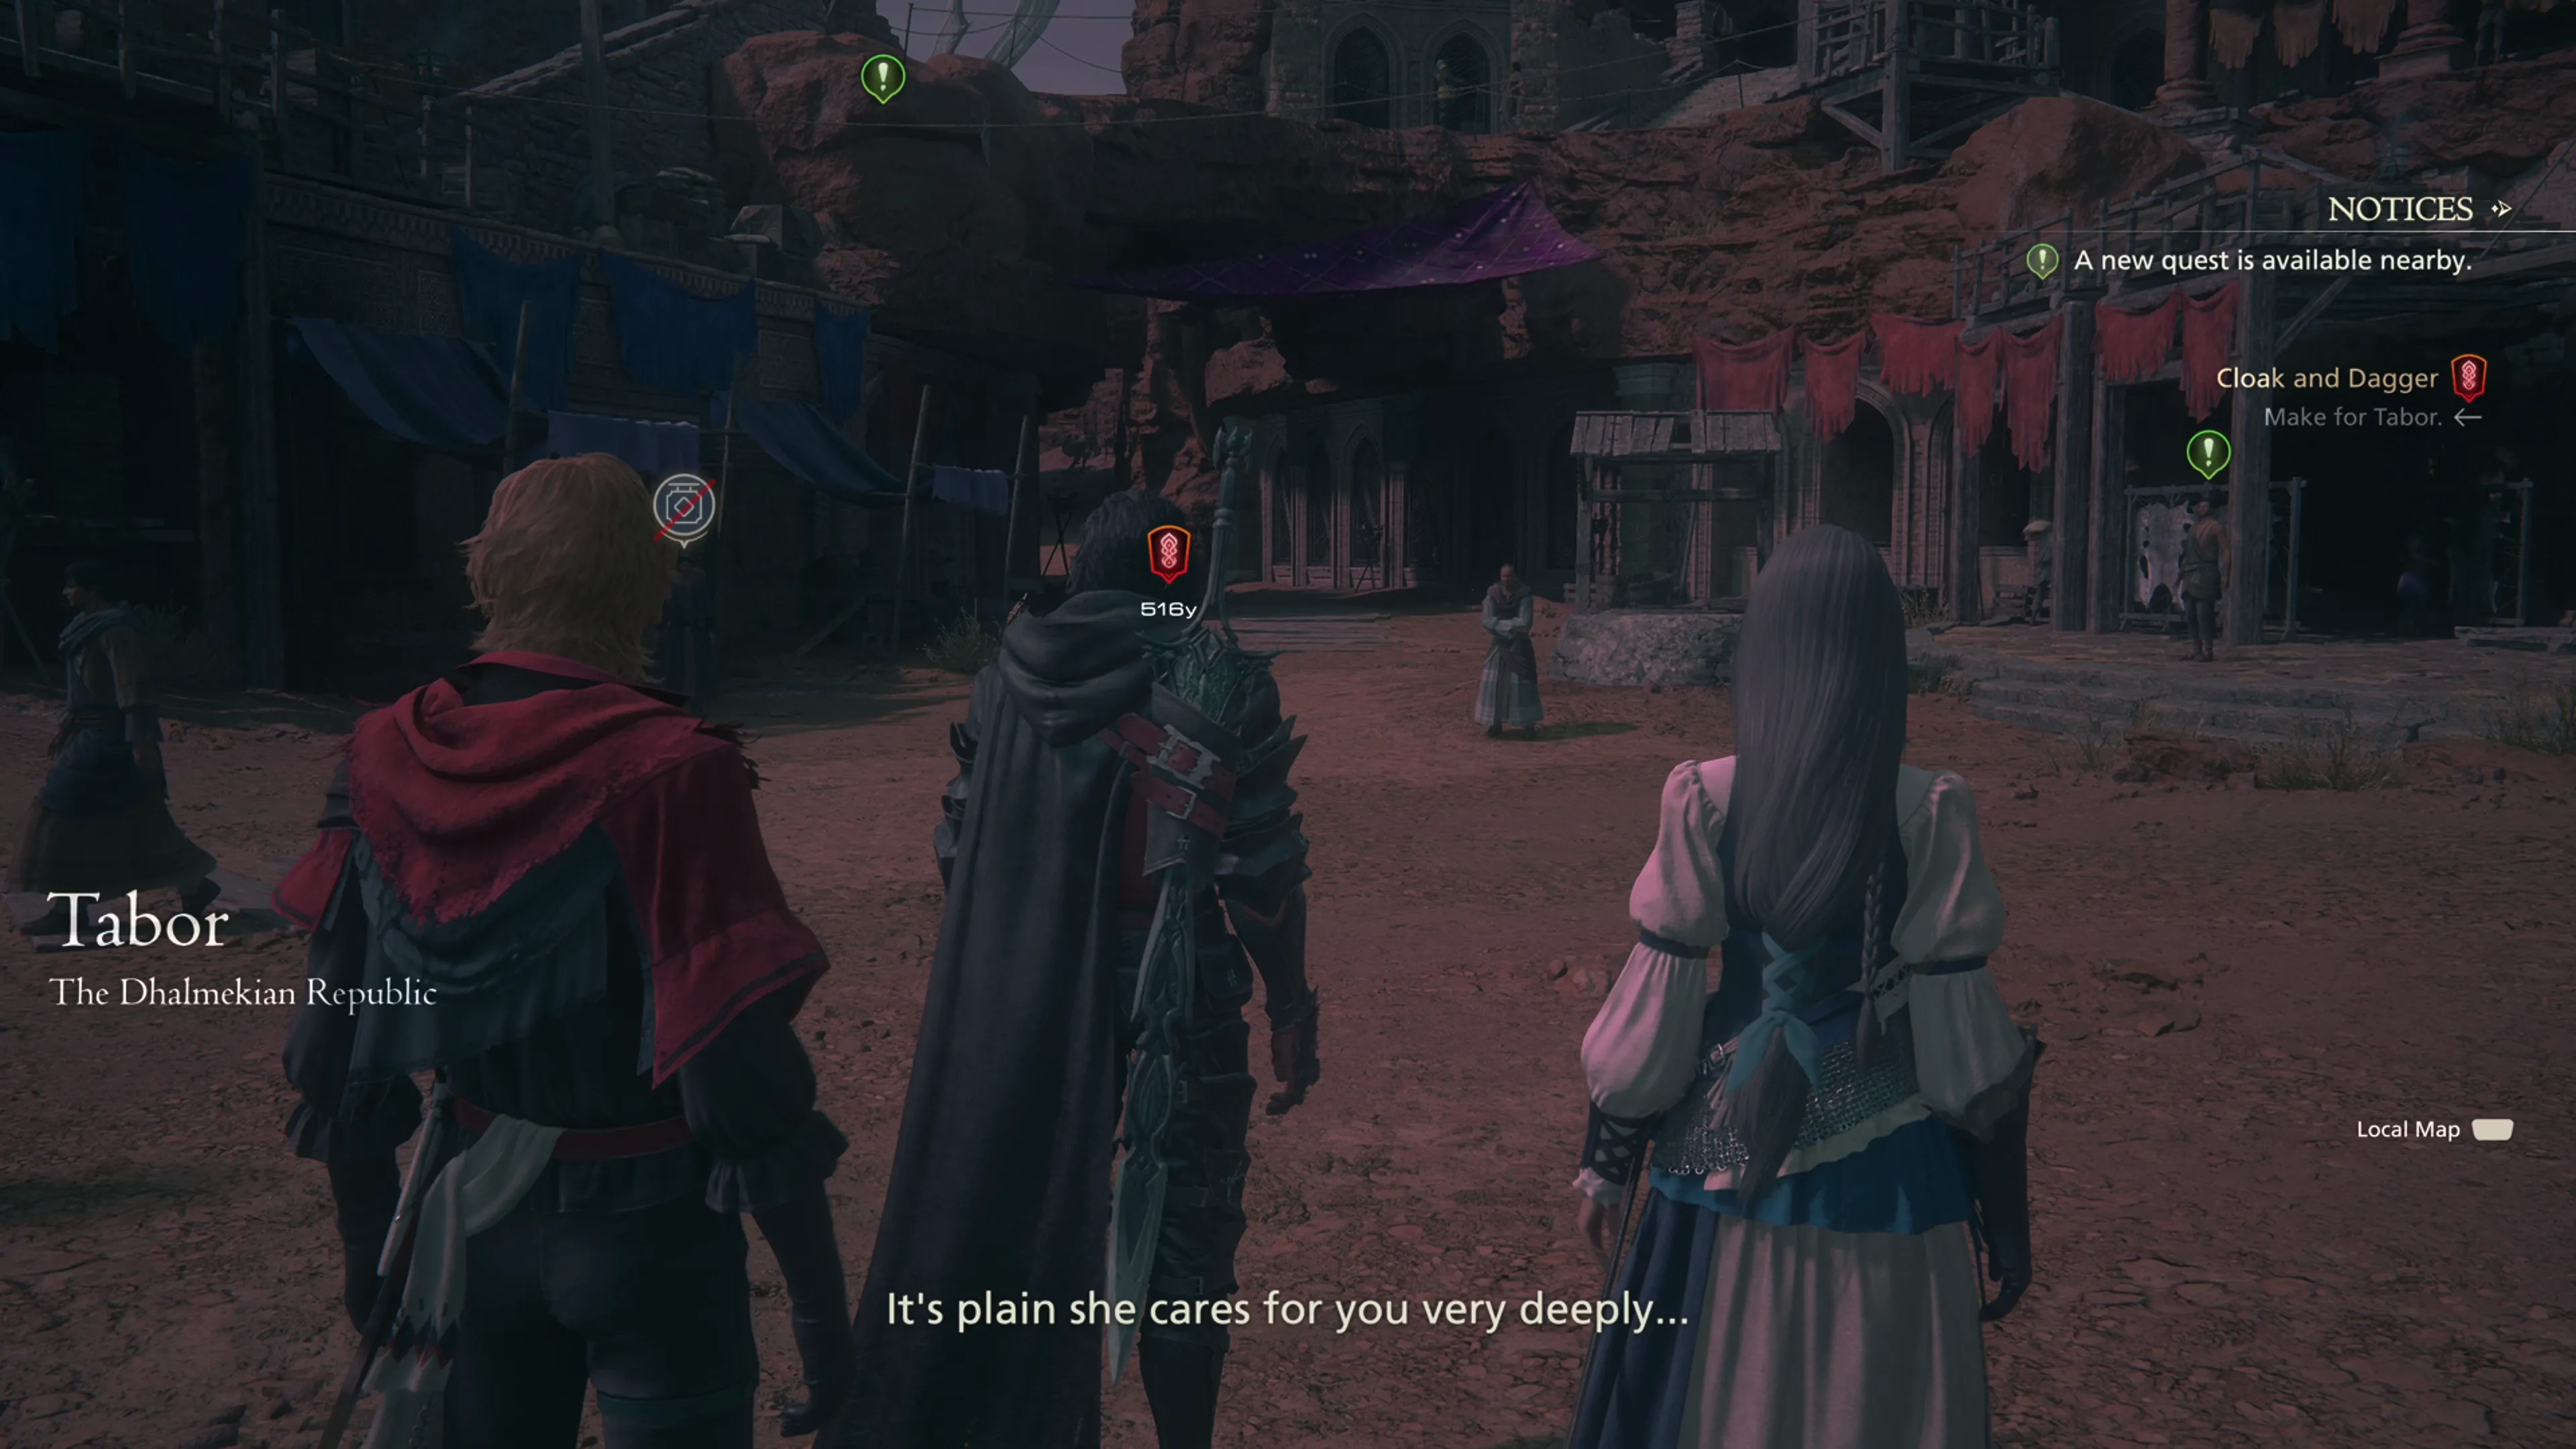
As soon as you exit the building back out into Tabor, the Main Scenario Quest Marker ![]() will move to your next destination. However, there are two new Optional Quests available here in Tabor.
will move to your next destination. However, there are two new Optional Quests available here in Tabor.
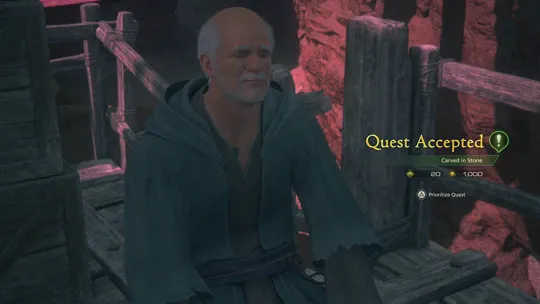
Additionally, there are several treasure coffers that you can pick up, but the most efficient way to grab the treasure coffers is to complete the ![]() Carved in Stone quest at the same time.
Carved in Stone quest at the same time.
Optional Quest
“An aging scholar in Tabor asks Clive to go and look at the ancient engravings dotted around town in order to help him uncover the history of the local people.”
The next Optional Quest will take you past the next Notorious Mark as well:
Optional Quest
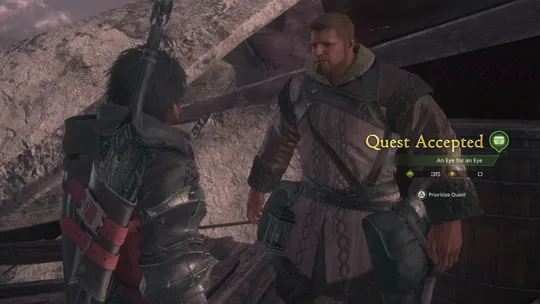
“A merchant in Tabor makes Clive an offer he allegedly can’t refuse—to hunt a dread aevis, and share in the seemingly considerable profits that its skin will bring when sold.”
Notorious Mark / Hunt

“A team of Cursebreakers traveling through Tabor to the Fields of Corava were met by a group of hunters from the village, who warned them not to stray too far from the main road—for in a gully not far hence rested a pack of wolves that even such practiced hunters as they would not dare to wake, despite the fine luster of the animals’ pelts. Too many of their friends had succumbed to temptation, only to be torn limb from limb.”
A map of Tabor with the treasure coffers identified is included below in case you skipped over the Optional Quests.
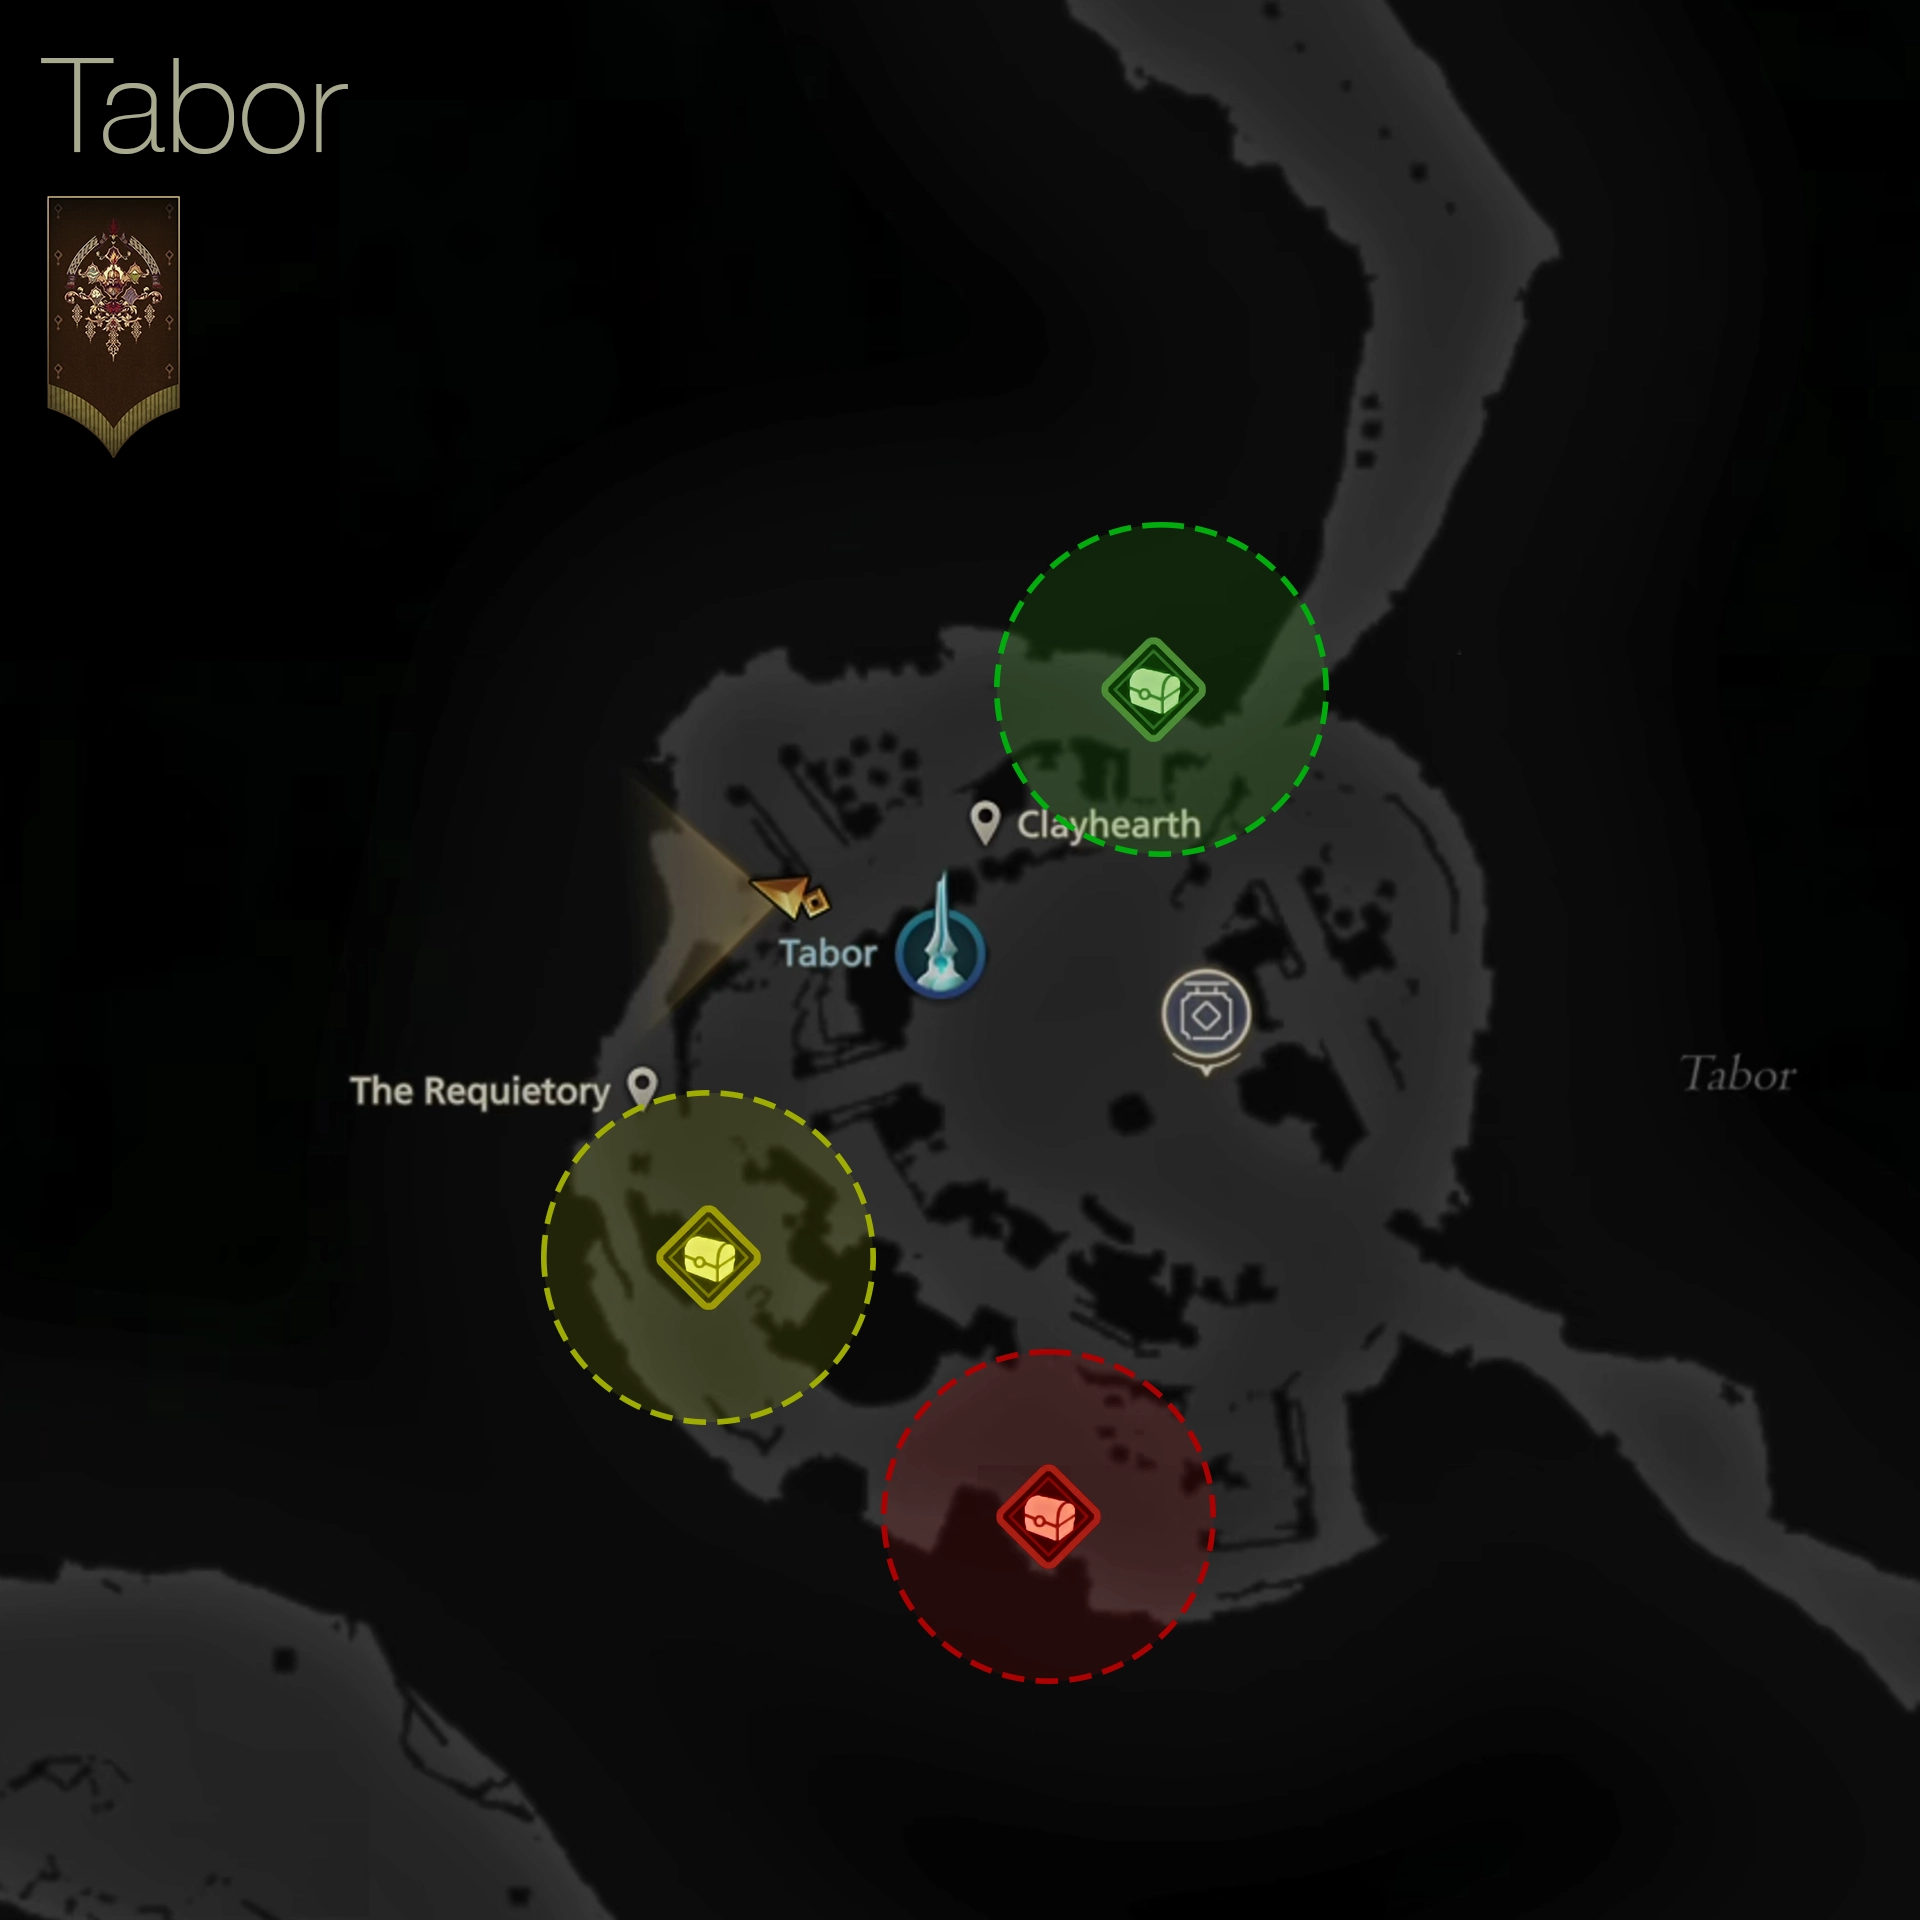
The treasure coffers contain:
| 1) | ||
|---|---|---|
| 2) | ||
| 3) |
Exit the town of Tabor using the southeast exit, and if you haven’t already seen it when you completed the Optional Quests, a short cutscene will take place with Cyril giving Clive the ![]() Phoenix Down curiosity. You have to go a surprisingly long distance south before you reach…
Phoenix Down curiosity. You have to go a surprisingly long distance south before you reach…
The Gilded Path
Mount your ![]() Chocobo and continue heading south, past the groups of Orcs (or defeating them if you feel so inclined), until you reach and activate
Chocobo and continue heading south, past the groups of Orcs (or defeating them if you feel so inclined), until you reach and activate ![]() The Gilded Path Obelisk. Another short cutscene will take place before you’re returned to the World Map. Your next destination, according to the Main Scenario Quest Marker
The Gilded Path Obelisk. Another short cutscene will take place before you’re returned to the World Map. Your next destination, according to the Main Scenario Quest Marker ![]() , is “The Free Cities of Kanver” in Southeastern Storm.
, is “The Free Cities of Kanver” in Southeastern Storm.
However, you’ve probably noticed that there are more Optional Quests available, so instead. The theme of these quests seems to be ‘relocating Bearers,’ so let’s take care of those. Start by traveling to the ![]() Lostwing Obelisk.
Lostwing Obelisk.
Optional Quest

“Quinten asks that Clive take those Bearers who cannot join him on his quest for vengeance into his protection, before he sets out to see justice done.”
Completing this quest opens up a brand new Hunt in the same area:
Notorious Mark / Hunt
“The greater part of those Black Shields who spied on Lostwing were taken by the aetherflood. However, we have received reports that one yet survives—a zealot of their evil cause who persists in delivering any Bearer who strays too close to his hiding place to a gruesome death. Alas, he has heretofore proved more than a match for the Cursebreakers sent to slay him.”
Two more quests to complete:
Optional Quest

“Eloise has a plan to purchase a large group of Bearers and relocate them to Kasjlok, where they might live free—the only obstacle, the beasts and bogles that have made a nest of the abandoned village.”
Optional Quest

“Martha and Wade have a plan to relocate the Bearers and Guardians who have lately taken refuge in the Rest to Eastpool—their only obstacle, the bandits that have taken up residence there.”
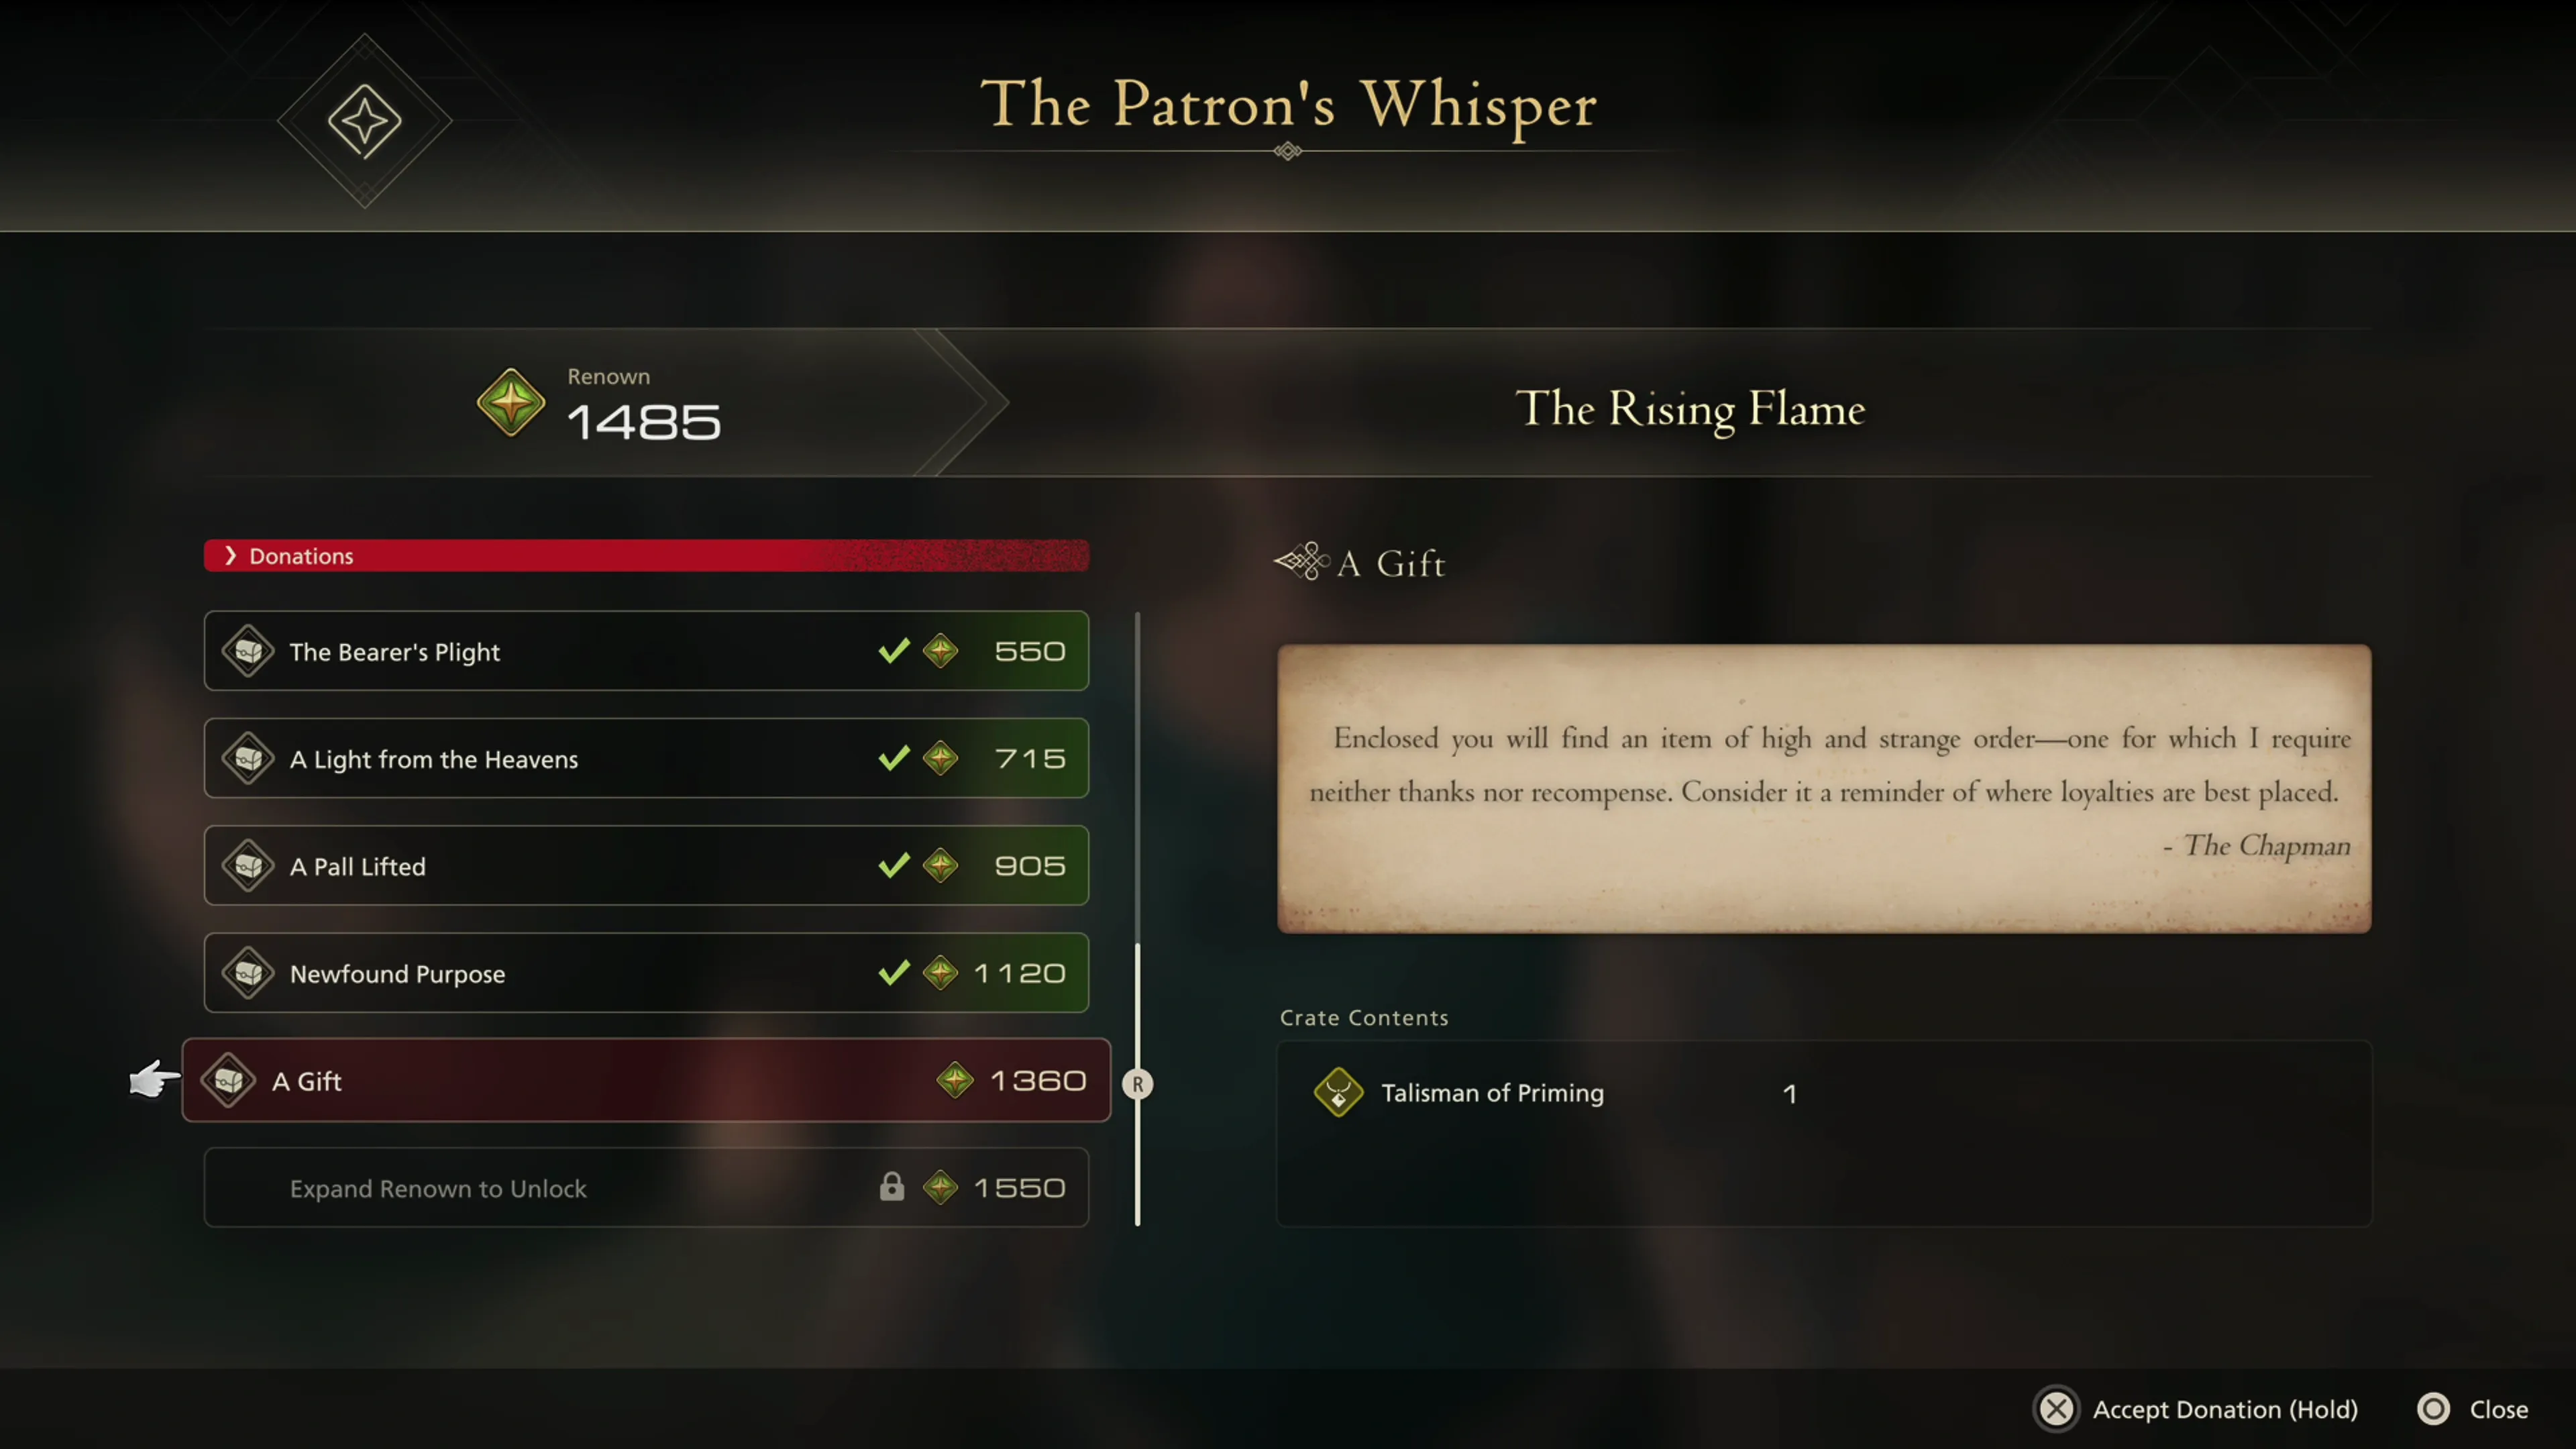
Following each of these quests and Hunts, if you have been following along with the guide, you should now have enough ![]() Renown for your next reward from The Patron’s Whisper:
Renown for your next reward from The Patron’s Whisper:
| Renown | Crate Contents | |
|---|---|---|
| 1,360 |
We’ve now completed everything we can for this portion of the Main Scenario Quest. Pull open the World Map with the ![]()
![]()
![]() button and select “The Free Cities of Kanver” to move on to the next part of the story.
button and select “The Free Cities of Kanver” to move on to the next part of the story.