
 Evenfall
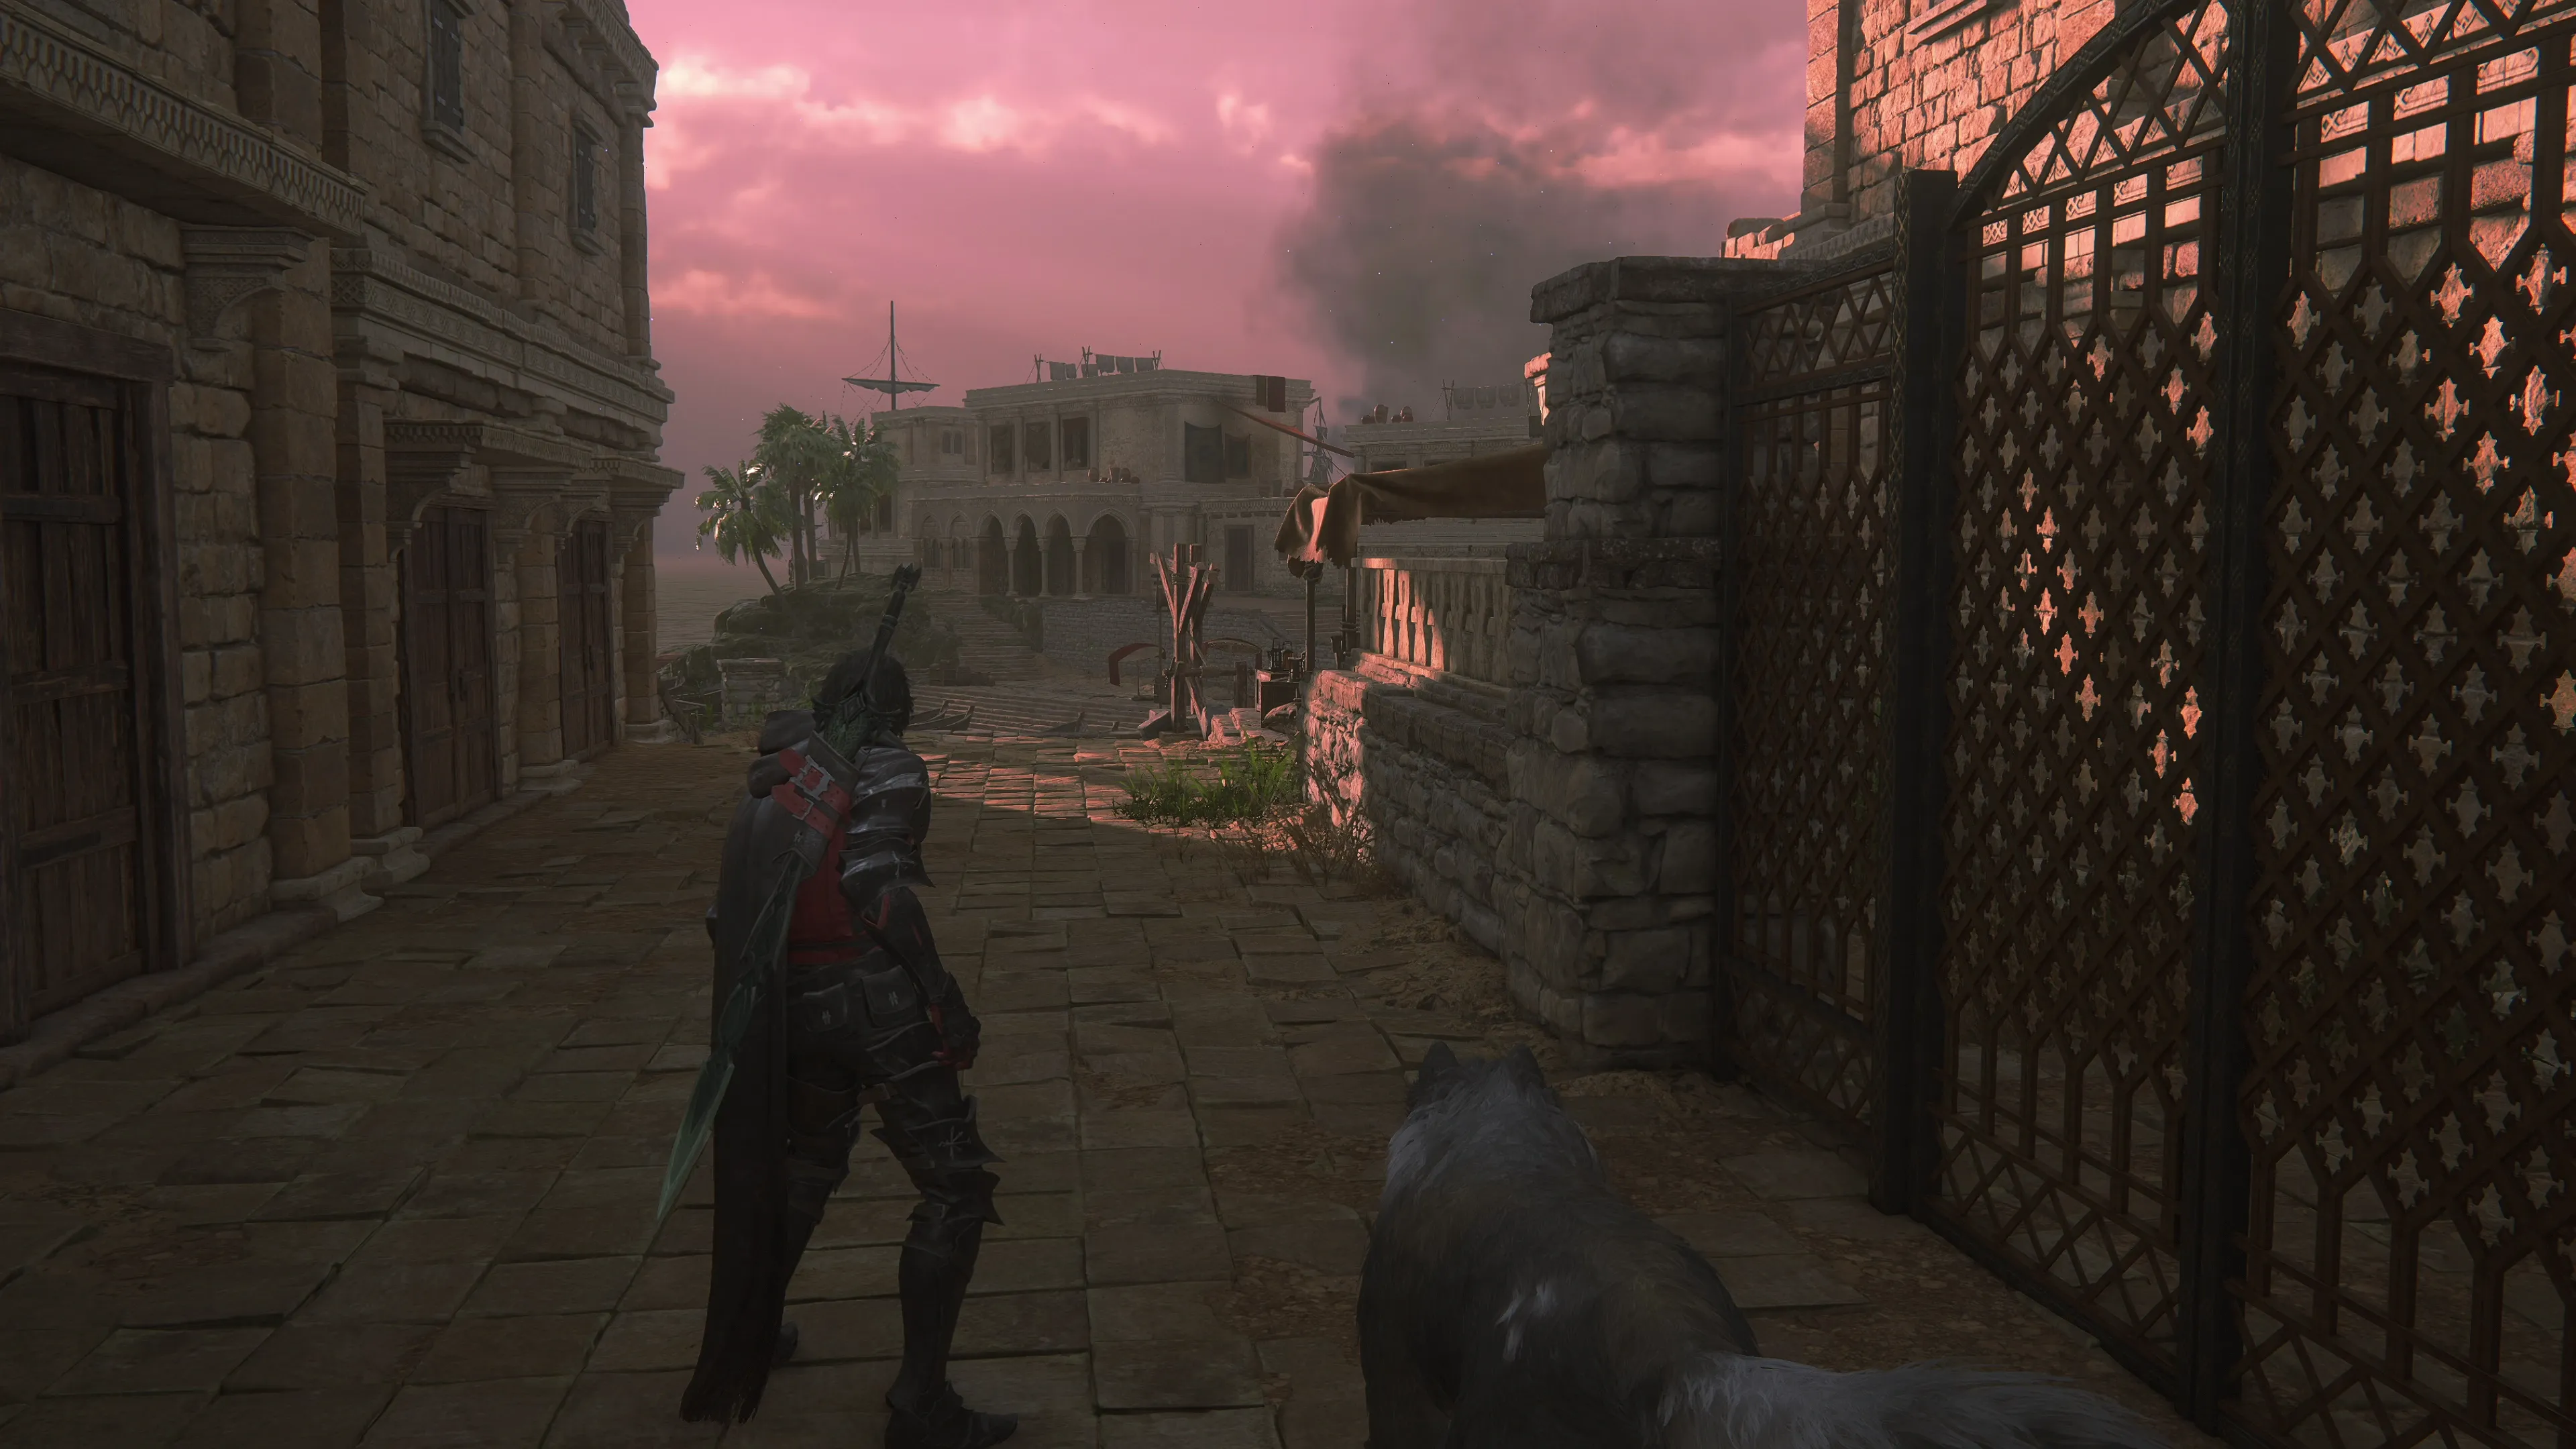
The Free Cities of Kanver
There are a few cutscenes that take place when you first arrive in the Free Cities. There are a few larger groups of enemies coming up, so swap over to your multi-target ![]() Eikonic Ability Set. Run over to the nearby bridge to deal with the group of Orcish Fodder, followed by the next group that includes spellcasters and an “Akashic Tognvaldr,” which is a ninja-type enemy similar to those you’ve faced before.
Eikonic Ability Set. Run over to the nearby bridge to deal with the group of Orcish Fodder, followed by the next group that includes spellcasters and an “Akashic Tognvaldr,” which is a ninja-type enemy similar to those you’ve faced before.
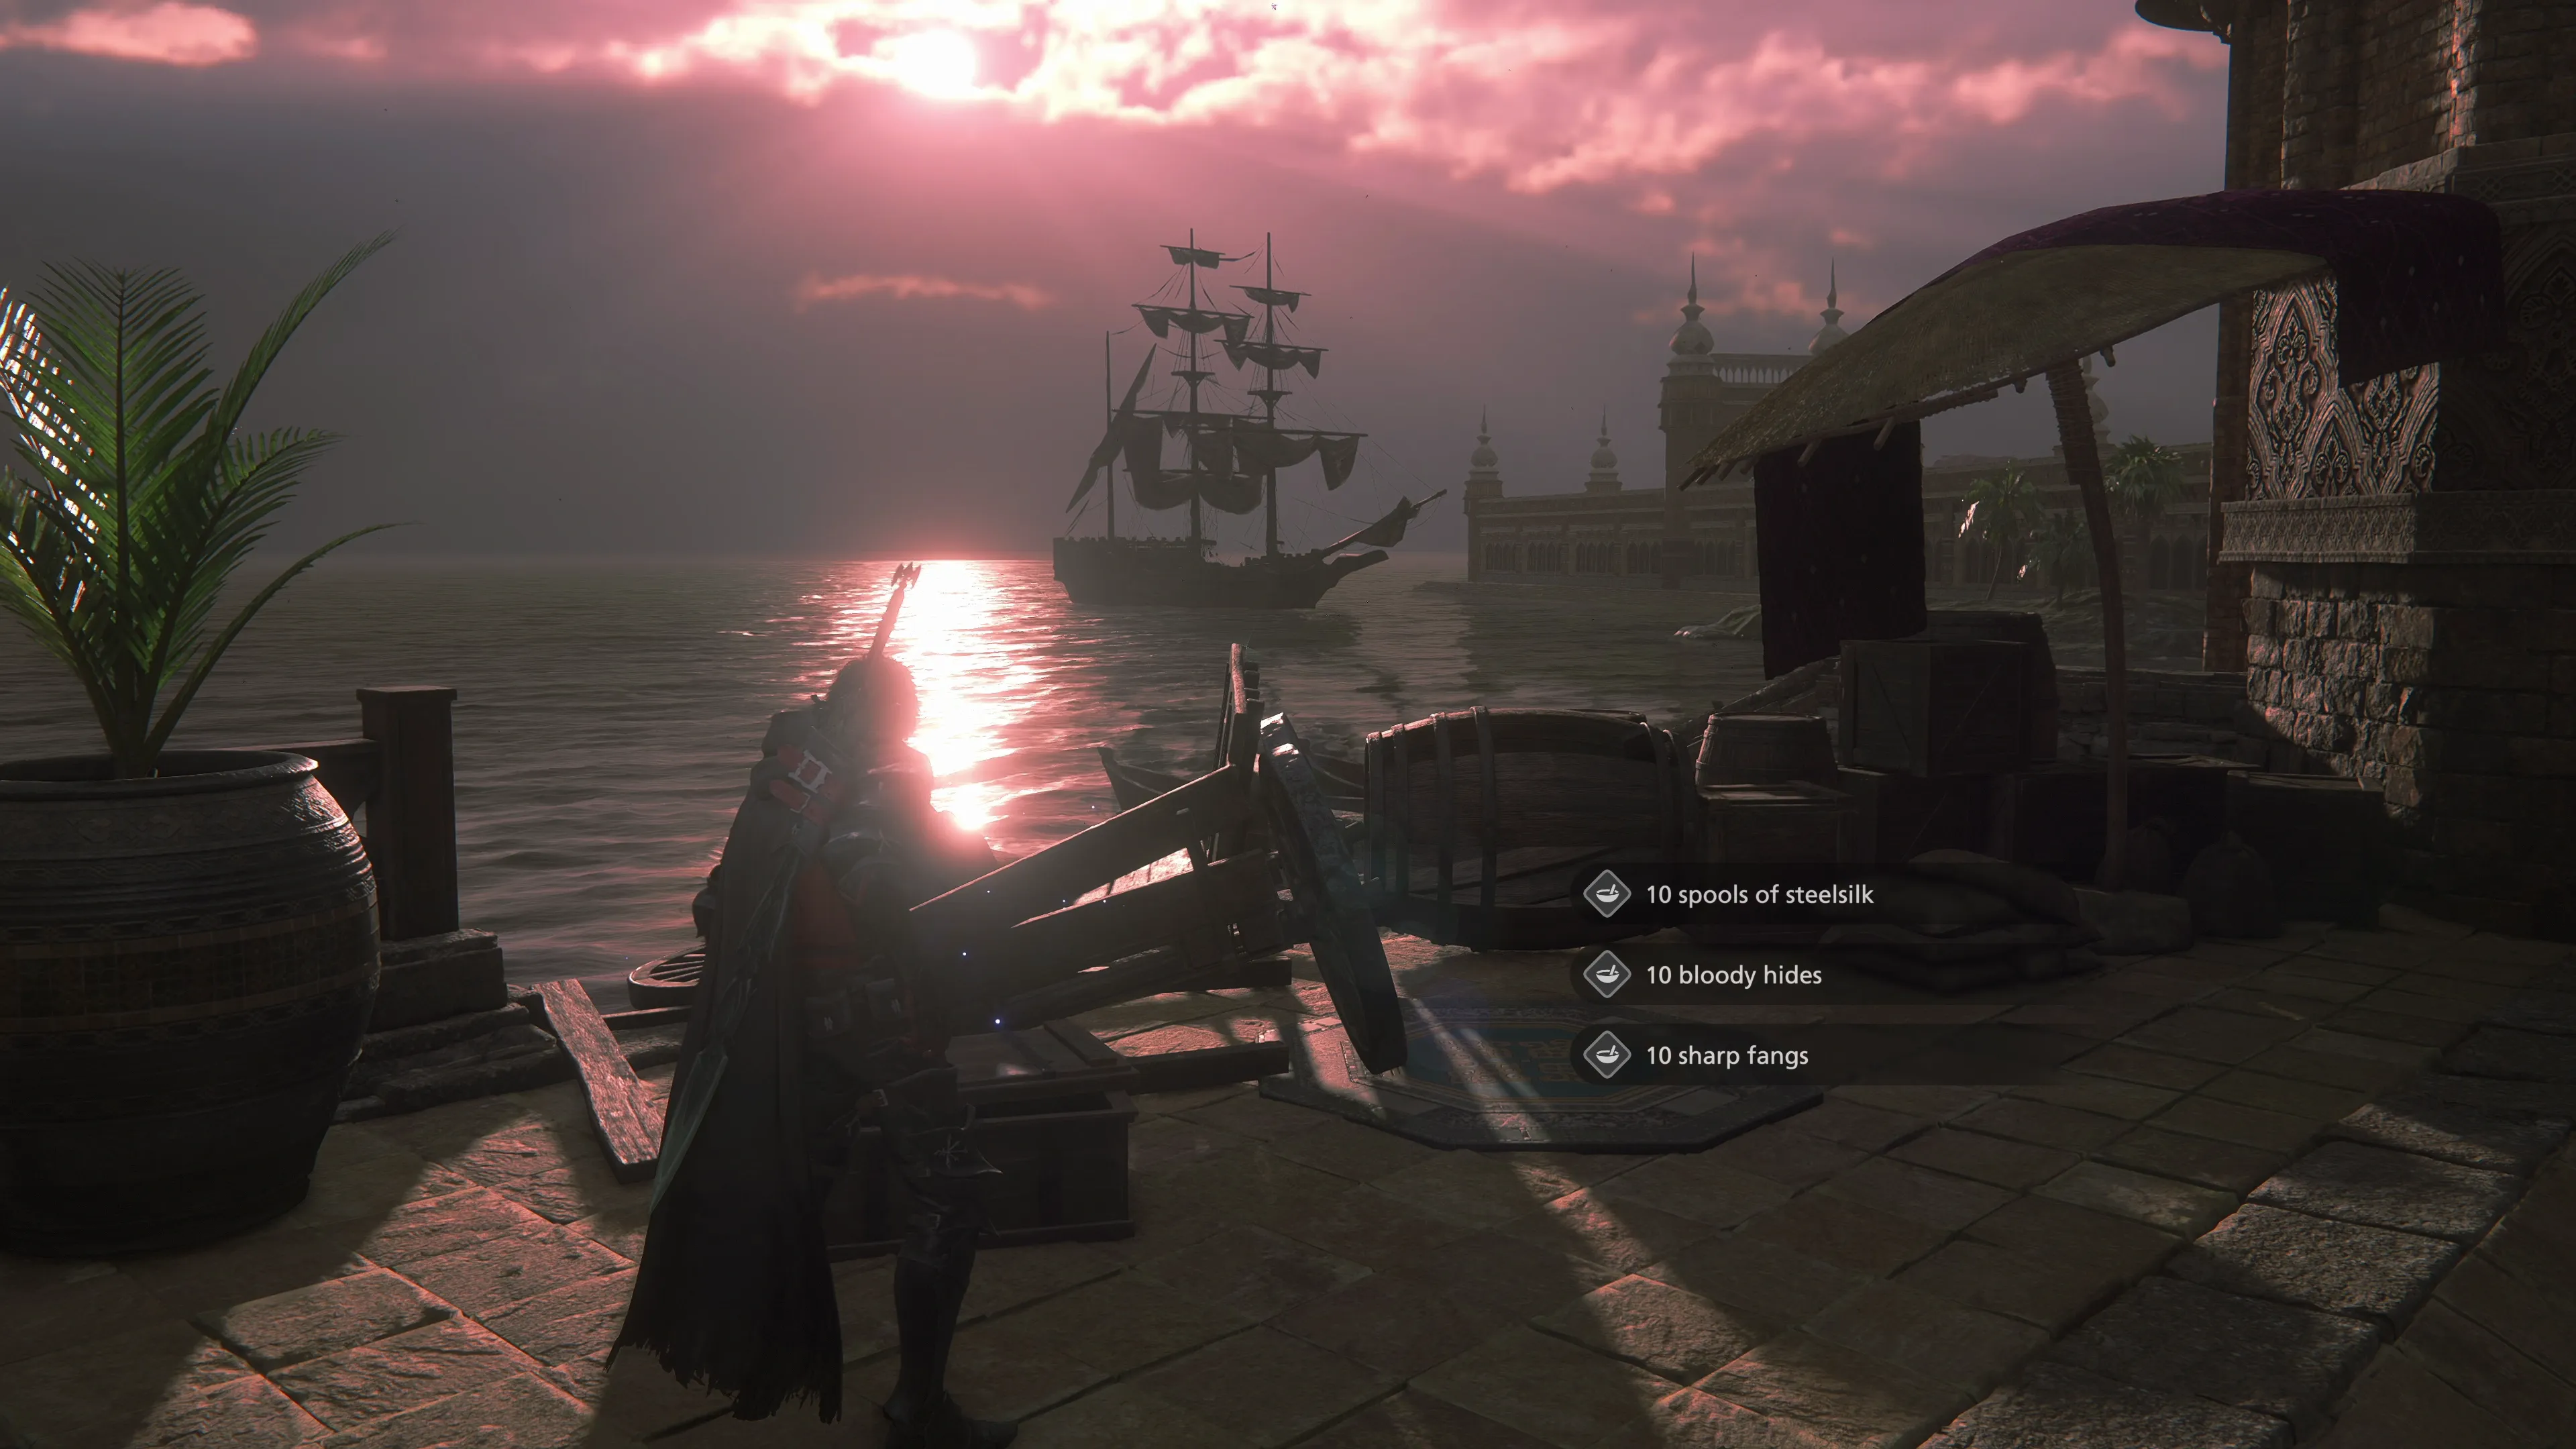
Climb the stairs and follow the pathway to find two Glimmers. Further on is another group of Orcish Fodder and some spellcasters (Akashic Gandfreyrs). Grab the Glimmer over in the corner and then head through the large double gates. There’s a treasure coffer on the left side of the open area that contains ten spools of ![]() Steelsilk, ten
Steelsilk, ten ![]() Bloody Hides, and ten
Bloody Hides, and ten ![]() Sharp Fangs.
Sharp Fangs.
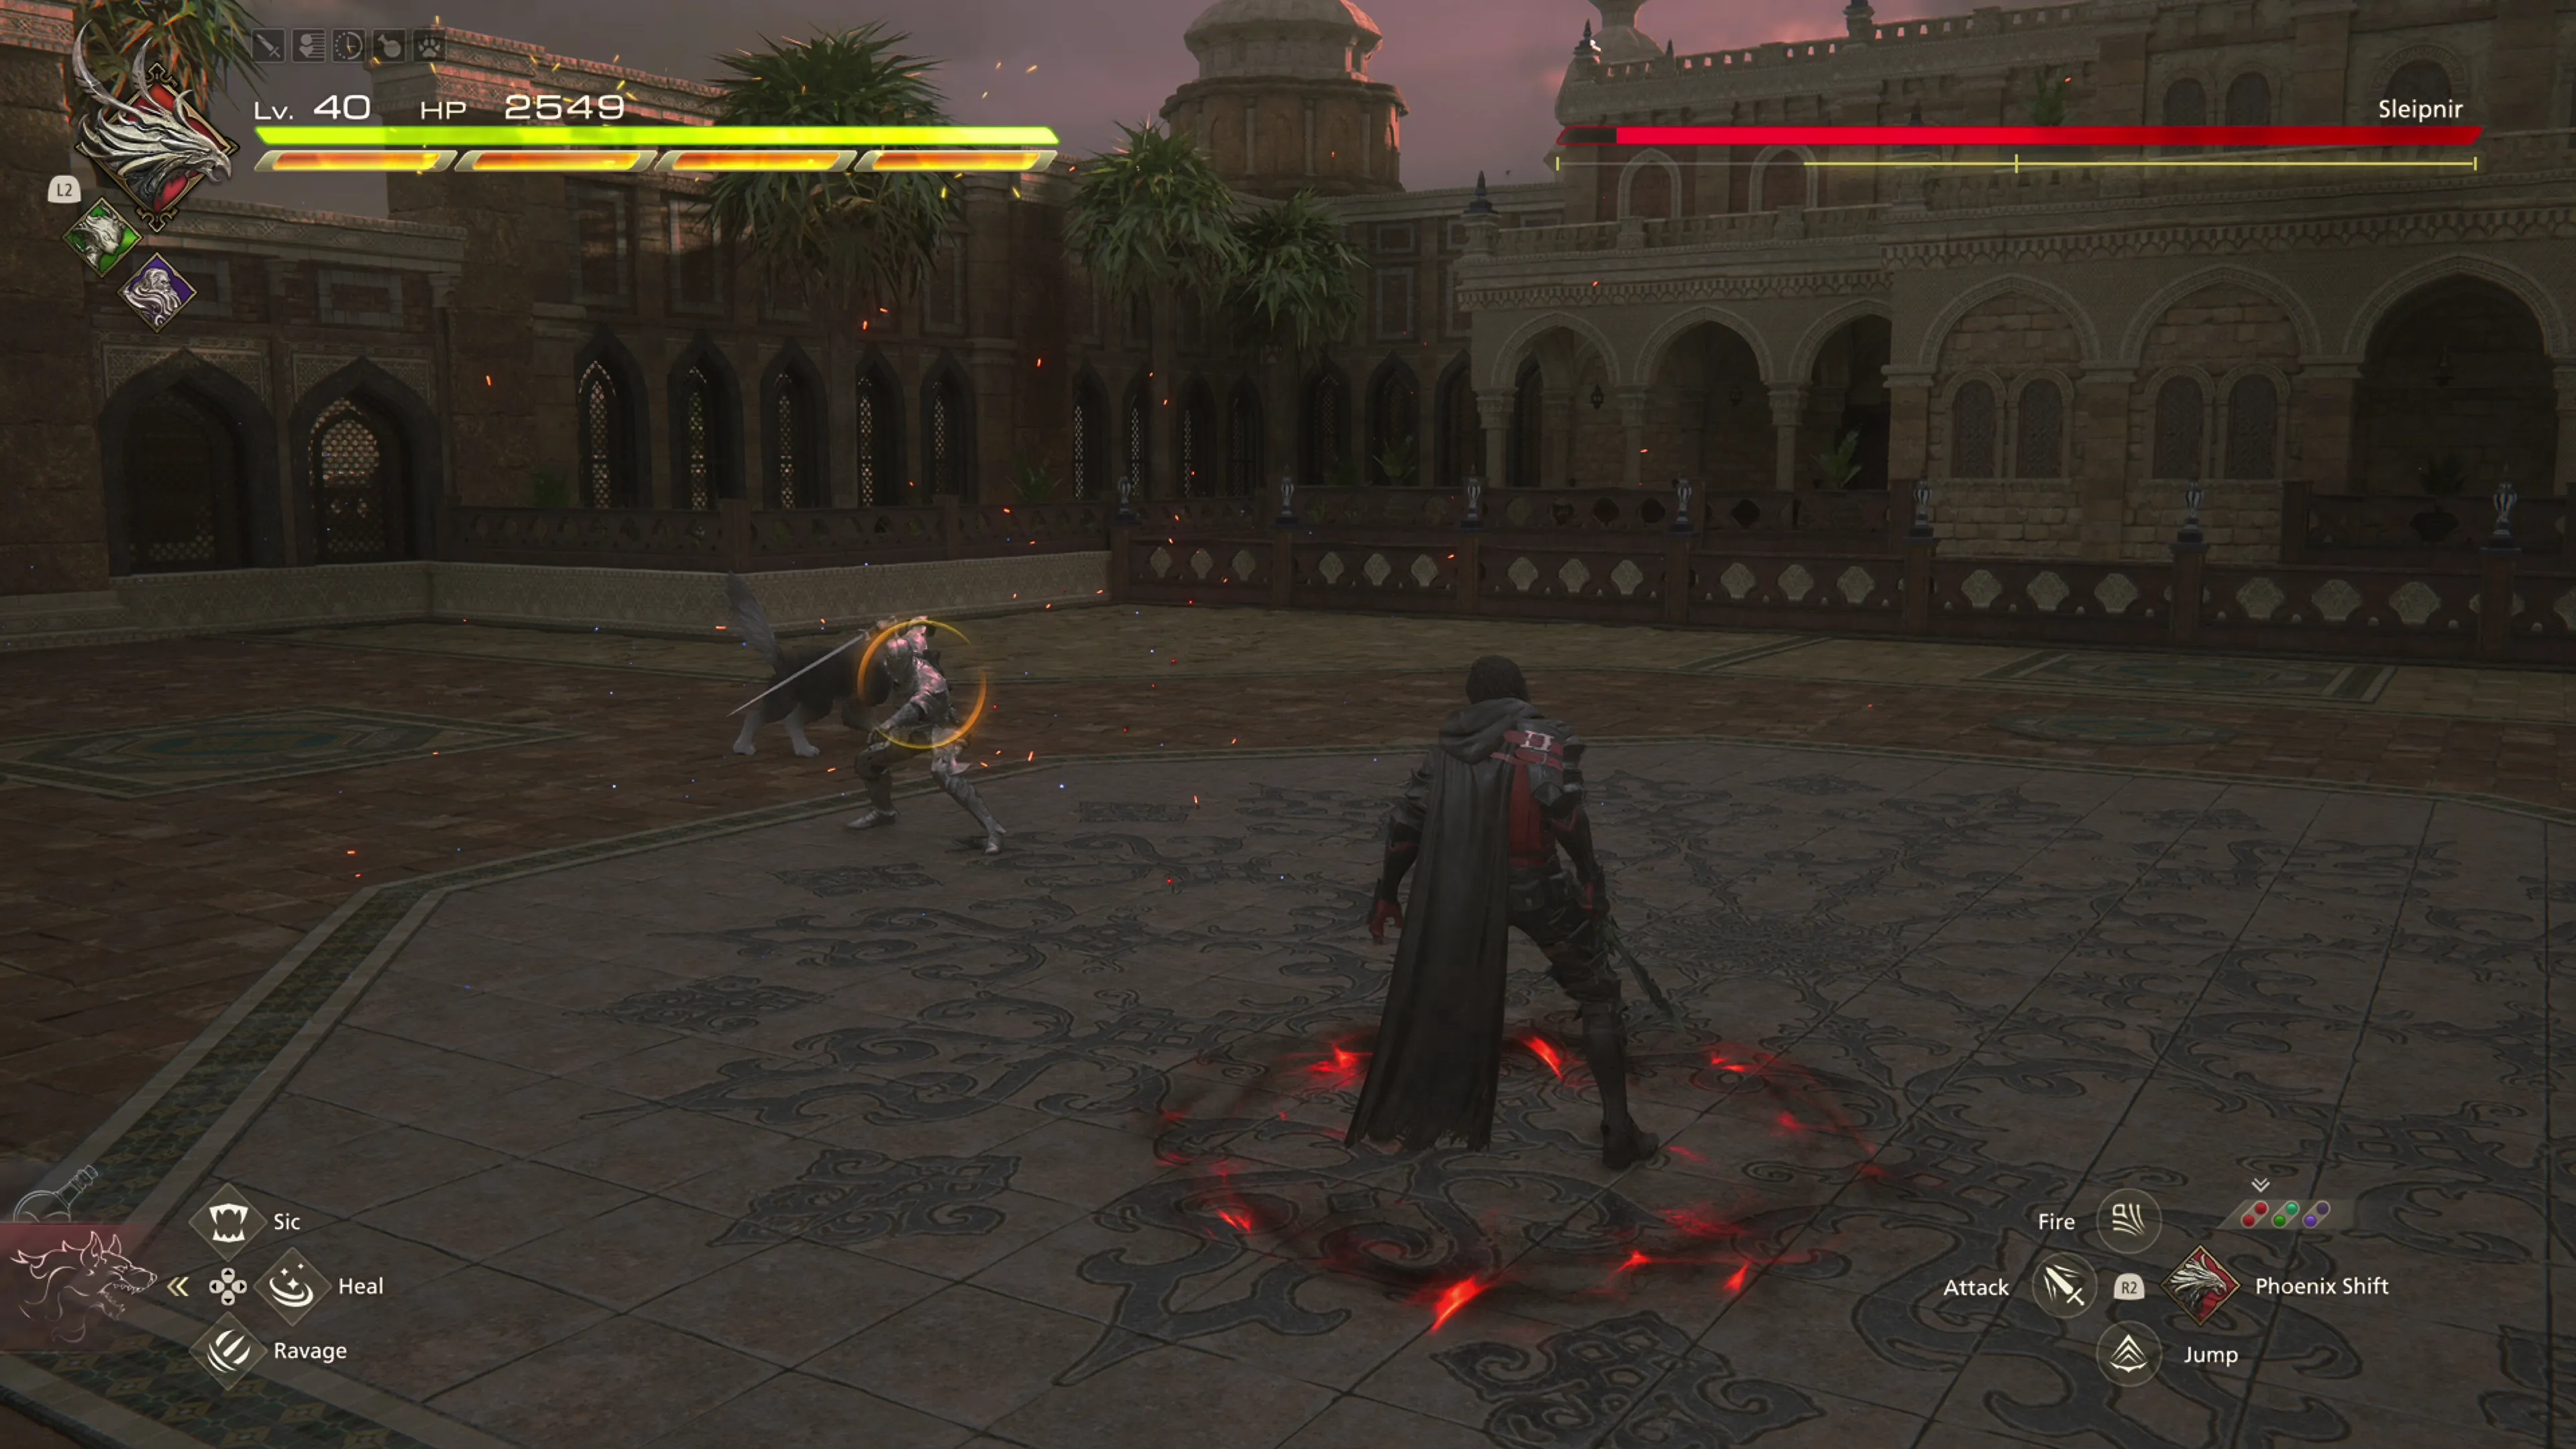
Head up the stairs and defeat the two Royal Mastiffs with the Akashic Sveithvaldr, which is just another axe-wielding heavy-hitter. The tight space can make it difficult to dodge its double swings, so make sure to keep some distance during this battle.
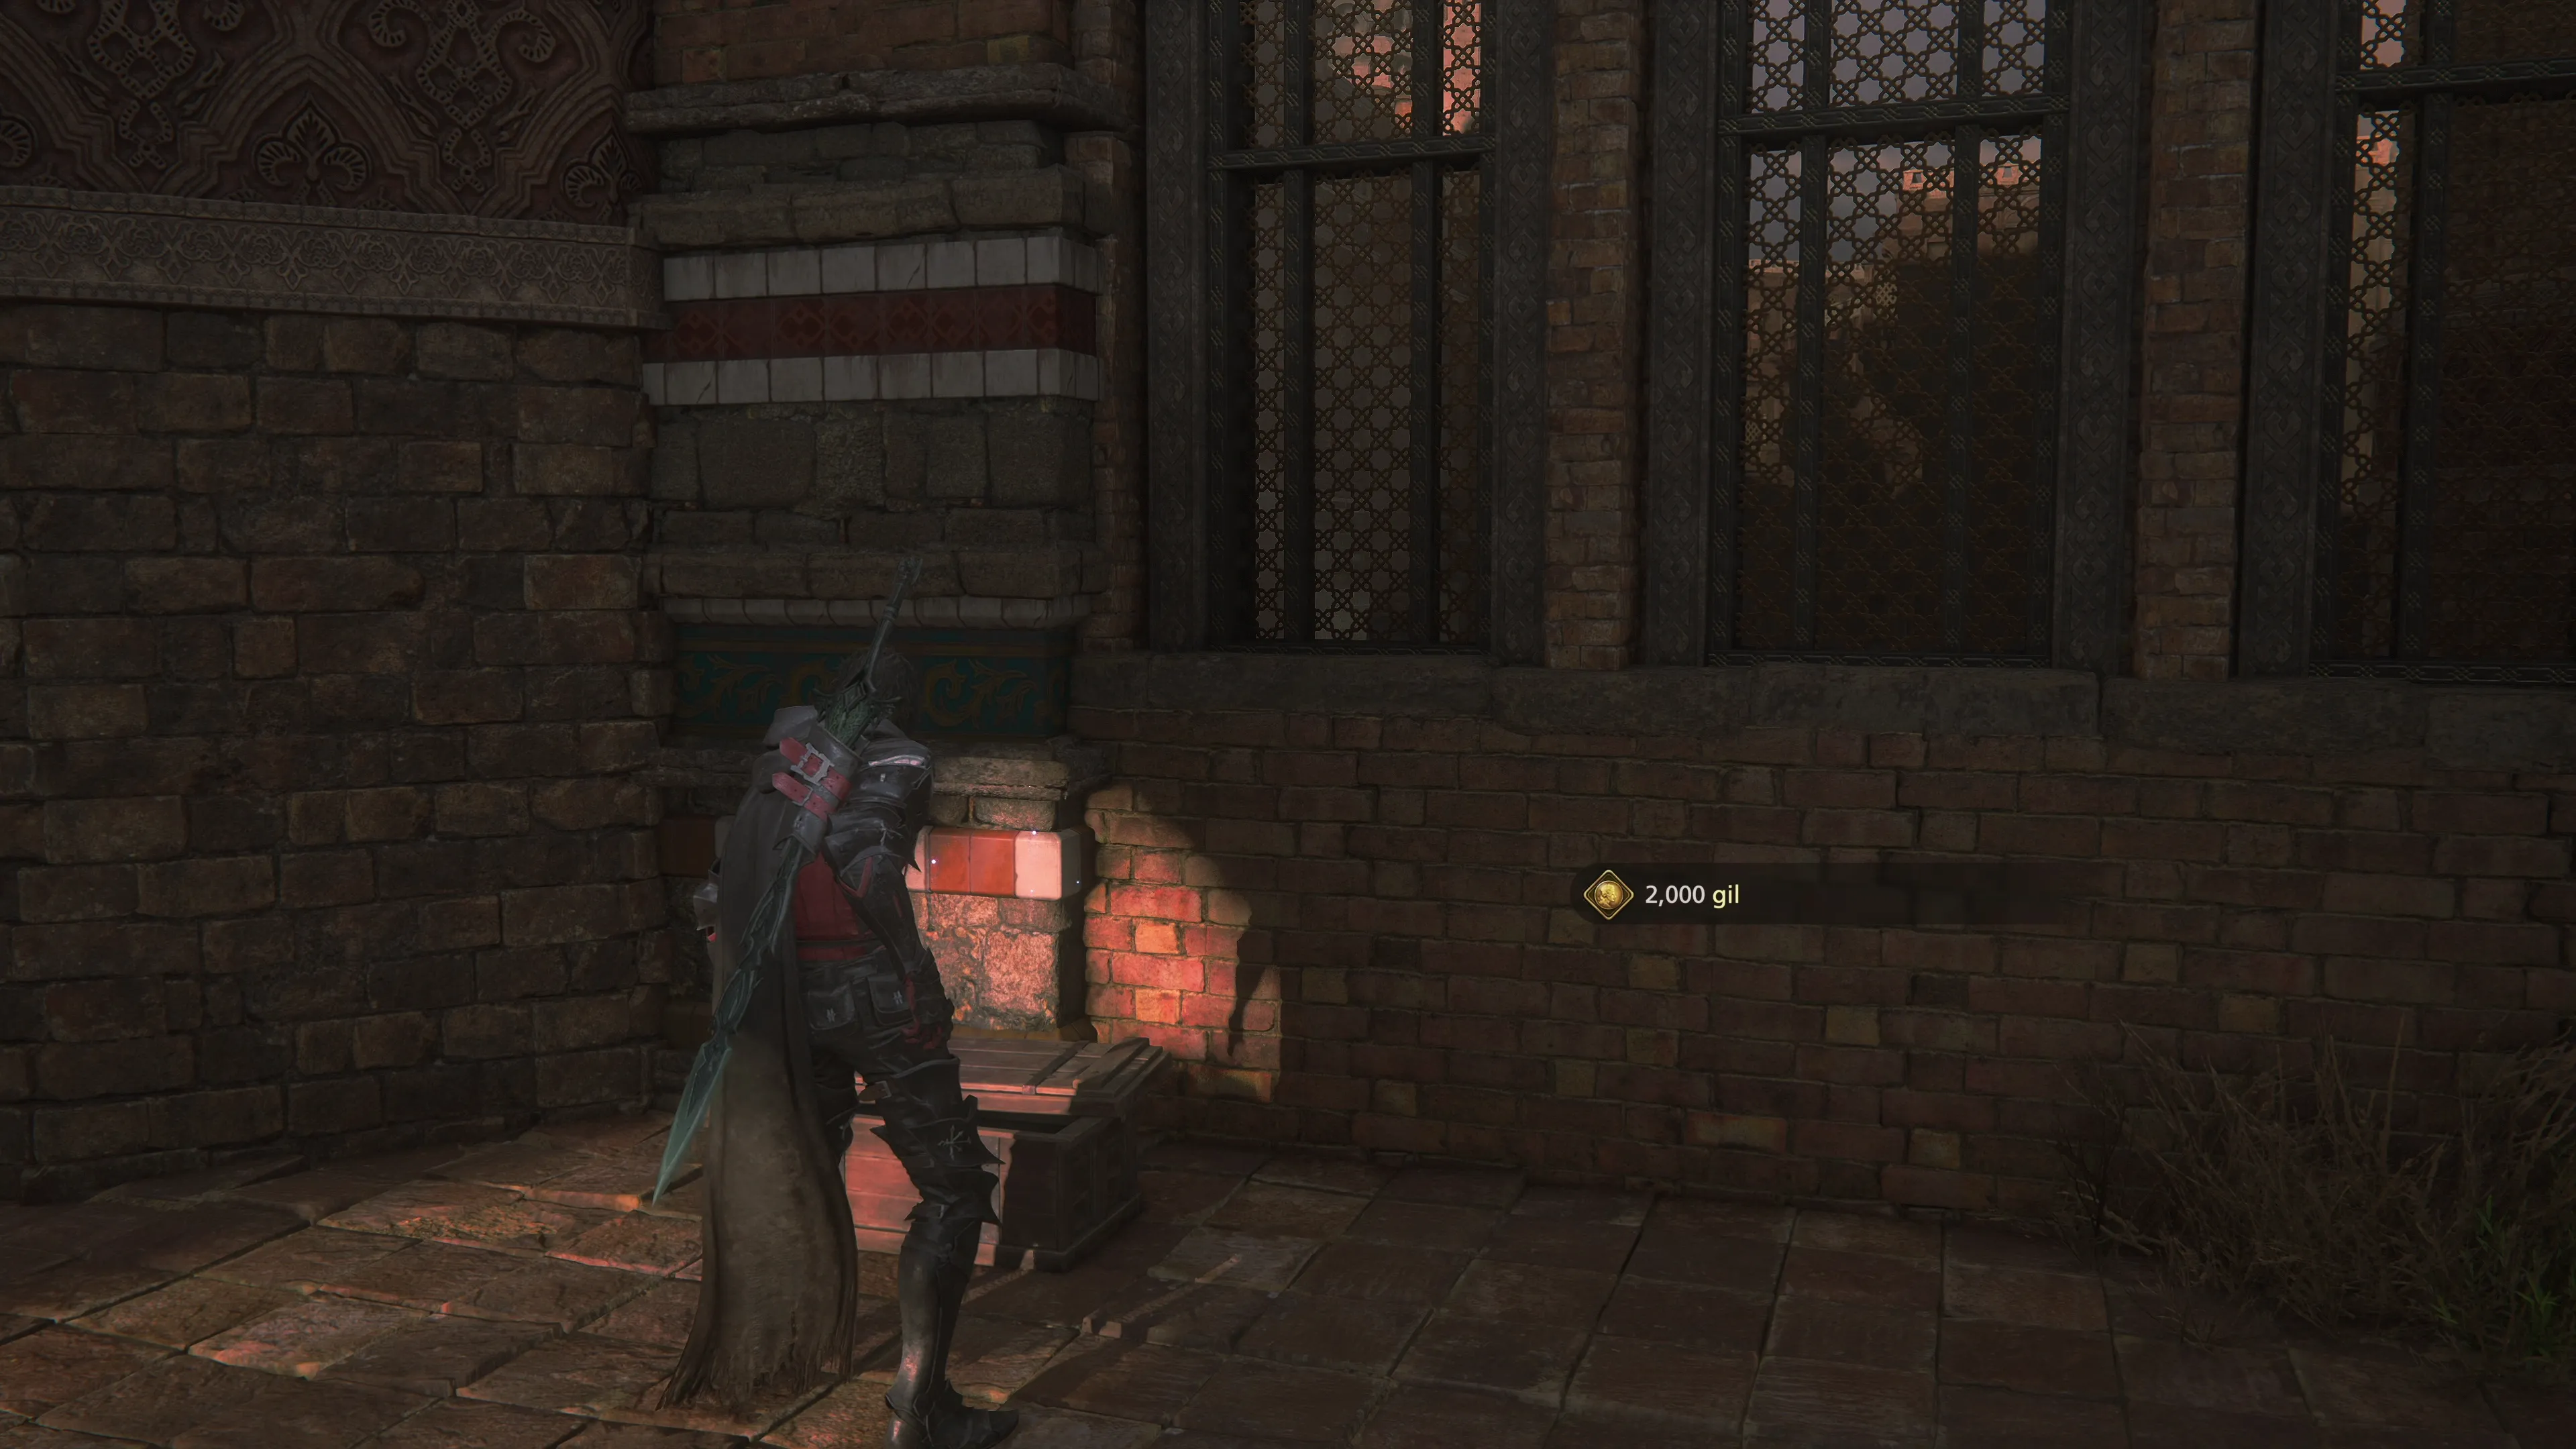
Up around the corner is a mixed group of Akashic and Orcs, including some spellcasters. Look for another treasure coffer on the right side of the area where you fight them. The coffer contains 2,000 ![]() Gil.
Gil.
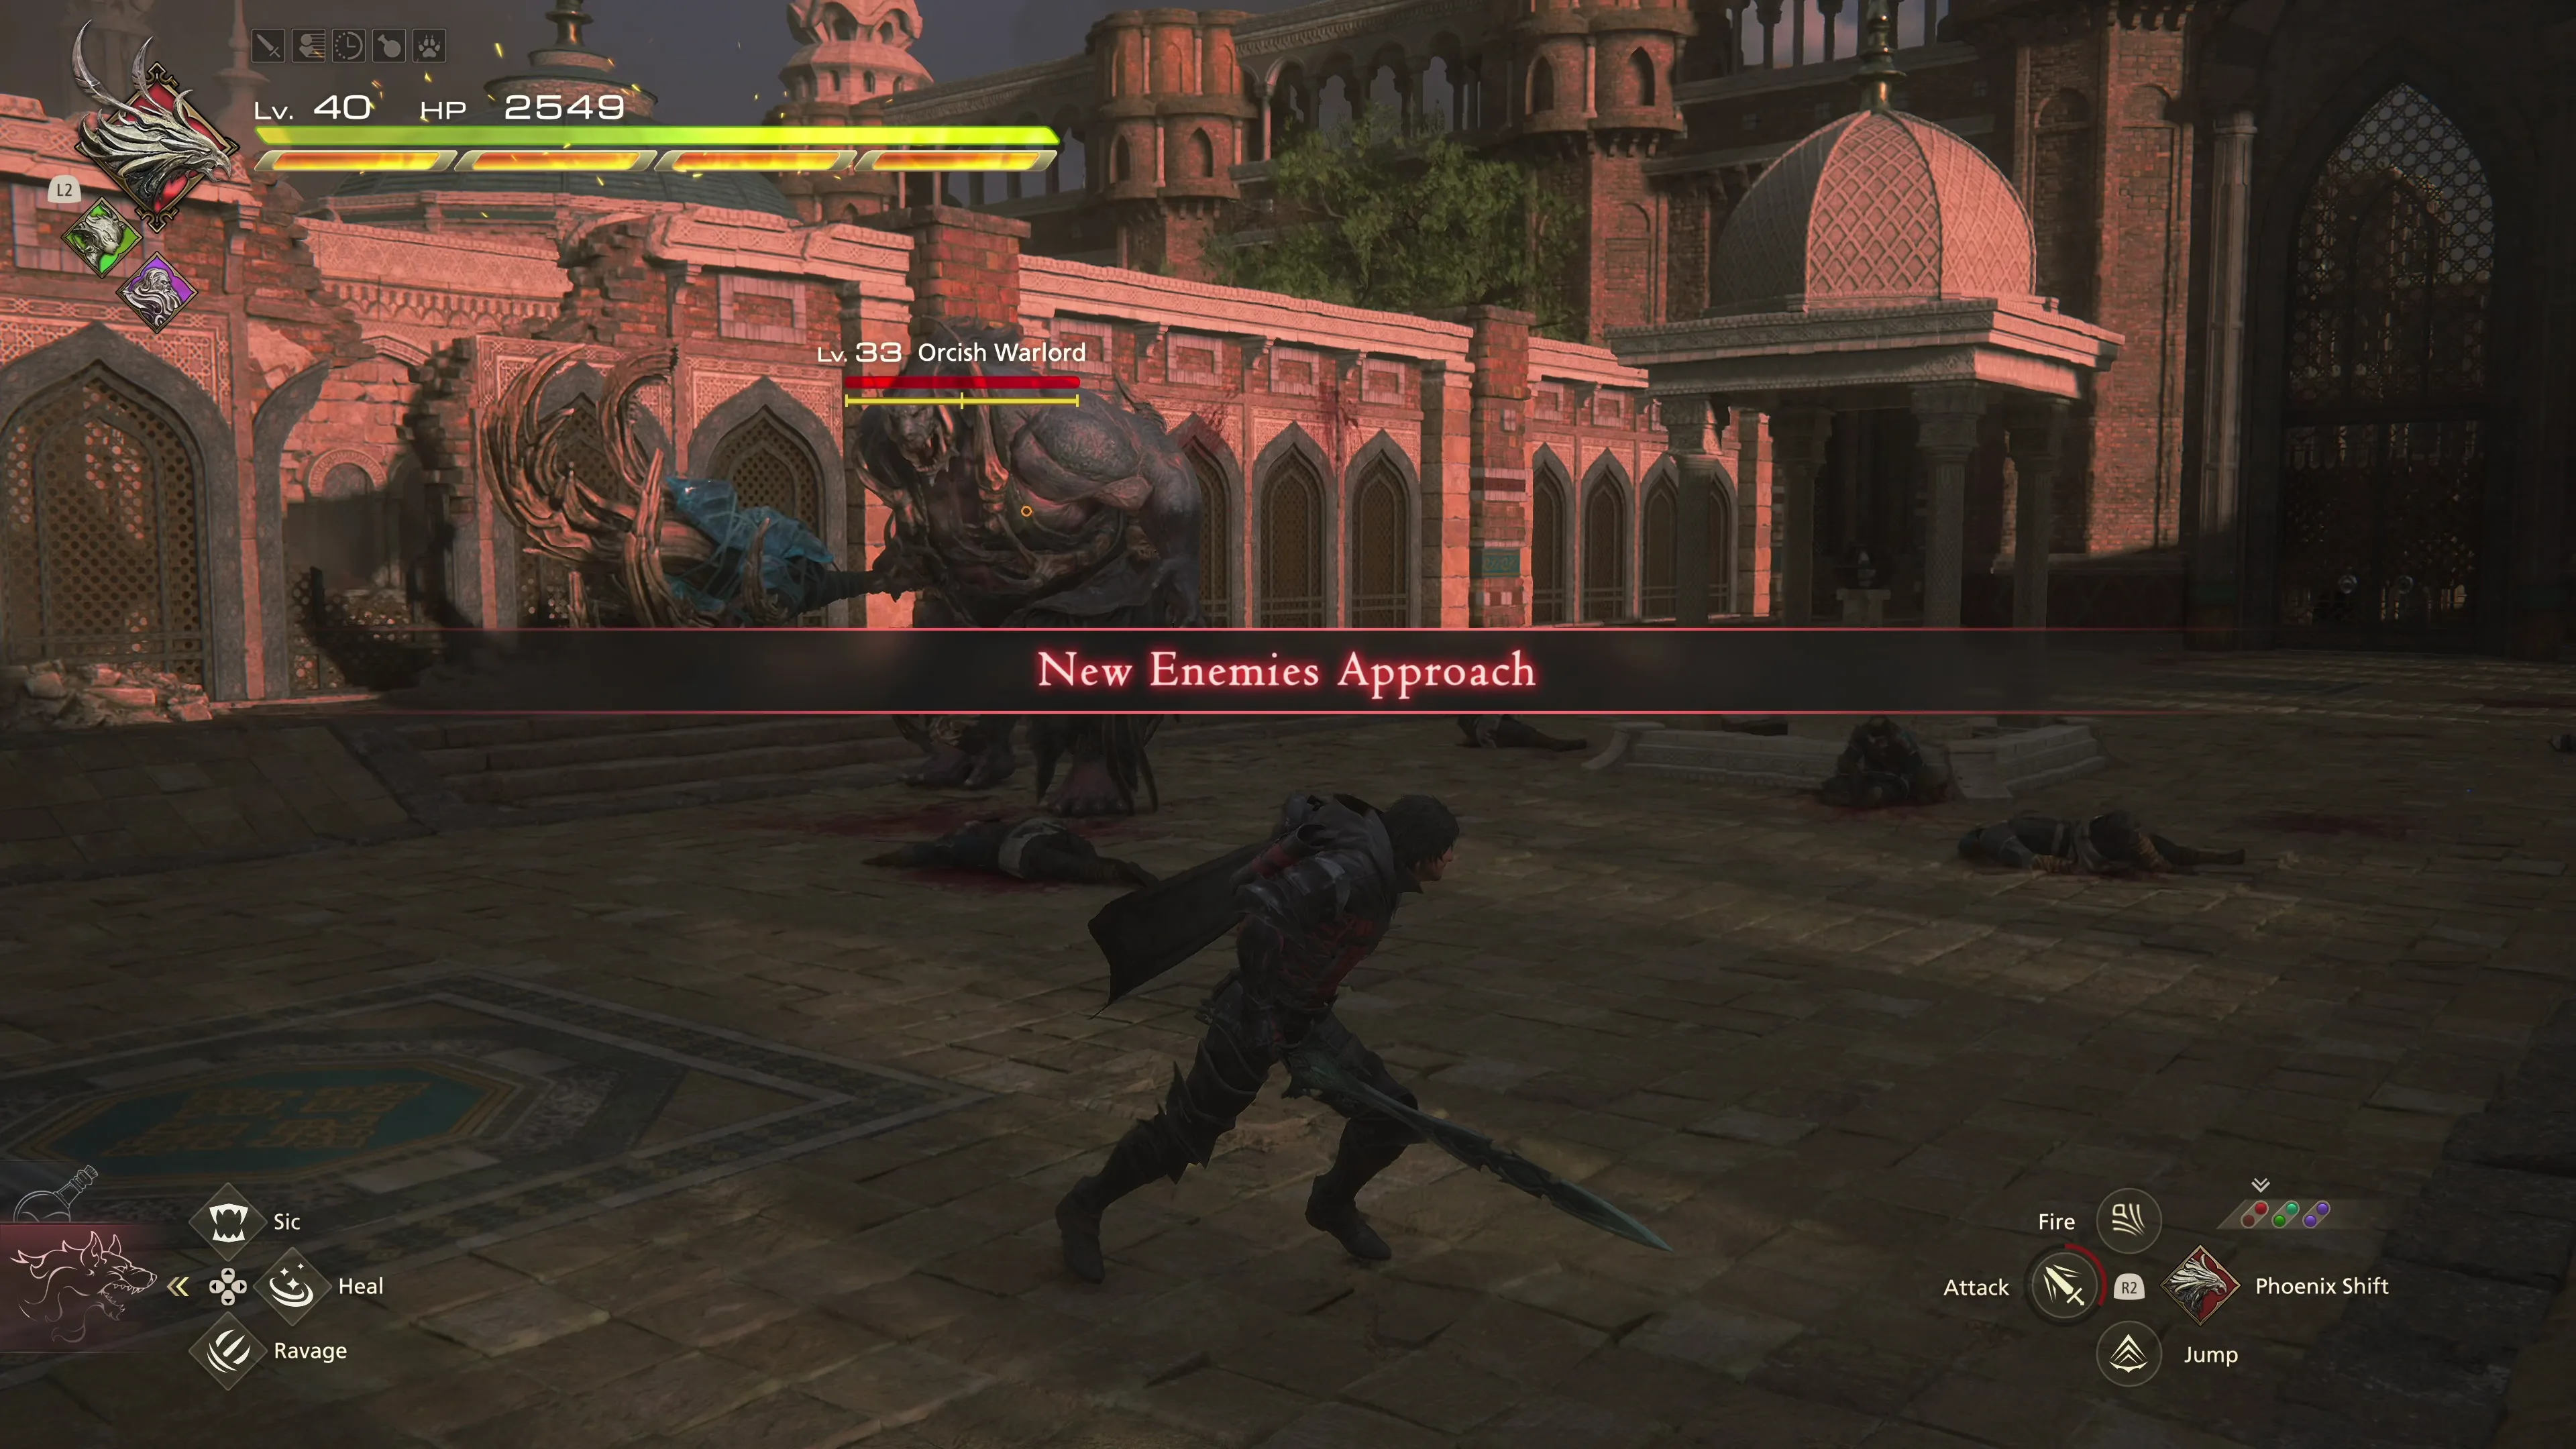
Go through the next set of double doors to find one more group of Orcs and Royal Mastiffs. Once these enemies have been defeated, another “Orcish Warlord” will join the fray. This is the same type of enemy that you faced in Drake’s Fang, and it has the same moves. It’s a little easier to defeat now, though, because Clive is quite a bit stronger.
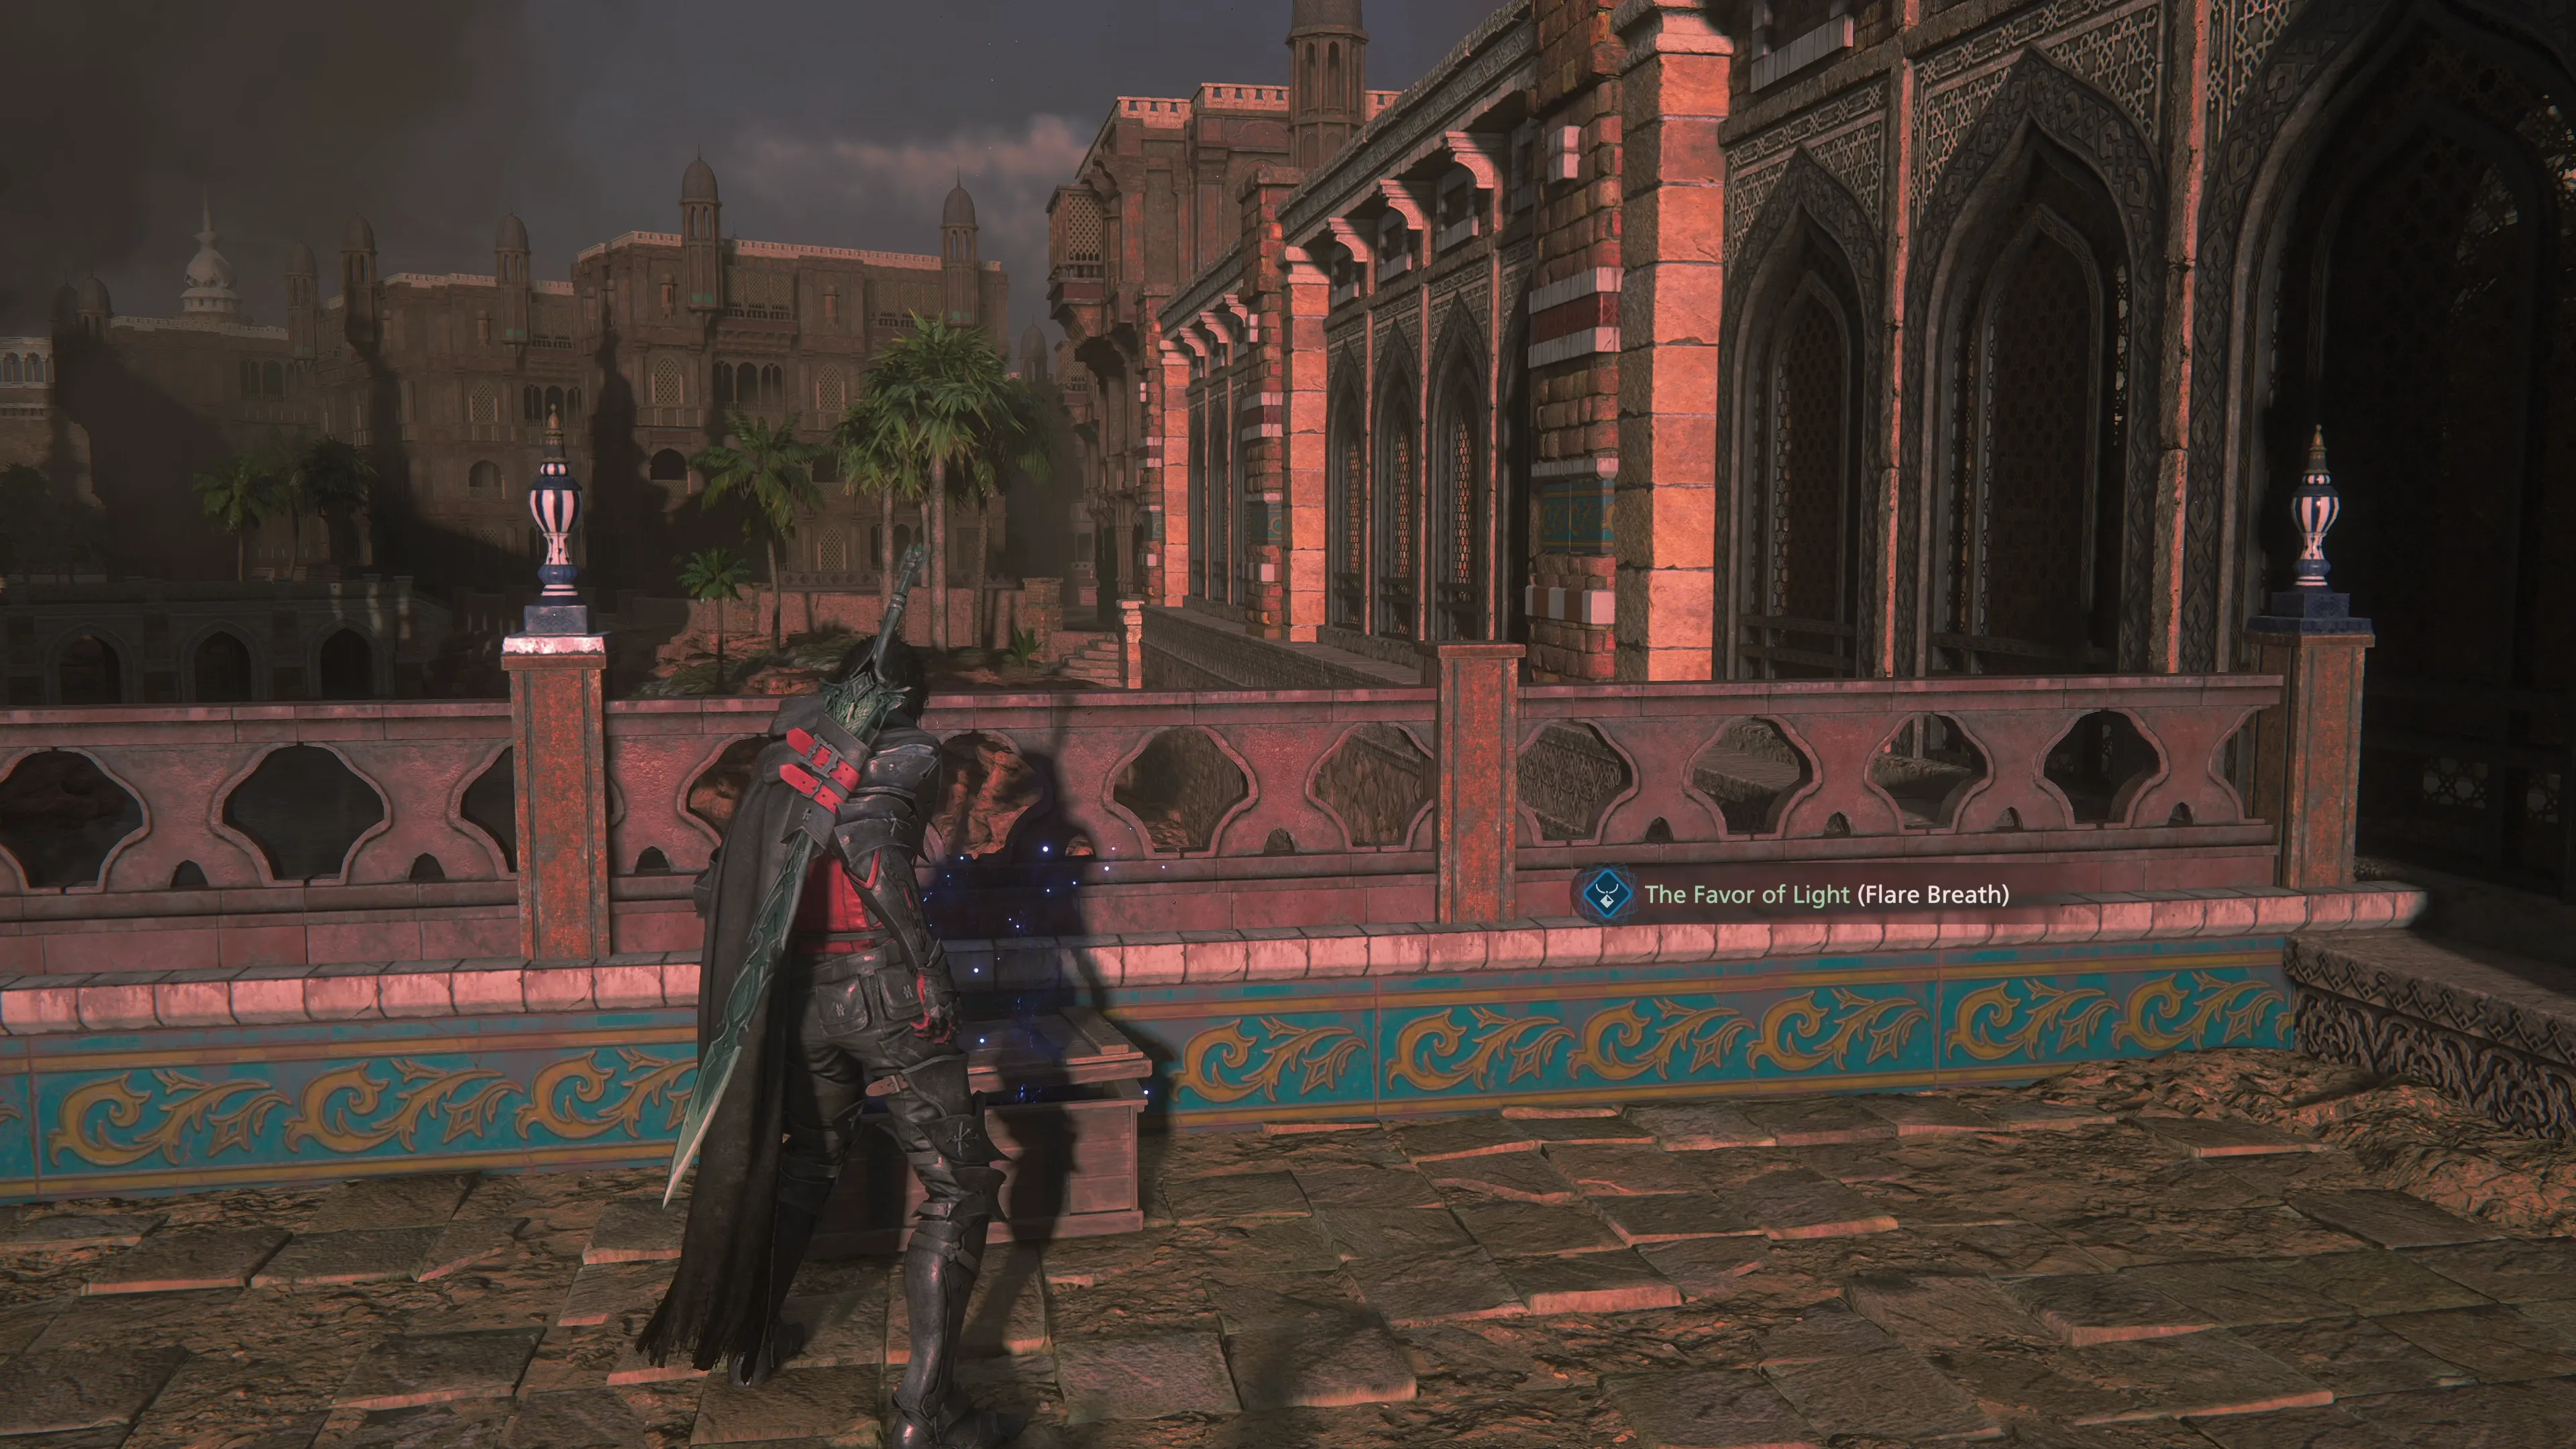
Head through the next gate and look to the right to find another treasure coffer that contains ![]() The Favor of Light (Flare Breath). You may want to save your game at this point before proceeding through the next doorway, especially if you’re trying to obtain any of the Medals of Valor.
The Favor of Light (Flare Breath). You may want to save your game at this point before proceeding through the next doorway, especially if you’re trying to obtain any of the Medals of Valor.
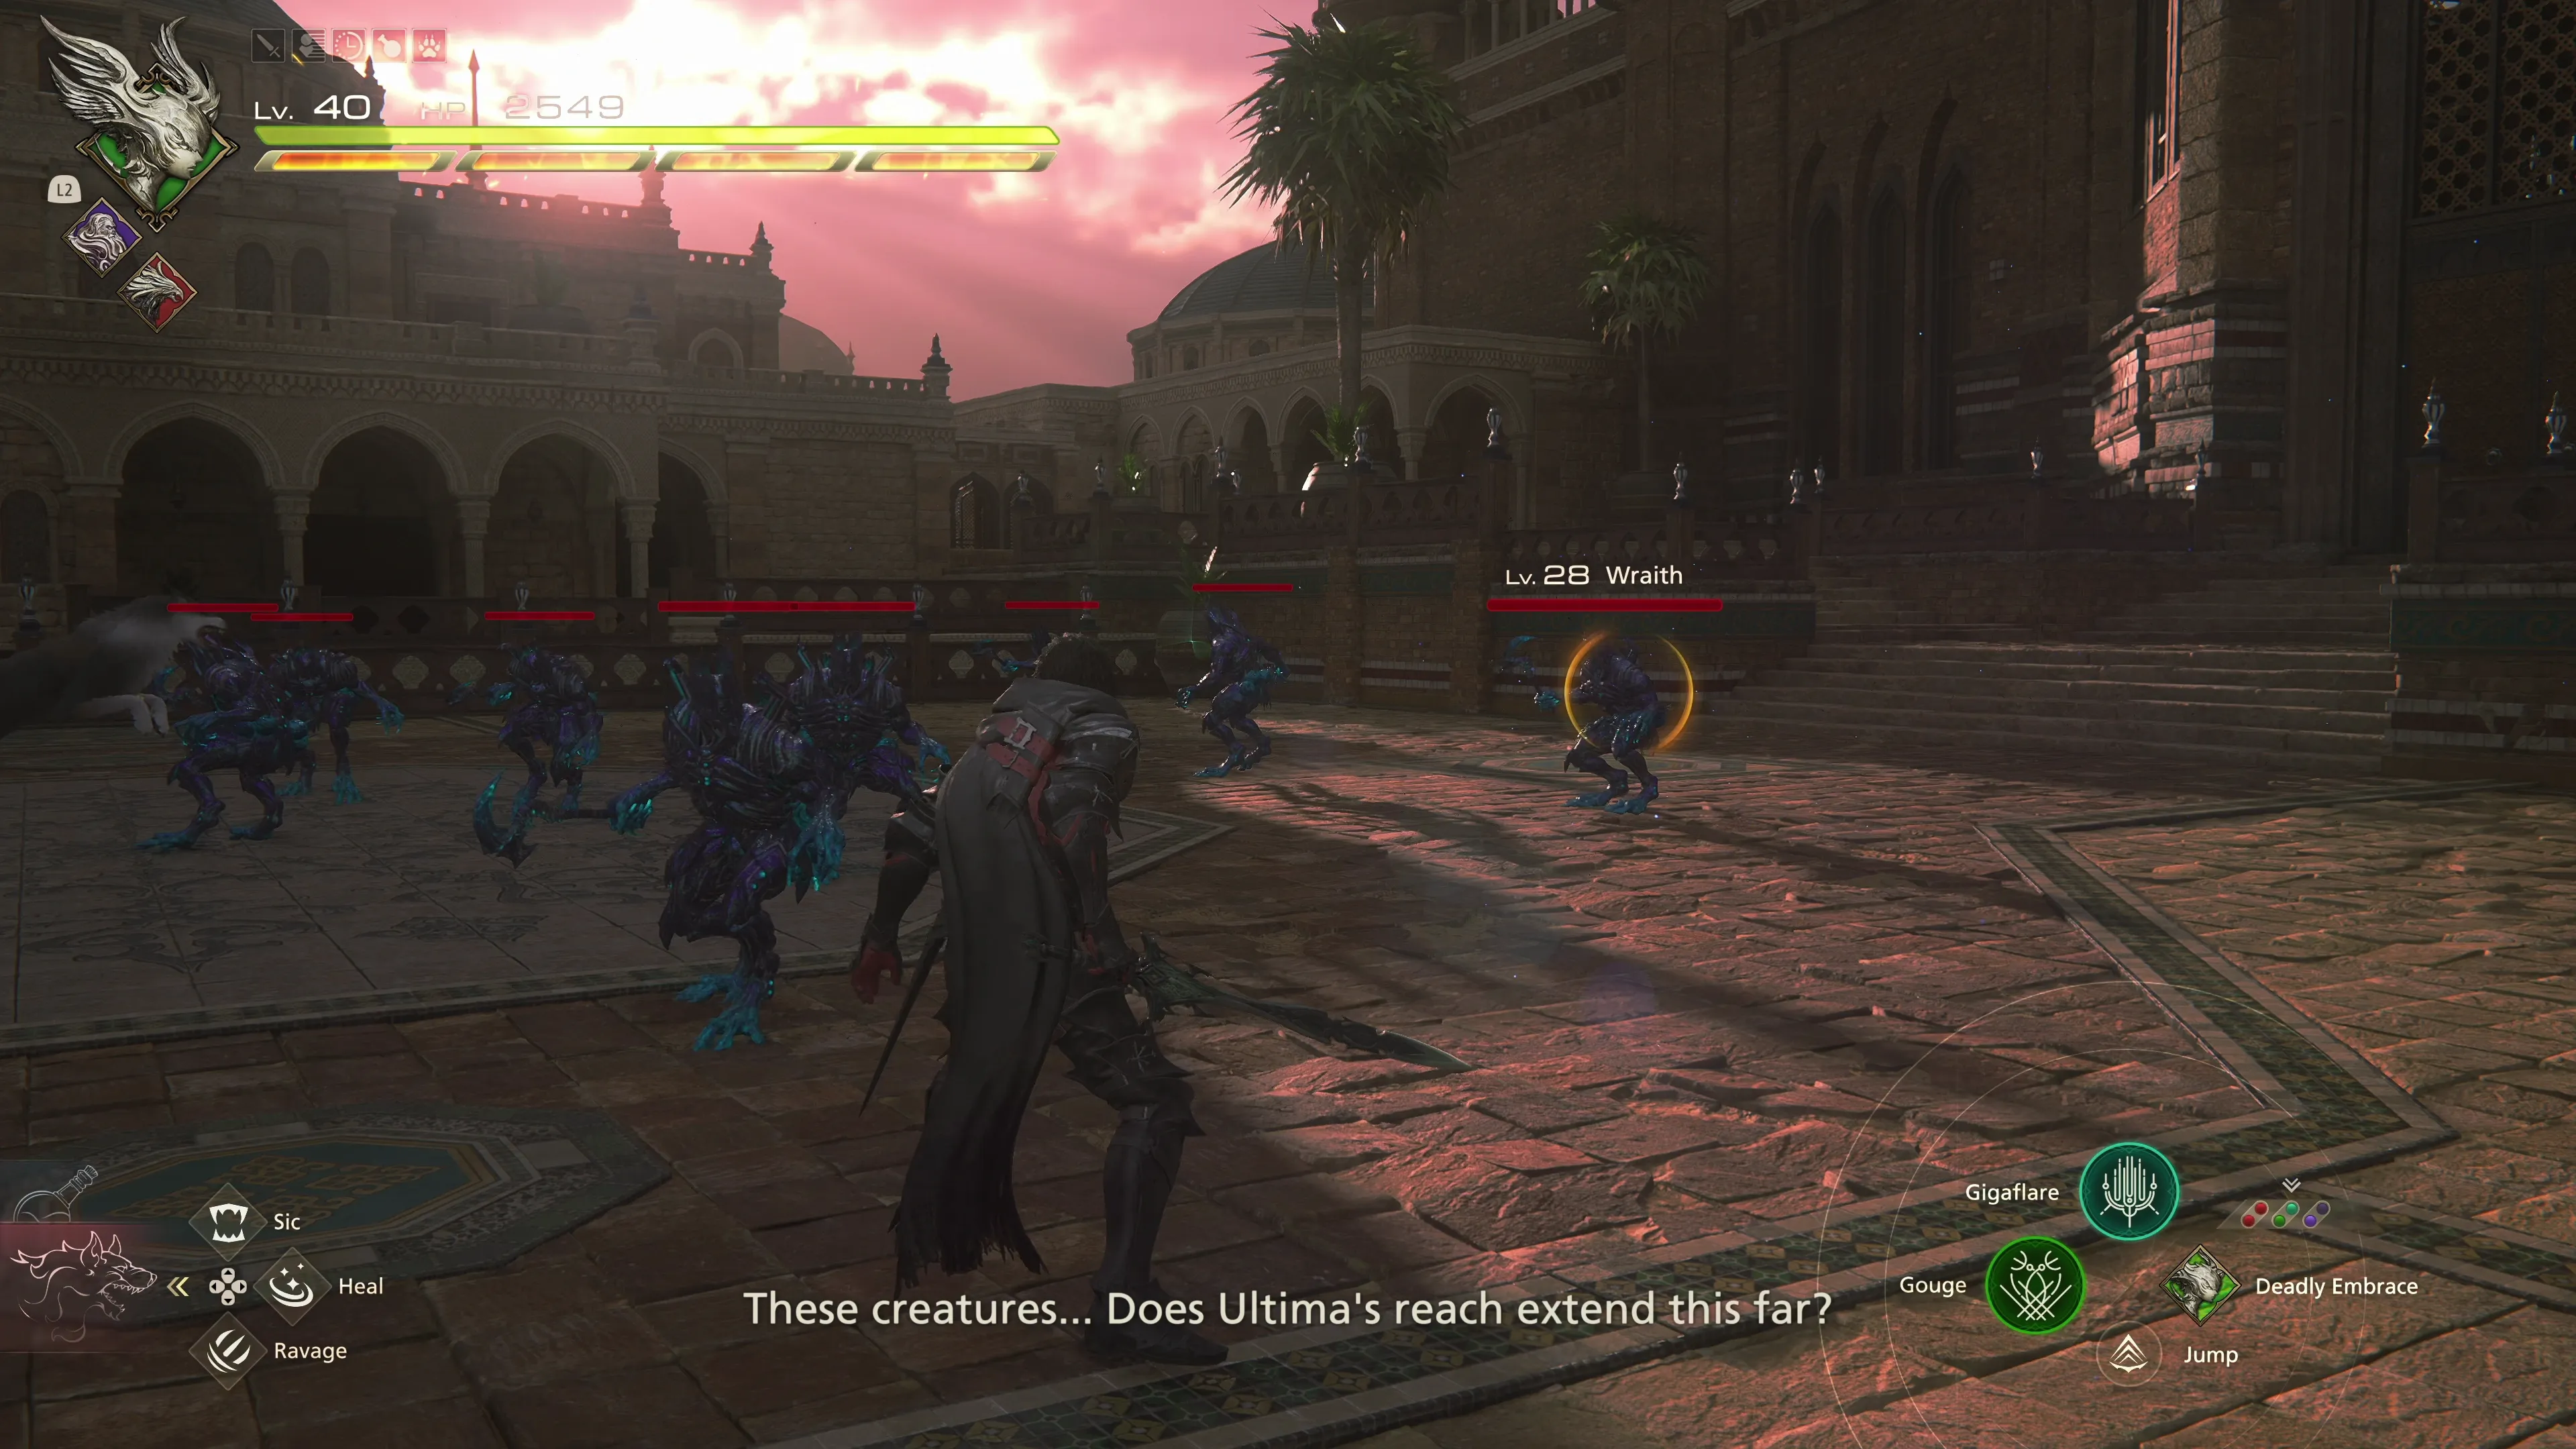
You’ll fight the next boss in this next room, but before then, you’ll have two groups of enemies to defeat. The first group consists solely of Wraiths, which are relatively easy to defeat, but the second group includes both Wraiths and Specters. The Specters can cast Cure and Protect, so make sure you single them out and target them first. Once the second wave of enemies is defeated, it’s on to the next boss battle…
Boss Battle
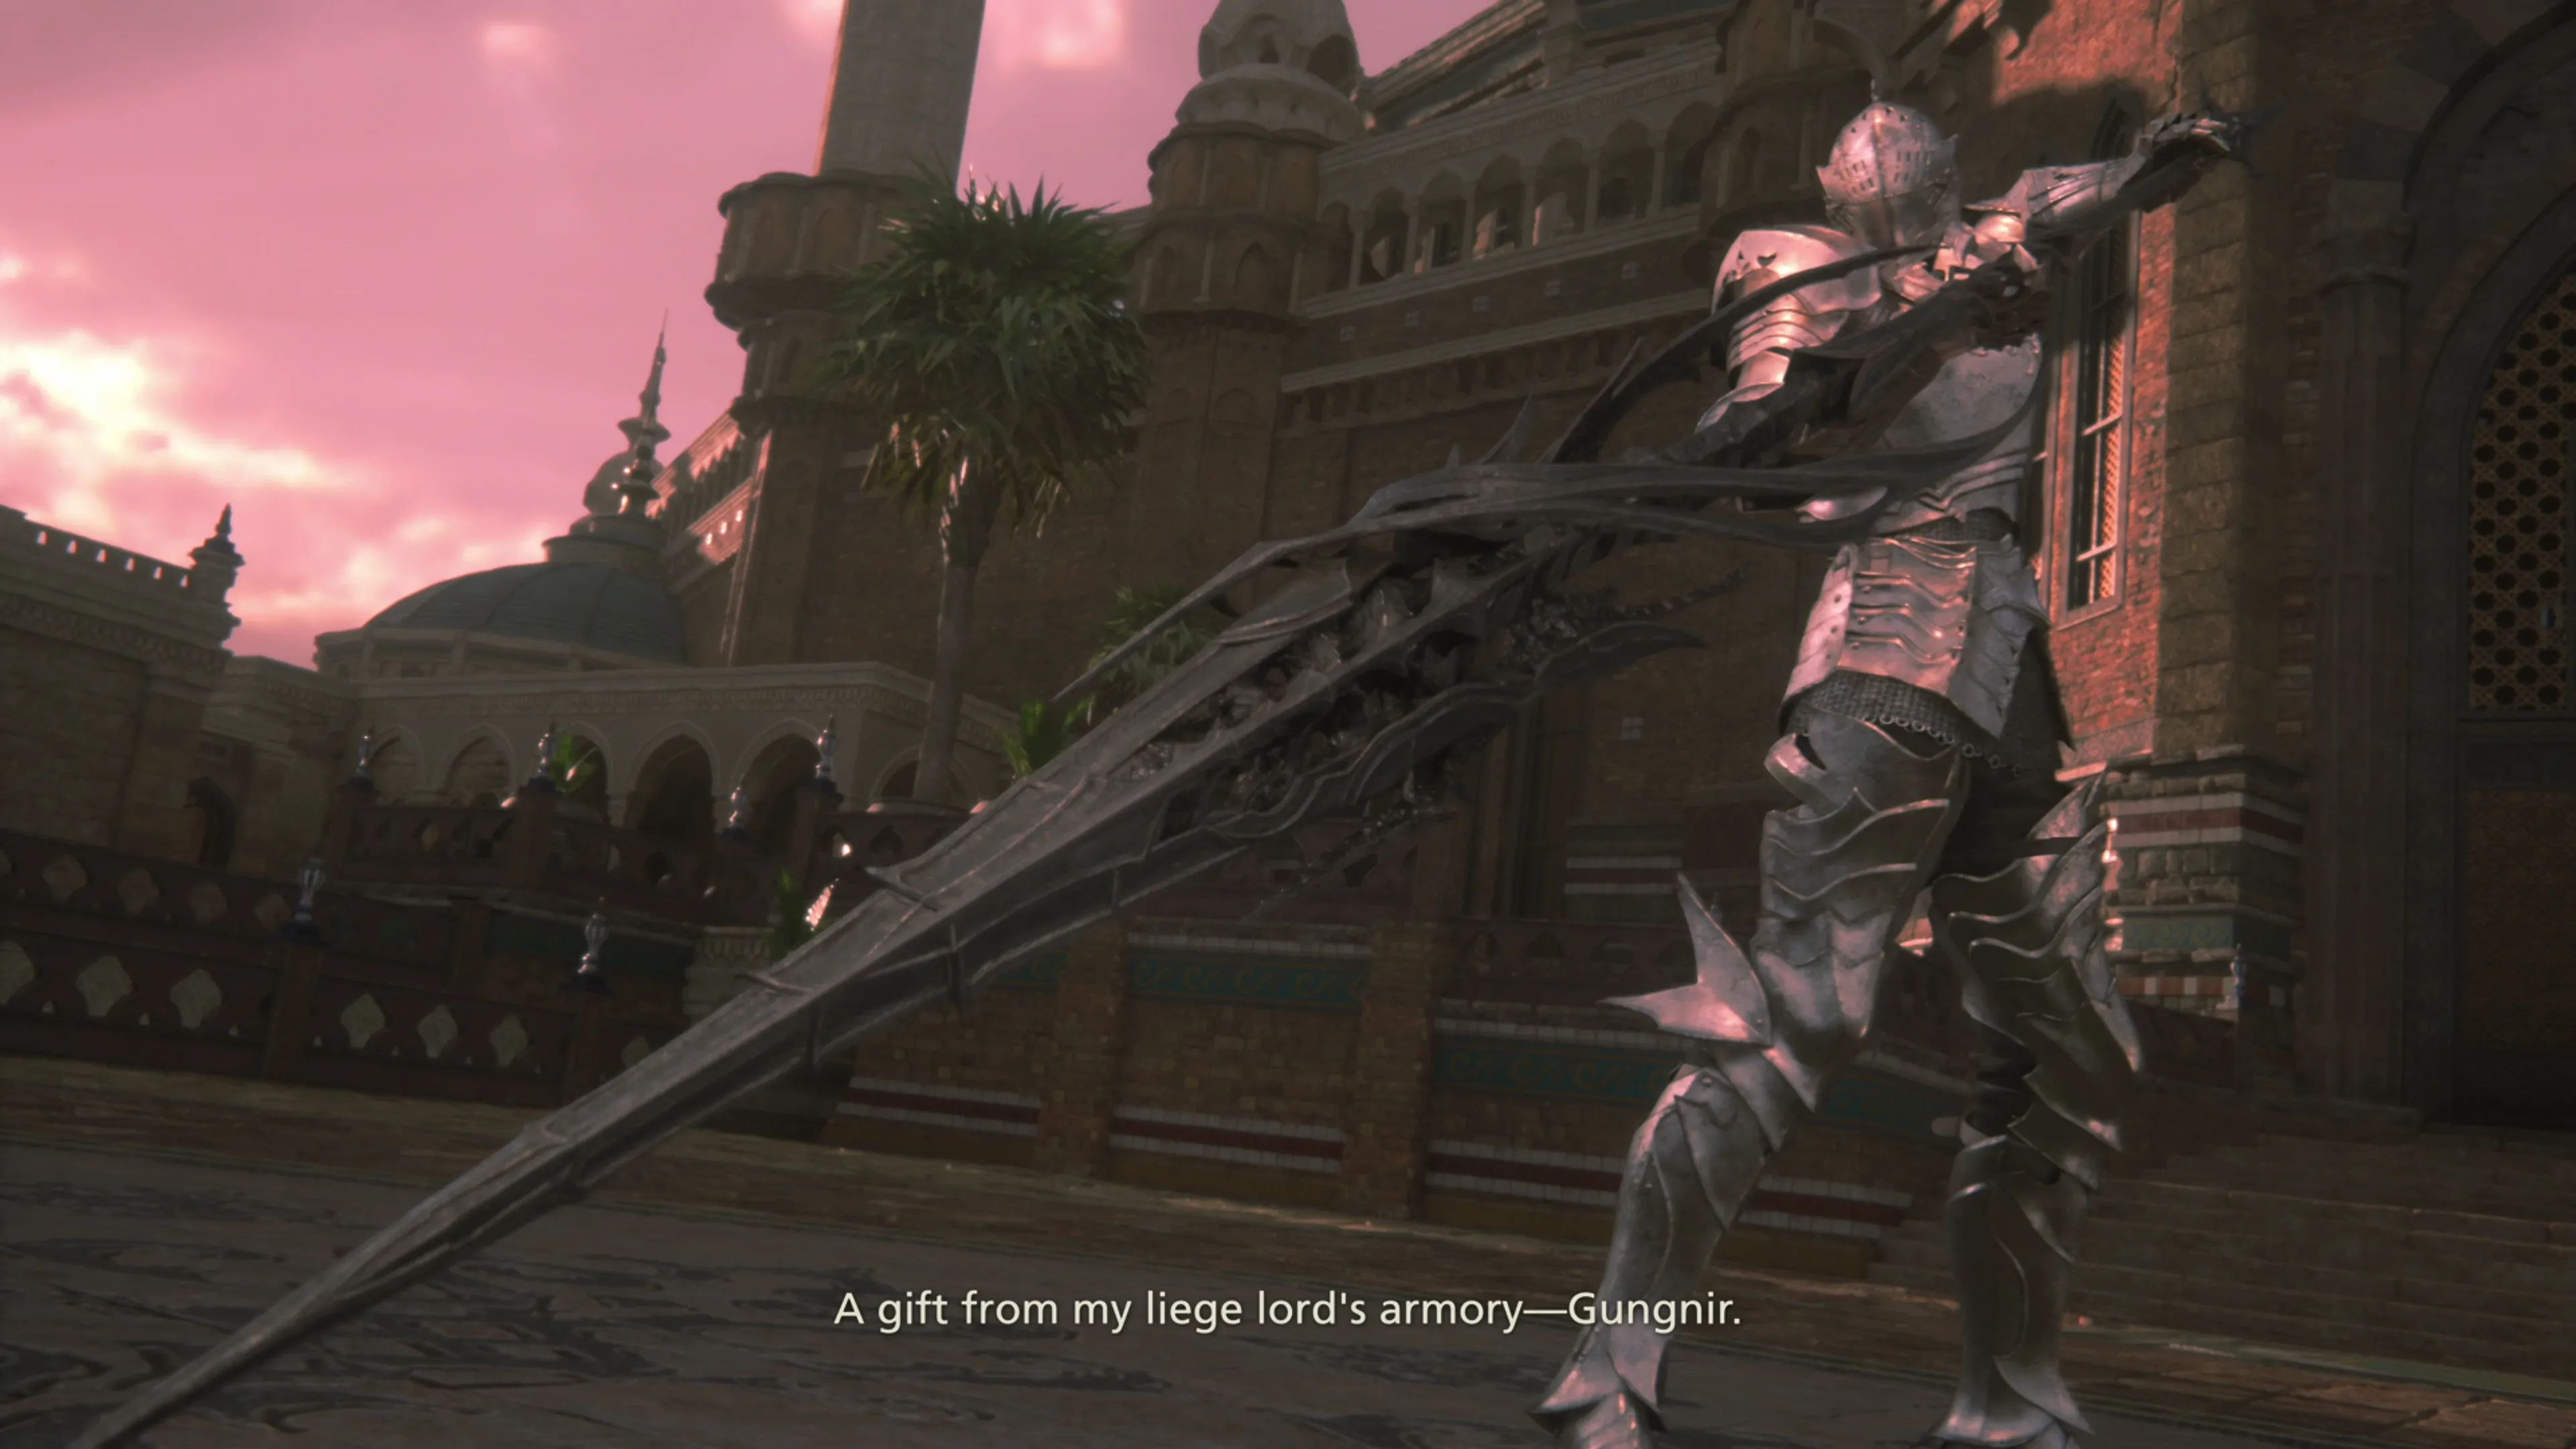
This battle begins after you defeat the two waves of Wraiths/Revenants/Scepters. It takes place over two phases. For the first phase, Sleipnir will use a regular rapier sword. The second phase begins after Sleipnir reaches approximately 60% HP or after you reach the first stagger. A short cutscene will occur, and Sleipnir will materialize a new weapon to use: Gungnir. This new weapon changes his attack pattern as outlined below.
Phase 1
Sleipnir’s attacks are pretty straightforward during the first phase:
![]() Double Slash:
Double Slash:
He will typically use this attack after warping around the stage once or twice. To begin, he will take a large step backward before leaping into a thrust with his sword, and then he will quickly swipe at you one more time. Be ready to dodge both attacks.
![]() Magic Ball:
Magic Ball:
Sleipnir will launch a slow-moving ball of magical energy towards Clive. This attack is easy to dodge, but also easy to counterattack with ![]() Heatwave.
Heatwave.
![]() Timed Magic Explosion:
Timed Magic Explosion:
Sleipnir will touch the ground, and a ring of red and black energy will begin circling on the ground around Clive. After a short amount of time, the ring will light up just before it explodes; dodge out of the way after you see it light up. Sleipnir will typically follow this attack up with a ‘Double Slash’ attack, so dodge those two swings, and then it will explode right afterward. Dodge the explosion and go on the offensive while Sleipnir is recovering.
And that’s it! Phase 1 is very easy. It lasts until you stagger Sleipnir for the first time. While he is staggered, you won’t be able to drop his HP below 60%. However, if you hold off and launch an attack as the stagger ends but before the cinematic for Phase 2 begins, you can chip away at some of his health and start bringing the second stagger meter down.
Phase 2
His attack pattern changes entirely for Phase 2 now that he’s donning the Gungnir spear.
![]() Magic Slash:
Magic Slash:
This attack is similar to Benedikta’s horizontal magic attack. You can dodge your way through it, but this is also a great attack to counterattack with ![]() Heatwave. Sleipnir begins Phase 2 by using this attack every single time.
Heatwave. Sleipnir begins Phase 2 by using this attack every single time.
![]() Physical Attack Combo:
Physical Attack Combo:
This attack is similar to double slash, except that the wind-up involves Sleipnir whirling his new spear around a bit before he lunges forward with the first attack. The combo now has three attacks, though: a thrust, a follow-up triple slash, and then another lengthy thrust across the screen.
![]() Flaming Magic Attack Combo:
Flaming Magic Attack Combo:
This attack is similar to the new “Physical Attack Combo” listed above, but Sleipnir’s spear (Gungnir) will be lit up with fire as he swings it towards Clive three times. Make sure to dodge all three attacks.
![]() Magic Beam:
Magic Beam:
Sleipnir will teleport to the far side of the room and then begin gathering energy into Gungnir. He will then shoot a magical beam towards Clive, wherever Clive is standing. This attack can be challenging to dodge because of how quickly the magic beam is spawned.
![]() Scar of Nibelung:
Scar of Nibelung:
The words “Scar of Nibelung” will appear on the screen. Sleipnir will slam into the ground, and five vertical magic beams will launch outwards toward Clive. You can counterattack a wave with ![]() Heatwave or just stand in between two of the beams as they push towards you.
Heatwave or just stand in between two of the beams as they push towards you.
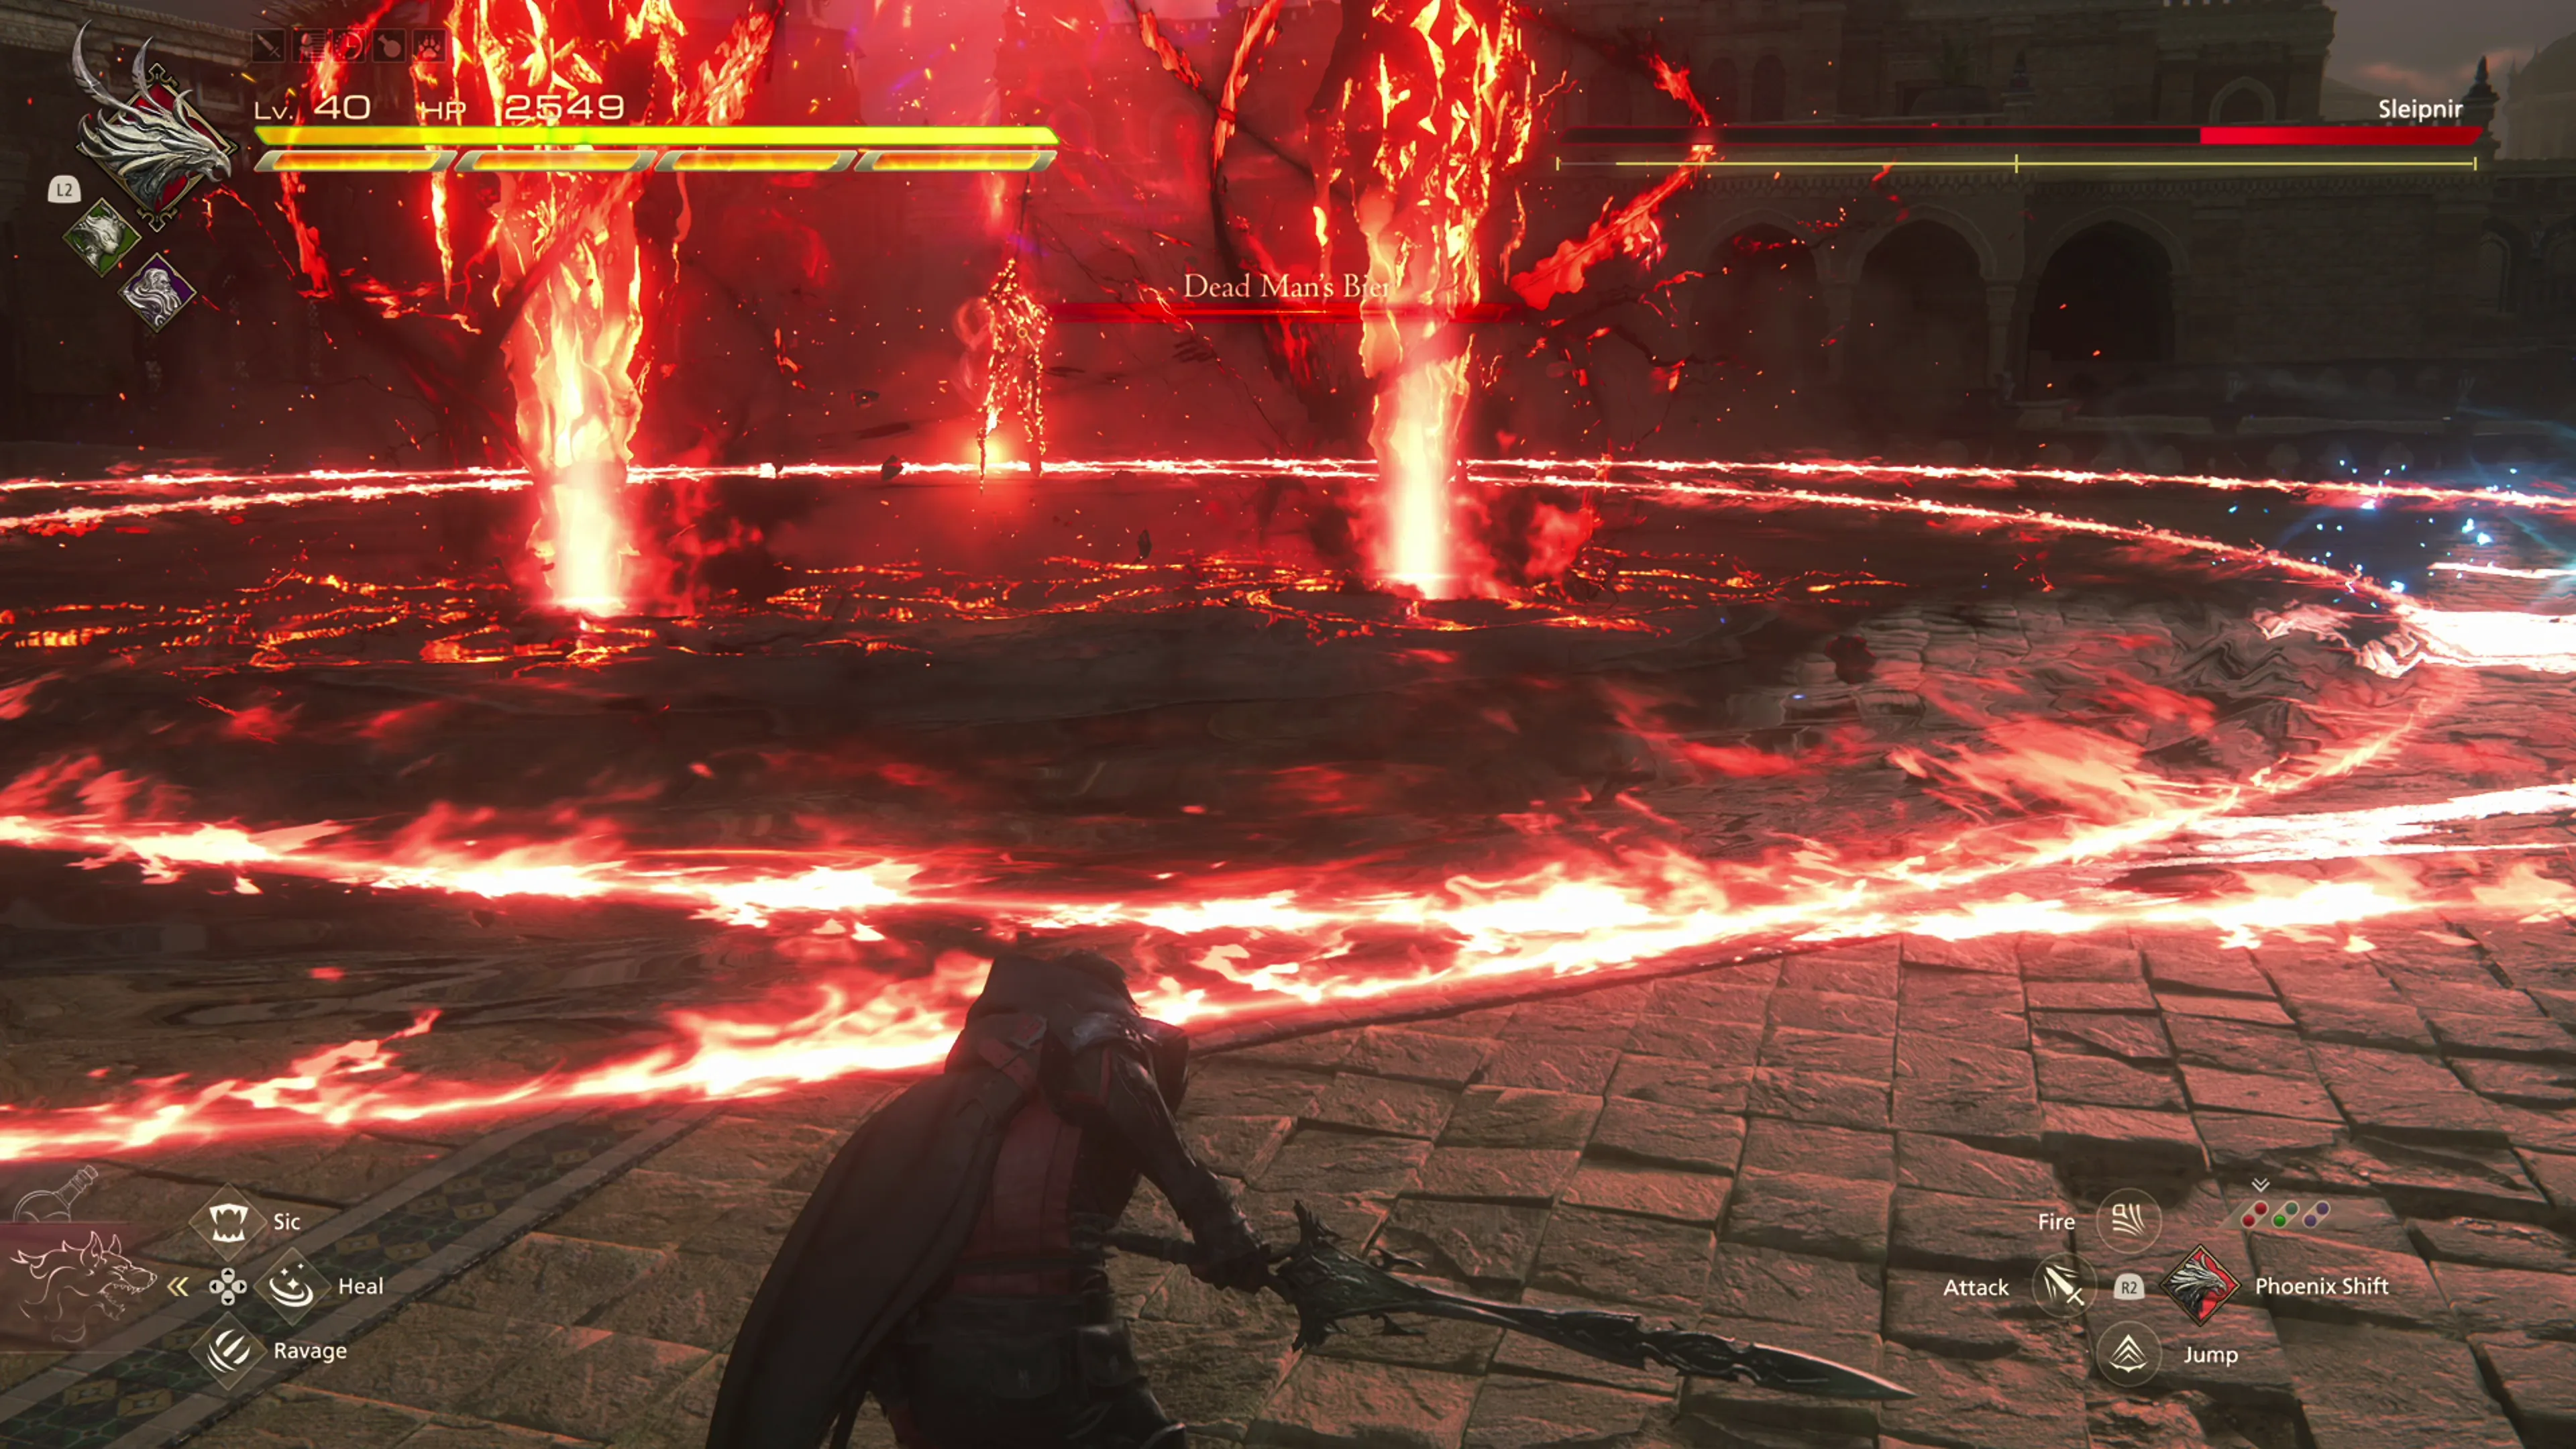
![]() Dead Man’s Bier:
Dead Man’s Bier:
Sleipnir will use this attack after you stagger him a second time. This is the most challenging attack to deal with throughout the fight. It starts with magic blasts falling from the sky. Move out of the areas on the ground that light up bright red. This is easier if you rotate the camera upwards using the ![]()
![]()
![]() stick. After that, three large beams of light will spawn from the ground. They will eventually explode and, just like Hugo’s “Tumult” attack or
stick. After that, three large beams of light will spawn from the ground. They will eventually explode and, just like Hugo’s “Tumult” attack or ![]() Svarog’s “Embroil” attack, a large ring of energy will emanate outward. This ring needs to be dodged. You’ll have to dodge all three rings and then, following that, two more rings will spawn in the center of the battlefield, and you’ll have to dodge two more energy rings at the same time. This is the most challenging ability to deal with, especially if you’re attempting to earn a Medal of Valor. Check out the “Helpful Hint” section below if you’d like some additional tips for dealing with this ability. The end of the attack will include one more Scar of Nibelung for you to dodge.
Svarog’s “Embroil” attack, a large ring of energy will emanate outward. This ring needs to be dodged. You’ll have to dodge all three rings and then, following that, two more rings will spawn in the center of the battlefield, and you’ll have to dodge two more energy rings at the same time. This is the most challenging ability to deal with, especially if you’re attempting to earn a Medal of Valor. Check out the “Helpful Hint” section below if you’d like some additional tips for dealing with this ability. The end of the attack will include one more Scar of Nibelung for you to dodge.
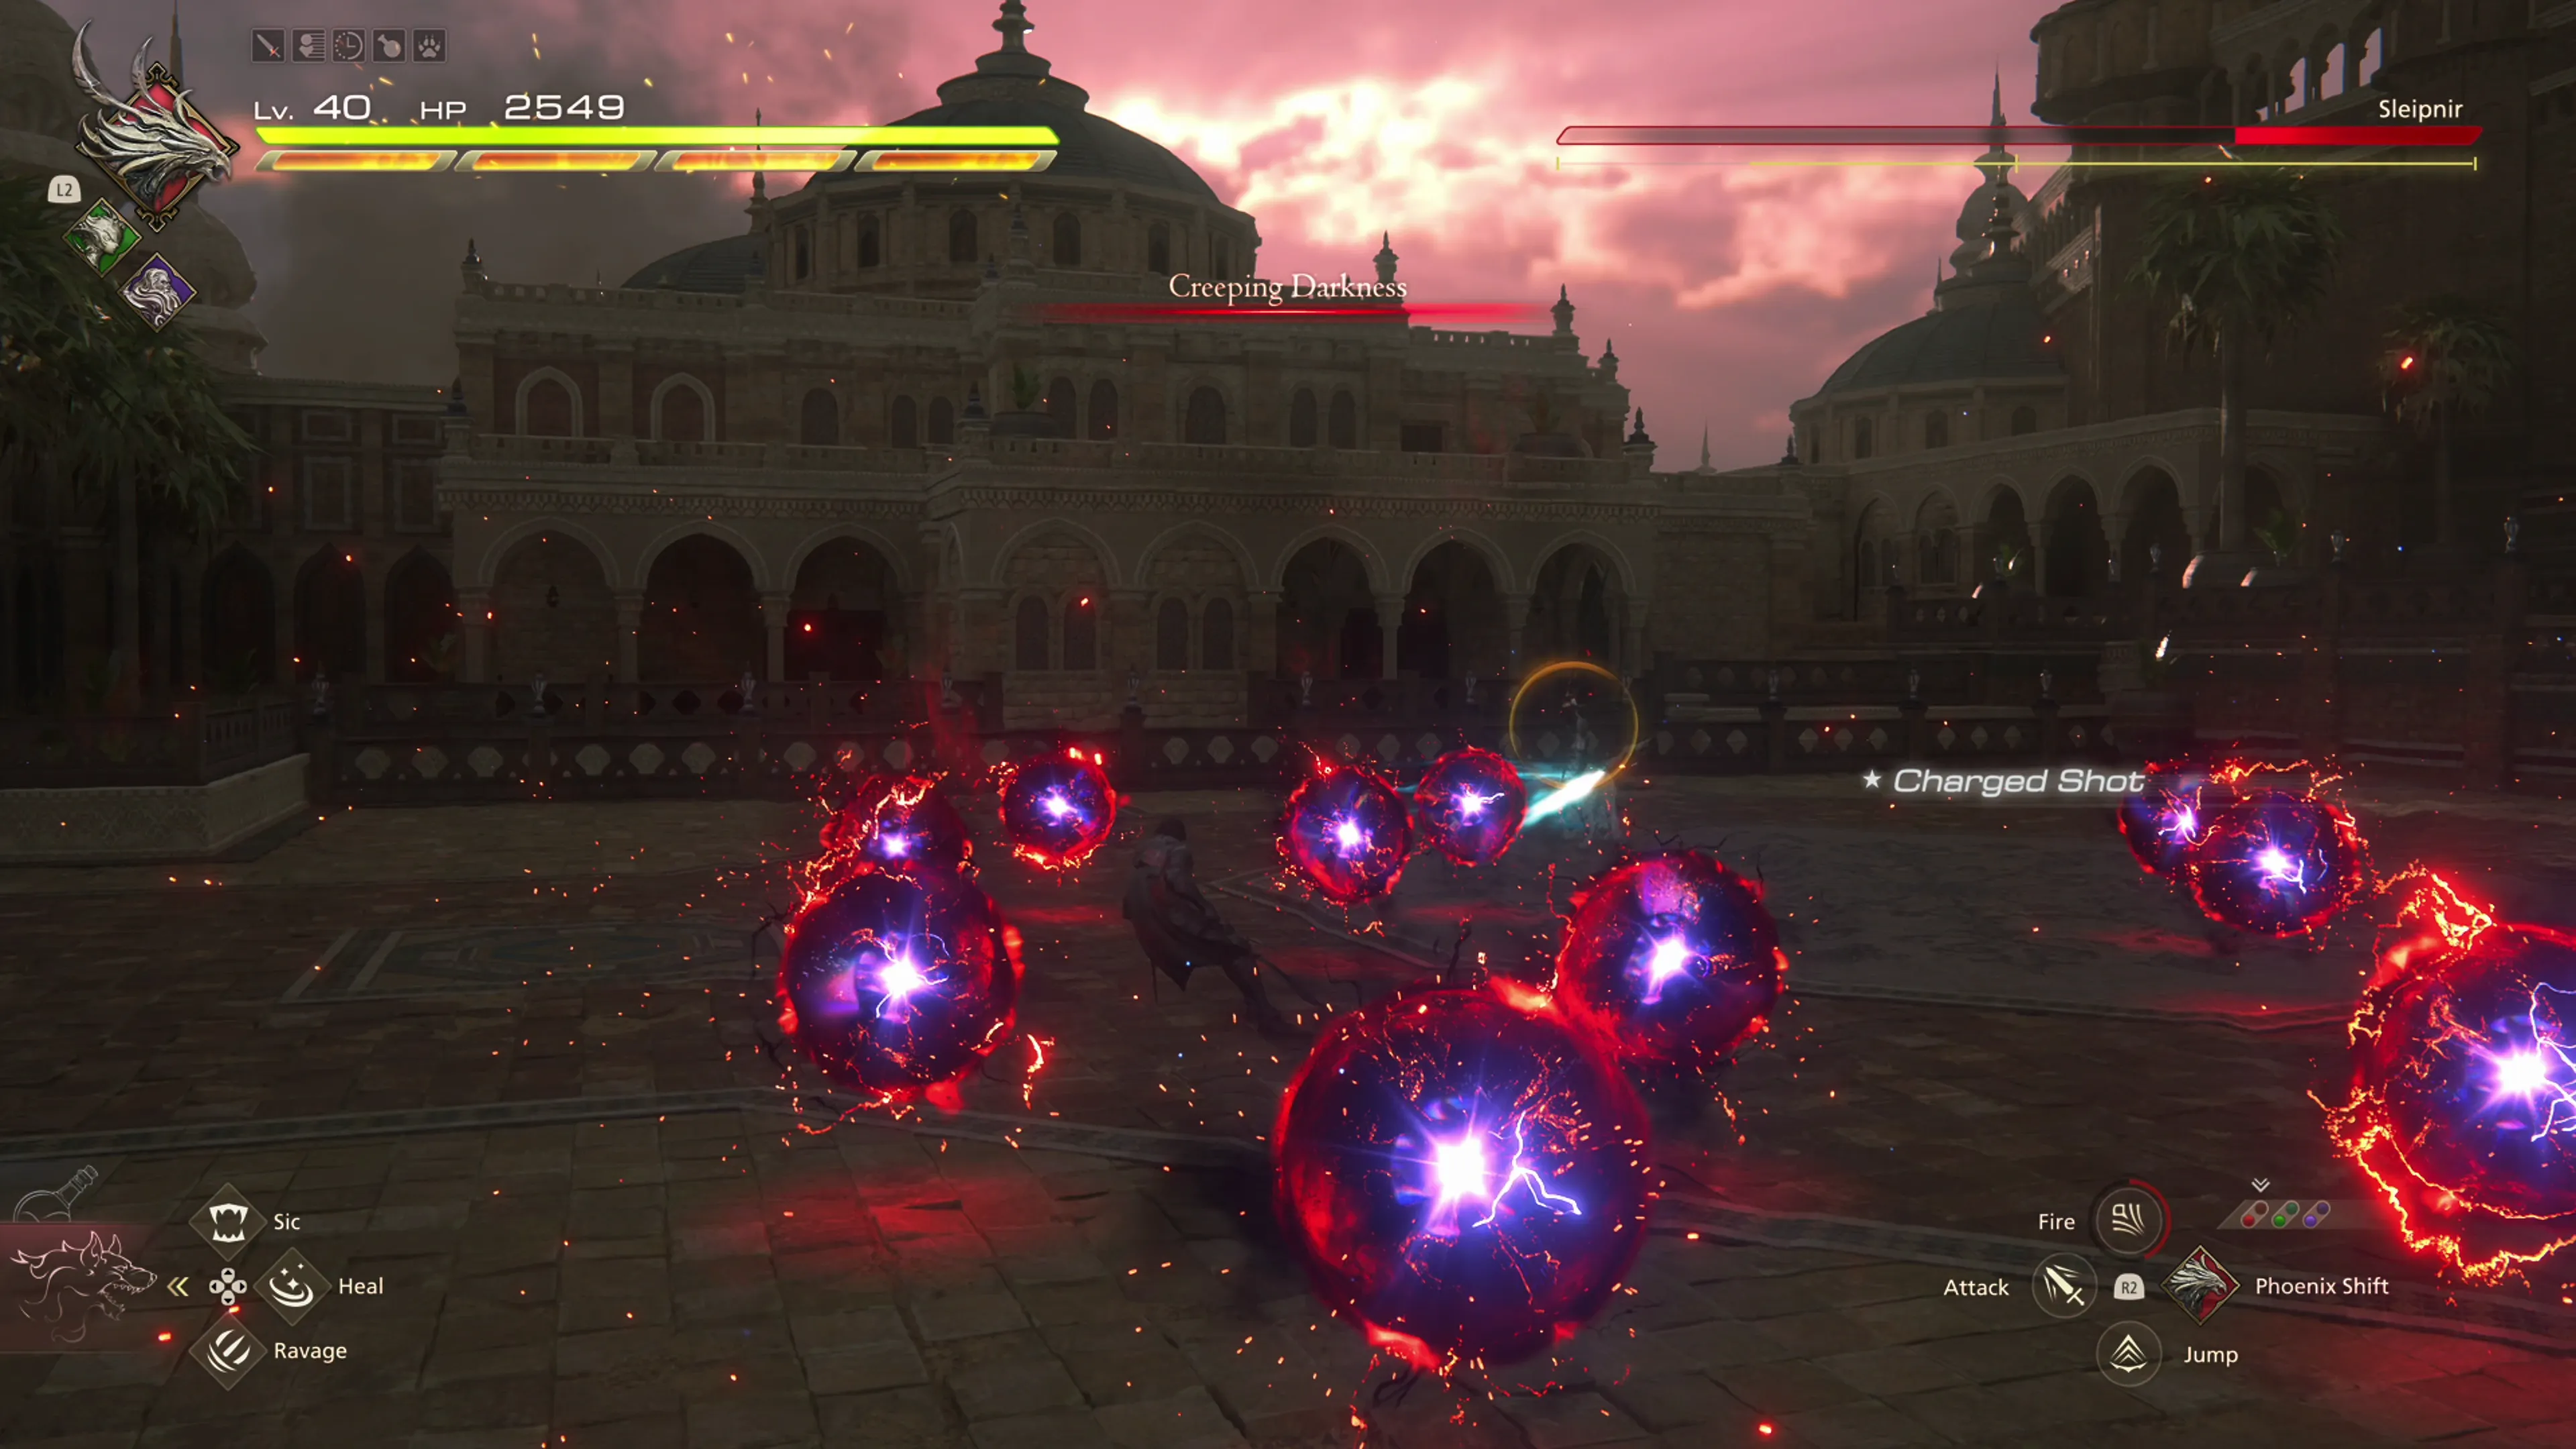
![]() Creeping Darkness:
Creeping Darkness:
One more frustrating ability to deal with. Sleipnir will only use this after the second stagger, and when he does, a collection of small magic energy balls will spawn around Clive, wherever he is standing. They will very quickly begin closing in on Clive and, more often than not, you’ll end up taking damage before you even have a time to react. When you see the words “Creeping Darkness” appear on the screen, get ready to press the ![]()
![]()
![]() button to dodge away from the magic balls as quickly as possible.
button to dodge away from the magic balls as quickly as possible.
Check out the video below if you’re having trouble with this fight.
As noted above, you can earn the ![]() Medal of Valor - Sleipnir from this battle if you defeat him without taking any damage.
Medal of Valor - Sleipnir from this battle if you defeat him without taking any damage.
Good luck!
420
3,500
Helpful Hint
This is a frustrating ability to deal with, especially if you’re attempting to earn a Medal of Valor. The three beams can spawn in random locations, so try to stick toward the outer edge of the battlefield. One important thing to note, though, is that the ![]() Berserker Ring can make these beams more difficult to dodge. The Berserker Ring can be helpful because it slows the battle down when you complete a successful
Berserker Ring can make these beams more difficult to dodge. The Berserker Ring can be helpful because it slows the battle down when you complete a successful ![]() Precision Dodge. However, this slowdown can make it much more difficult to dodge the follow-up magic energy rings. It is recommended that you remove the
Precision Dodge. However, this slowdown can make it much more difficult to dodge the follow-up magic energy rings. It is recommended that you remove the ![]() Berserker Ring for this fight.
Berserker Ring for this fight.
Additionally, make sure you’re using the ![]()
![]()
![]() stick to rotate the camera upwards so you can see the rings more easily and prepare yourself to dodge.
stick to rotate the camera upwards so you can see the rings more easily and prepare yourself to dodge.
A video demonstration of how to successfully complete the fight against Sleipnir.
There are a few cutscenes to watch before you wind up back on the world map. Selecting the ![]() Hideaway will close out this Main Scenario Quest. On to the next one!
Hideaway will close out this Main Scenario Quest. On to the next one!