Streets of Madness
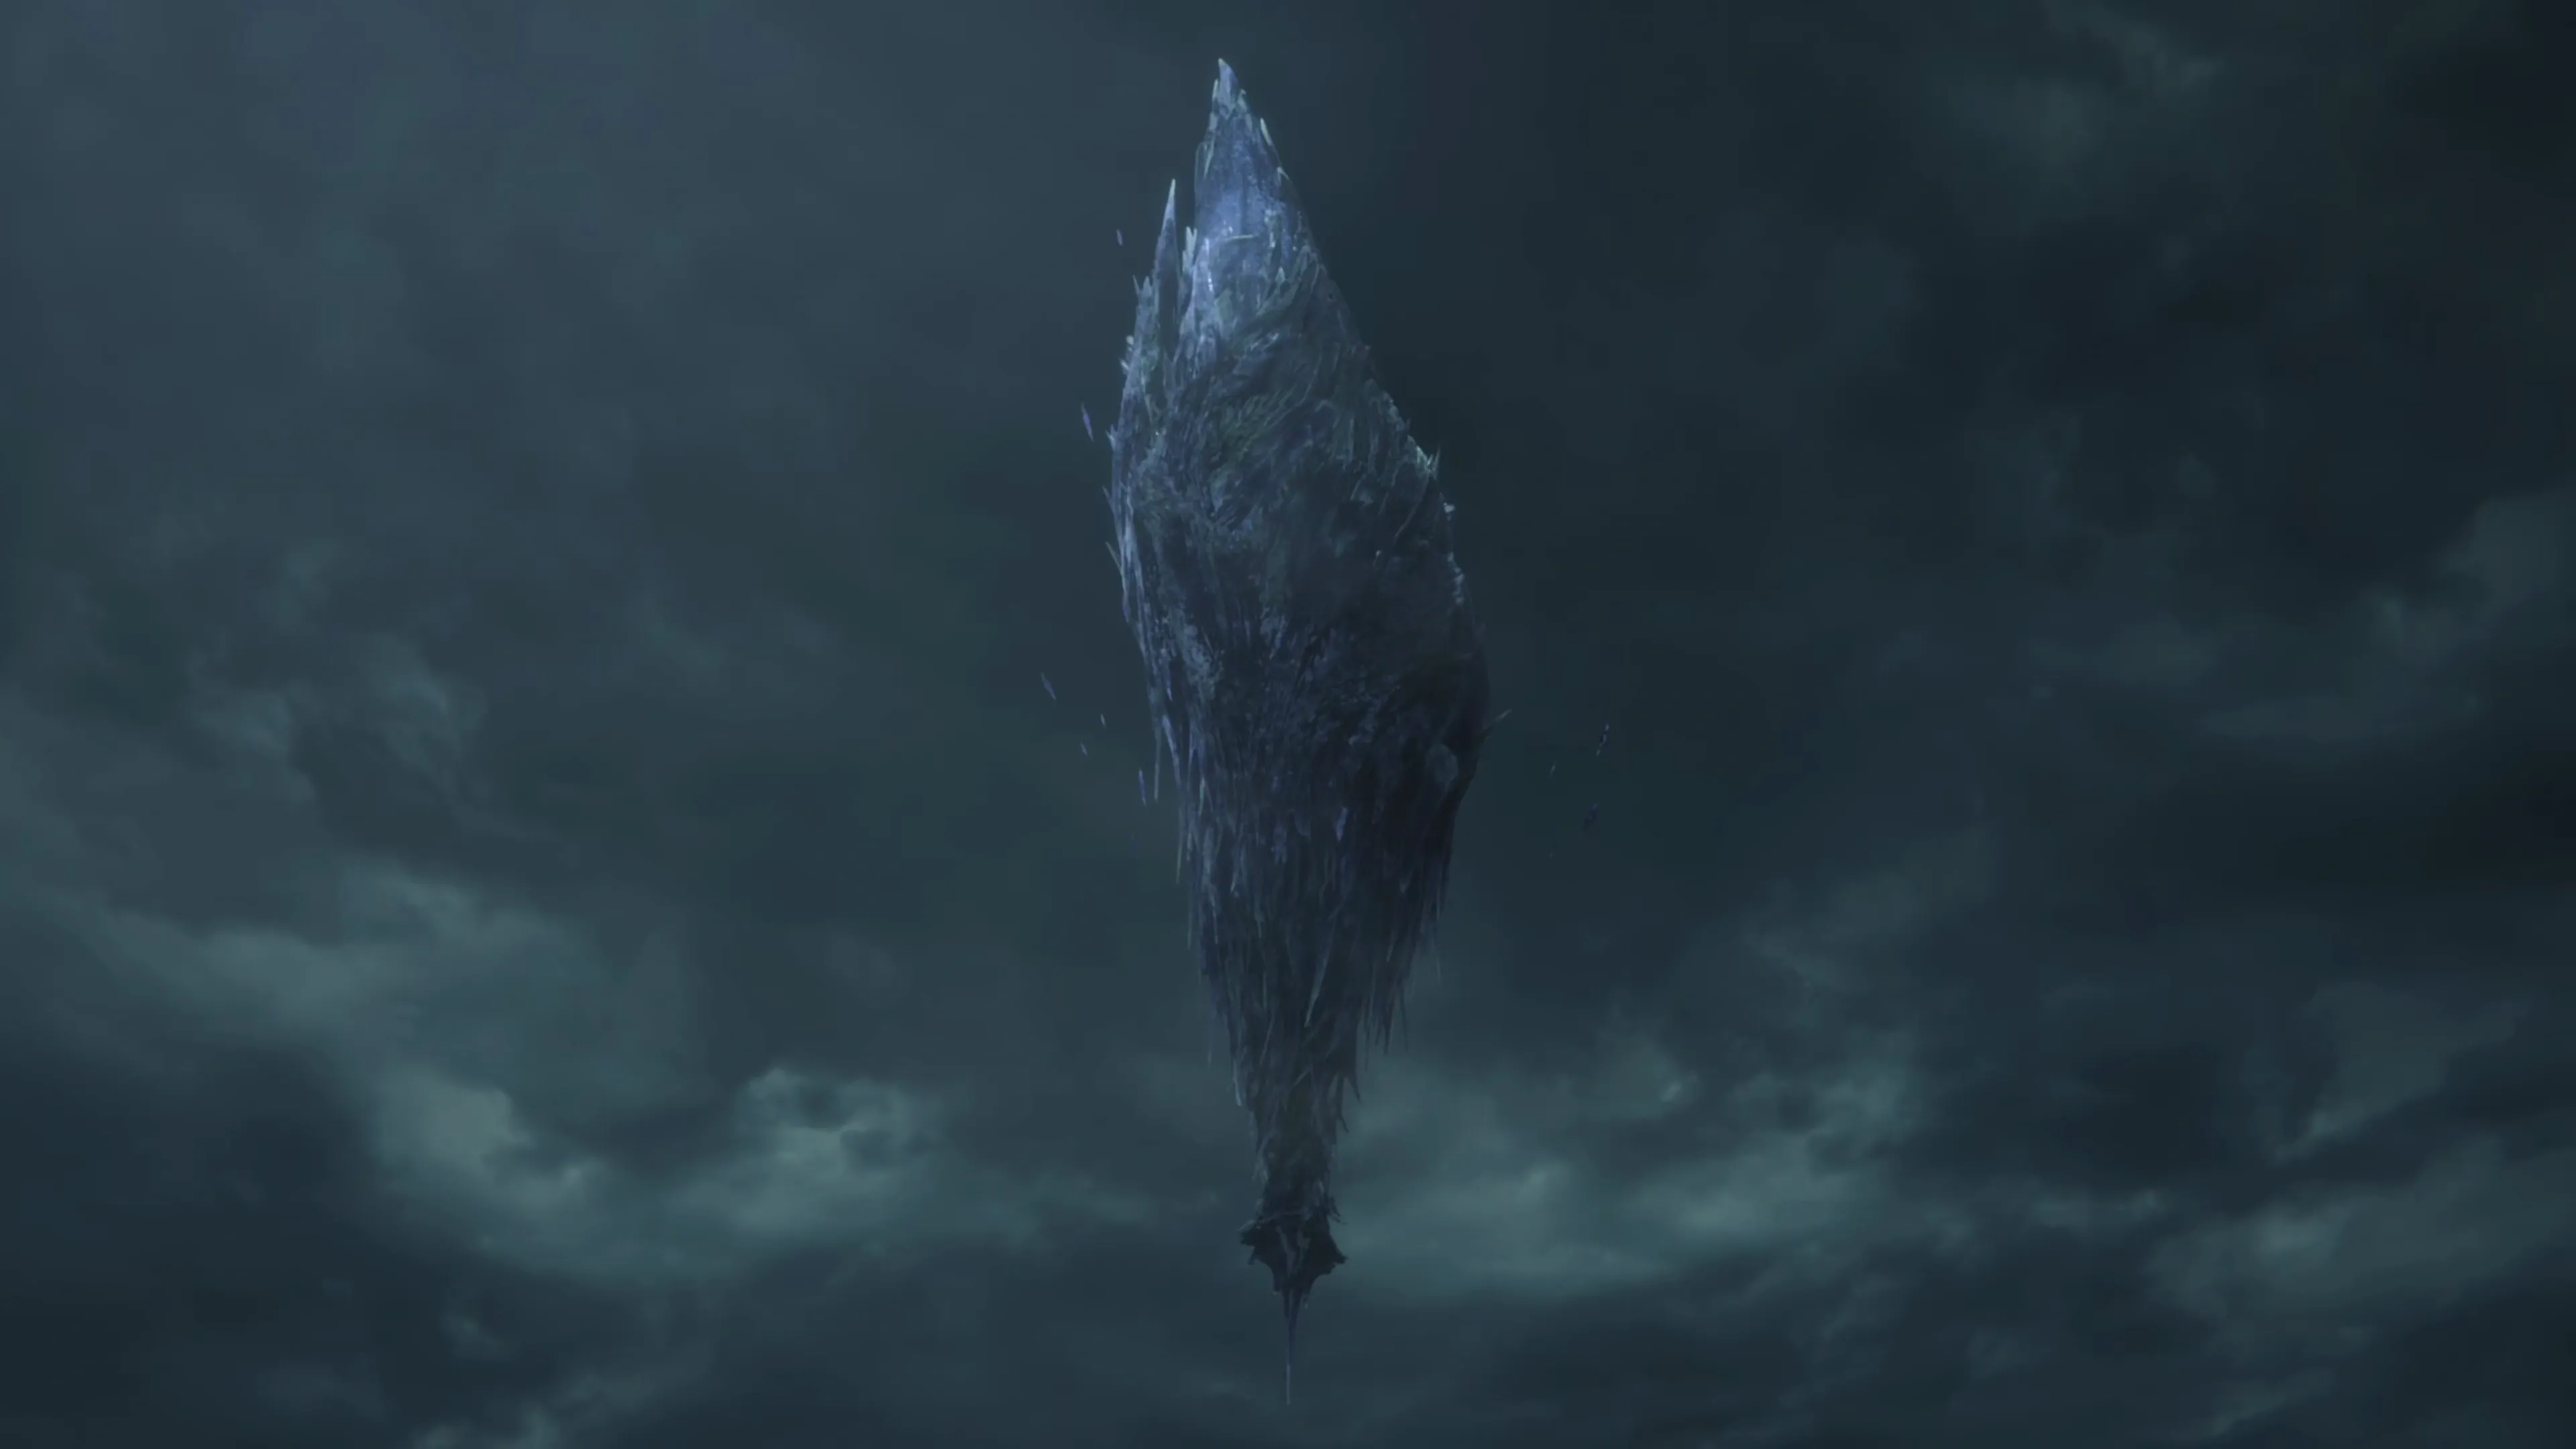
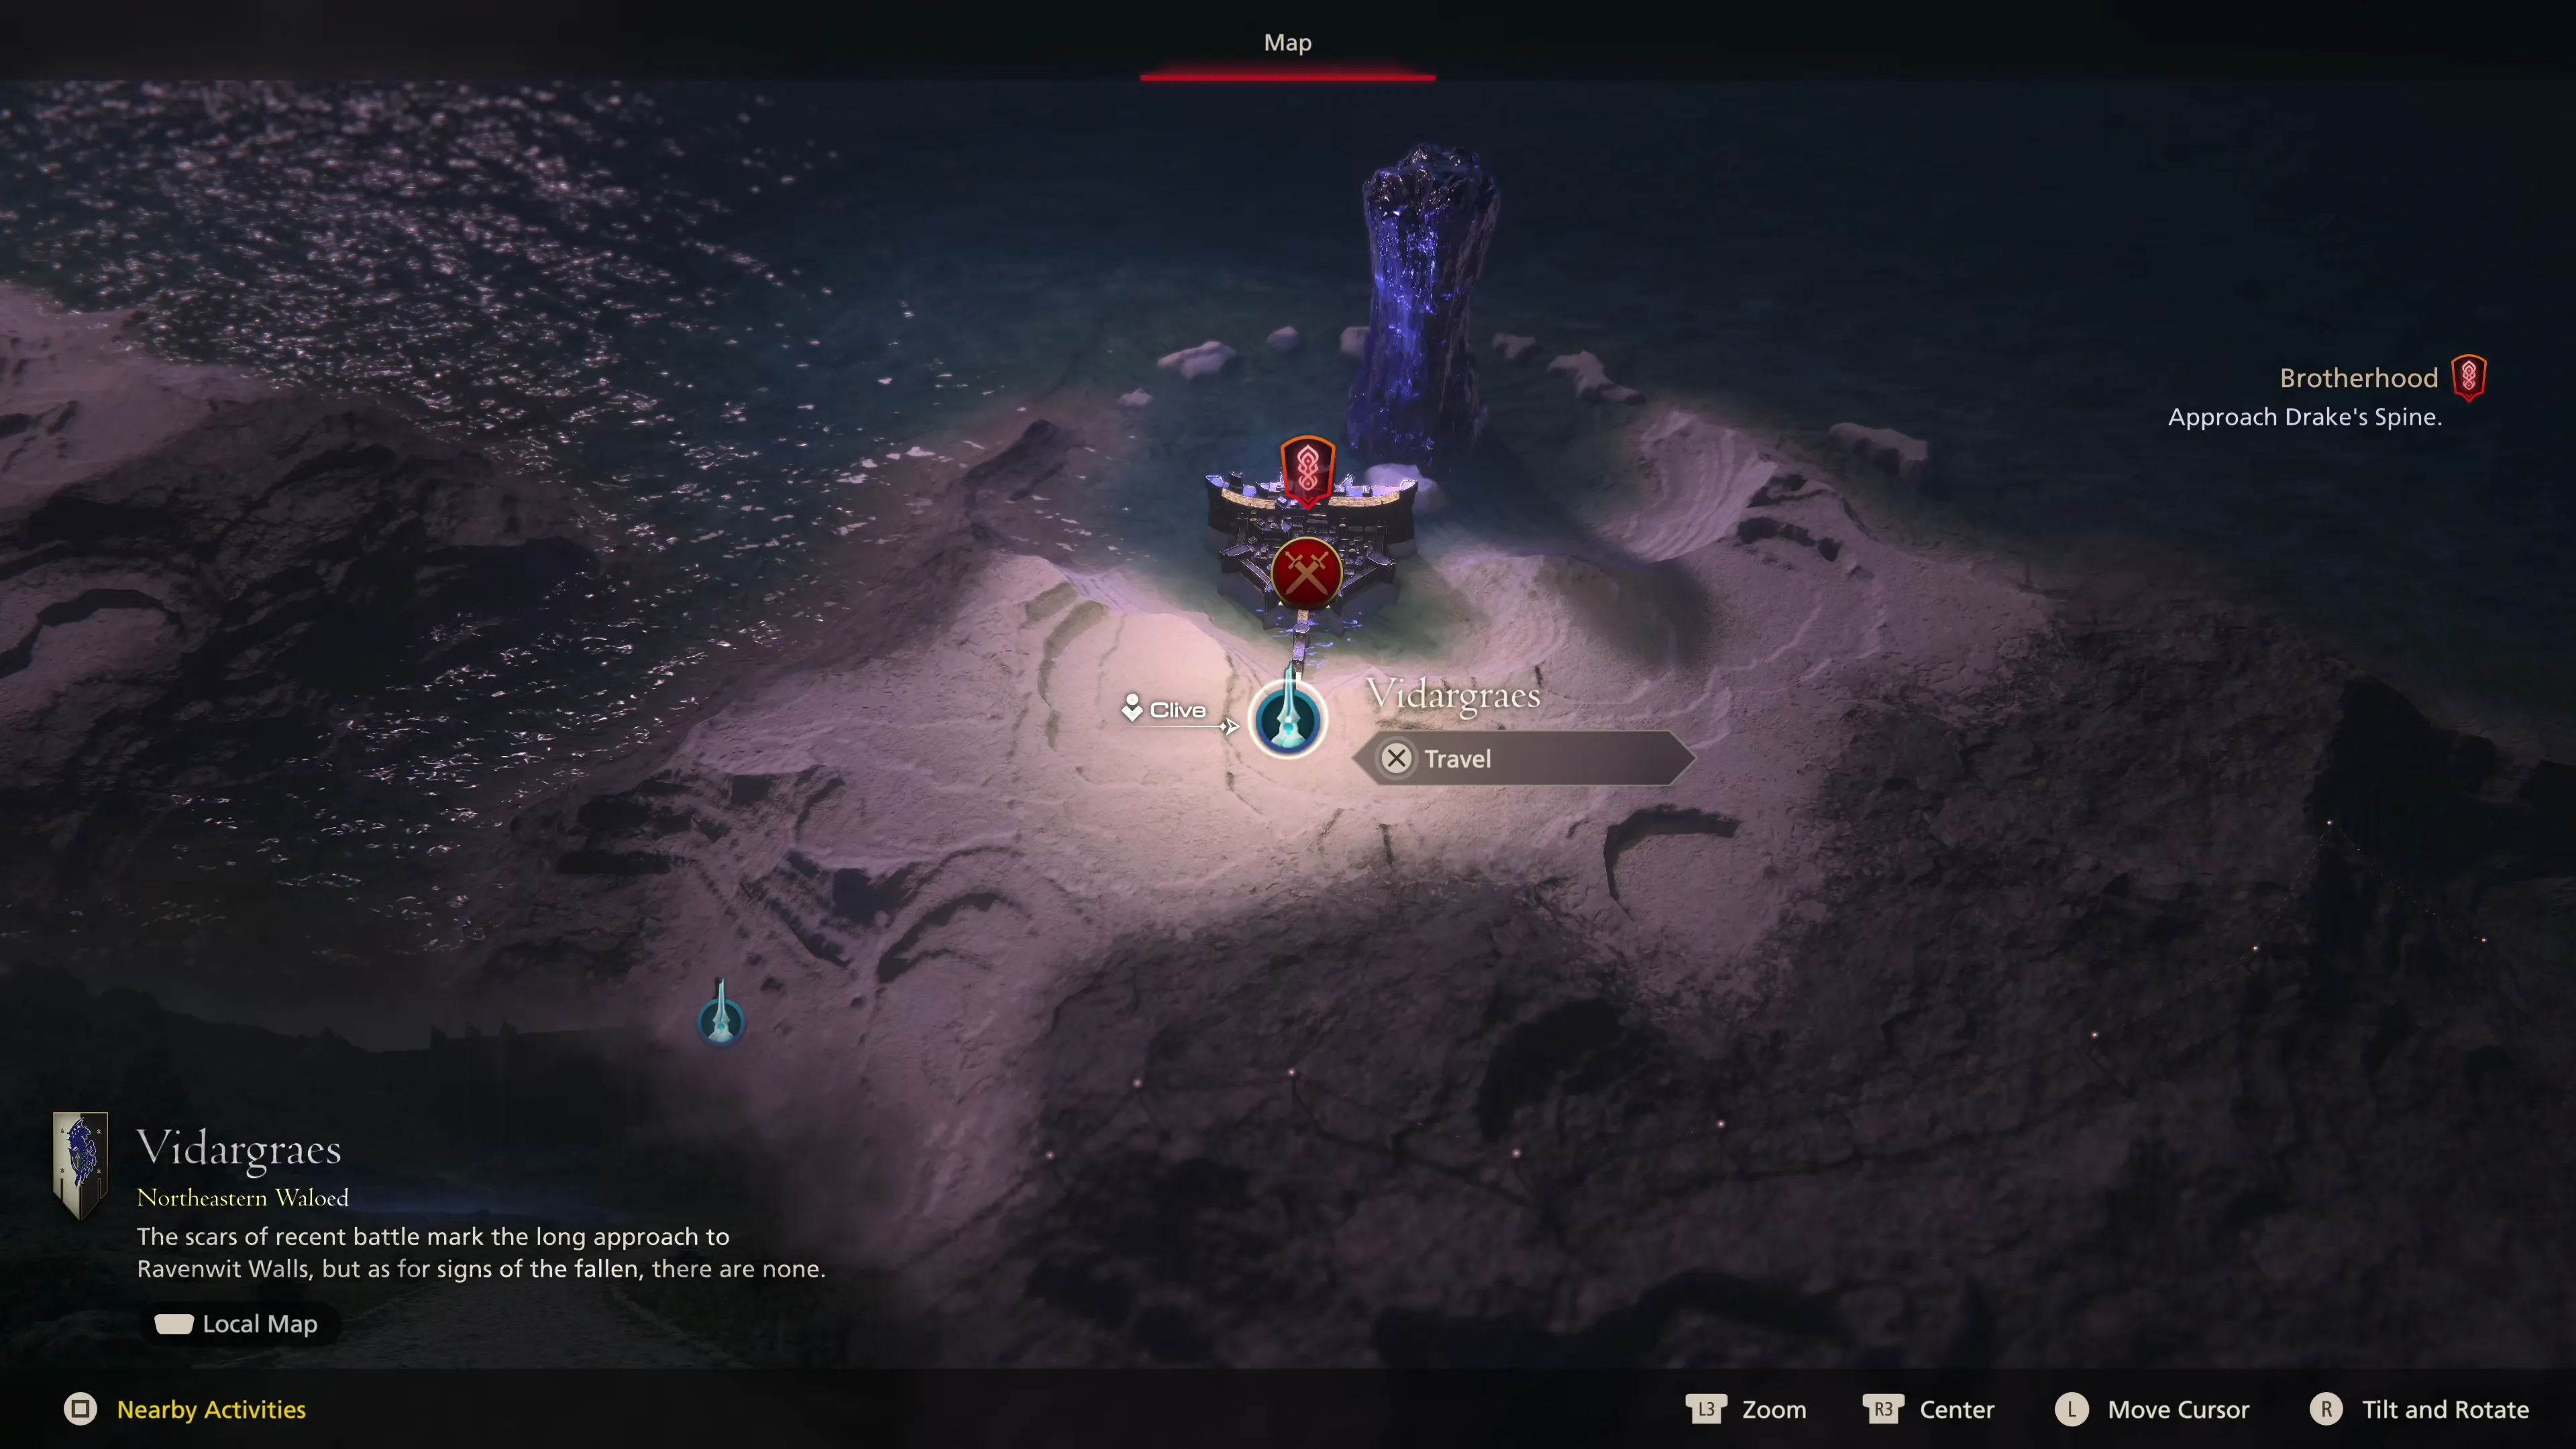
Select “Drake’s Spine” from the world map to head into the next section of the game.
 Drake’s Spine
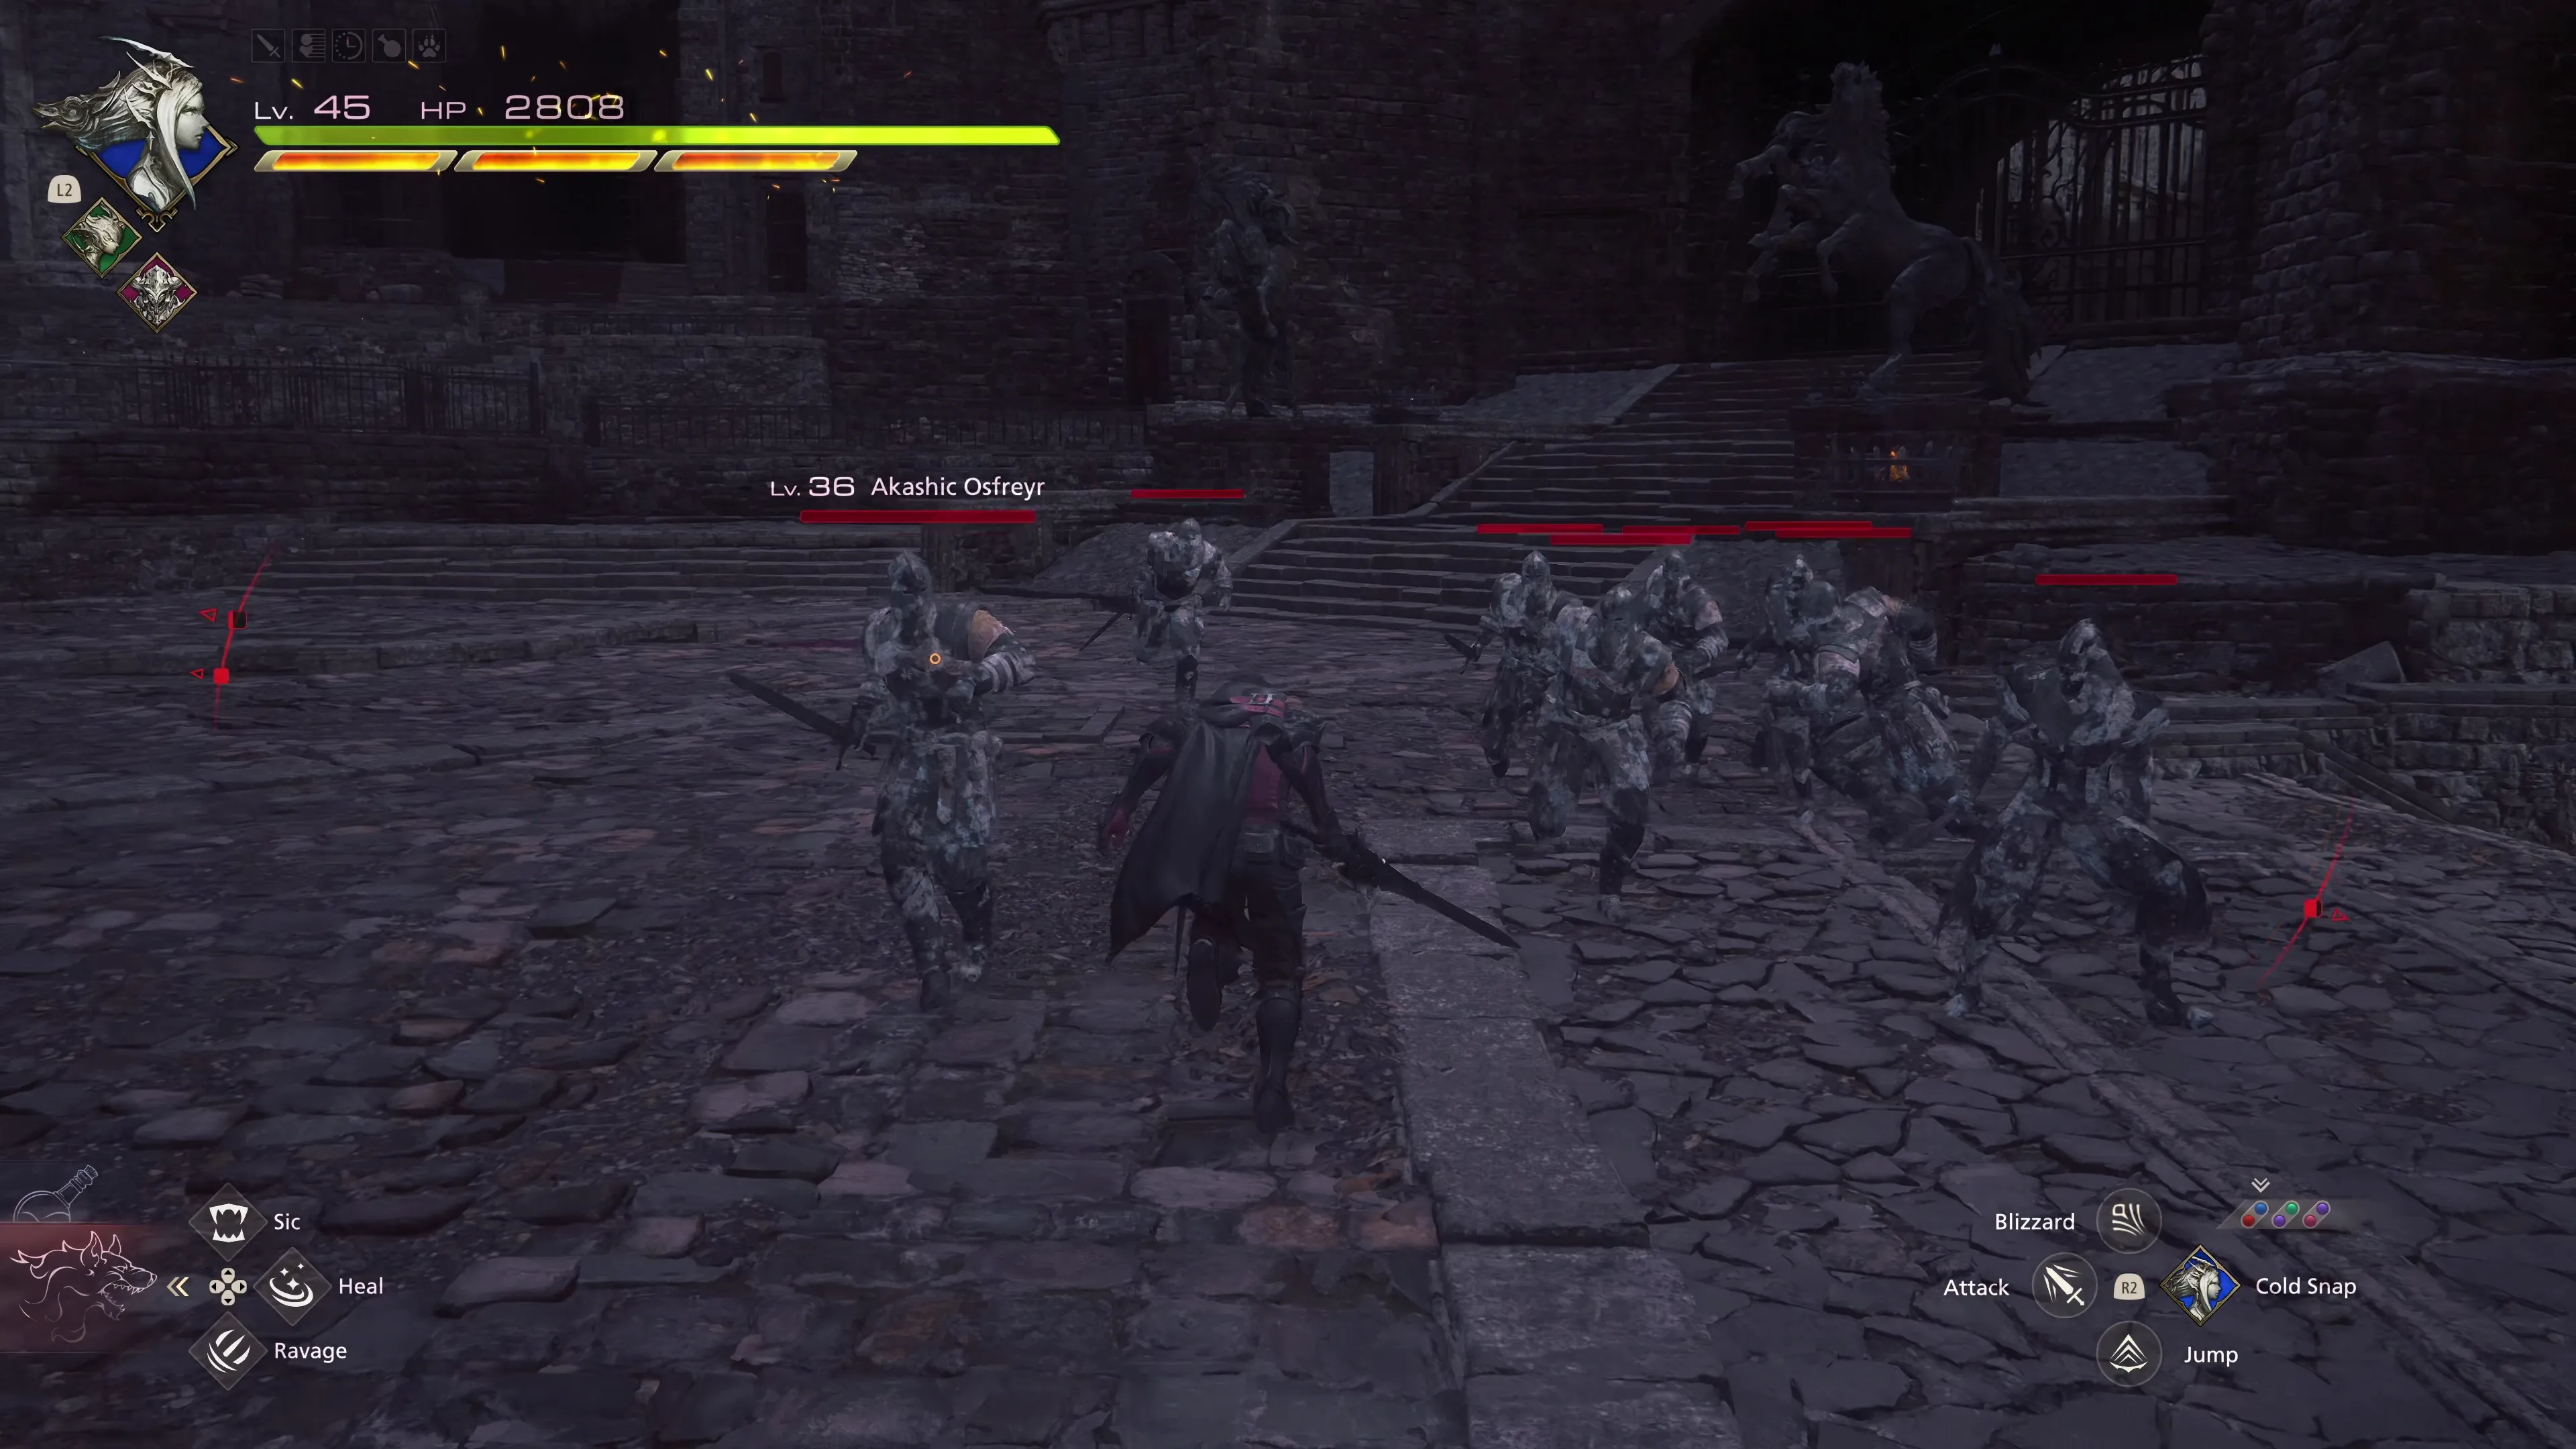
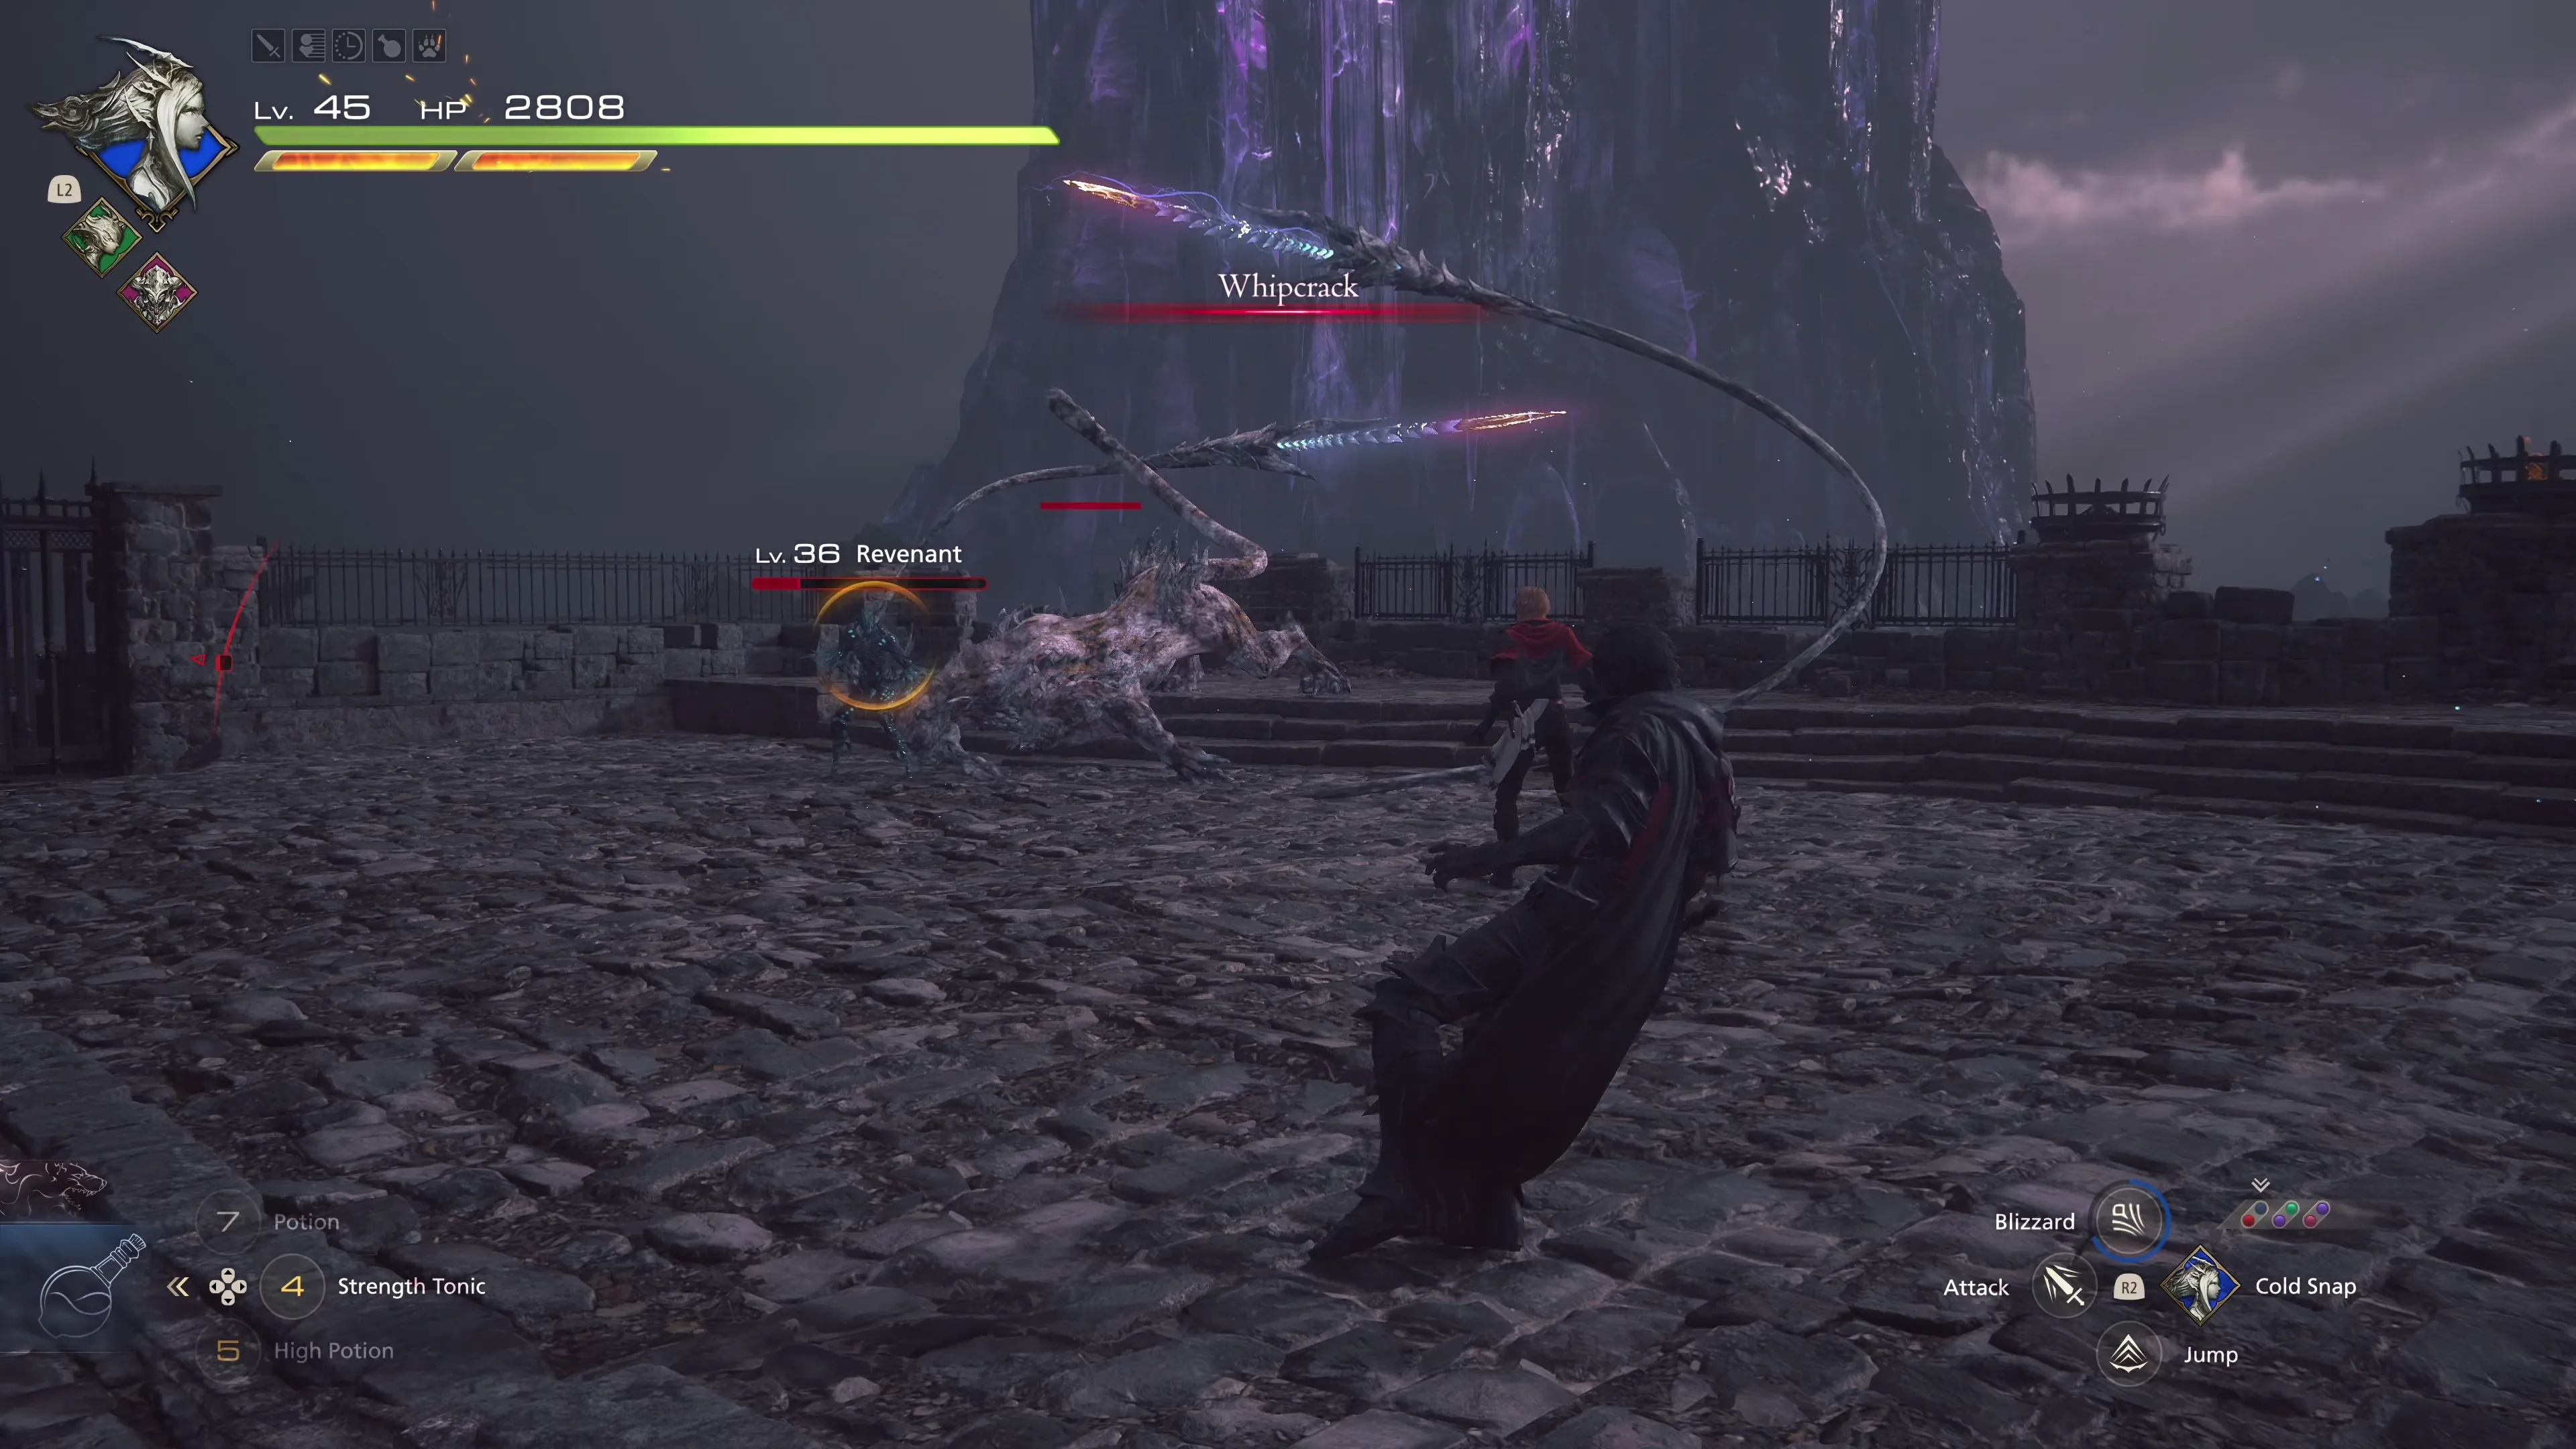
Joshua and Clive will walk through the remnants of a lengthy battle along the bridge to Drake’s Spine. Swap to your multi-target ![]() Eikonic Ability Set and head down the stairs to face off against a group of Akashic soldiers.
Eikonic Ability Set and head down the stairs to face off against a group of Akashic soldiers.

Afterwards, swap back to your single-target set and head through the hole between the two gates. Save your game and then proceed along the bridge towards the next boss battle.
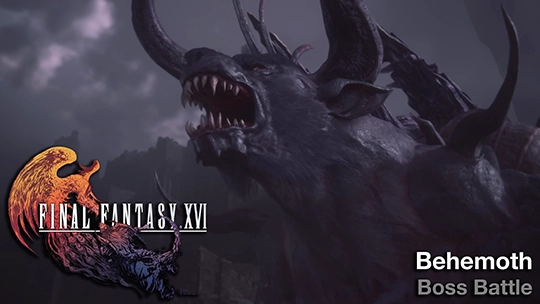
Boss Battle
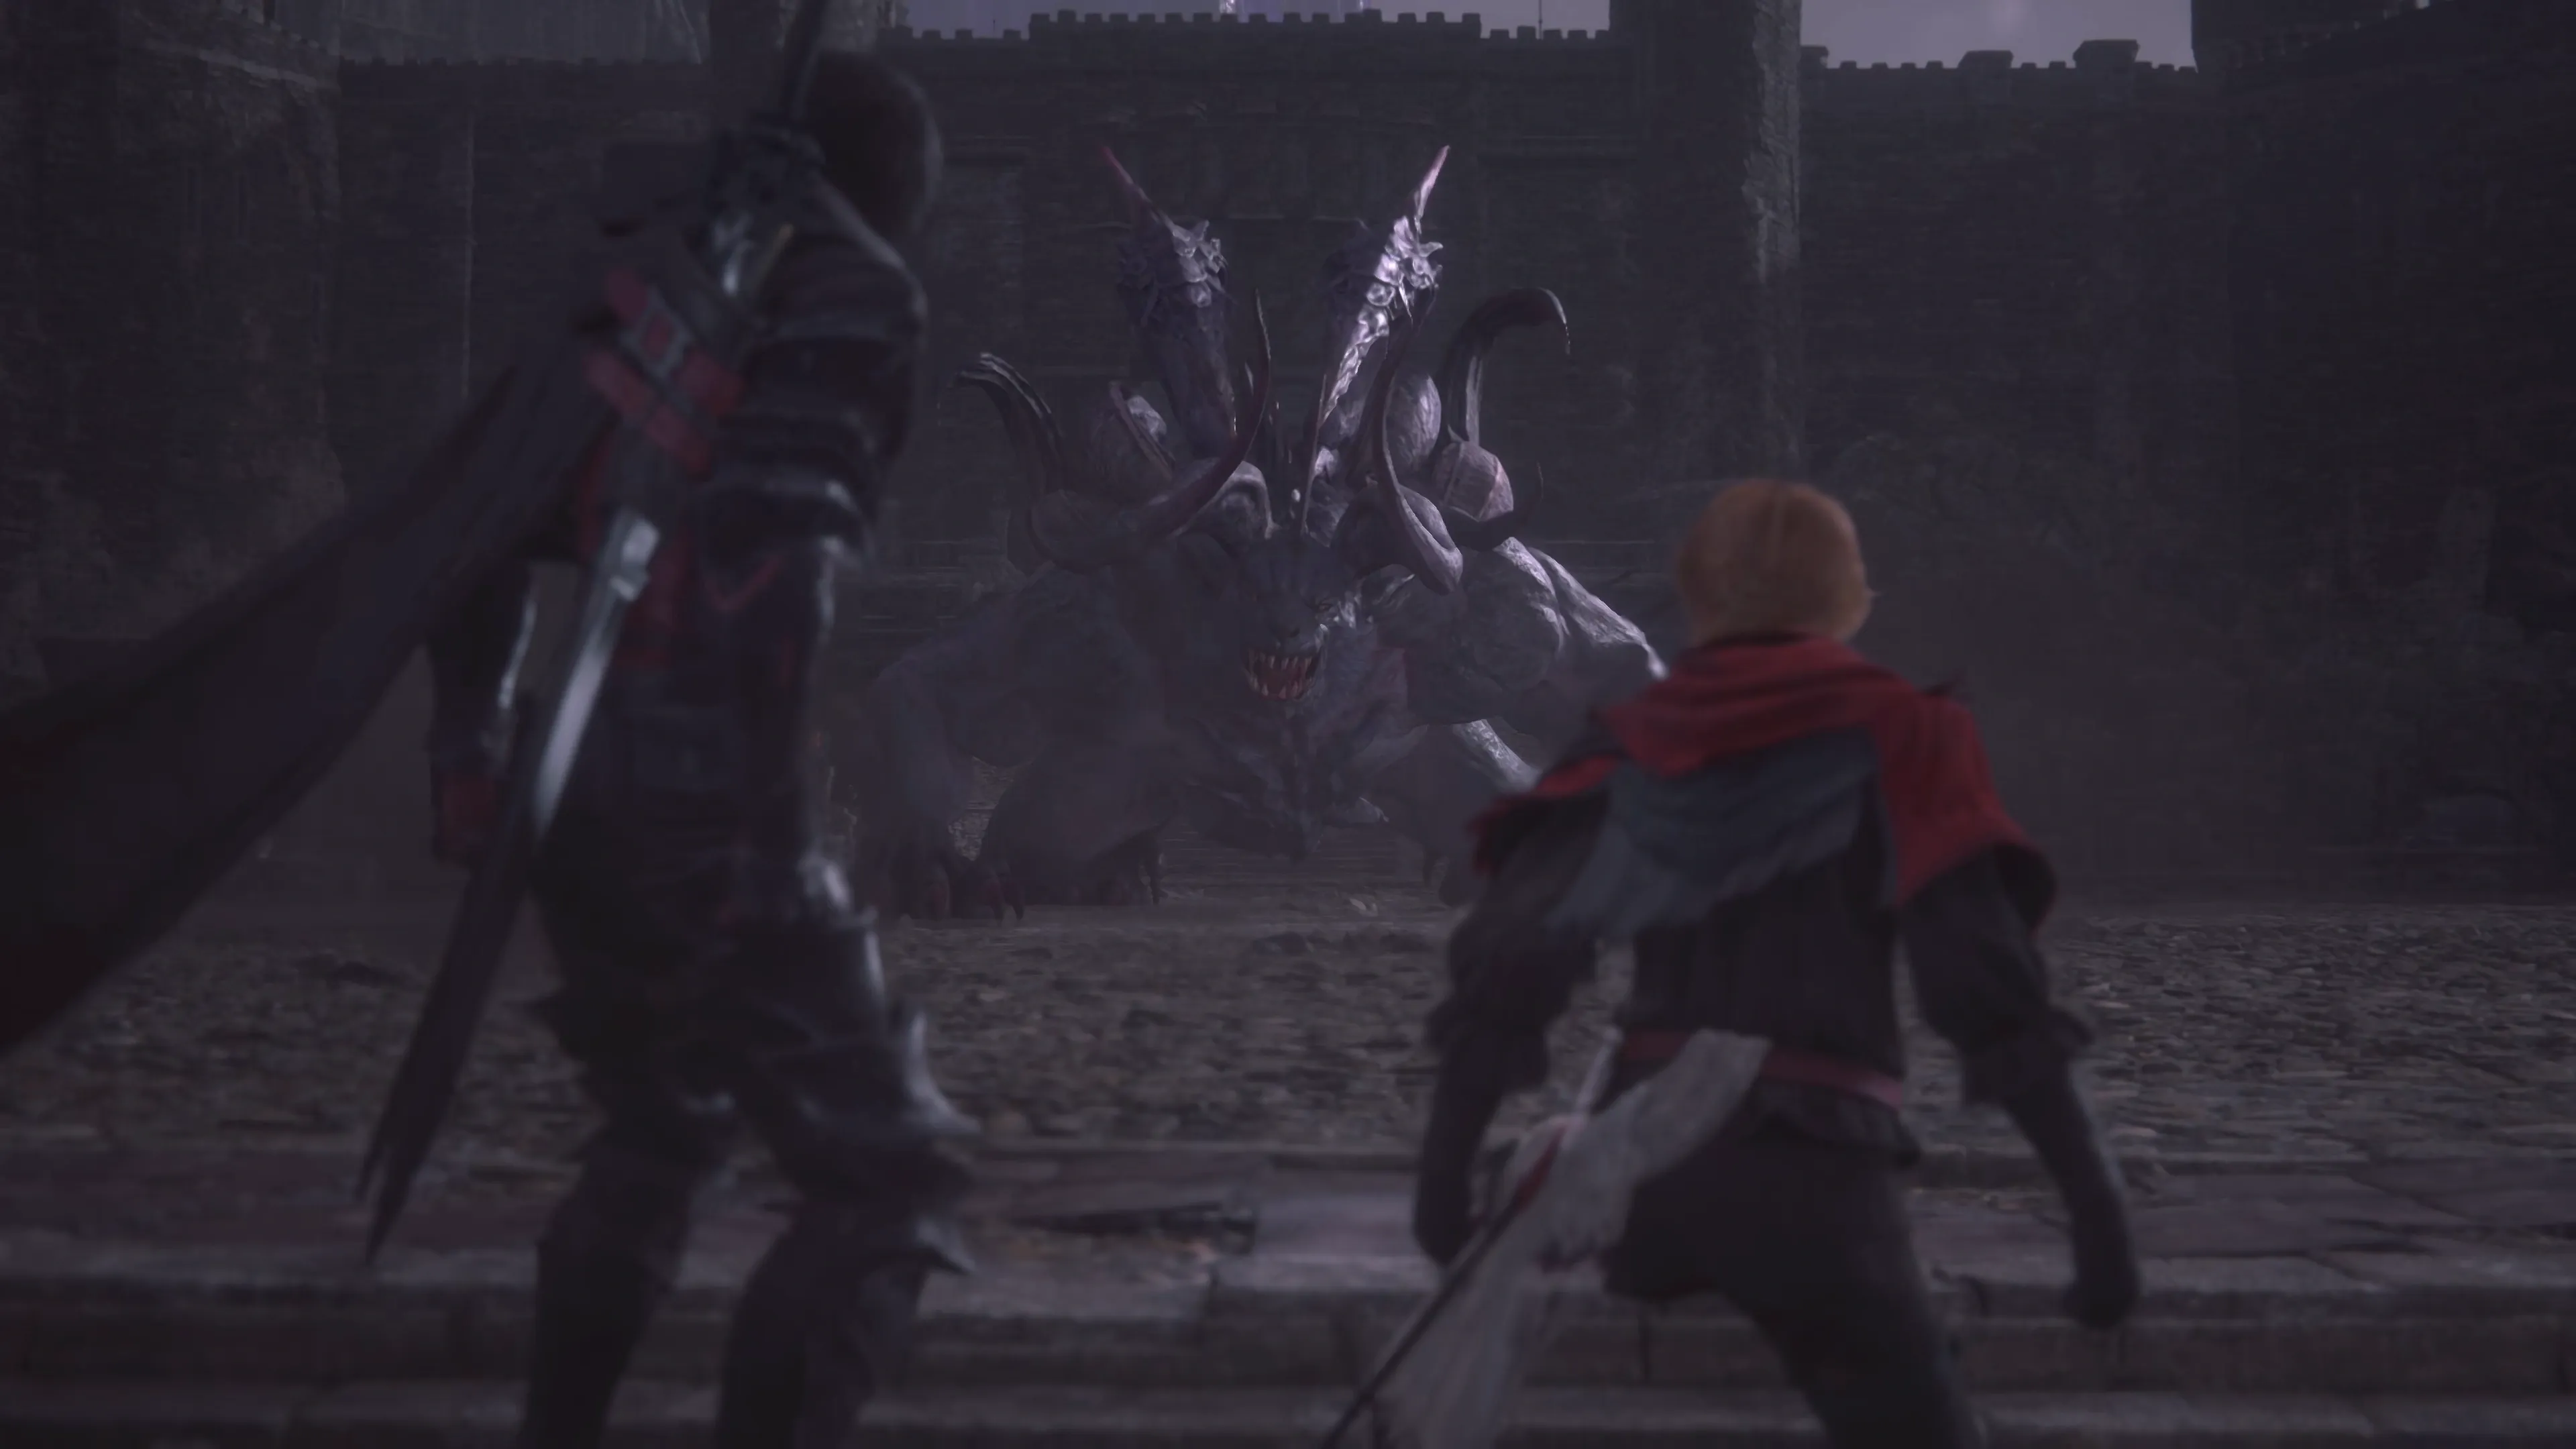
You’ve likely reached a point in the game where you’re capable of inflicting a massive amount of damage during your stagger combos. However, during this battle against Behemoth, there are a few cinematic scenes and abilities that are triggered once Behemoth reaches a certain amount of HP. Specifically, these triggers are the 60% and 1% HP marks.
The reason this is important to keep in mind is so that you don’t waste a ![]() Limit Break,
Limit Break, ![]() Gigaflare, Zantetsuken, etc., if you’re going to push up against that HP trigger. Behemoth will stop taking damage until after the cinematic plays when it reaches these HP values.
Gigaflare, Zantetsuken, etc., if you’re going to push up against that HP trigger. Behemoth will stop taking damage until after the cinematic plays when it reaches these HP values.
Behemoth’s attacks include:
![]() Physical Jumps and Swings:
Physical Jumps and Swings:
These attacks are very similar to those you’ve seen while fighting Flame Lizard and the Coeurl. Be ready to dodge if you see Behemoth getting prepared to jump across the screen or raise one of its claws to swing.
![]() Comet:
Comet:
Behemoth will summon up to three comets that land wherever Clive is standing. These comets emit a large ring of magic outward from where they land, just like during Sleipnir’s Dead Man’s Brier attack or if you fought ![]() Svarog.
Svarog.
At 60% HP, Behemoth will use an attack called “Ecliptic Meteor,” which is purely cinematic, but then it will use:
![]() Maelstrom:
Maelstrom:
This attack is sort of like Benedikta’s Tornado attack and like ![]() Aerial Blast. It doesn’t take up too much of the battlefield, though, so make sure to stay out of its way.
Aerial Blast. It doesn’t take up too much of the battlefield, though, so make sure to stay out of its way.
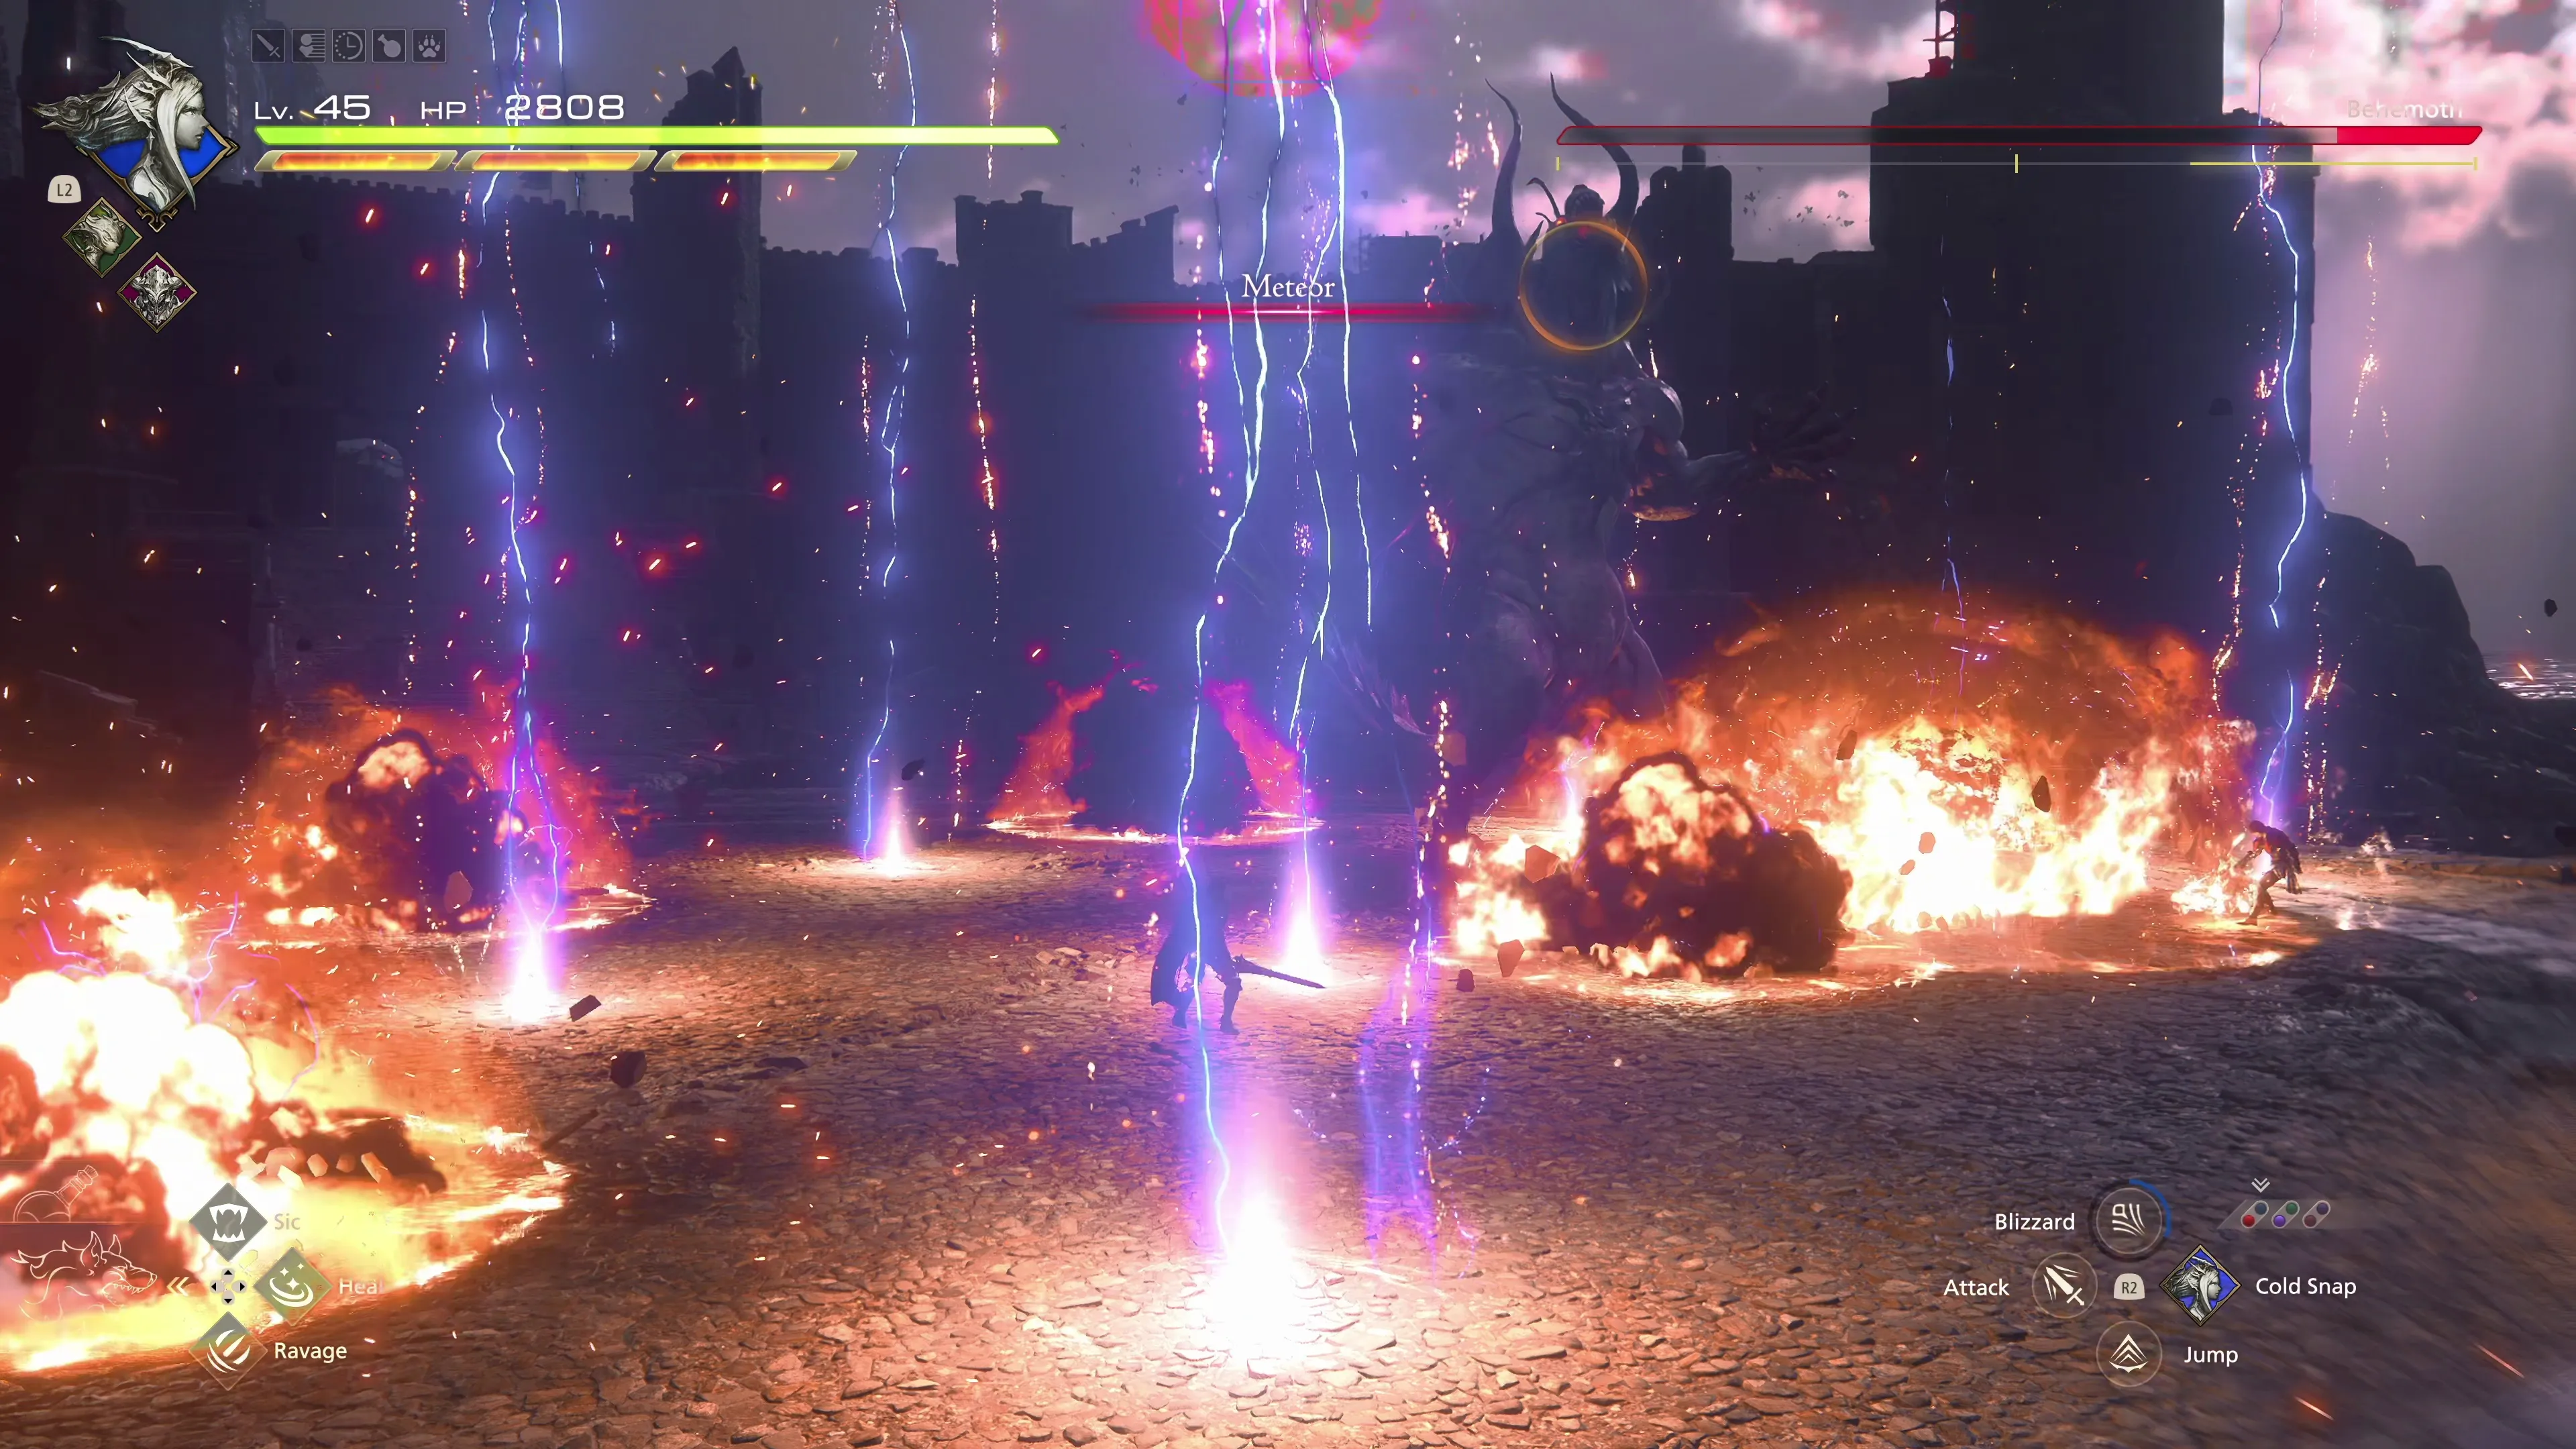
At 1% HP, Behemoth will use two attacks:
![]() Meteor:
Meteor:
Many fans of the Final Fantasy series might be familiar with this attack. A large number of Meteors will be summoned, which will slam into the ground. The ring of energy that emanates from where they land is smaller, making them easier to dodge, but they take up a lot of the battlefield, so be careful where you stand.
![]() Extinction:
Extinction:
This attack will come right after Meteor. A giant meteor will be summoned directly over Clive. Run out of the impact area before it hits the battlefield.
There is no Medal of Valor for this battle, but check out the video below if you’re having trouble.
250
4,000
A video demonstration of how to successfully complete the fight against Behemoth.
Helpful Hint
Have you incorporated ![]() Rift Slip into your Eikonic Ability Set? After reading the description, most new players will likely dismiss this ability as either too complicated to use or not as powerful as other abilities. However, it’s worth mentioning that many players consider this to be one of the strongest abilities in the game.
Rift Slip into your Eikonic Ability Set? After reading the description, most new players will likely dismiss this ability as either too complicated to use or not as powerful as other abilities. However, it’s worth mentioning that many players consider this to be one of the strongest abilities in the game.
It definitely takes practice to use, and it gets easier and easier to use as you build up experience in the game. If you’re new to the game, you may want to continue using other abilities, but if you’re open to attempting to learn some advanced play with ![]() Rift Slip, check out the
Rift Slip, check out the ![]() Odin section for tips and tricks on how to use this ability effectively in battle.
Odin section for tips and tricks on how to use this ability effectively in battle.
Head up the stairs and grab the two Glimmers to refill your ![]() Potions and
Potions and ![]() High Potions. You’ll face off against a group of Akashic at the top of the stairs. Try to group them all up and use
High Potions. You’ll face off against a group of Akashic at the top of the stairs. Try to group them all up and use ![]() Diamond Dust and
Diamond Dust and ![]() Pile Drive on them. Alternatively, you should get into the habit of charging and unleashing Zantetsuken on huge groups of enemies by activating
Pile Drive on them. Alternatively, you should get into the habit of charging and unleashing Zantetsuken on huge groups of enemies by activating ![]() Arm of Darkness and using abilities like
Arm of Darkness and using abilities like ![]() Dancing Steel.
Dancing Steel.
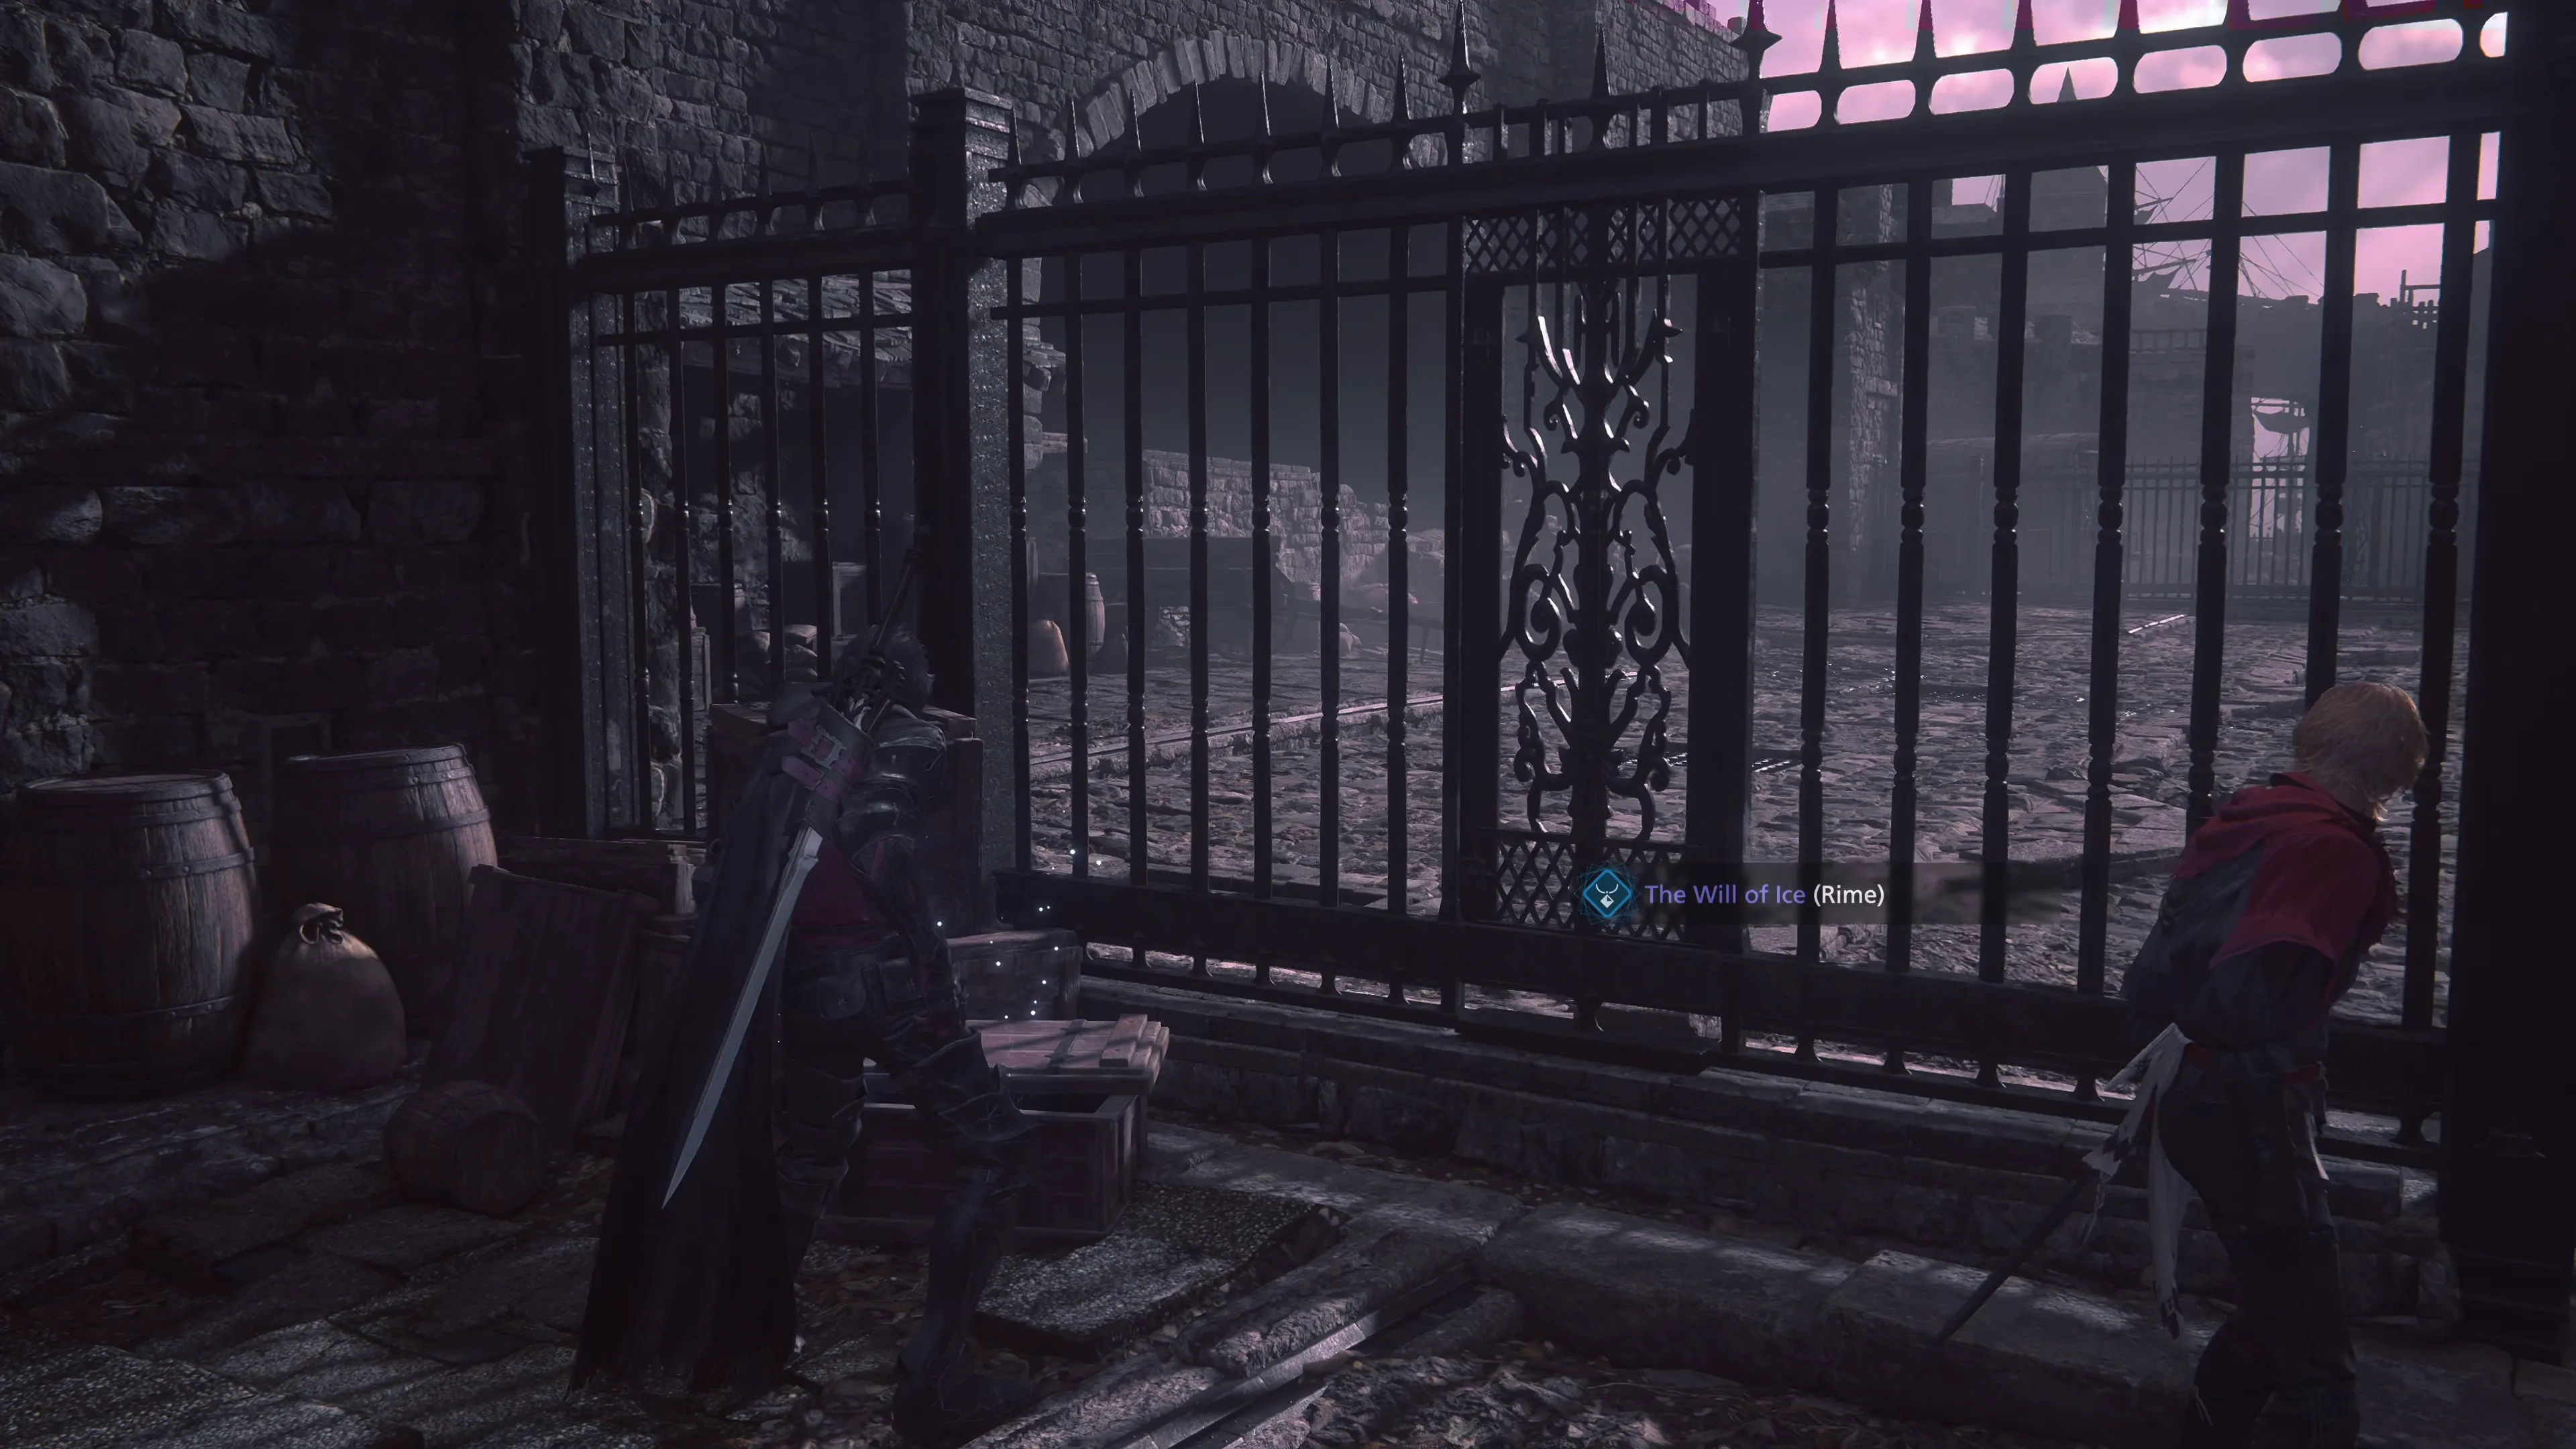
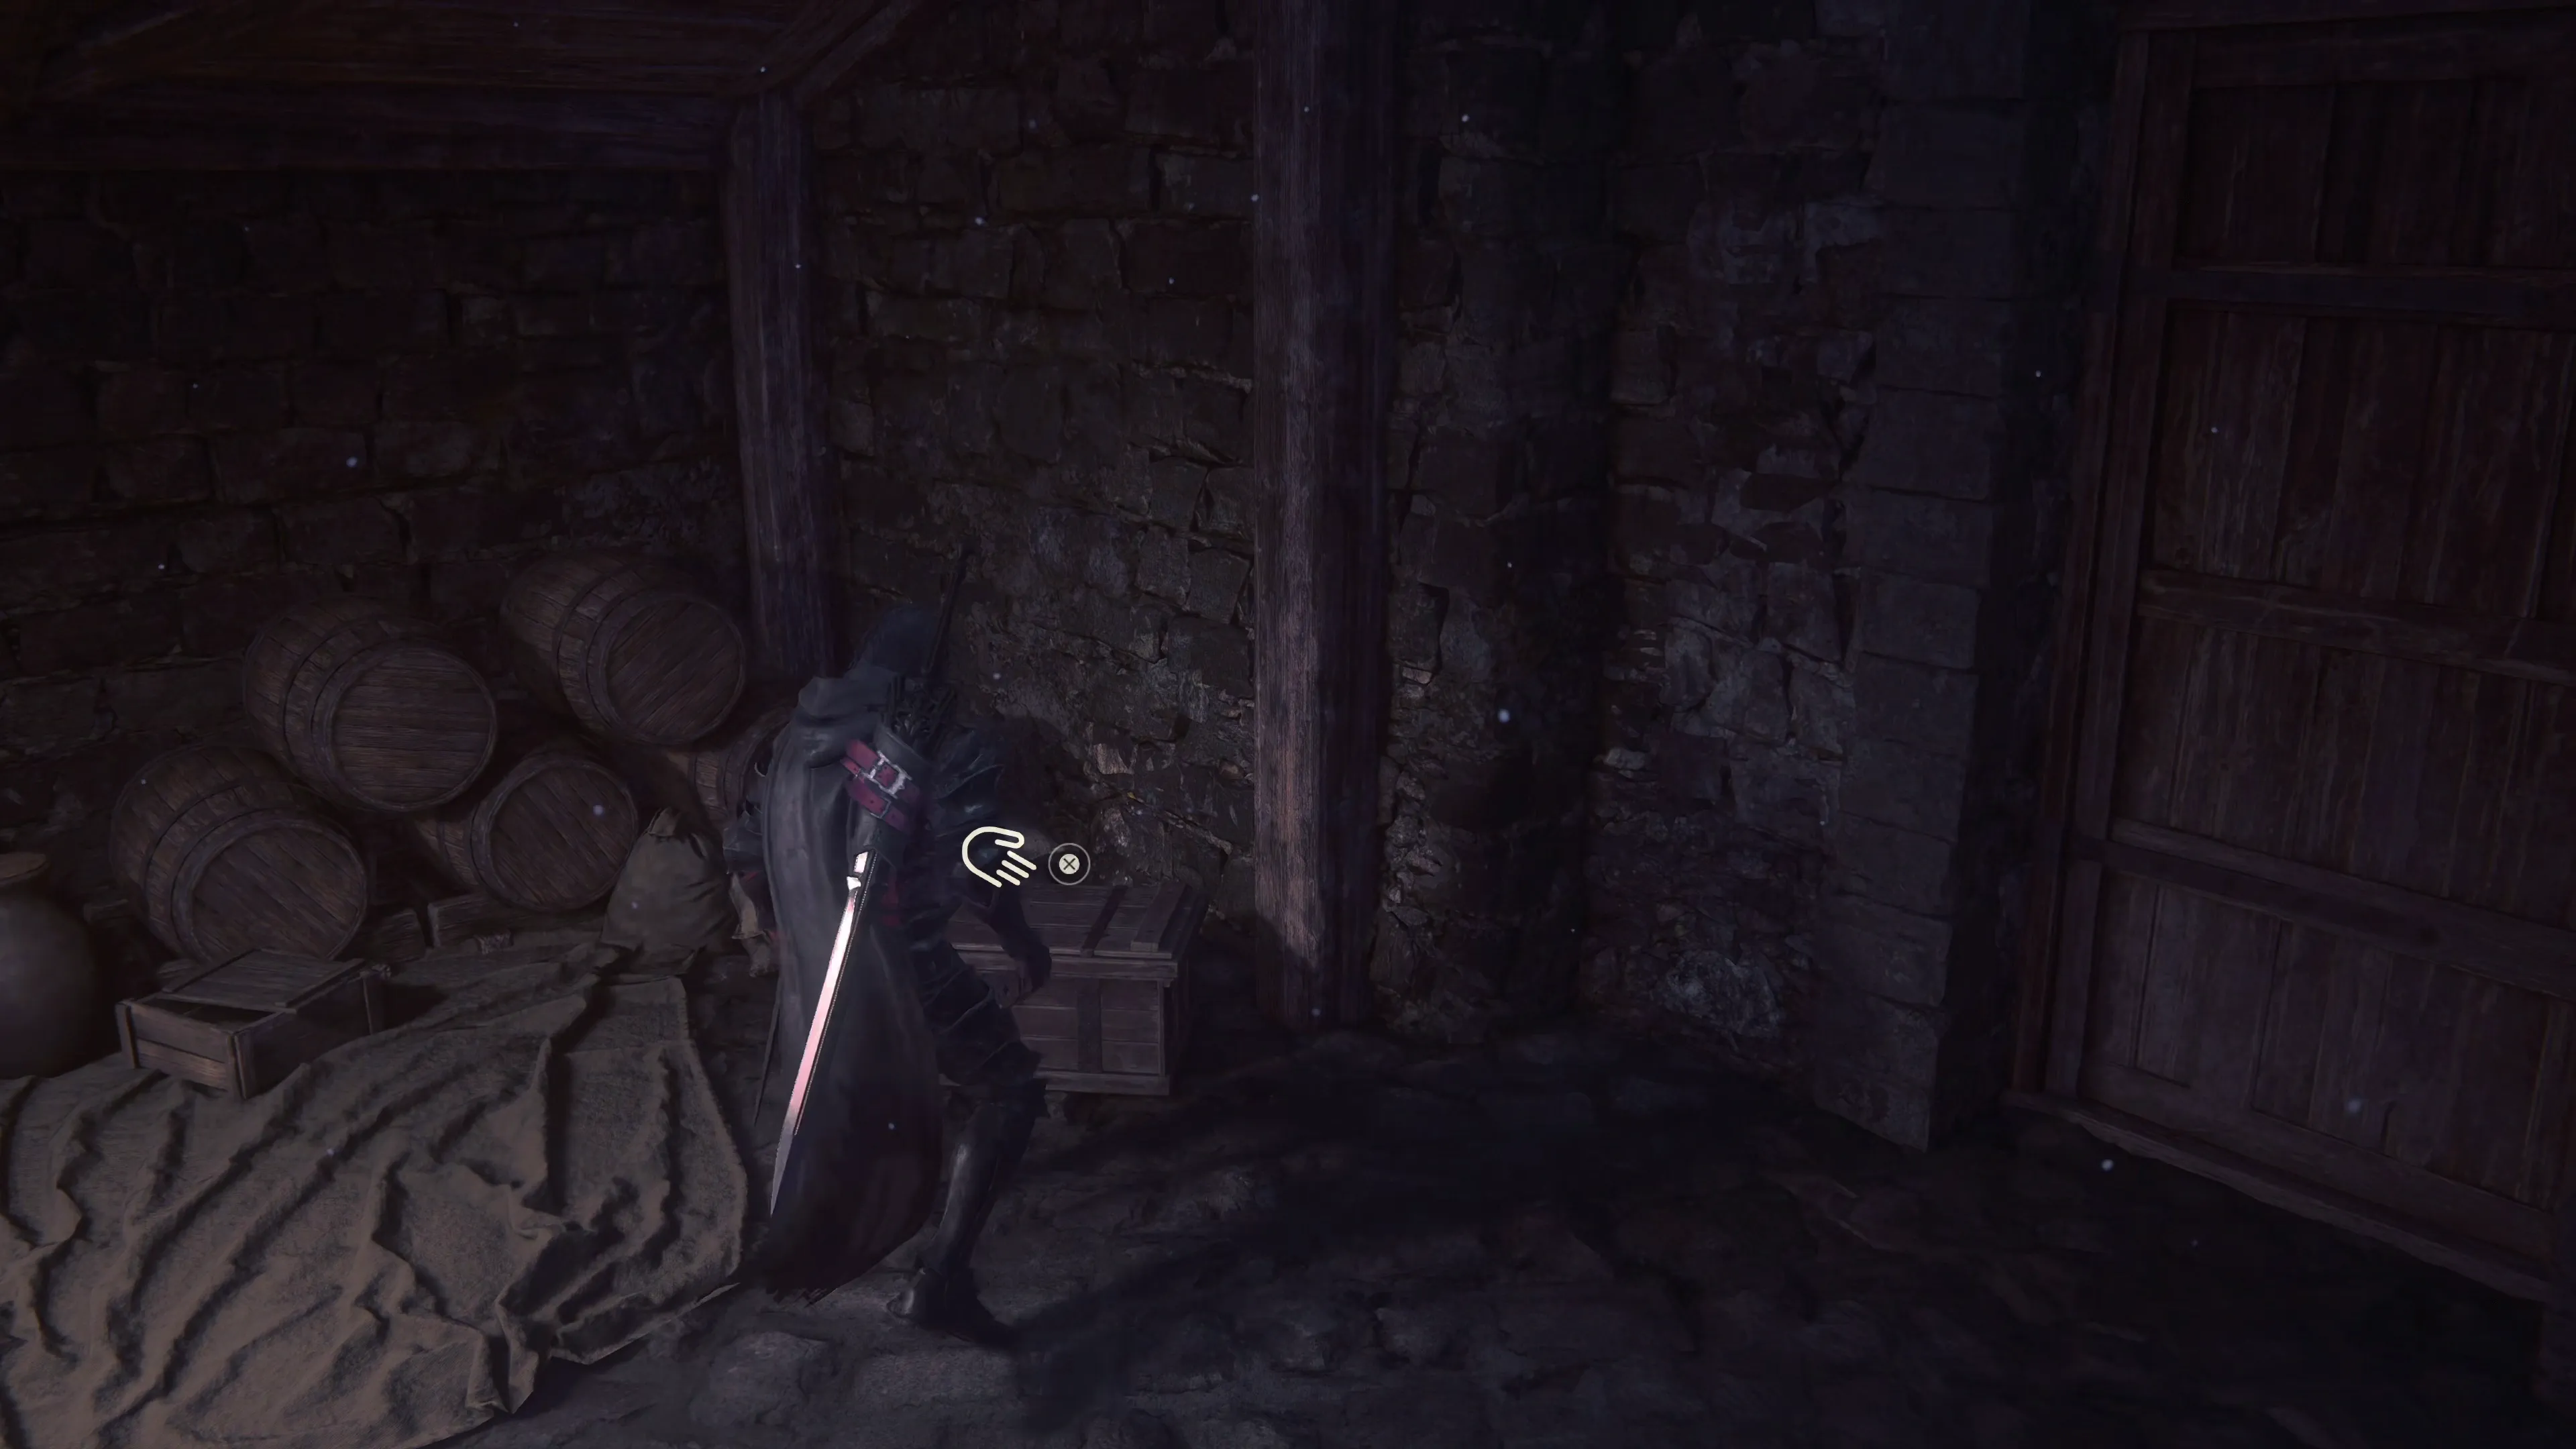
Go down the stairs, but before you go through the gap in the iron gate, open up the treasure coffer to the left of the opening to pick up ![]() The Will of Ice (Rime). Defeat the next group of Akashic enemies on the other side of the gate.
The Will of Ice (Rime). Defeat the next group of Akashic enemies on the other side of the gate.
Open the gate on the opposite side of the street, and you’ll reach a split pathway. There is a treasure coffer down the right path, which contains fifteen ![]() Steelsilk, fifteen
Steelsilk, fifteen ![]() Bloody Hides, and fifteen
Bloody Hides, and fifteen ![]() Sharp Fangs. However, the best option is to utilize Zantetsuken because it hits all of the nearby enemies, so you can run around gathering up all of the enemies from both sides and take them out in one fell swoop. This will get you tons of
Sharp Fangs. However, the best option is to utilize Zantetsuken because it hits all of the nearby enemies, so you can run around gathering up all of the enemies from both sides and take them out in one fell swoop. This will get you tons of ![]() Experience Points.
Experience Points.
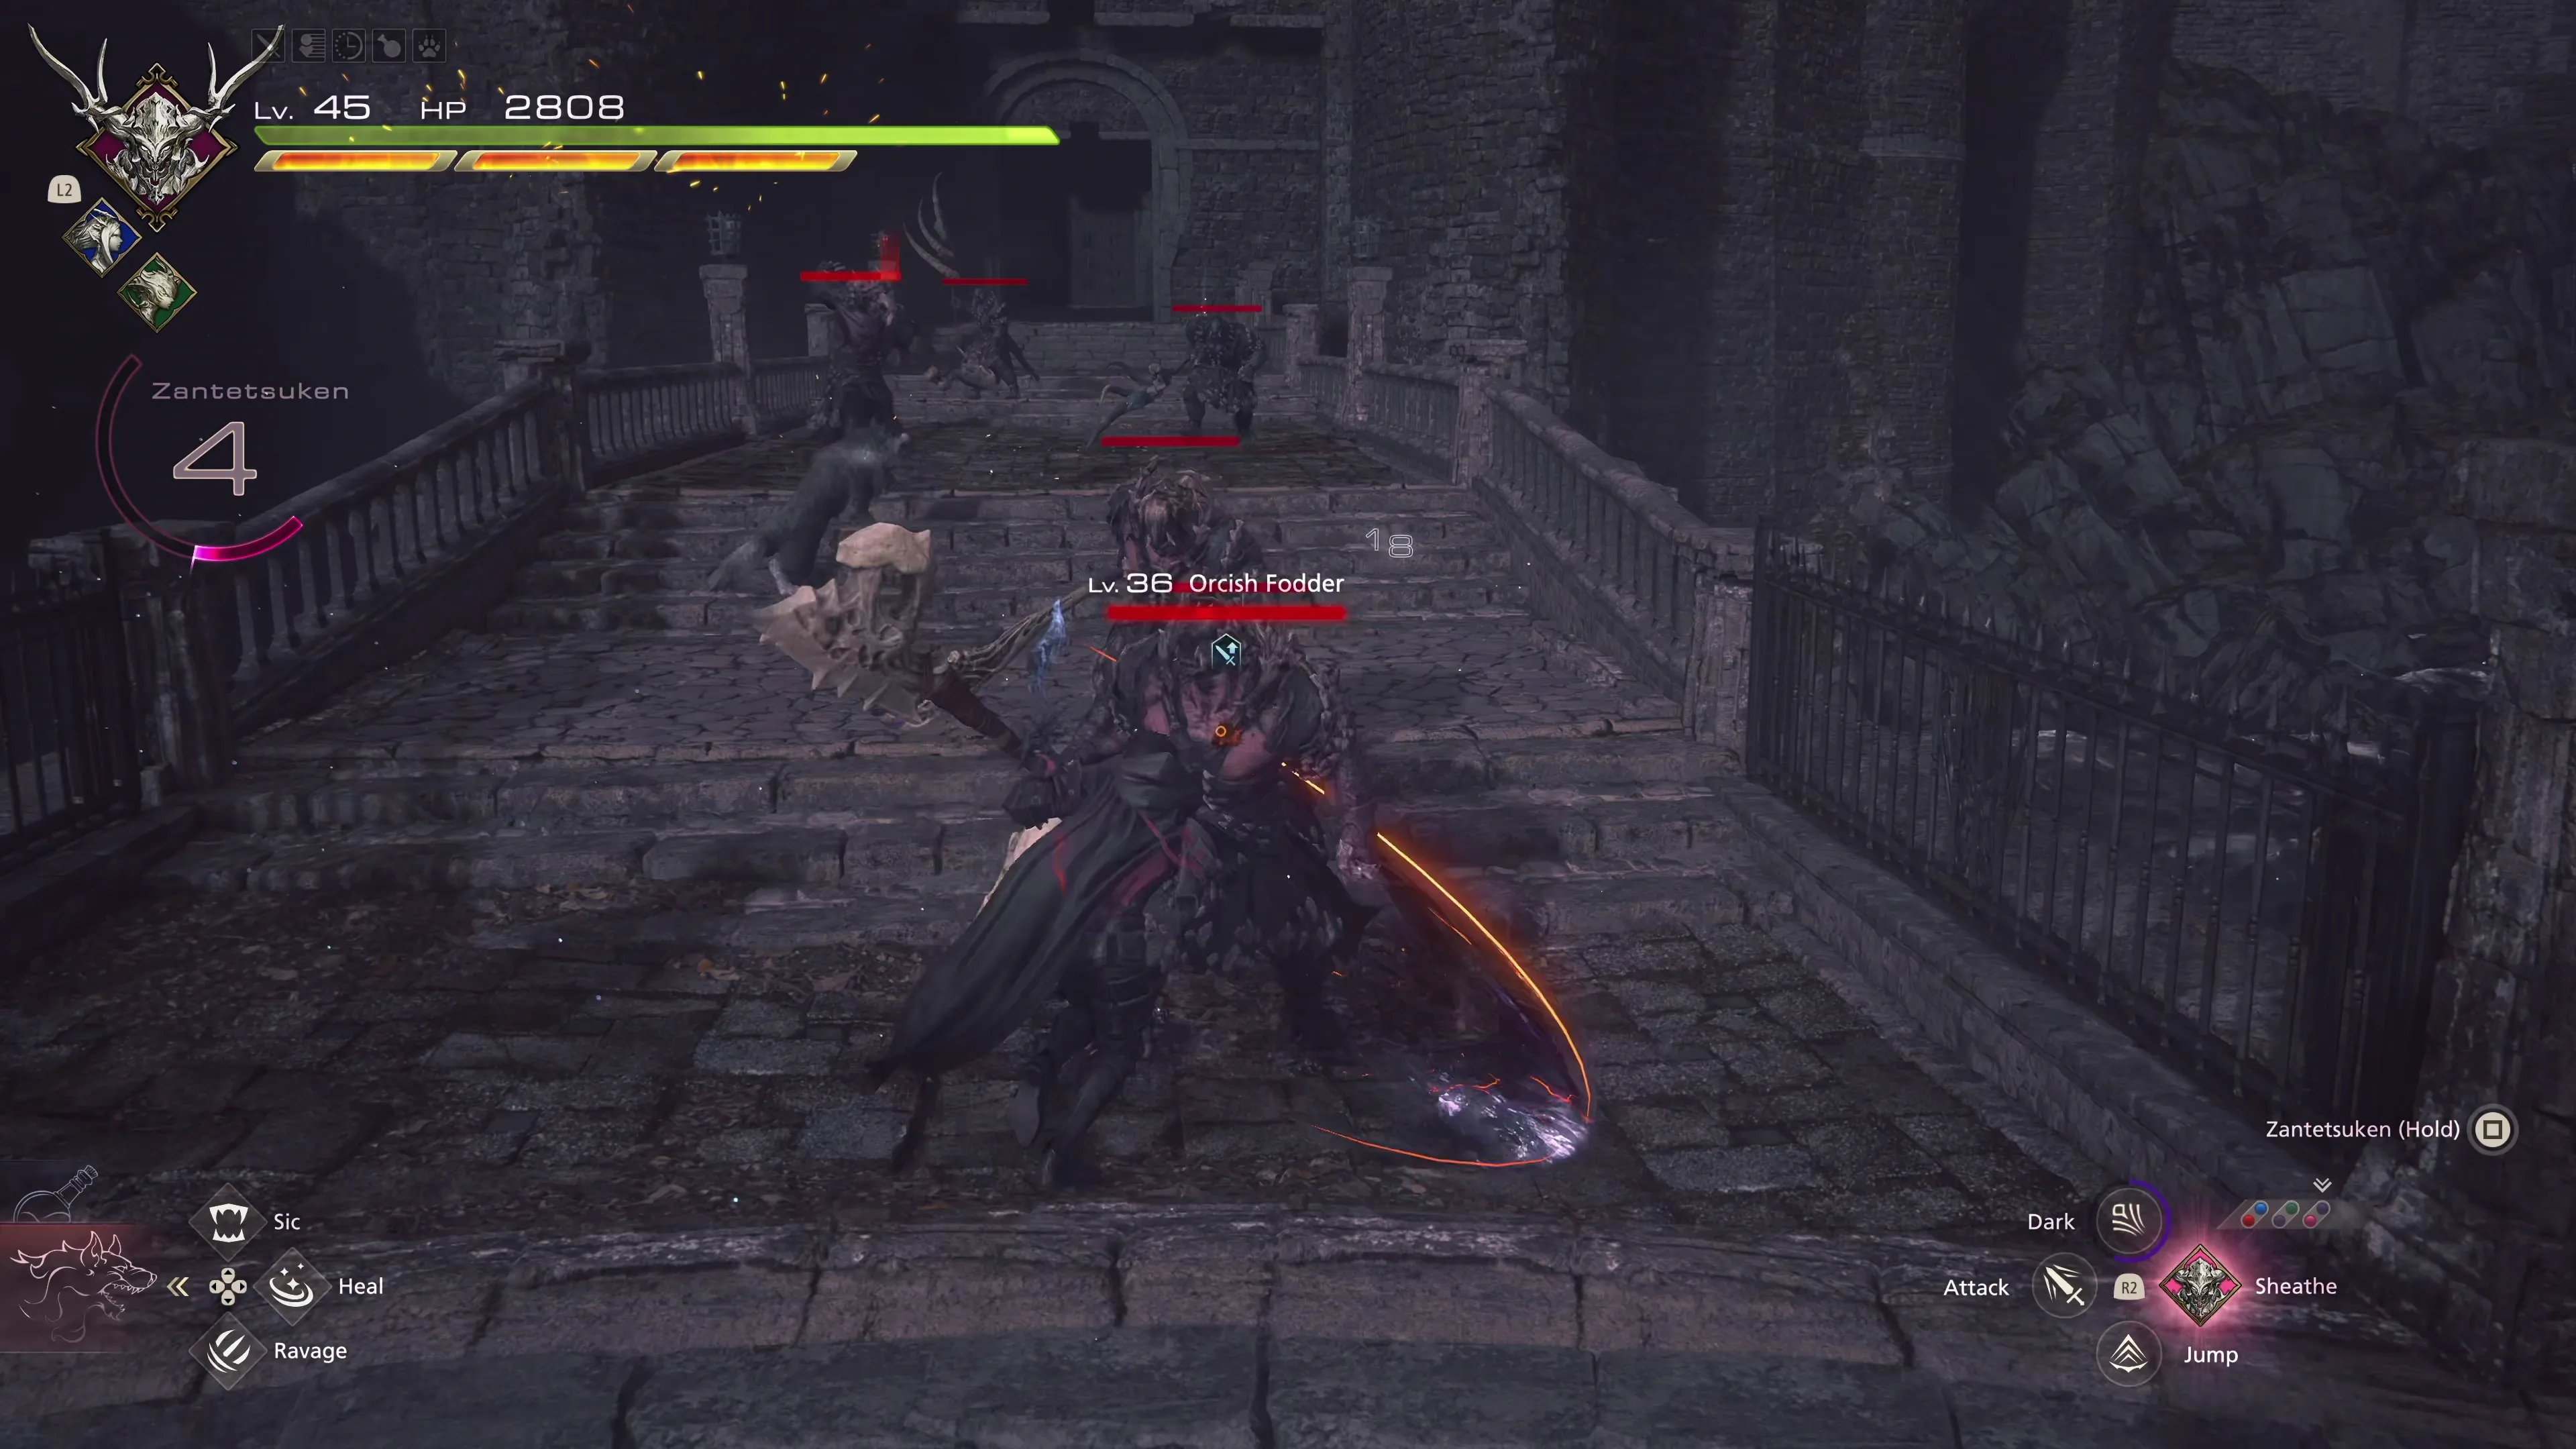
Head through the gate out towards the ocean and defeat the next group of Orcish Fodder. This group includes an Akashic Gunnvaldr, which is another cannonier-type enemy, that you’ll have to focus a bit more on to bring him down. Proceed through the next set of iron gates towards the horse statue and then around the corner to battle the next group of Orcs.
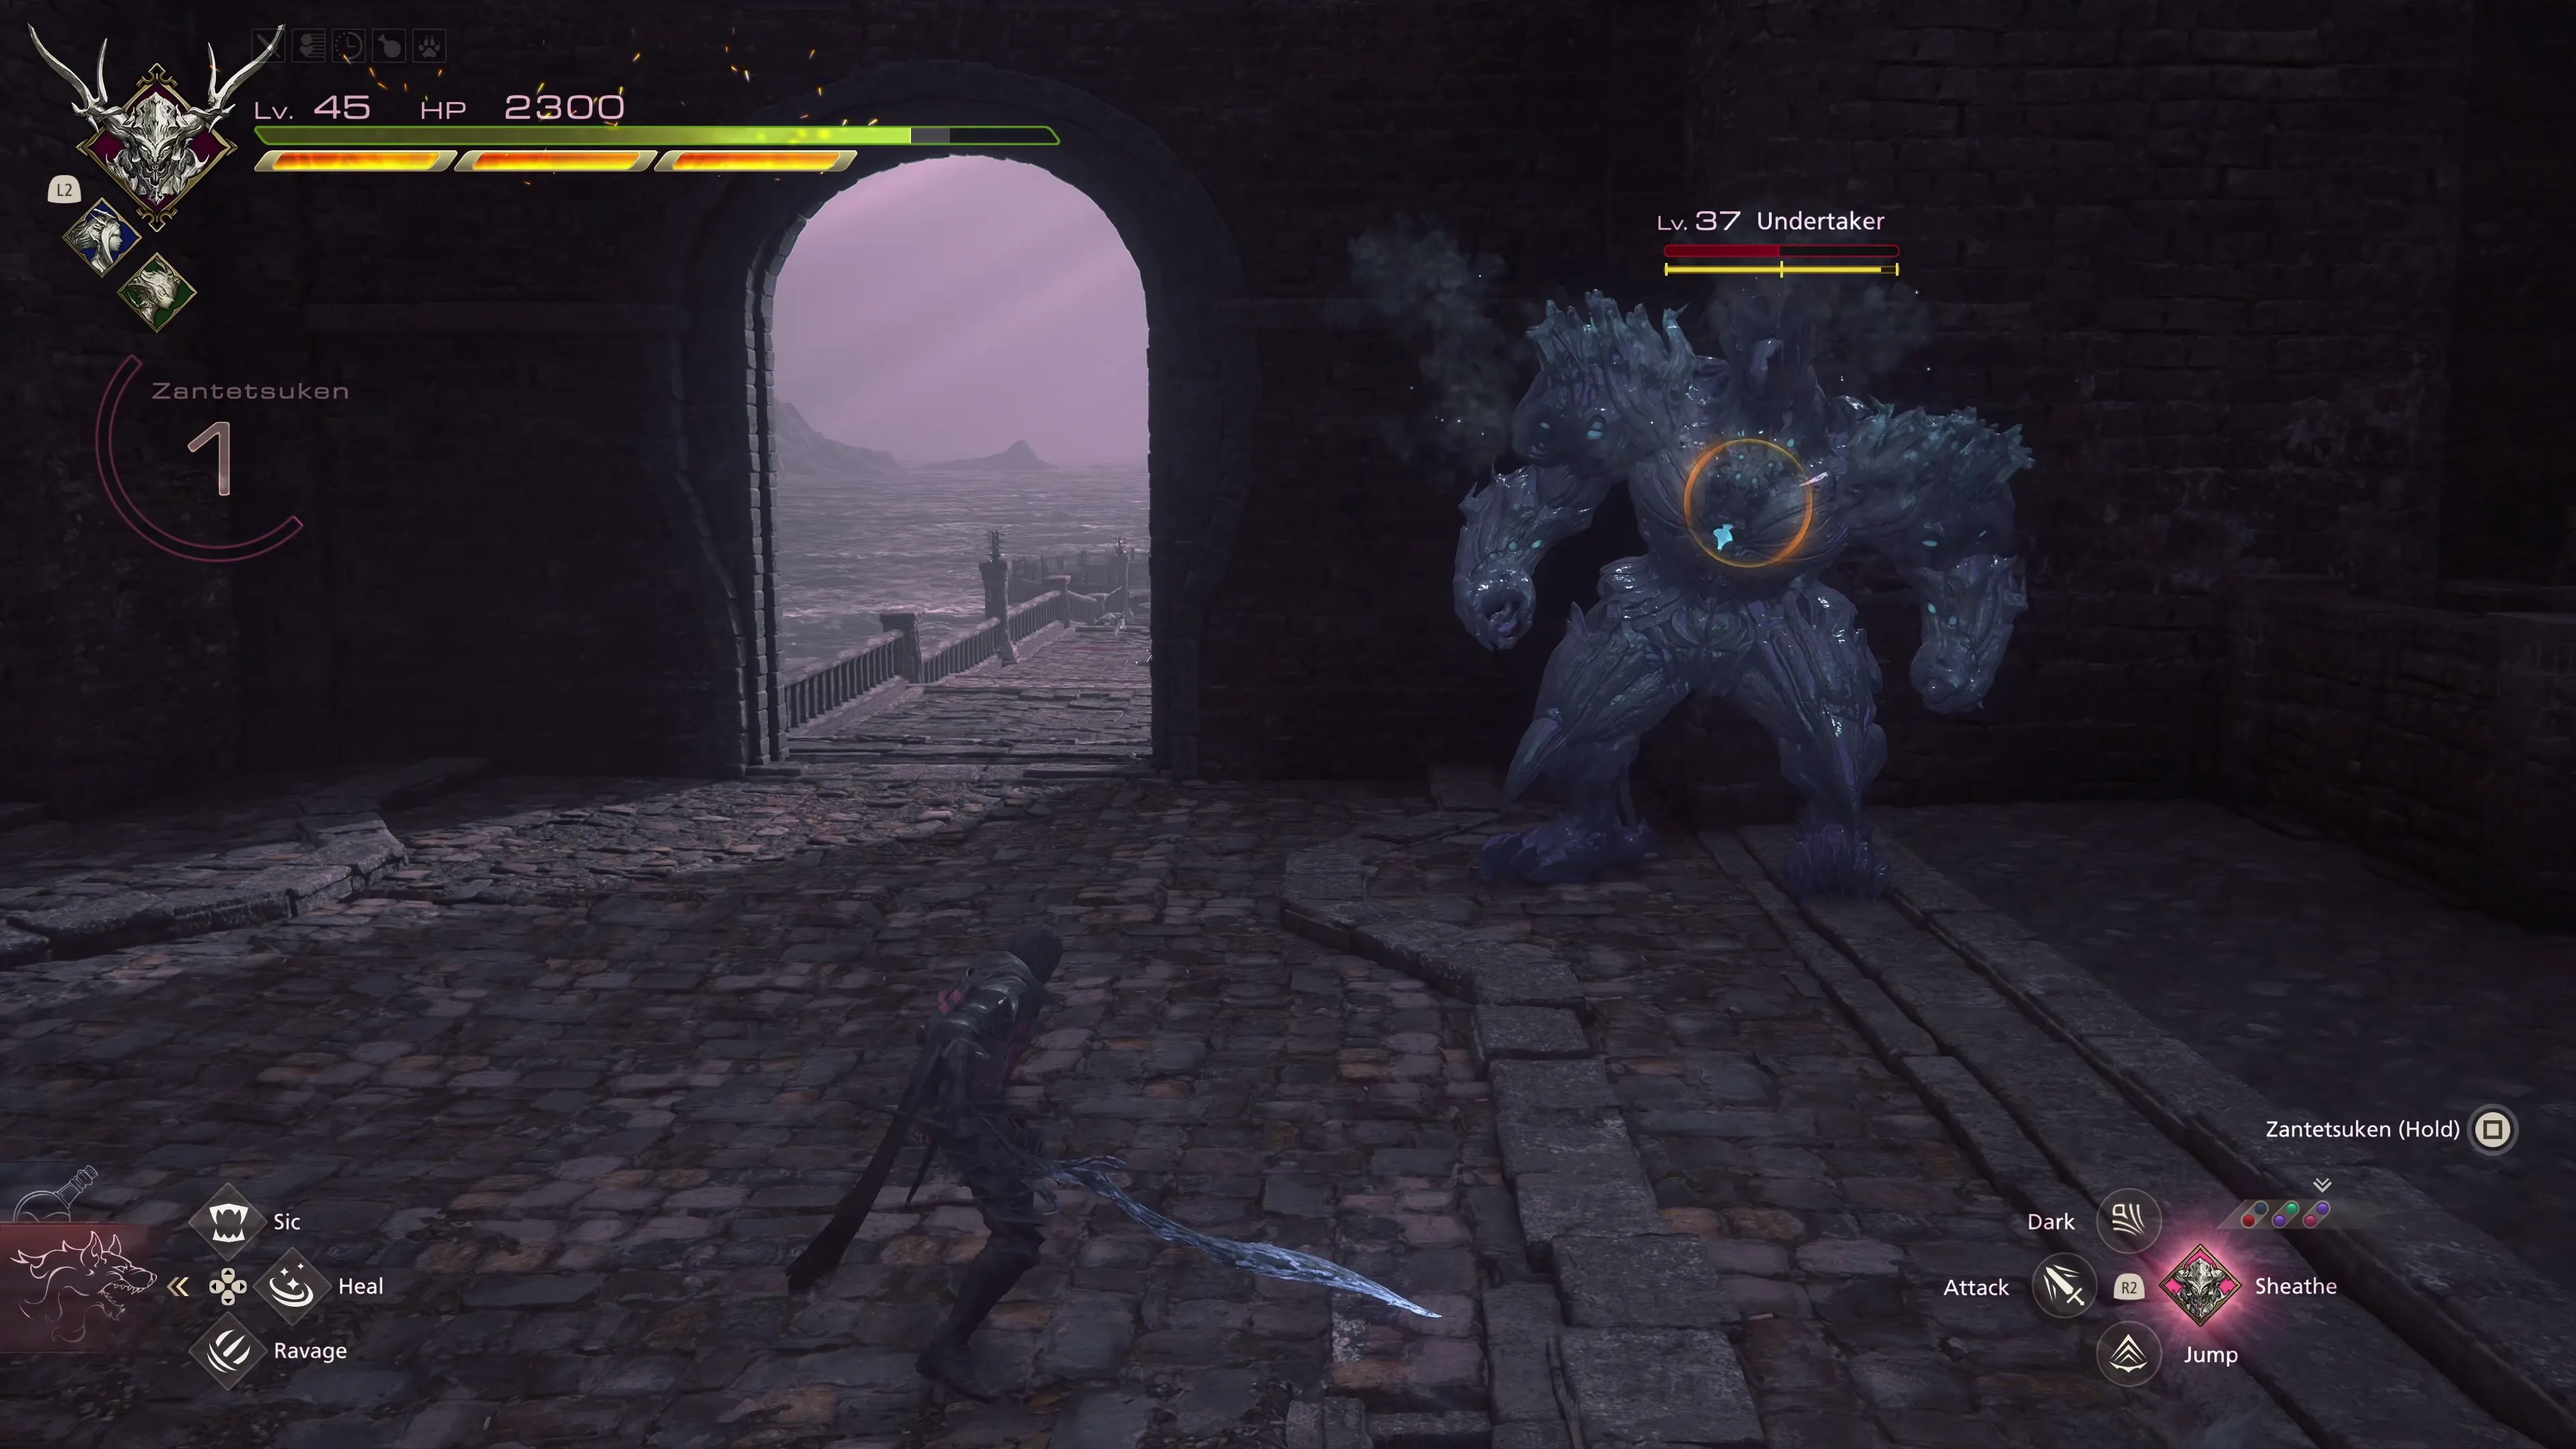
In the next courtyard area, you’ll face another Undertaker (which is the same as the Undertaker you fought before) along with a group of Specters. This one is easier to defeat, though, now that Clive is a higher level and has access to a broader range of Eikonic Abilities. Go through the doors on the far side of the courtyard and up the stairs on the right.
Along the staircase, you will pass by a room on the right side that contains a treasure coffer. Open it up to obtain ![]() The Will of Light (Satellite). Continue up the stairs to find another treasure coffer that contains 100
The Will of Light (Satellite). Continue up the stairs to find another treasure coffer that contains 100 ![]() Gil, ten chunks of
Gil, ten chunks of ![]() Wyrrite, and ten pinches of
Wyrrite, and ten pinches of ![]() Magicked Ash. Keep going up the stairs until you reach the next group of Wraiths and Revenants.
Magicked Ash. Keep going up the stairs until you reach the next group of Wraiths and Revenants.
In the next large courtyard area outside, you’ll face an Akashic Coeurl accompanied by two Revenants. Let Joshua and Torgal take care of the Wraiths while you focus on the Coeurl. This shouldn’t be too difficult because its moves are nearly identical to the Coeurl you faced in Rosalith Castle.
Go down the stairs at the far end of the courtyard and take the stairs down to the right one more level. In this lower area, you’ll find another treasure coffer that contains a whopping 2,400 ![]() Gil!
Gil!
Head back up the stairs, and you’ll see an upper and a lower pathway that both lead around the corner. The upper path has a Glimmer at the end of it, so head up there first, and then take the stairs down into the next open courtyard area and go through the gates.
Continue following the path down towards the large group of enemies along the stairs. This is another fantastic area for using your most powerful Area of Effect abilities, but if you’re using Odin, consider leaving your Zantetsuken gauge fully charged to prepare for an upcoming battle; don’t waste it on these enemies. Alternatively, use these low-level enemies to recharge it.

Grab the Glimmers that are scattered all over the place and head through the large gate by activating the switch on the right side with the ![]()
![]()
![]() button.
button.
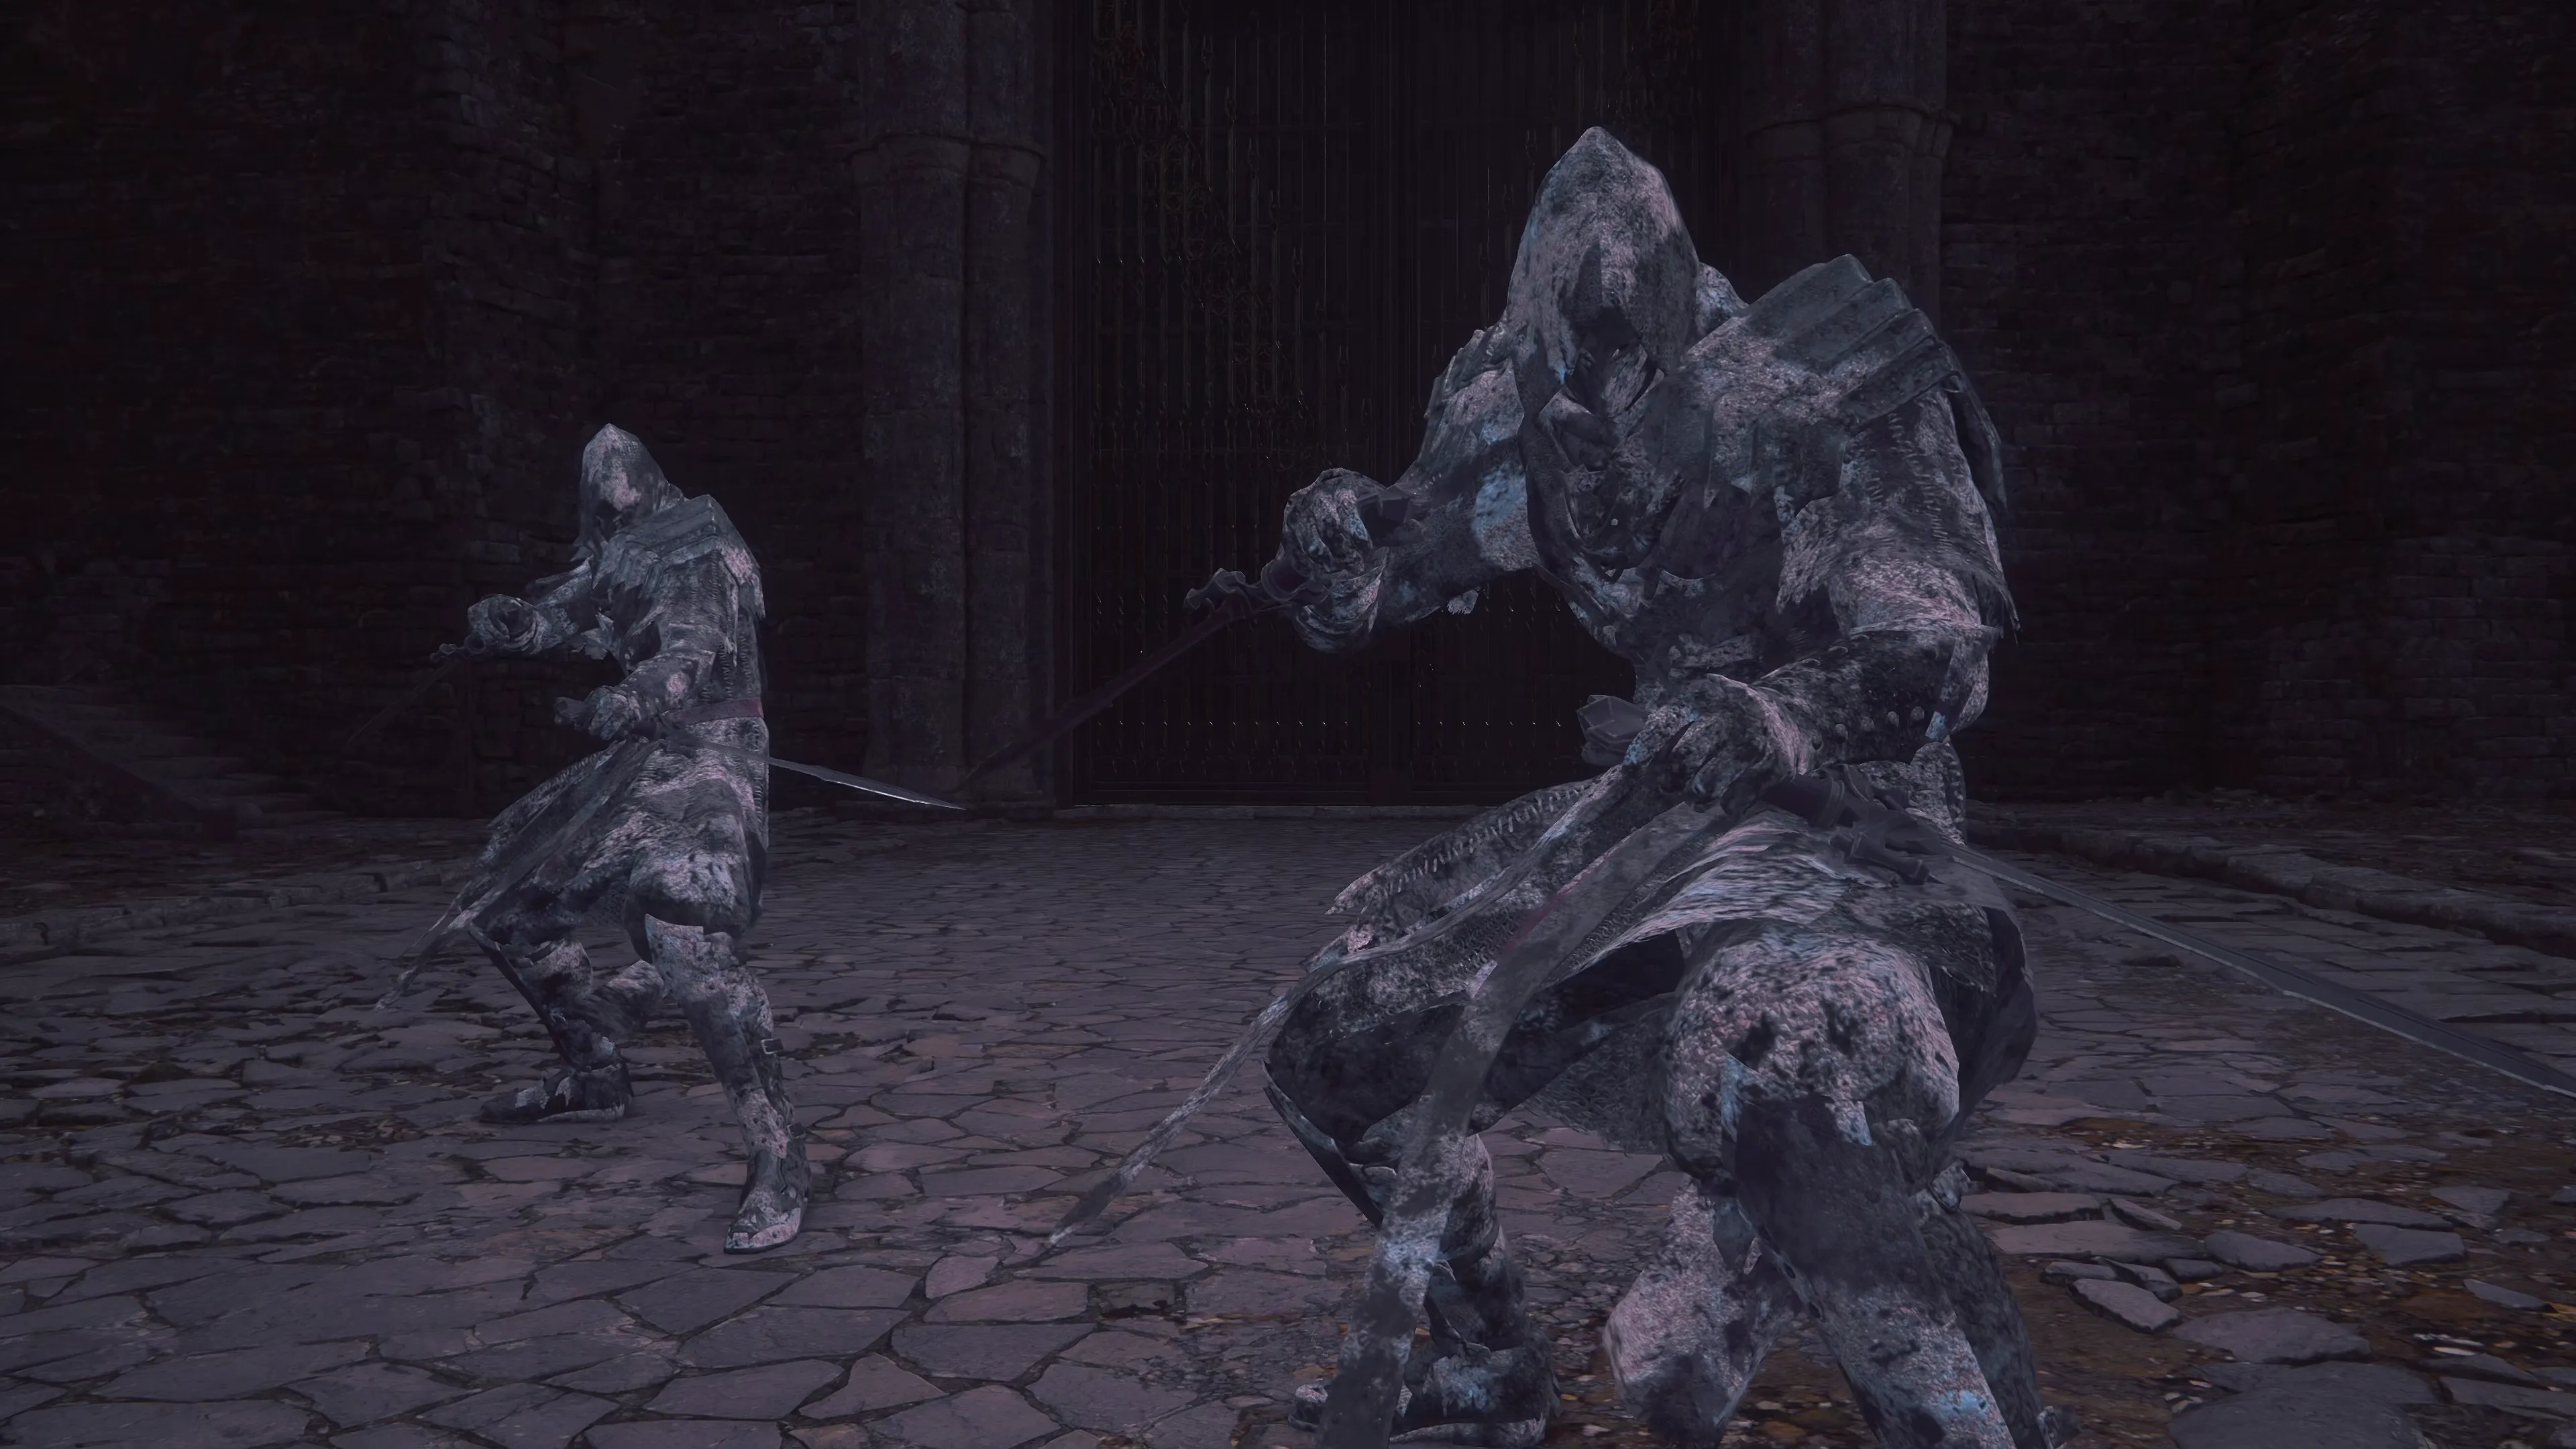
This fight is against two Akashic Tognvaldr enemies (ninja-type enemies), which are ones that, by now, you’re intimately familiar with. The only strategy you should try to employ is to make sure your abilities are hitting both of them whenever possible, but this can be challenging with how much they like to jump around. There will be a group of Akashic and Wraiths that spawn after you defeat them, but remember to leave your ![]() Limit Break and Zantetsuken fully charged for now.
Limit Break and Zantetsuken fully charged for now.
Finally, the last enemy you’ll face in this area is another Akashic Warlord. This enemy is similar to the other Warlords you’ve faced and not as powerful as ![]() Pandemonium, if you completed that Hunt. A cutscene will kick up after the battle.
Pandemonium, if you completed that Hunt. A cutscene will kick up after the battle.

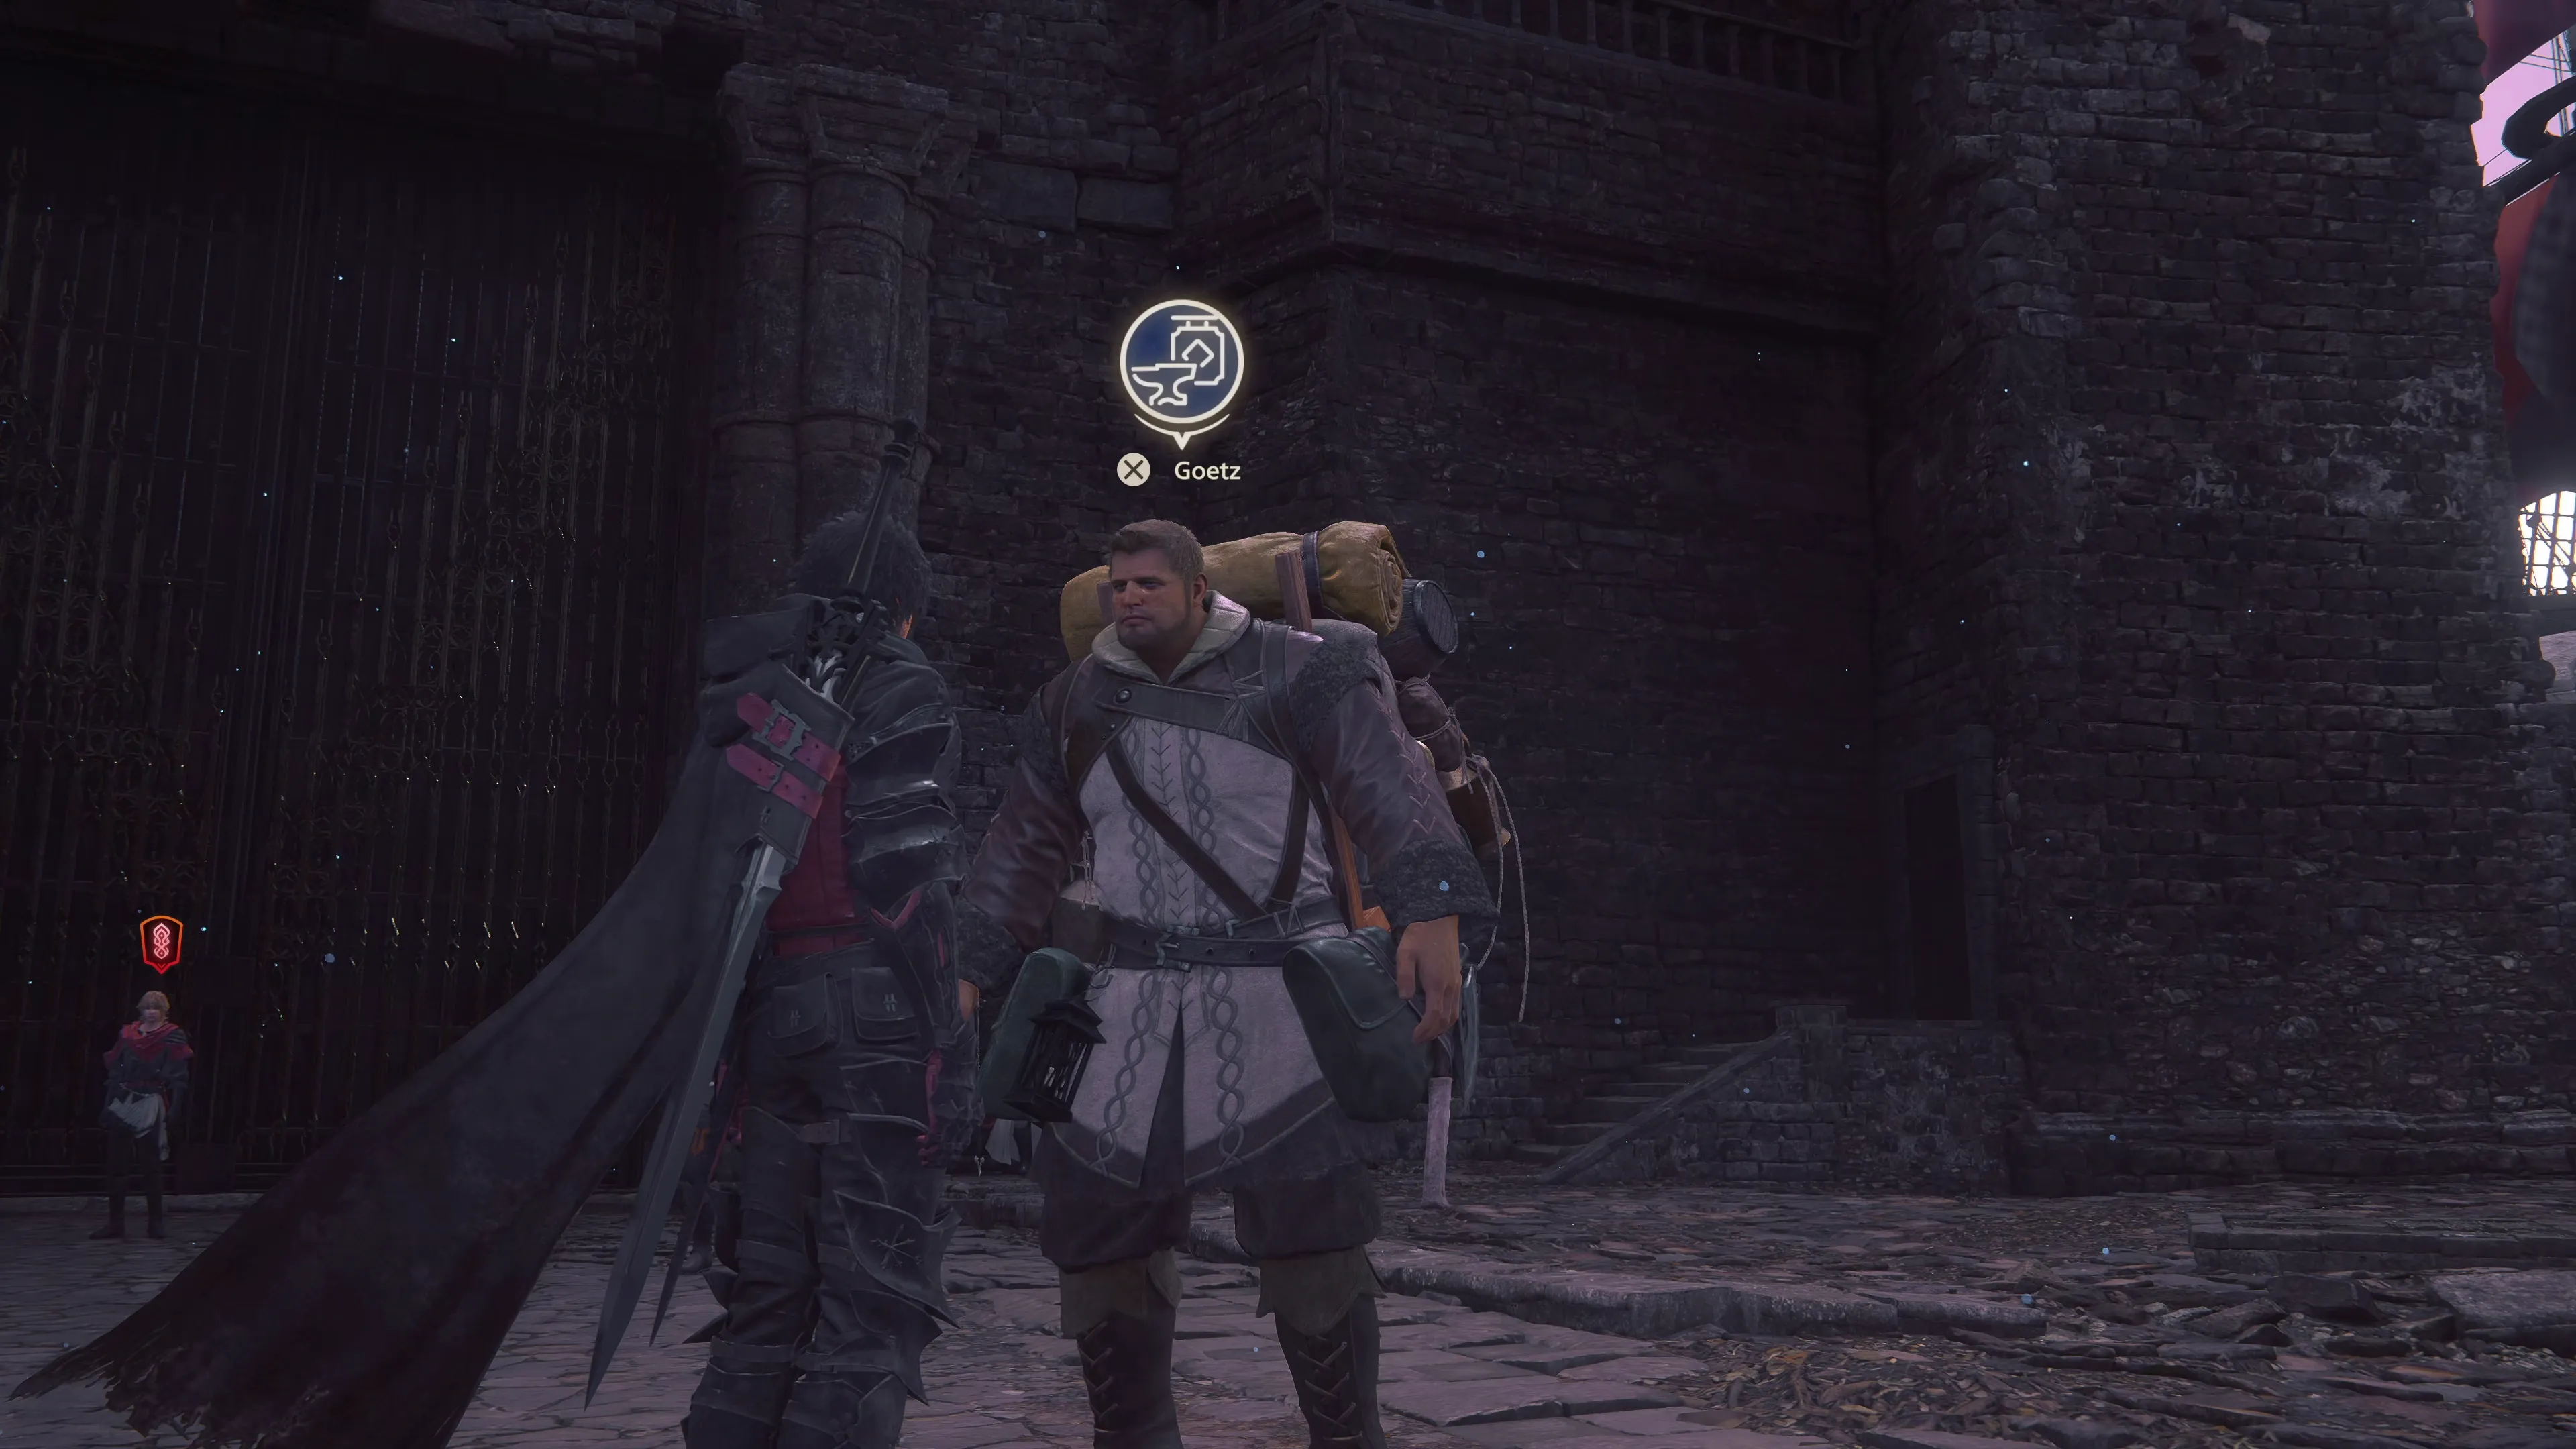
Speak to Goetz, and you can buy the ![]() Defender sword from him if you want. There isn’t much of a point, though, if you already have the
Defender sword from him if you want. There isn’t much of a point, though, if you already have the ![]() Ragnarok equipped, but you’ll be able to upgrade this sword later to make it more powerful. The
Ragnarok equipped, but you’ll be able to upgrade this sword later to make it more powerful. The ![]() Sun Bracelets fall into the same category, except that you’ll never be able to upgrade them to be more powerful than
Sun Bracelets fall into the same category, except that you’ll never be able to upgrade them to be more powerful than ![]() The Sons of Ouroboros (if you crafted them, that is), so the only reason to purchase the vambraces would be for completionists’ sake.
The Sons of Ouroboros (if you crafted them, that is), so the only reason to purchase the vambraces would be for completionists’ sake.
| Cost | |
|---|---|
| 5,000 |
|
| 4,500 |
Restock your ![]() Potions and
Potions and ![]() High Potions if you need to, and then save your game. Speak to Joshua when you’re ready to move on to the next section of the game. The plan is to go to the “Inner Sanctum,” but you’ll be going to…
High Potions if you need to, and then save your game. Speak to Joshua when you’re ready to move on to the next section of the game. The plan is to go to the “Inner Sanctum,” but you’ll be going to…
The Interdimensional Rift
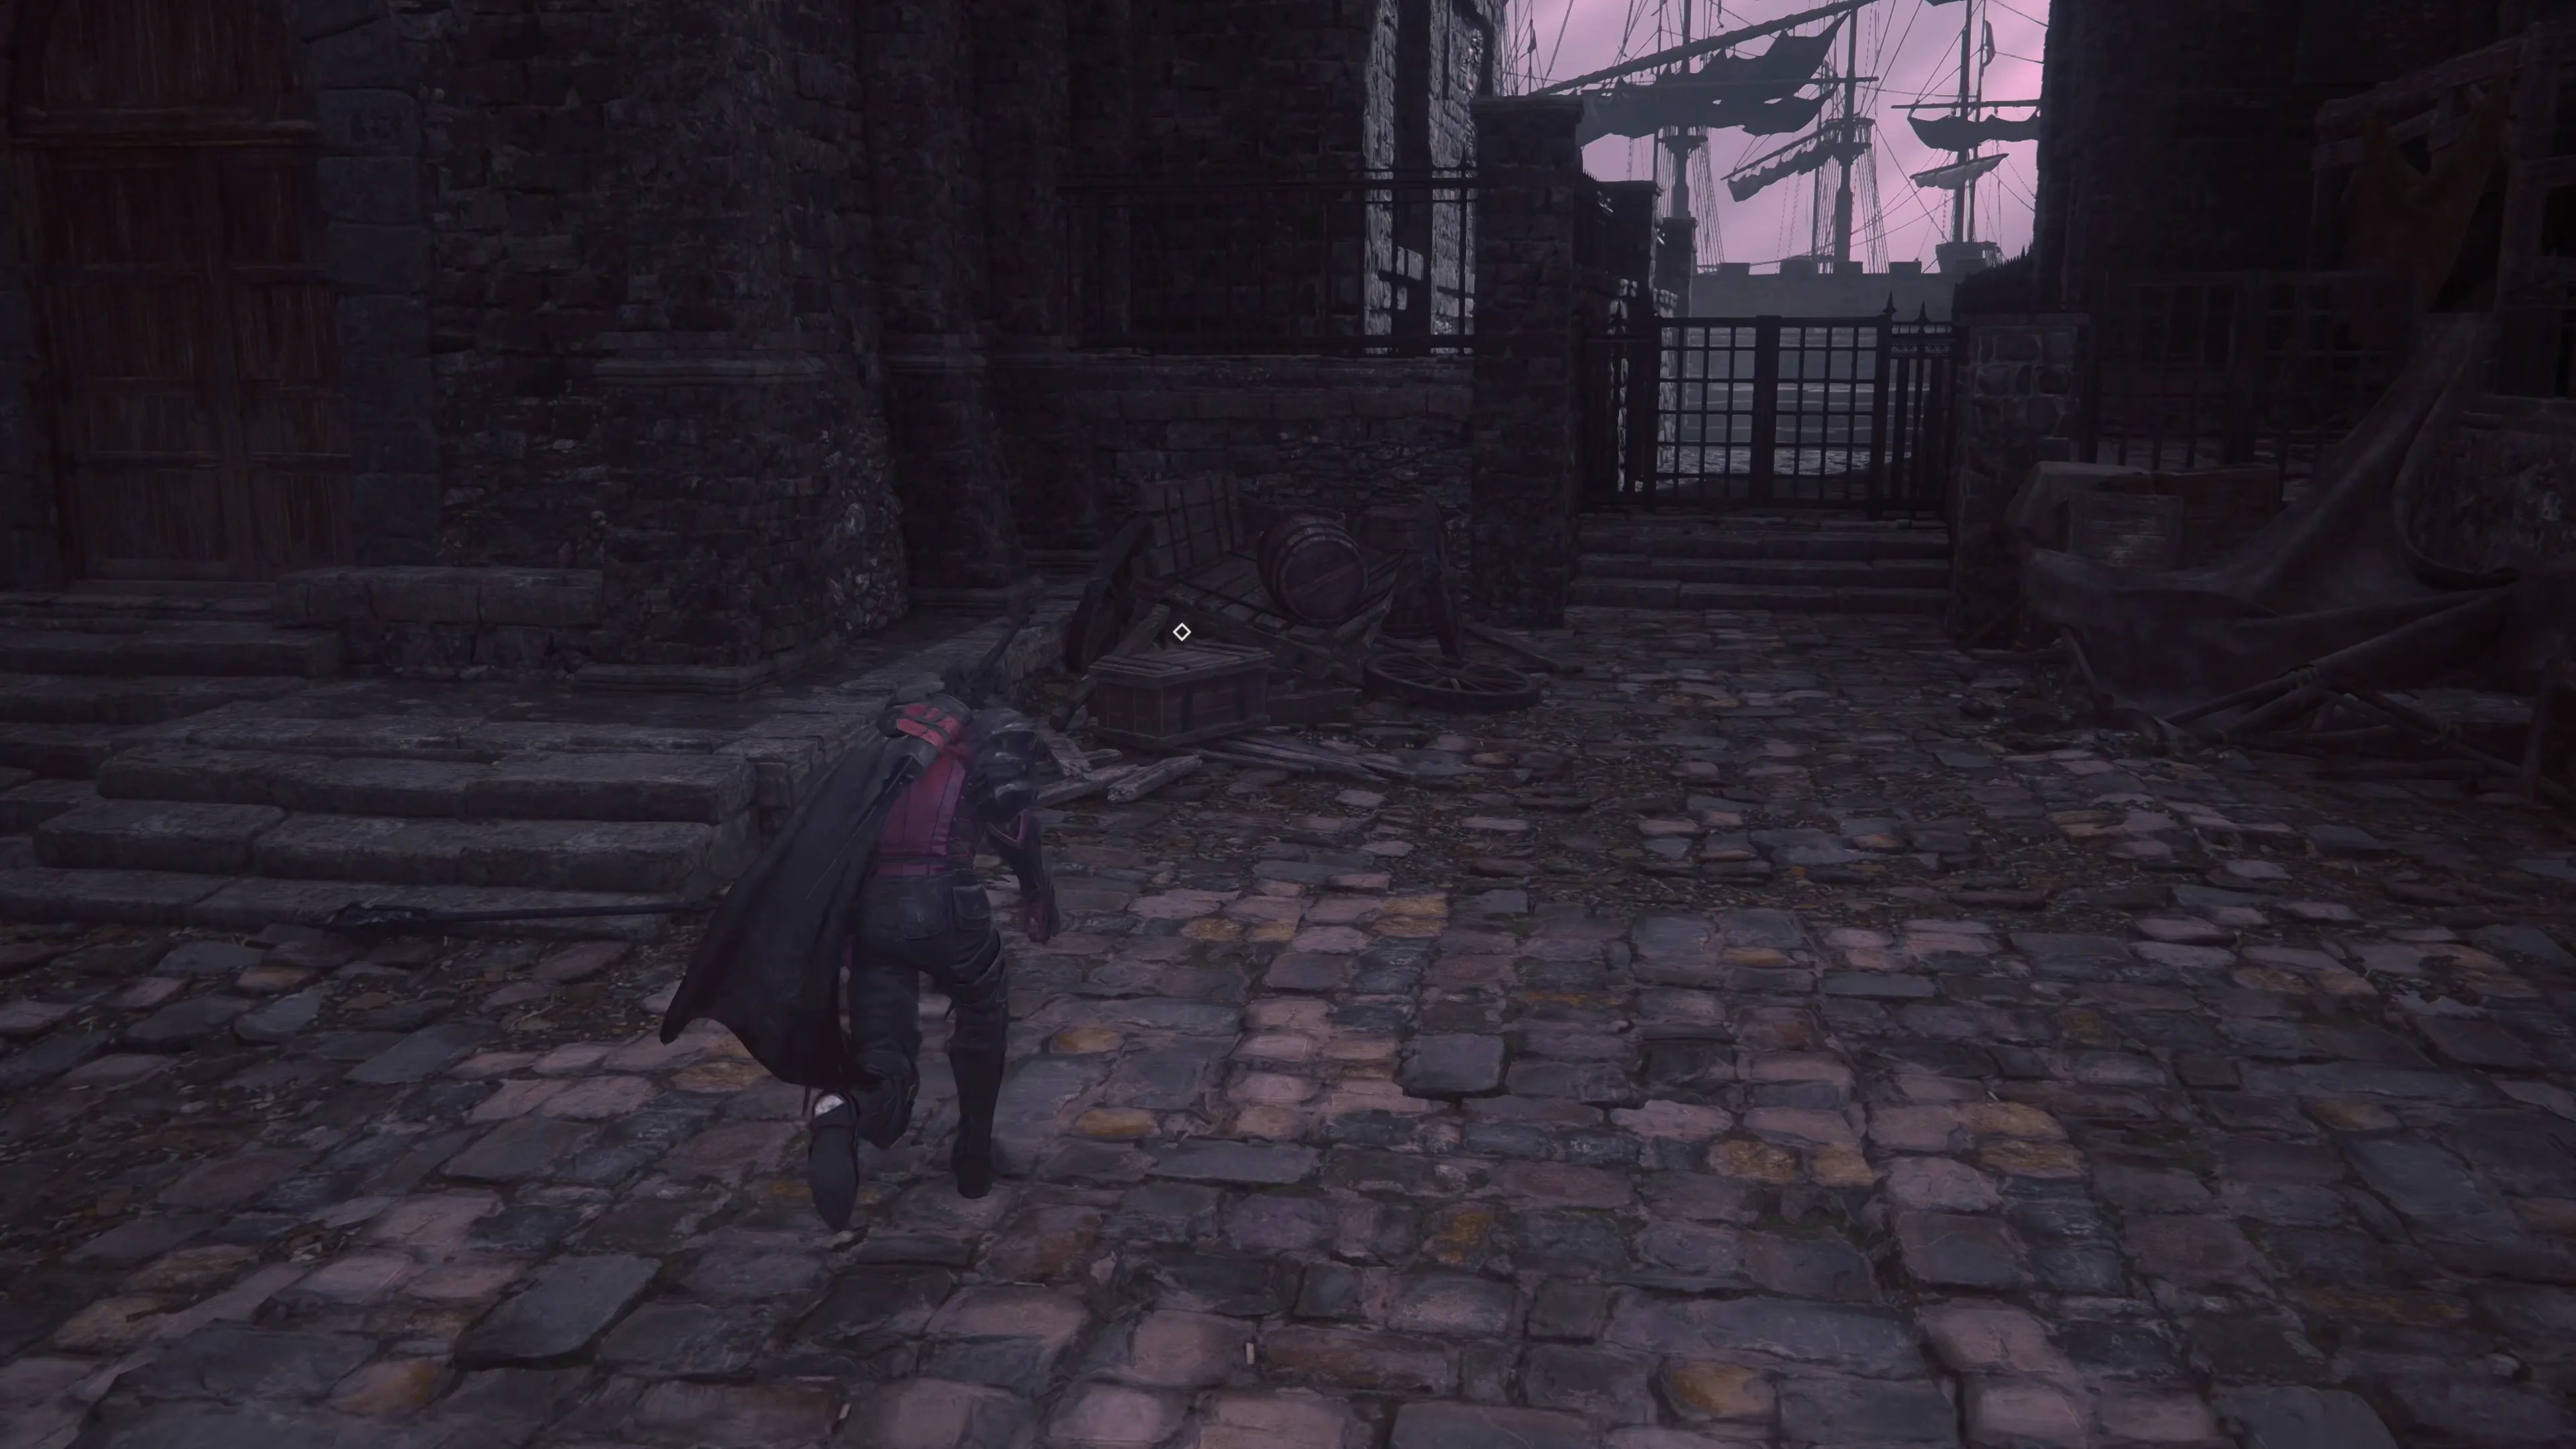
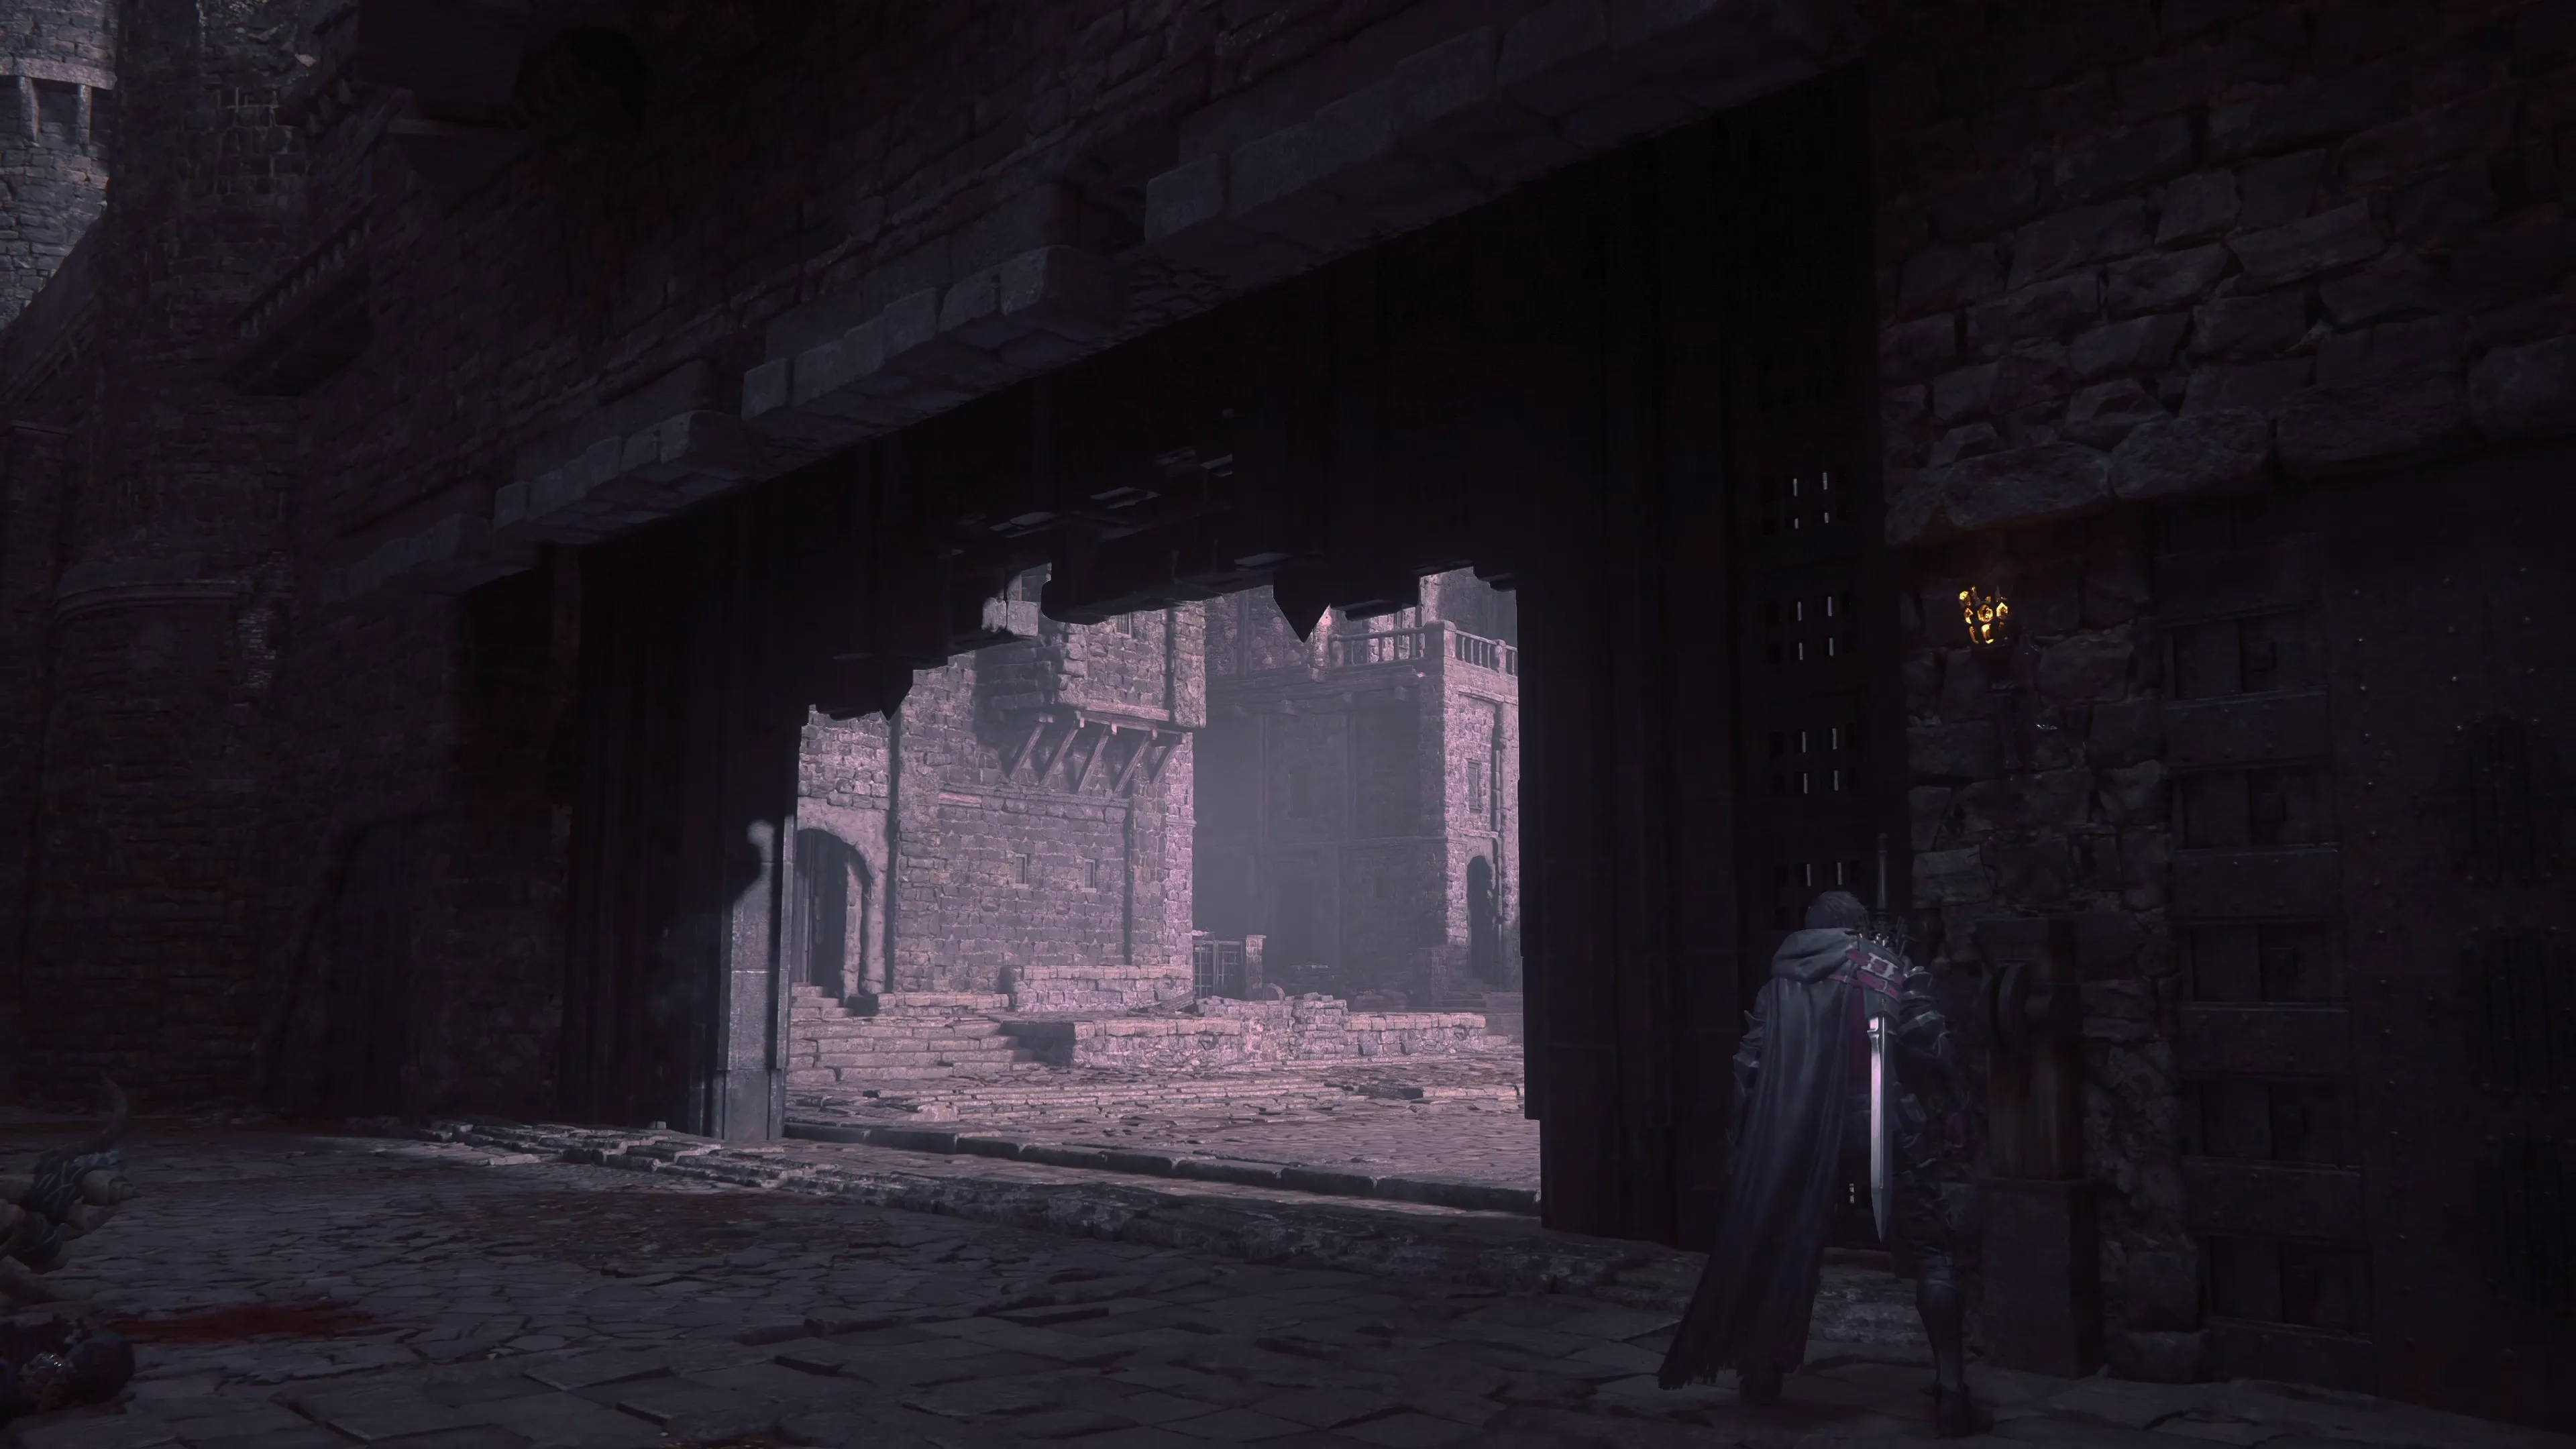
This section takes quite a while, as there is a fair amount of dialogue and slow walking that takes place. Continue walking along until you reach the area shown in the screenshot below, which is just in front of a ruined, temple-like structure:
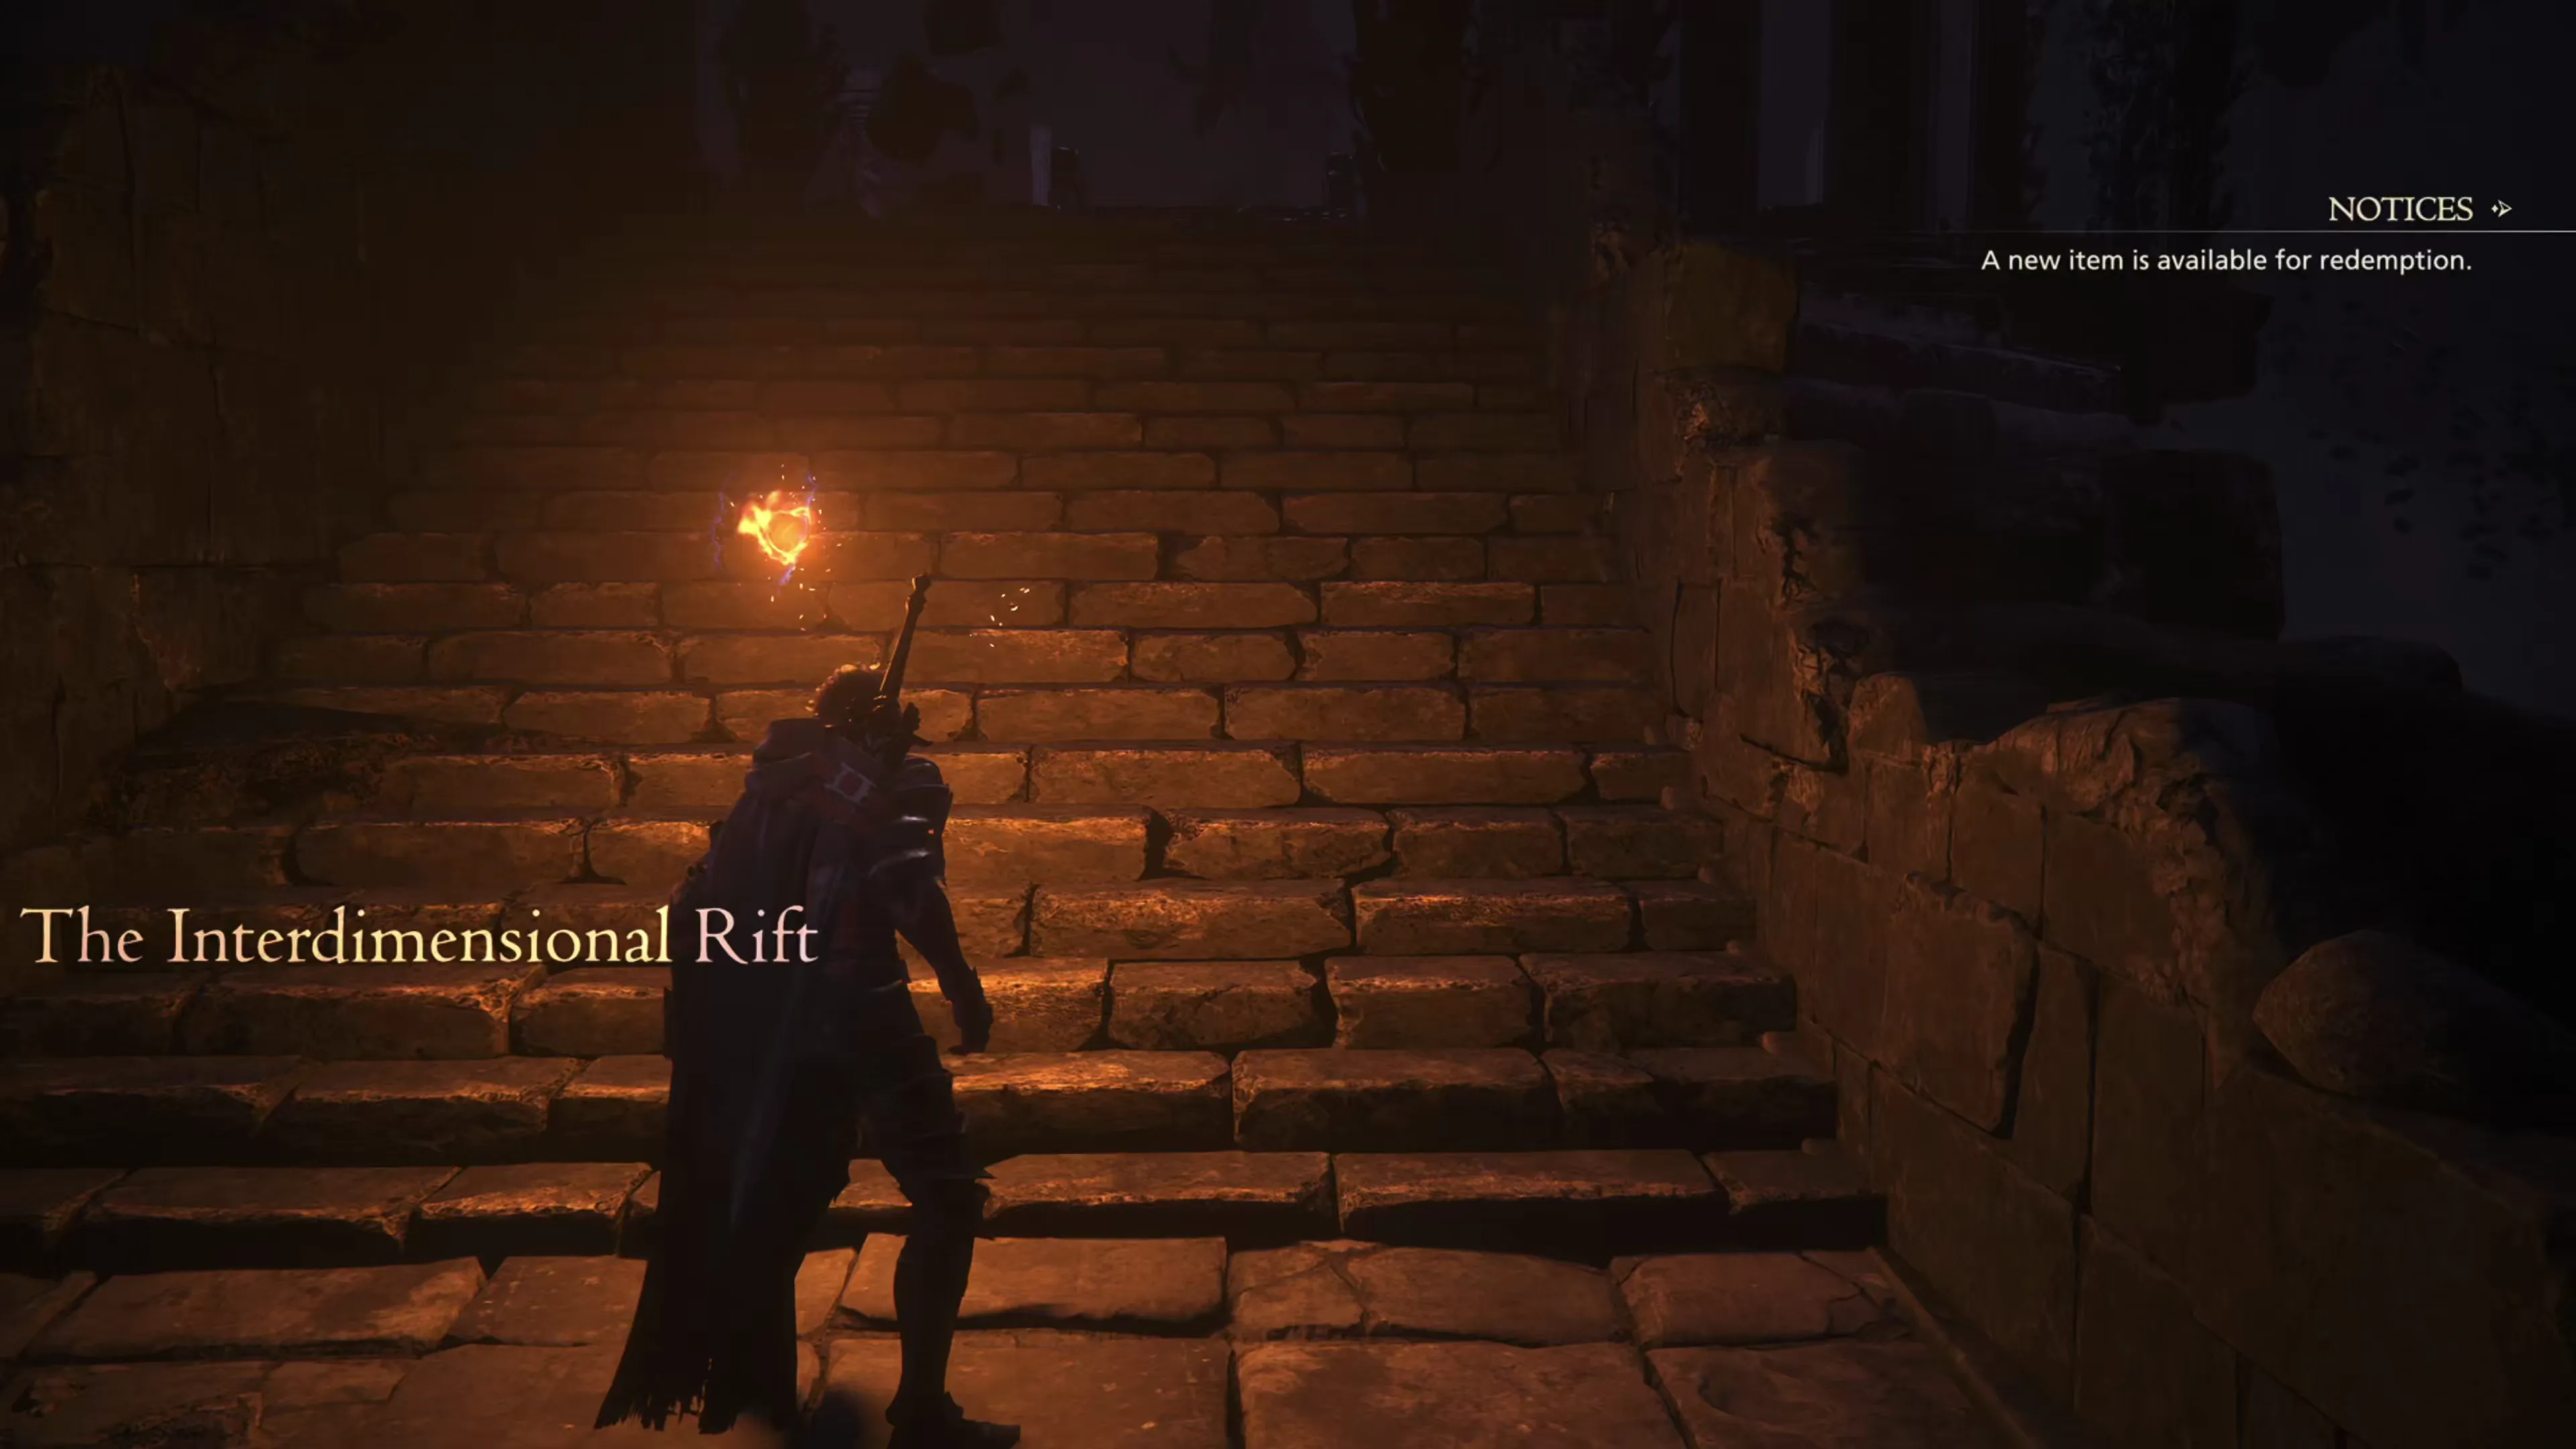
Save your game here in case you would like to reattempt an upcoming boss fight, and then head up the final flight of stairs.
Boss Battle
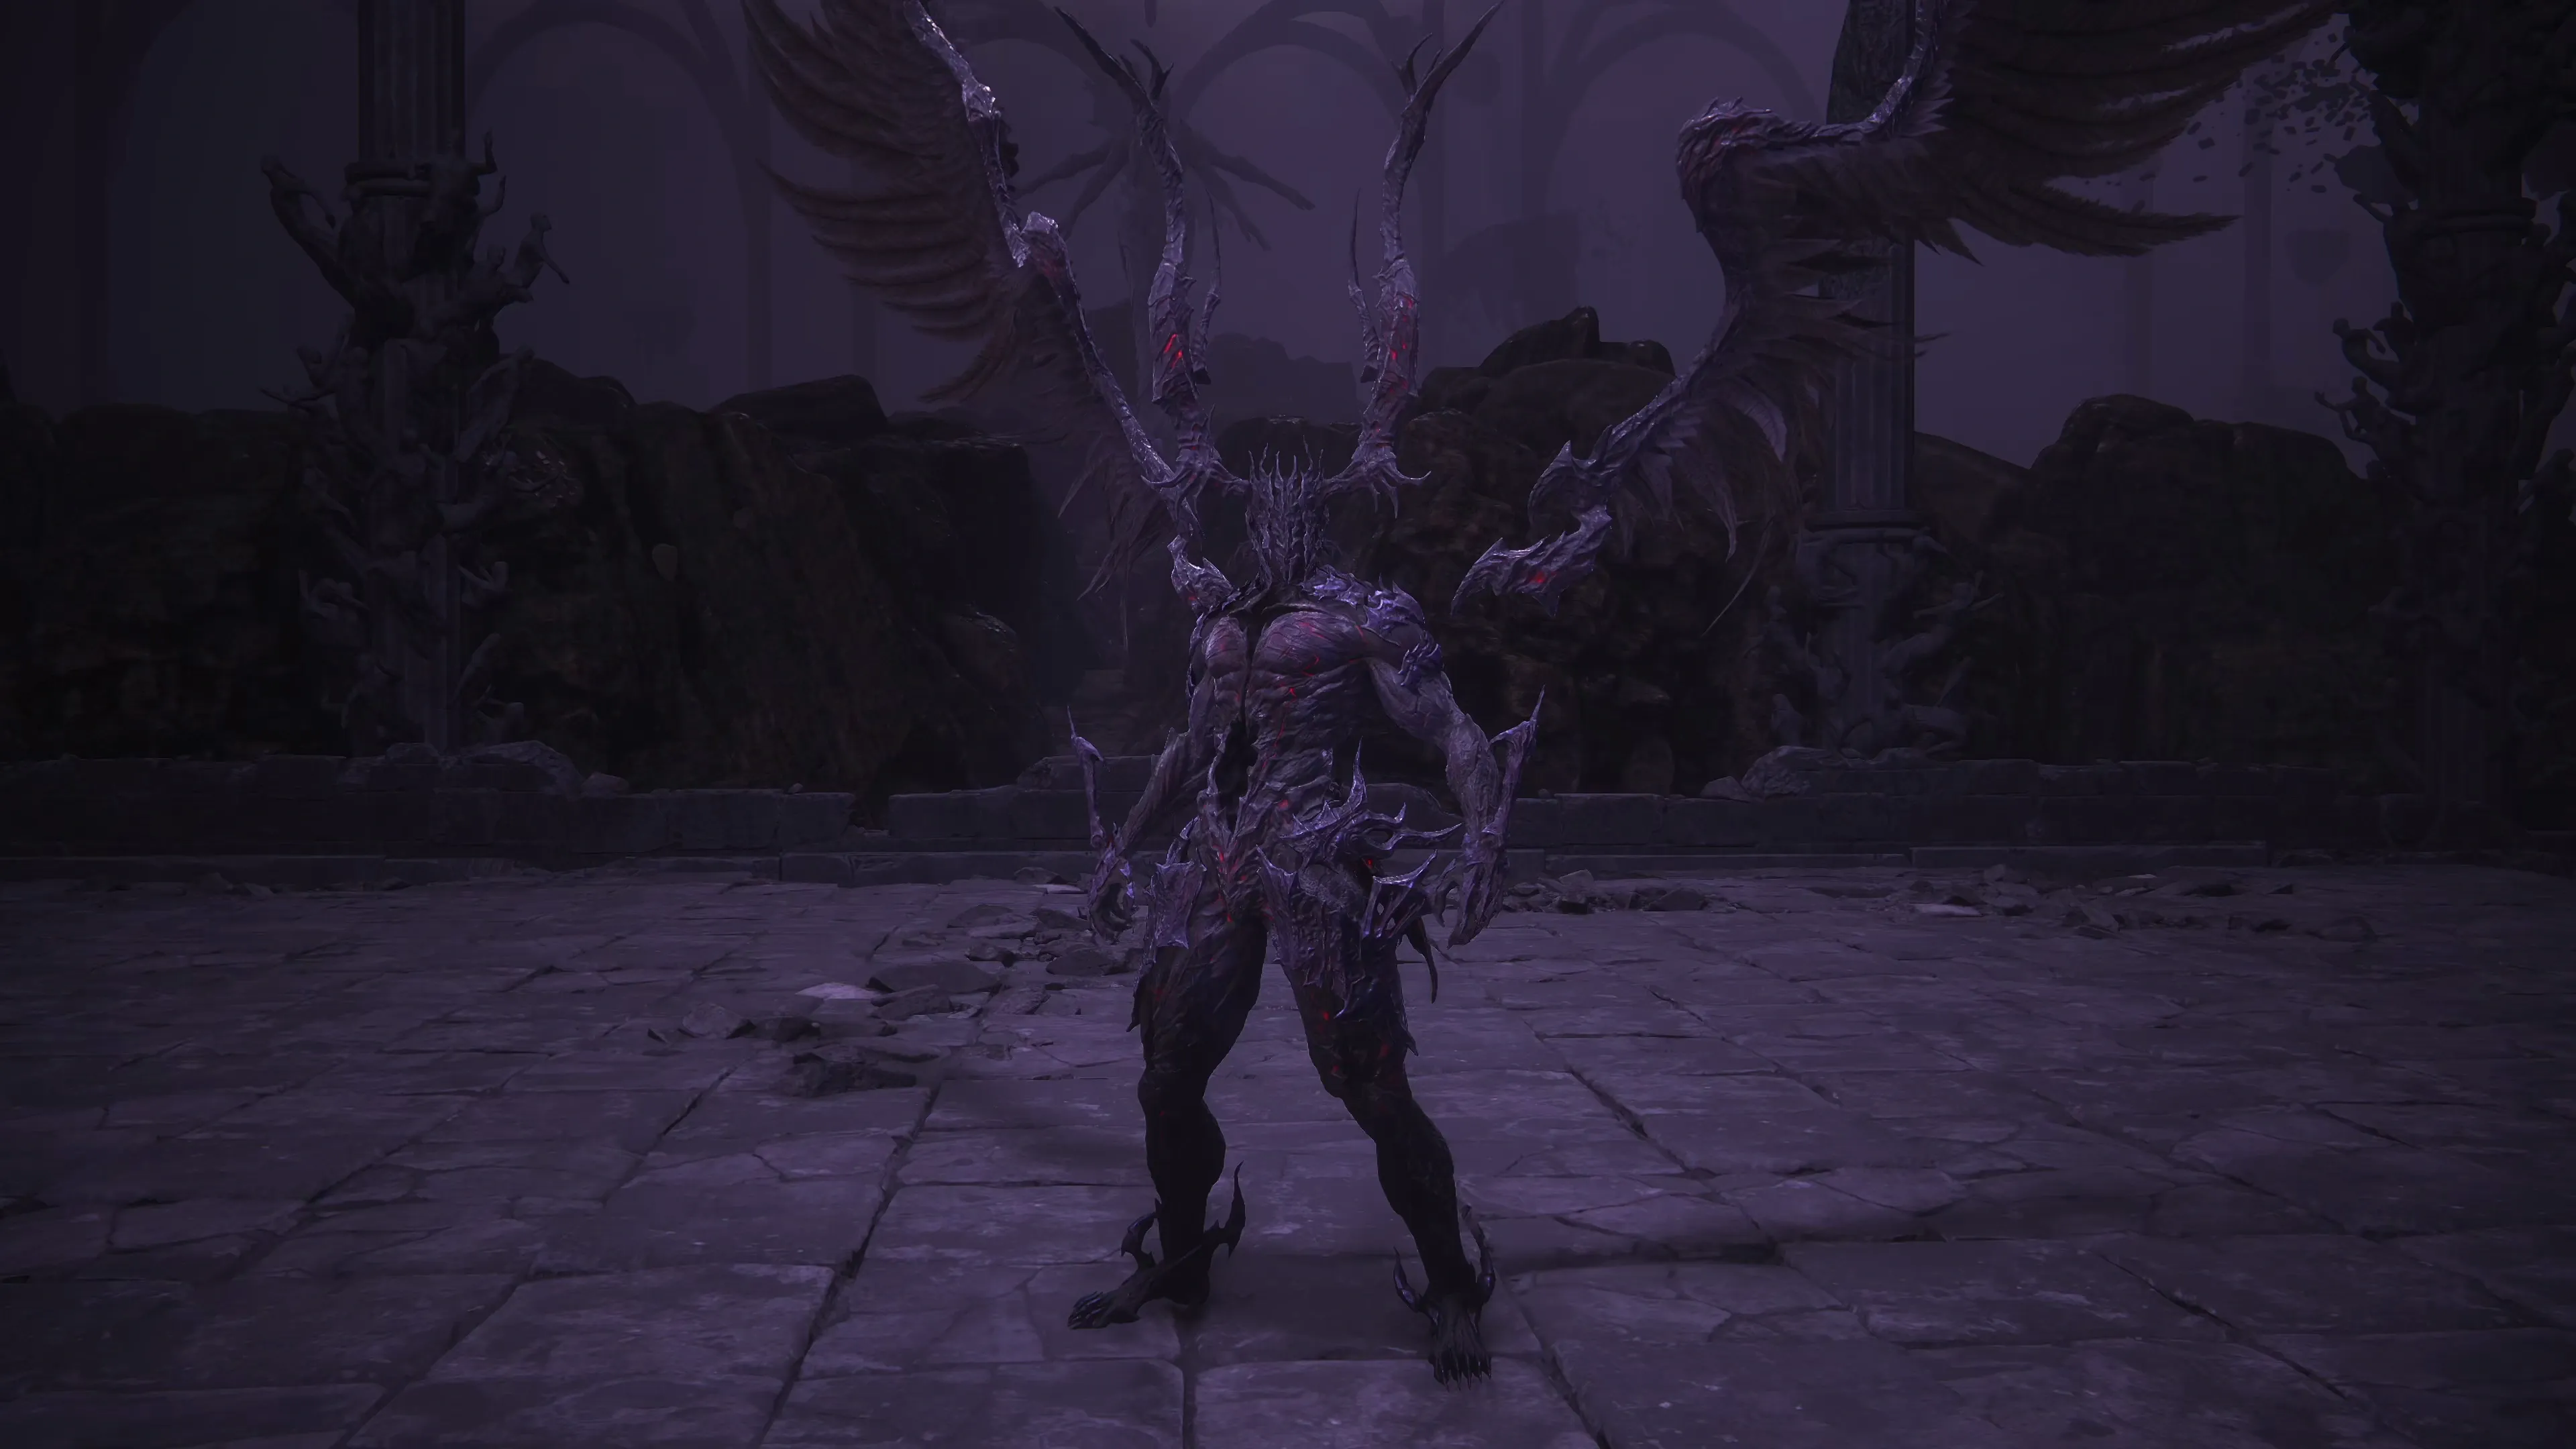
This is one of the most challenging boss battles, but the mechanics of the fight are set up in a way that things can be made much easier if you go in aggressively and try to deal as much damage as quickly as possible. Ultima has three phases, which are triggered by short cutscenes that take place, but there are no artificial HP limits like there were during the fight against Behemoth (at 60% for example).
Ultima will move into his second phase after you deplete his “Will Gauge” and trigger a stagger, but if you can deal an unlimited amount of damage leading up to then. In fact, if you tailor your strategy correctly, you can make the second and third phases of the fight much quicker, which makes the battle much easier. This is obviously because Ultima becomes much stronger in the second and third phases of the fight.
Let’s get into his moves during each of the phases, starting with…
Phase 1
Ultima will use the following moves during Phase 1 of the fight:
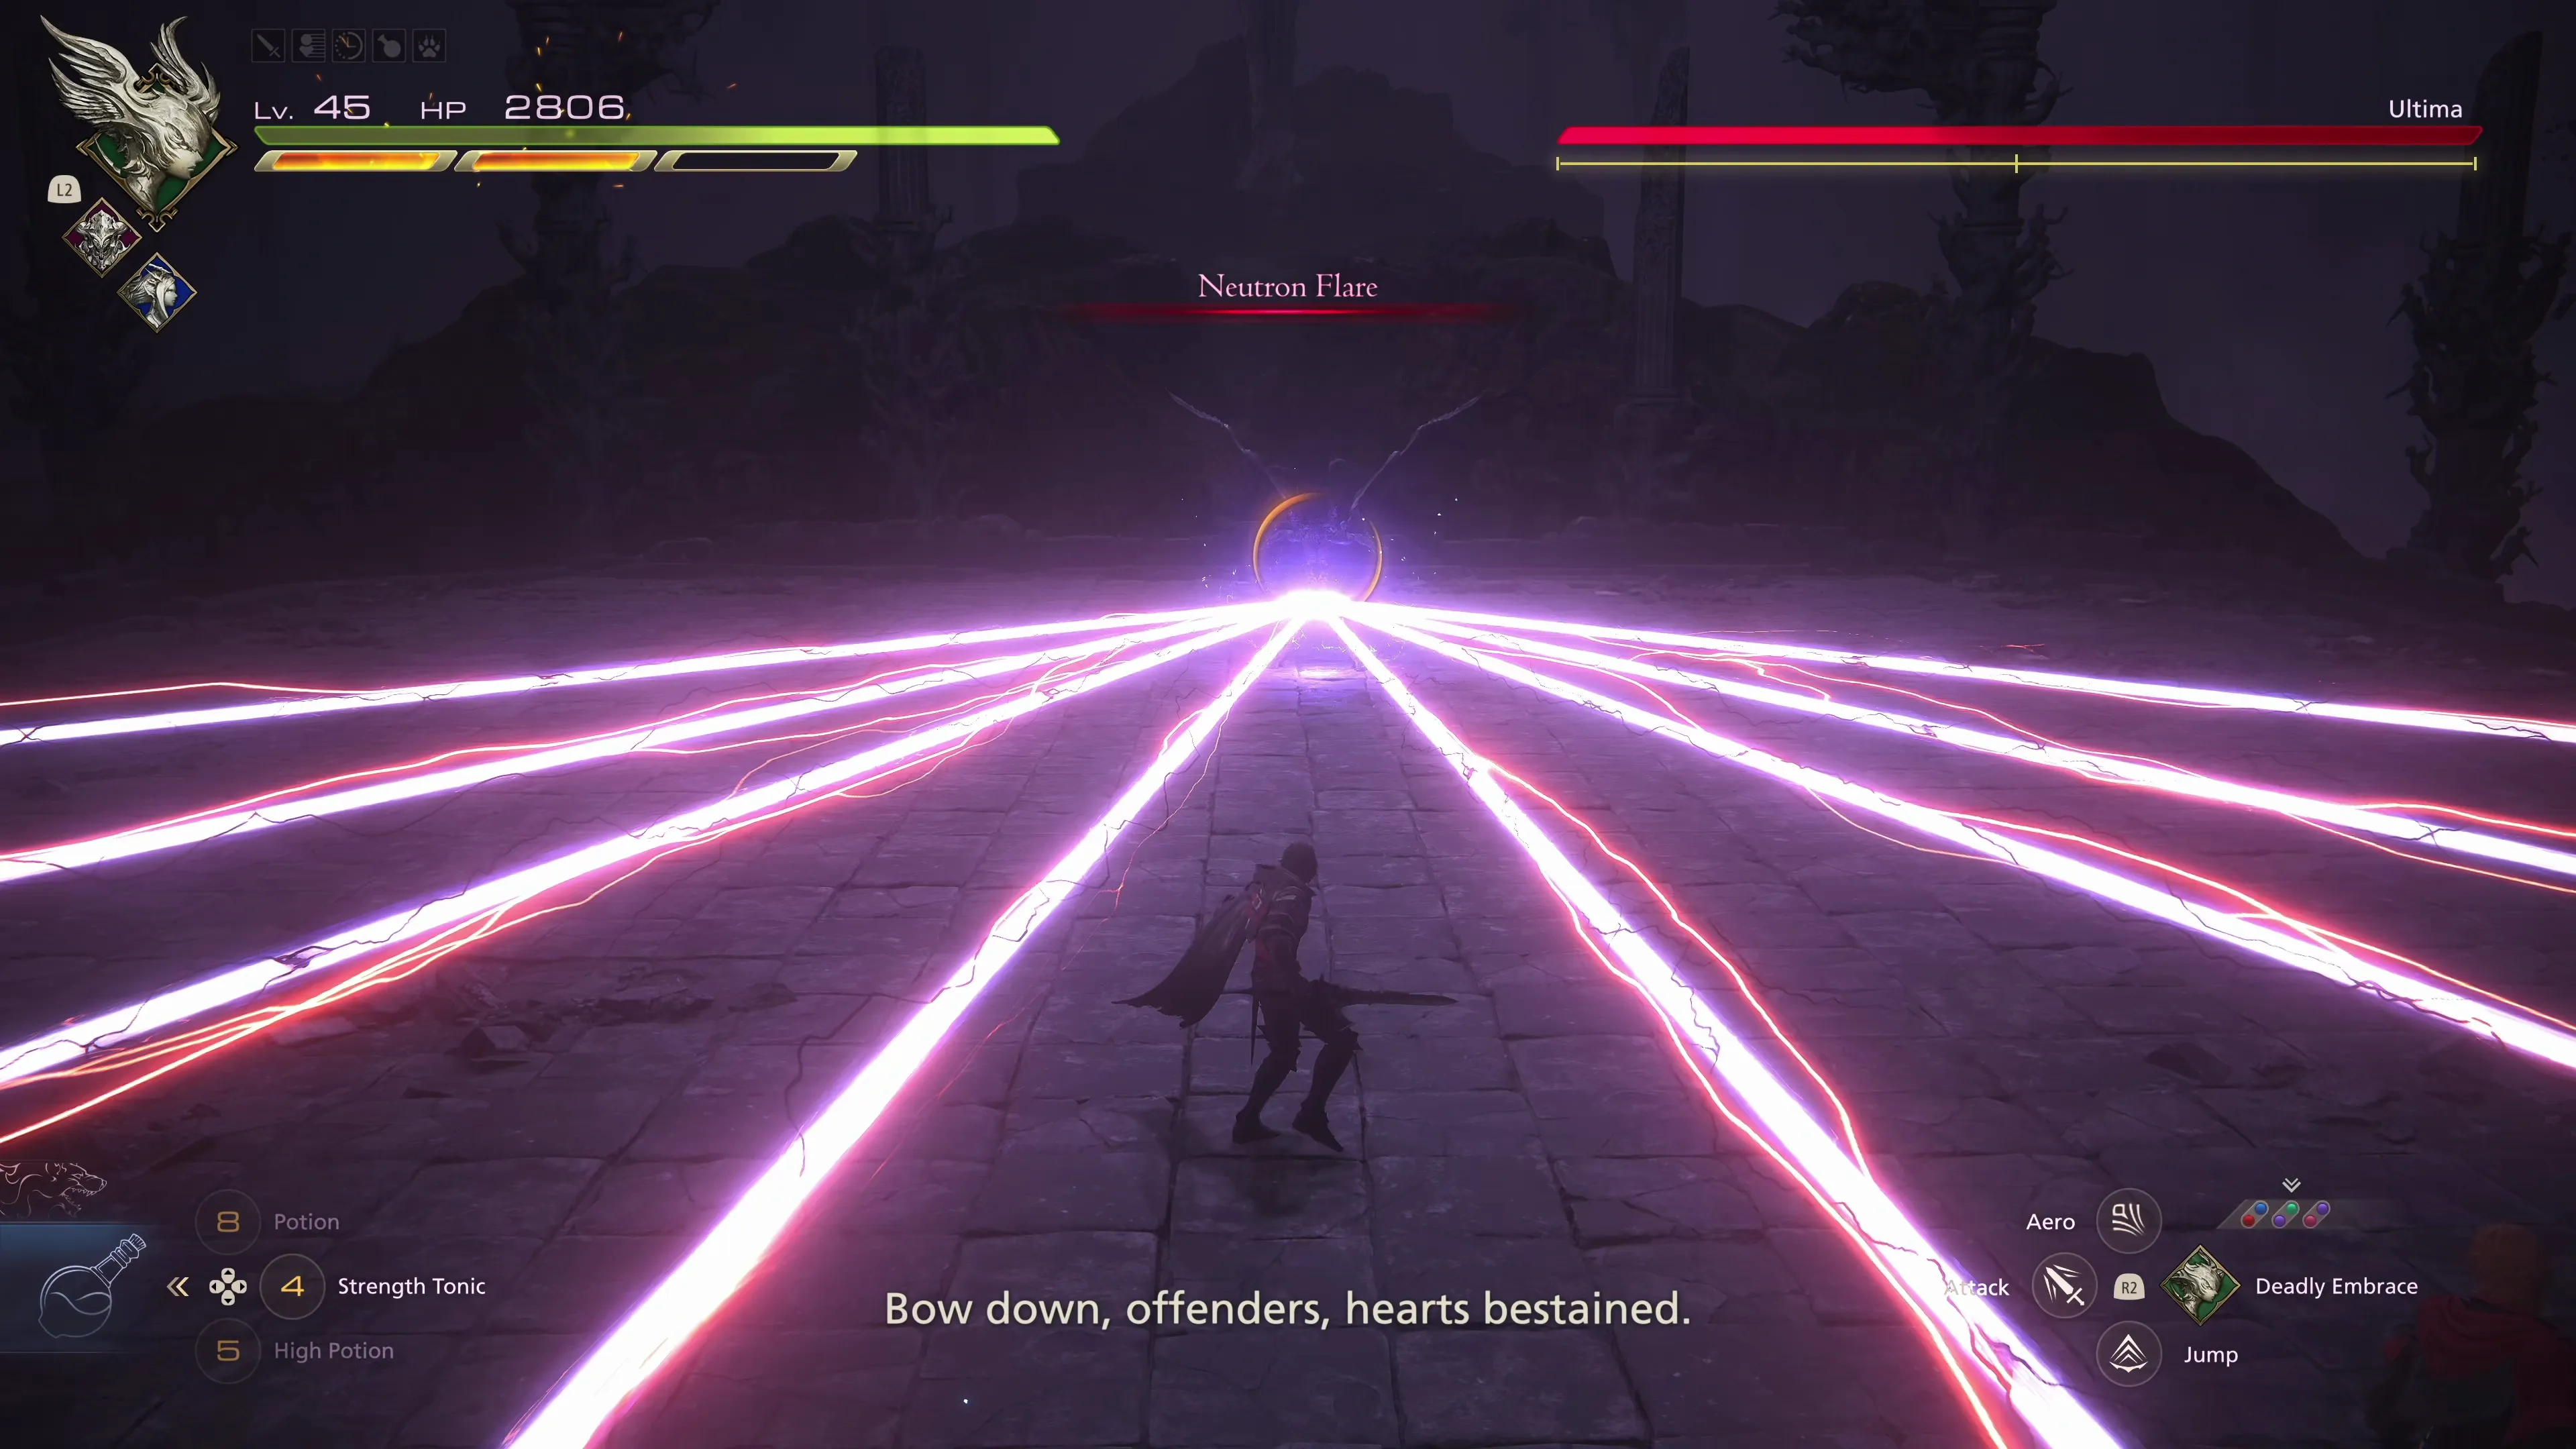
![]() Neutron Flare:
Neutron Flare:
This is his most annoying attack. A set of light beams will emanate outward from Ultima towards Clive. Moving to the side when this attack is initiated may cause damage if you touch either of the beams, so you have to stay still. The beams will then rotate behind Ultima and then flash forward, dealing damage in all areas in front of Ultima. It is possible to dodge this attack when the waves move forward. You can see a demonstration of the dodge in the video below. It’s also possible to dodge just once if you’re close enough to him, and the remaining light waves will not deal any damage. However, the easiest method of dealing with this attack is to use ![]() Deadly Embrace on Ultima, which will raise Clive into the air, allowing him to avoid all of the waves of the attack altogether. You can see both of these methods of dealing with this attack in the video below.
Deadly Embrace on Ultima, which will raise Clive into the air, allowing him to avoid all of the waves of the attack altogether. You can see both of these methods of dealing with this attack in the video below.
![]() Physical Attacks:
Physical Attacks:
Ultima has a few different physical attacks that he can do with his energy swords. The most common one is a lunge forward with his purple sword, but he also has another attack, which involves two separate swings, so be ready to dodge twice.
![]() Mark of the Storm:
Mark of the Storm:
Clive will begin glowing, and after a short amount of time, an electrical cloud will appear in the spot where he is standing. Dodge out of the electricity quickly, or he will take damage. During this attack, Ultima will cast a single “Judgment Bolt.” This attack is similar to Sleipnir’s “Timed Magic Explosion.”
![]() Graviga:
Graviga:
Ultima will launch a single gravity ball, which will lock on to Clive and begin working its way towards him like a heat-seeking missile. This attack can be counterattacked with ![]() Heatwave, but be careful, because just like for the “Mark of the Storm” attack, Ultima will also launch a single “Judgment Bolt” attack after launching Graviga, so you have do either dodge this attack or make sure that your Heatwave will hit both attacks at the same time.
Heatwave, but be careful, because just like for the “Mark of the Storm” attack, Ultima will also launch a single “Judgment Bolt” attack after launching Graviga, so you have do either dodge this attack or make sure that your Heatwave will hit both attacks at the same time.
Phase 1 will continue until you manage to deplete Ultima’s “Will Gauge.” As noted above, go all out with your abilities at the beginning of the fight. Consider using ![]() Lightning Rod and
Lightning Rod and ![]() Gigaflare early, as they’ll have plenty of time to come off cooldown before Ultima is staggered. This works well if you manage to pull off a
Gigaflare early, as they’ll have plenty of time to come off cooldown before Ultima is staggered. This works well if you manage to pull off a ![]() Cold Snap freeze by successfully dodging one of Ultima’s physical attacks.
Cold Snap freeze by successfully dodging one of Ultima’s physical attacks.
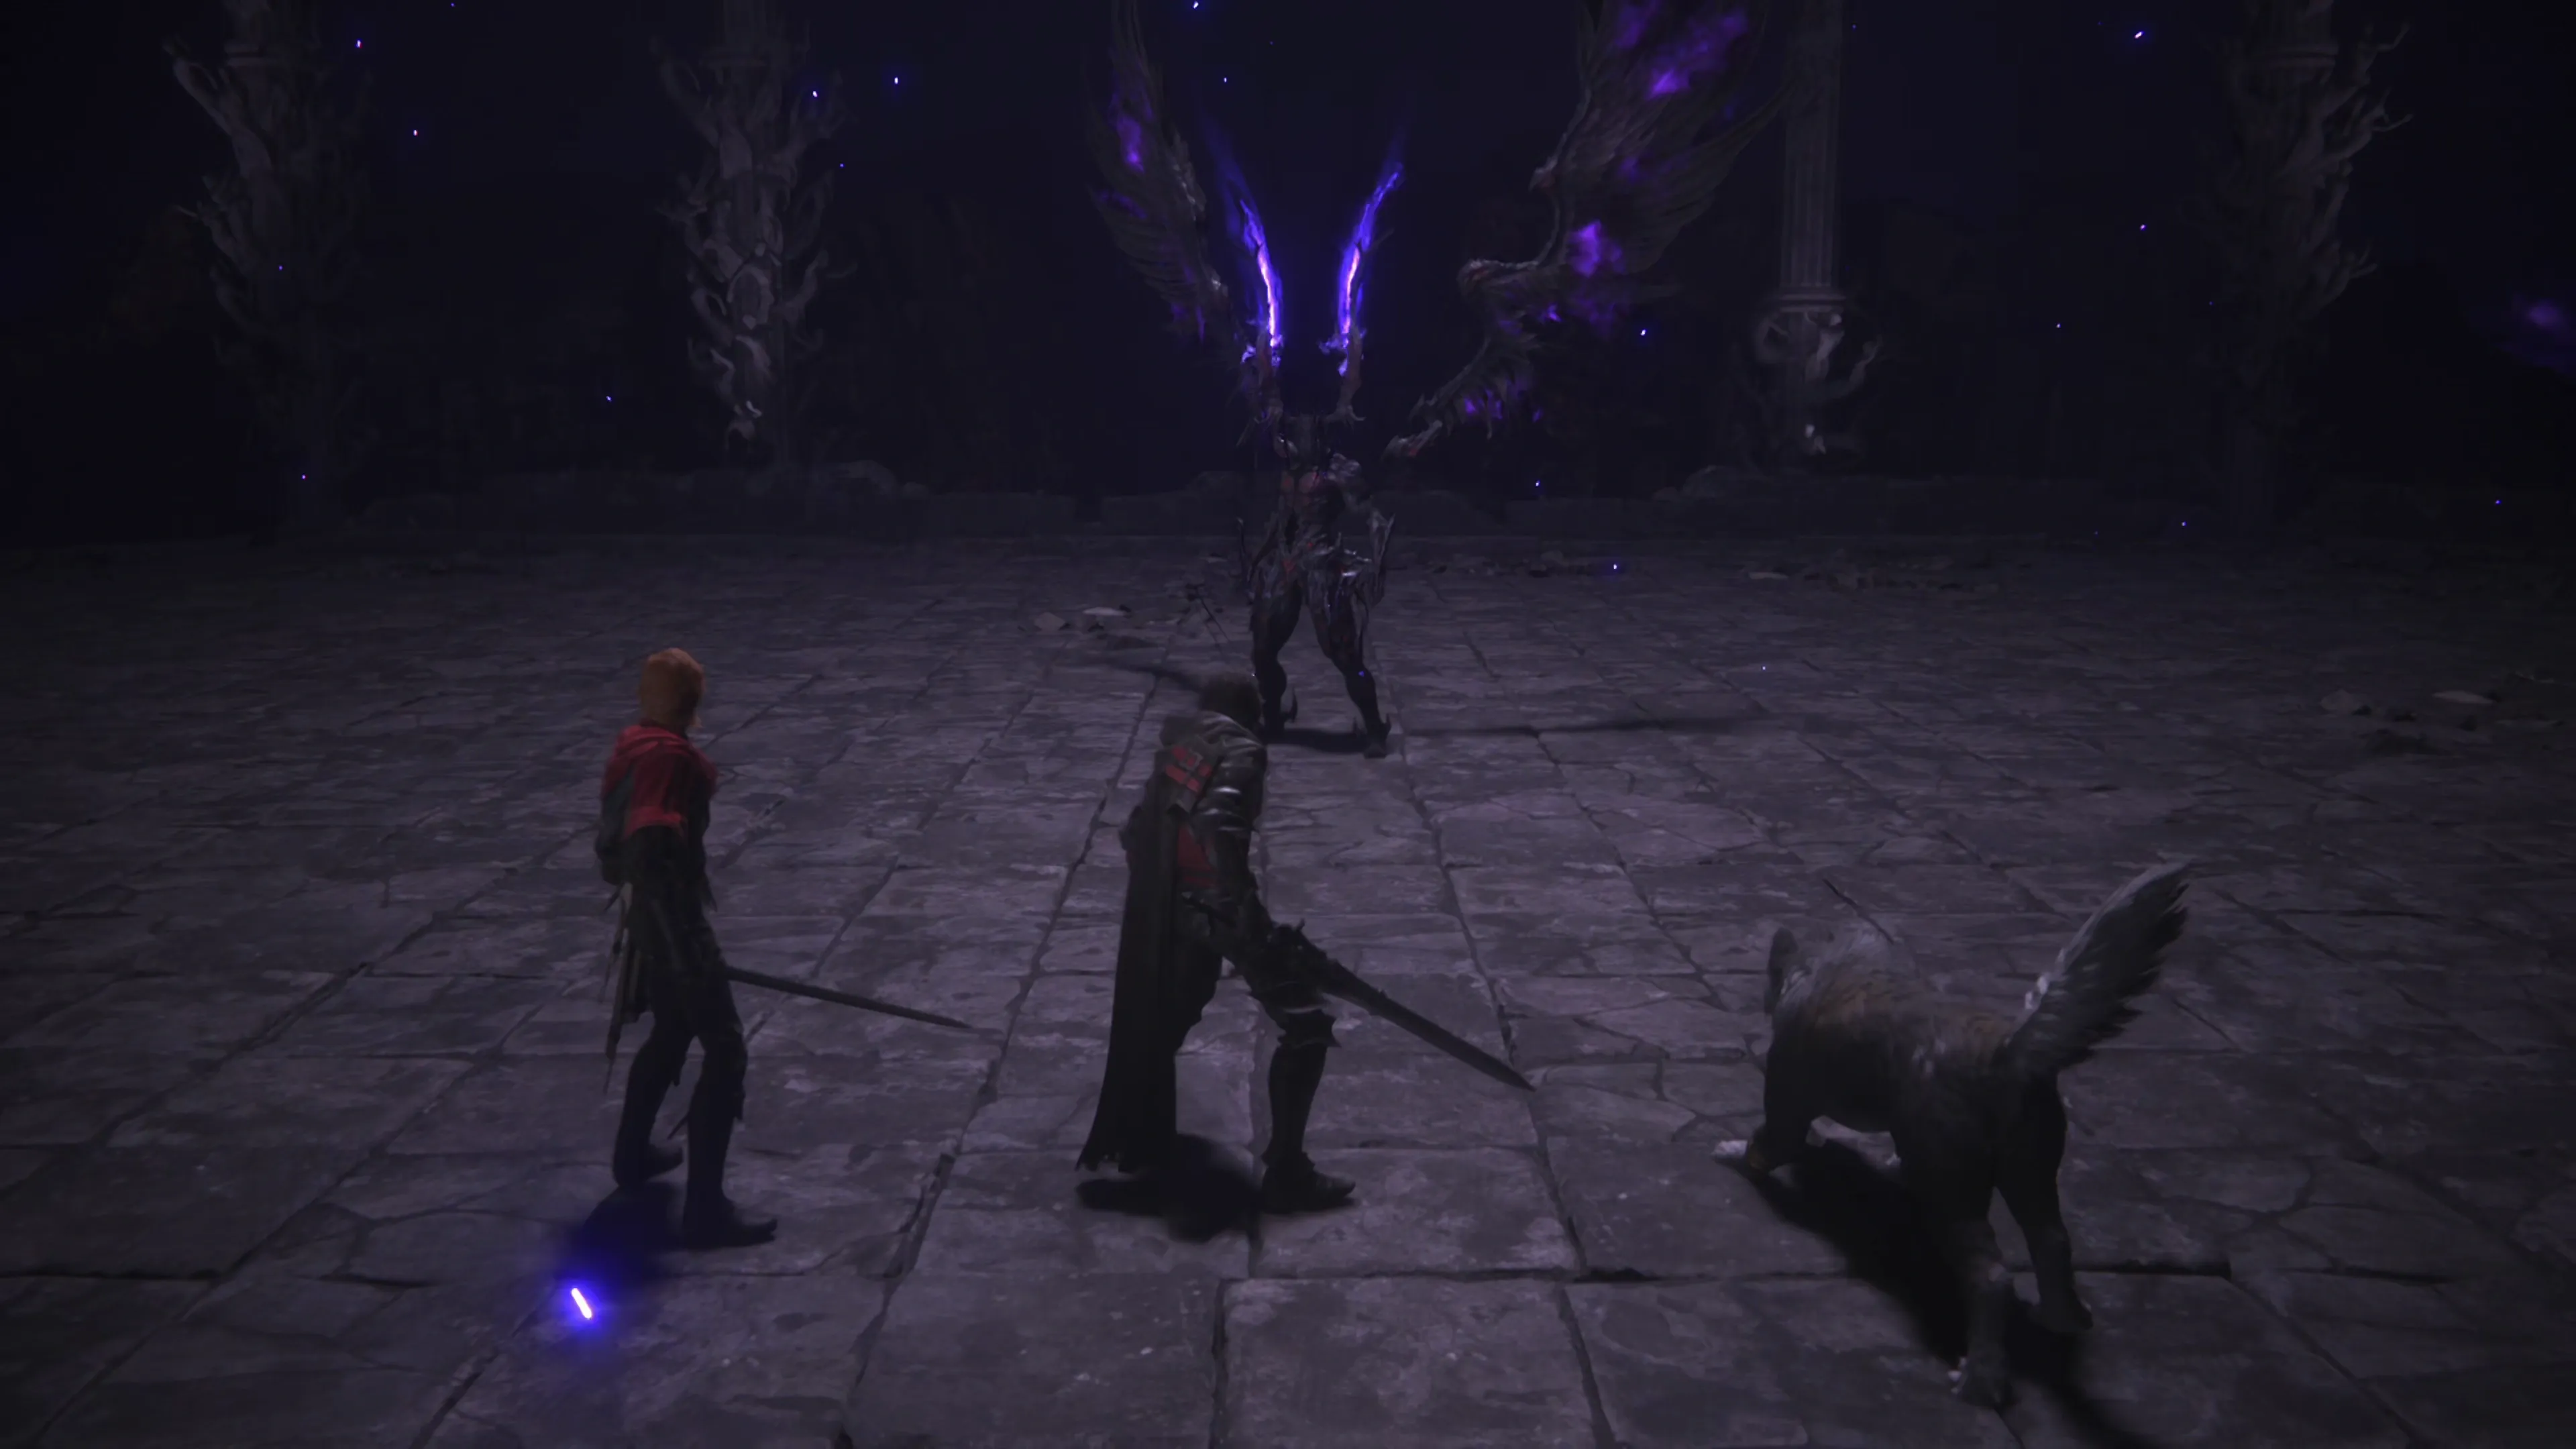
Phase 2
This phase begins after the first stagger; Ultima will float into the air and turn the entire battlefield a dark black color. His attacks will become more powerful and more challenging to deal with. Here are the changes to expect:
![]() Event Horizon:
Event Horizon:
Ultima will summon a black hole in front of him, which will slowly suck Clive in. If you get too close to the ‘event horizon,’ it will suck you in, and you won’t be able to get away. Getting sucked into the Event Horizon will deal a massive amount of damage to Clive, so be careful and keep your distance. During an Event Horizon, Ultima will use other moves like “Neutron Flare,” so you’ll have multiple attacks to deal with and dodge at the same time. With an upgraded ![]() Deadly Embrace, it’s possible to stay far enough away from the Event Horizon but still be close enough to Ultima to grip him with a Deadly Embrace and get Clive into the air to dodge the “Neutron Flare” waves. There’s an example of this in the video below.
Deadly Embrace, it’s possible to stay far enough away from the Event Horizon but still be close enough to Ultima to grip him with a Deadly Embrace and get Clive into the air to dodge the “Neutron Flare” waves. There’s an example of this in the video below.
![]() Mark of the Storm:
Mark of the Storm:
This attack lasts longer and leaves more than one electrical cloud on the ground, so be ready to keep dodging. He will still either cast a “Judgment Bolt” or a “Neutron Flare” right after this attack, giving you a lot of things to try and dodge at the same time.
![]() Ricochet:
Ricochet:
This attack replaces “Graviga.” It’s very similar, but the magic that he casts will bounce around the battlefield randomly. If you’re attempting to earn a Medal of Valor, this little magic ball’s erratic movement can prove to be pretty problematic. The best course of action is to be aggressive and try to counterattack it with a ![]() Heatwave as quickly as you can. Ultima may use “Judgment Bolt” or “Neutron Flare” right after this attack.
Heatwave as quickly as you can. Ultima may use “Judgment Bolt” or “Neutron Flare” right after this attack.
Phase 3
The last phase begins when Ultima reaches approximately 30% HP. He will continue to use “Event Horizon,” “Ricochet,” and “Neutron Flare” attacks for this phase, and quite often will use more than one at the same time. He also gains a few new abilities:
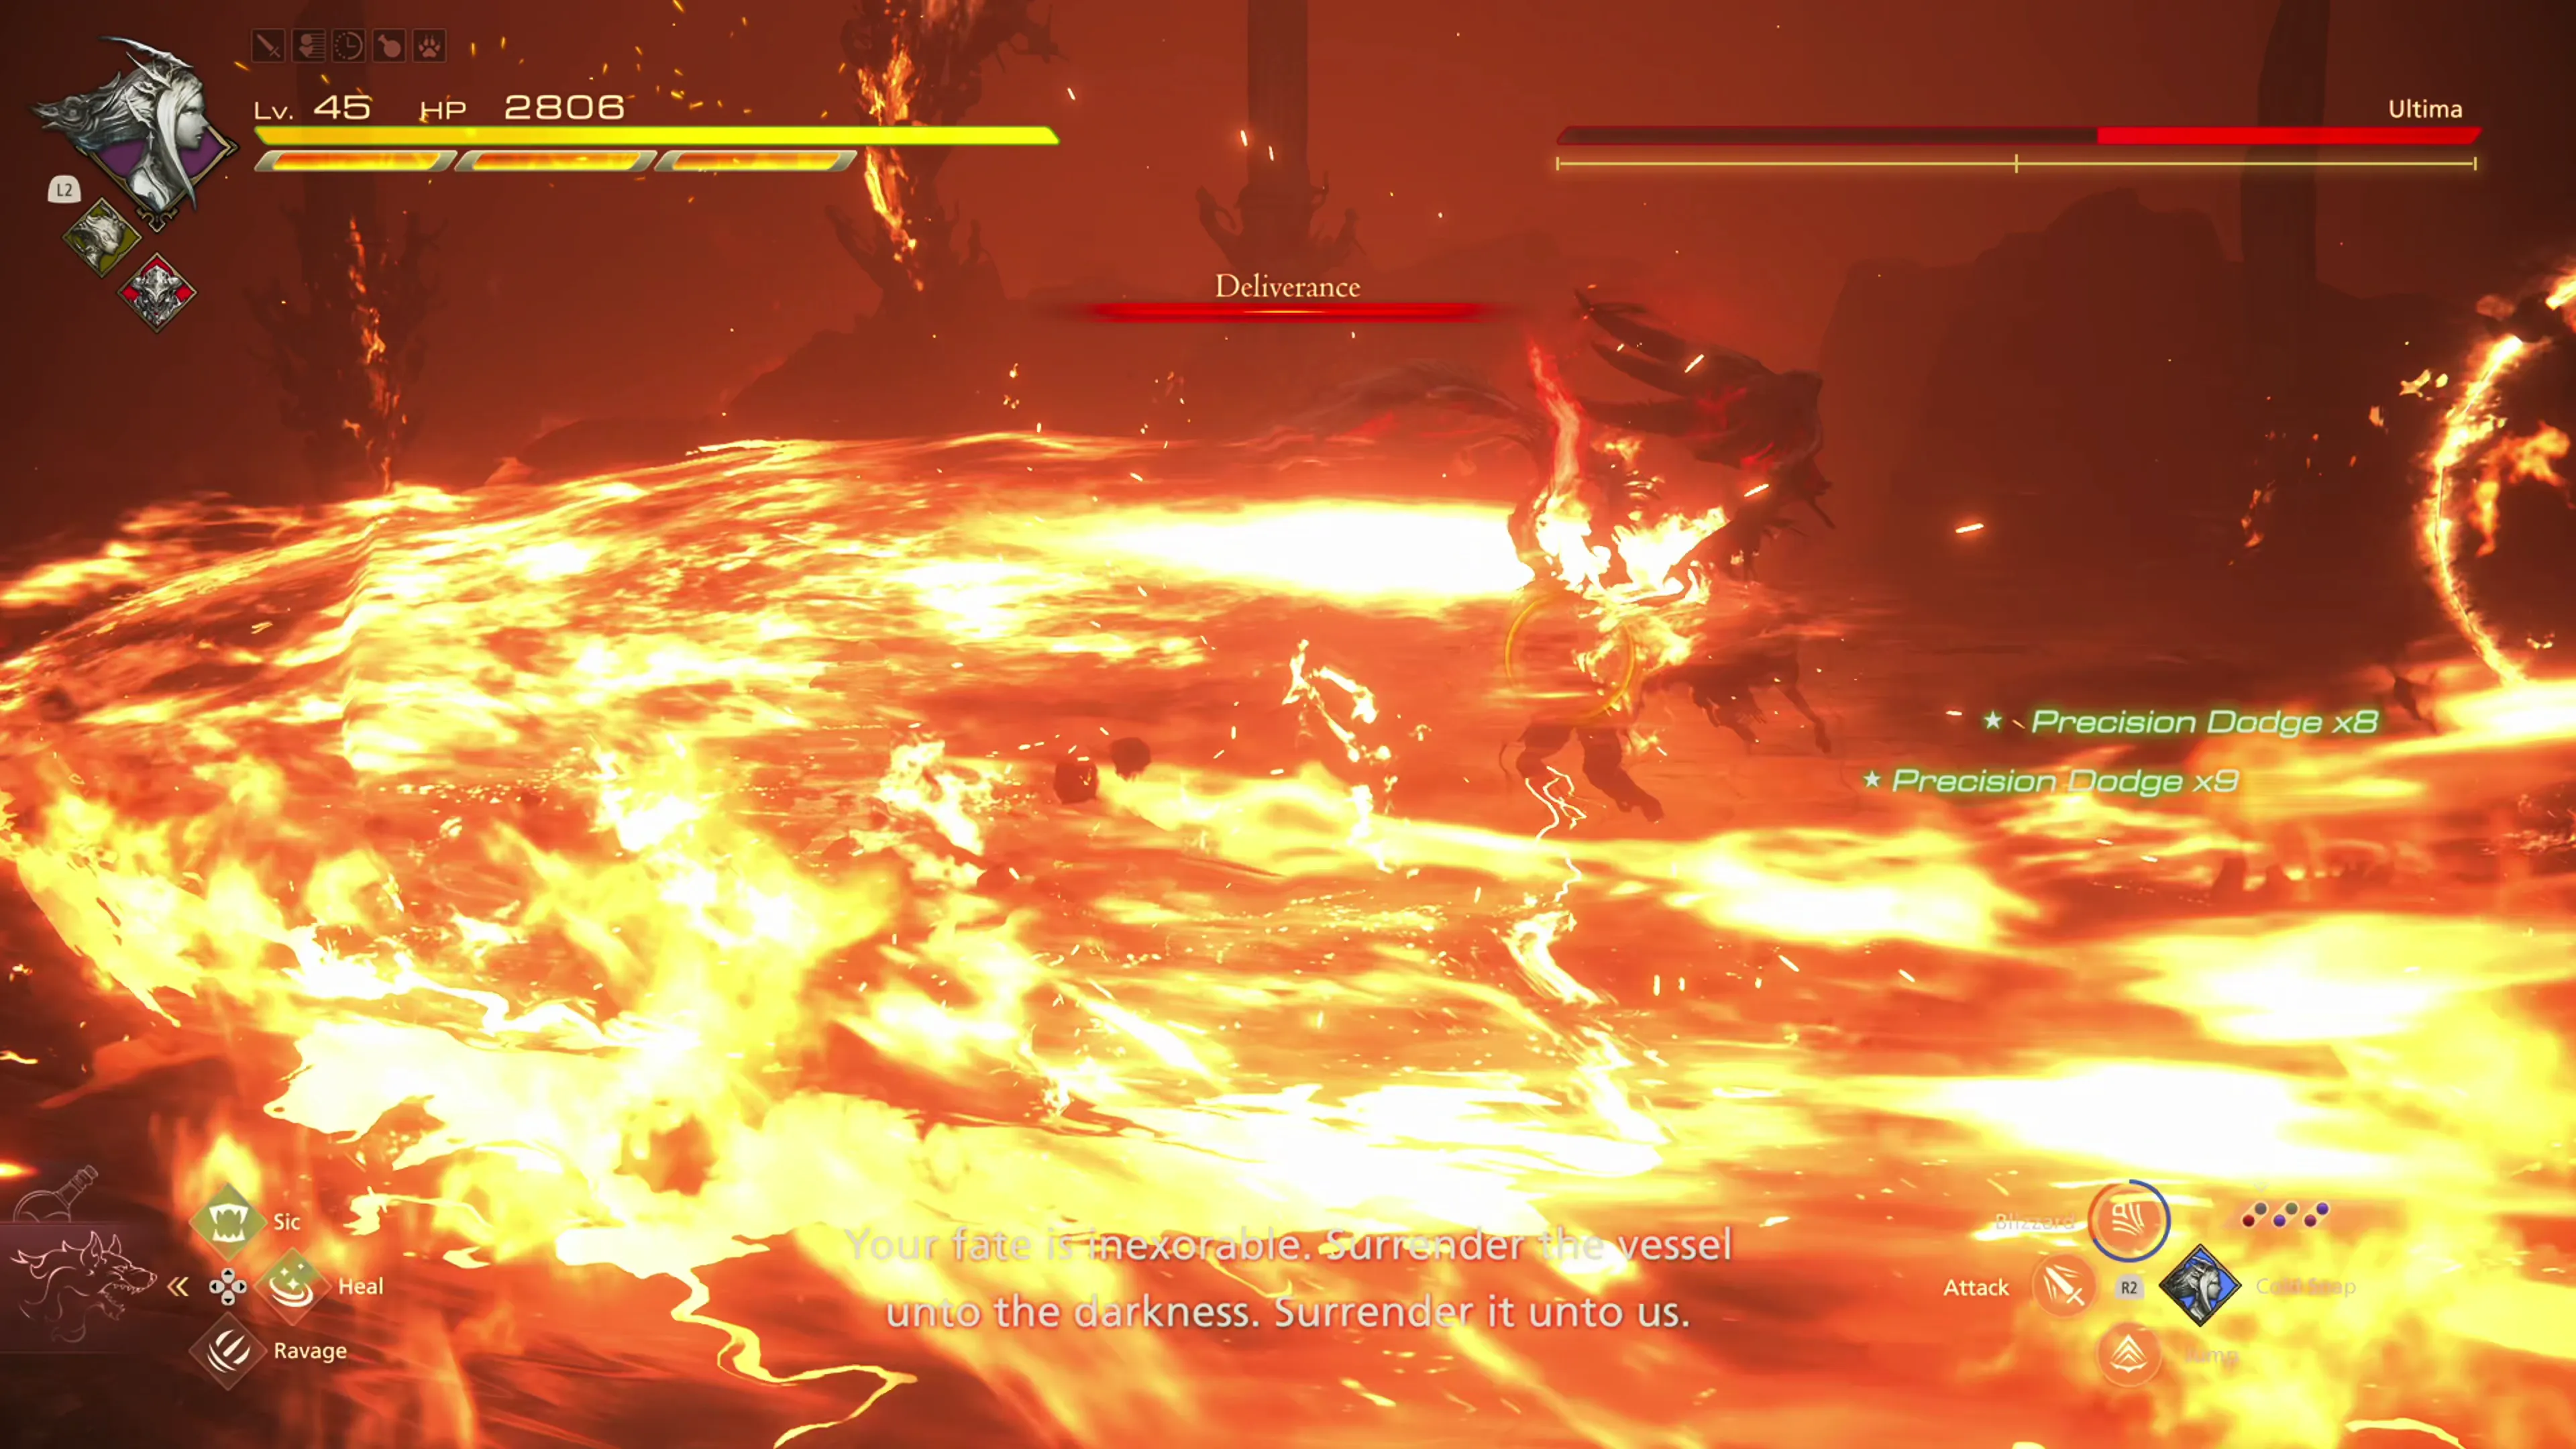
![]() Deliverance:
Deliverance:
This is the toughest of his new abilities to deal with. Ultima will summon two large, flaming swords and will swing them at Clive a total of seven (7) times. Five times in a sweeping pattern, one underhanded swing, and a final attack from the air. These last two attacks deal a hefty amount of damage, and you may need to use a ![]() Potion or a
Potion or a ![]() High Potions to keep Clive away if you get hit. Getting the timing down to dodge these swings can be a challenge, but you can see this completed in the video below.
High Potions to keep Clive away if you get hit. Getting the timing down to dodge these swings can be a challenge, but you can see this completed in the video below.
![]() Magic Beam:
Magic Beam:
A beam will emanate from Ultima’s chest in Clive’s direction, and very quickly after that, a magic beam will shoot out, similar to the ones that harpies shoot out. Its speed can make it difficult to dodge.
![]() Eternal Darkness:
Eternal Darkness:
This attack is just multiple “Magic Beams” spawning in a line, similar to Bahamut’s “Celestial Foundry” attack. Dodge over to the side of the battlefield to escape the attack, and get ready to dodge when you get there, as Ultima will warp to Clive’s location at the end of the attack and deliver a quick magical punch.
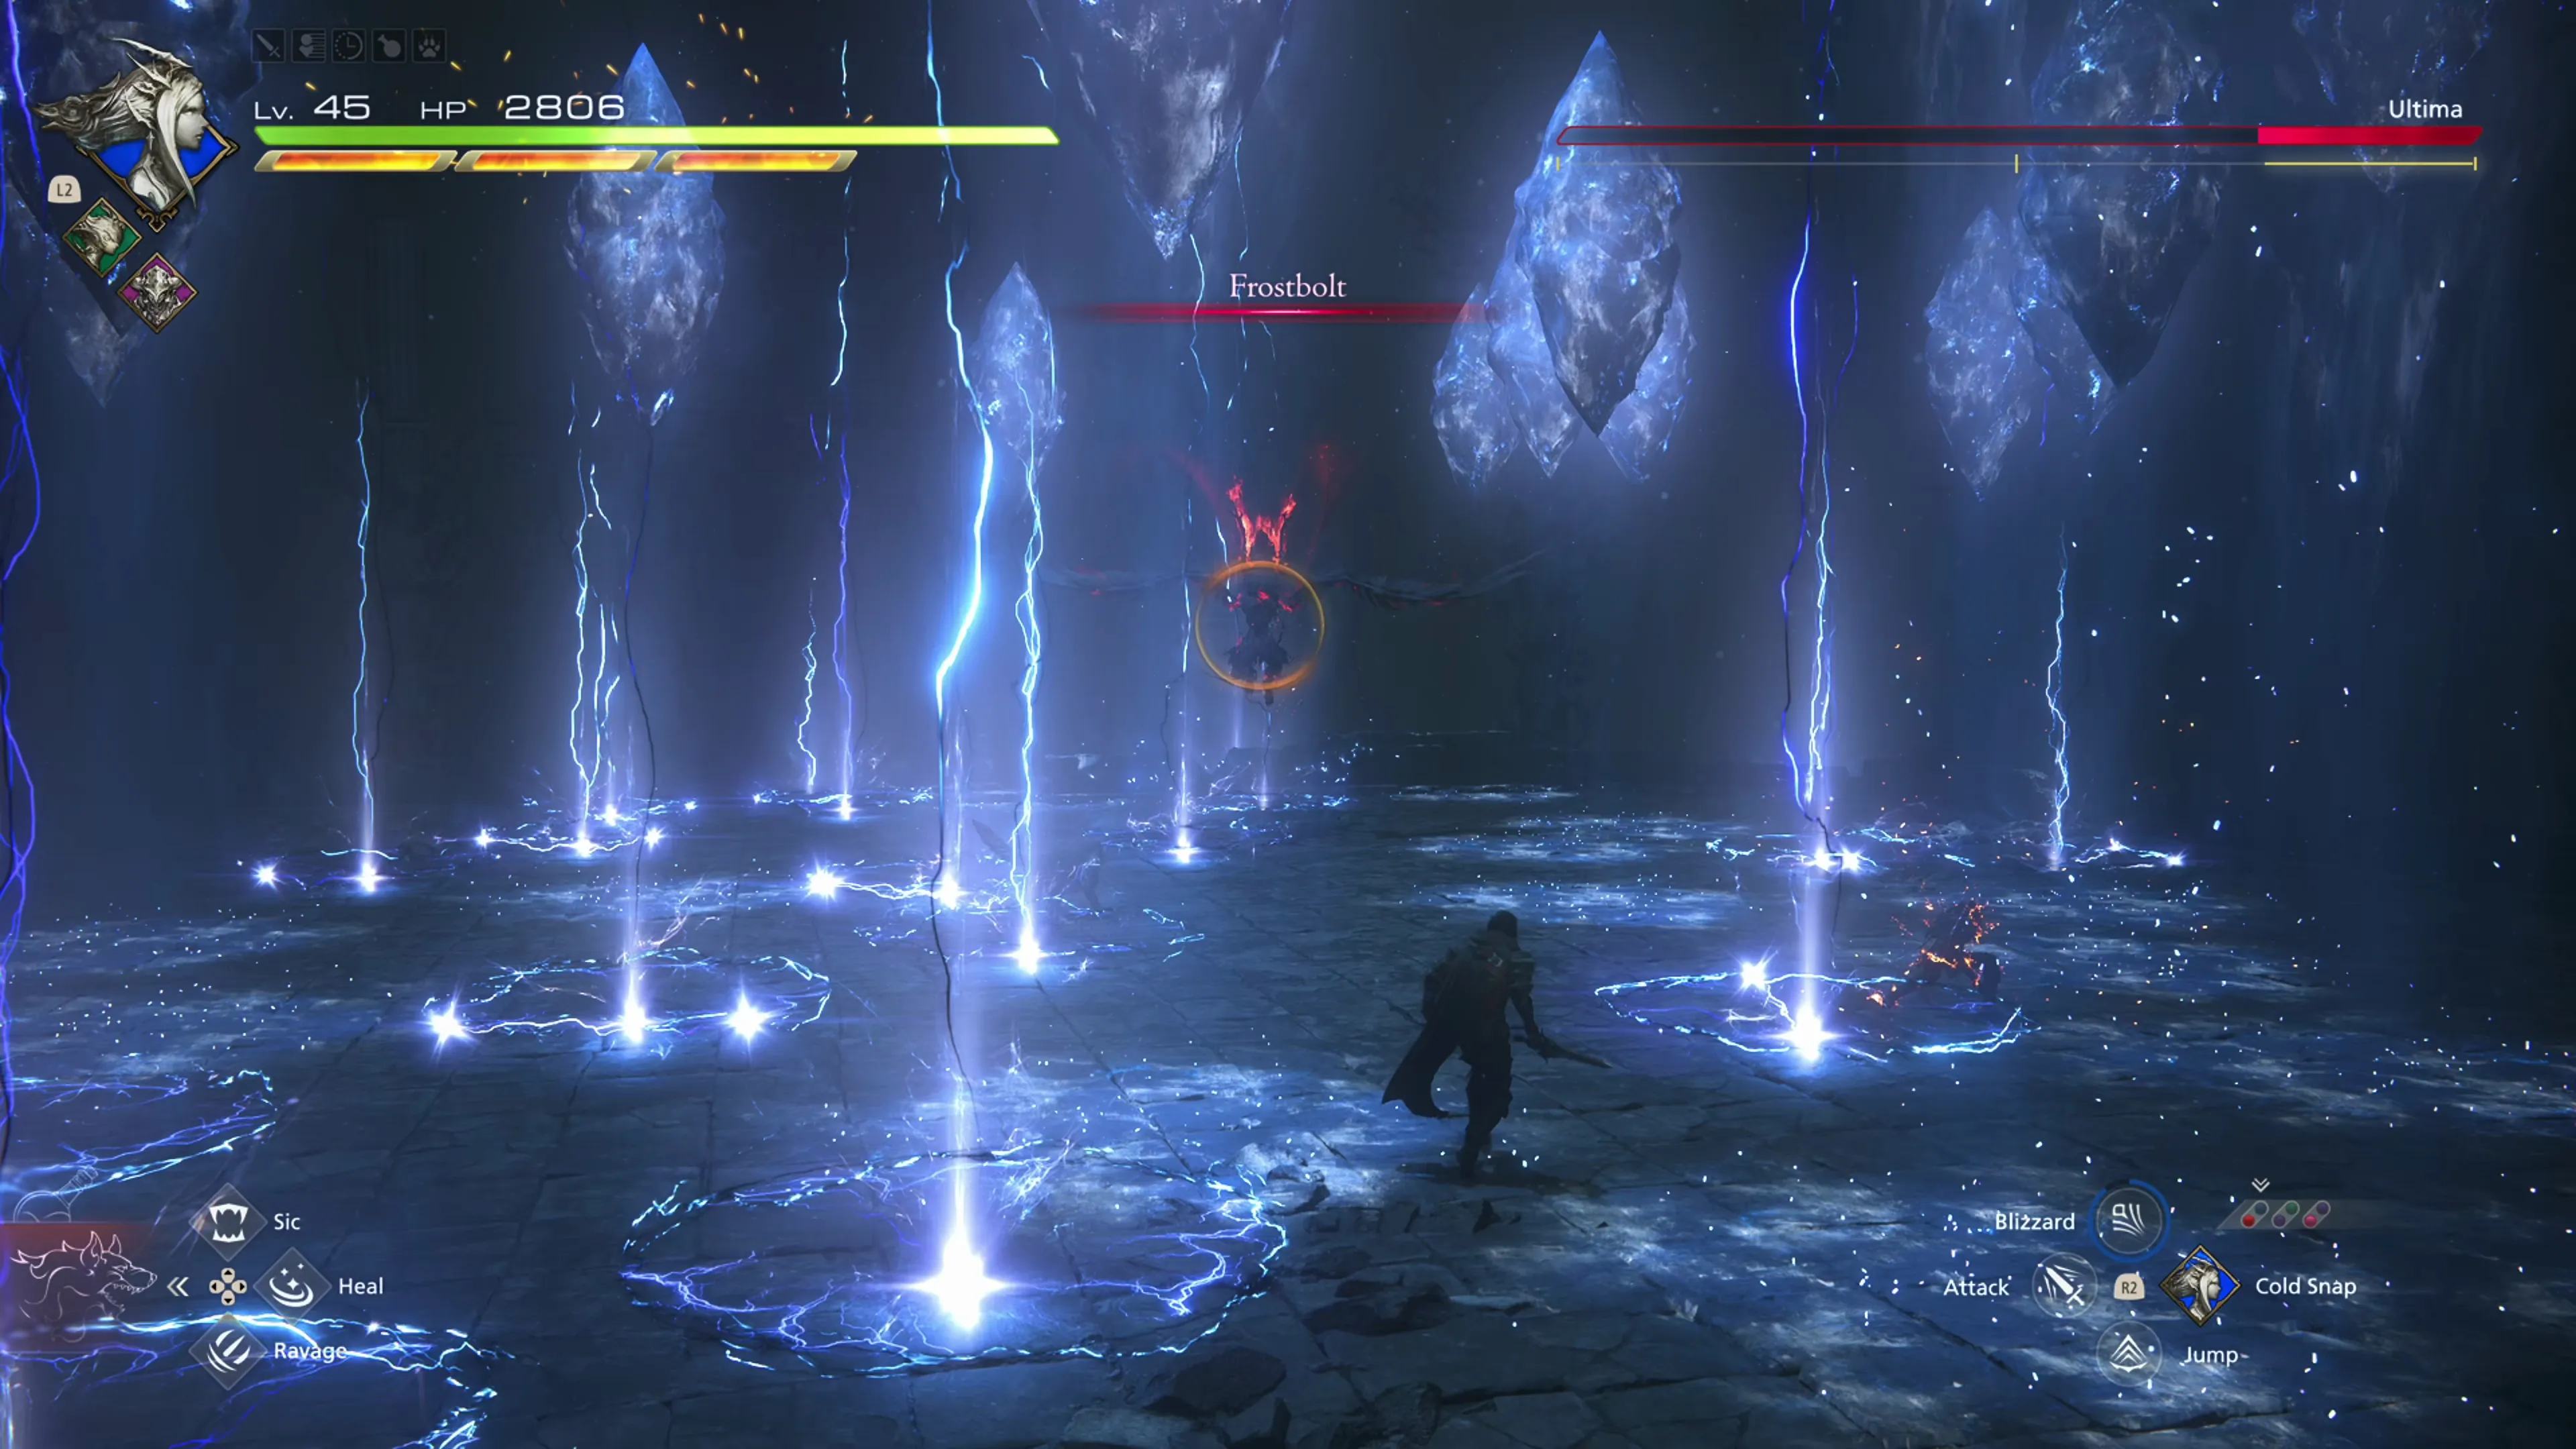
![]() Frostbolt:
Frostbolt:
A large wave of frost bolts will be summoned overhead. Look for a spot on the ground that isn’t going to be hit, or dodge as the frost bolt slams to the ground to avoid the attack. After casting “Frostbolt,” Ultima will come charging in with a flaming sword attack, so don’t lose track of where he is while “Frostbolt” is going off.
A lot is going on during this fight. Ultima will launch wave after wave of attacks at Clive, and it can be difficult to dodge them with everything going on. As mentioned above, the best strategy is to go as offensively as possible and try to drain Ultima’s HP before he gets a chance to deal too much damage to you. Check out the video below for a demonstration of how to complete this fight.
You can earn a Medal of Valor from this fight if you manage to complete all three phases without taking damage.
650
7,000
A video demonstration of how to successfully complete the fight against Ultima.
This concludes the “Streets of Madness” Main Scenario Quest.
Achievement/Trophy
“Escape the darkness.” The  Ashes to Ashes Achievement/Trophy is earned as soon as you complete the “Streets of Madness” Main Scenario Quest.
After quite a few cutscenes, you’ll be returned to the world map, and the only location you’ll be able to select is the Hideaway.