
 Brotherhood
This chapter of the game is shorter compared to some of the previous chapters you’ve played through, other than some of the optional content we can complete. It’s already time to have a look at your new abilities again now that you have access to “the Power of Darkness” through Odin’s essence.
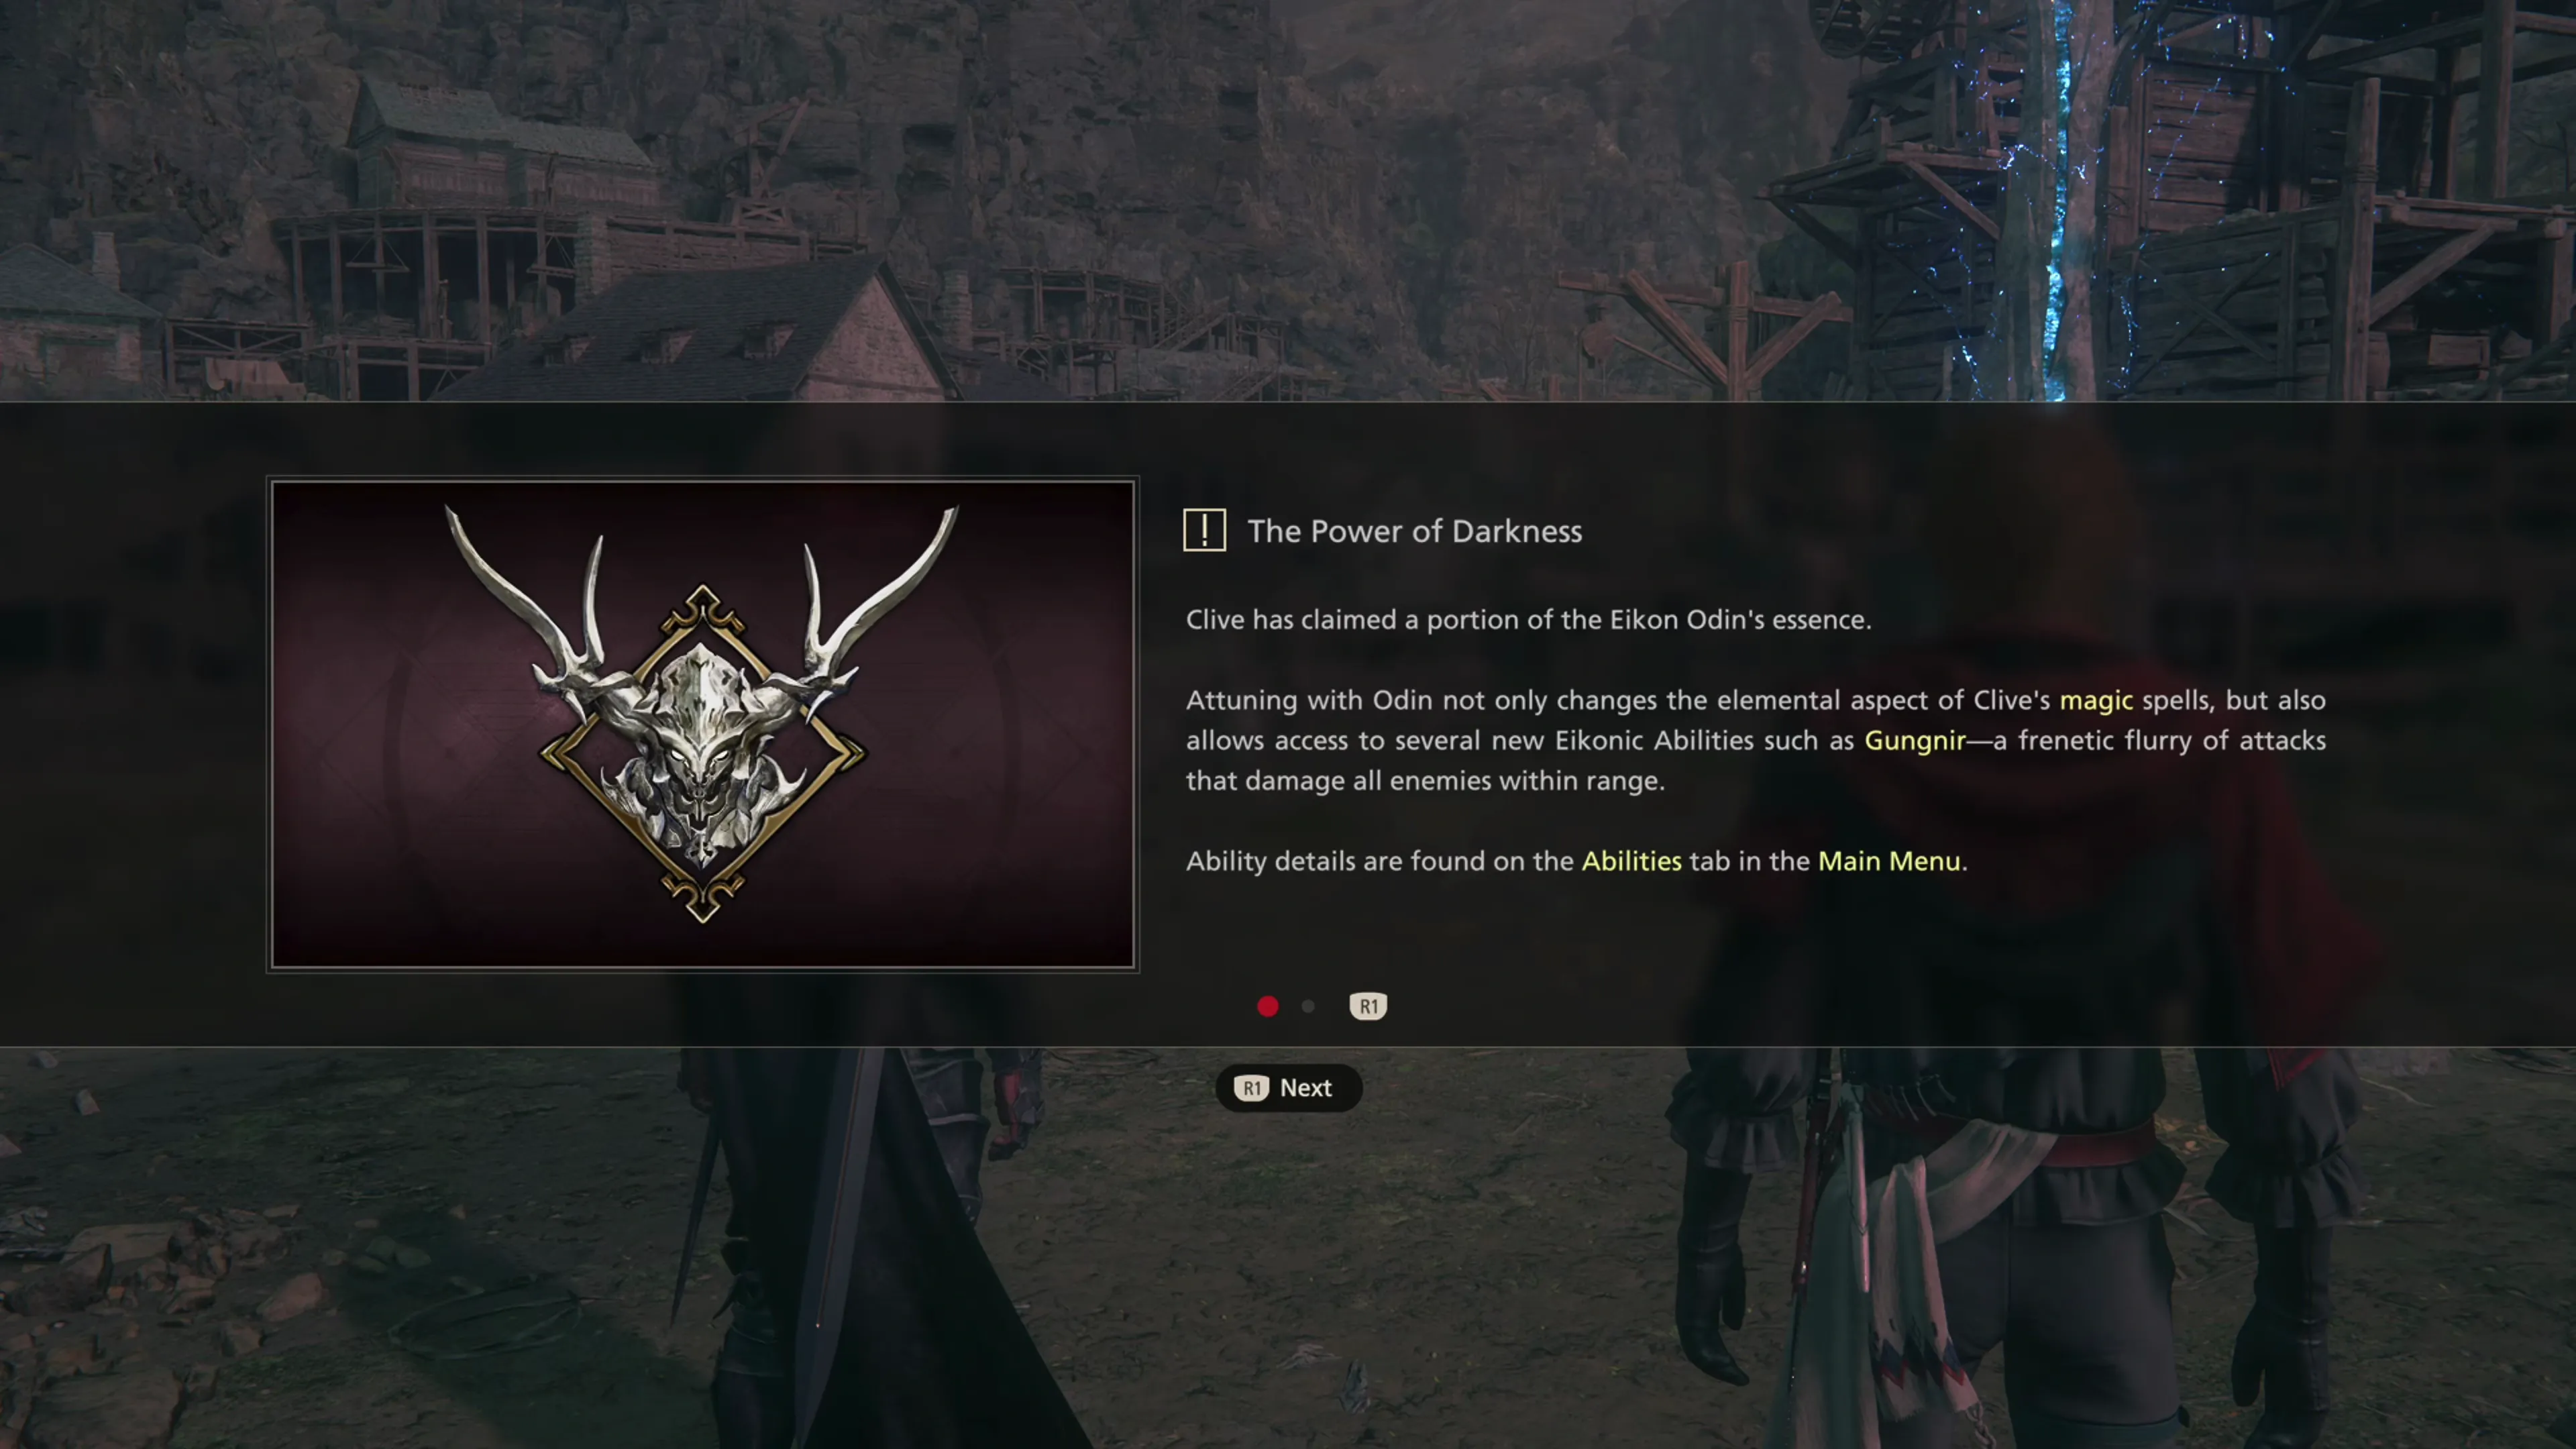
The link below provides some guidance on the utility and usefulness of the new Eikonic Abilities you have access to through Odin. You can also find some ![]() Eikonic Ability Set setup tips in the “Ability Recommendations” section listed below.
Eikonic Ability Set setup tips in the “Ability Recommendations” section listed below.
Eikon
A complete list of the Eikonic Feats and Eikonic Abilities for Odin, including recommendations on which abilities to use and what situations call for their usage.
Tips and Tricks
This section will provide some tips for setting up your single-target and multi-target Eikonic Ability Sets, including covering which Abilities are the most effective and which you should consider avoiding altogether.
Helpful Hint
Odin’s Zantetsuken attack, i.e., a fully charged ![]() Arm of Darkness, is one of the most powerful Eikonic abilities in the game. Unfortunately, activating Odin’s abilities requires a lot of
Arm of Darkness, is one of the most powerful Eikonic abilities in the game. Unfortunately, activating Odin’s abilities requires a lot of ![]() Ability Points, and you may not have enough to upgrade all of the abilities you want fully.
Ability Points, and you may not have enough to upgrade all of the abilities you want fully.
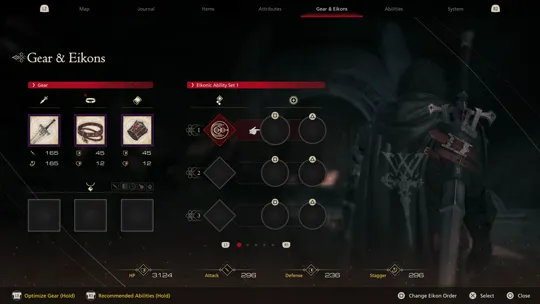
Working Odin’s abilities into your rotation can significantly increase the power of your characters, but you’ll have to get used to the process of filling Clive’s Zantetsuken gauge. In short, press the ![]()
![]()
![]() button to activate
button to activate ![]() Arm of Darkness, and execute attacks, dodges, and counters to build up the gauge until you reach a “Lv. 5 Zantetsuken.”
Arm of Darkness, and execute attacks, dodges, and counters to build up the gauge until you reach a “Lv. 5 Zantetsuken.”
You can also use Odin’s other abilities, like ![]() Gungnir,
Gungnir, ![]() Heaven’s Cloud, and
Heaven’s Cloud, and ![]() Dancing Steel, to charge the Zantetsuken gauge. Check out the Ability Recommendations page or use the
Dancing Steel, to charge the Zantetsuken gauge. Check out the Ability Recommendations page or use the ![]()
![]()
![]() button on the “Abilities” tab in the menu to read up on the best strategies for utilizing Odin.
button on the “Abilities” tab in the menu to read up on the best strategies for utilizing Odin.
You should also check out the ![]() Odin section for more tips and tricks on how to maximize the value you get out of the Zantetsuken gauge.
Odin section for more tips and tricks on how to maximize the value you get out of the Zantetsuken gauge.
Finally, a quick reminder that you will need to “Master” the ![]() Arm of Darkness ability to increase the maximum Zantetsuken level to 5. In other words, if you don’t master this ability, you won’t be able to execute Odin’s most powerful ability. Upgrading Arm of Darkness is a requirement.
Arm of Darkness ability to increase the maximum Zantetsuken level to 5. In other words, if you don’t master this ability, you won’t be able to execute Odin’s most powerful ability. Upgrading Arm of Darkness is a requirement.
Achievement/Trophy
“Land a Lv. 2 or higher Zantetsuken five times (excluding battles in the Hall of Virtue).” You’ll automatically earn the  Every Damn Sinew Achievement/Trophy activate
 ![]() Arm of Darkness and charge up and use Zantetsuken over the course of the next few battles.
Arm of Darkness and charge up and use Zantetsuken over the course of the next few battles.
Achievement/Trophy
“Execute 3 Steel Counters in a single battle (excluding battles in the Hall of Virtue).” The Fistful of Steel Achievement/Trophy is a bit more difficult to earn through the regular course of play, but you can earn it now that you have access to Odin. Check out the Fistful of Steel Achievement/Trophy section for tips.
The story begins again with Clive, Joshua, and Torgal back in the center of Eistla. For starters, though, you can head back to the Hideaway if you want to and use the ![]() Dark Shard material you received as a spoil from the Odin fight to create a new weapon. Unfortunately, this weapon is not better than the
Dark Shard material you received as a spoil from the Odin fight to create a new weapon. Unfortunately, this weapon is not better than the ![]() Ragnarok.
Ragnarok.
| Materials | |
|---|---|
Once all the Hunts are completed, we can pick up where the story left off.
Helpful Hint
This is a quick reminder to double-check which accessories you have equipped. Suppose you had accessories equipped that were intended to power up Eikonic Abilities that you’re no longer using in your Eikonic Ability Set. In that case, you might be completely wasting that equipment slot. You may have picked up some new accessories over the past few chapters that are worth slotting in, like:
 Eistla
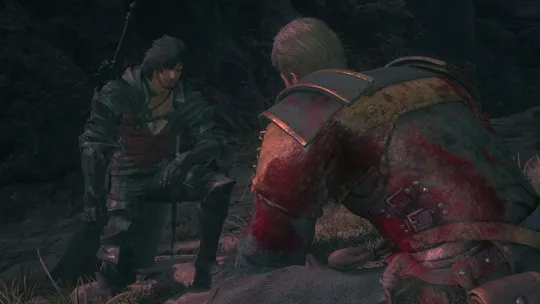
The Main Scenario Quest Marker ![]() will lead Clive to Stonhyrr. Head north out of town, through the large wooden double doors, and up the mountainous trail. You will eventually reach a “Wounded Royalist” sitting amongst the bodies of his fallen comrades.
will lead Clive to Stonhyrr. Head north out of town, through the large wooden double doors, and up the mountainous trail. You will eventually reach a “Wounded Royalist” sitting amongst the bodies of his fallen comrades.
The Optional Quest that he offers can be completed while you work your way through the following sections of Waloed, so you don’t need to go to the Optional Quest page below, but it is provided for reference and convenience:
Optional Quest
“A dying soldier on the road to Stonhyrr asks Clive to deliver his ring to his parents’ final resting place. The request made, he expires, hopeful that his soul might find peace at last.”
Continue following the pathway along until you reach the Great Southern Gate.
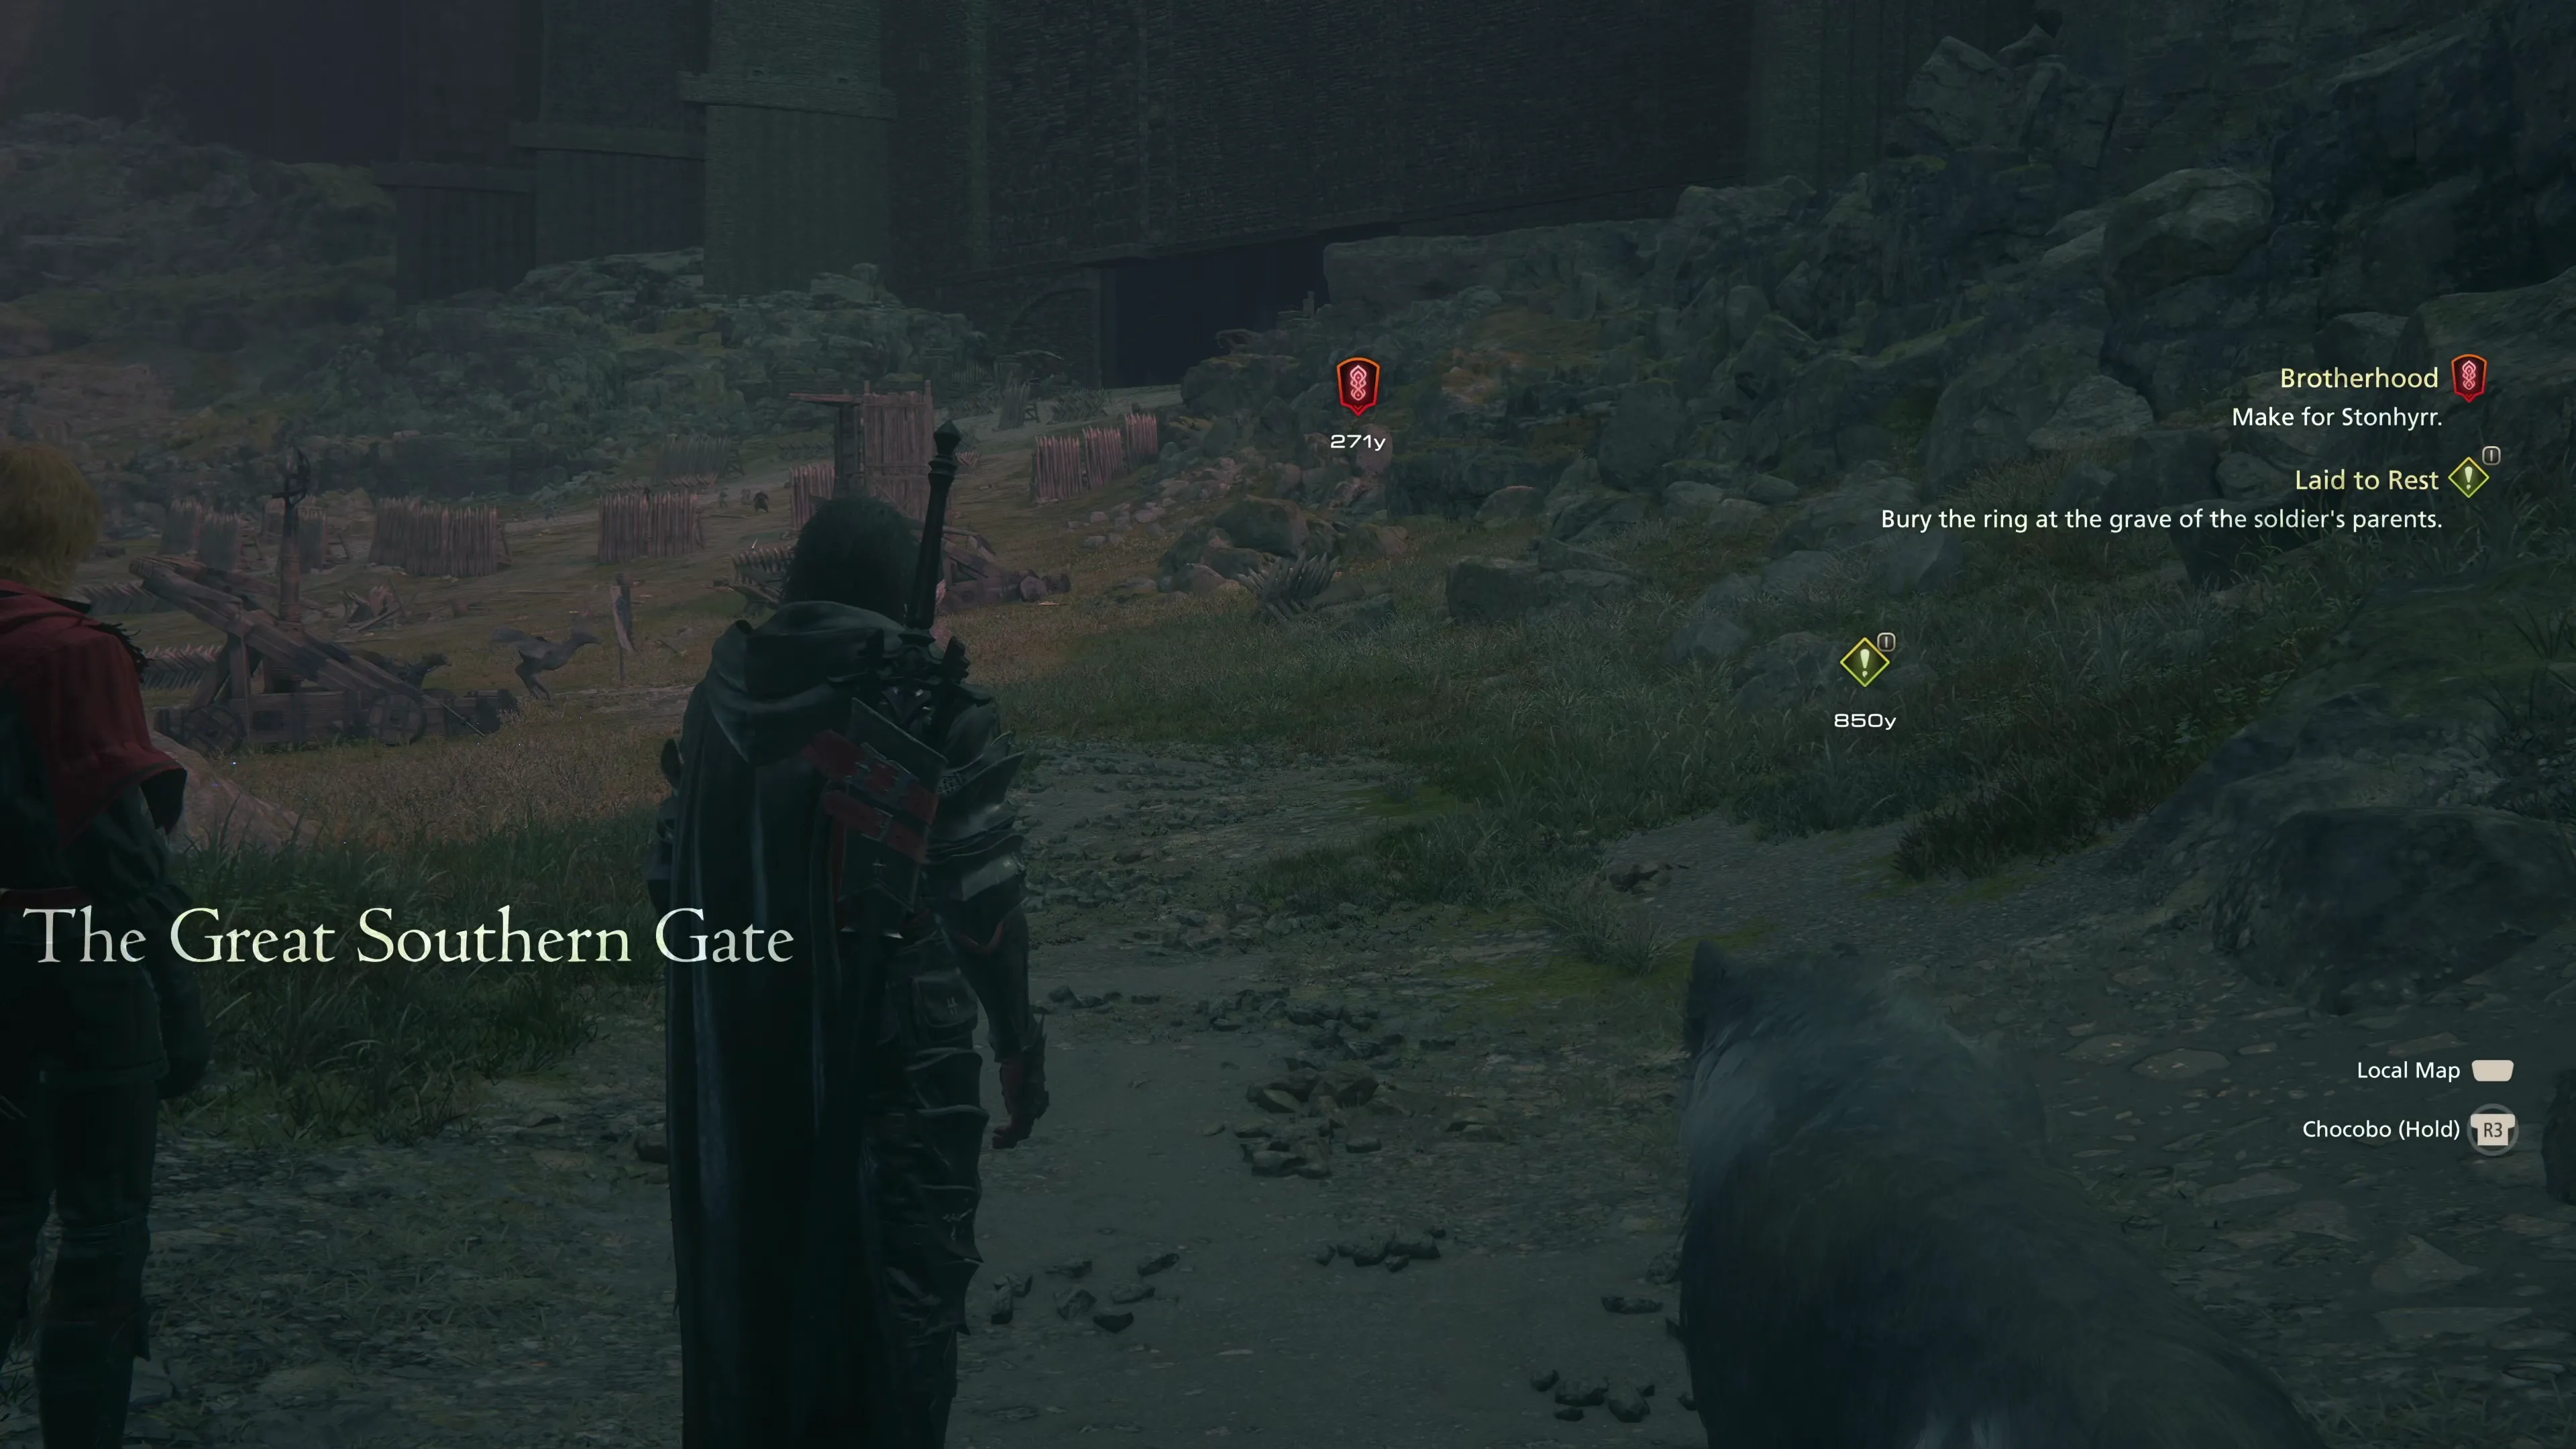
The Great Southern Gate
Grab the treasure coffers in this area using the map below to help you find them:
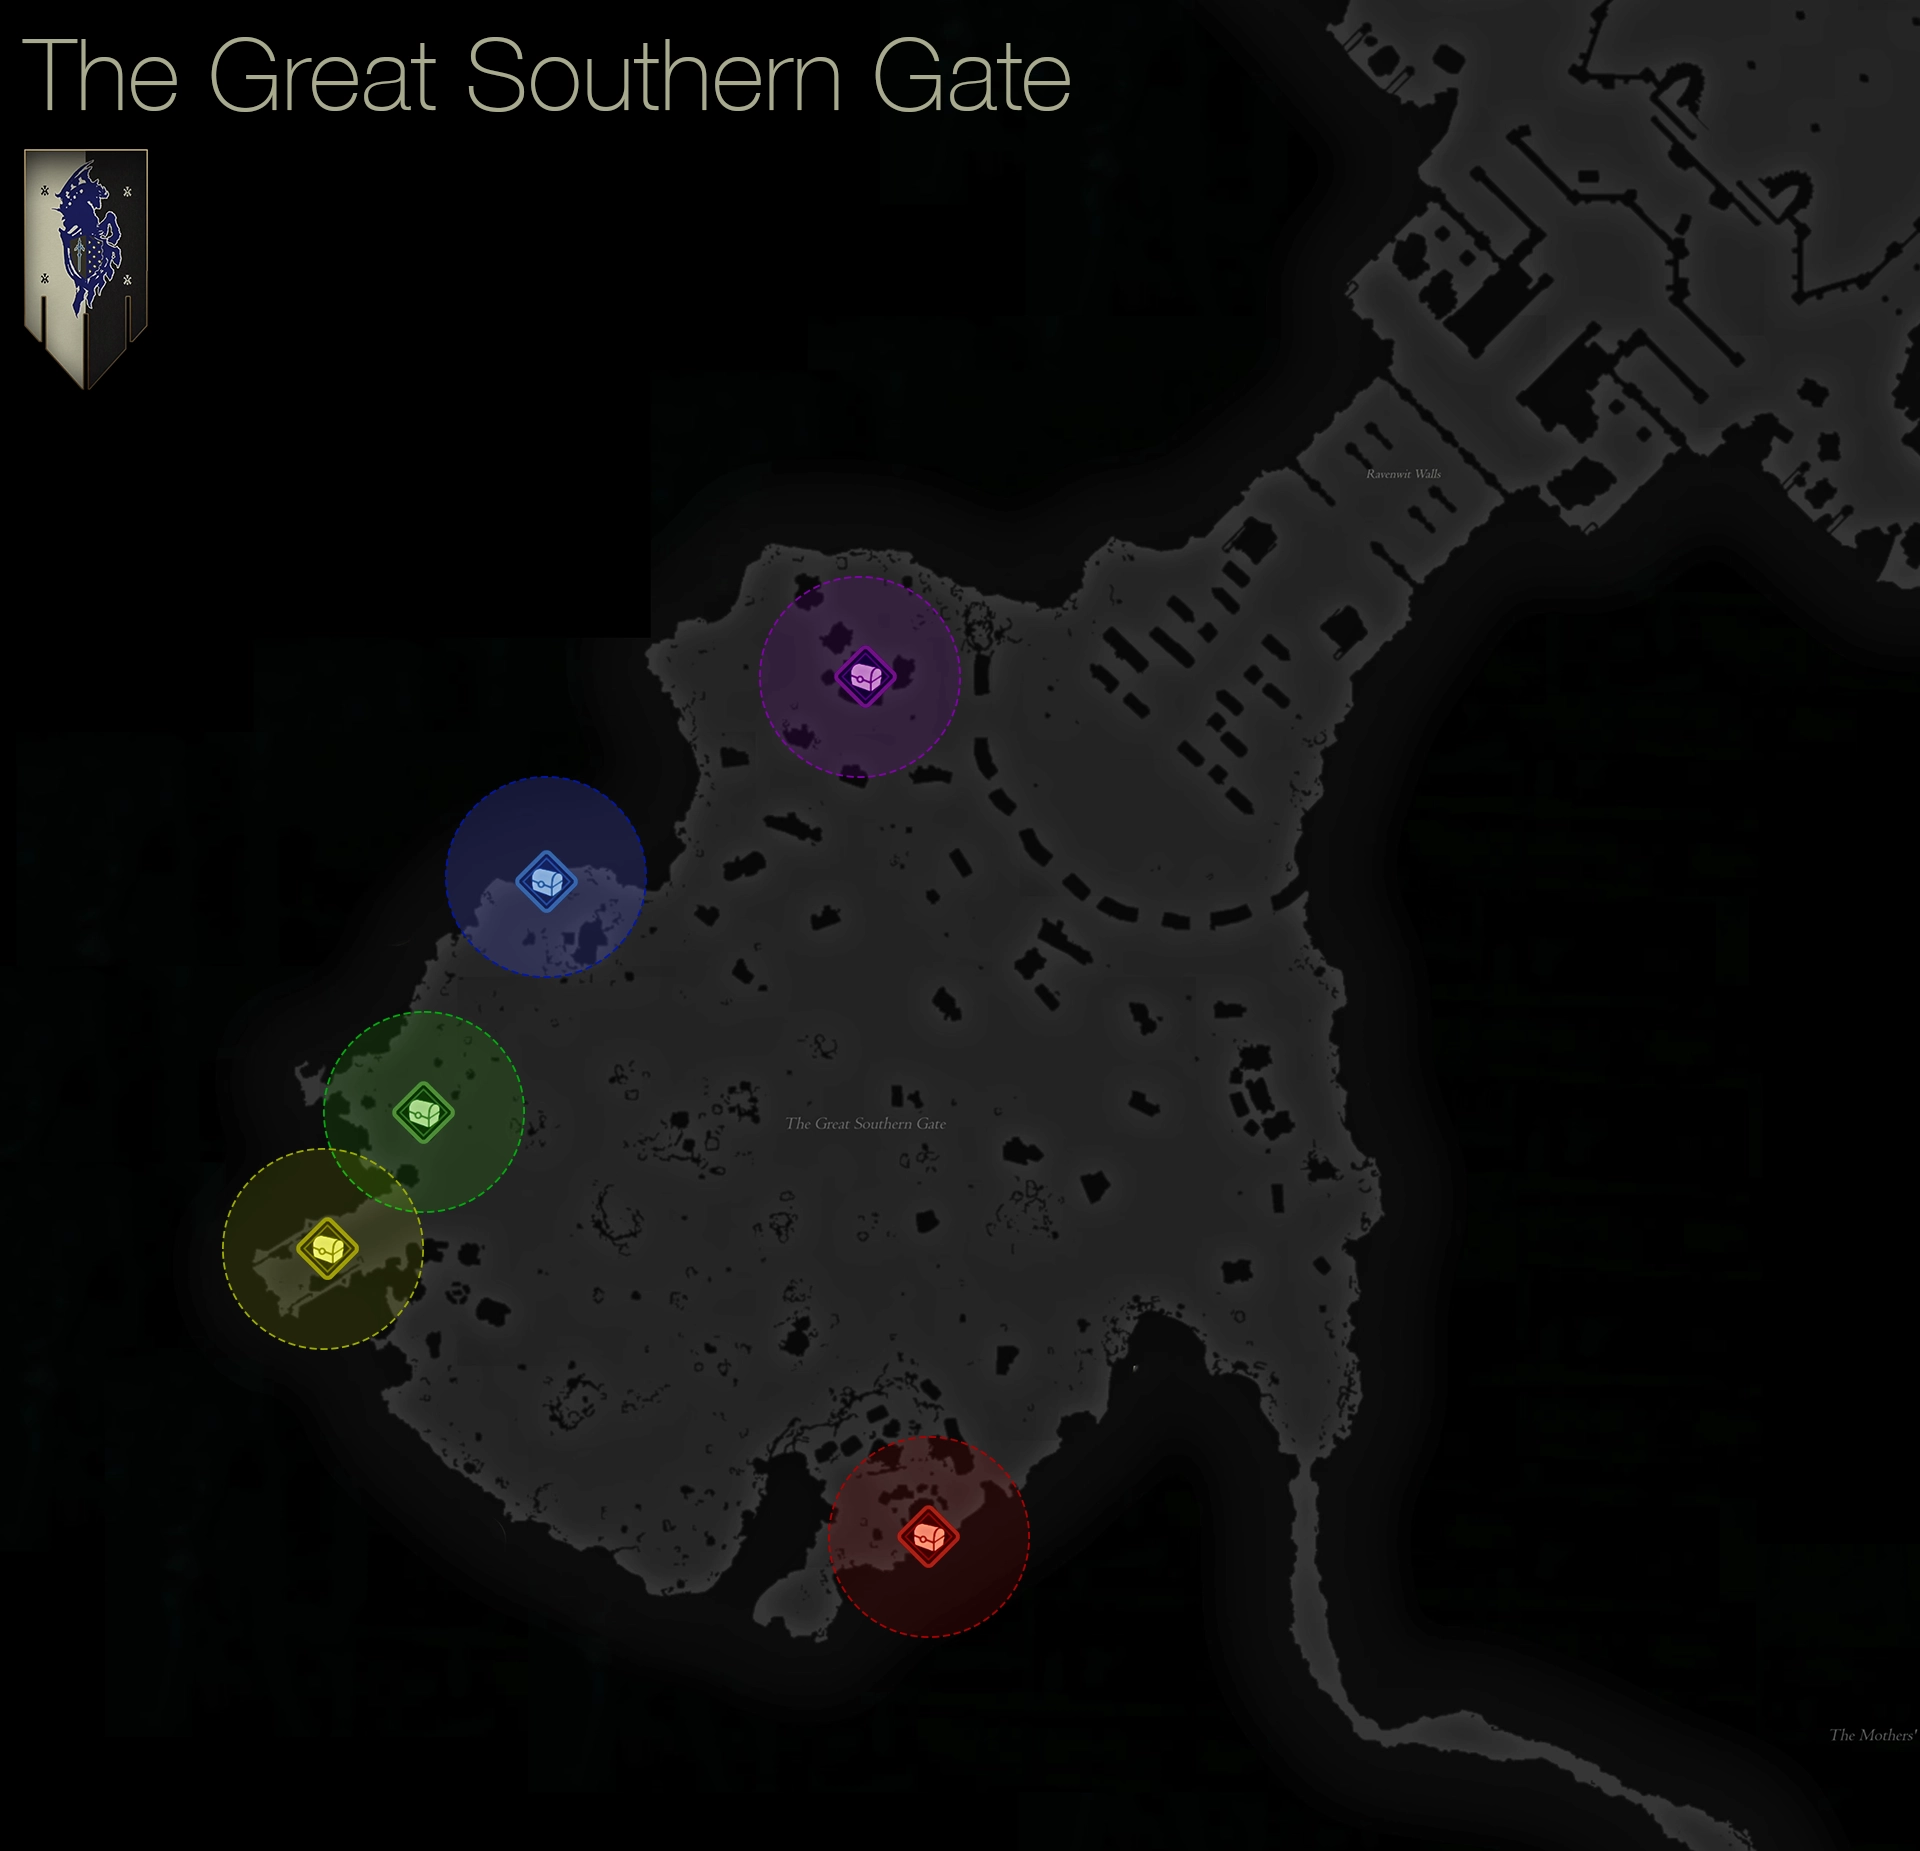
| 1) | ||
|---|---|---|
| 2) | ||
| 3) | ||
| 4) | ||
| 5) |
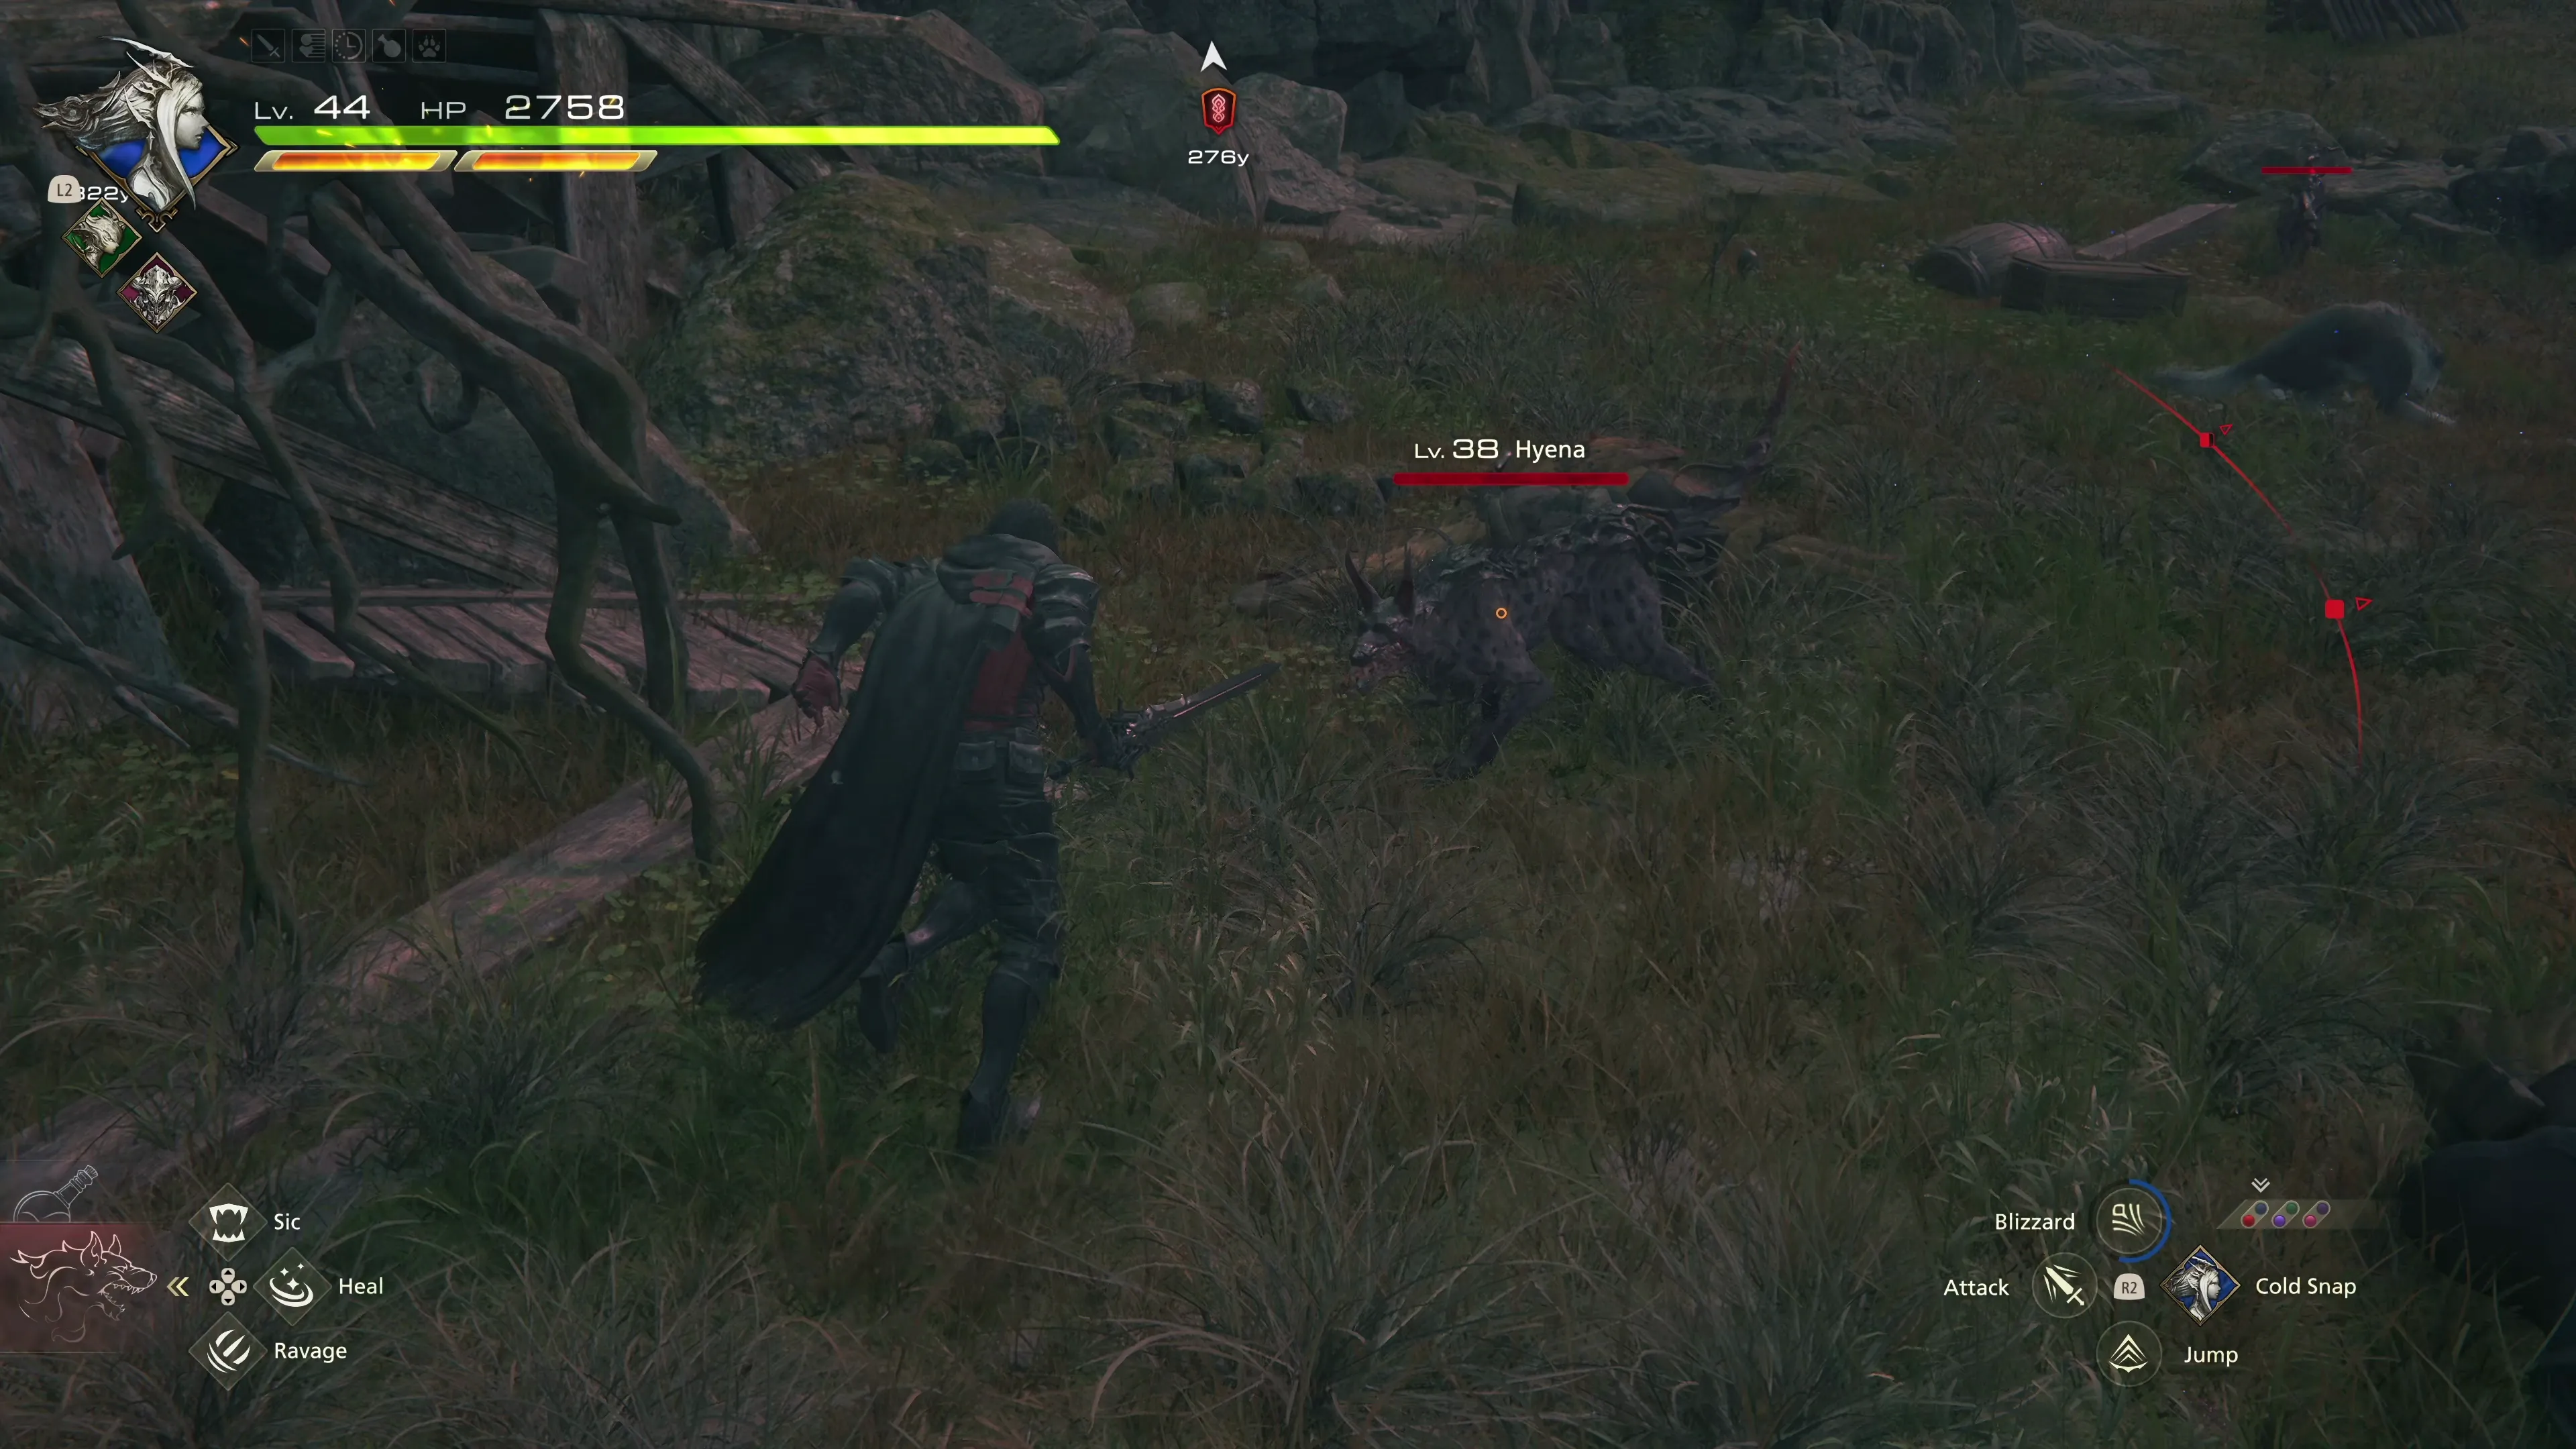
Helpful Hint
It’s worth mentioning that the Hyenas in the Great Southern Gate and the following few areas are worth an extraordinarily high amount of ![]() Ability Points. Each Hyena is inexplicably worth 80 Ability Points on their own, which is higher than many bosses and heavy hitters.
Ability Points. Each Hyena is inexplicably worth 80 Ability Points on their own, which is higher than many bosses and heavy hitters.
They are worth so many Ability Points that it’s worth going out of your way to track them down and kill them just to stack up the Ability Points and spend them on un-upgraded Eikonic Abilities you might have.
You’ll see a large group of enemies as you approach the Ravenwit Walls. In fact, there are even more as you get closer and closer to the gate. This is an excellent opportunity to group them all up and try out Zantetsuken from your ![]() Arm of Darkness, along with a
Arm of Darkness, along with a ![]() Diamond Dust to clear them all out very quickly.
Diamond Dust to clear them all out very quickly.

An Akashic Tognvaldr will join the fight after some of the other enemies have been defeated, along with another Orcish Warlord (with some friends). These are all enemies you’re familiar with at this point in the game.
There are some treasure coffers to pick up within the Ravenwit Walls. Use the map below to help you find them:
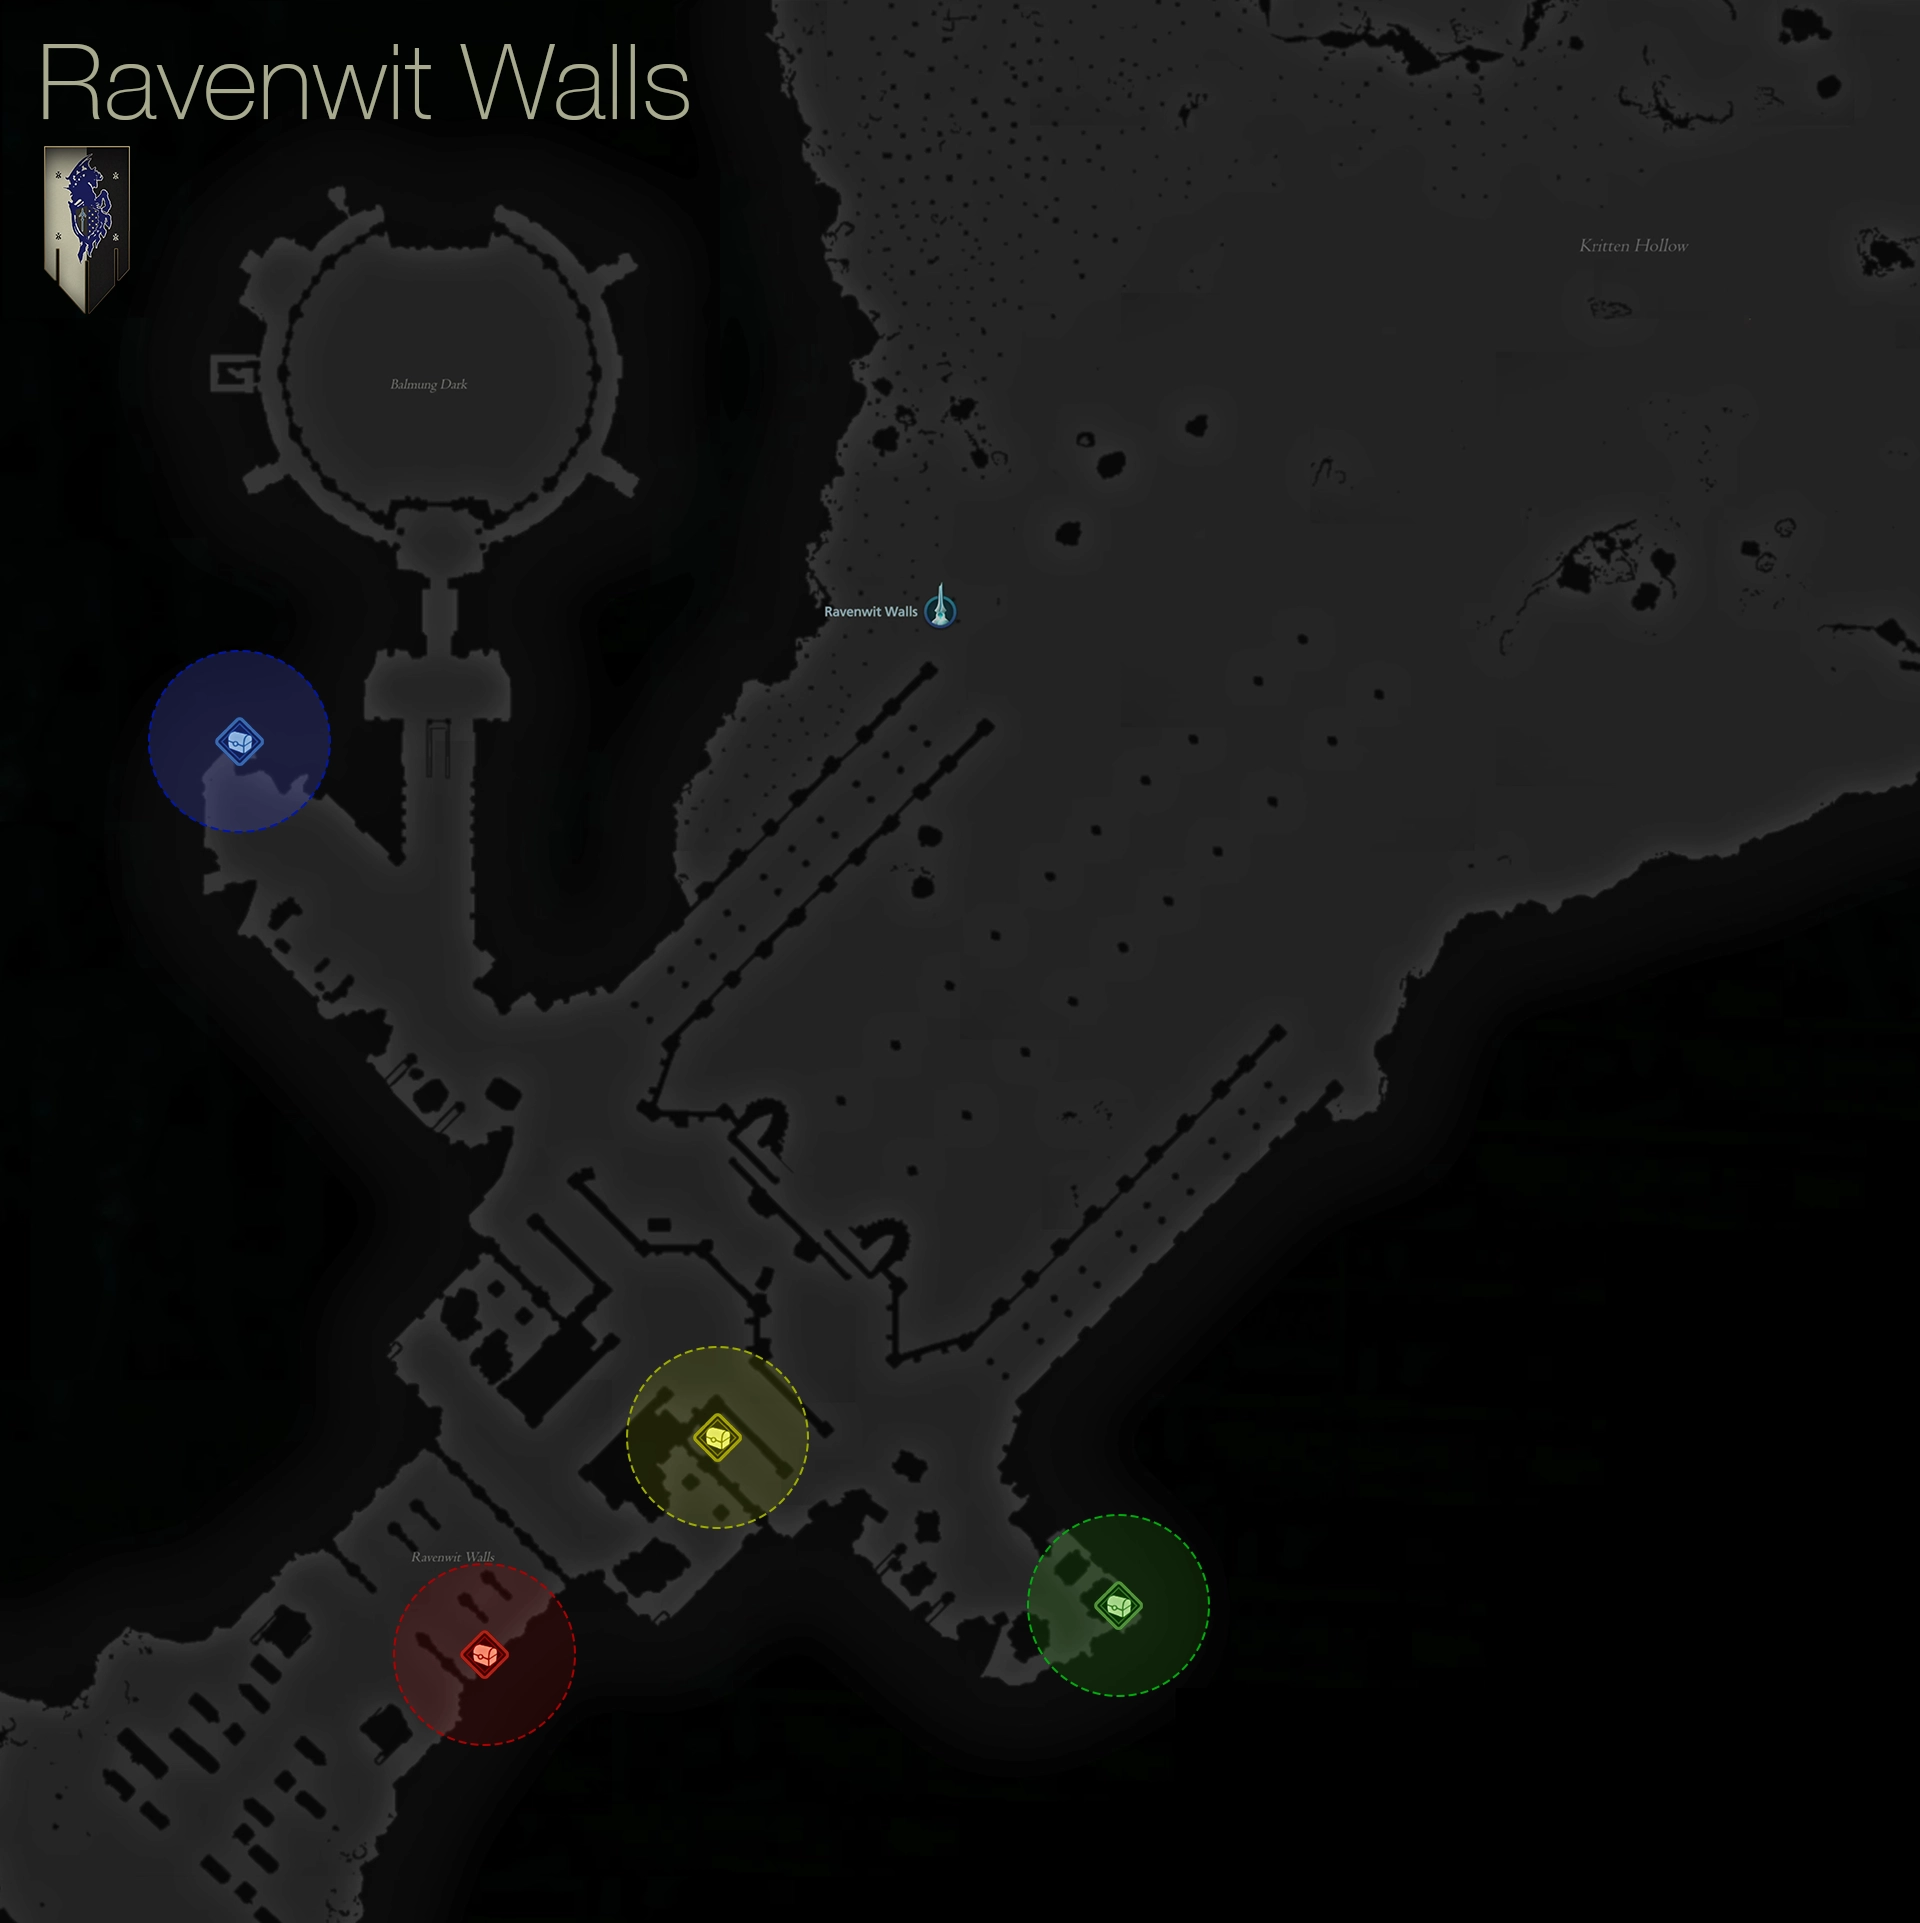
| 1) | ||
|---|---|---|
| 2) | ||
| 3) | ||
| 4) |
As you proceed down the stairs, you’ll activate the ![]() Ravenwit Walls Obelisk, and then you’ll be moving on to the Kritten Hollow…
Ravenwit Walls Obelisk, and then you’ll be moving on to the Kritten Hollow…
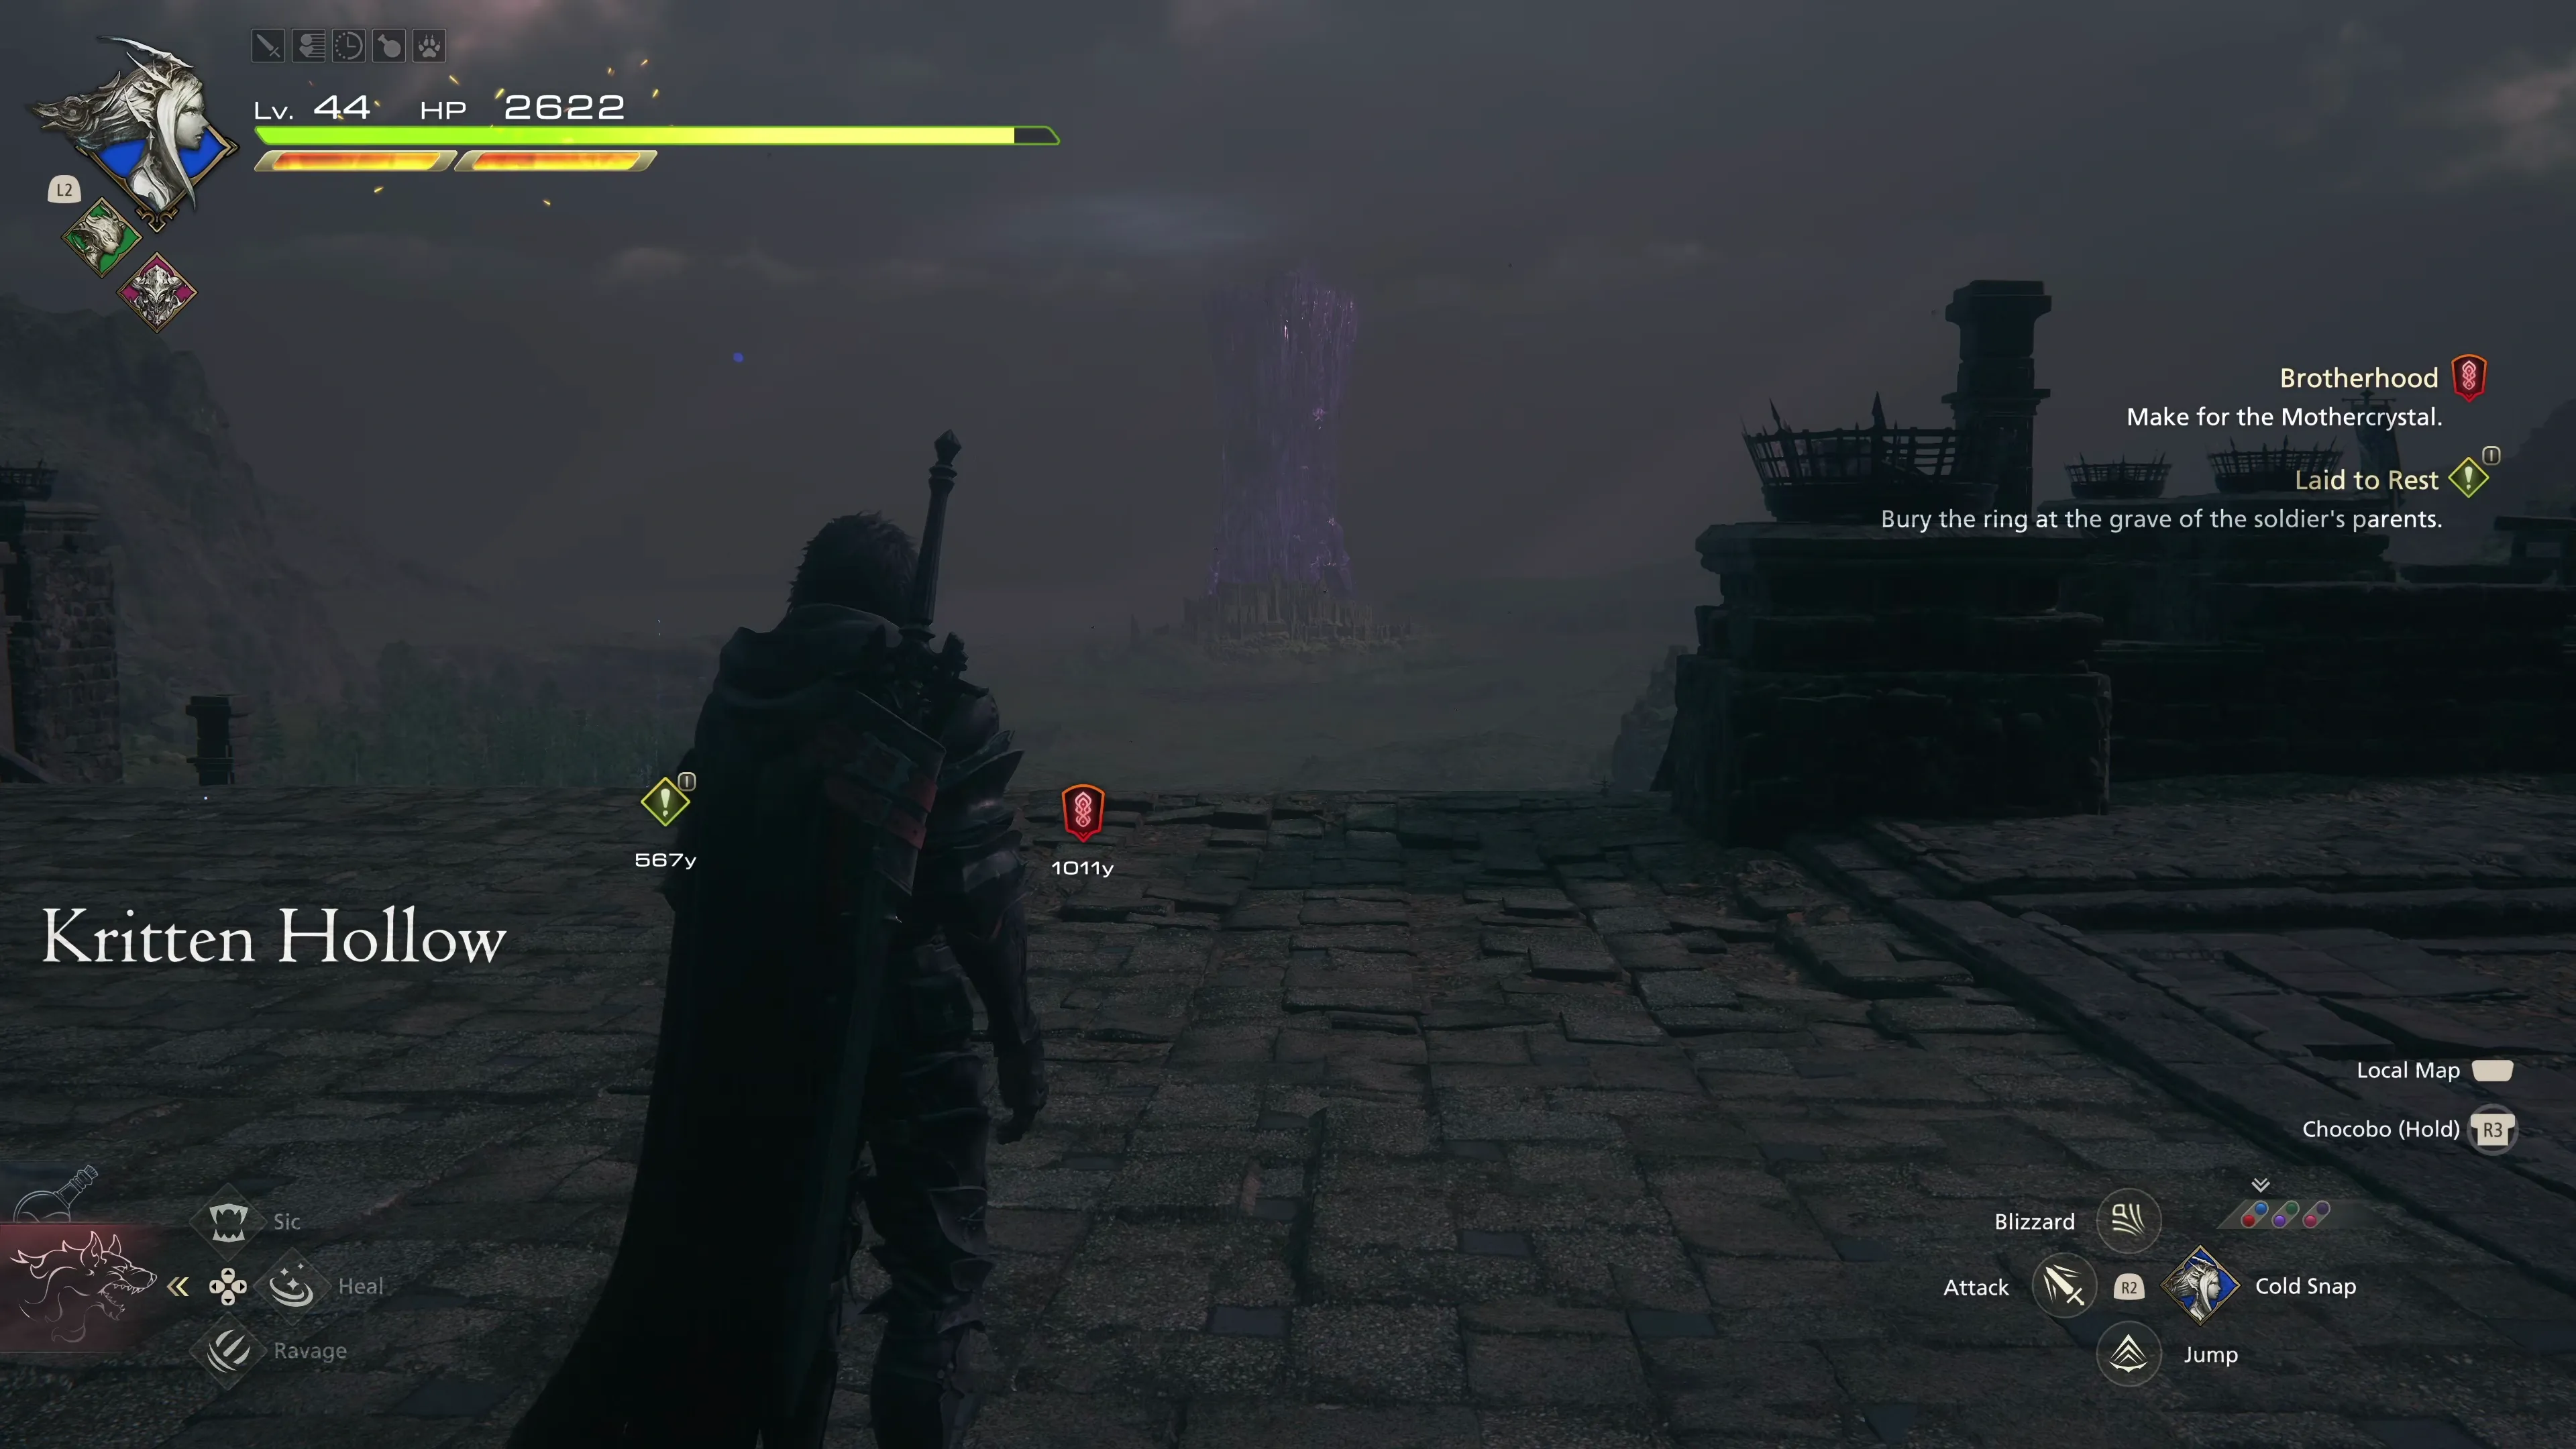
Kritten Hollow
There isn’t much to do in this area other than run around and grab all of the treasure coffers. Use the map below to help you find them:
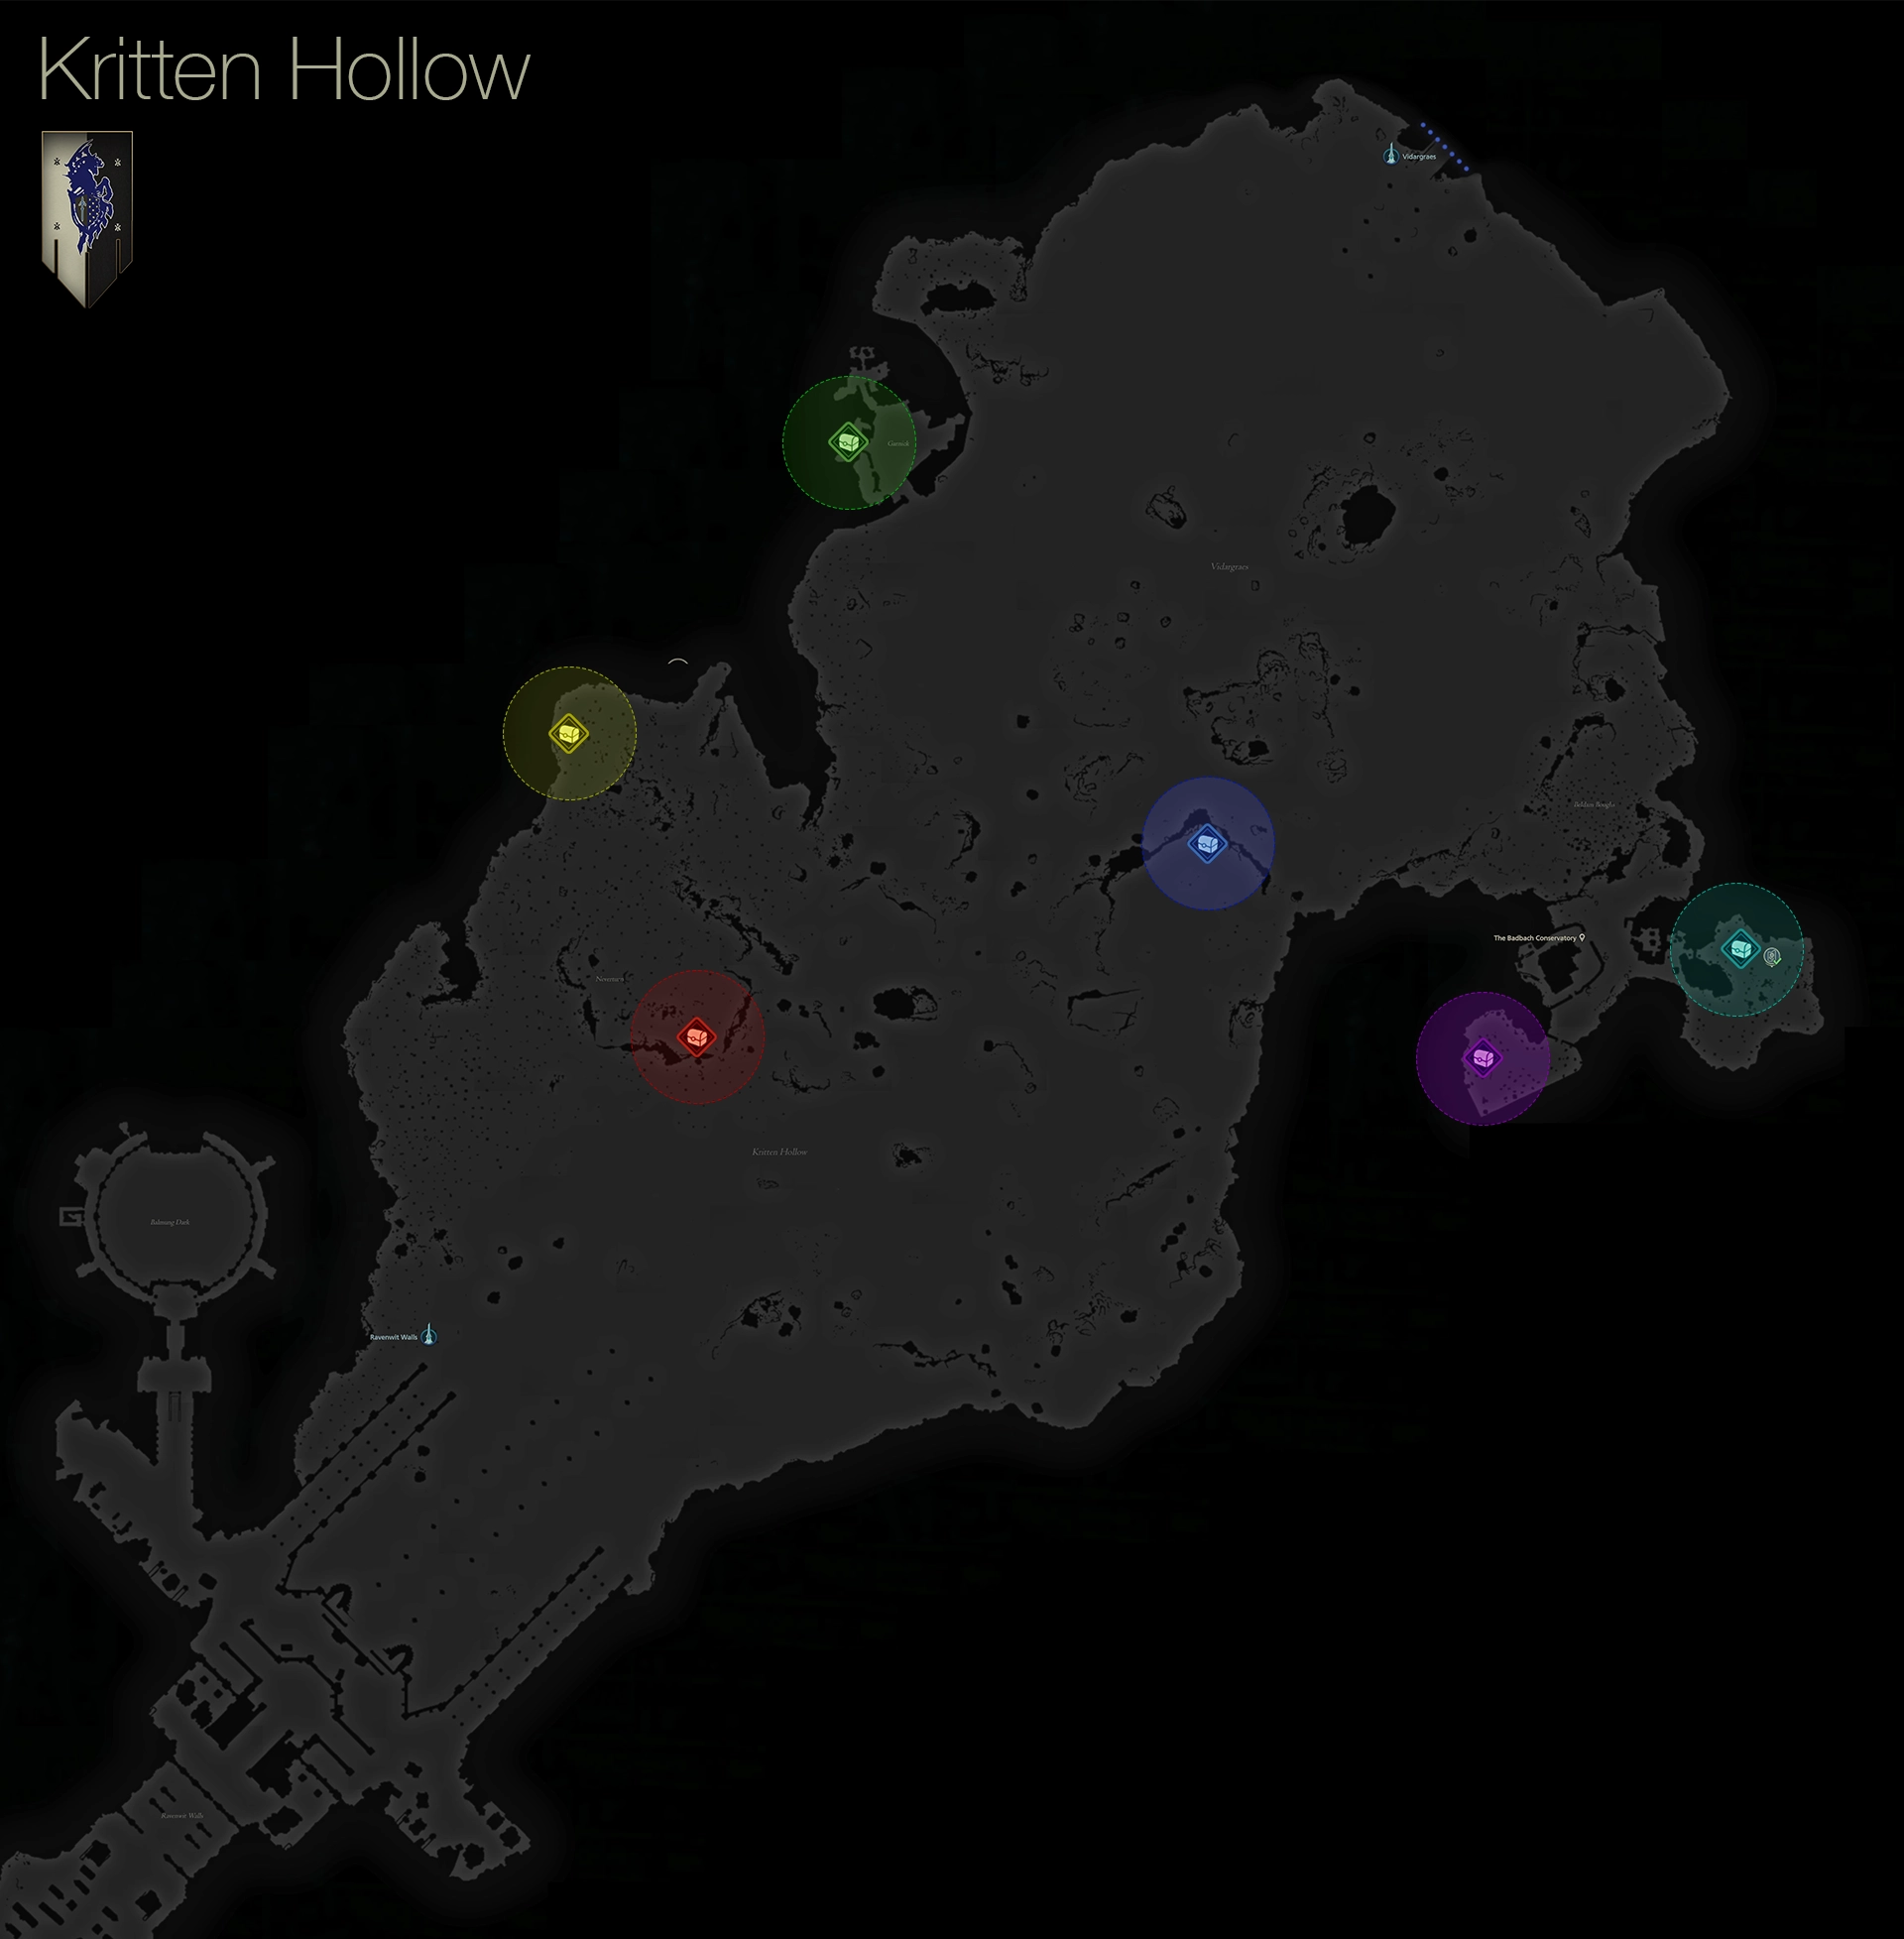
| 1) | ||
|---|---|---|
| 2) | ||
| 3) | ||
| 4) | ||
| 5) | ||
| 6) |
Approach the northeast section of the map to activate the ![]() Vidargraes Obelisk, but before we head to “Drake’s Spine,” we should take care of the five Notorious Marks that are available.
Vidargraes Obelisk, but before we head to “Drake’s Spine,” we should take care of the five Notorious Marks that are available.
These Marks are very similar to bosses that you have already defeated, so you should already be somewhat familiar with the strategy you’ll need to utilize to take them down, and this should make them a bit easier (even though they’re considered Rank A):
Notorious Mark / Hunt
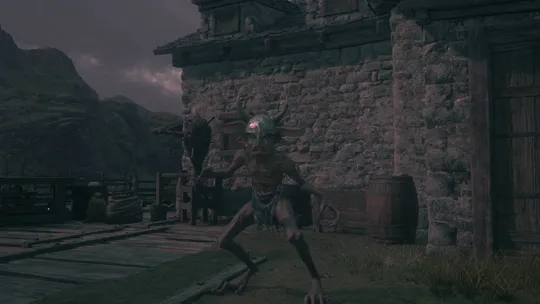
“A rogue goblin has been sighted several times in the abandoned village of Eistla, presumably drawn by the stores left behind when the villagers departed for Reverie. Though said villagers will not be returning, we shall surely seek to reclaim the village for mankind once this is all over. I suggest that we end the goblin’s misery now, before he tears the houses down in his search for sustenance.”
Notorious Mark / Hunt
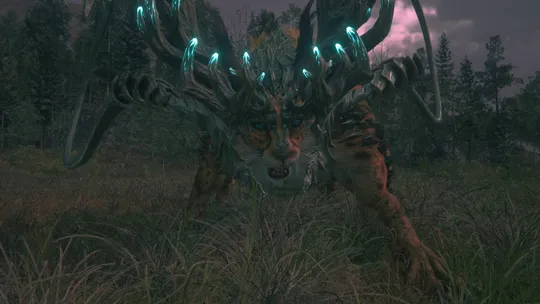
“Among the diverse beasts that make their home in Waloed, there are many that seem not to be a creation of nature, but of some malign god. Bygul is one such creature—a cat that takes an almost perverse delight in hunting down the few survivors of the human race that yet survive on the fat continent, and toying with them as a child might a doll—complete with the chewing of their extremities.”
Notorious Mark / Hunt
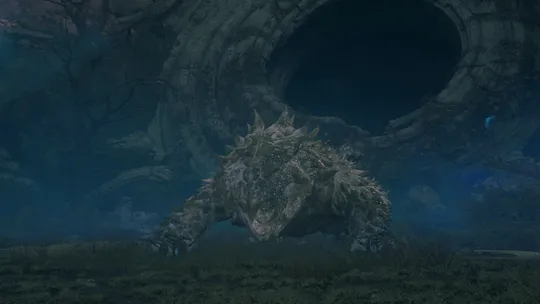
“A band of Cursebreakers making a first foray into Waloed encountered this creature near the road through Halfcombe. Though those with memory of Ash before its fall knew Agni as a peaceable beast—one worshipped as the ‘Jarlkona of the north’—the aether has since addled its mind, sending it barreling hither and yon, crushing anything in its path. To end its torment would be a mercy.”
Defeating Agni provides you with the last of the raw materials needed to craft ![]() Ouroboros, so head back to
Ouroboros, so head back to ![]() The Black Hammer to craft your new belt:
The Black Hammer to craft your new belt:
| Materials | |
|---|---|
Notorious Mark / Hunt
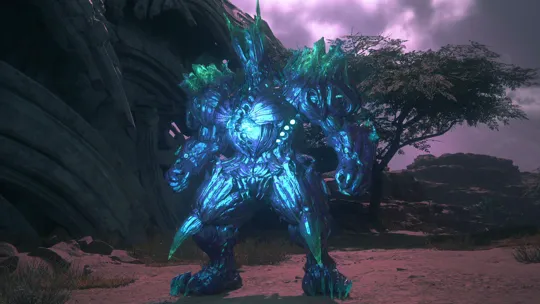
“Travelers of the Gilded Path share stories of the crystal giant—a beast who haunts the paths less trodden, illuminating the shadowy canyons with the unmistakable blue glow of aether, and painting them red with the blood of his victims. If our suspicions are correct and this creature is another construct of Ultima, then only by laying him low might we truly begin to live on our own terms.”
Notorious Mark / Hunt
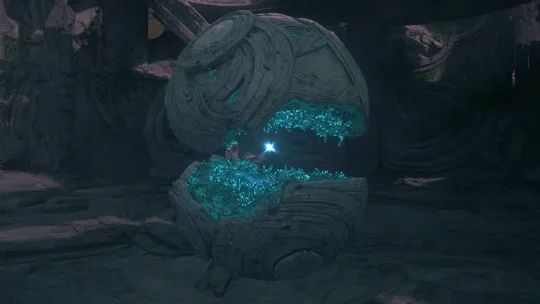
“After the collapse of the Fallen civilization, their technology slept silently within the ruins of their airships for many a long year. However, of late, these ‘echoes’ of the Fallen age have begun to awaken, attacking any strangers on sight—presumably as they were designed to do. While some are easily escaped, this particular echo persists in pursuing its targets until they lie dead in the dust.”
As mentioned above, make sure you craft your new ![]() Ouroboros using the materials you picked up from these Notorious Marks.
Ouroboros using the materials you picked up from these Notorious Marks.
Once all the Hunts are completed, we can pick up where the story left off.